-
Posts
7,205 -
Joined
-
Last visited
Content Type
Profiles
Forums
Events
Gallery
Everything posted by stitchdup
-

Frog/amt mercedes 300sl gullwing
stitchdup replied to stitchdup's topic in General Automotive Talk (Trucks and Cars)
It seems this kit has been doing the rounds of a few companies. link -

Frog/amt mercedes 300sl gullwing
stitchdup replied to stitchdup's topic in General Automotive Talk (Trucks and Cars)
wow the matchbox box looks like a really bad copy of the amt prestige version -

Frog/amt mercedes 300sl gullwing
stitchdup replied to stitchdup's topic in General Automotive Talk (Trucks and Cars)
It was bought to build but i will save the box, i've got a revell.de box full of my built kits box tops -

Frog/amt mercedes 300sl gullwing
stitchdup replied to stitchdup's topic in General Automotive Talk (Trucks and Cars)
So amt got the mold from frog? it's interesting how some of the older kit molds turn up in places you wouldn't expect. I know some of the frog molds went to russia. I've seen the 1/16 vauxhall wagon pop up over there sometimes but its the wrong scale for me -

Frog/amt mercedes 300sl gullwing
stitchdup replied to stitchdup's topic in General Automotive Talk (Trucks and Cars)
Dont worry mate, we all do this sometimes -
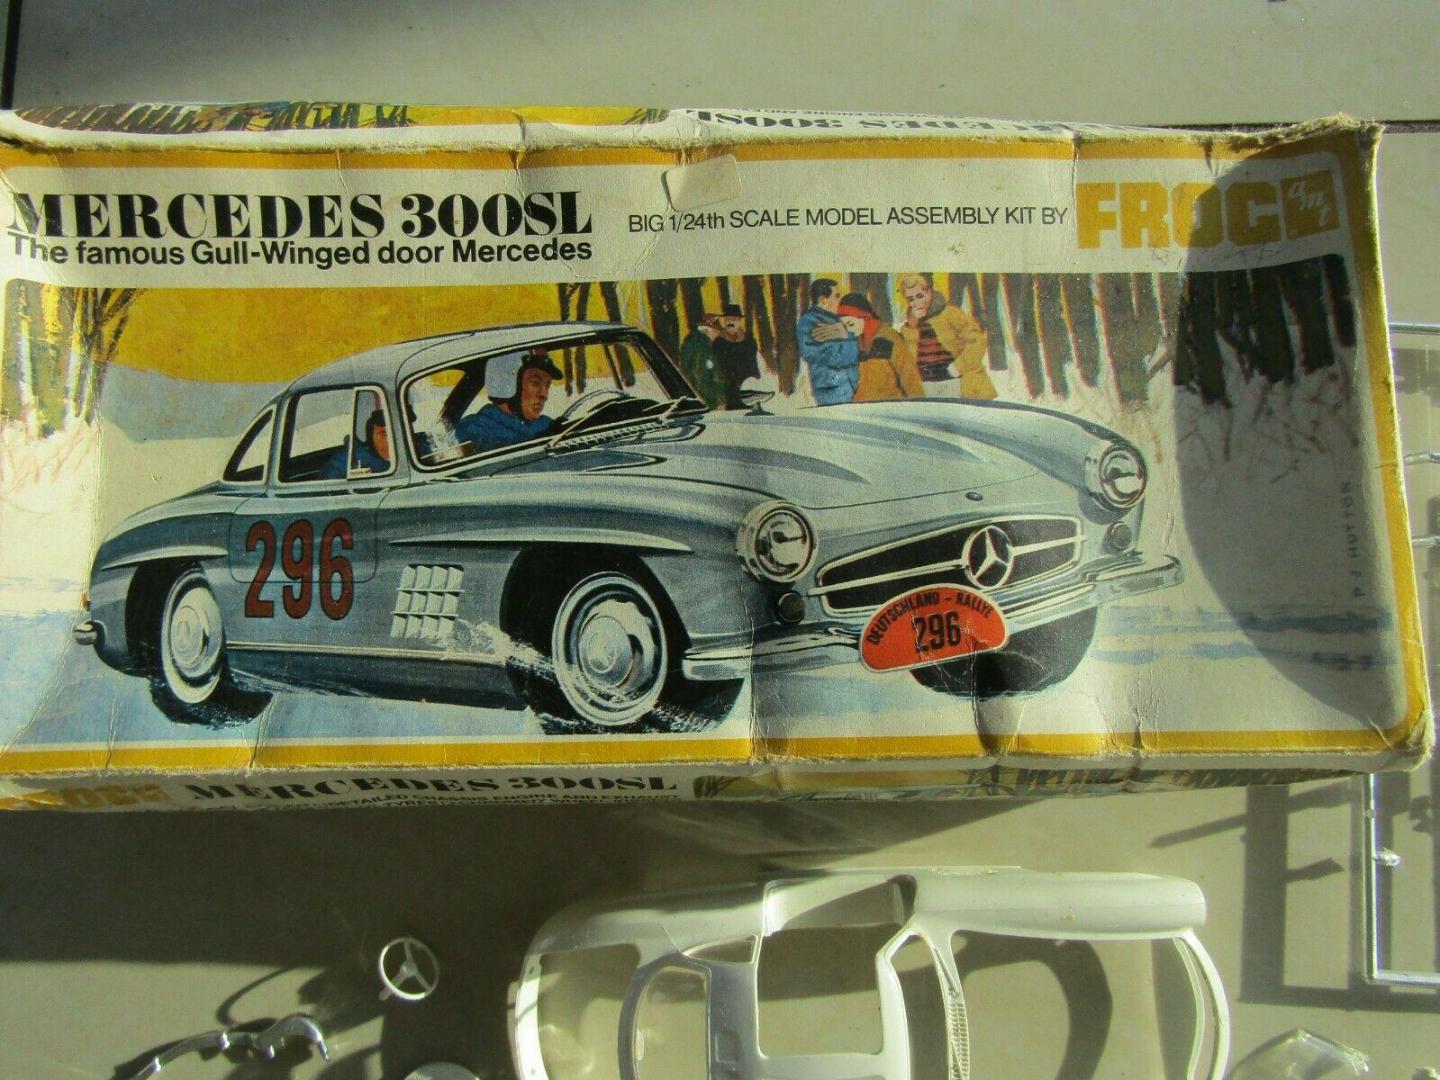
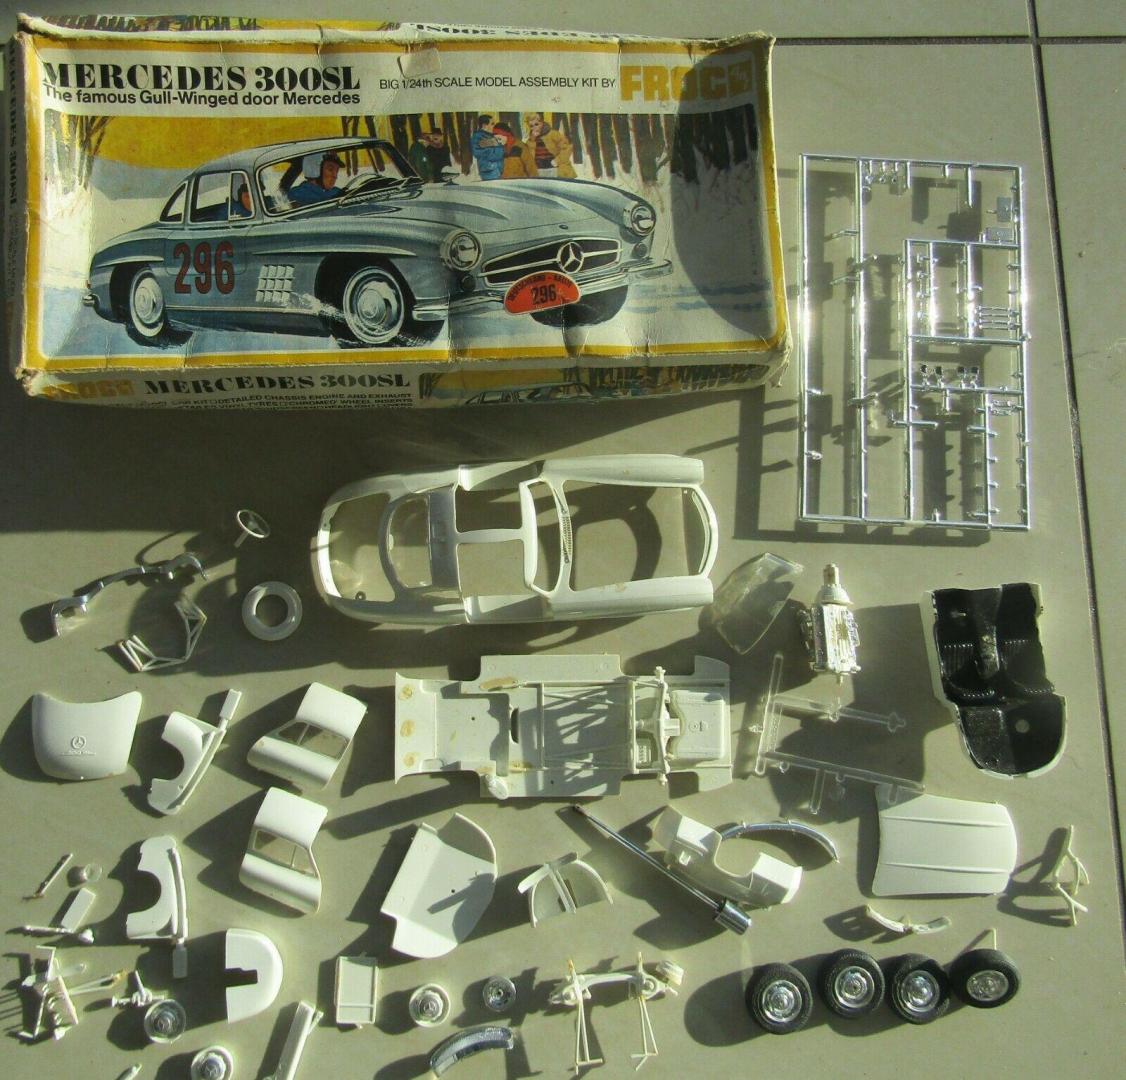
I'm wondering if anyone has built this kit. I believe it was also released by amt in the early 70s, possibly as a prestige kit but different sites differ on that so it may not be correct. I recently won this kit and will be building it but as a kindig inspired version. If anyone has built one it would be cool to see some. I guess some tamiya versions would be cool to compare them to as well. I've never had a frog kit before so i'm looking forward to seeing what their like
-
Great point, if you're a smoker back pain can be a sign of lung disease. there is a simple test you can do for lung disease yourself though. If you look at your finger nails from the side, and they are all very rounded you should see a doc as its a sign of lung disease. I only know cos I'm being tested soon and it was the first thing the doc looked at which seemed odd for chest pains
-

Ford vs. Ferrari Film
stitchdup replied to Richard Bartrop's topic in General Automotive Talk (Trucks and Cars)
I read somewhere that a lot of the people in the movie were played by relatives. Cant remember where i read that though -
Tbh I'd probably have given up on trying to glue it and used some double sided tape
-
best thing i did was get a decent chair (and a cut down matteress topper for the back) and matching computer desk to build at, and the tray for the keyboard is the perfect size for my brush paints. My back has hurt a lot less than when i used an old stool that had me sat with the desk at chest level
-

1968 RKE/JRT SCCA Trans Am Javelin
stitchdup replied to swede70's topic in WIP: Other Racing: Road Racing, Land Speed Racers
loving your work. there is a fujimi arch set that looks pretty close to what you are creating, or the arches from the belkits mk1 escort may also make it easier for you -
it doesn't look big enough to be a bentley or rolls, maybe a similar age rover or wolseley, but saying that the wheels look like rolls.
-
I've got the lower grille part if you need it?
- 39,276 replies
-
- johan
- glue bombs
-
(and 1 more)
Tagged with:
-
I'm looking forward to his return and very happy to hear his health is improving. I have 3 of his engines and a few seats and the quality is first rate. if anyone is in contact with him please pass on out best wishes for a speedy recovery
-

Ford vs. Ferrari Film
stitchdup replied to Richard Bartrop's topic in General Automotive Talk (Trucks and Cars)
it was most likelly just in the box then, i didn't pay too much attention to it cos it was always going to be traded. It was the rest of the lot i was after -

Ford vs. Ferrari Film
stitchdup replied to Richard Bartrop's topic in General Automotive Talk (Trucks and Cars)
I'm sure one of the fujimi versions did have an engine. I traded the one i had away as it wasn't something i was into but there was definately an engine in the box but since it was part of a job lot it doesn't mean it was from the kit. the box had it in black or dark blue in the pits as the pic. I still have the wheels and tyres somewhere -
Looks like a pretty cool bus, is there a thread for it?
-

THE OFFICIAL CannonBall Run 2020 theme thread!
stitchdup replied to disconovaman's topic in Community Builds
I mean body mods as if what i'm thinking would be ok only the paint and model of car would be the same -

What did you see on the road today?
stitchdup replied to Harry P.'s topic in General Automotive Talk (Trucks and Cars)
My local council put in the 8" tall half round versions, within a month they'd all been stolen but the fishing boats all had really tough fenders for tying up at the pier. -

THE OFFICIAL CannonBall Run 2020 theme thread!
stitchdup replied to disconovaman's topic in Community Builds
If its movie cars would an updated version as if in a modern remake (think the 2 versions of gone in 60 seconds) but for a movie that hasn't been remade be ok? Keeping the paint and og body style but with modern enhancements ala pro touring/tuner builds. Almost a sema version of a movie car -
Paid for a kit on the auction site over 2 weeks ago and just went to check for the tracking number to find it still hasn't been sent. I can understand waiting for payments to clear but when it gets to 16 days later it gets irritating. I paid immediately upon winning so if as a seller you are unable to post soon after it sells then dont list until you can get it posted in a timely manner. EDIT: the kit has now been posted, quite how this was managed on a sunday I'm not sure
-
That could make a pretty cool dio
-
Looking good, these cars seemed to disappear overnight when they stopped selling them
-

Don't be afraid to ask!
stitchdup replied to Jantrix's topic in General Automotive Talk (Trucks and Cars)
It was built more drift inspired than hot rod. There''s an interesting build thread on stanceworks about it. Its probably as far from traditional as you could get but I bet its a fun drive -

Biggest pet peeves on builds.
stitchdup replied to LL3 Model Worx's topic in General Automotive Talk (Trucks and Cars)
For sure, I've already noted a few I'd never think off


