DRIPTROIT 71
-
Posts
7,190 -
Joined
-
Last visited
Content Type
Profiles
Forums
Events
Gallery
Everything posted by DRIPTROIT 71
-
1950 Ford F-8 Big Job
DRIPTROIT 71 replied to DRIPTROIT 71's topic in WIP: Model Trucks: Big Rigs and Heavy Equipment
KP Conversions, but I'm pretty sure that they are no longer around. -
Mack Trident Logger
DRIPTROIT 71 replied to carsntrucks4you's topic in WIP: Model Trucks: Big Rigs and Heavy Equipment
Excellent looking work! -
Pete 377 Day Cab conversion?
DRIPTROIT 71 replied to Oldmopars's topic in General Automotive Talk (Trucks and Cars)
I would suggest Gary Wallace. He has the big back window for $10 and the small back widow for $5. Gary can be reached at gwtrucks@yahoo.com. He's old school with no website. I've had no complaints about his products or service. I would highly recommend. -
53 Ford shop truck
DRIPTROIT 71 replied to Tommy Isbister's topic in Model Trucks: Pickups, Vans, SUVs, Light Commercial
Nice work!! I like the weathering! -
1976 Chevy van
DRIPTROIT 71 replied to fat50's topic in Model Trucks: Pickups, Vans, SUVs, Light Commercial
Cool build!! -
Very nice looking truck, loader, and layout!!
-
X2 Or an A, or a B or a C or an H or an M or even a W series. Anything IH Red!
-
Mack DM600
DRIPTROIT 71 replied to Tommy Isbister's topic in Model Trucks: Big Rigs and Heavy Equipment
Excellent work! The weathering is great! Top notch scratch building too! -
GMC Daycab done 10/21
DRIPTROIT 71 replied to k100's topic in Model Trucks: Big Rigs and Heavy Equipment
x3 -
I've seen your fabrication skills, it will fit!
-
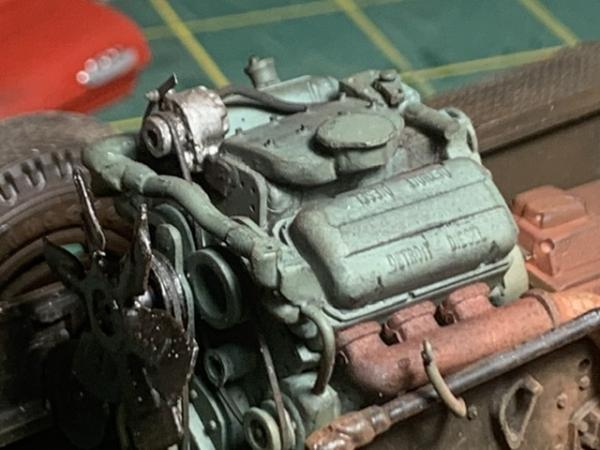
Cool! That Junkers engine would be really cool in a Truck Pat!
-
Very awesome work as usual! It looks great!!
-
David Pearson Ford
DRIPTROIT 71 replied to Ken Gilkeson's topic in WIP: Stock Cars (NASCAR, Super Stock, Late Model, etc.)
Looks great Ken!! -
Very nice! I like it!
-
Nice looking build! Definitely held up well!
-
Looks great!!
-
Dodge Power Wagon
DRIPTROIT 71 replied to Mopar - D's topic in WIP: Model Trucks: Pickups, Vans, SUVs, Light Commercial
Cool project!! Looks great so far!! Looking forward to seeing more!! -
Very cool project!!
-
Very nice!! A real attention getter!!
-
Moebius 1970 4x4
DRIPTROIT 71 replied to gui_tarzan's topic in Model Trucks: Pickups, Vans, SUVs, Light Commercial
Looks great!! -
Moebius Ford 4x4 F100
DRIPTROIT 71 replied to Brutalform's topic in Model Trucks: Pickups, Vans, SUVs, Light Commercial
Nice build!! -
1941 Chevrolac Bobber
DRIPTROIT 71 replied to Chuck Most's topic in Model Trucks: Pickups, Vans, SUVs, Light Commercial
Very Cool!! I like the engine choice!! -
Resin Wishlist
DRIPTROIT 71 replied to leafsprings's topic in Truck Aftermarket / Resin / 3D Printed
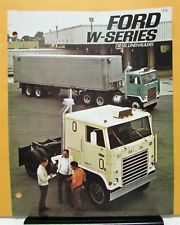
GMC Brigadier, IMG_2227 by Brian Smith, on Flickr 72 and earlier W9000 Ford
-
1950 Ford F-8 Big Job
DRIPTROIT 71 replied to DRIPTROIT 71's topic in Model Trucks: Big Rigs and Heavy Equipment
Thanks! No room for a trailer at this time, but who knows what the future holds!! -
L700 Mongoose transporter
DRIPTROIT 71 replied to olsbooks's topic in Model Trucks: Big Rigs and Heavy Equipment
Beautiful build as well as beautiful photography!!!