Michael jones
-
Posts
264 -
Joined
-
Last visited
Content Type
Profiles
Forums
Events
Gallery
Everything posted by Michael jones
-
Nissan DR30 Skylines
Michael jones replied to ShawnS's topic in Other Racing: Road Racing, Salt Flat Racers
Brilliant, Seton and Fury used to wheel these things around great back in the day. -
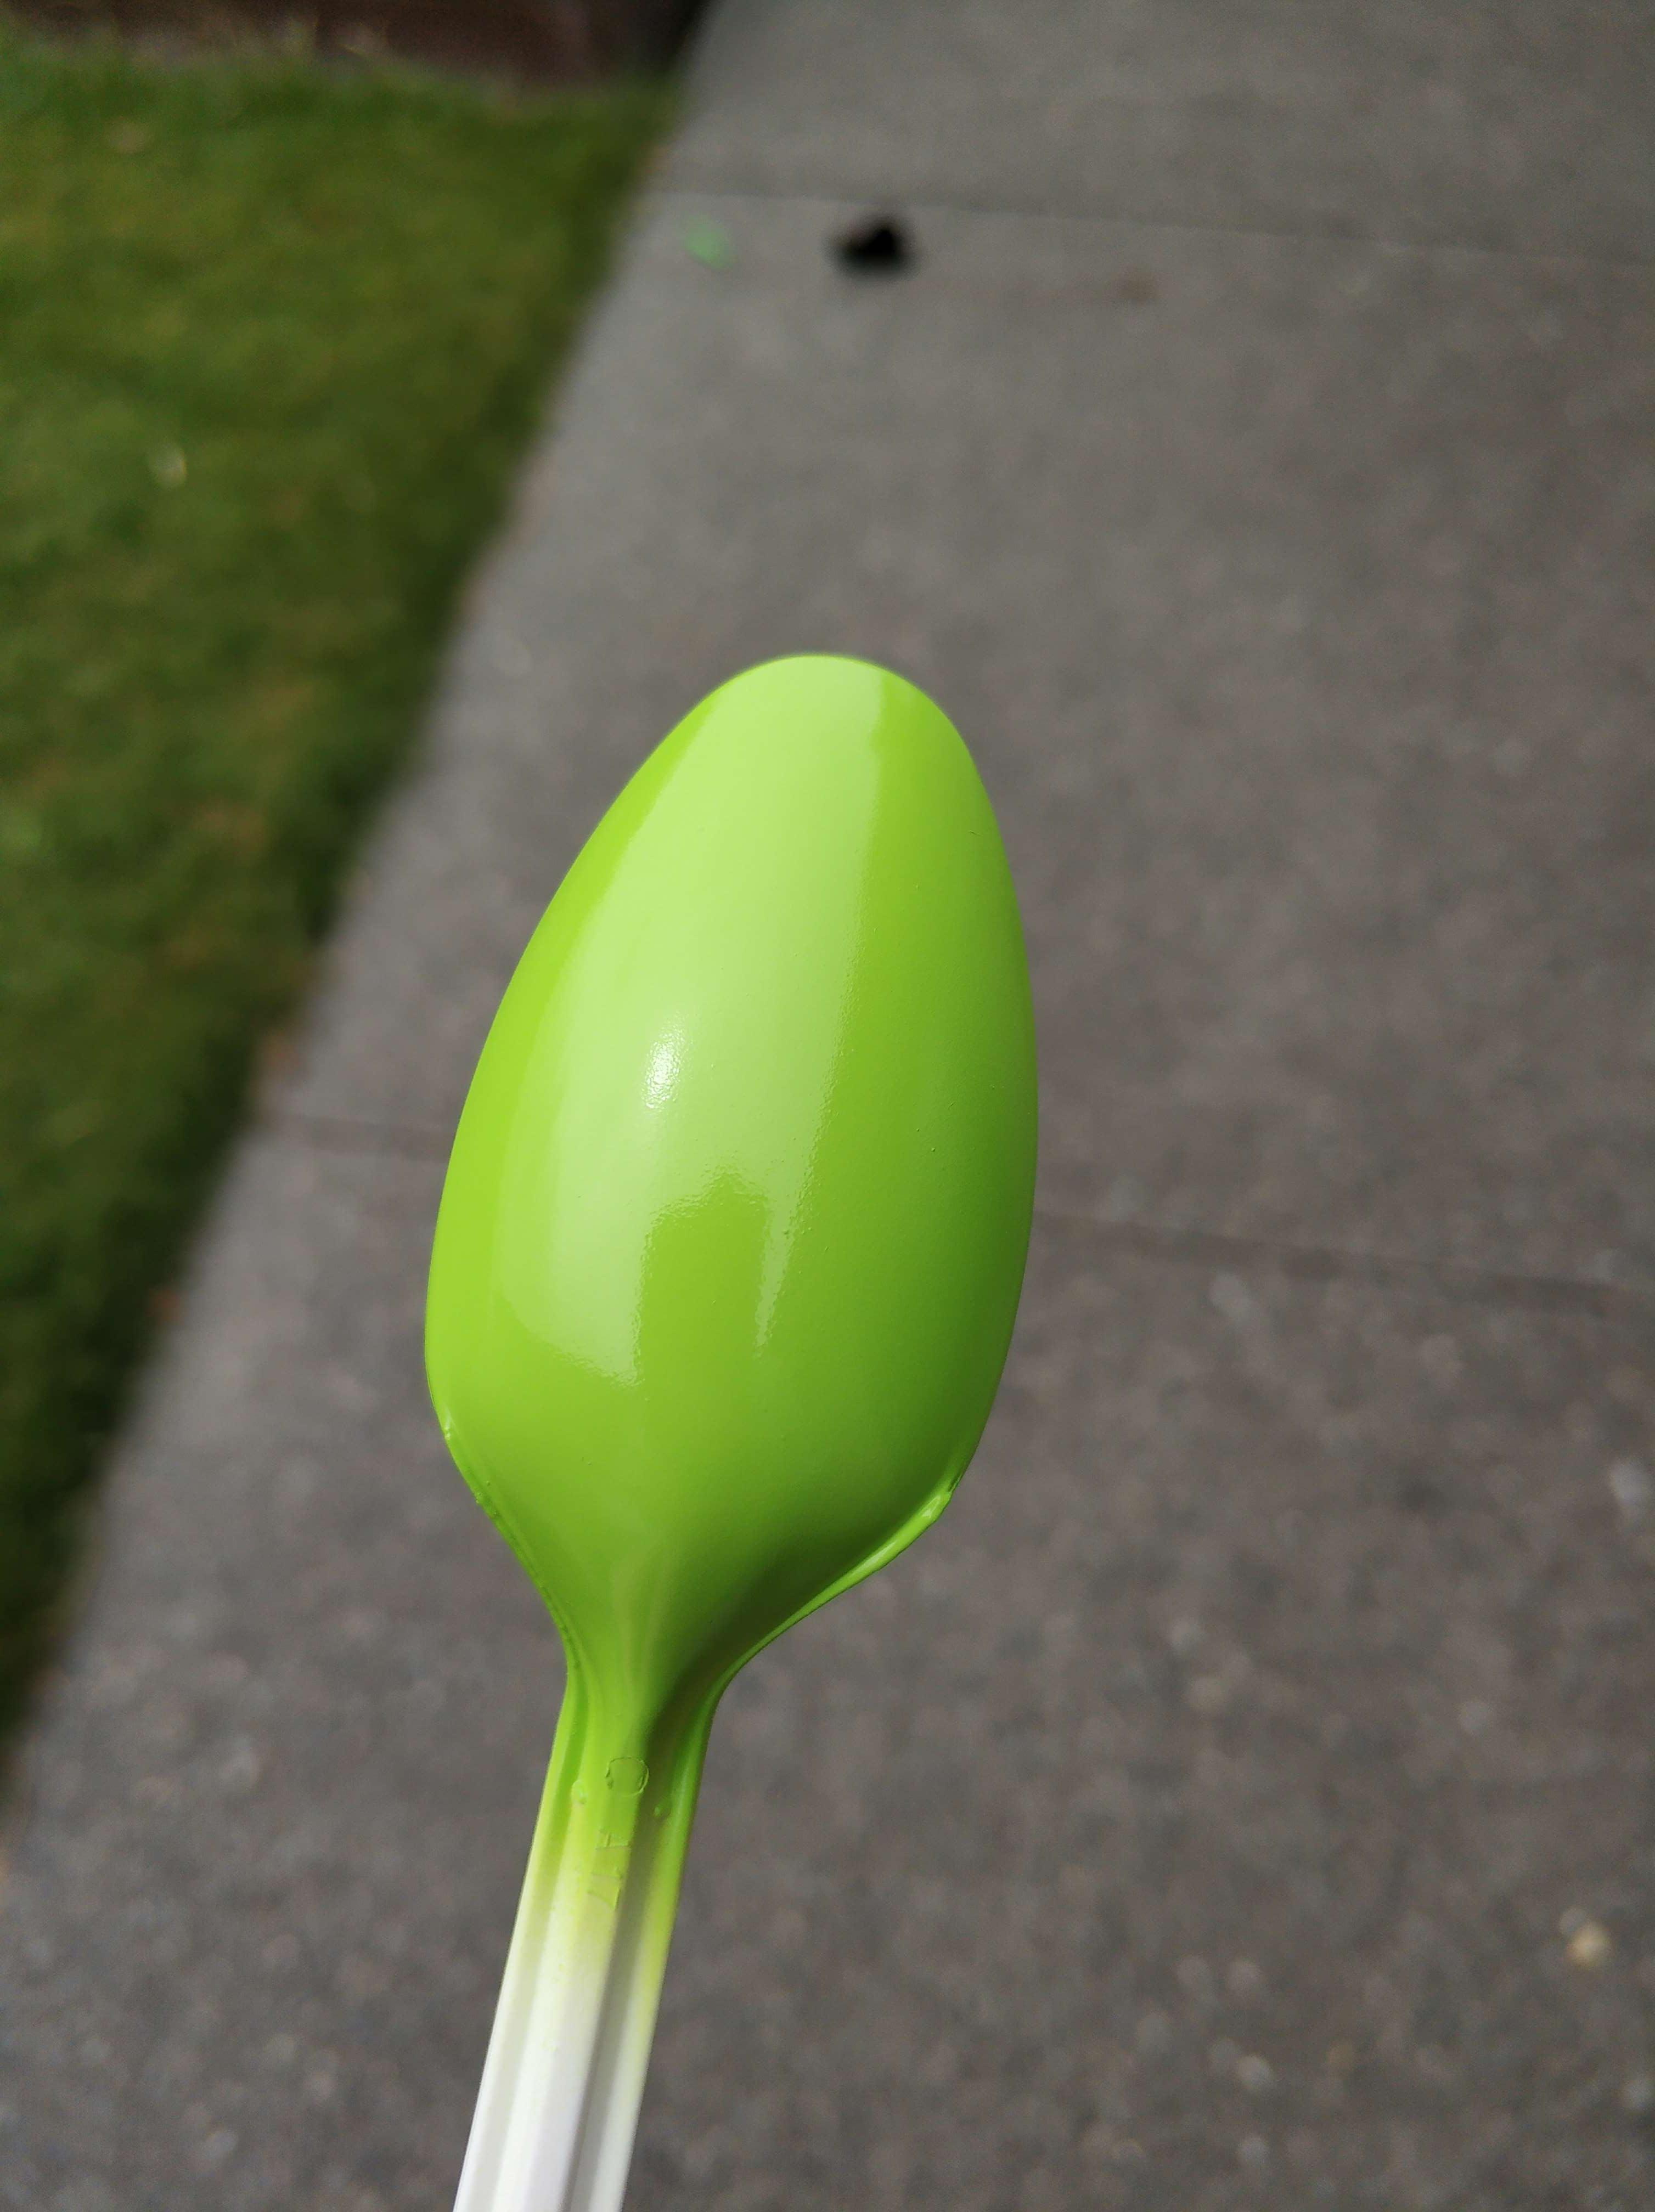
Help with paint job!
Michael jones replied to Bigtrain's topic in Model Building Questions and Answers
I never use enamel, however it looks like too much air flow vs paint flow causing tip dry. Gives a kind of dust affect -
Finished -
-
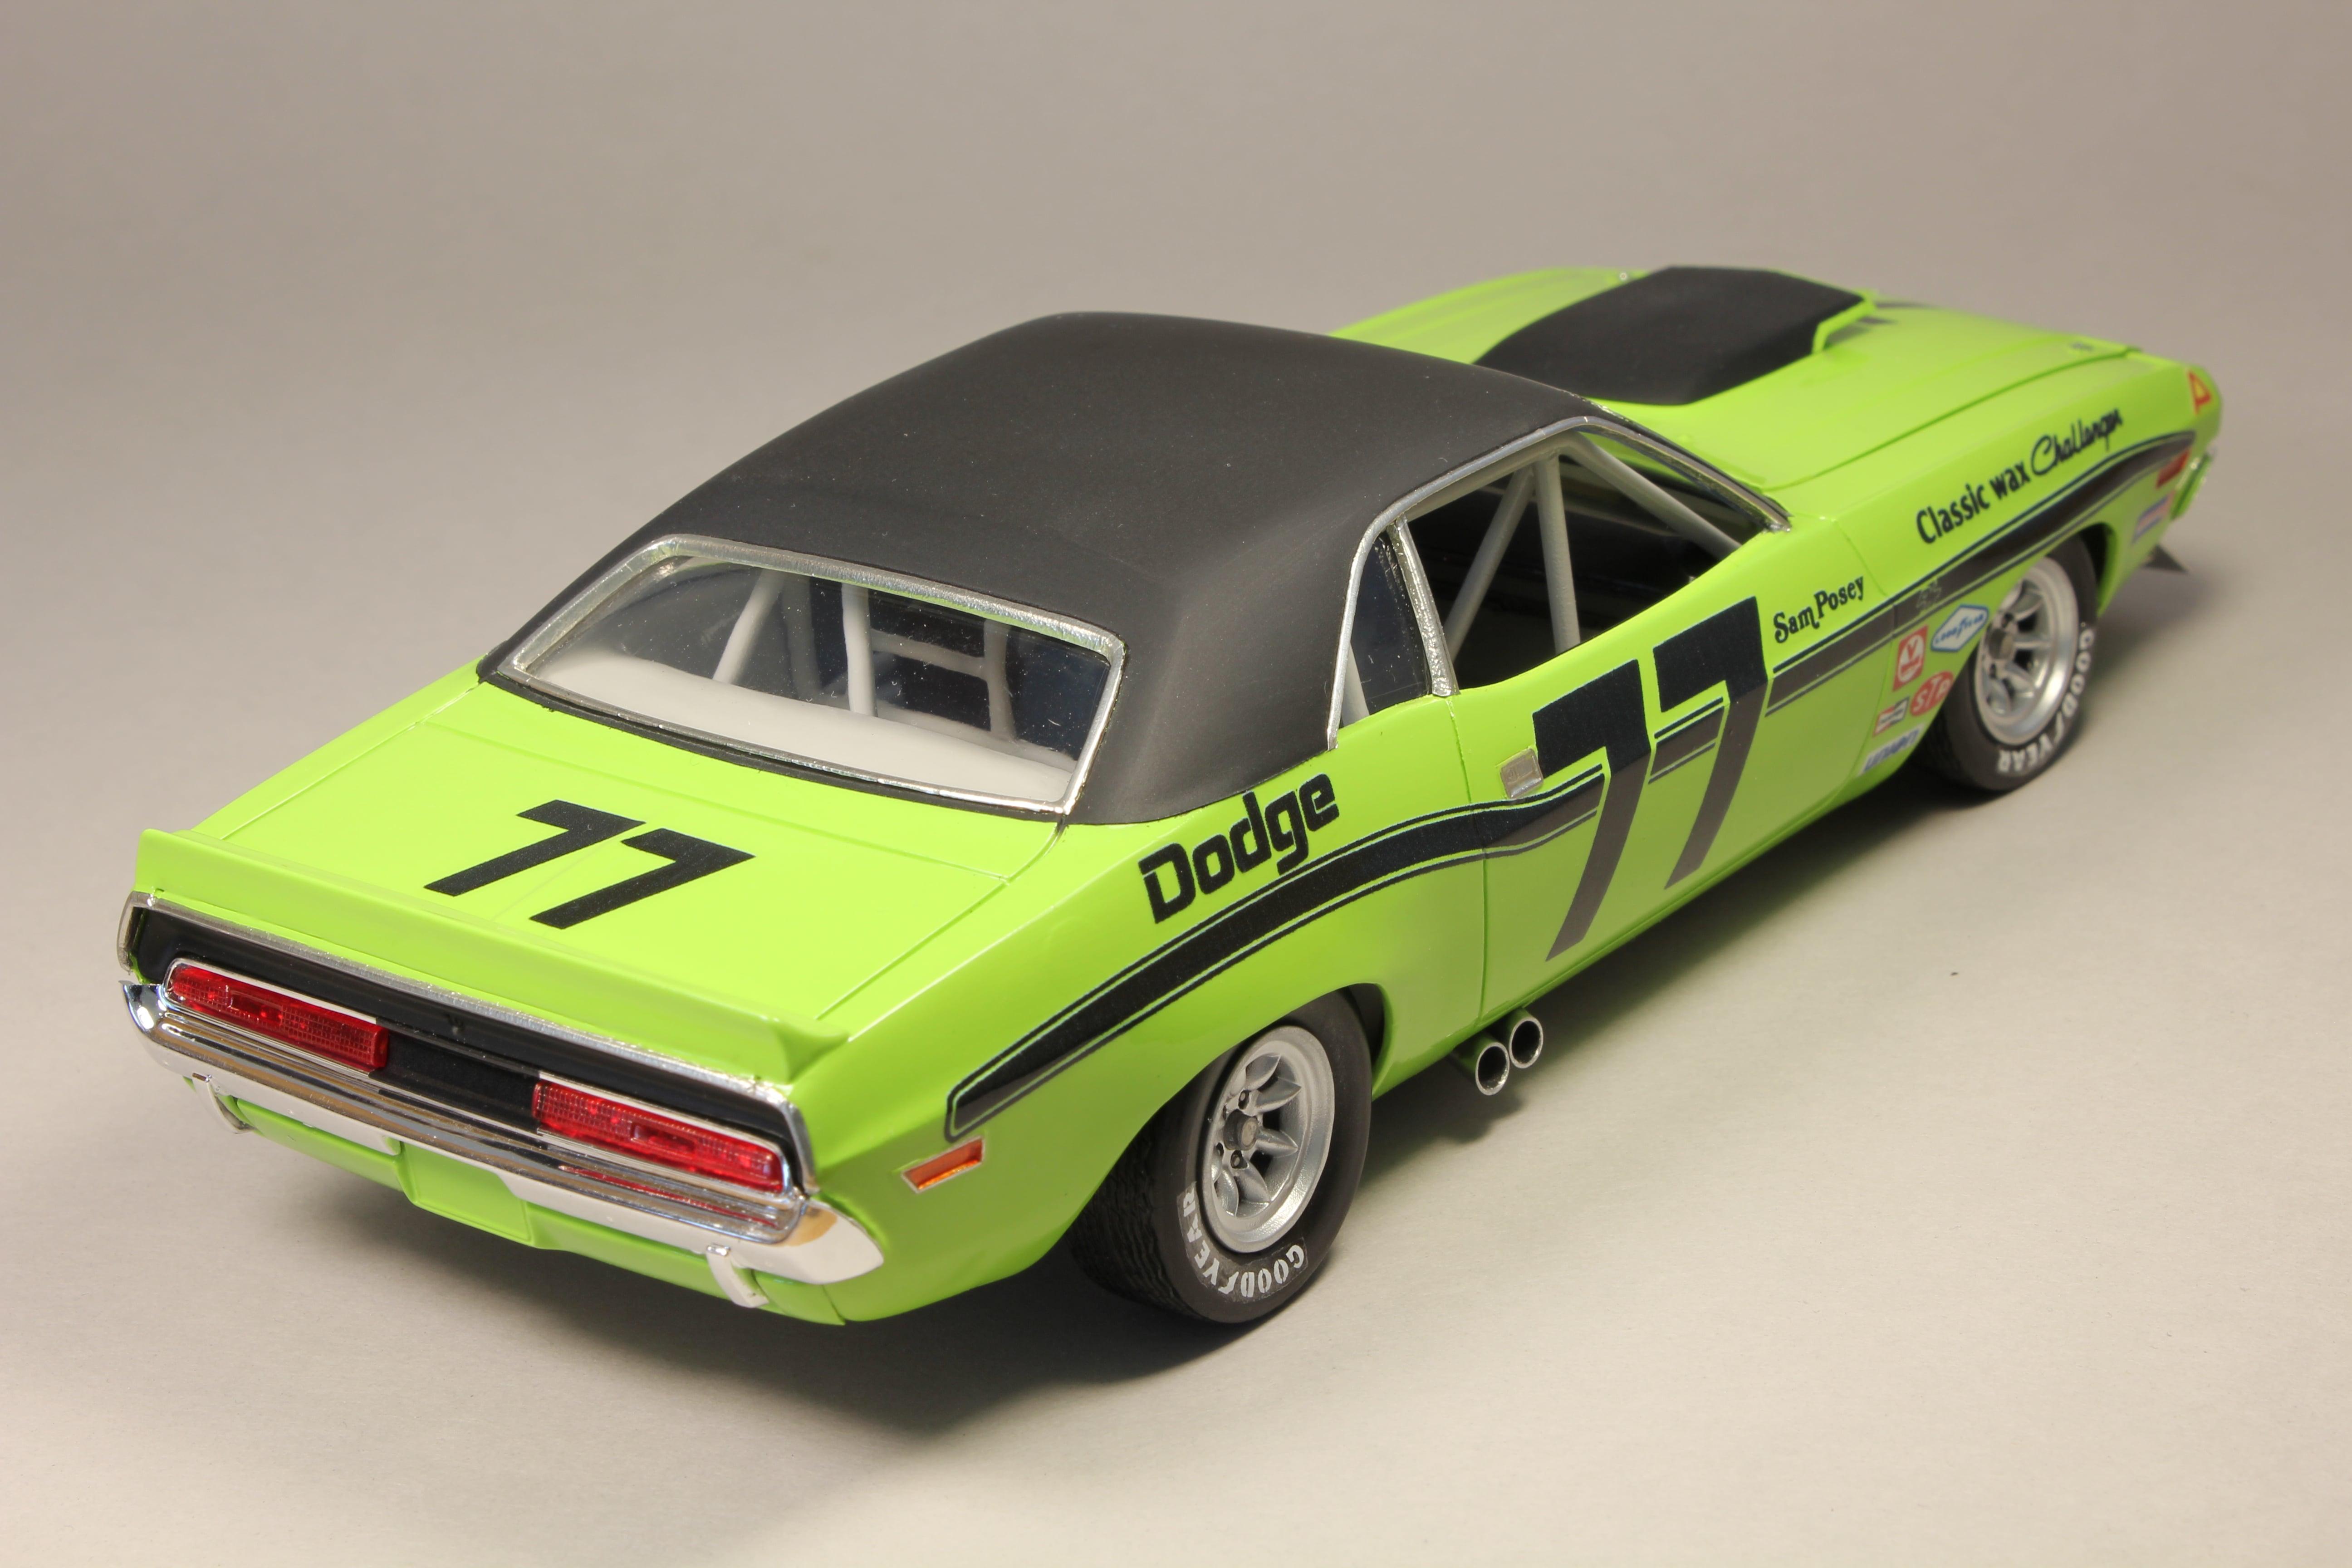
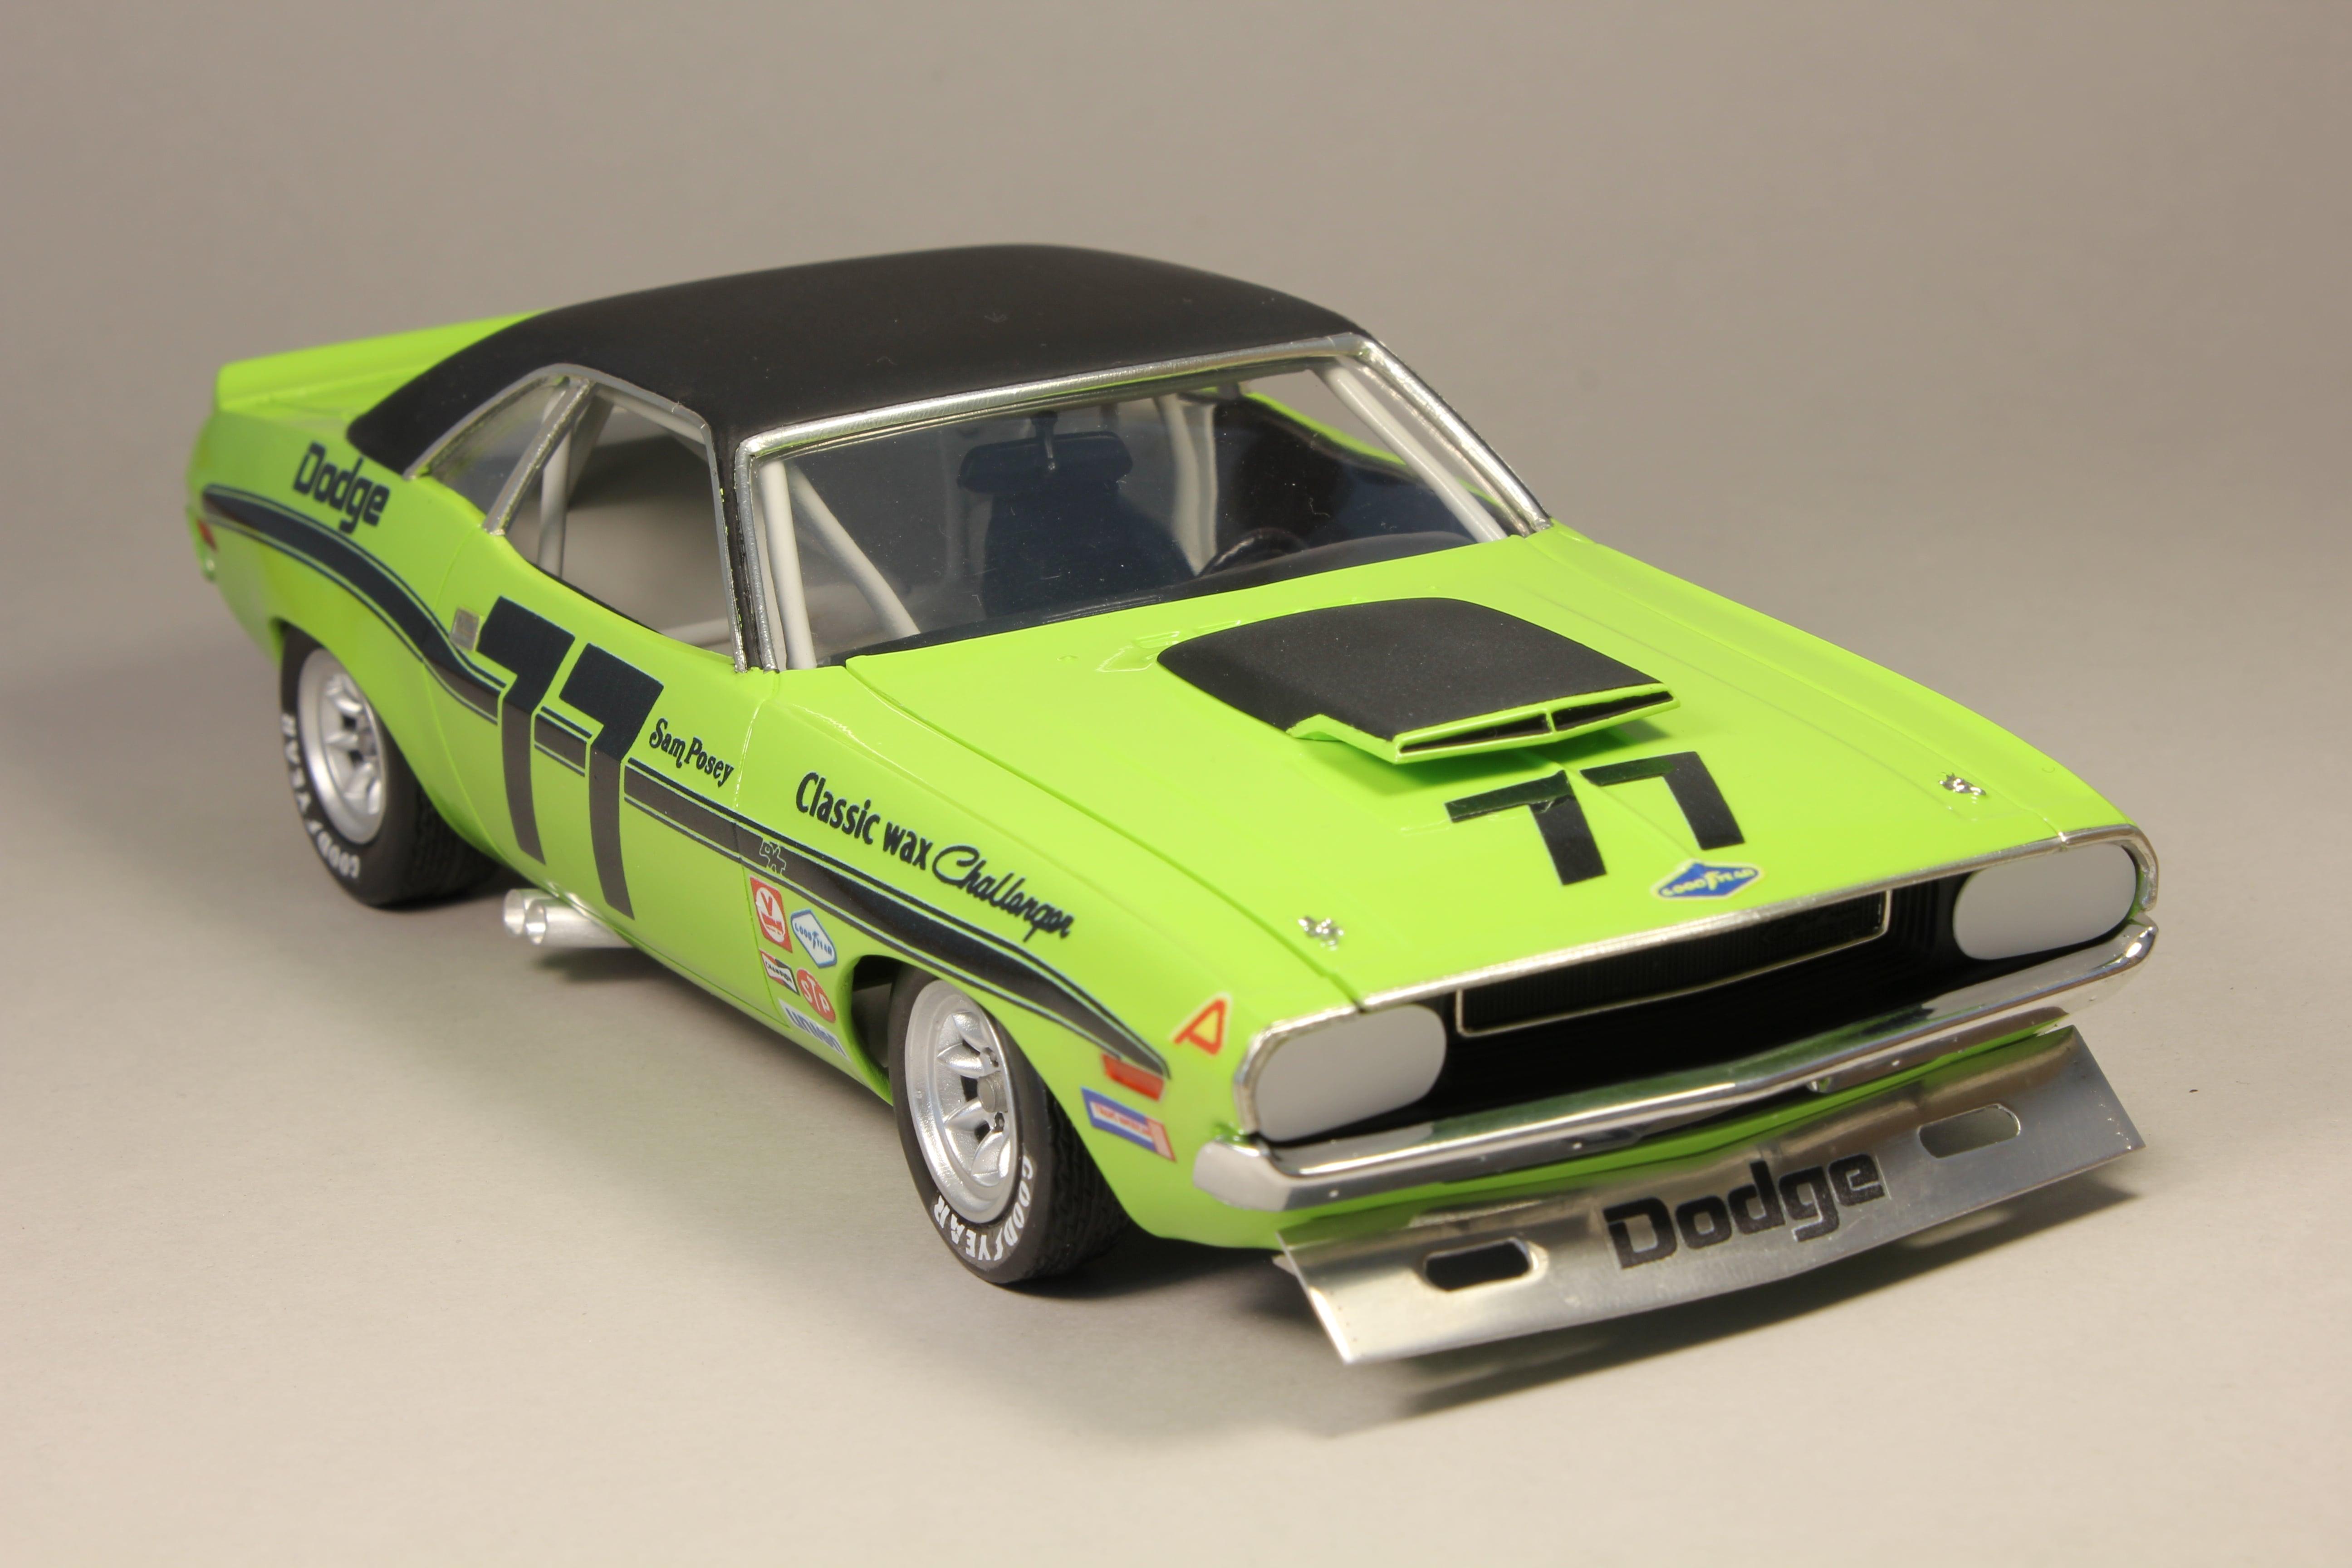
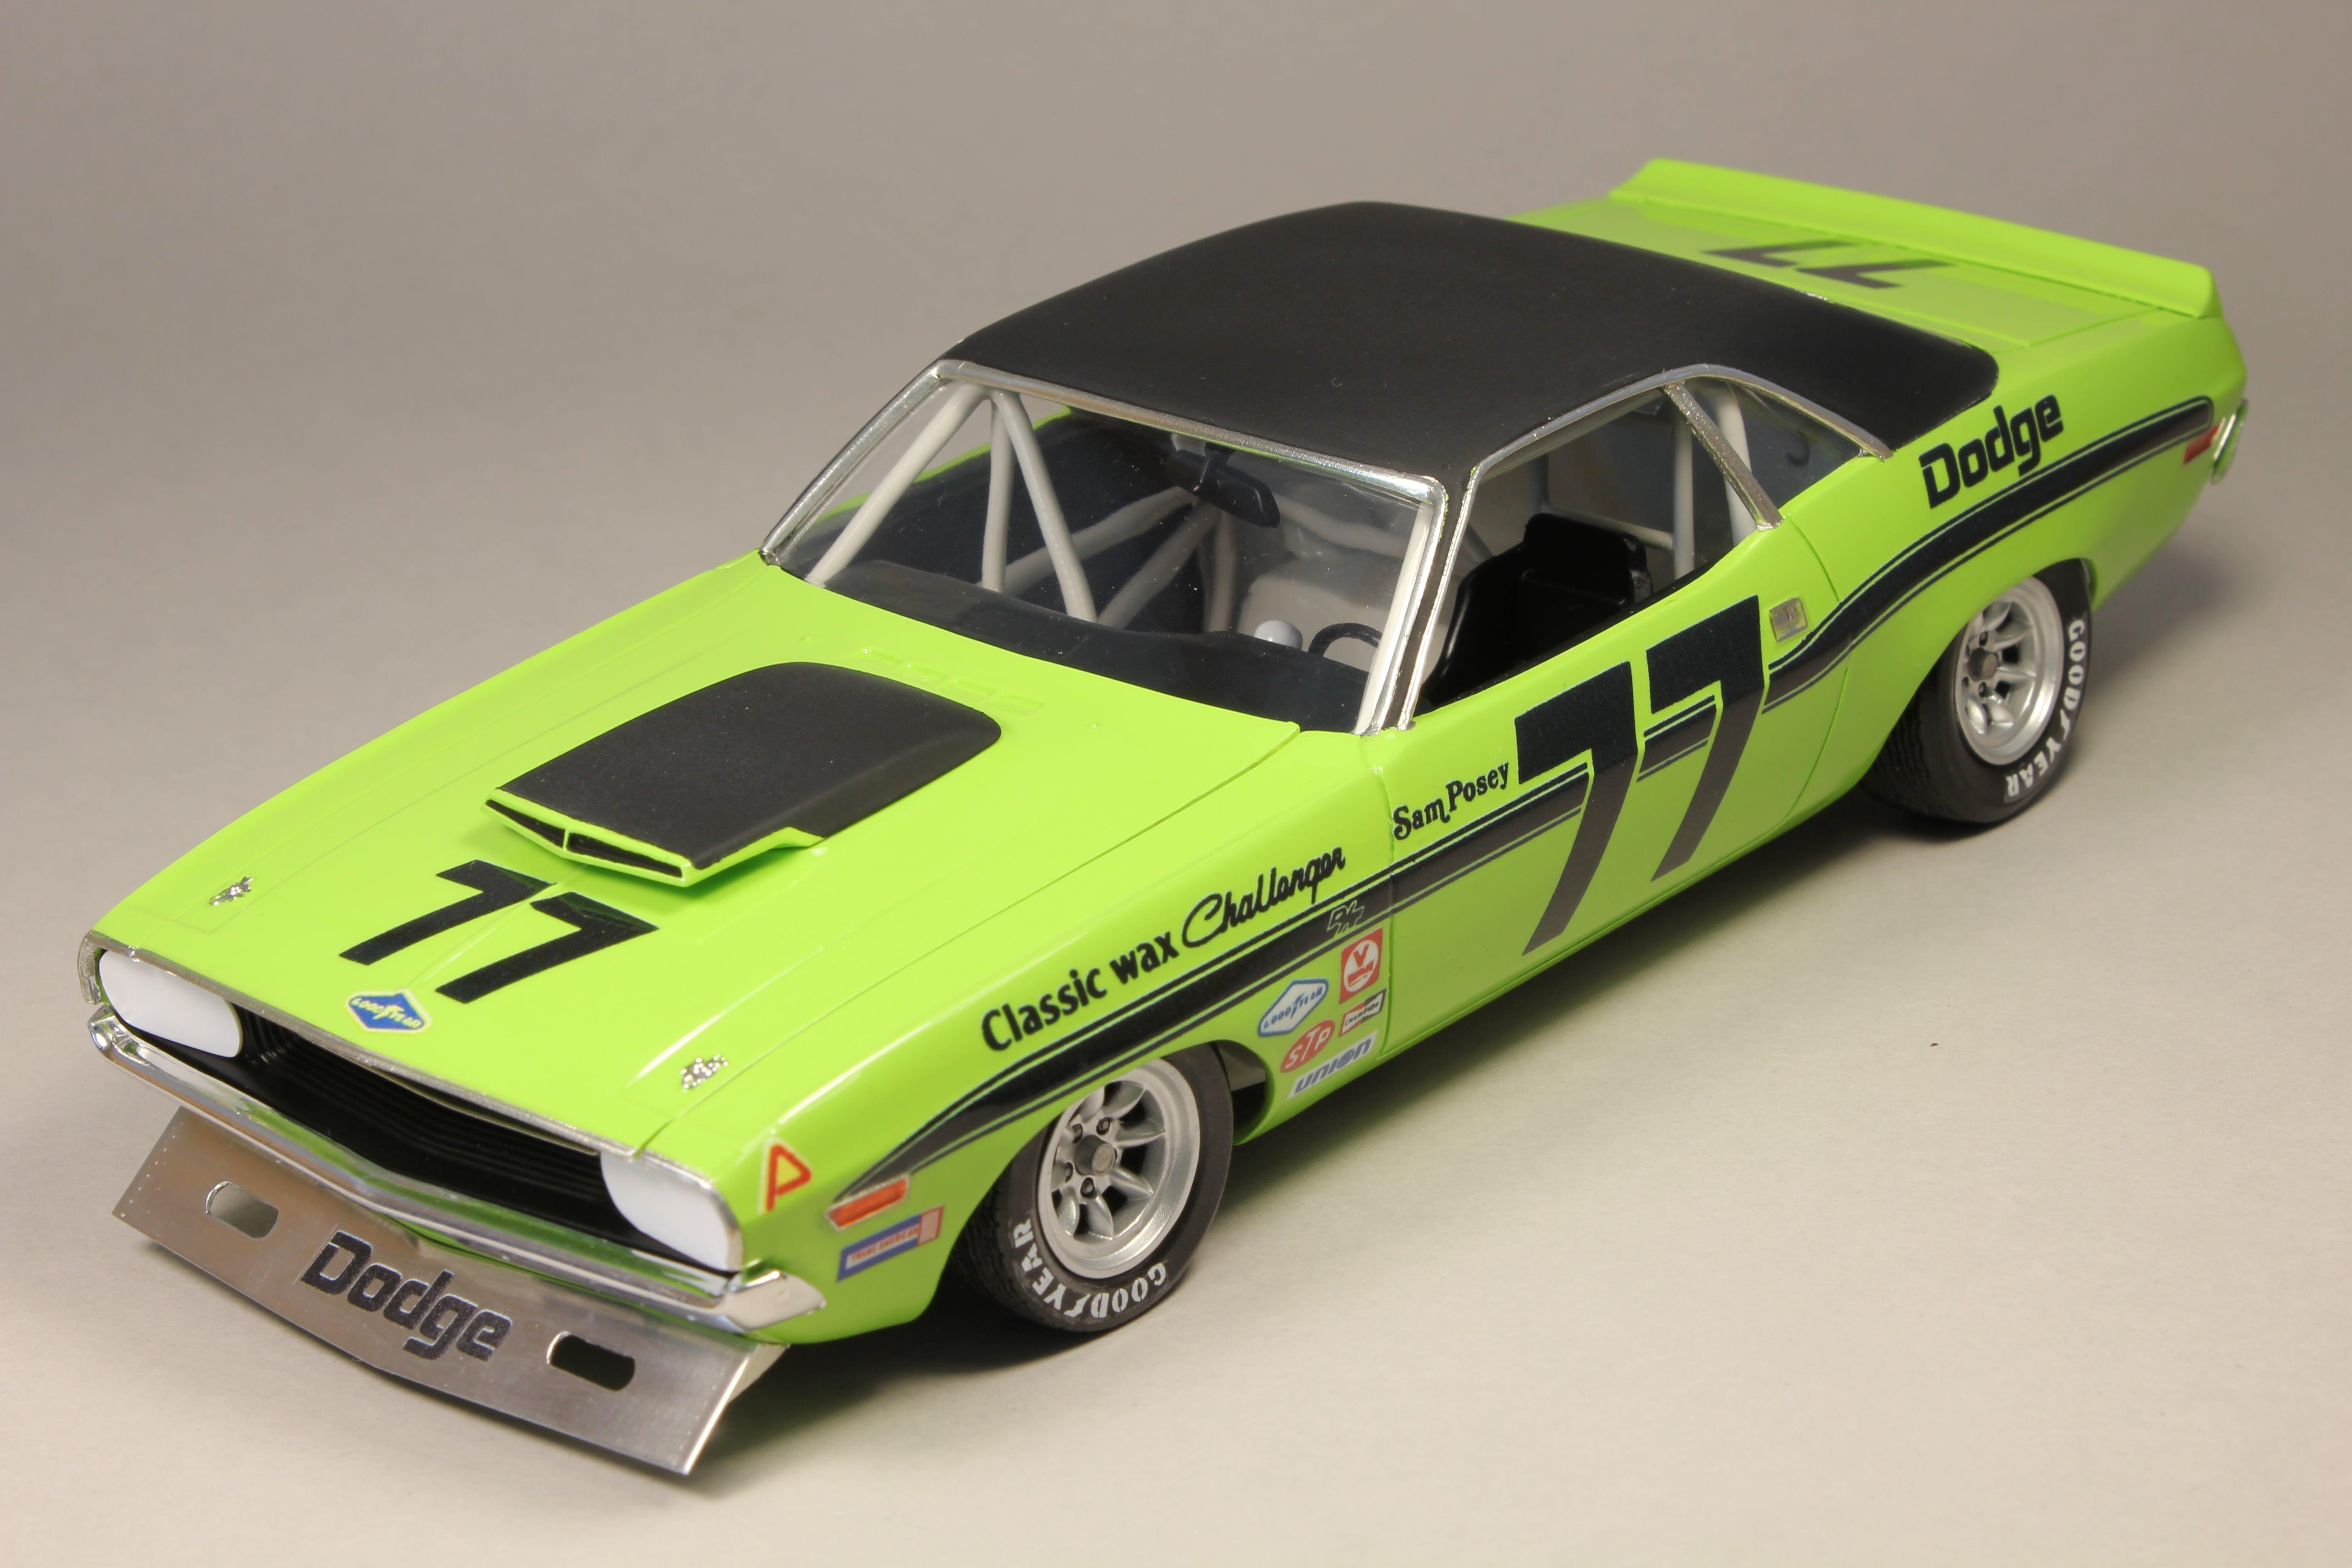
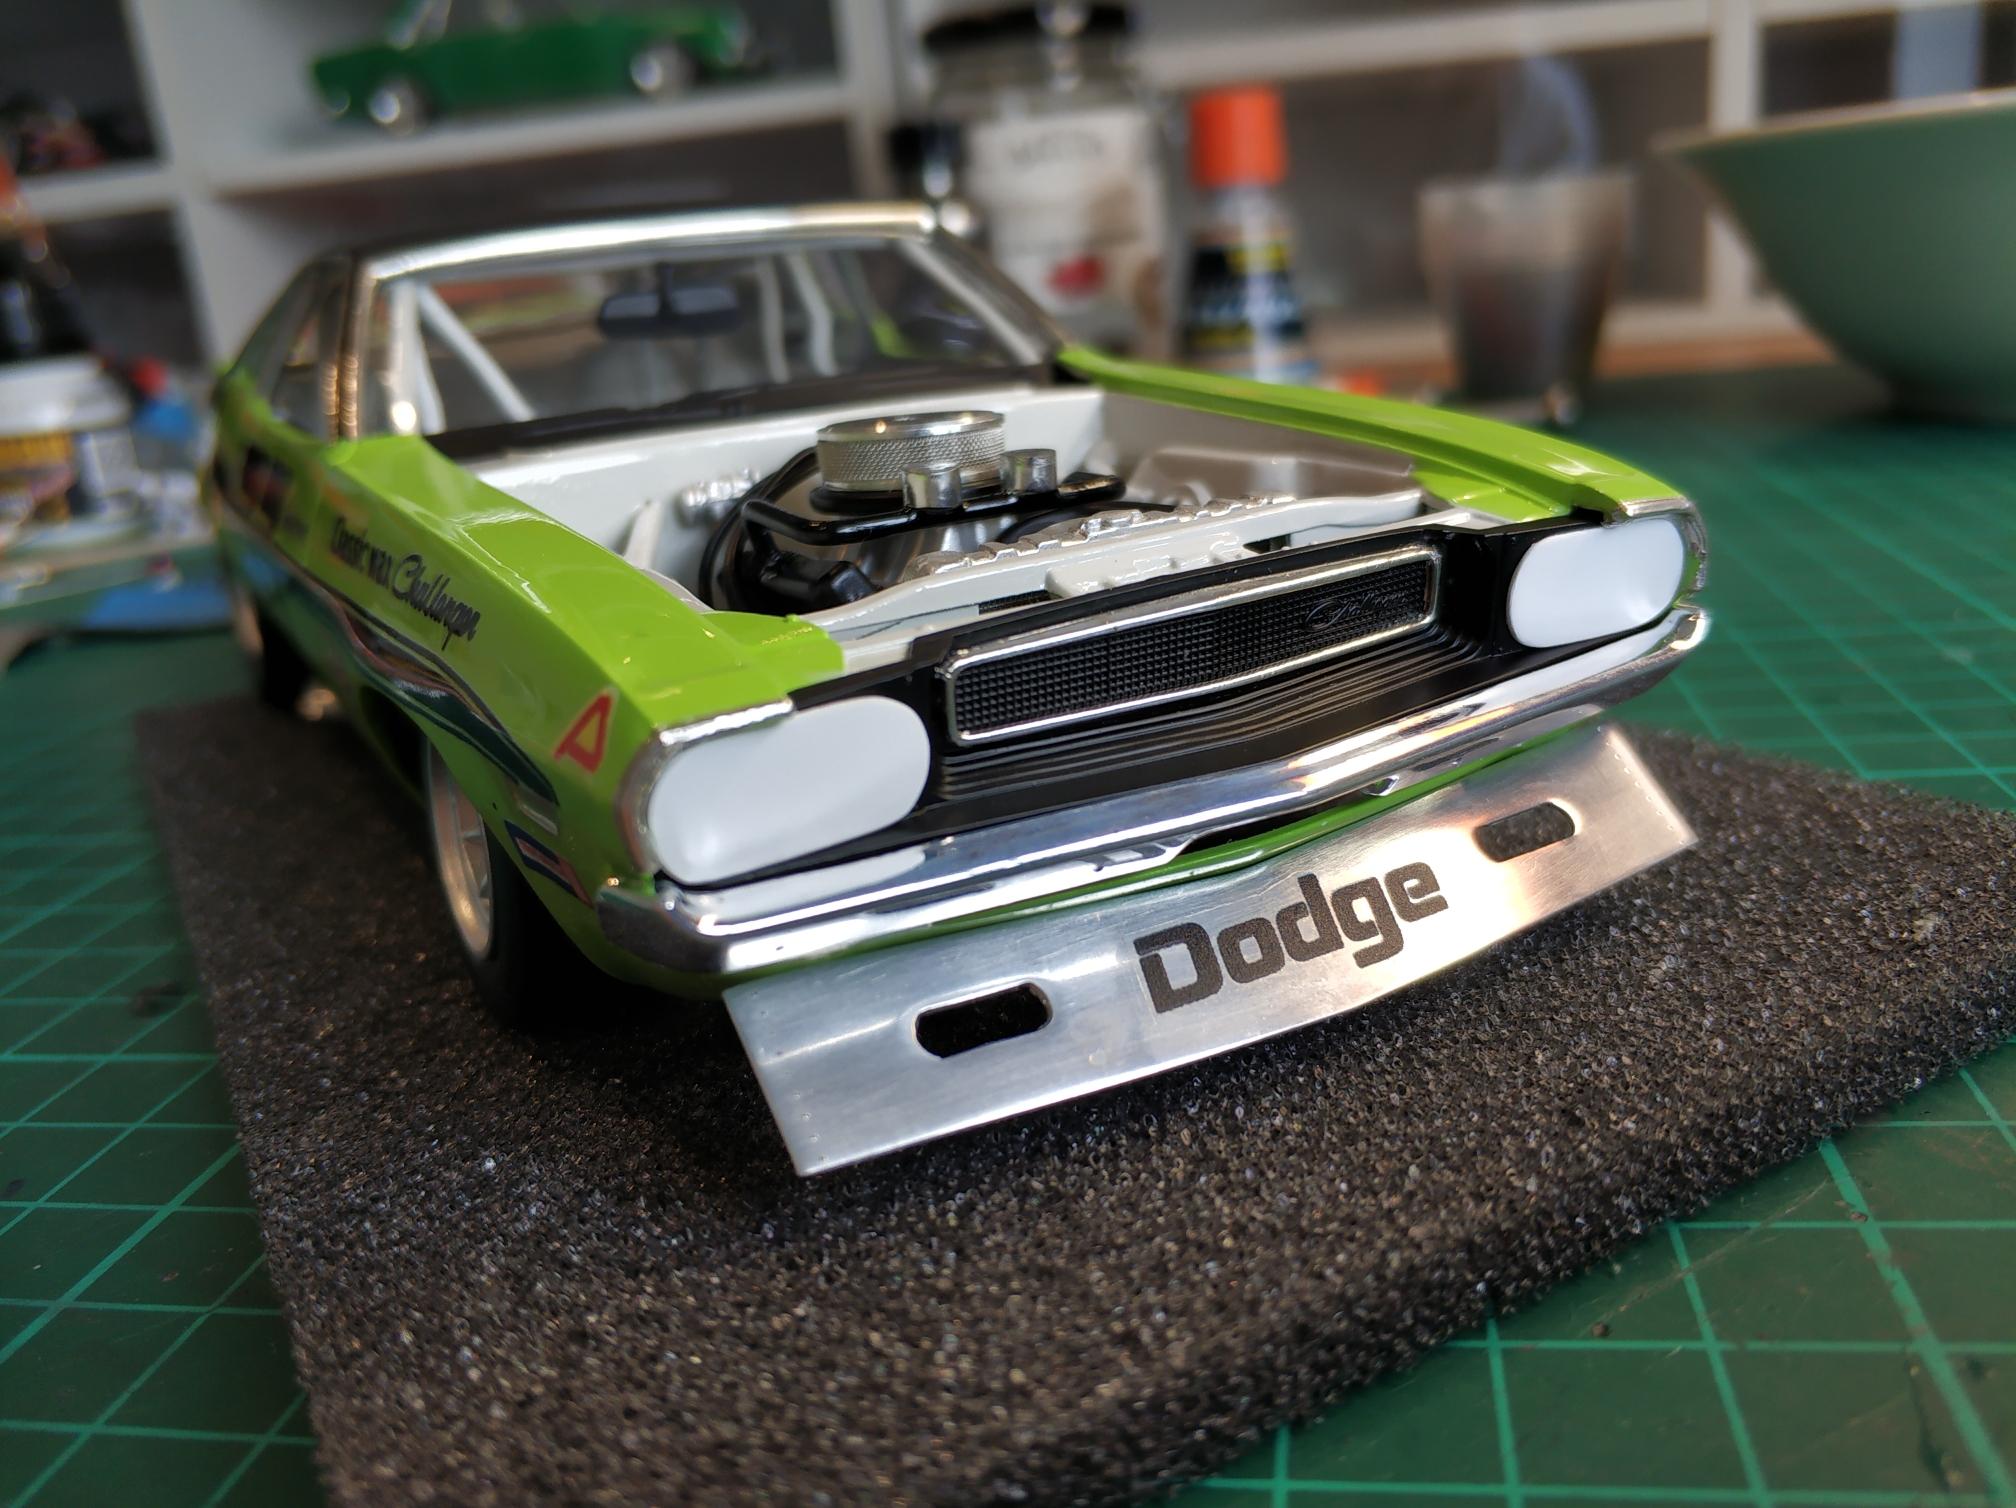
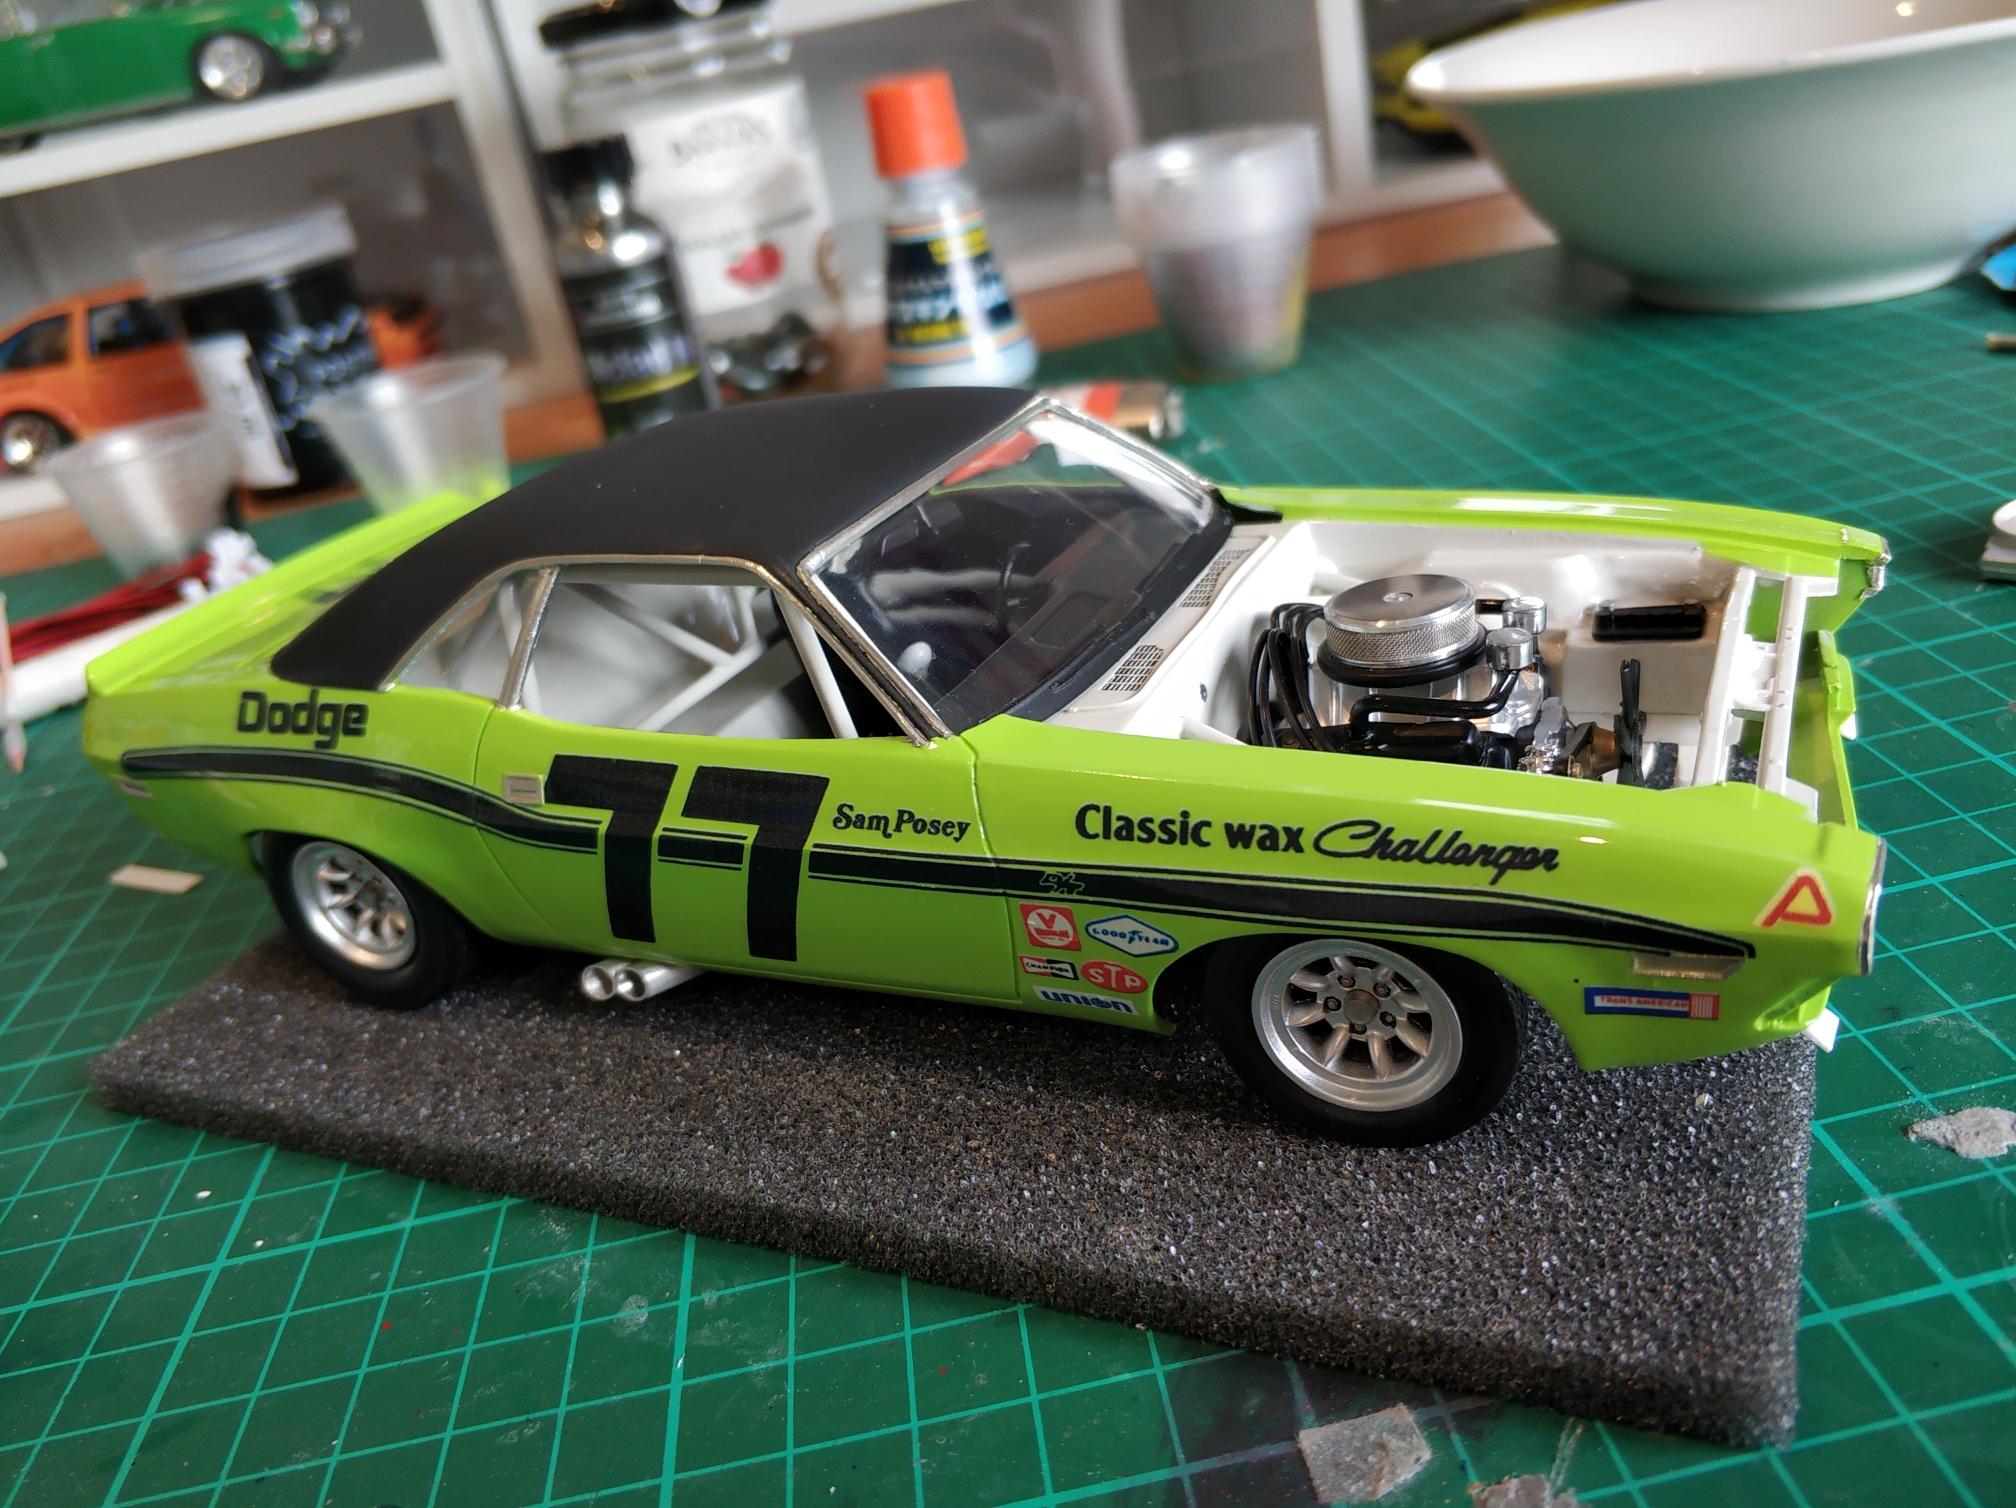
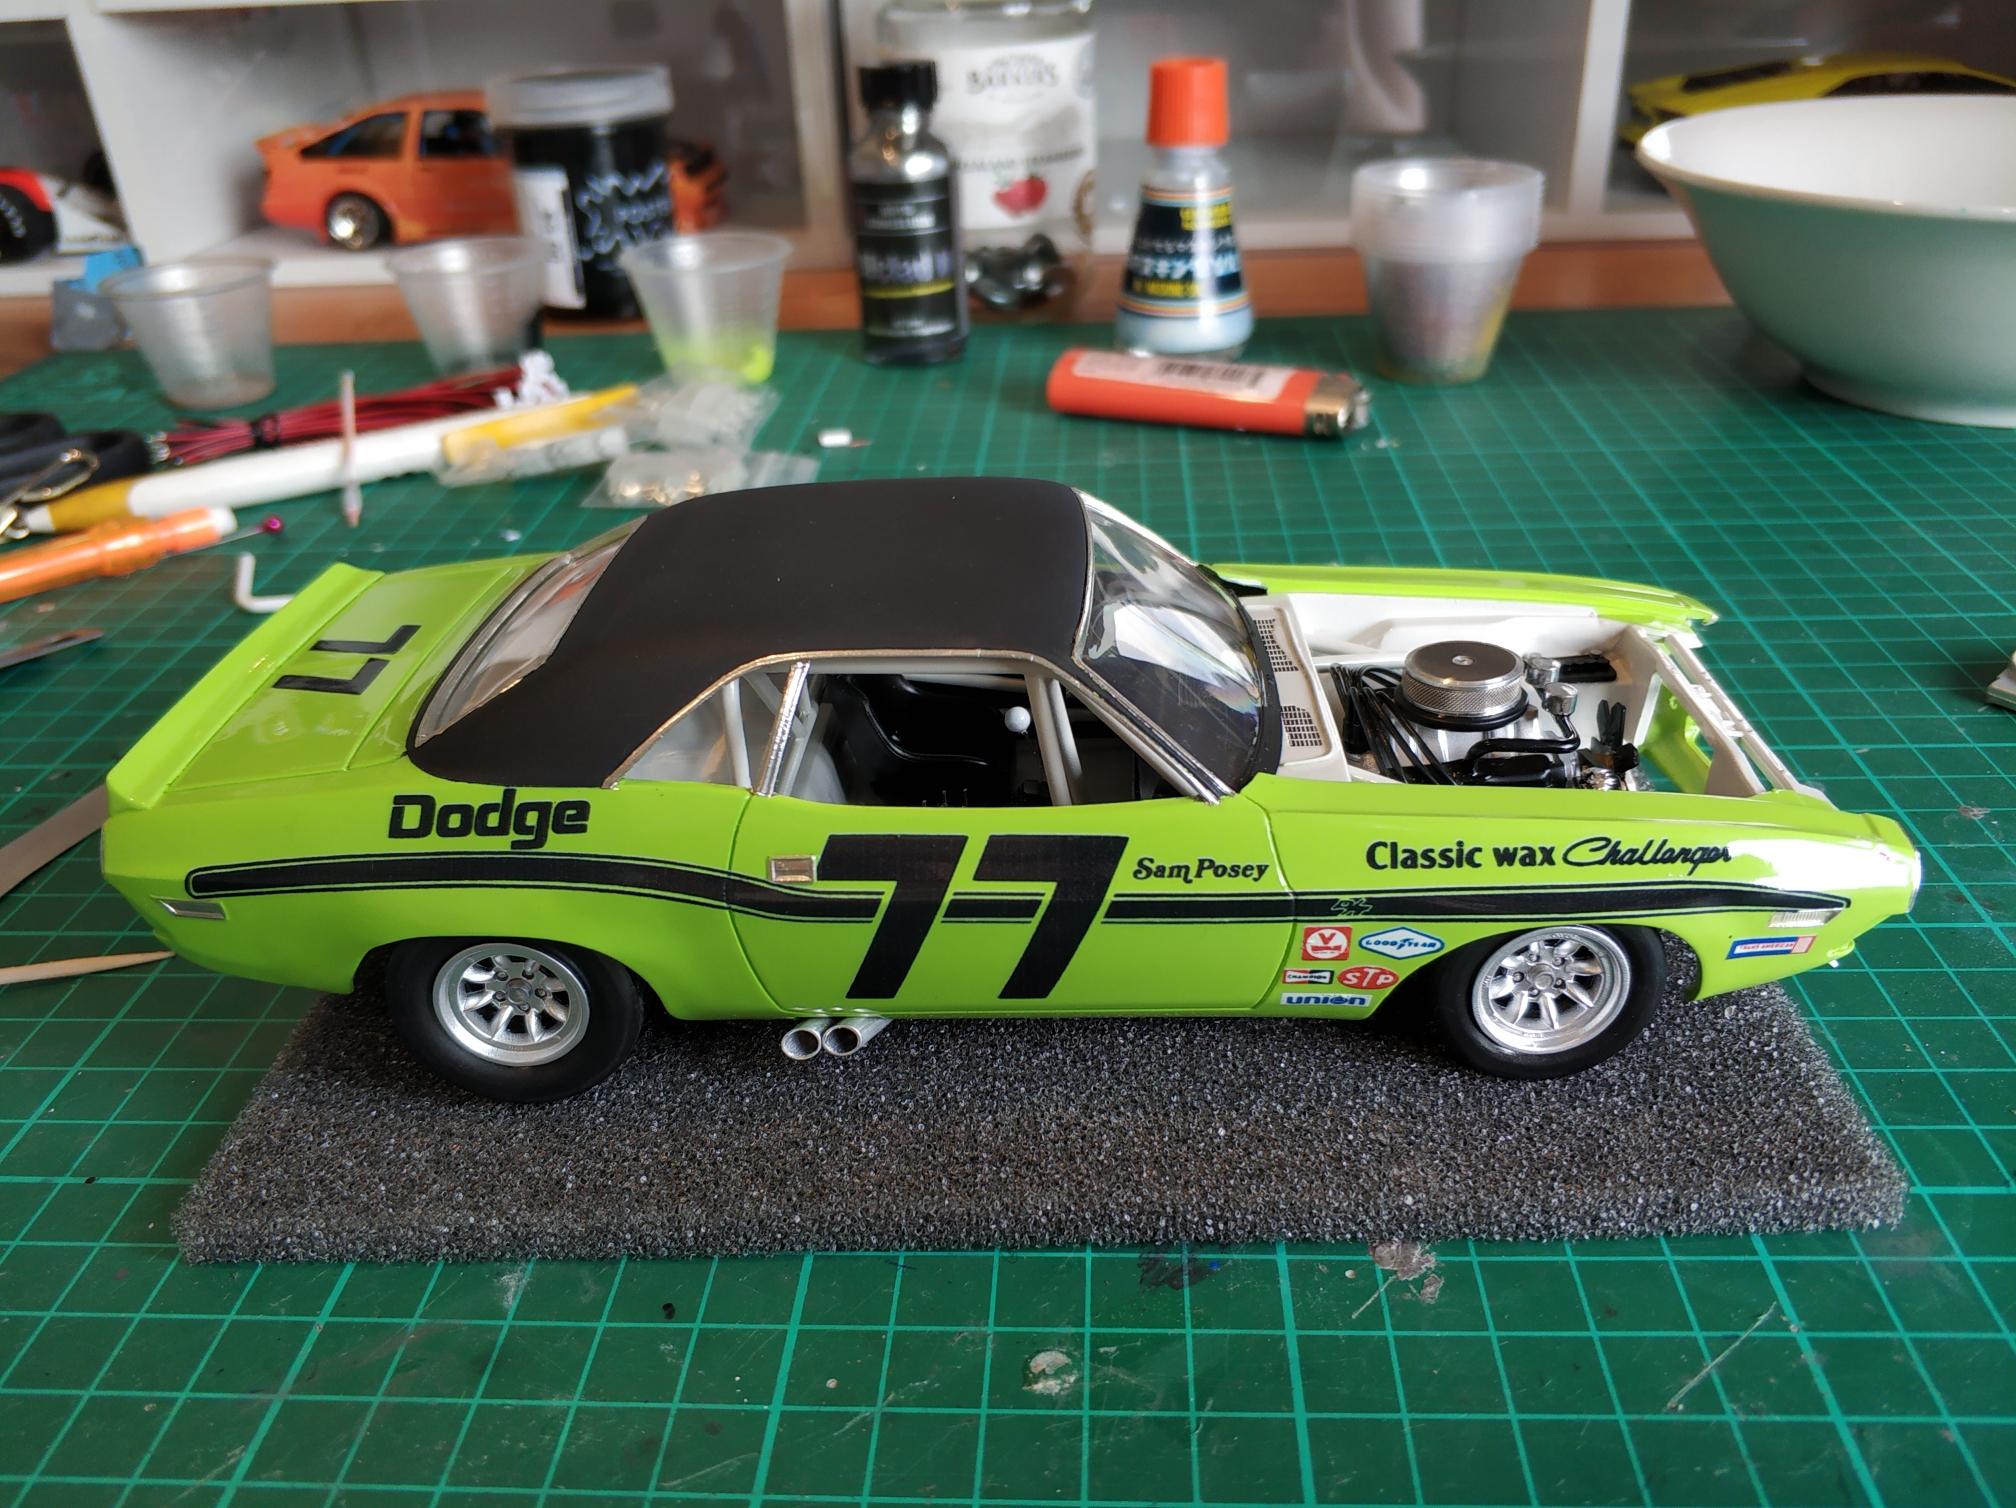
1970 Dodge Challenger Sam Posey Inspired
Michael jones replied to Michael jones's topic in Model Cars
Thanks for the comments guys! -
1970 Dodge Challenger Sam Posey Inspired
Michael jones replied to Michael jones's topic in Model Cars
Gidday, Thanks for the comments the build thread is here: -
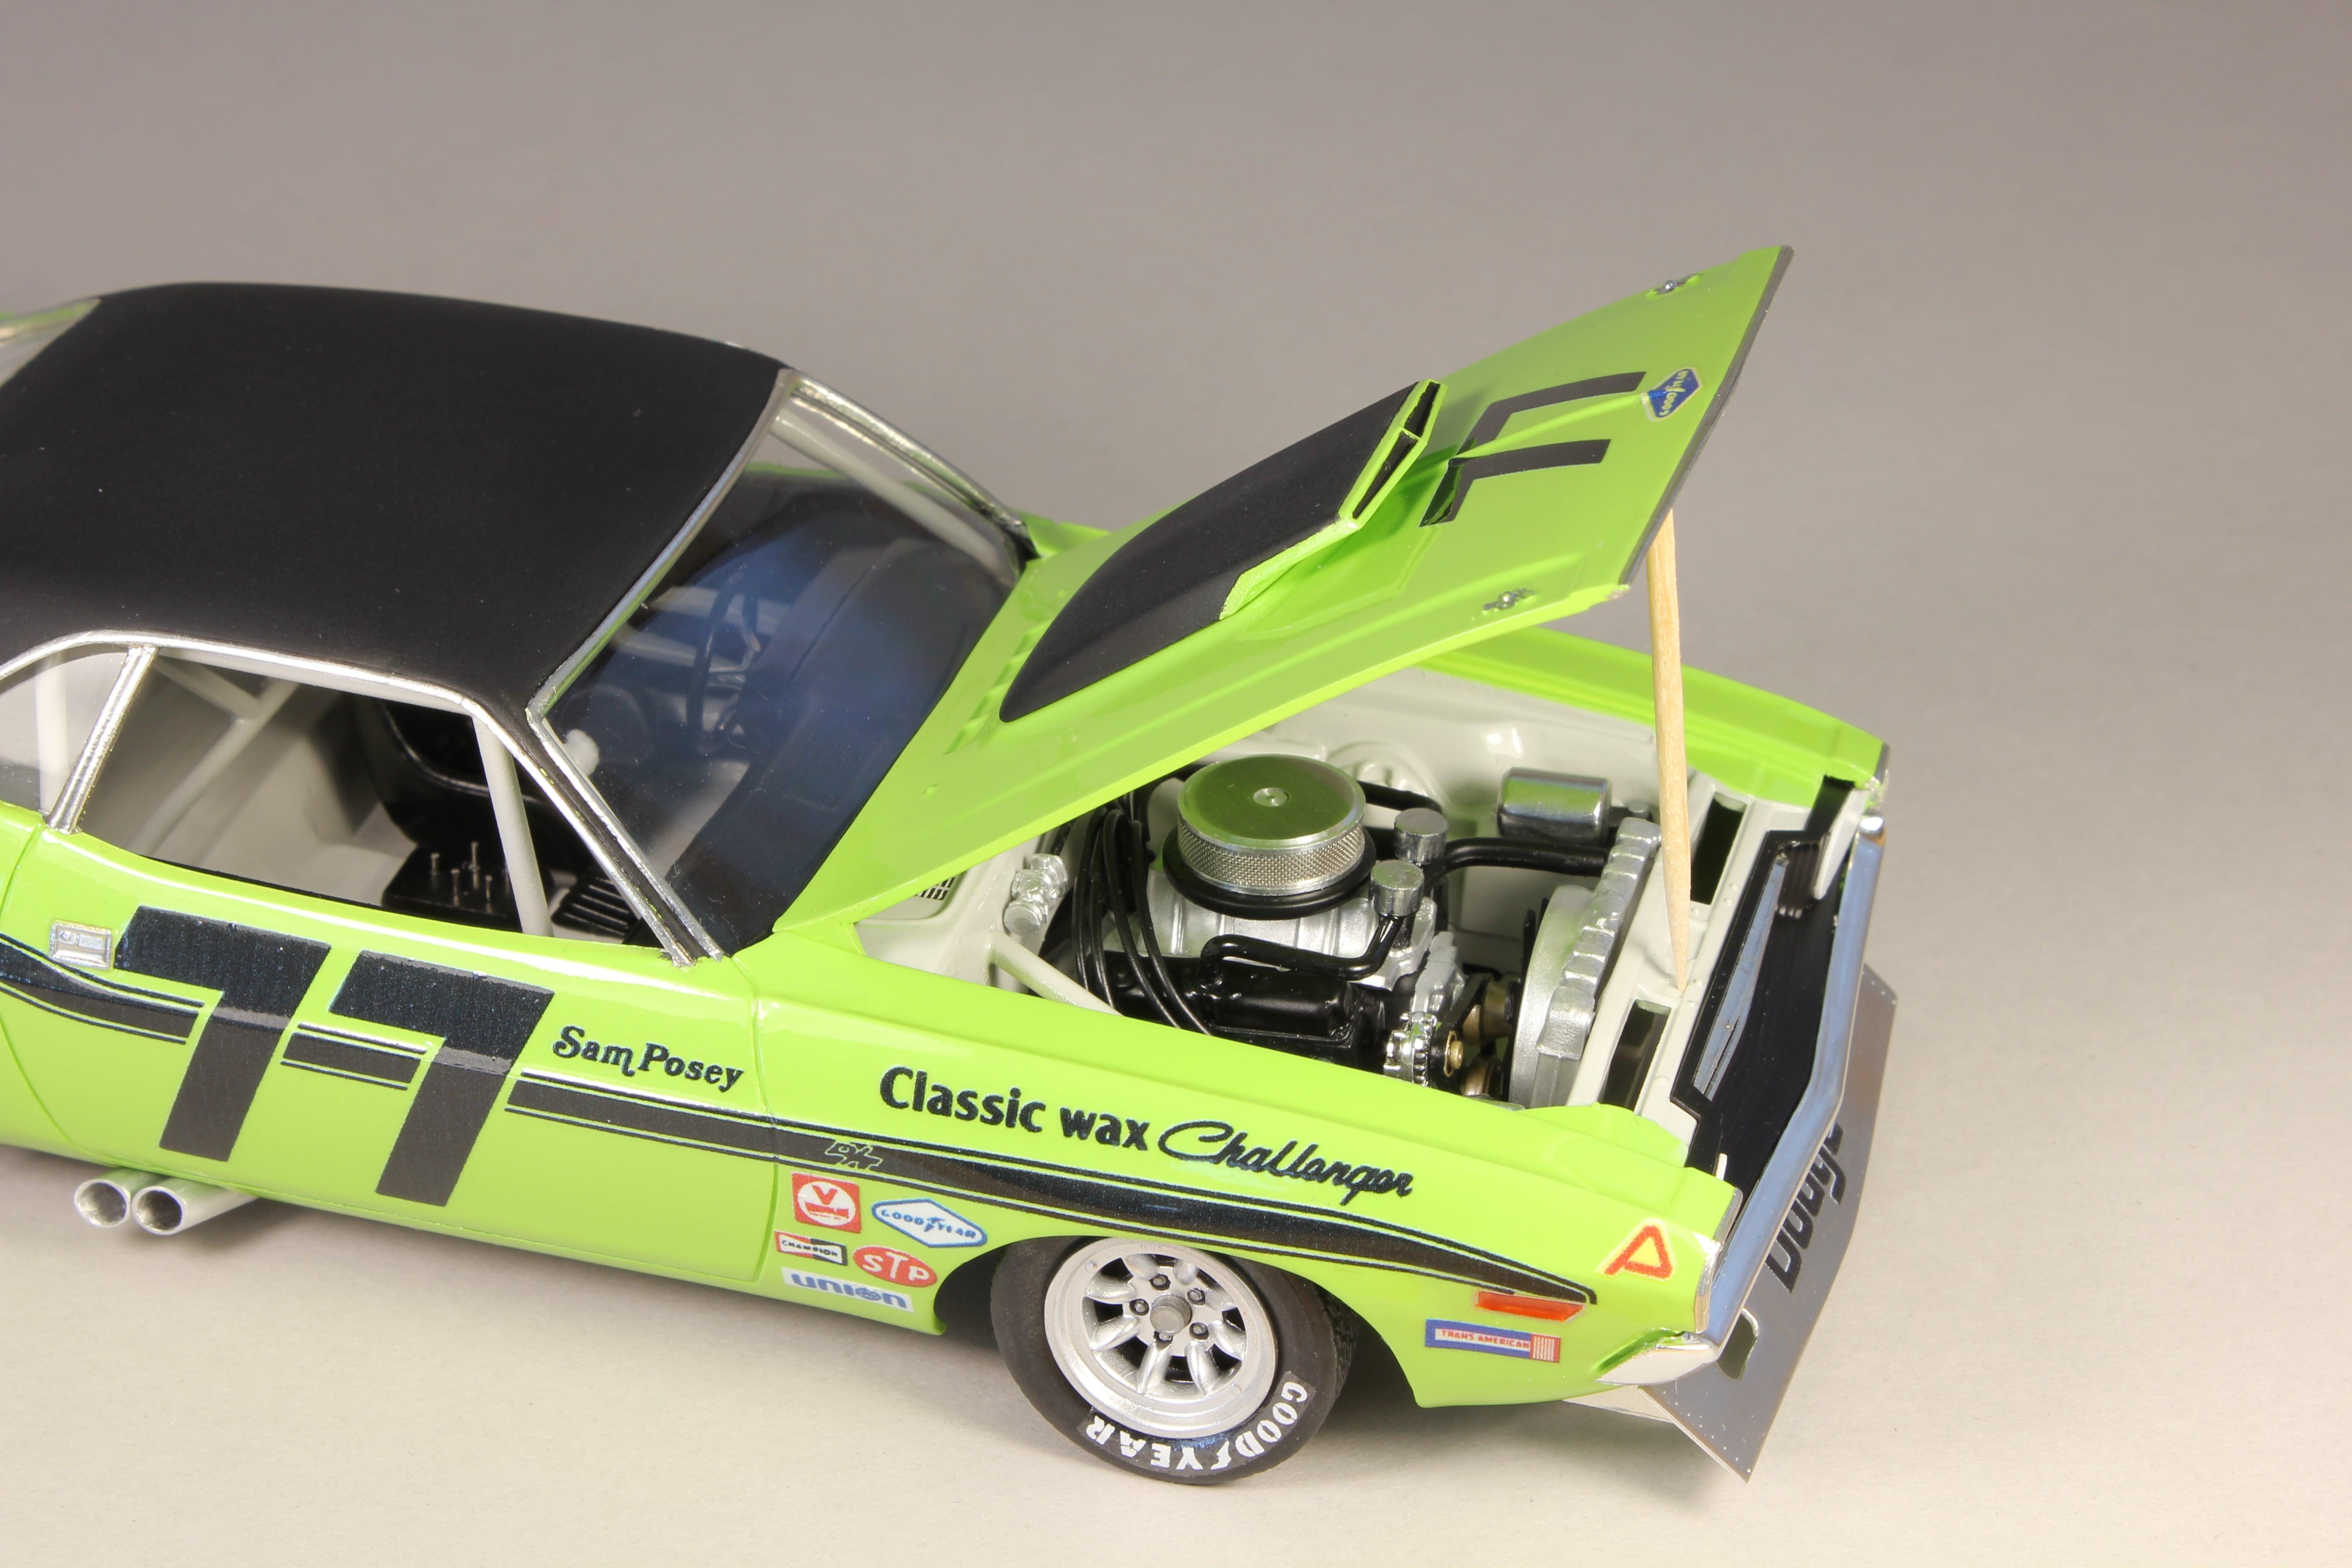
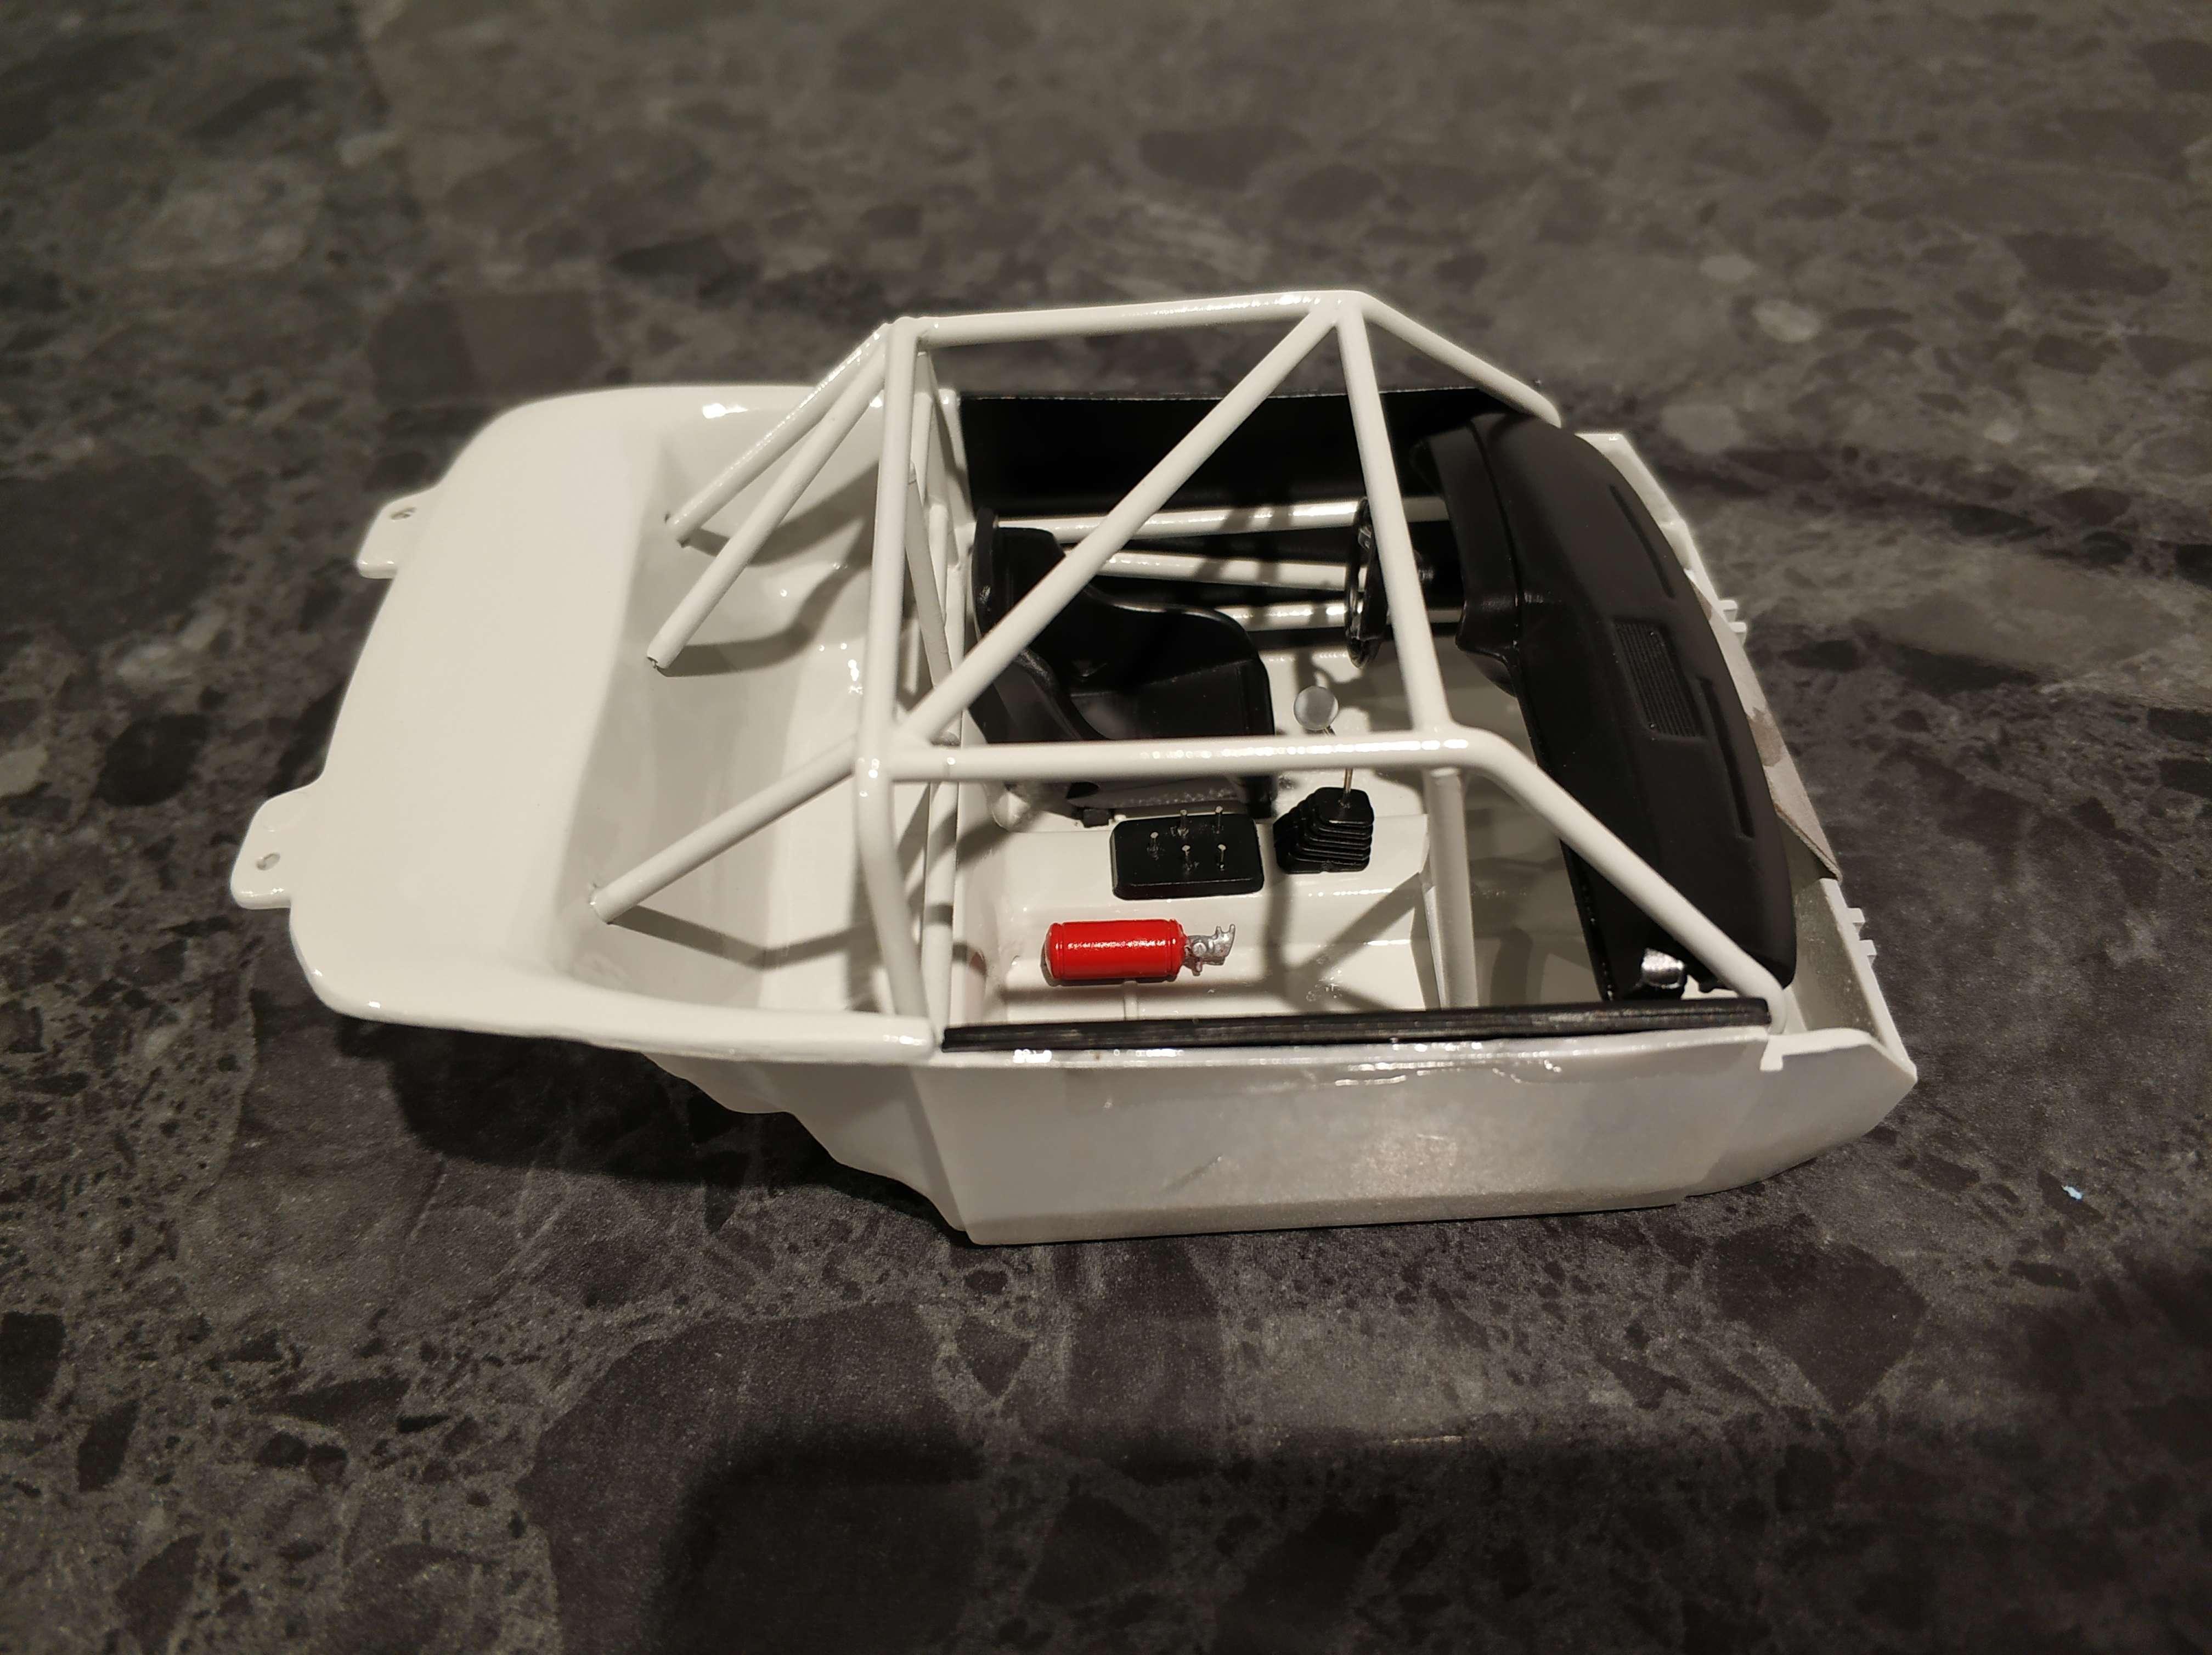
Gidday, Started out as the road car kit from Revell, pulled the guards out, lowered, added a roll cage, exhaust system and engine bay detail. Fun and complicated build. On to the next one, Mike

-
Thanks for the comments guys. I managed to get a bit more done during the lockdown period, front and rear parts attached, just a few engine bay bits and some ducts to do now + tire decals.
-
Yep, I bent styrene rod over a flame to shape. Thanks
-
The Challenger is coming along nicely. Still quite a bit of work to do on the splitter and also in the engine bay. Tail lights/ rear panel and bumpers also to fit yet.
-
On the pricing difference, it depends where you live. If you don't live in USA or Japan, it is quite possible the Tamiya Kits might be cheaper, especially if you buy online.
-
The refill doesnt seem to have this problem. Always like new.
-
Best built-right-from-the-box kits?
Michael jones replied to Jantrix's topic in Model Building Questions and Answers
Tamiya are releasing the Ford Mustang GT4 to keep you guys happy however. Maybe that is the opportunity some of you need to build and enjoy a Tamiya kit. -
I use molotow on every single car I build. Usually on the interior for handles/ knobs trim etc. Especially good for anything round and small. Apply with a fine brush. Use E7 paints chrome sealer for a clear coat. Works great!!
-
Best built-right-from-the-box kits?
Michael jones replied to Jantrix's topic in Model Building Questions and Answers
Most Tamiya kits are great. Beemax/Aoshima are not far behind. -
Great pic. Really does show the roof as super flat as well! Thanks
-
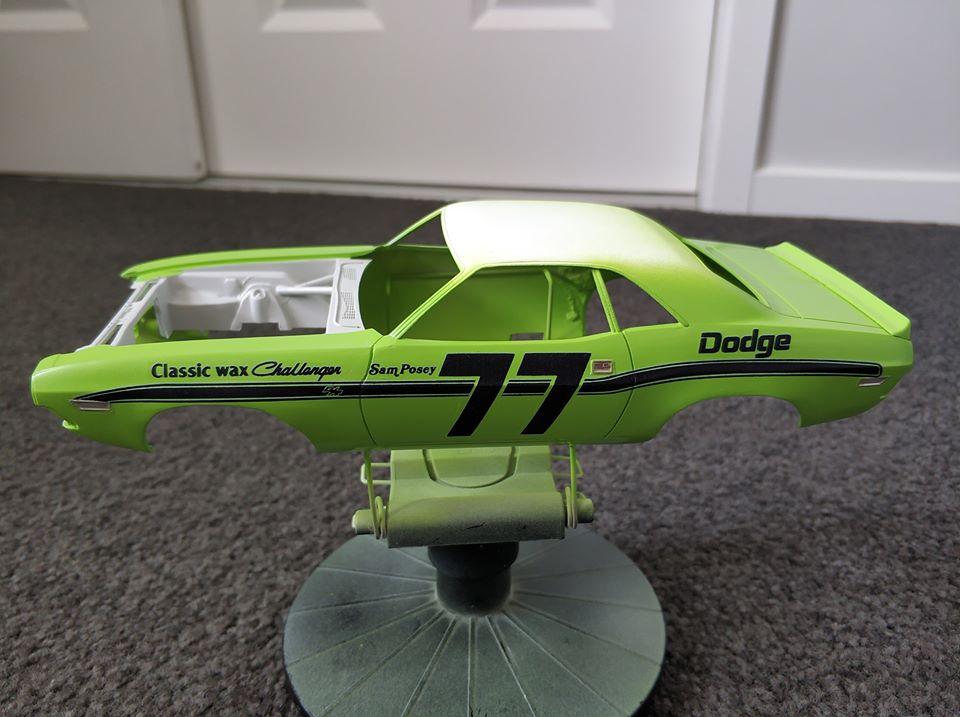
Thanks for the info there Swede. Yeah interesting to see the roof is flat black originally. Good spotting. Do you know if the hood air intake is the same flat black? I will have to compare that flat black to my other parts I have painted Tamiya flat black and Tamiya semi gloss black to compare.
-
Gidday AFX, Your Cuda build gave me a lot of ideas and was a great source of photos and general information on how to turn a road car into a trans am race car. Thanks Mike
-
Just a quick update. My next steps are: I need to finish the decals, spray 2k clear, then semi gloss black on the roof, then semi gloss clear on the roof.
-
Been working on this Revell Challenger for a while. Converting from a road car to a race car. Interior done. Guards flared. Exhaust system nearly ready for paint. Got the correct FJ5 paint for the body. Note: This build is being done to a budget of time and money, and does not completely reflect either the original pictures of the Sam Posey cars or the restored car which is quite different going by pictures. I have however taken some ideas from some of the trans am builds on this and other forums. Mike
-
Kit engineering question
Michael jones replied to Jantrix's topic in Model Building Questions and Answers
All good guys, don't worry about it, I guess I meant to say its not mentioned about the distance between the lip and the bead, but is calculated on that picture yes. Please just disregard. Thanks -
Kit engineering question
Michael jones replied to Jantrix's topic in Model Building Questions and Answers
My point exactly -
Kit engineering question
Michael jones replied to Jantrix's topic in Model Building Questions and Answers
I believe this method may be wrong. Real car wheels are measured for diameter at the bead where the tyre sits. Not at the lip as shown in this drawing. That is why some model car wheels seem a little bigger than they should be, when actually they are probably correct. That would account for the approx. 1 inch difference people have been noticing. -
Krylon Short Cuts spray paint.
Michael jones replied to Brutalform's topic in Model Building Questions and Answers
Probably is a lacquer even though it may be listed as an enamel. I know a lot of nail enamel shows obvious signs of being lacquer. They just use the name enamel because is sounds more luxurious :) -
How to remove raised tire lettering?
Michael jones replied to Michael jones's topic in Model Building Questions and Answers
Thanks very much for the info guys, Mike -
Gidday, As the title says, what is a good way to remove raised tire lettering without causing damage to the tire? thanks Mike