Dann Tier
-
Posts
8,151 -
Joined
-
Last visited
Content Type
Profiles
Forums
Events
Gallery
Everything posted by Dann Tier
-
Hi!, just wanted to tell you that the repair was successful, as well as the clear coating. in a couple days i will mask, and spray the semi-gloss louvers, rear mesh, and windscreen trim/valance. Thanks for following!!
-
Before i can paint the body, i also need to make sure the wheels/tyres fit... -Photo 1-5; This is the stance i was looking for. I had to trim-out the rear wheel wells, and i will be adding new flares with Milliput. -Photo 6; This is the inspiration. -Photo 7; The tyres are from a Fujimi Porsche 917, and the added rings are from a spare set of Fujimi wheels.

-
Thanks, Bud!!
-
DANG!!!.....now that DOESNT look like fun.....better you than me, Bud!!!! LOL
-

Re-engineering Monograms Lotus Esprit...new update!
Dann Tier replied to Dann Tier's topic in WIP: Model Cars
LOL....hard keeping up with myself sometimes! That silver tubing is silver solder....its easier for tight bends, and slight manipulations. Thanks for stopping in, Bud!!, i will be back to this one pretty soon. There has been ALOT of kits/parts that i've been trying get painted, so that i only have to klean the model room once, then i have ALOT of things to assemble....an assault of updates coming!! LOL -
Thanks, bud!, it didnt really take too long if i remember right...
-
Good luck, Bud!!!
-
Thanks, bud!!
-
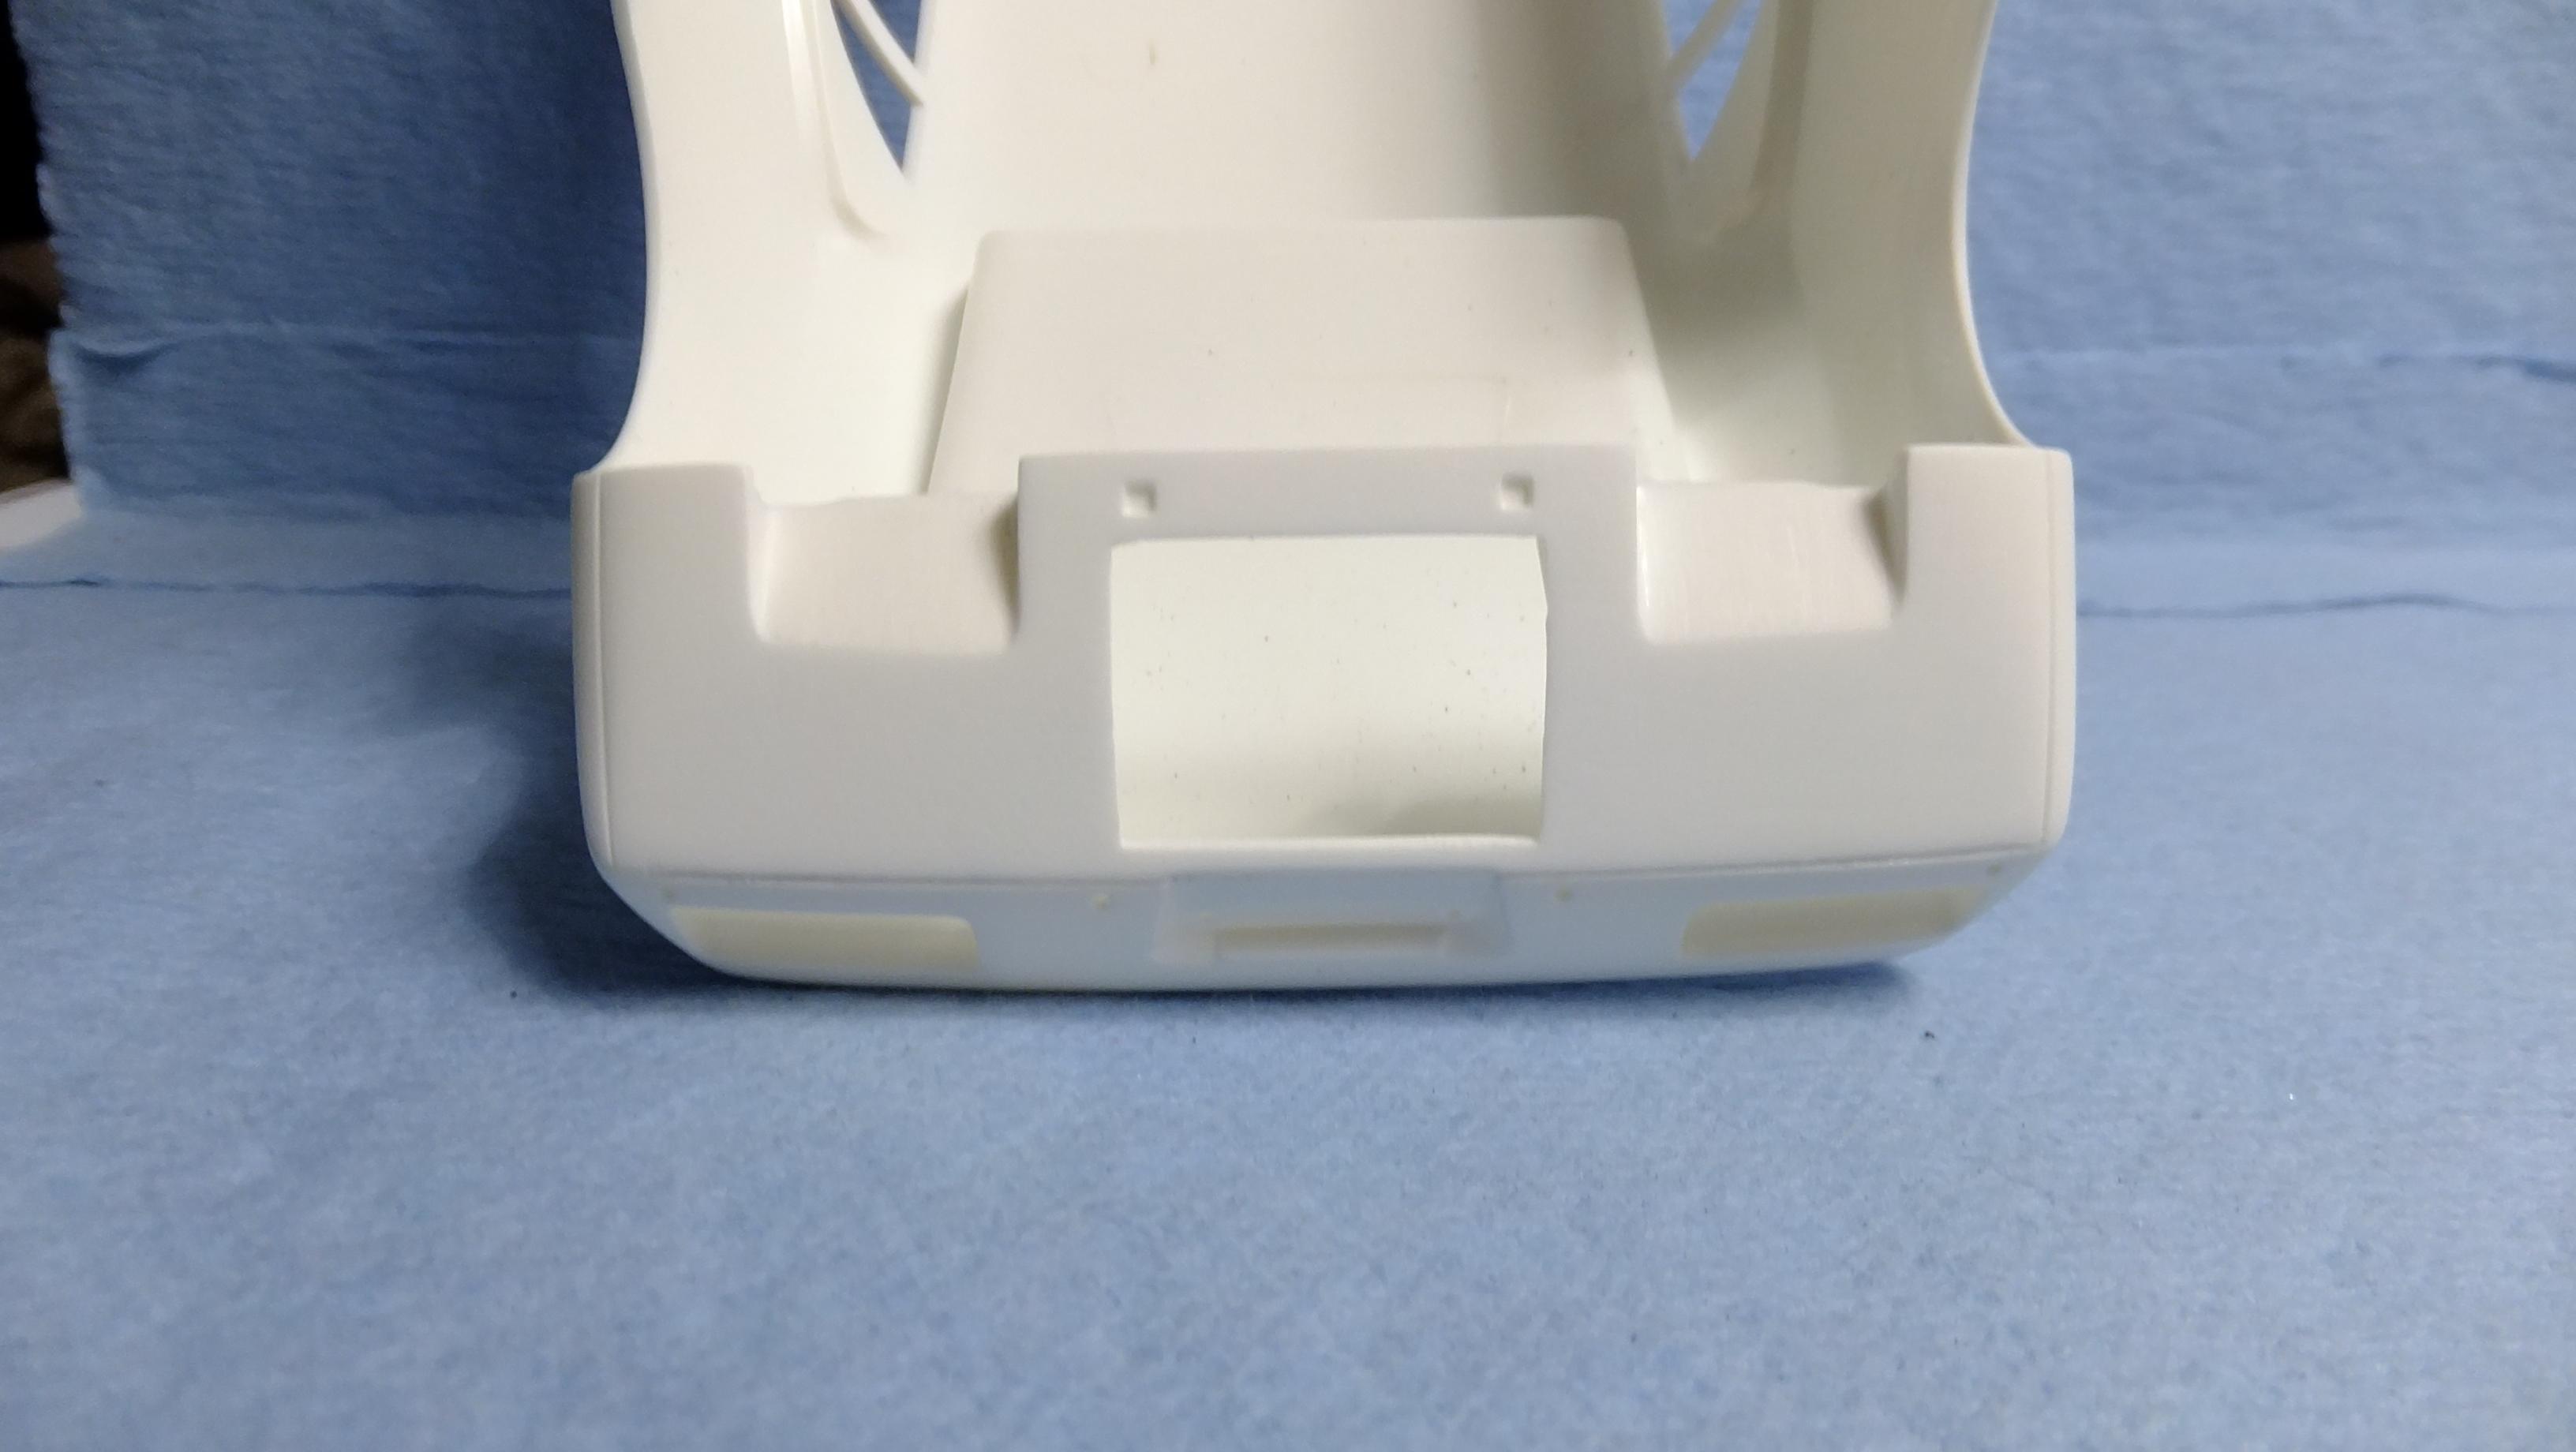
More of an update here, everyone! *Sorry about the jumbled-up photos again. -Photo 1; While taking this chassis in, and out of the body, i discovered that this process was a paint chipping disaster waiting to happen. It has to be one of the tightest fits i've ever encountered, so, since its a VERY basic chassis, i was gonna make things easier by eliminating enough of the fender wells to clear the body easily. Also; notice that i just removed the front contact pins instead of relocating them -they arent needed. -Photo 2; The front mesh is opened, and next will be the new framework for it. Since i didnt want the thin vent on the very bottom, i glued thin styrene over it. -Photo 3; Rear vent is open, and ready for new framework. I know the right vertical looks crooked, but its an illusion. -Photo 4; I used CA glue to fill-in the bonnet vents....the pencil lead filled it in as well, lol. These vents are VERY deceivingly deep. -Photo 5; This is the chin spoiler i made...it will be attached after the vents framework is finished. -Photo 6; Chassis pre-assembly -Photo 7; All my stencils ready to go!
-
Thanks, Bud!!
-
Thanks for the info, bud!
-
Nah.....i'm planning on binning them..
-
LOL!!.....i cant even remember!
-
Thanks!...i will have to check it out!
-
WOW!!....this'll be NICE!!!
-
Thanks, bud!!
-
Thanks!...i'll have to get a few sets!
-
BEAUTIFUL!!!!
-
Oh NICE!!!....Welcome, Bud!!
-
Thats Sweet, Bud!!...you could totally build that yourself!!
-
Never saw a Porsche like this before, but it looks like a very tasteful custom job!...Love it!!!....where did you get those cool wheels from?!
-
Sounds great, Bud!!
-
NICE!!!, cant figure out how i missed this one!
-
1968 RKE/JRT SCCA Trans Am Javelin
Dann Tier replied to swede70's topic in WIP: Other Racing: Road Racing, Land Speed Racers
Glad you're still moving along on this!...its looking GREAT!!! -
Much appreciated, bud!!