Kmb0319
-
Posts
468 -
Joined
-
Last visited
Content Type
Profiles
Forums
Events
Gallery
Everything posted by Kmb0319
-
A couple thoughts... 1. I’m EXCITED about this kit... I have been lamenting the lack of a good Chevelle kit of this era. The AMT 69 is awful and the old Monogram 70 is mostly unavailable, 1/24 scale and simplistic as those old kits were. I’d LOVE if they could use some of this tooling to someday give us a good 71-72 SS 454, but this is a fantastic start! I’m already thinking about colors/plan for my first one. 2. Does it say on the FB preview or the preorder how many pieces this is? The body and interior look fantastic, but the engine compartment seems sparse. The special edition kits are high piece count, so I was wondering. 3. If they don’t make that version, some styrene could be used to make a post coupe. I see either a 2nd of these or the 69 when it comes out being kit-bashed with a COPO Camaro kit... use the 427 and the dog dish caps on the Chevelle.
-
Man, that’s a sweet looking ride! Outstanding work with the conversion.
-
I did mine with the chassis and engine shroud from the 69 442, and borrowed all kinds of engine components from elsewhere. I cut the trunk on both sides and spread the body to meet the bumper in back and used aftermarket wheels and tires. A LOT of effort to clean up this horrible kit, but it made a somewhat more convincing replica:

-
STUNNING!!! Gorgeous rendition of my all-time favorite Impala.
-
Not much to report on this, but I got a couple things done. The first one was something new... this is the first kit I’ve ever bought that has decals for floor mats. Great idea, Revell!! I wondered if it would be difficult when it came to making my floor, though, because I couldn’t lay the decals over the embossing powder on the floor. But, it was pretty easy. So now I have the floor done. Only other thing I got completed was laying some clear on the Firebird body. Onward...
-
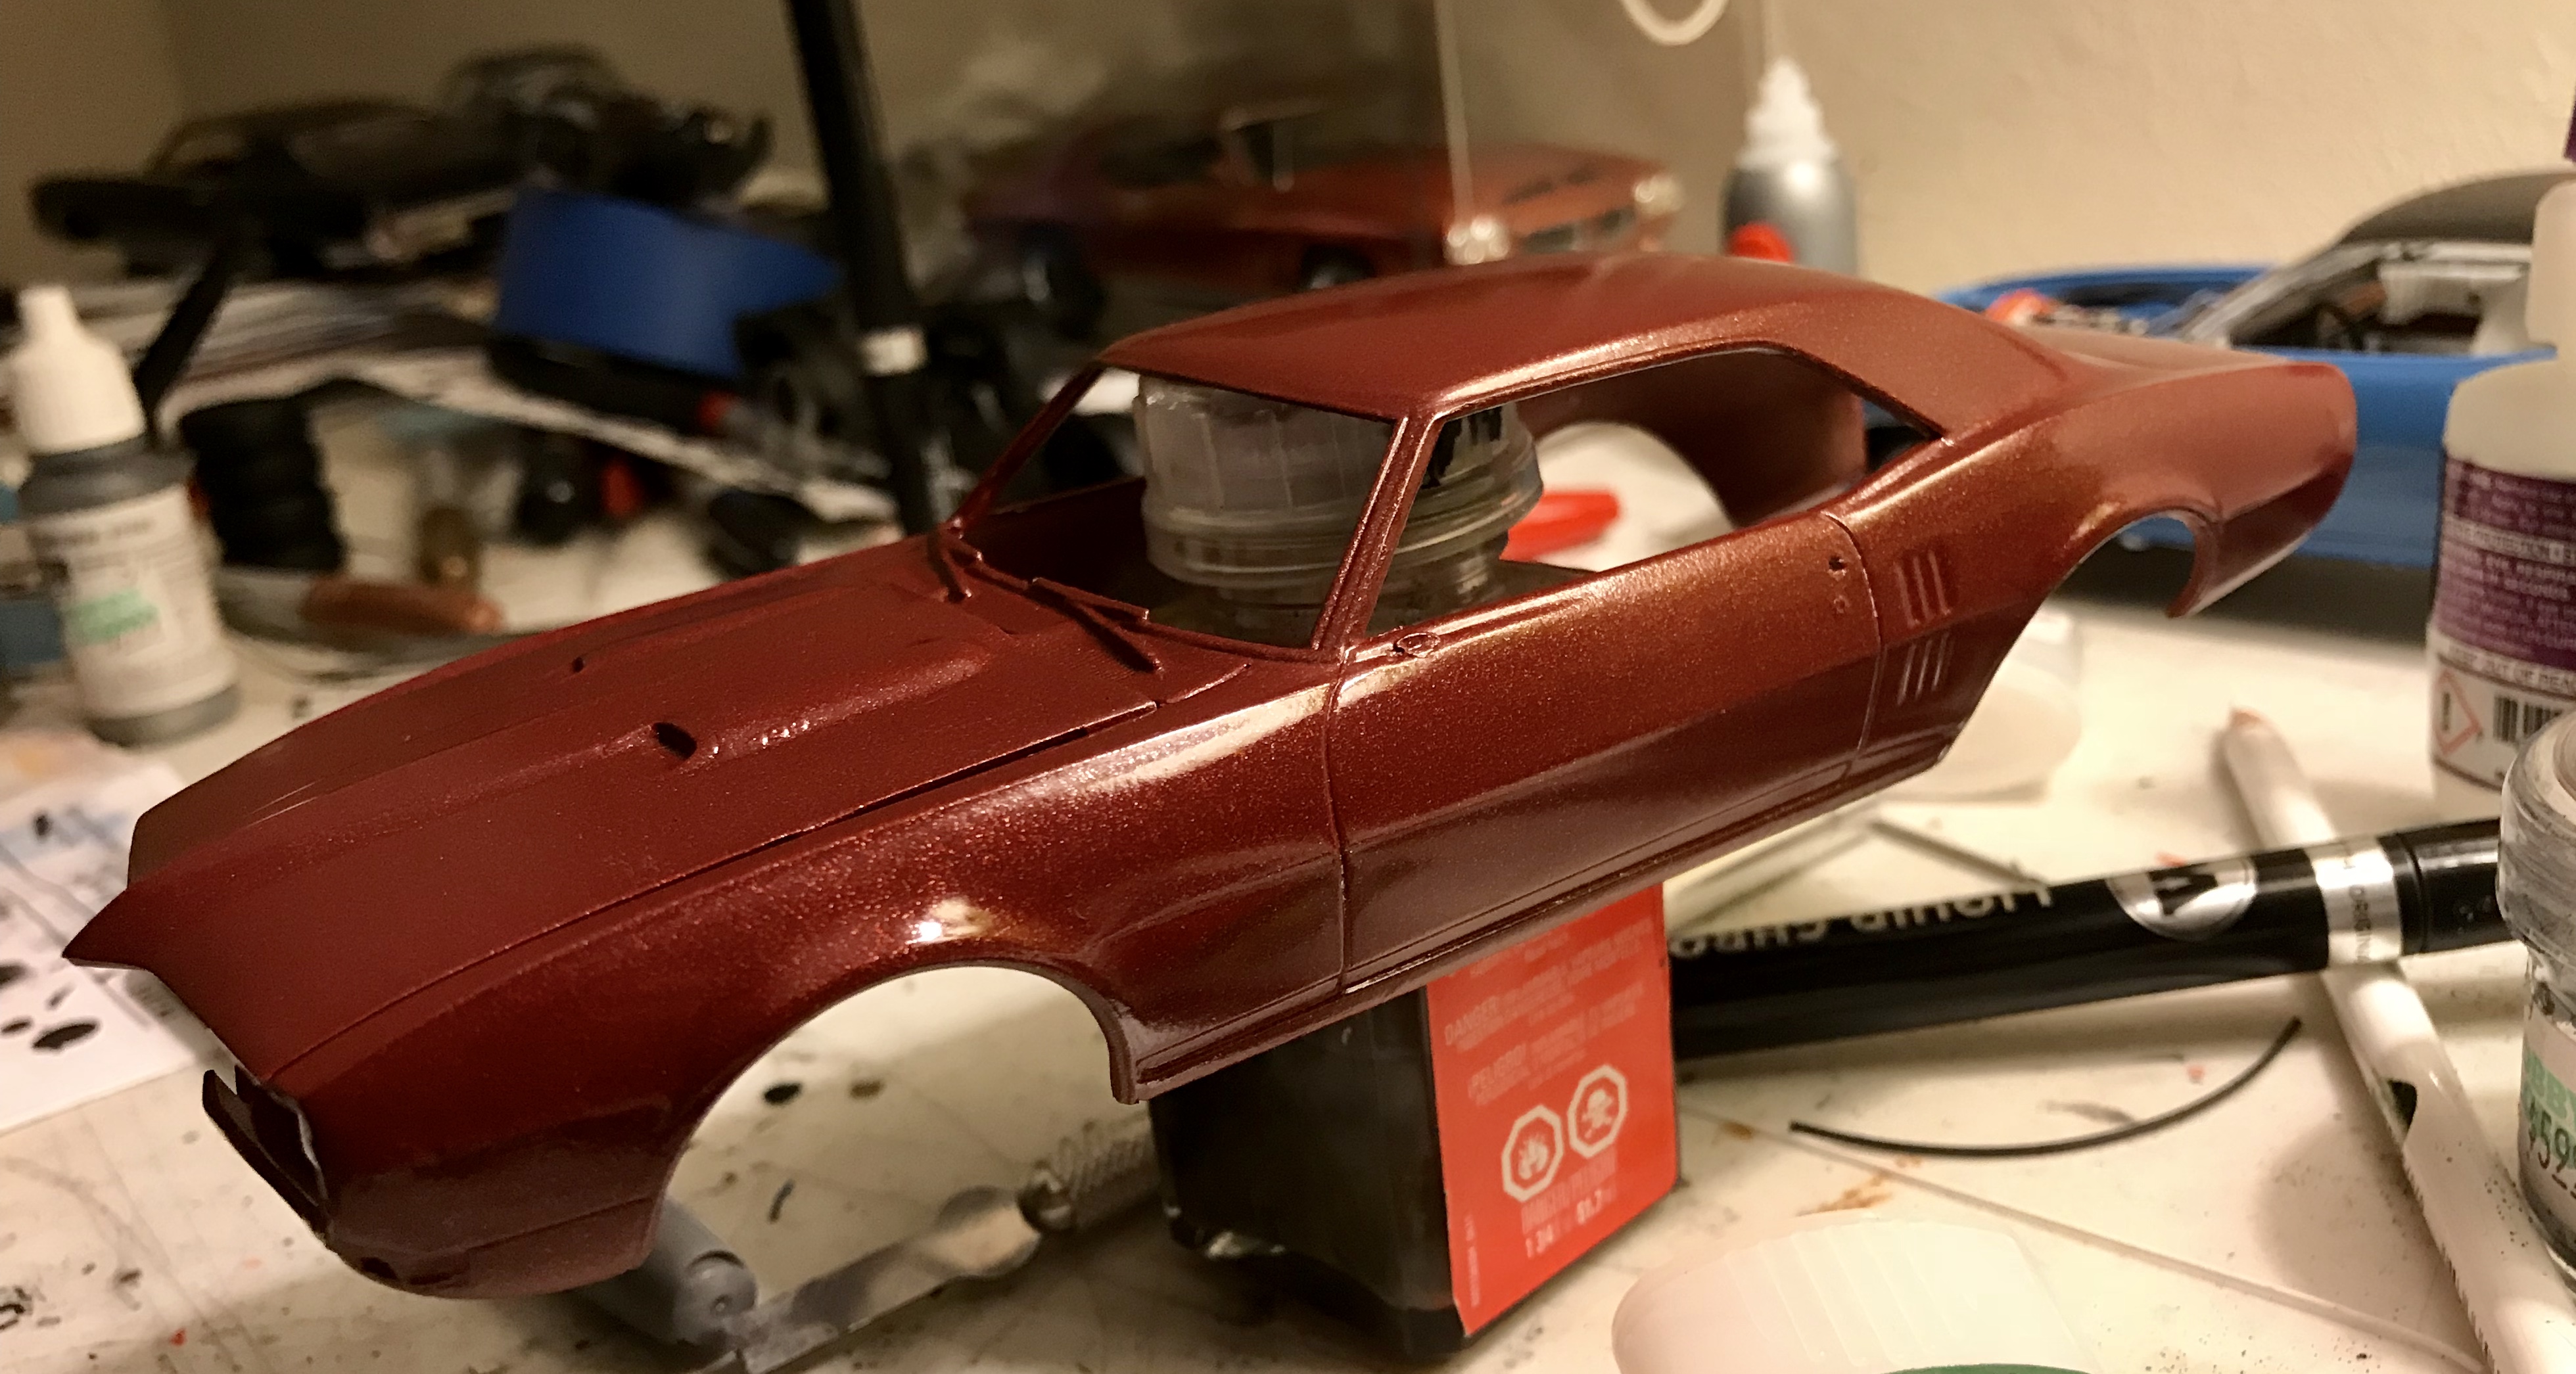
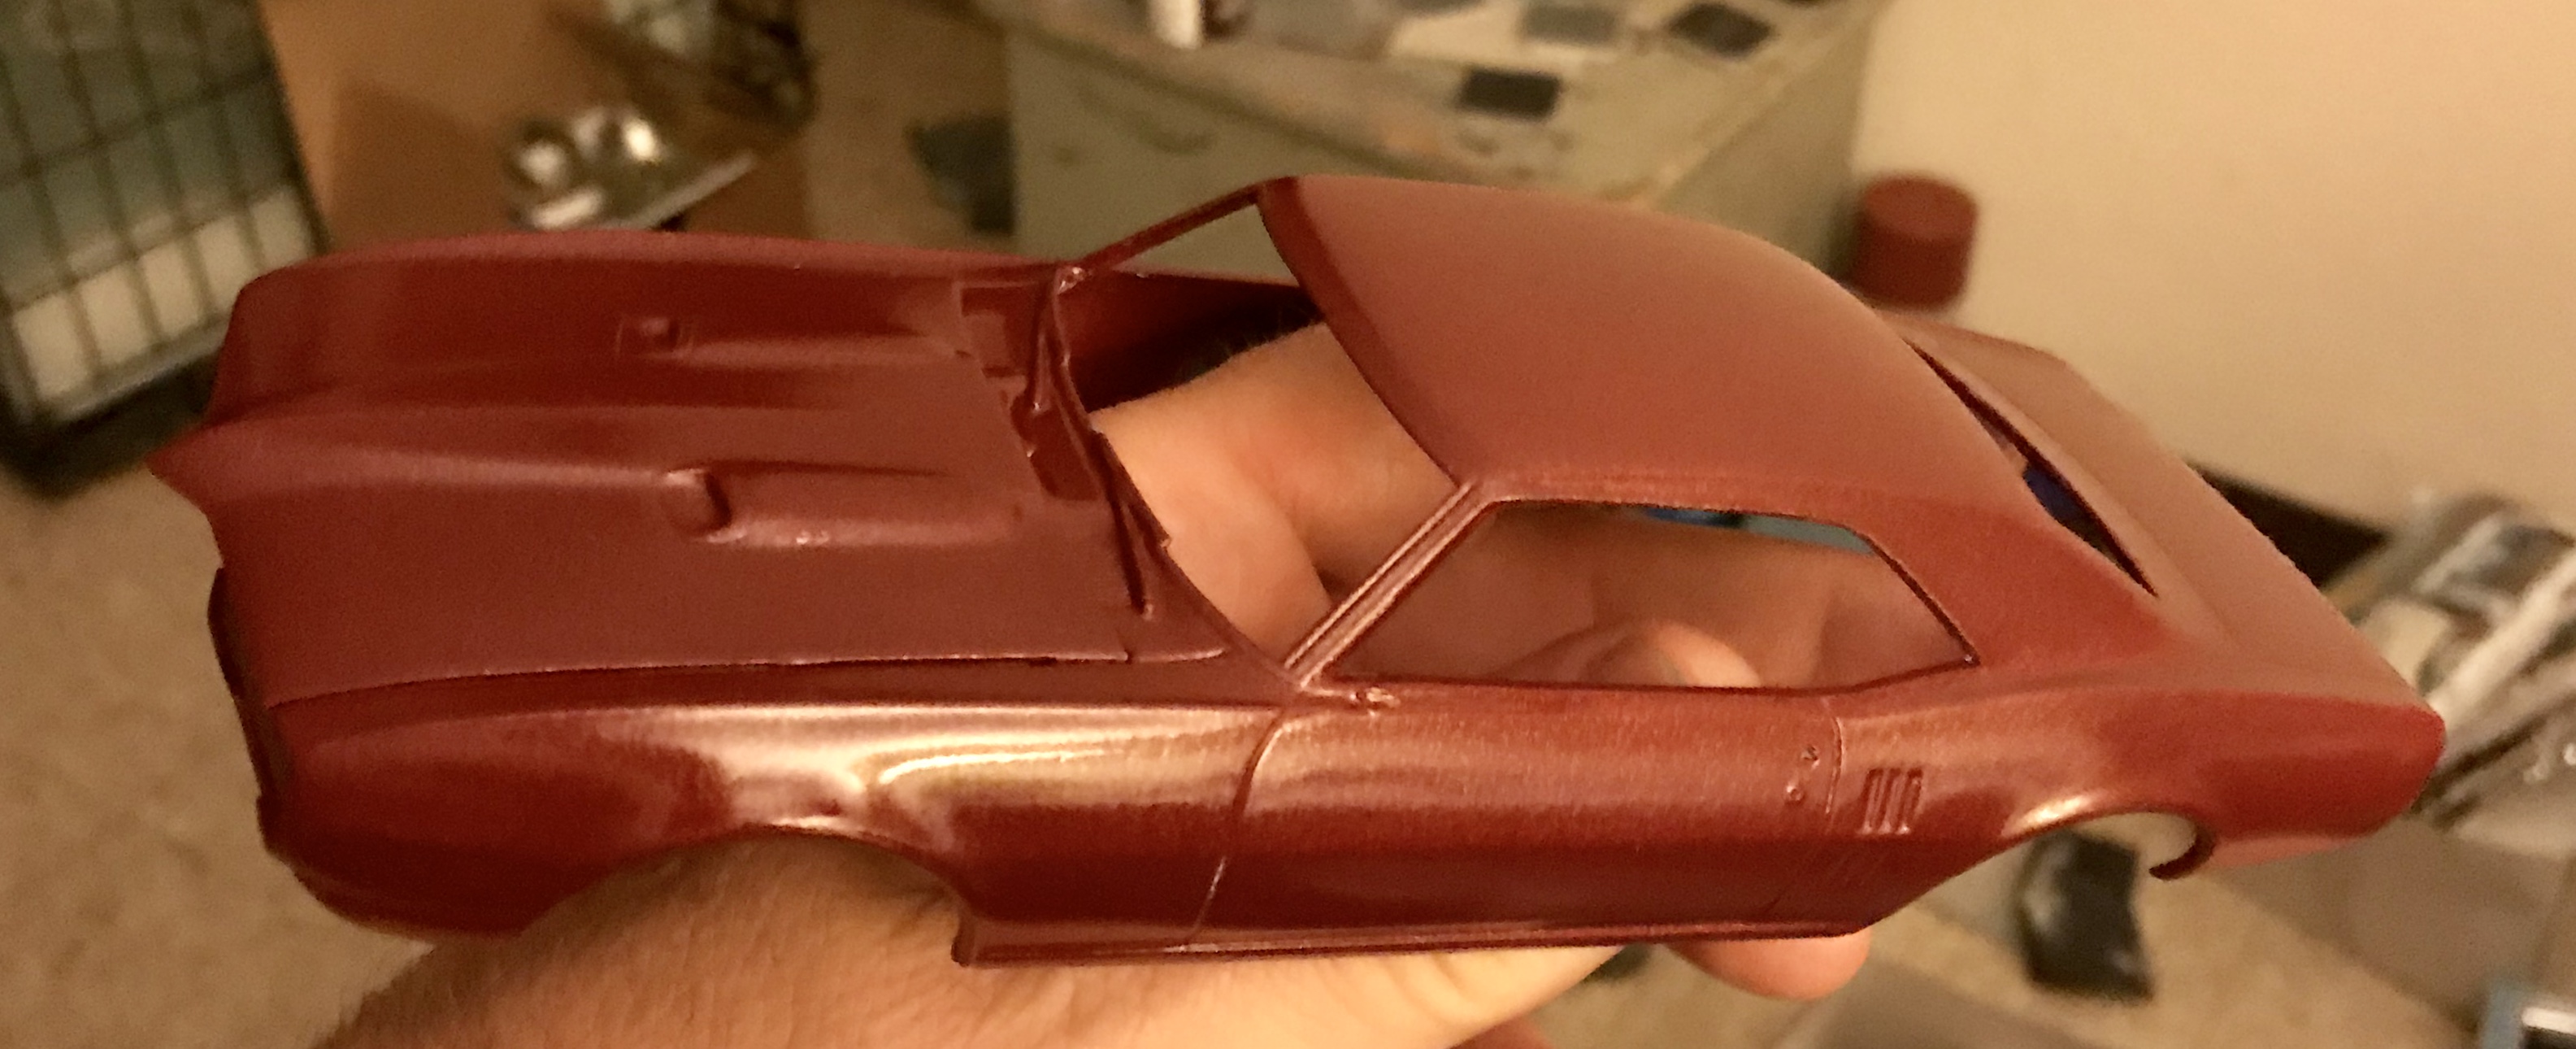
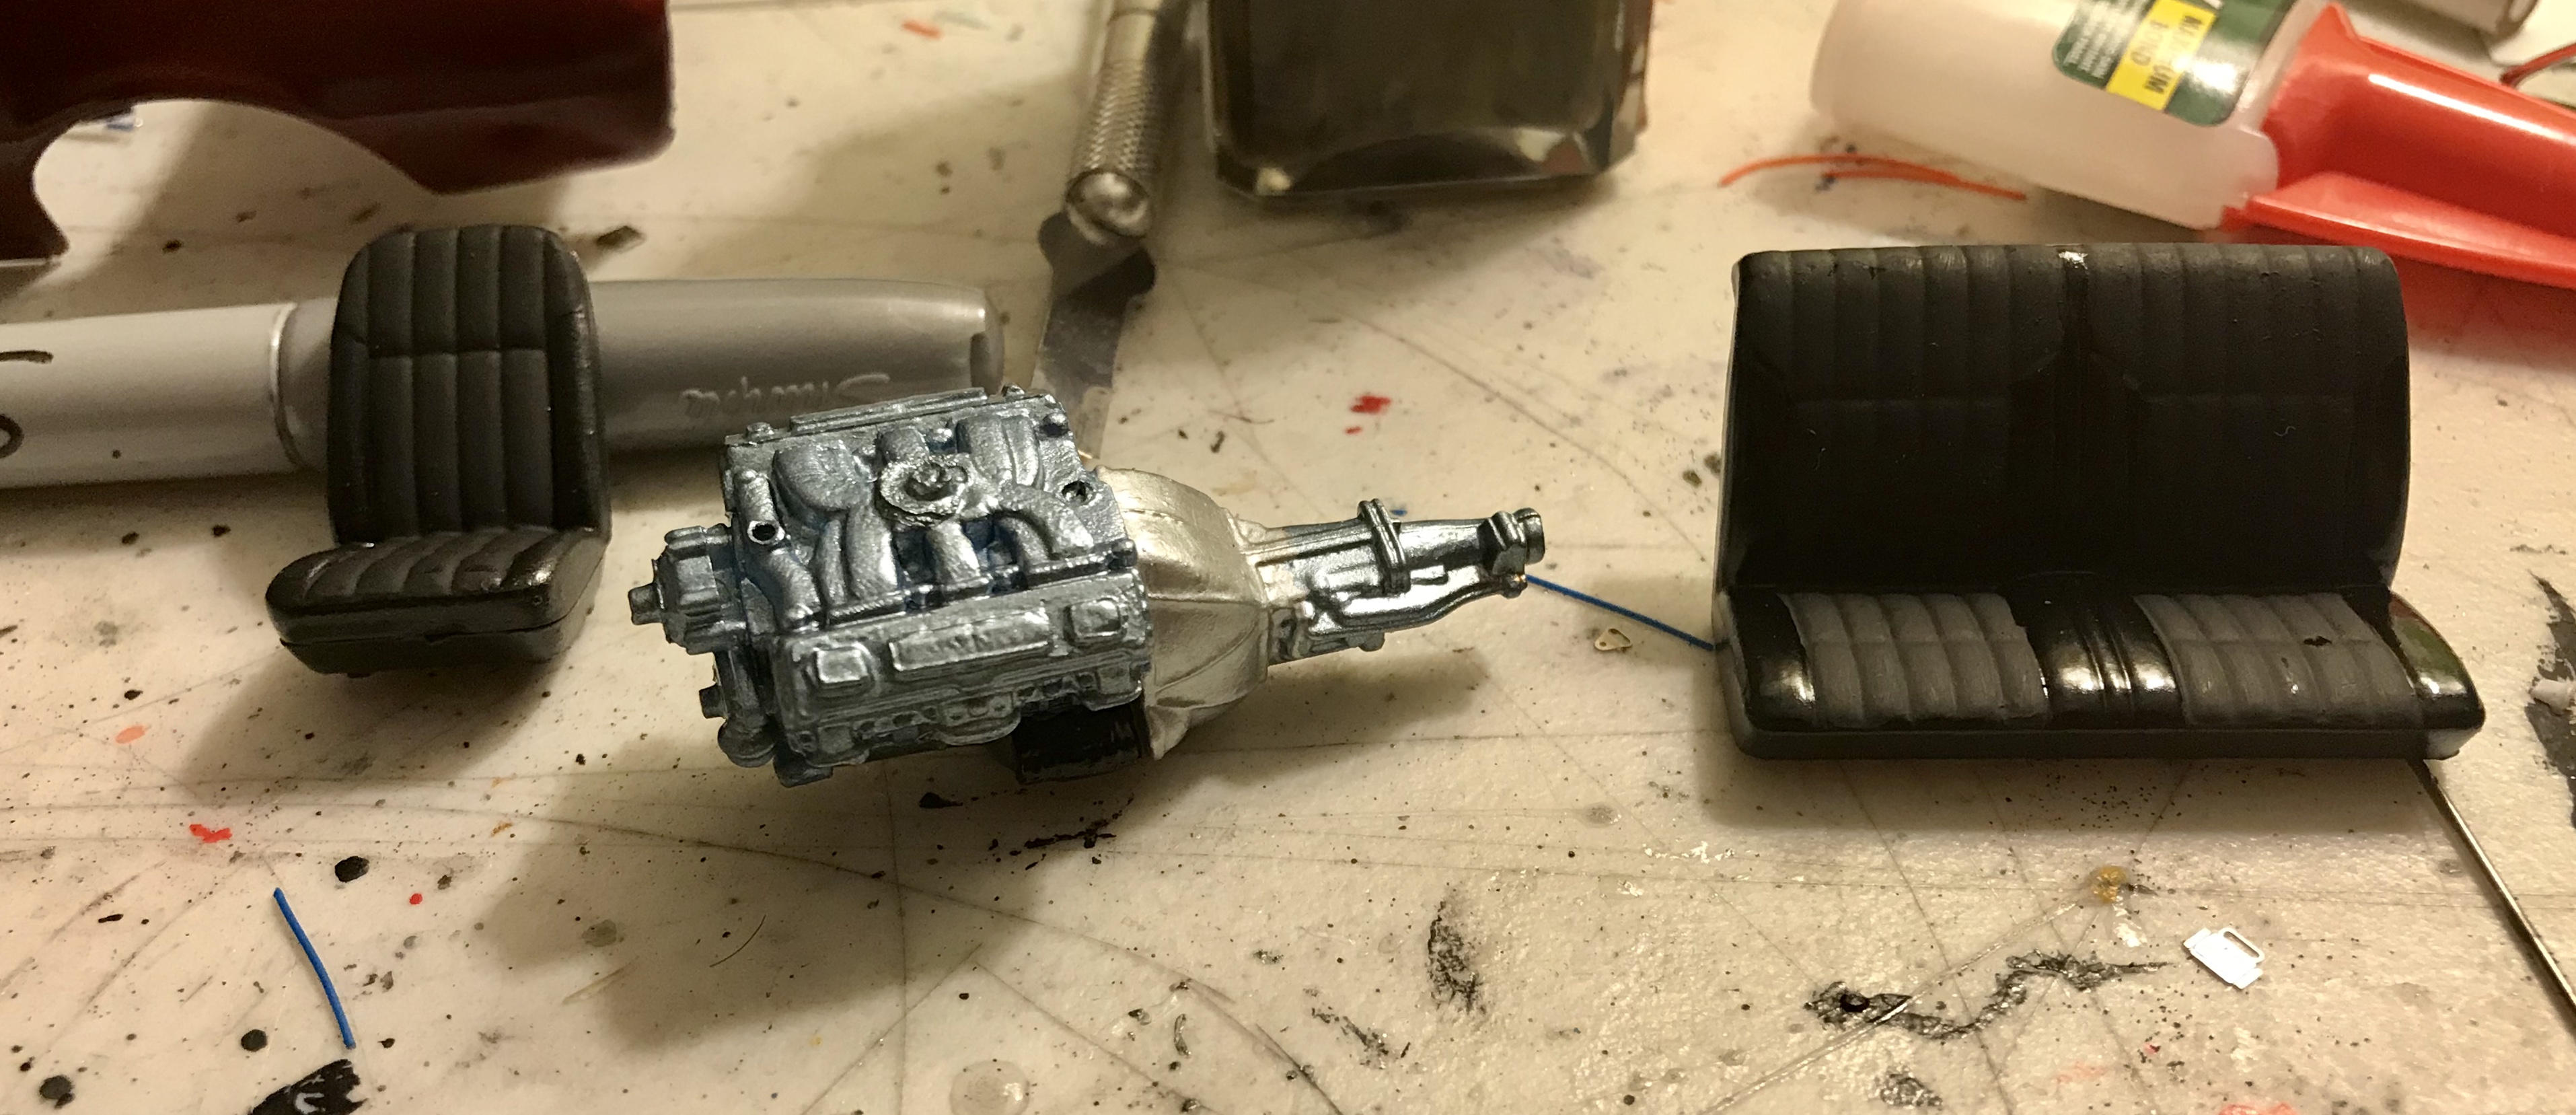
I’m back from my business trip and getting re-started on these. This is mainly about the GTO, but as I mentioned, I’m rebuilding my 68 Firebird as well. It’s the Foose version that I “de-Foosed” a couple years ago. It was black with a red interior, which was cool, but not as striking on this car as it is on others. Also, my paint job was solid, but not great, the chrome trim was faded... I just wanted it to look better: Two years ago, I bought a can of Verdoro Green from automotivetouchup.com. I used it on my 70 Cuda and my 71 Charger... two Mopars. When I stripped this down, my plan was to finally use that color on a Pontiac. But looking at reference pics, it was the Maroon Firebirds that caught my eye. With that on the outside, I went with a black interior. I took it all apart and started repainting. First, interior and repaint the engine. (I’ve only partially repainted the transmission in the photo) For the body, I bought a can of Testors one coat Mythical Maroon. I’ve polished it and it is ready for clear coat:
-
THANKS!!! MAN, now I’m gonna be rooting through the couch cushions looking for an extra $60K... that thing is gorgeous!!!!!
-
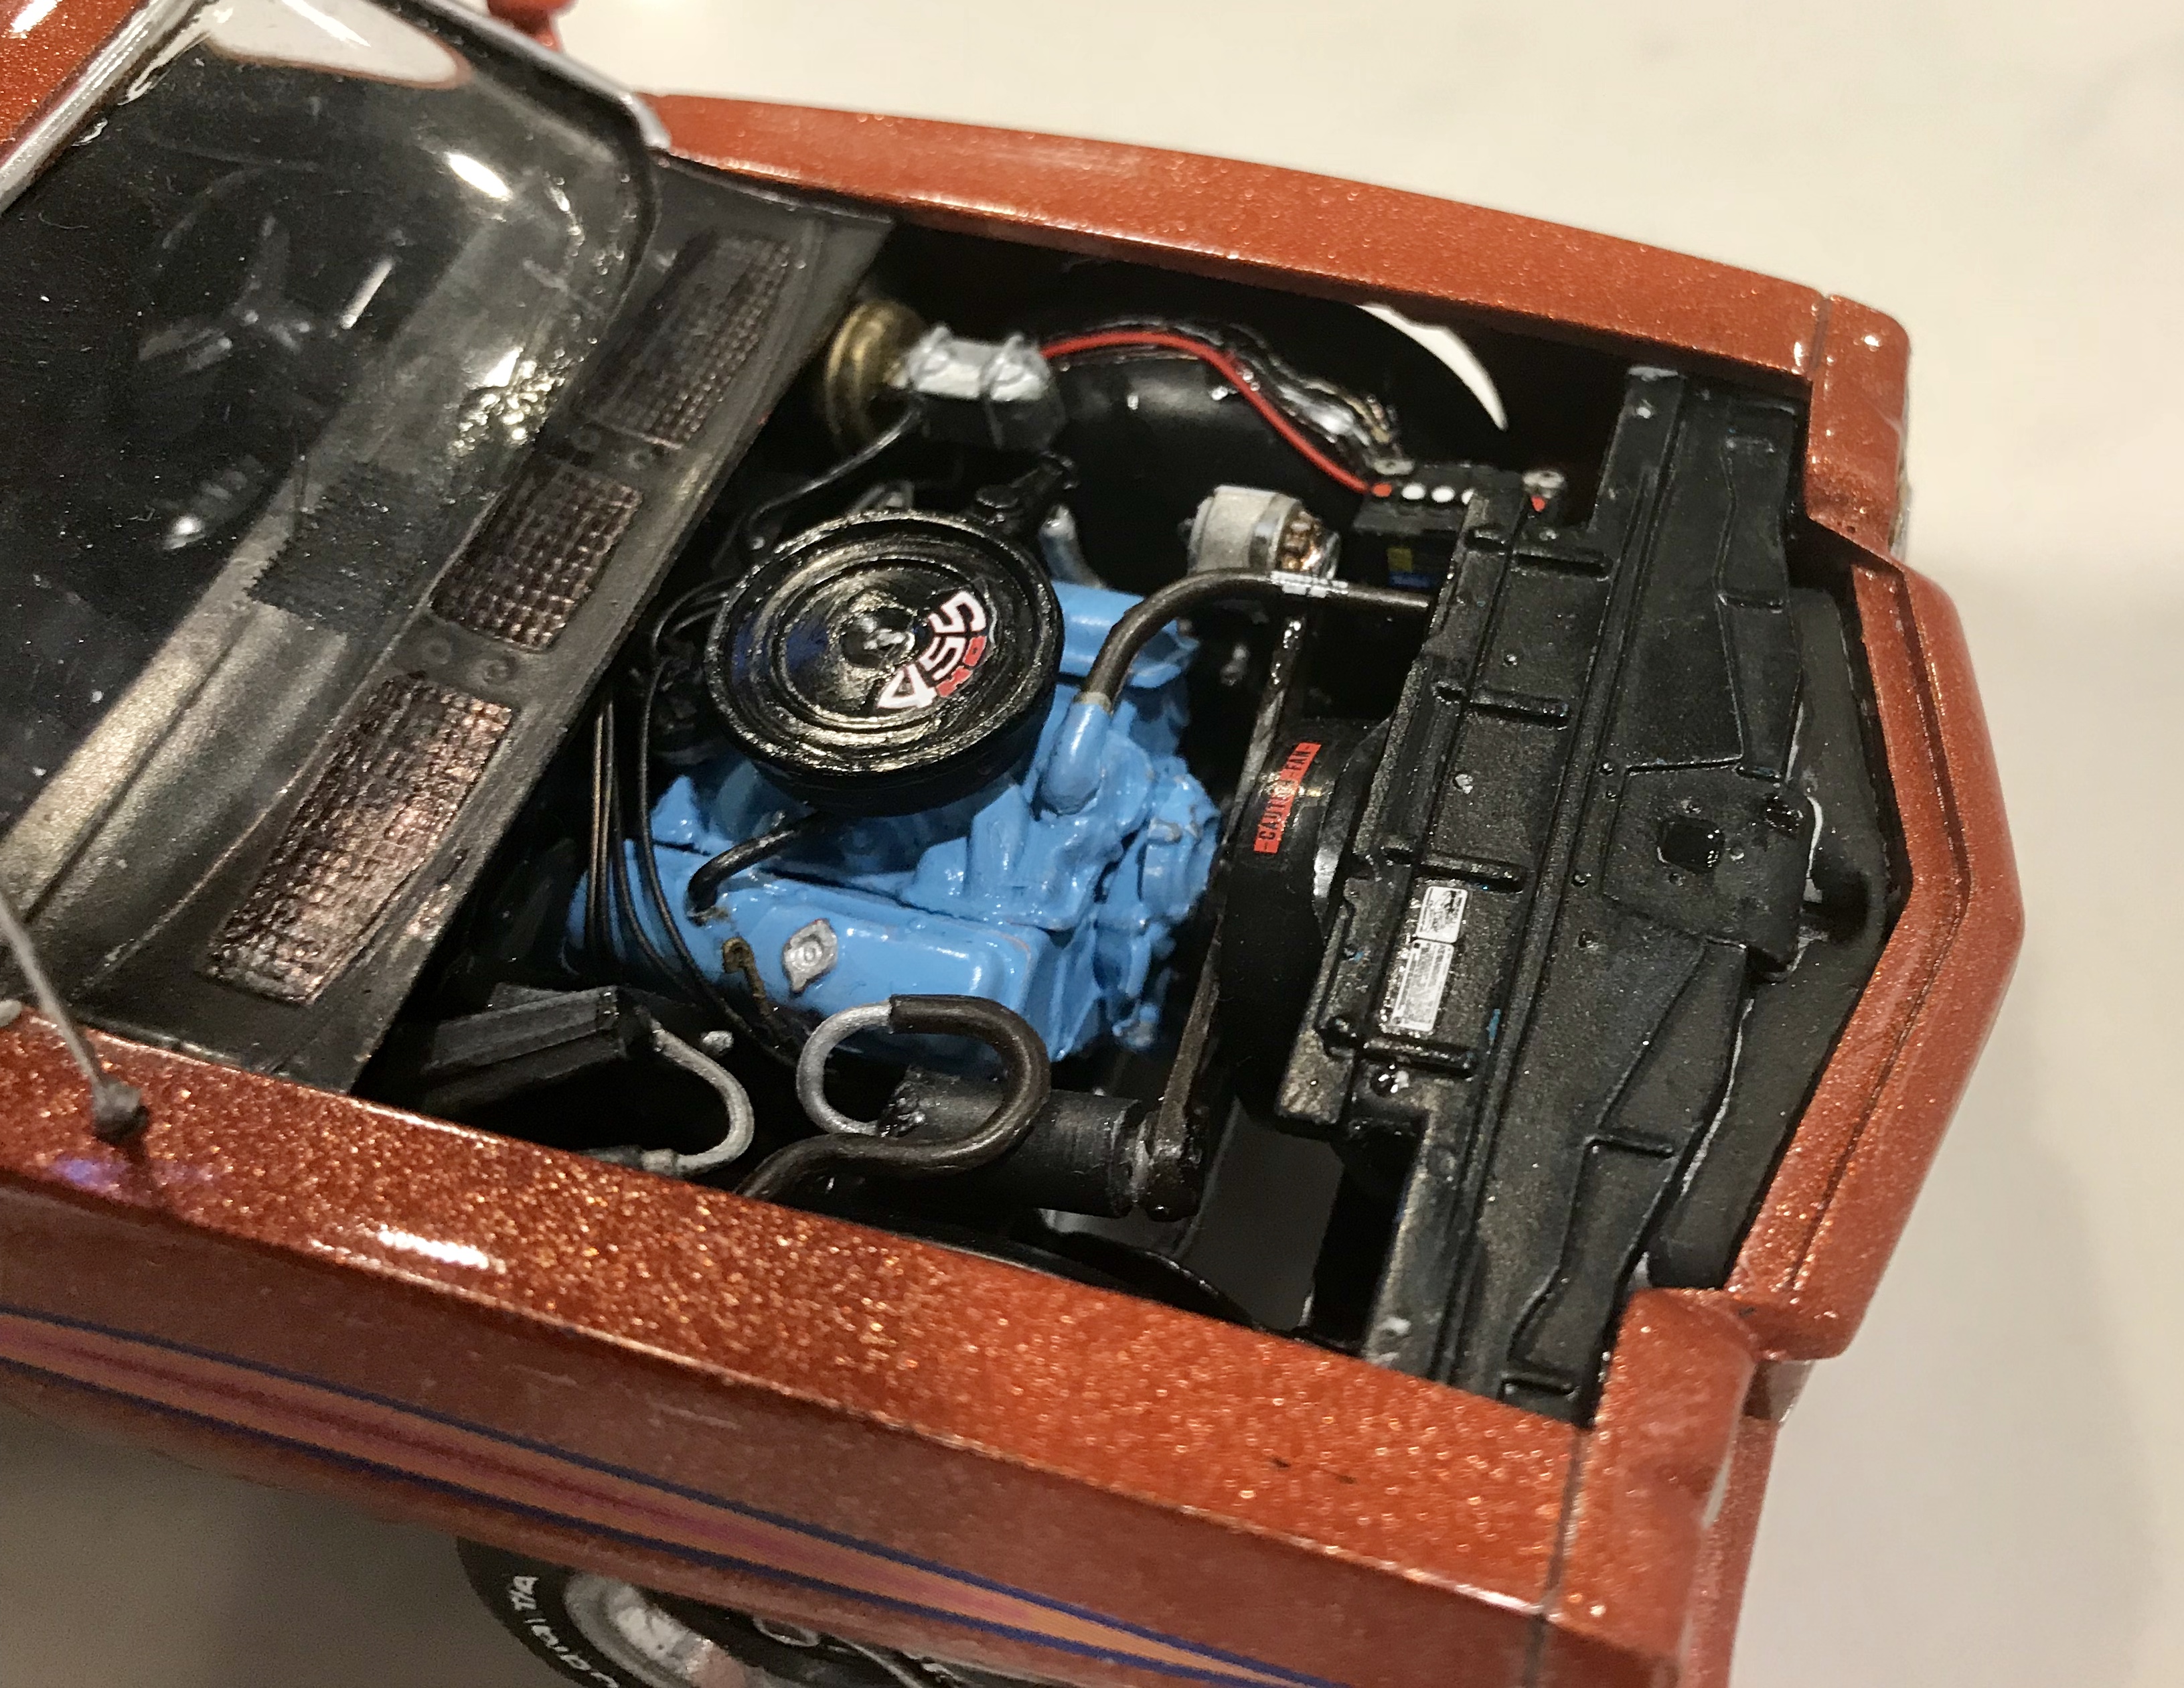
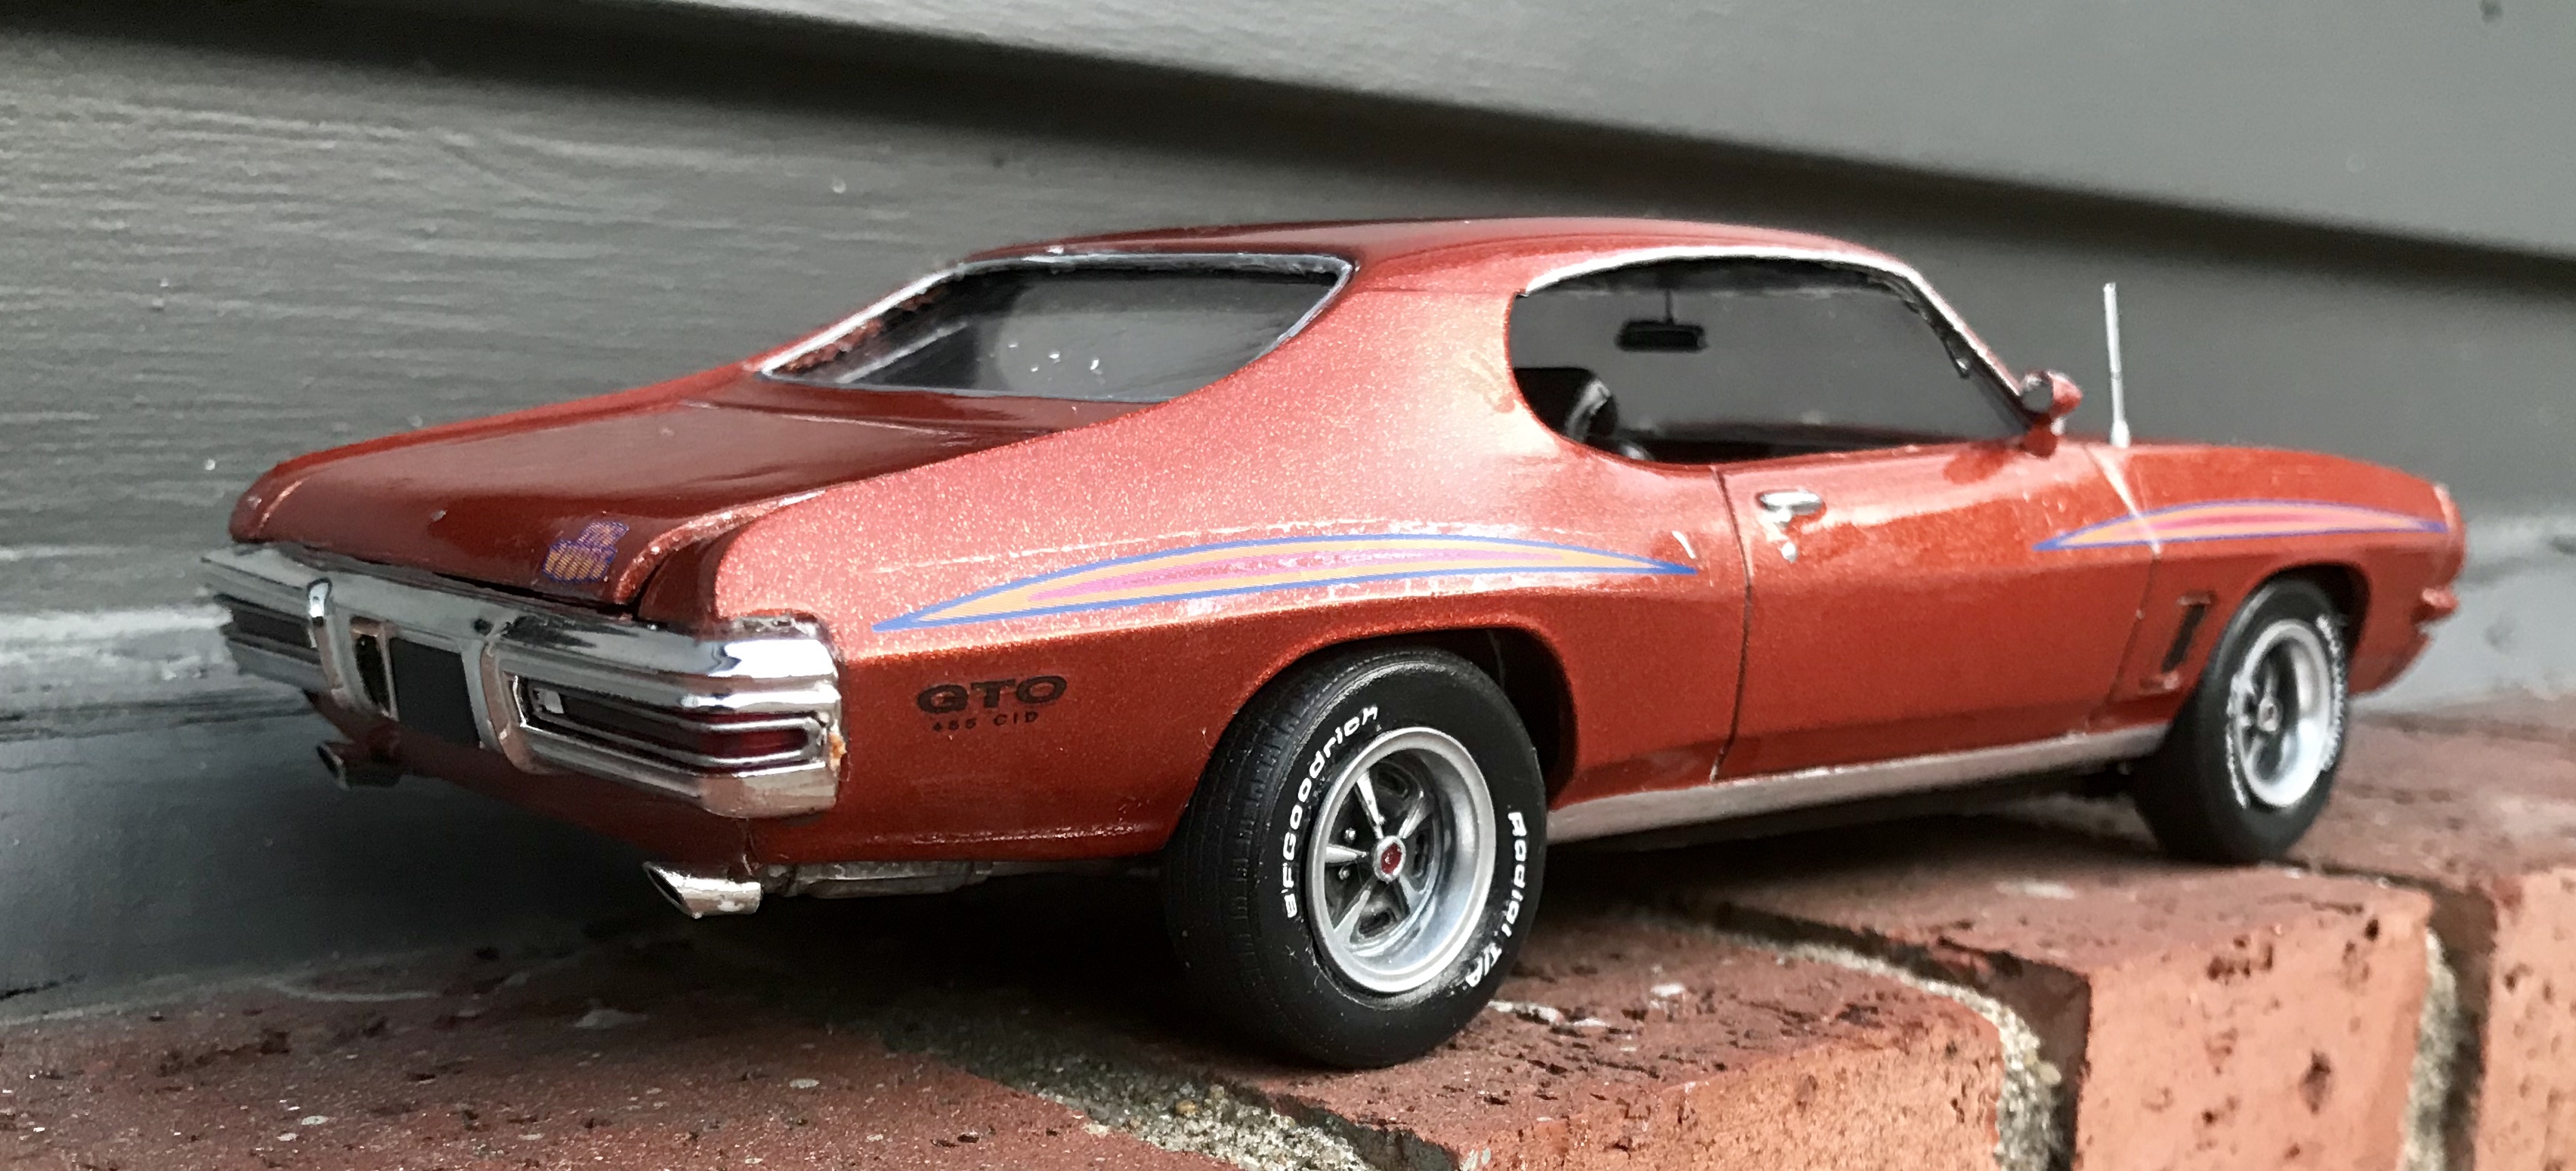
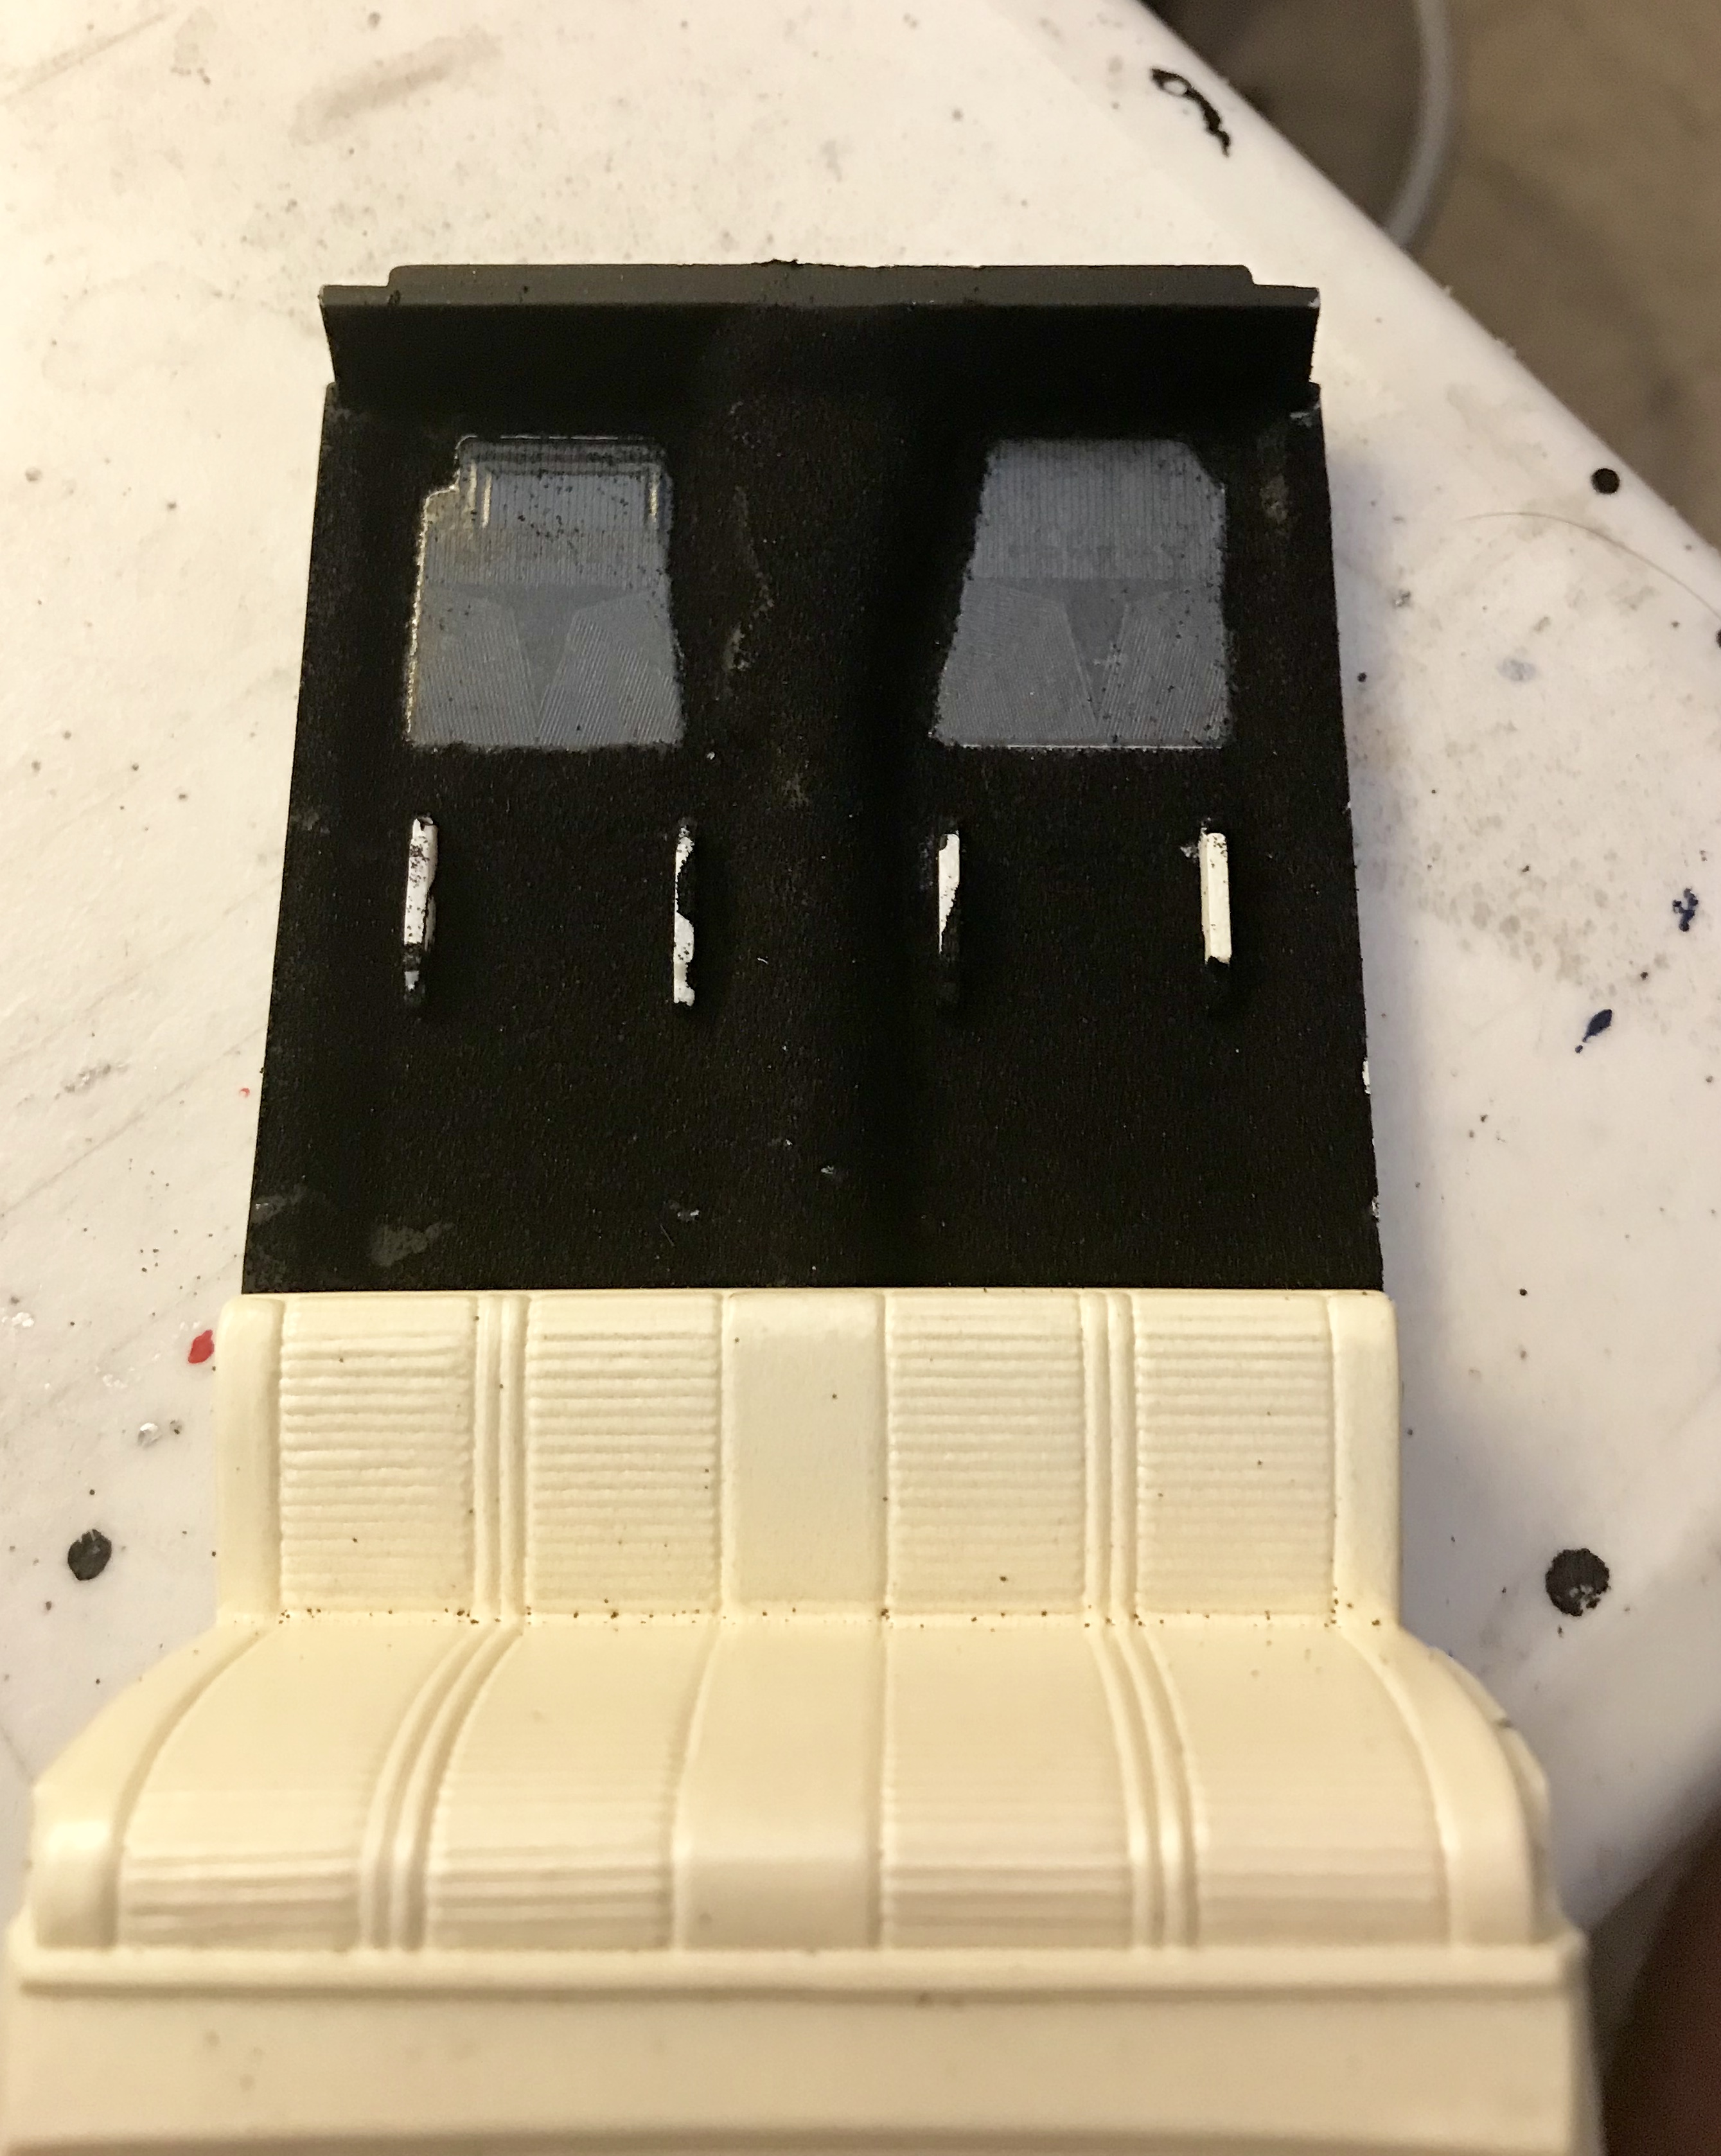
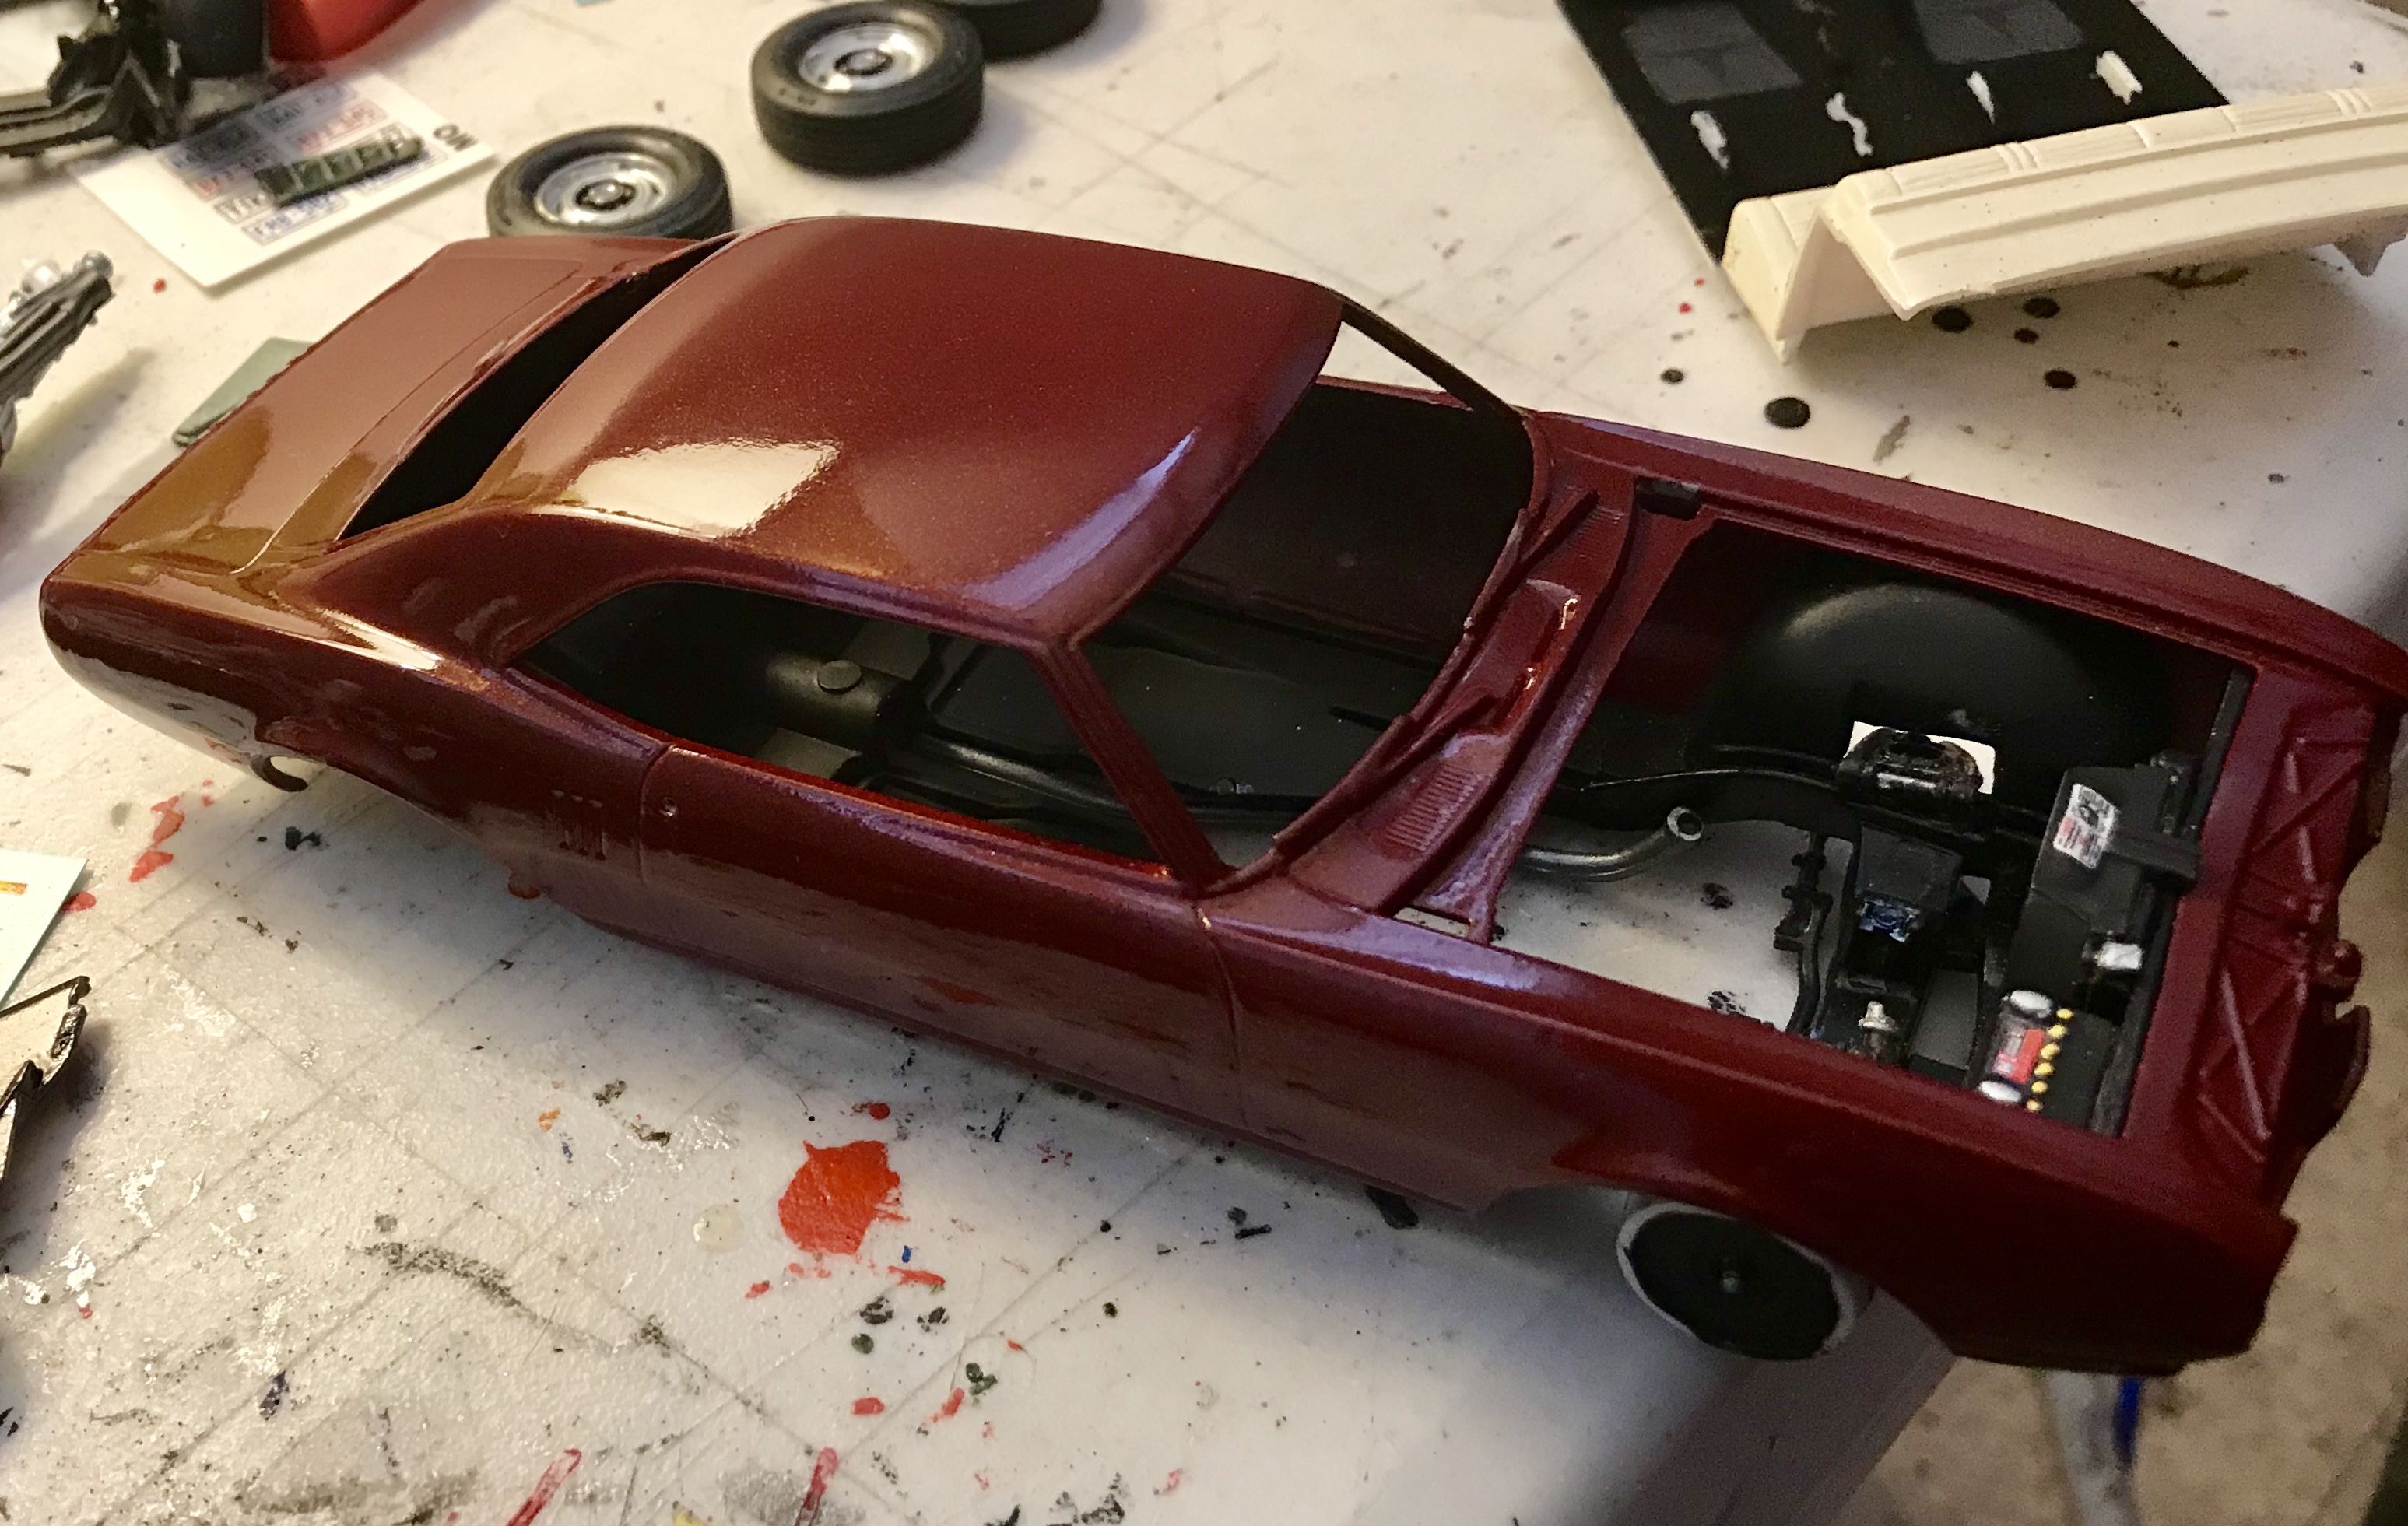
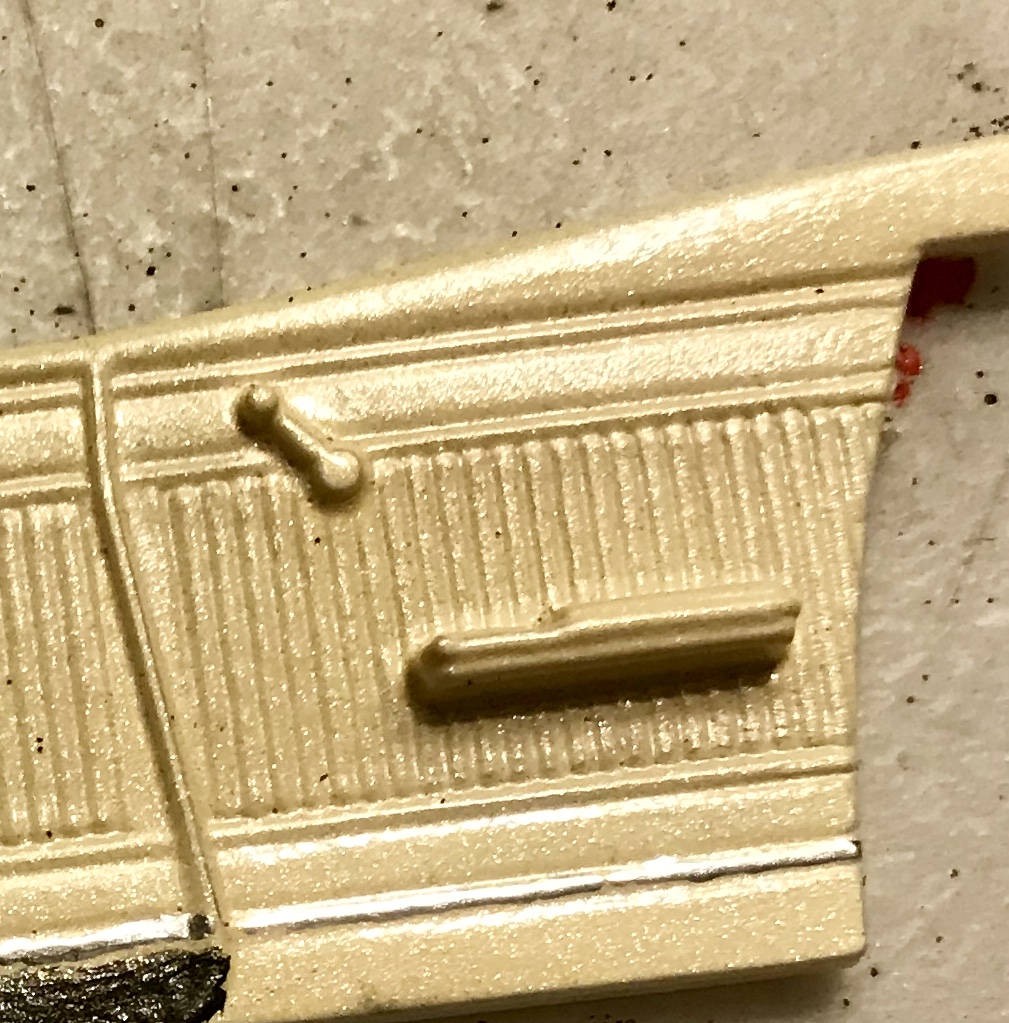
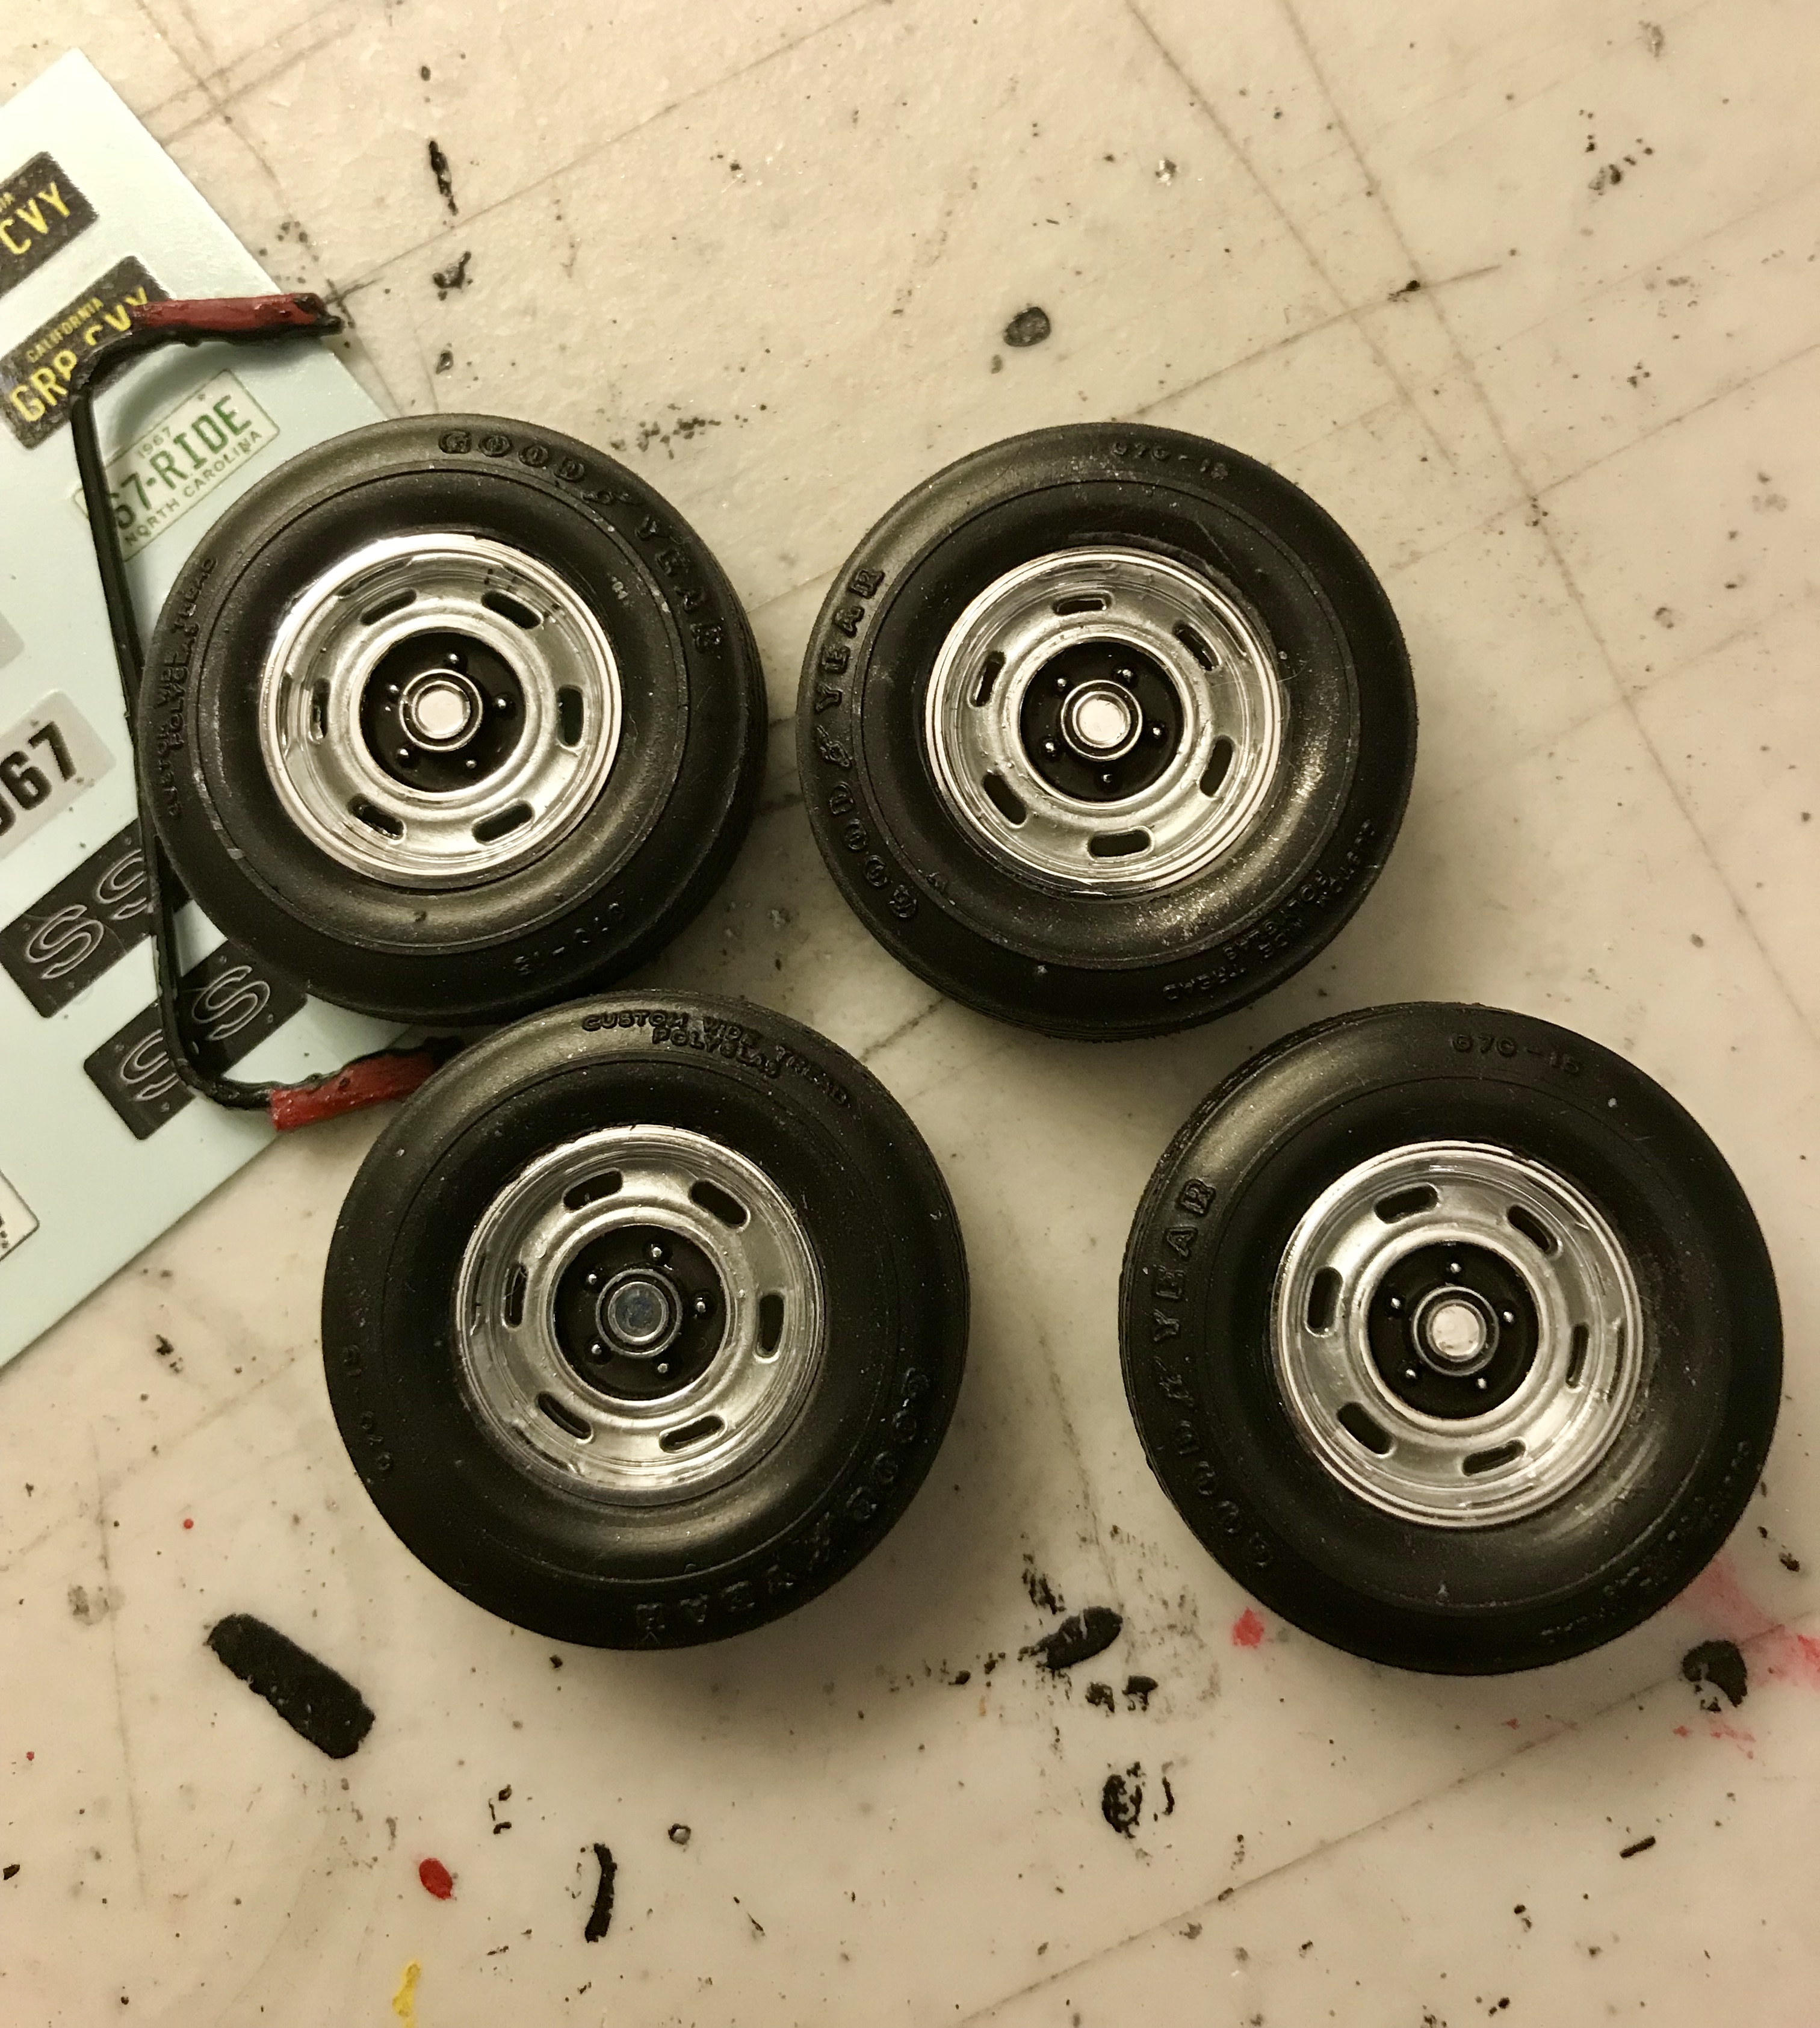
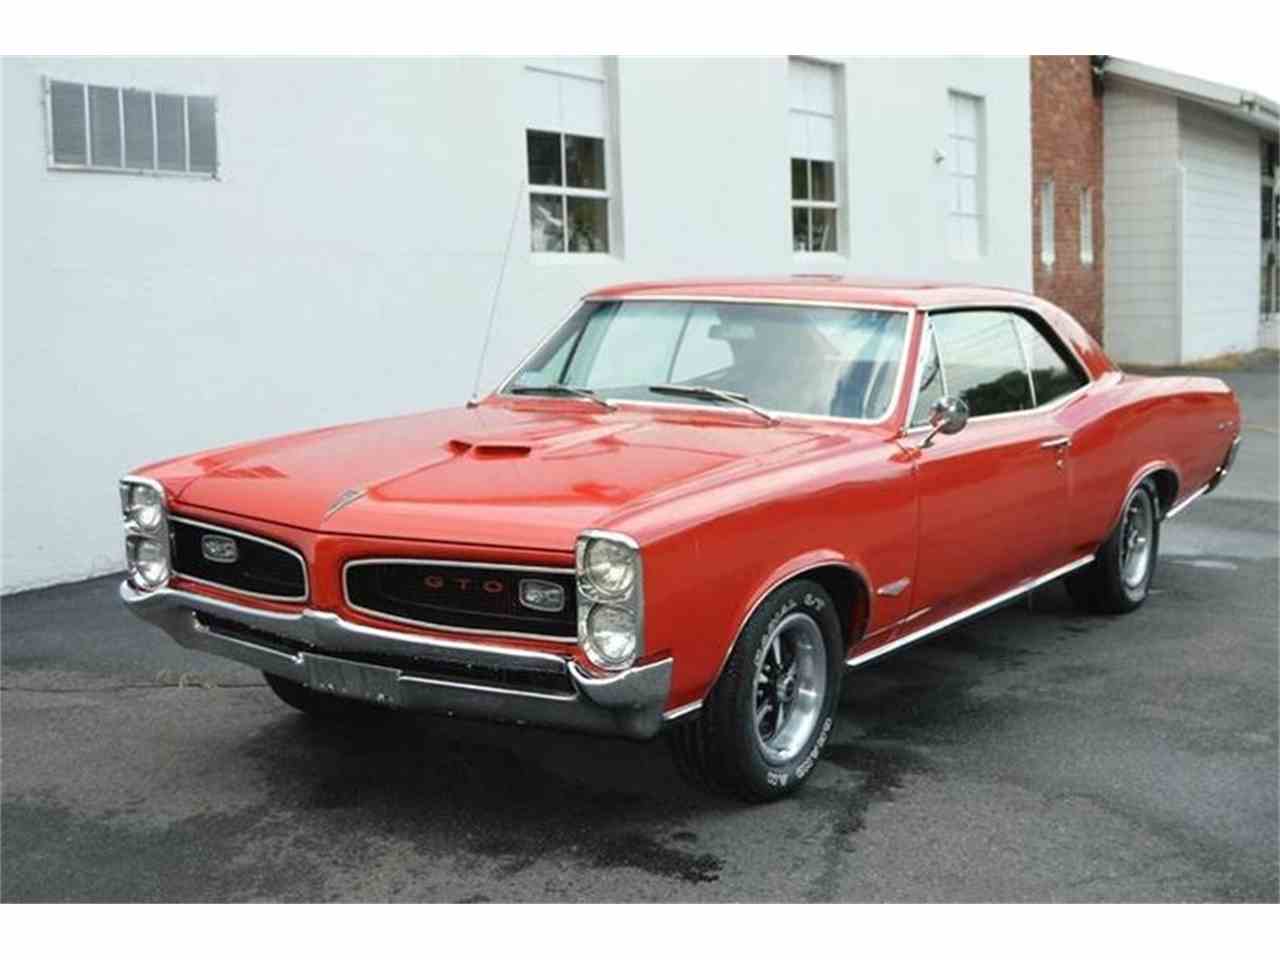
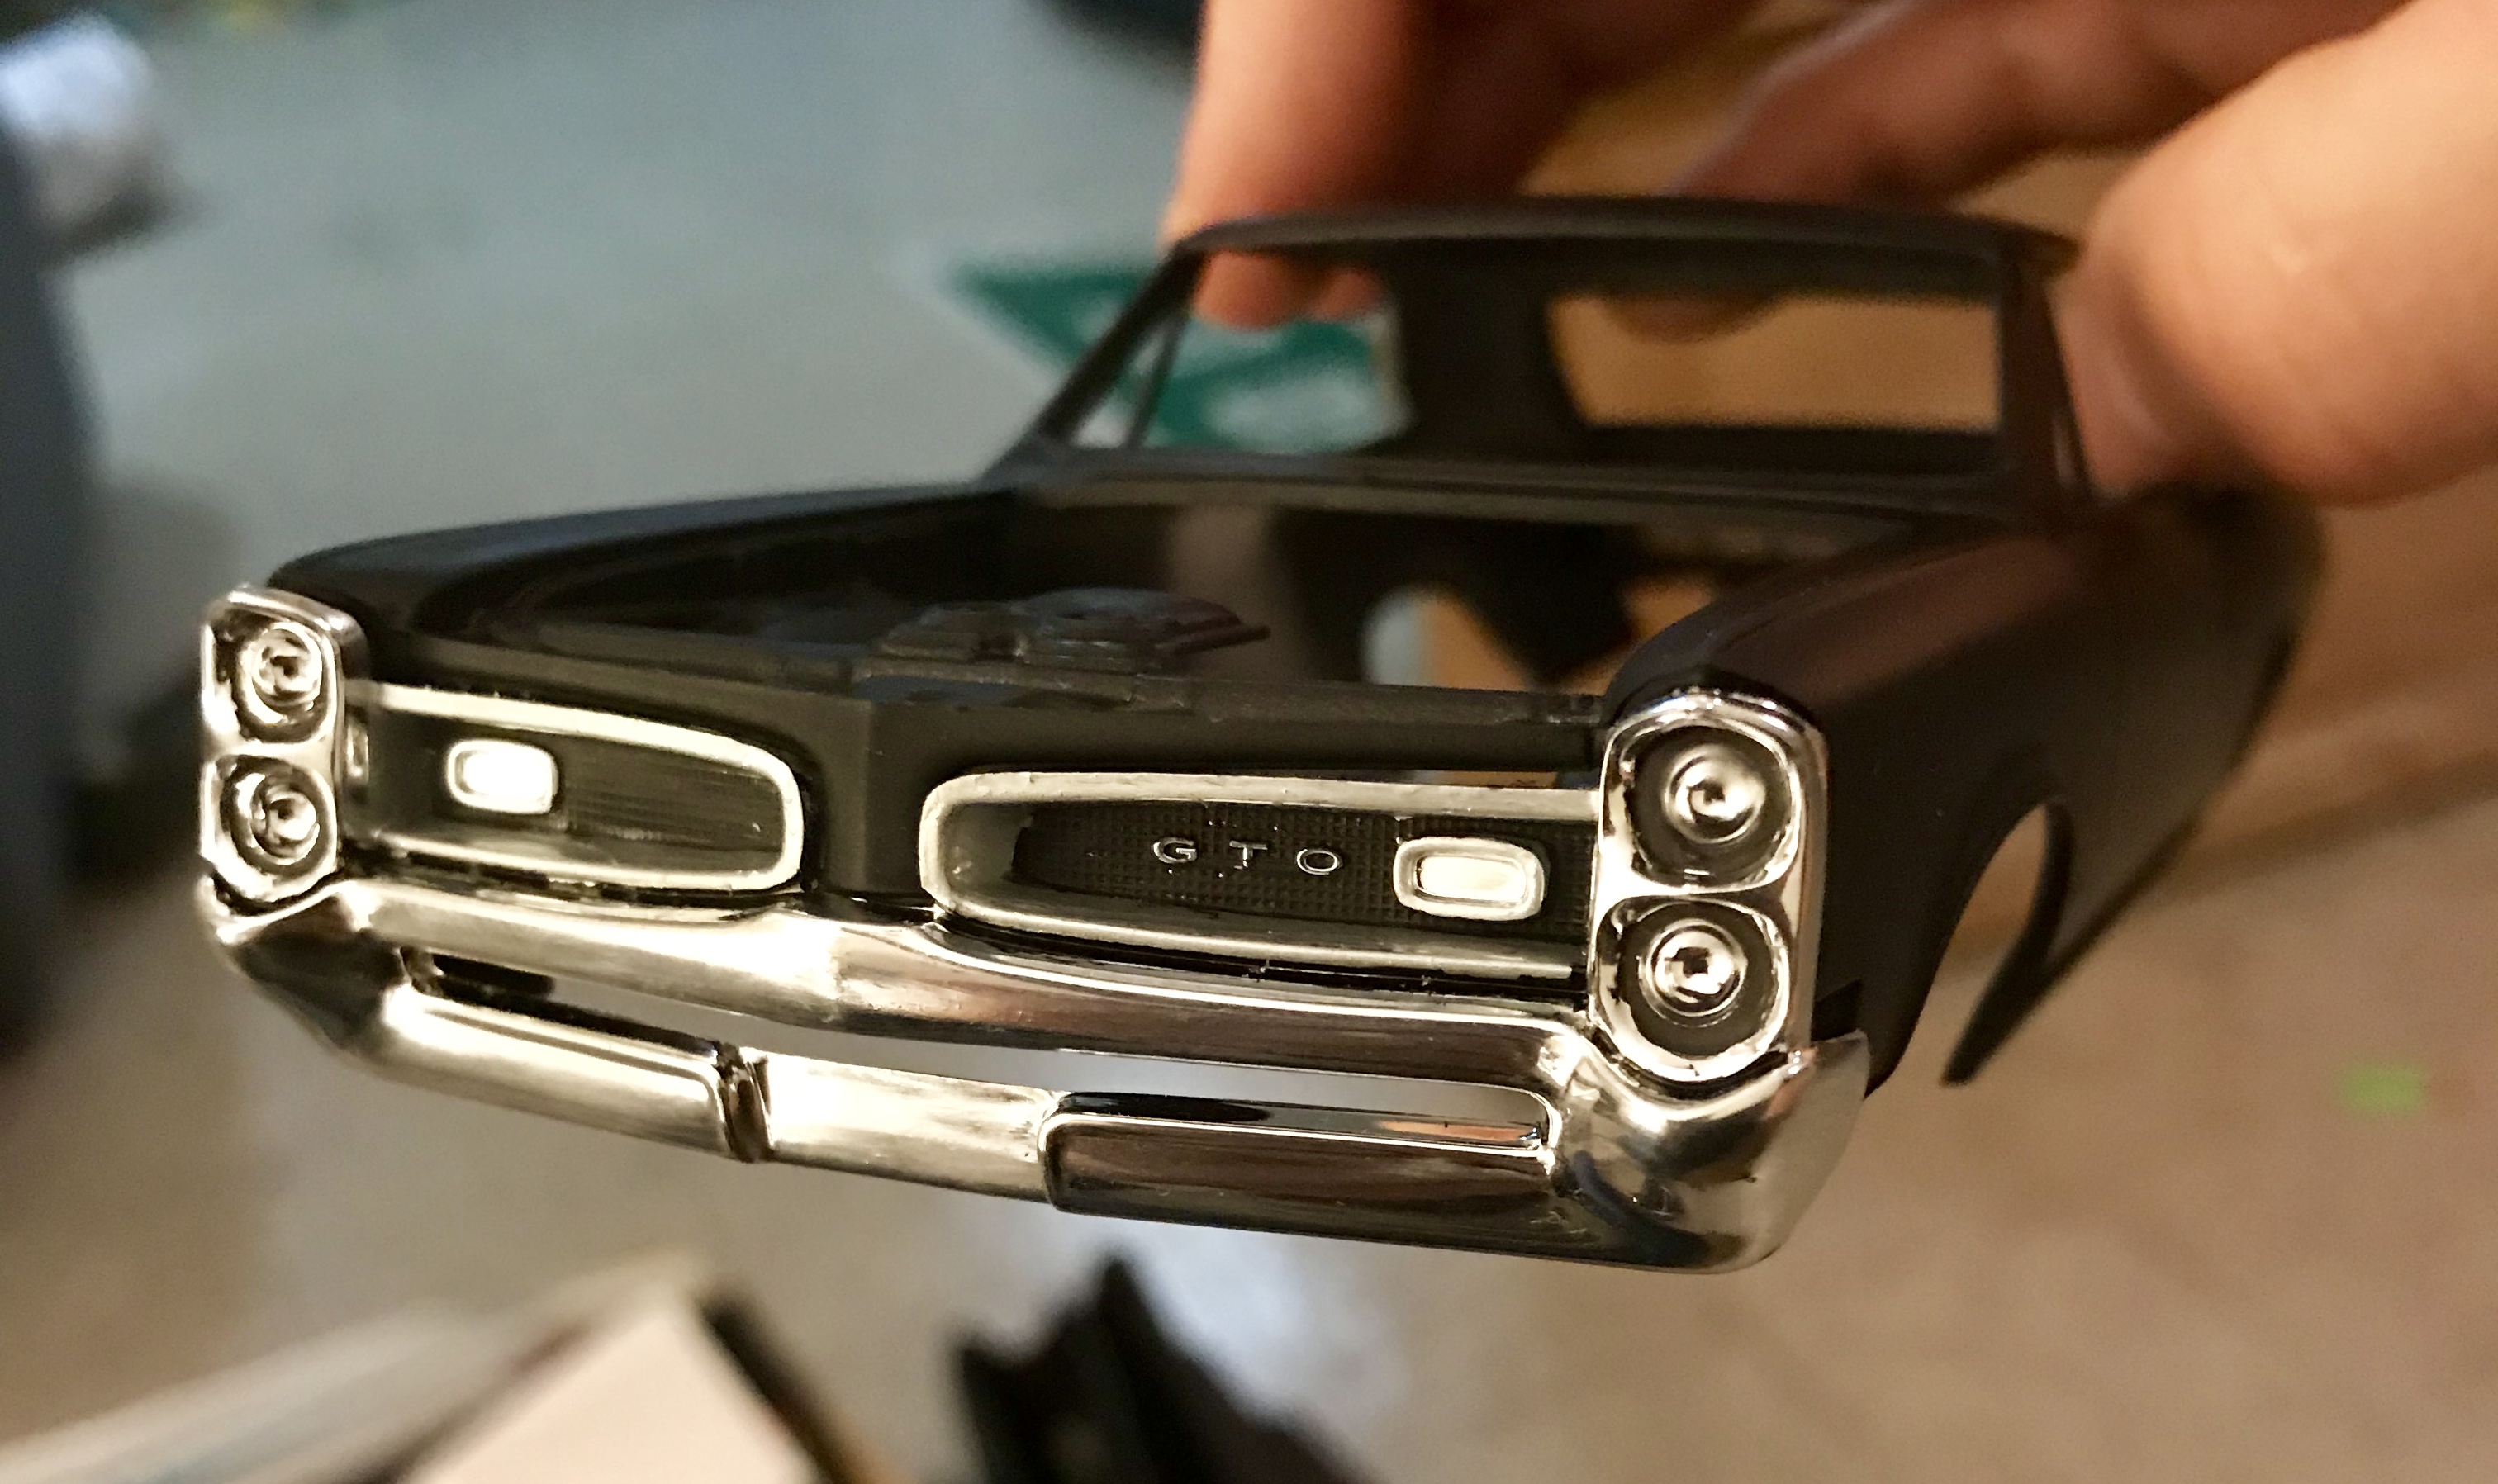
I’m having a Poncho party.... I bought the re-release of the Revell 66 GTO and decided to tear my 68 Firebird apart and rebuild it. I haven’t posted any WIPs in a while, so what the heck. This will be a stock build with some added details as per usual. The only GTO I’ve built is my big project to turn the MPC 72 into something decent, and that was for a friend, so I’m happy to have a goat on the shelf. First off, I had a real struggle to figure out what colors this thing will be. I did have a can of Duplicolor silver blue... it might not be a perfect shade, but it looks pretty close for my engine block: (sorry for the late night poorly lit basement photo) Before I decided on an exterior color, I figured out an interior scheme. In the Pontiac Sales brochure, they listed their white interior as Parchment. However, to me, parchment is off-white. I had a can of Krylon Ivory that I just used on my 67 Impala, so I figured I could use that for the vinyl. Then, today, I had another idea...a lot of these 60s vinyl interiors had a pearly metallic sheen, including the 66 GTO. I have an Infiniti pearl white paint system, and the pearl is a separate midcoat after you lay the color down, so I gave that a shot. Again, poor lighting, but I like the effect: I also detailed my wheels, and chose some other tires. I love the pad printed redlines in the kit, but they are Revell’s tiny tires that get put into too many of their muscle car kits, and just look lost on a car this long. I dug around in the parts box, and really liked these with the stock wheels. They have a good 60s look, are wider and bigger circumference to fill the wheel well out better. They are from the AMT 70 Monte Carlo. I thought I had my exterior choice whittled do maroon or midnight blue. I chose maroon for the 68 Firebird, so midnight blue it is.... until doing final research to confirm my choice, I noticed something. Using a brighter color for demonstration, look in between the grill and the bumper: It’s body color. This kit has the whole grill/bumper/headlights as one piece, making it difficult thing to add body color in that tiny space. I also went and checked builds of this kit, and didn’t see any that had that detail covered, so I wanted to get it done. Unfortunately, I don’t have any dark blue brush paint to match the spray I was going to use, and while I have sprayed paint into the lid and dipped a brush in before, the can is pretty low, so I didn’t think I’d have enough. The only paint that I had a matching jar of was good old black. I’m sure glad I decided to go with that, because once I got the first coat on the body and held it against the tires and a part of the interior, I was really happy. I also painted little black circles in each headlight bezel. I will use a toothpick to scratch some off and thin them out, but the point is to make a little shadow at the edge of the lens and give it a more realistic look. Also painted the grill surround steel: Wet sanding/polishing to come.
-
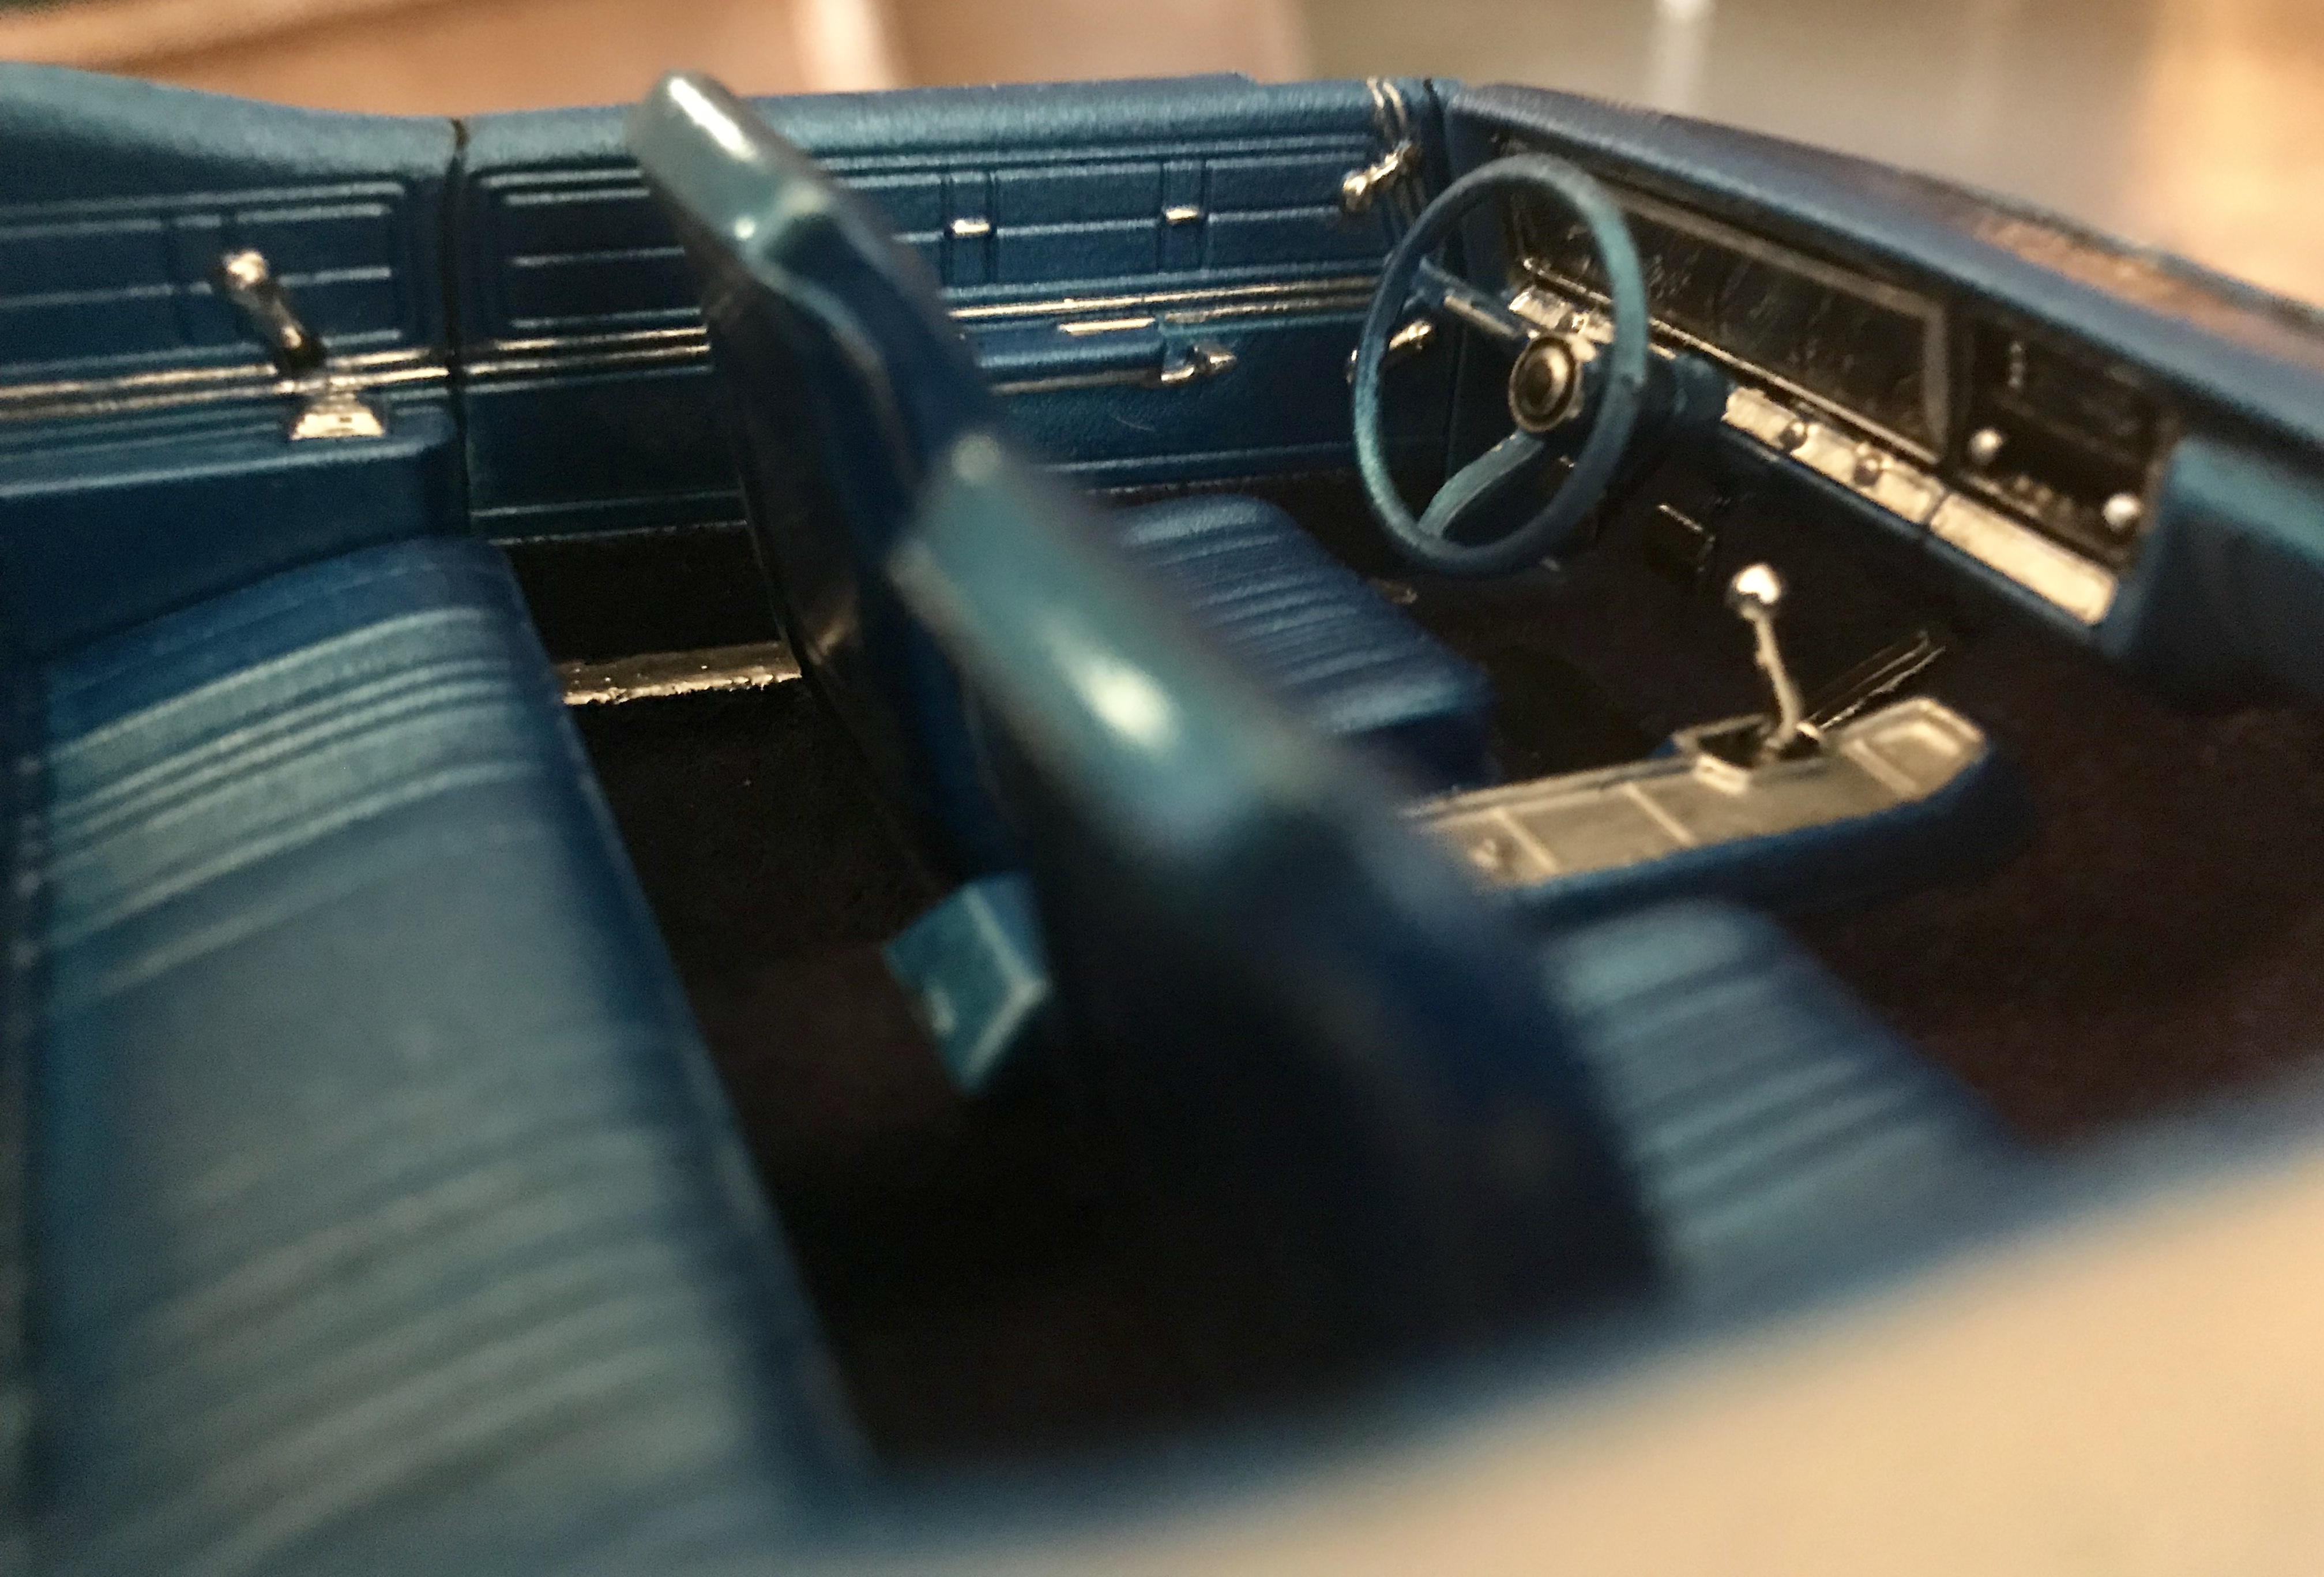
Interior is a Duplicolor paint called Bahama Blue, with Vallejo Prussian Blue painted over the black embossing powder to make the carpet.
-
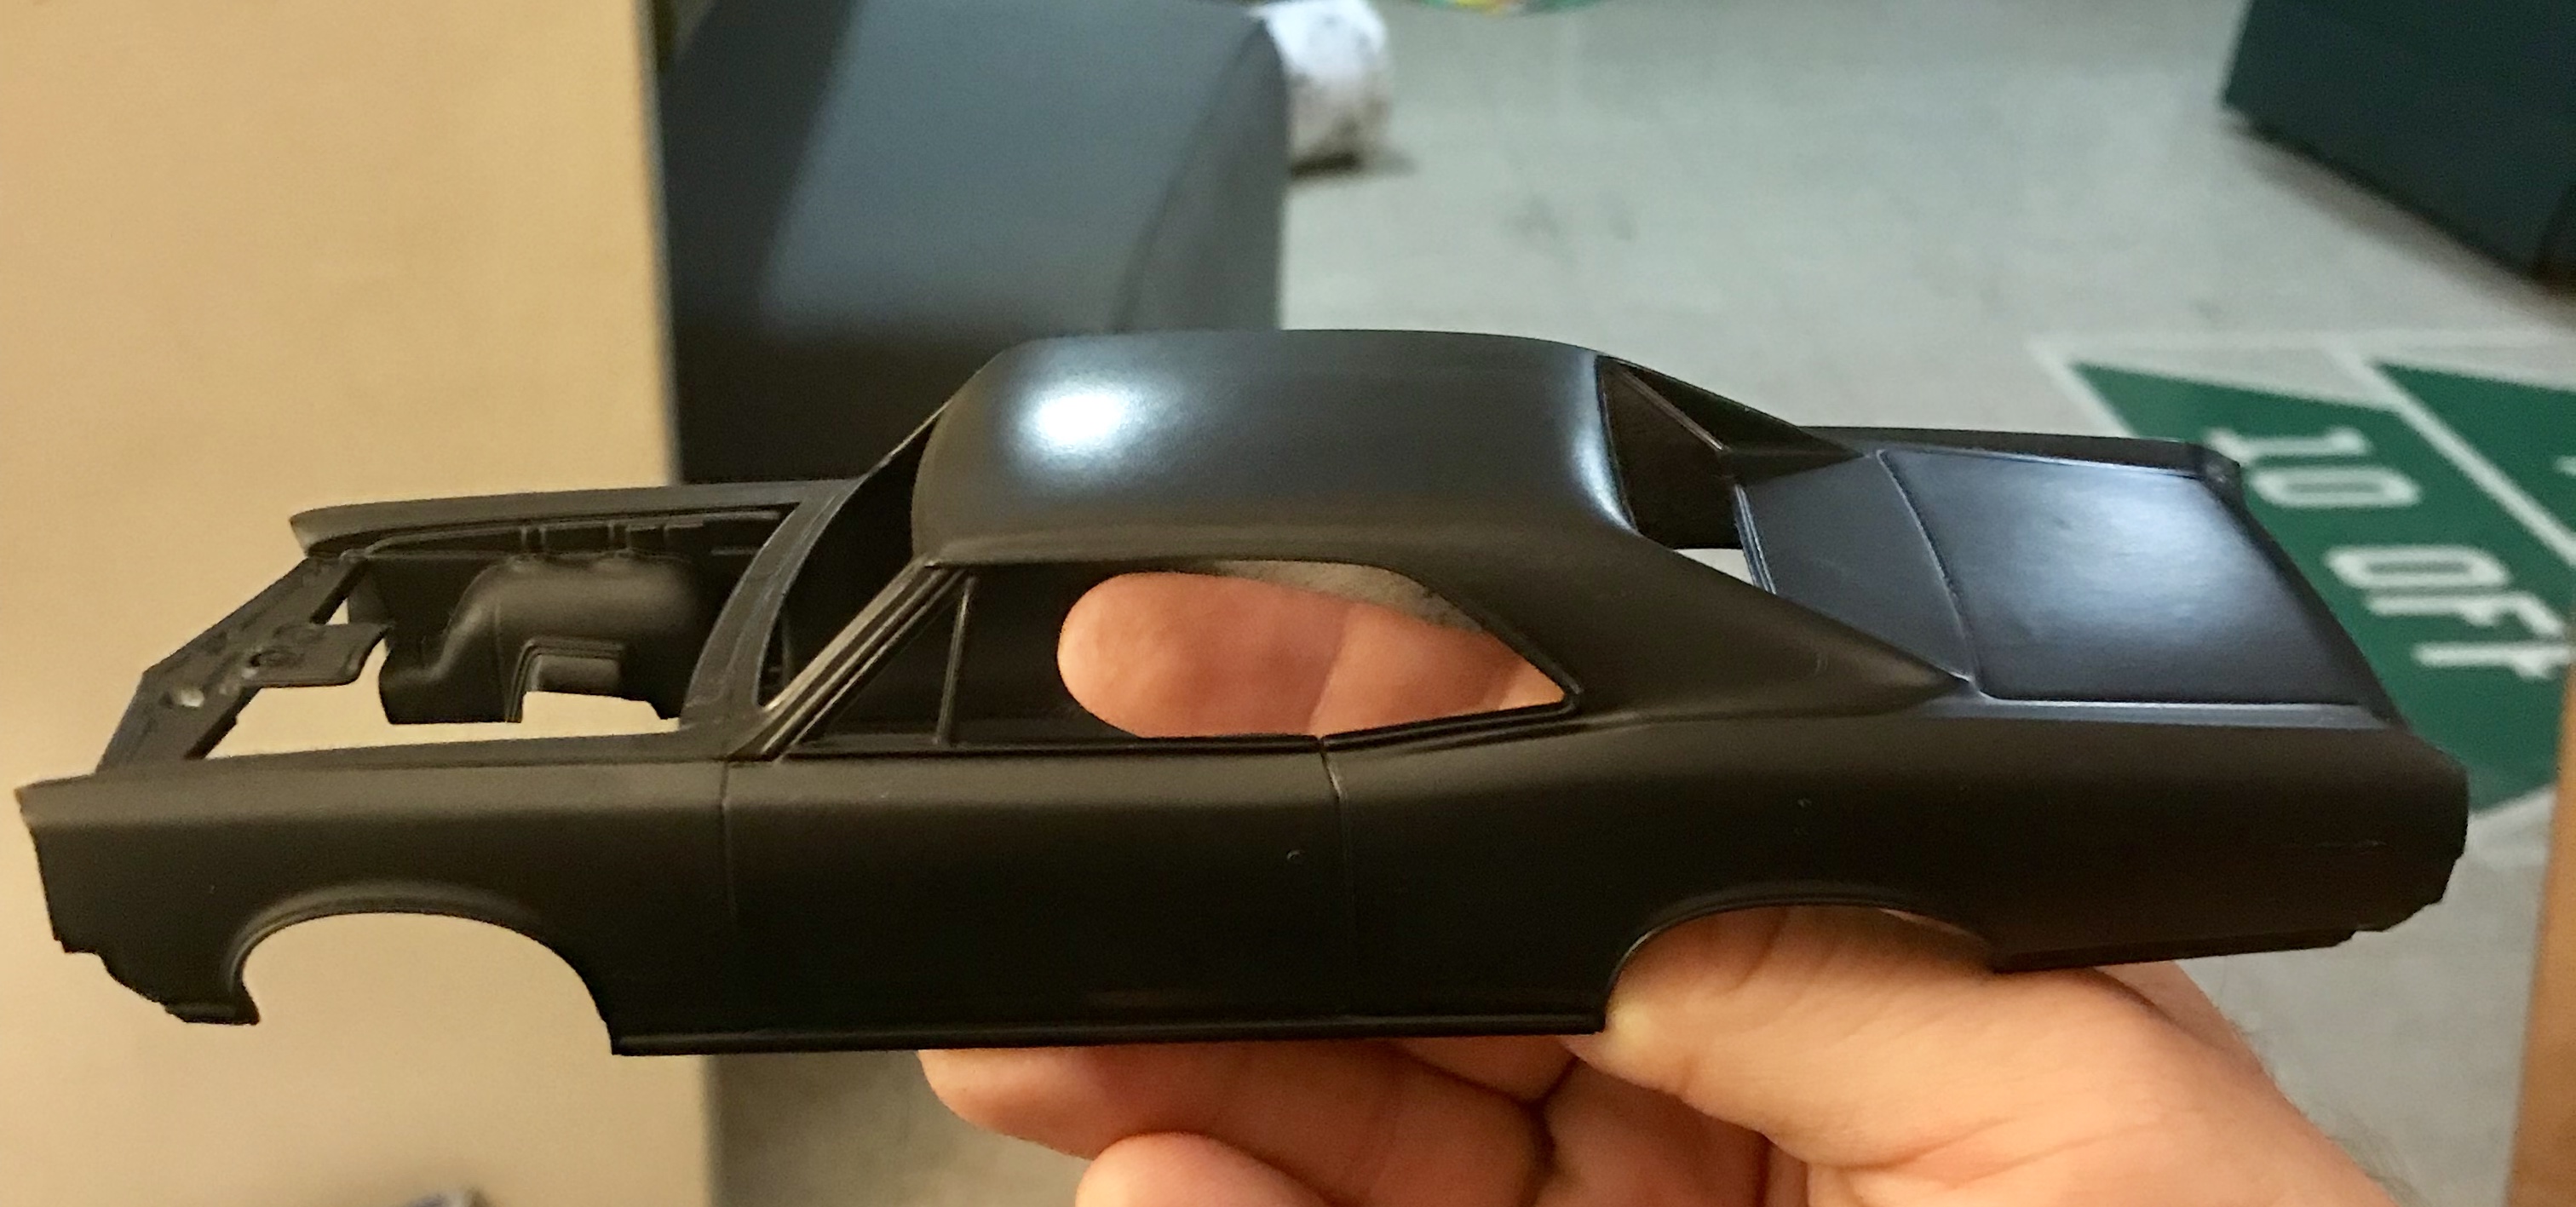
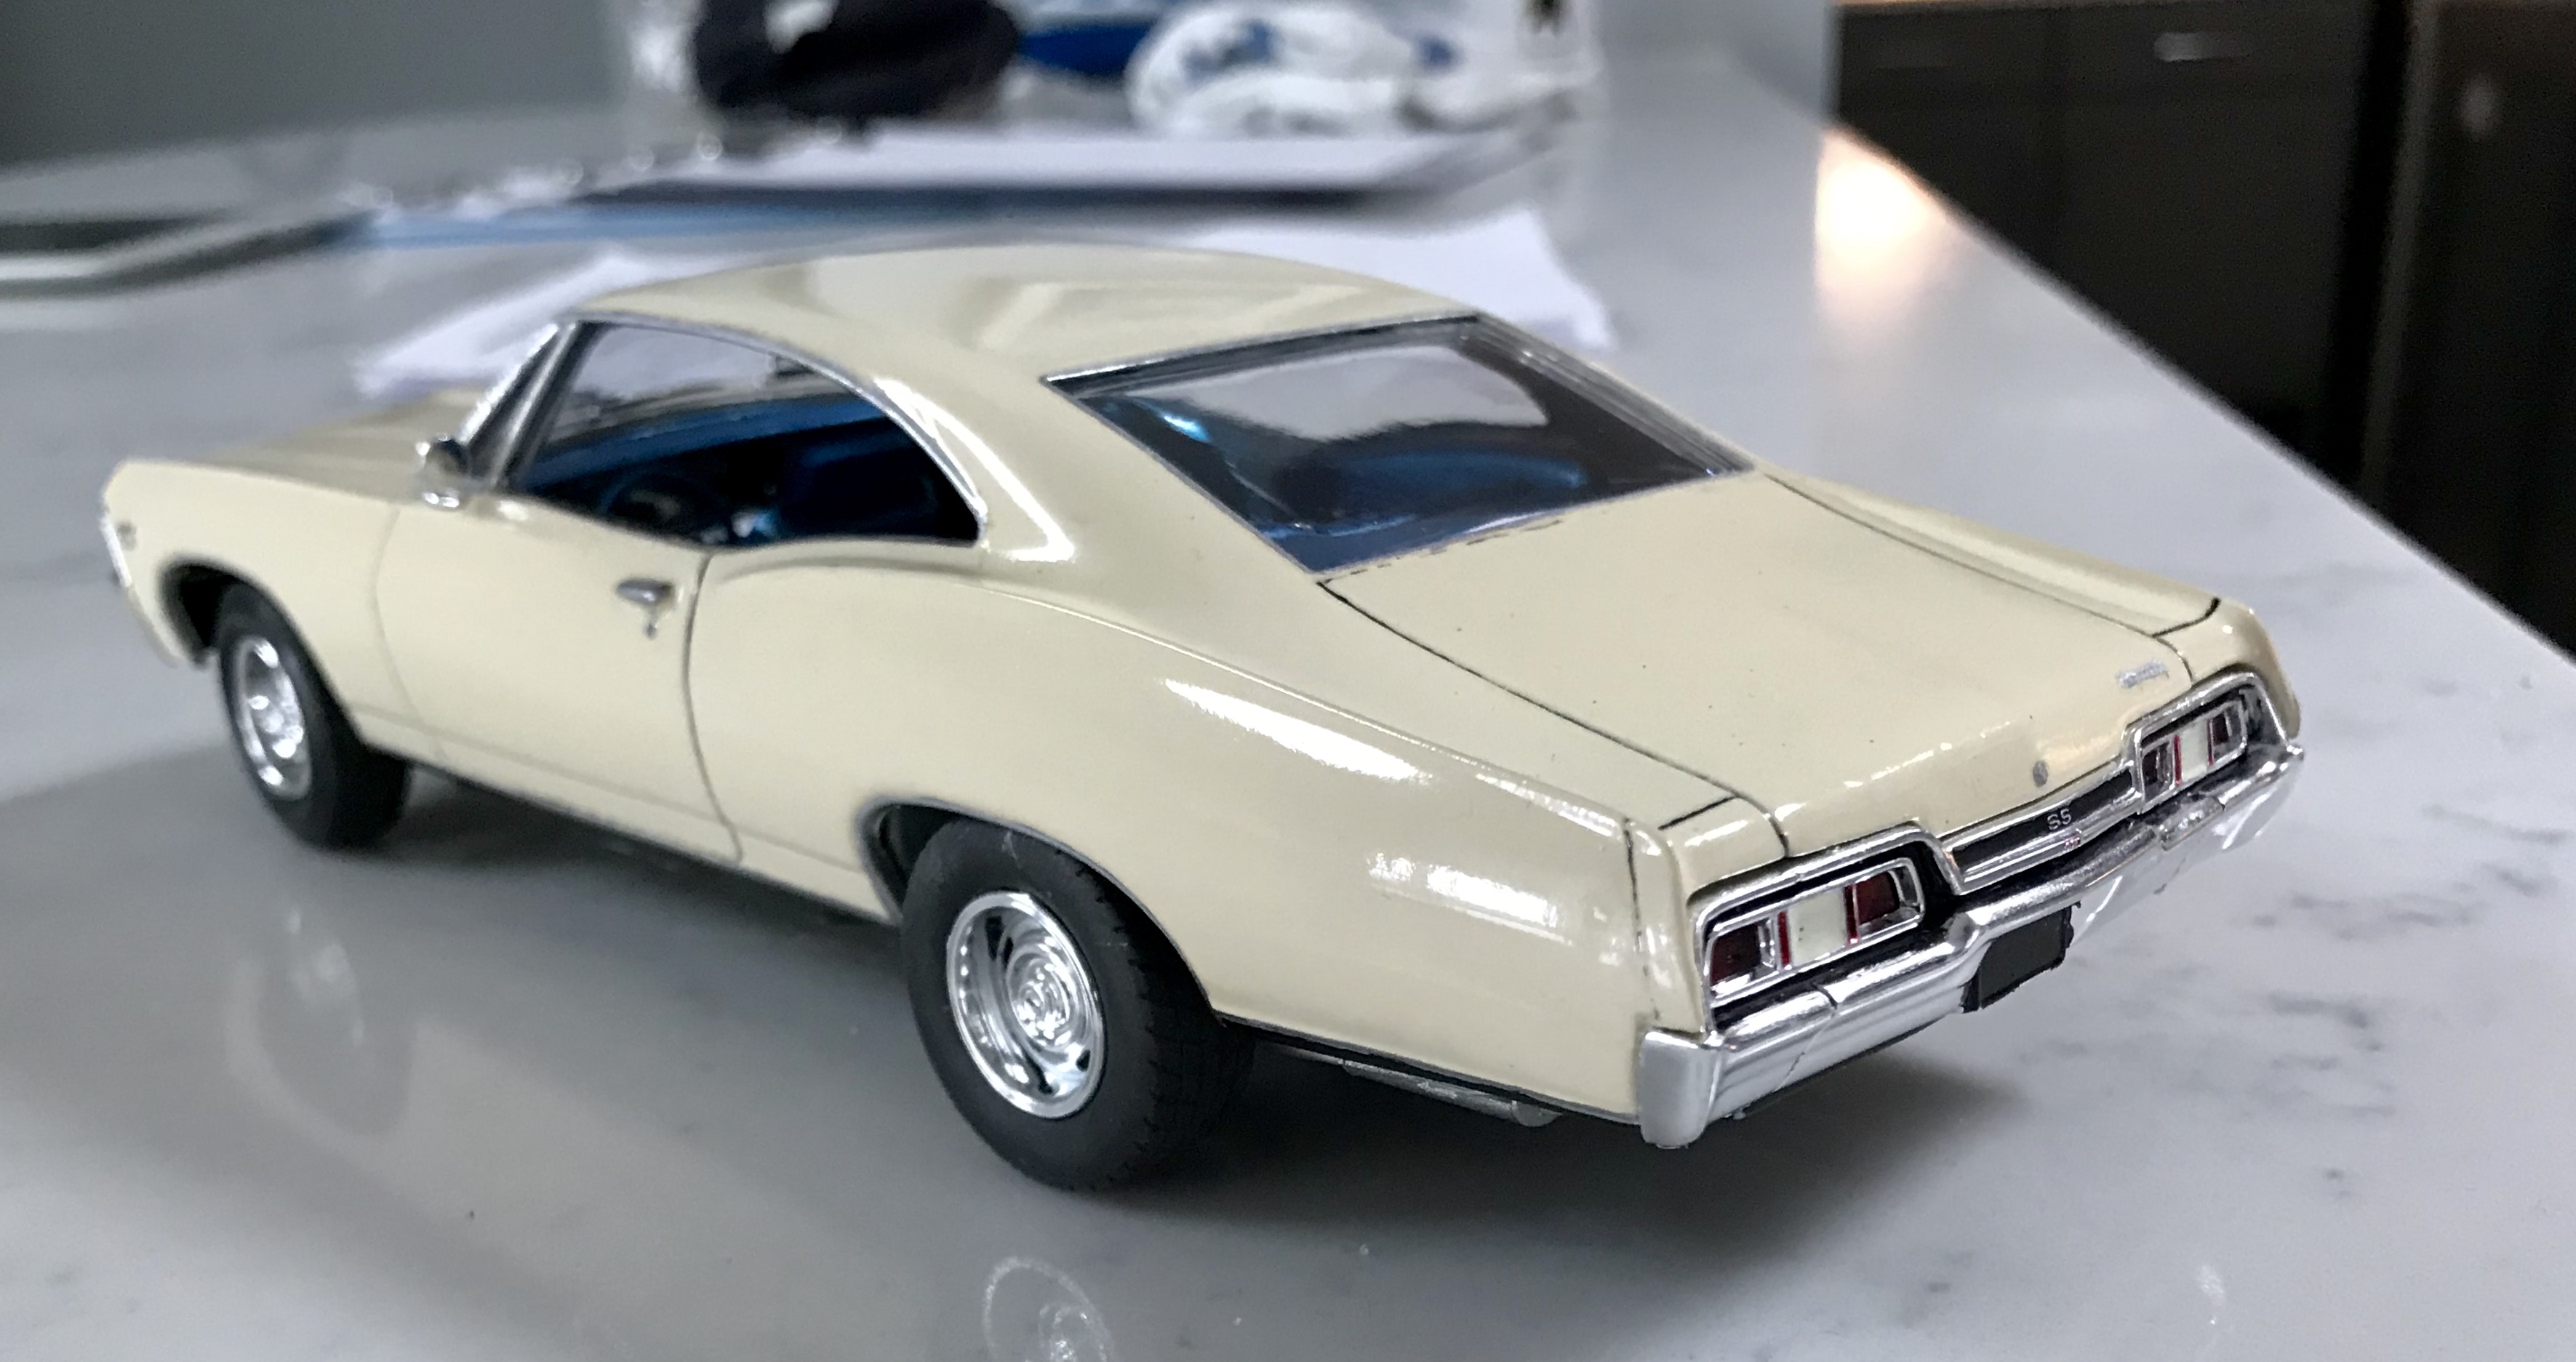
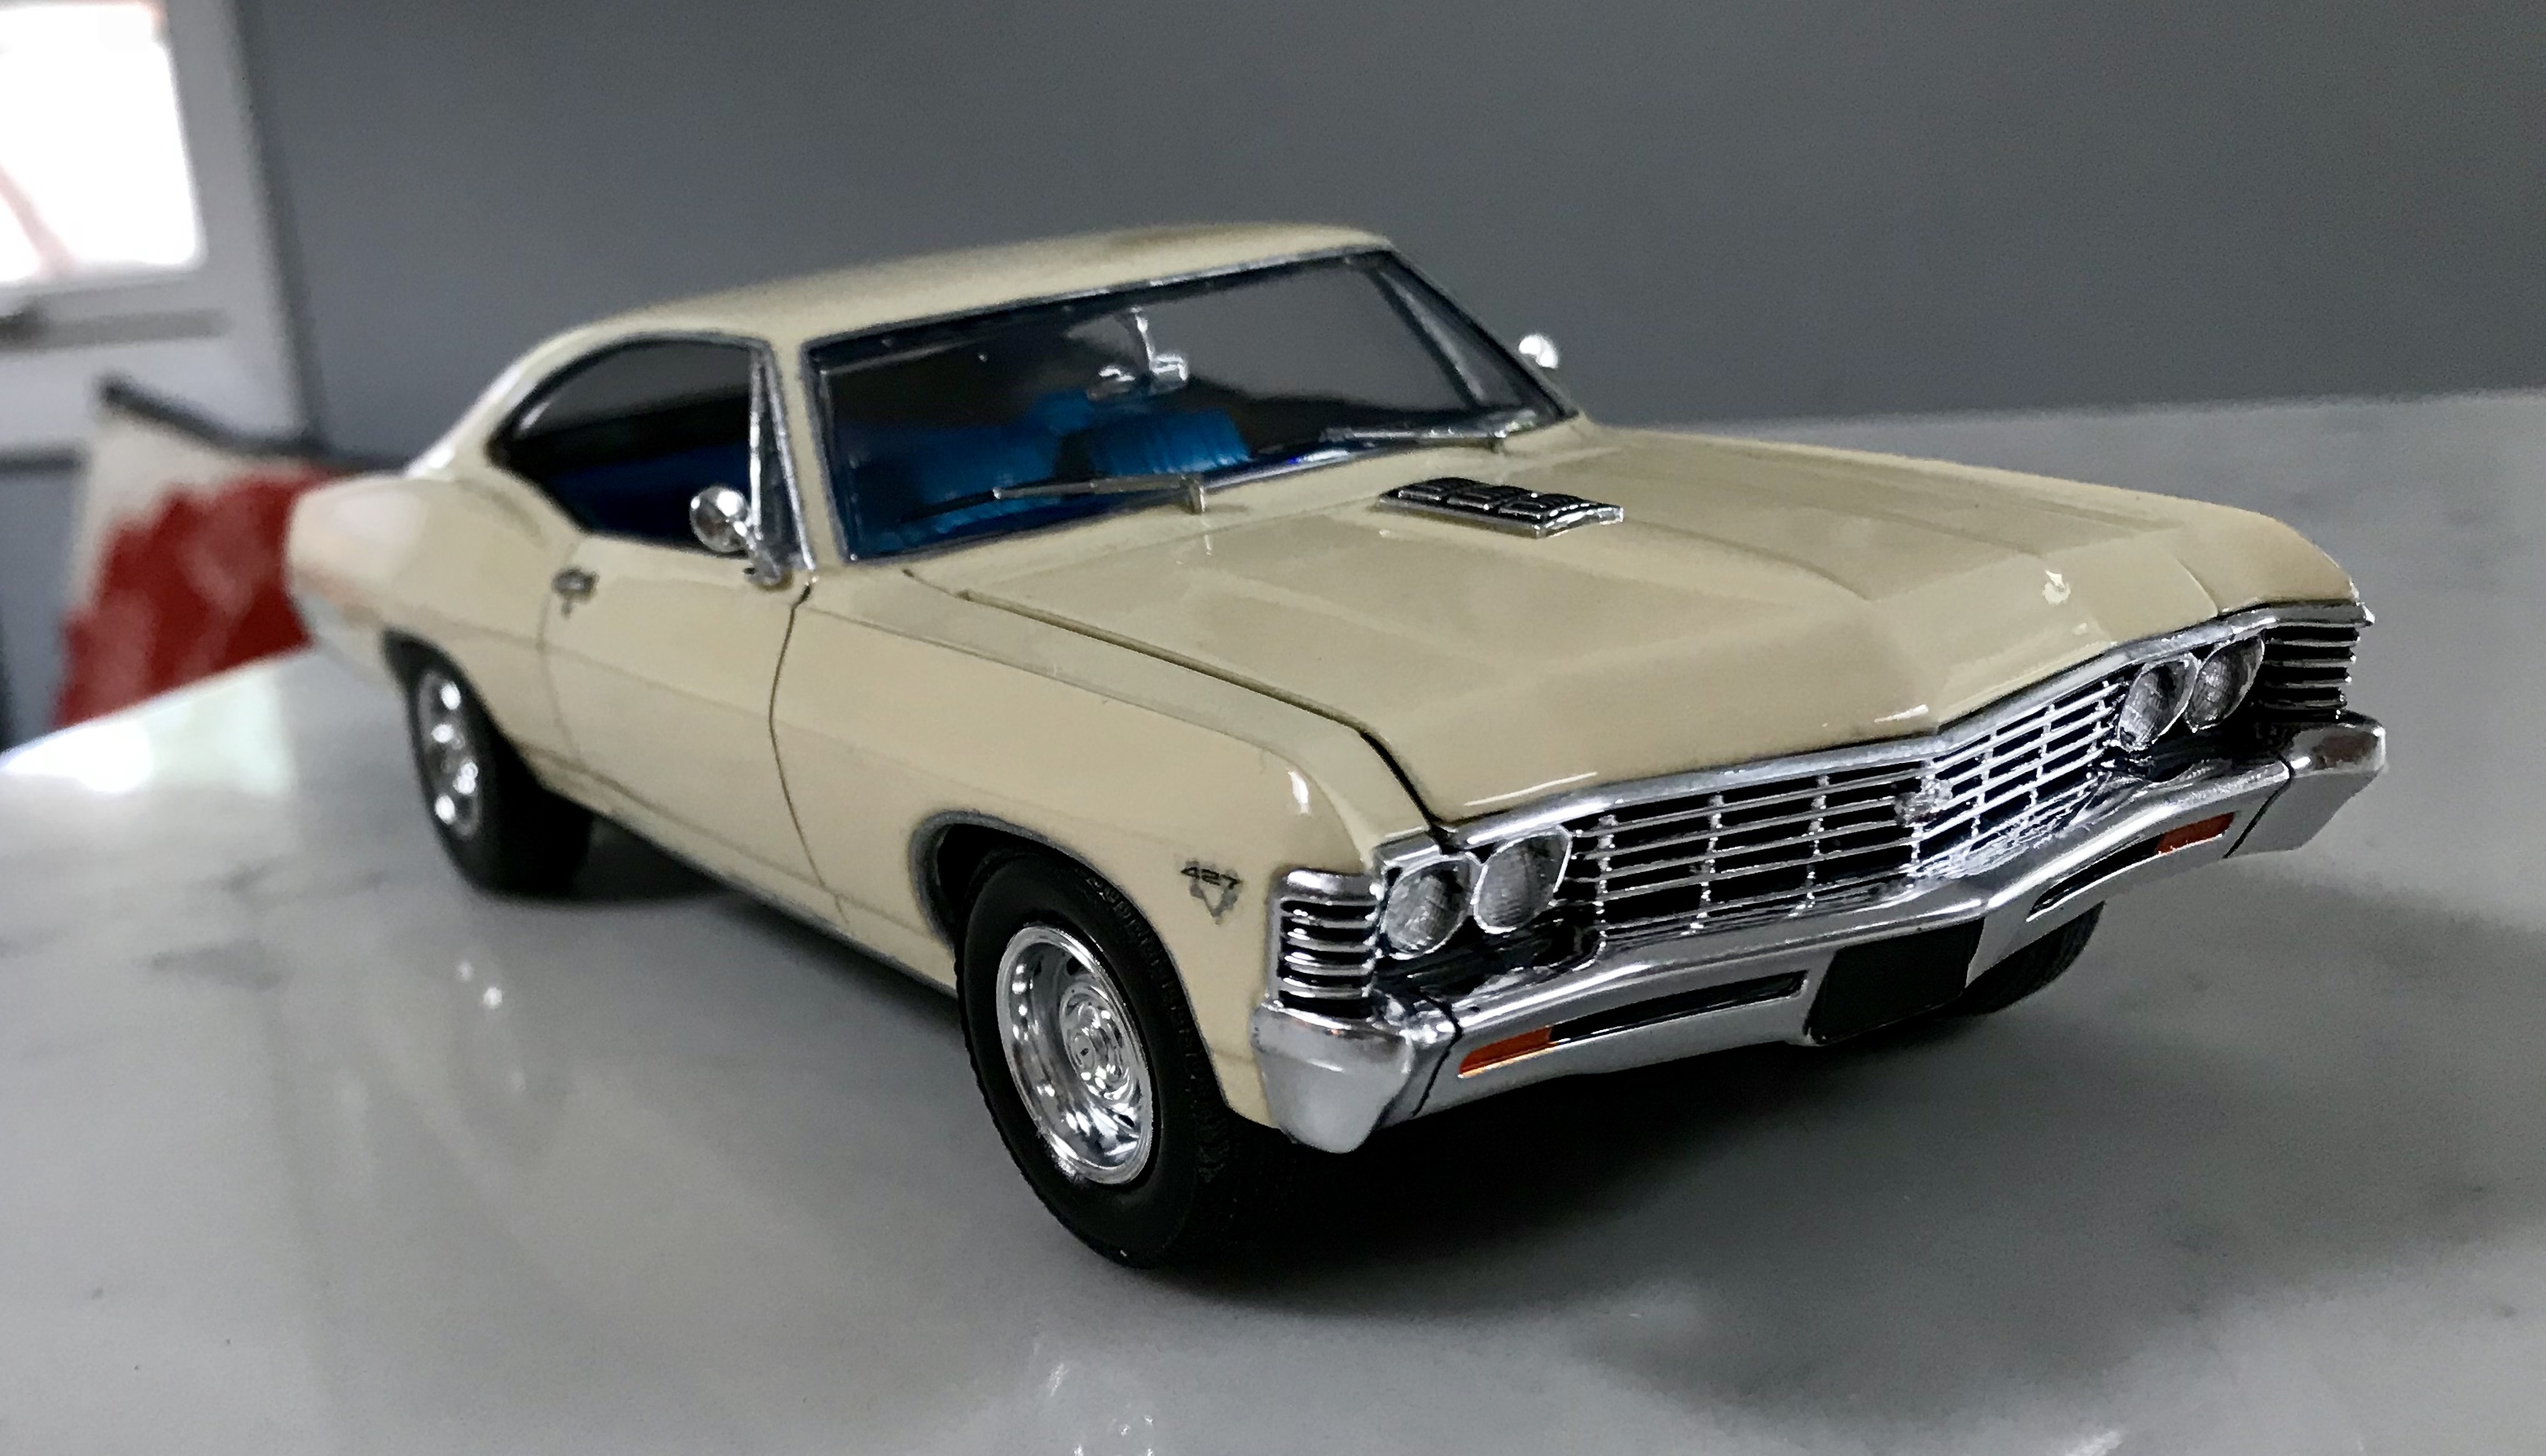
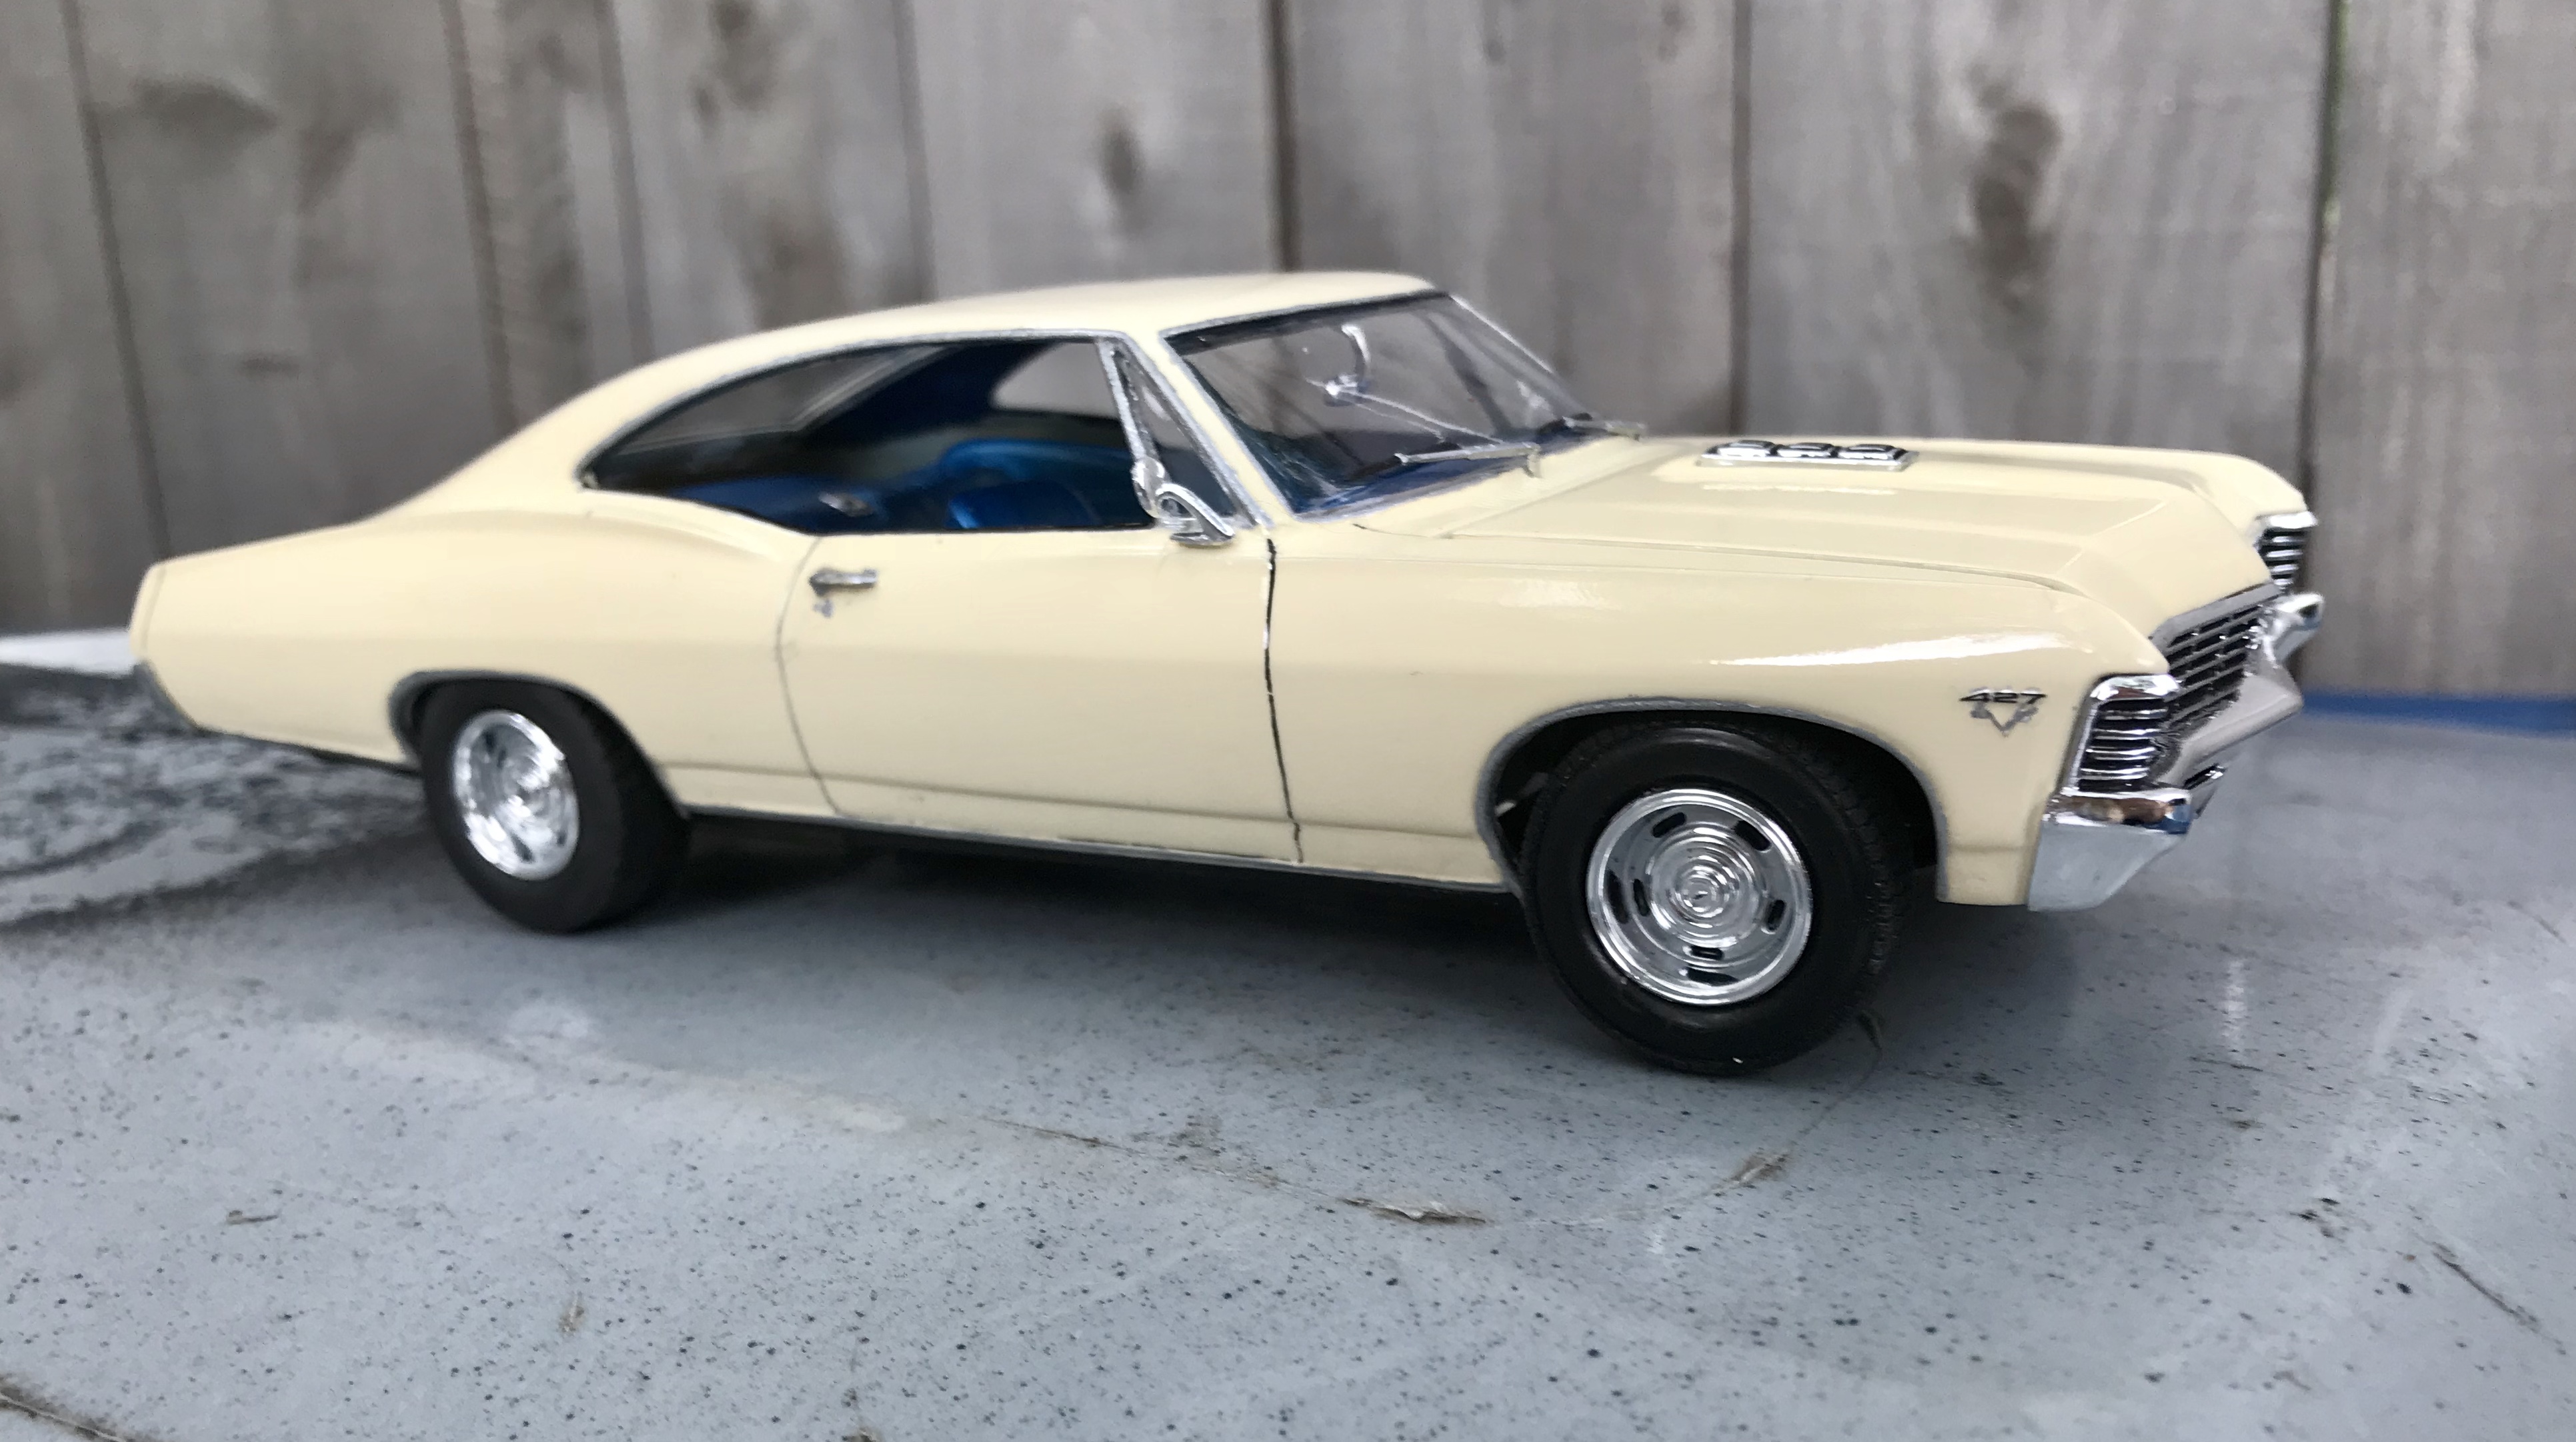
I’ve nearly bought the AMT 67 Impala kit a half dozen times, only to have it finish 2nd to another. I finally picked it up. Originally, it was a blue on blue car, but after polishing it out for clear coat, the clear reacted to a different polish than I’d used before and curdled. At the same time as my paint mishap, I purchased the Revell 66 GTO, and spoon tested an ivory paint for the interior. After shooting it on the spoon, I shot some clear on it to see if it could be suitable for an exterior color, and liked what I saw. Having stripped the blue from the Impala body, since I wasn’t completely sold on the blue I used, I went ahead and painted it with the Ivory. It’s a good match for Chevy’s Capris Cream, and I liked it with the blue interior. Wired the distributor, made battery cables and a couple vacuum hoses, and found some replacement chrome valve covers in the parts box. The only other change was tires, as the Firestone wide ovals are just too little for a car this big. The fronts are from the Revell 71 Cuda, and the rears are the optional “fatties” from the Moebius 65 Satellite. I had first used them on the back of my 71 Charger, but I got several comments when I posted it that the rear tires looked too “truckish,” and I agreed. On this huge beast, they don’t look big at all! I figured they would be necessary to get any traction when the 427 is trying to move such a big vehicle. This kit, like a few of AMT’s finest, has the frame separated from the underbody, which I enjoy during the build: Interior shot before installation: And done... thanks for looking!
-
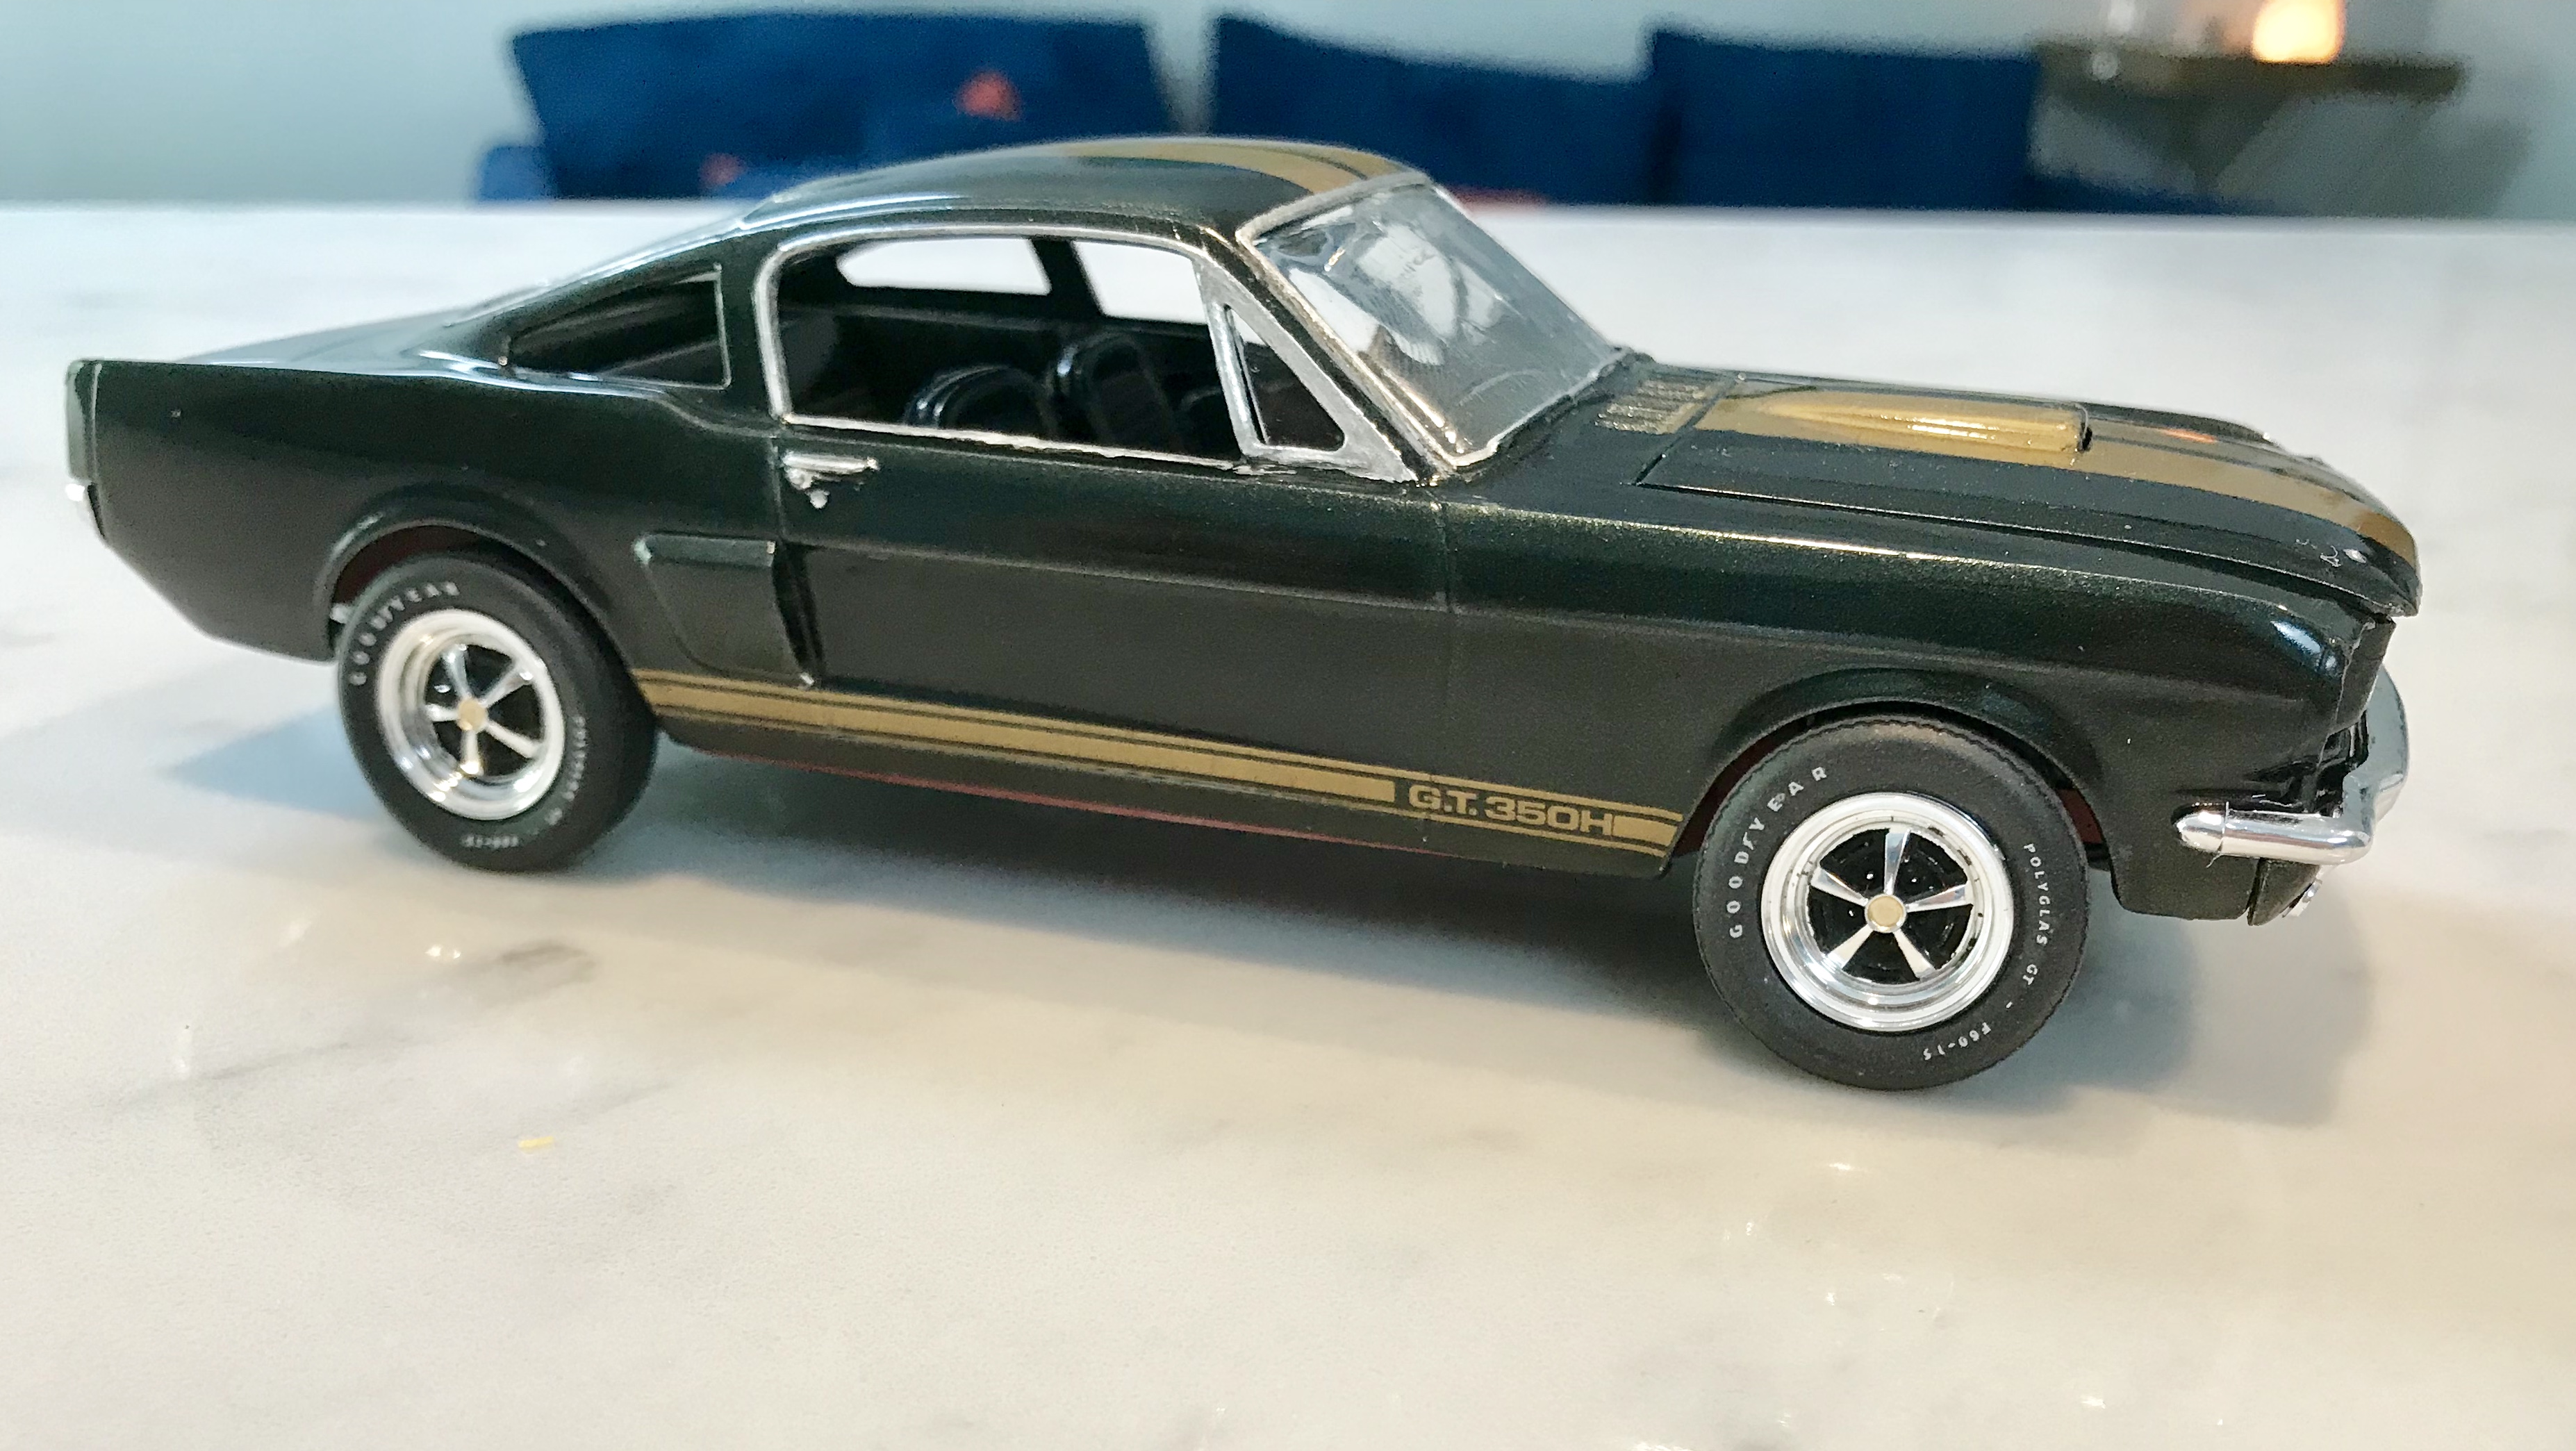
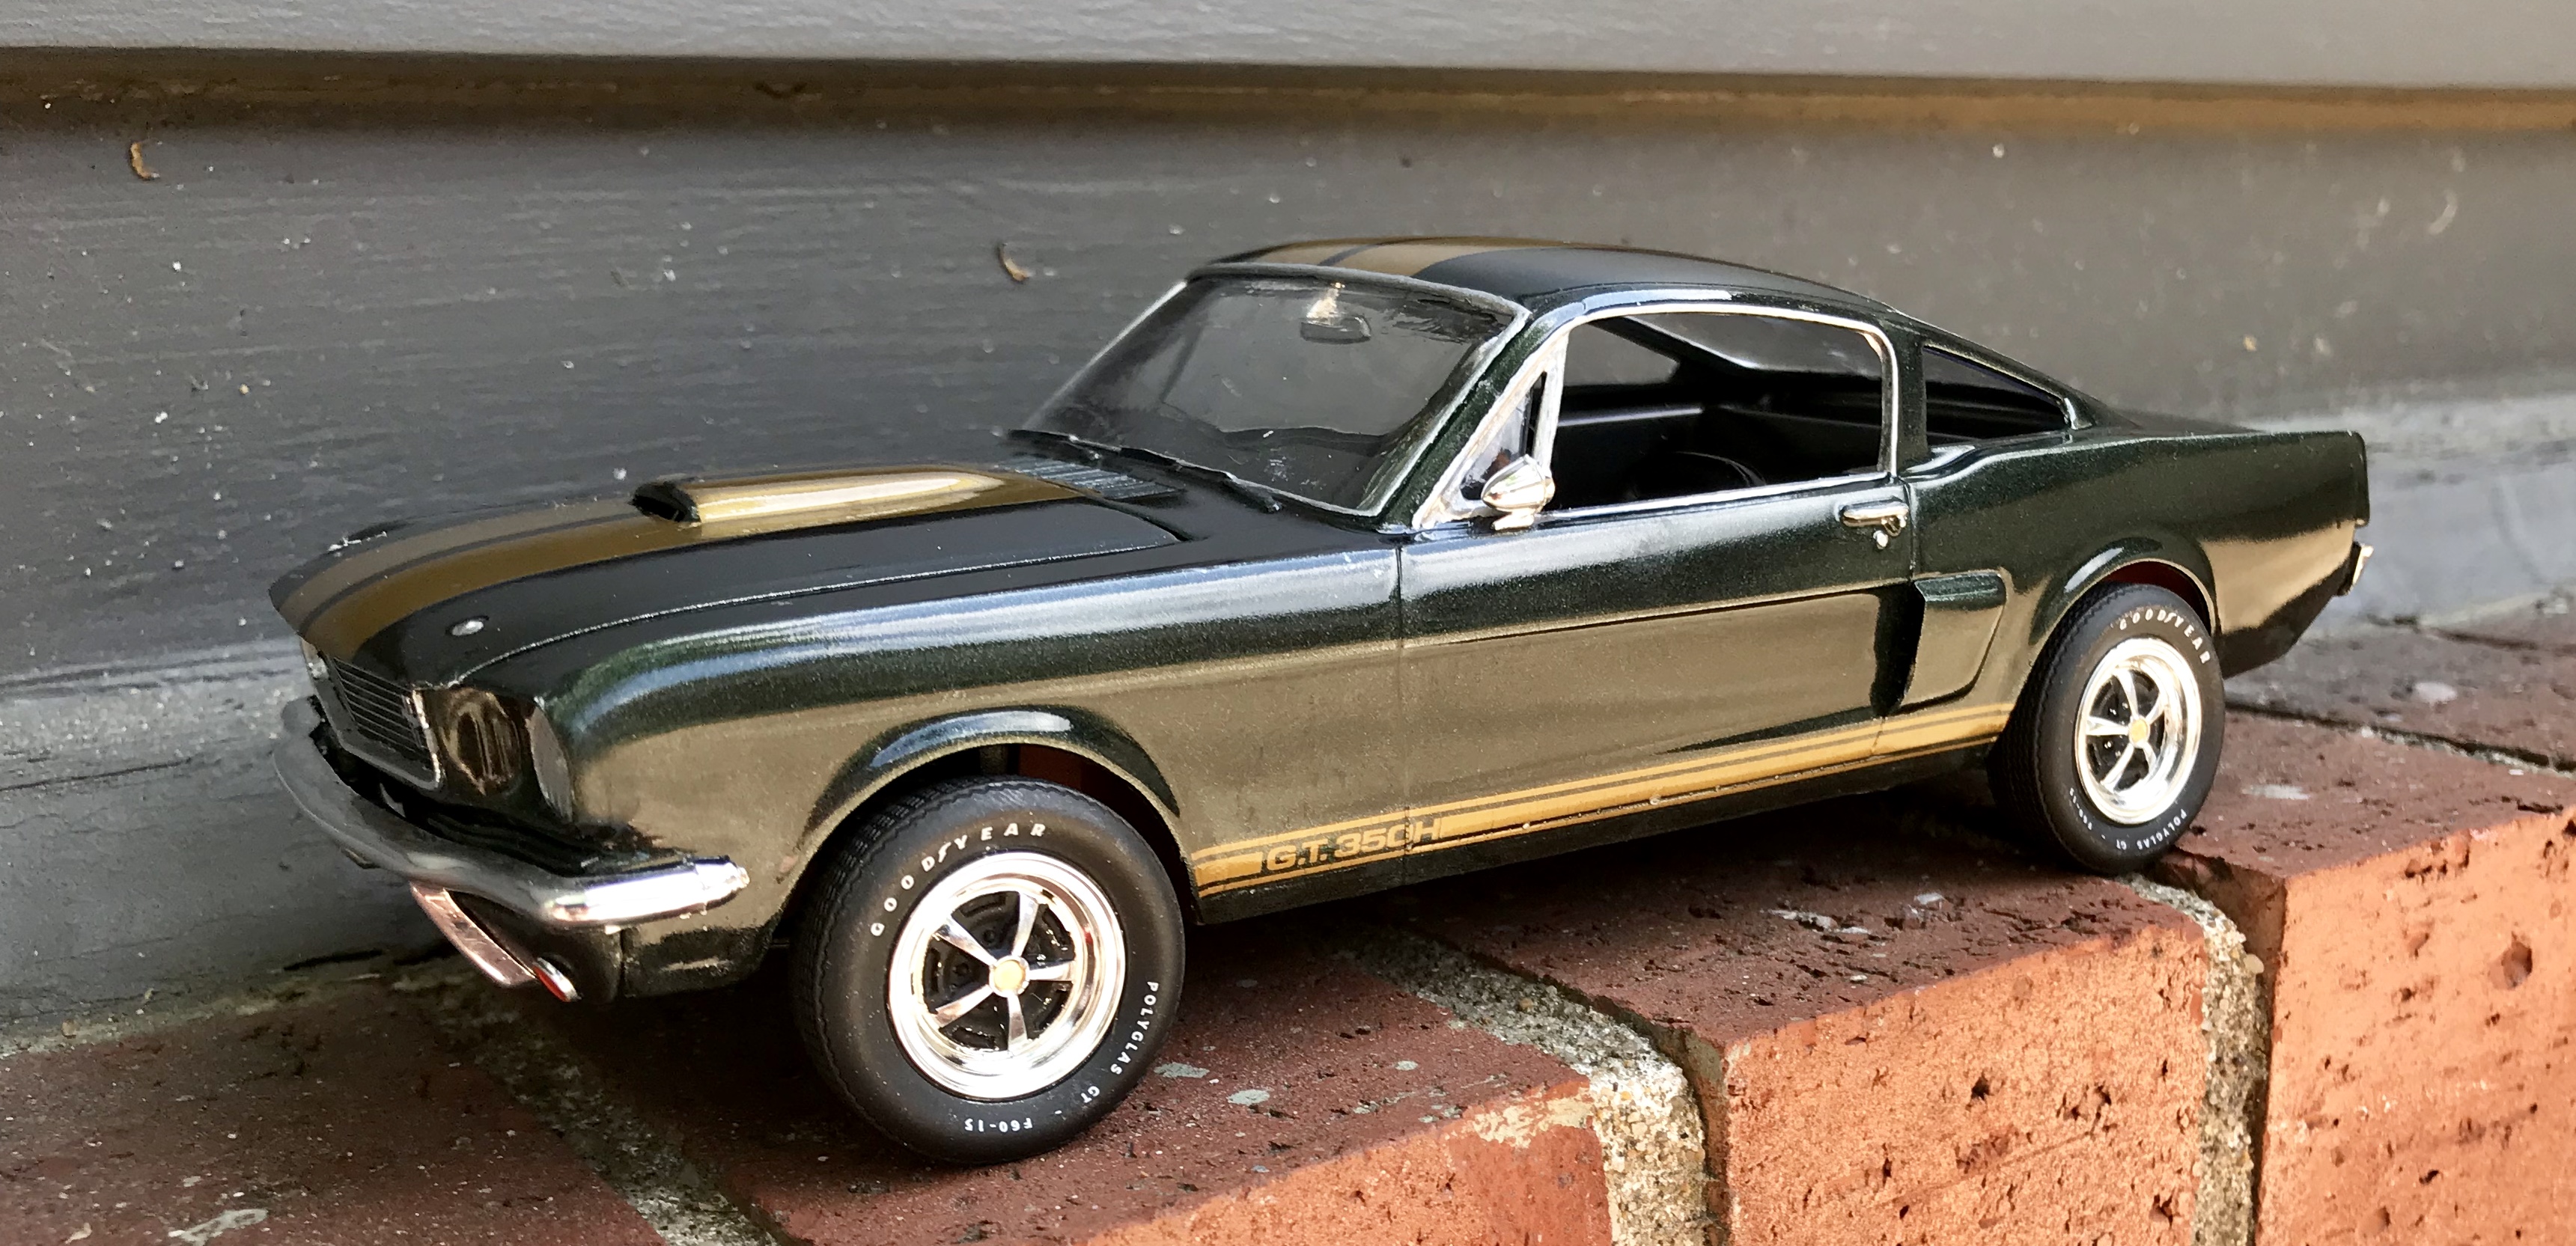
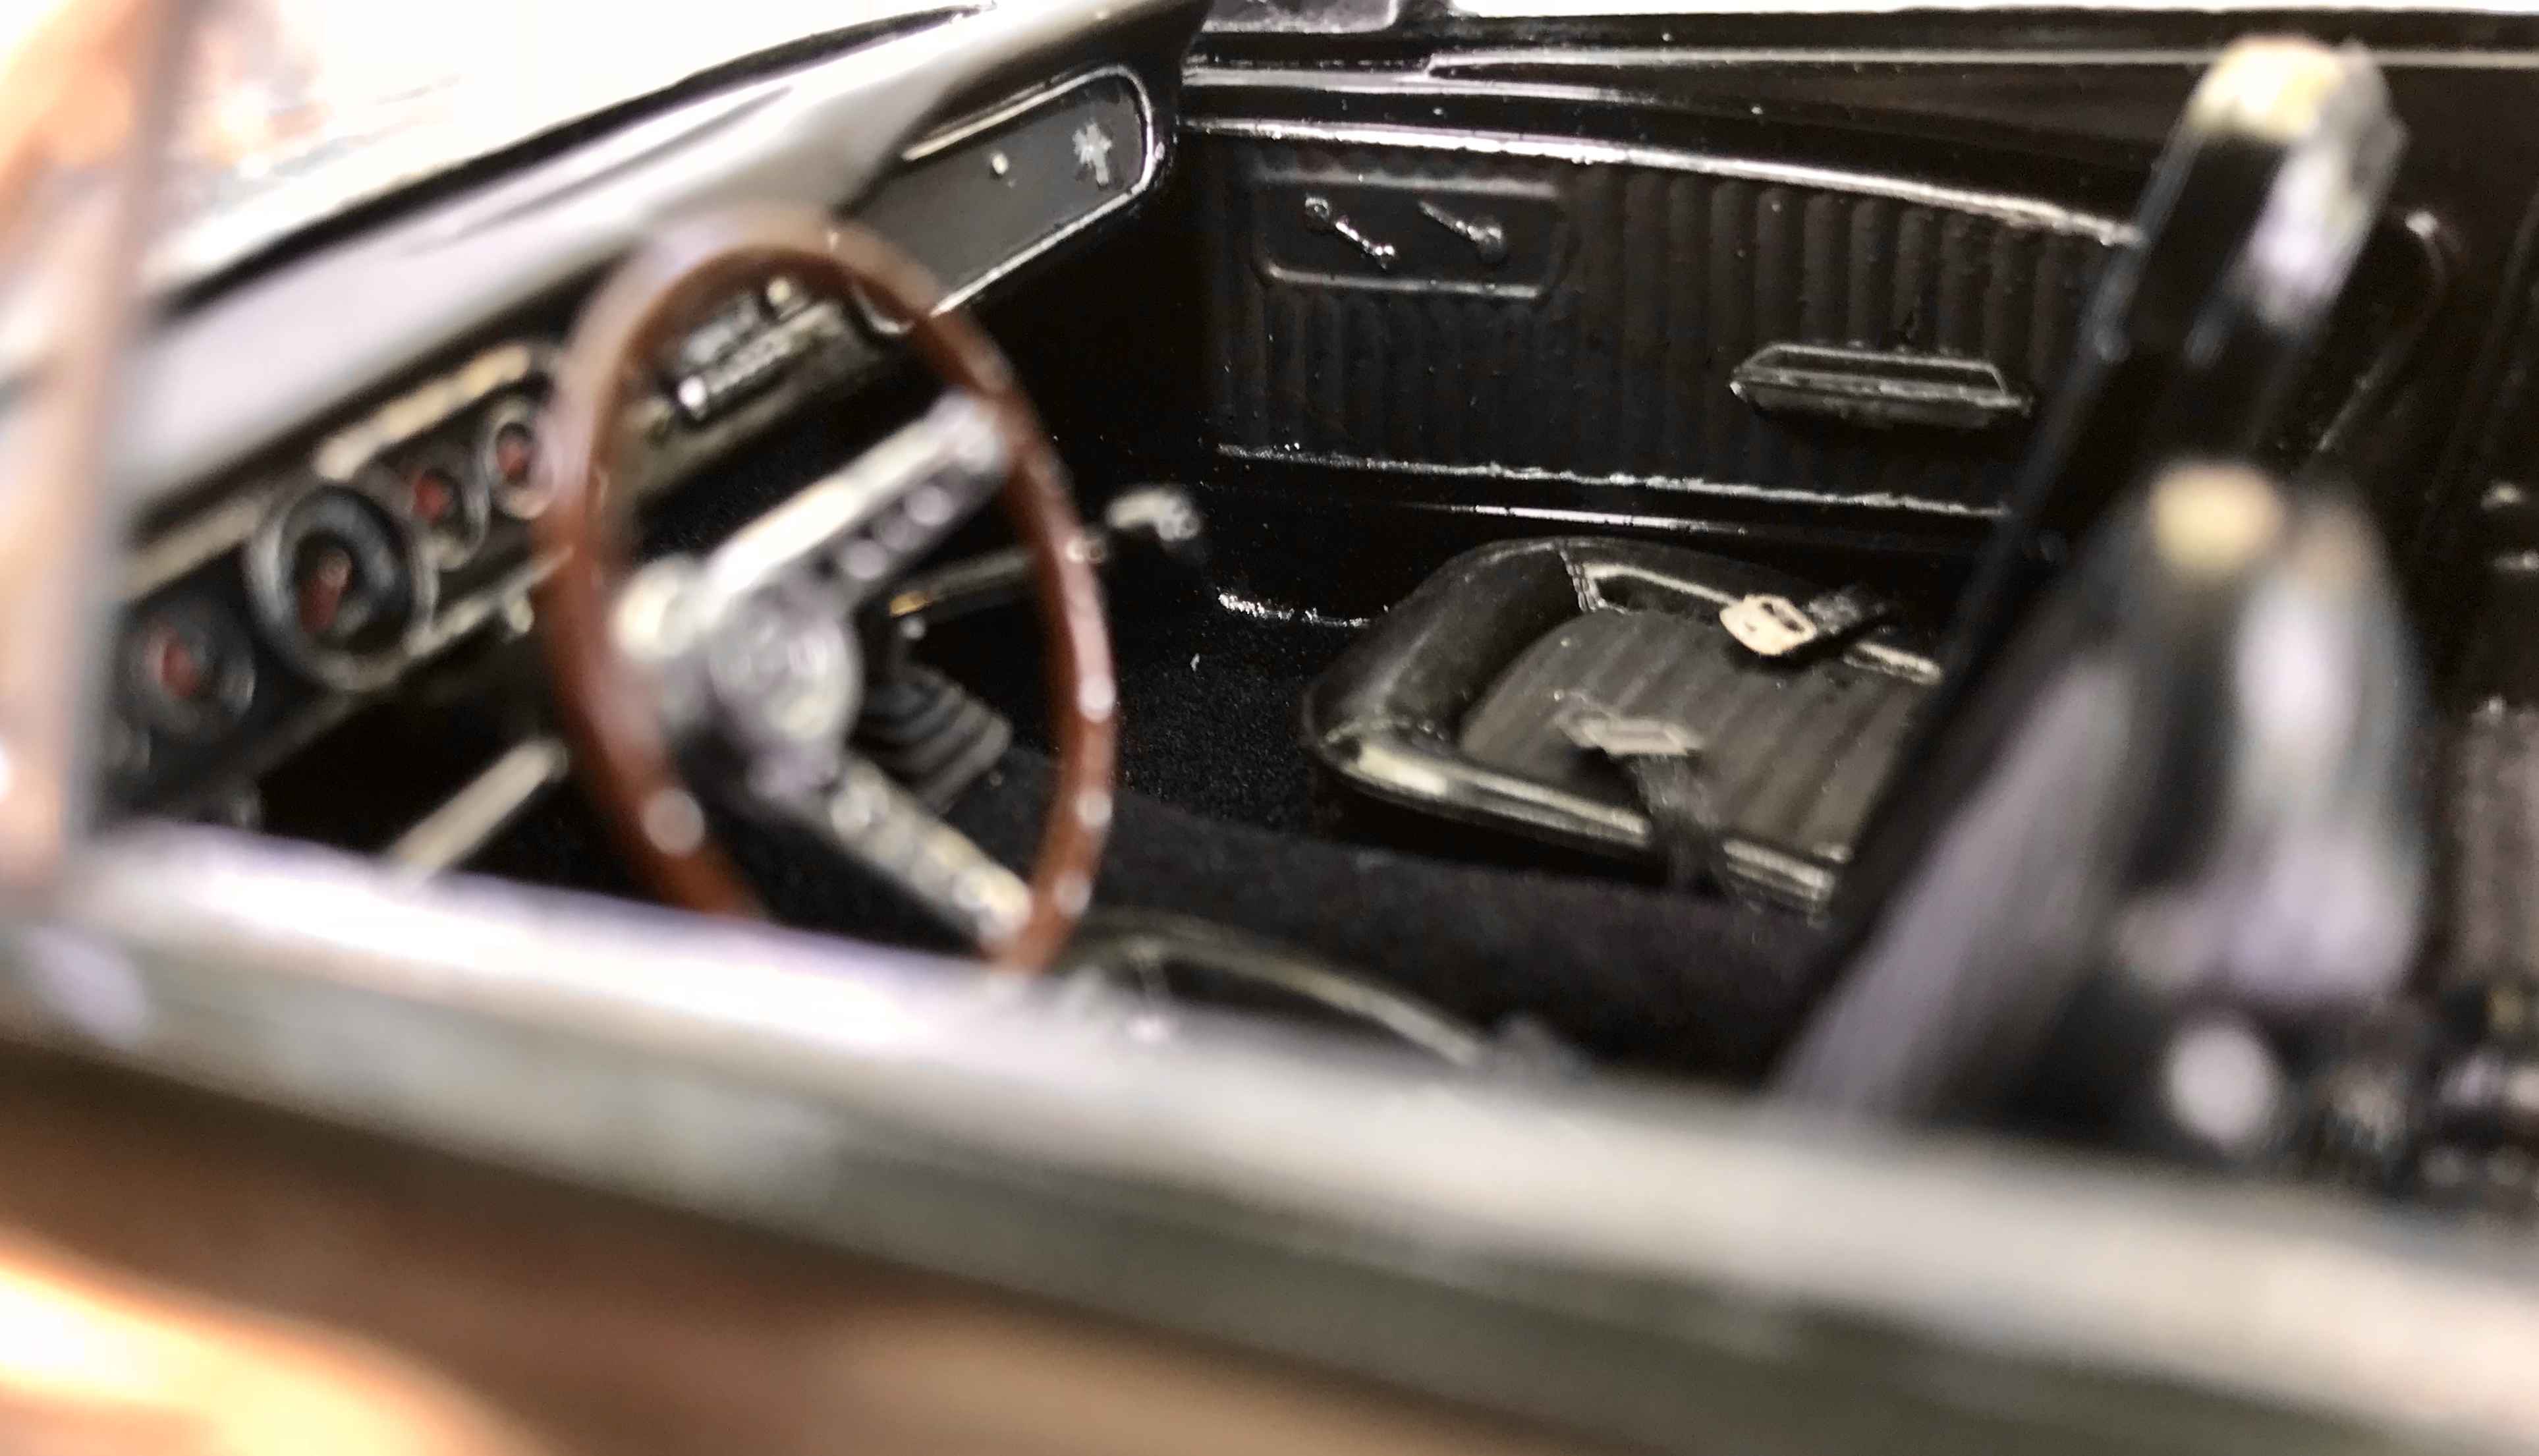
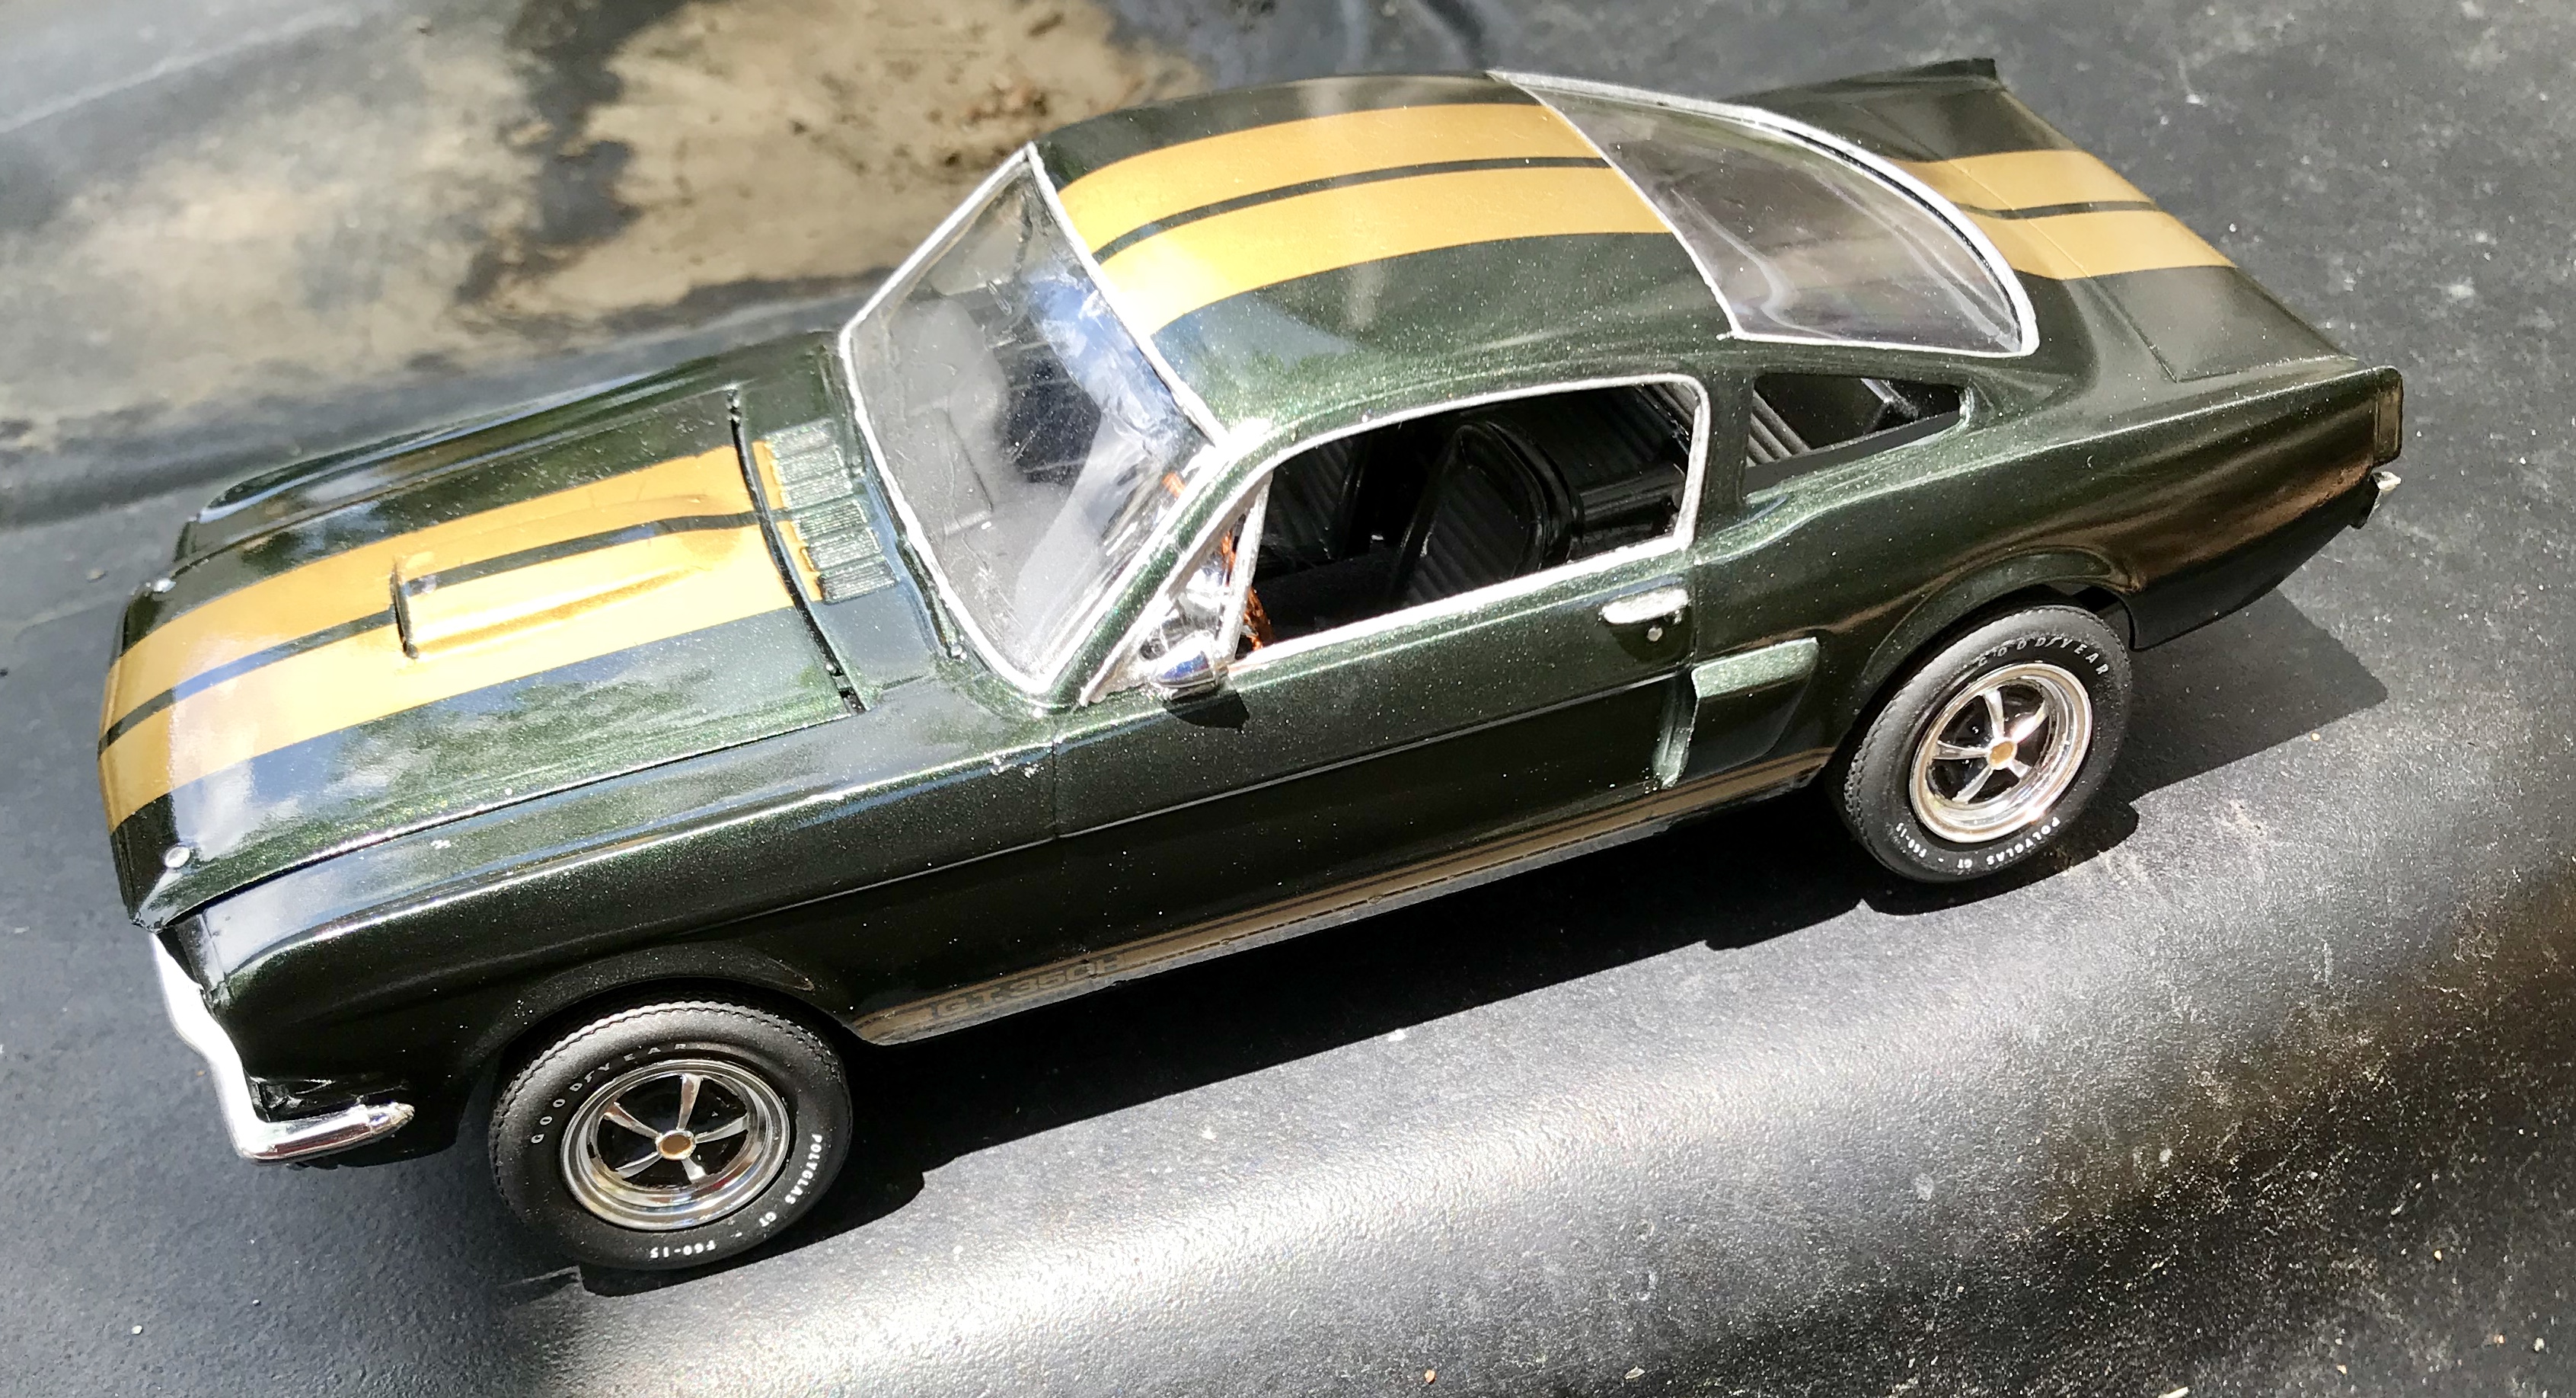
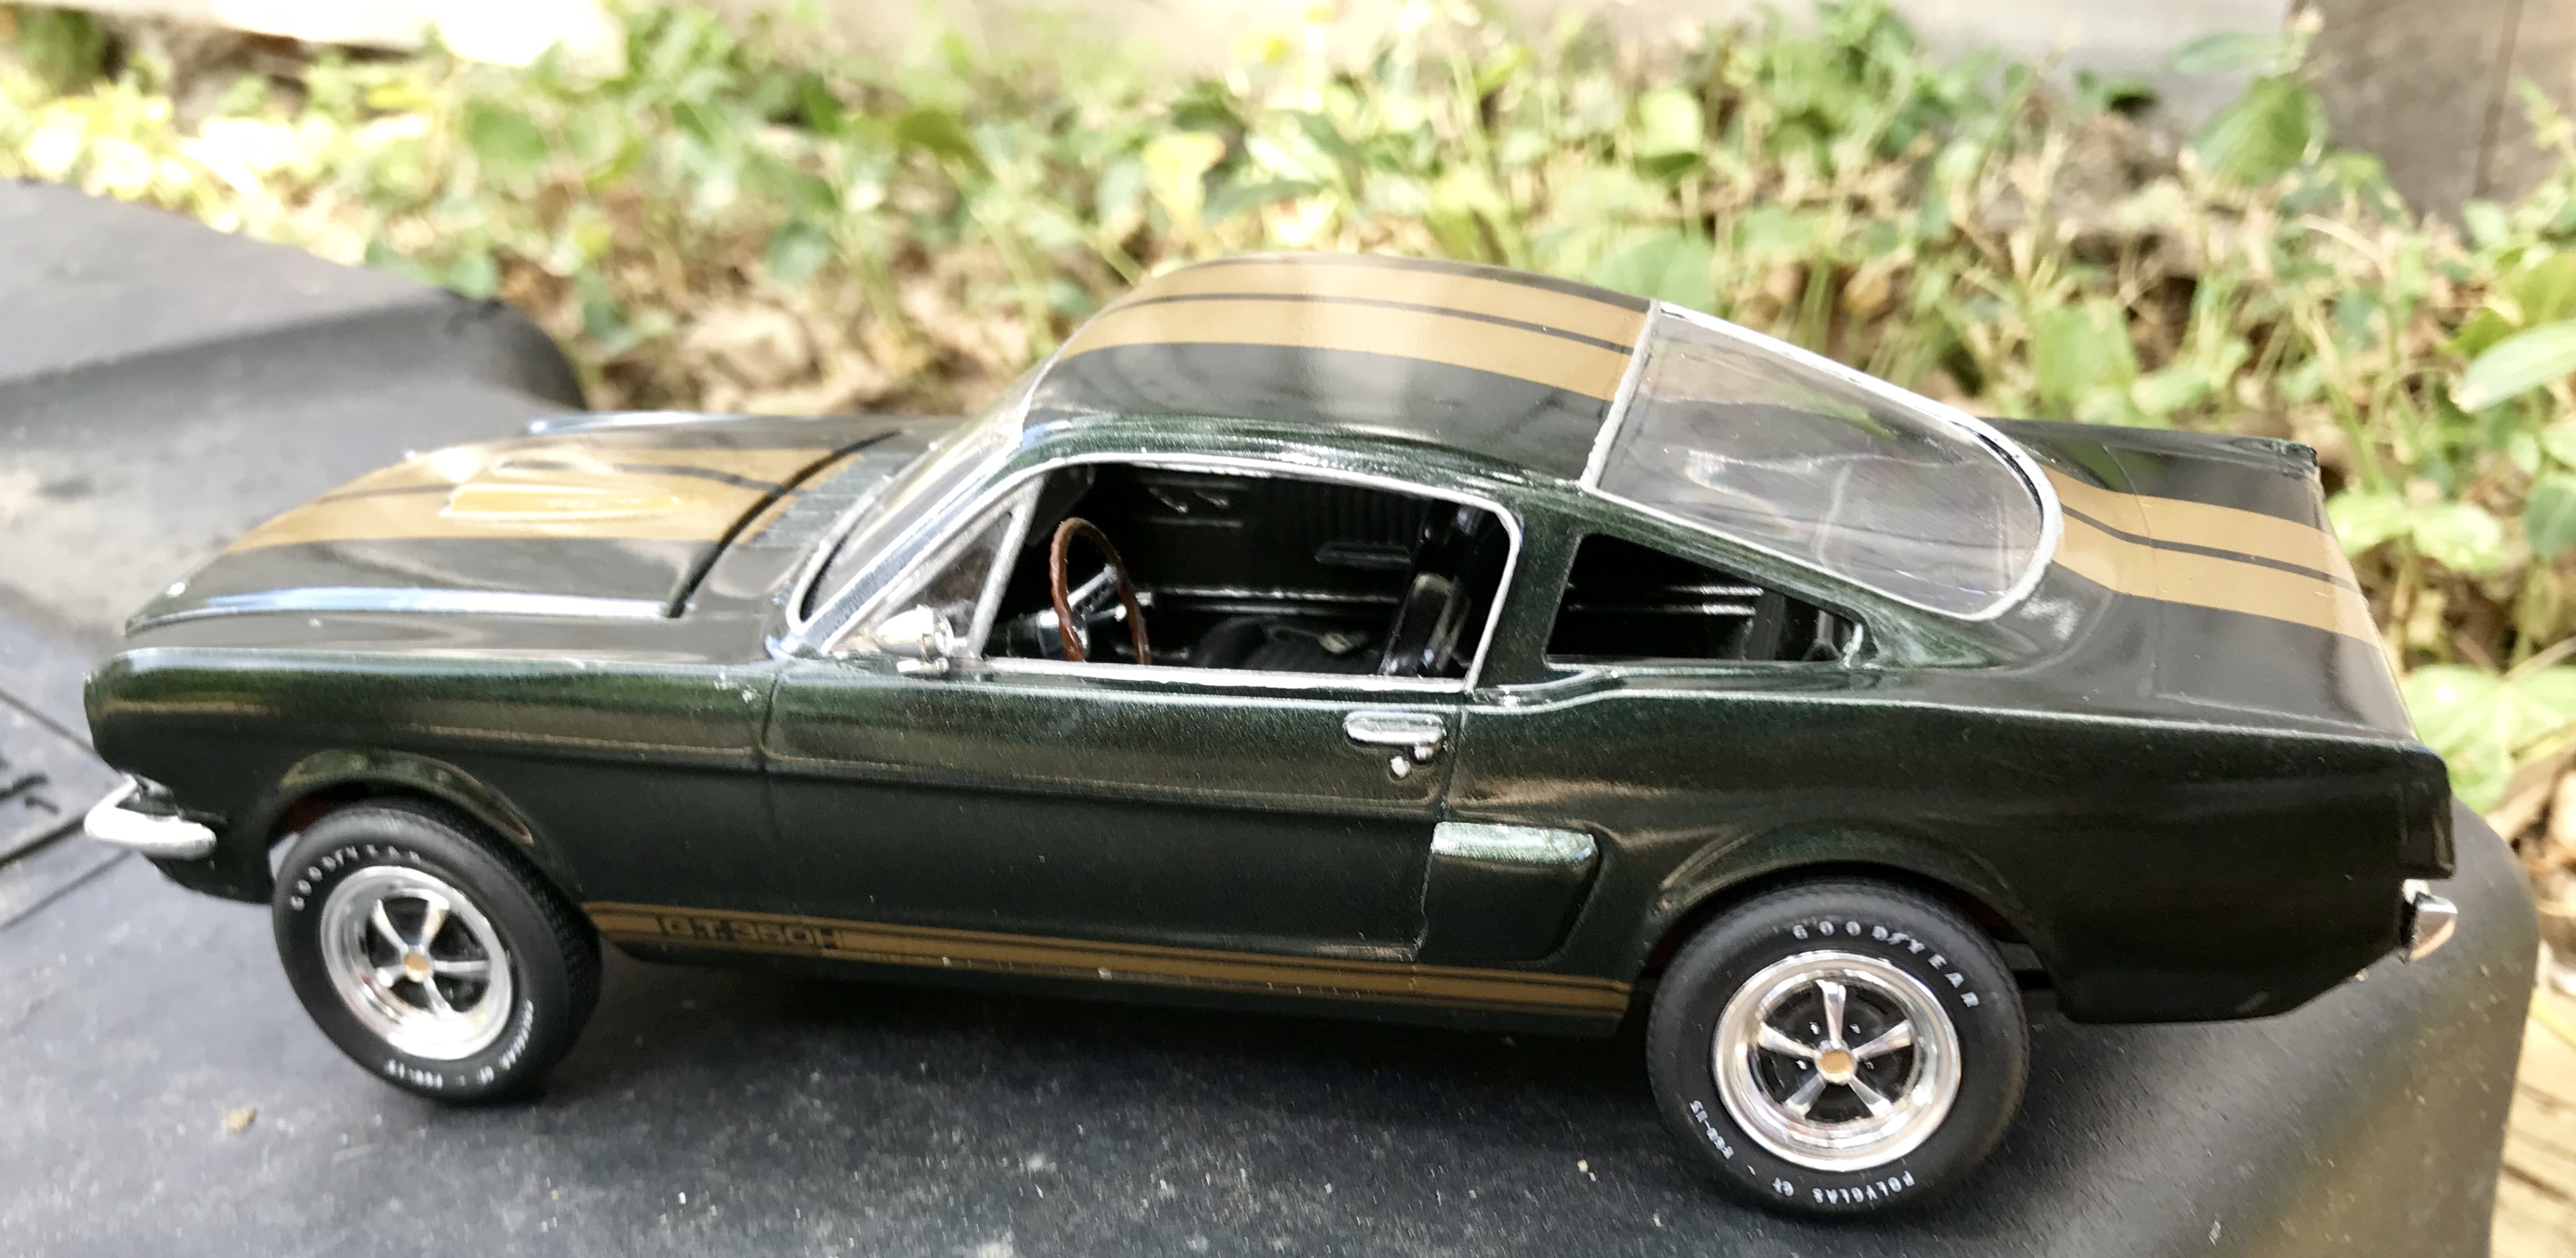
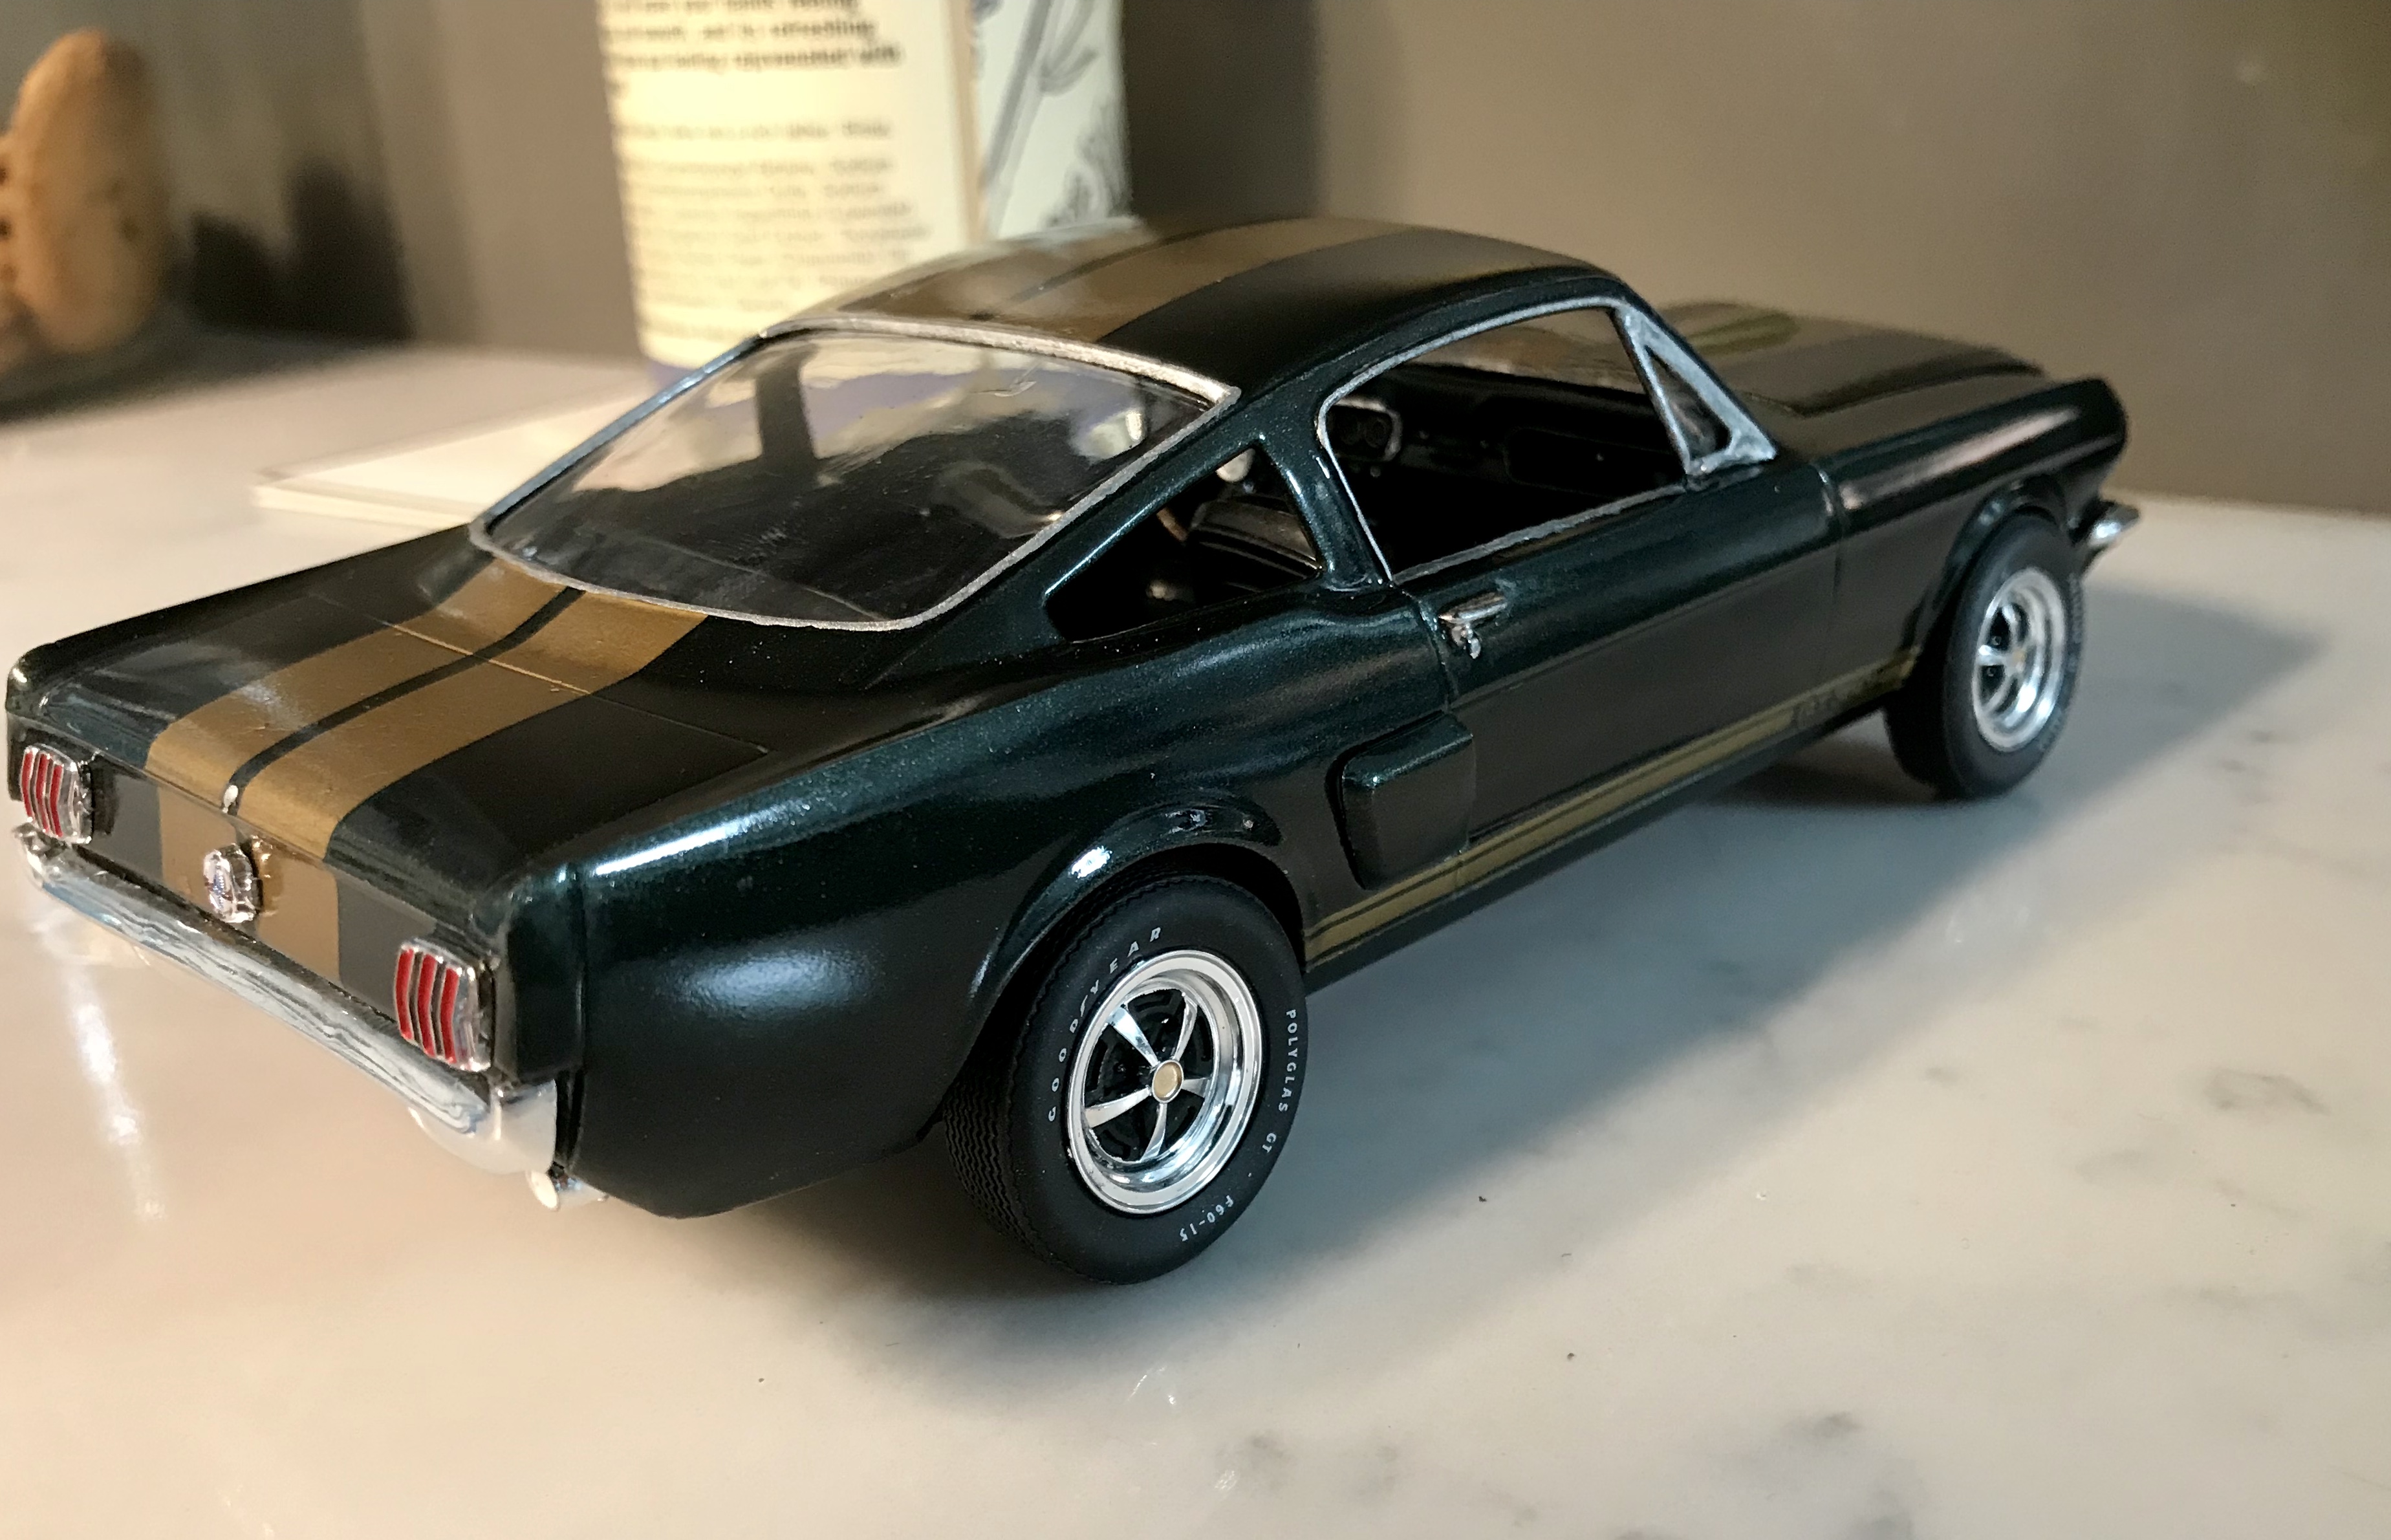
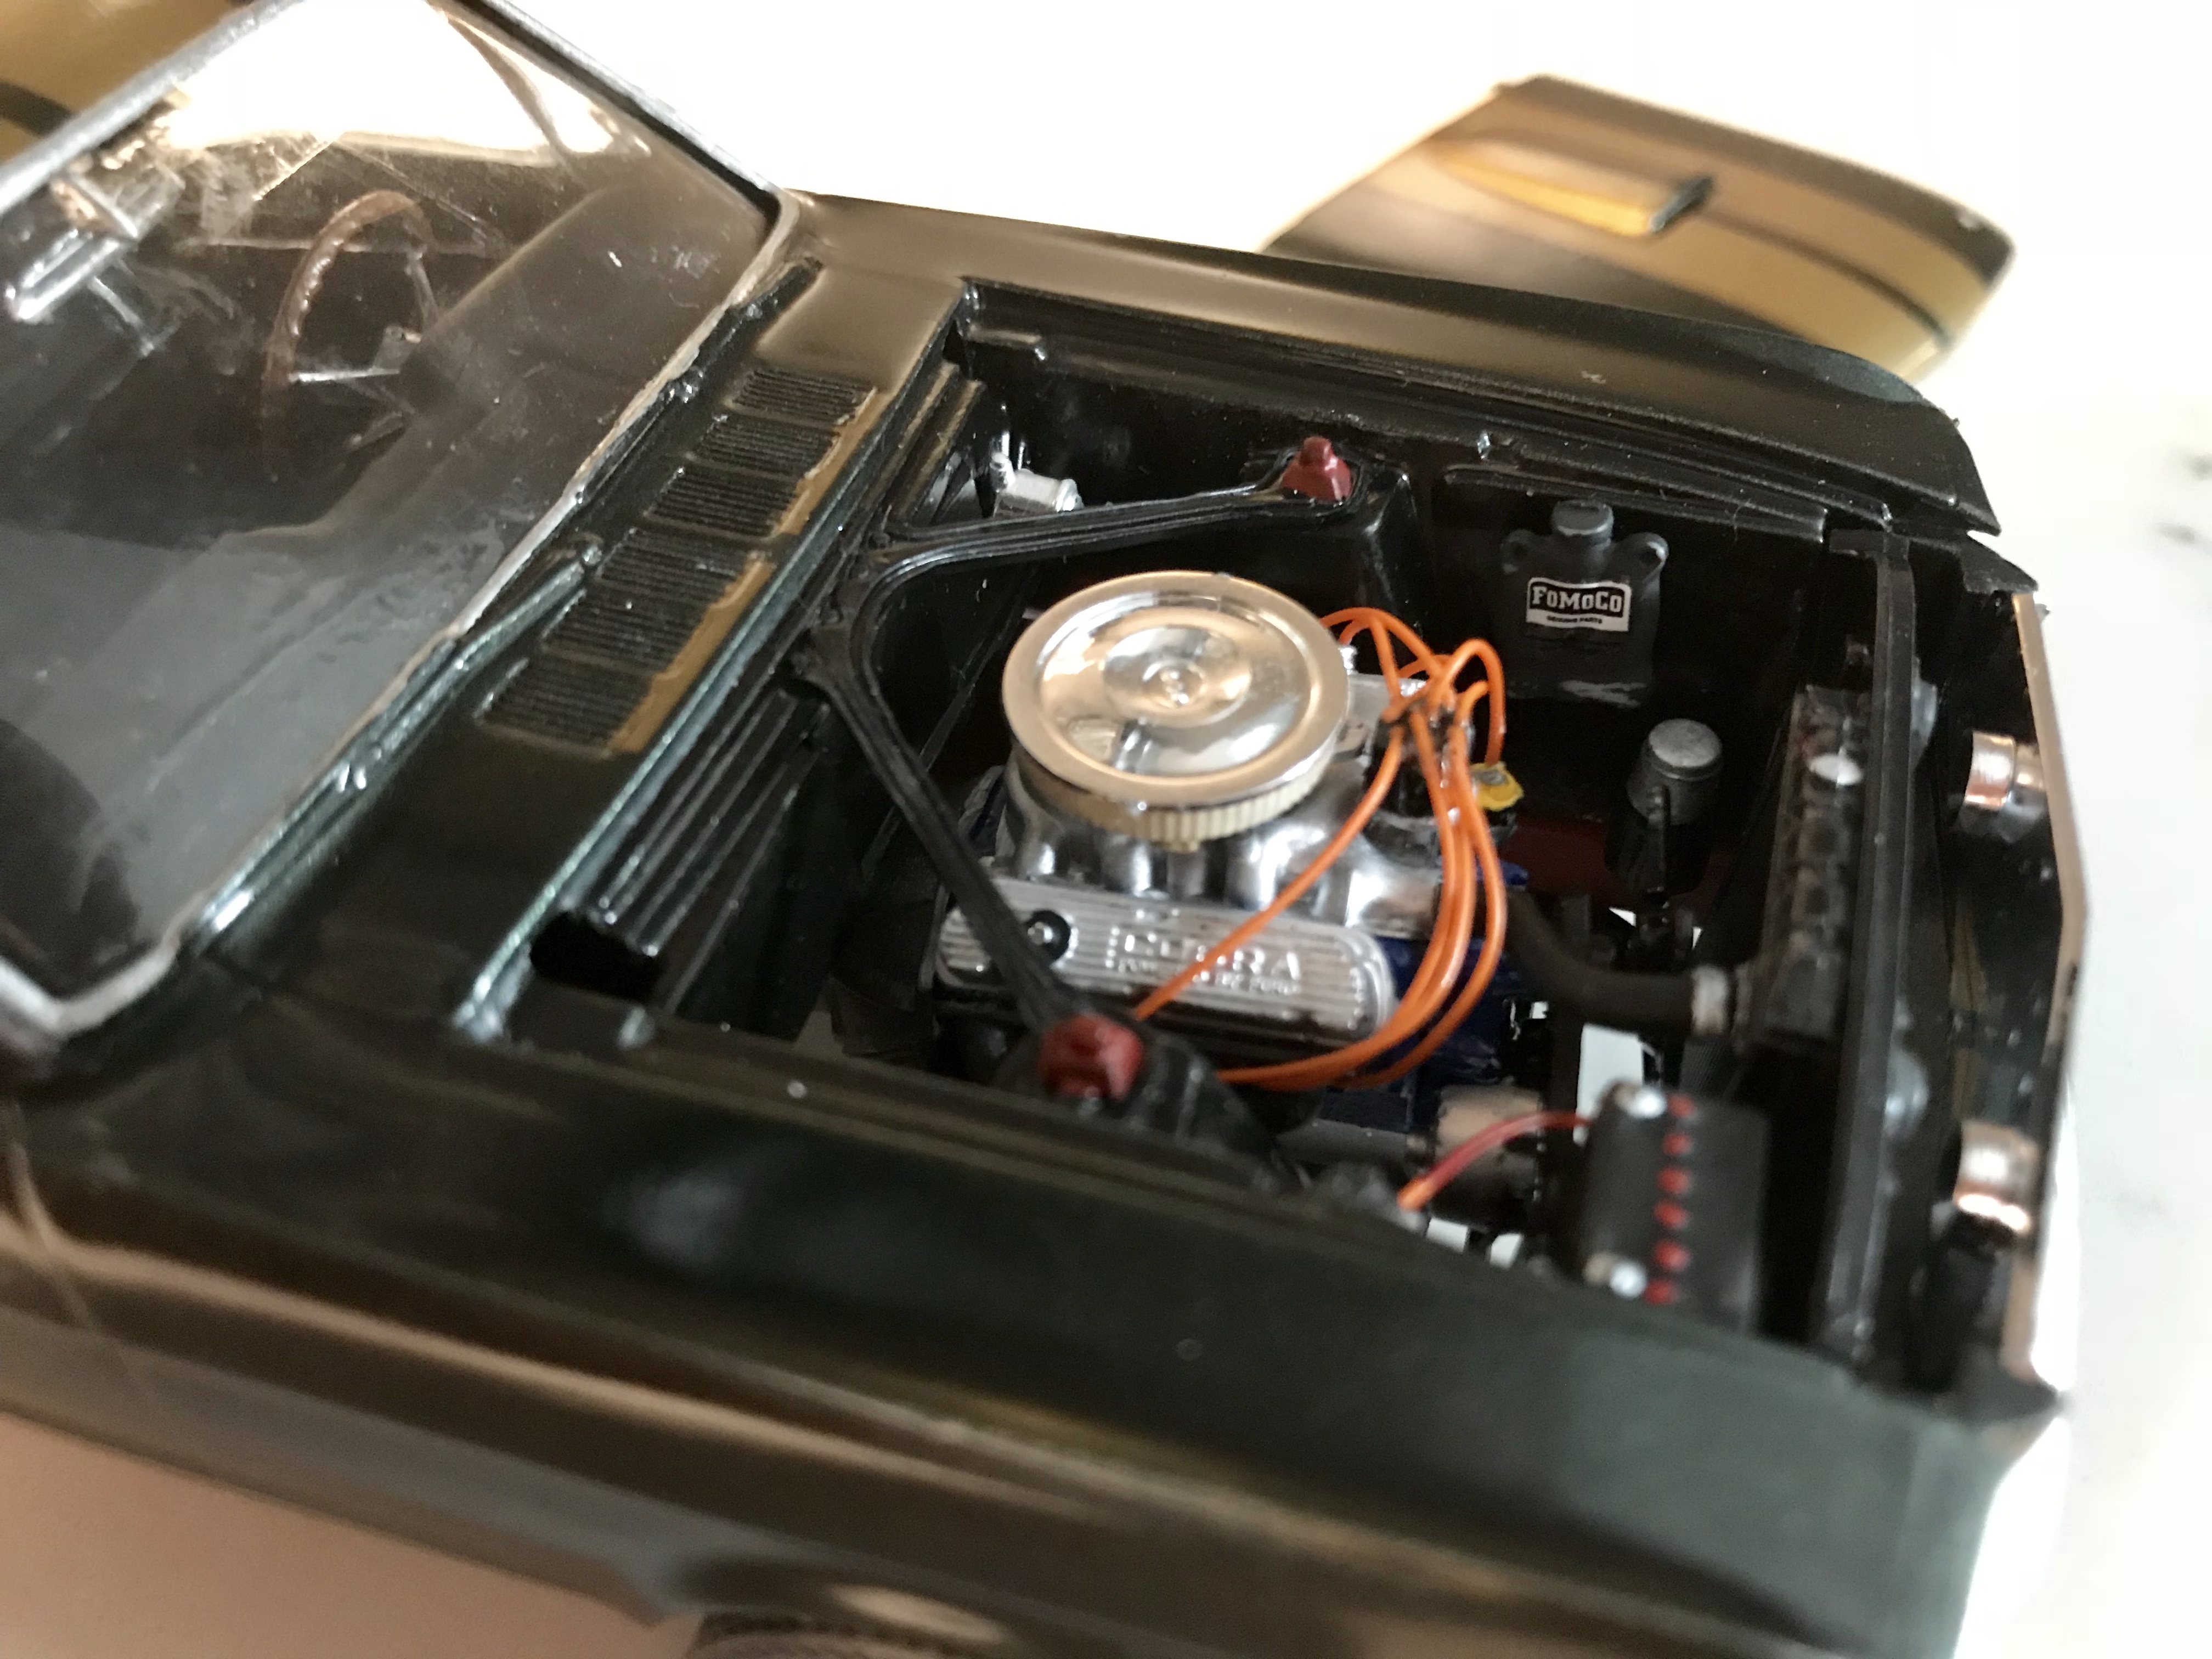
My collection lacks good Mustangs. I have the AMT 67 Shelby, which is a nice kit and the Revell 68 GT, which didn’t come out very well. I plan on getting the new Revell Boss 302 when it comes out, but with Revell being sold, that might be a while. Anyway, I had a couple bigger projects that require some aftermarket investment to continue, and we were getting ready for a big family trip to Europe, so I was looking for a quick, inexpensive build to mess with in the last couple weeks before we left. I built this kit in high school... and due to the kit’s age and the fact that my “sweet spot” is 68-72 muscle cars, I’ve overlooked this on the shelf hundreds of times. But I looked up some images and fell back in love with the first generation Mustang, especially the fastback, and the kit is dirt cheap, so I grabbed it. I knew I wanted to paint it dark green, and I had a nearly full can of Fathom Green from my Camaro convertible build. I thought about a few variations.. different wheels, making a green/white pony interior, but in the end, stayed with kit wheels and black interior. Added some details to the engine, made seatbelts and used some Polyglas GTs, but it’s stock other than that. You will notice the side rear windows are not there... one of them disappeared during final assembly. It HAS to be somewhere nearby. If I can’t find it soon, I will either request a replacement from Revell or put the window vents in, although I prefer the glass. Anyway, it’s done other than that... thanks for looking and hope you like it!
-
HOLY———— that is incredible!!!!!! Your work is amazing, and the photography is perfect. Beautiful job!
-

`81 Turbo Trans Am - MPC Trophy series, Year One inspired
Kmb0319 replied to Hawk312's topic in Model Cars
Scraping my jaw off the floor... this is AMAZING work!!! -
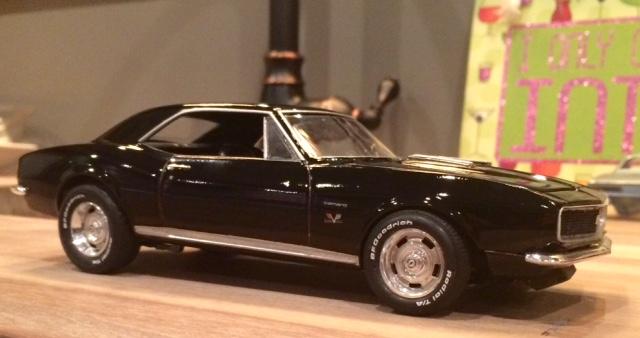
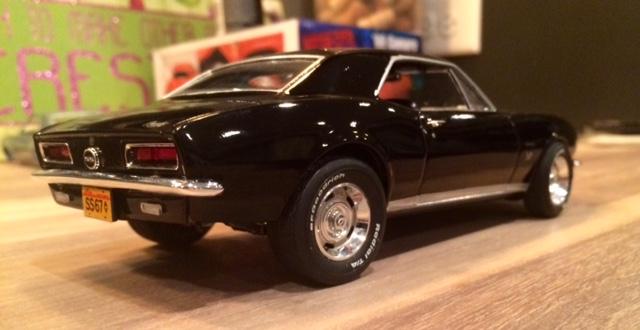
OK, I’ll throw this one in... the 67 Camaro from “Better Off Dead,” one of my favorite movies in high school.
-
Beautiful job!! I’m just starting on this kit, and hope turns out this nice. Funny, I was looking at changing tires because the Firestones that come with it look too small, but they look just about perfect on yours. I may reconsider. LOVE the black/red combo, btw...
-
Beautiful work!! Looks like it could drive right out of the picture. One of the things that really gives it some presence is those tires... This kit comes with those old Monogram Goodyear’s that were extremely skinny... what tires did you use to this perfect stance?
-
Man... and I thought I was being bold building two of these at once! This will be FUN to watch. Btw, where did you get the bare rally wheels on the silver one??
-
First of all, great work!!! These are going to be awesome... I think the MPC Road Runner has a better body proportion than the Revell, and the Charger donors will give them a much more detailed chassis. Second, we think alike... not having access to the MPC kits, I’m doing a double build of the Revell version... one a GTX with the 440-6 and Air Grabber hood and the other a Road Runner with a Hemi, RR hood and a half vinyl roof. Post lots of pics... I’ll be following this closely!
-
I’m in love with this car!!!!! The colors, the wheels, and the details are incredible. It’s absolutely PERFECT!!!
-
GORGEOUS!!!!! What a tremendous piece of work on a beautiful subject. Bravo!!!
-
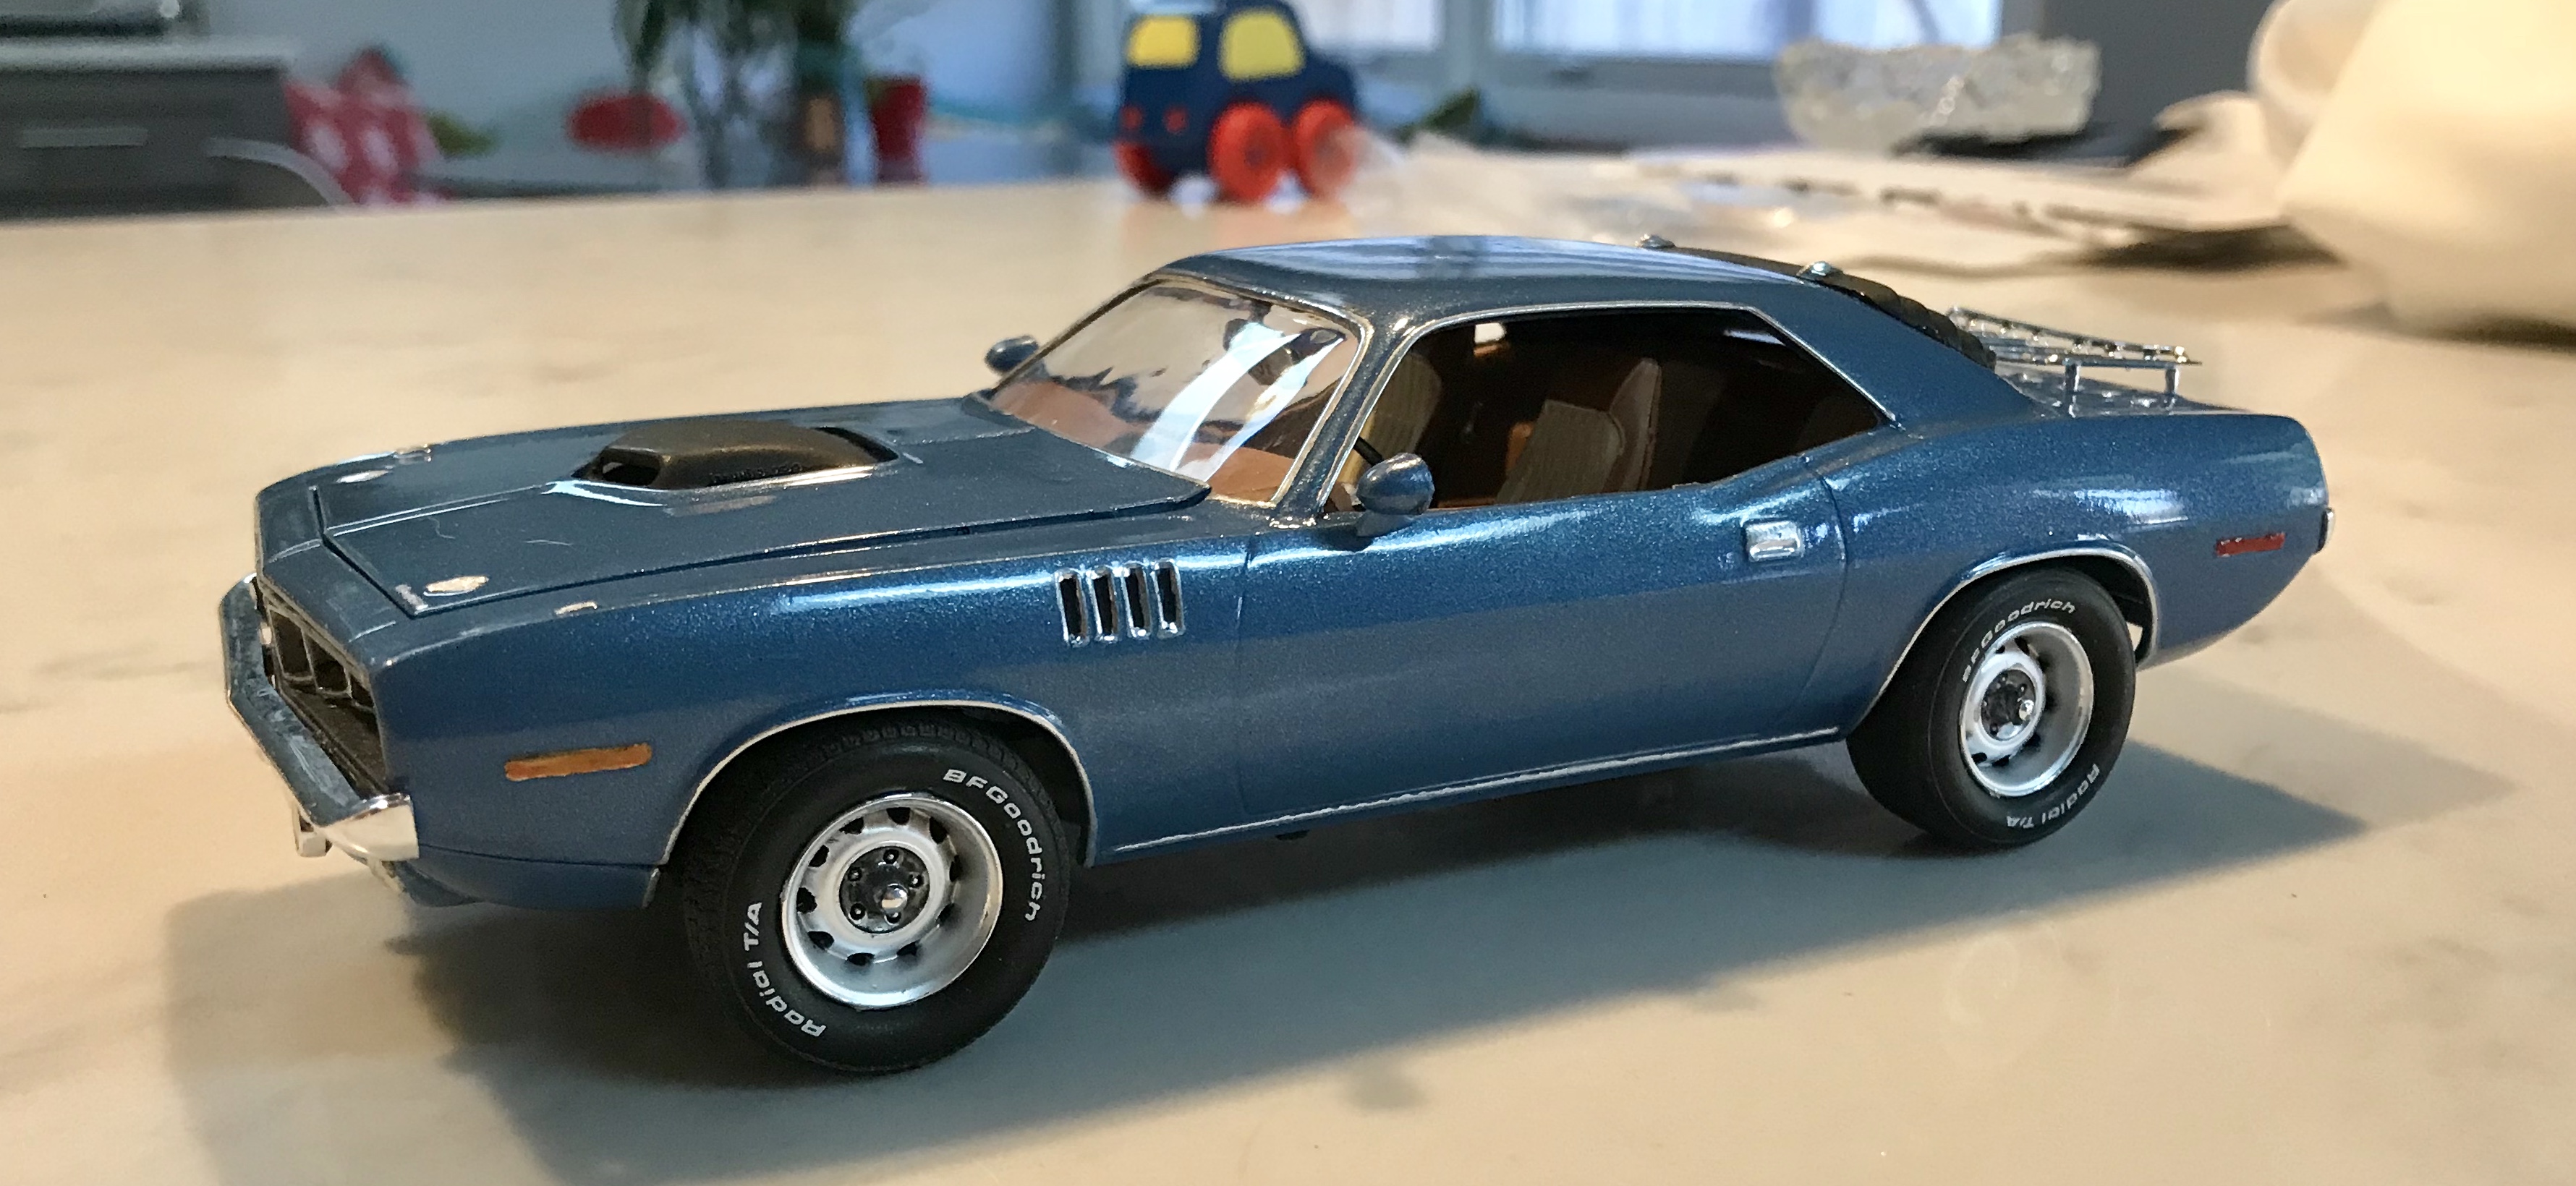
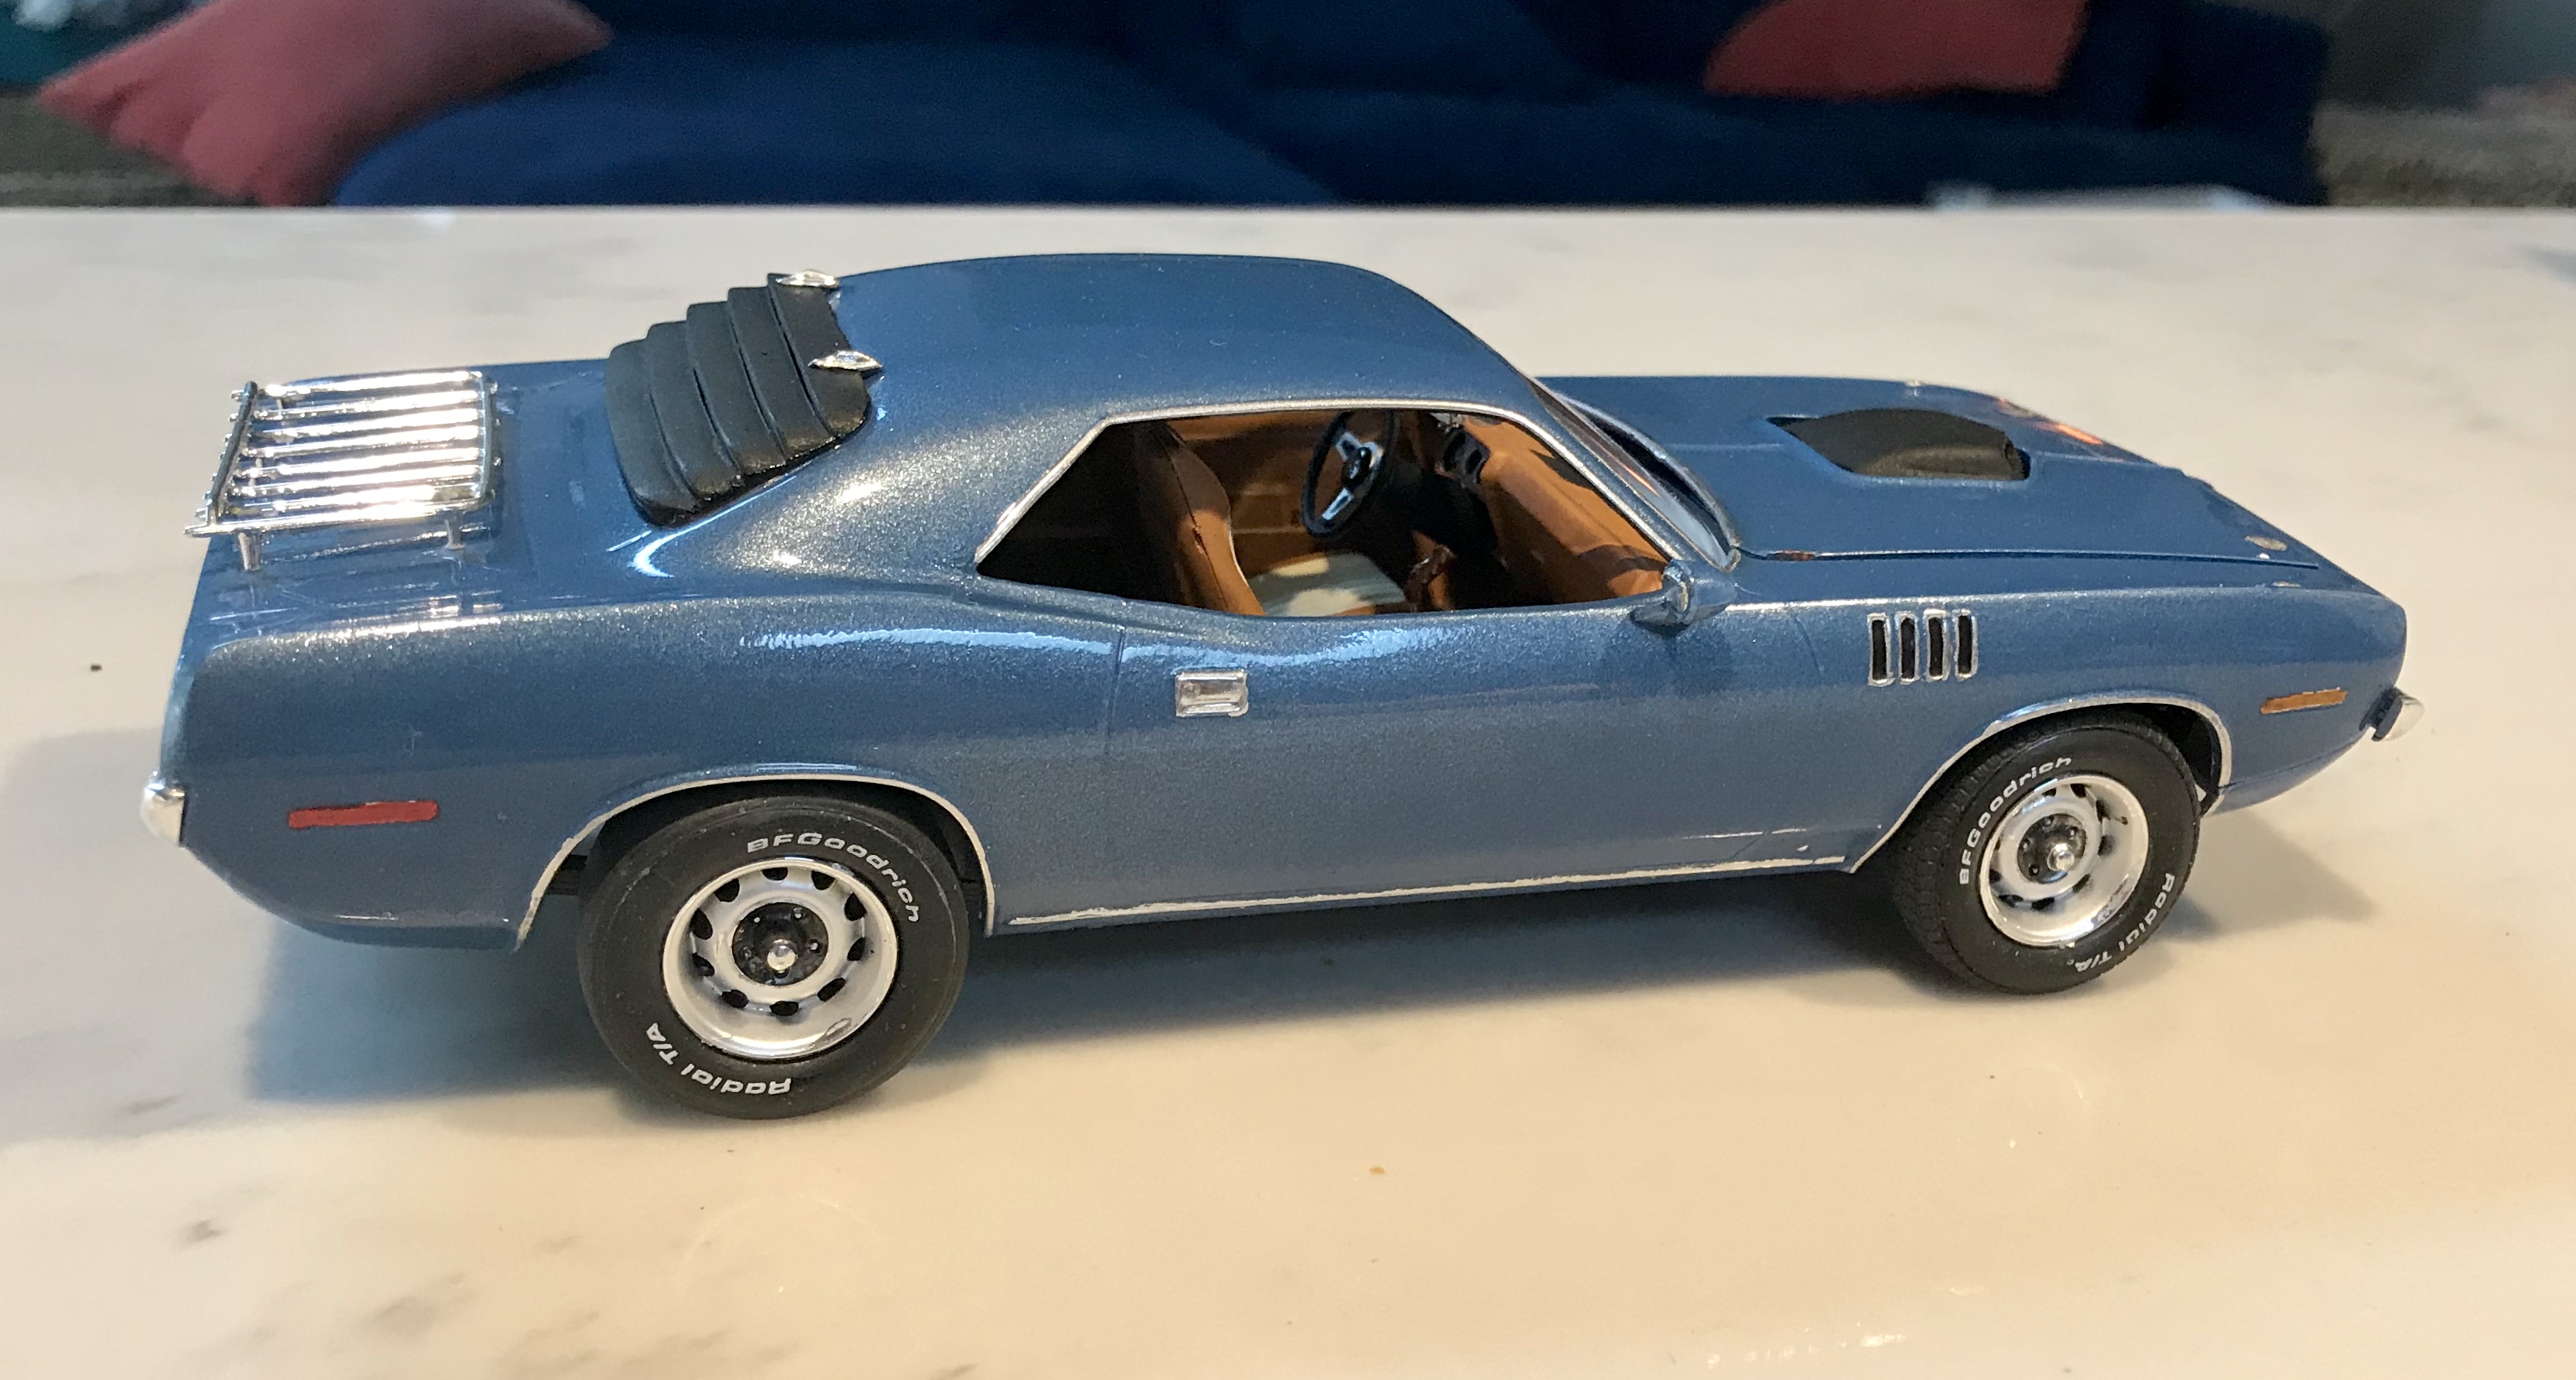
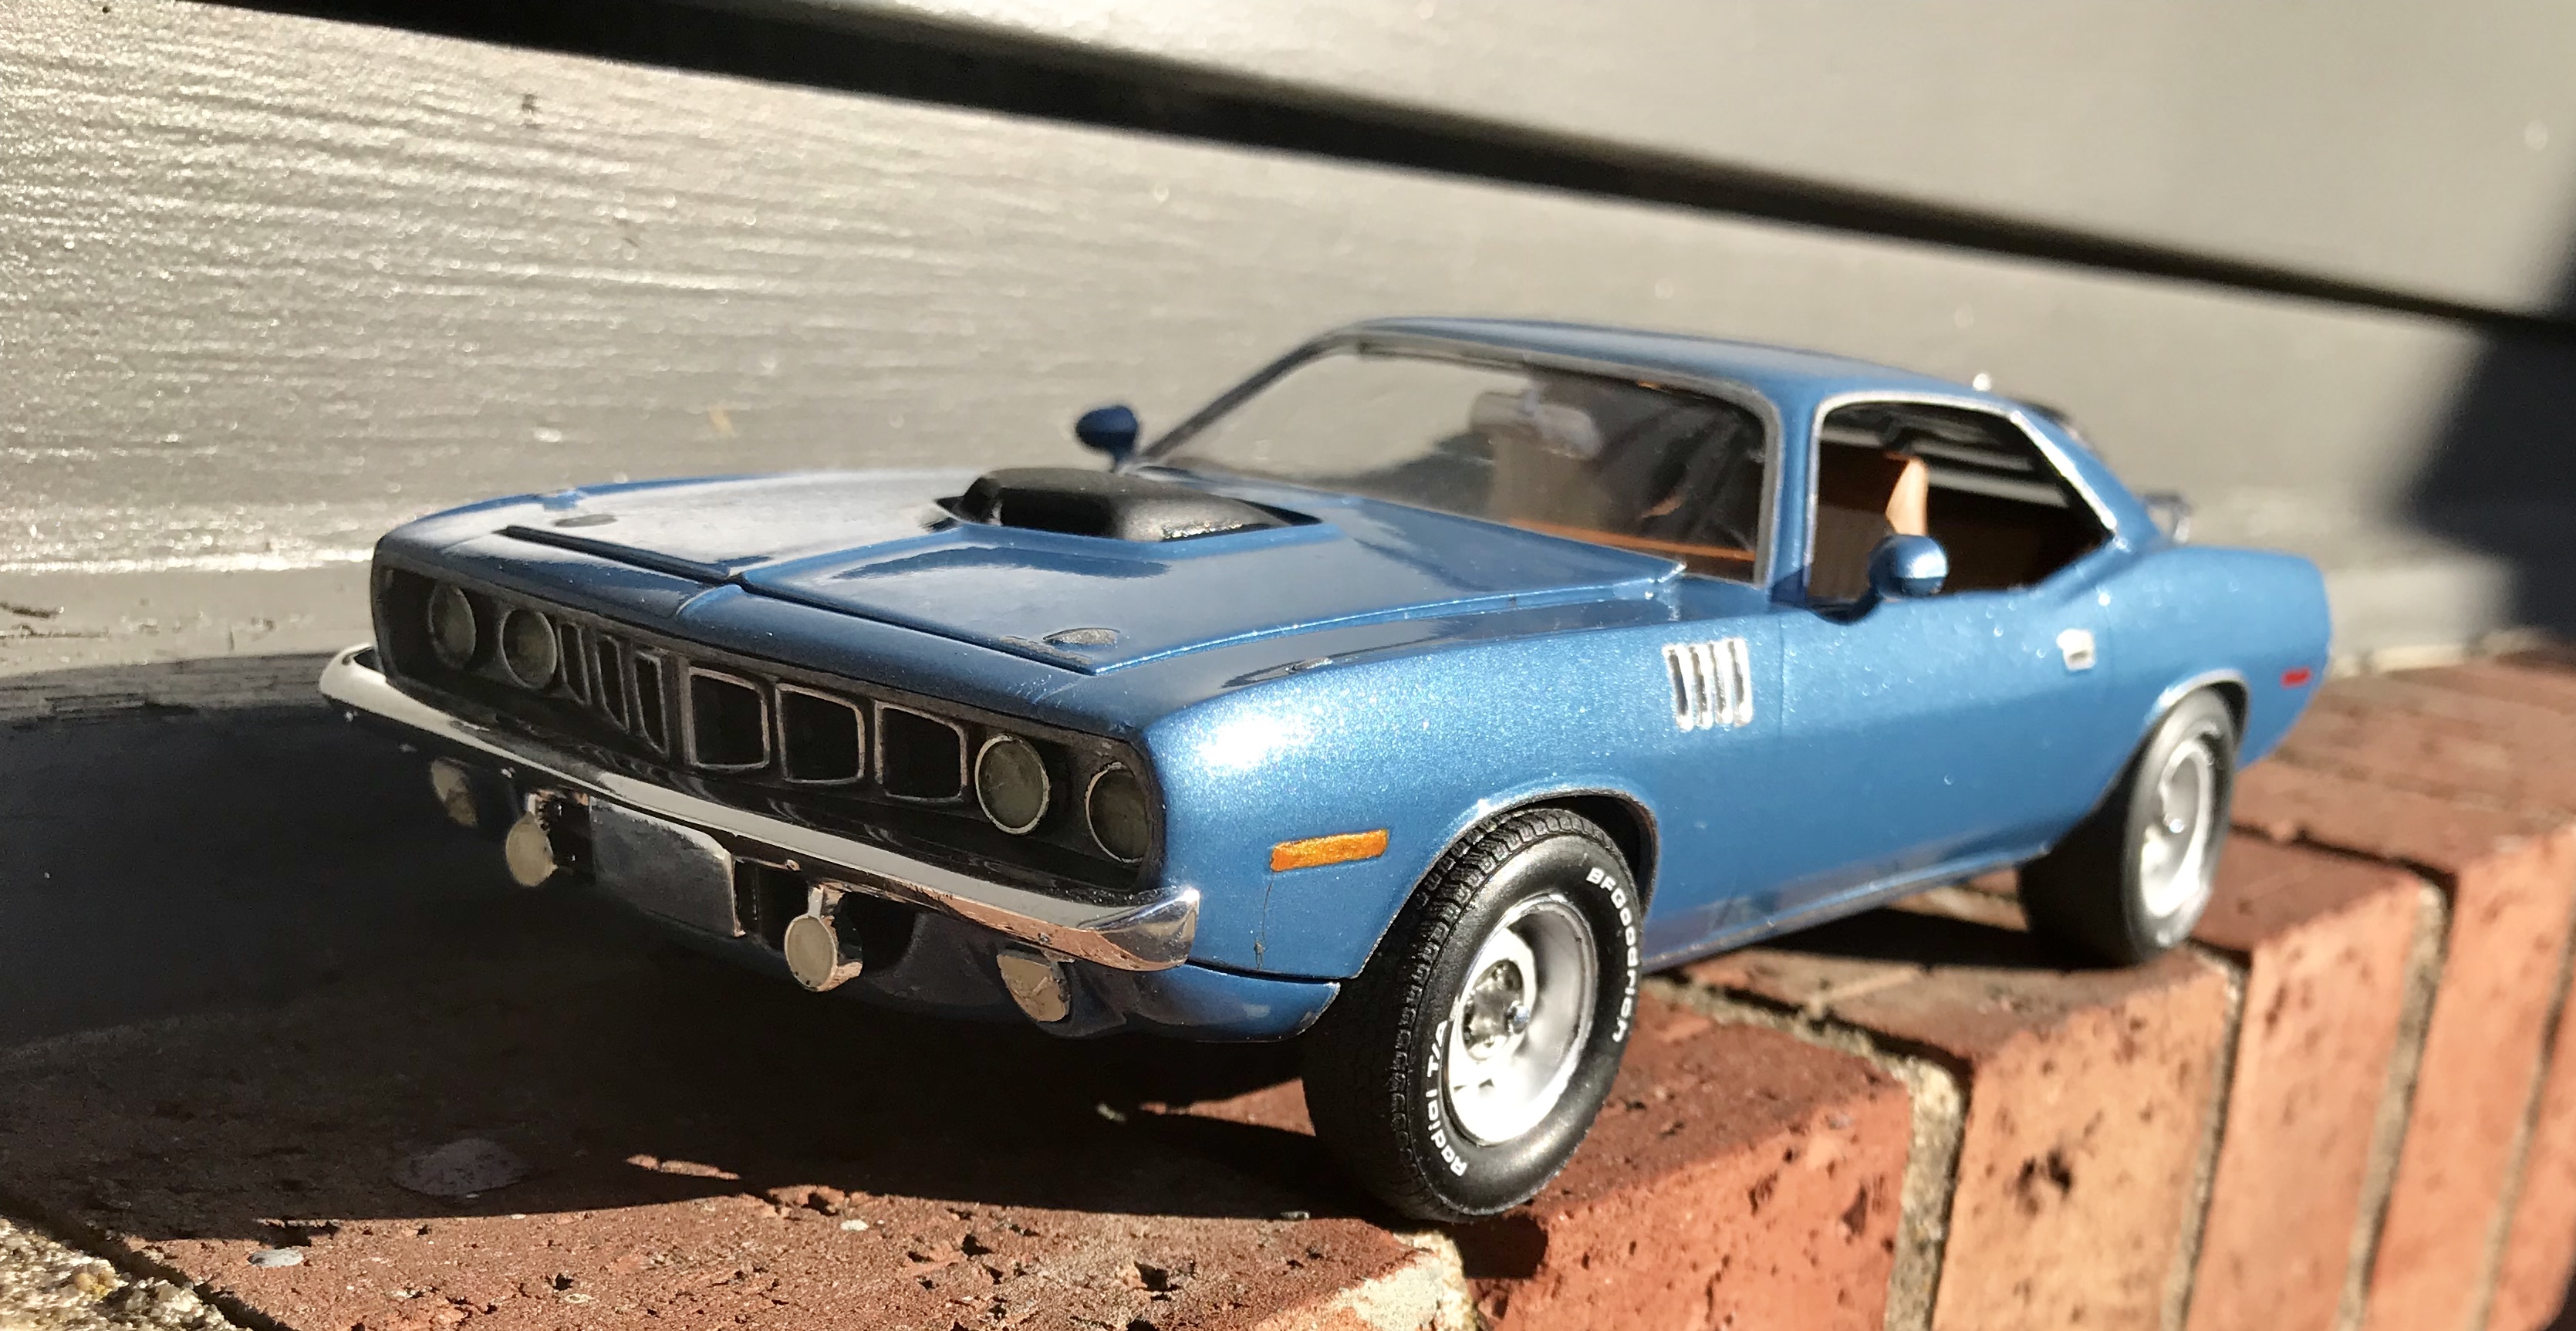
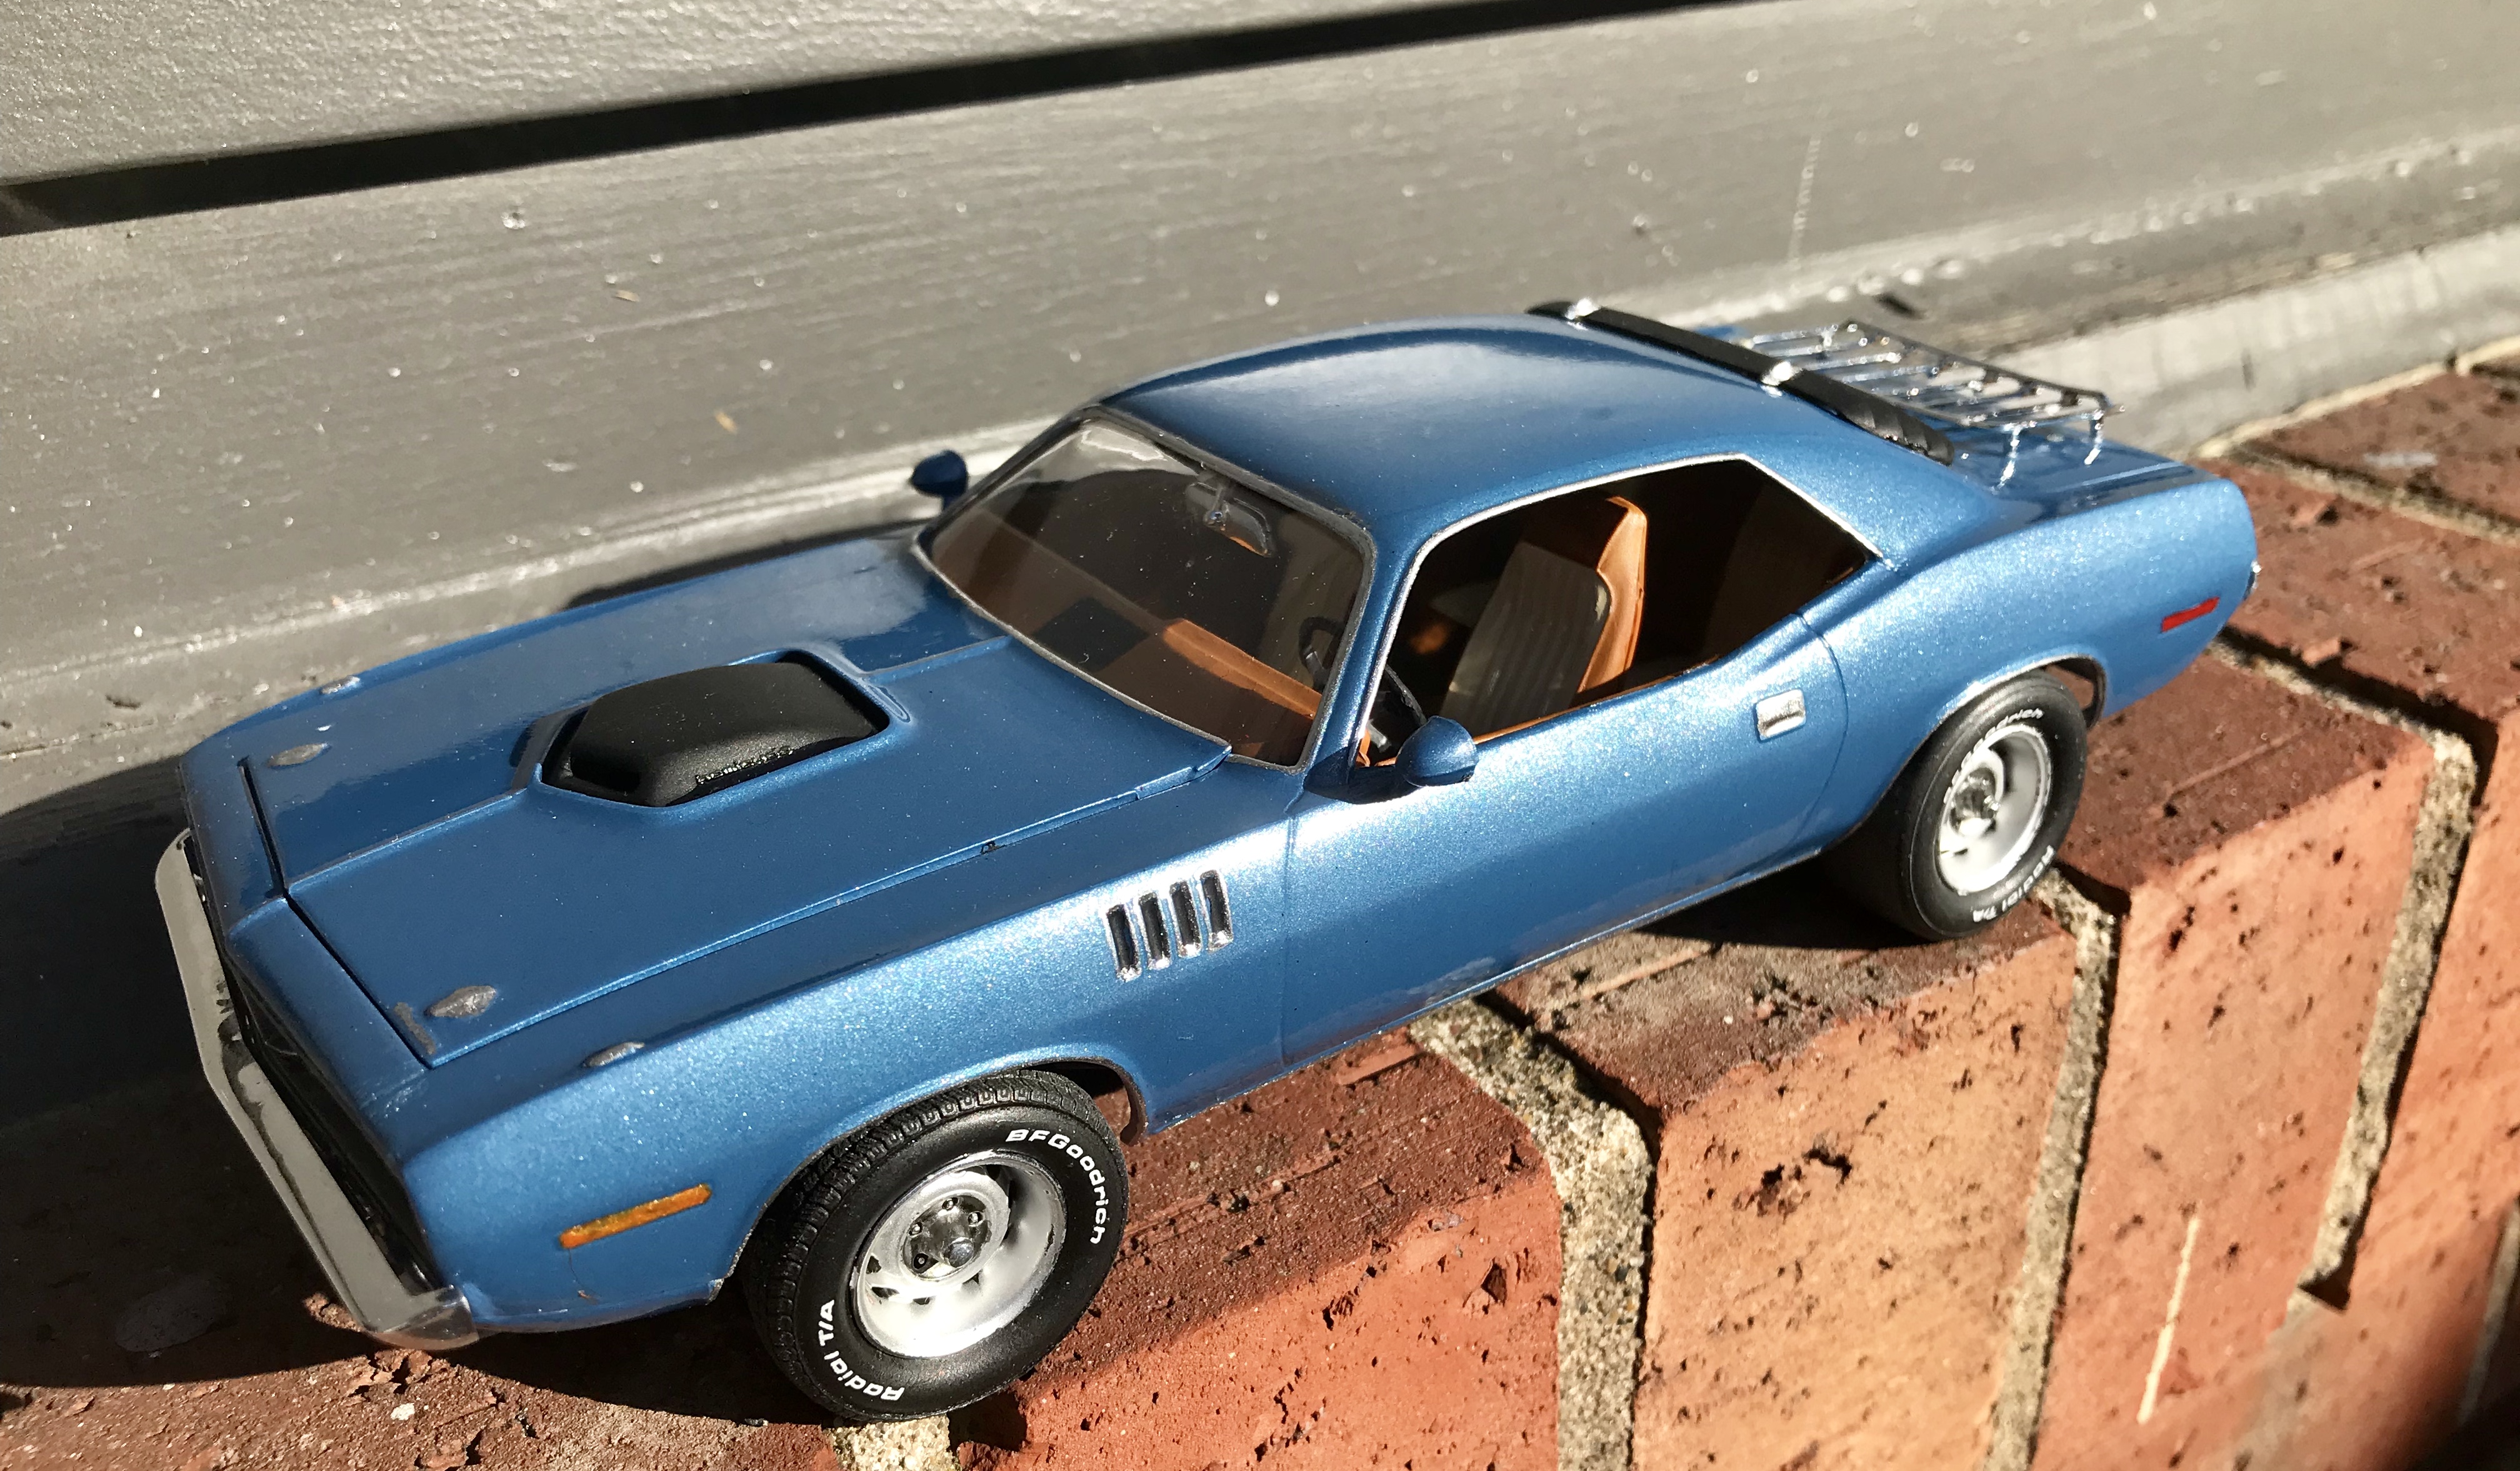
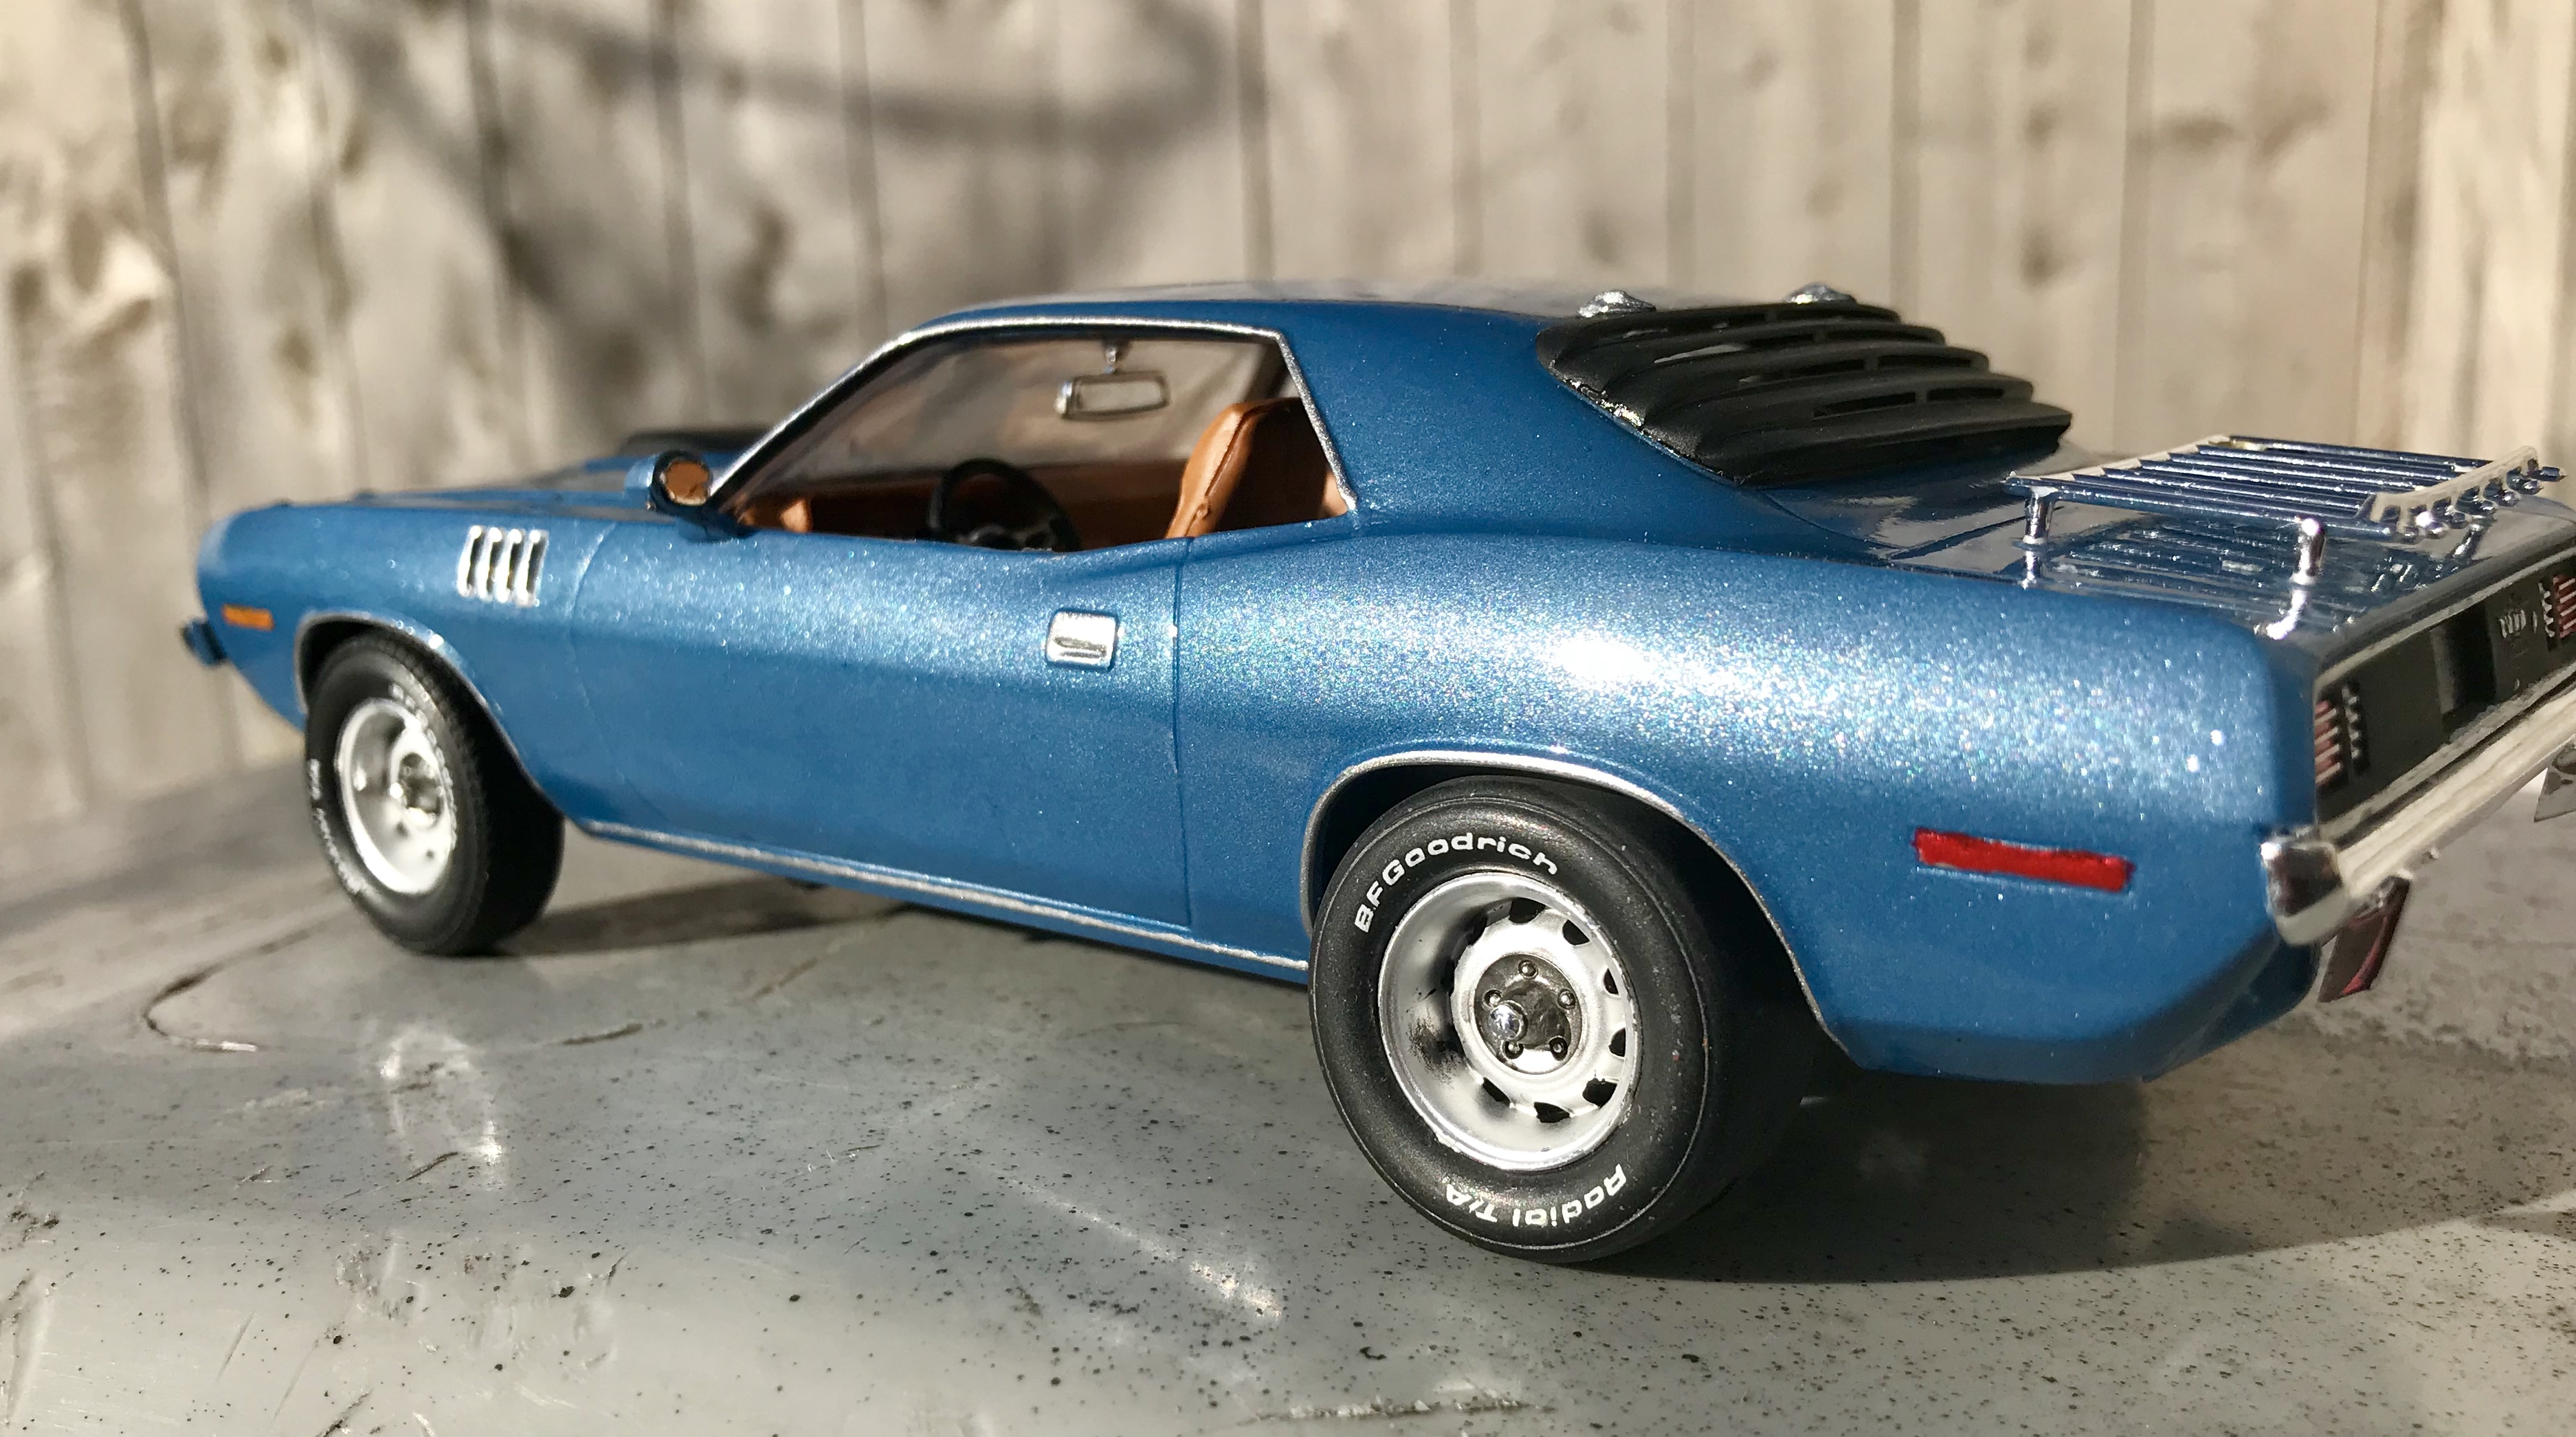
I’m in the middle of 2 “twins” projects... 2 69 Camaros and a 71 GTX/71 Road Runner project. For the Road Runner, I wanted a Hemi, as the GTX already has the 440 six-pack. So, I bought the 71 Cuda kit for its engine. So, in the middle of both projects, I decided to go ahead and throw the Cuda together. The billboard stripe was out because it was no longer a Hemi, so I had to figure out what to do with the look. I ended up mixing elements a bit, and I’m happier with it than I thought I’d be. i had to trim the transmission tunnel a little to fit the automatic gearbox, and wired the engine up, but had a couple problems that I still need to fix. The carbs sit way too high to use the air cleaner or the bottom of the shaker assembly. I glued the shaker scoop into the hole in the hood, but that didn’t leave enough clearance for the carbs. So at this moment, there is nothing on top of the intake, as that’s the only way the hood will close. I’ll look at solutions later. The paint is a GM light blue metallic from Duplicolor with Duplicolor clear. It’s a much duller, grayish blue inside, but looked more like B-5 in the sunlight. I did the interior in a saddle and cream 2-tone, which I liked. I used the rear window louvres, some Monogram NASCAR tires (Fireball tire decals) on the rear, and blacked out the tail panel for a more performance-oriented look, then offset that with the “pretty” metallic blue, two tone interior and the luggage rack that came from the Revell 69 Vette. Also, the headlights are the worst part of this kit, so I just filled the bezels with clear glue. Anyway, pretty quick, simple build... hope you like it!
-
The picture you replicated is my favorite Cuda pic of all time, and man, did you do it justice. This is an INCREDIBLE build!!! It was absolutely worth the 4 years of work.
-
I had something strange happen in a build and thought I’d throw a question out to the community. I bought an aftermarket set of decals for my 71 Road Runner project... last week, I was leaving town for work, and wanted to get a little done before I left town. My paint and clear were done, so I polished out the body and wanted to see what the strobe stripe looked like, so I applied it. Right before I left, I put a coat of wax on to get some protection on the finish. Never had anything like this happen, but I came home to find the paint crazed... my Road Runner now looks more like an alligator. I’m fine with stripping it and repainting... no big deal... but is there any way to get the strobe stripe off and save it to reuse, or do I just have to buy a new decal set? Thanks!
-
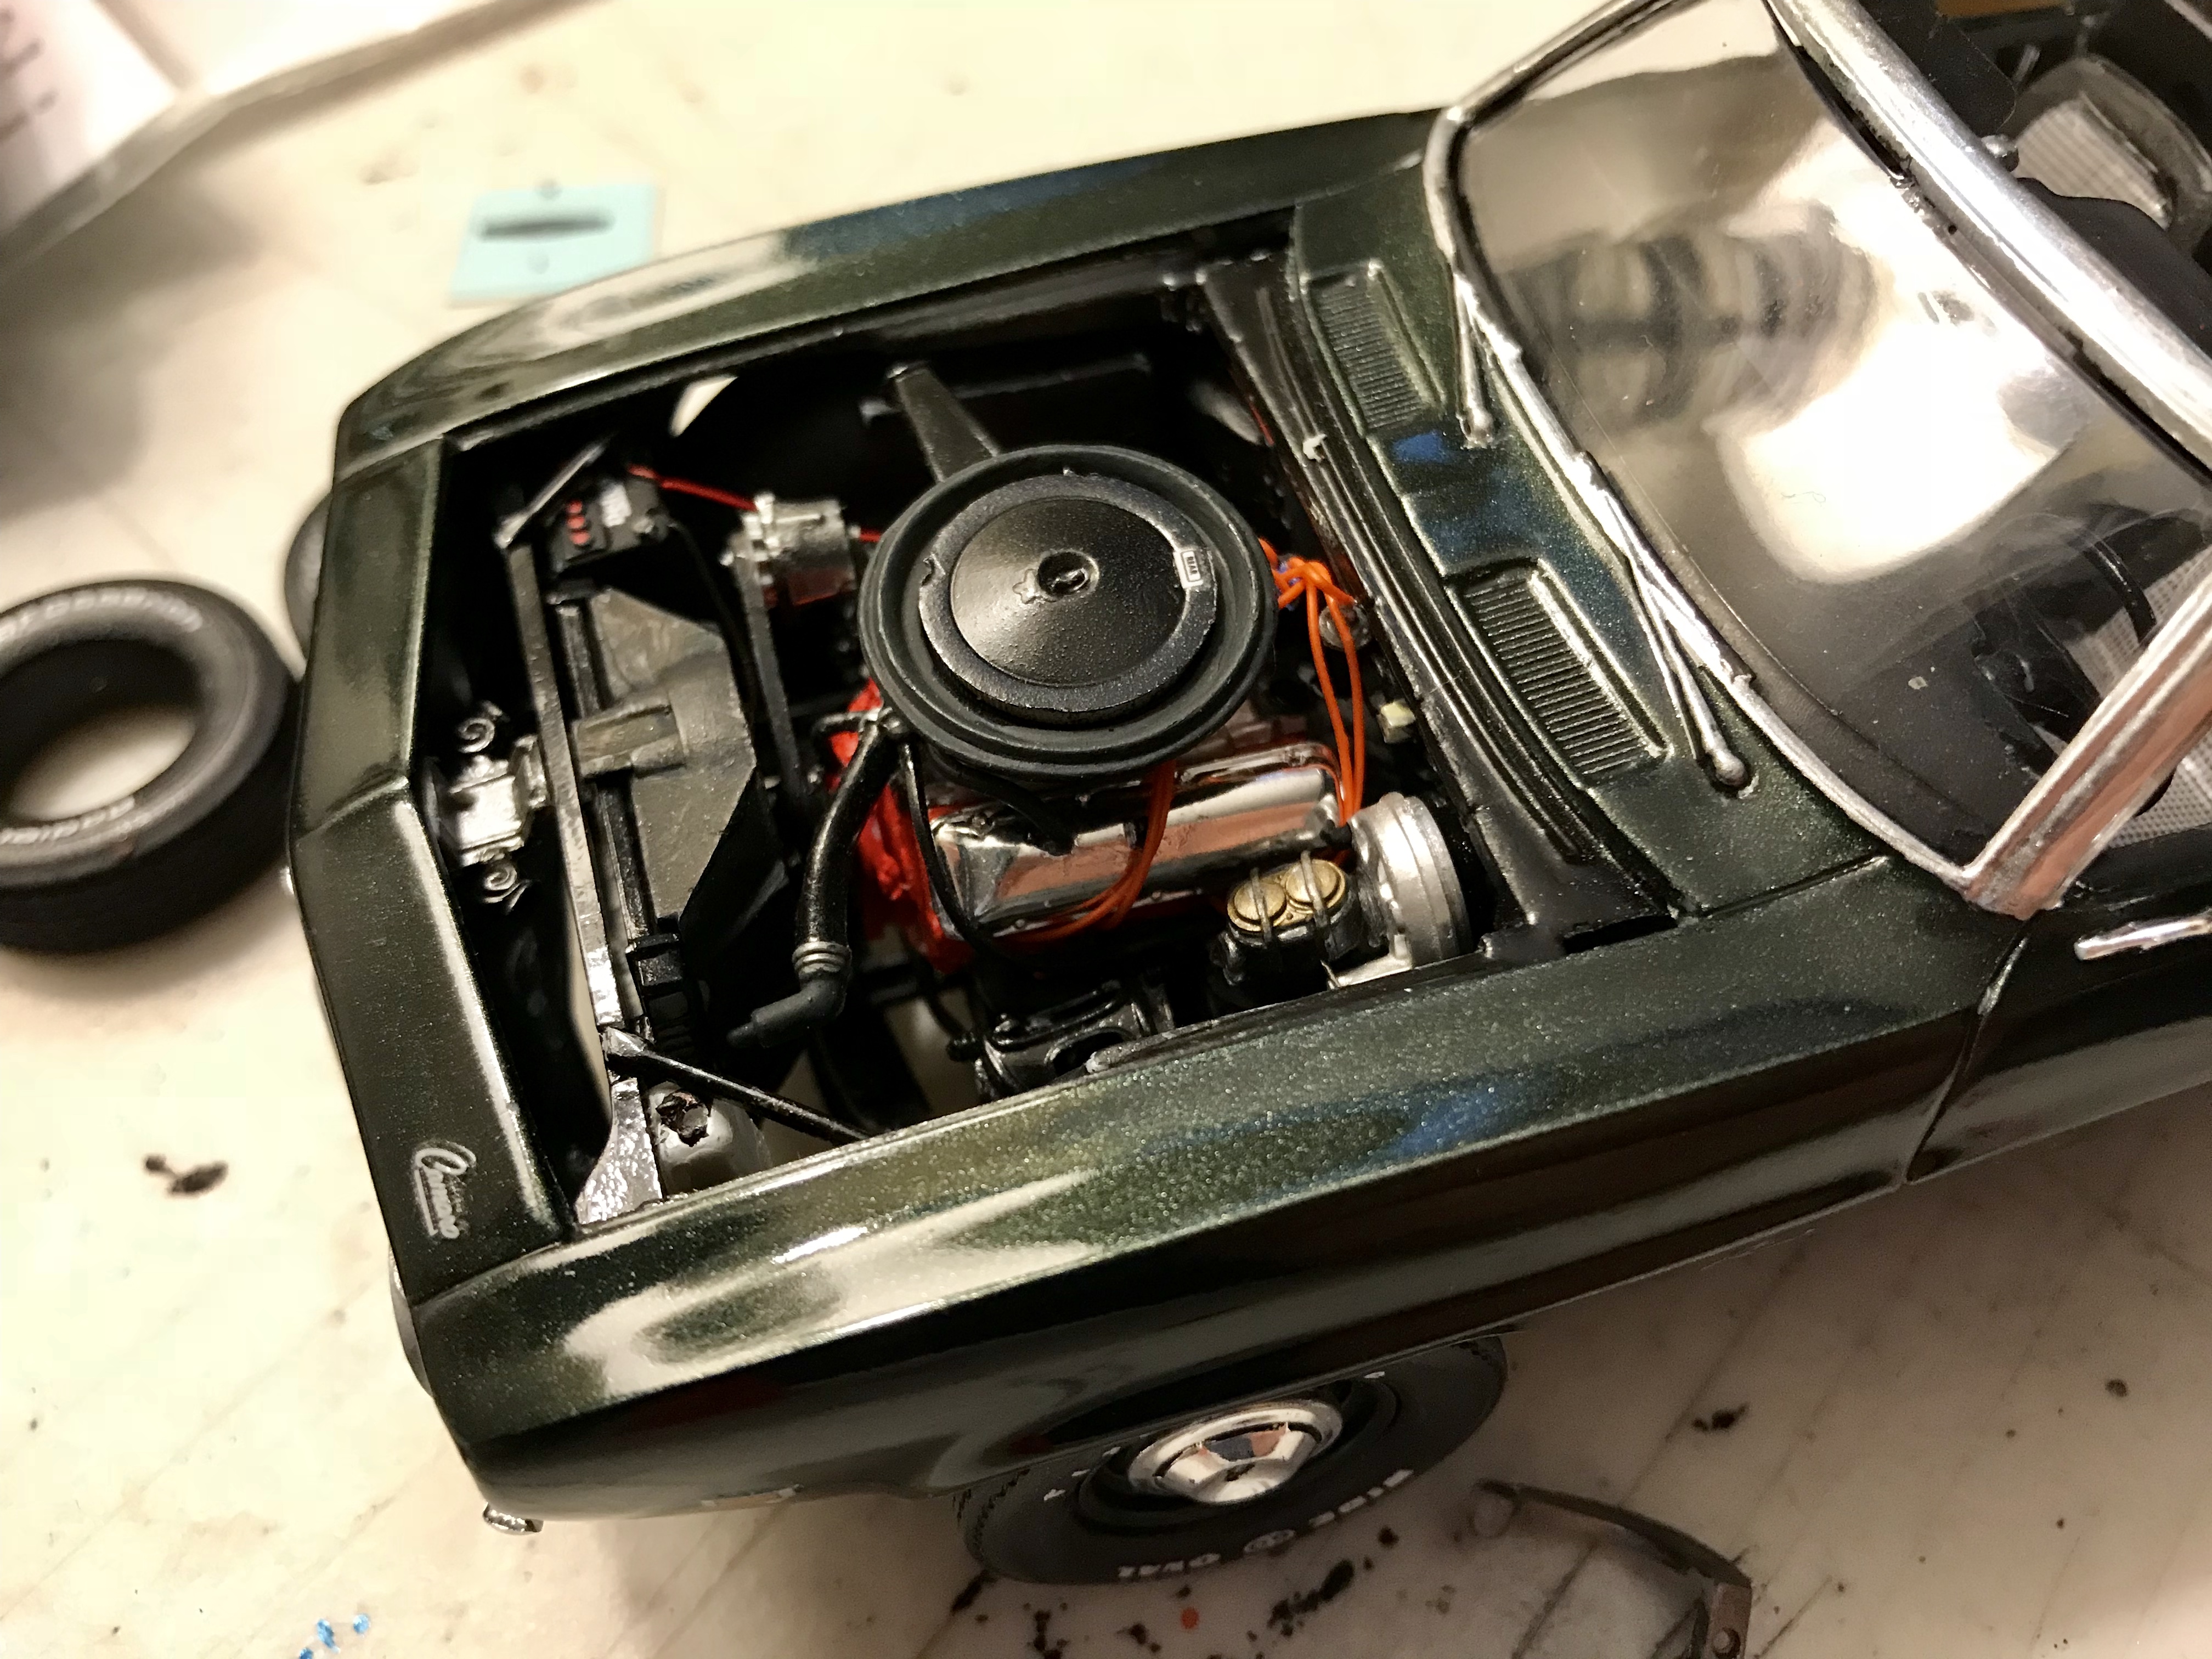
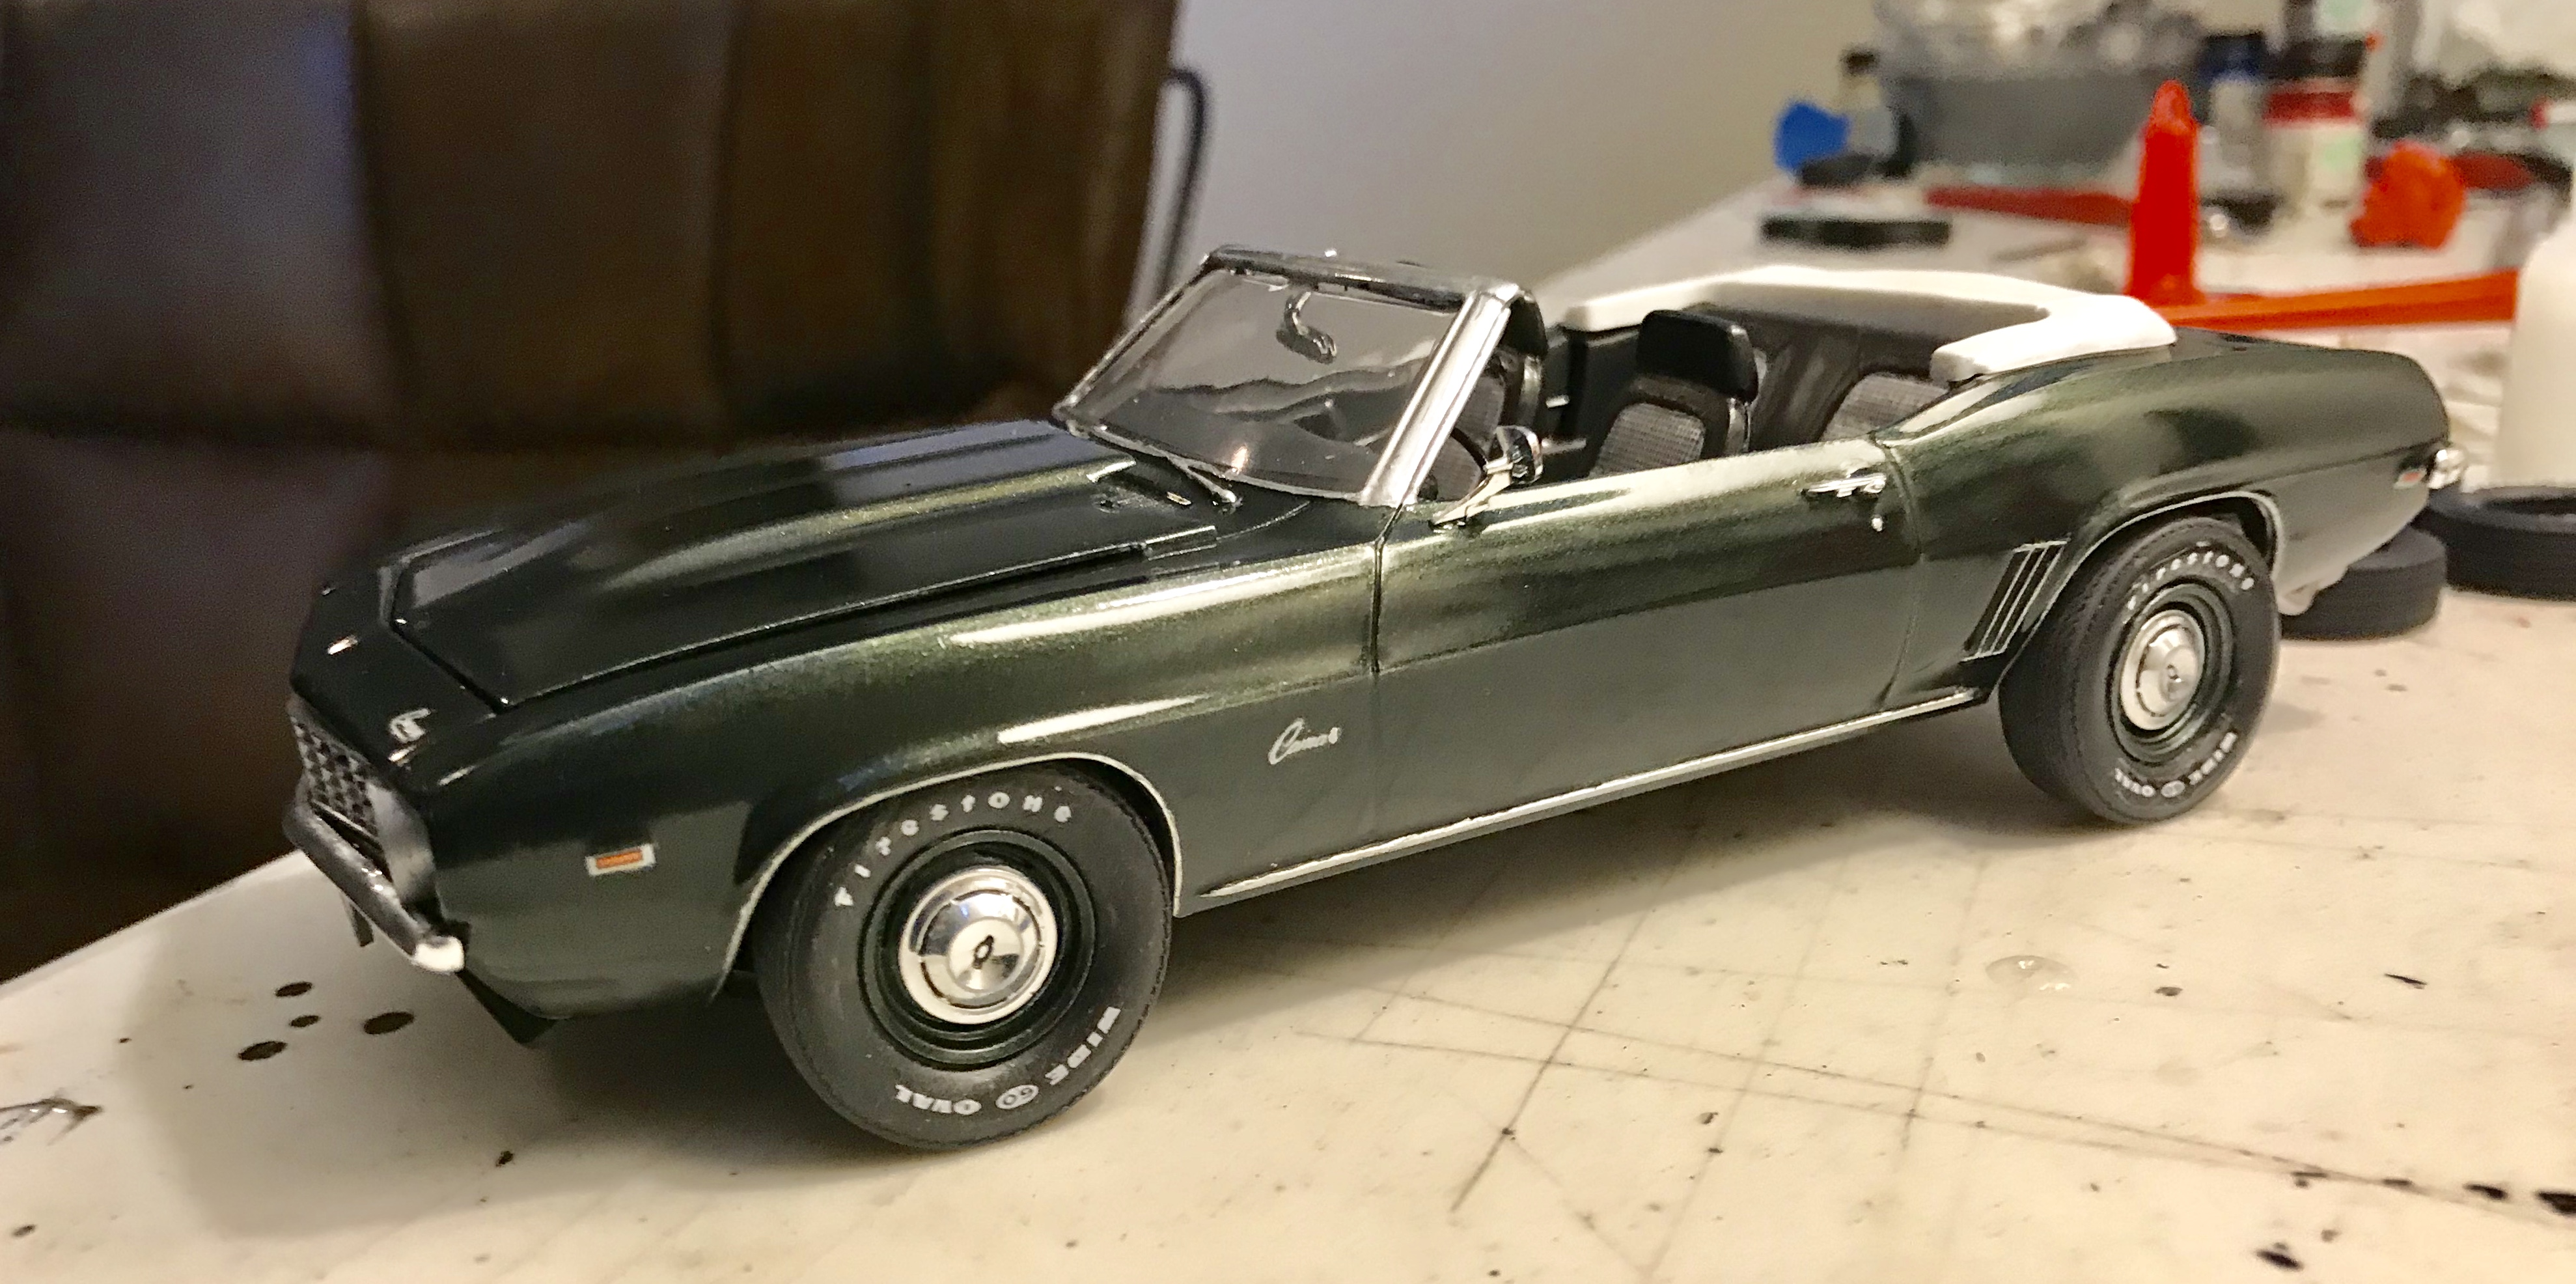
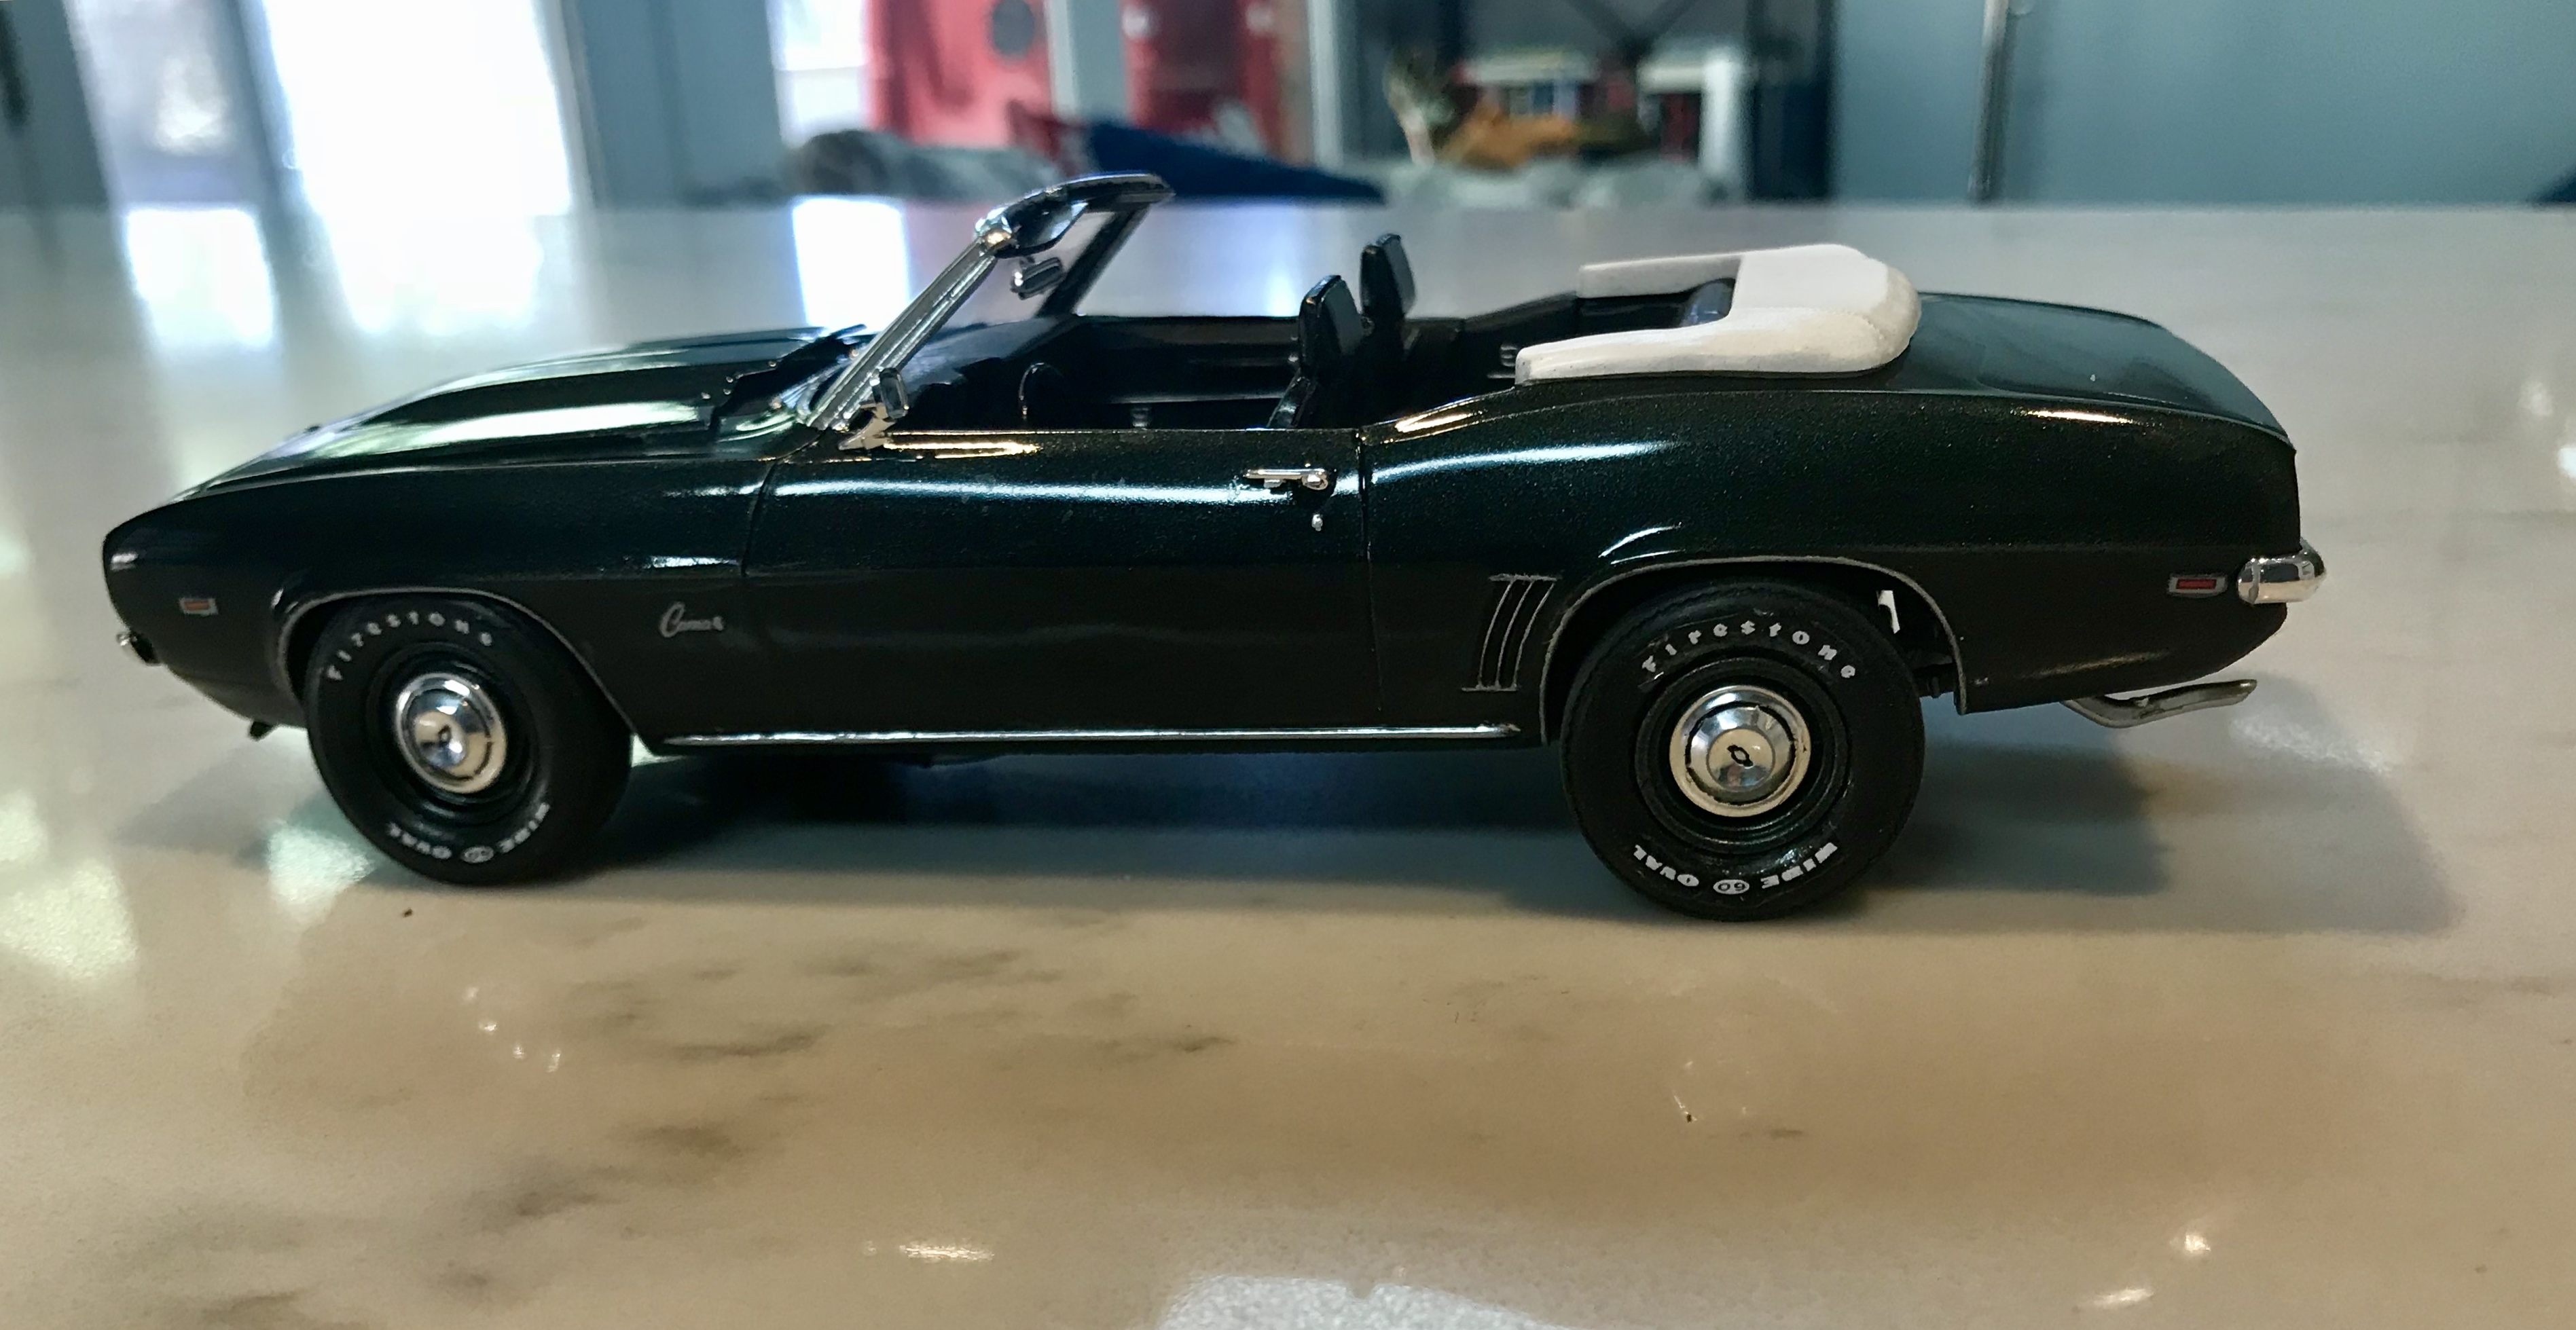
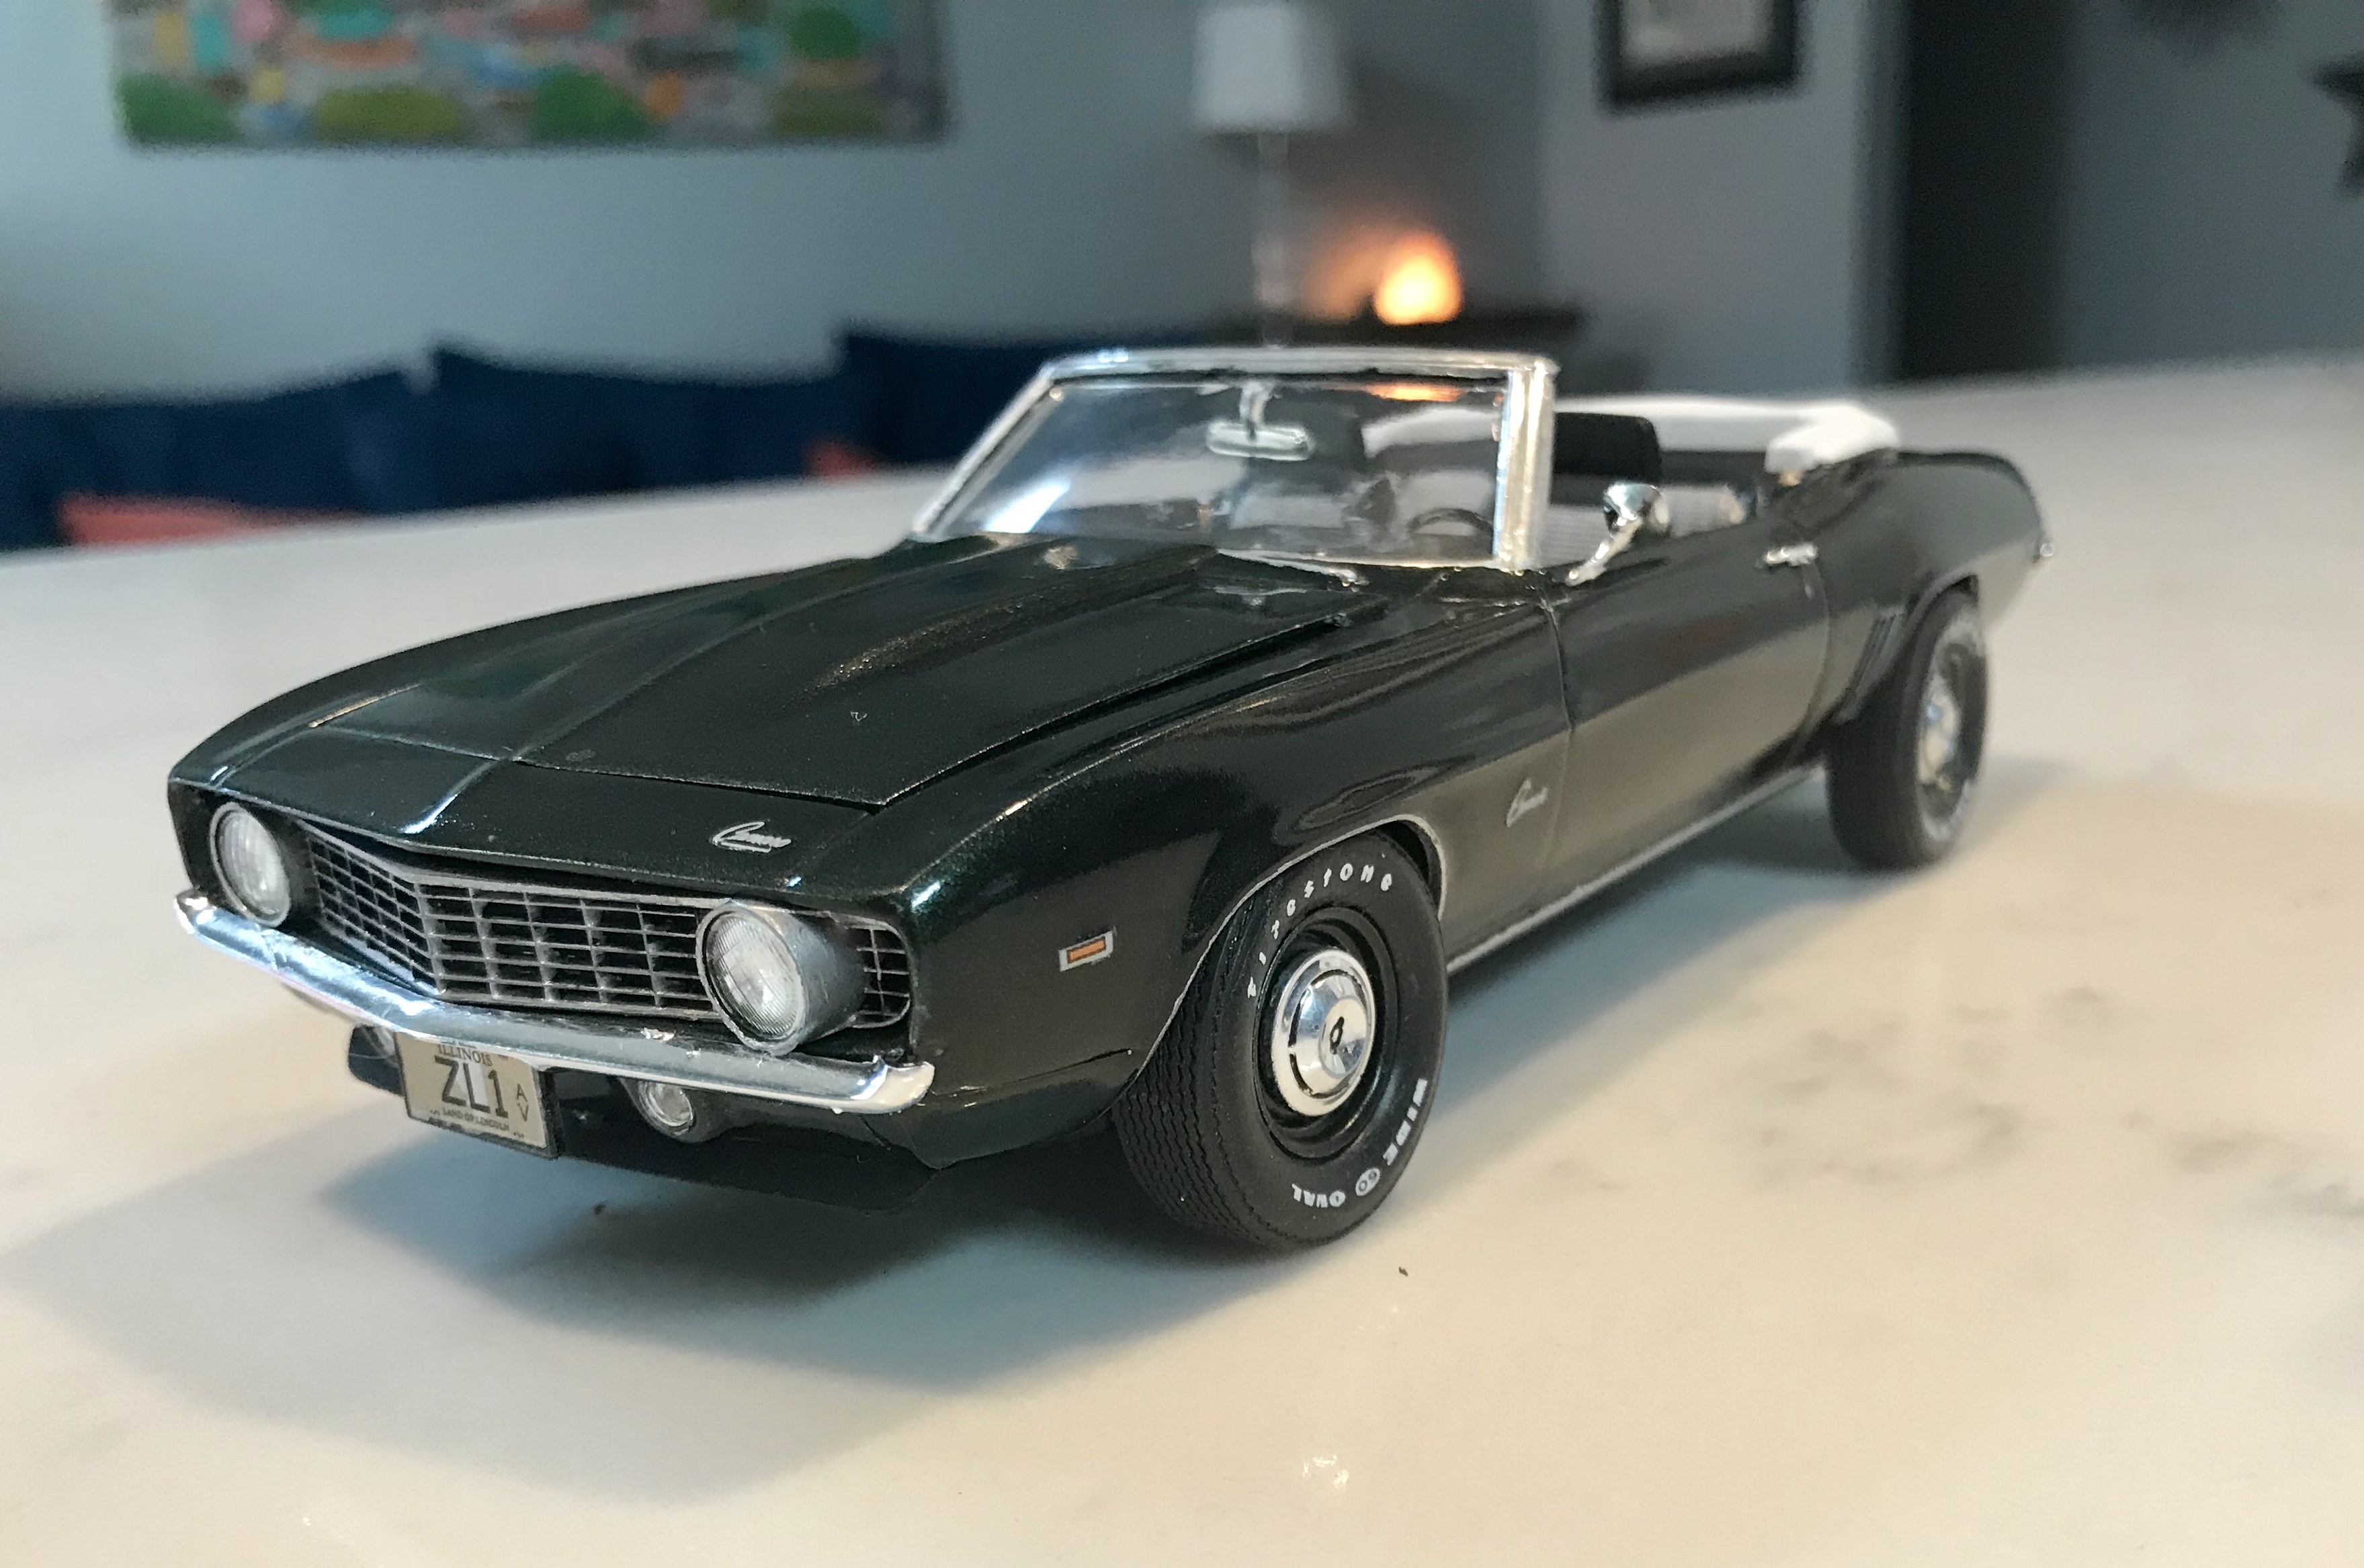
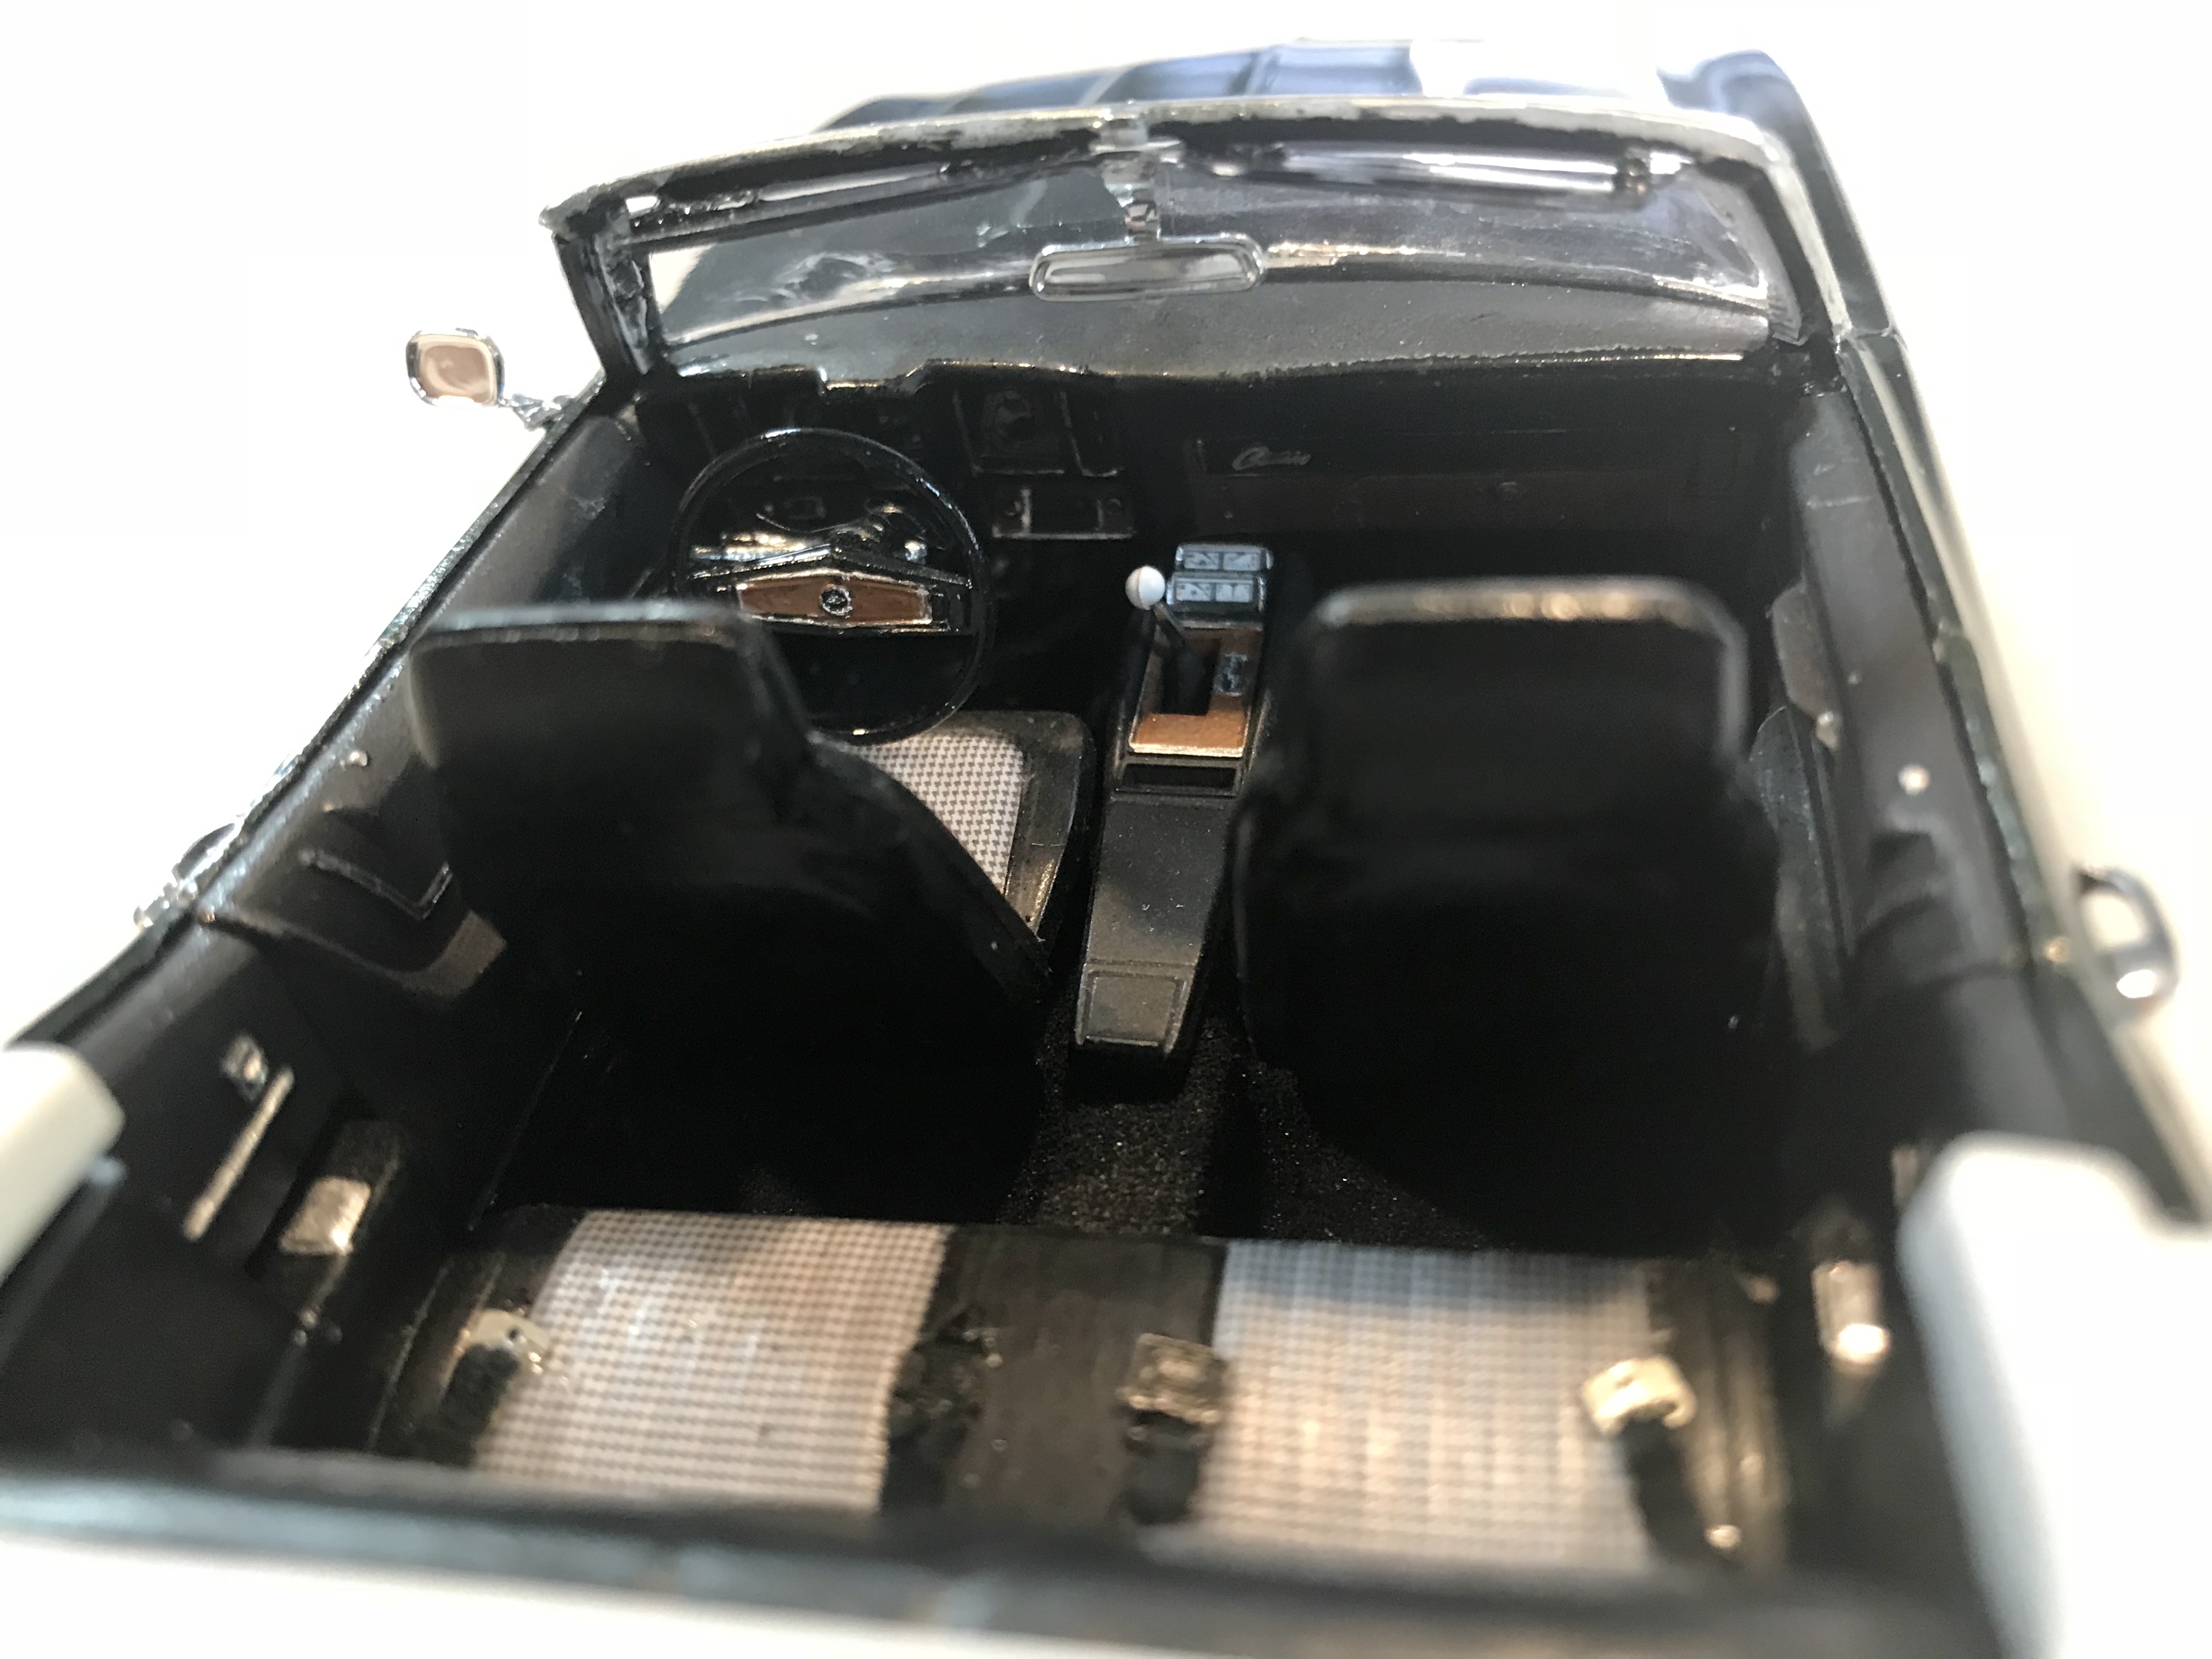
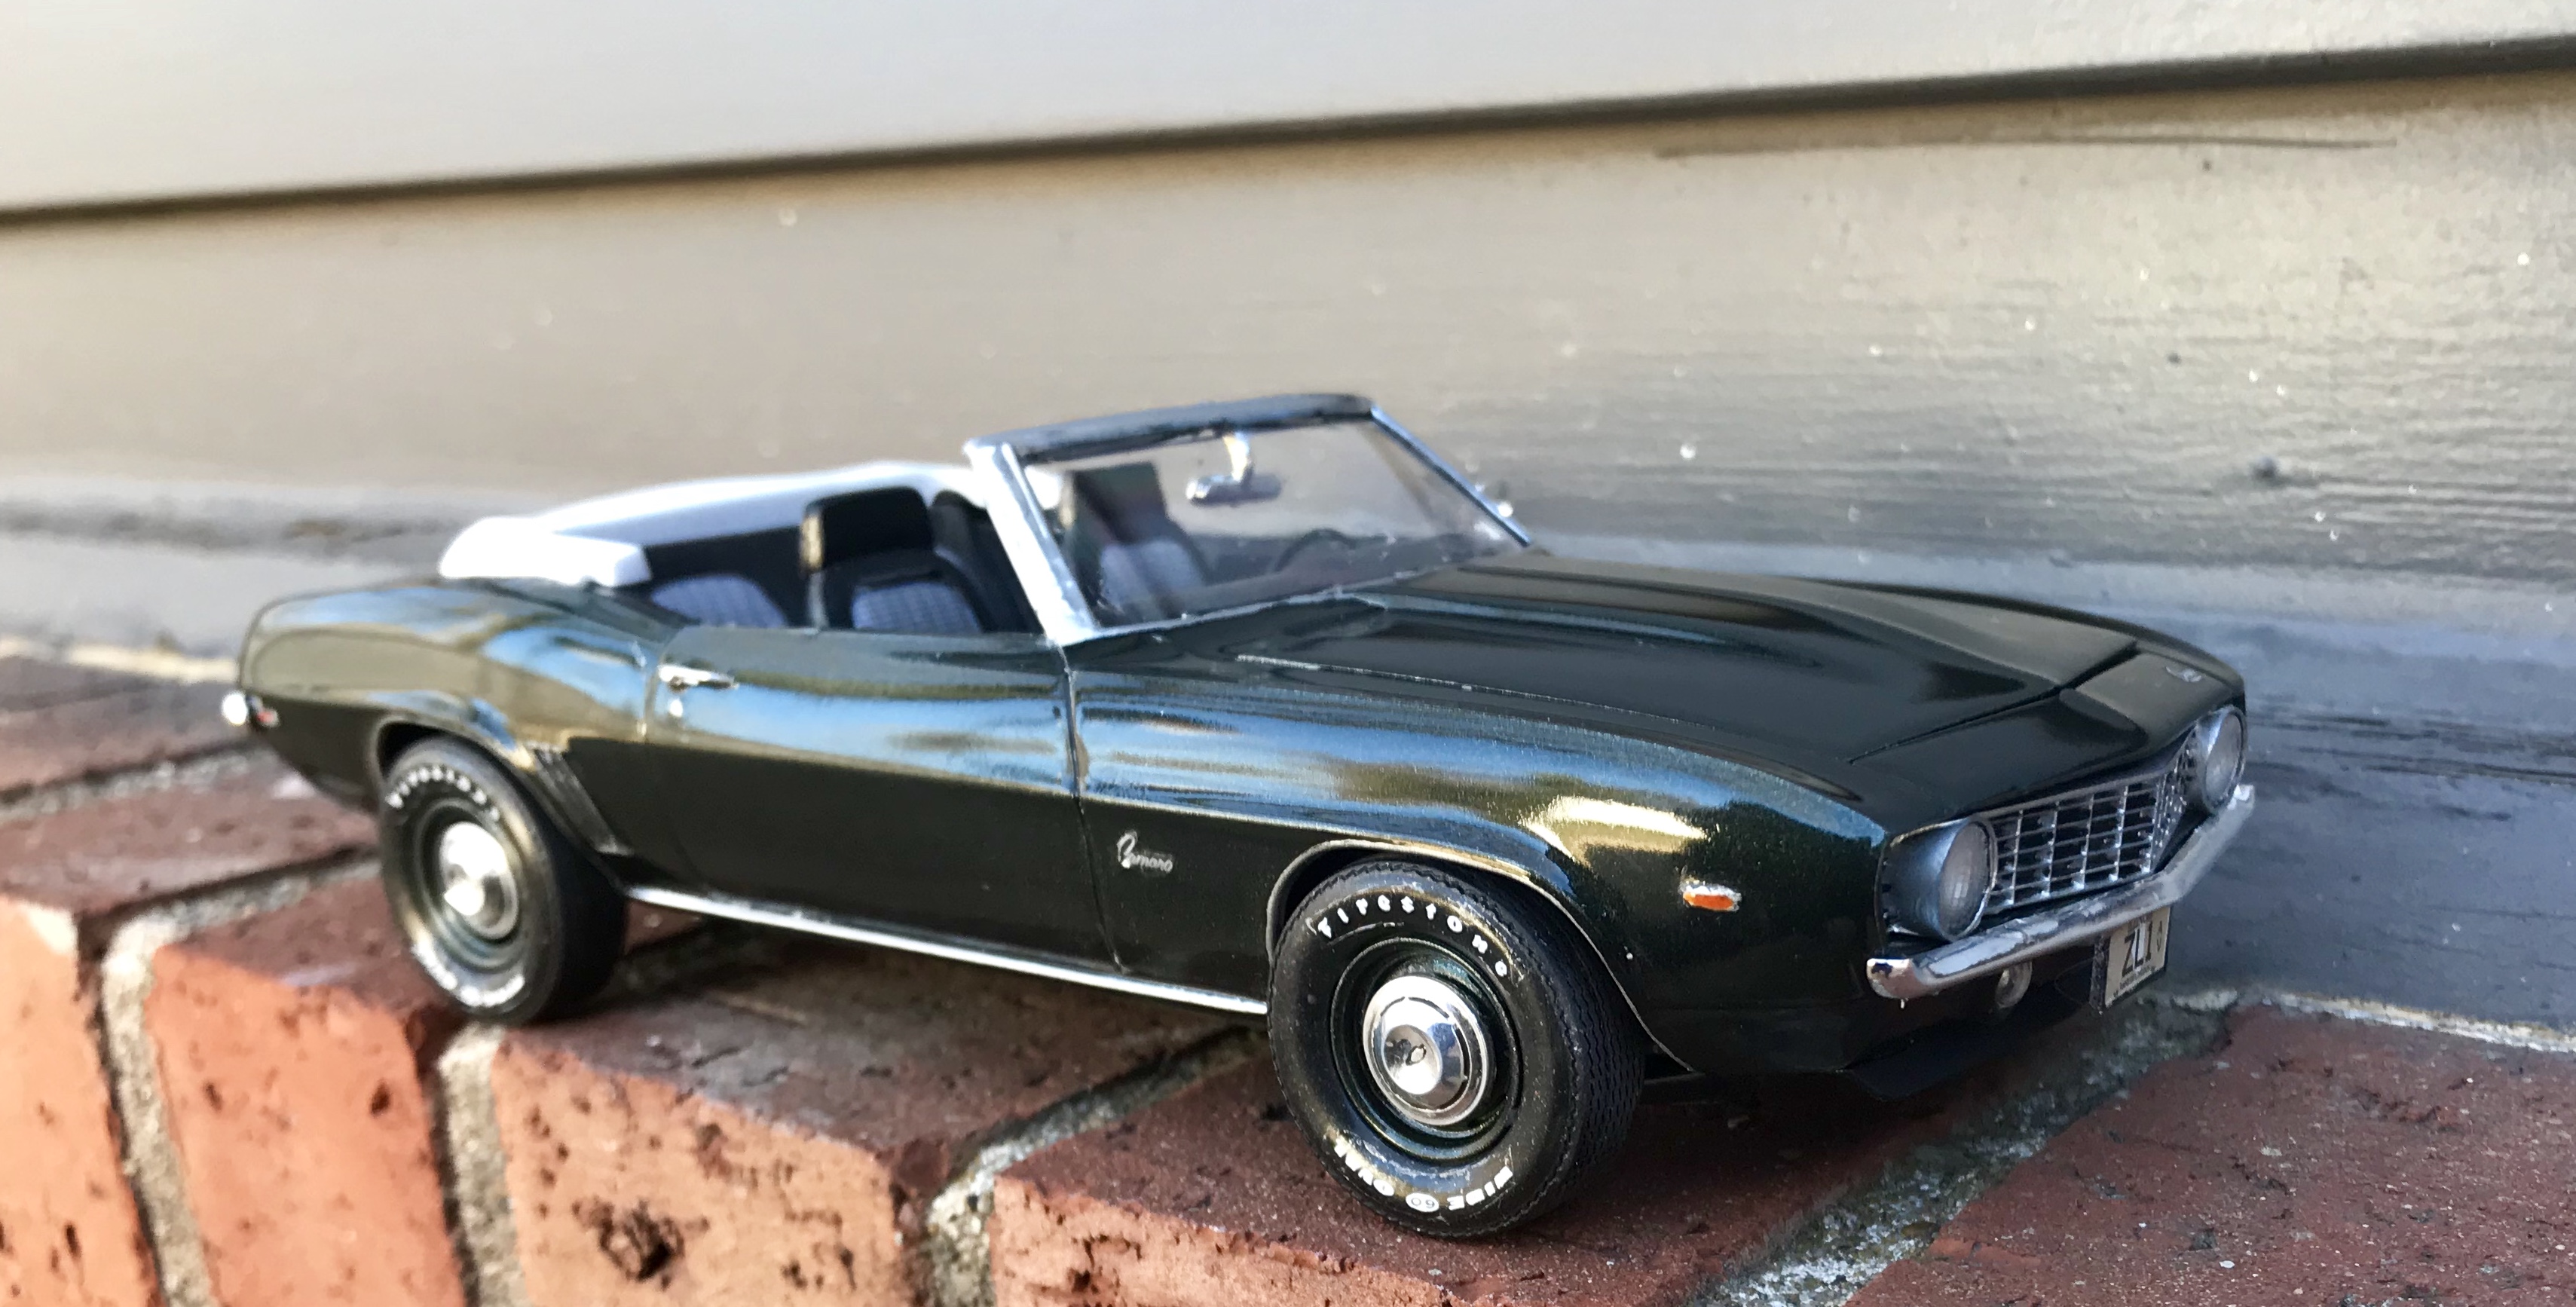
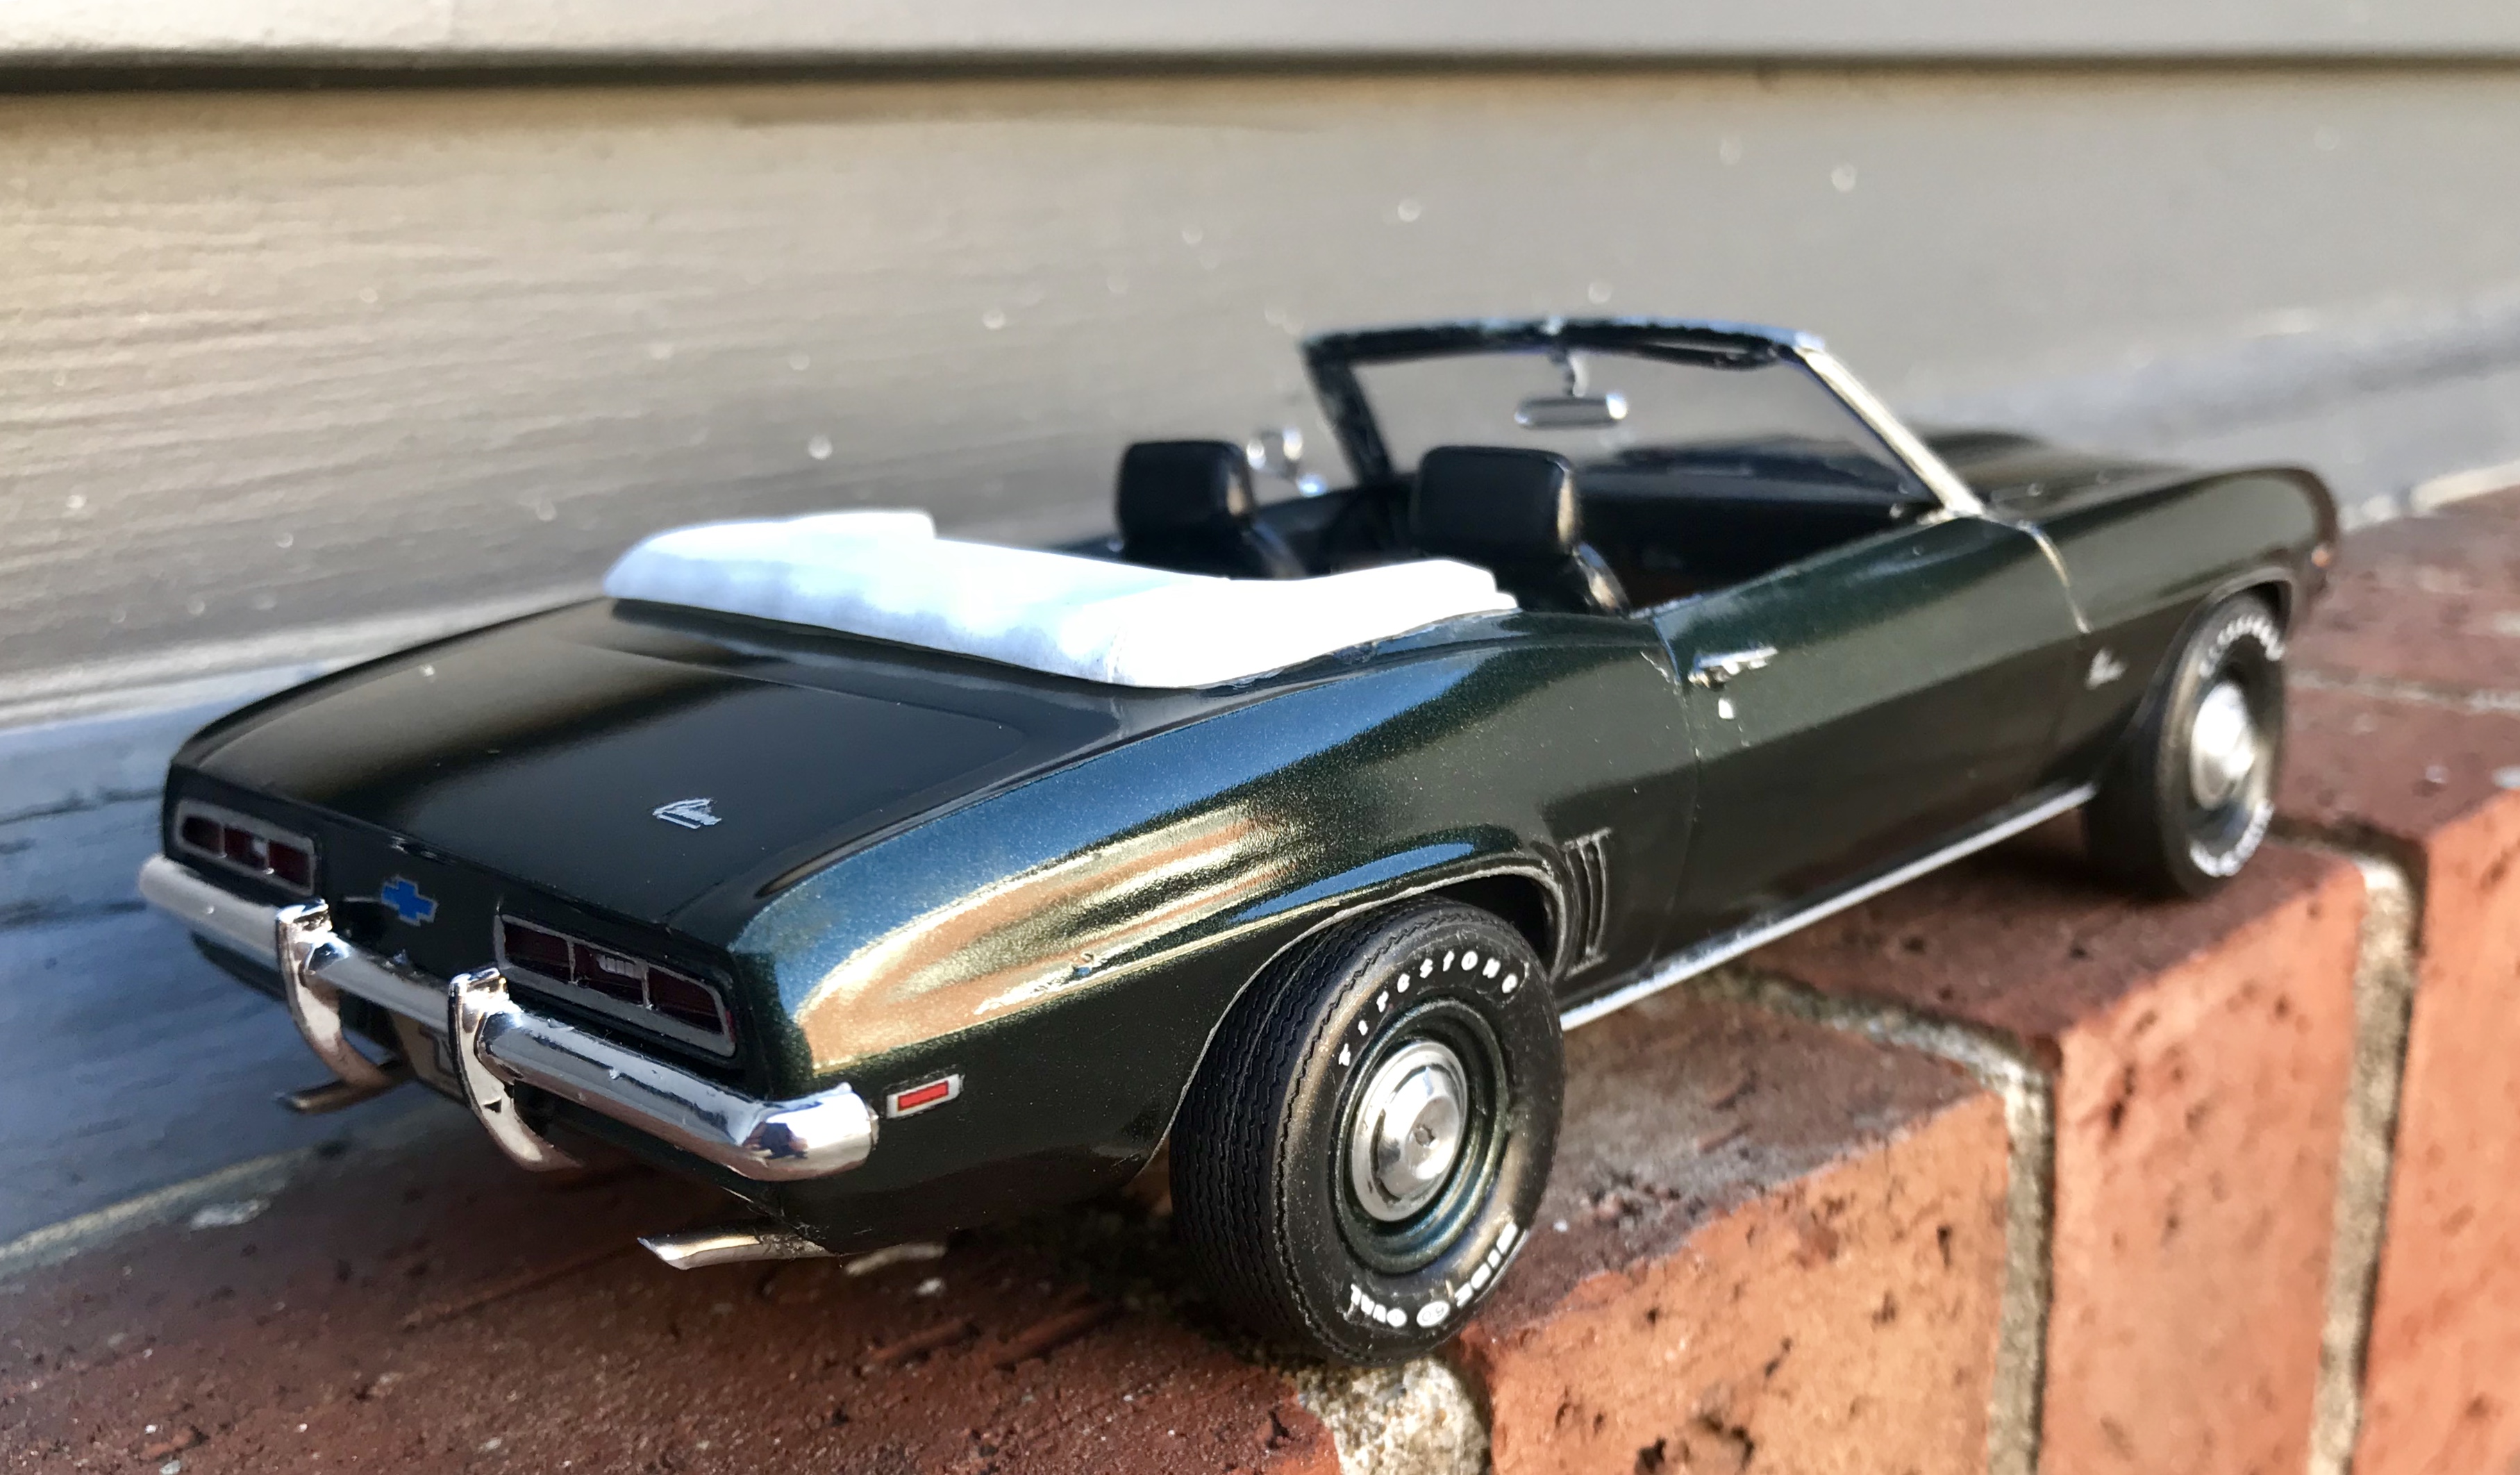
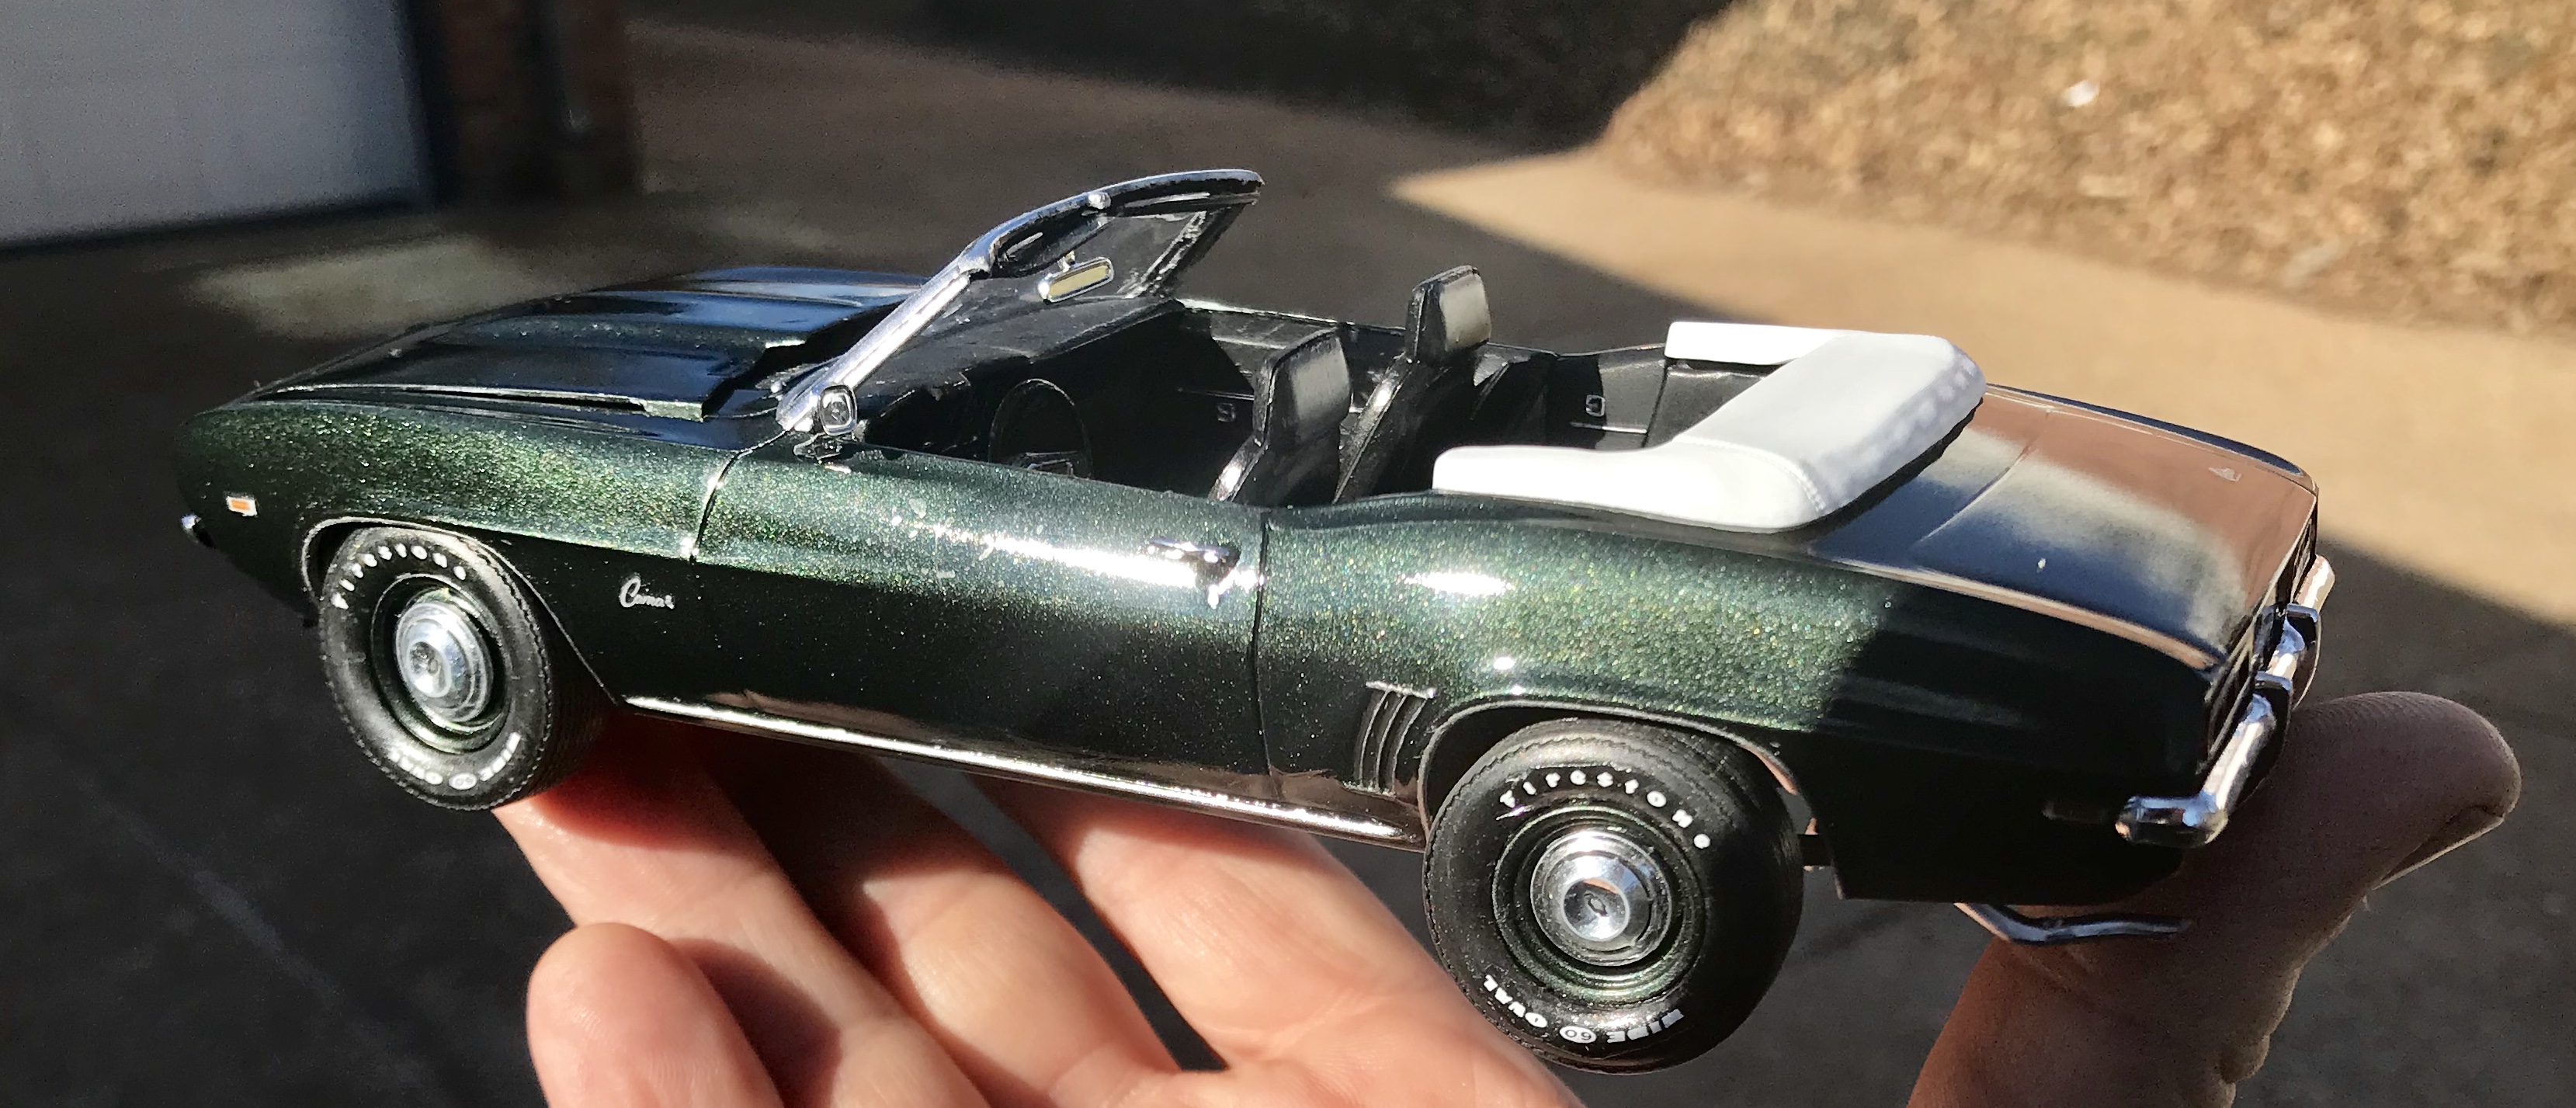
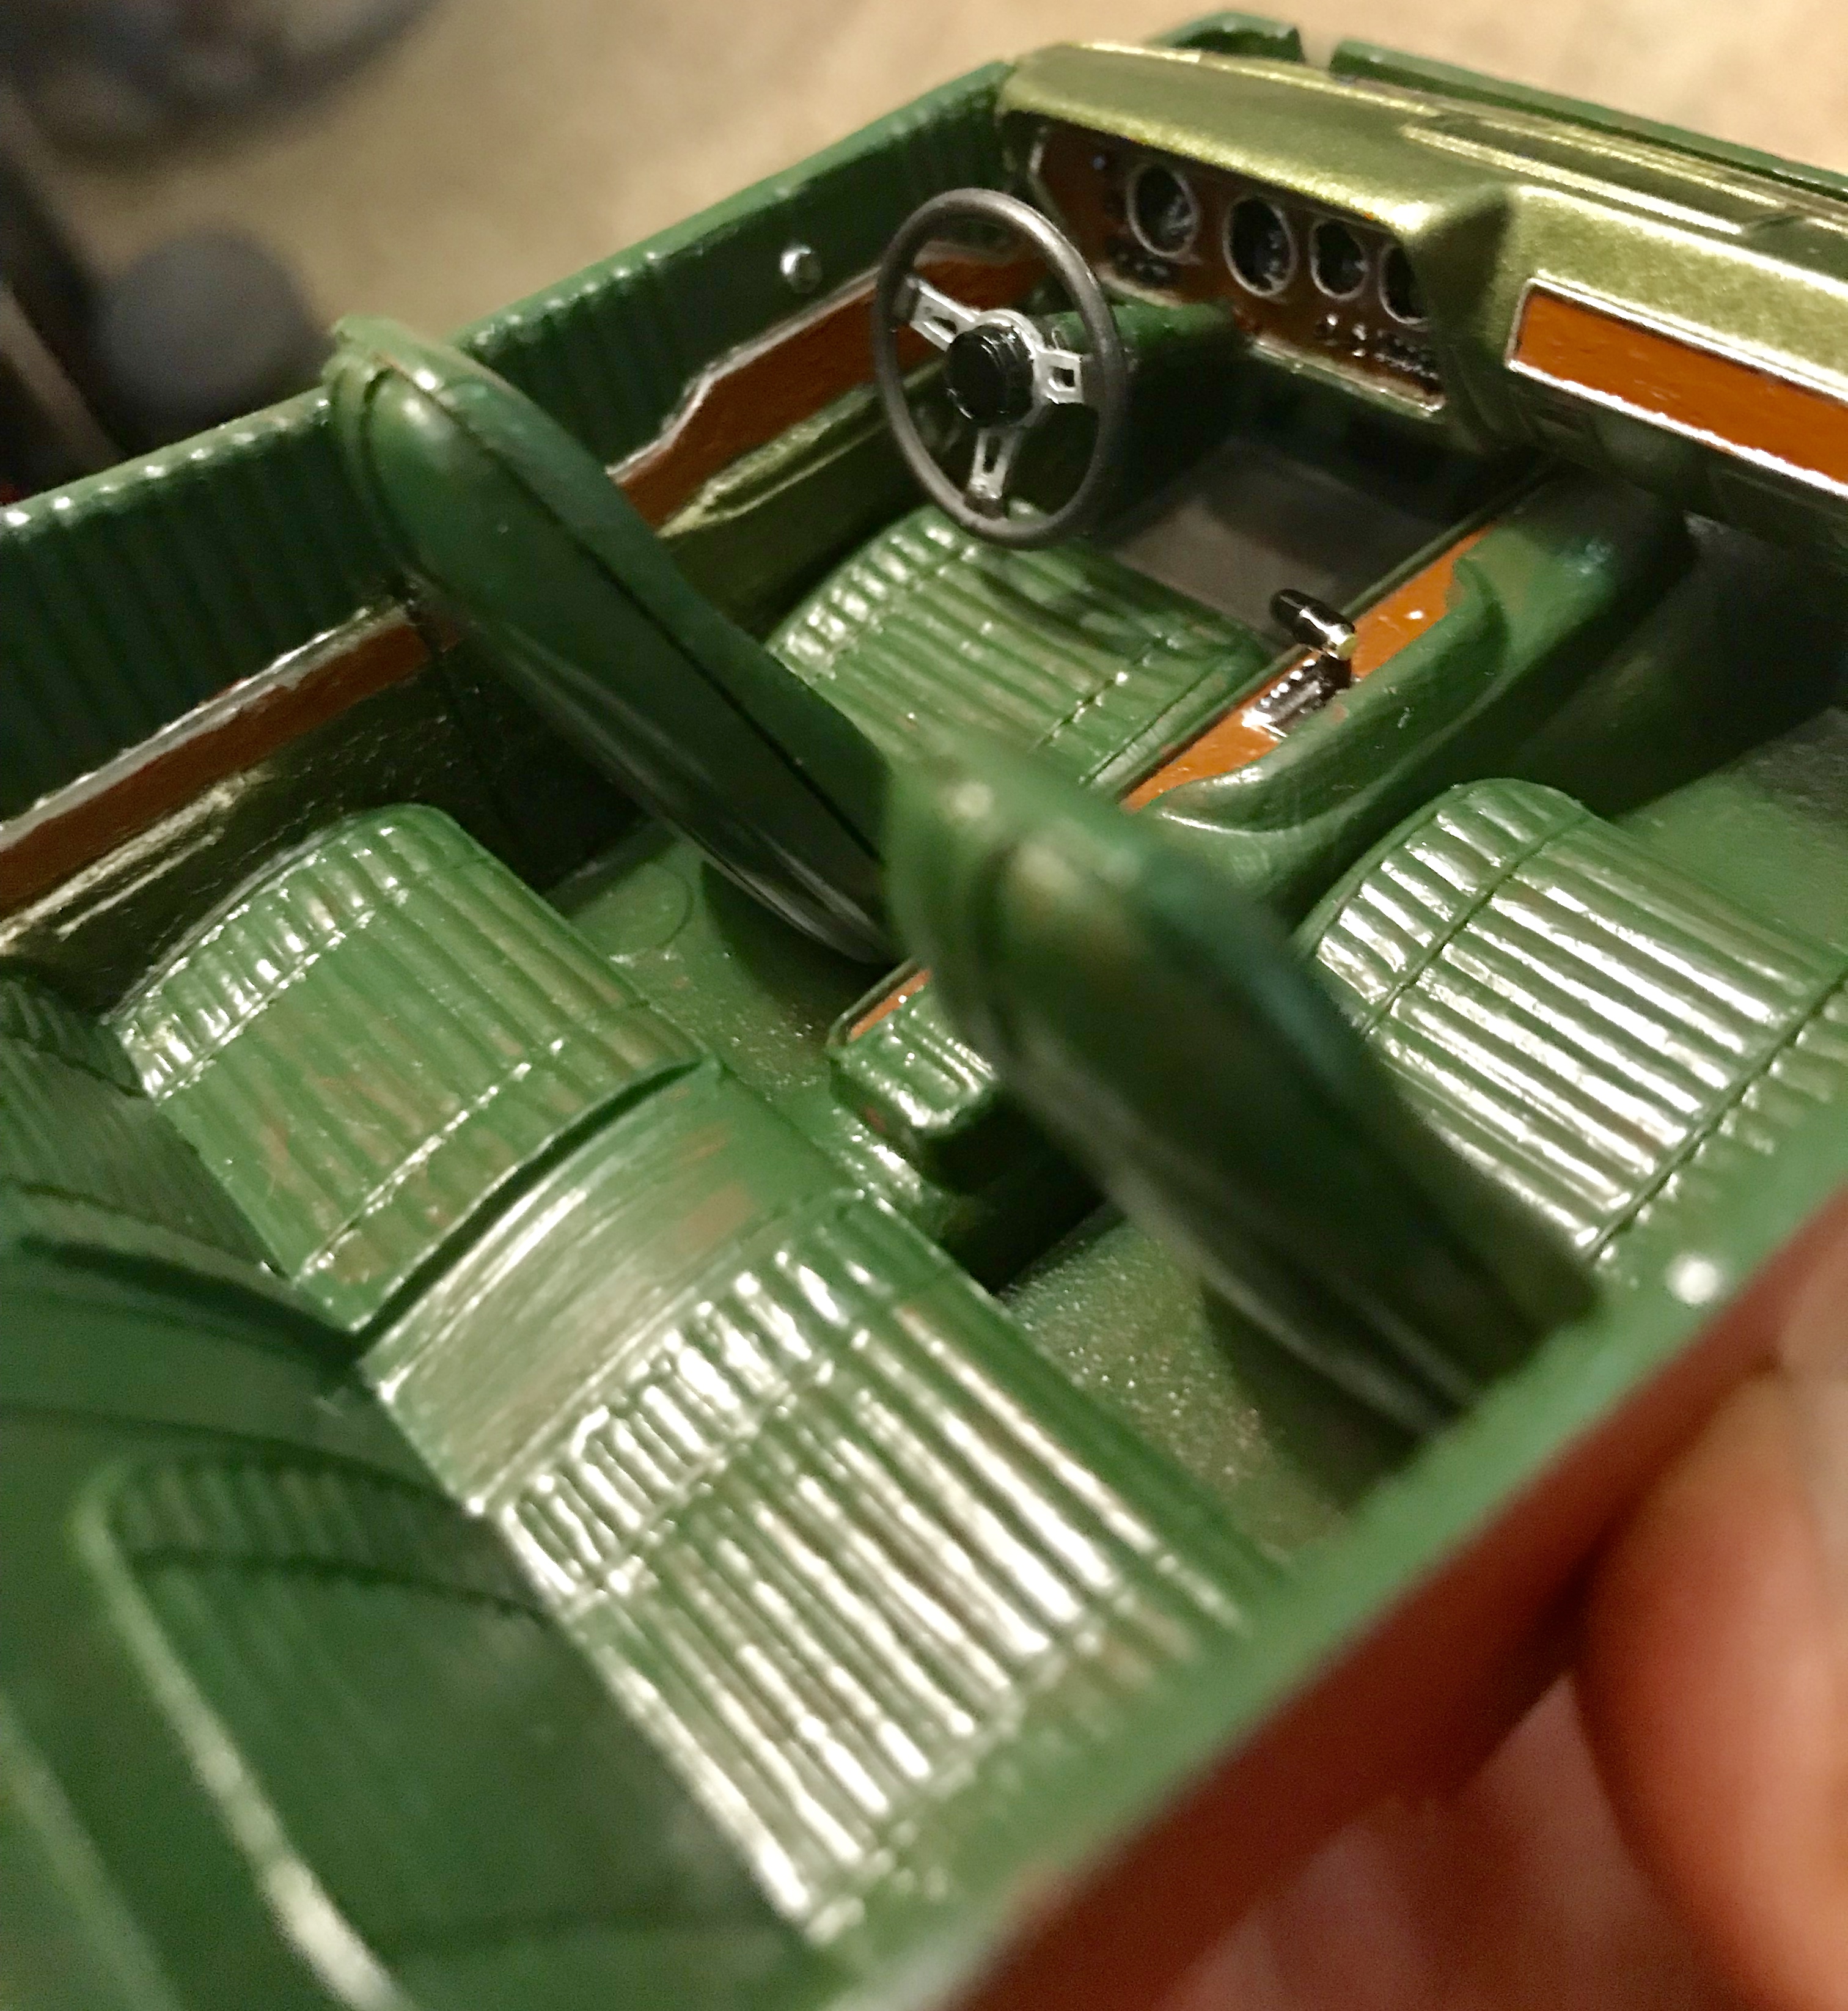
I hesitate to post this after the amazing work FX3Vette did on his 69 convertible, but for those who enjoy Camaro convertibles, here’s another. I've got a WIP thread going on 2 69 Camaros... I’ll post them together when the other one is done, but this came out well enough to post independently. I wanted to build my dream 69 Camaros.. a convertible and a coupe. I wanted my coupe to be a SS 396, as I’ve got a COPO in my collection already. As the convertible kit is an SS, I thought about getting a Z28 coupe and making the convertible into a 307. BUT... I really wanted the dog dish caps for the convertible and for my convertible to be a standard front end (make the coupe an RS), so I bought another COPO. The 427 and 396 are identical outside, so I could have made them both SS 396s, but instead, I wanted a special order “one-off.” Since COPOs were bare bones, I wanted to swap the interior buckets, but the deluxe interior that comes with the convertible has the rear seat molded in, and I chose not to try major surgery. So, with a deluxe interior, this would have been one expensive Camaro! Anyway, I had to have the black houndstooth interior, and although I expected to use it for the coupe, I went a different direction and chose my favorite color, Fathom Green for the convertible. I also expected to use the white SS hockey stripes, but when I put one on and compared it to the other side, I liked the plain look better. I wired the engine and master cylinder, added vacuum hoses, battery cables and a few other details under the hood. I also used some hose material, the vacuum advance from the kit distributor and a styrene strip to make the smog system. I’m just realizing as I type this that I forgot to make heater hoses, so I’ll complete that before the next under glass with the coupe. Having built a COPO before, I remembered that the dog dish caps do not want to fit on the wheels, so the kit wheels are on the front, but two leftover steelies from the Revell 68 Charger are on the rear. The tires are from the Revell 70 Cuda, and I drilled new holes in the wheel backs to raise the stance. Tire decals are from Fireball, of course. Hope you like it. Thanks for looking!
-
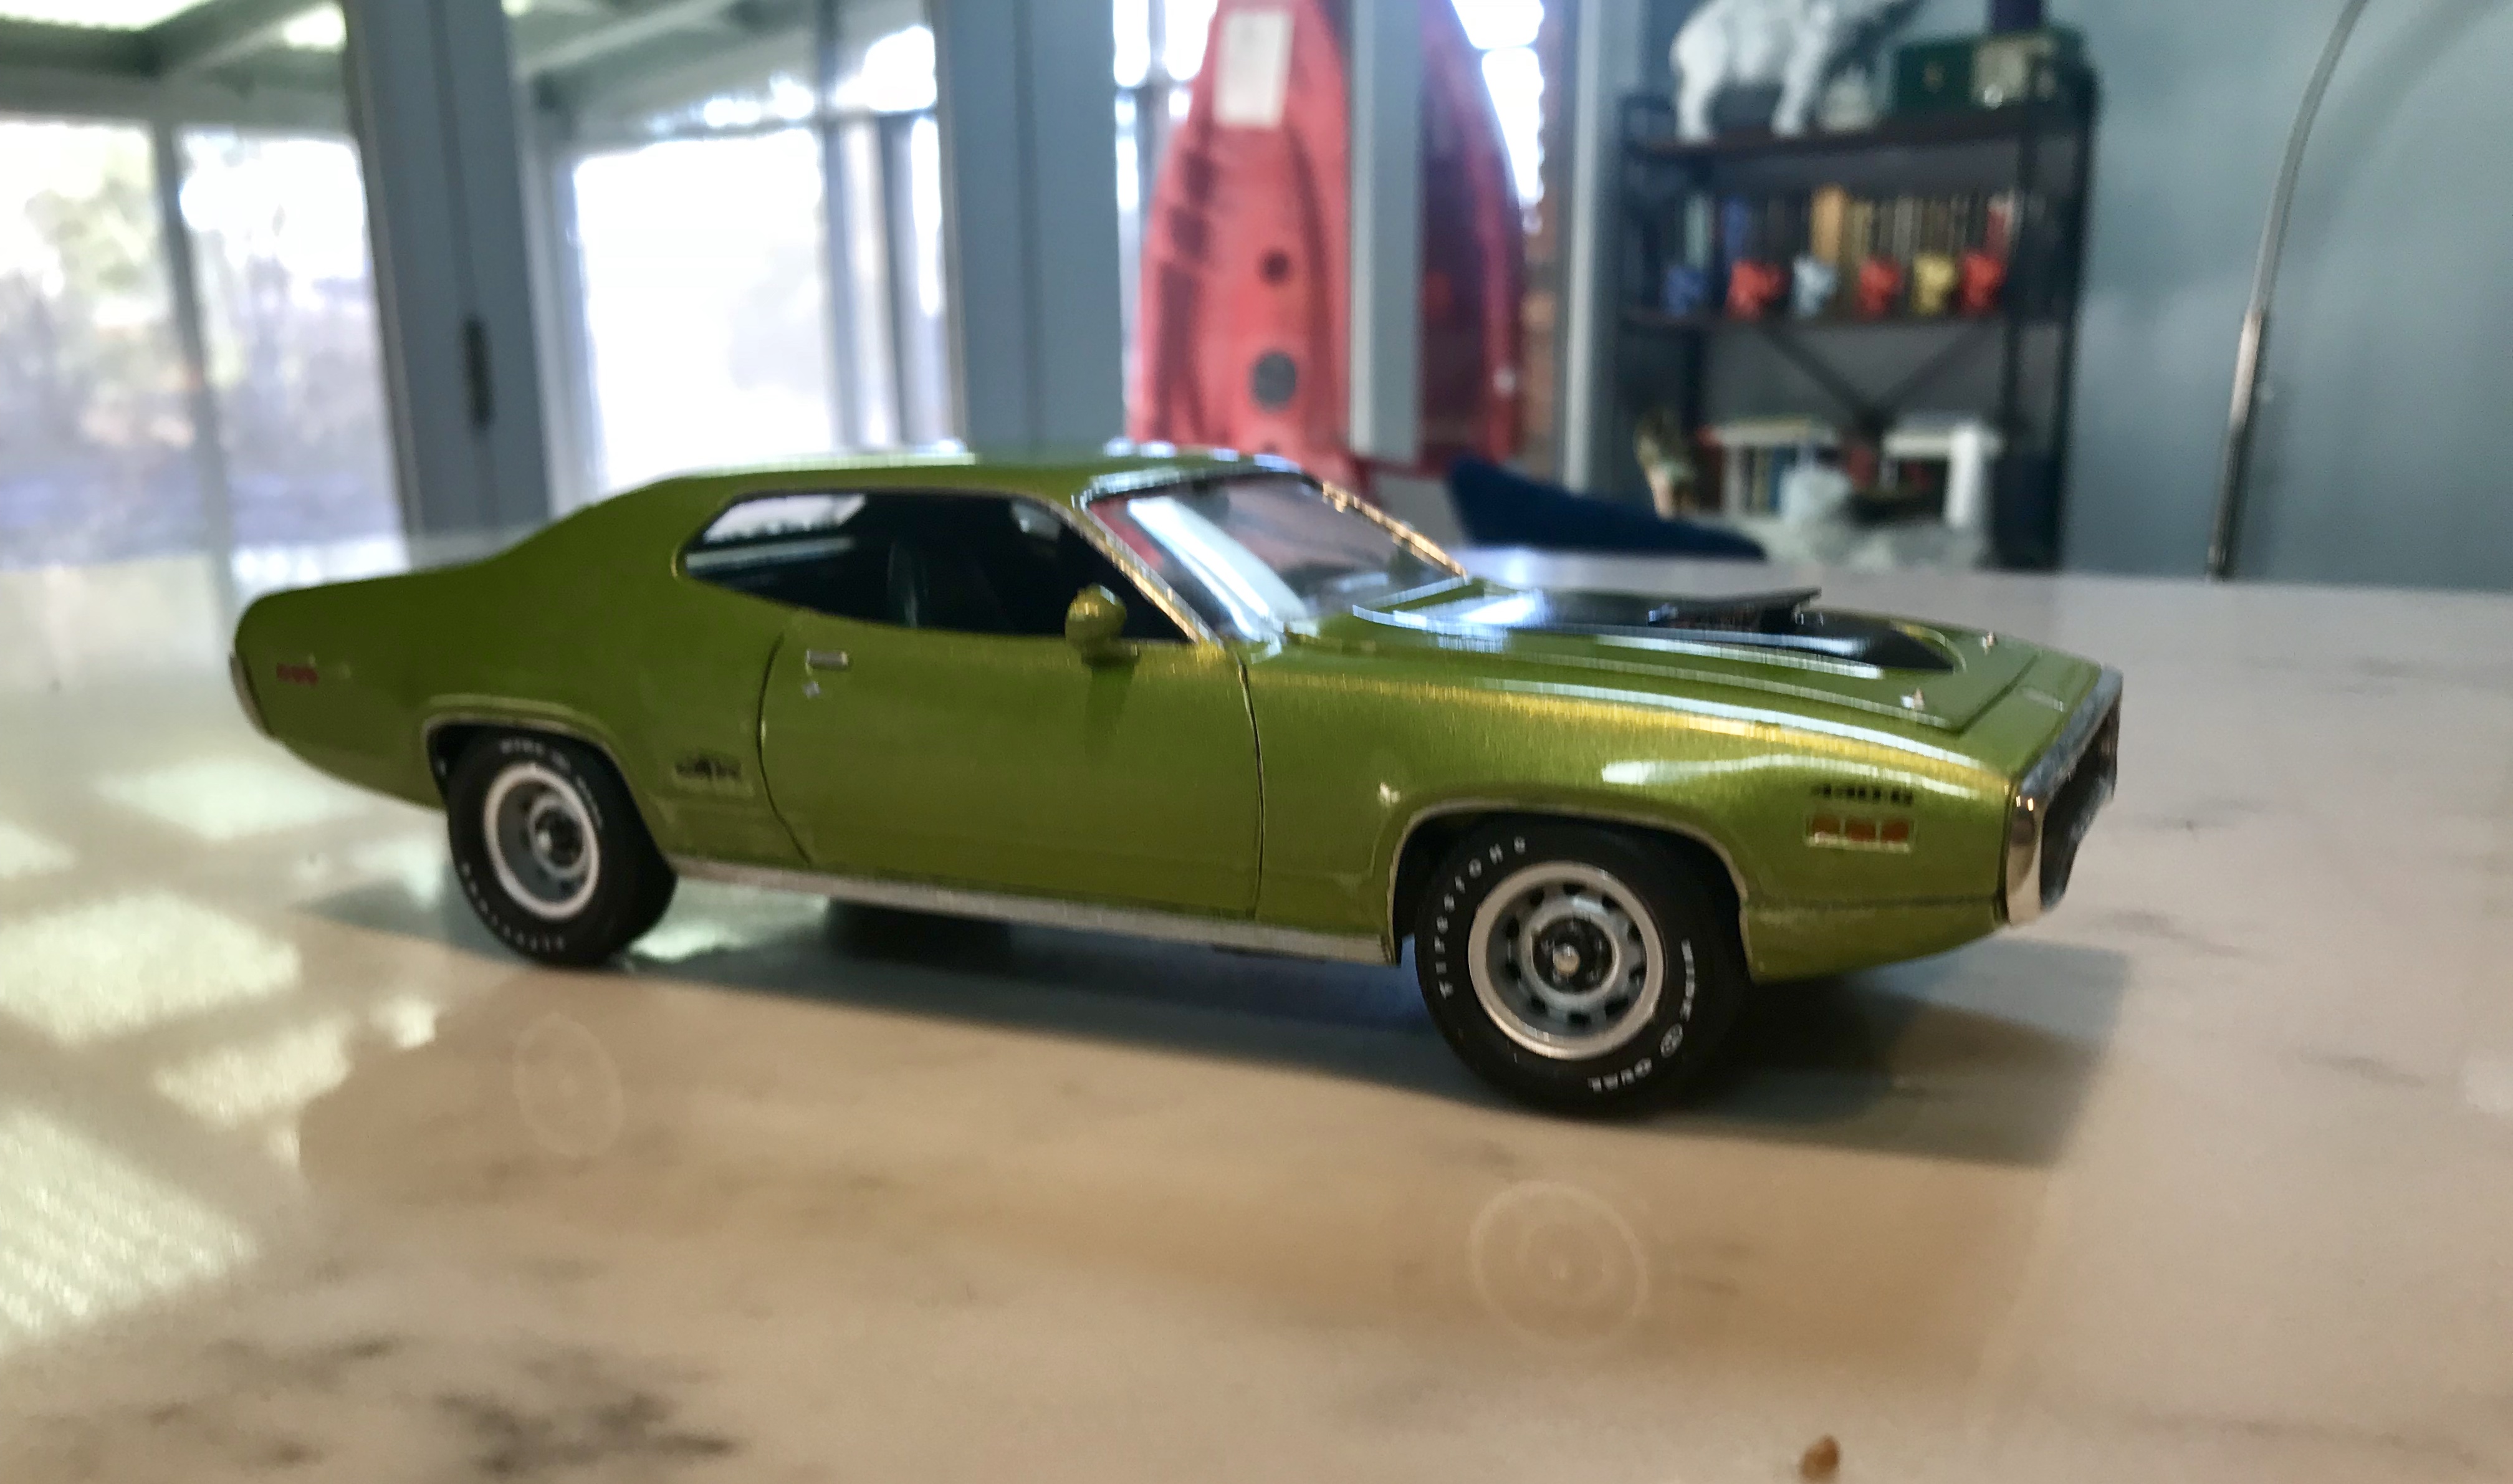
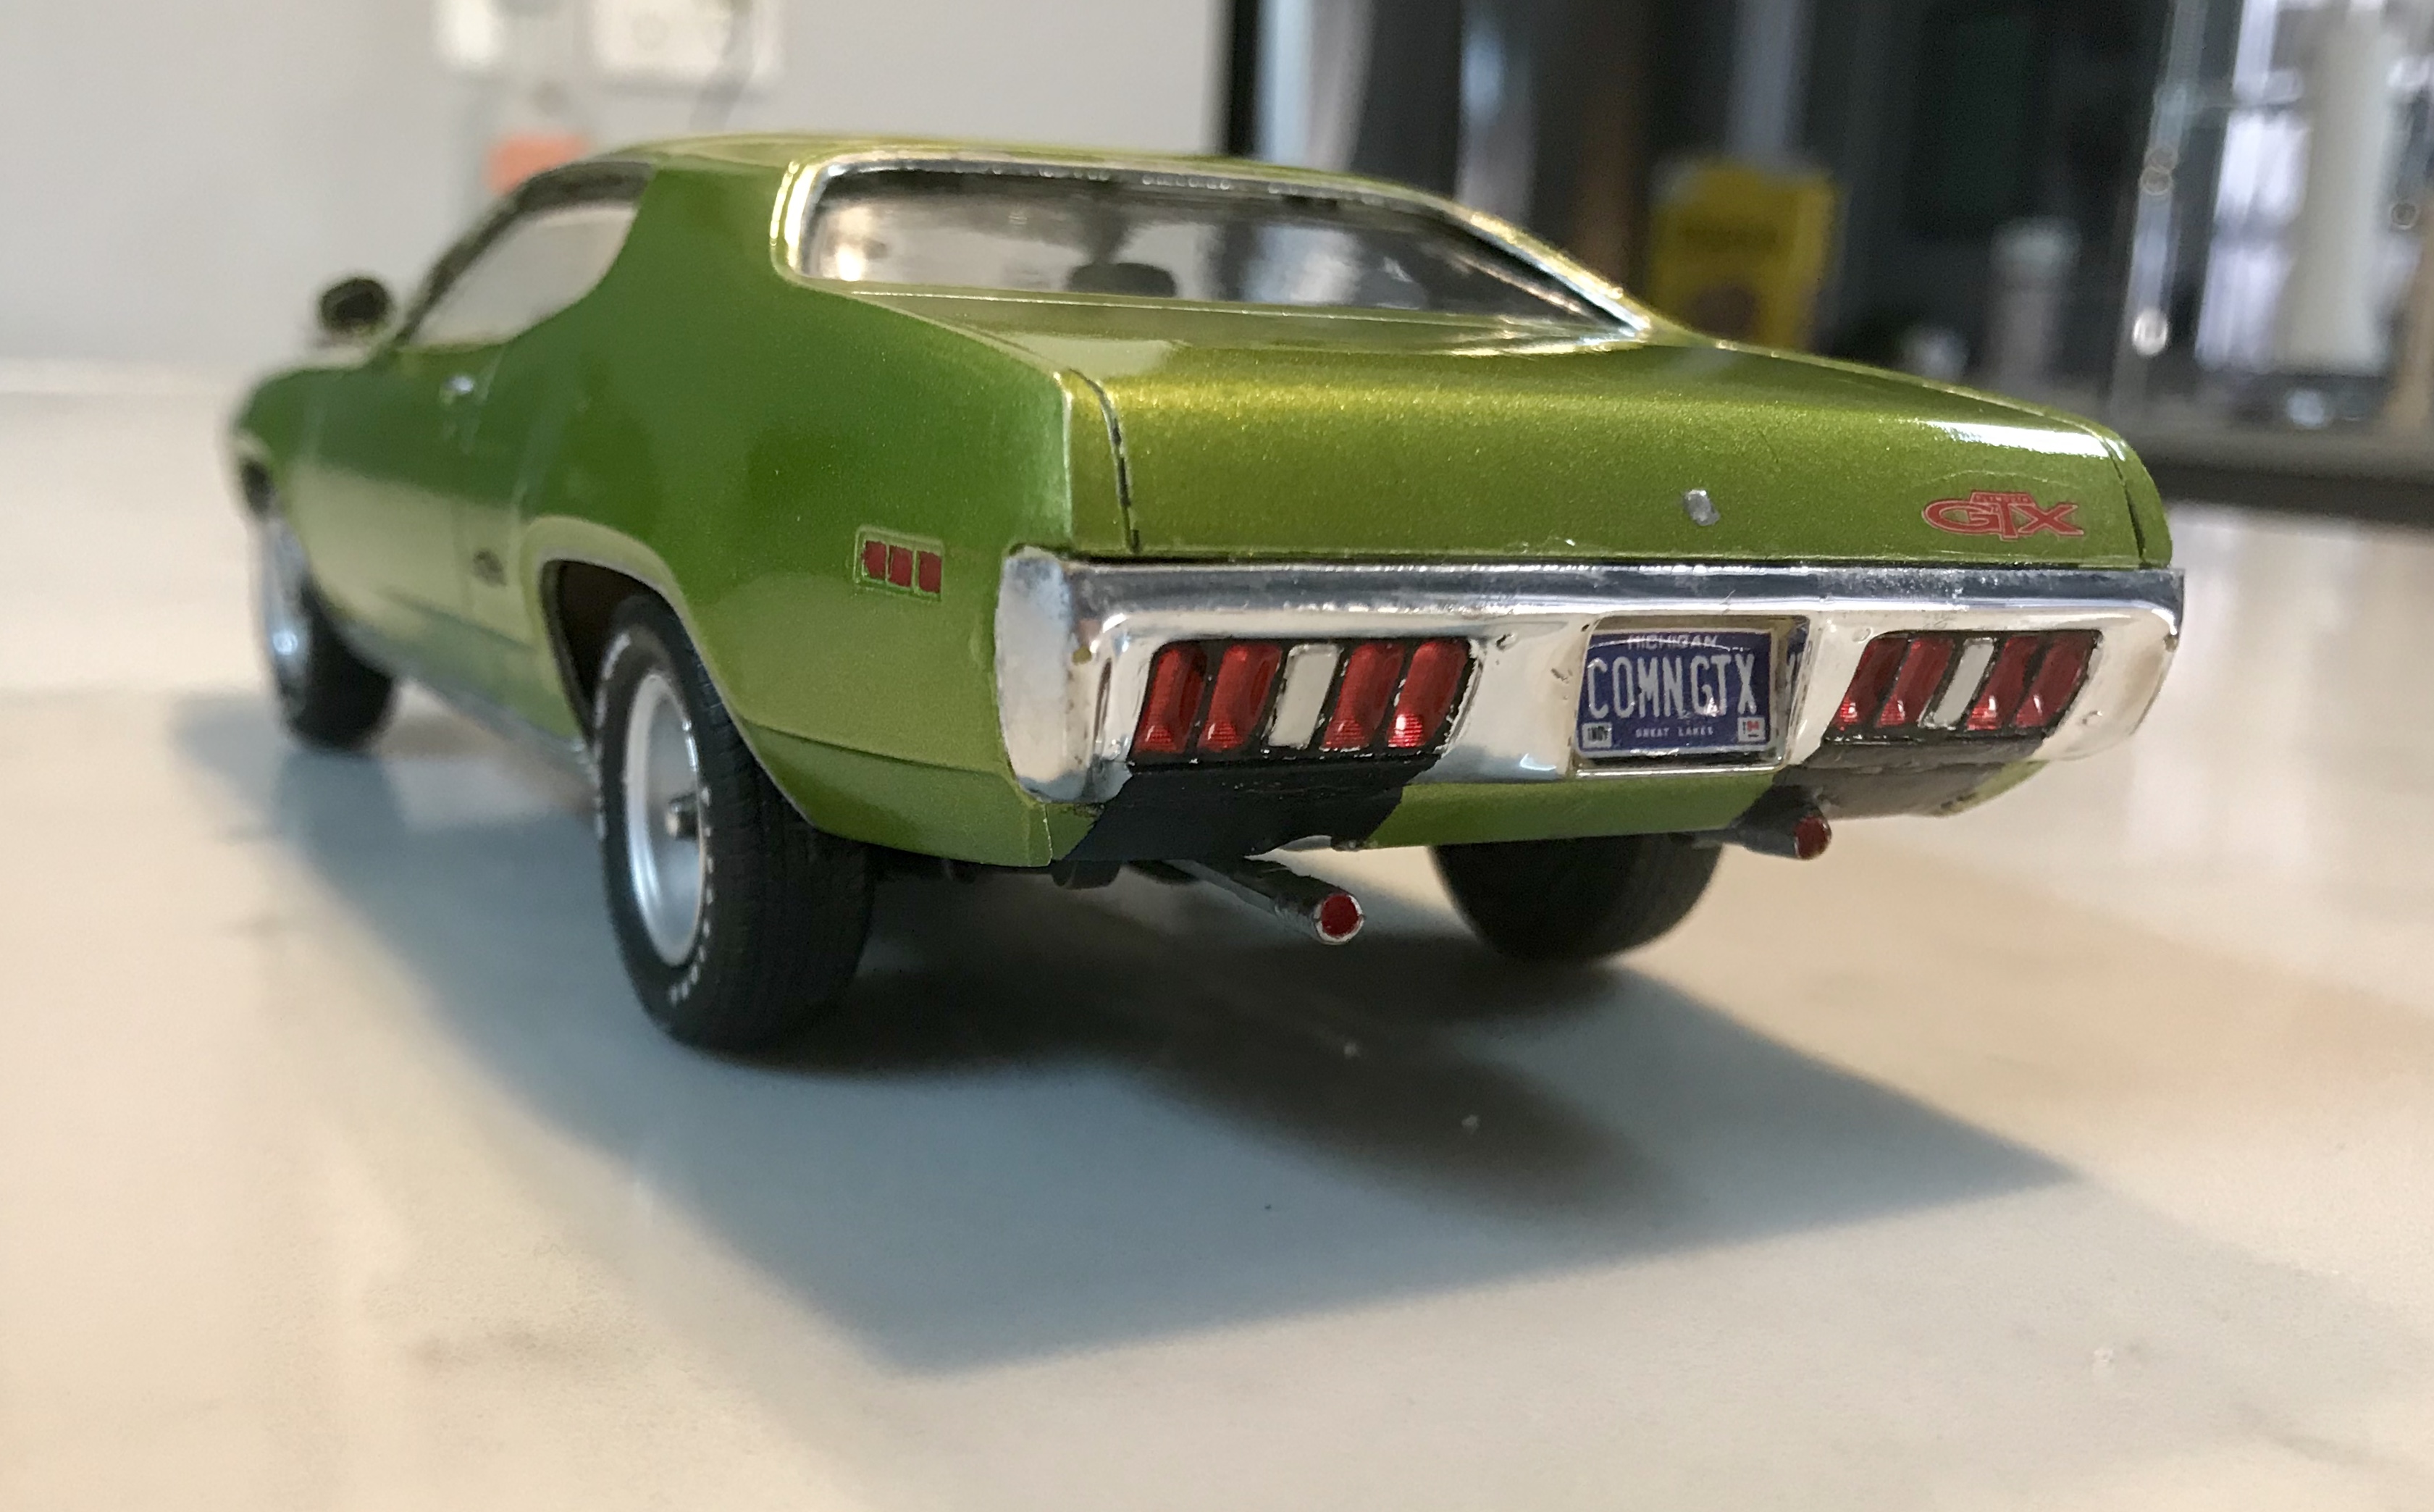
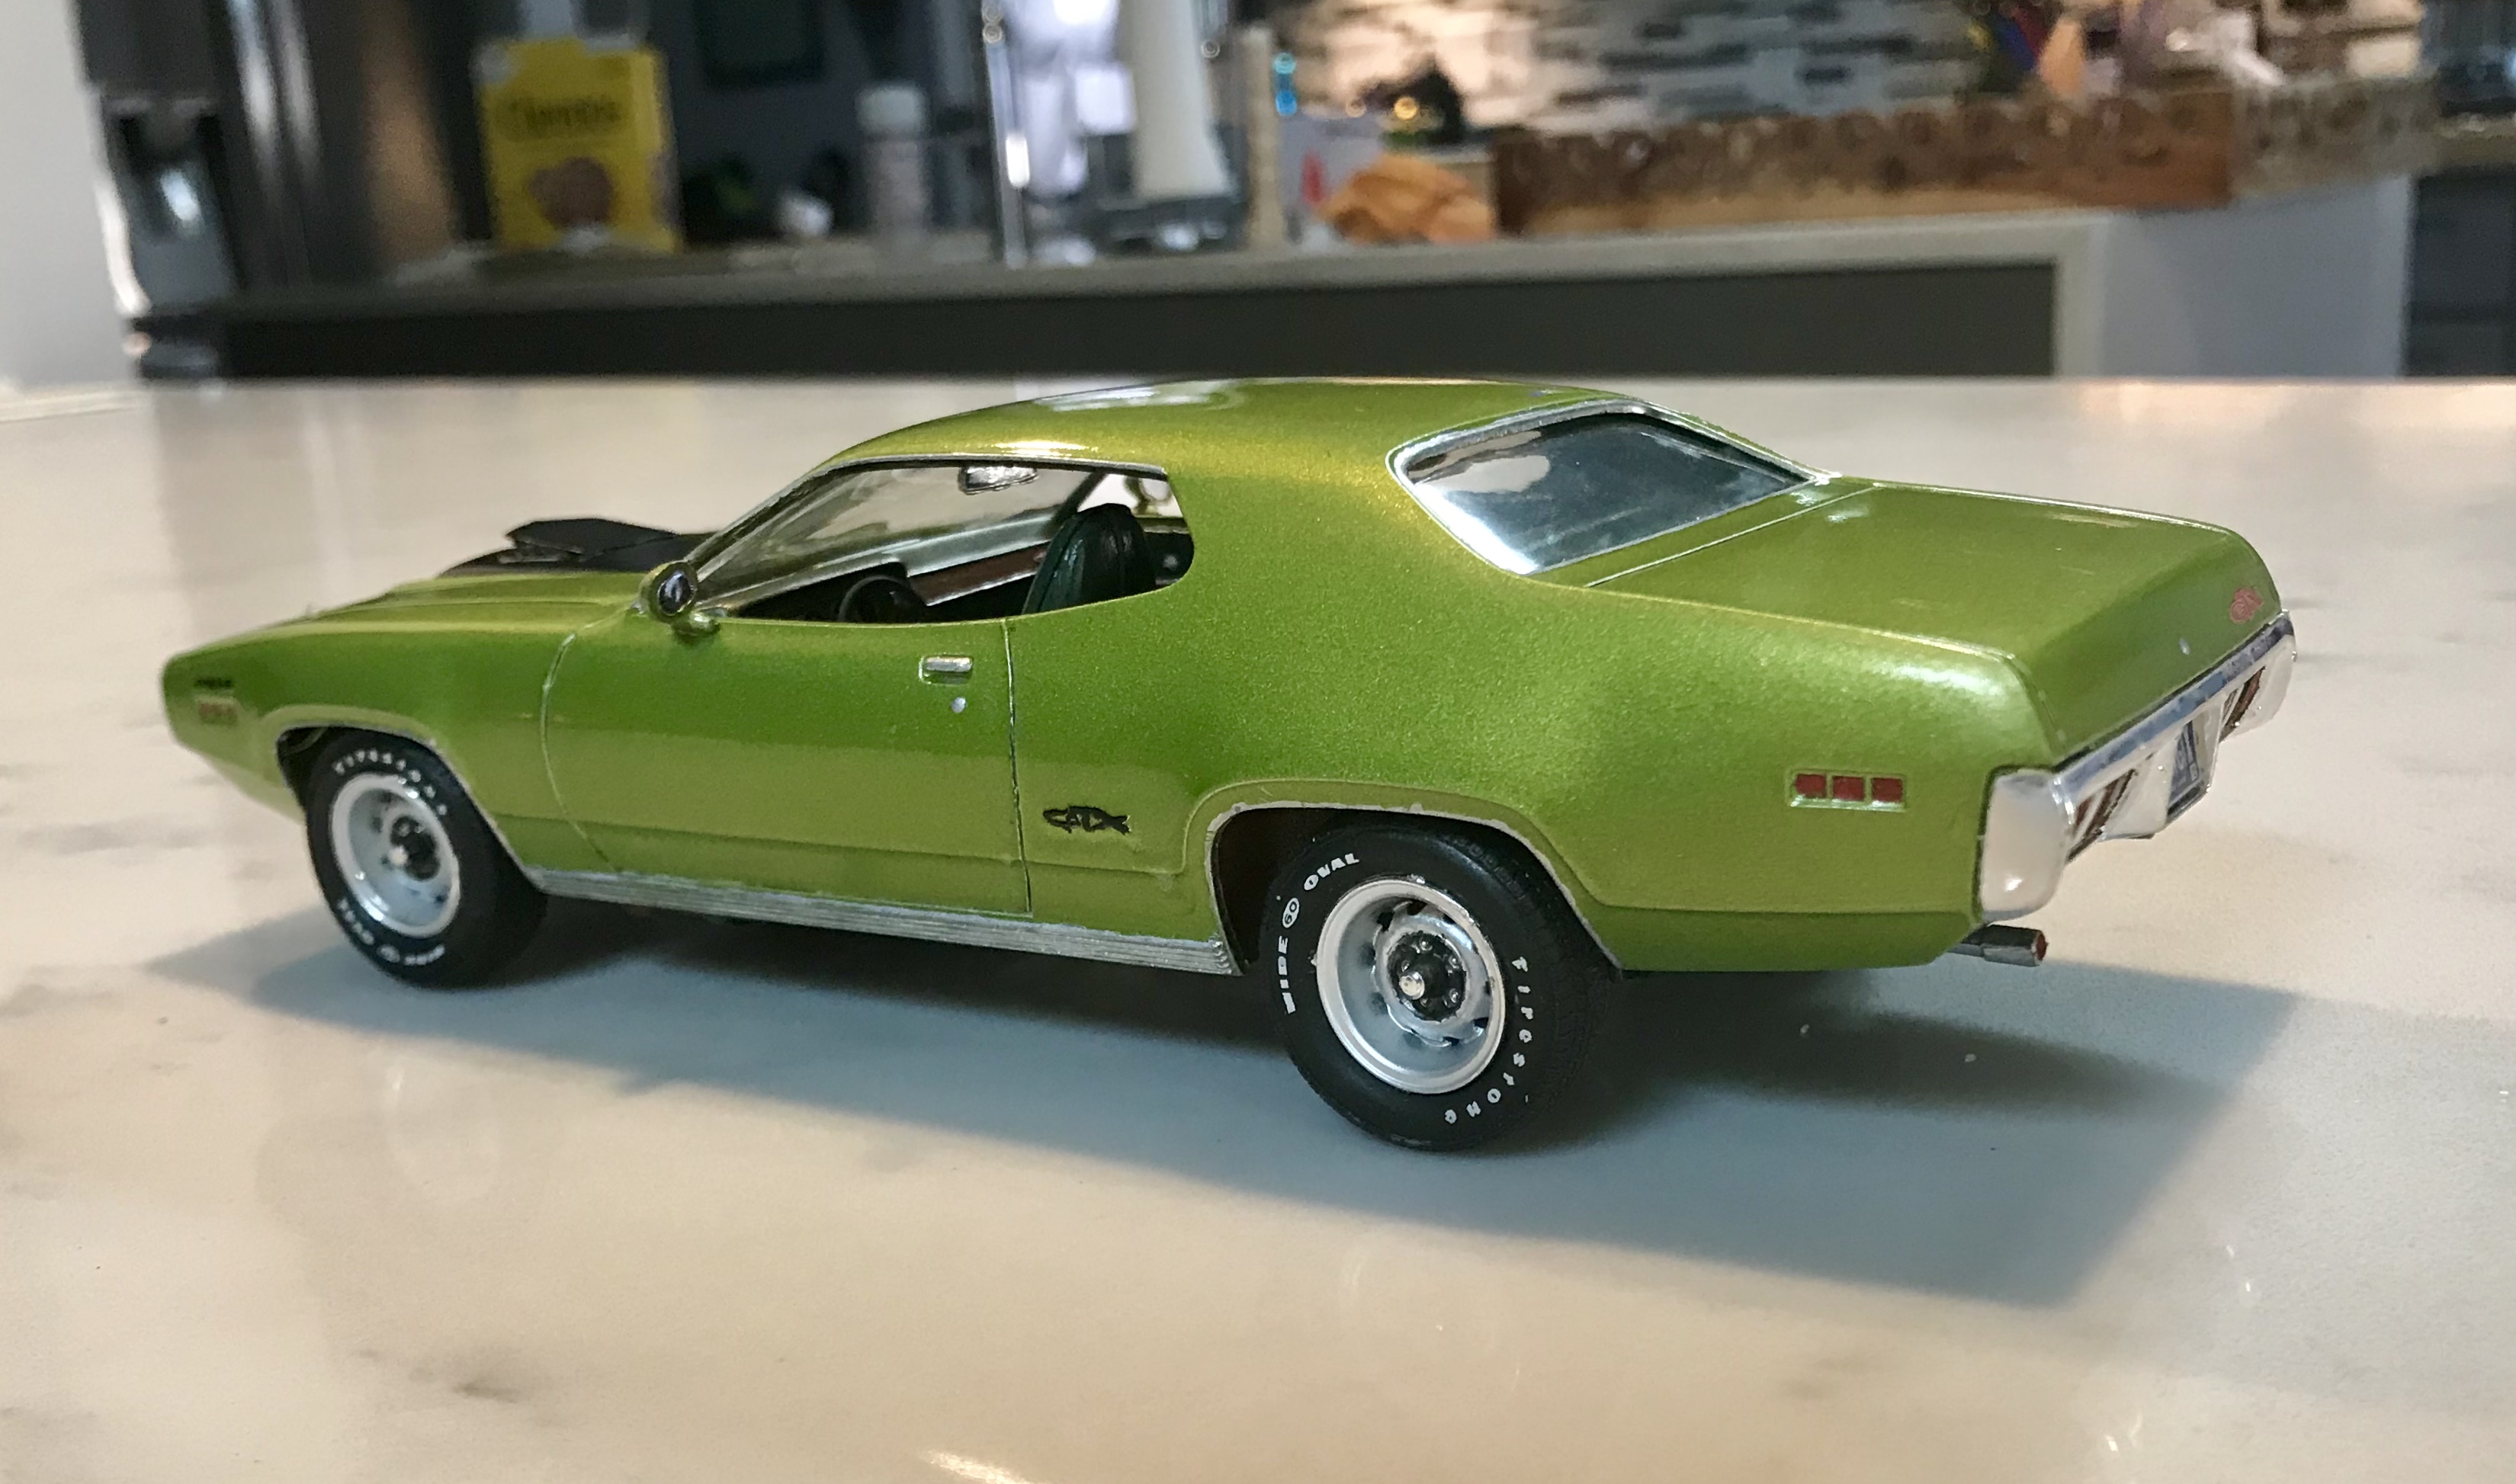
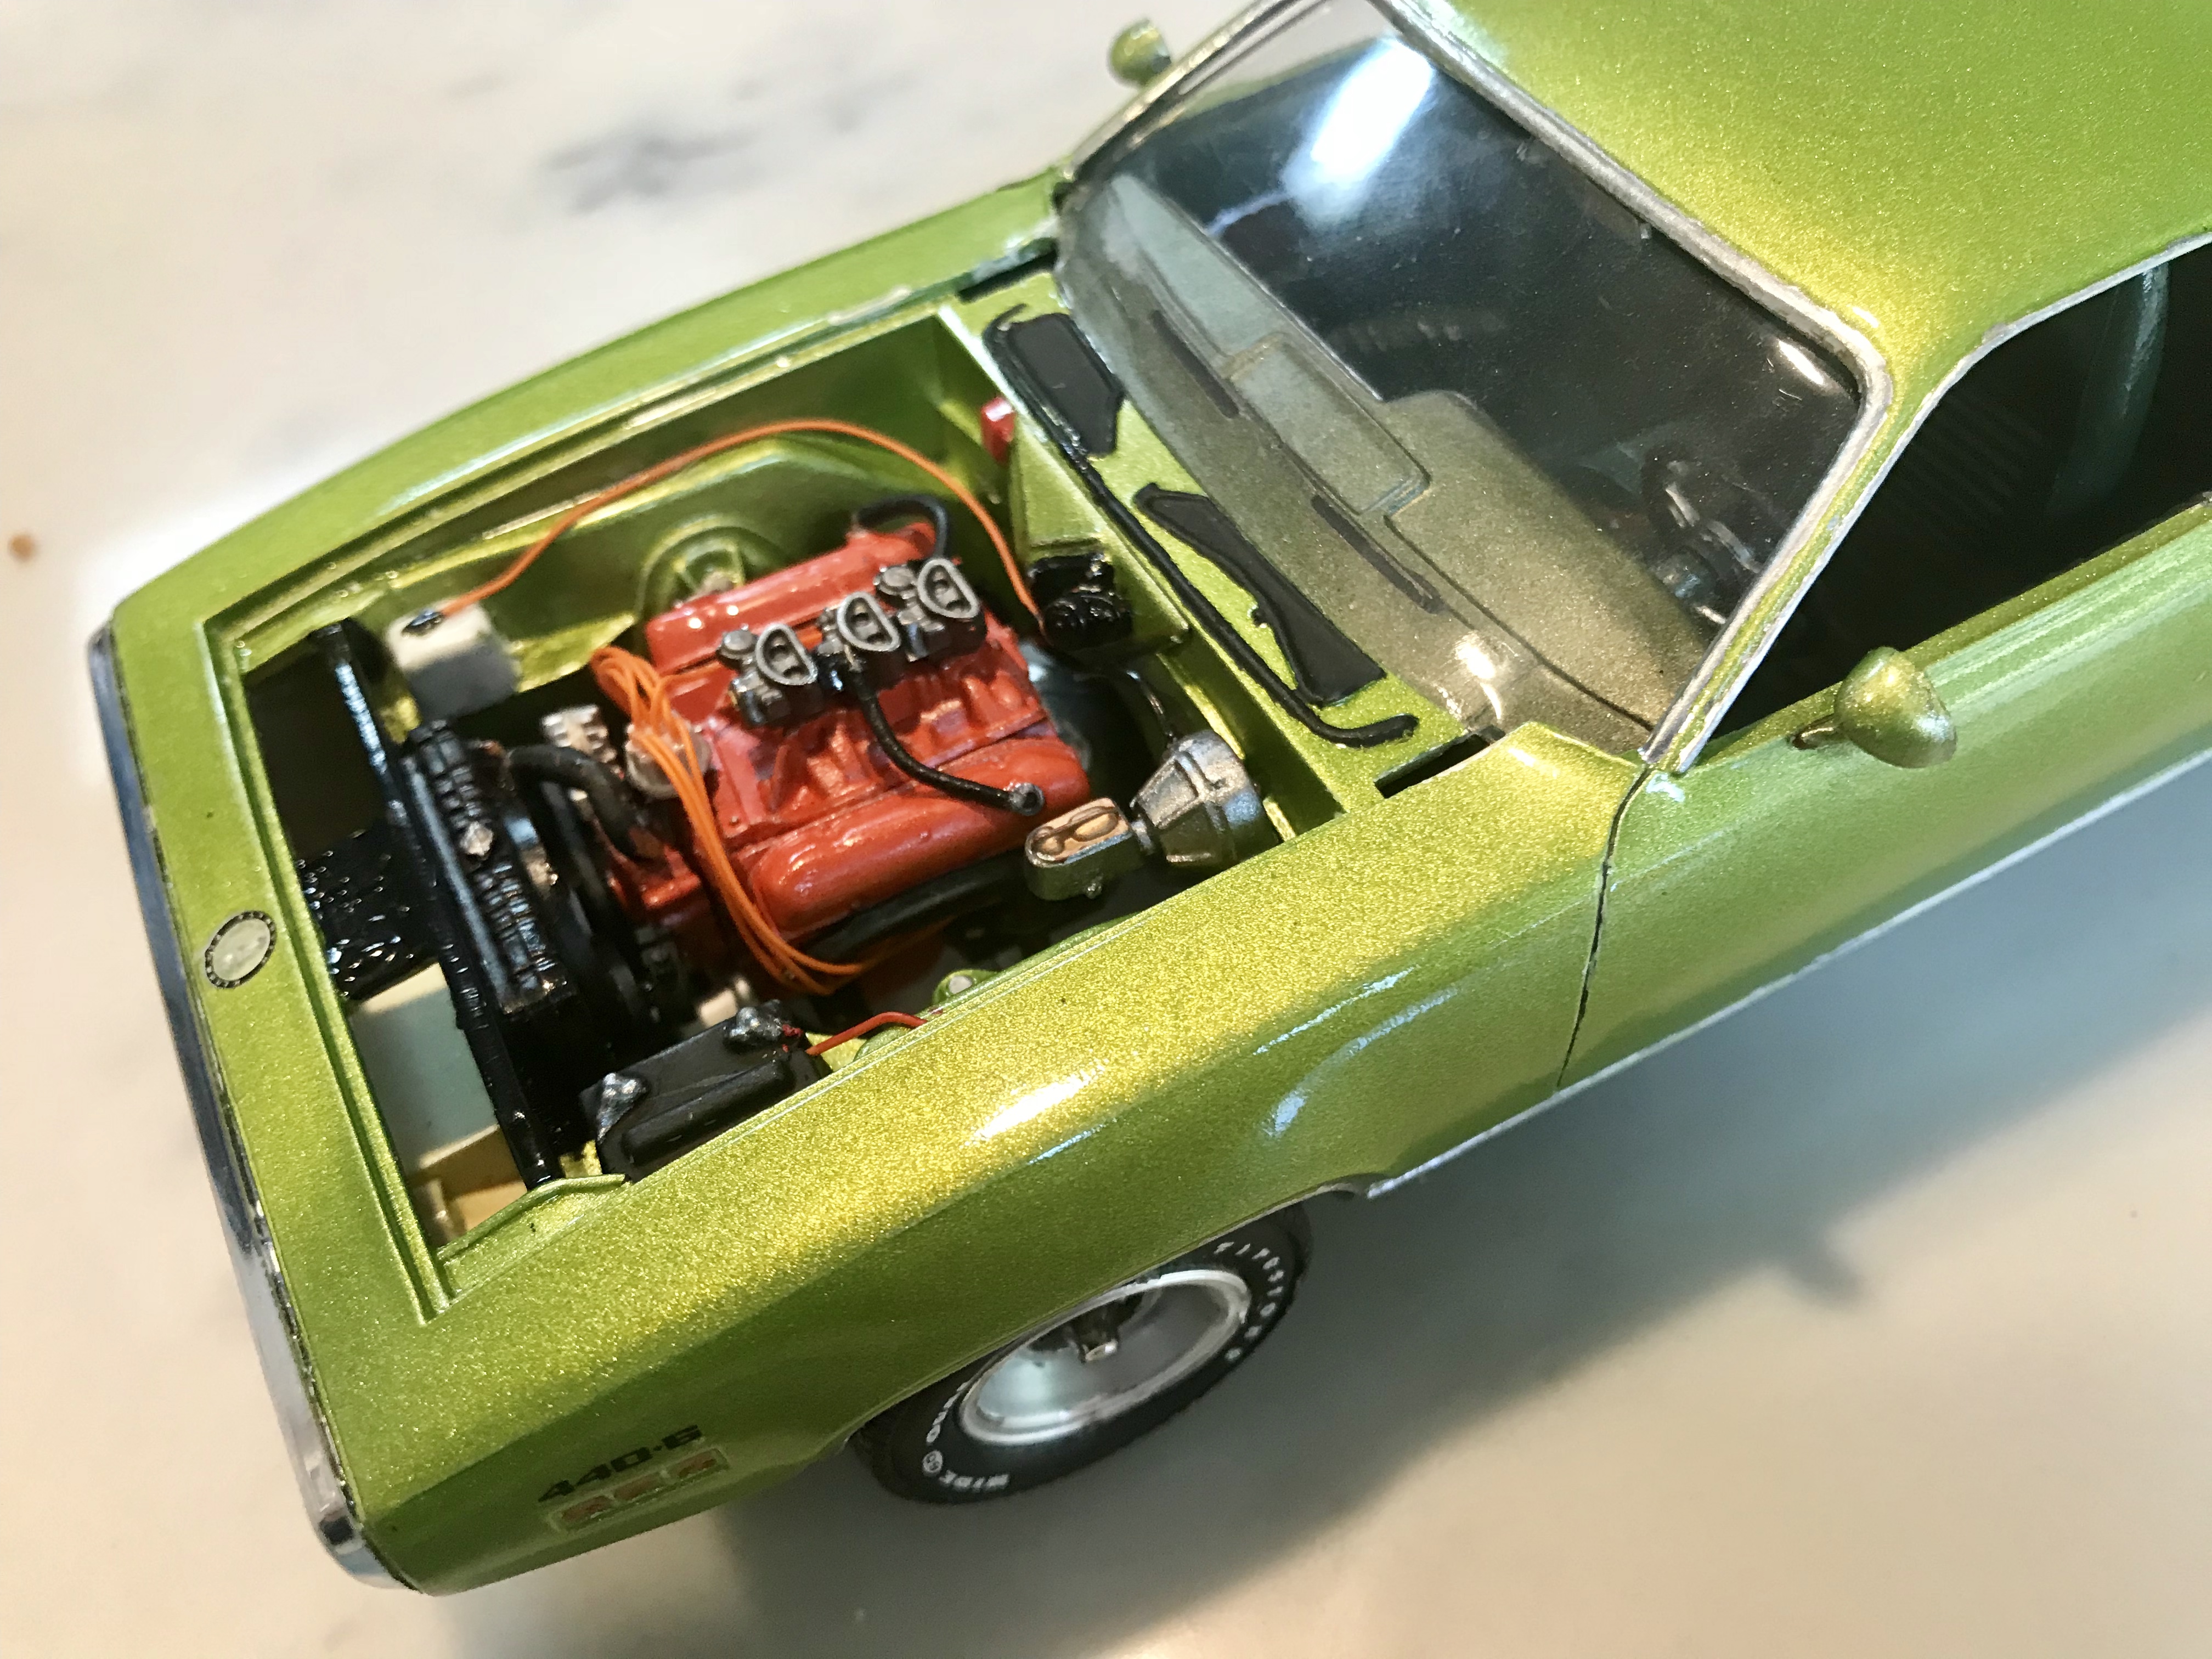
I bought two of these old Revell kits because they had so many versions and features, I couldn’t pick just one. This is the first one: a straight up GTX... the “gentleman” version. My other will be a Road Runner with the strobe stripe, painted bumpers, steelies, a Hemi and a half vinyl top. I wanted it to be a gorgeous light green metallic that Plymouth called Amber Sherwood, but I couldn’t find anything close to it, and didn’t want to pay $20 for a can of automotive paint. So, I bought a can of Testors Citrus Yellow. Interior is dark green craft paint. I added some wiring and tire decals. I did shave the base for the rear spoiler off, as that’s not a look I like. Anyway, this one is a little more basic.. the next one gets more extras. I built this kit in 1986.... it hasn’t changed a bit, but still looks good when it’s finished. Hope you like it! Here’s my interior Engine At first, I put some Magnum 500s on her: But in the end, since the other one will have dog dishes, I went back to the Rally wheels: