Superbird McMonte
-
Posts
508 -
Joined
-
Last visited
Content Type
Profiles
Forums
Events
Gallery
Everything posted by Superbird McMonte
-

"Bring Out Your Dead" Completion Build--ROUND 2 Is On!
Superbird McMonte replied to Snake45's topic in WIP: Model Cars
See my post above -
"Bring Out Your Dead" Completion Build--ROUND 2 Is On!
Superbird McMonte replied to Snake45's topic in WIP: Model Cars
Looks like the end of March.? -
"Bring Out Your Dead" Completion Build--ROUND 2 Is On!
Superbird McMonte replied to Snake45's topic in WIP: Model Cars
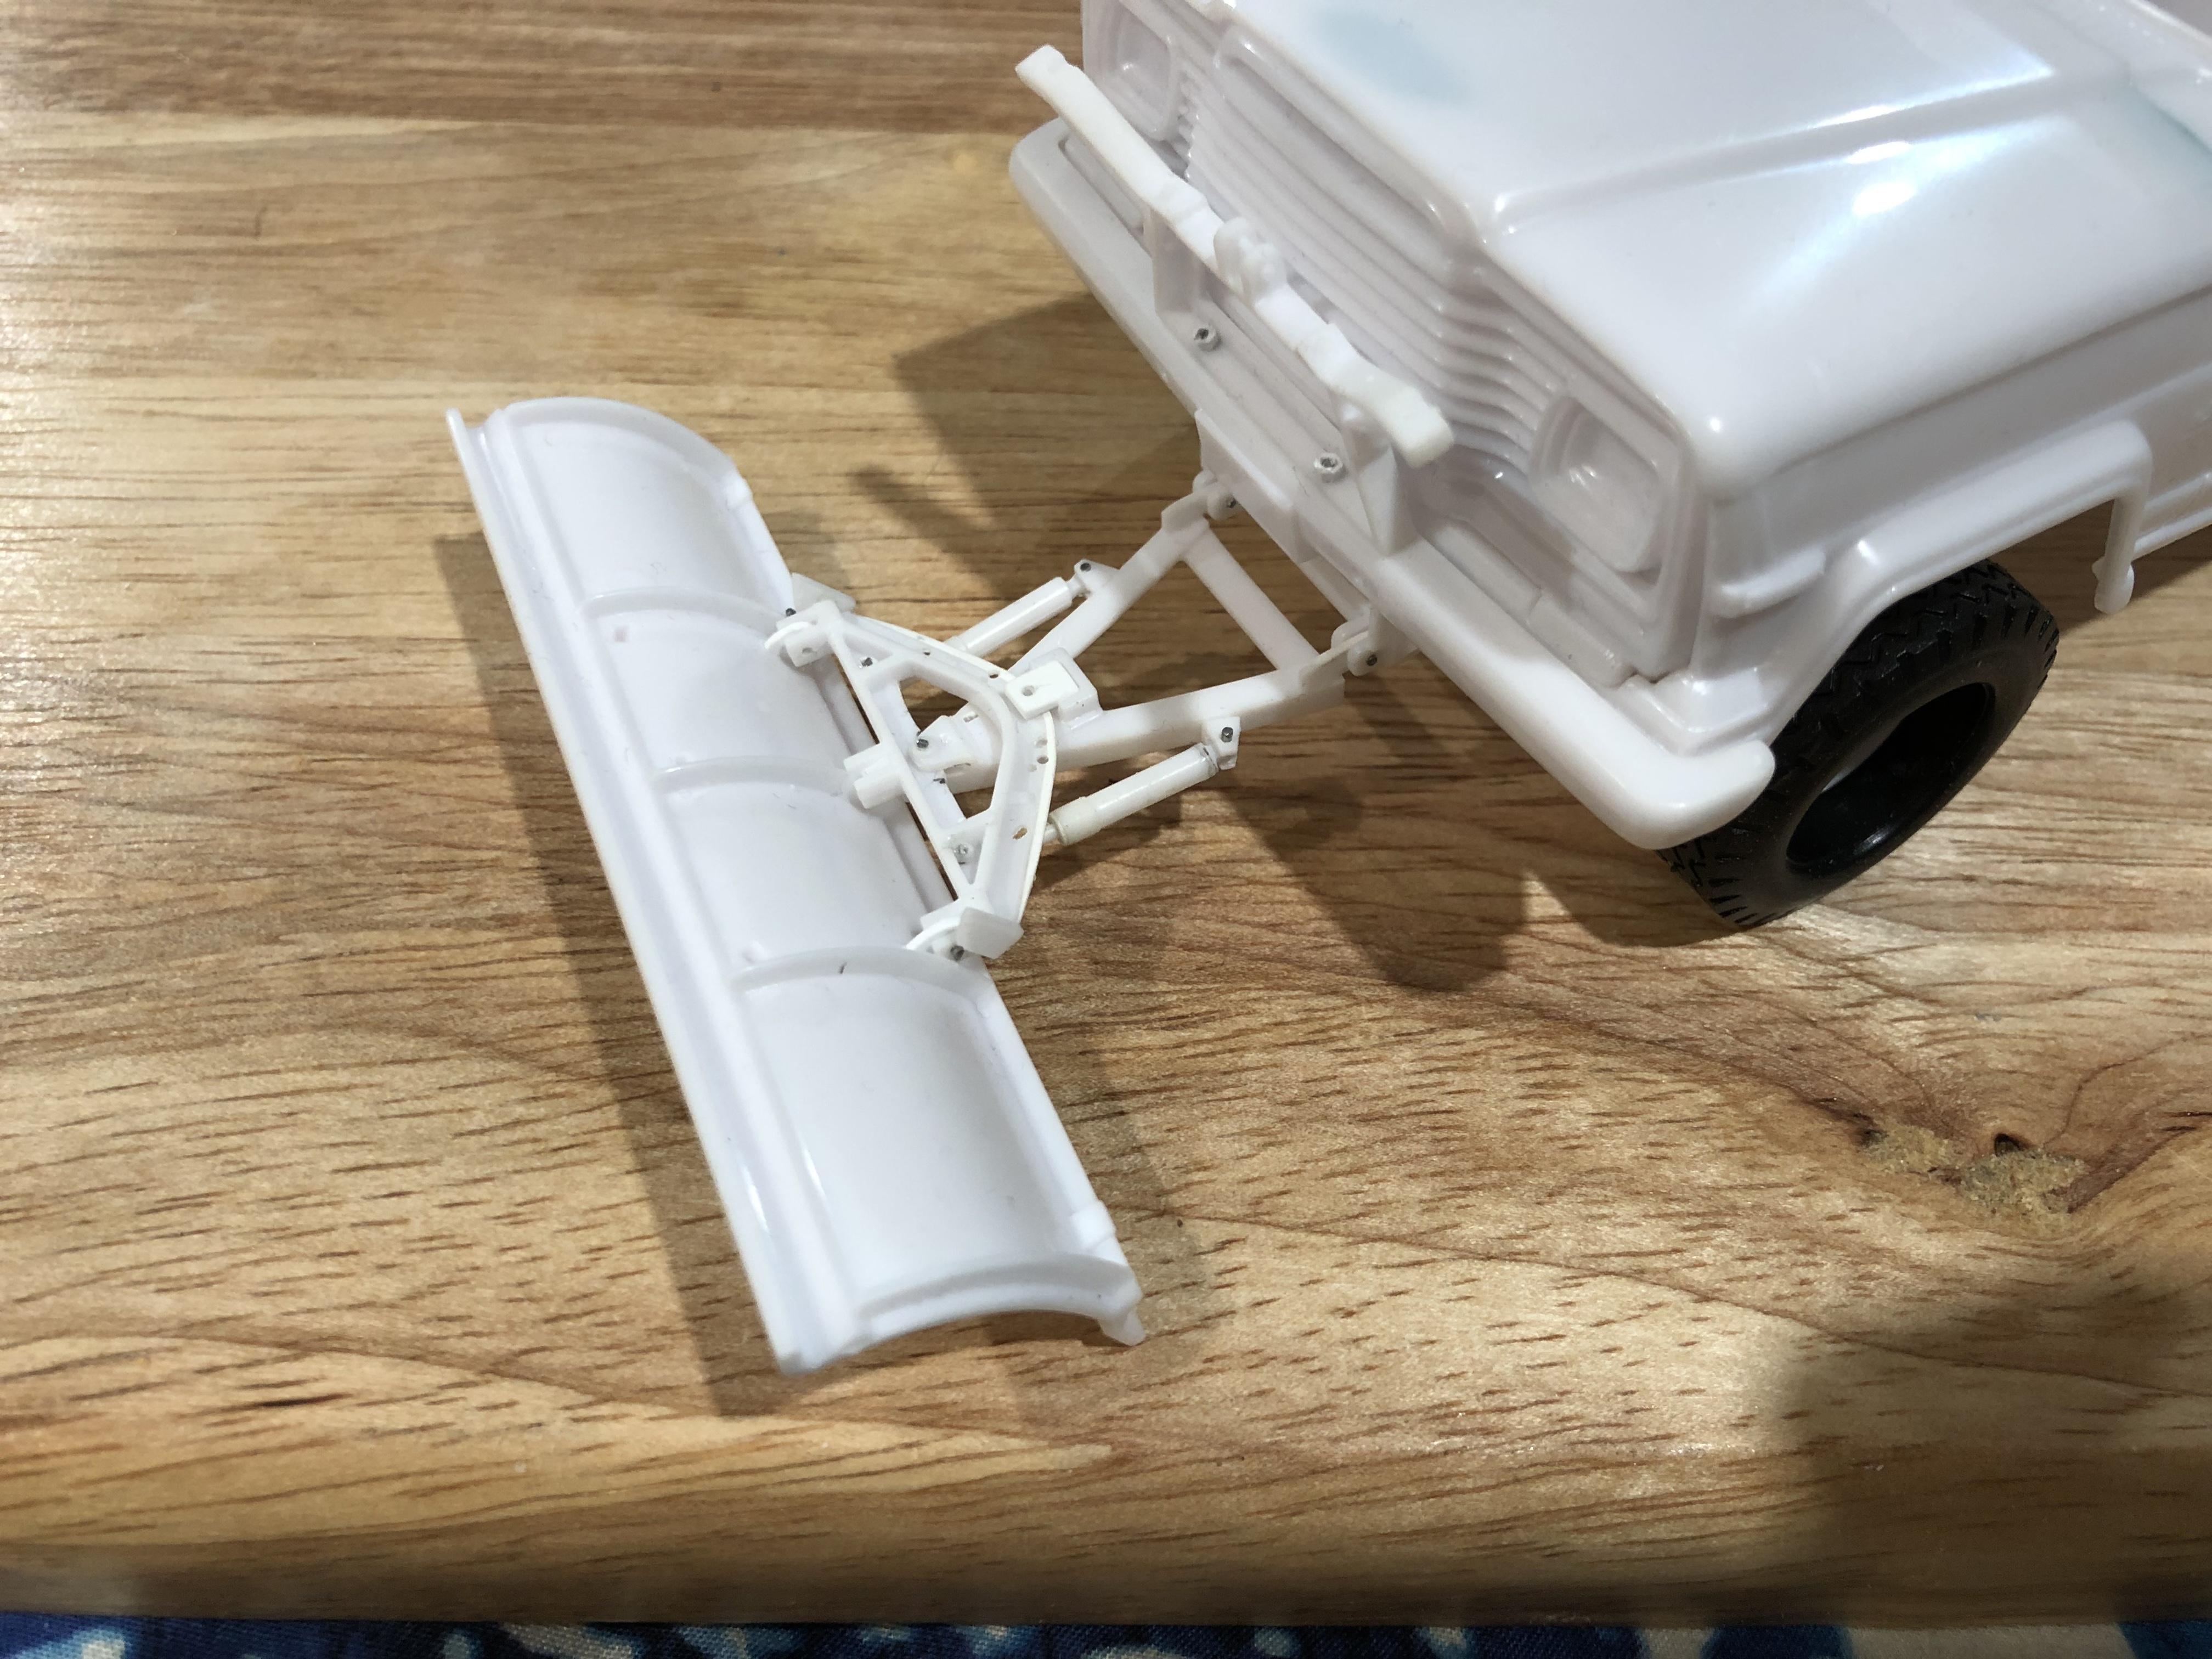
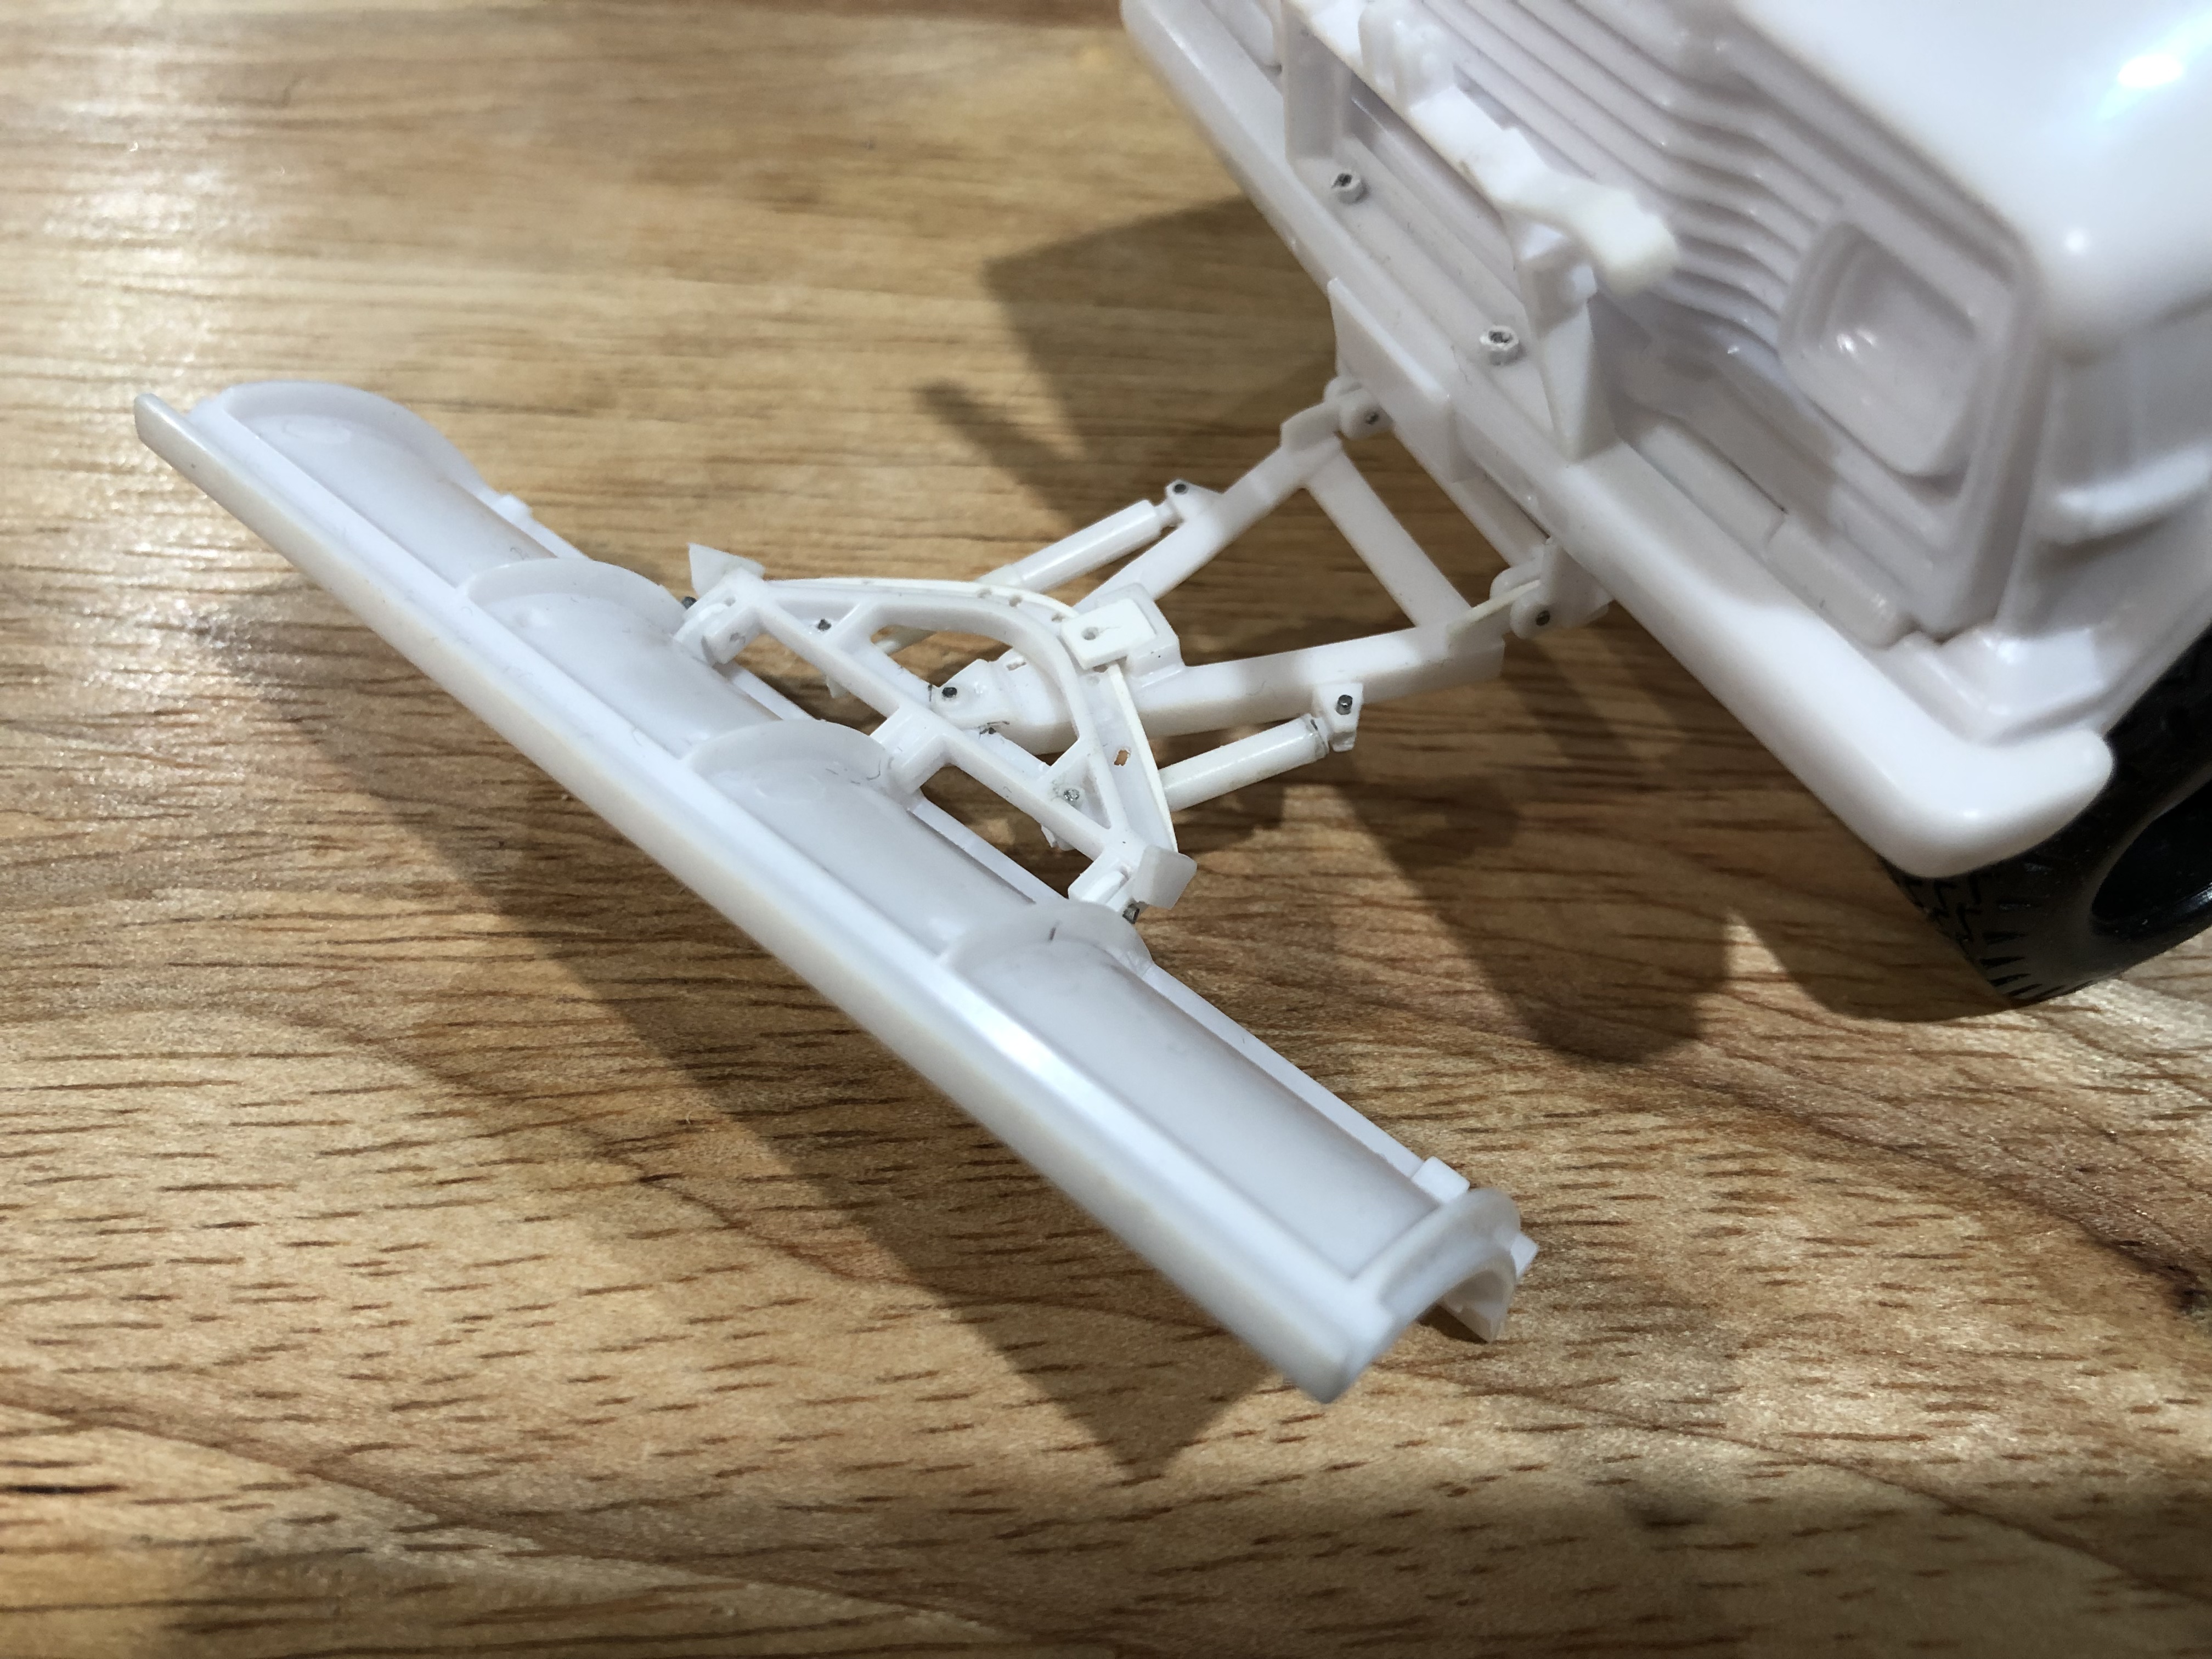
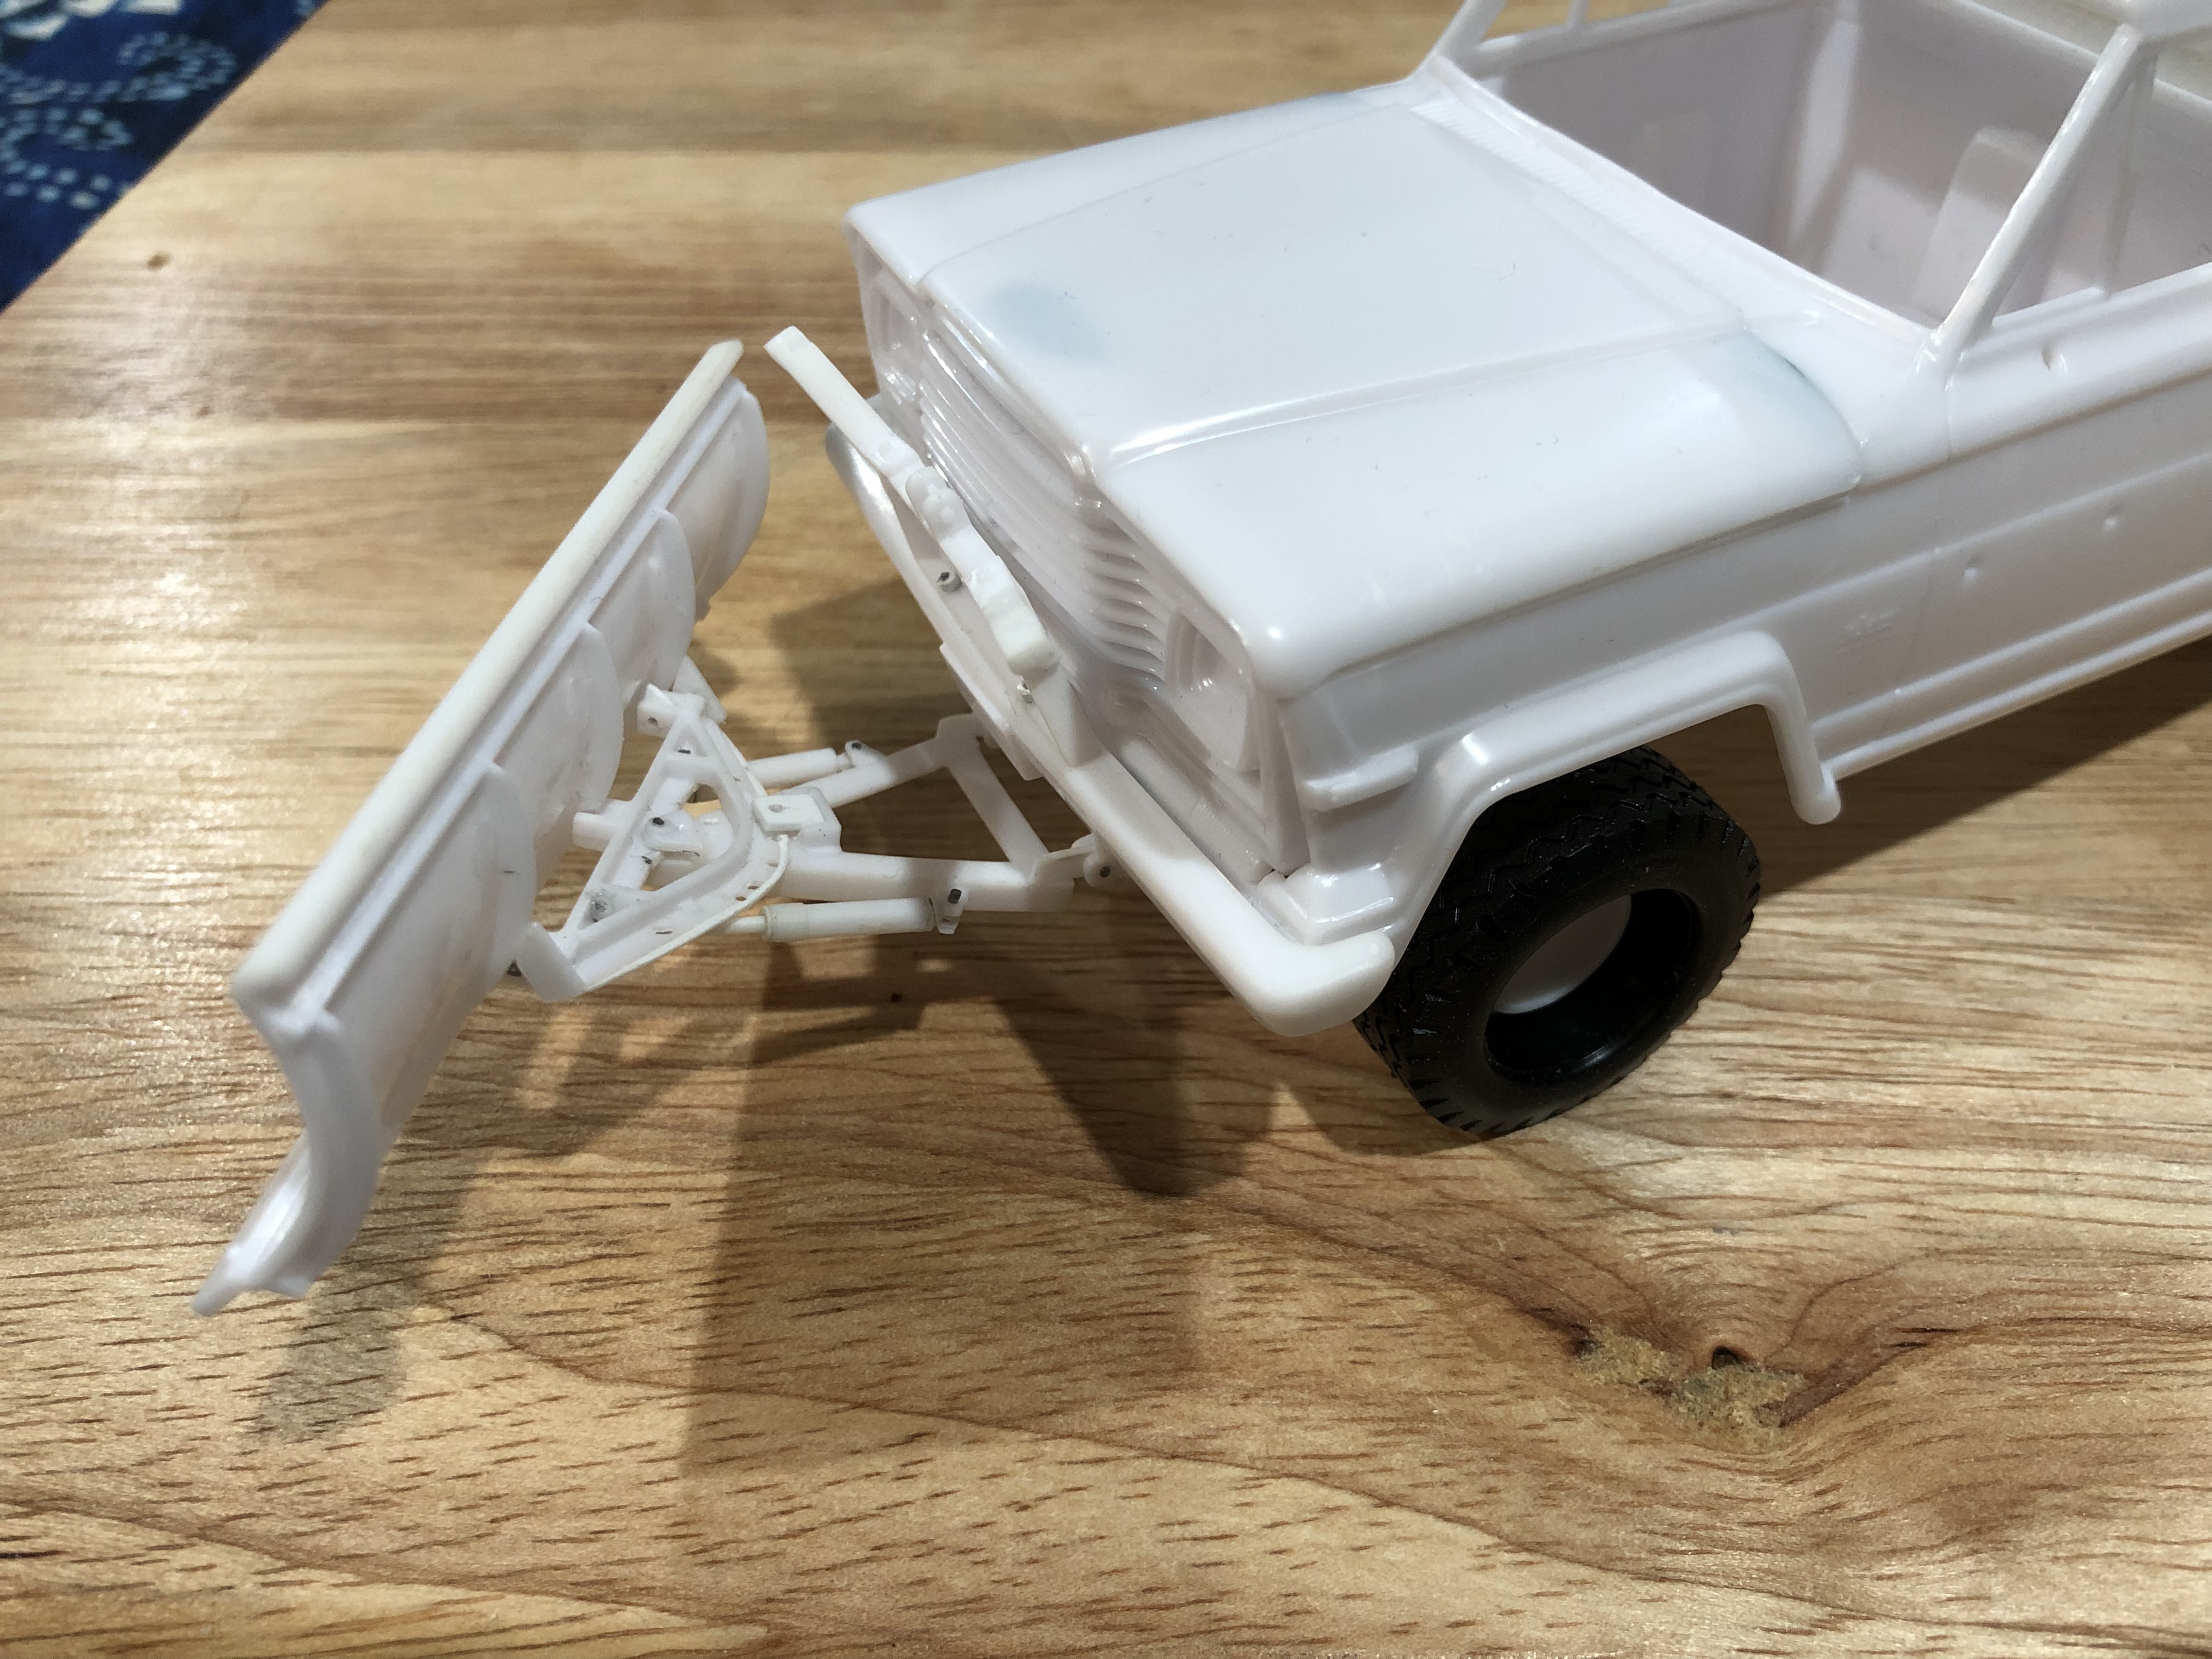
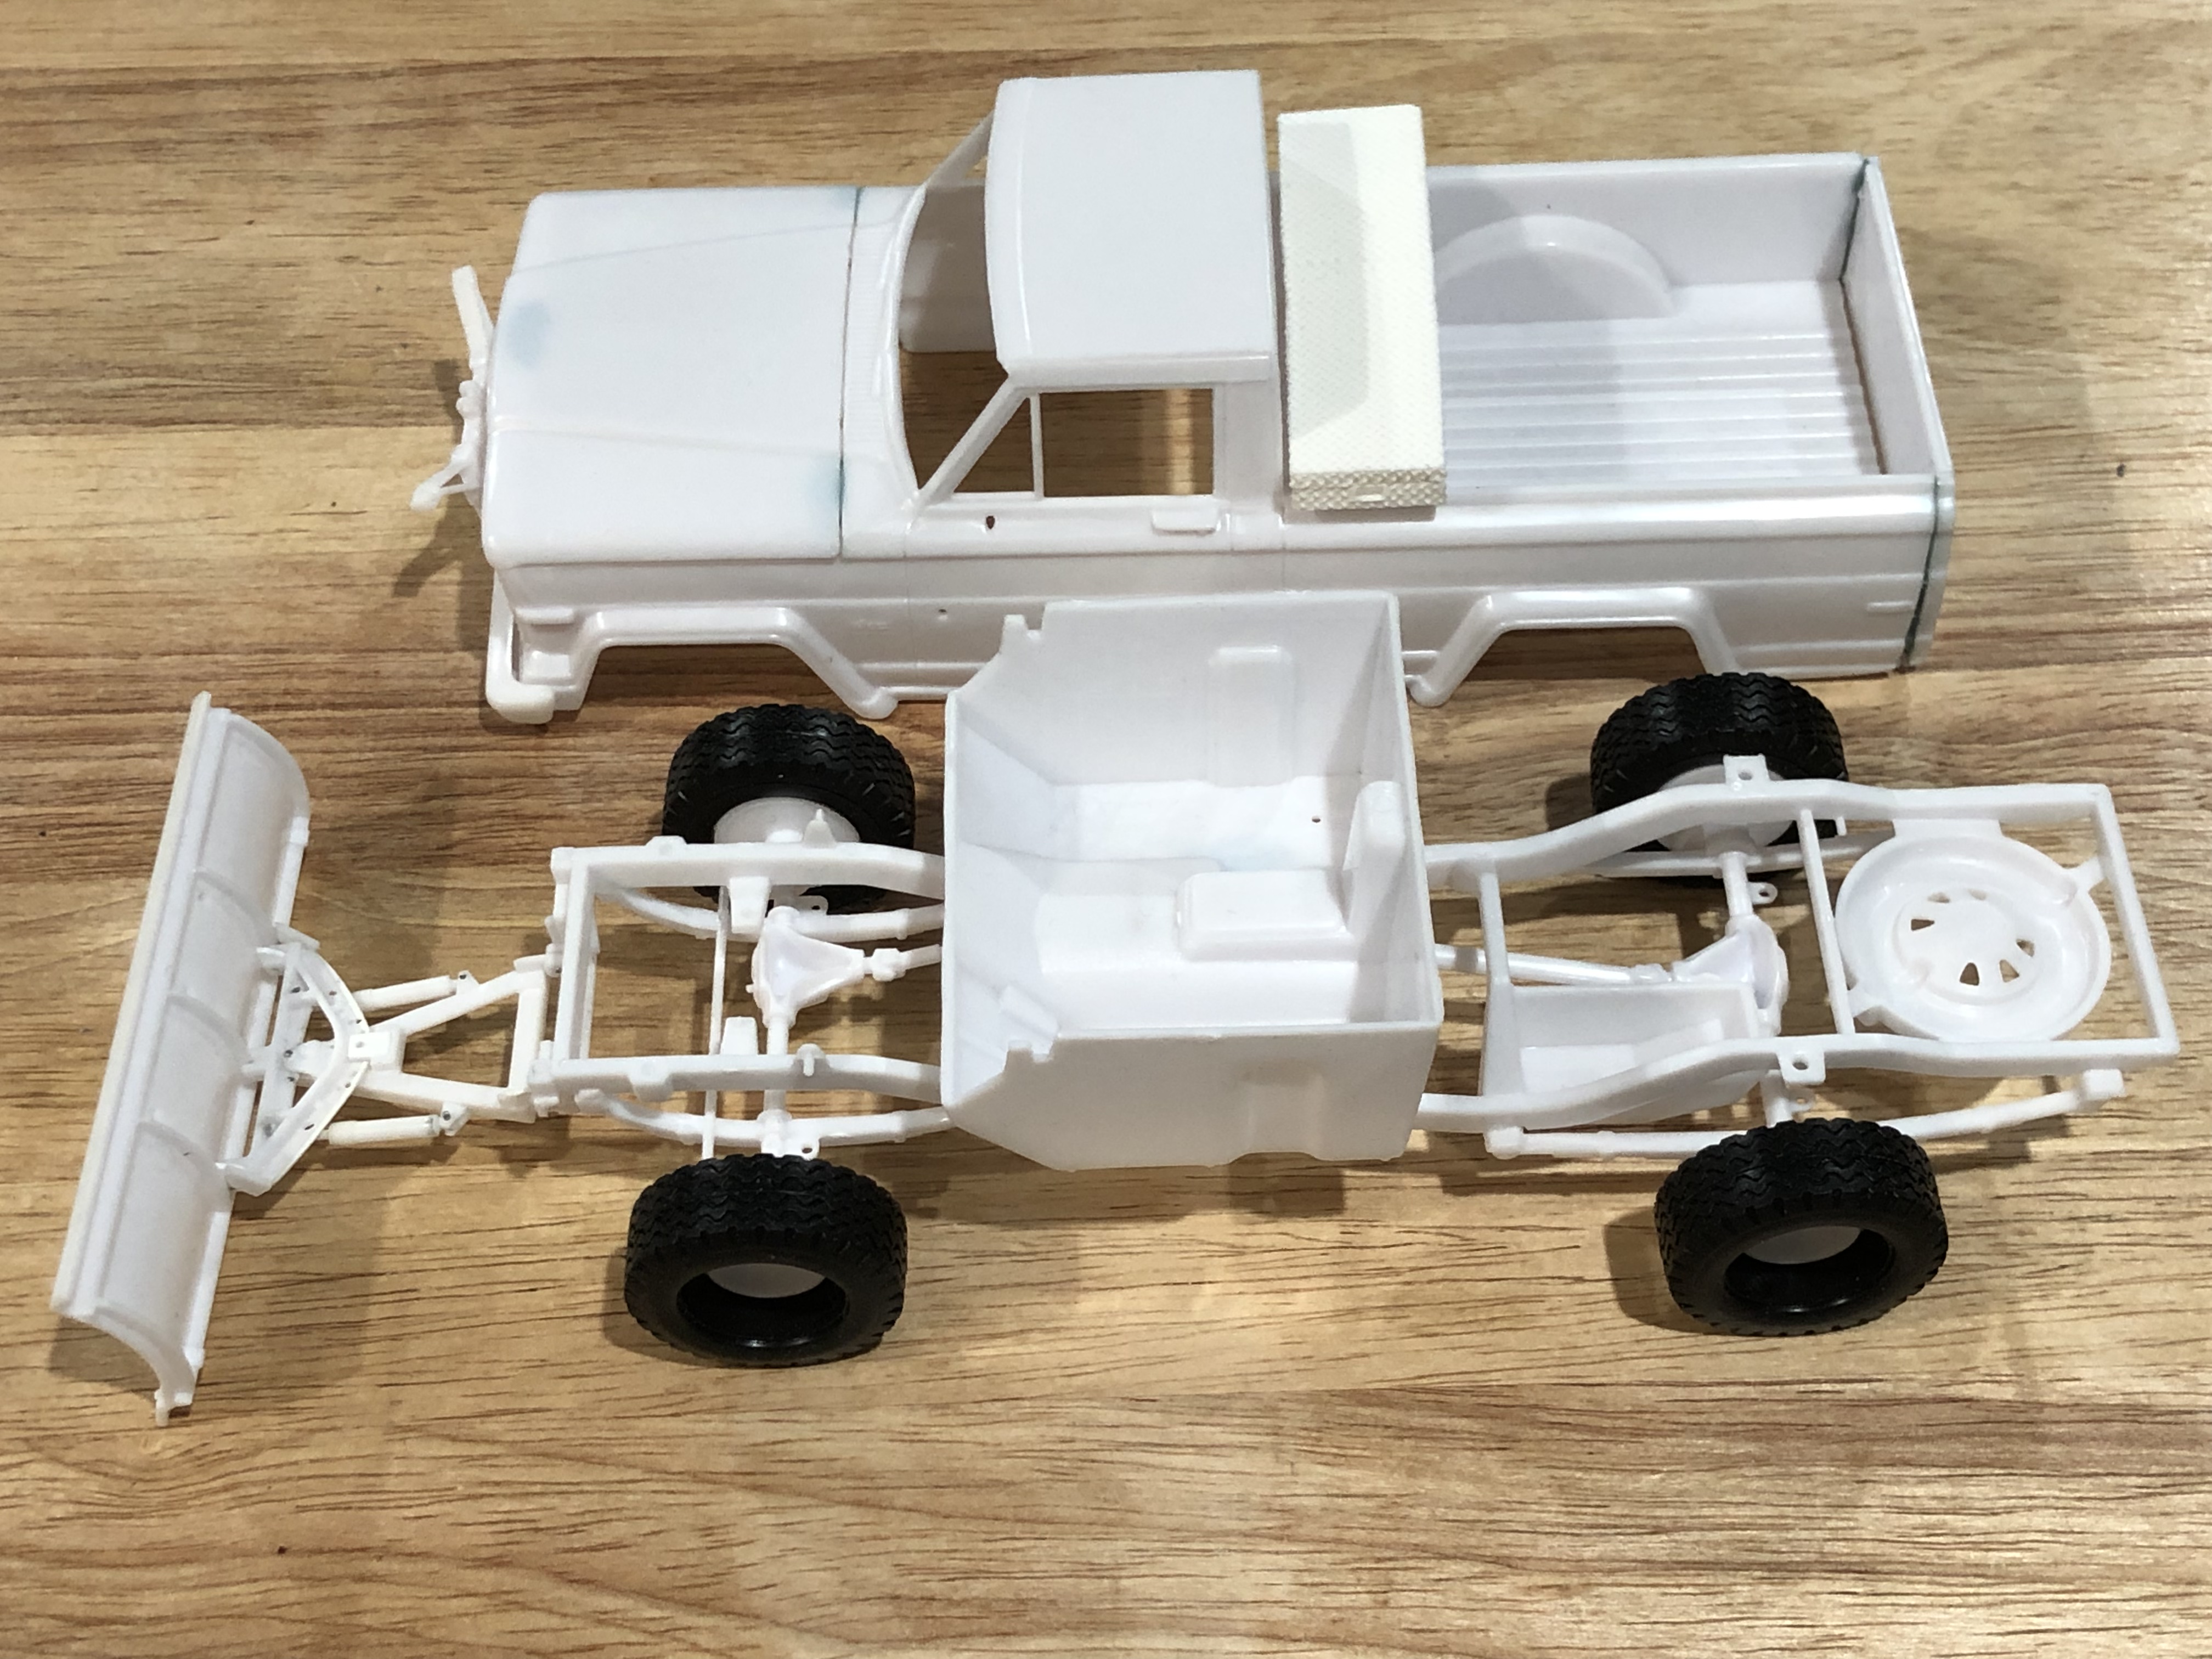
I would like to throw my hat into the ring with this project. It has a working plow that raises and lowers tilt and can be adjusted side to side. Nothing is painted on this model yet, even though it almost looks like it’s assembled. As far as assembly goes, it all has to come apart.
-
1968 Baldwin Motion Chevelle
Superbird McMonte replied to Superbird McMonte's topic in WIP: Model Cars
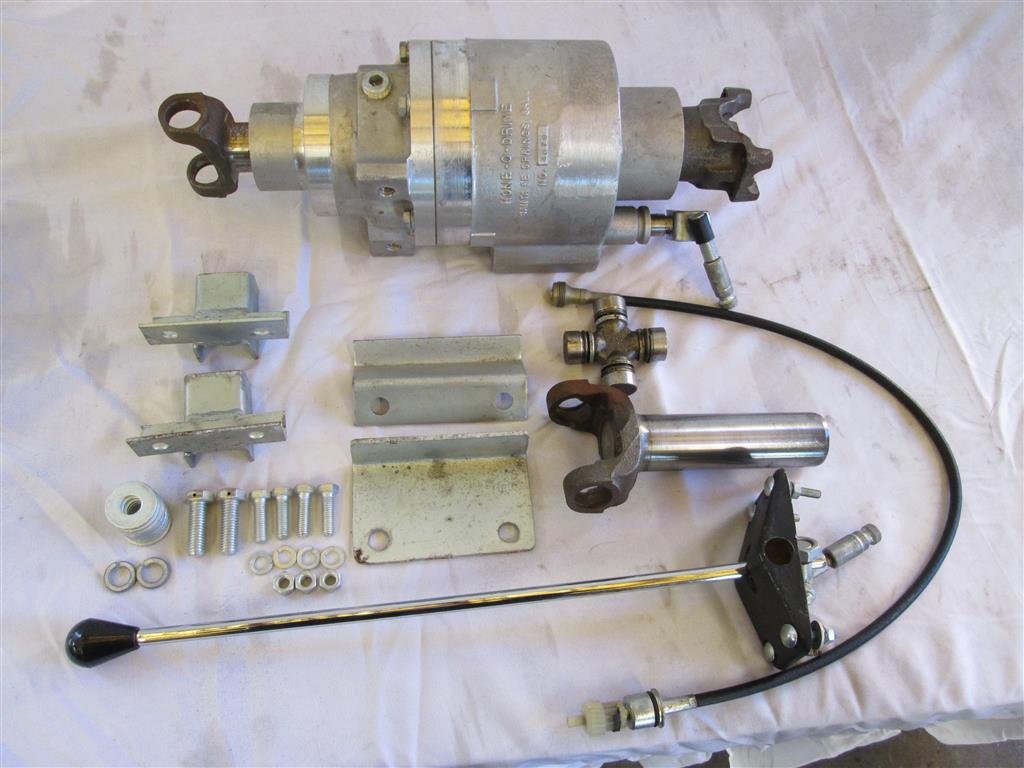
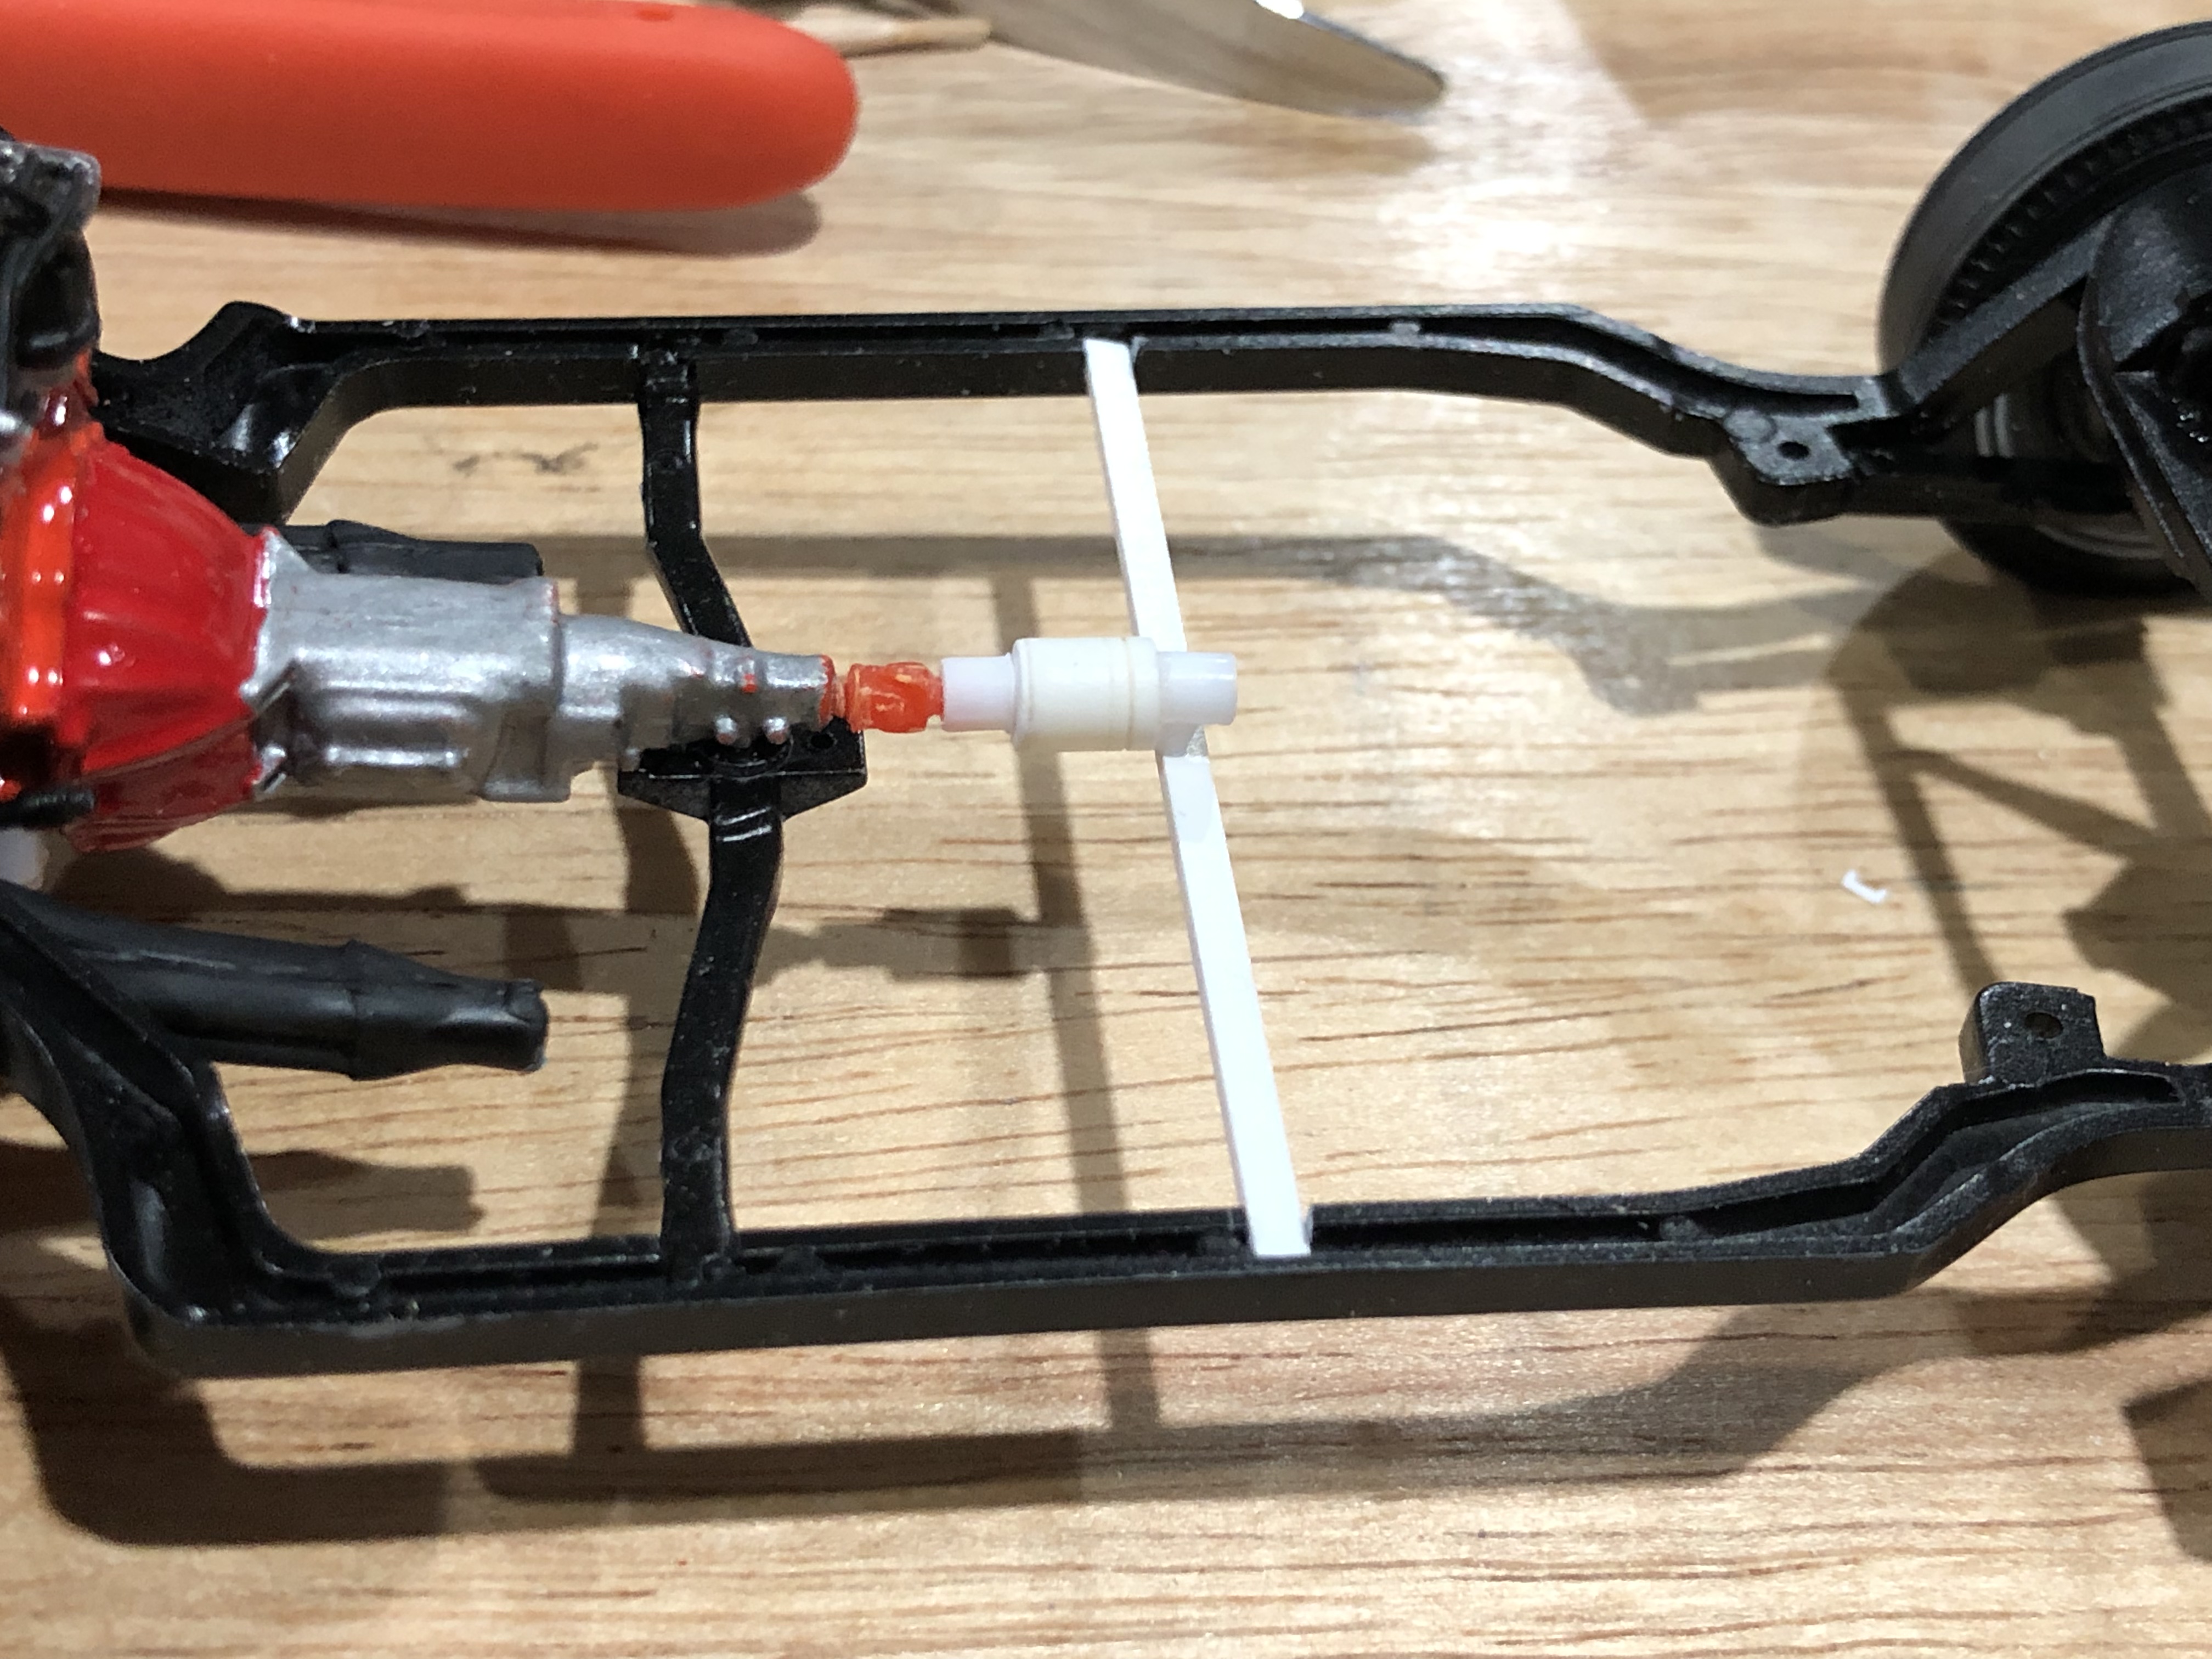
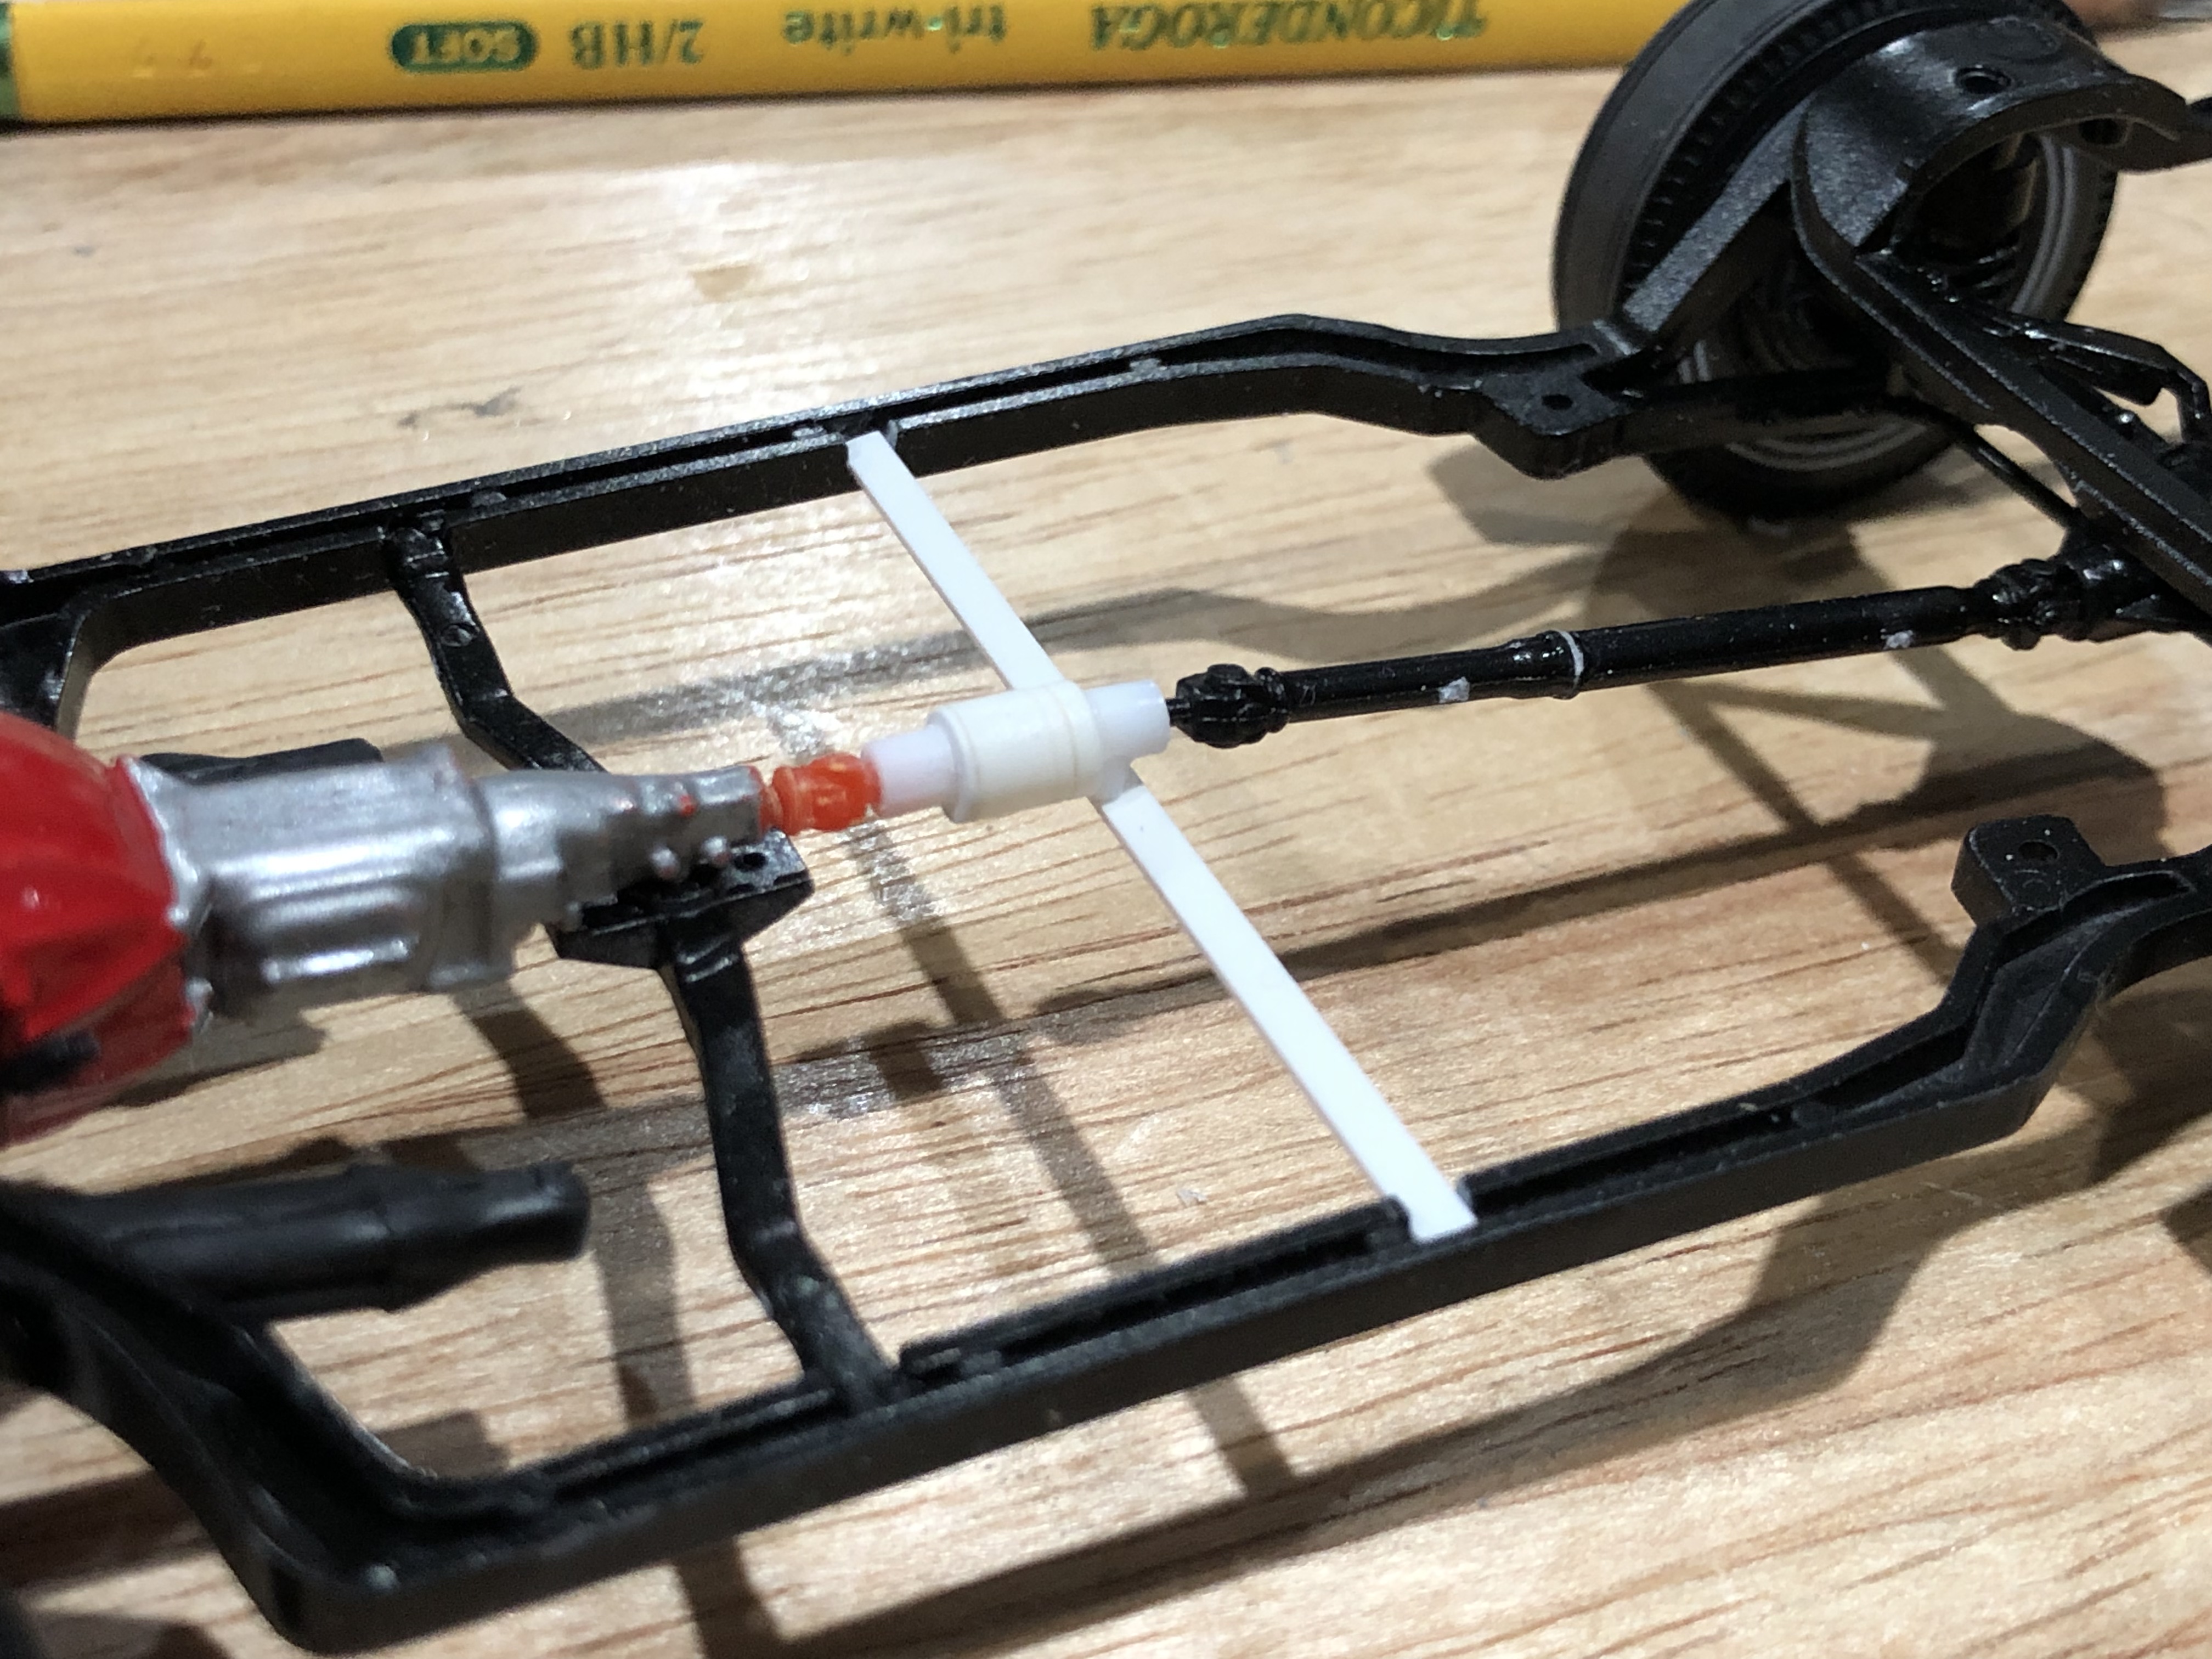
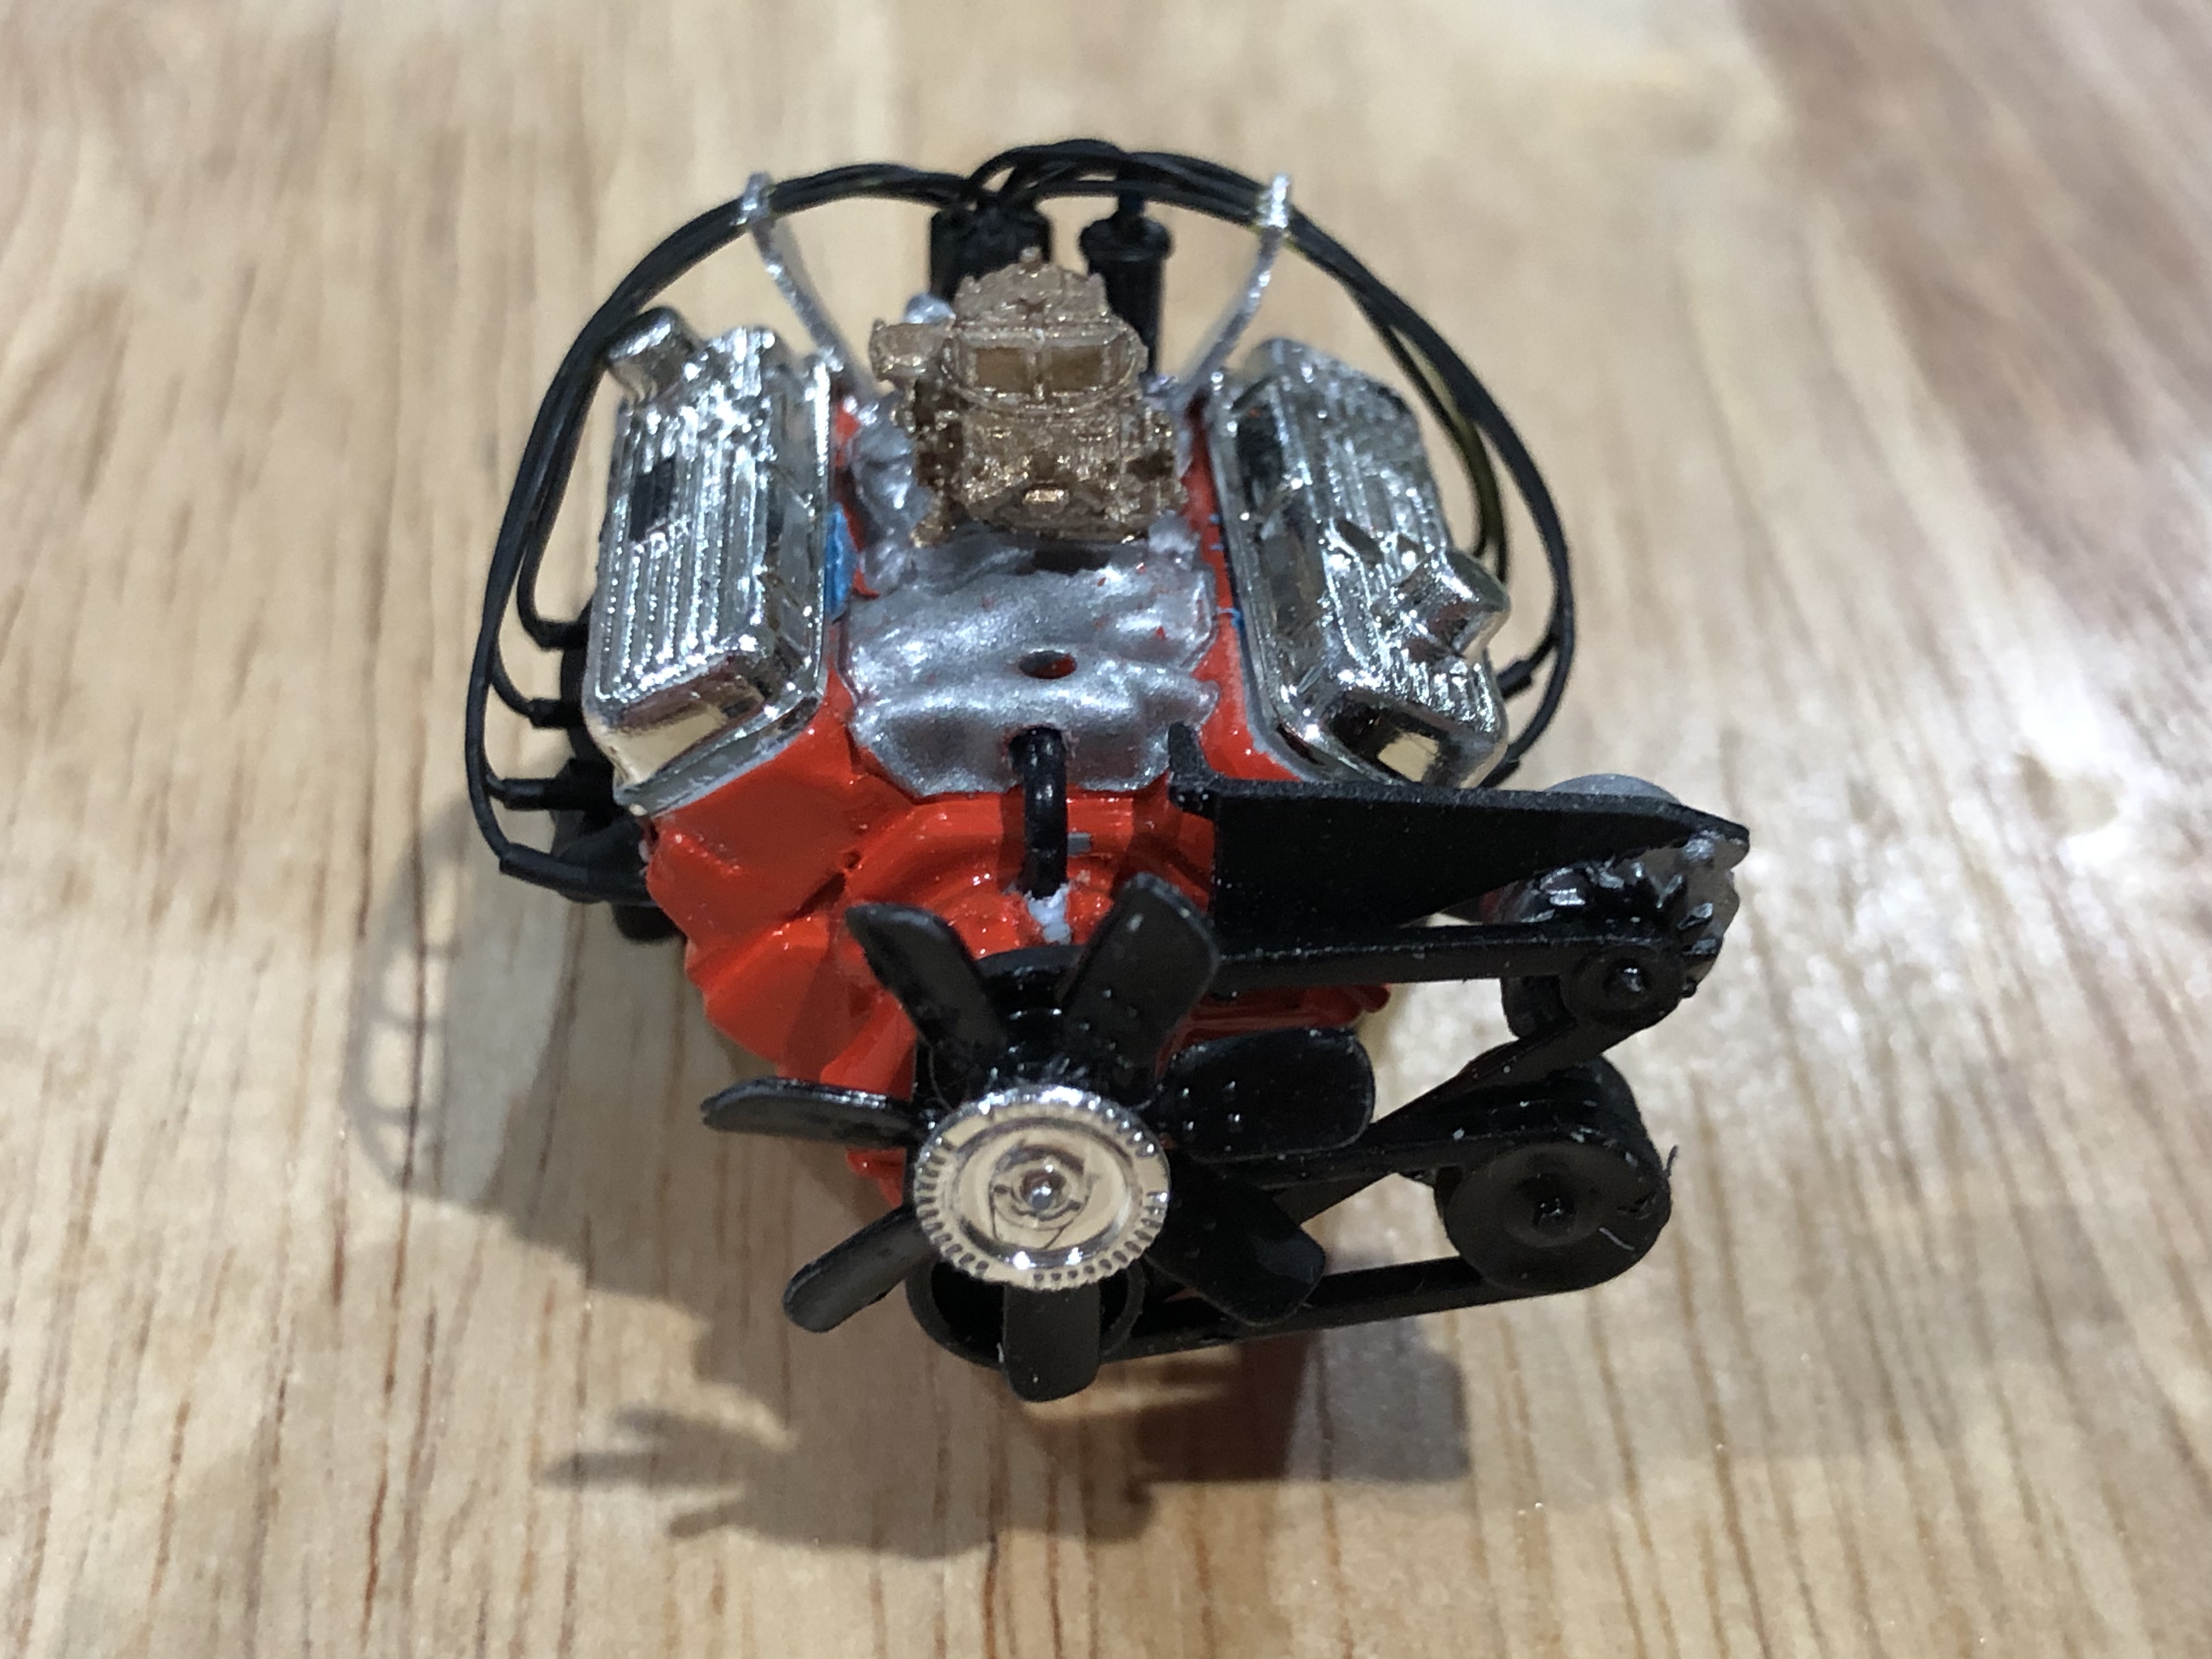
Scratch built the hone overdrive tonight. Shortened the drive shaft too. That needs finishing but it’s 1:30am and I’m beat. I used Evergreen tubing for the largest diameter of the part. The rest is spru and an axle from a Corvette rear. The cross member is Evergreen C channel.
-
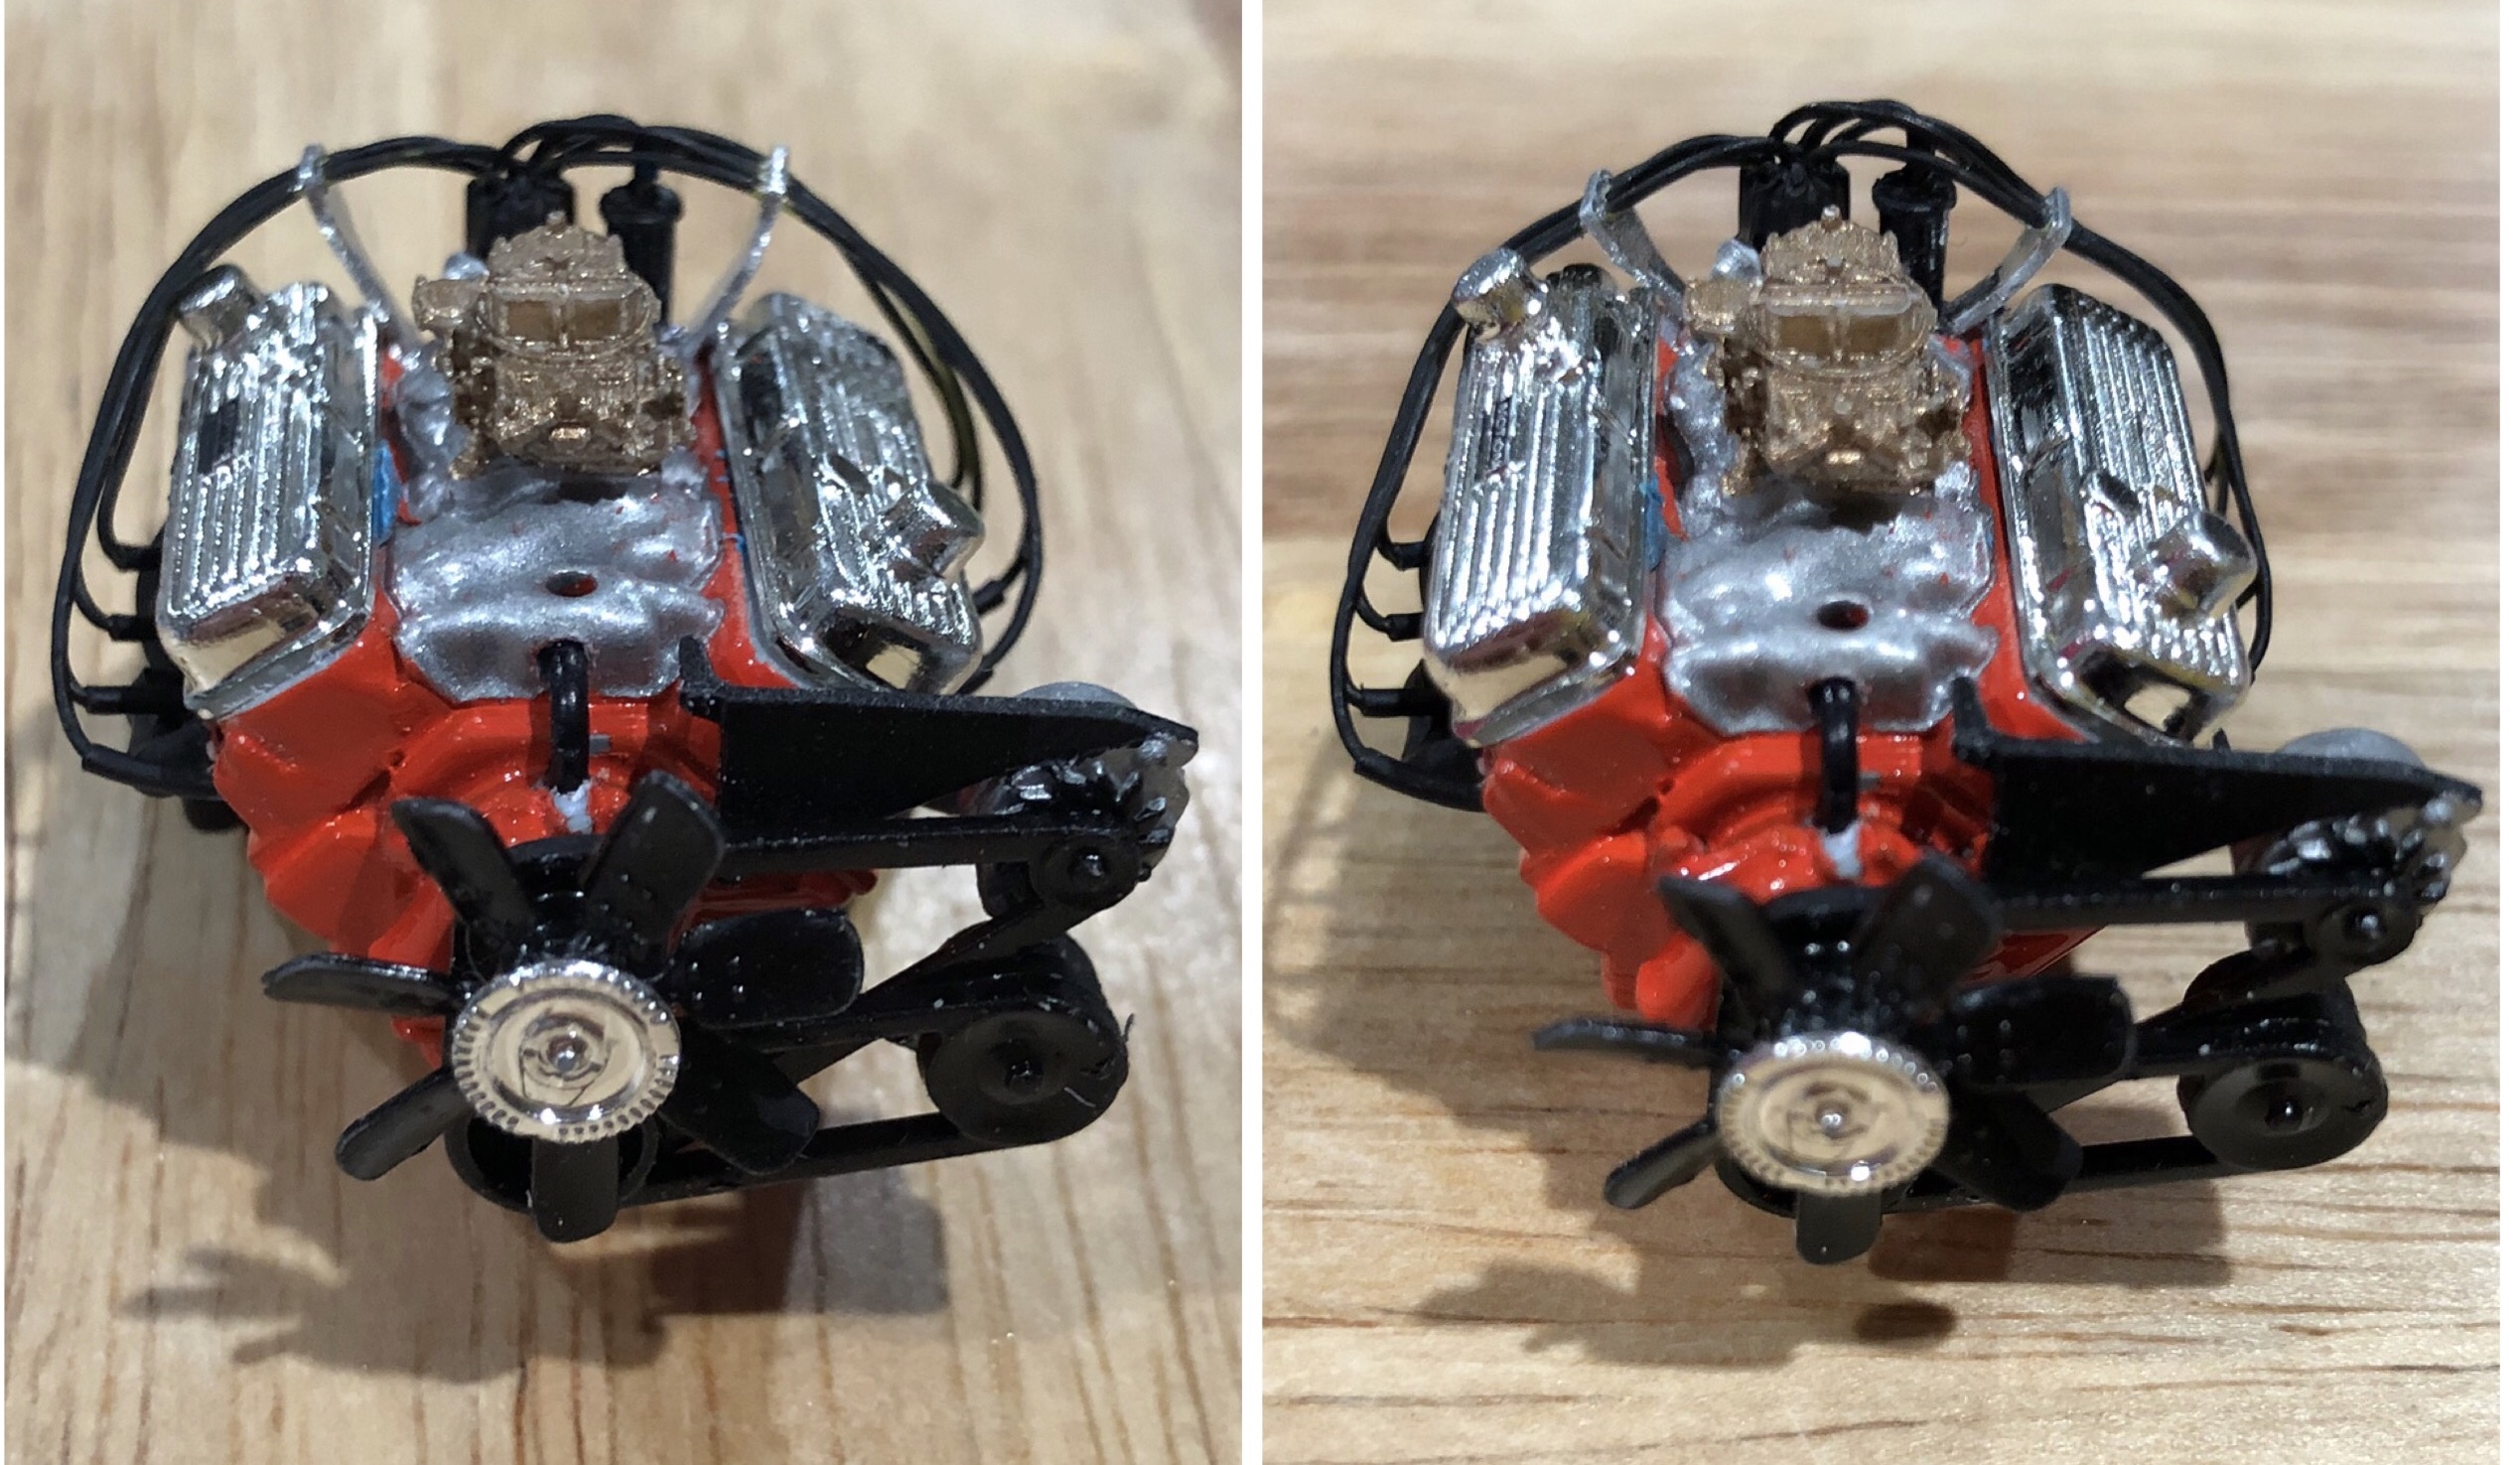
I found some were painted and some weren’t. It seems like Motion painted most of theirs. At least that’s what I see on unrestored cars. If you want people to quickly identify it as an L88, paint them aluminum.
-
Red line tires: How to
Superbird McMonte replied to Superbird McMonte's topic in Tips, Tricks, and Tutorials
That’s pretty cool! -
That’s a little better!
-
Beautiful! As always! Corvettes are one of my favorite subjects. I’ll be looking forward to updates. Only one problem, your photo-etch wire looms make my scratch built Motion ones look terrible!? I may have to revisit them....? Maybe I can bring them down a bit.
-
Baldwin Motion’s officially model builder
Superbird McMonte replied to Superbird McMonte's topic in WIP: Model Cars
I’ve said the exact same thing a number of times! And then I buy the kit anyway! ???? -
Red line tires: How to
Superbird McMonte replied to Superbird McMonte's topic in Tips, Tricks, and Tutorials
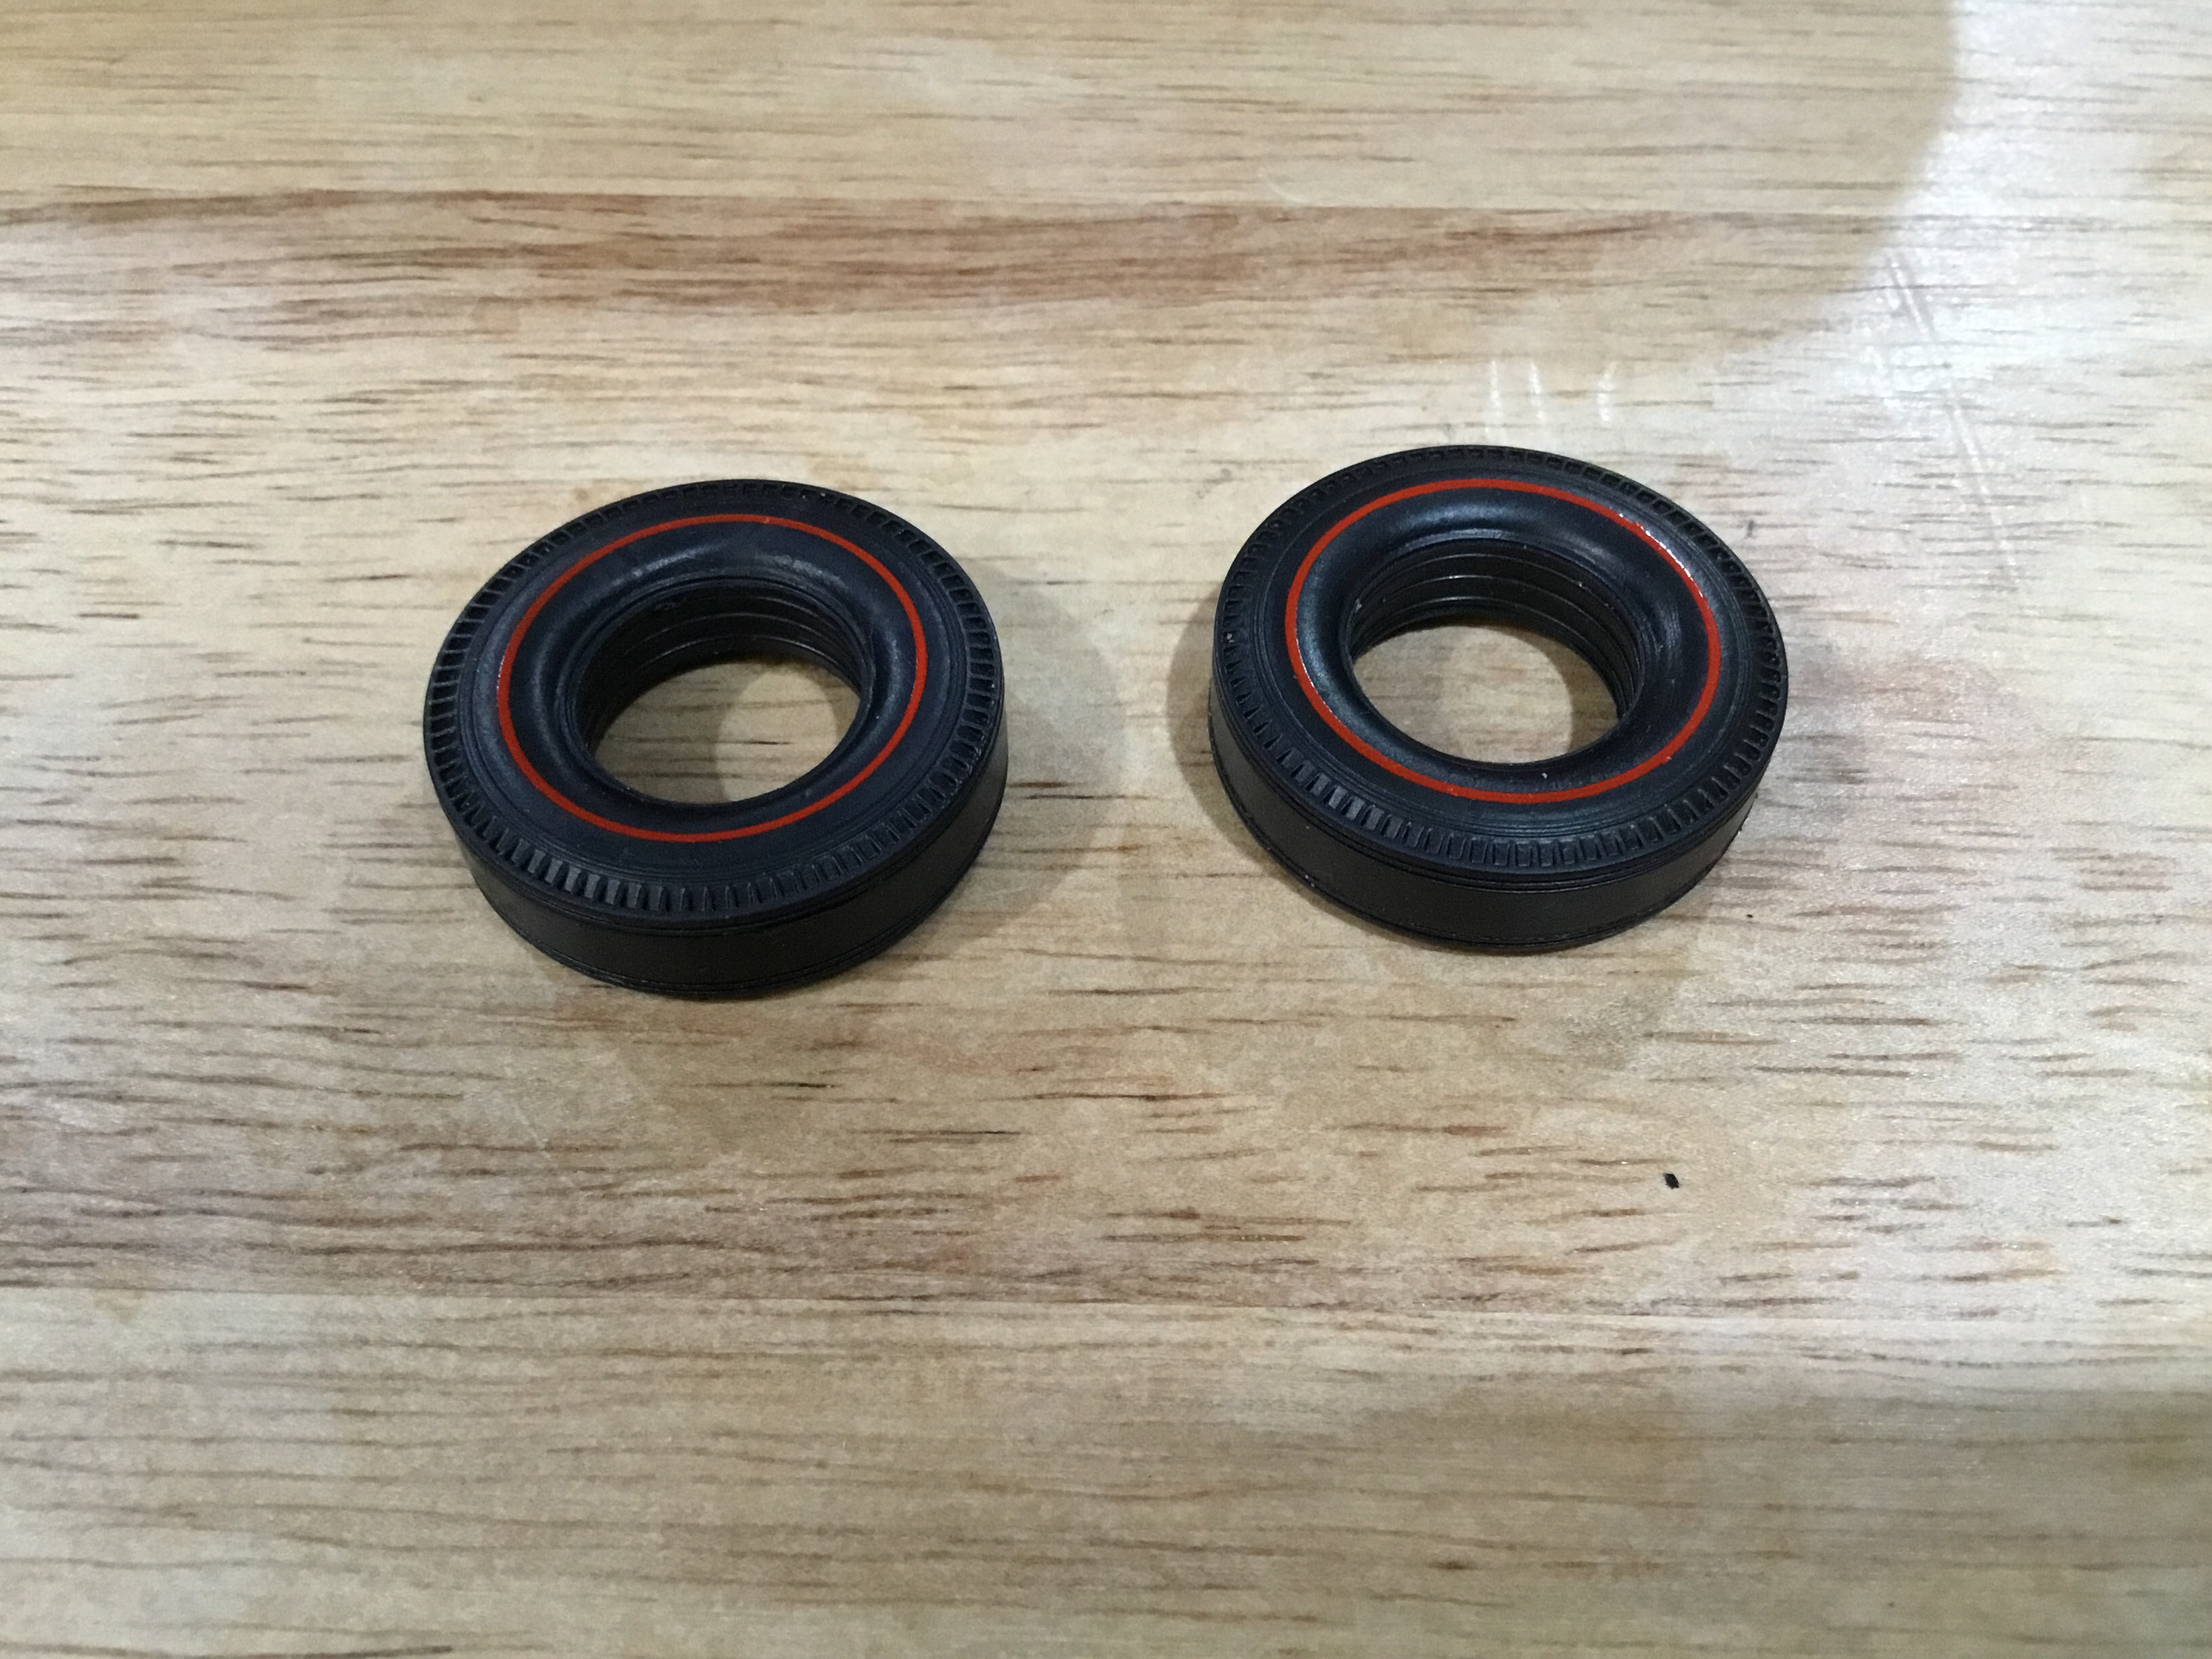
Hi Bill, that particular wheel back was from the 68 Chevelle. I have a bunch of different ones on hand and even a few custom wheels that I sacrificed by drilling a hole through the center. Somethings you want to keep in mind, try to keep the compass straight up and down as much as possible. The pivot pin will help you do this by moving it in and out. Also, the hole with the pivot pin is sitting in while applying the paint needs to be small enough that the pivot pin doesn’t slip all the way through. That was a problem with some of the wheel backs that I’ve come across. The whole was too big so I would sacrifice a wheel or find a different wheel back that fit in the tire. Also want to make sure that whatever you insert into the tire is level. -
Red line tires: How to
Superbird McMonte replied to Superbird McMonte's topic in Tips, Tricks, and Tutorials
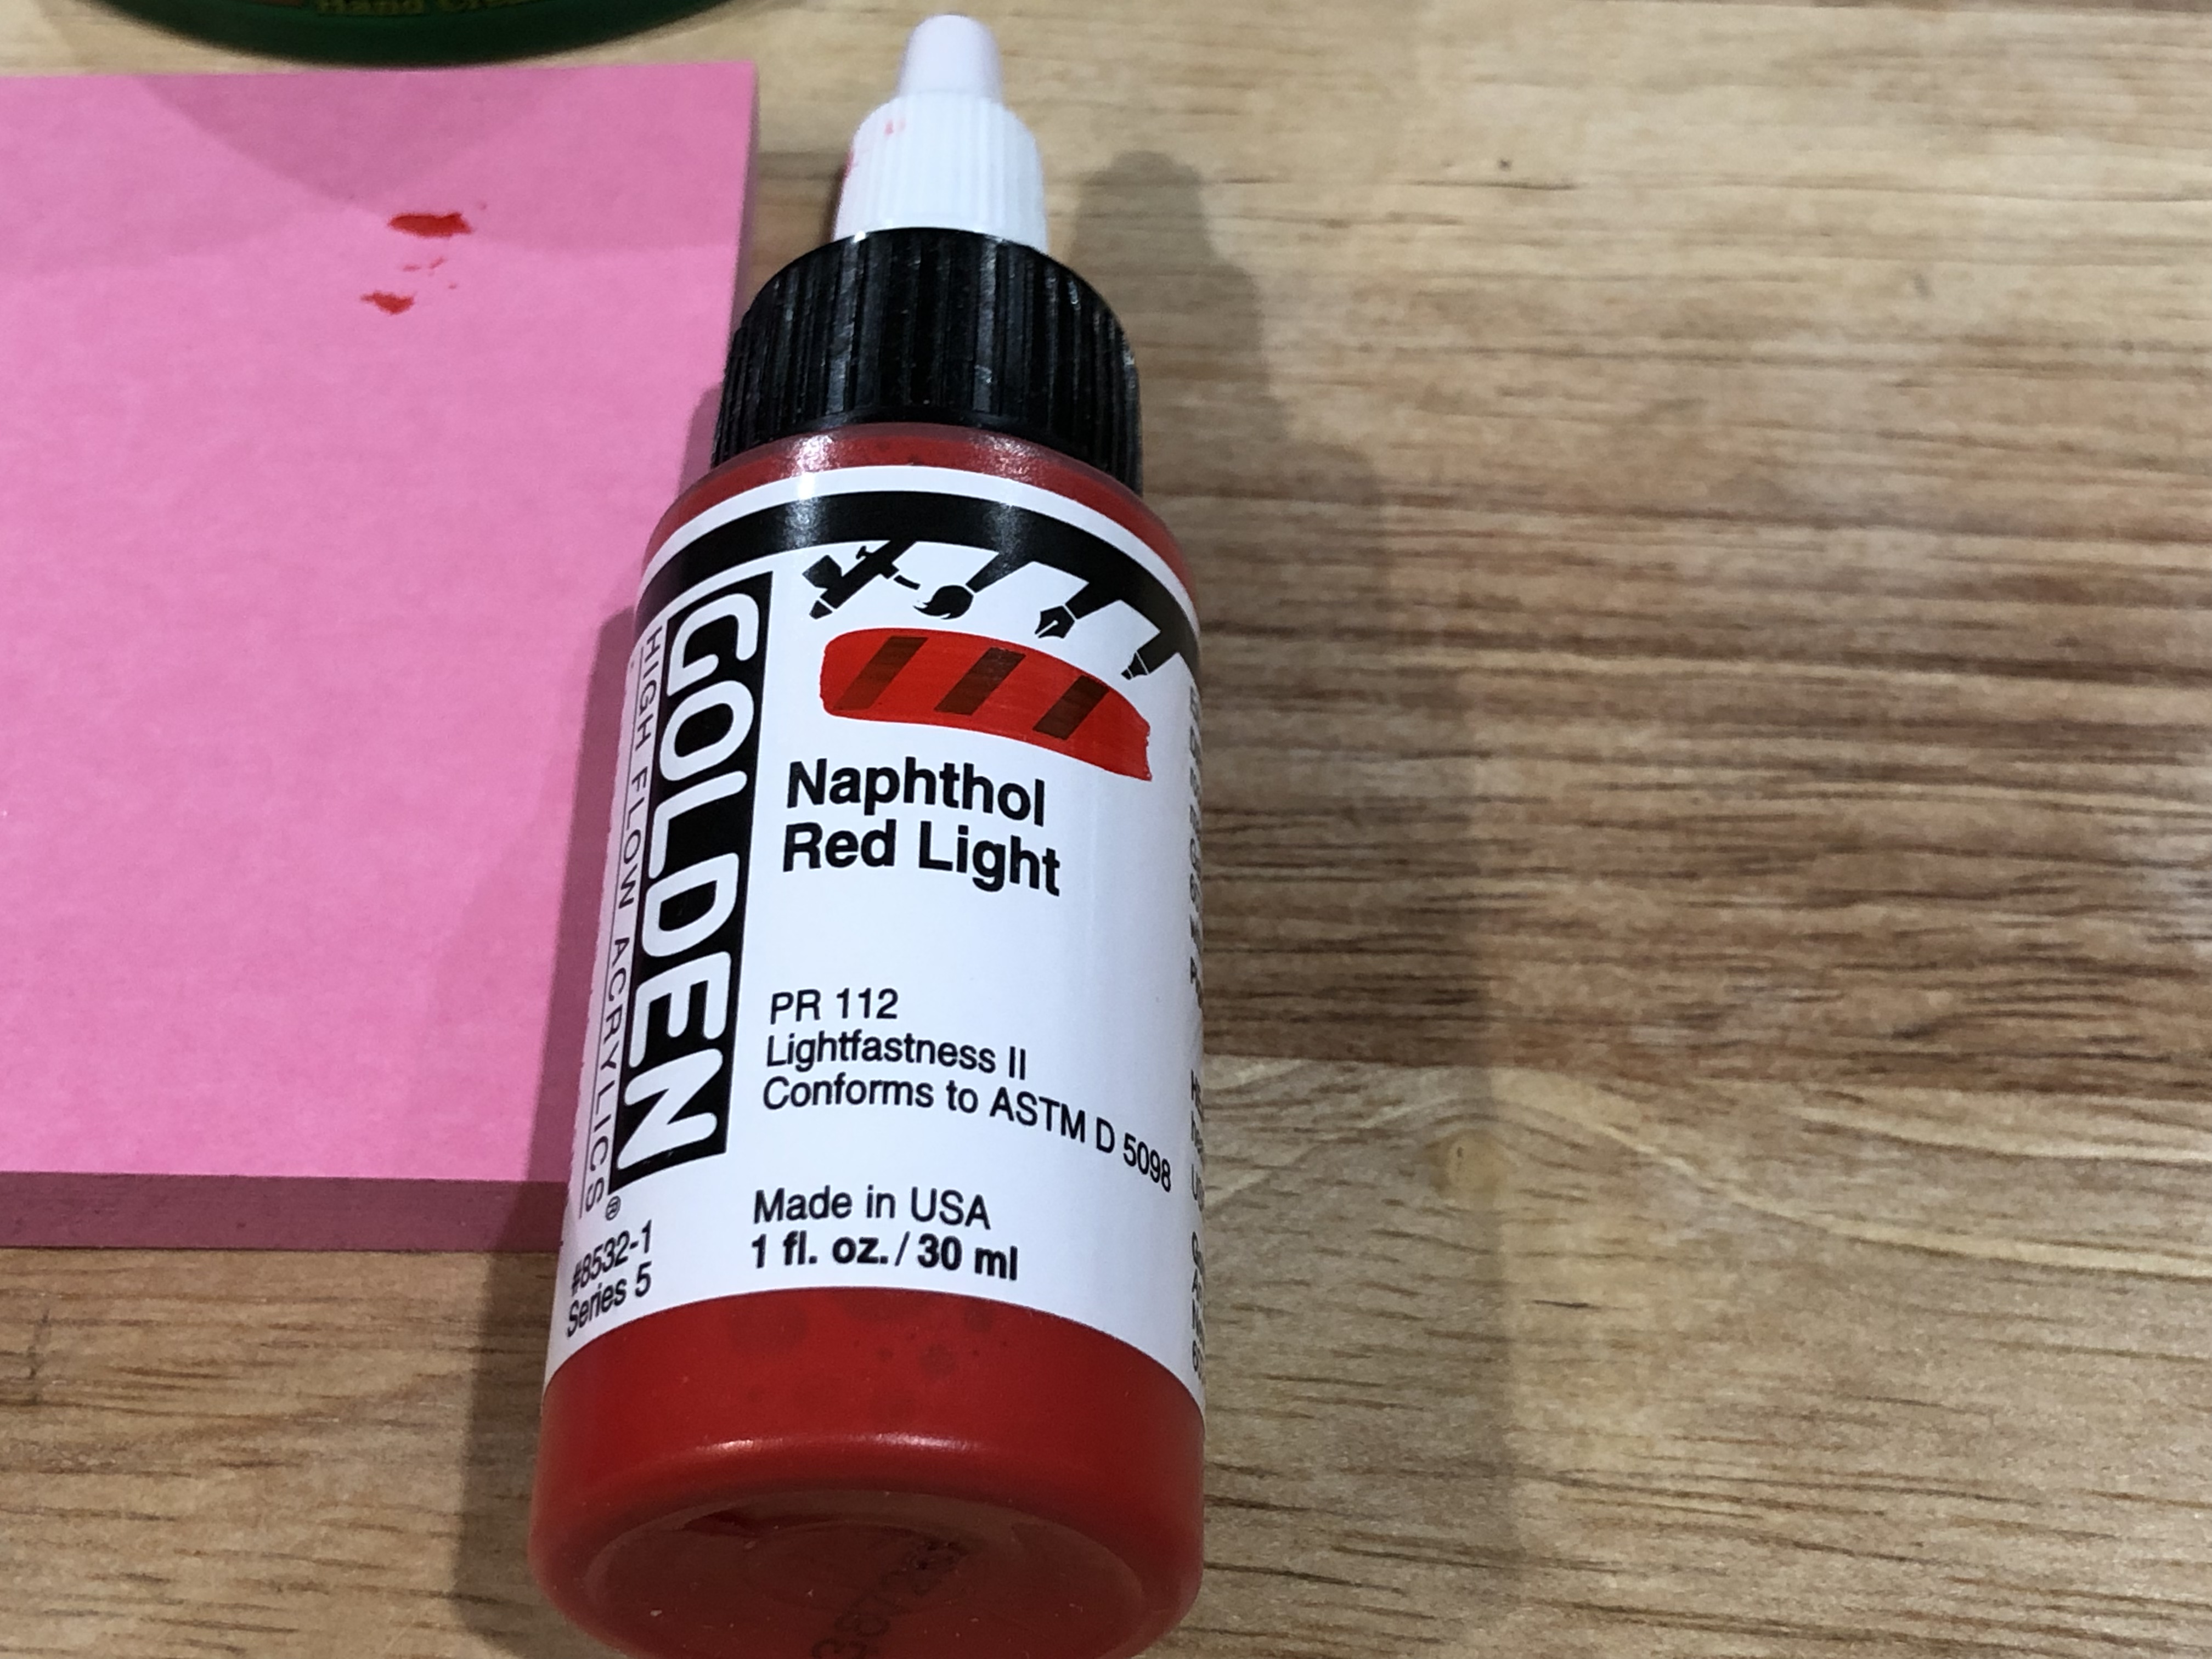
Here is the paint. I got it at a local craft store.
-
Here is a little video on how I make red line tires.
-
Pictures from last nights LIARS Club 01/17/2019
Superbird McMonte replied to Superbird McMonte's topic in Model Cars
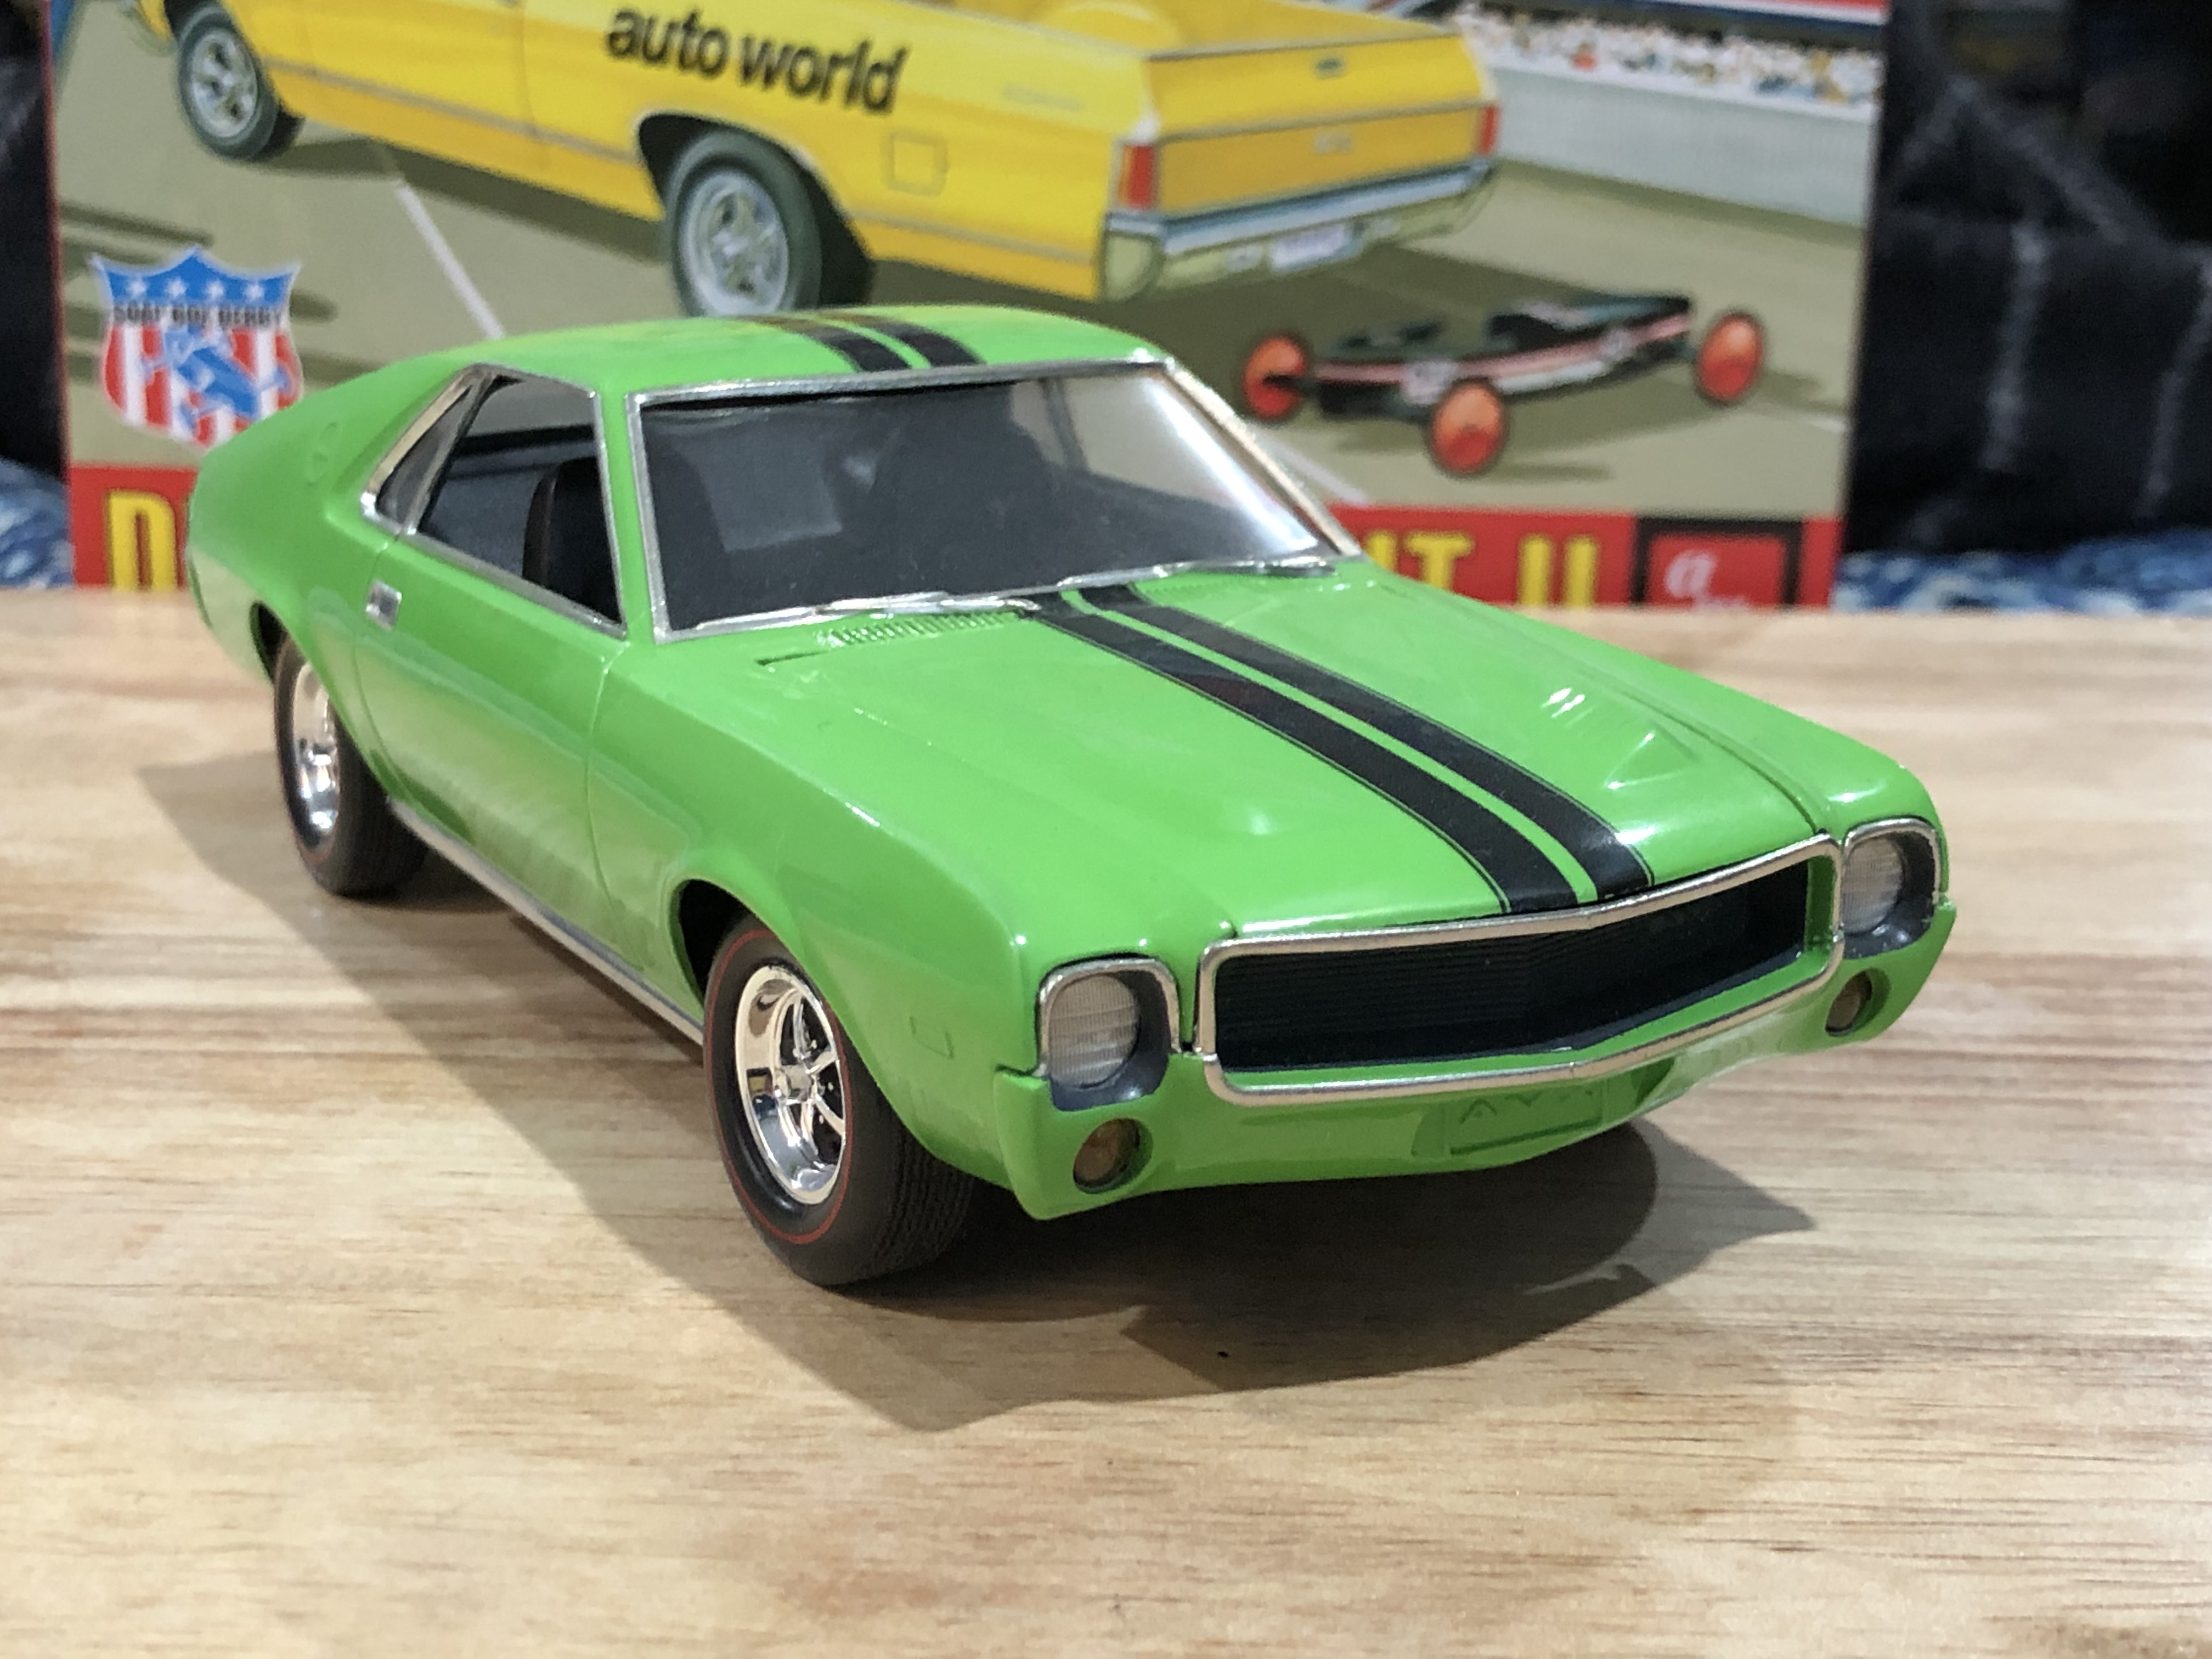
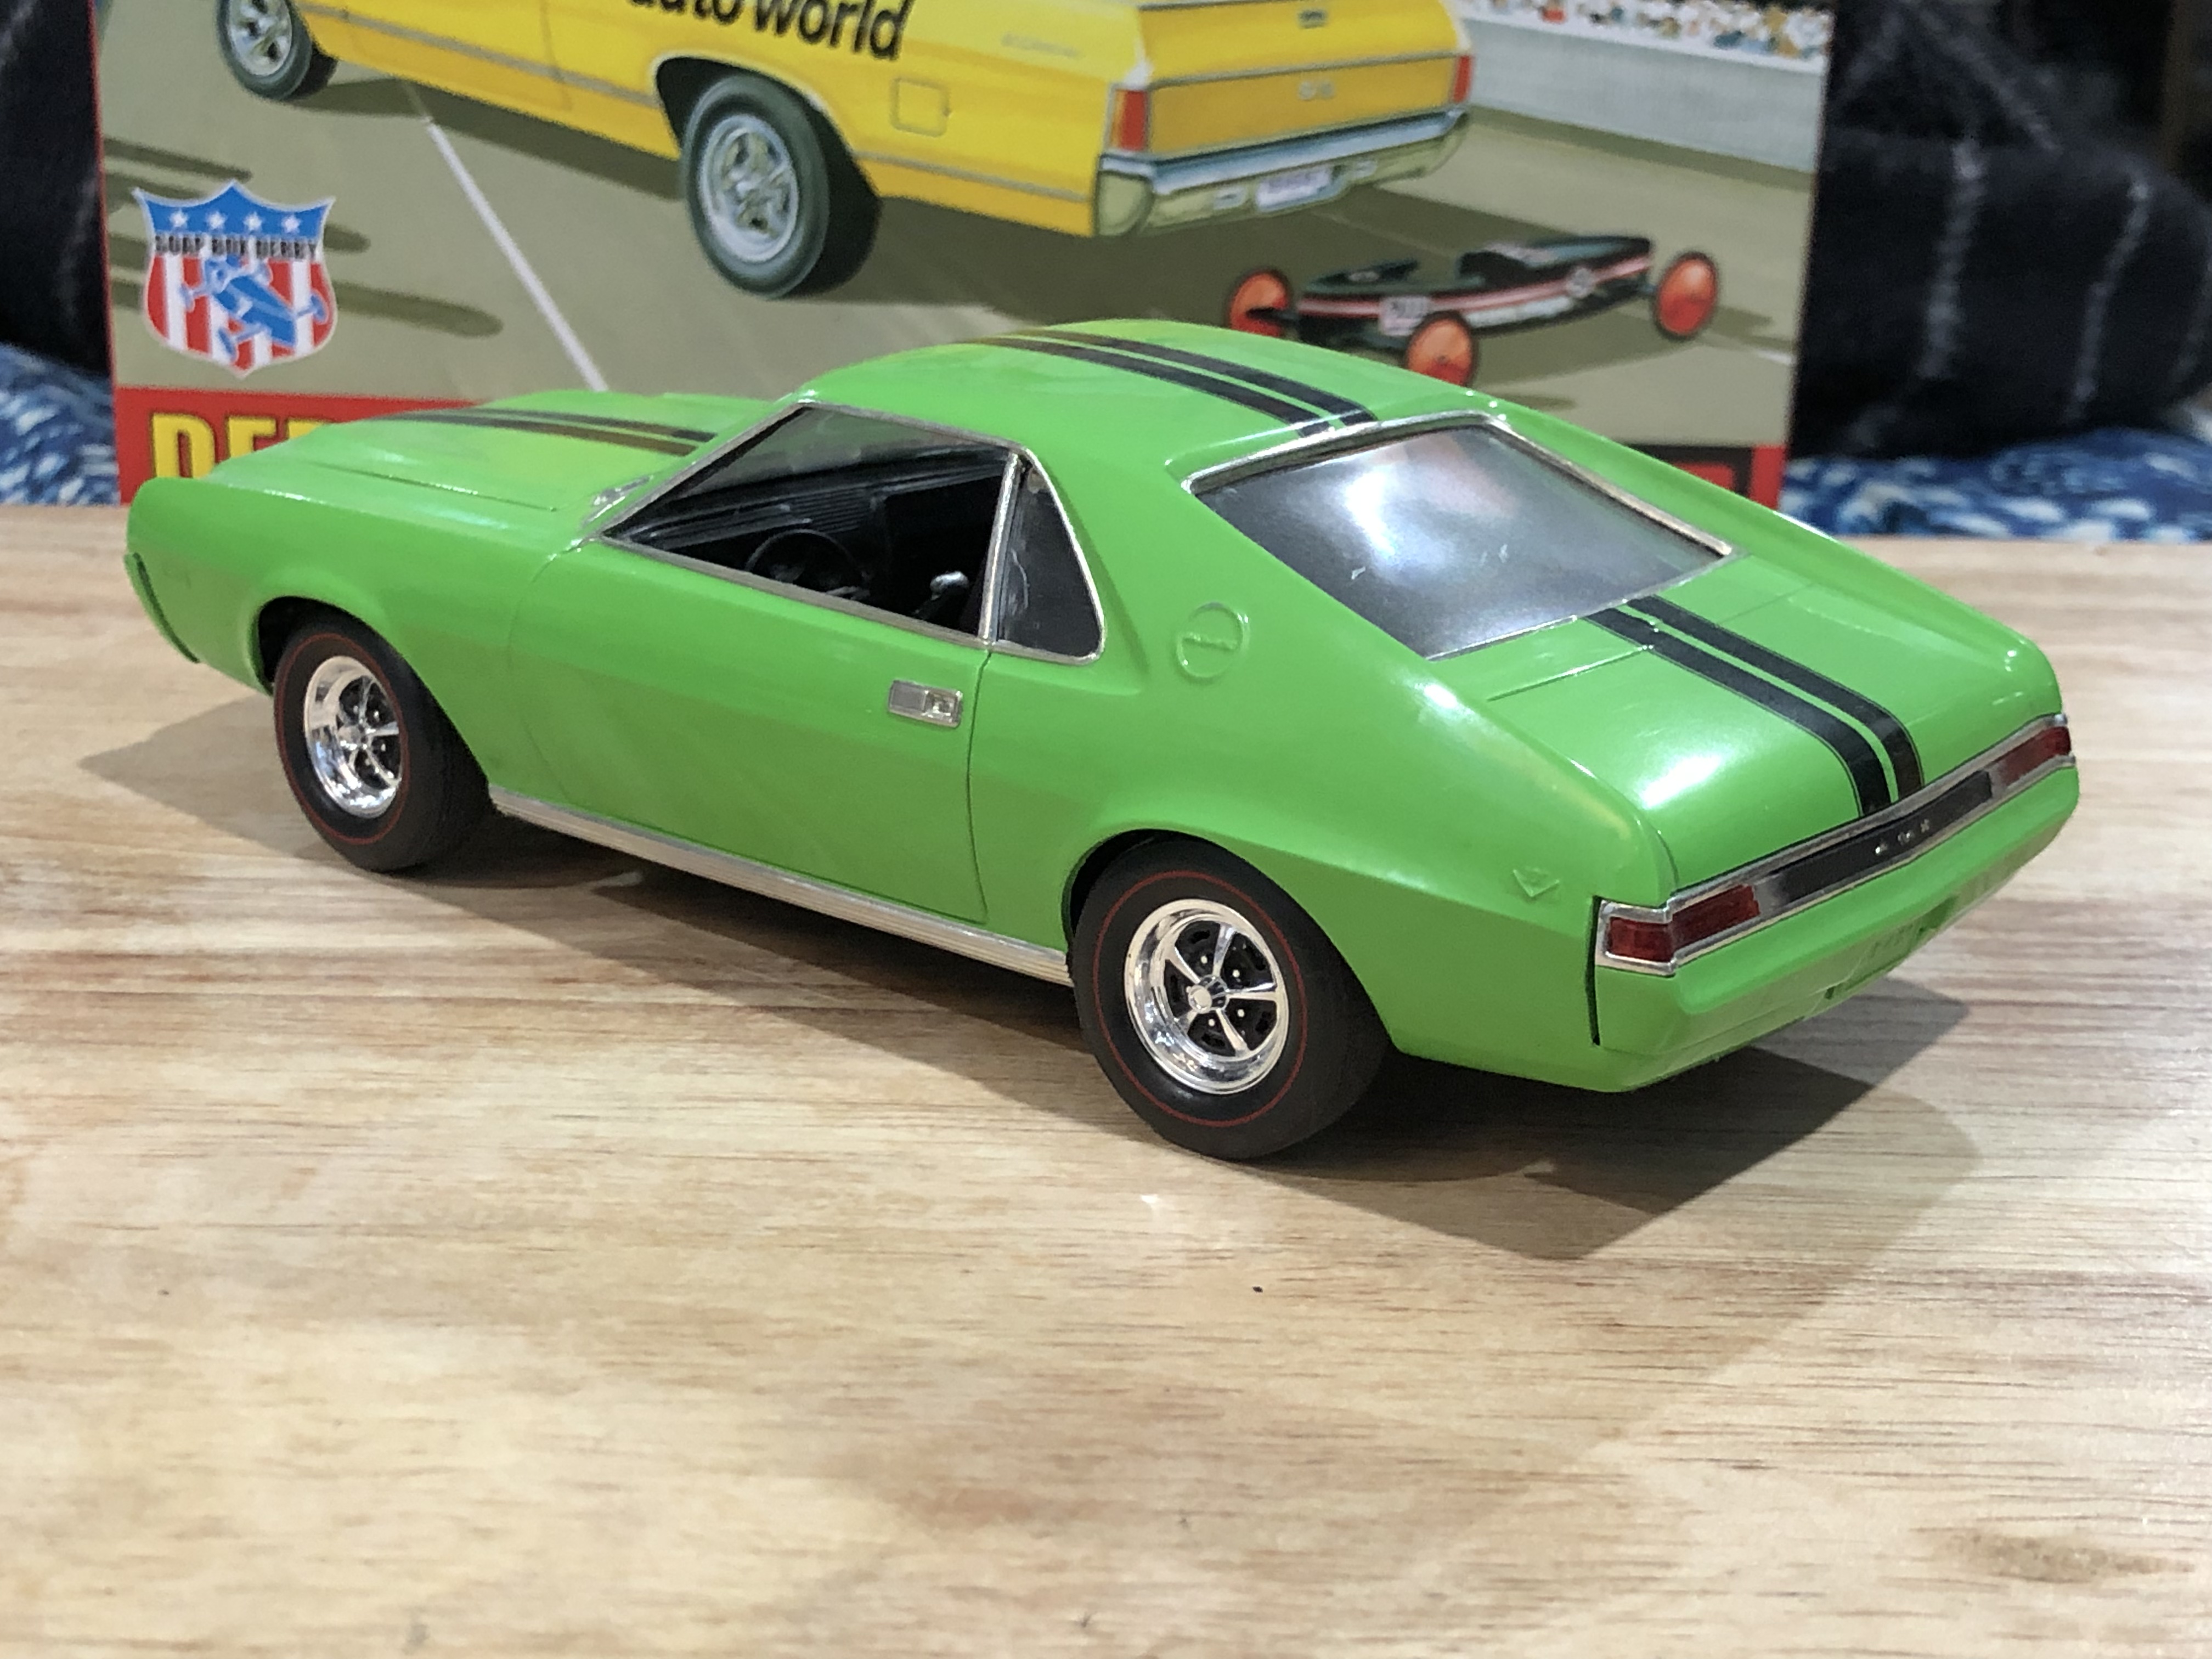
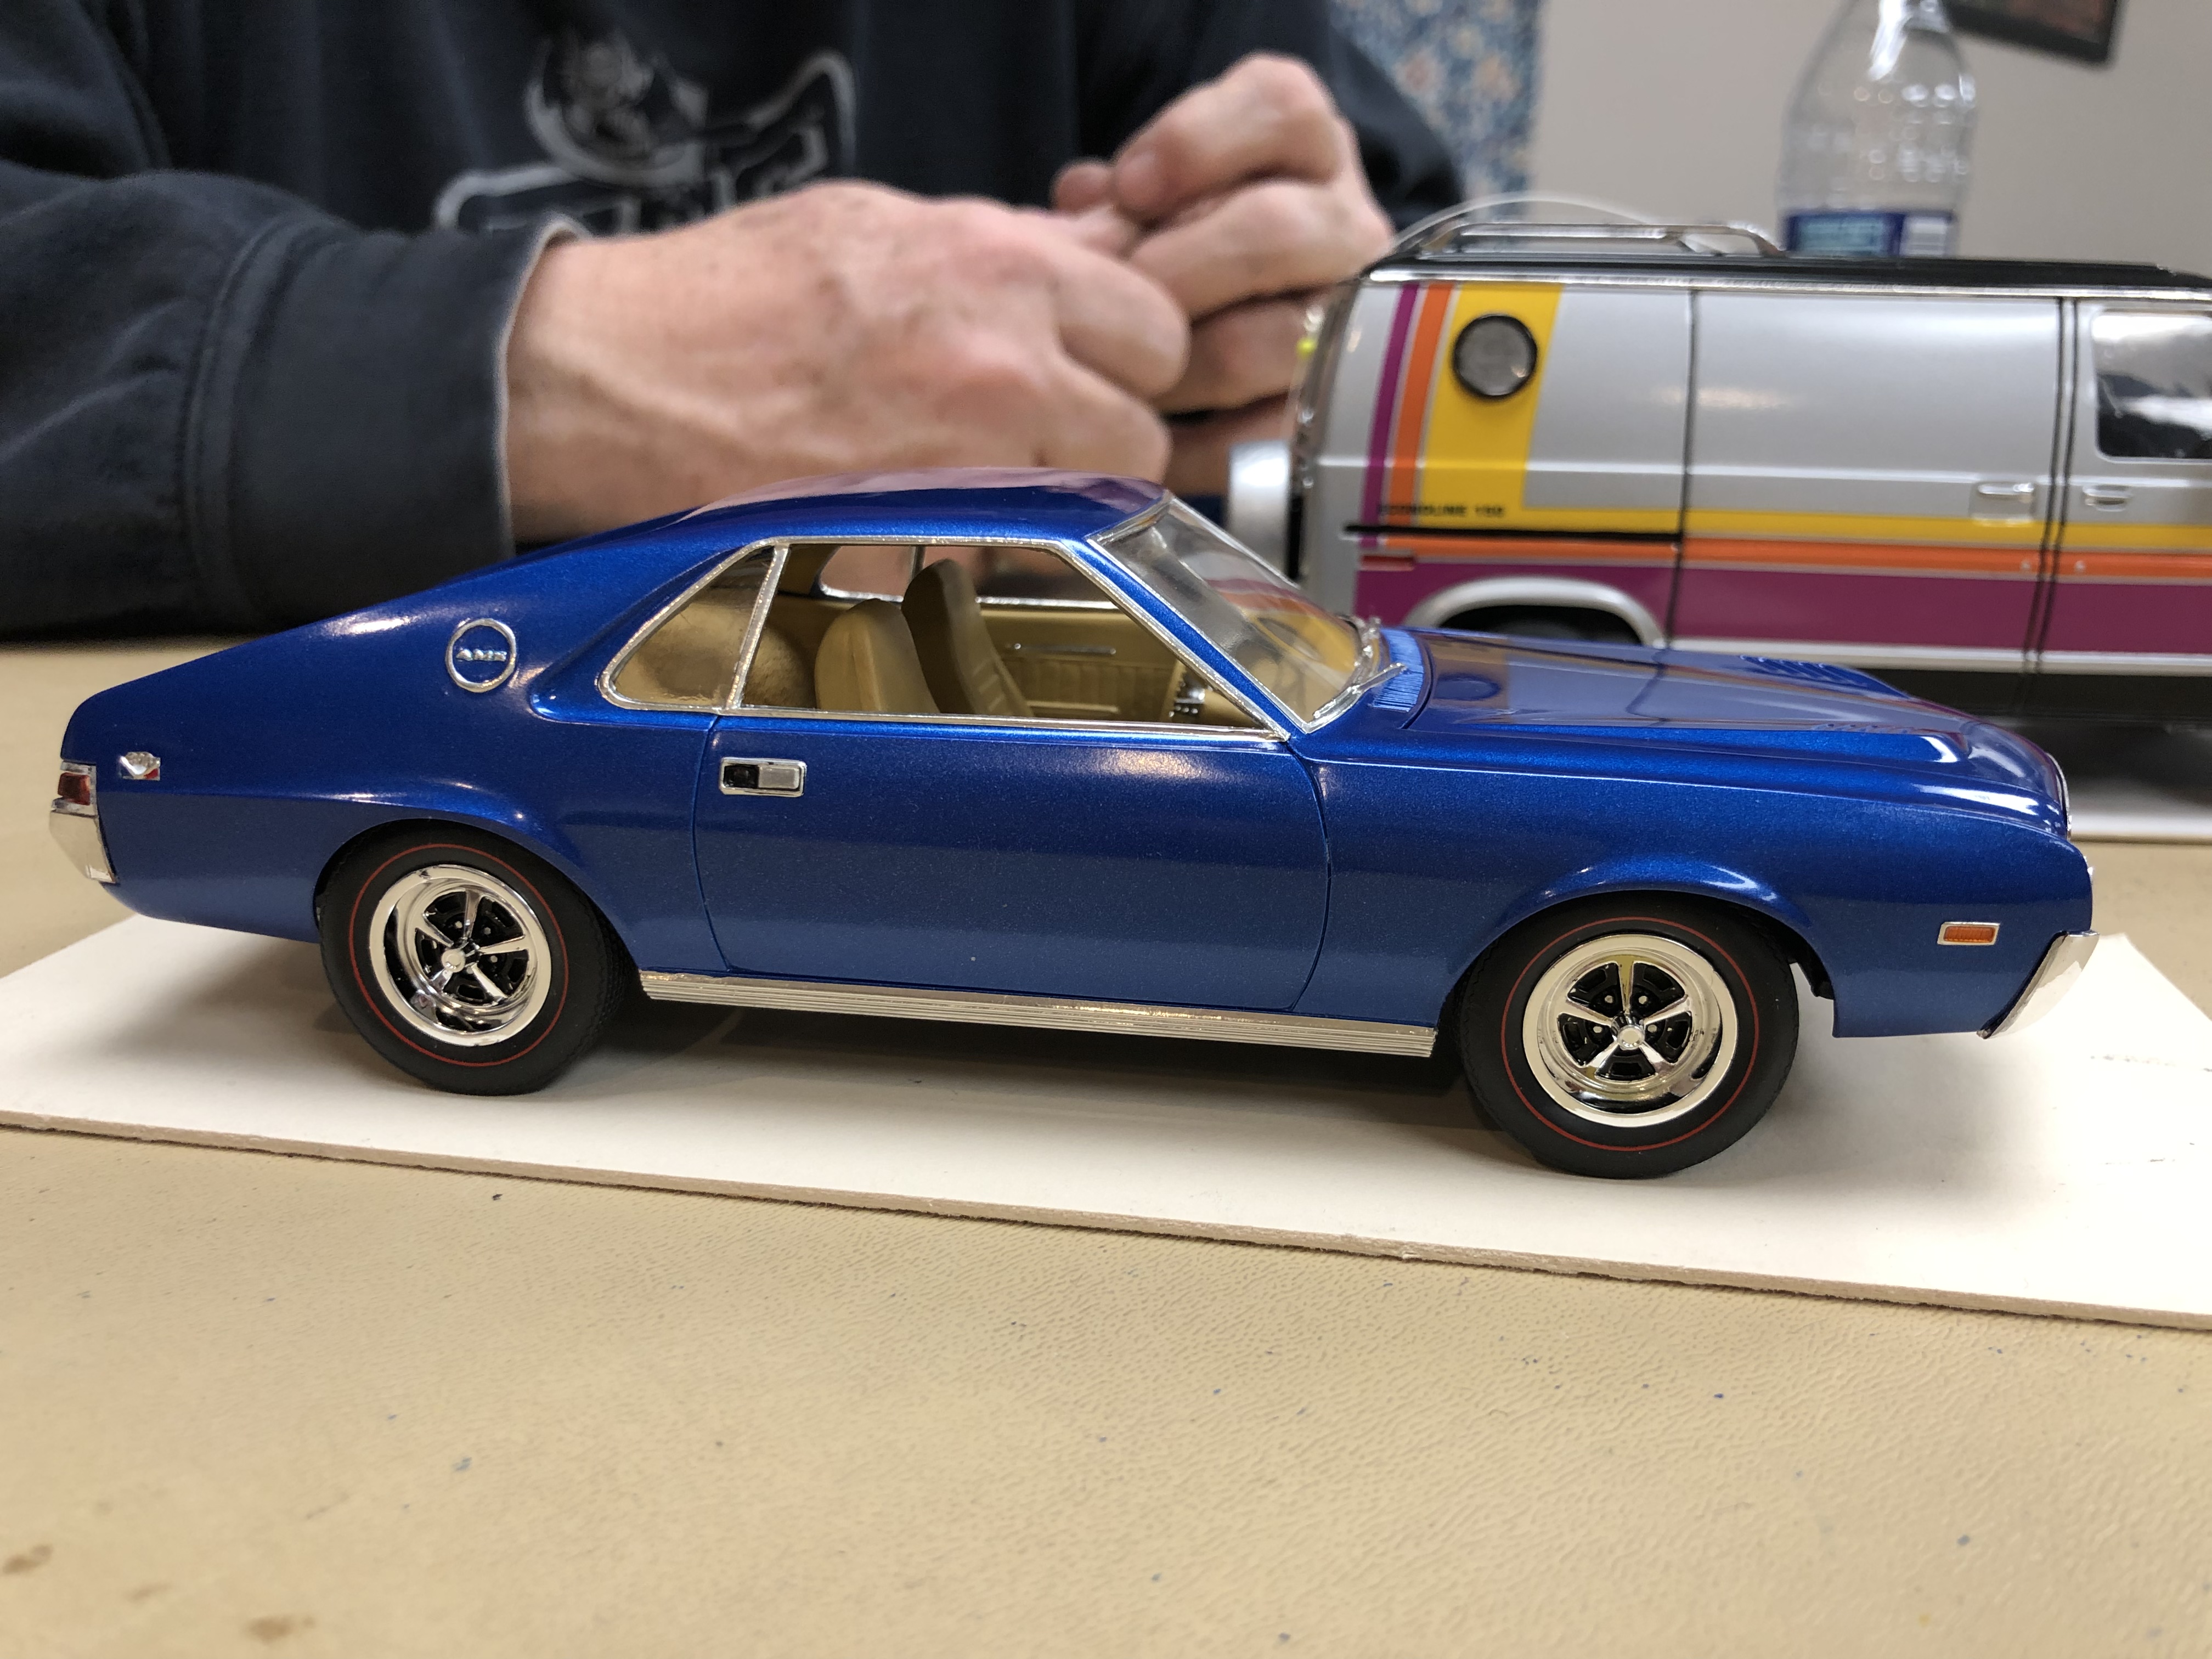
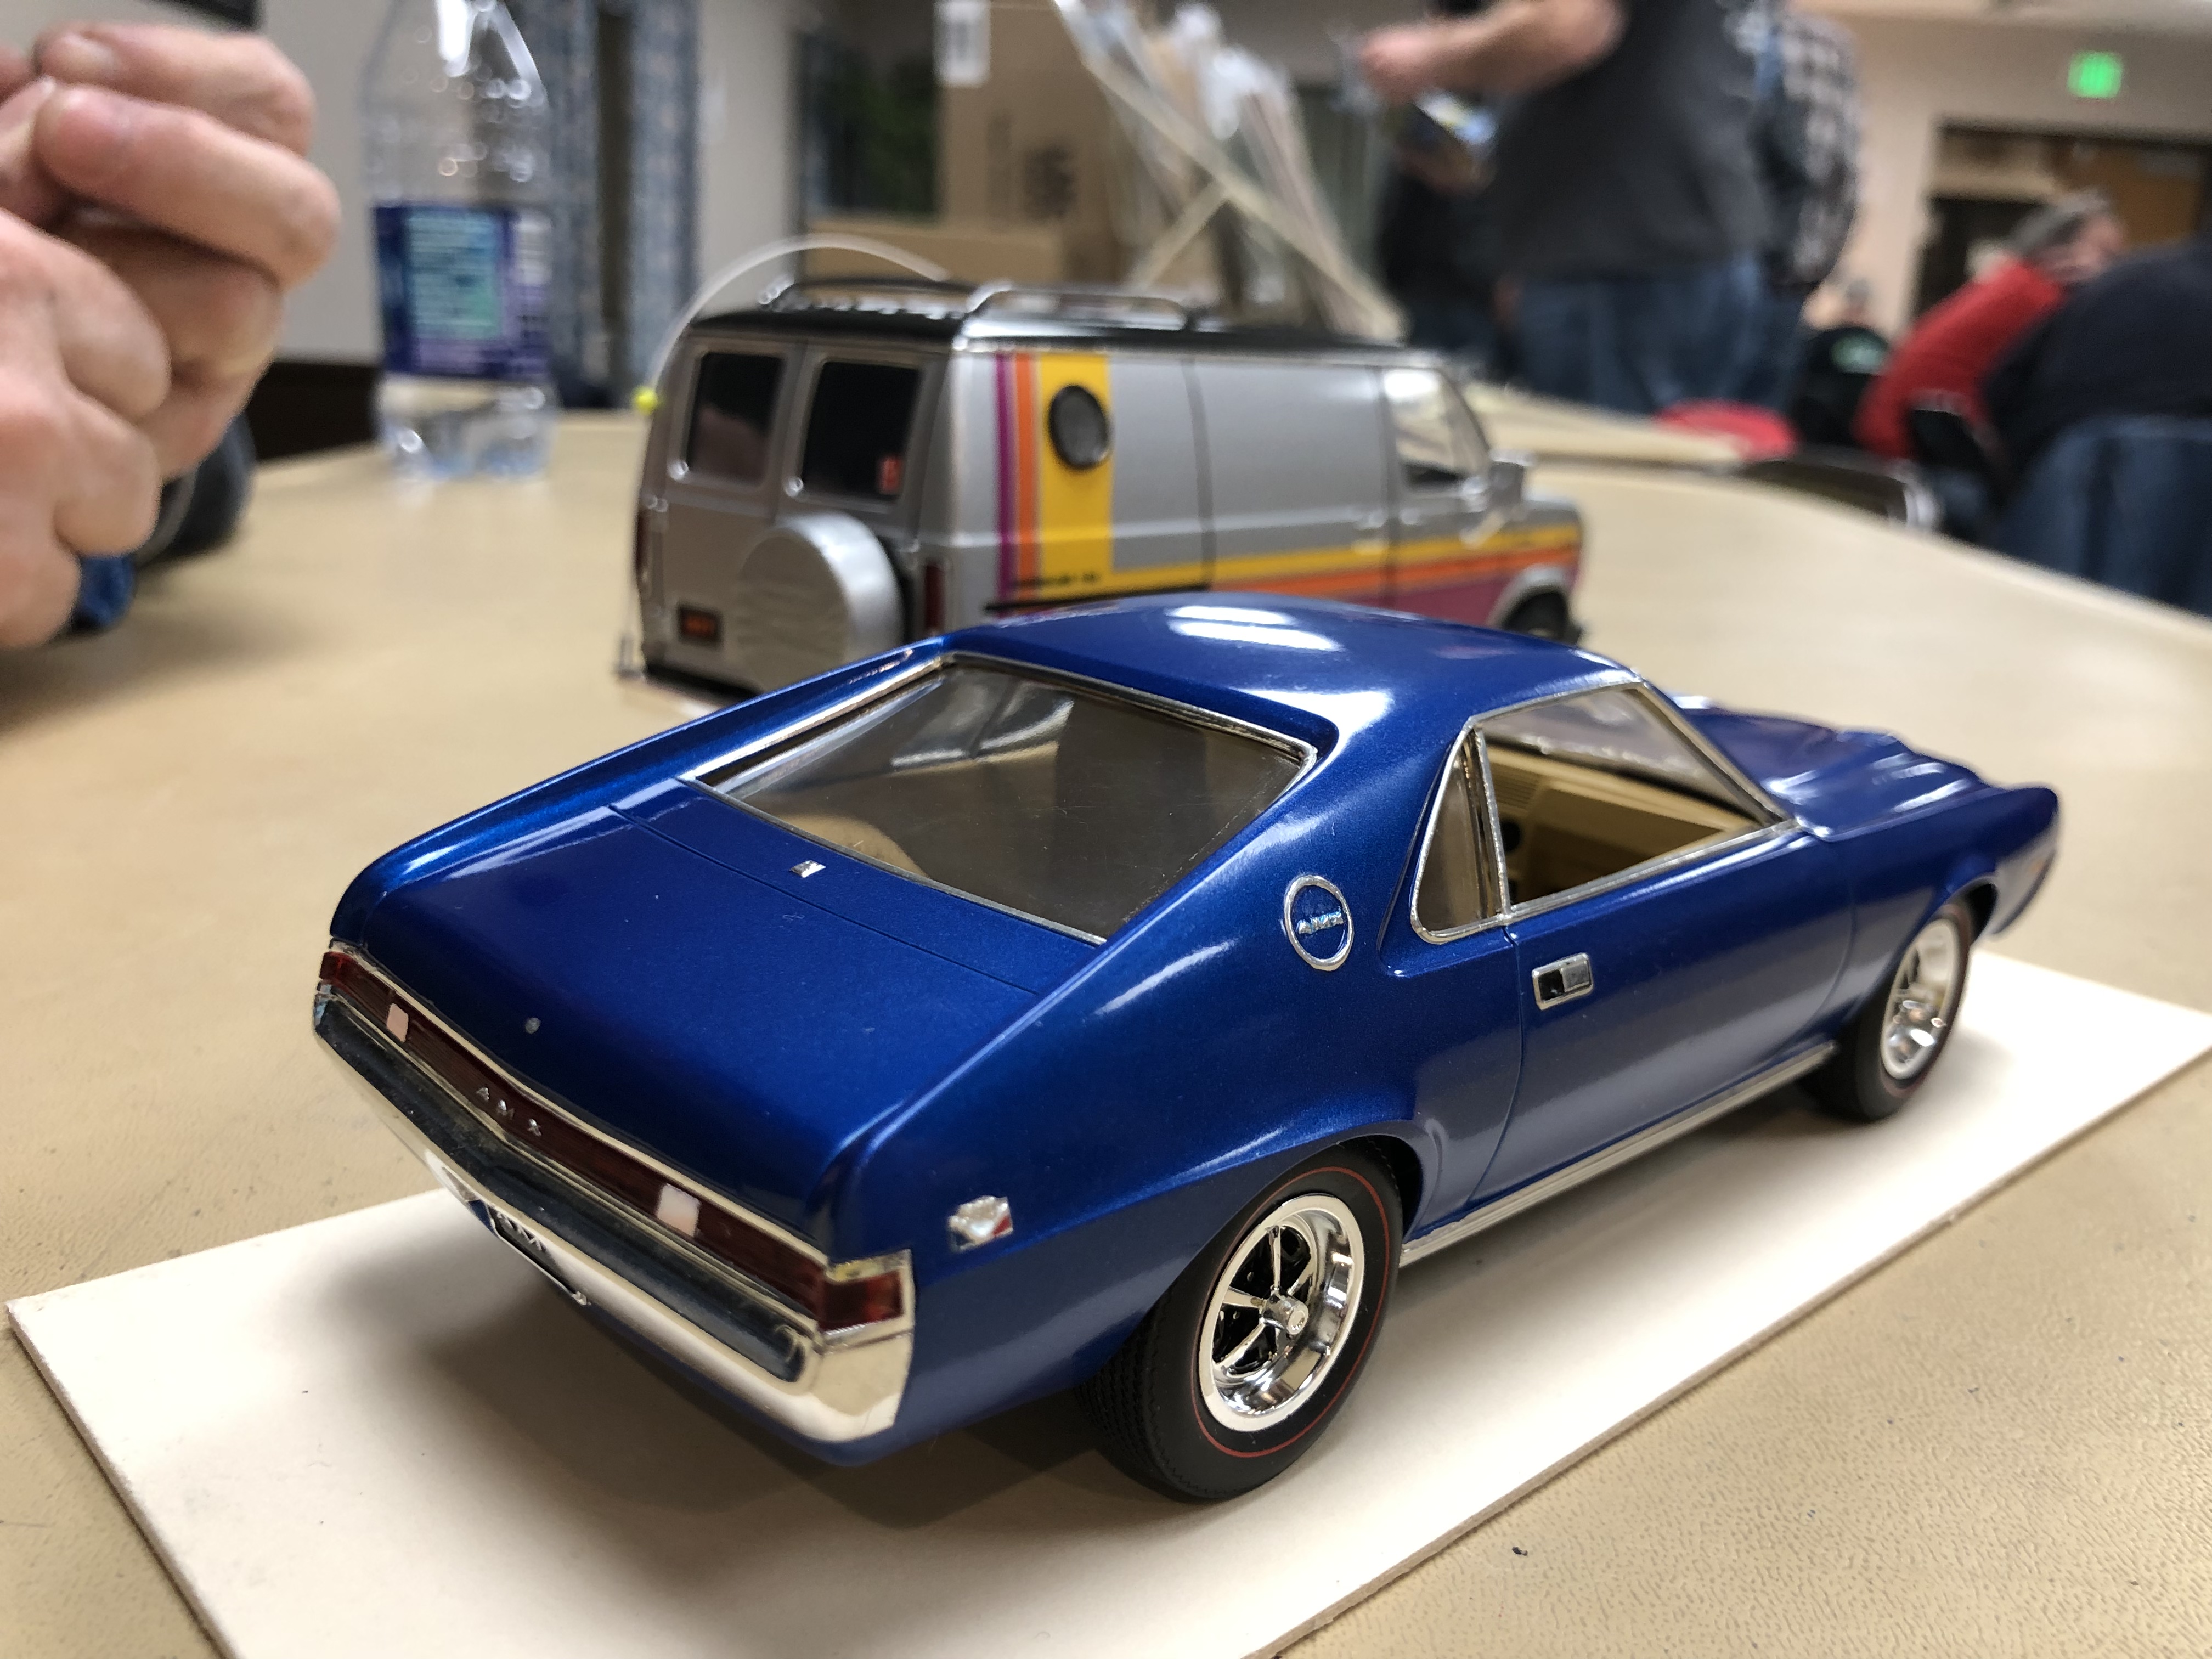
Did you ever take your car to the NNL East? I seem to remember taking pictures of an AMX in the parking lot there. -
Pictures from last nights LIARS Club 01/17/2019
Superbird McMonte replied to Superbird McMonte's topic in Model Cars
I read that there was a fourth Big Bad color considered, yellow, but it never materialized. Did you ever hear that? I was thinking of doing my fourth one in a factory yellow with a little tint added. I guess I just really like the painted bumpers.?♂️ That and the challenge of putting the chrome strip on the front bumper! ? -
Baldwin Motion’s officially model builder
Superbird McMonte replied to Superbird McMonte's topic in WIP: Model Cars
You’re very lucky! I don’t have any but I did make a mold of a set! They were mounted on plastic. I need to mold them on a thinner media. I’ll be working on that soon!?? -
Beautiful job! The First Generation Monte Carlo is near and dear to me. It was my first car in 1985 and I was only without one for two years! (91-92) I got the one I have now in 1998 coincidentally!
-
Pictures from last nights LIARS Club 01/17/2019
Superbird McMonte replied to Superbird McMonte's topic in Model Cars
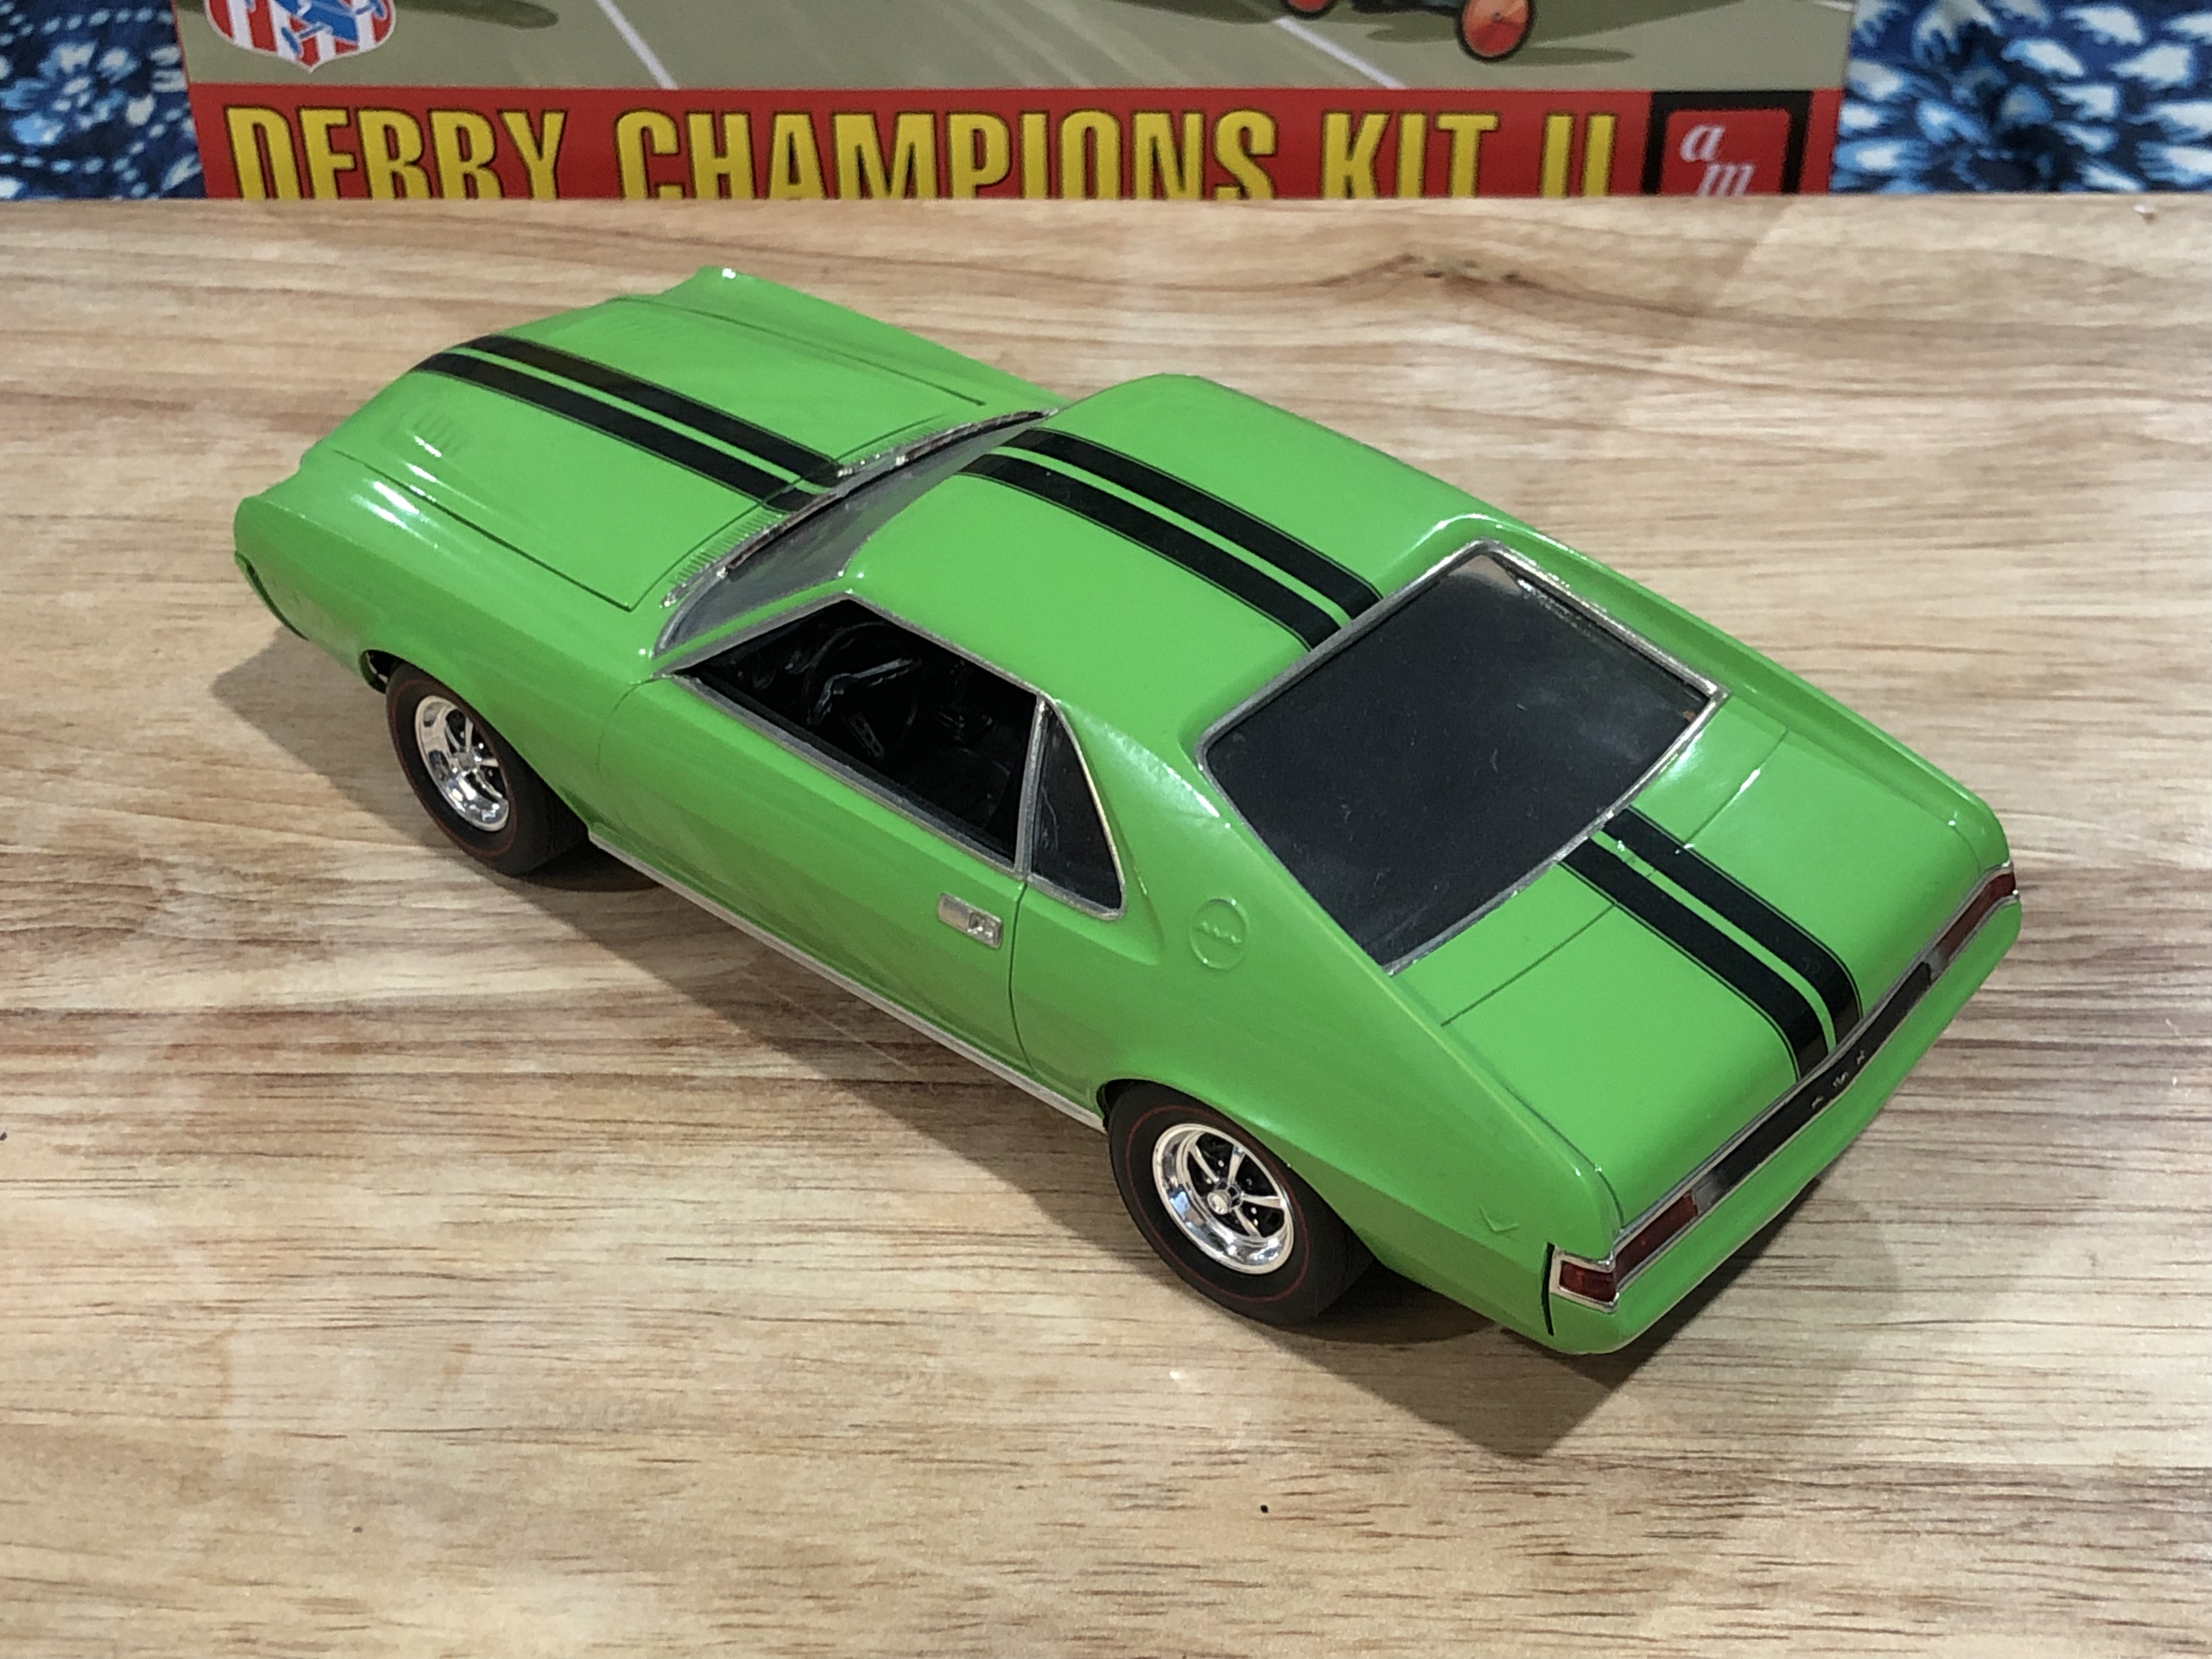
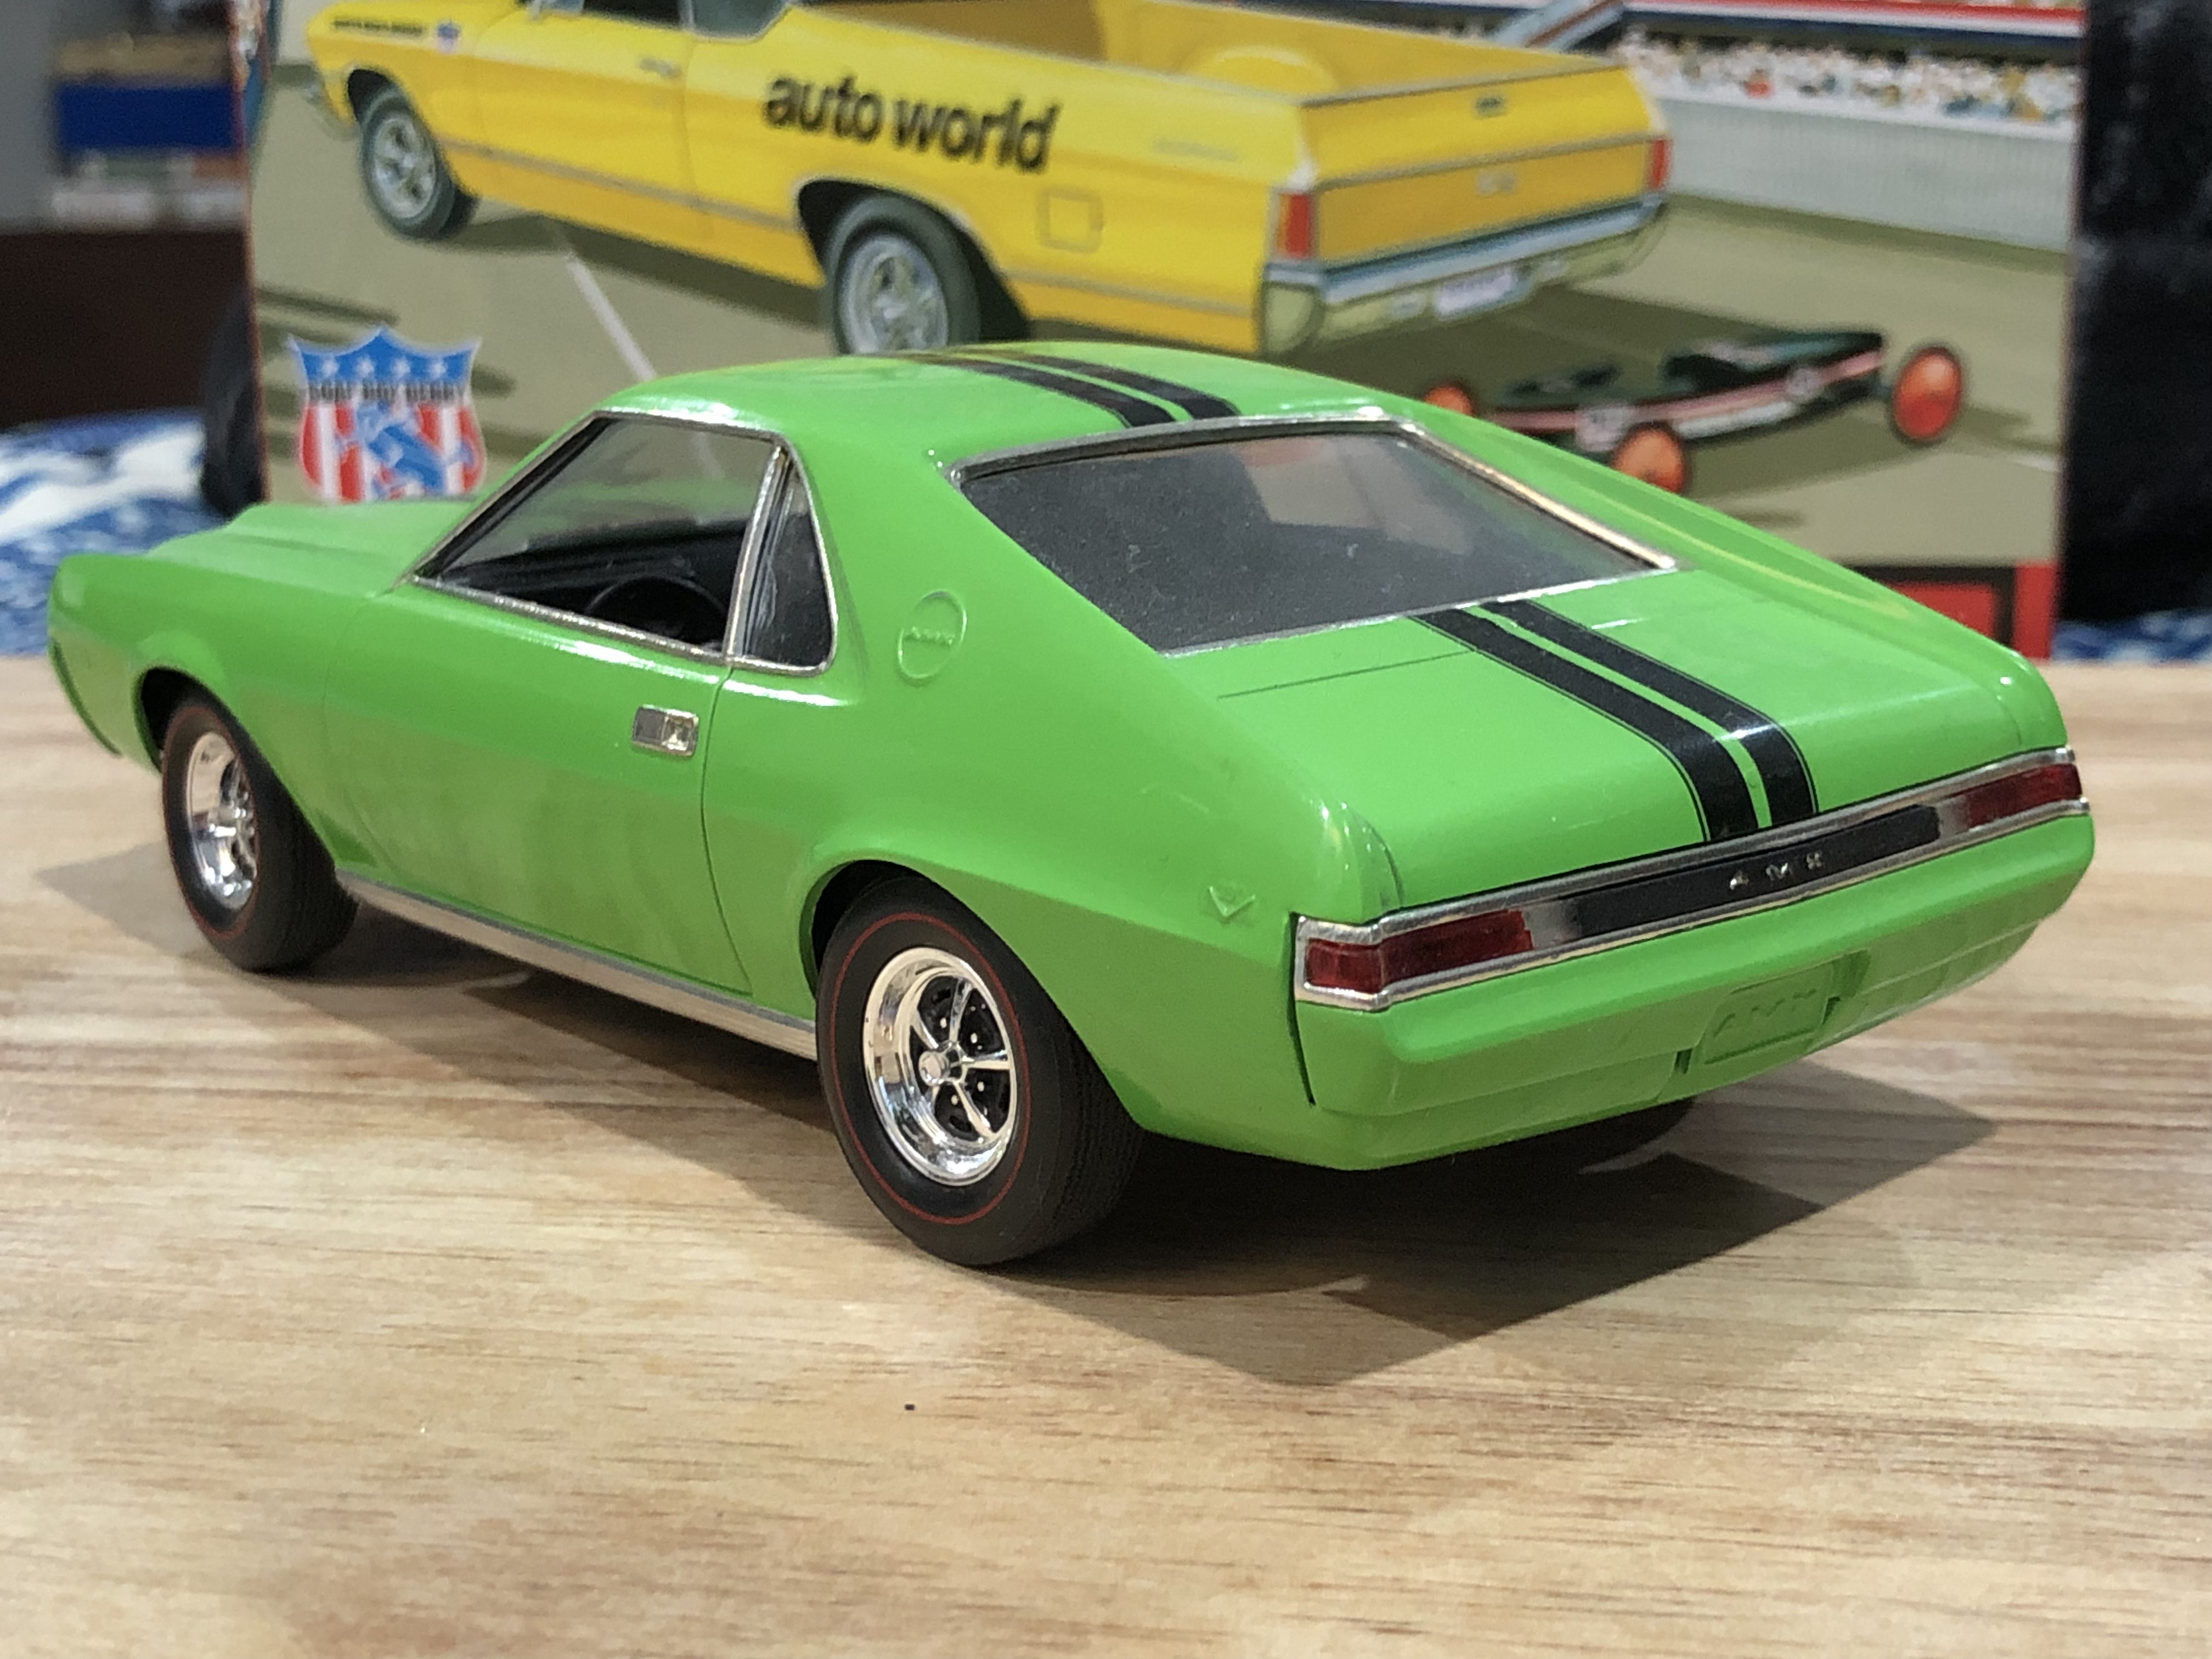
It’s Jo-han’s 1/25 He got nice fitting bumpers or he did a great job getting them to fit right! I went through three kits to find a nice set to cast. Luckily I was doing all of the “Big Bad” colors, so I didn’t need to plate them.
-
Just a few pictures from last meeting. Lenny builds some flawless models!
-
Baldwin Motion’s officially model builder
Superbird McMonte replied to Superbird McMonte's topic in WIP: Model Cars
The scoop is off of the 67 Revell Corvette. I made a Motion hood like that for the AMT Nova many years ago in resin. It didn’t interchange with the Revell Nova so I transferred the scoop to the new hood. I’ll look around for an extra if you like. If you’re using the AMT Nova, it’s a homerun! If you’re using Revell’s Nova, you could use the resin scoop or watch for me to cast this one.
-
Baldwin Motion’s officially model builder
Superbird McMonte replied to Superbird McMonte's topic in WIP: Model Cars
Yes, Mini Exotics made one at least 25 years ago. Not to toot my own horn but Joel like mine better. ? He bought the Mini Exotics one and did a comparison. What he really liked about mine was that I did the side vents the same way he did. The first couple of side vents on the real Motion cars were cut off the car is turned inside out and put back on. When I did mine, to get the same affect I had to pour resin directly onto the plastic vents with a mold release. Then, popped the resin off and cleaned out the holes. I made a mold of those pieces and then copied them in resin. A funny thing about mini exotics, when they realized they were selling the resin body to Joel they removed the Motion emblem from the little rubber sheet of photo etch emblems that came with the resin body. I told Joel that there used to be Motion emblems on that little sheet. He got a laugh out of it because he figured they thought he would sue them for copyright infringement. He said he would never go after a little guy like that. Only a big corporation that was duplicating something of his without permission. Funny thing is Revell did exactly that. The first two issues of the Motion Corvette and 69 Camaro from the Skips series had a sheet with his decals on it and no permission from Motion. Do you have the photo etch in there? -
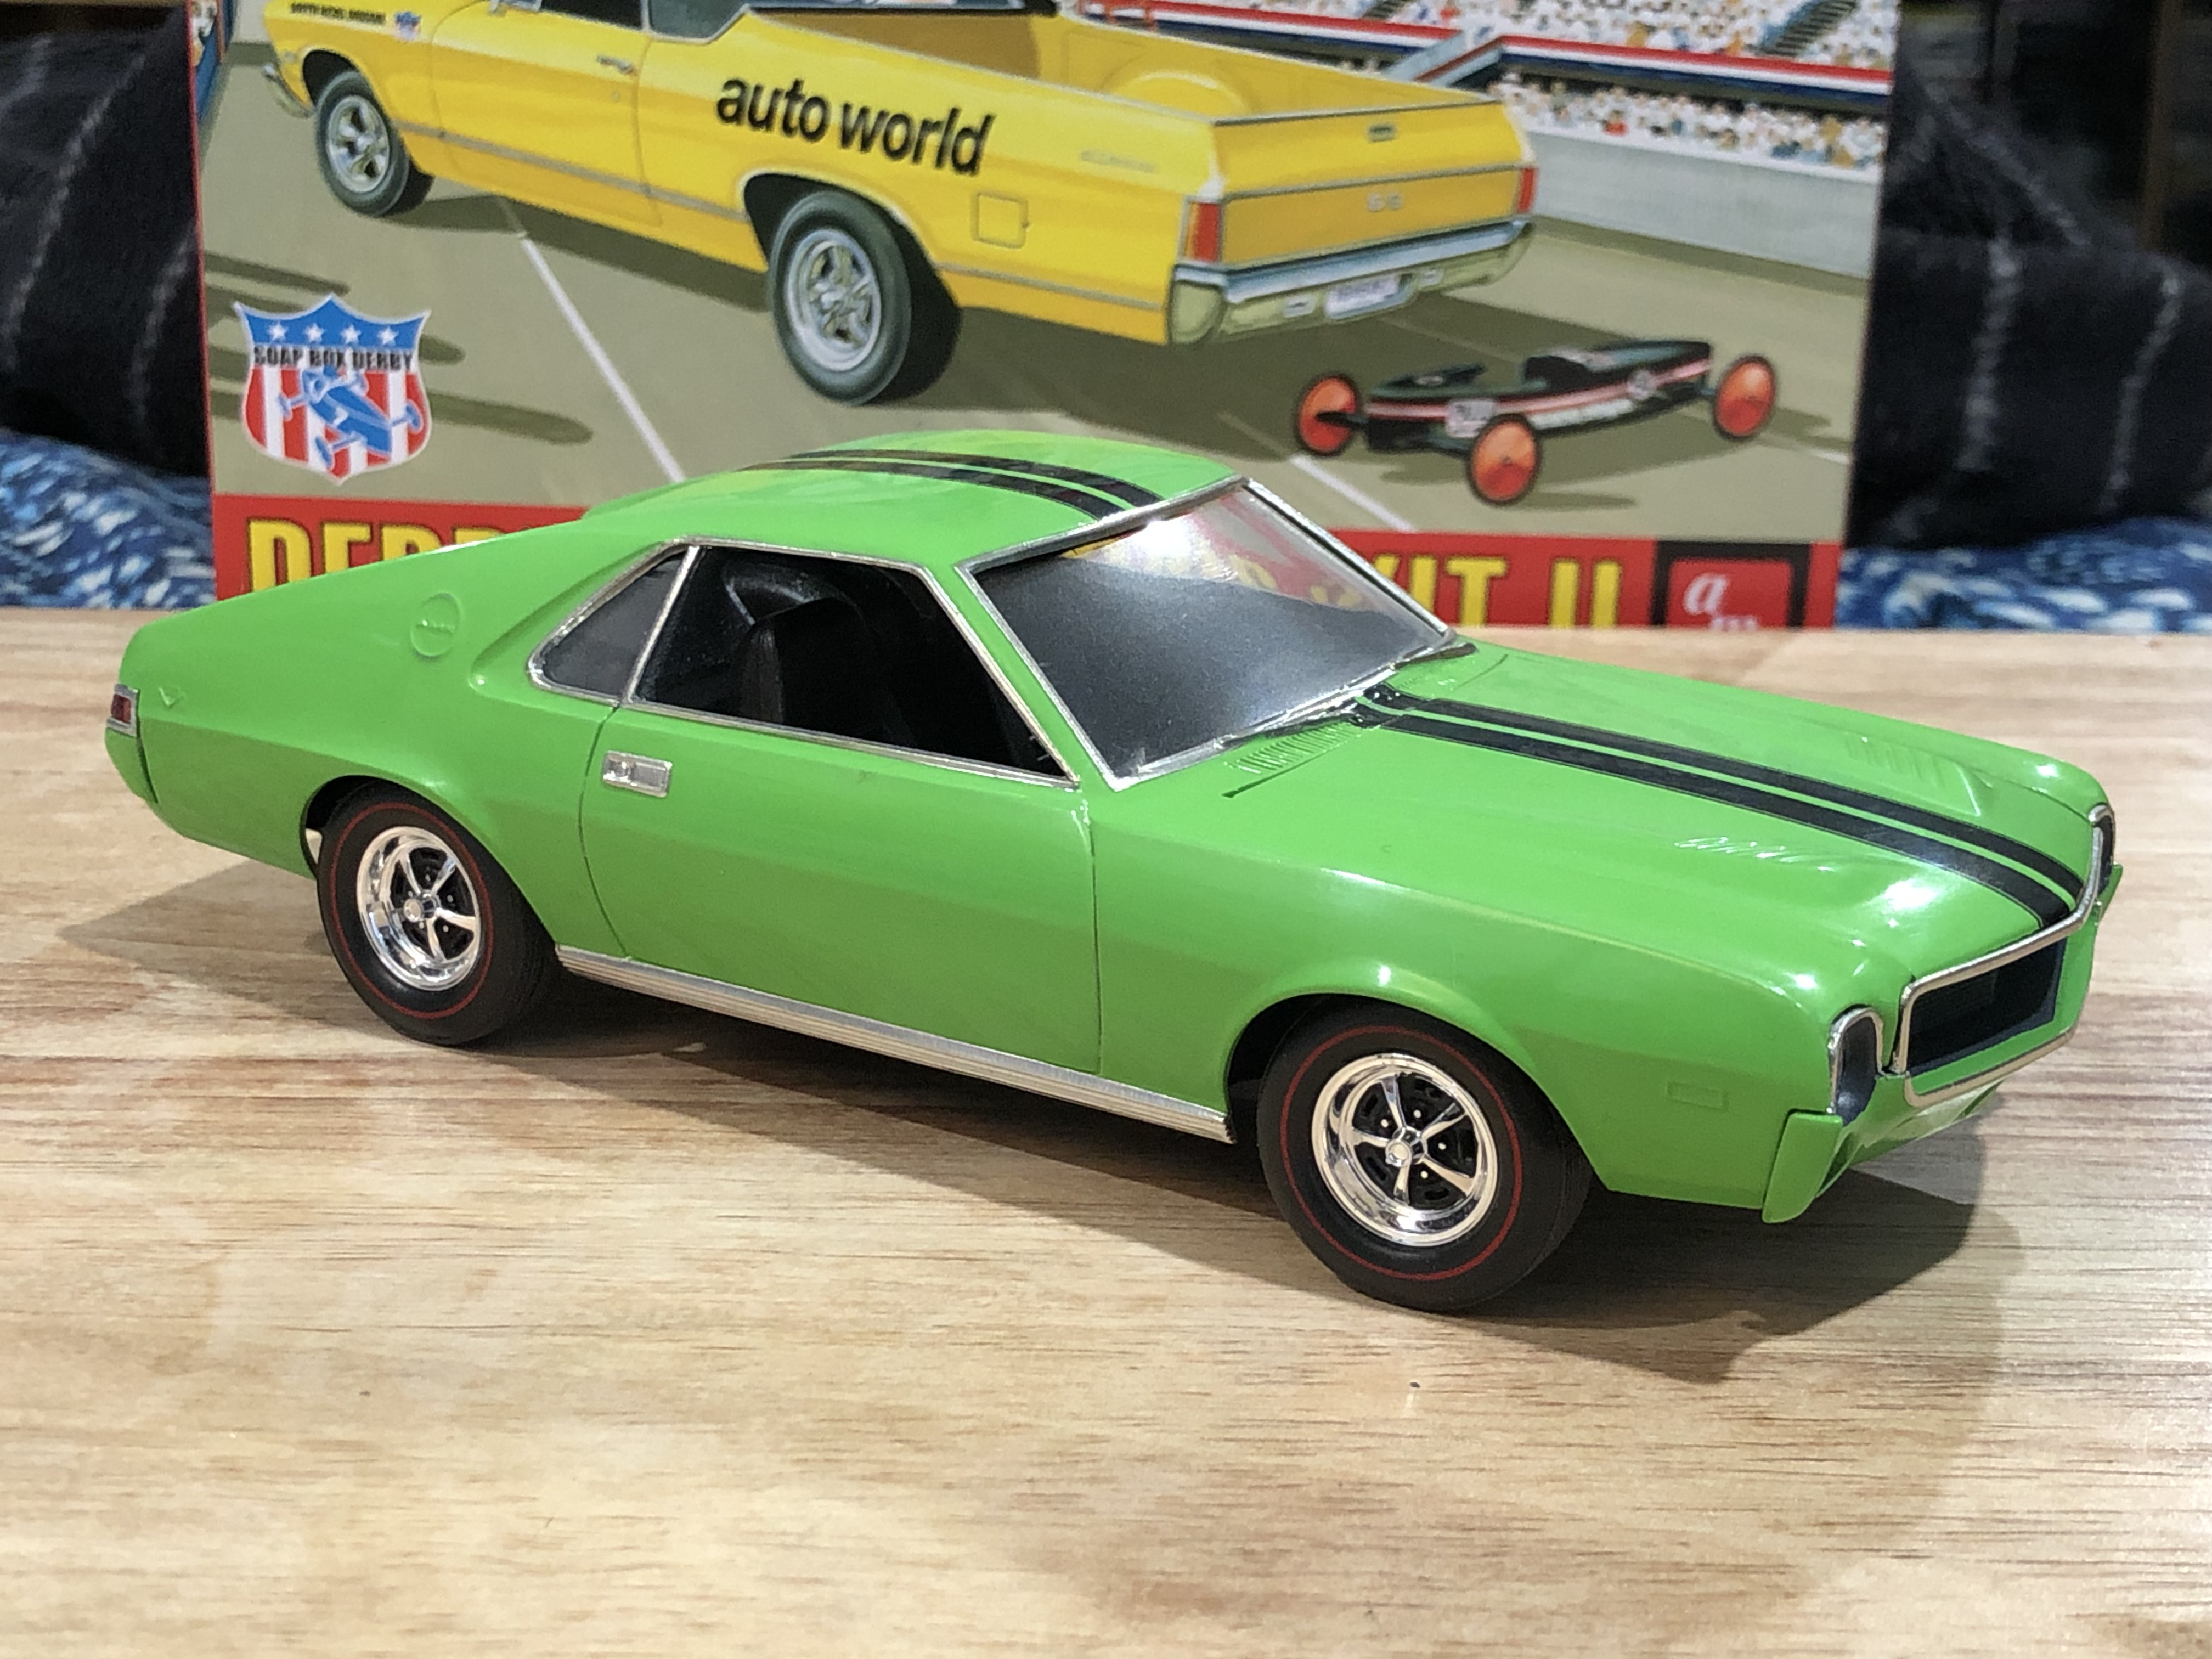
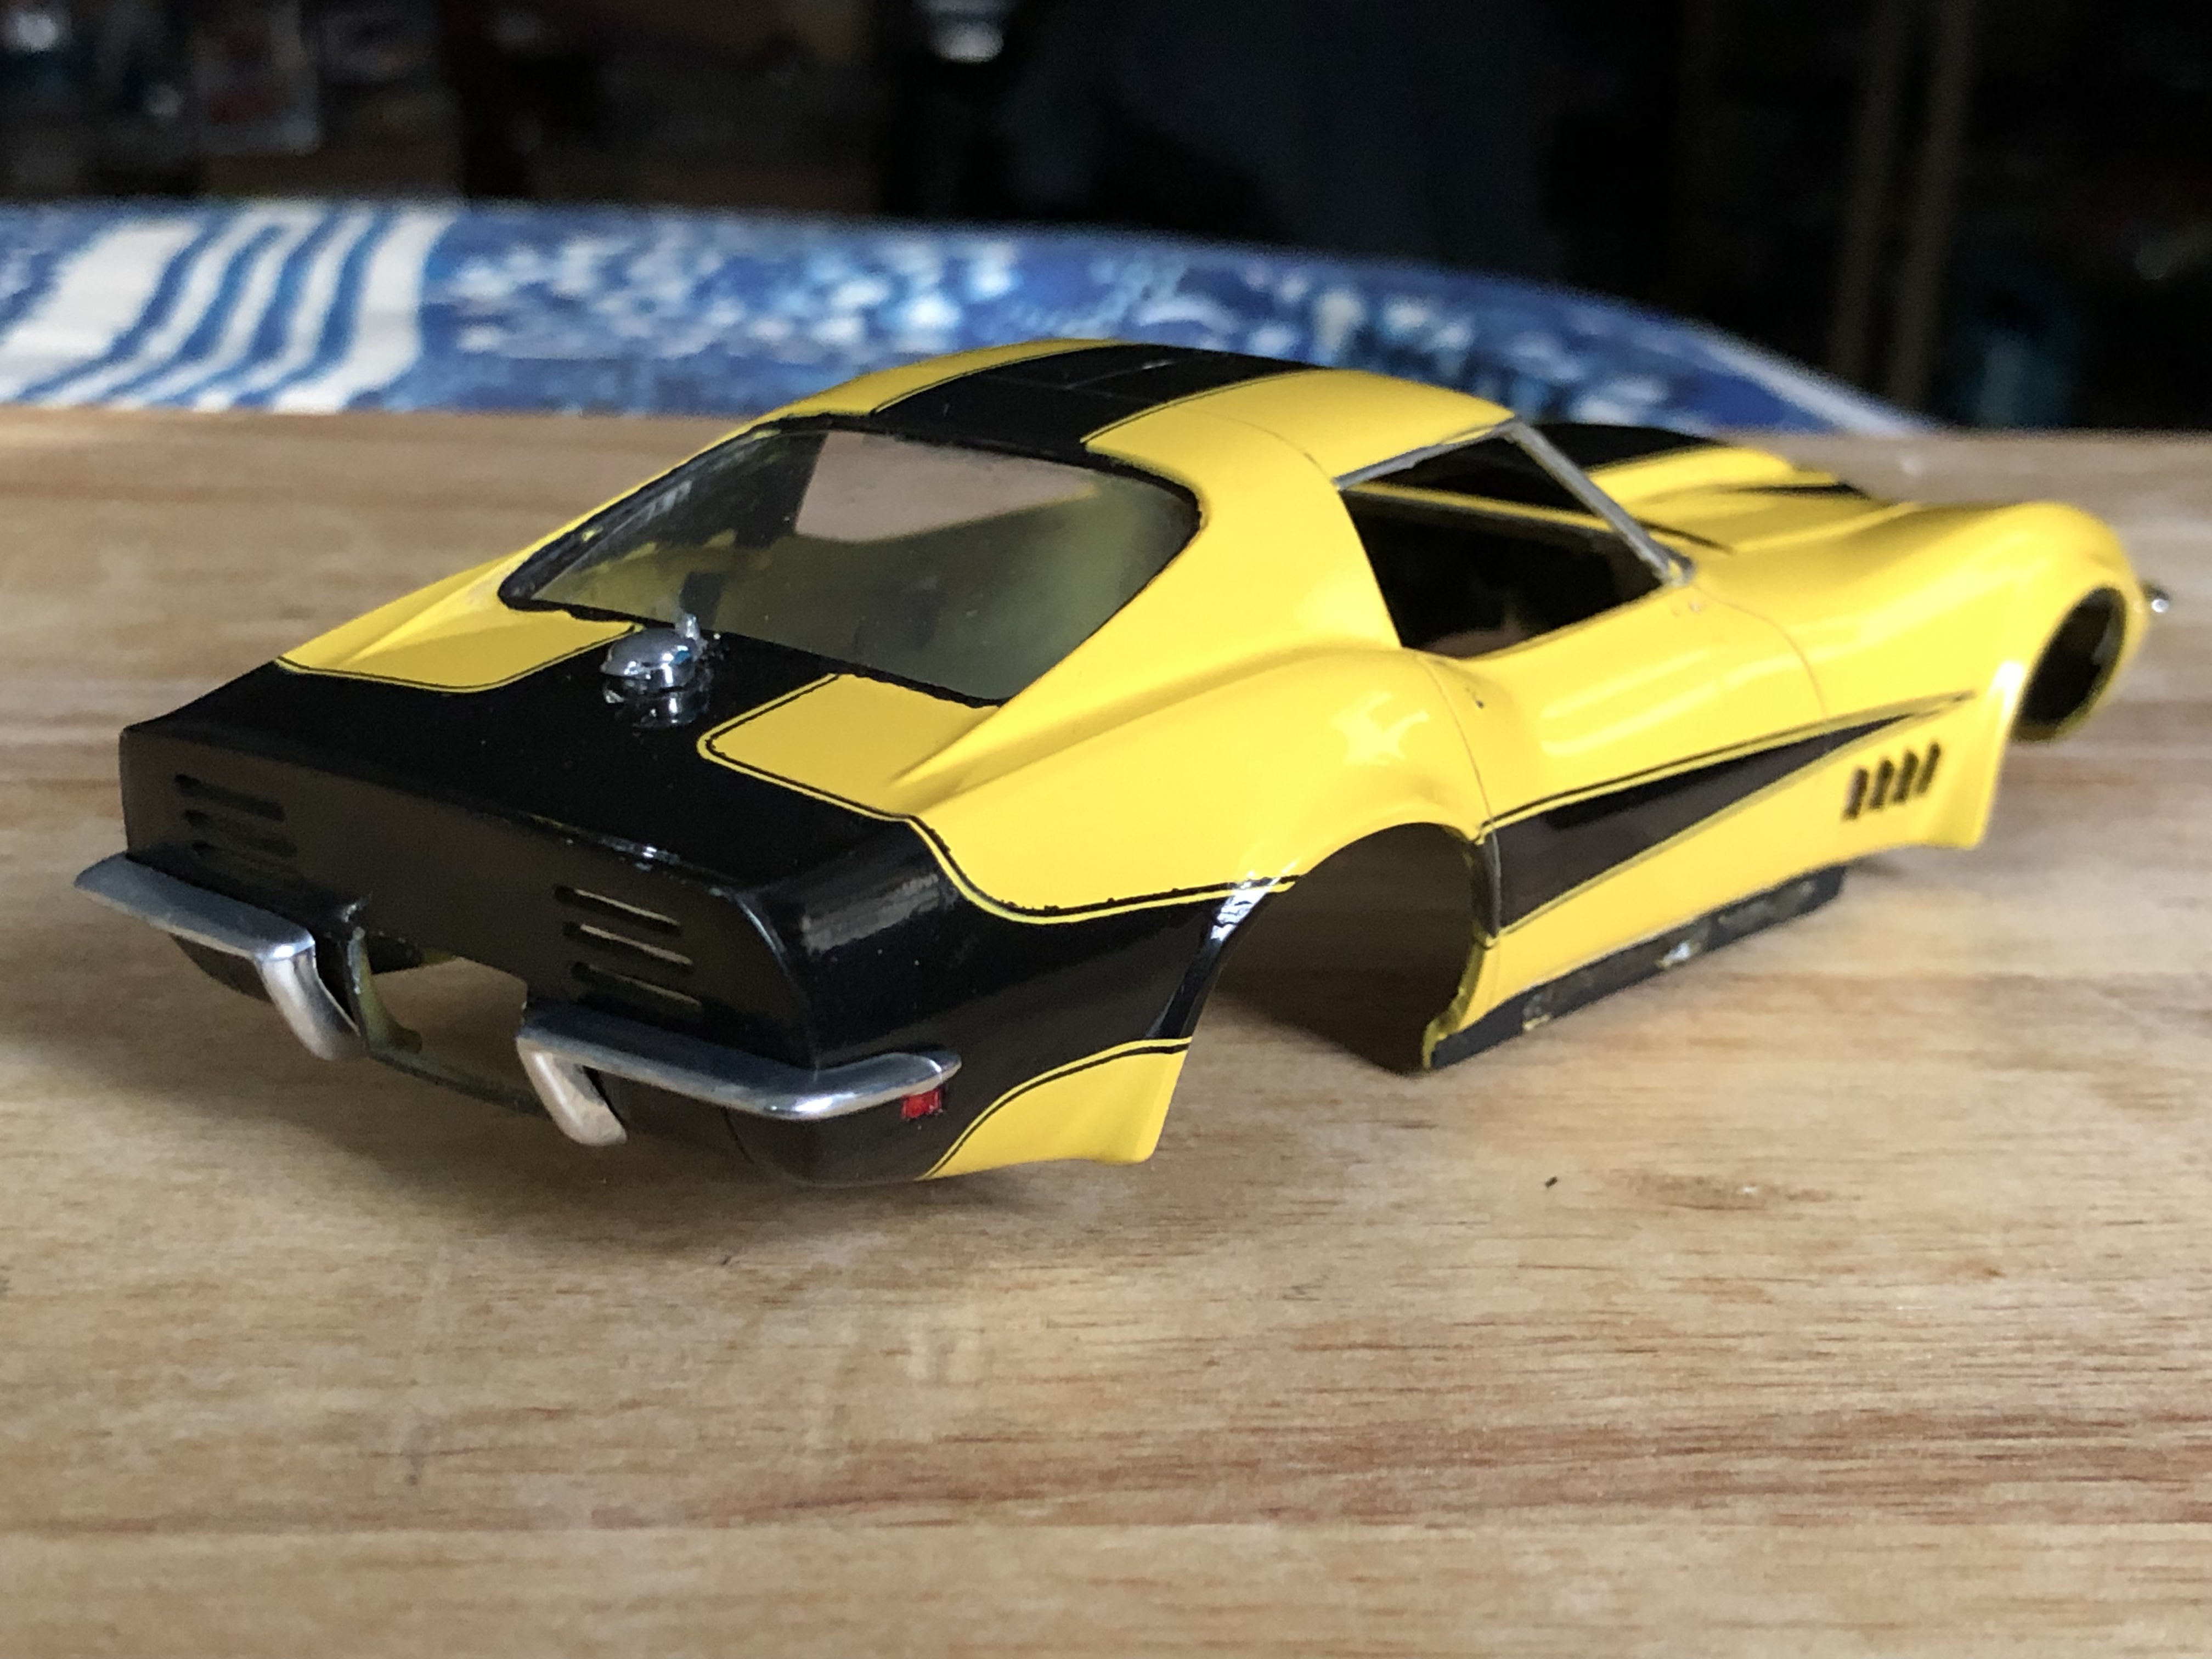
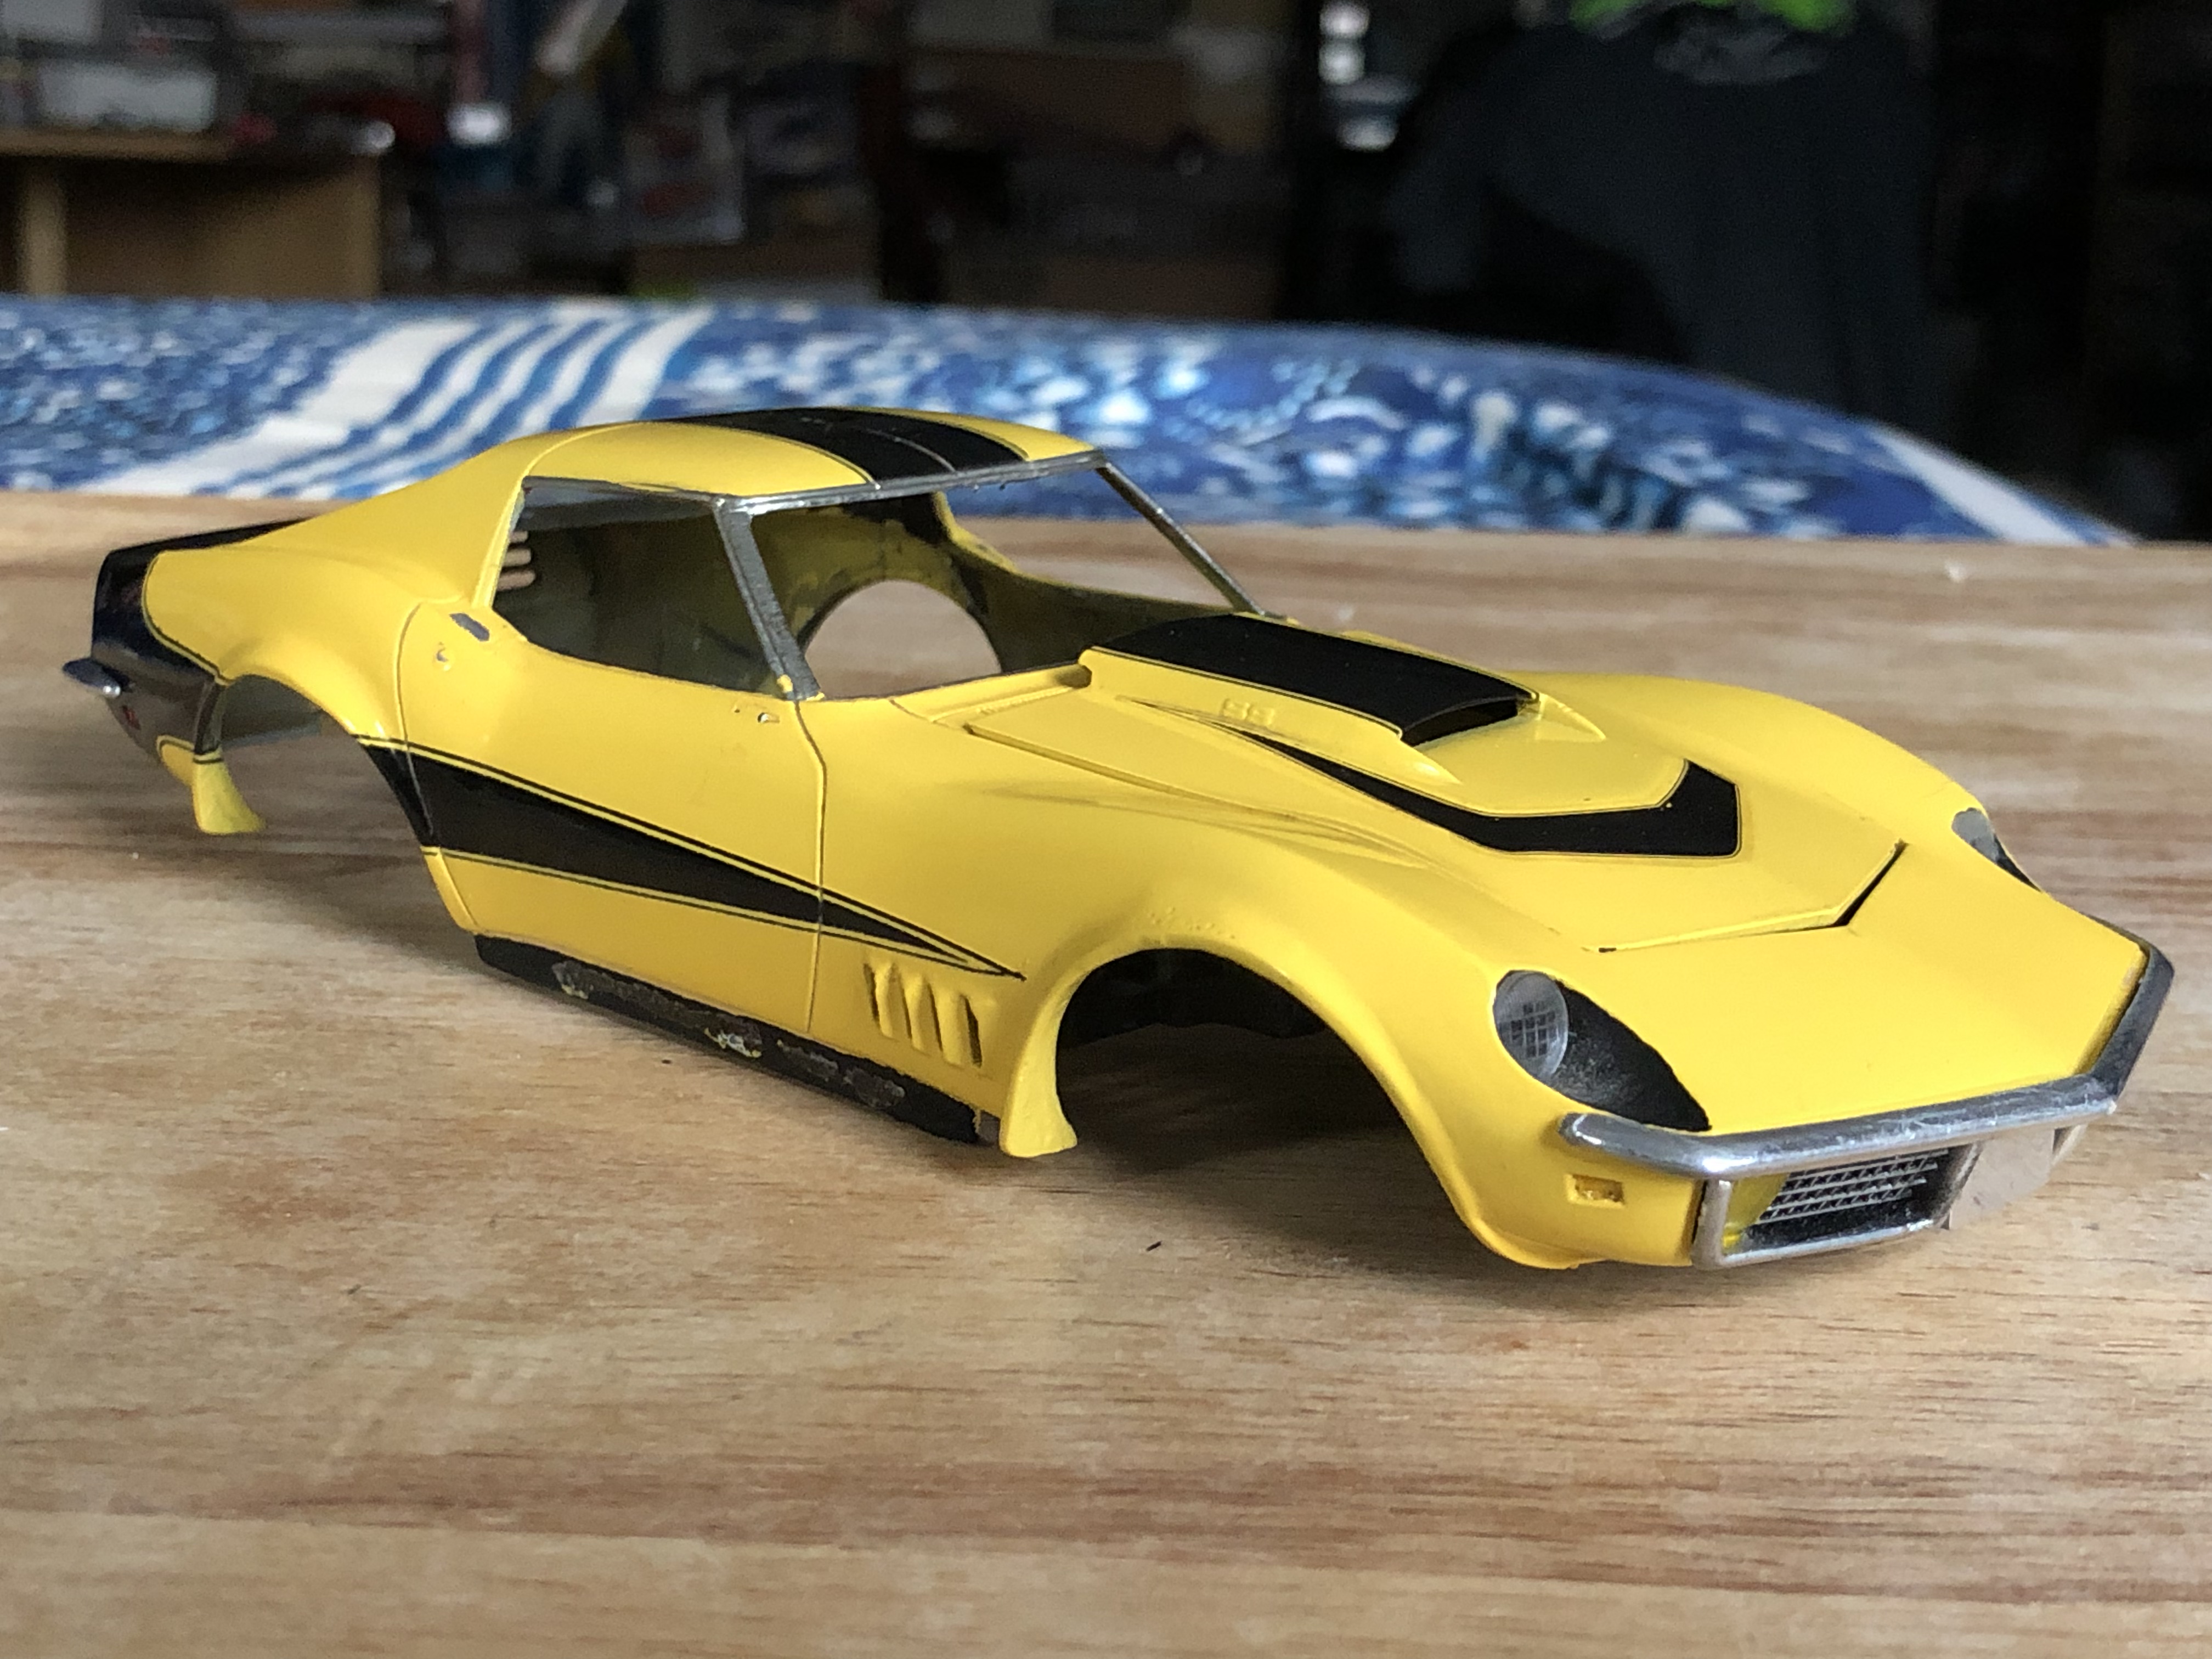
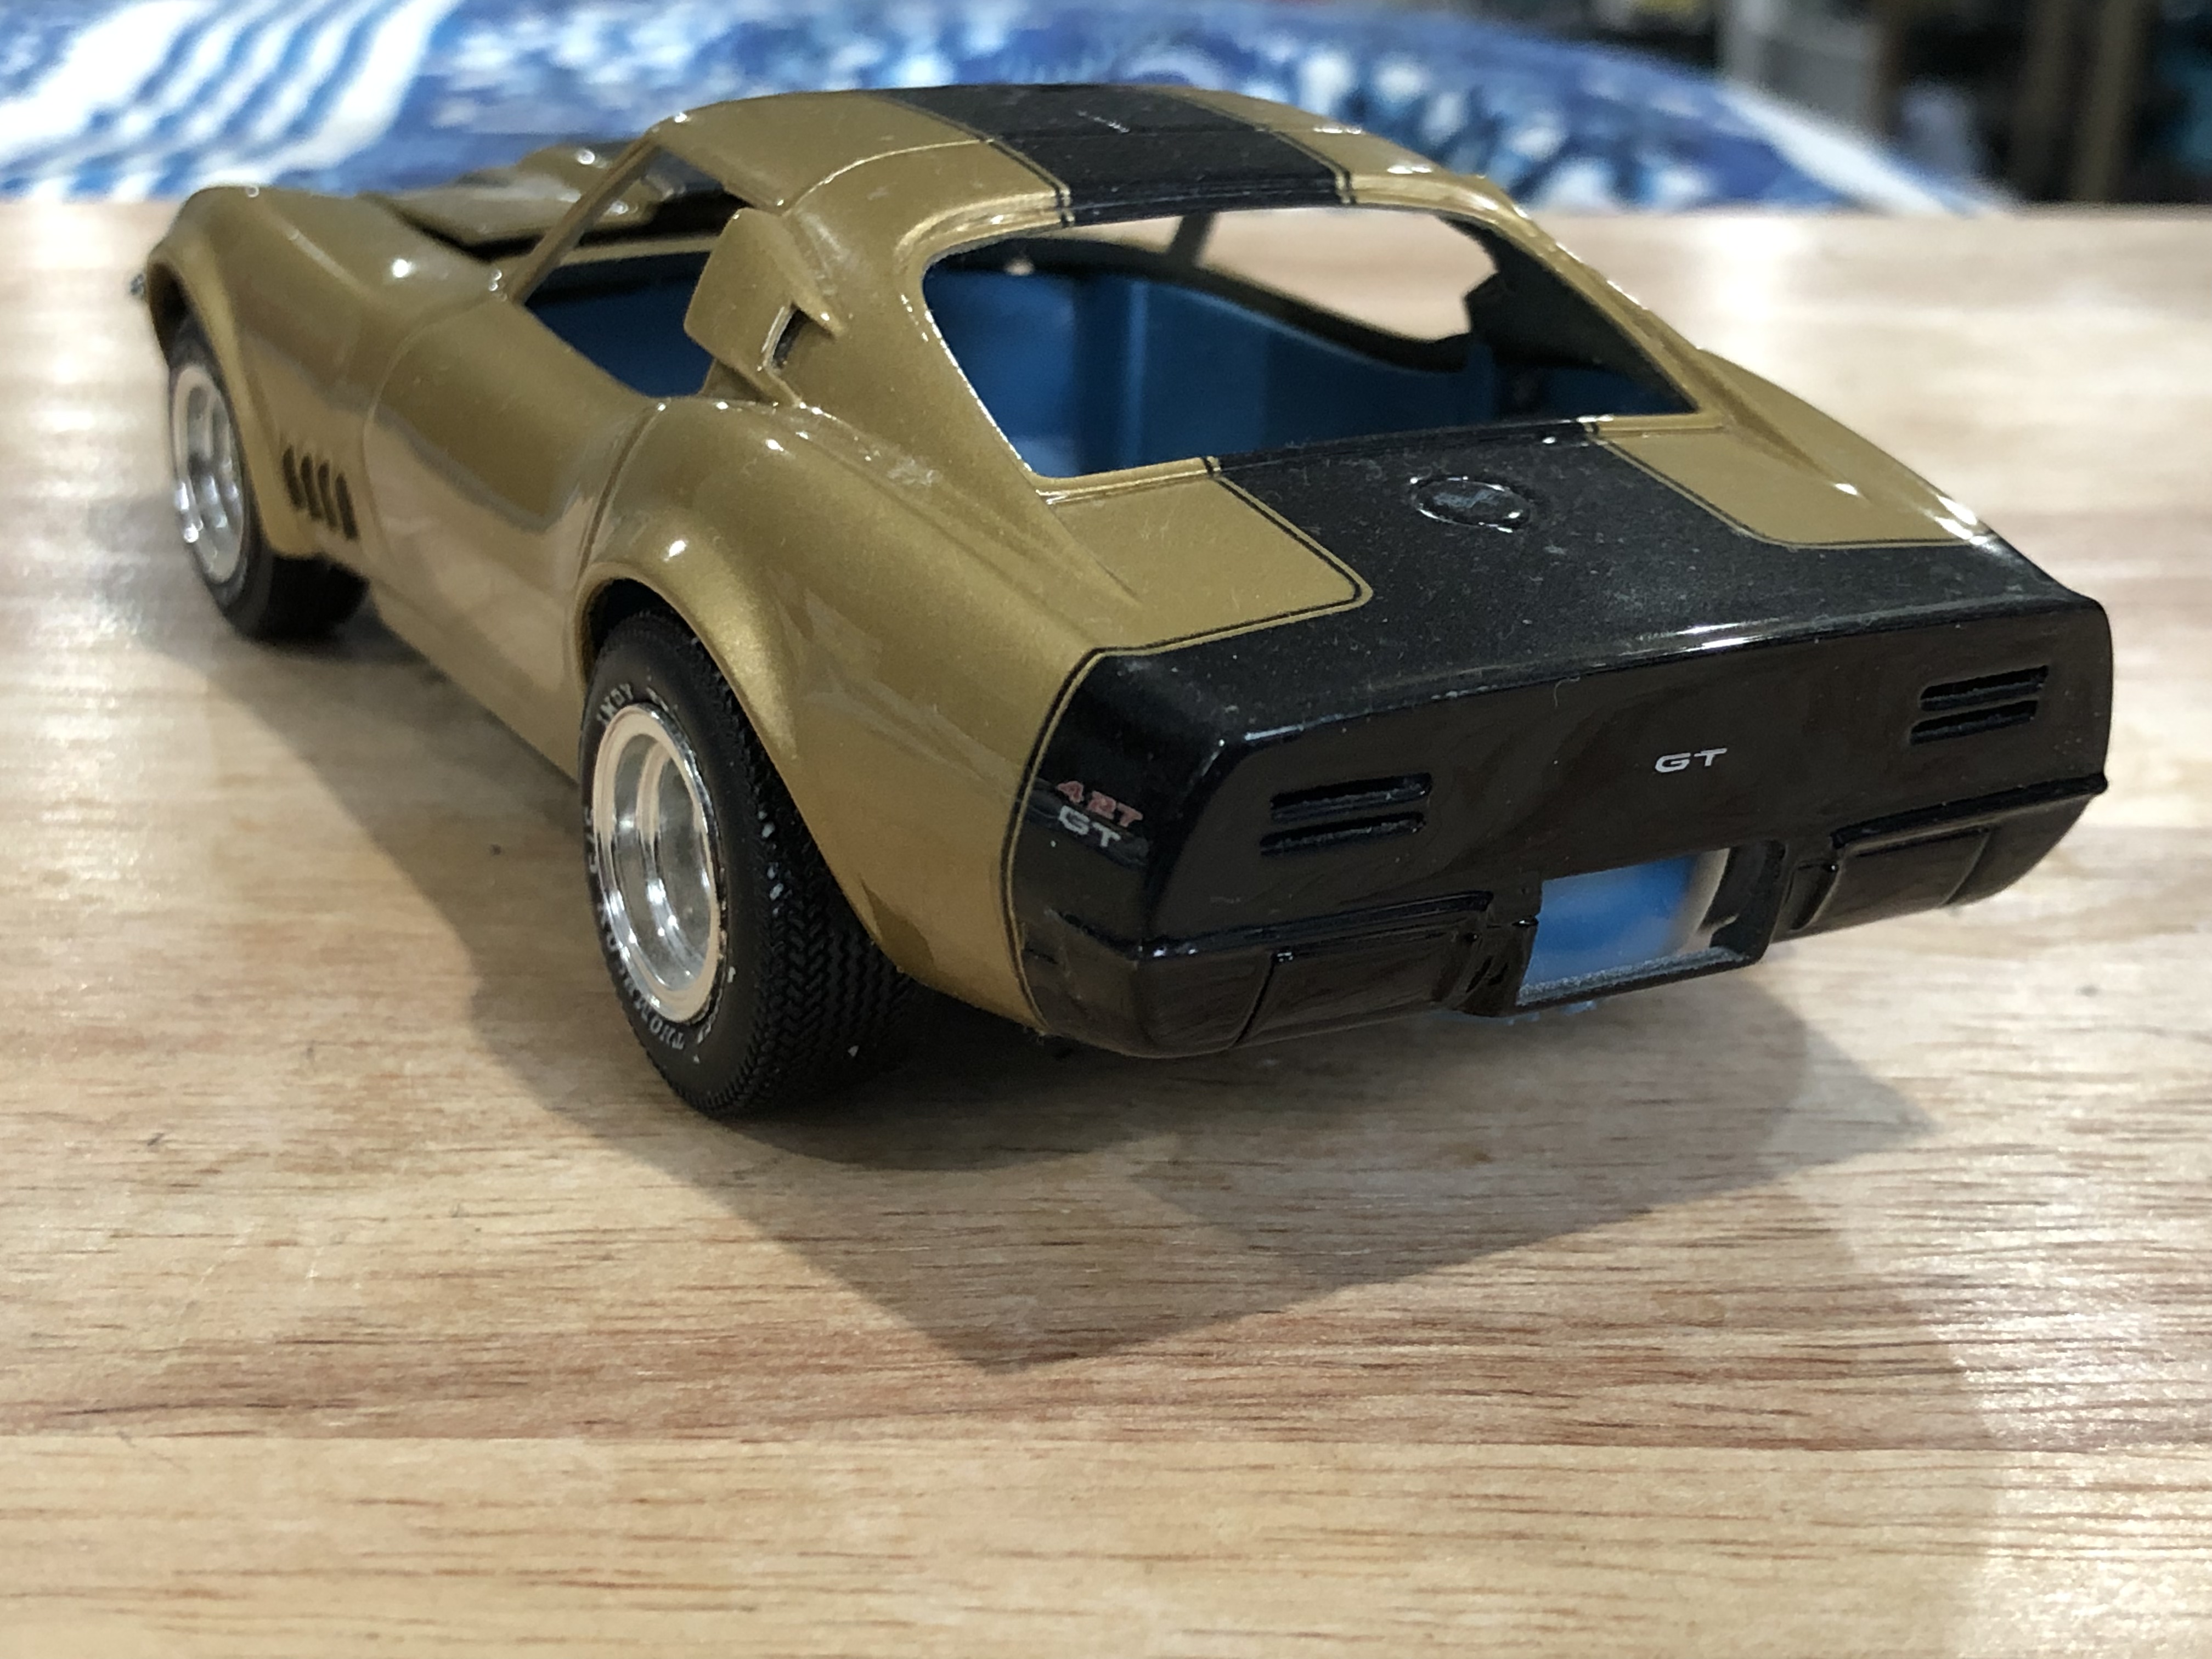
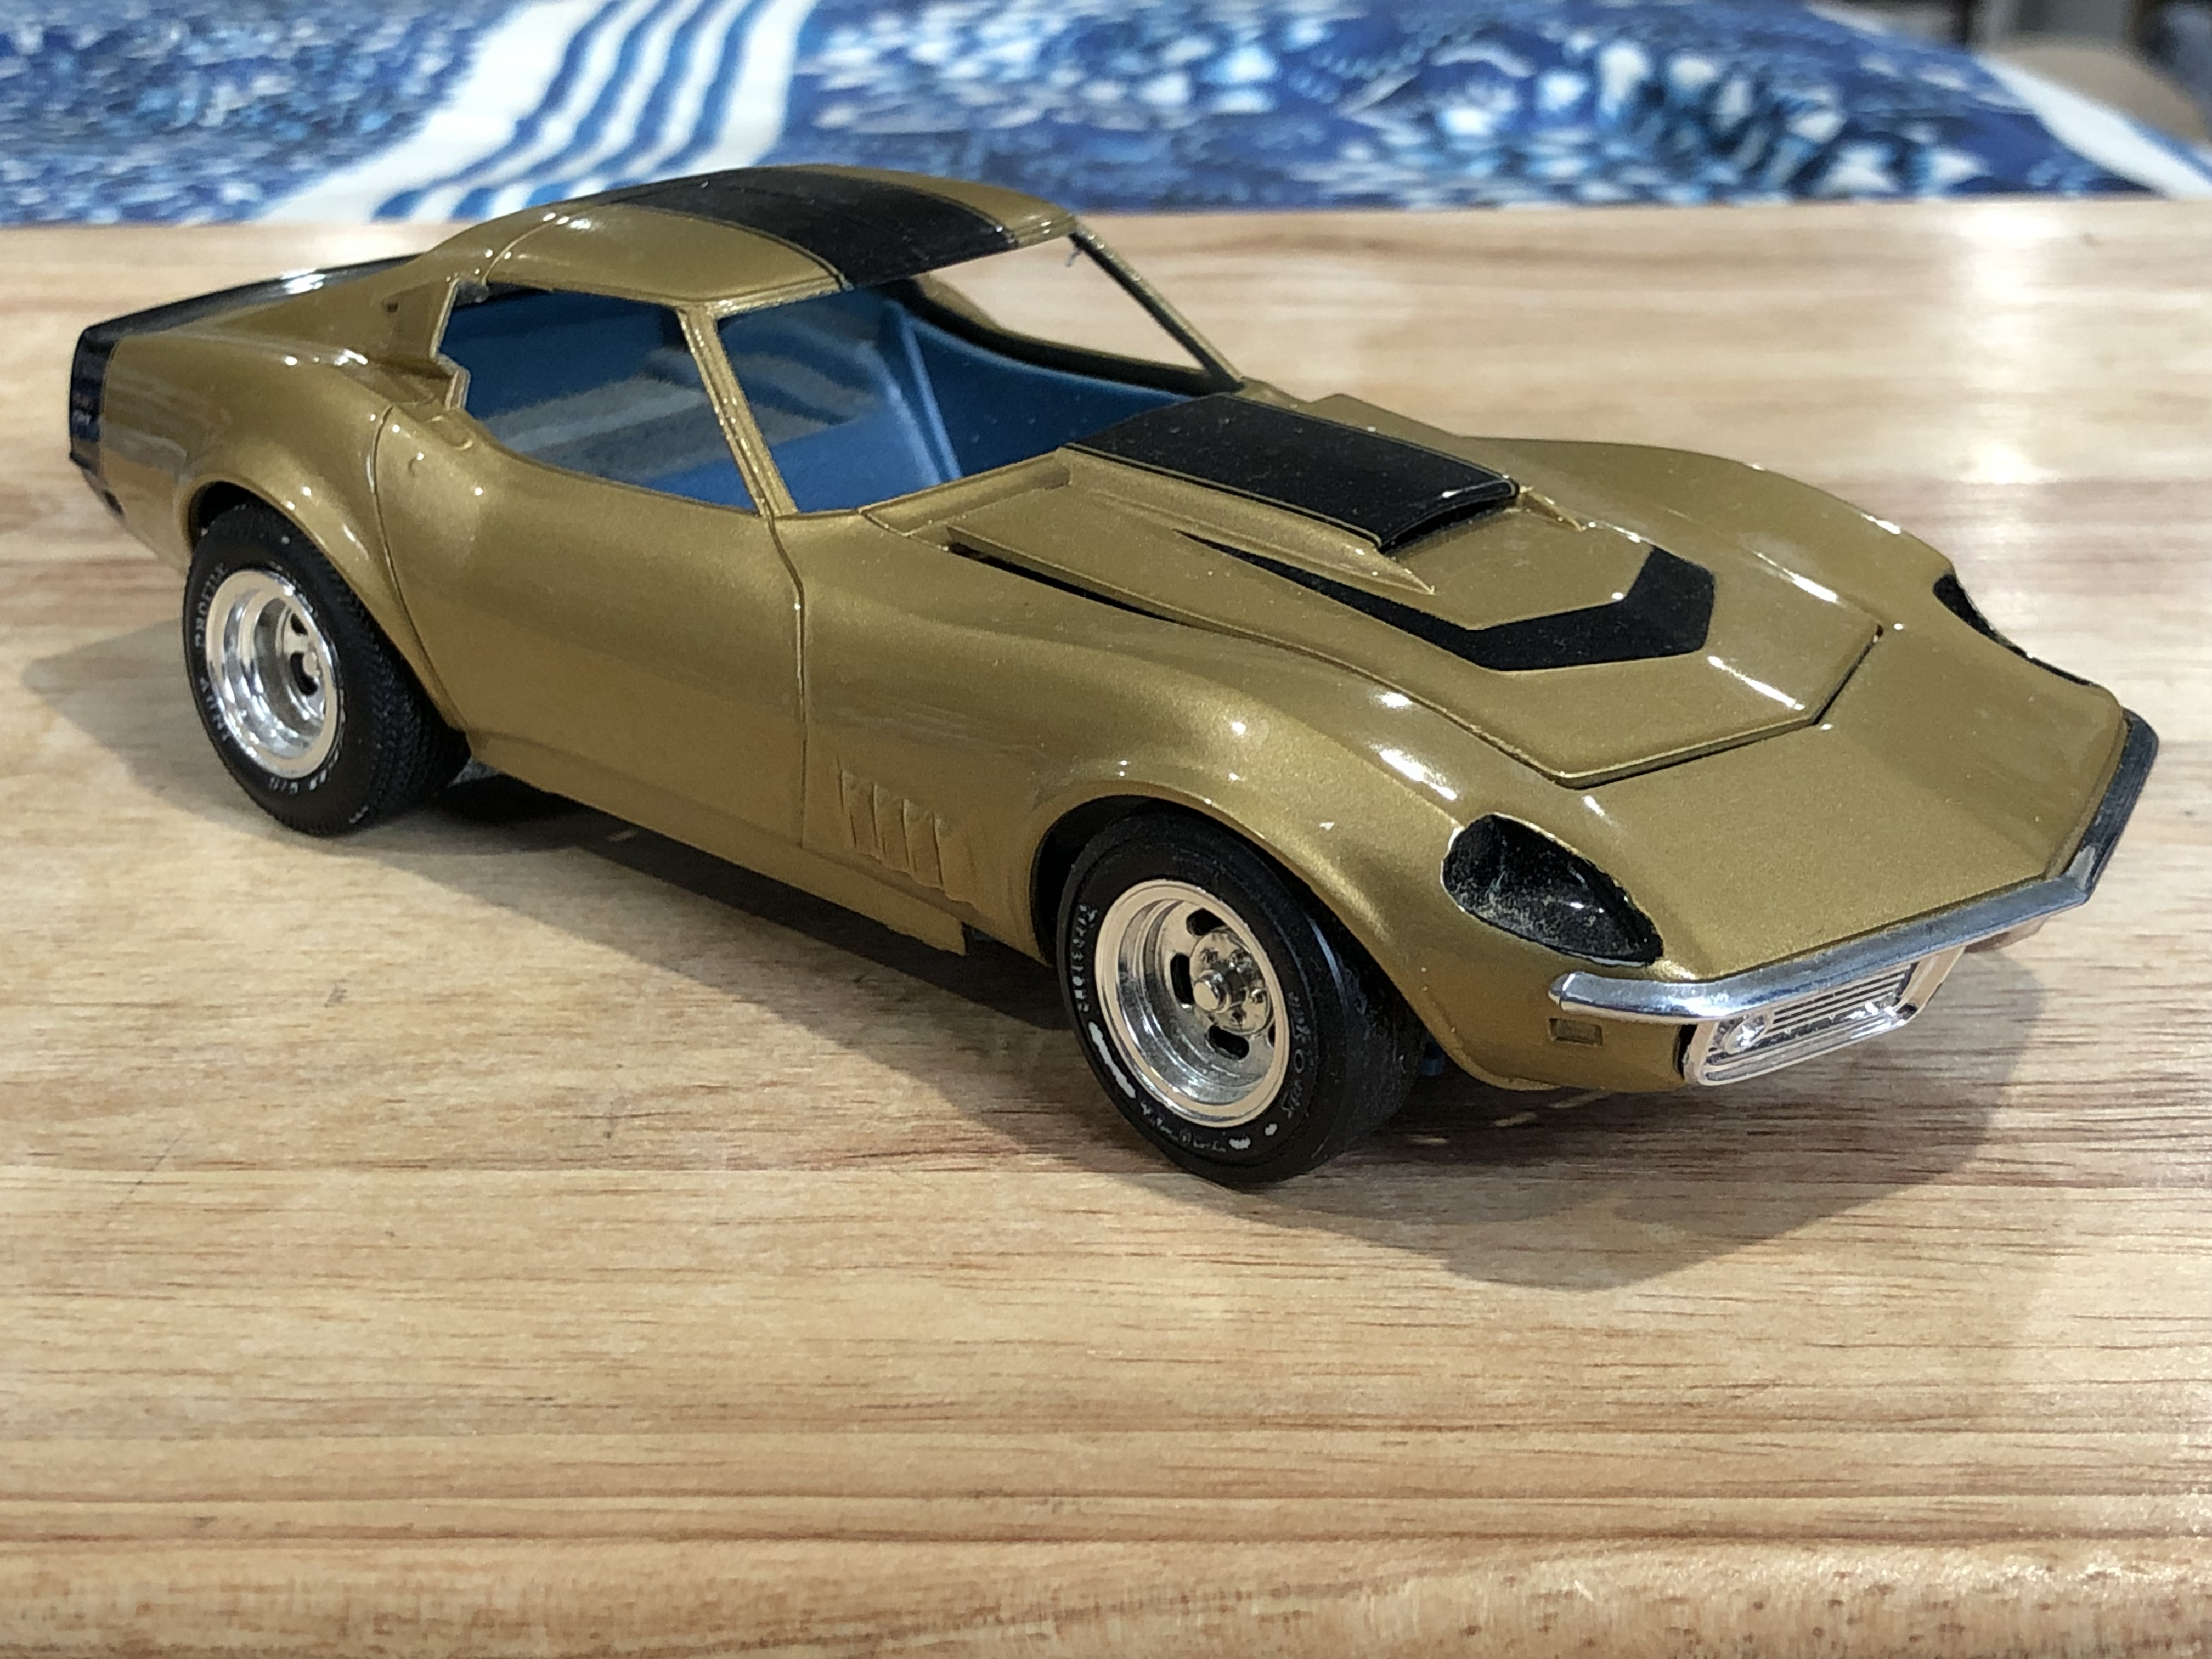
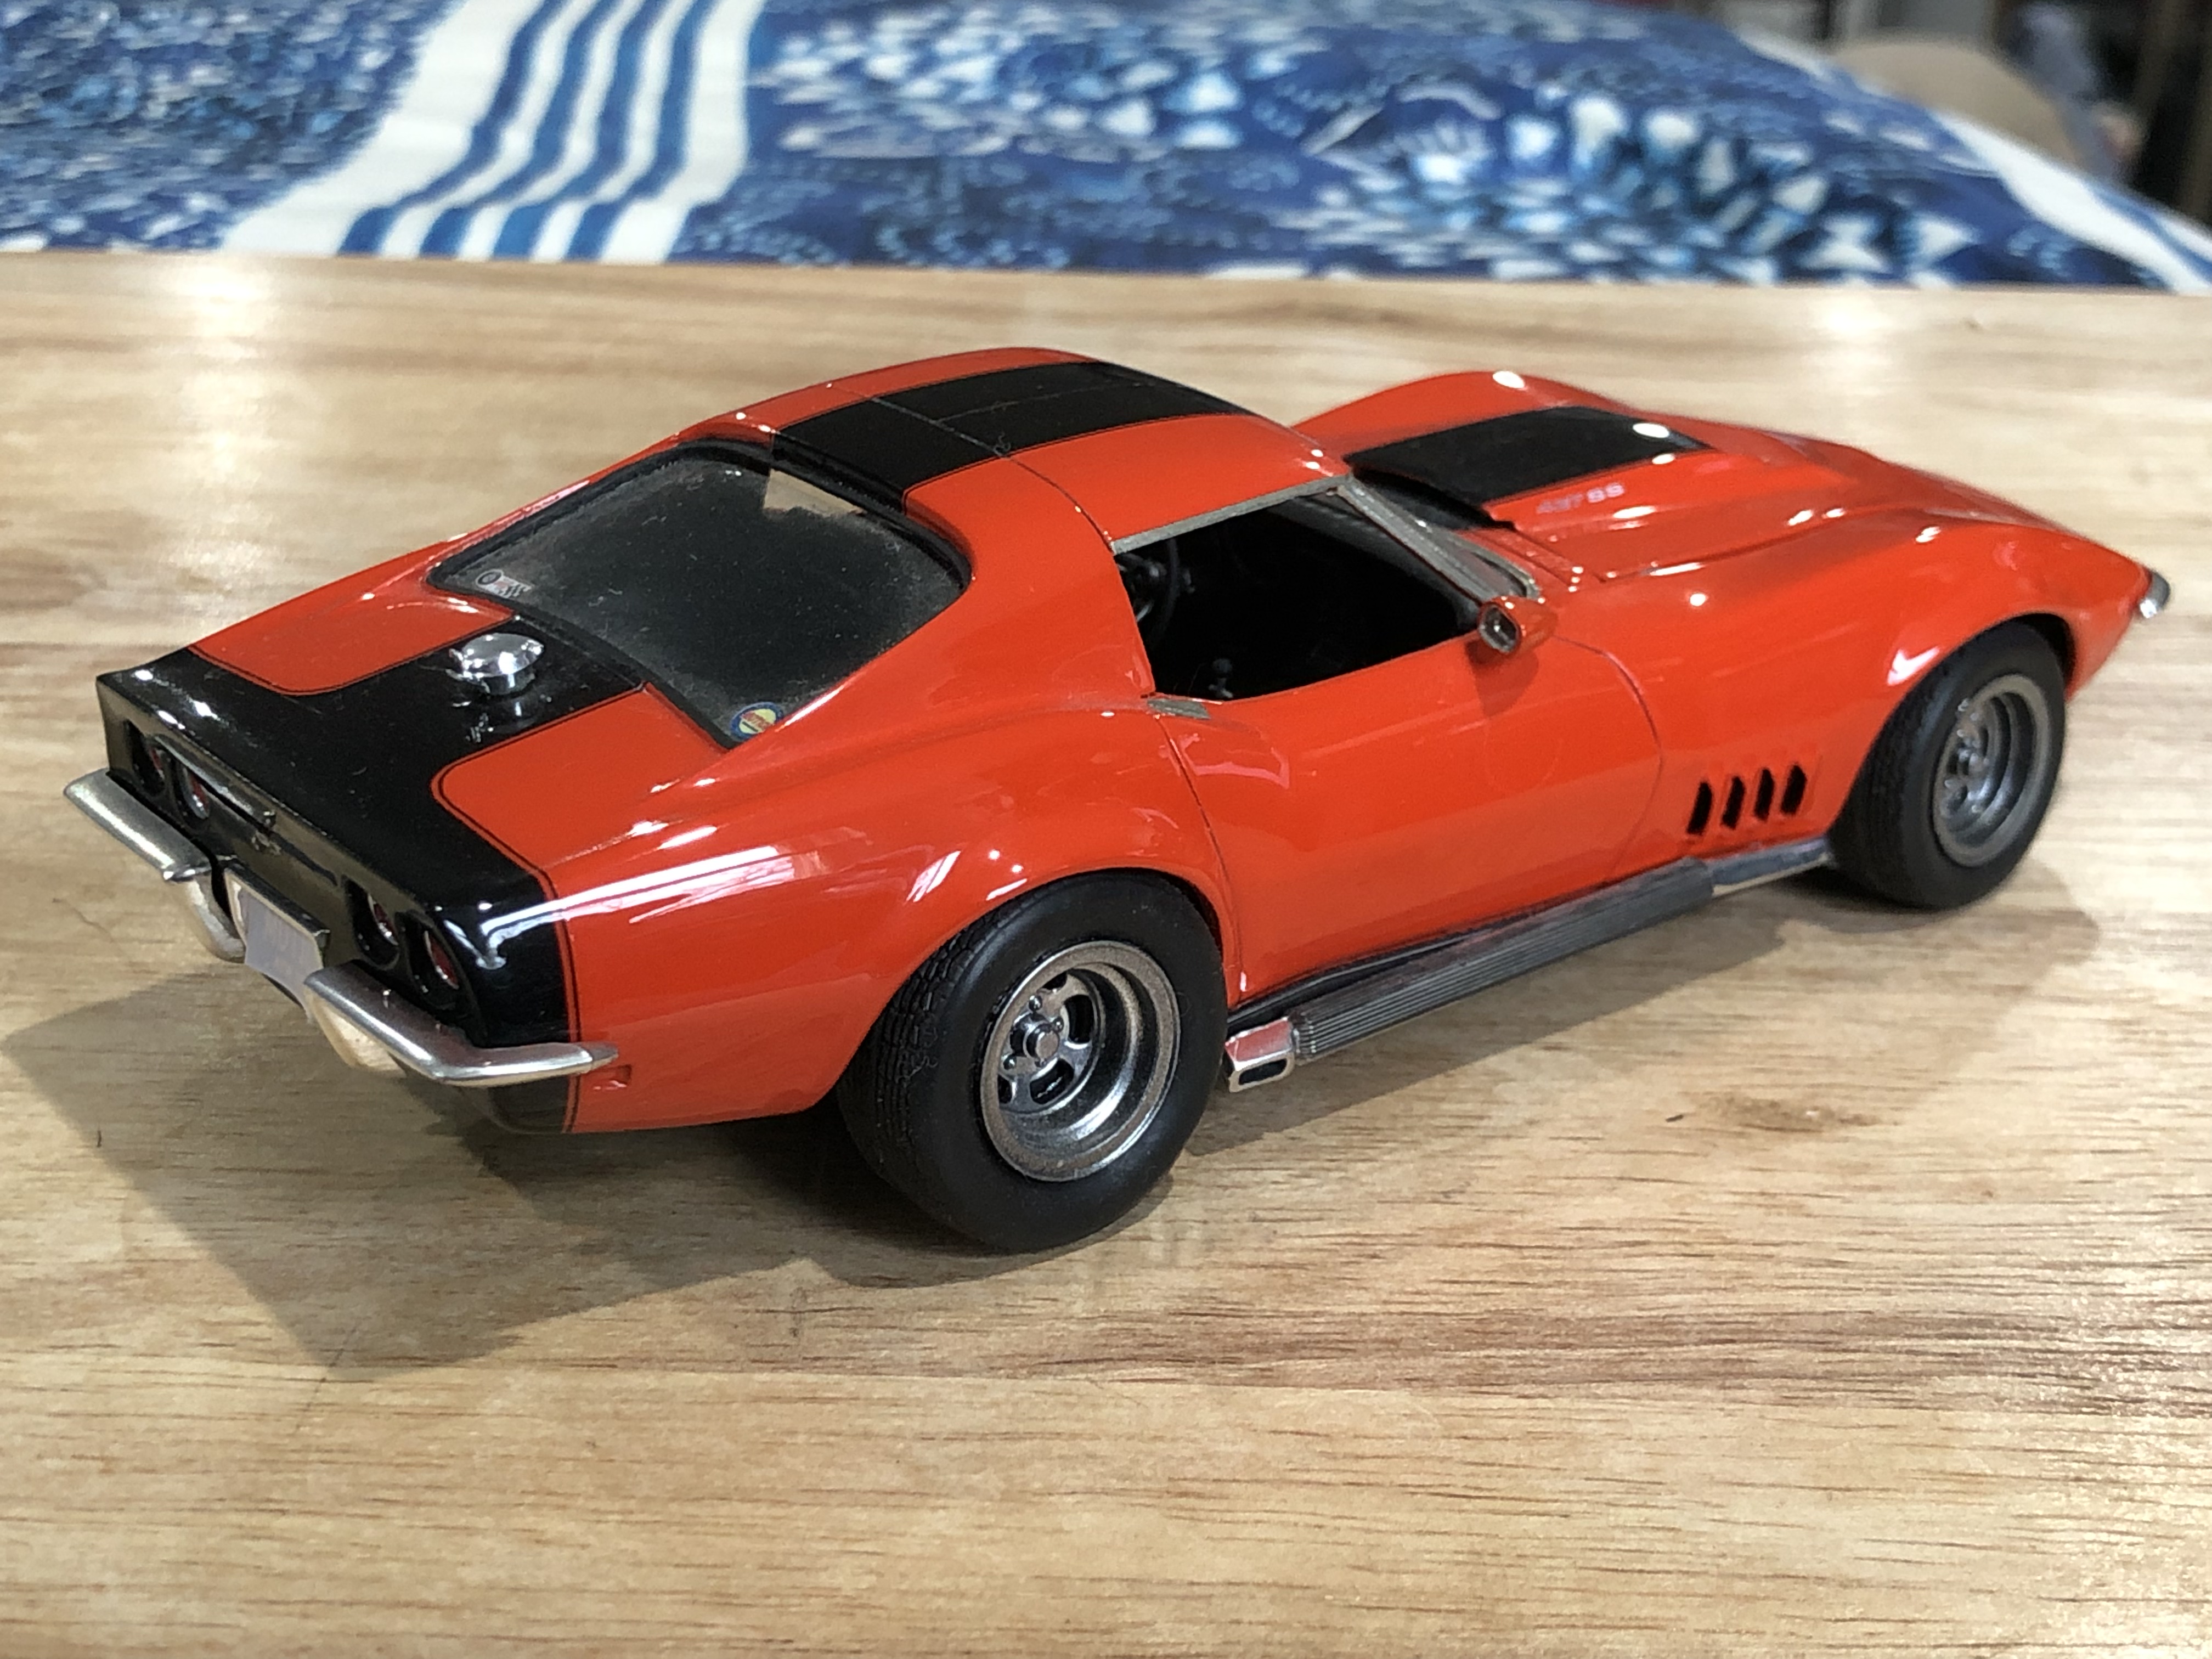
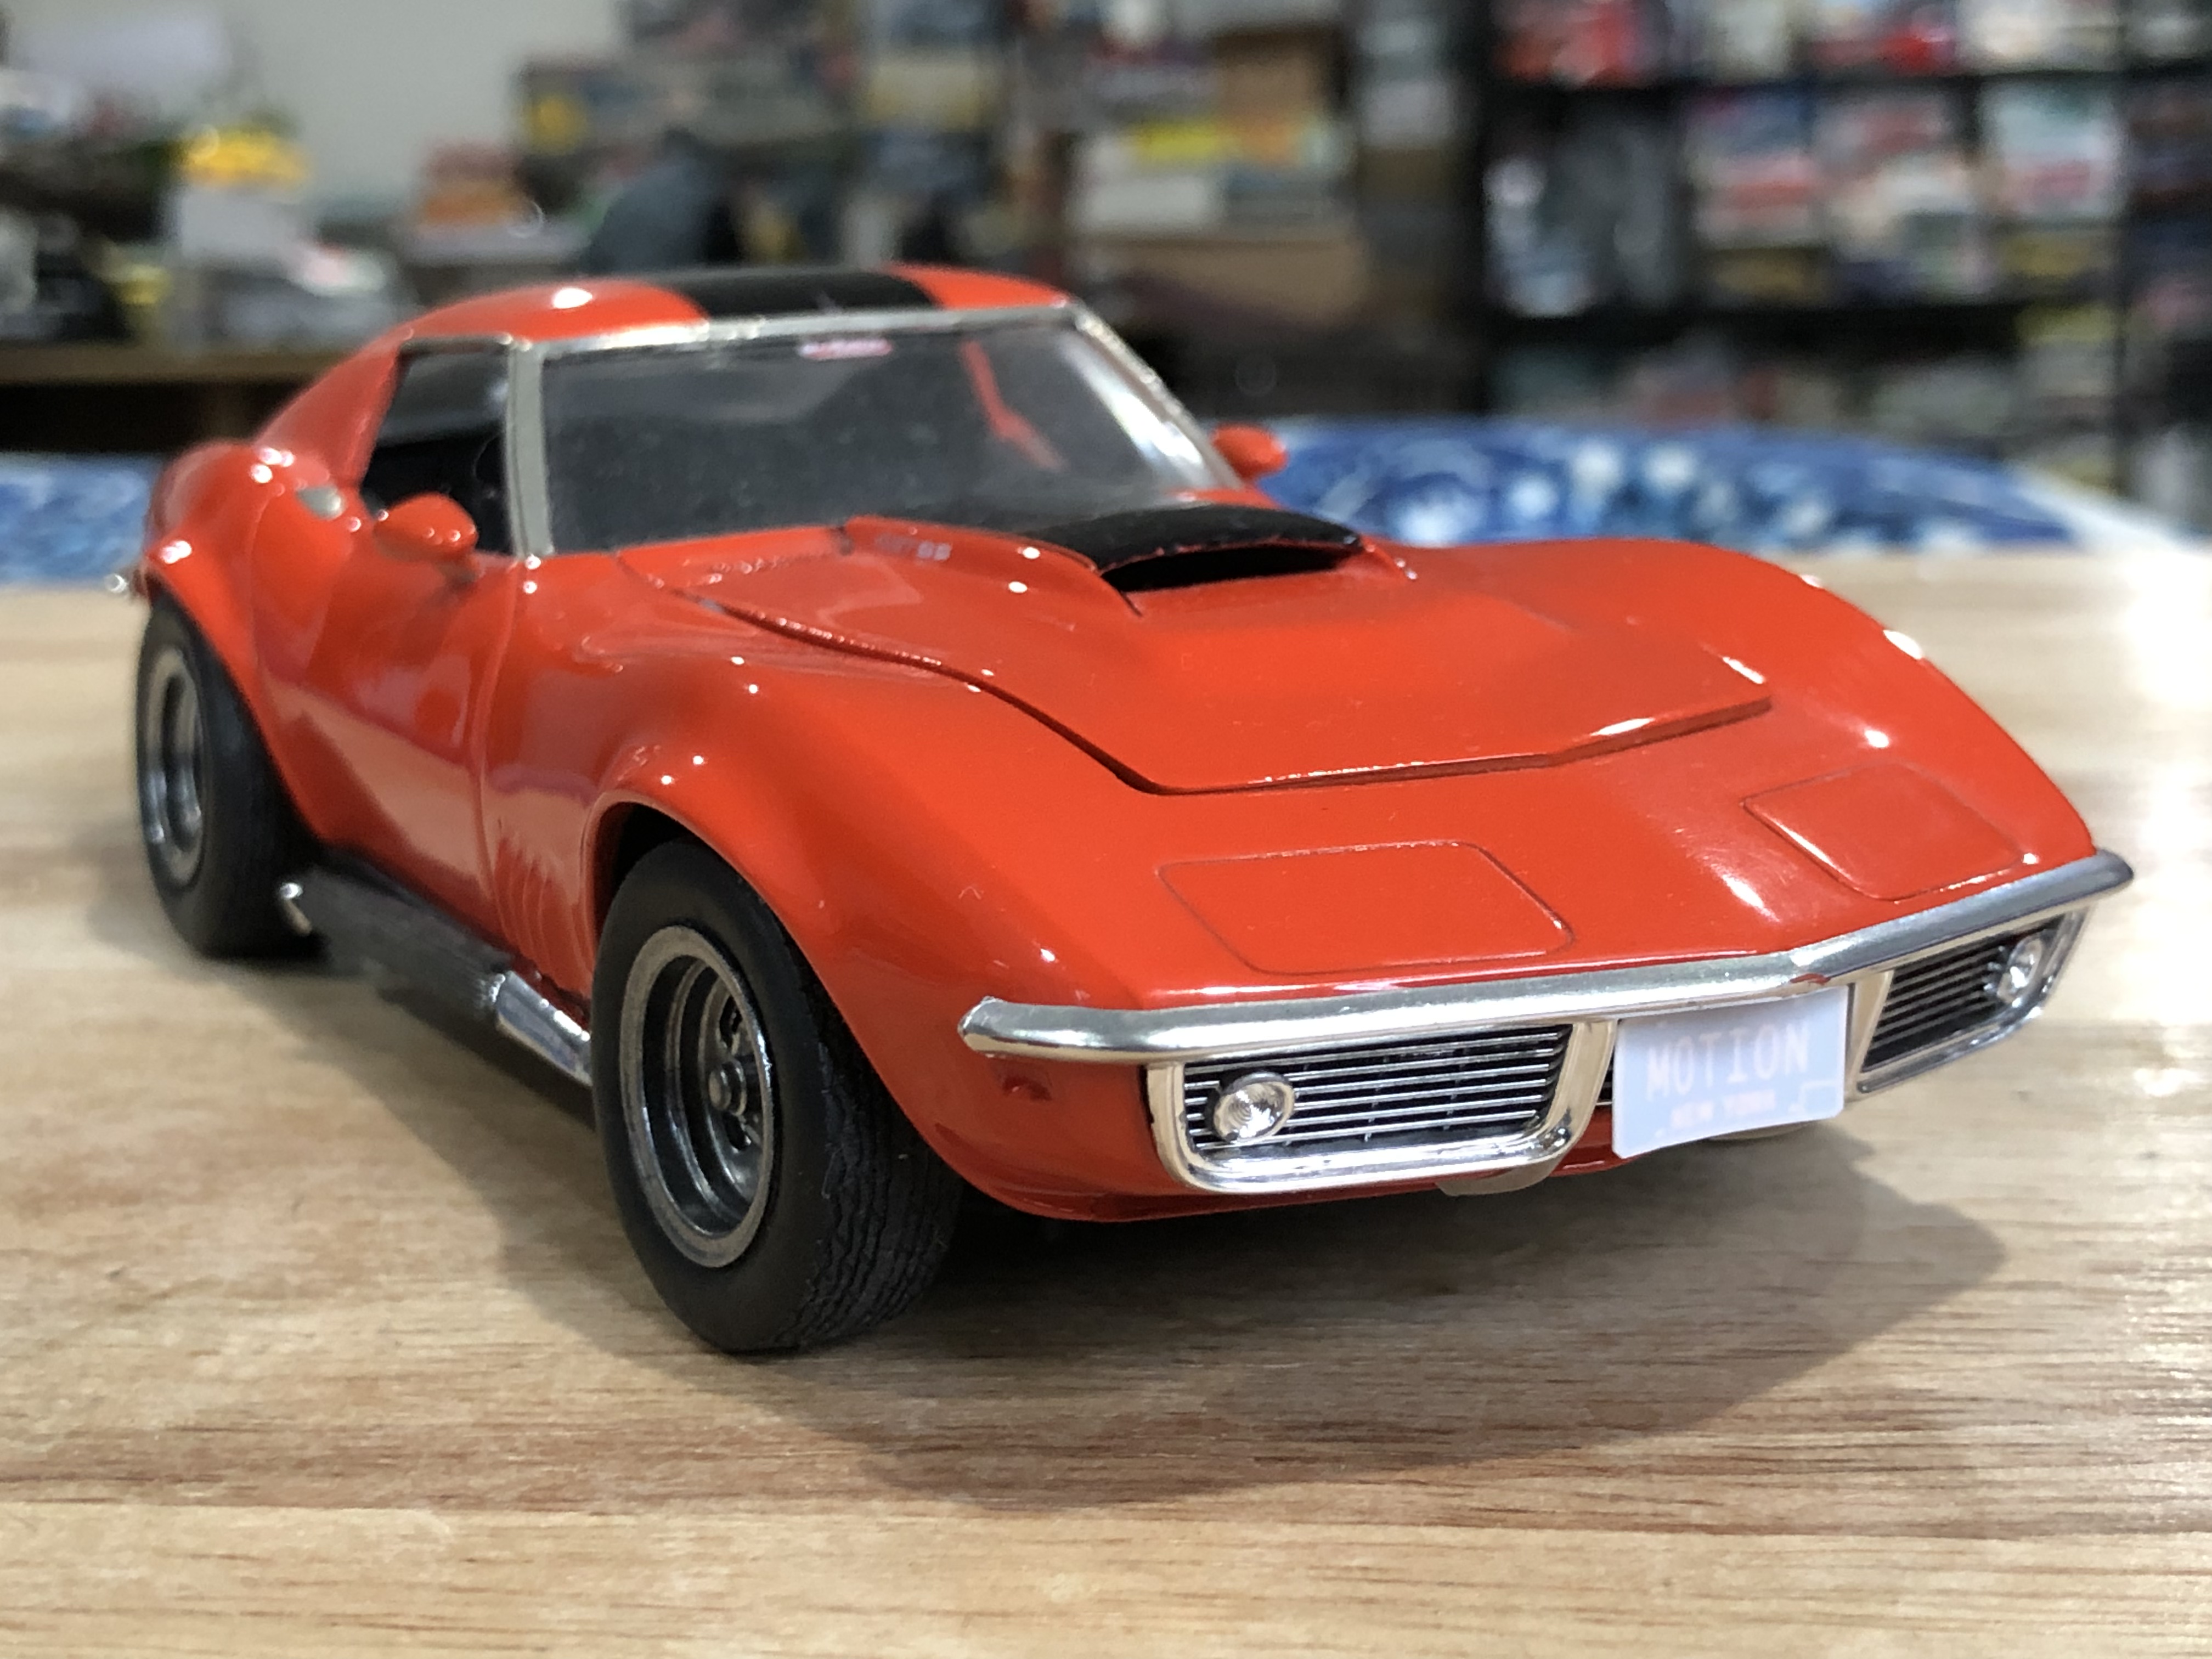
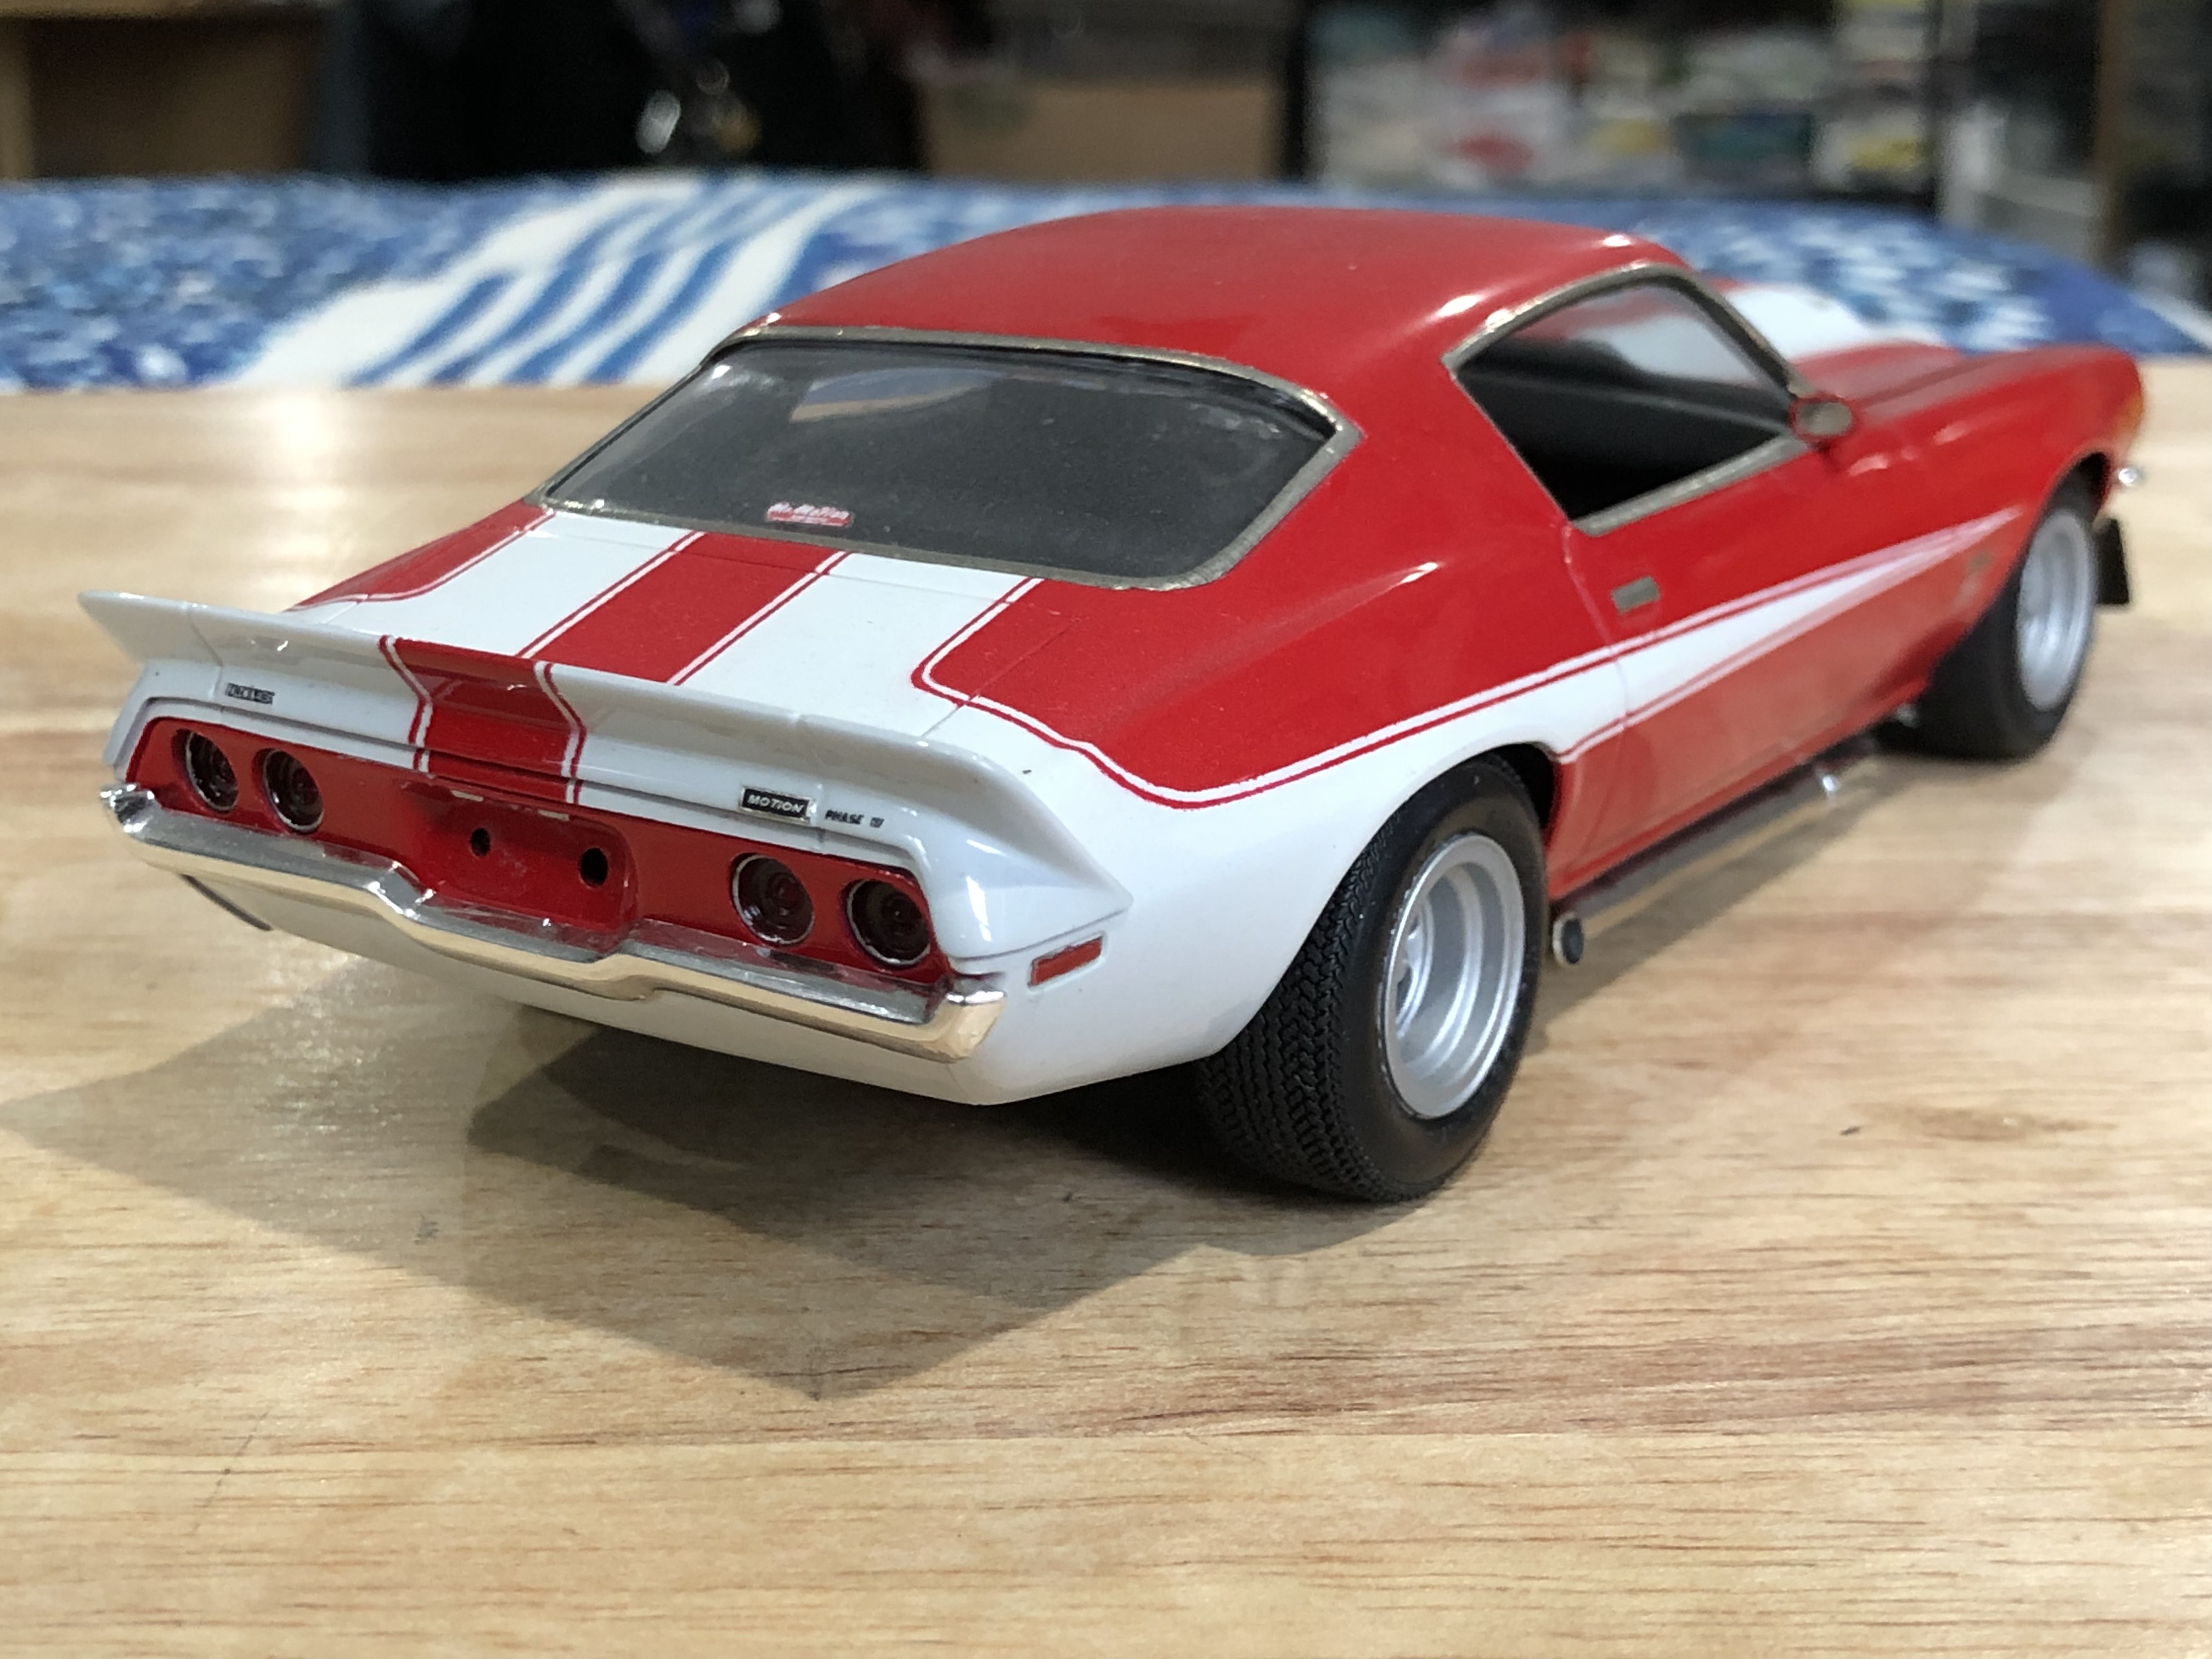
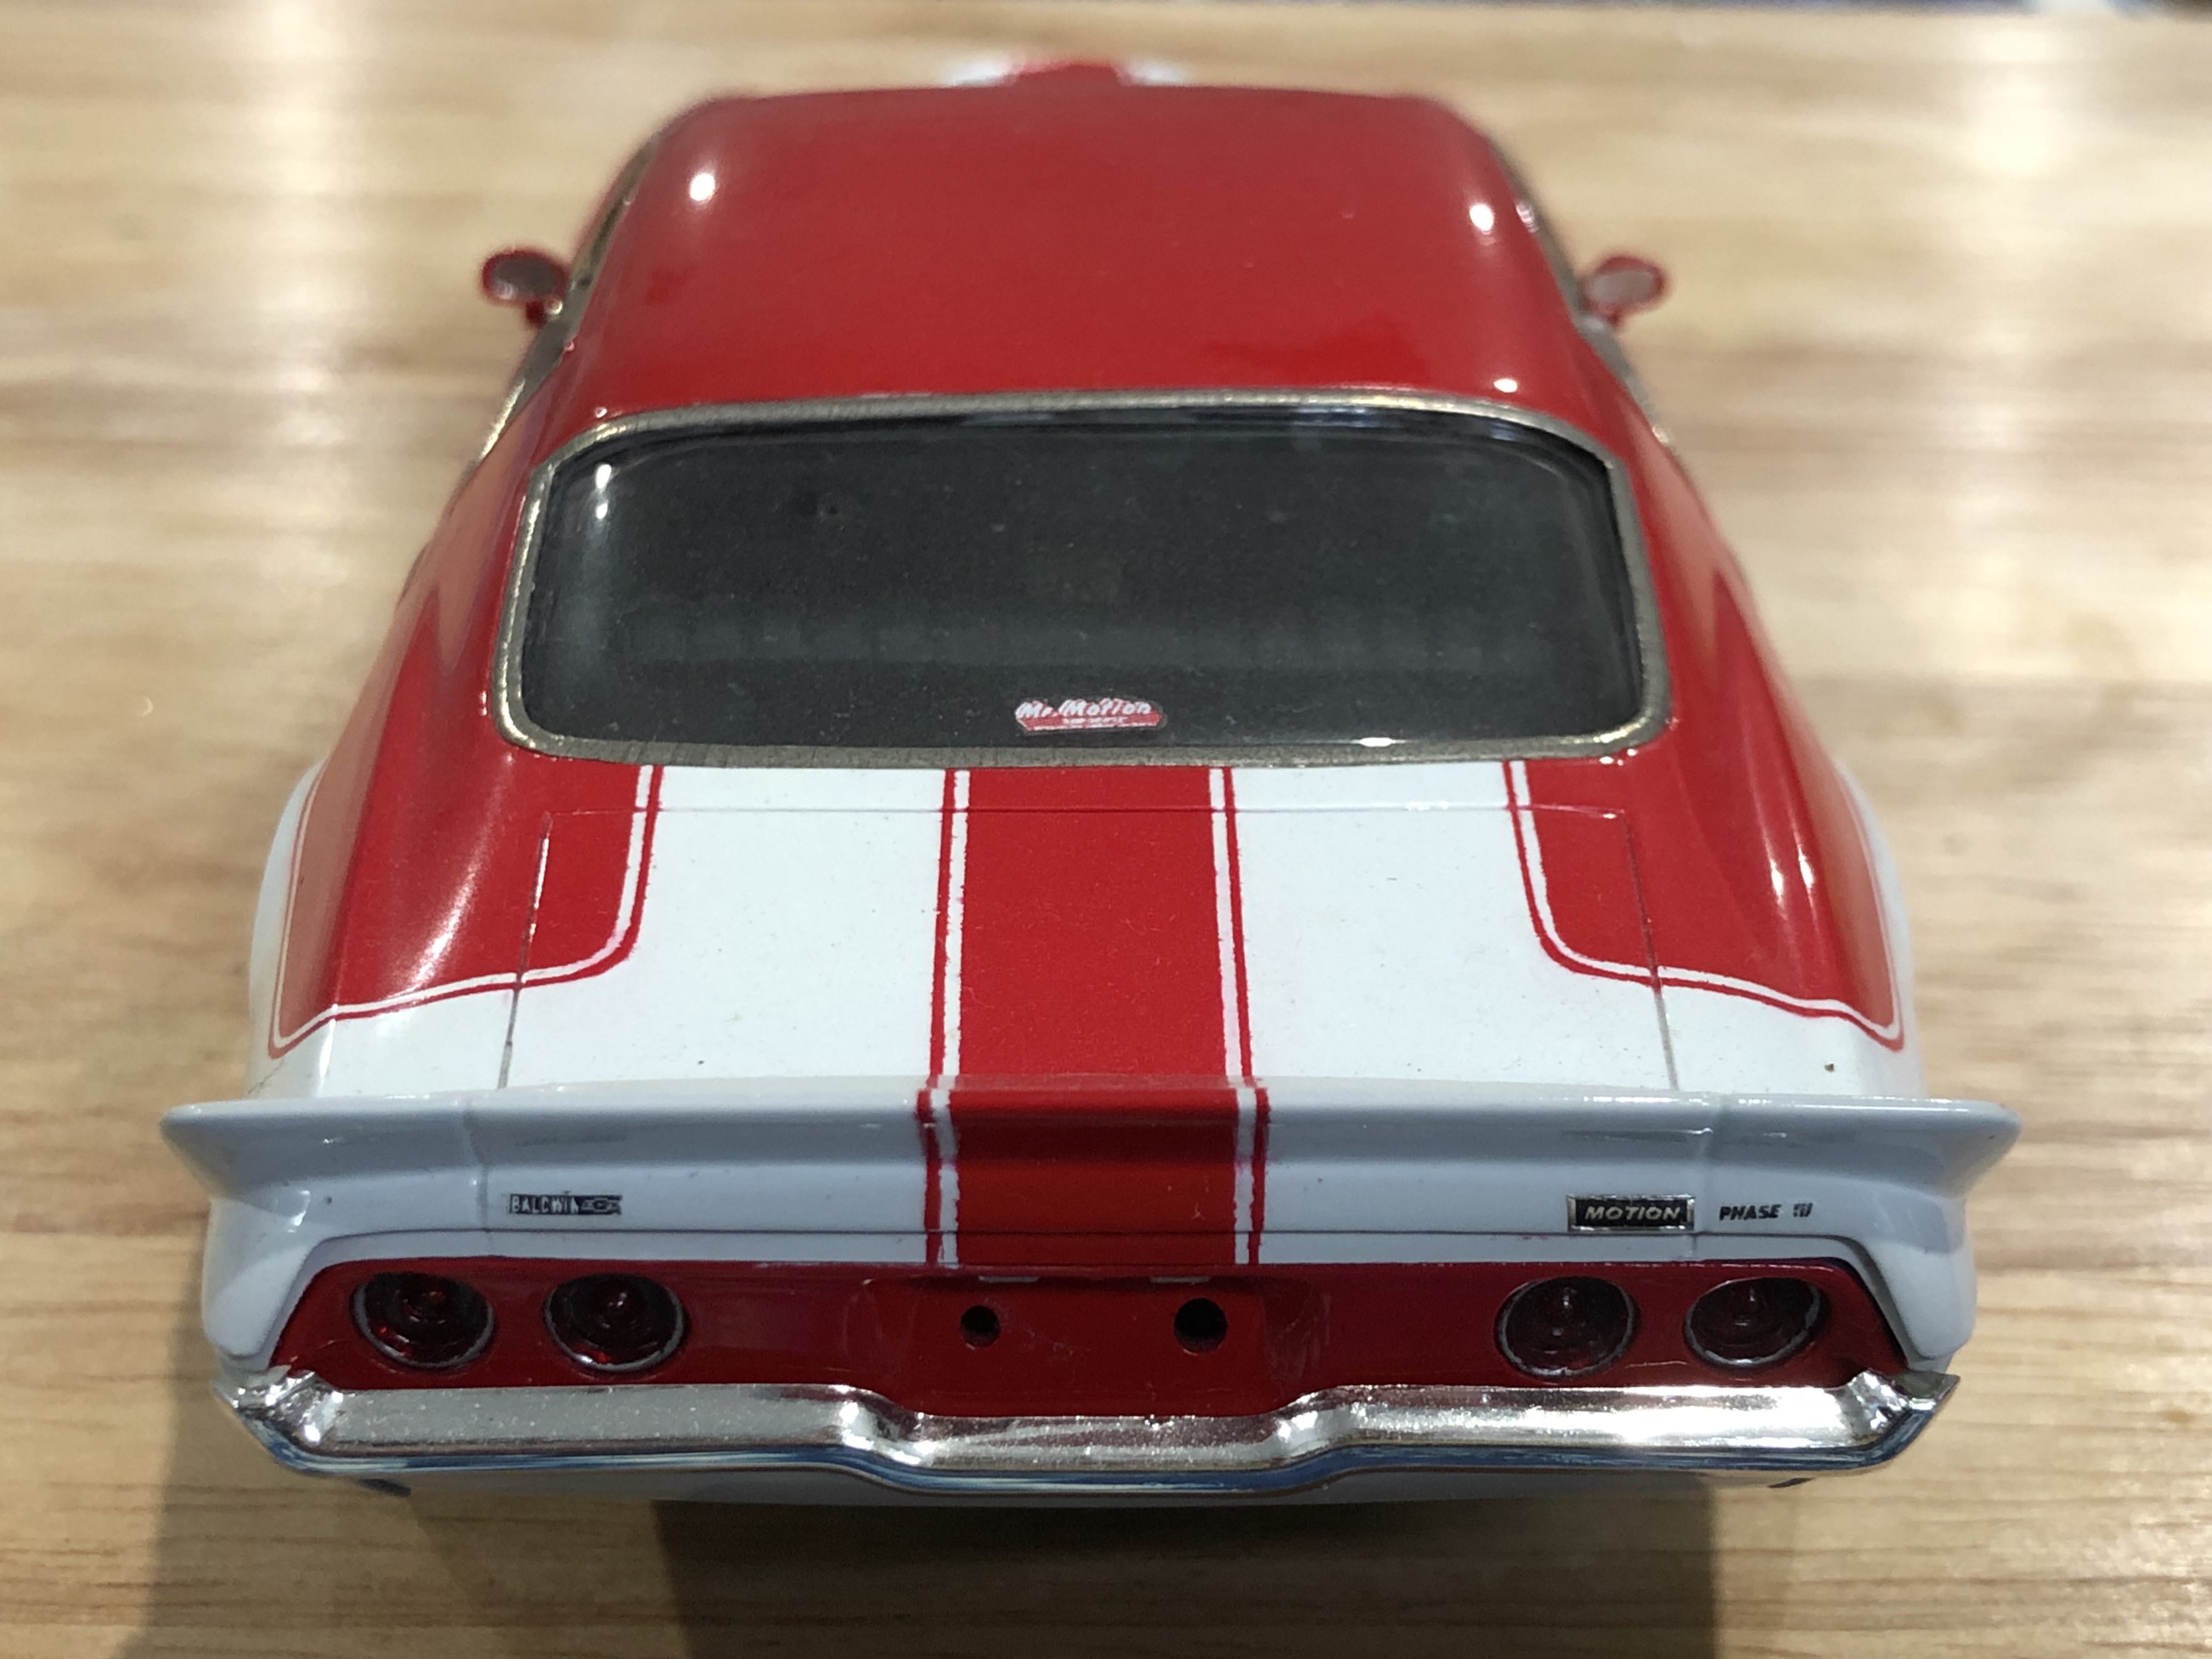
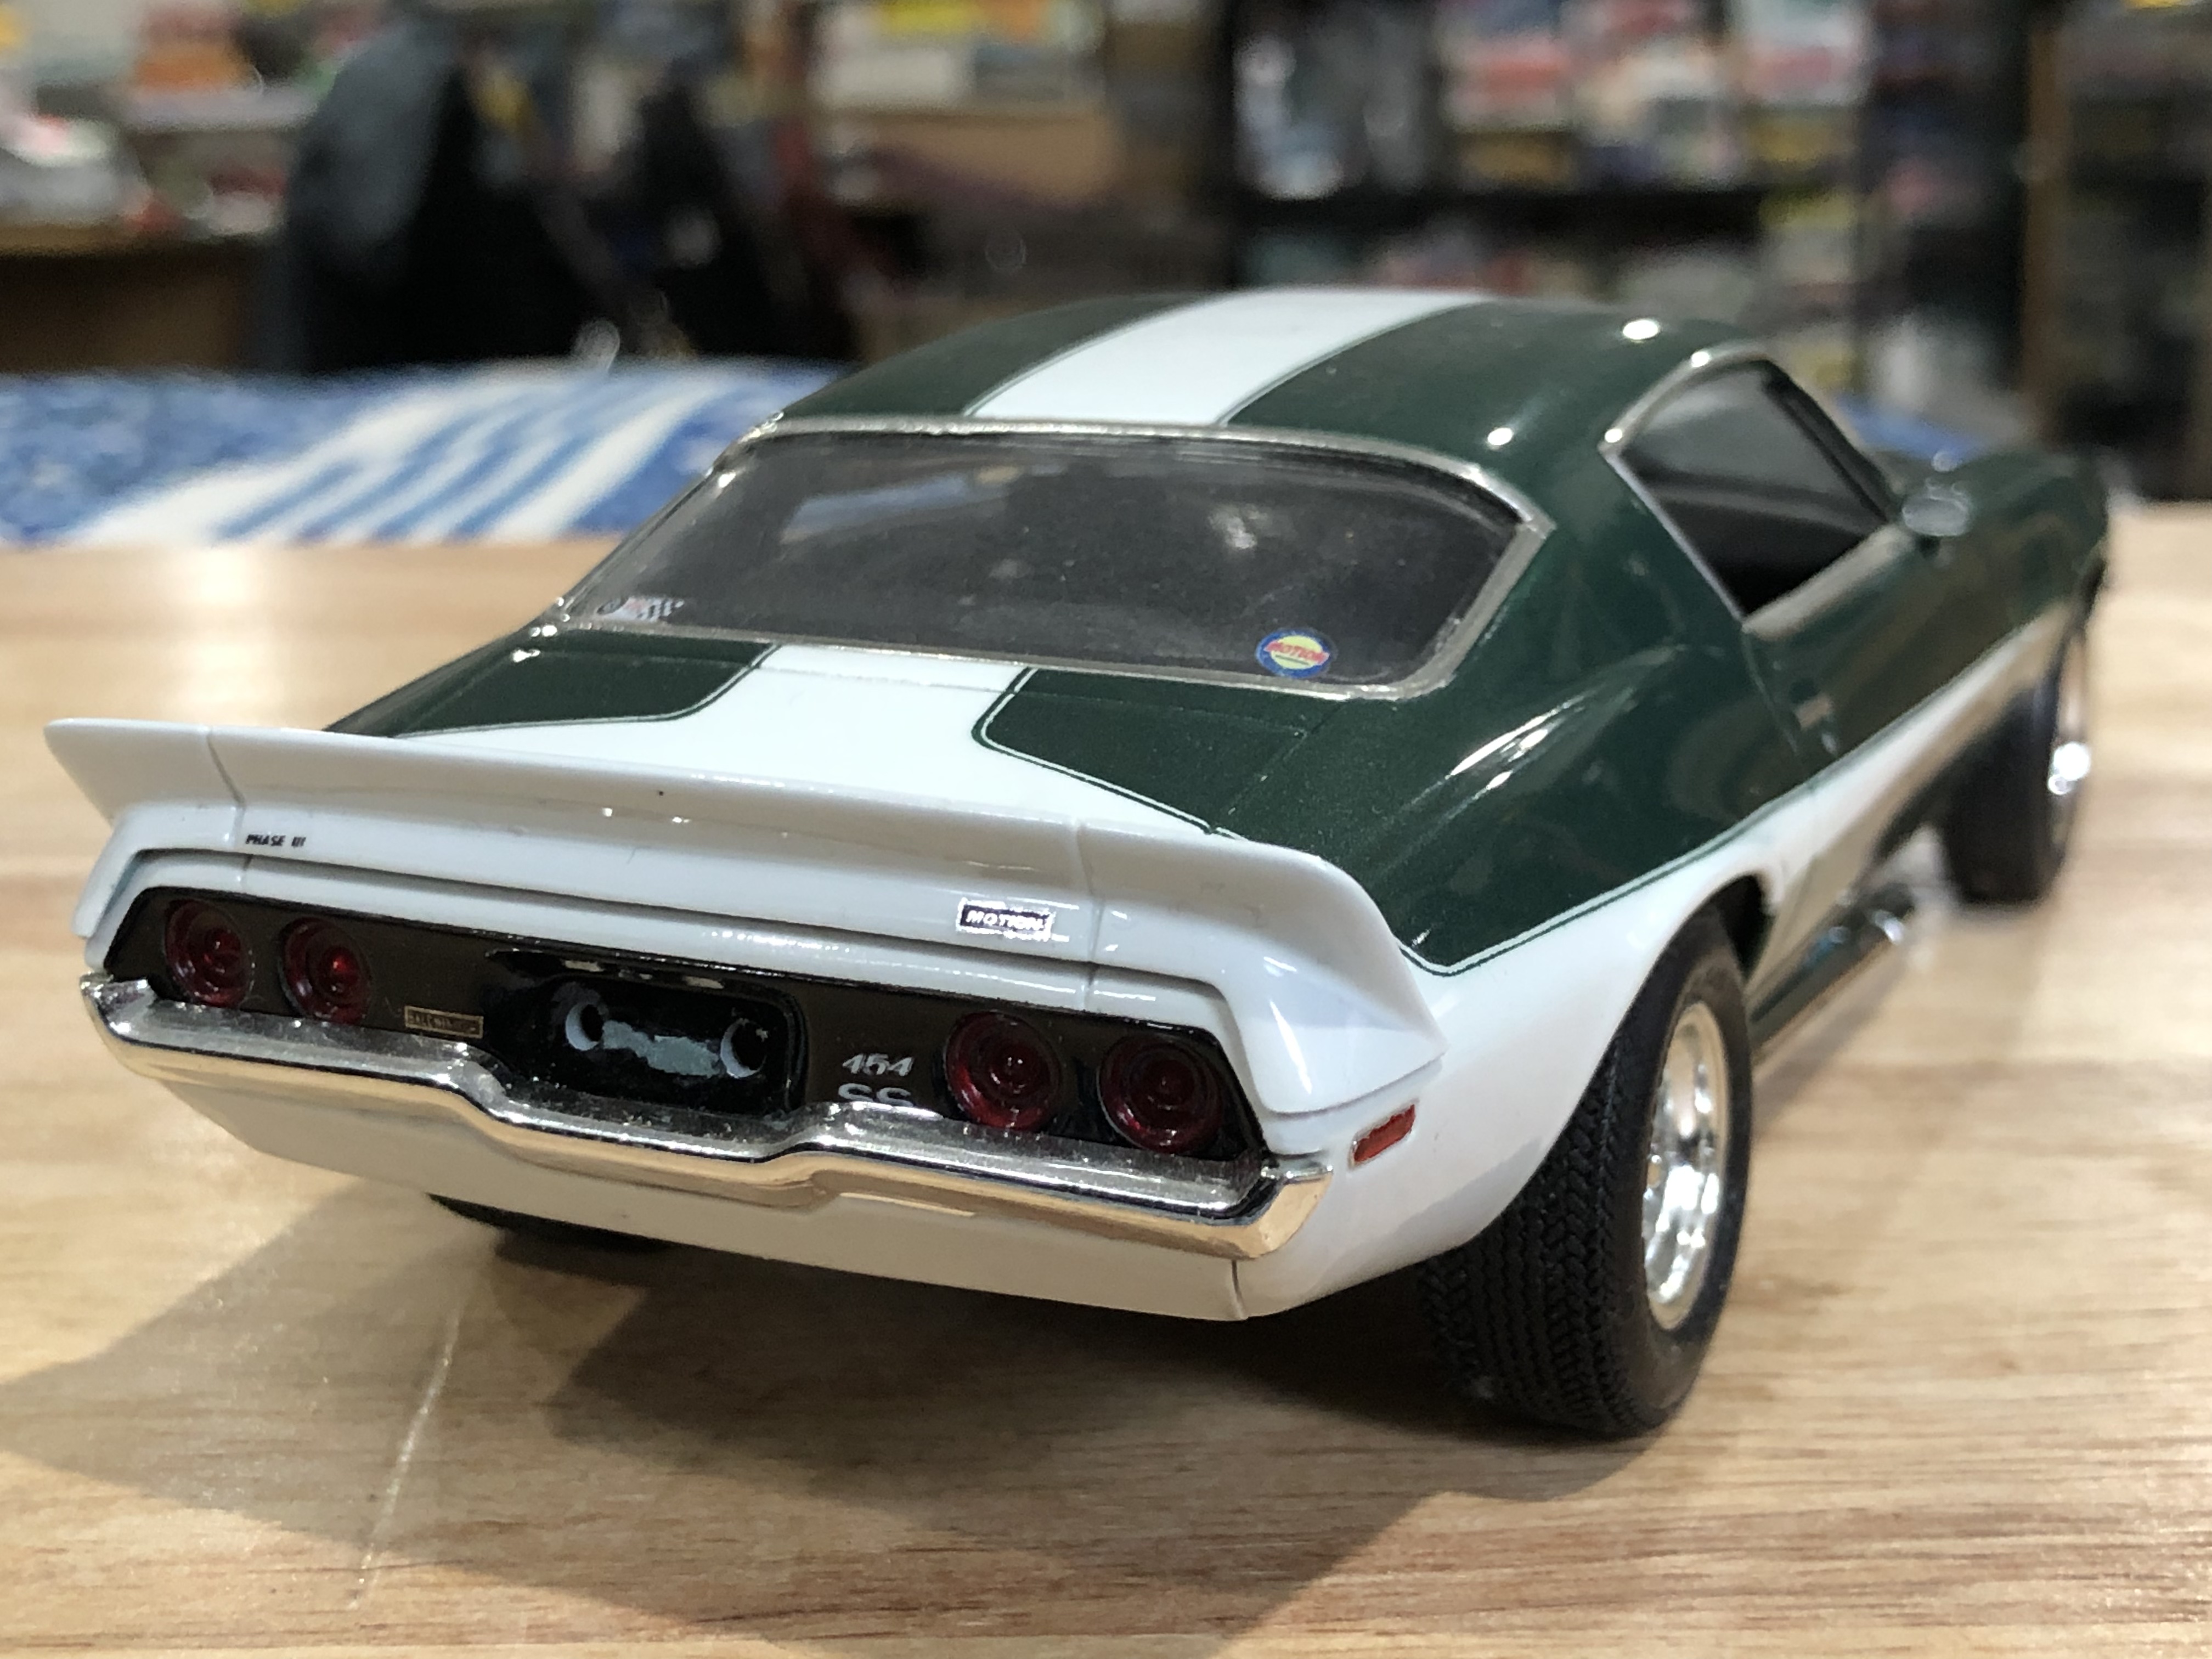
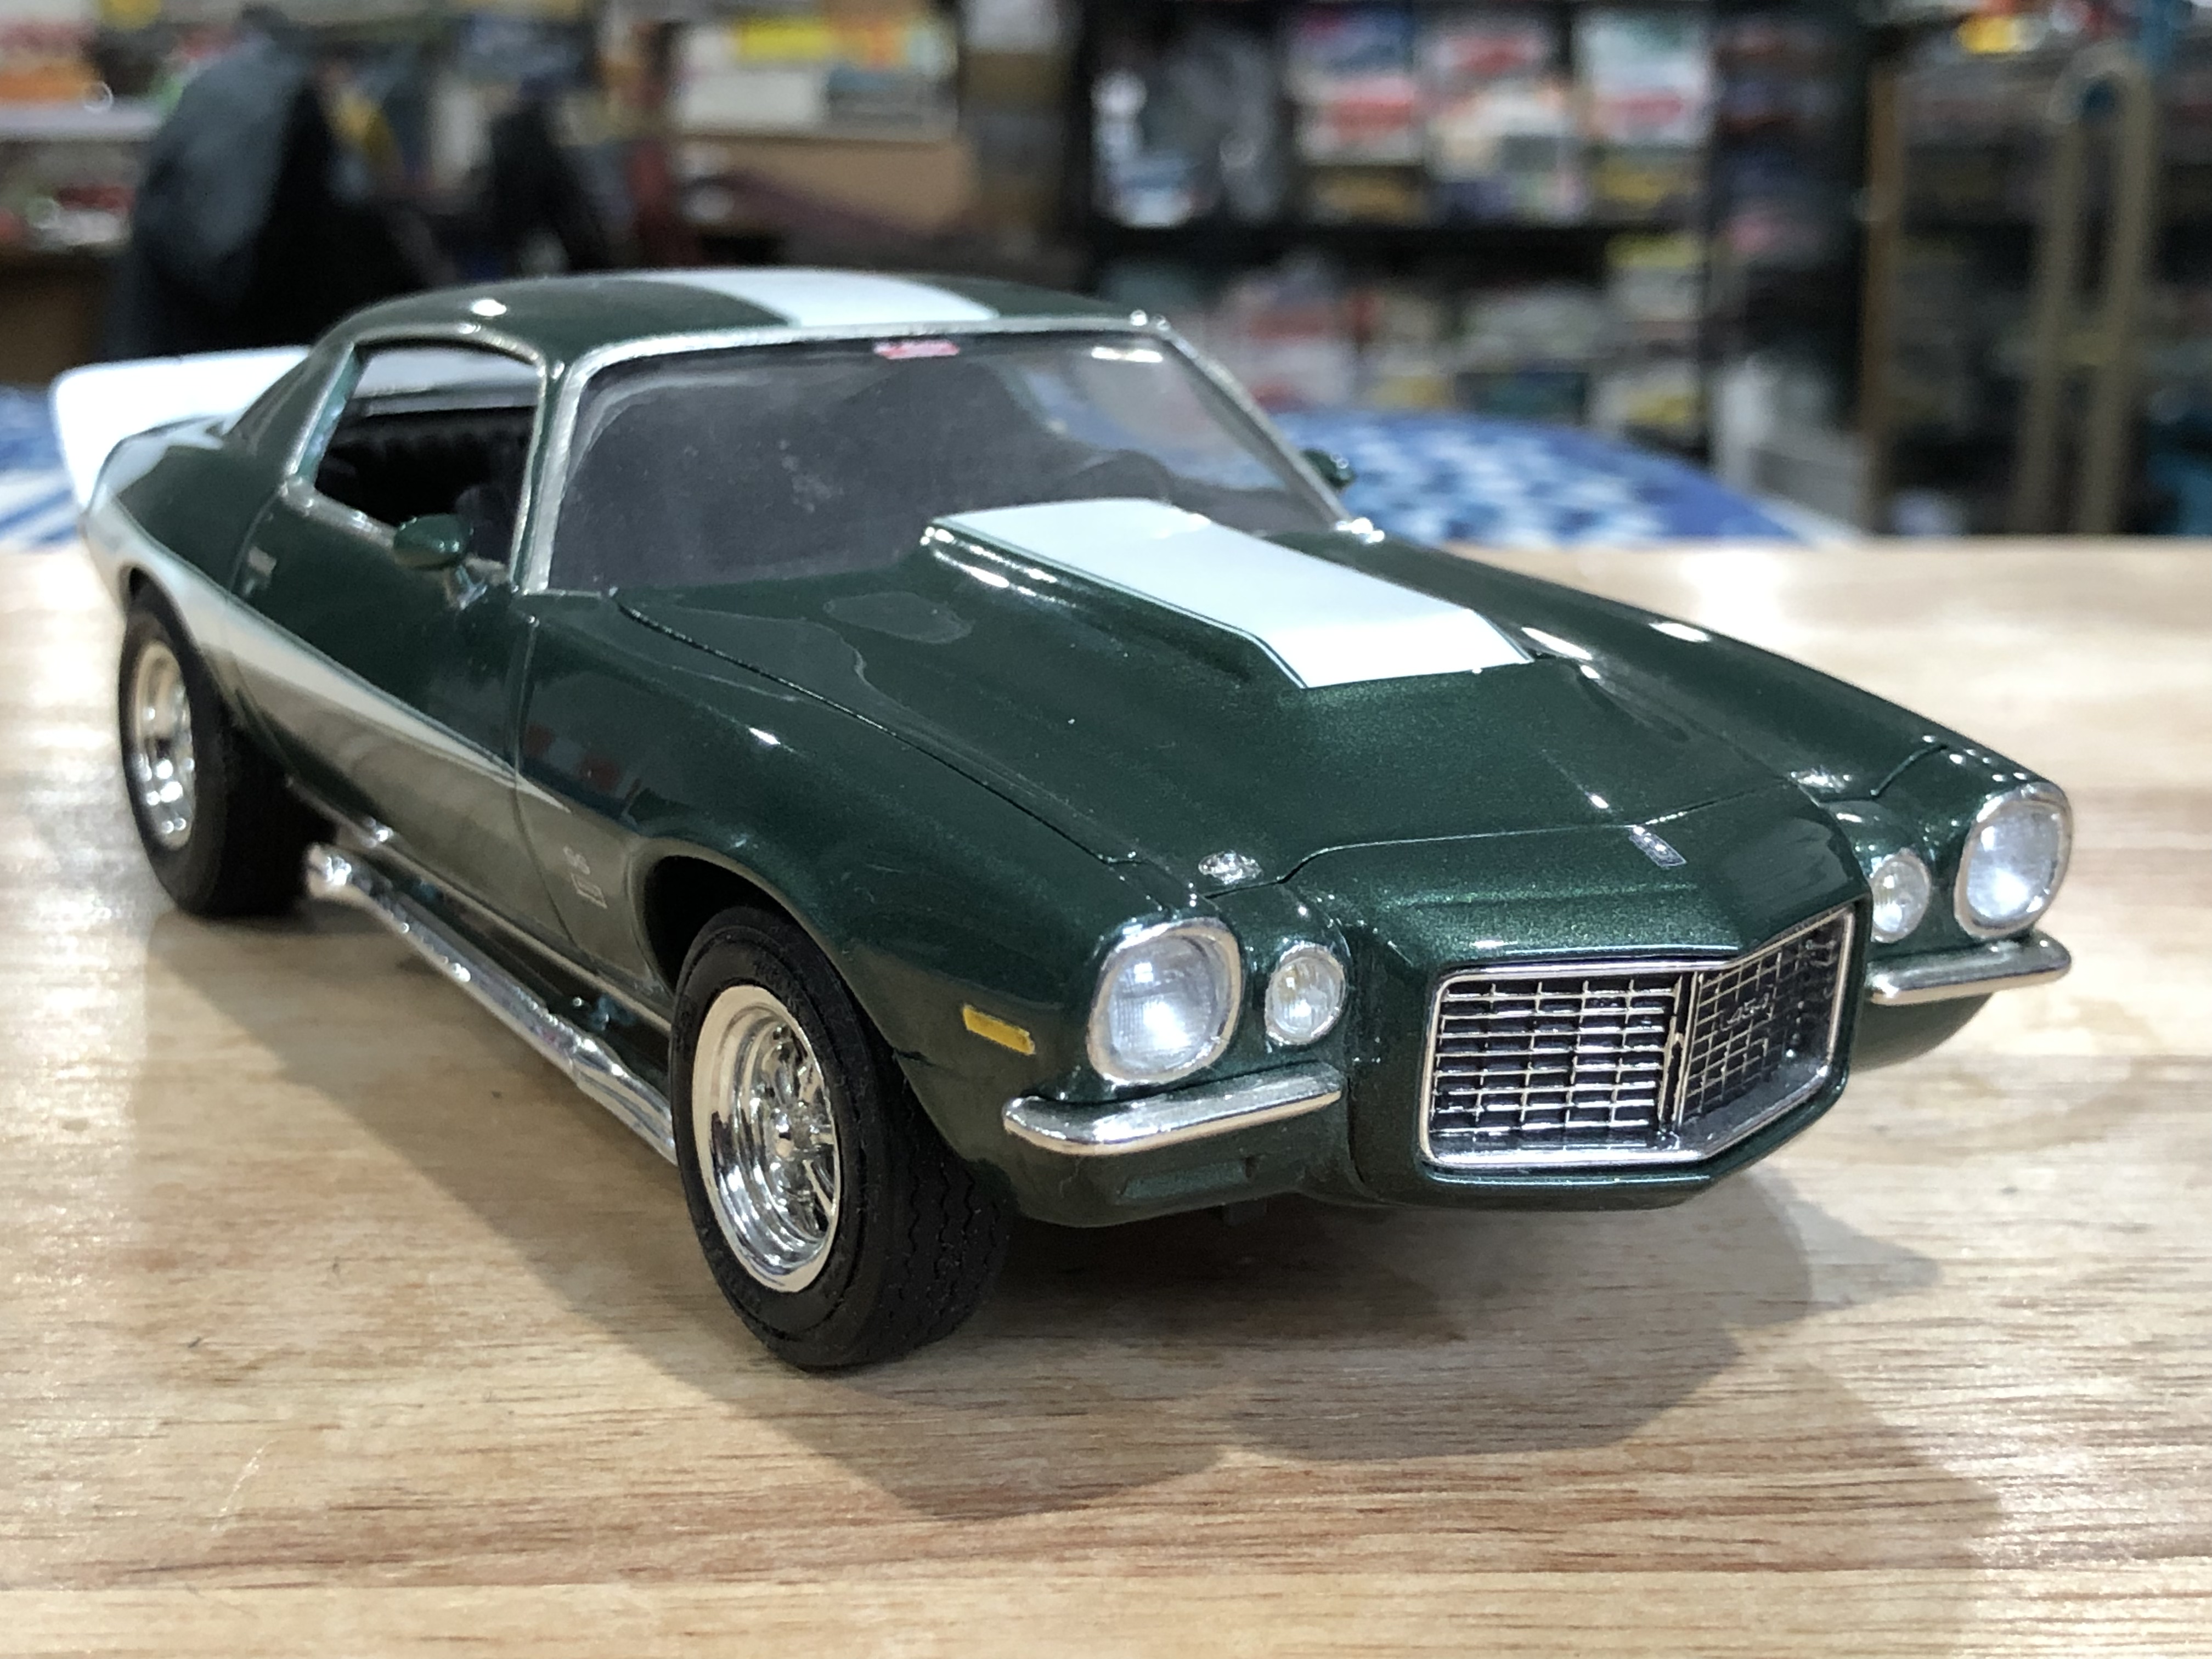
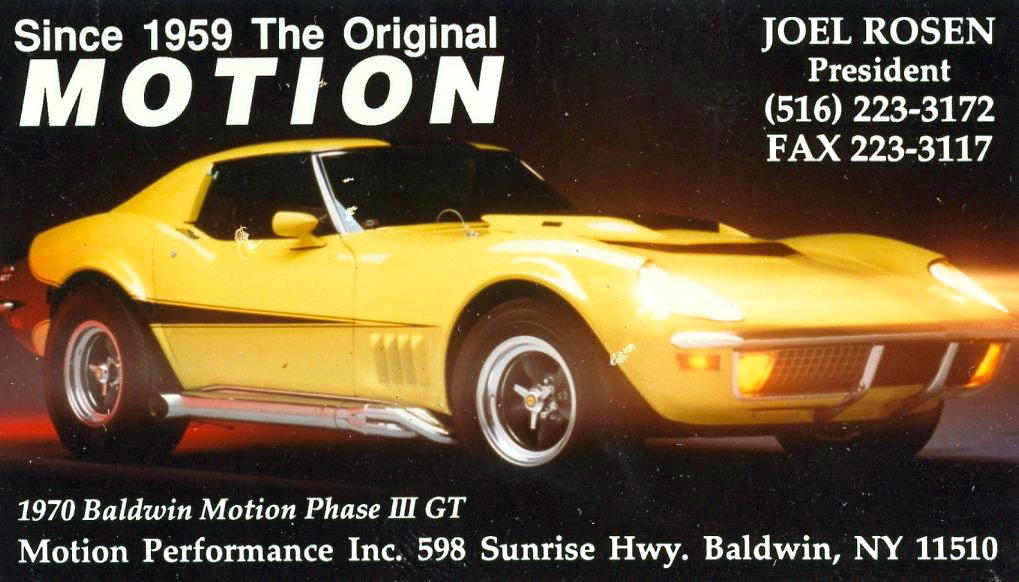
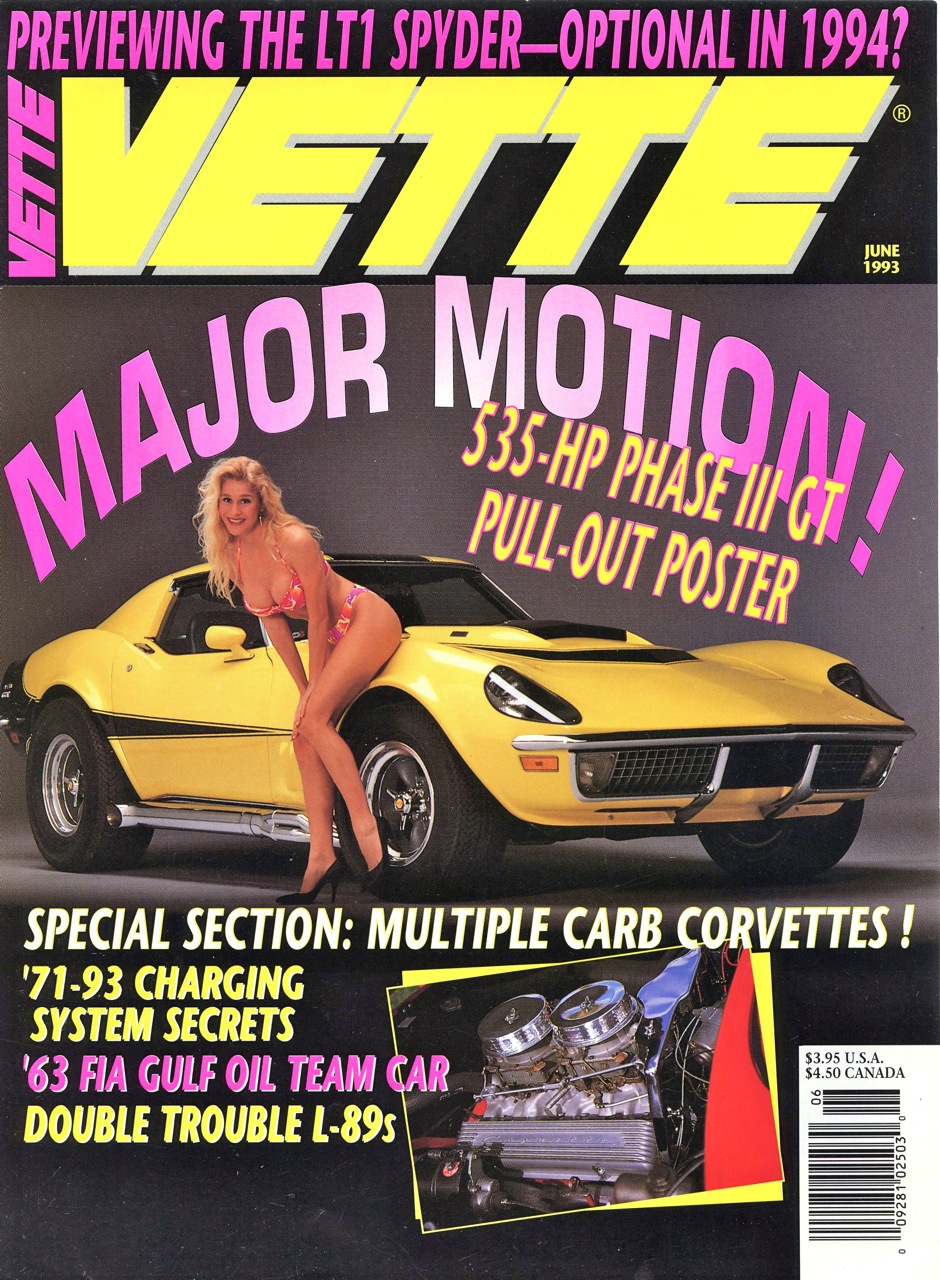
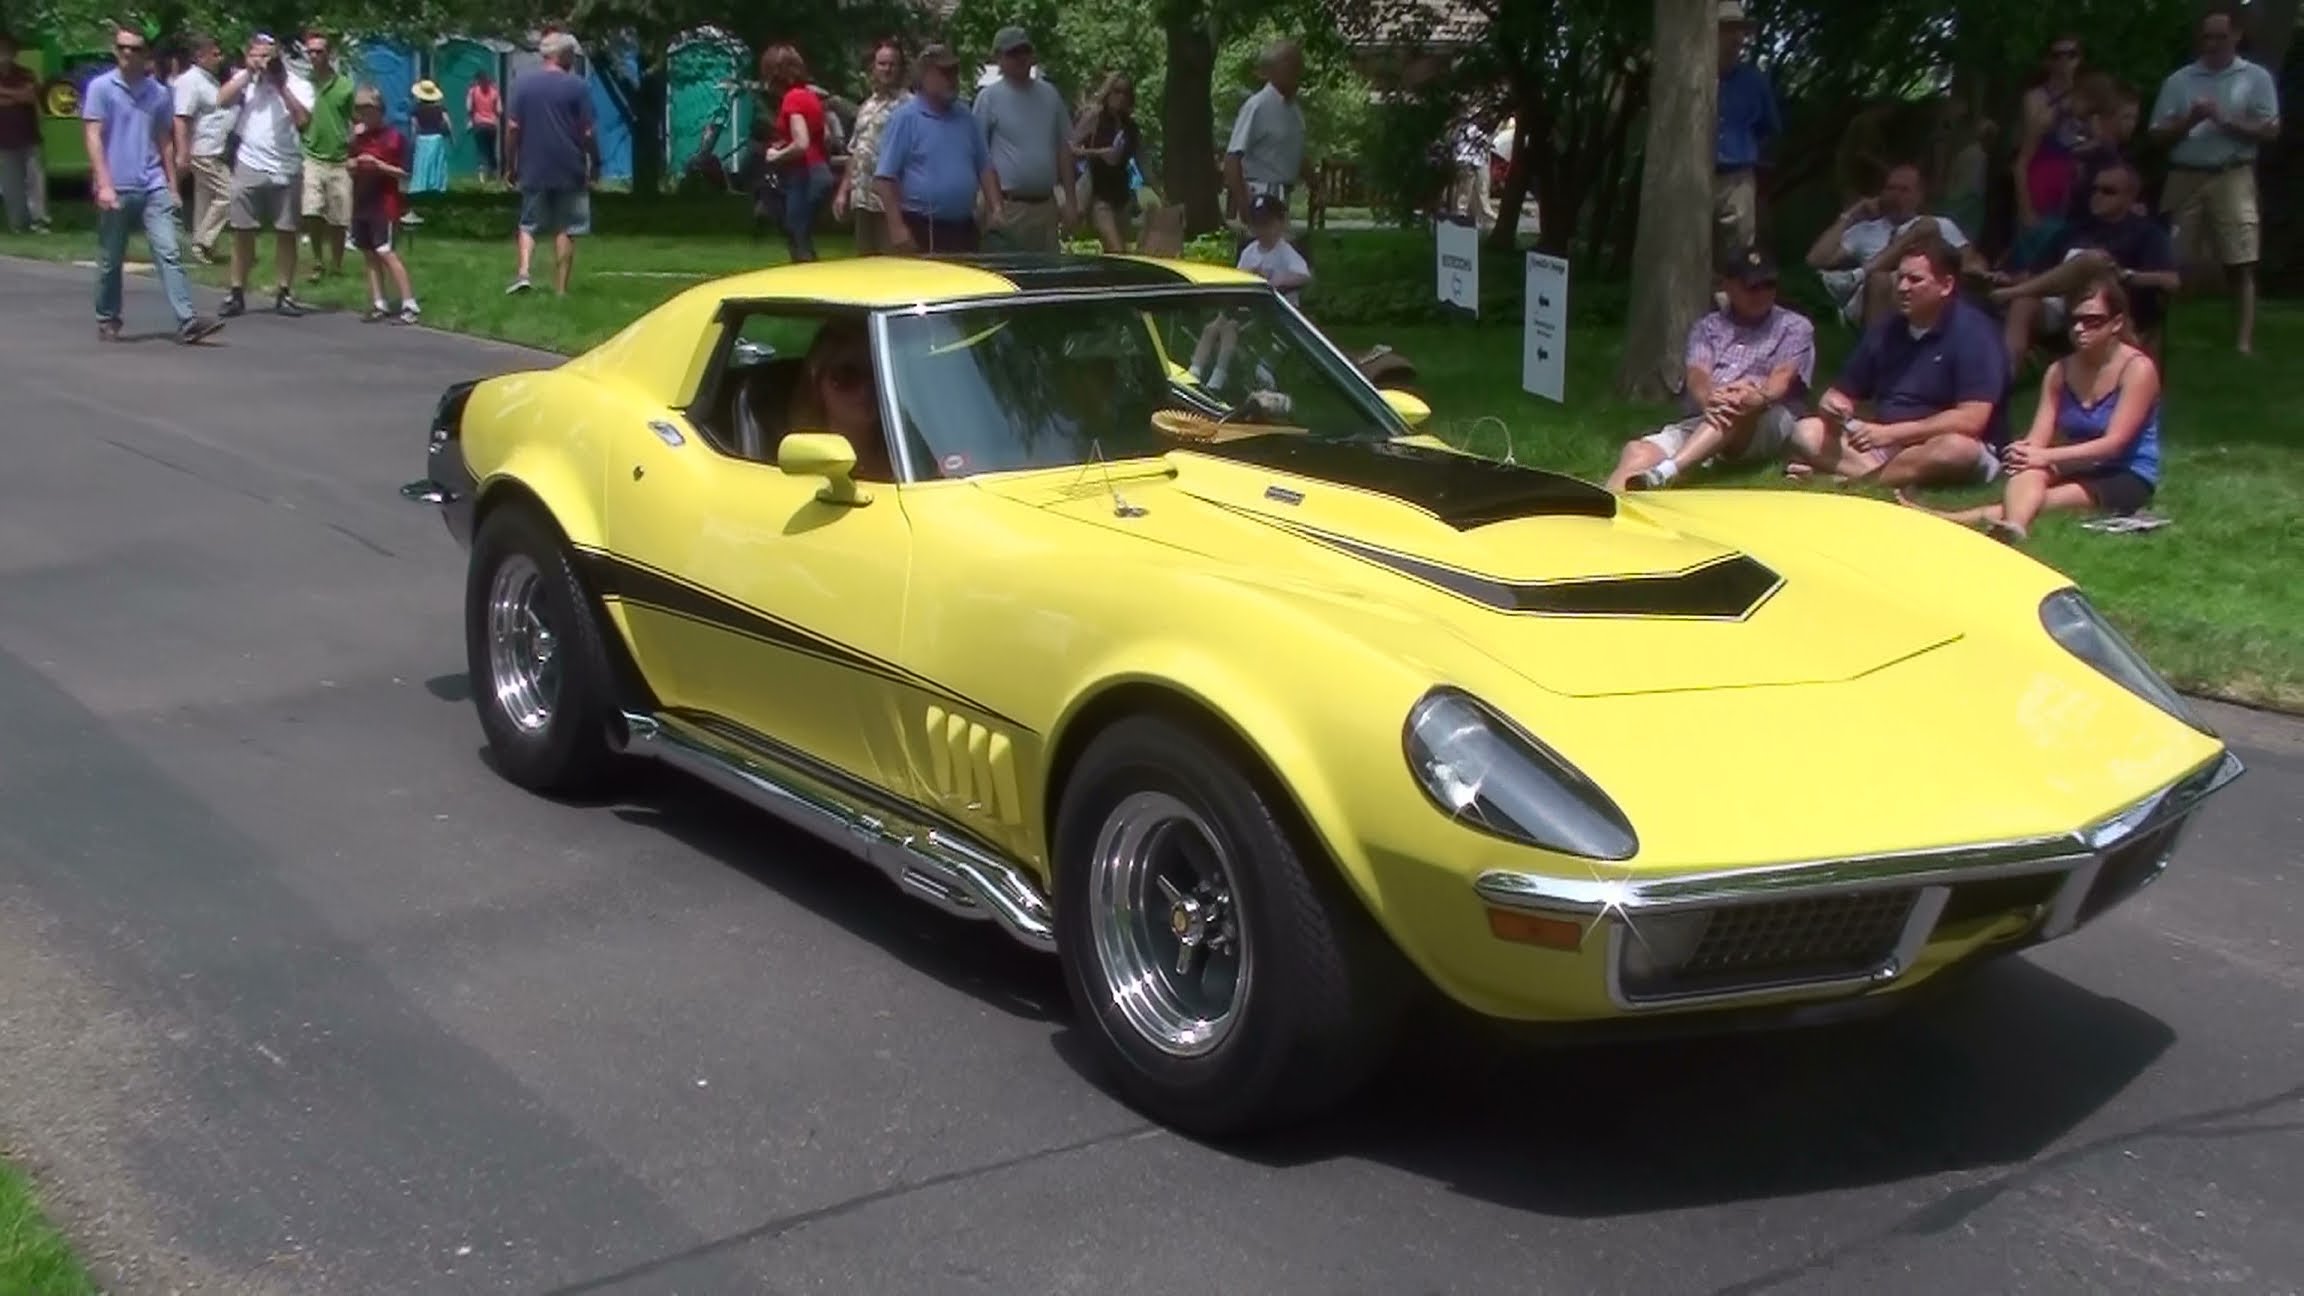
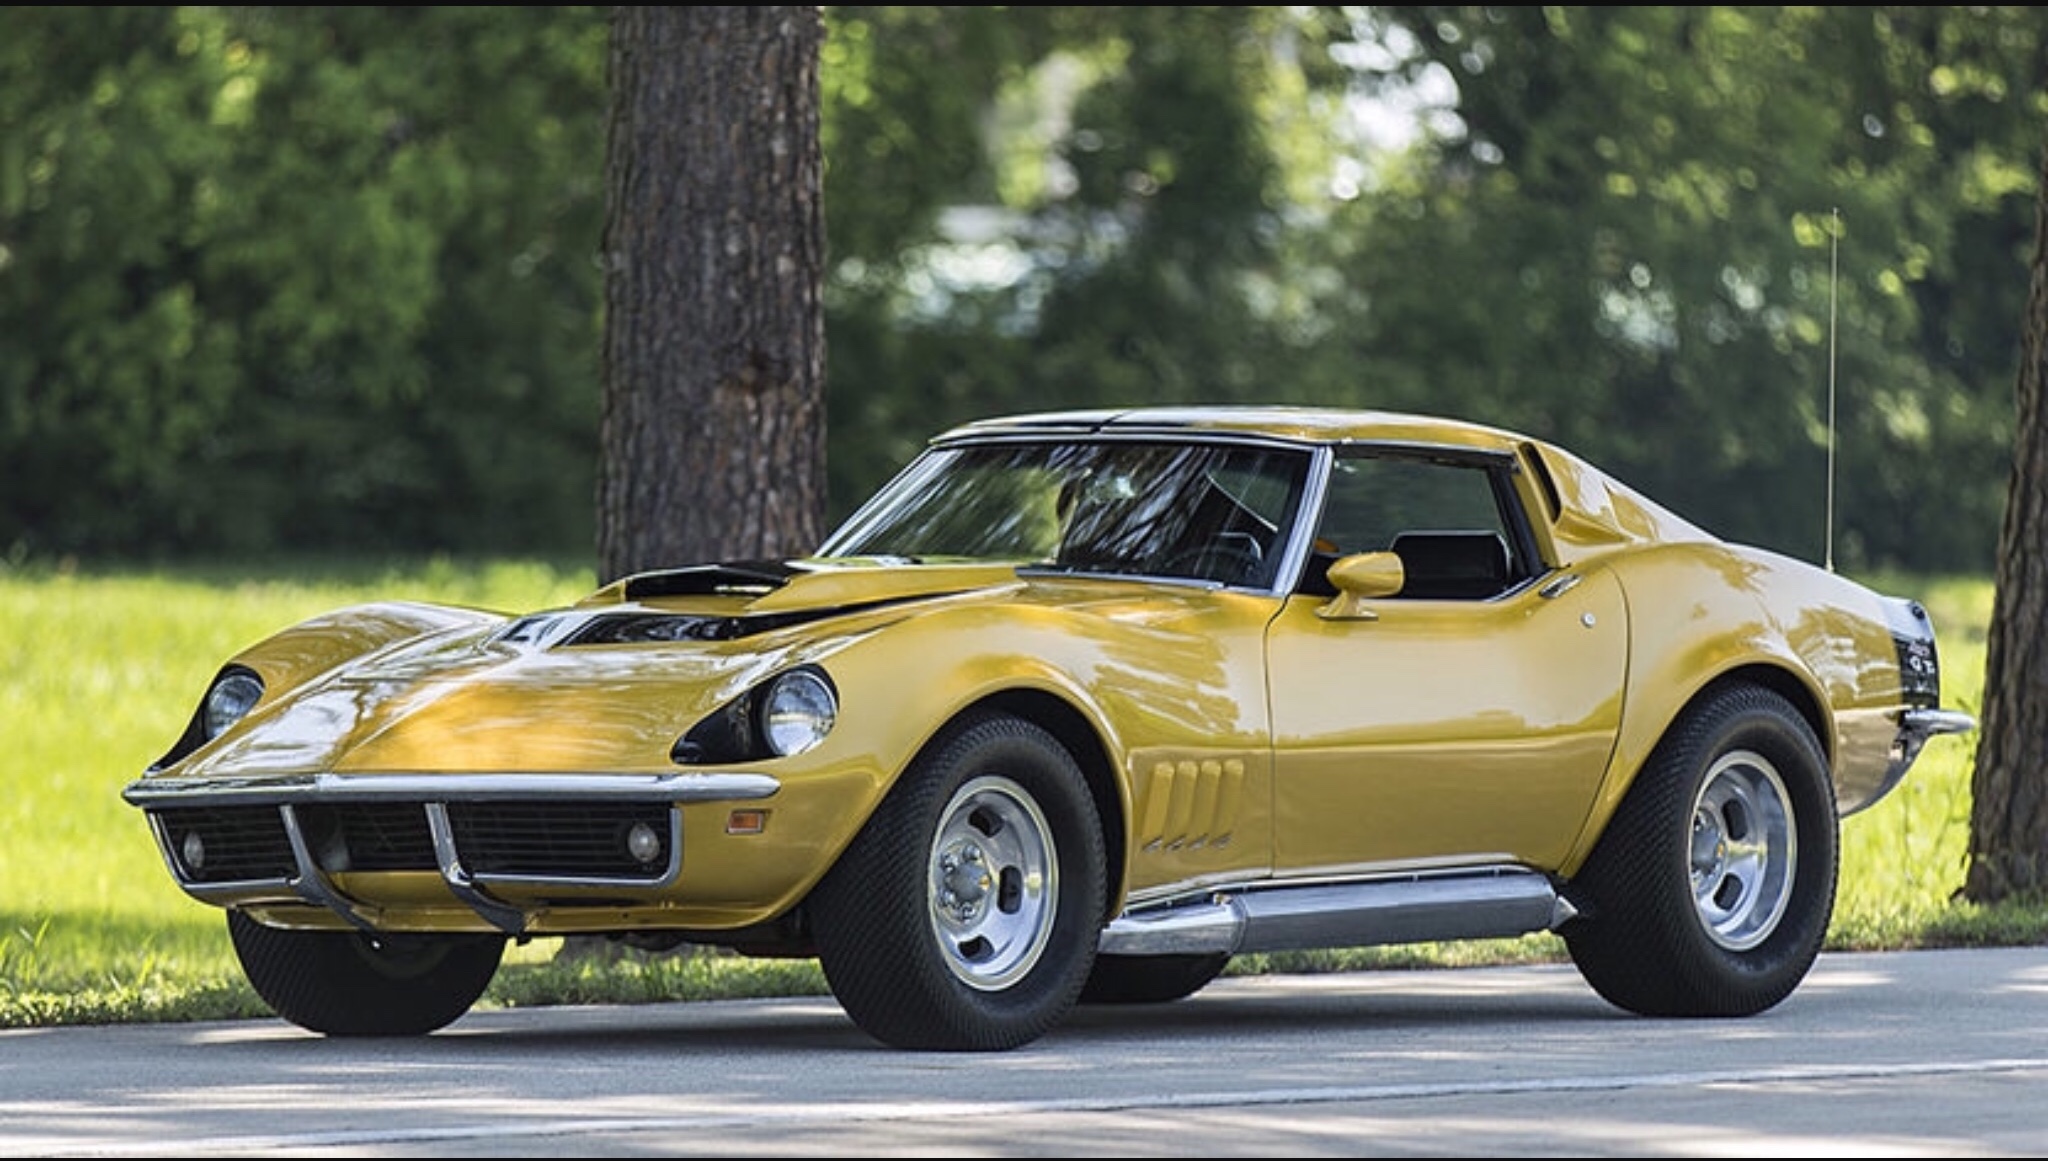
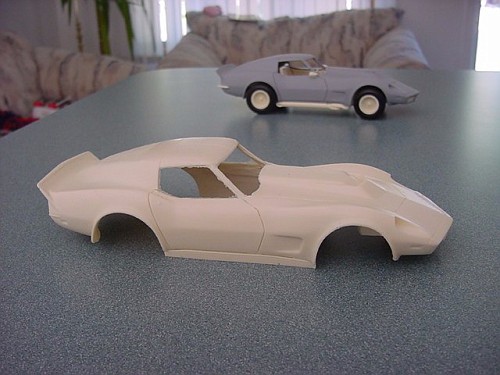
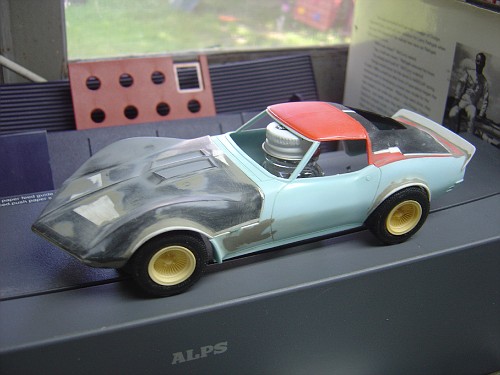
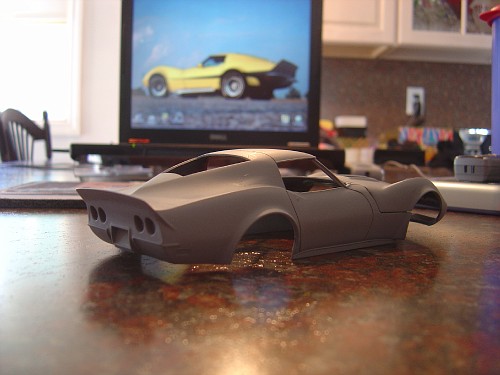
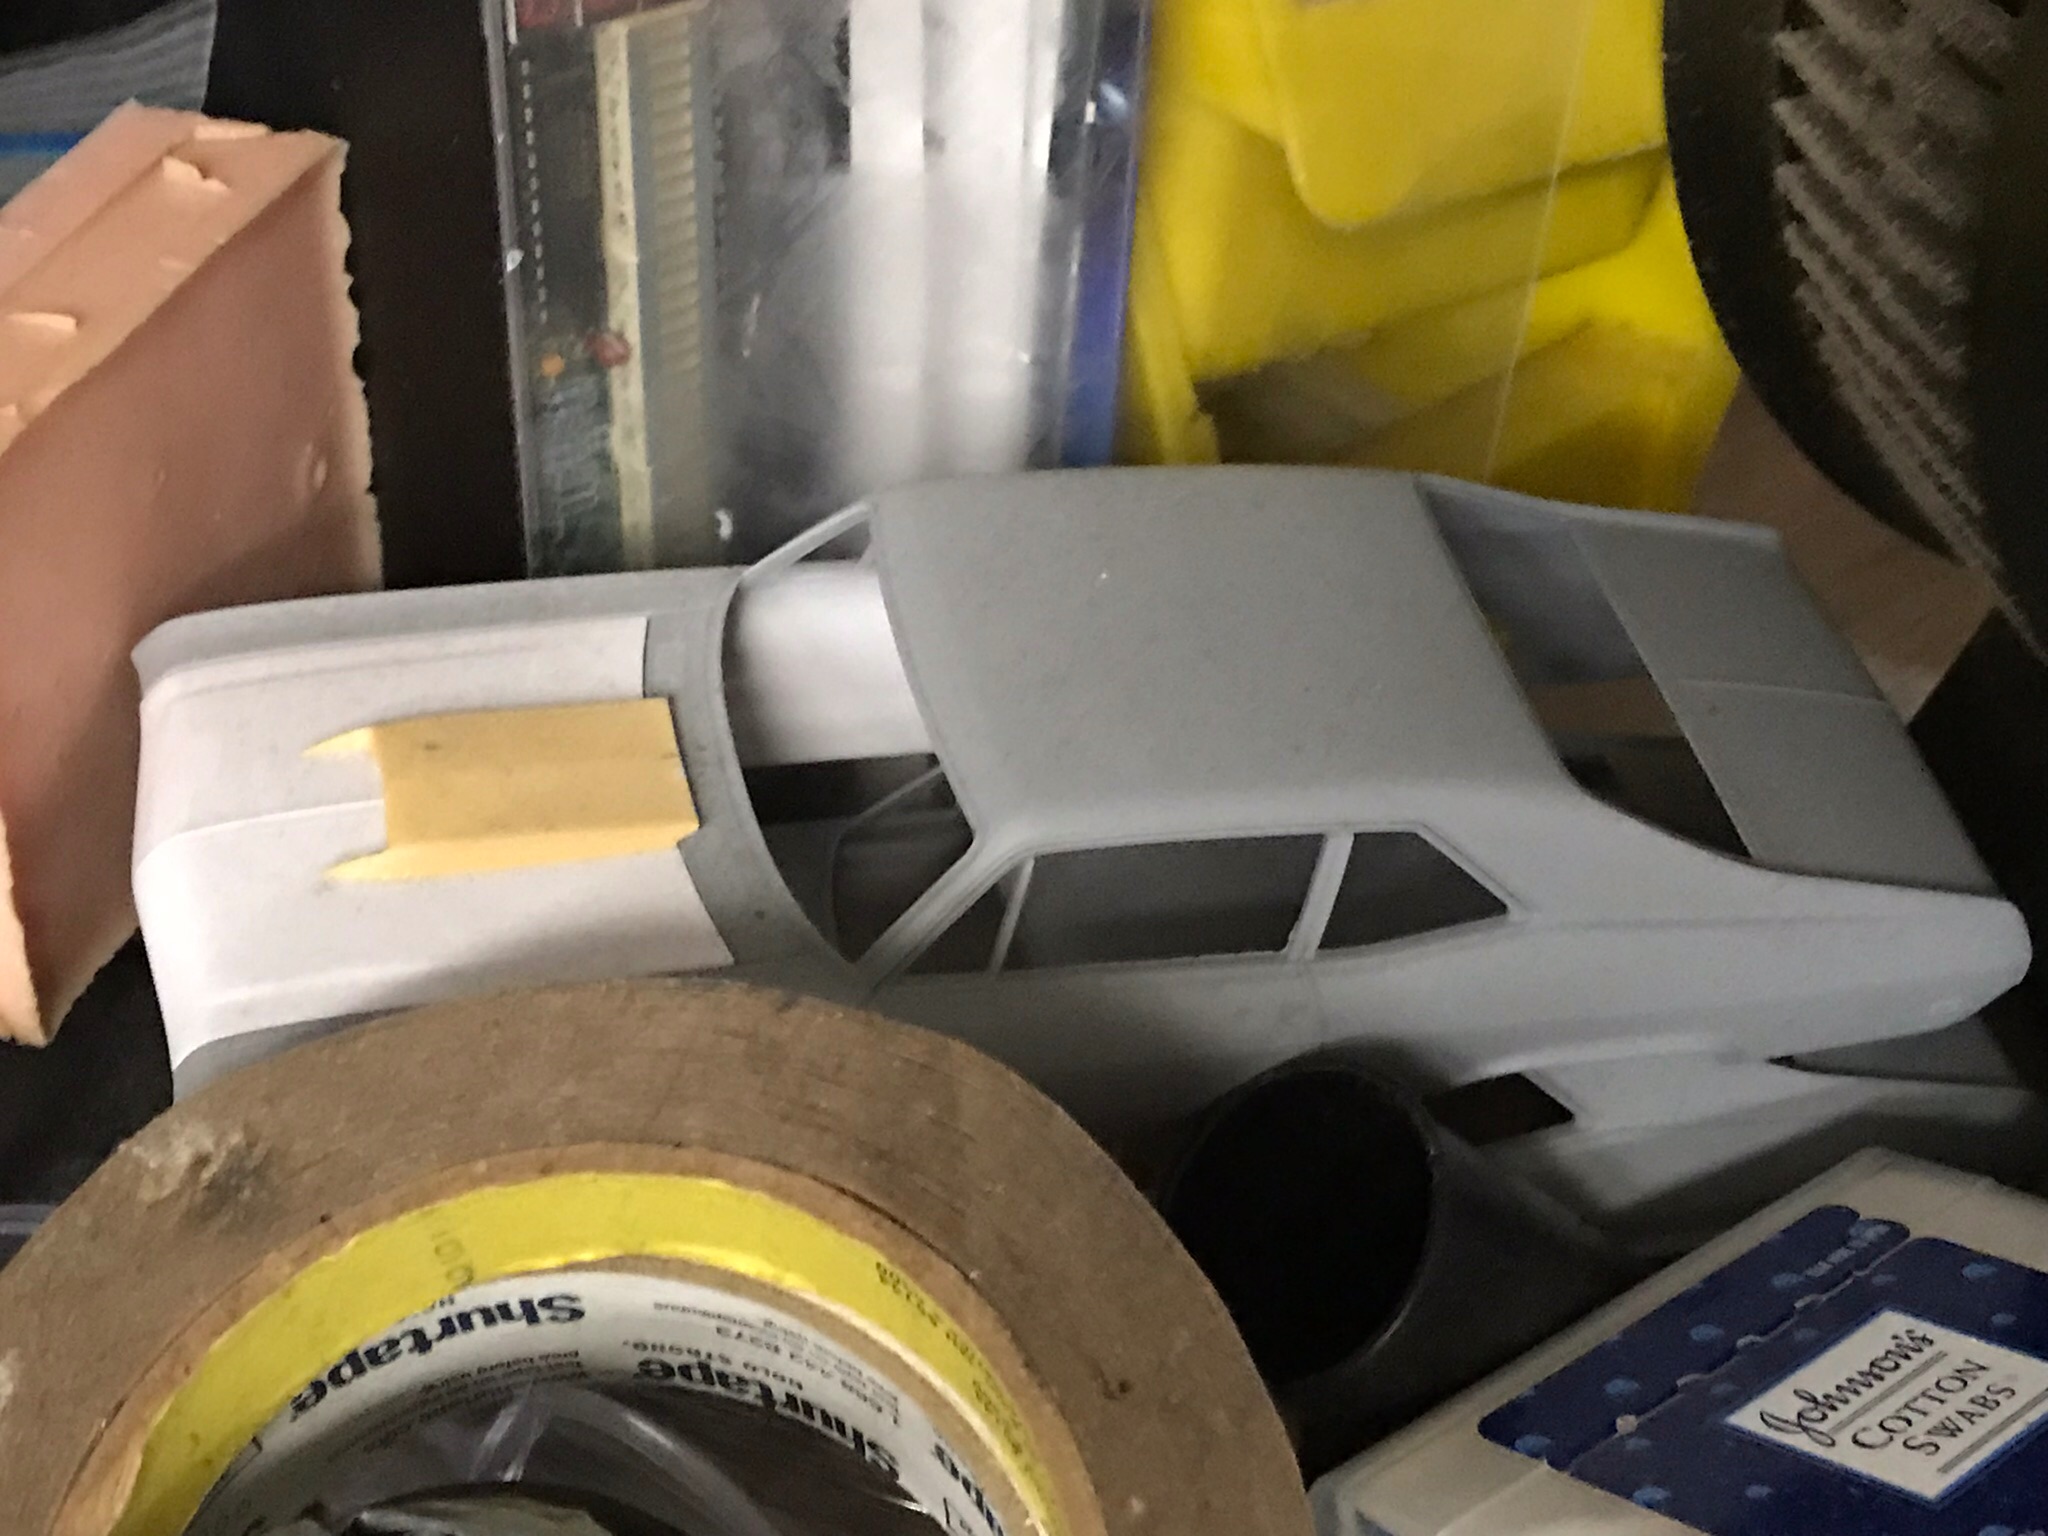
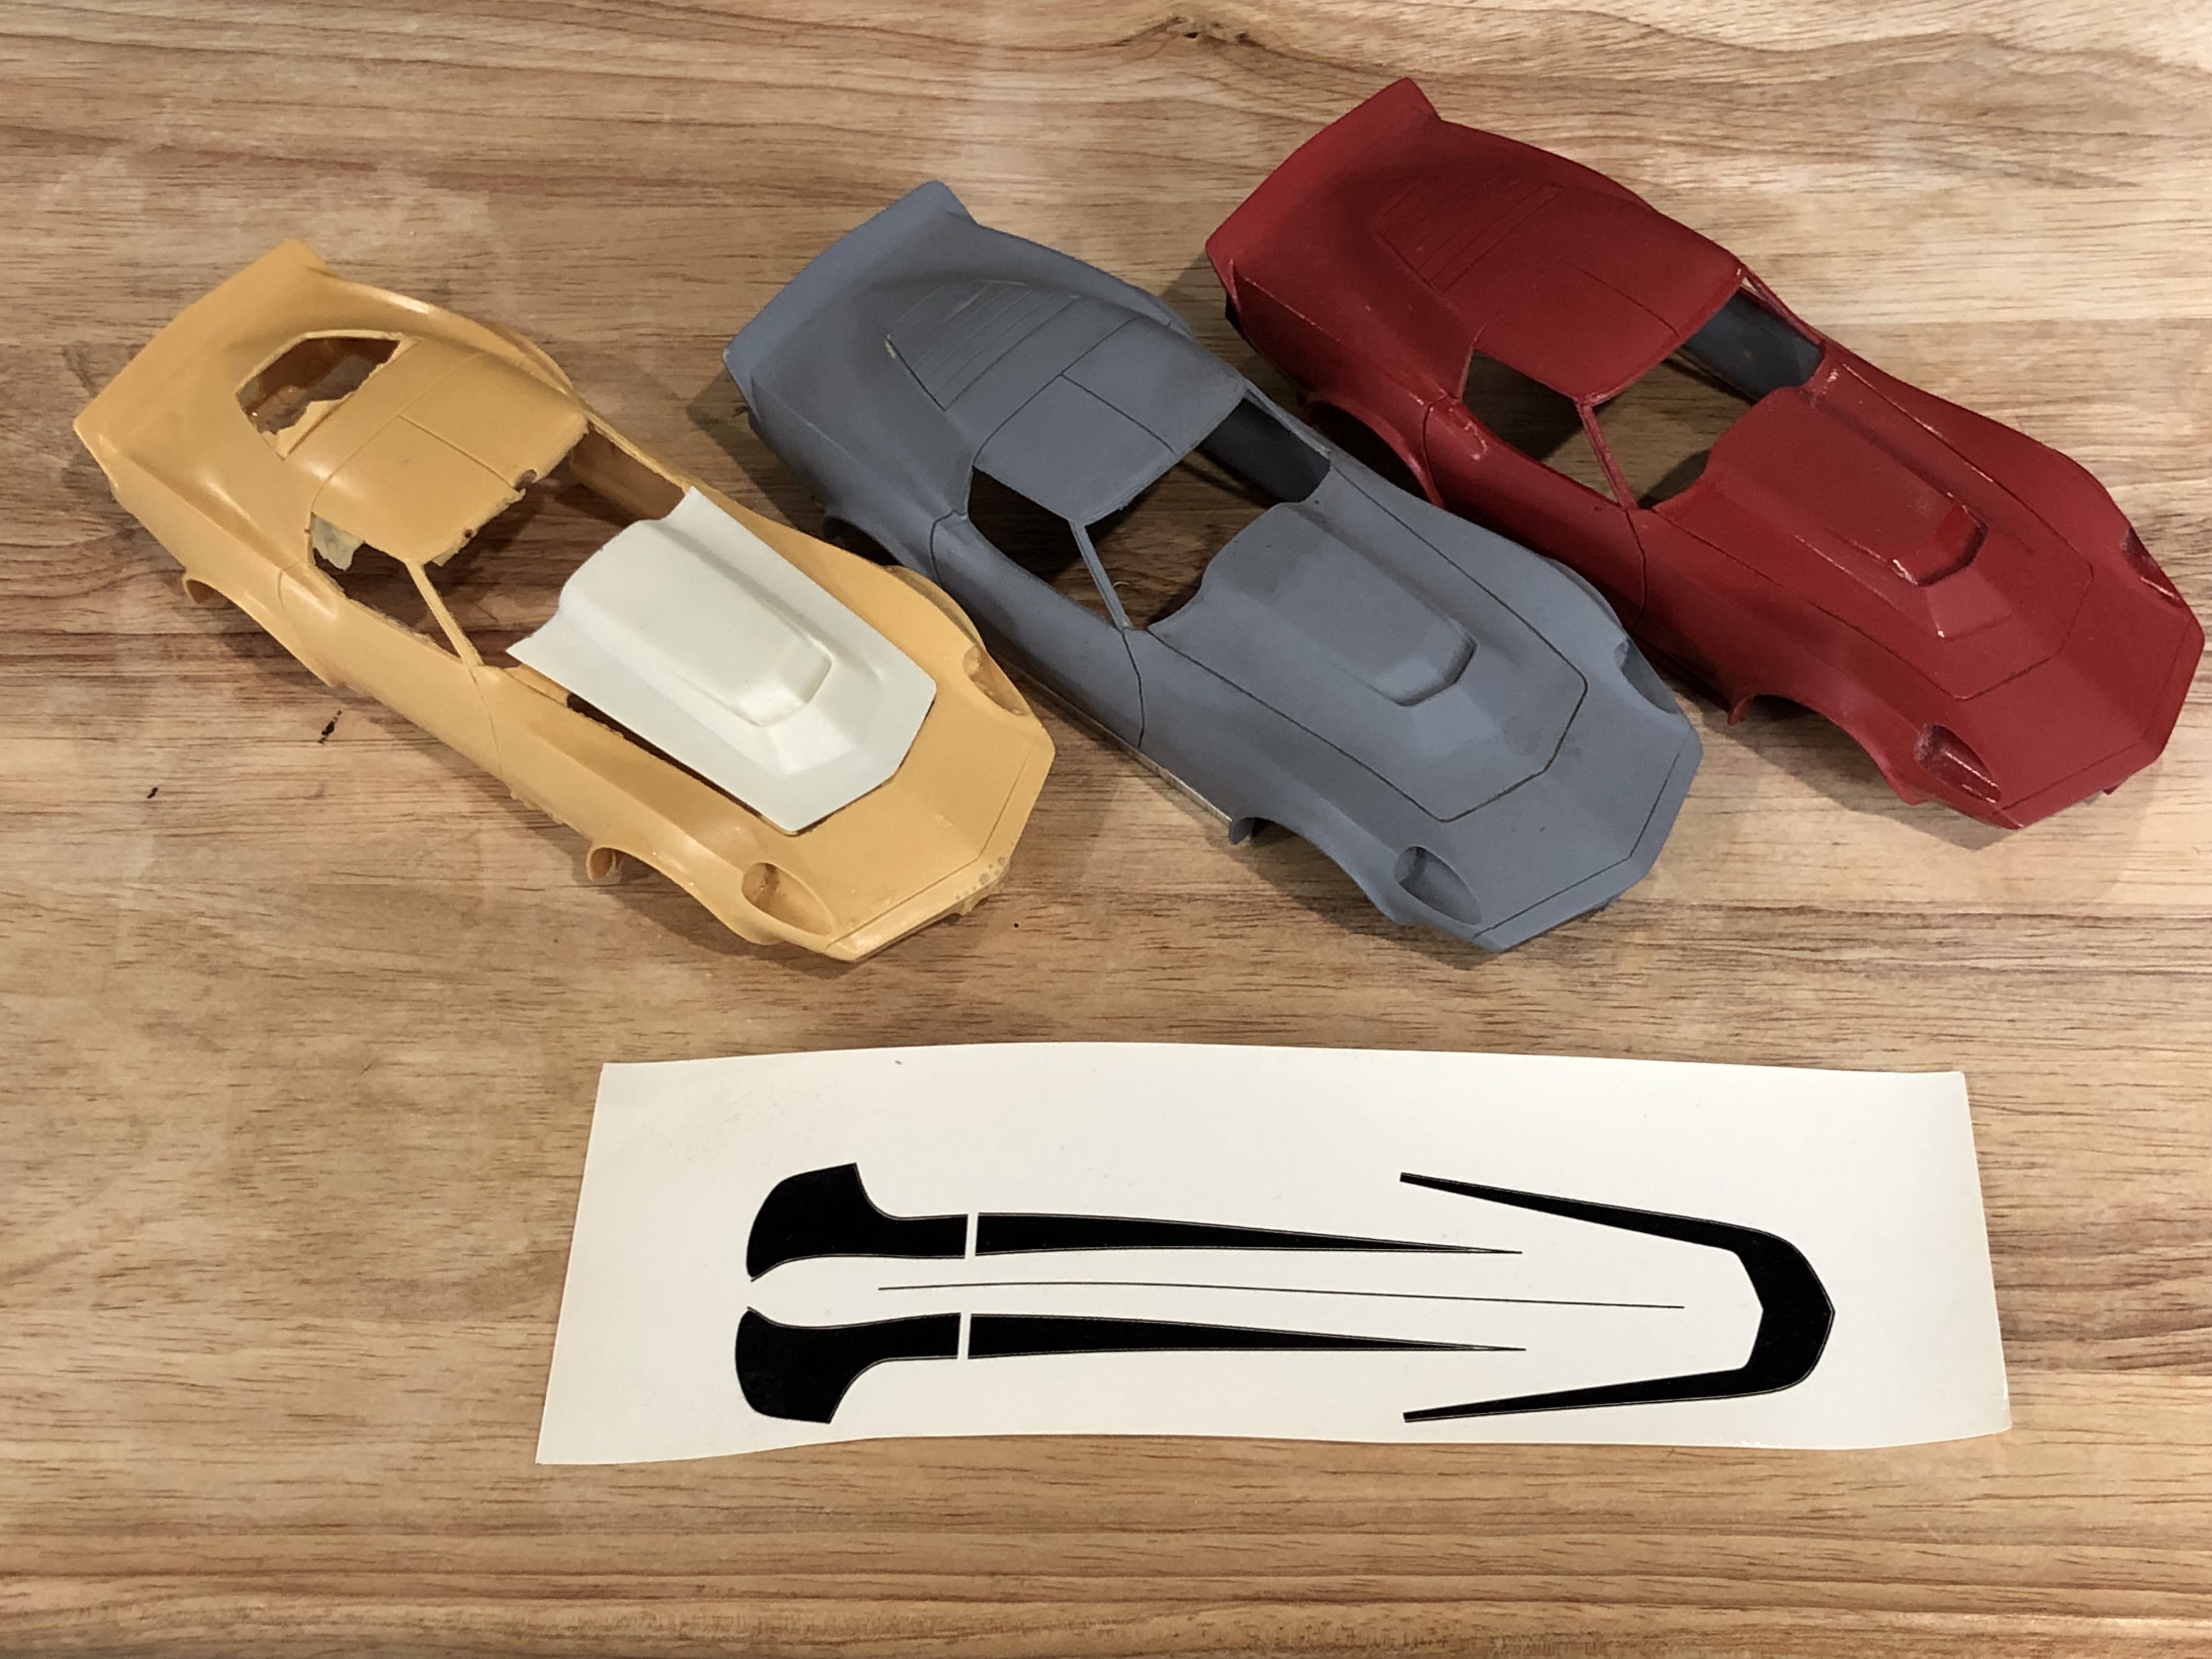
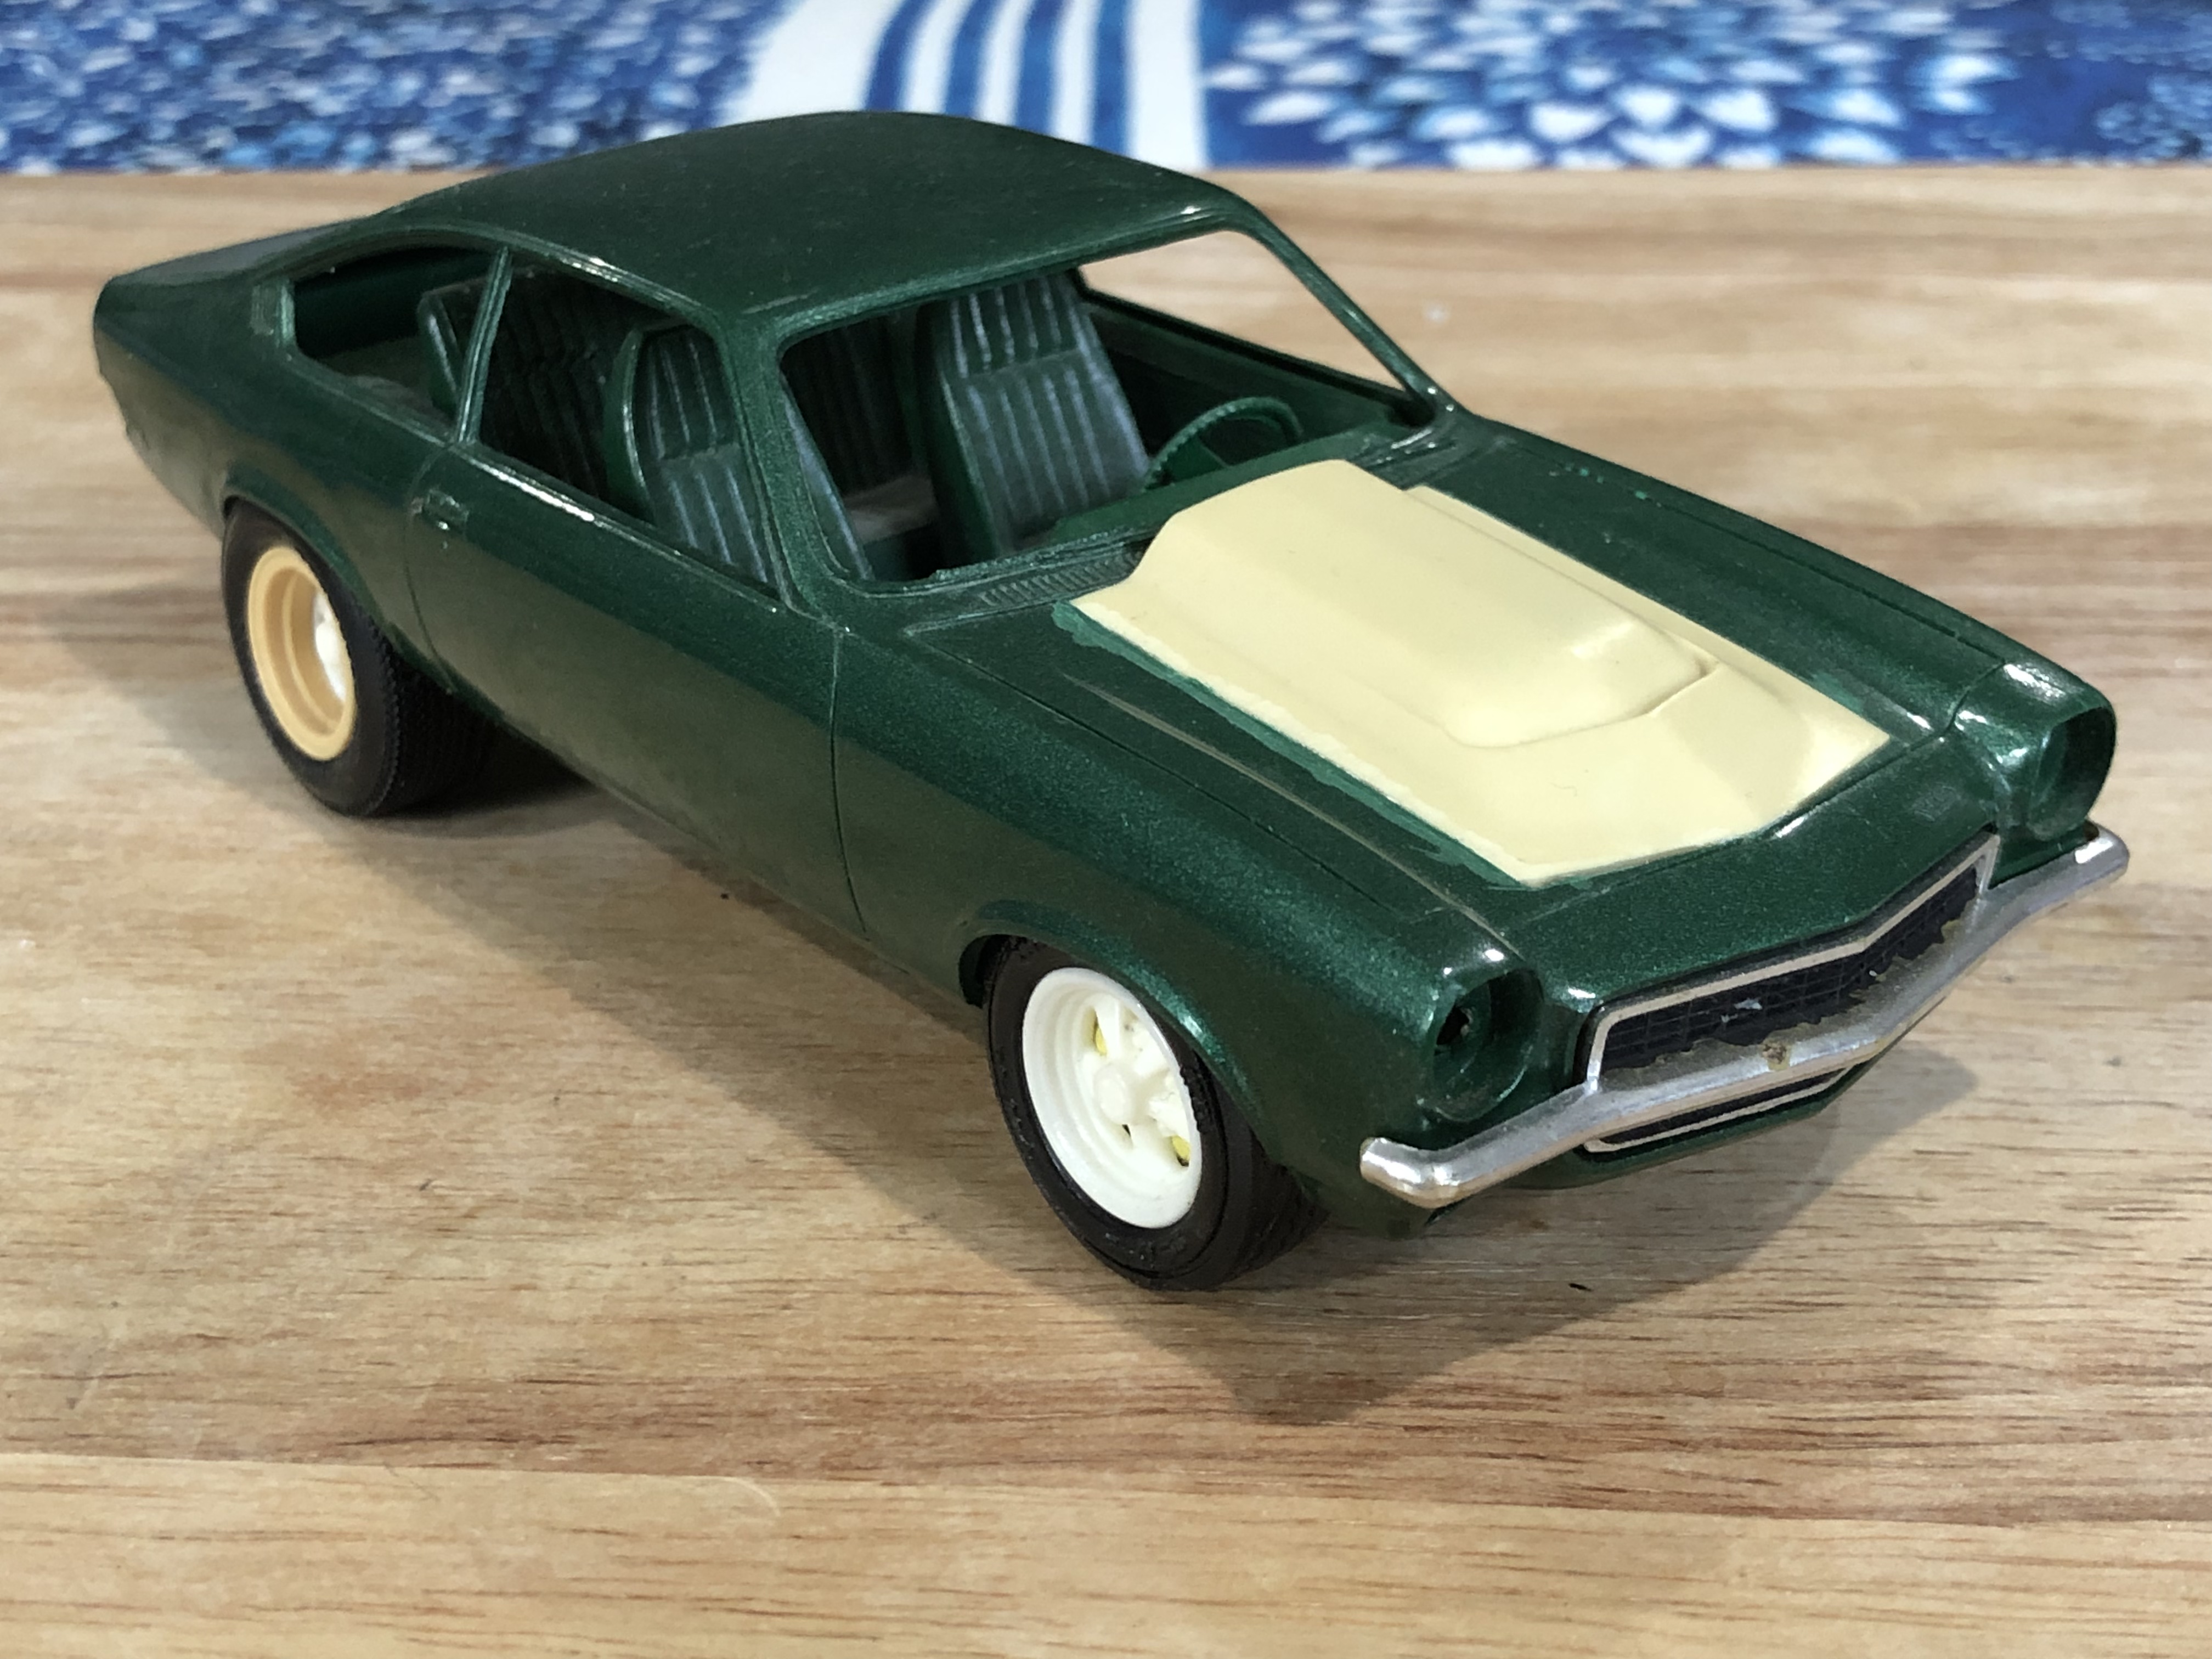
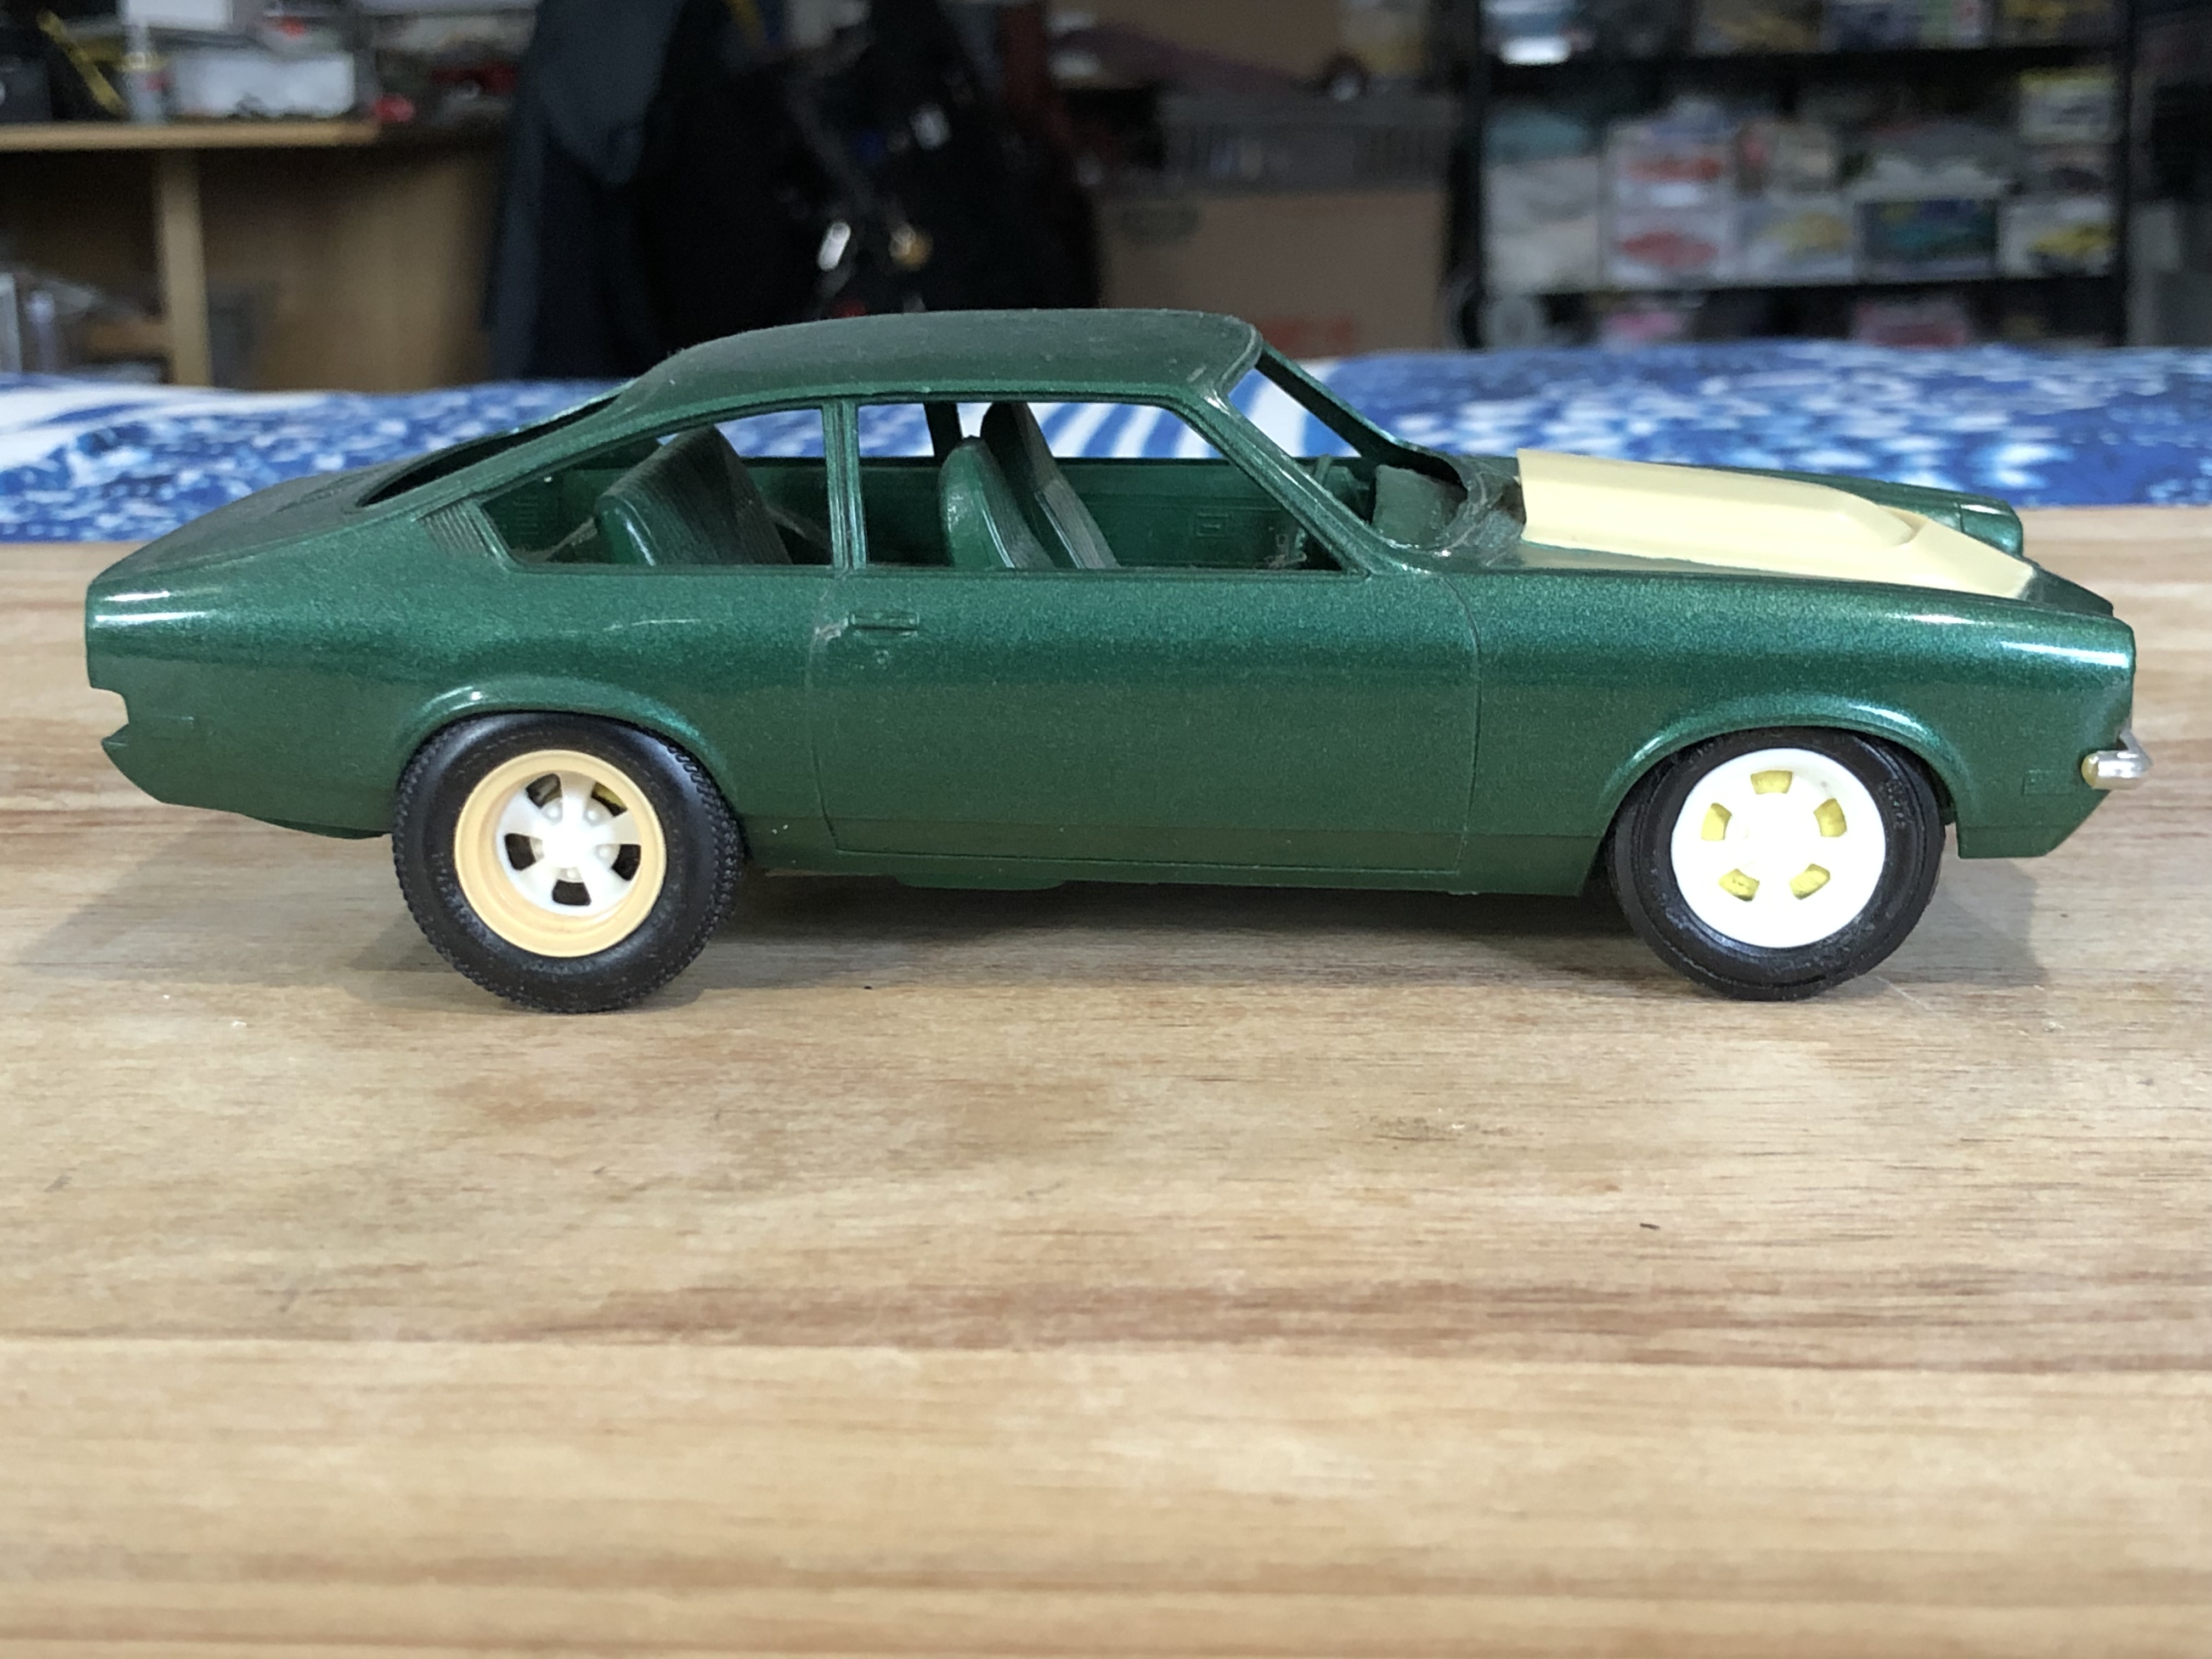
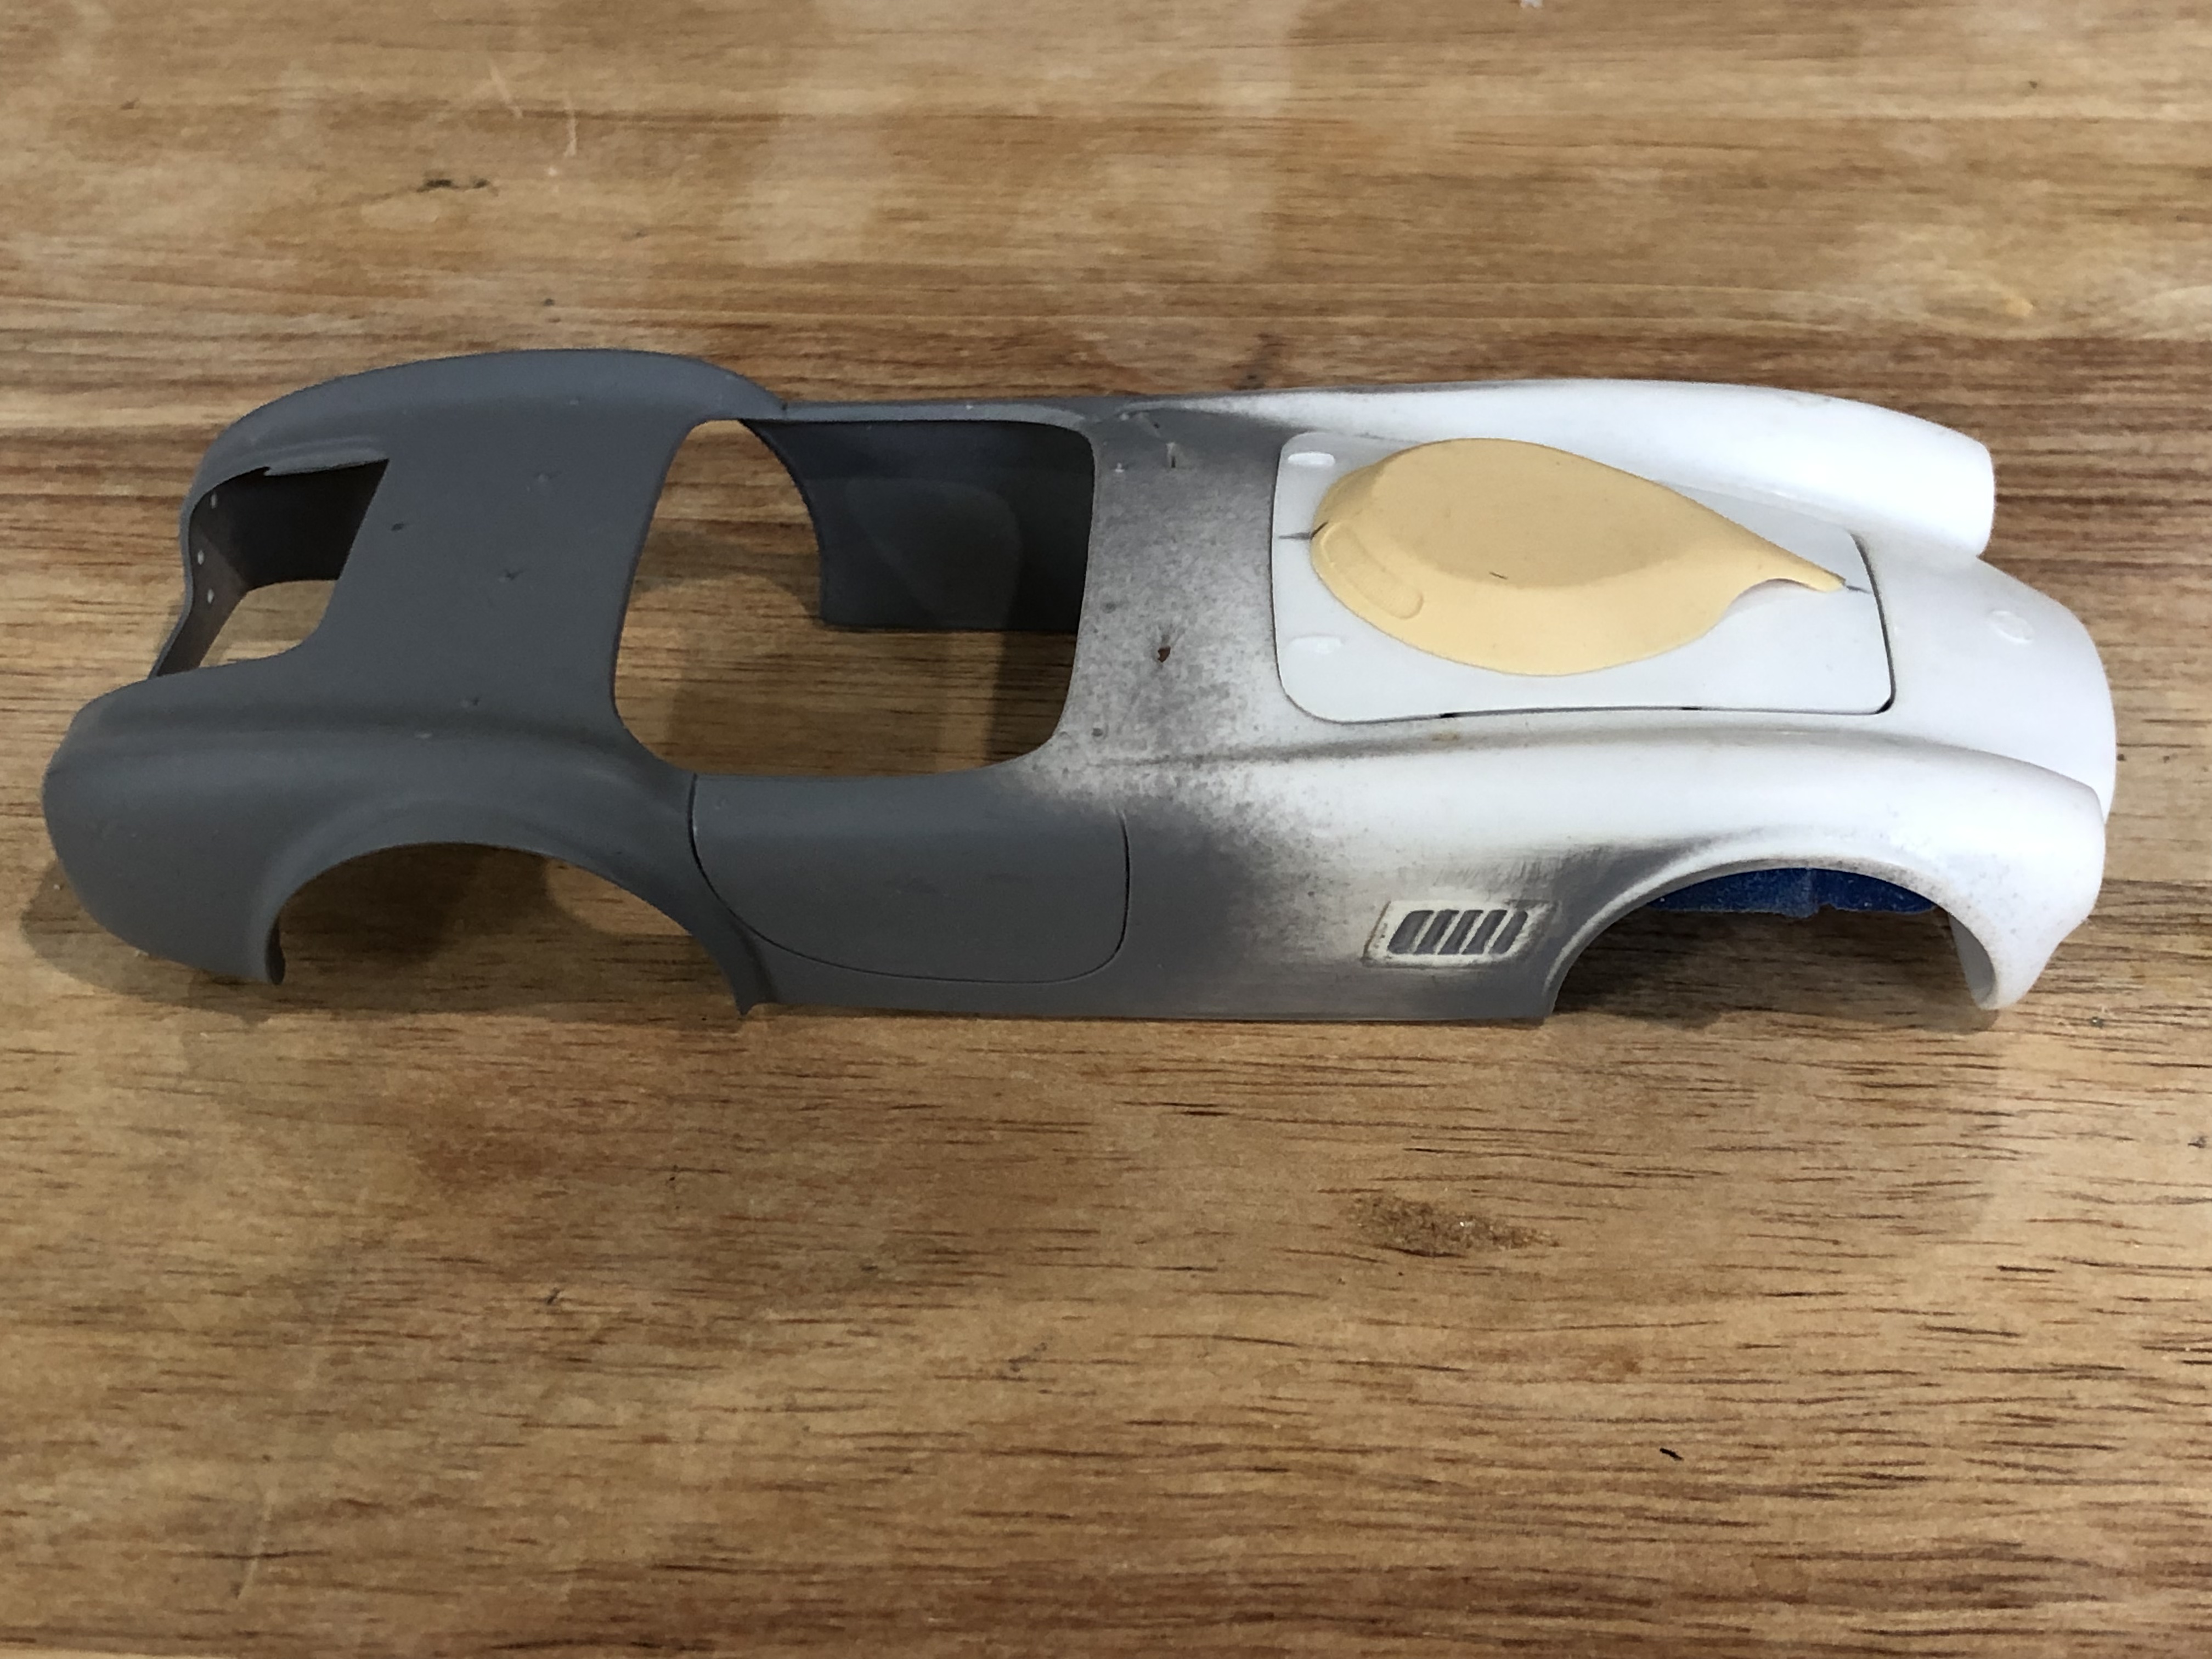
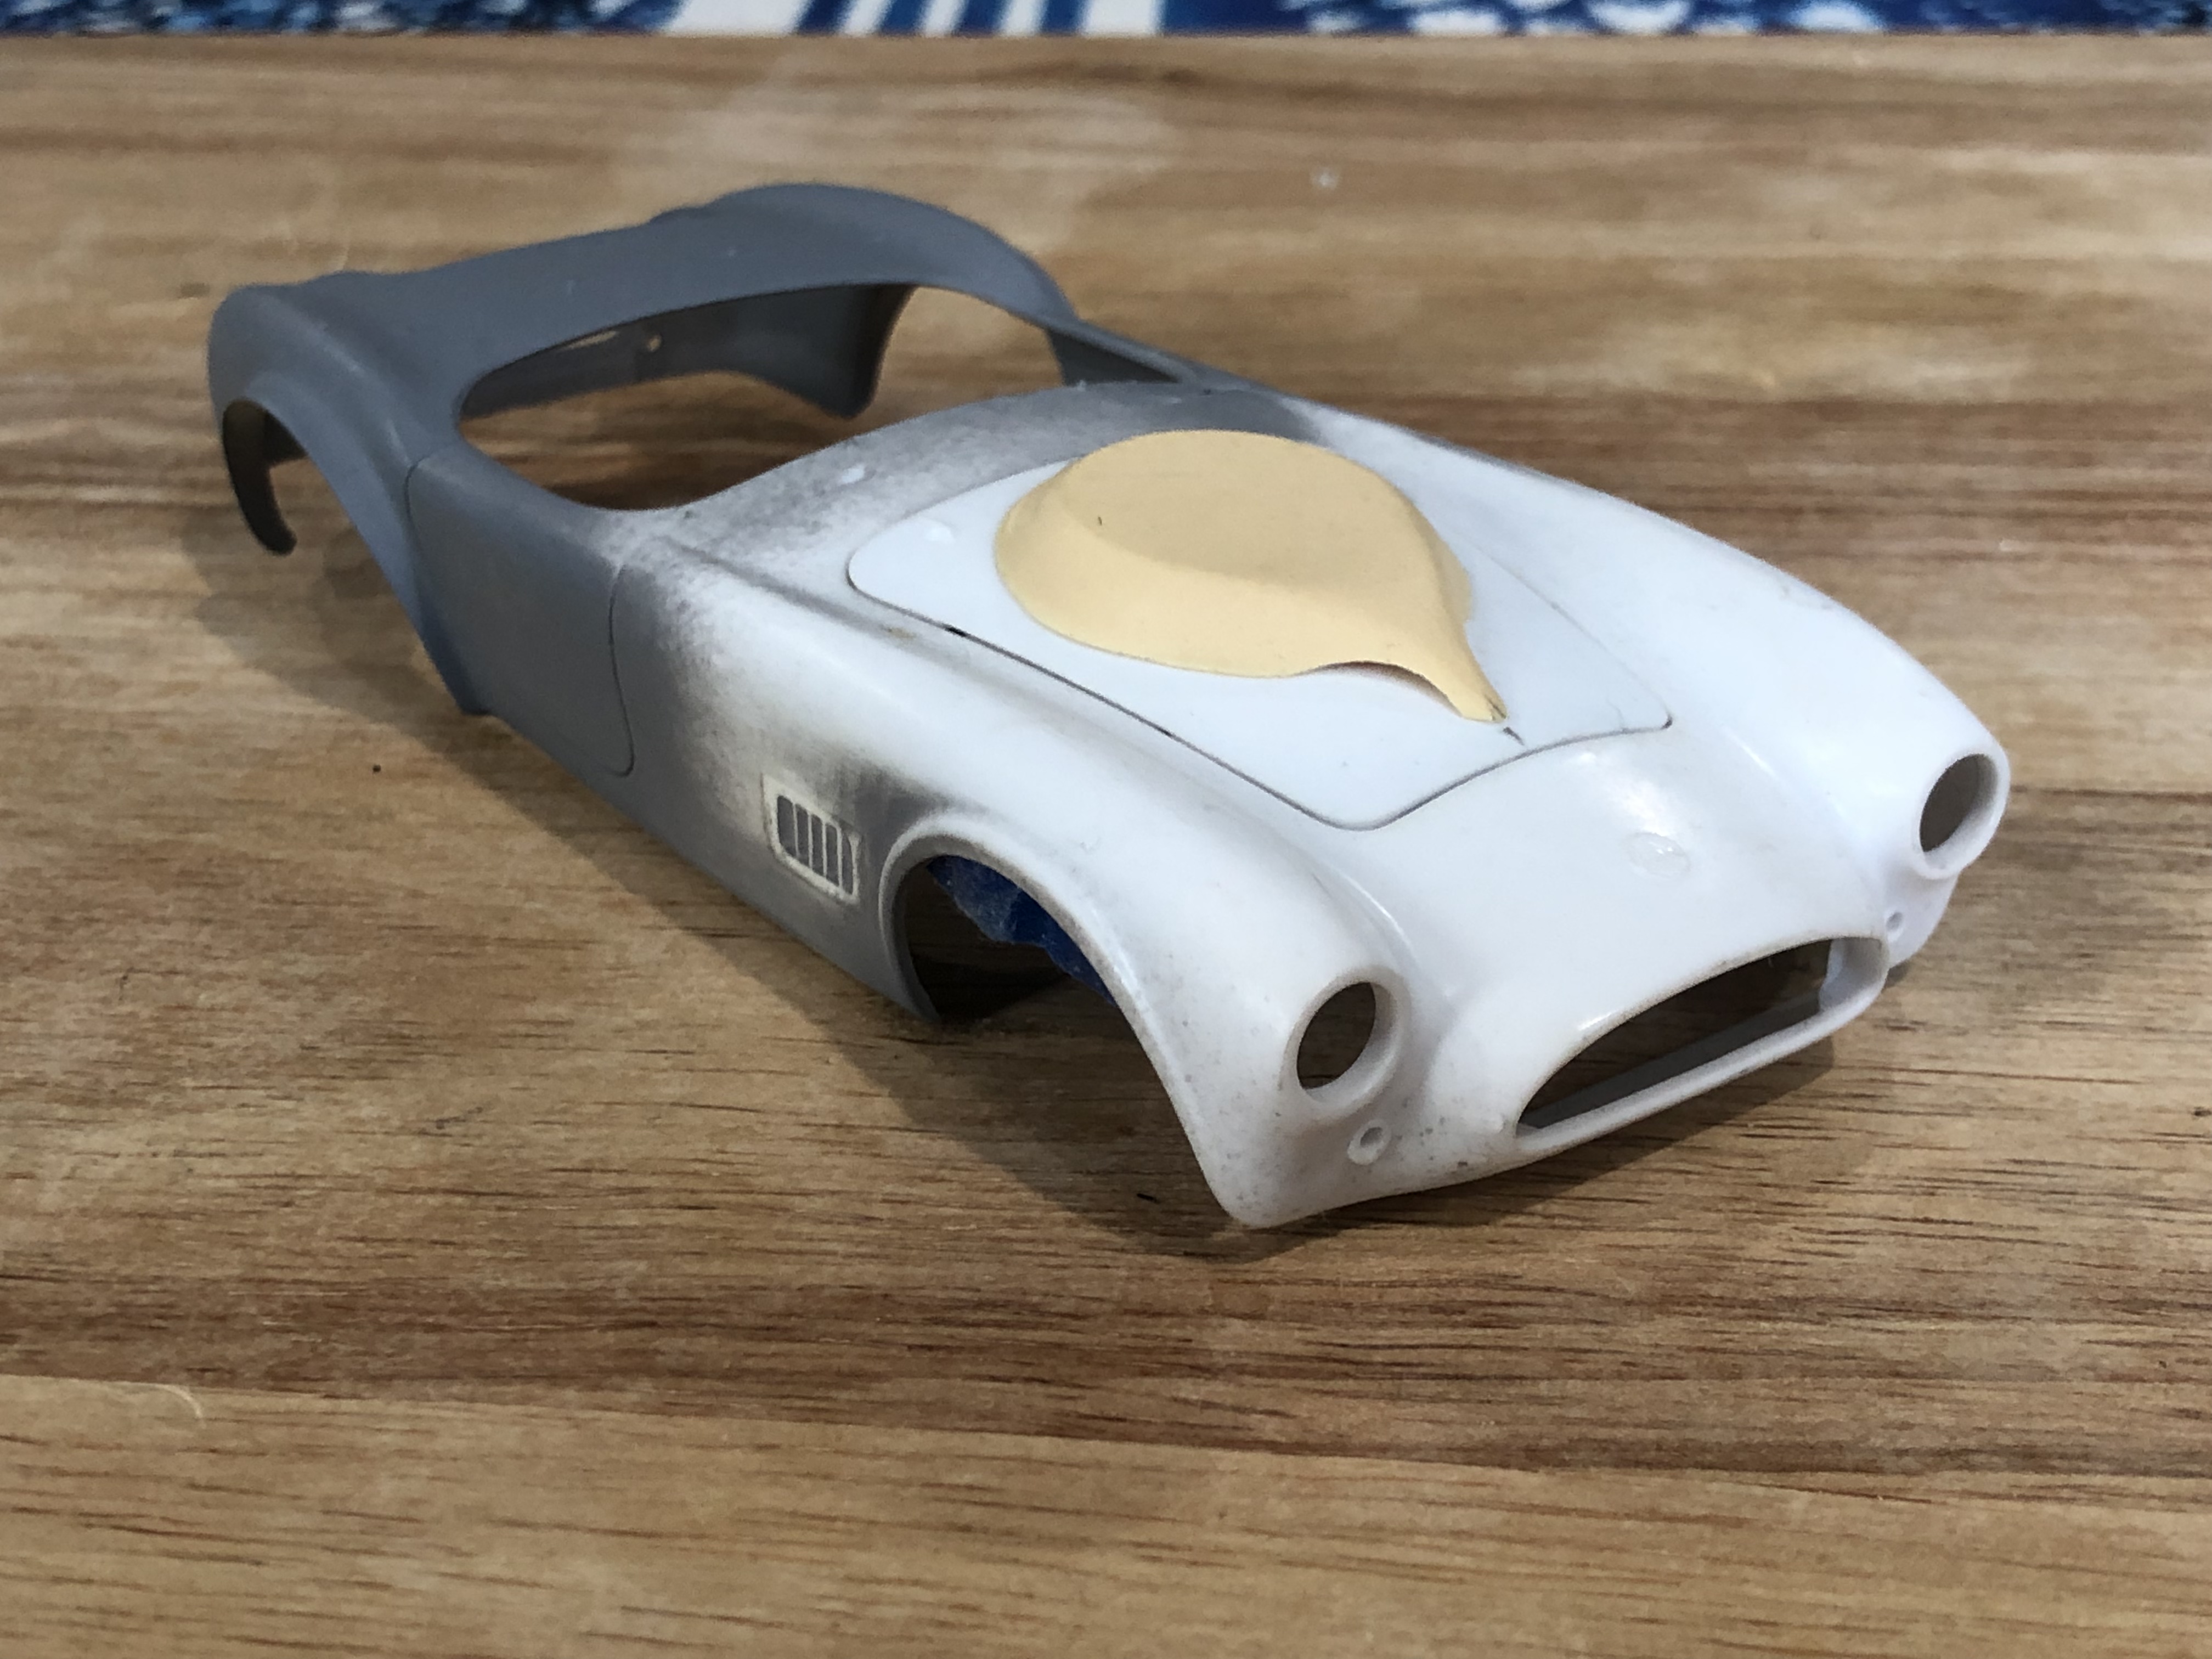
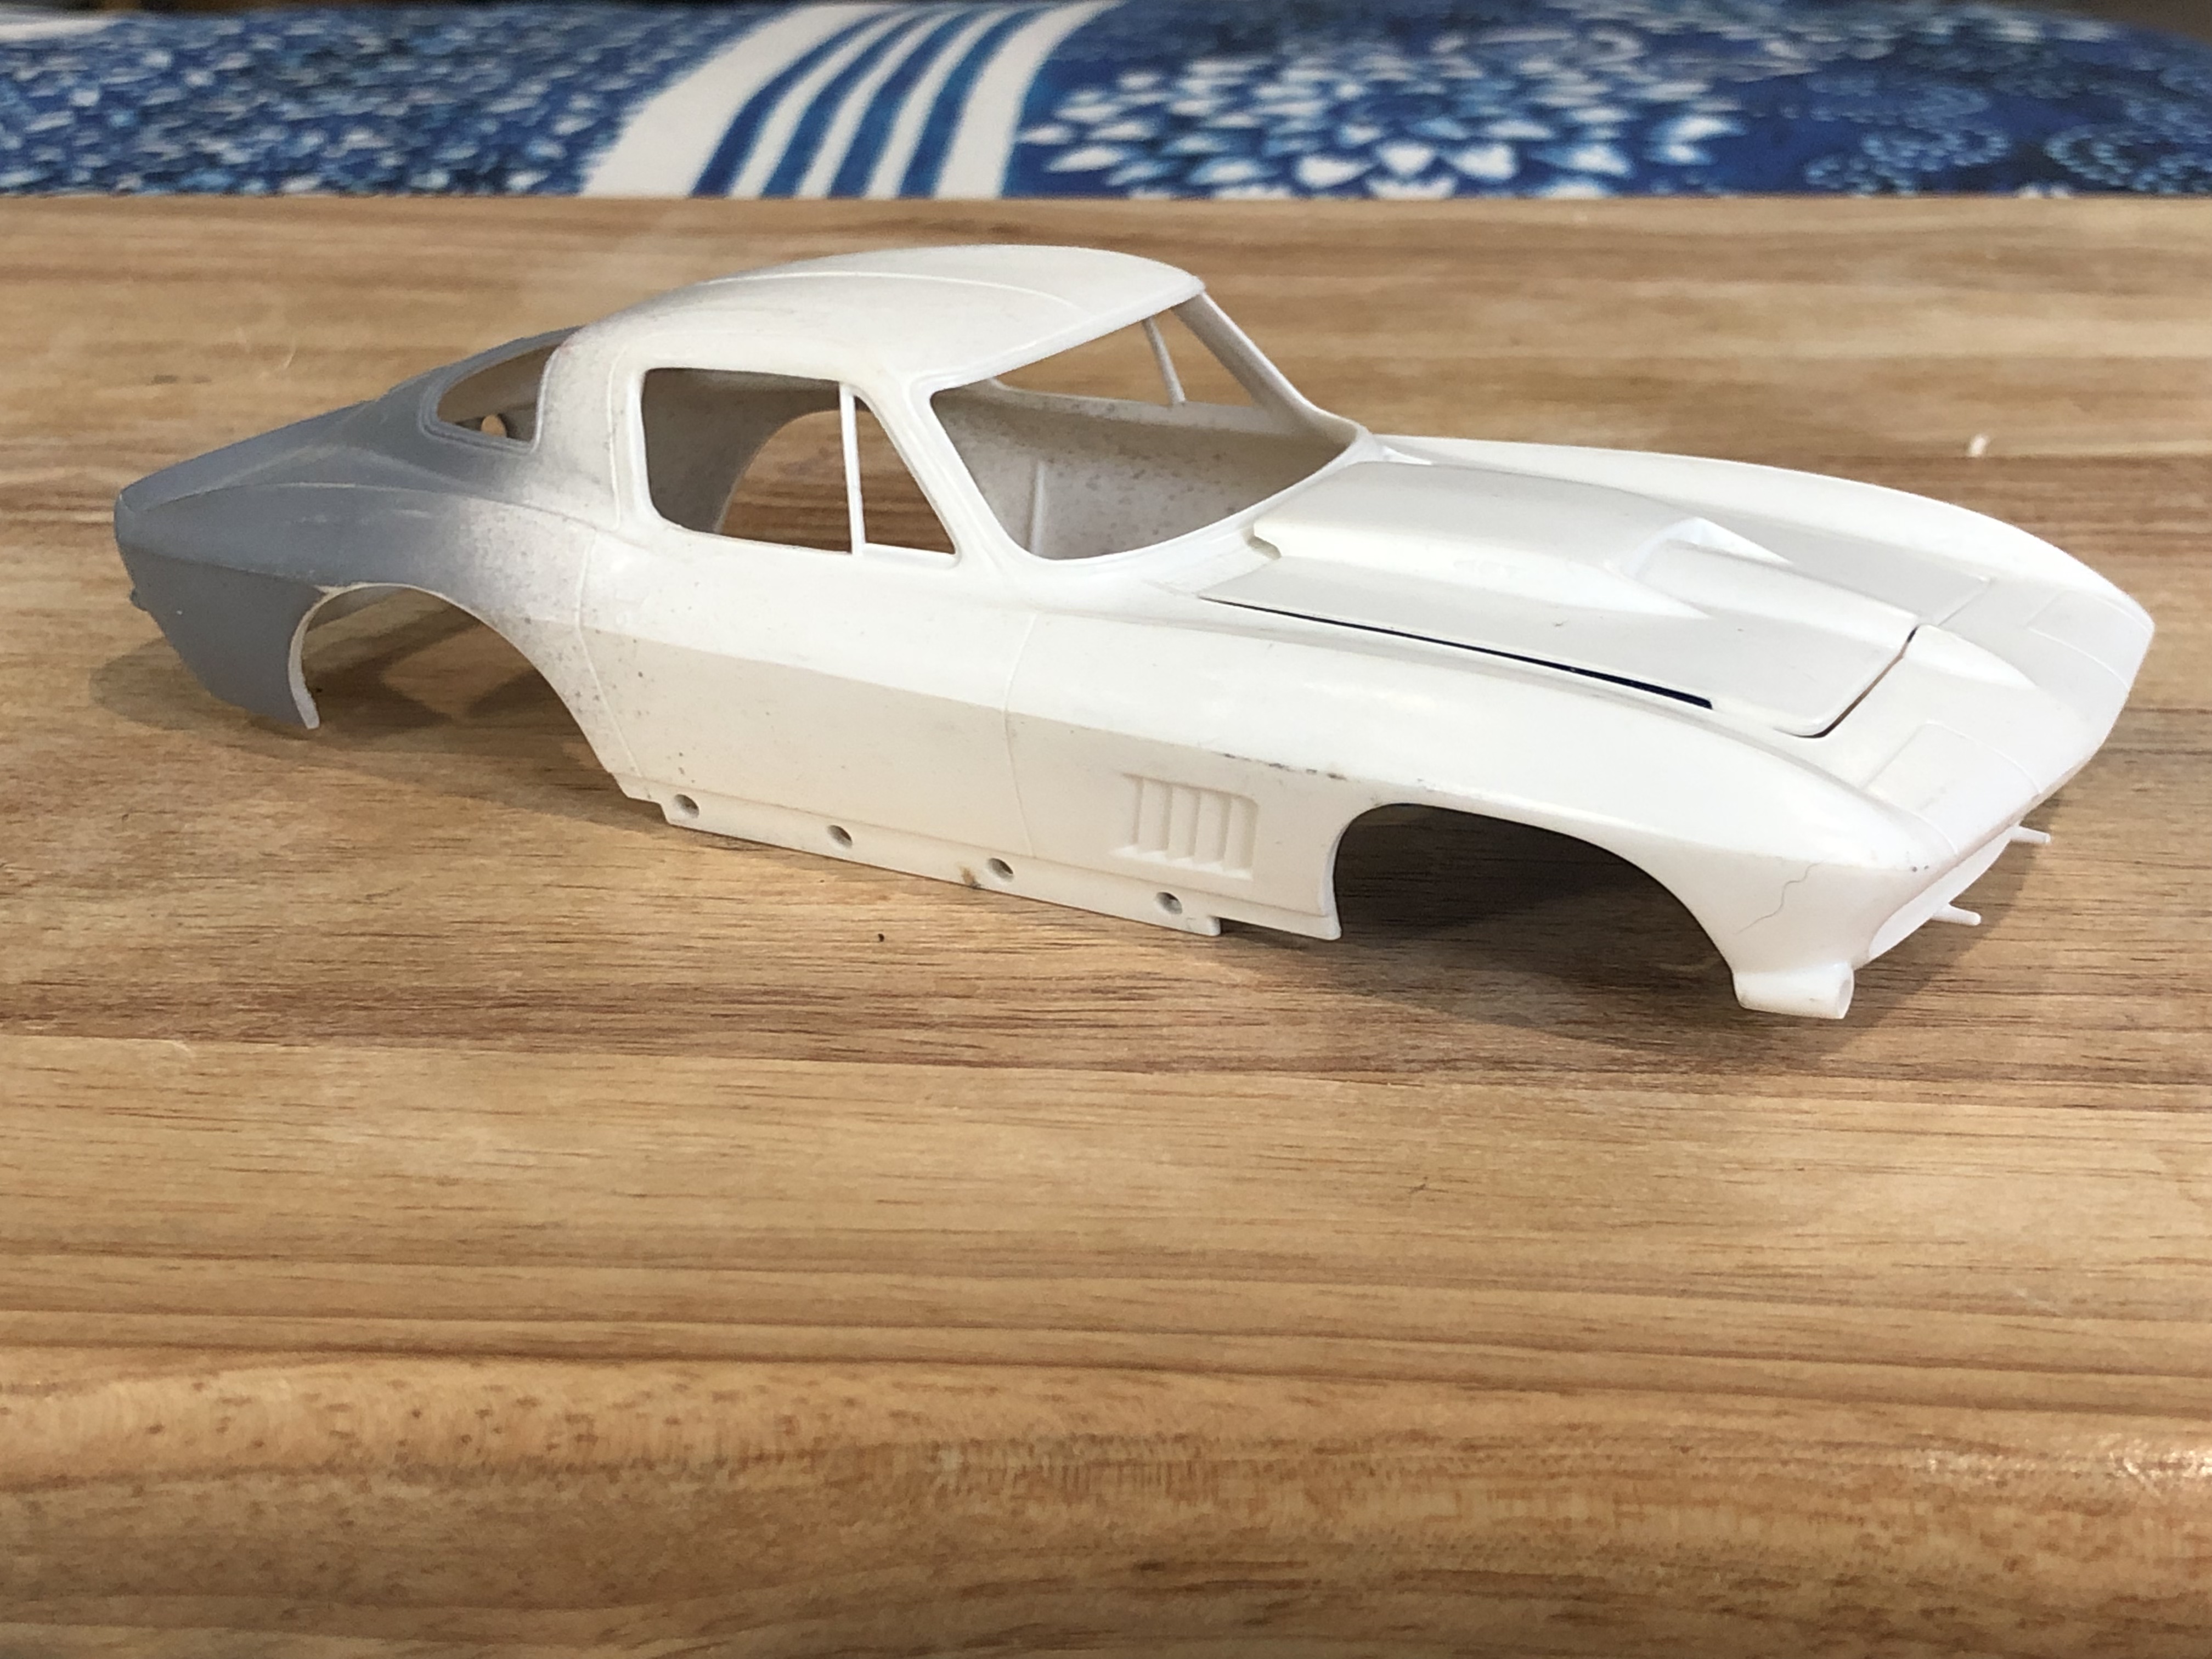
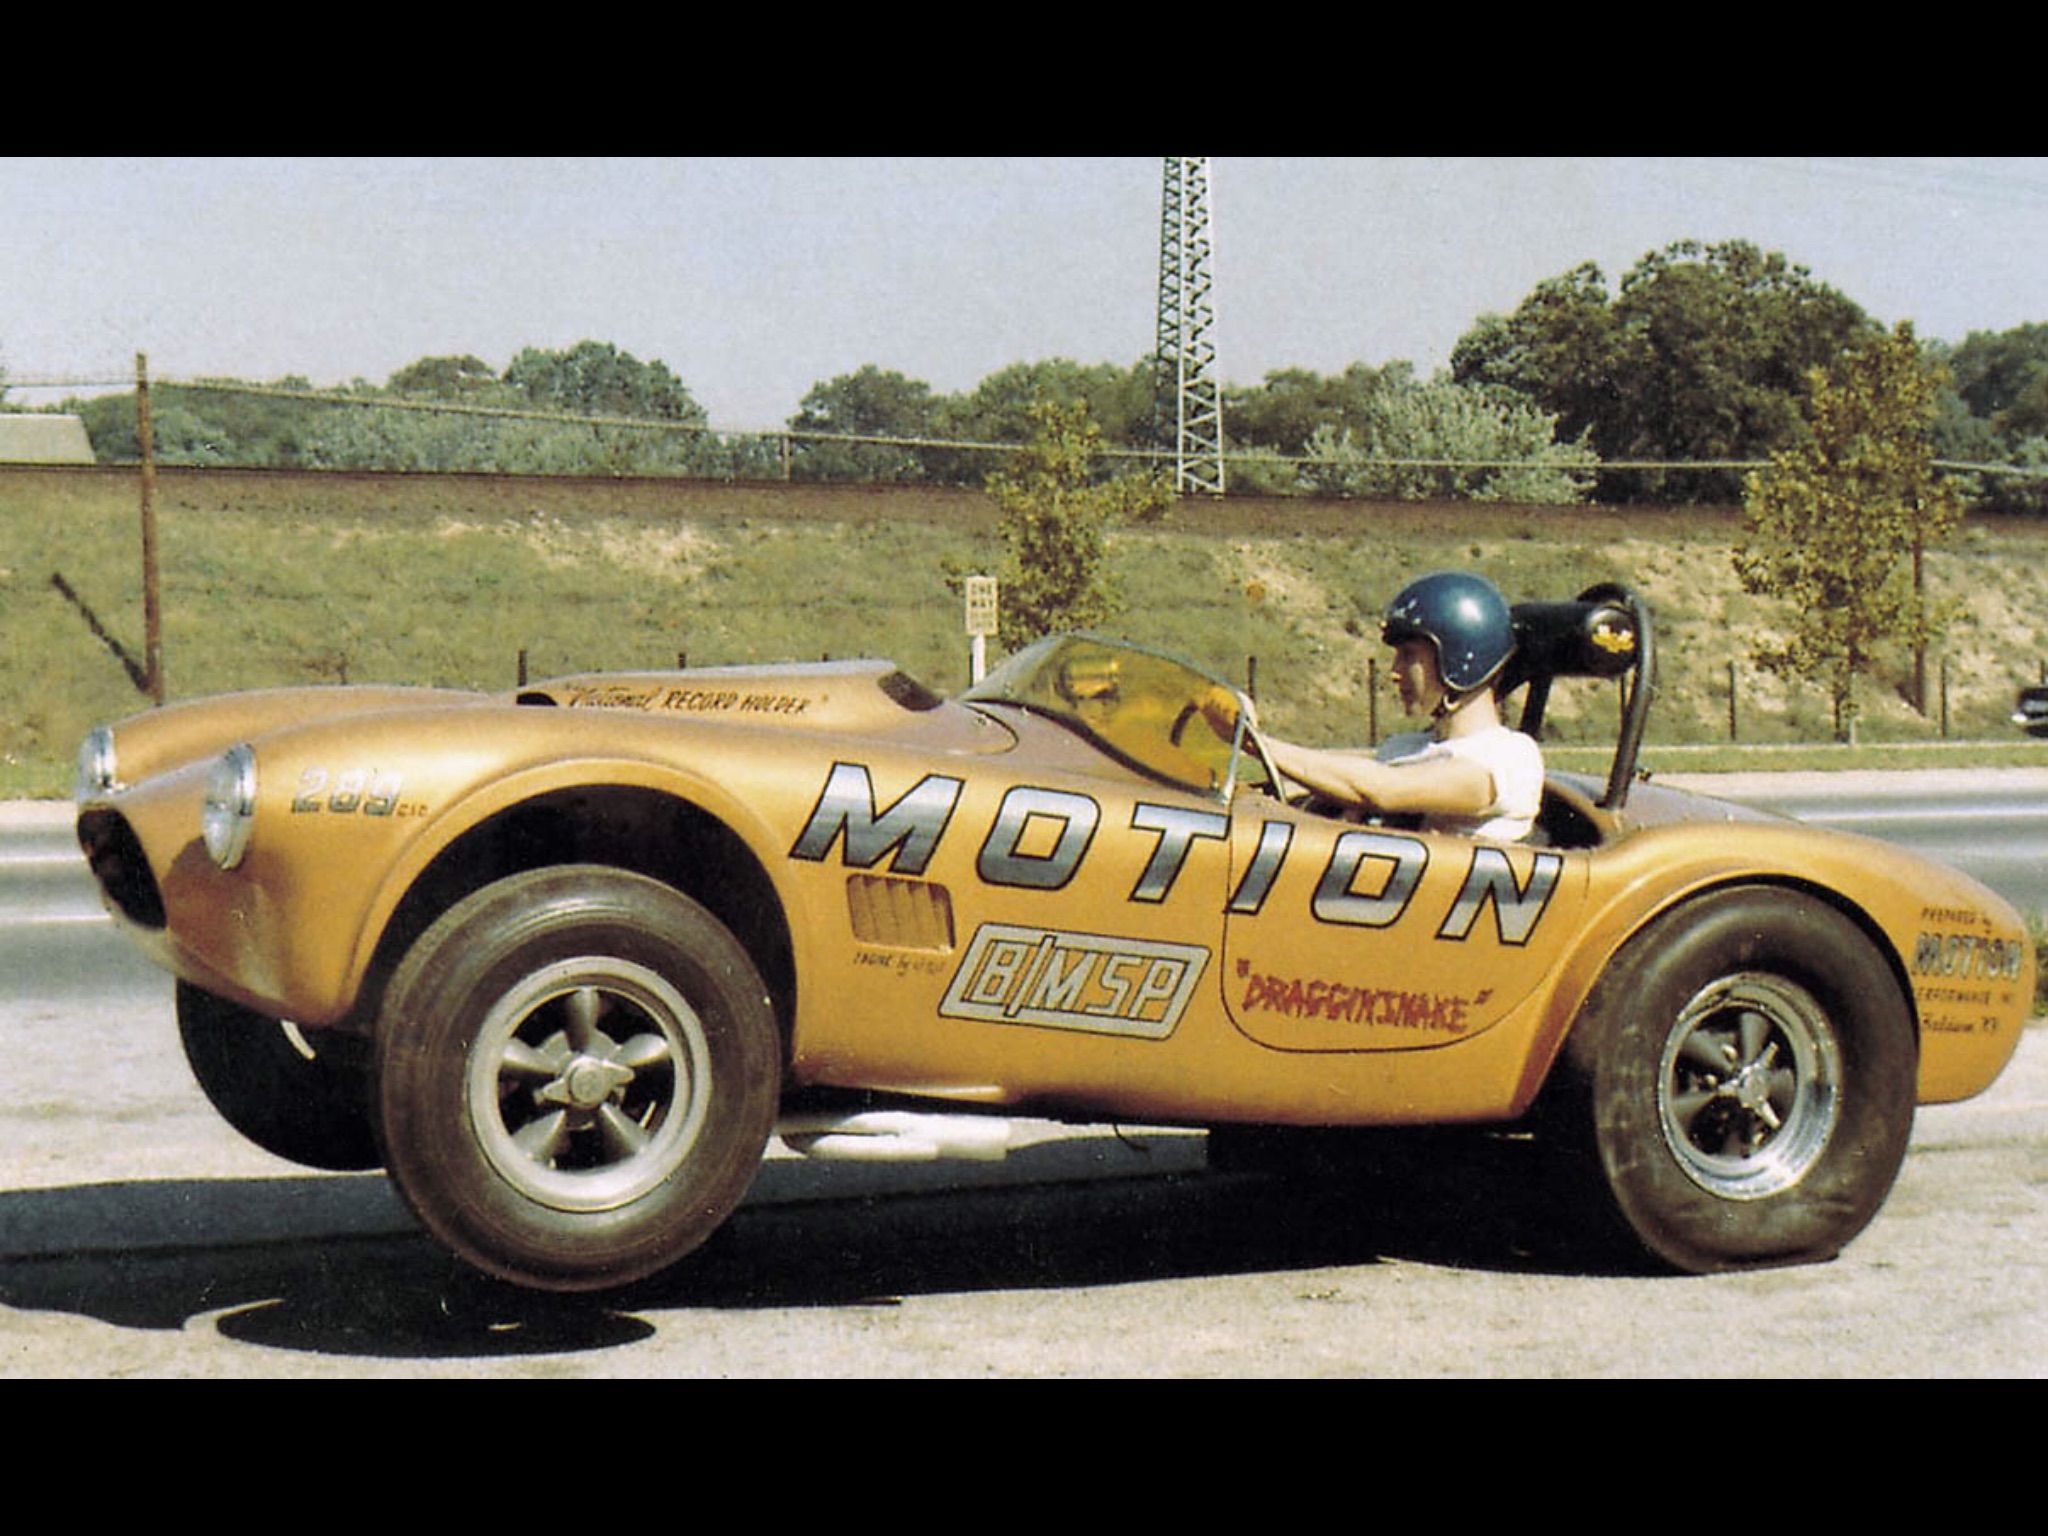
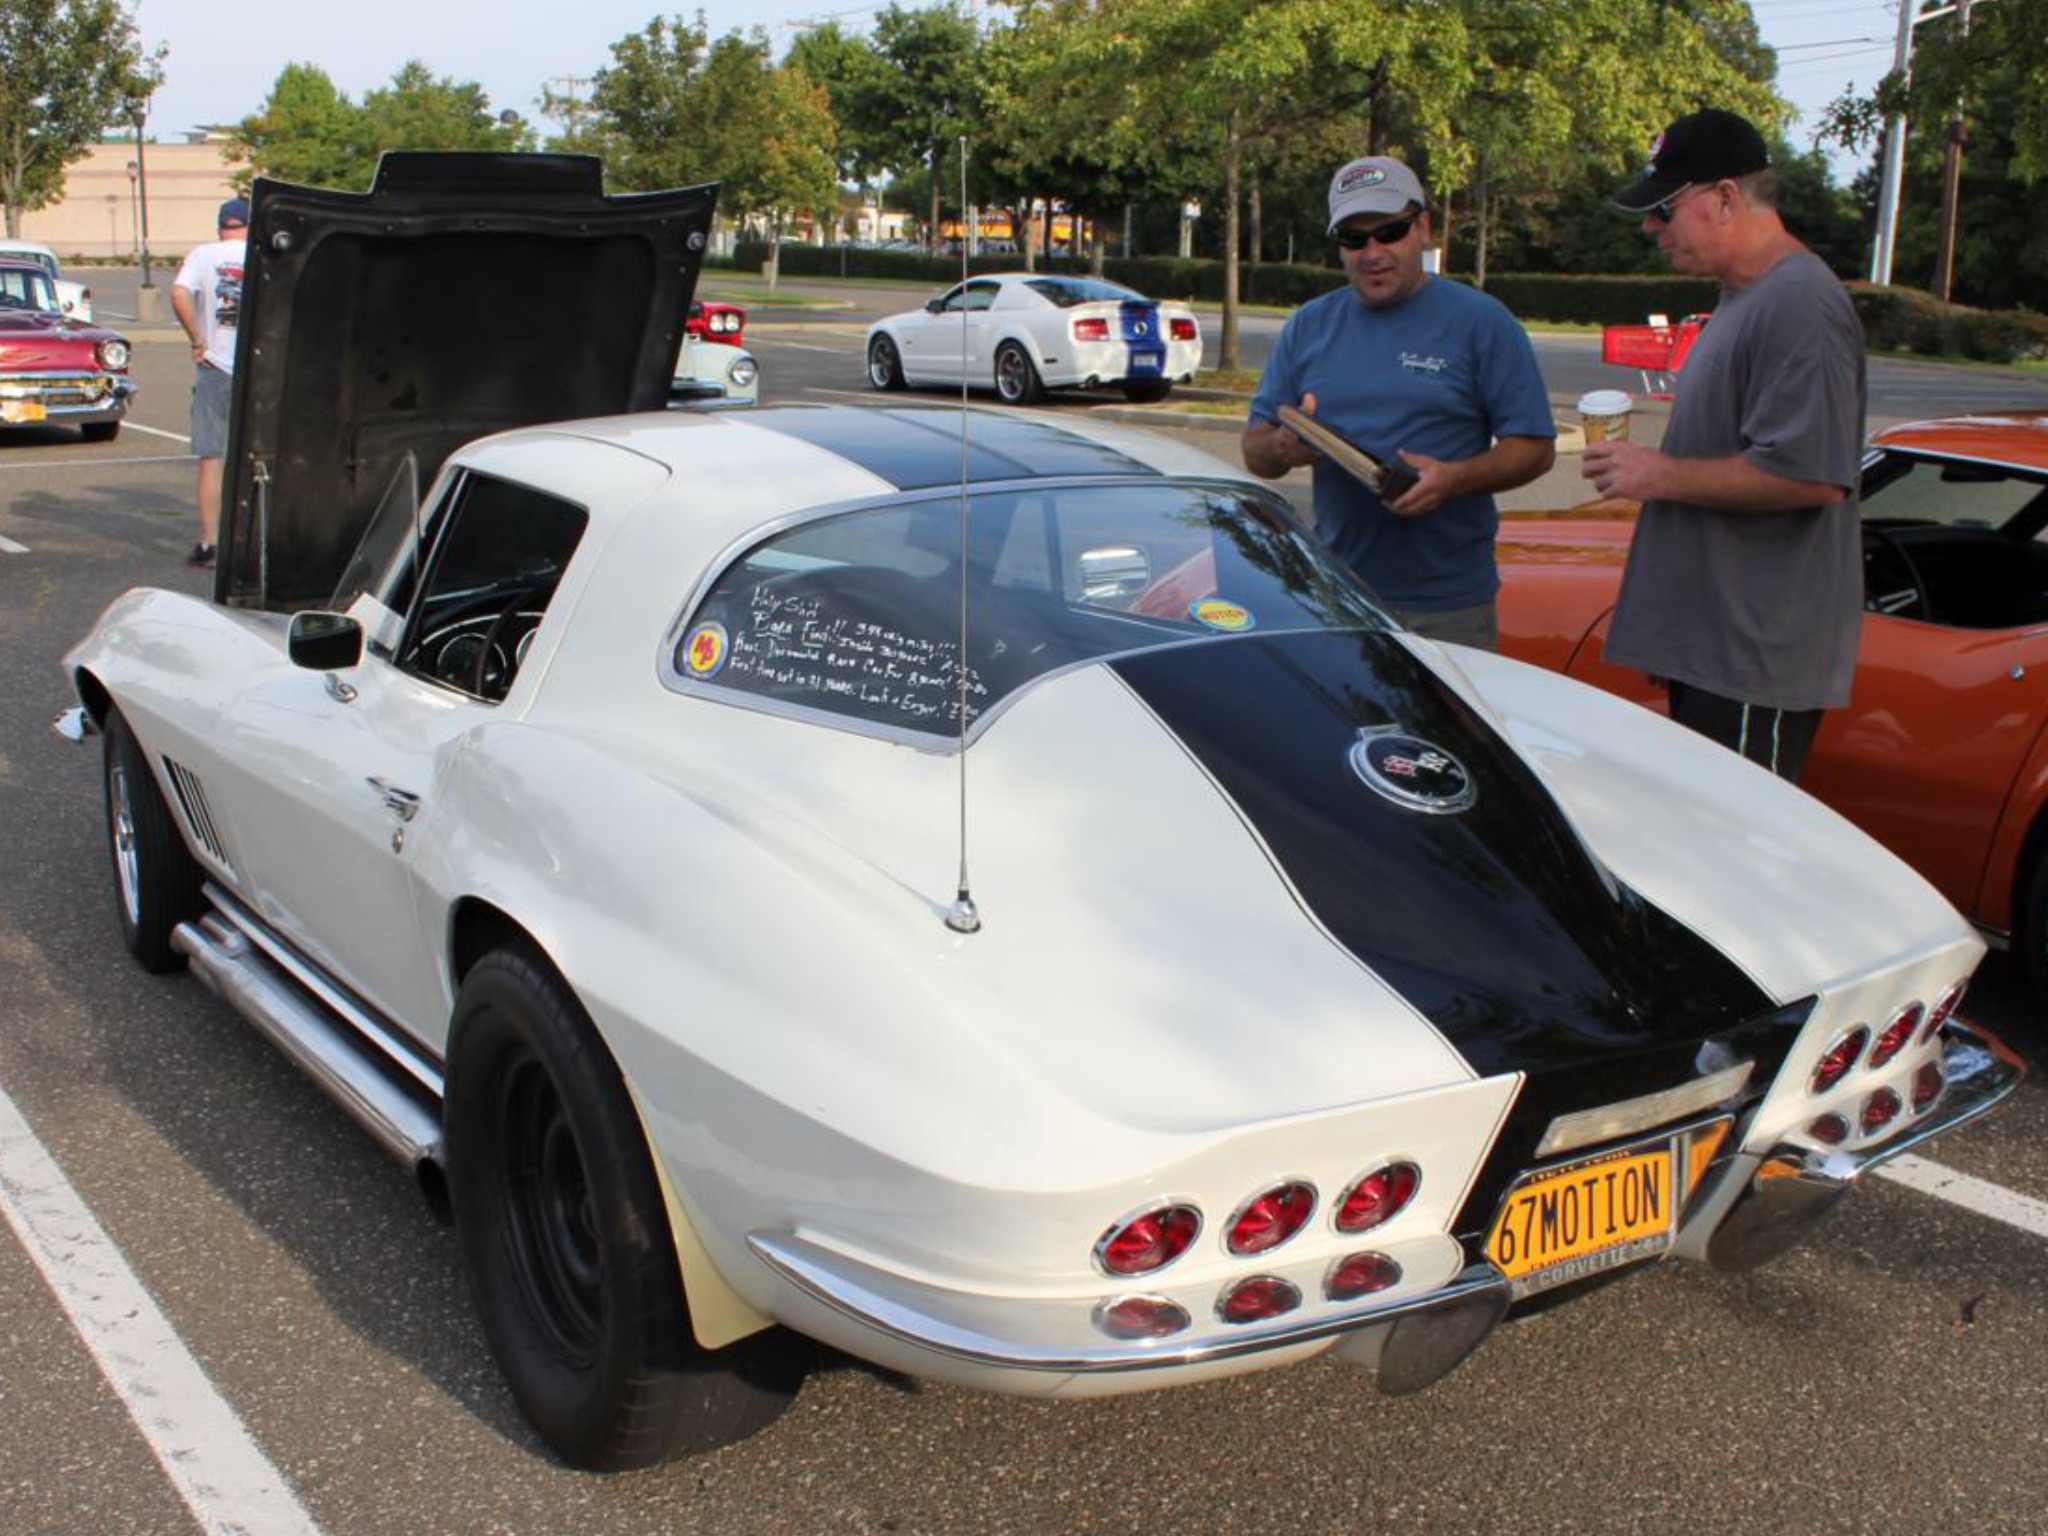
While looking for the resin 1970 L88 Motion hood I made years ago, I found this old body from around 1995. At one time it was used as a master to cast Baldwin Motion Phase III GT Corvettes. They were for me and Joel exclusively. At one time it was a finished replica of the car he bought back from a Hollywood lot. It was in all the Corvette magazines in 1992. I went to a shop in New Jersey that was doing a frame on restoration with Joel in his 5.0 Mustang convertible to check progress. Today the car is in Dan McMichael’s collection and has been on My Classic Car. An interesting story about this gold Corvette. While I was at the shop in New Jersey, Joel and the shop owner we’re looking at pictures of a phase 3 Corvette that was blue with white accents and the Shelby scoops. Joel was trying to decide whether or not it might have been a car that he built. Looking over their shoulder’s I noticed that it had two slotted taillights. Joel said it looked like something he might’ve done but never did one in that color. I said it’s probably the gold one in the magazine article that you took pictures of when it was new. It has two taillights also. It dawned on Joel that it was the same car repainted a number of times. Because flipping through the pictures he had, they were pictures of it red with white accents. That car has since been restored back to gold with black accents and was auctioned off on one of the Barrett Jackson auctions a number of years ago. This is one of Joe’s first phase 3 GT Corvettes. It was featured at the Waldorf Astoria auto show in 1969. Zora Arkus-Duntov loved this car! I resin cast a full bumper front end conversion kit for the Camaro 15 years ago. Wish I knew were that mold went! This green Camaro is the oldest, completed Motion build I still have. Built in 2000, it is my first base/clear attempt. This red Manta Ray was a curbside resin kit I was selling around 2001. This model went to Joel. These two are across the room right now and I have a third in red again, awaiting clear. Joel only built 3 Manta Rays, so I will have a replica of each! This one is the Motion Moray. I presently sits in clay to make a mold of the body! This a Motion Nova hiding on my desk. Hope you like them! Any questions or comments are welcome! Back to the 1968 Baldwin Motion Chevelle!
-
1970 Baldwin Motion Chevelle
Superbird McMonte replied to Superbird McMonte's topic in WIP: Model Cars
I’m on it!? But I can only paint at work and I return on Tuesday.?♂️? -
1970 Baldwin Motion Chevelle
Superbird McMonte replied to Superbird McMonte's topic in WIP: Model Cars
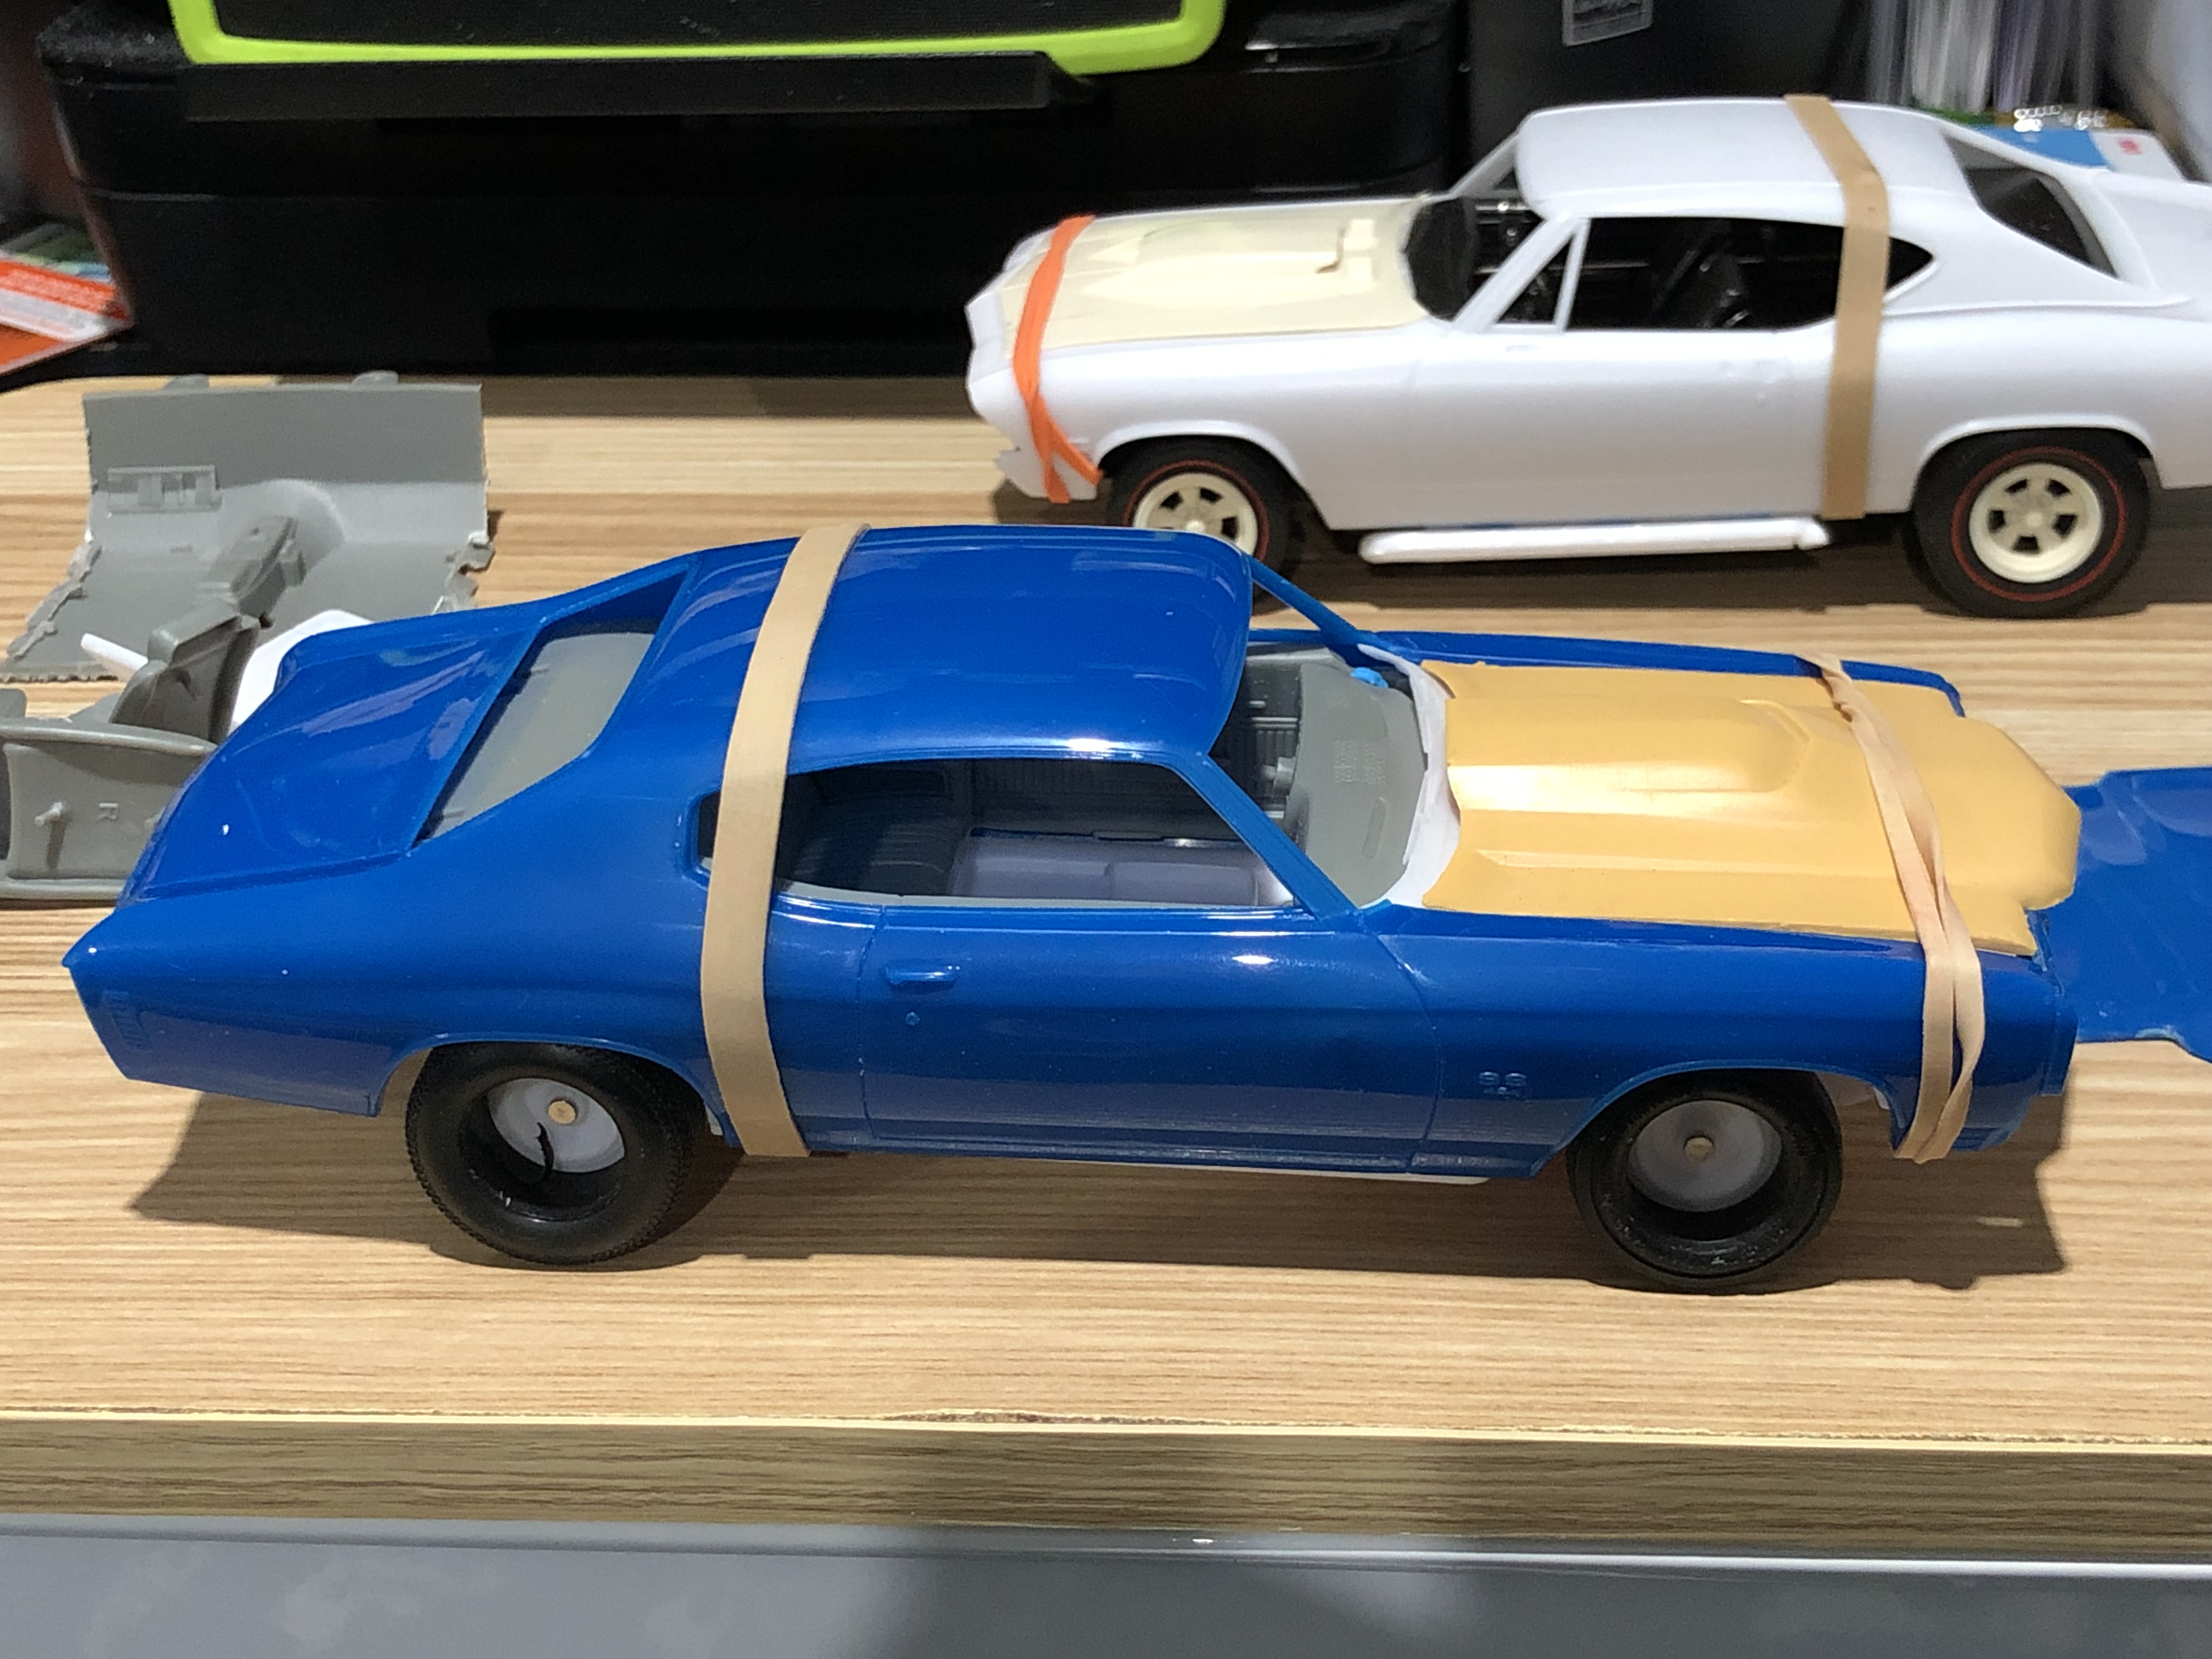
It will be like the car that was in the Otis Chandler collection. Same green, no stripes. Although, I really like the white stripes! -
1970 Baldwin Motion Chevelle
Superbird McMonte replied to Superbird McMonte's topic in WIP: Model Cars
The wheelbase is the same, the rubber bands just aren’t holding everything in place.?? -
1970 Baldwin Motion Chevelle
Superbird McMonte replied to Superbird McMonte's topic in WIP: Model Cars
Sadly, the hood I made all those years ago fir AMT’s Chevelle will not work here. It is too short.