Chariots of Fire
-
Posts
2,783 -
Joined
-
Last visited
Content Type
Profiles
Forums
Events
Gallery
Everything posted by Chariots of Fire
-

1944 Diamond T 6x6
Chariots of Fire replied to Chariots of Fire's topic in WIP: Model Trucks: Big Rigs and Heavy Equipment
Here are the turnings. They will be painted OD as well but with a red top for the Acetylene and a green top for the O2.
-
1944 Diamond T 6x6
Chariots of Fire replied to Chariots of Fire's topic in WIP: Model Trucks: Big Rigs and Heavy Equipment
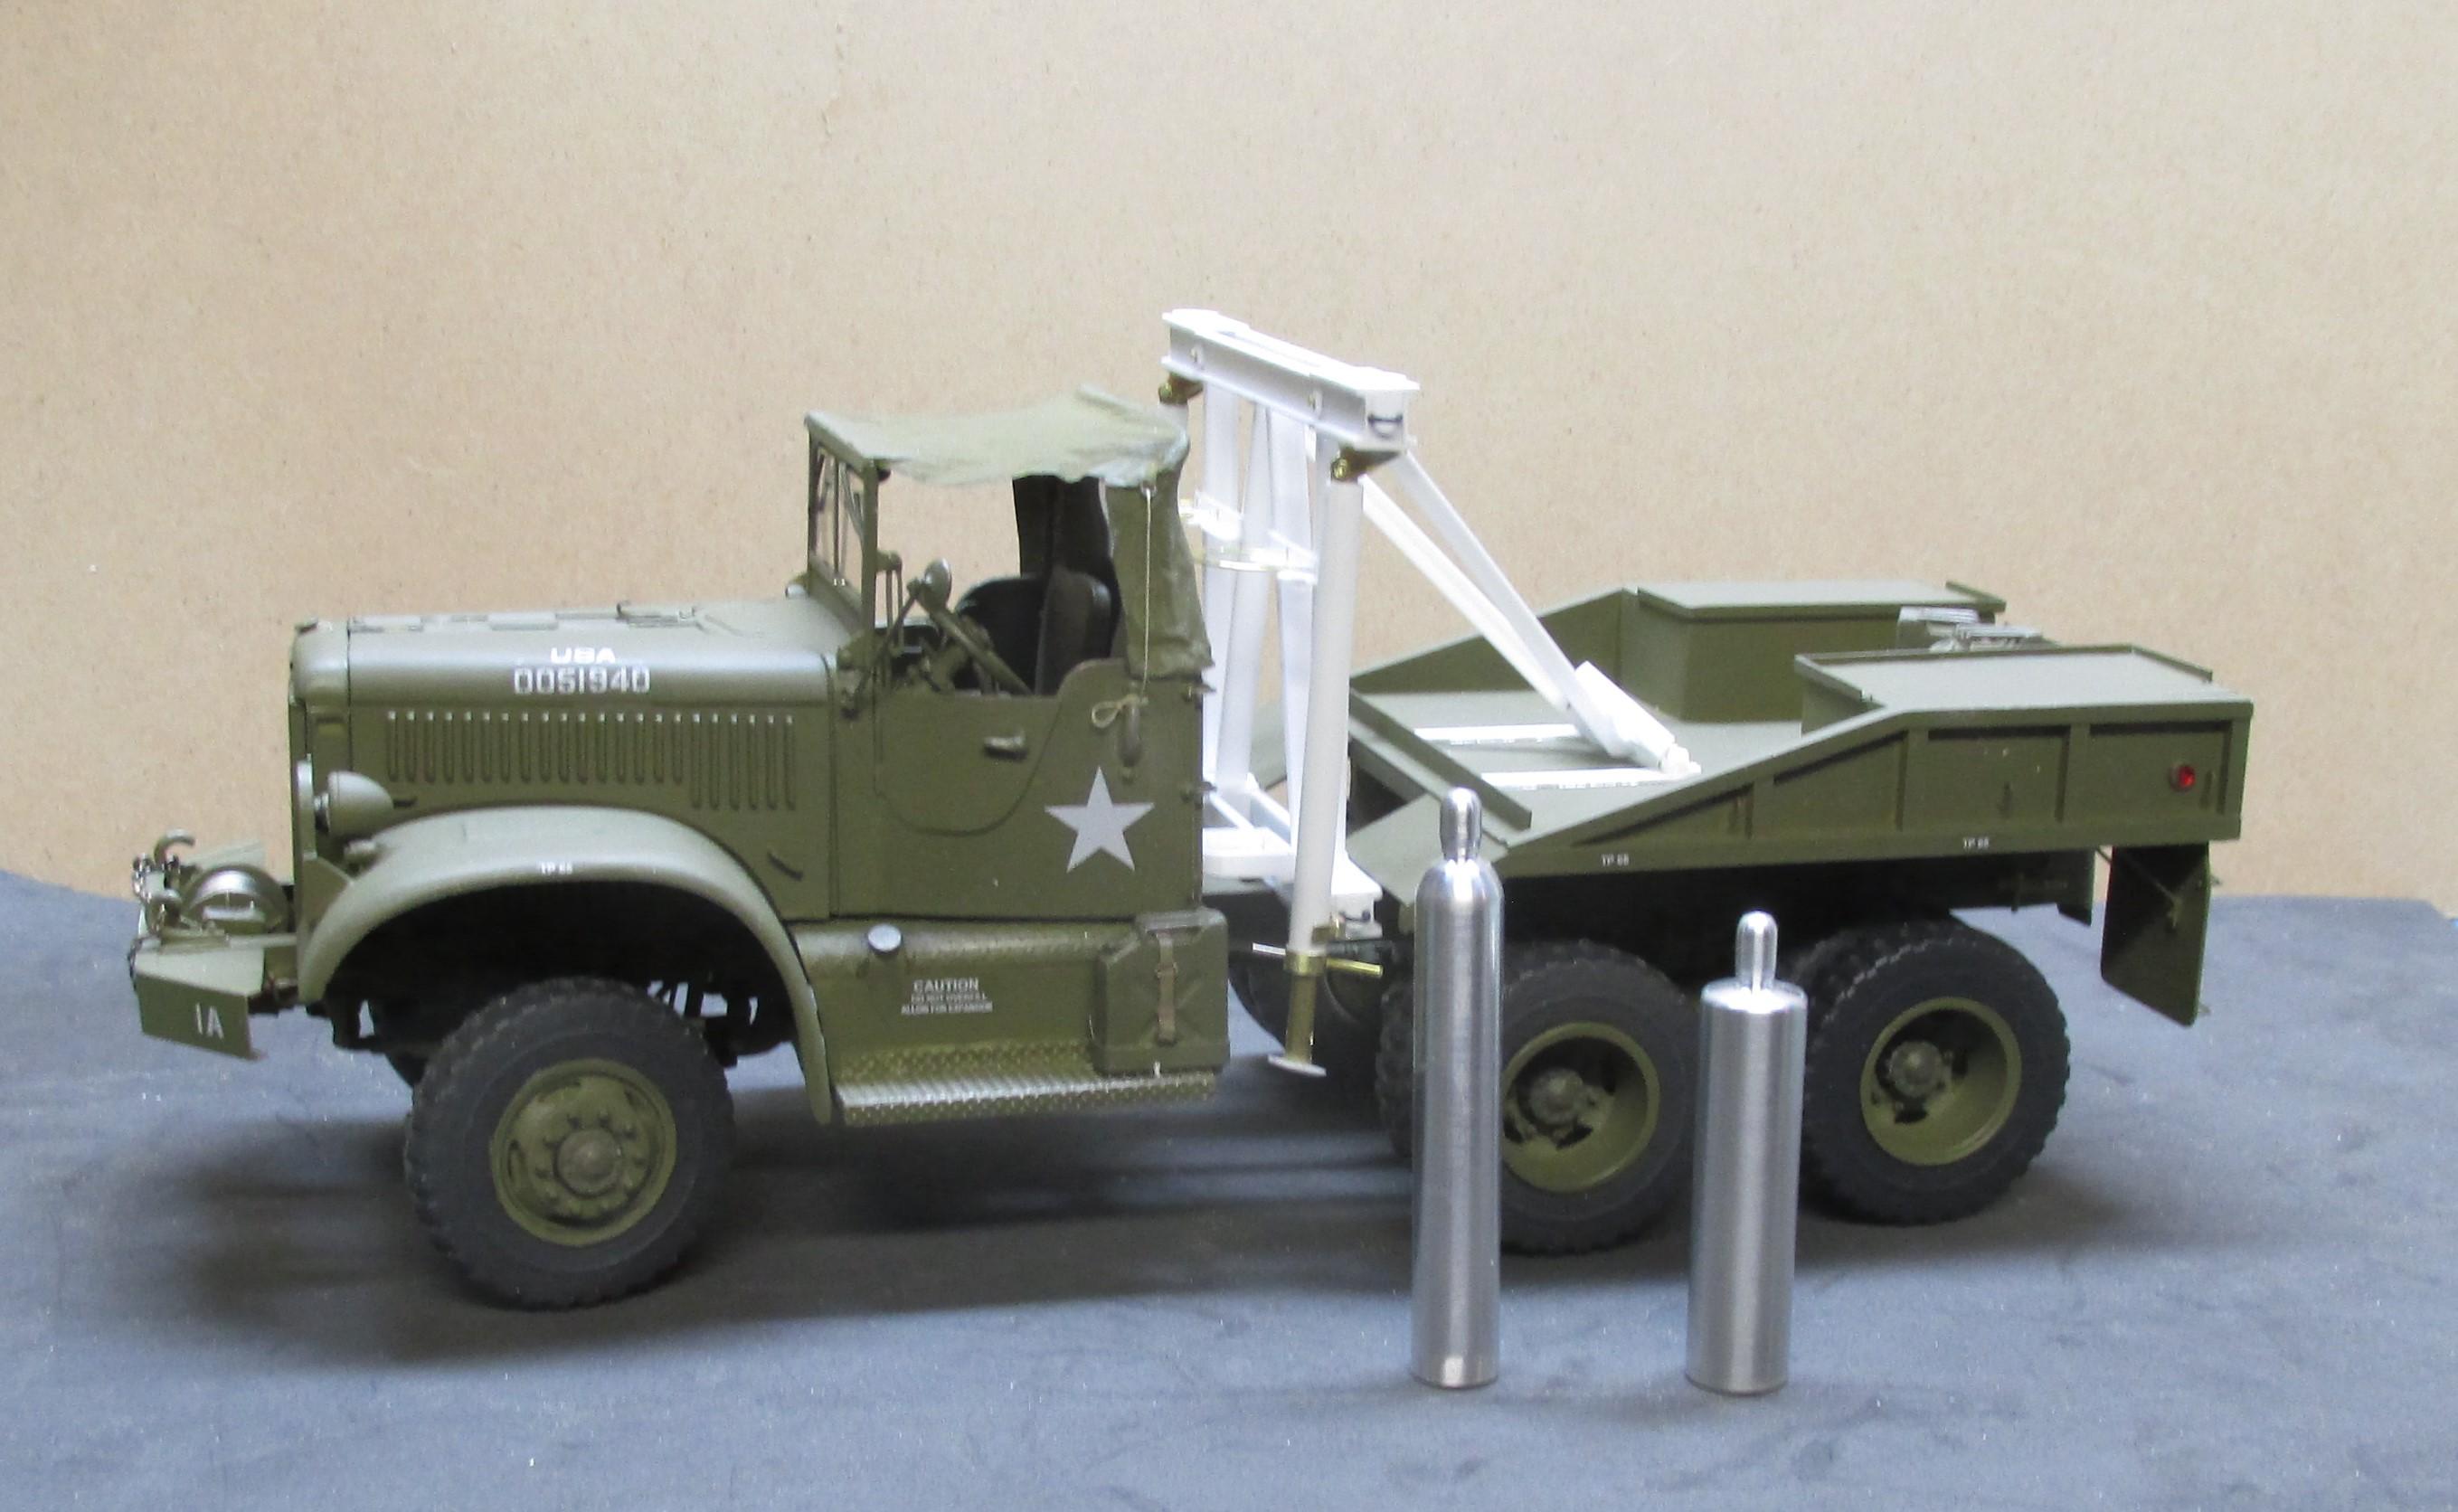
3 cans from now, Greg. Here's what it looks like as of tonite. I turned the acetylene and O2 tanks from aluminum rod and made mounting brackets for them.
-
1944 Diamond T 6x6
Chariots of Fire replied to Chariots of Fire's topic in WIP: Model Trucks: Big Rigs and Heavy Equipment
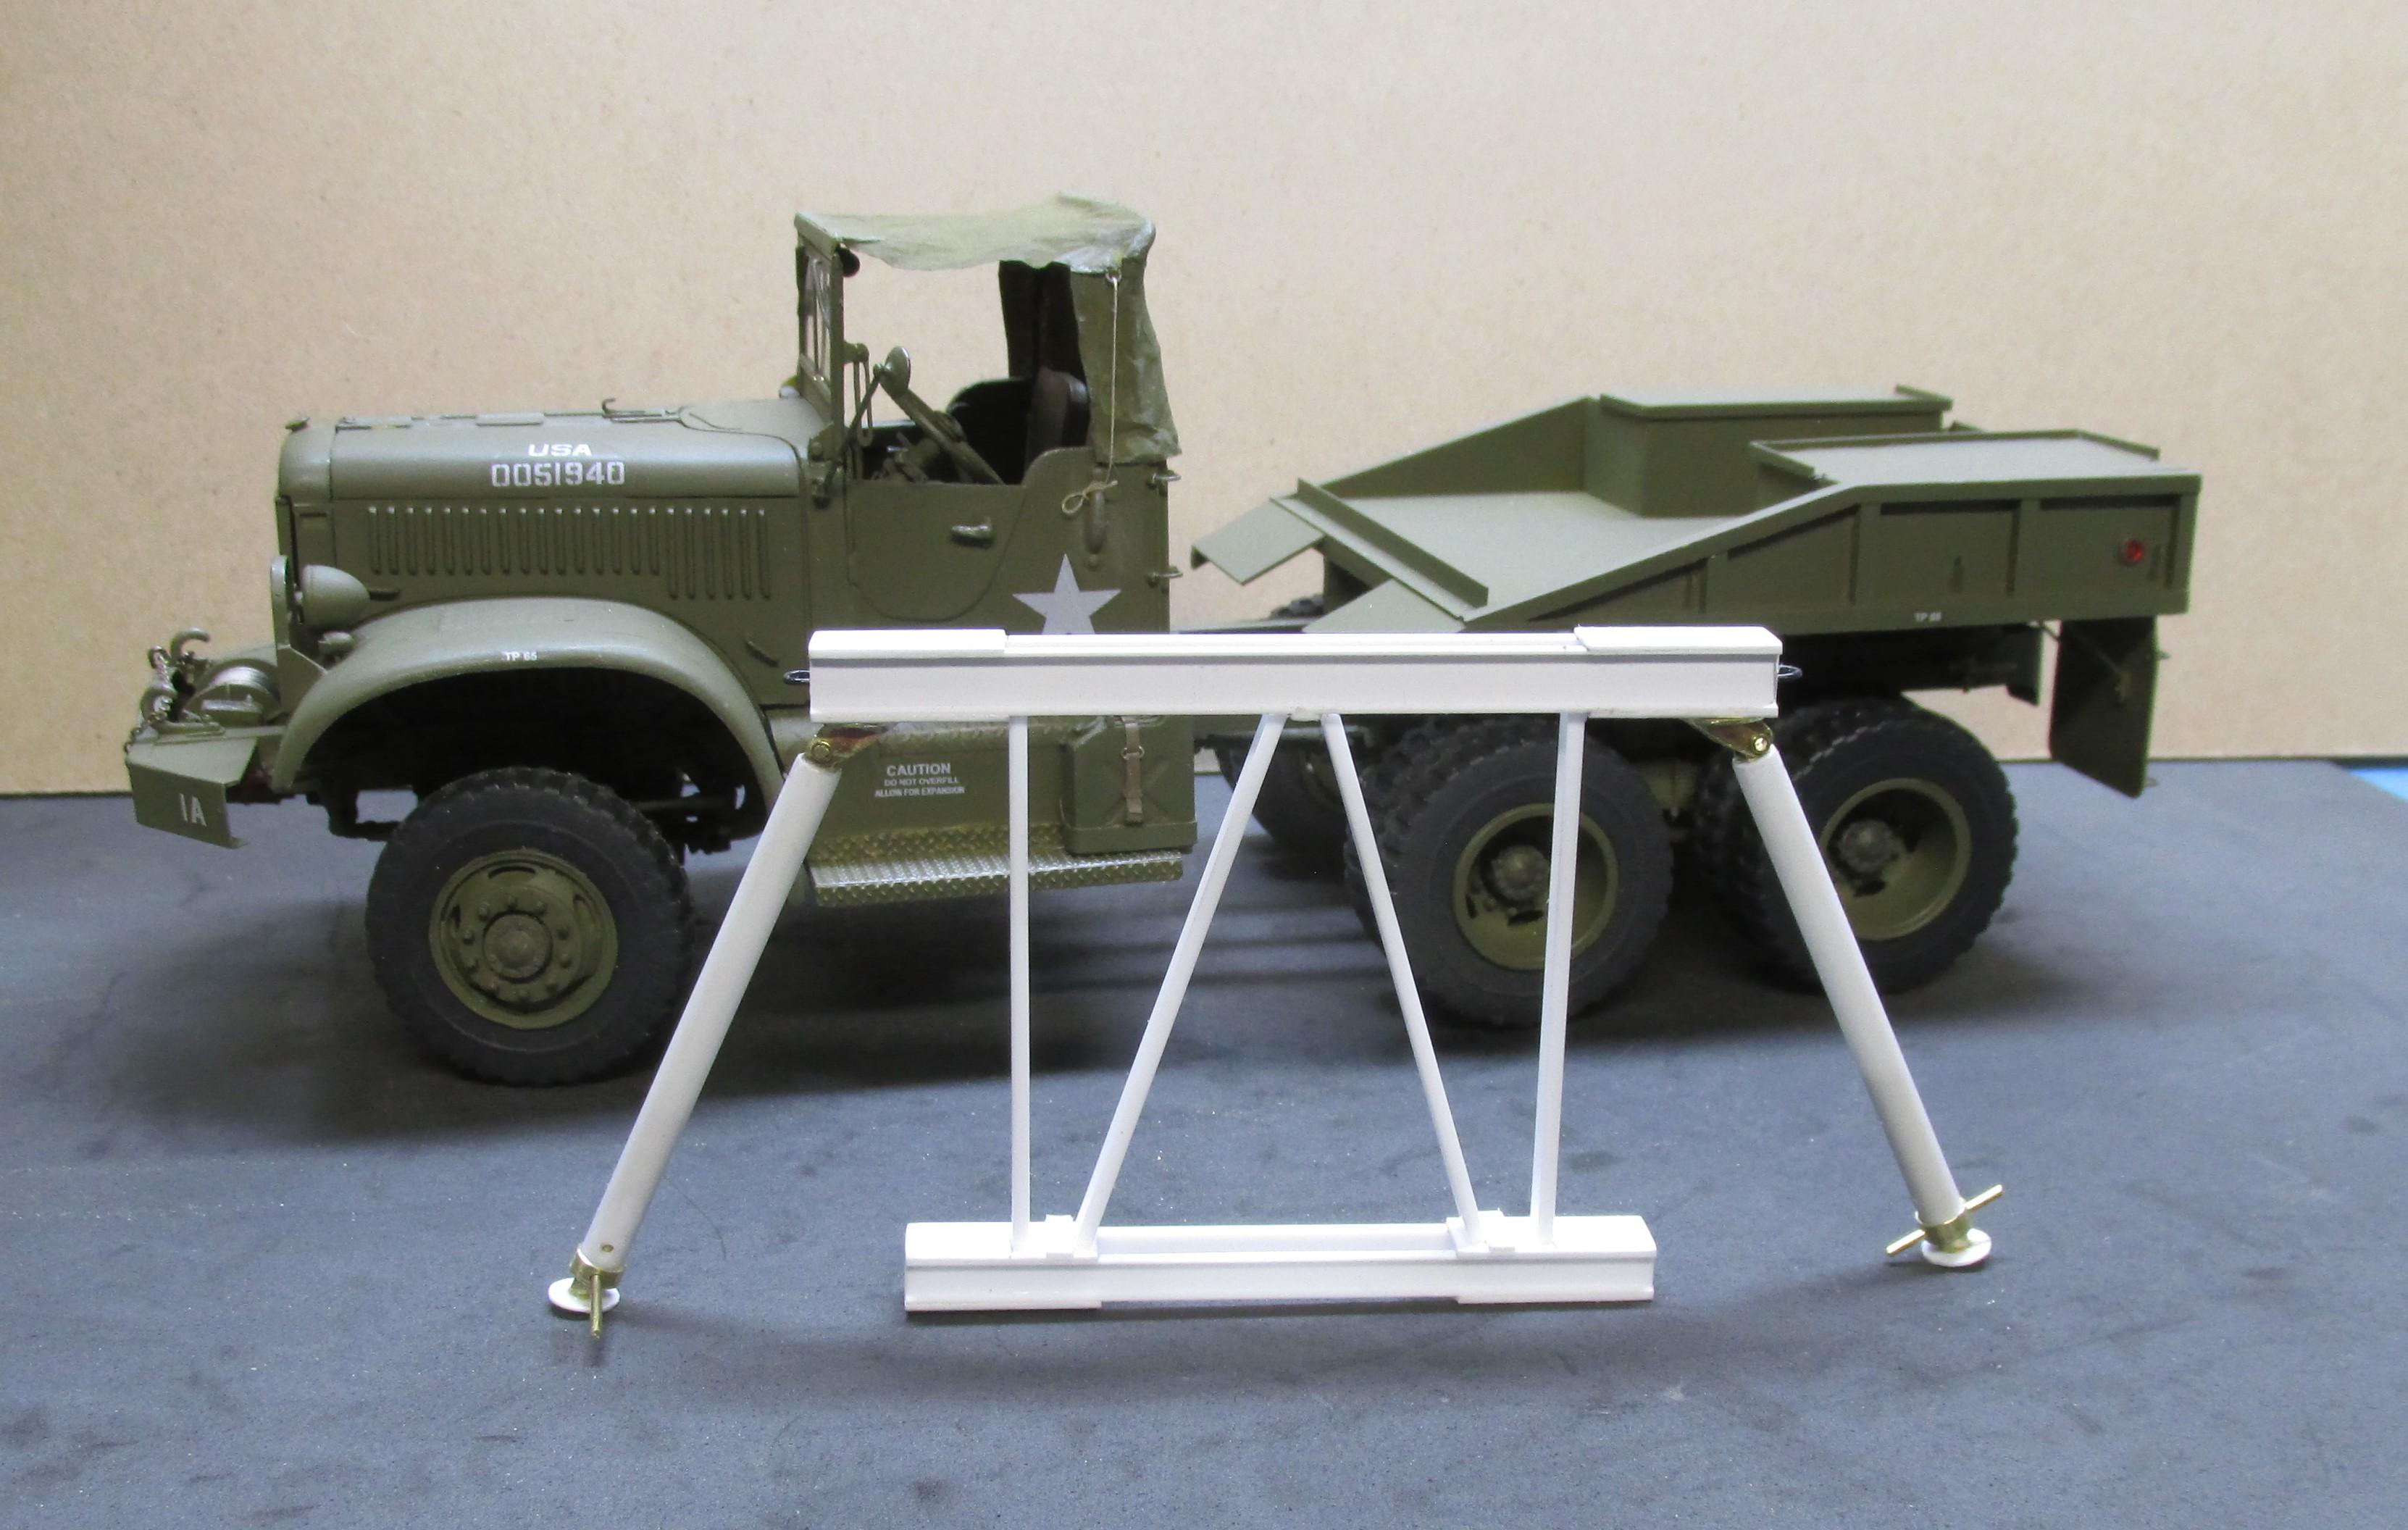
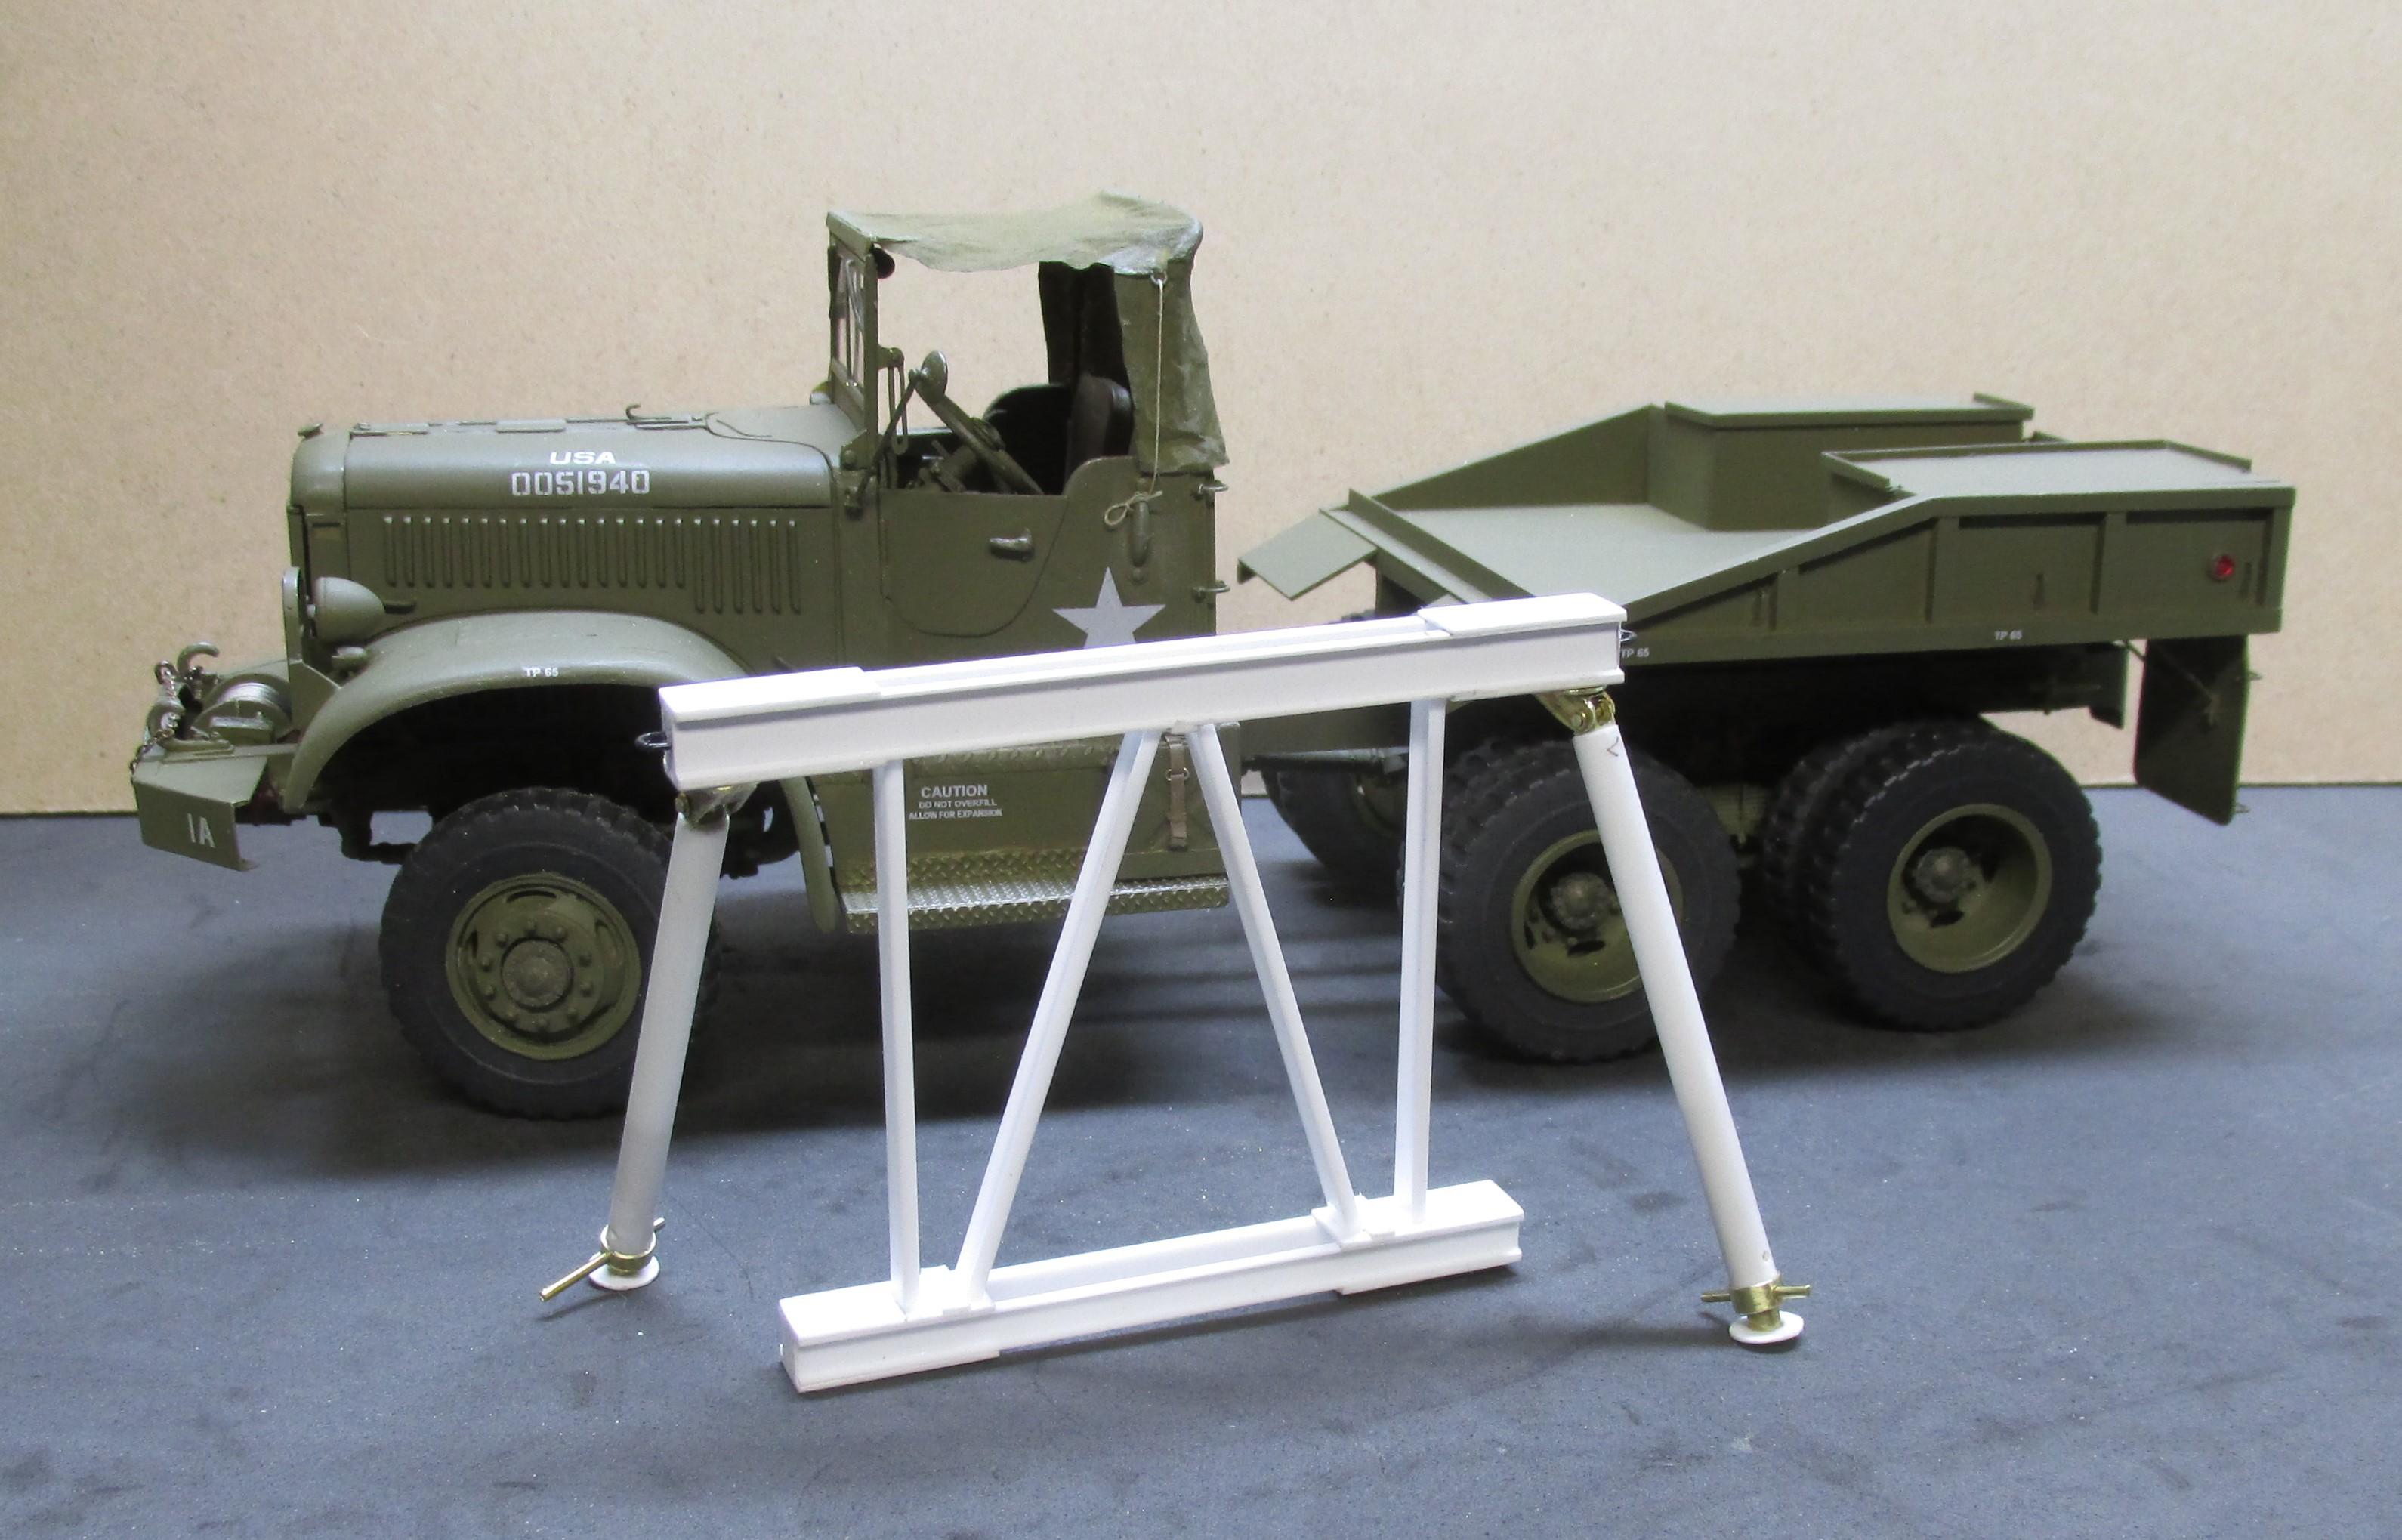
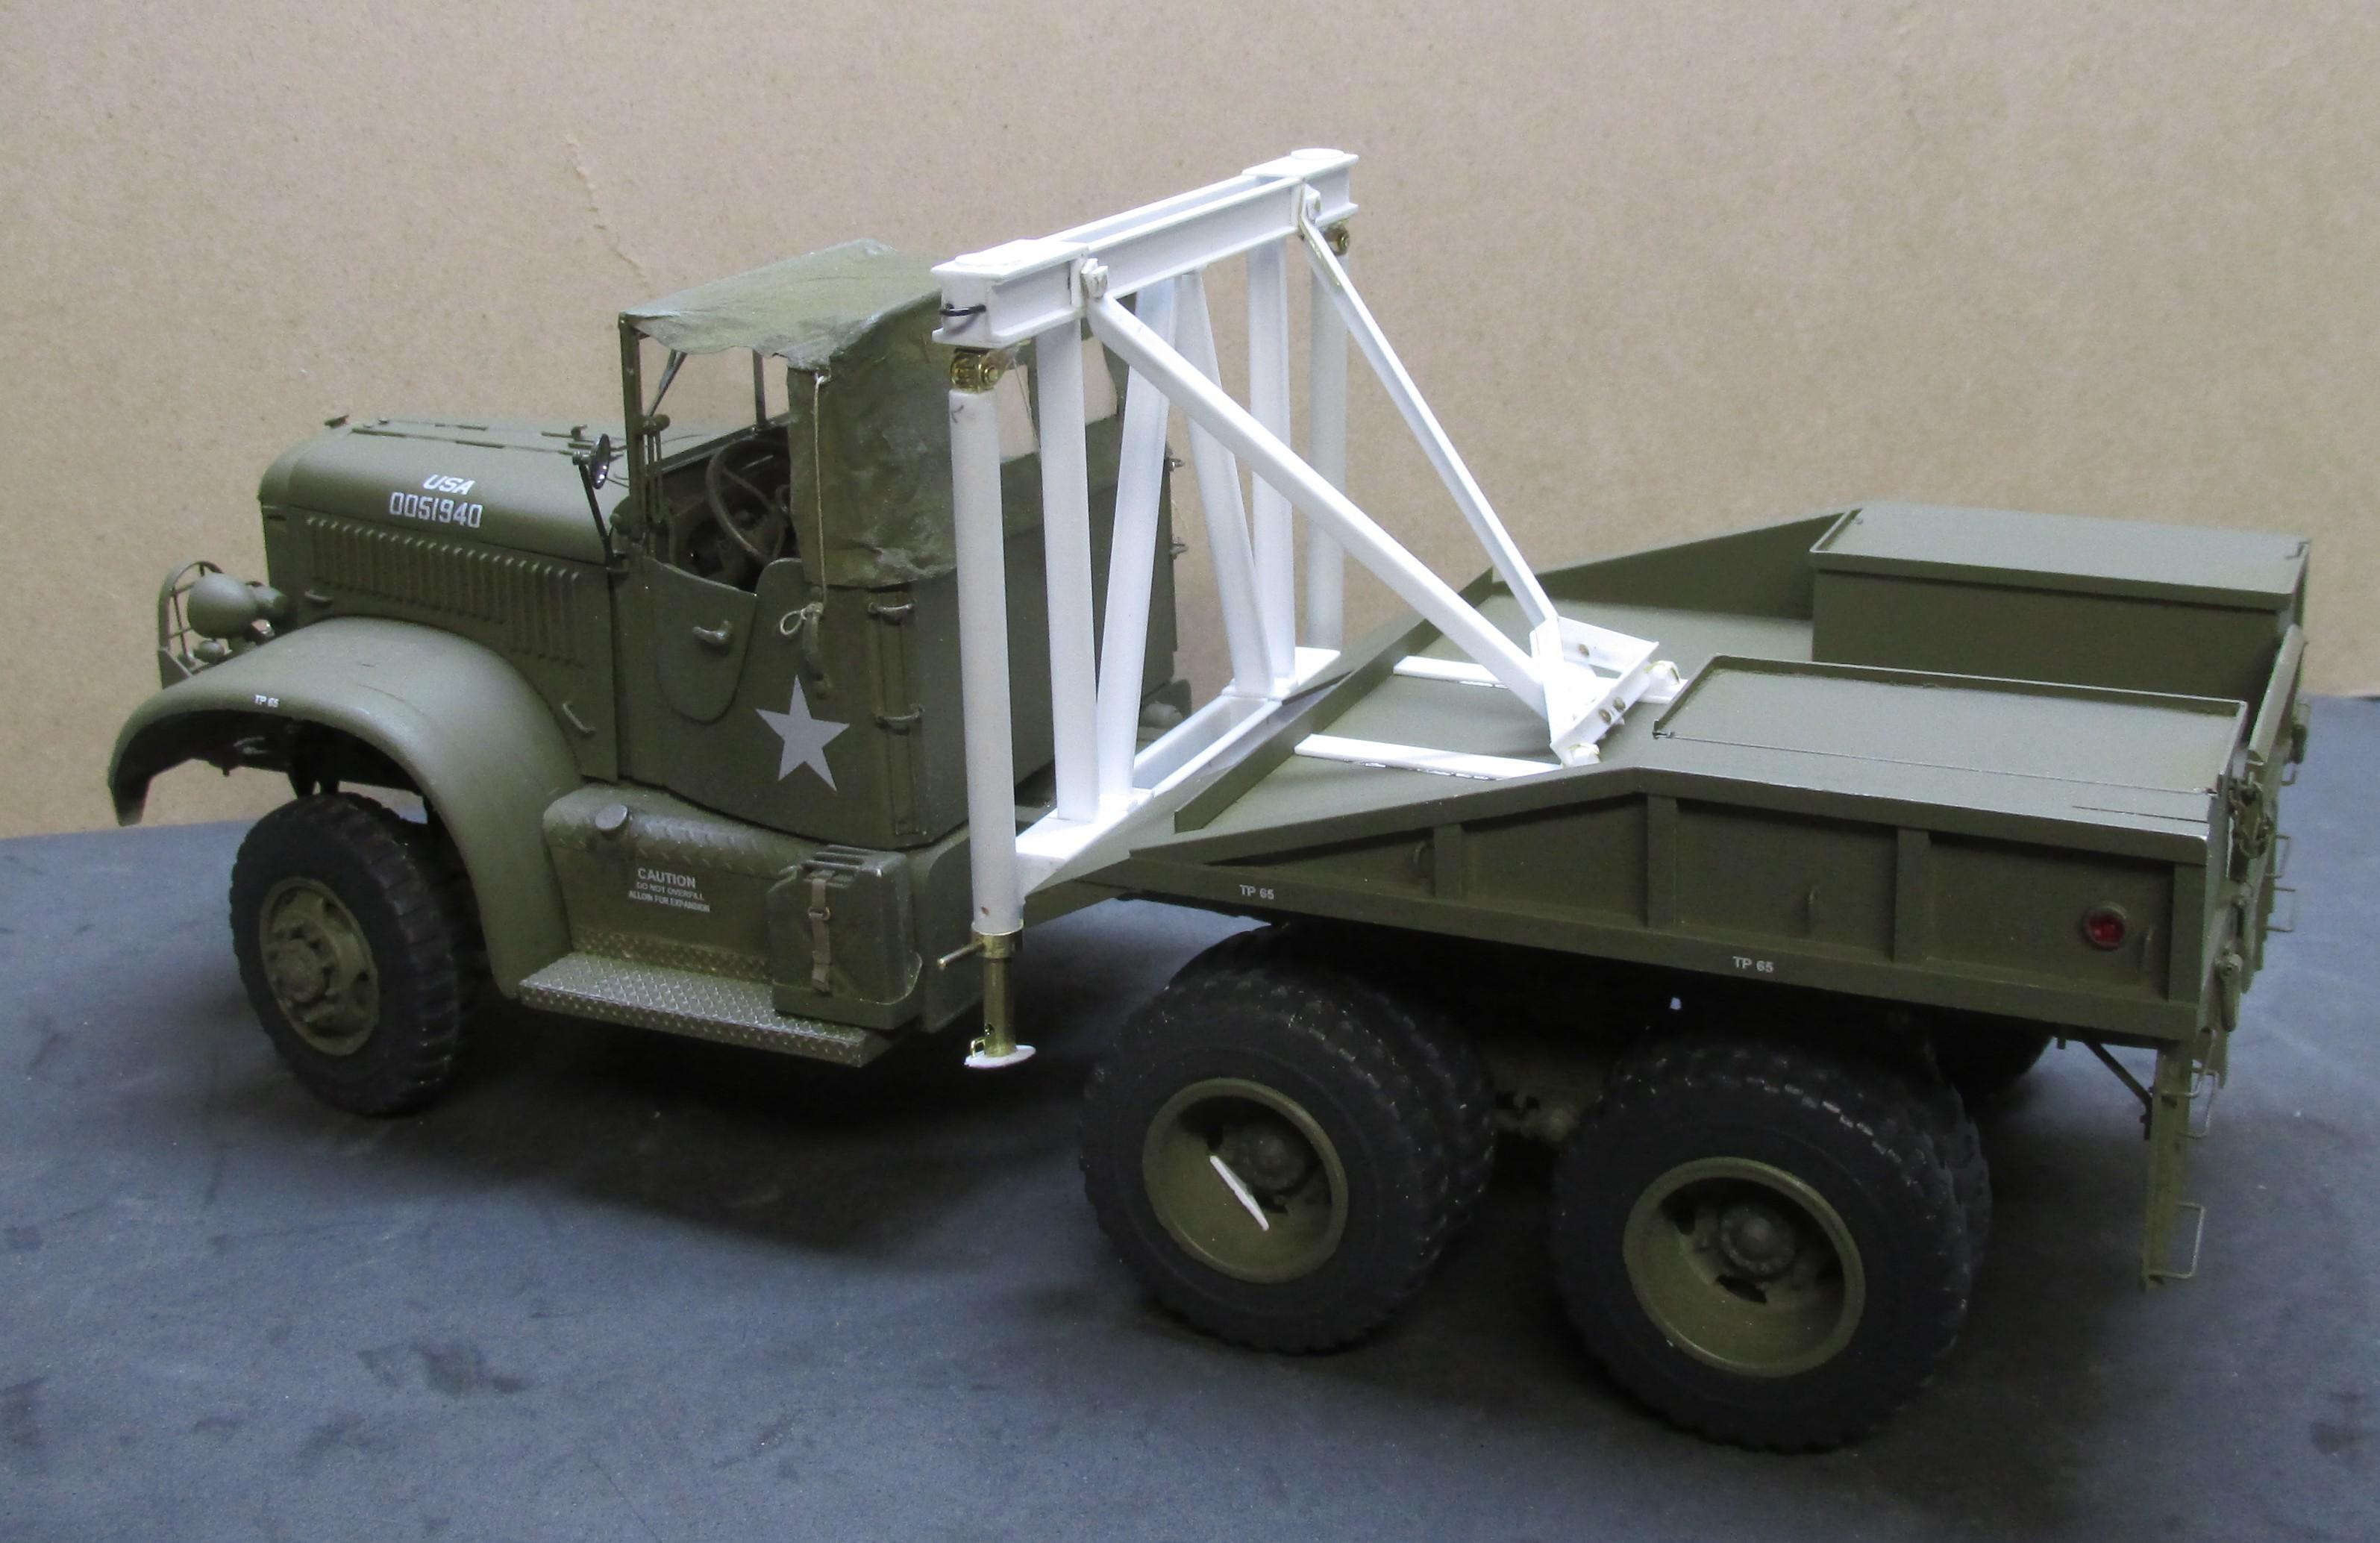
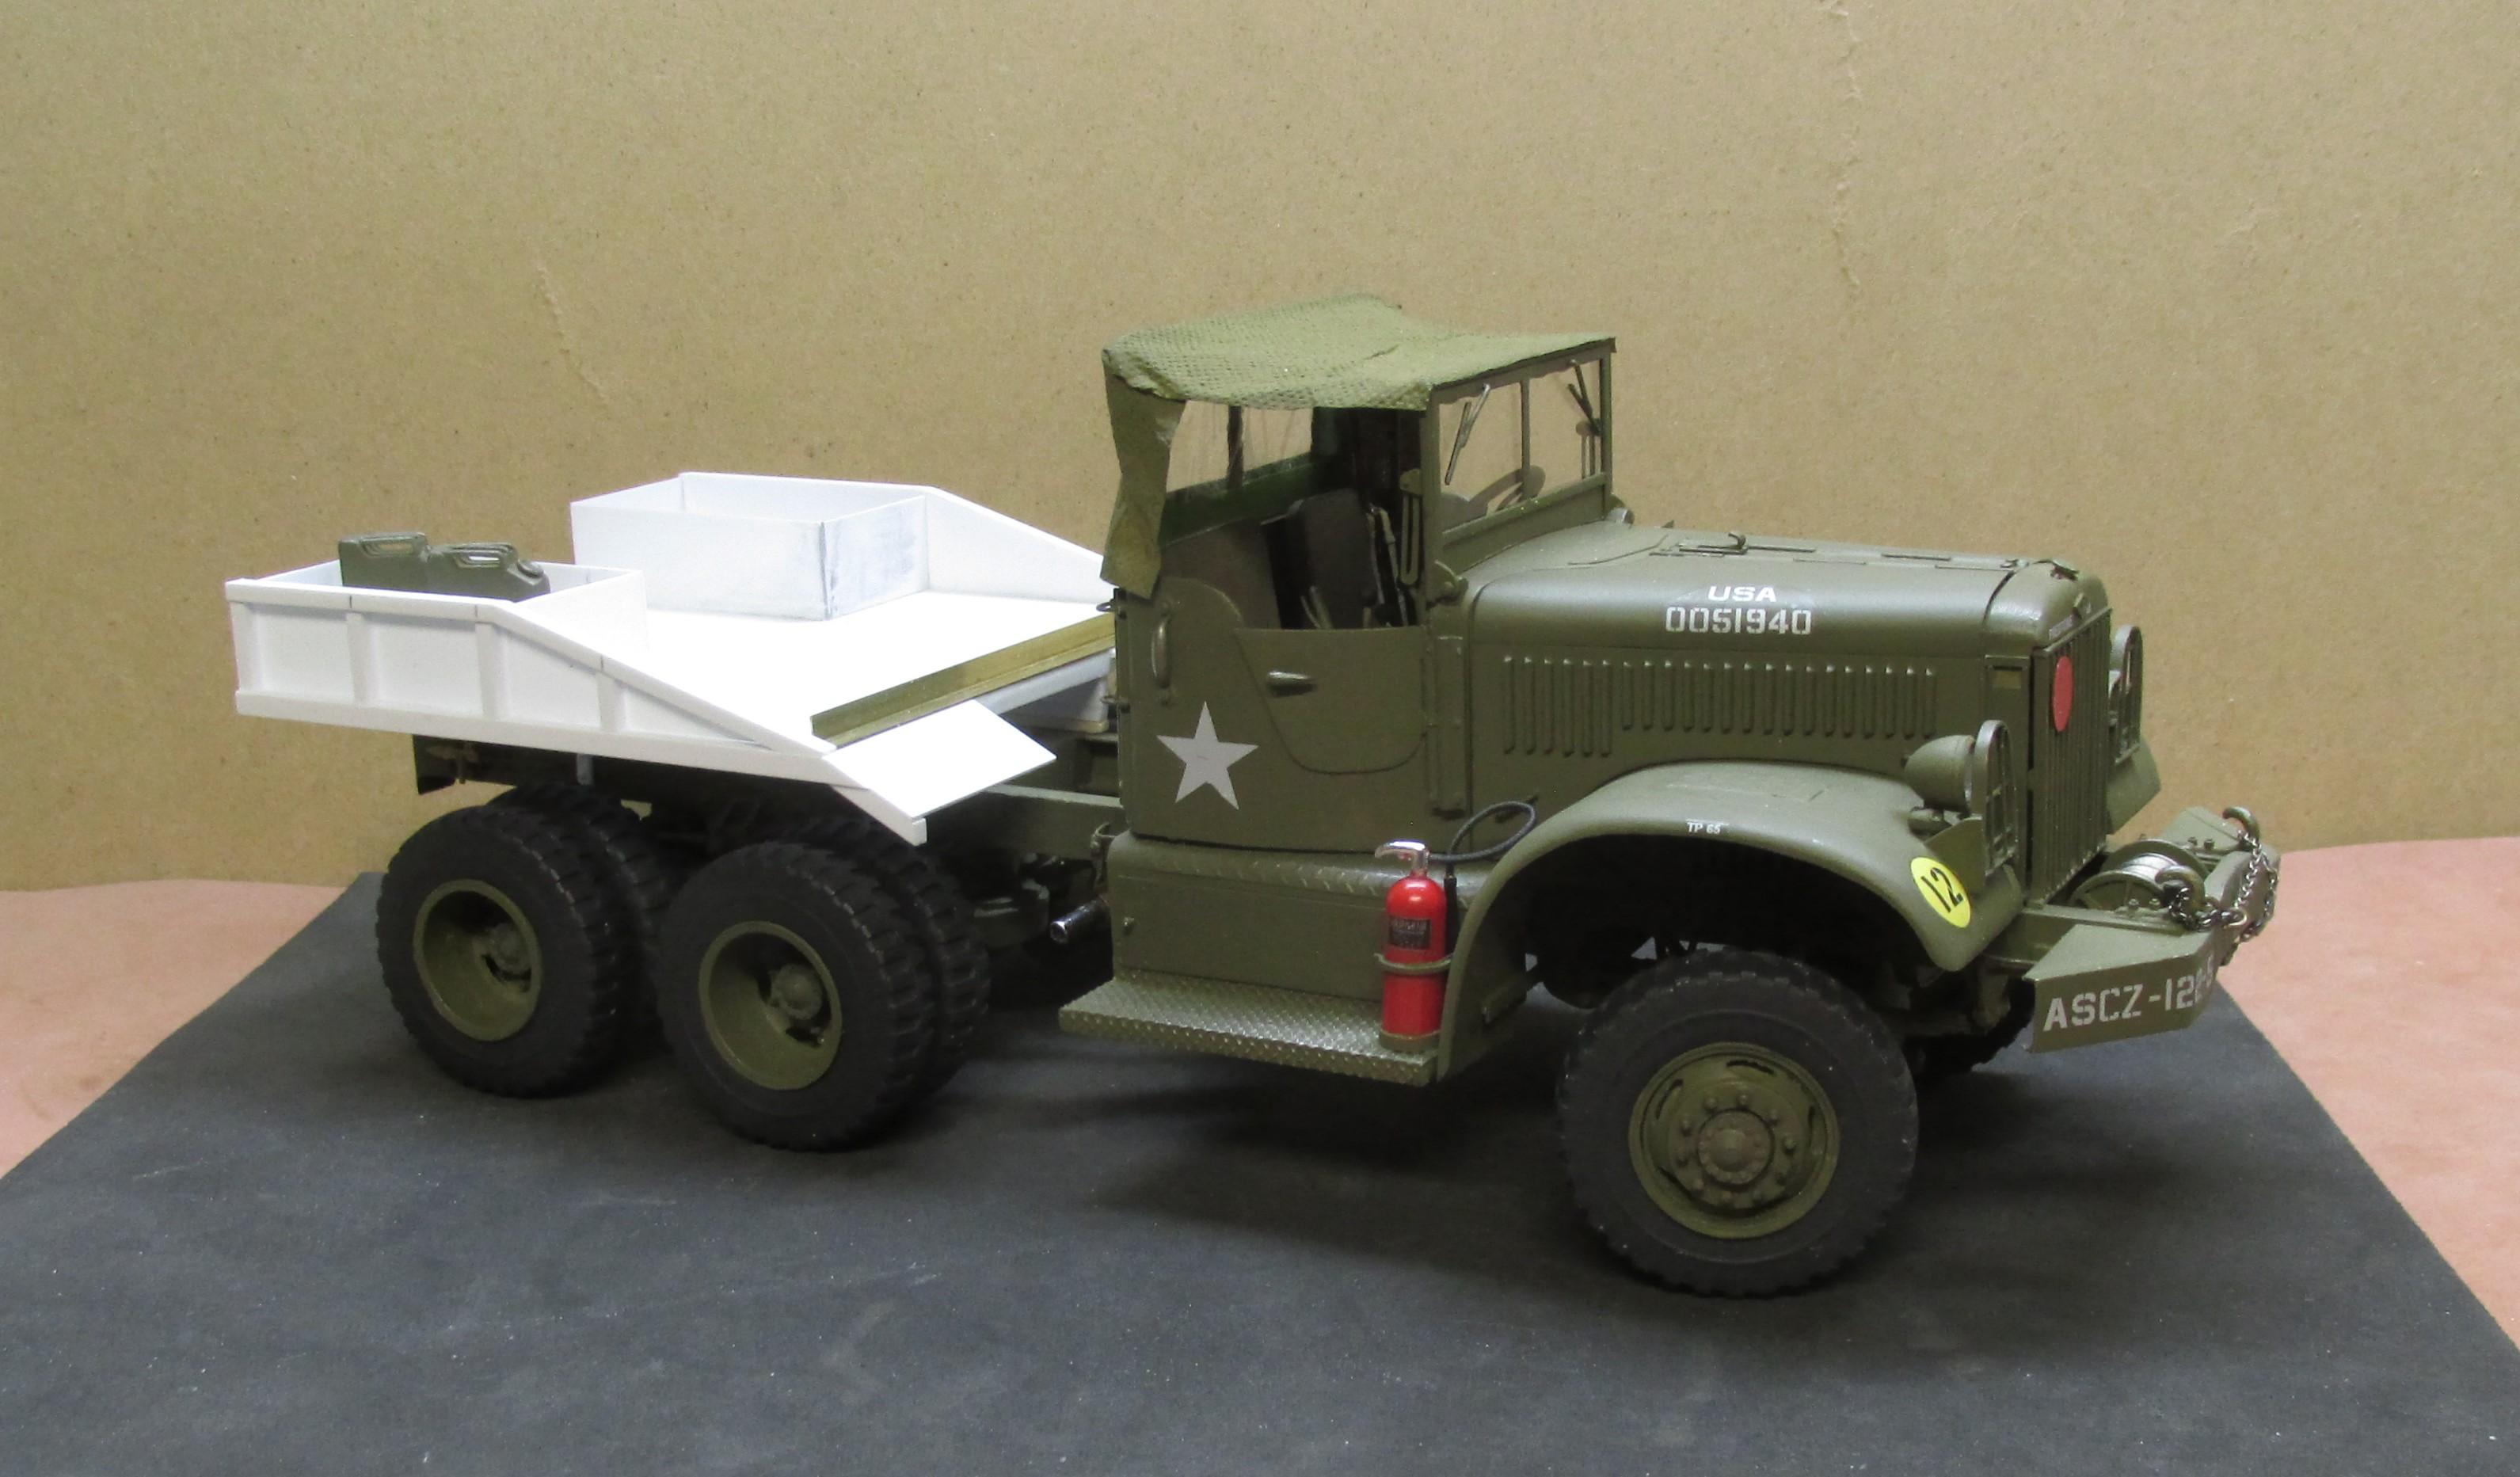
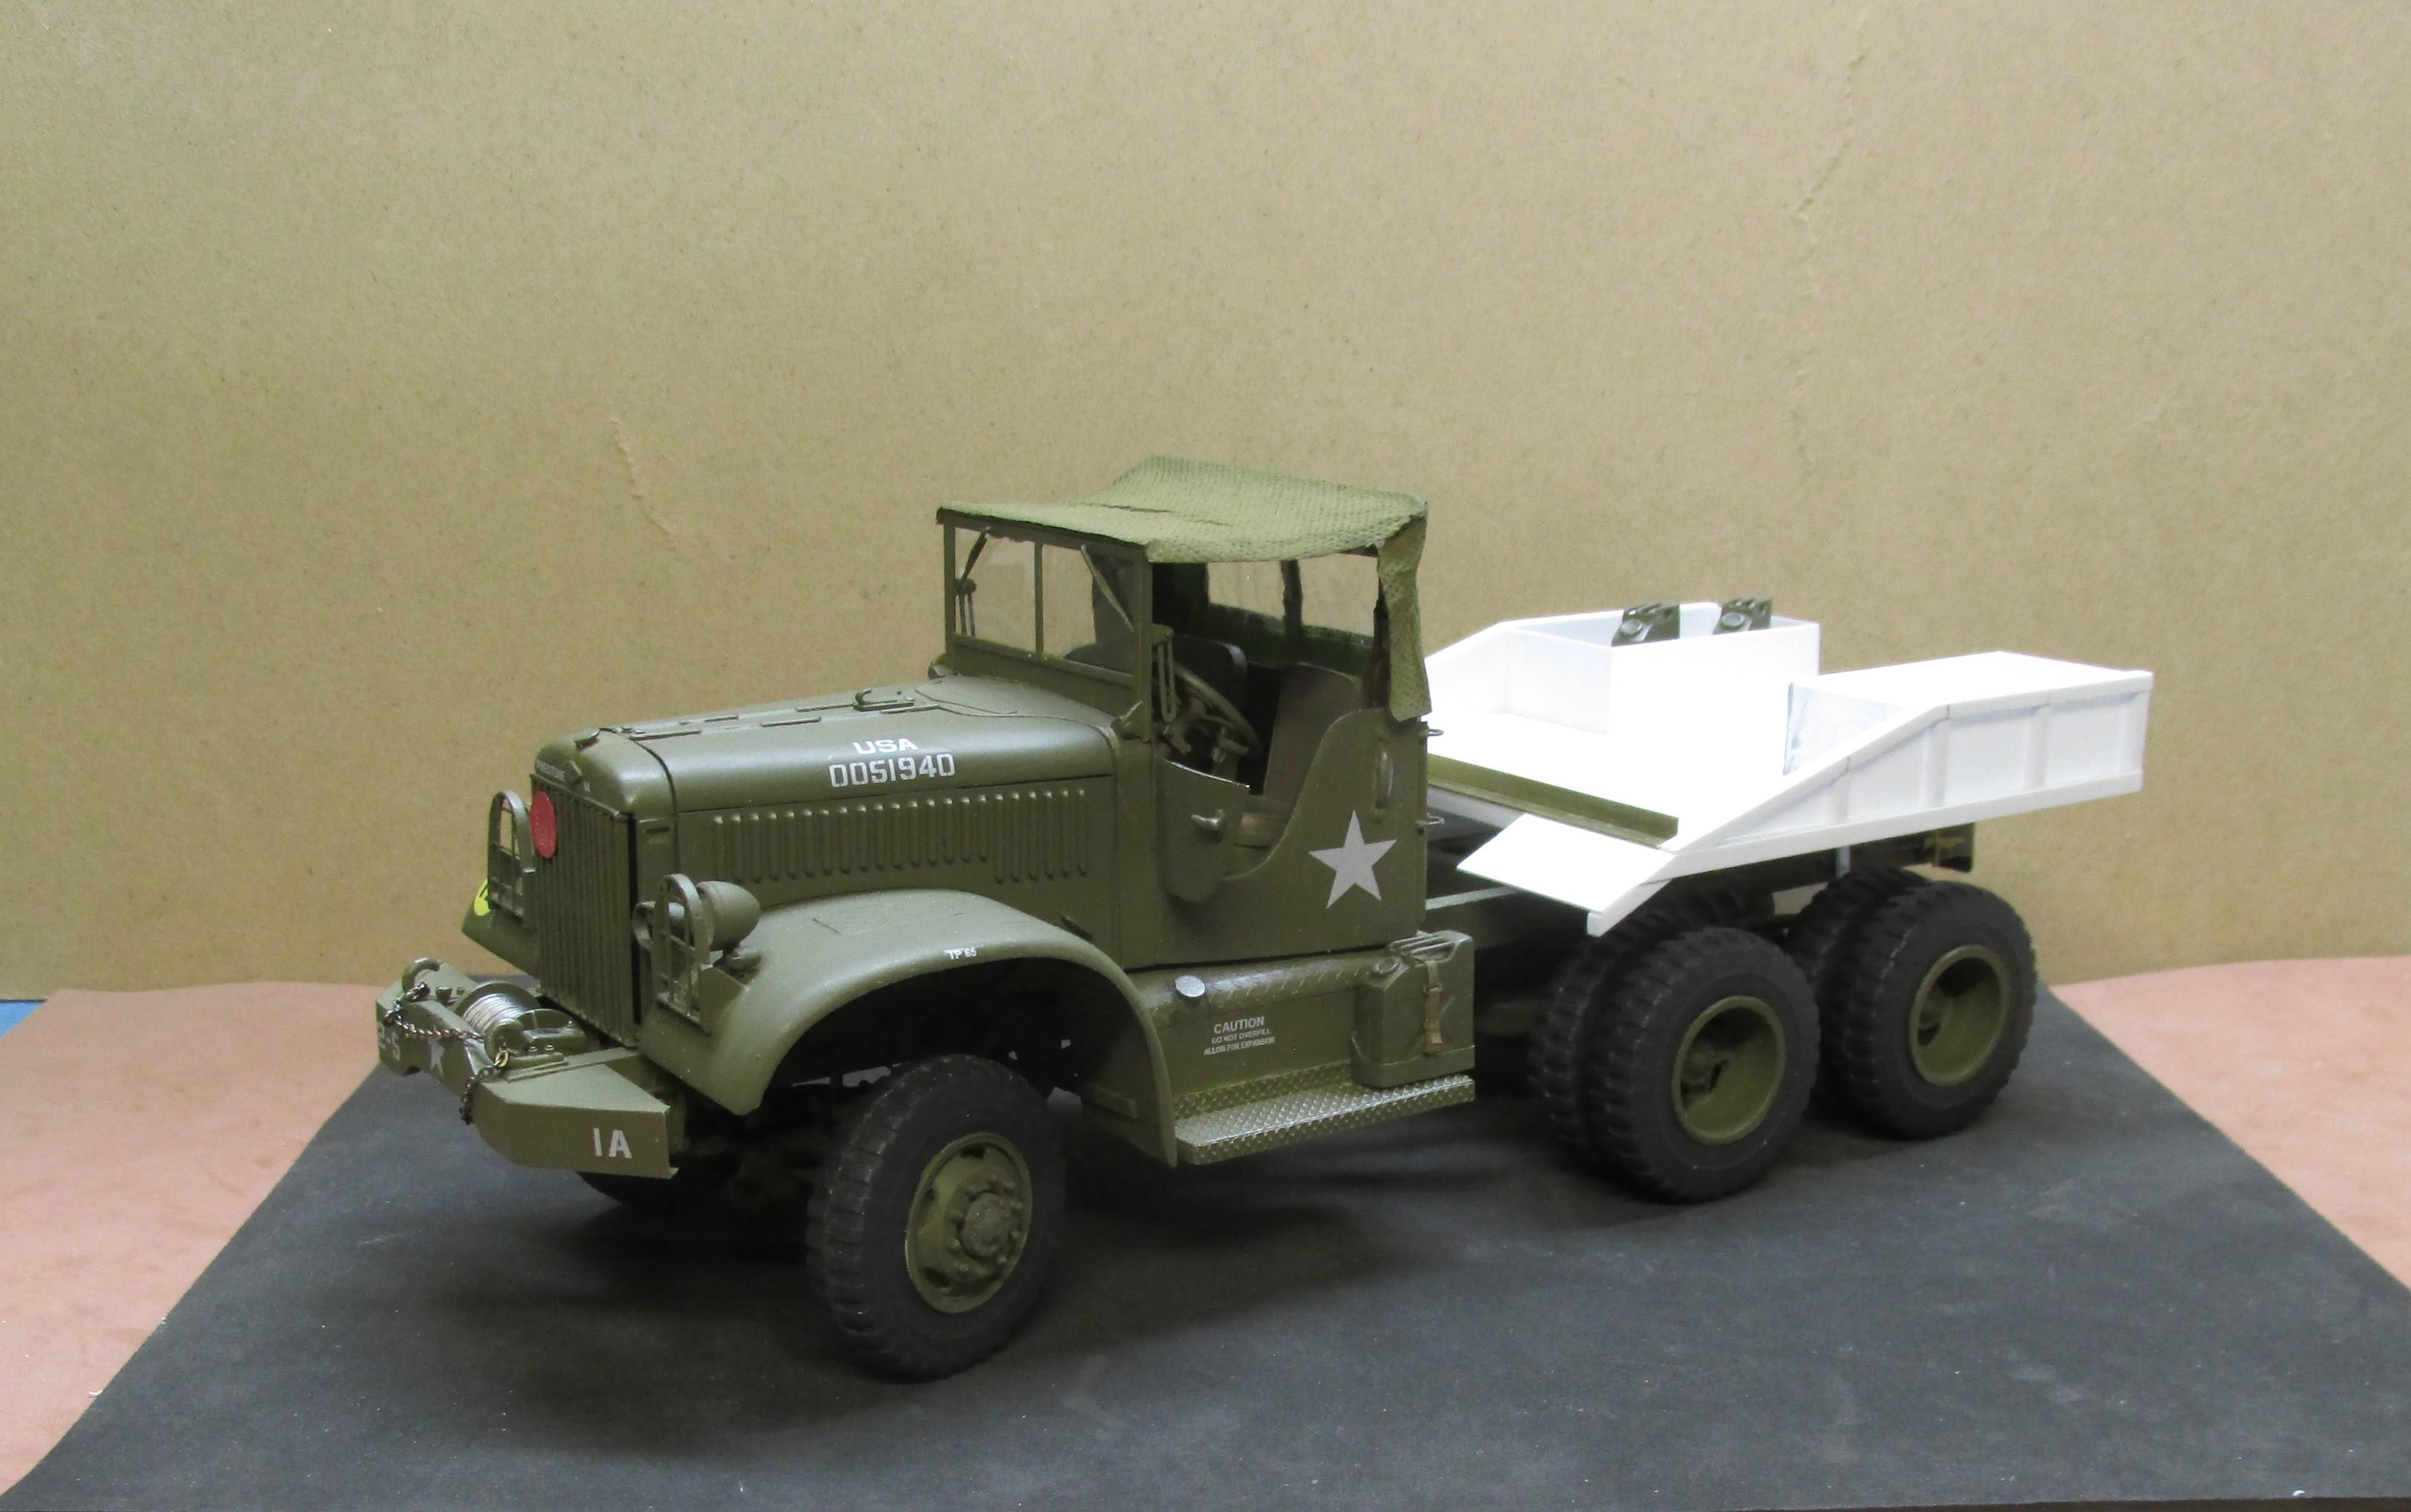
The truck body is now complete and work has begun on the wrecker frame. All sorts of things to make on this part of the build!
-
48ft Drop Deck Trailer
Chariots of Fire replied to Gary Chastain's topic in WIP: Model Trucks: Big Rigs and Heavy Equipment
Gonna be a looooooooong trailer!! Great work on it. I see lots of Evergreen! -
1944 Diamond T 6x6
Chariots of Fire replied to Chariots of Fire's topic in WIP: Model Trucks: Big Rigs and Heavy Equipment
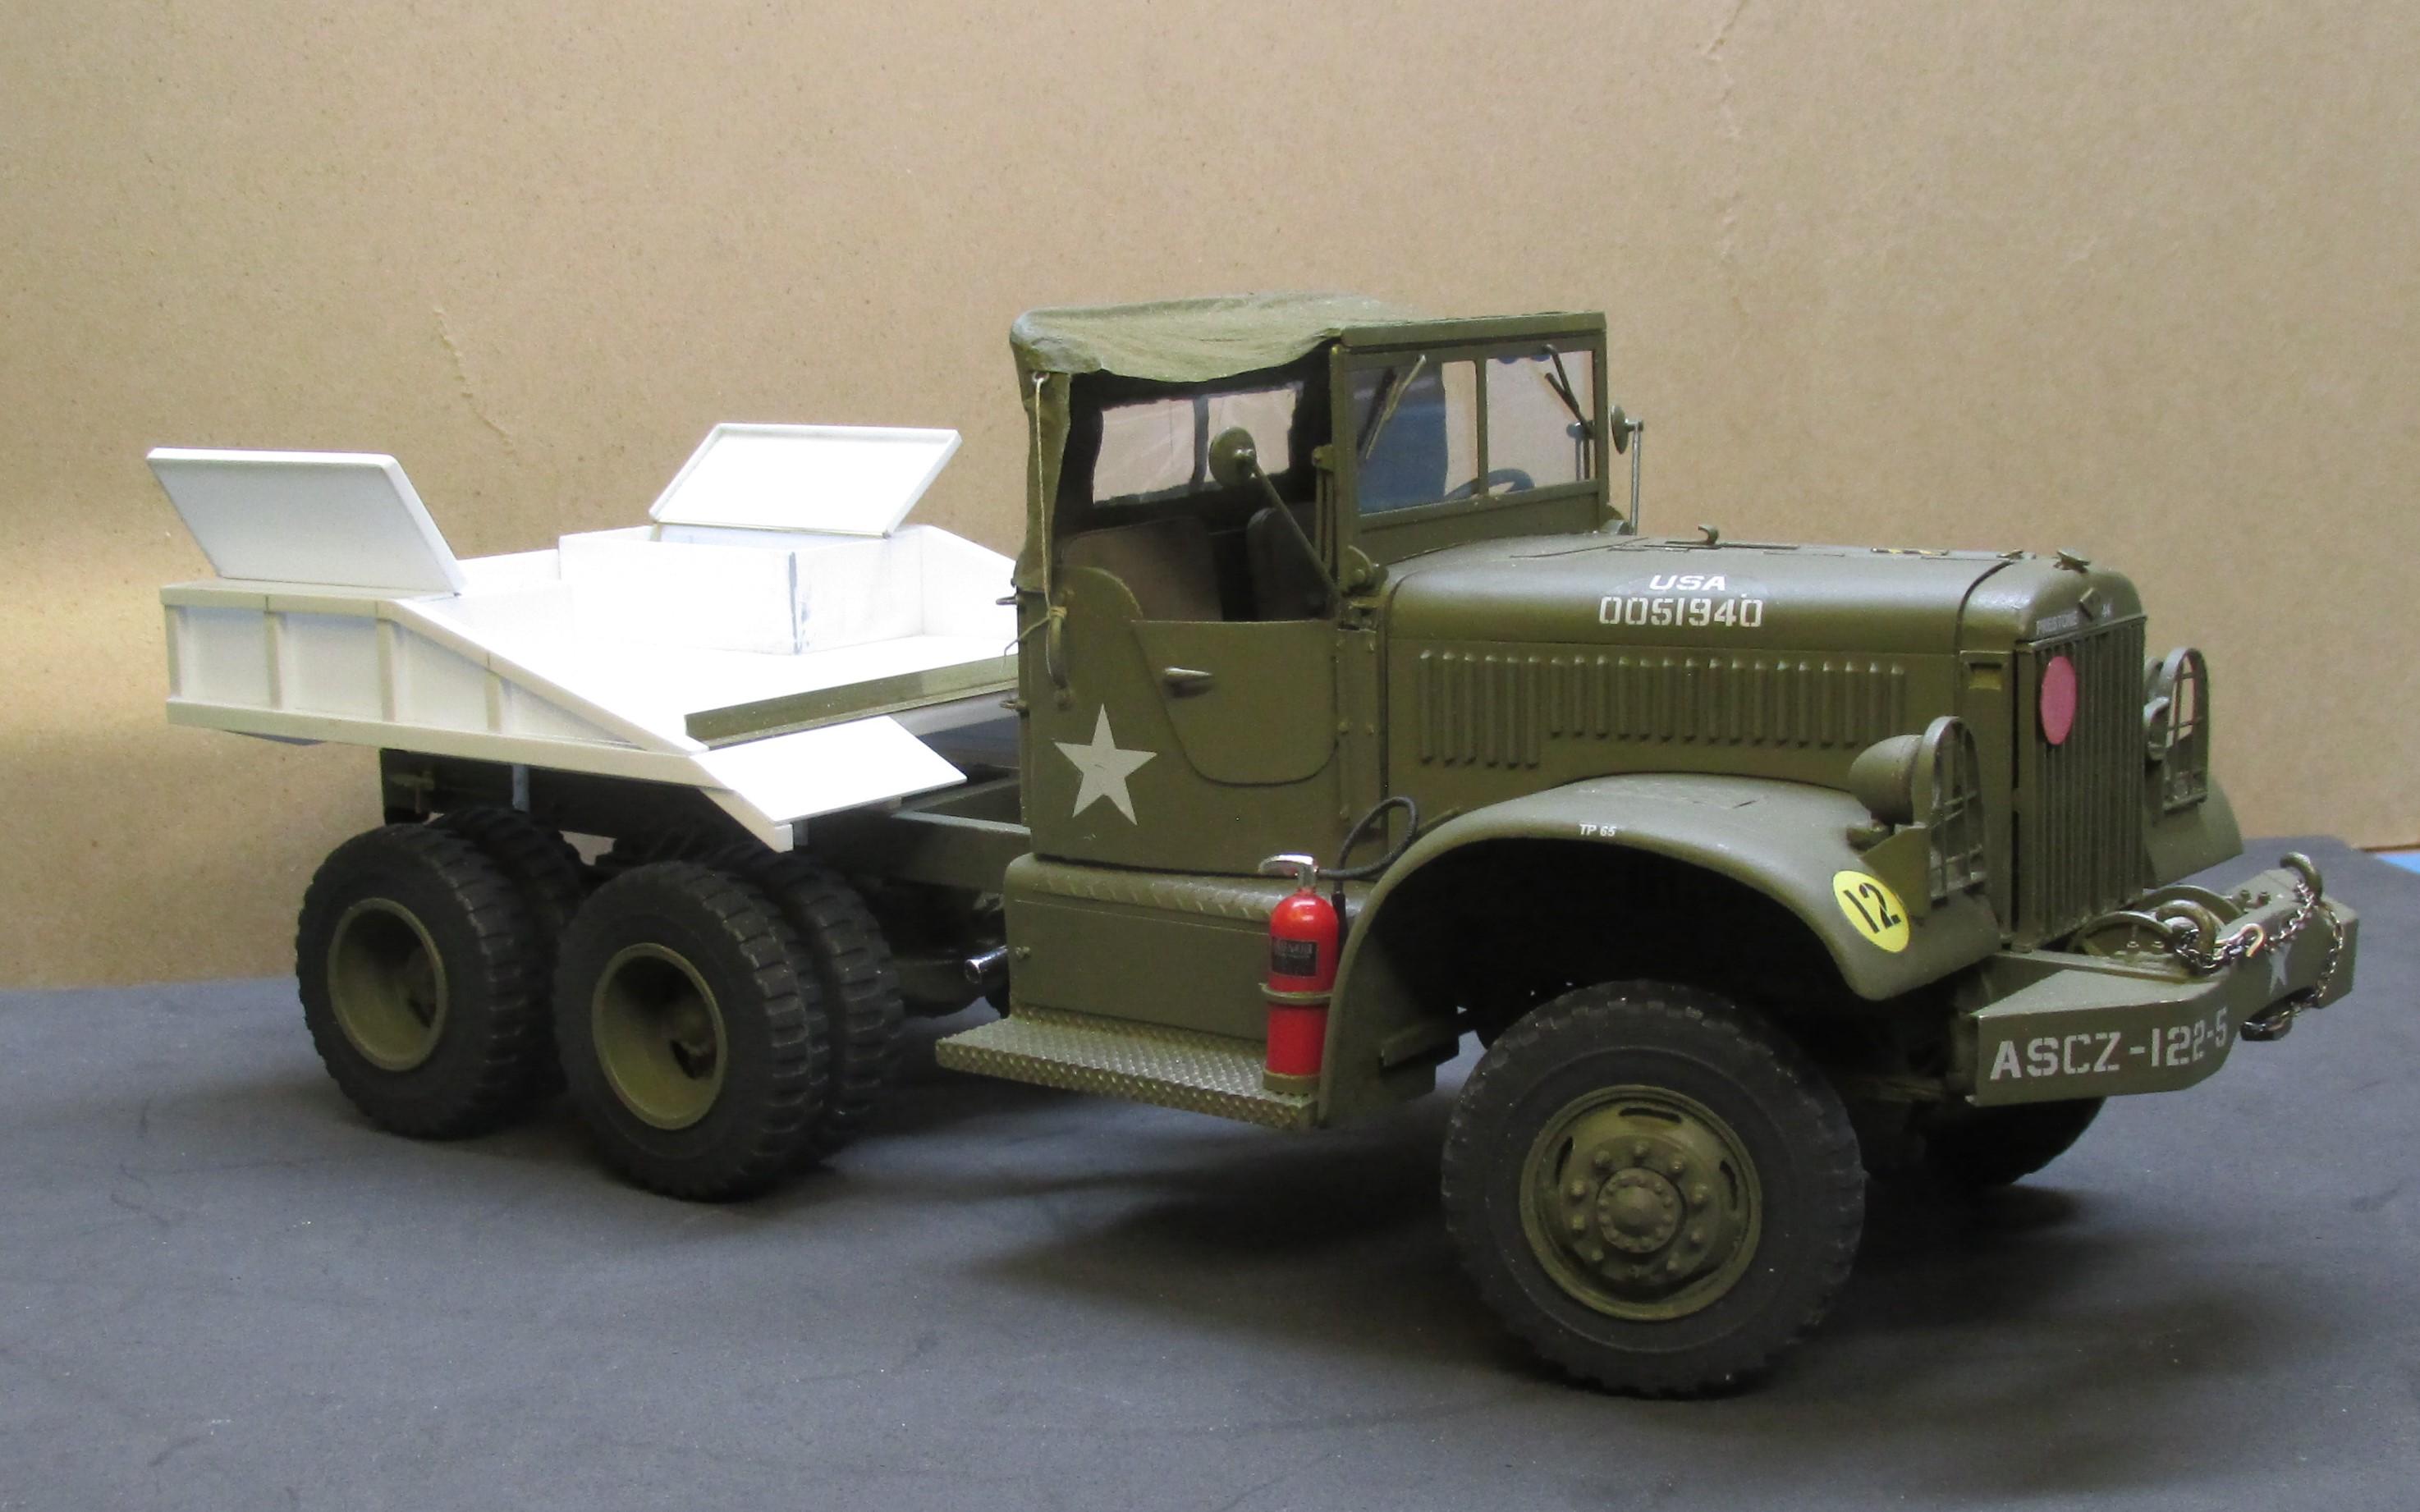
So back to the body it is. Work done on the small tailgate and the tool boxes. The tailgate opens and can be set in a flat position with the chains. The tool boxes open also with brass tubes and steel wire inside. The tailgate hinge looks big but it's not. The shadows make it look odd but it's not like that at all.
-
1944 Diamond T 6x6
Chariots of Fire replied to Chariots of Fire's topic in WIP: Model Trucks: Big Rigs and Heavy Equipment
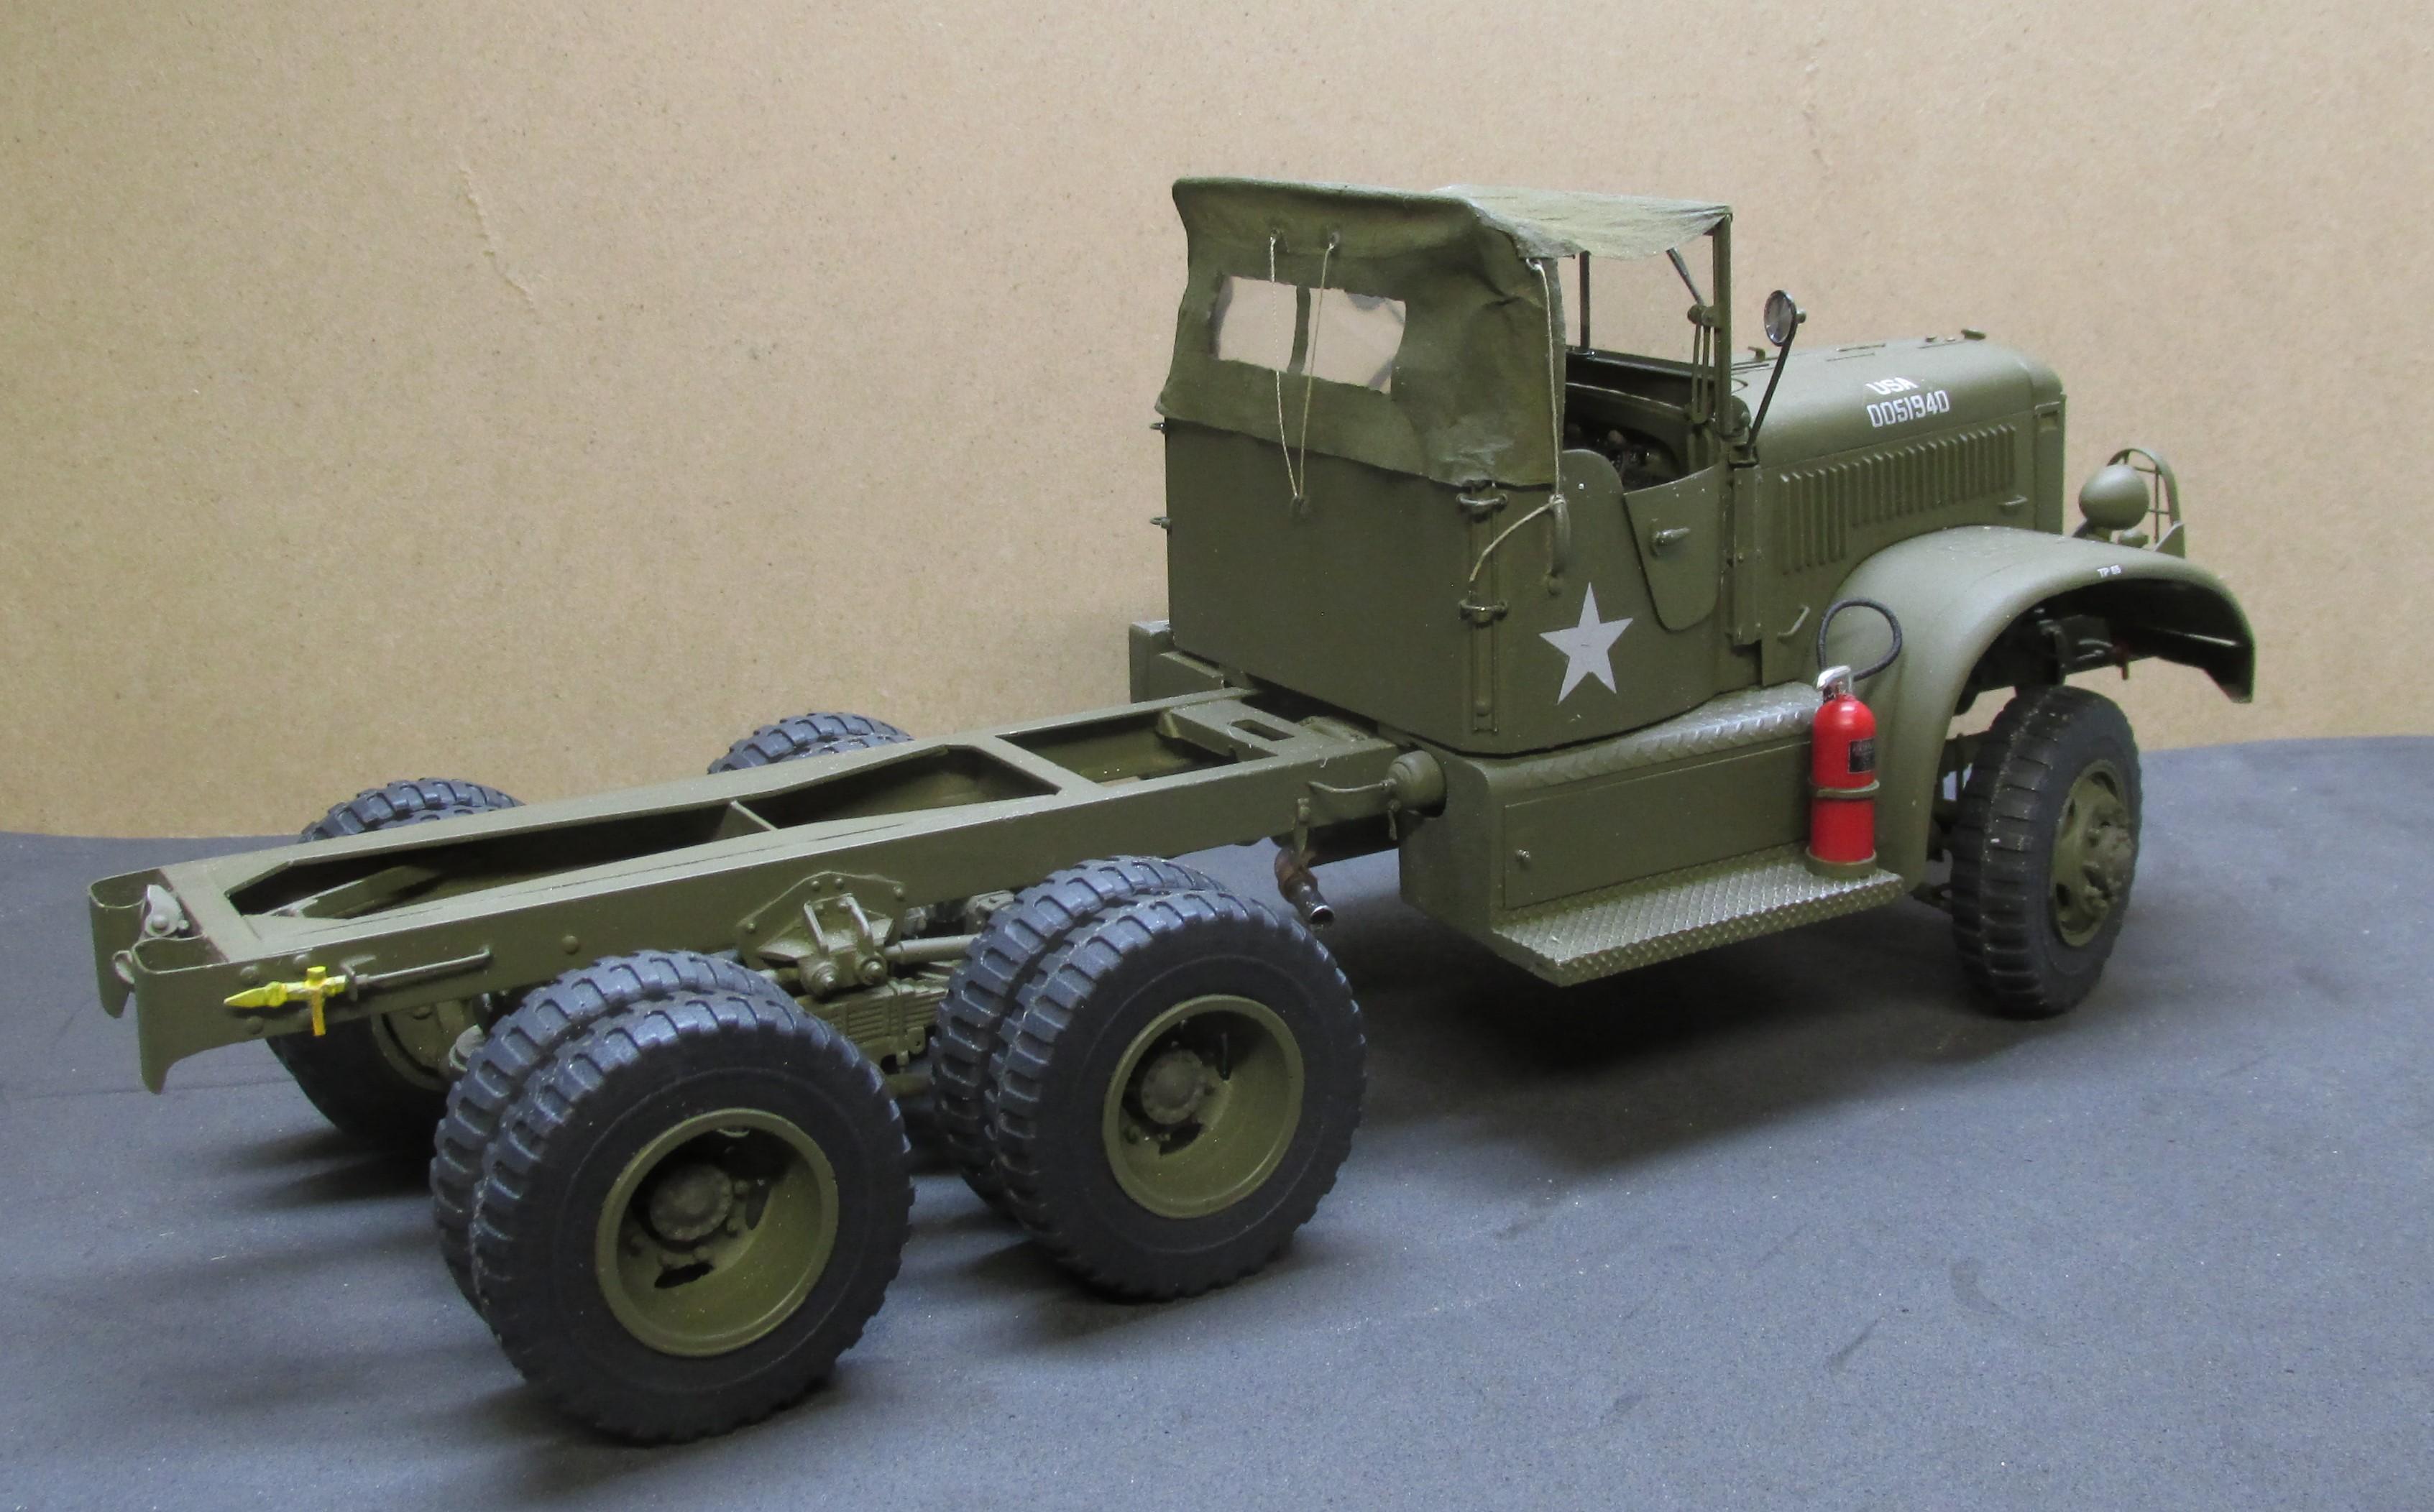
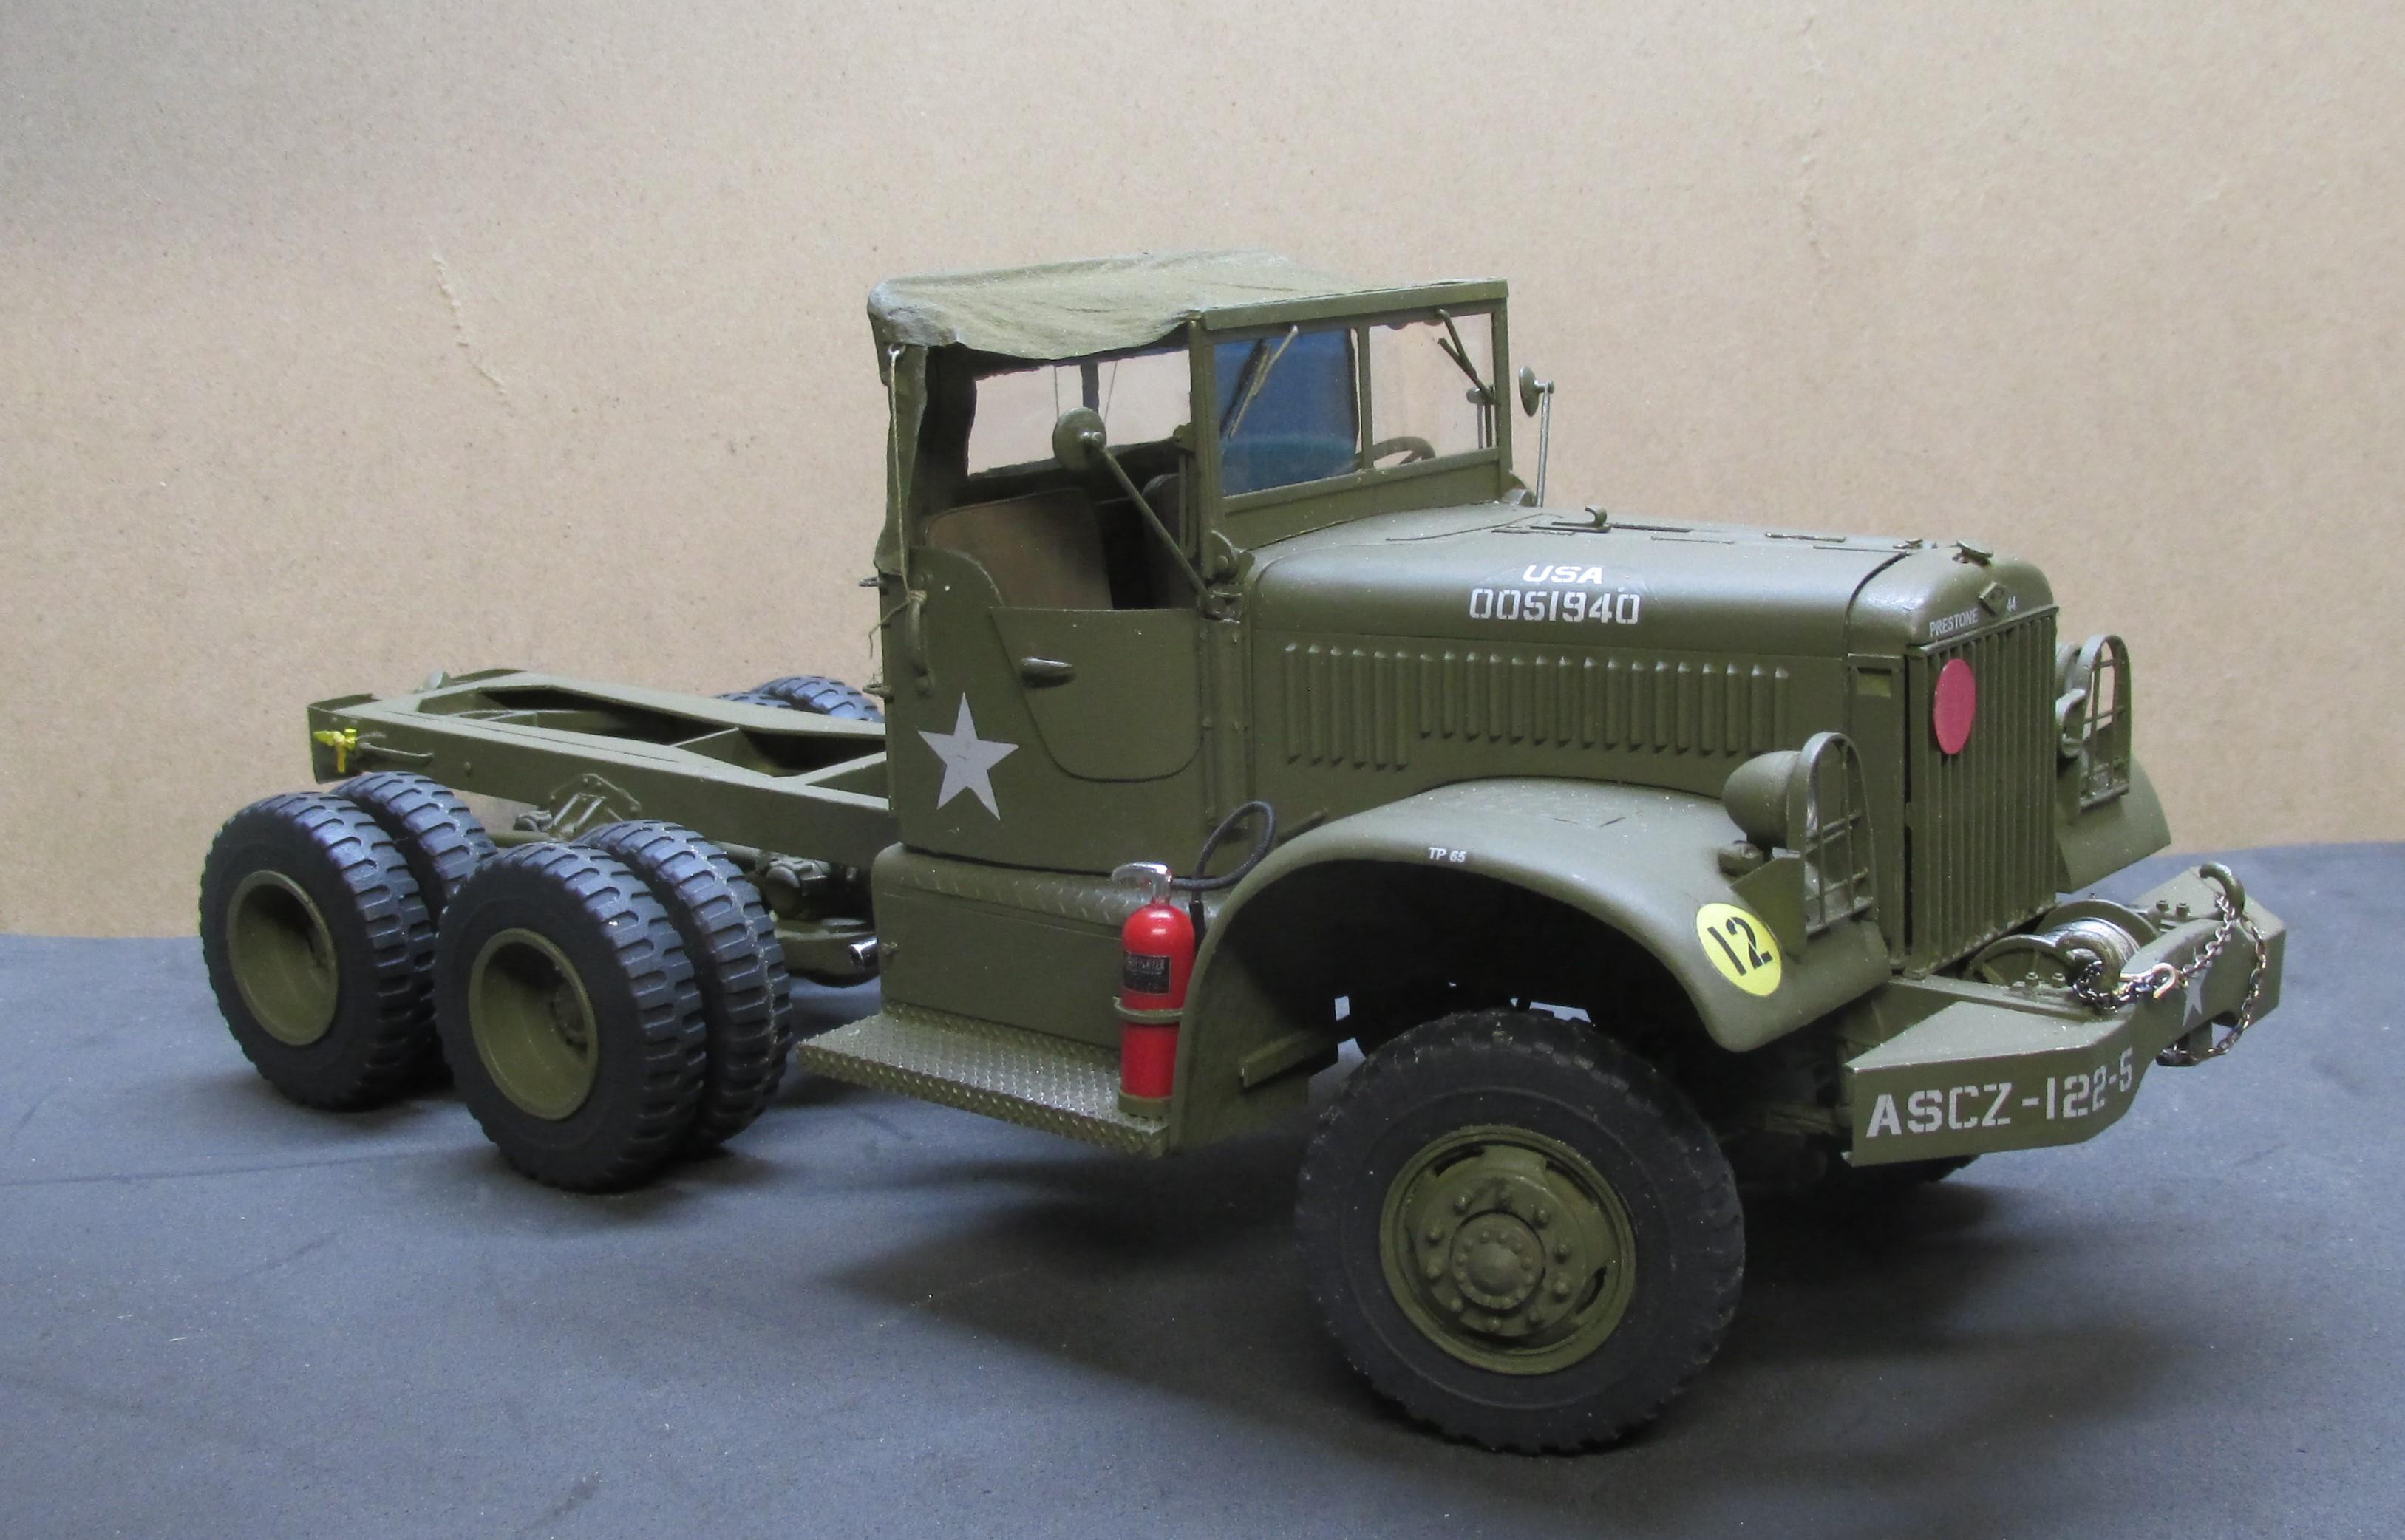
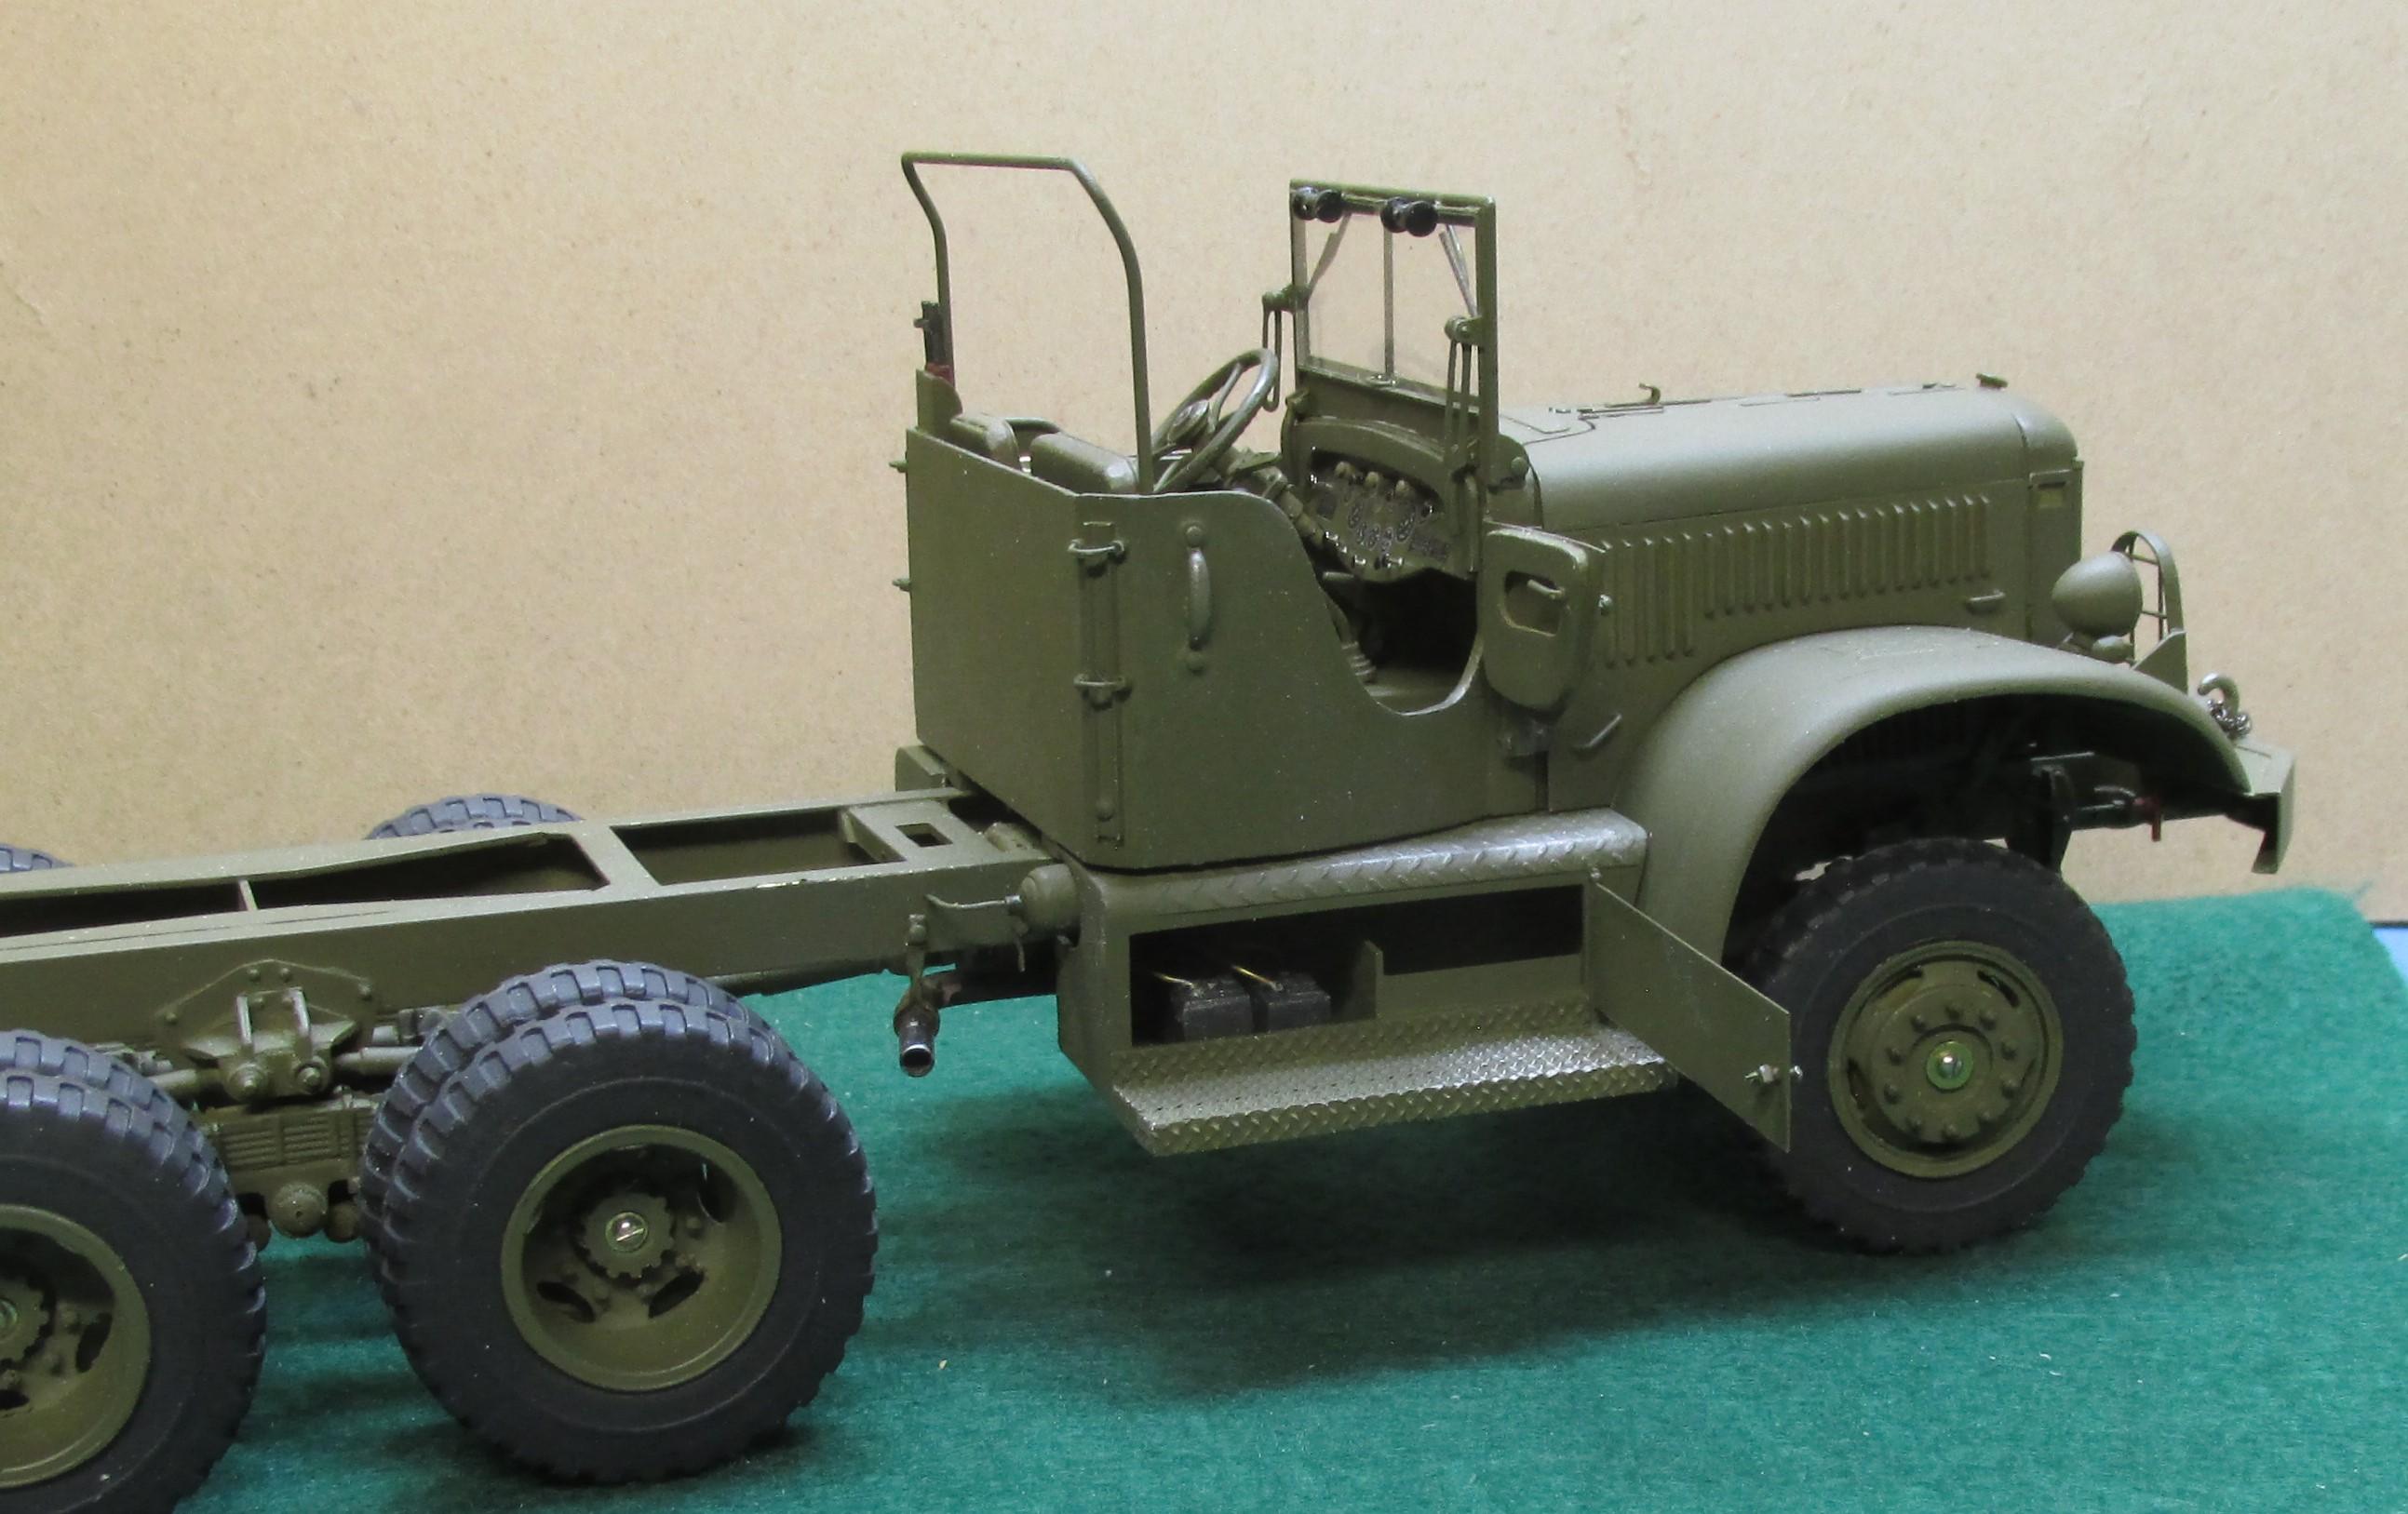
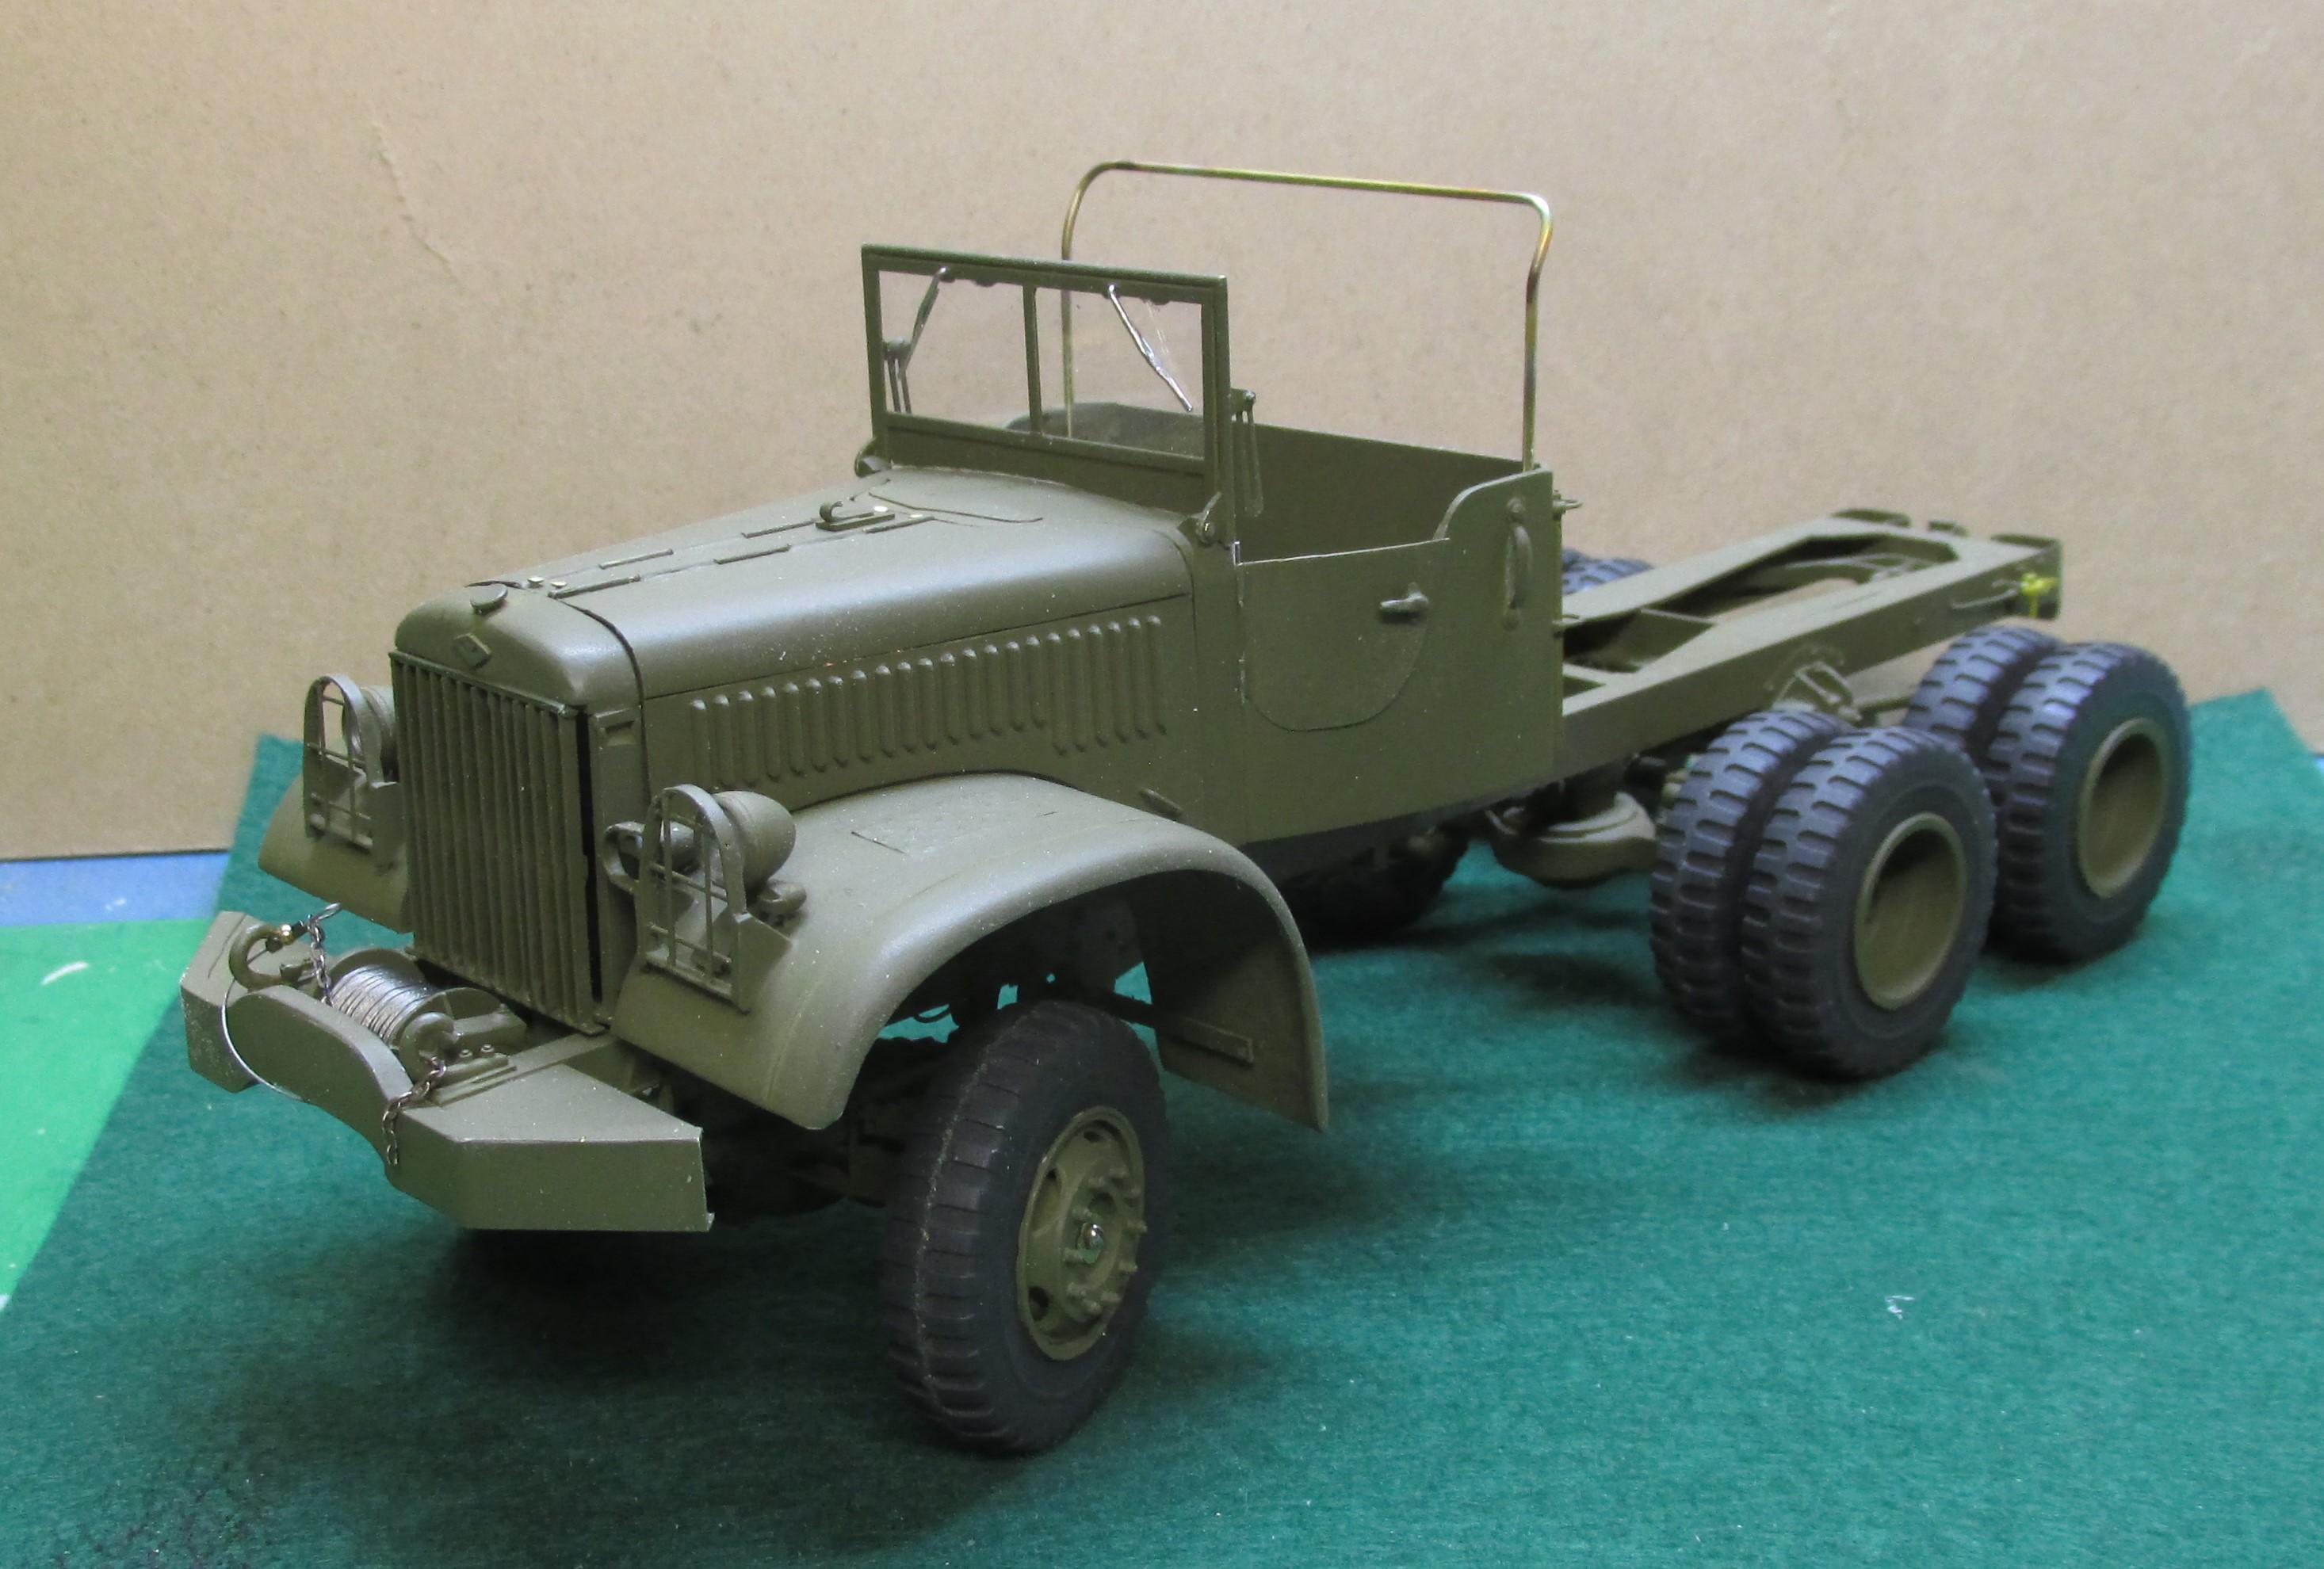
We can now say that the cab and chassis are complete. Time to get back to the body and the wrecker portion of this build.
-
Canadian Kenworth LW 900
Chariots of Fire replied to lwwoodss's topic in WIP: Model Trucks: Big Rigs and Heavy Equipment
Nice work! Love the detailing and changes you have made. Tough looking rig! -
Parts Box Freightliner FLC
Chariots of Fire replied to k100's topic in WIP: Model Trucks: Big Rigs and Heavy Equipment
Is that an Italeri kit by any chance? LIke the headlight adjustment. Nice! -
1944 Diamond T 6x6
Chariots of Fire replied to Chariots of Fire's topic in WIP: Model Trucks: Big Rigs and Heavy Equipment
Work continues. The hubs have been added to each wheel. The body has been started and I did some experimenting with facial tissue for the top. The kind I tried is too coarse and does not look good. I found some fine tissue that will work much better and I need to find a way to get the side curtains to the right place and then cover them with the top. 50/50 white glue and water were used to "paint" the tissue. Once it hardens the top stay in shape and can actually be removed. Another detail will be the rear view mirrors. They will be turned from aluminum rod so that the faces can be polished. Then the backs can be painted OD and the arm and mounting brackets done. The "Press and Seal I used to cover the truck while doing the top I found makes a very nice rear window; just like the real one. can be polished. Then the backs can be painted OD and the arm and mounting brackets done.
-
1944 Diamond T 6x6
Chariots of Fire replied to Chariots of Fire's topic in WIP: Model Trucks: Big Rigs and Heavy Equipment
I think that is about how they did it! GI's were smaller then, I guess. -
1944 Diamond T 6x6
Chariots of Fire replied to Chariots of Fire's topic in WIP: Model Trucks: Big Rigs and Heavy Equipment
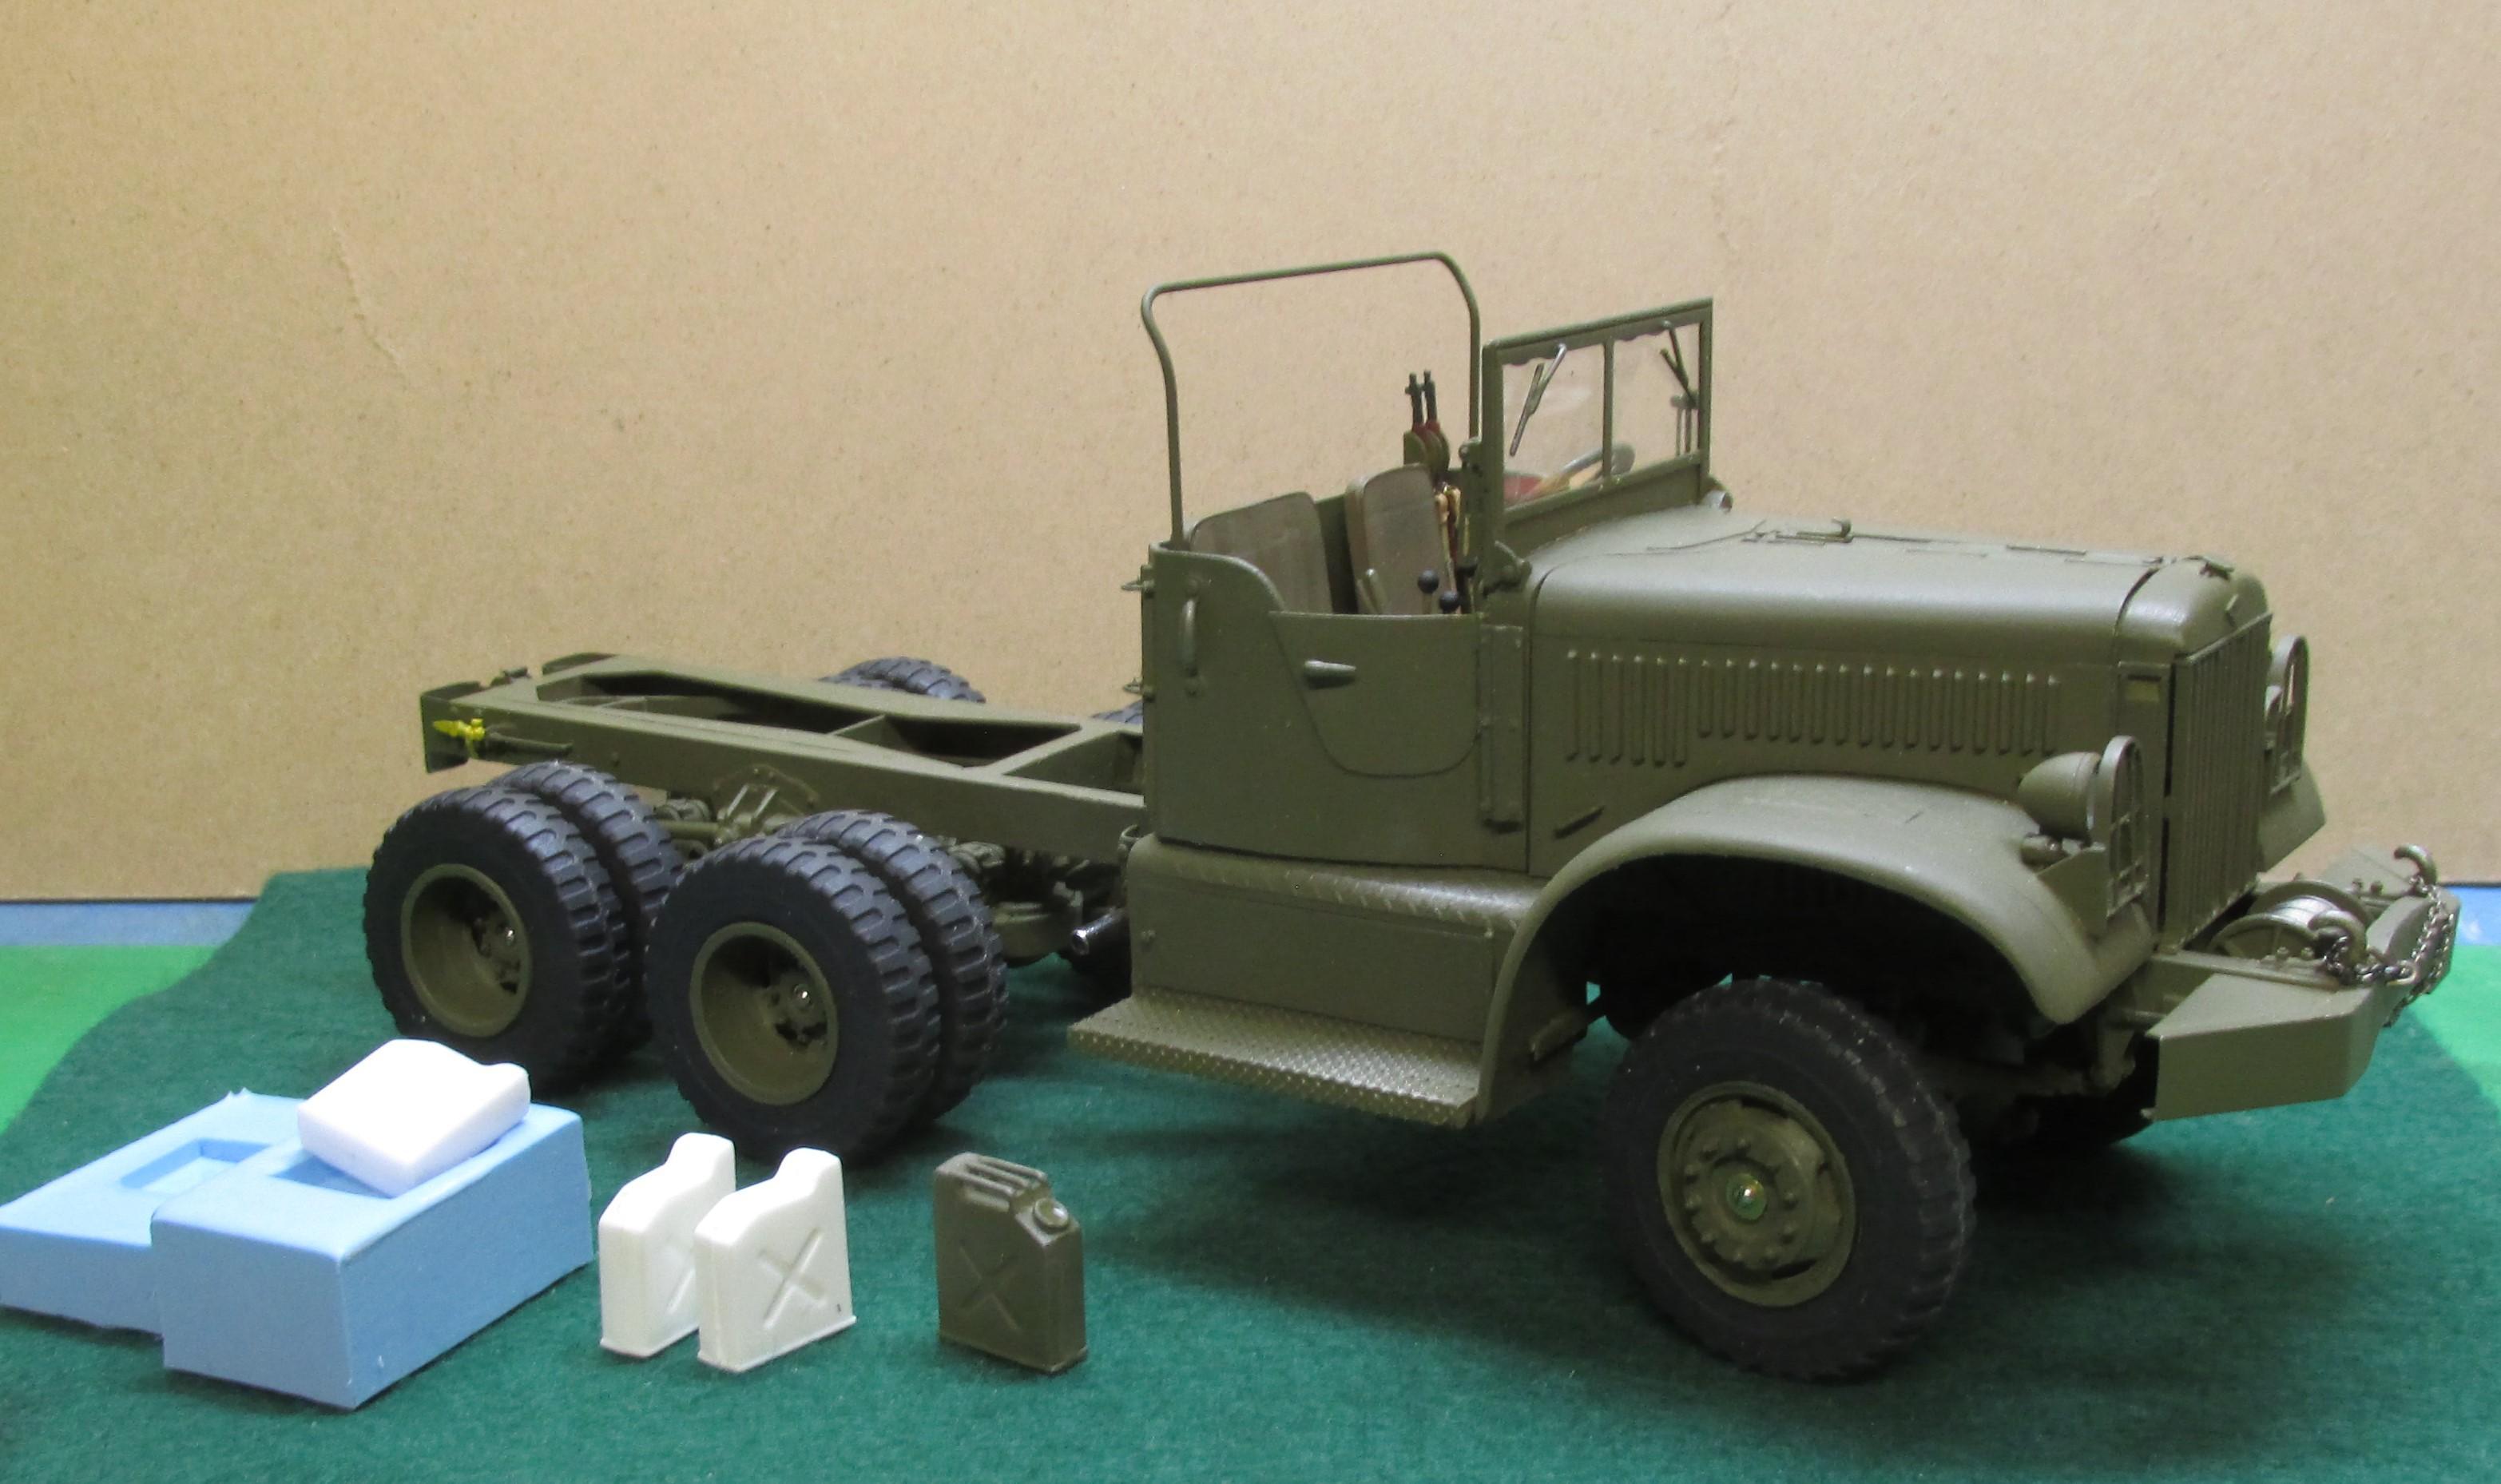
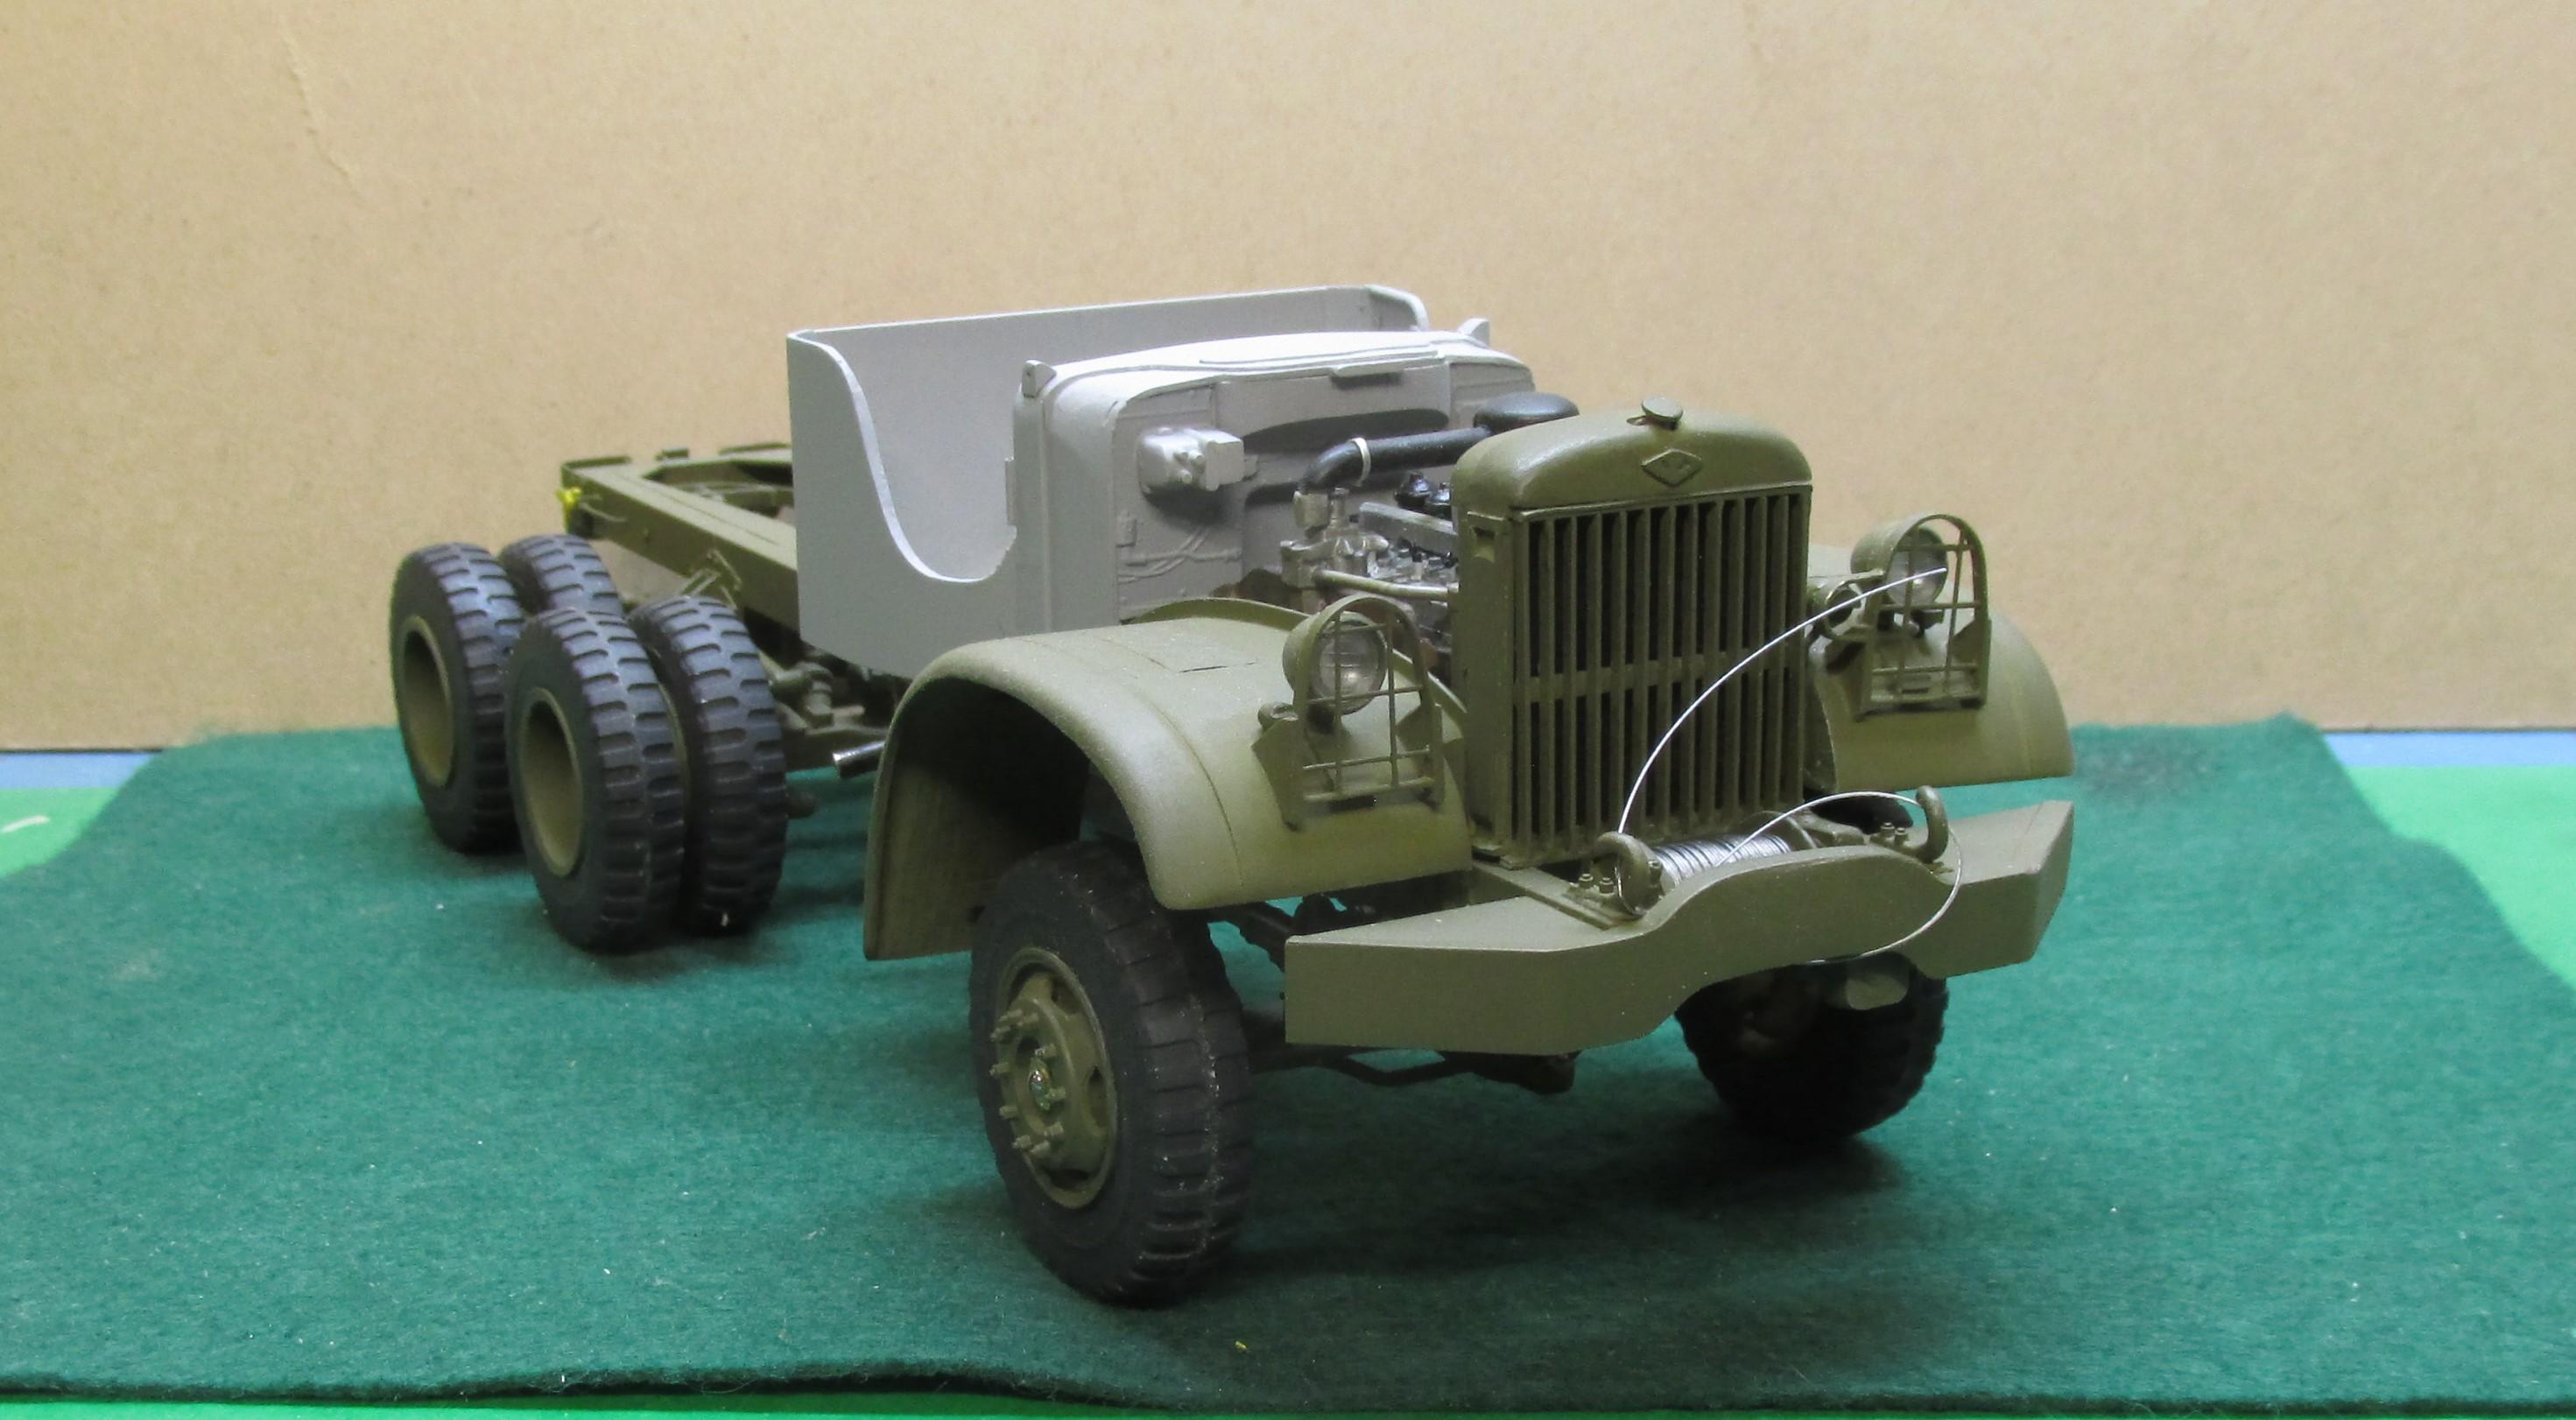
The step and compartment came off without too much of a struggle. There was some rebuilding to do but it's back on the truck where it belongs. In the meantime the fuel tank and step for the other side was done and has been installed. Also I found a good looking GI gas can in my stash but it needed some tweaking in order to be cast. I need several for this build. A mold was made and castings started. After the castings set all I have to do is add the three handles and a cap. Some paint and highlighting it all it takes to set if off. And the batteries were made for the compartment on the right.
-
1944 Diamond T 6x6
Chariots of Fire replied to Chariots of Fire's topic in WIP: Model Trucks: Big Rigs and Heavy Equipment
Welllll,.... not quite. I worked yesterday on the compartment and step for the right side of the cab. Got it all done, glued it in position only to find that it is the wrong shape for the open cab version of the truck! So it will have to come off and get revised. ? -
1944 Diamond T 6x6
Chariots of Fire replied to Chariots of Fire's topic in WIP: Model Trucks: Big Rigs and Heavy Equipment
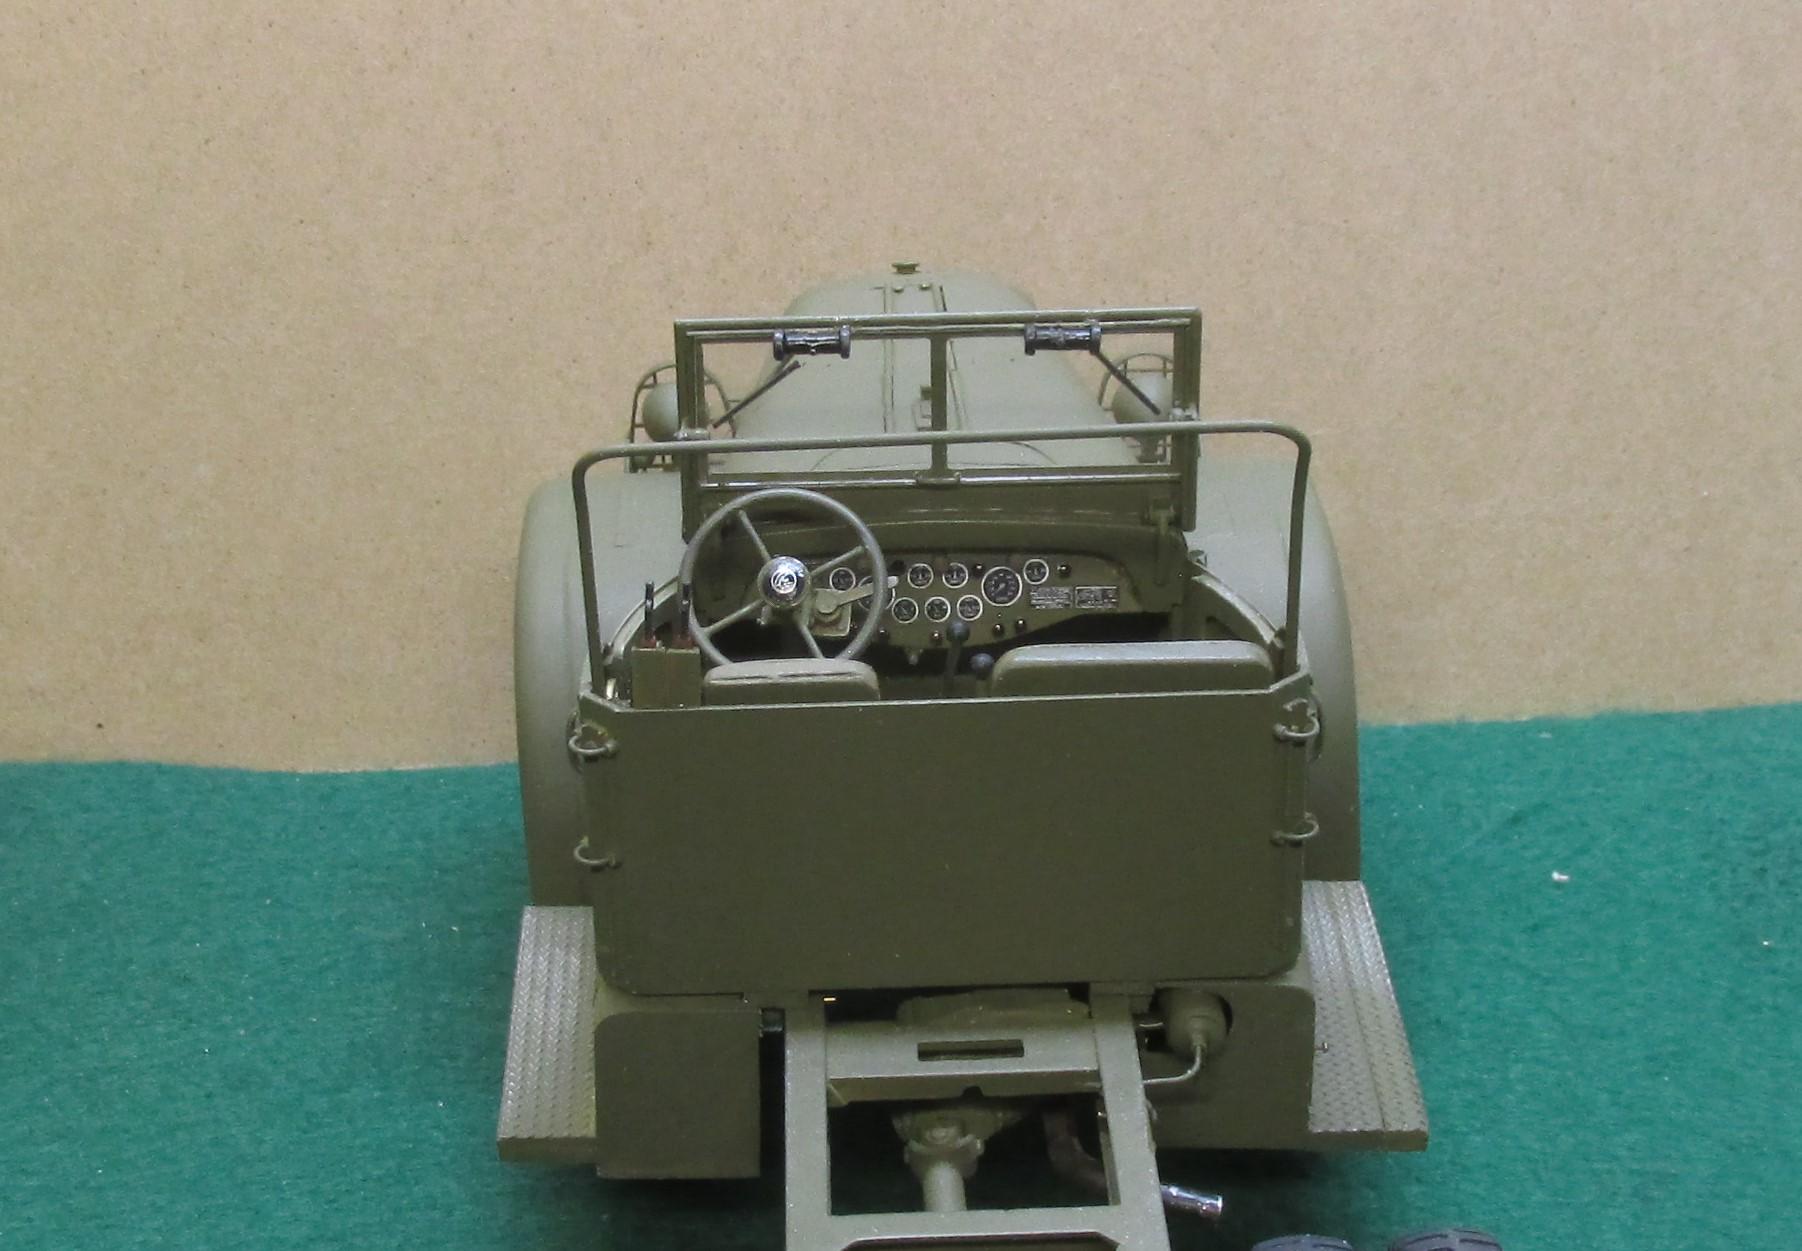
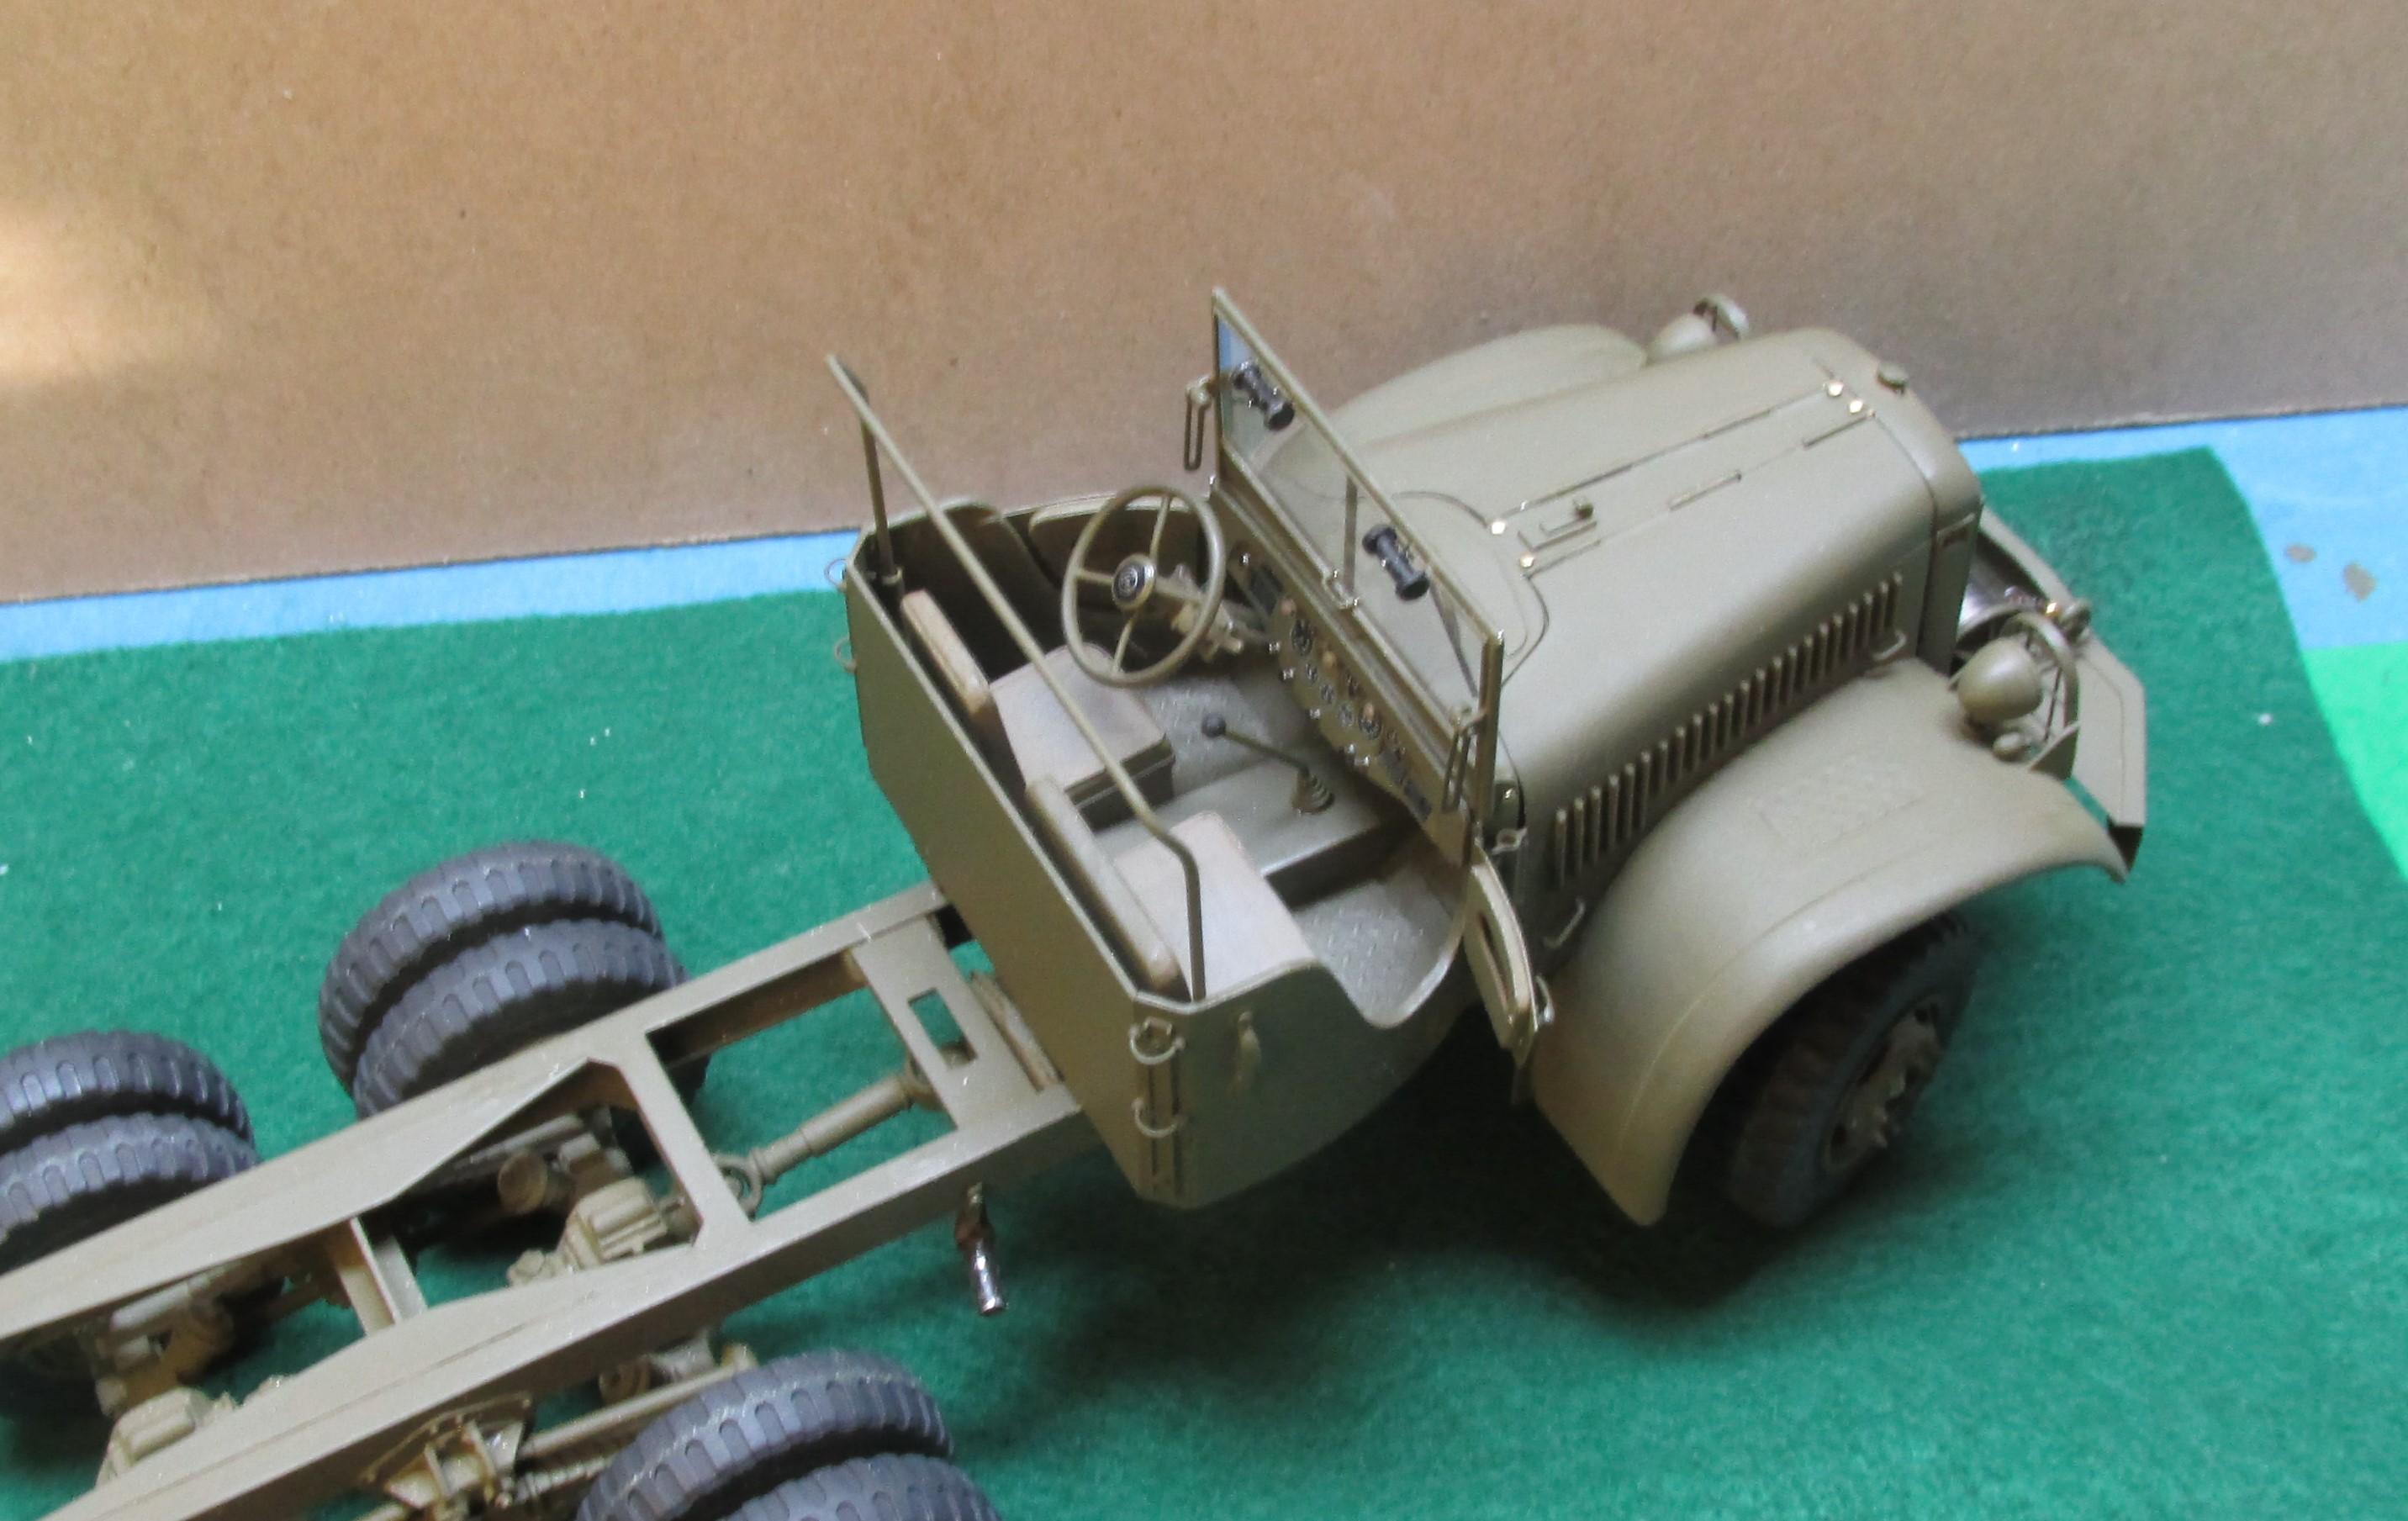
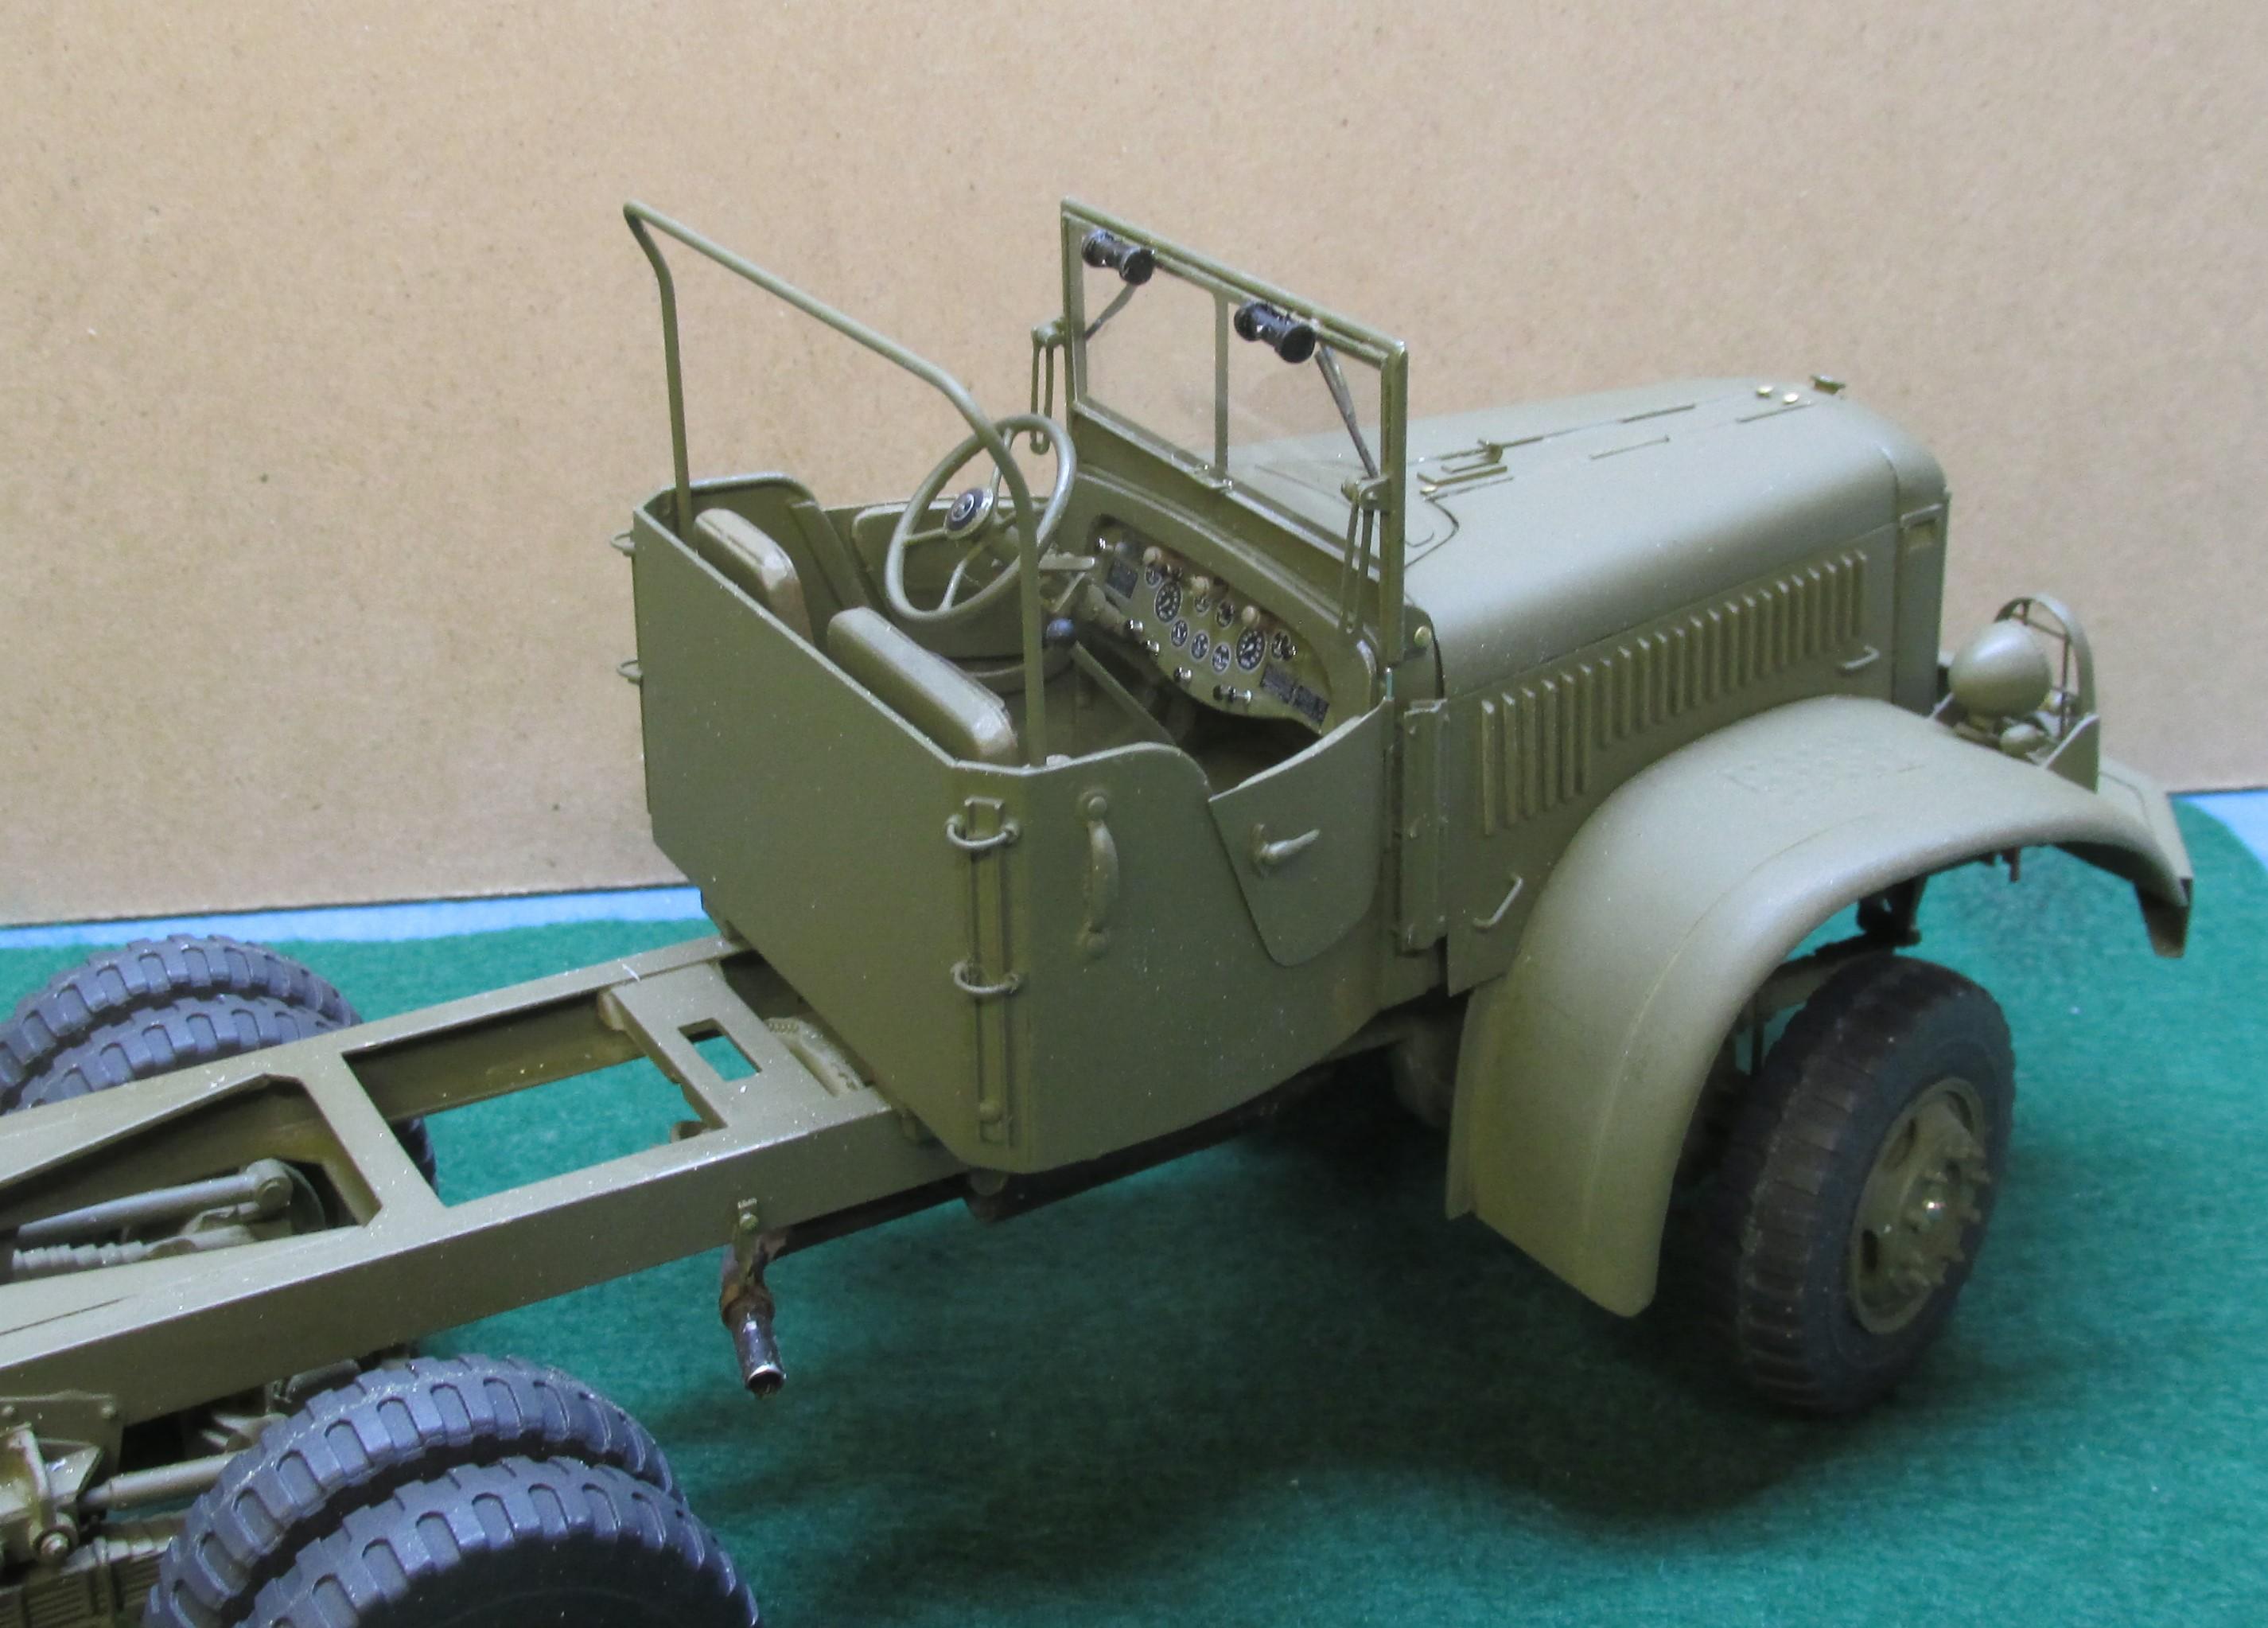
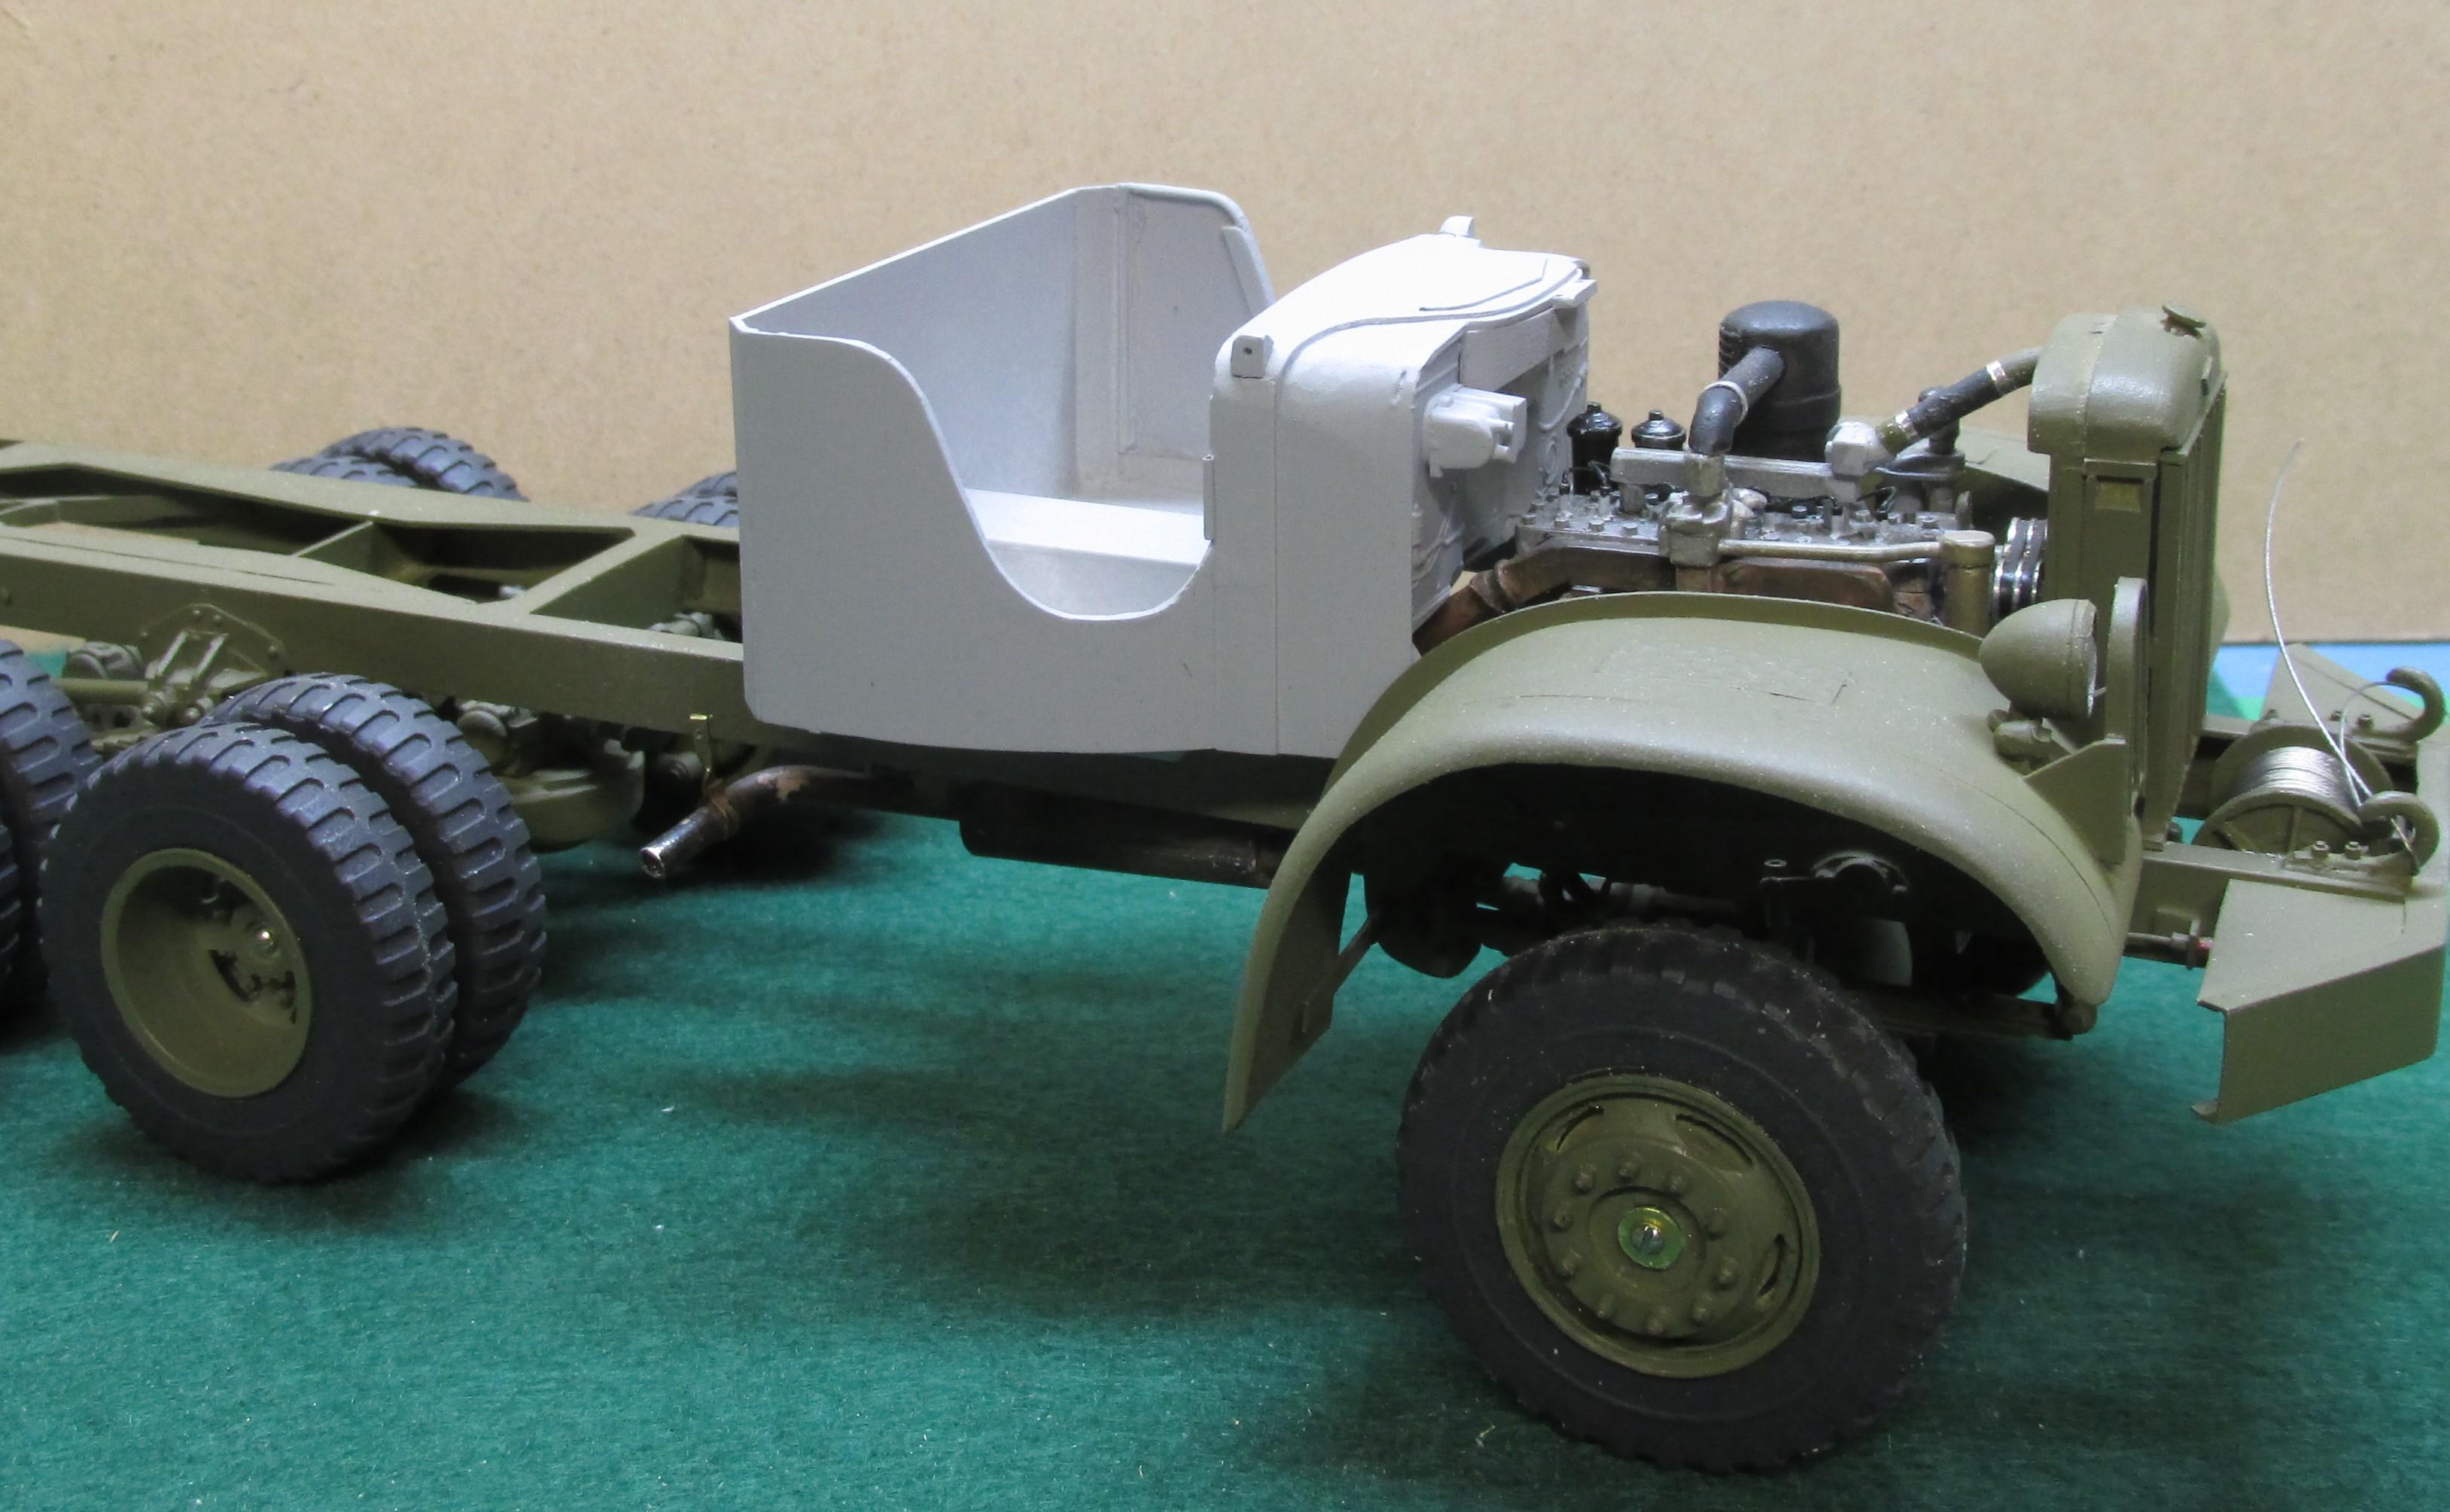
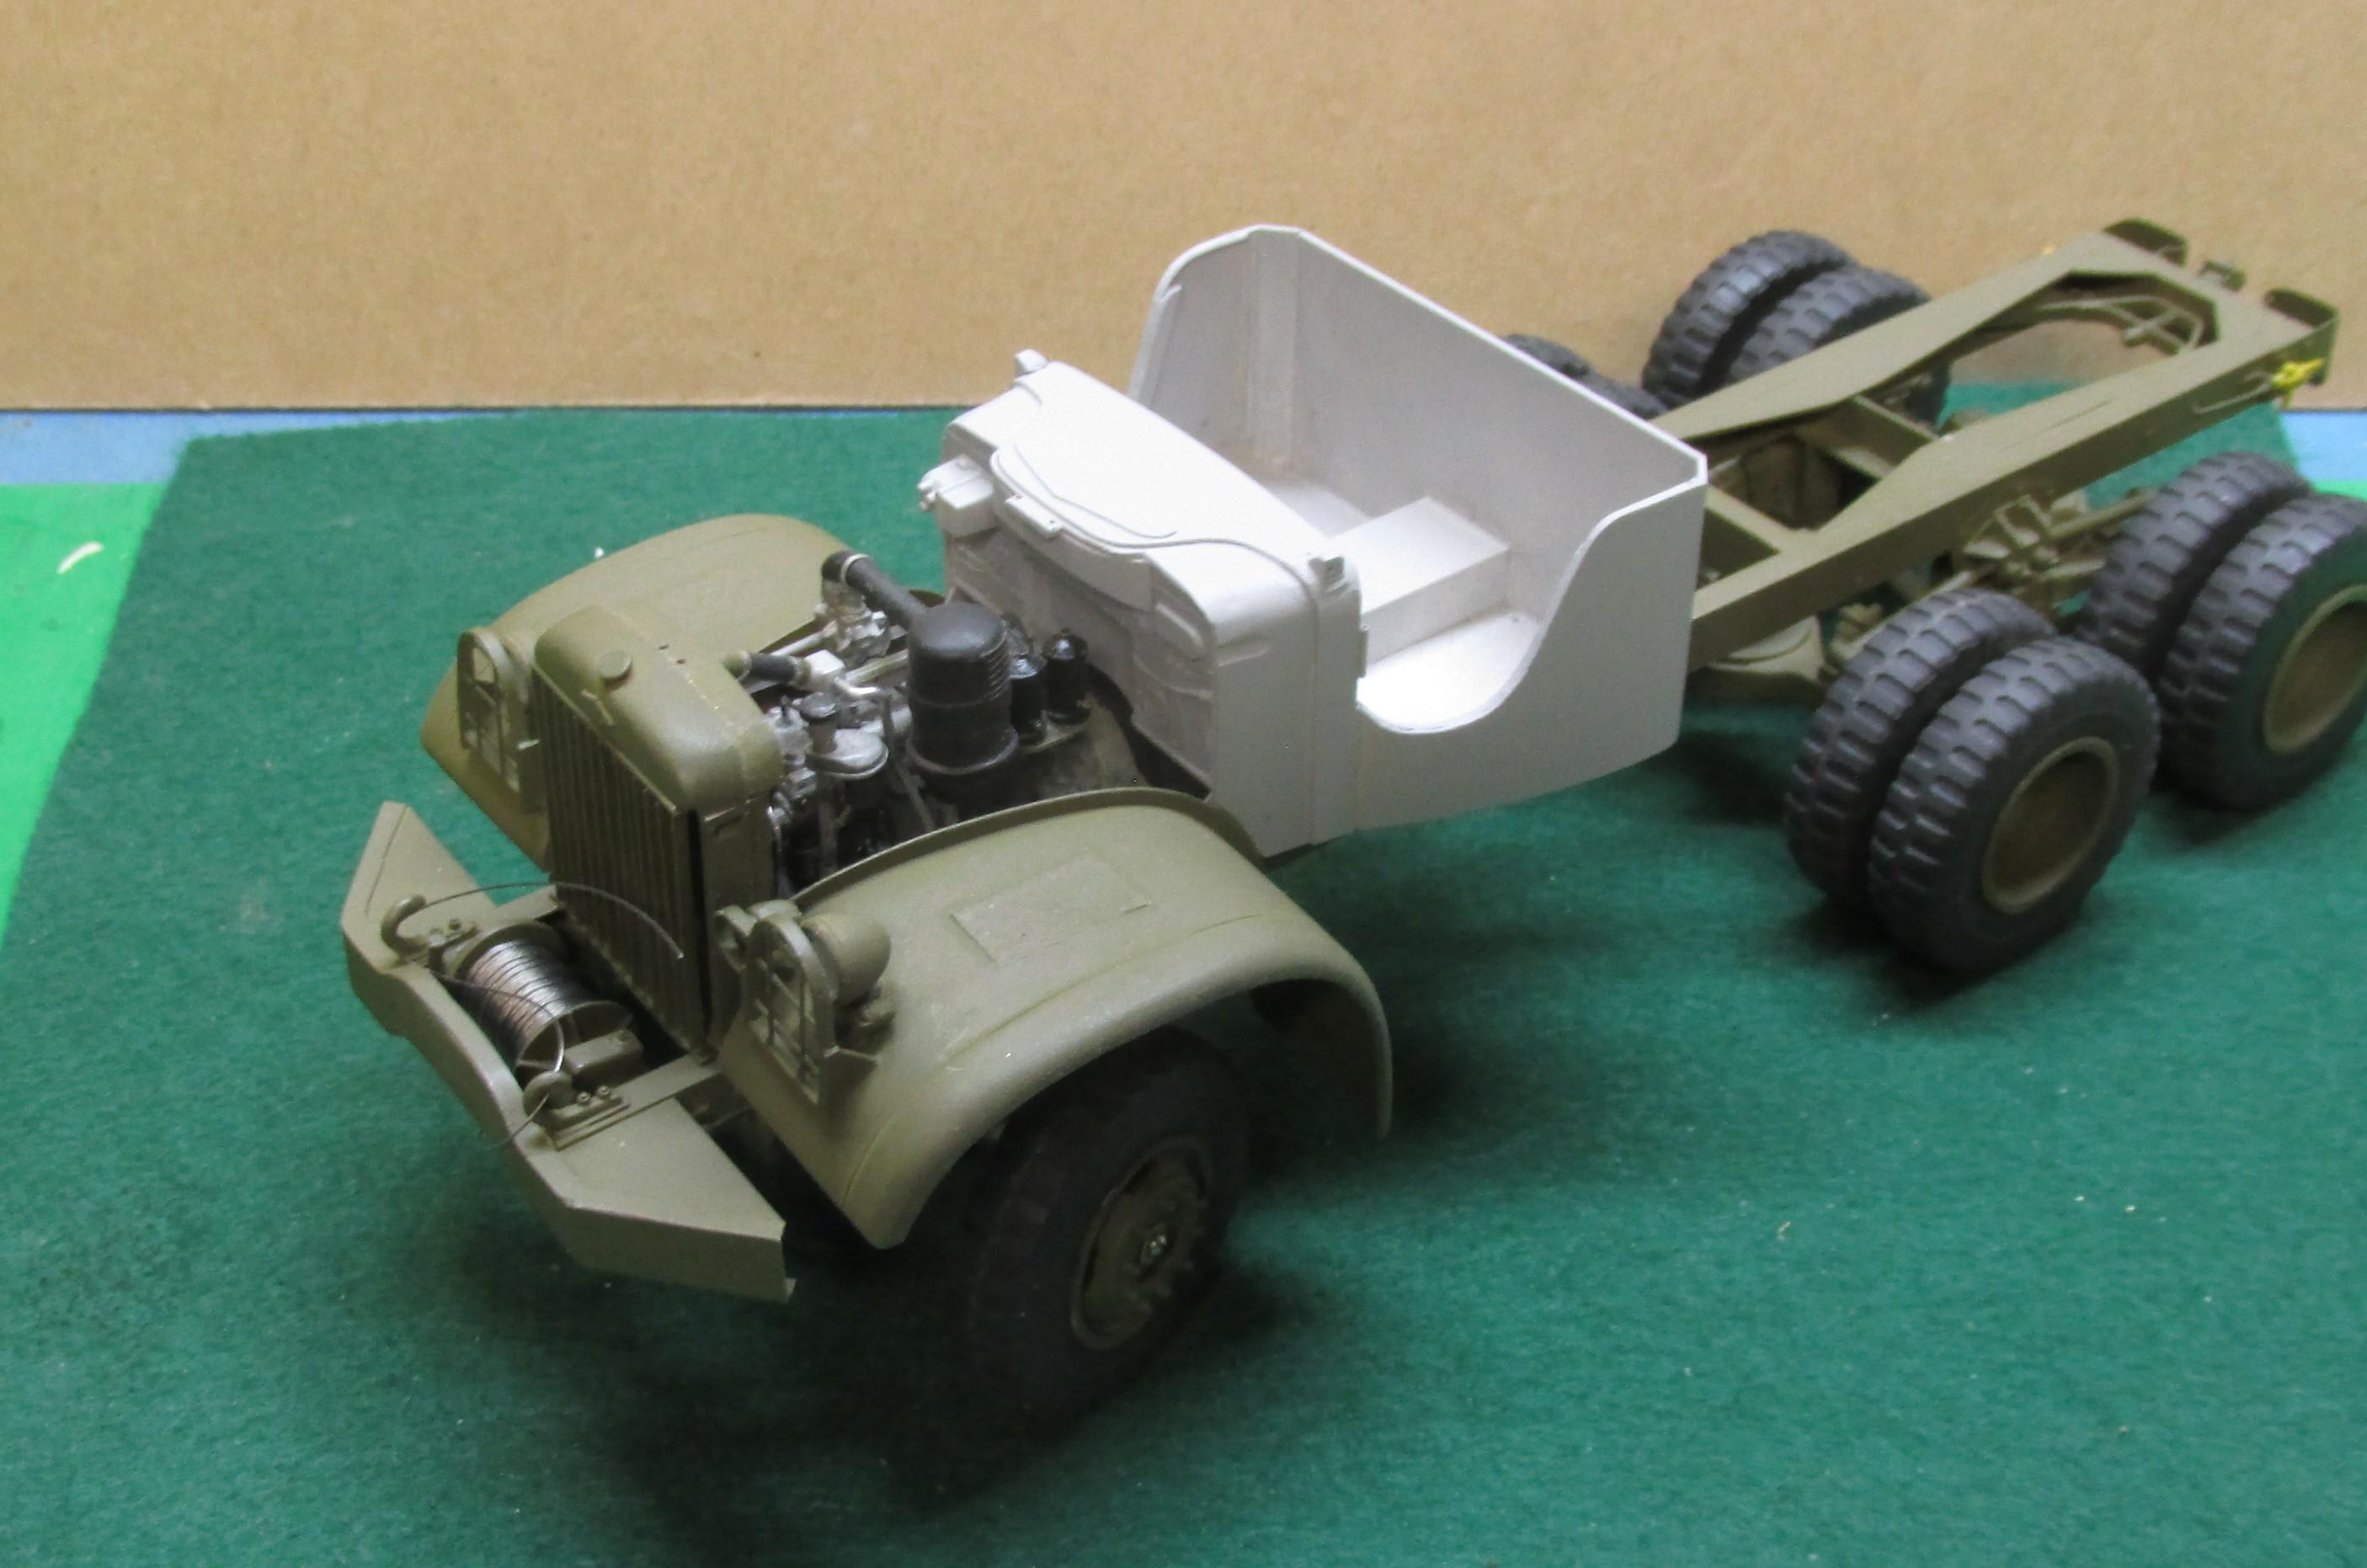
The cab interior is done. The windshield latches and fire extinguisher have been added. Now to figure out how to make the soft top removable so you can see all this stuff.
-
1944 Diamond T 6x6
Chariots of Fire replied to Chariots of Fire's topic in WIP: Model Trucks: Big Rigs and Heavy Equipment
A few more details done inside the cab. Handbrake lever, transfer case lever and power takeoff levers are installed. Steering wheel, accelerator, brake and clutch pedals are in. I found two M-1 rifles in the stash and they were painted up, placed in scabbards and mounted. Inside door handles are added also. That's a carbon tet extinguisher sitting on the seat. It needs to be finished and mounted on the cab wall next to the driver's seat.
-
1944 Diamond T 6x6
Chariots of Fire replied to Chariots of Fire's topic in WIP: Model Trucks: Big Rigs and Heavy Equipment
Concentrating on the cab interior the last couple of days. The dashboard is done and made up using common pins, gage decals and small beads. The steering wheel was converted from an AMT wheel using bent brass wire. The horn button has a Ross insignia in the middle. Treadplate is on the floor of the cab but is hard to see. The windshield is done except for the two clamps that hold it in the upright position.
-
1944 Diamond T 6x6
Chariots of Fire replied to Chariots of Fire's topic in WIP: Model Trucks: Big Rigs and Heavy Equipment
Progress continues. Just a lot to do to get the details down. Bit the bullet and did some painting. Got the hood louvers done and went to work on the windshield wipers. got them done although I should have darkened the blades first. Wiper arms will get OD color. Started work in the cab interior with making up the dashboard.
-
1944 Diamond T 6x6
Chariots of Fire replied to Chariots of Fire's topic in WIP: Model Trucks: Big Rigs and Heavy Equipment
Got some paint on the fenders and frame. Headlights and guards have been installed along with marker lights and blackout light. The winch is now in place and wrapped with mylar coated wire for the cable. The cable will have a chain and hook. Glad hands have been painted; yellow for rear, red for front. the cab is in primer and awaiting the final fit of the hood sections.
-
Not much of a truck racing fan but the work you are doing is fantastic! Paint job is great!
-
1944 Diamond T 6x6
Chariots of Fire replied to Chariots of Fire's topic in WIP: Model Trucks: Big Rigs and Heavy Equipment
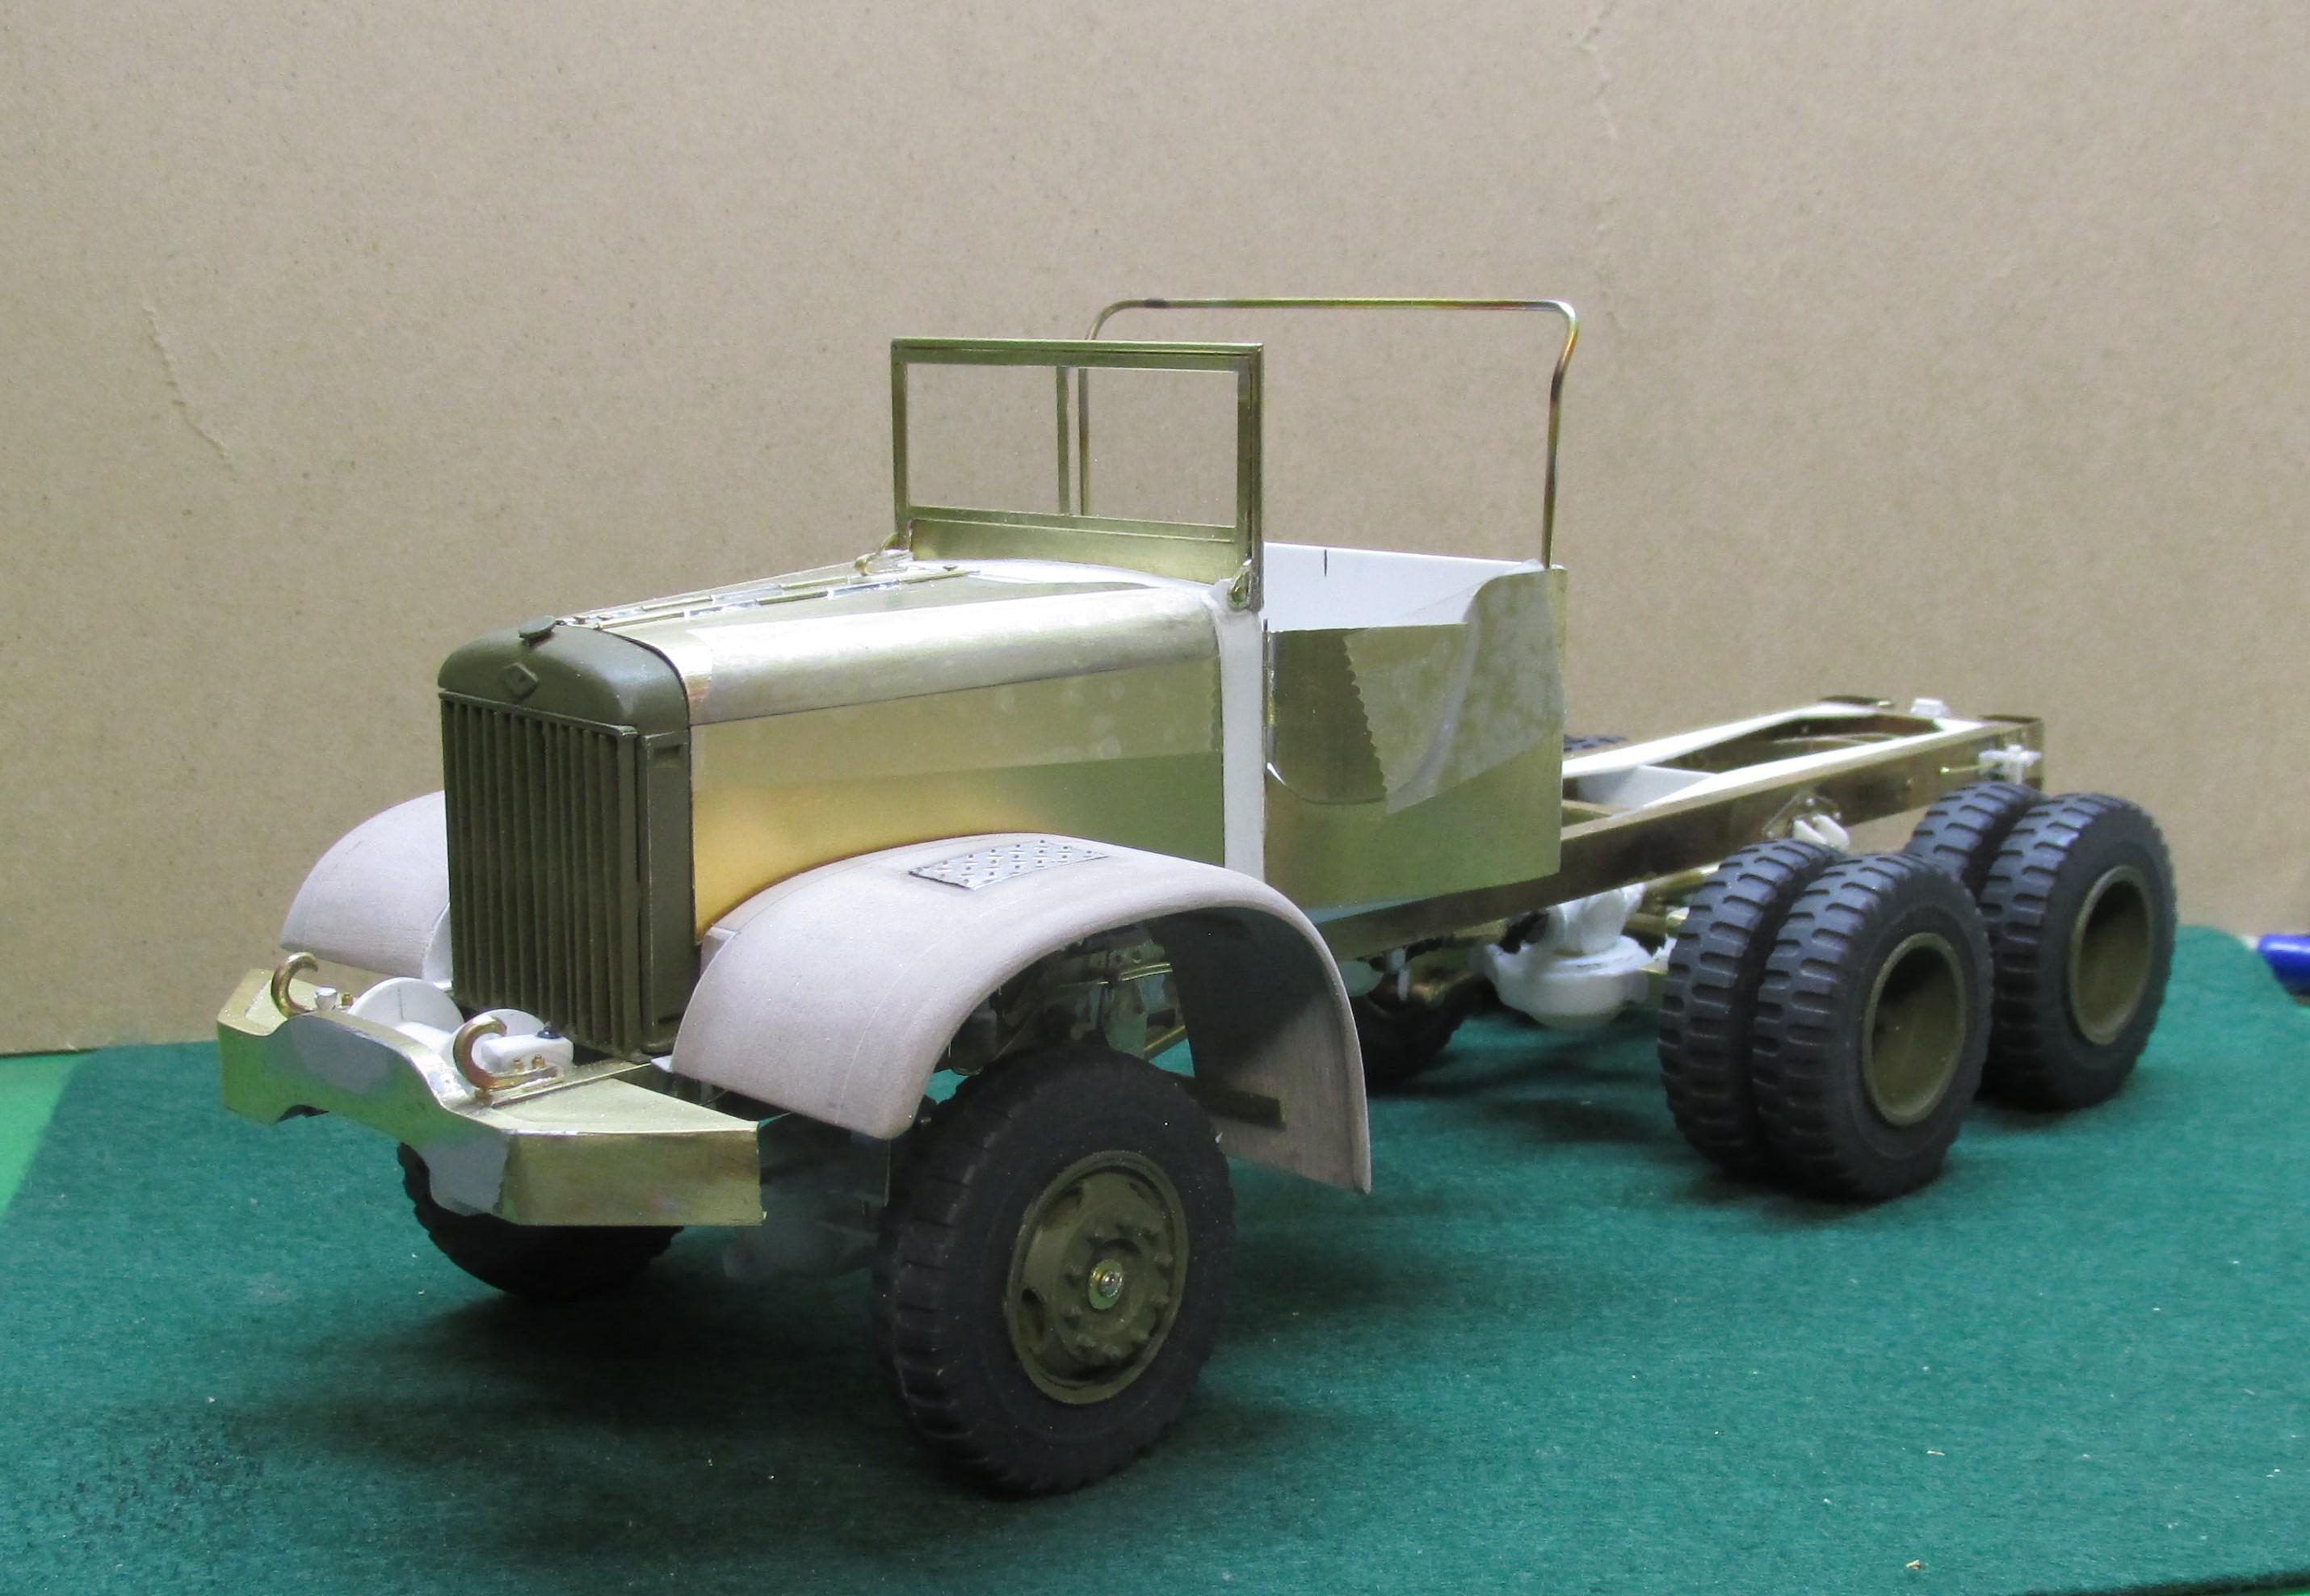
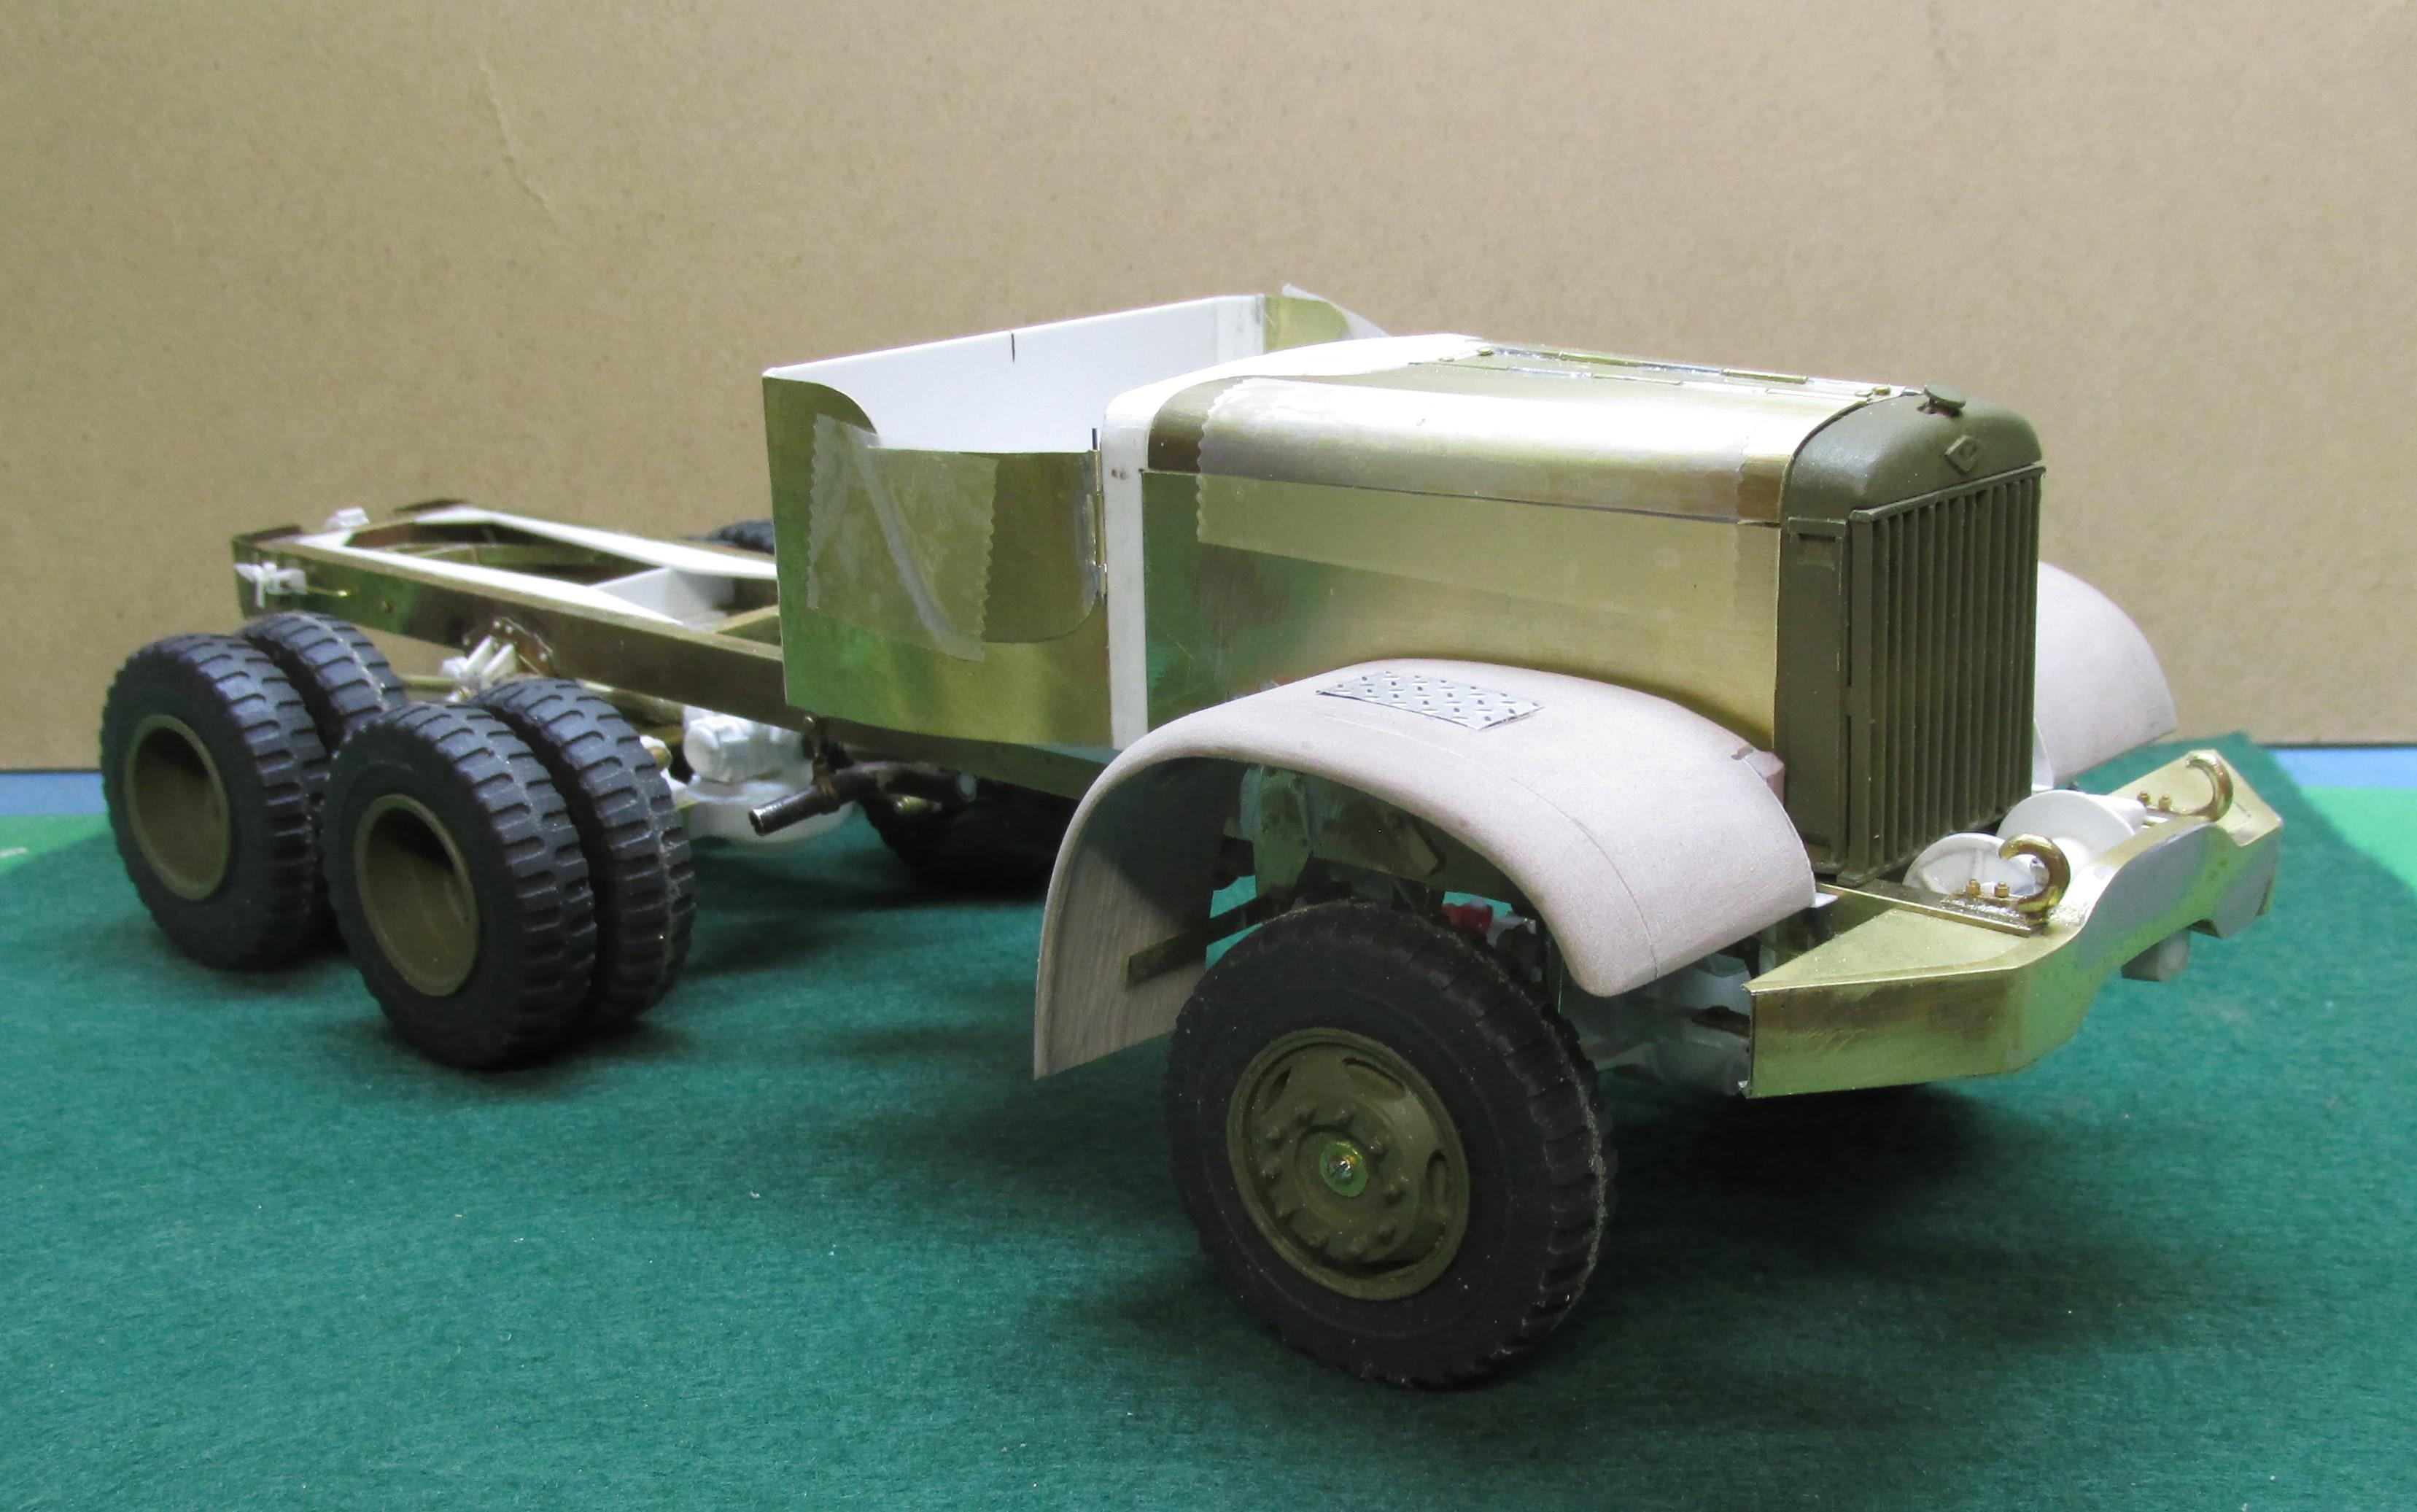
They came out ok. The side sections need to be cut to follow the fender contours. I marked the right side for reference but before doing the cutting I need to be sure the fenders are where they belong. Here's a look at the latest work. The windshield is built and a basic frame for the soft top is at the back of the cab.
-
I'm having trouble seeing the replies to my posts even though at the top of the page it says there are some there. They don't seem to show up right away. What's the problem?
-
1944 Diamond T 6x6
Chariots of Fire replied to Chariots of Fire's topic in WIP: Model Trucks: Big Rigs and Heavy Equipment
Still making progress. The top hood pieces are done and I'm working on the side pieces now. Some small pieces of photoetch treadplate are glued to the top of each fender.
-
Very well done, Jeff! Love the trash touch! Even a little wet on the bottom! You know your detailing!
-
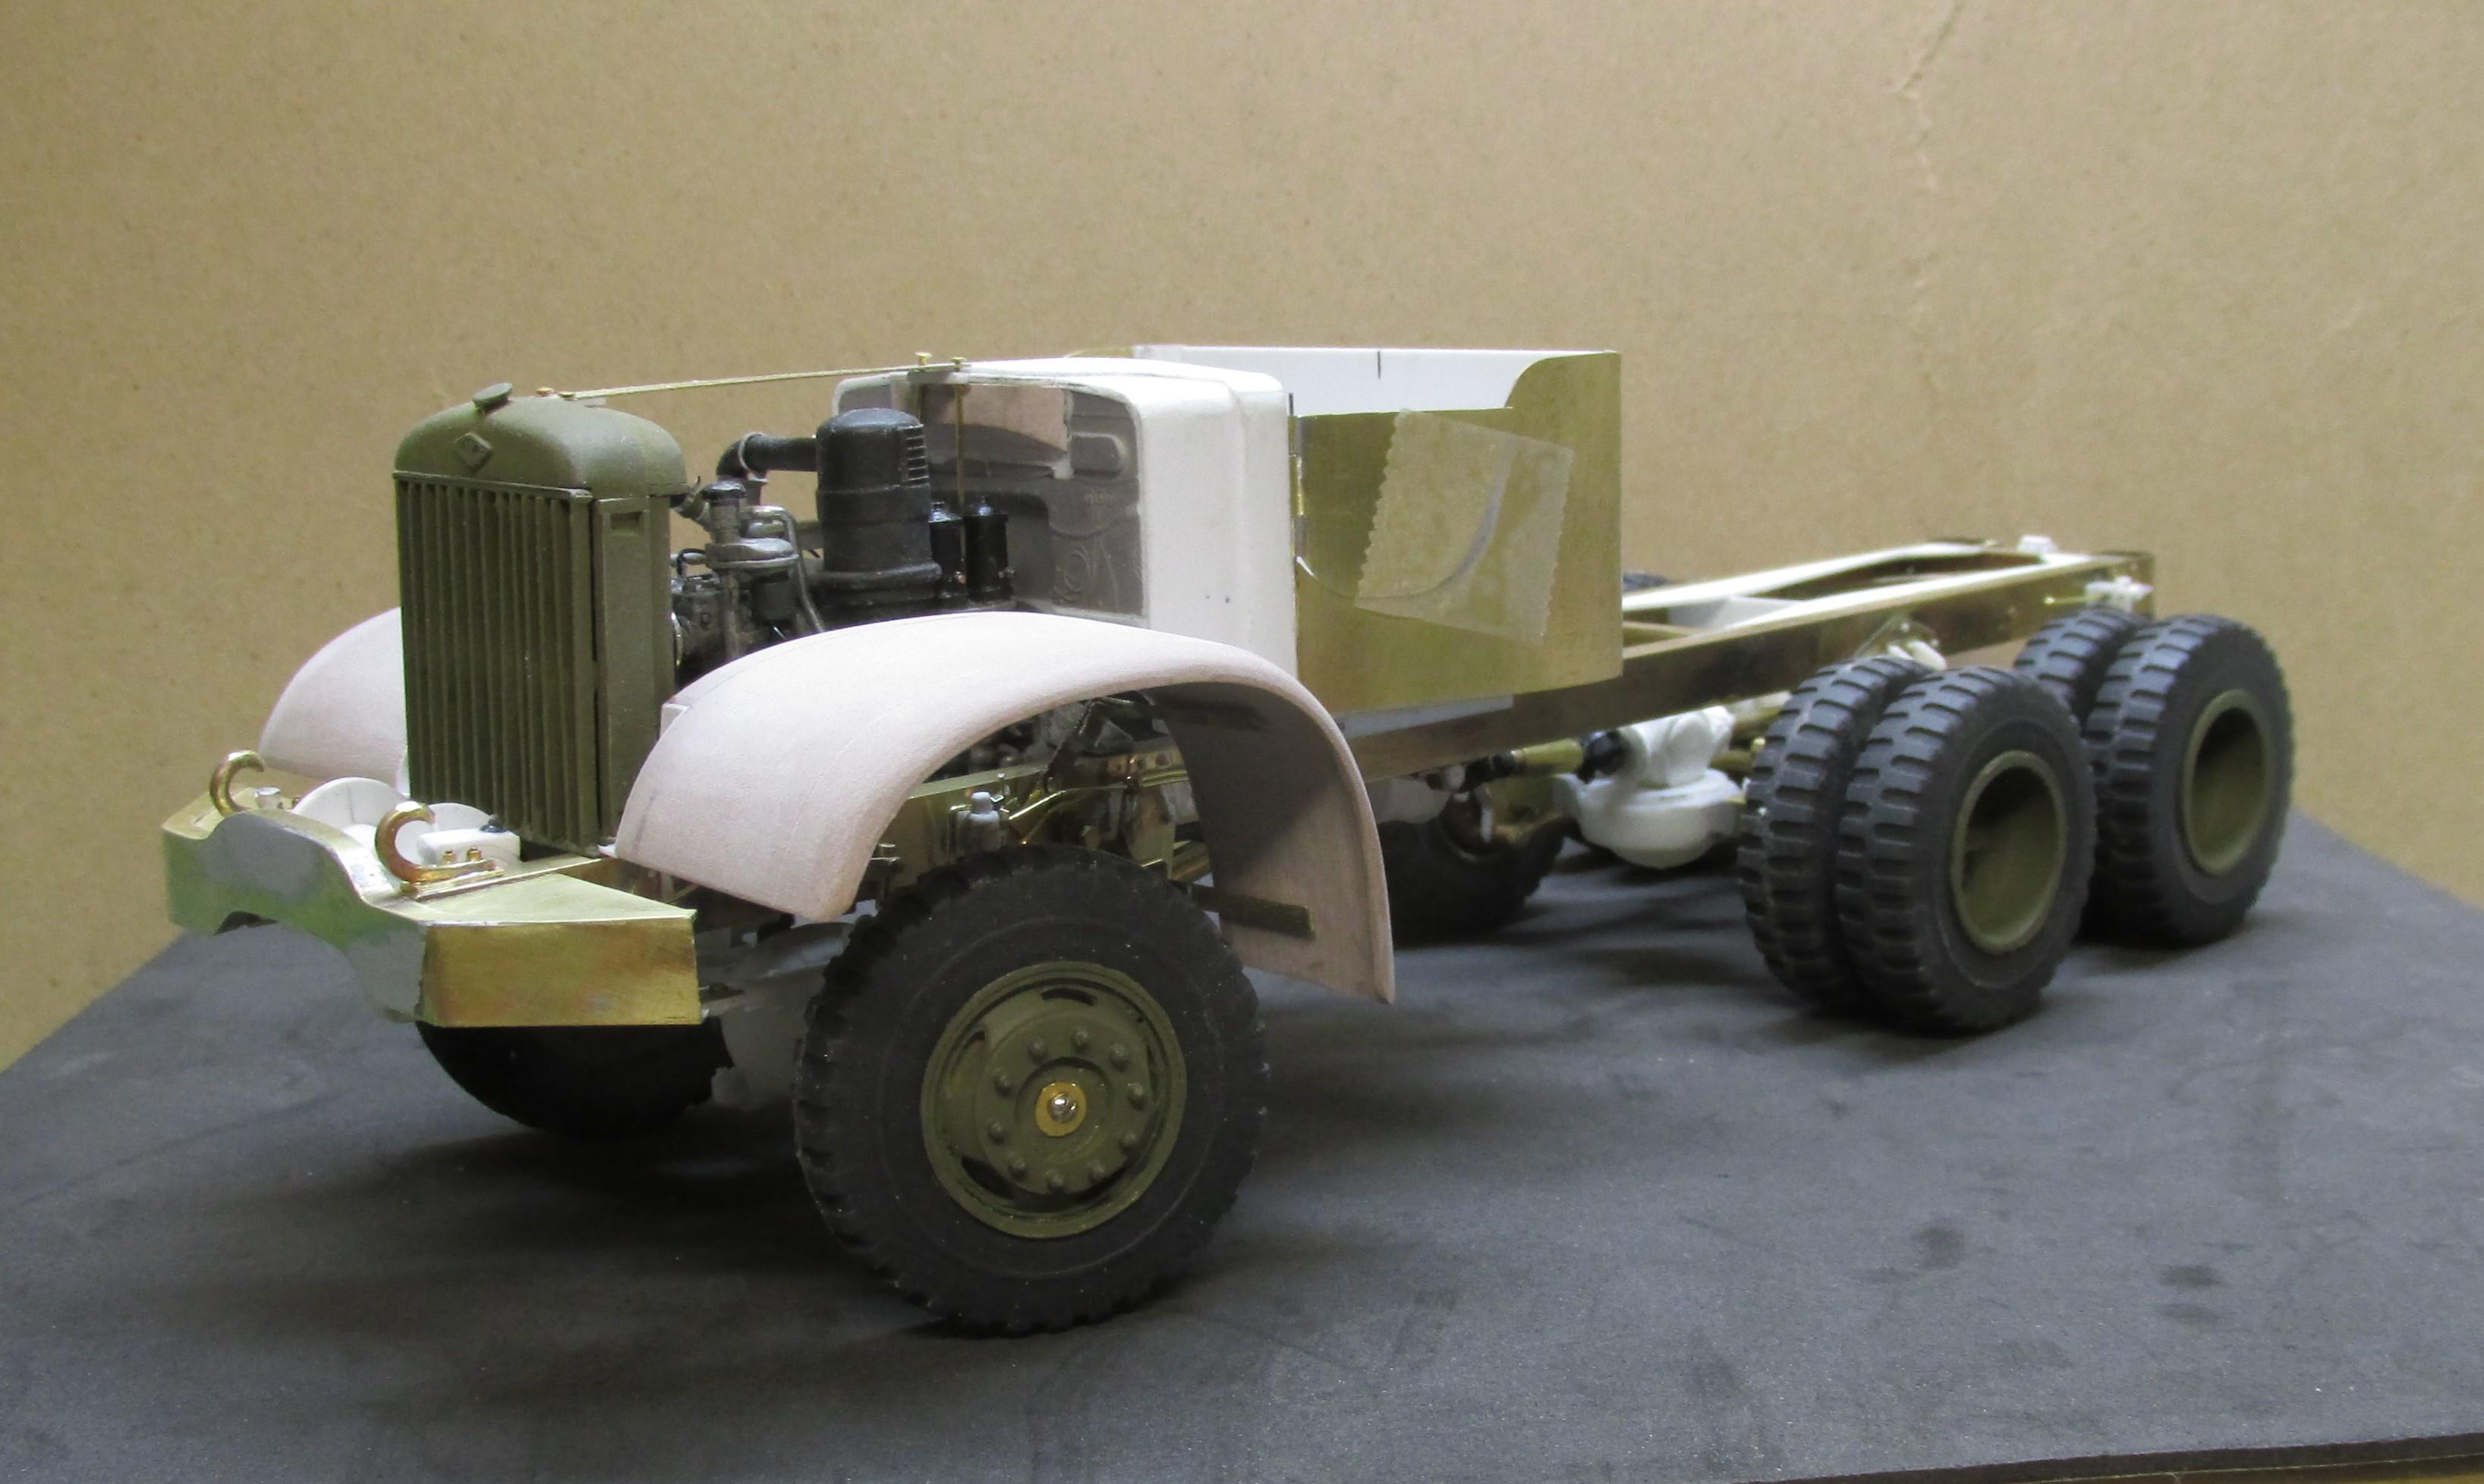
1944 Diamond T 6x6
Chariots of Fire replied to Chariots of Fire's topic in WIP: Model Trucks: Big Rigs and Heavy Equipment
Fenders are shaped and put in place. Got some tweeking to do with the cab. It sits slightly off center in the front in spite of my early attempts at keeping it straight!
-
1944 Diamond T 6x6
Chariots of Fire replied to Chariots of Fire's topic in WIP: Model Trucks: Big Rigs and Heavy Equipment
I hope you have a lot of patience, Jeff! Got a long way to go. But I did get one fender shaped and sort of put in position. Not final yet as I think it needs to move forward a tiny bit. And a notch needs to be cut out next to the radiator.
-
1944 Diamond T 6x6
Chariots of Fire replied to Chariots of Fire's topic in WIP: Model Trucks: Big Rigs and Heavy Equipment
The outside of the fenders have been rough sanded. Now its grind out the underside time.