R. Thorne
-
Posts
1,261 -
Joined
-
Last visited
Content Type
Profiles
Forums
Events
Gallery
Everything posted by R. Thorne
-
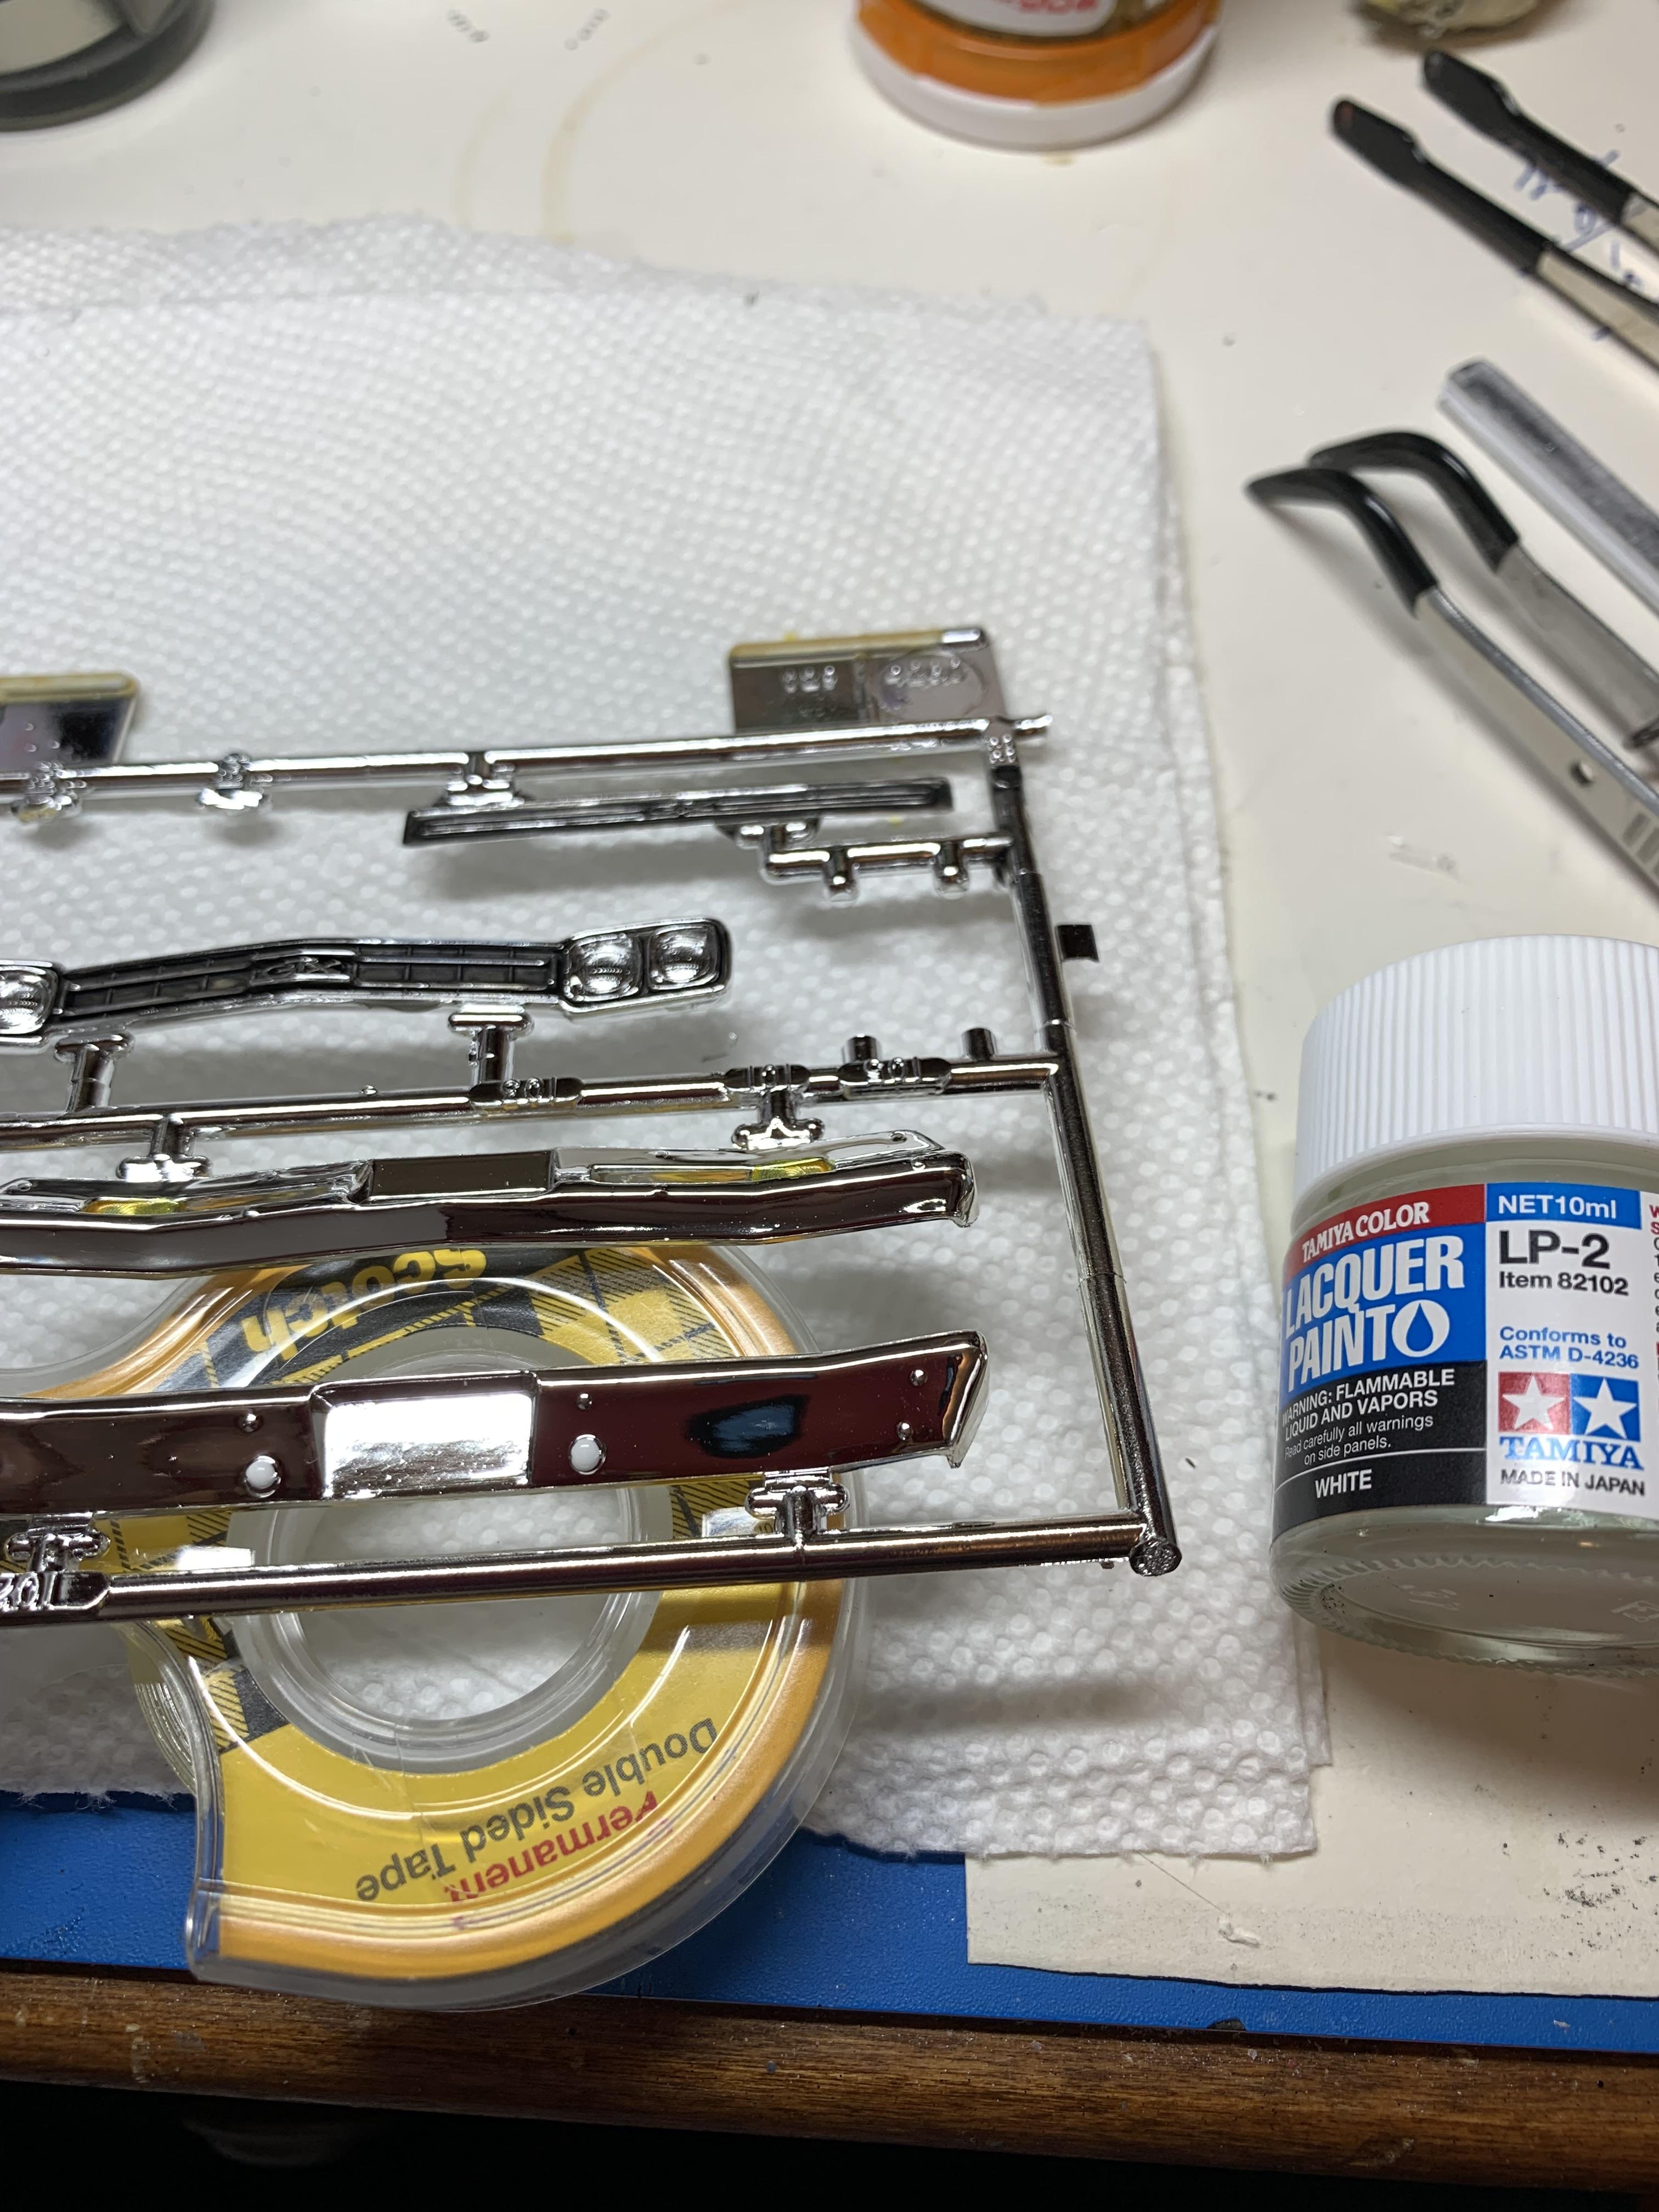
I guess it just depends on how important a shiny paint job is to you. I strive for accuracy in the mechanical aspects (engines, chassis, etc., ) of model building. Paint job shininess, not so much. I do not sand, buff, etc., though I have experimented with it. To me, it is just not worth the amount of effort involved. If the paint job turns out yucky, it goes in the tank, and I will try again. 80 percent of the time, it is good enough for me. I use, mostly Tamiya ts spray cans. I do, perhaps, obsess on cleanliness, paint temperature, and thorough paint mixing. In other words, a Tamiya brush for final dusting, warm the can in hot water, and spin the can with my paint can holding fixture in a cordless drill. Oh, yeah, a final water spray in the paint booth before painting.

-
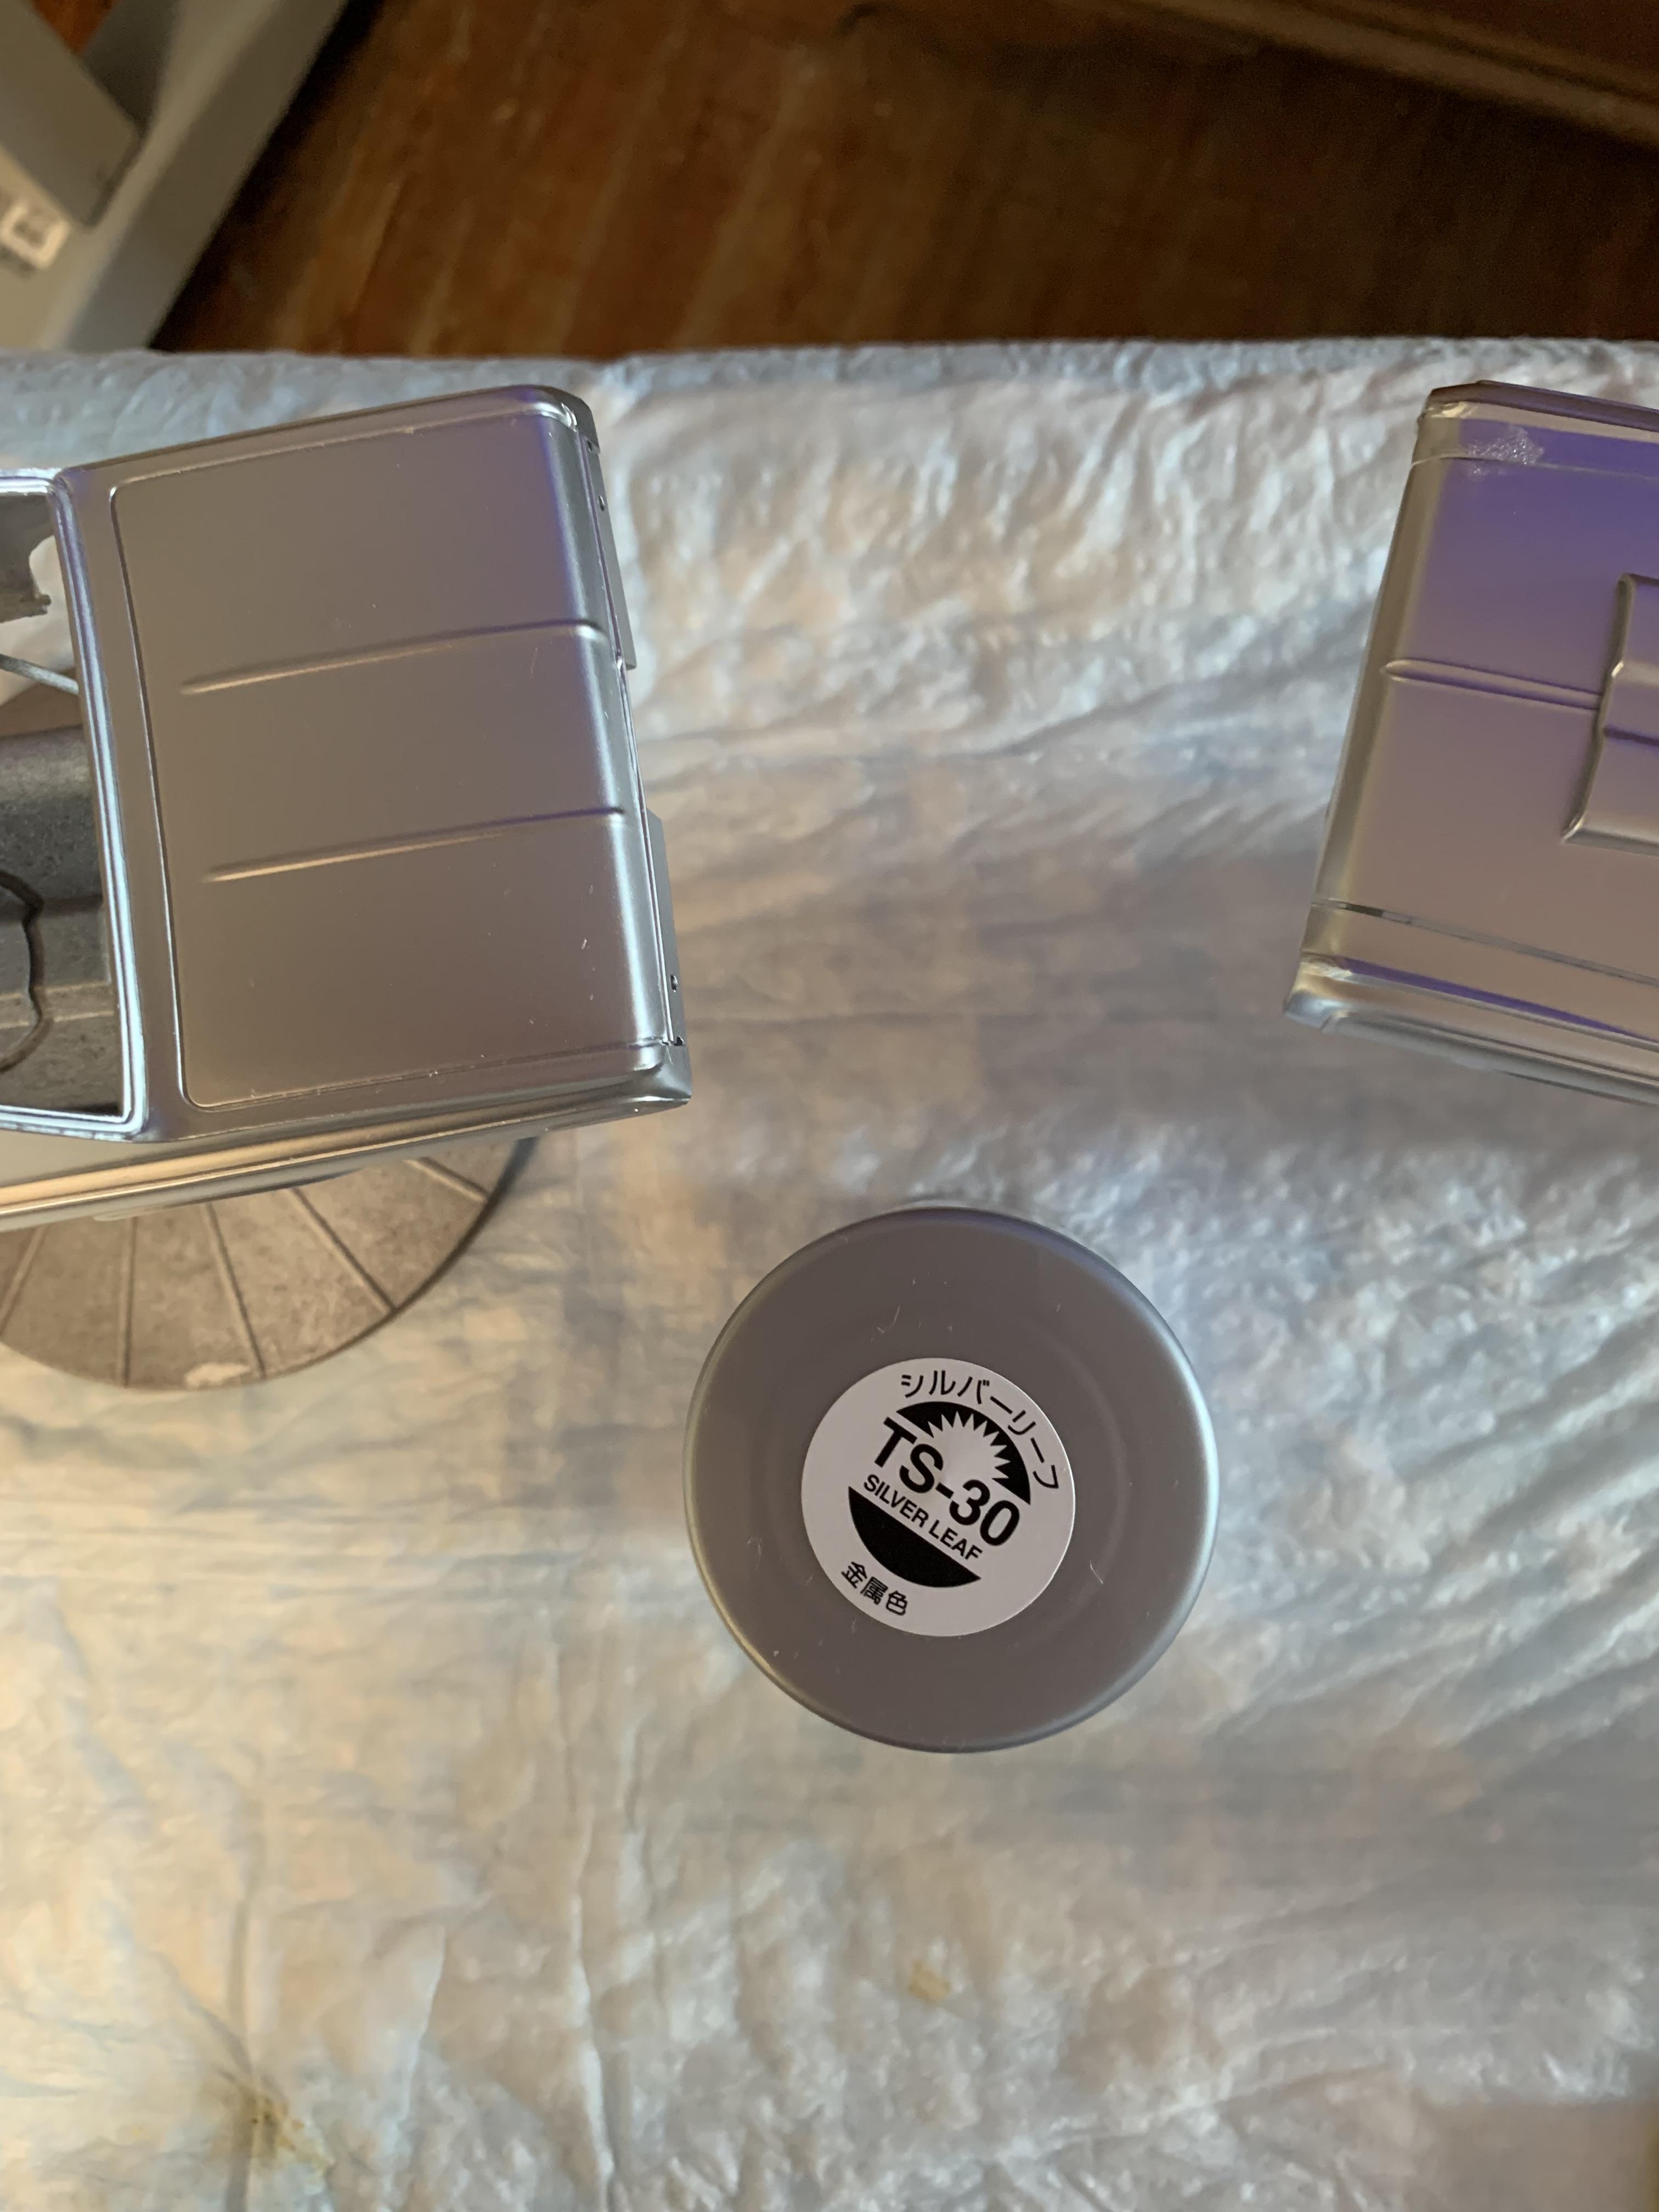
This might give you some idea of what the ts30 would look like.
-
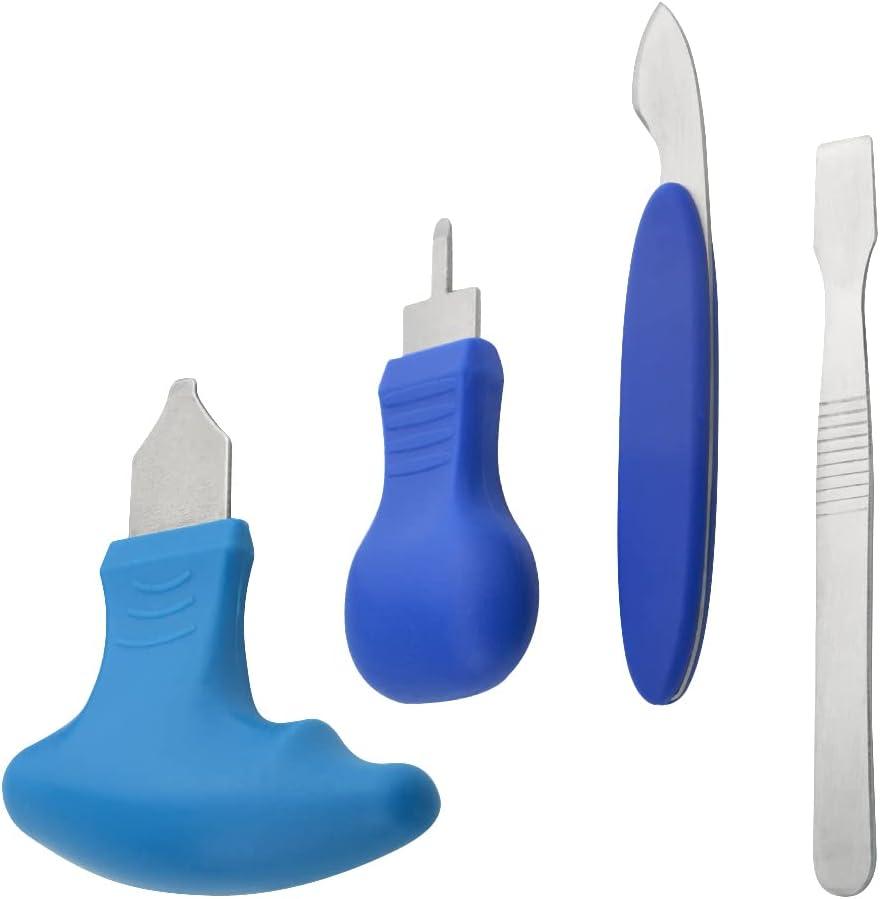
Something like this can be very helpful. Of course, you could make your own.
-
1969 Barracuda scoops
R. Thorne replied to R. Thorne's topic in Model Building Questions and Answers
Great information, Keith and Paul. Also, two of the best model car parts companies we have. Aftermarket, we go, I guess. Just thought they might be in a kit I have to purchase, anyway. Thanks, guys. Is this forum great, or what? -
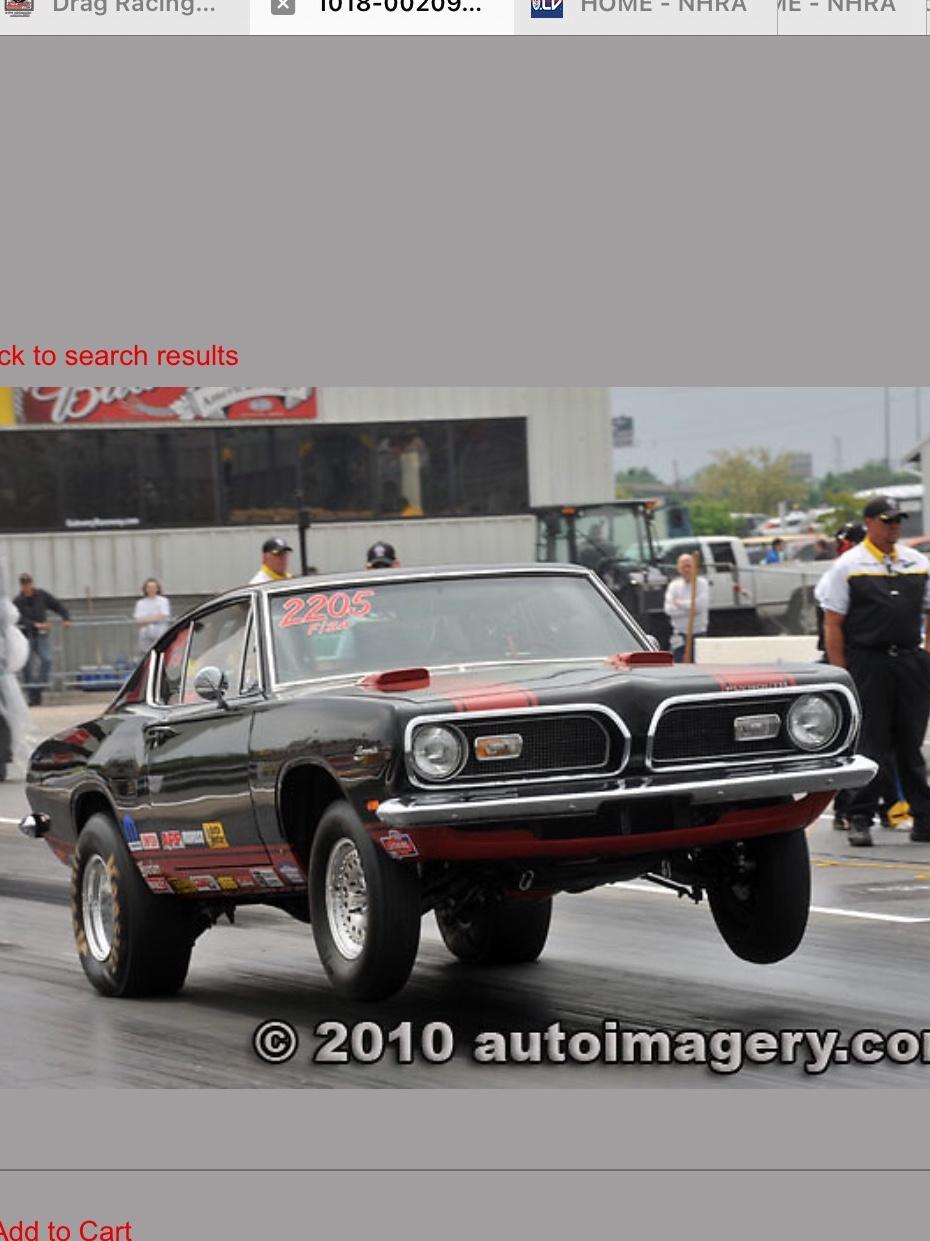
Just wondered what 1969 Barracuda kits would have this hood with these scoops? If not, would the Duster kits have them?
-
The last 2 days of “new” videos on his channel he has introduced from his bed in rehab. They are reruns of heavy duty truck stuff, but good, nevertheless.
-
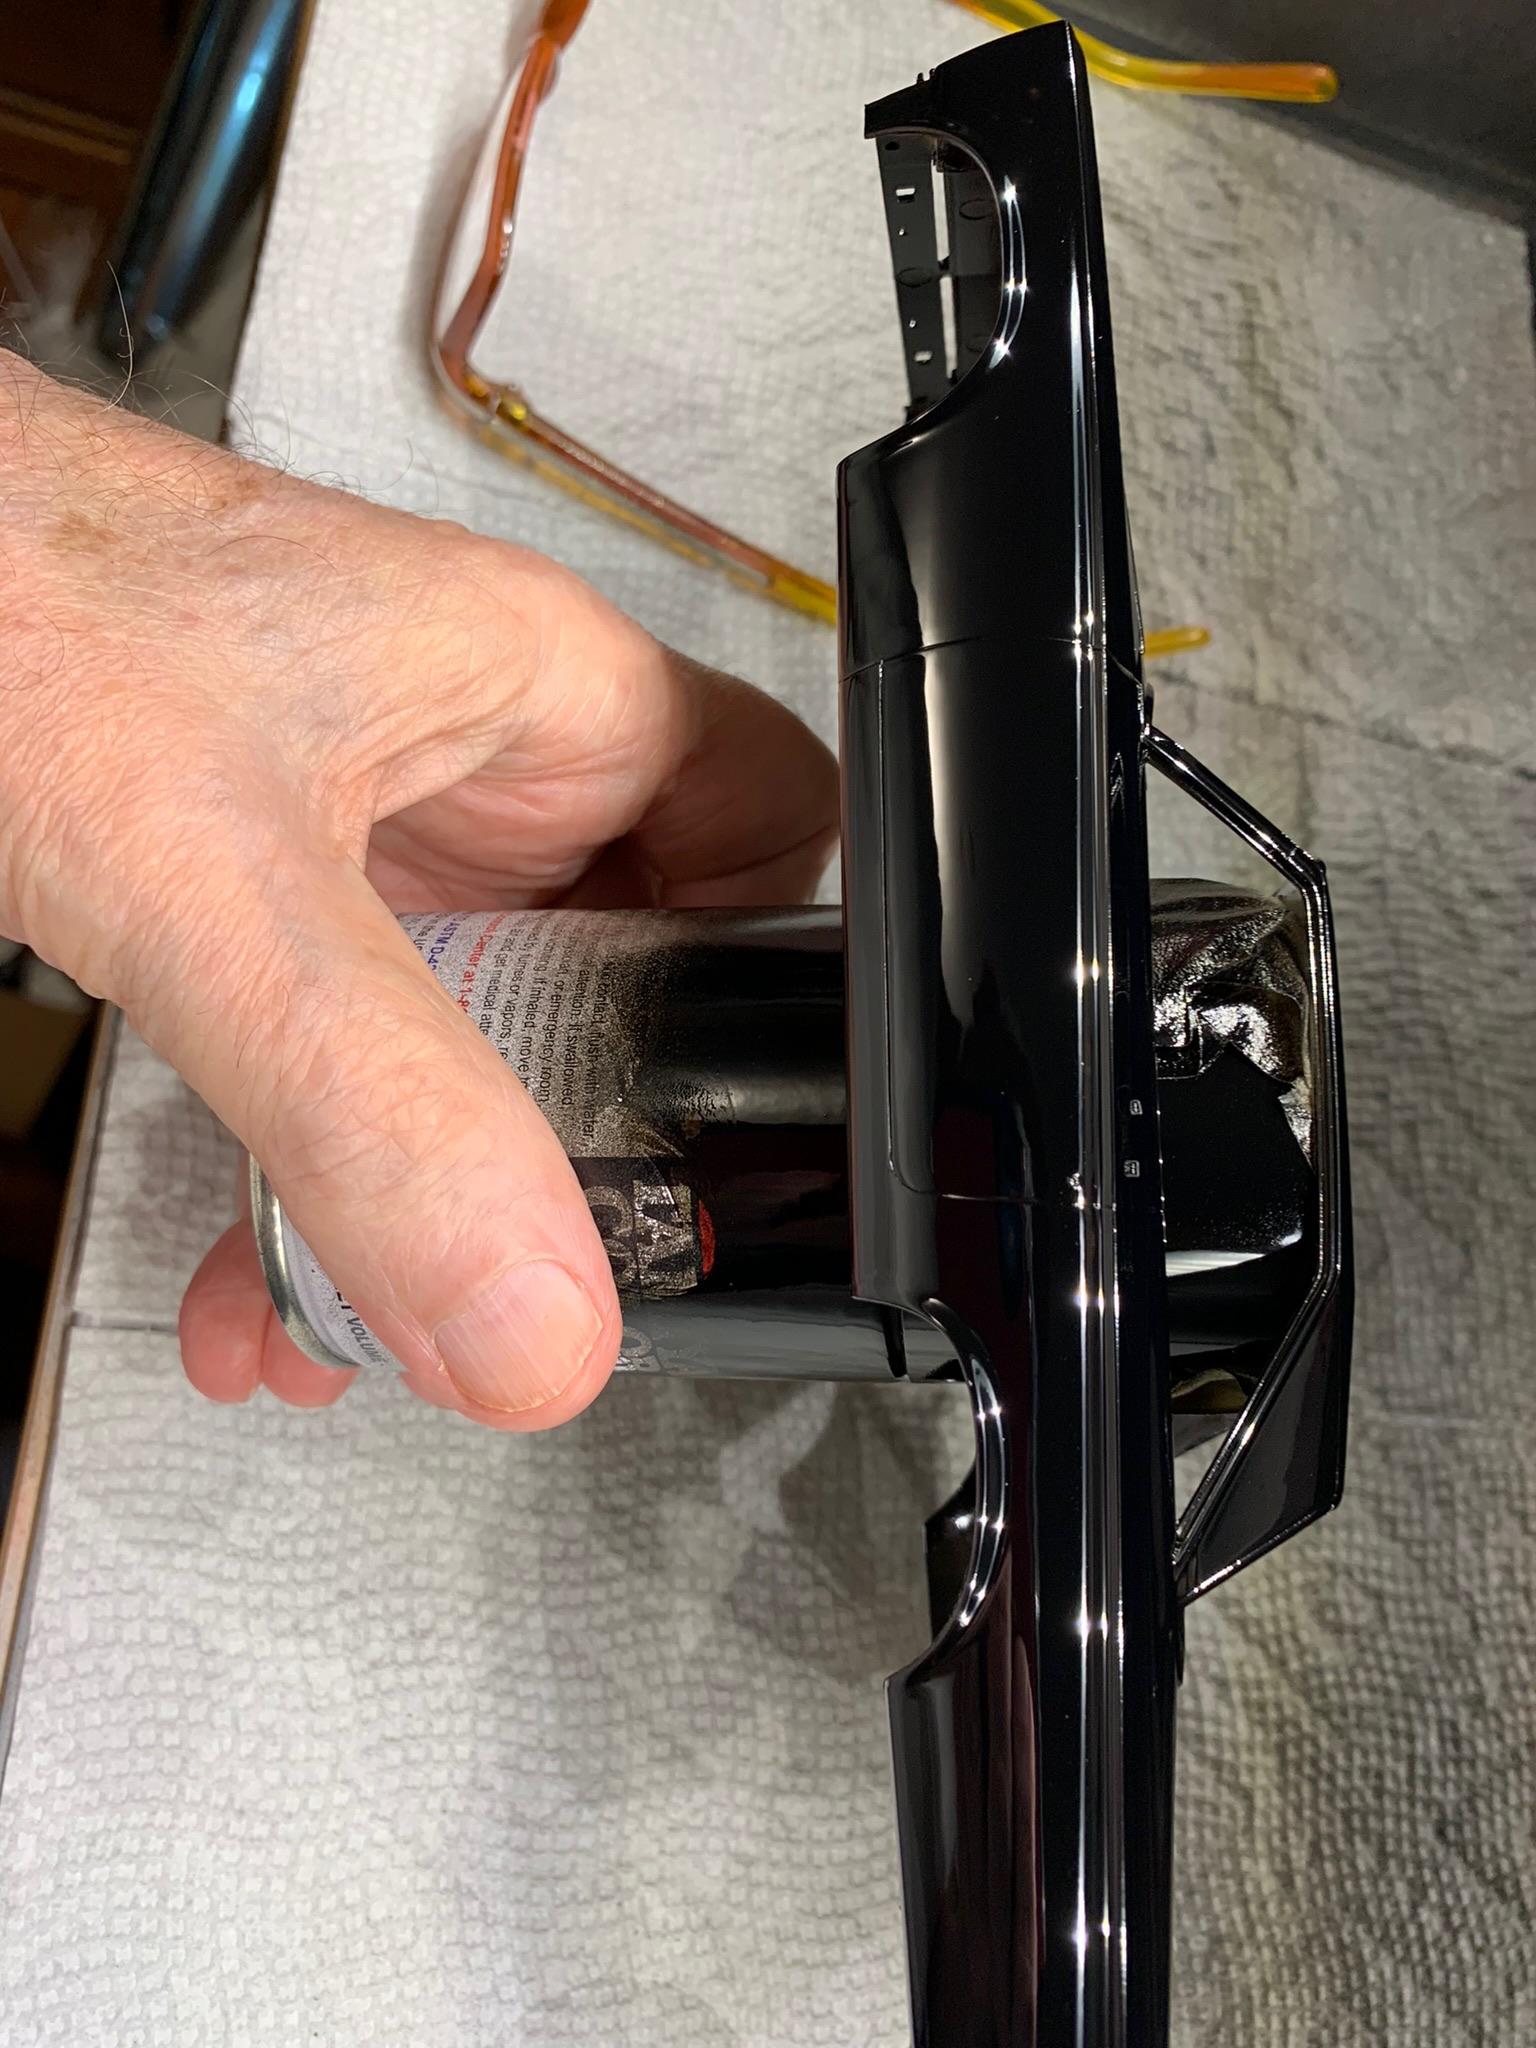
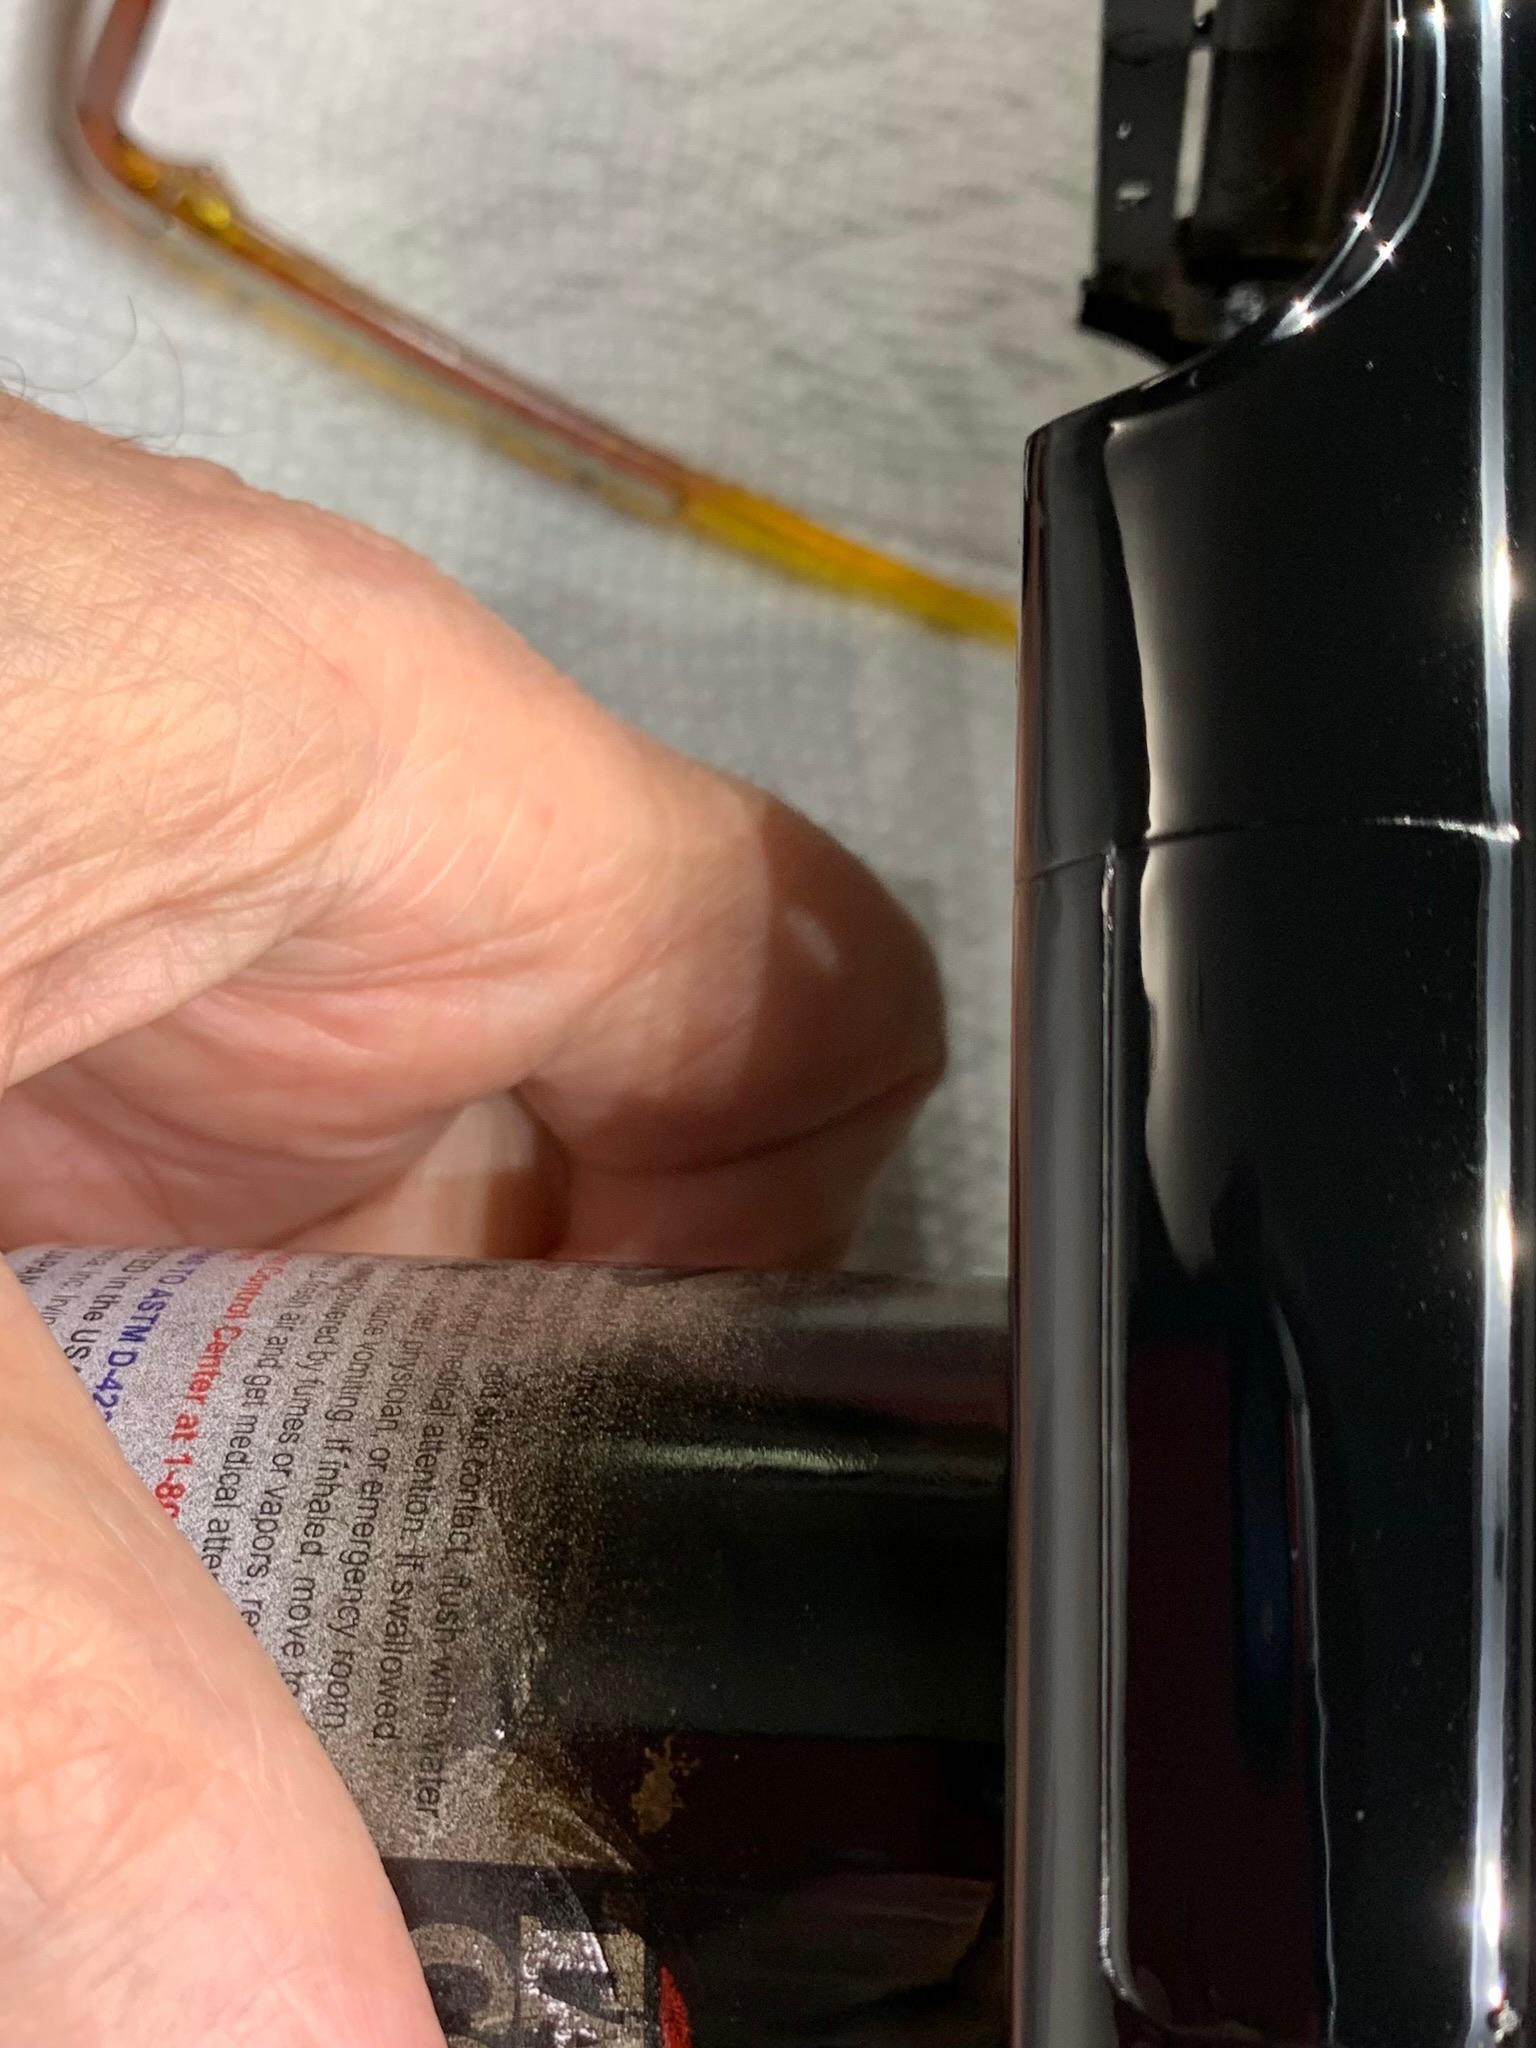
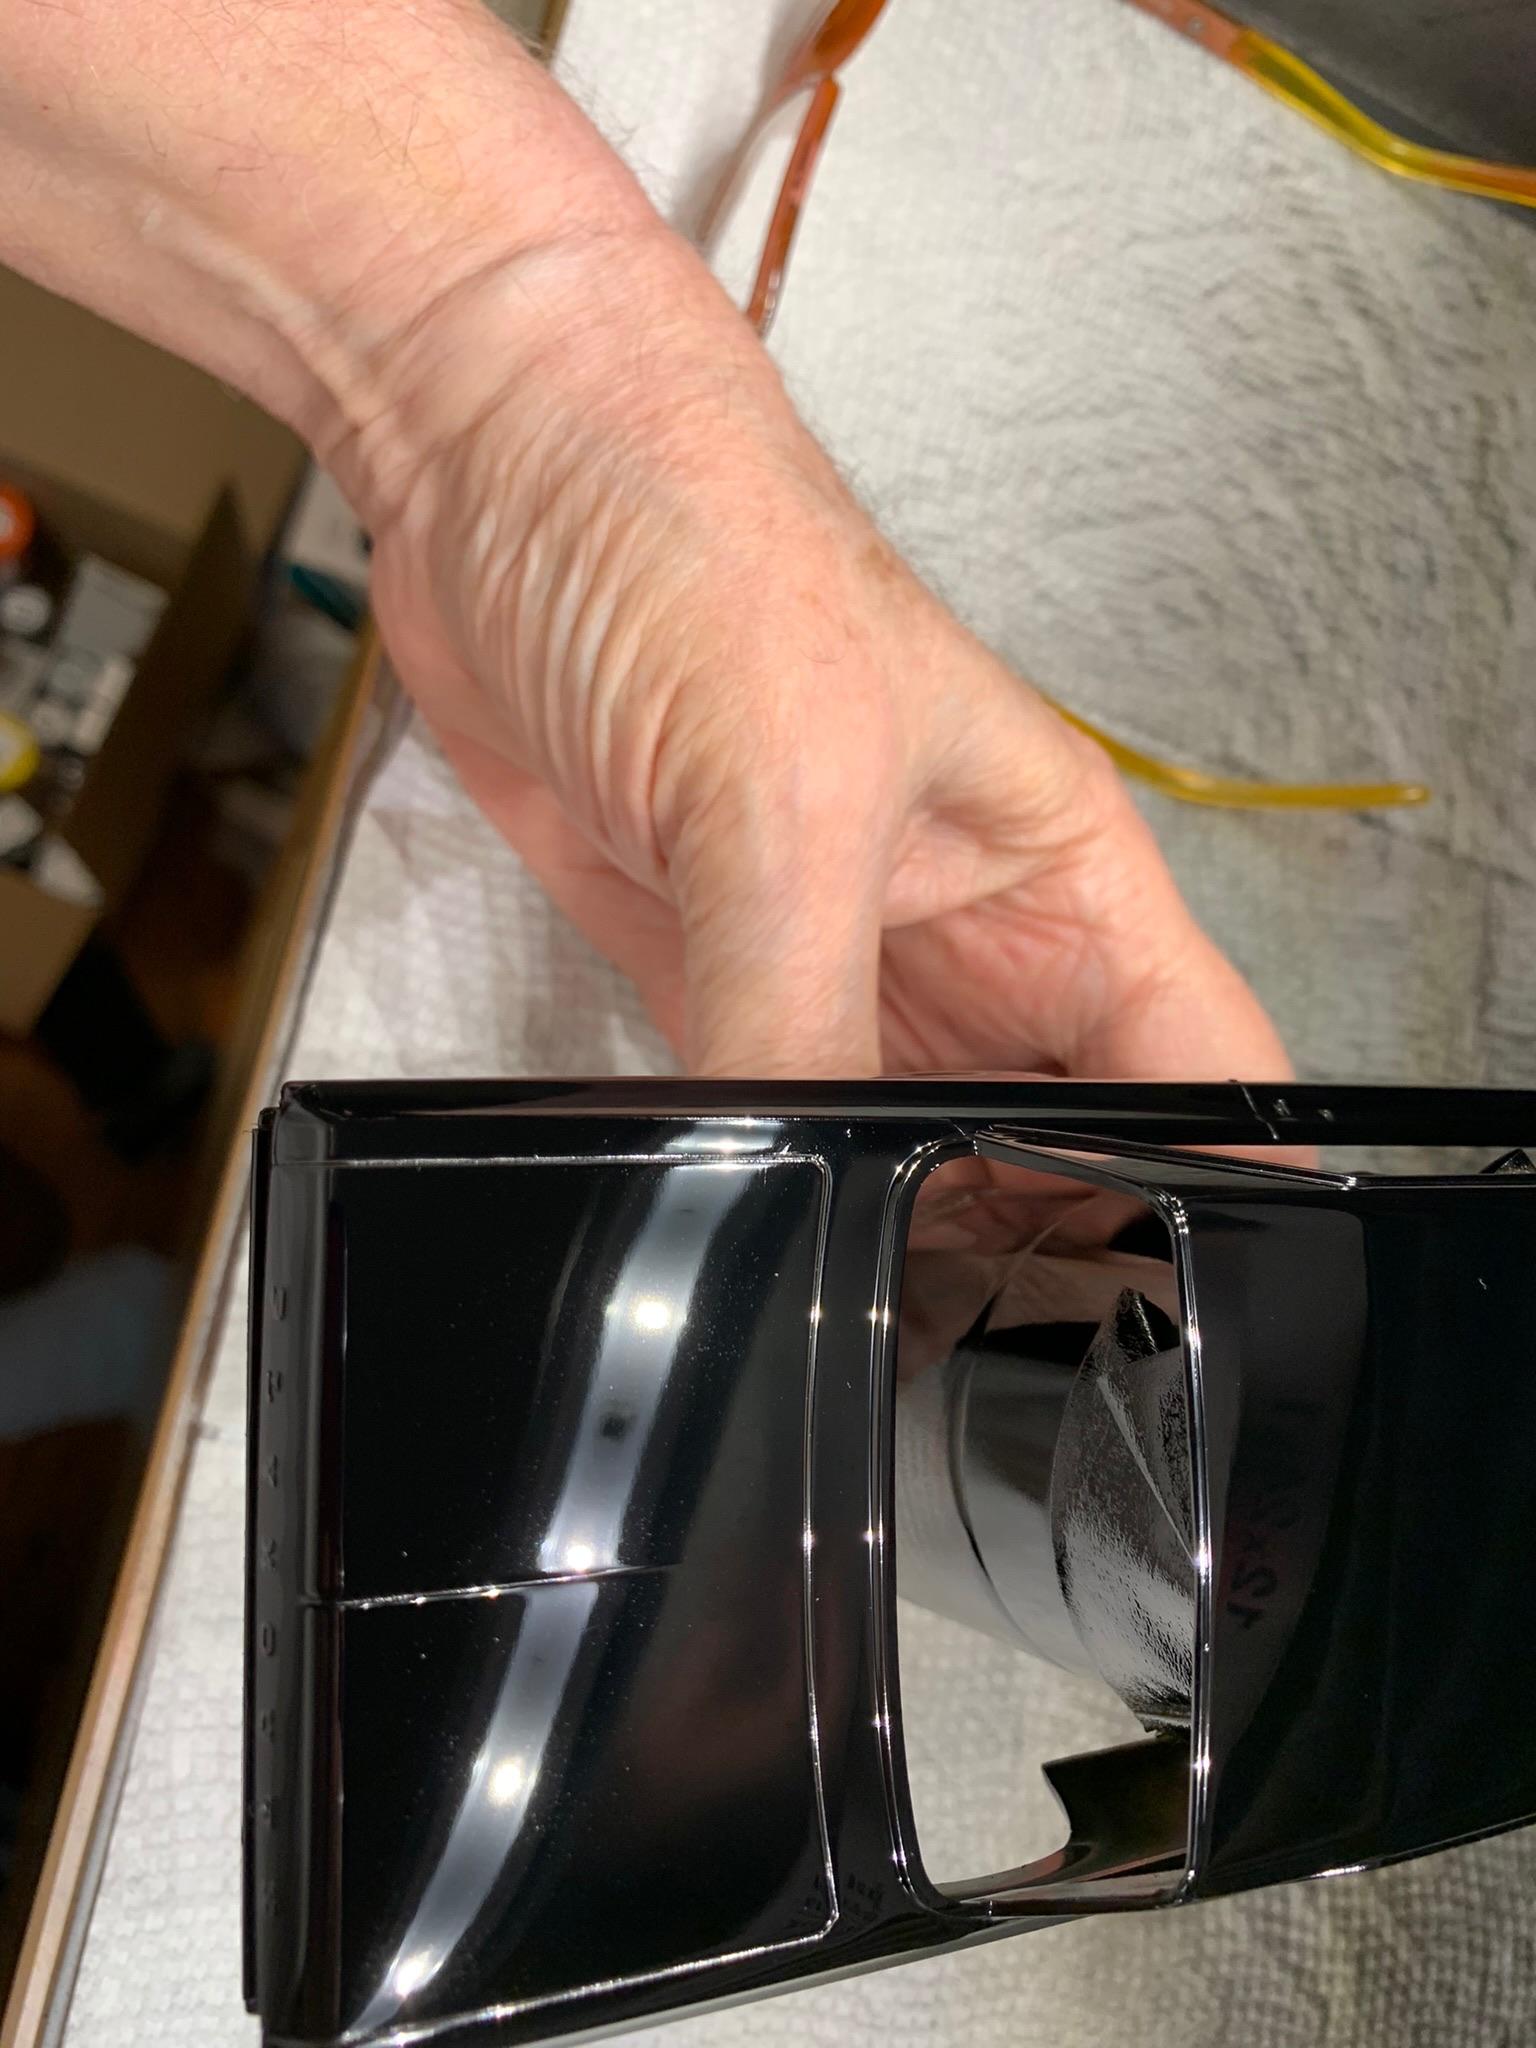
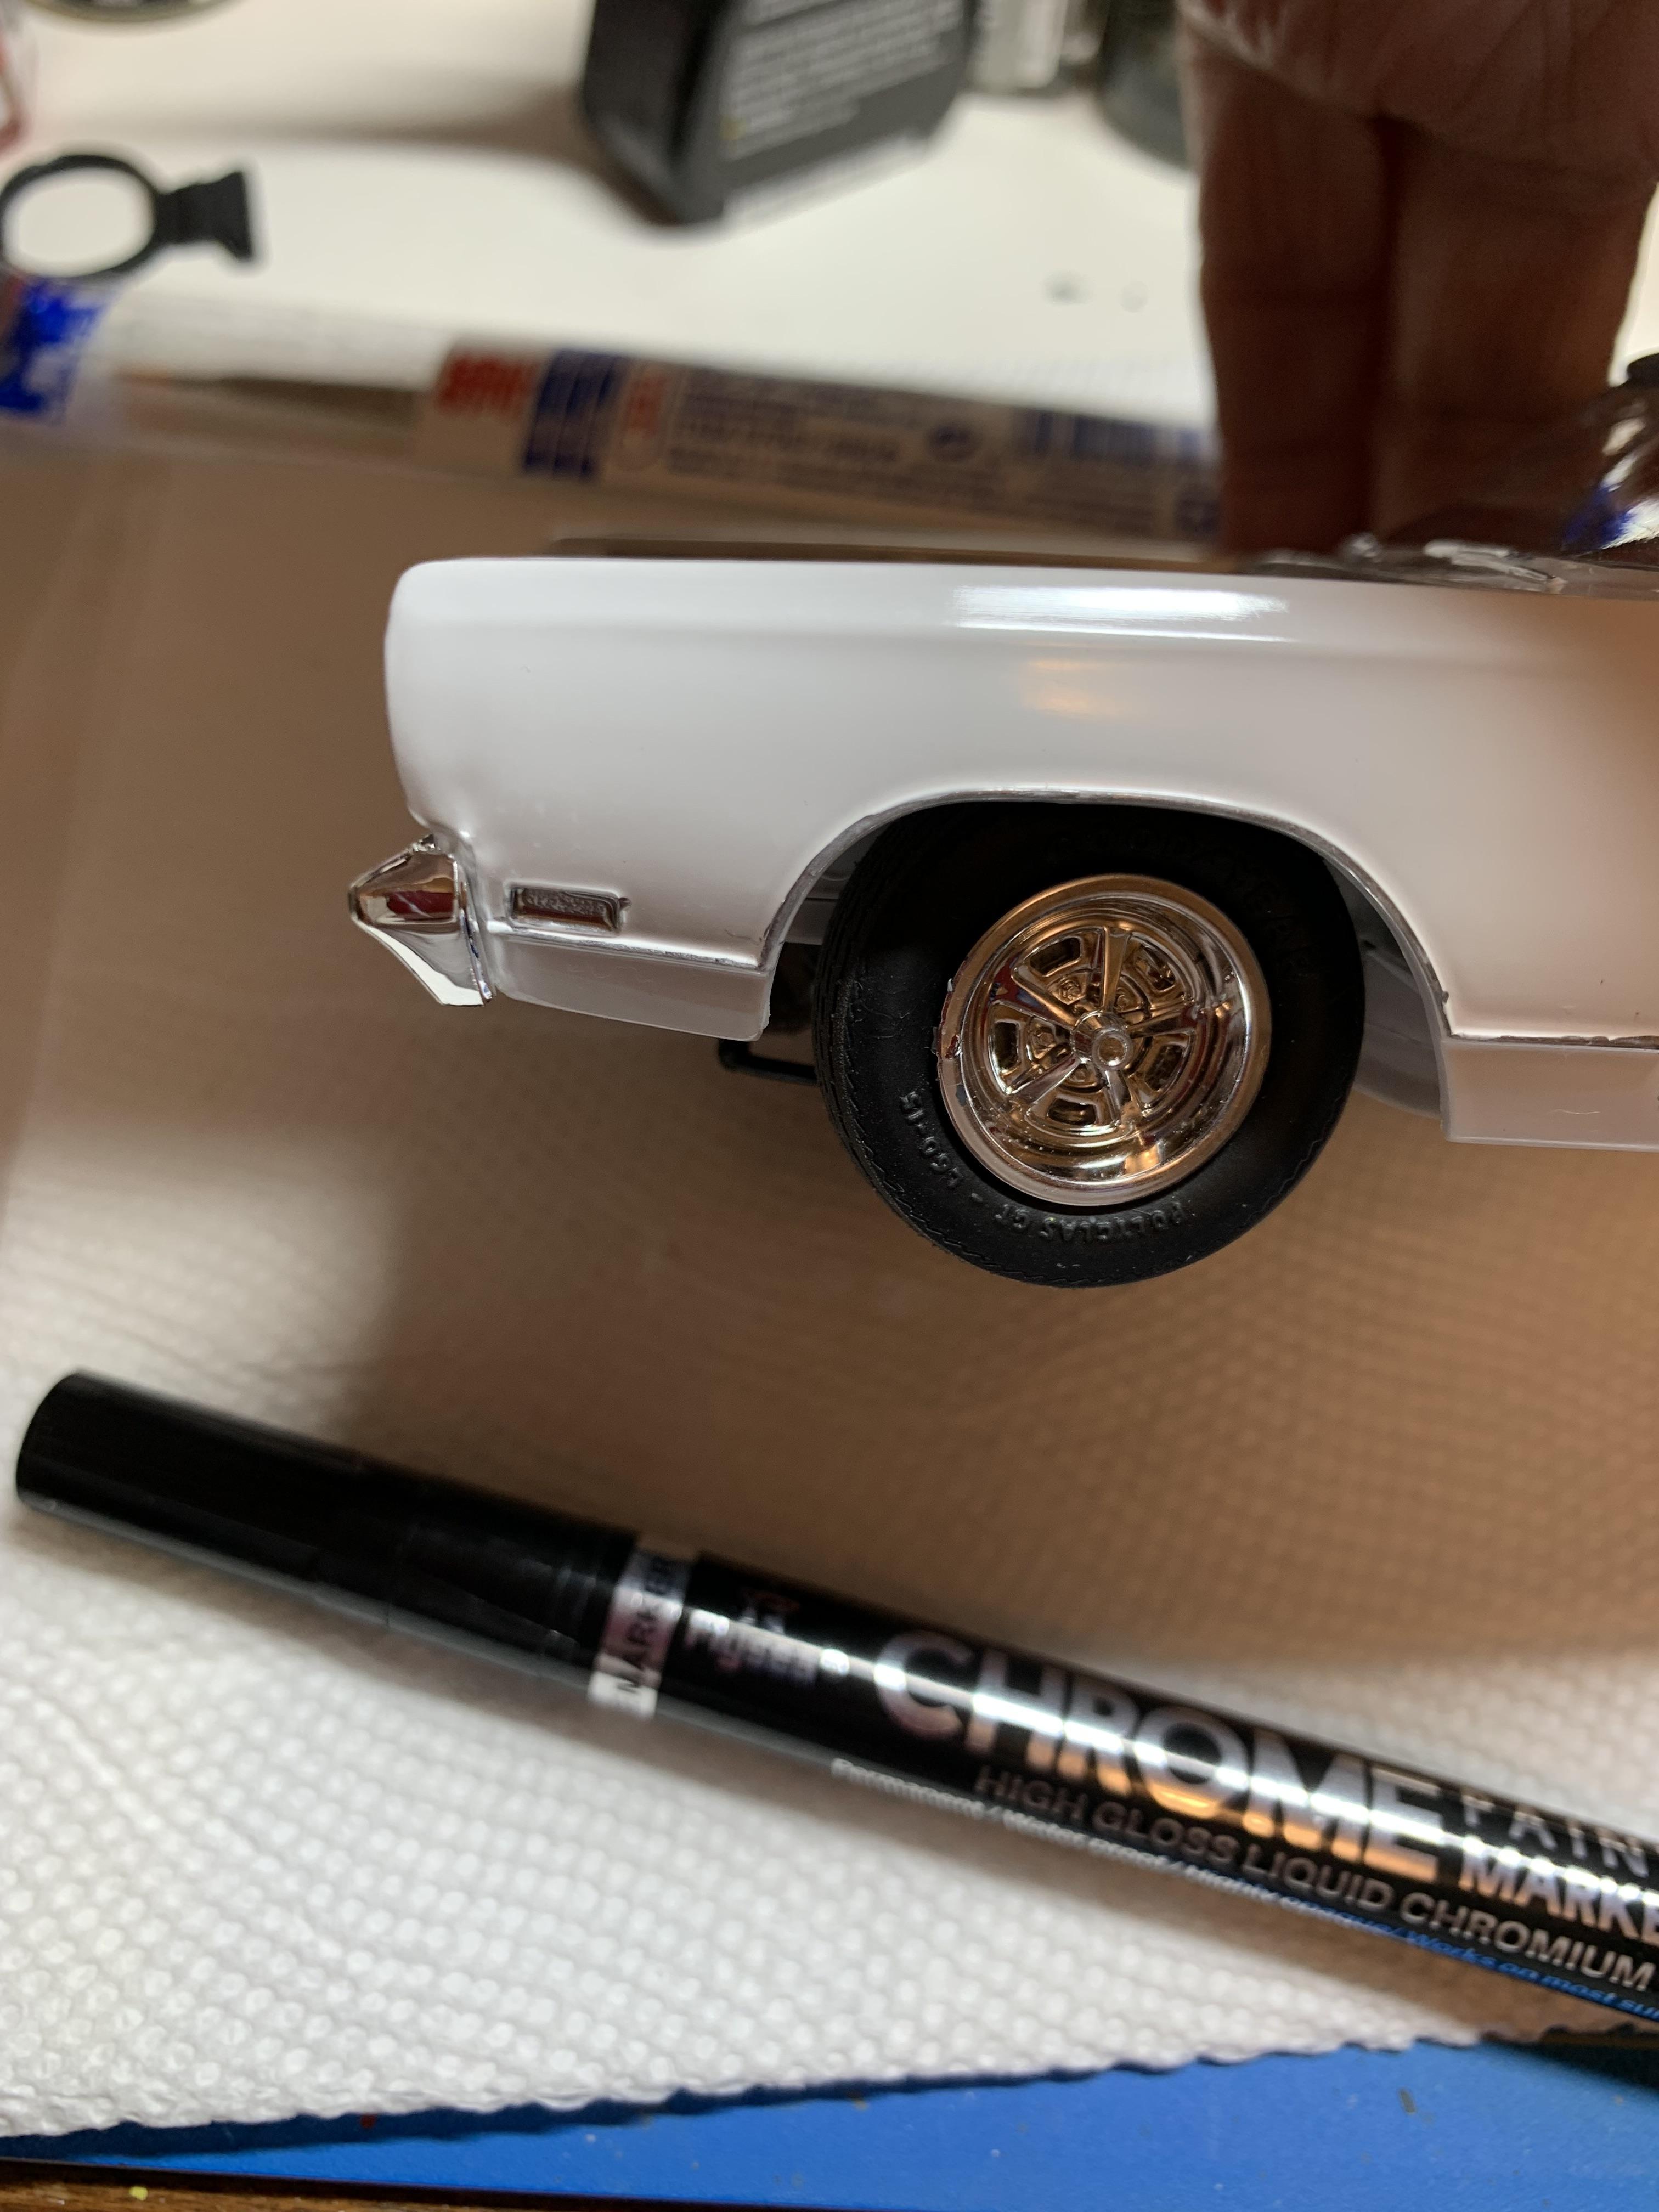
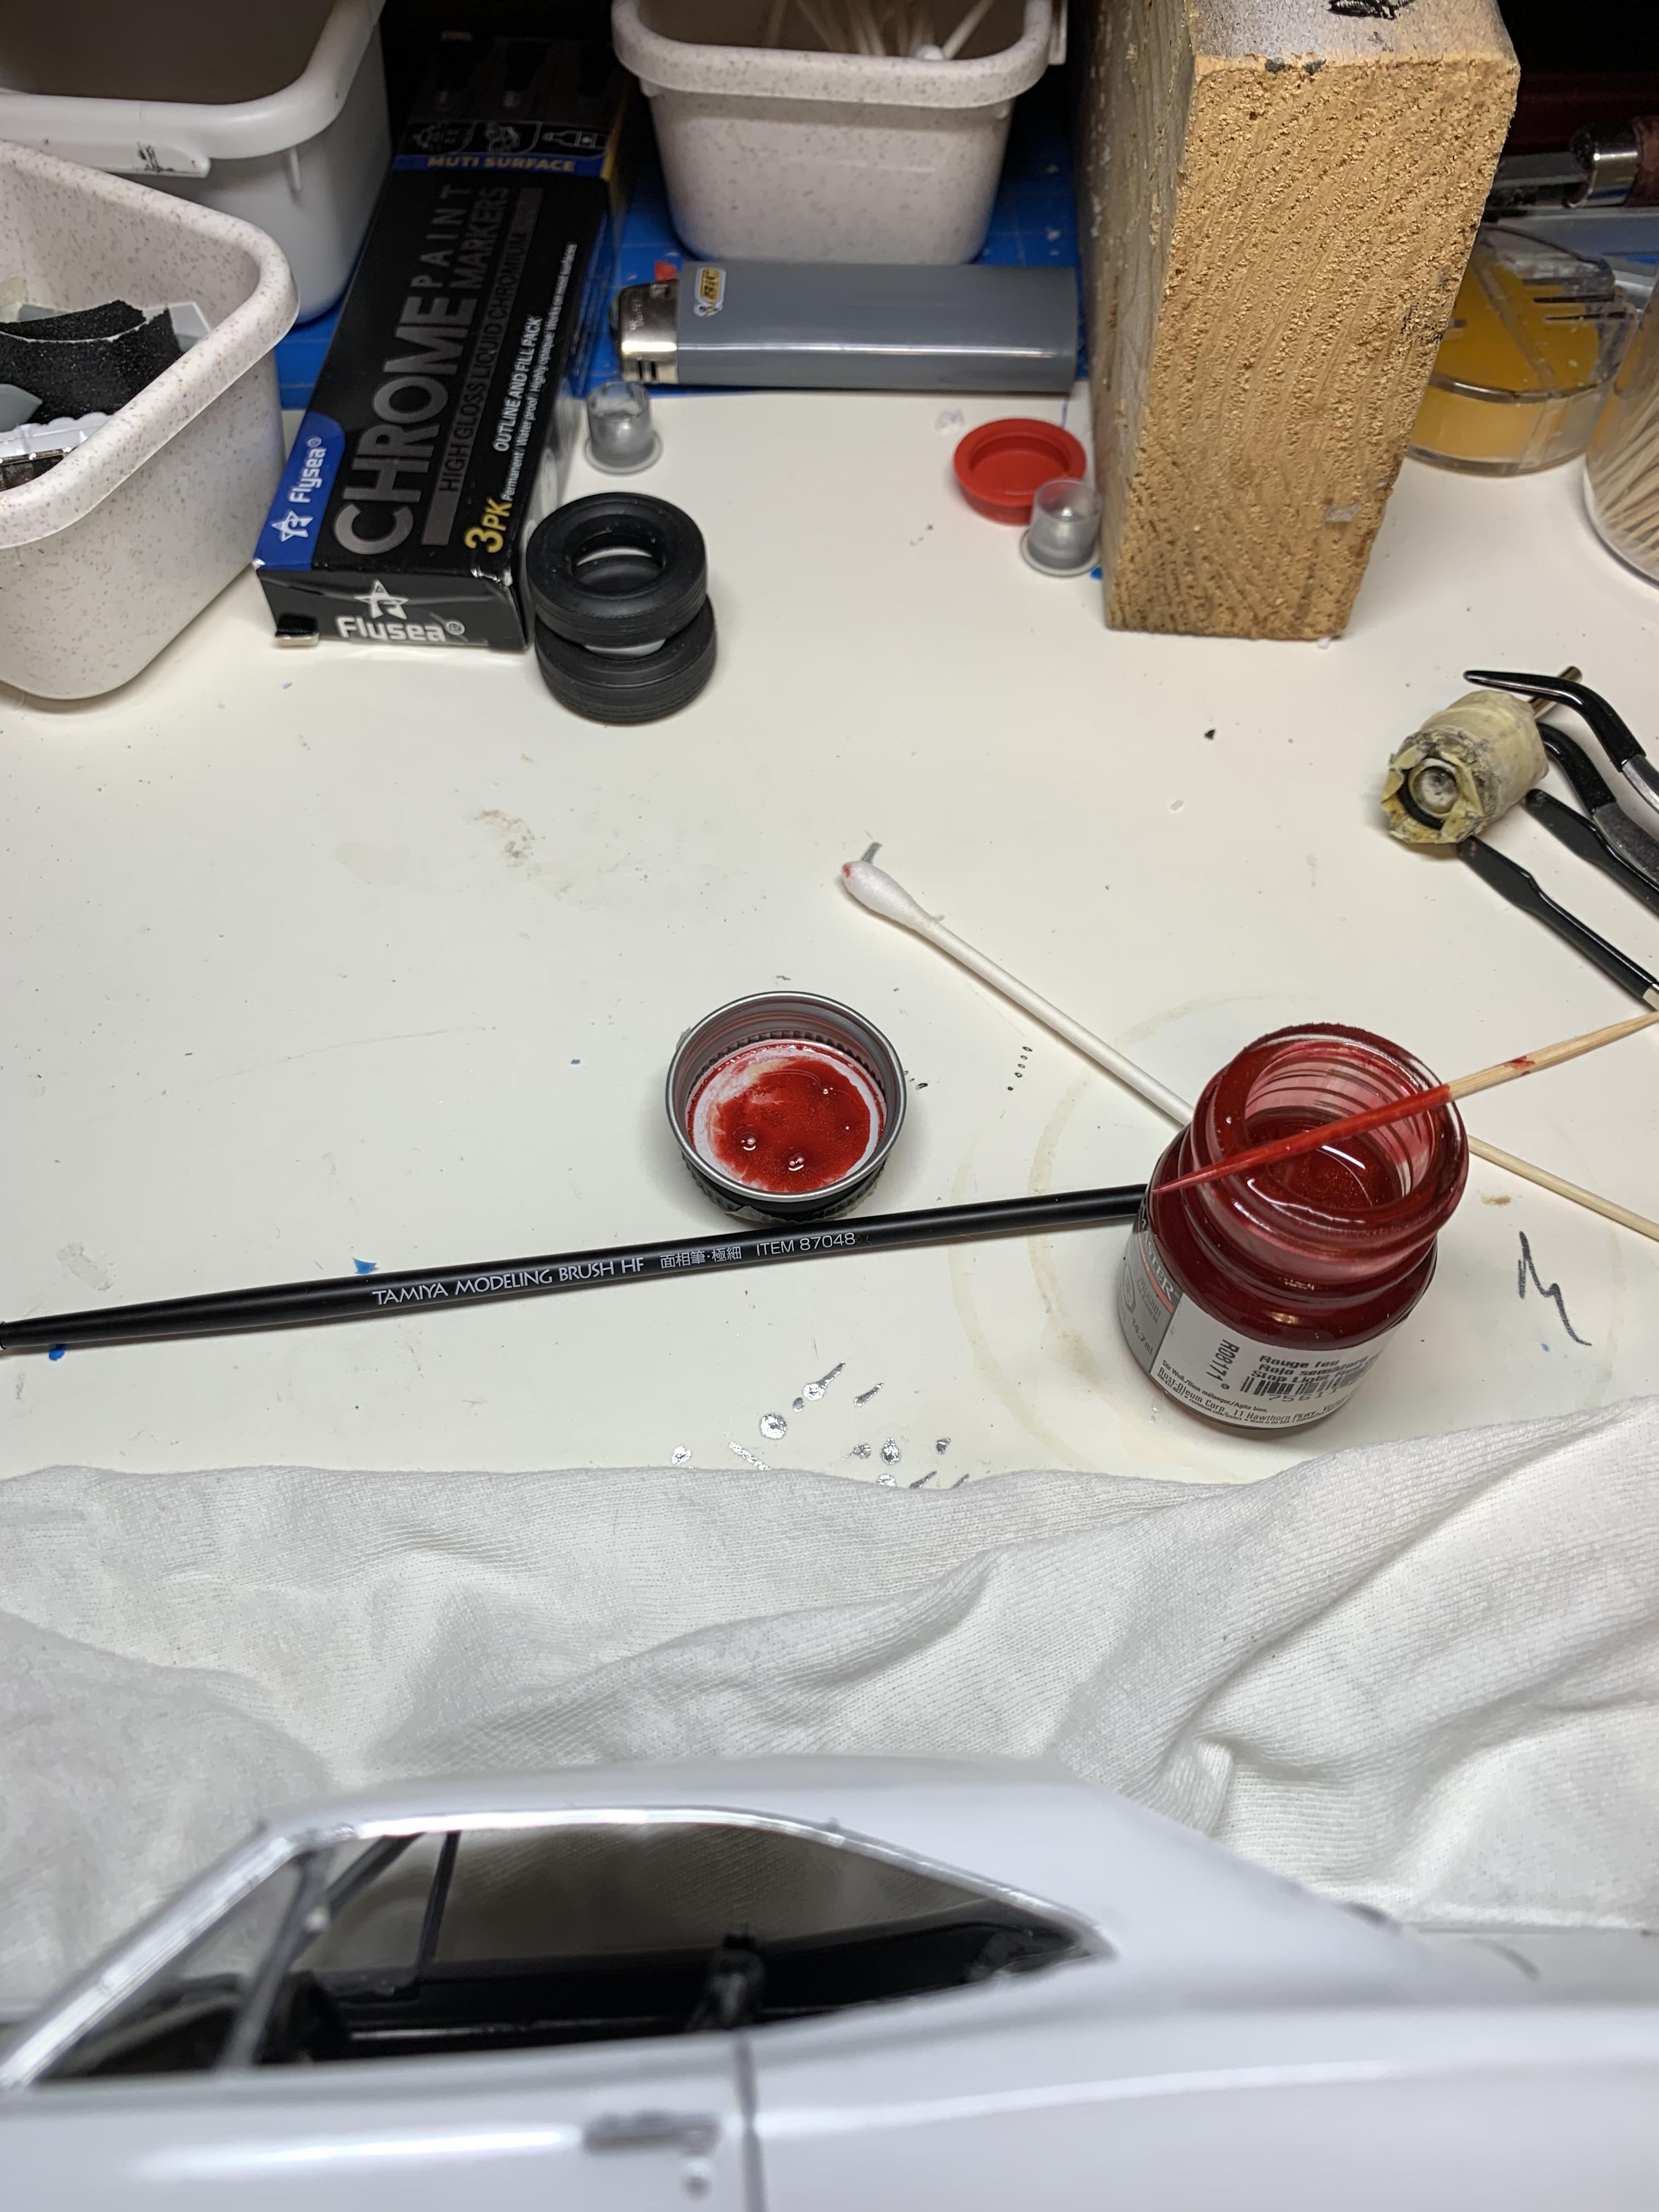
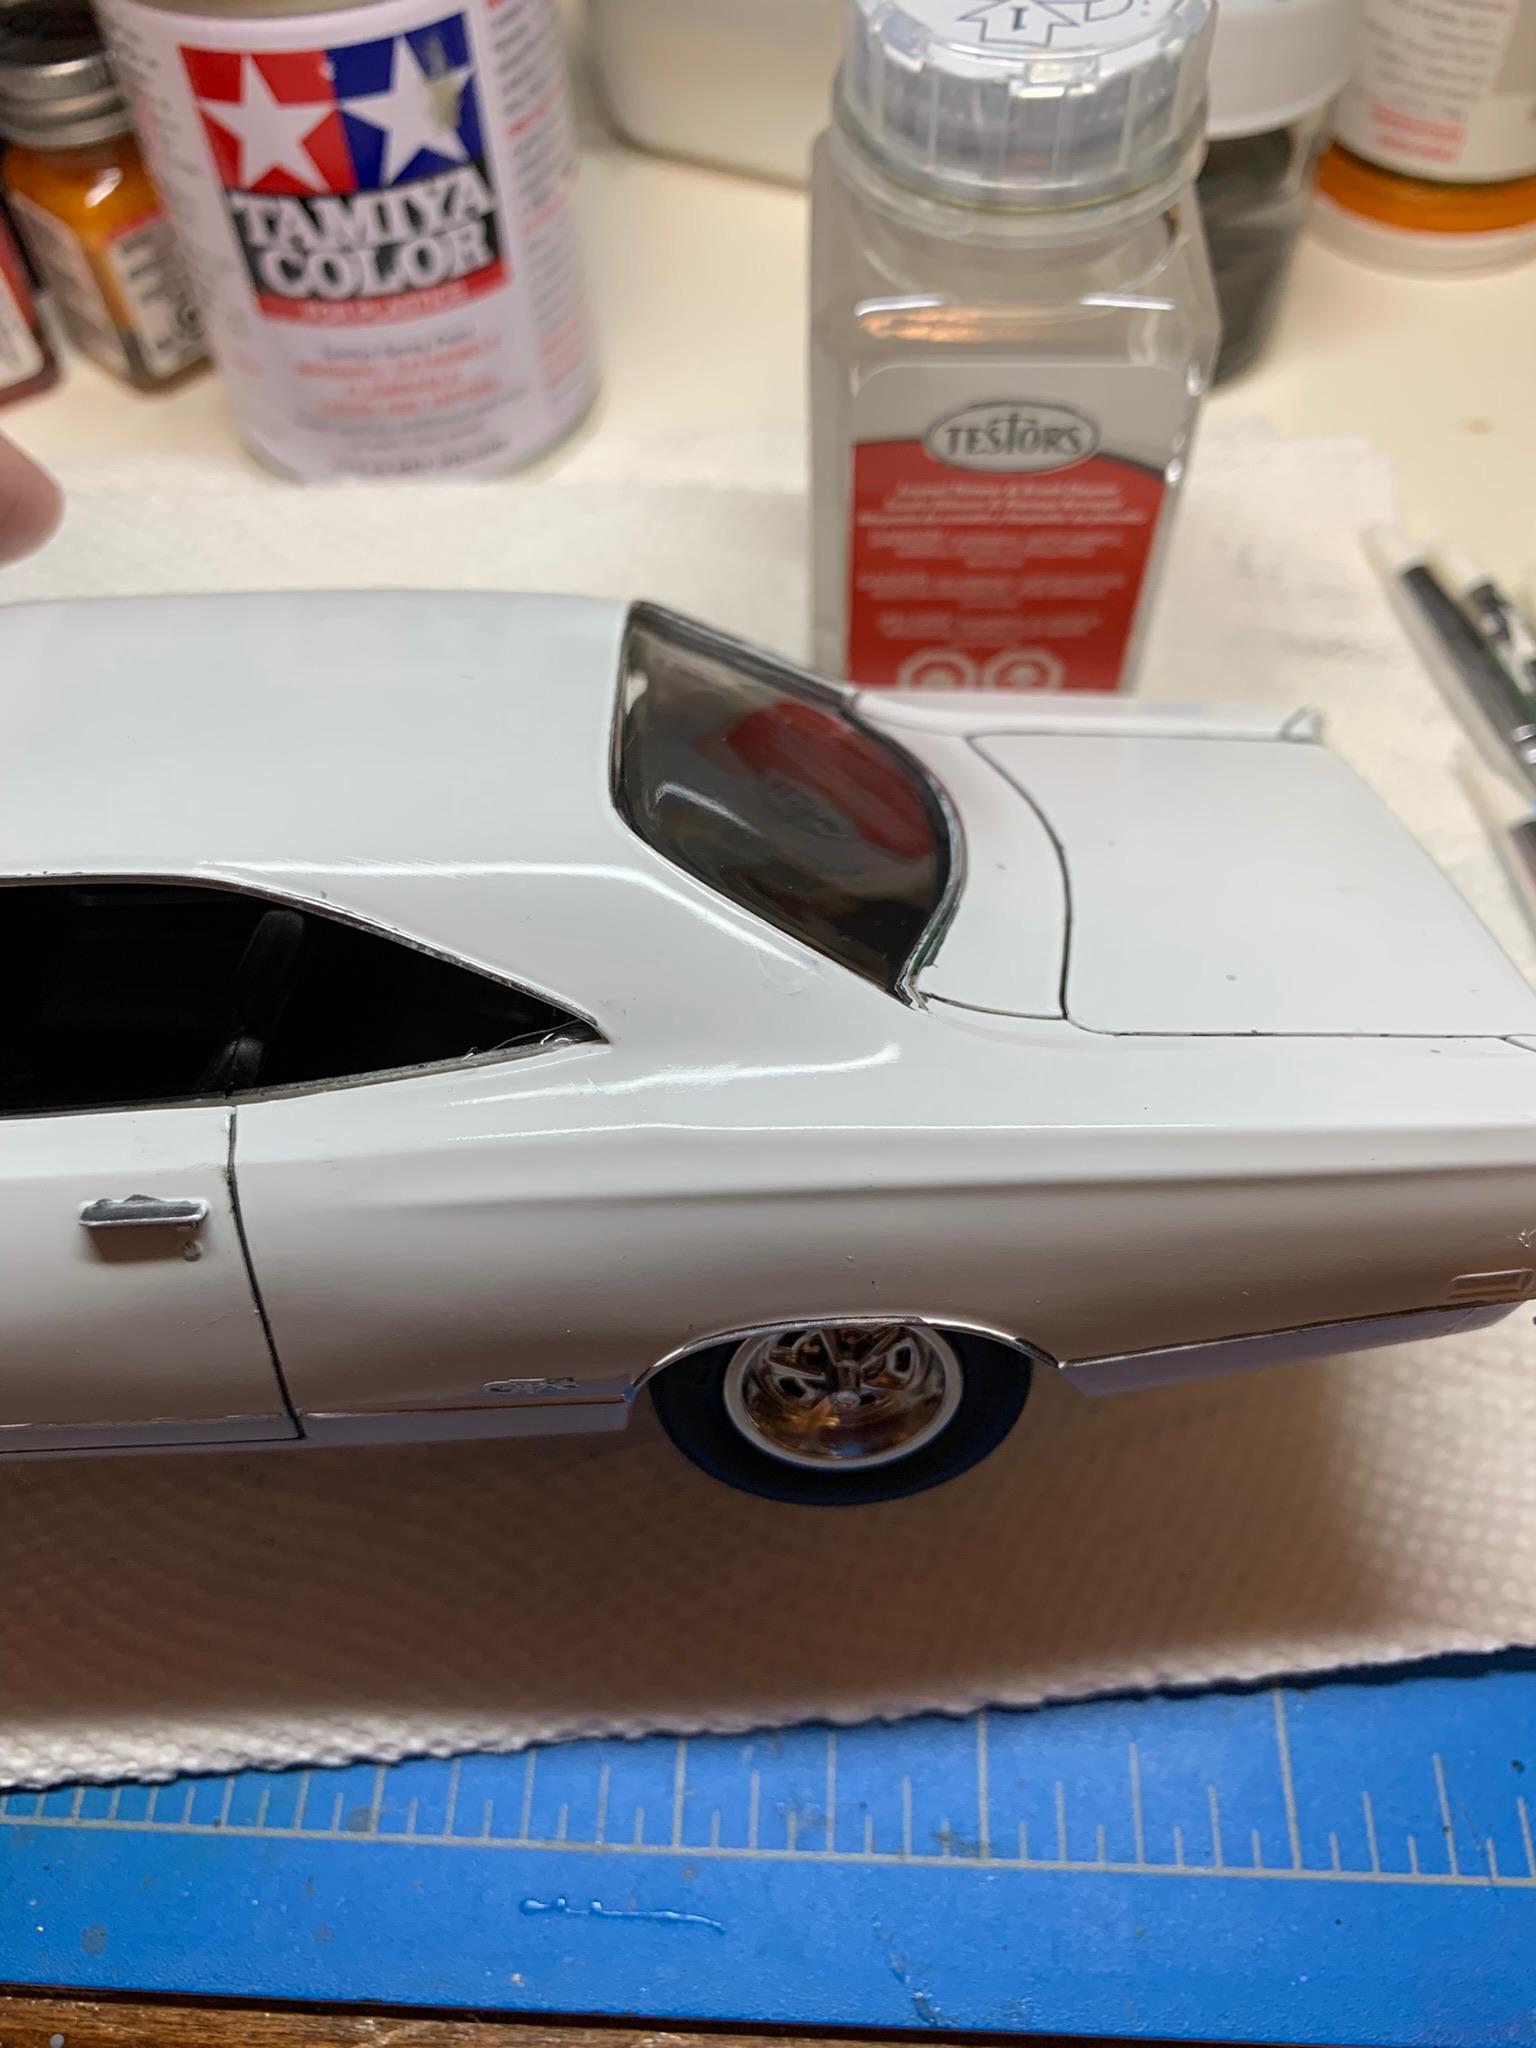
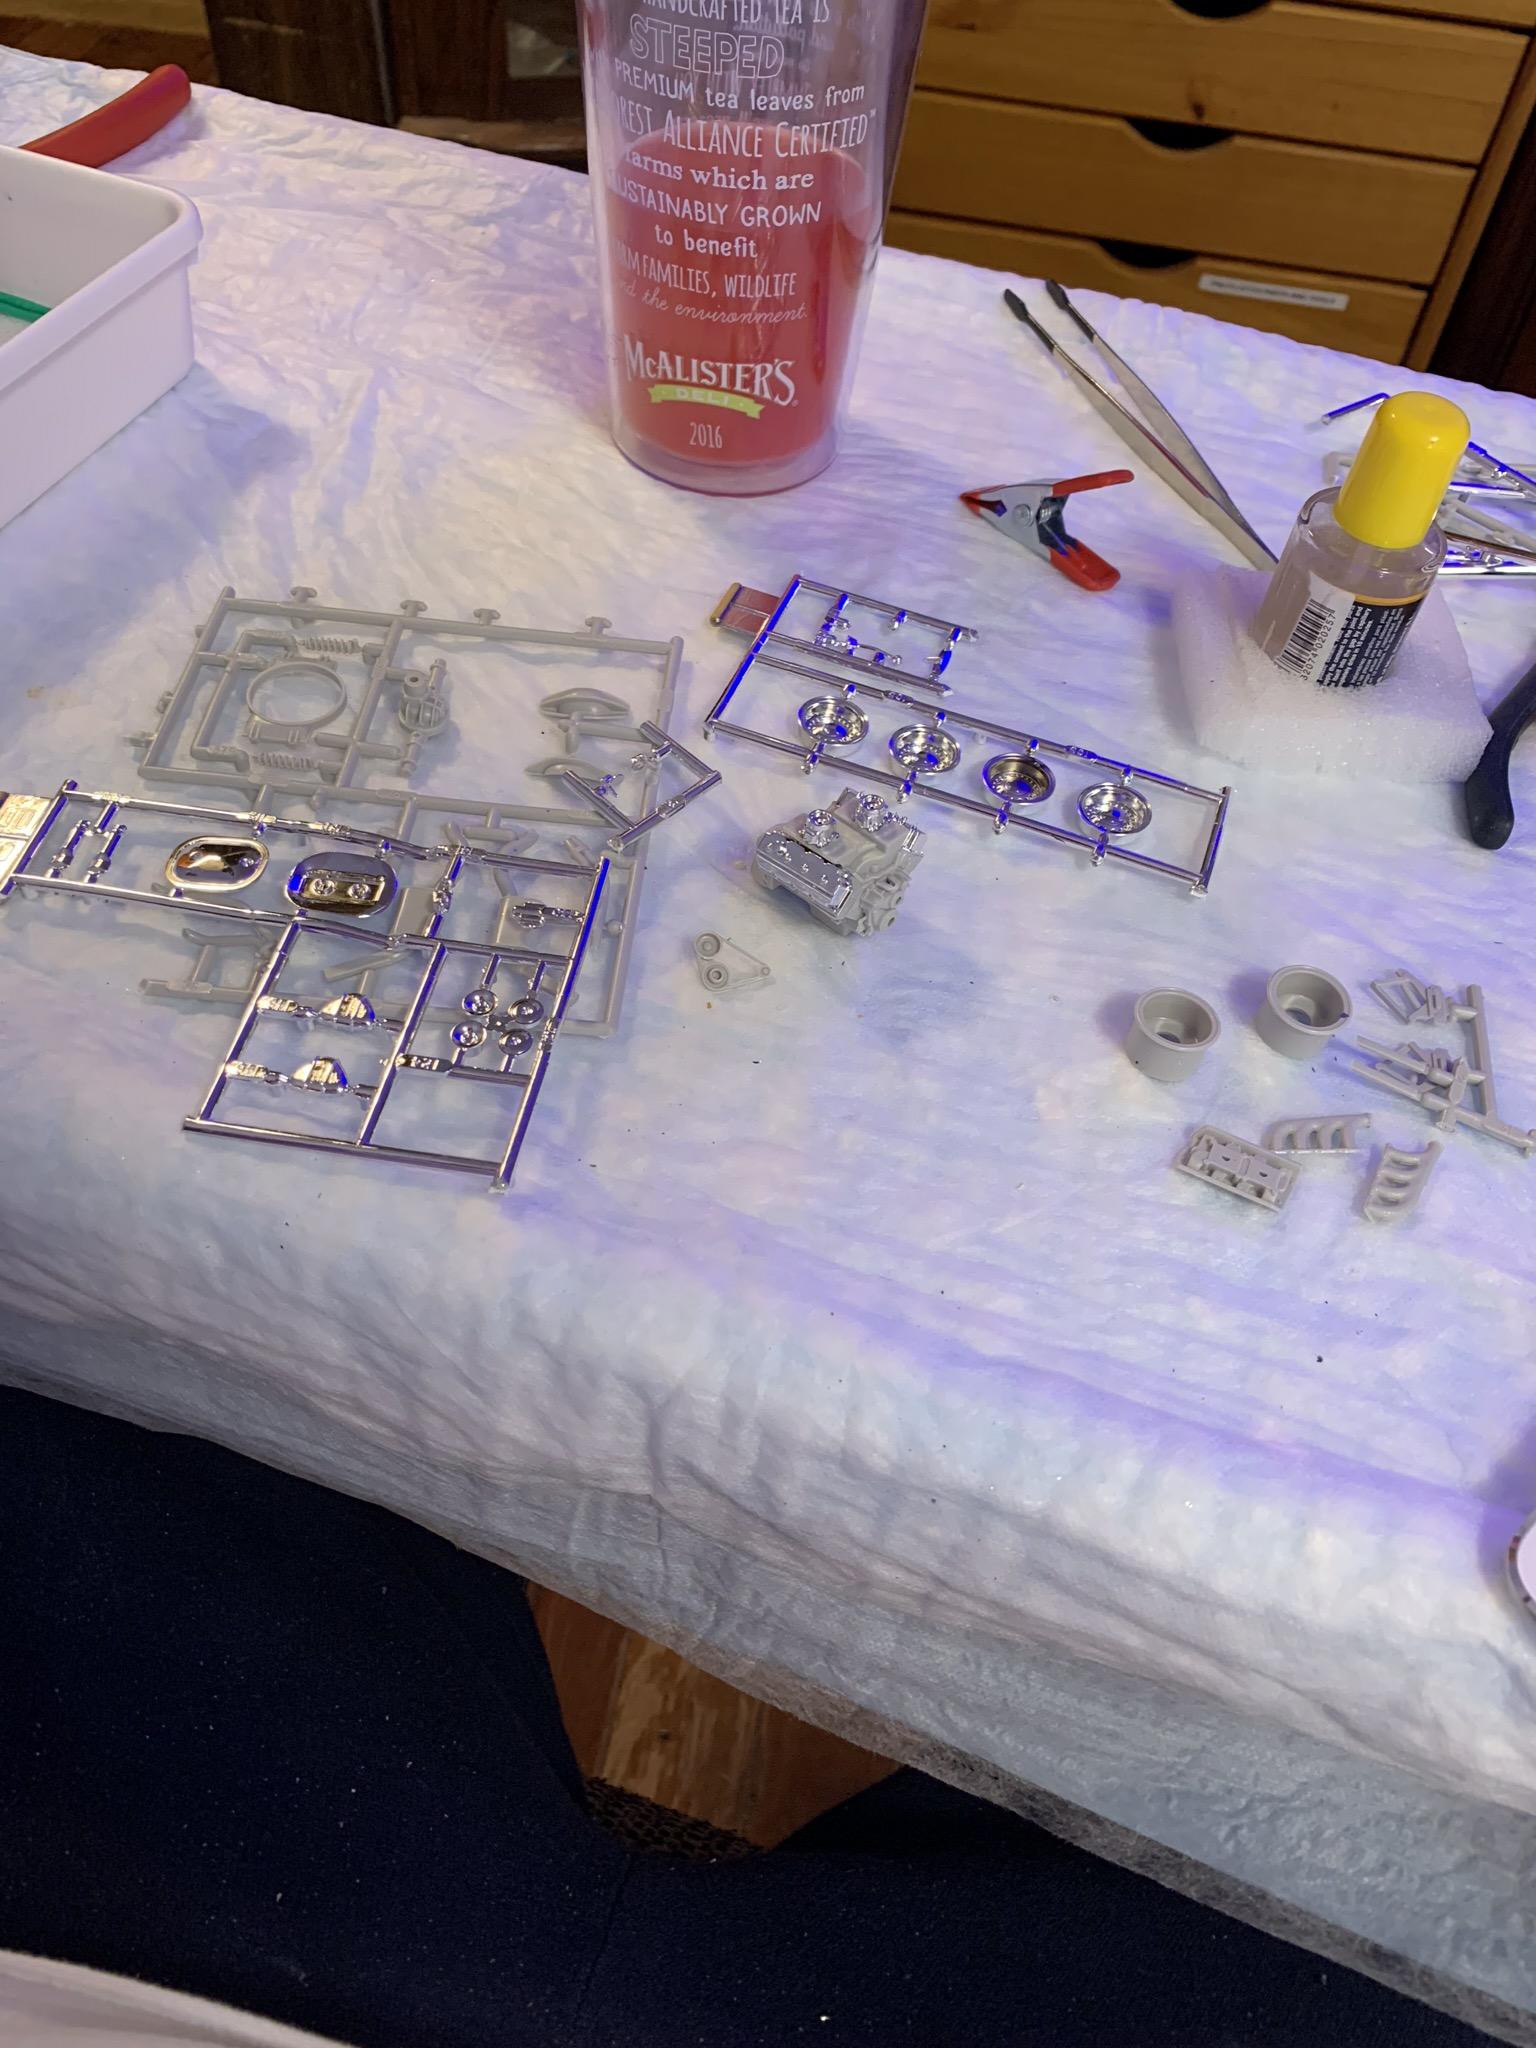
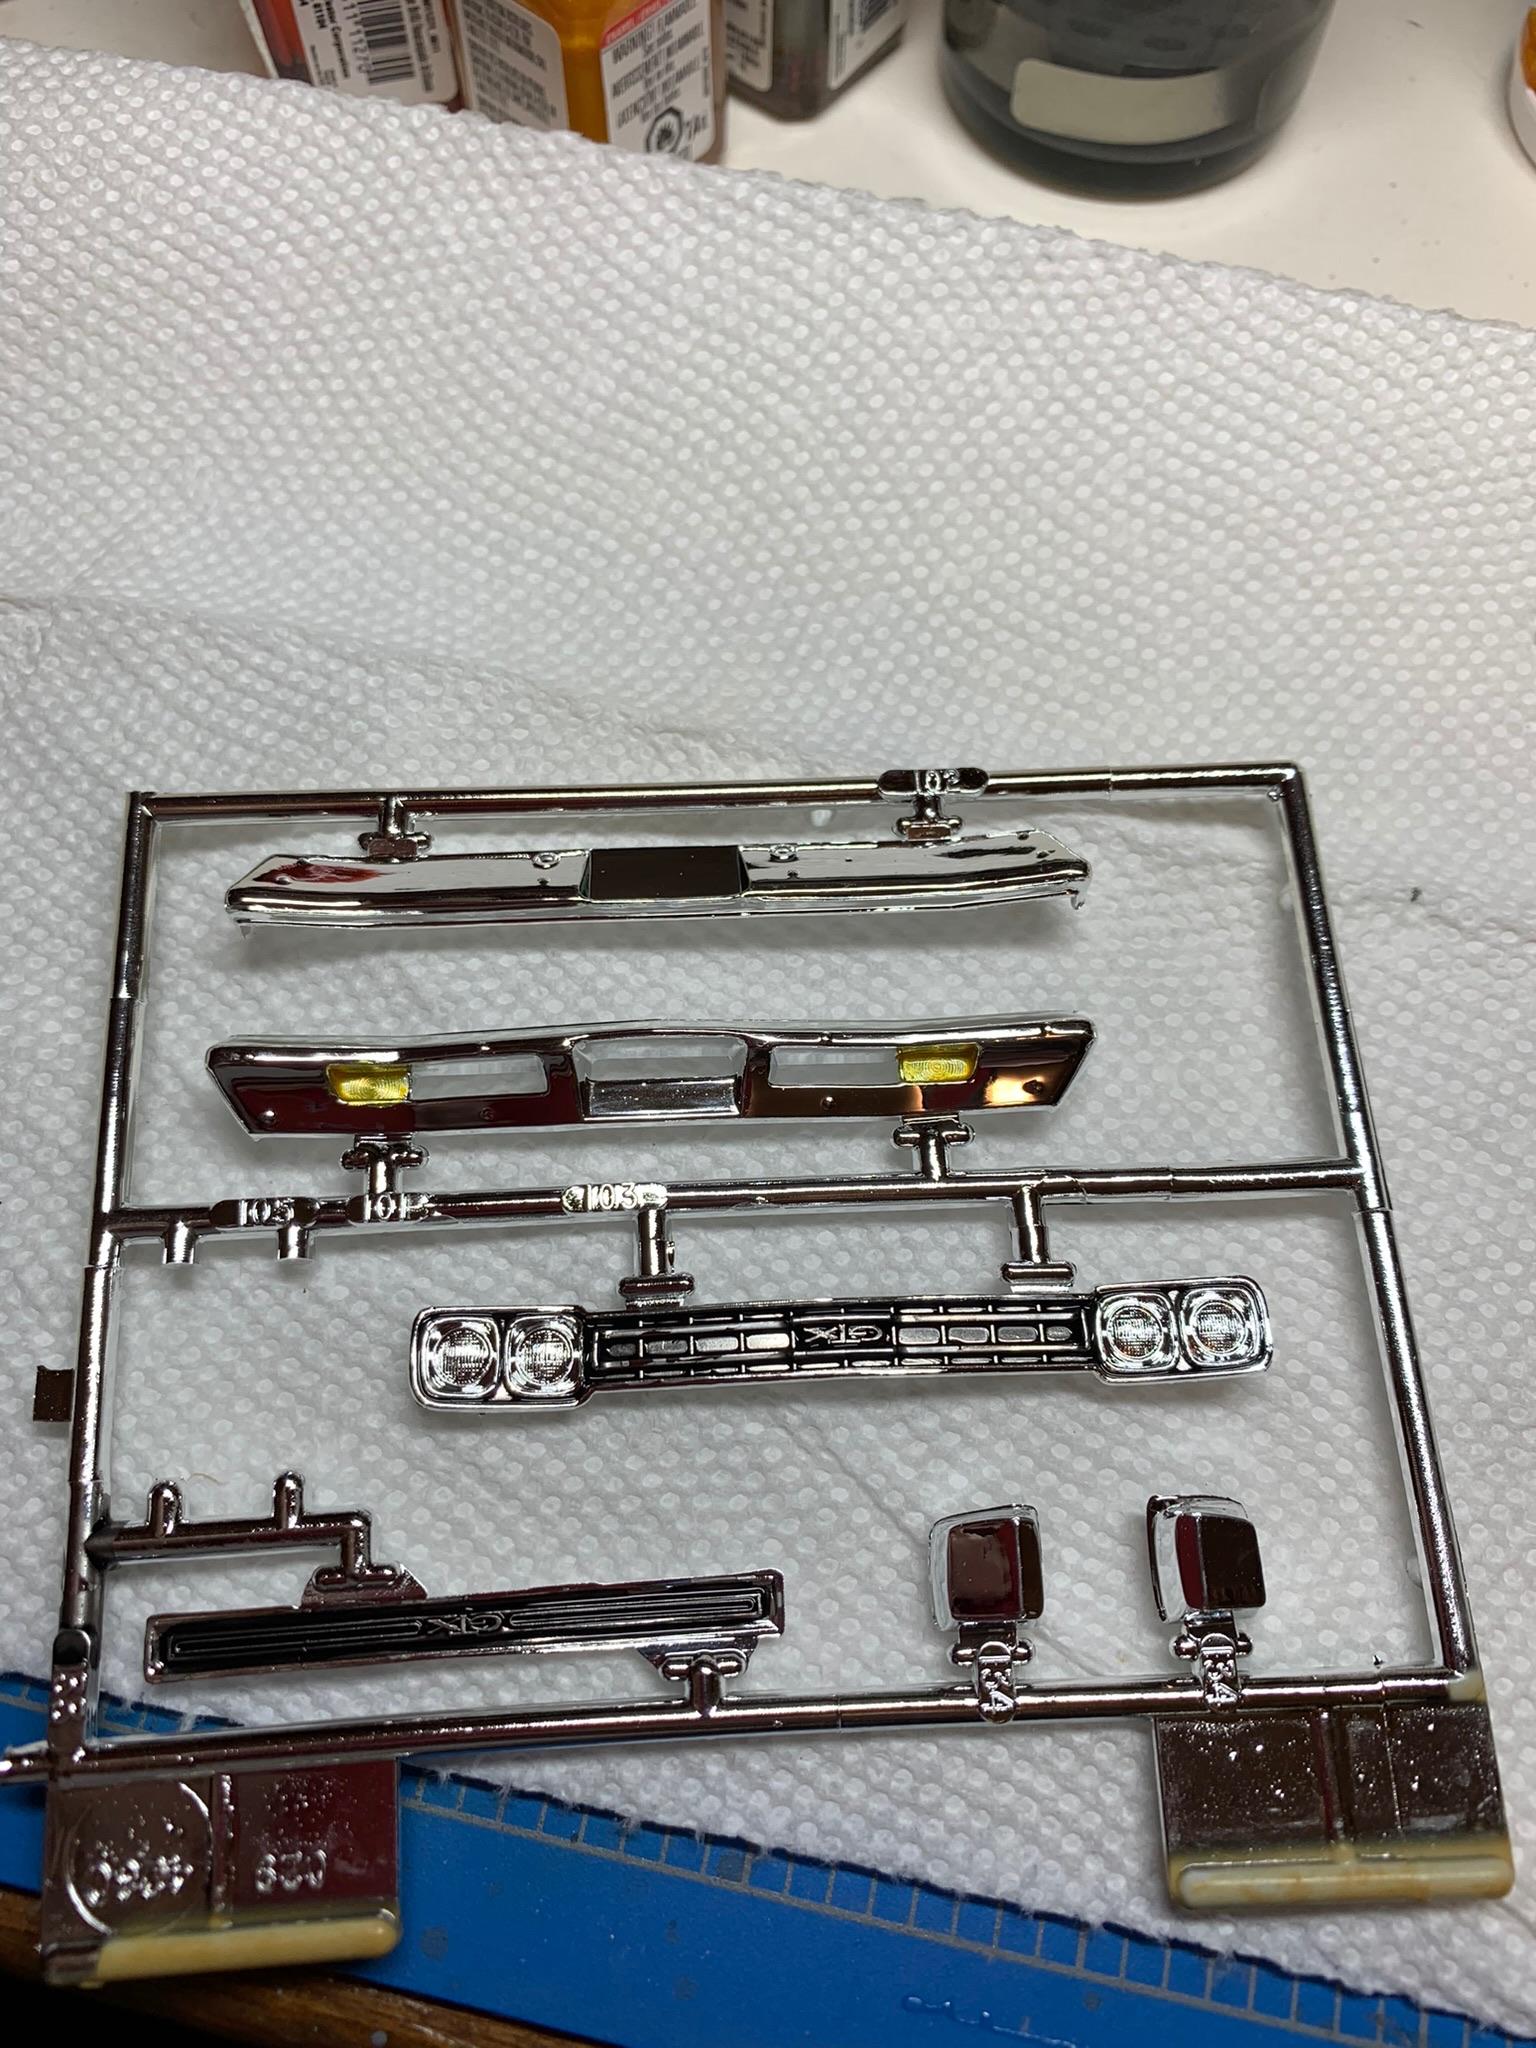
Thanks, Carl and Will. Took some time off to experiment with making molds and casting some small parts. Time to finish this one. Put some chrome on the clearance lights with a pen, then added the clear amber and stop light red. Tried at first with a small paint brush, but worked better with a toothpick ( where would we be without them?).
-
Old credit cards work pretty good.
-
Prewired 8cyl distributor install
R. Thorne replied to CA Whitecloud's topic in Model Building Questions and Answers
I really like the M.A.D. Distributors.
-
Just some possibilities from eBay, Shapeways, etc.
-
Steve should be back in February. Currently in rehab and doing well.
-
1.
-
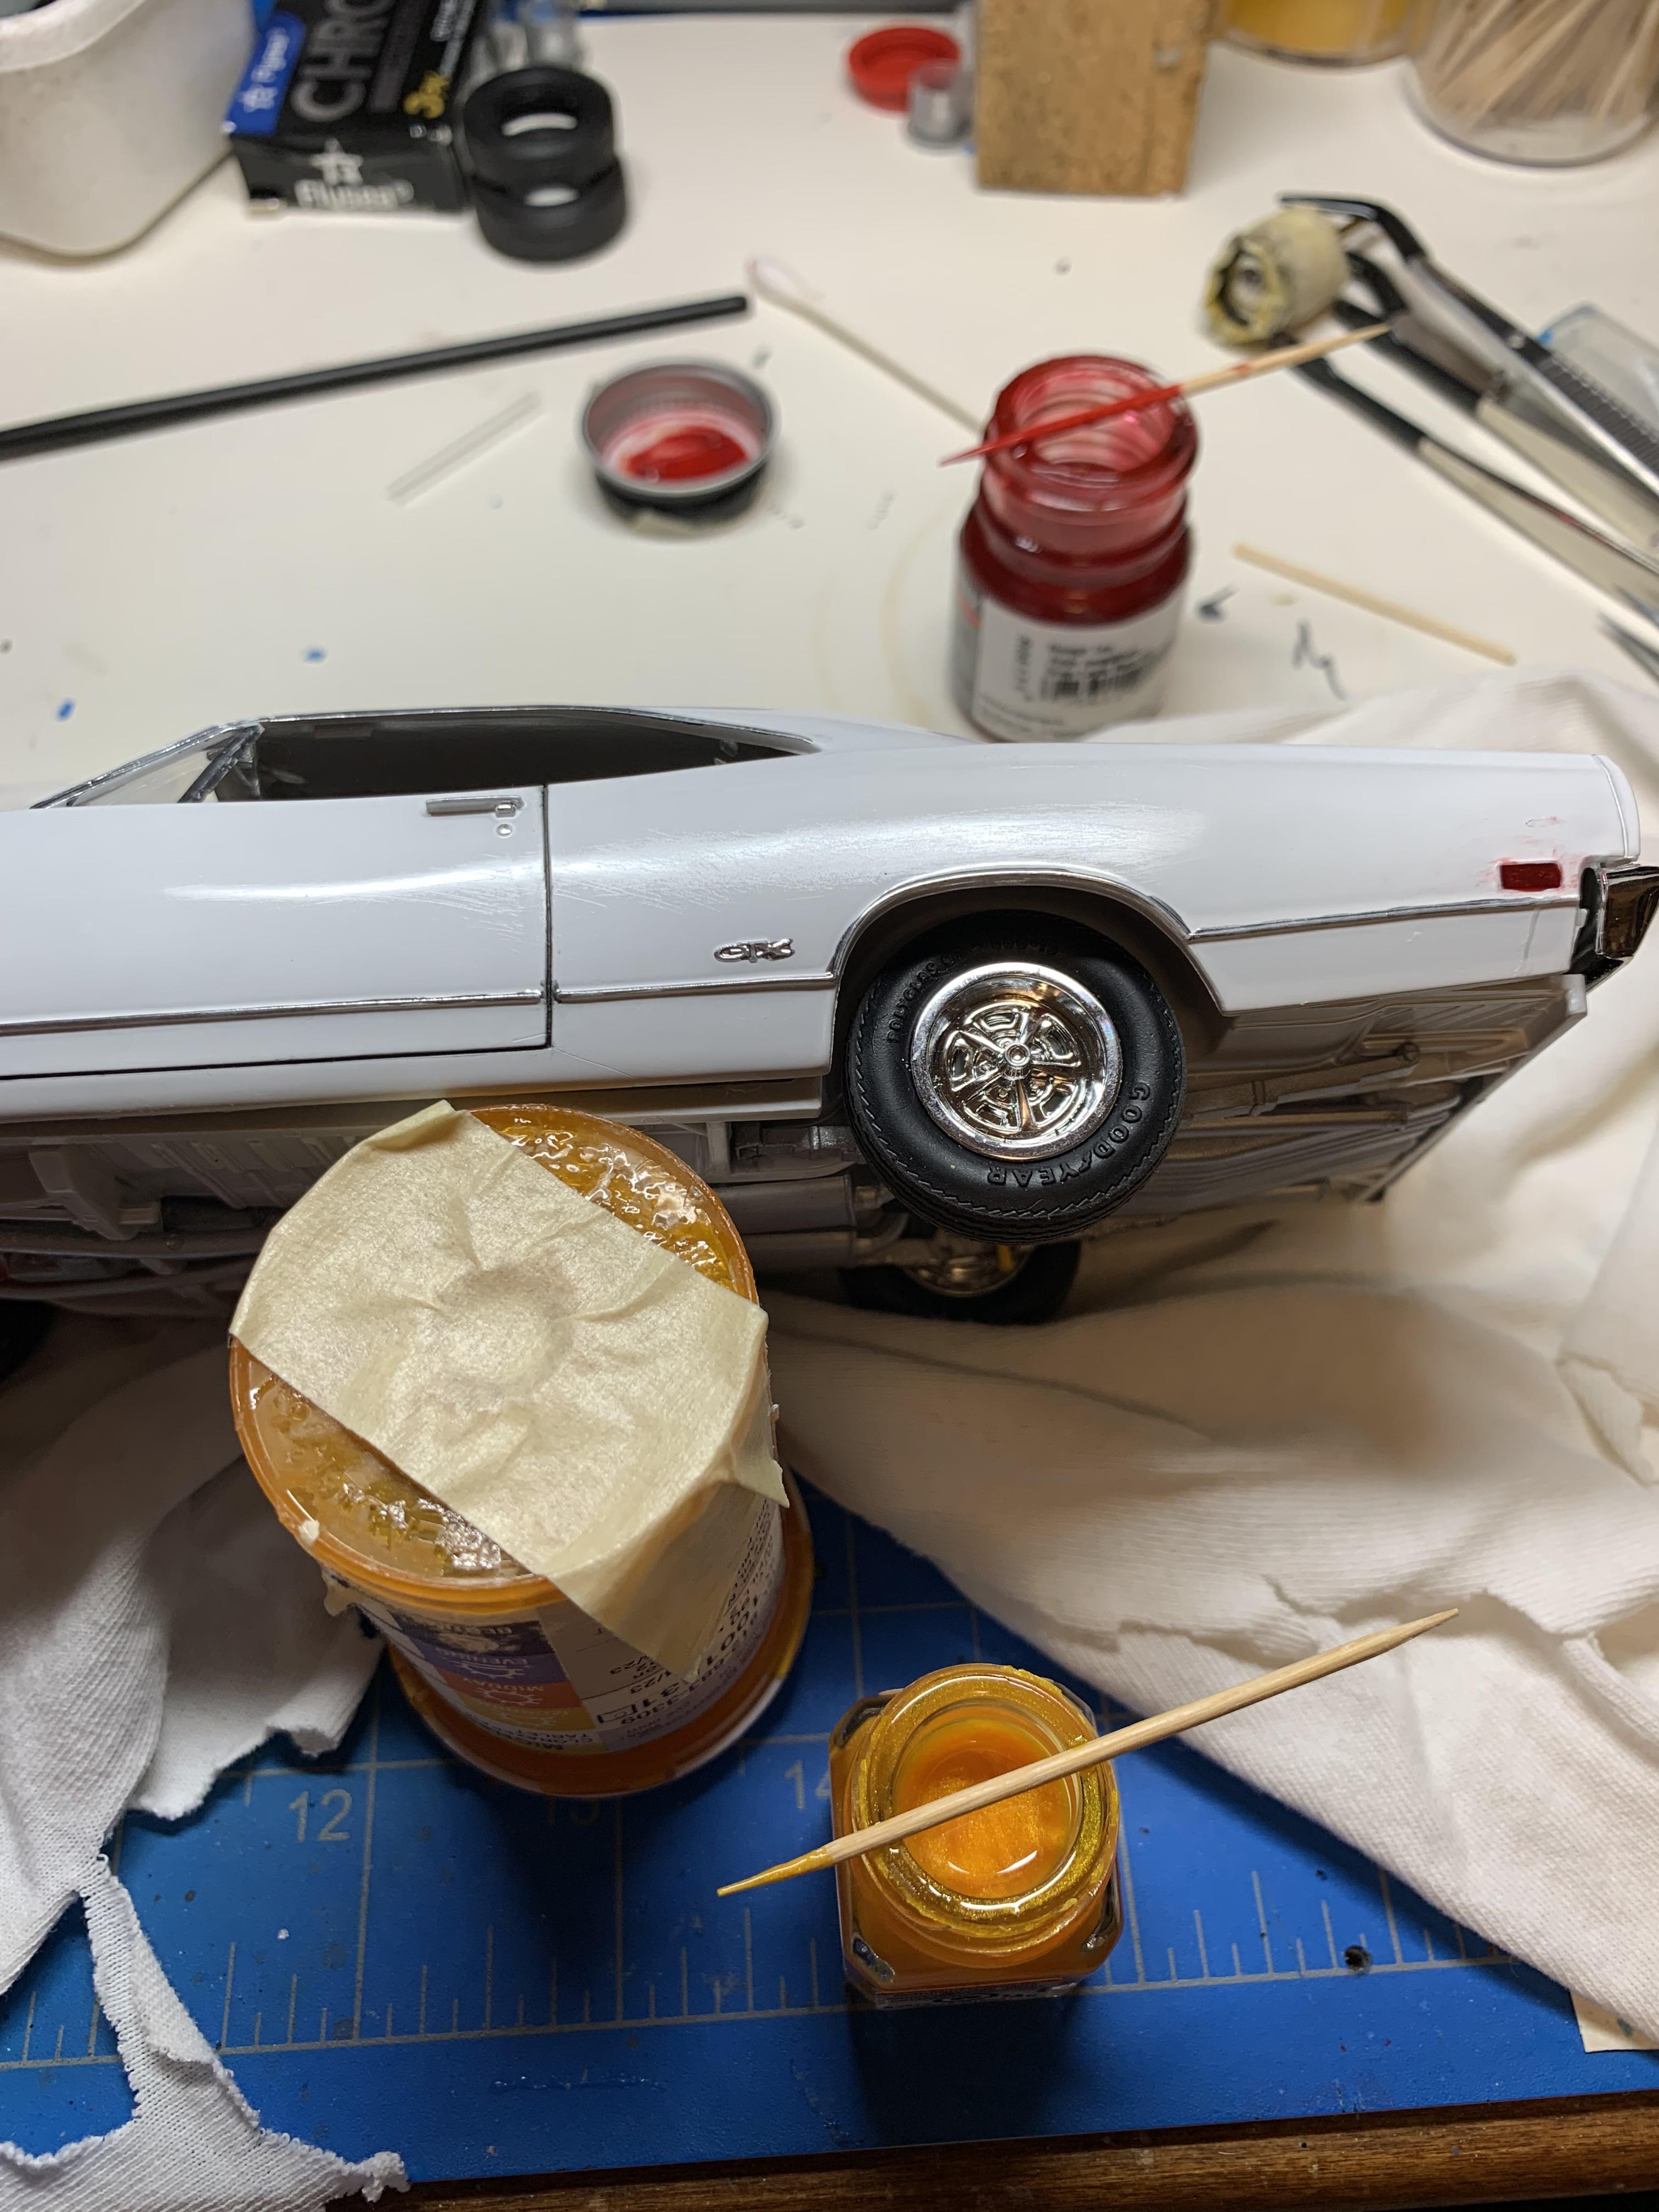
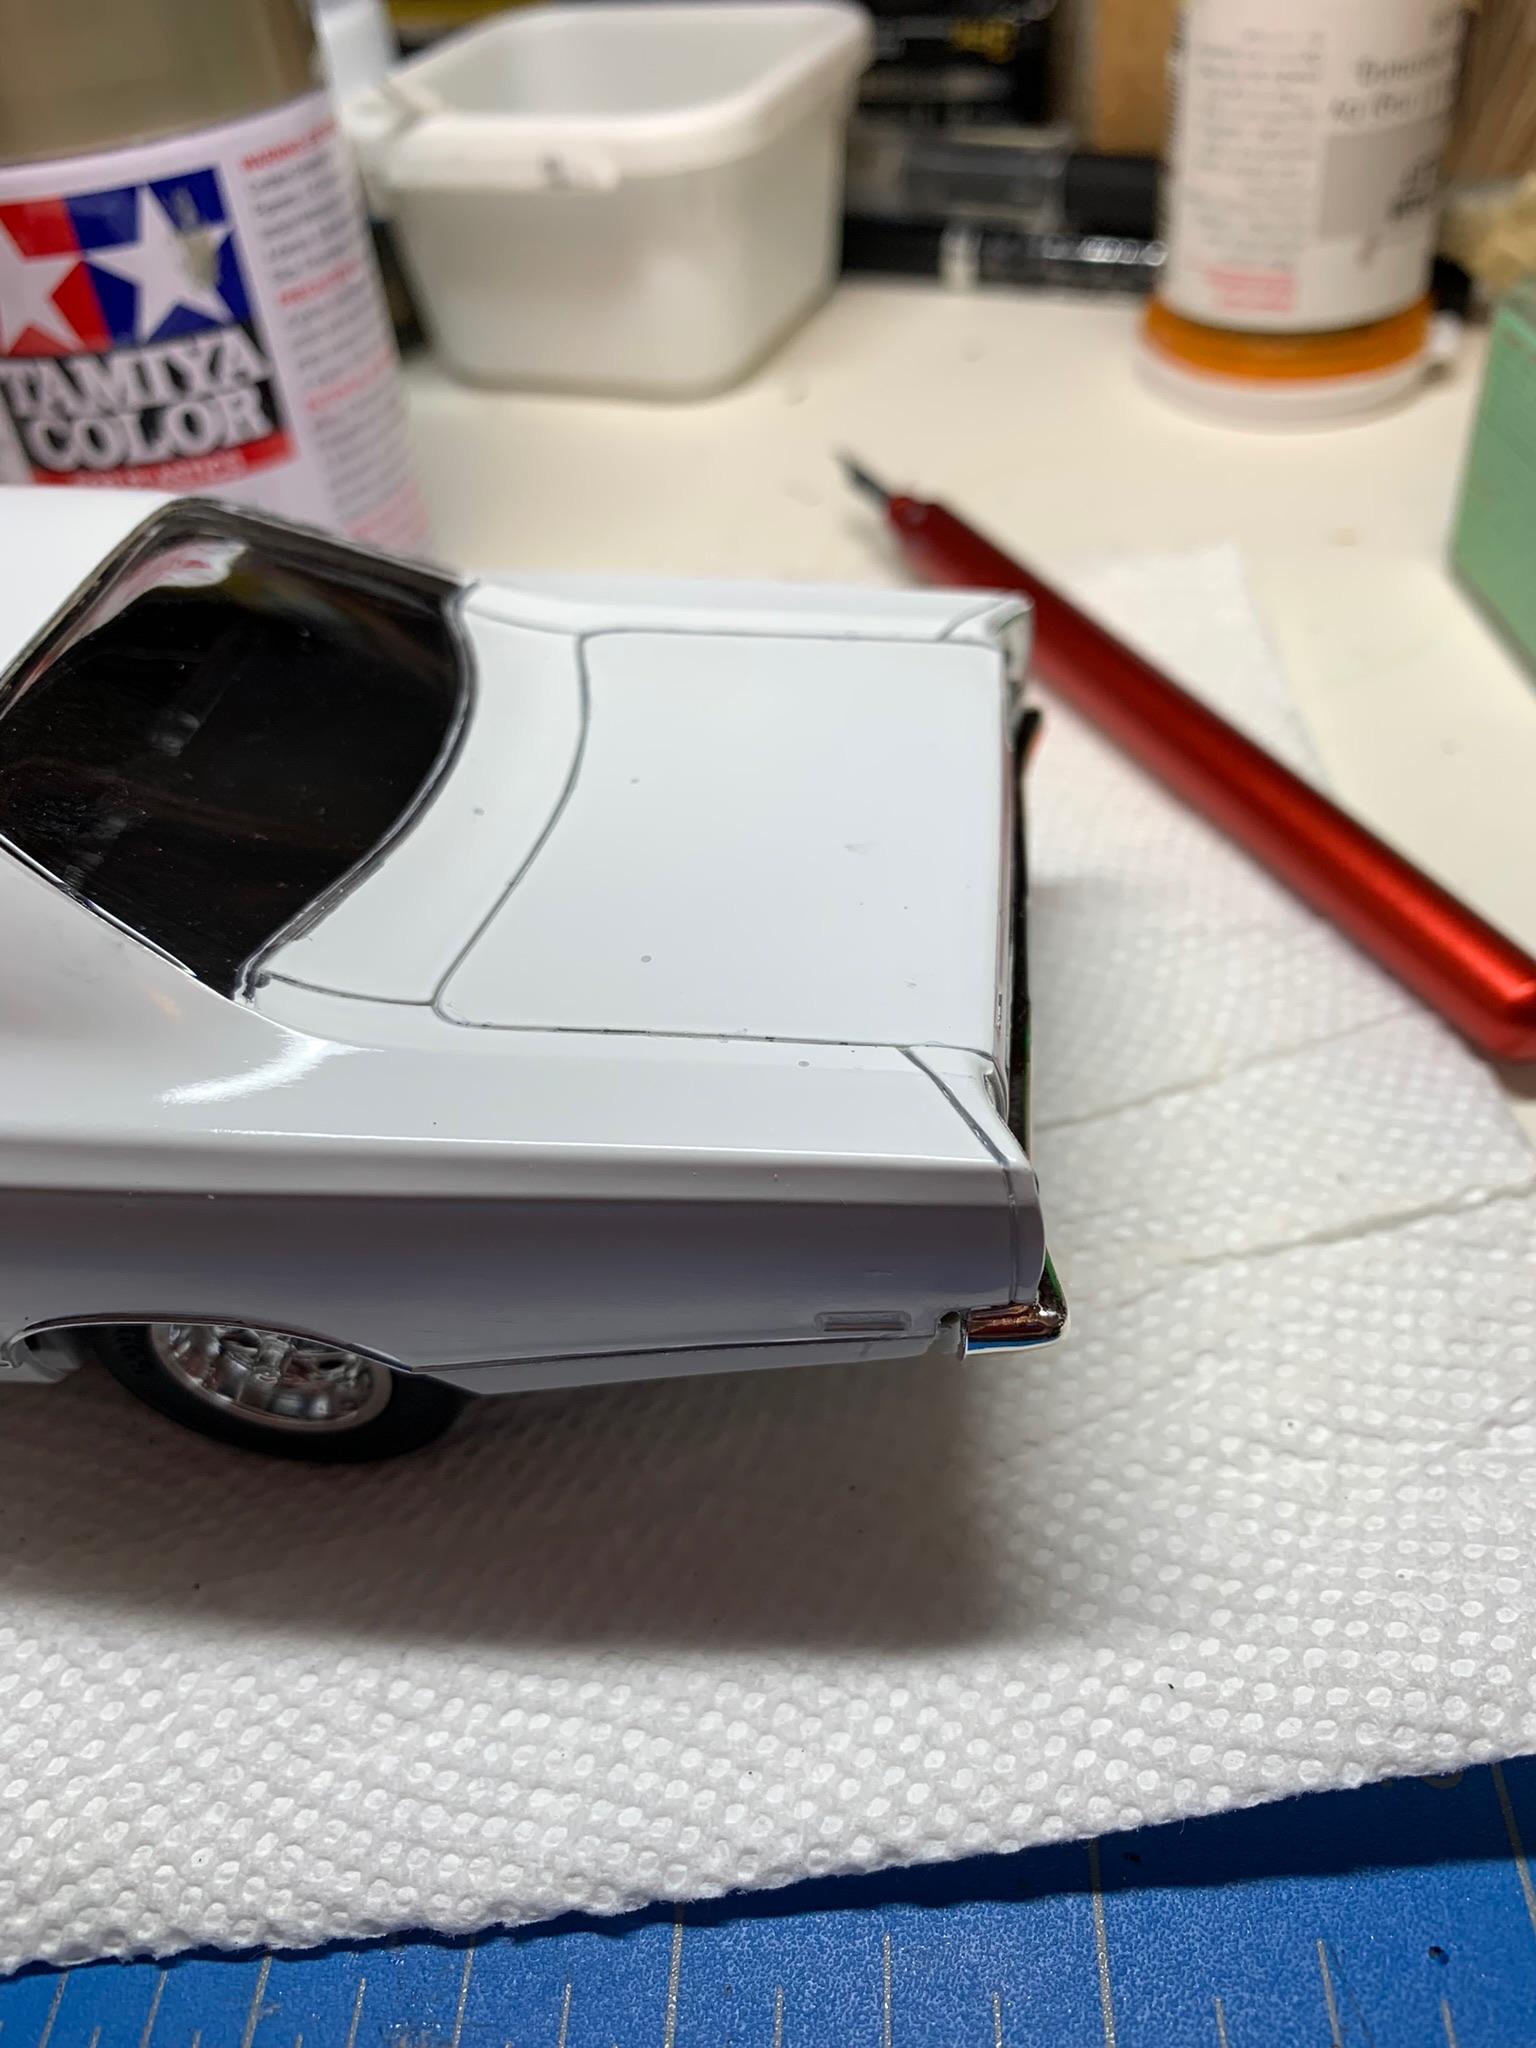
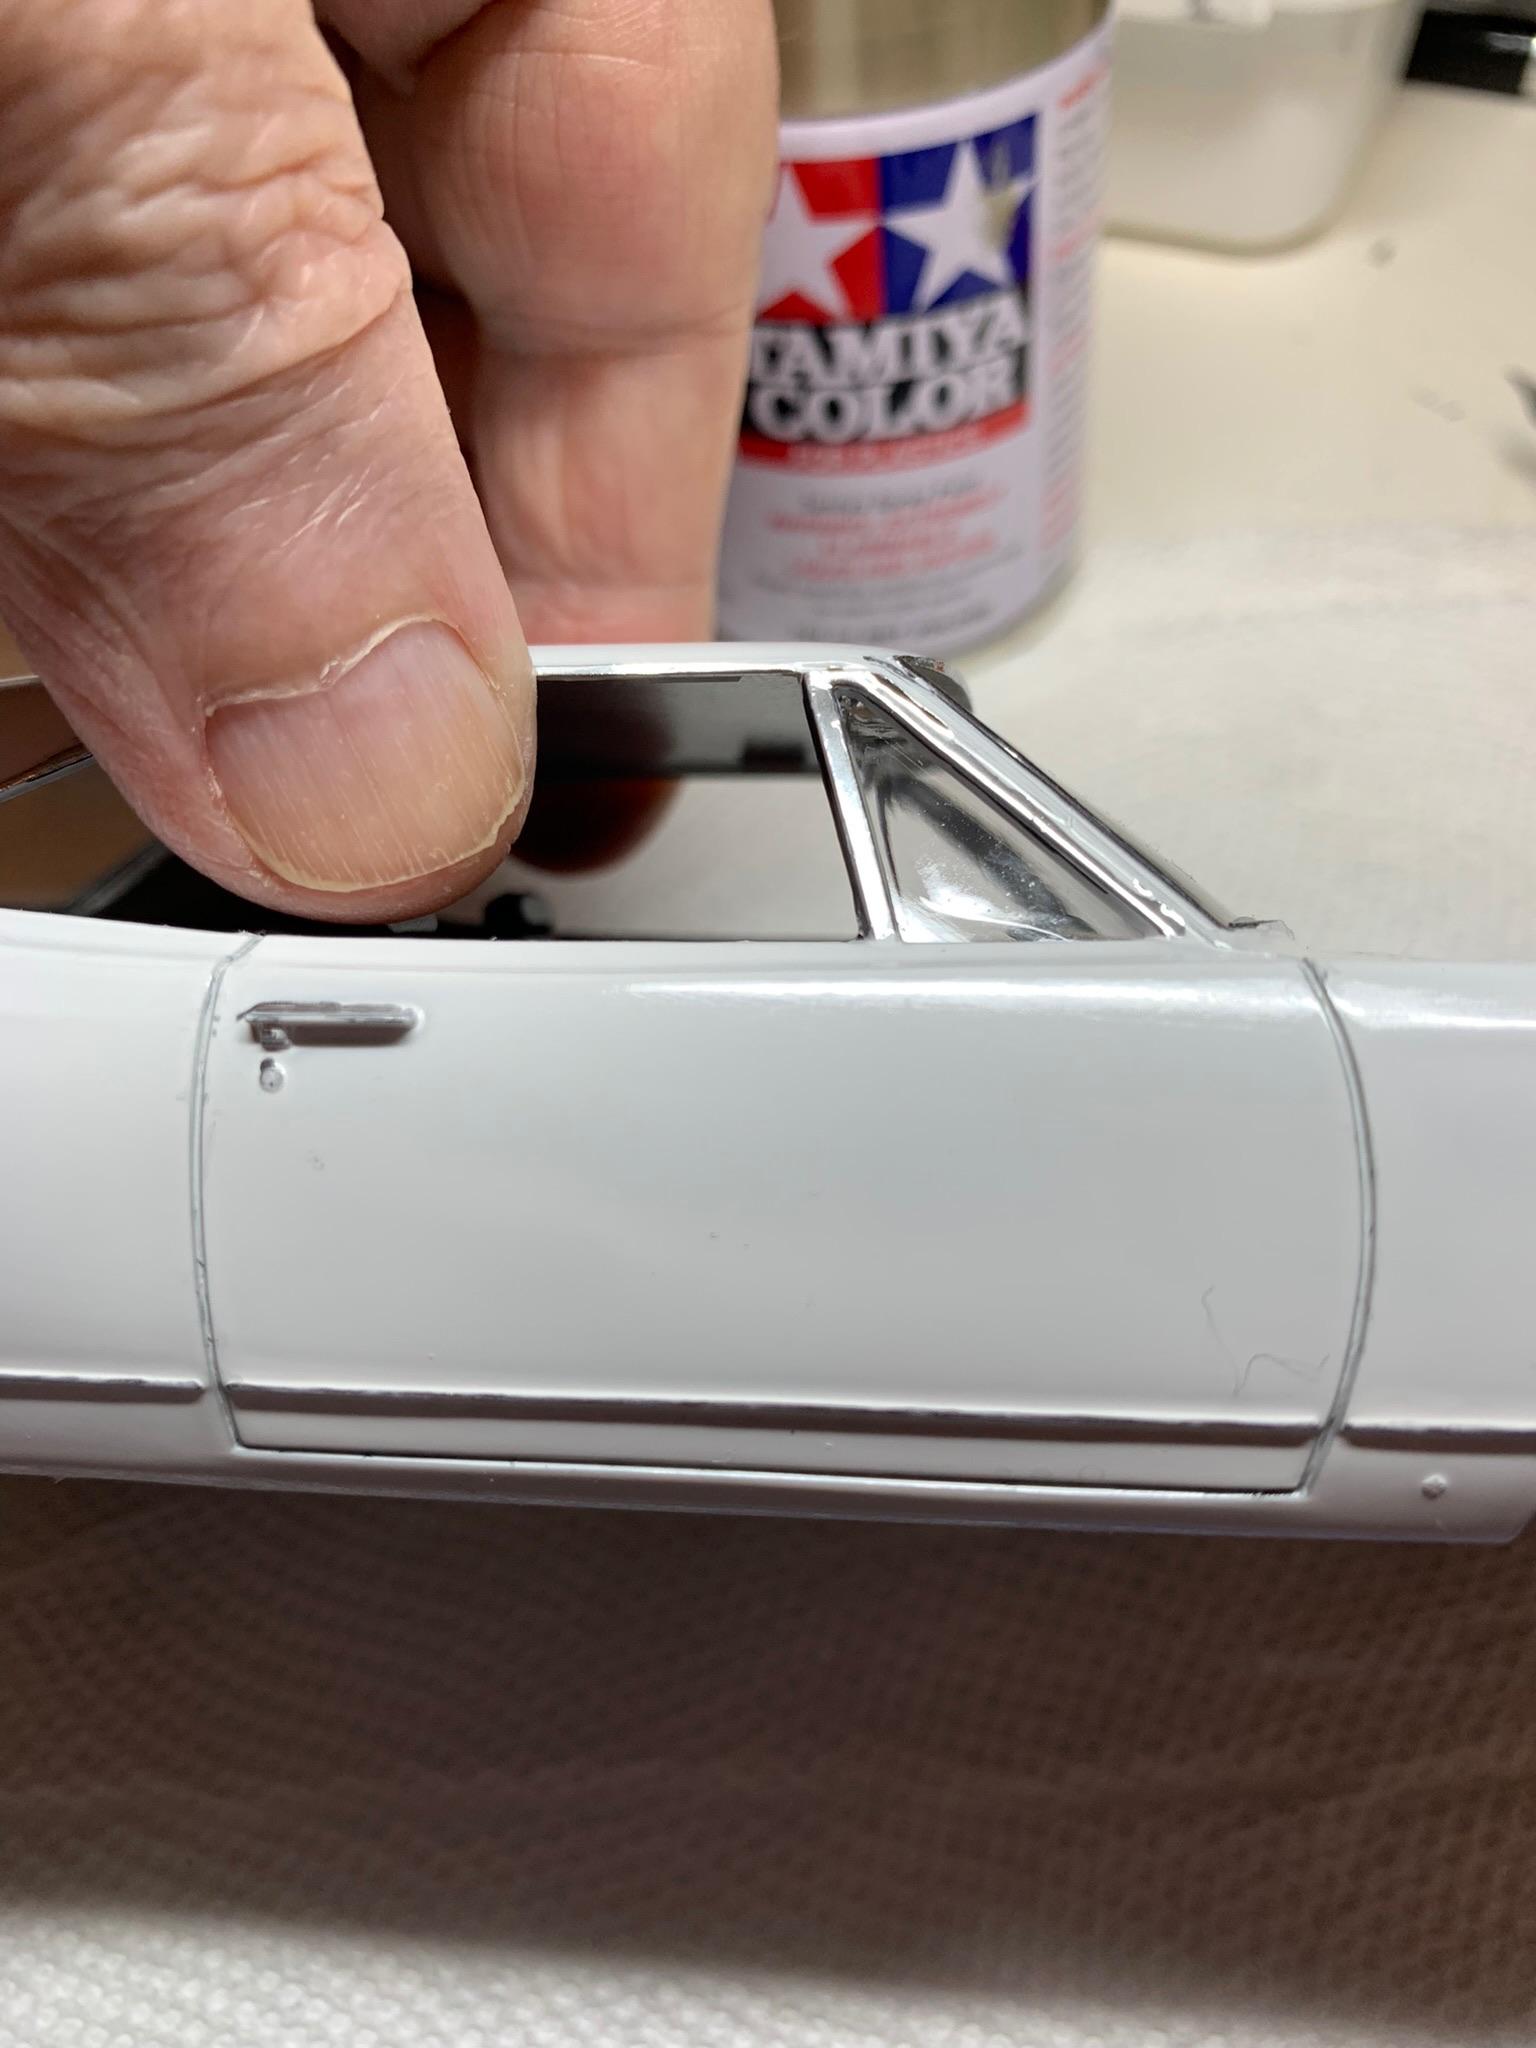
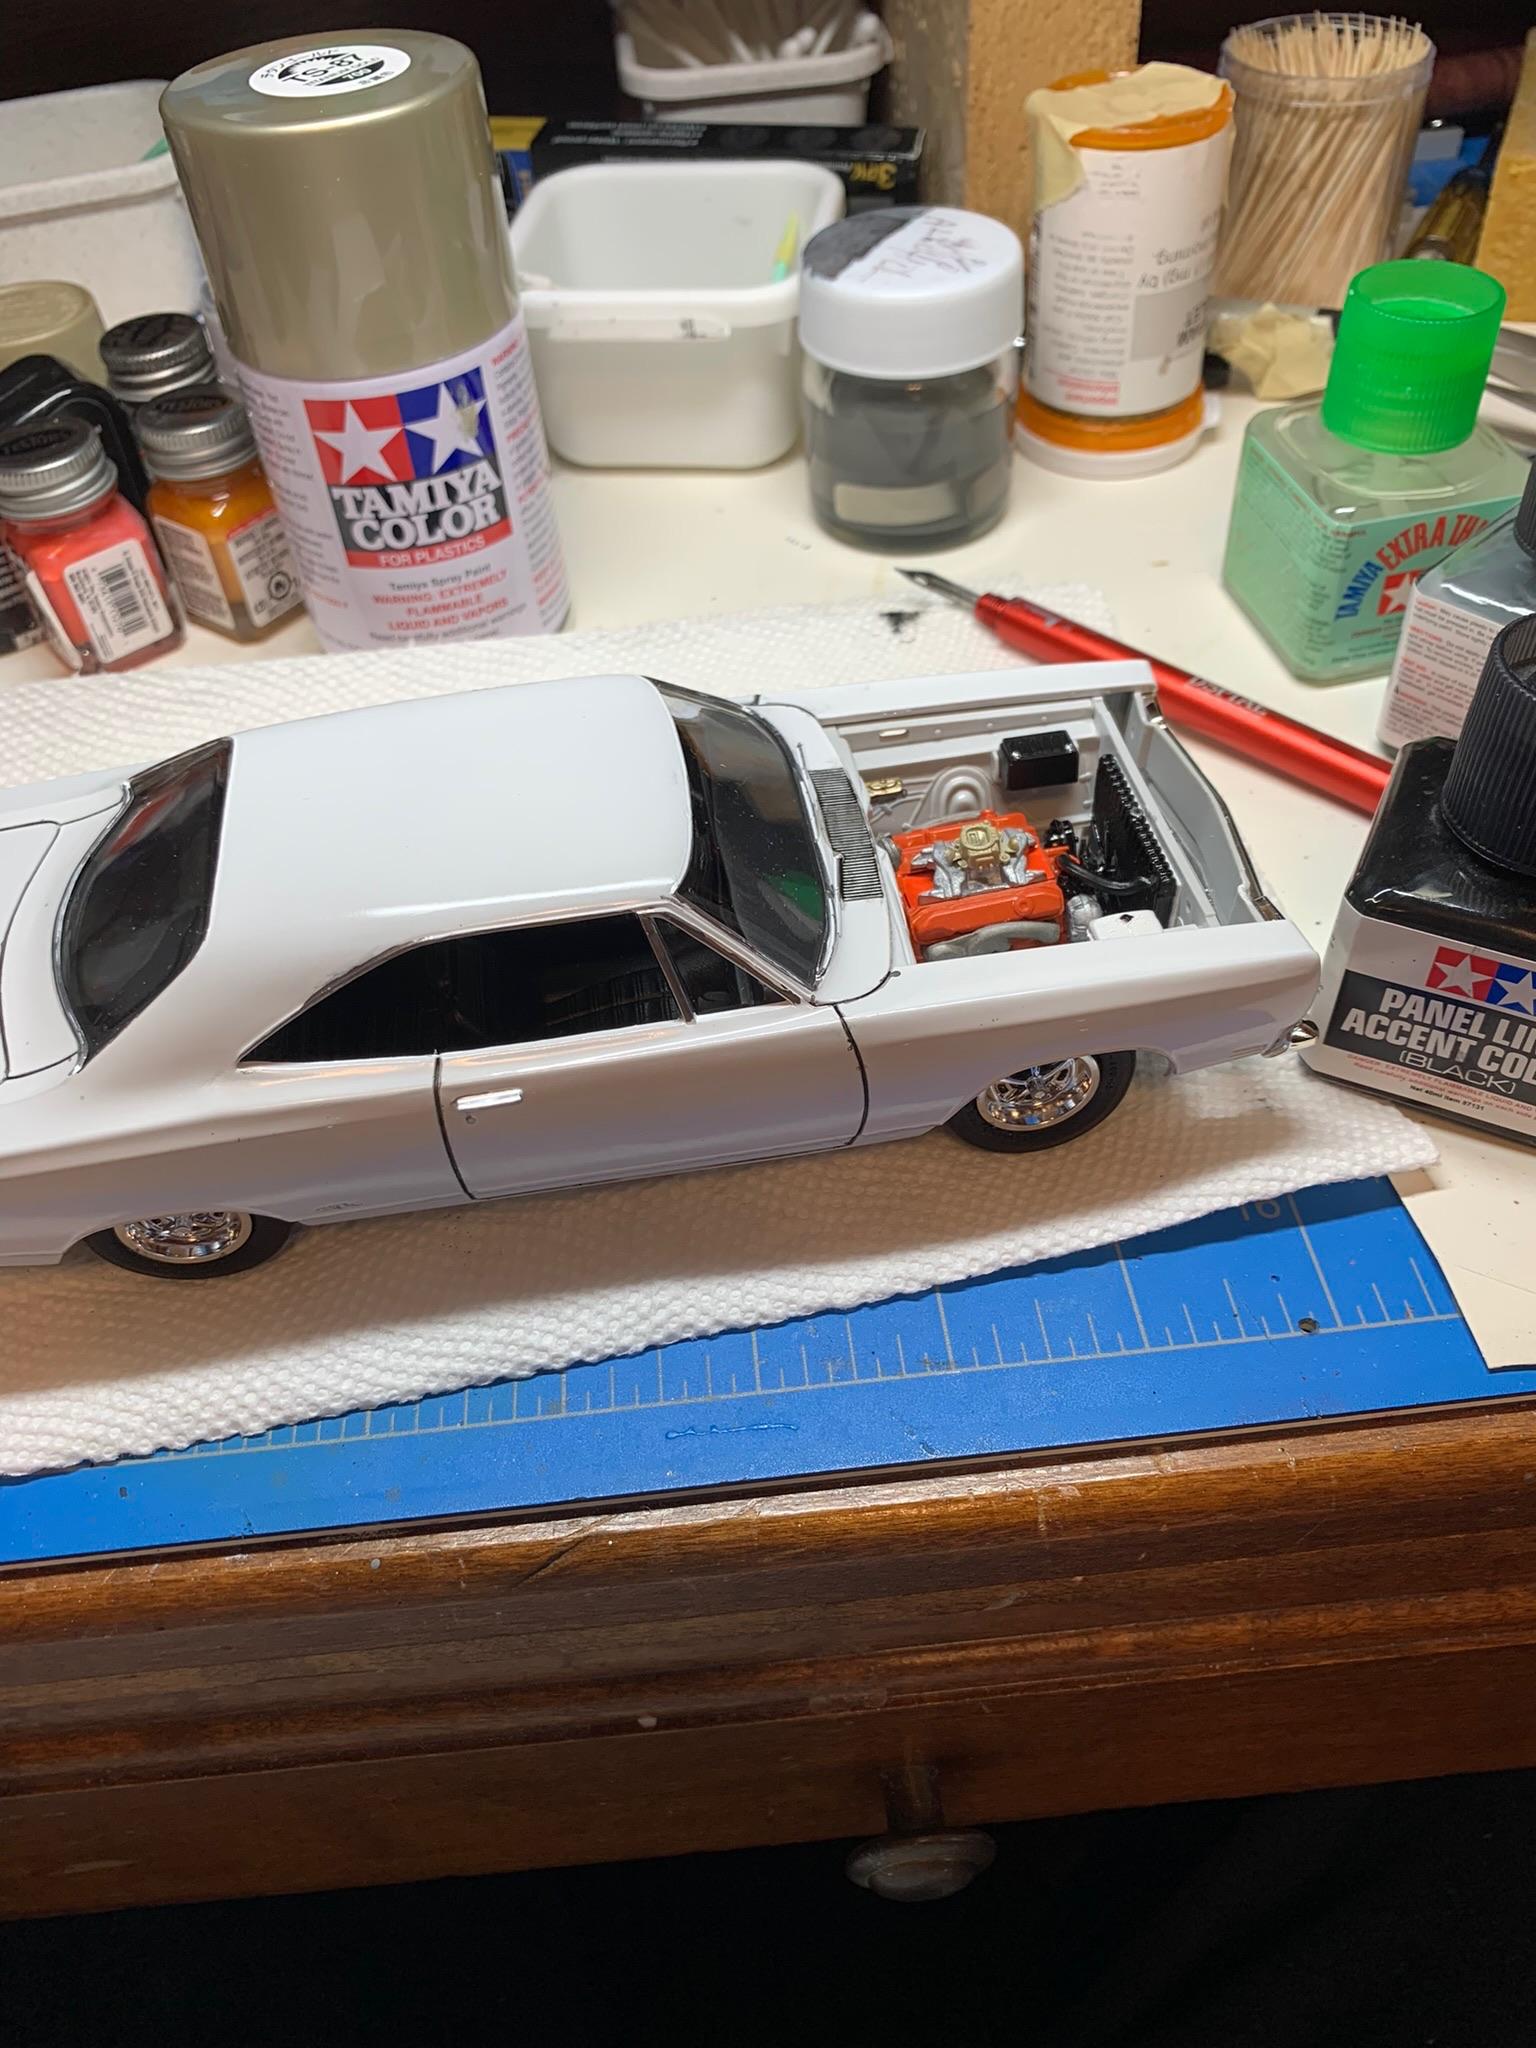
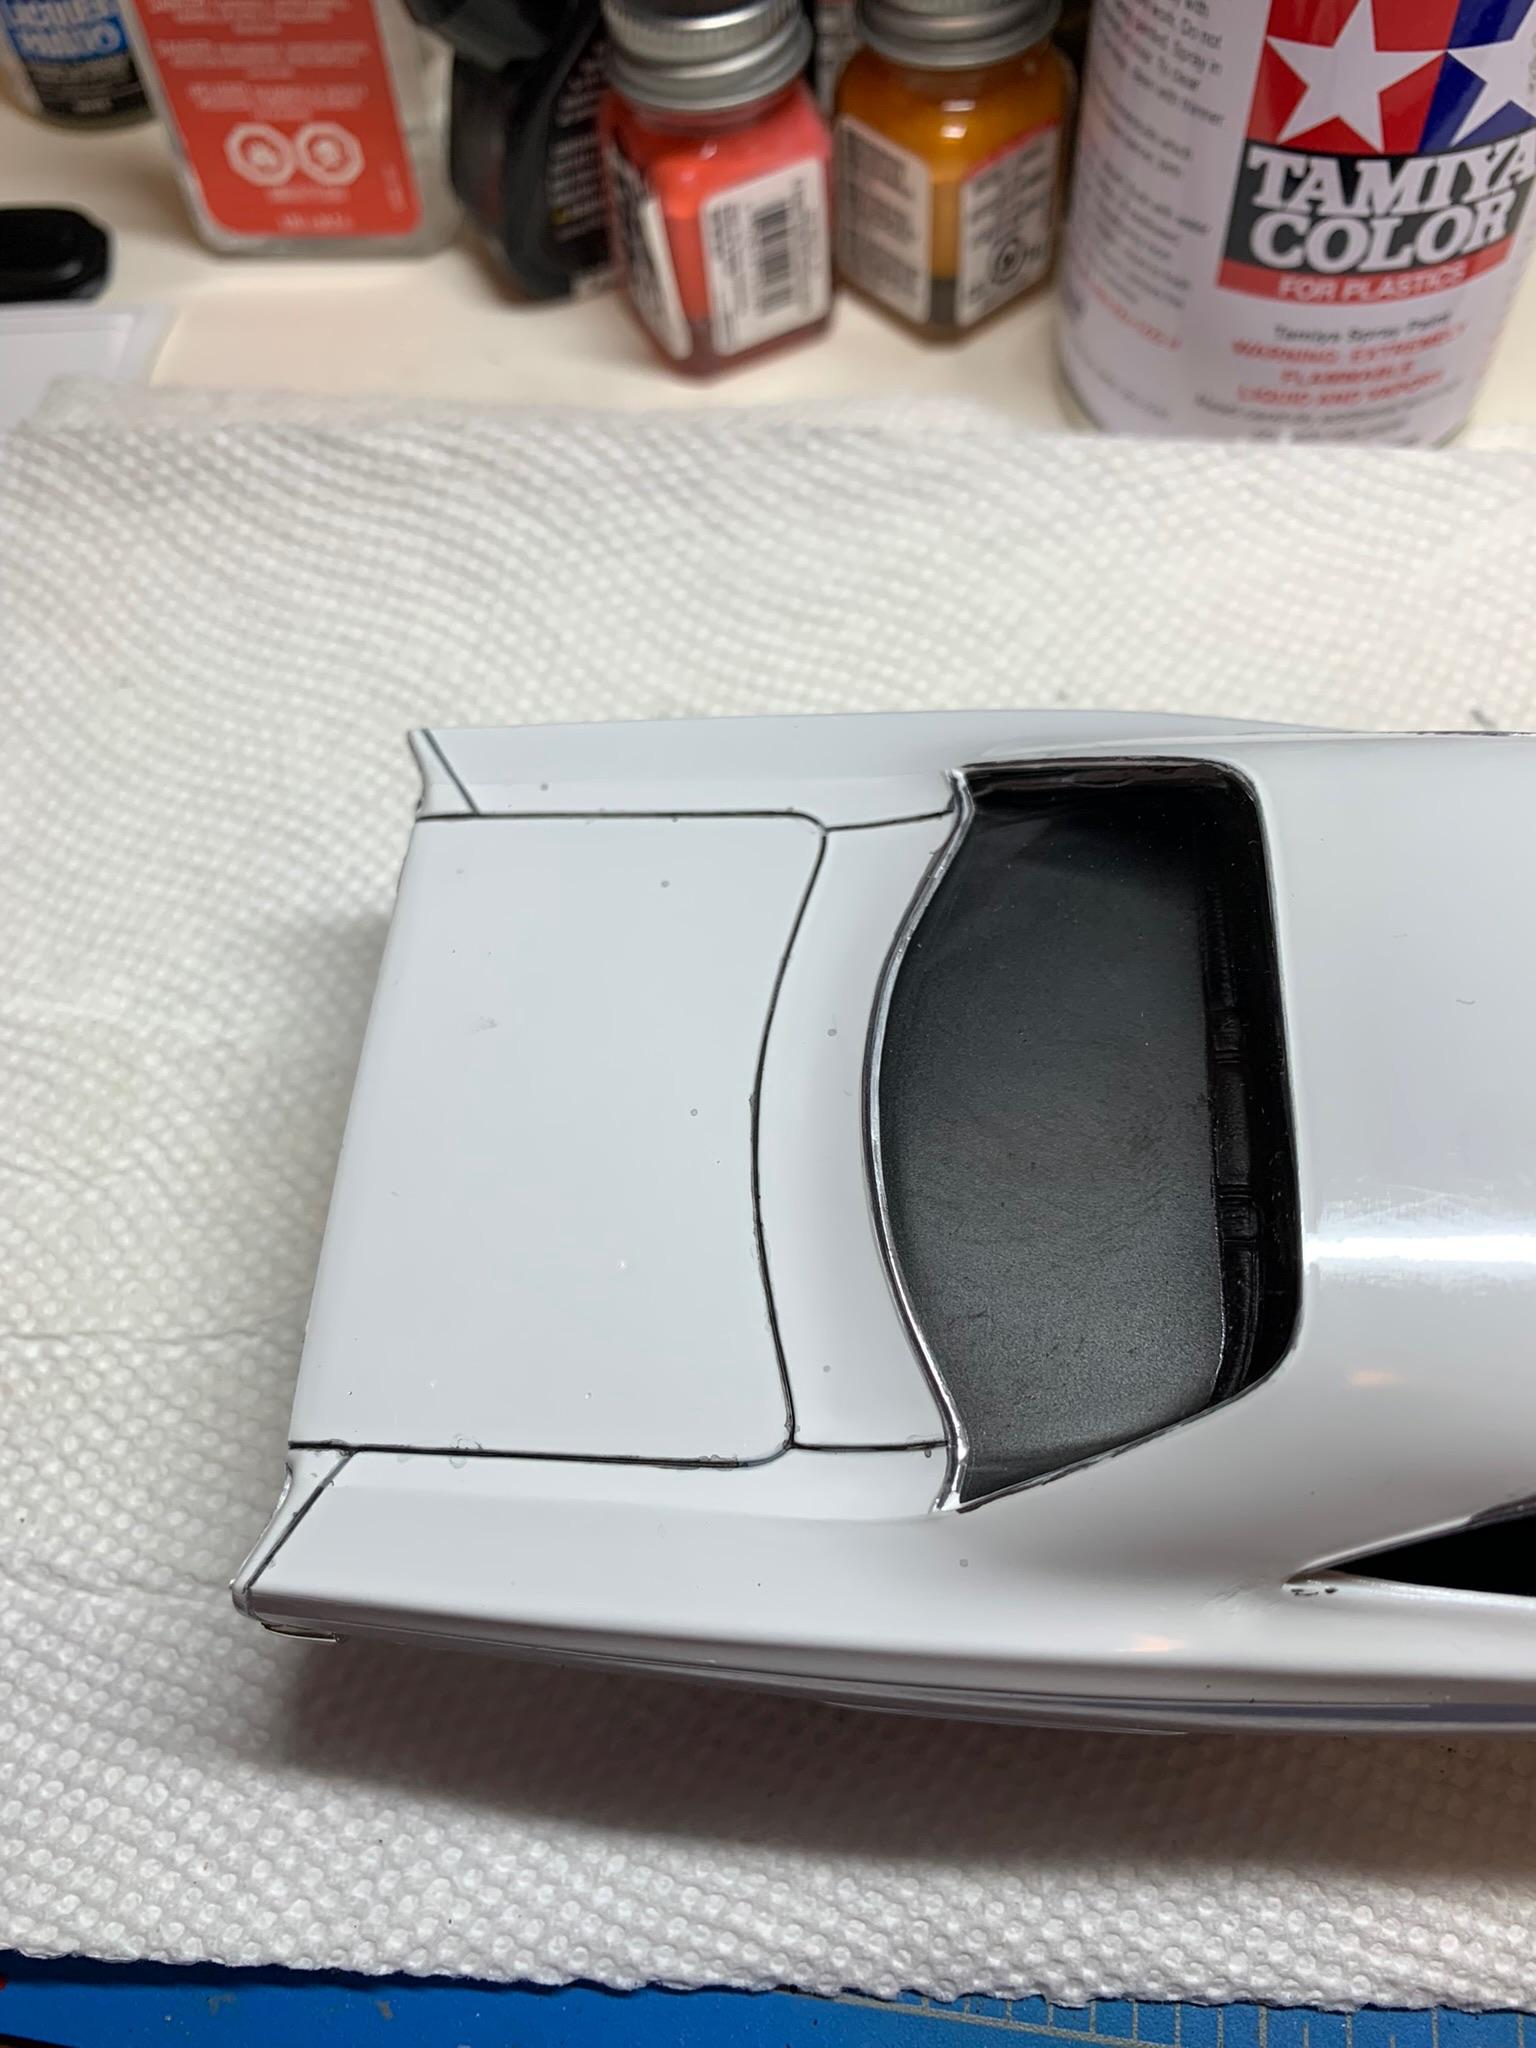
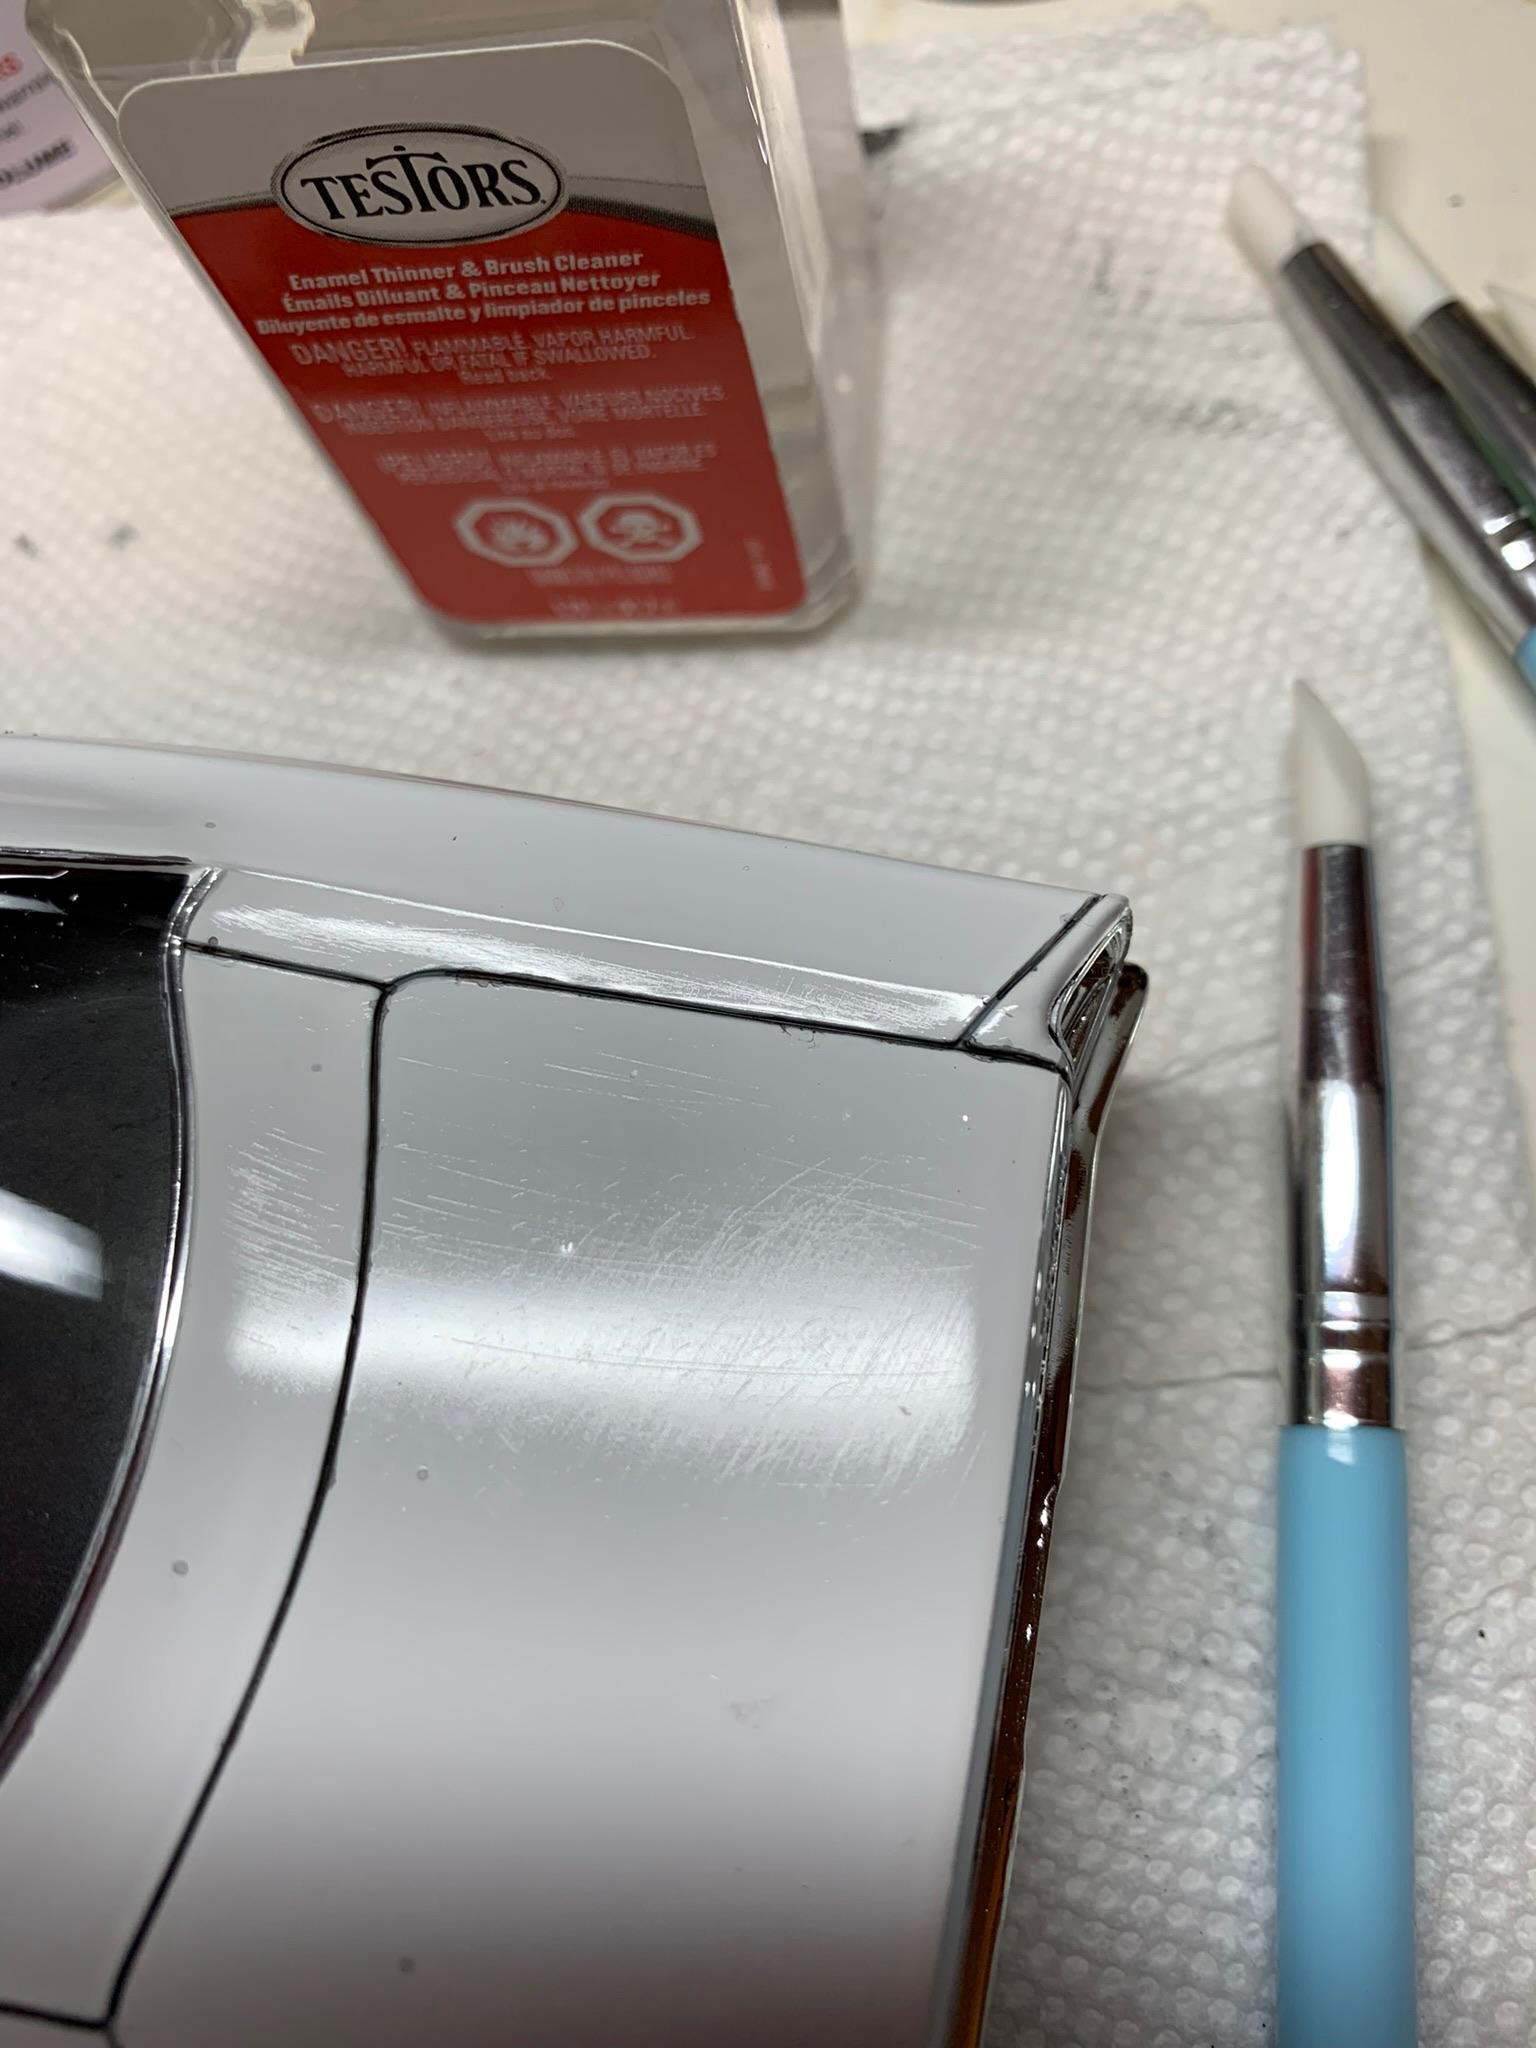
Tried some gray Tamiya panel line accent (too light), then black (too dark). Next time on a light car, perhaps a mixture of the two. Used my Dspiae fountain pen like tool to put it on instead of the Tamiya brush that comes with it. Works pretty good. The brush tends to flood it. I let it dry, then cleaned up the inevitable spots from old, shaky hands with the Testors enamel thinner/brush cleaner. I used the flat silicone nub instead of a q-tip as they tend to soak the accent color out of the panel line. Tried the air cleaner/under hood induction system. Would not shut all the way. Will try some stuff tomorrow to rectify that. Done for today and very close to the finish line for this one.
-
Painting with the hood on or off?
R. Thorne replied to av405's topic in Model Building Questions and Answers
I guess I just don’t get it. I always paint with the hood on (attached with a tiny bit of adhesive or tape) . Why make painting harder? I have painted 1:1 cars in the past and would have never dreamt of painting them with the hood off. Yes, on a lot of cars, it would not show up, but why take the chance when all you have to do is take 5 minutes to fasten it on.? -
Thank you, kind sir. Open that box and have some fun with it.
-
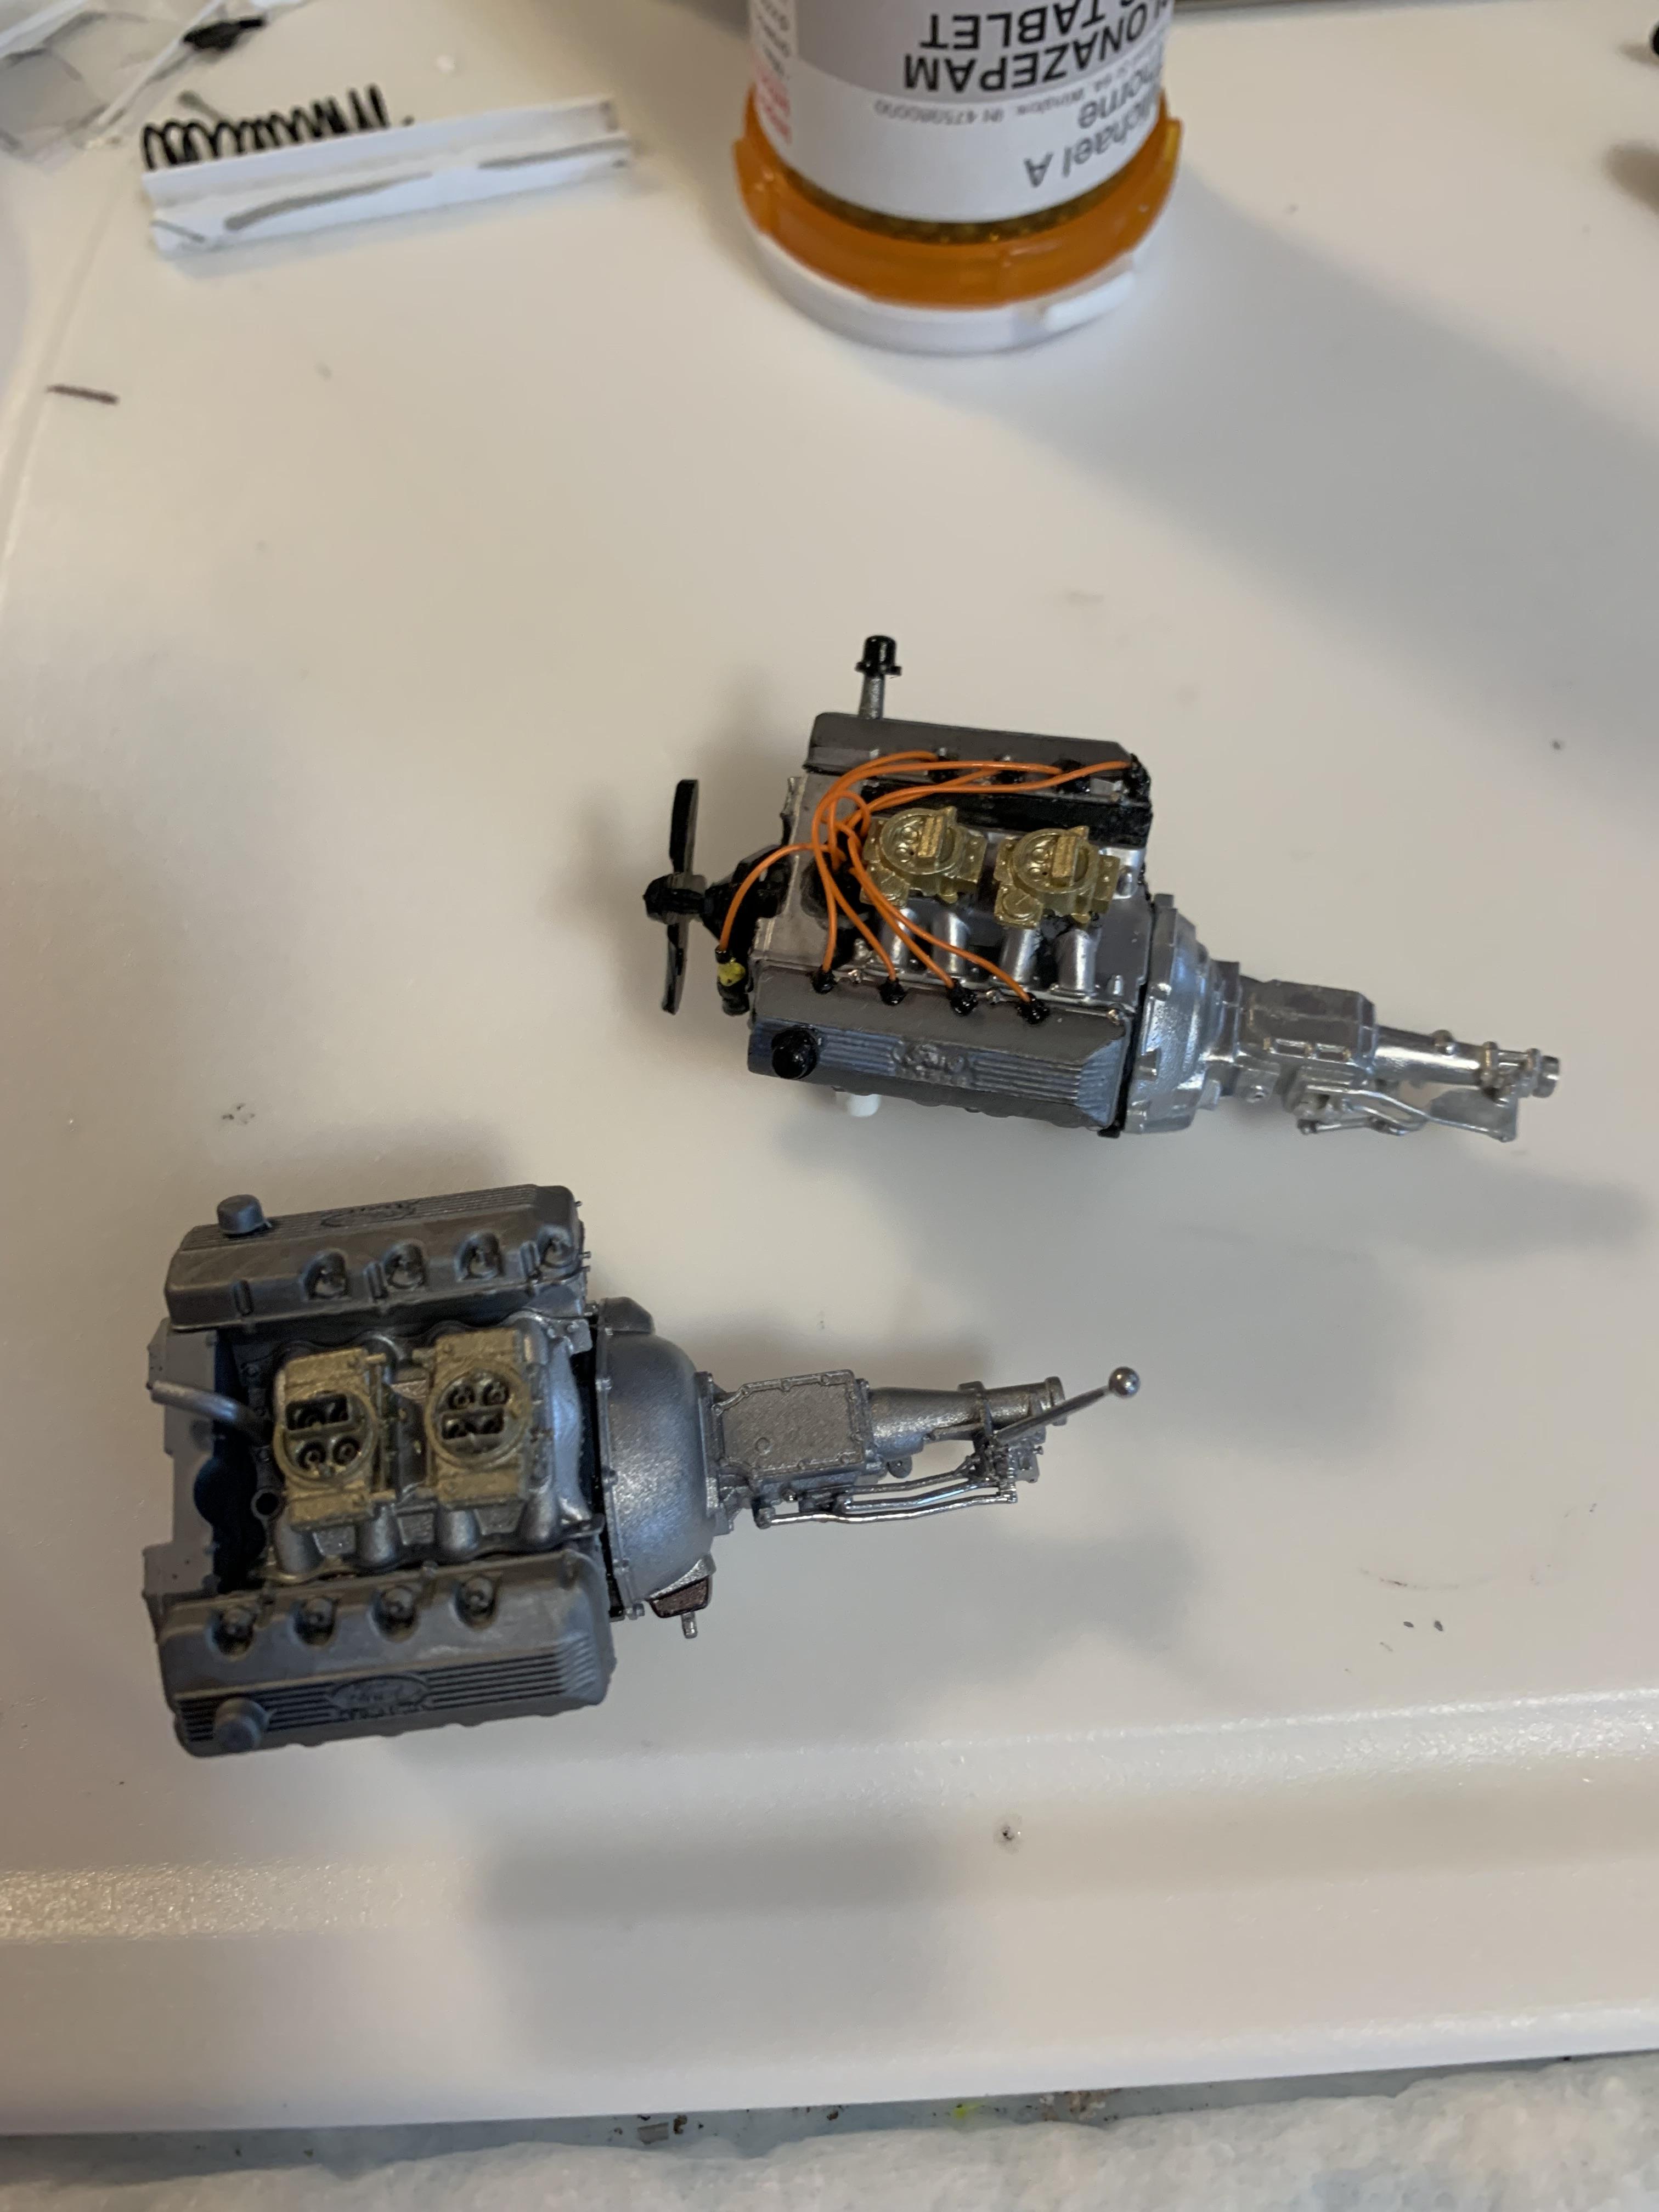
Threw the hemi engine together that came in the kit and trimmed some of the sprues down.
-
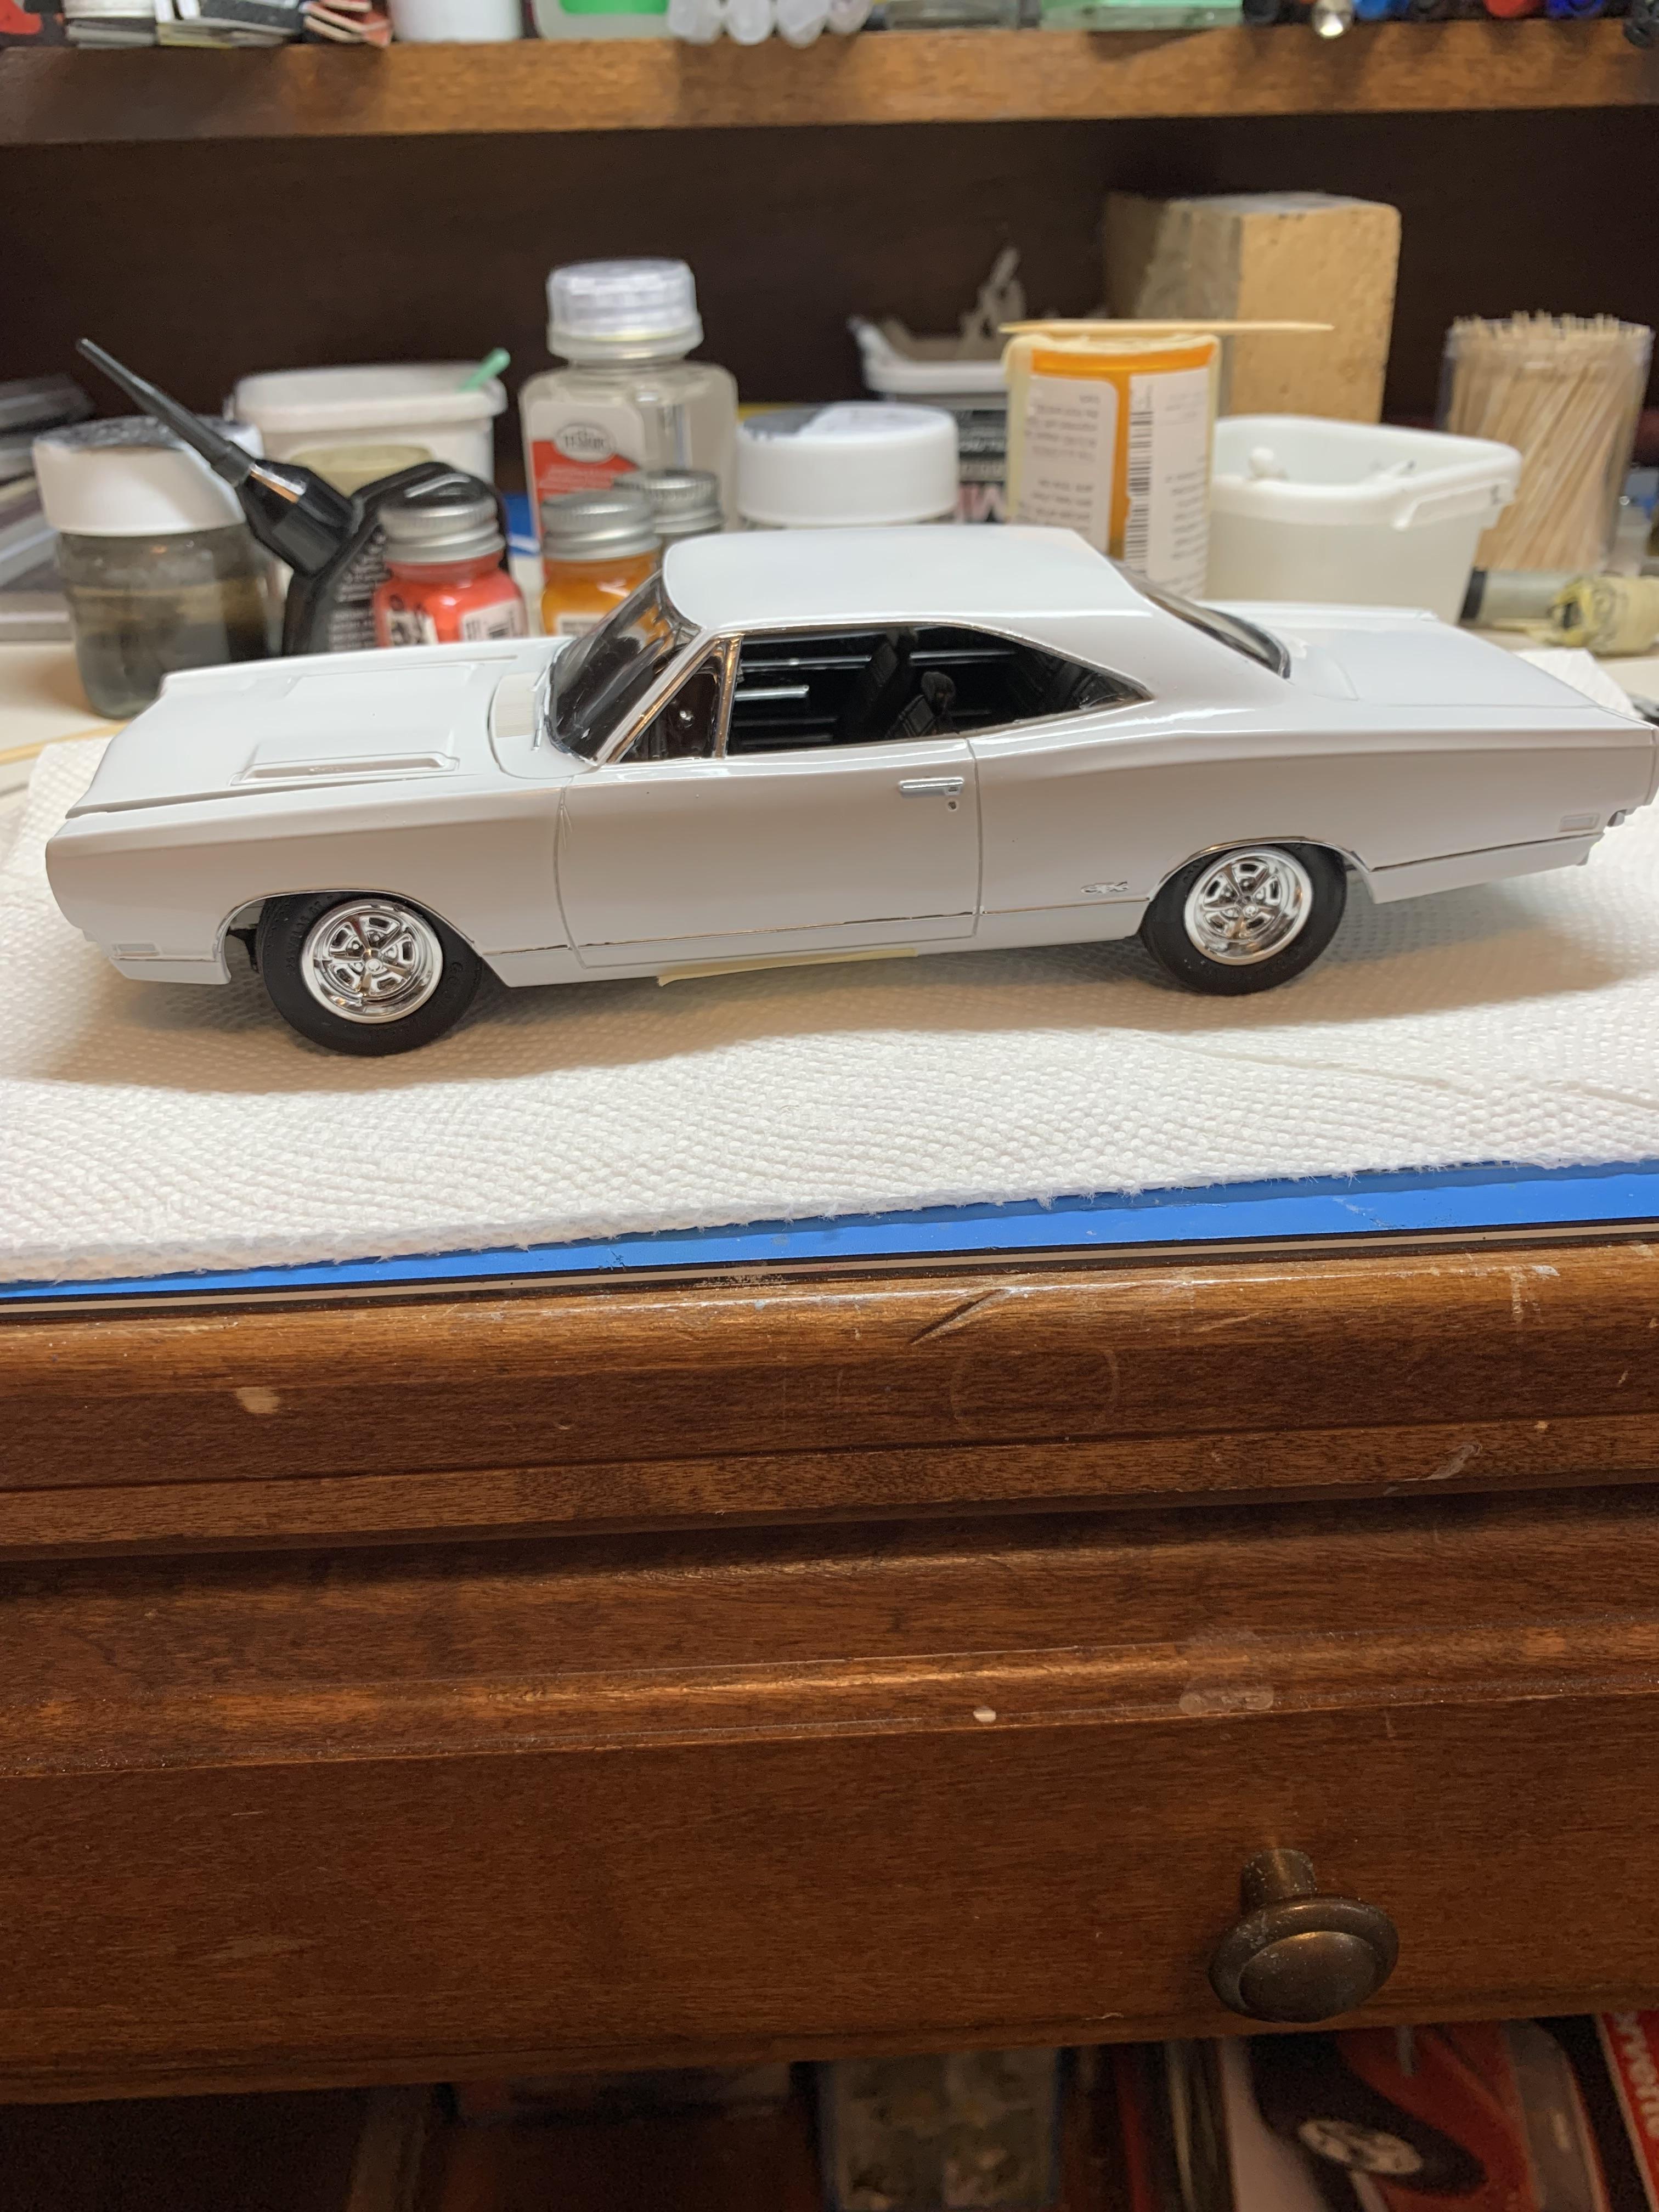
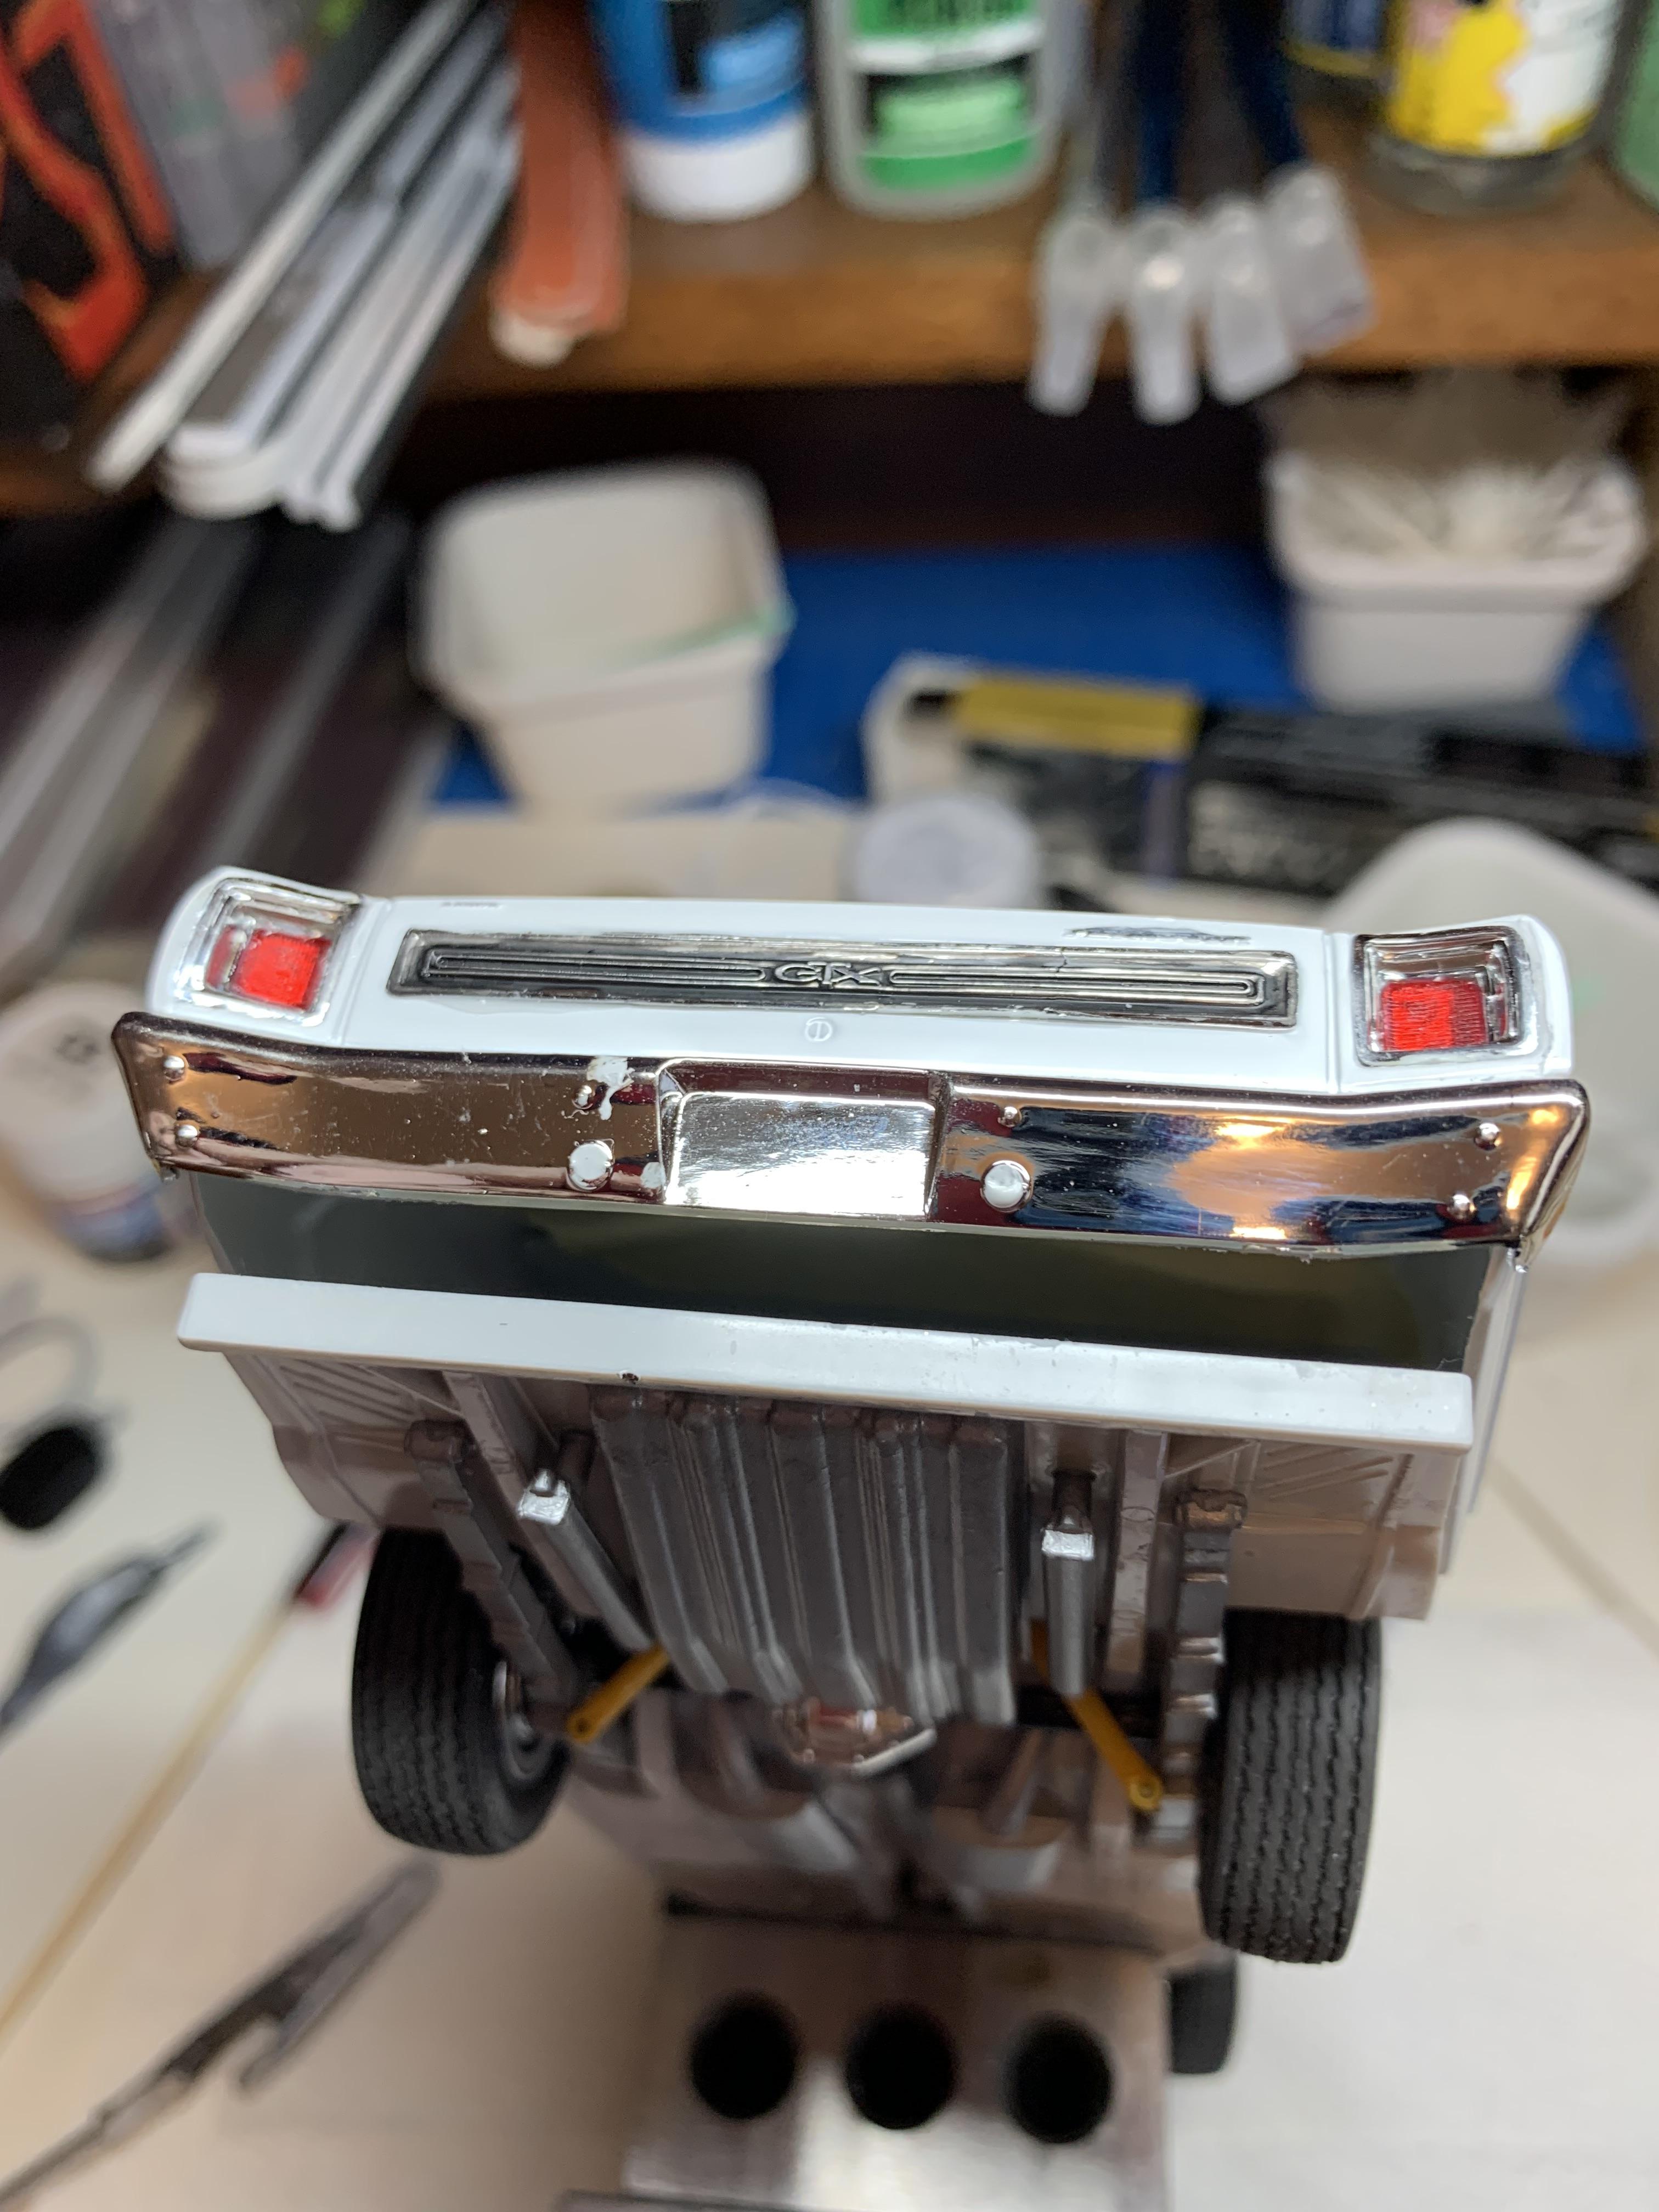
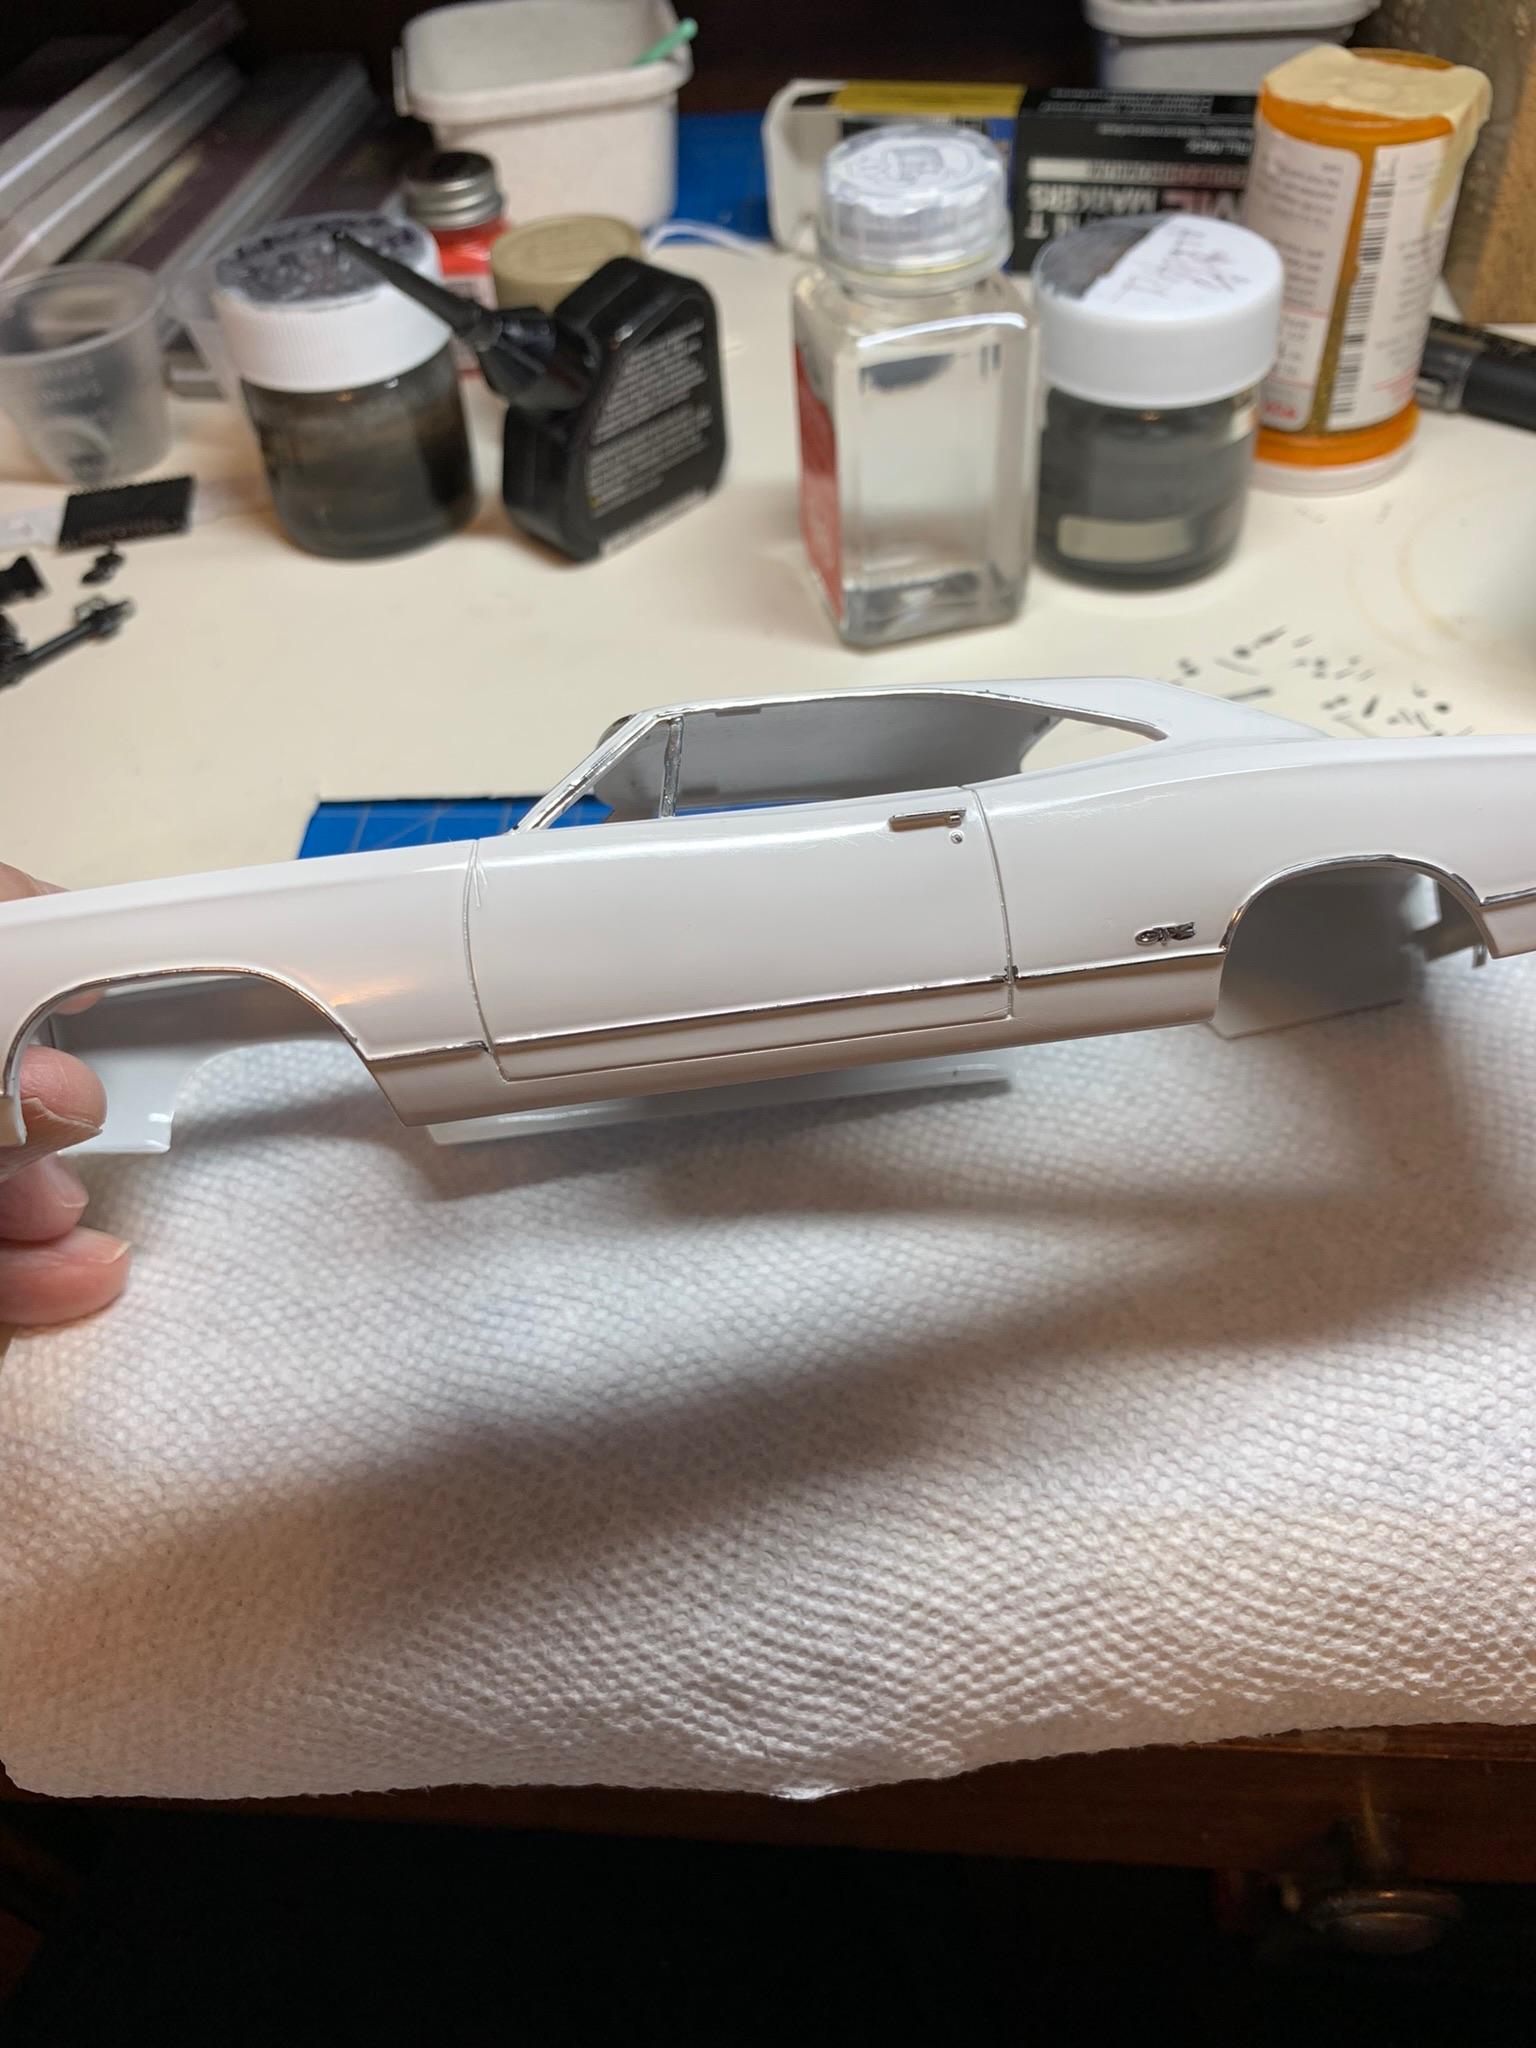
Trial body fit, painted on some license plate (or backup, not sure) lights, super glued rear taillights, rear grille, and bumper. Succeeded in touching wet white pain and smudging rear bumper (will remove later with lacquer thinner). Decided to walk away from bench for a while before I screw something else up.
-
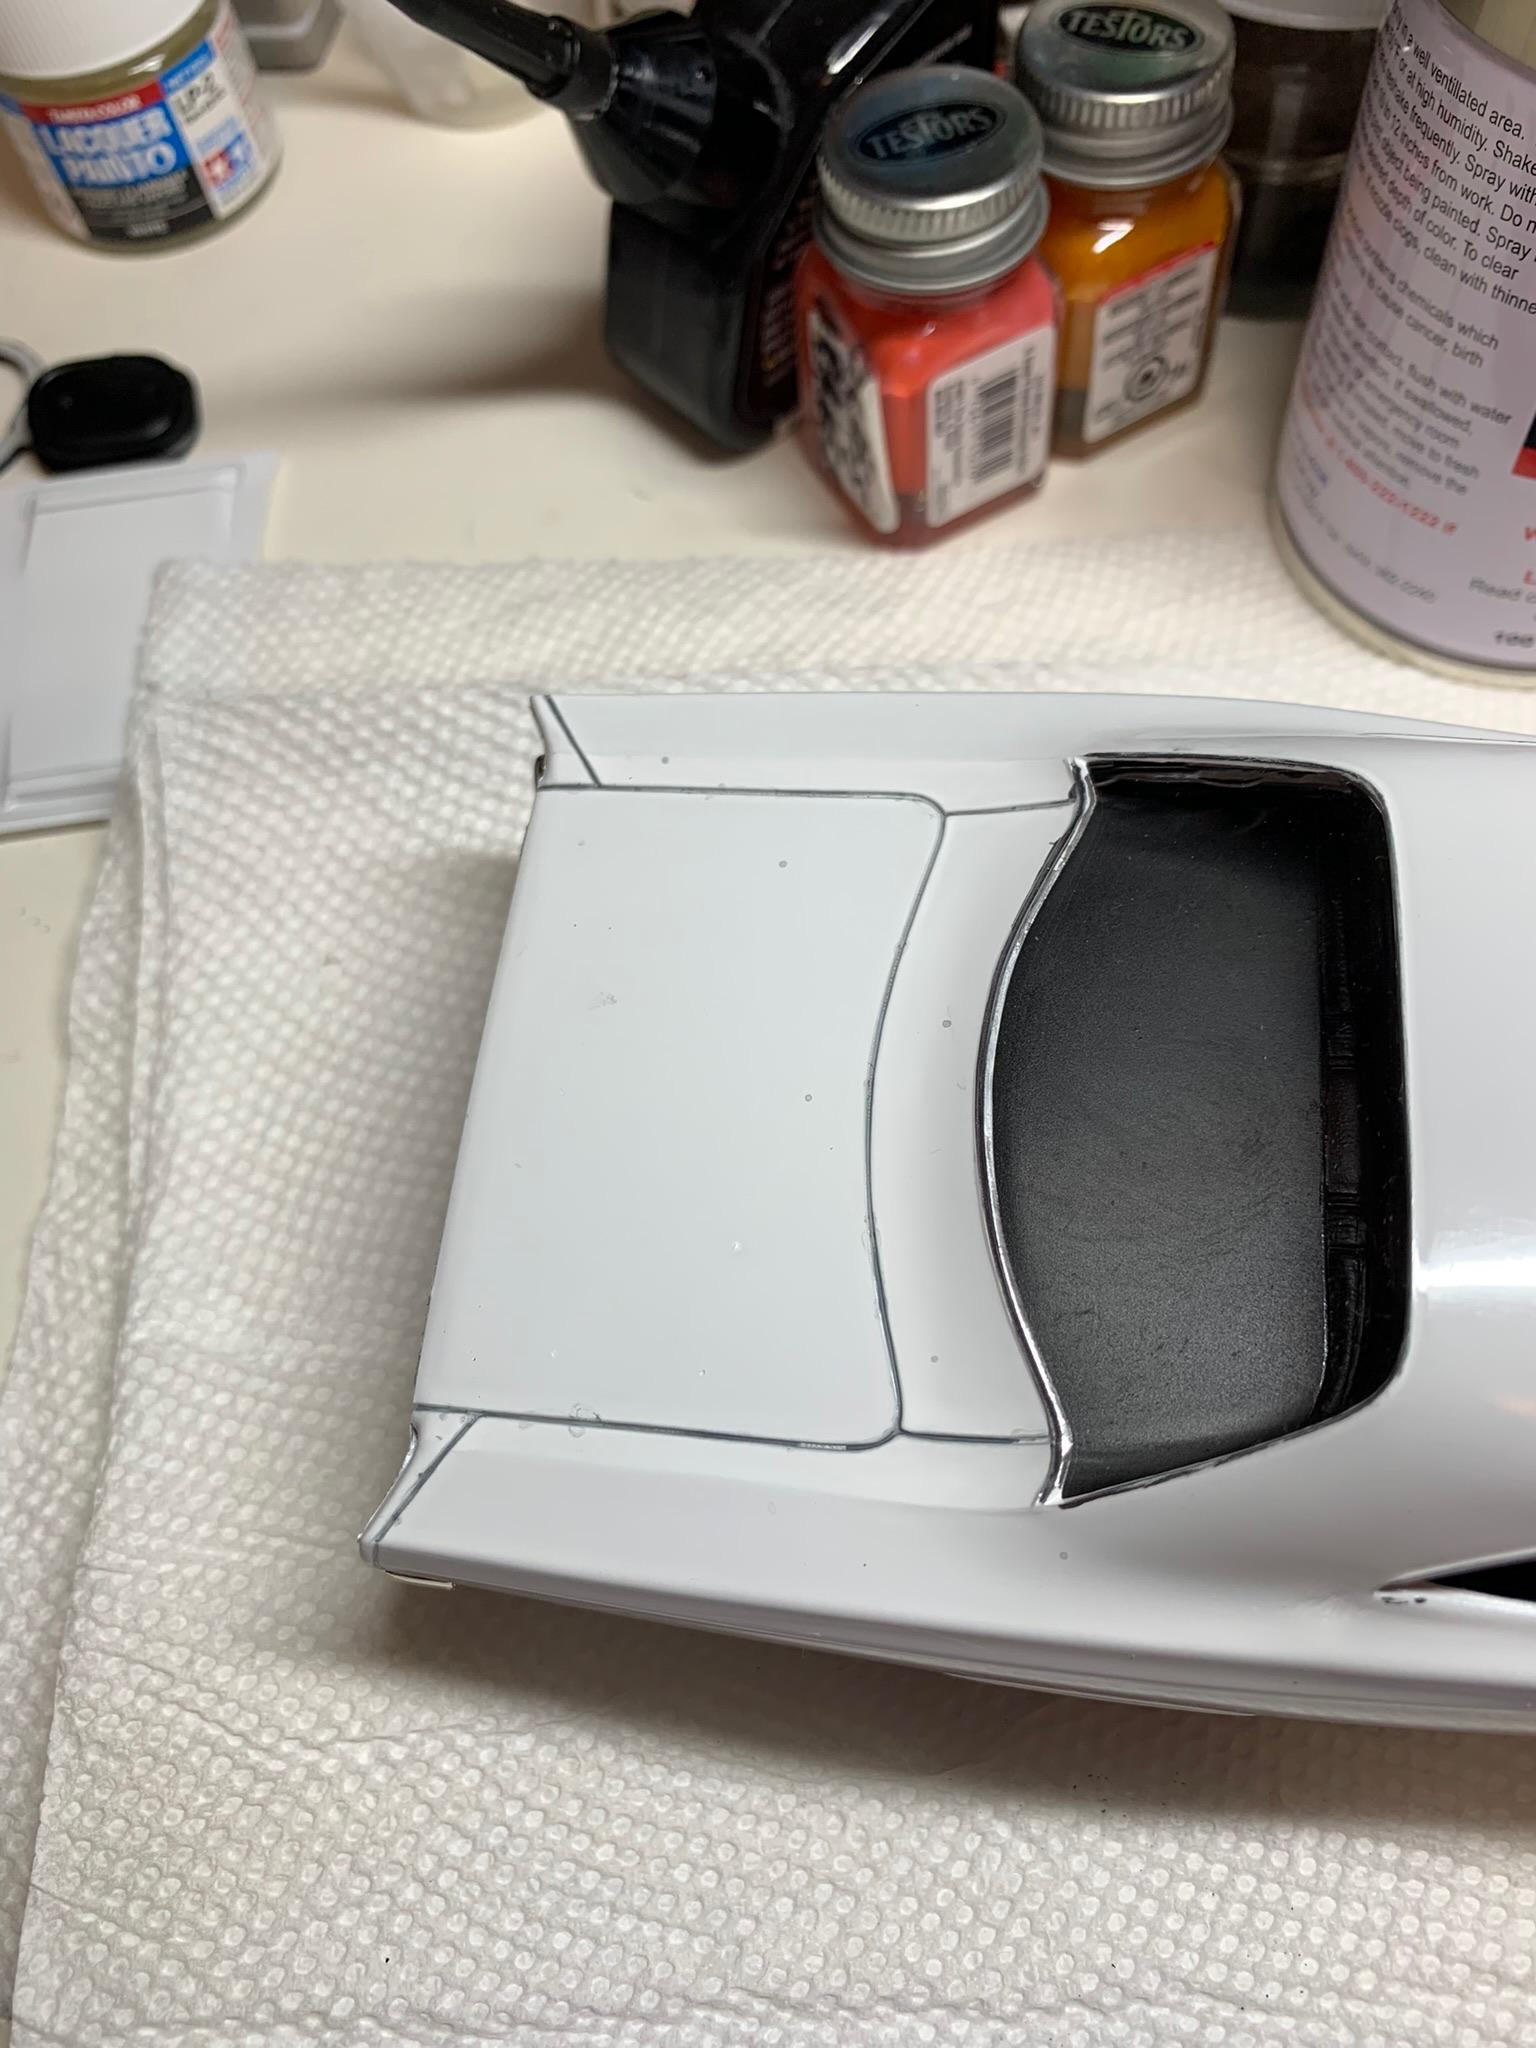
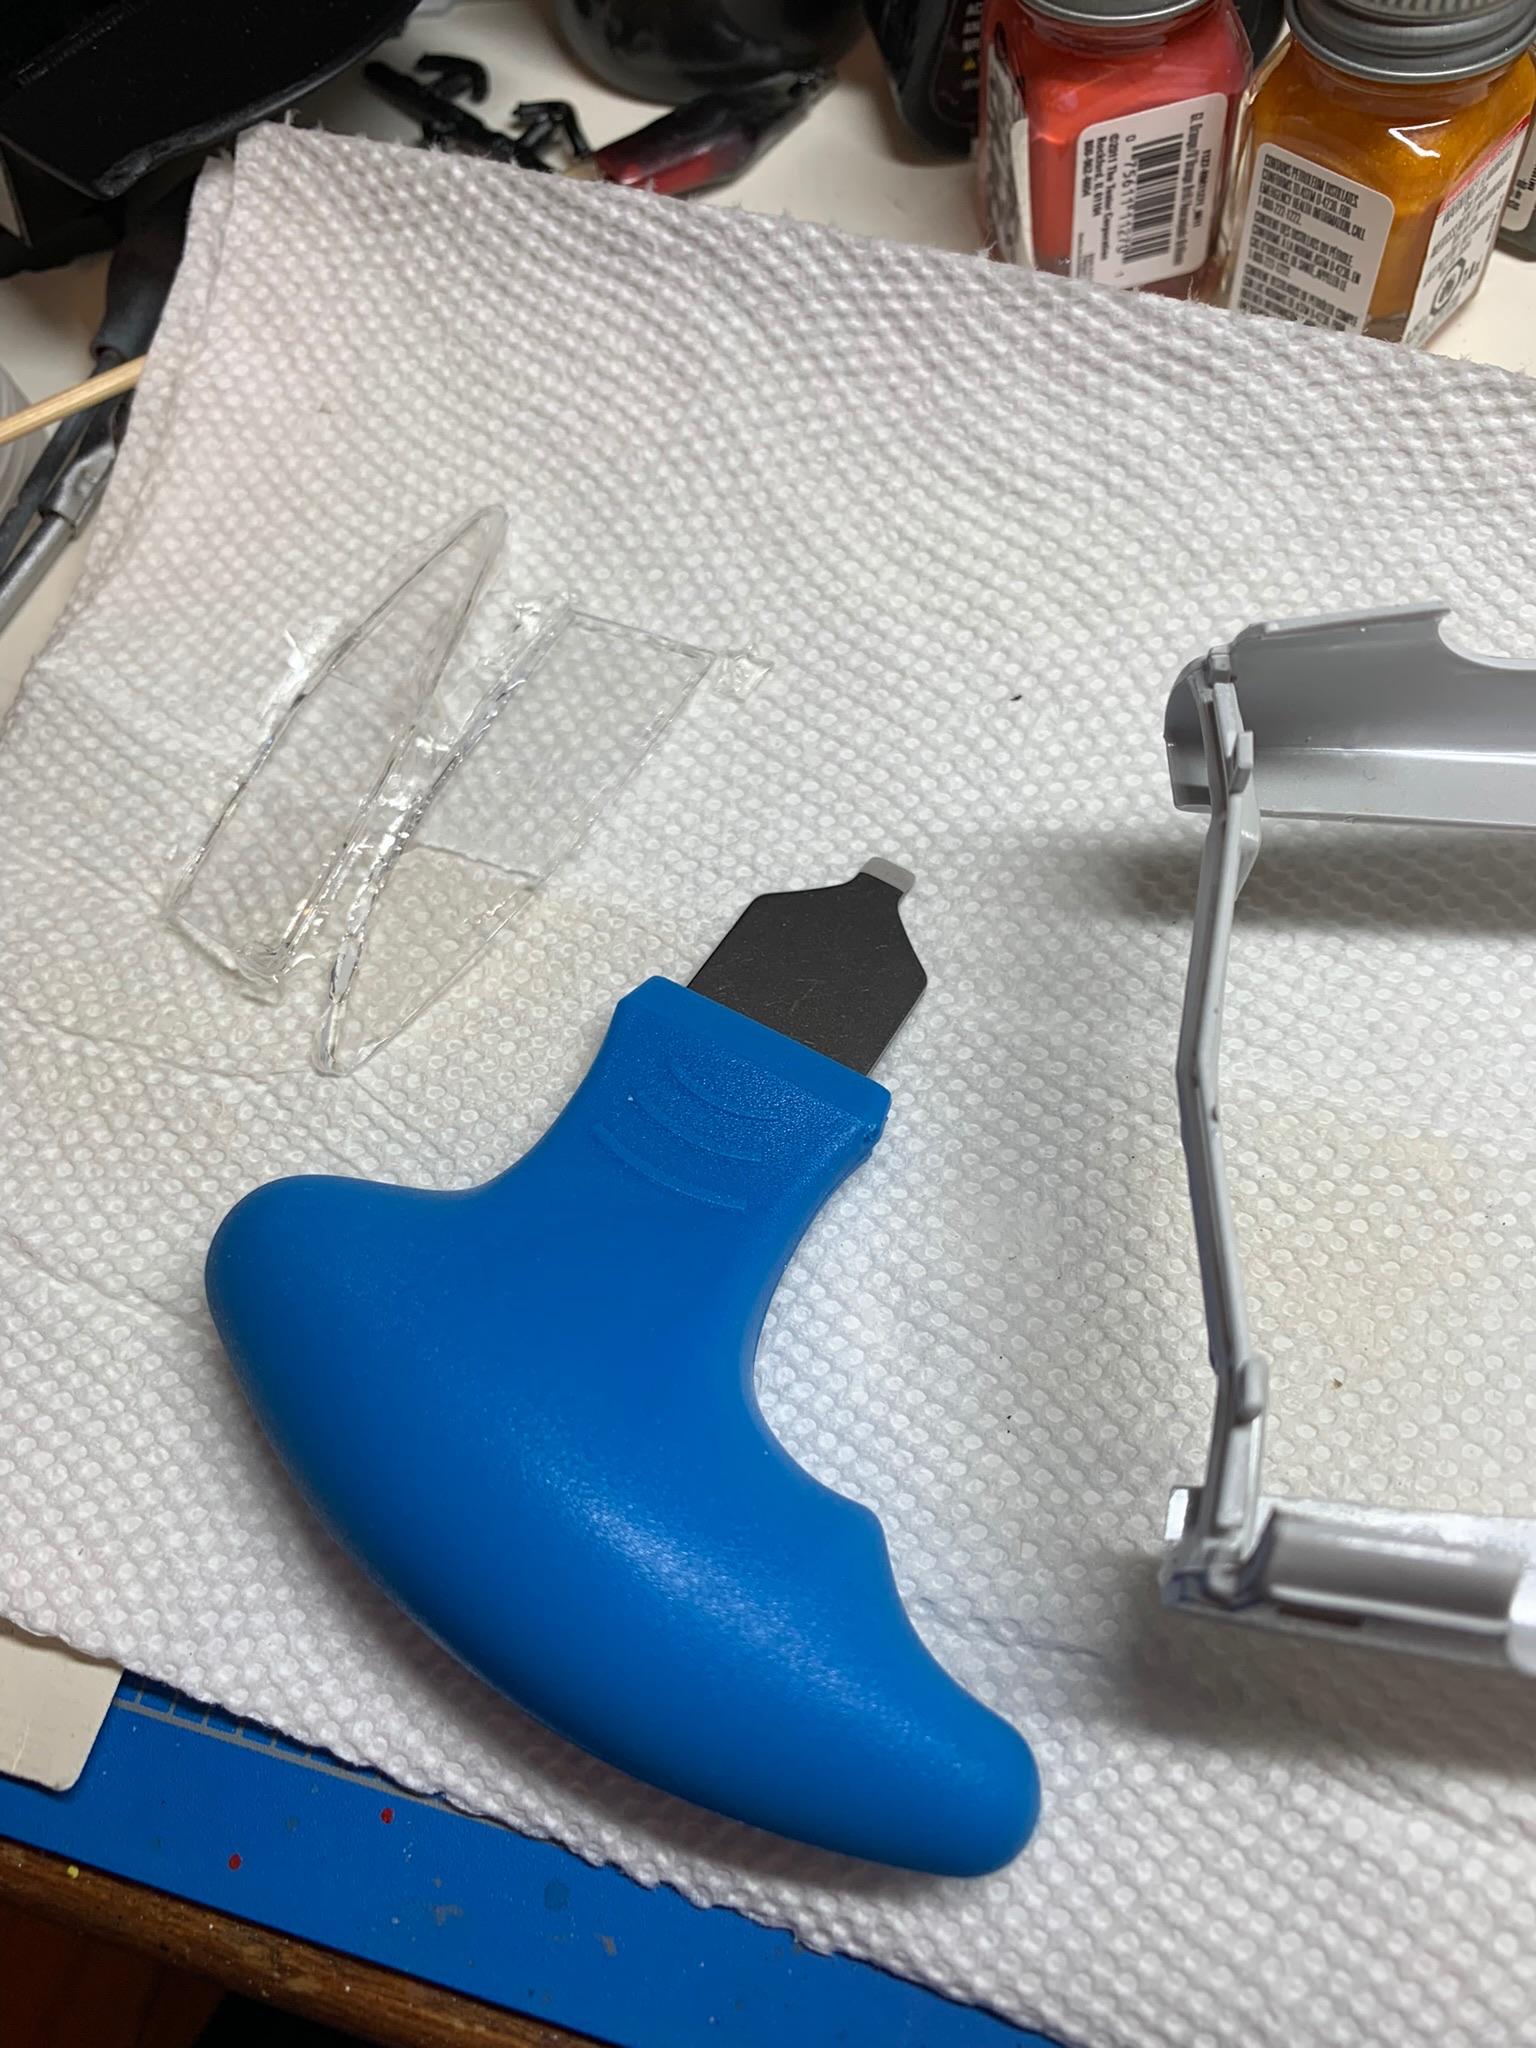
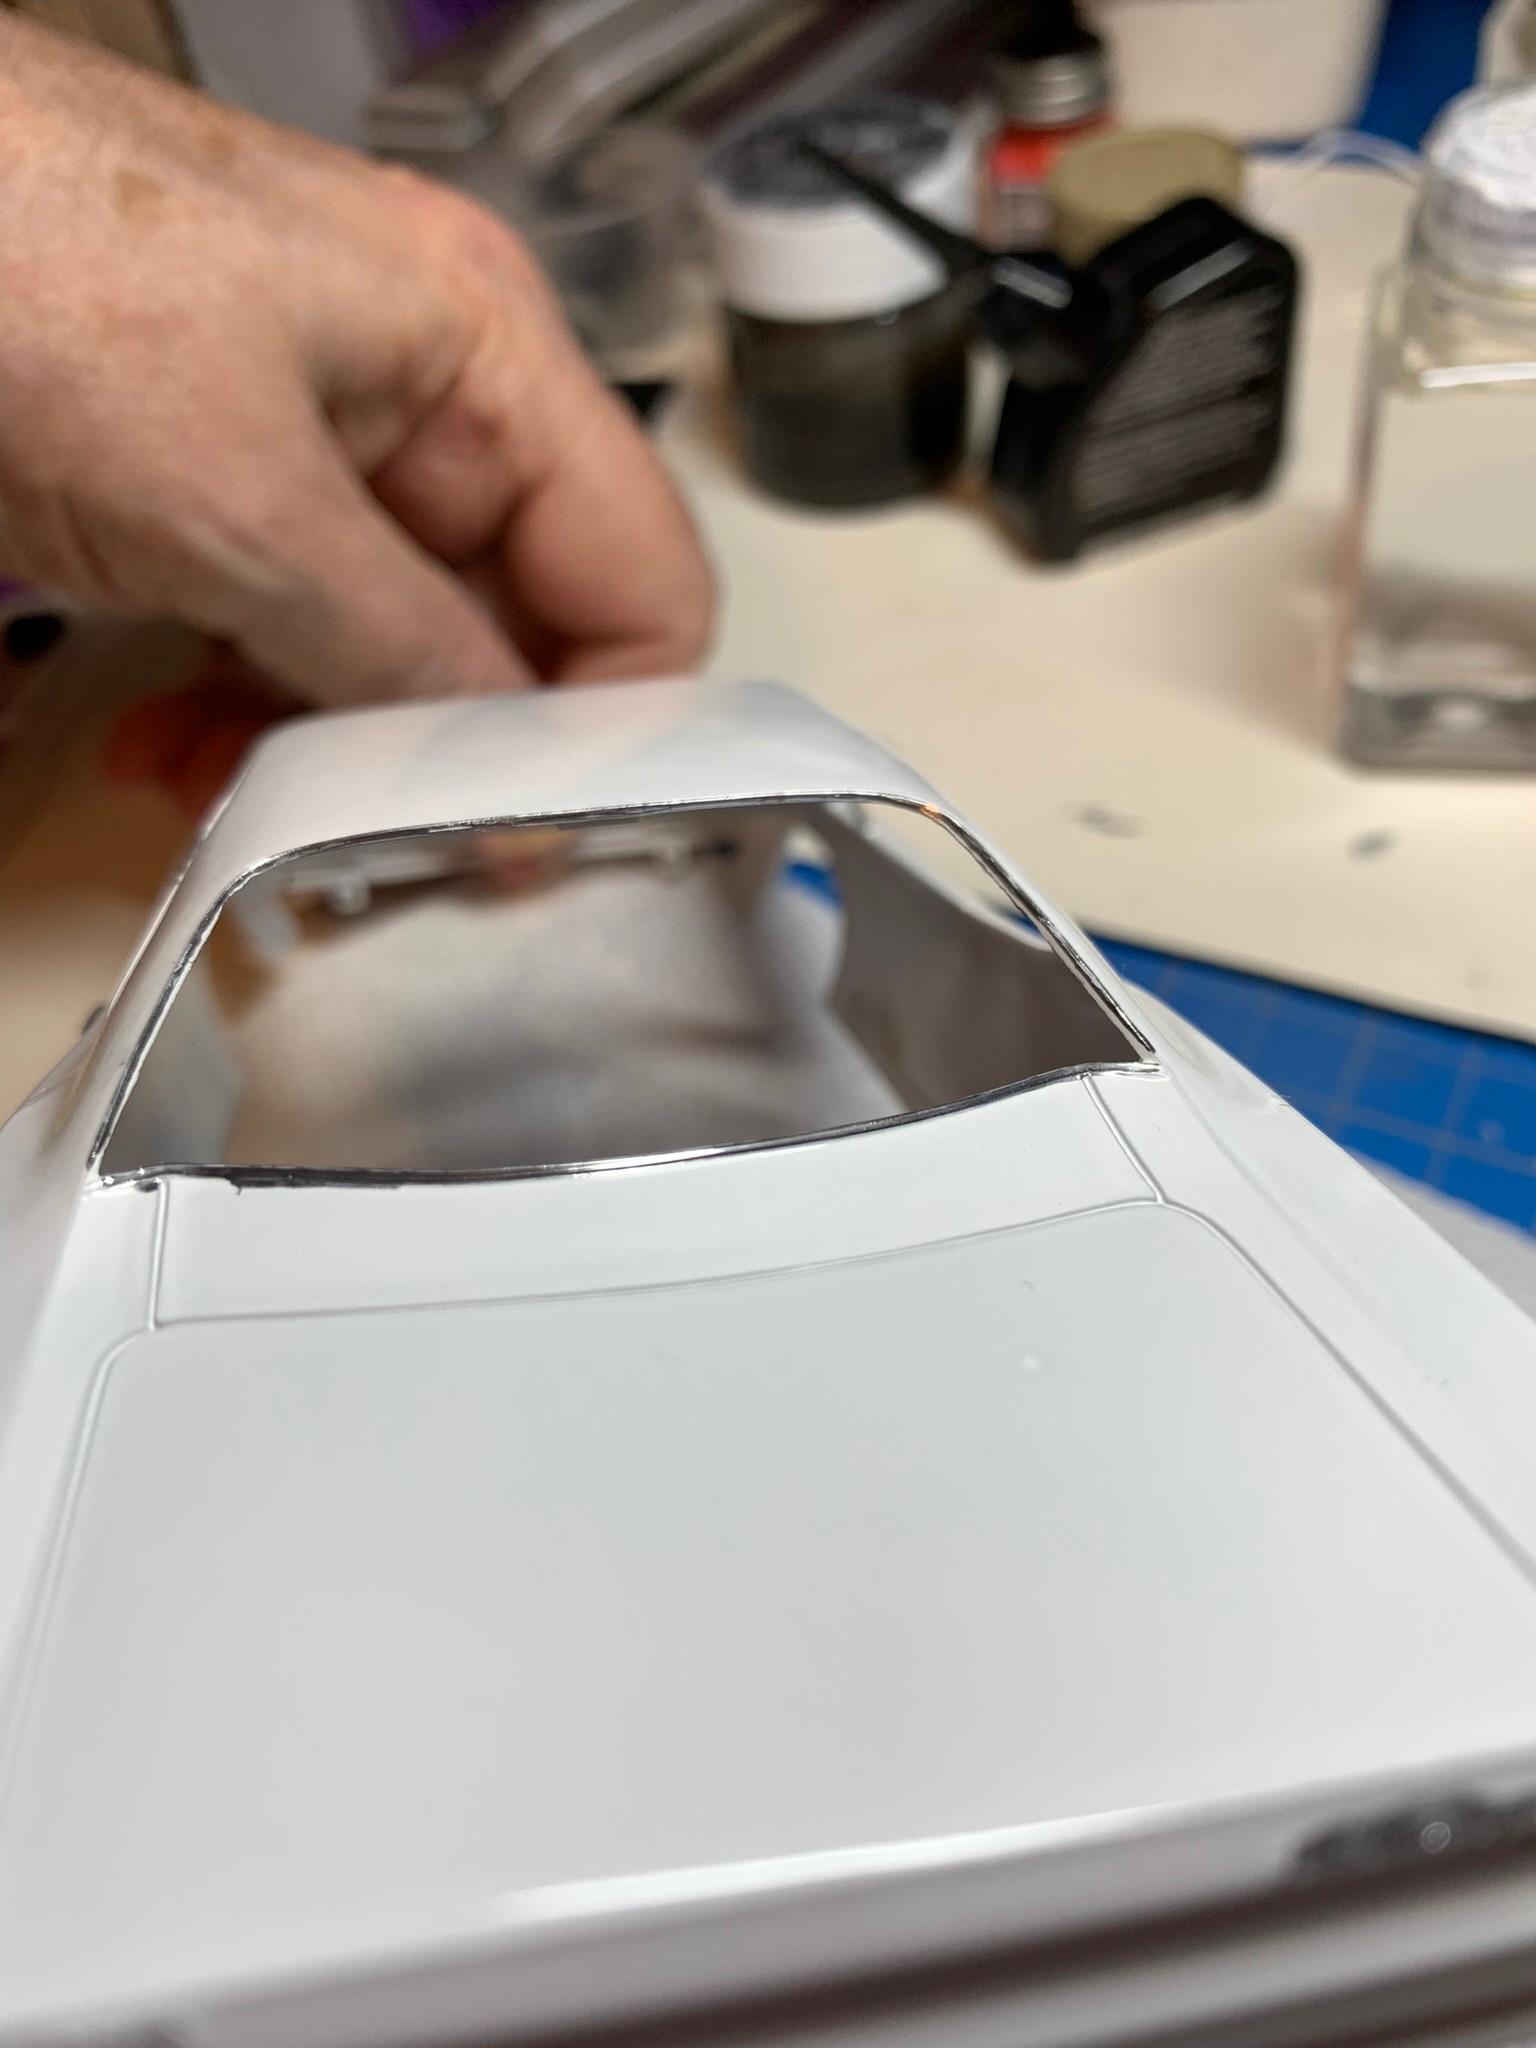
Well, the side windows that came with the kit didn’t turn out very well, so, I popped them out with my handy dandy tool. Thanks, Carl & Will. Taped in the interior for a trial fit and so more engine compartment stuff.
-
Nice work and good thinking.
-
Like this.
-
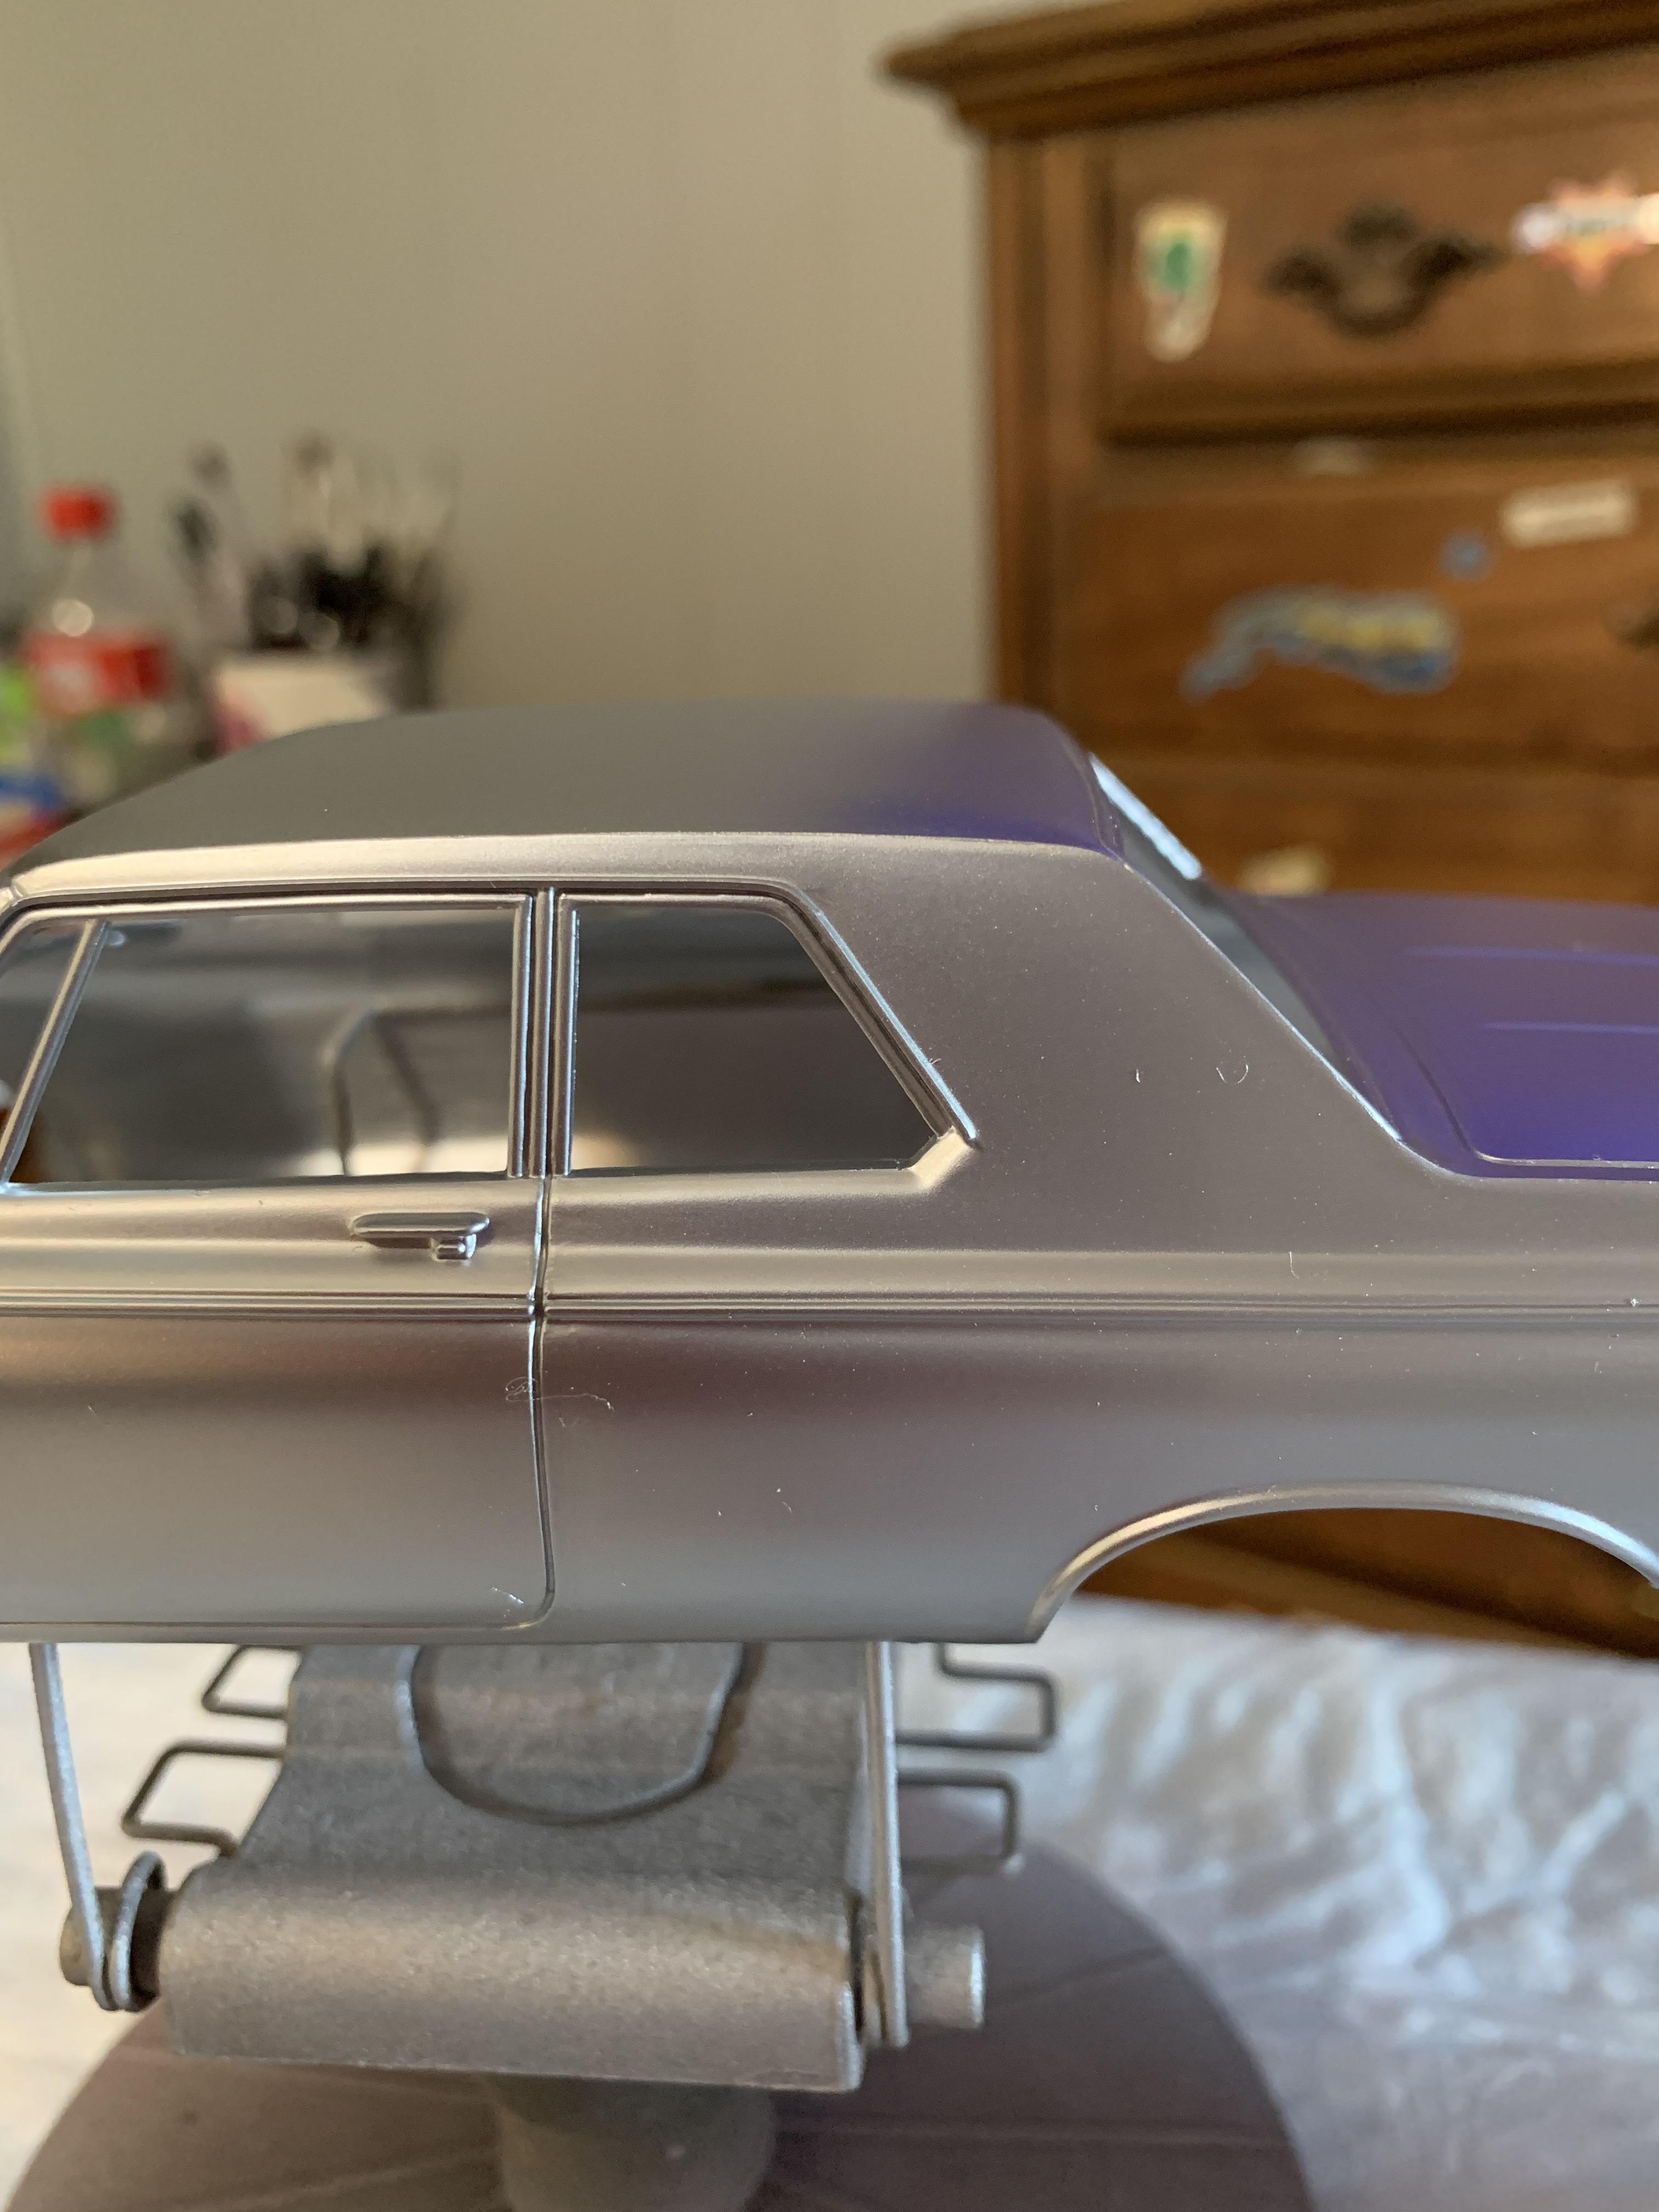
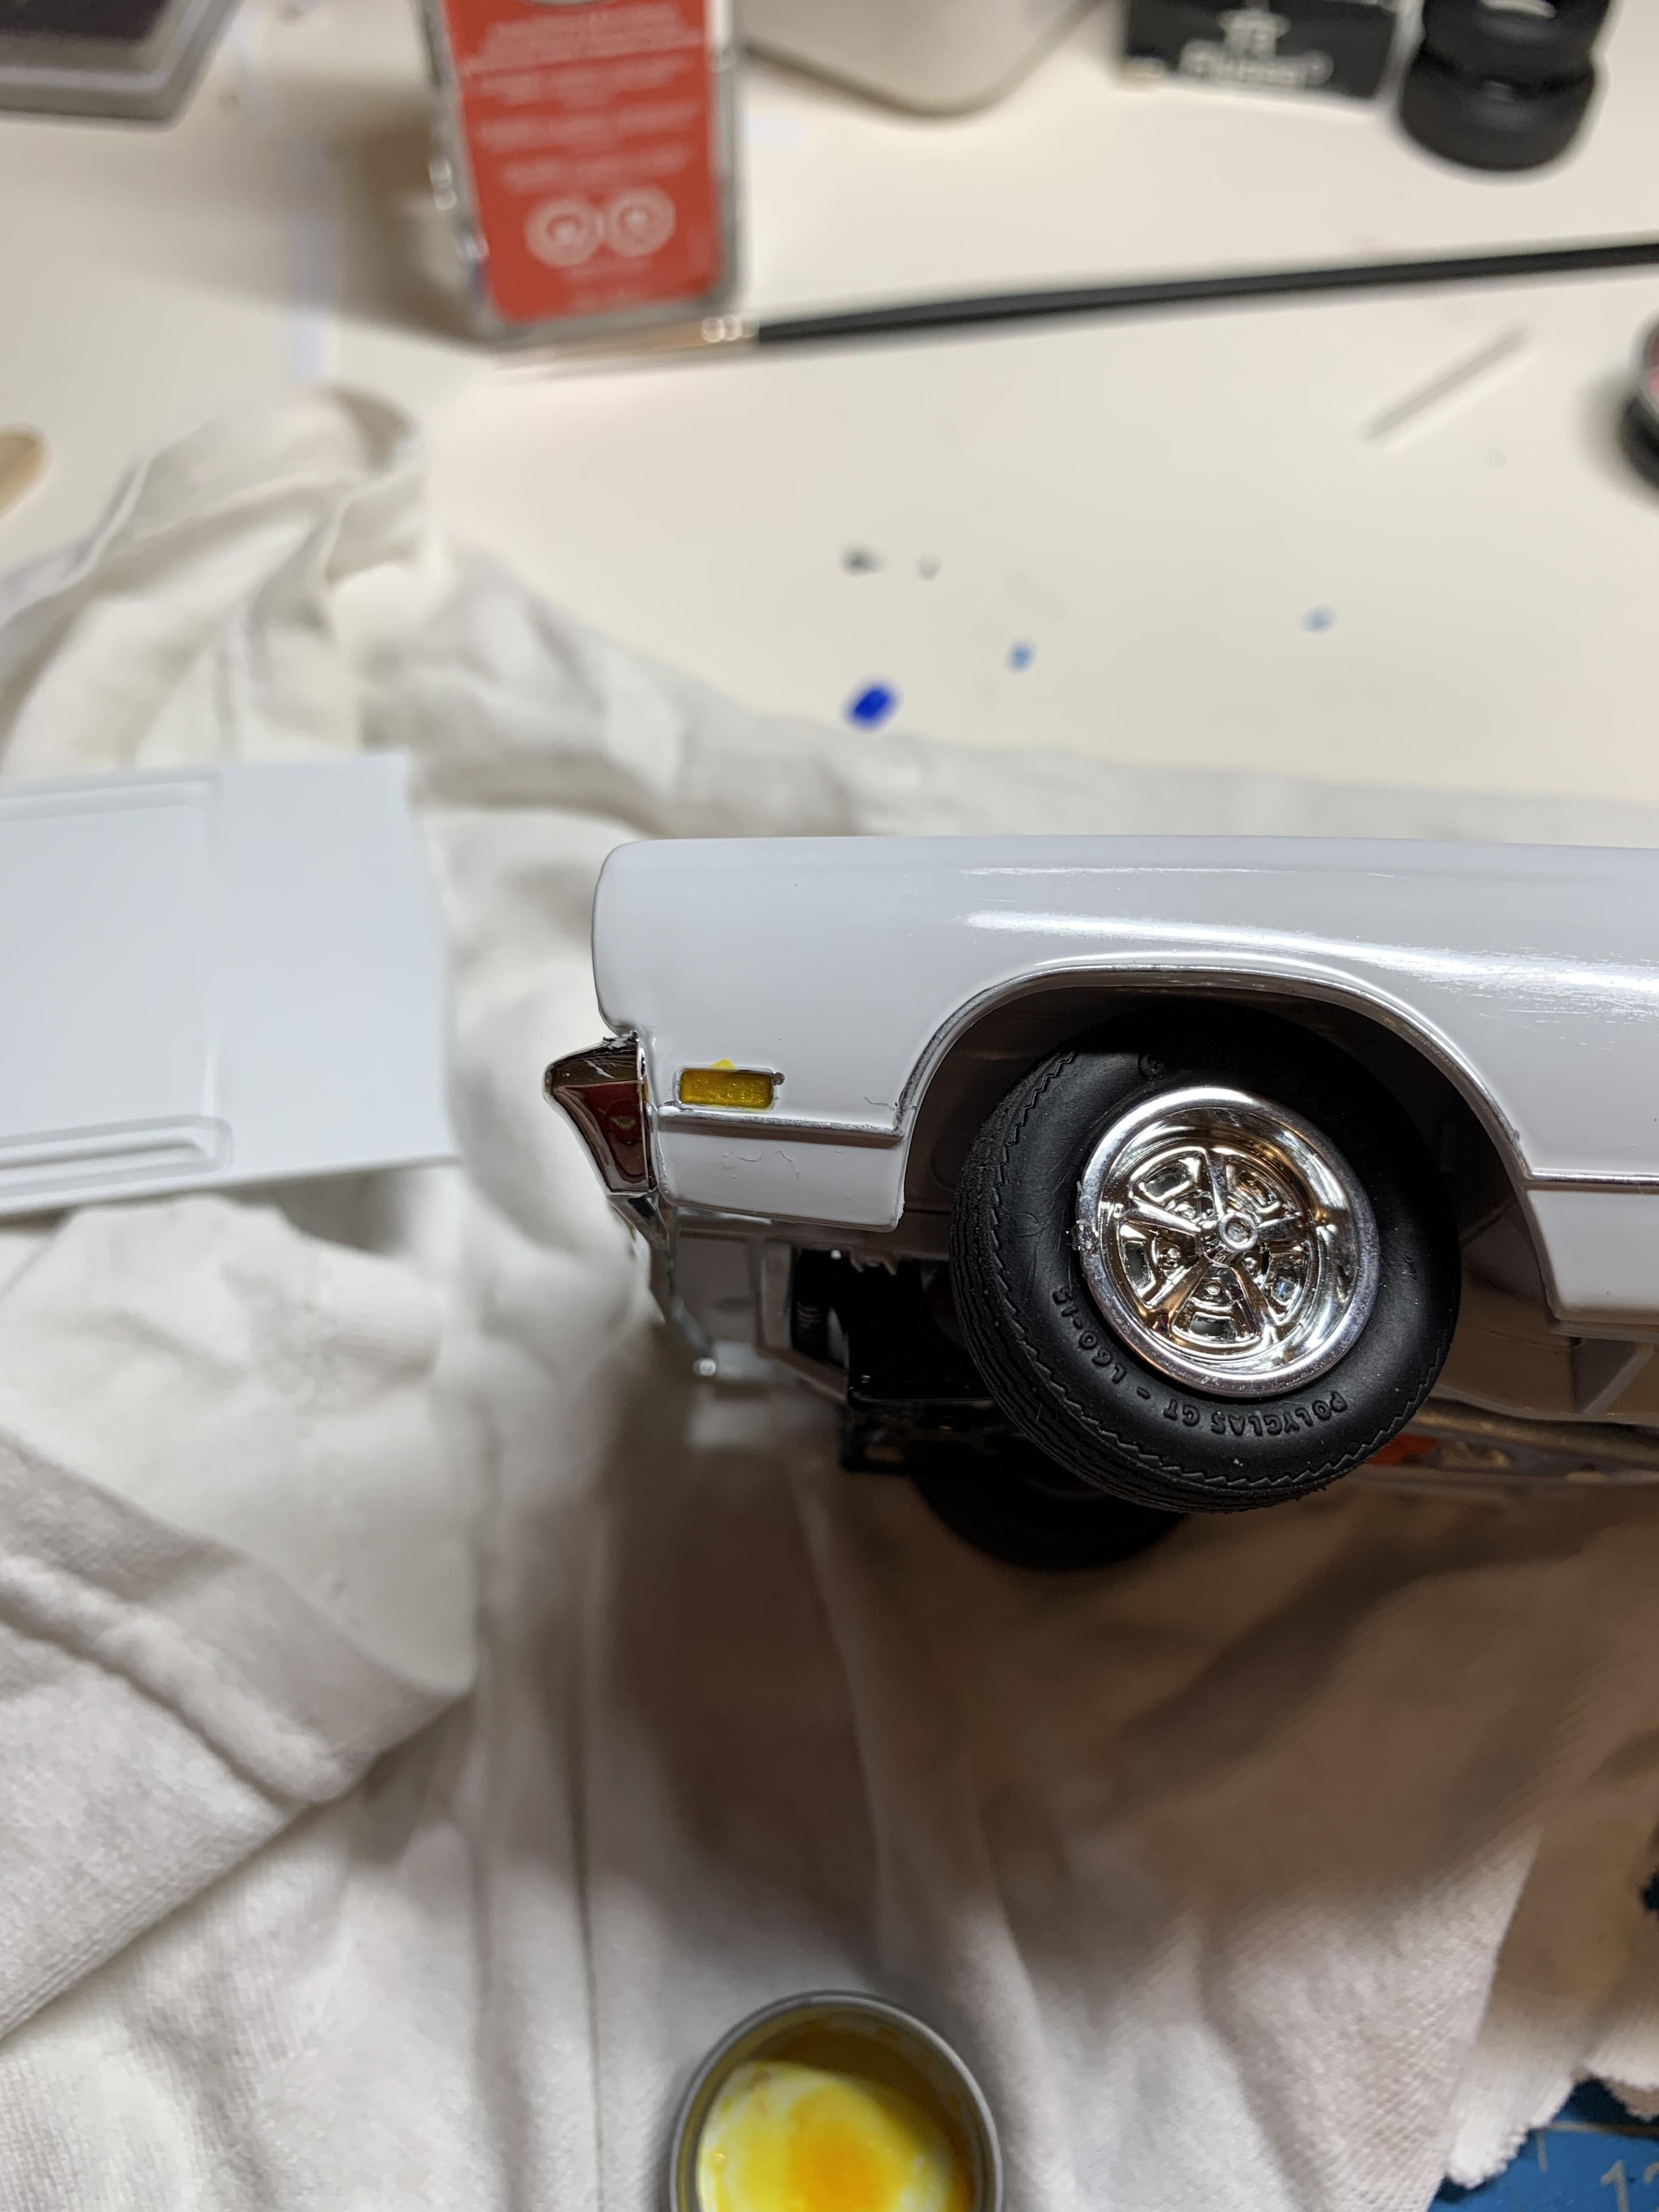
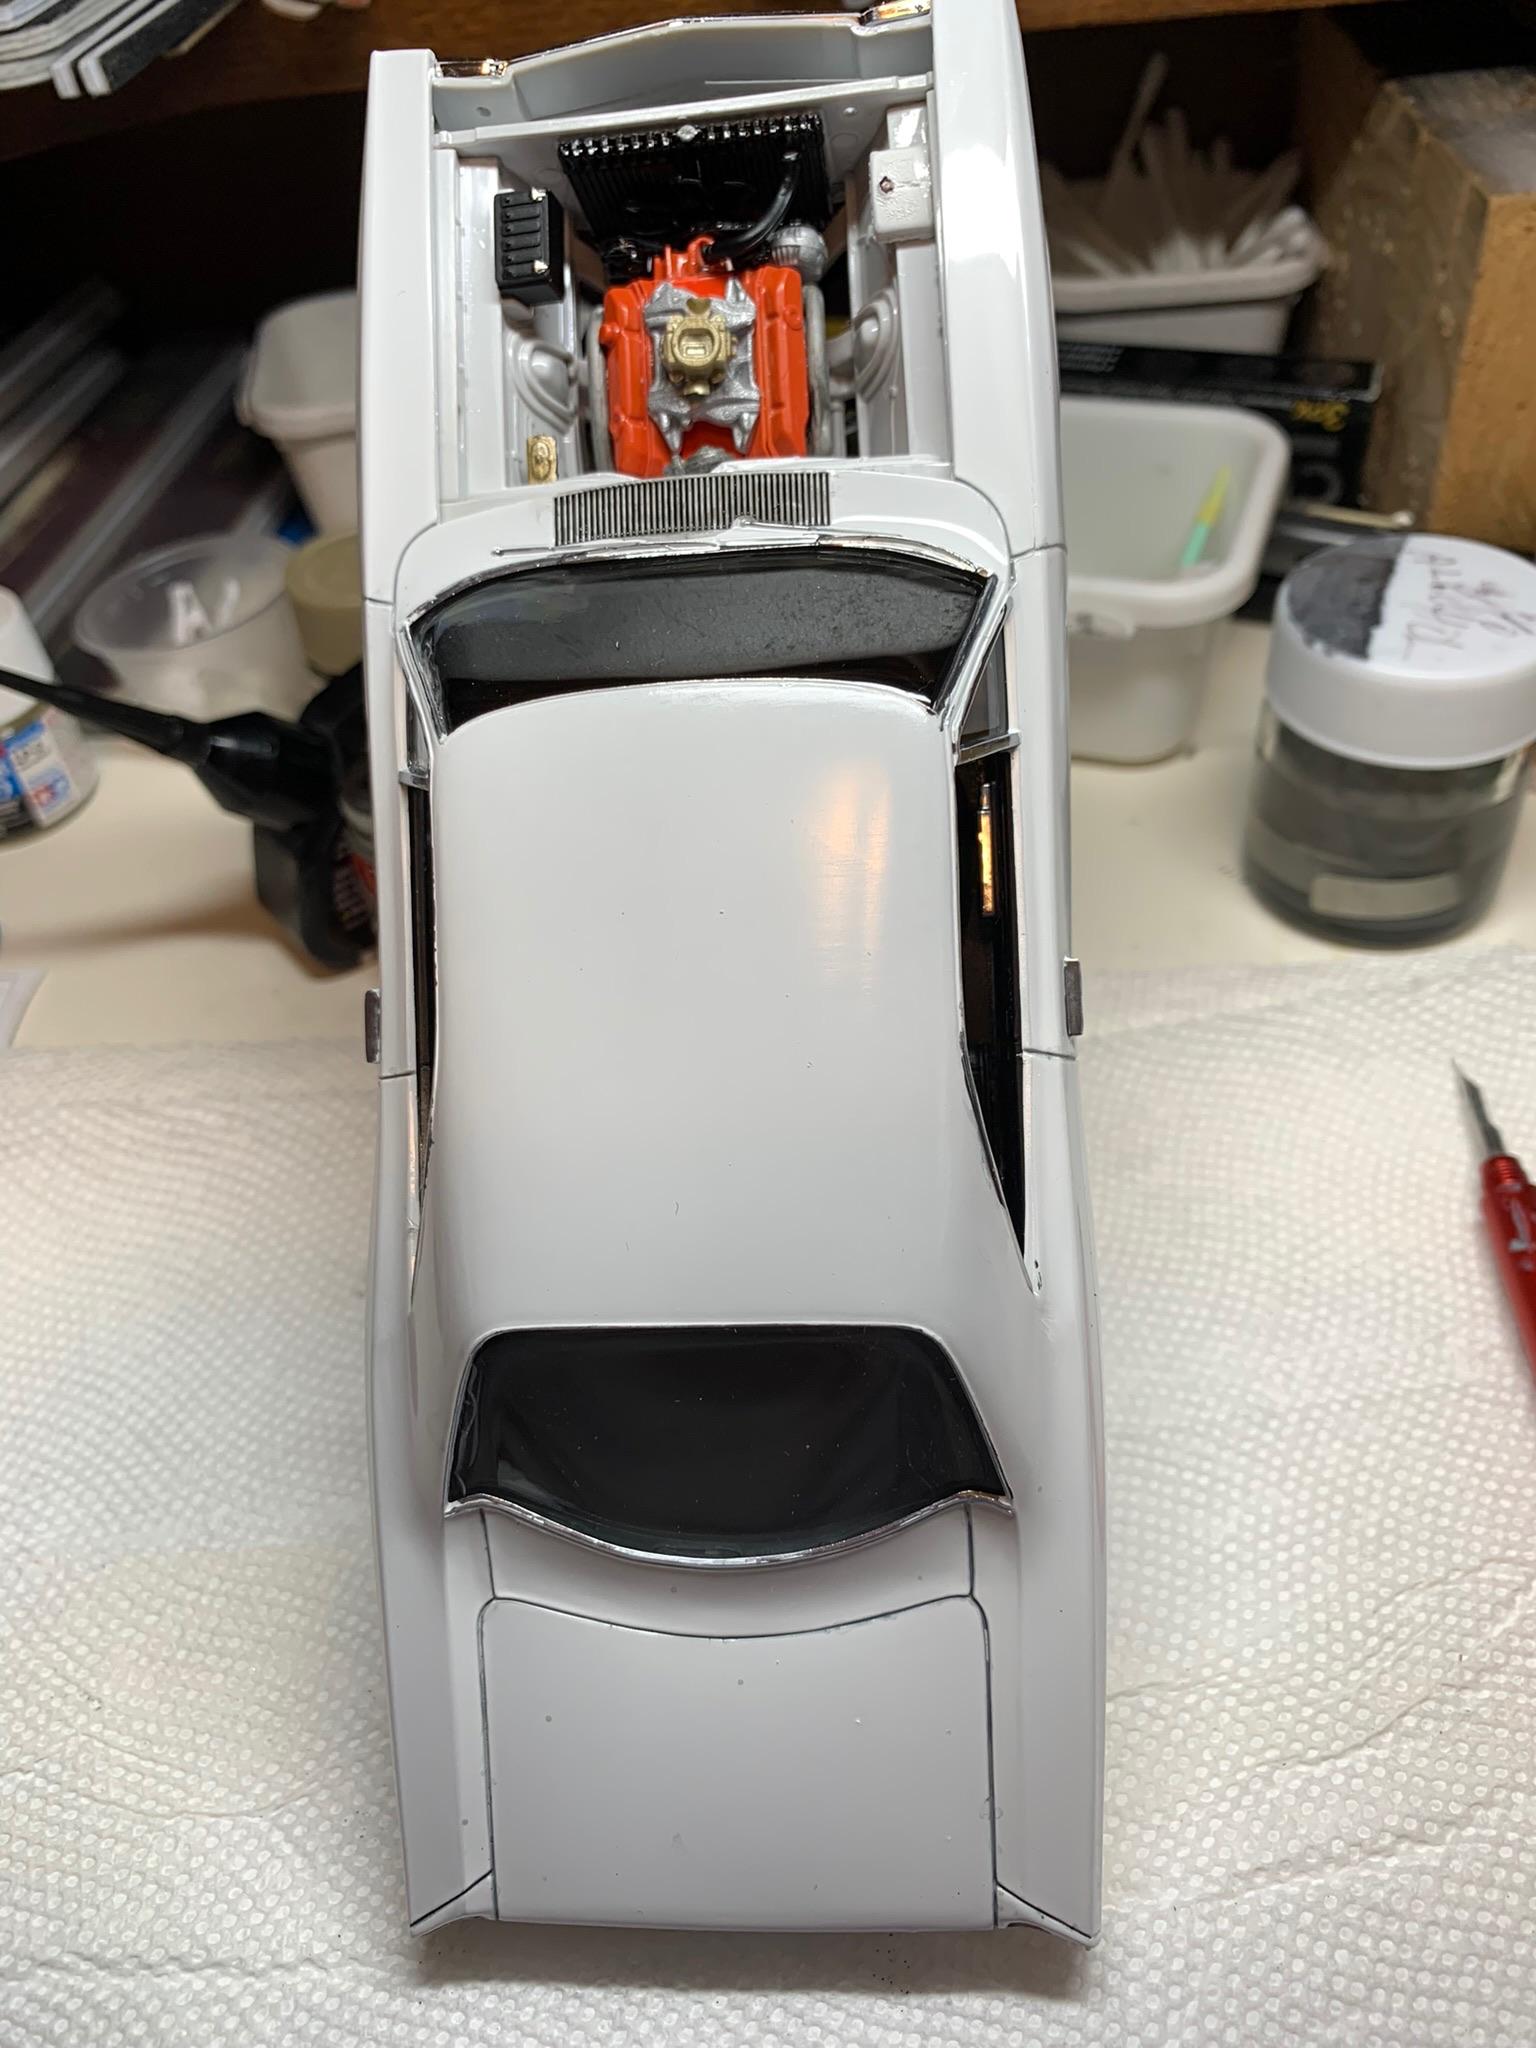
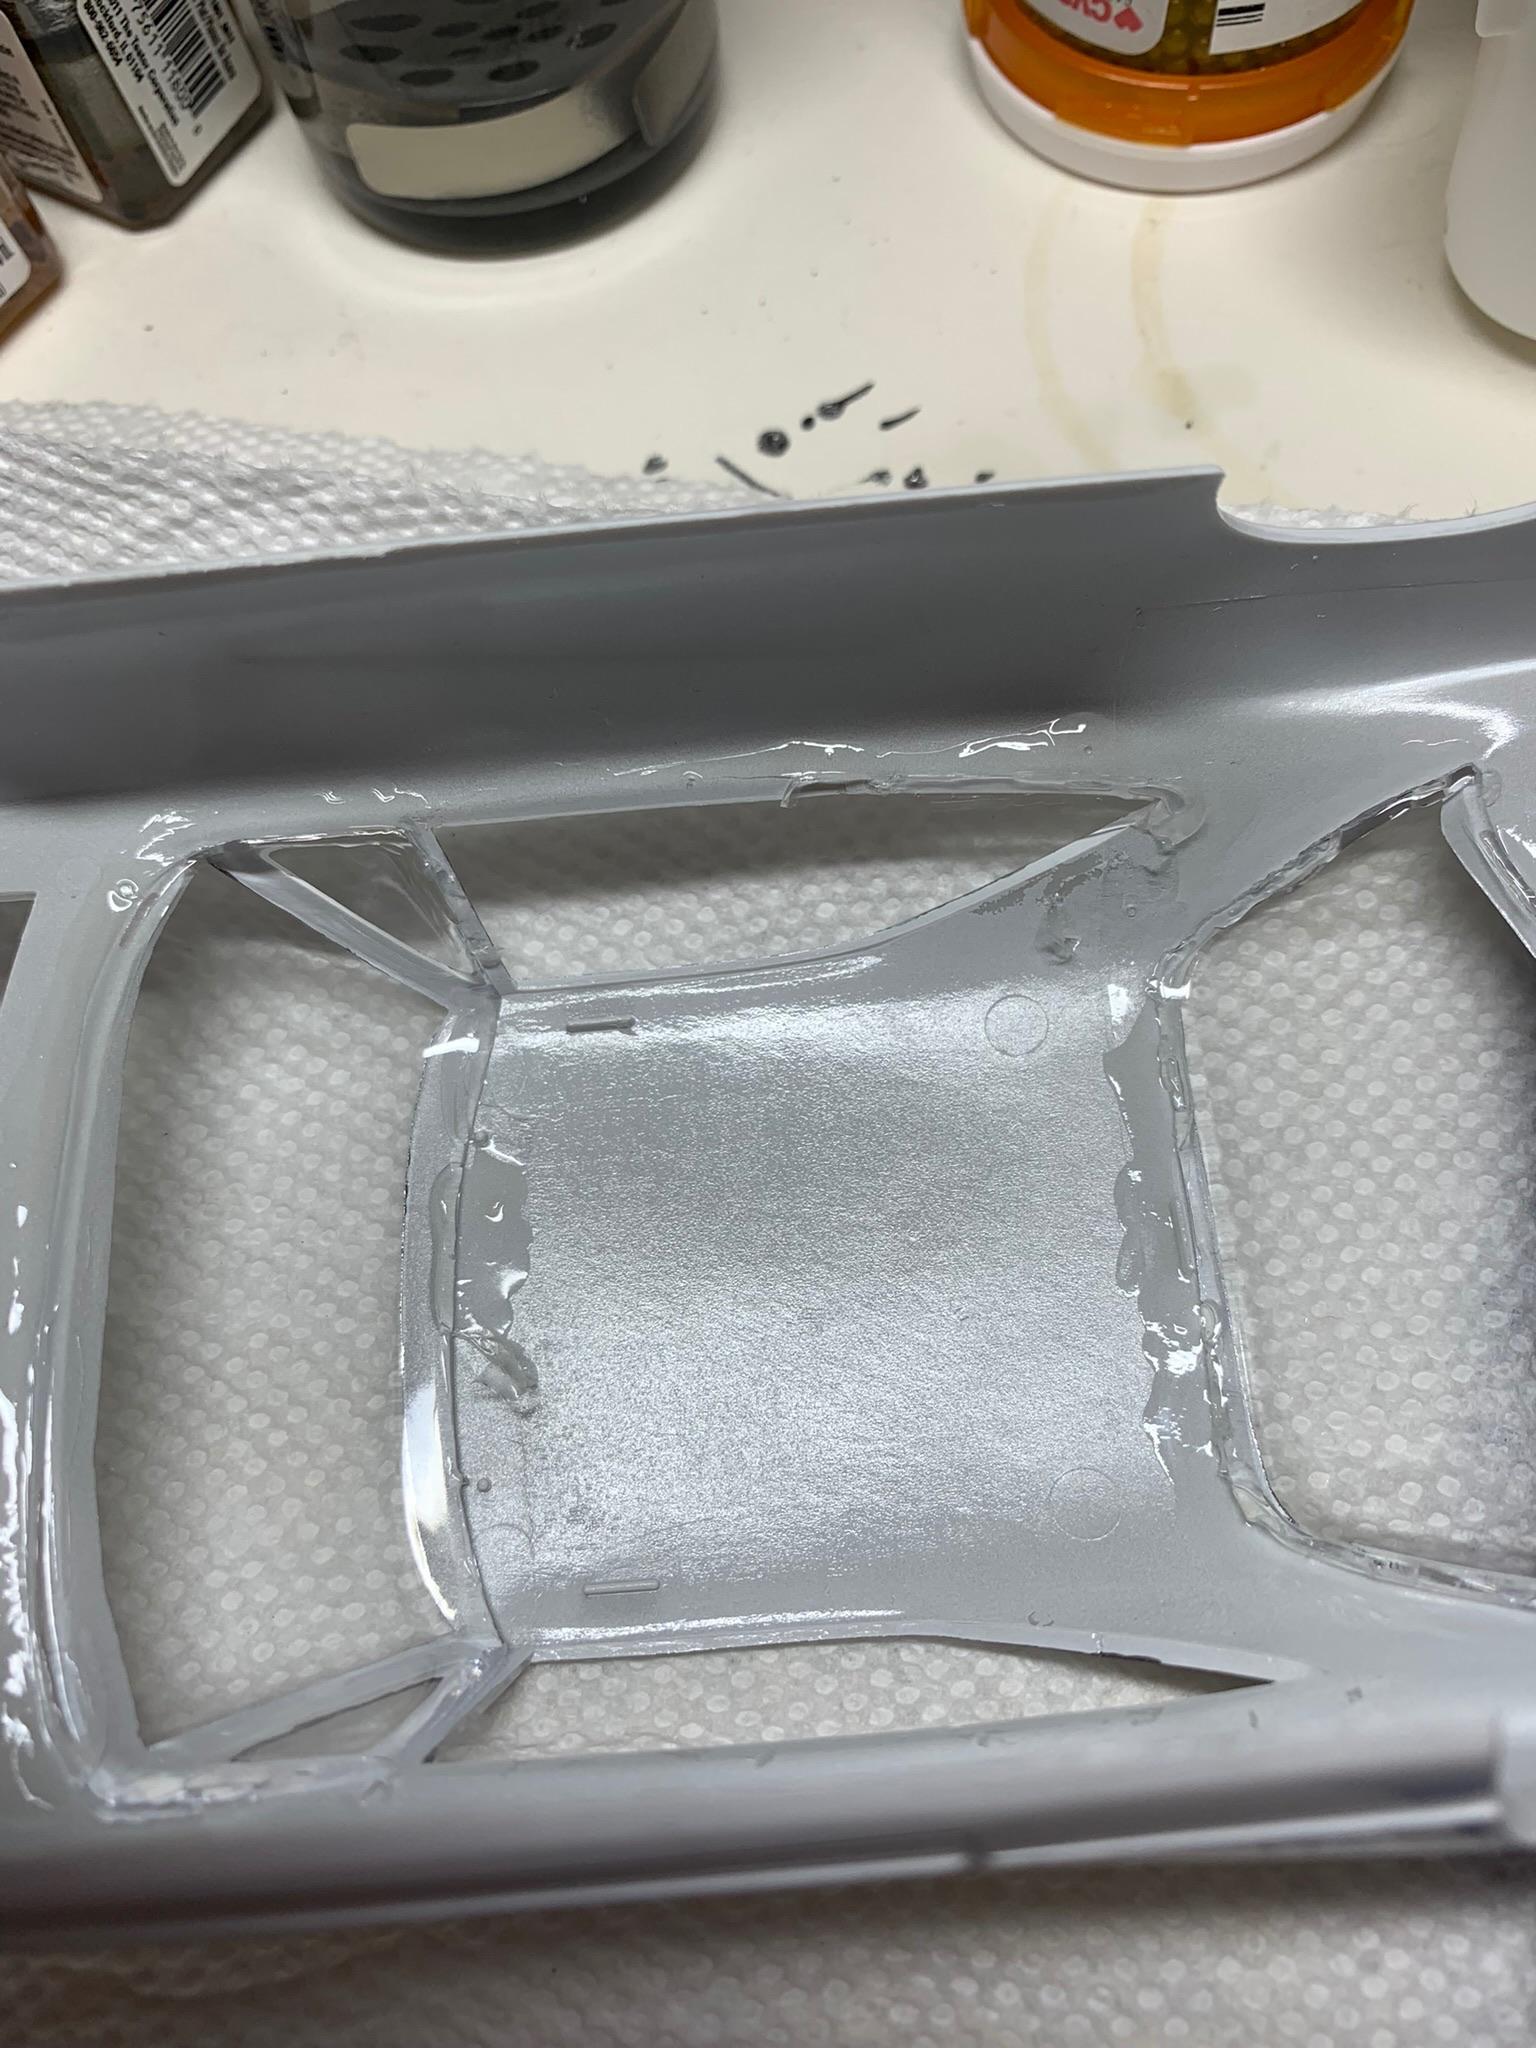
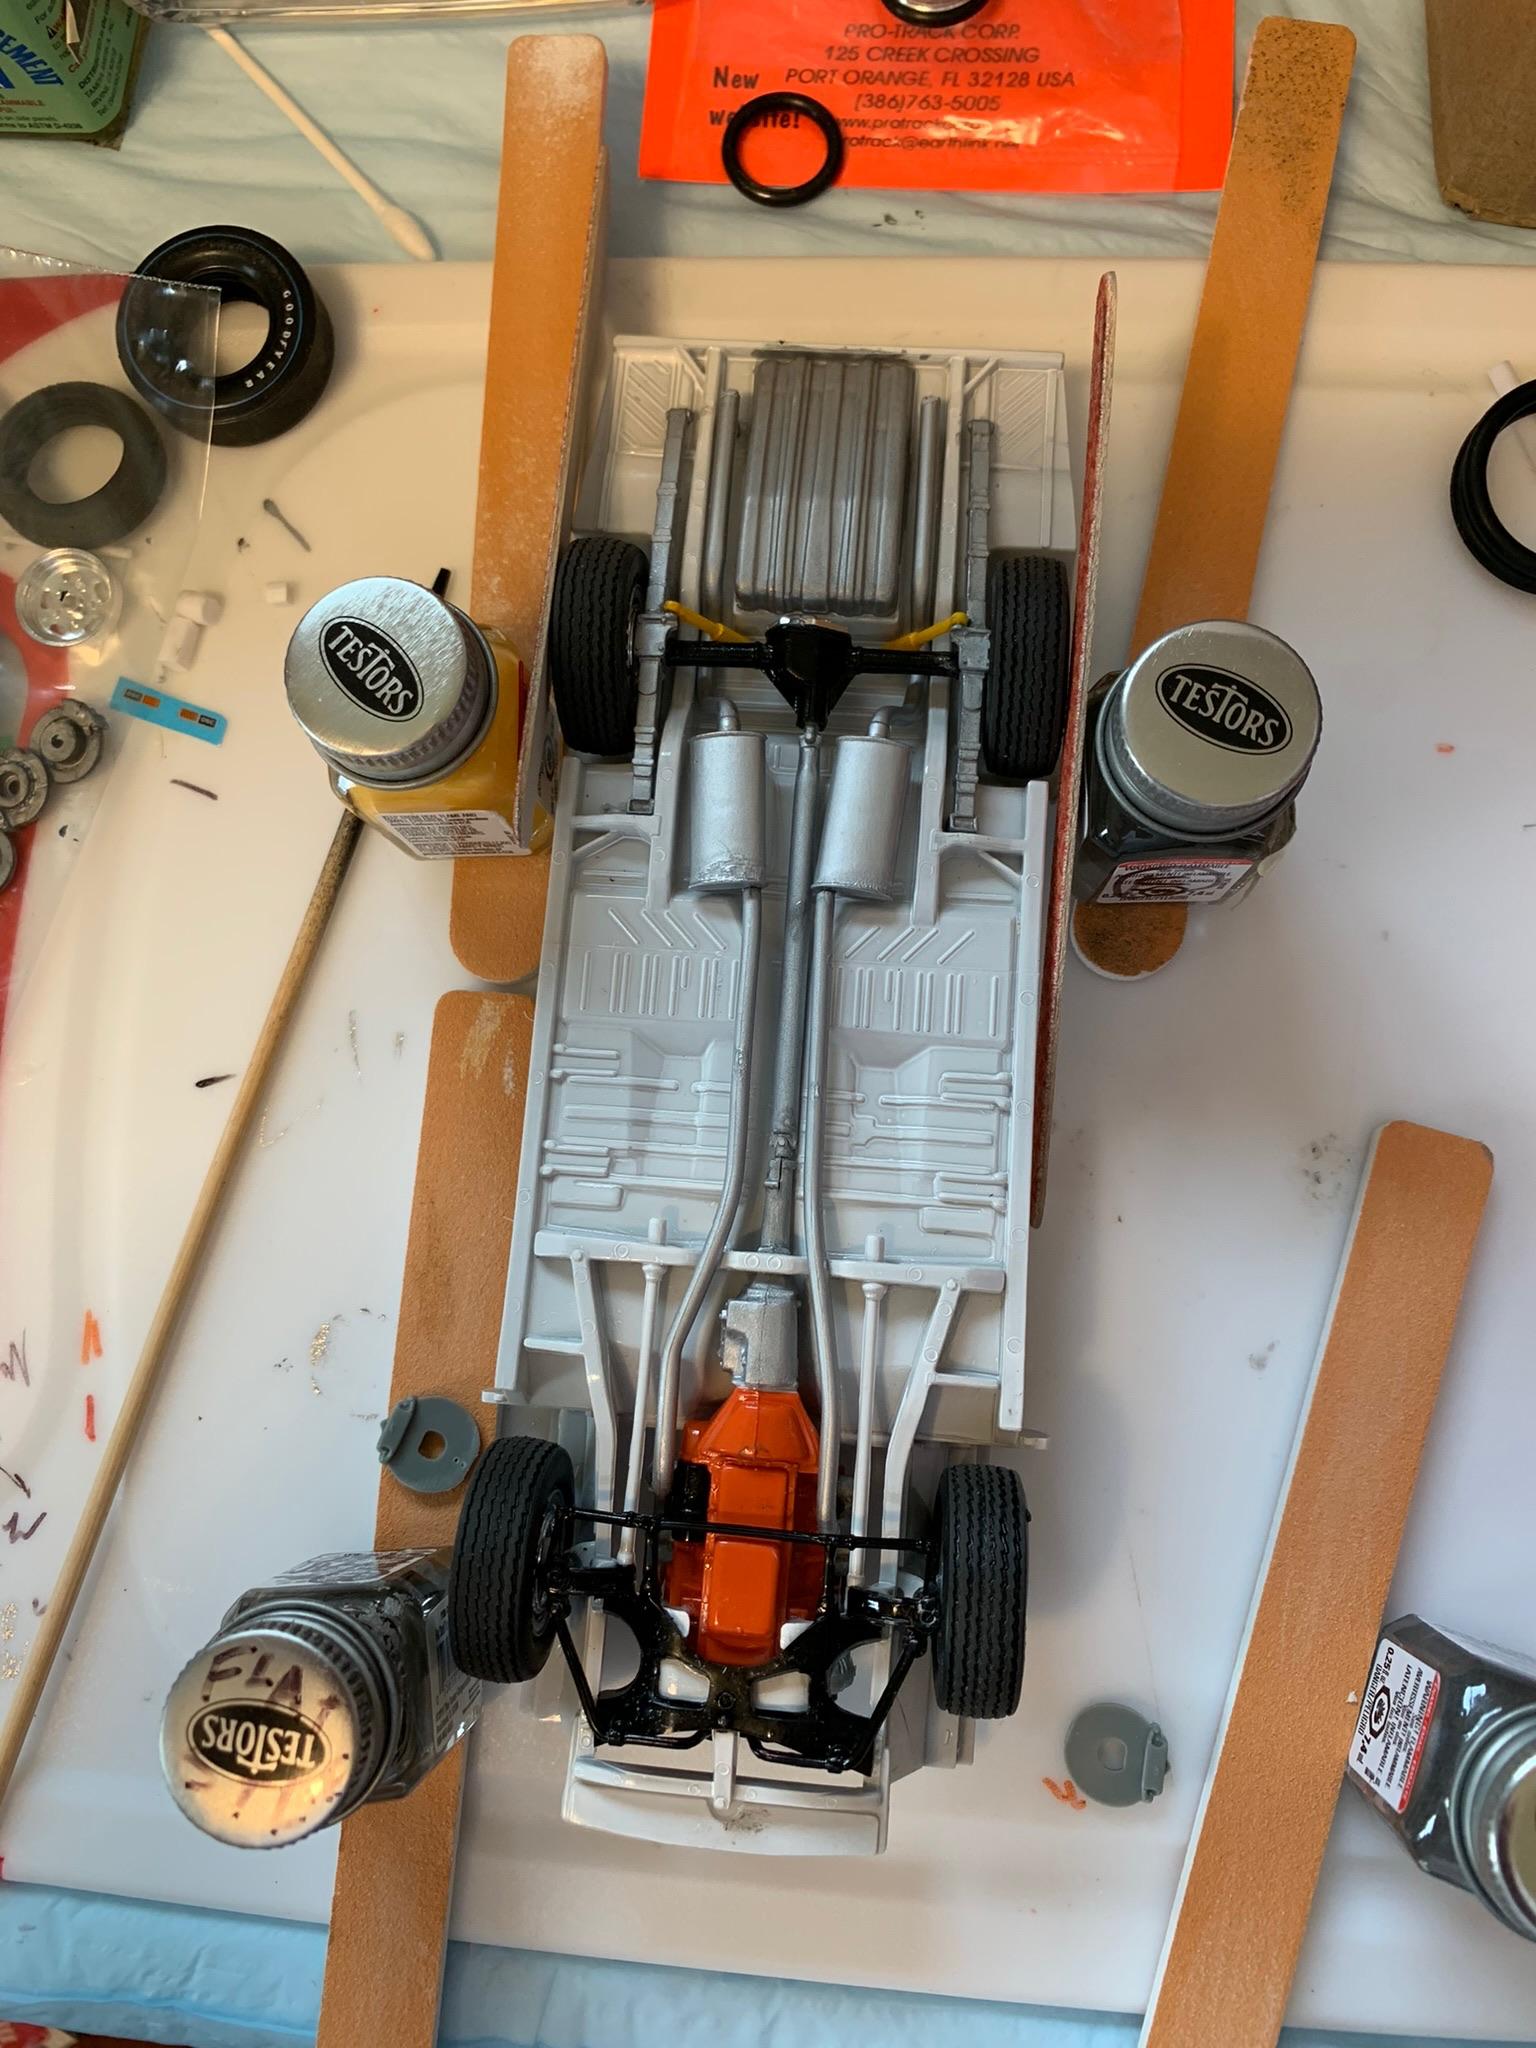
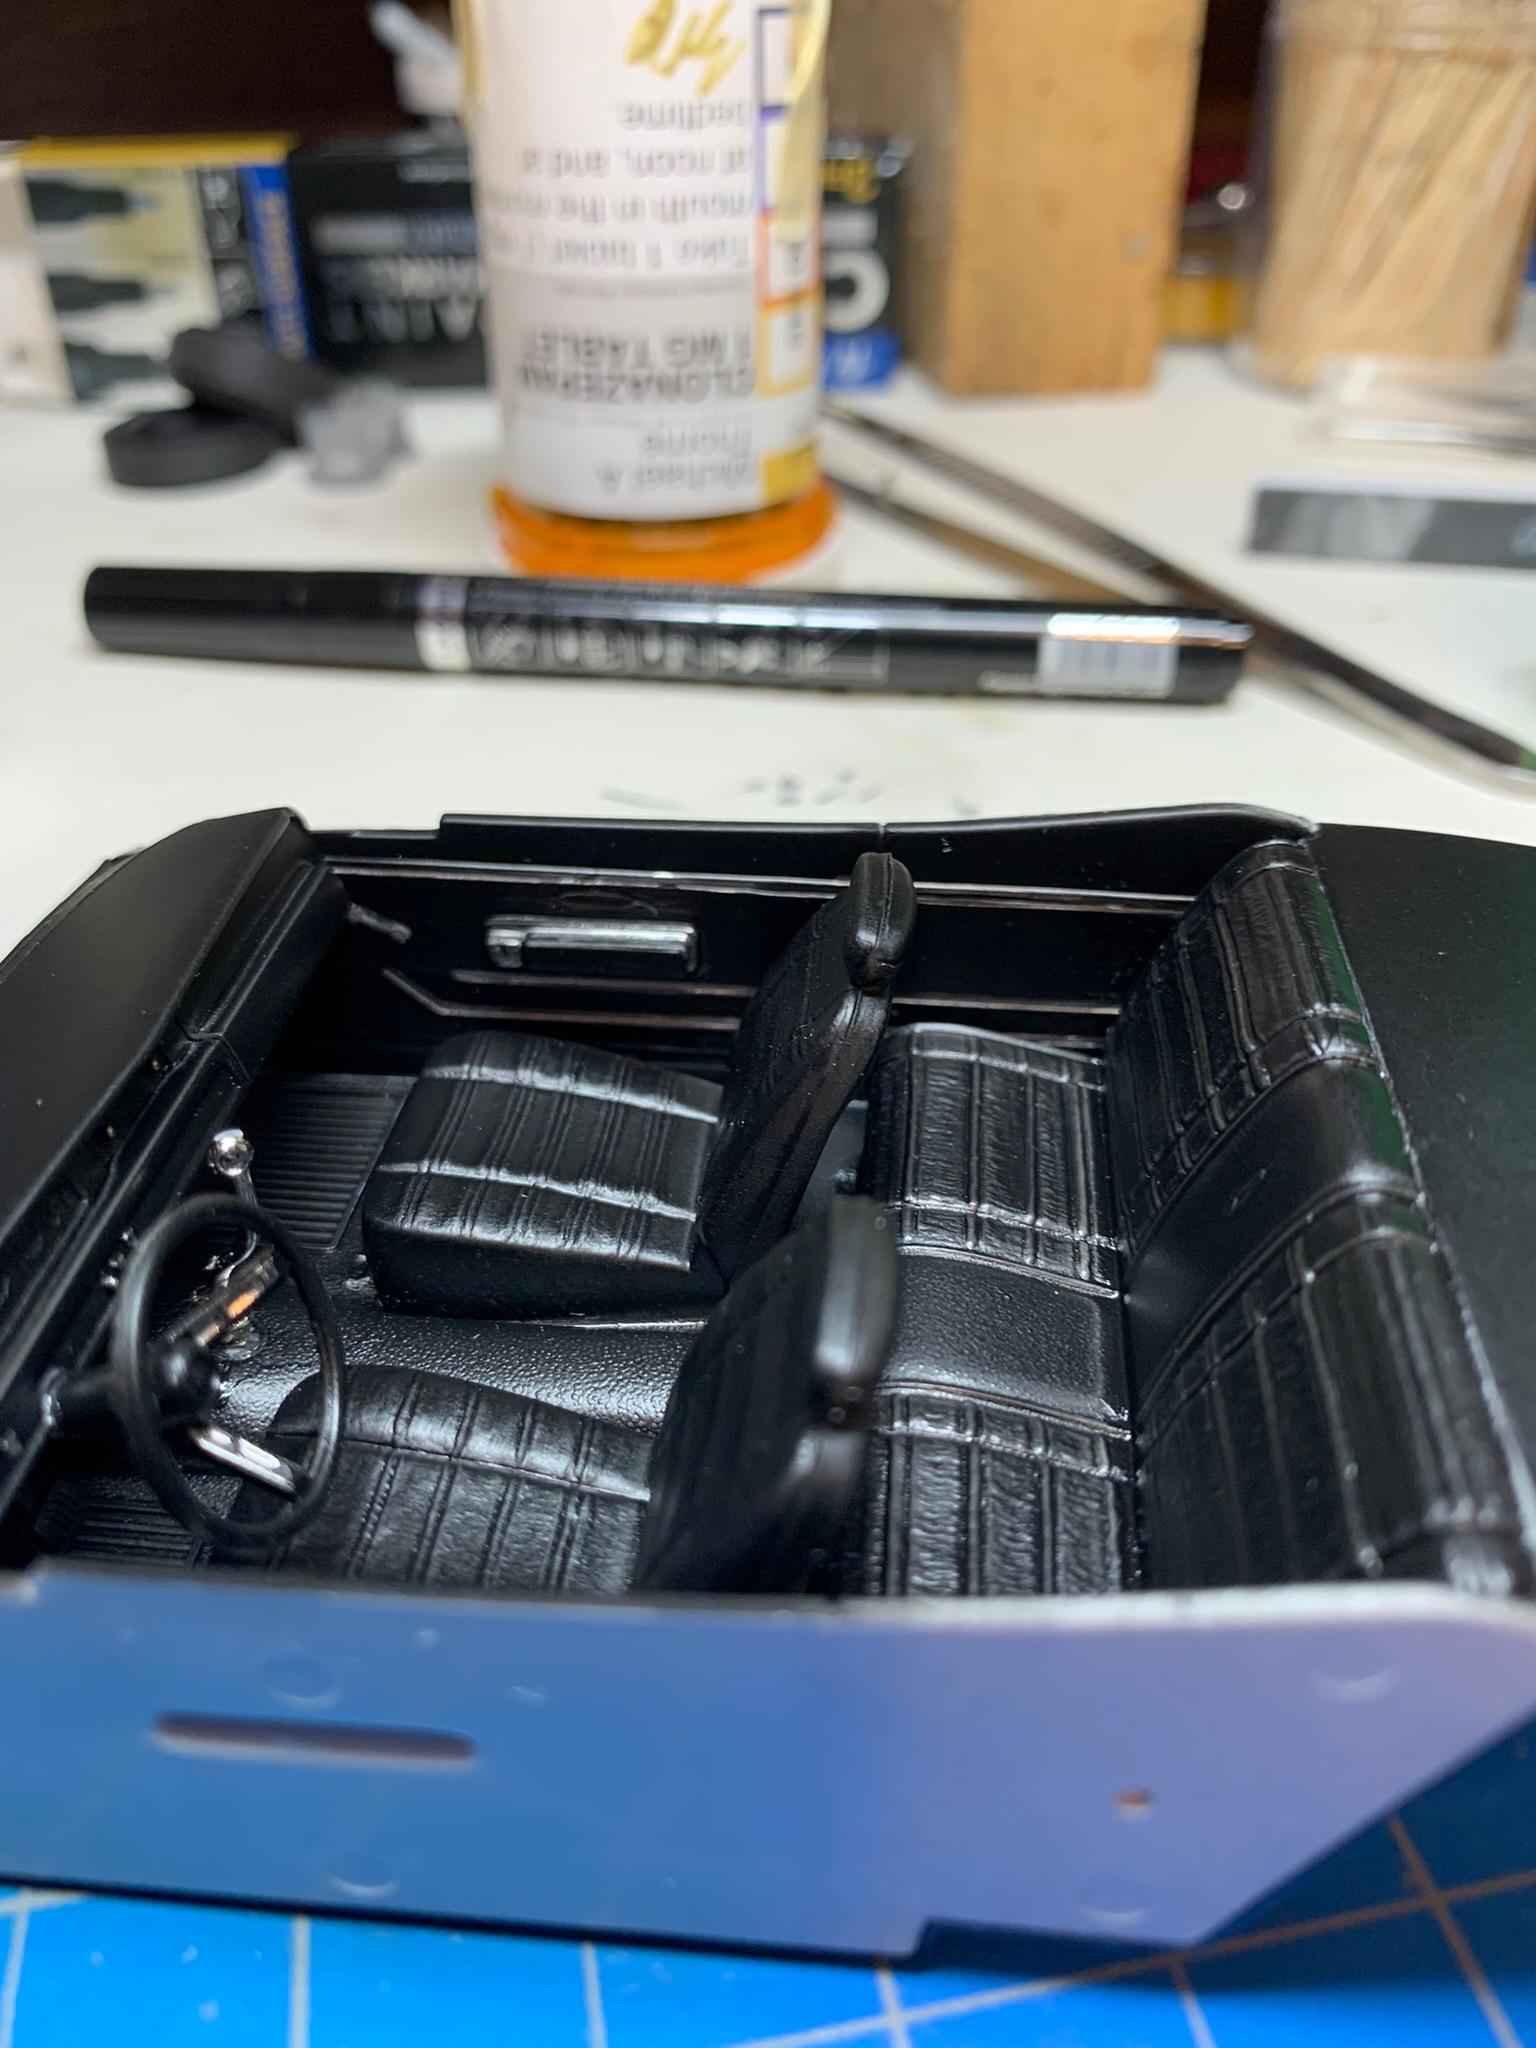
Made the mistake (there’s that word again) of not trial fitting the wheels on the axle stubs before installing the rear and front suspension. Took a lot more time fitting them on and finally glued them on with my high tech alignment jig (Testors bottles and finger nail files because the center of the wheel hit the side of the “jigs”). Dipped the windows in floor polish, used a chrome pen on the trim with less than spectacular results, installed master cylinder and wiper motor, Testors turn signal amber on front turn signals ( kinda redundant, huh?), some black wash on front and rear grill (will need another coat). Installed windows with Mod Podge (gonna let them sit overnight. Getting close to the finish line, that’s all tonight.
-
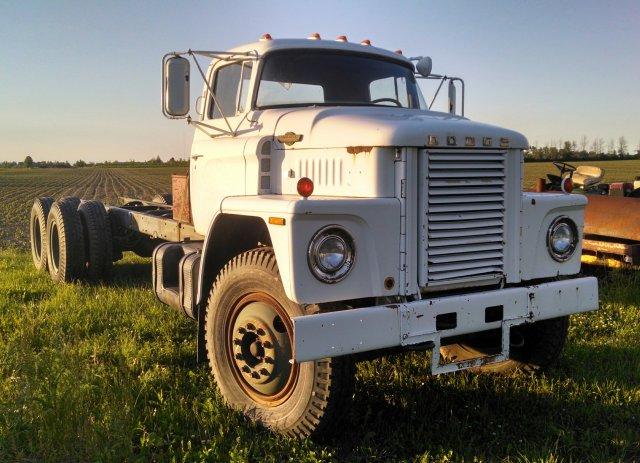
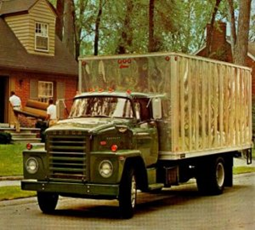
Looking for something in 1/24 and/or 1/25 scale 1963 ish Dodge with swing out fenders.
-
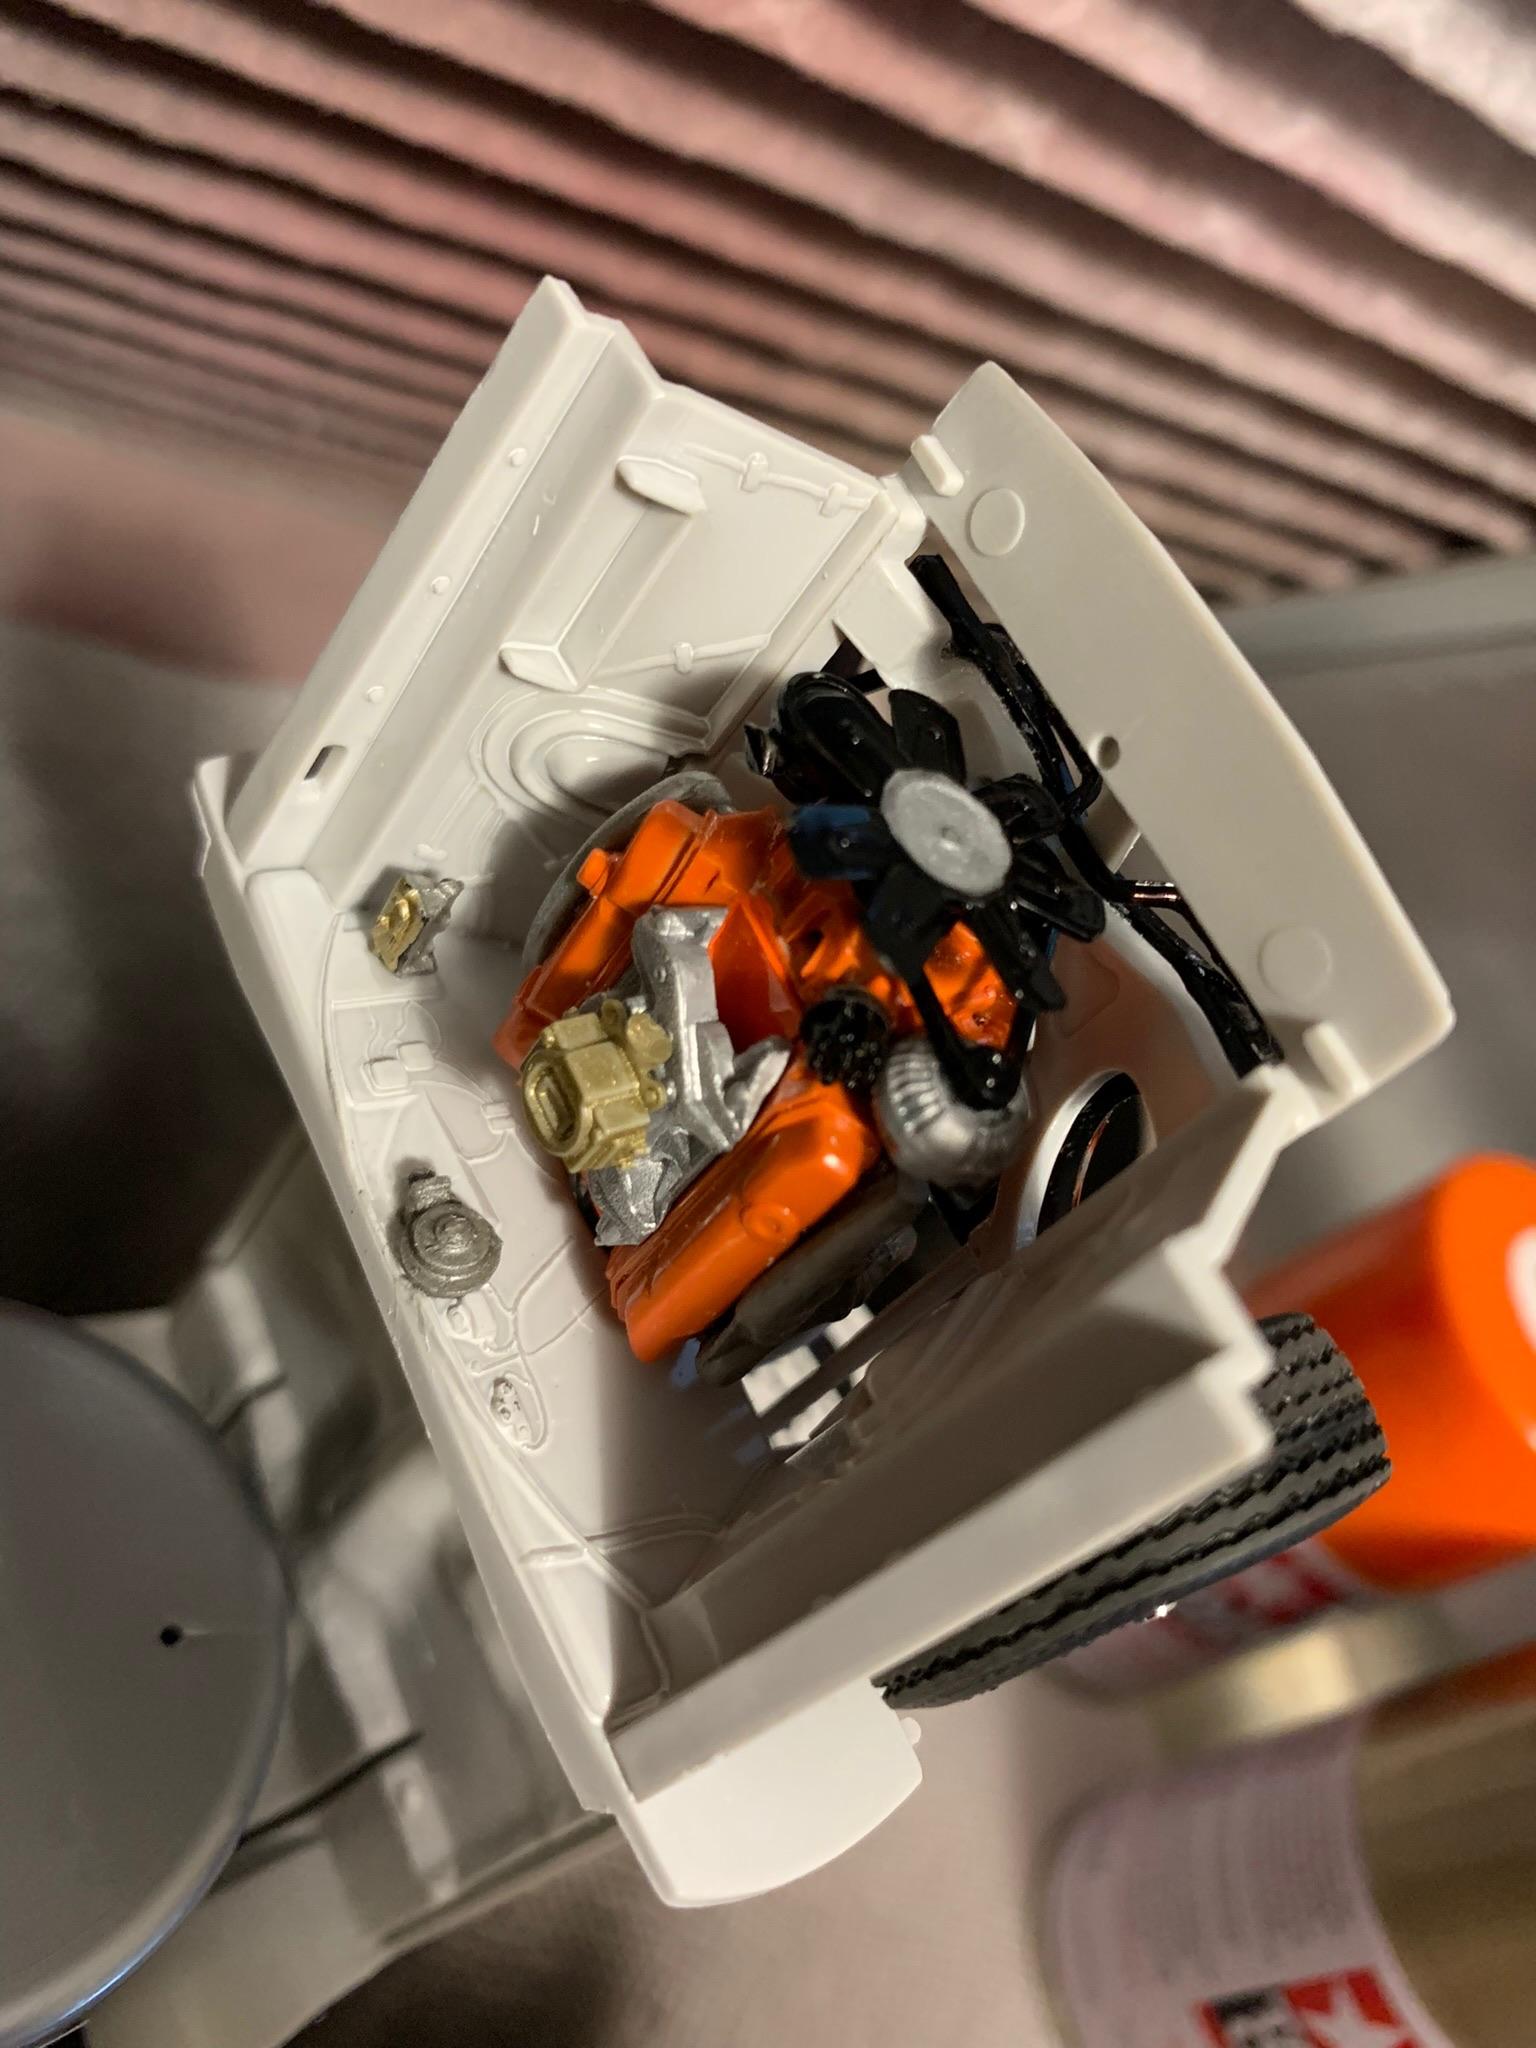
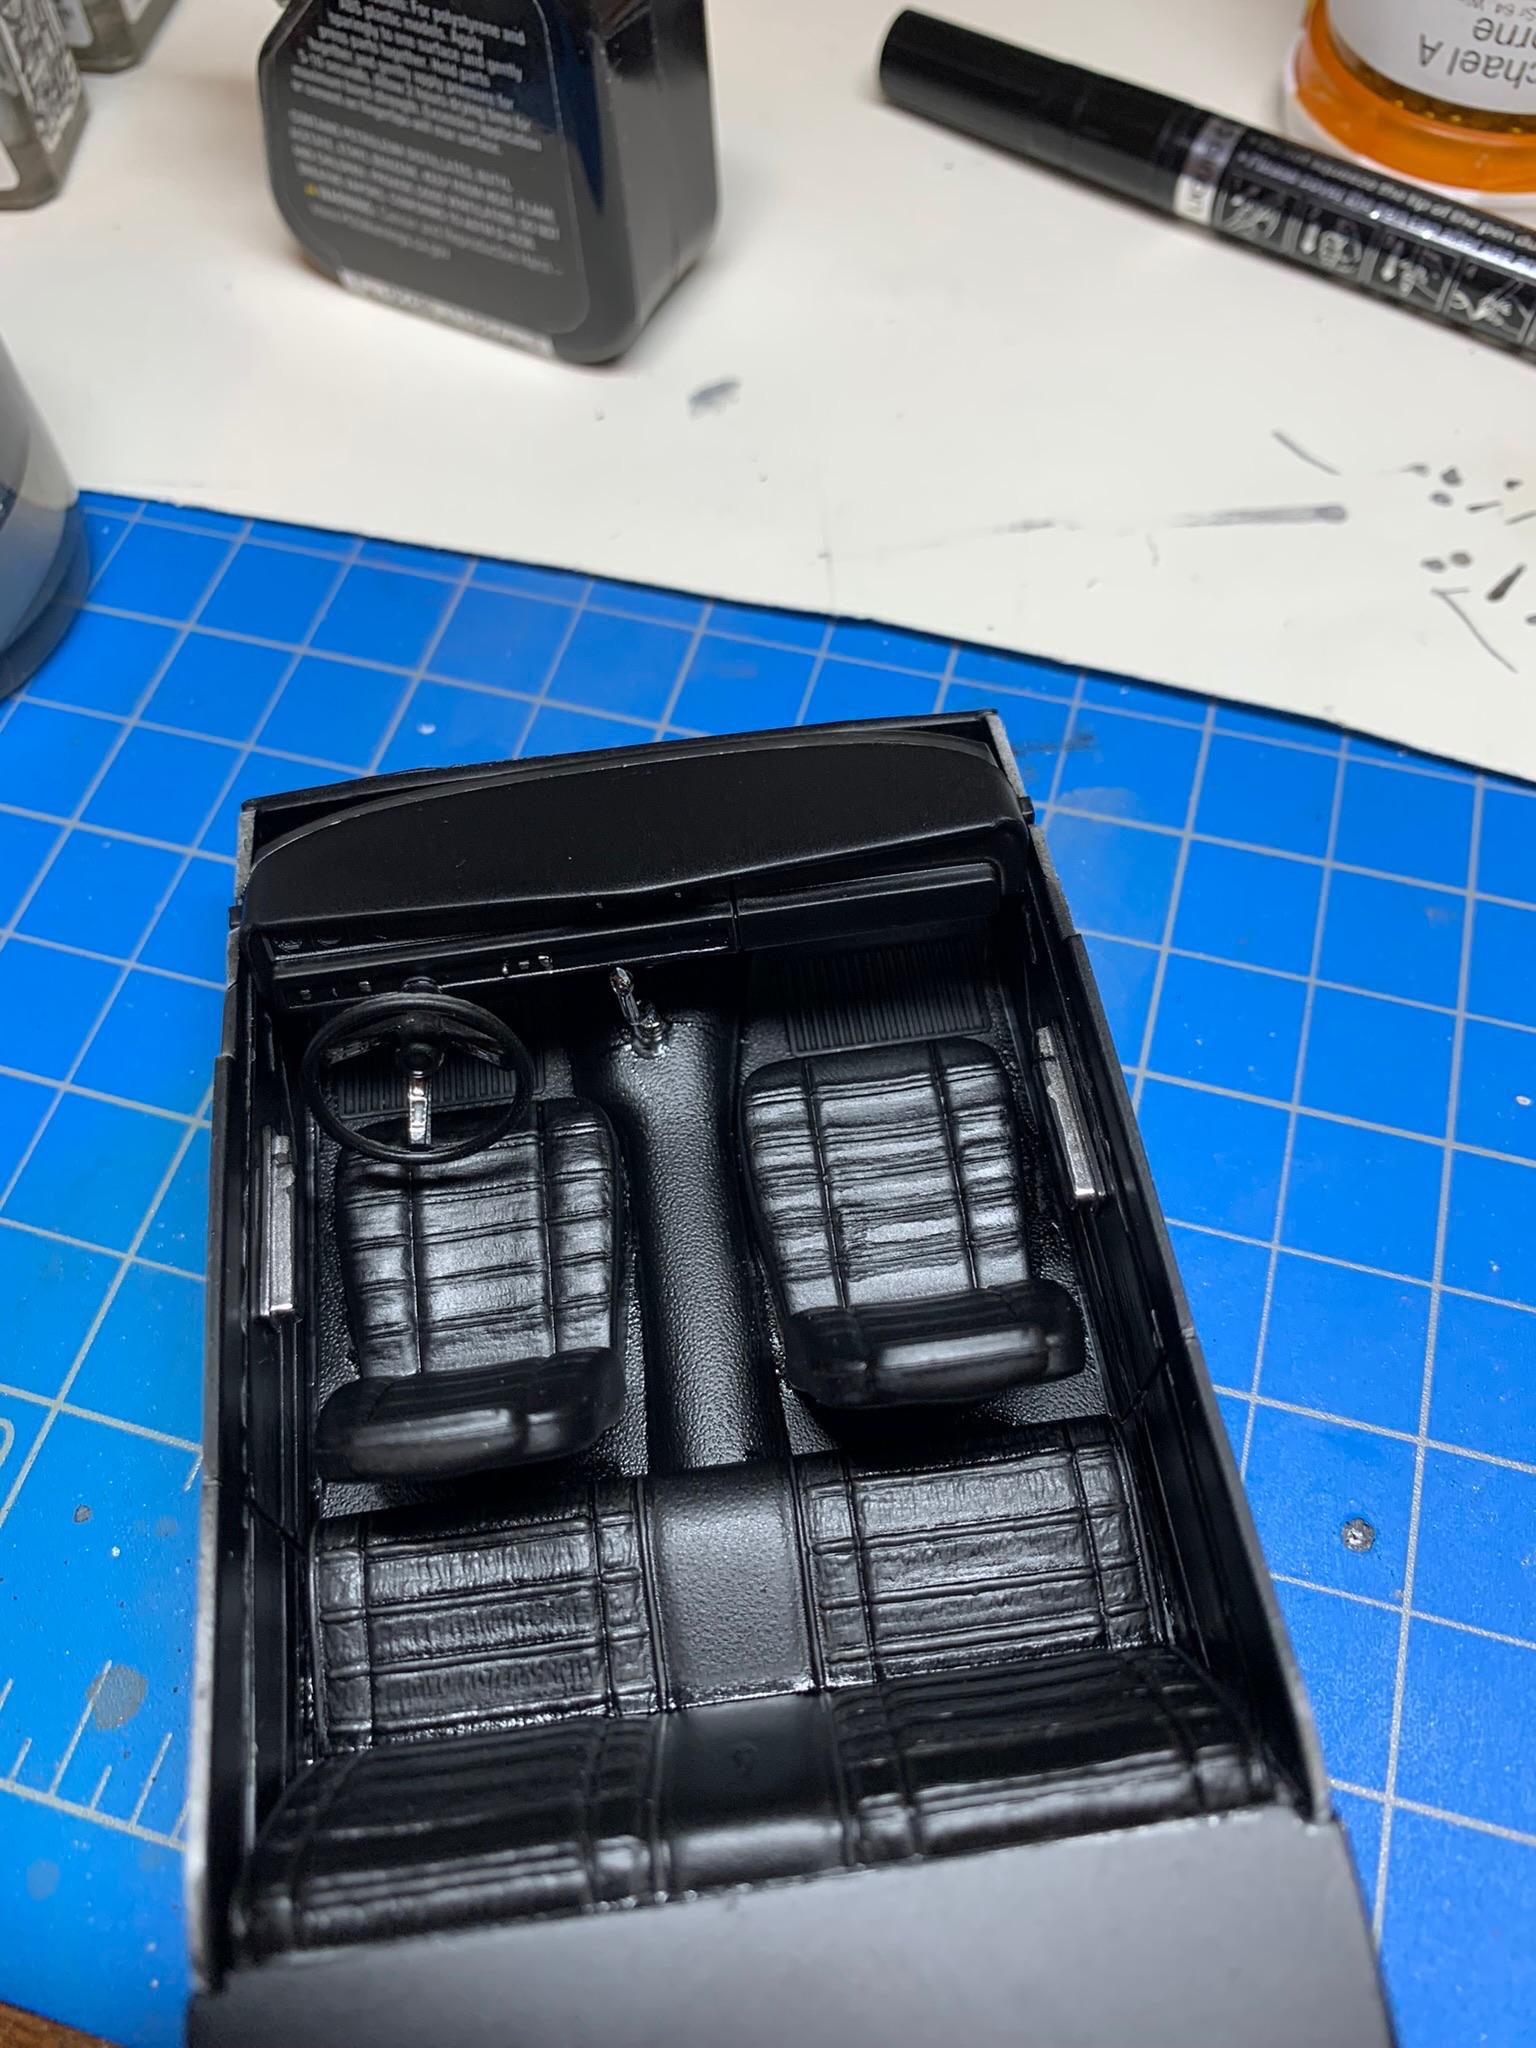
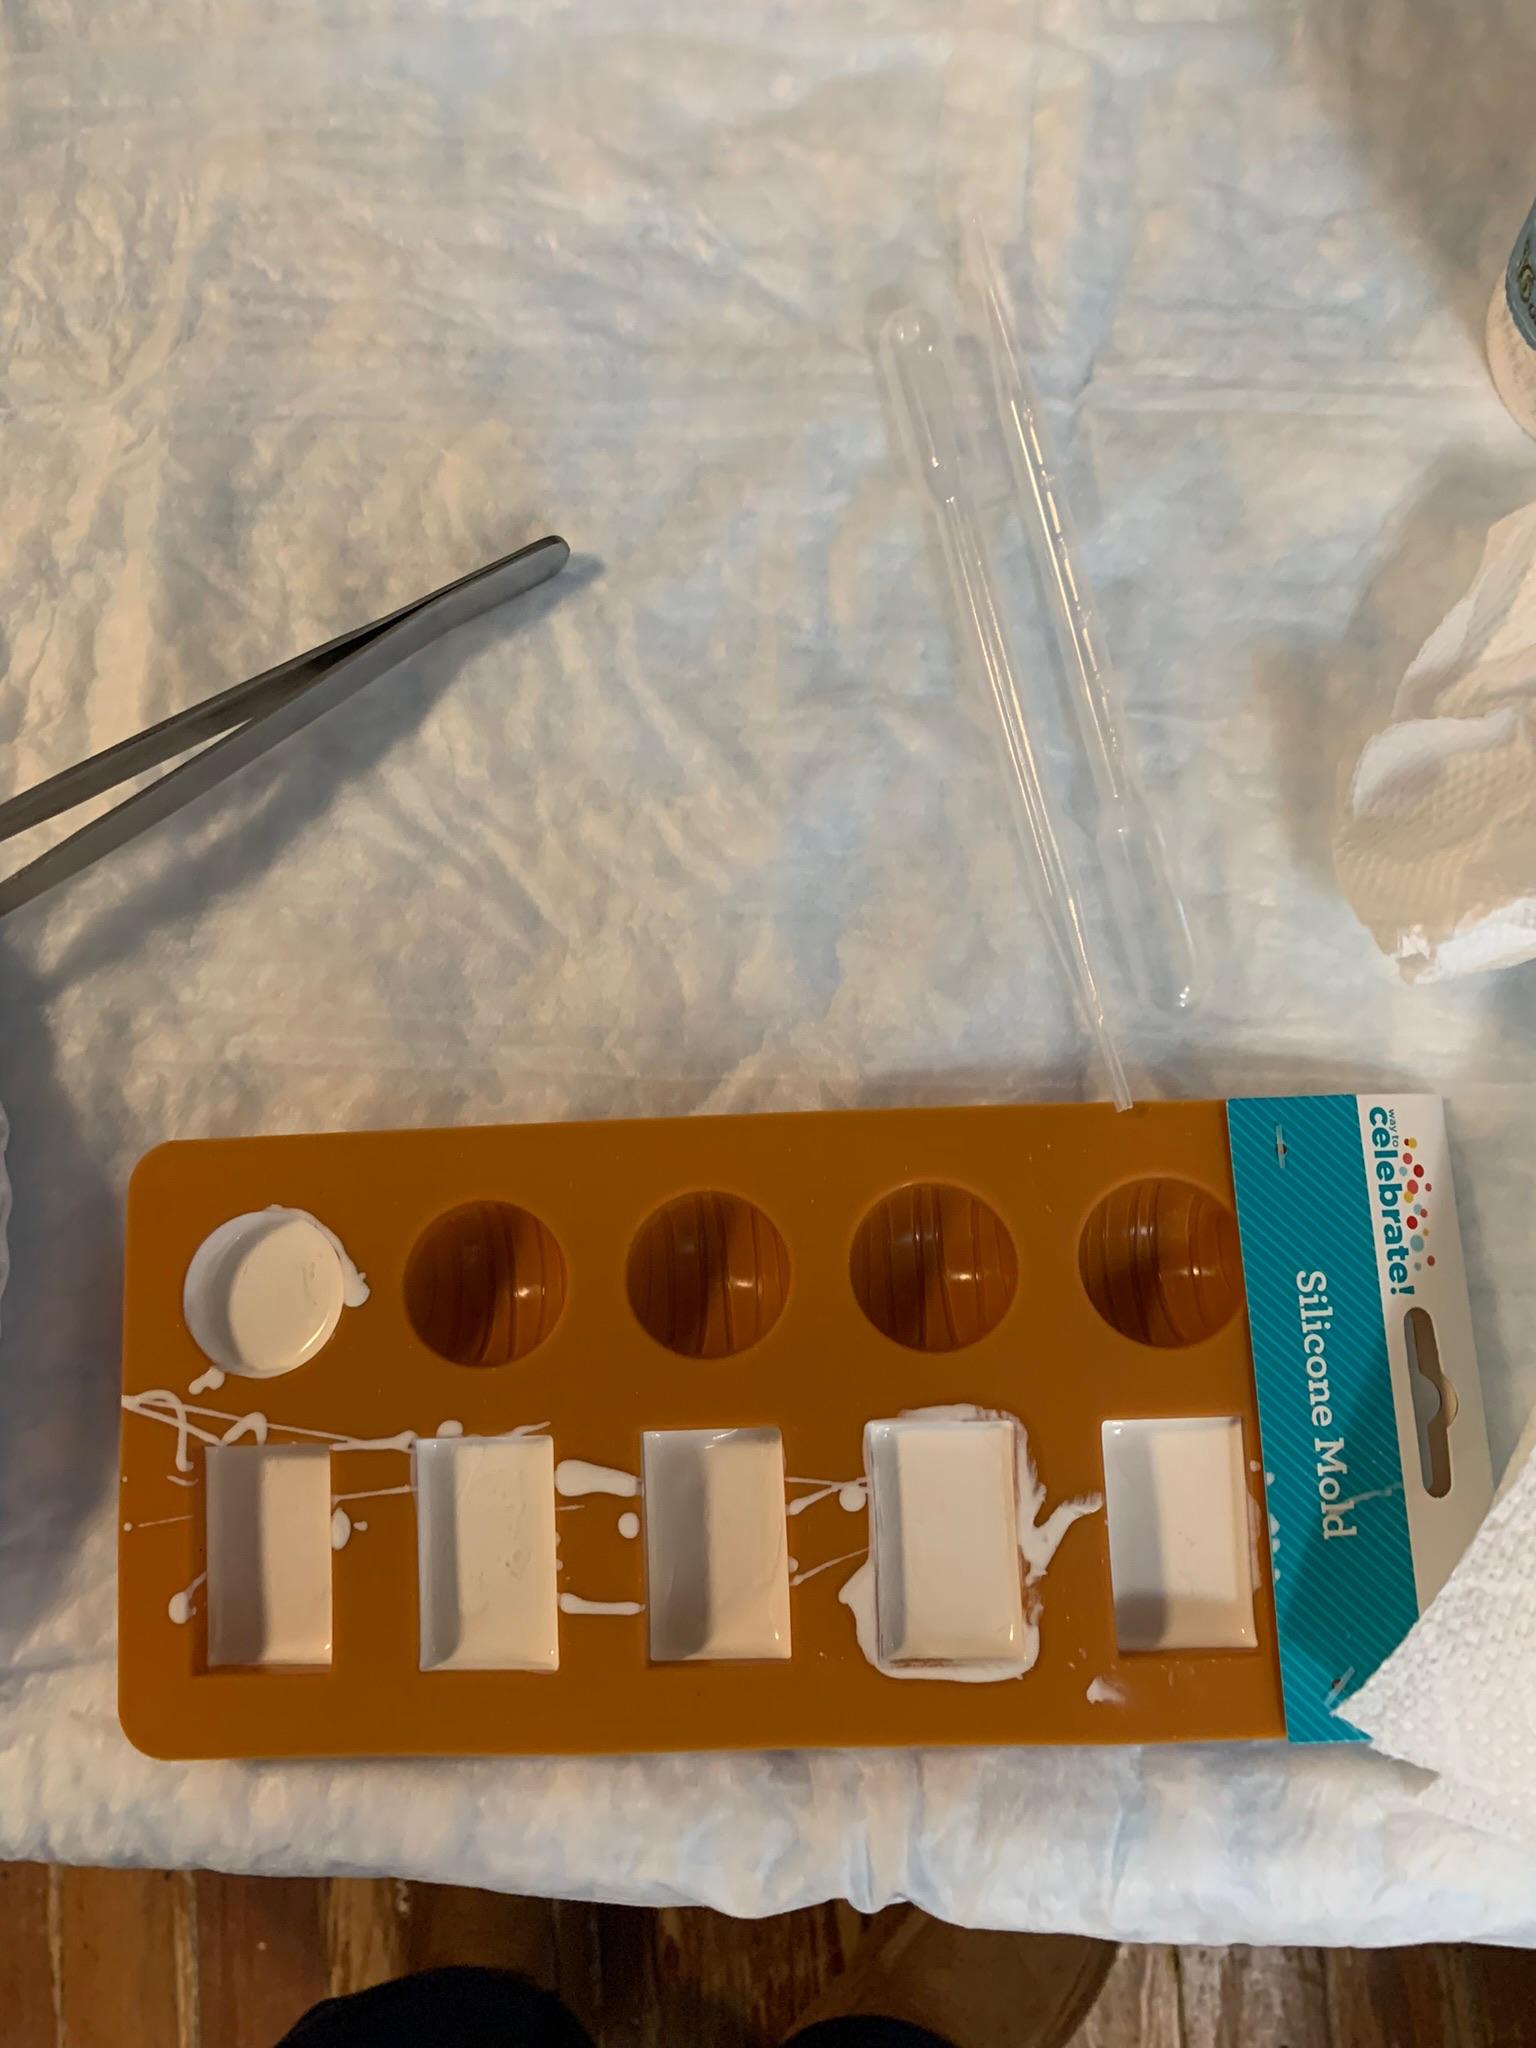
Not much done lately. Couple interior pics . Semi gloss black with some chrome highlights. Spent a lot of time trying to clean up this goopy mess of silicone mold that would not harden after a week. Got most of the parts cleaned up, but threw the silicone pad away.
-
1930 Model A Five Window Coupe Full-Fendered B/G Project
R. Thorne replied to tim boyd's topic in WIP: Drag Racing Models
Still another pic of an early Lakewood bellhousing I believe on John Barkley’s D/S 57 Chevy (circa 1968) with the bolt on inspection cover.
-
Further research has disclosed that the color was a metallic color used on Chevy trucks. My brother got the vehicles painted while I was working for Uncle Sam, so I was not involved in the color choice. Again, deepest thanks to all who responded with possible colors. I have ordered (from MCW) Laurel green and yellow green metallic colors. We shall see which one looks the best. Thanks again. You guys are the best.