R. Thorne
-
Posts
1,276 -
Joined
-
Last visited
Content Type
Profiles
Forums
Events
Gallery
Everything posted by R. Thorne
-
What is the idea glue for mock-ups?
R. Thorne replied to Milo's topic in Model Building Questions and Answers
I sometimes use Aleene’s tacky glue, but most of the time use just a very small amount of either Tamiya’s extra thin cement or CA glue. I guess I don’t have the patience to wait on PVA to dry as I want to build right then. -
1930 Model A Five Window Coupe Full-Fendered B/G Project
R. Thorne replied to tim boyd's topic in WIP: Drag Racing Models
I broke down and ordered issue #222 from Spotlighthobbies . I am going to check it out, then subscribe, if I like it. I miss Scaleauto mag. At least you sold one issue, Tim. -
Do they fit a regular hobby knife or only Tamiya’s pricey one?
-
1930 Model A Five Window Coupe Full-Fendered B/G Project
R. Thorne replied to tim boyd's topic in WIP: Drag Racing Models
Harry’s car has been on my list of builds and parts are acquired, but I keep getting interrupted by Stock Eliminator cars. This is the man himself and his beautiful car. Not to diminish your work, Tim. You know how I feel about your contributions to modeling. If this is inappropriate, please advise and I will, of course, remove this post.
-
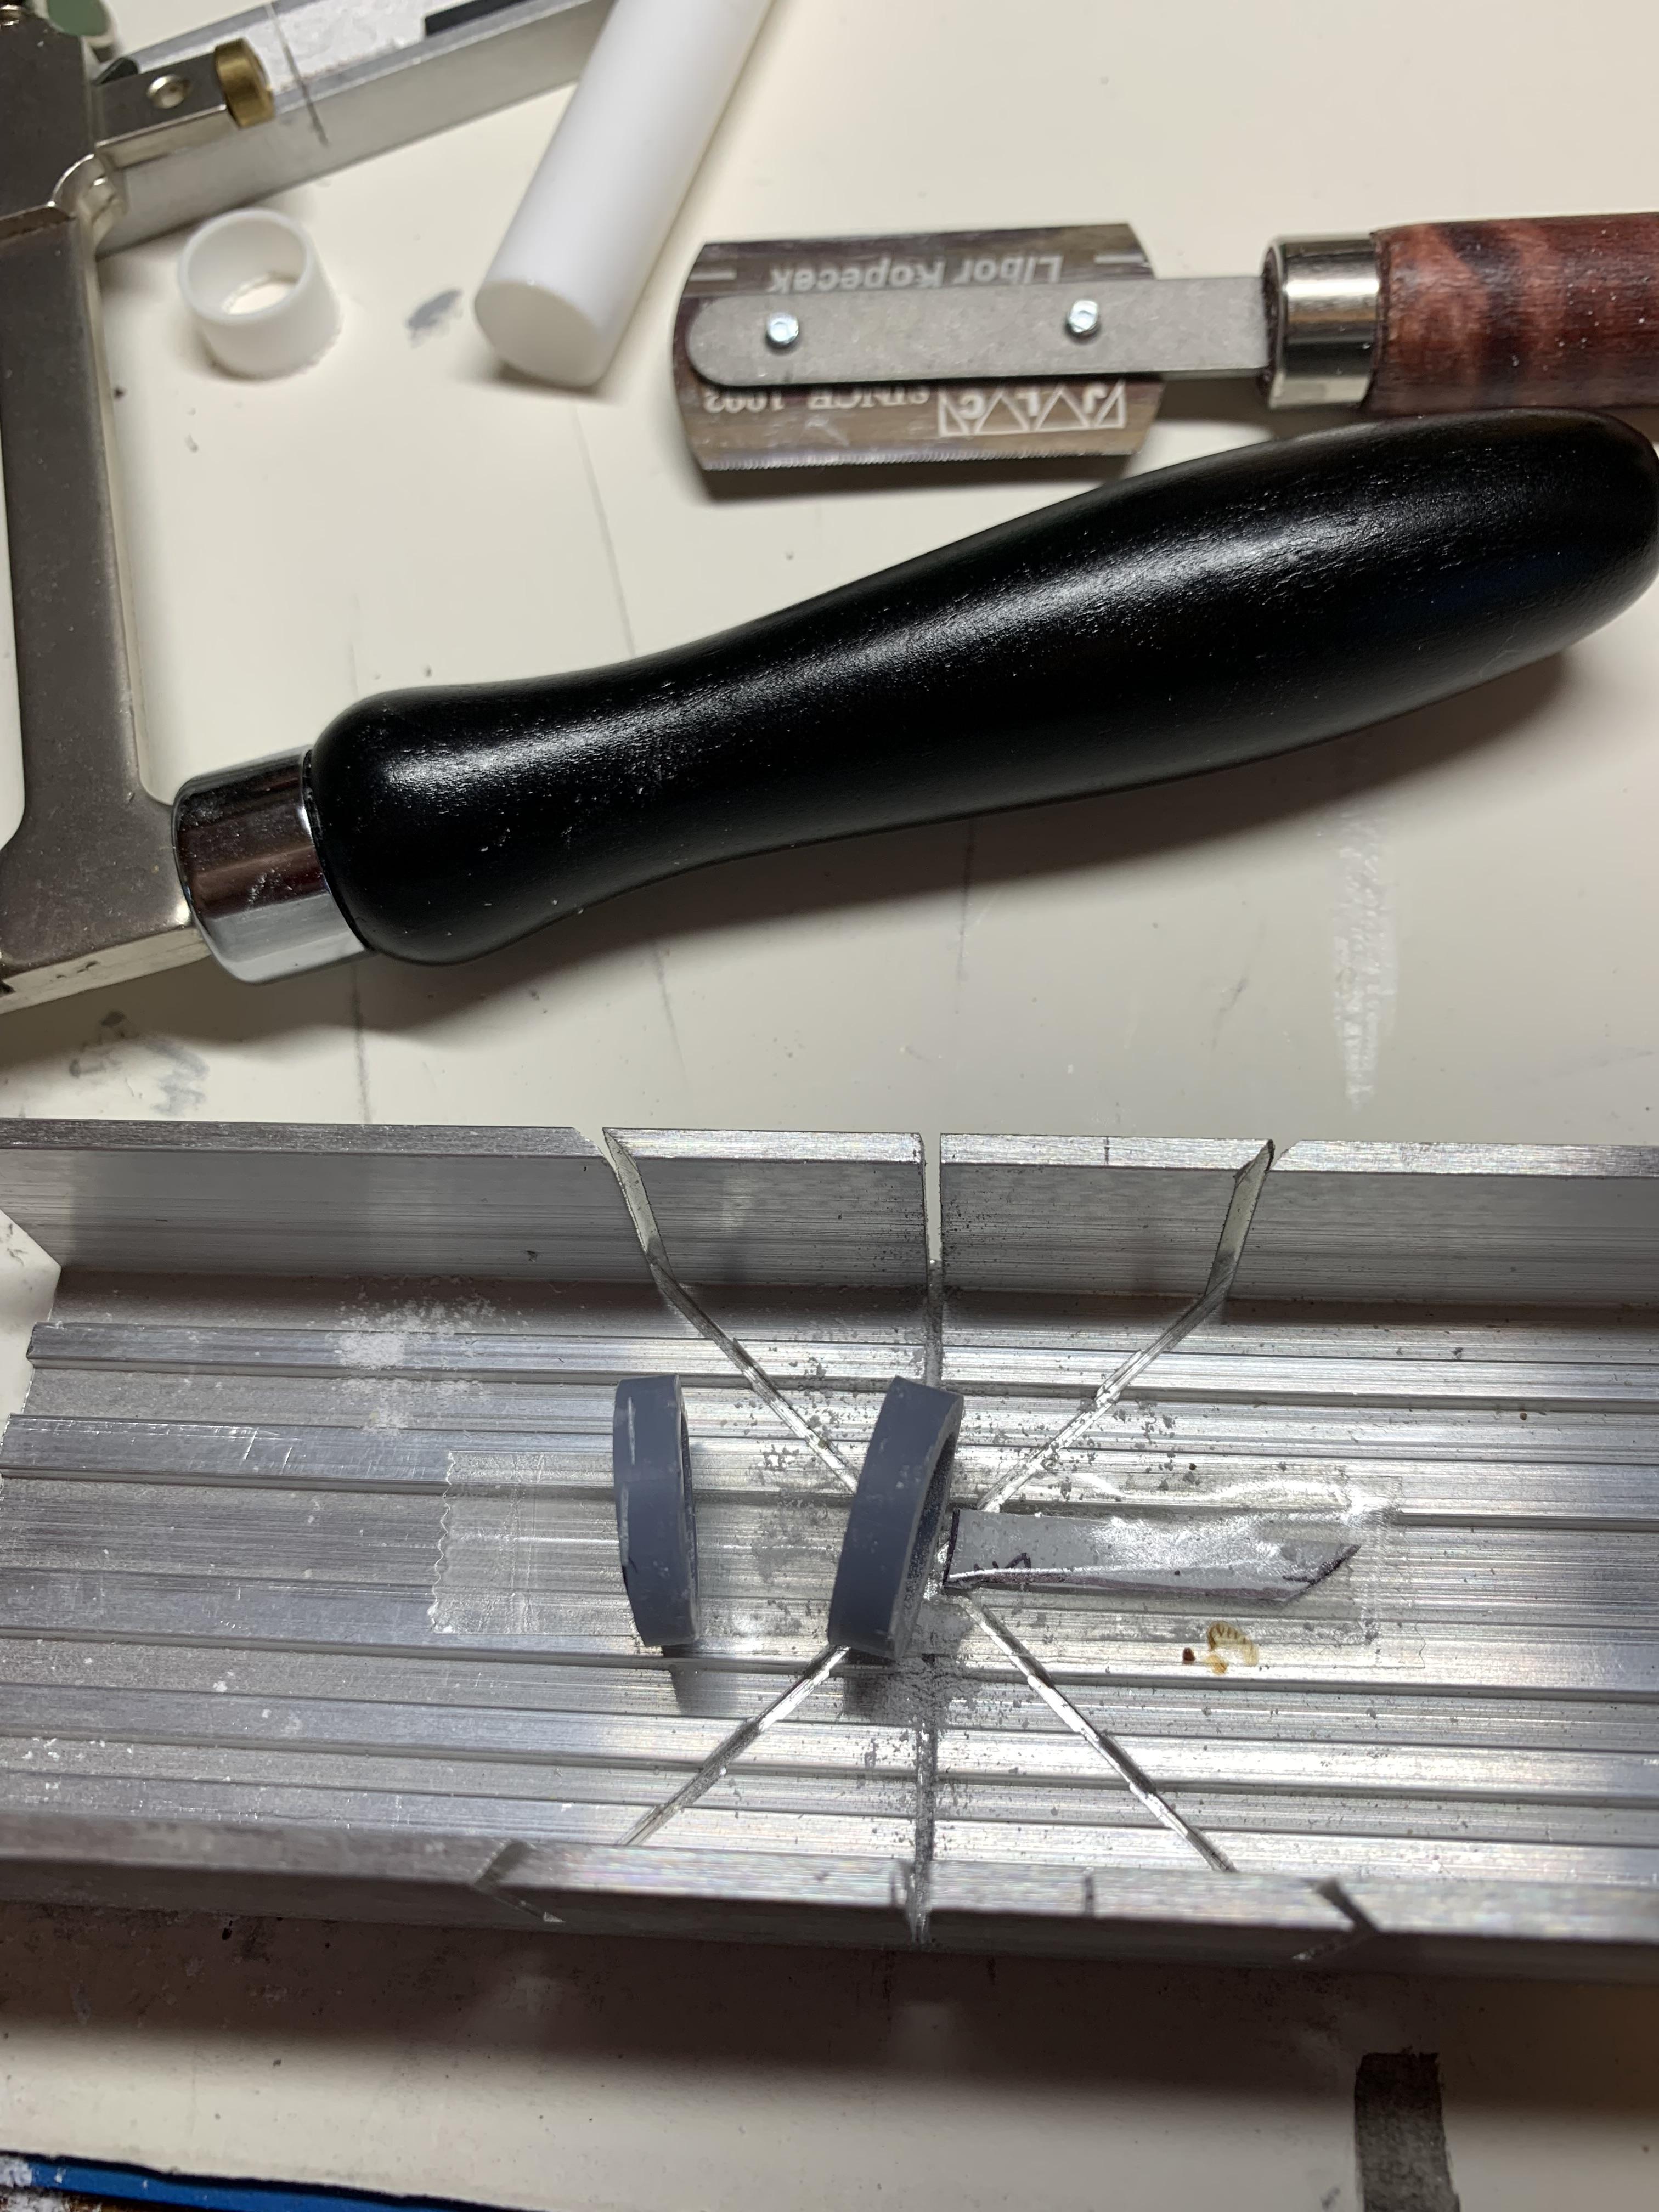
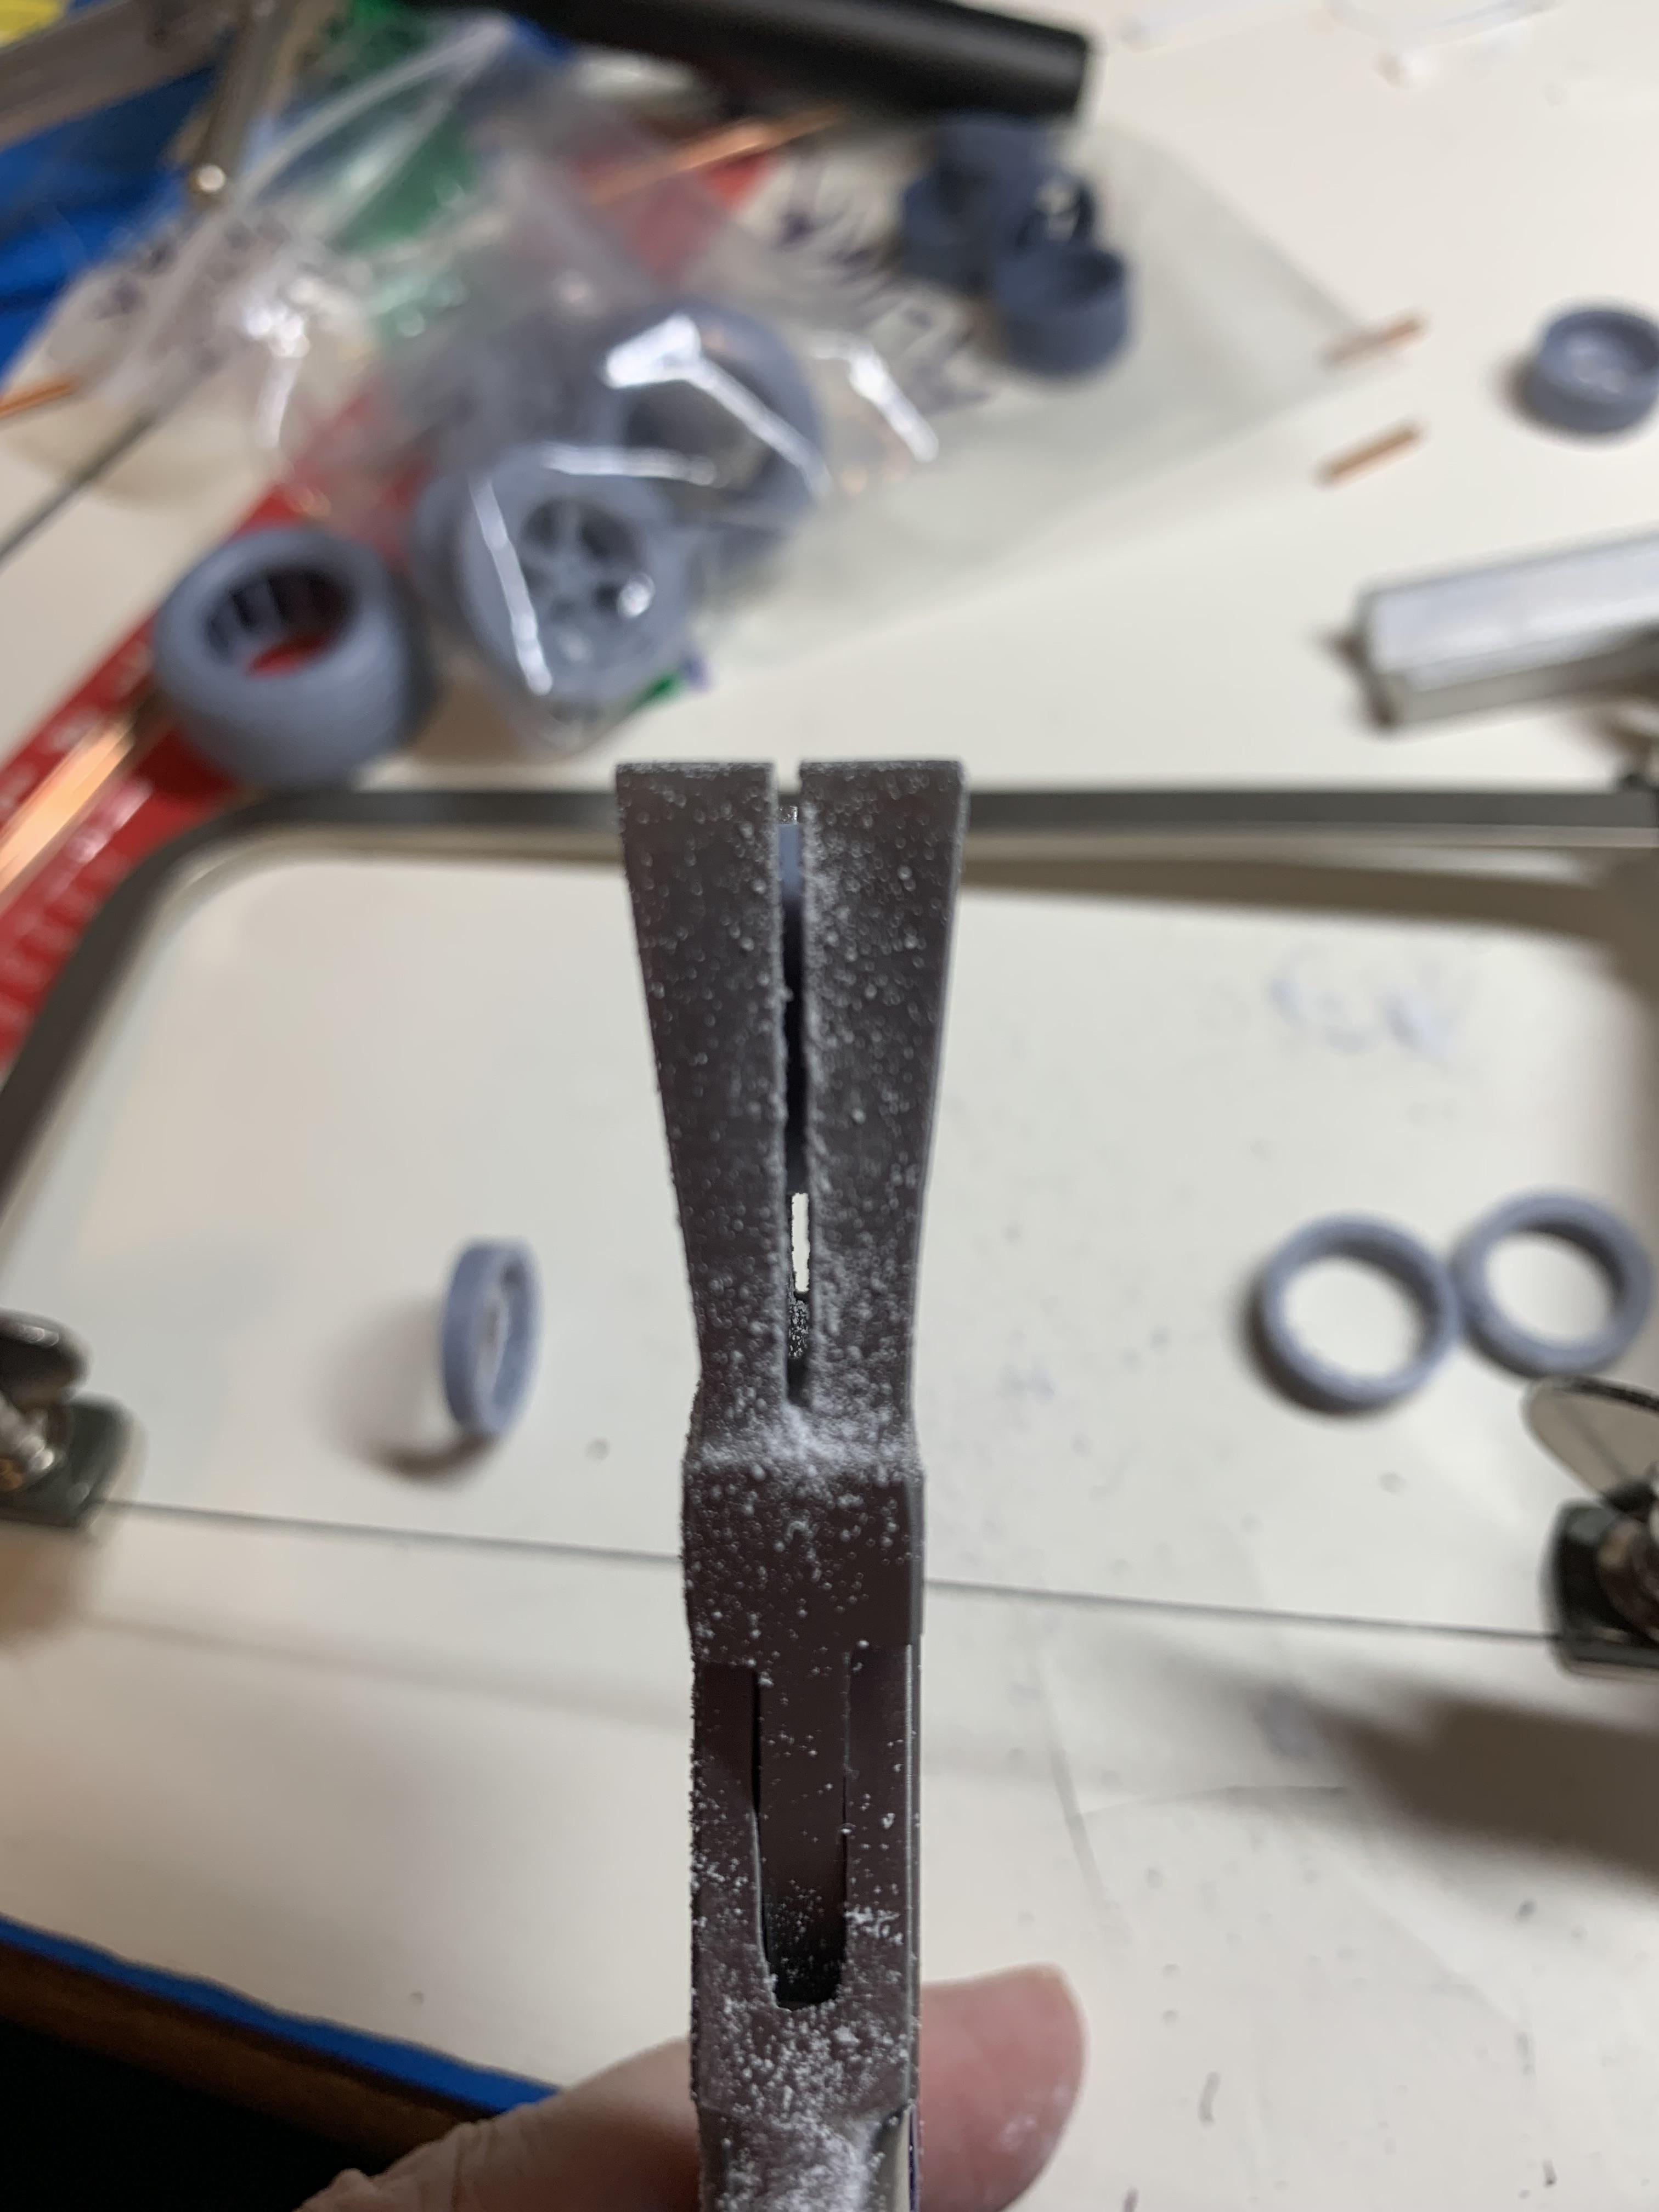
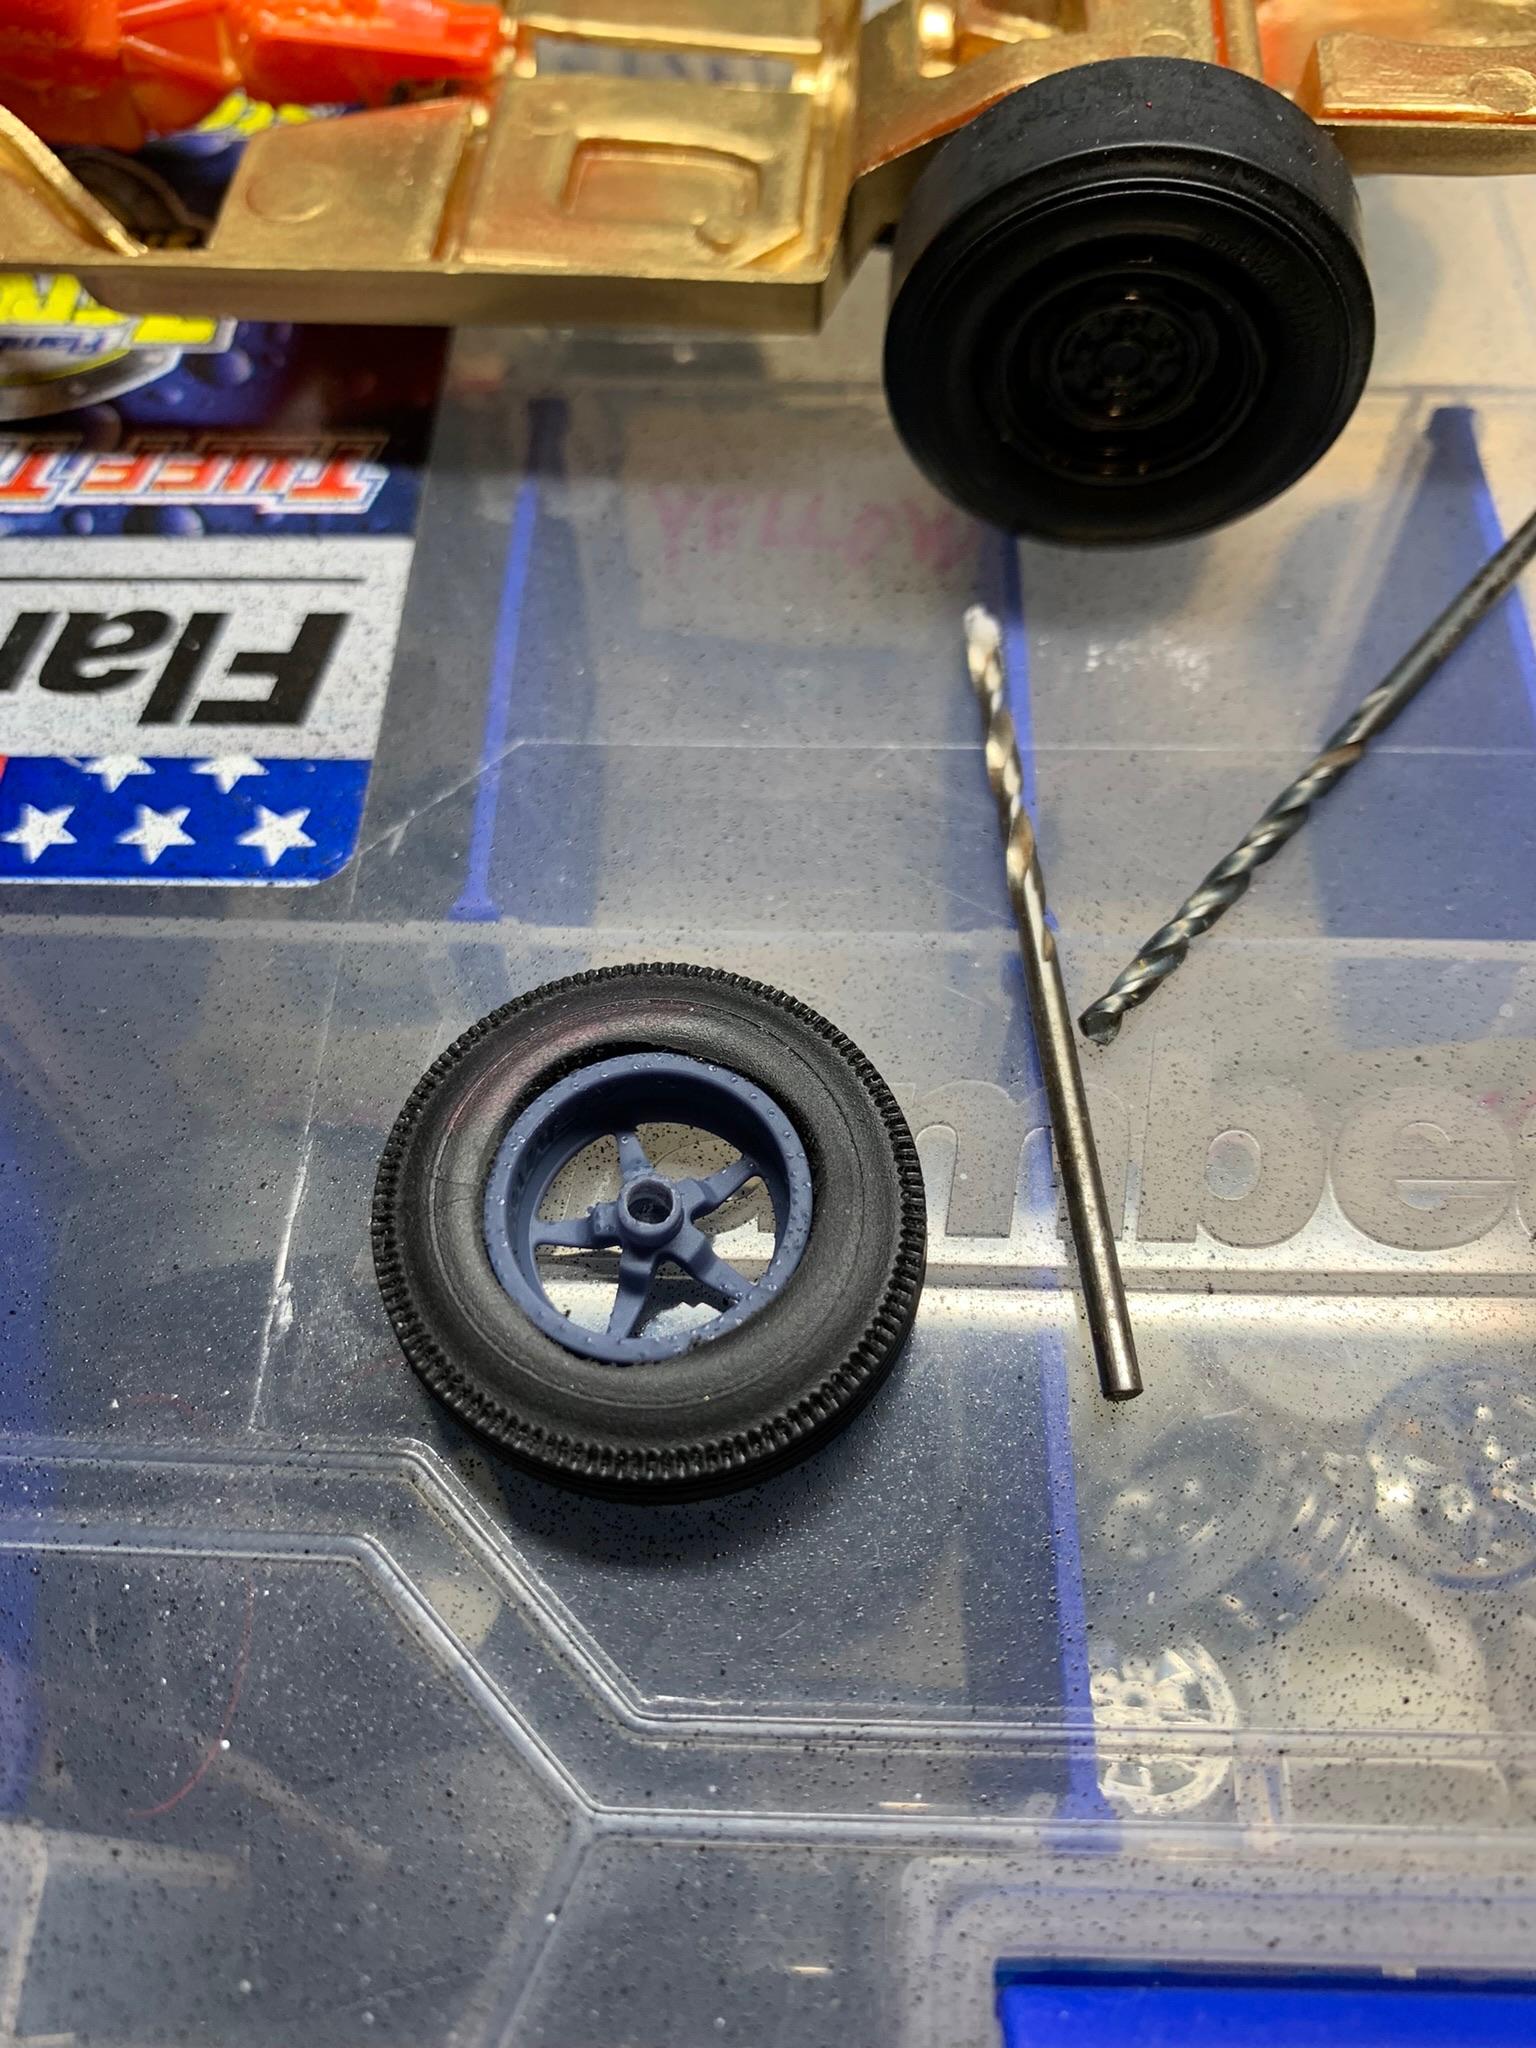
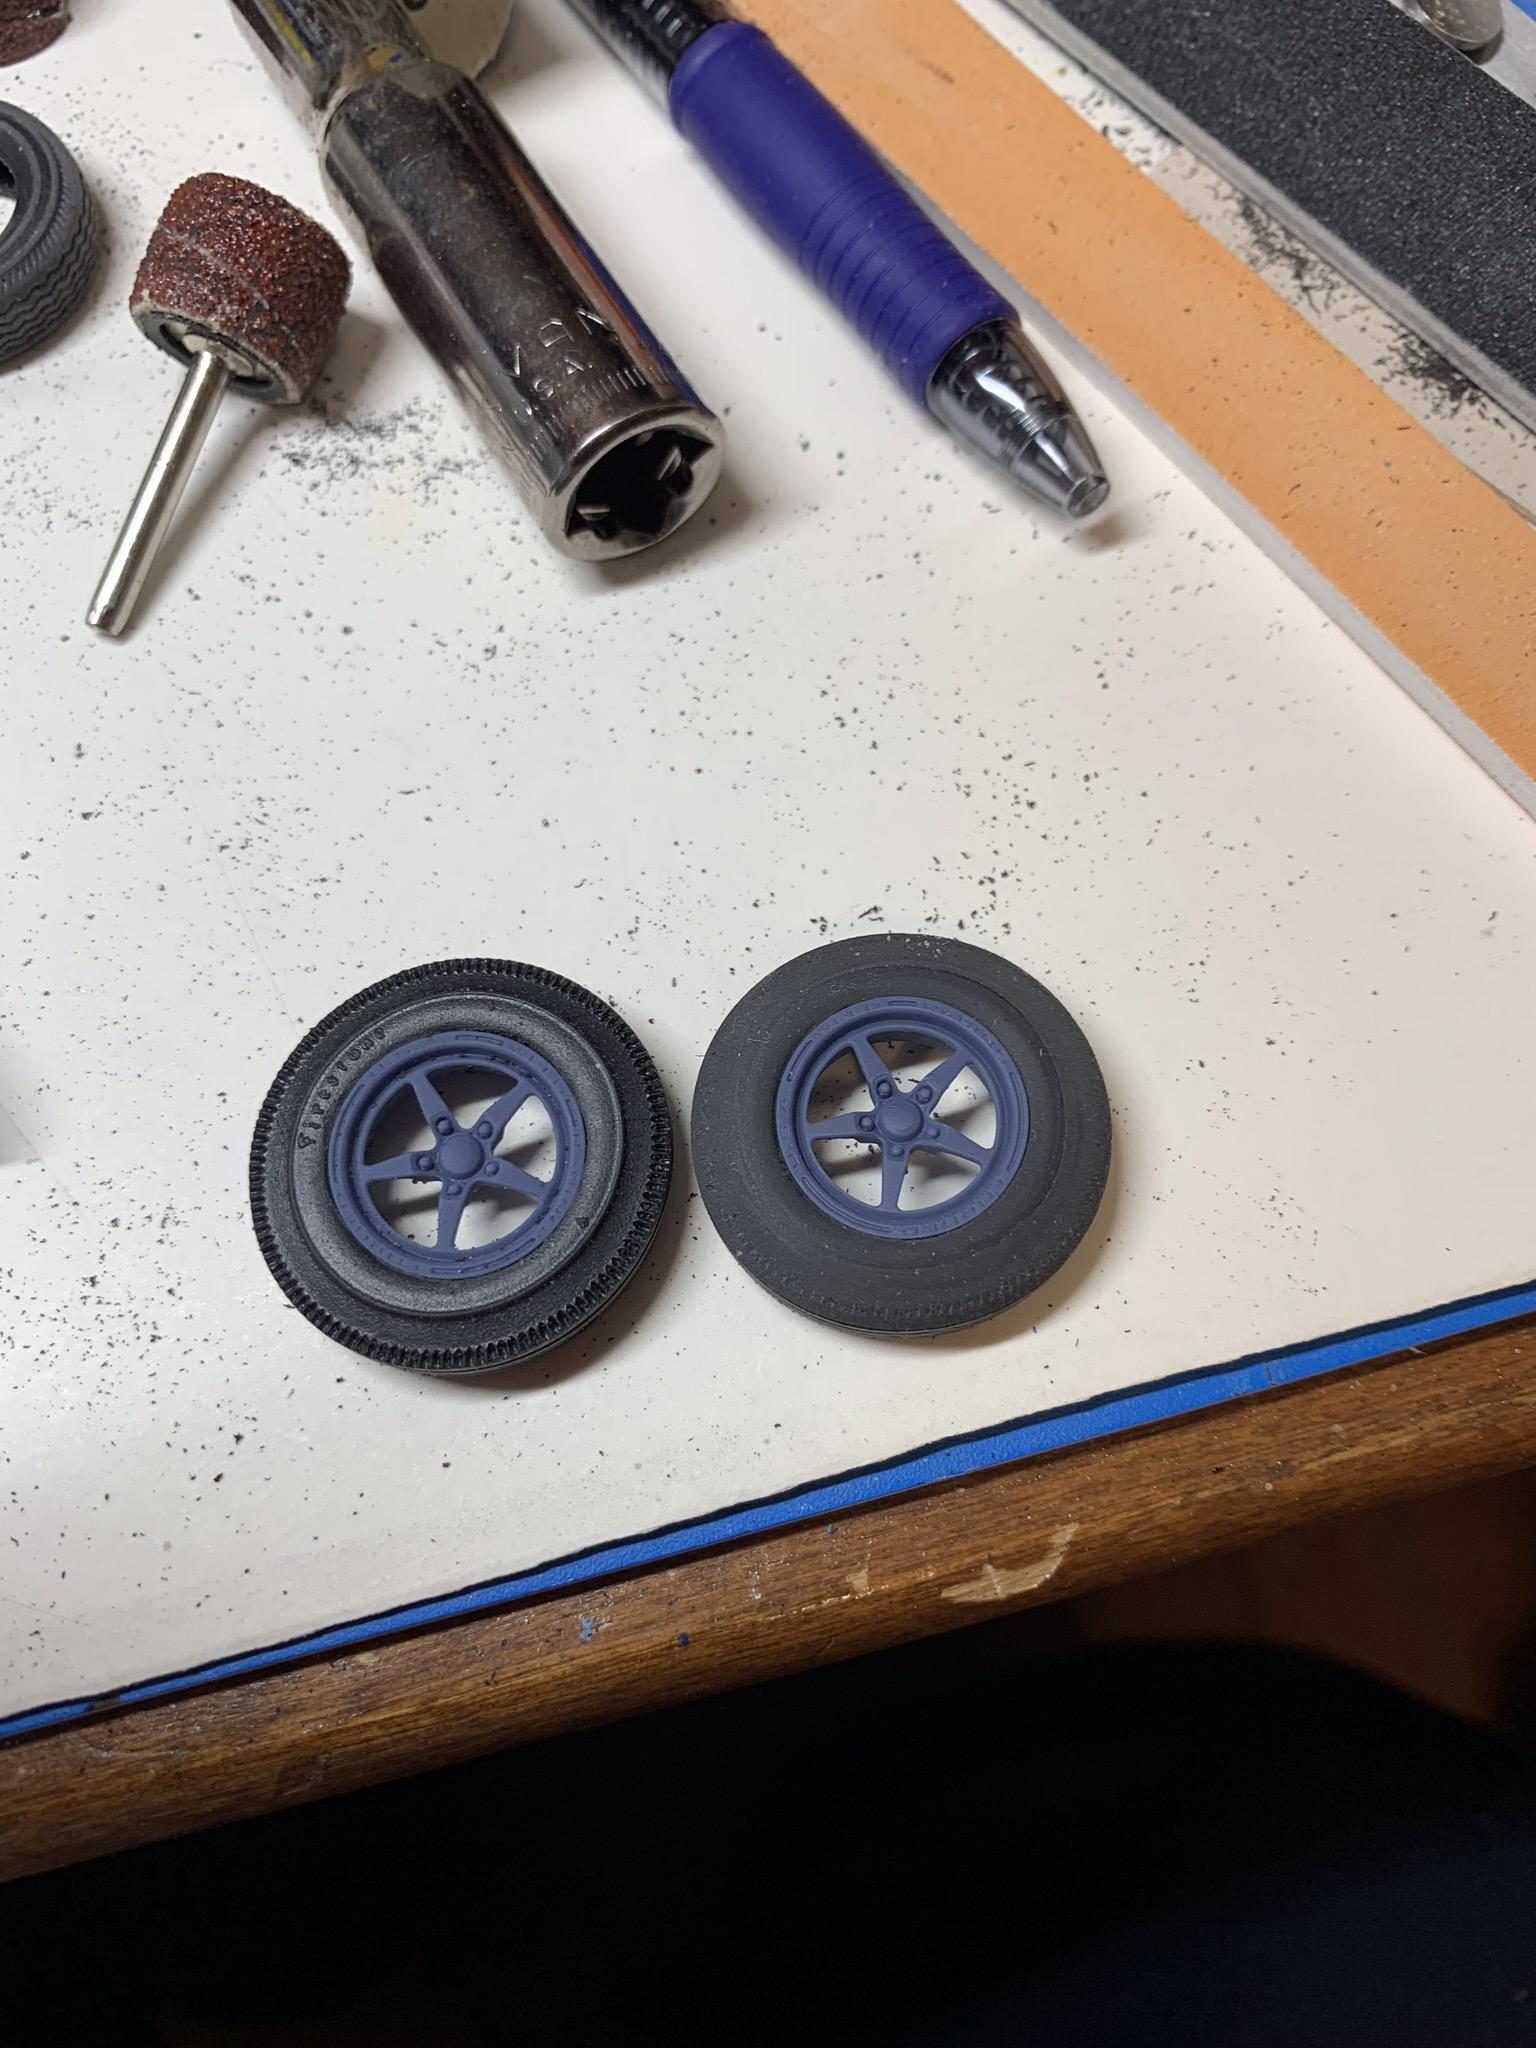
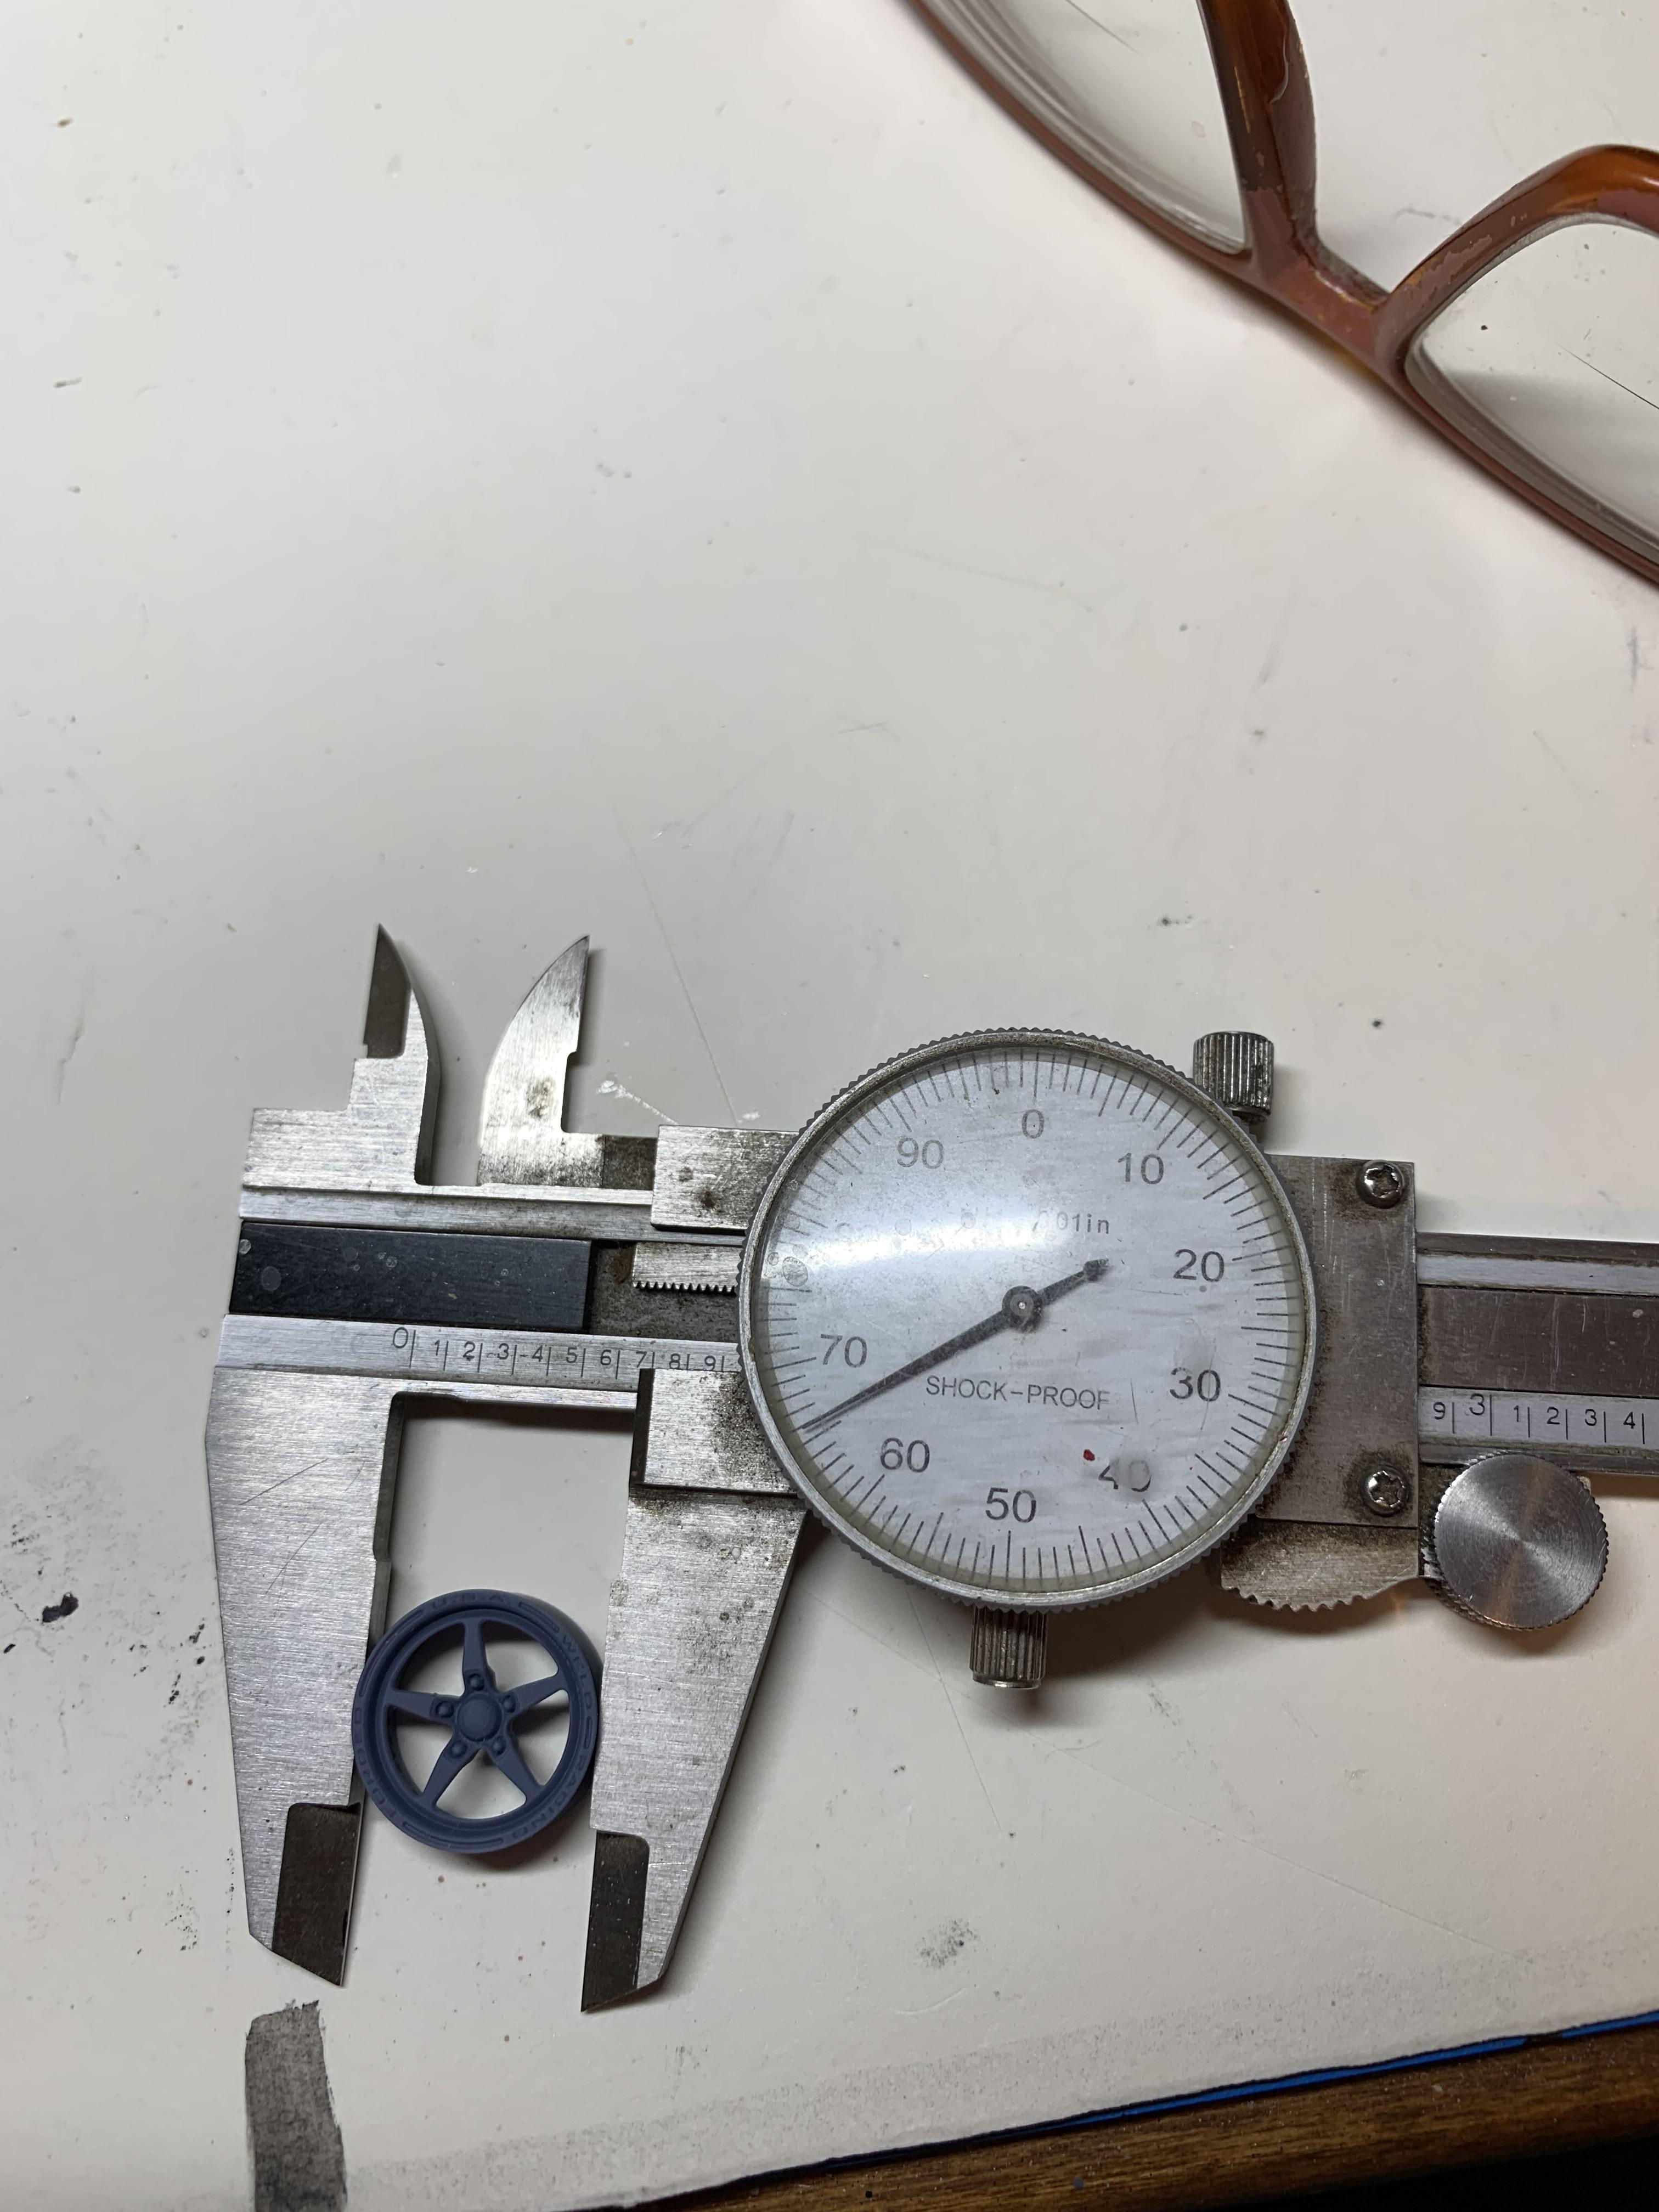
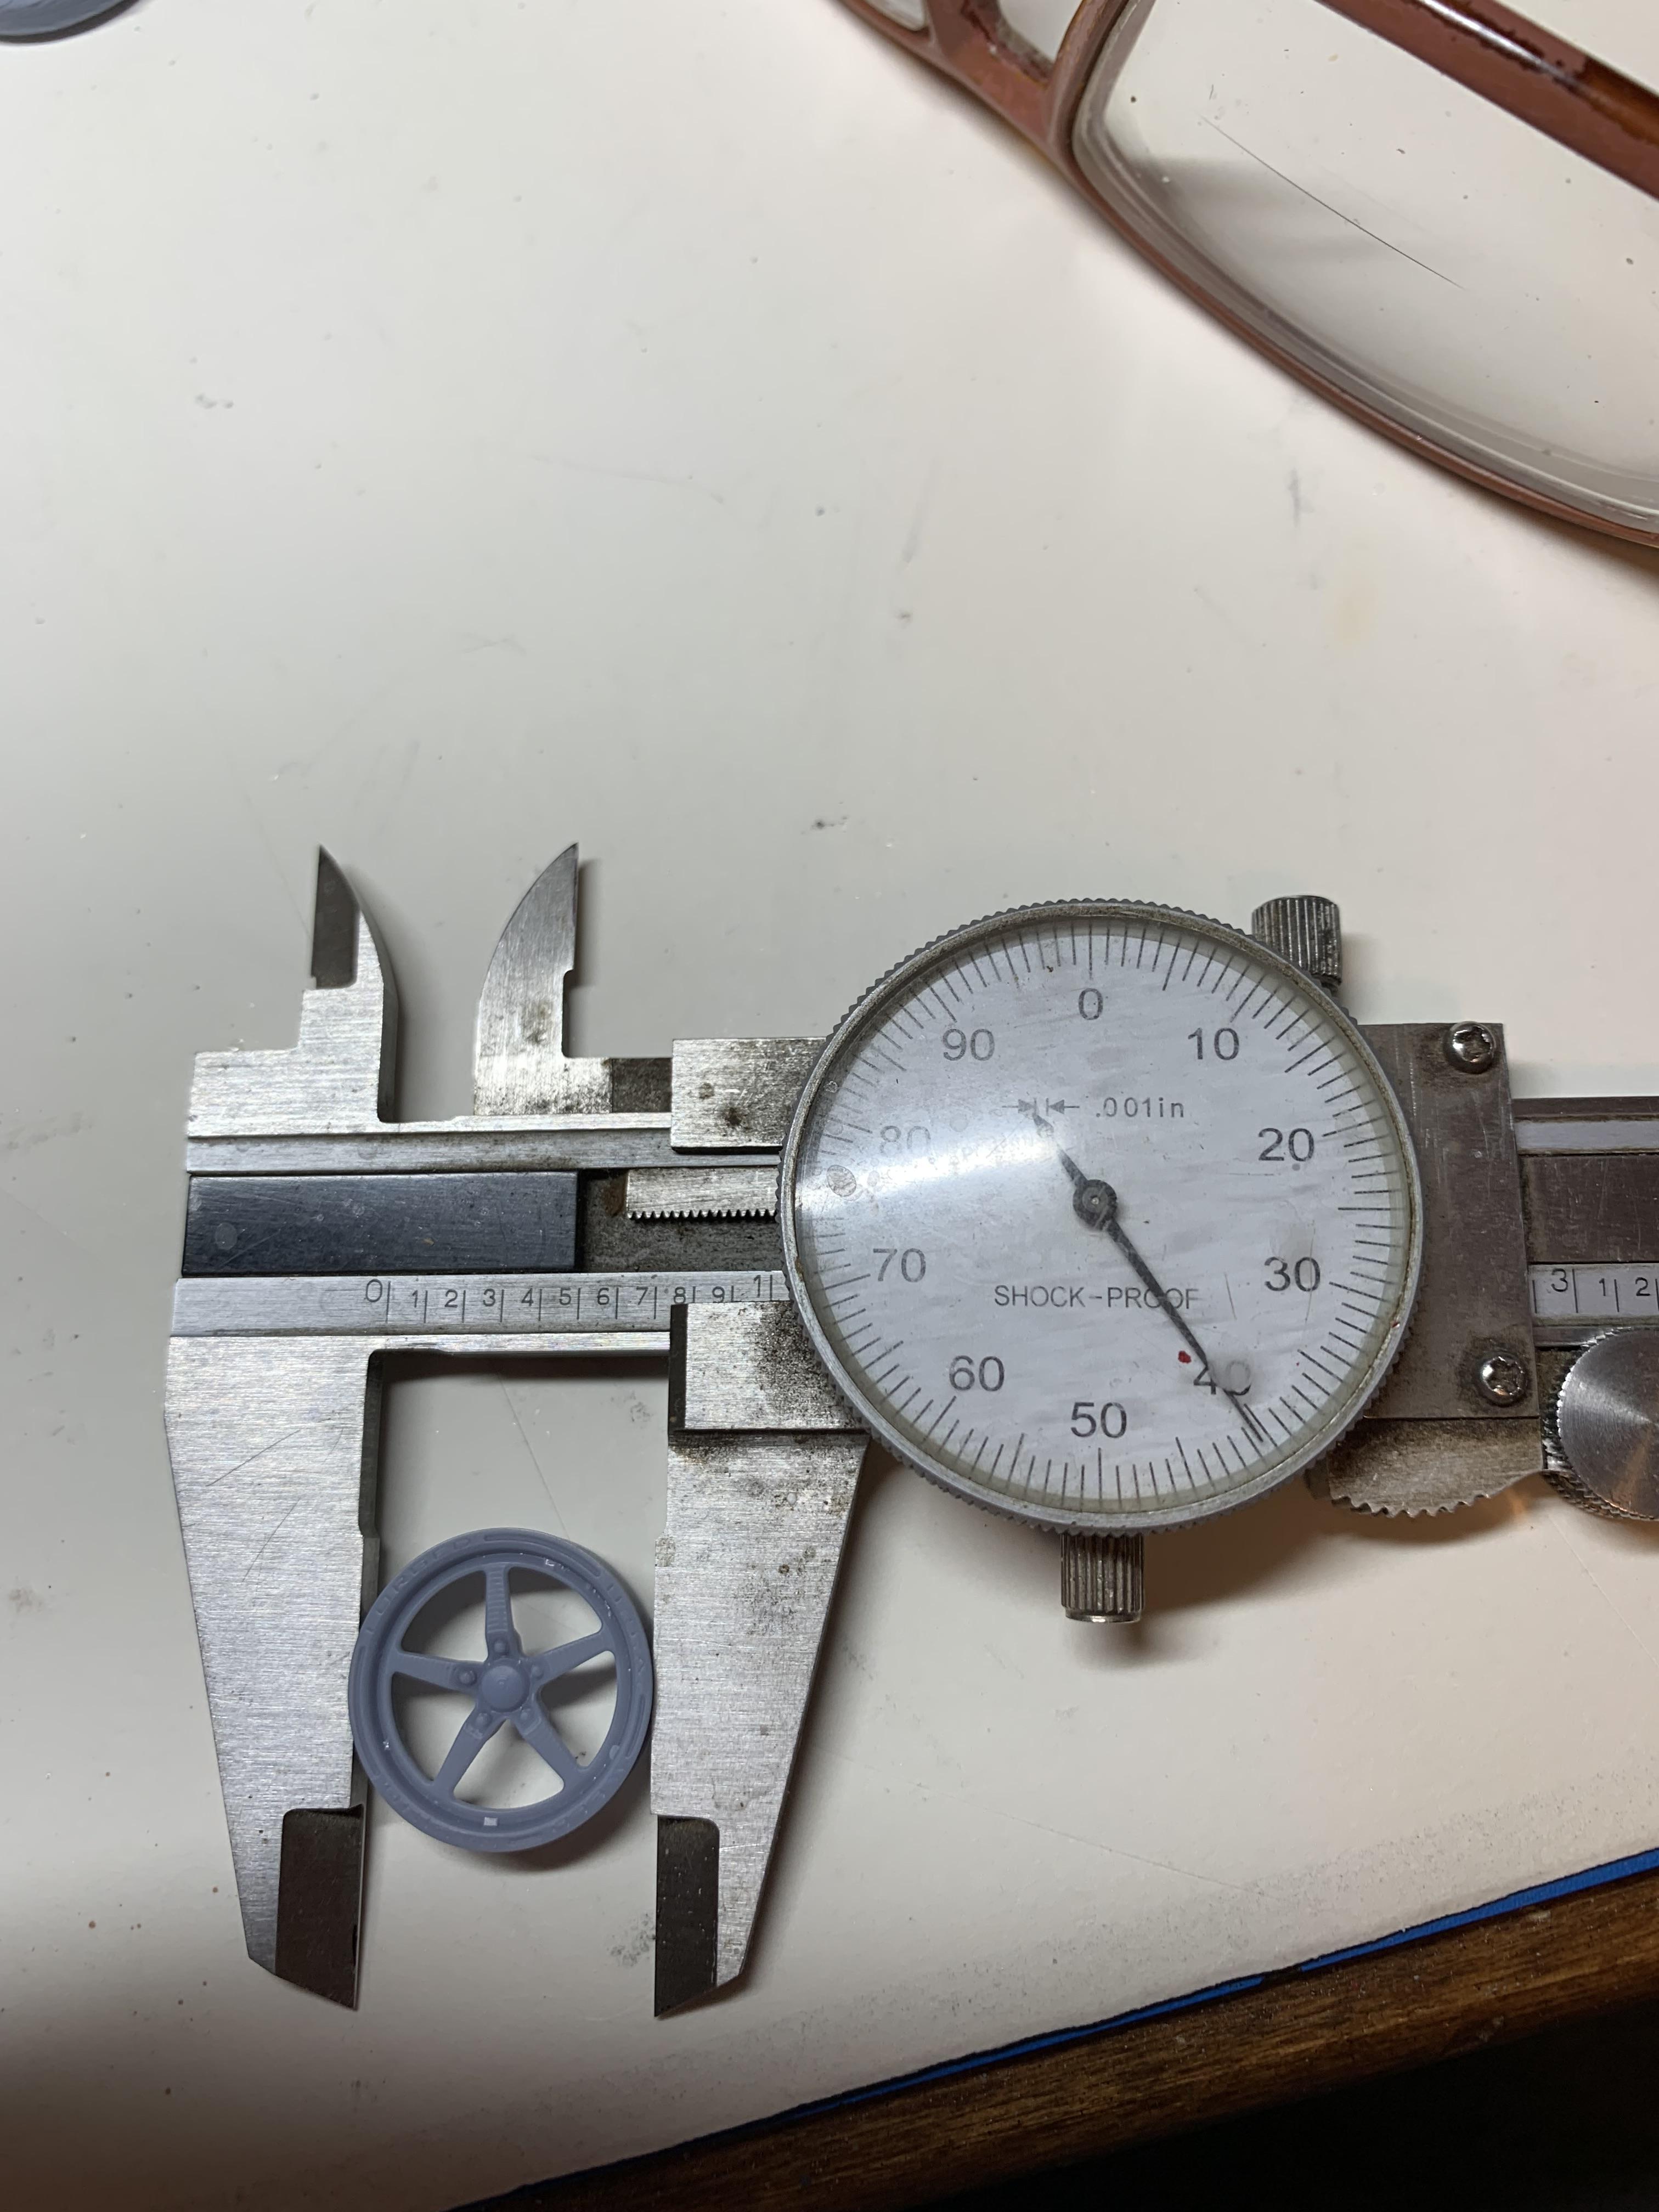
Well, after bragging about my new tools for cutting straighter lines, the next 2 wheels turned out worse and varied about .030” from one side to the other and required tedious hand sanding to straighten them. If anybody has any suggestions, let’s hear them. Good old coarse sanding stick to the rescue.
-
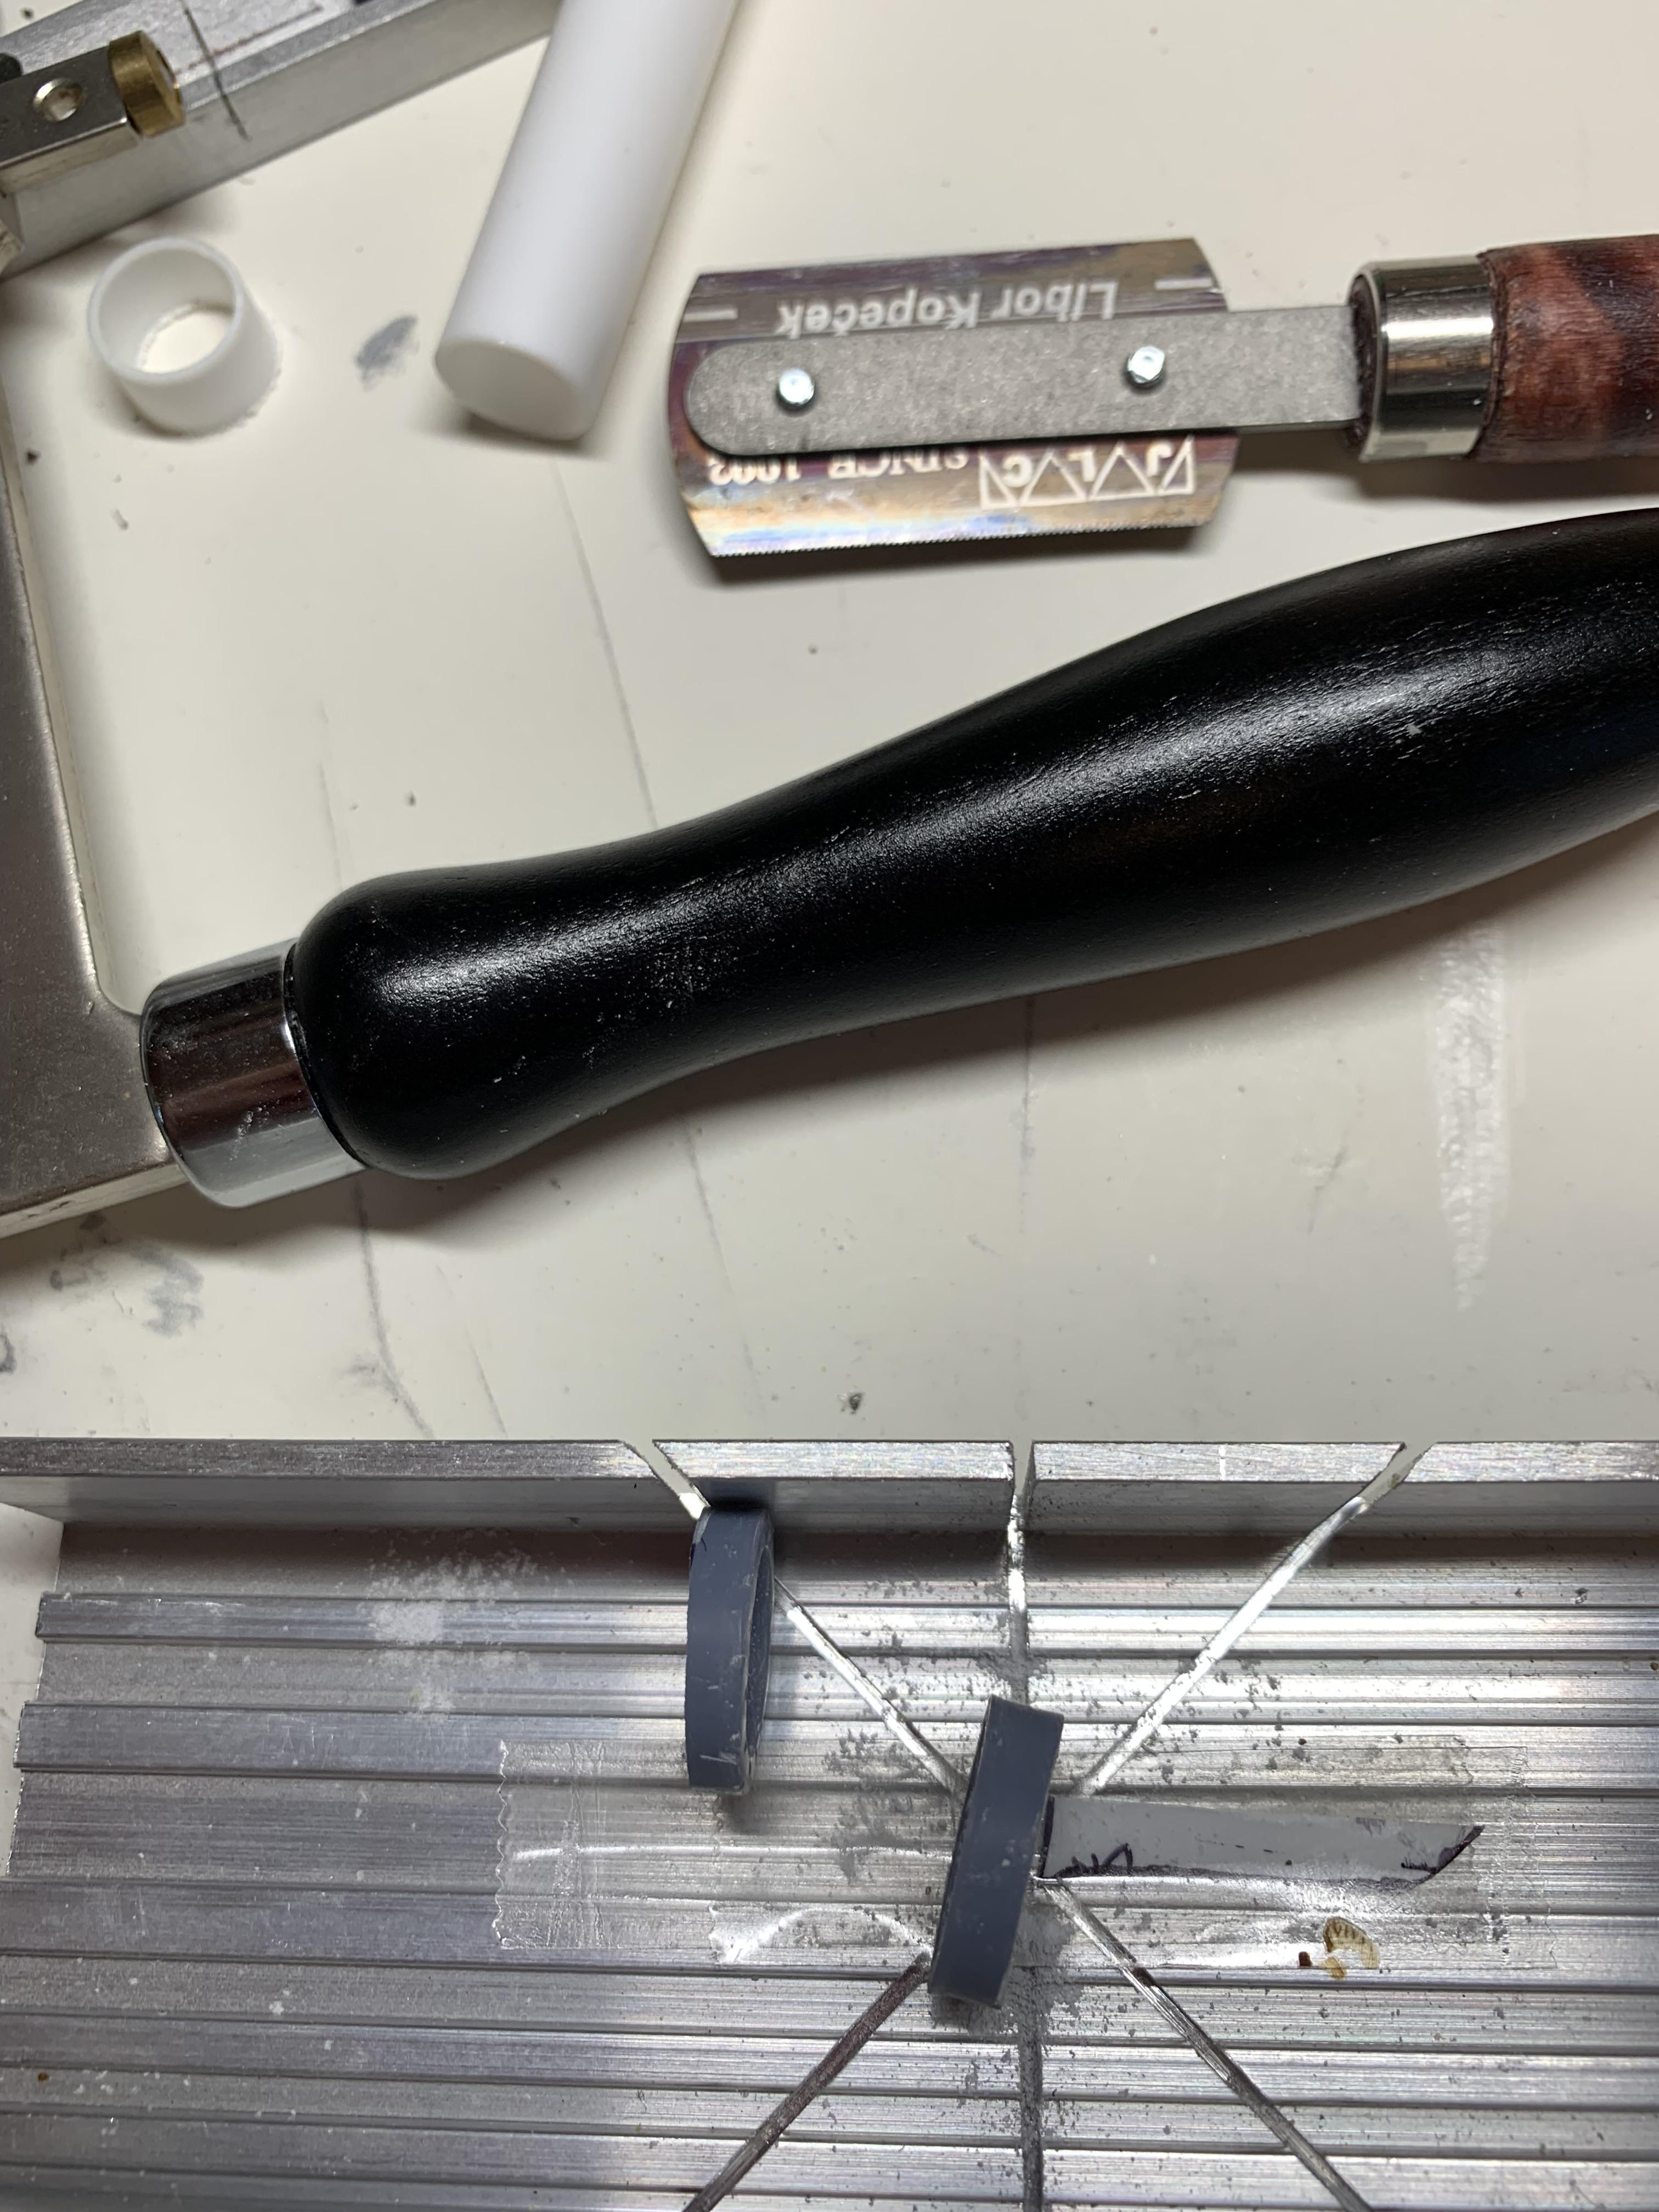
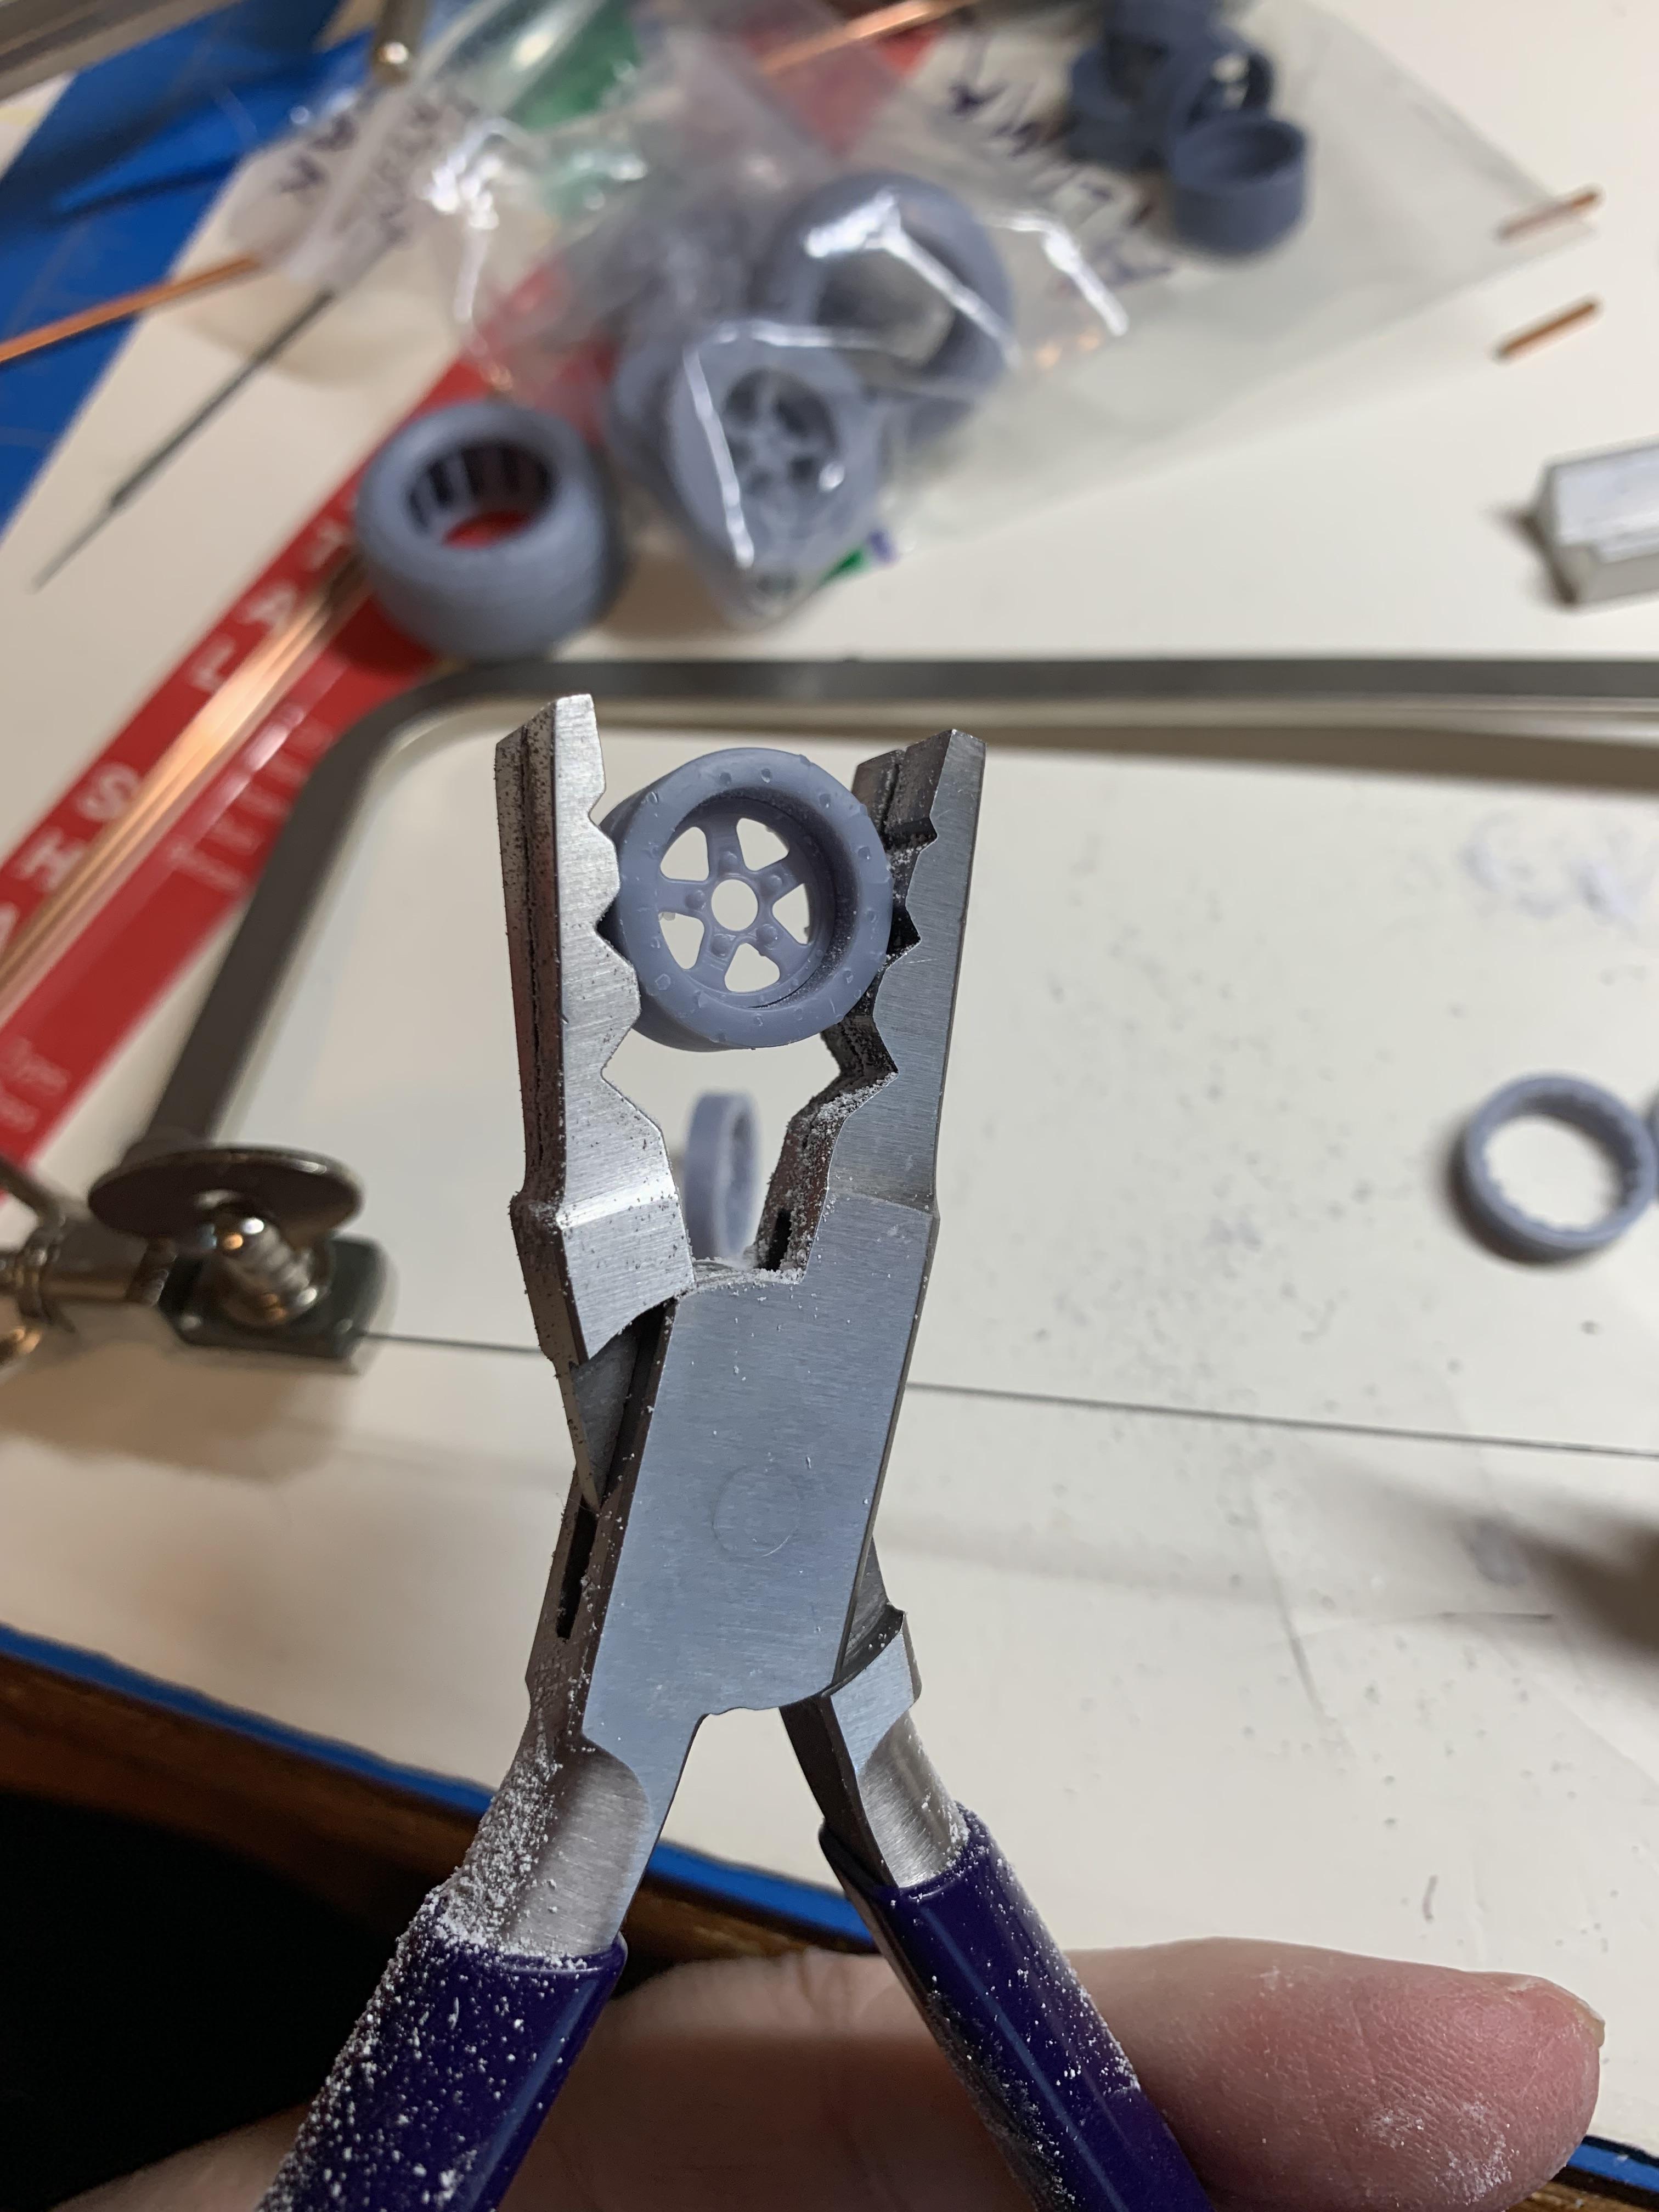
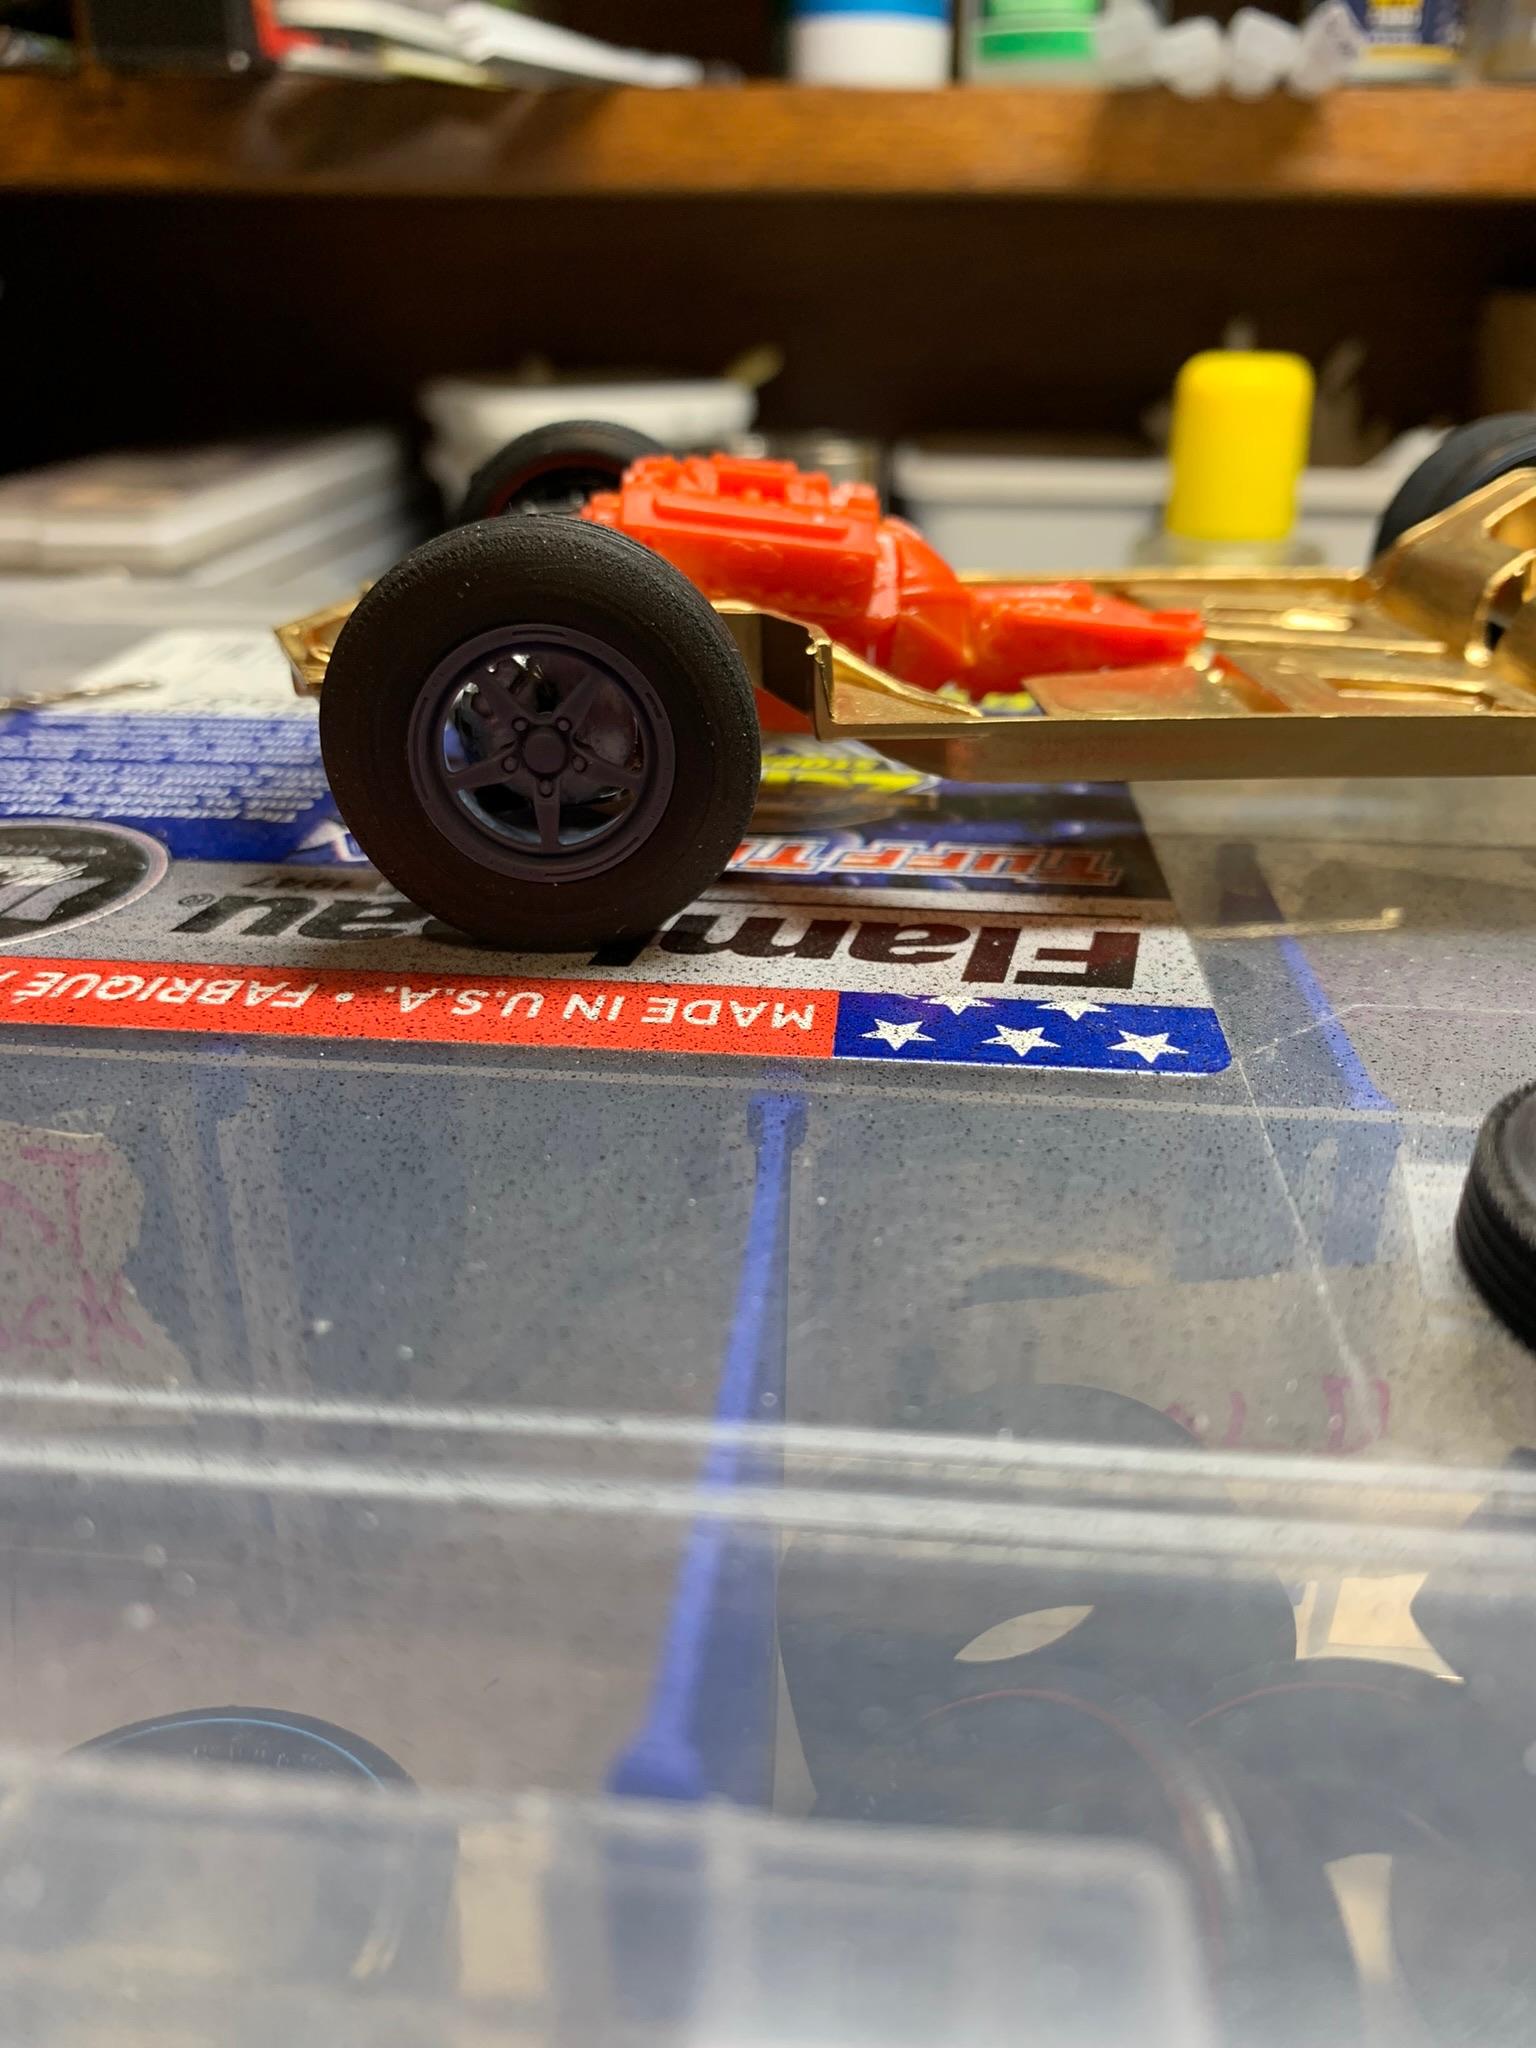
No magic here. Just Tamiya ts spray paint. Gold, then clear red (watch out for runs). Anyway, after a break of a few days, I am back at it making the 14” (1/25 scale .560”) resin wheels into 10” Stock Eliminator wheels (1/25 scale .400”). I have done this on other wheels (narrowed them) in a miter box with double back tack to hold them in place and did so again on these, but did not like the results. The razor saw(s) always seem to cut crooked and require a fair amount of truing up. Looked for something better and my new specialty jewelry pliars and saw worked much better. Hopefully, you can see the difference between them.
-
Gassers, how have you built them?
R. Thorne replied to T-Ray's topic in Model Building Questions and Answers
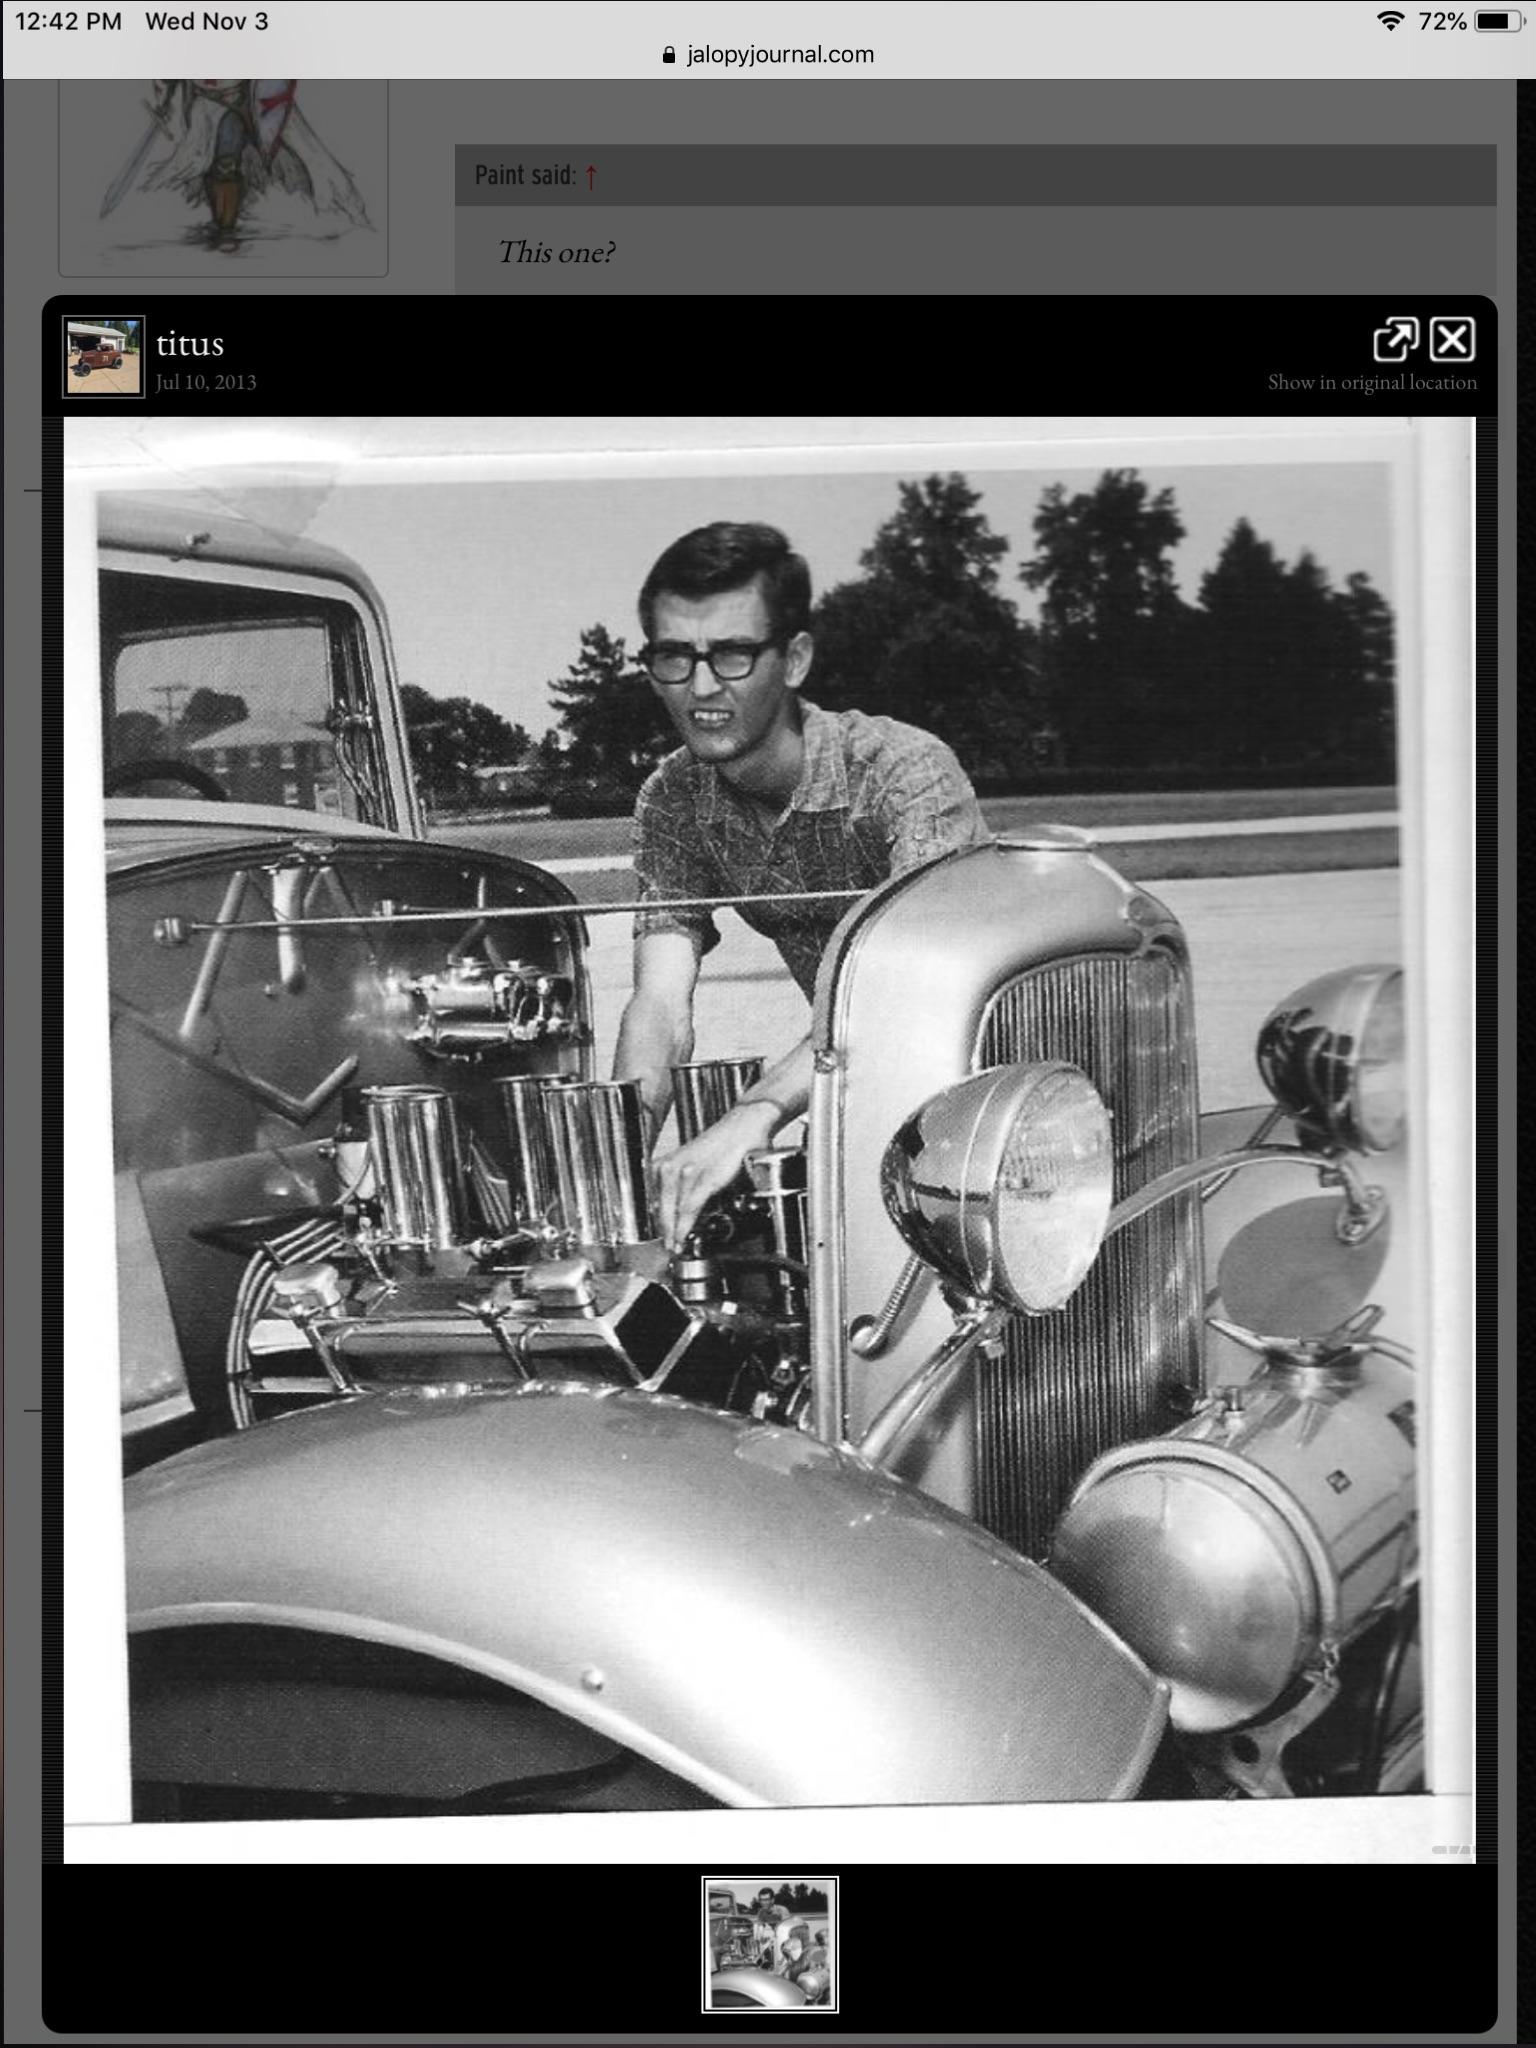
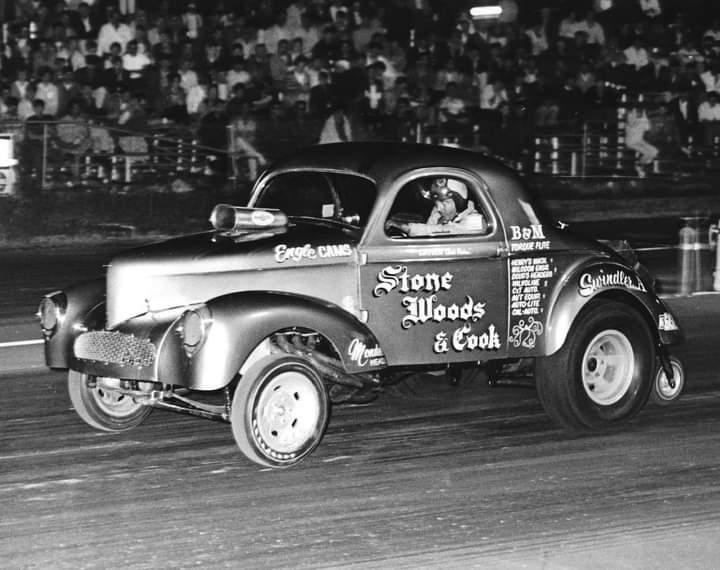
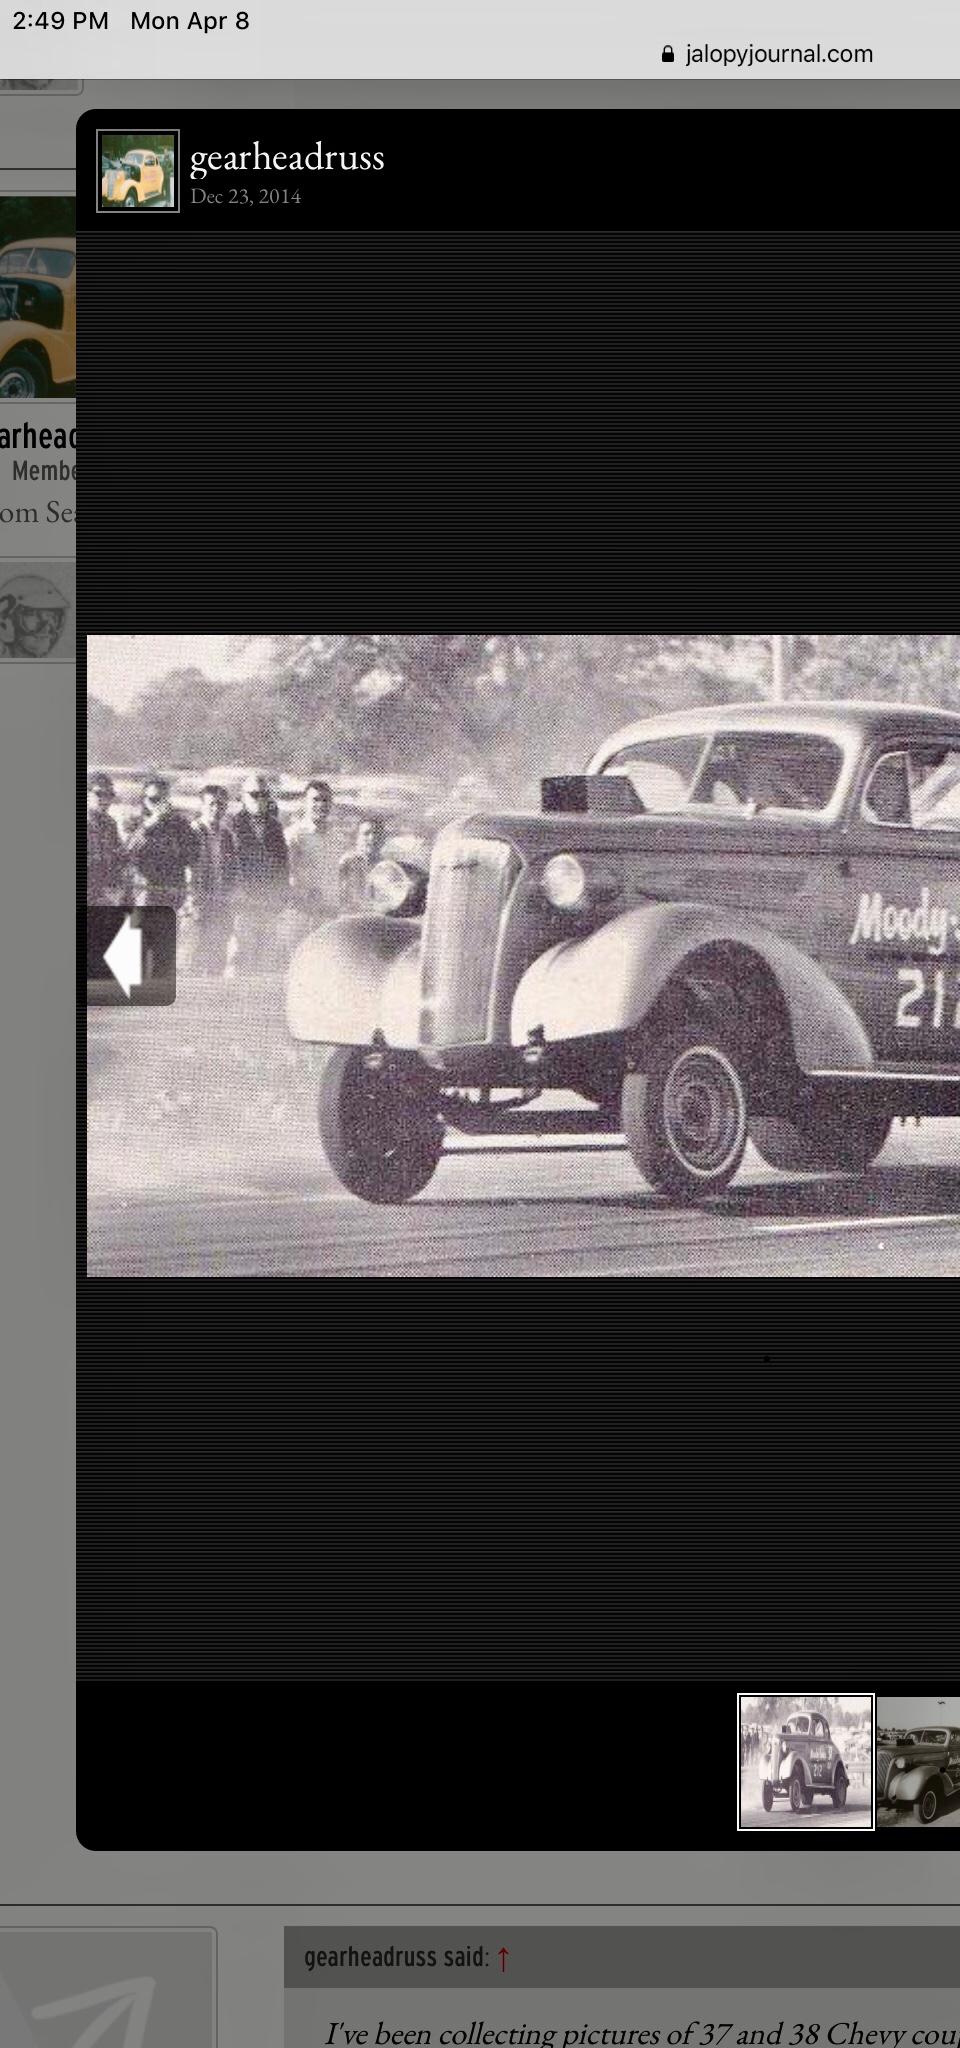
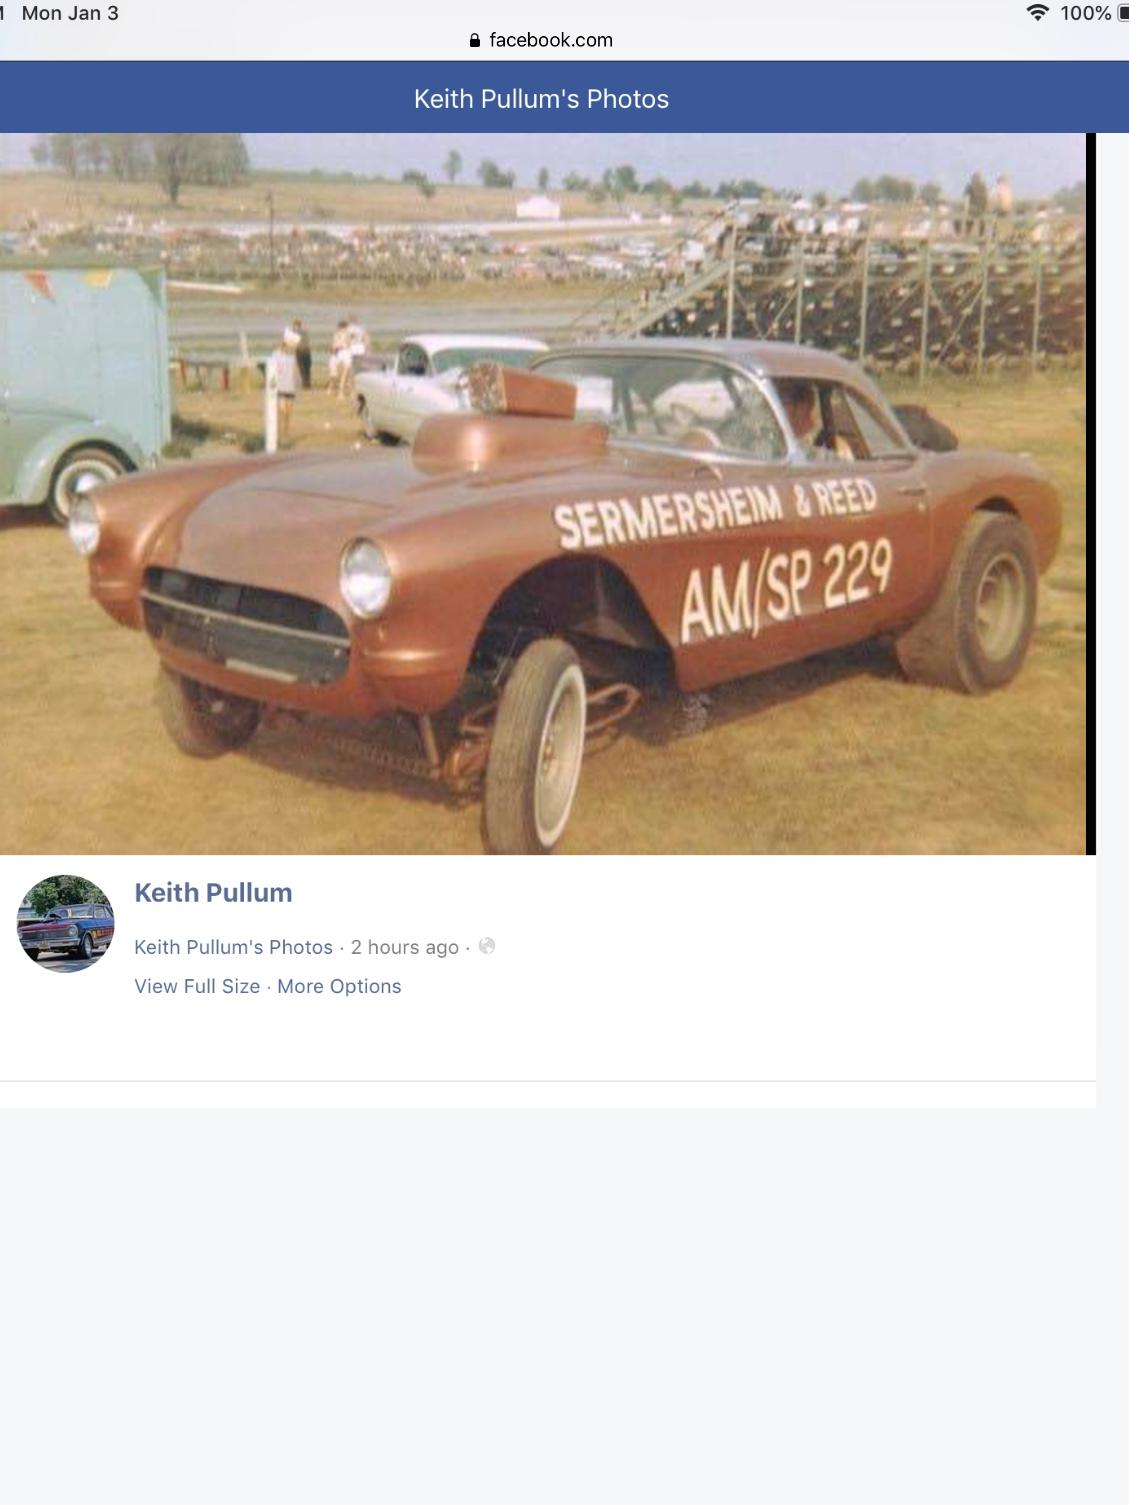
Well, couldn’t keep from posting this picture of a focused driver and Bad car.
-
Outstanding!
-
Gassers, how have you built them?
R. Thorne replied to T-Ray's topic in Model Building Questions and Answers
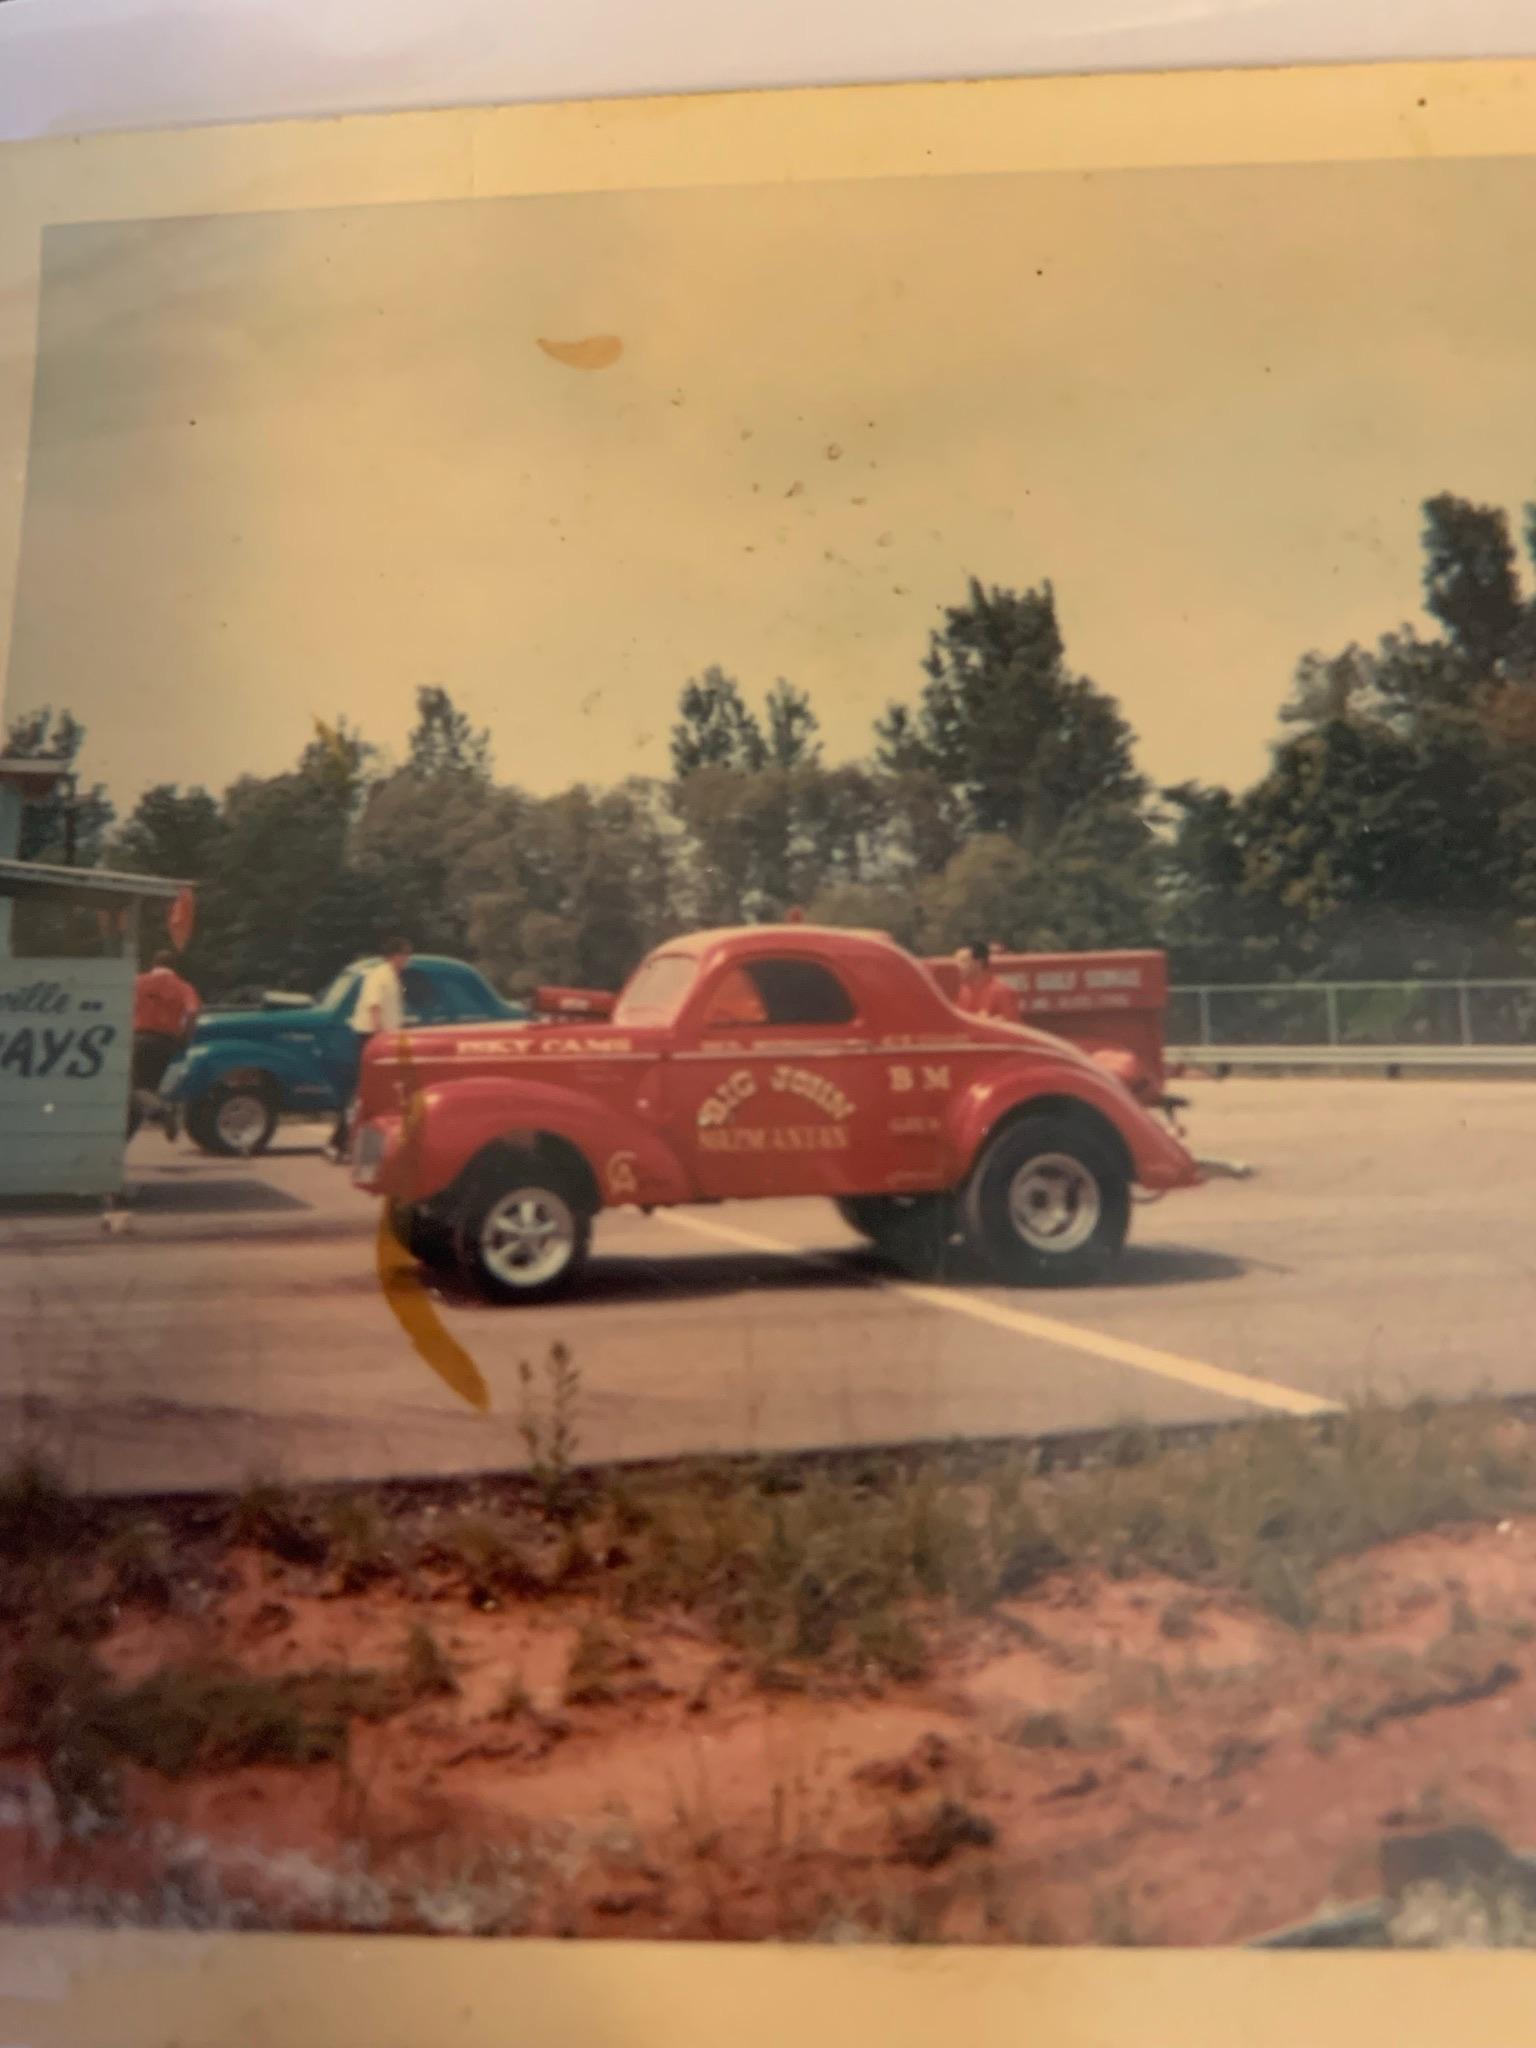
Part of the problem in assessing what these cars looked like (front end lift wise) is that most popular pictures of these cars were taken from leaving the line, not from a stationary position. This is a picture I took in the mid 60’s at a match race in Chandler, In. This was taken behind the starting line. Big John and Stone Woods & Cook were , of course, 2 of the most popular cars at that time. It seems like only yesterday that I was introduced up close and personal (about 15 ft. Away) to 2 blown hemis.
-
Gassers, how have you built them?
R. Thorne replied to T-Ray's topic in Model Building Questions and Answers
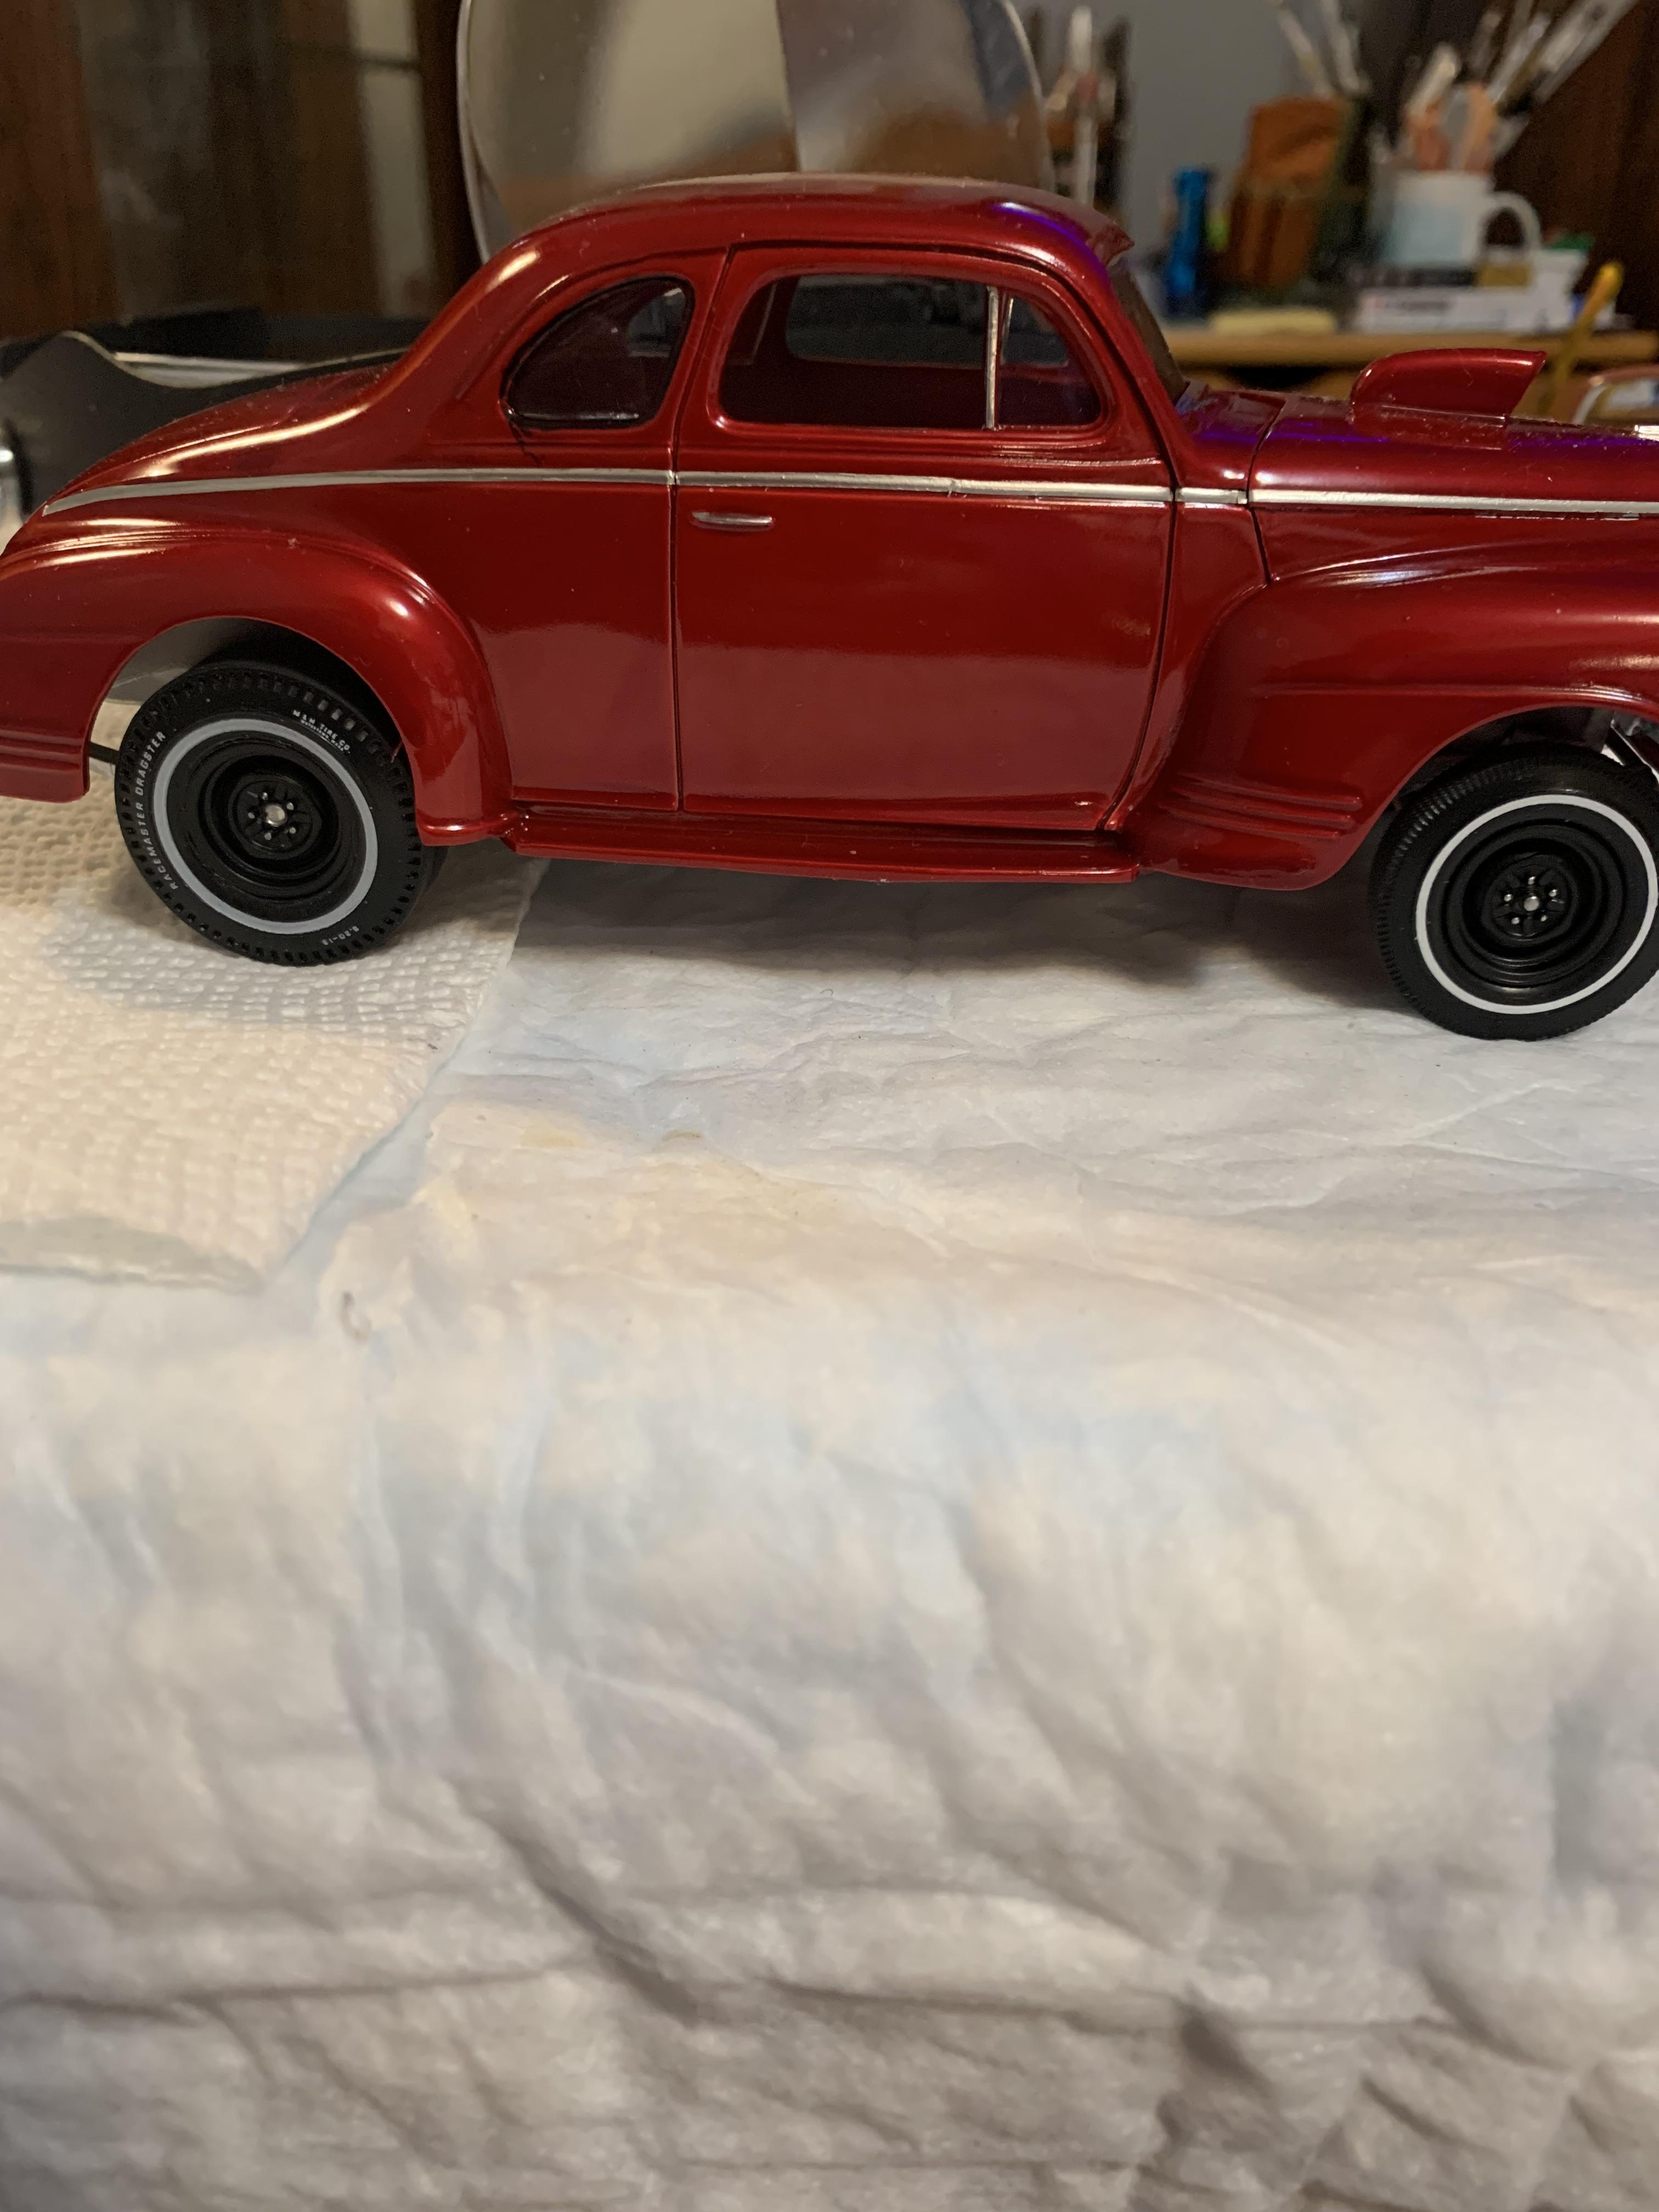
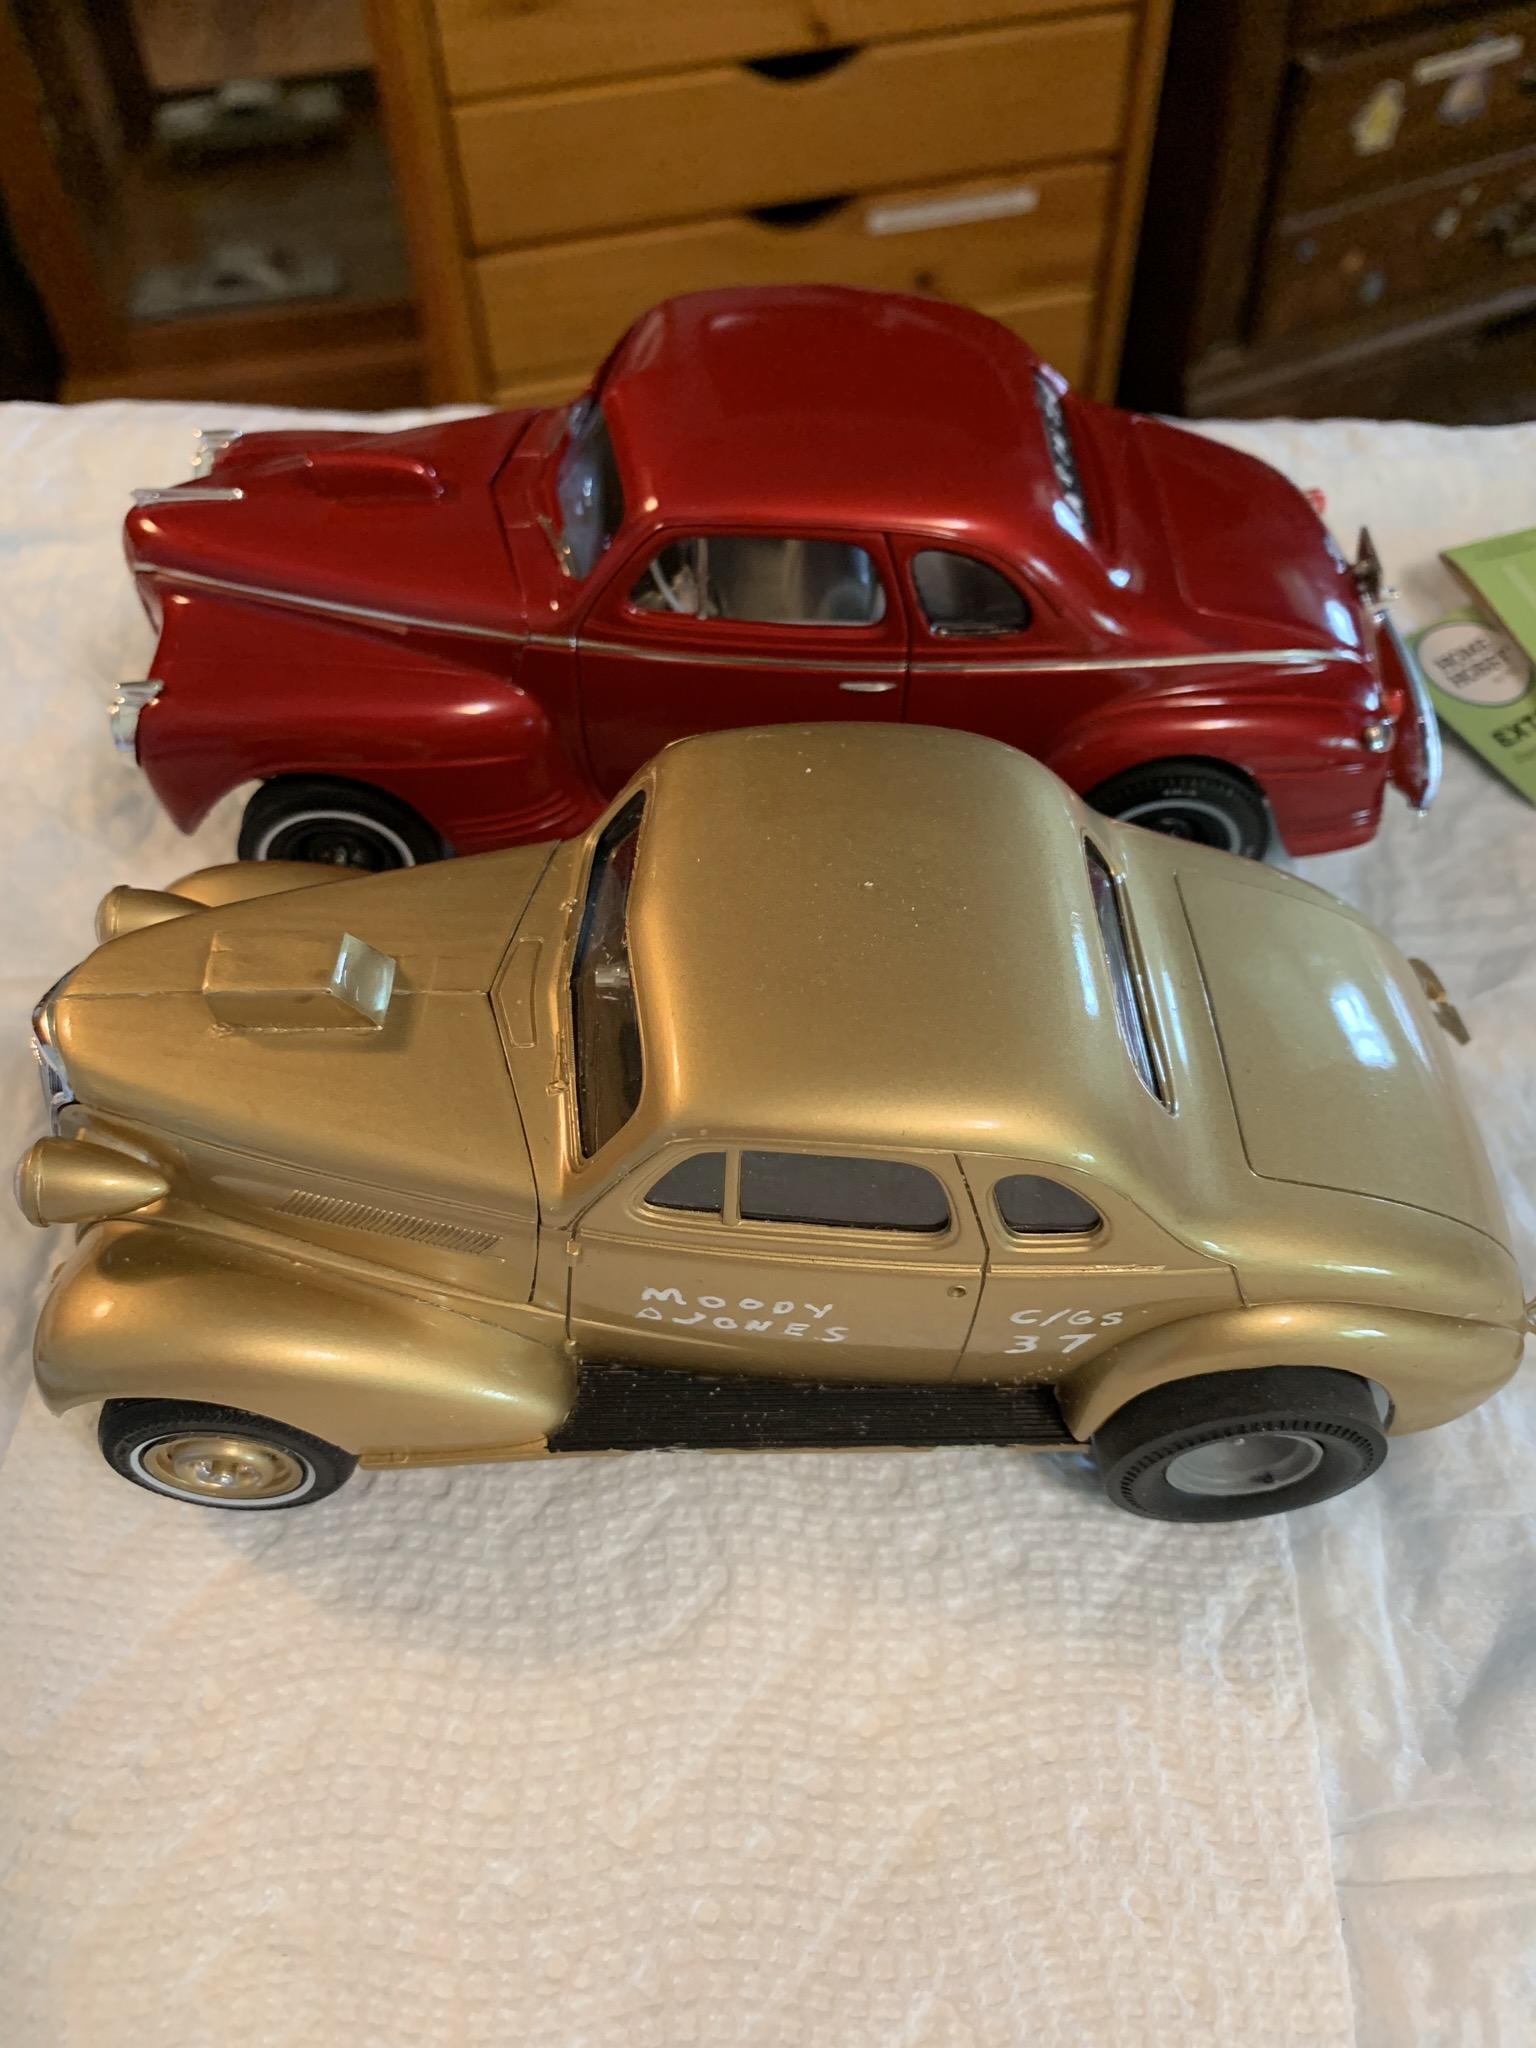
You absolutely cannot go wrong with advice from Ace. Keep in mind, though, that a lot of the early gassers were built using the stock front end. A couple of mine using the 41 Plymouth and 37 Chevy kits . One imaginary and one a replica of a real car (37 Chevy).
-
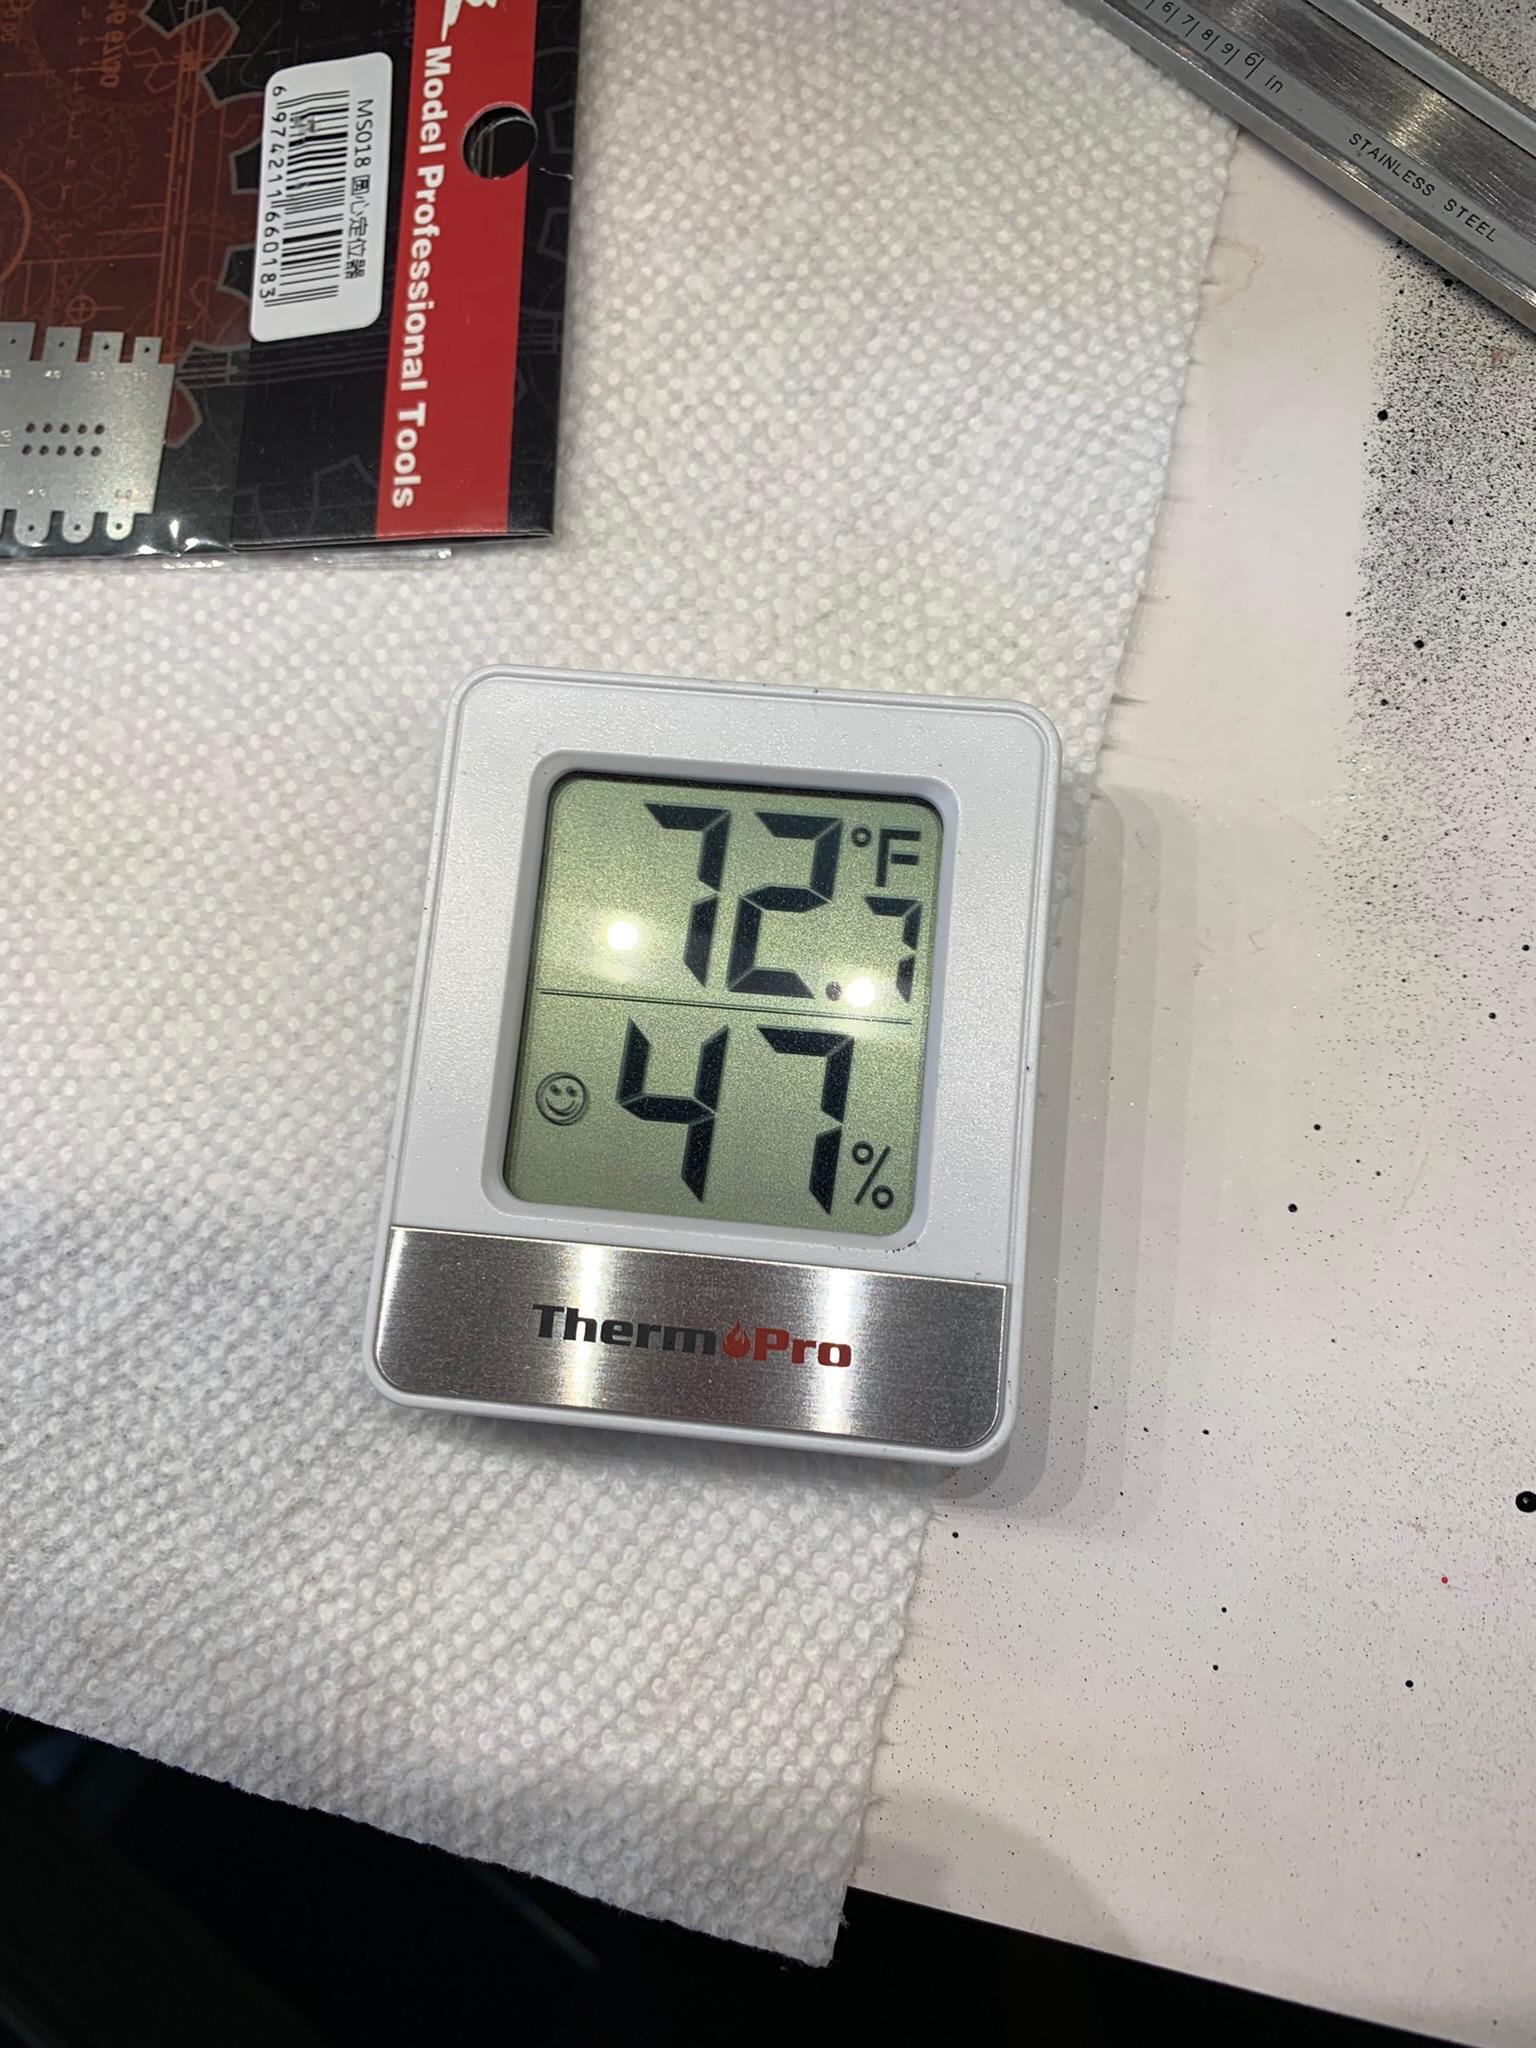
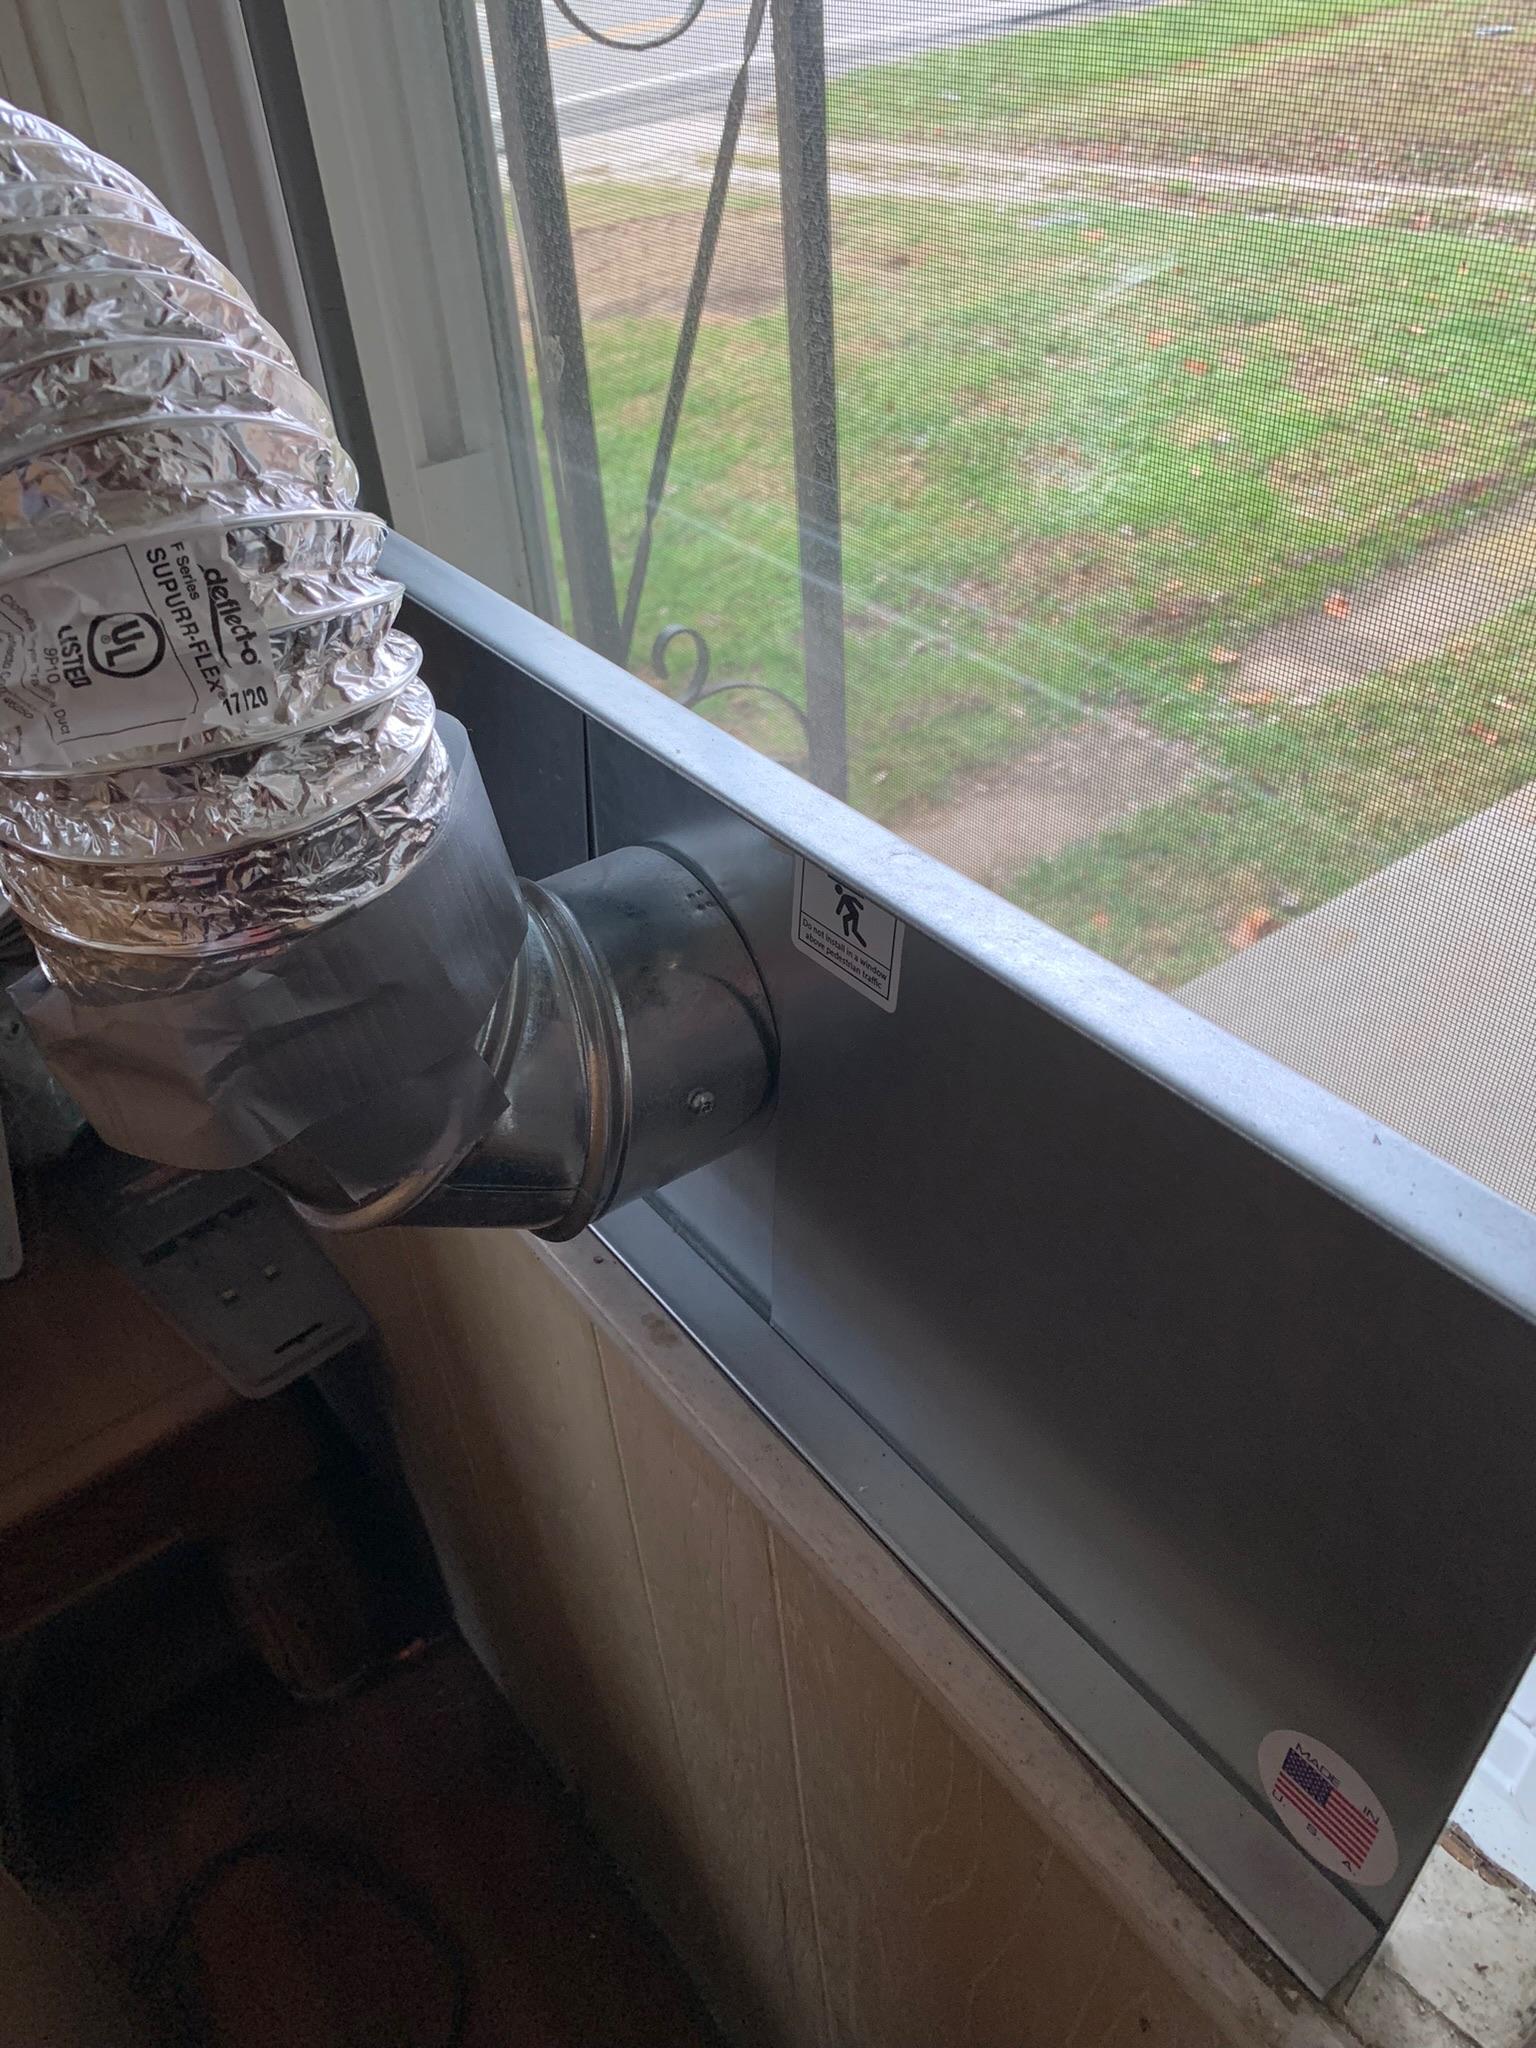
Get yourself one of these and place it near where you paint as it is difficult to gauge relative humidity accurately by guessing. Also, I don’t hook up my exhaust fan to the window until I am ready to paint.
-
Do you paint outside?
-
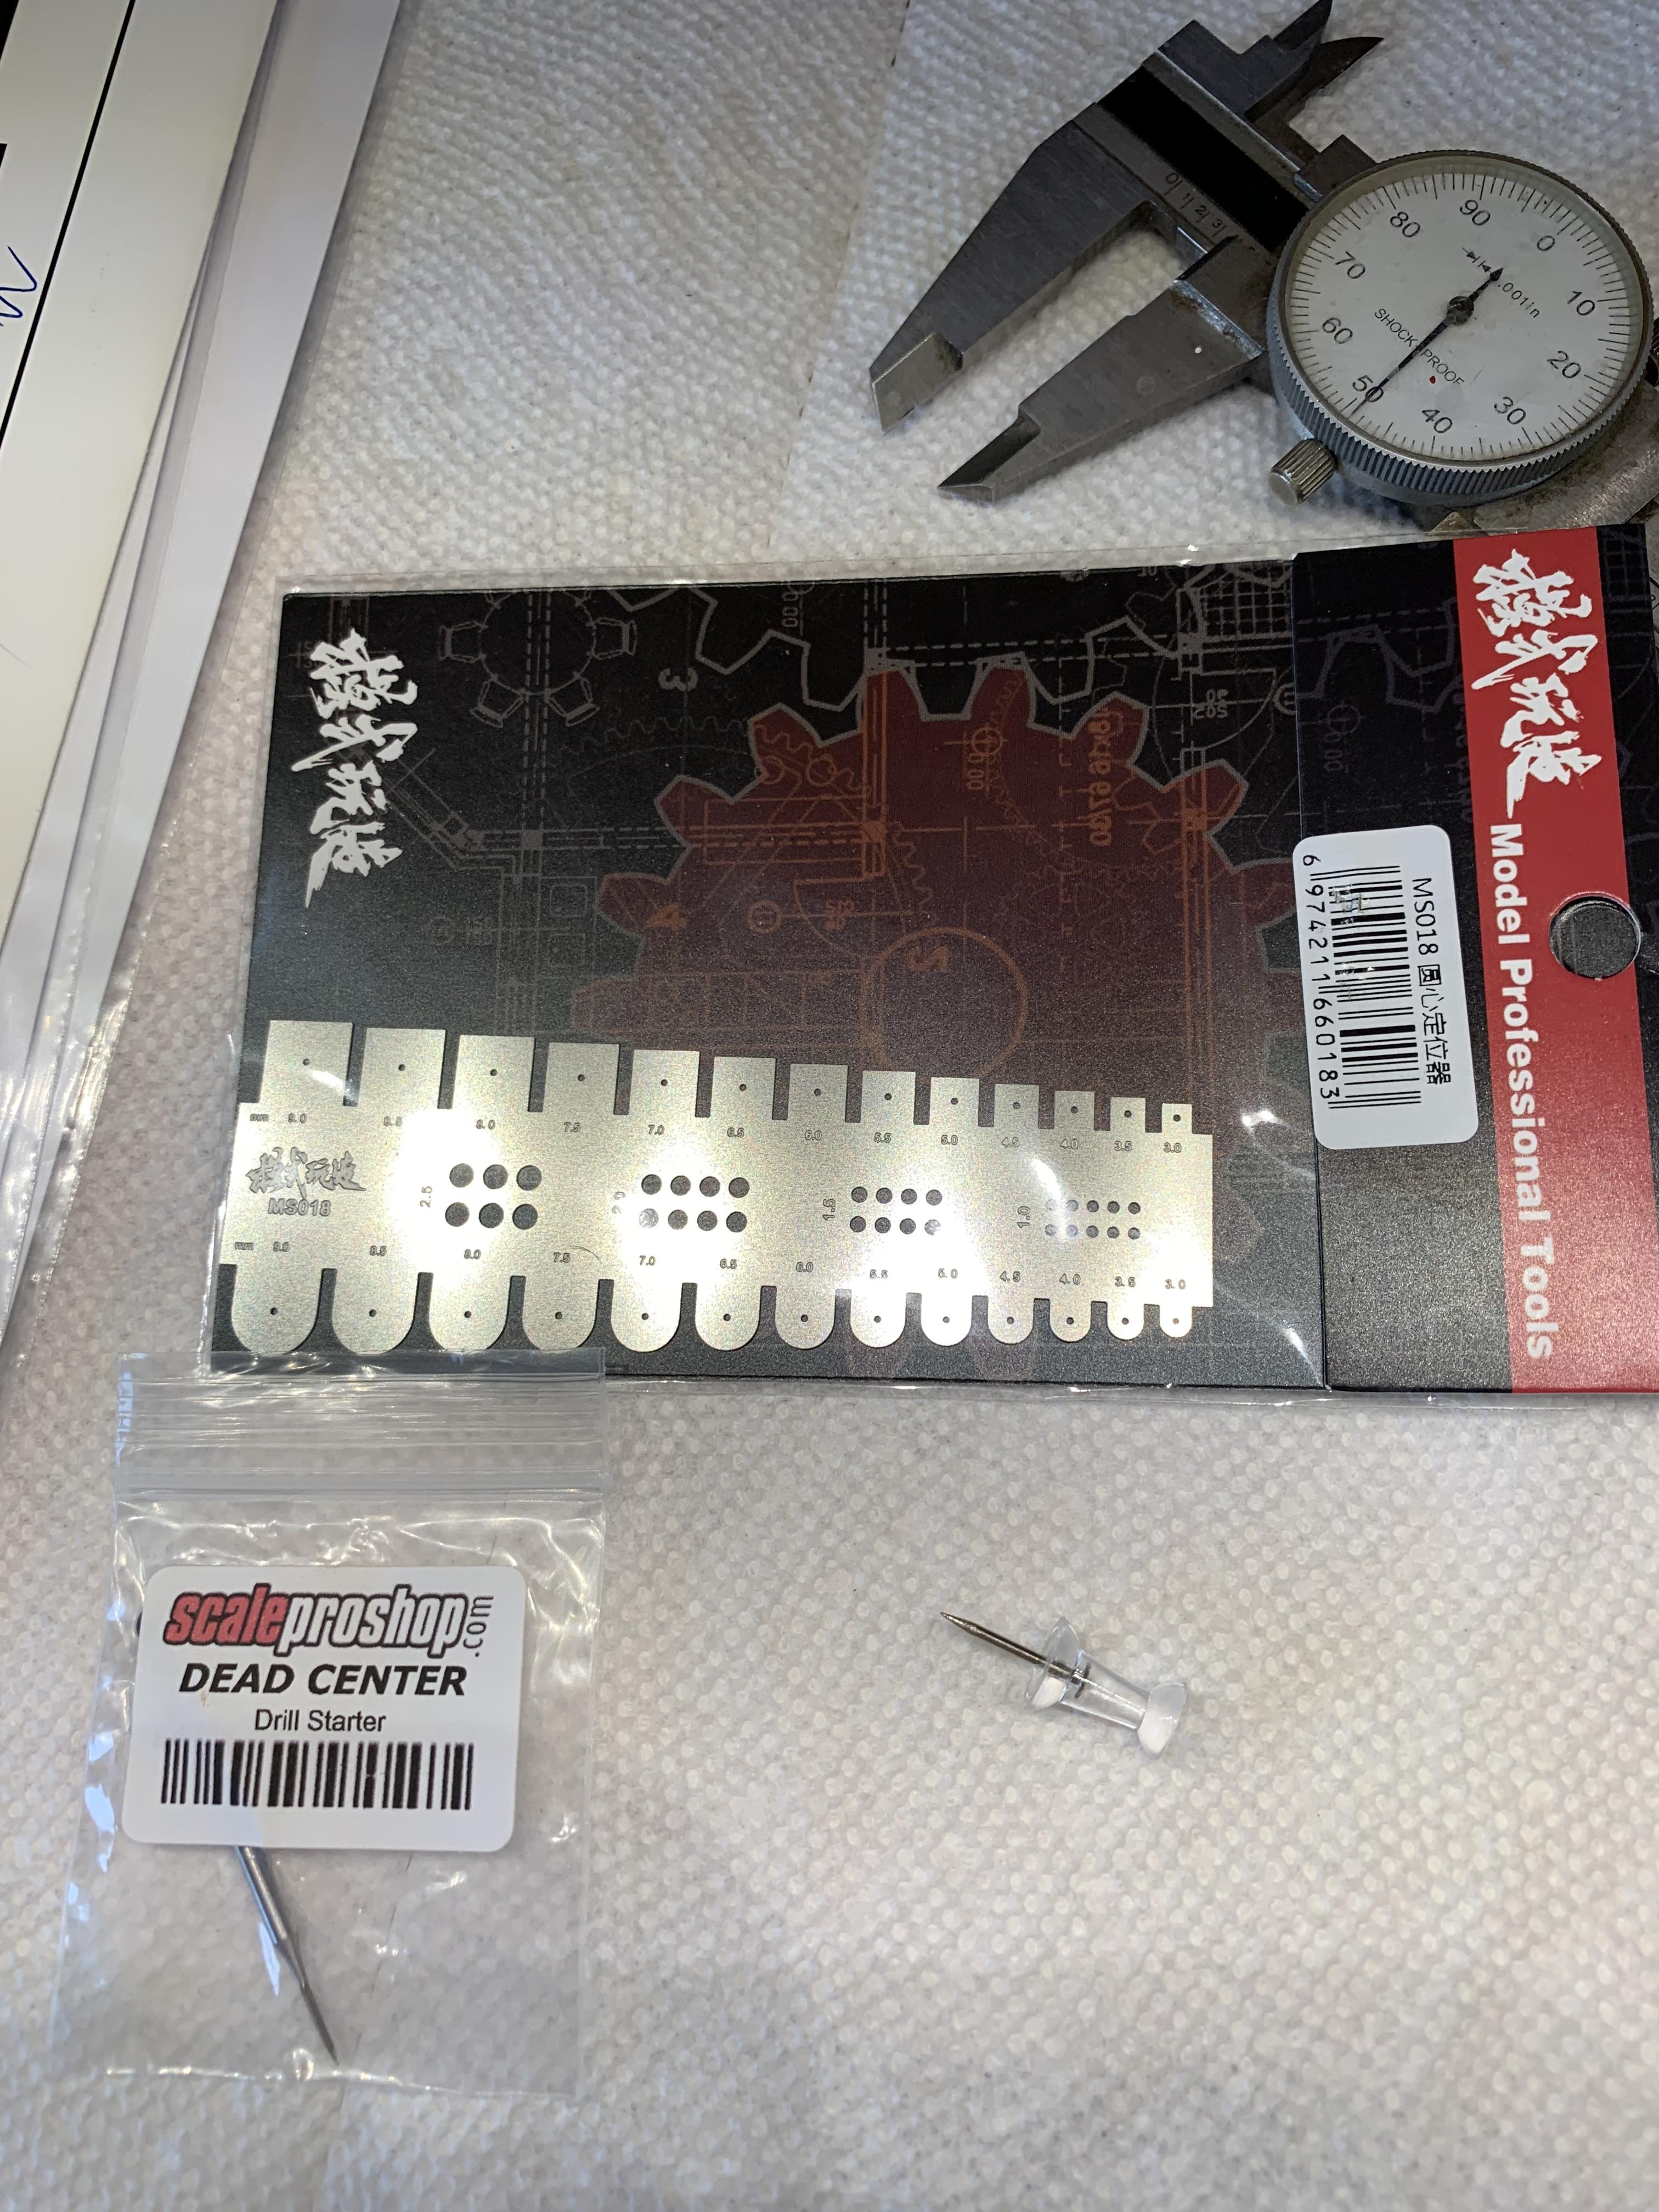
Finding the center of these hubs
R. Thorne replied to junkyardjeff's topic in Tips, Tricks, and Tutorials
If the center hub is not bigger than .350”, this works good in conjunction with a pin or other device or tiny drill for the centering hole.
-
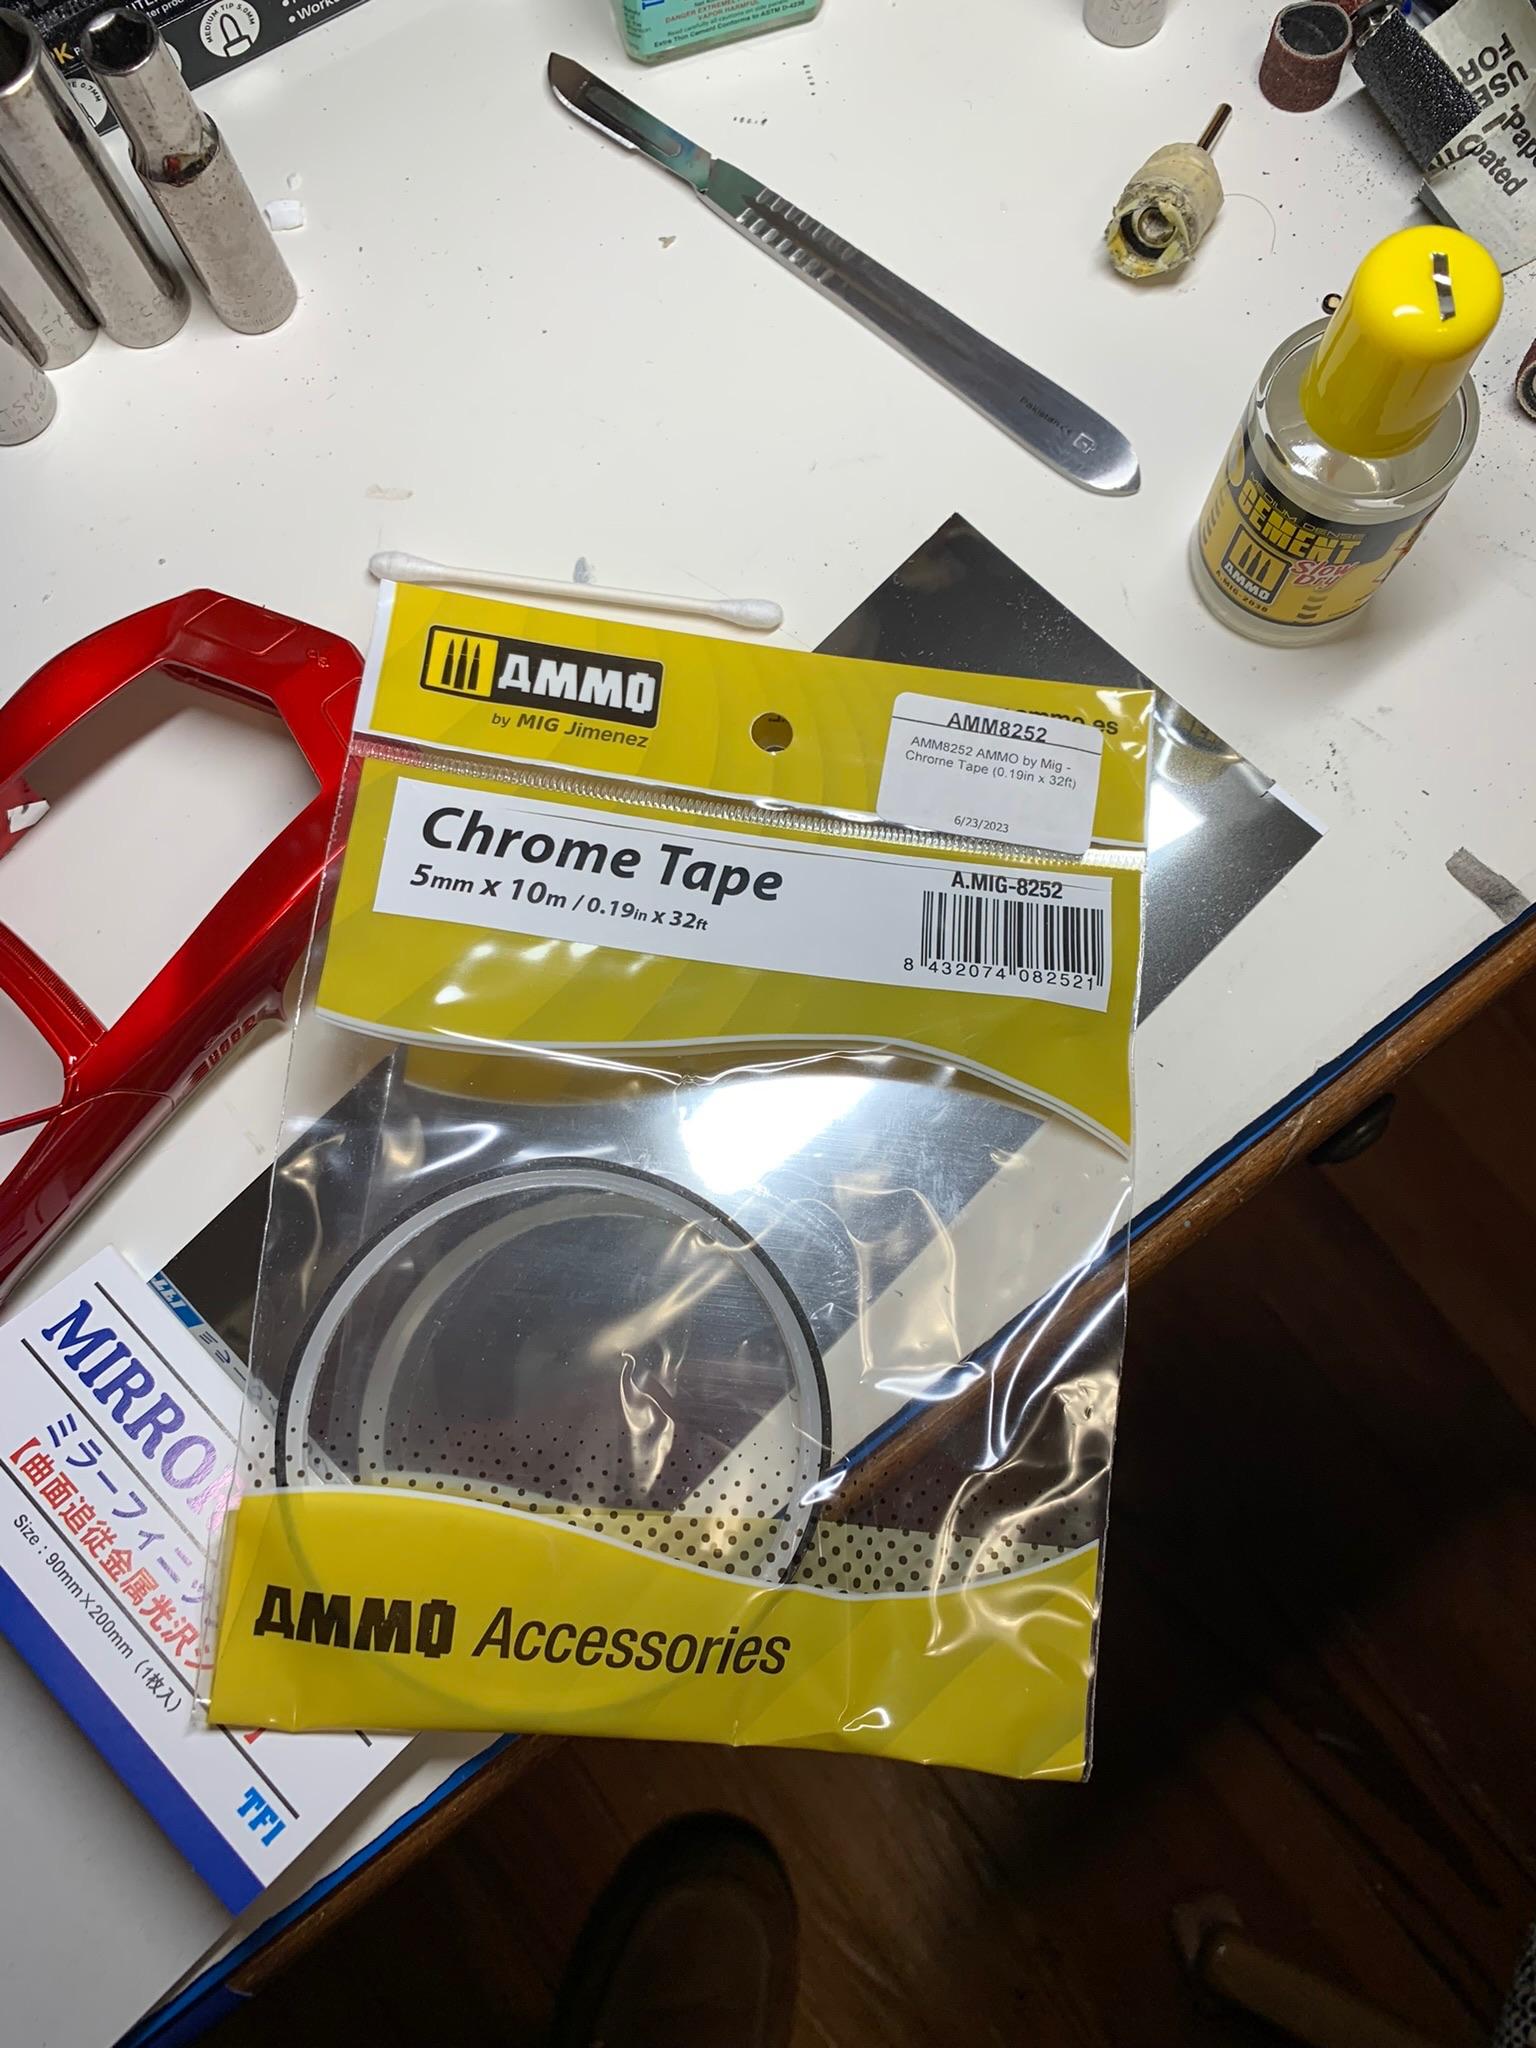
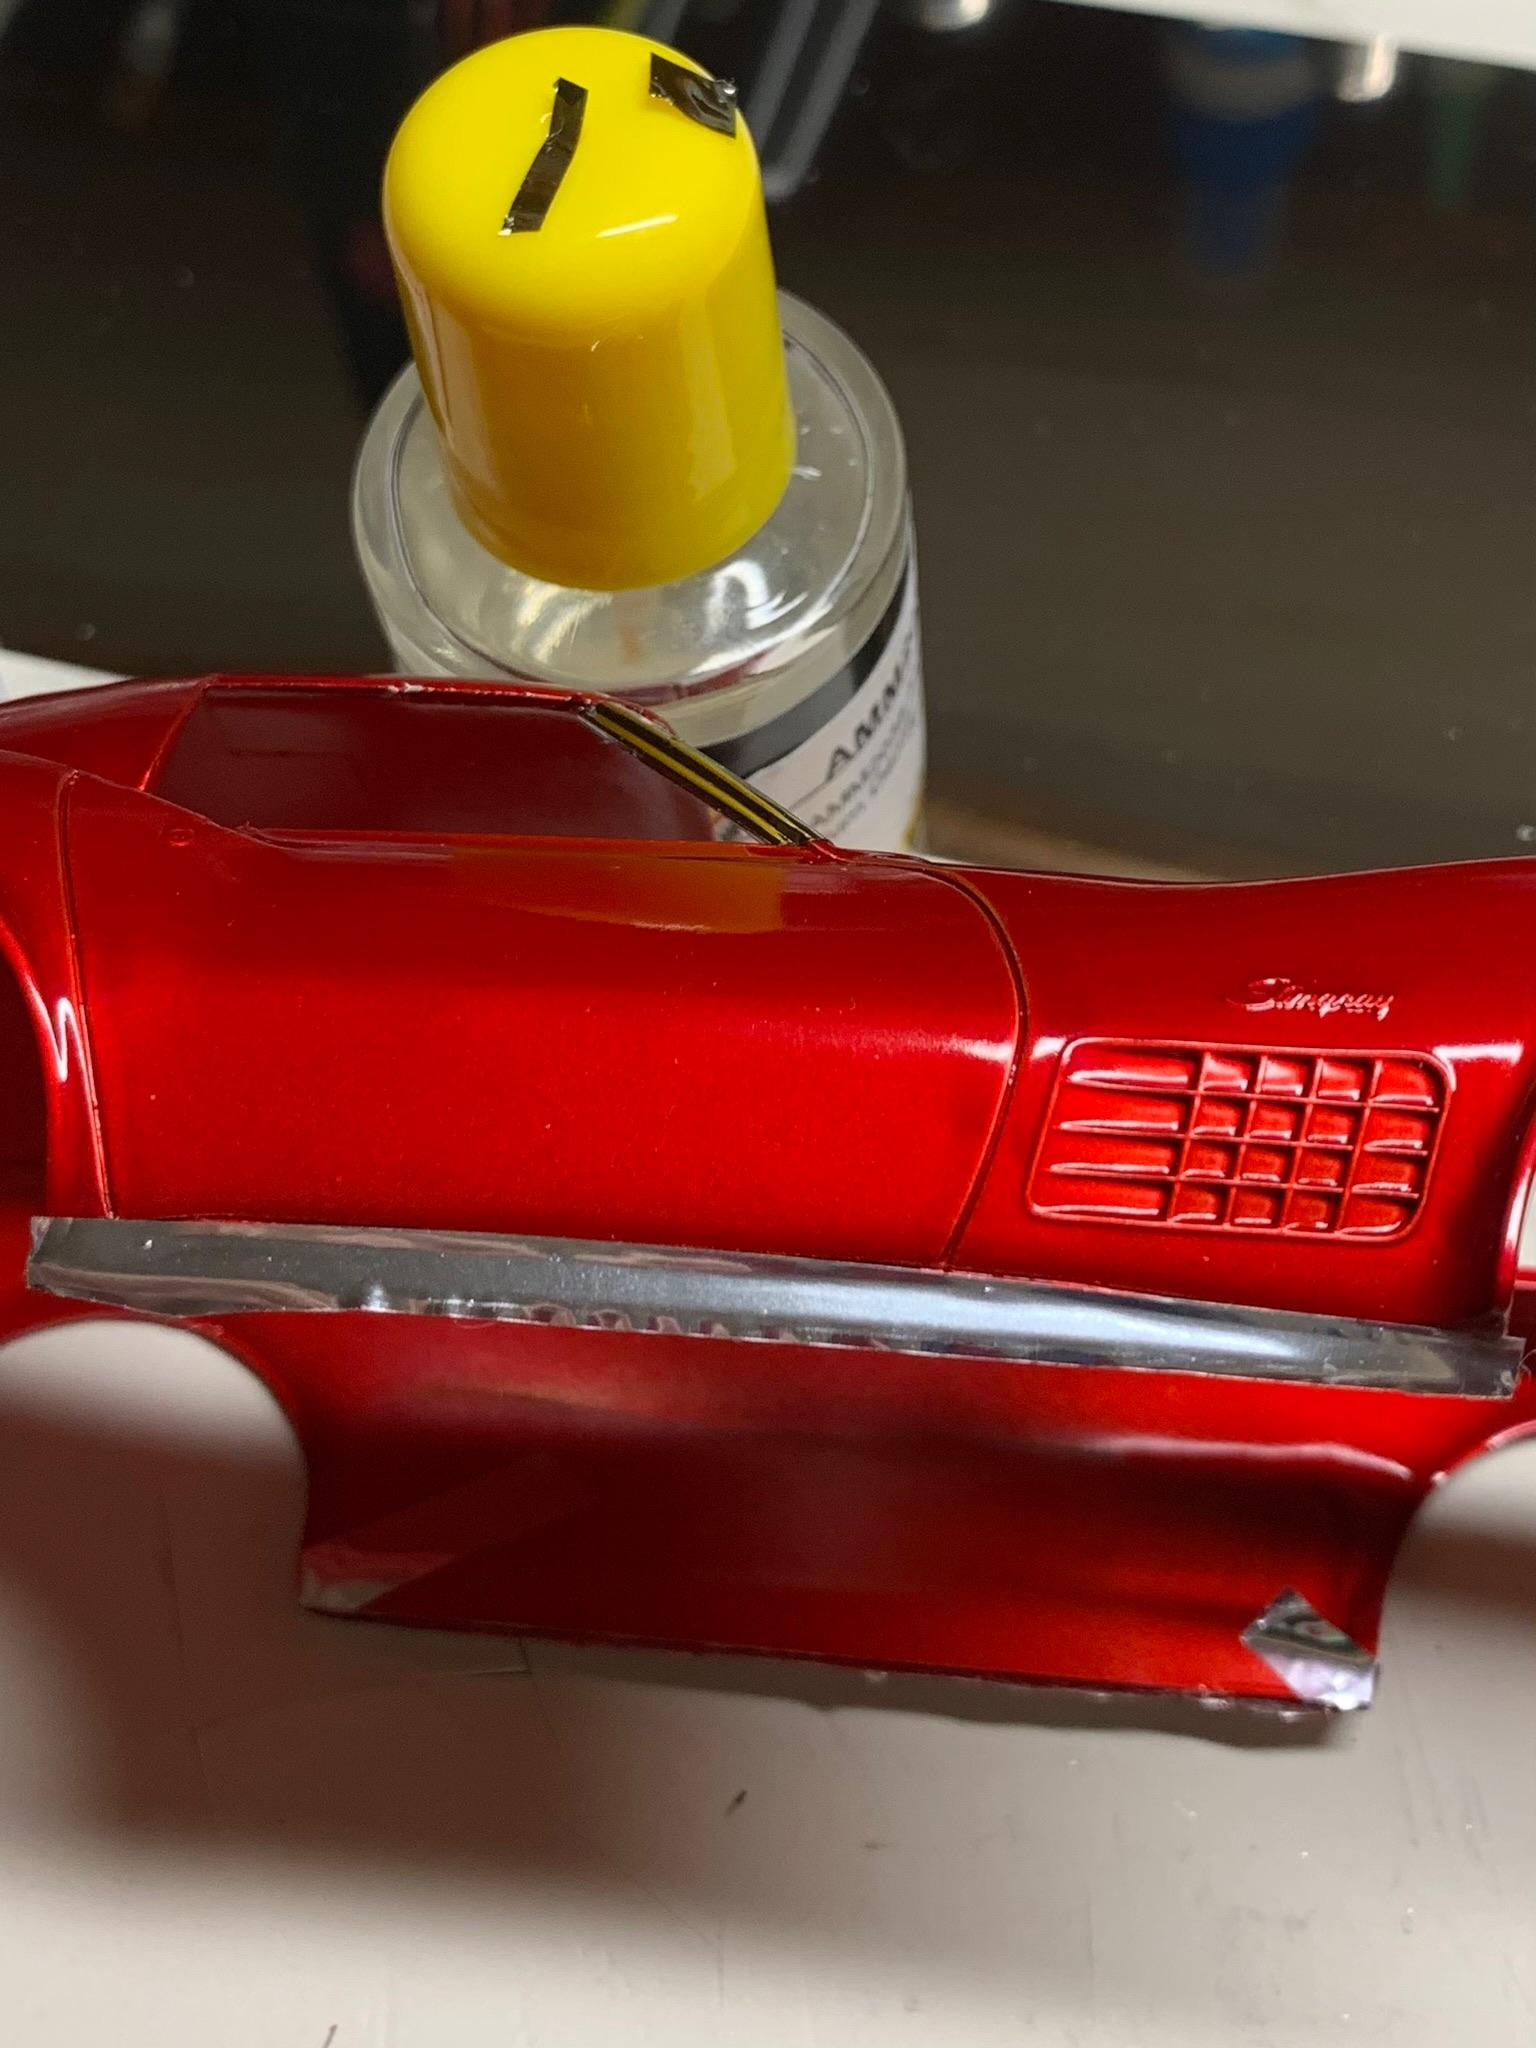
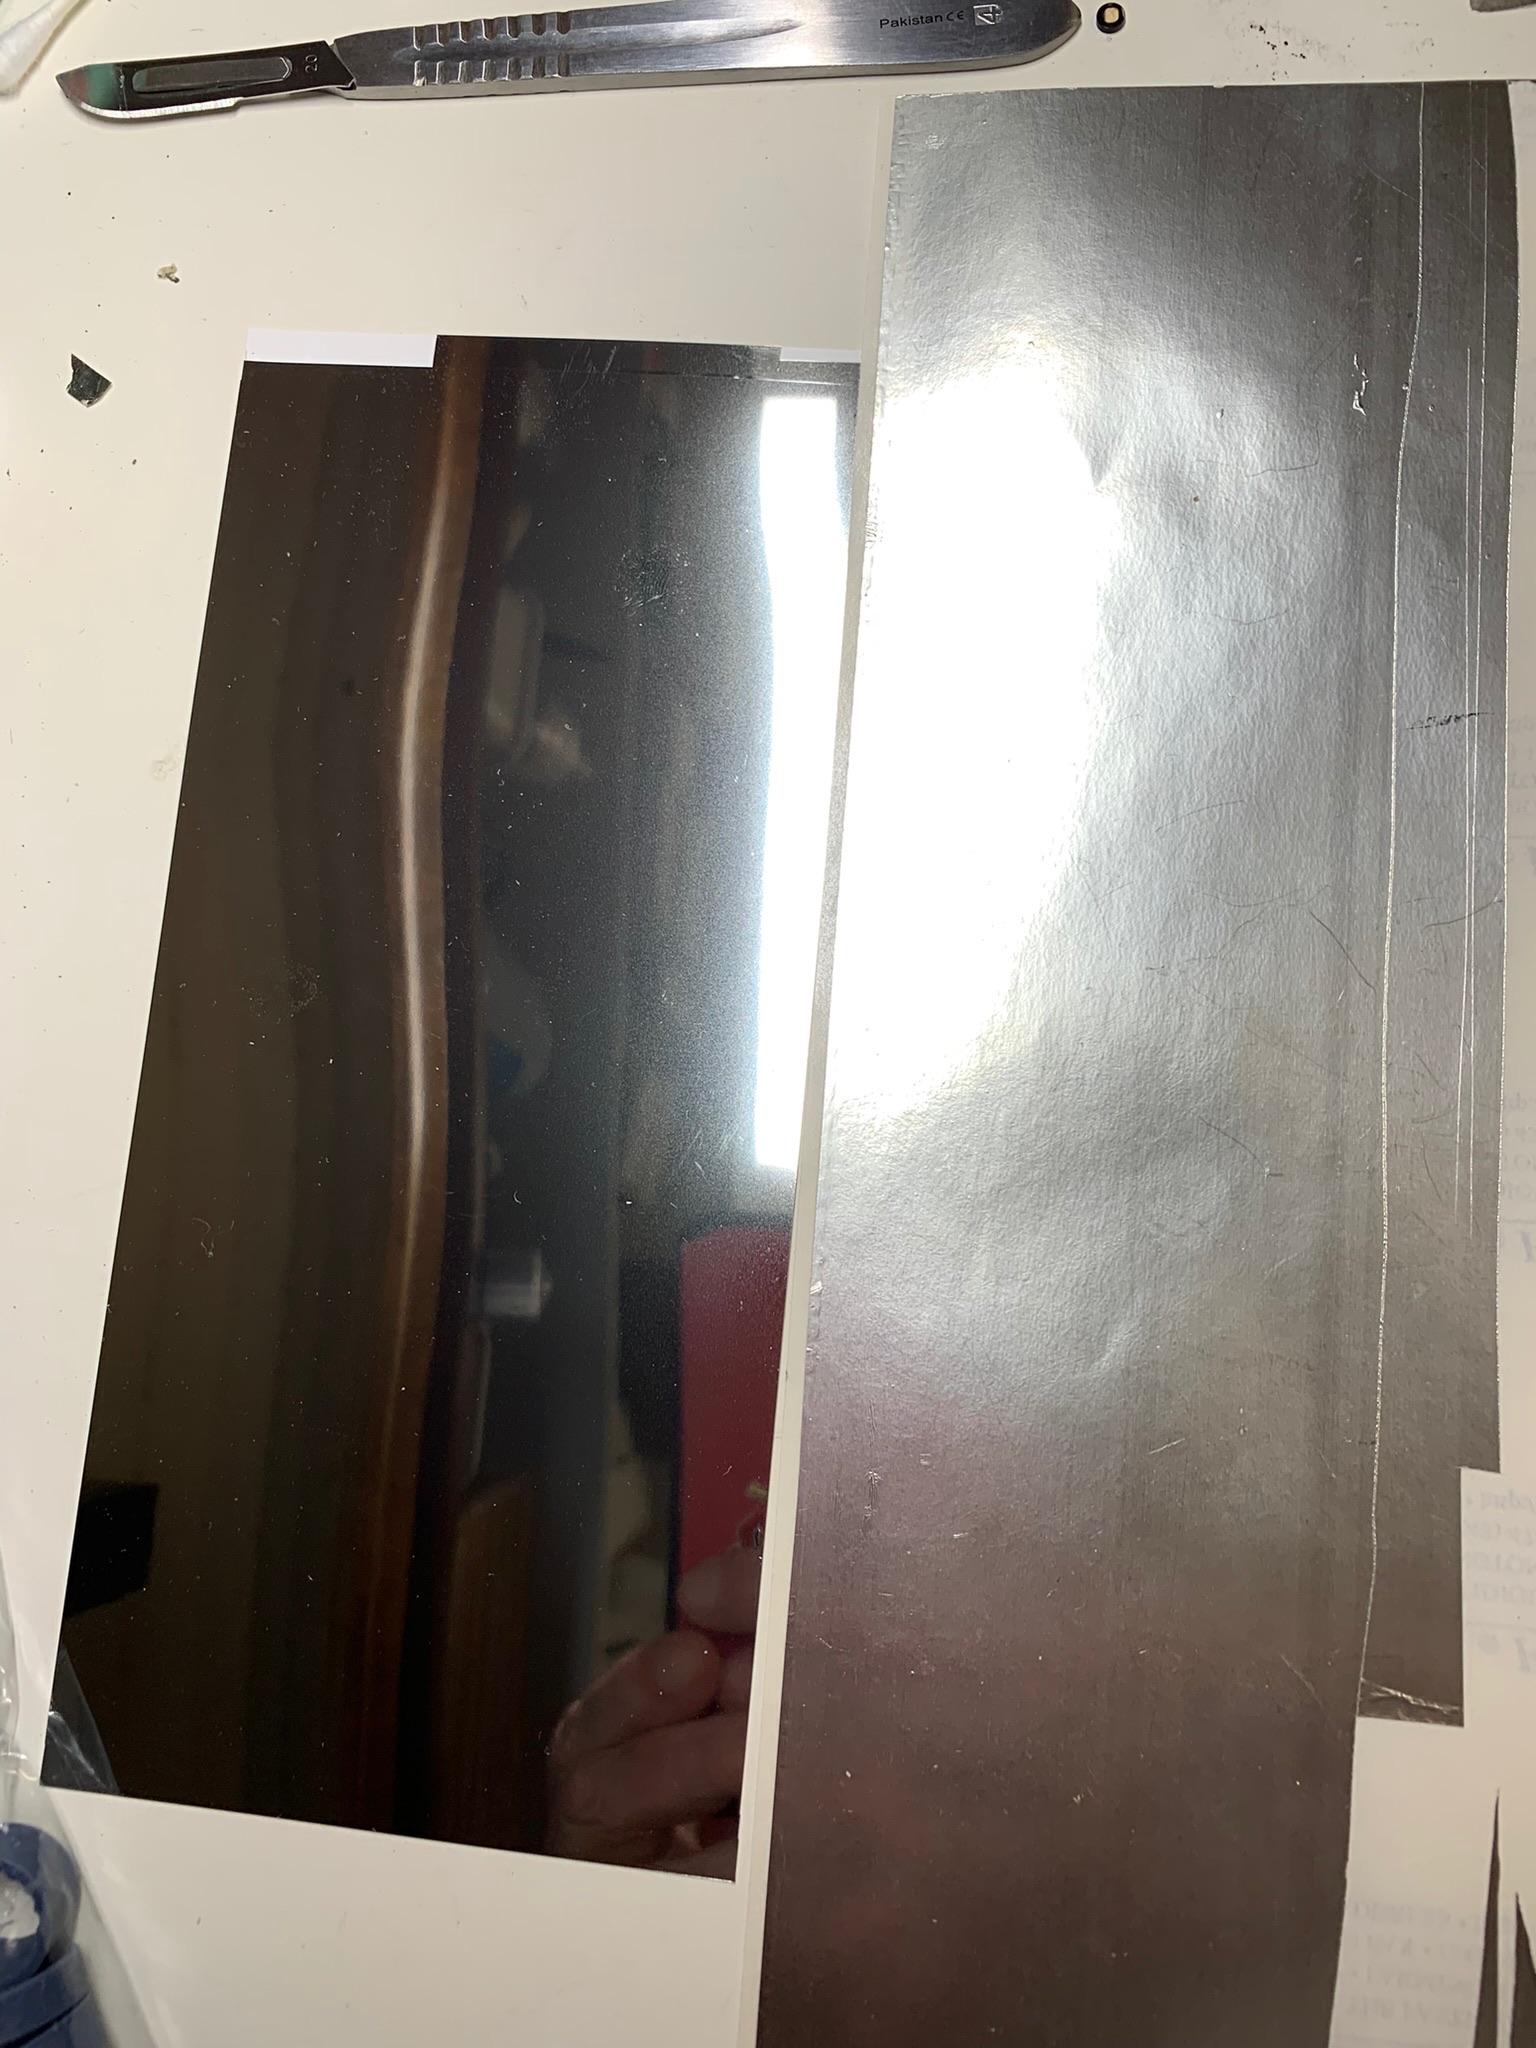
Finally, the Ammo by Mig tape on the lower section (not very sticky, but looks ok)
-
This picture better shows the difference (Hasegawa on the left).
-
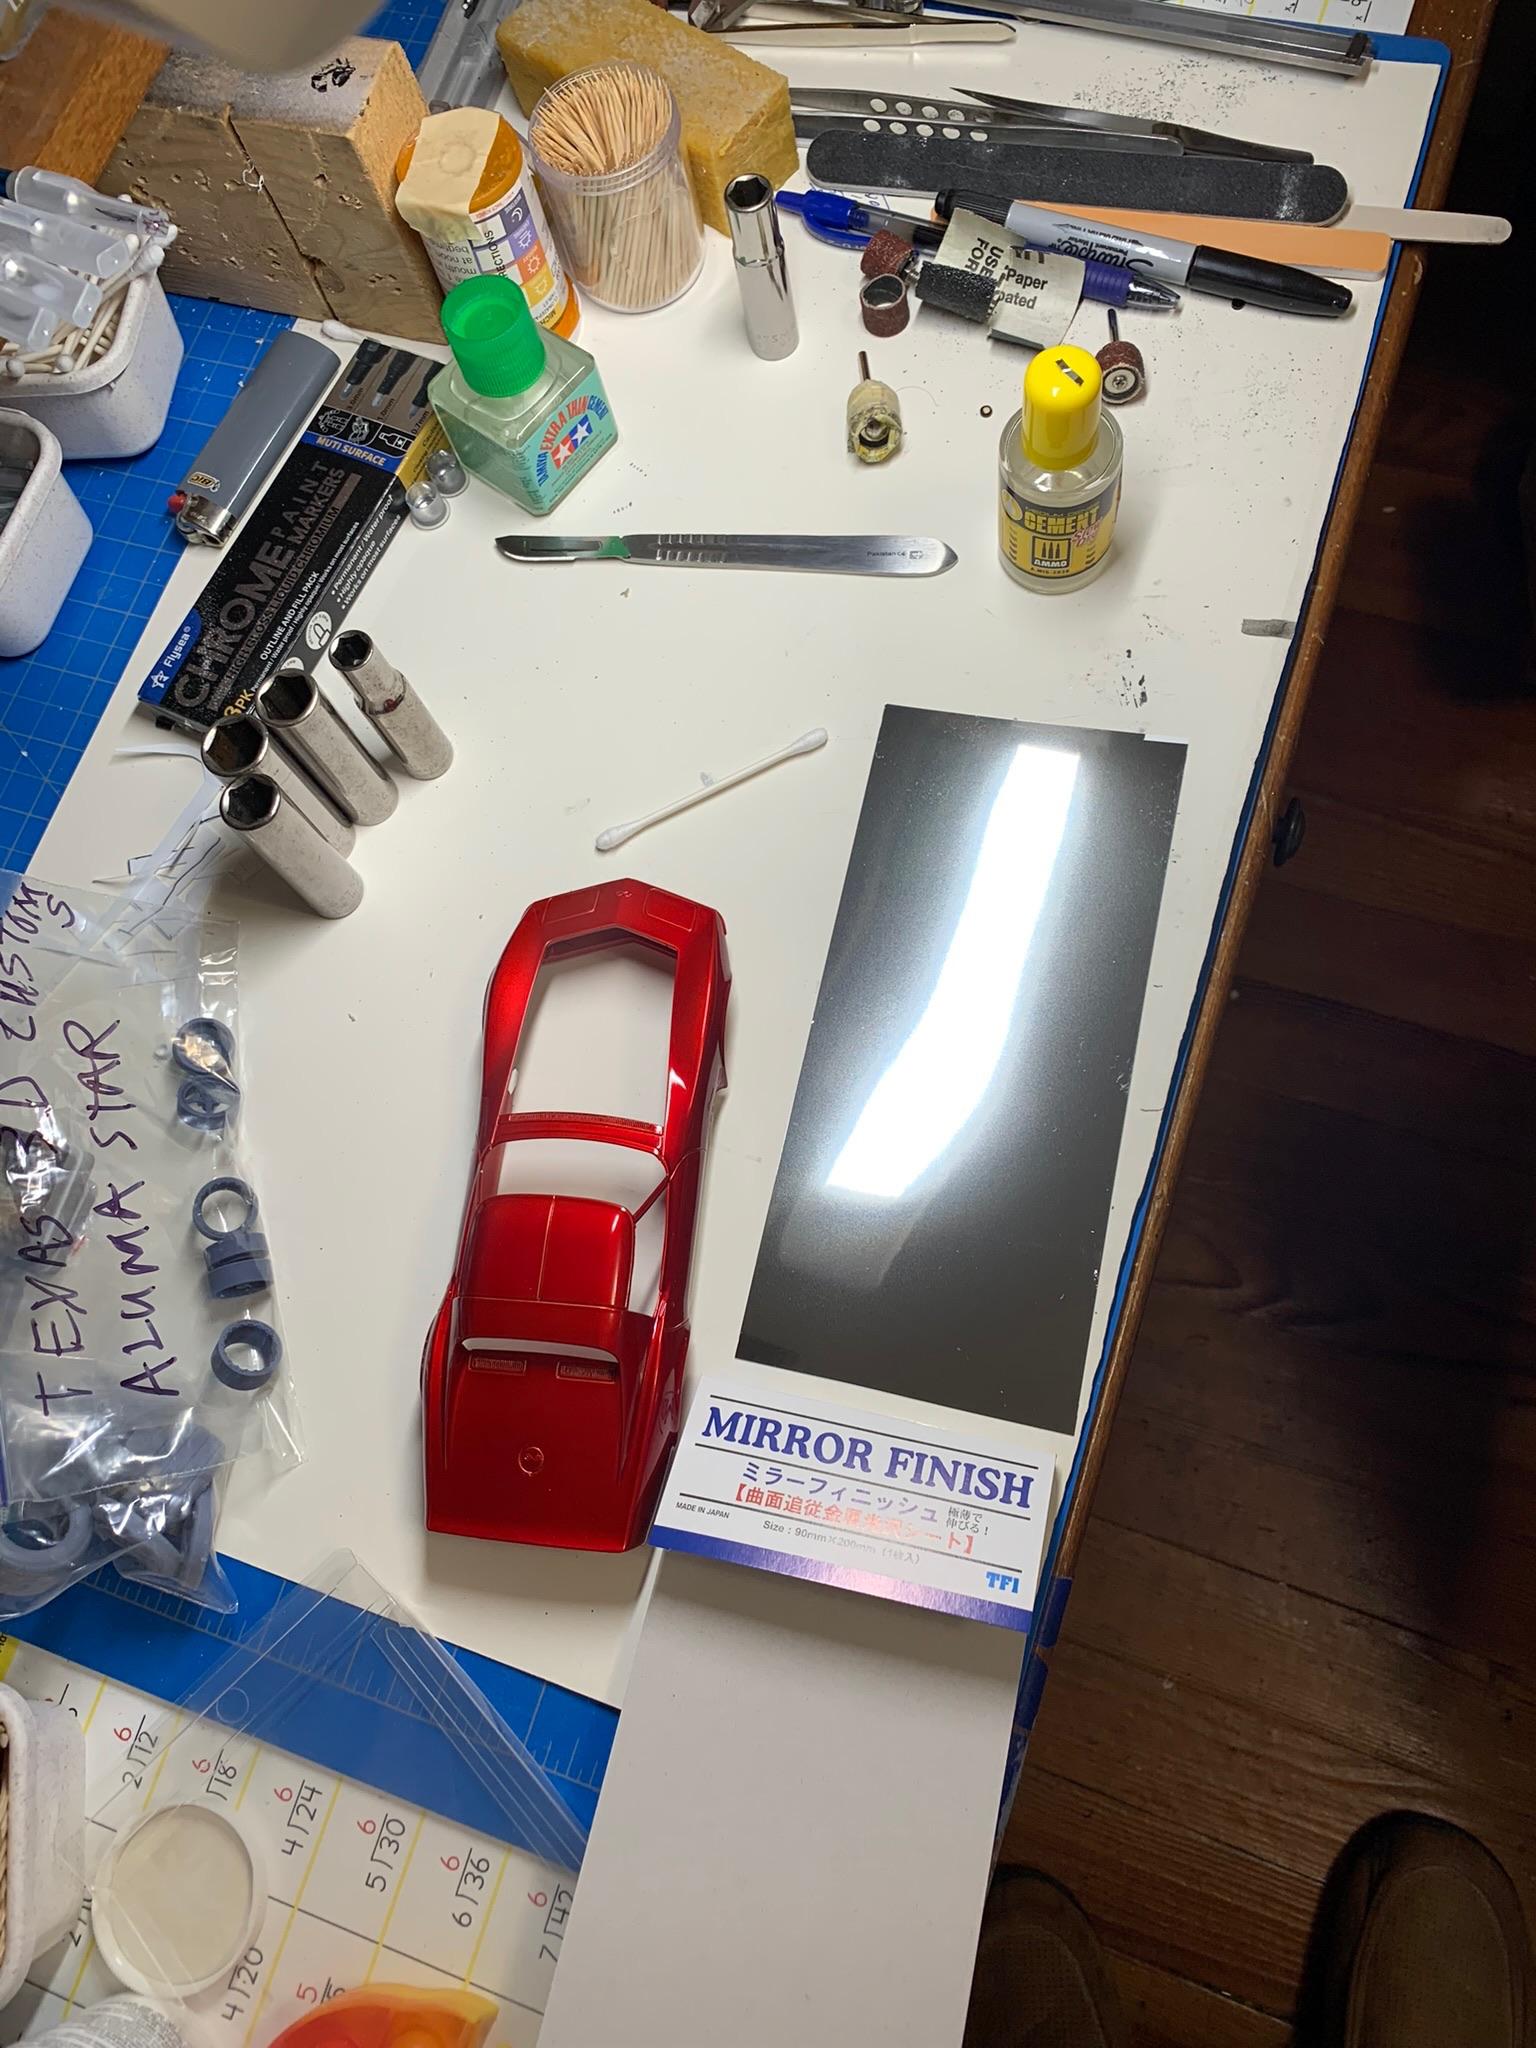
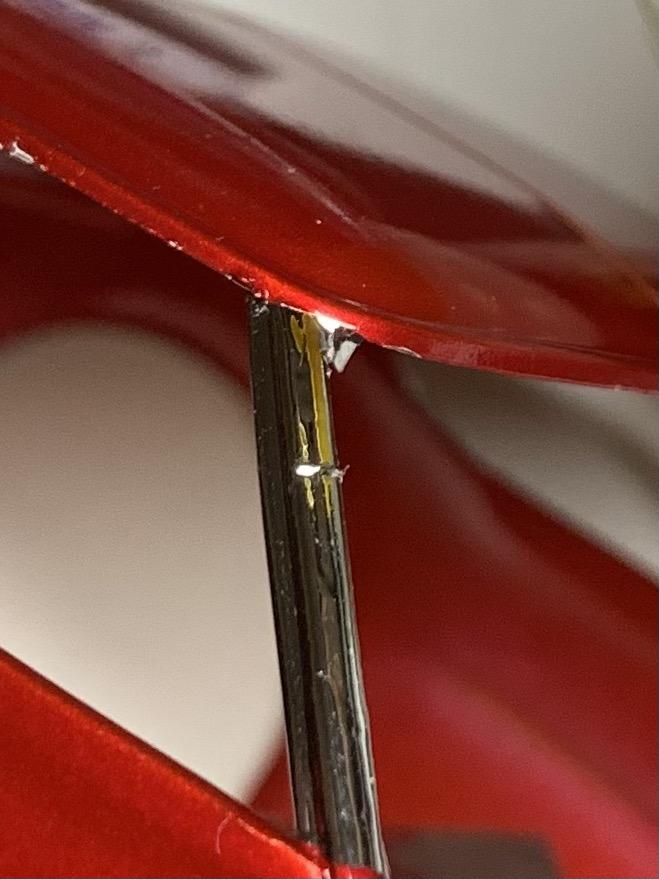
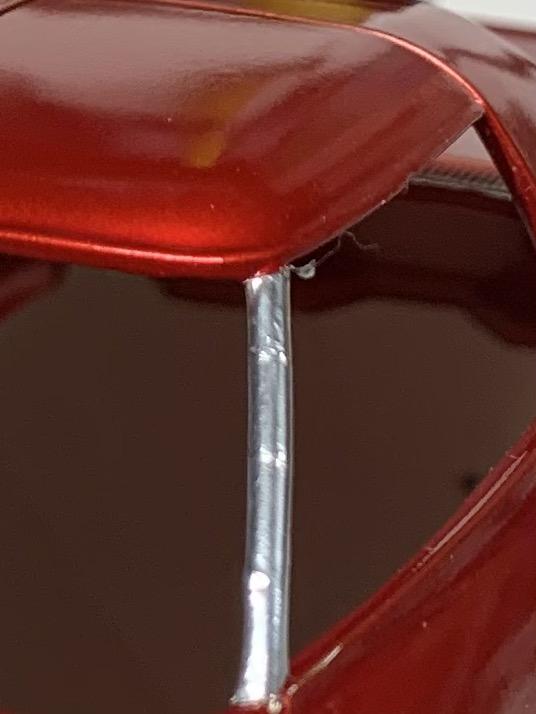
Taking a break from wheels and tires and trying some chromy stuff. First, some pics of the Hasegawa mirror chrome. Definitely different to work with than BMF, but, also very shiny. I put it on one windshield post (passenger’s side), then BMF on the other (driver’s side). Excuse the roughness (poor prep of the windshield posts which shows the dinkleberries present). The pictures do not reveal the difference in shine as much as looking at the car in real life (probably the result of my poor photography).
-
Drilled out the axle stub holes from .075” to .093” in 2 or 3 increments to fit the Corvette kit stub diameter.
-
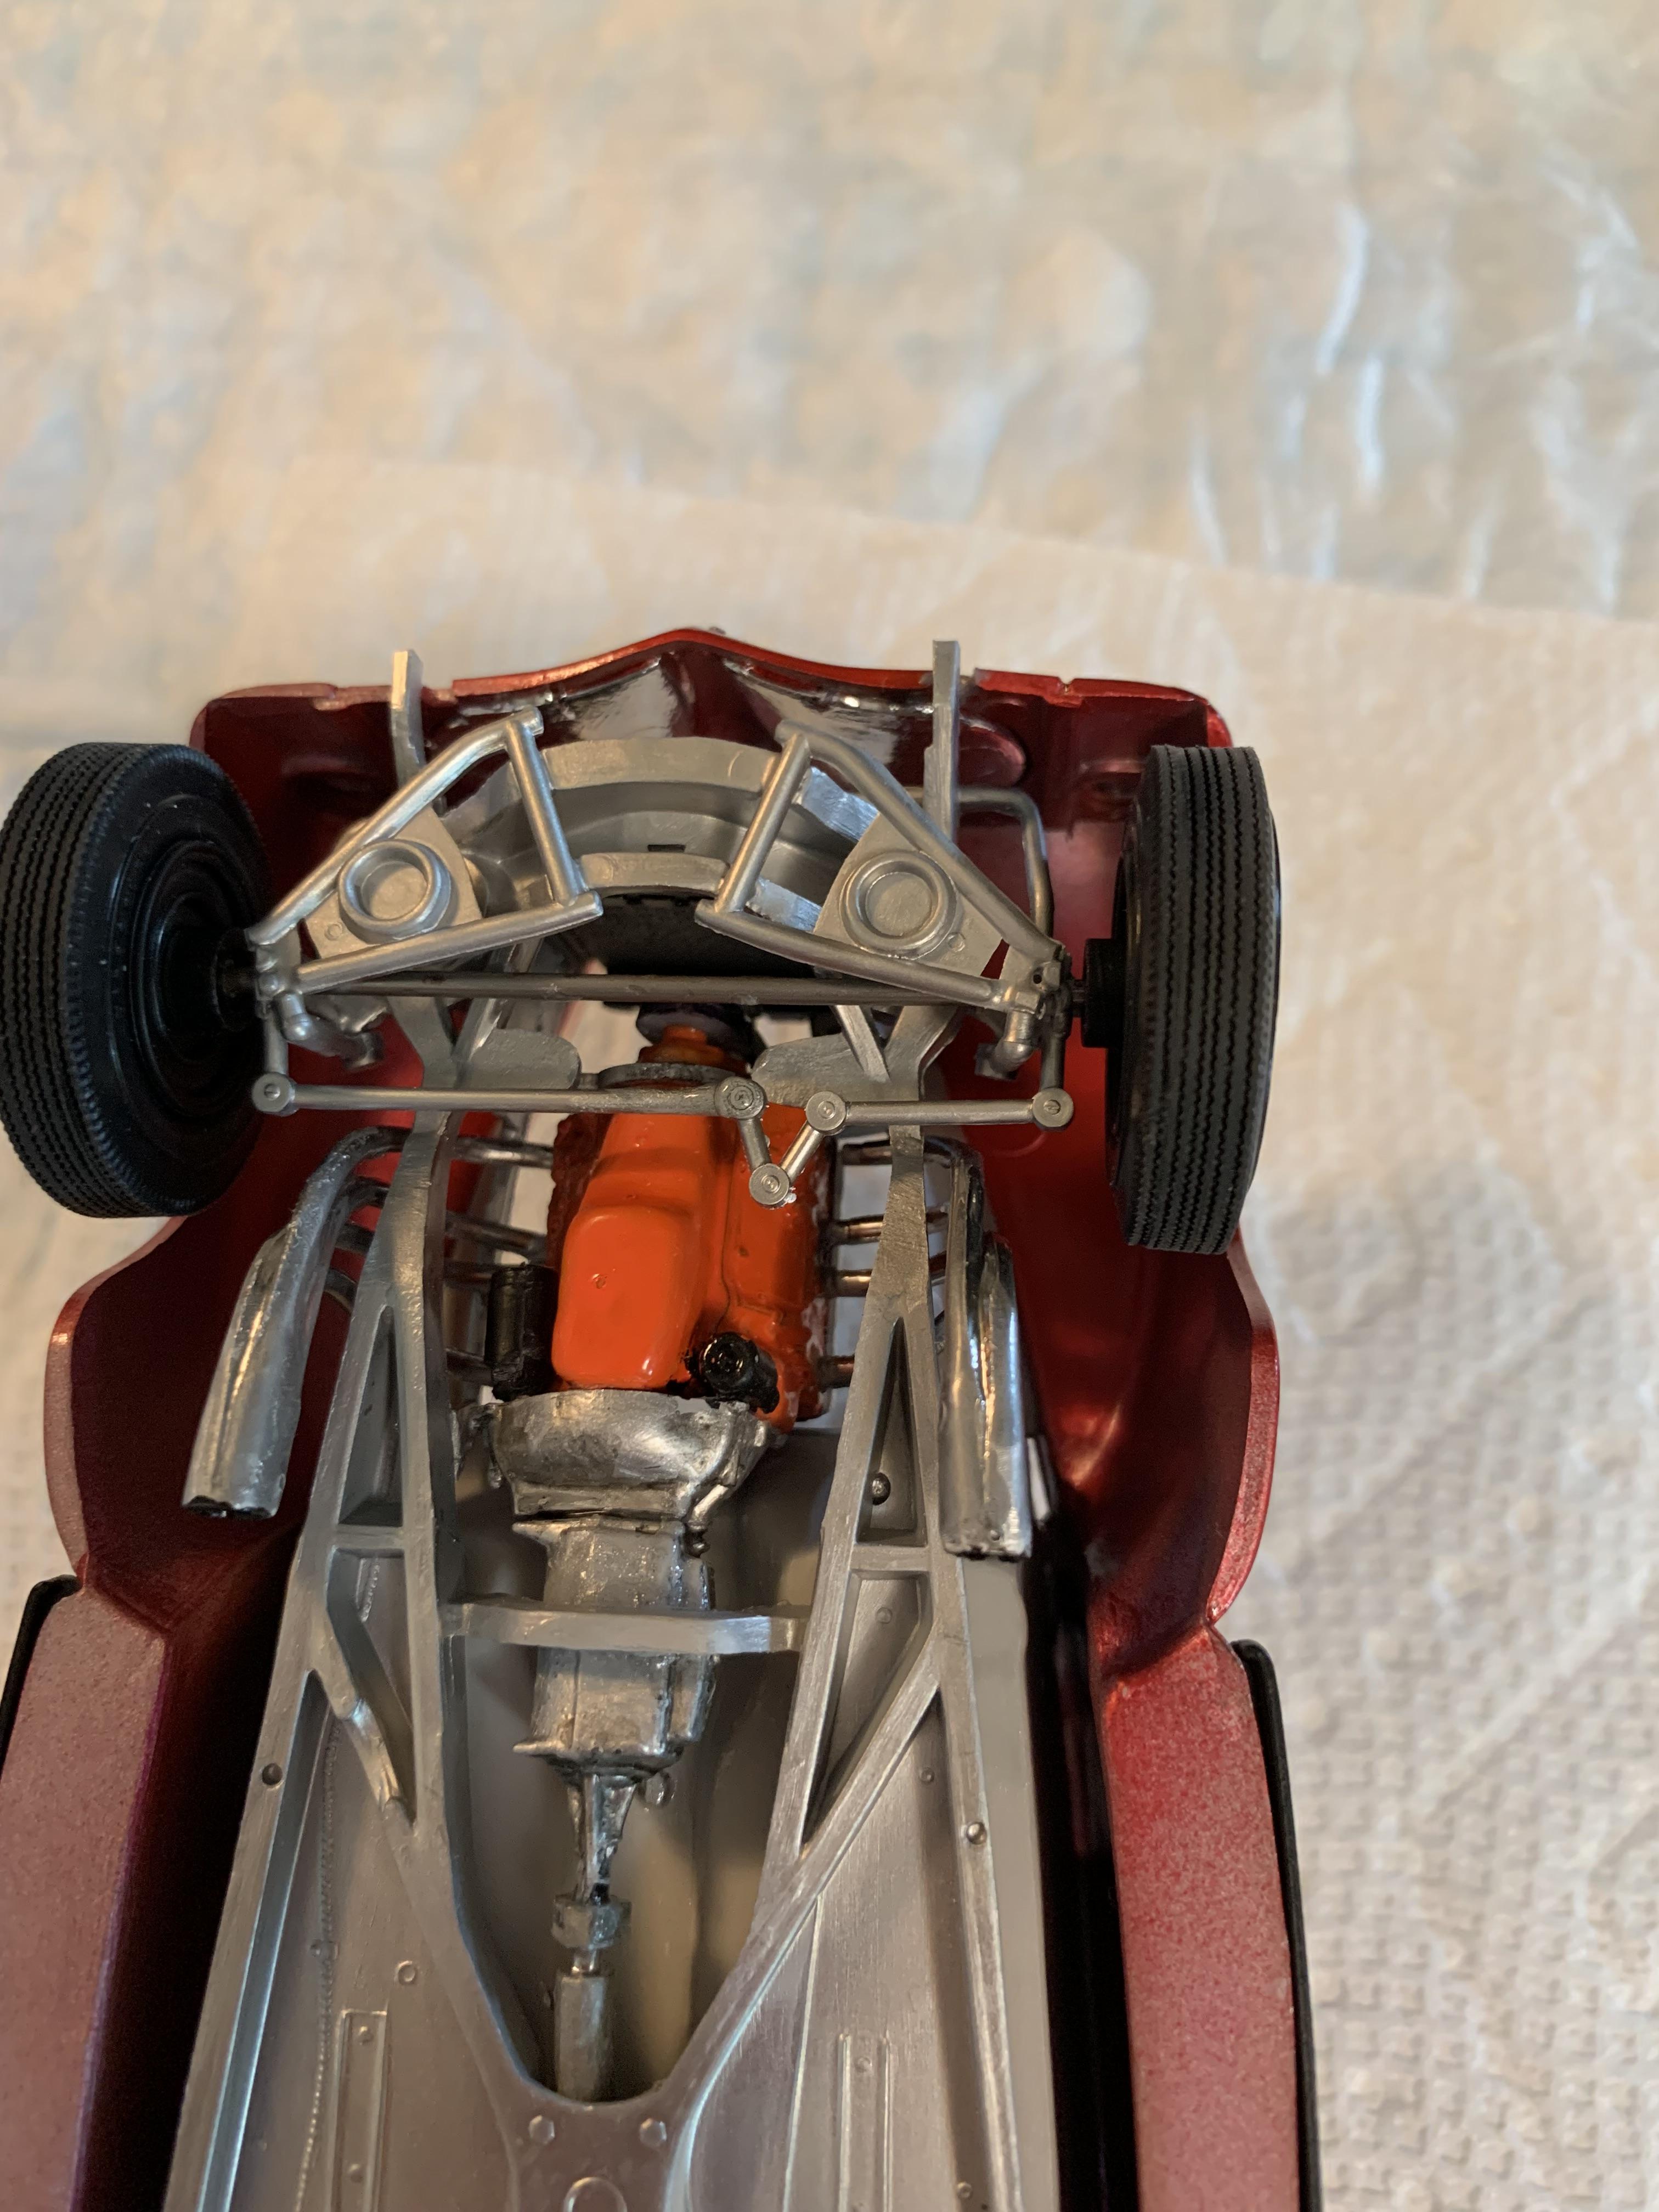
Nice work on, possibly, the hardest part to build on this car.
-
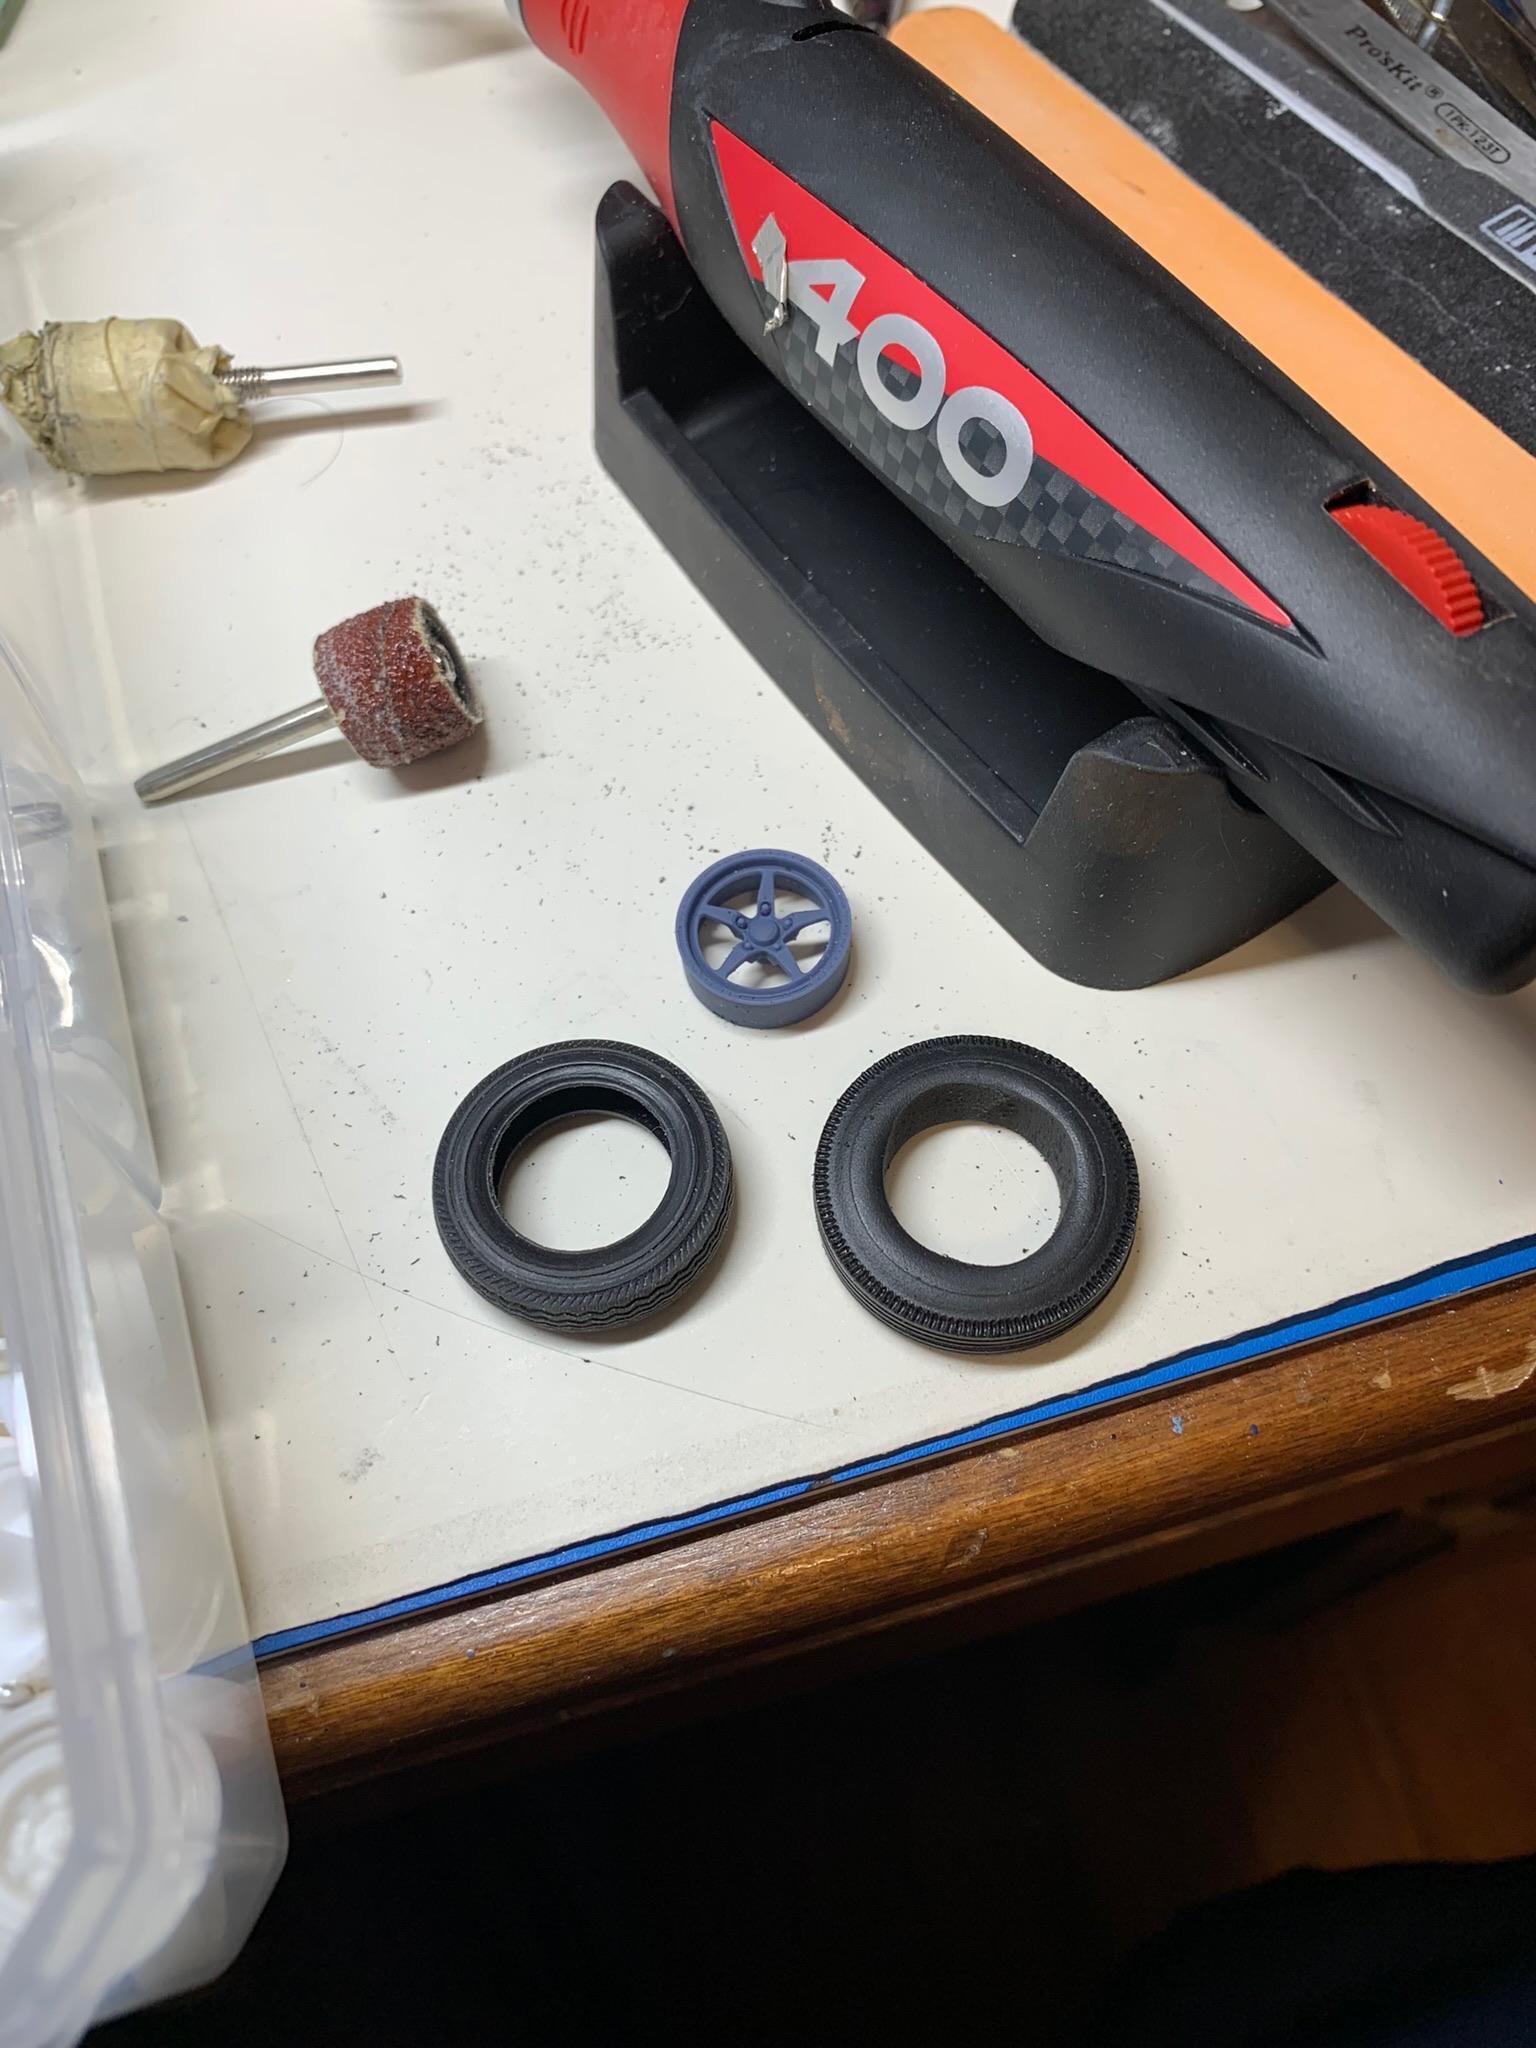
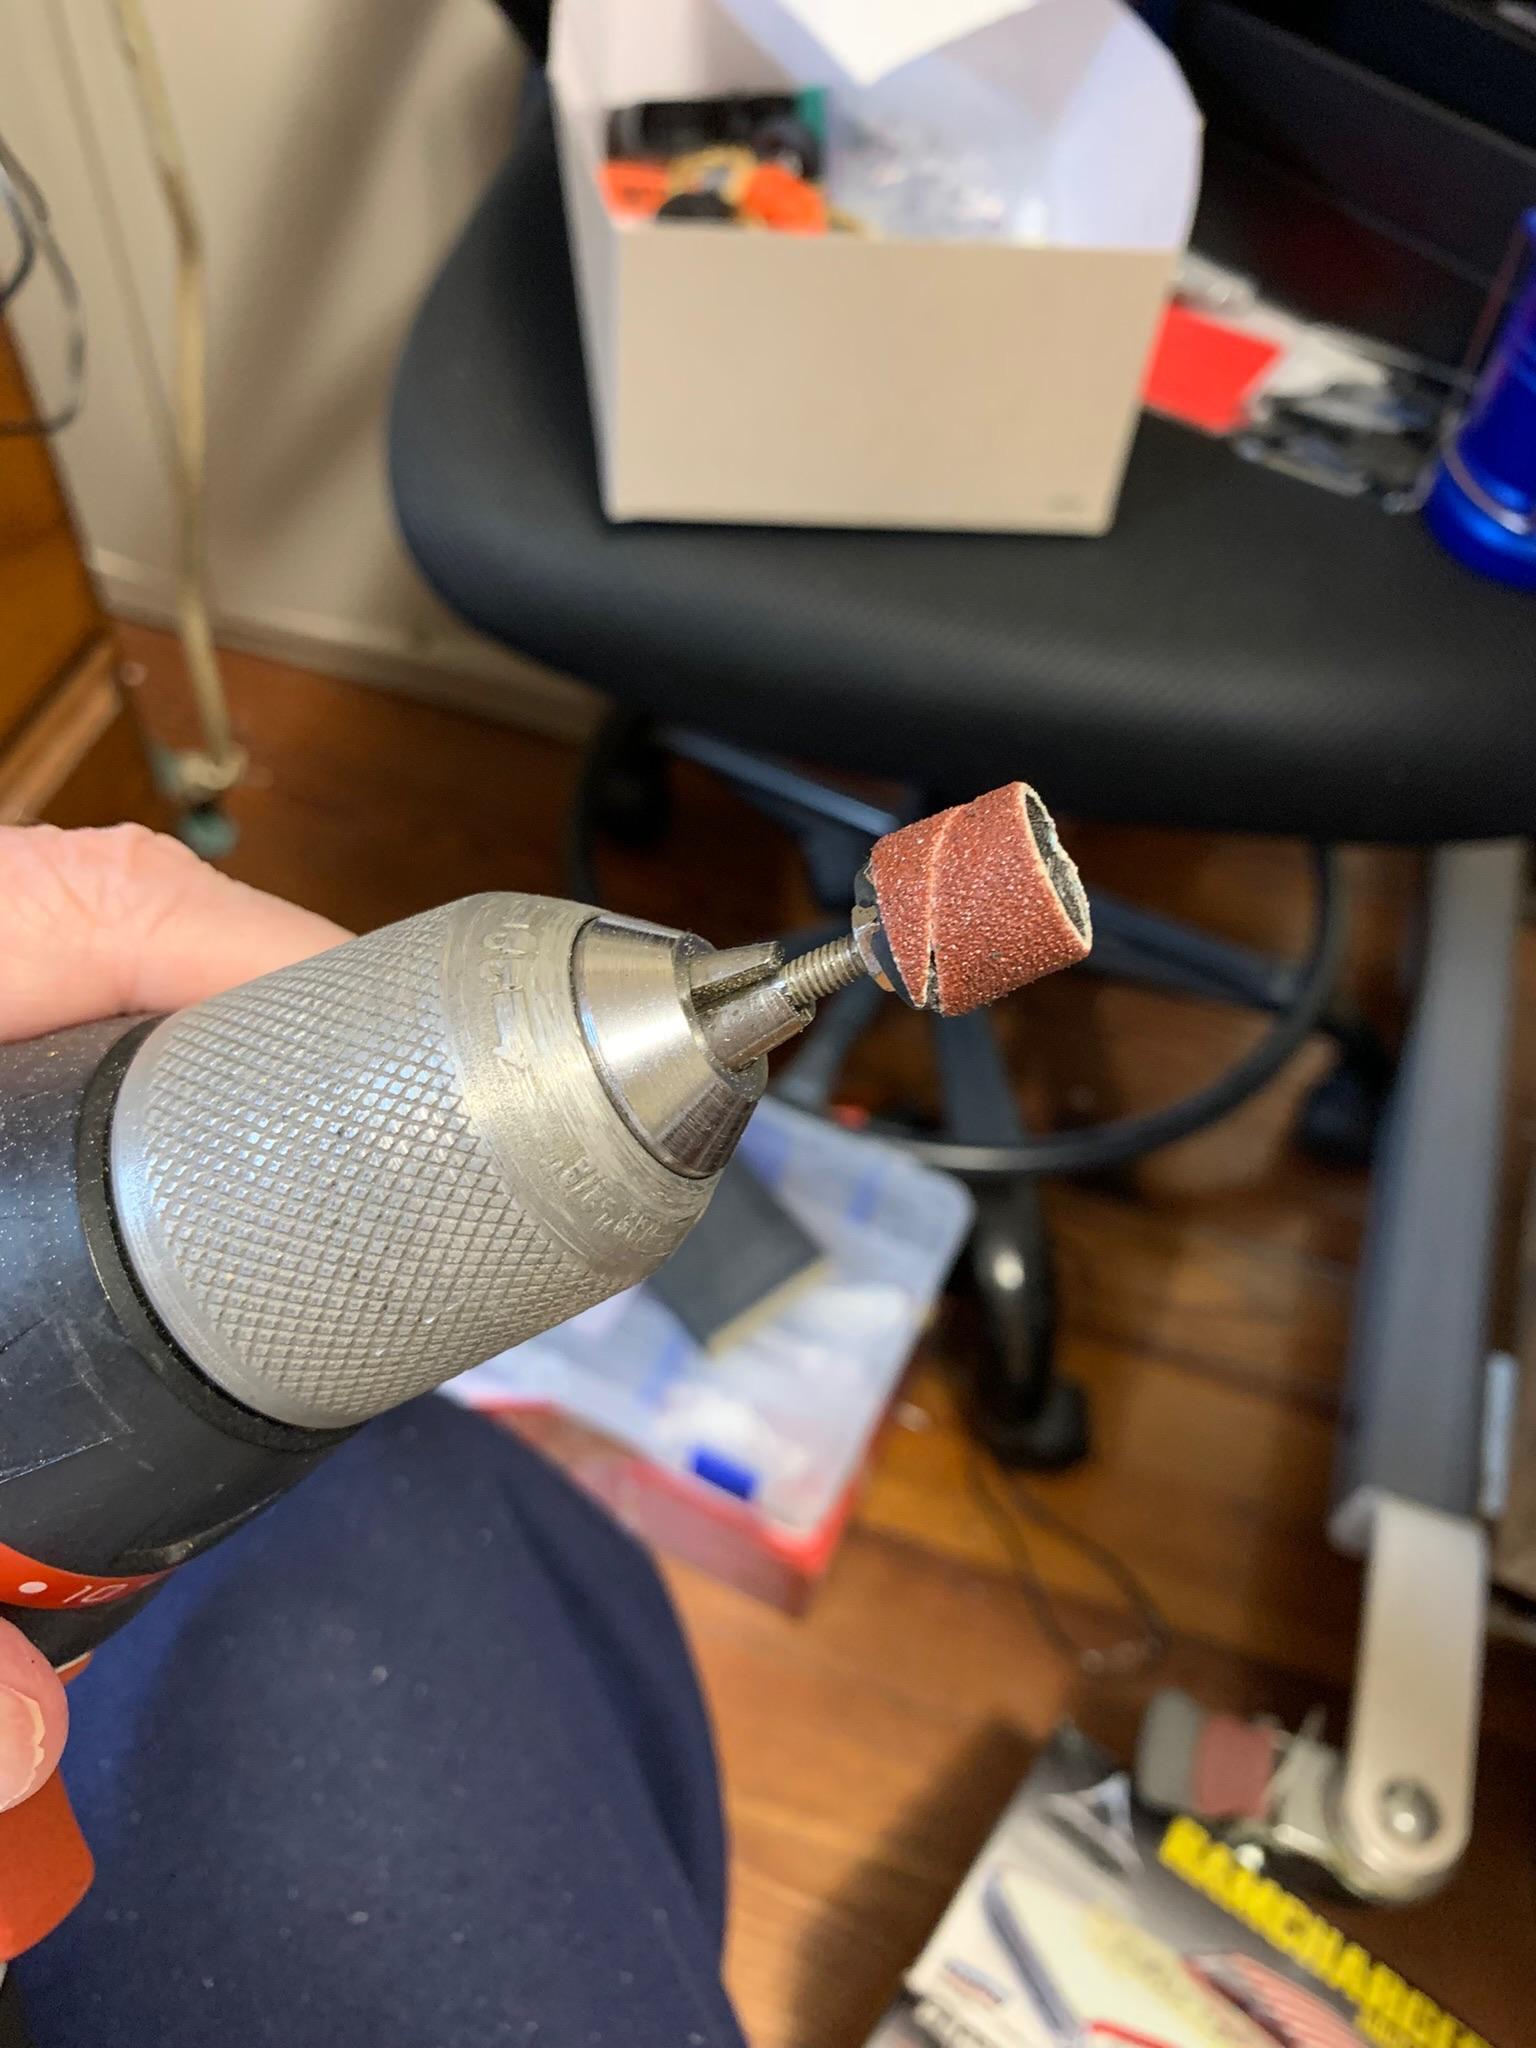
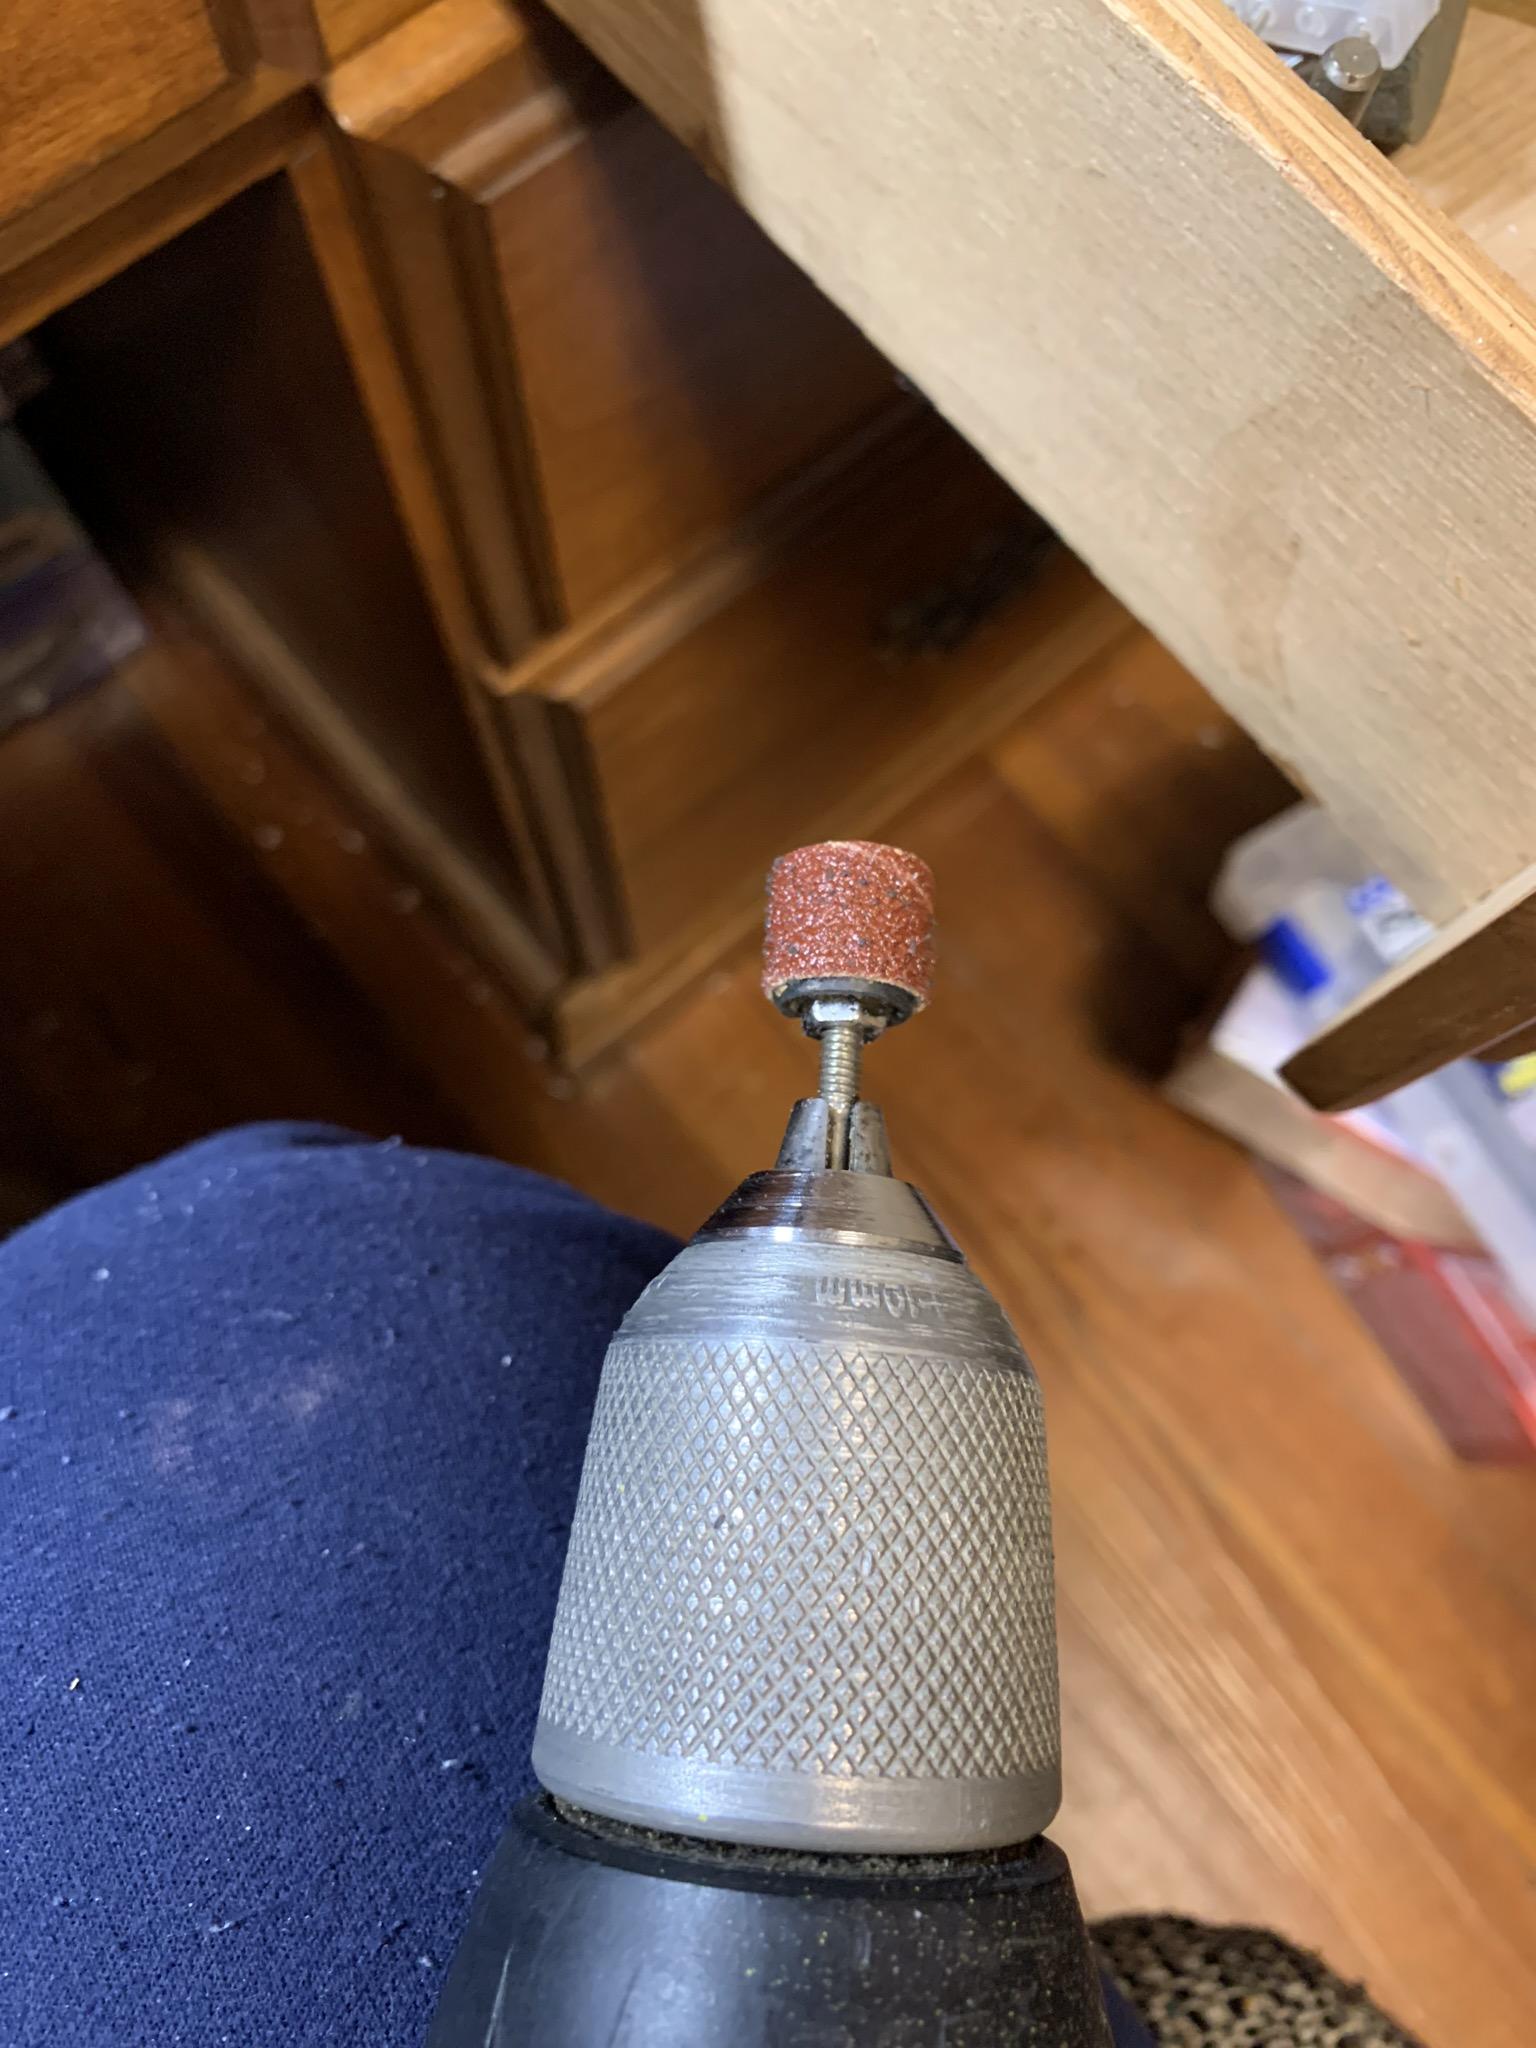
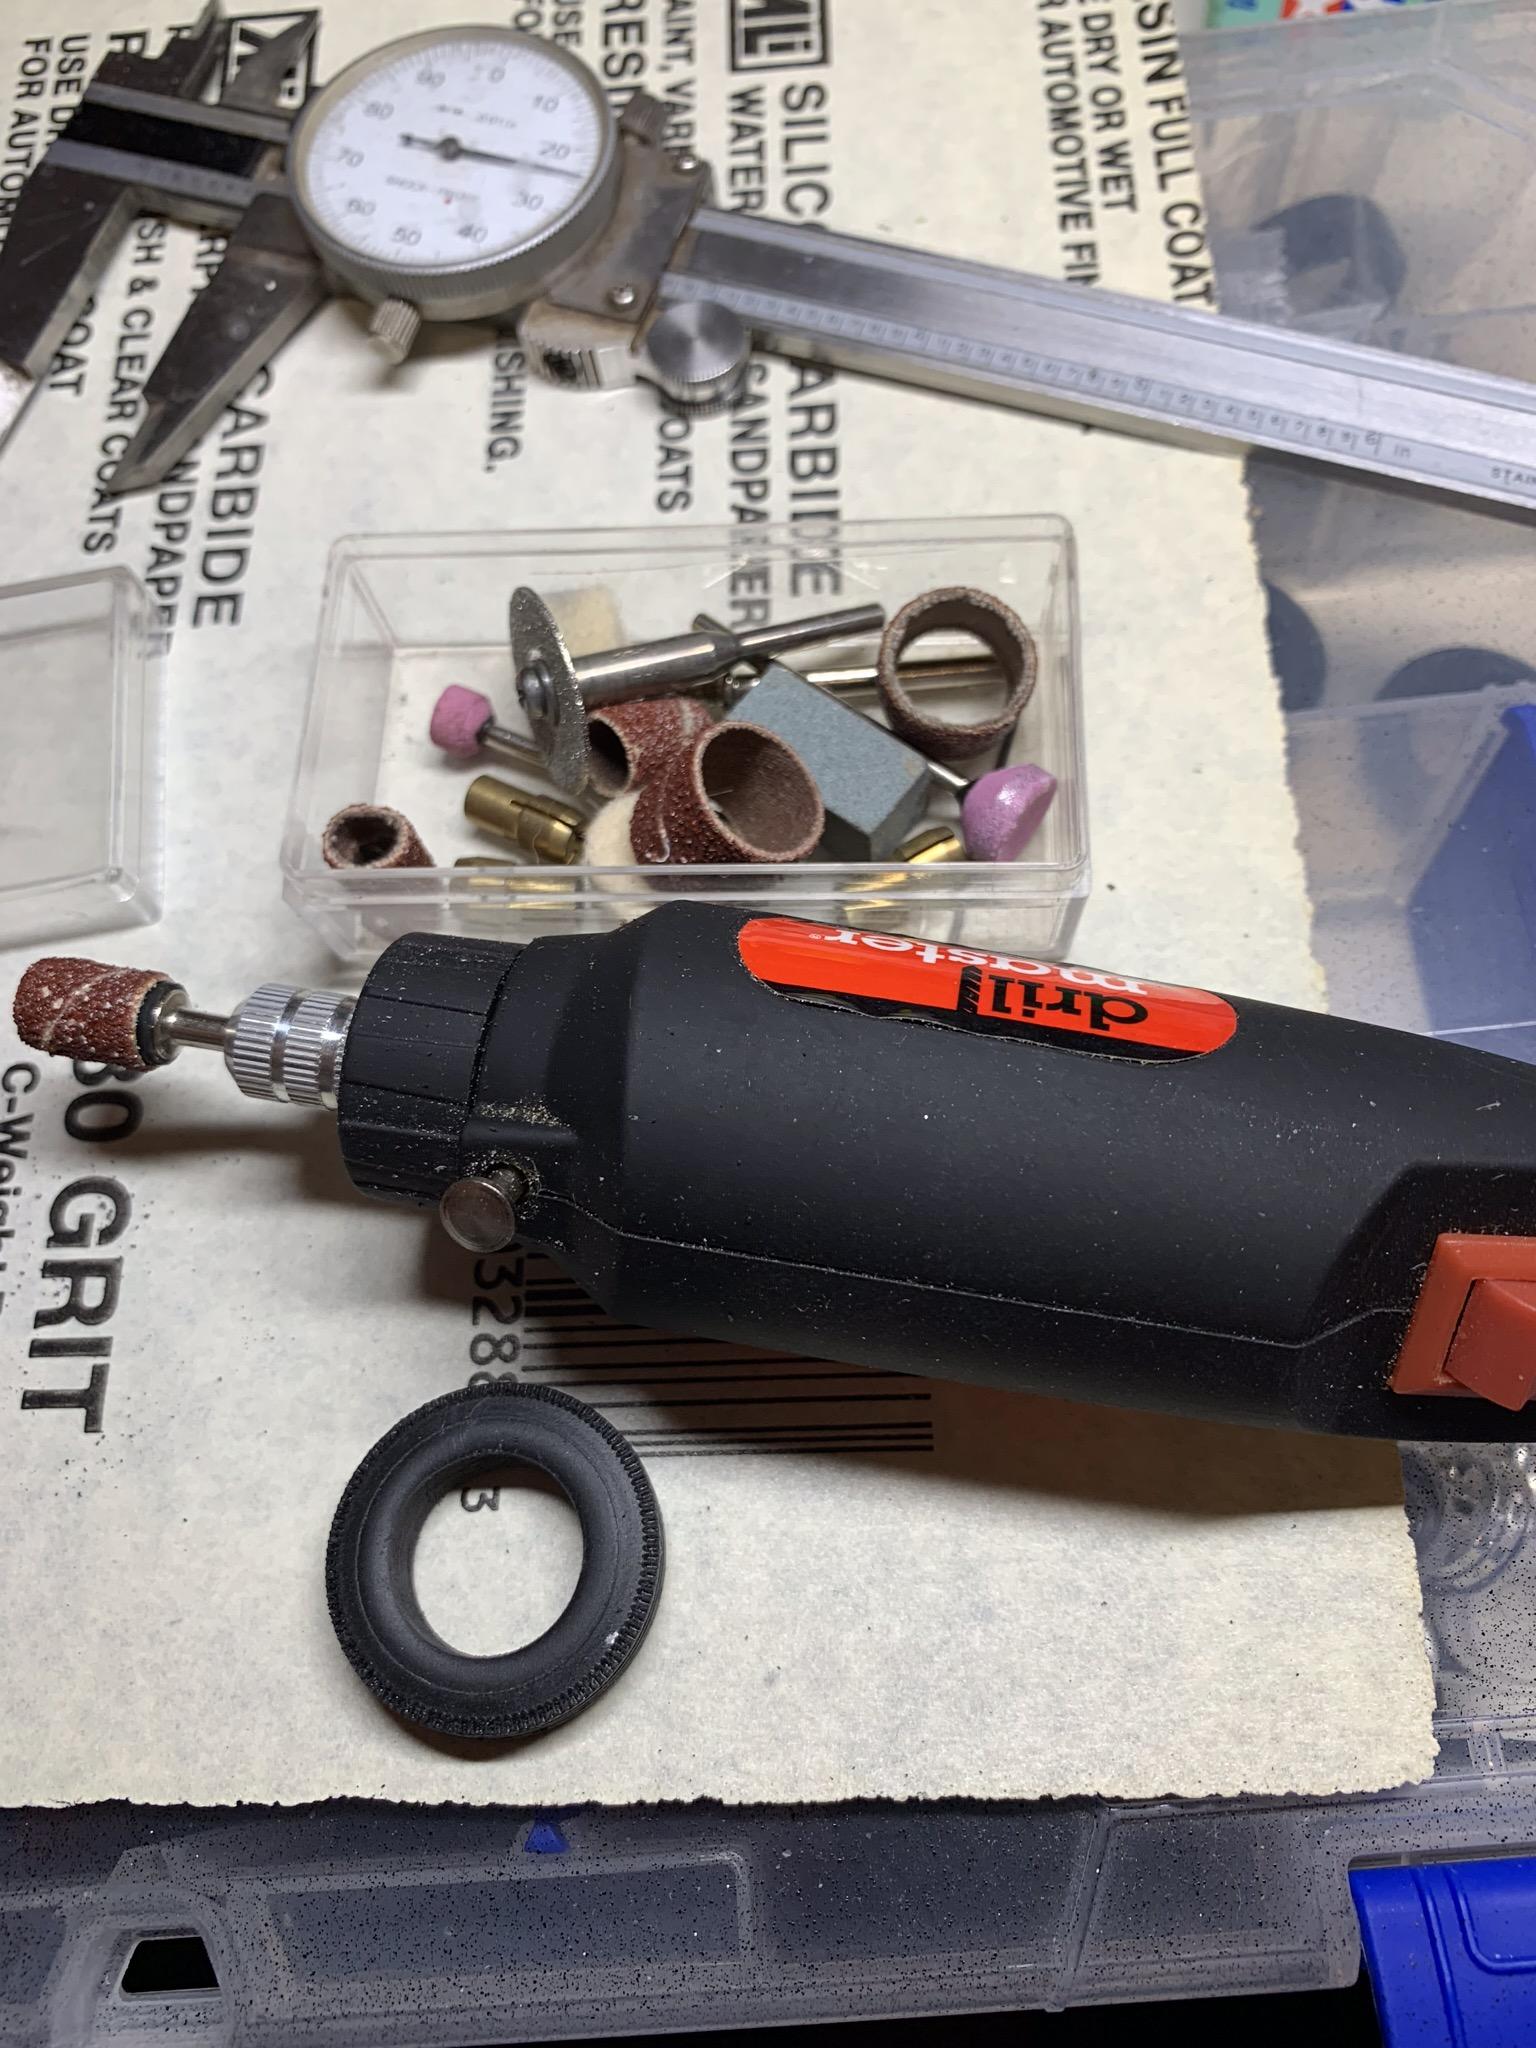
Sort of a ho hum day. The closest wheels (Alumastar, that is) i can find measure about .660” o.d. That means the I.d. of the tires i have in my parts box have to be opened up about .060”. Well, after scrounging around, I came up with a 5/8” (.625”) drum sander. By “drilling” it out, holding the tire with one hand and drilling with the other, a shaky proposition, and not one I recommend. Then, working the drum around the inner circumference of the tire (a tedious procedure with lots of measuring thrown in) we arrive at an I.d. of .660”. I am not thrilled with this procedure, as I would like to “make” about 15 of these for future Stocker projects. I am considering using 15 and 16mm sanding flaps. If anyone has any better, simpler, safer, etc., ideas , I am all ears. I also did some sanding on the sidewall of one tire to more closely approximate the racing front tires used on Stock and Super Stocks. They are smooth and have no side tread ribs. Oh, yeah, I did find in my cheapie Harbor Freight grinder a 3/8” drum sander that you walk around the circumference of the tire a little easier but, kinda slow going.
-
I like it a lot. This local Corvette competitor that I used to watch run is on my list to build.
-
Steve Magnante’s video of his build of this car might be of some assistance to you in your endeavors.
-
Thanks, I am considering something of that sort for the future, or perhaps this: might be a little easier?
-
Nice work and documentation.
-
Thanks, Roger. Got some wheels today that should do the job. The upcoming holiday may hold me up a bit, however. I will use the ones measuring about .660”.
-
Thanks, Roger. Waiting on some wheels I ordered from a couple different places. Seems like most front wheels of that style are designed to replicate a 17 or 18 inch wheel.