R. Thorne
-
Posts
1,276 -
Joined
-
Last visited
Content Type
Profiles
Forums
Events
Gallery
Everything posted by R. Thorne
-
Thanks for your reply. My goal is to cut down on dust in this room as it also contains my spray booth. Found this on a recent “dig” in this forum that looks interesting.

-
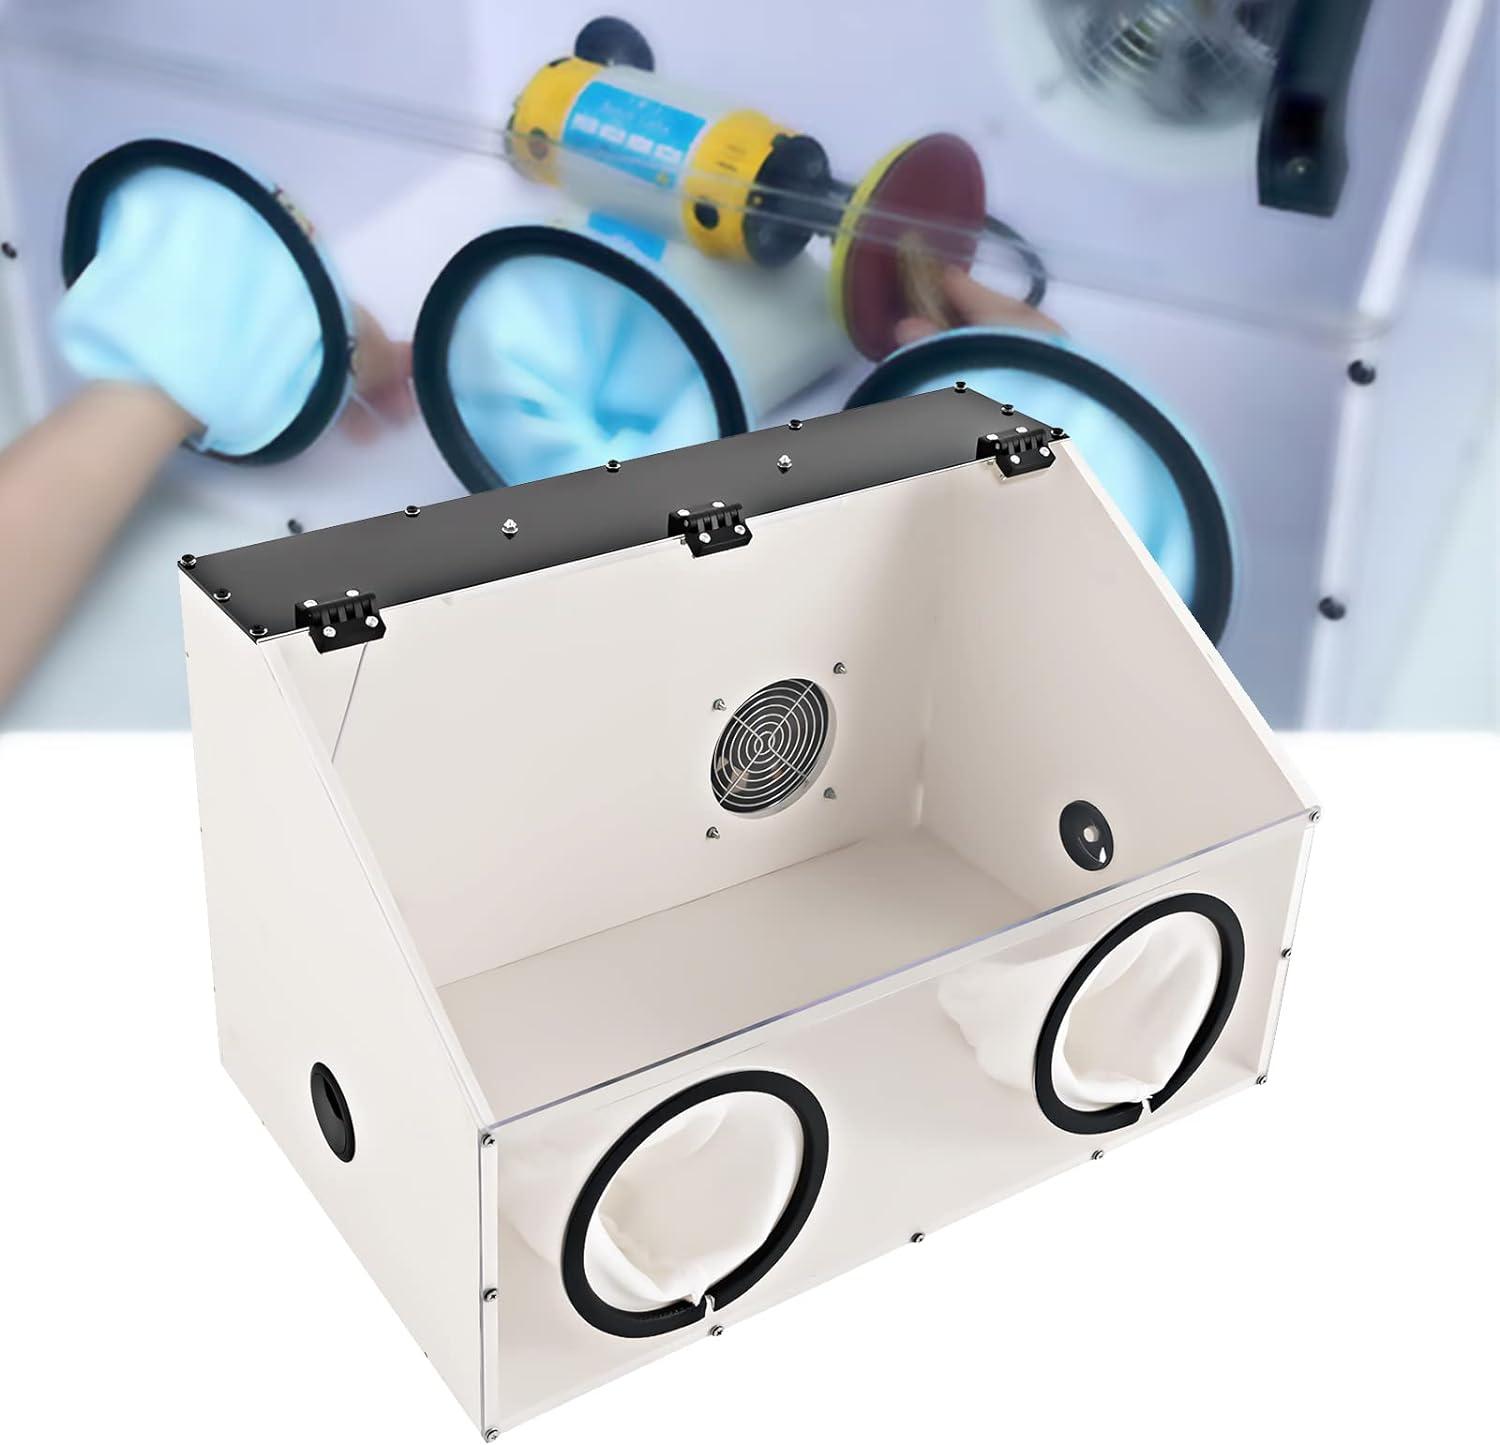
Thanks for the responses. So, no one’s ever tried any kind of dedicated dust collectors. How about a “dust box”?
-
Steve Magnante
R. Thorne replied to mikemodeler's topic in General Automotive Talk (Trucks and Cars)
Thanks, guys, for posting this great news. I miss the daily junkyard stuff. -
Just recently started working on some resin stuff and, being cognizant of the risk of the dust involved sanding etc., was wondering if anyone had any experience with the nail dust collector shown or any other type of dust reducer/vacuum?
-
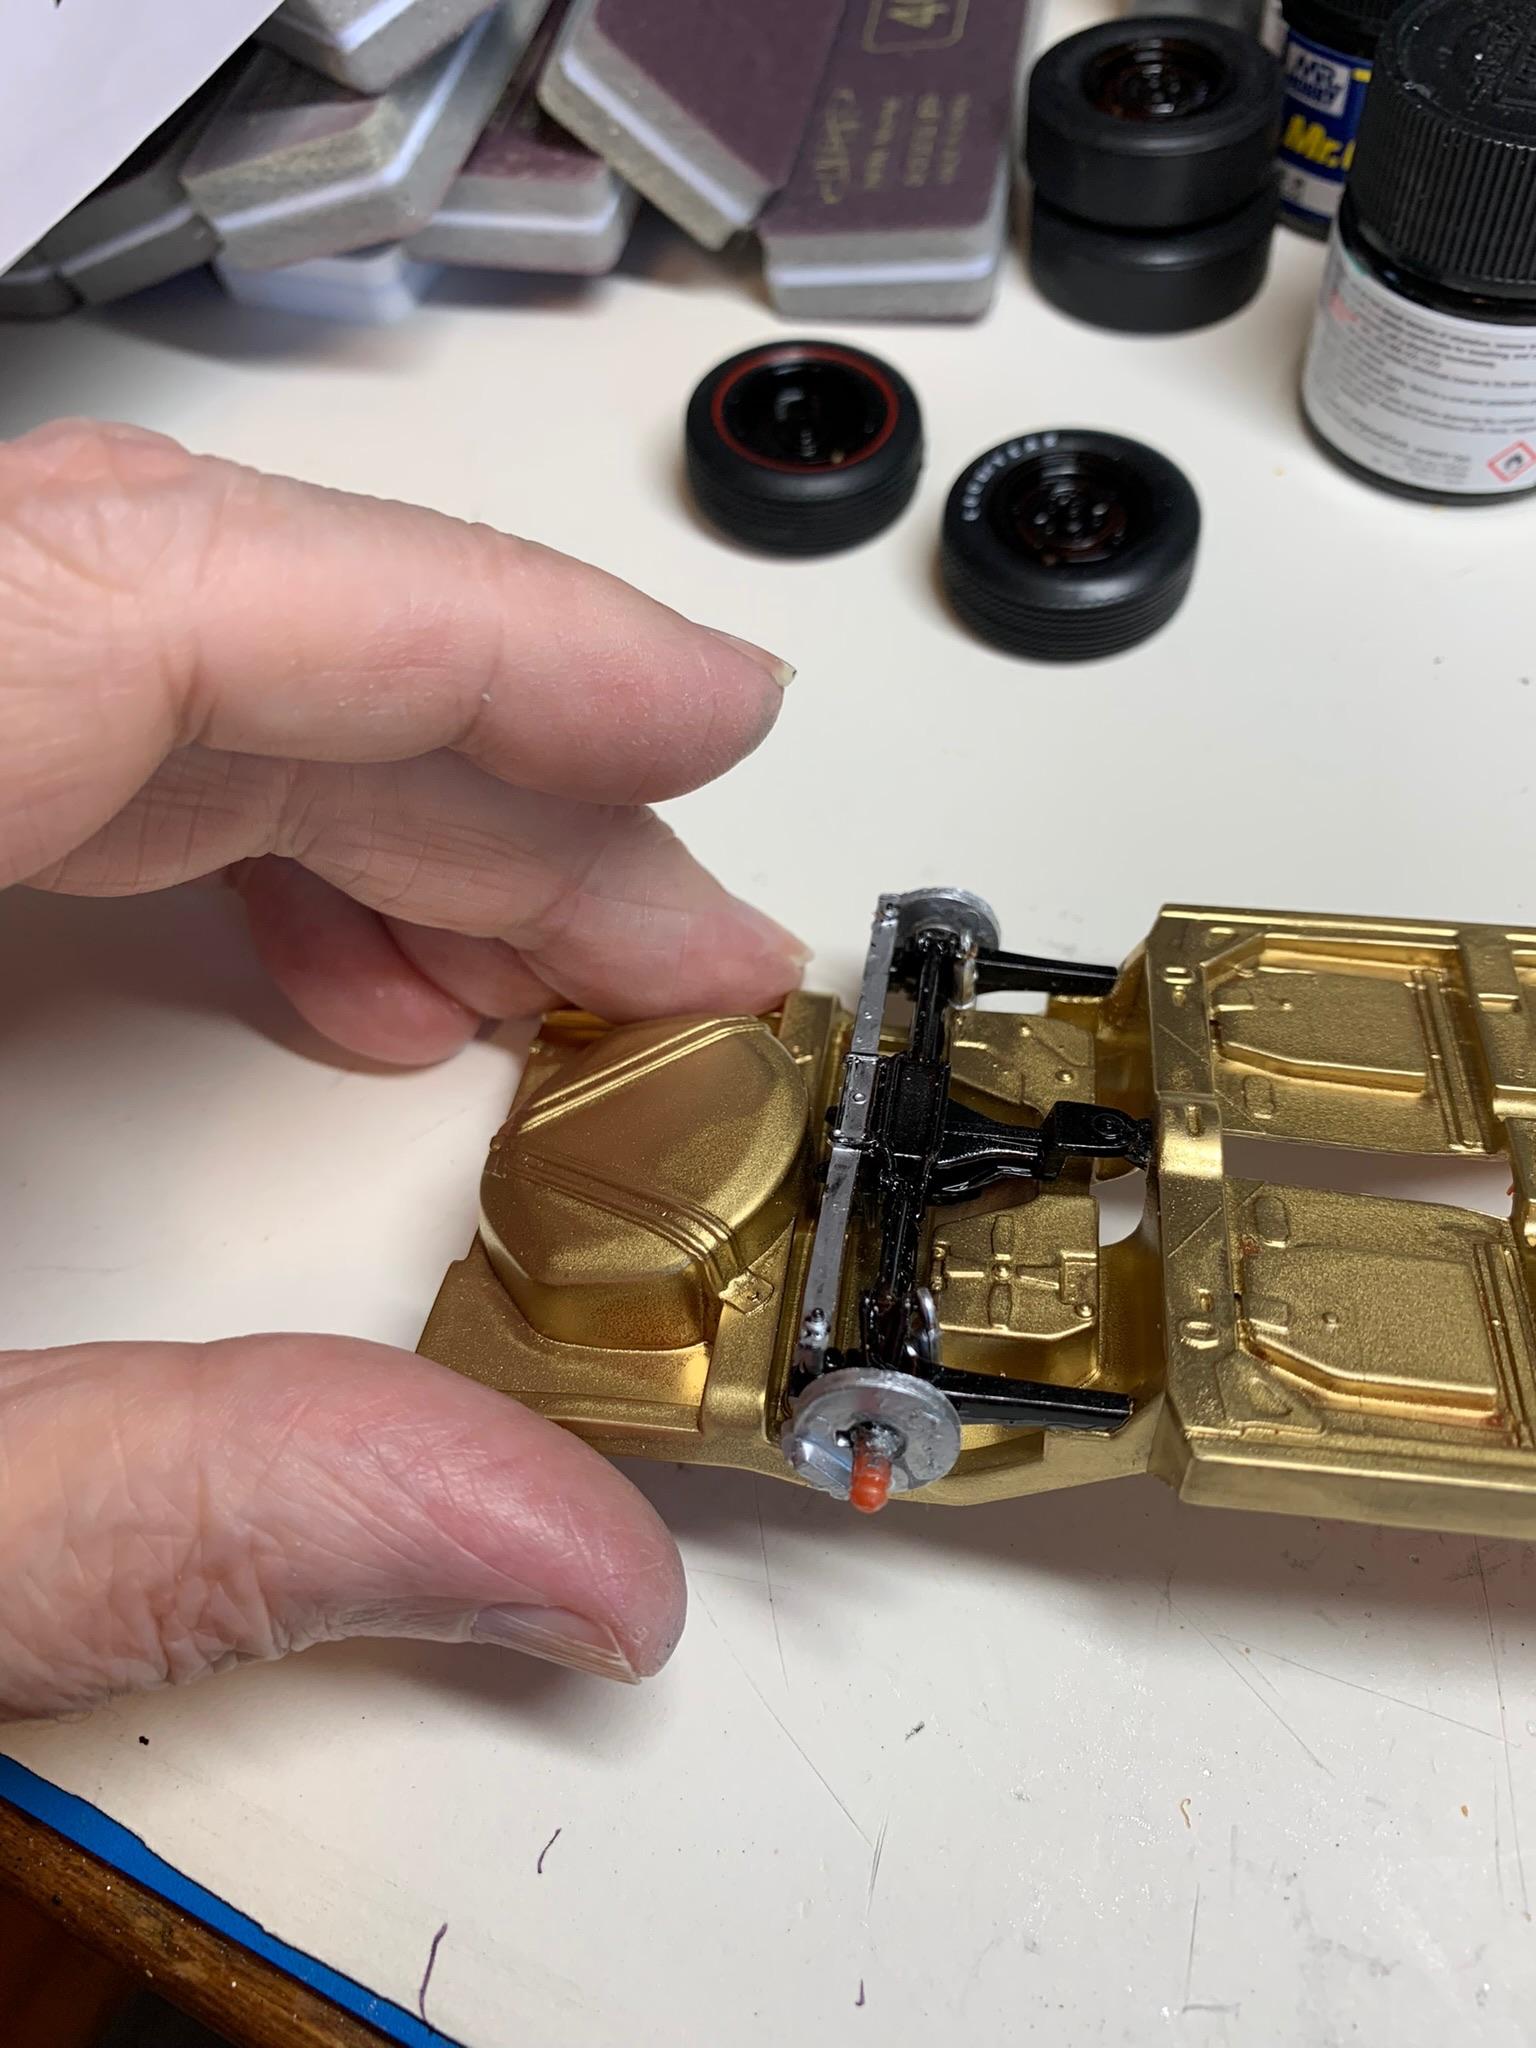
Finished the front mount and made some end brackets.
-
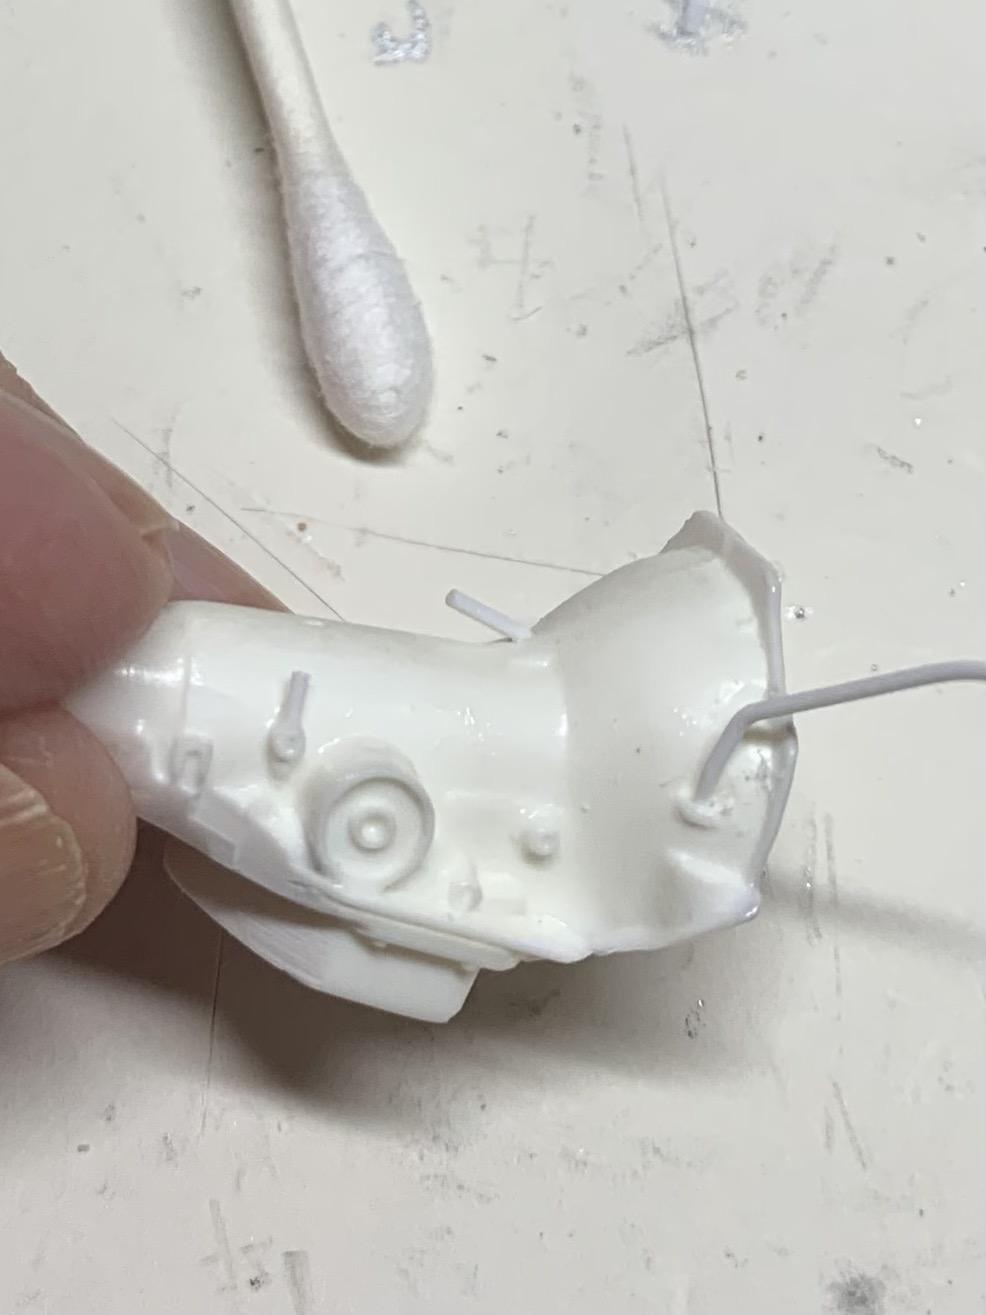
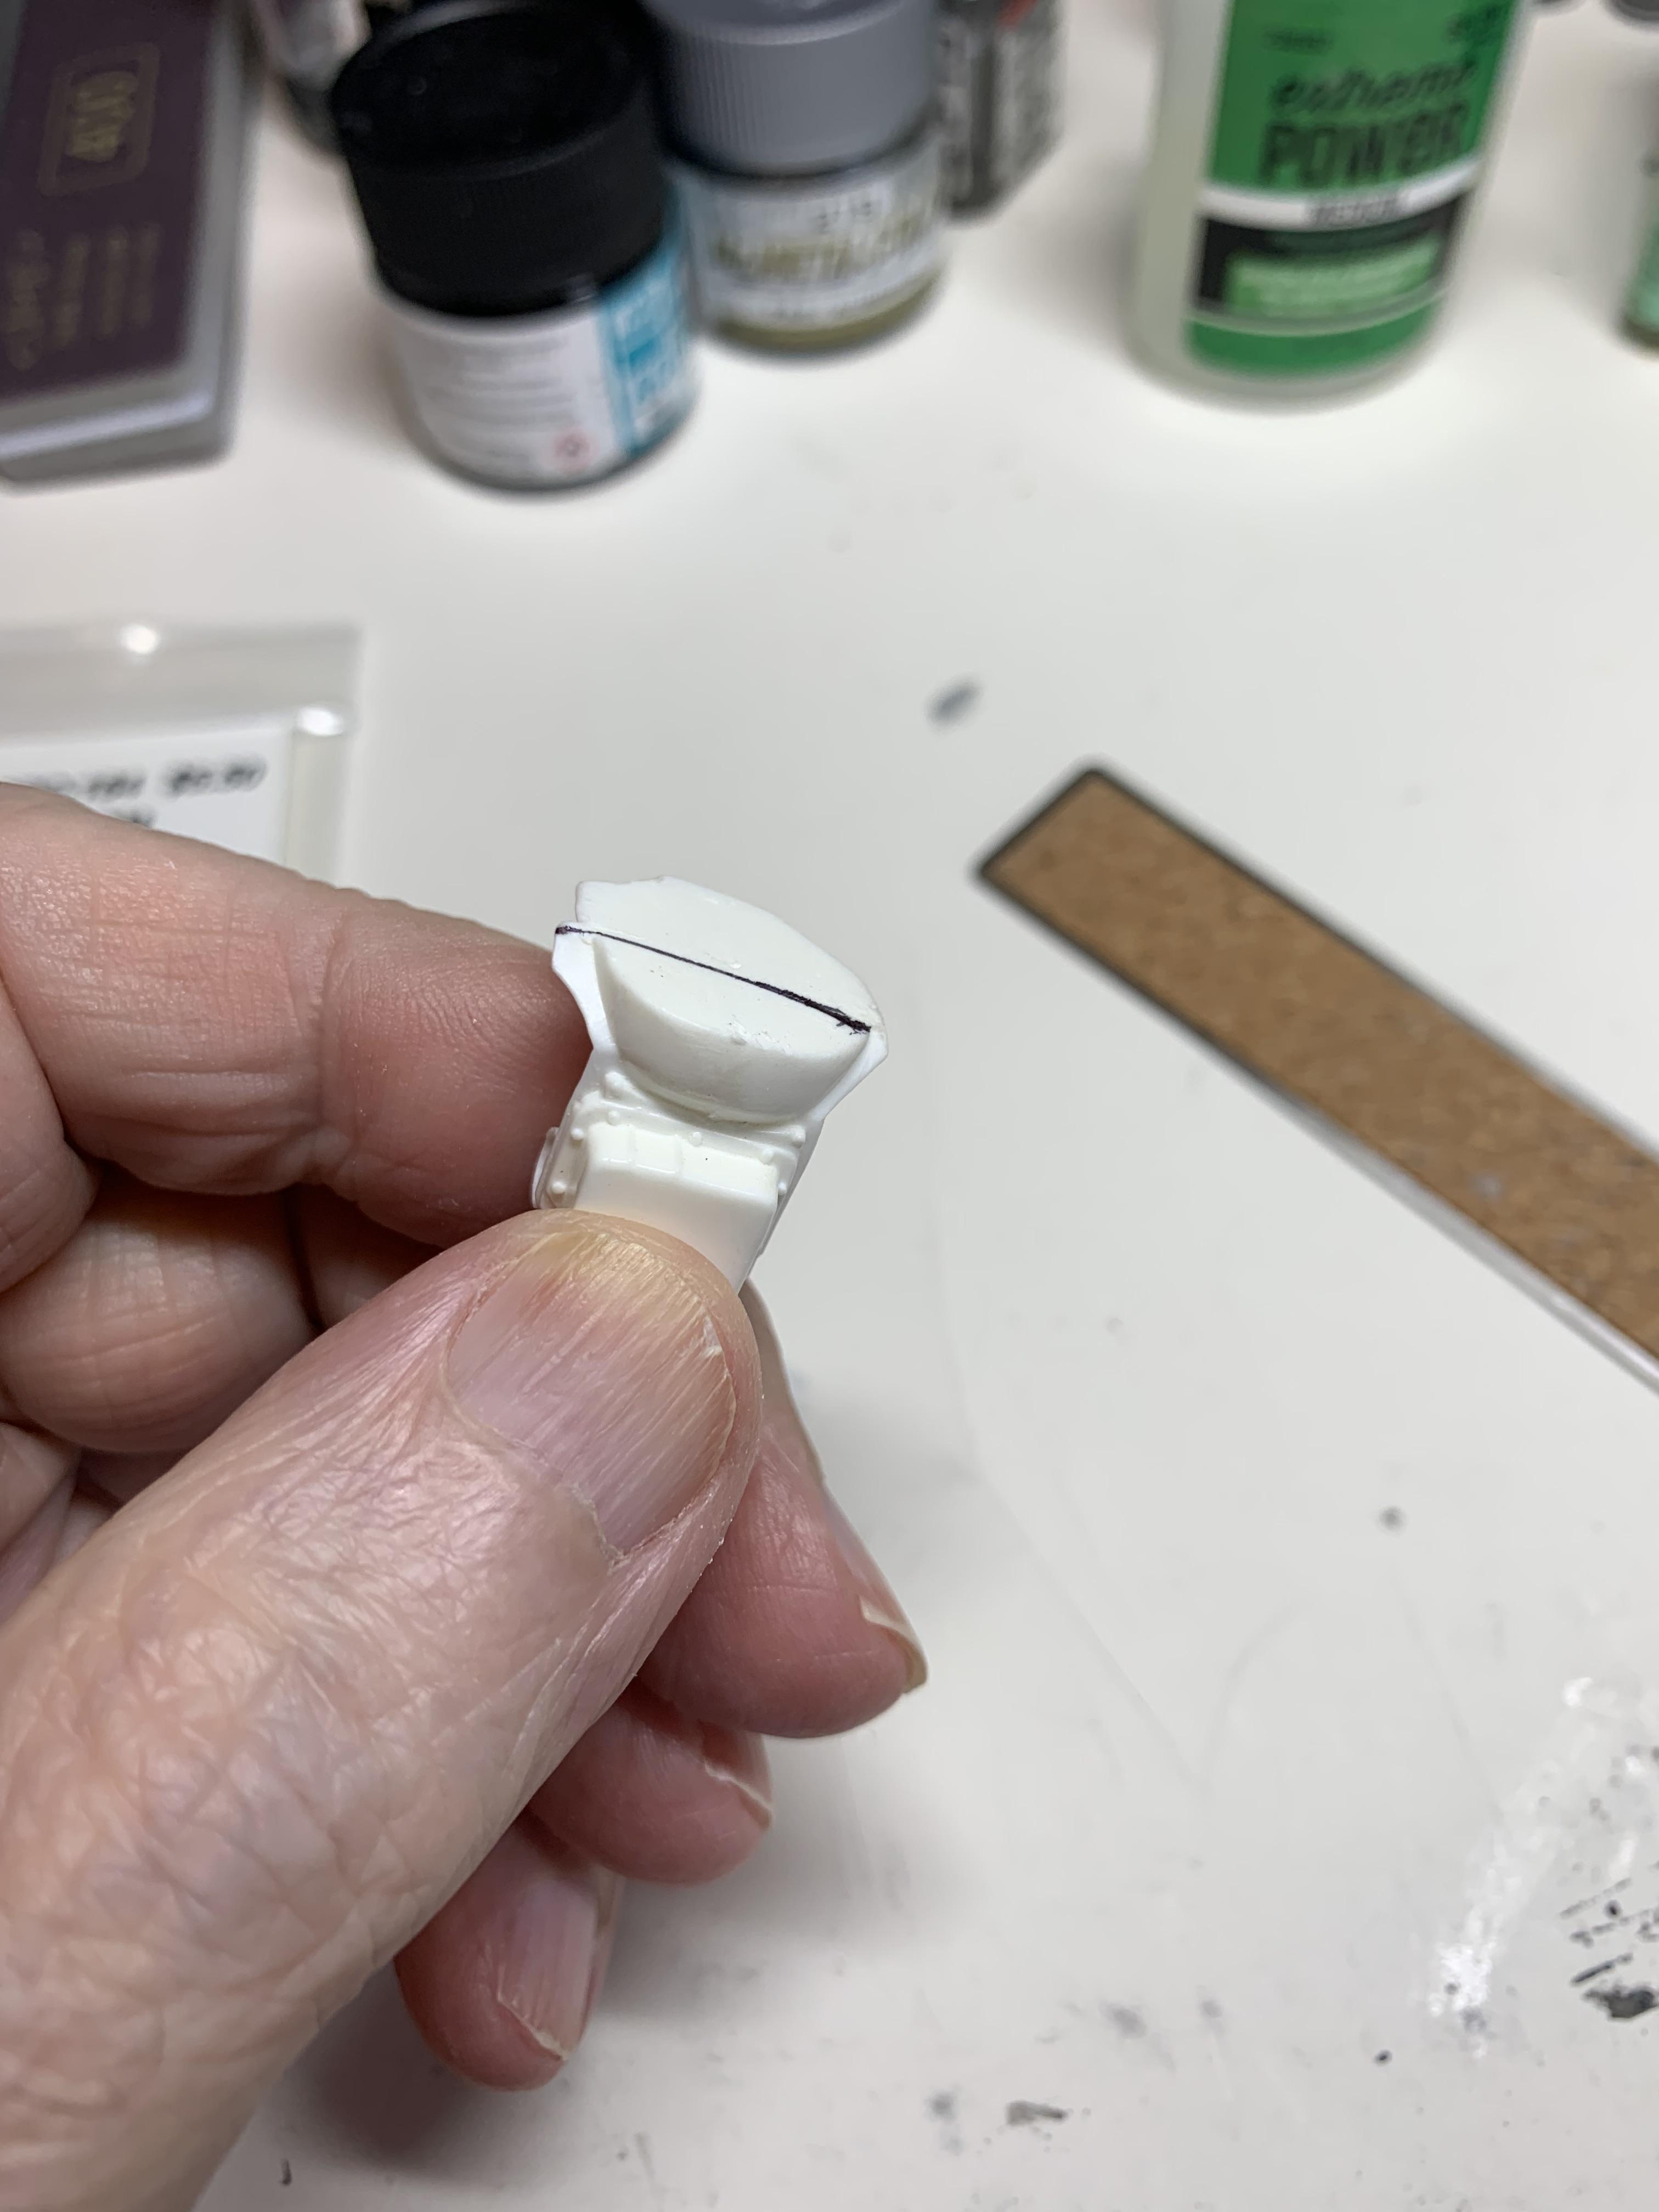
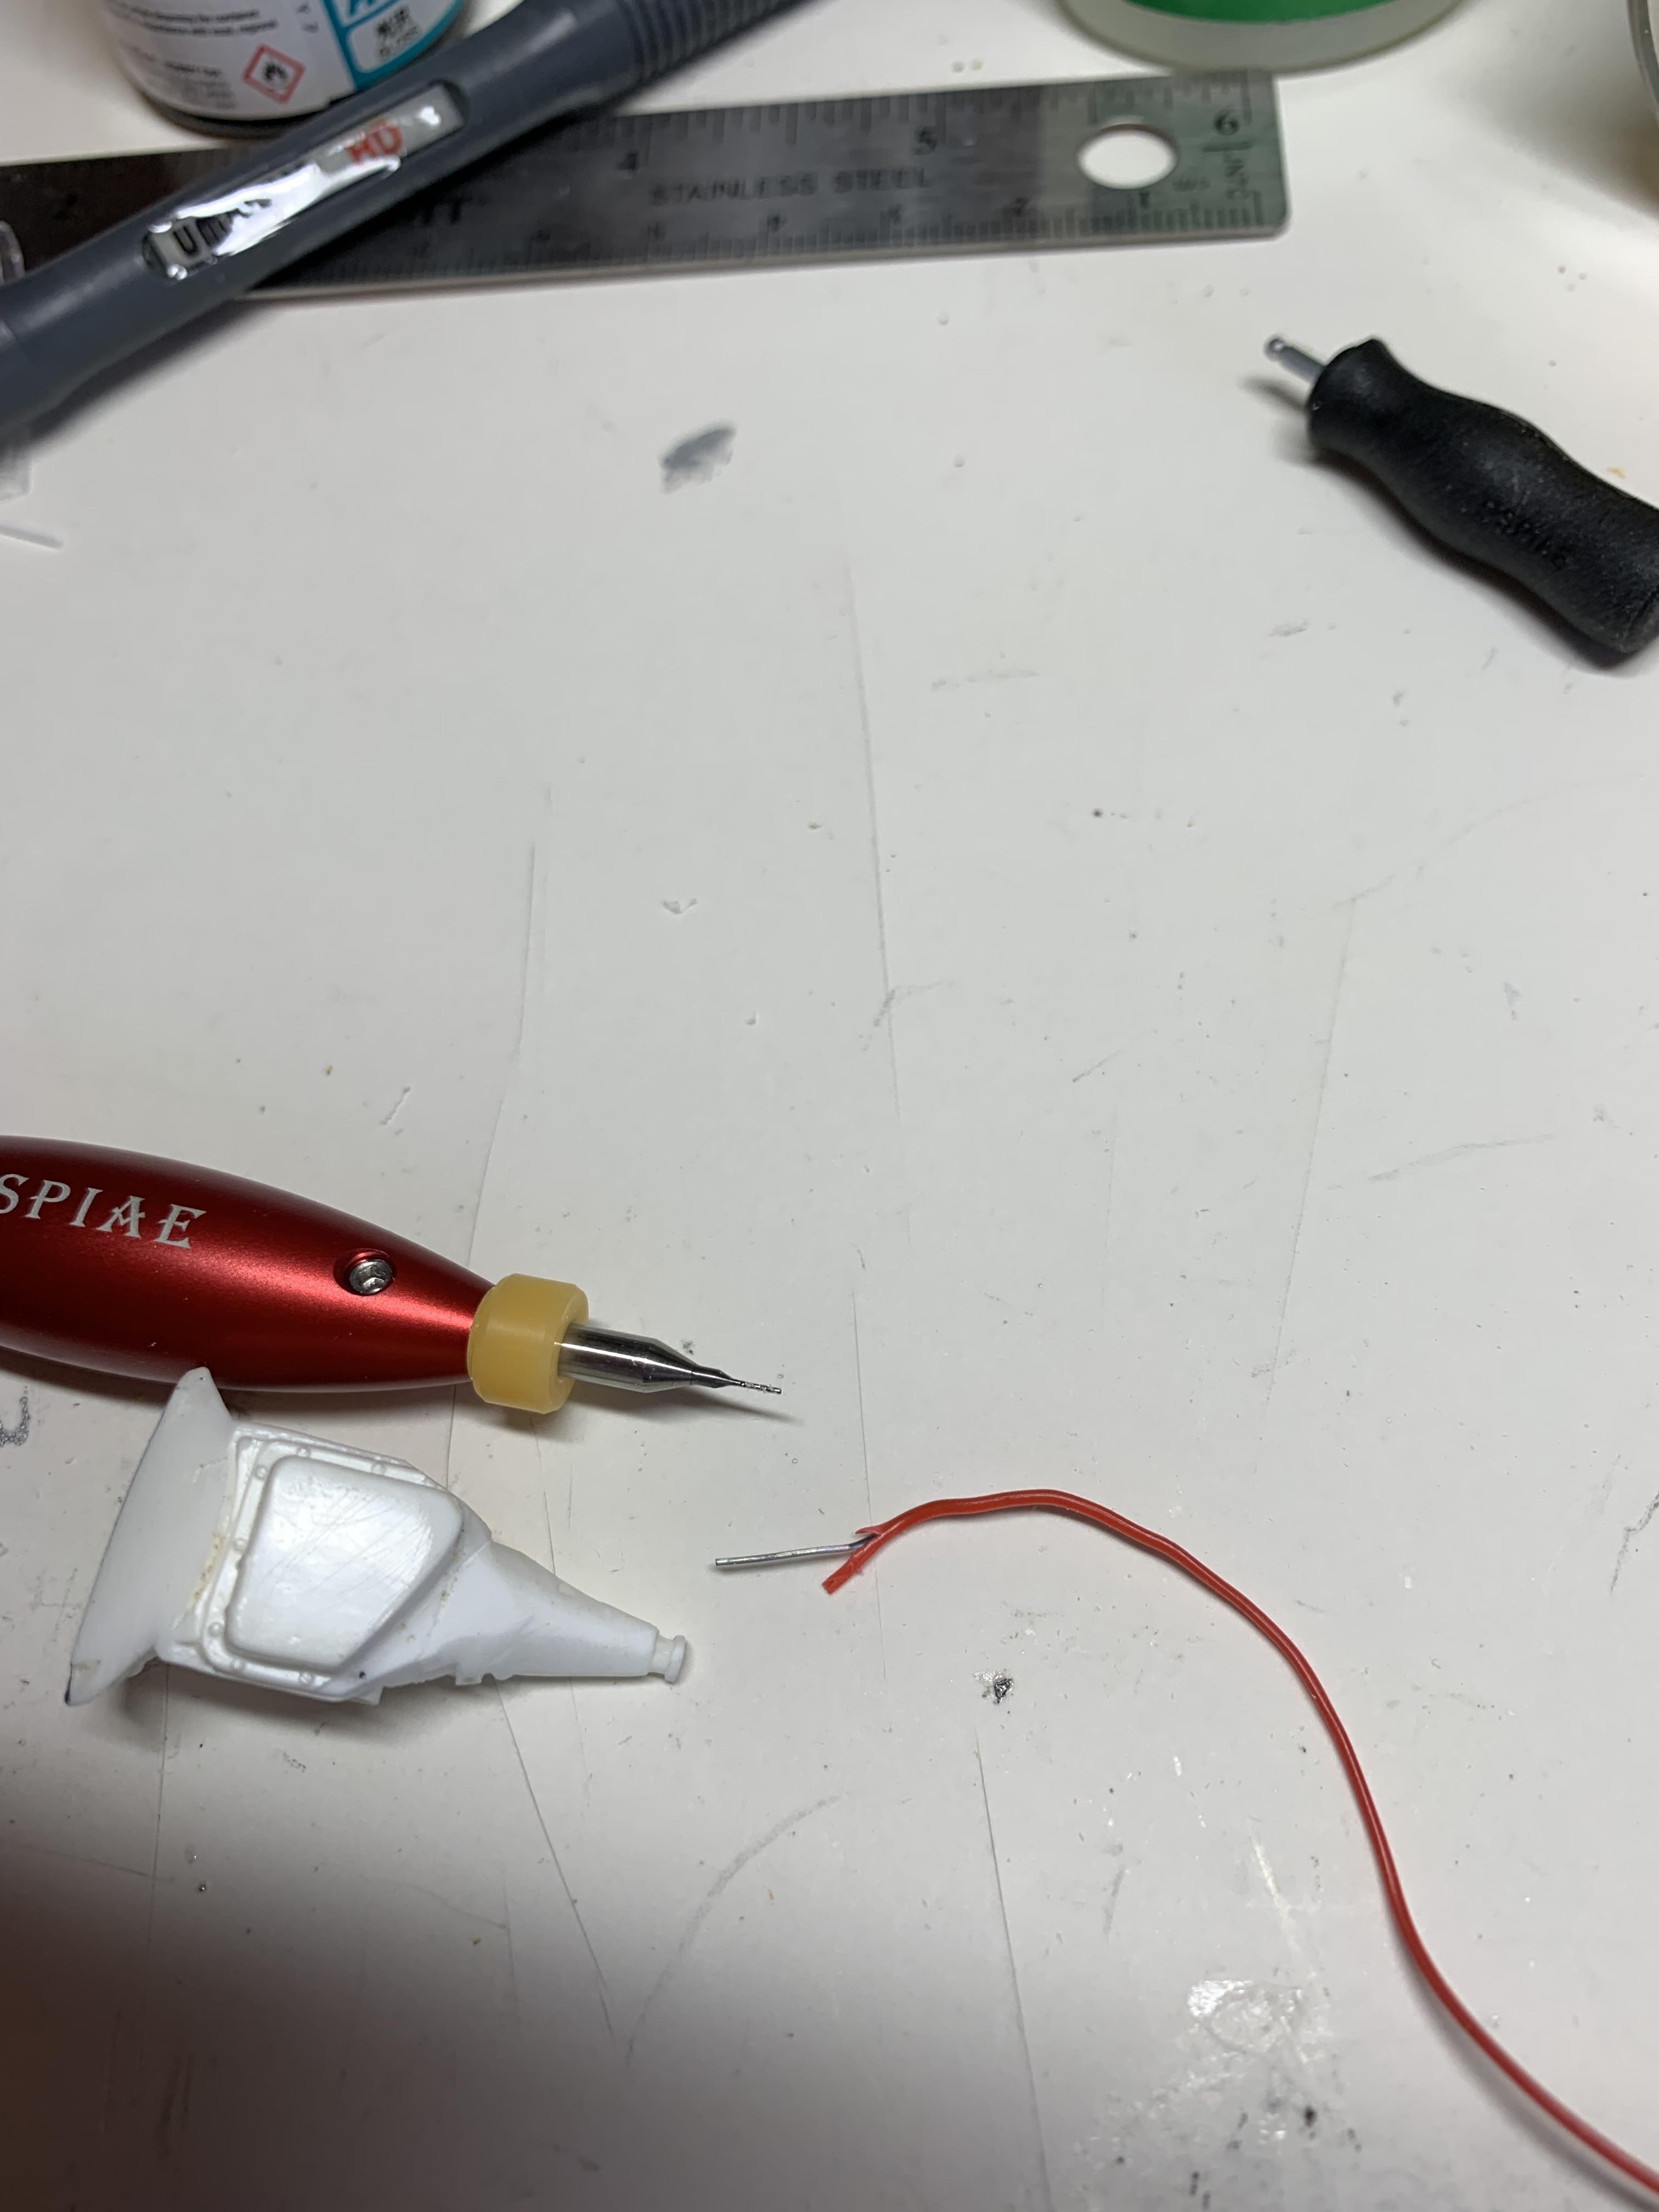
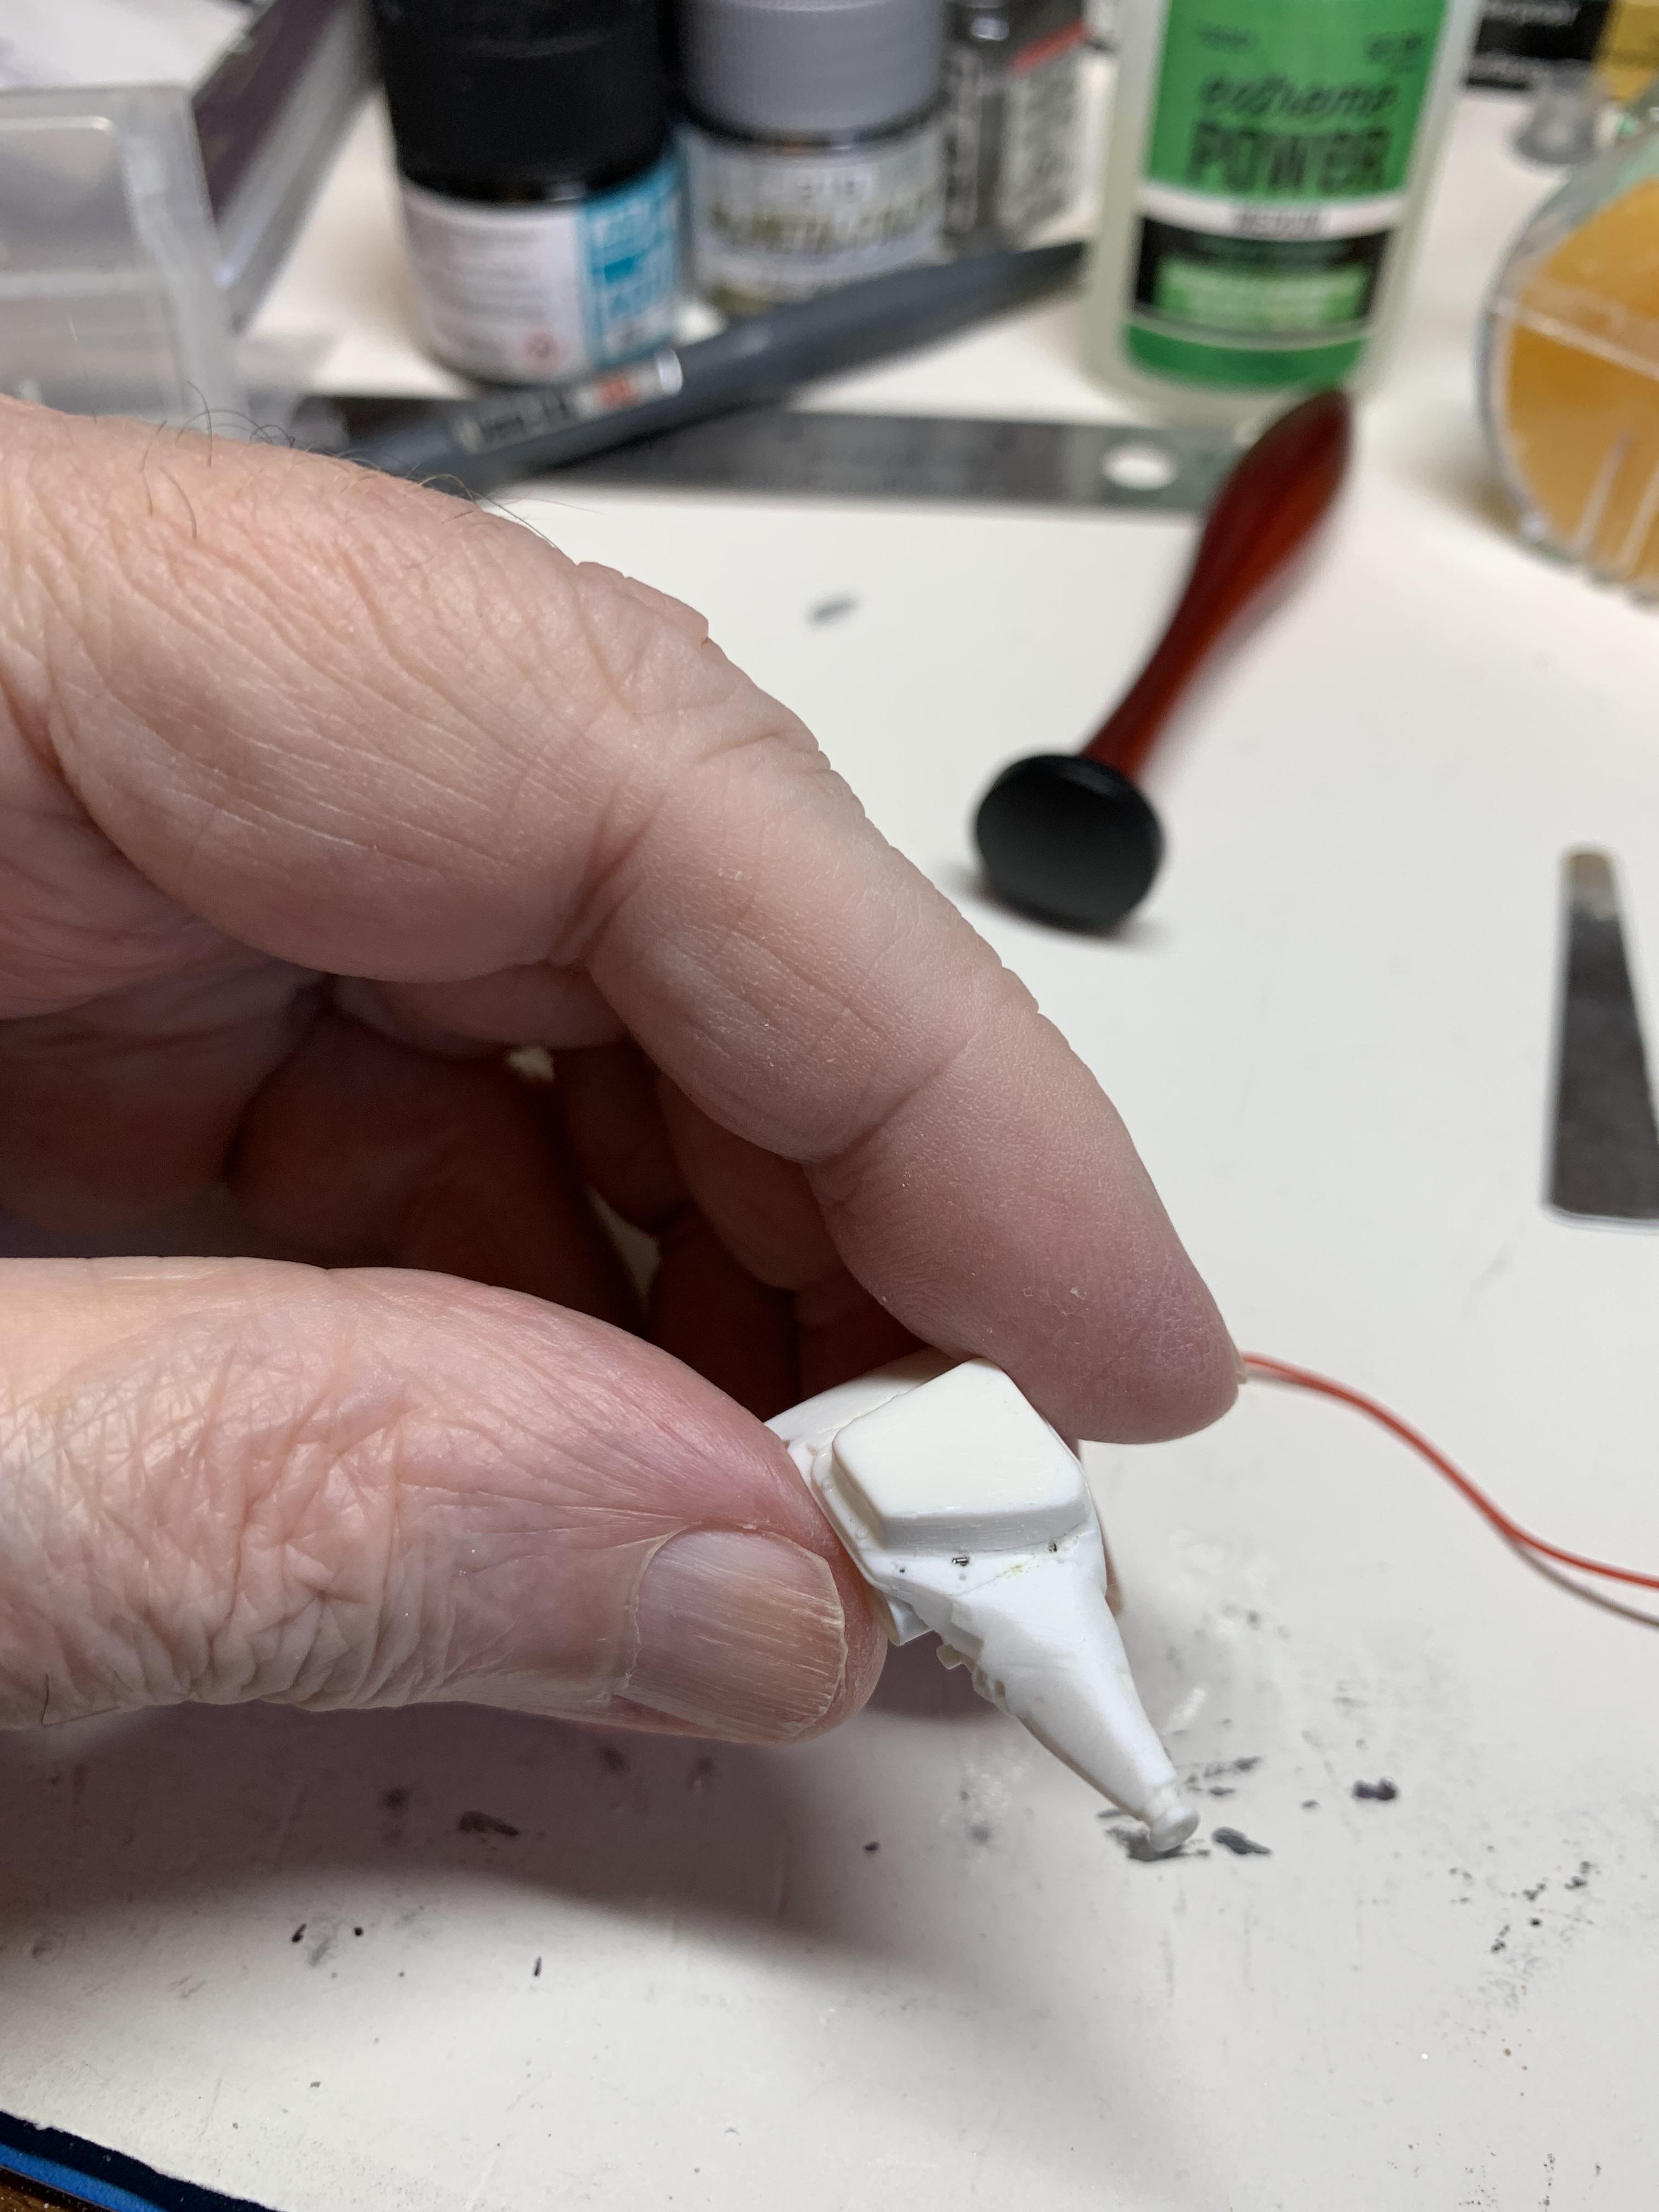
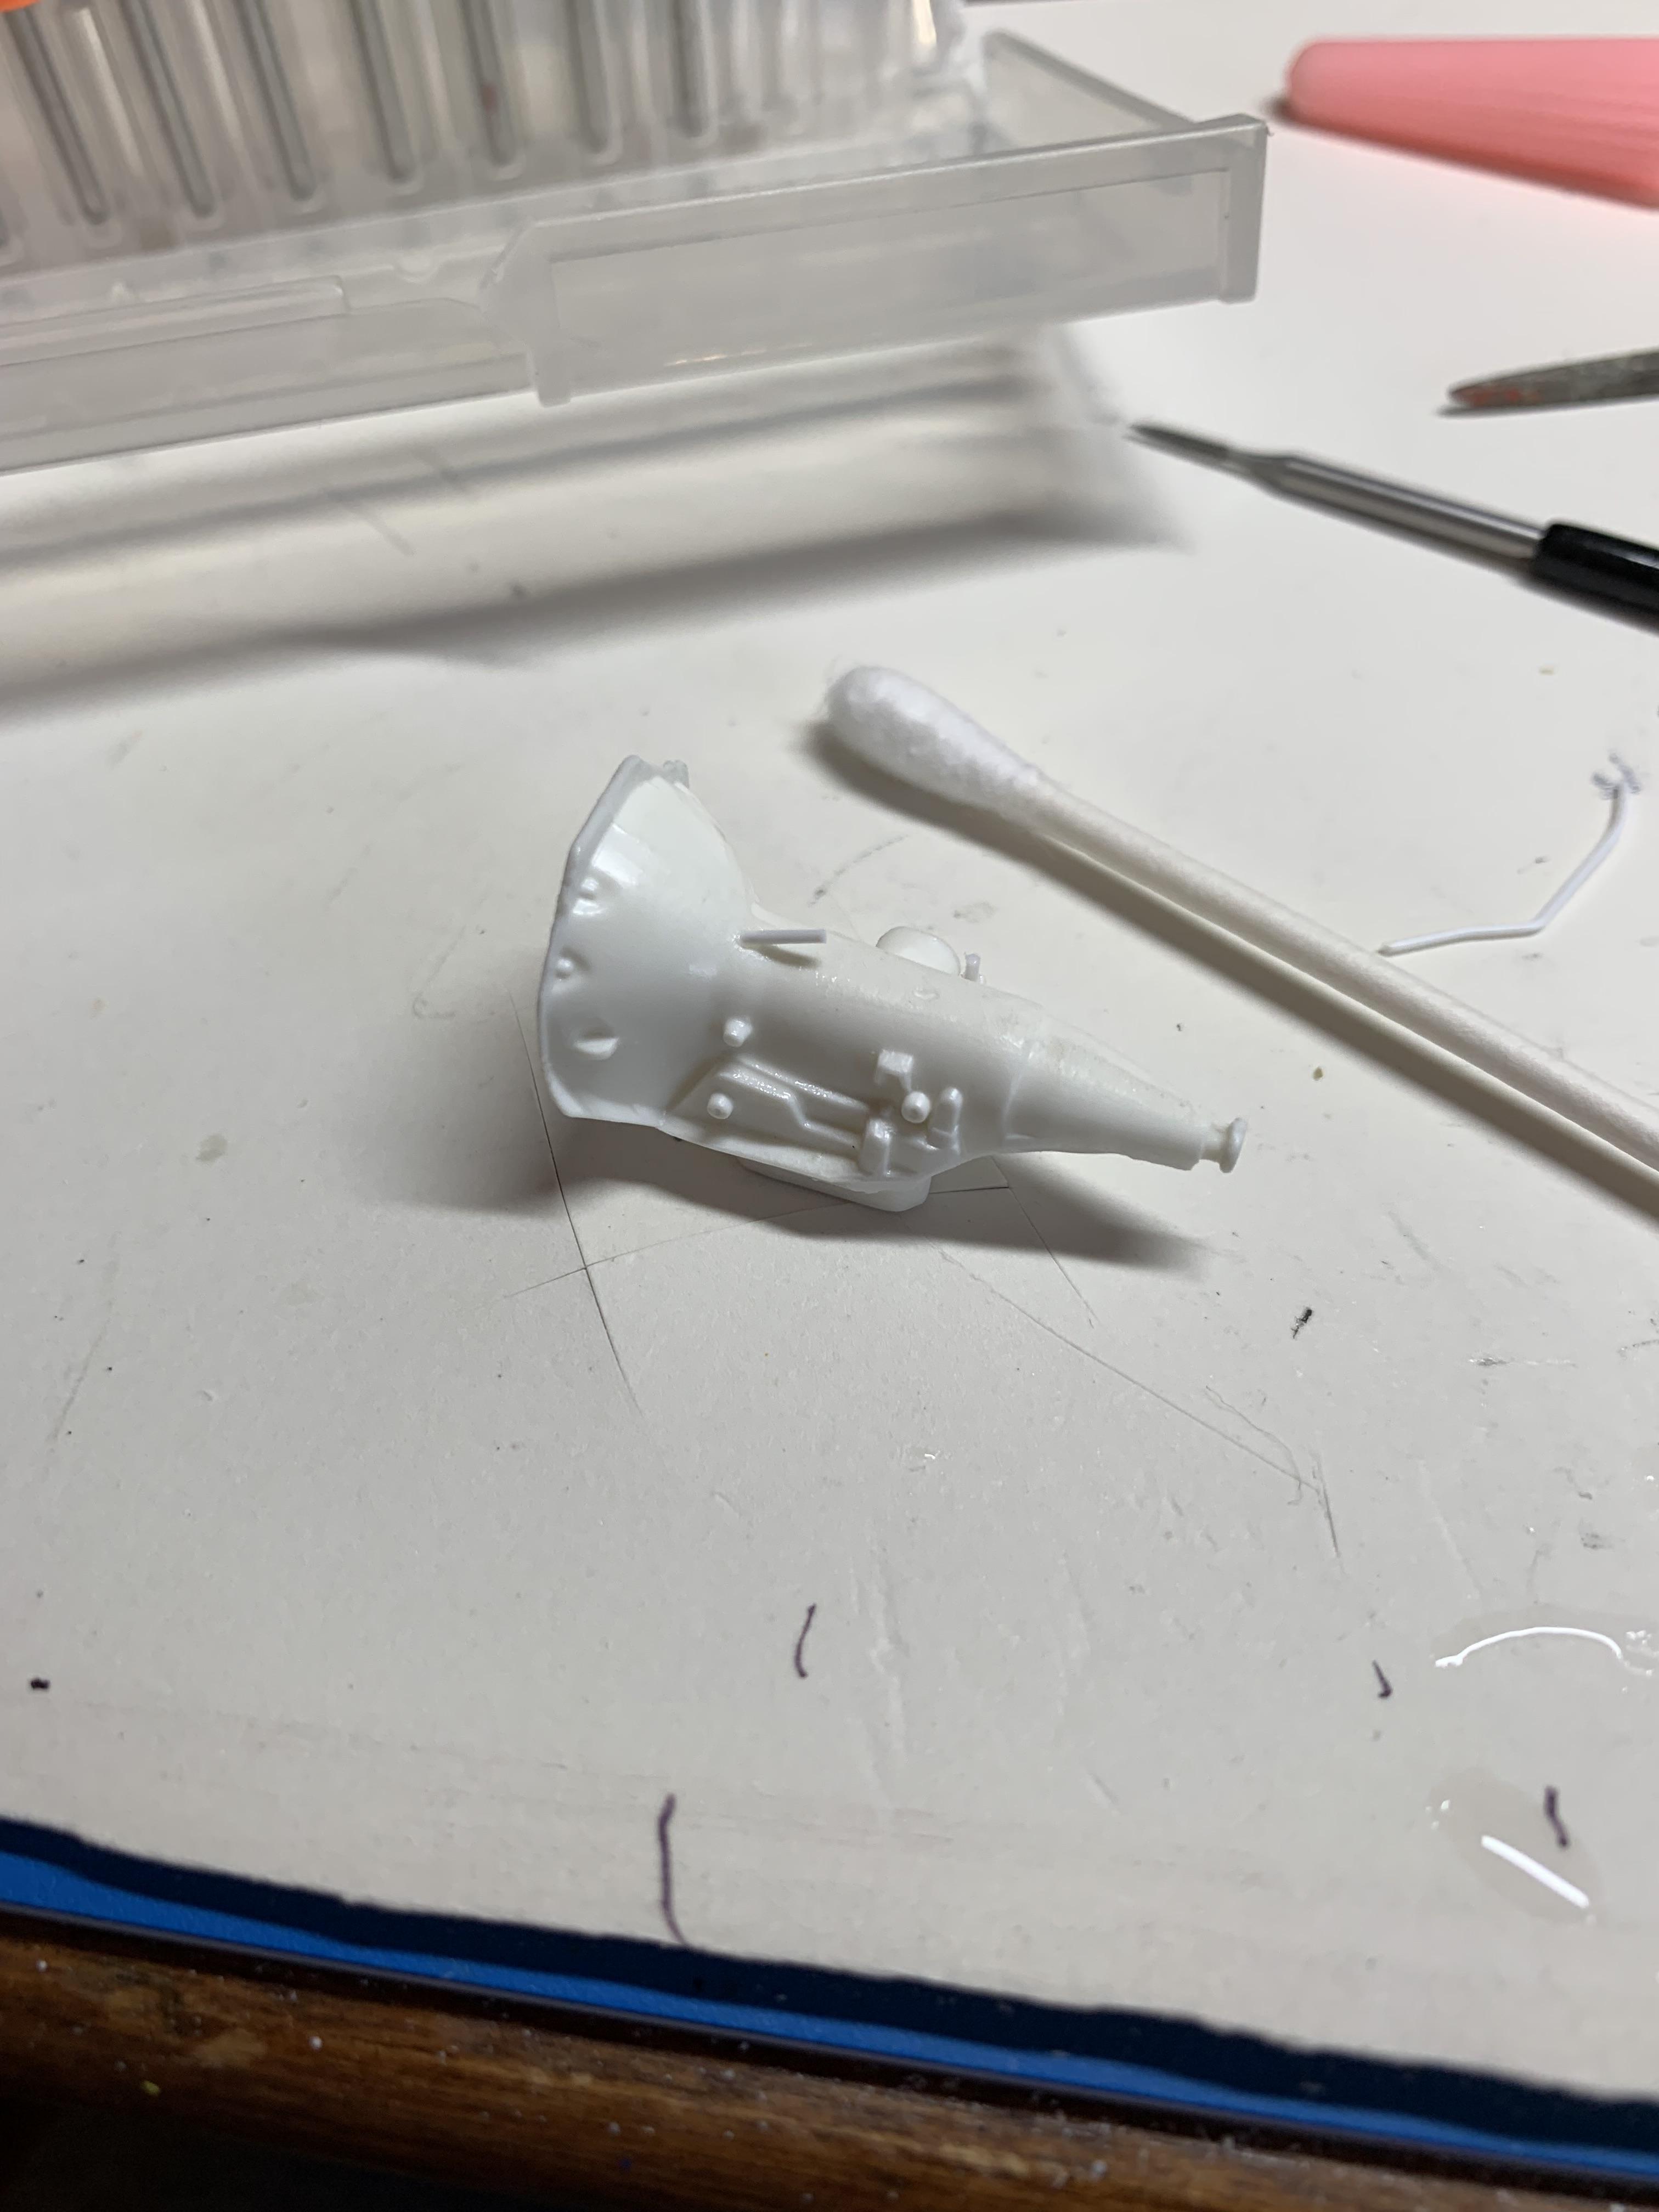
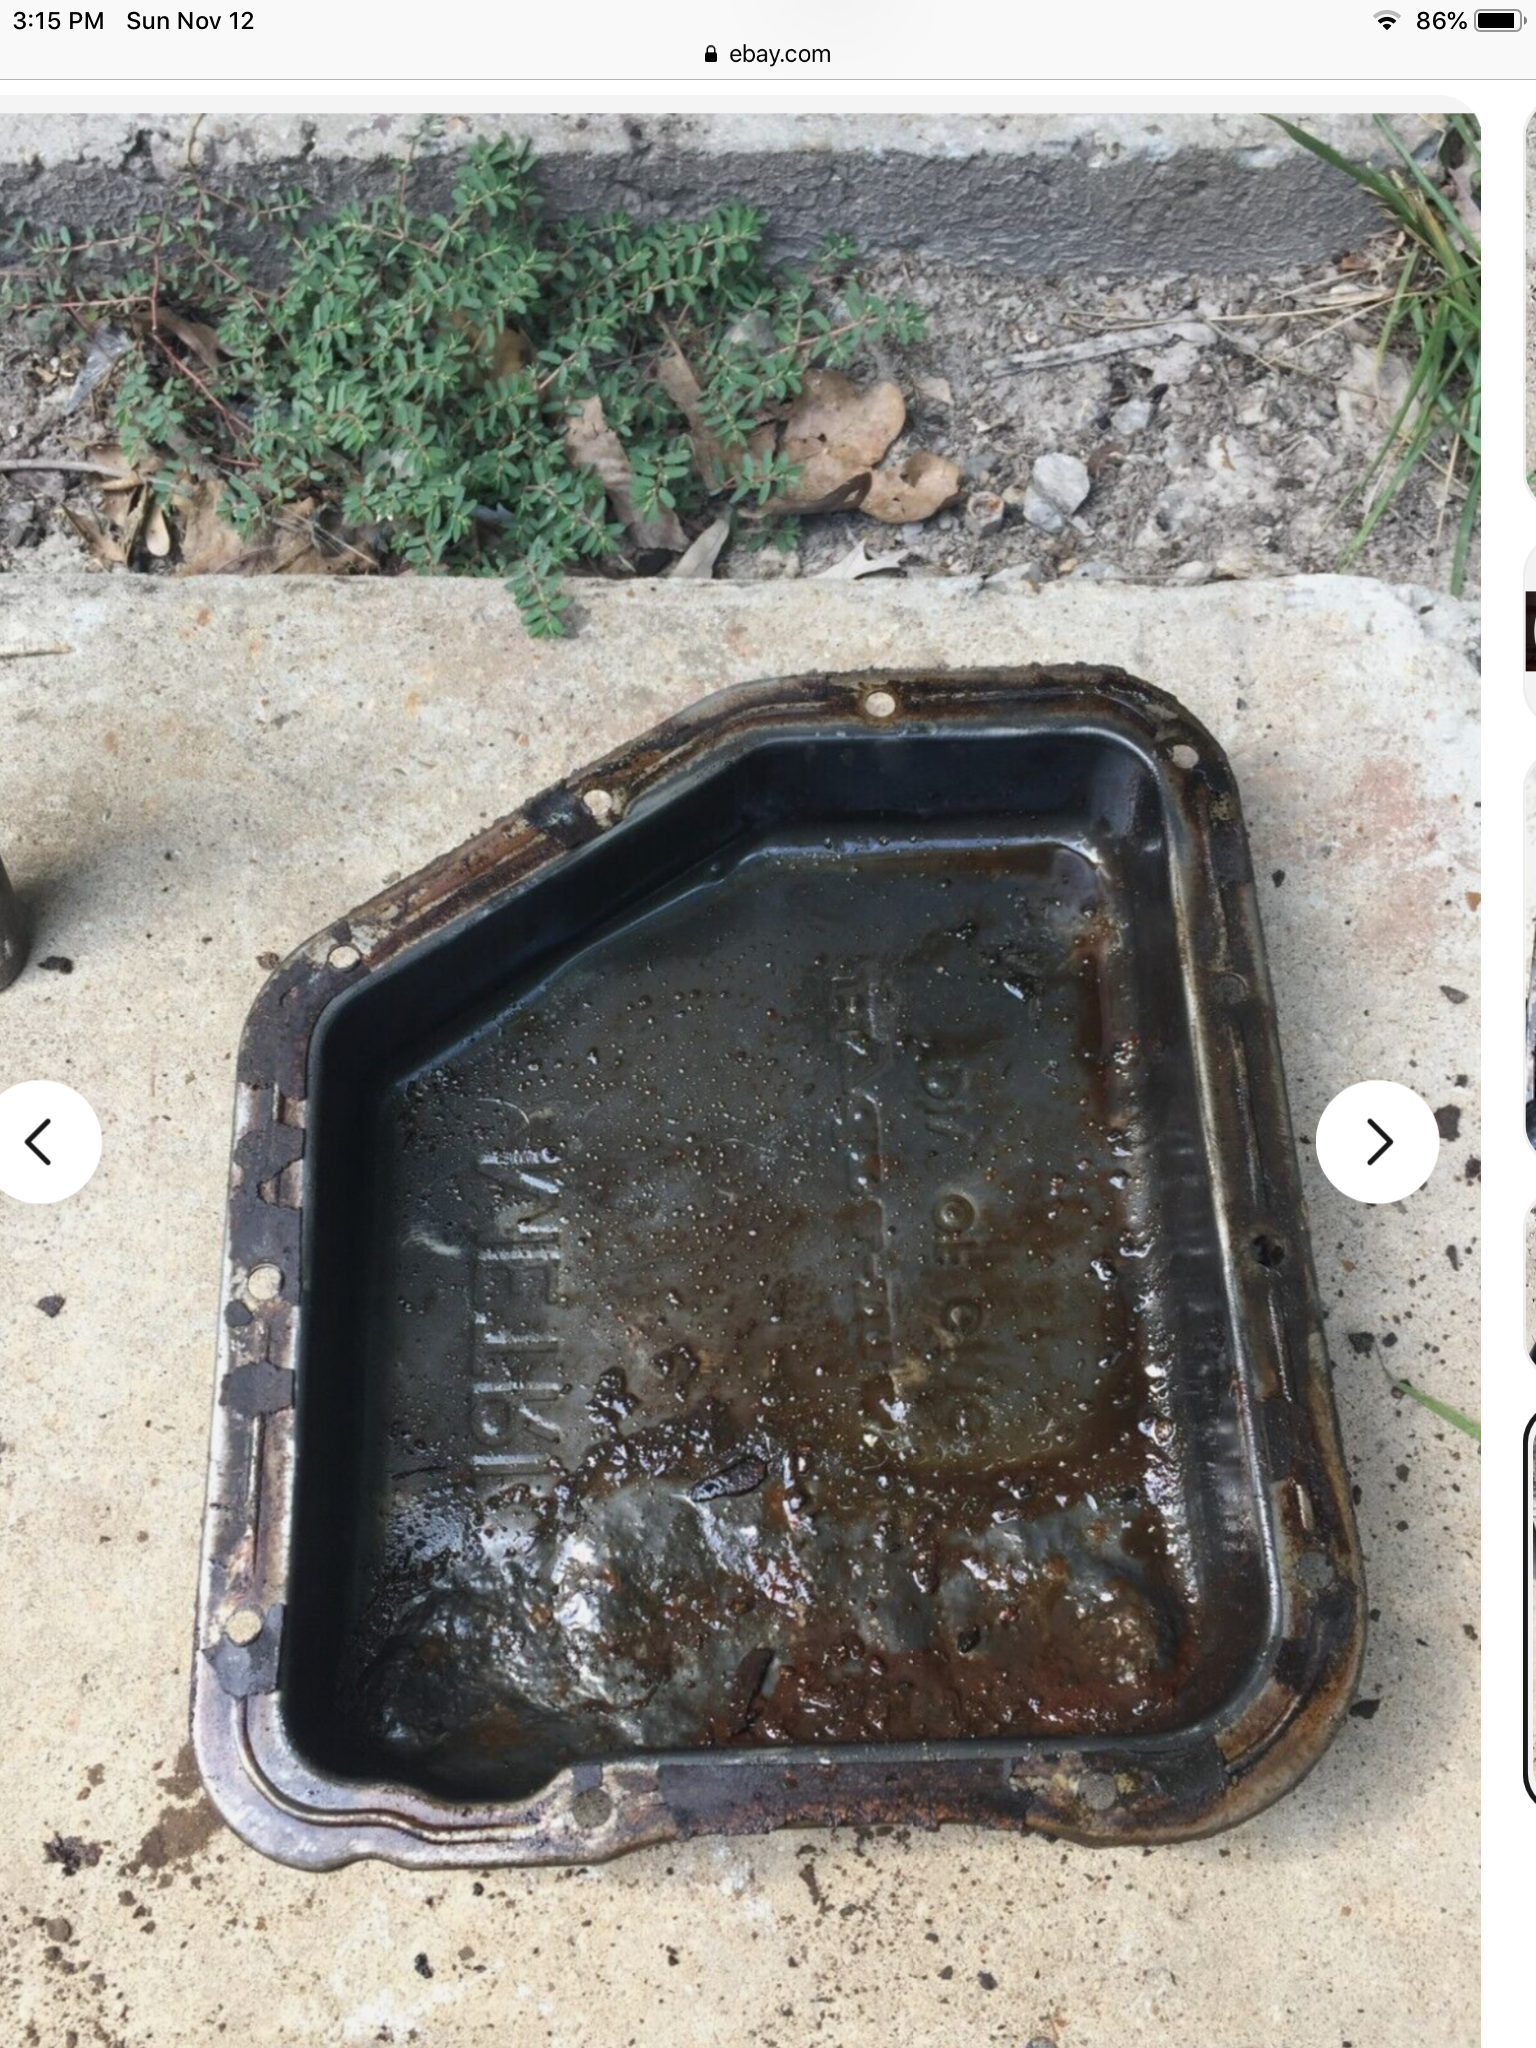
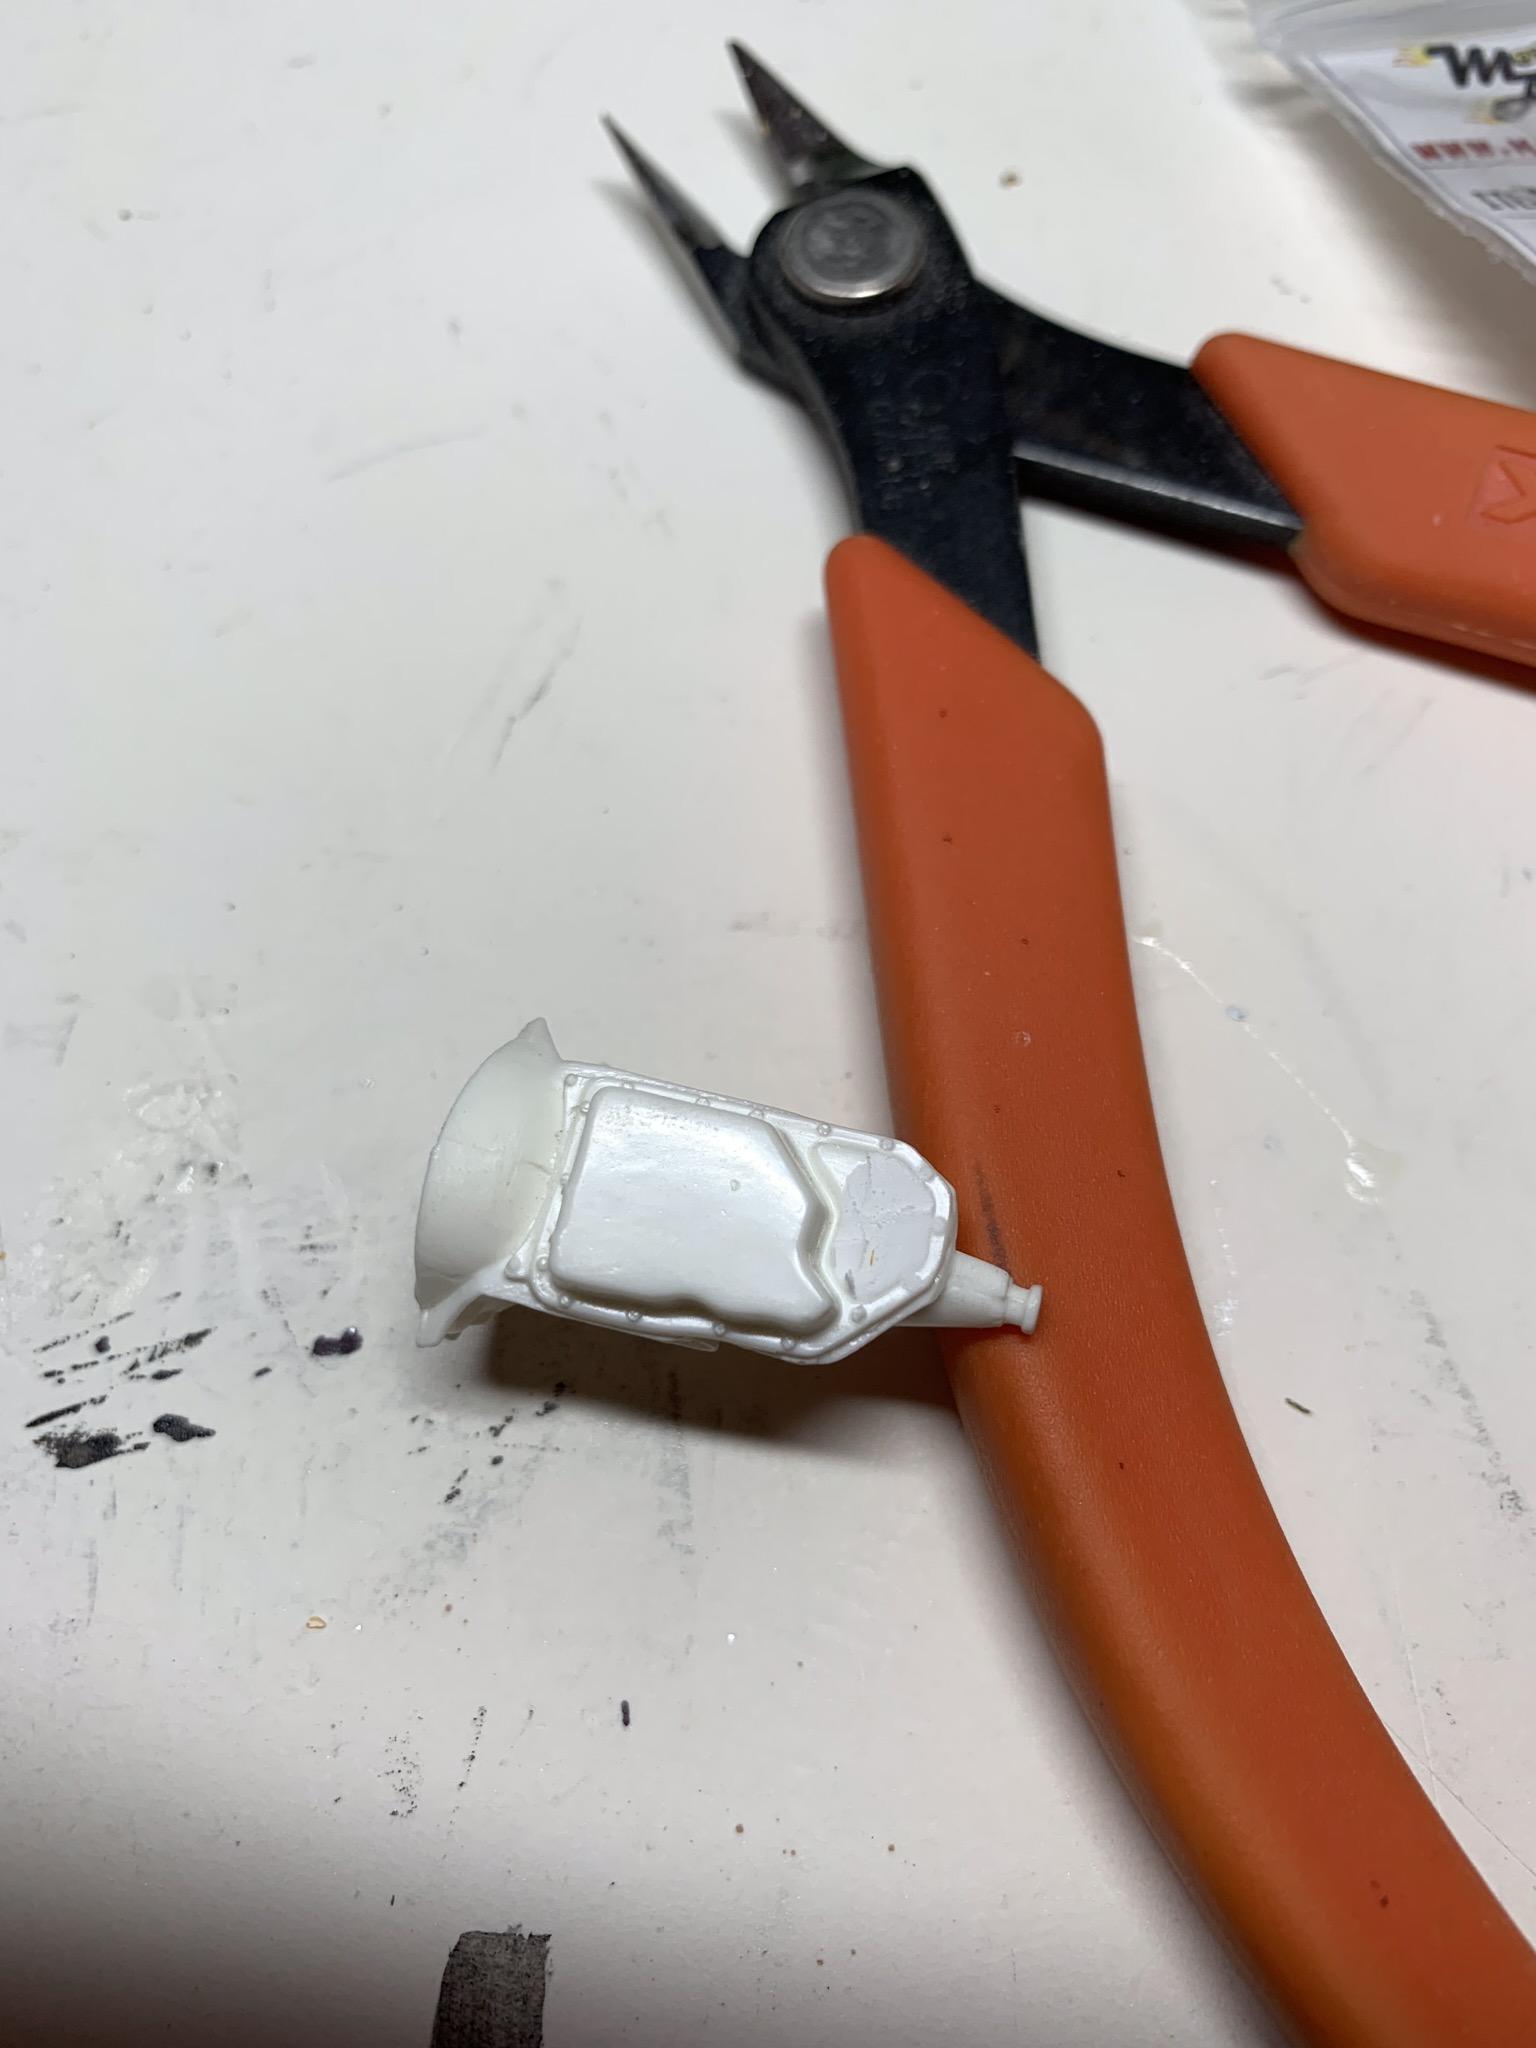
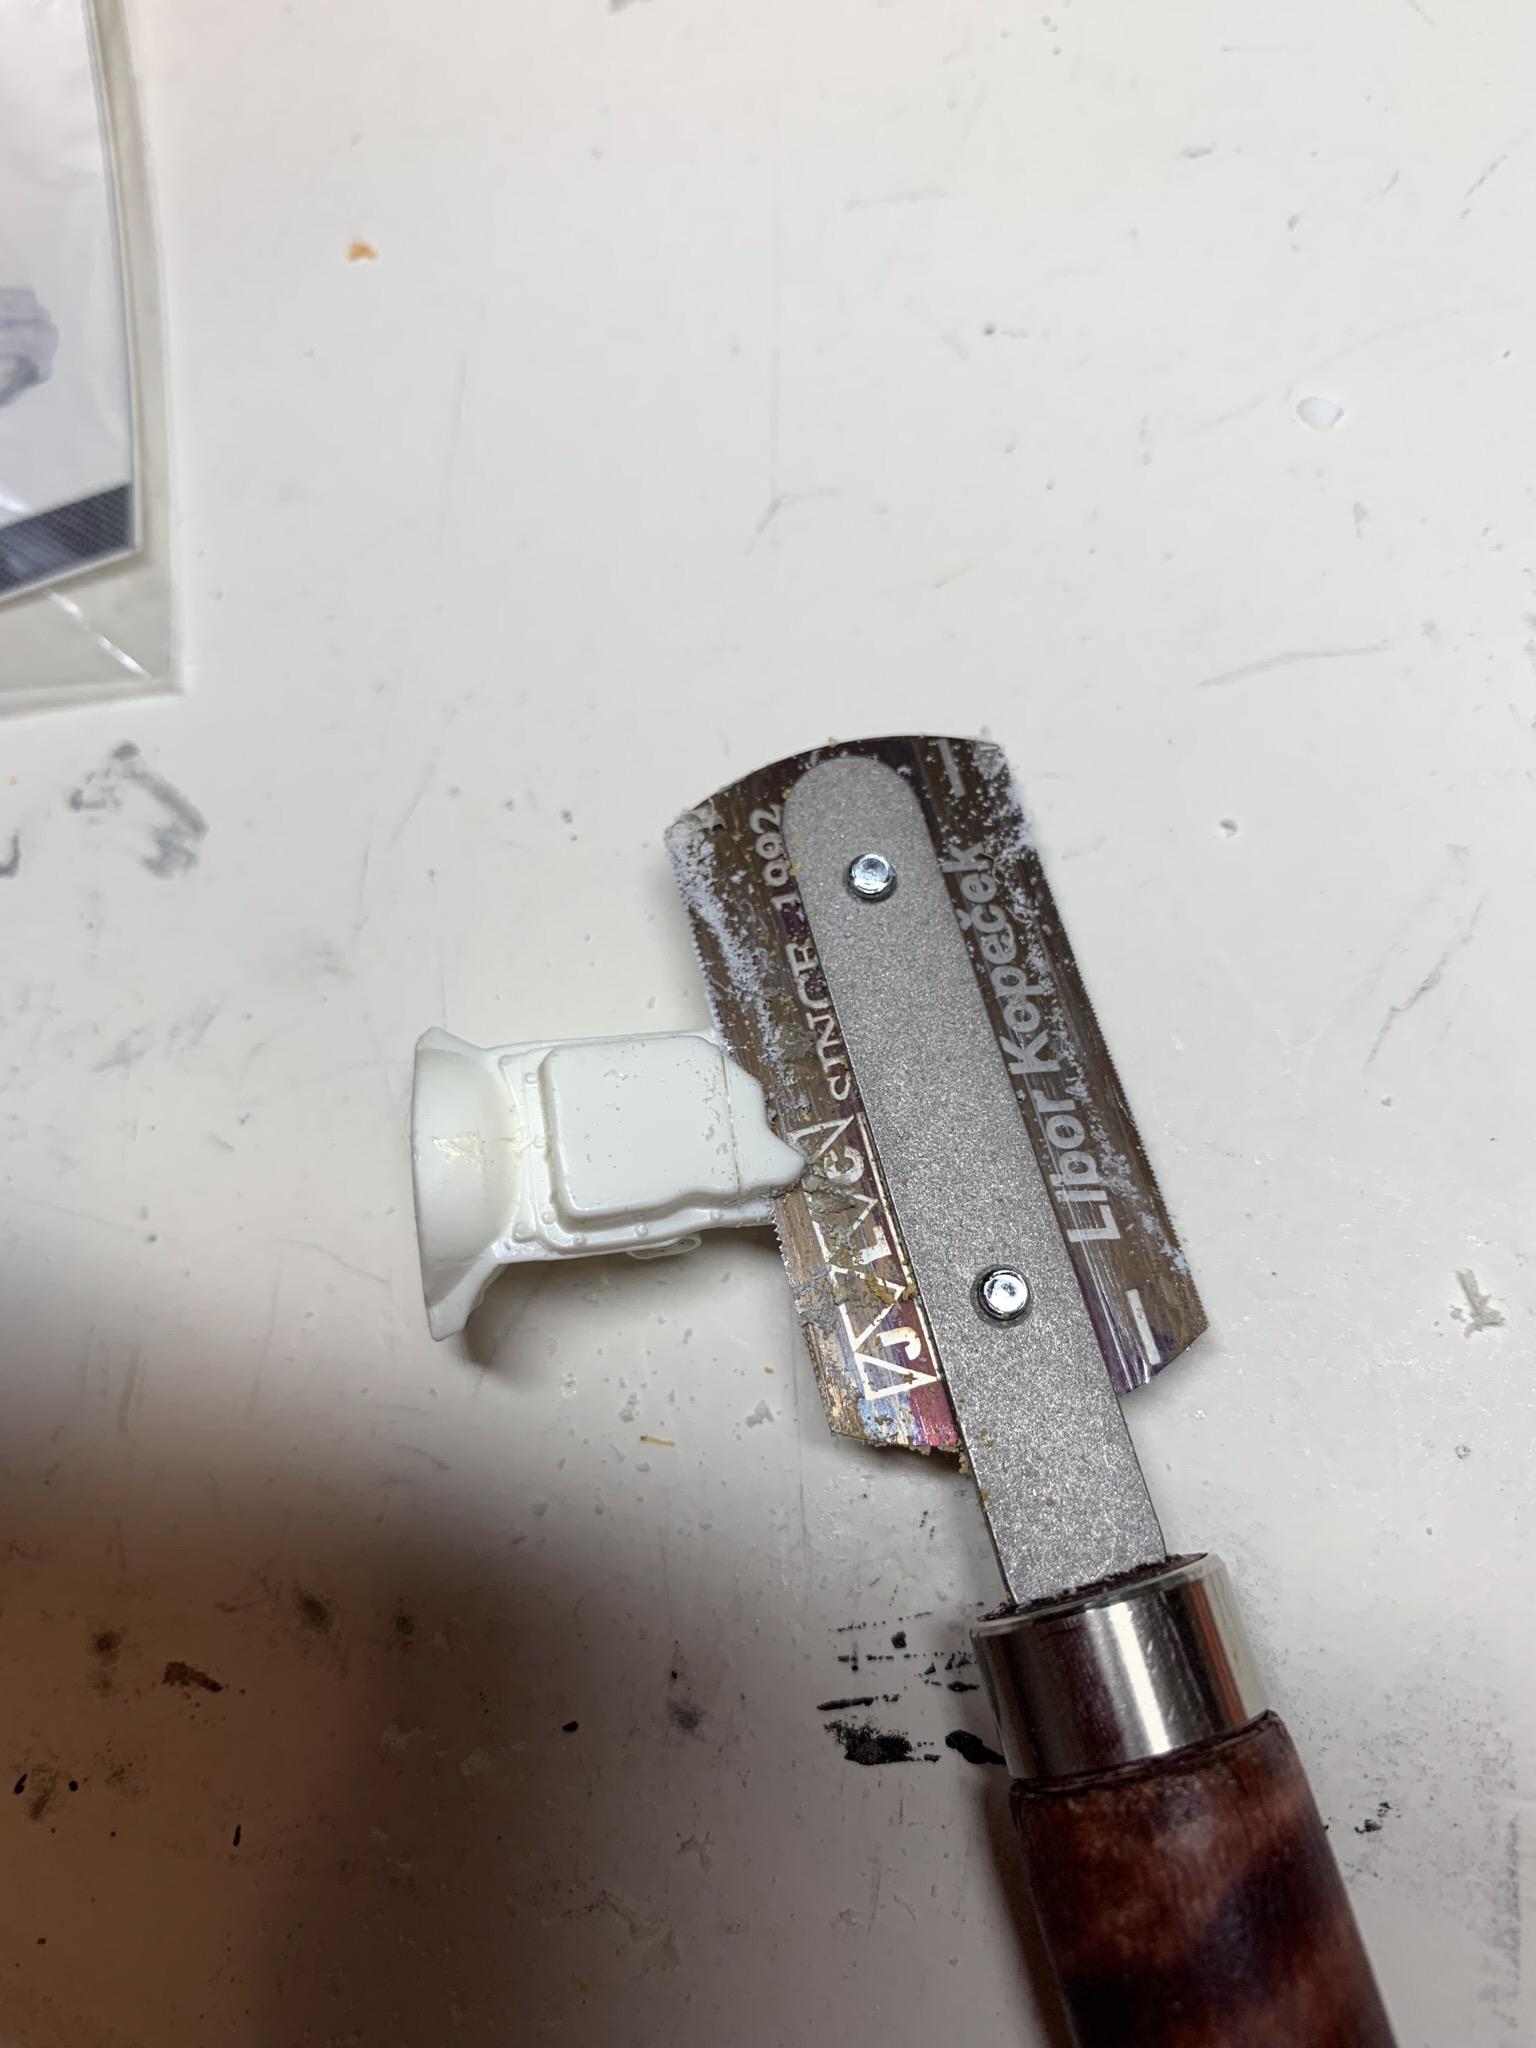
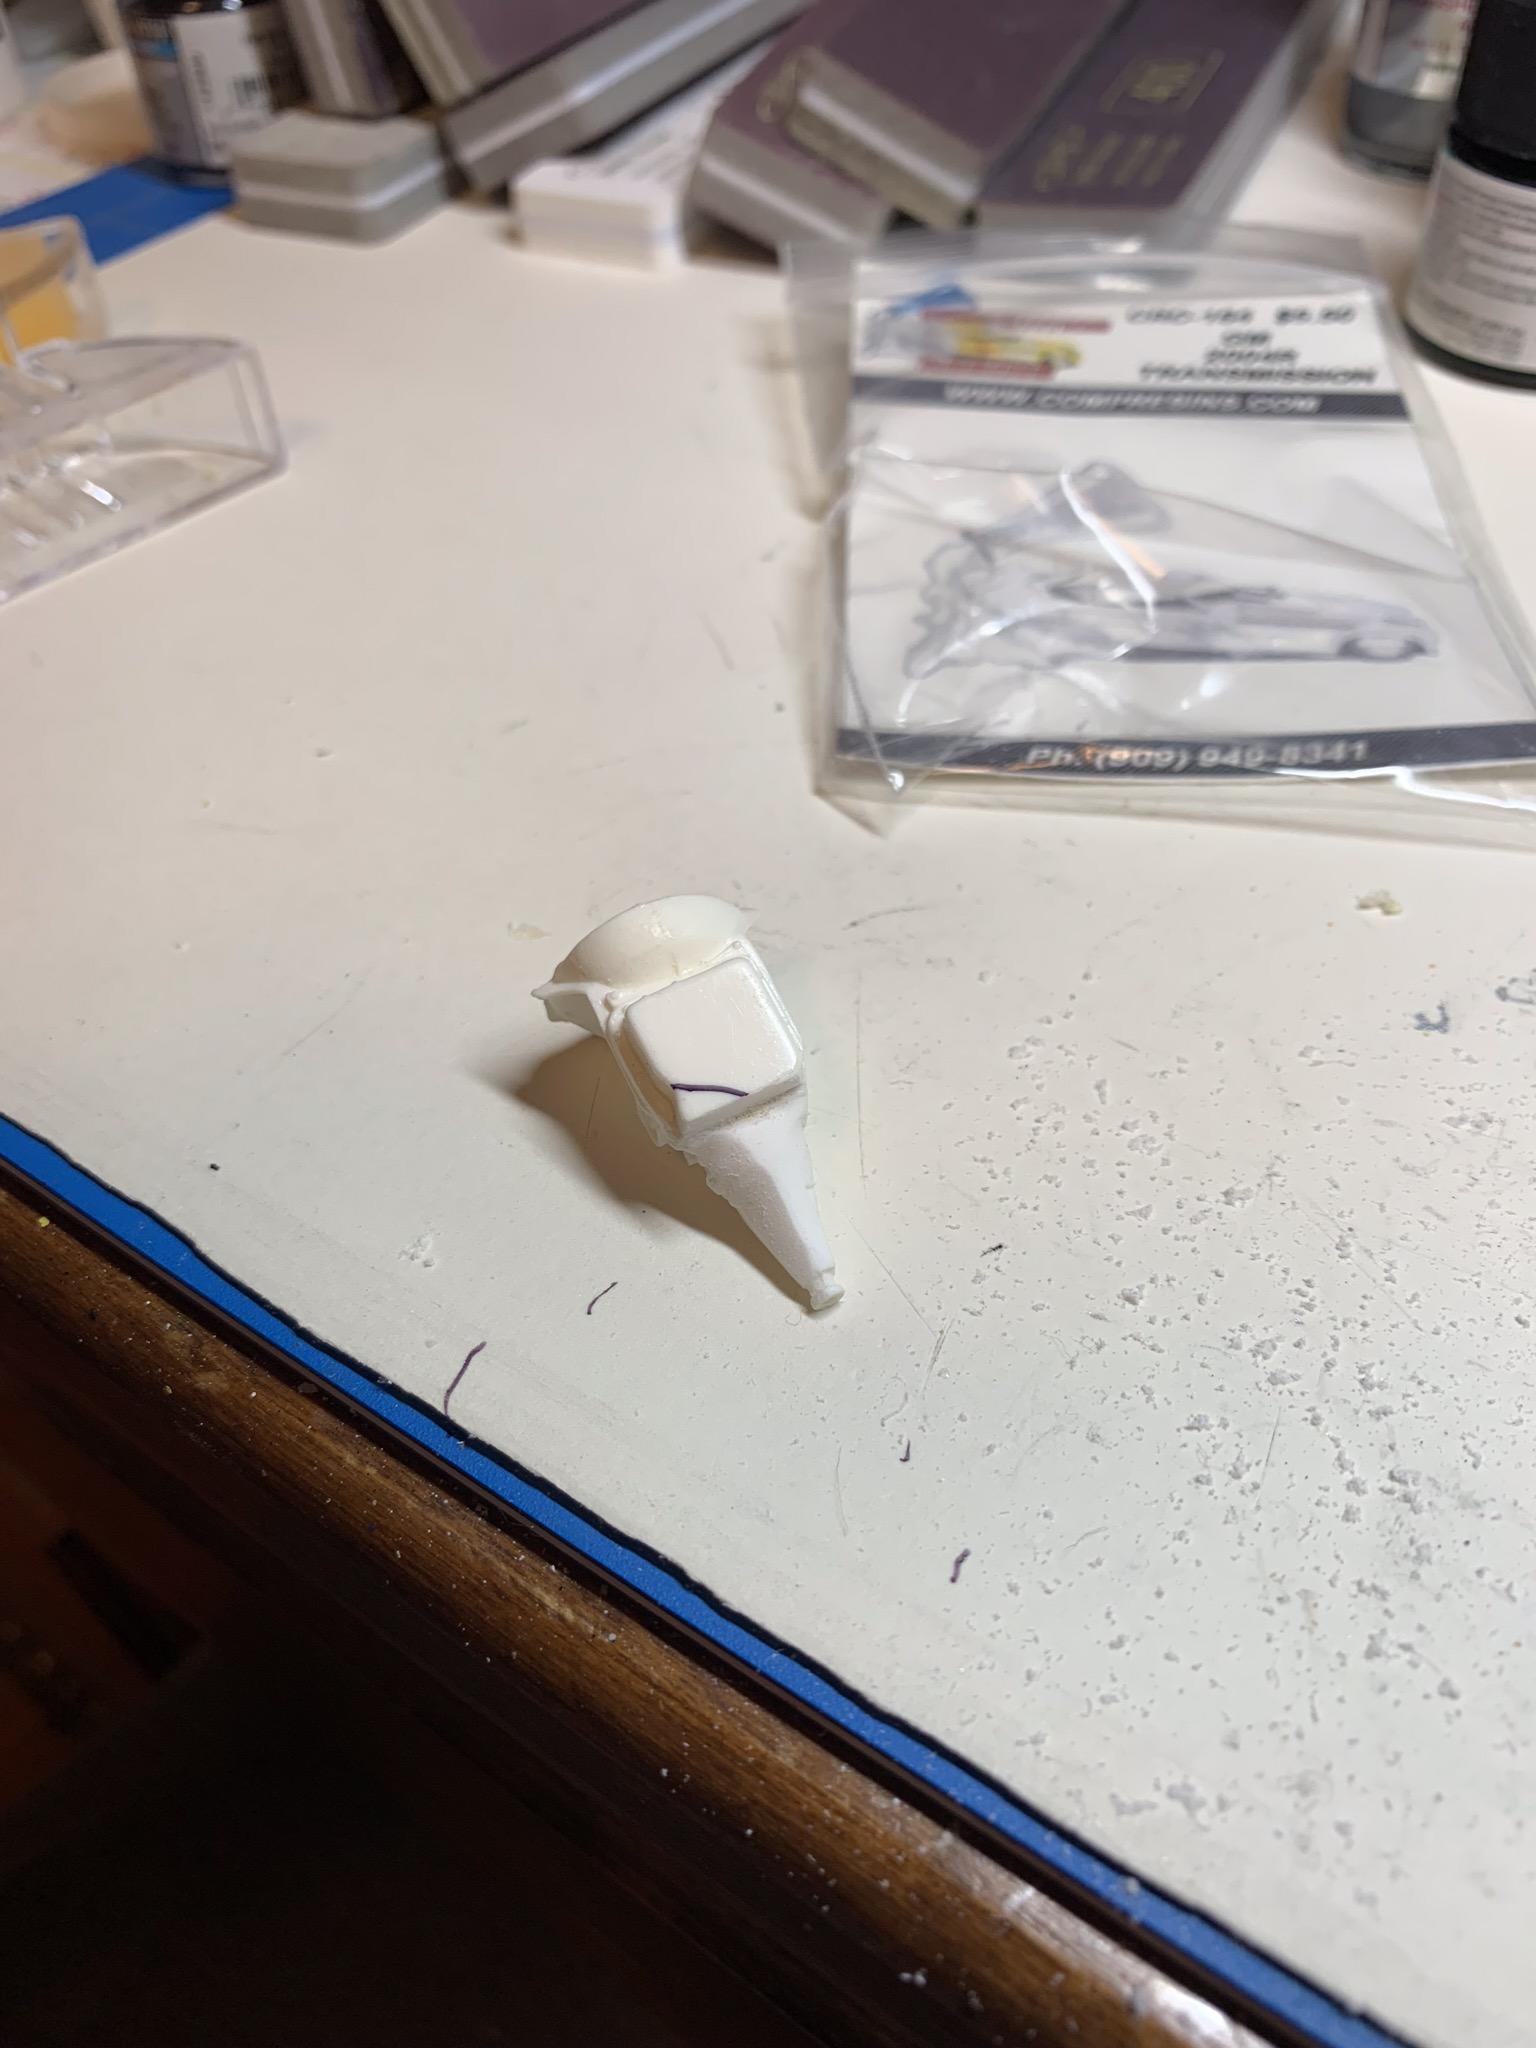
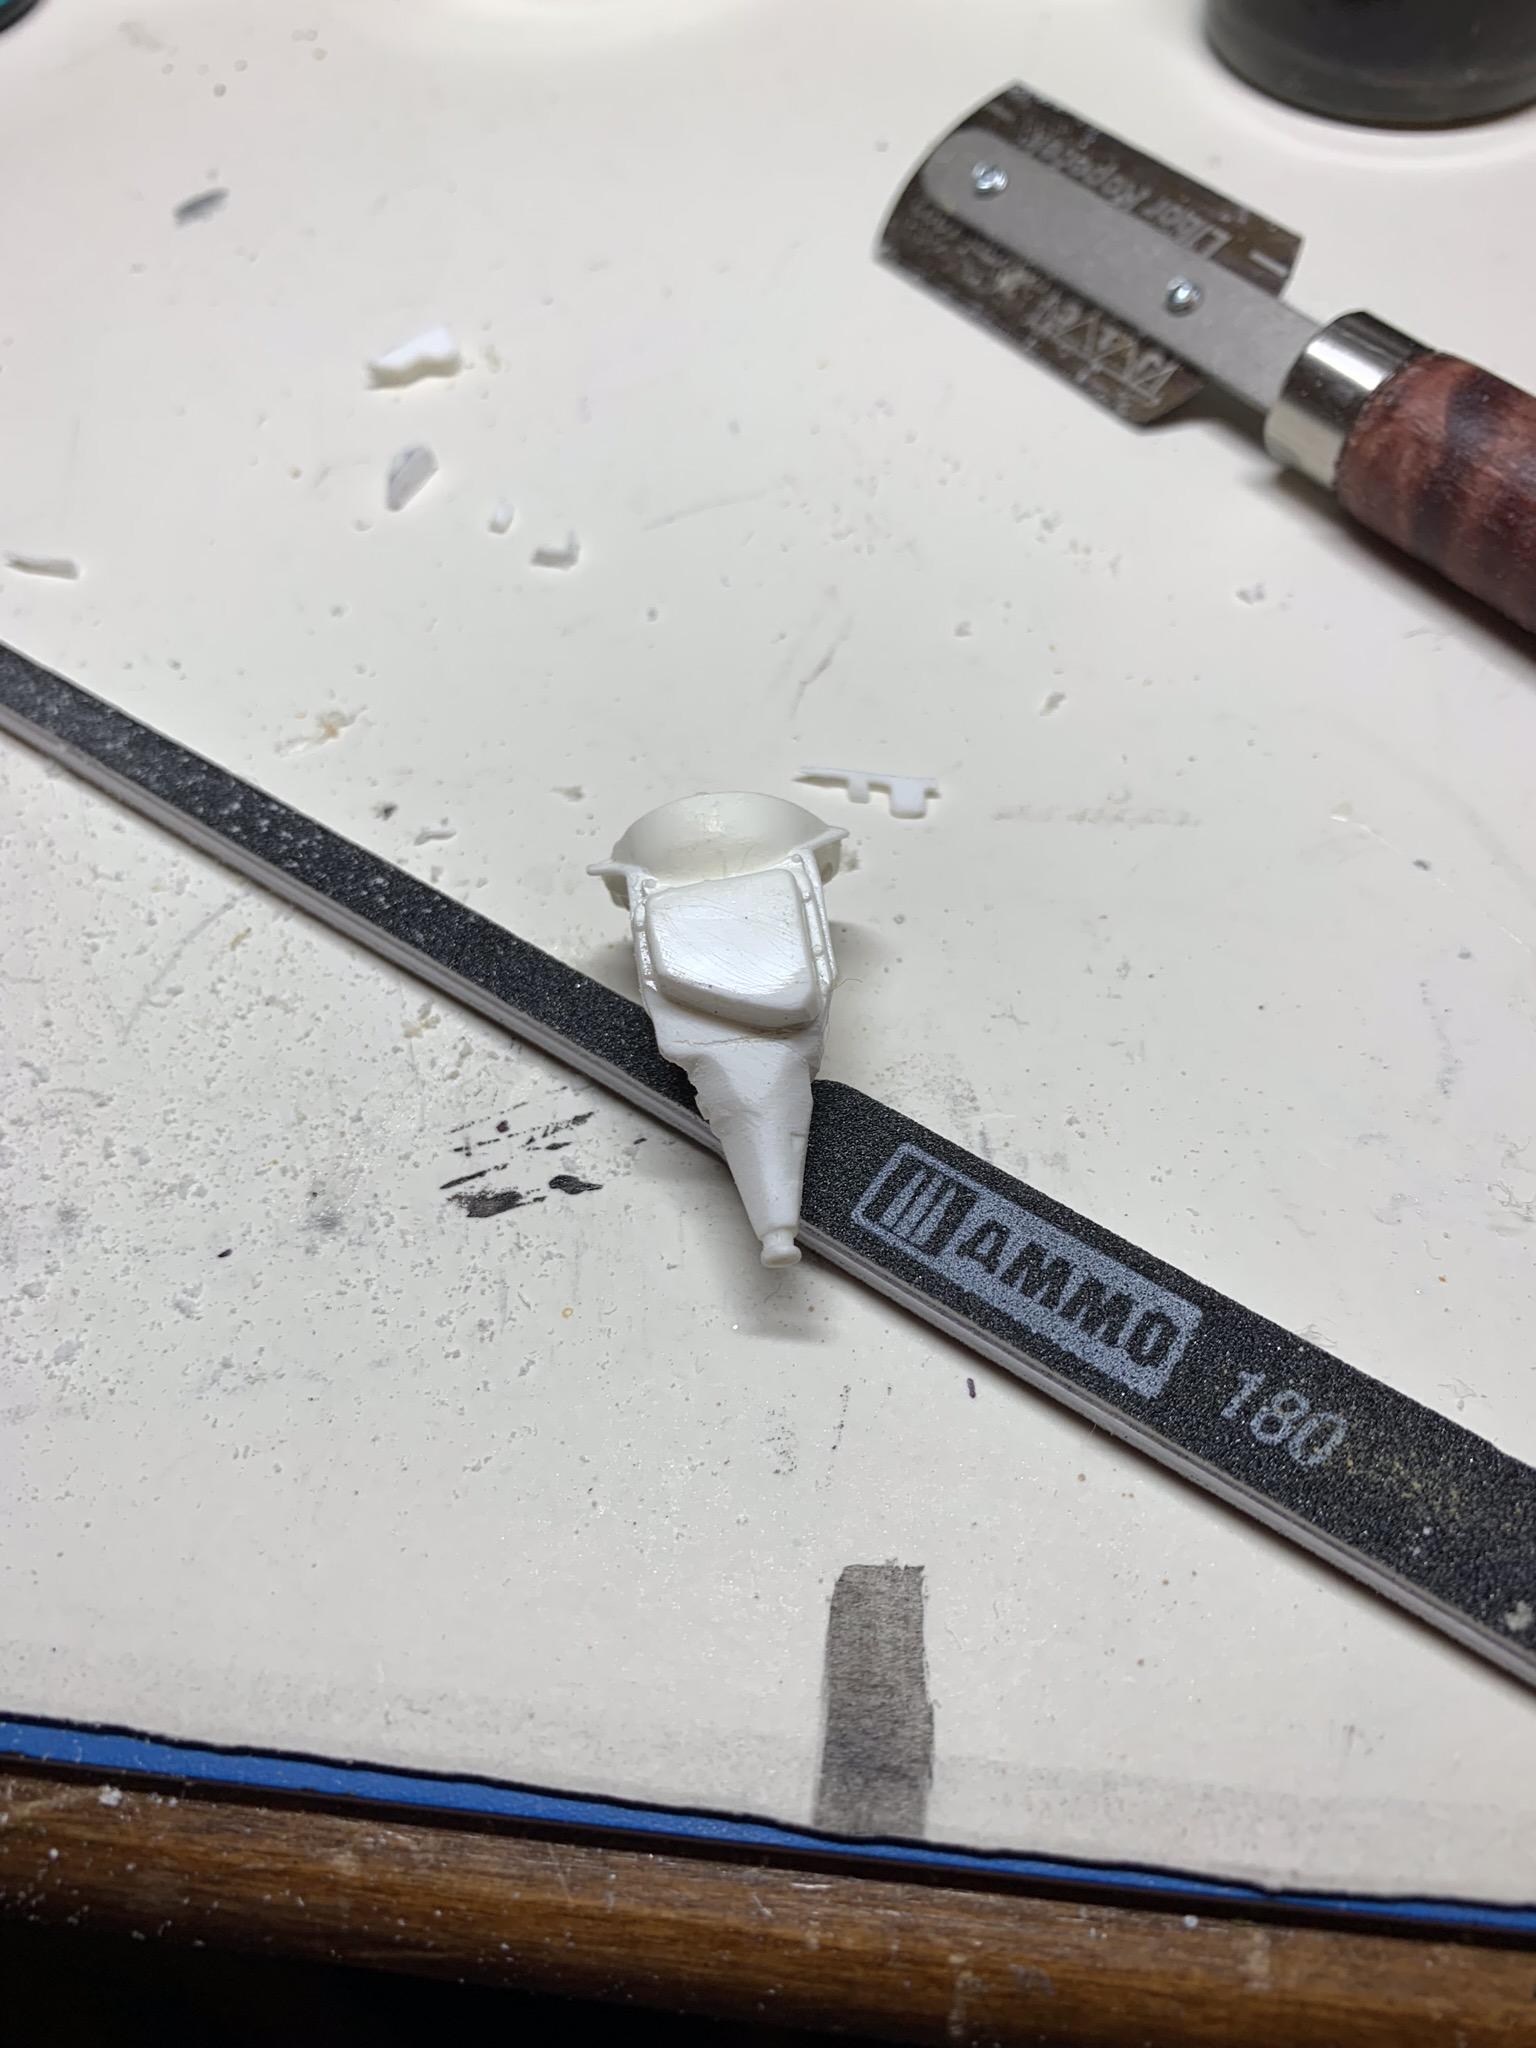
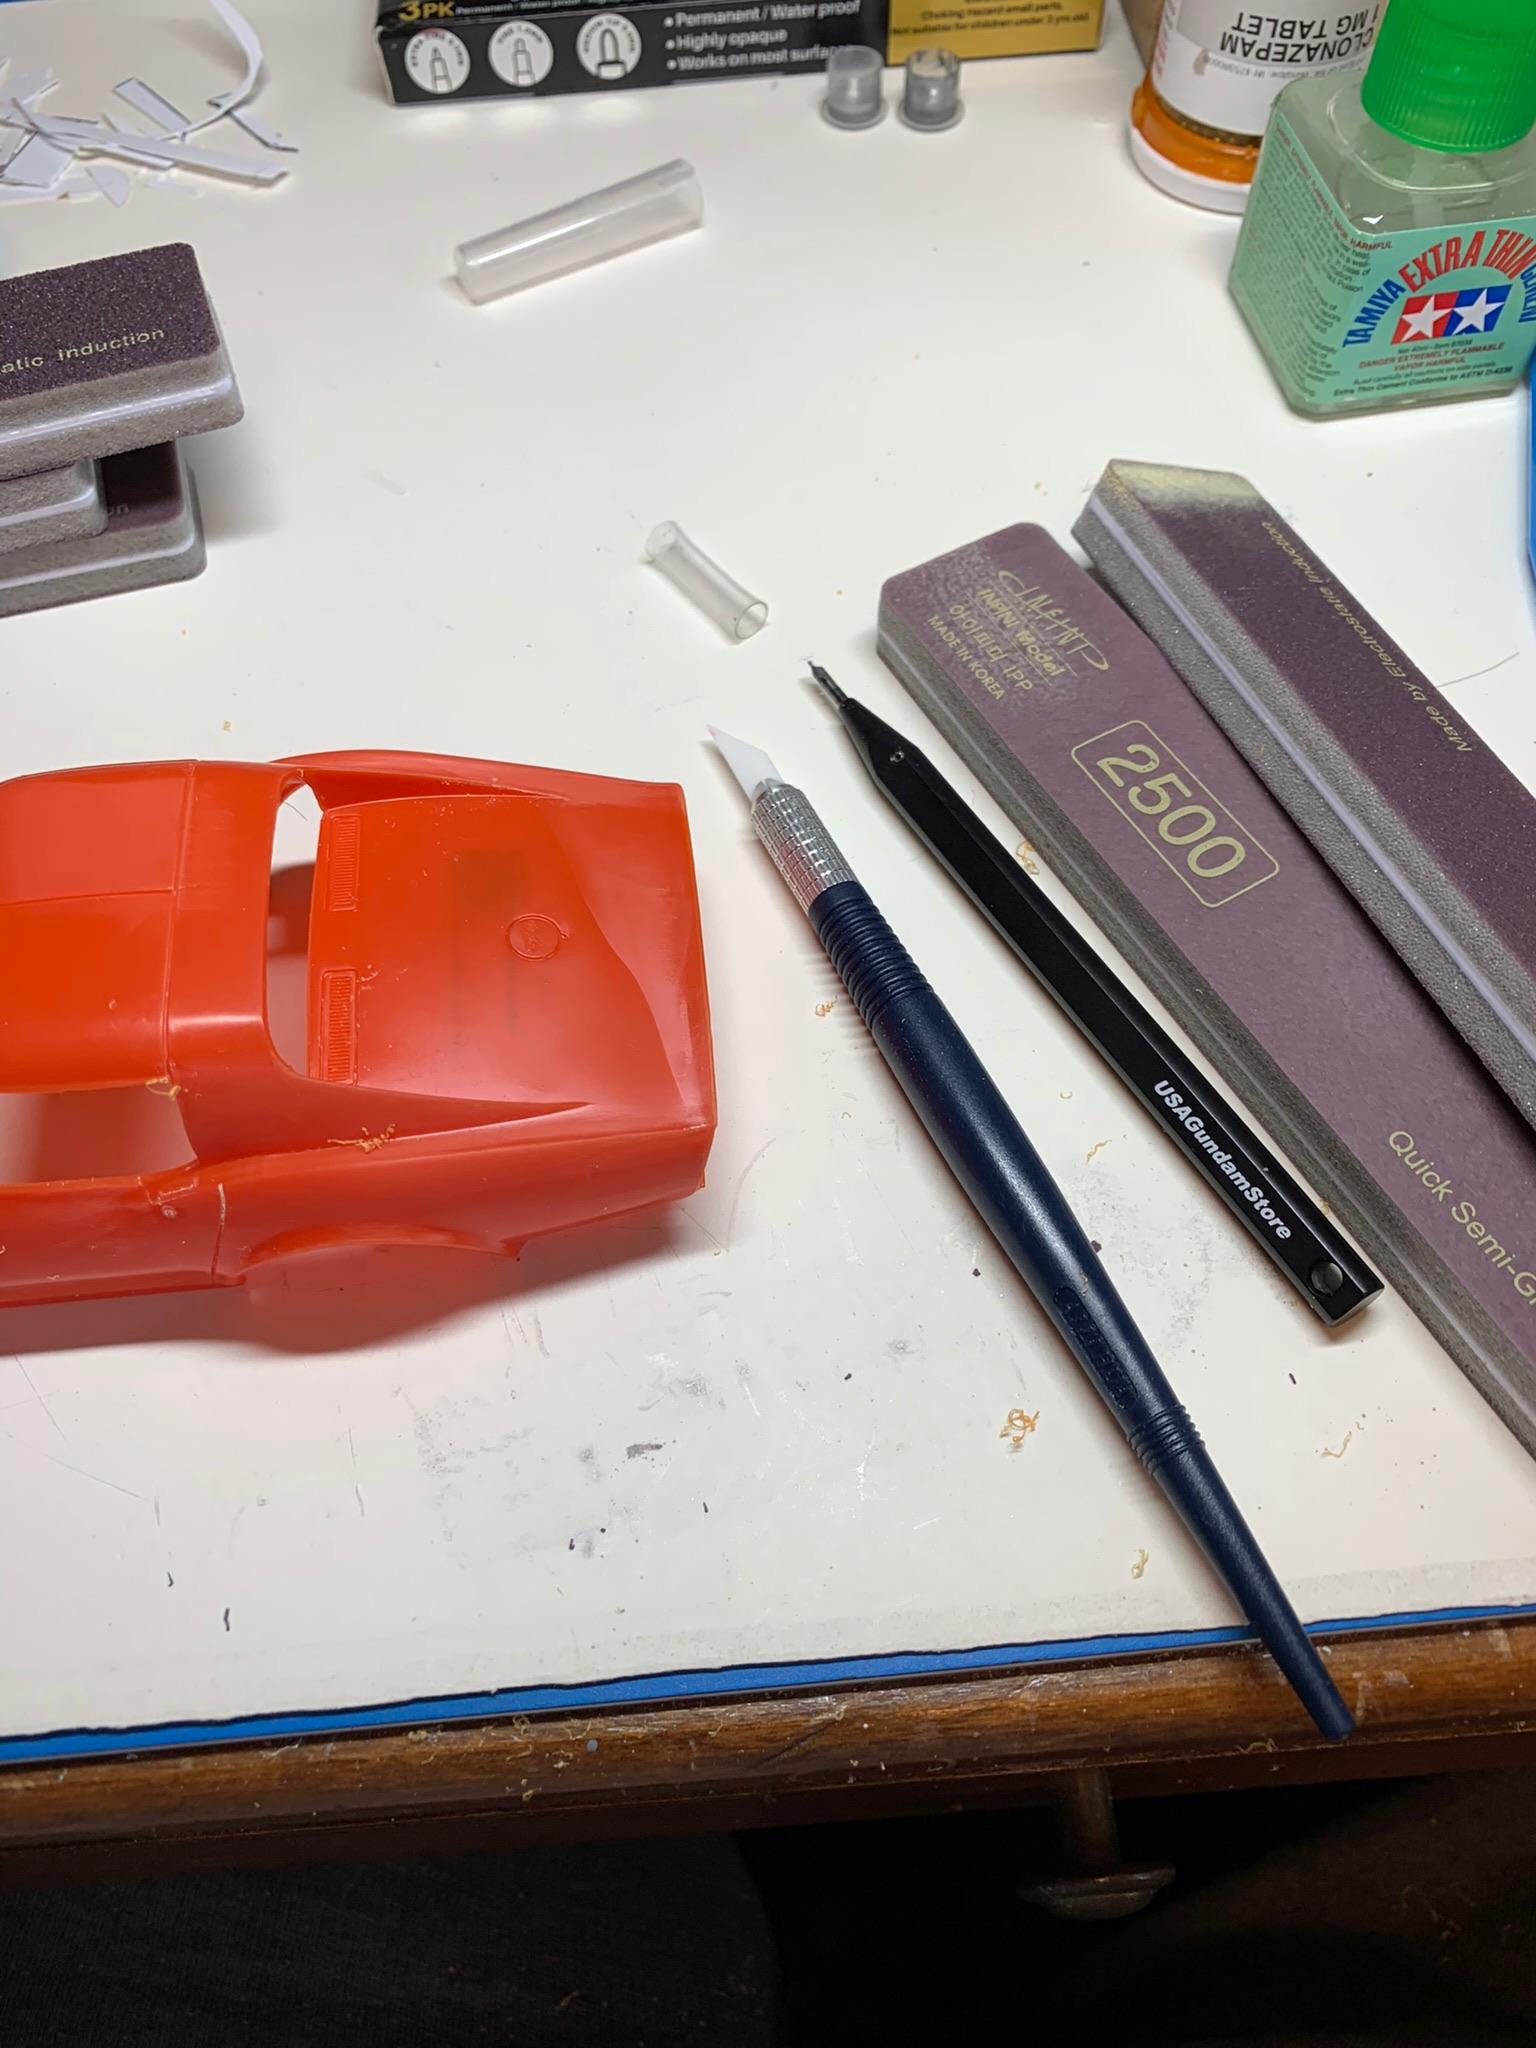
Some more trans mods. Tried to drill some .015” holes for added pan bolt holes. Was going to super glue some wire in the holes, but, after busting 2 bits off in 2 separate holes, I broke the rest of the bit off in the third hole and called the broken bits “bolt heads”. Sometimes, a man’s got to know his limitations. I am planning to make a mold and cast some copies of this trans in the next week or so, so I didn’t want anything attached to the trans that would come loose easily during removal from the mold. Also drilled and installed a breather tube that will have an extension “hose” attached to it after casting. Filed flat, drilled hole, and attached short piece of styrene that will eventually be attached to the reinforcement rod pictured.
-
Thanks, Francis.
-
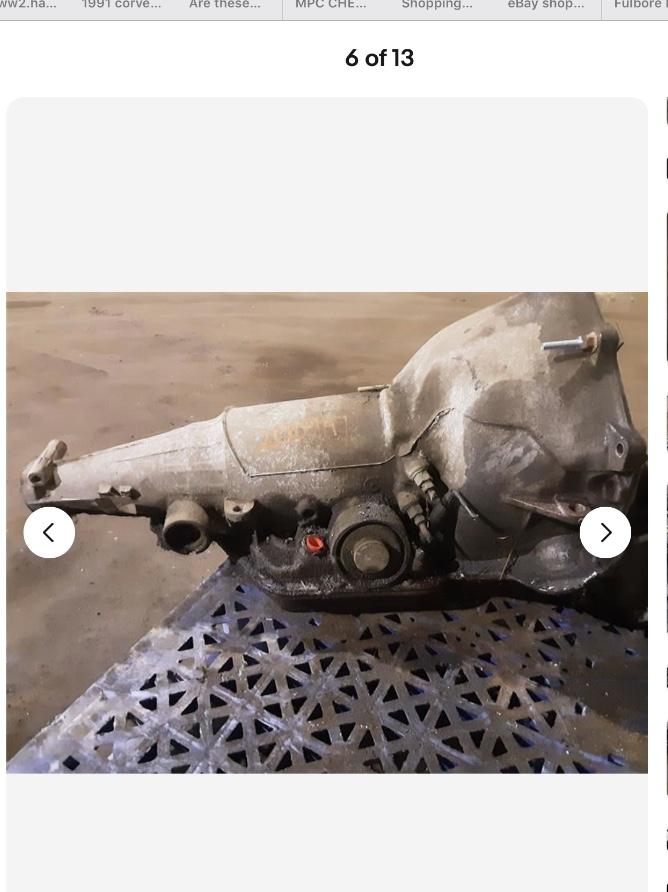
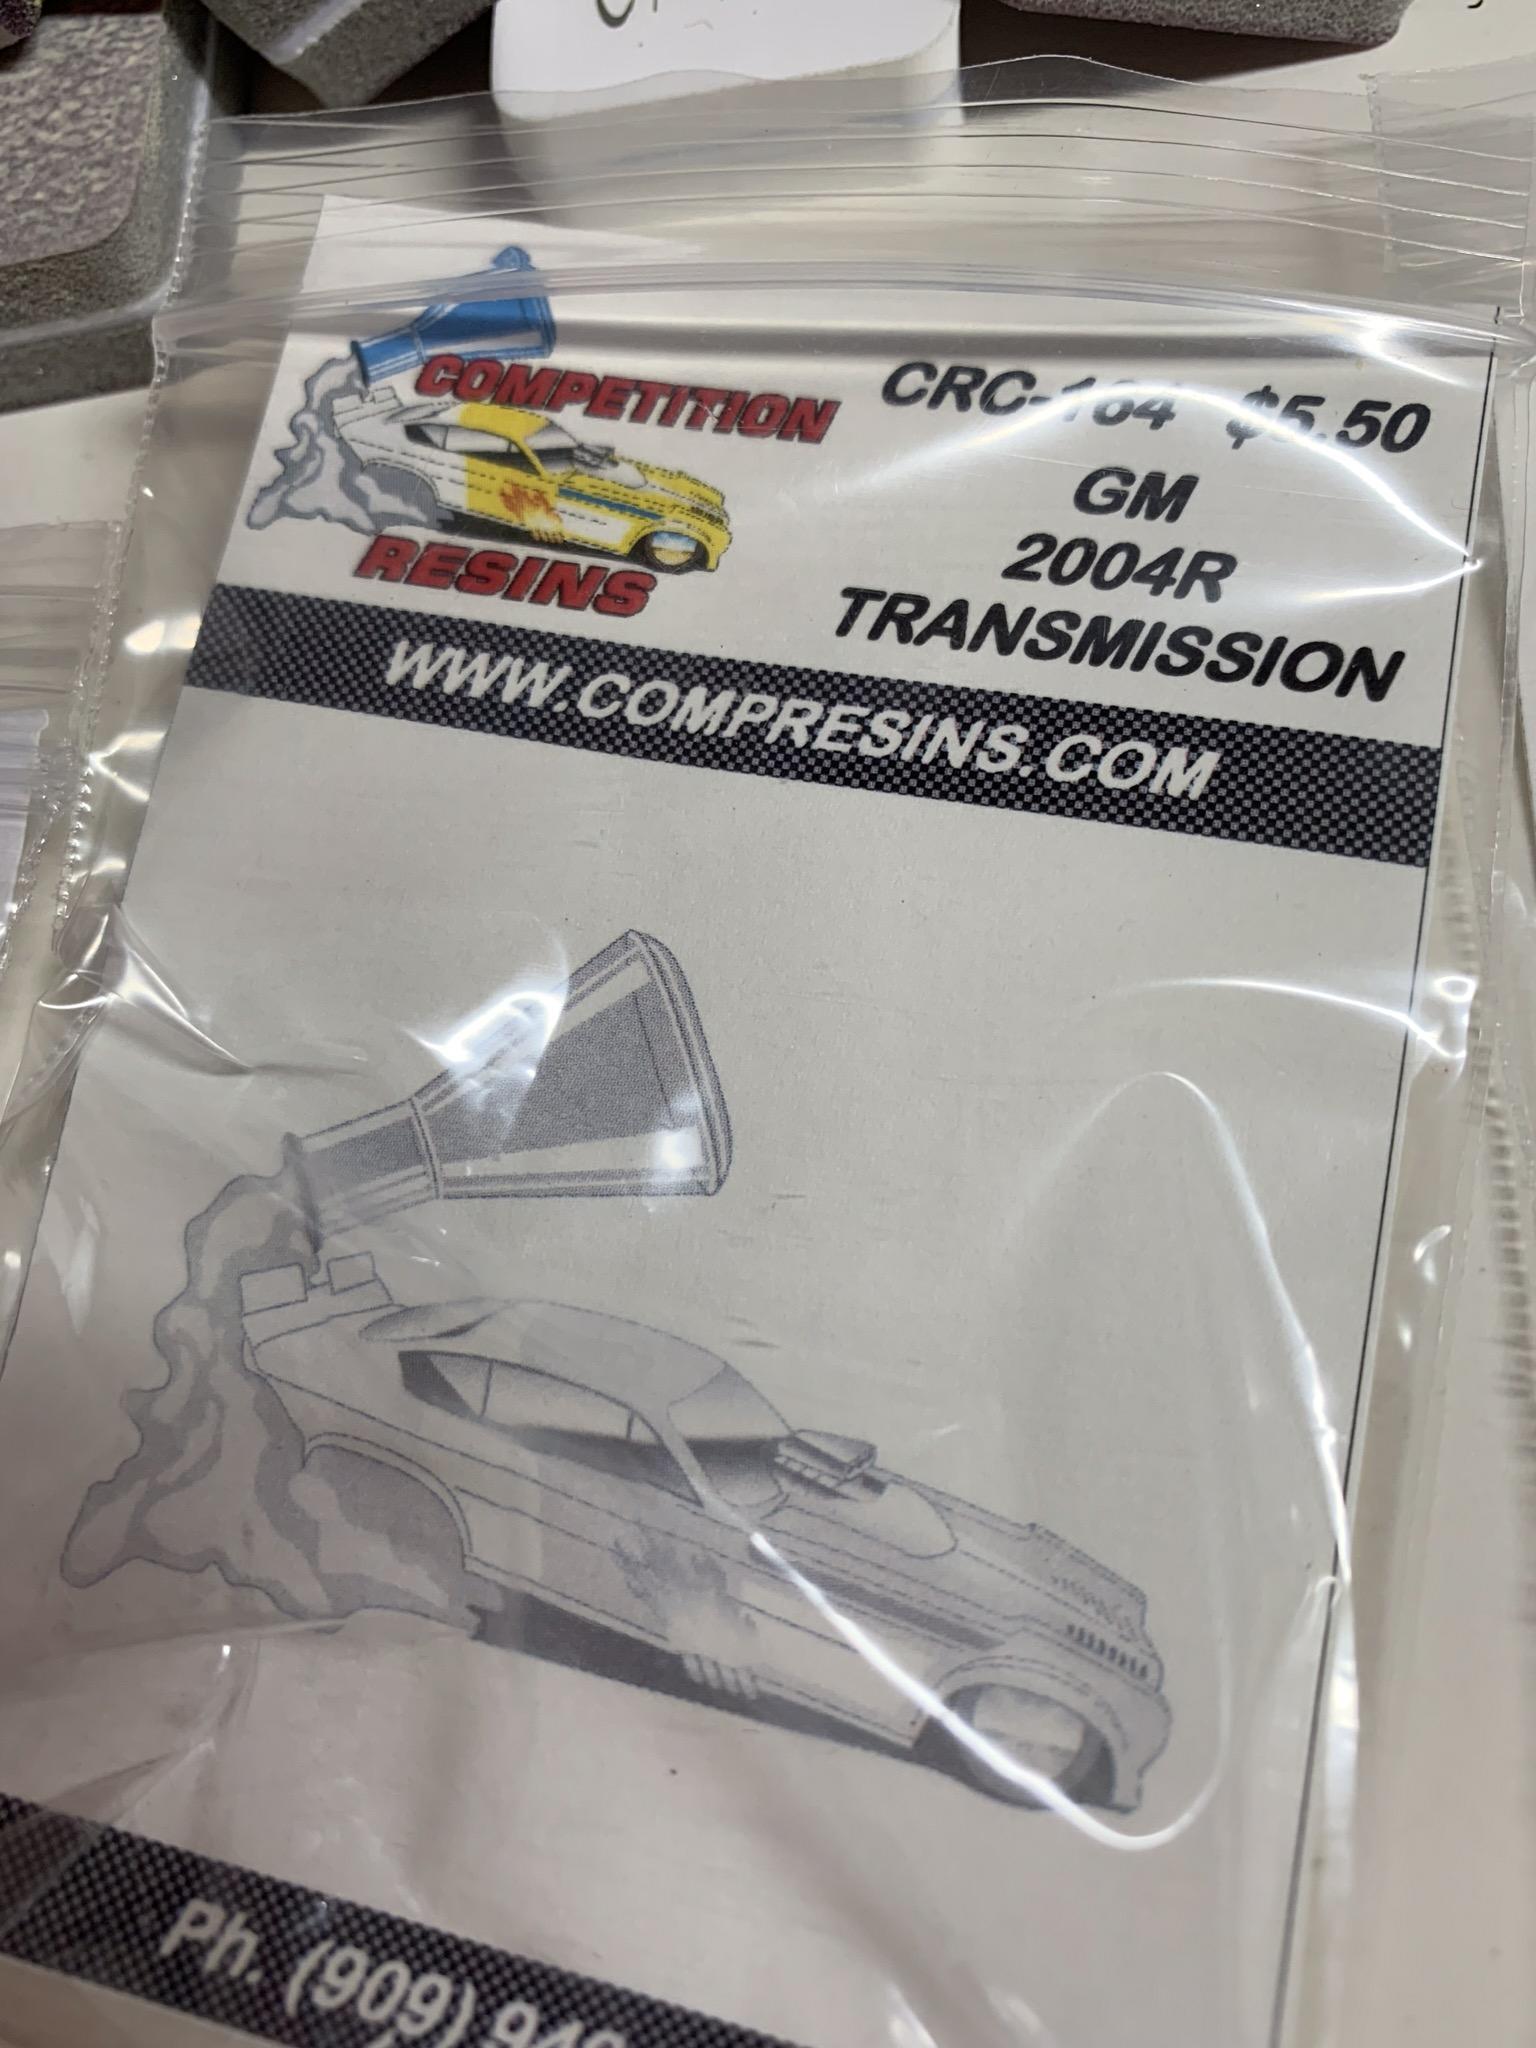
Well, it’s TH200 trans time. After some studying of the aftermarket transmissions I had available, I decided on the TH200-4R to modify. It looks more like a 200 now. Now, some finishing work, and come up with something to make bolt heads, then trans reinforcing rod, rerouted breather line necessary to keep fluid coming out of oem breather location. Maybe even a dipstick. Geez, I gotta stop somewhere.
-
Kits you can't seem to have enough of.
R. Thorne replied to Sledsel's topic in General Automotive Talk (Trucks and Cars)
One of my favorite kits.
-
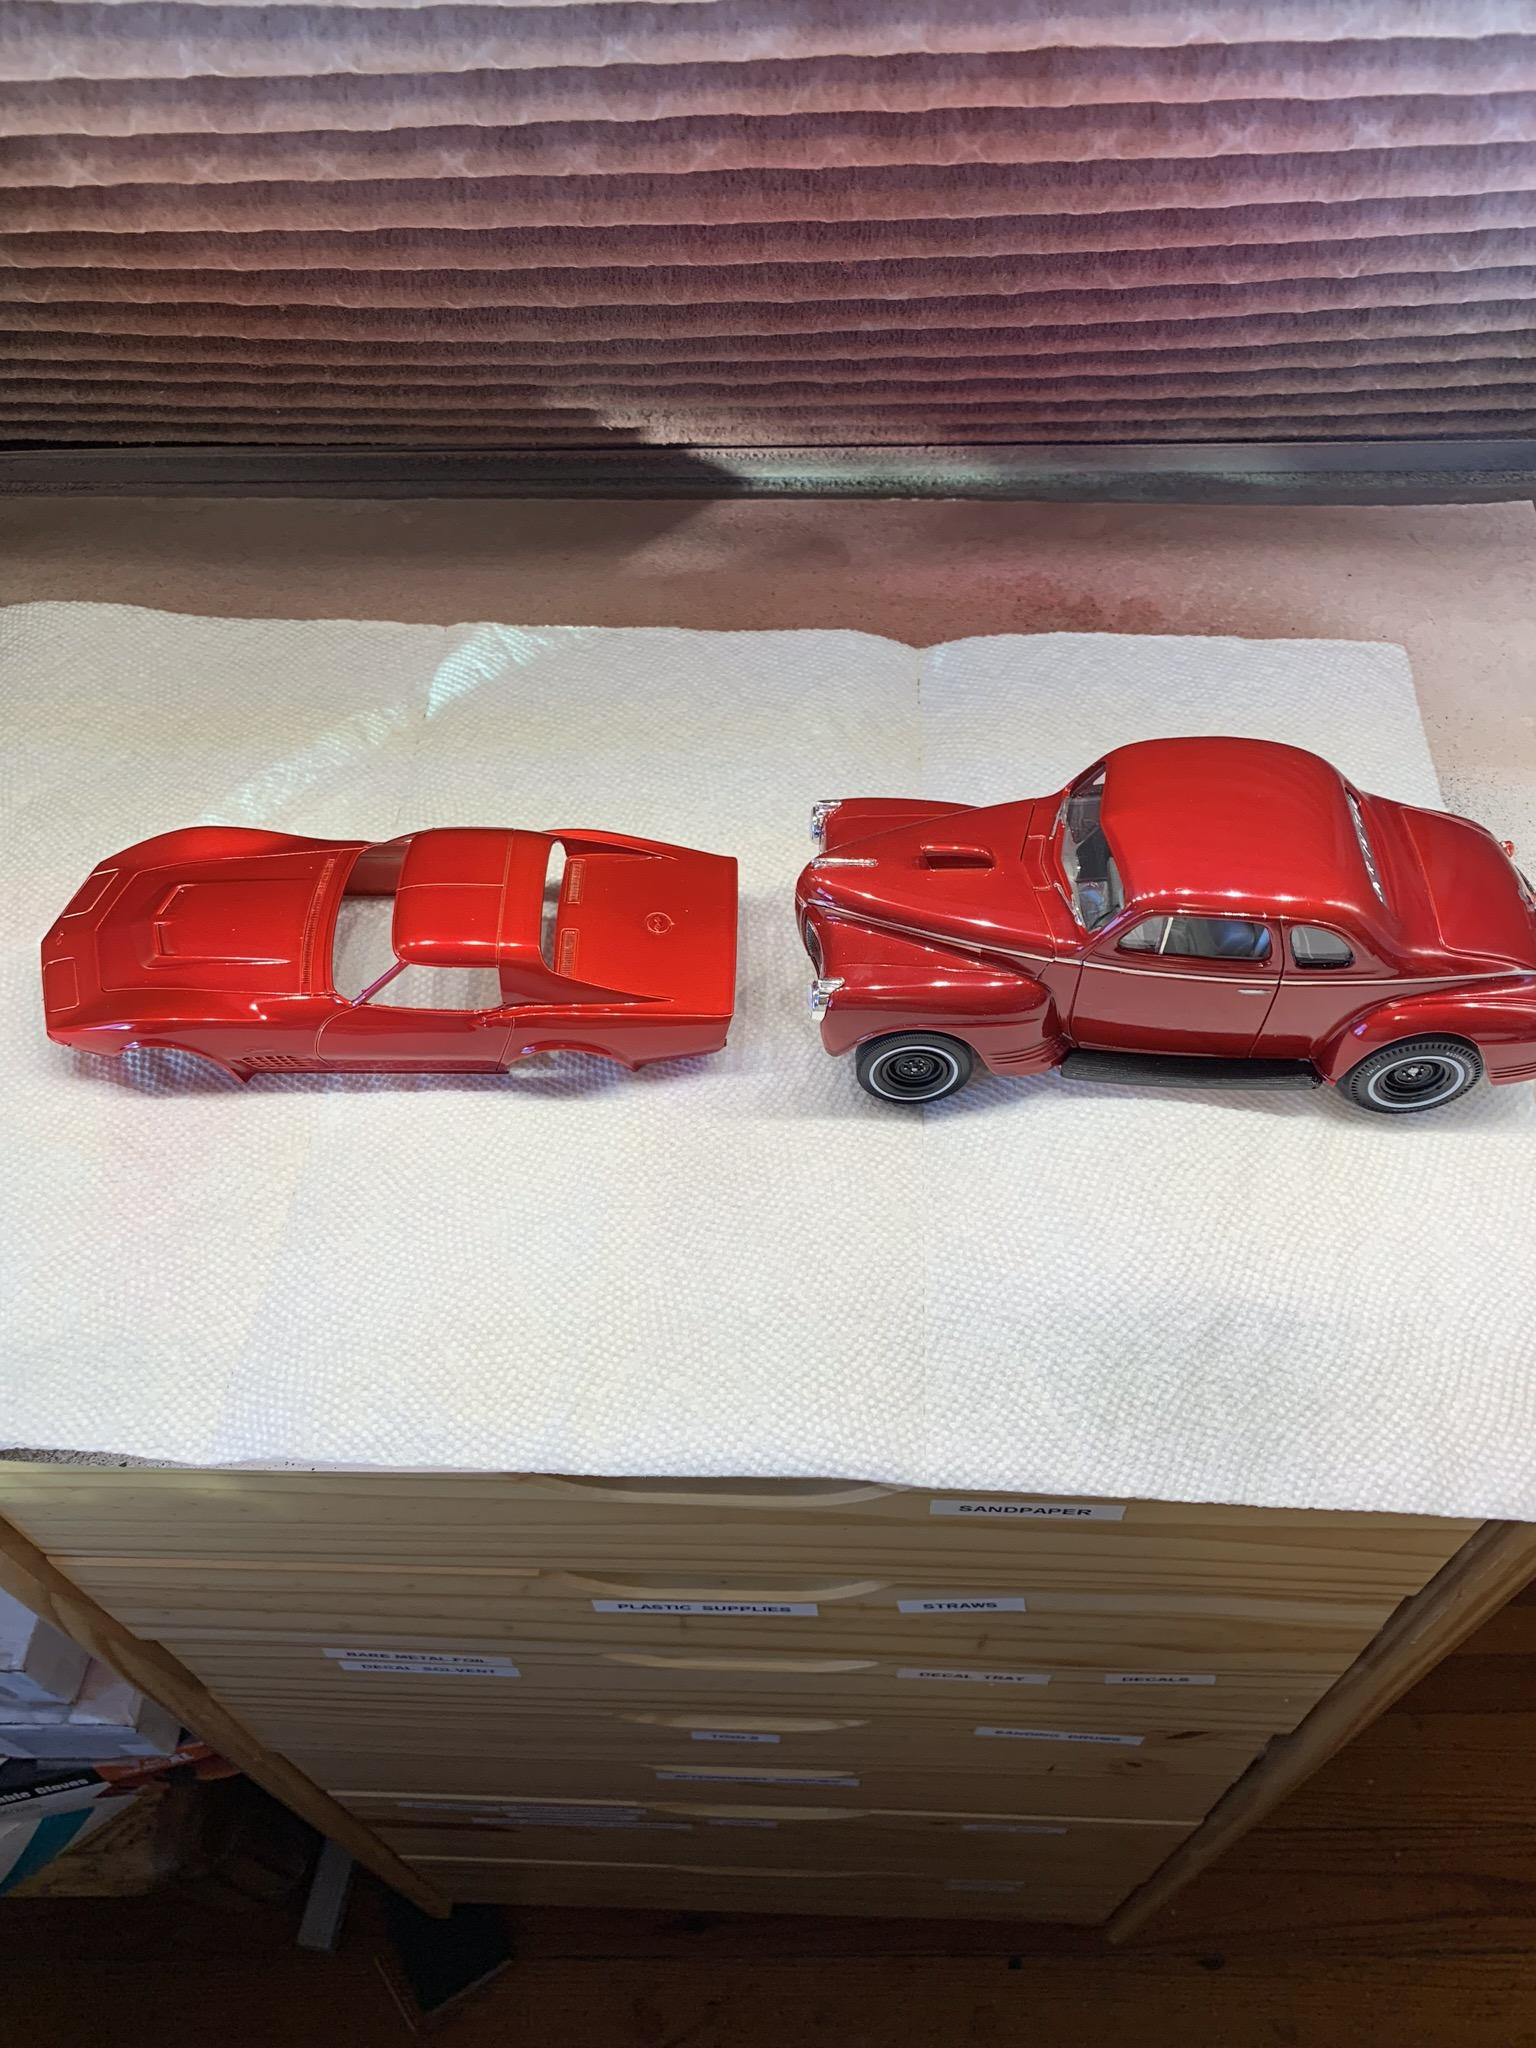
Great question, Francis. My 37 Chevy c/gs build that I posted here was painted with the silver base and same red clear. Definitely a darker color, though still pretty.
-
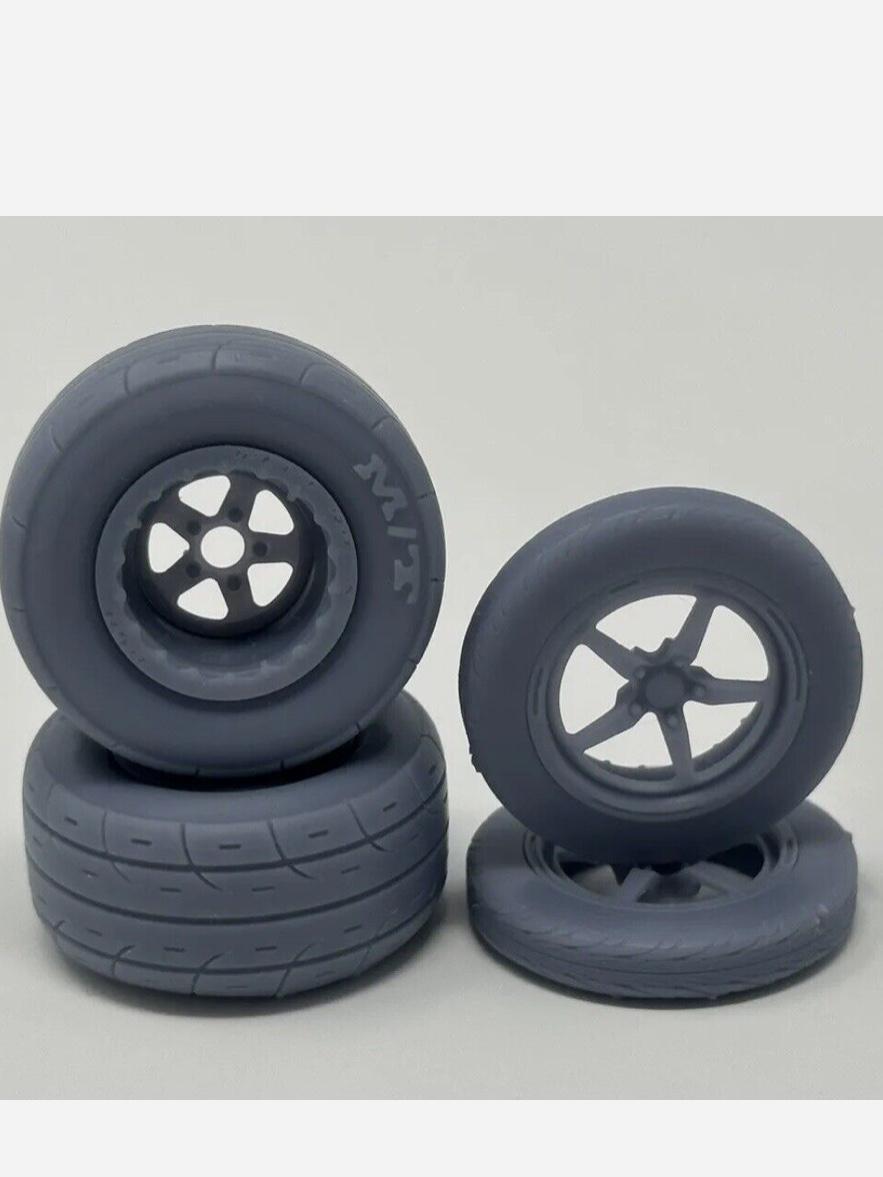
Thanks, Bob. I won’t use those tires. They will be swapped for slicks and tall front tires.
-
Still another item in limbo are these Alumastar wheels I ordered from eBay (should be a week or so before I get them).
-
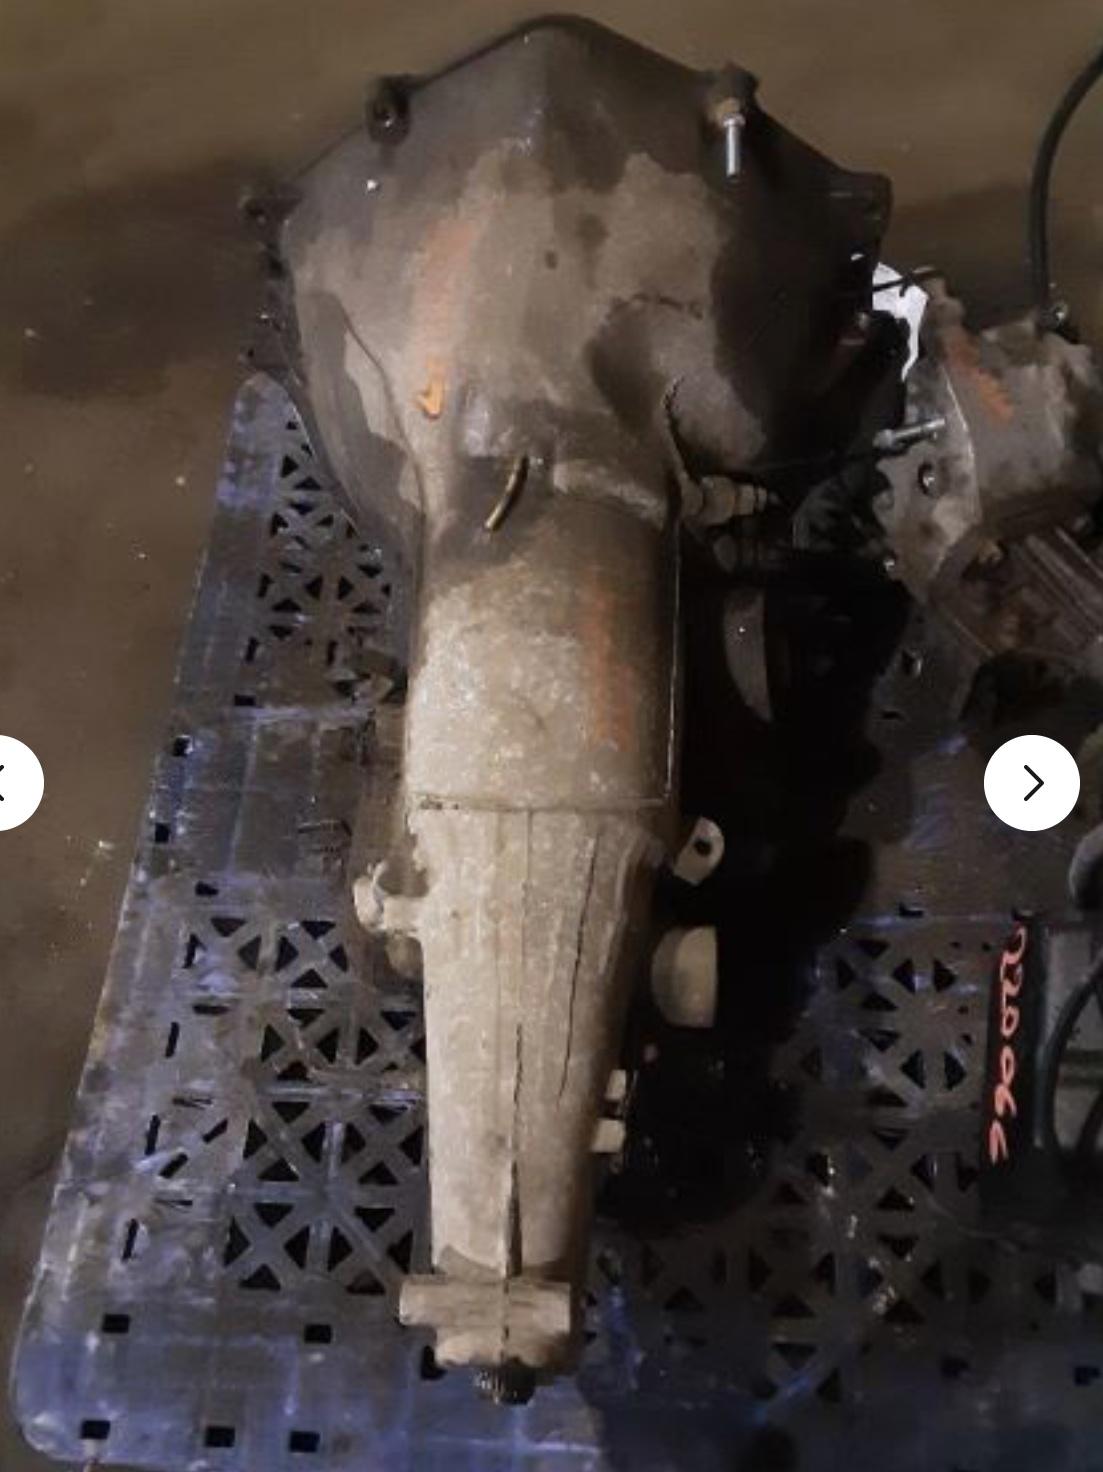
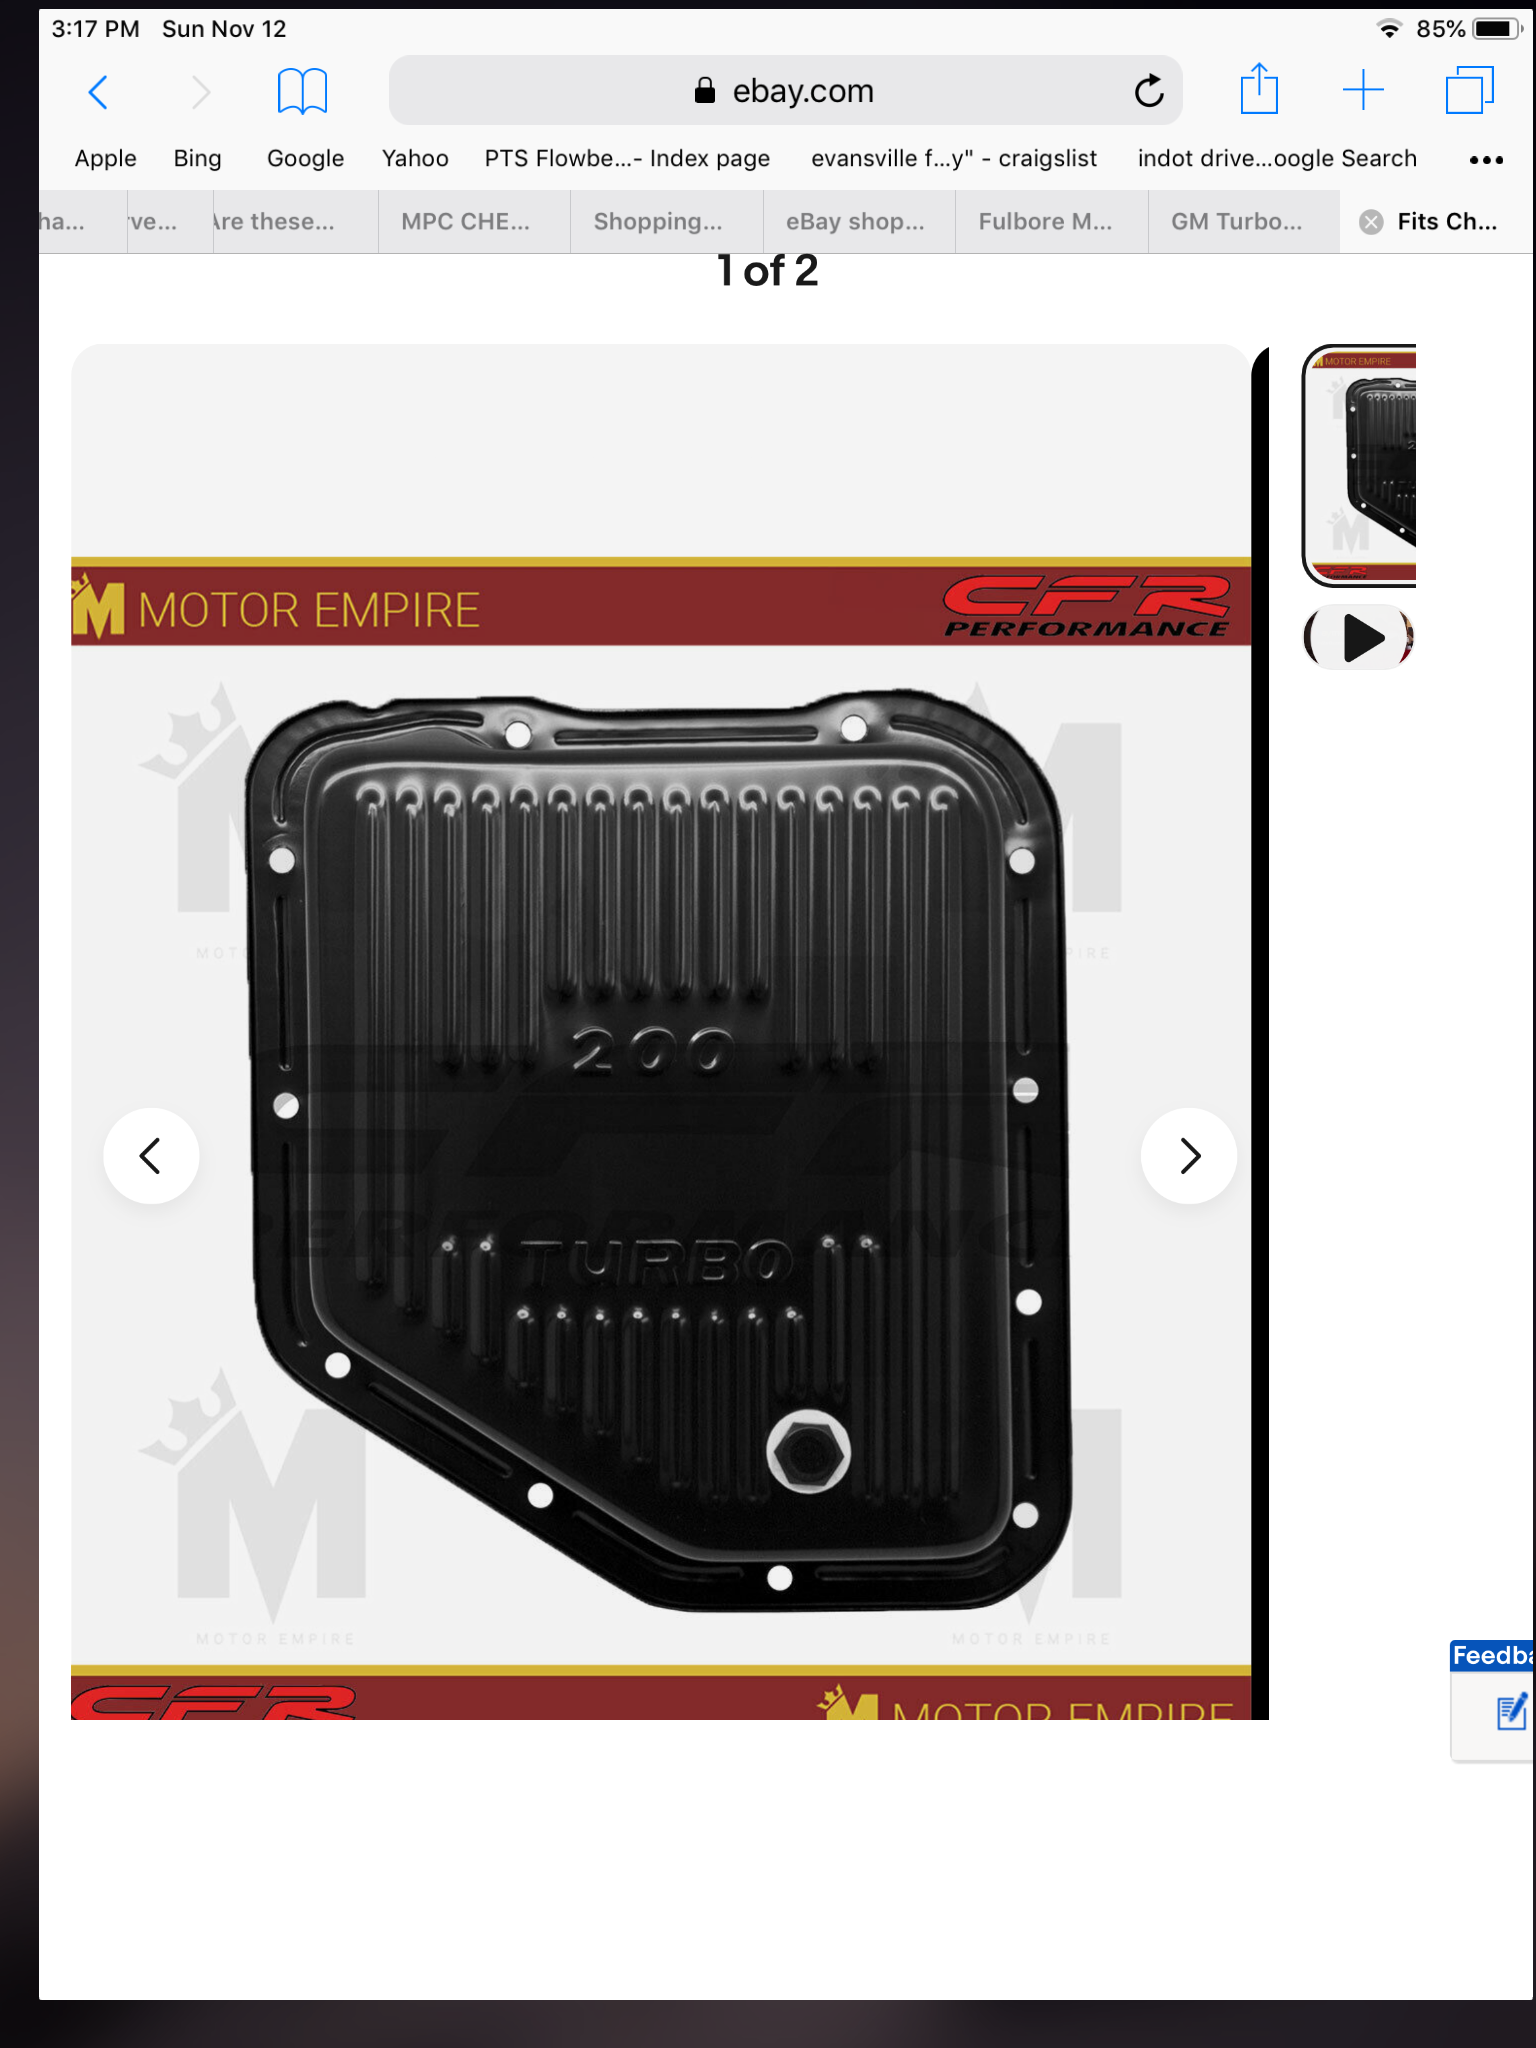
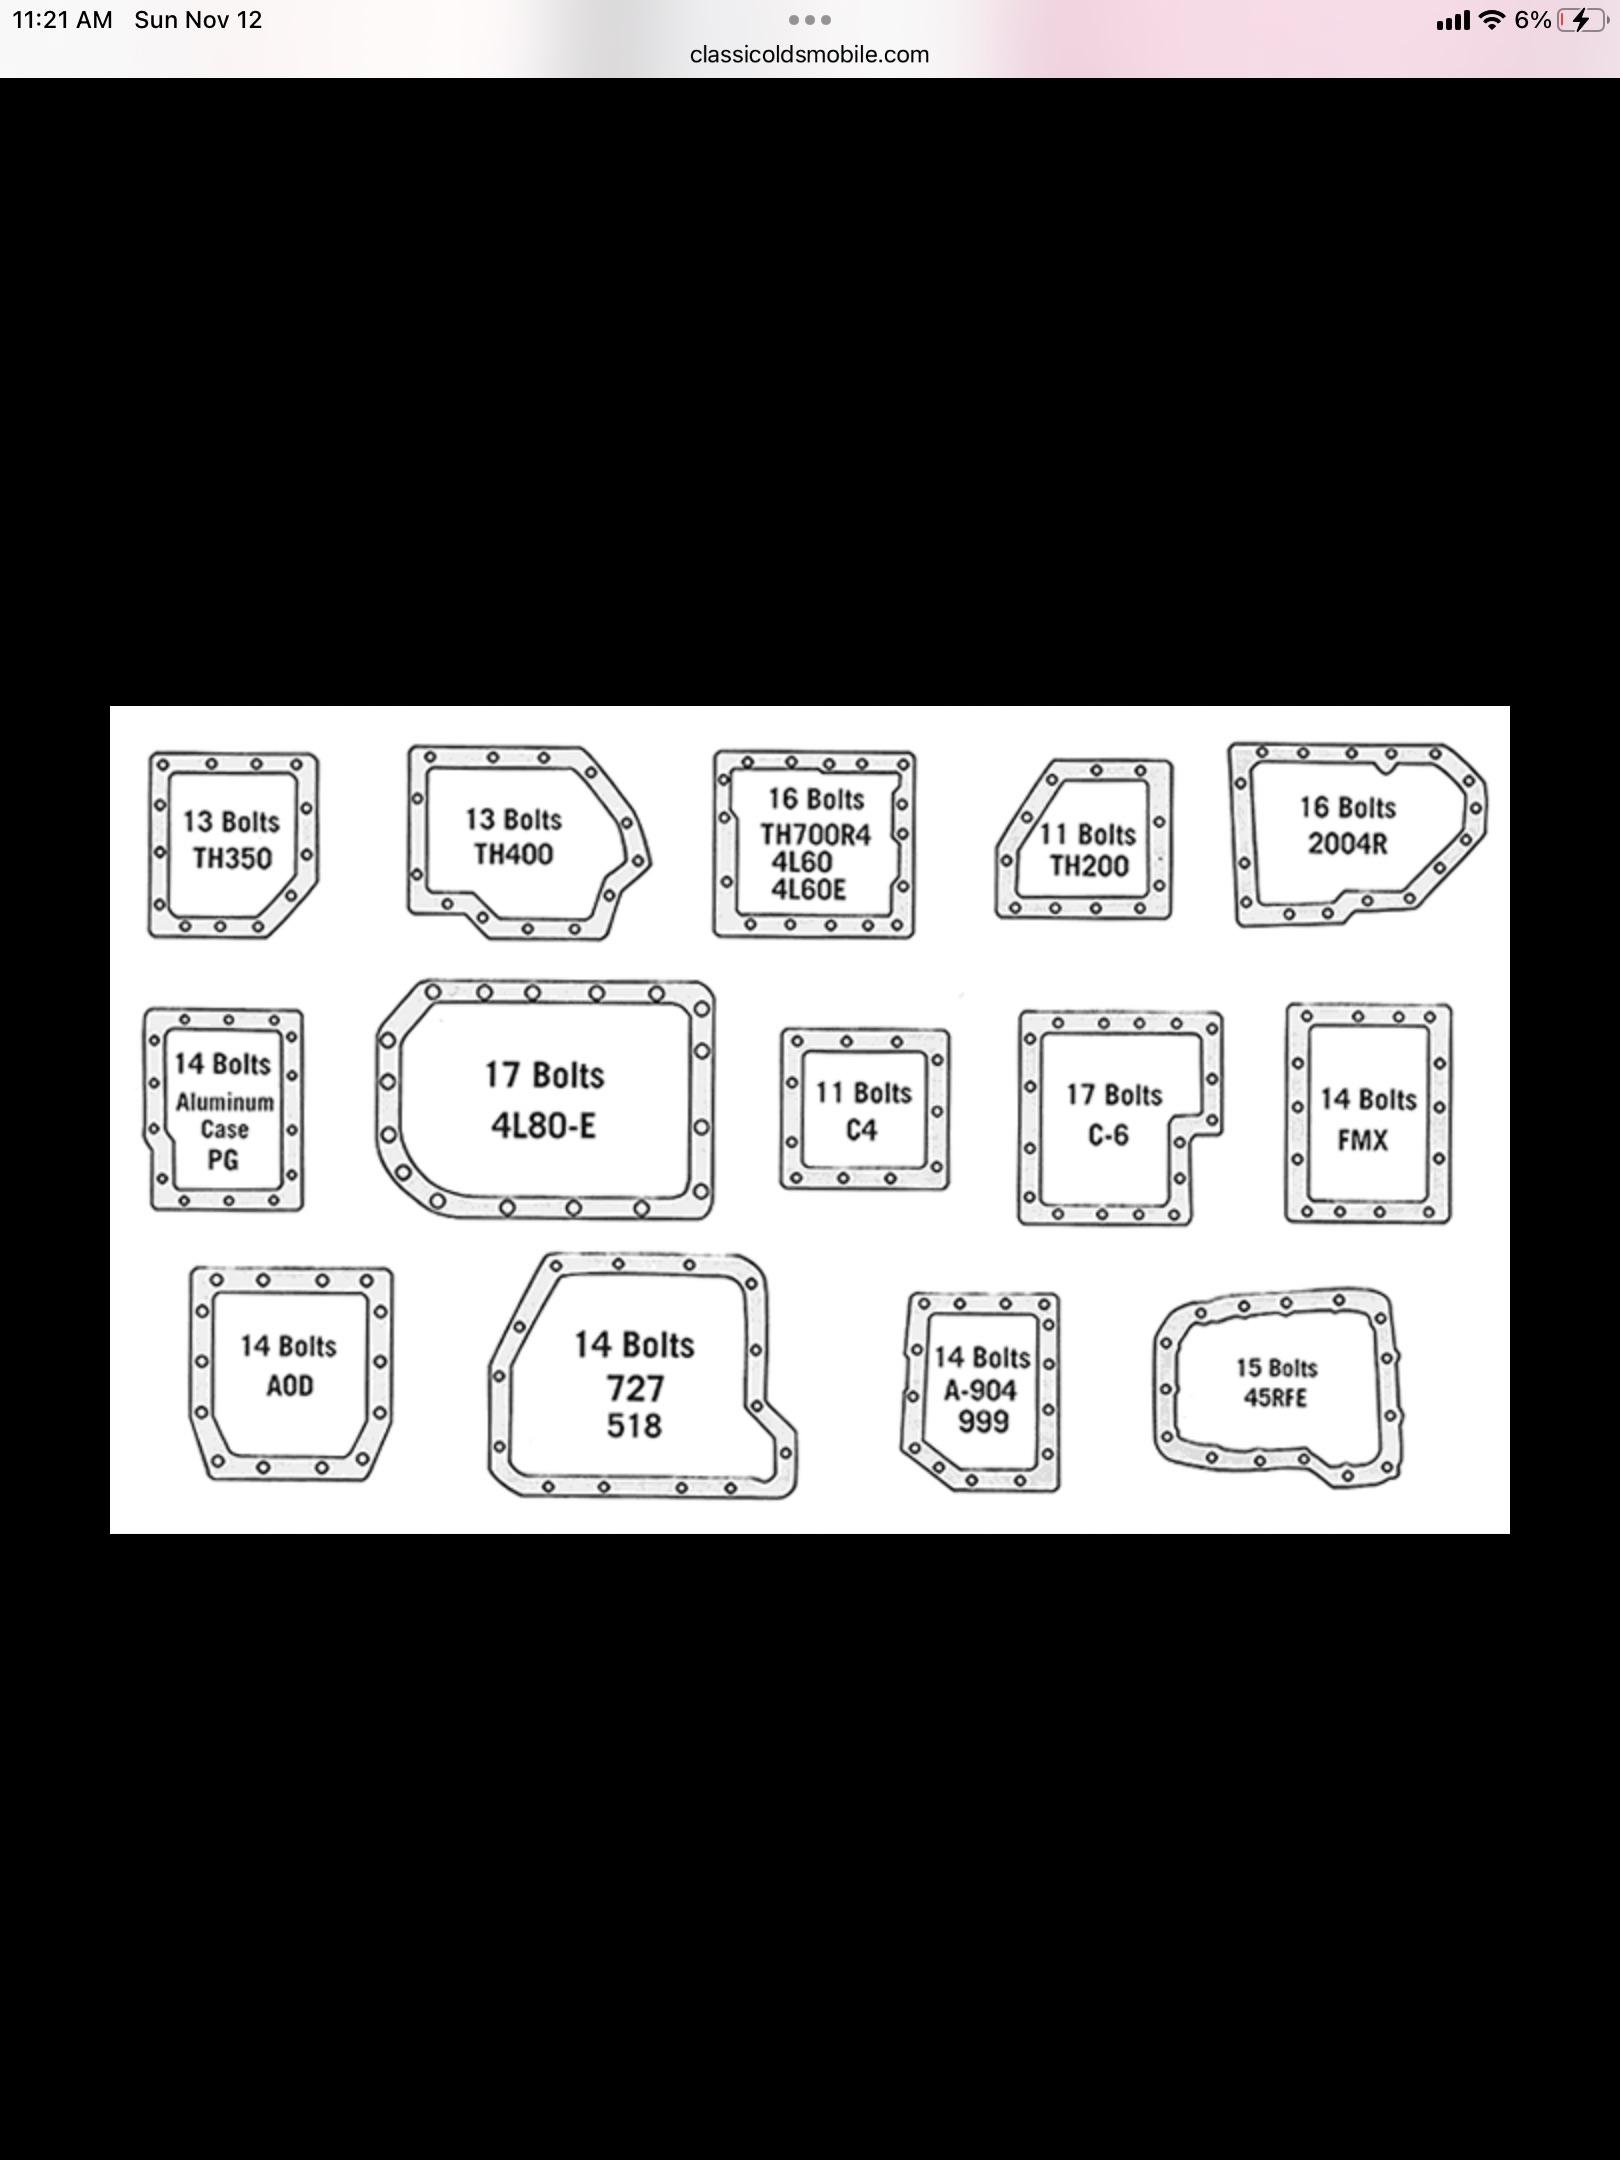
Another part of this build I am grappling with is the TH200 trans that most GM racers use, but is not available through anyone in the modeling industry or aftermarket. I may try to modify this th200-4r trans or maybe even a th350. I will also be modifying the breather system and The inherently weak trans case. Unlike most current racers, I have always done my own engine, trans, and differential work, so I am very familiar with modifying these trans in the 1:1 world.
-
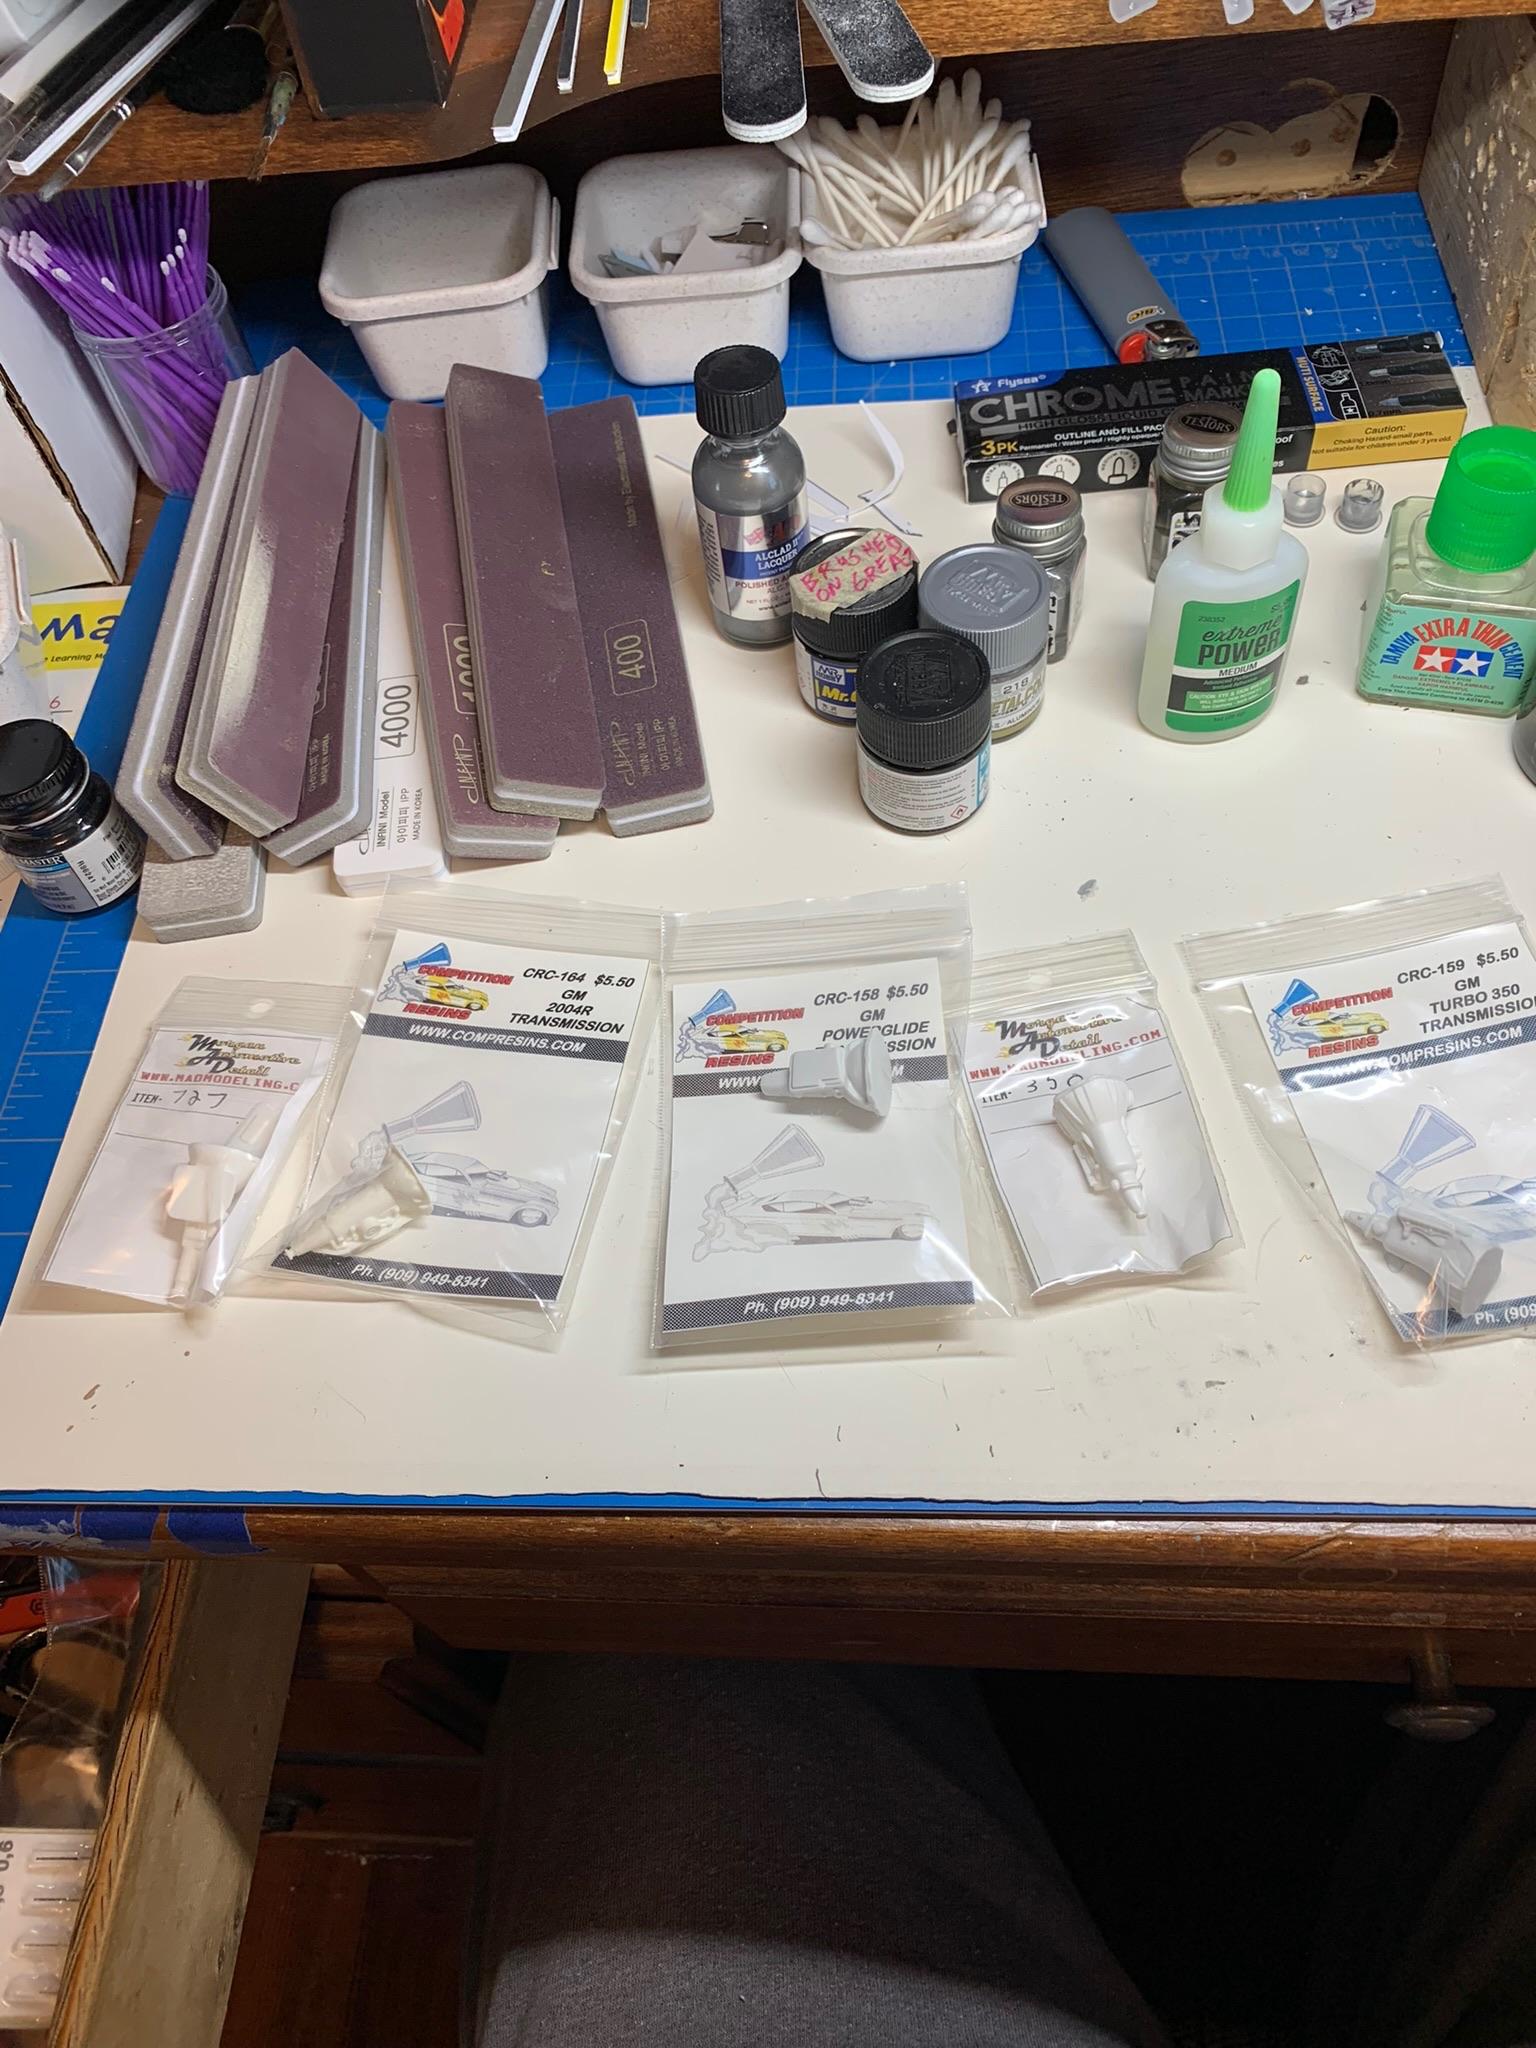
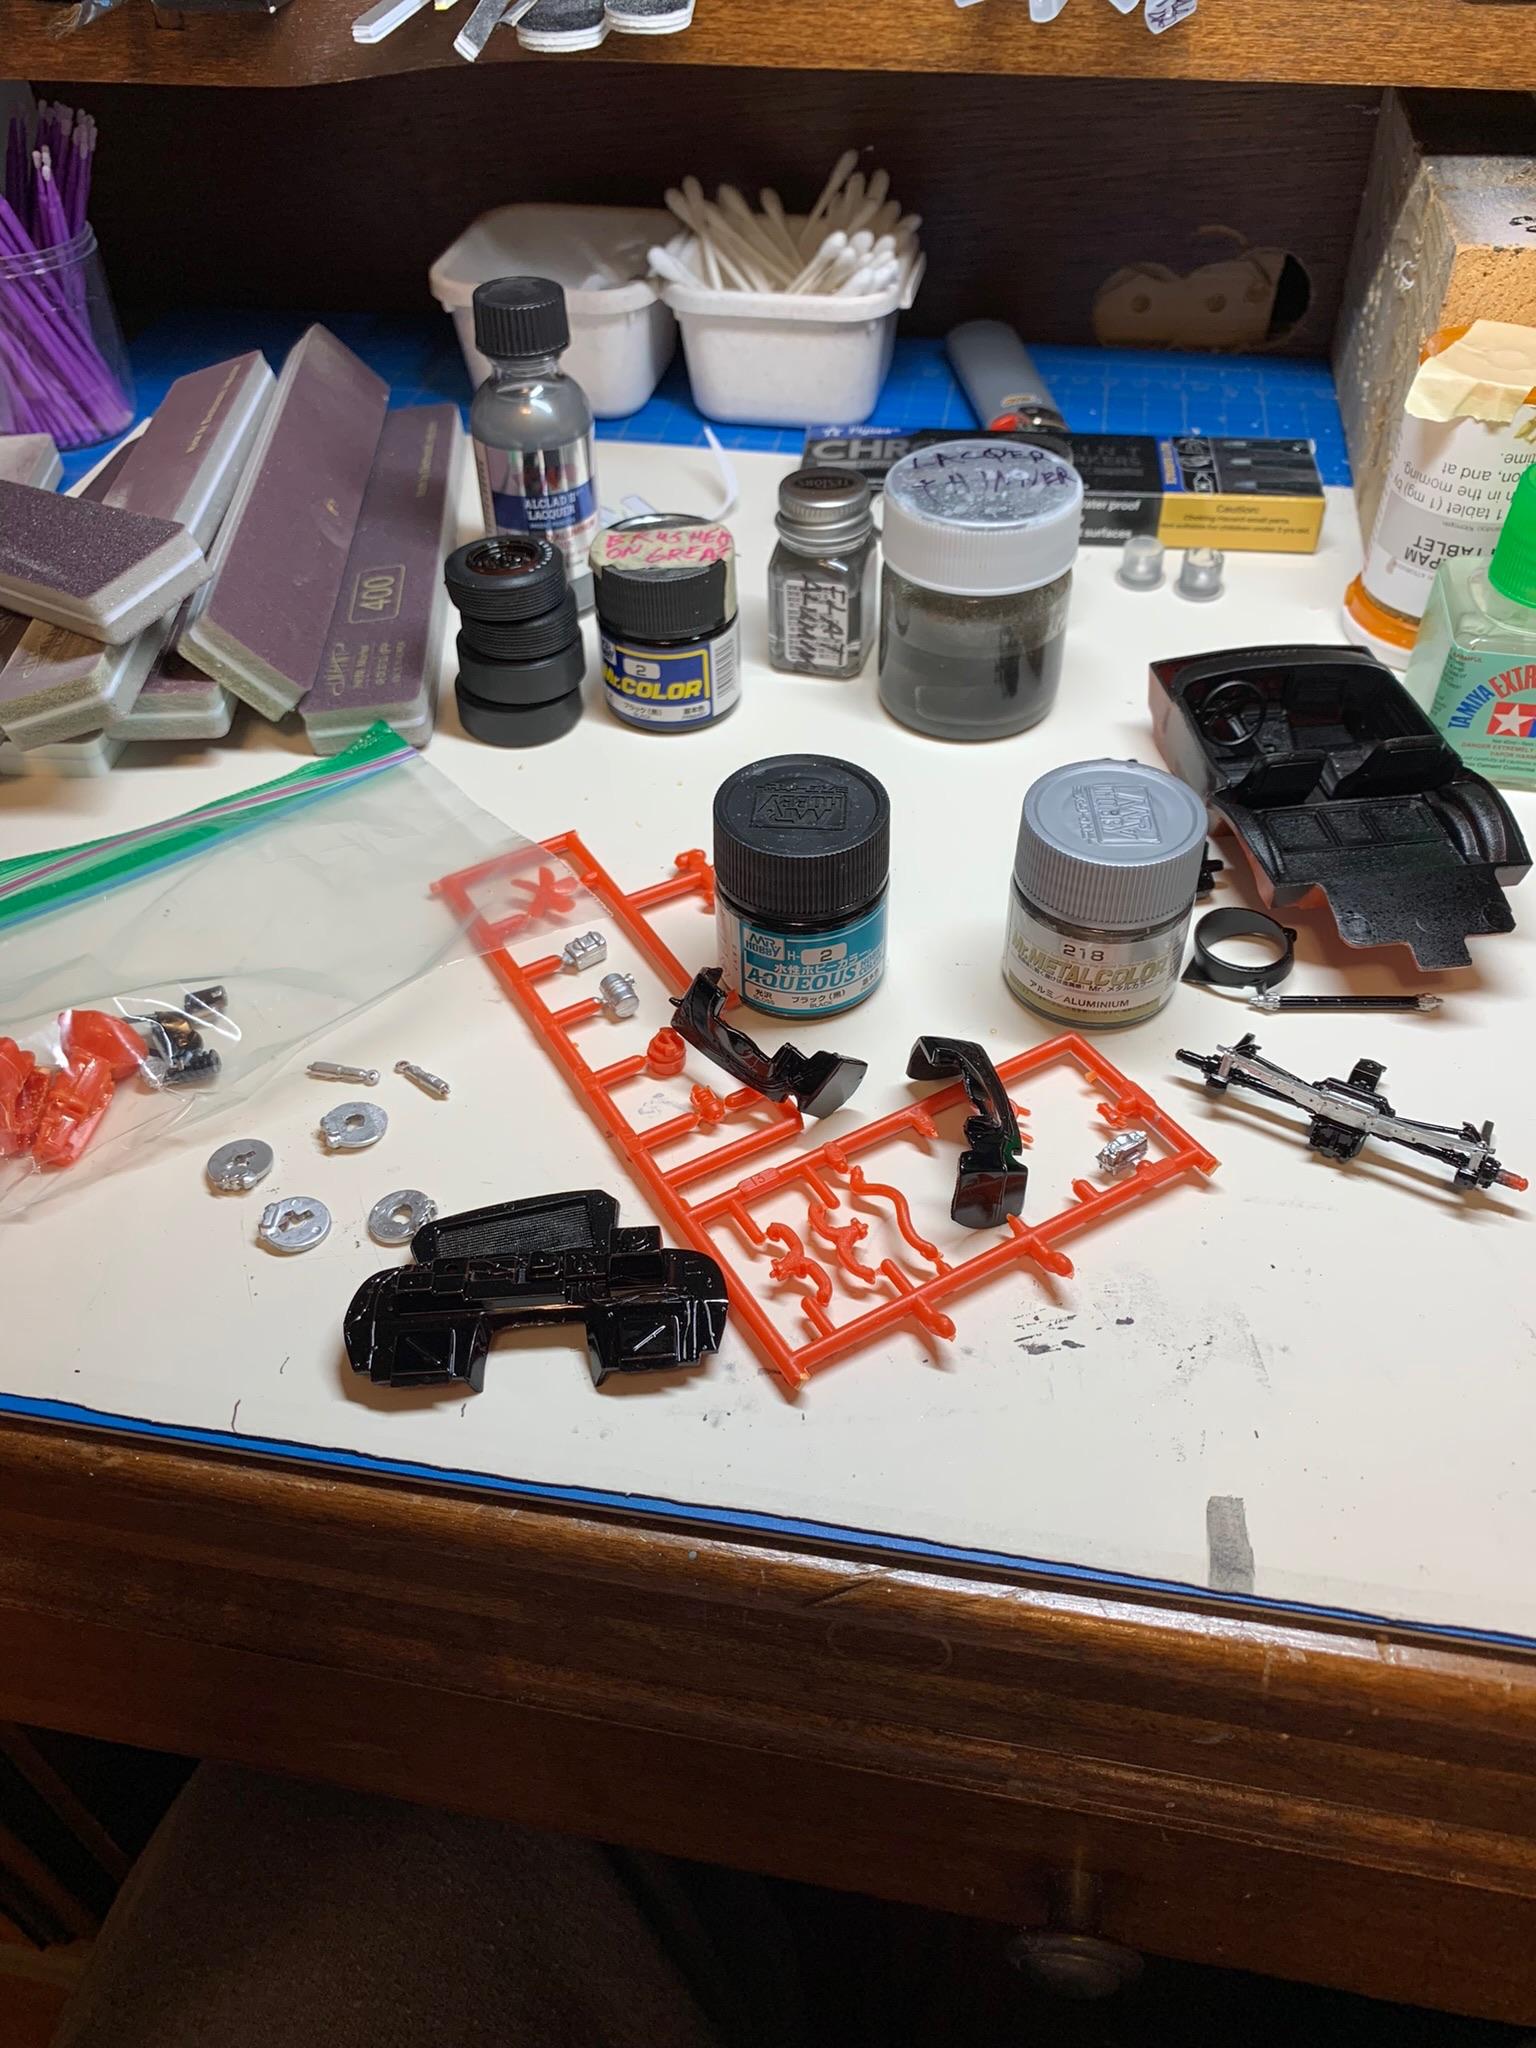
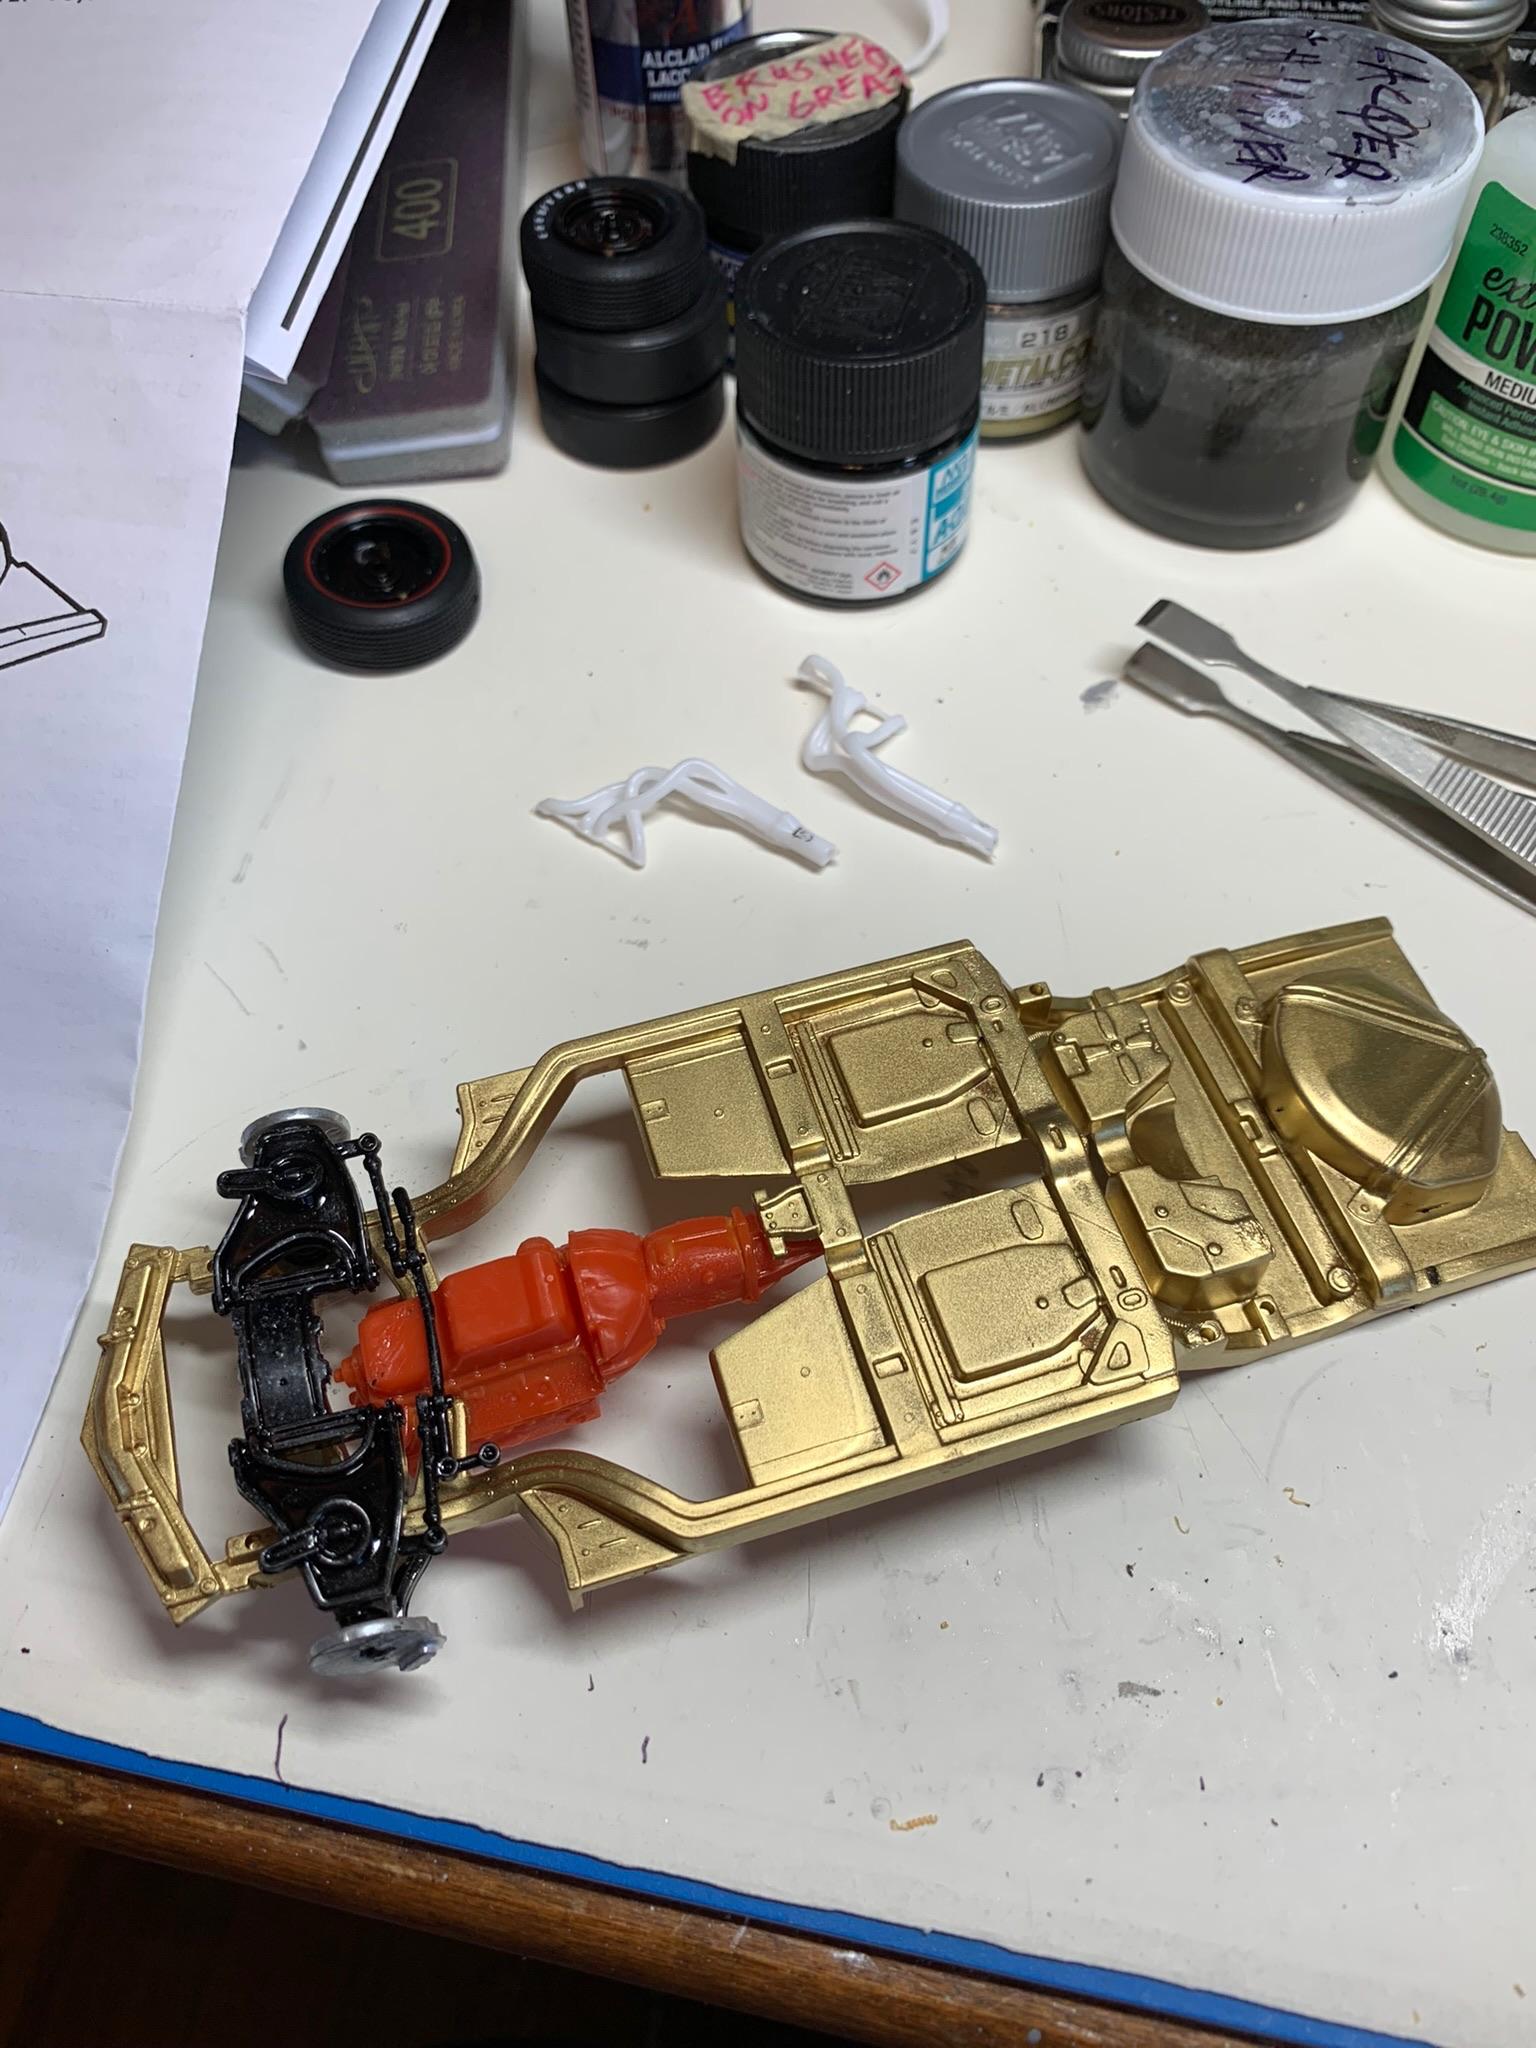
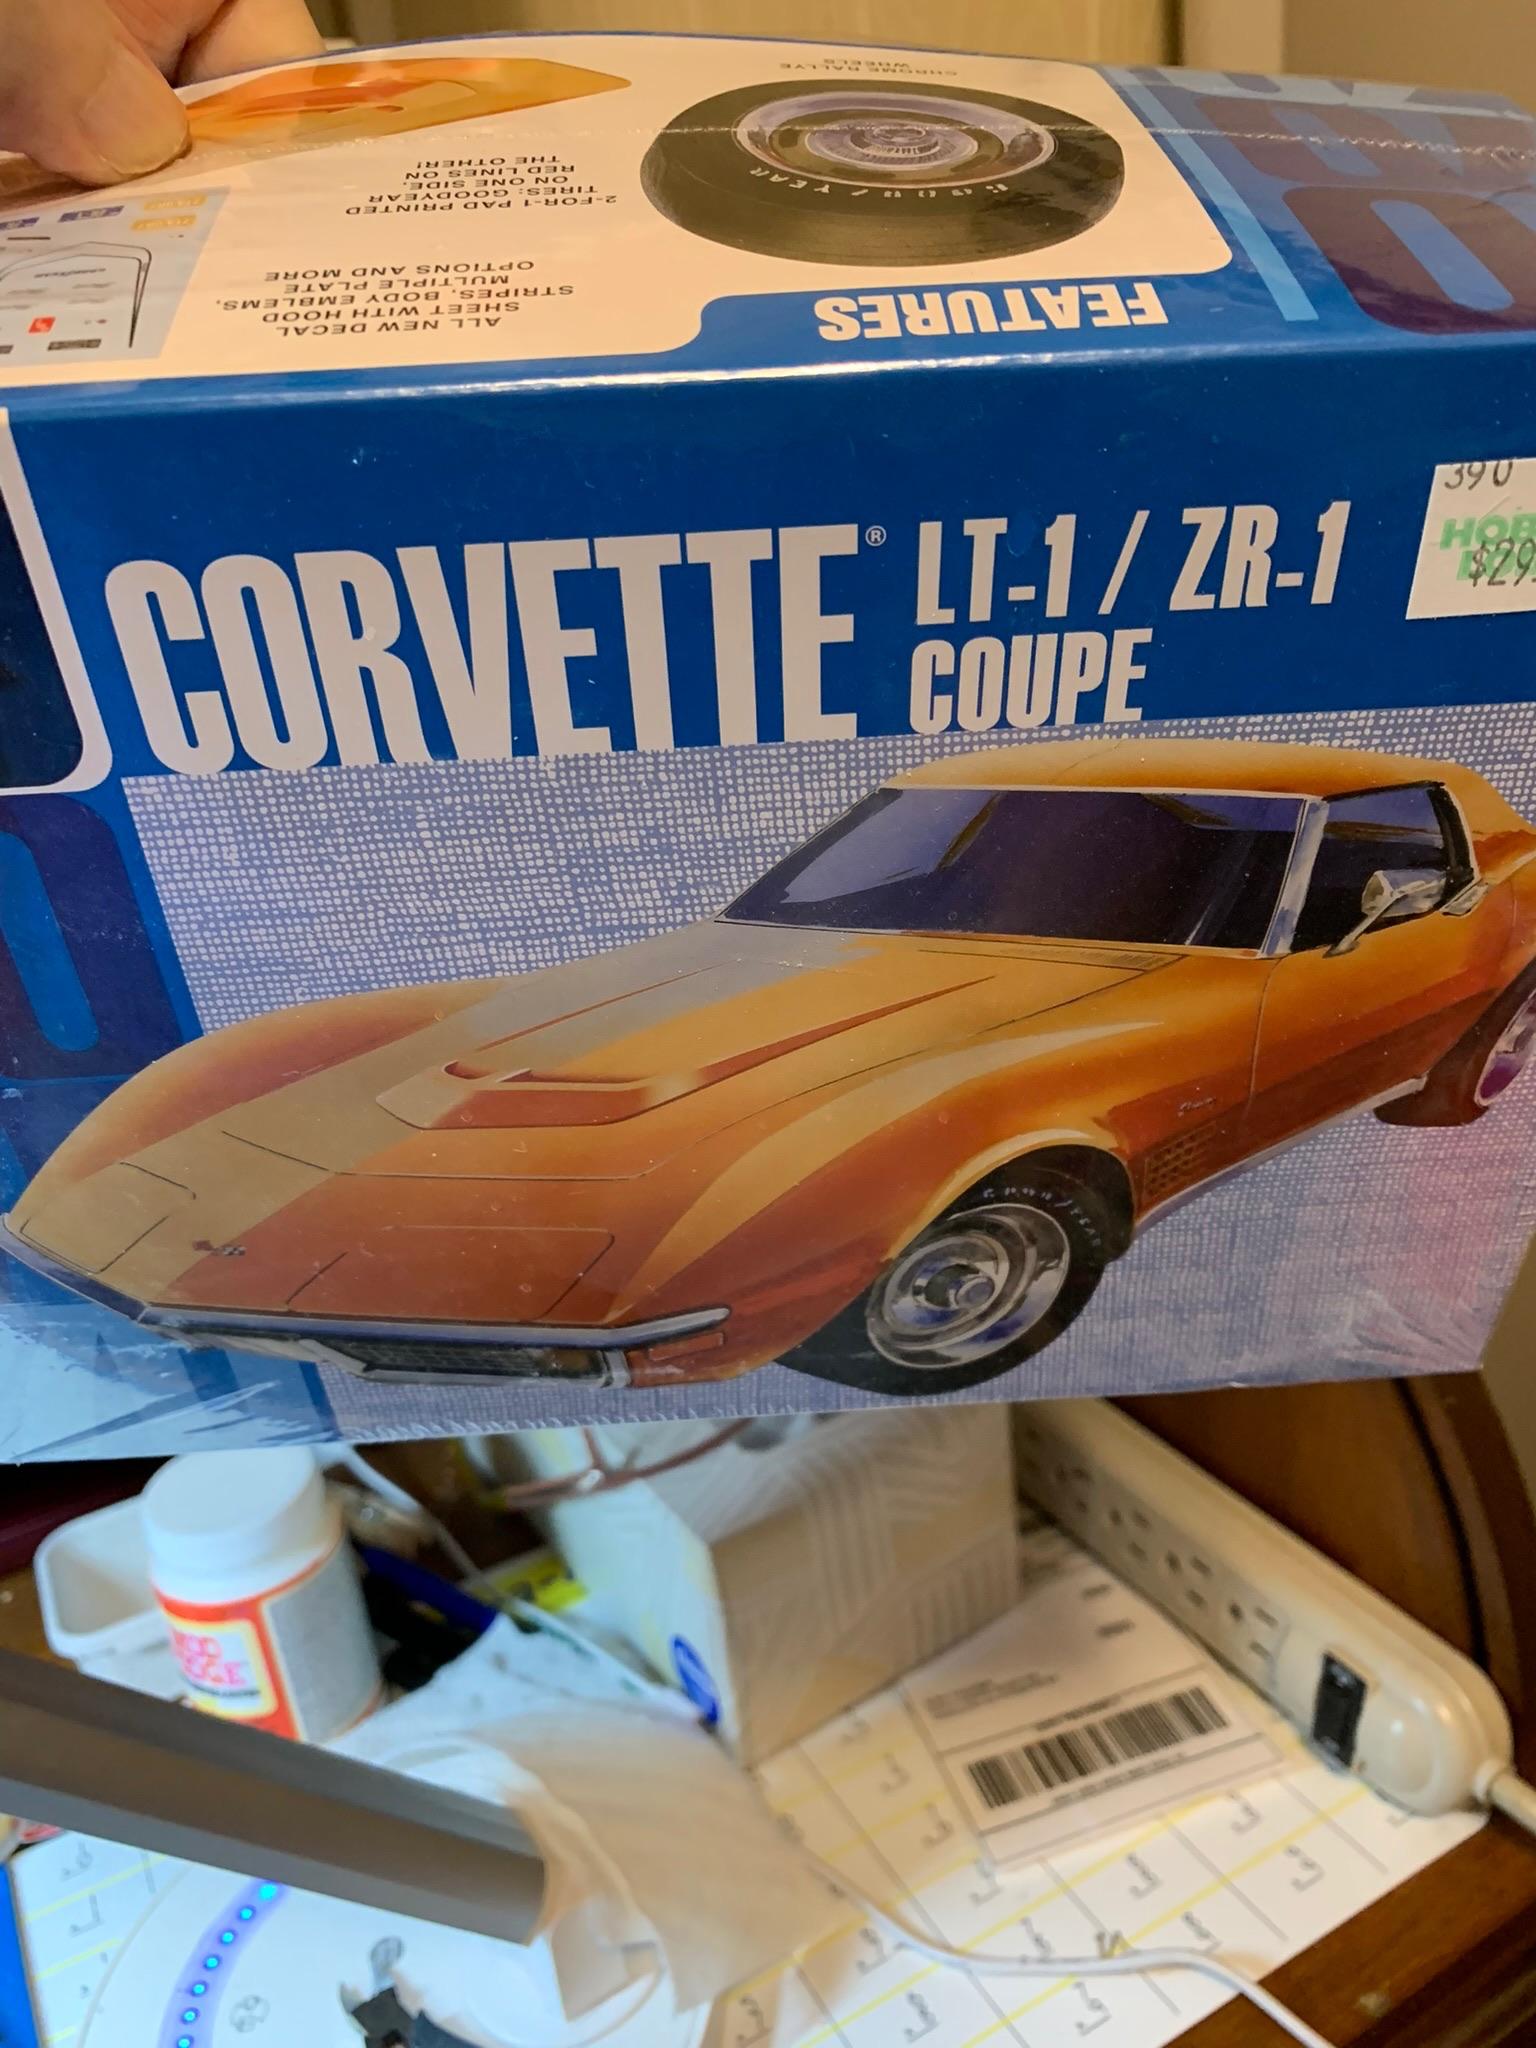
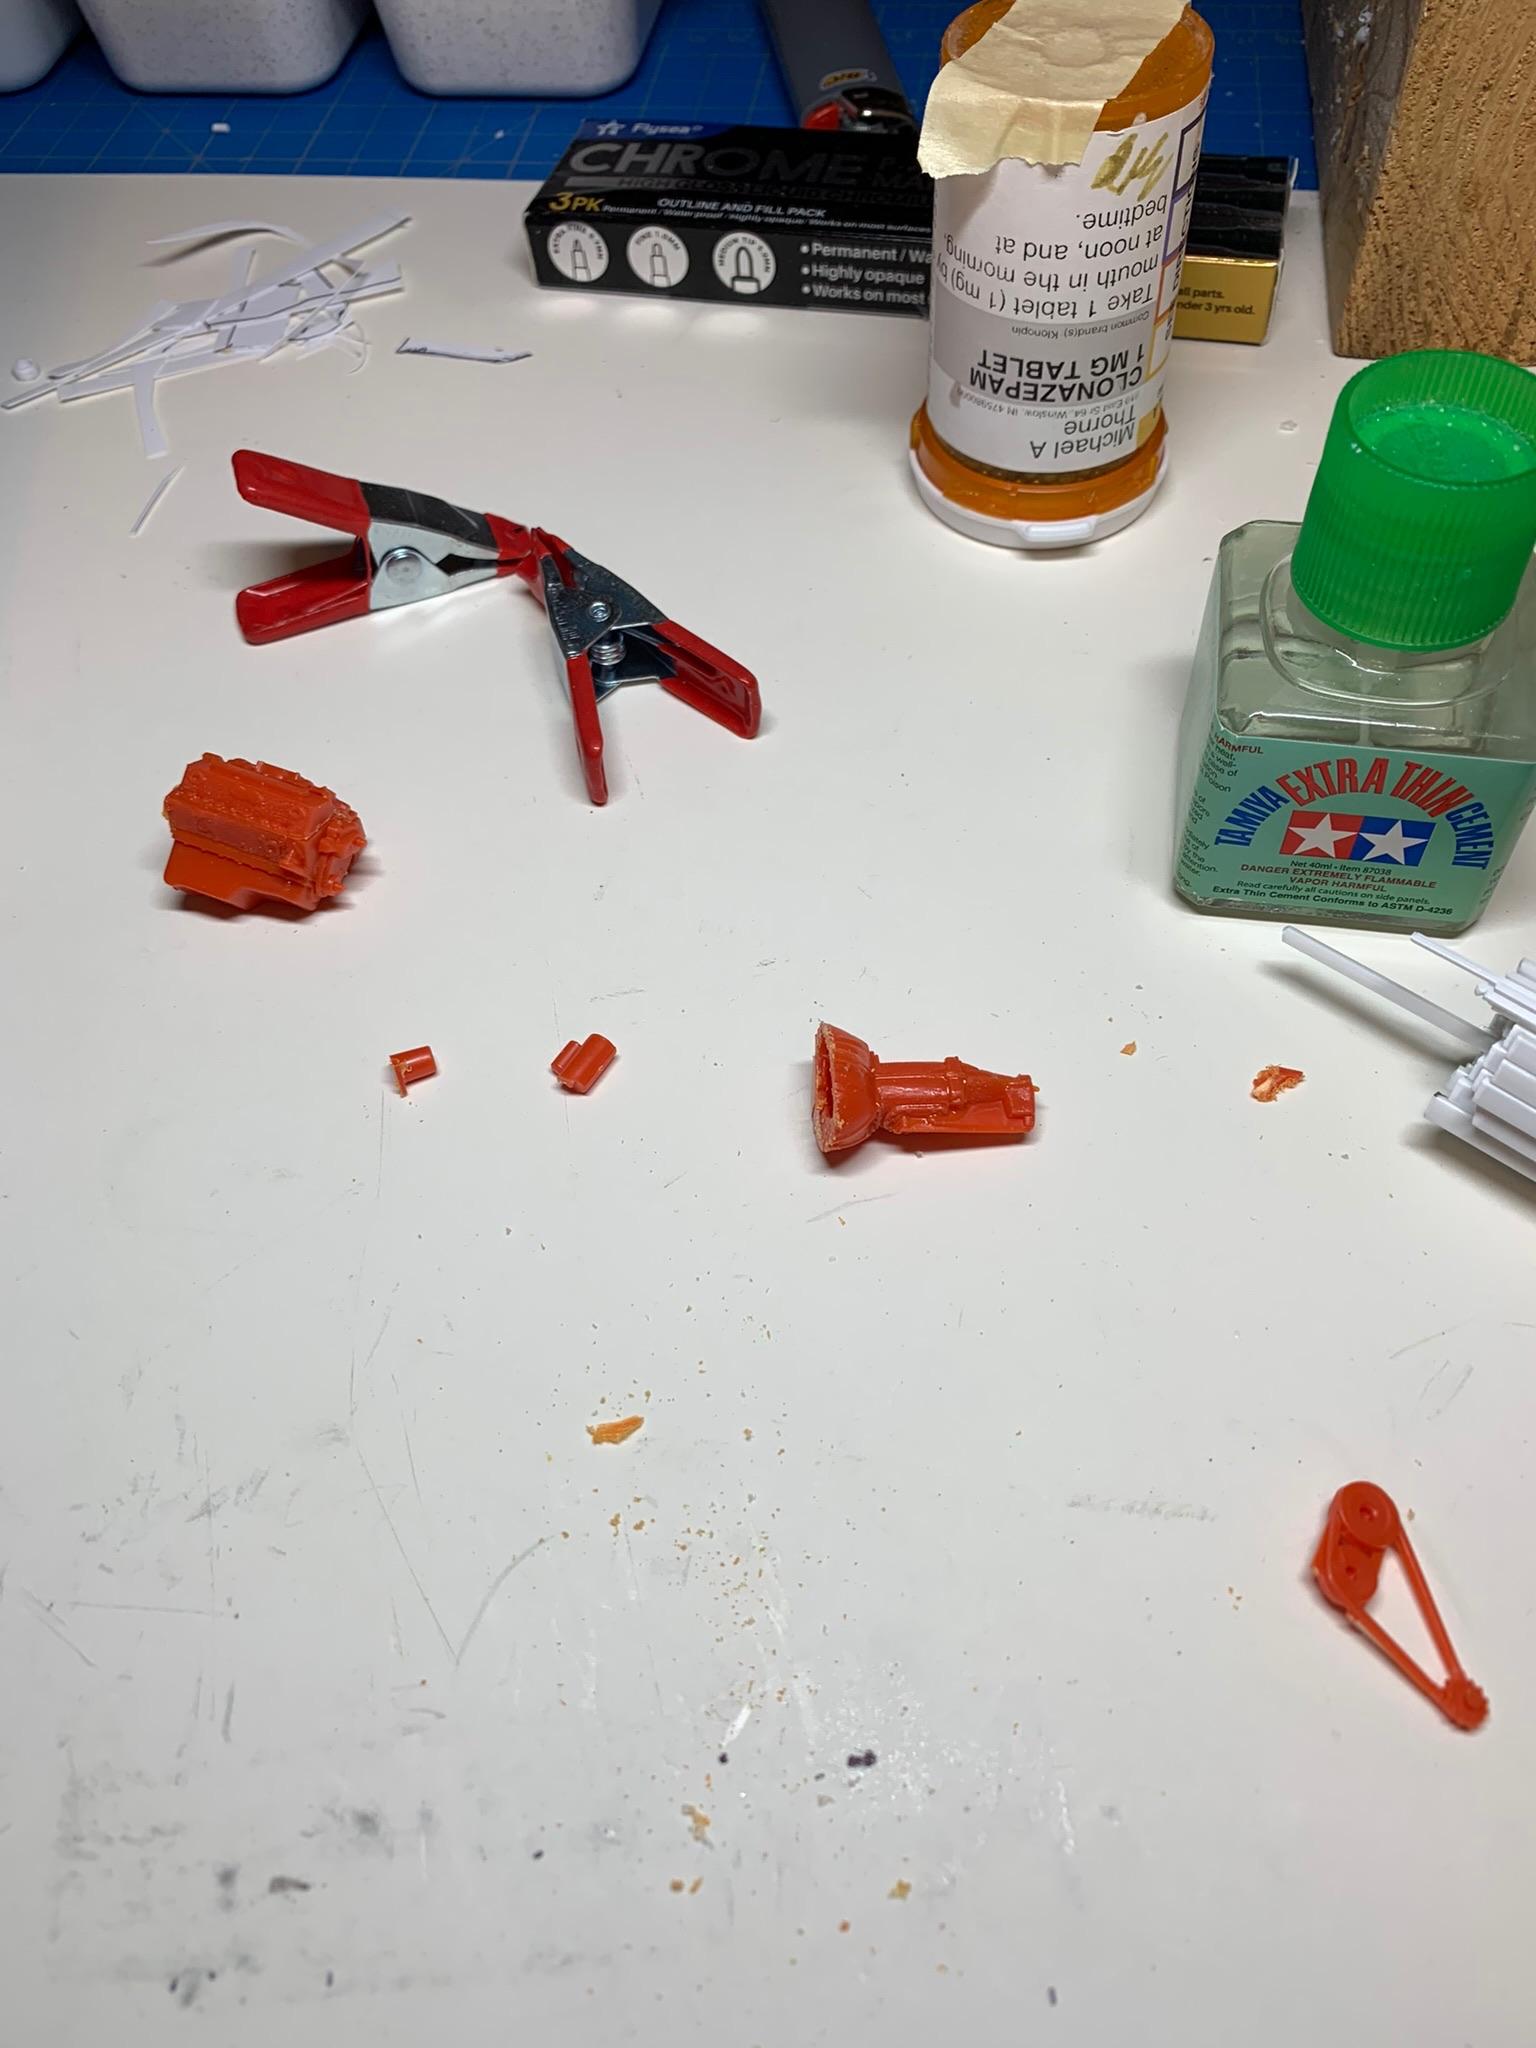
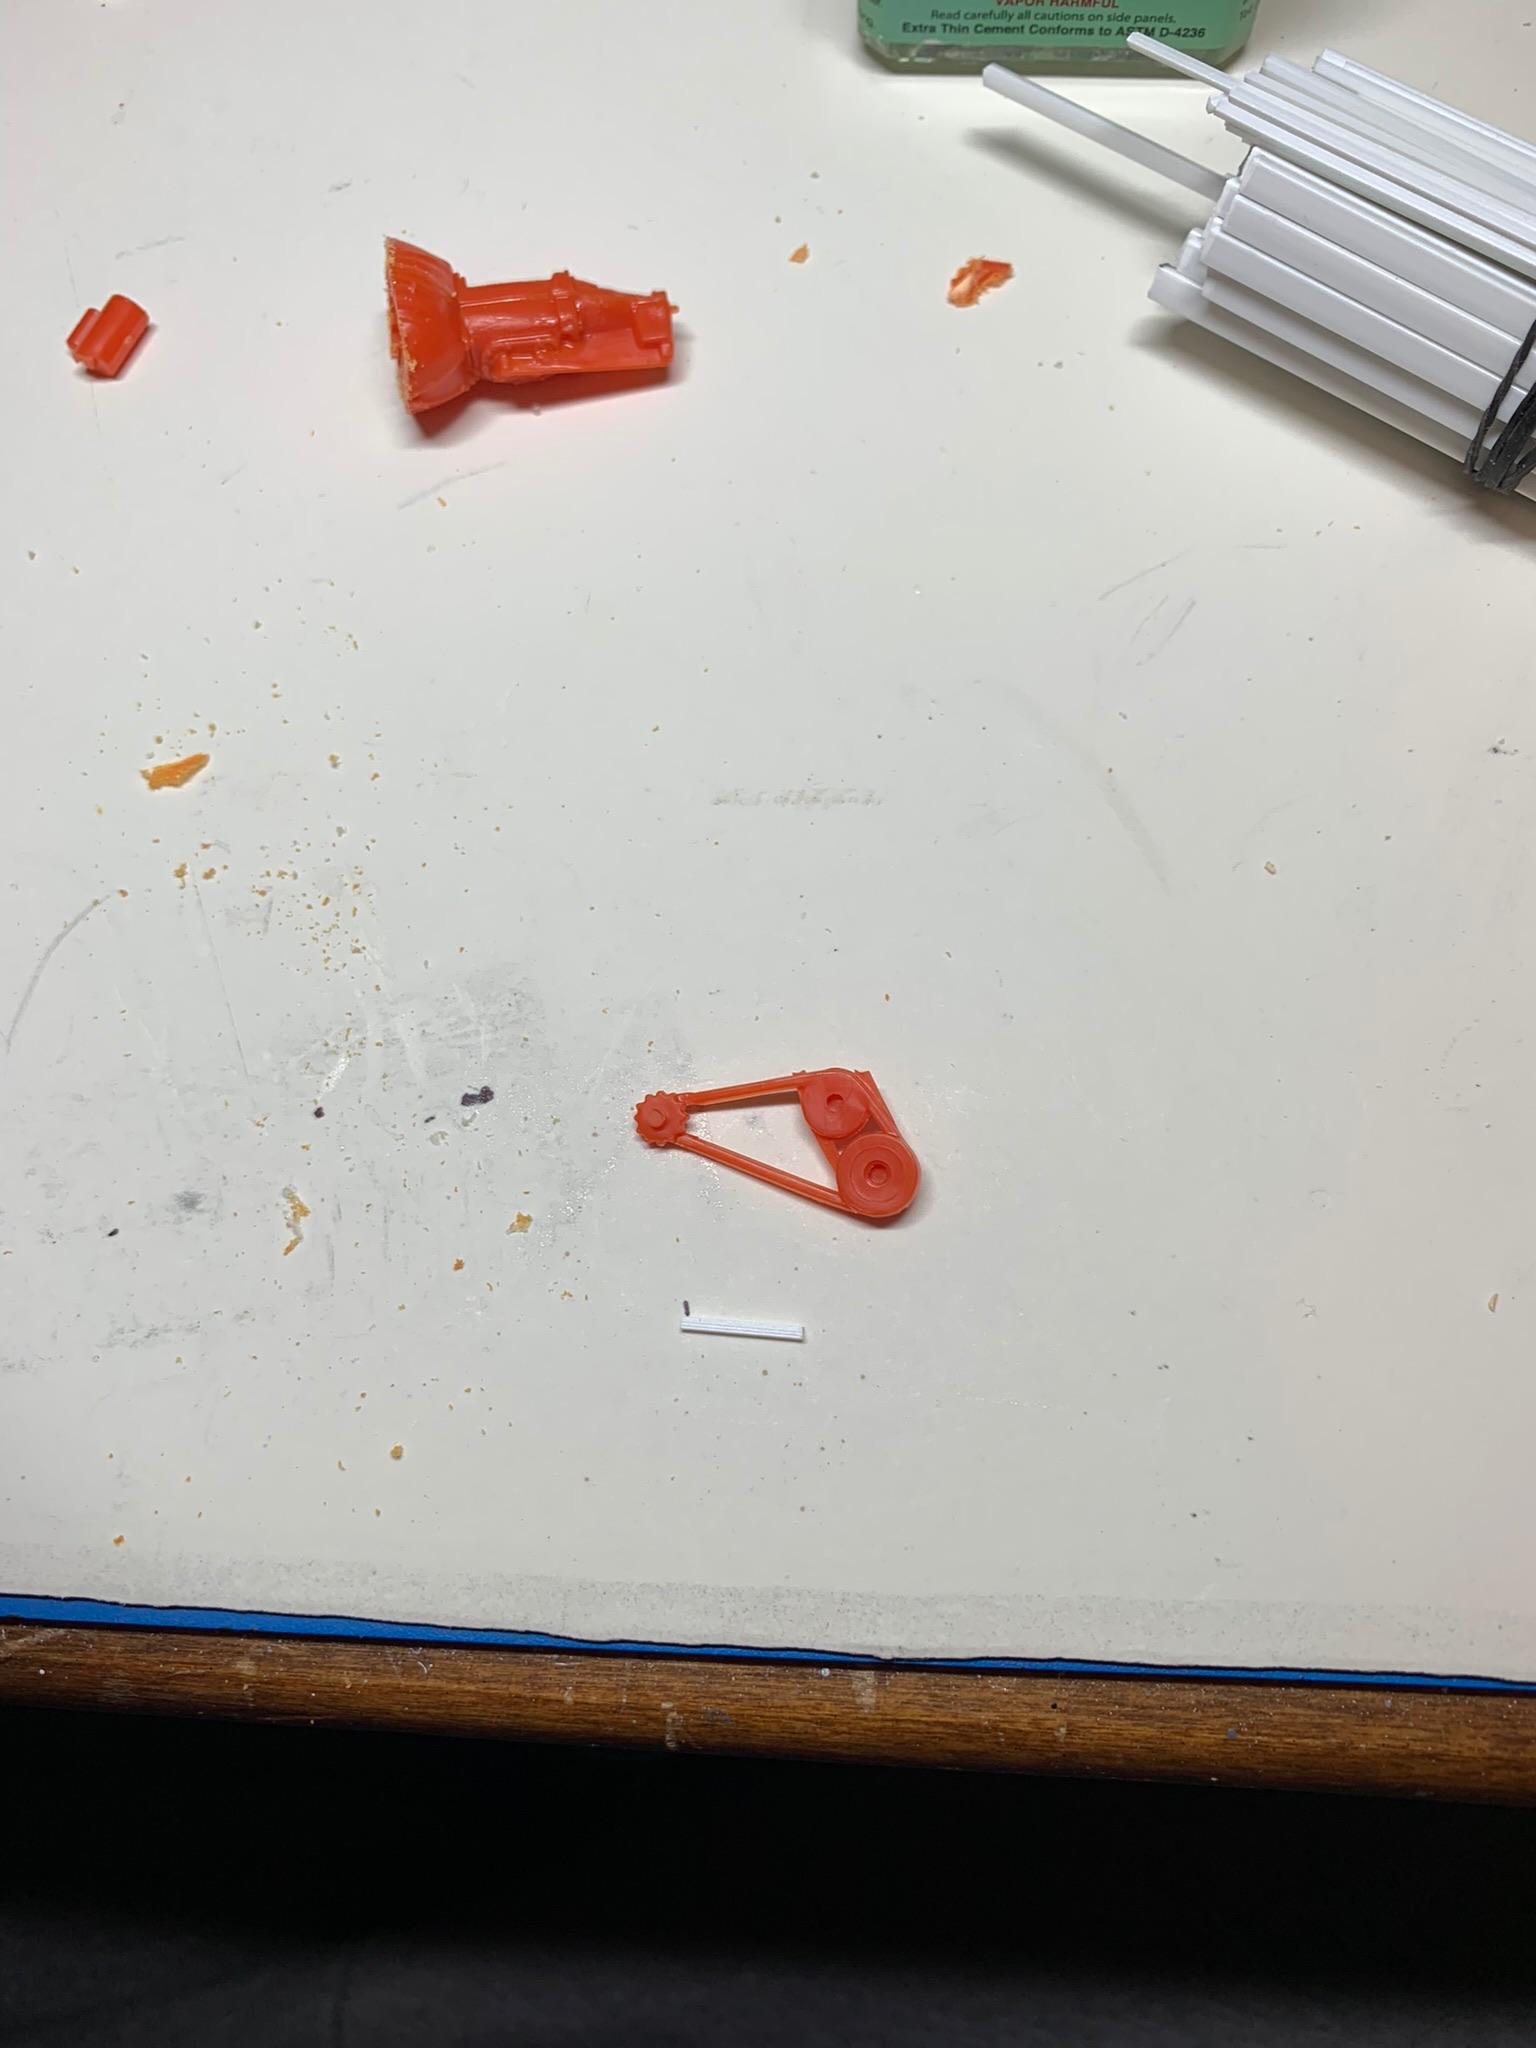
Did some preliminary engine/trans fitups to check mainly for header clearance. These Camaro headers look pretty good and are “tuned” equal length primaries that are mandatory for performance applications. I have never cast any parts before, but I have a kit I purchased a few years ago and will try to “clone” some headers, wheels, and transmissions.
-
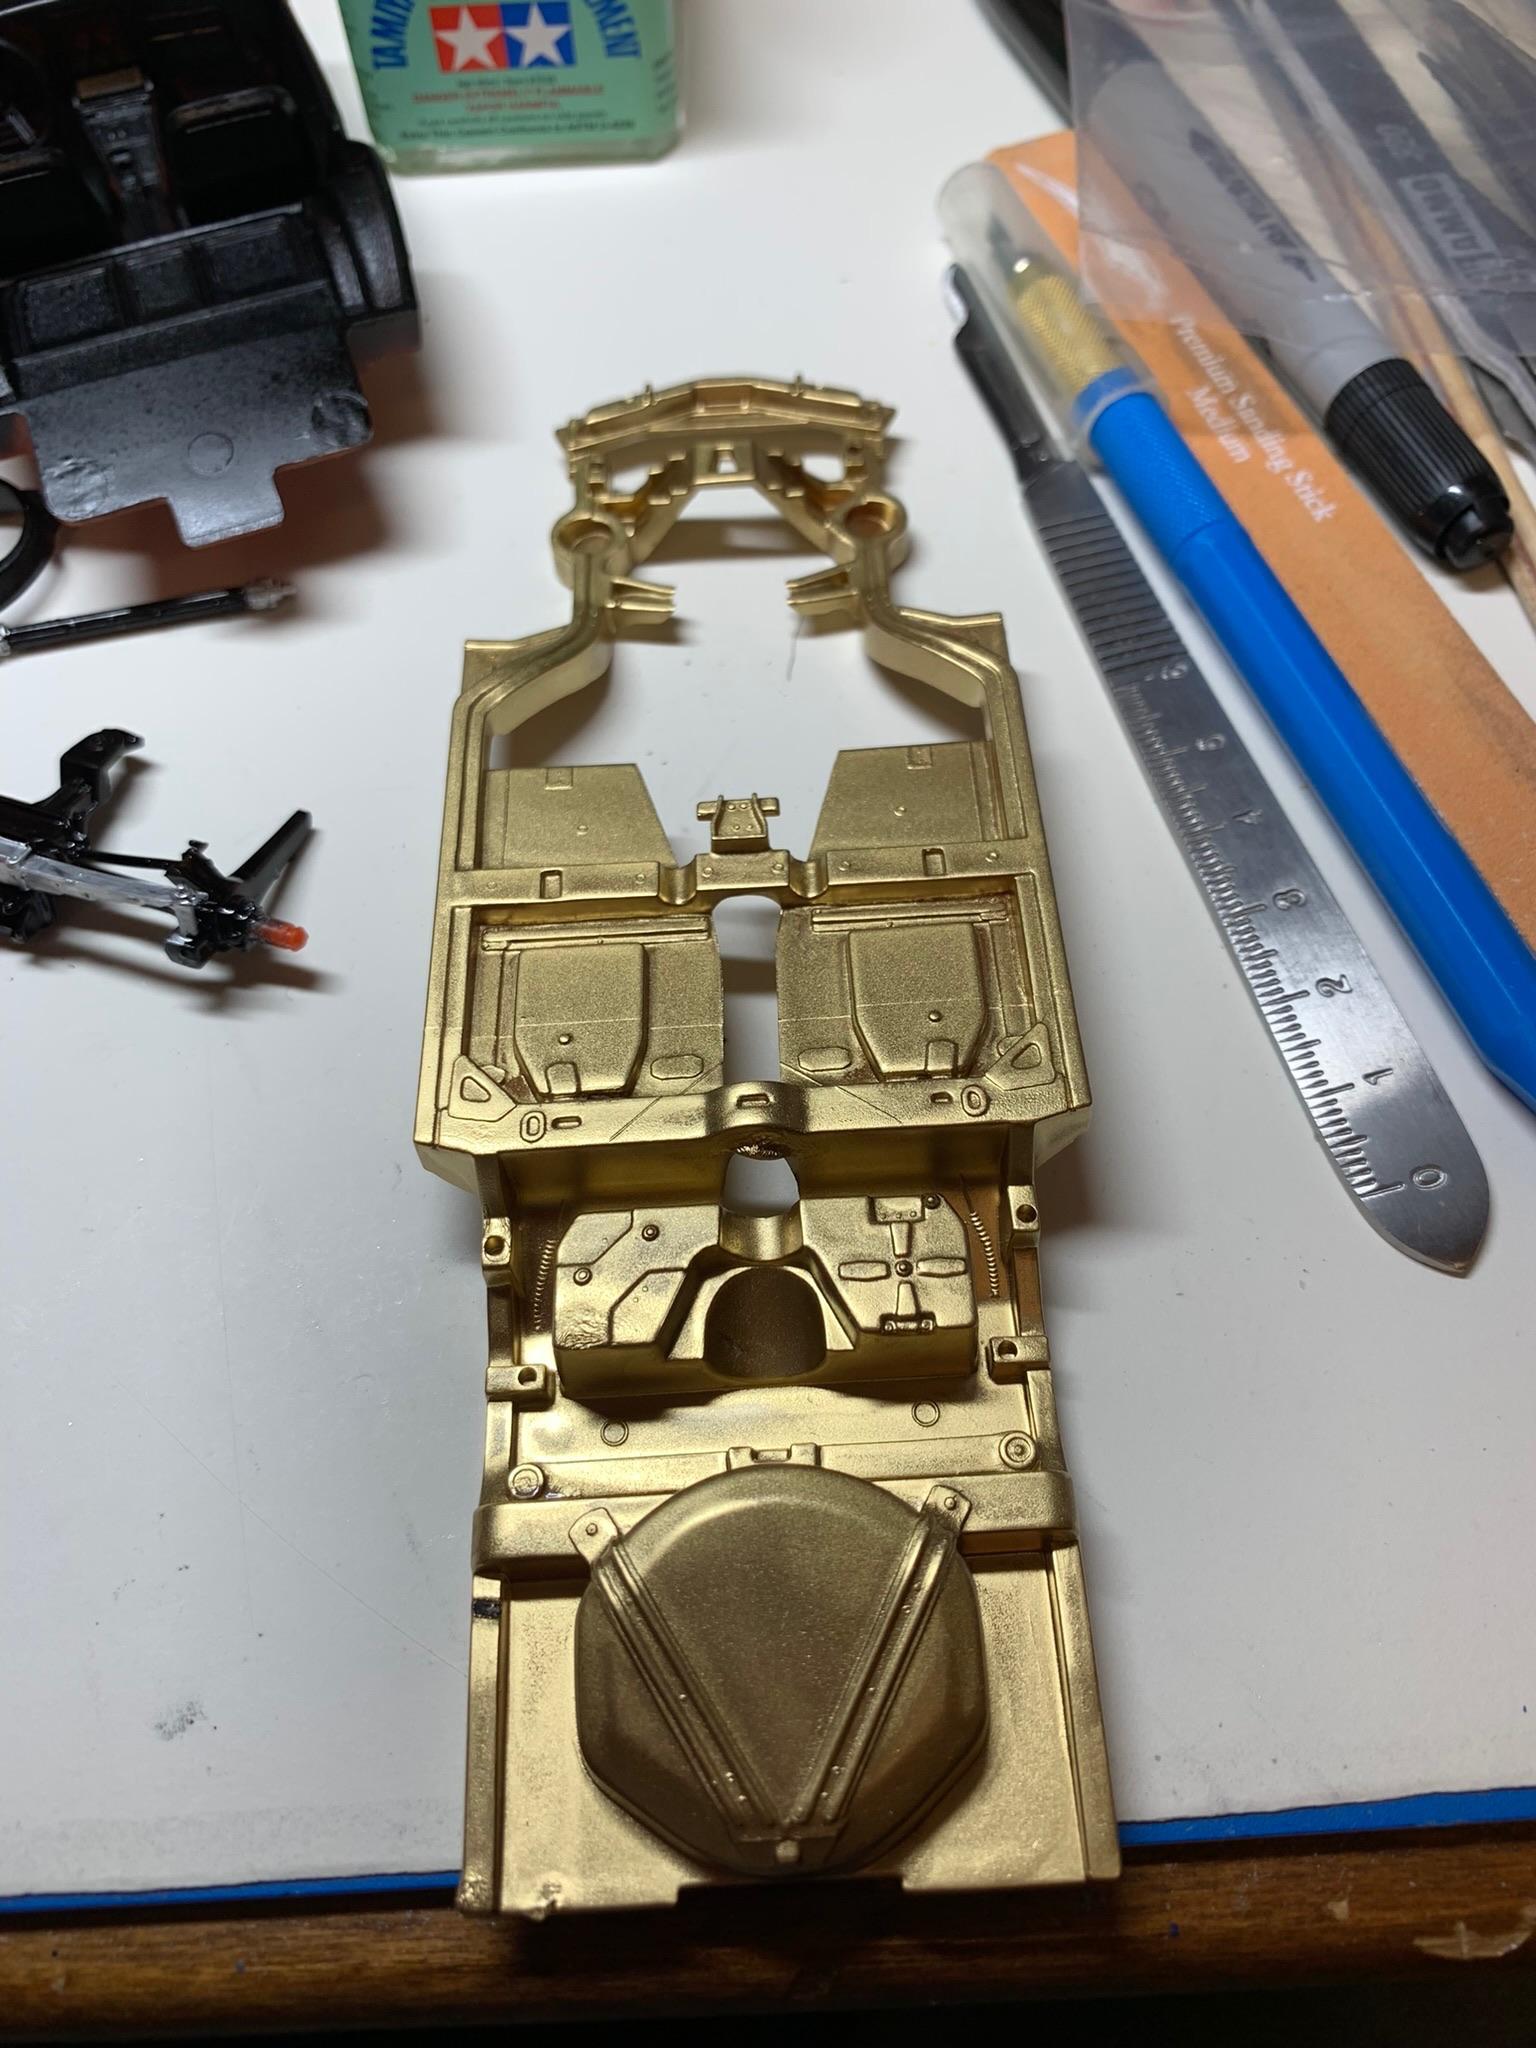
Thanks, Keith and Scott. I did get some painting and assembling done on the chassis and other parts.
-
Thanks, guys. Much appreciated.
-
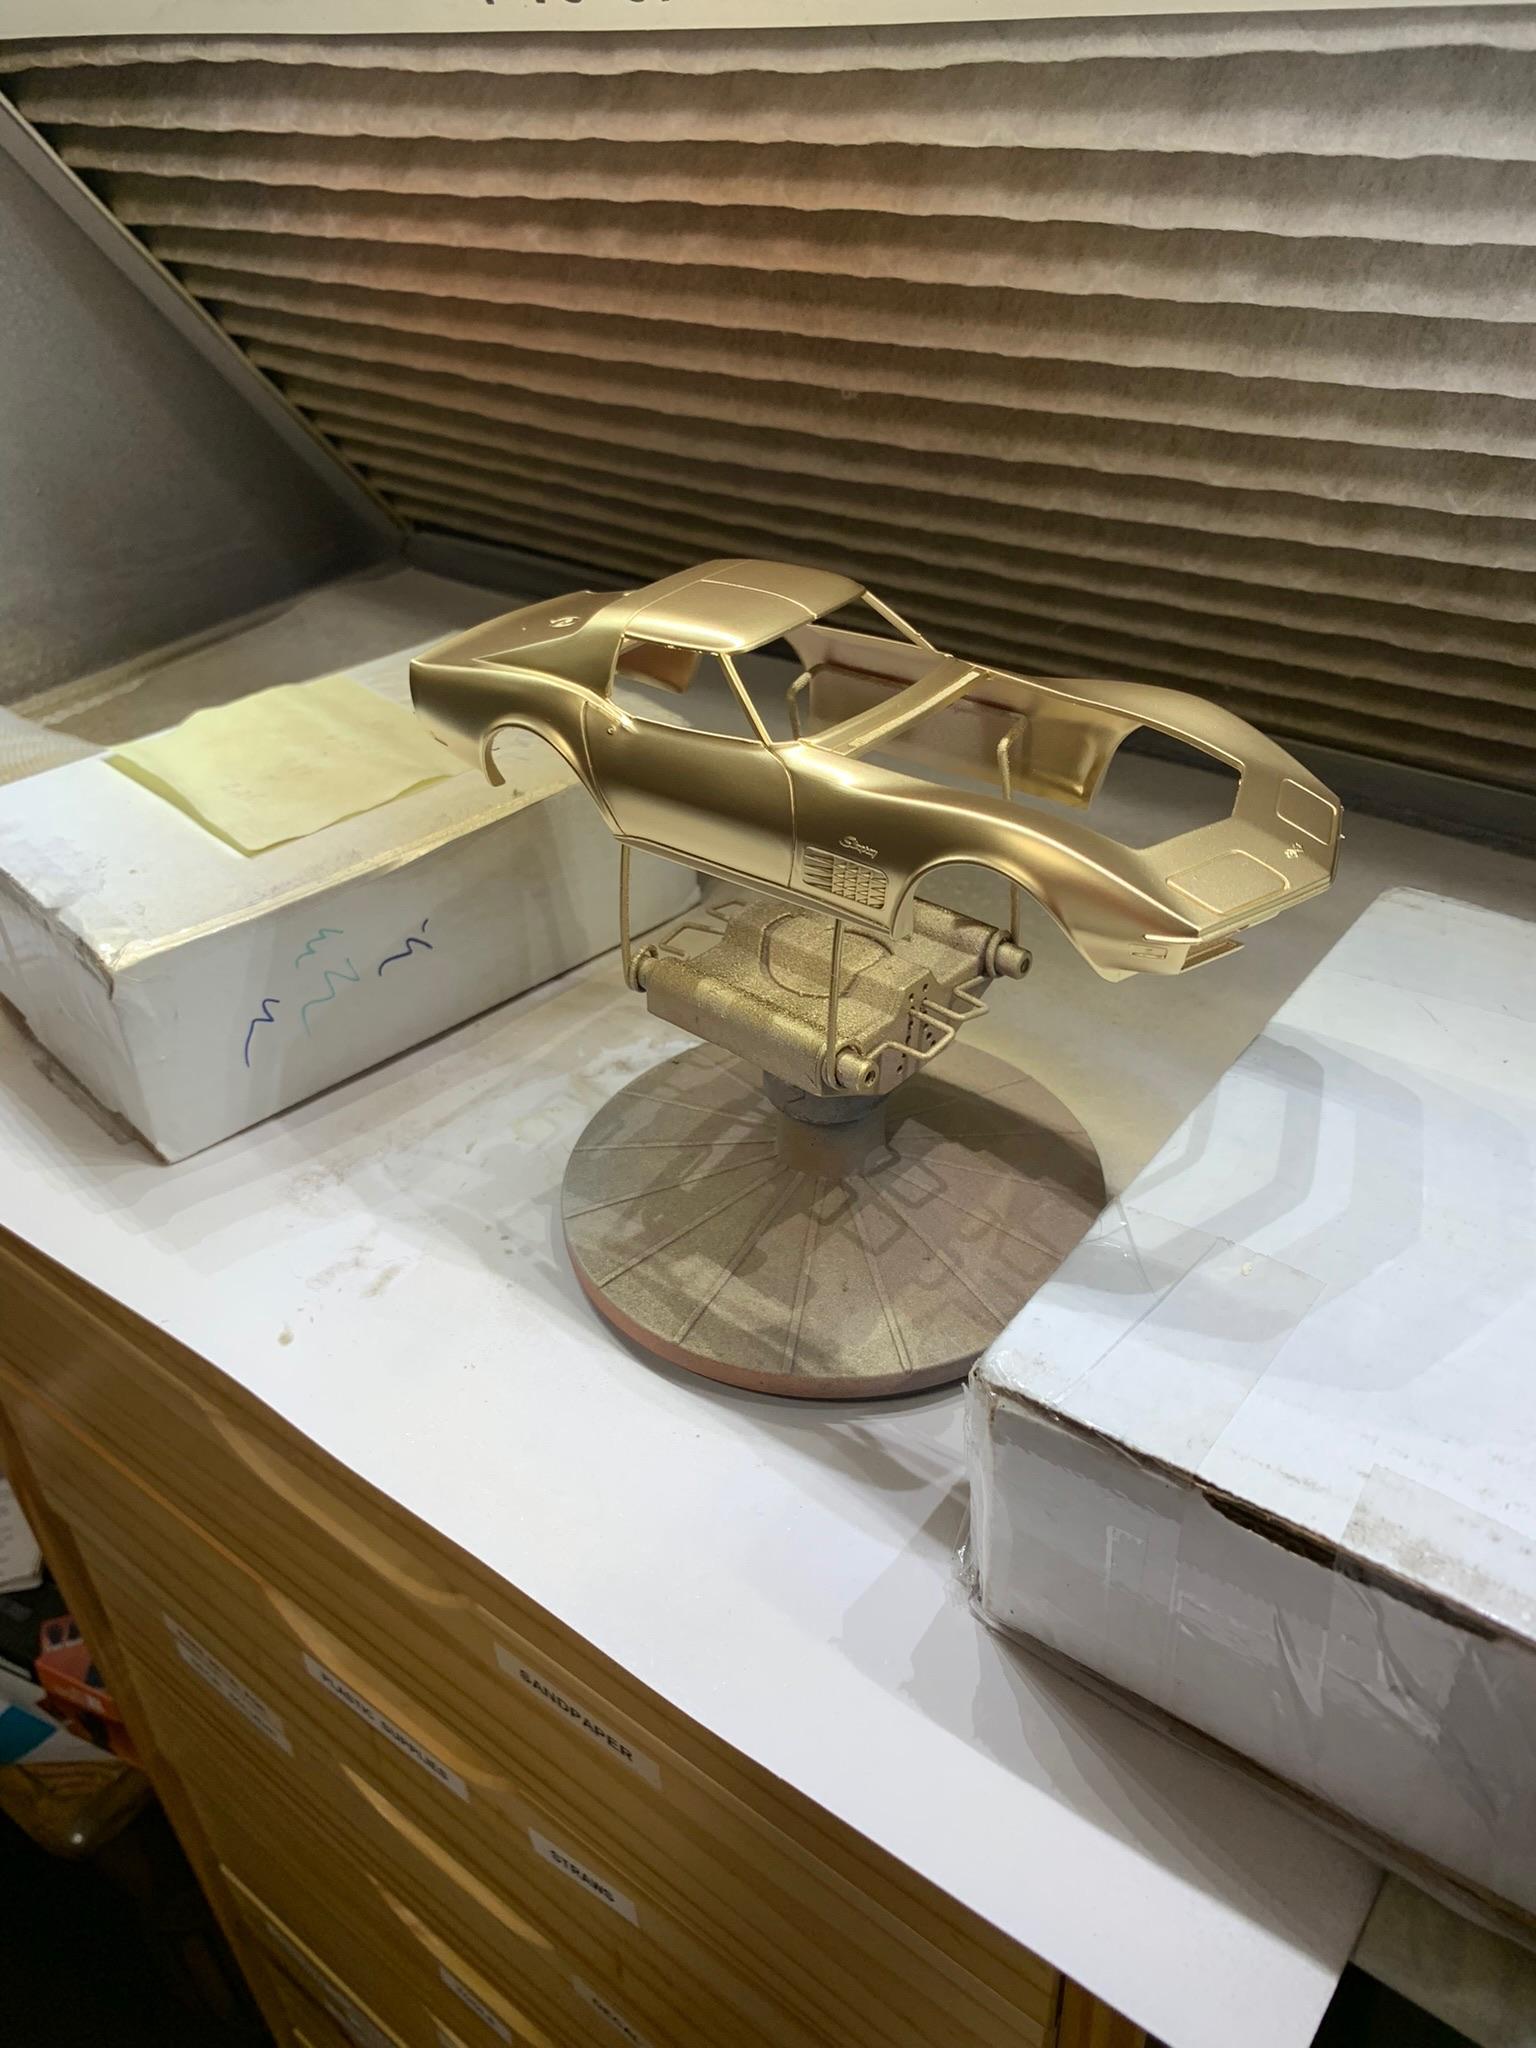
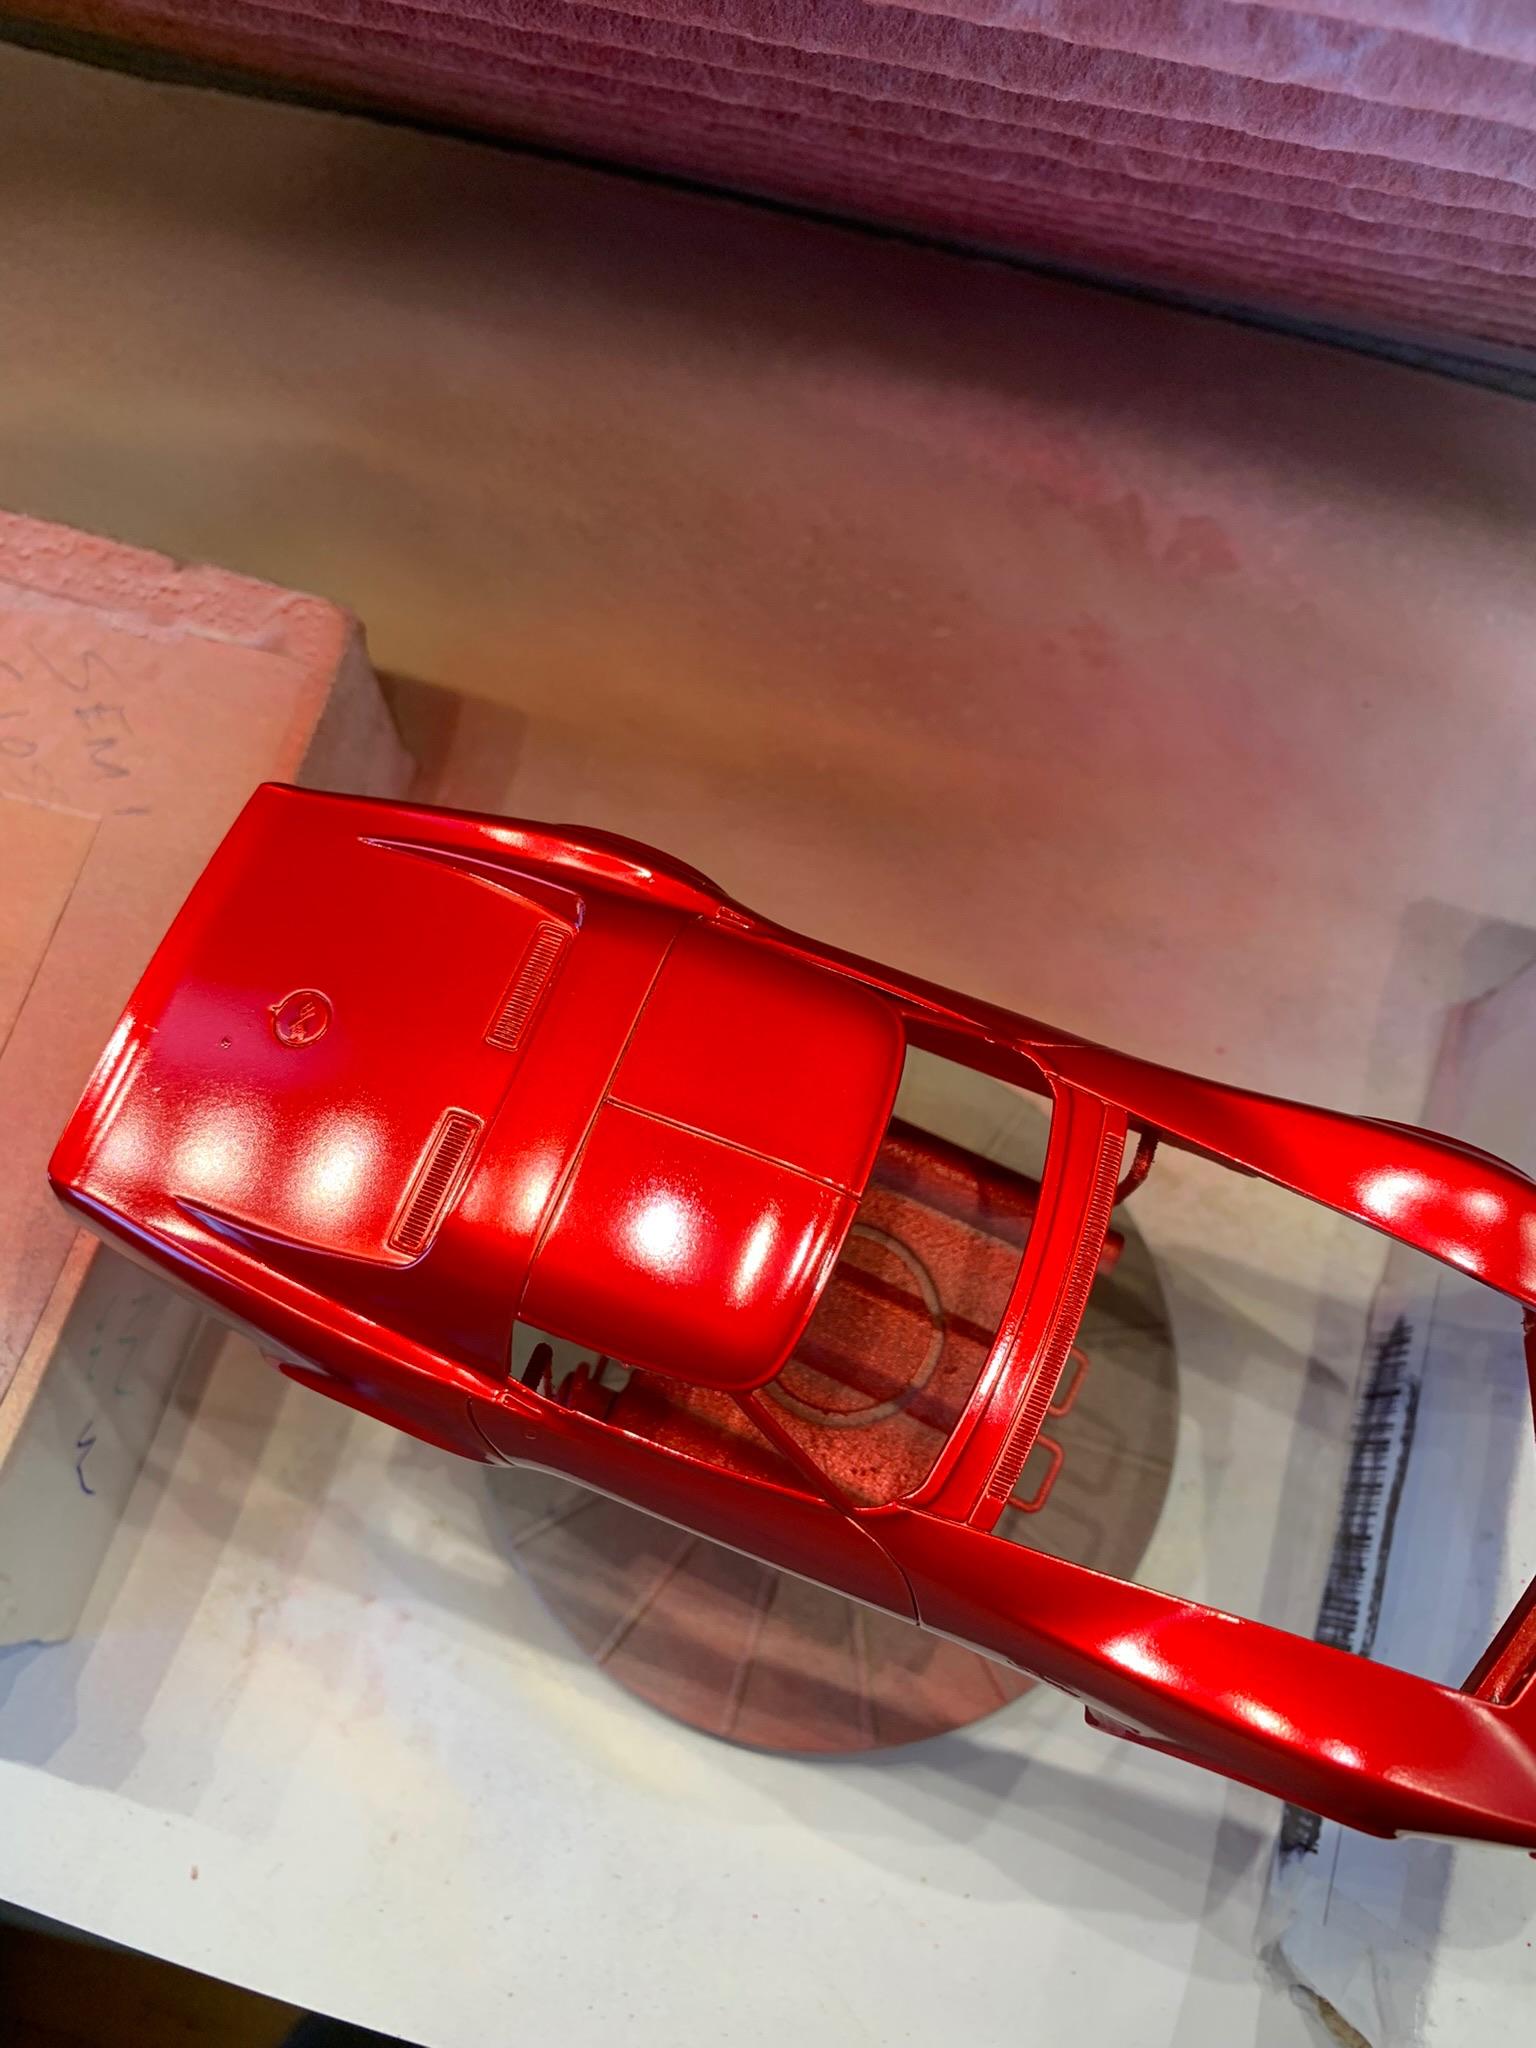
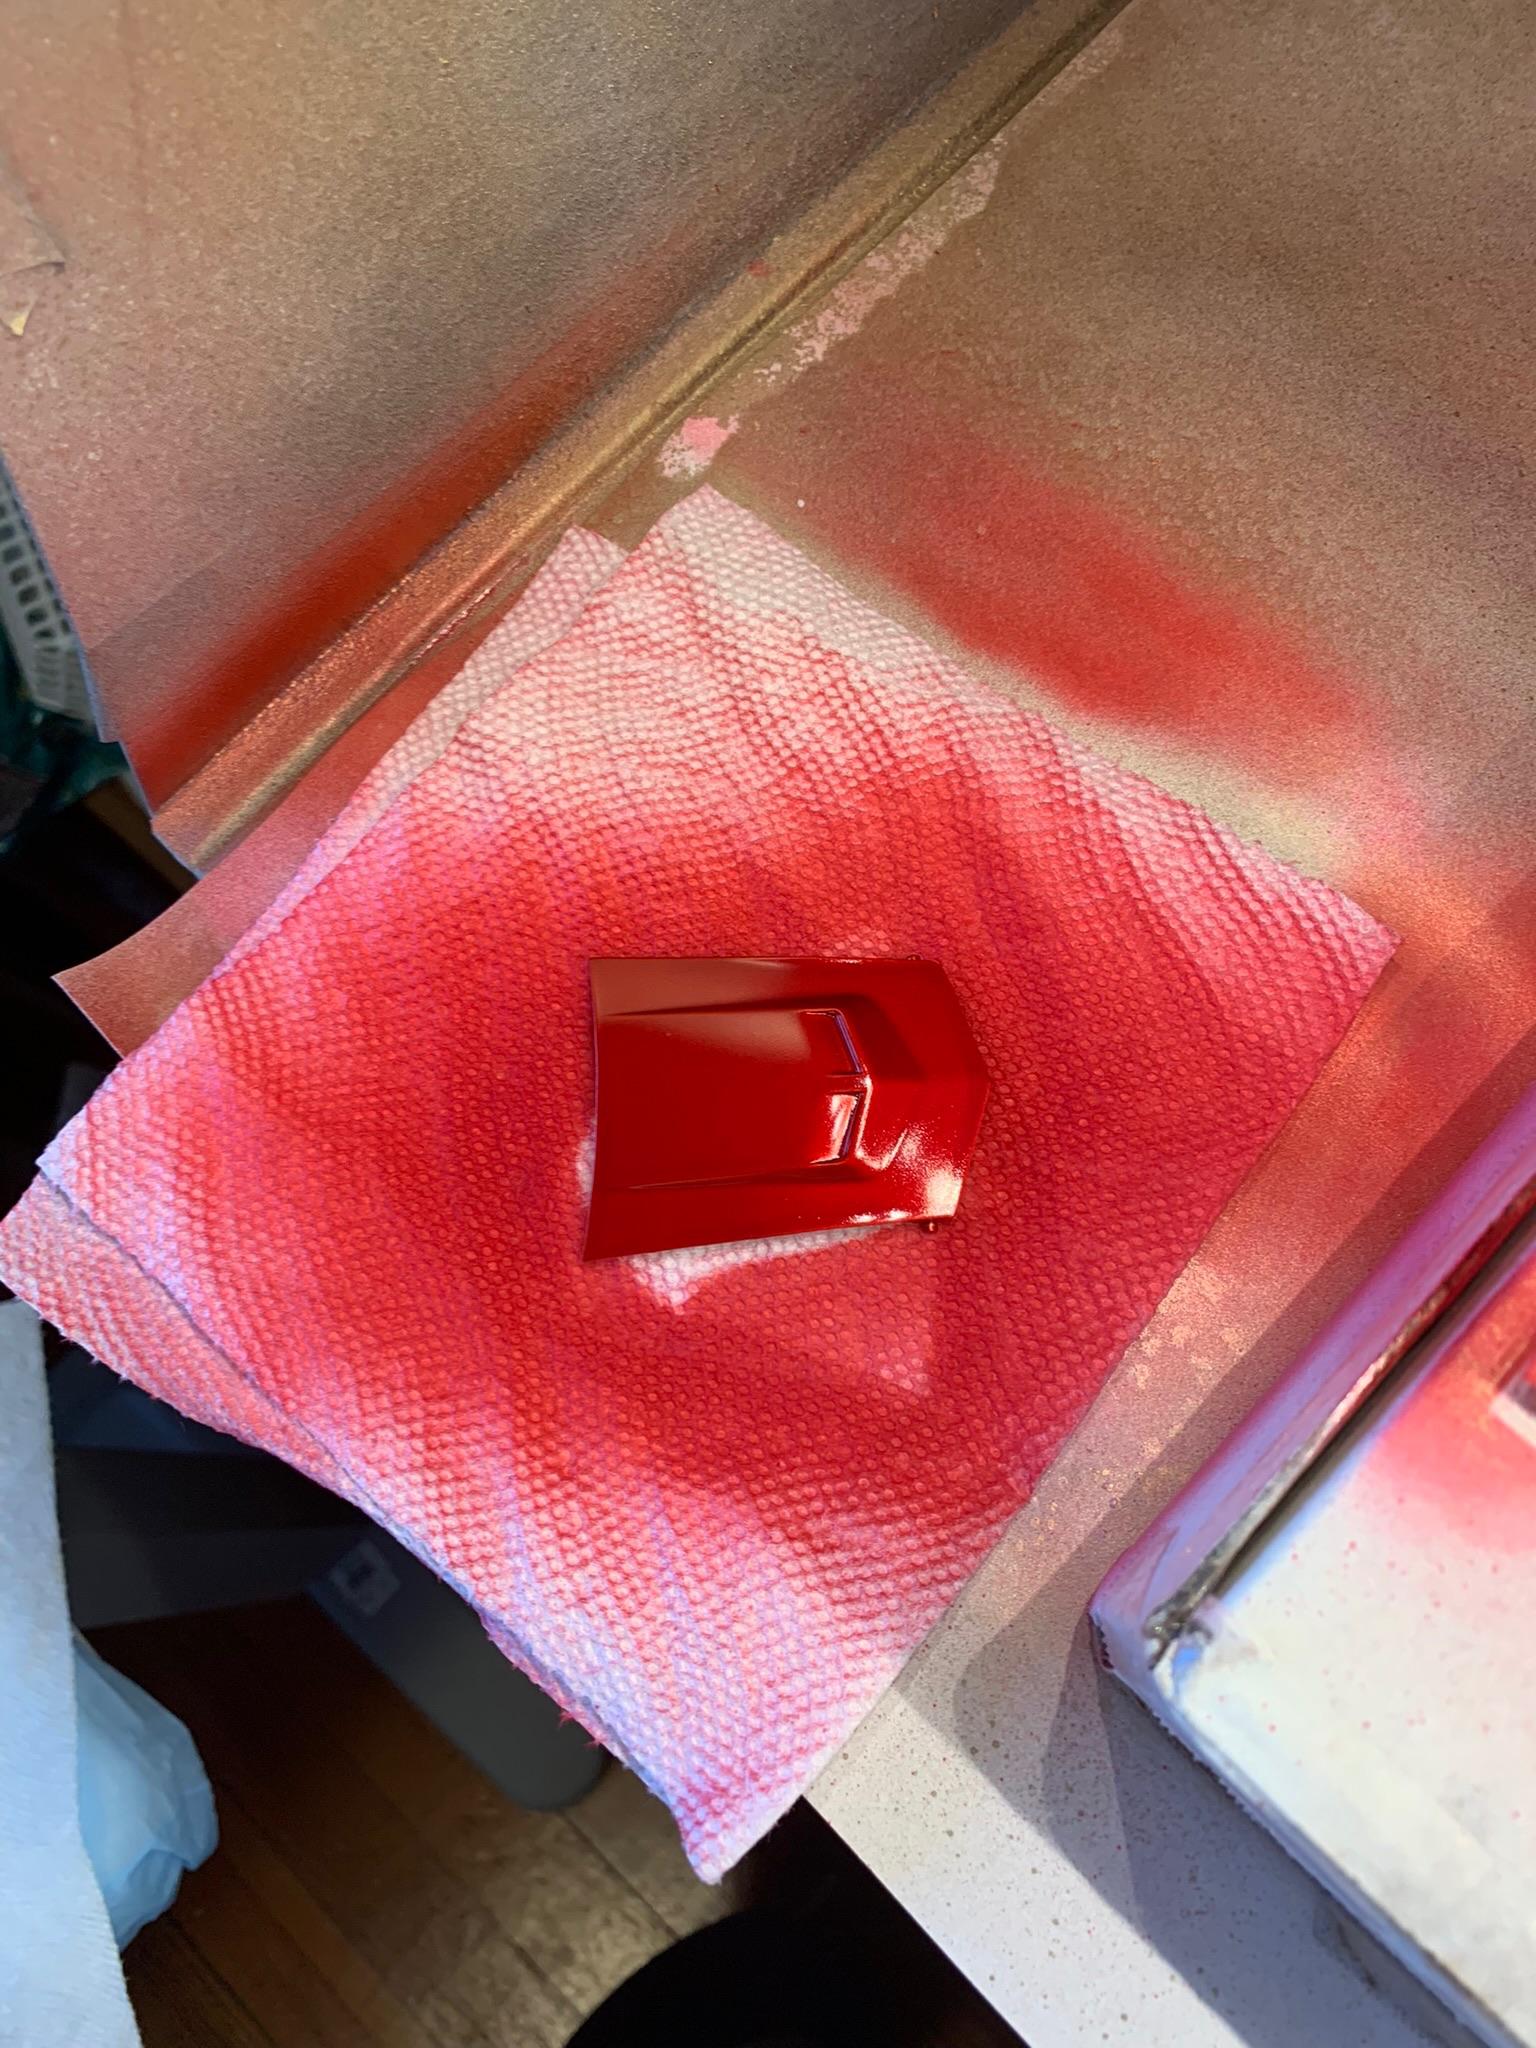
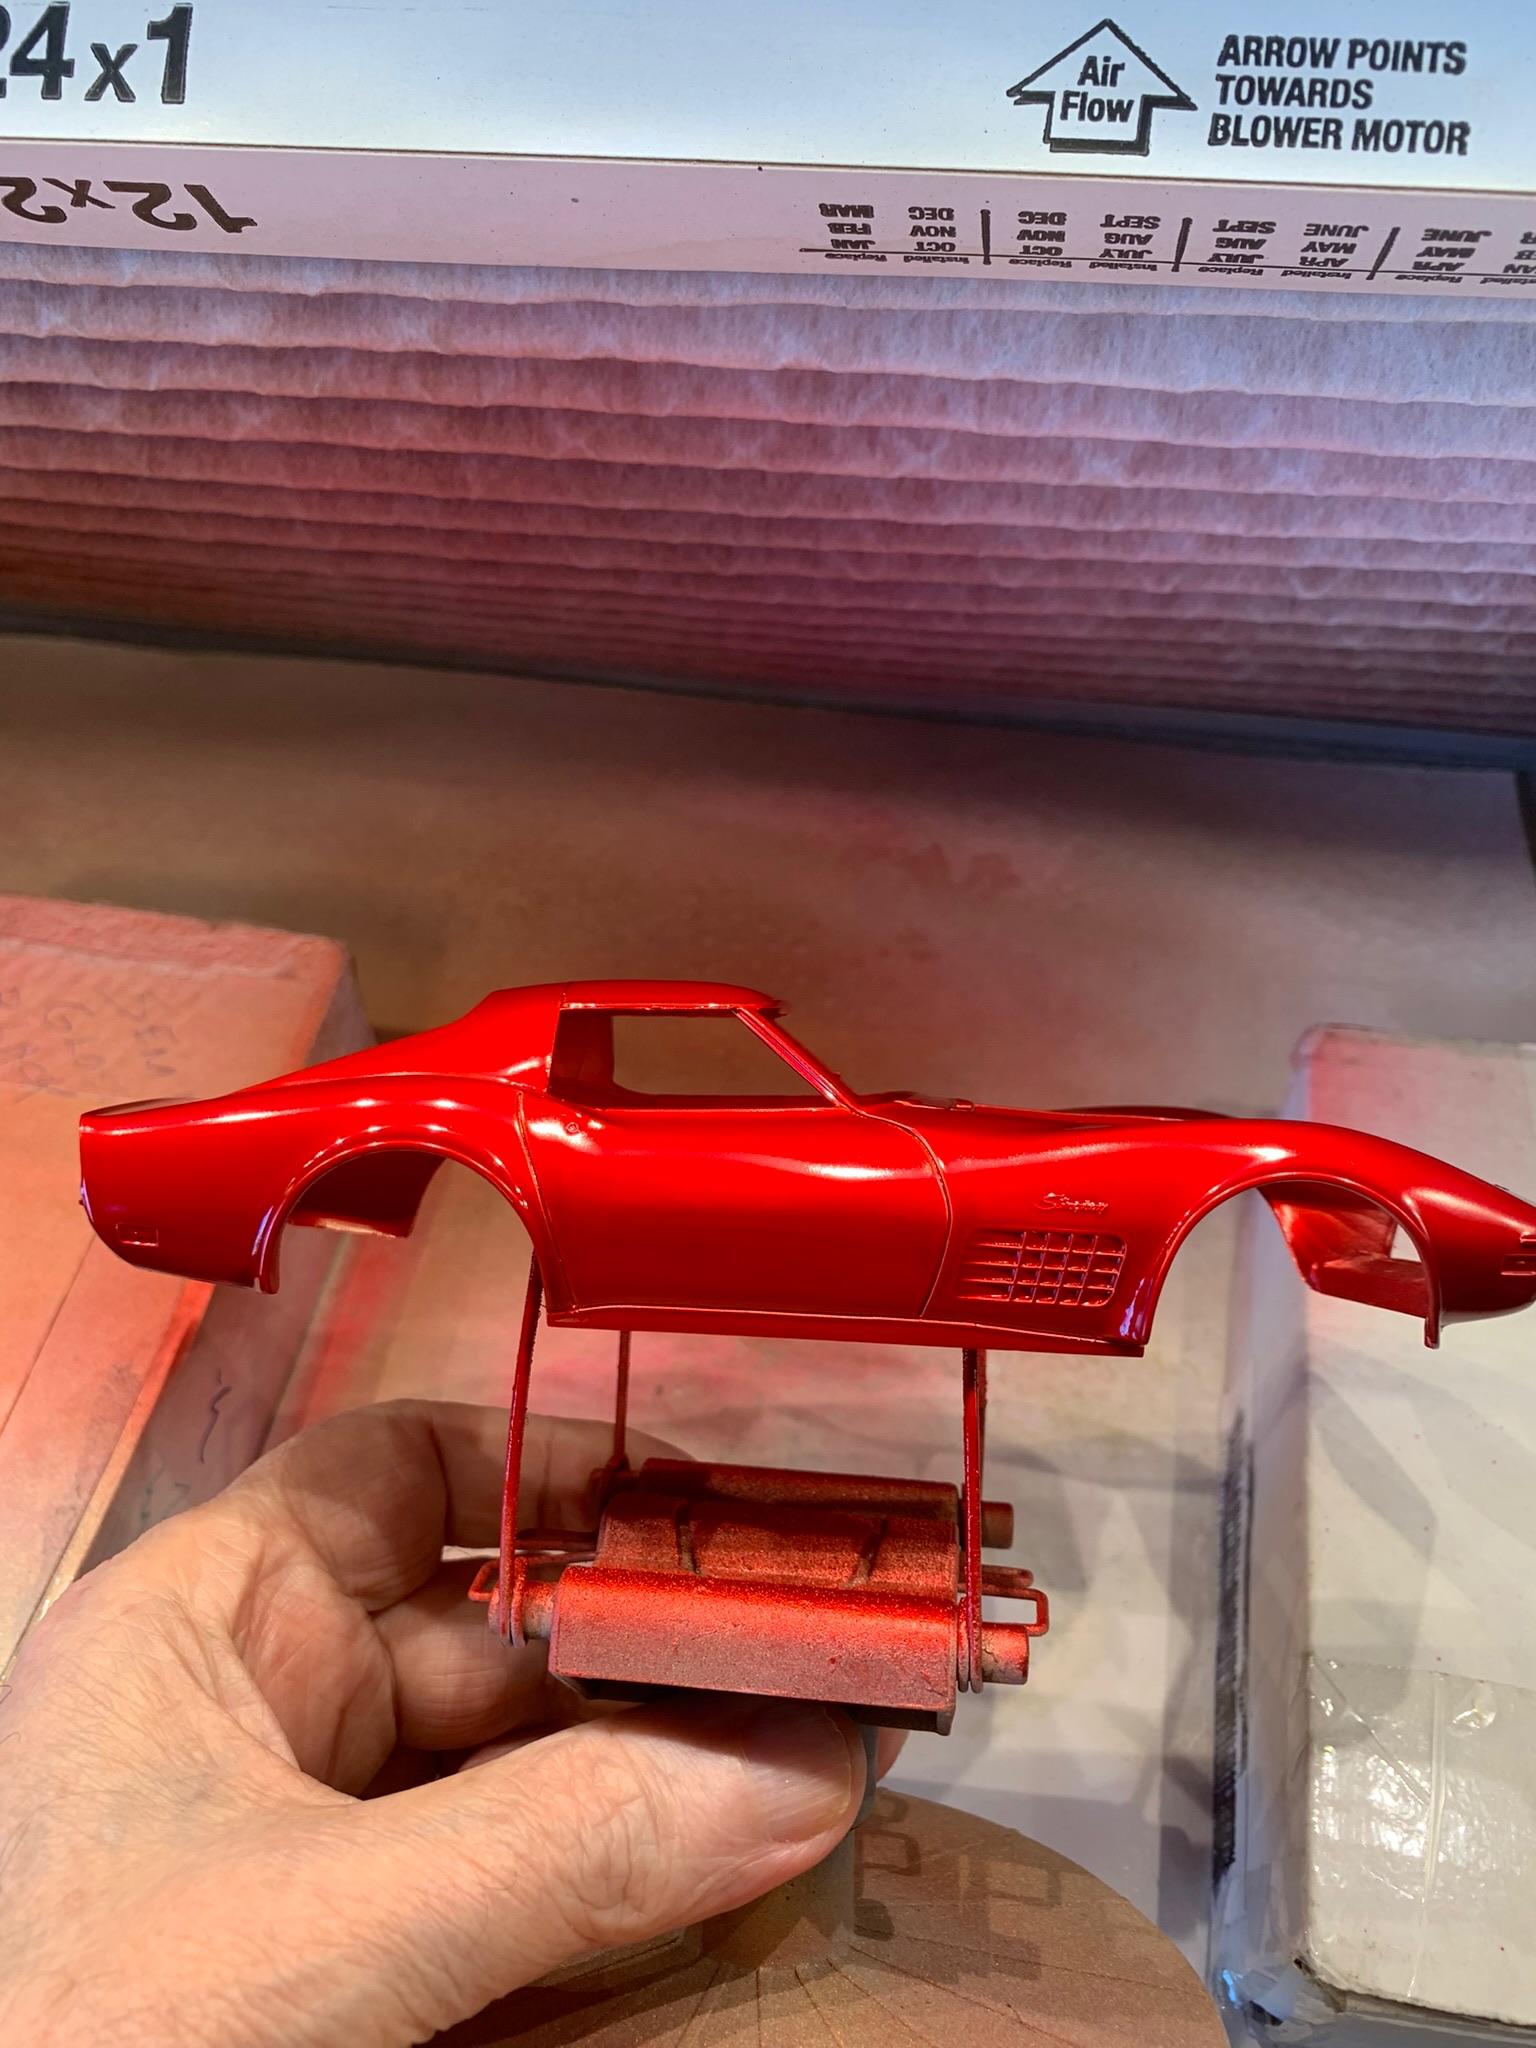
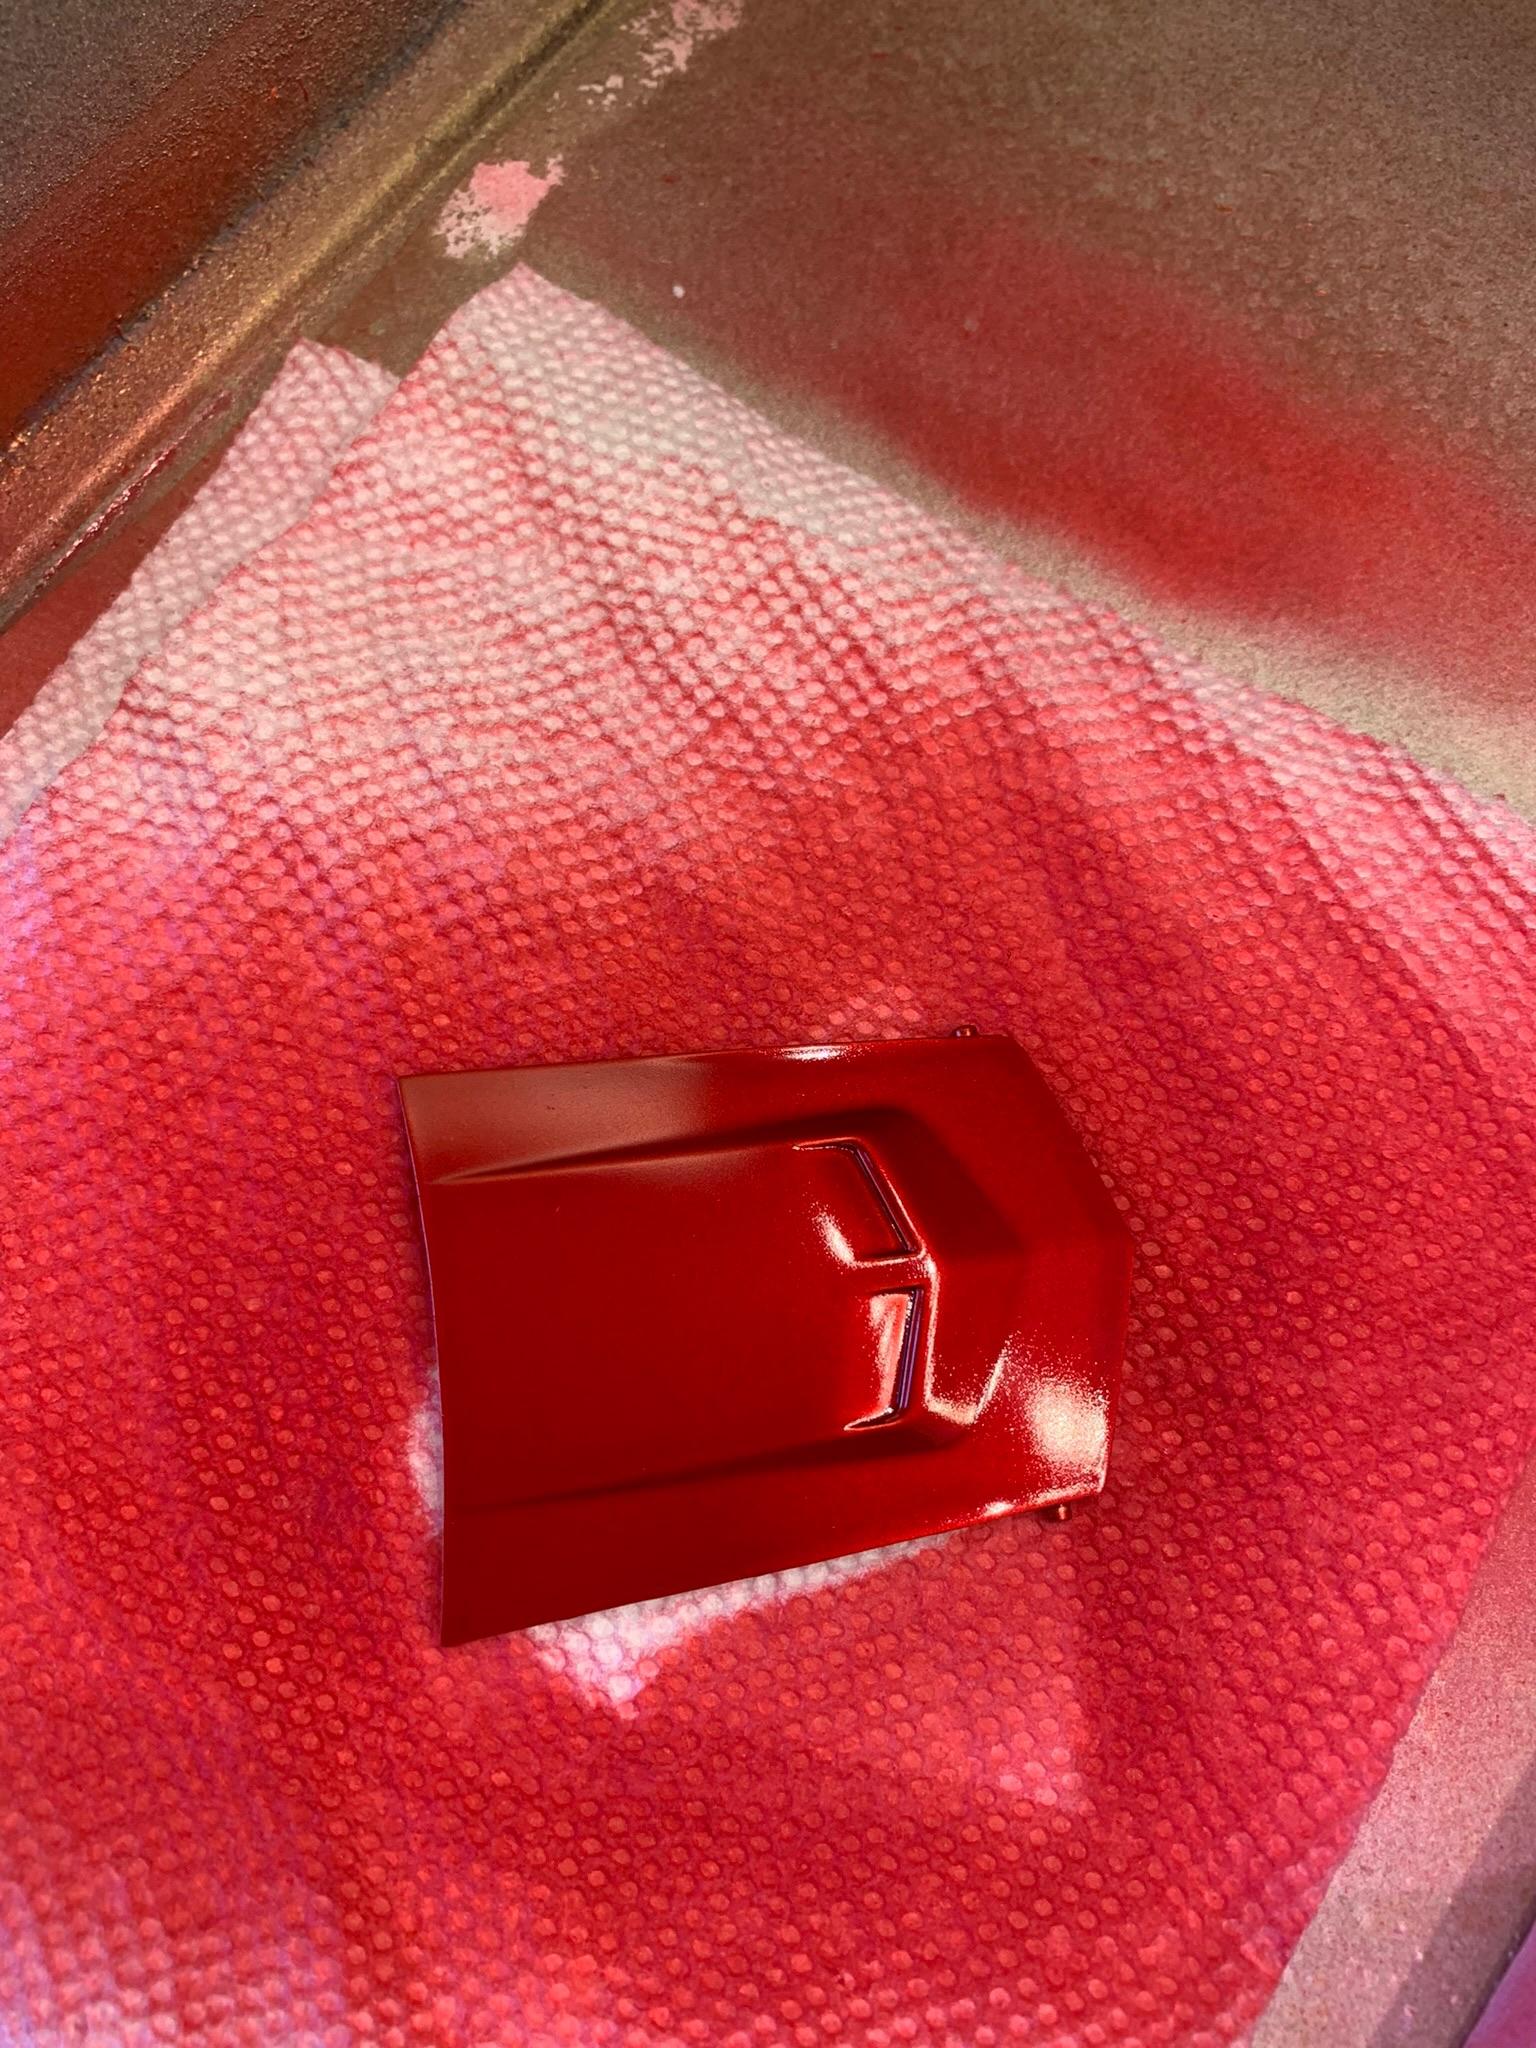
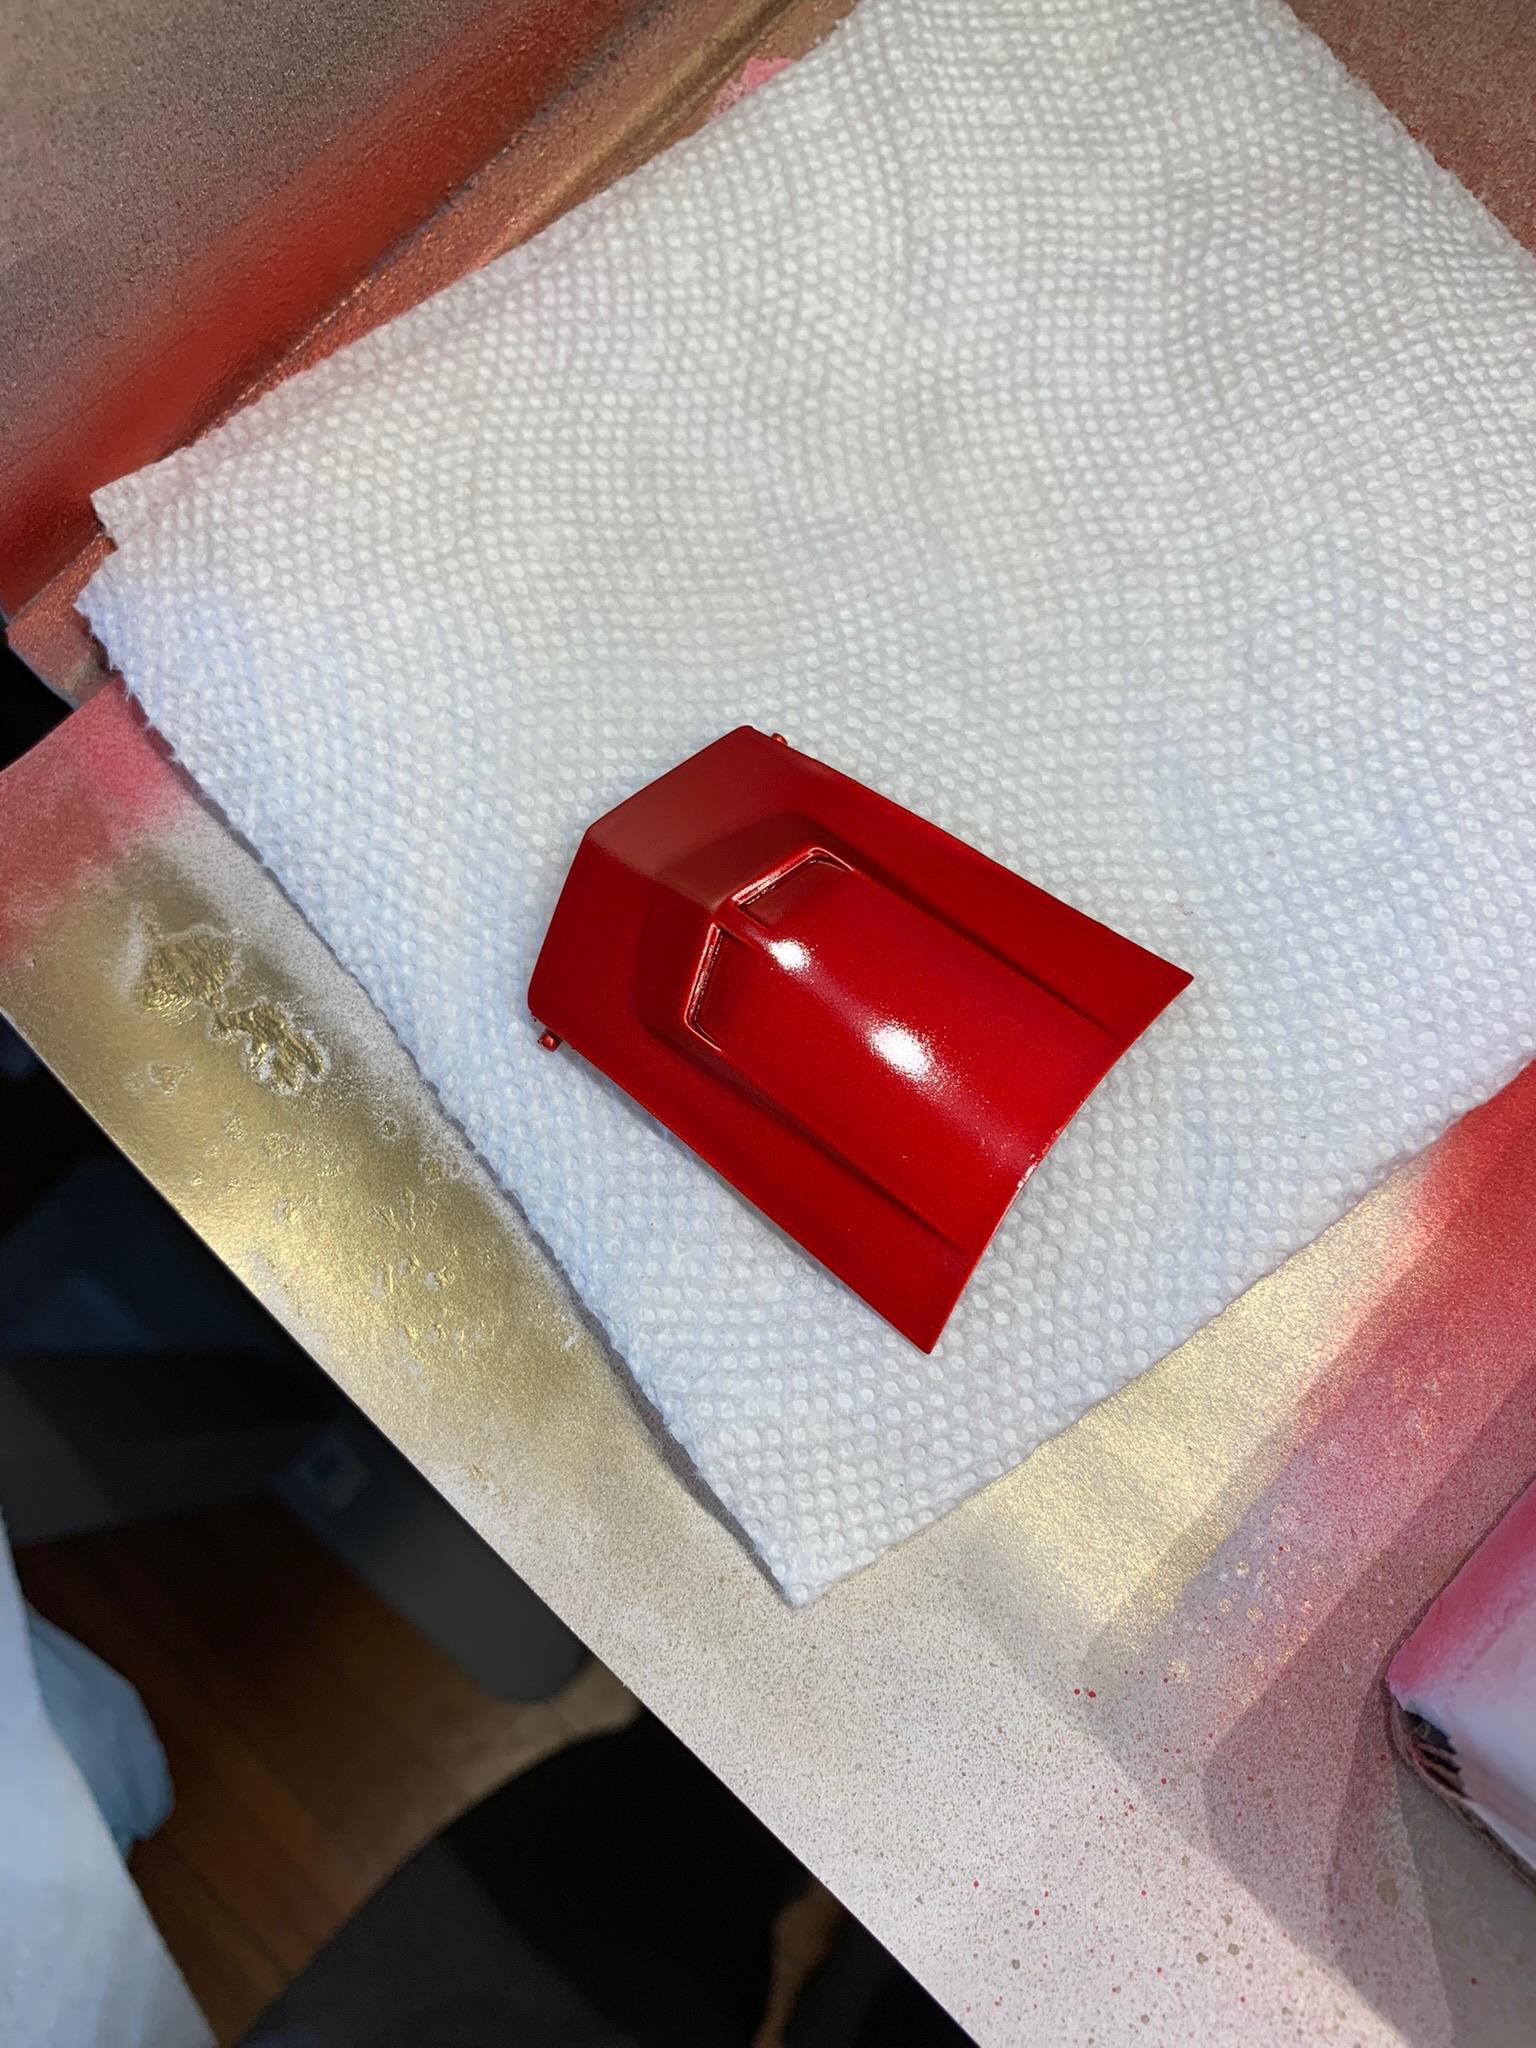
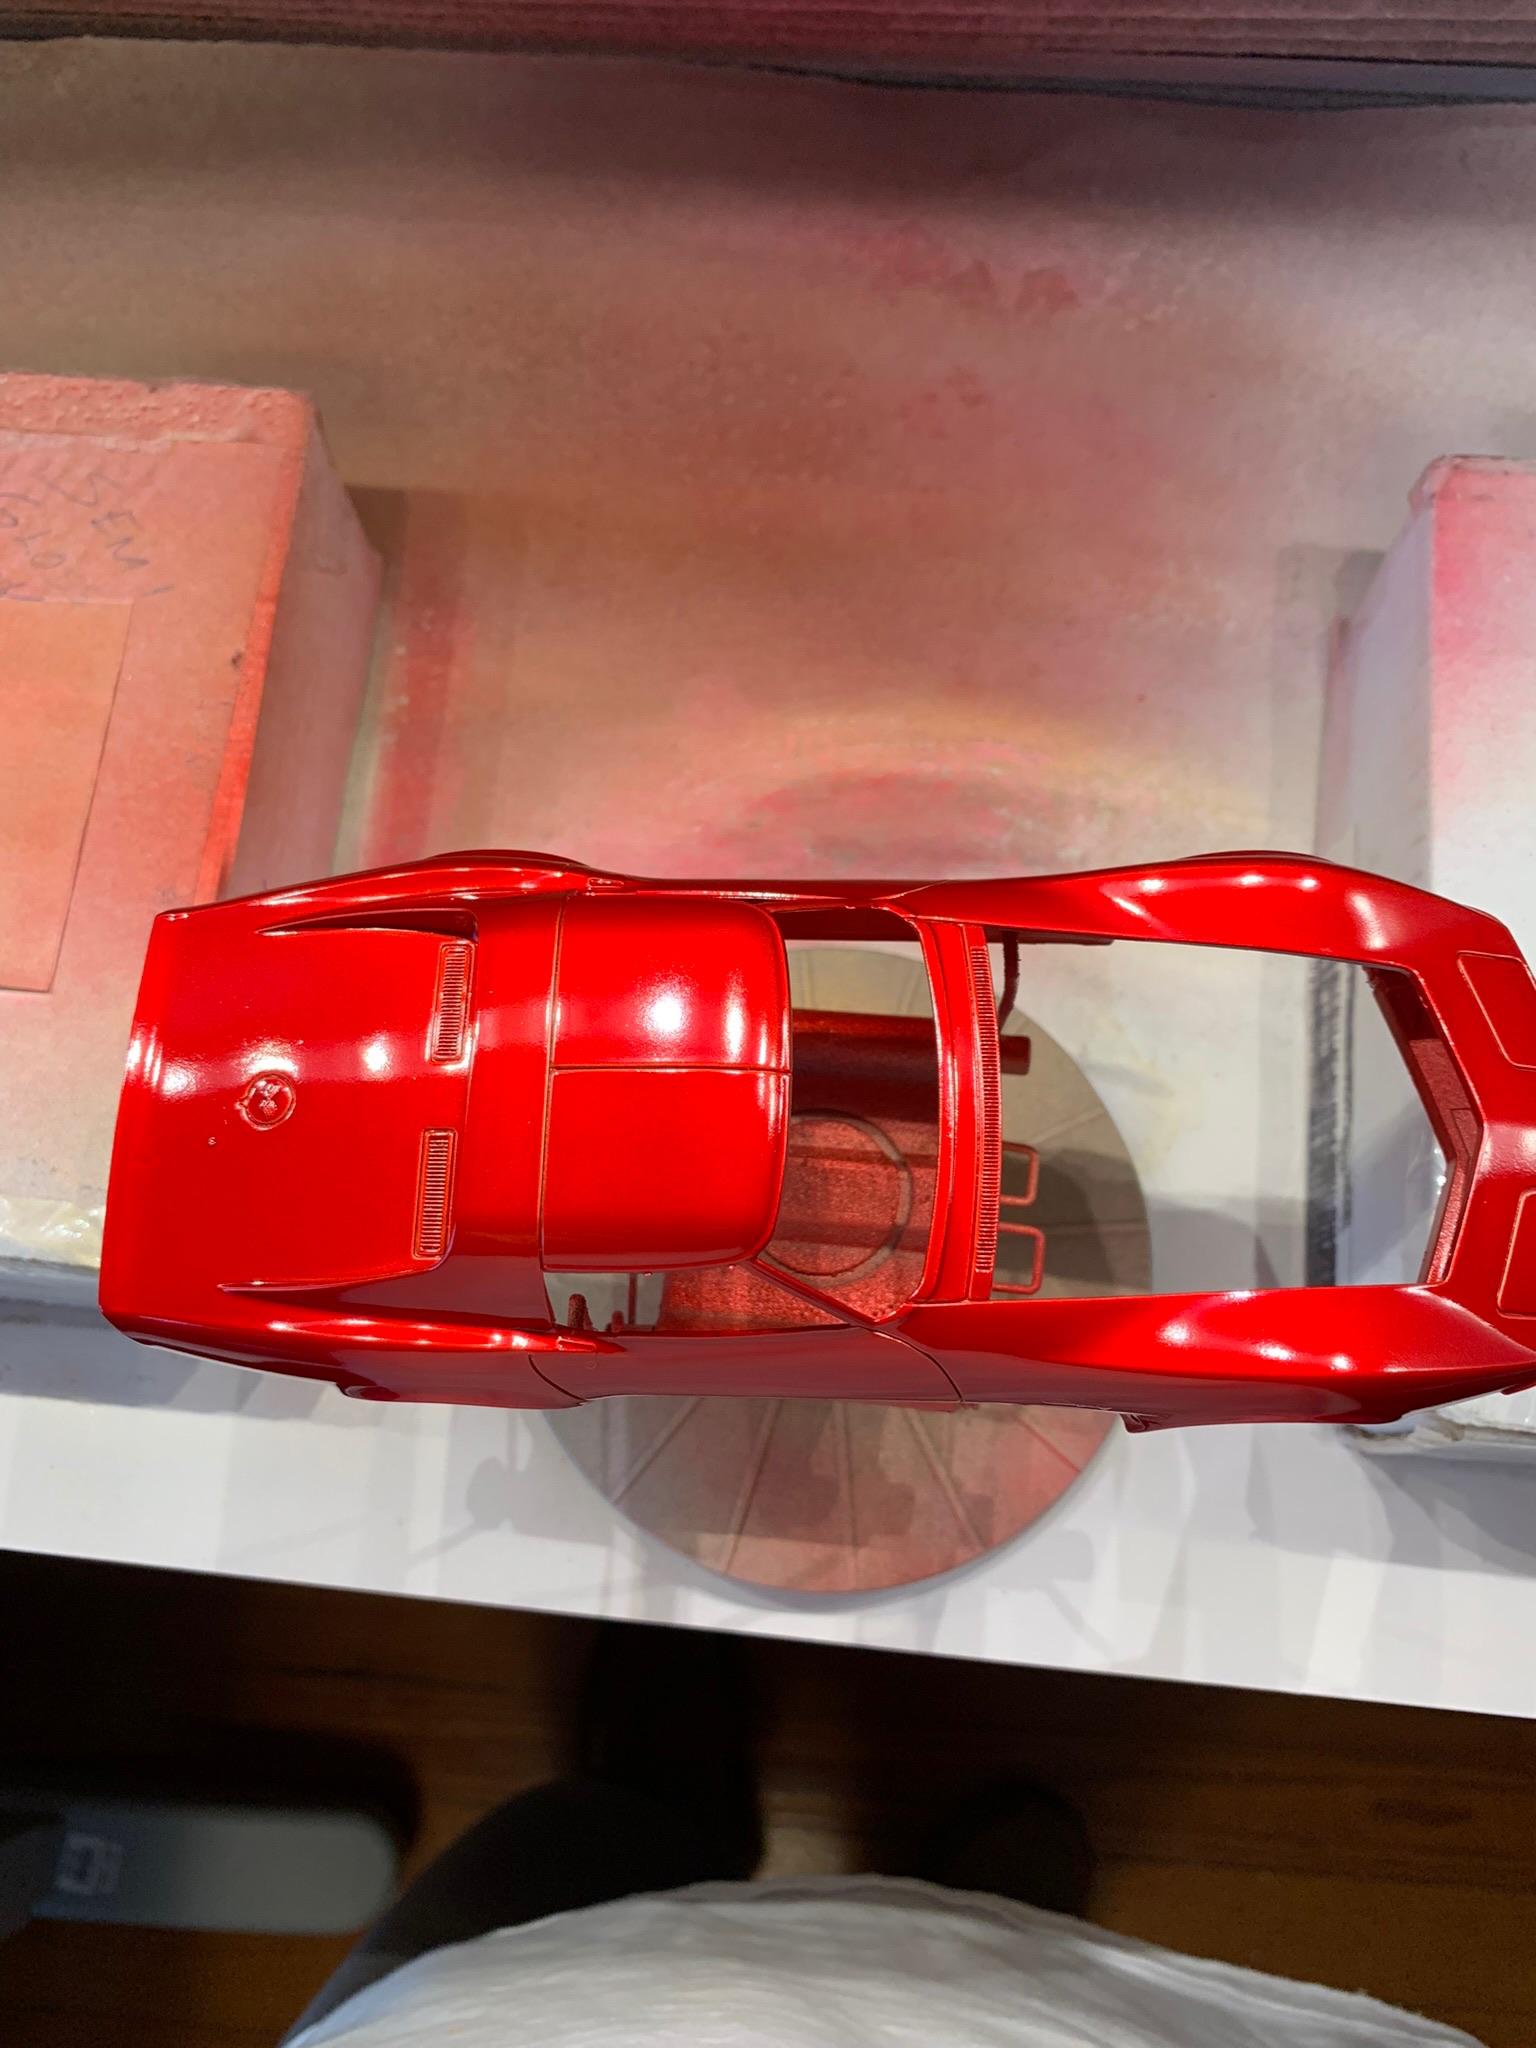
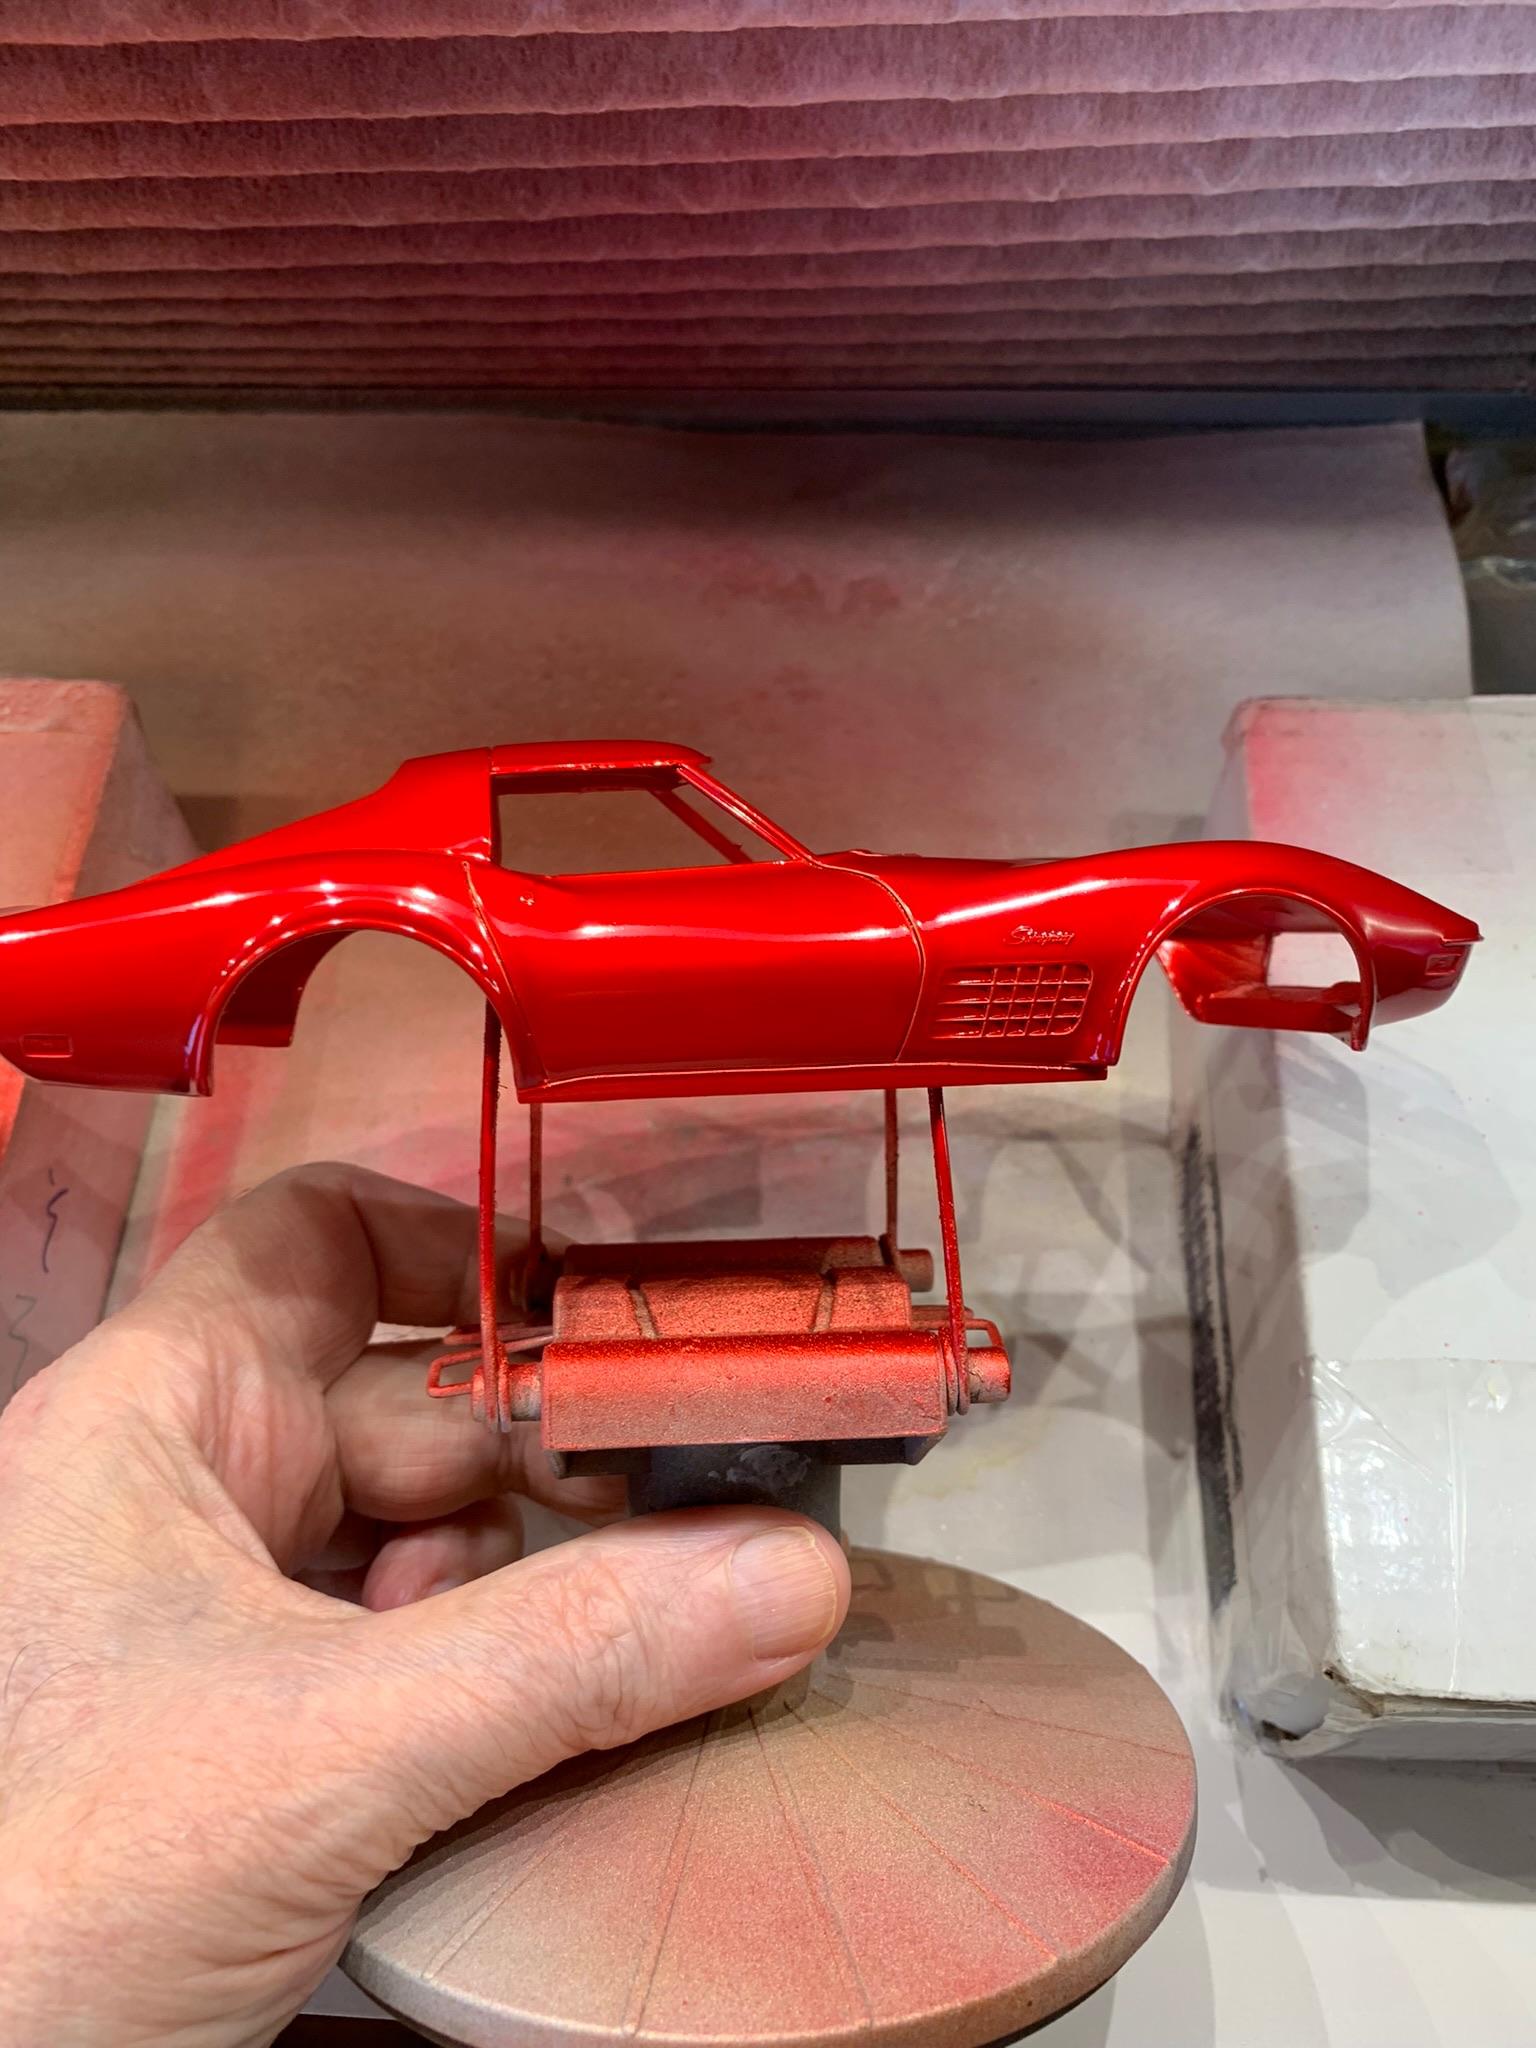
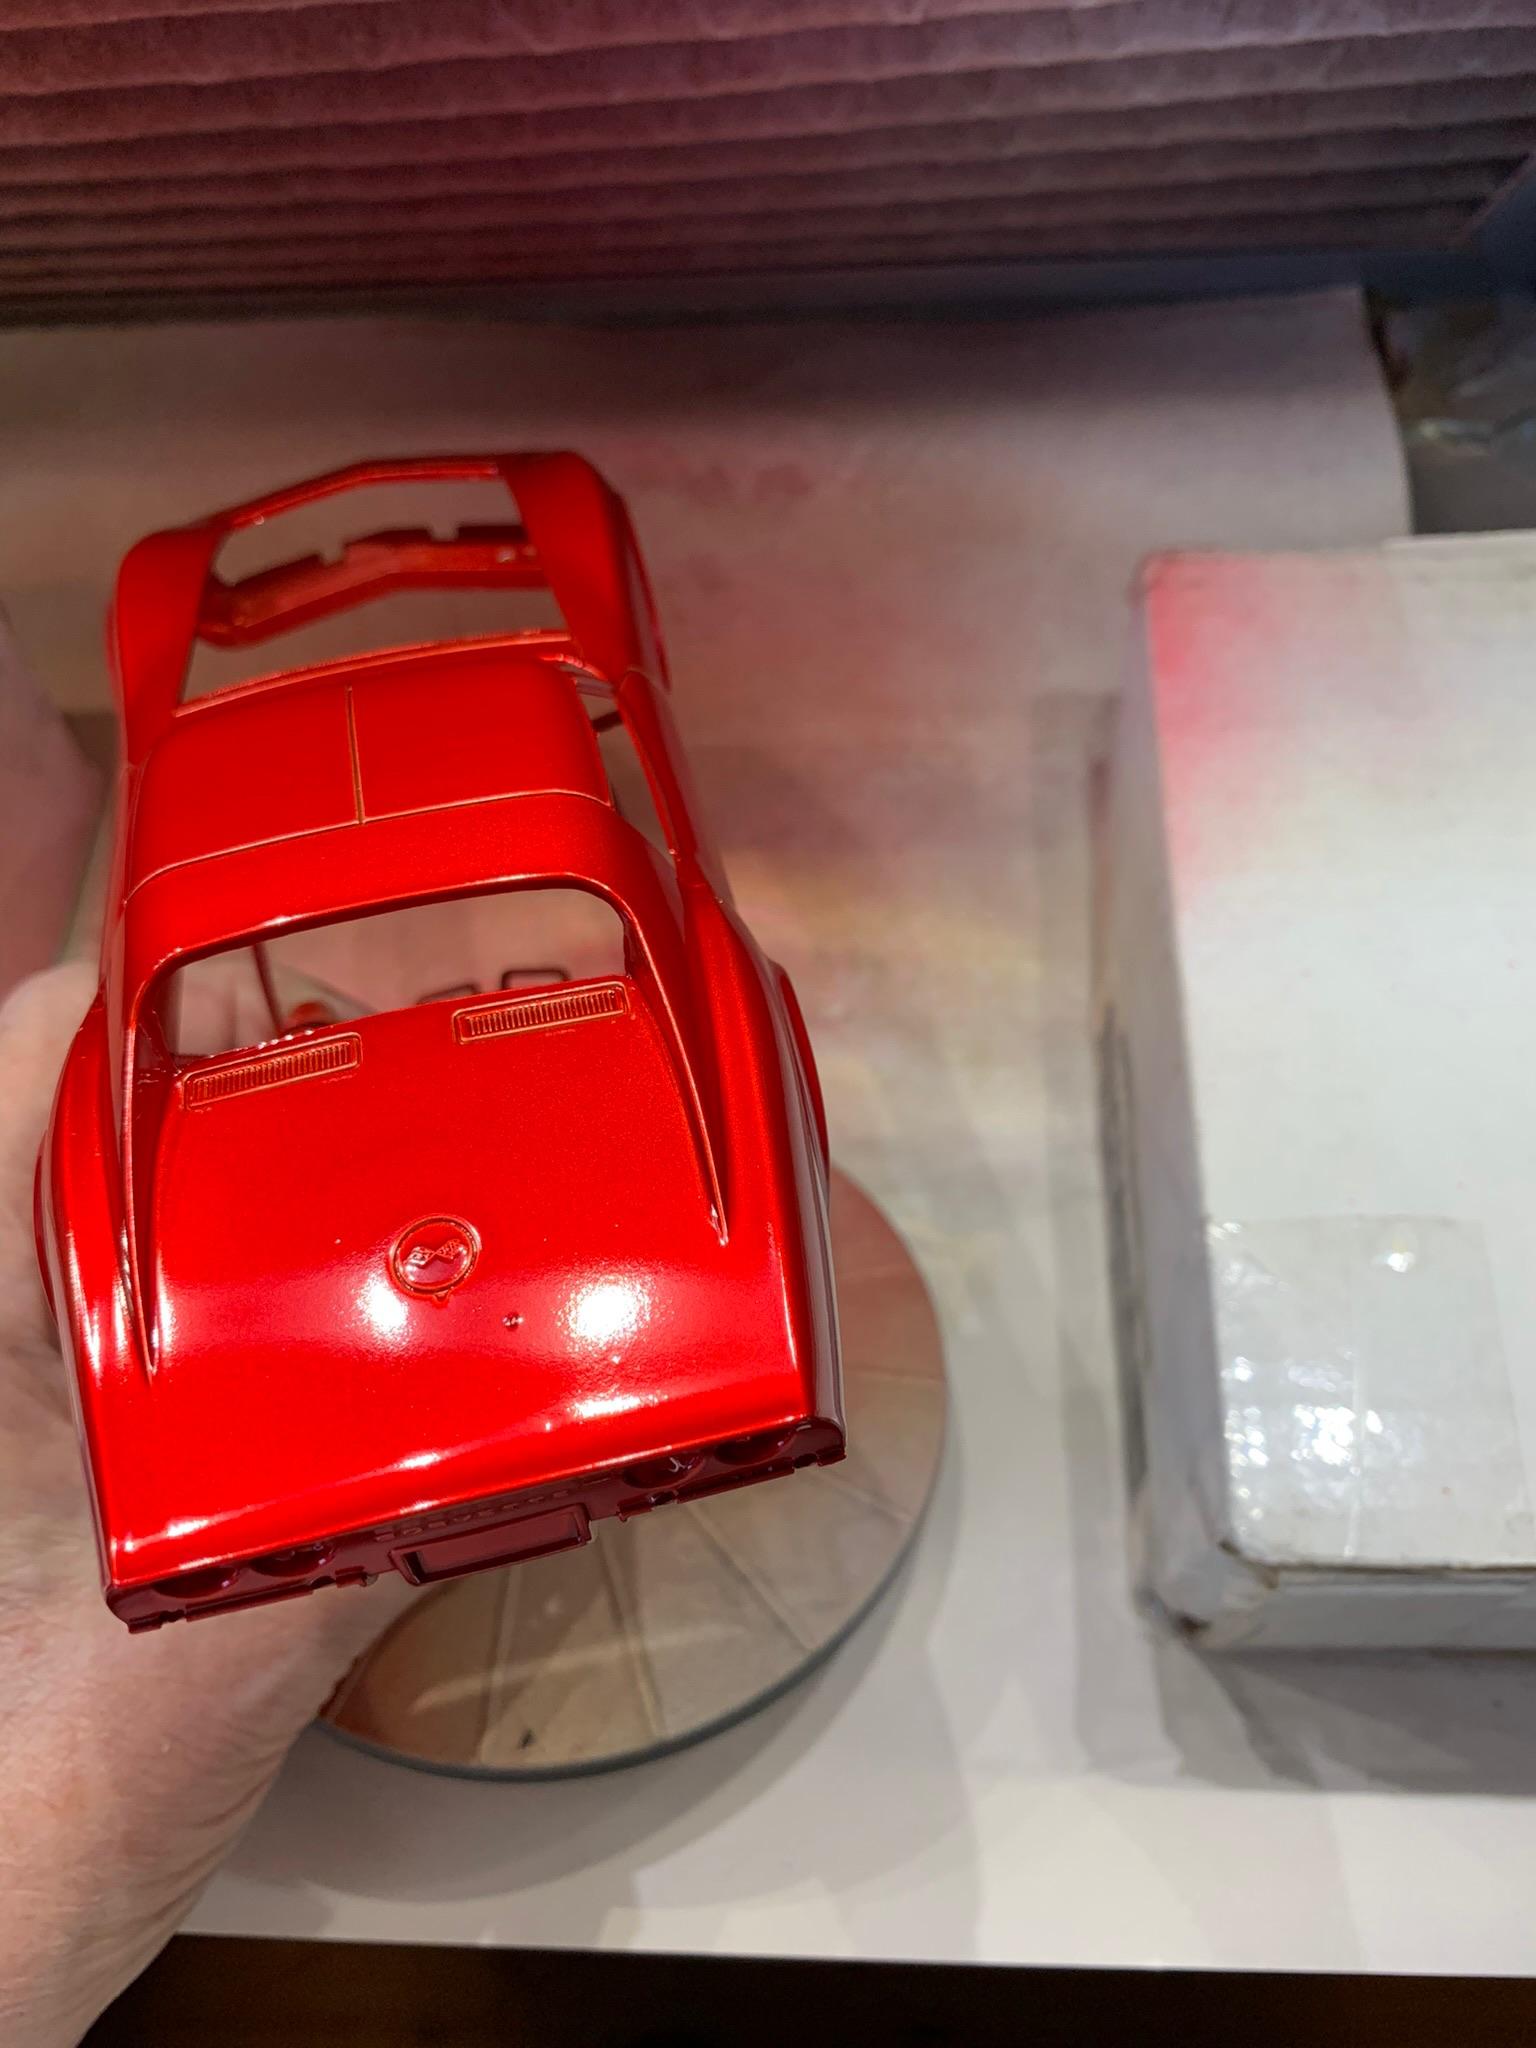
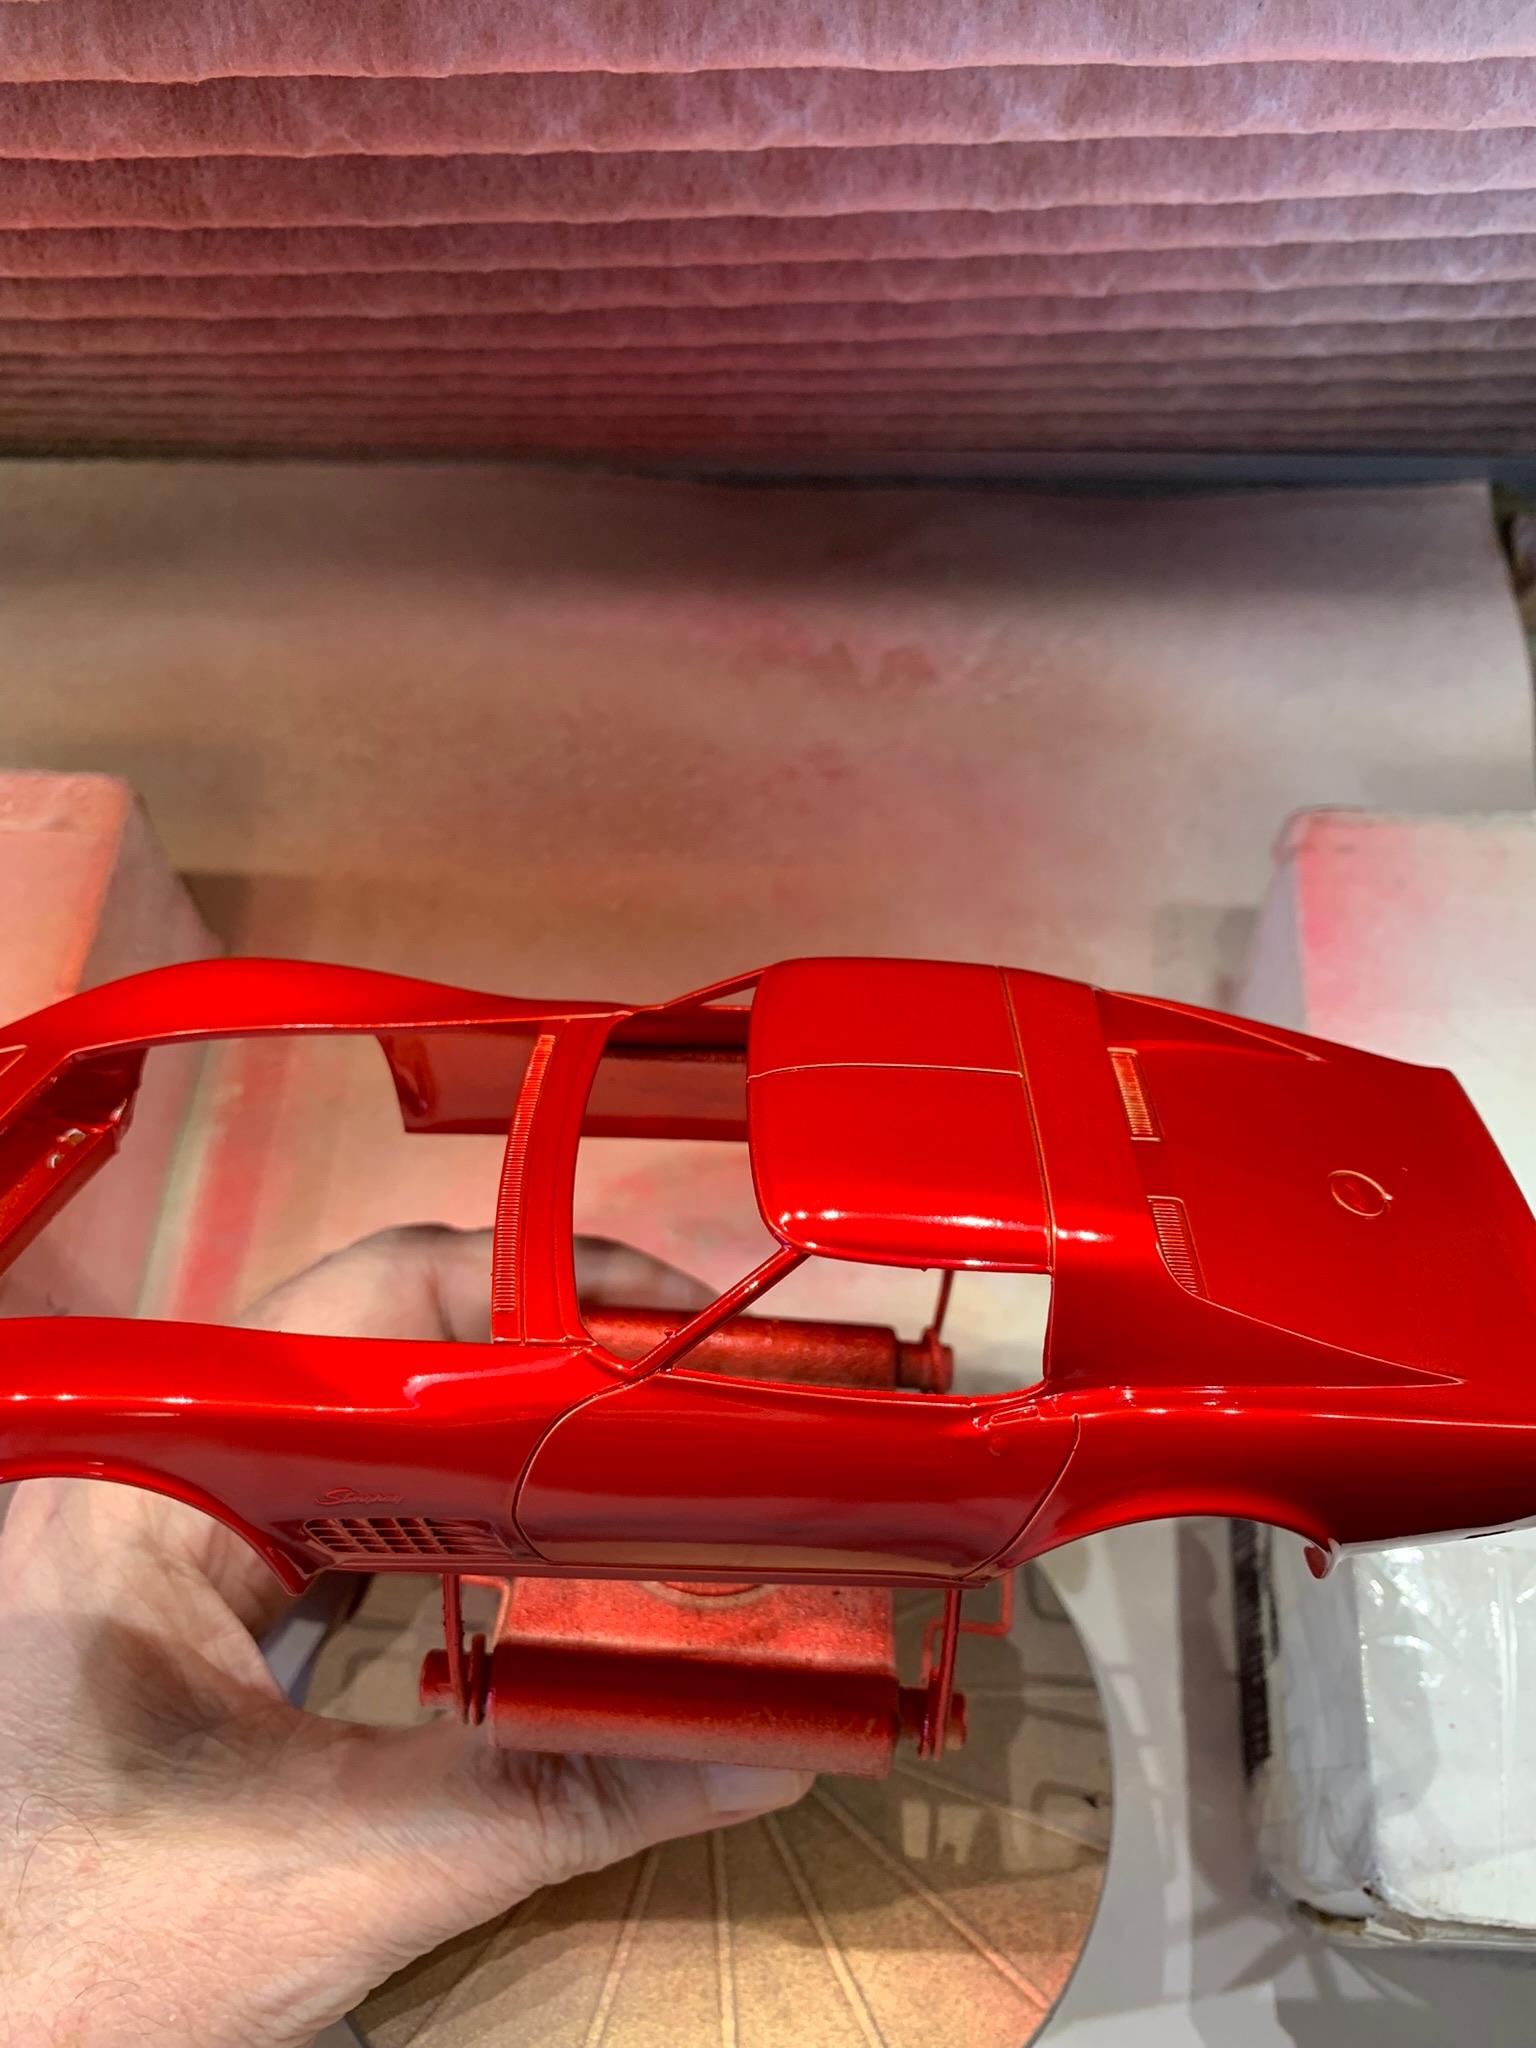
Well, here I go again. Another “quickie” stocker build. Probably won’t be an exact replica, but close enough, of, what I think, is one of the prettiest cars in Stock Eliminator. Got some painting done and lopped off the stick transmission. Only had to put it in the alcohol bath once to correct a bad can of paint (or, maybe, more likely, a poor quality spray person). As with all my builds, criticism, suggestions for improving the quality of the build, points of inaccuracies, are always welcomed. Paint was Tamiya spray cans: white primer, gold, clear red, then 1 coat of clear.
-
Thanks. Once again, your tips are based on sound, clear, thinking.
-
Old bucket/racing seat possibilities?
R. Thorne replied to R. Thorne's topic in Model Building Questions and Answers
Thanks to all who replied with suggestions. Right now I am leaning towards the Revell Anglia (partly because I have those in stock and they look good) with, of course, some modifications. Thanks again to the modelcarsmag brain trust. -
You’re a winner in my book. Don’t be disheartened, your attention to detail and accuracy is admirable, though some call that rivet counting. Outstanding model and something to be proud of.
-
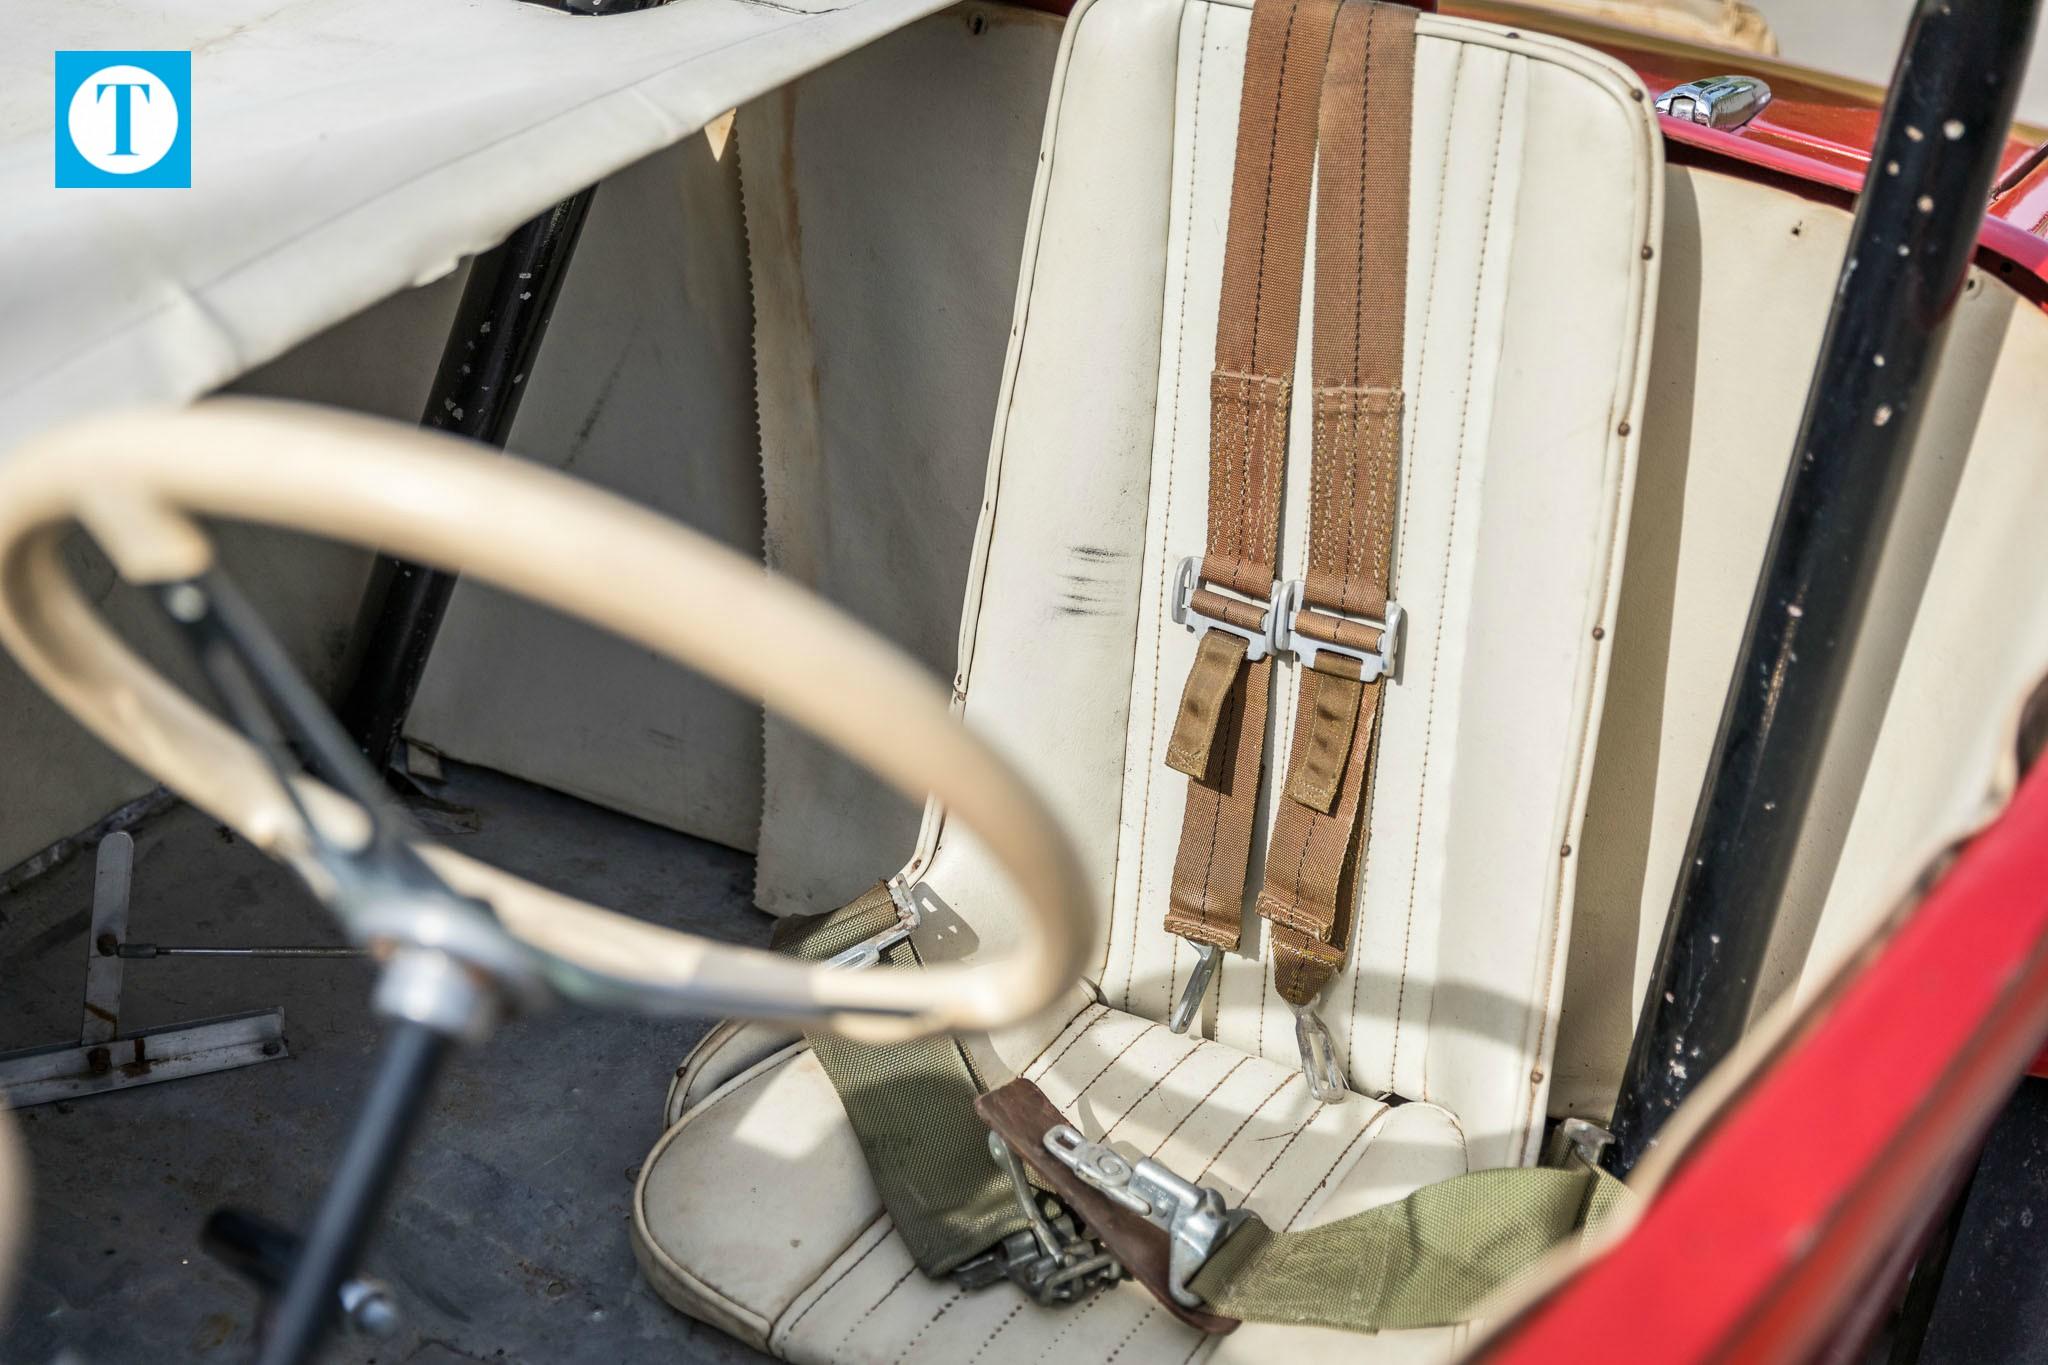
After looking through some threads with minimal results, I am looking for some bucket seats as was found in this mid 60’s drag car (A/SR 31 Ford). Probably have to make ‘em but thought it was worth a try. Any ideas?
-
Thanks. Stockers are cool.
-
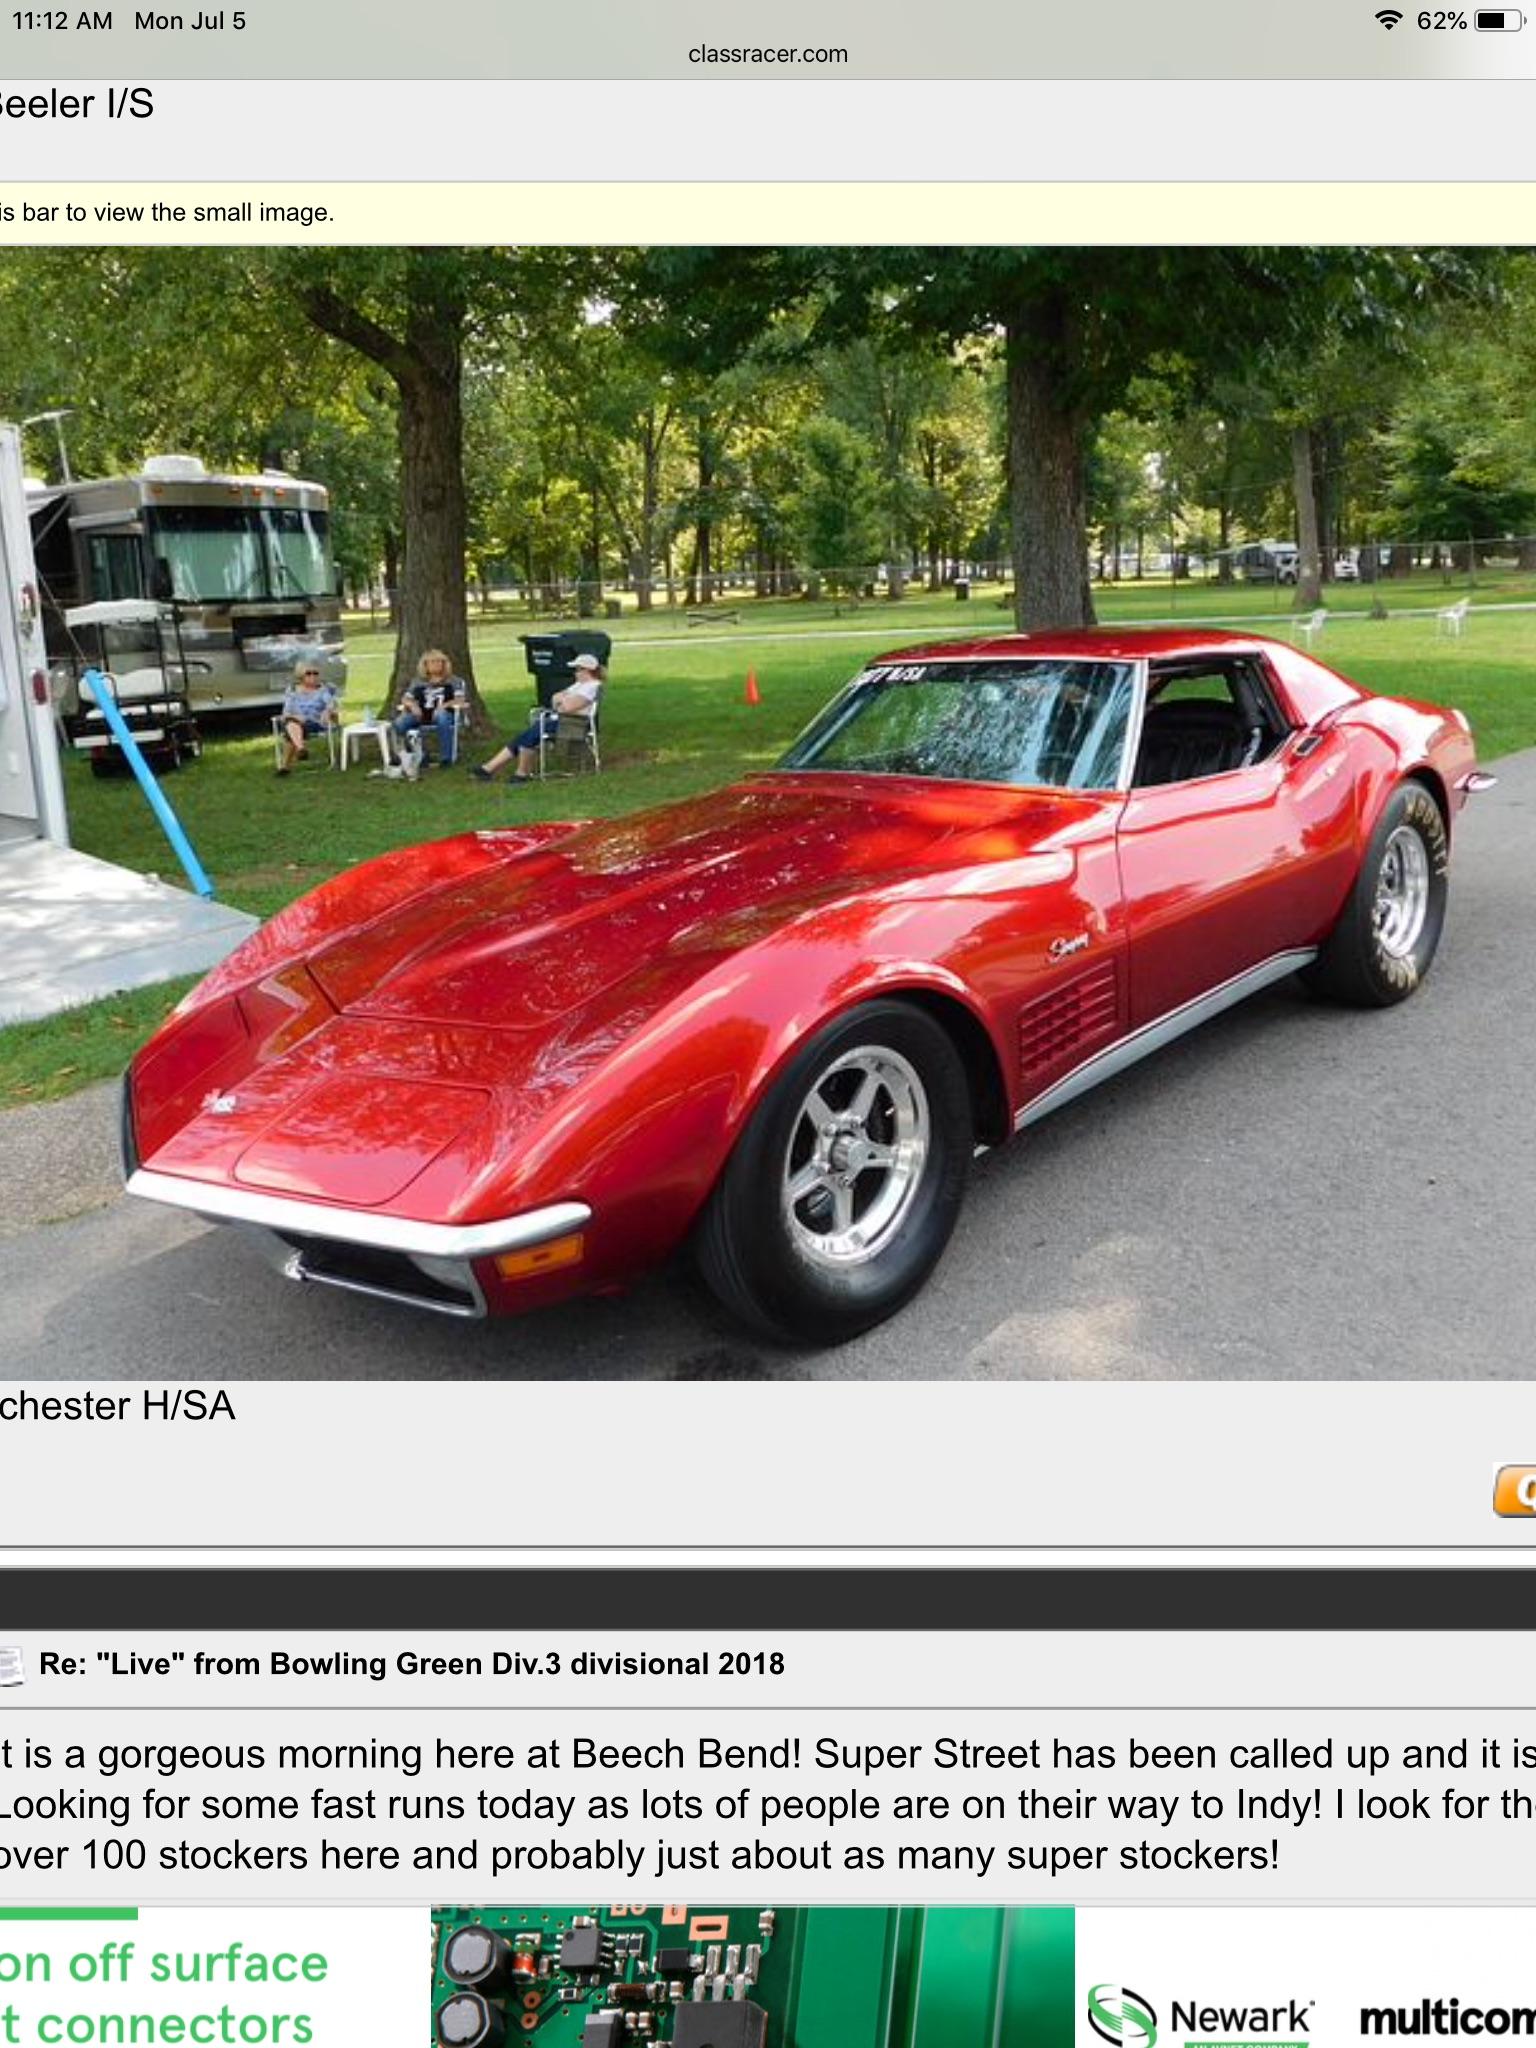
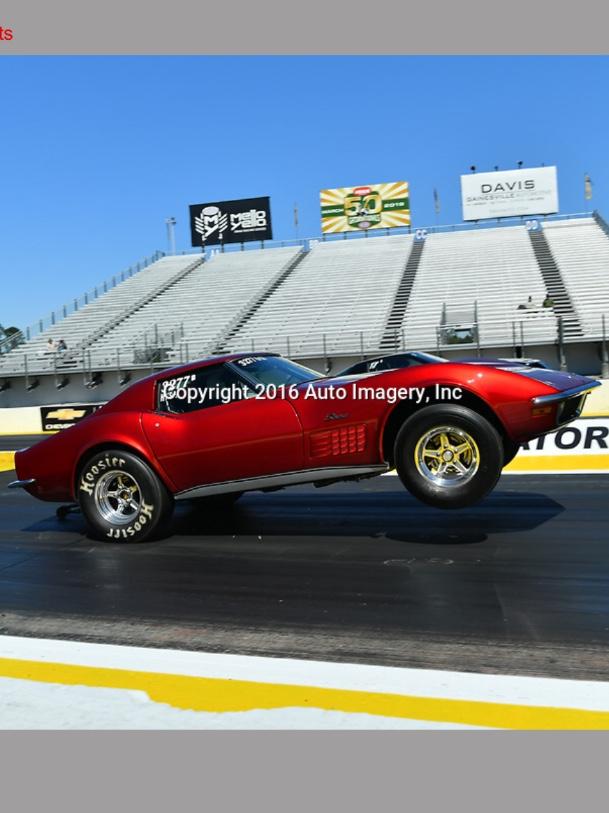
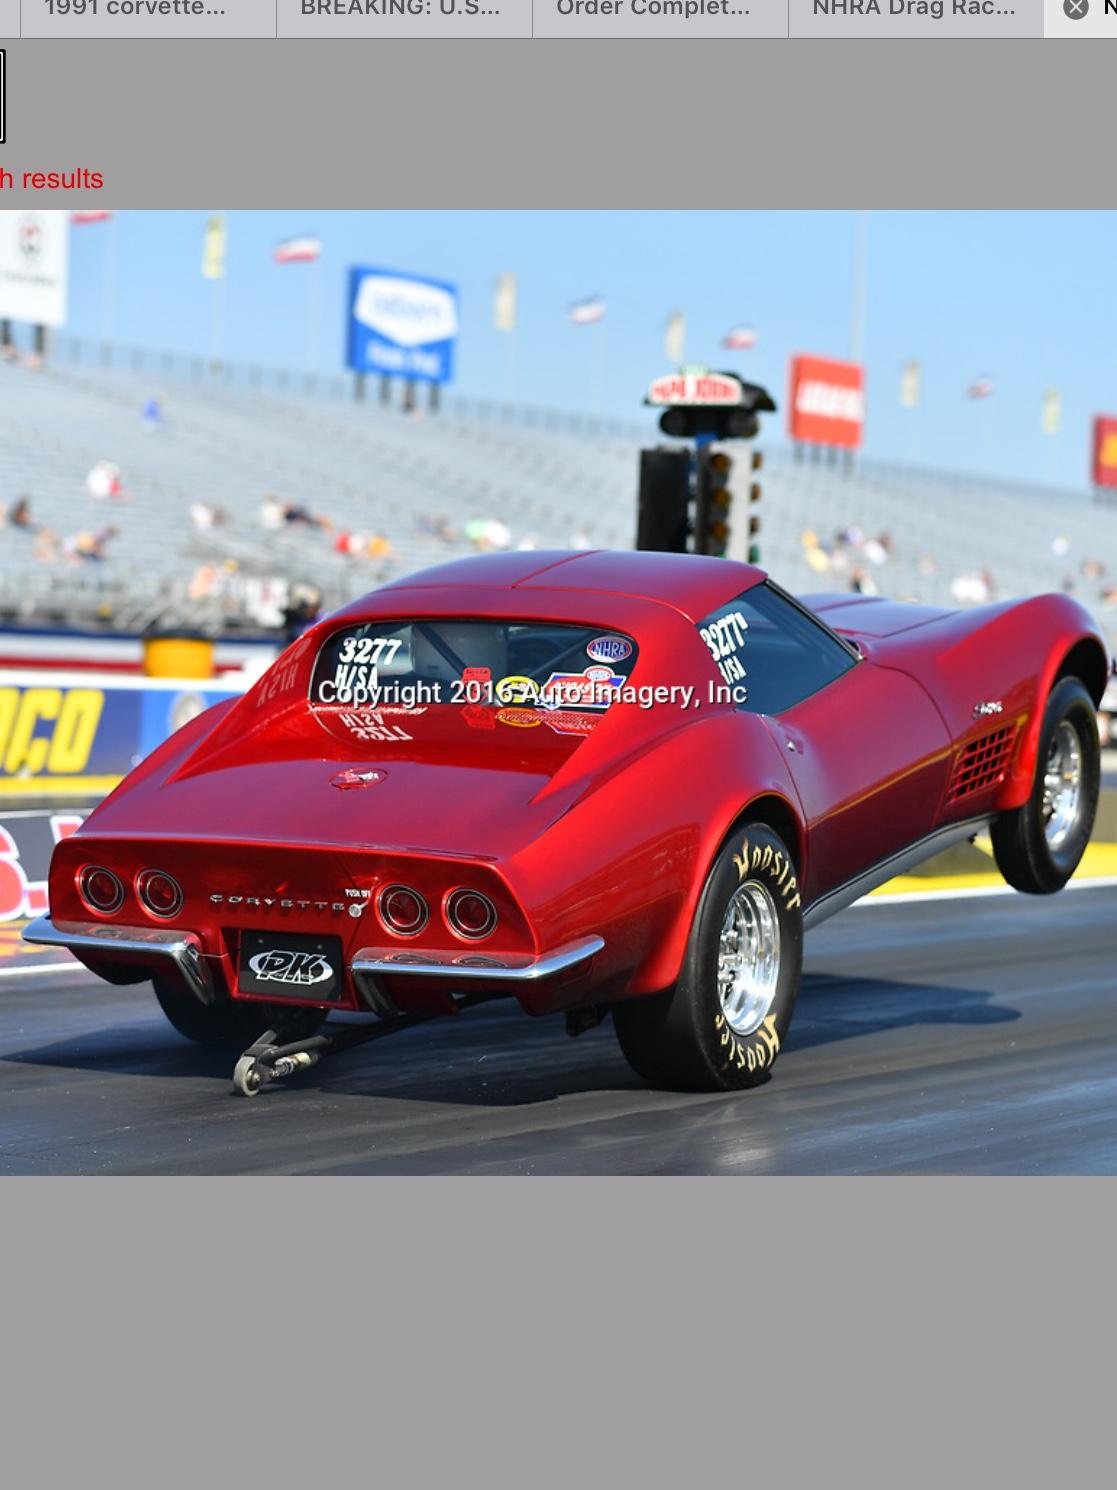
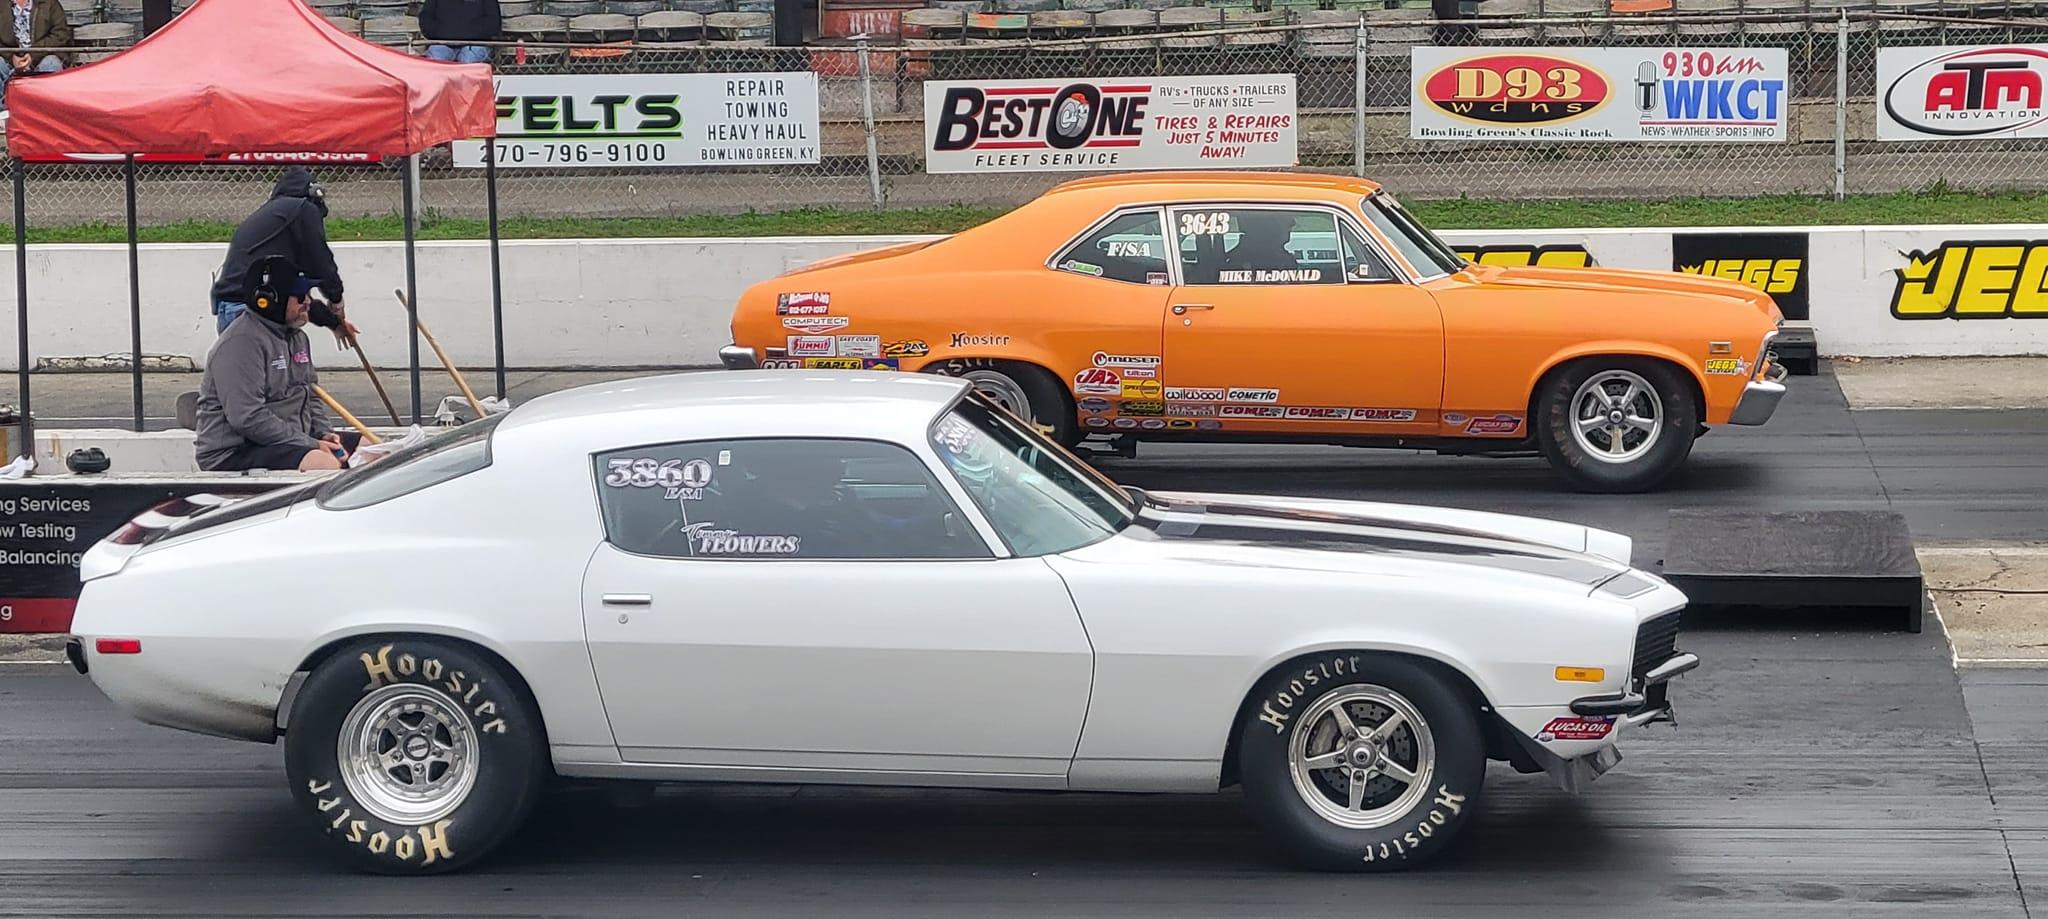
Thanks, Roger. Looks like Mike added some decals. This photo was taken at Beech Bend last Saturday for the Combo meet.
-
1969 Nova F/SA NHRA Stock Eliminator
R. Thorne replied to R. Thorne's topic in WIP: Drag Racing Models
Thanks. I had fun with it. -
Thanks, Chris. Very true, Ulf. One of the things learned from this build. Thanks for responding.