R. Thorne
-
Posts
1,259 -
Joined
-
Last visited
Content Type
Profiles
Forums
Events
Gallery
Everything posted by R. Thorne
-
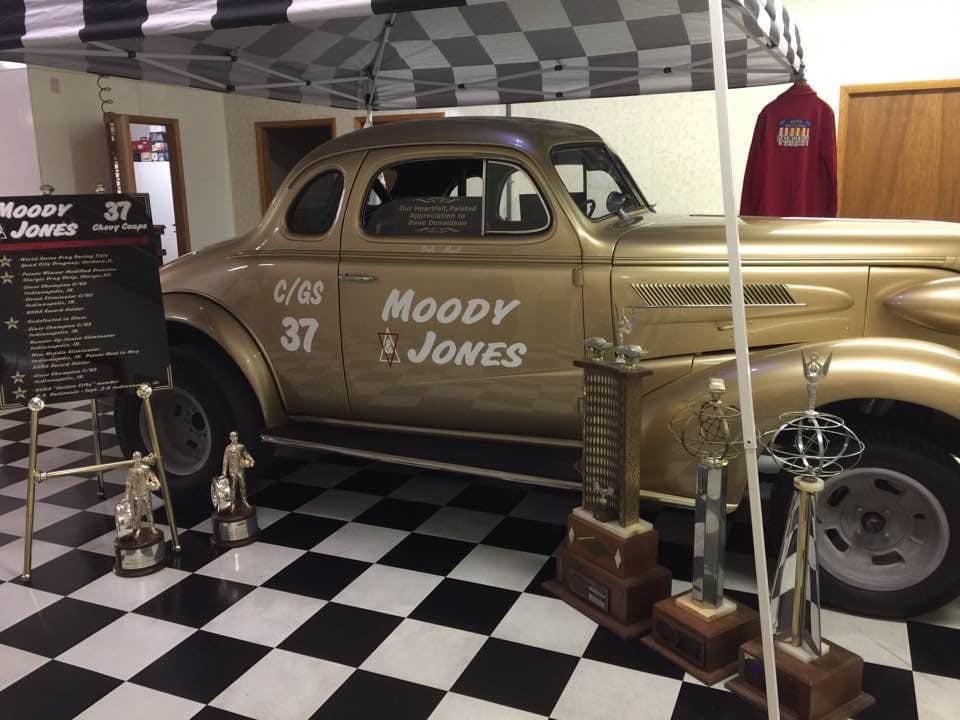
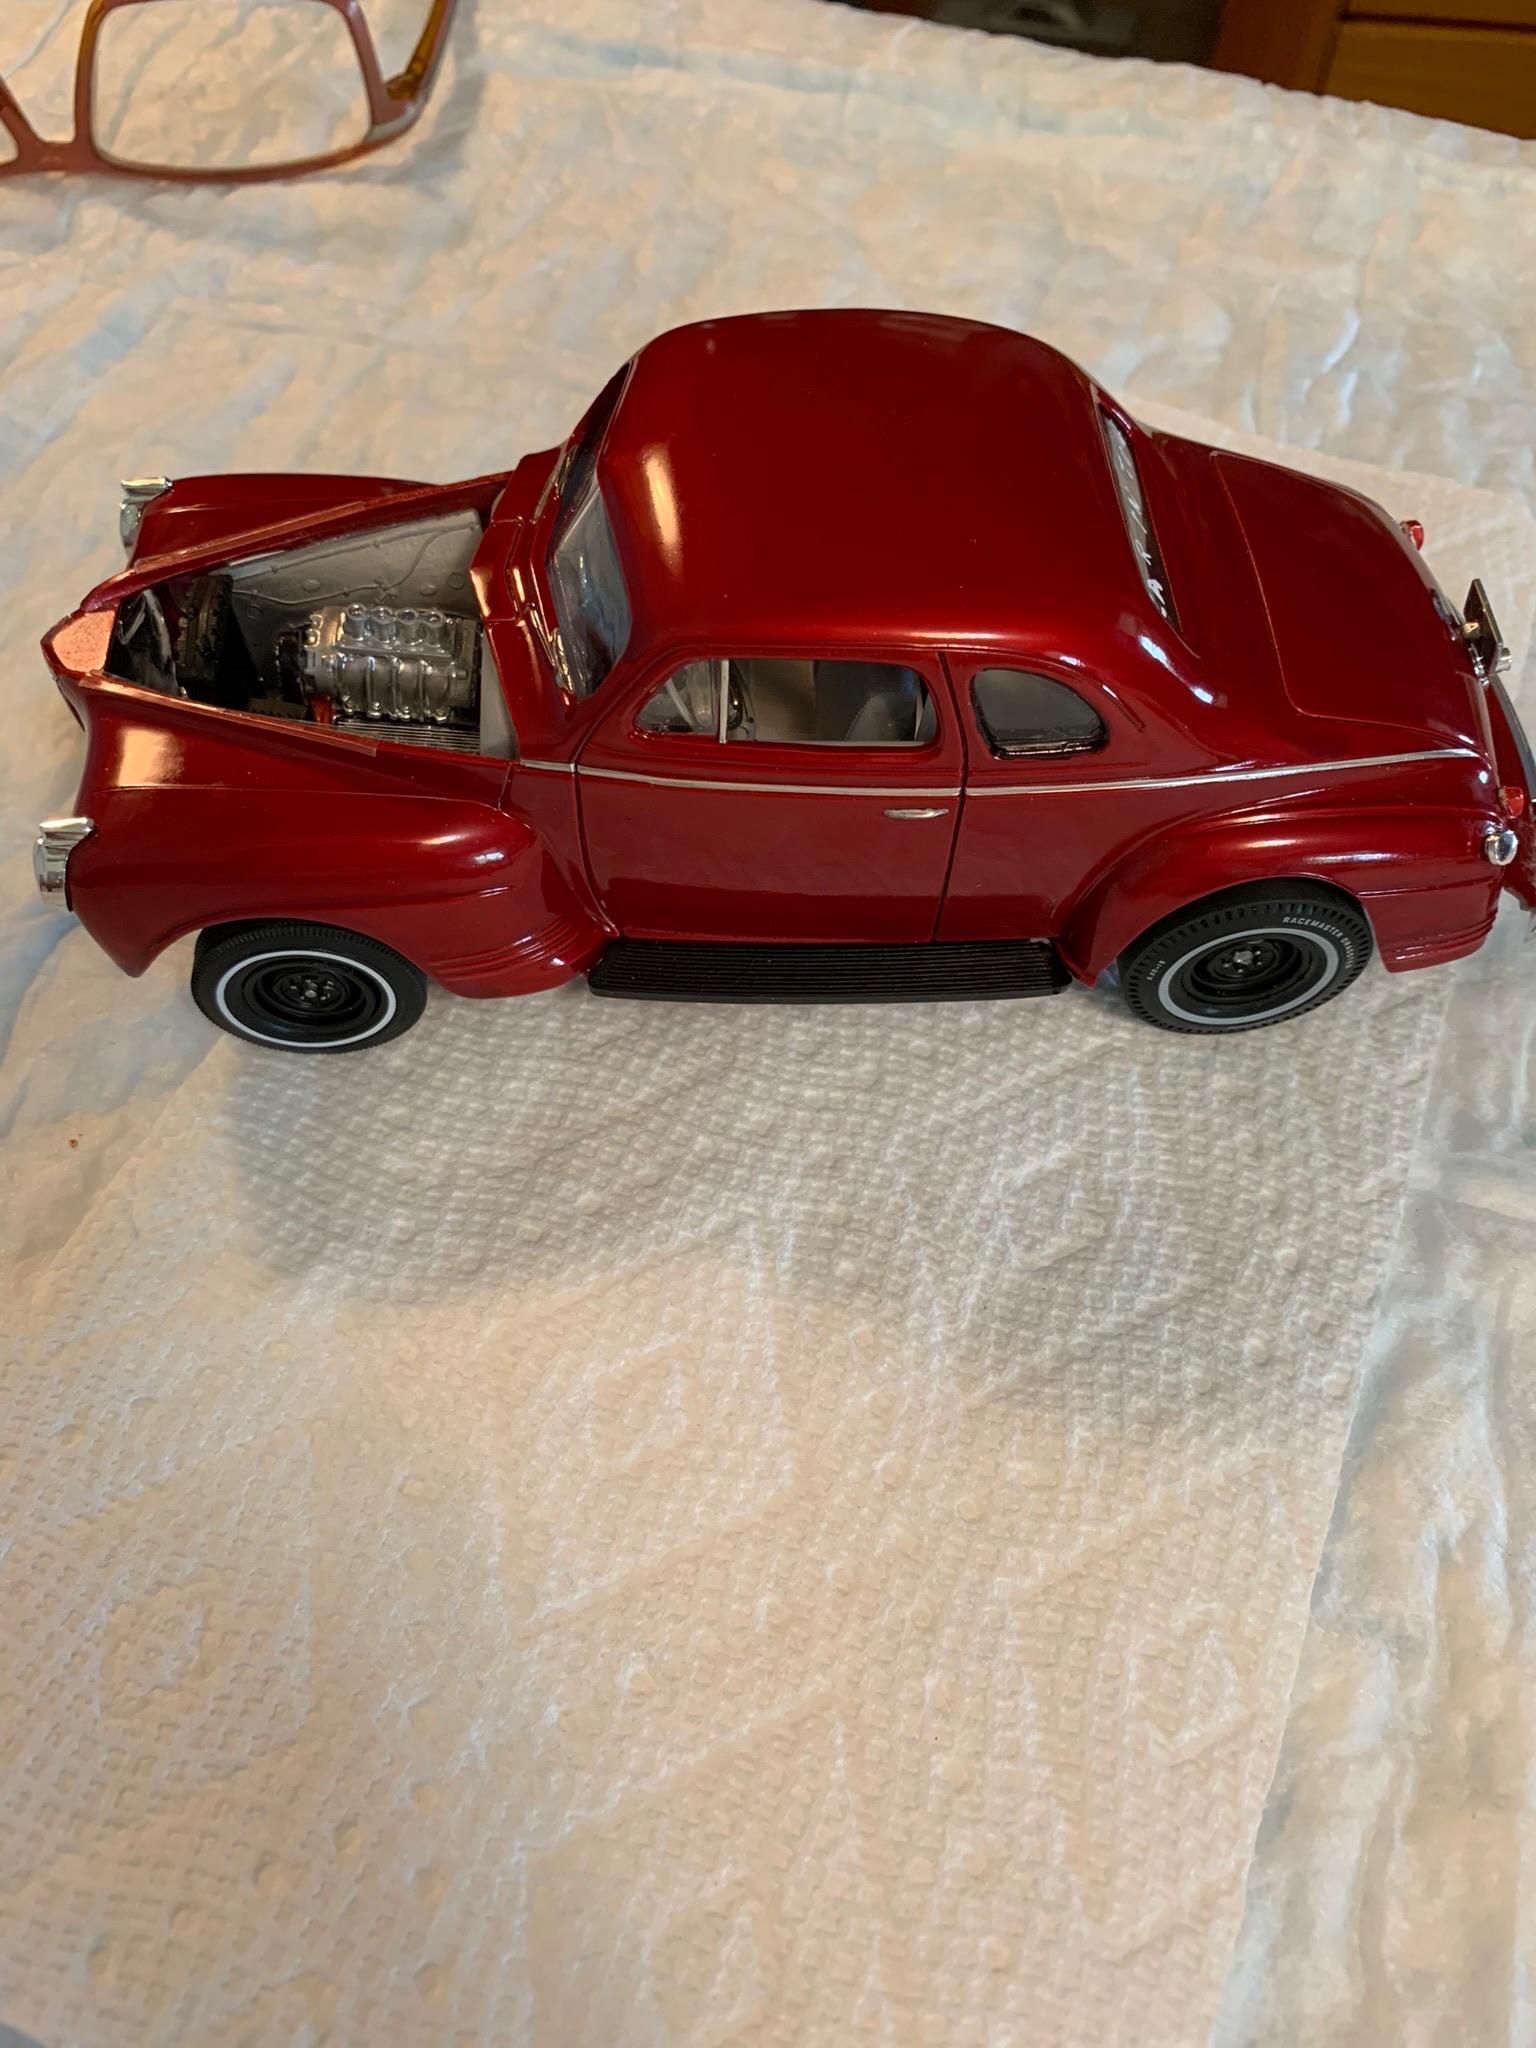
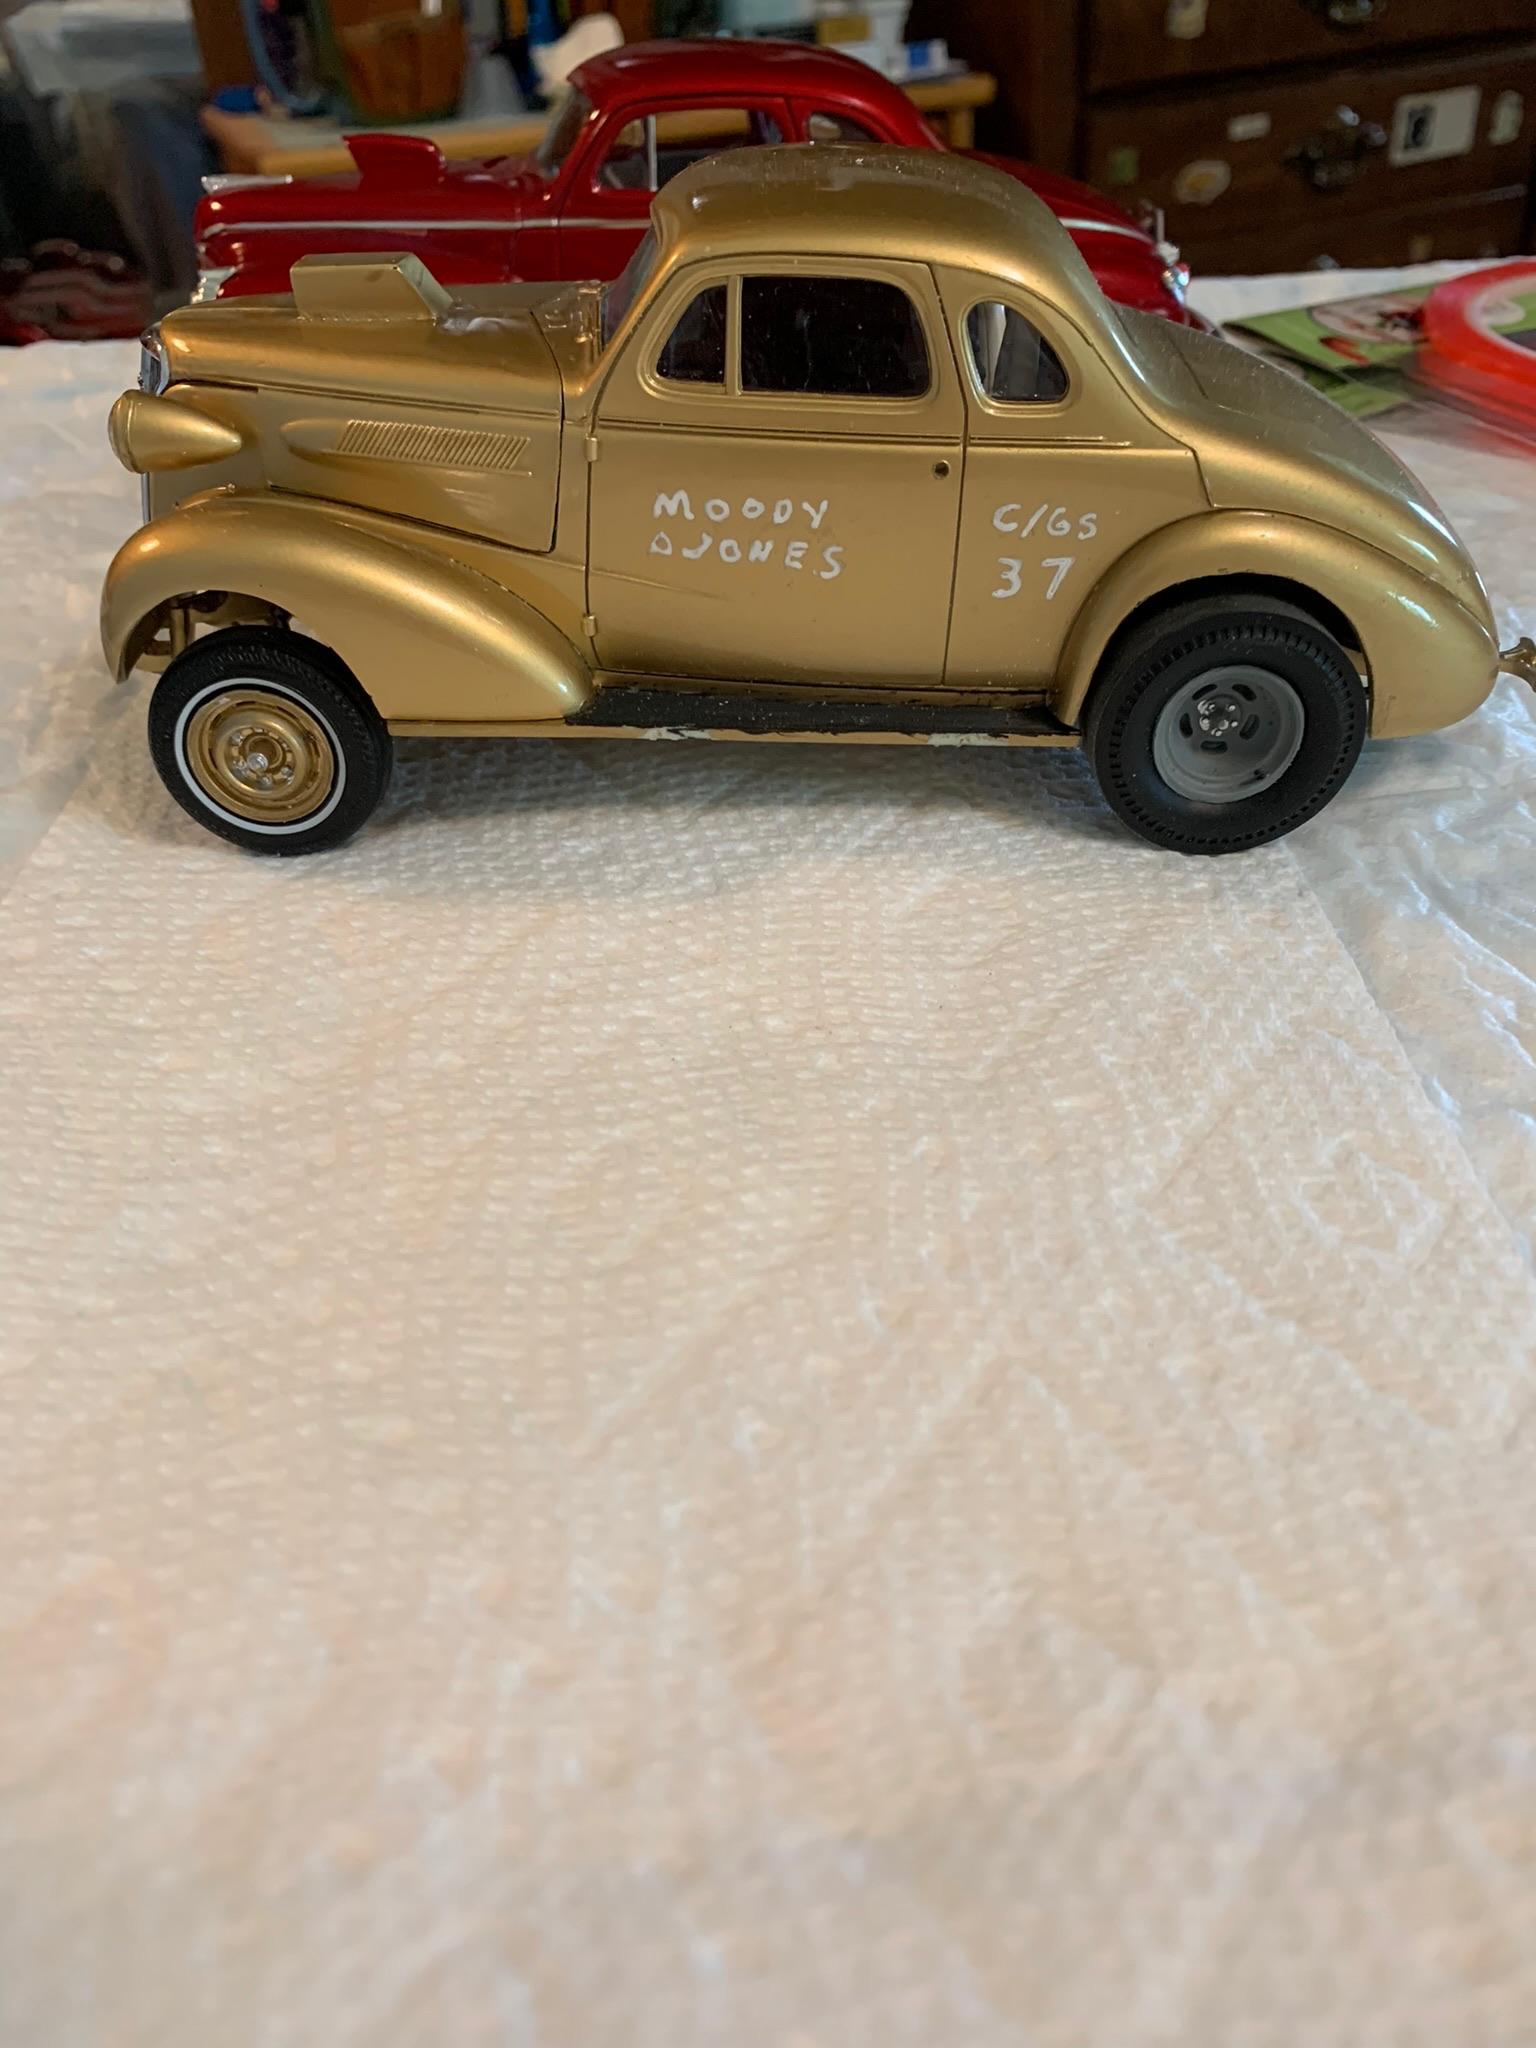
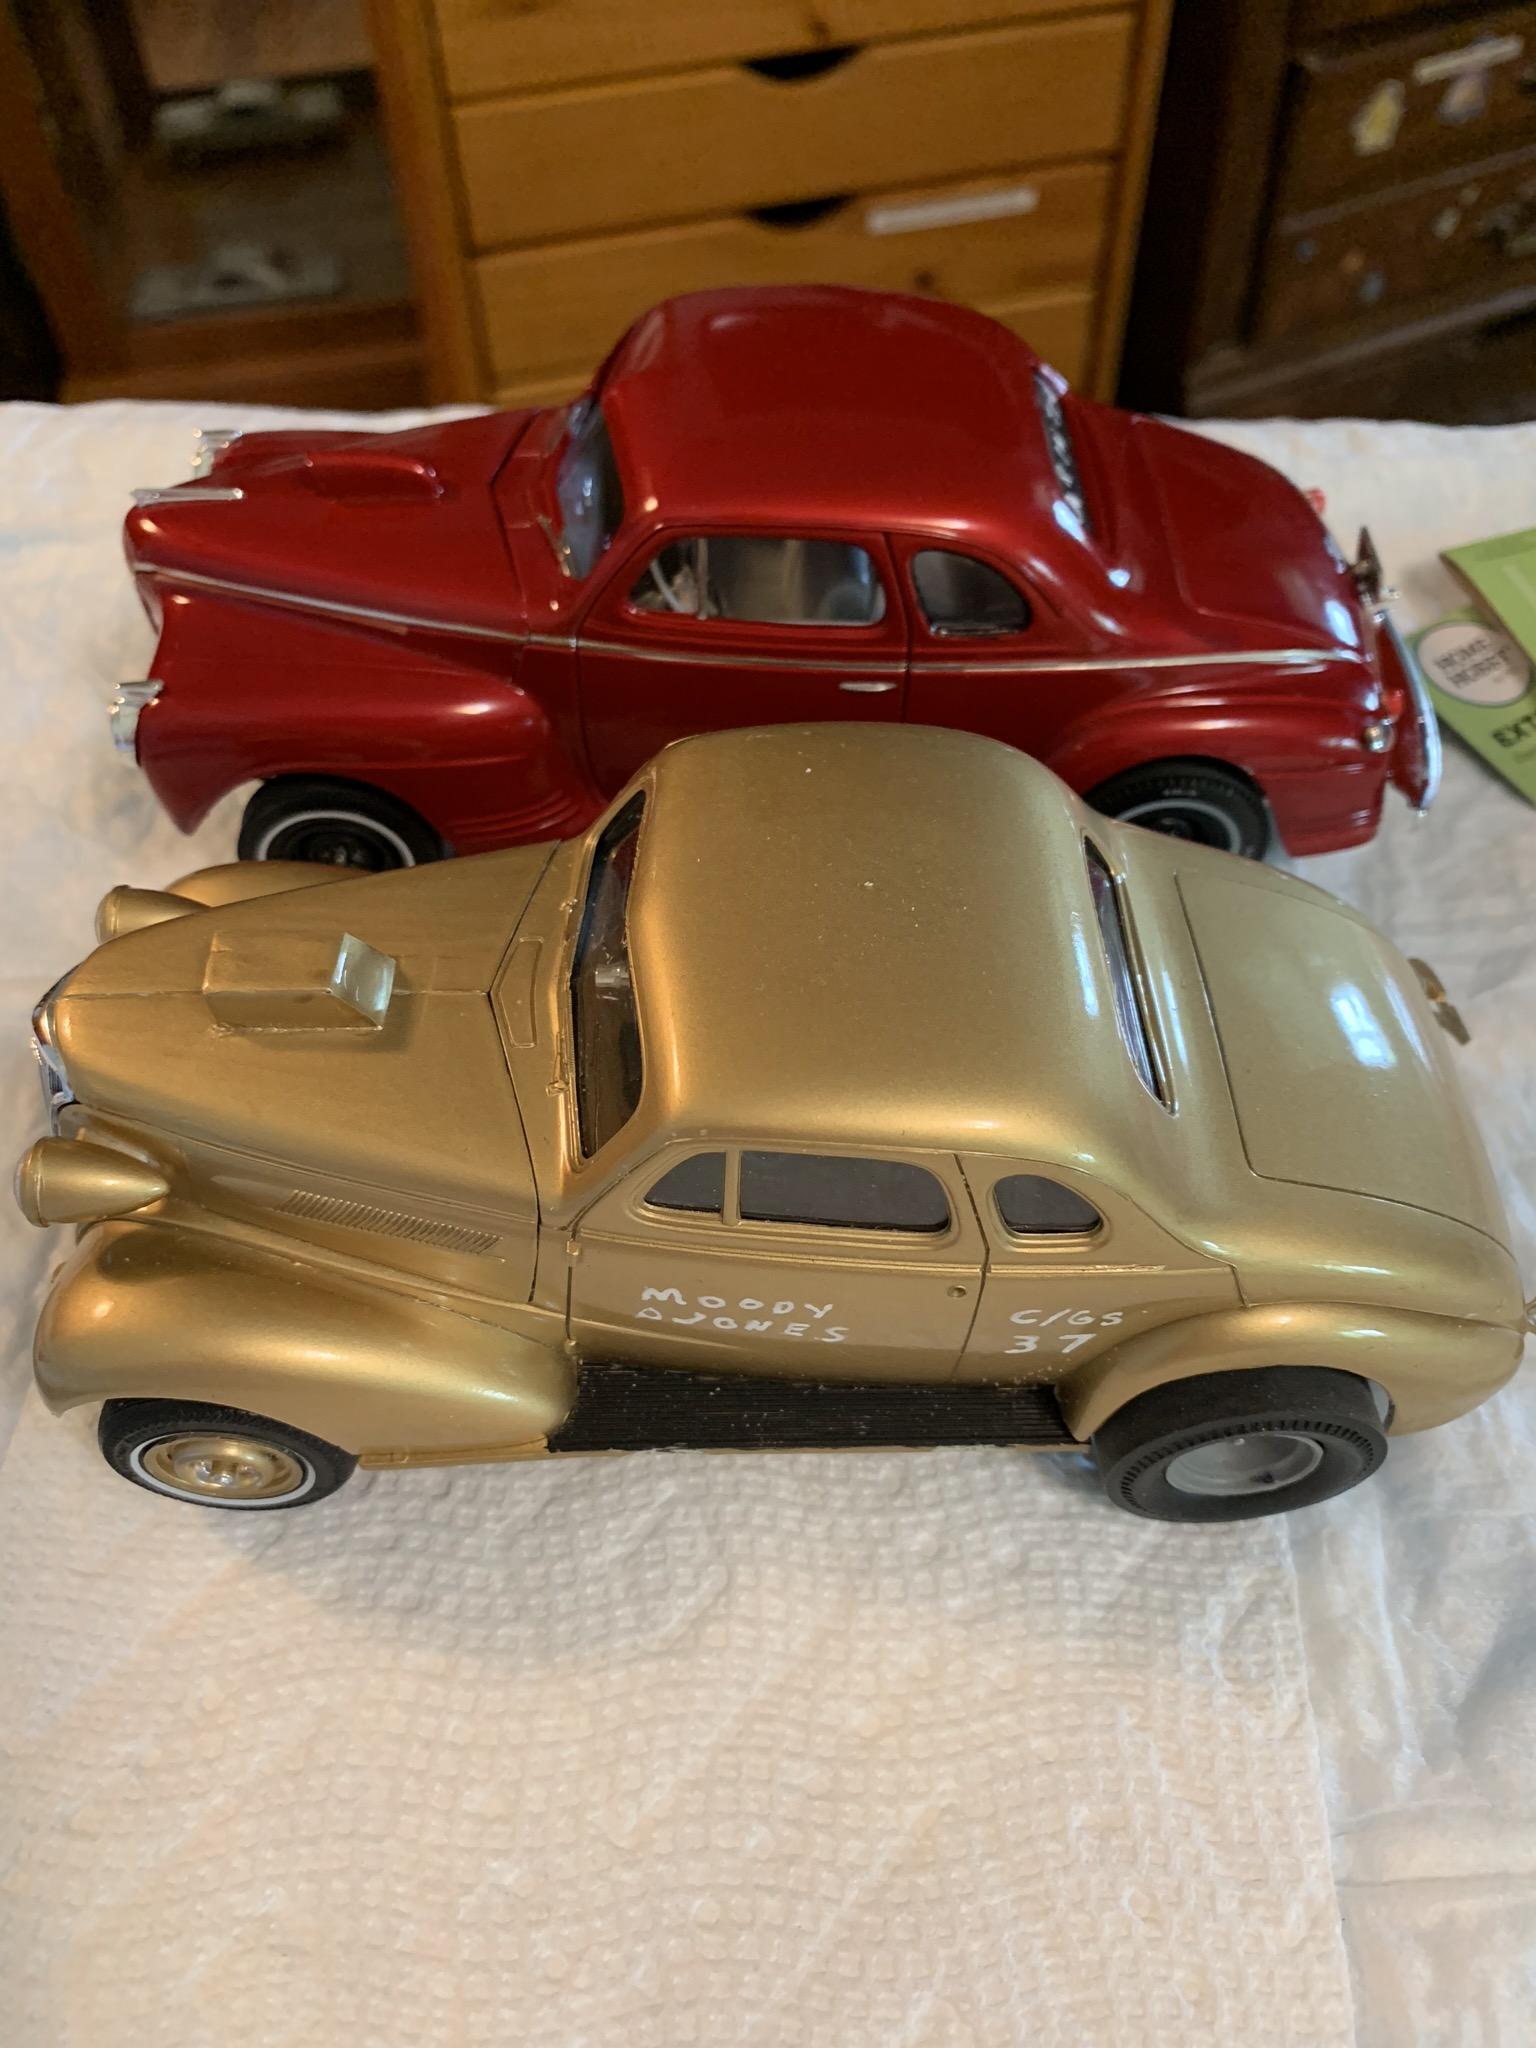
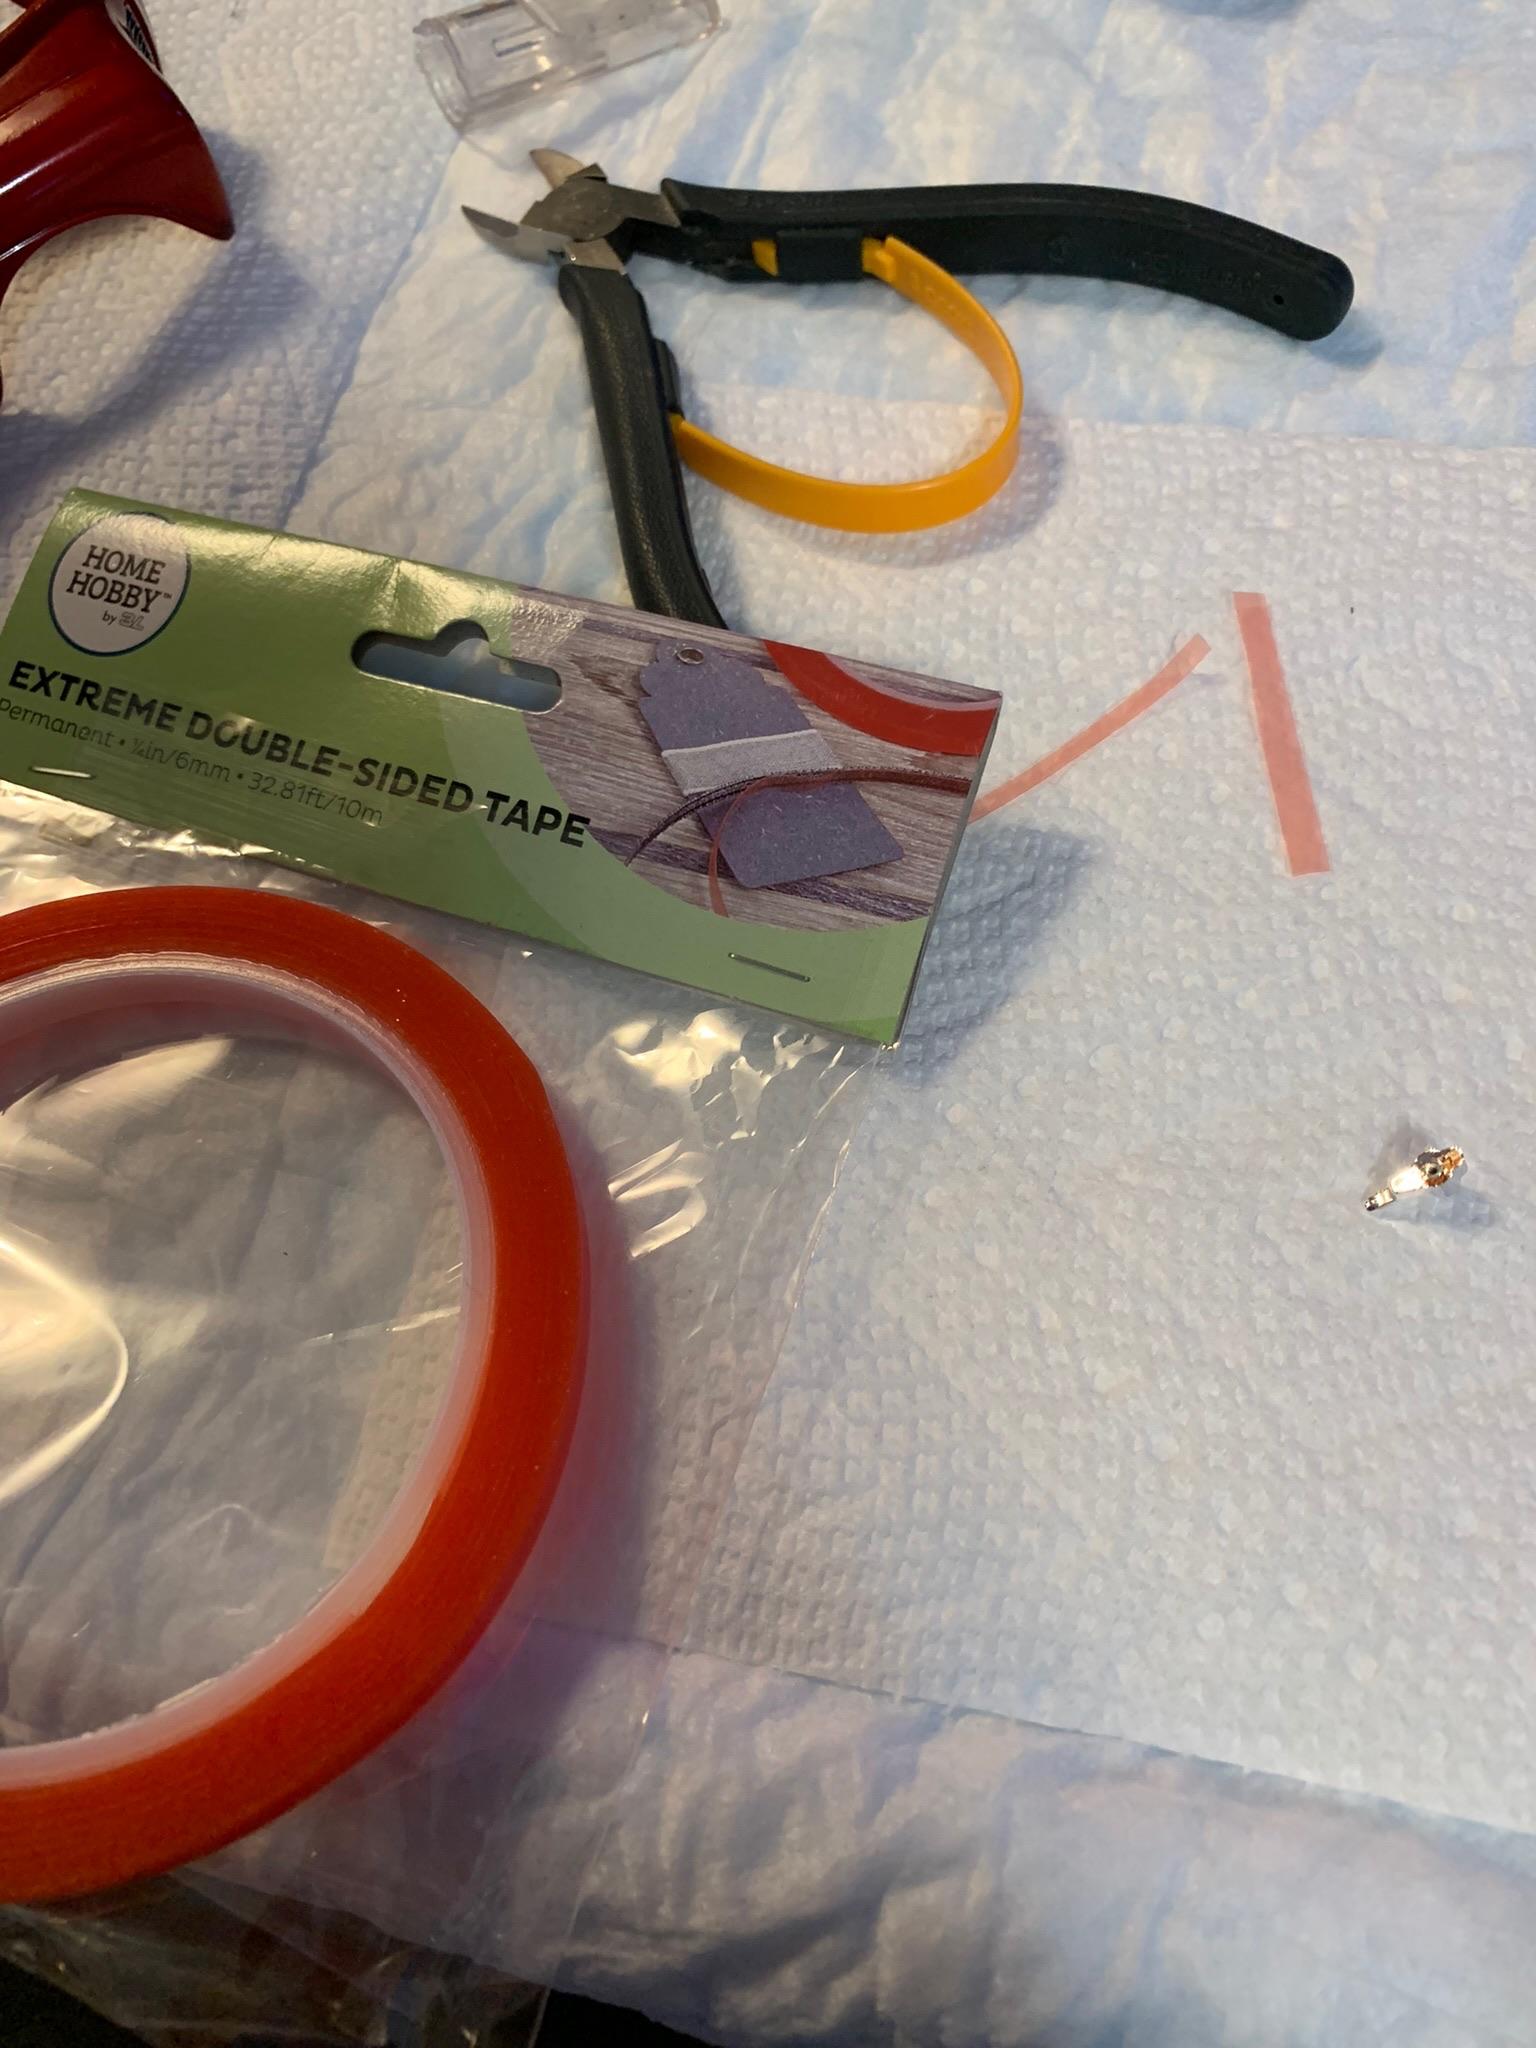
This build was done as a possible bare bones competitor to the Moody & Jones 1937 Chevy Nationals winning car. I had built a (unfinished, as a lot of mine are) model of this car a few years ago. I knew Sam Jones (rip) in the seventies and hung out at his speed shop about 30 miles from me. Anyway, when I was 15 or so in 1962, I looked at a 1941 Plymouth coupe in a barnyard for sale for $50.00 and almost bought it to build for C/GS. I realized I couldn’t afford it and built a StockEliminator car (1953 Oldsmobile) instead. I put some 3 mm double sided tape on it to hold the hood on.

-
“Hooking up “ the driveshaft after arriving at the track. Will post some more finished pics in the “under glass” section. Also, the “rest of the story”.
-
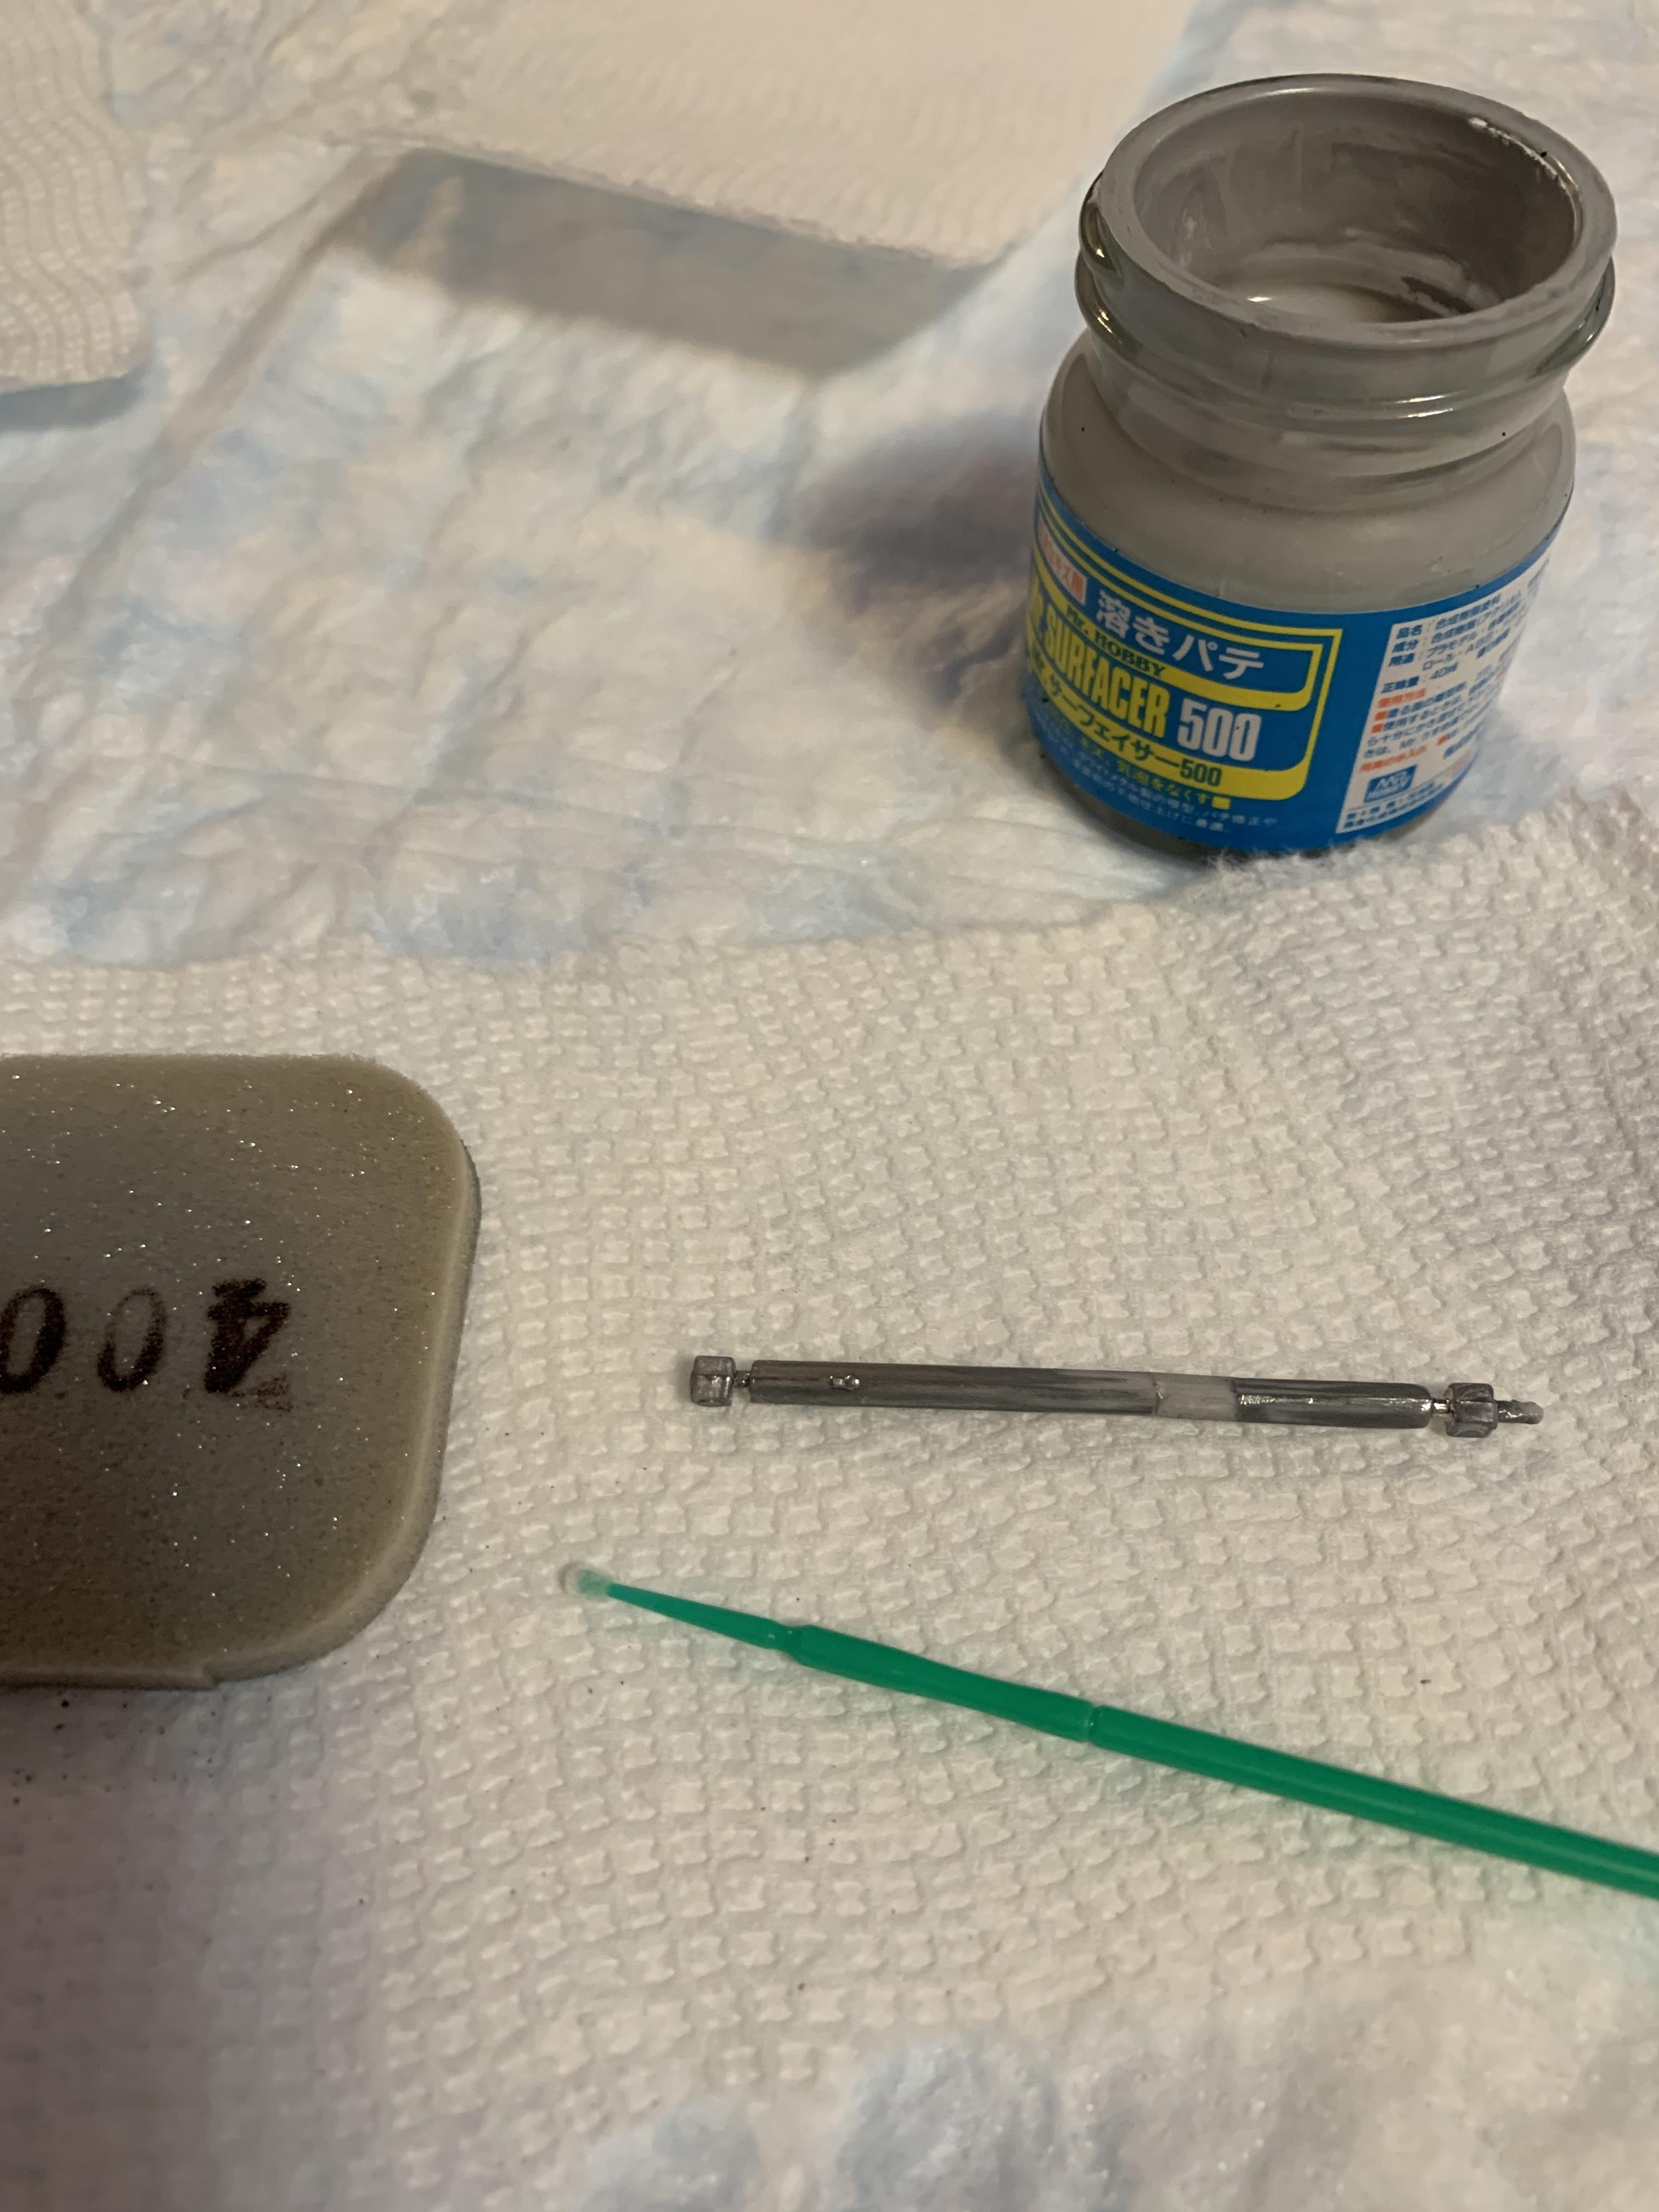
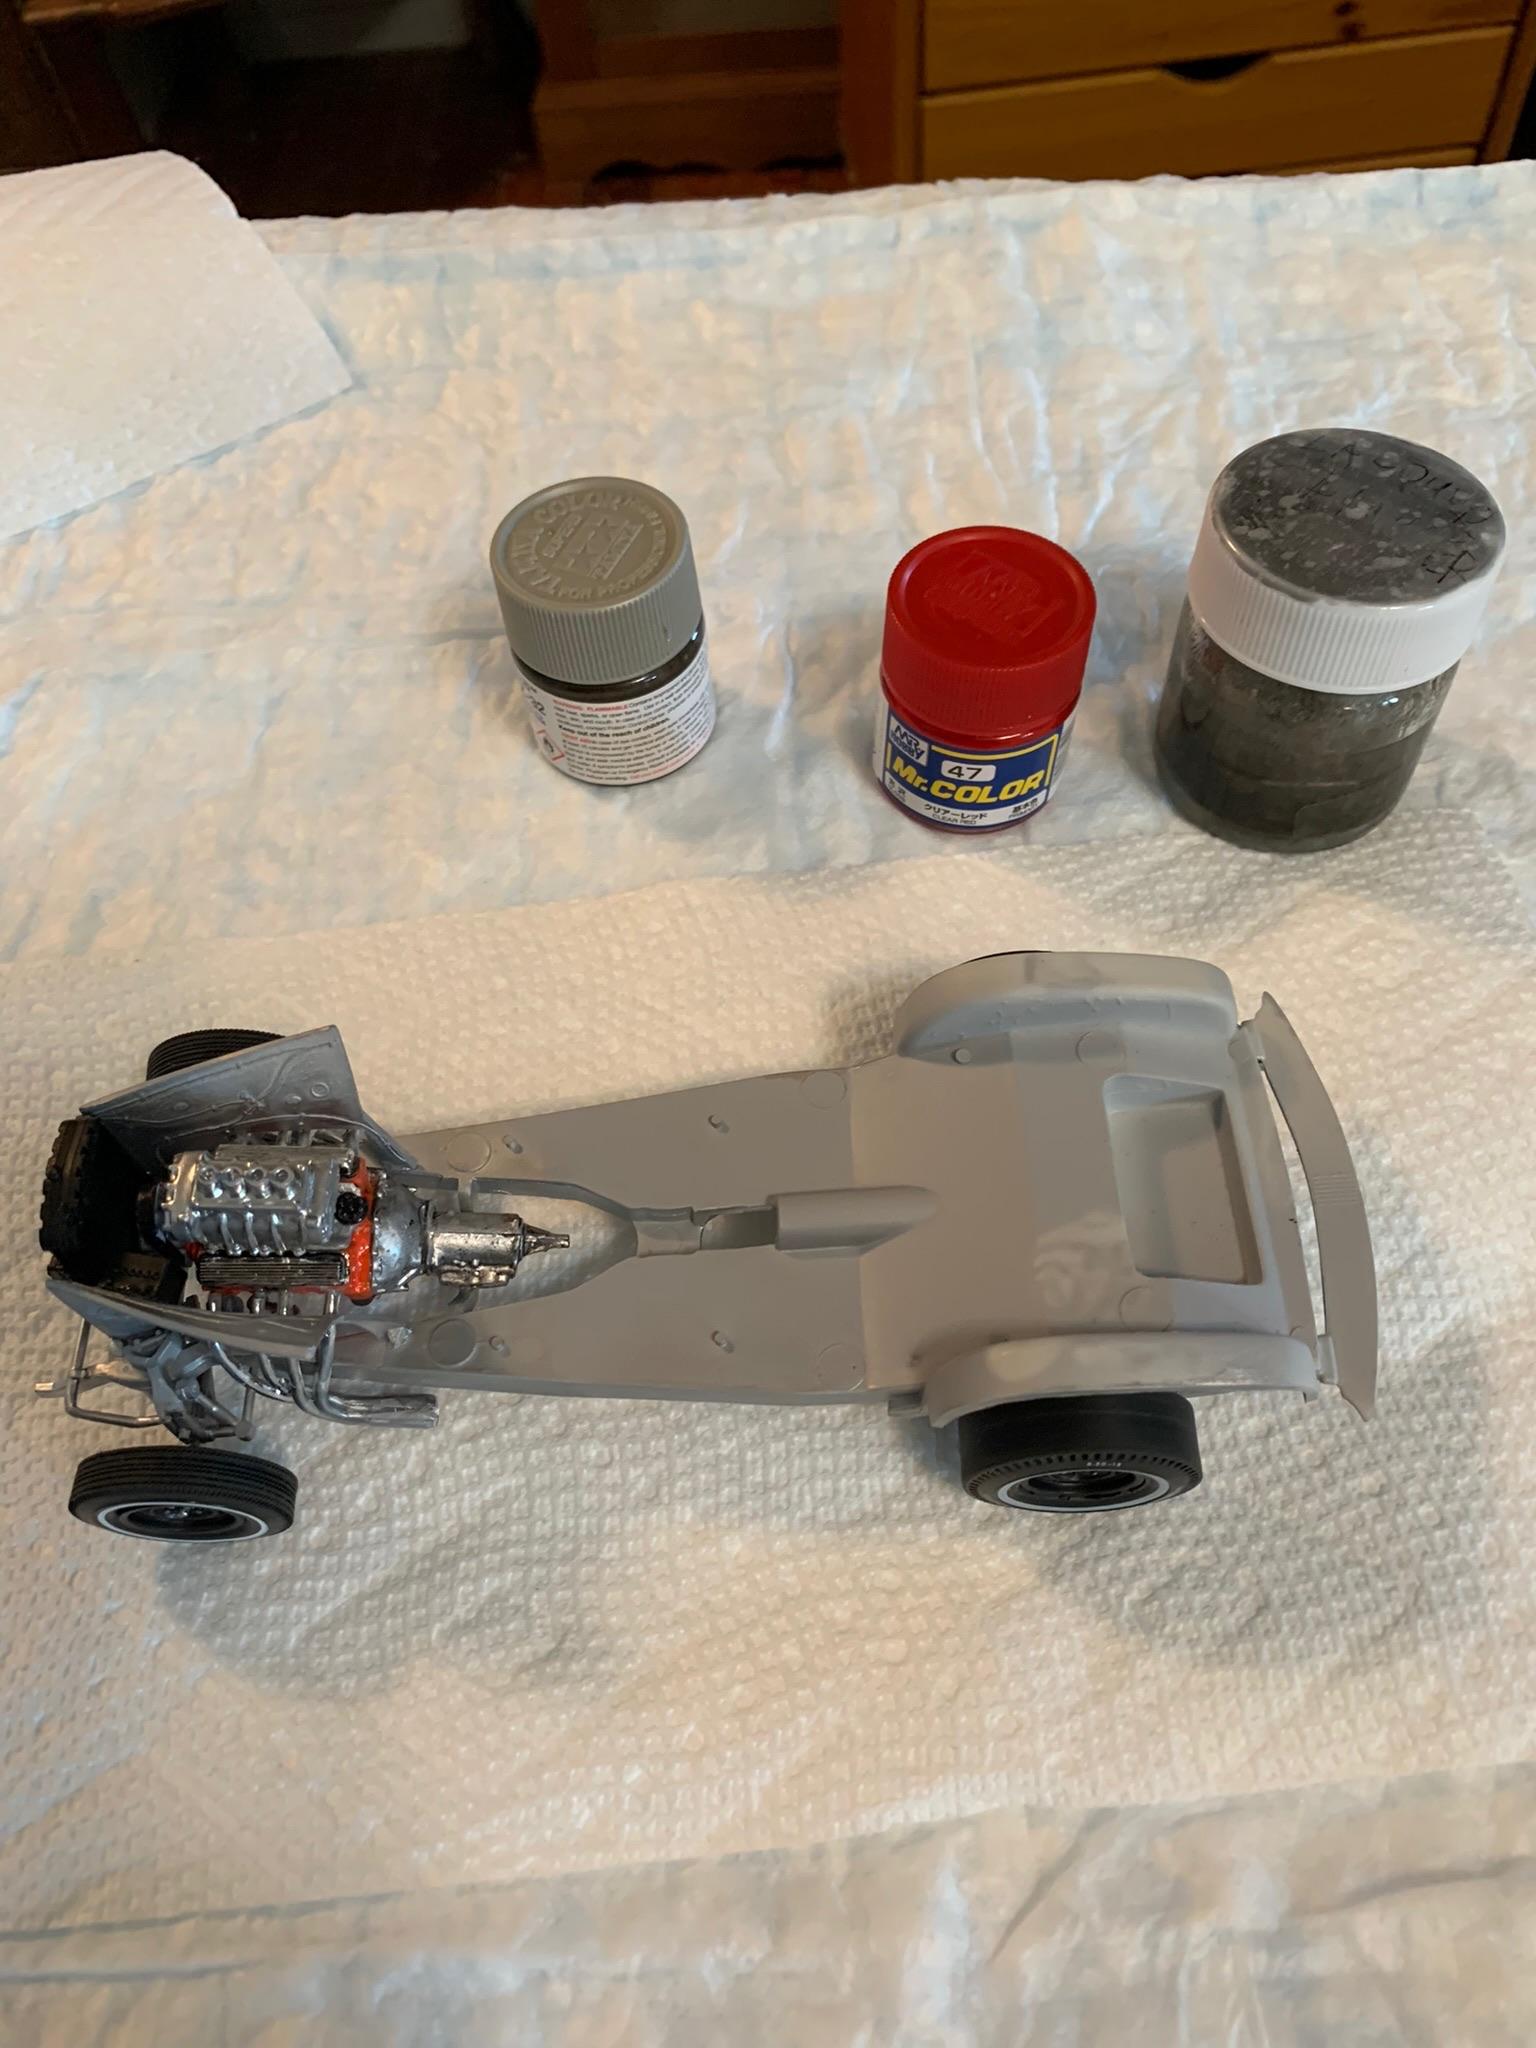
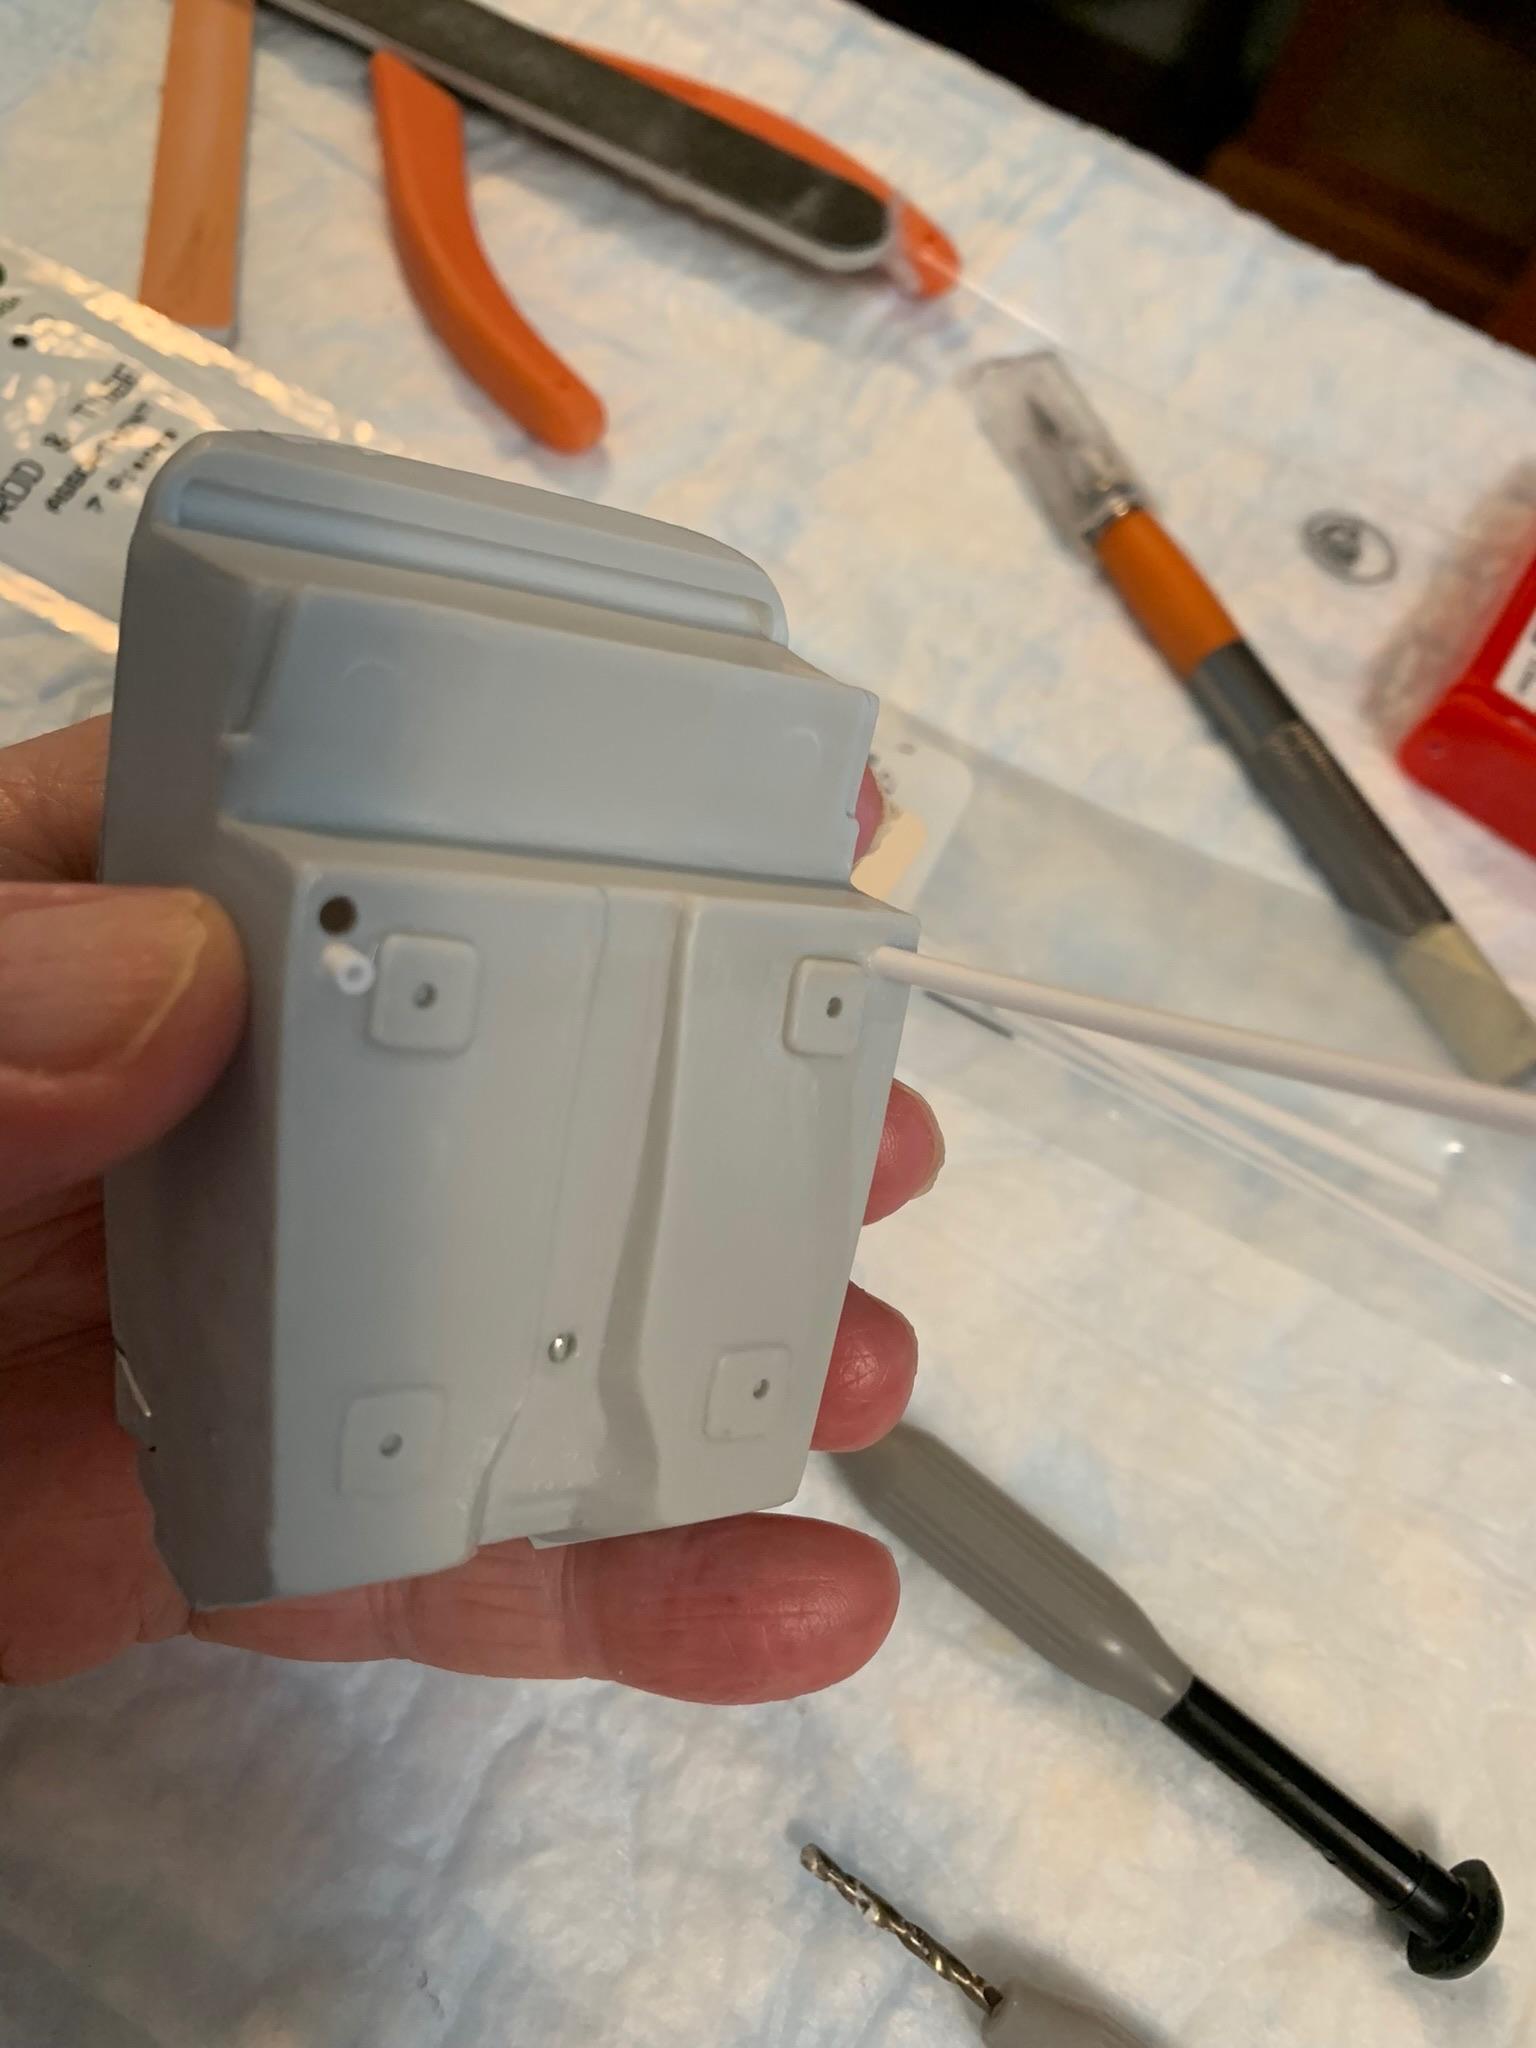
Some scrap sprue from the kit, added about 1/4” to the driveshaft, some surfacer 500, let it dry overnight.
-
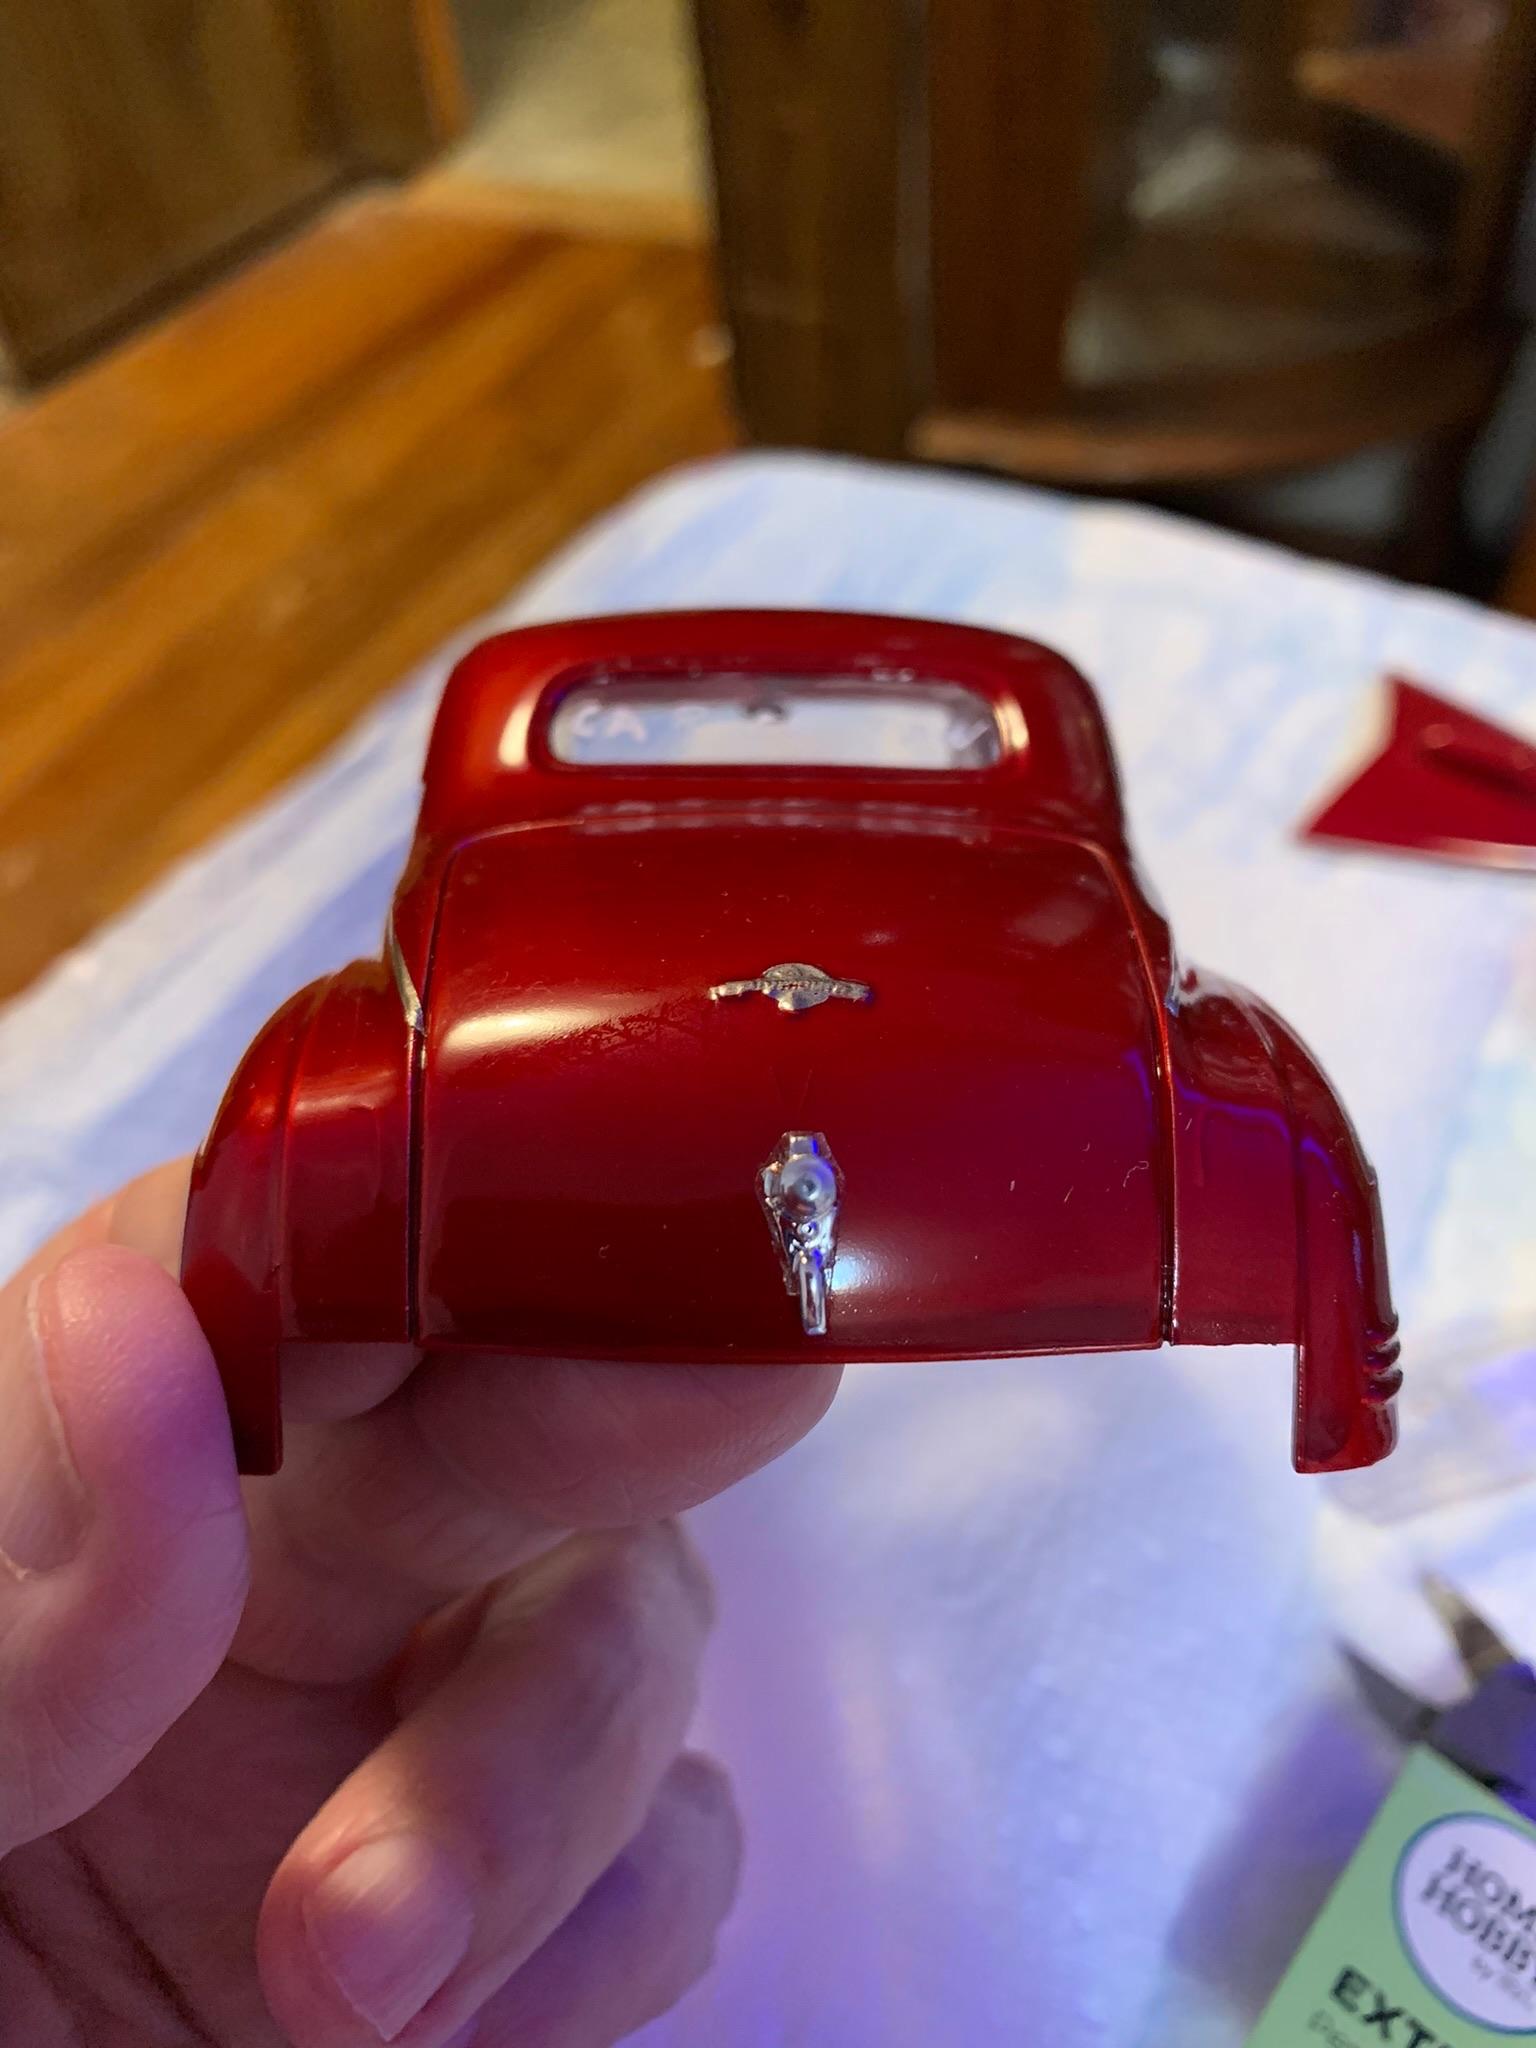
Tried out some double sided tape for the trunk handle. Works okay, easier than pinning, not as strong, of course. Put rear bumper on. Got to extend the driveshaft.
-
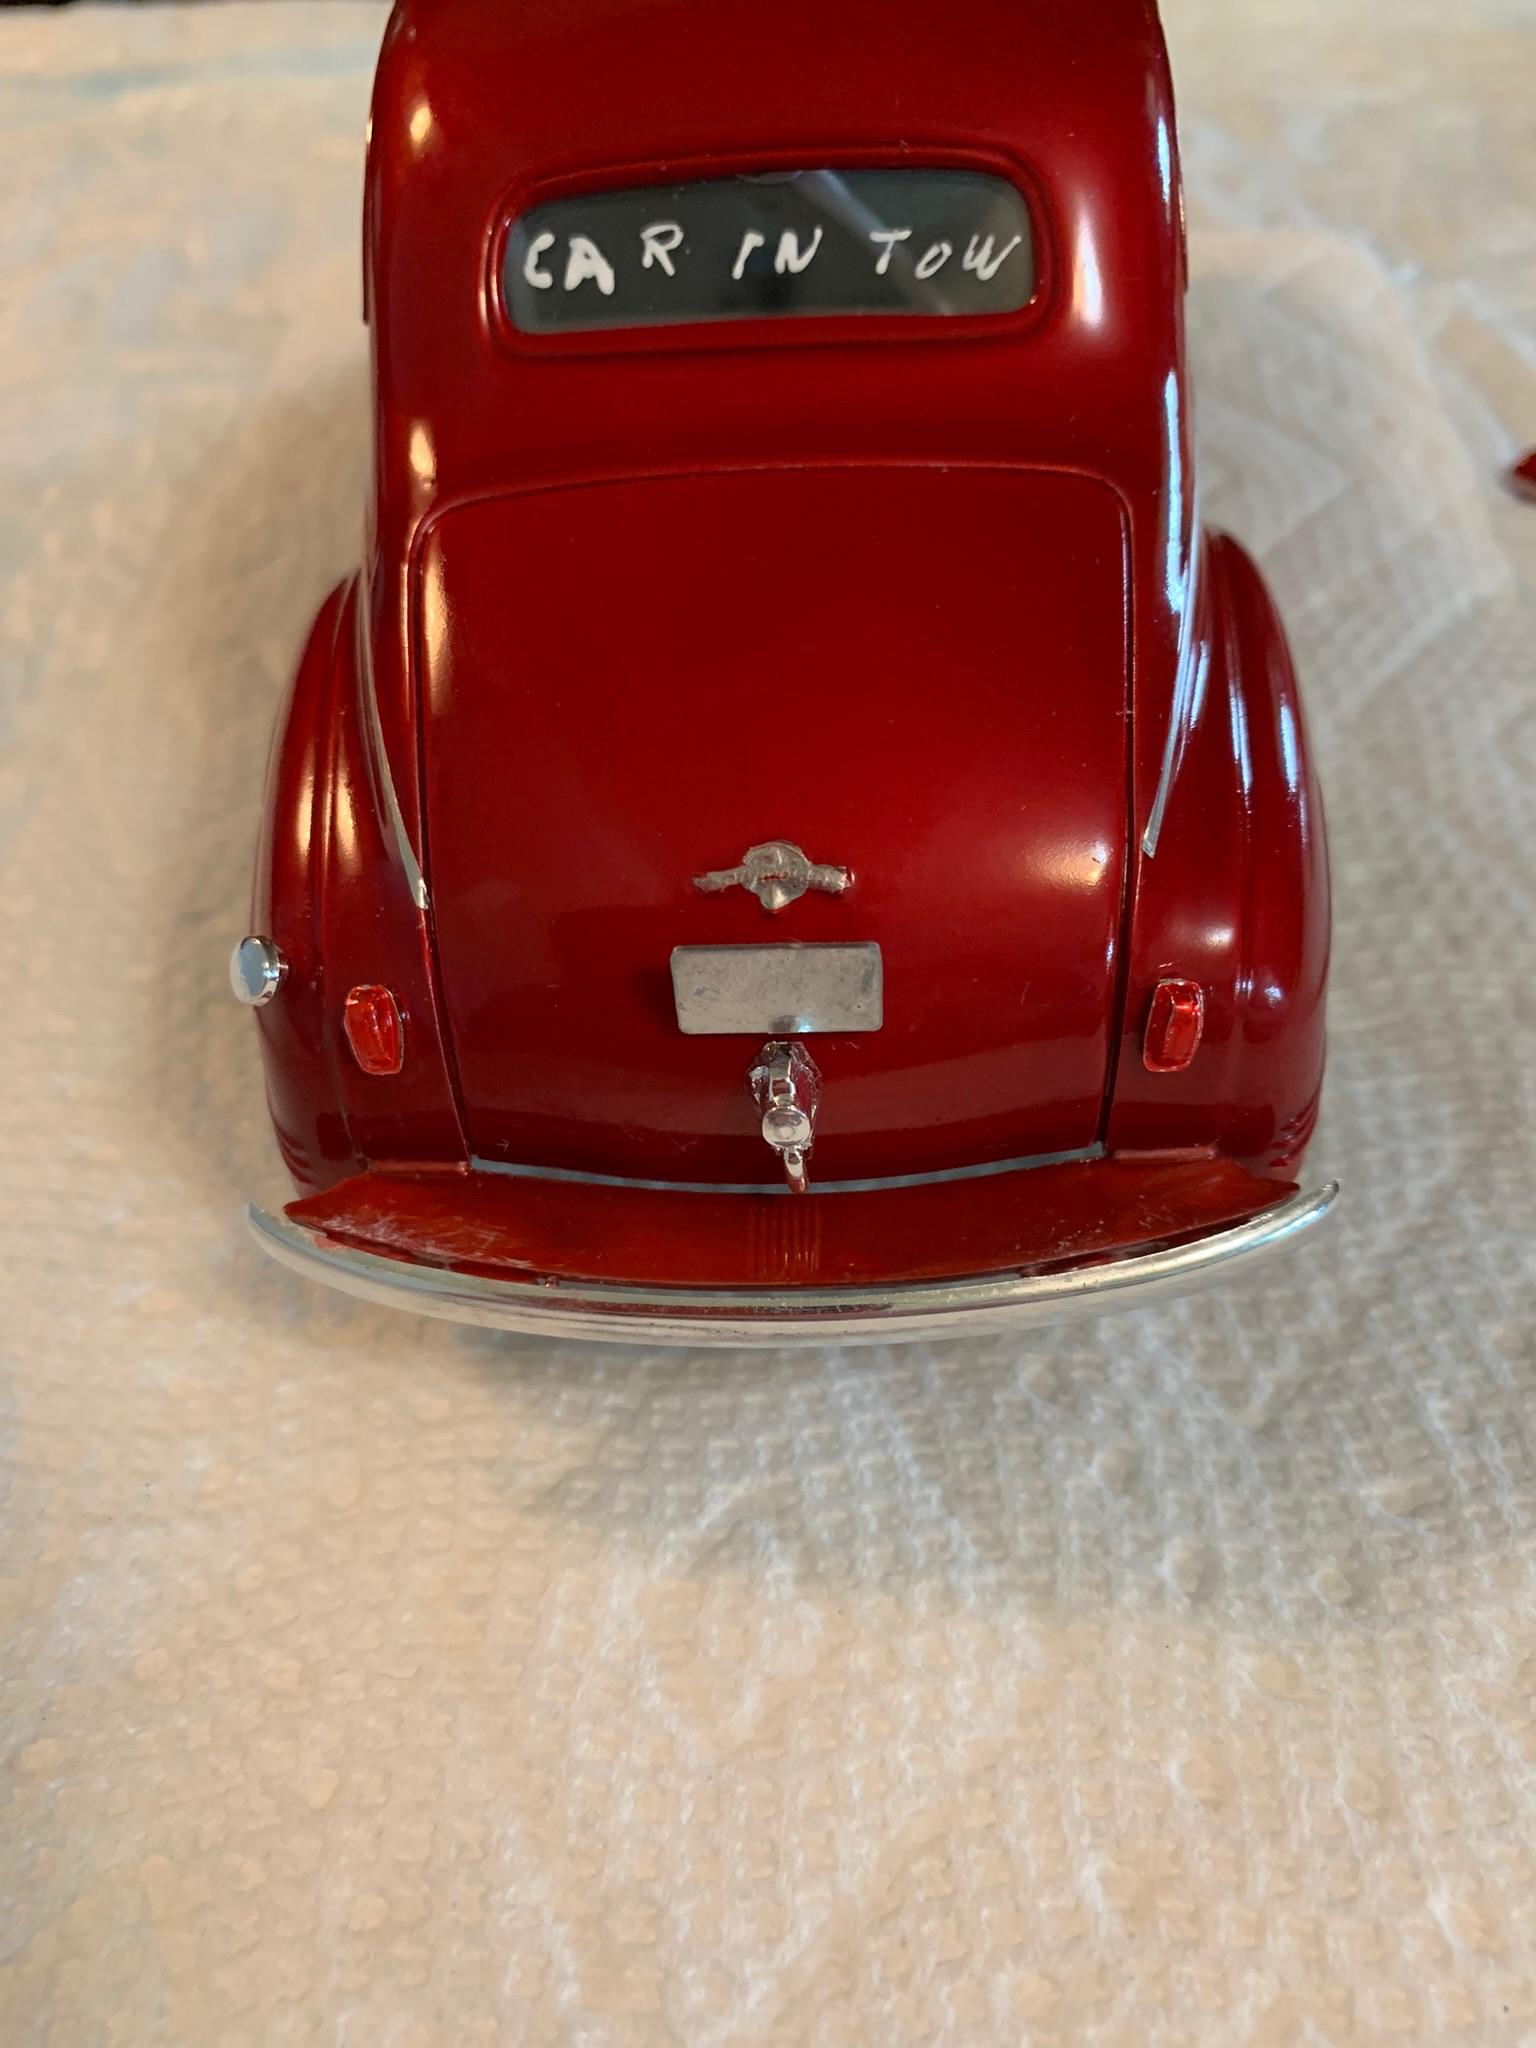
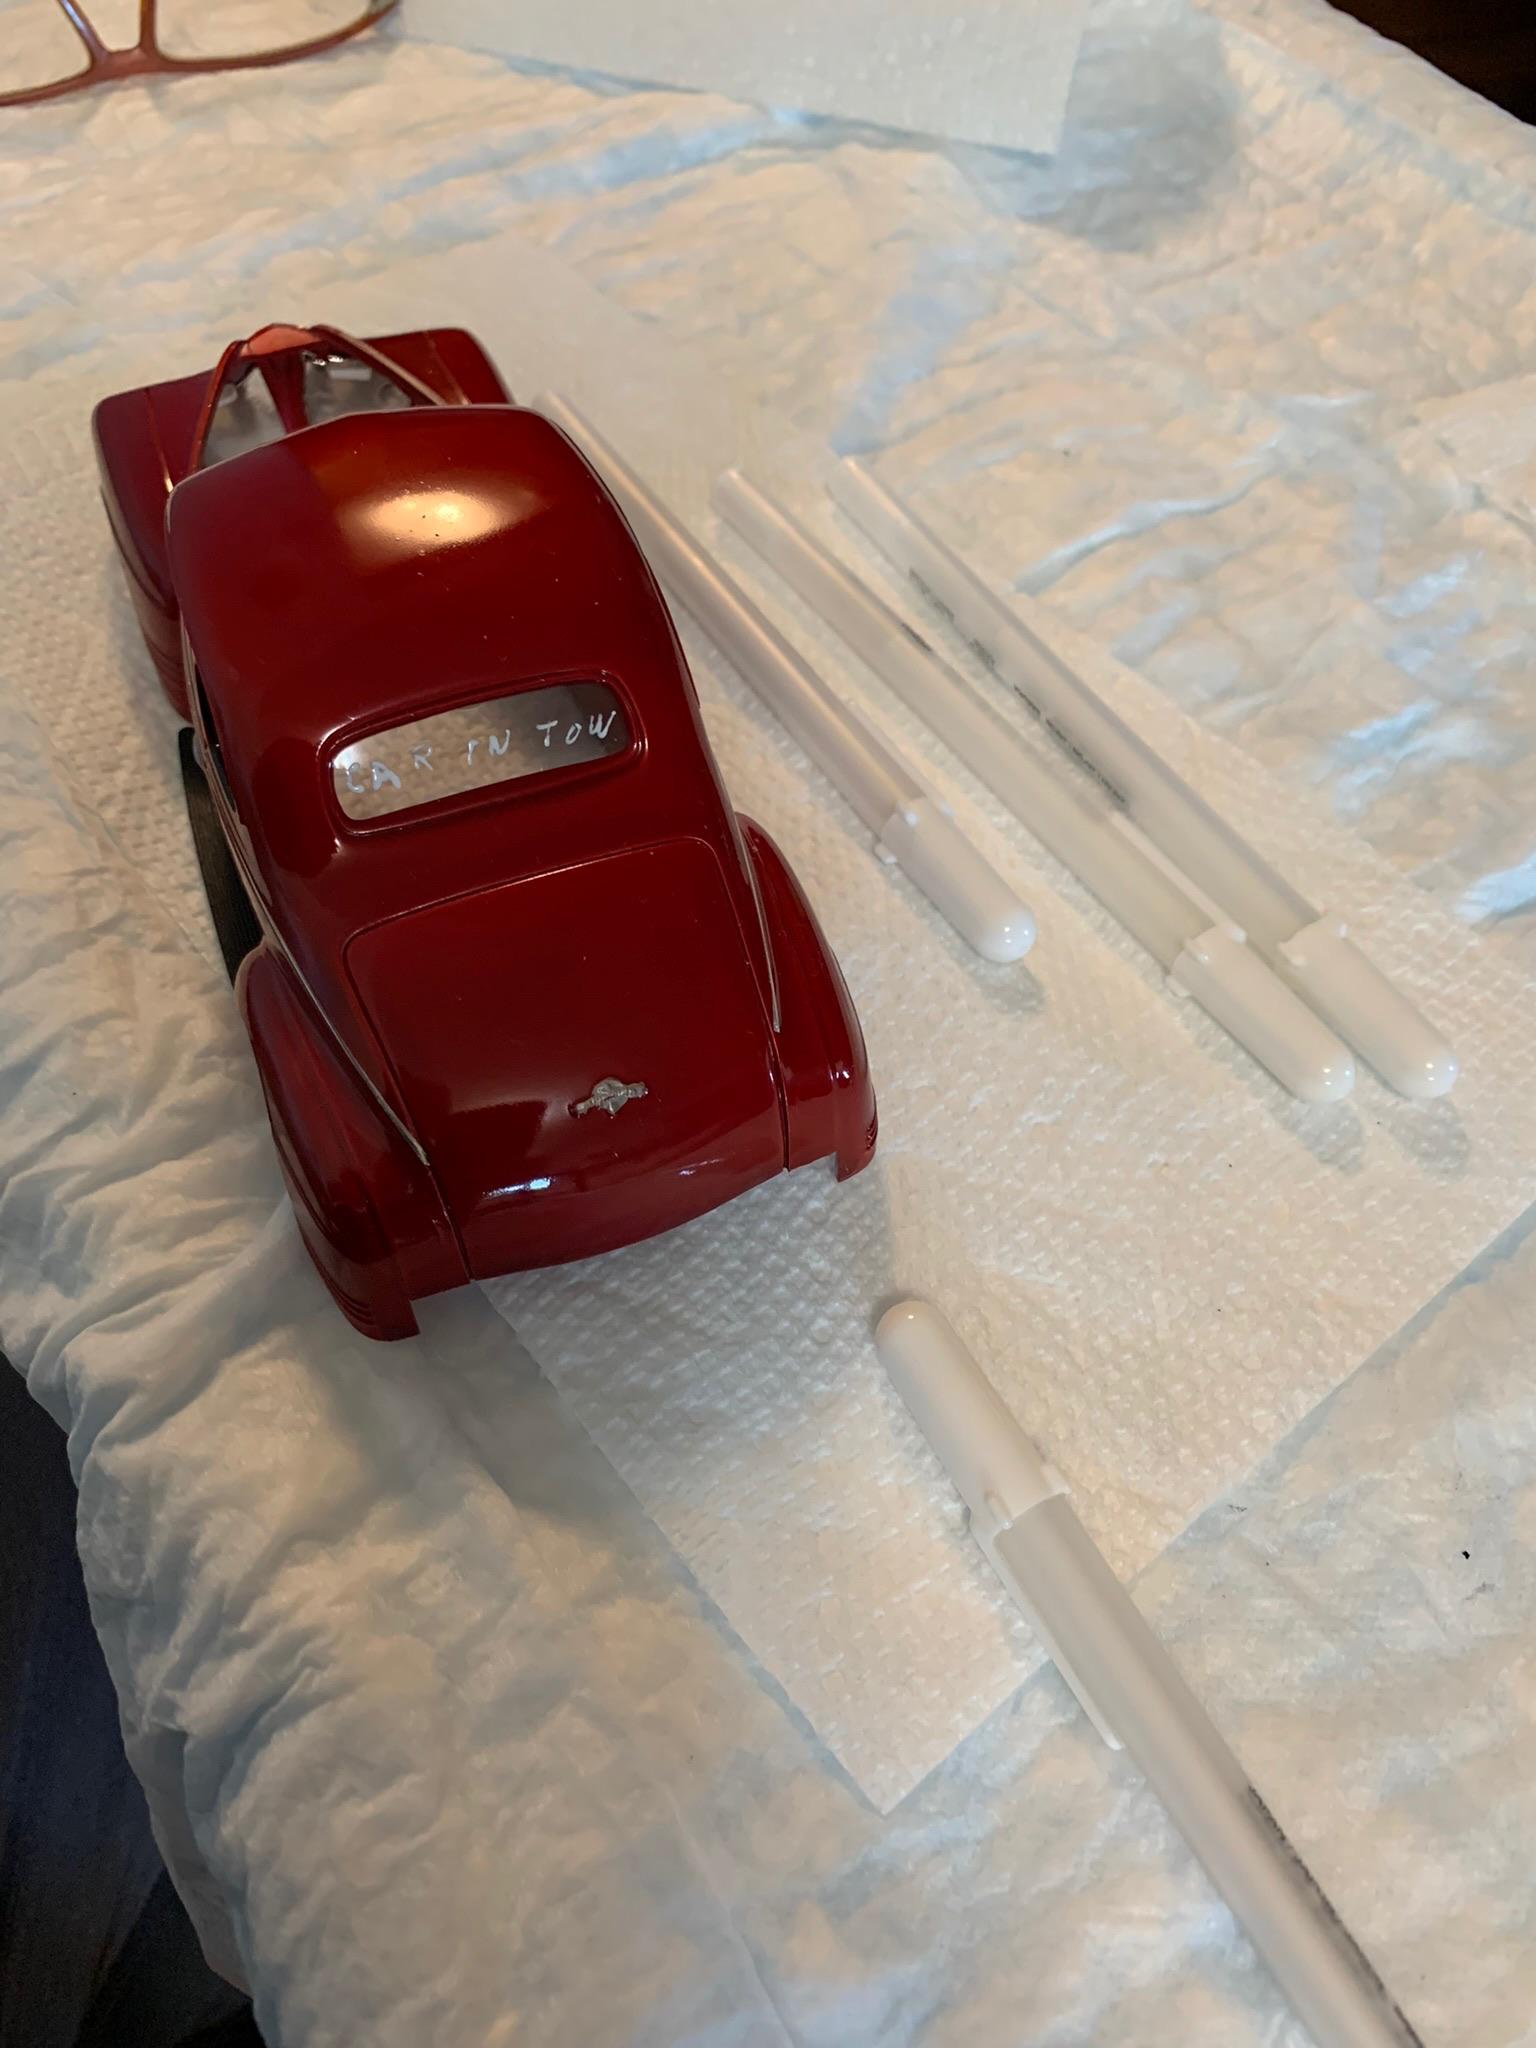
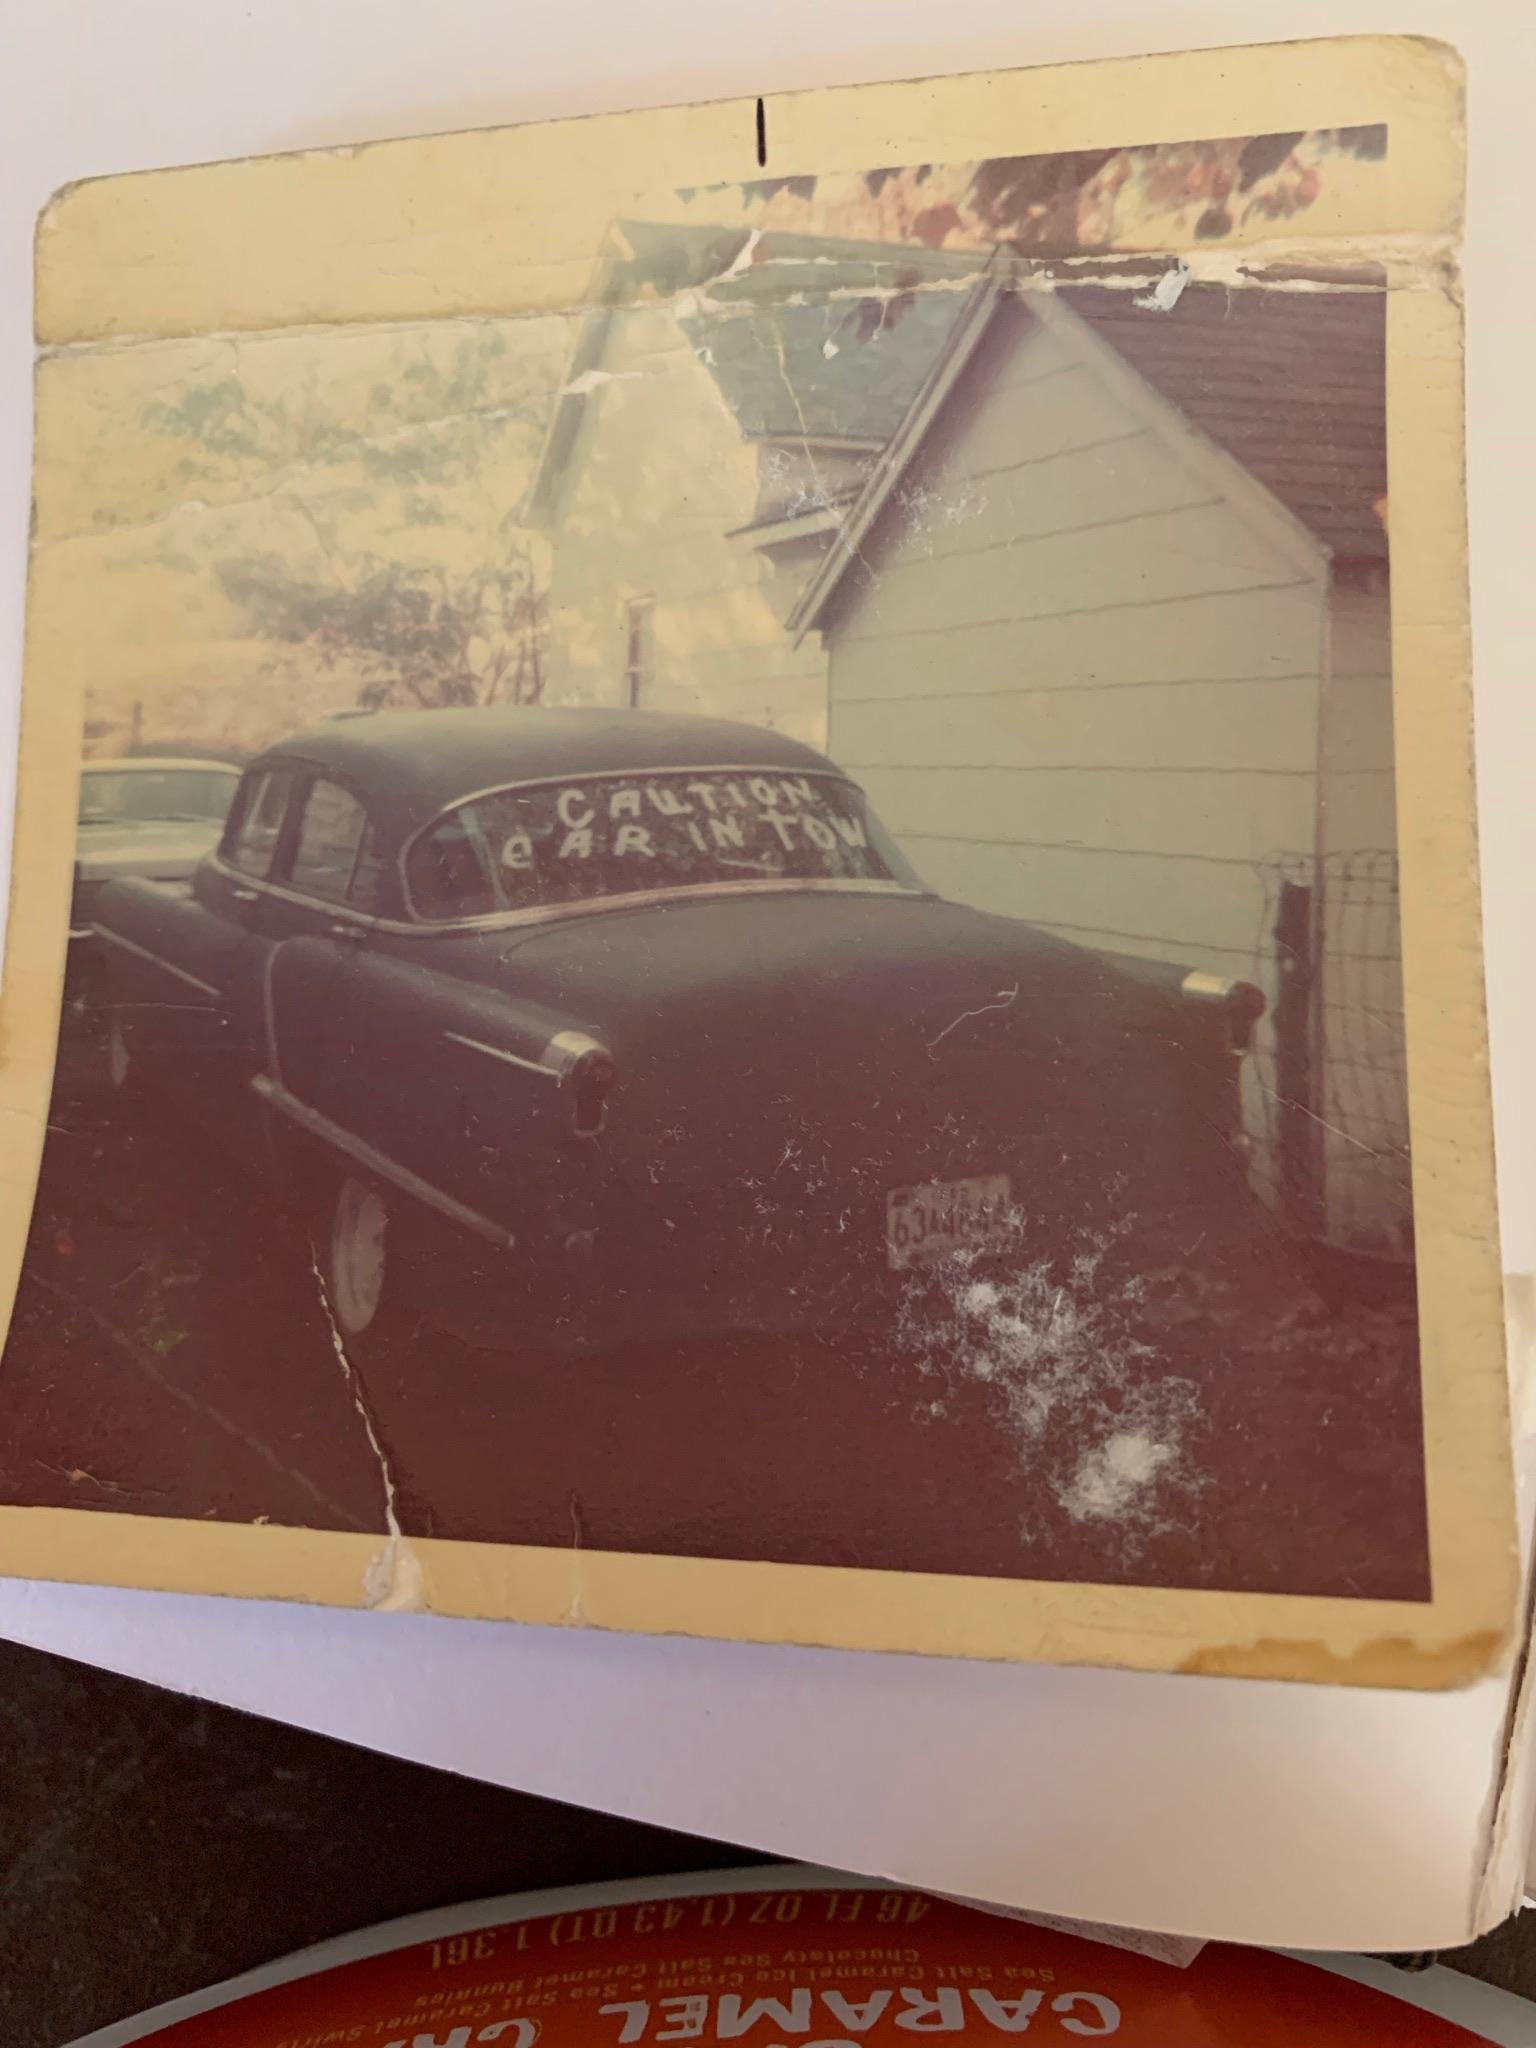
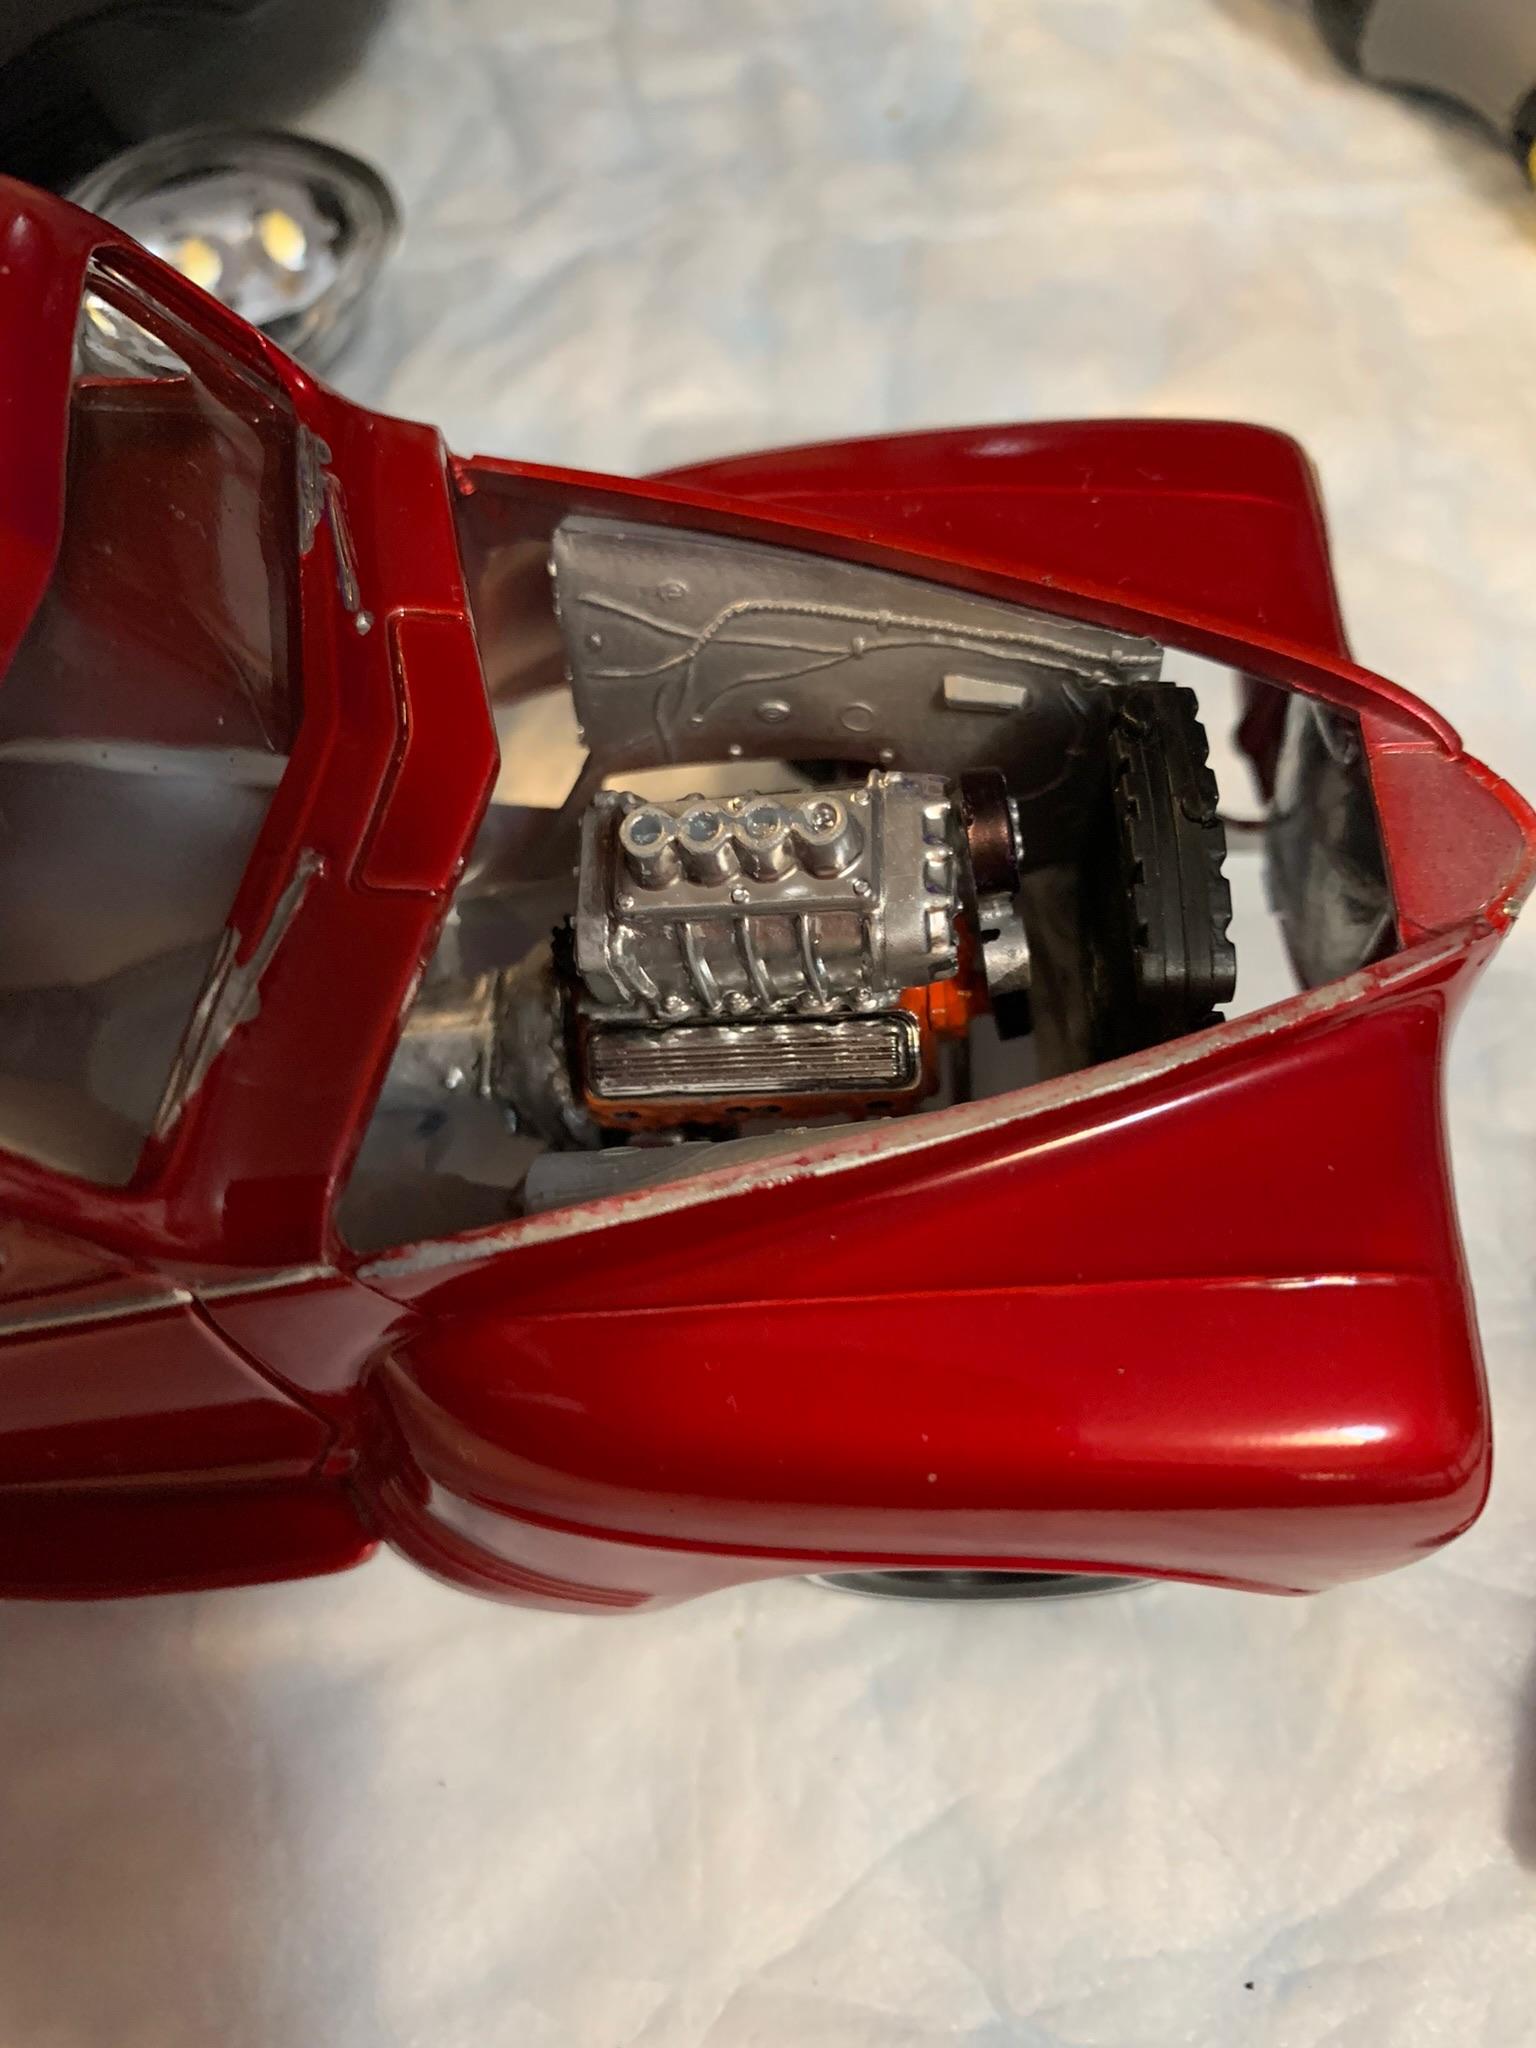
Engine is in, headers are on, Car In Tow on back window (as most cars back then were flat towed). As was my 1953 Olds stocker. Only 1 of my gelly roll pens worked. If I had a do over, I would have painted it on with white paint. Getting closer to the finish line.
-
Thanks, guys. Some accomplished today. Will post tomorrow.
-
What brand of wheels?
R. Thorne replied to R. Thorne's topic in Model Building Questions and Answers
Sure looks like them. Thank you. Much appreciated. -
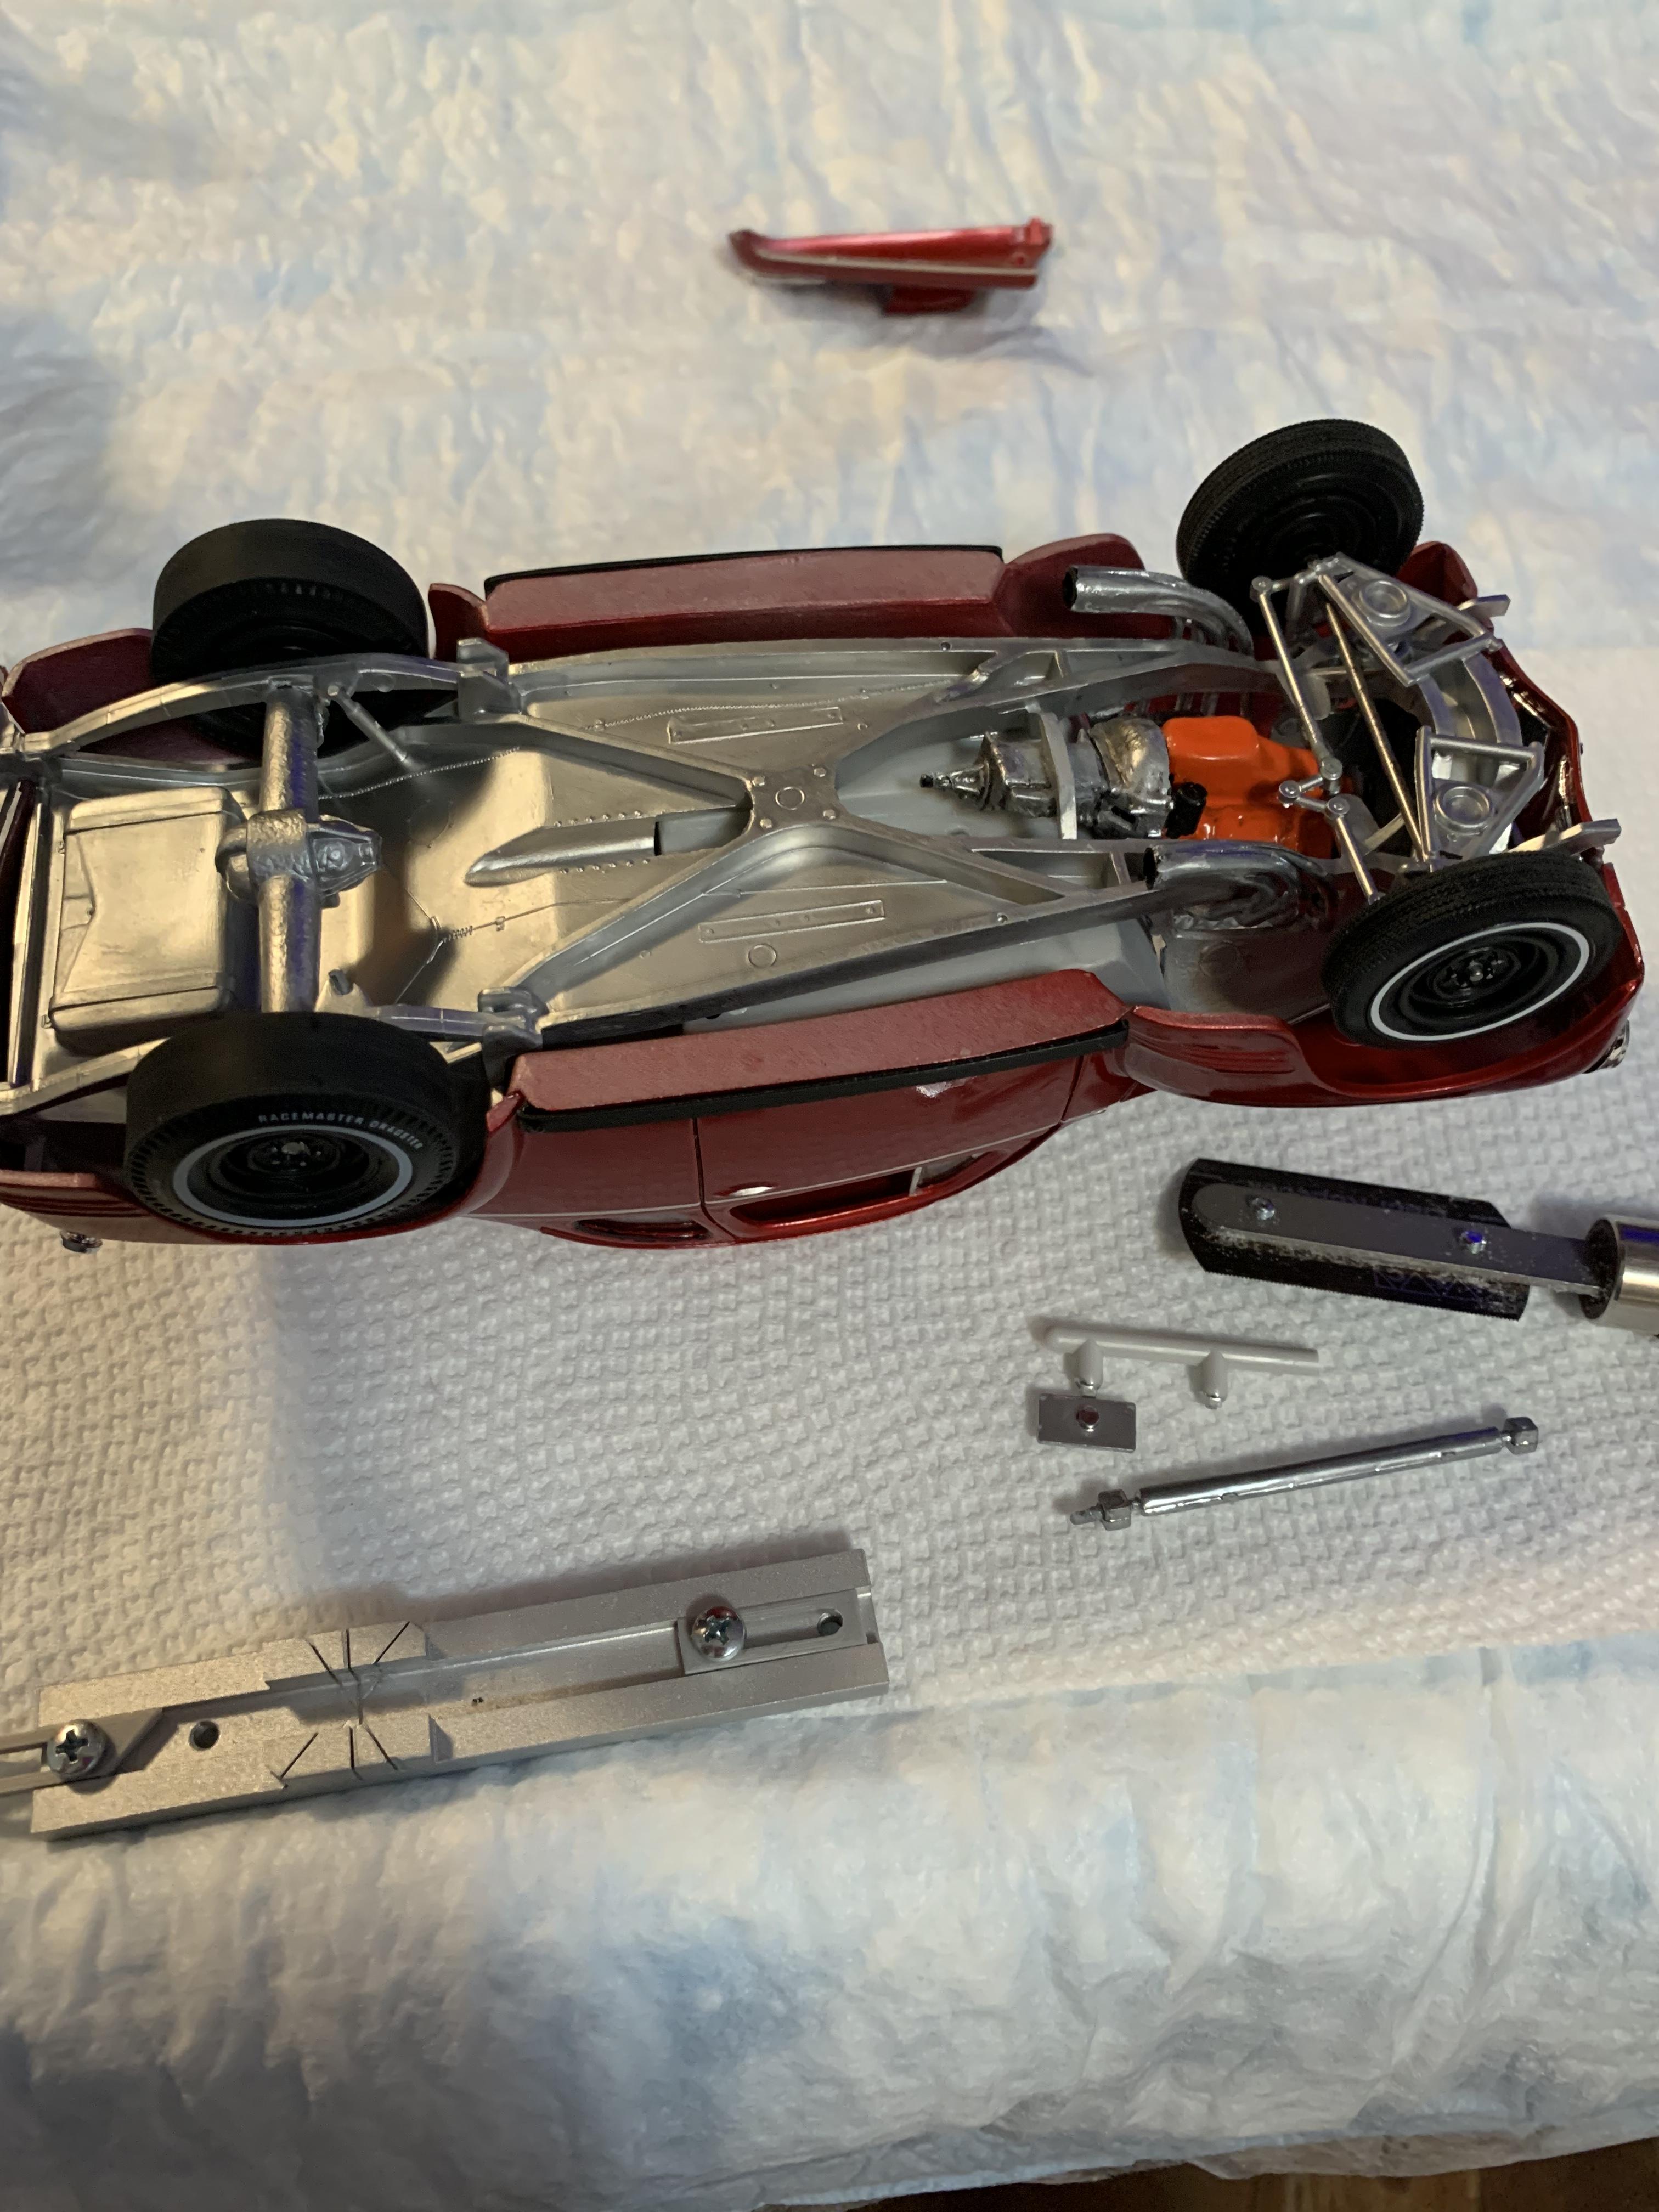
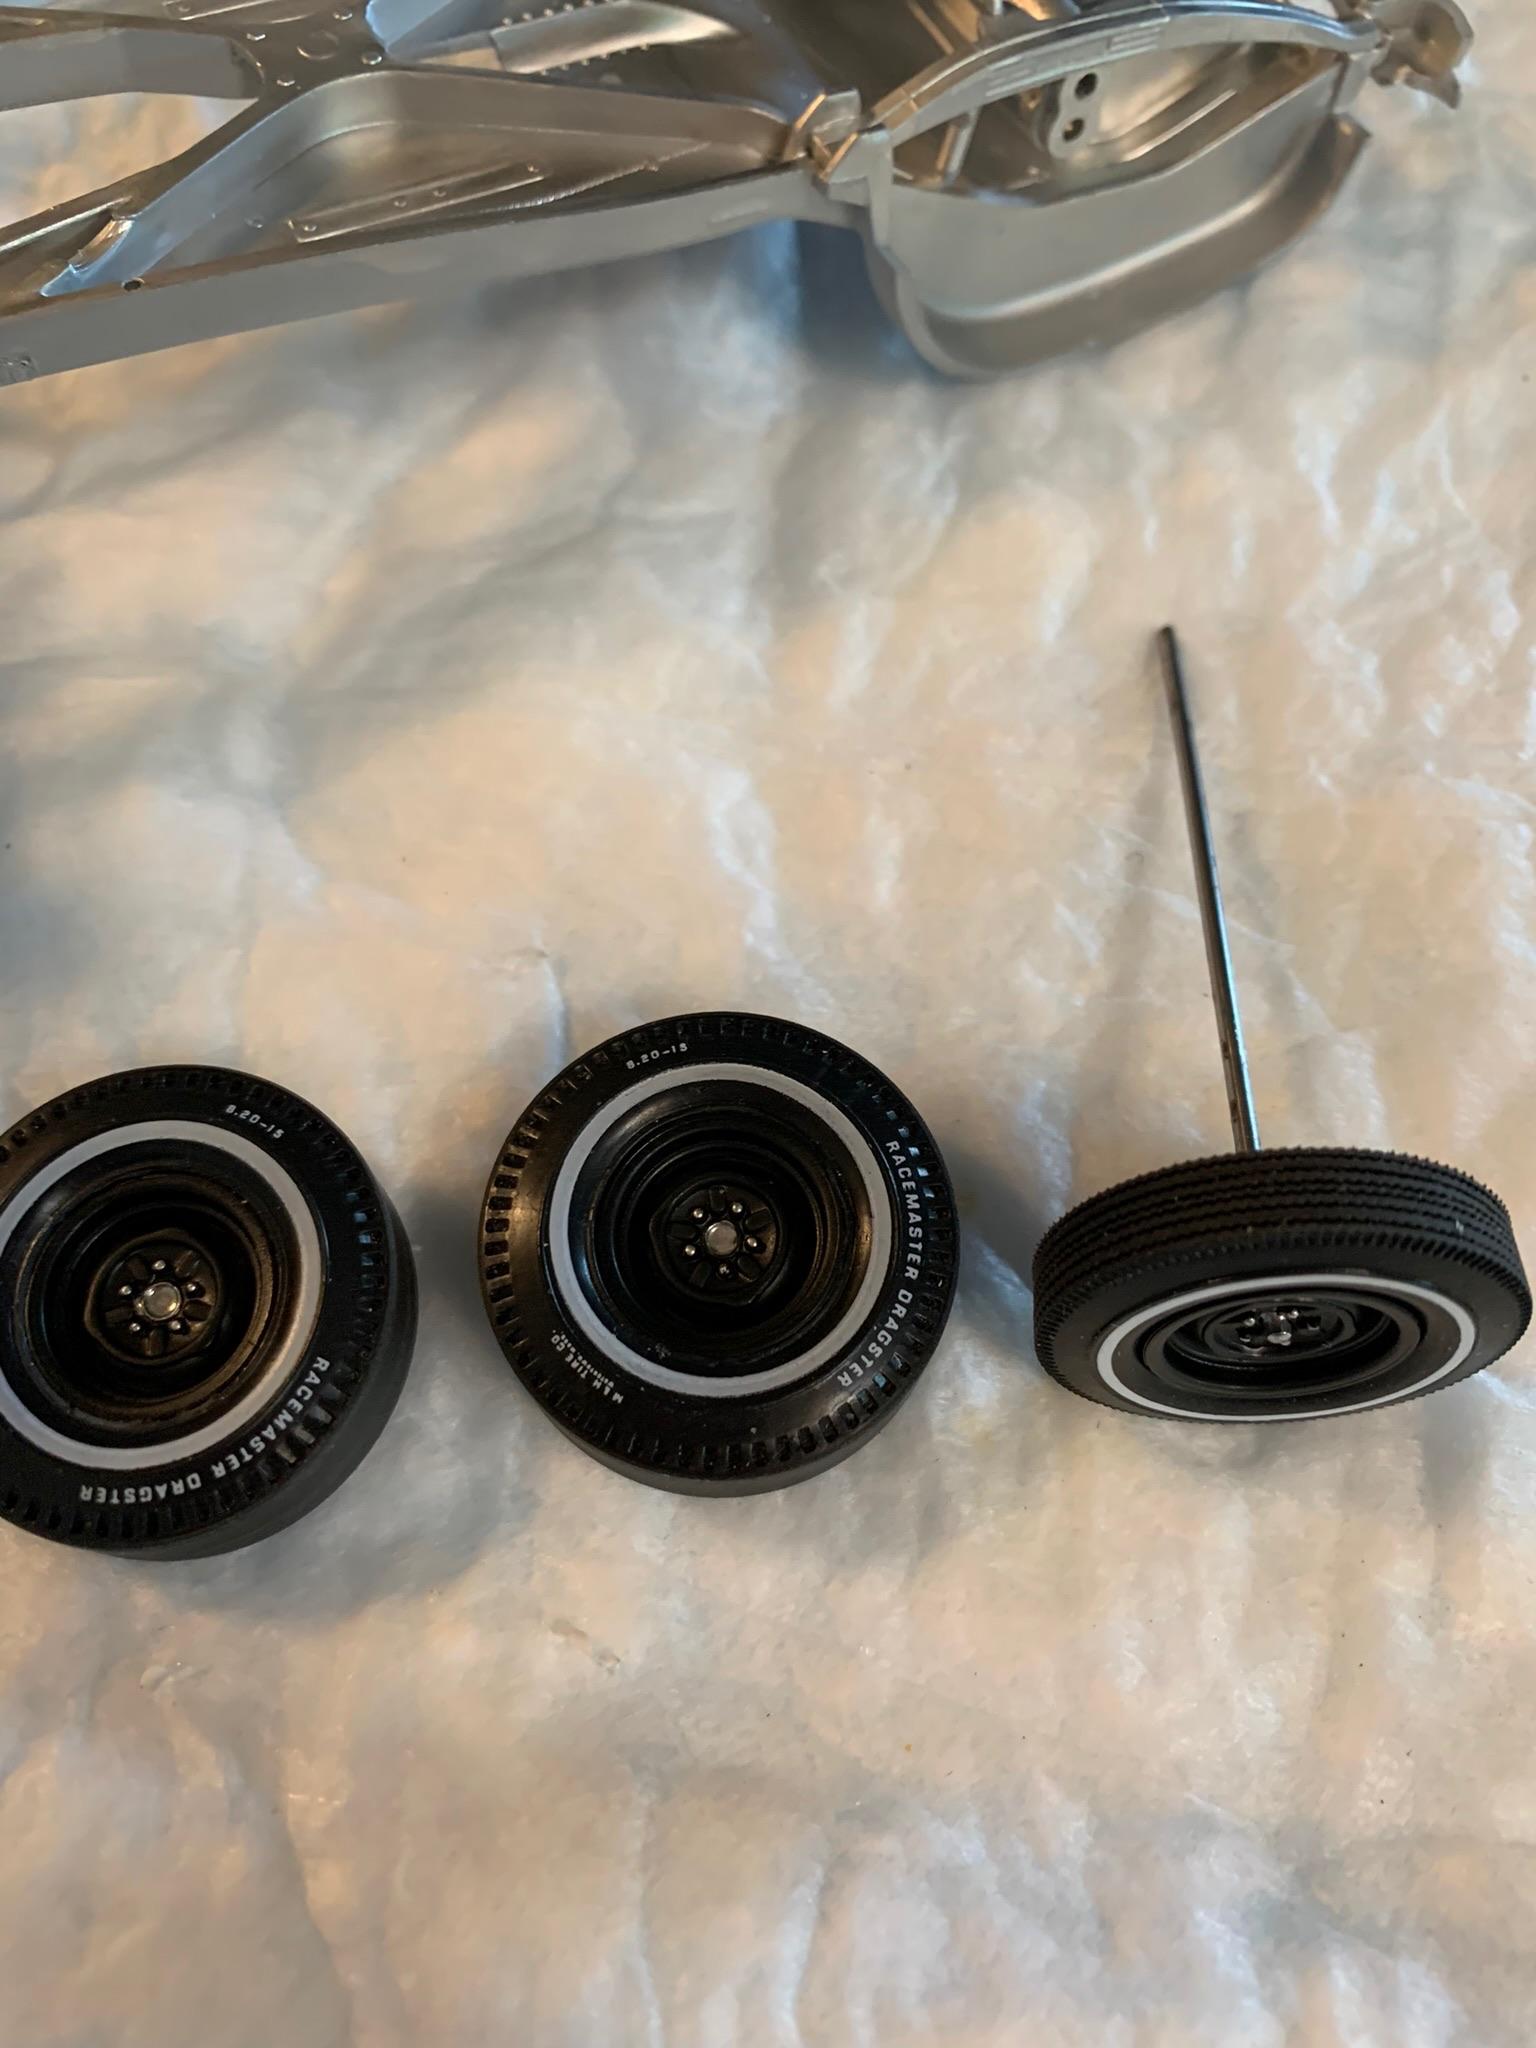
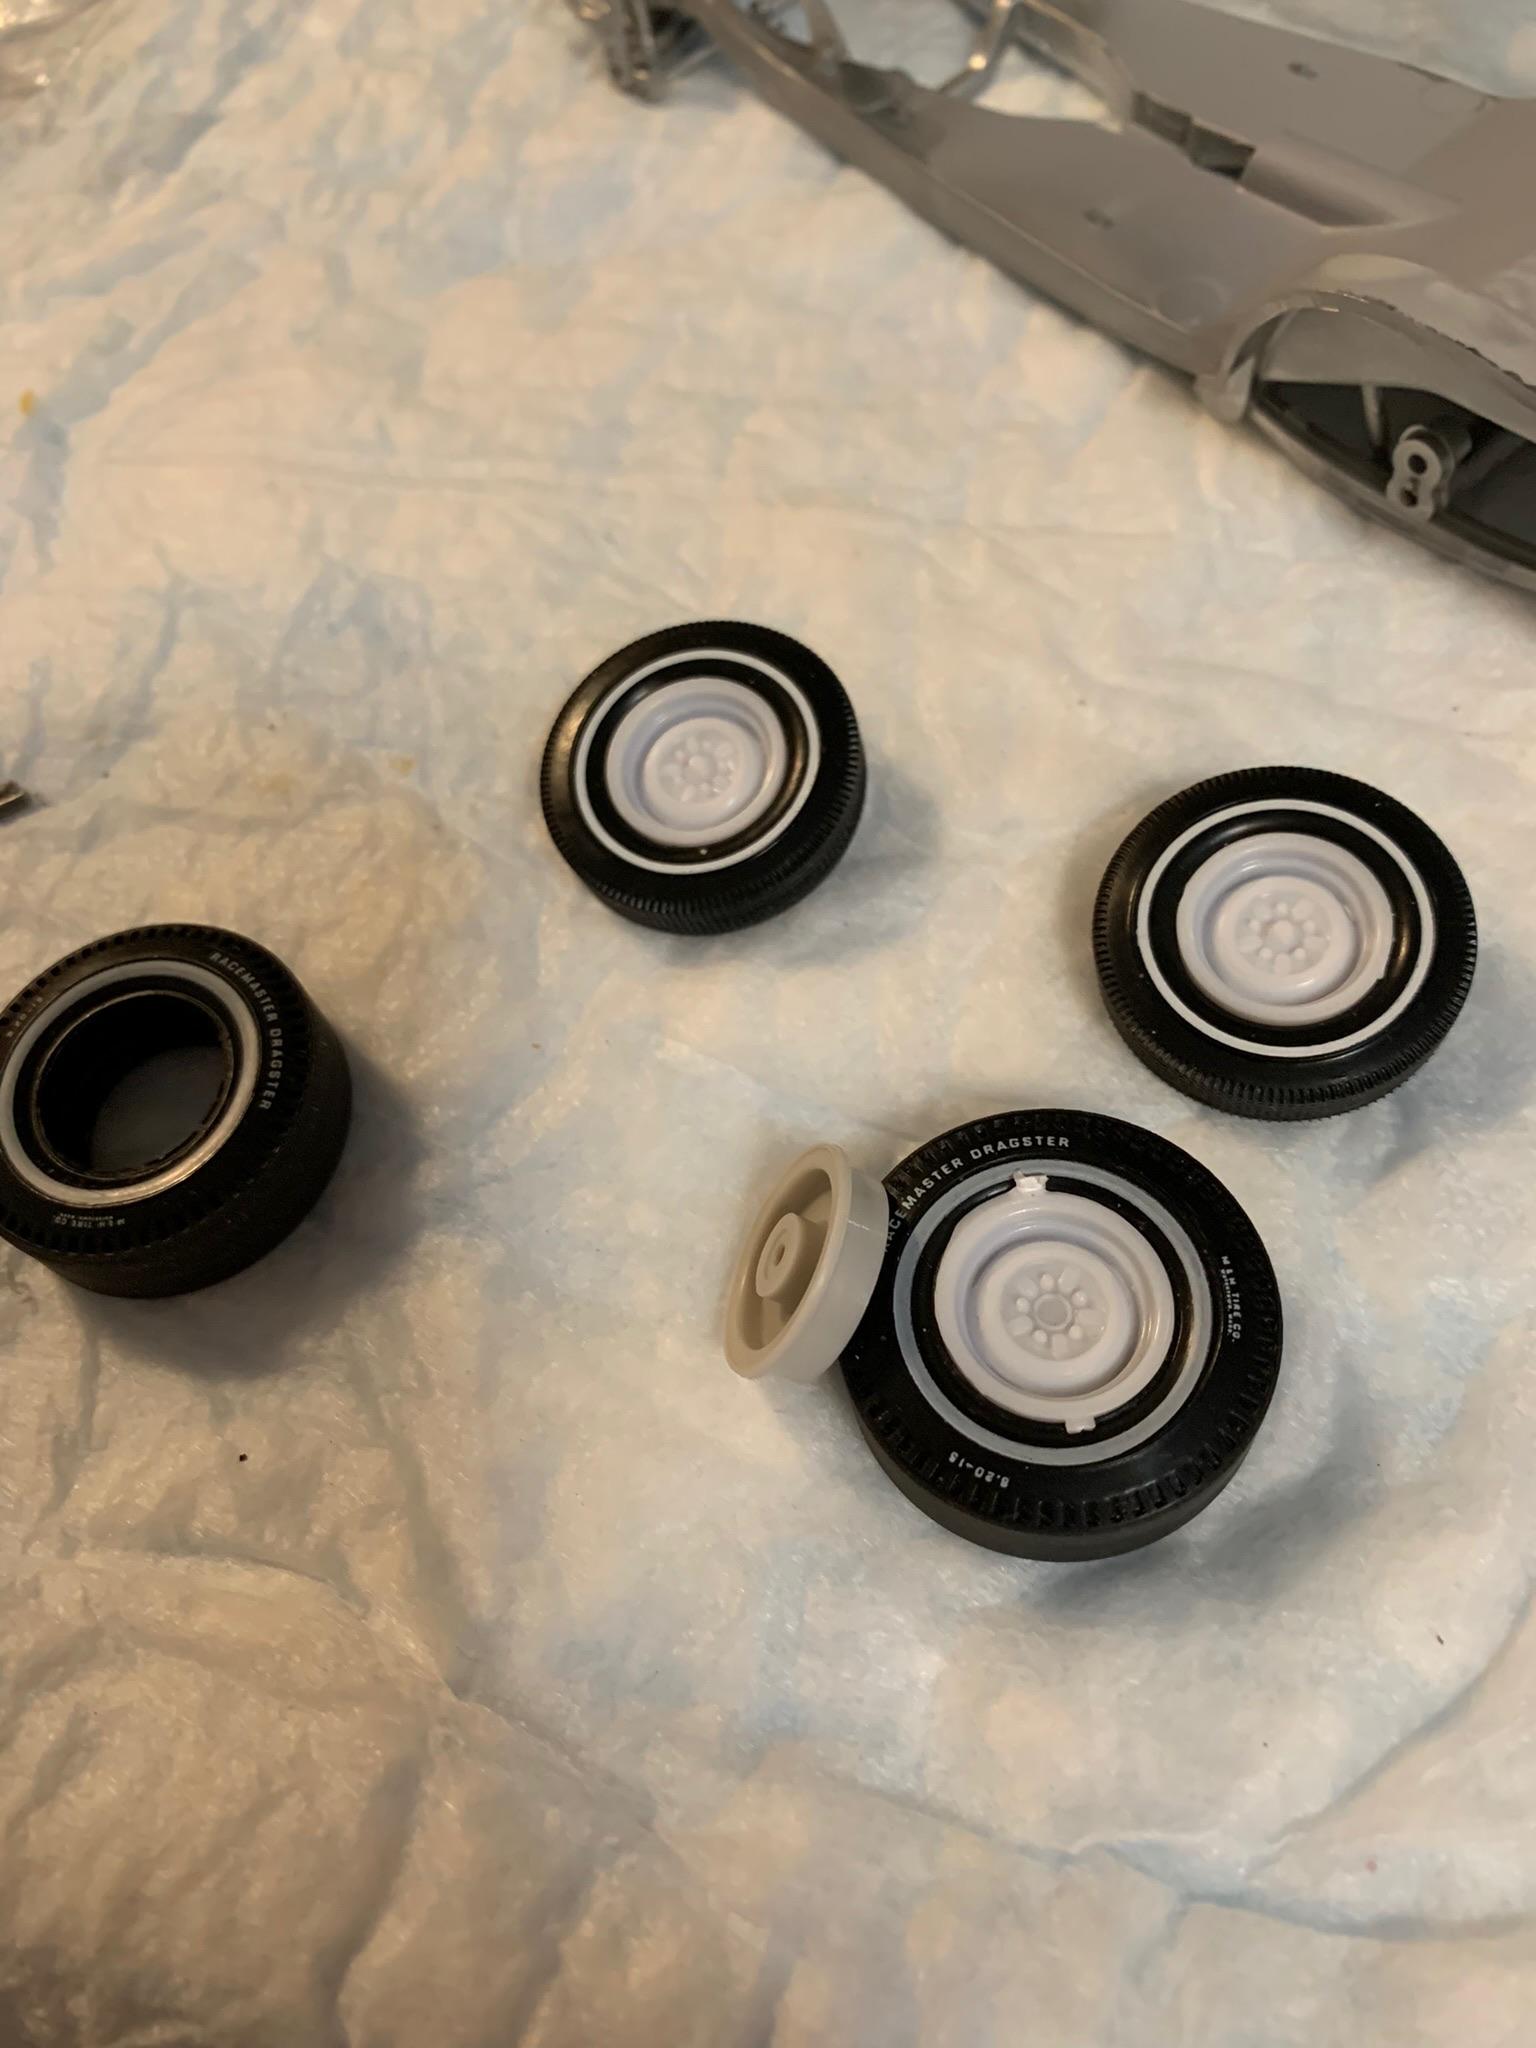
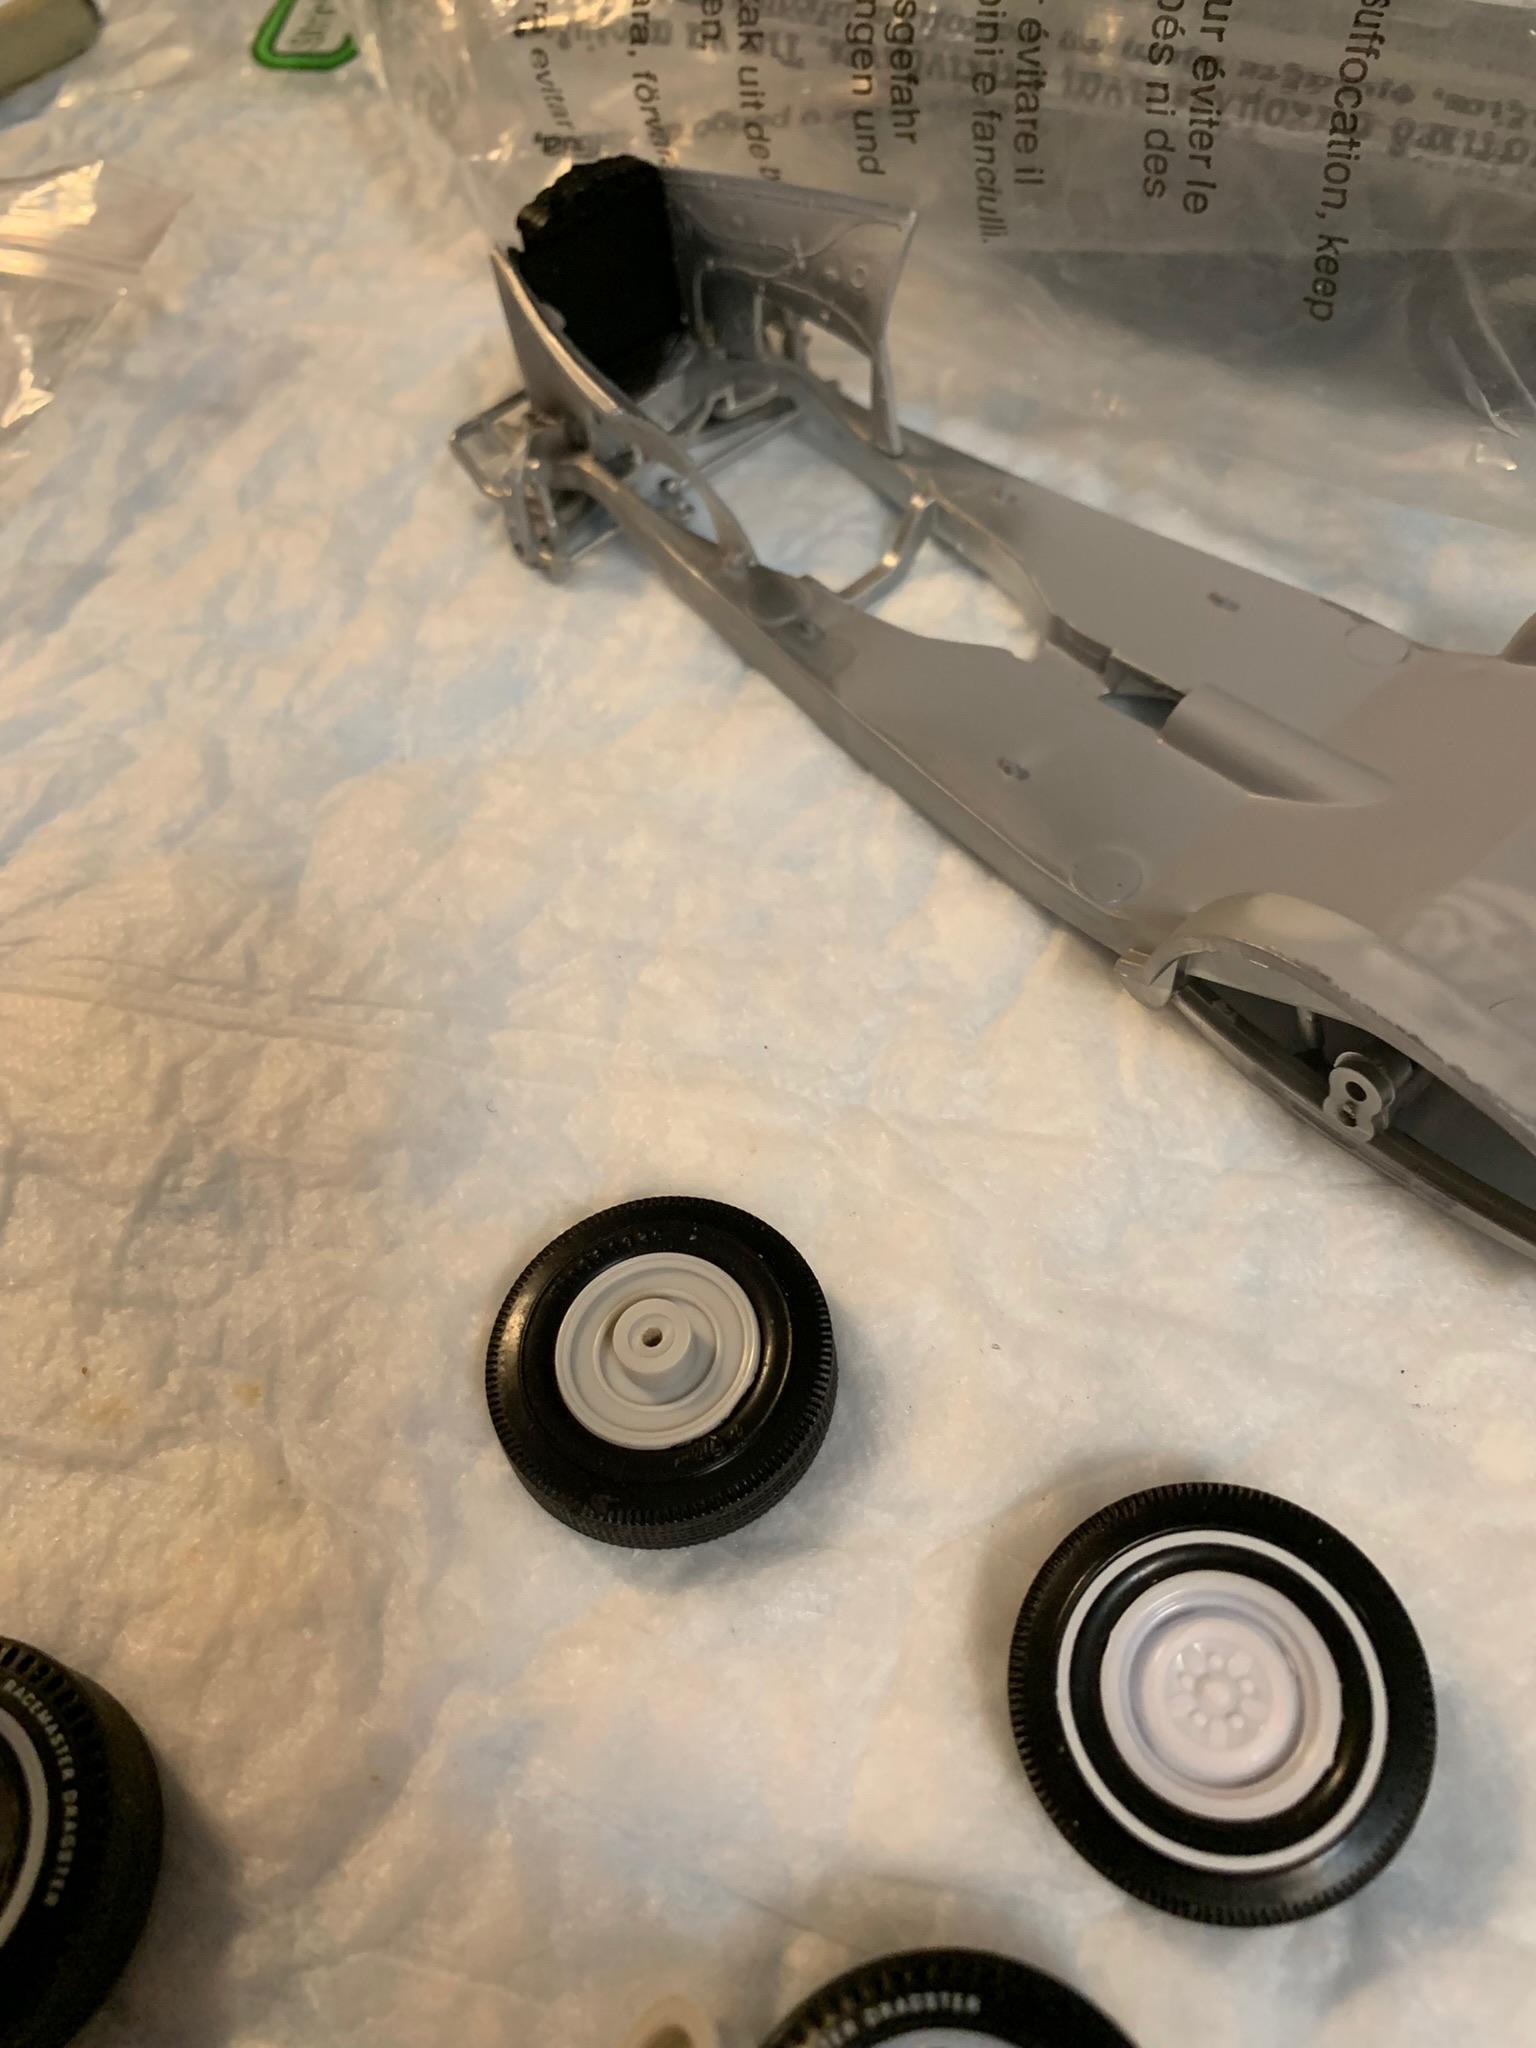
A trial fit and some reaming of the wheel backing plates.
-
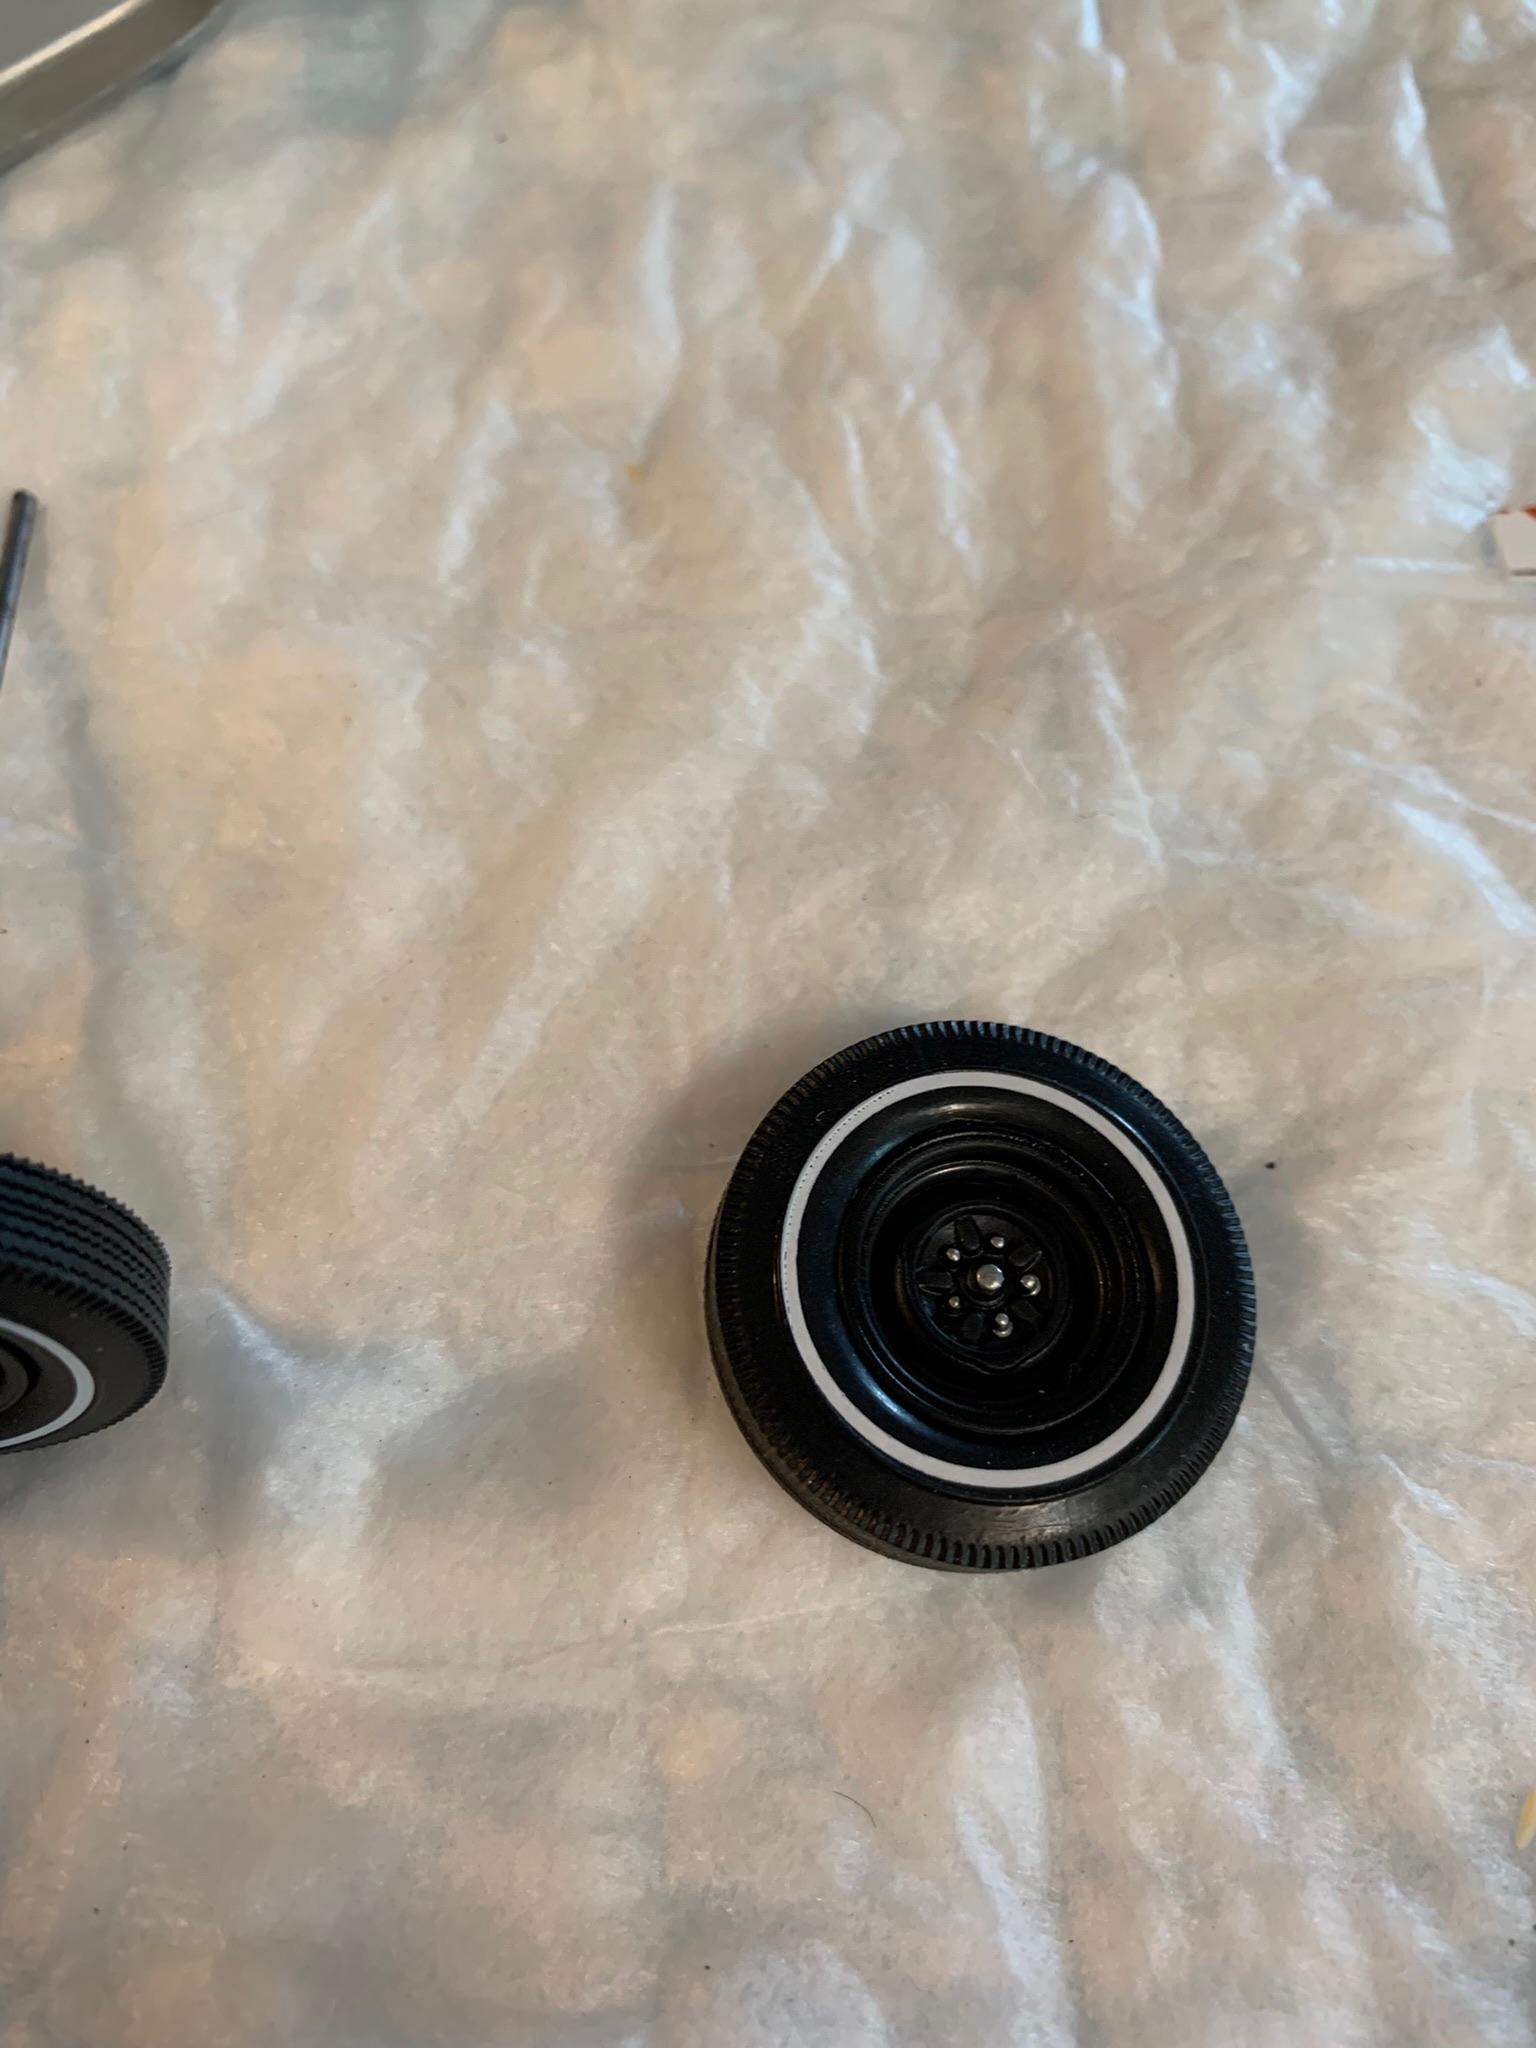
After some paint, some .030” shims for the rear wheels, a tooth pick and GreenStuffWorld chrome for the lug nuts and center of the wheels.
-
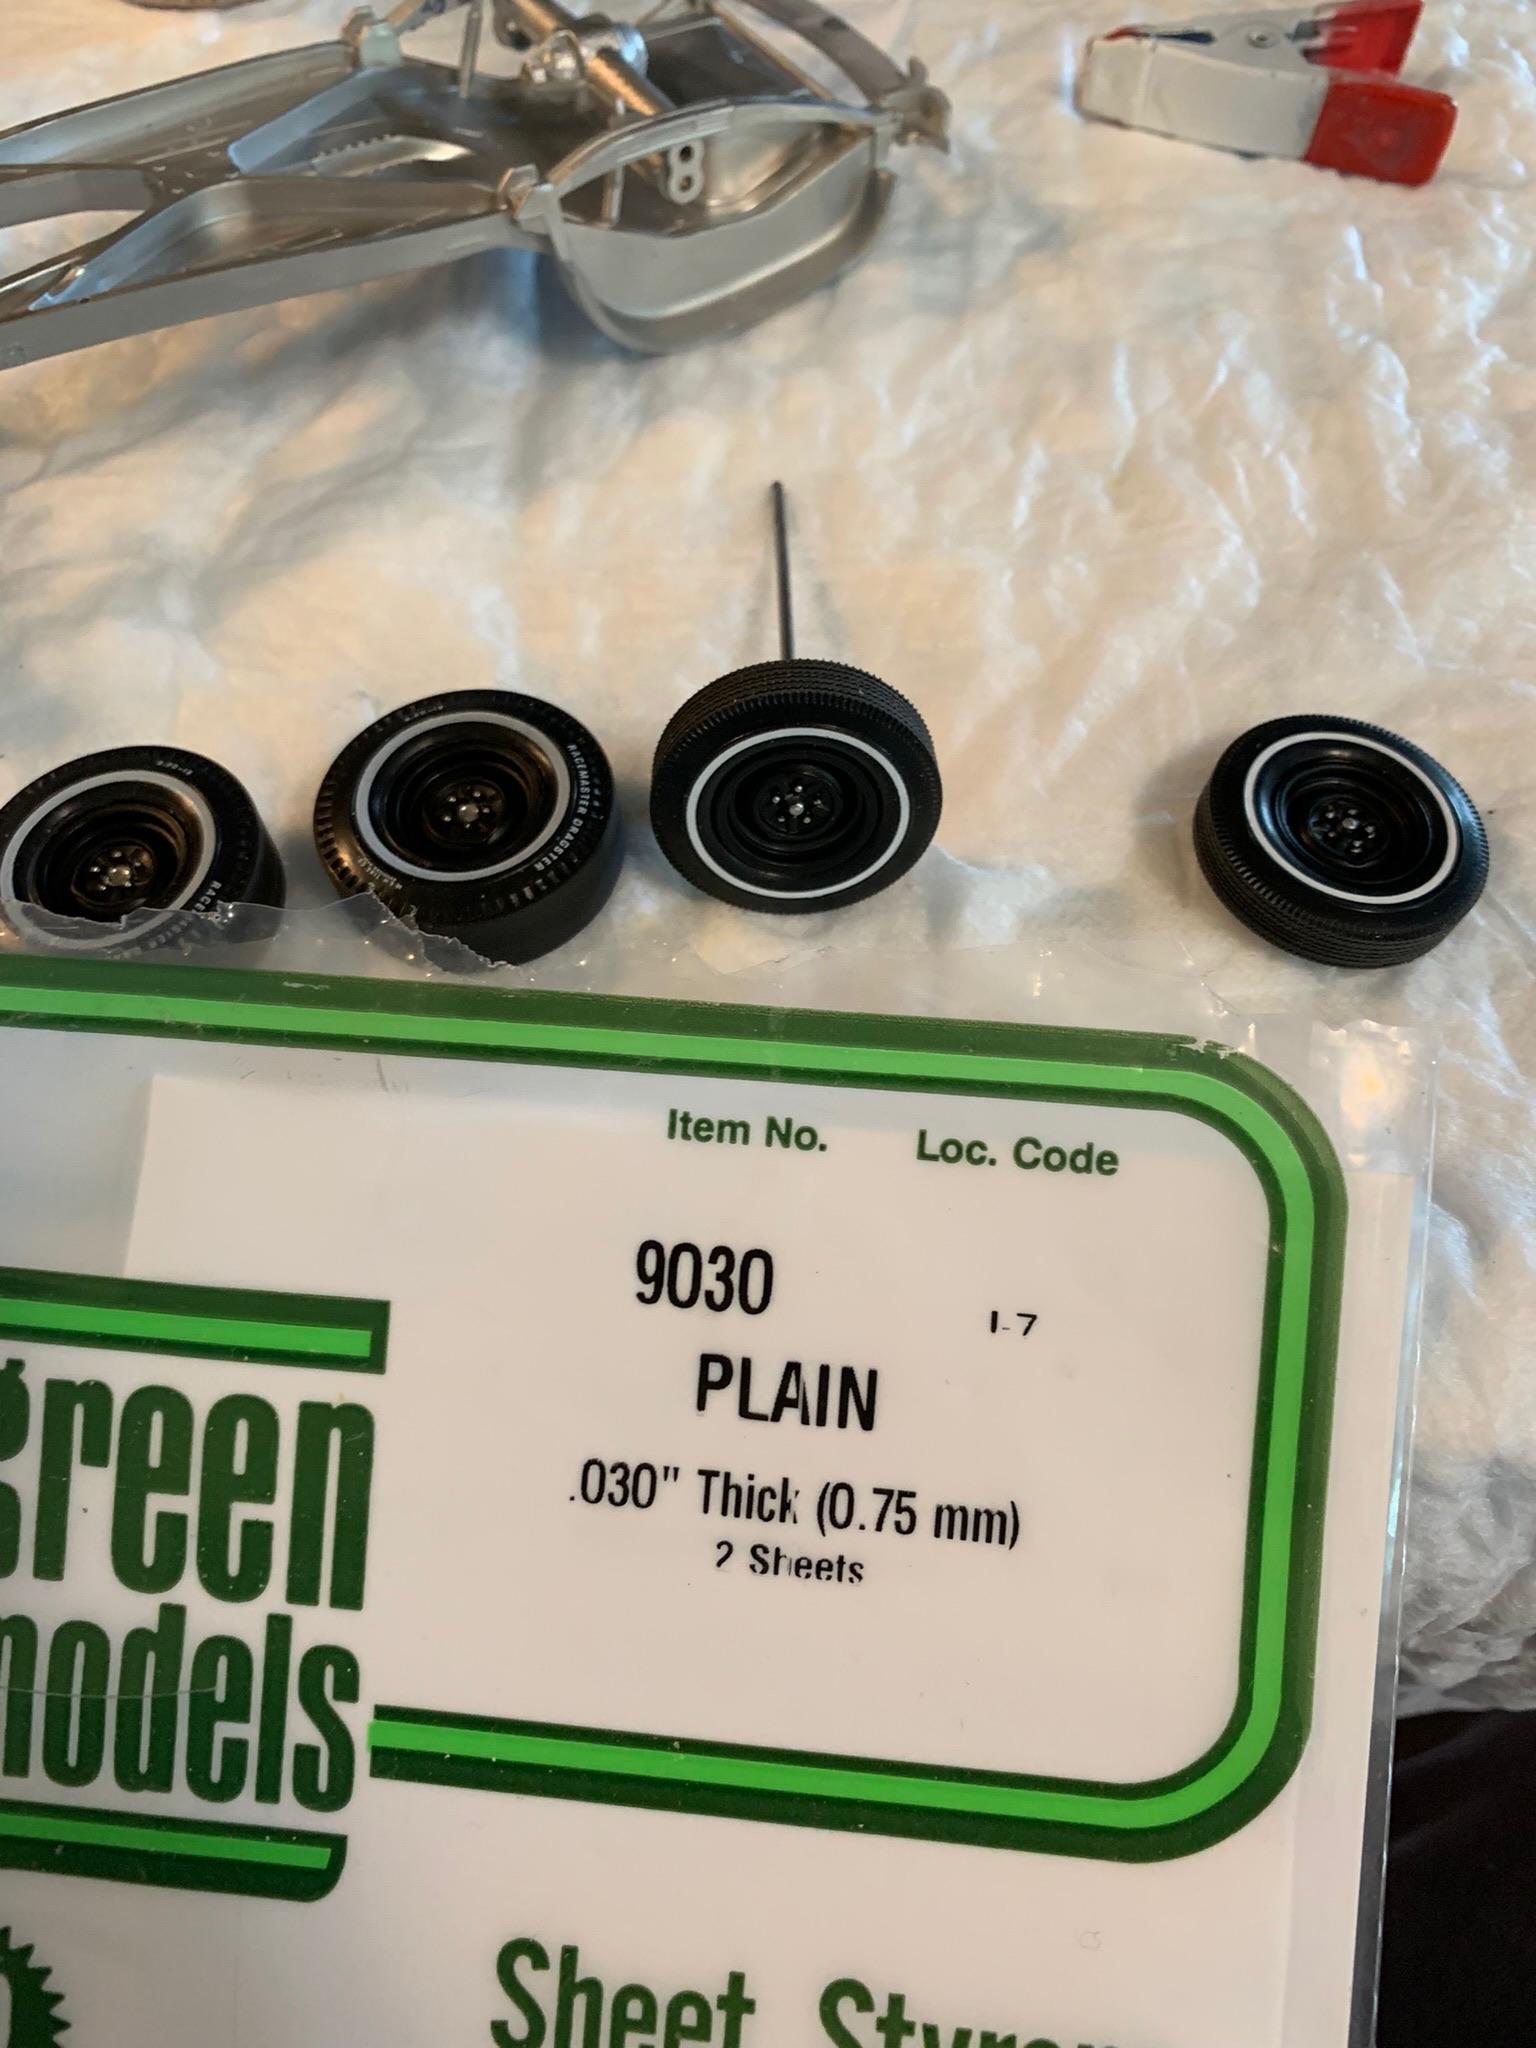
Anybody know what brand and style these wheels are? Also, what model kit or aftermarket availability in 1/25 scale, of course?
-
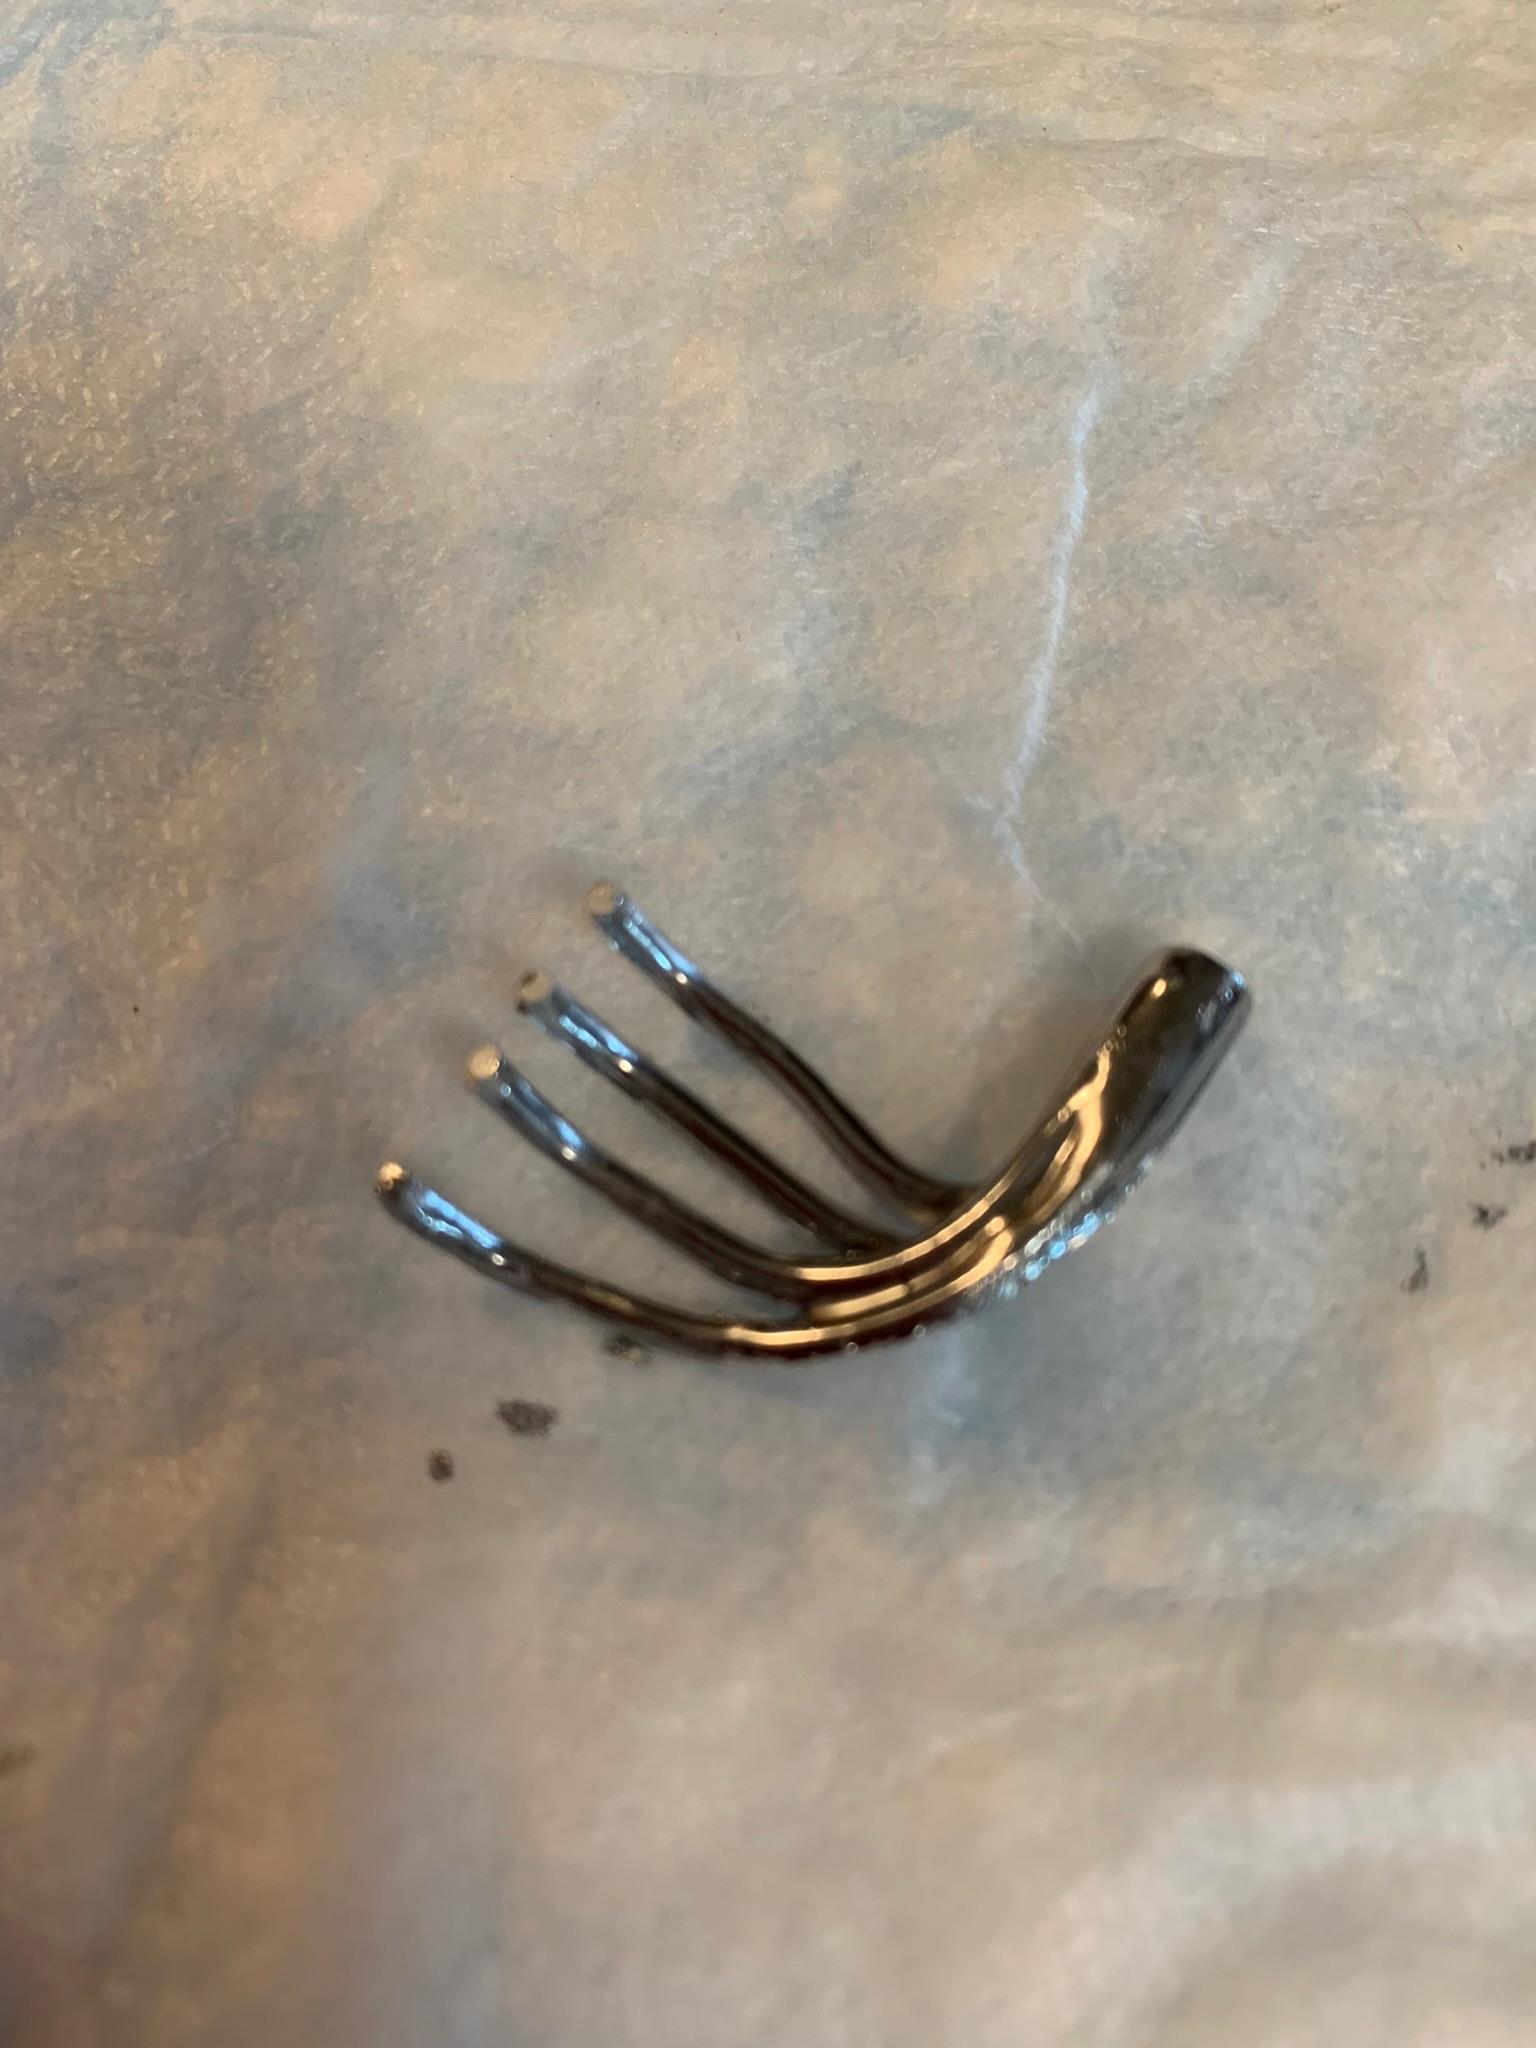
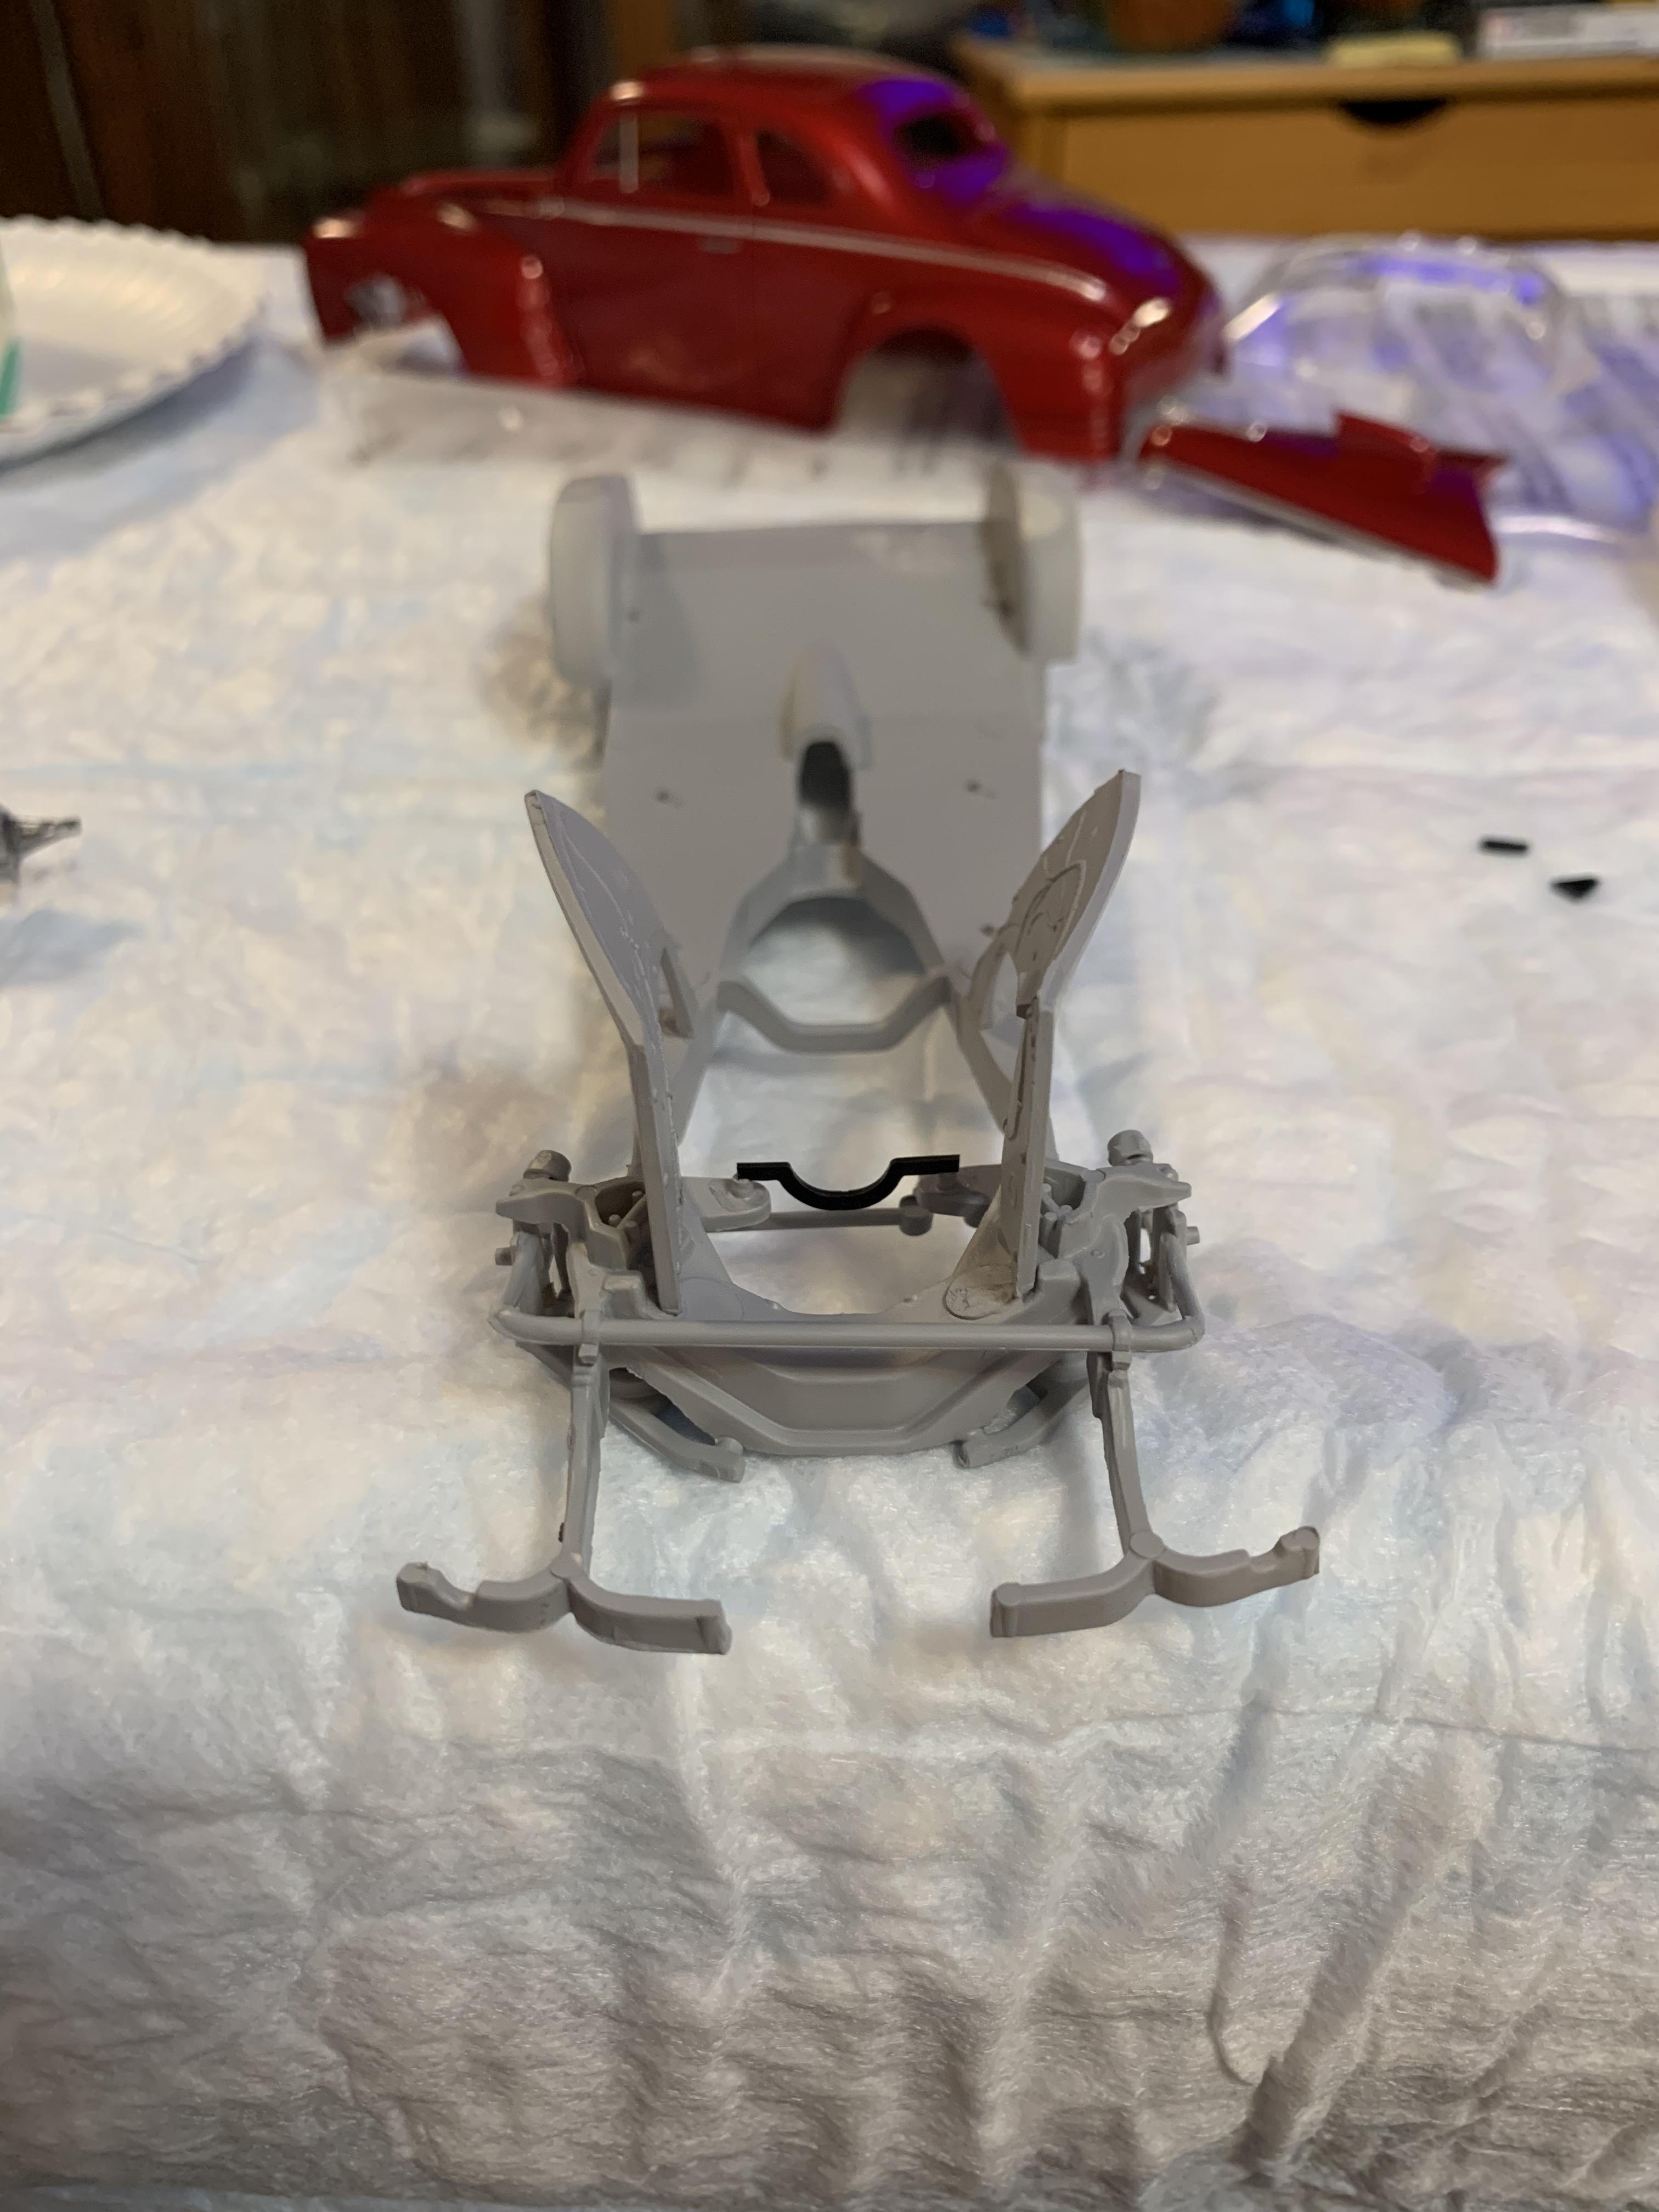
Bent up a roll bar out of 2mm tubing. After some consideration, decided to go “bucks down” on the wheels. Scrounged up some steel wheels and backs to go with the whitewall slicks and front tires. Will paint them semi gloss black.
-
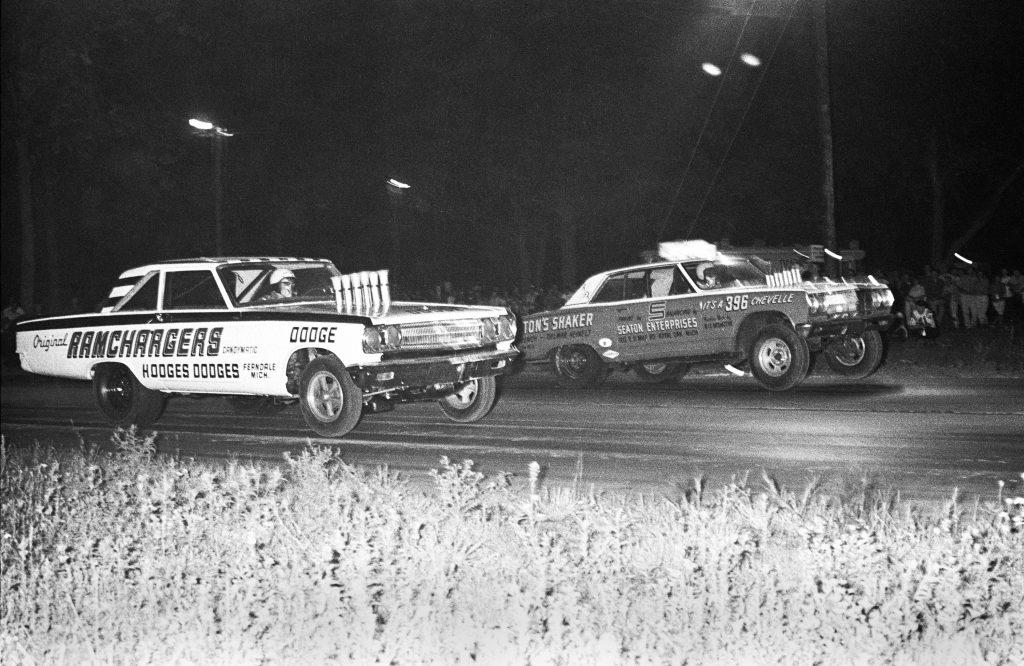
Again, great job and persistence. Thought you might like some motivation. From the Blast from the Past drag racing group.
-
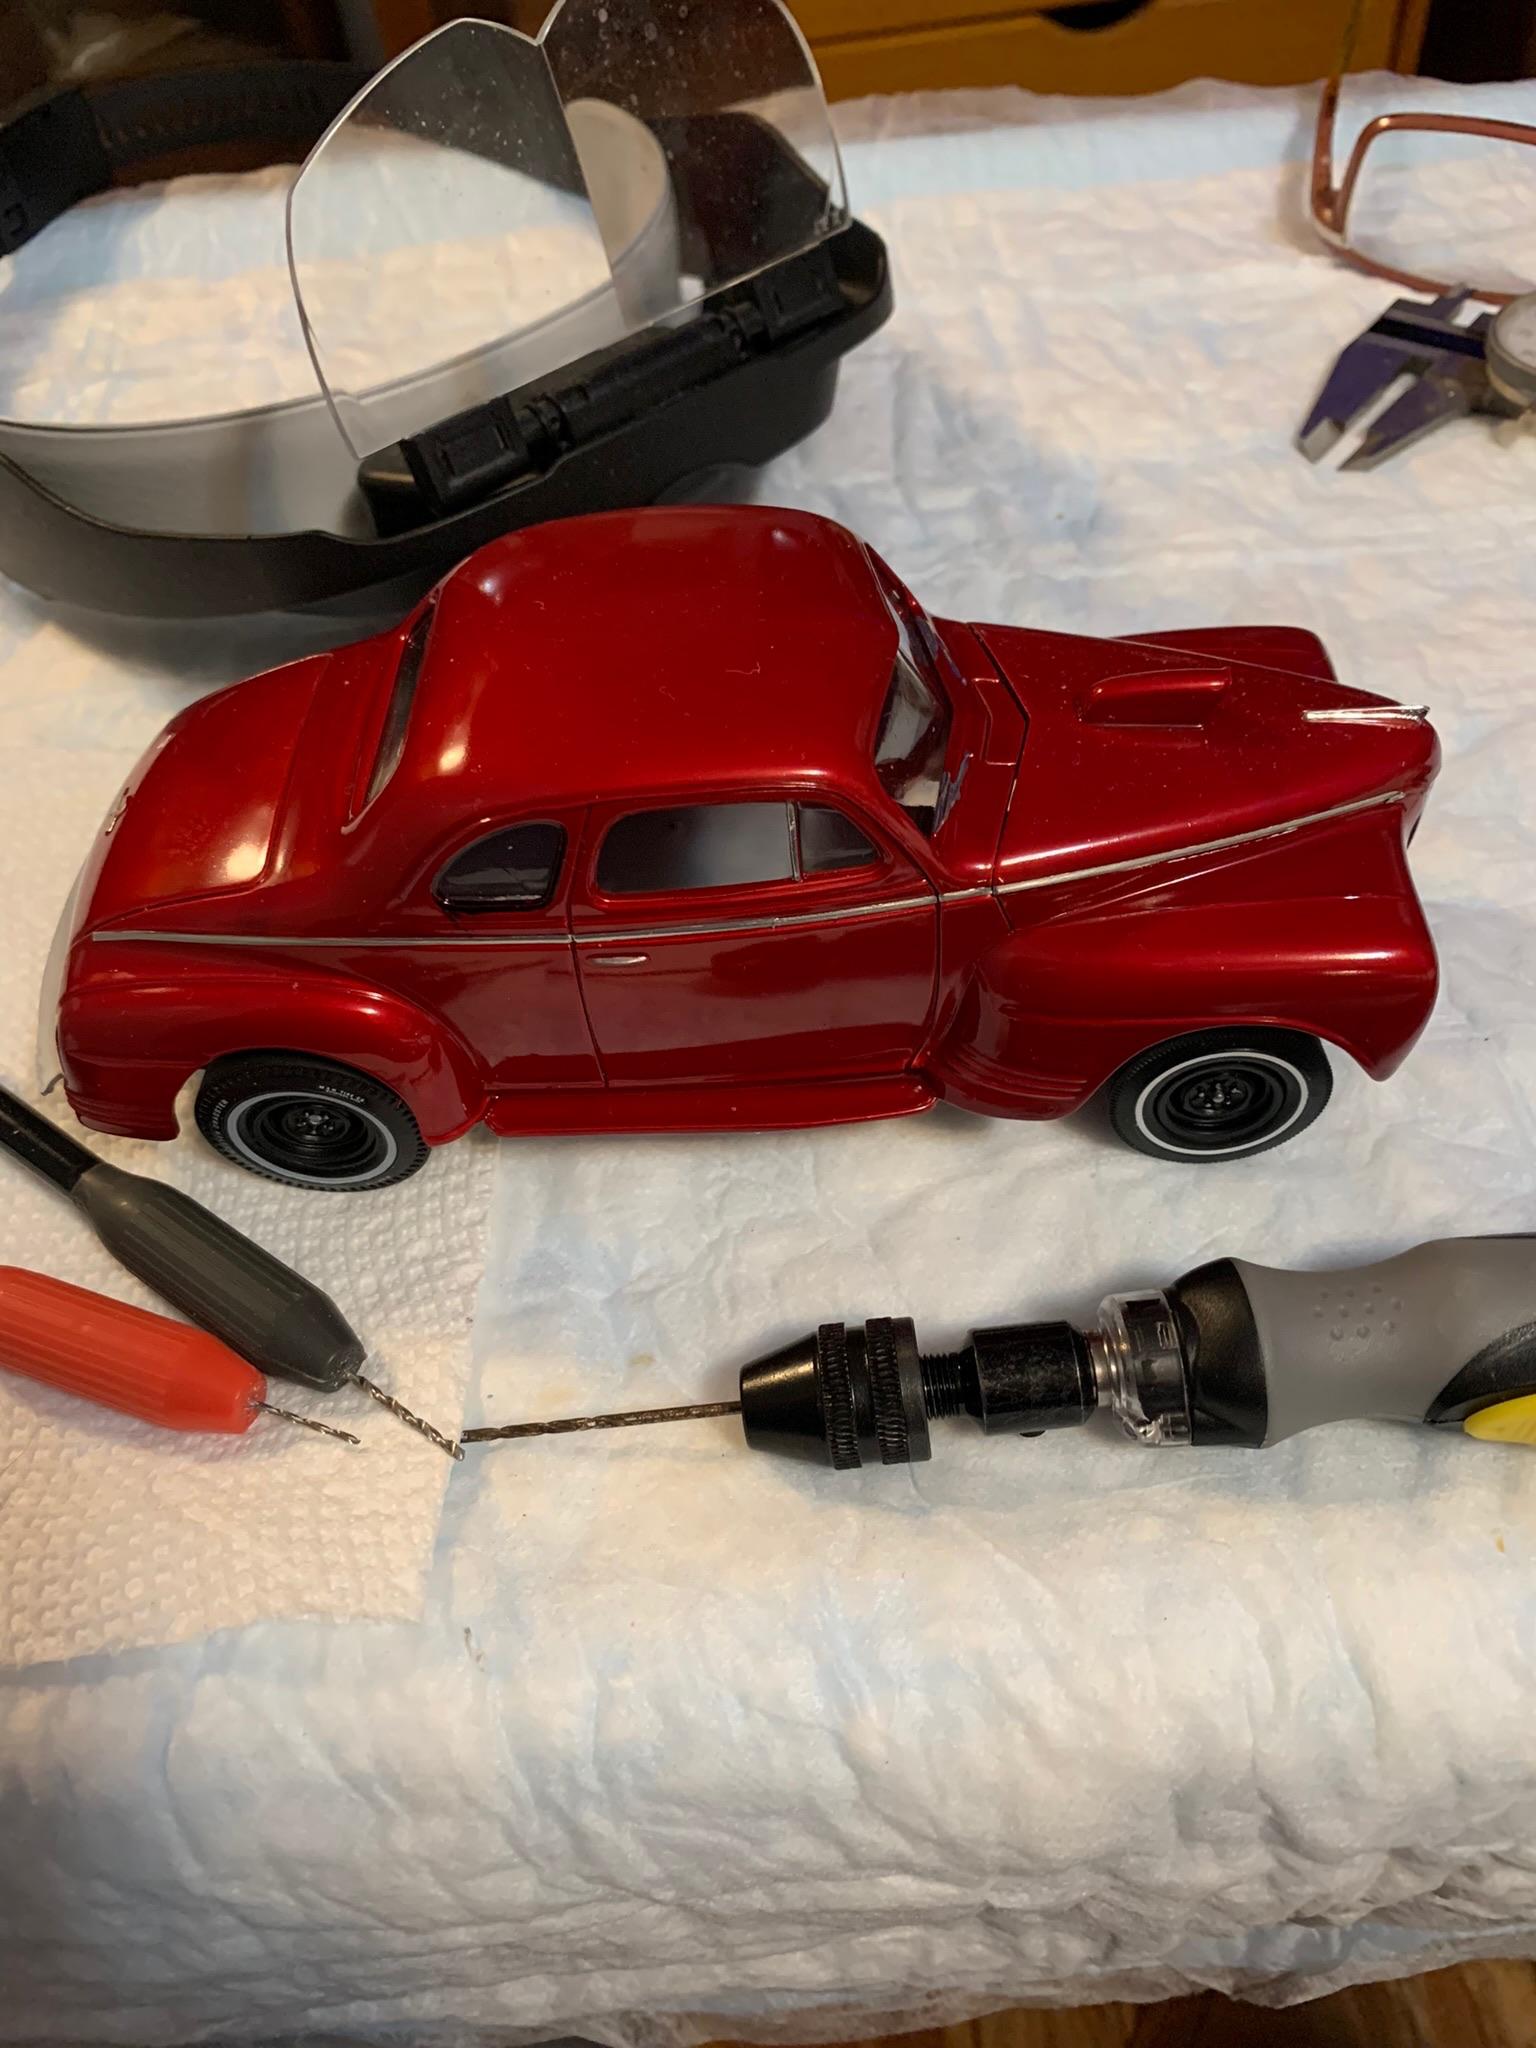
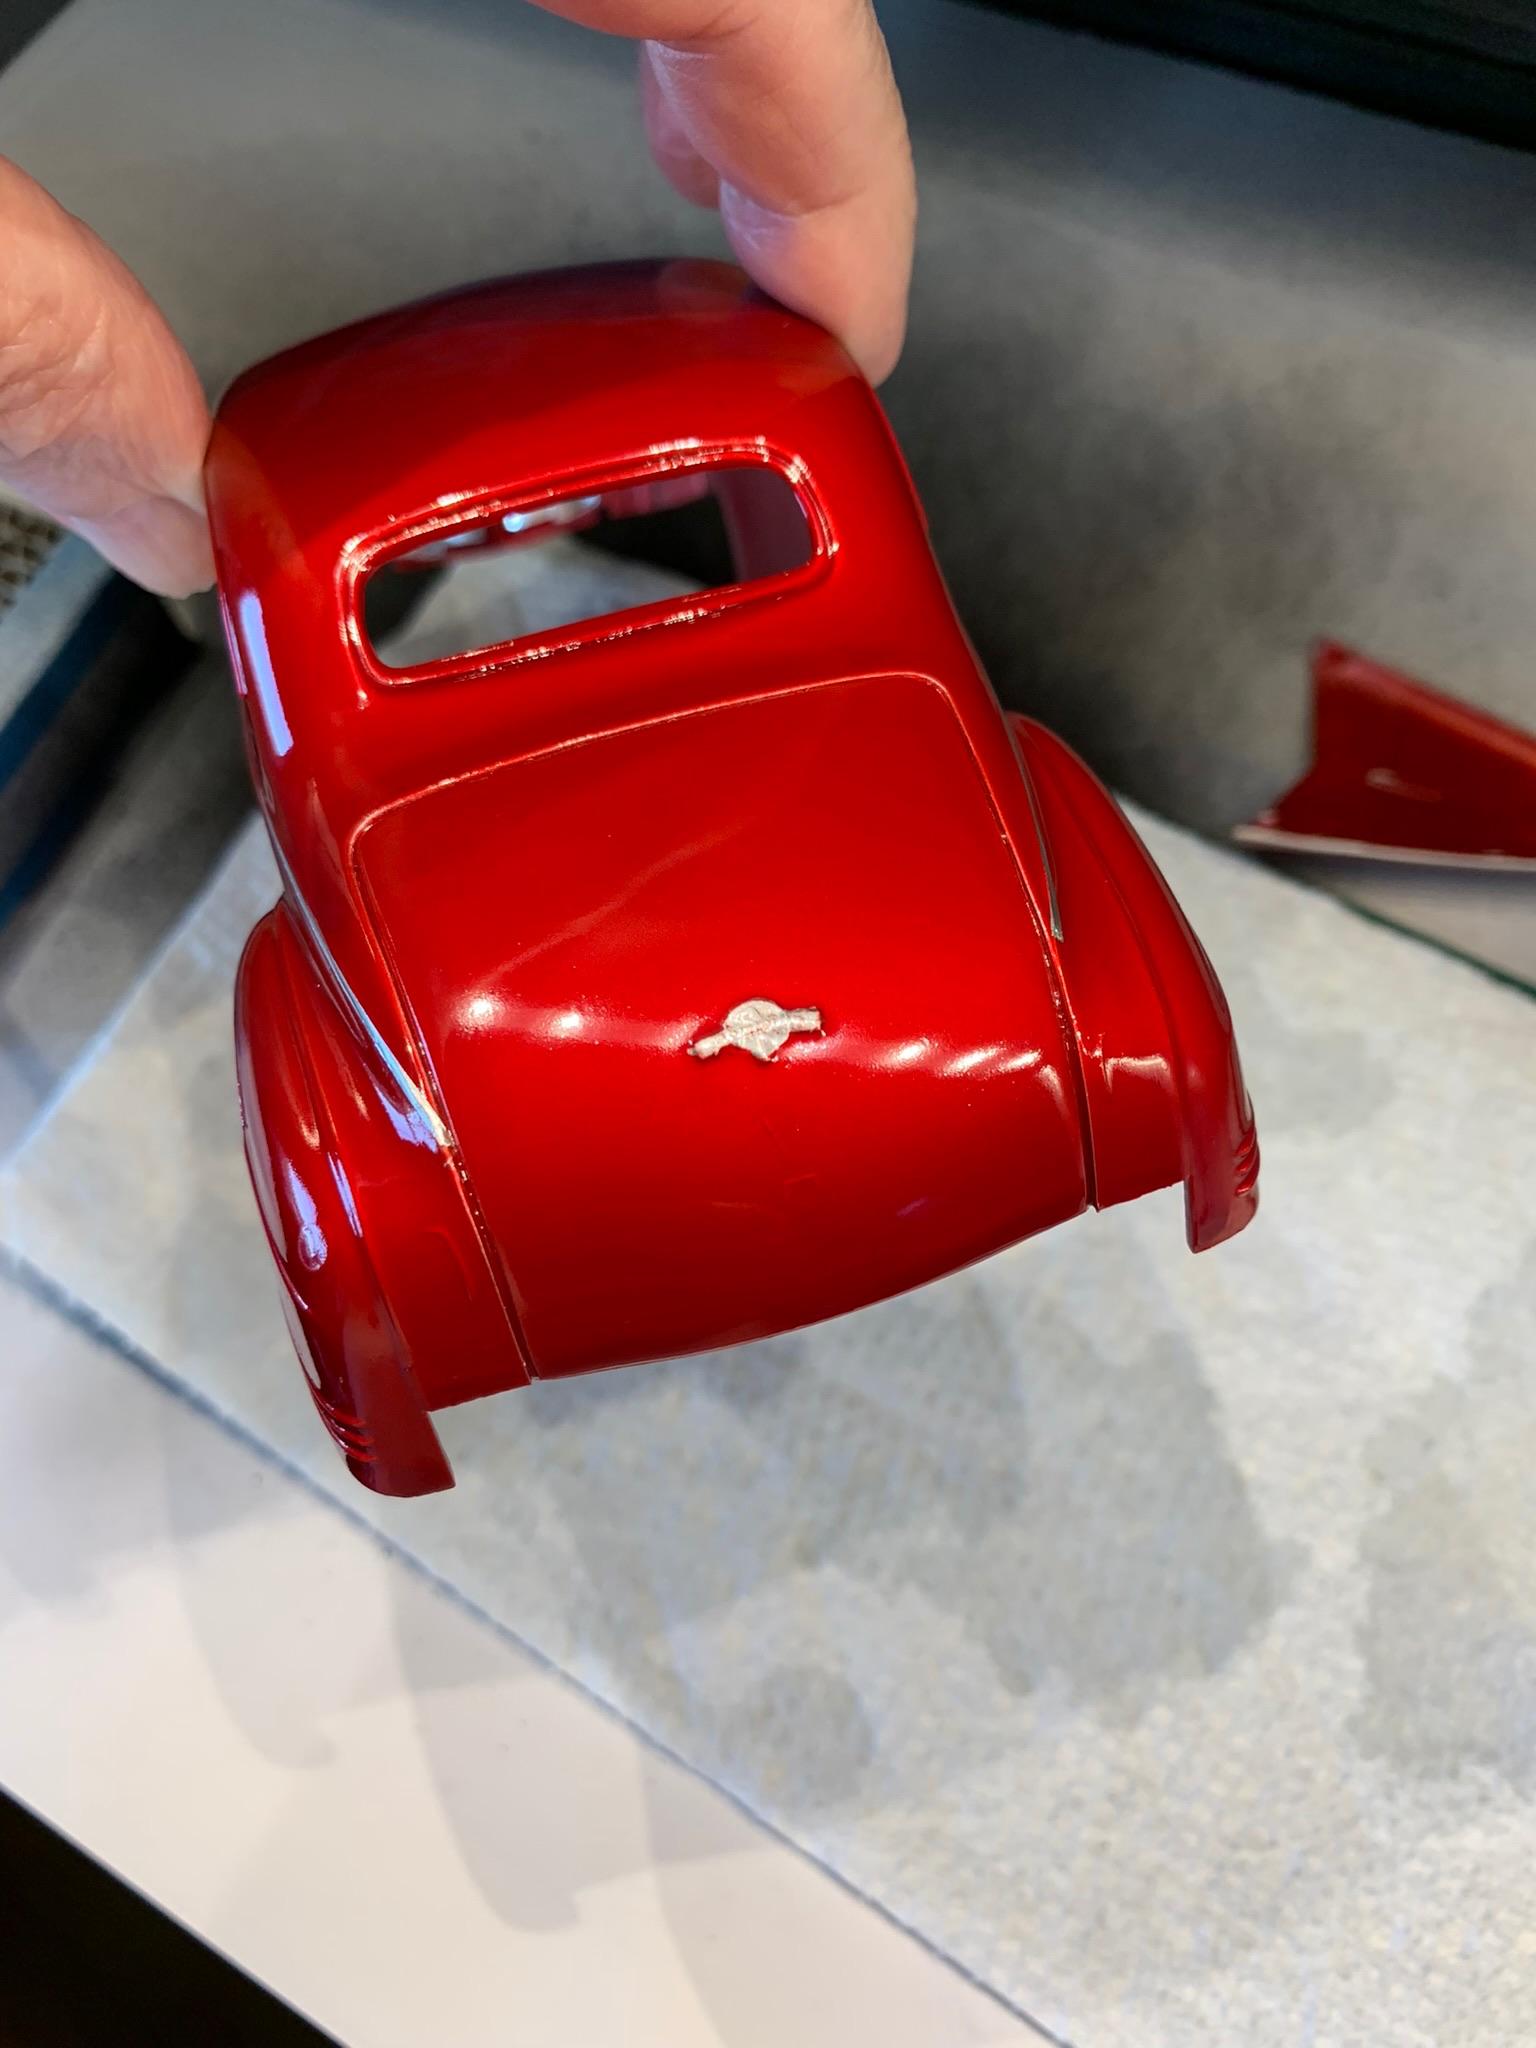
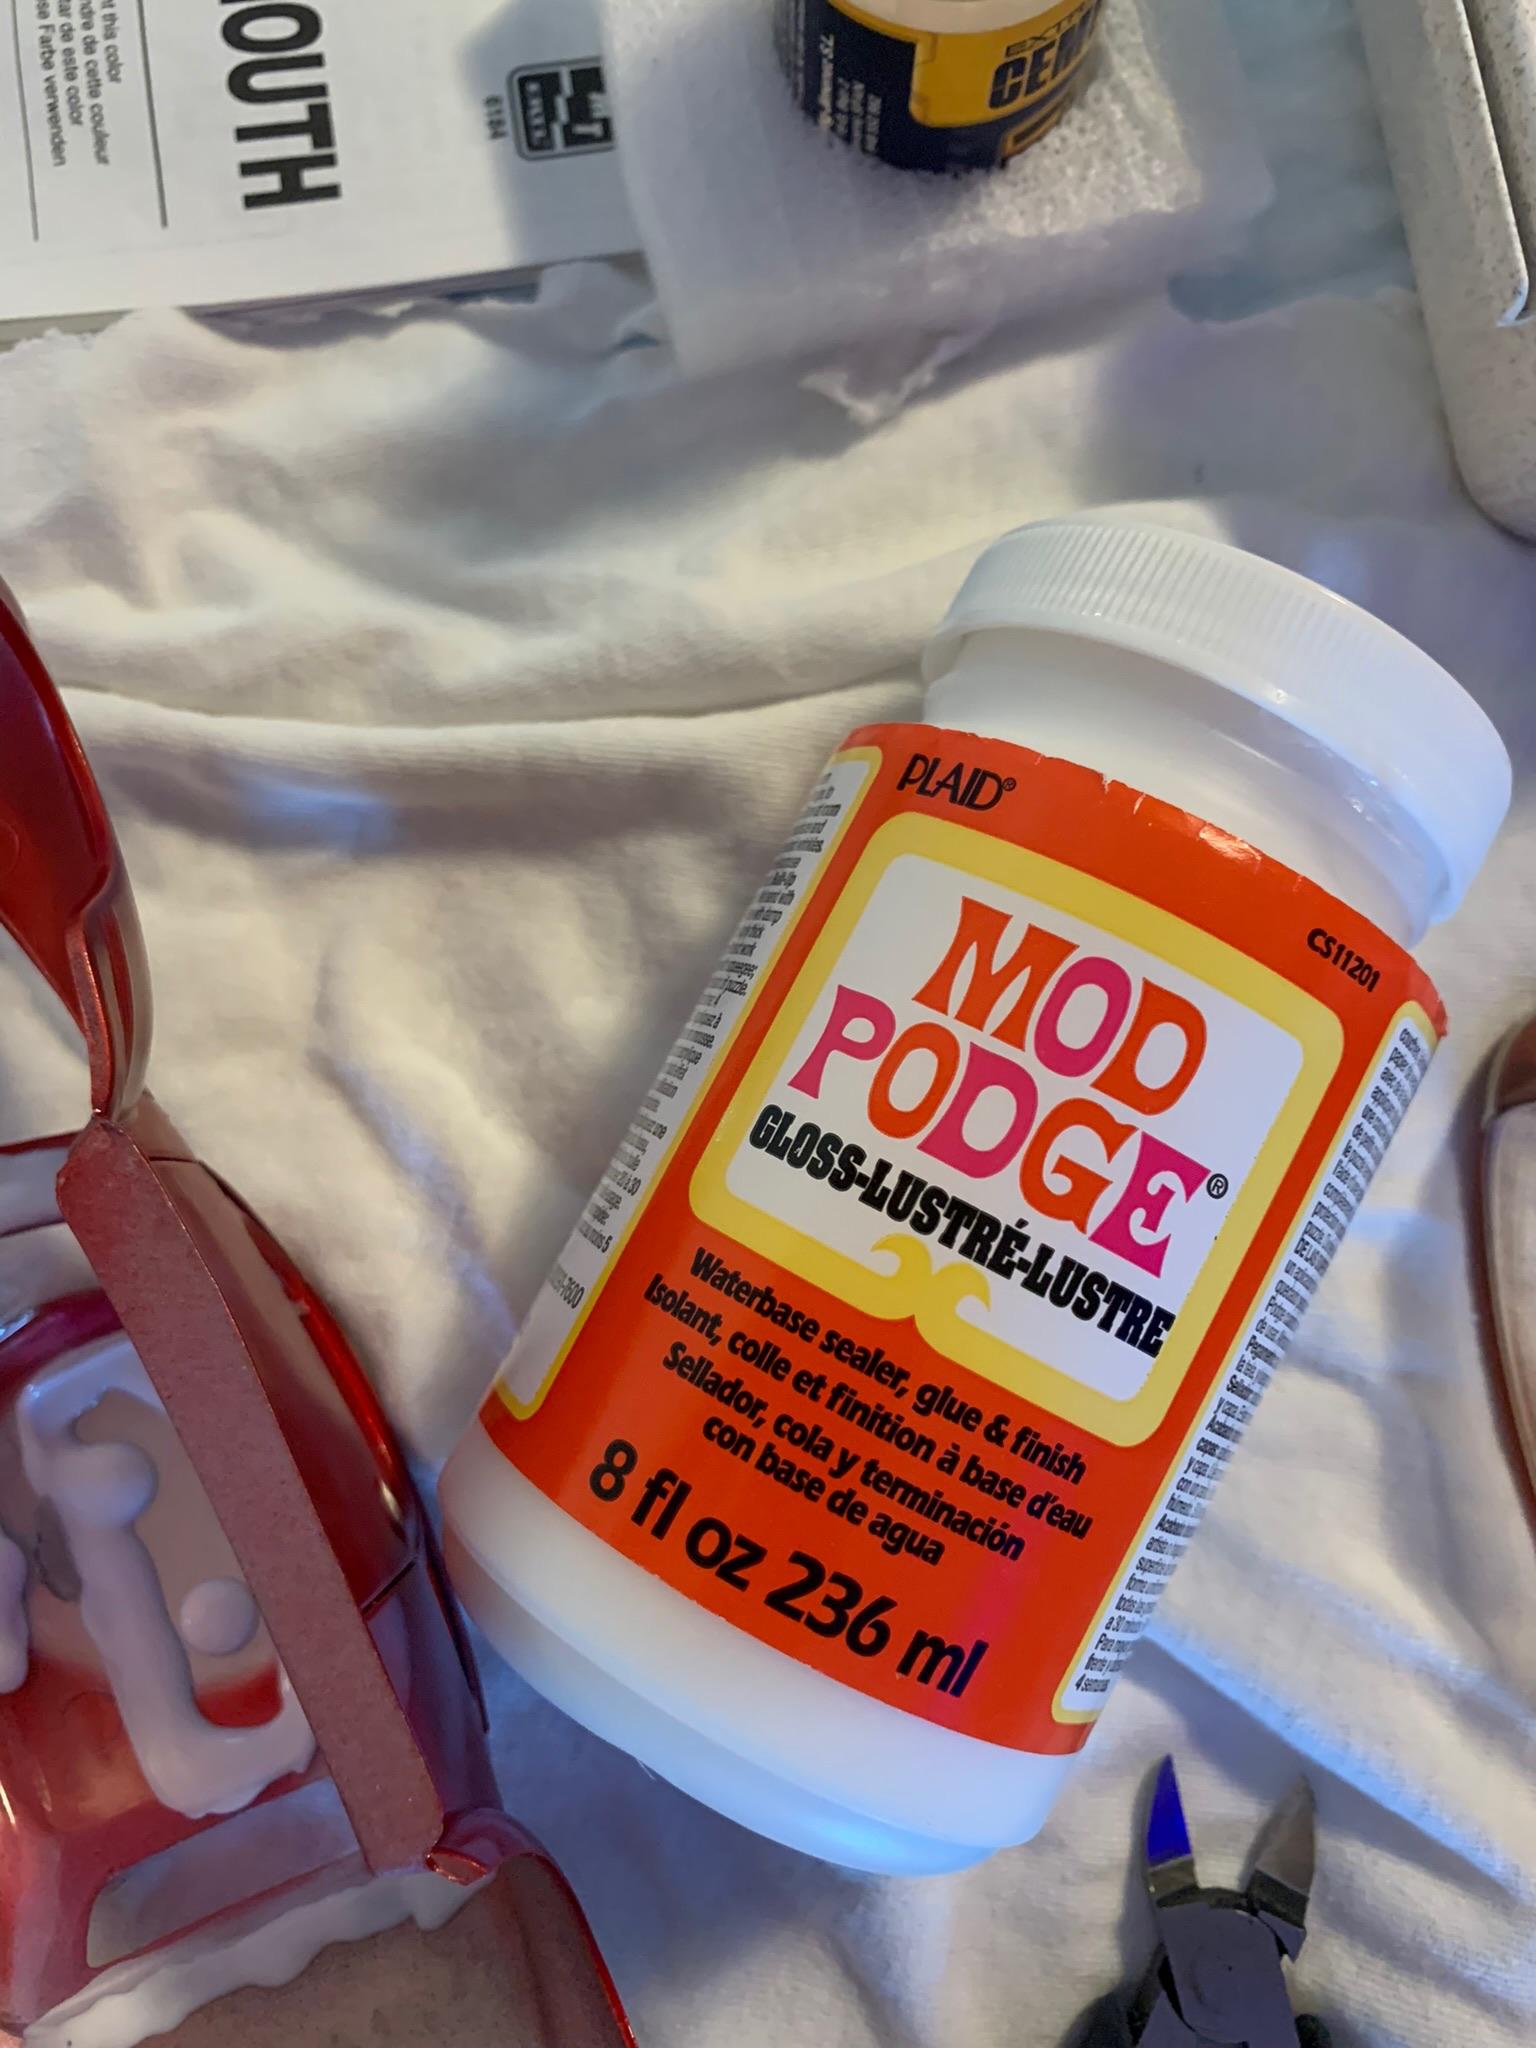
Thanks, neighbor. It is a nice kit. A coating of floor wax applied, some less than average black back window marking, and mod podge on the windows. Now, a sneak peek at a future Stock Eliminator build (geez, I wish I could stay focused and finish more builds).
-
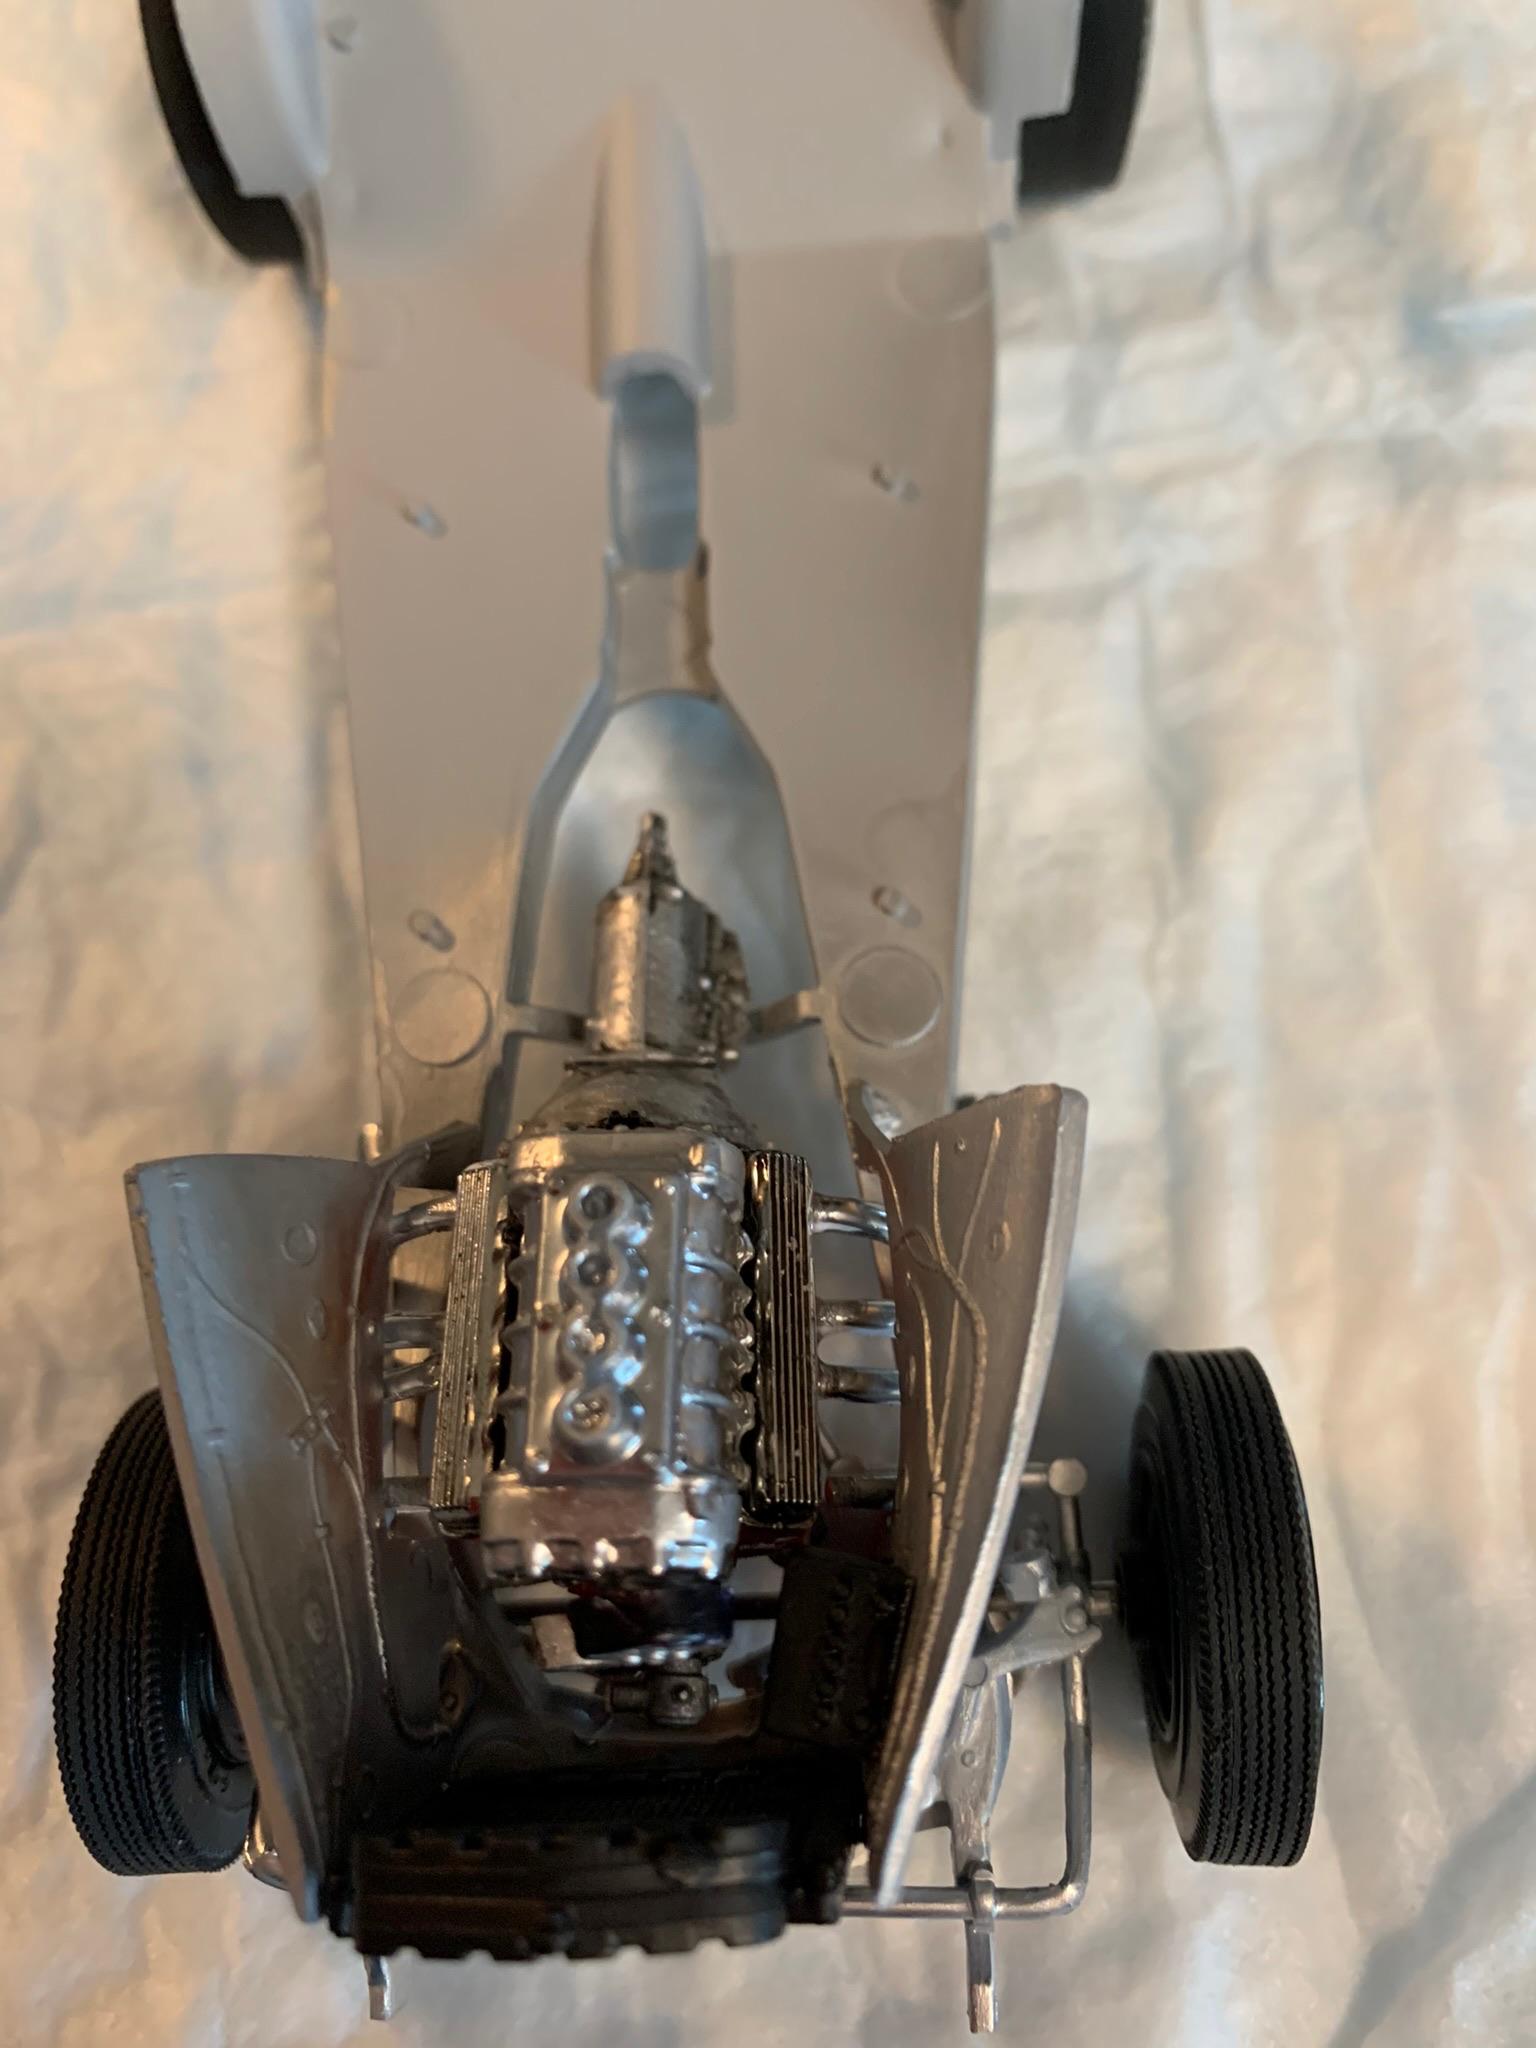
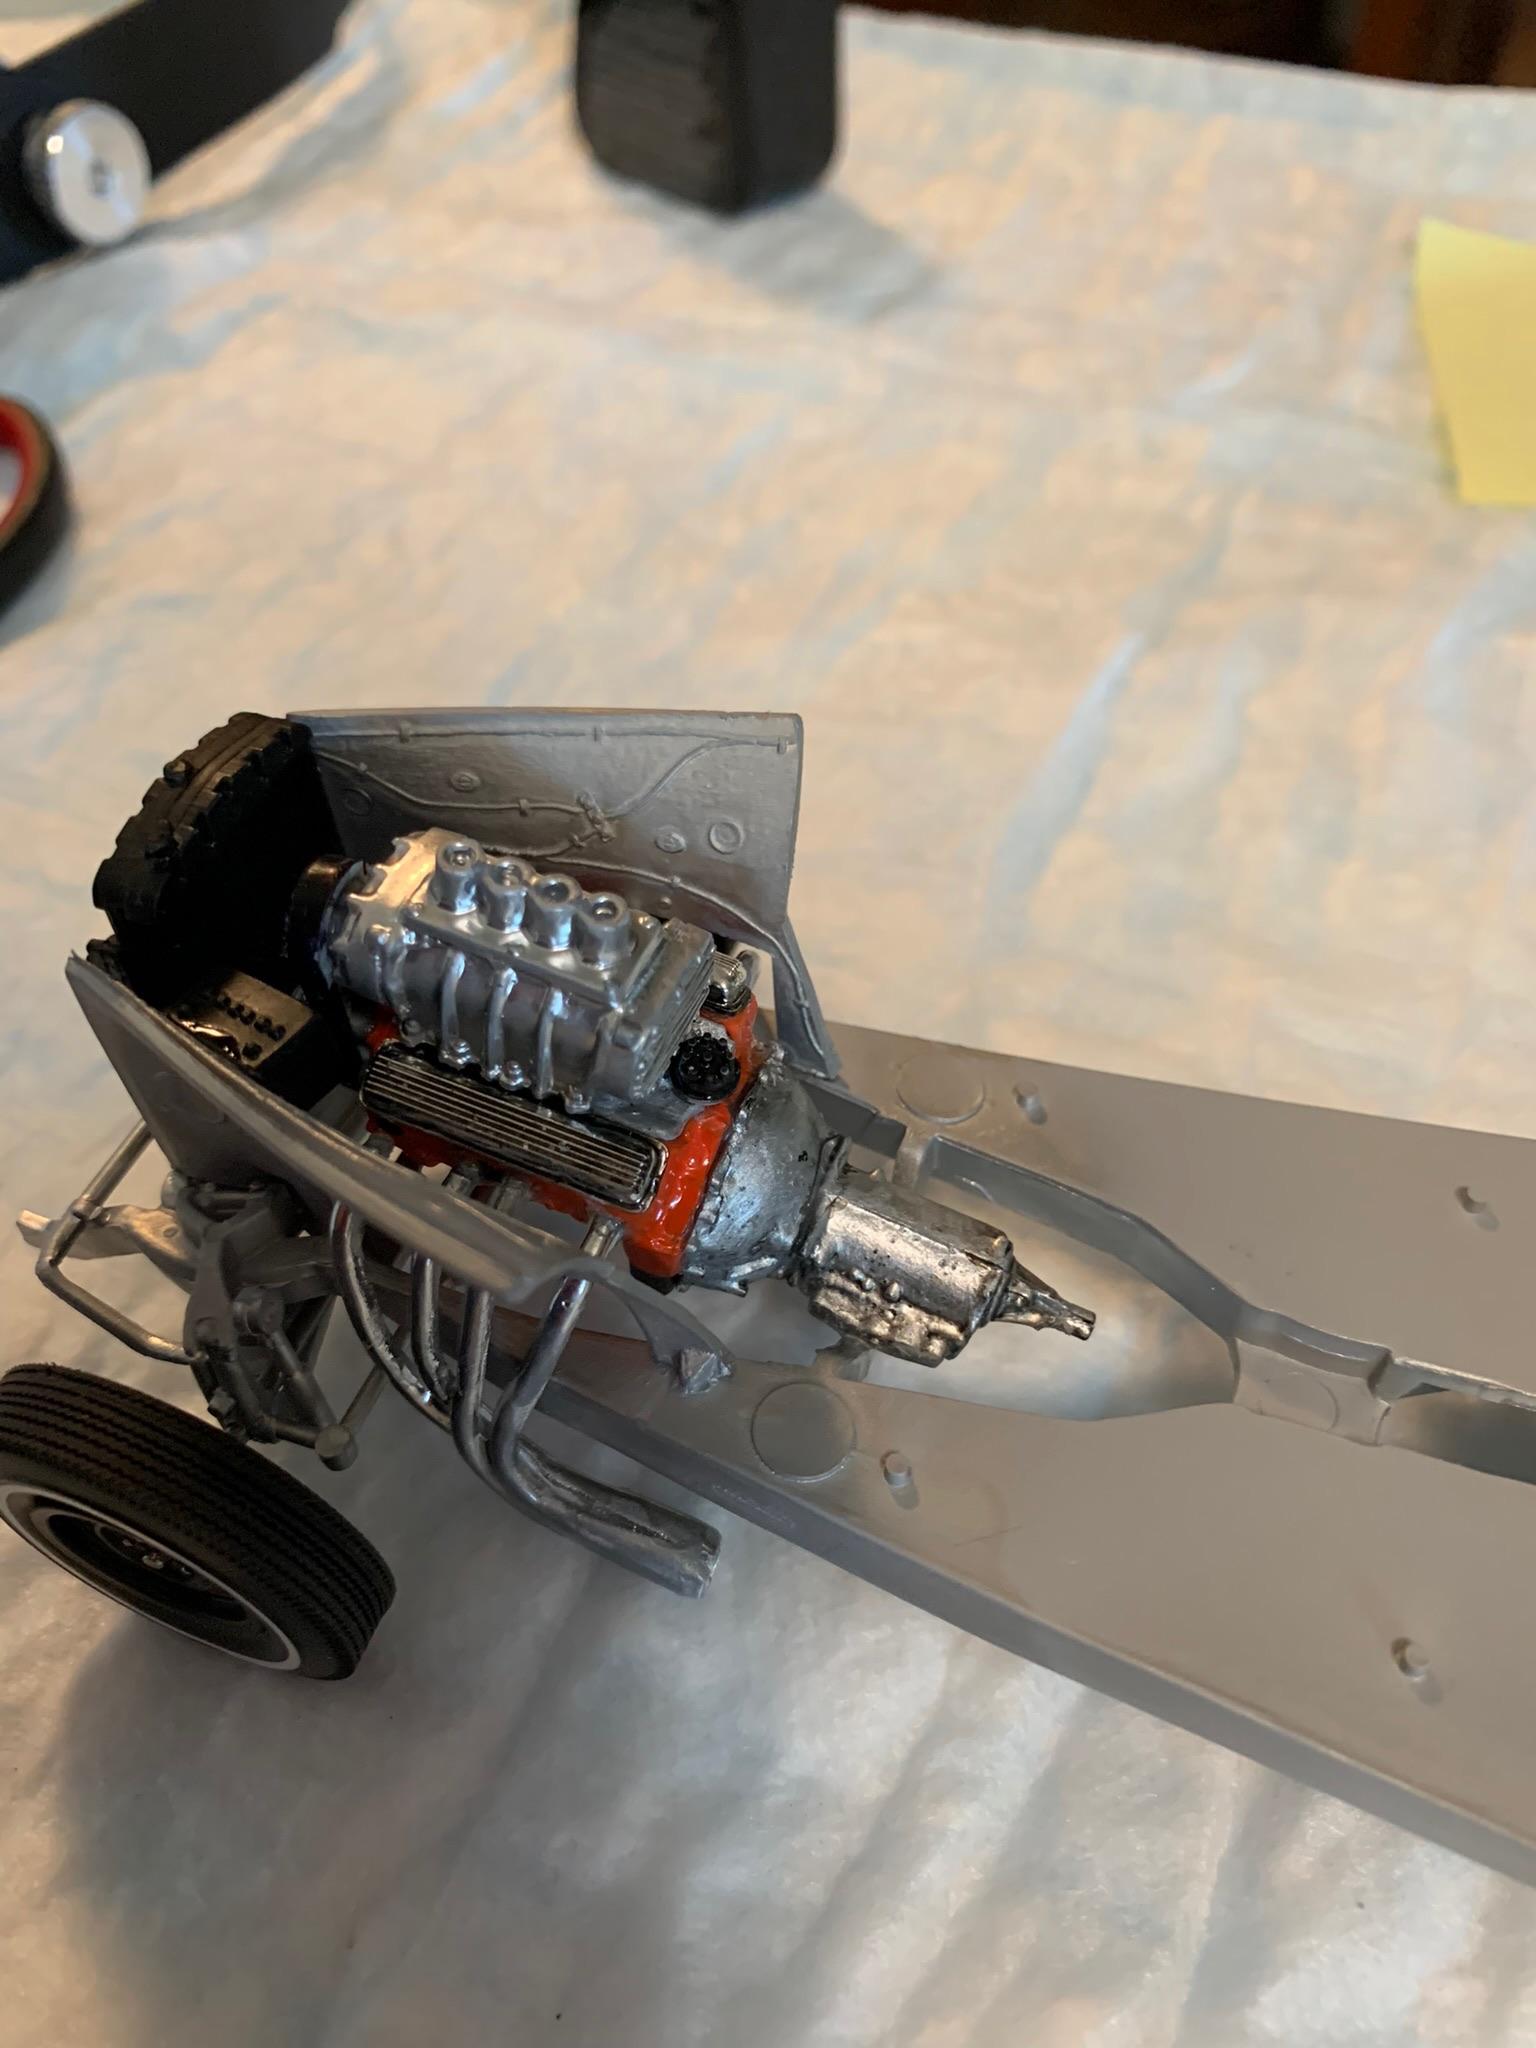
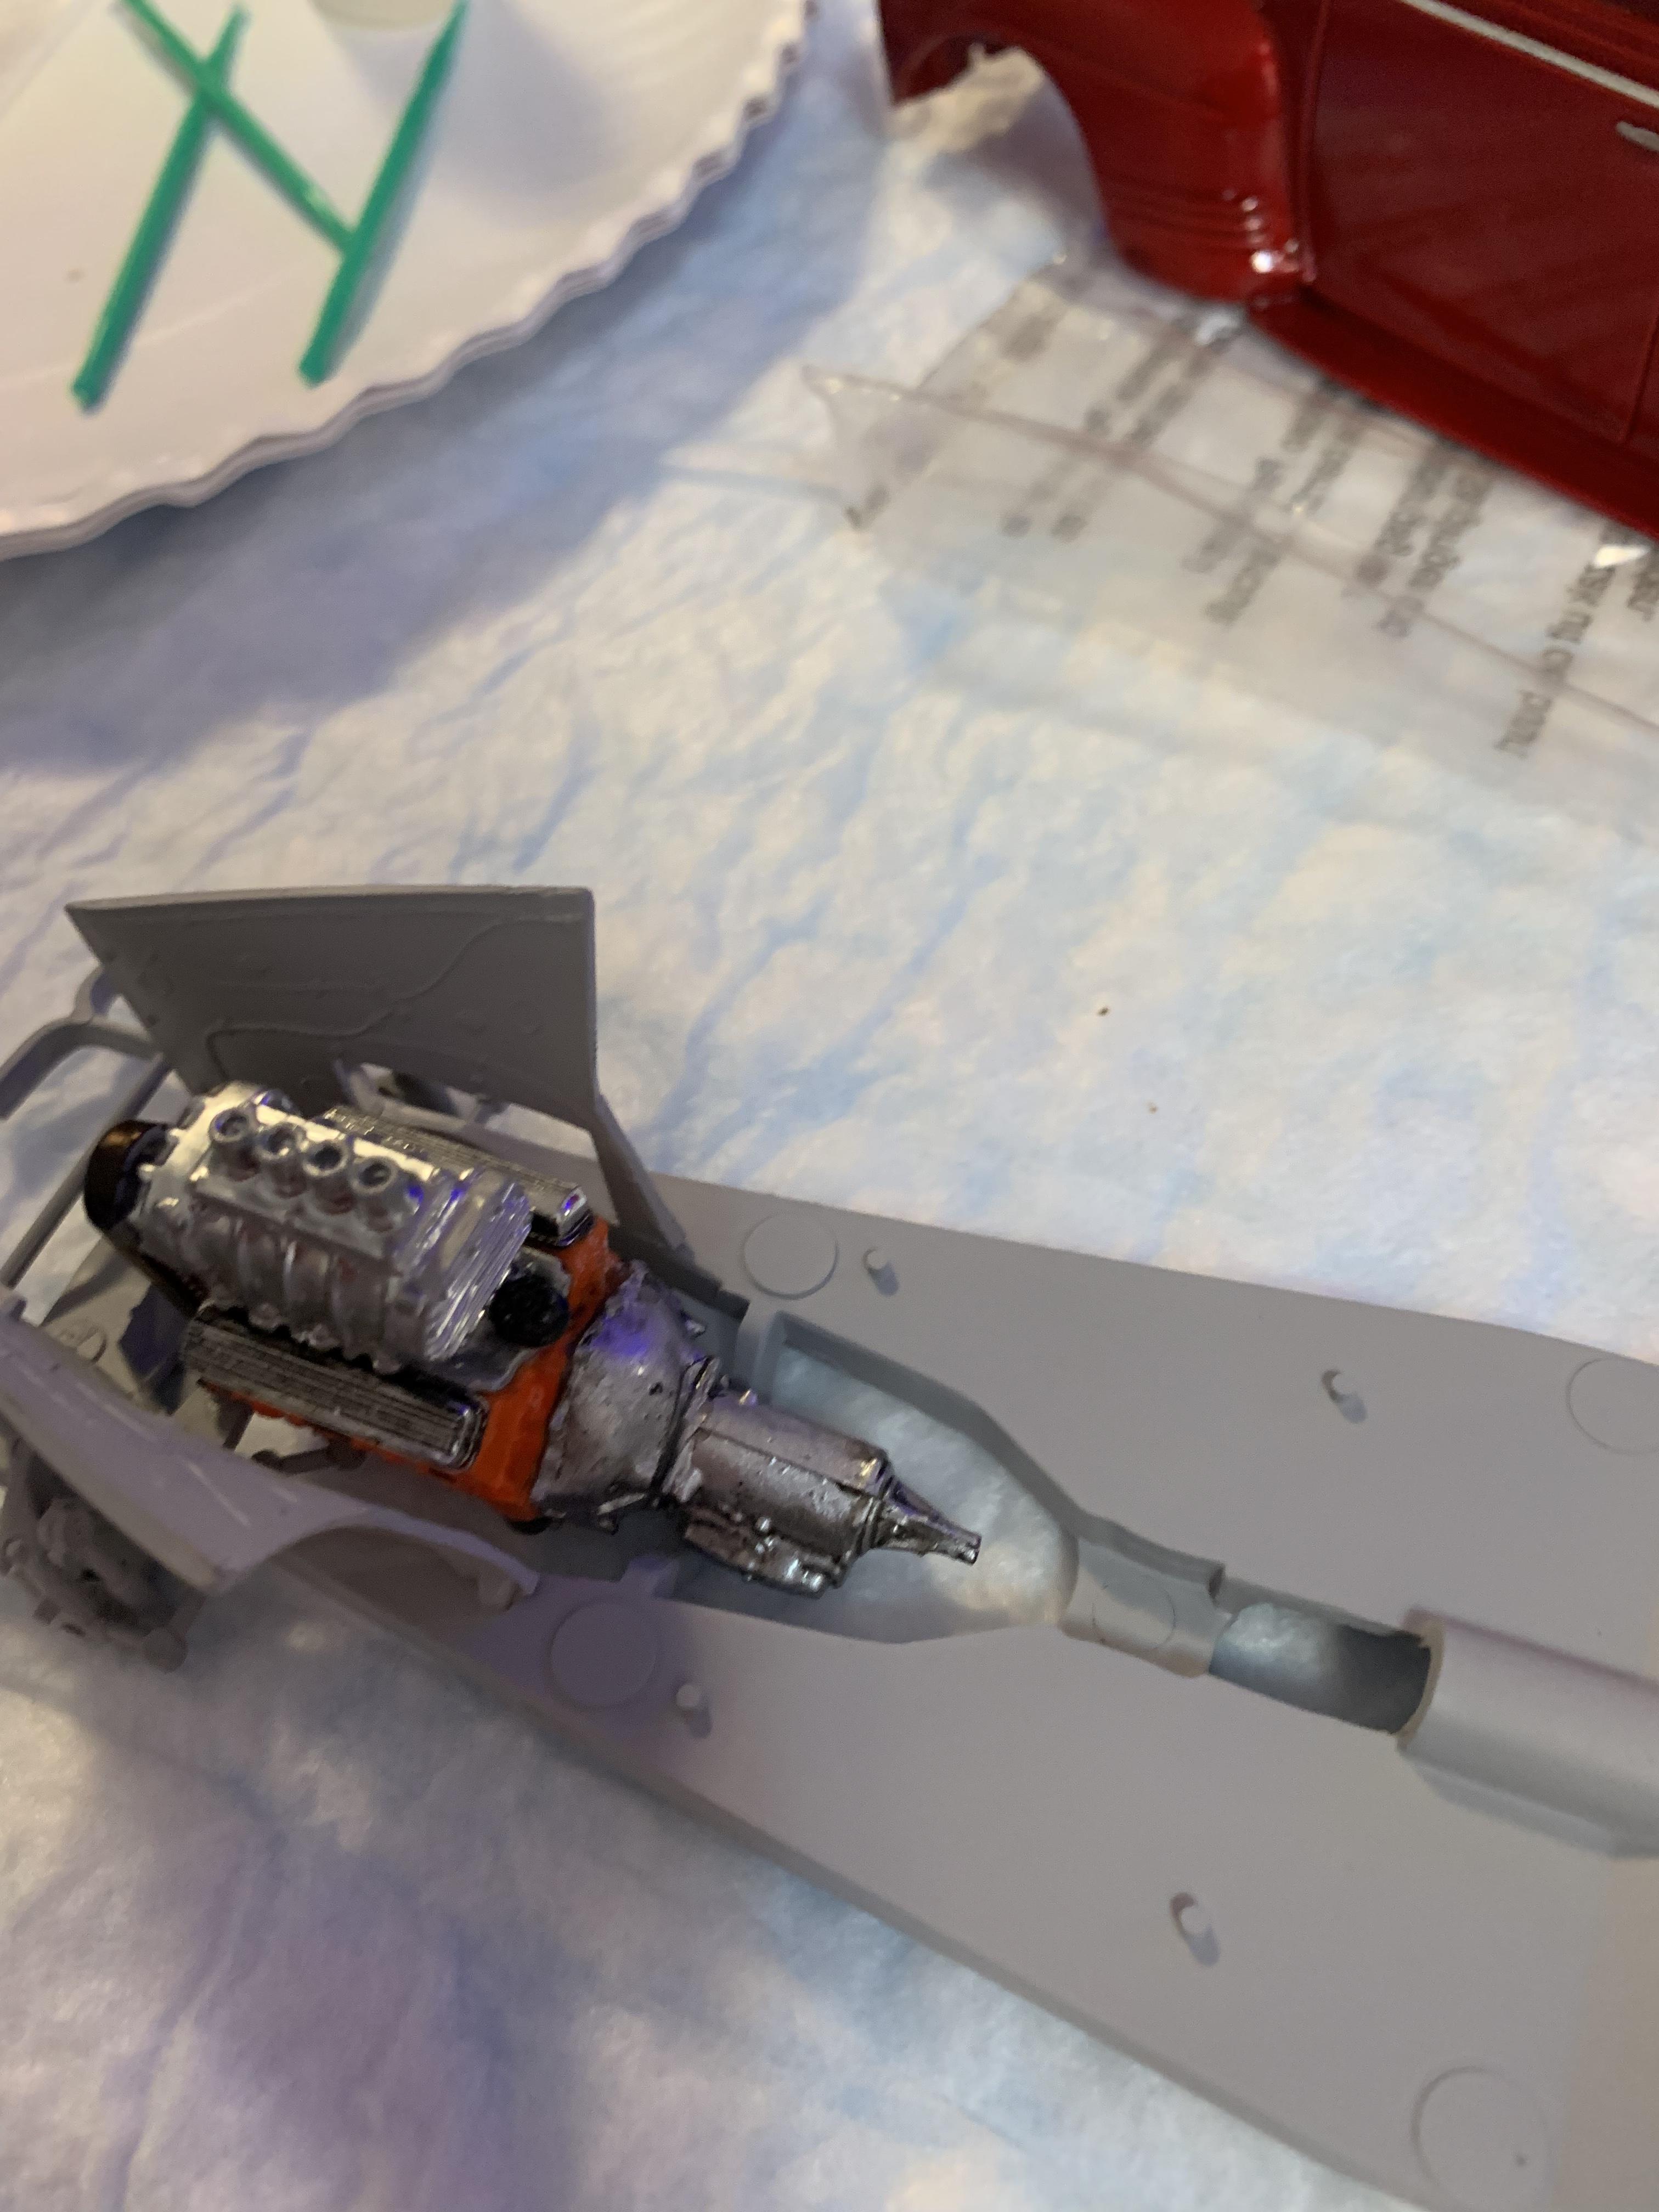
I had problems with the GreenStuffWorld chrome airbrush version before, so I decided to try again with this chassis. Same results (just looks like an aluminum paint). I went over the headers and driveshaft with the non airbrush version with the usual sterling results. In the first pic the header on the left has the non airbrush version.
-
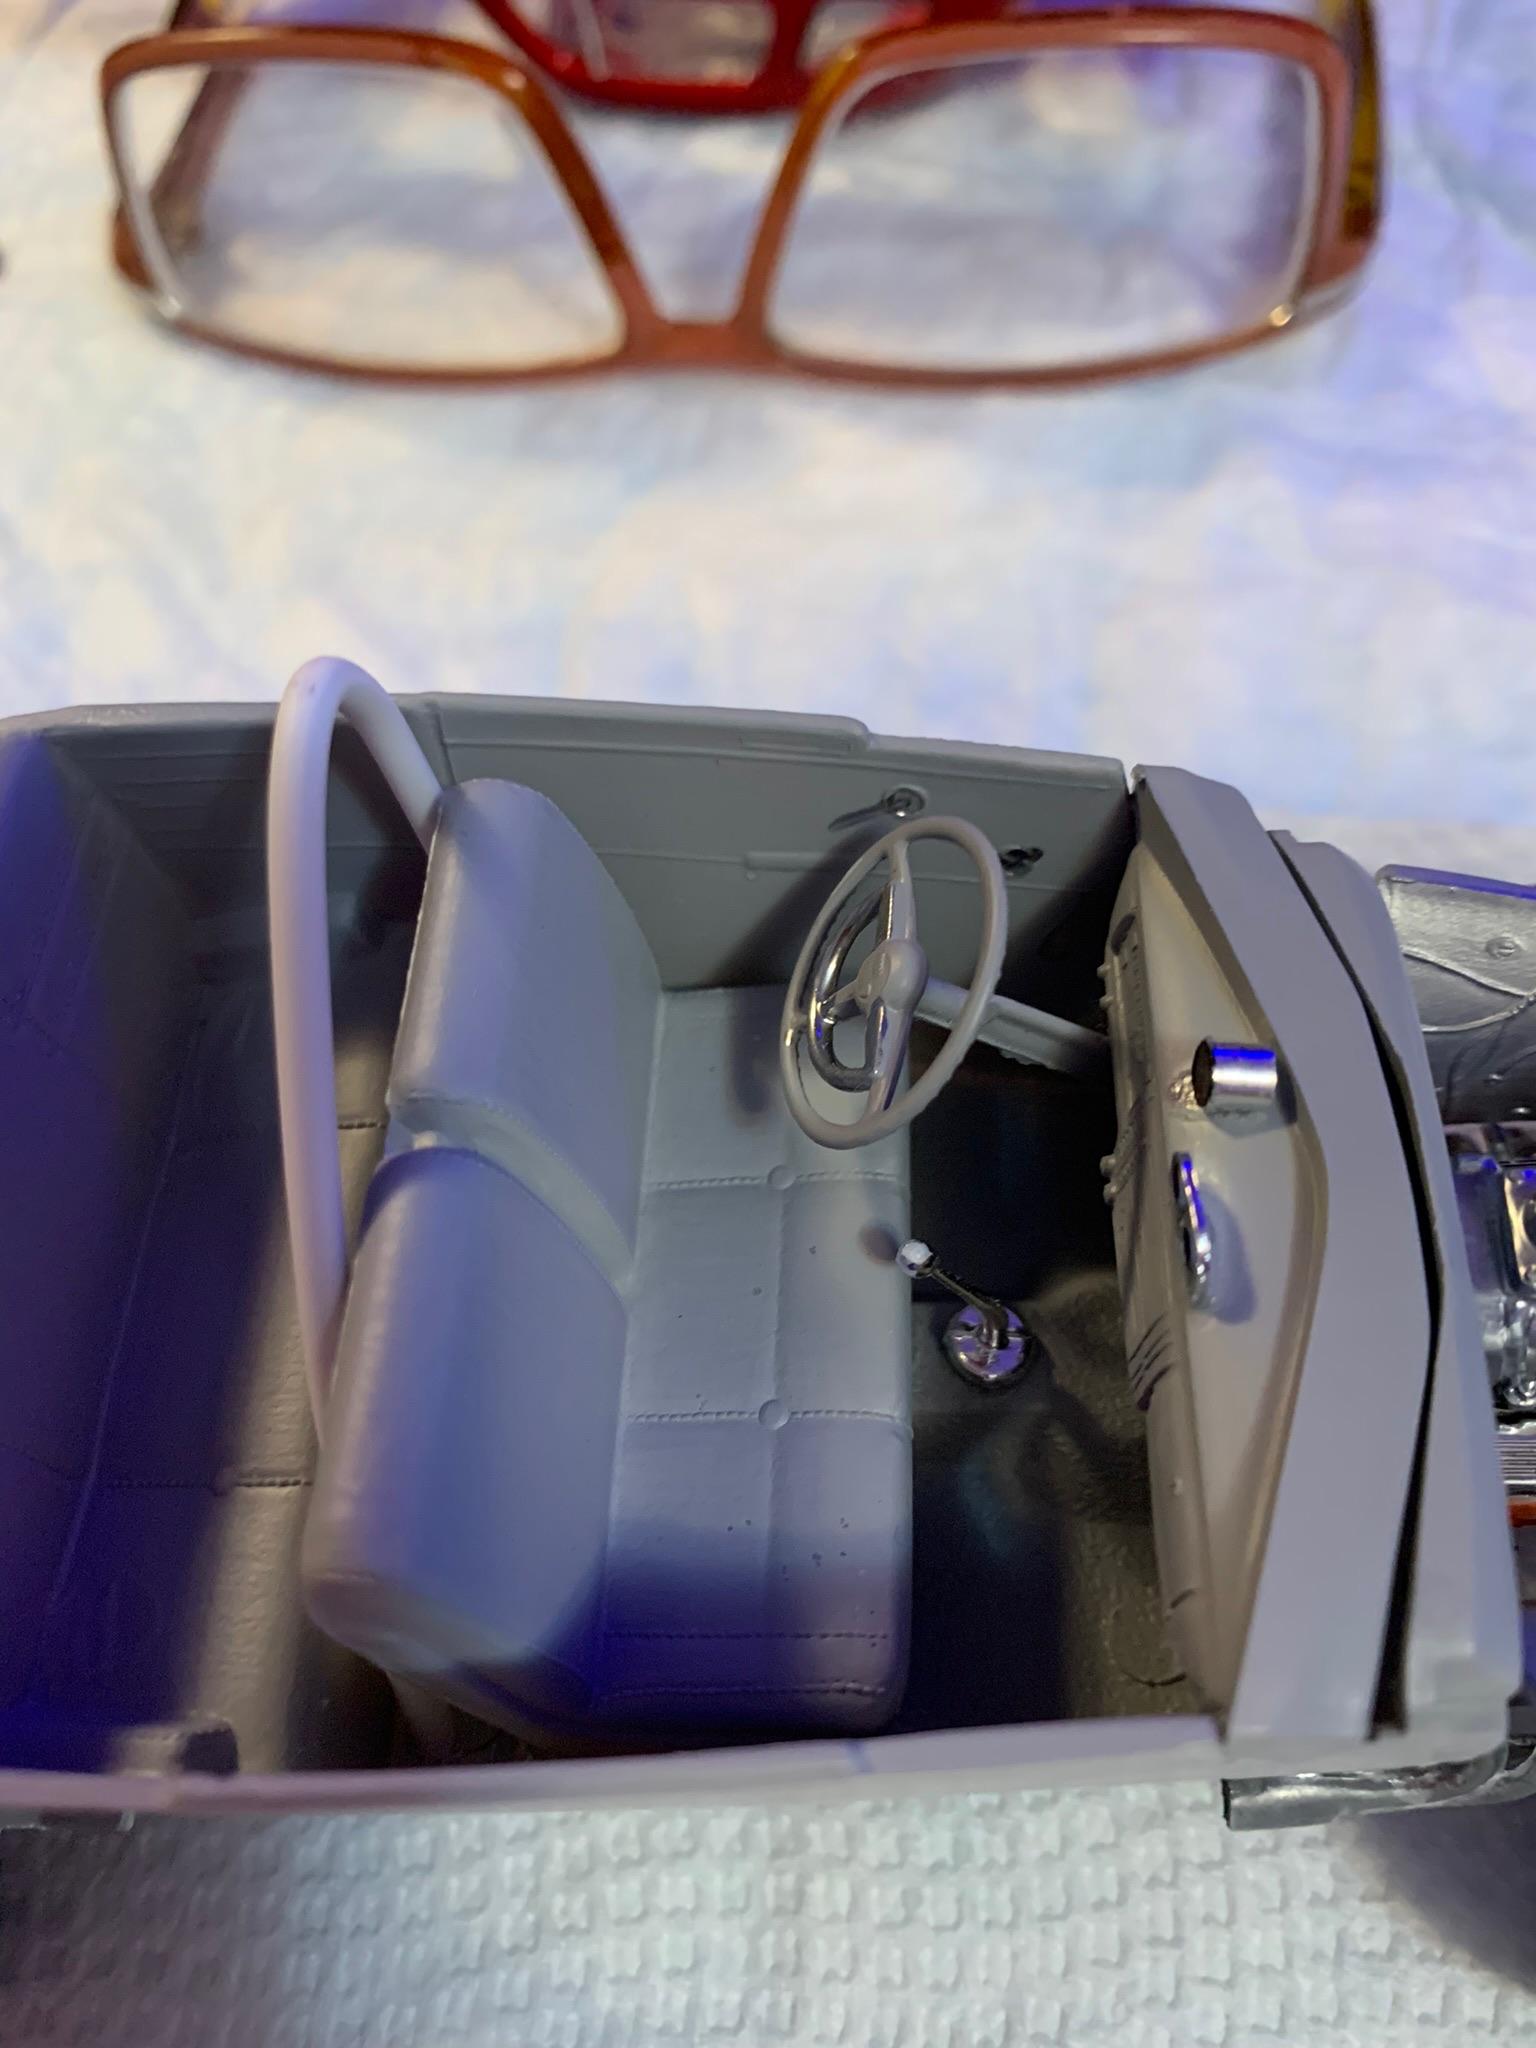
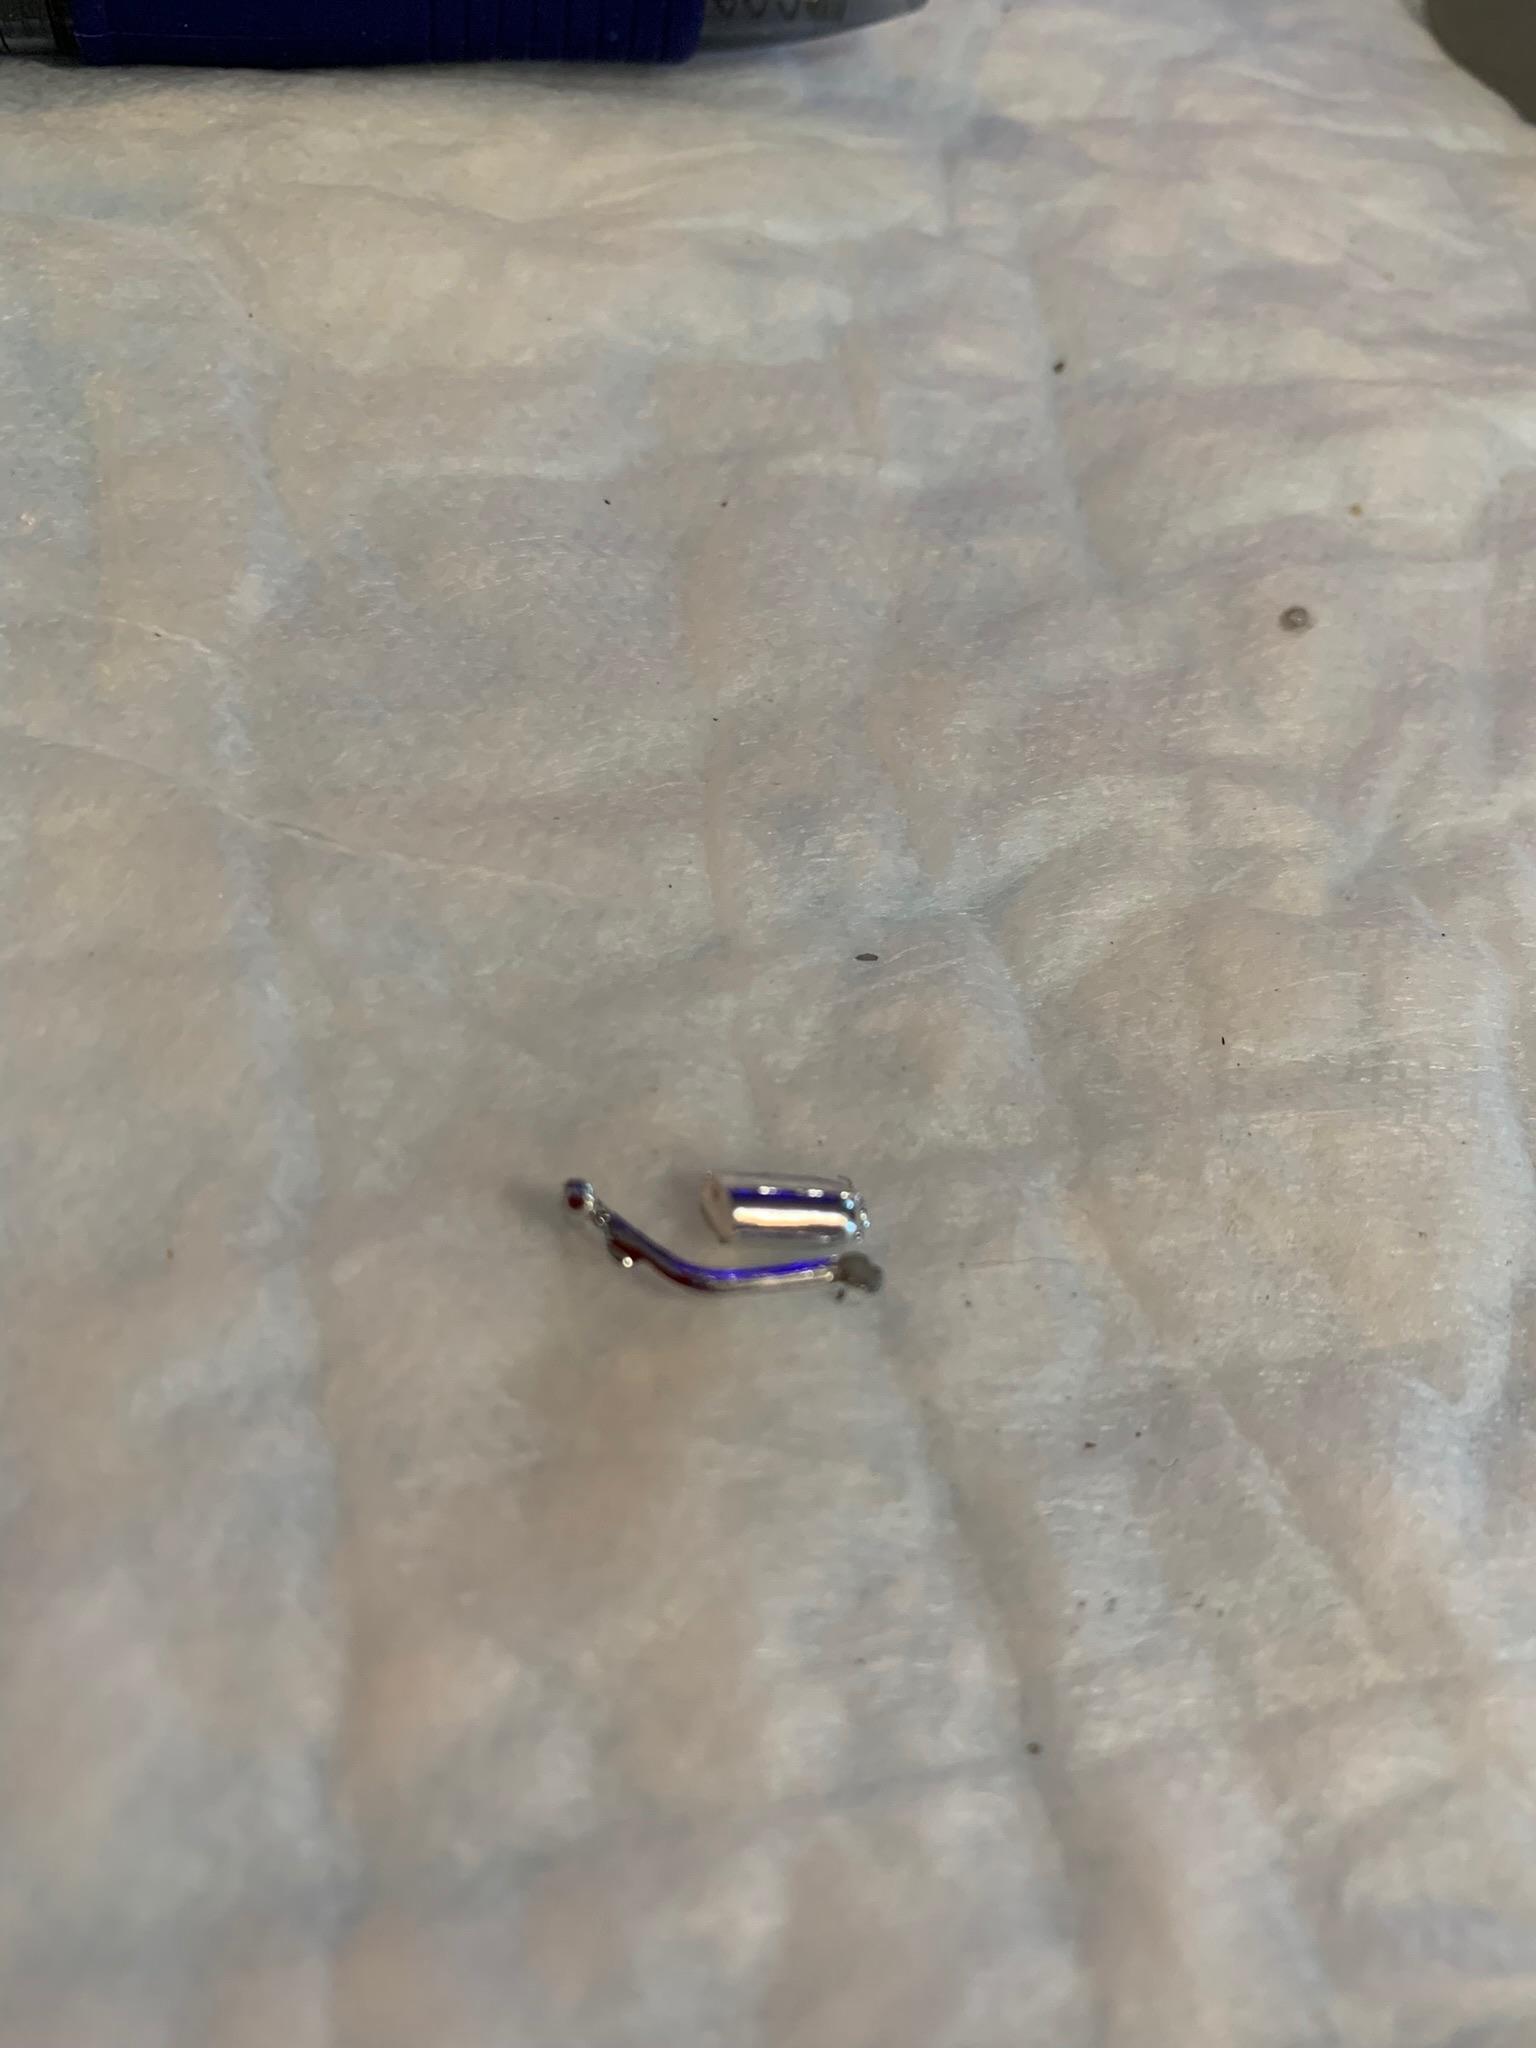
Also, kept the t-handle shifter from the kit, with what looks like a line lock button made into it (will use it on a stick shift super stocker). Ahh, sweet memories of my youthful days. Used a floor shift from a 50 Austin kit.
-
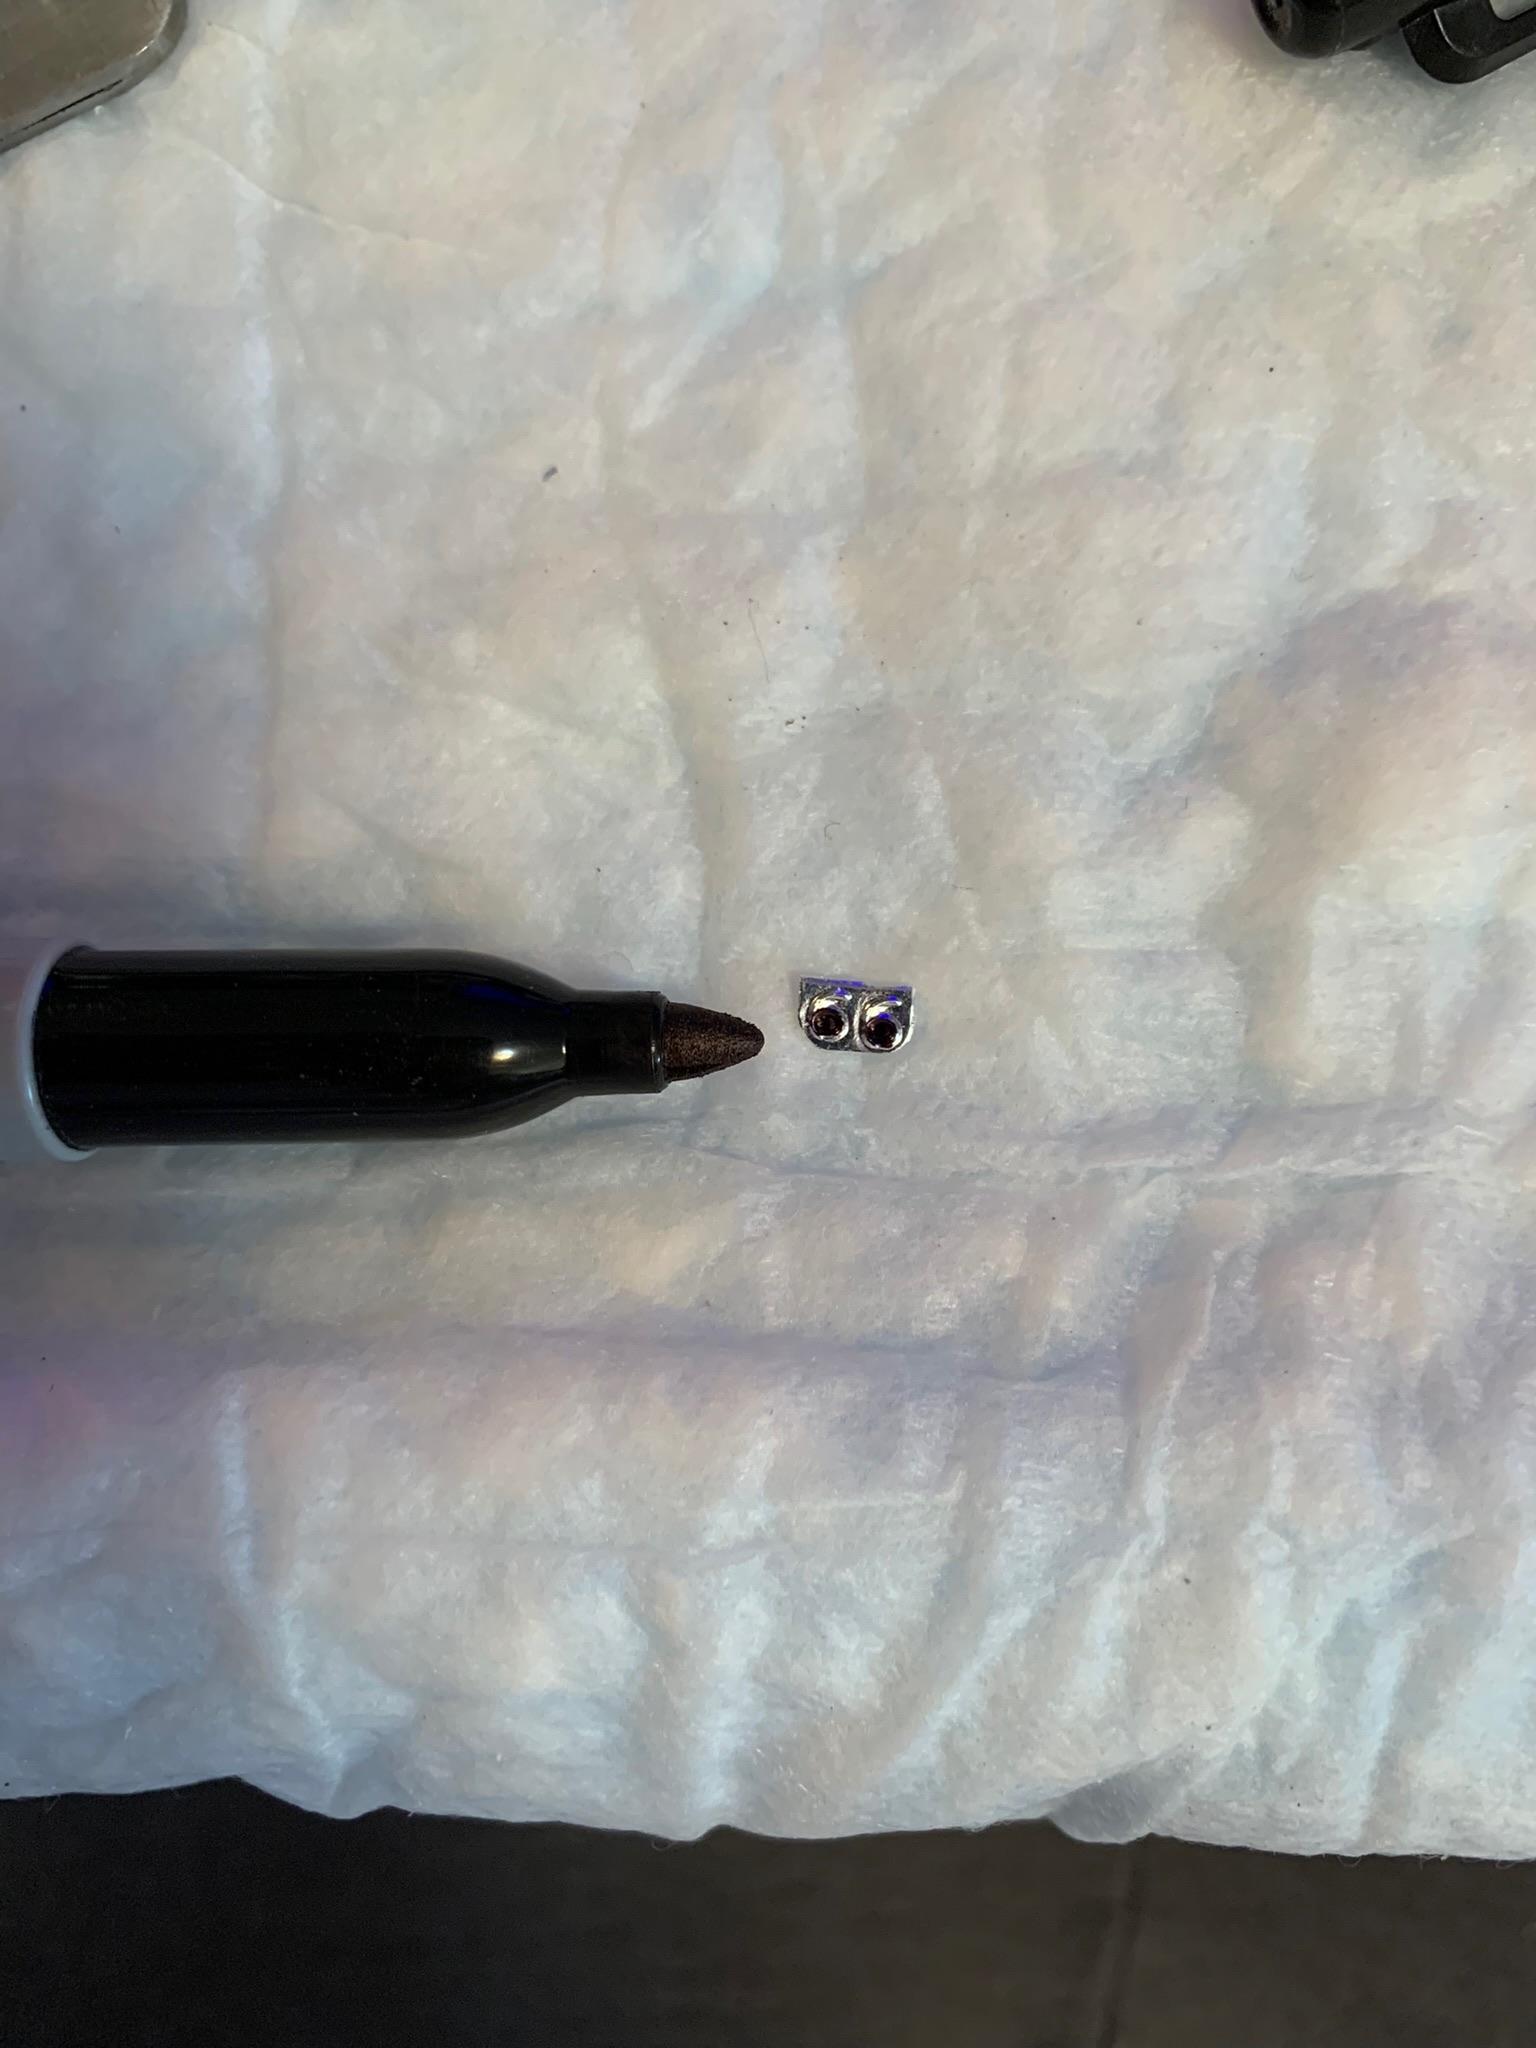
Thanks. Some bits & pieces. Made some gauges, just for fun (trying not to take this build too seriously). Gauges are from the number 66 on a chrome sprue as is the tach from the sprue end doused with the ubiquitous black sharpie. Also, drilled out the collectors.
-
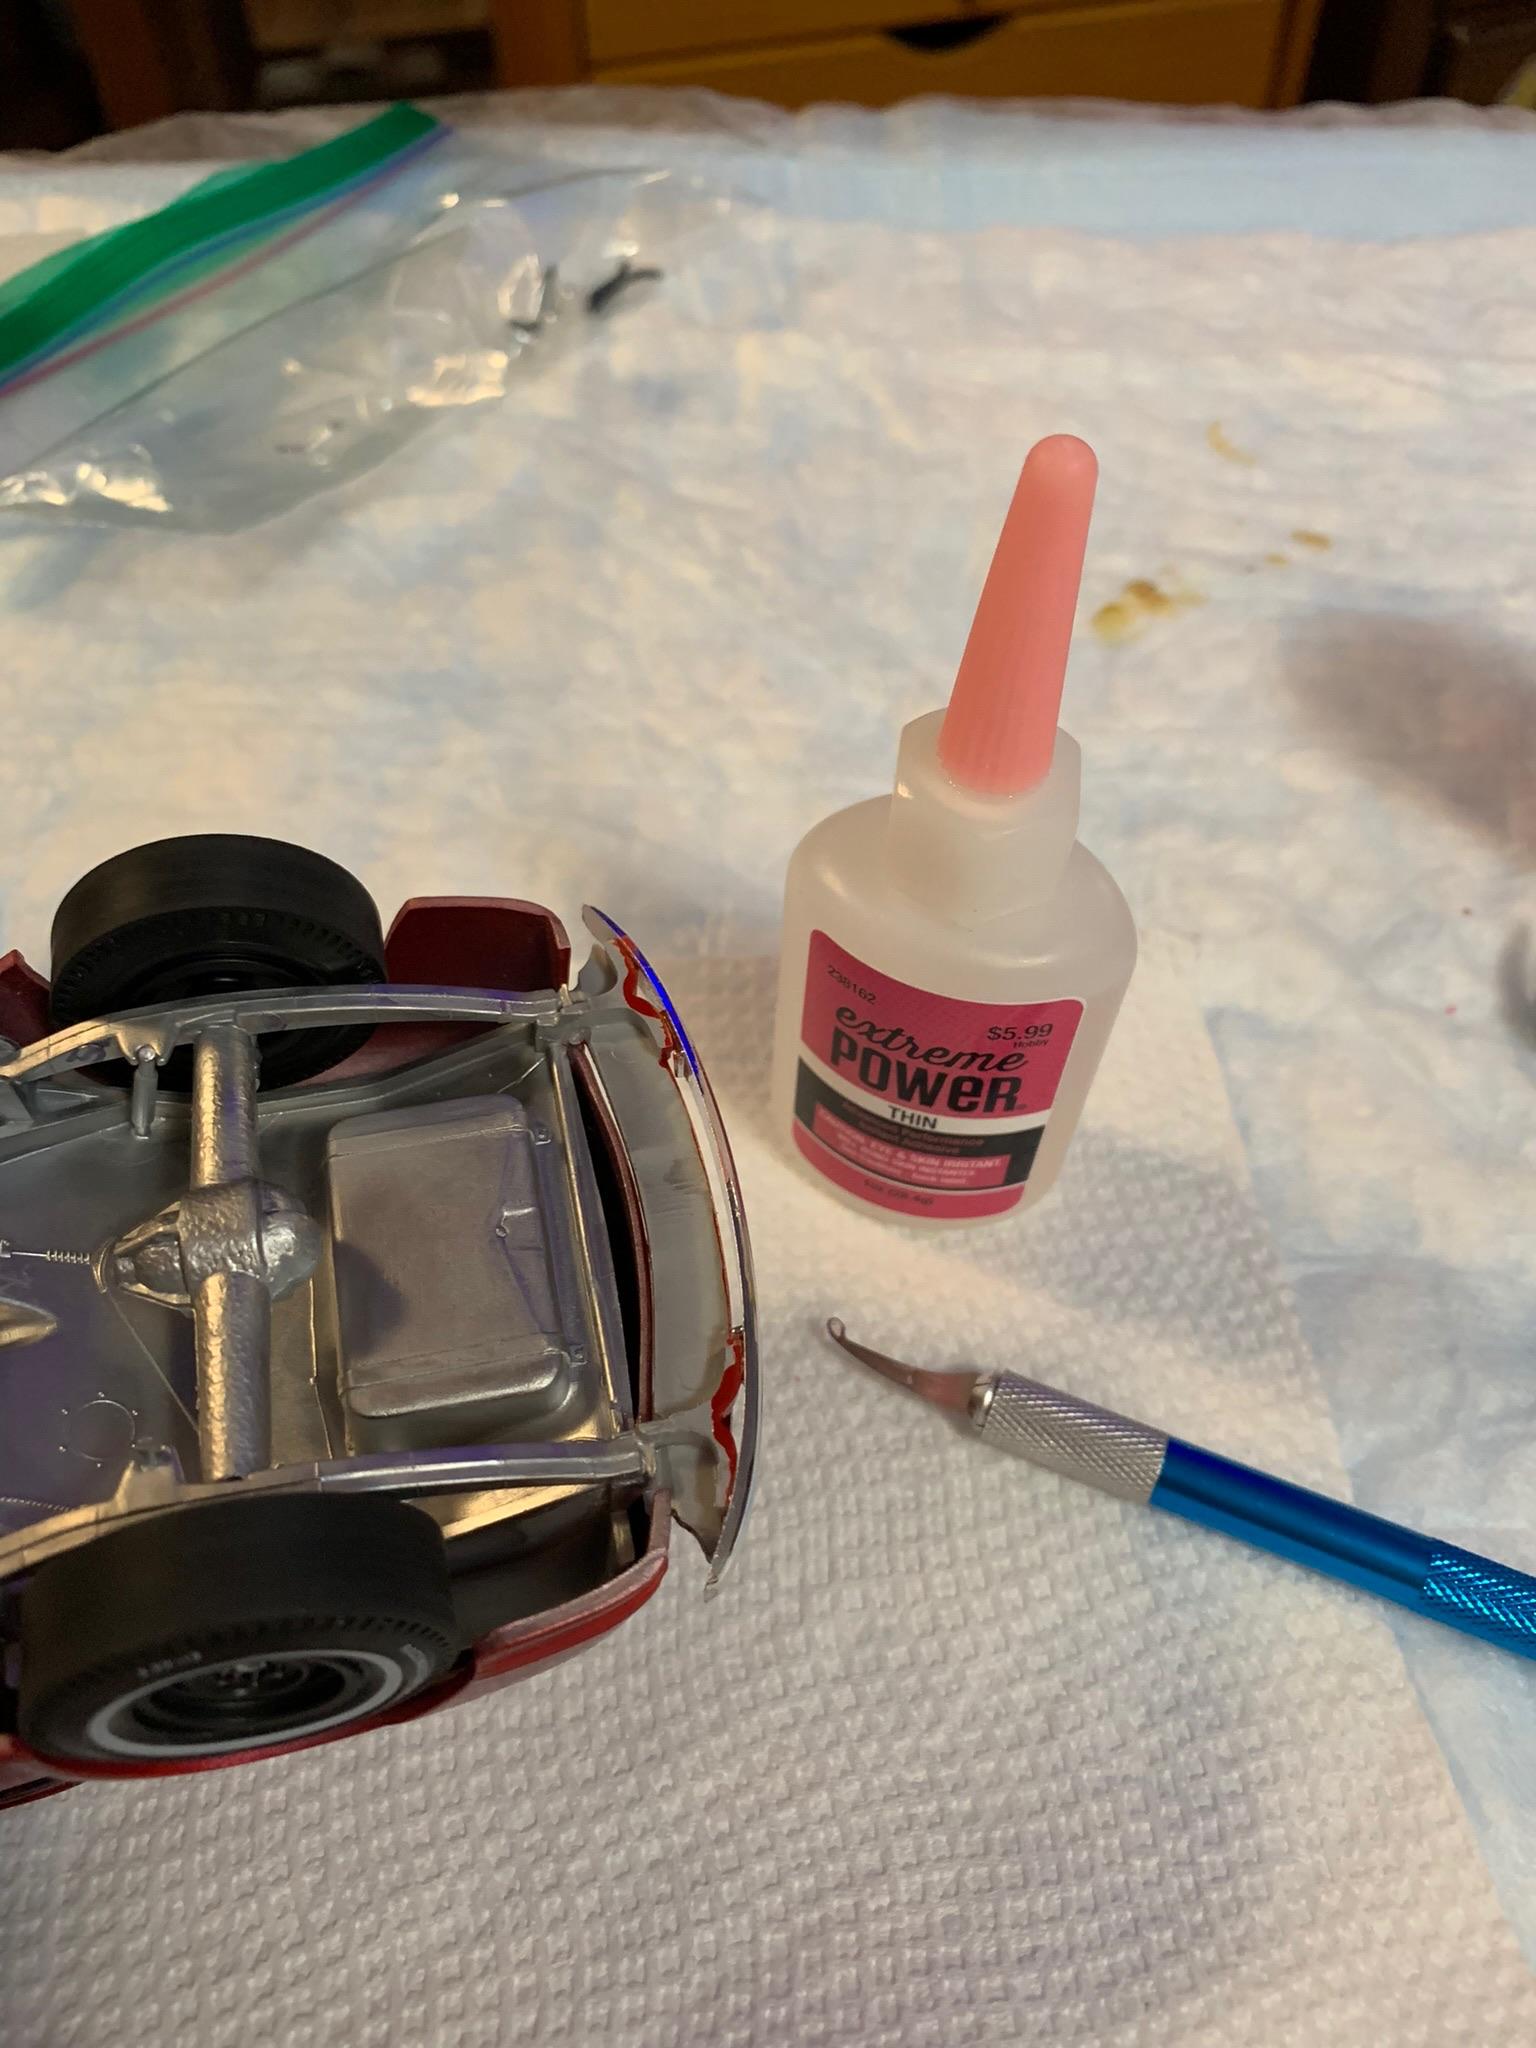
I started using the Mig brush (and cement) a few years ago because of its pin point precision compared to Tamiya’s flooding. It allows a tiny amount of cement to be applied for a temporary bond without waiting for drying (my impatience is showing). Otherwise, CabDriver’s suggestions are dead on.
-
Outstanding attention to detail.
-
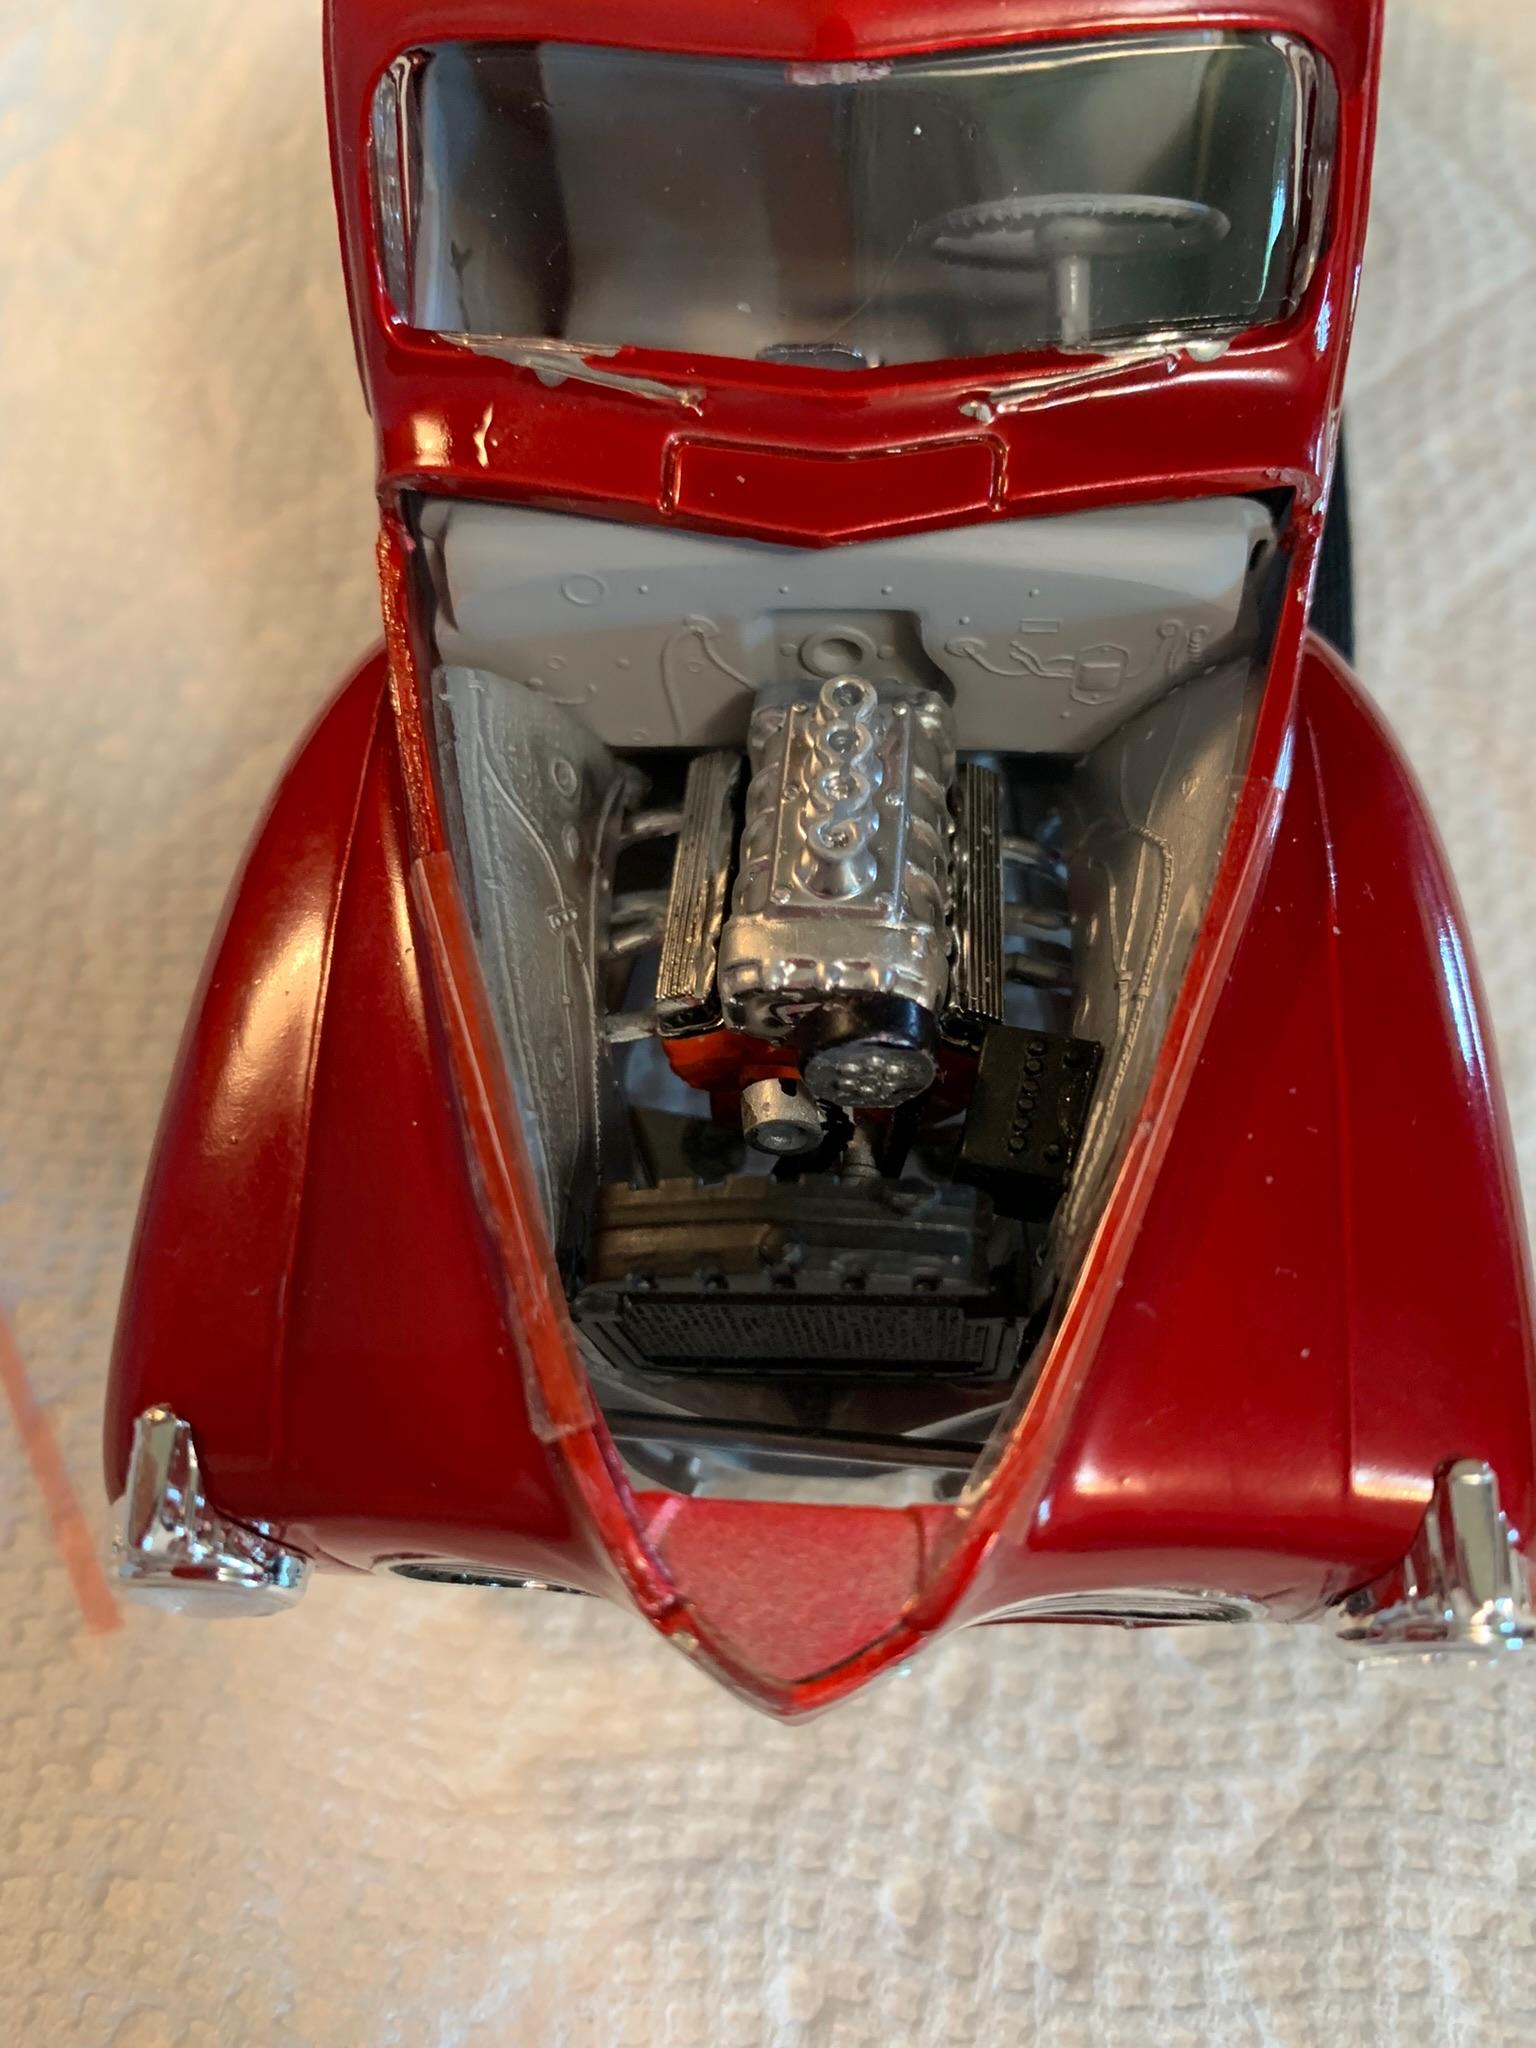
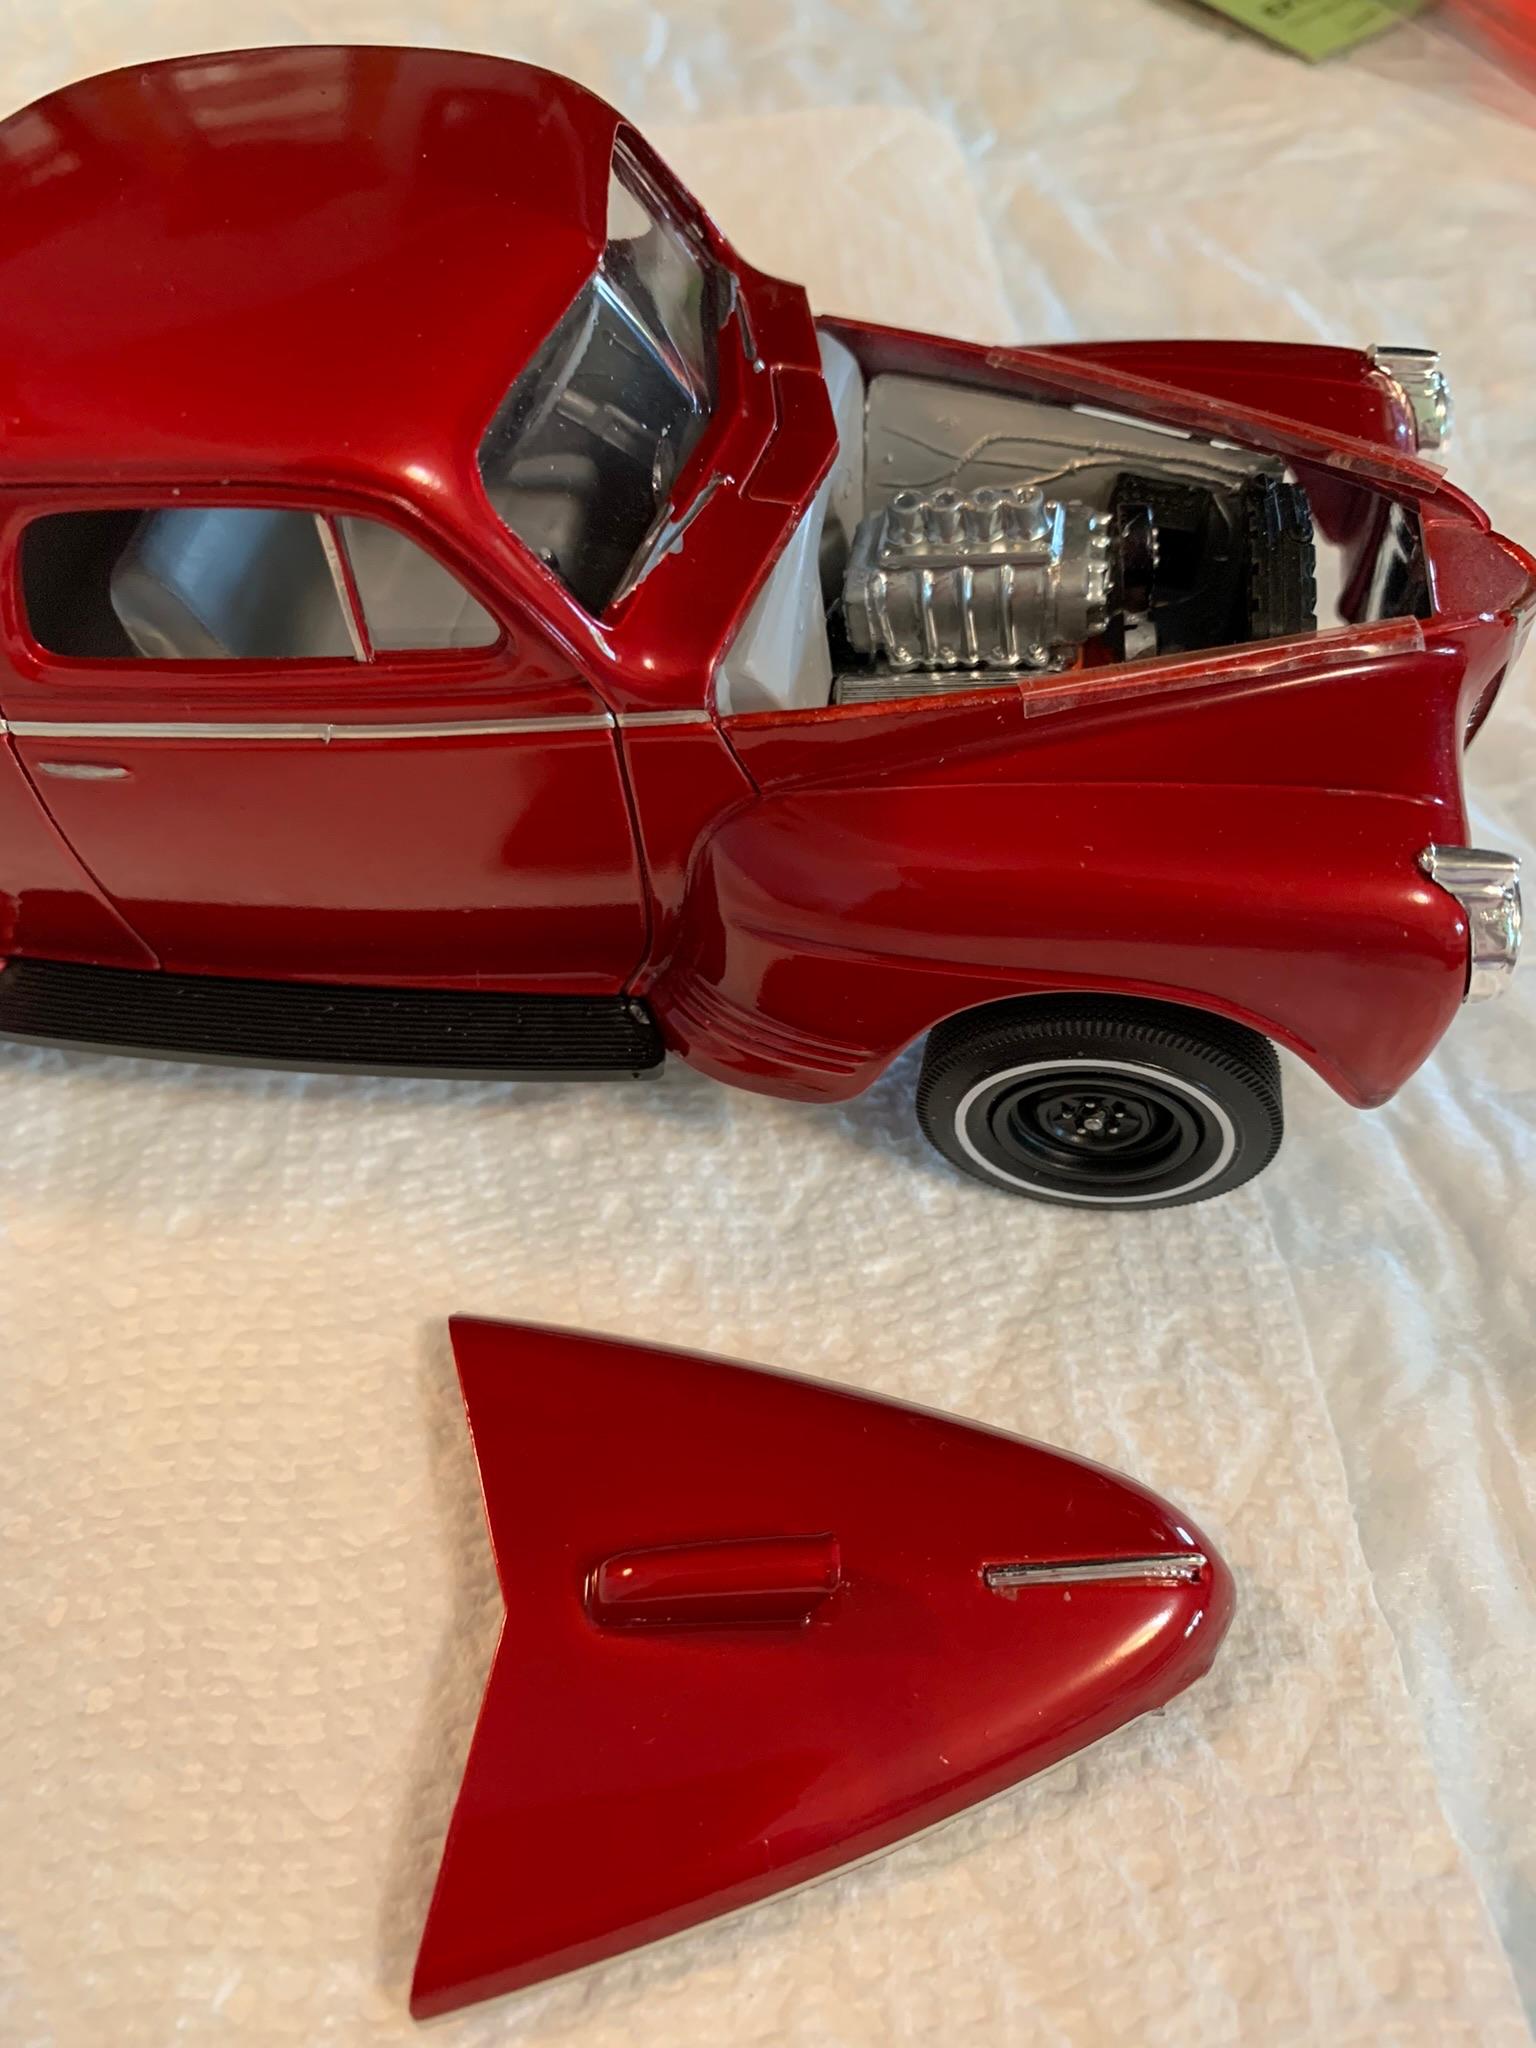
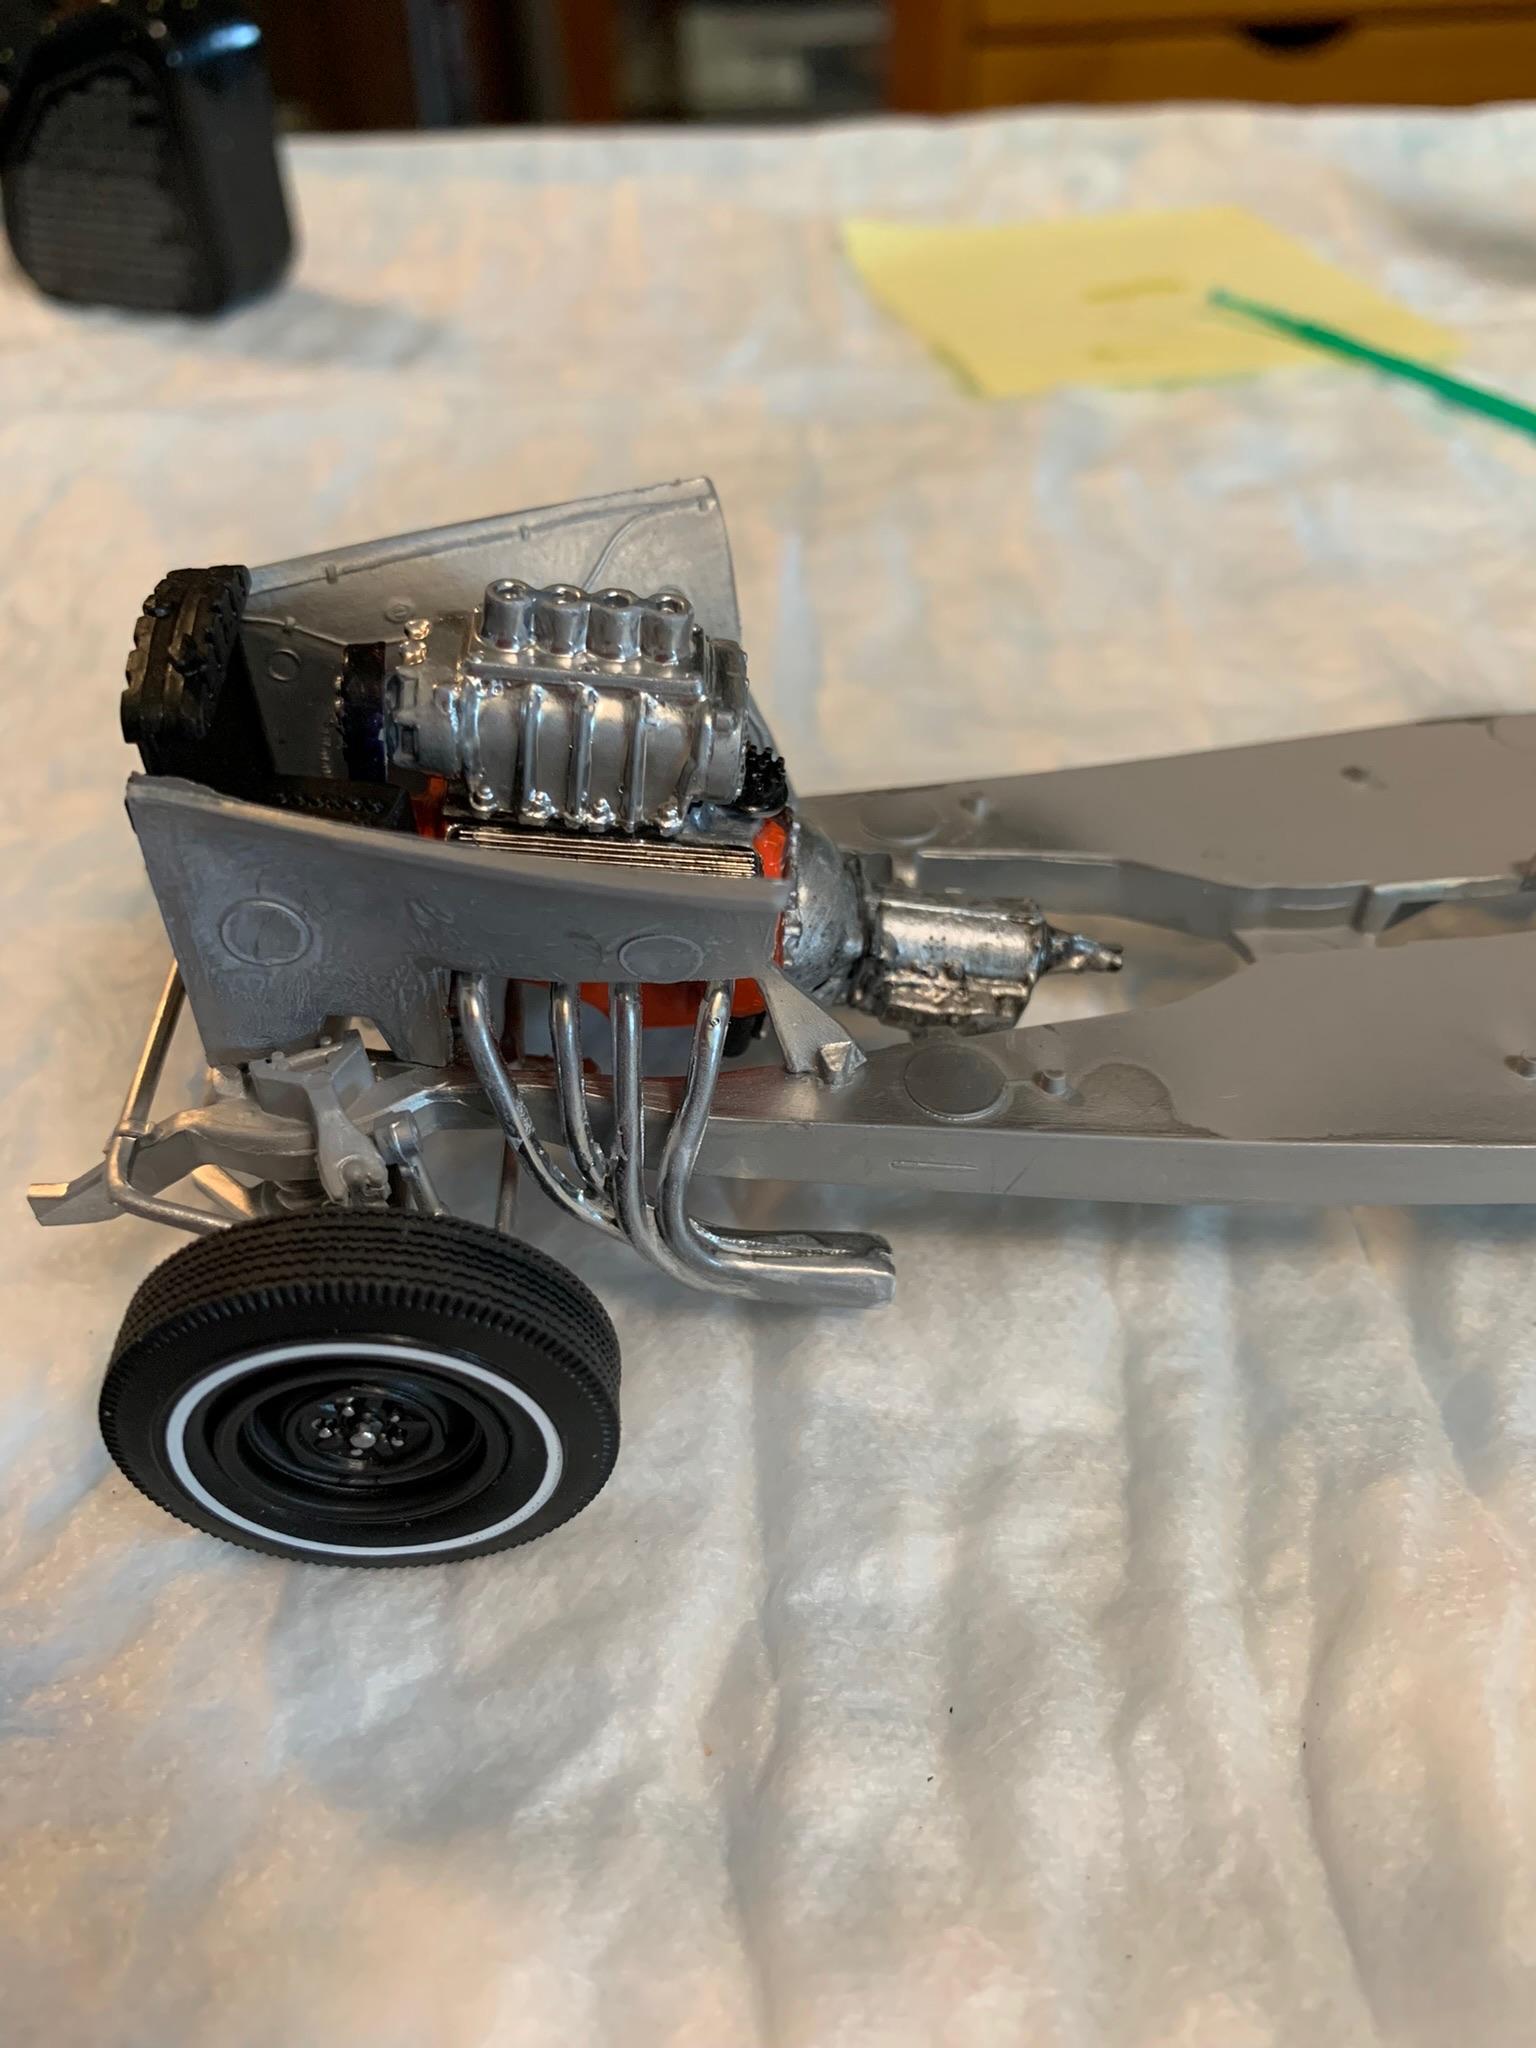
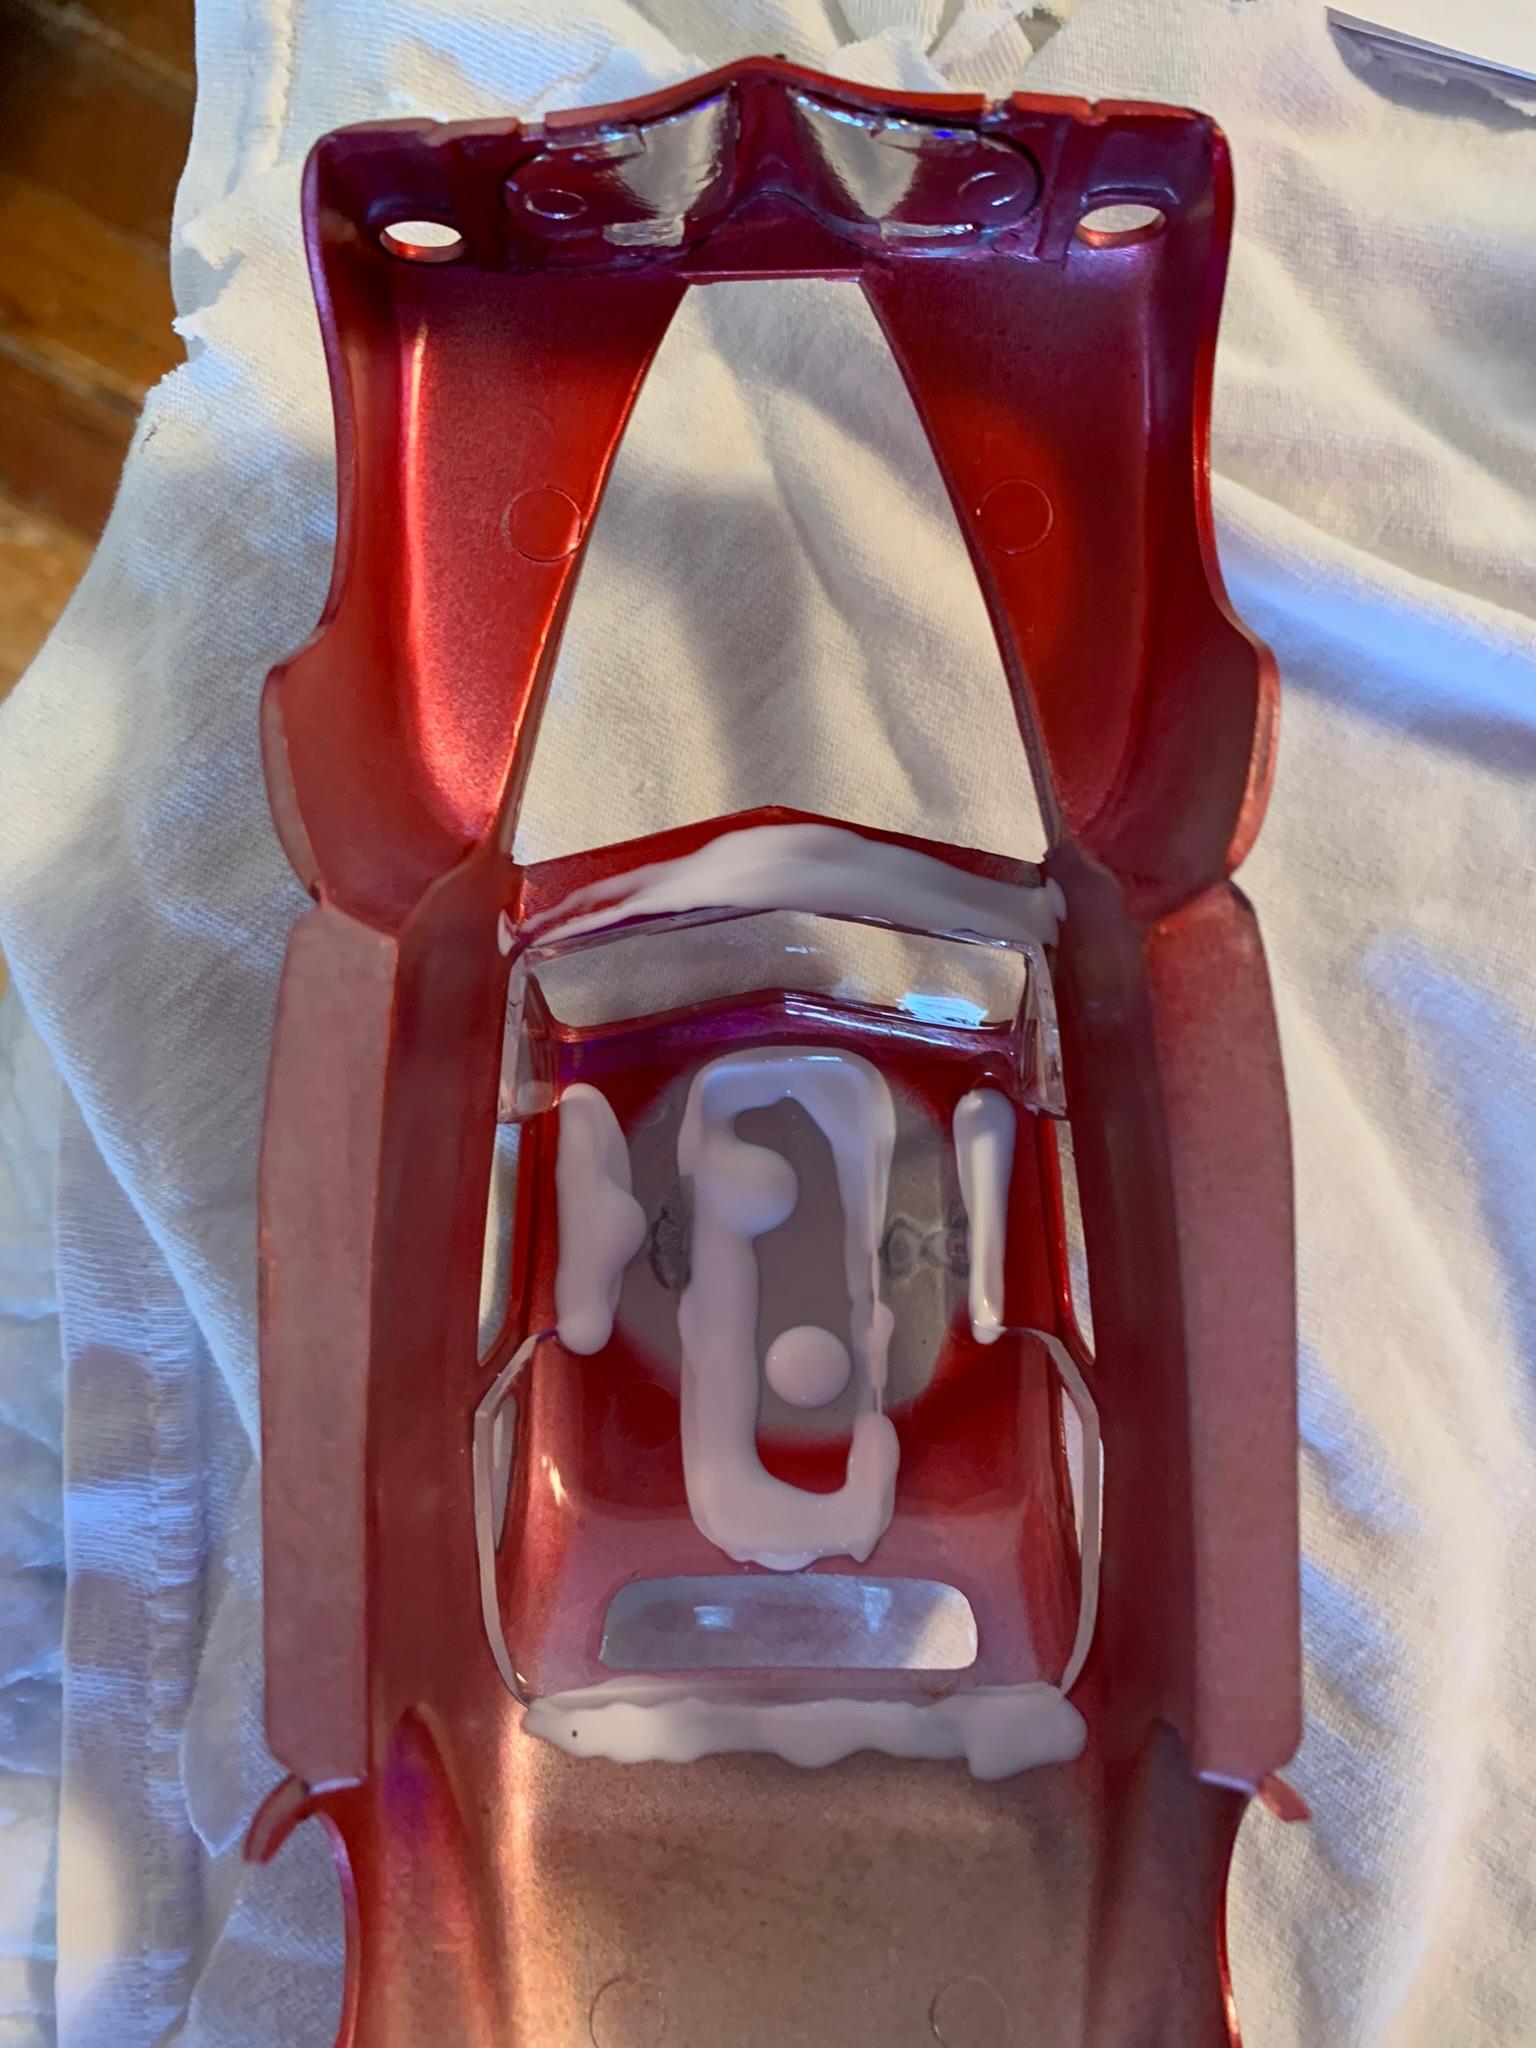
Made a motor mount from scrap, trial fit engine, driveshaft, hood, header clearance. Looks good. Brushed floor polish on windshield (easier than dipping) . Also, like the looks of floor polish on the other side of hood. Will brush whole car with it with a soft bristle brush.
-
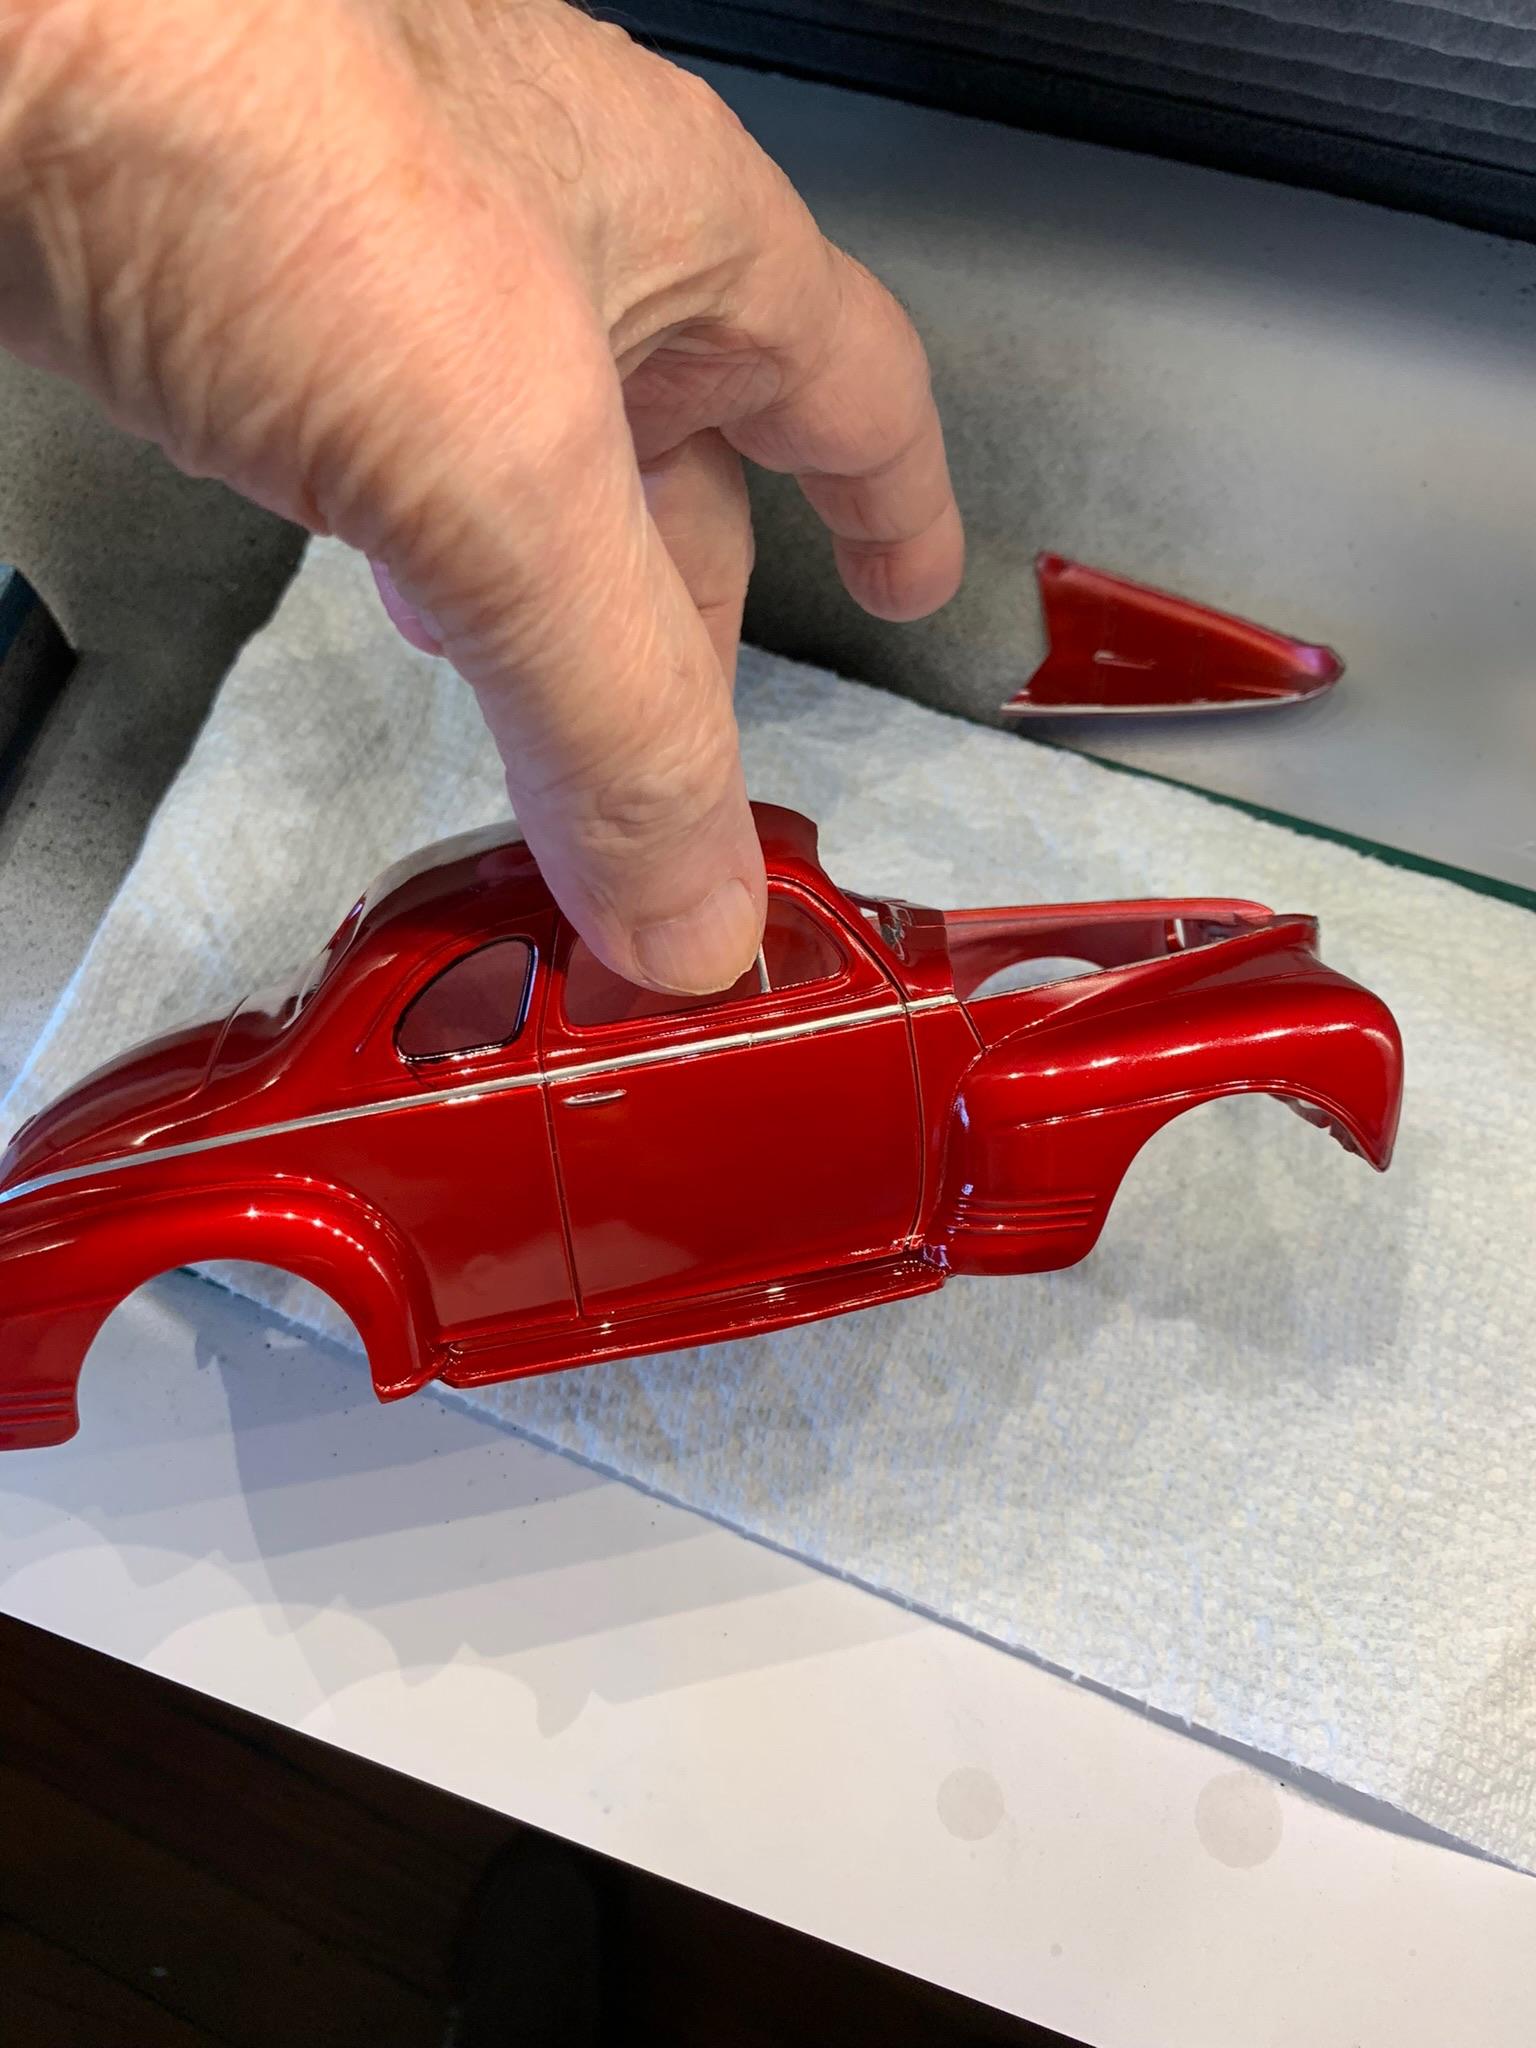
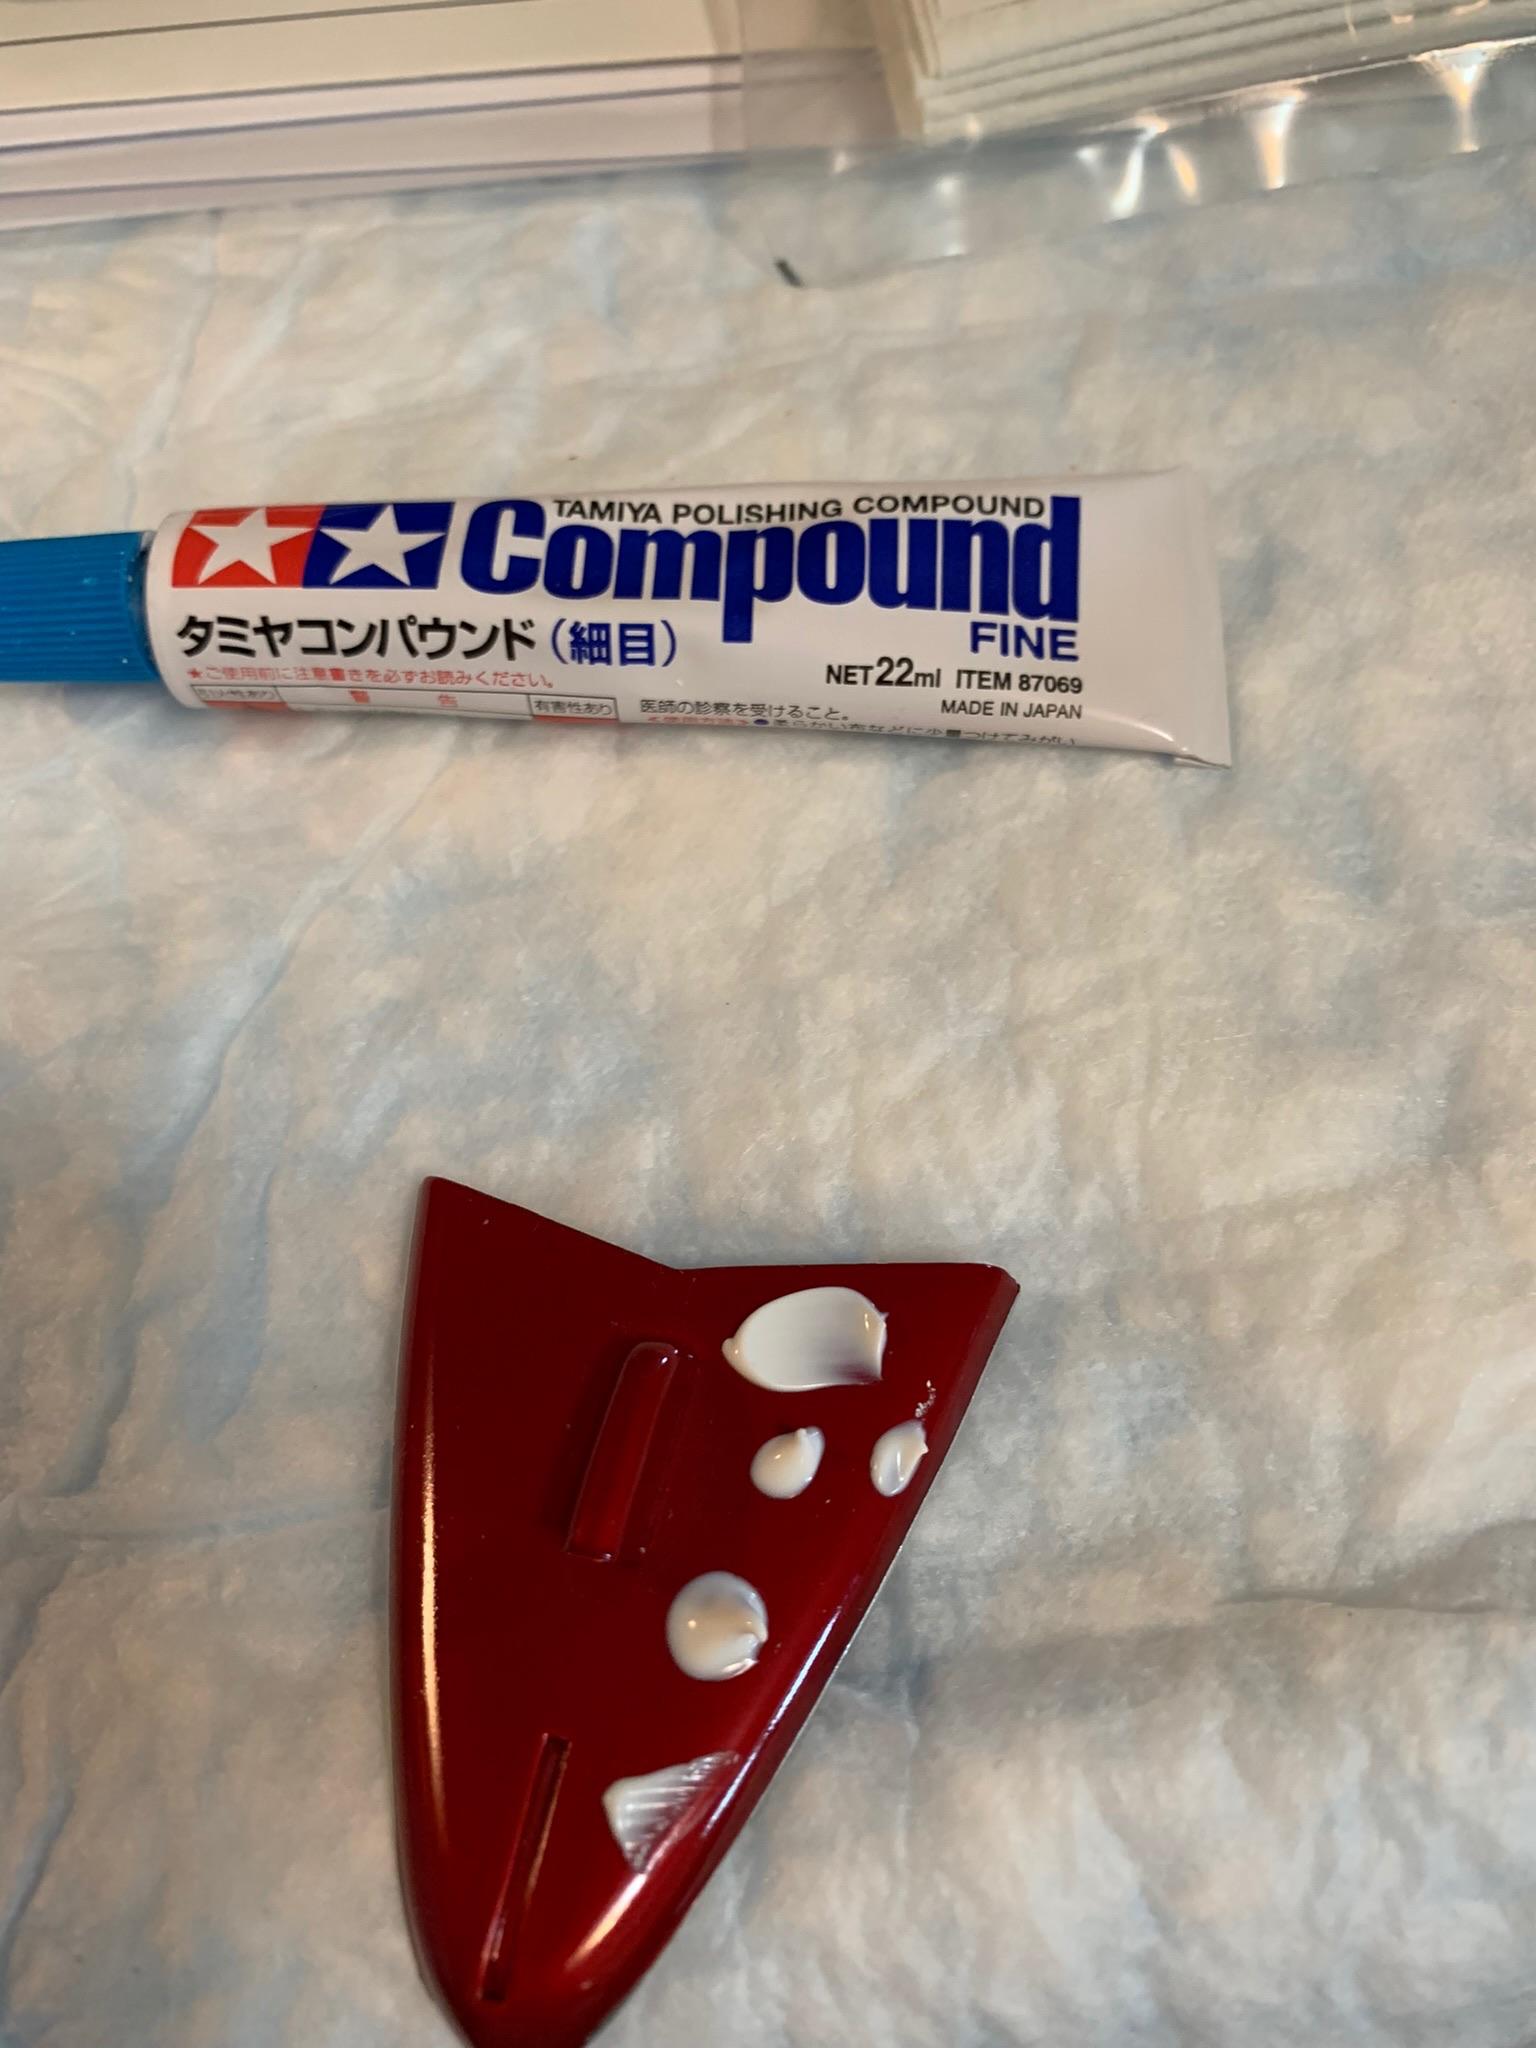
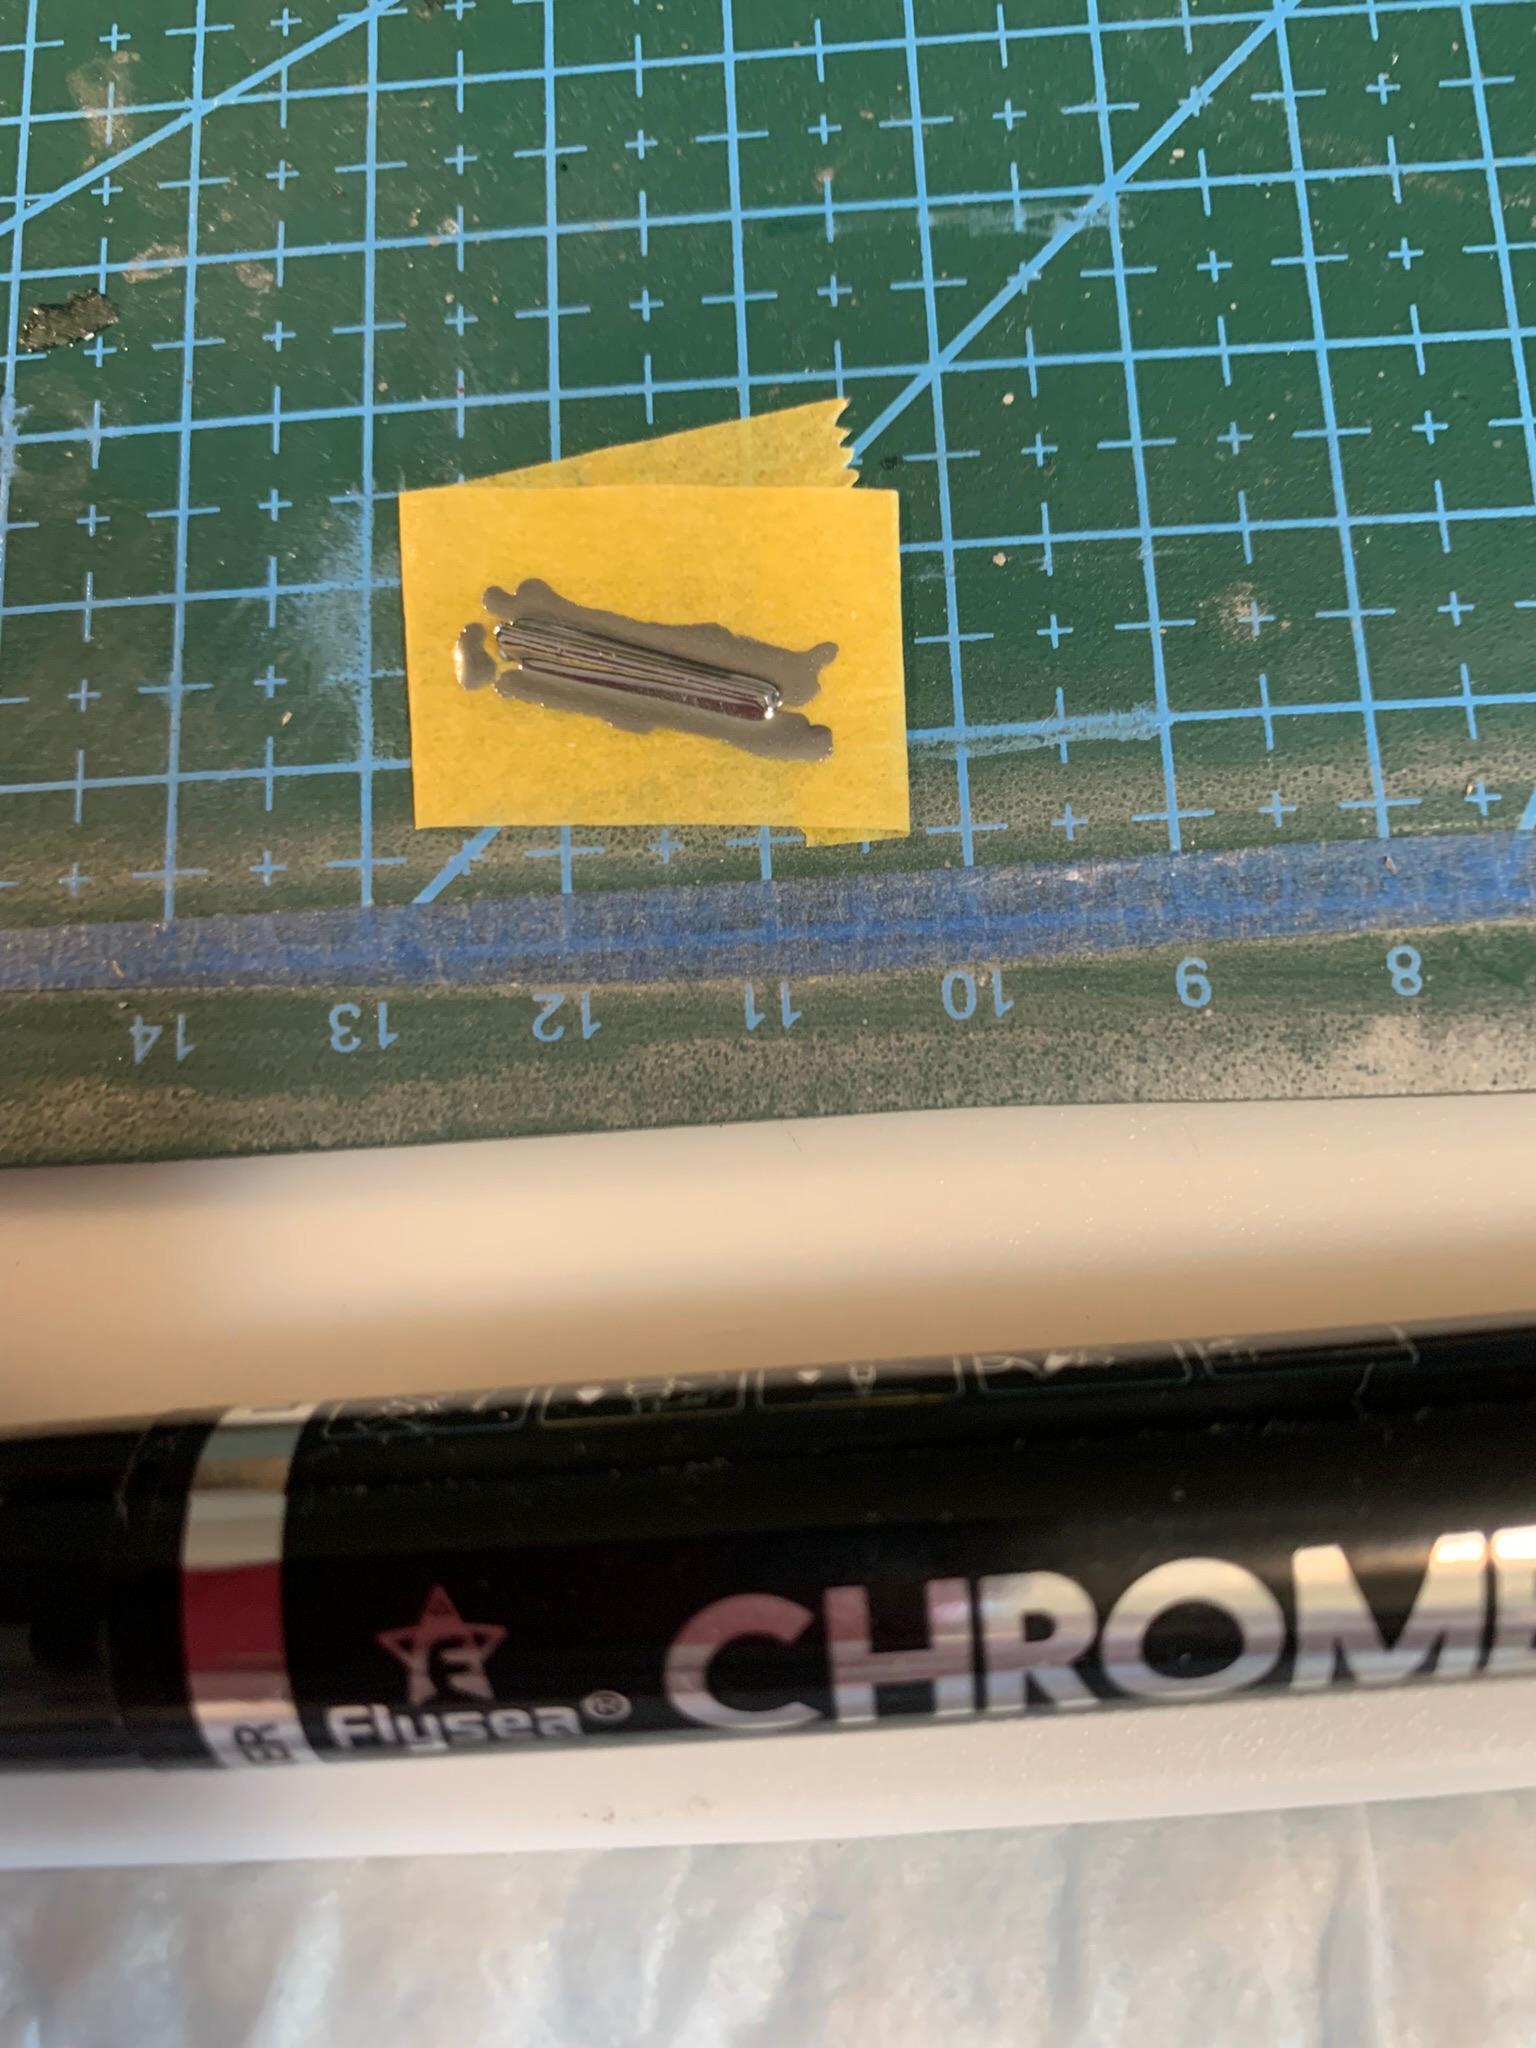
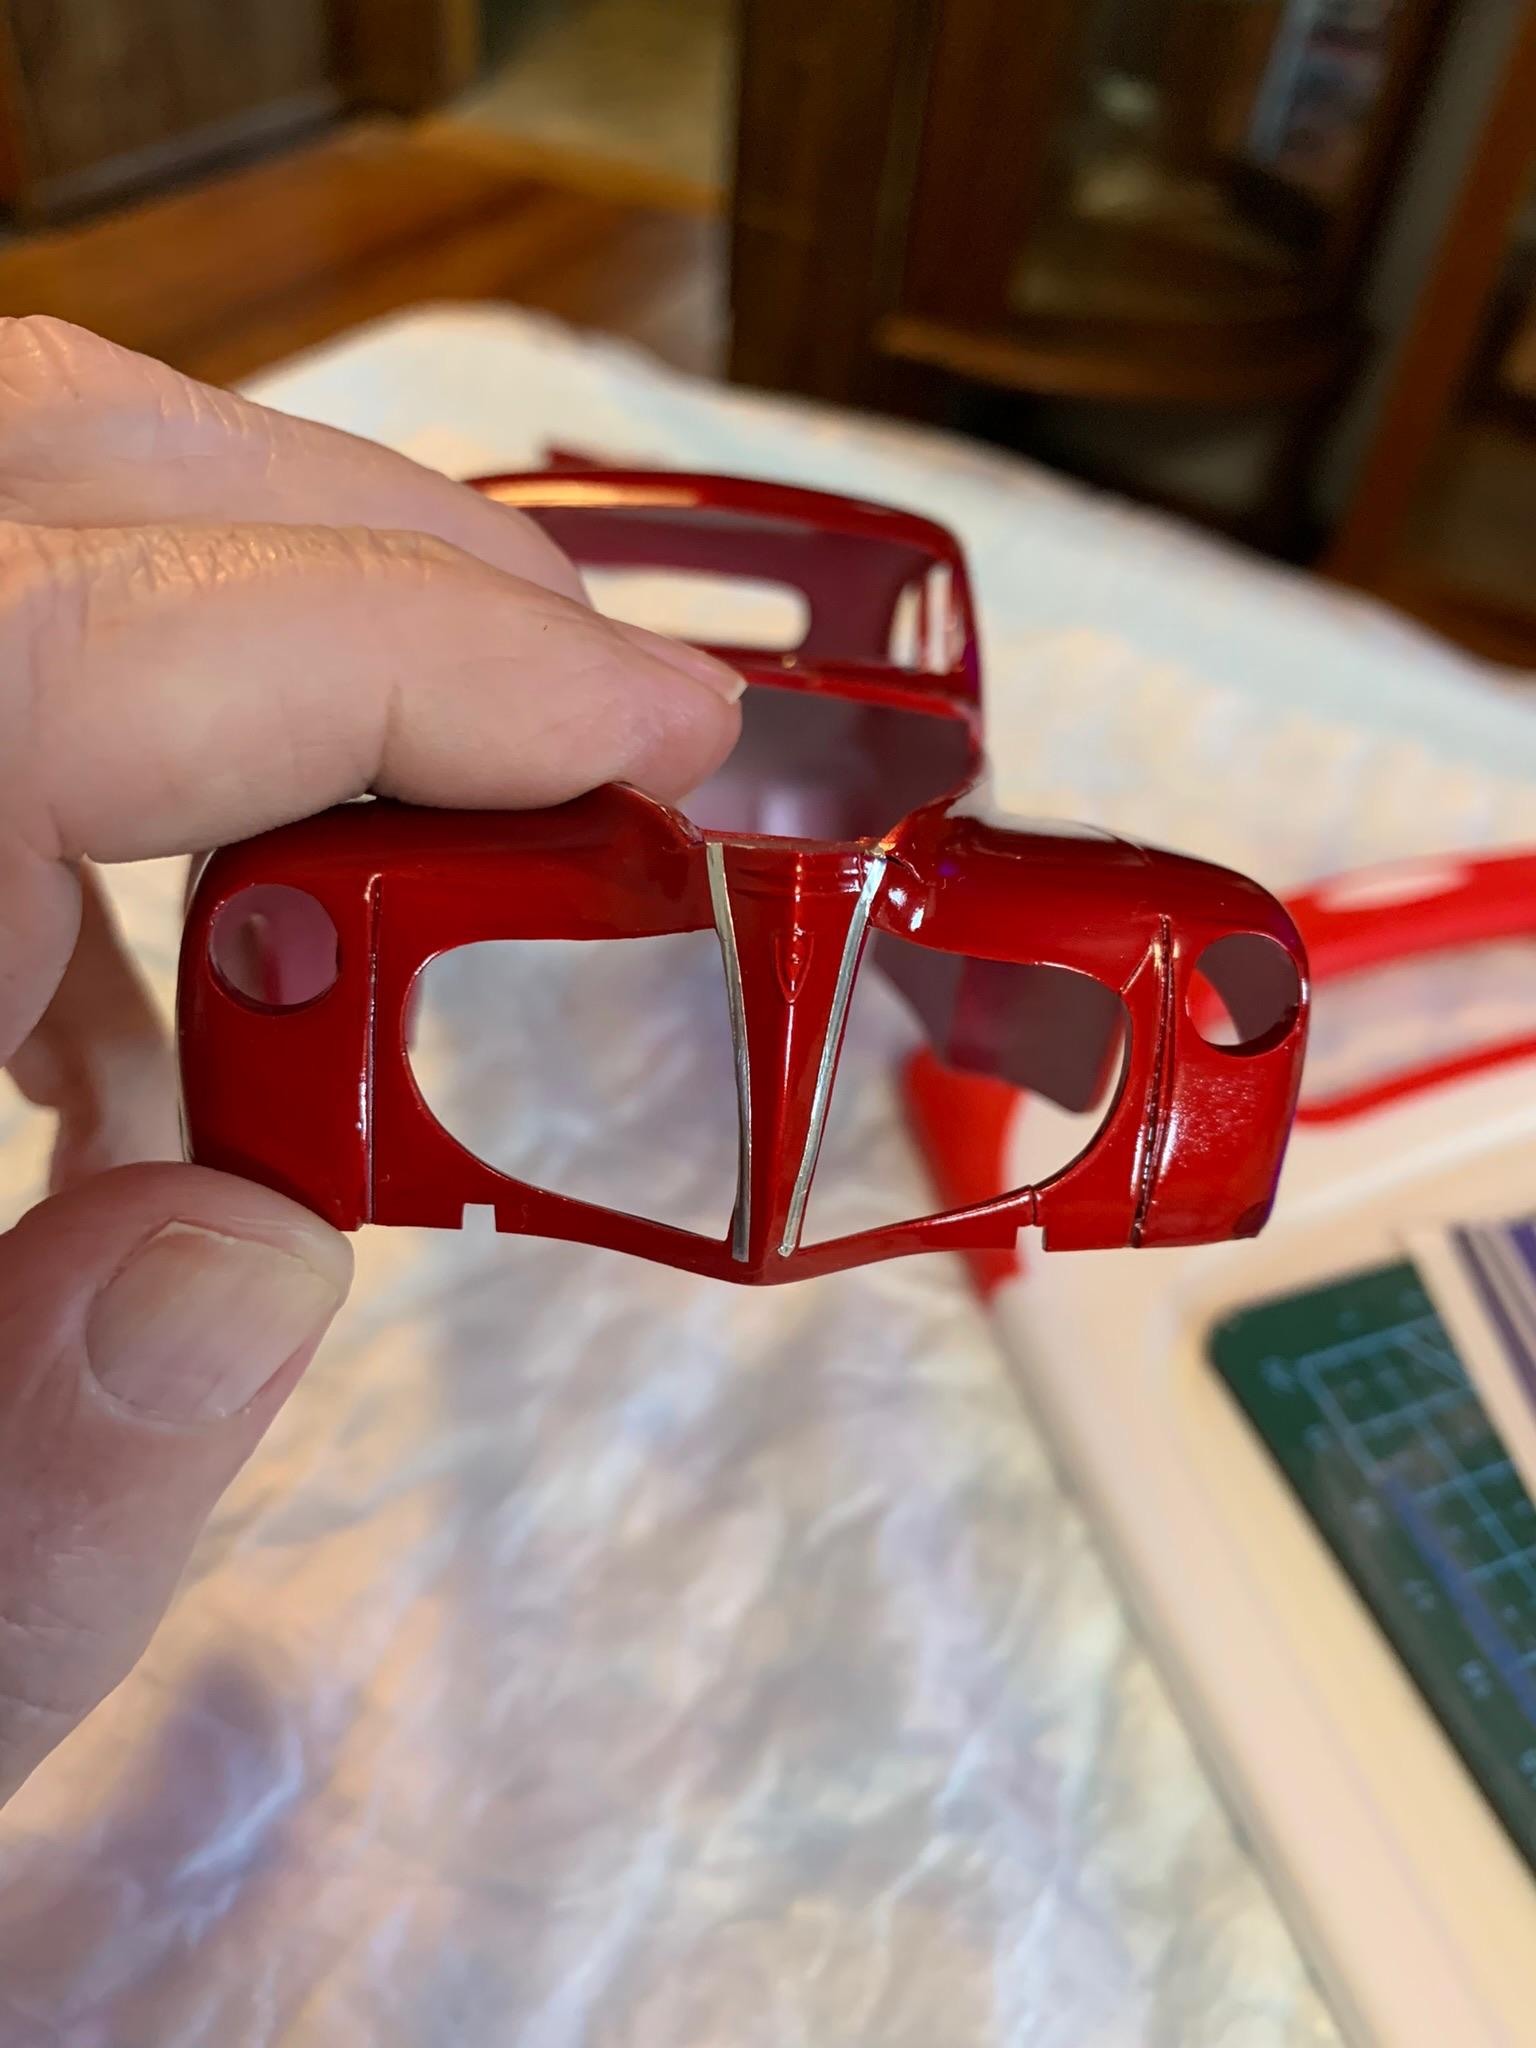
Thanks for the kind words. Tried some fine and finishing compounds on one side of the hood with ho-hum results. Gonna try some floor polish and Novus on the other side just for kicks. Just realized I need another strip of chrome on the front of the hood. Also tried some Flysea chrome. Looks good.
-
Thanks, Mike.
-
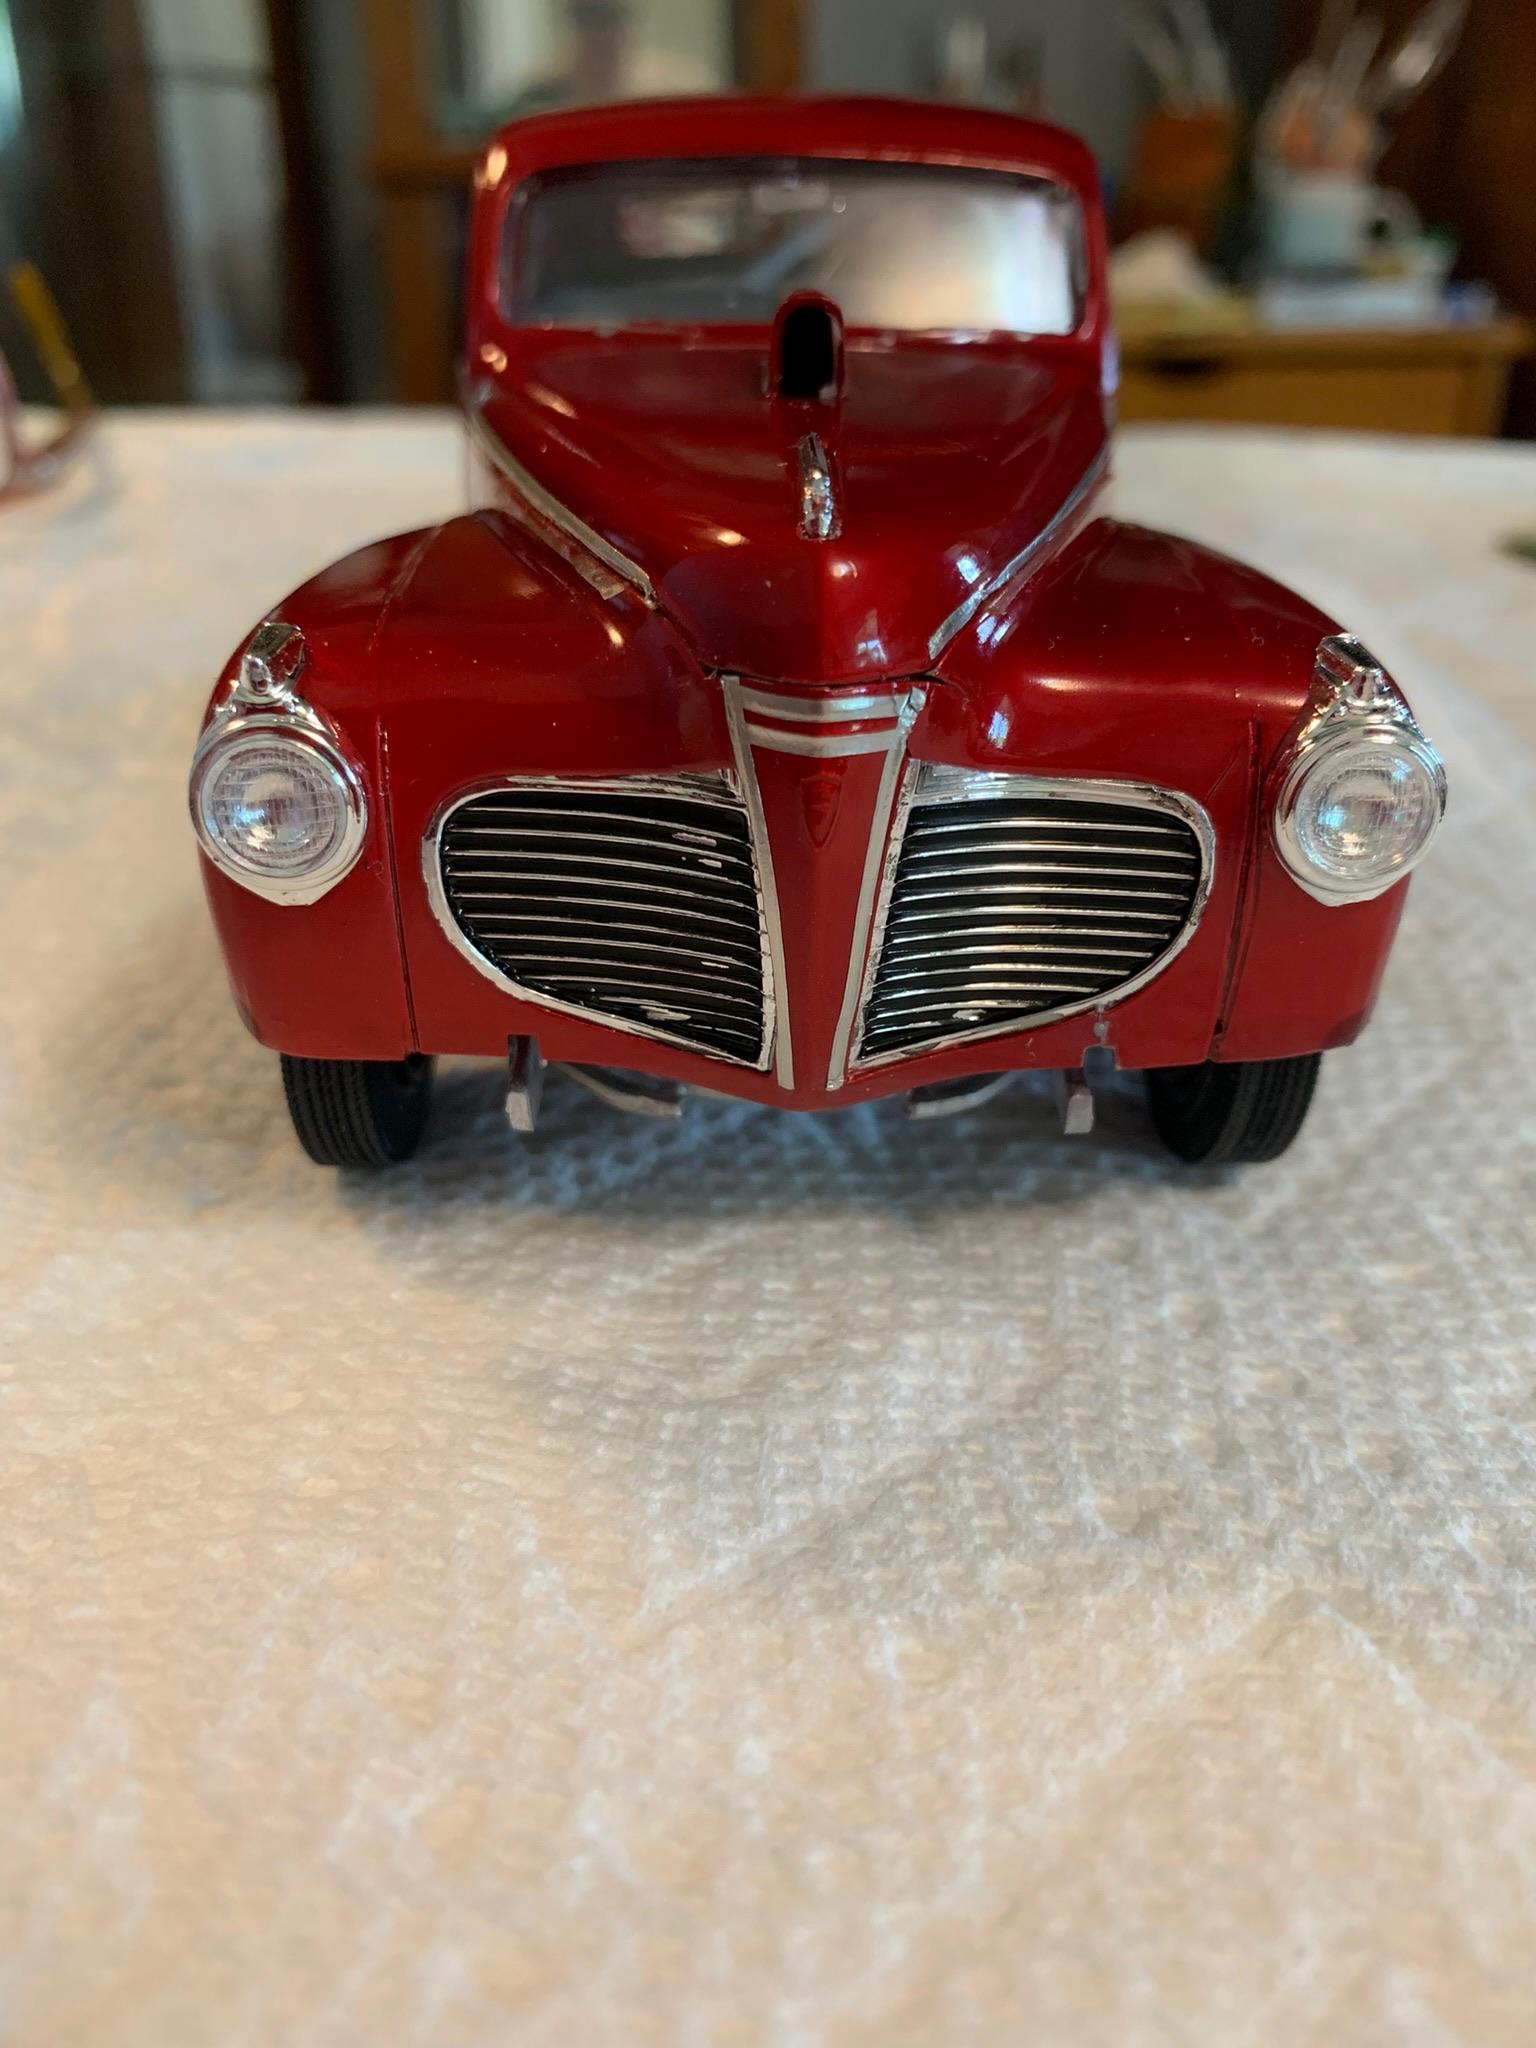
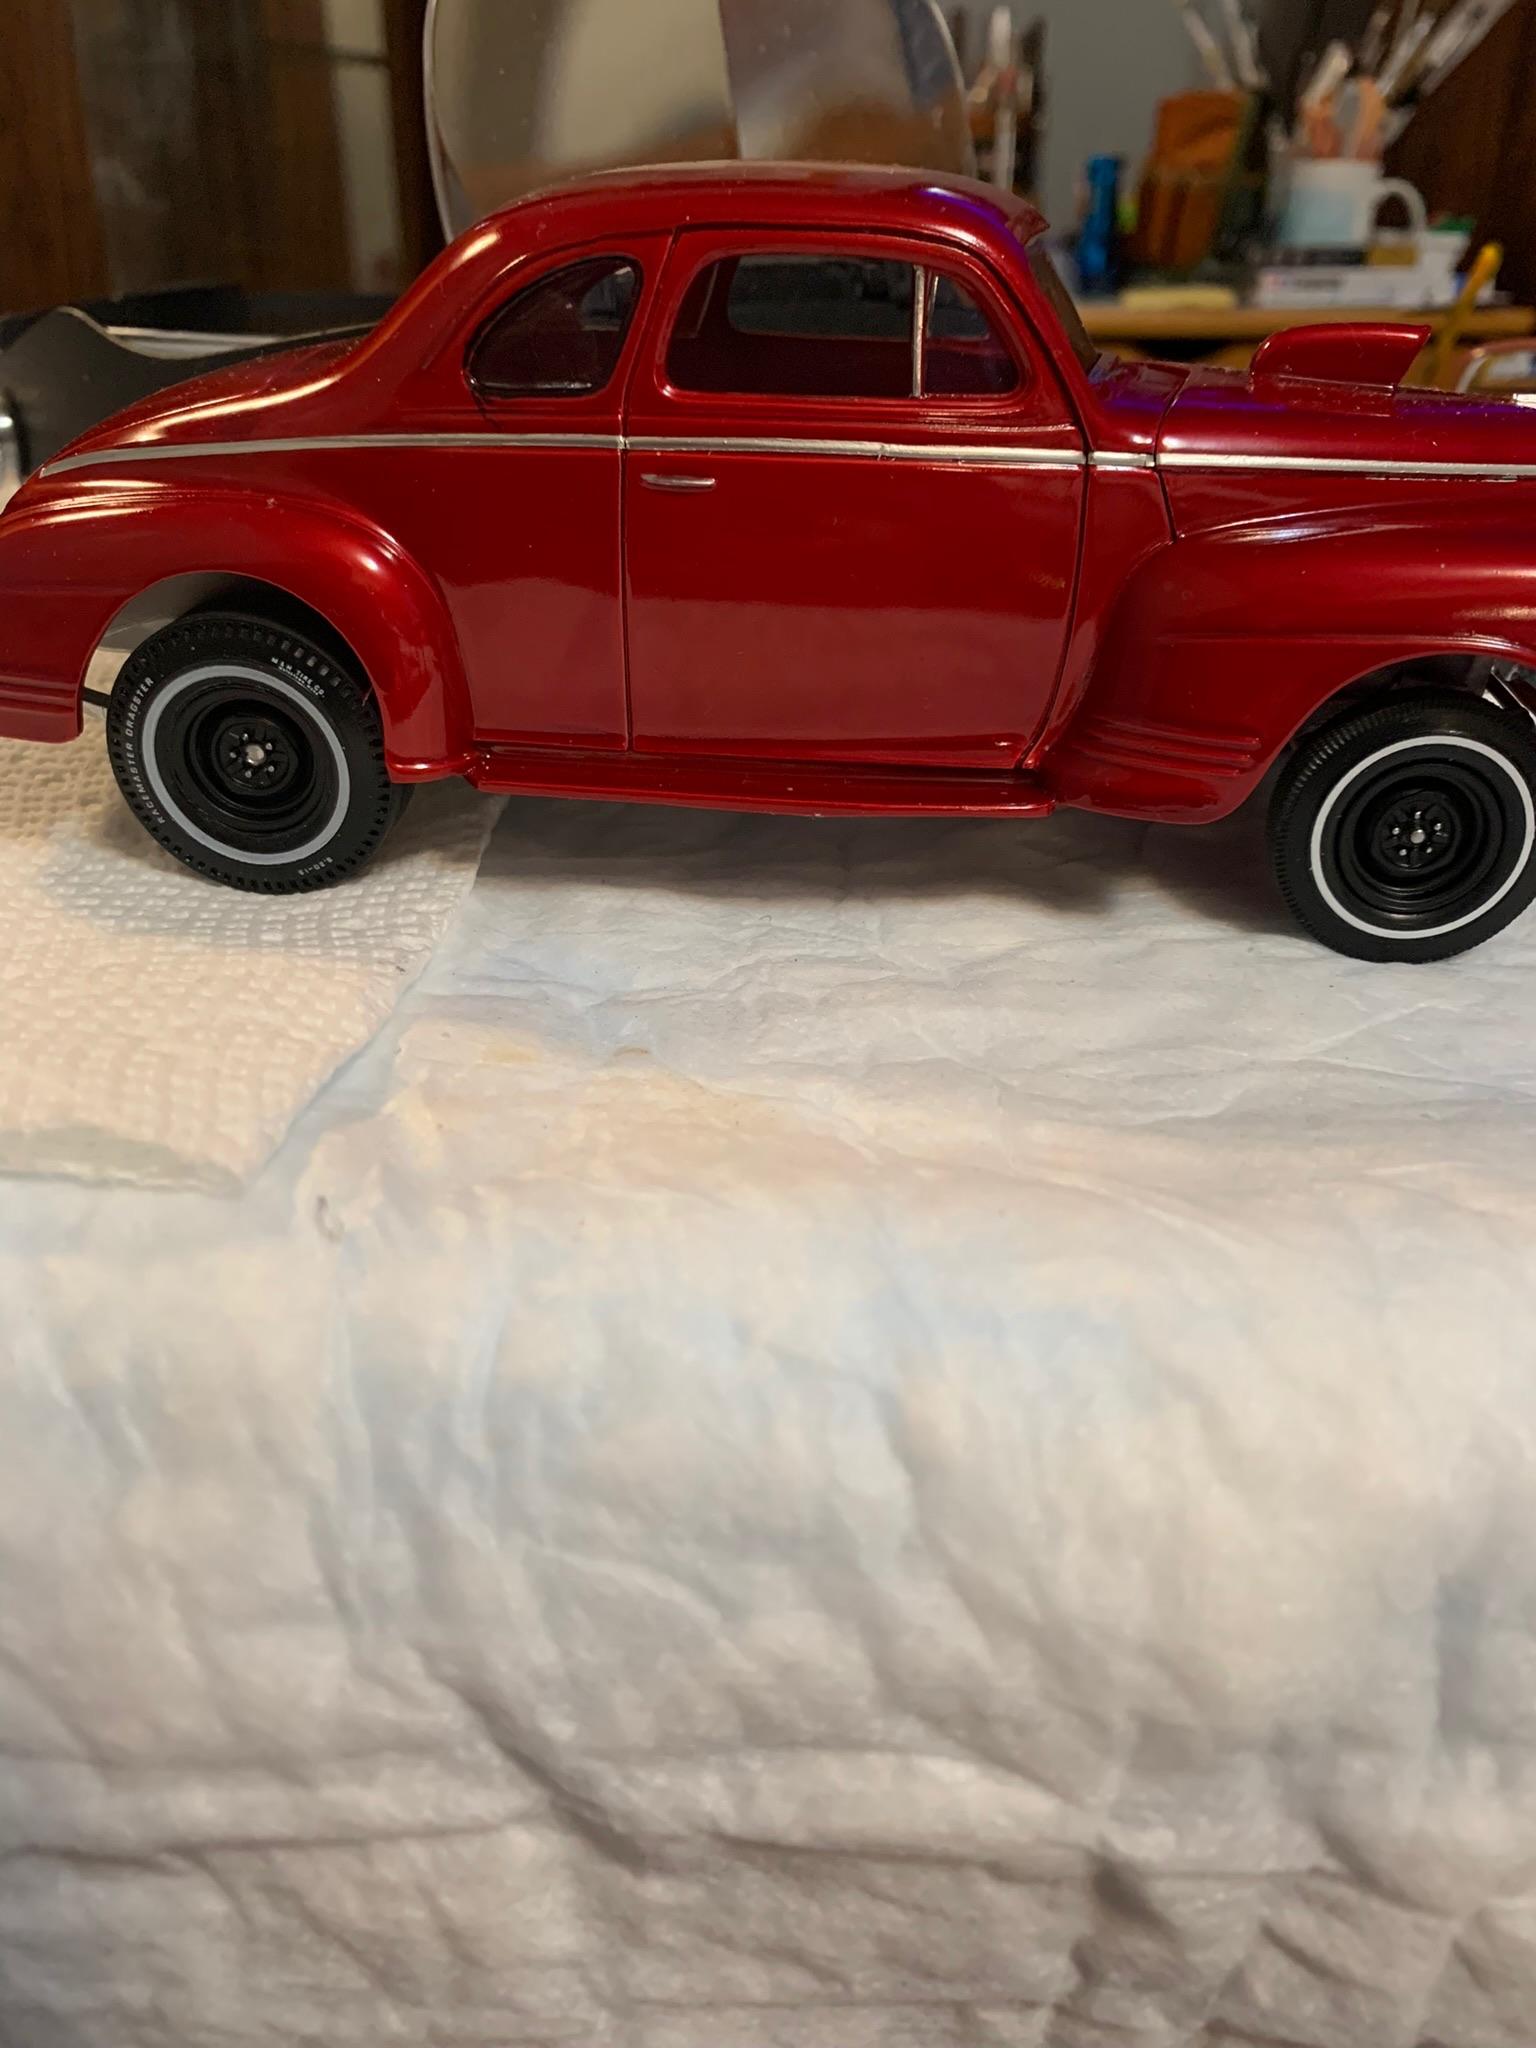
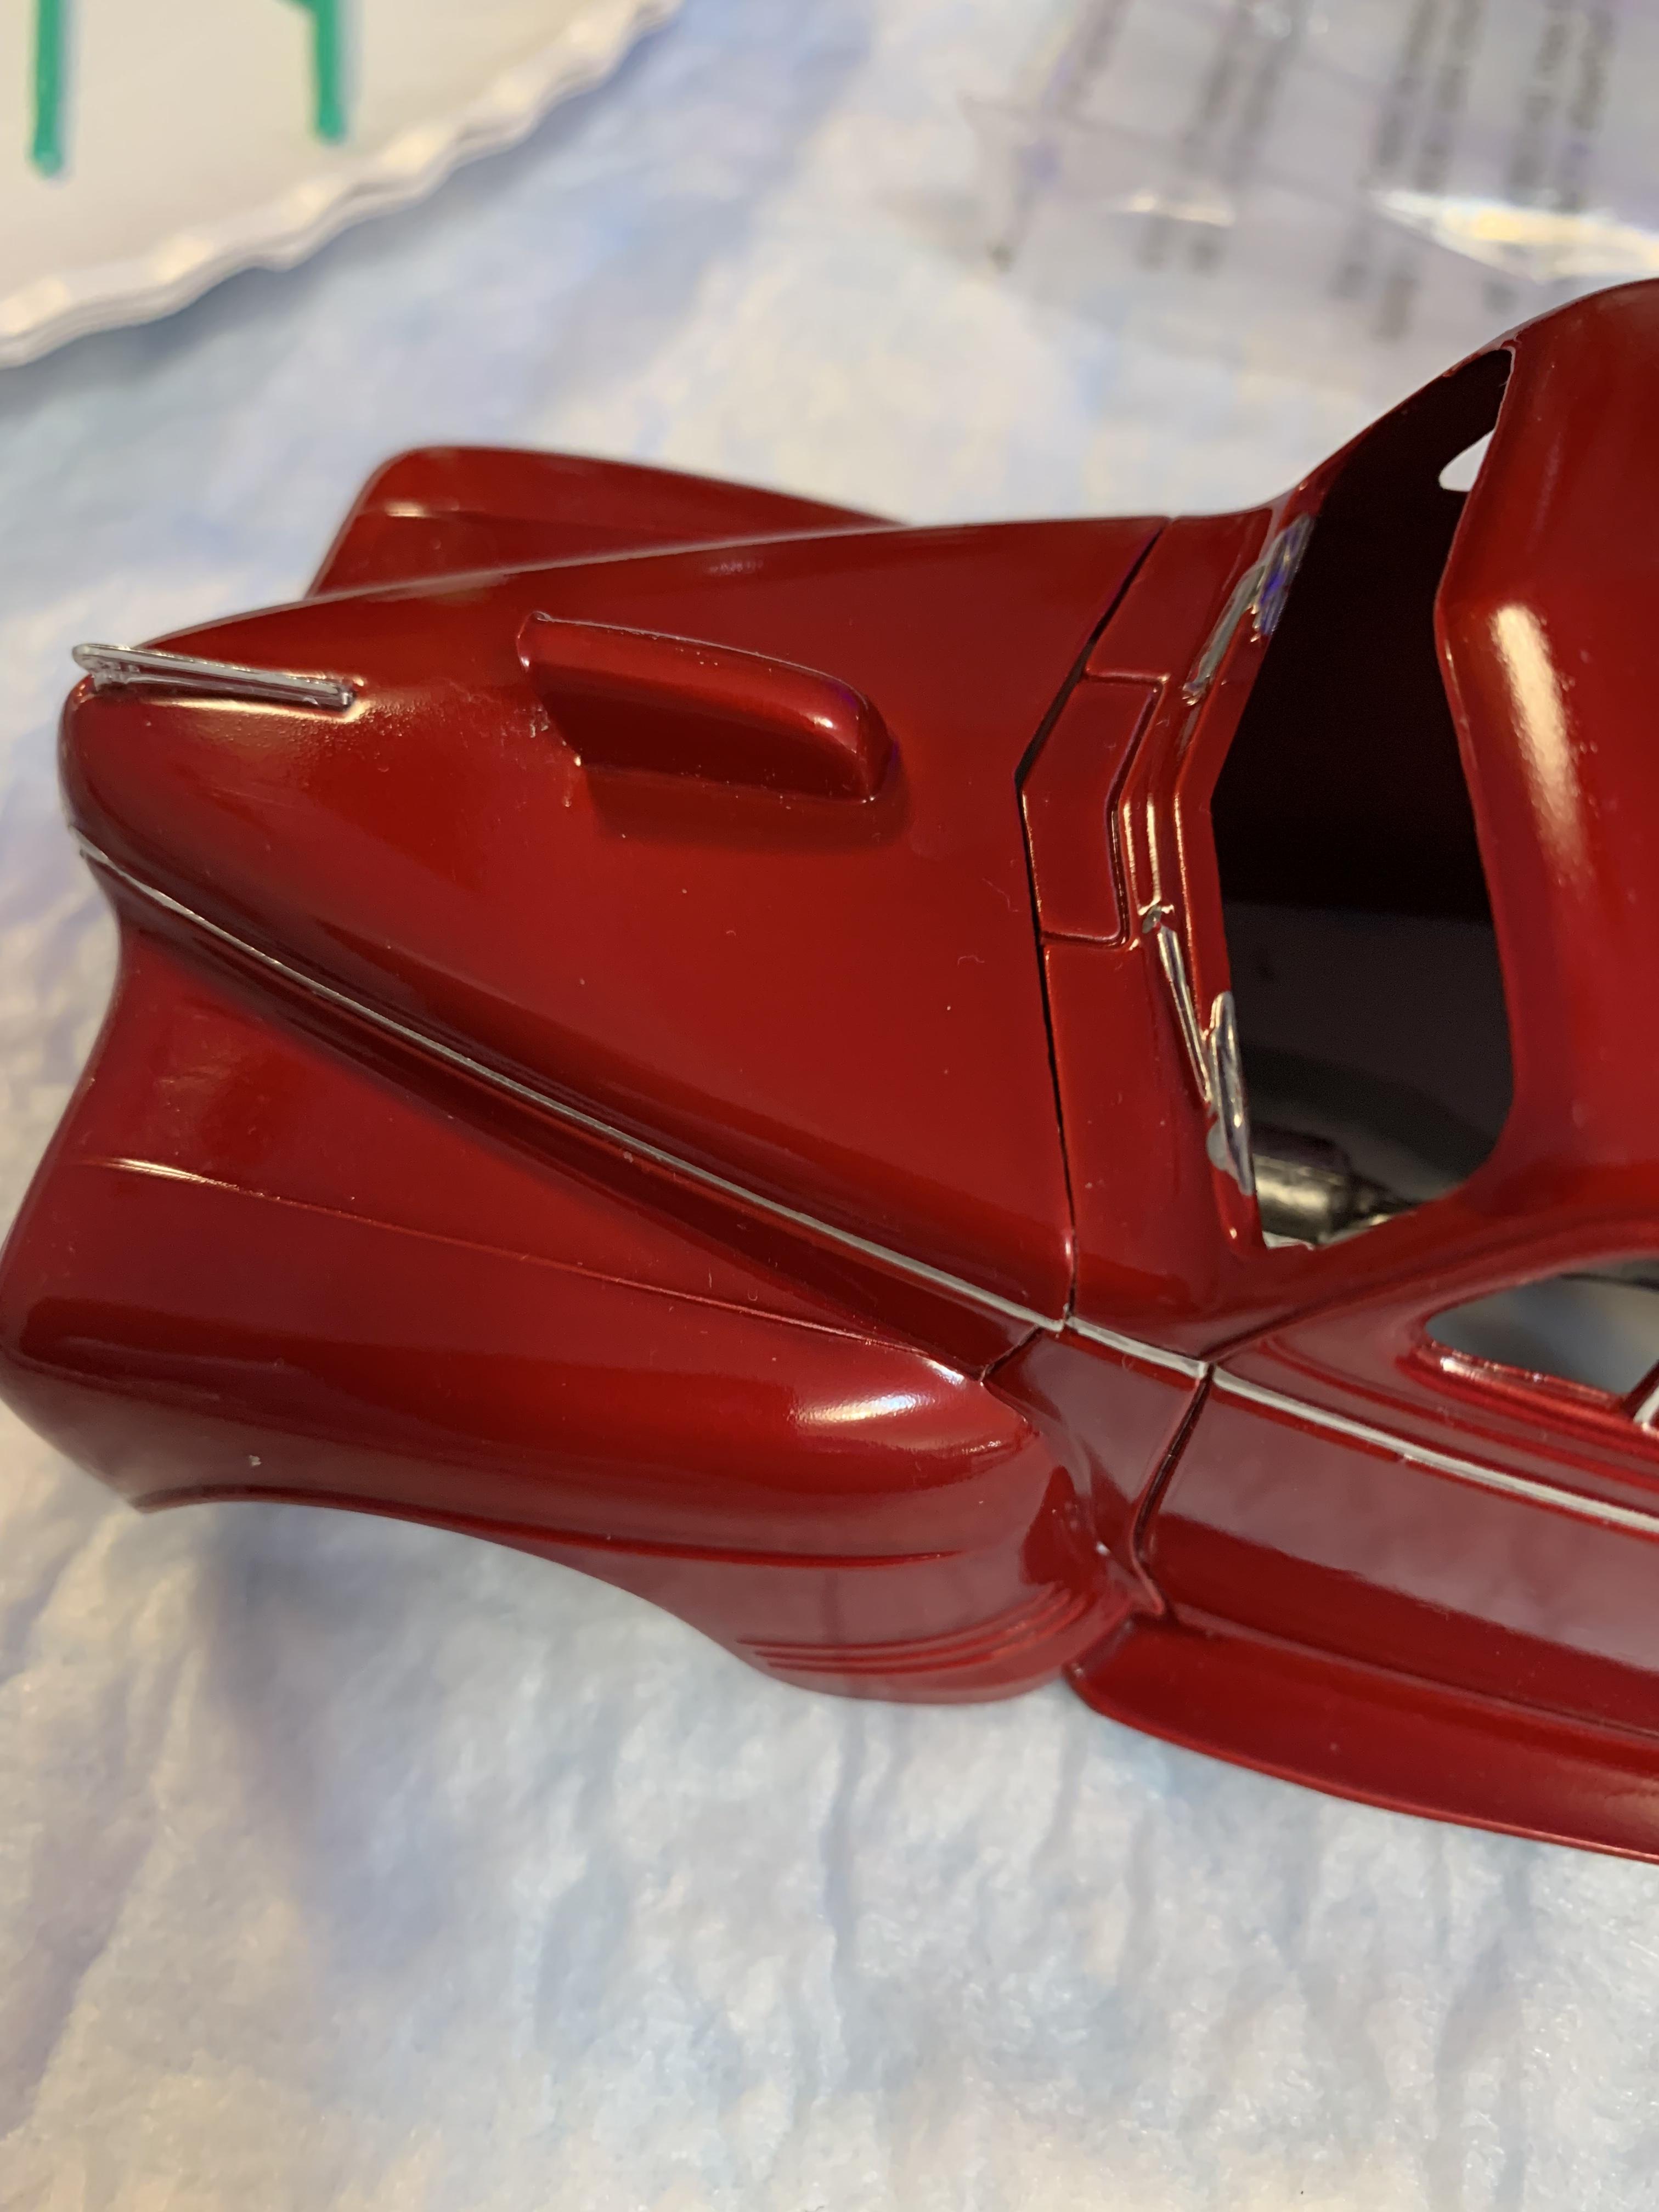
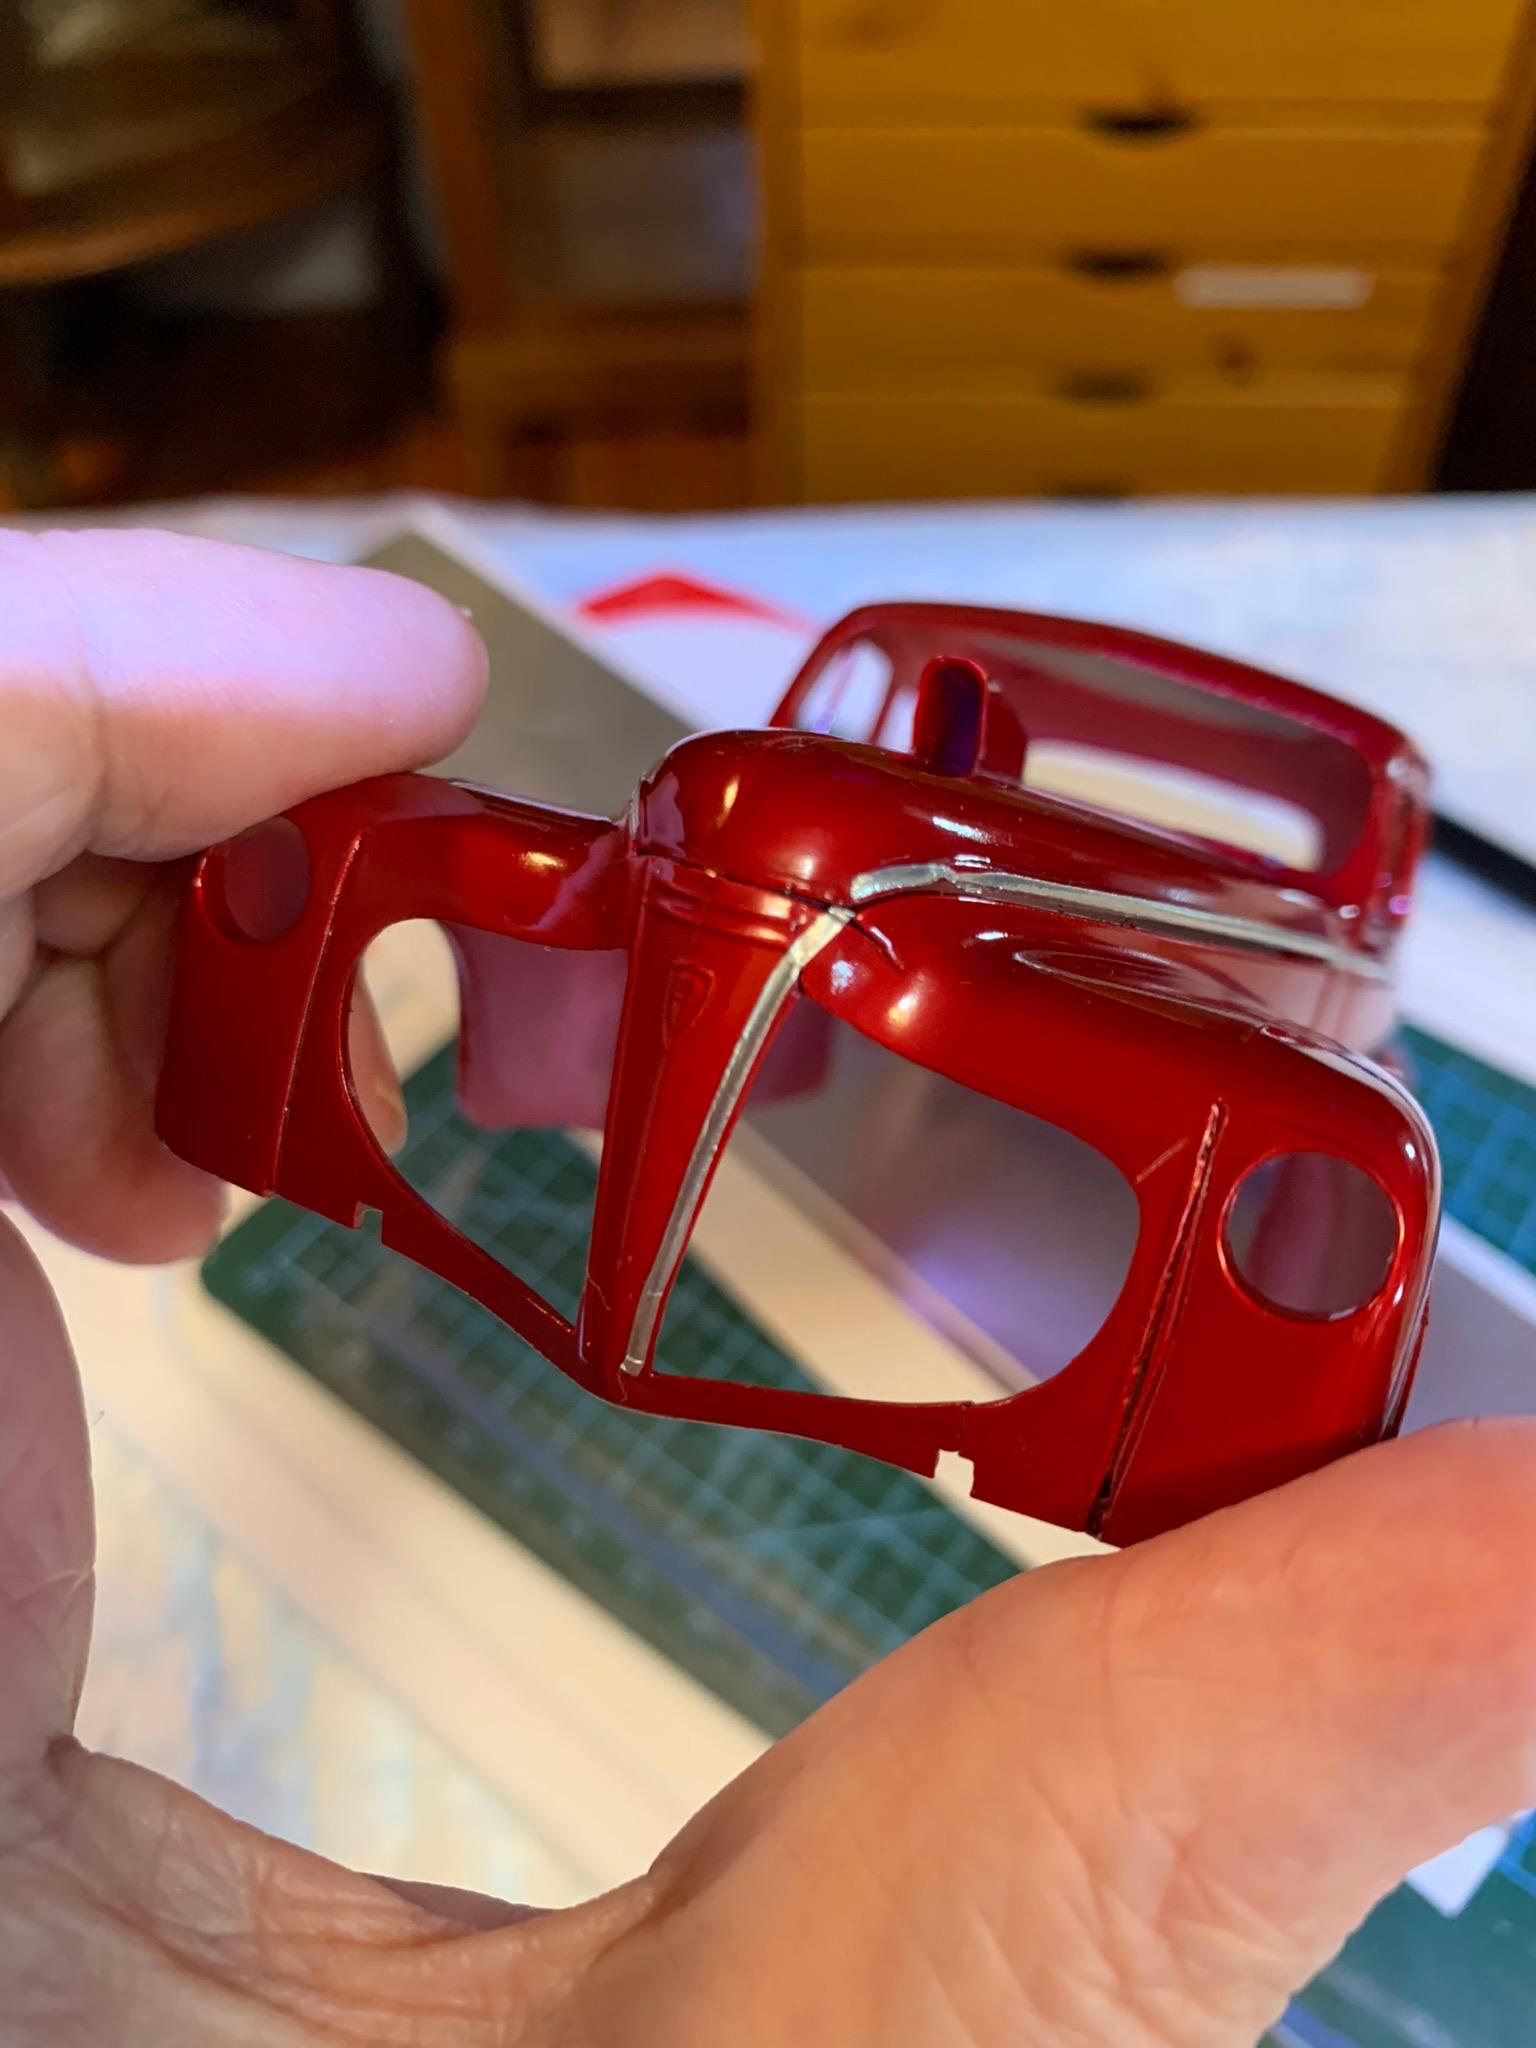
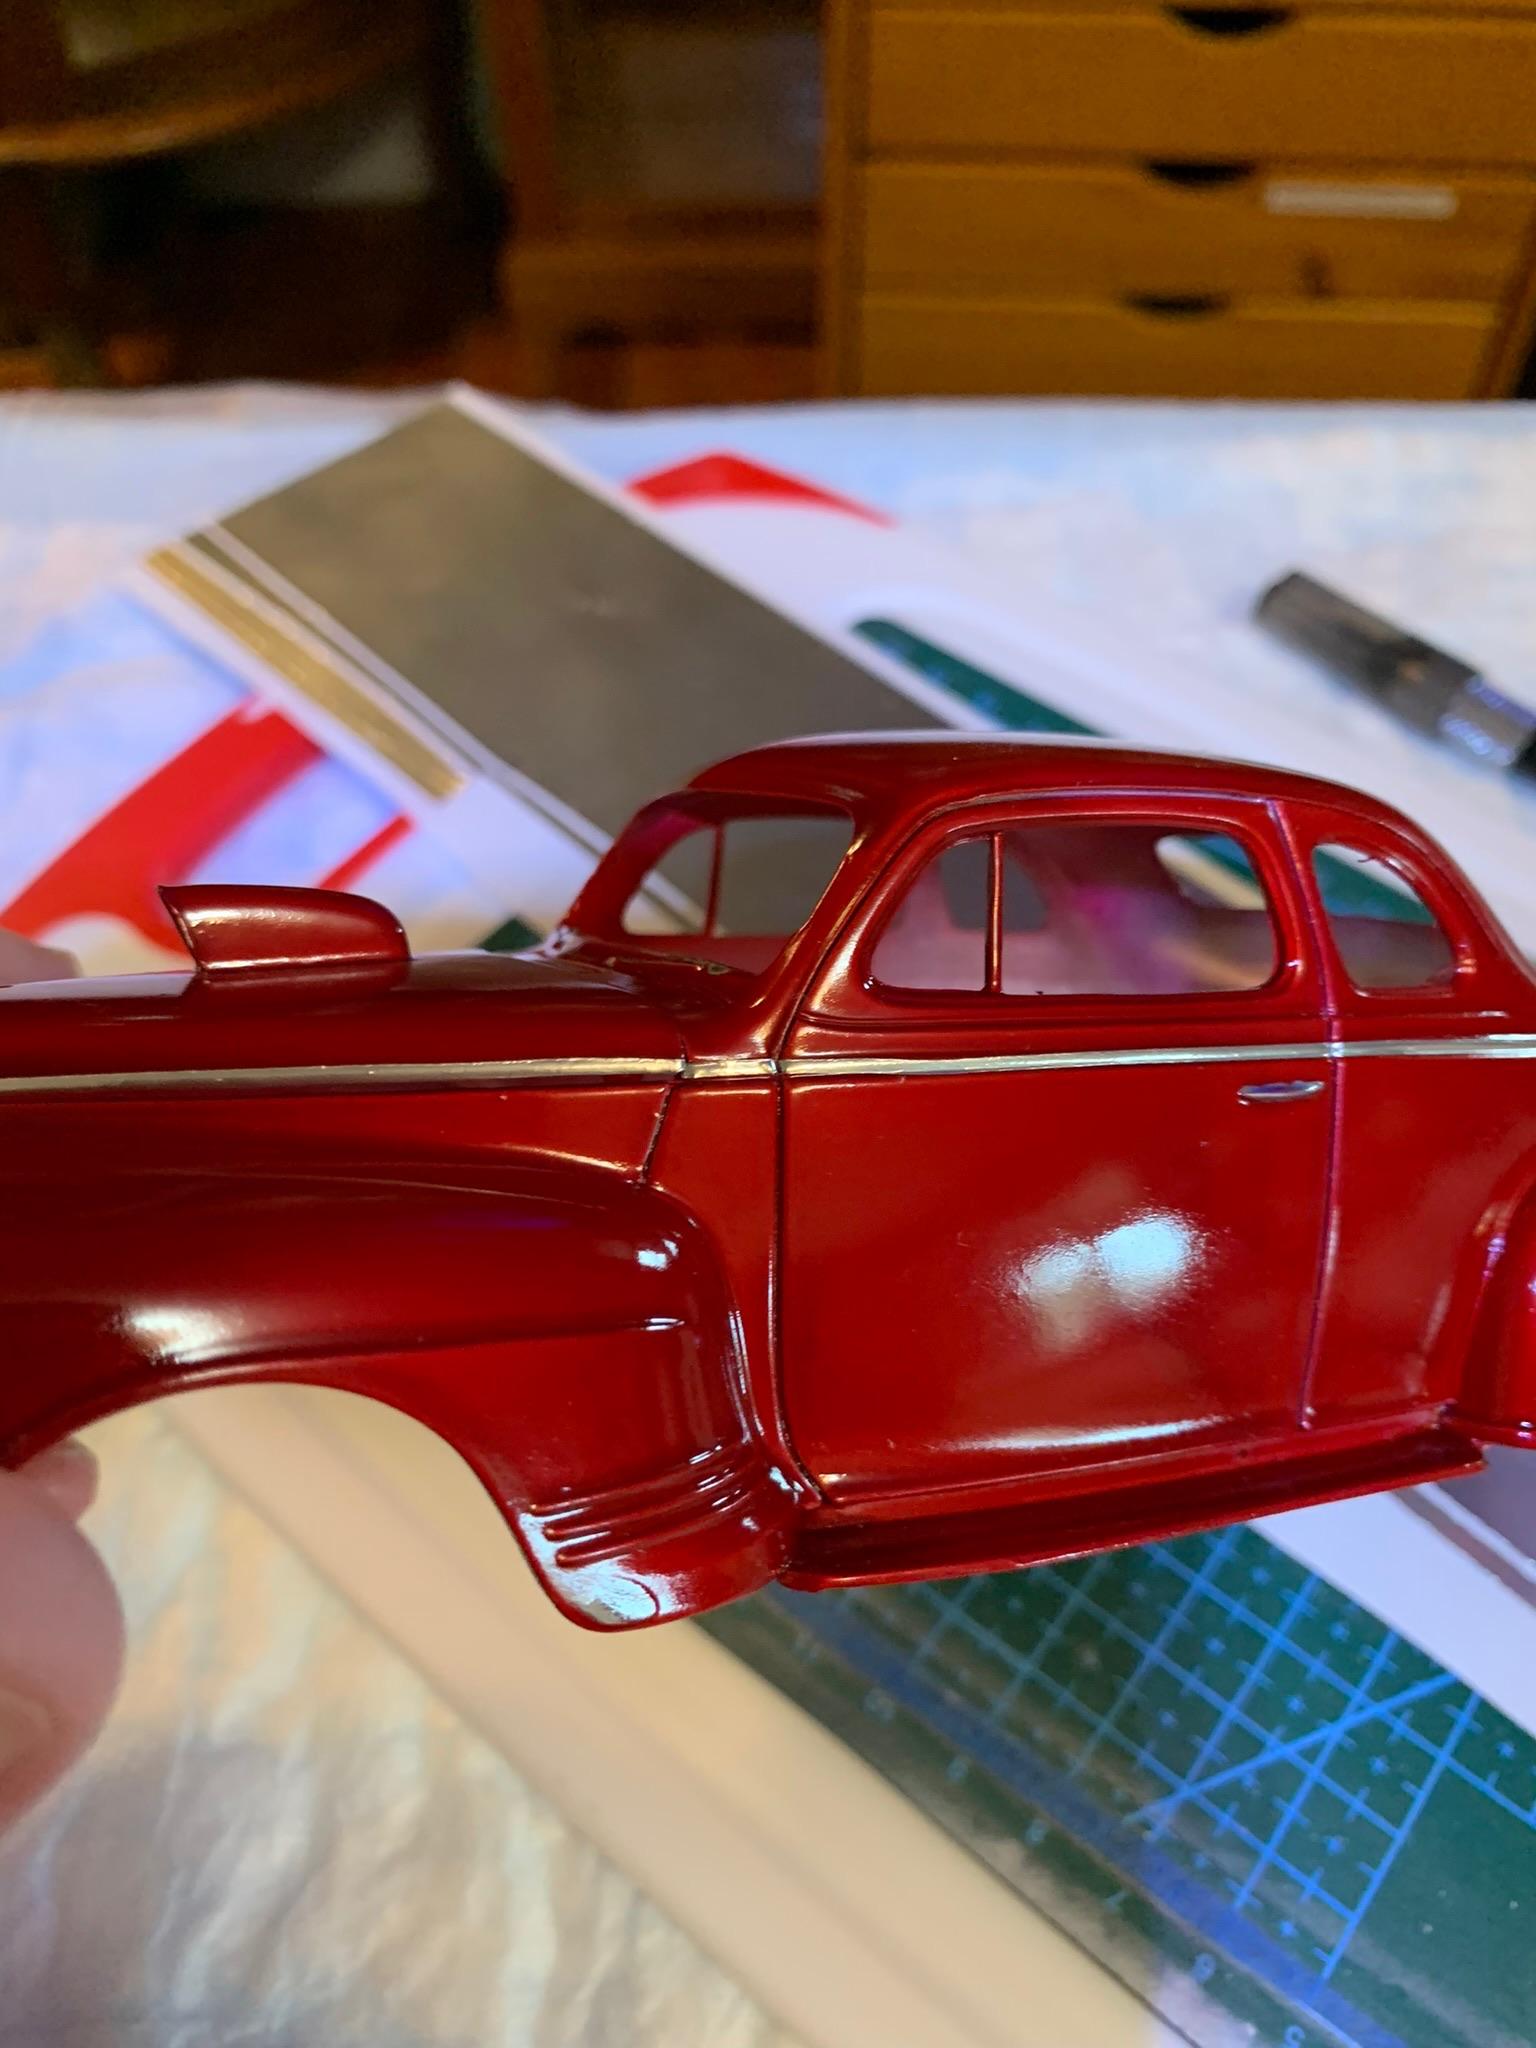
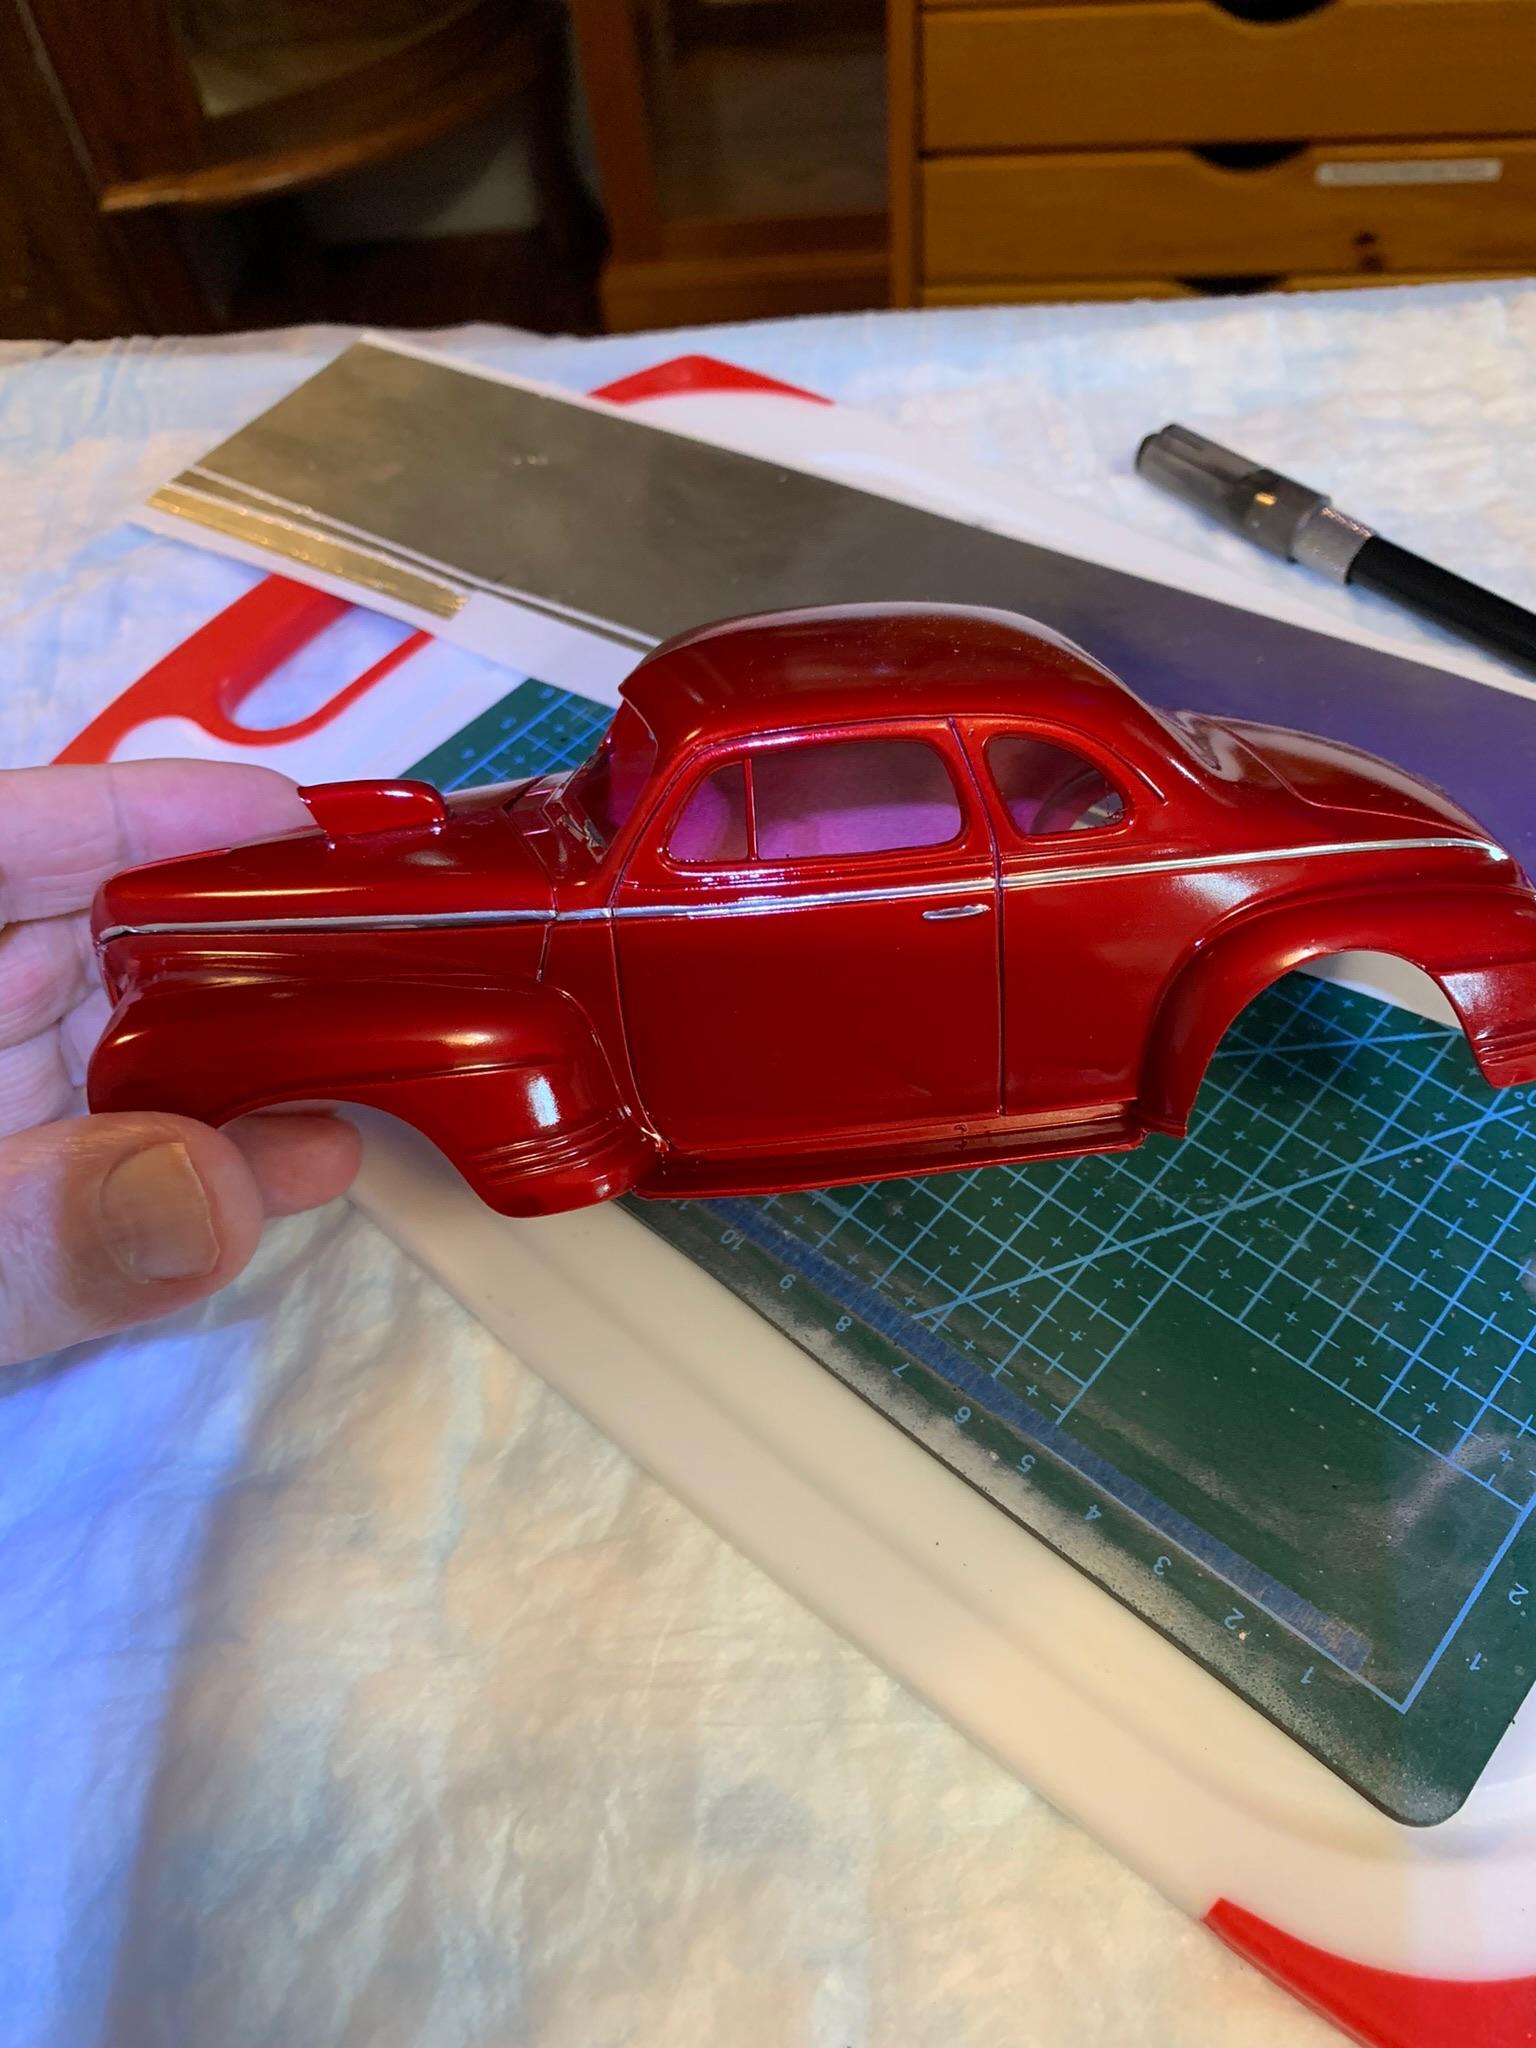
Did the driver’s side and front grille. Is it the best bmf job I have done? Of course not. Was it the easiest and quickest (about 10 minutes altogether for this side and the grille for both sides) ? No question about it. Probably won’t do much more today (time for bull riding).
-
Thanks, neighbor.
-
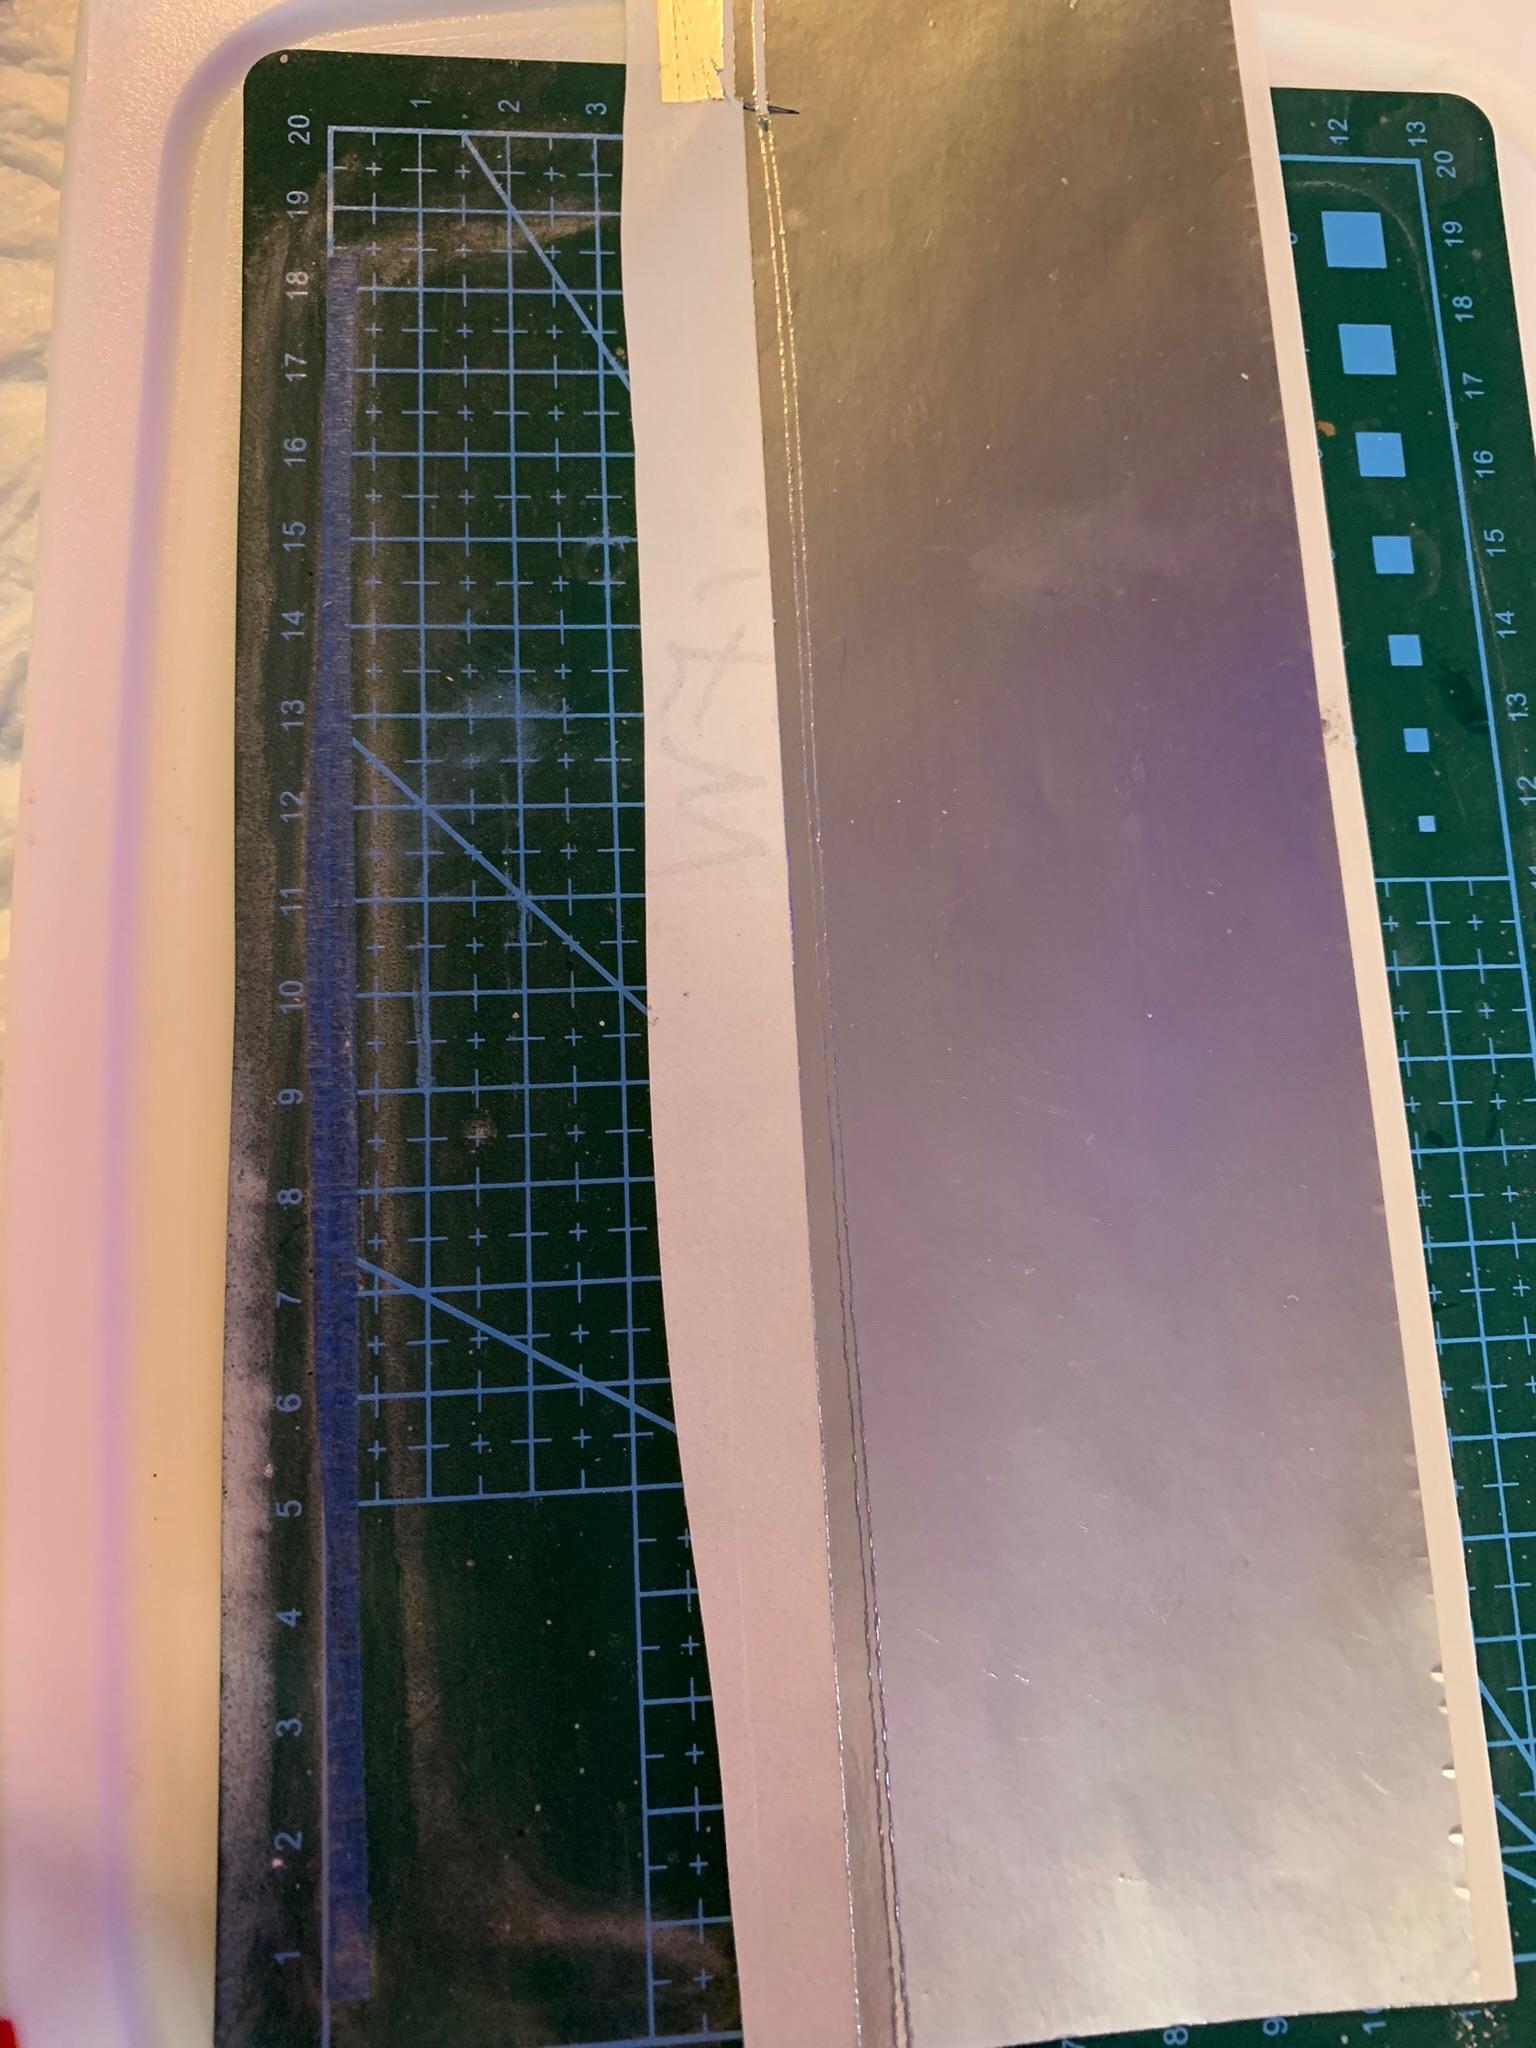
A BMF experiment with dual cutters producing a 1 mm wide strip applied directly to surface. Except for the mistake of cutting 2-3 inch strips instead of 1-6 or 7 inch (you can see the overlap in the middle of the door), I was pleased with the no hassle process. Took me about 10 minutes altogether.
-
Oh, yeah, wiper blades. When you take pictures, it sure reveals the blemishes and the true state of things. Blasted iPhone.