R. Thorne
-
Posts
1,259 -
Joined
-
Last visited
Content Type
Profiles
Forums
Events
Gallery
Everything posted by R. Thorne
-
Buying a pin vise HELP
R. Thorne replied to WizPorsche944's topic in Model Building Questions and Answers
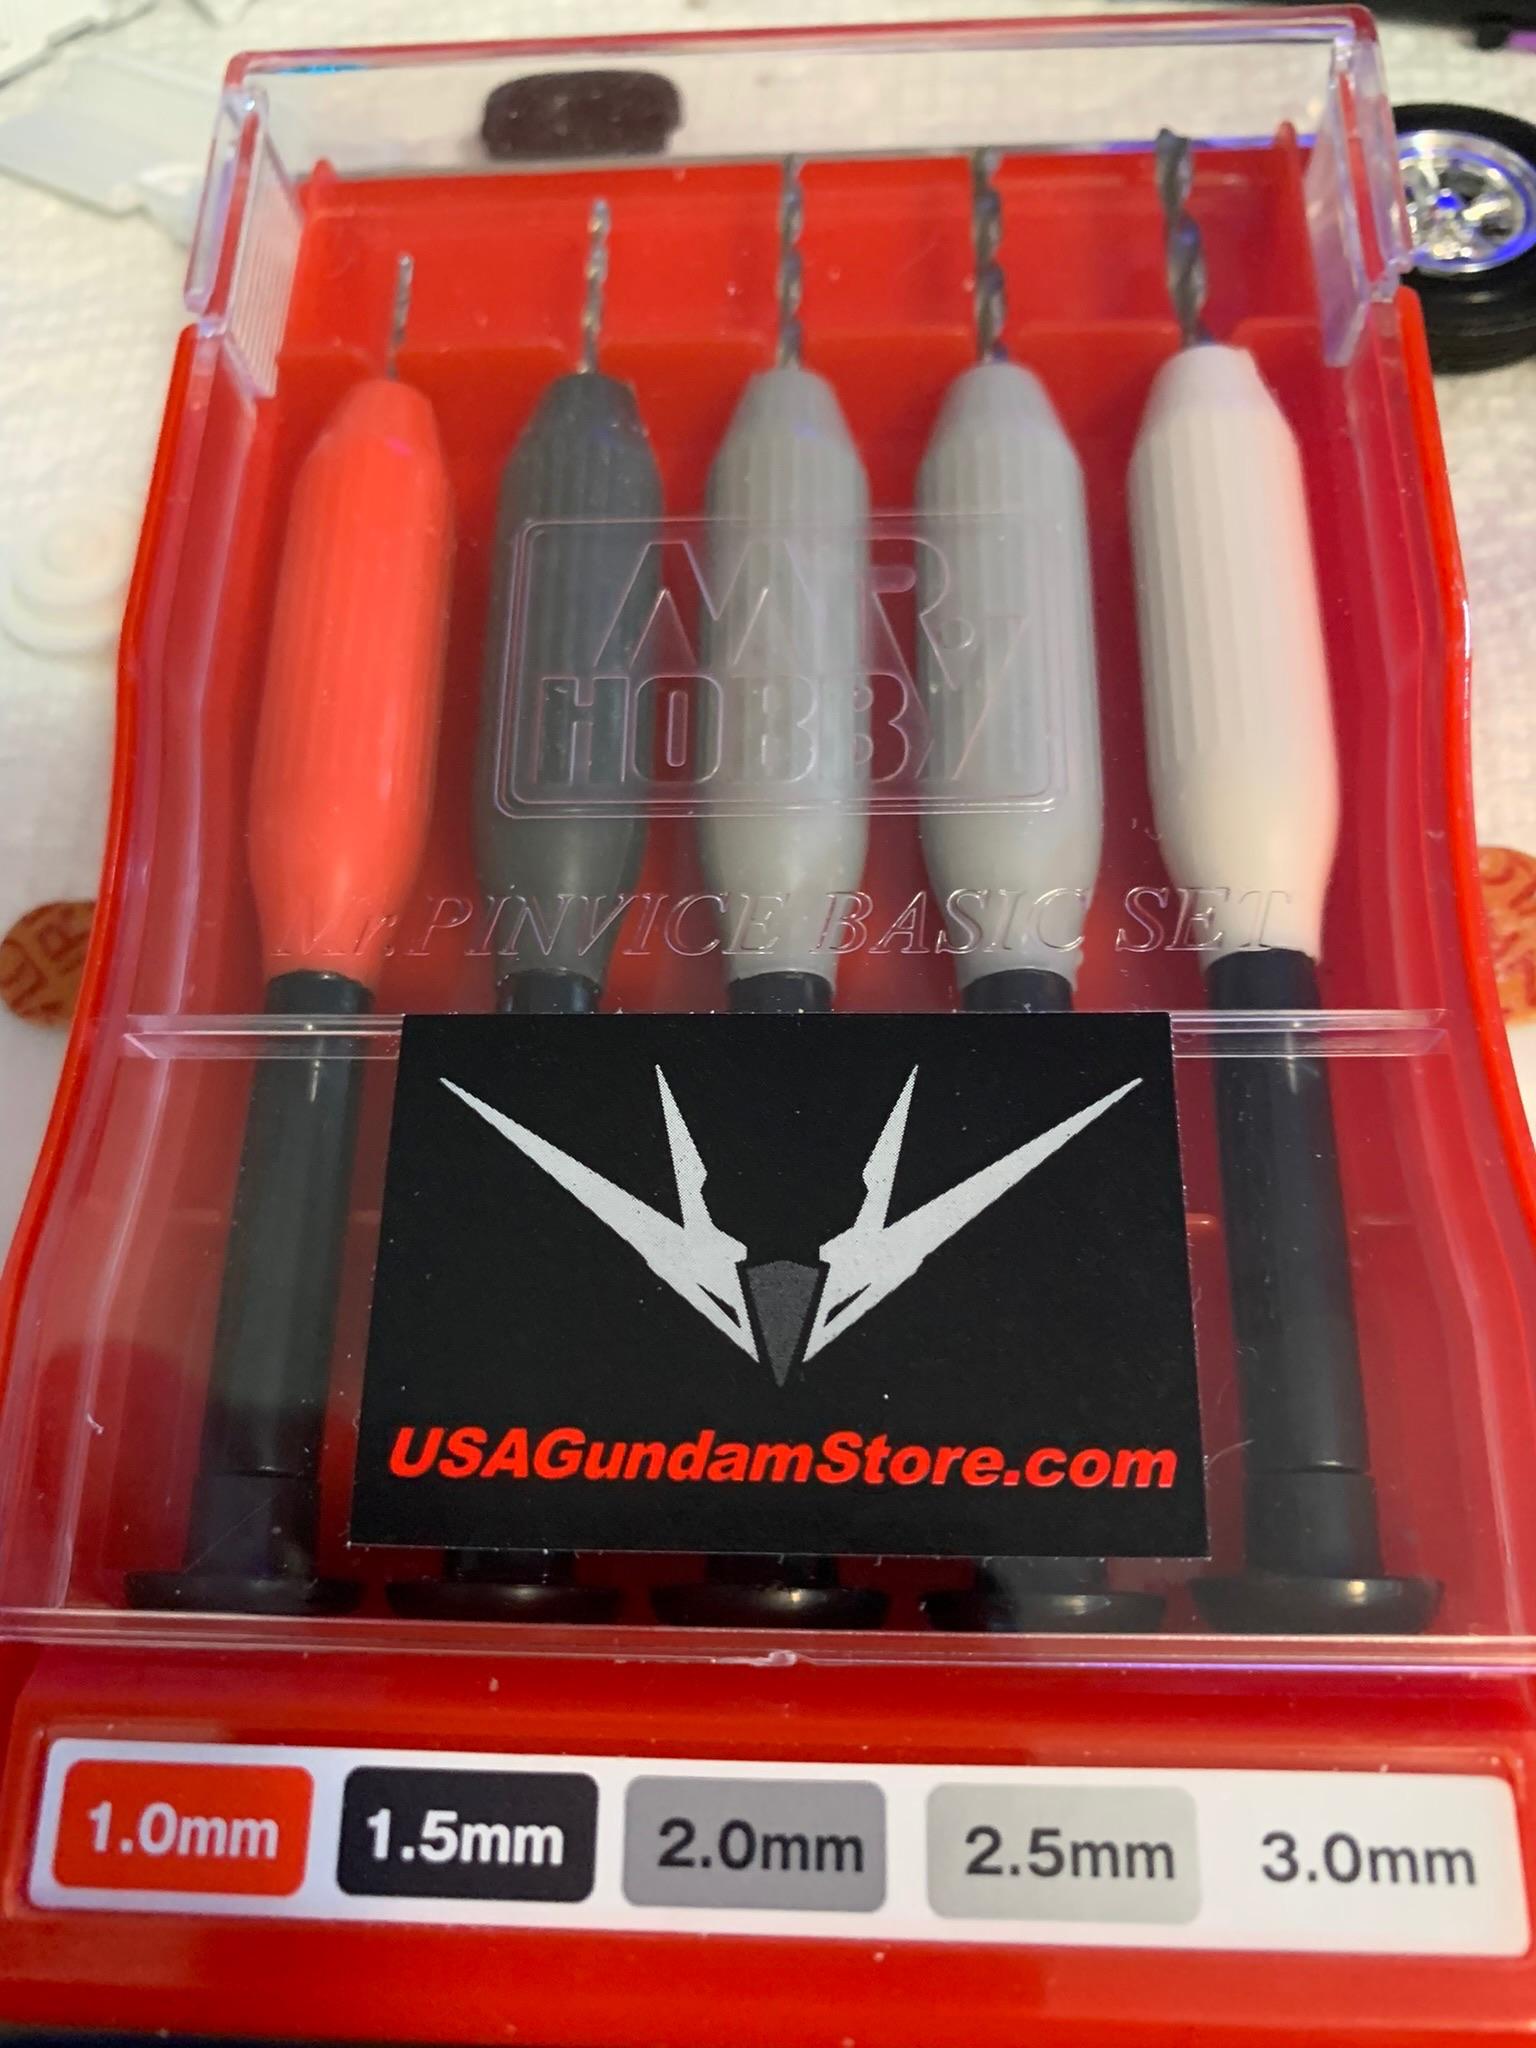
You are right about the pin vise “rabbit hole”. I have a number of pin vises from Harbor Freight to Dspiae. While it probably won’t help you in drilling plug wire holes, this Mr. Hobby set is one of the handiest I have for larger holes (1mm and up) and the quality of the “built in” drill bits (not replaceable) is extremely good.
-
“BUILDING THE COVERS “ VOL # 41 THE SITES BROS.1966 SKOOTIN CUDA
R. Thorne replied to M W Elky's topic in Drag Racing
Nice work. Thanks for posting. -
Gotta love the mid 60’s super stocks, the beginnings of the funny cars. I really like the Lindberg kits. Nice job. Get started on the next one.
-
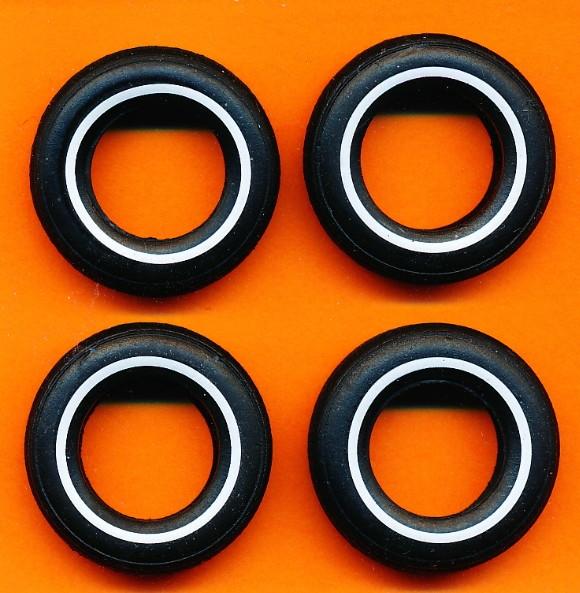
What kits have thin whitewall tires?
R. Thorne replied to R. Thorne's topic in Model Building Questions and Answers
Thank you, gentlemen, for the timely information provided. I was surprised at how few model kits came with the (arguably) most popular tire of the 60’s, 70’s, and into the 80’s. -
Wet vs. dry sand?
R. Thorne replied to Sidney Schwartz's topic in Model Building Questions and Answers
Wet sanding creates much less dust to breathe and scatter on the work bench (especially important with resin parts). Most of the debris ends up in the water bowl you’re using to dip the sandpaper in. The sandpaper doesn’t clog as easily (hence, lasts longer). To me, the surface is smoother, too, and you get a better feel of what you are working on. I don’t see any disadvantage to wet sanding. -
Maybe even decals or other type of inserts? Trying to avoid painting. Looking for these type.
-
Workbench Tool Storage and Organization
R. Thorne replied to ctruss53's topic in Model Building Questions and Answers
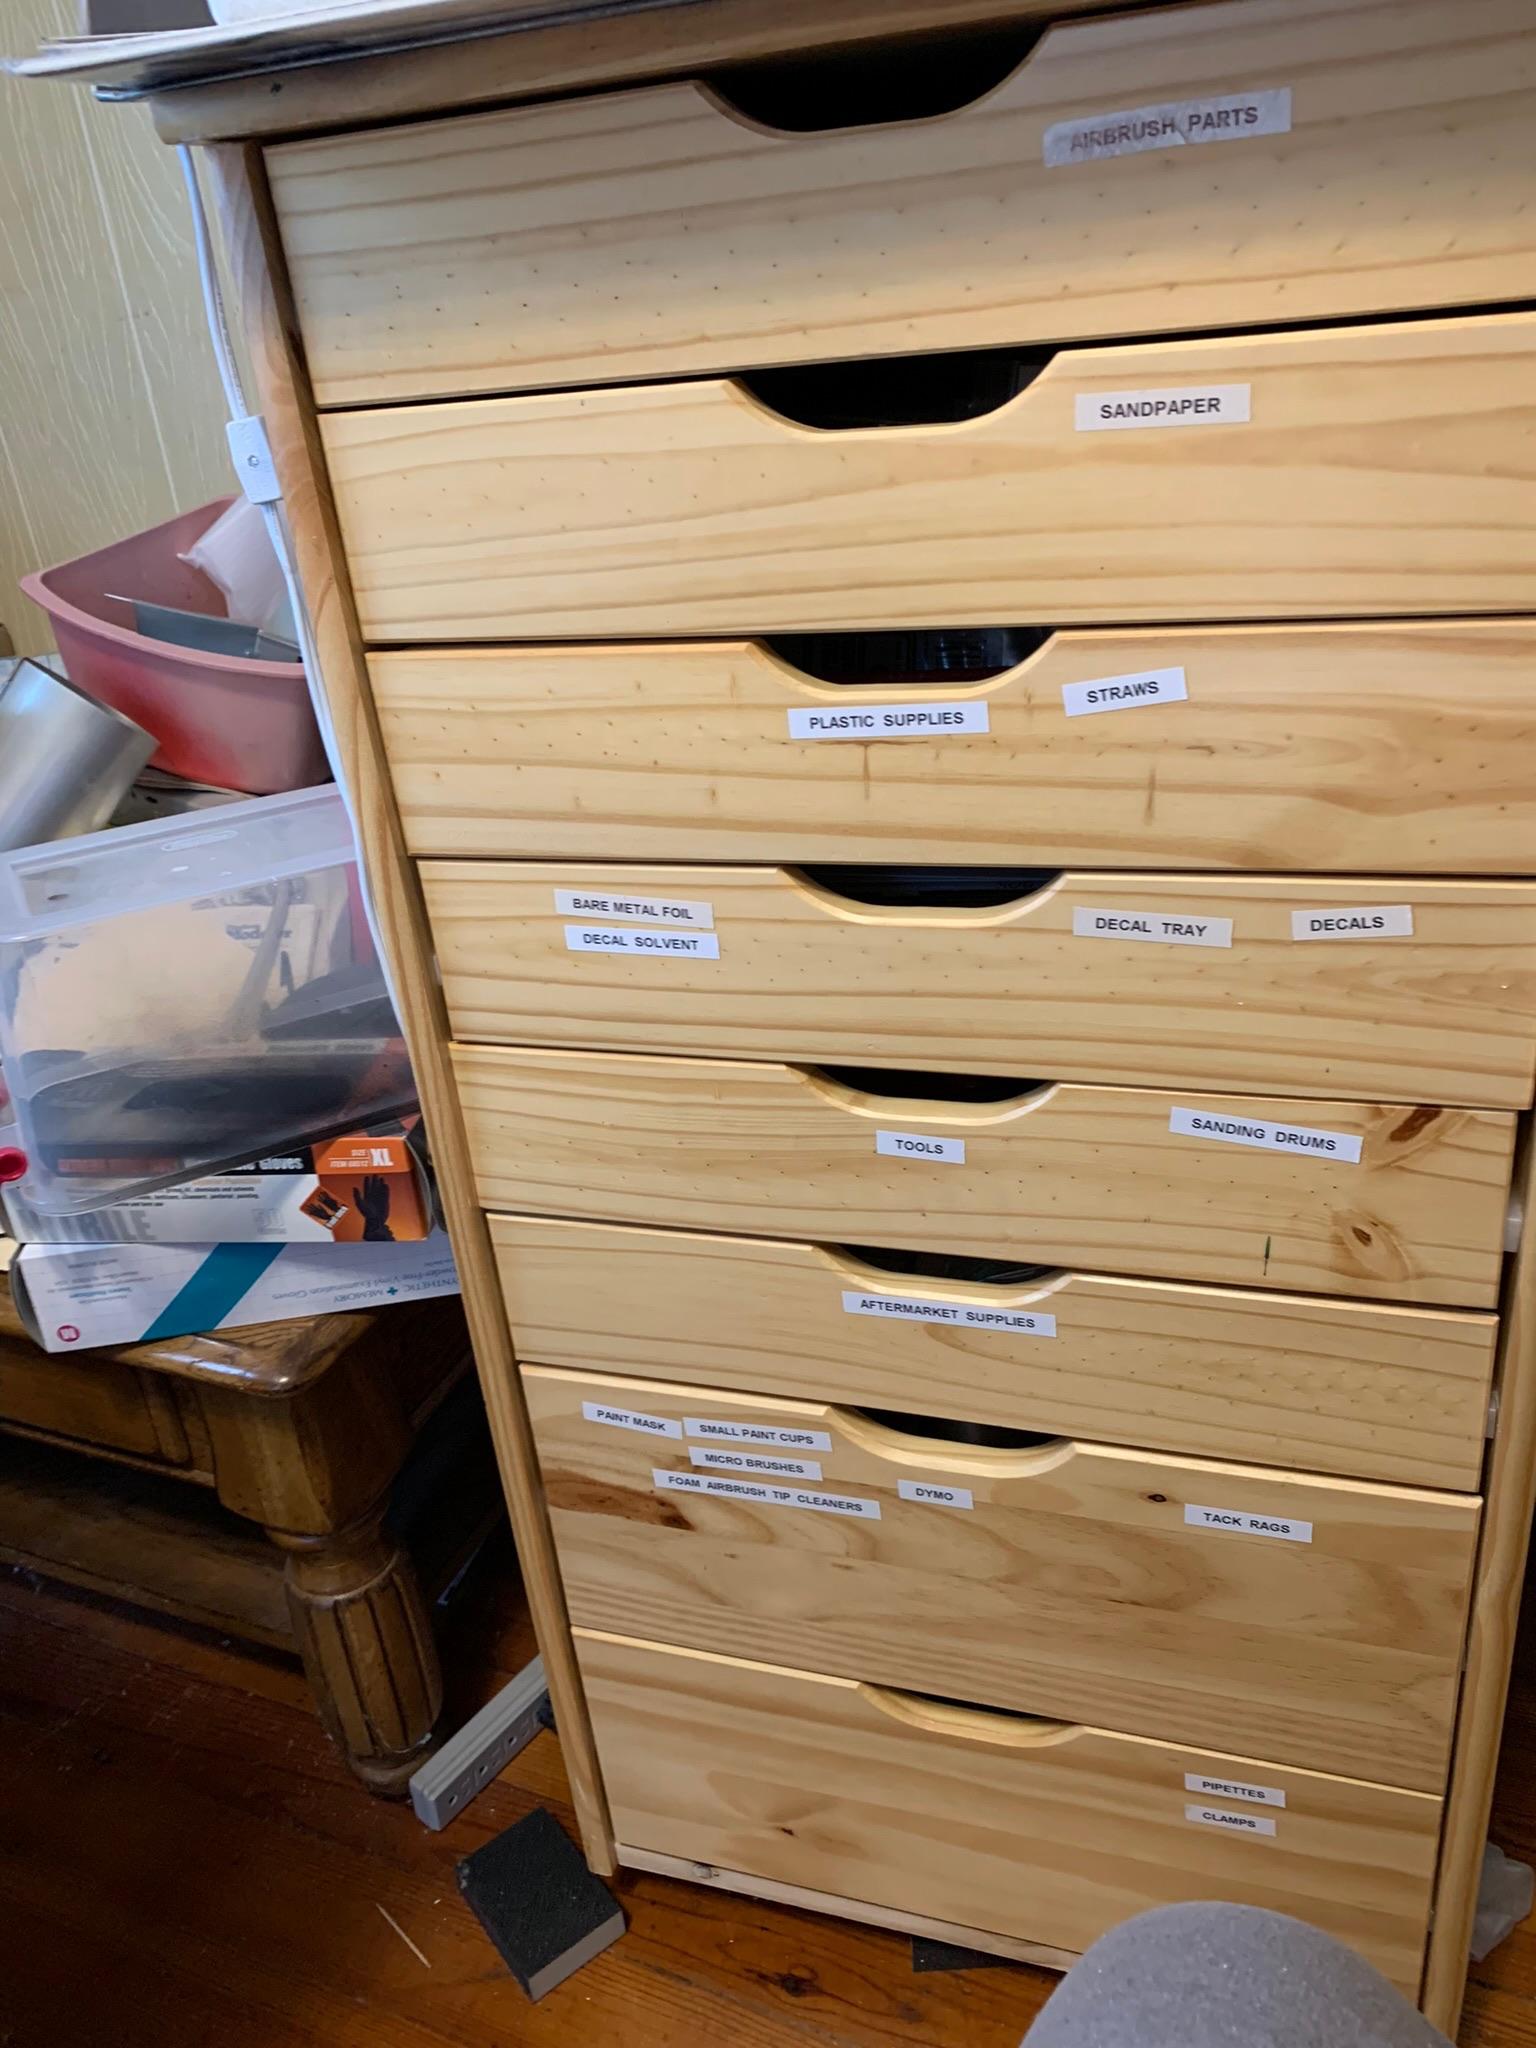
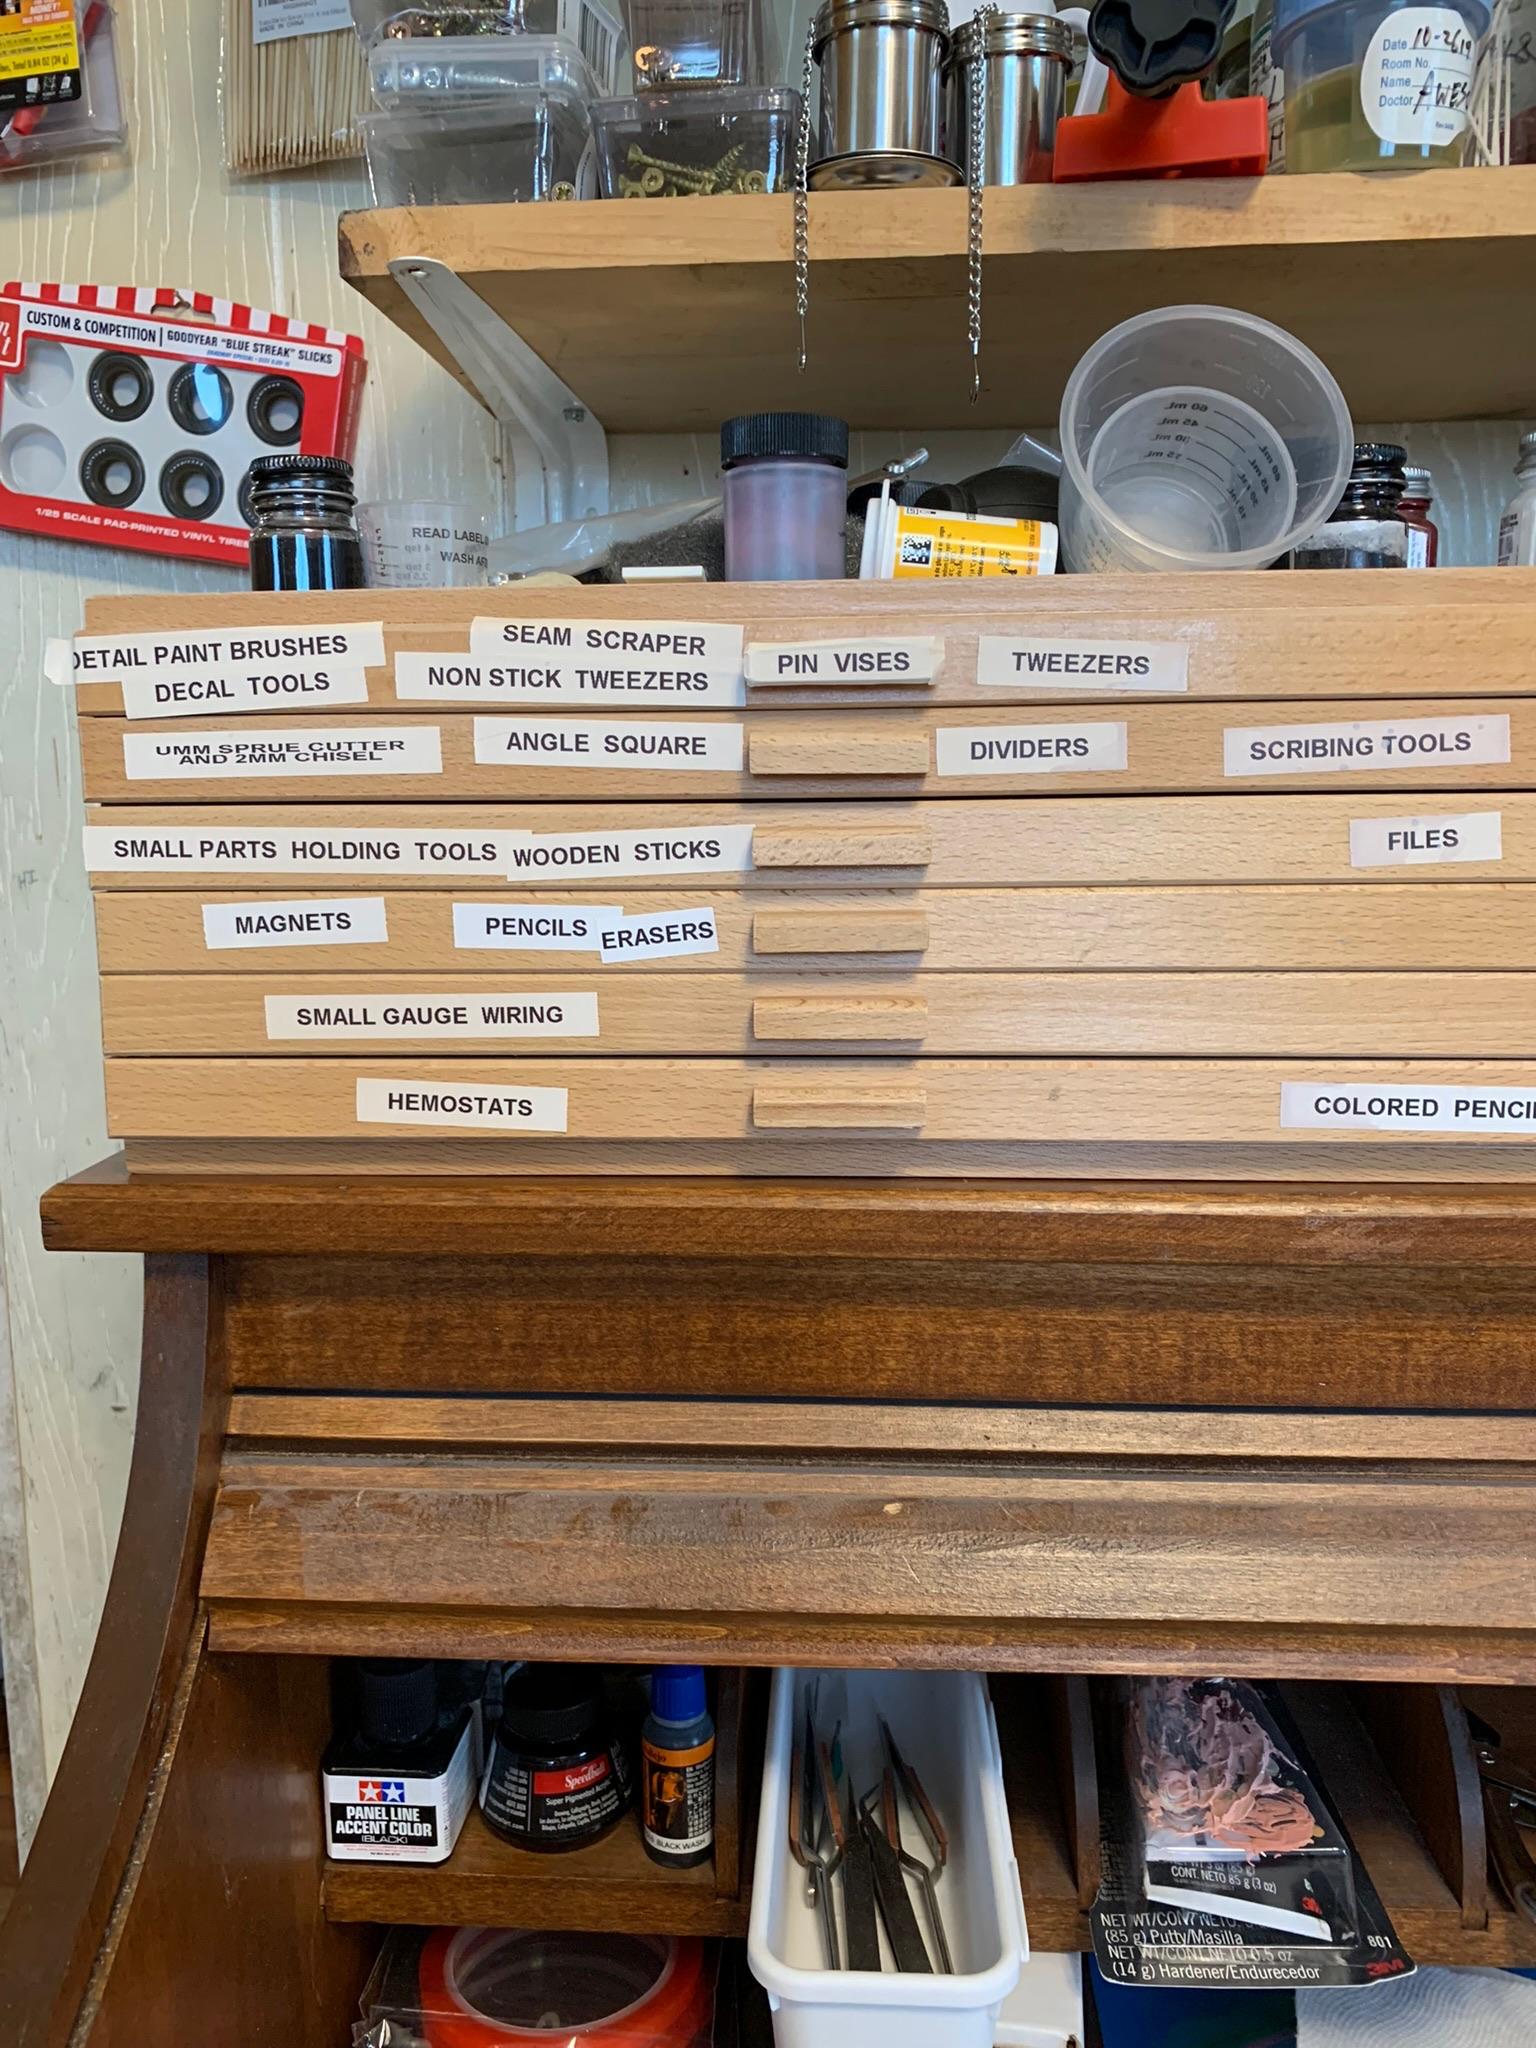
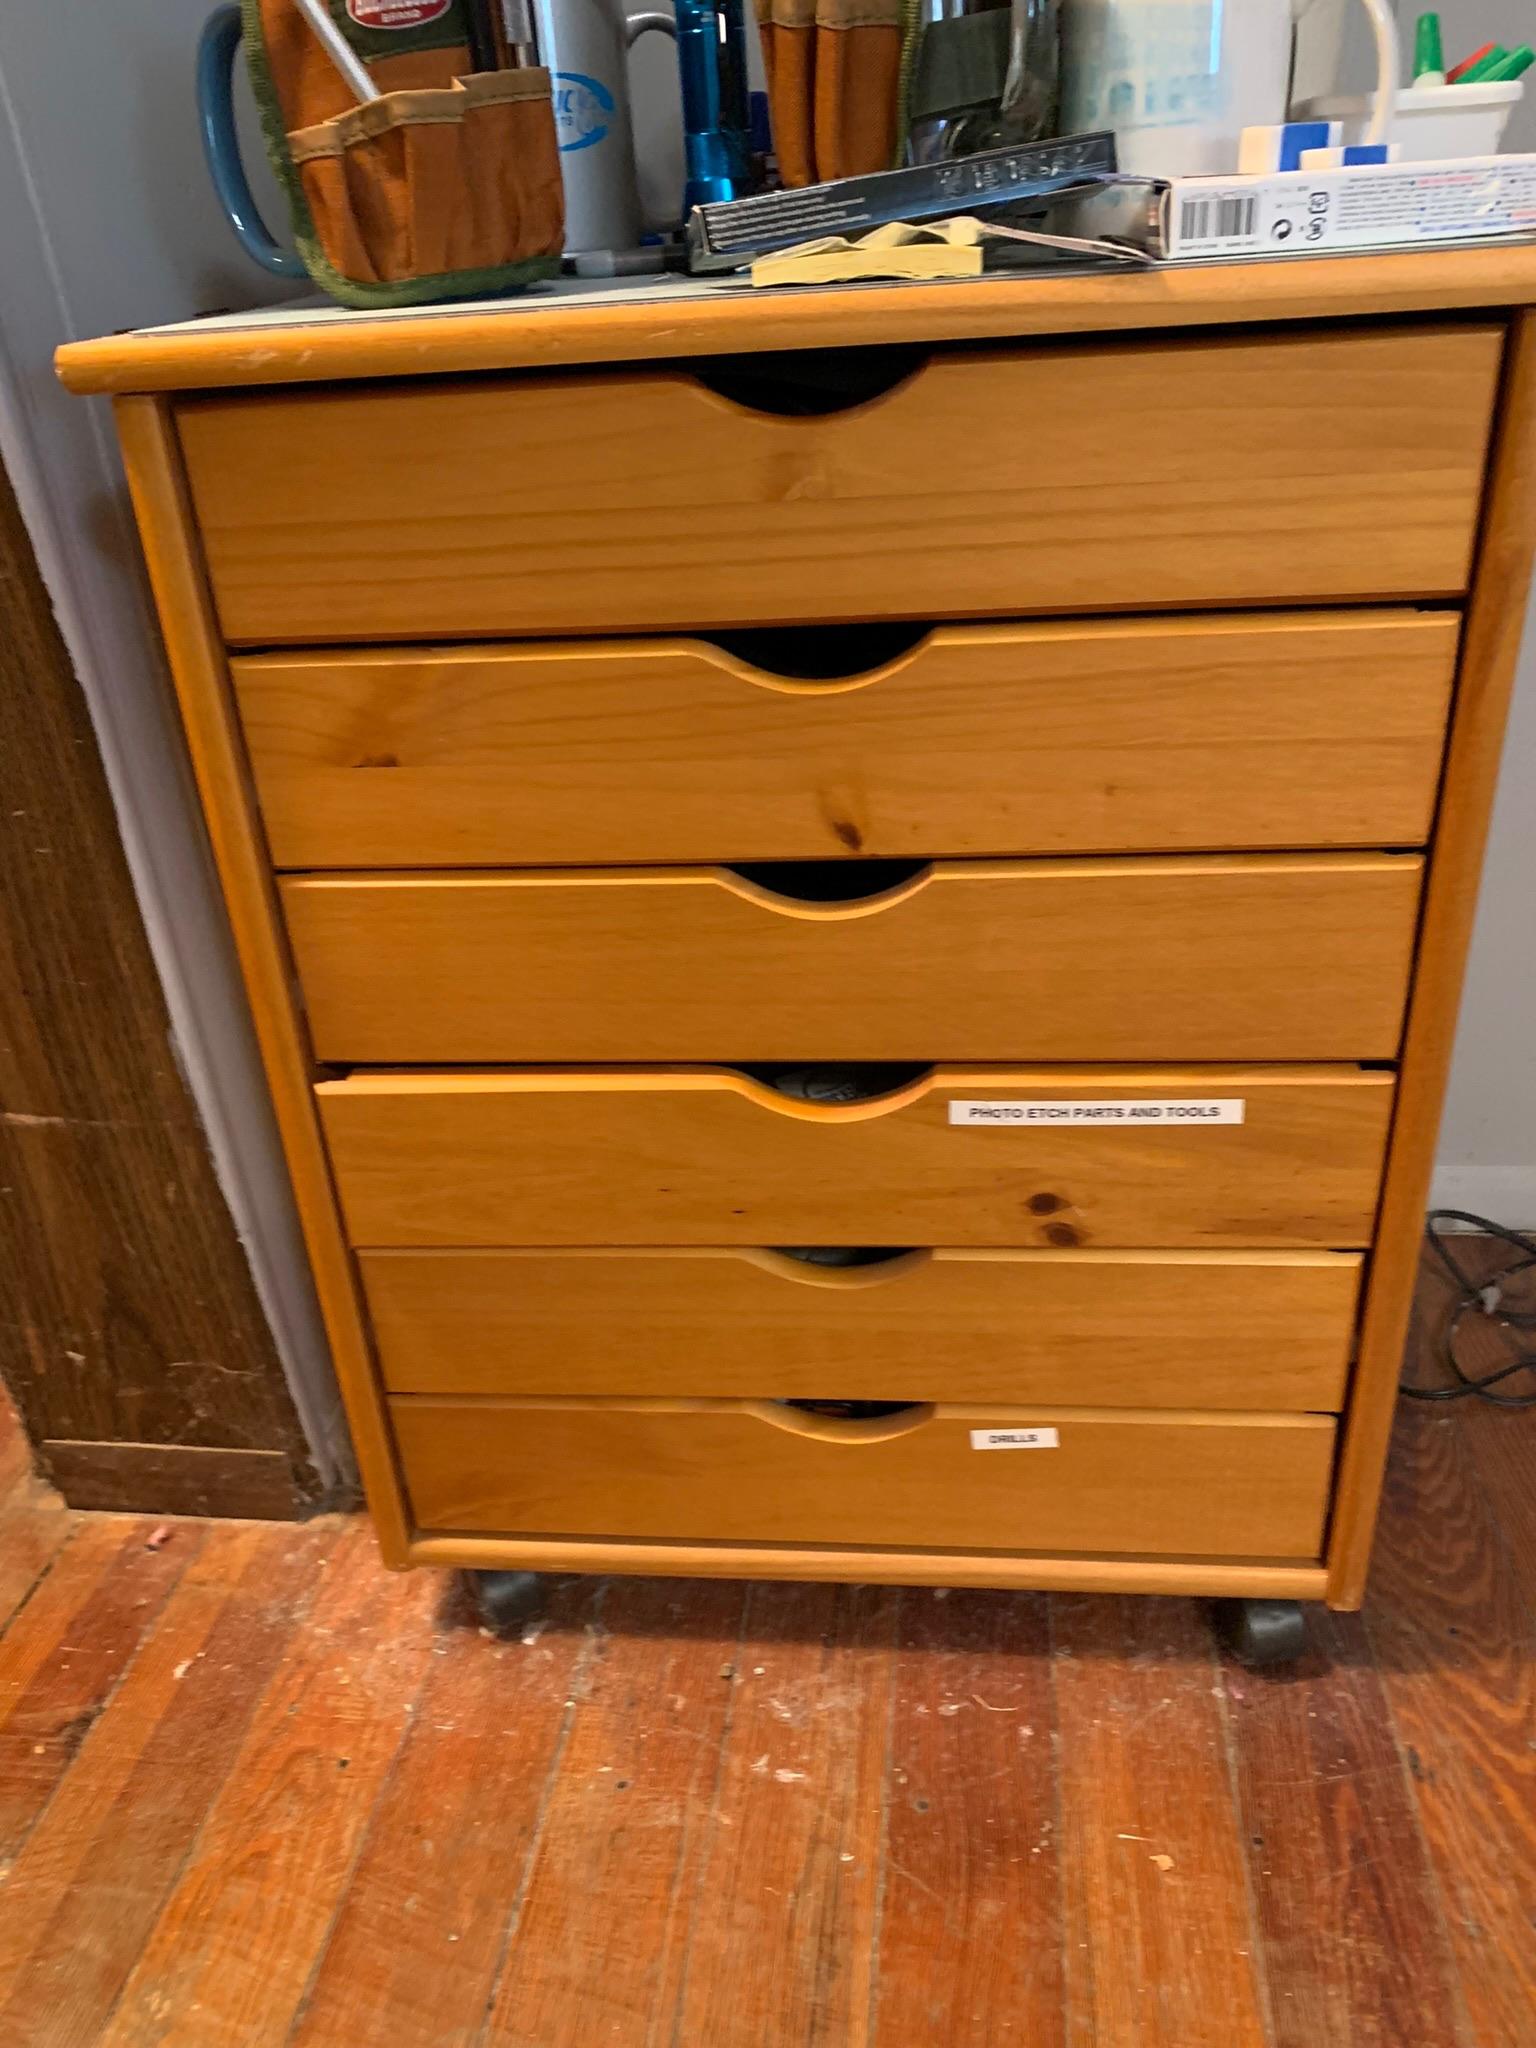
One of the best (bloodless) hobby knife storage. Double back tape on the base of packing material. The price is right and can be put almost anywhere. I also like the mini wooden shelves and rolling drawers available from numerous places. Boy, that floor is dusty.
-
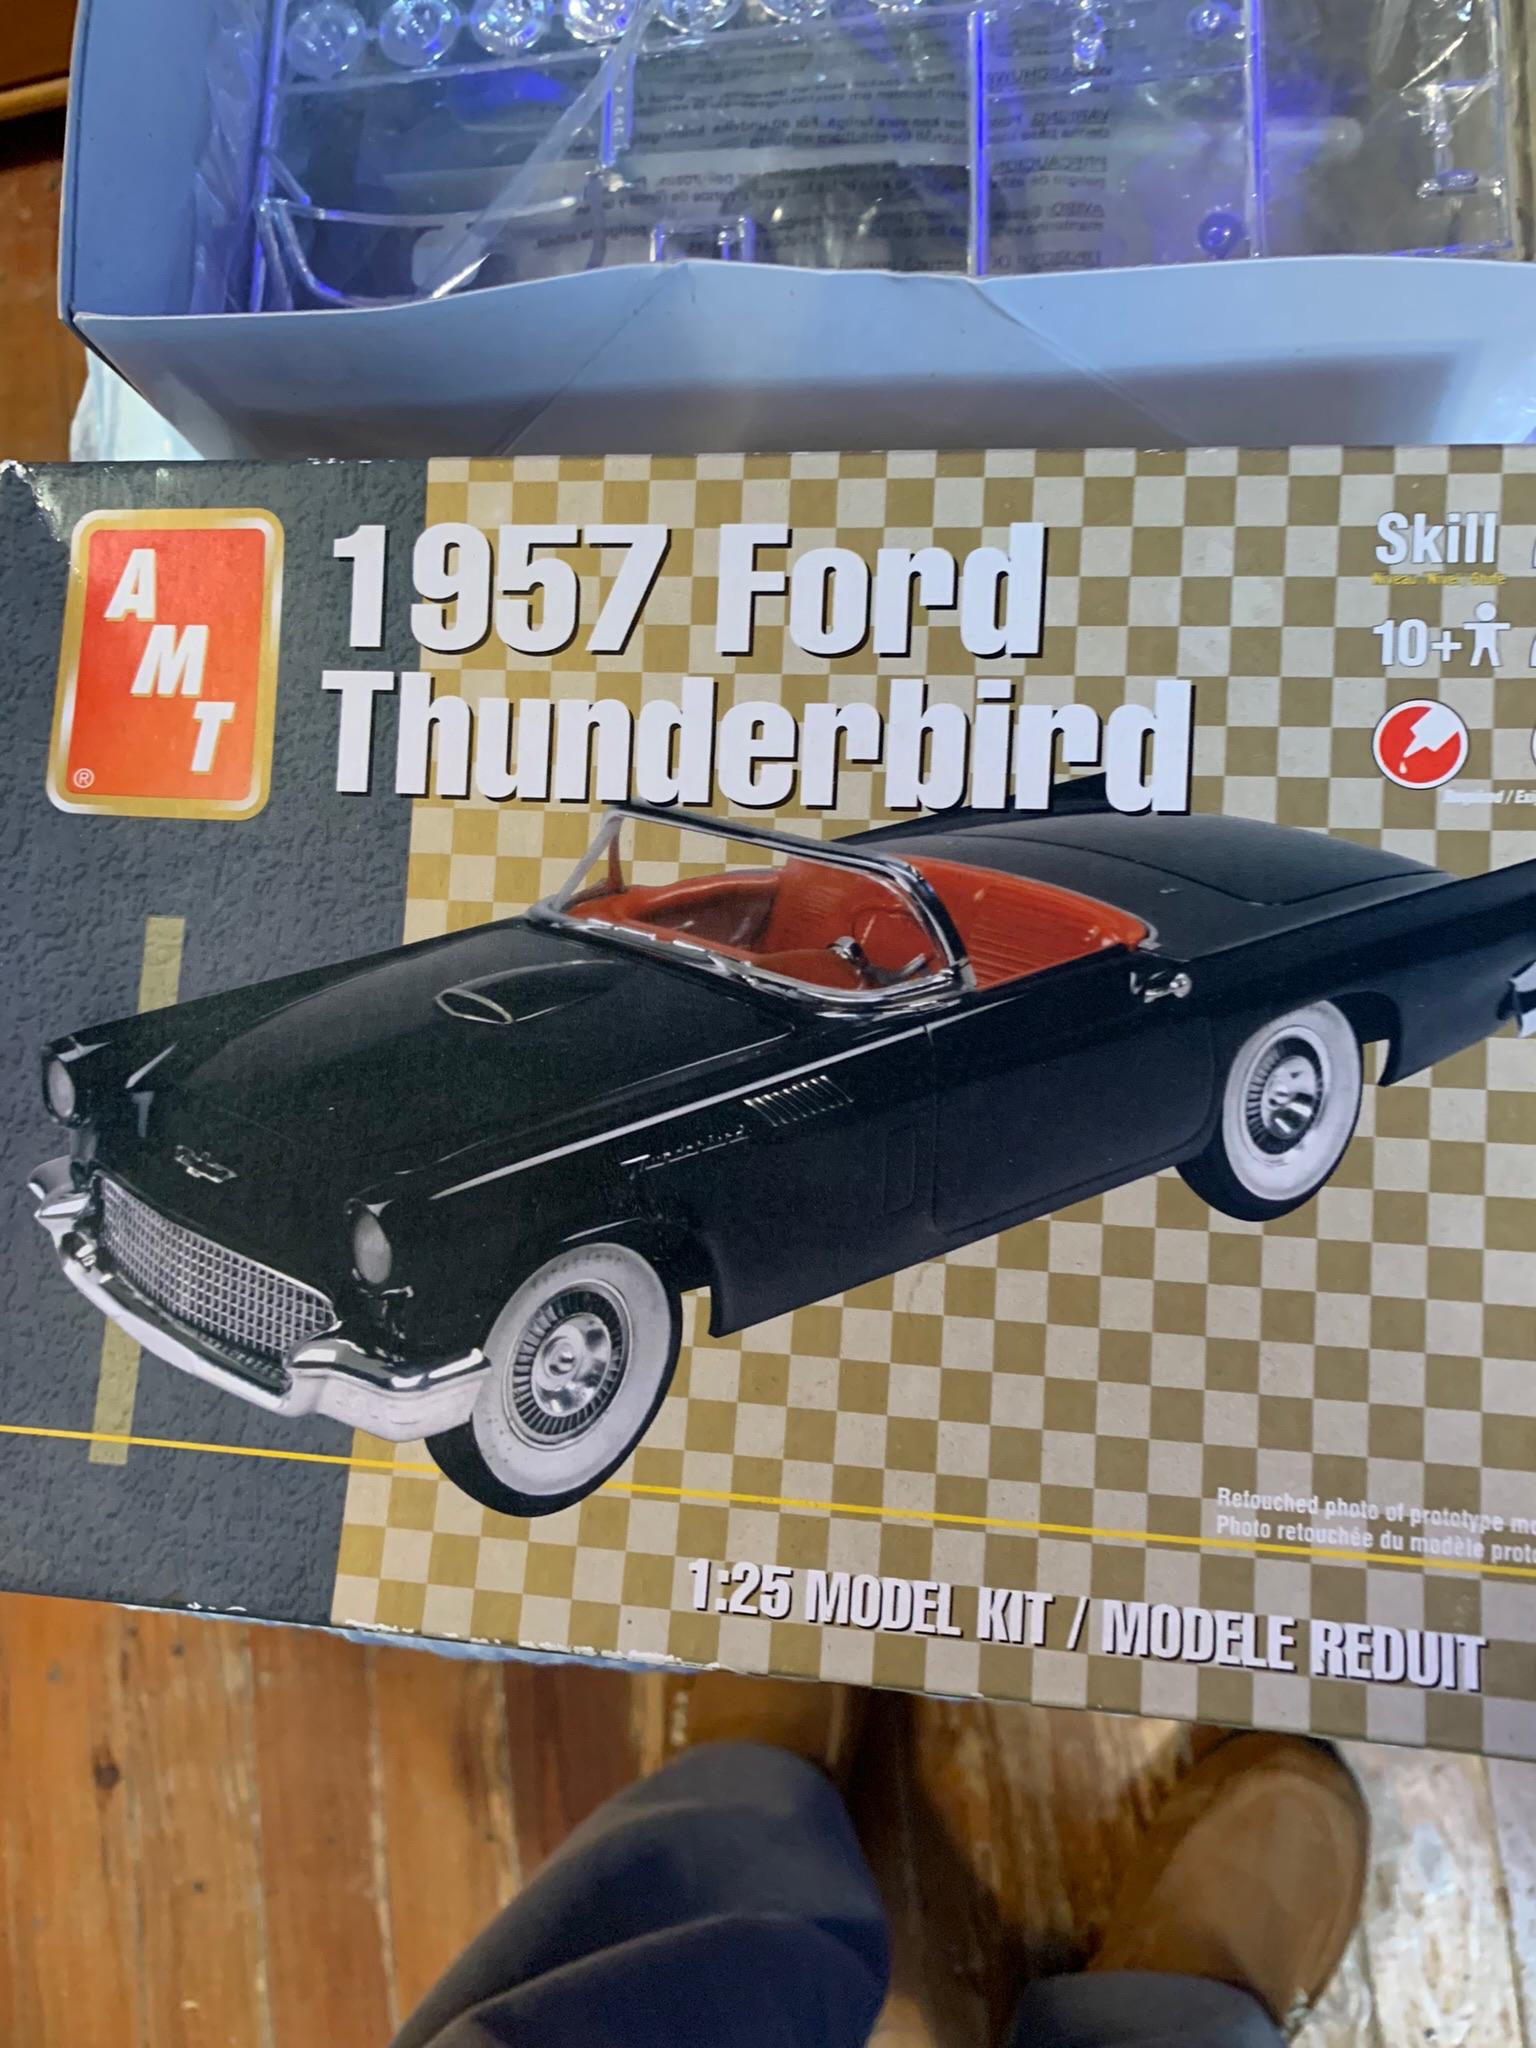
57 T-Bird drag racing trophy??
R. Thorne replied to R. Thorne's topic in Model Building Questions and Answers
Thanks, Robert. That explains what it looks like. -
Workbench Tool Storage and Organization
R. Thorne replied to ctruss53's topic in Model Building Questions and Answers
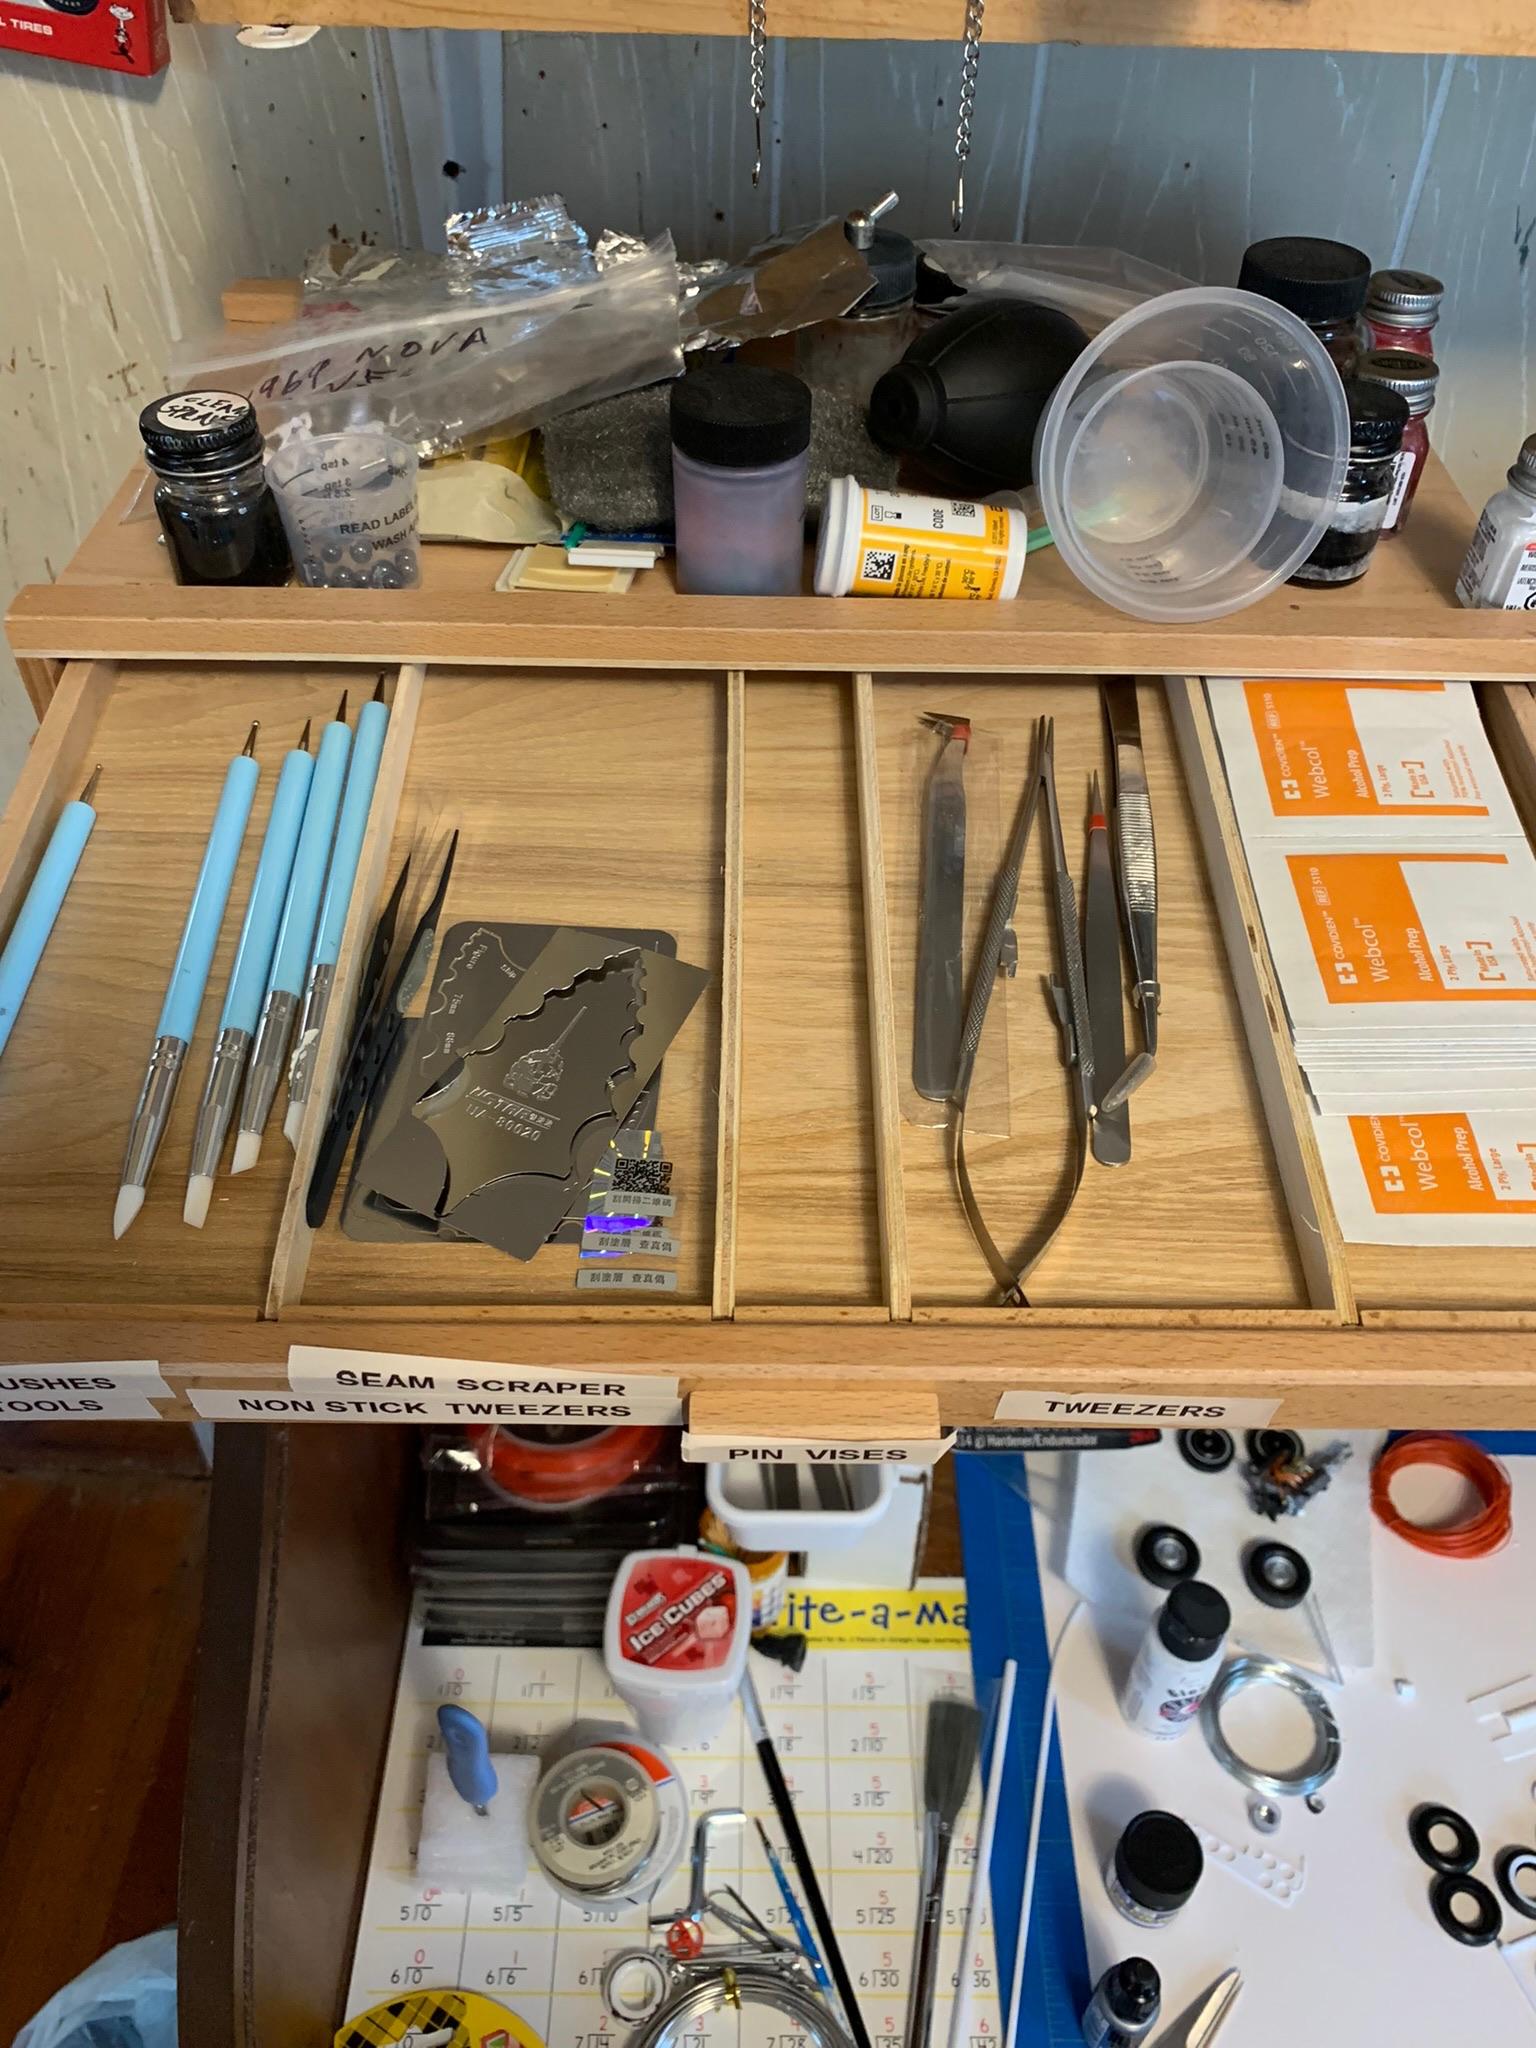
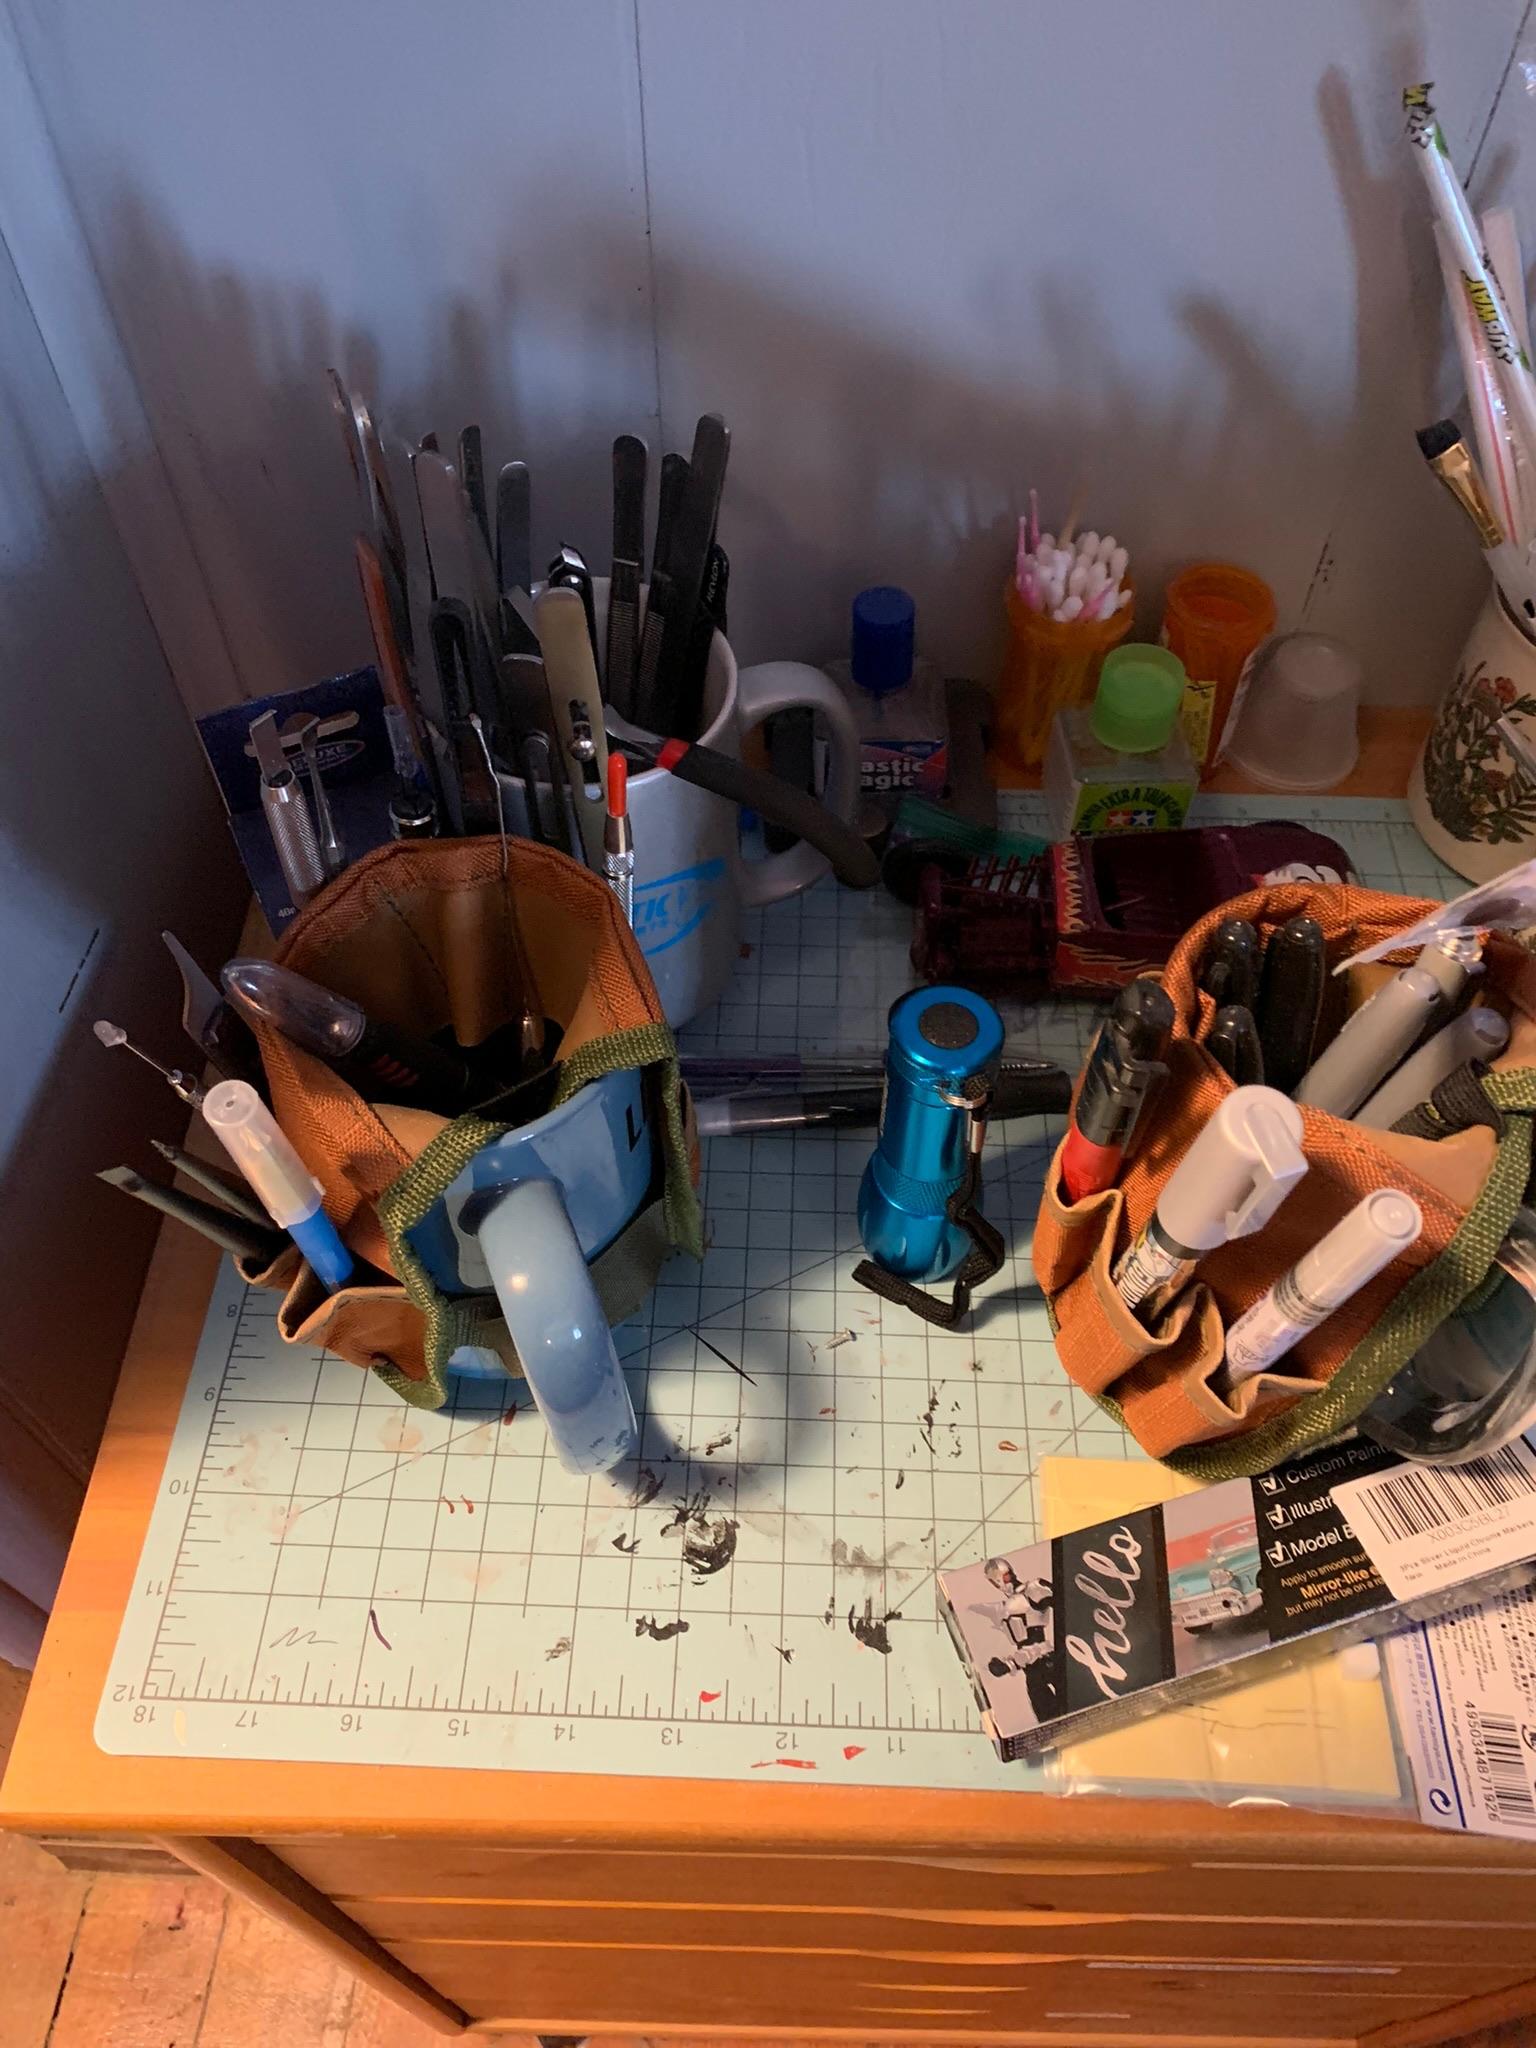
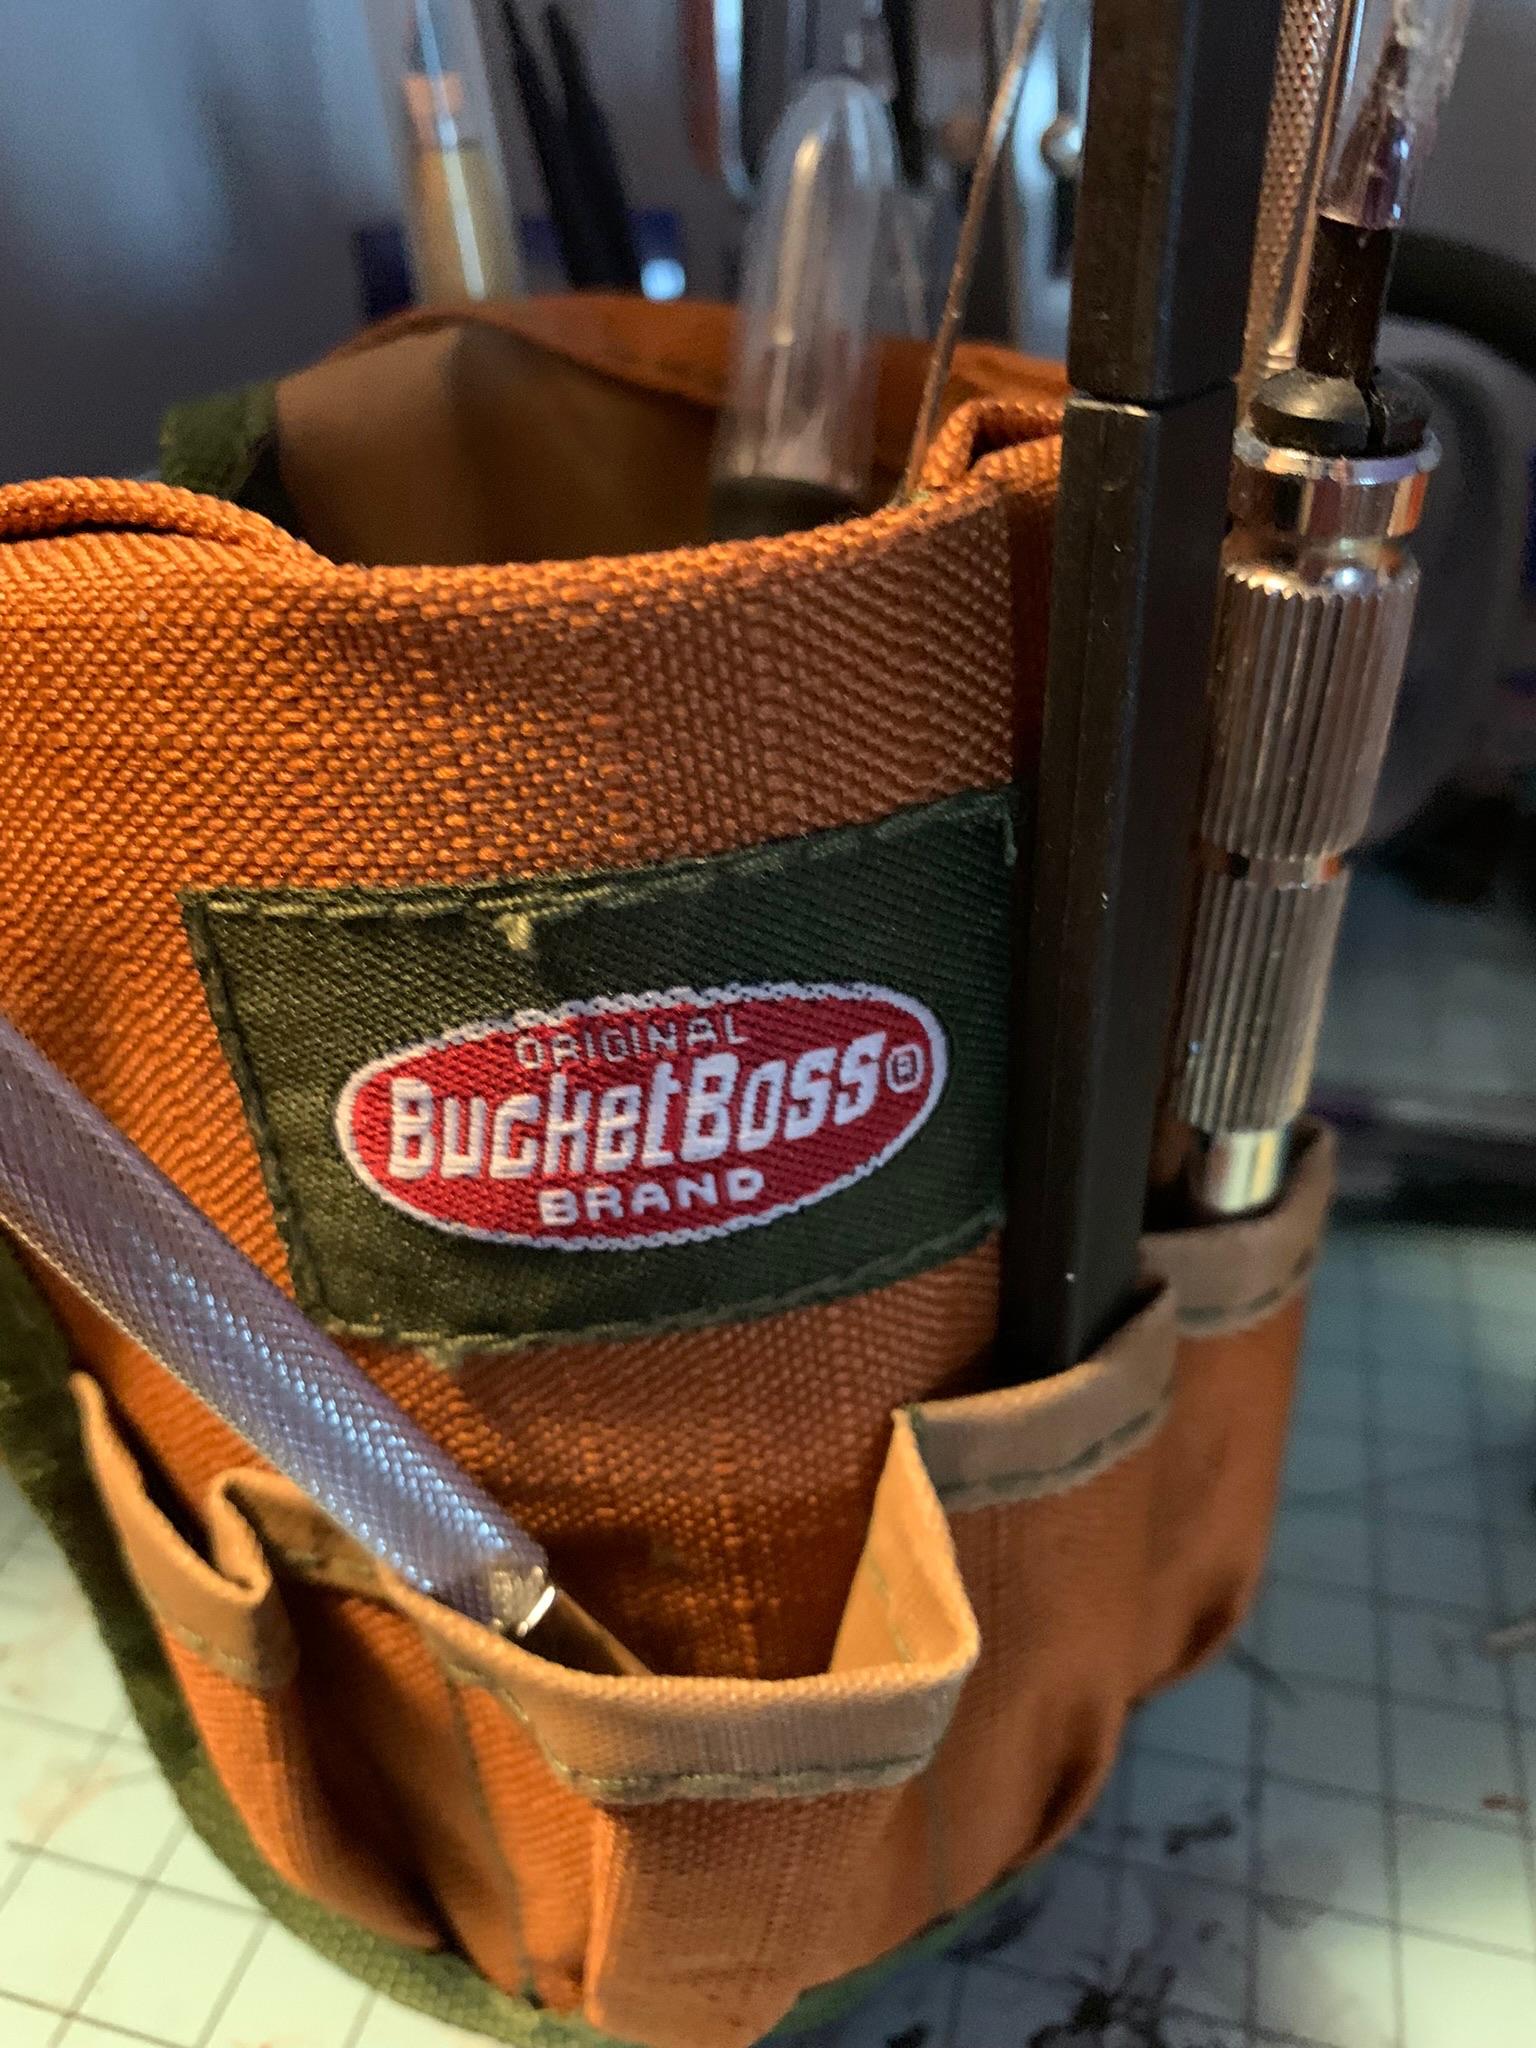
For personal reasons, I sometimes have to use a rolling workbench and large coffee mugs are compact and hard to beat for some duplicate tools and supplies. The inexpensive bucket boss (about $4.00 from Home Depot) are a nice addition to those mugs. On my “regular” bench, I have tried a number of “organizers” and have found most of them lacking. I usually end up using the shelves on my roll up desk for most of my storage. I also have some of the roll around drawers that are quite helpful.
-
57 T-Bird drag racing trophy??
R. Thorne replied to R. Thorne's topic in Model Building Questions and Answers
Thank you gentlemen for for those timely answers and satisfying an old man’s curiousity. I truly appreciate the offer Lei, but that is not necessary. Again, thank you both. -
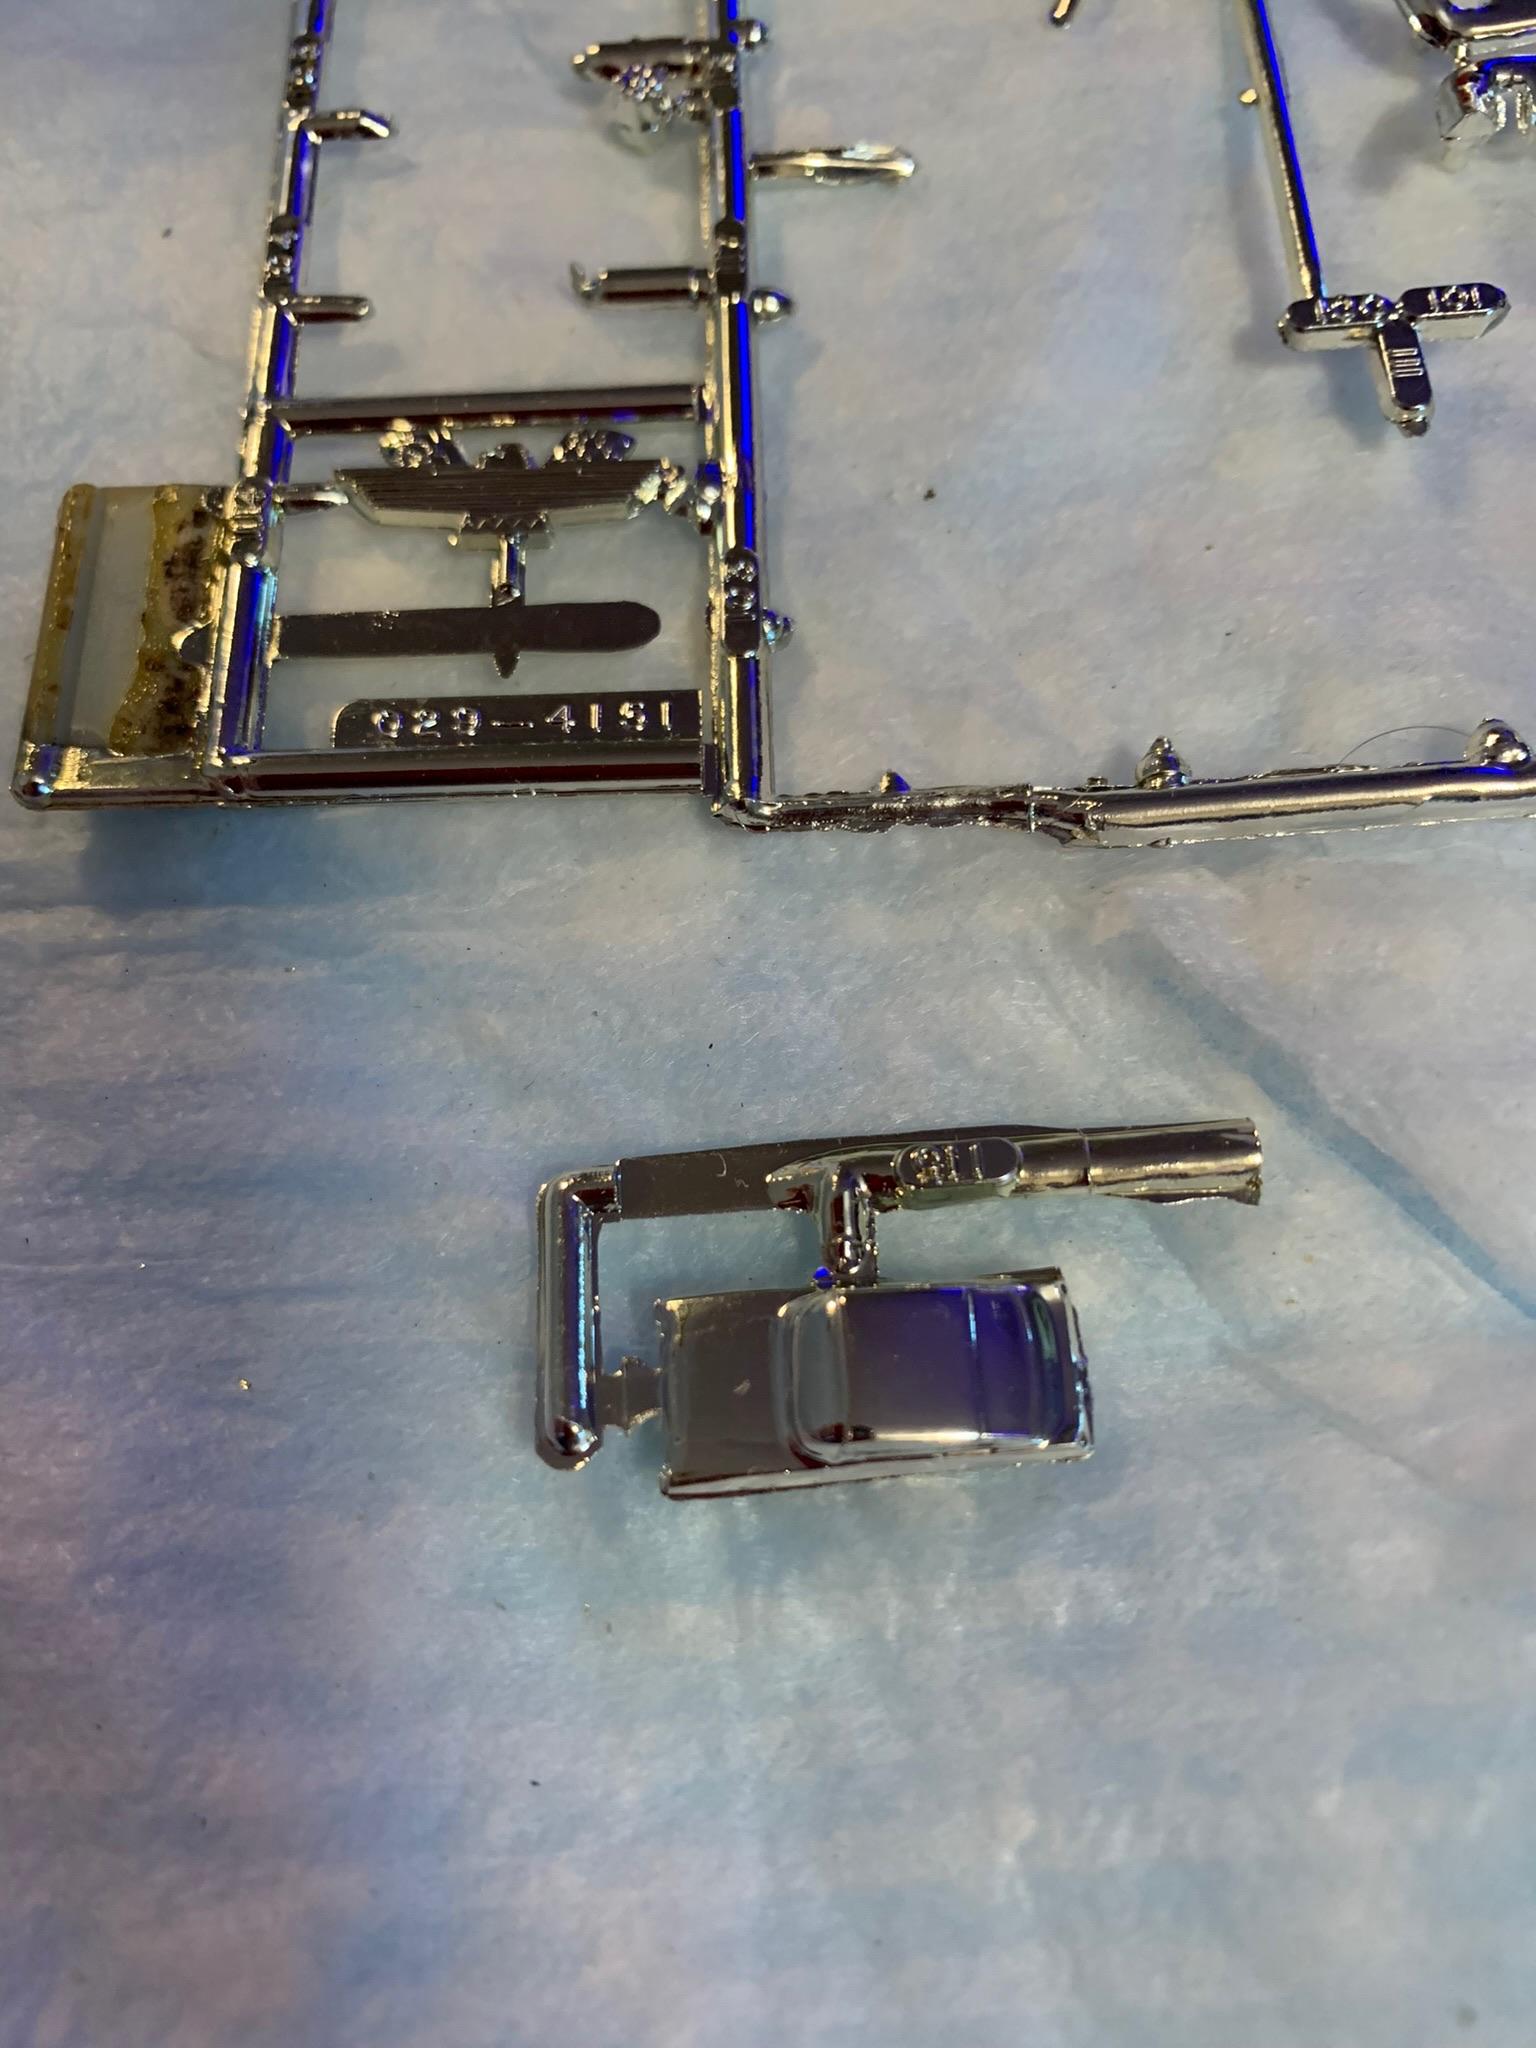
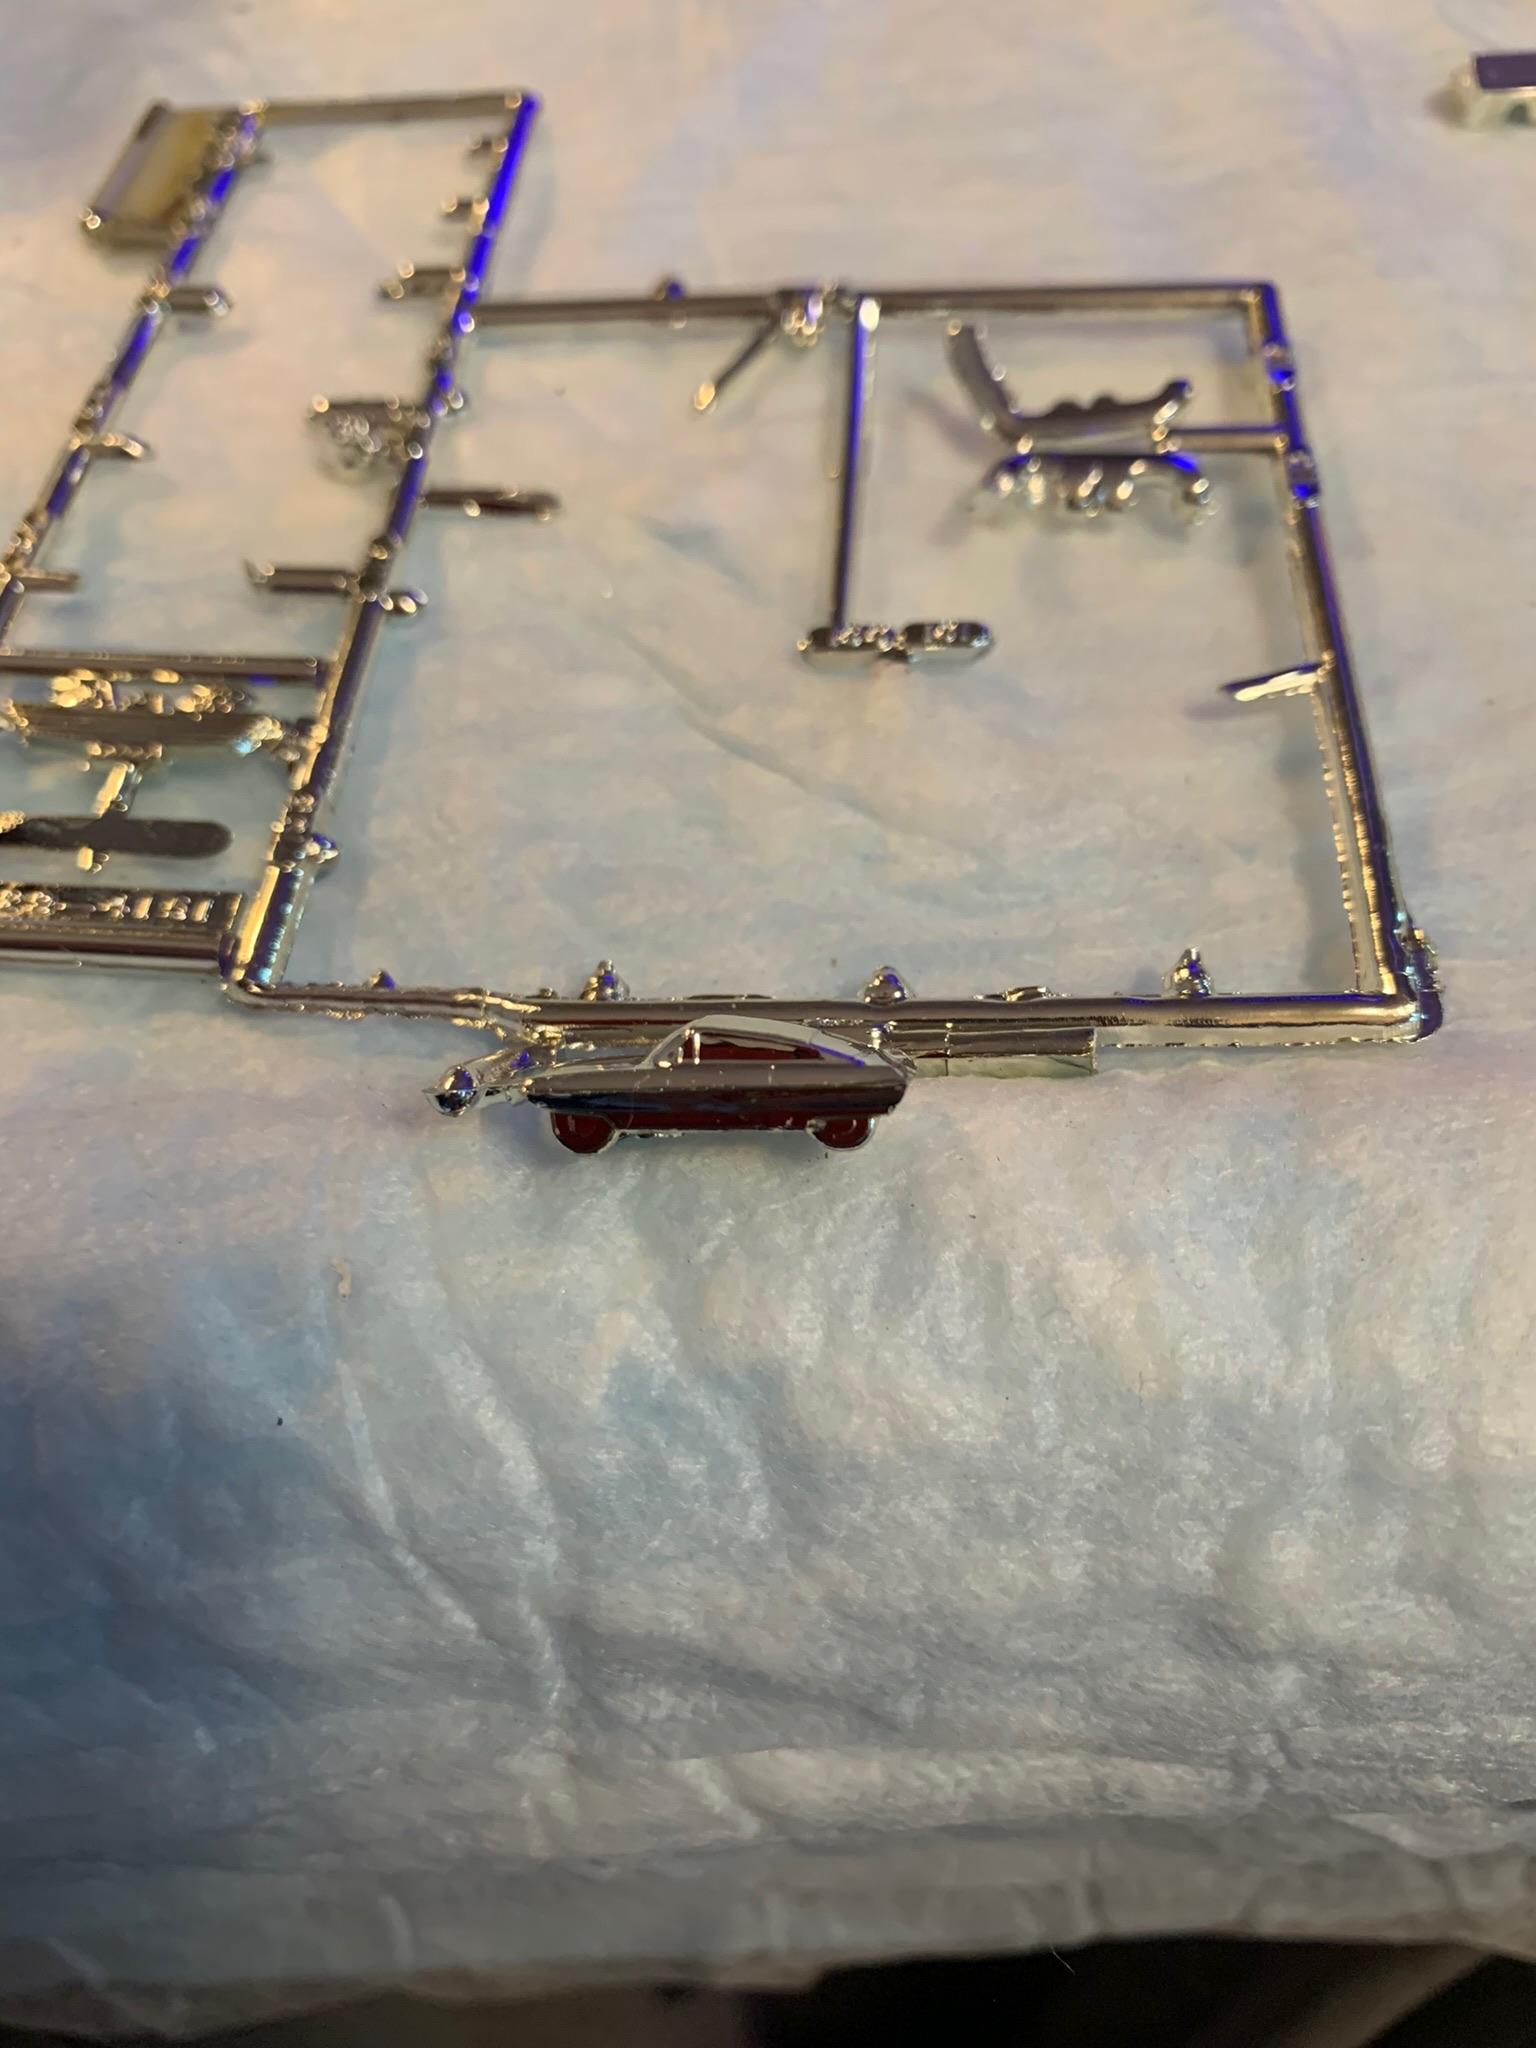
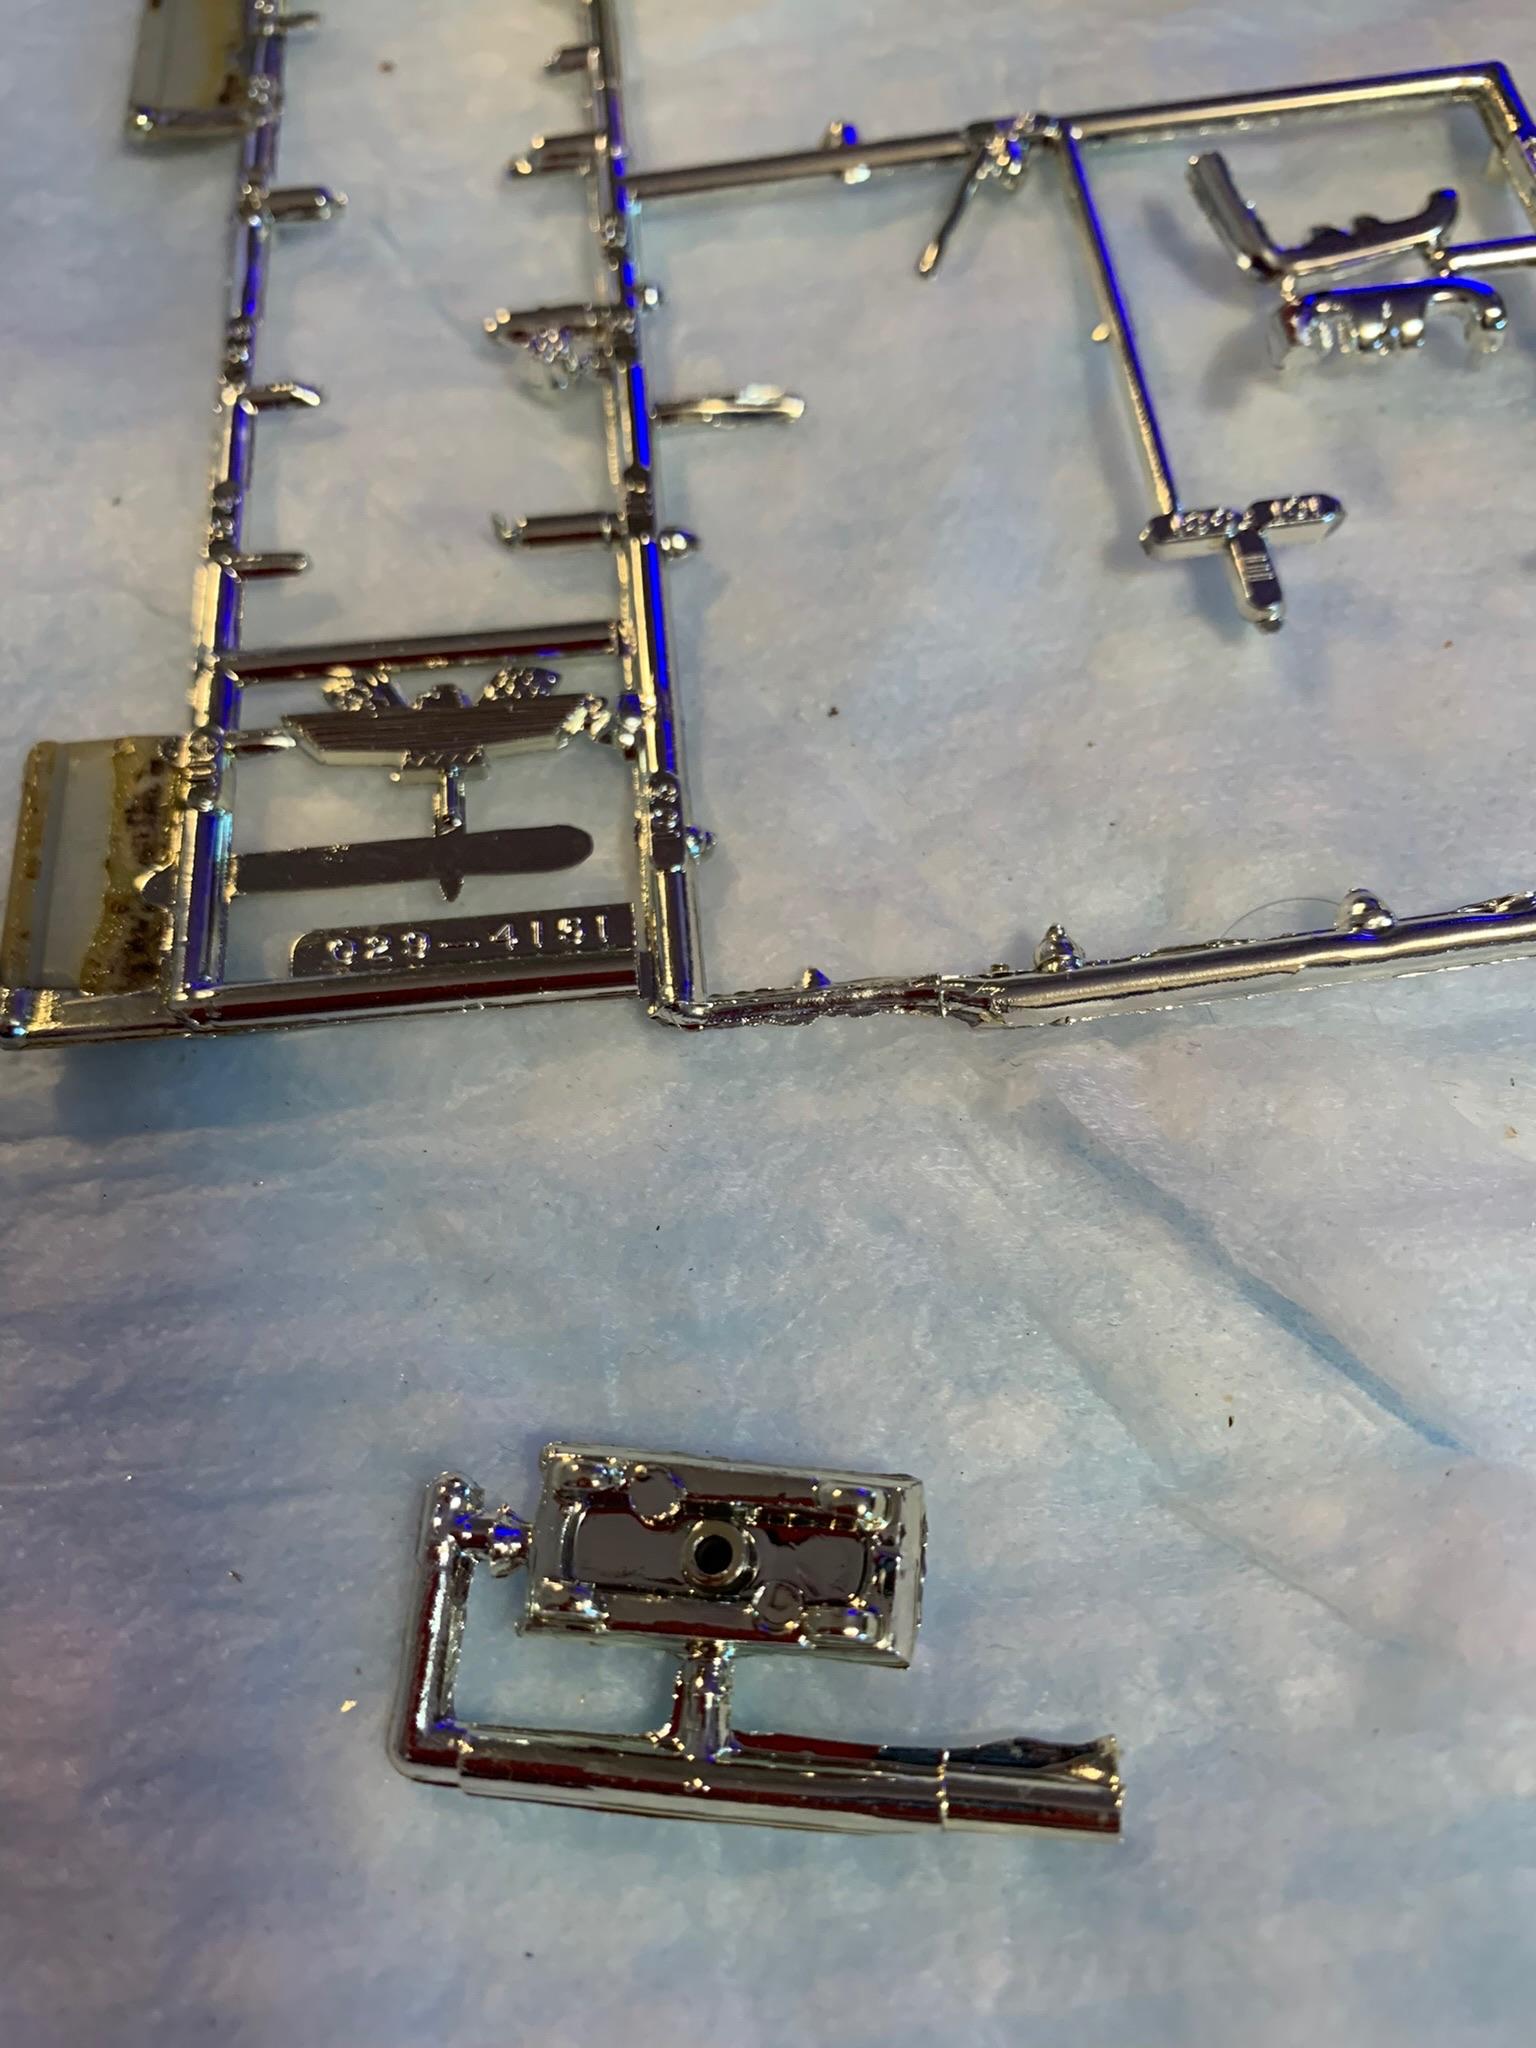
Got this partially built kit . The chrome sprues looked unmolested but the other ones had been messed with. Anyway, my curiousity got the better of me when I discovered this miniature car. No mention of it in the instructions. I assume it is some sort of trophy, but, where is the base that it would be mounted on?
-
Outstanding!
-
Items that are useful when sanding/cleaning model parts
R. Thorne replied to Joe Nunes's topic in Tips, Tricks, and Tutorials
Thank you for taking the time to post these helpful suggestions. -
Ace-Garageguy or early Ford enthusiast:
R. Thorne replied to R. Thorne's topic in Model Building Questions and Answers
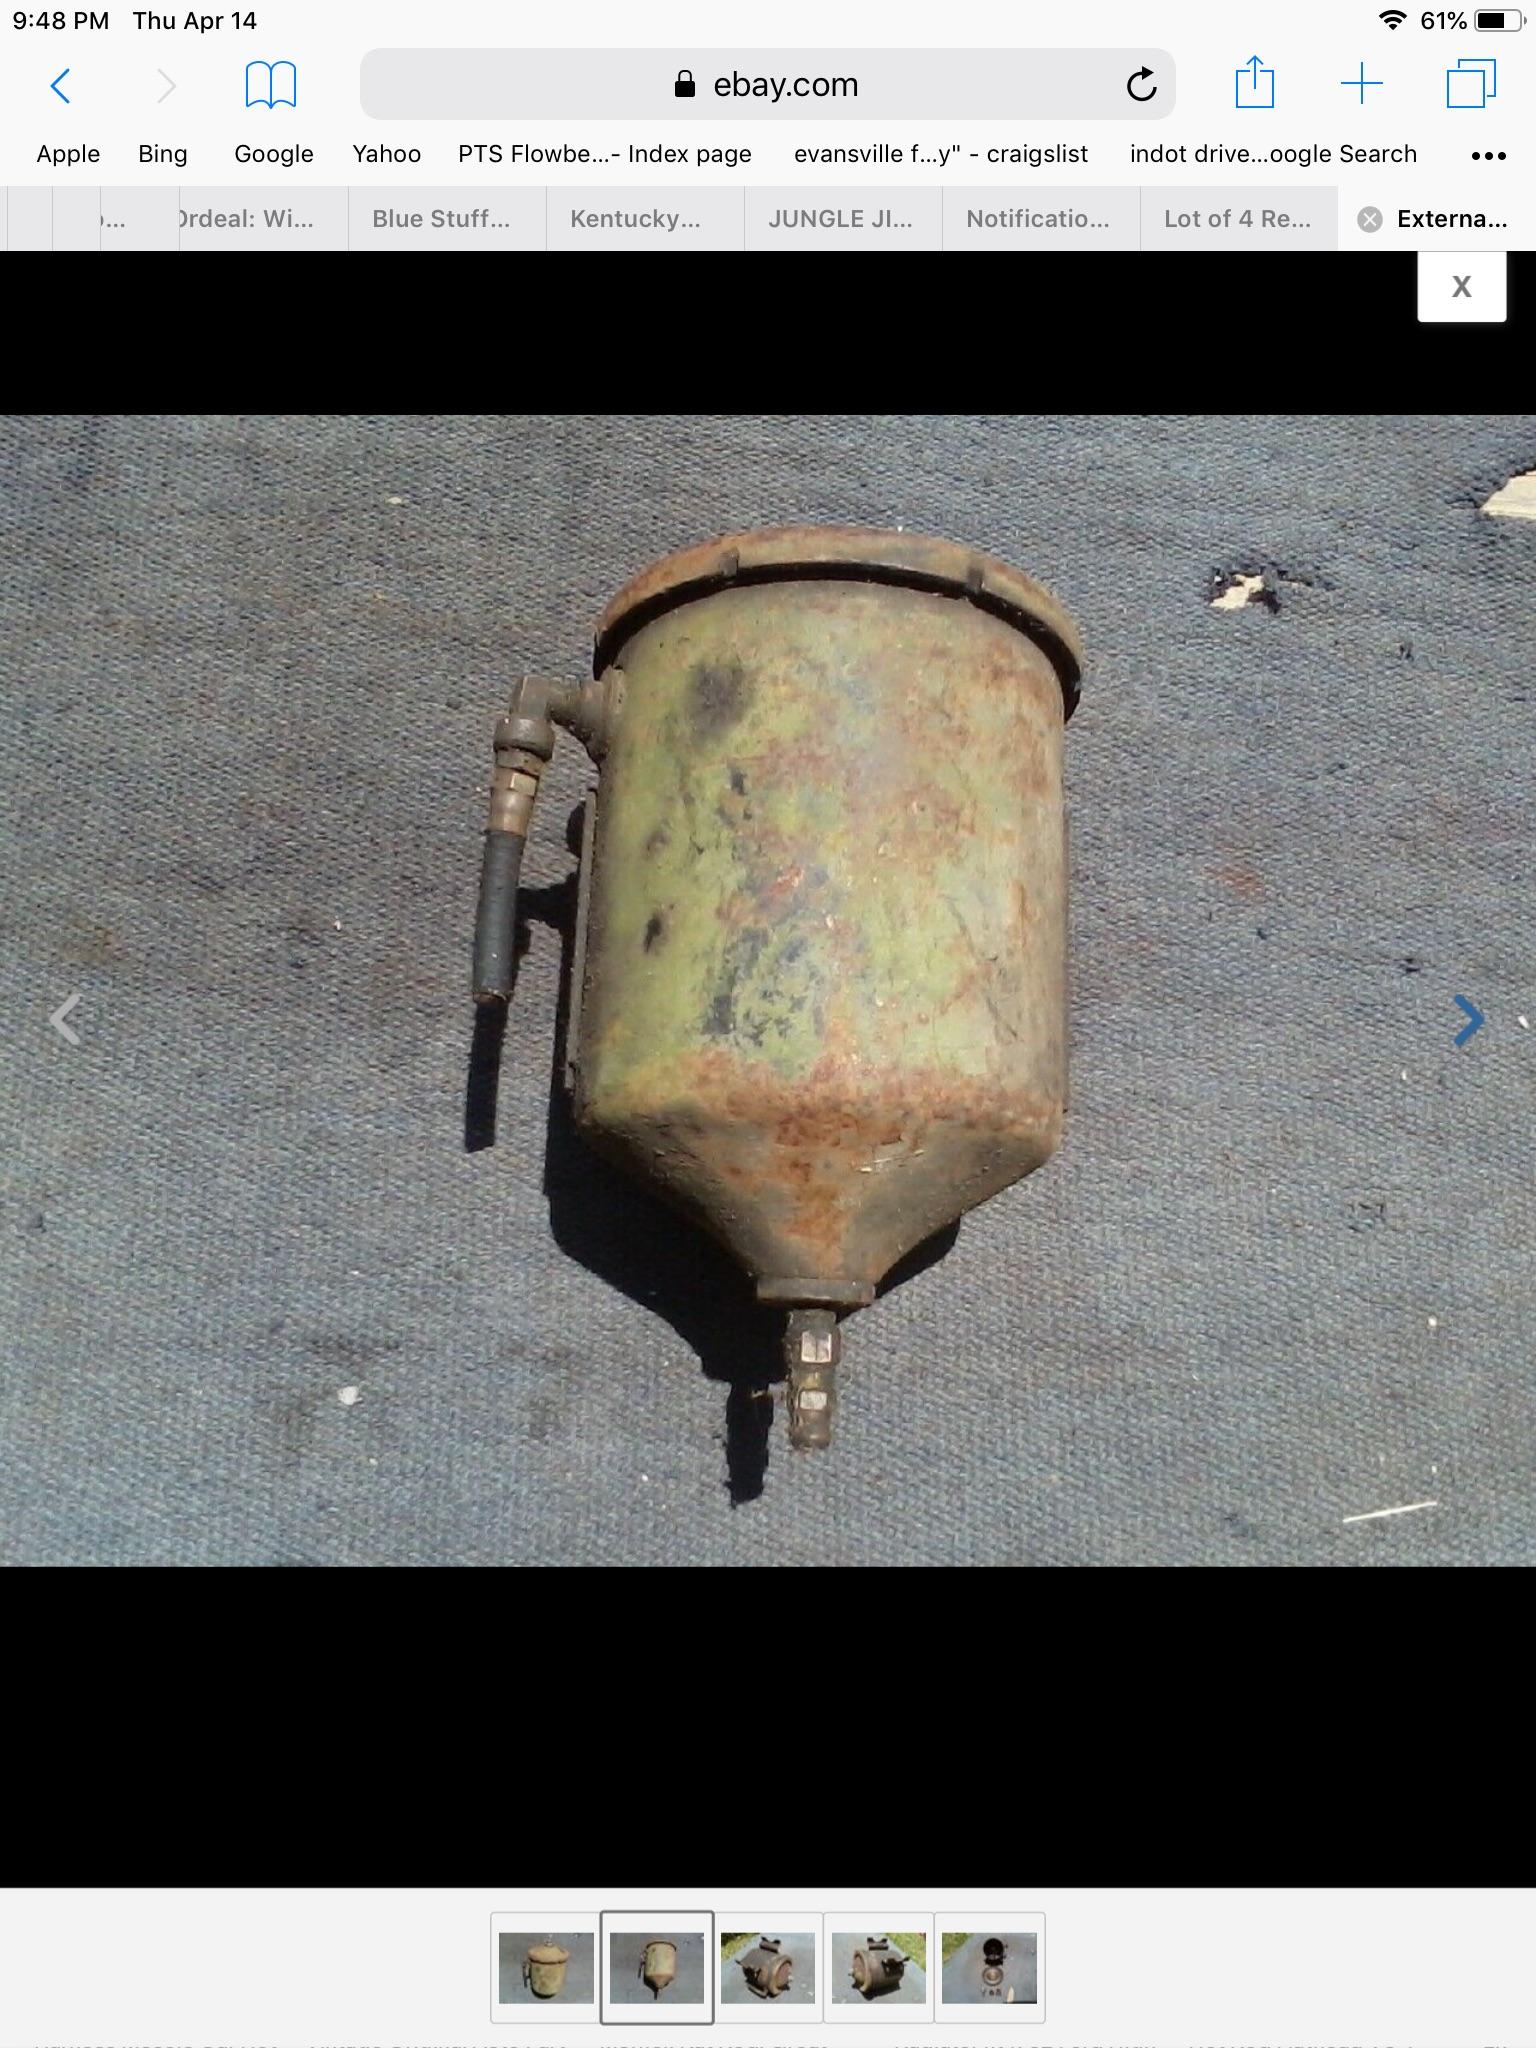
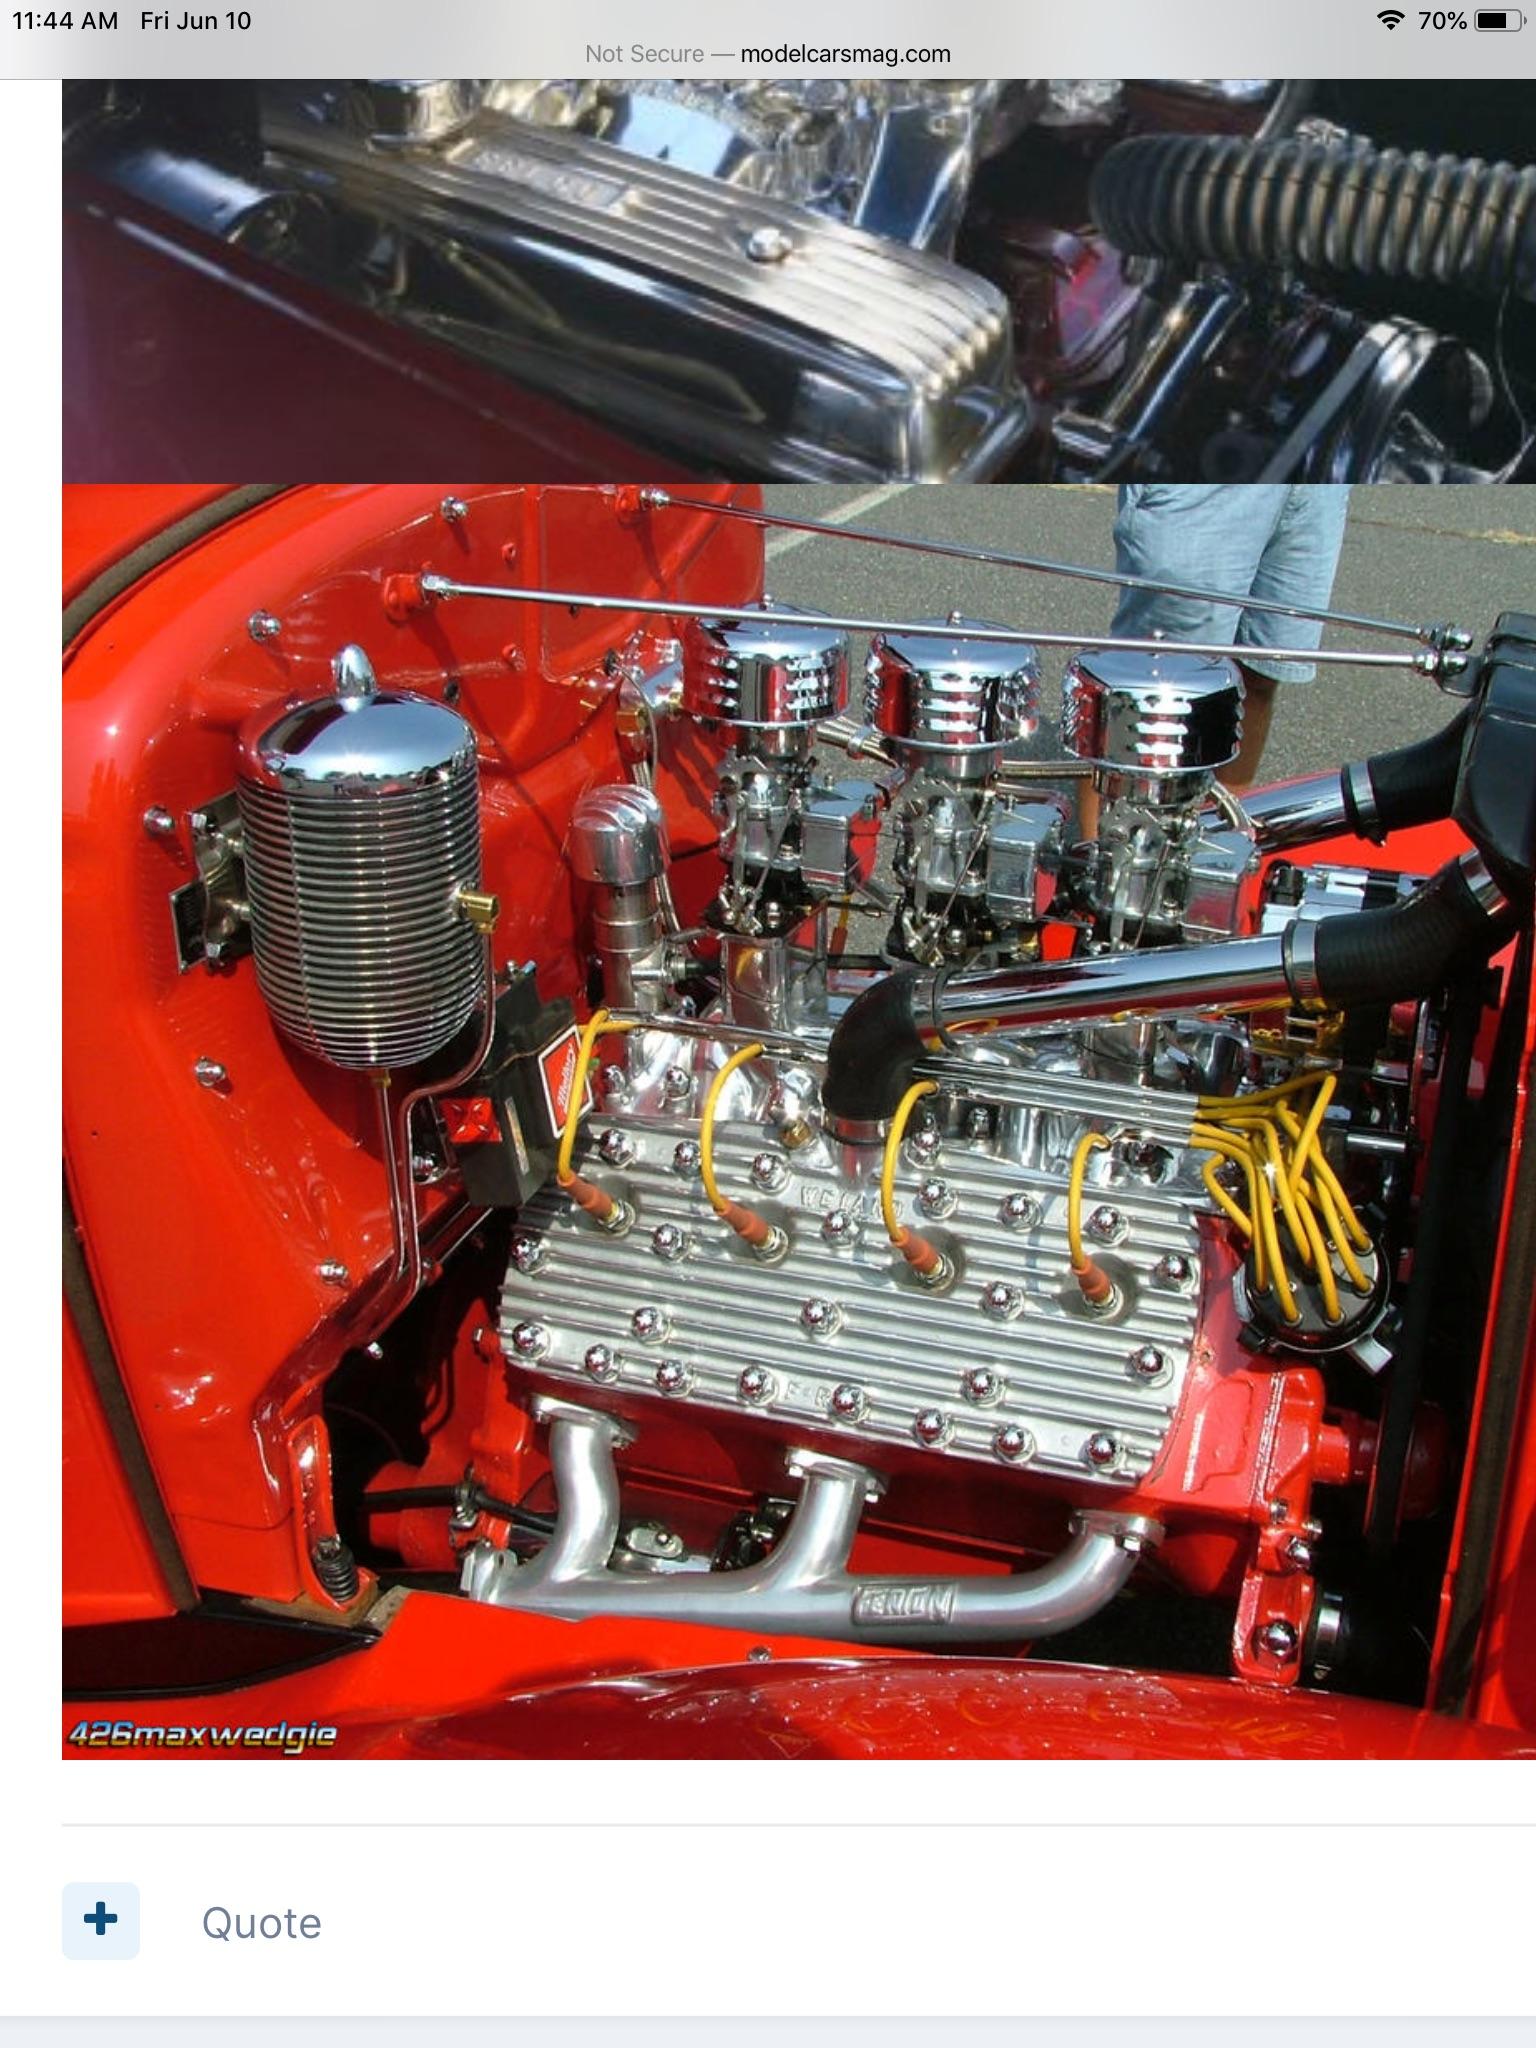
Much appreciated, gentlemen. Believe it or not, I was leaning towards the road draft canister as Ace suggested. I have not seen any other drag cars built in the 50’s or 60’s with one, however. Road draft tubes were usually quite large in diameter (1 inch or larger) like the one on my 55 Pontiac many years ago. The radiator does not appear to have any connections for this, also. Again, thanks for responding.
-
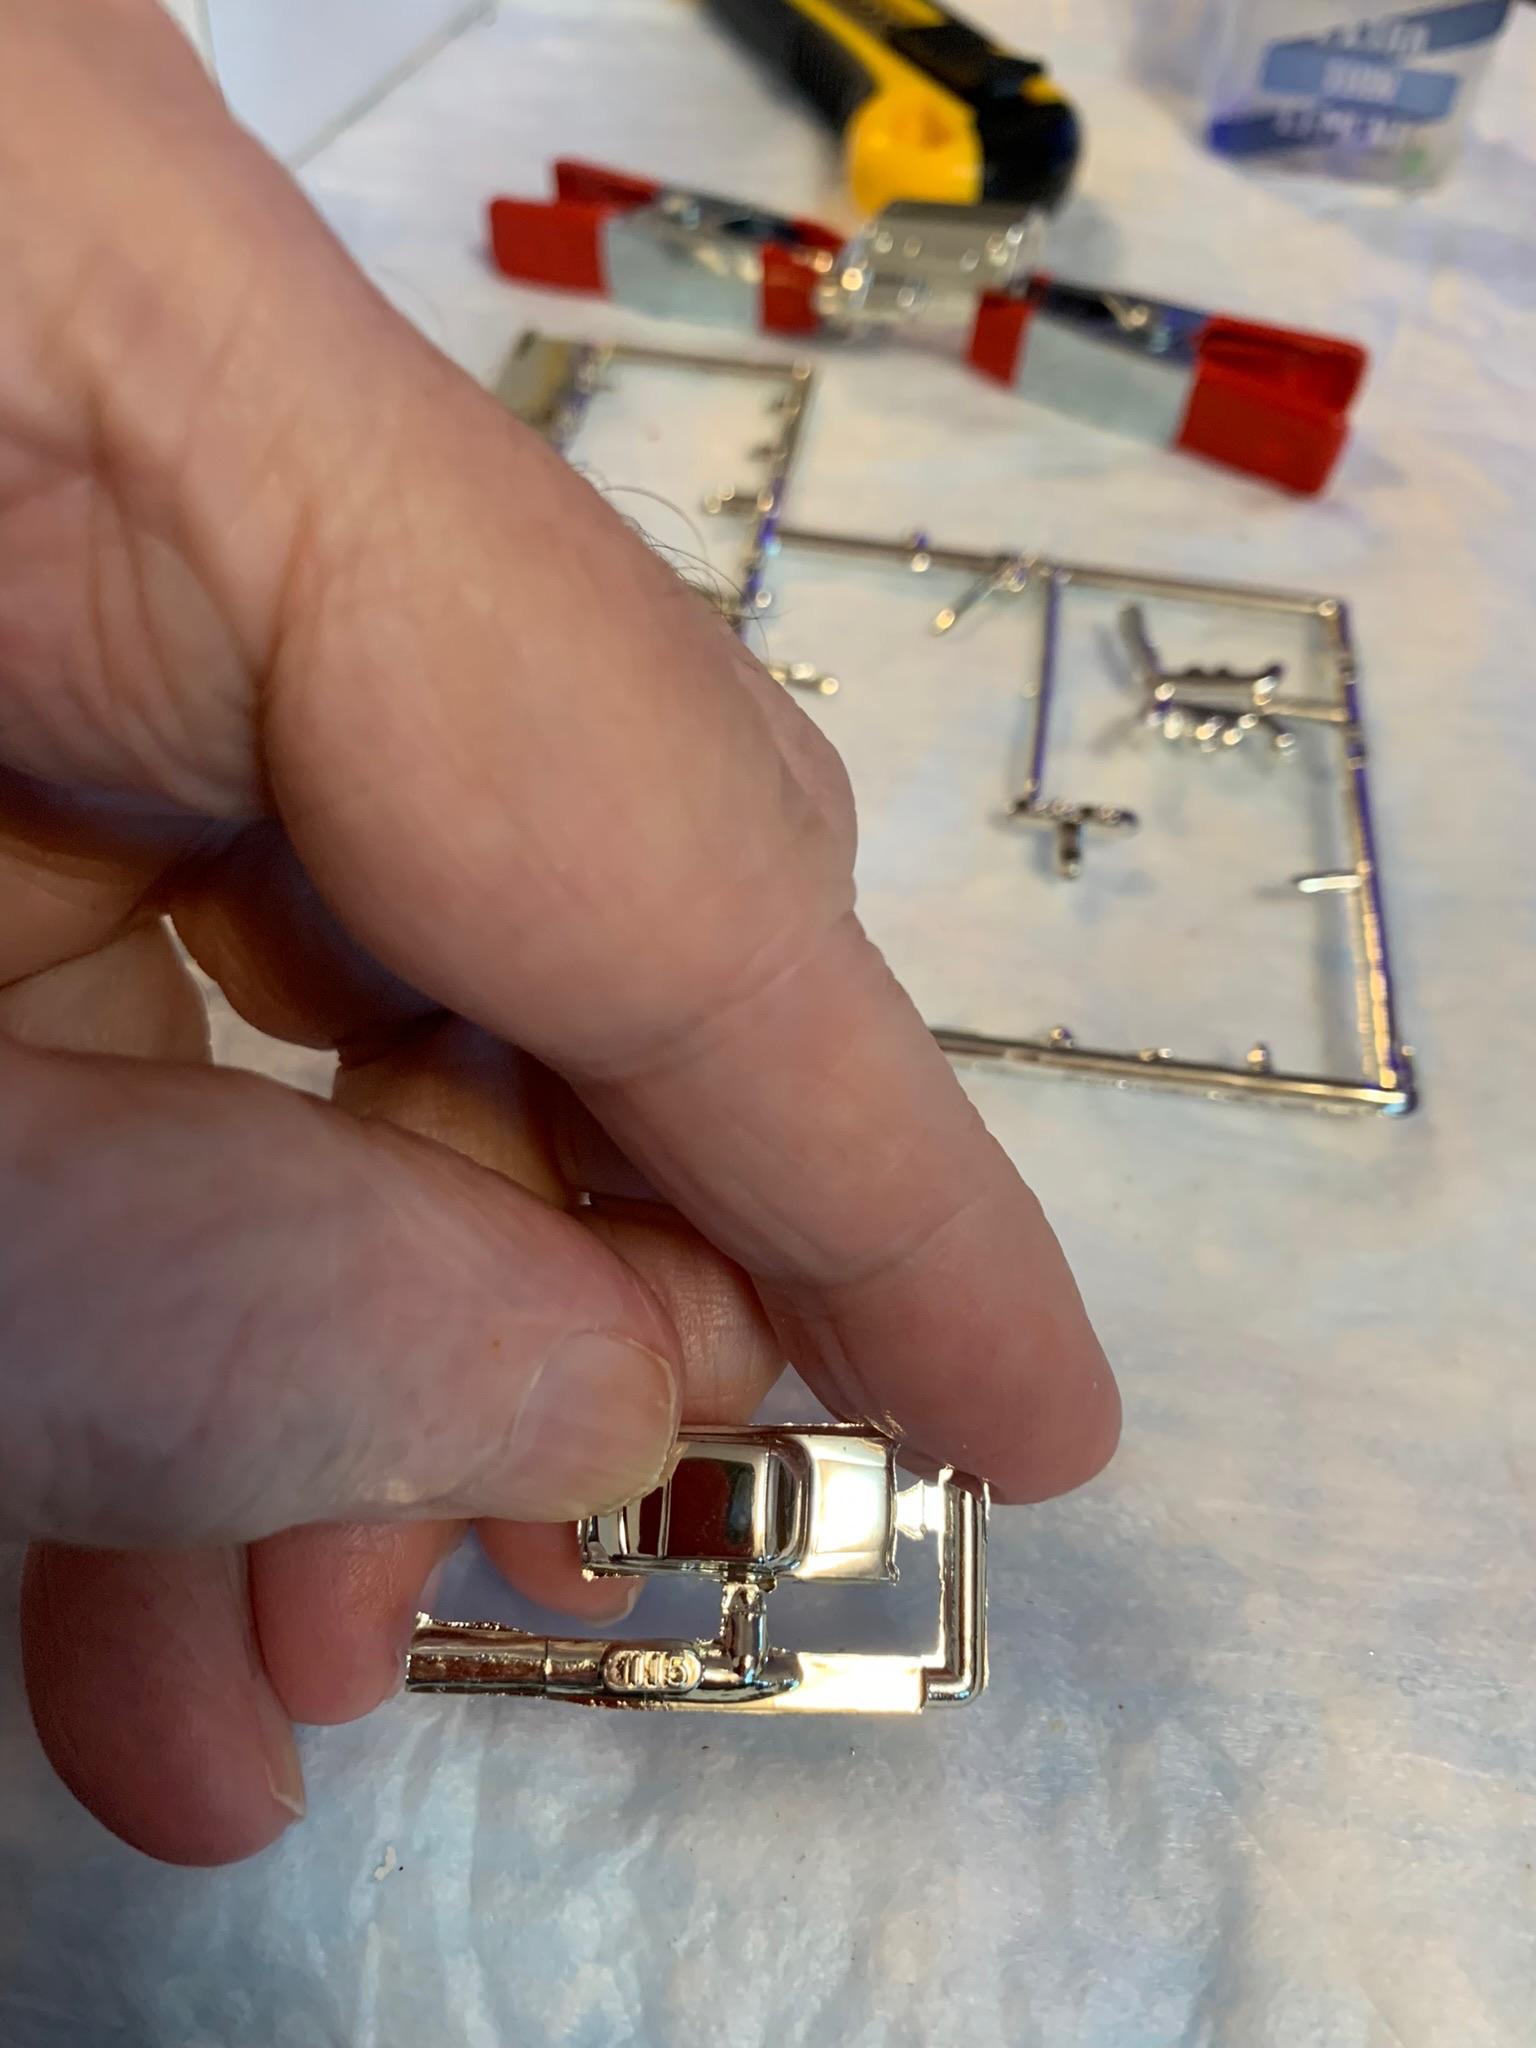
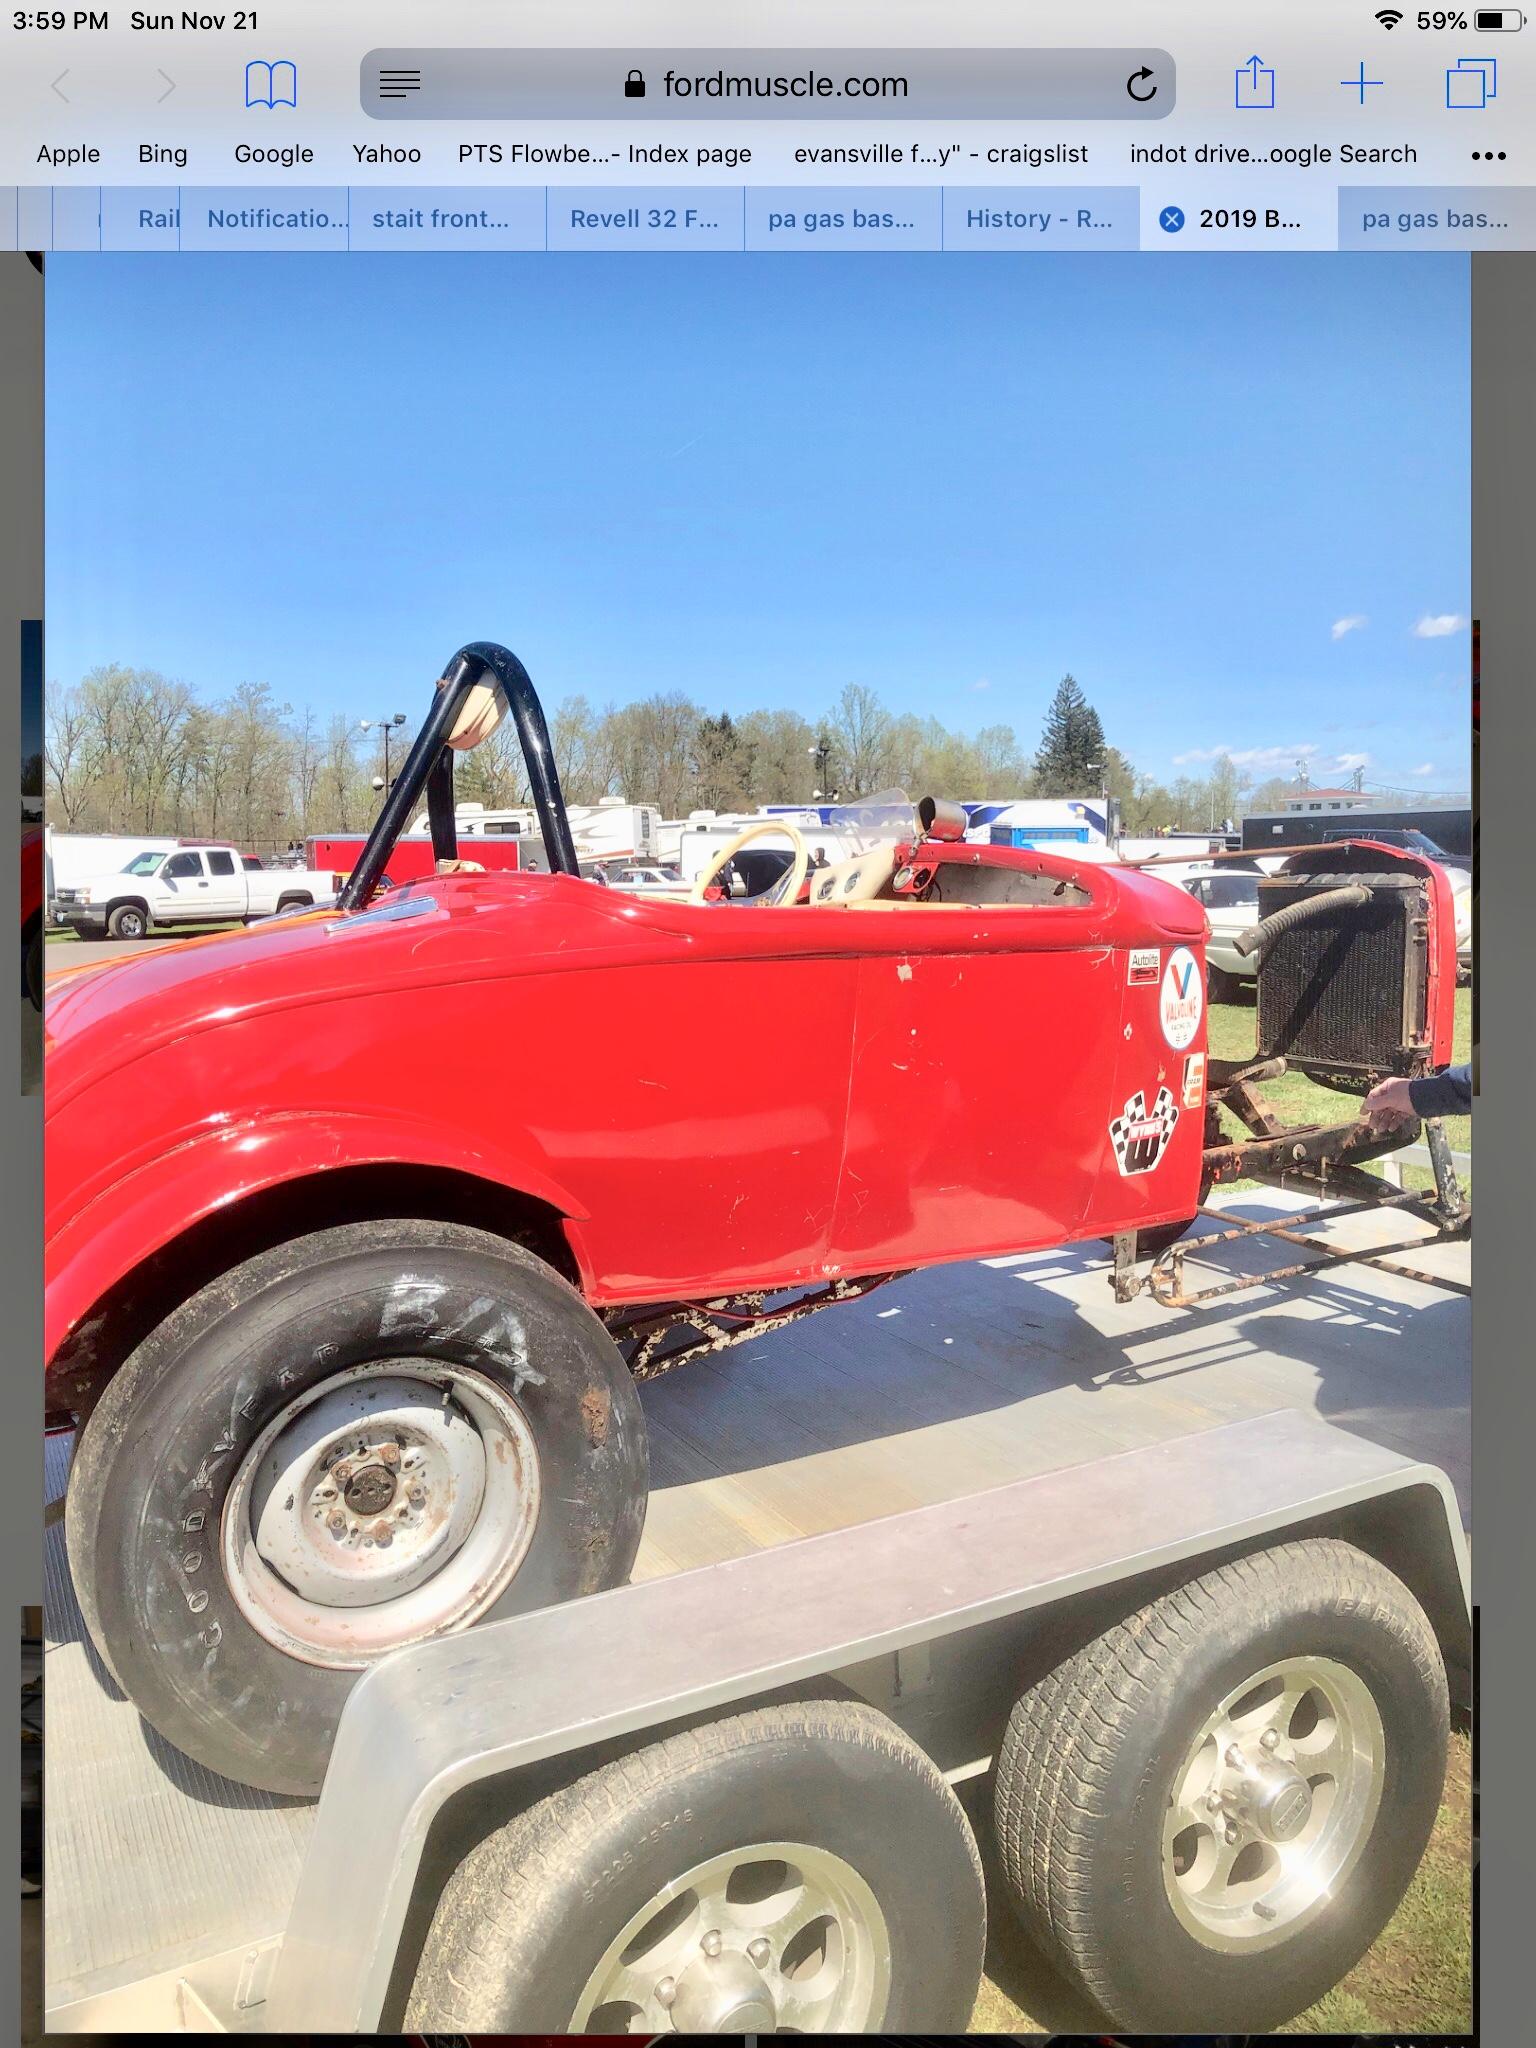
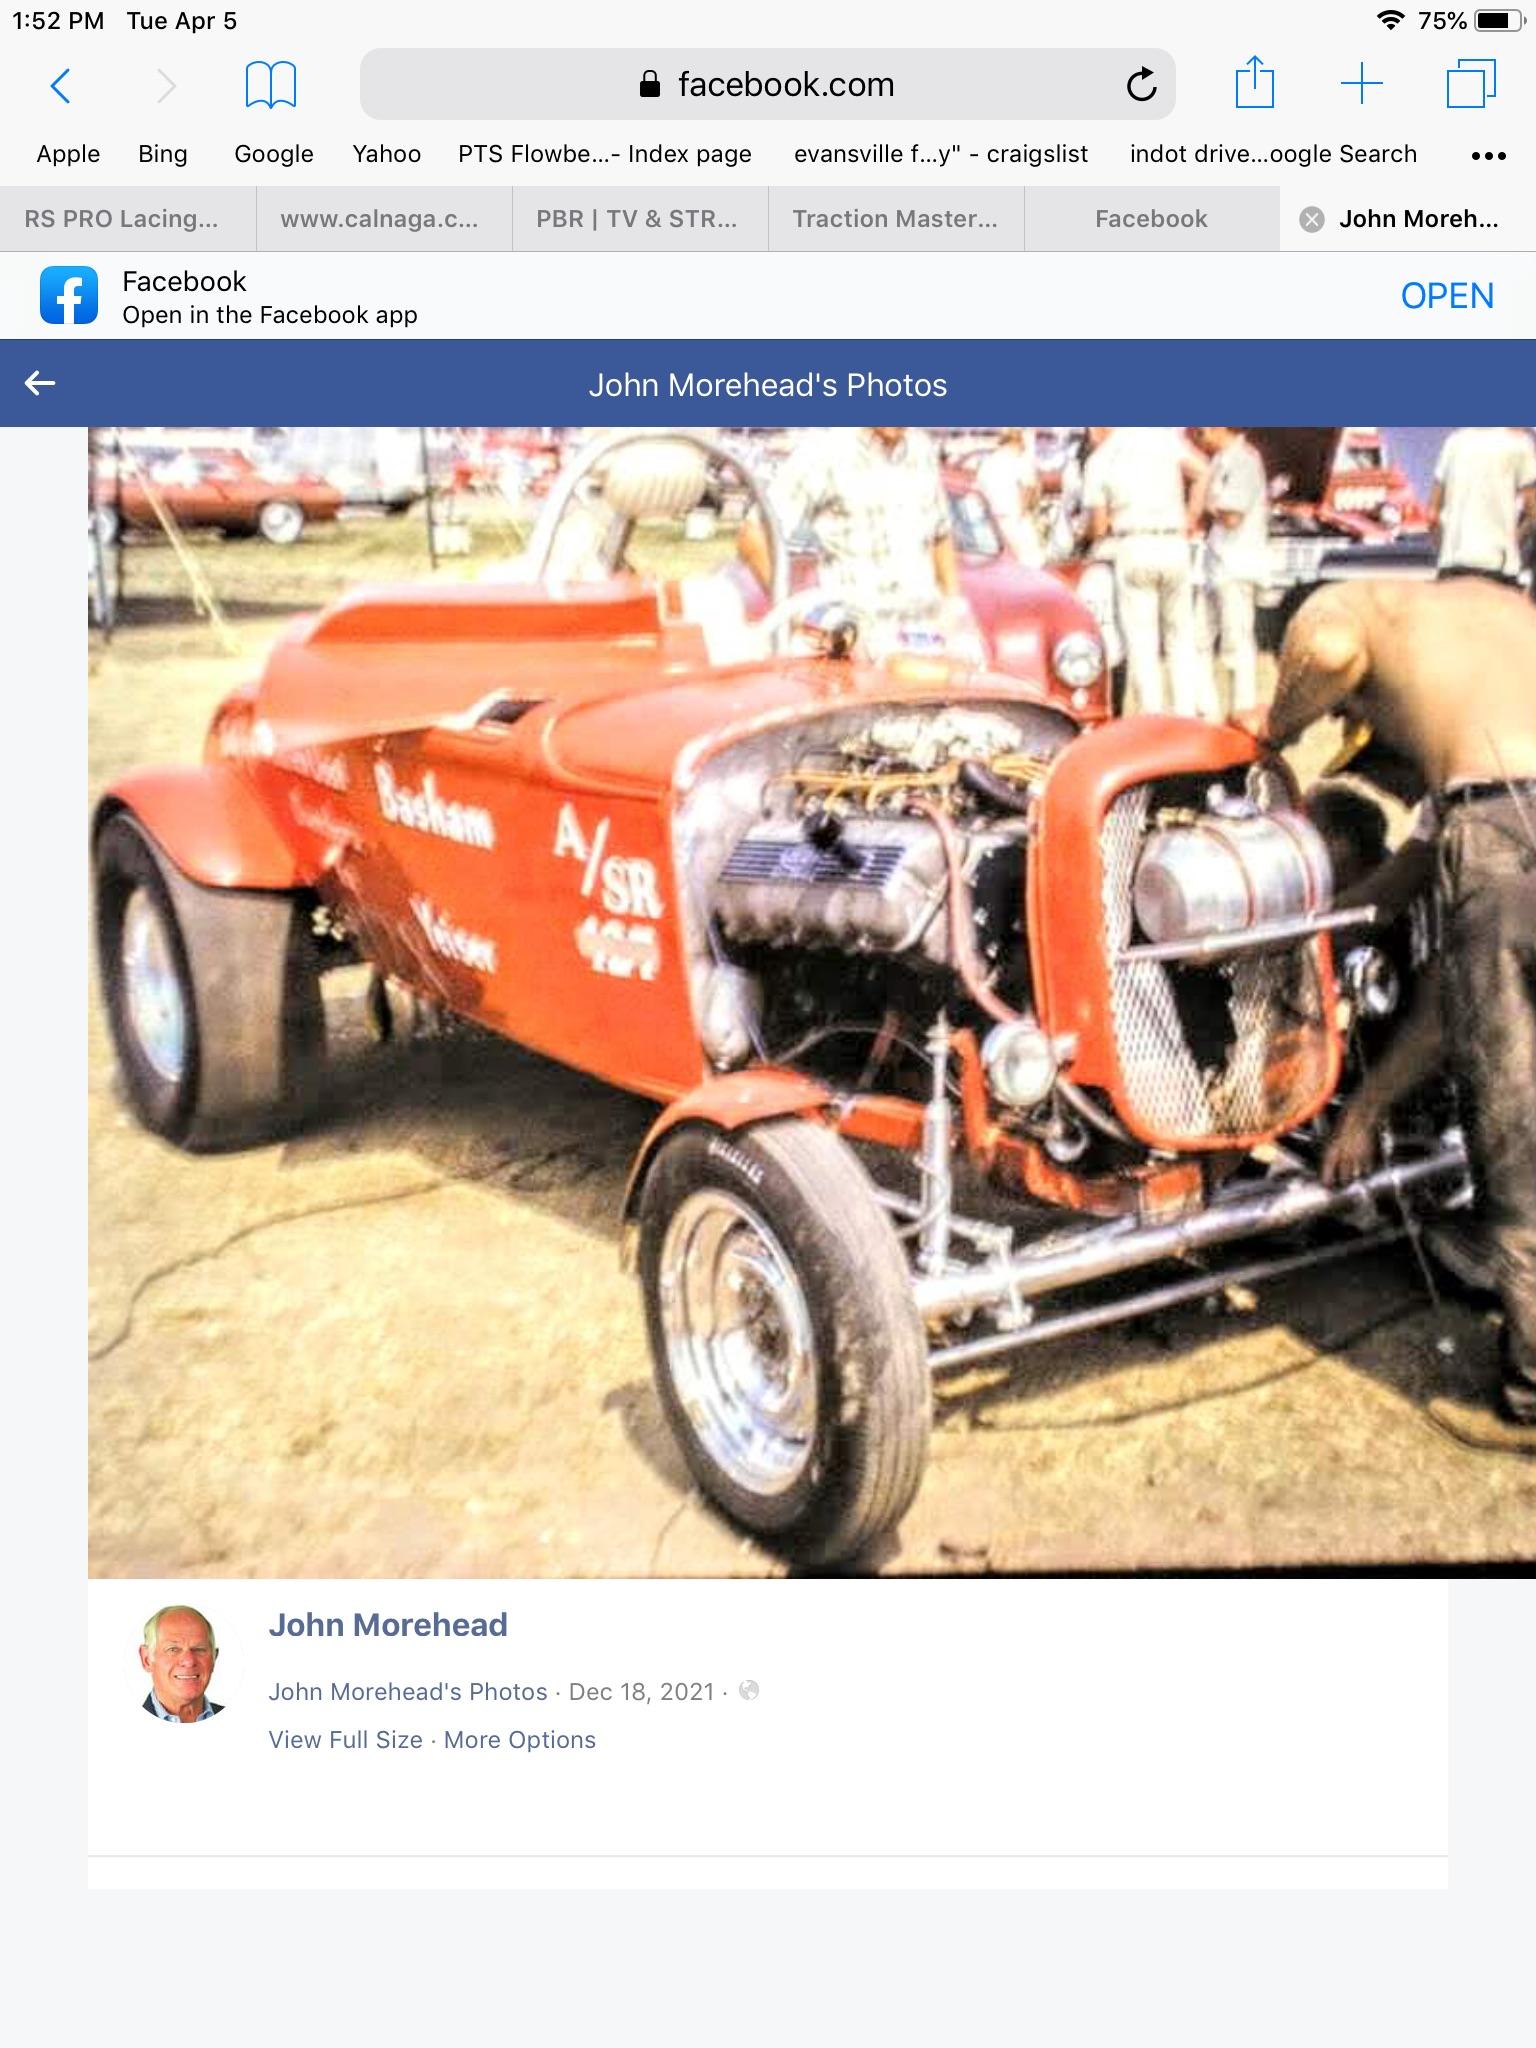
It is located on the passenger side on the lower firewall area on this A/SR replica I am building. It looks like an upside down army canteen. I think it may be a remote canister style oil filter similar to one I saw on eBay that were original on early Fords. Also, could this be something similar on this newer beehive style on a newer street rod. Due to the location, I have ruled out radiator overflow and fuel cool can. Of course, the normal oil filter location is on the driver’s side front, but this could be a left over part from a previous engine swap.
-
The customer is always right, Christopher. I appreciate the replies. I like the “copperish “ wash on the alternator . Thanks for reminding me to get some microscale decal saver. So, when are you gonna build your own model of this car?
-
Oh, I like that a lot. Old school Super Stockers rule! Original decals? Did you consider darkening the door, windshield vents, and front “snout” panel lines? Still another kit I have to keep my eyes open for at a reasonable price. Thank you for posting this beautiful car.
-
Outstanding! I expect to see more great models from you in the future.
-
Did you have surgery and, if so, how are the eyes doing?
-
1973-74 ? Pontiac Grand Am in resin ?
R. Thorne replied to davysmodels's topic in Car Aftermarket / Resin / 3D Printed
Any possibility of a 1974 GTO now or in the future? Thanks, Ron. -
Sorry about that, Rick. I guess I don’t throw anything away. 6 years ago on my first model car, I asked for assistance with taller front tires, and you were kind enough to send me some. Here they are on my Super Stocker. 1:1 car picture was taken in the late Seventies. By the way, the Chevy II i was racing against was driven by Darlene Wilkins.
-
Thank you, David.
-
Thanks, Carl, your comments are always encouraging.
-
Thank you, Marcos. I appreciate that. I have become a Tamiya spray can convert. This car had no primer, no clear coat, just Tamiya fine polish (and the only reason for that was to remove bare metal foil residue). Just one light coat and 2 medium to heavy coats of ts14 Tamiya paint.
-
Thank you, sir.