R. Thorne
-
Posts
1,259 -
Joined
-
Last visited
Content Type
Profiles
Forums
Events
Gallery
Everything posted by R. Thorne
-
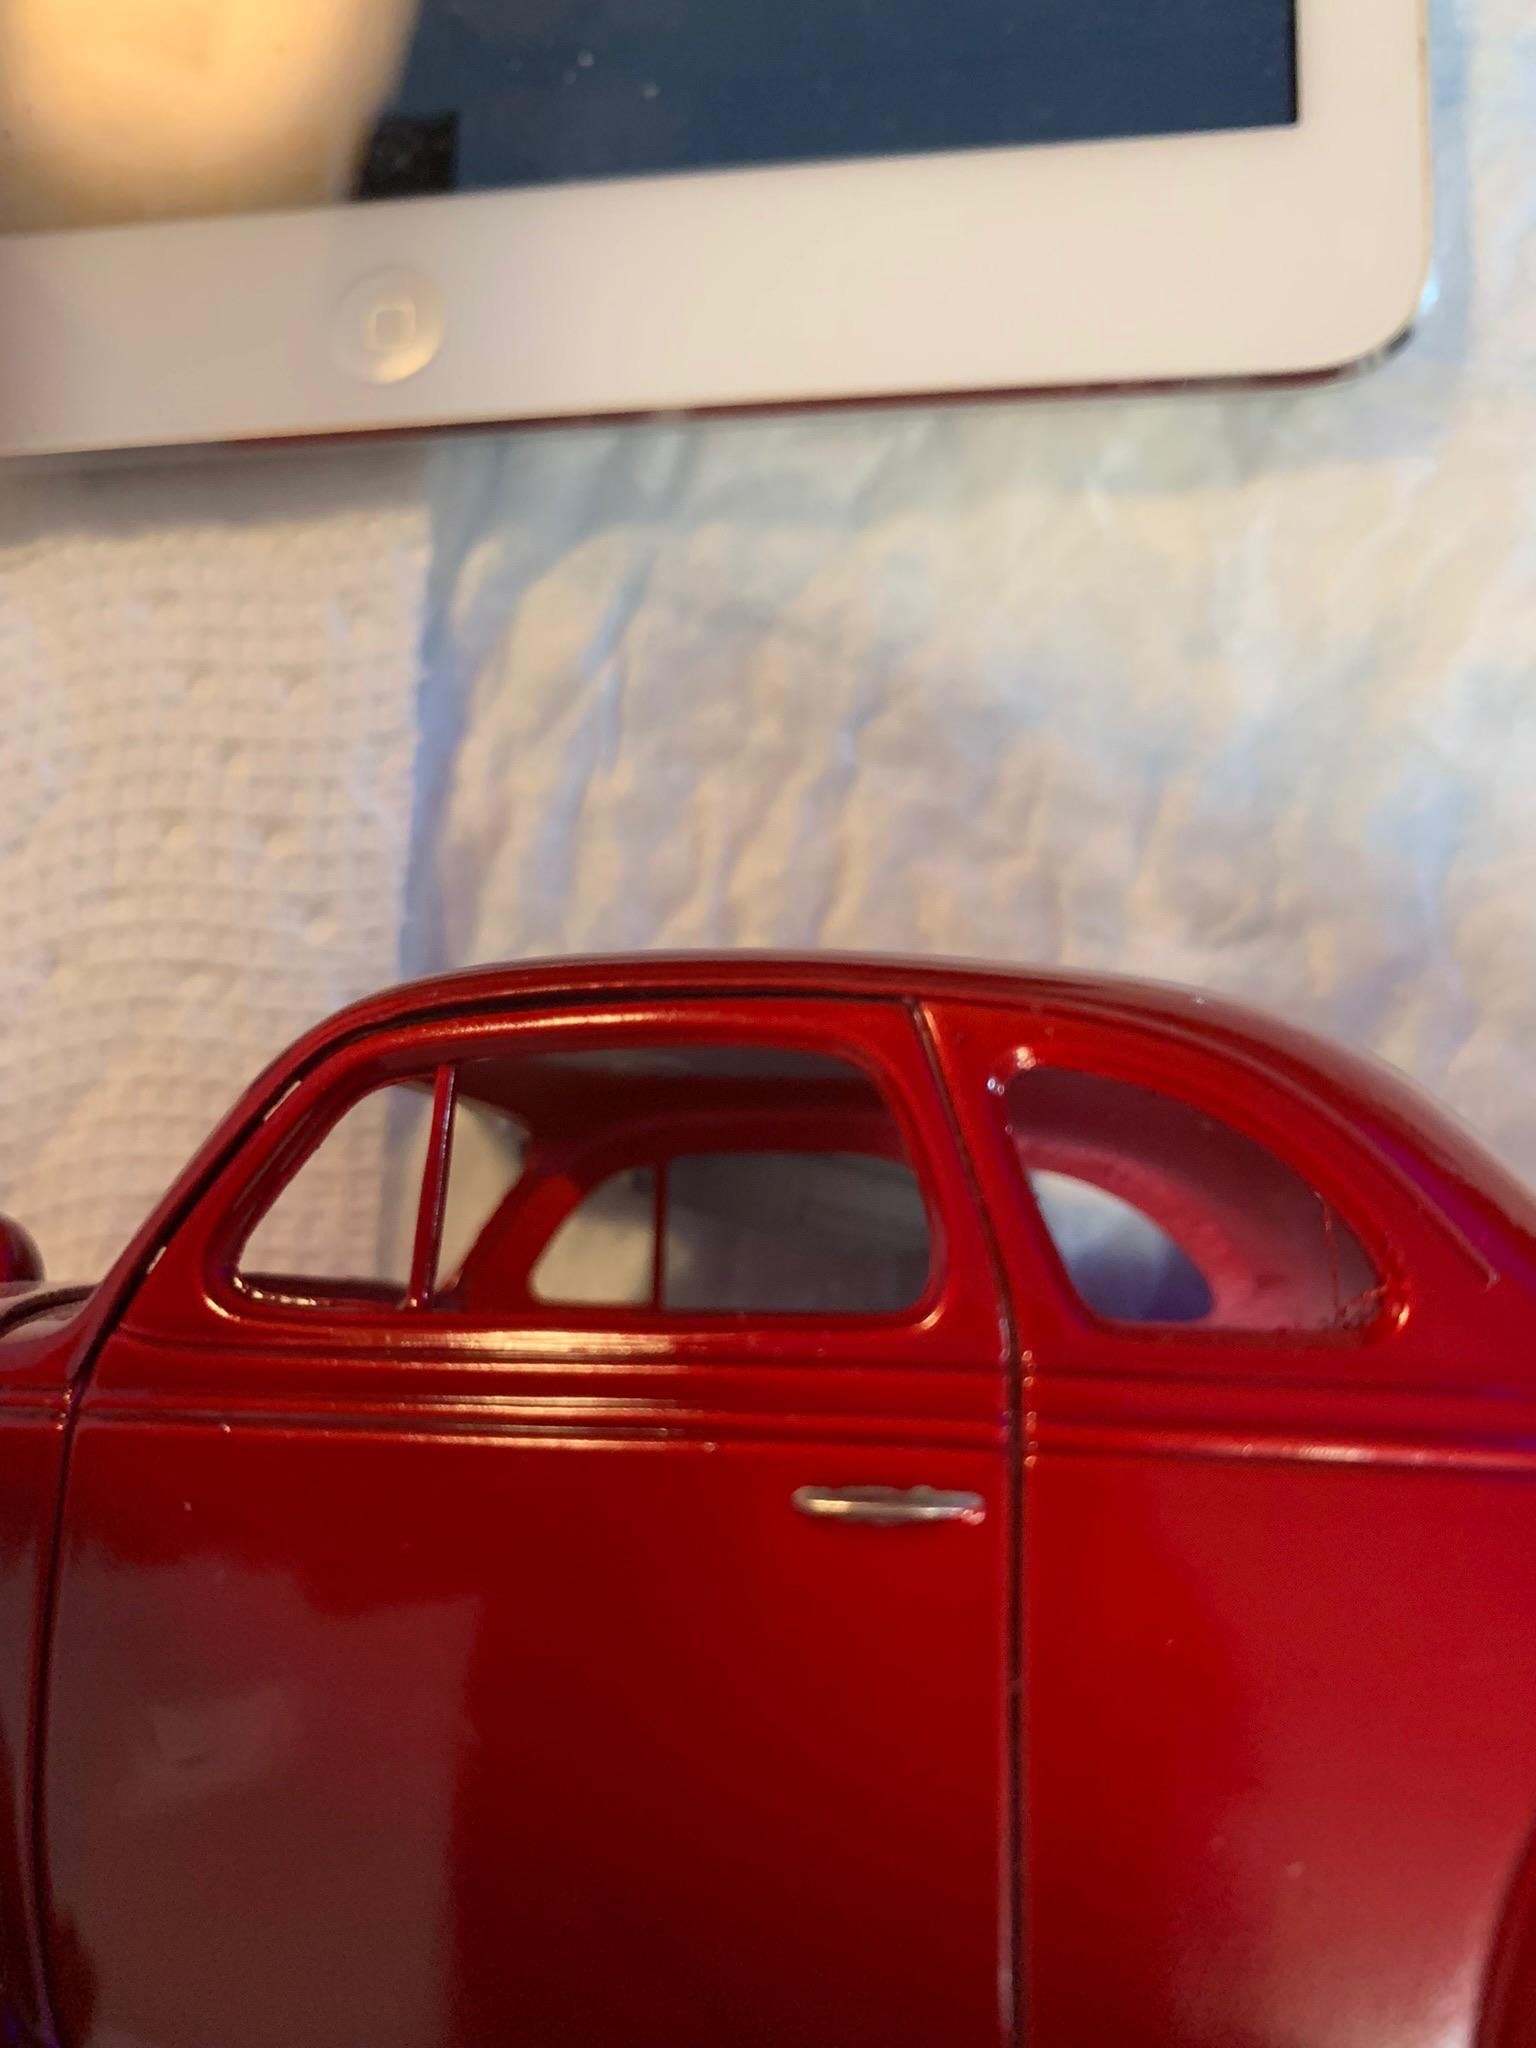
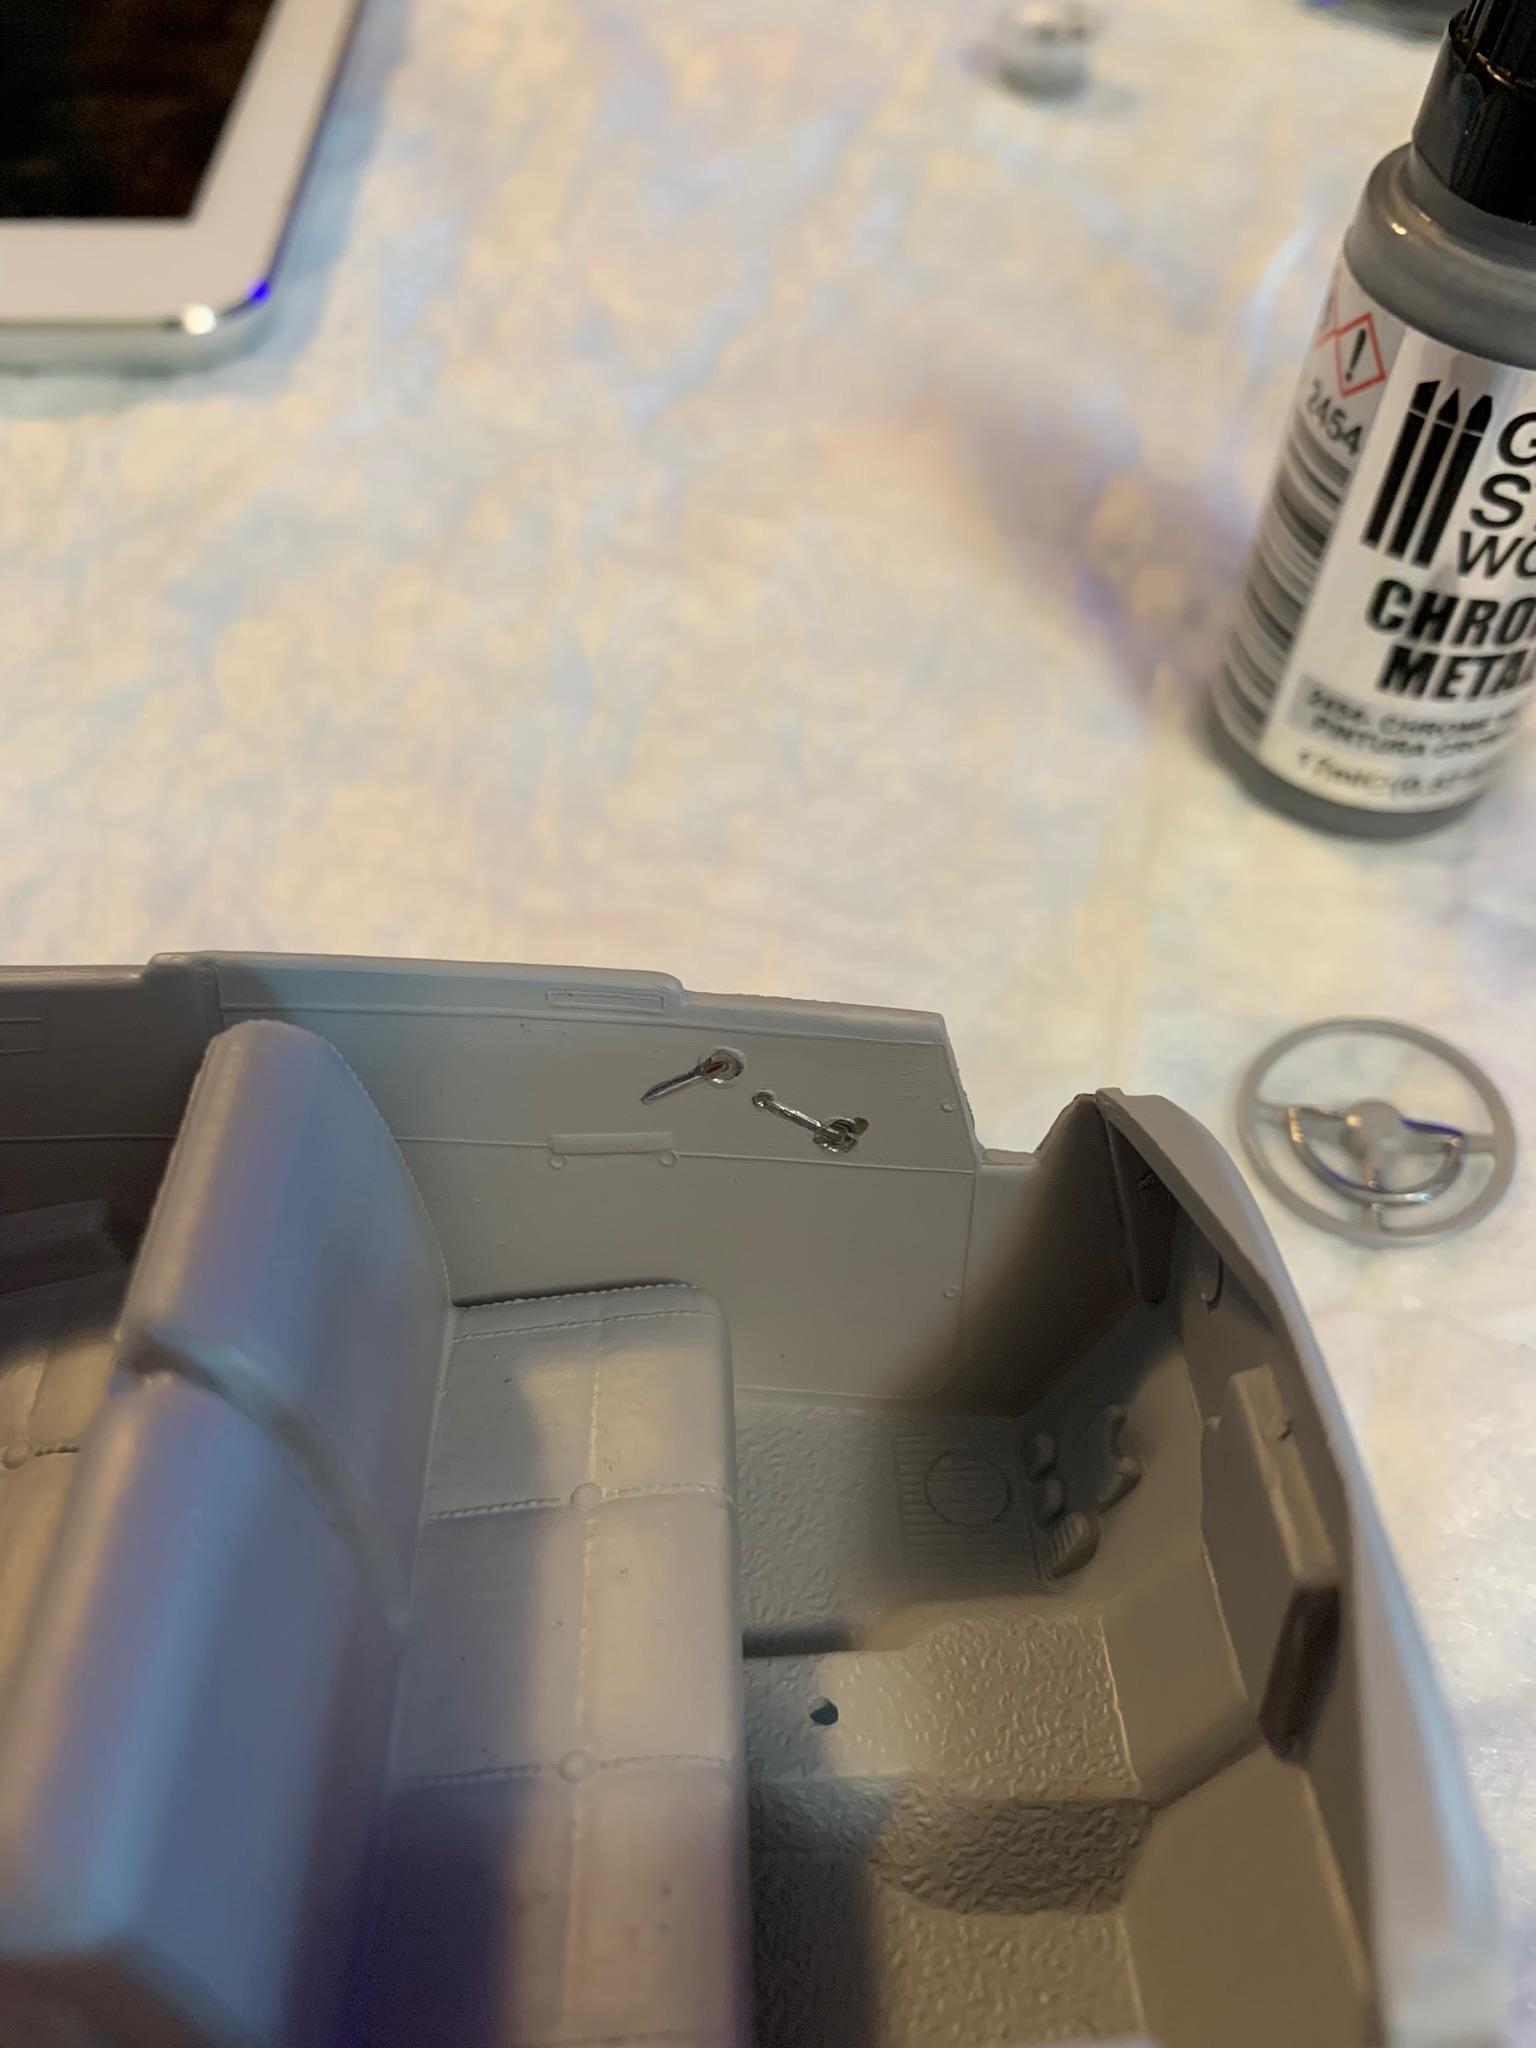
Well, my lazy gene and or tv addiction (mostly Norwegian mysteries and Russian WW2 war films) got hold of me for a couple days. Anyway, got a coat of primer on the interior and chassis (may leave it at that, don’t know). Experimented (there’s that word again) with some new Tamiya brushes and a painting stabilizer (jury is still out on that one) painting on some chrome door handles and trunk emblems. Later.

-
Nice work. Send me some of your energy/enthusiasm.
-
Help in disassembly of a built model
R. Thorne replied to slusher's topic in Model Building Questions and Answers
Also, I have weakened the bond by simple dousing the joint with Tamiya cement, waited a minute or so, then trying to separate the joint. -
Help in disassembly of a built model
R. Thorne replied to slusher's topic in Model Building Questions and Answers
Oh, by the way, Carl, thank you for all the encouraging comments you have contributed on this forum. -
Help in disassembly of a built model
R. Thorne replied to slusher's topic in Model Building Questions and Answers
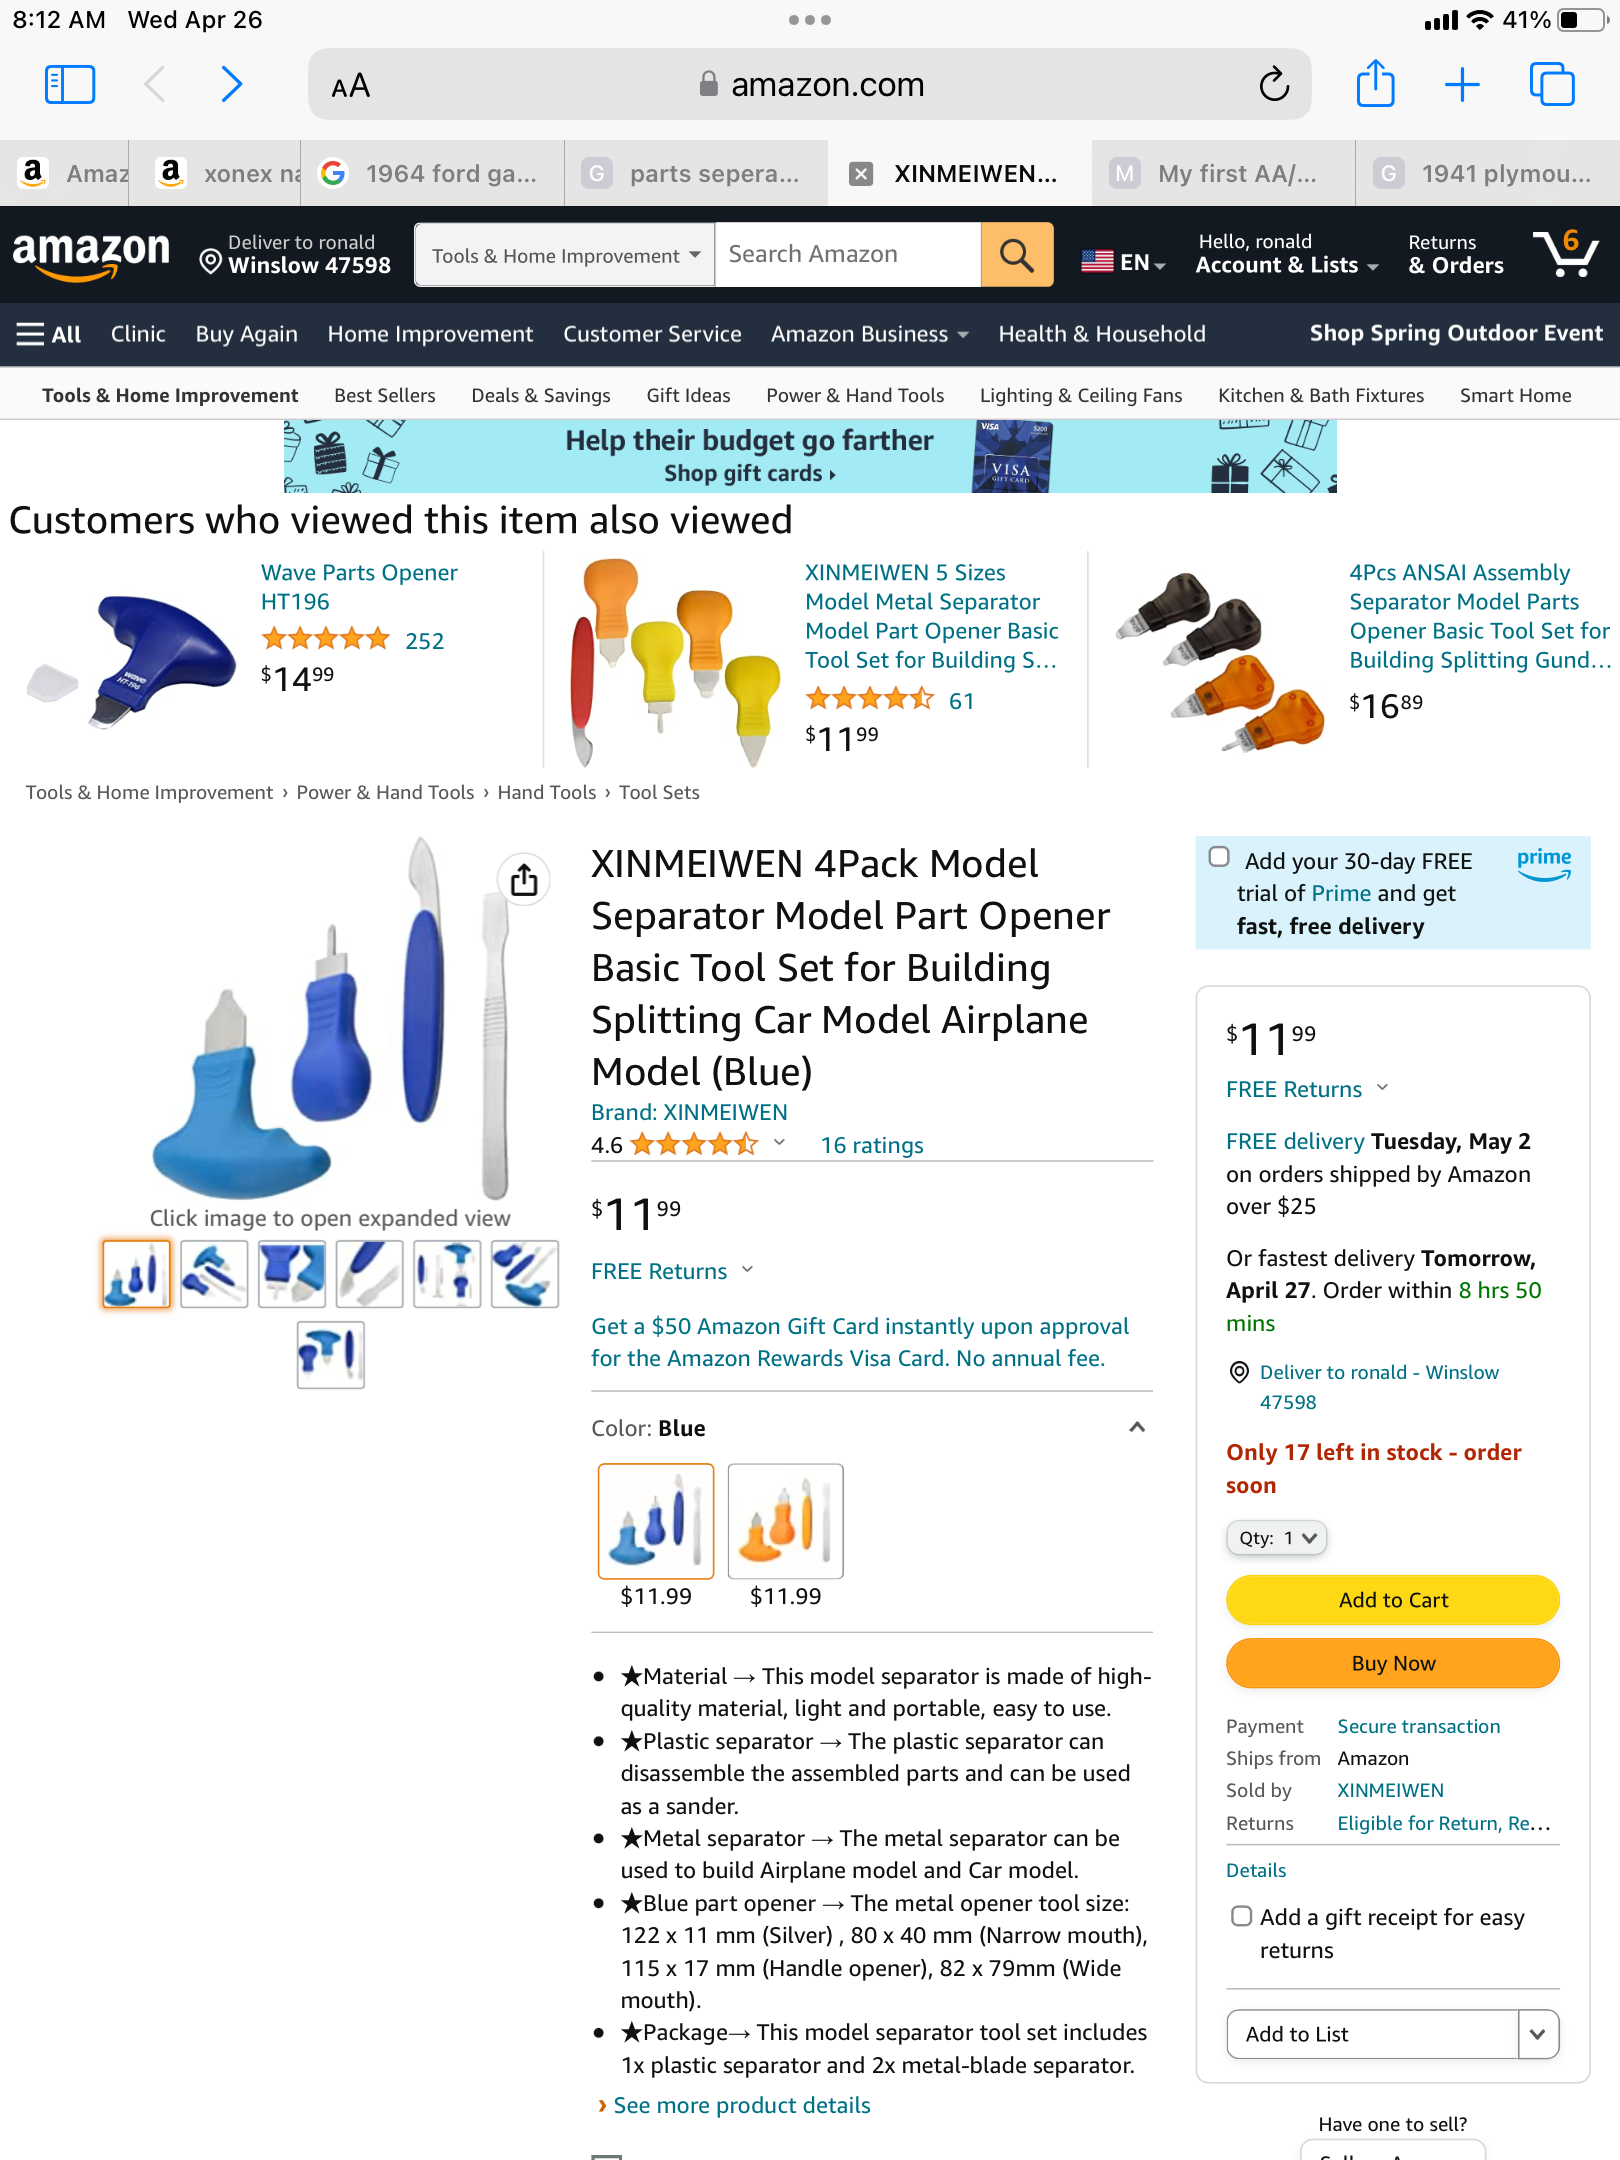
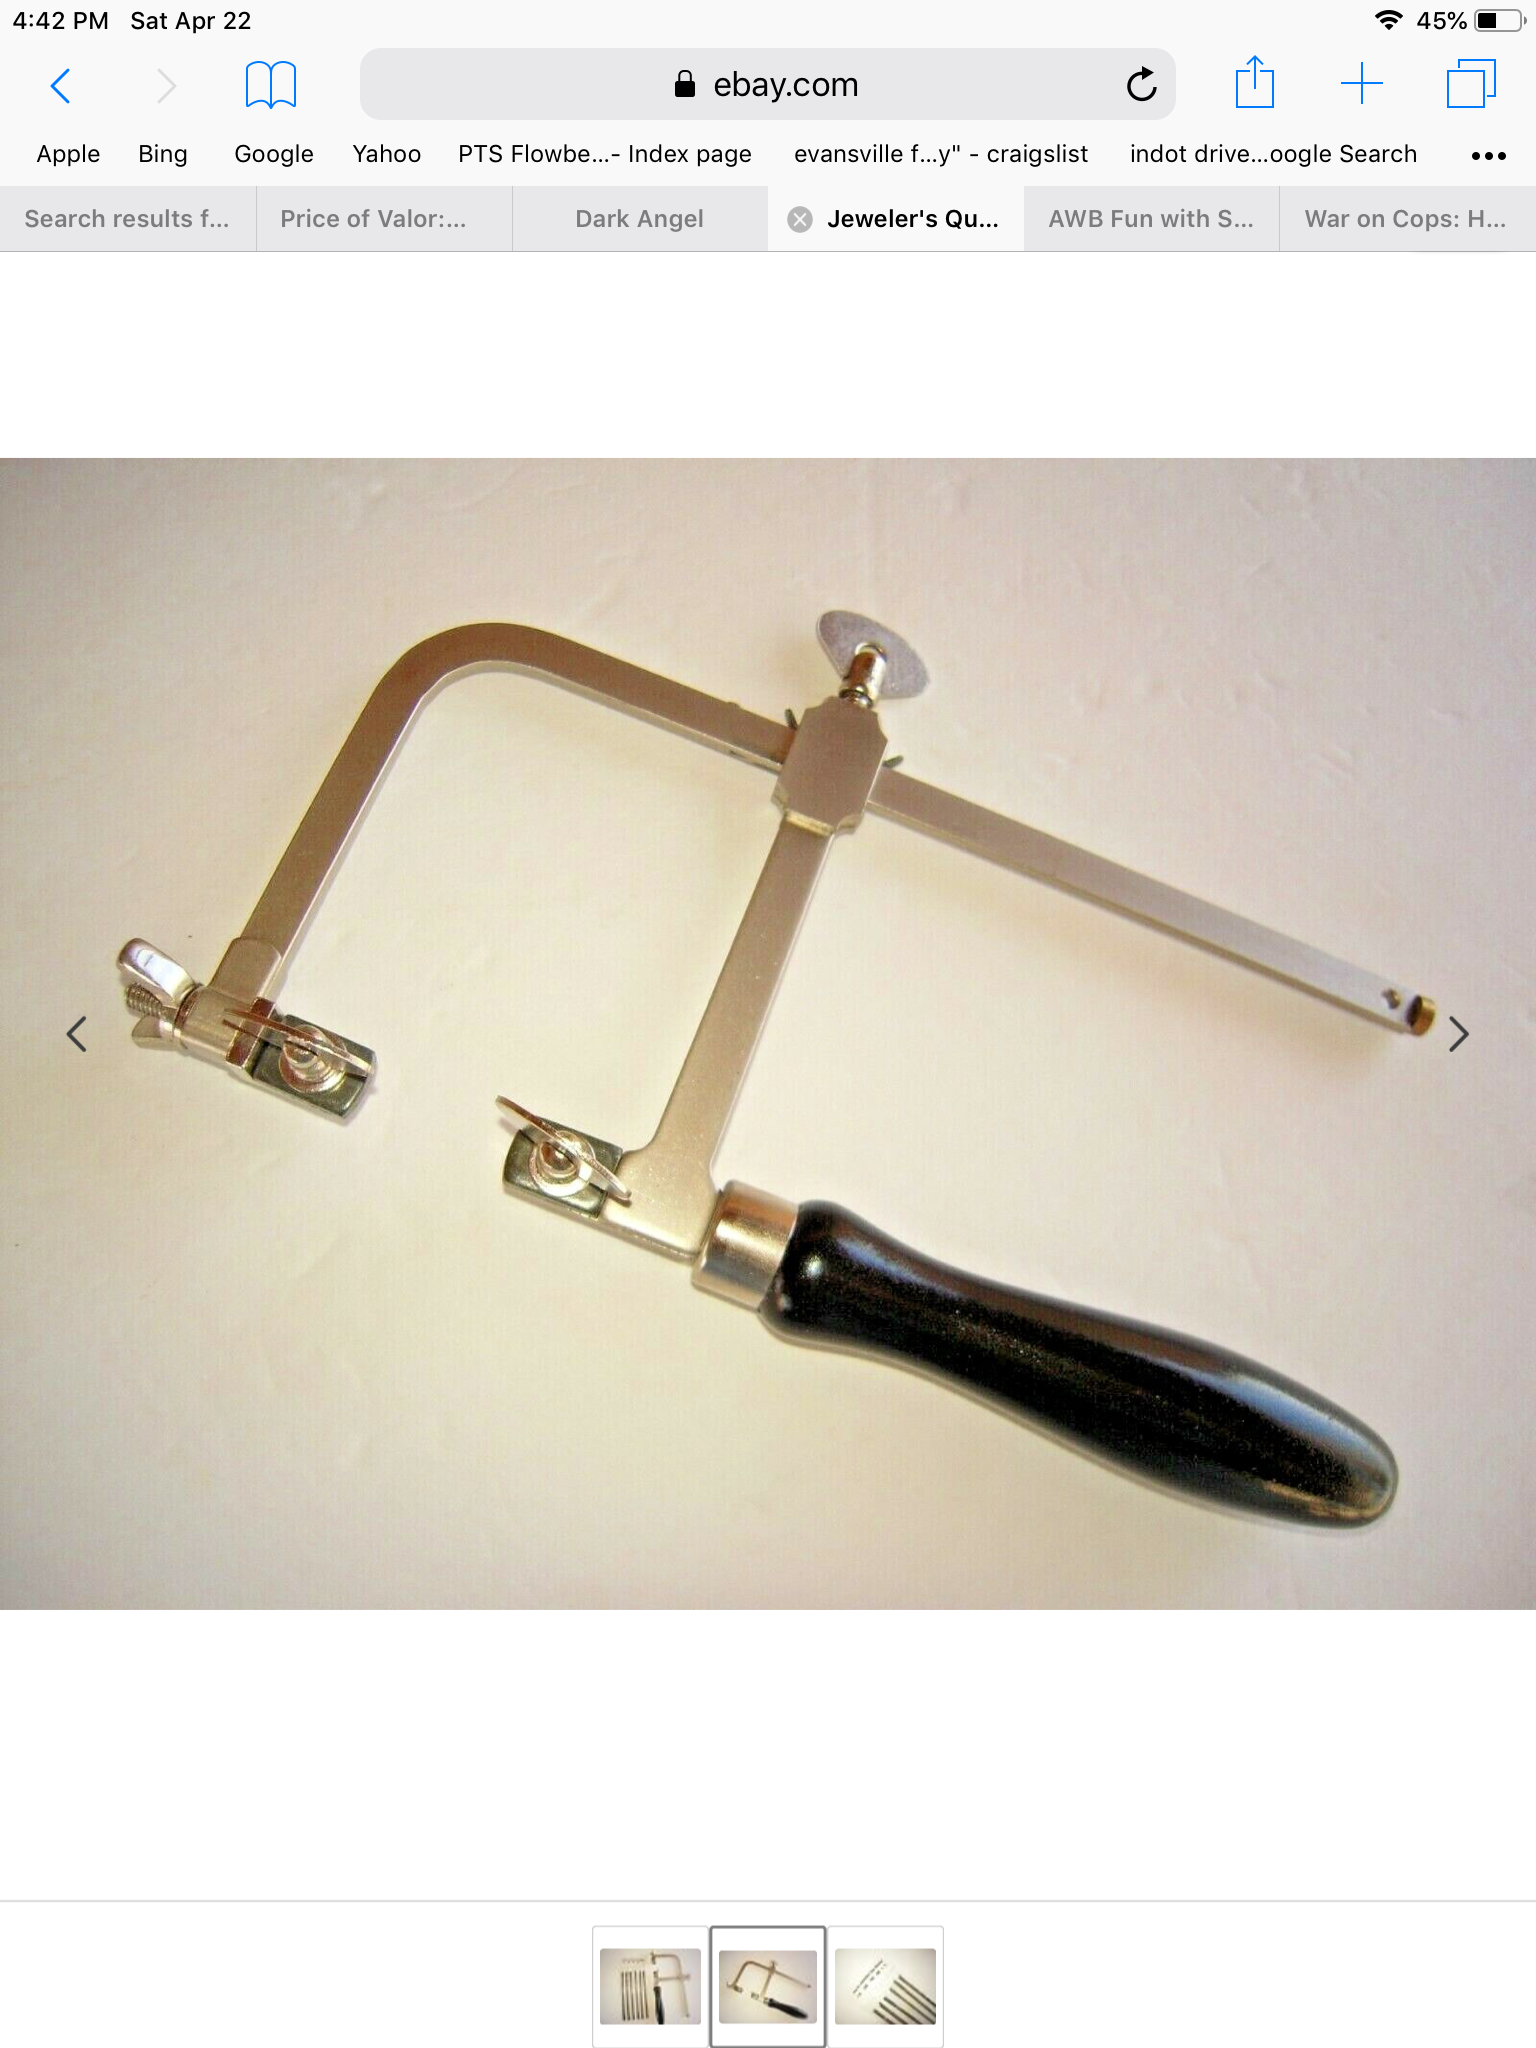
Consider purchasing something like this.
-
Clean, detail oriented model. We, of course, have to know more about that outstanding paint job. Looks like a lot of work.
-
Parts pack small block Chevy with 4 speed Hydramatic ready to install. Wheels and tires and headers I plan to install. Hopefully,will get interior painted a tan color tomorrow.
-
-
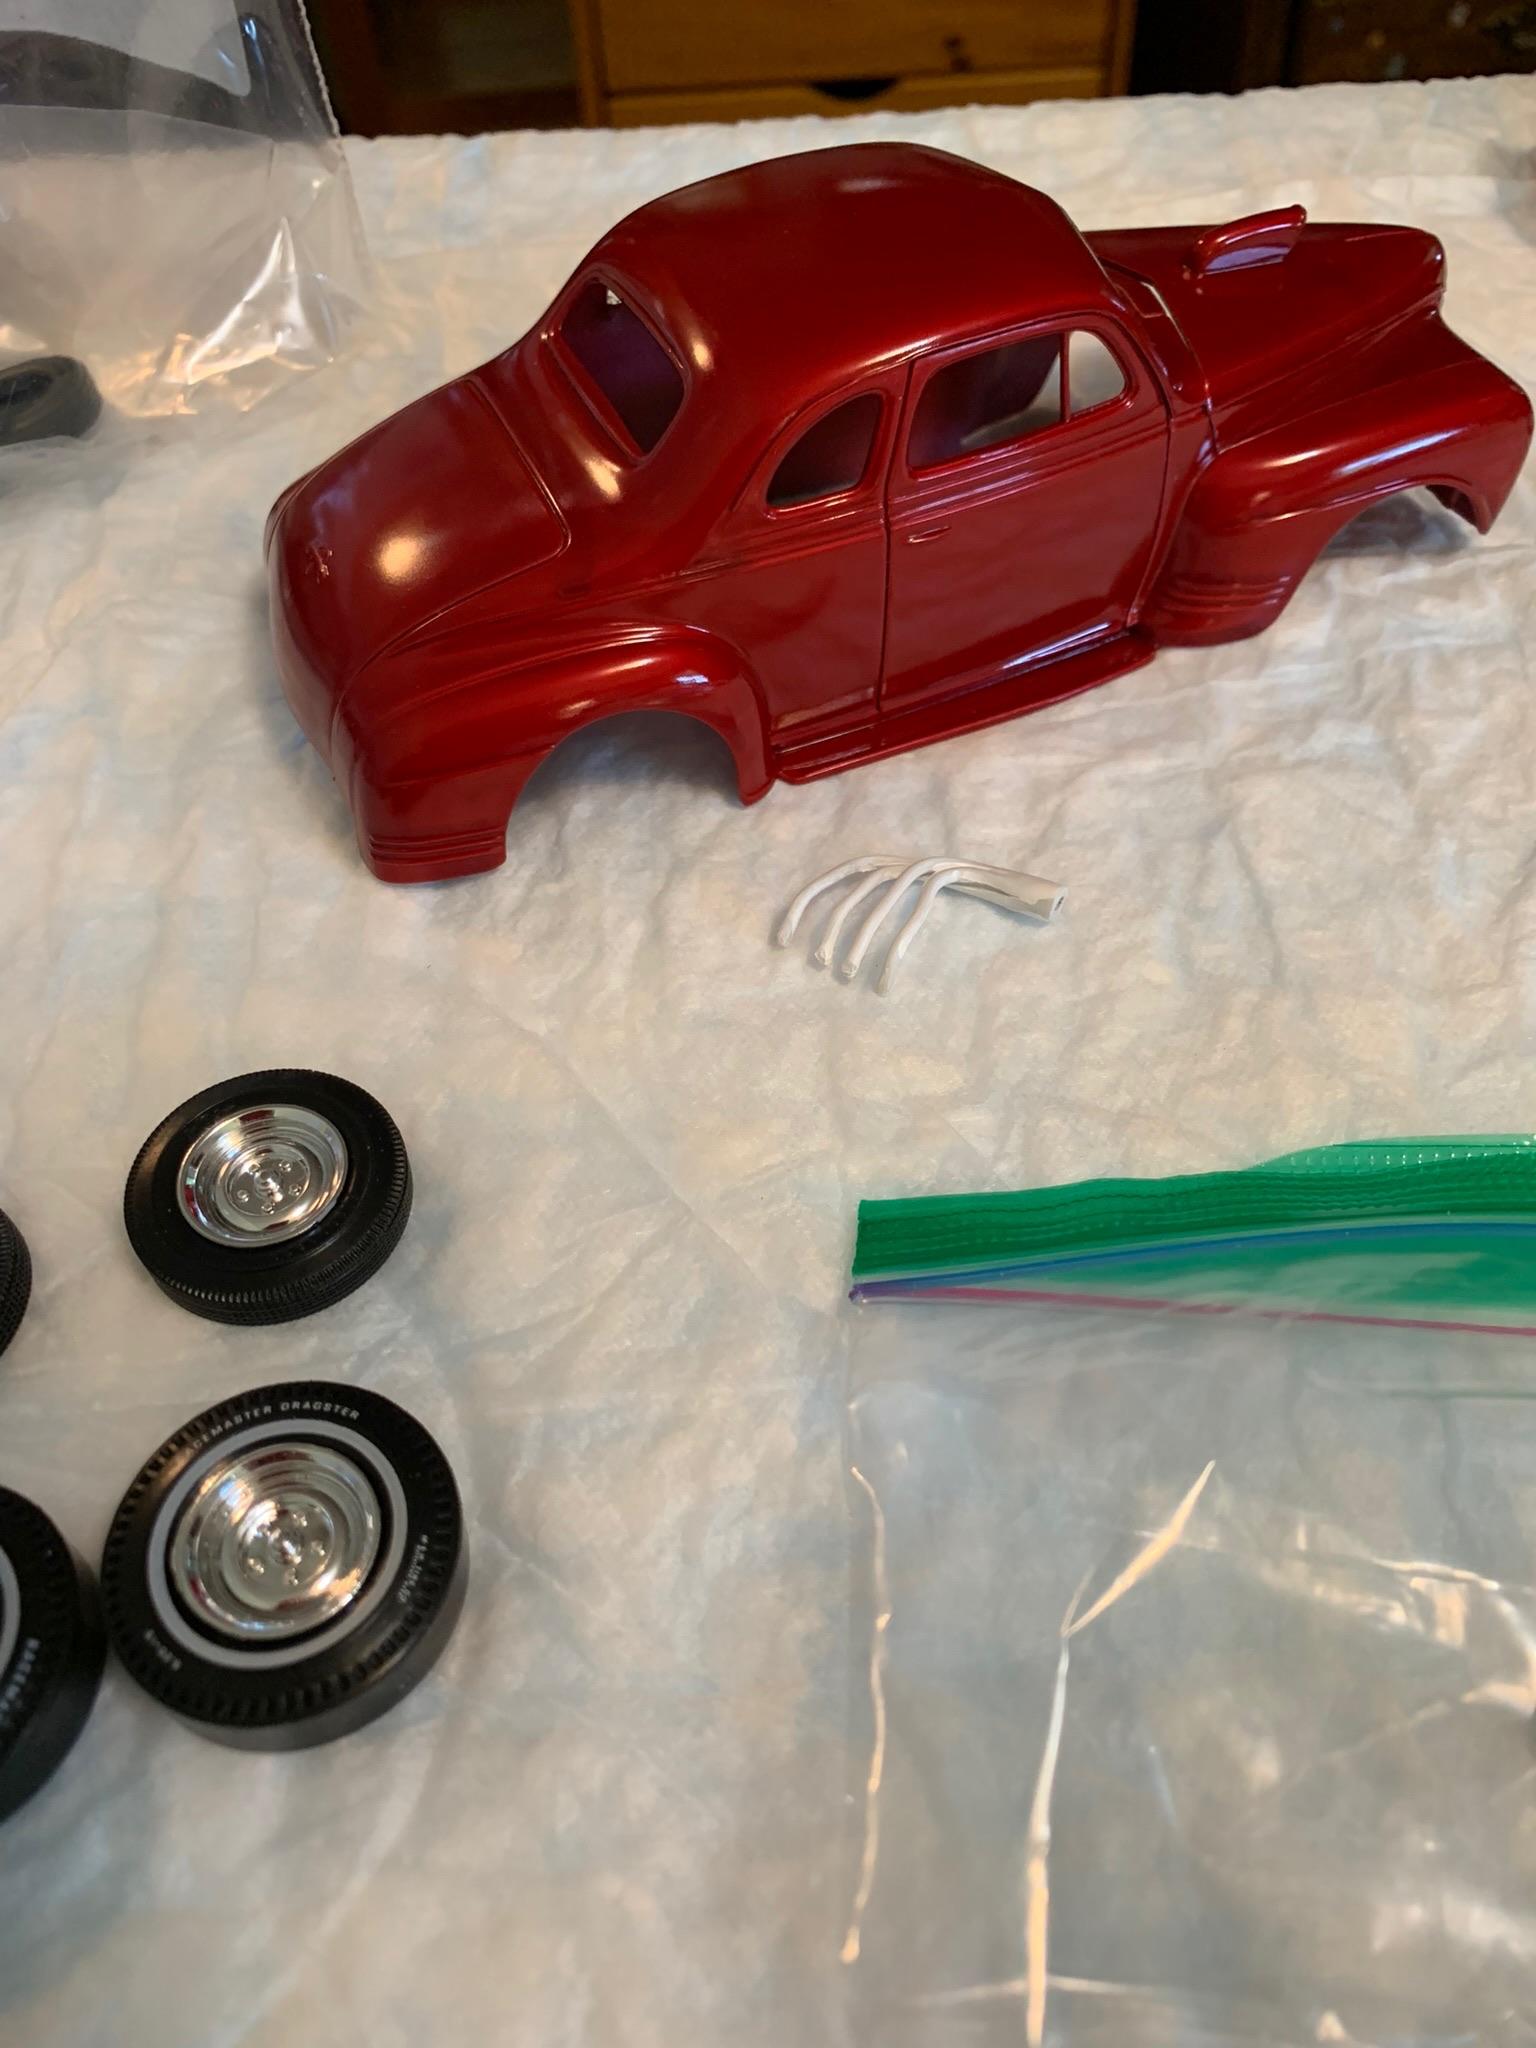
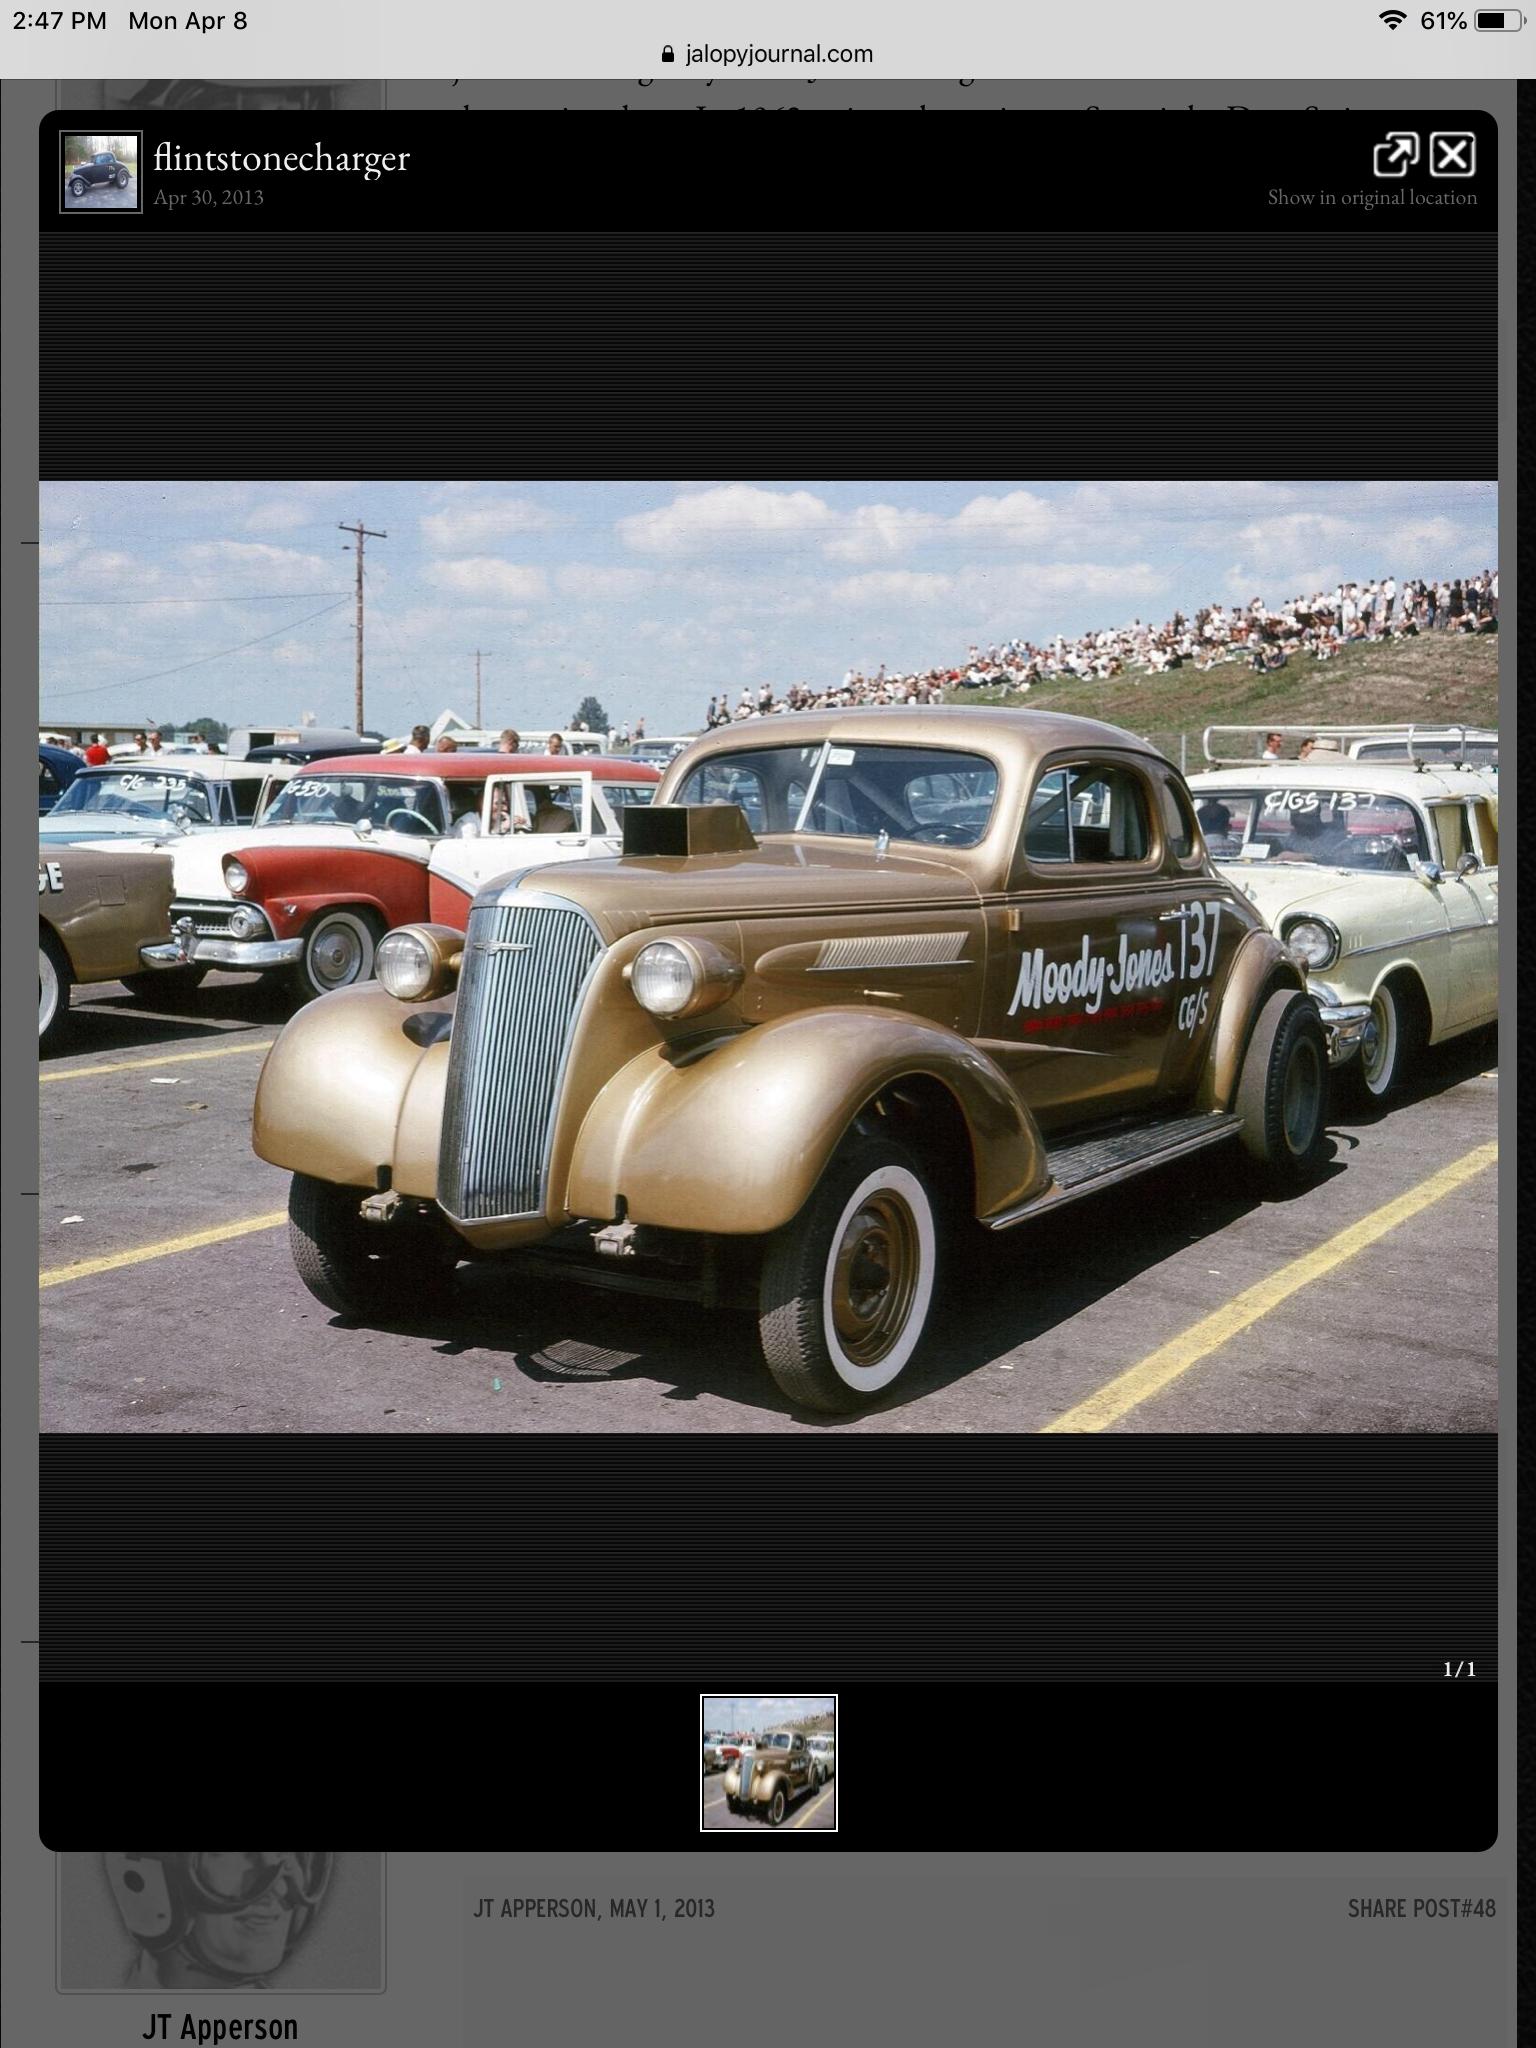
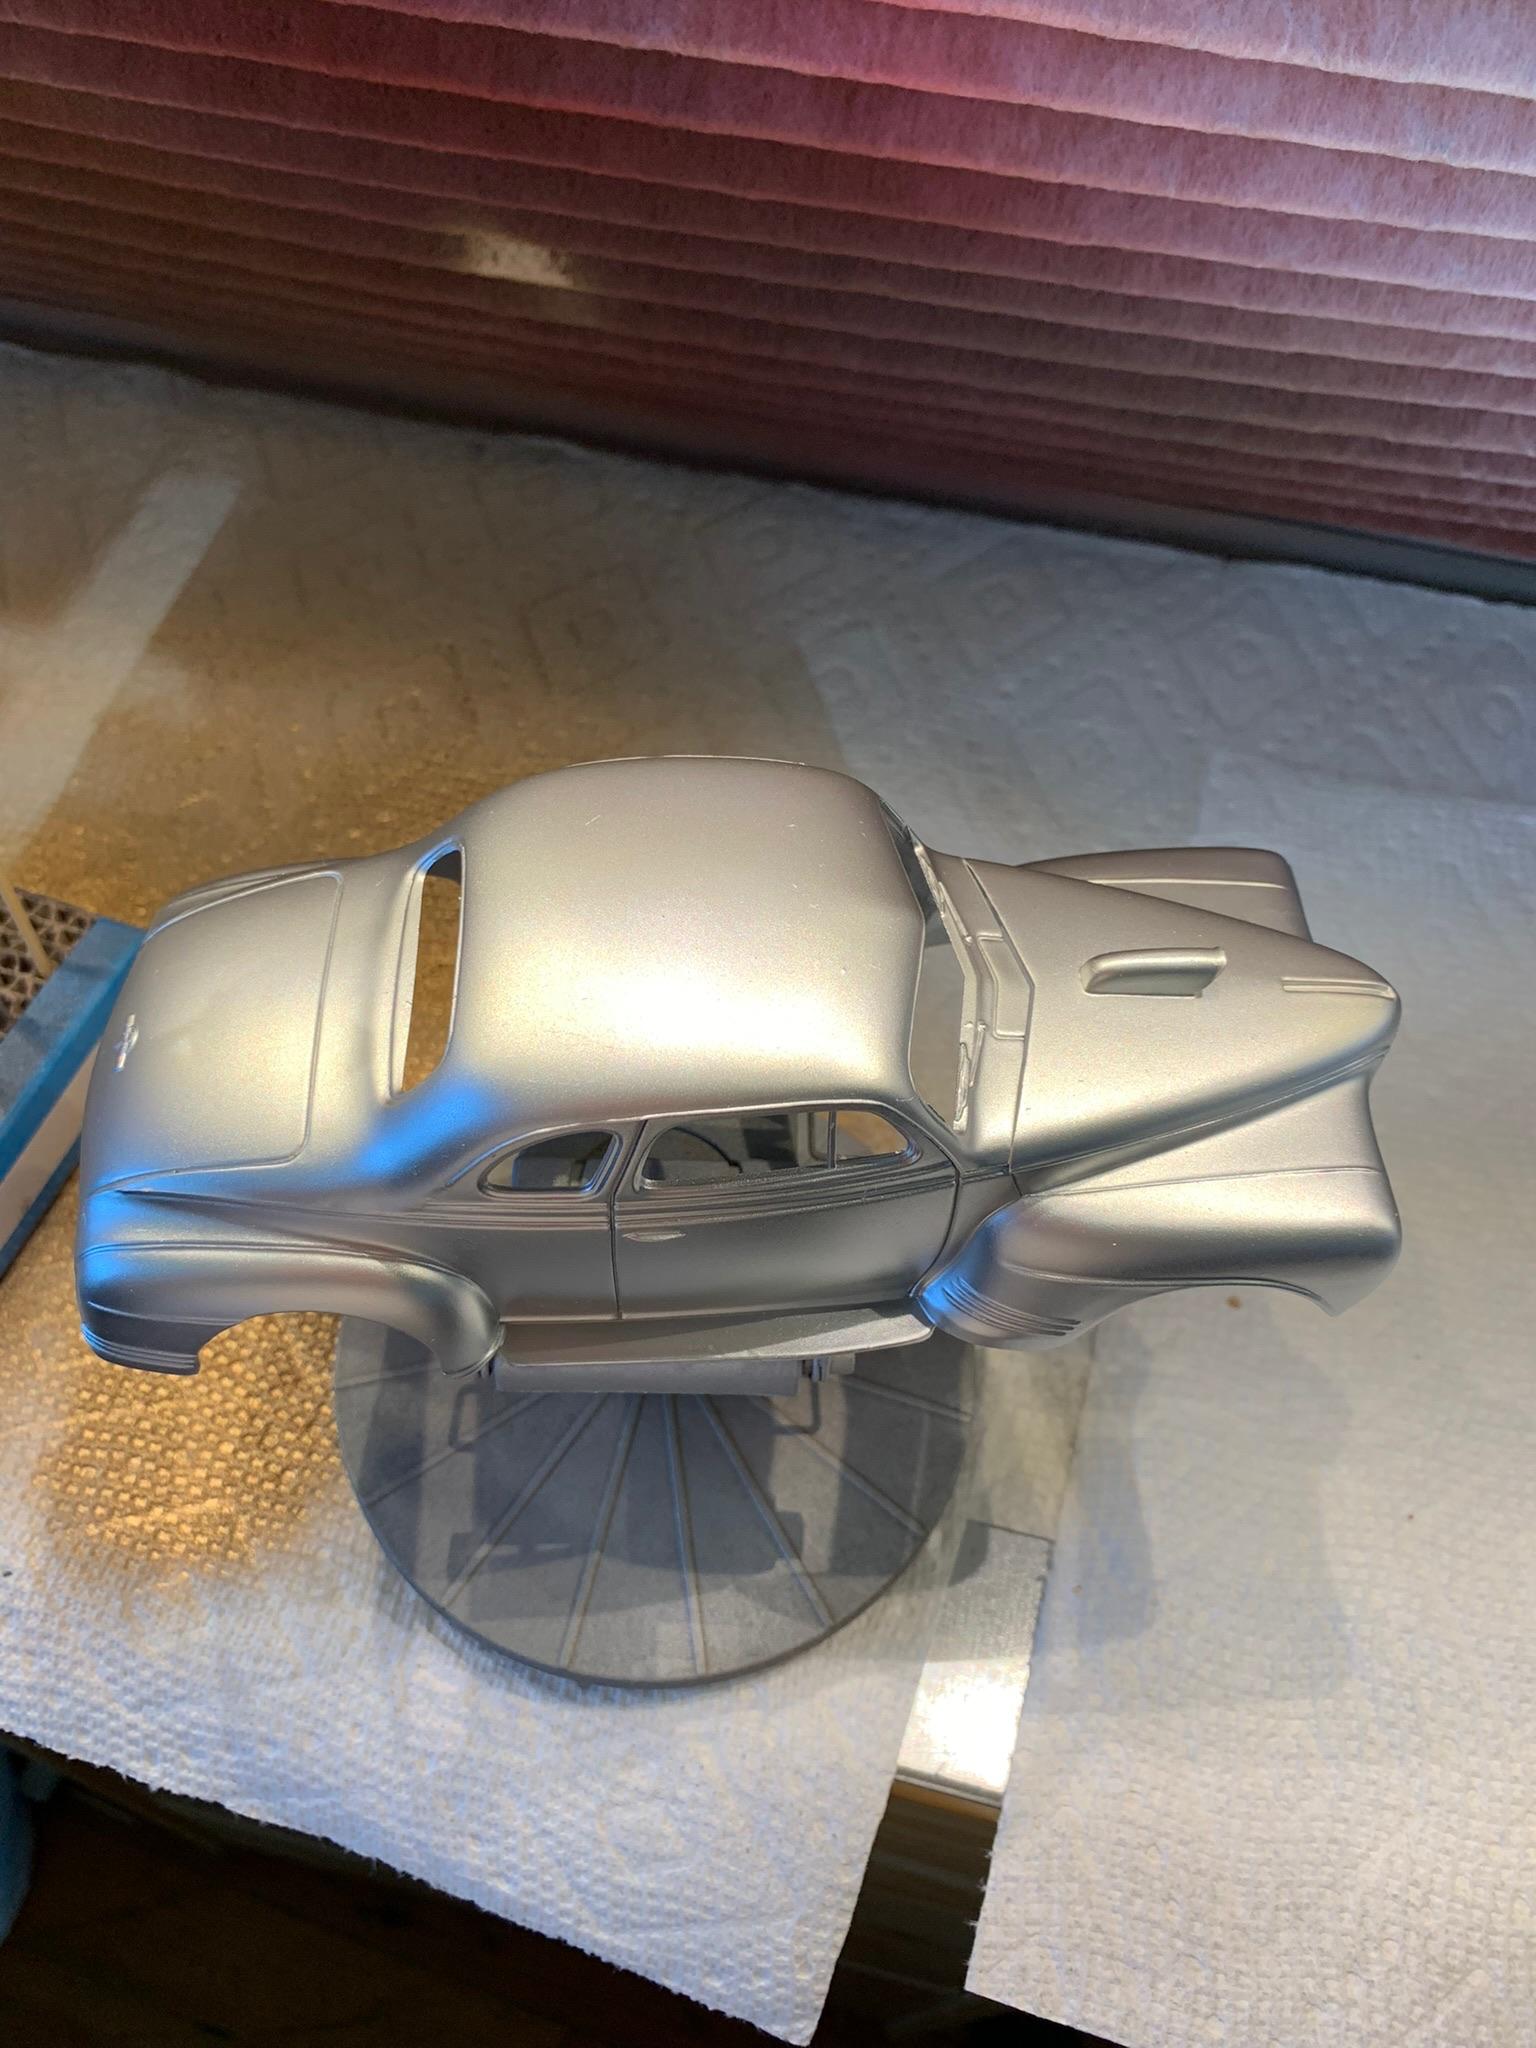
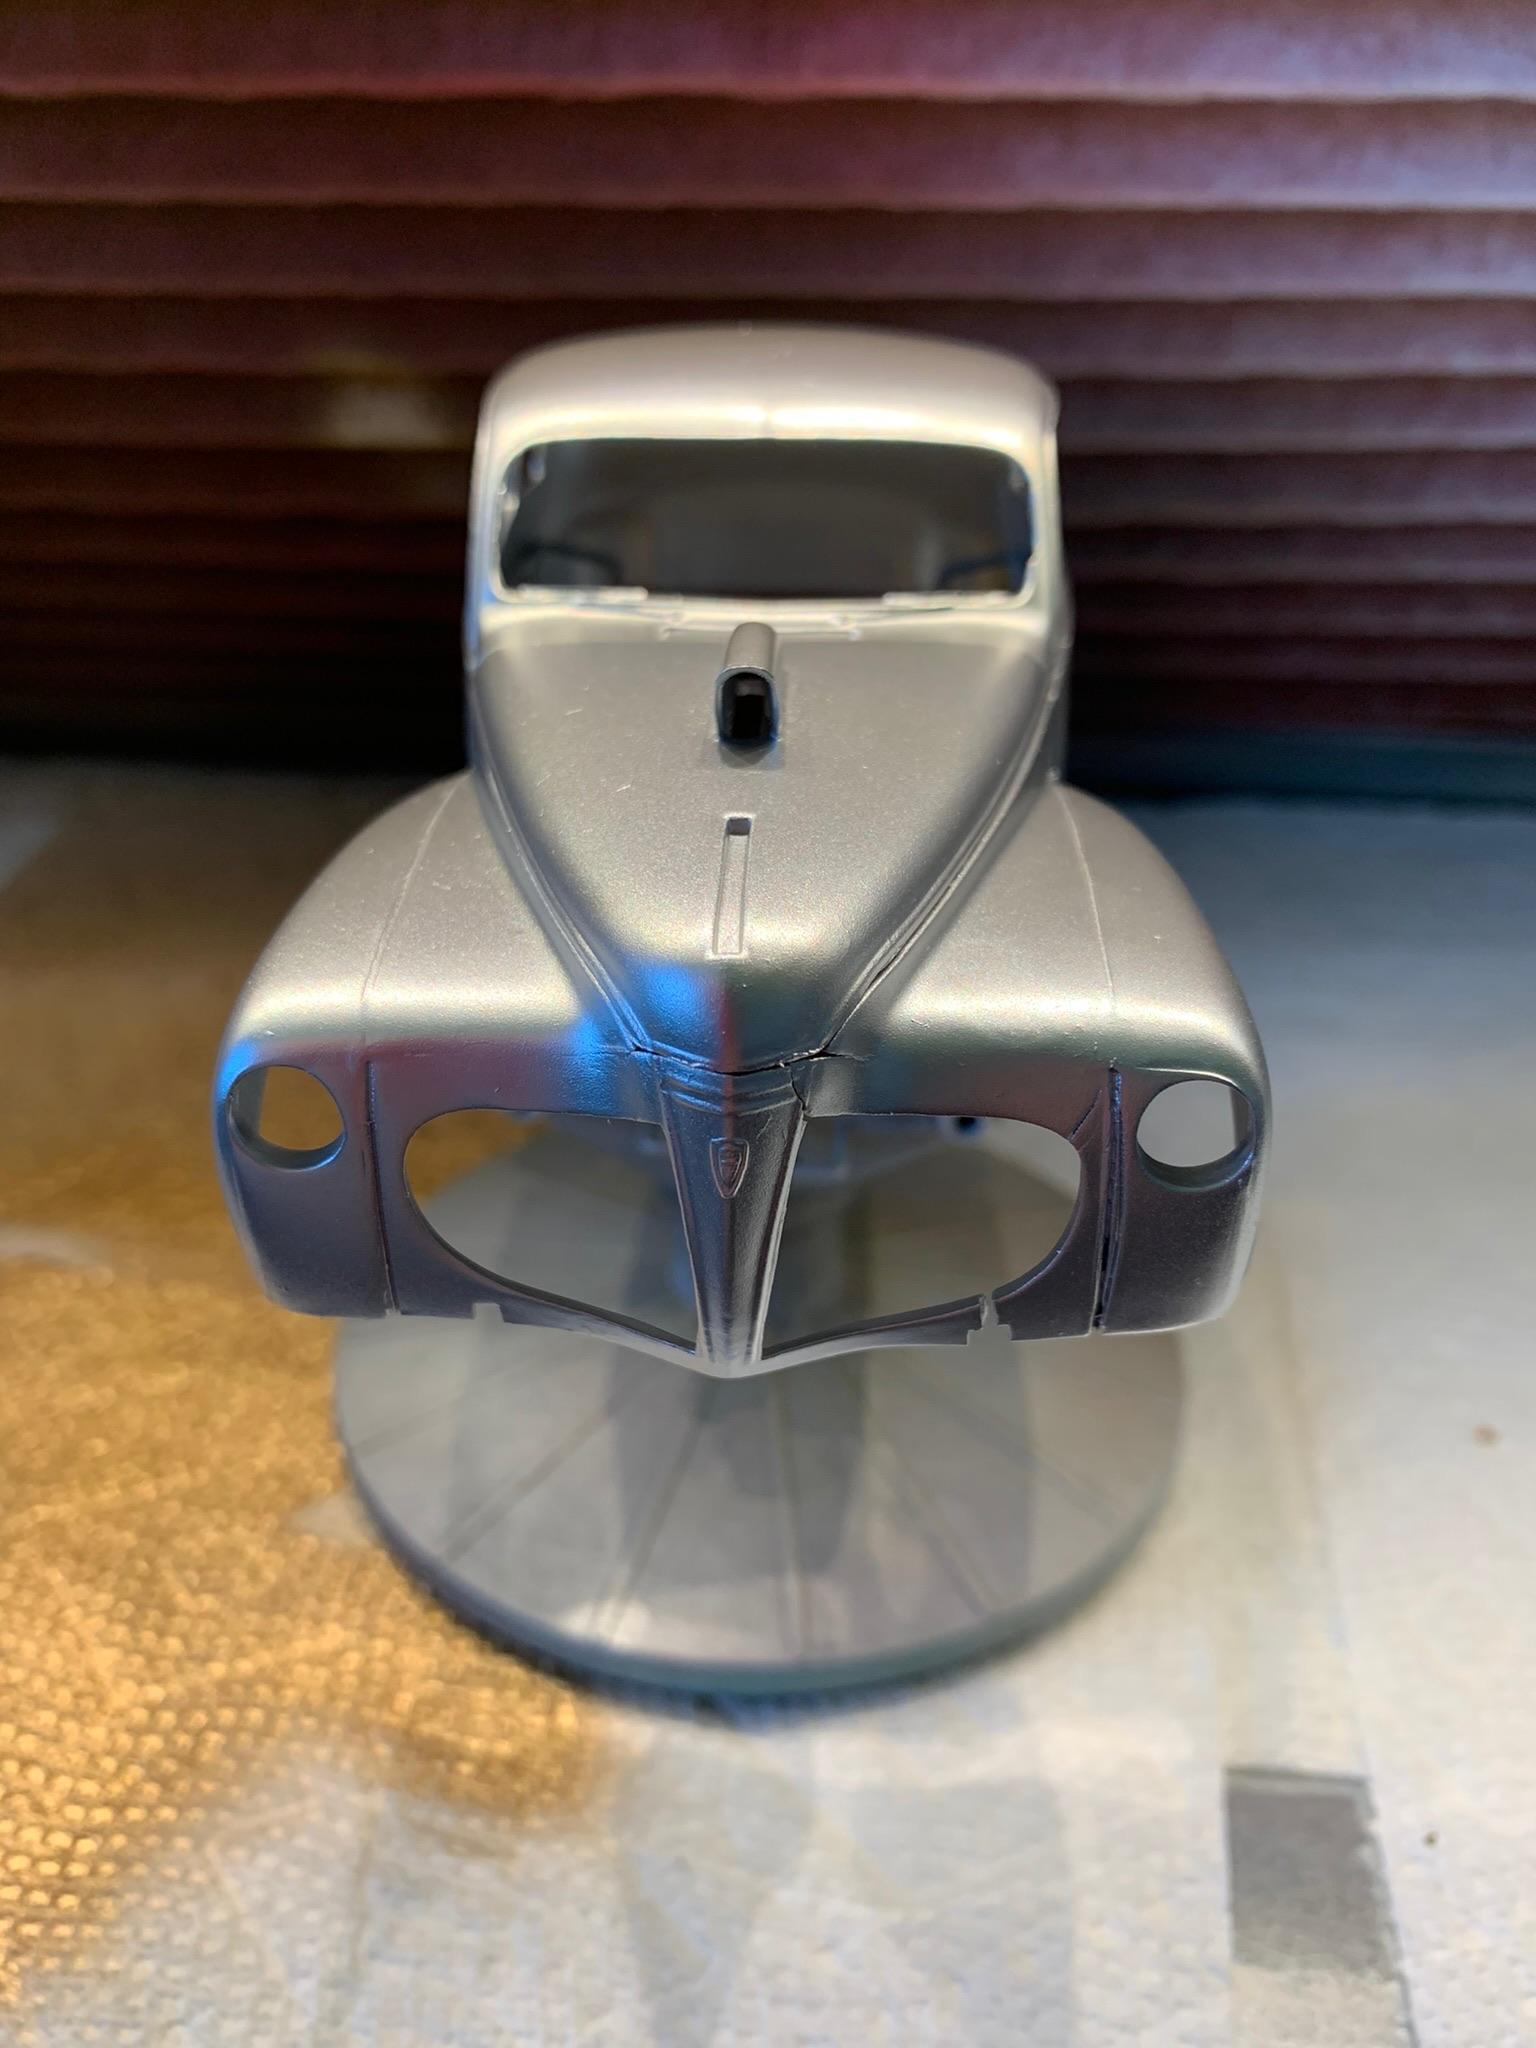
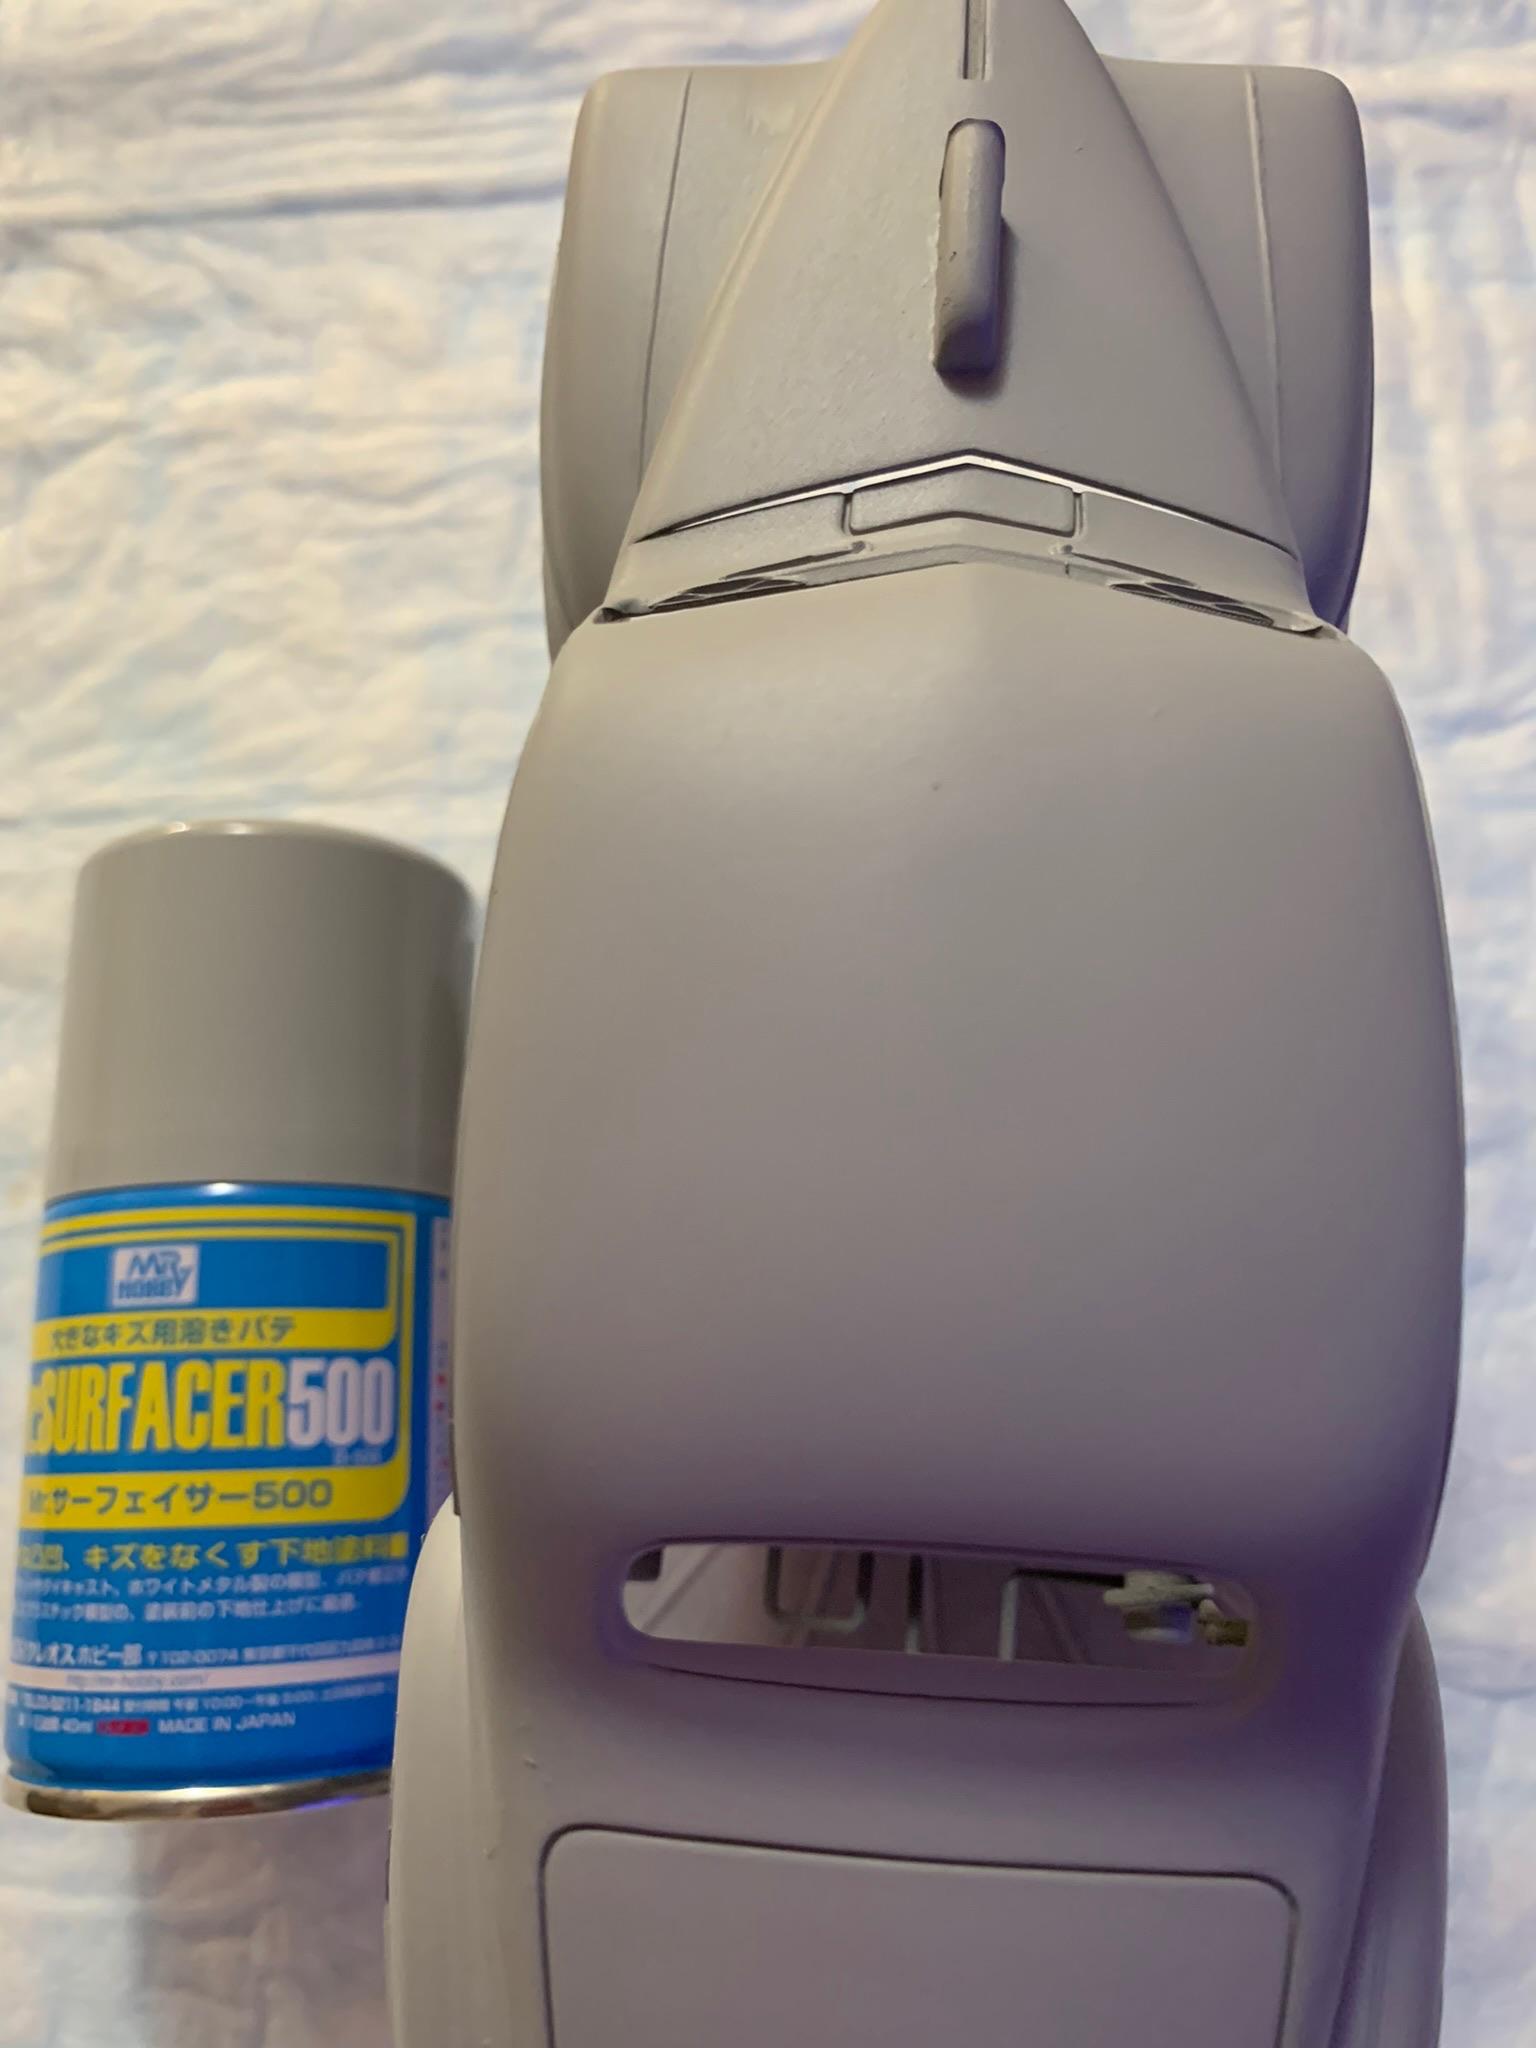
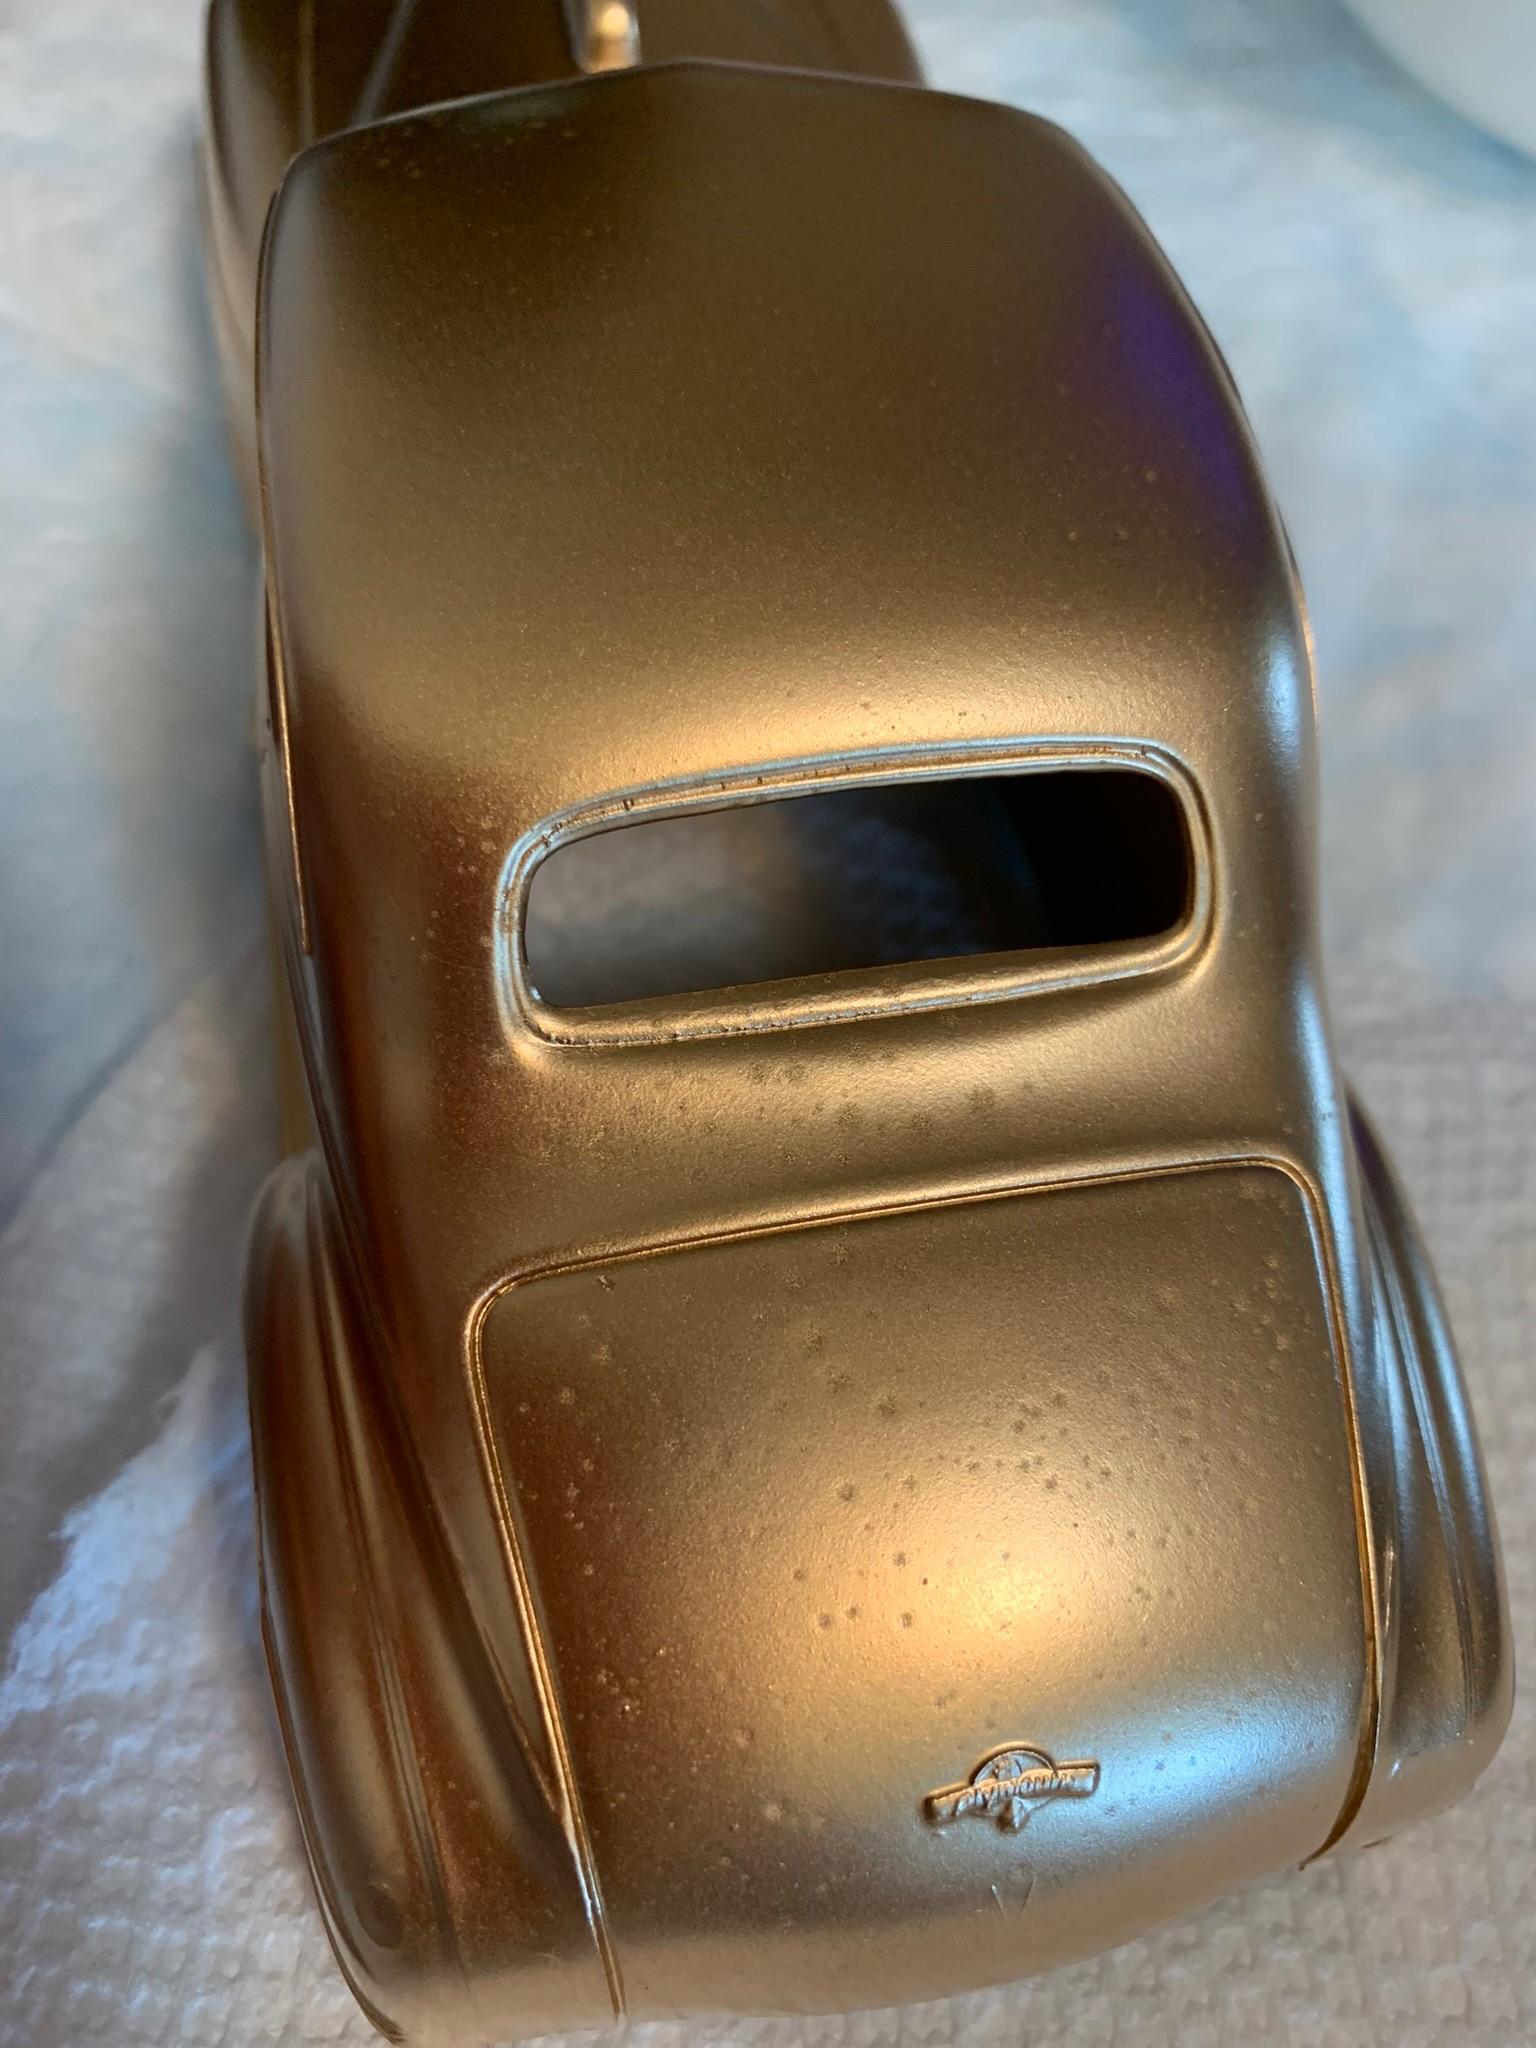
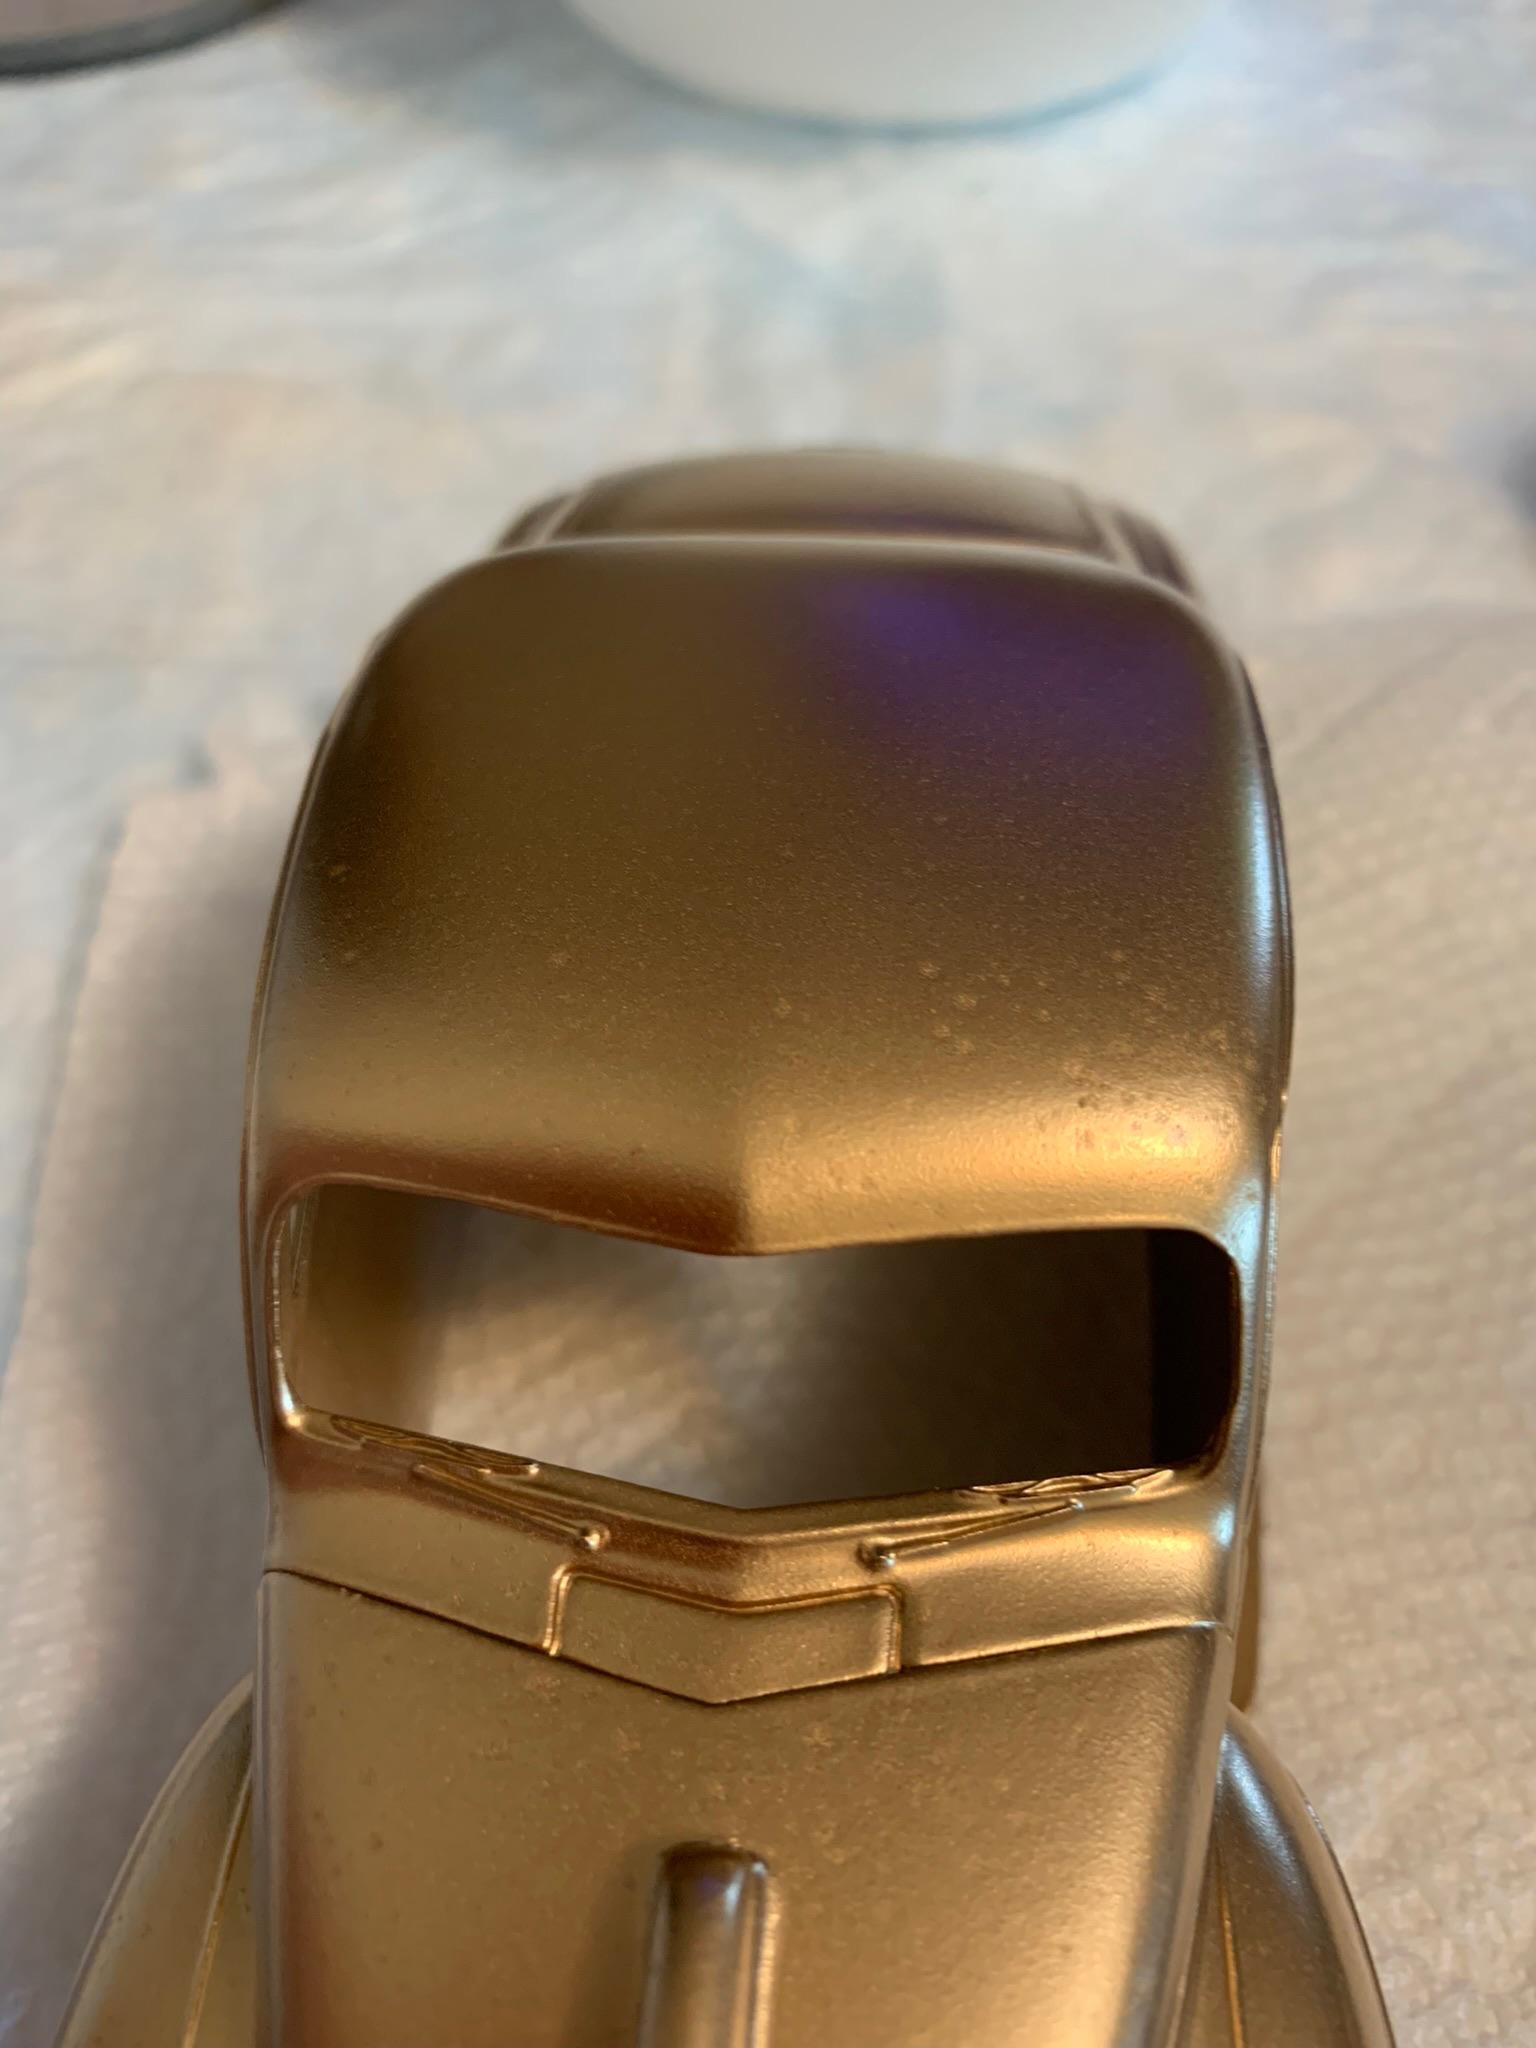
Started this car last June, then it went on the back burner, to be replaced by a slew of Stock Eliminator cars and an A/SR replica car. Well I have bogged down on the roadster, and decided to try and finish the Plymouth. This car is being built as a possible competitor to the 1937 Chevy of Moody & Jones that I built a couple of years ago. Anyway, the body was first sprayed with a gold base that turned out crappy, then given a alcohol bath to remove that, then hit with mr. Surfacer primer. After that, then Tamiya silver leaf base and clear red. All with spray cans as an experiment. Oh yeah, scratch built the hood scoop.
-
Excellent wip pictures and narration. Looking forward to more posts and progress reports. Sorry, but my ocd kicked in. That’s a razor saw, not jewelers saw. I assume you lay the putty on heavy to not worry about shrinkage, but looks like a lot of sanding. Very glad you are recuperating nicely.
-
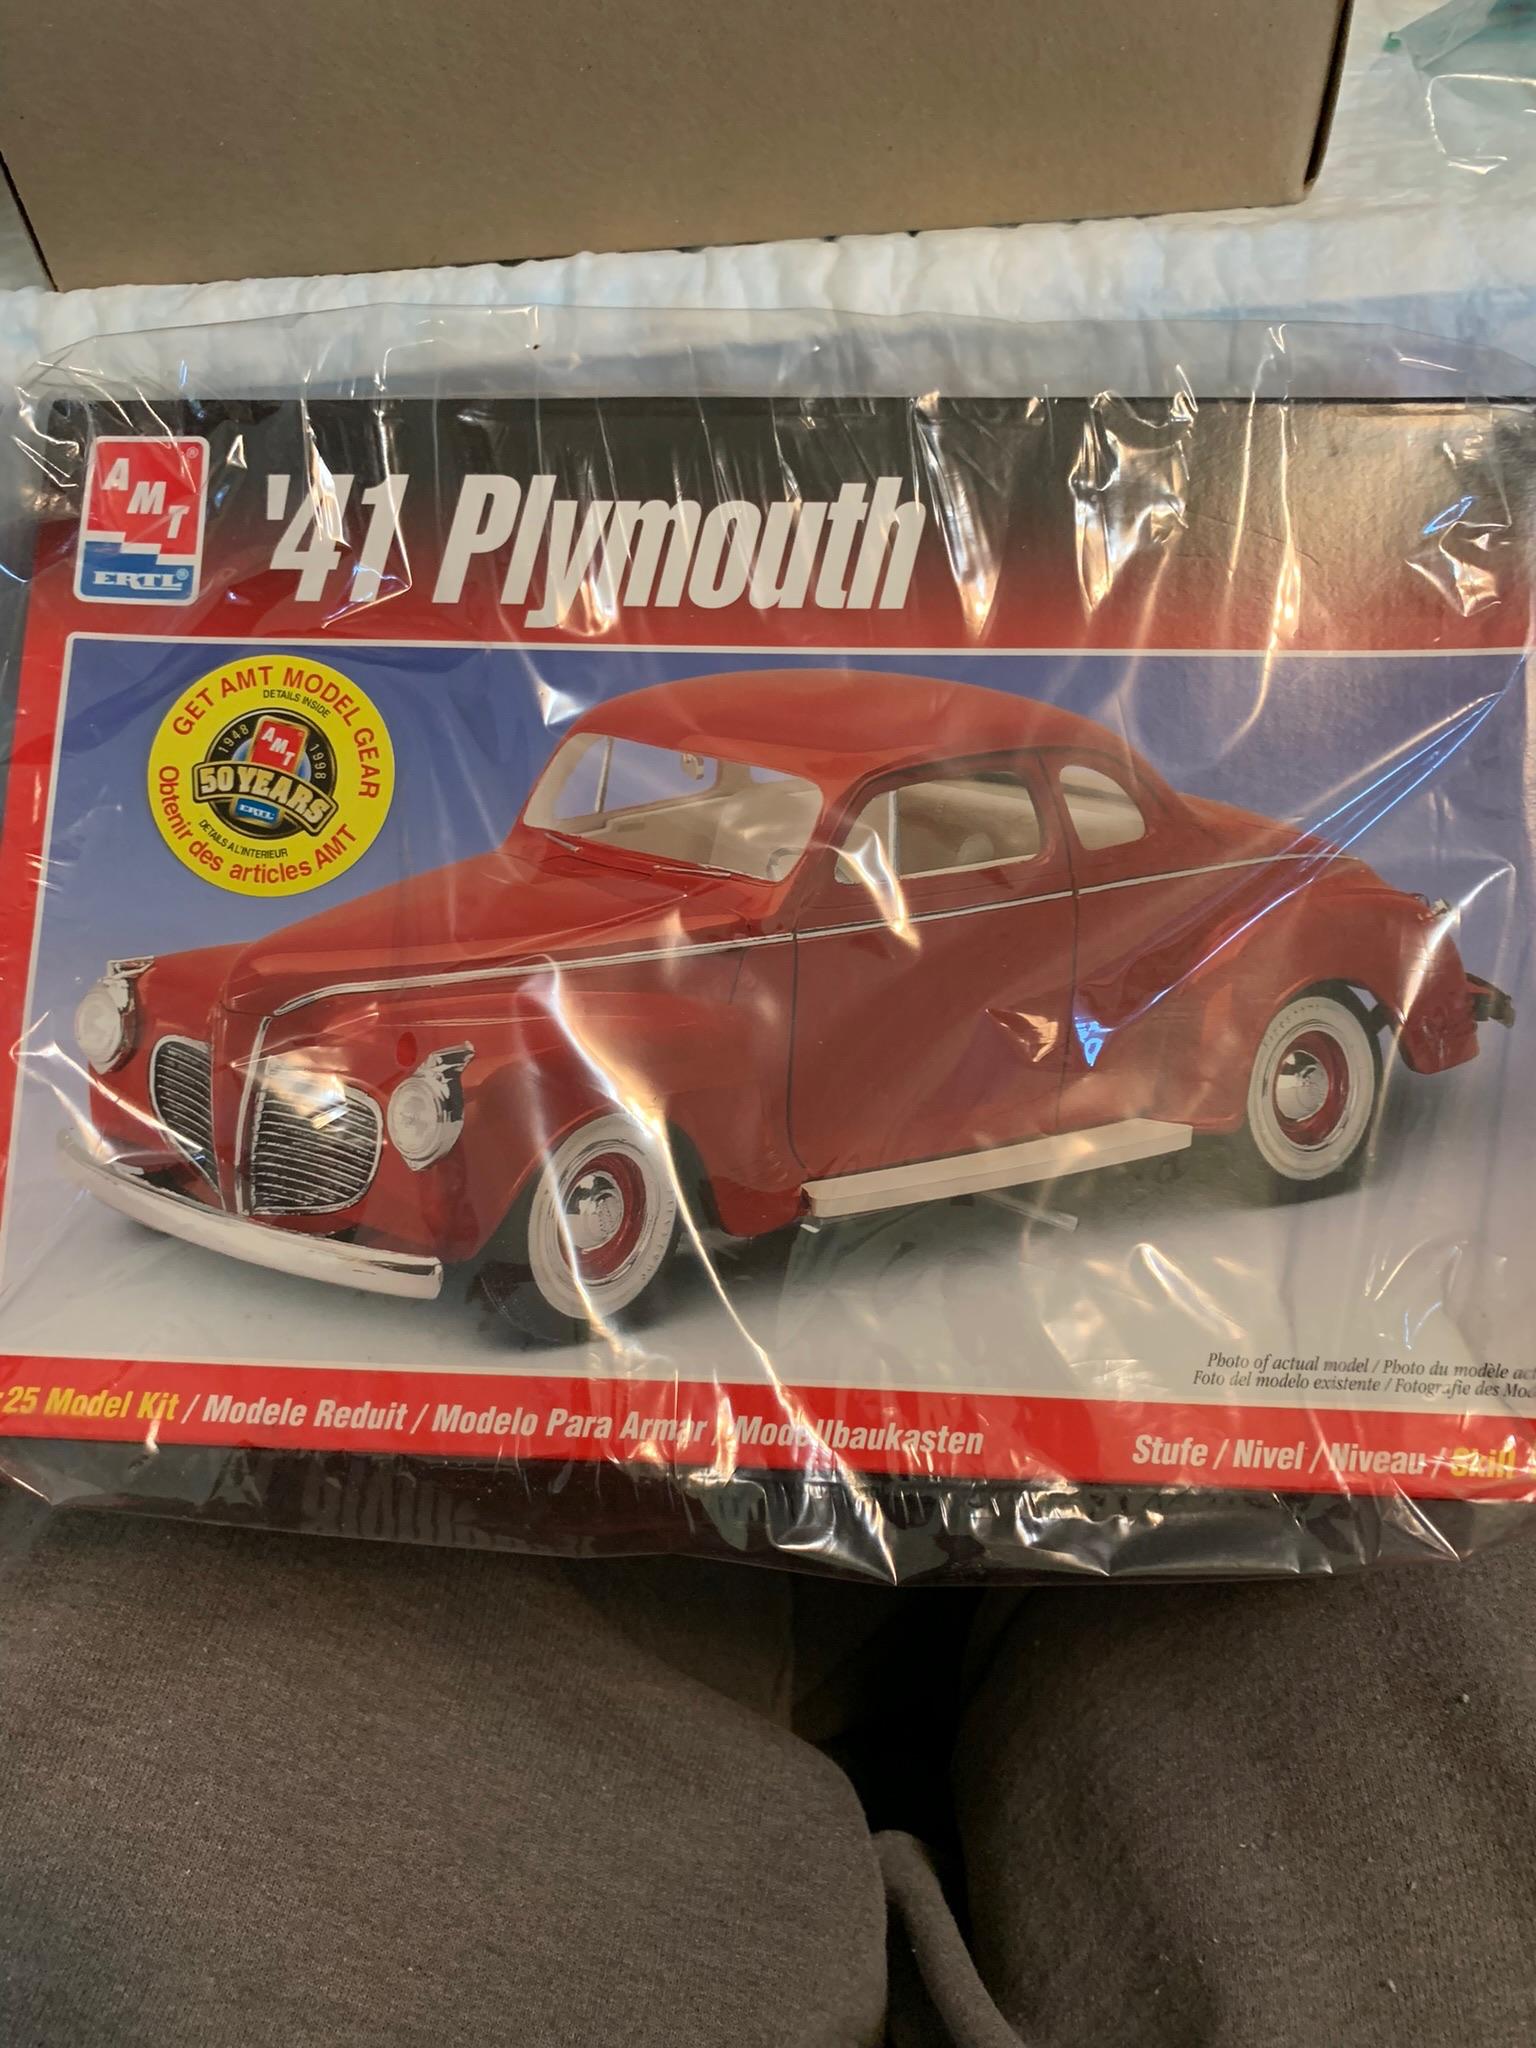
Nice job with one of my favorite kits.
-
Nice, clean, build. Thanks for letting us see this sharp car.
-
Revell’s 1968 cobra jet mustang SS/EA of Tom Stafford
R. Thorne replied to M W Elky's topic in Drag Racing
What? No engine or chassis shots? Just kidding. Thanks for posting. Nice, clean, no nonsense, build. -
Stockers Rule. Brings back memories. Thanks for posting.
-
Buying a pin vise HELP
R. Thorne replied to WizPorsche944's topic in Model Building Questions and Answers
Thanks for that clear picture of the differences. May have to get the micromark version. -
Buying a pin vise HELP
R. Thorne replied to WizPorsche944's topic in Model Building Questions and Answers
The vise you use Rick looks ergonomically right as does my Dspiae hand drill, but the tediousness of finger turning often leads to too much pressure being applied with corresponding broken bits and (at least in my case) a weak wrist syndrome (i’m no spring chicken). The Archimedean screw type allowed me to drill 8 holes in rapid succession with no ill effects. For larger holes I use a low speed motorized drill. Try one. You might like it. -
Outstanding.
-
Sounds like you had a good time doing this one. I have a Moebius kit I will build as a nhra stocker. Don’t forget the door handle(s).
-
Buying a pin vise HELP
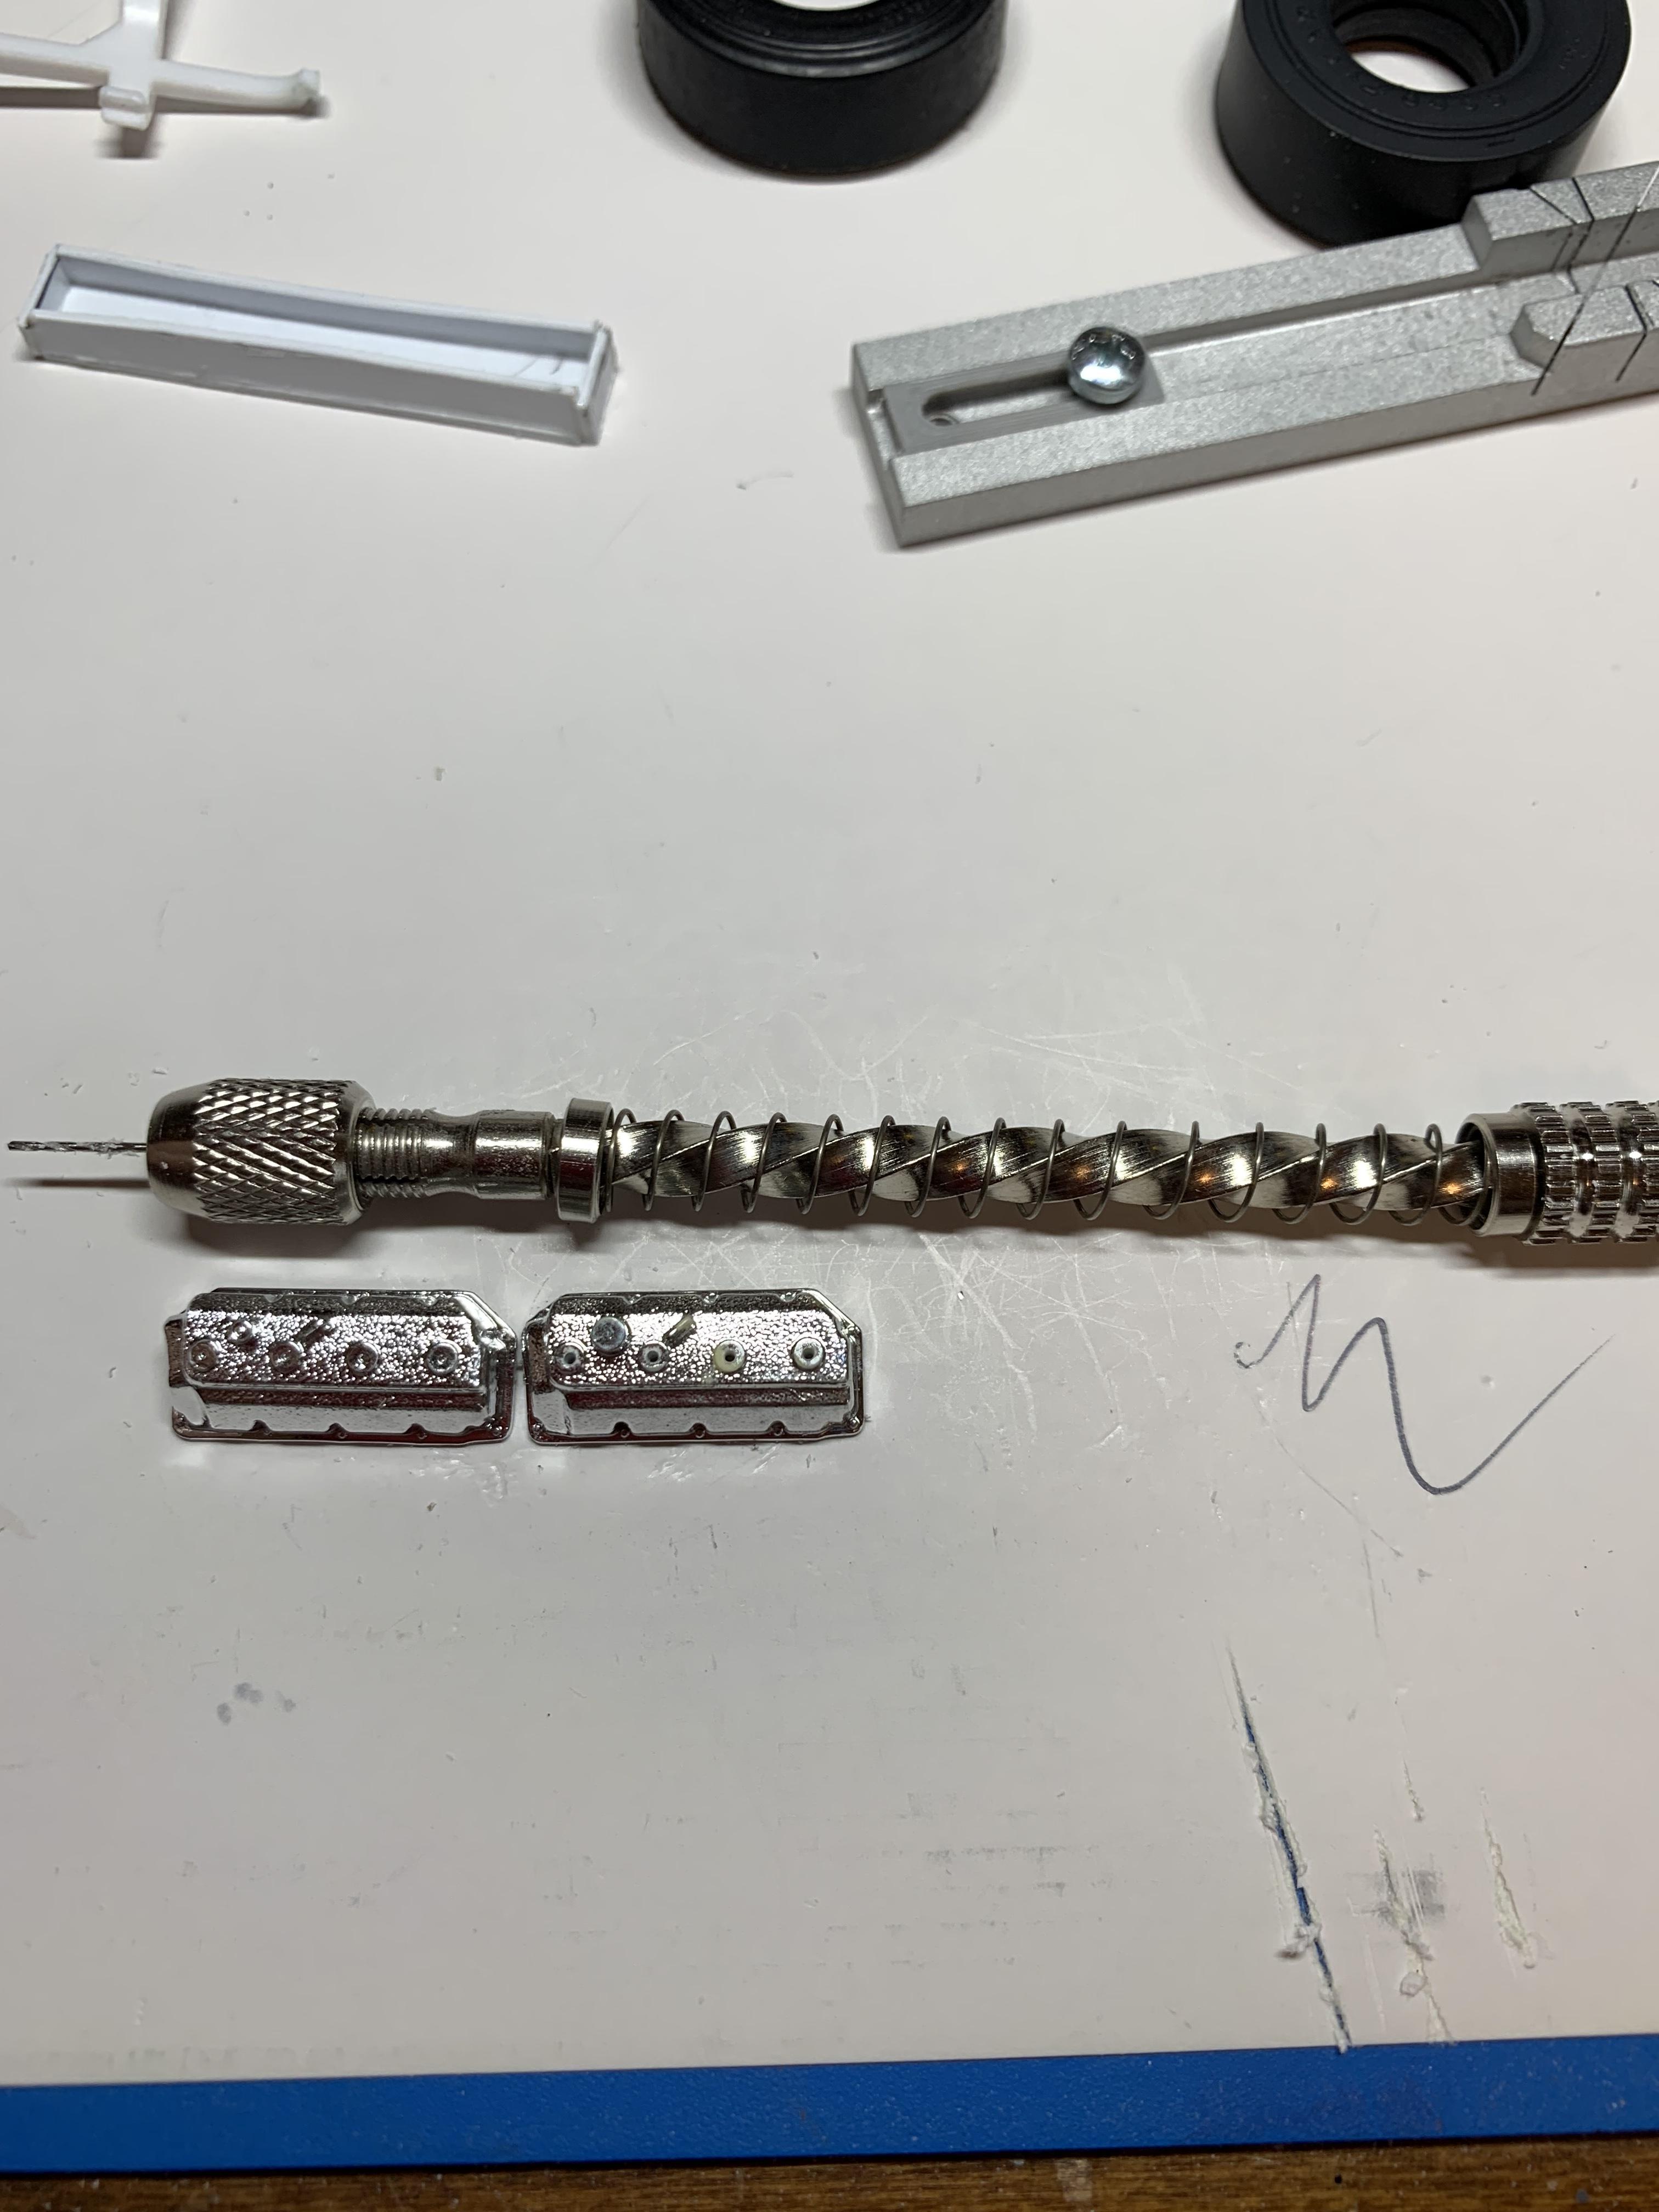
R. Thorne replied to WizPorsche944's topic in Model Building Questions and Answers
Thanks to this post, I decided to order a $7.00 screw type pin vise and try it. I like it, especially for plug wire holes .025”. I used an old Triumph, I think, drill bit u.s. made that I purchased many years ago for drilling out accelerator pump squirter openings on 4gc carburetors (1/1 cars). It worked out so well I am making it my dedicated drill for plug wire openings complete with a rubber cap to protect the bit. The rubber sleeves are used for pencils, but I used them for hobby knife grips.
-
Outstanding labor of love.
-
One of my favorite kits. Great fun builds. Nice work.
-
What kits have thin whitewall tires?
R. Thorne replied to R. Thorne's topic in Model Building Questions and Answers
Thank you, Robert. -
29-31 Ford Firewall Question
R. Thorne replied to Calb56's topic in Model Building Questions and Answers
The Socratic Paradox: “I know that I know nothing”. Not to be confused with the Dunning-Kruger effect. -
Steve Magnante’s Altered Wheelbase Models
R. Thorne replied to JimC's topic in General Automotive Talk (Trucks and Cars)
Don’t forget to watch his daily Junkyard Crawl if you are a car guy. -
That car “drips” with innovation, from the “four link” to the Vulco flex straight hose intake runners to the megaphone exhaust. I once considered using a 41 Plymouth, but decided against it. Good luck with it. That 3D resin is certainly tempting (thanks, Ace).