R. Thorne
-
Posts
1,259 -
Joined
-
Last visited
Content Type
Profiles
Forums
Events
Gallery
Everything posted by R. Thorne
-
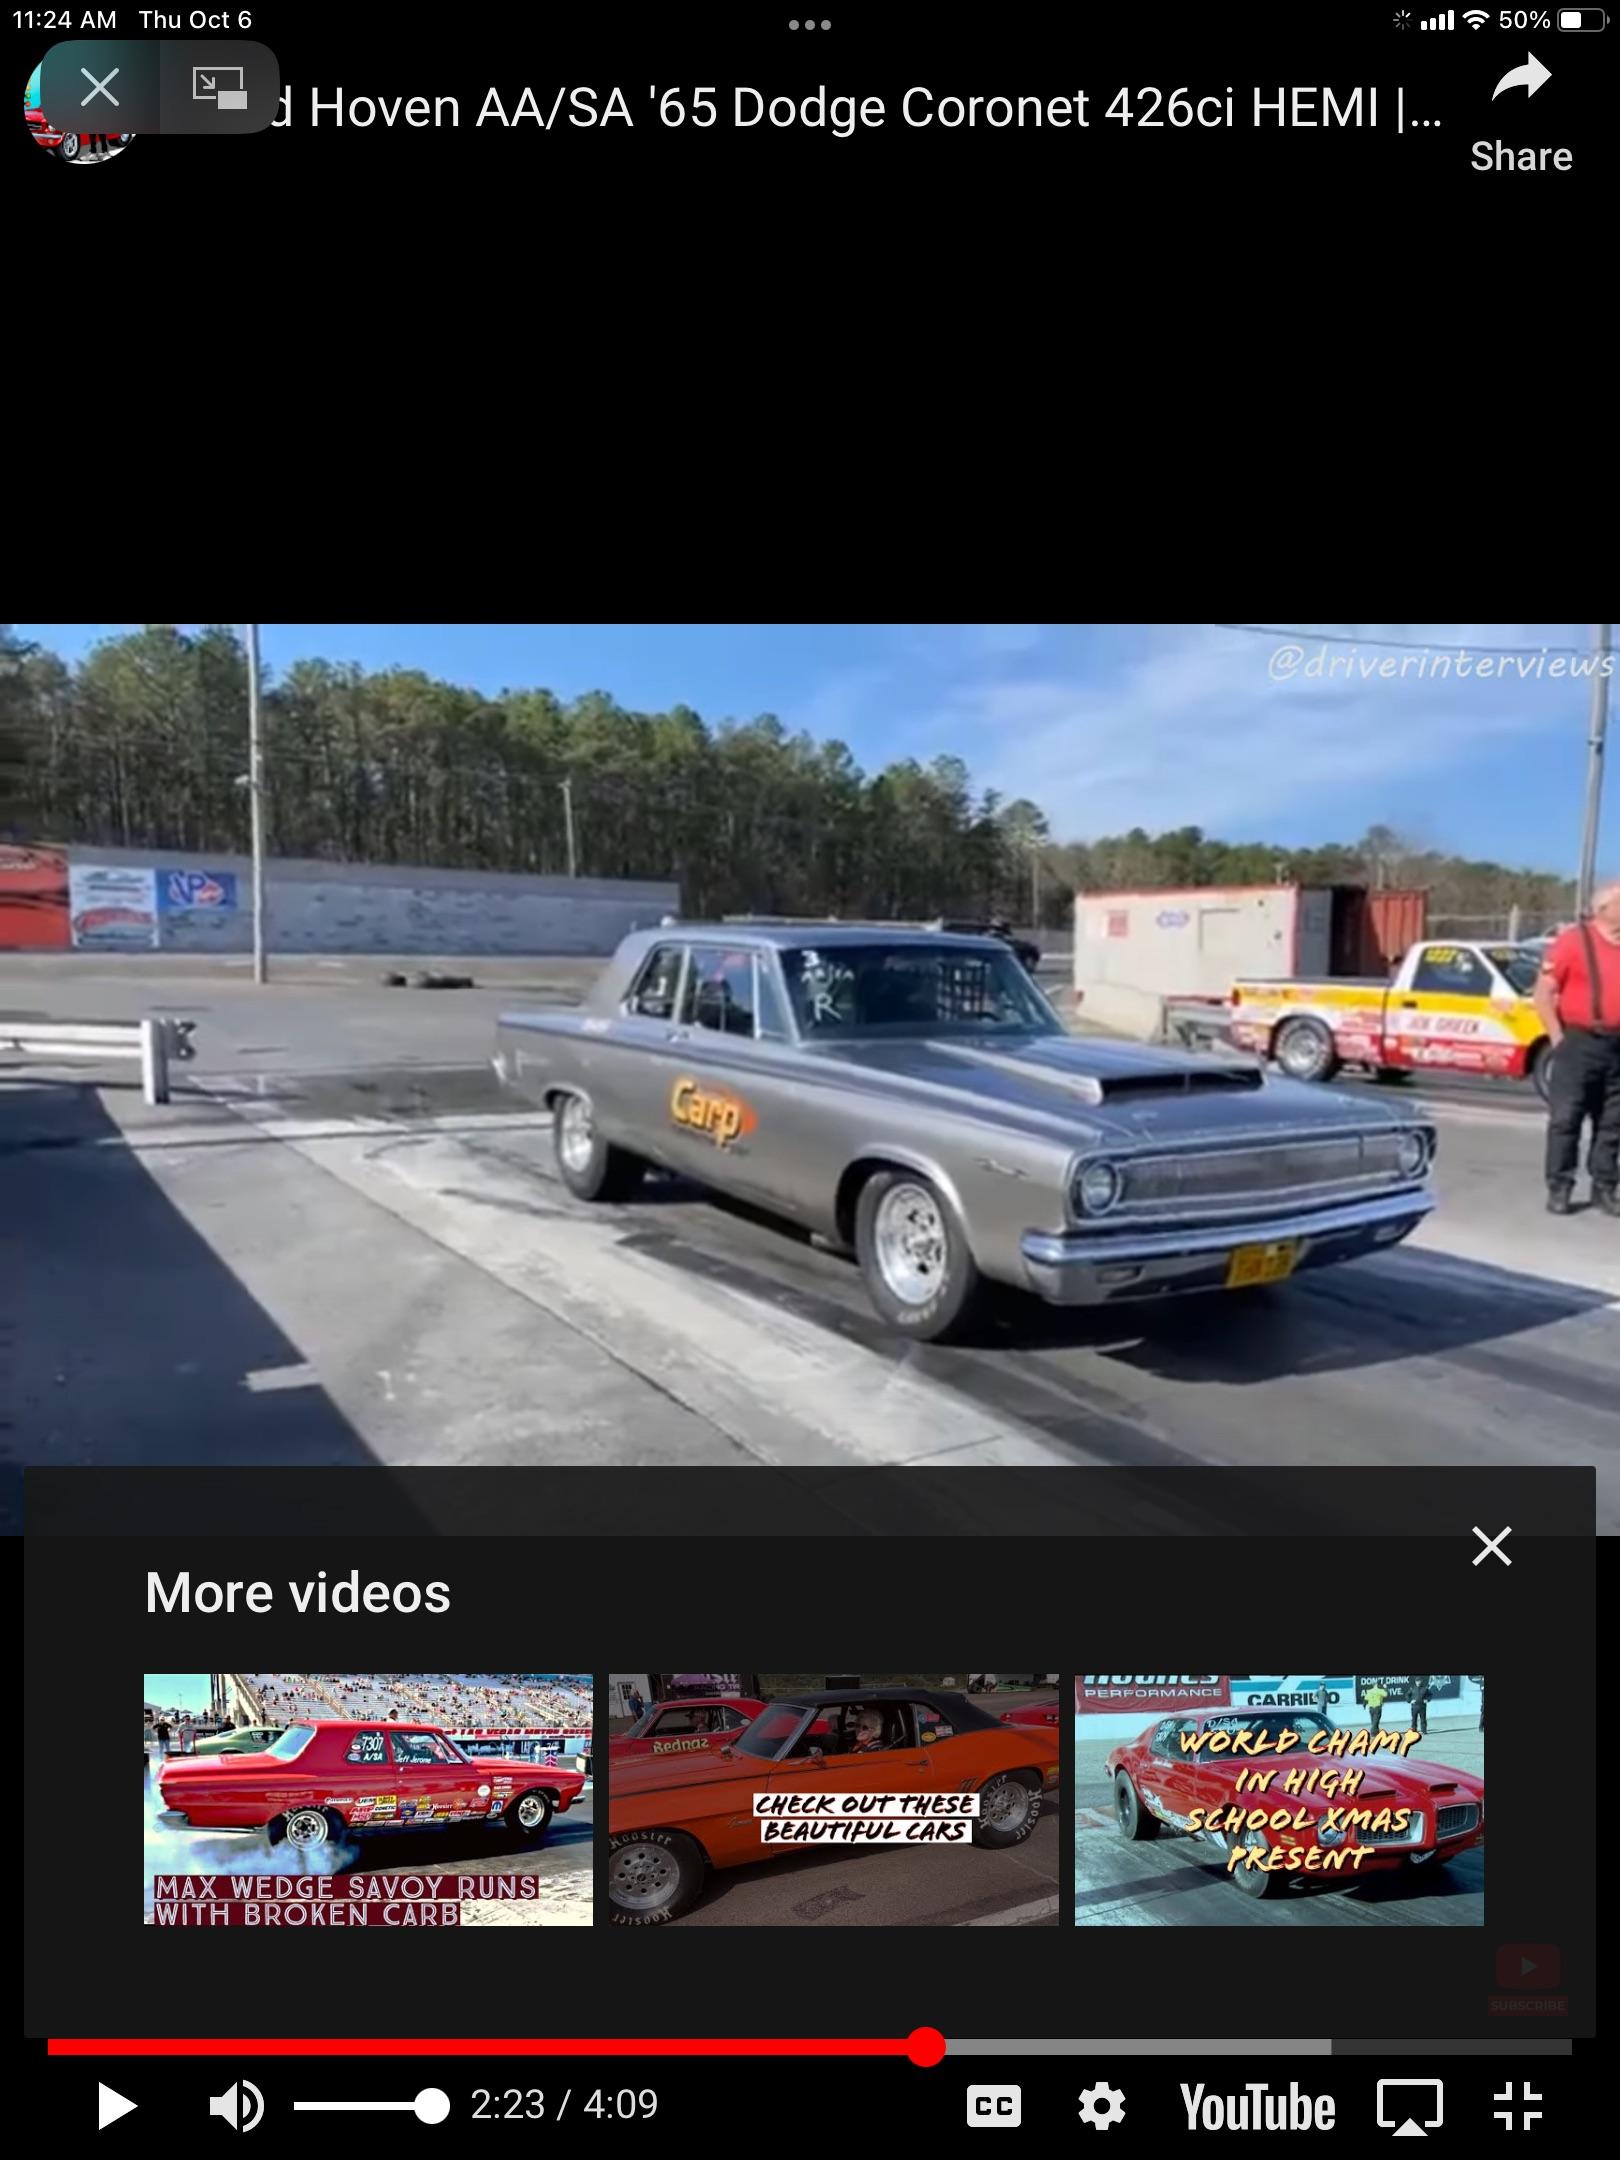
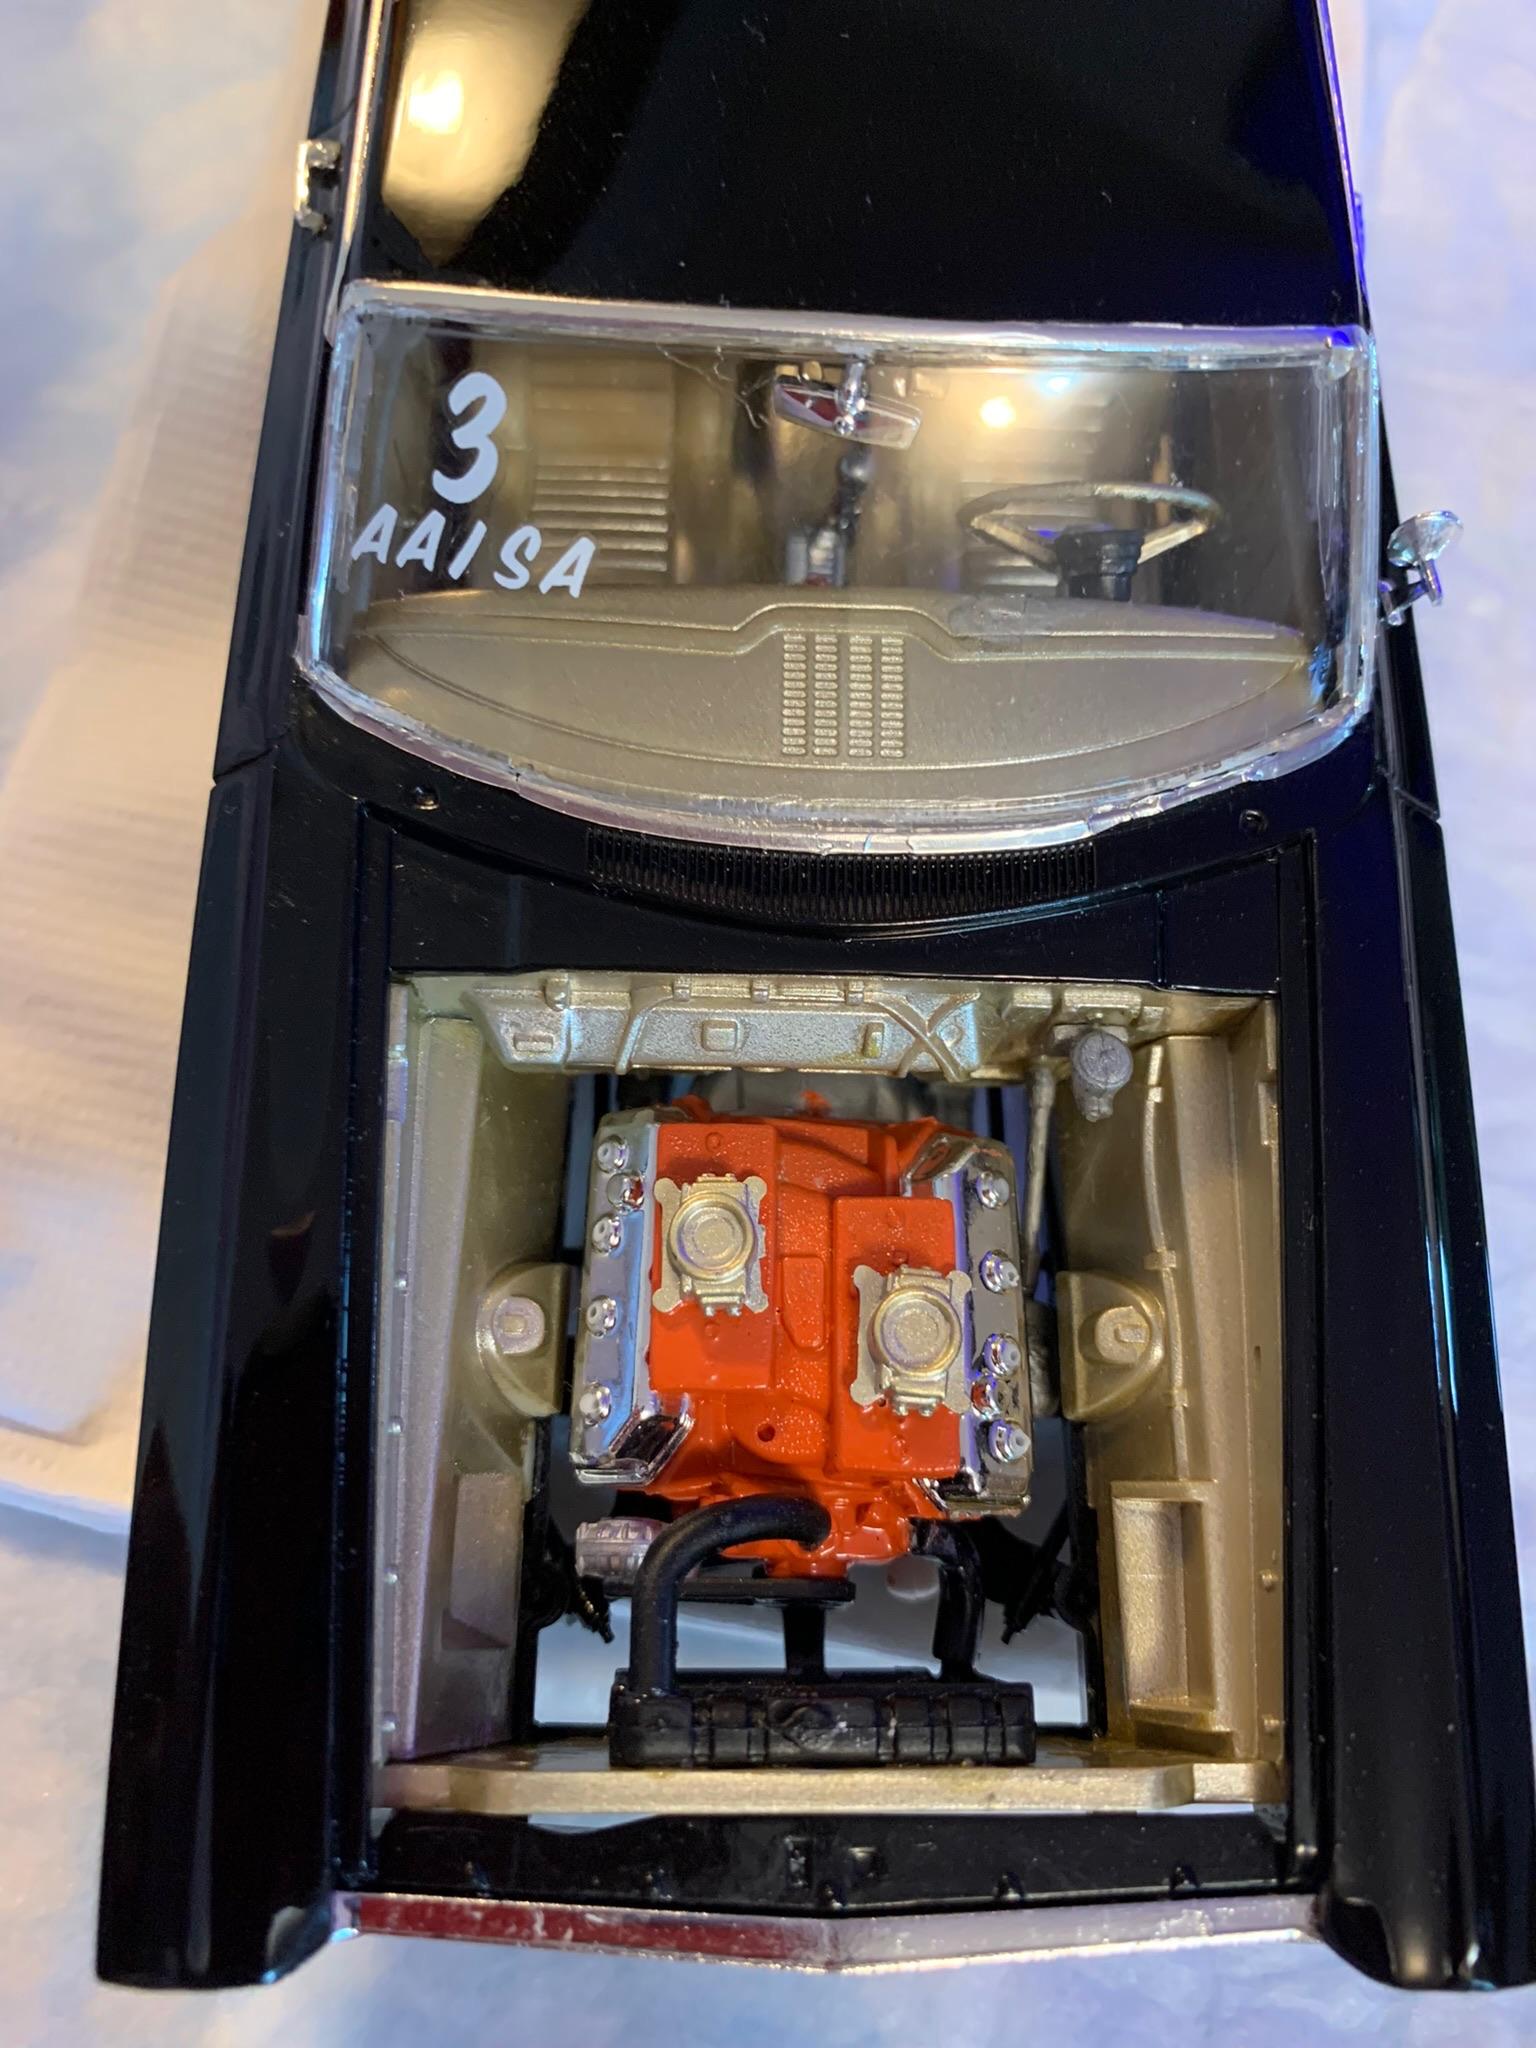
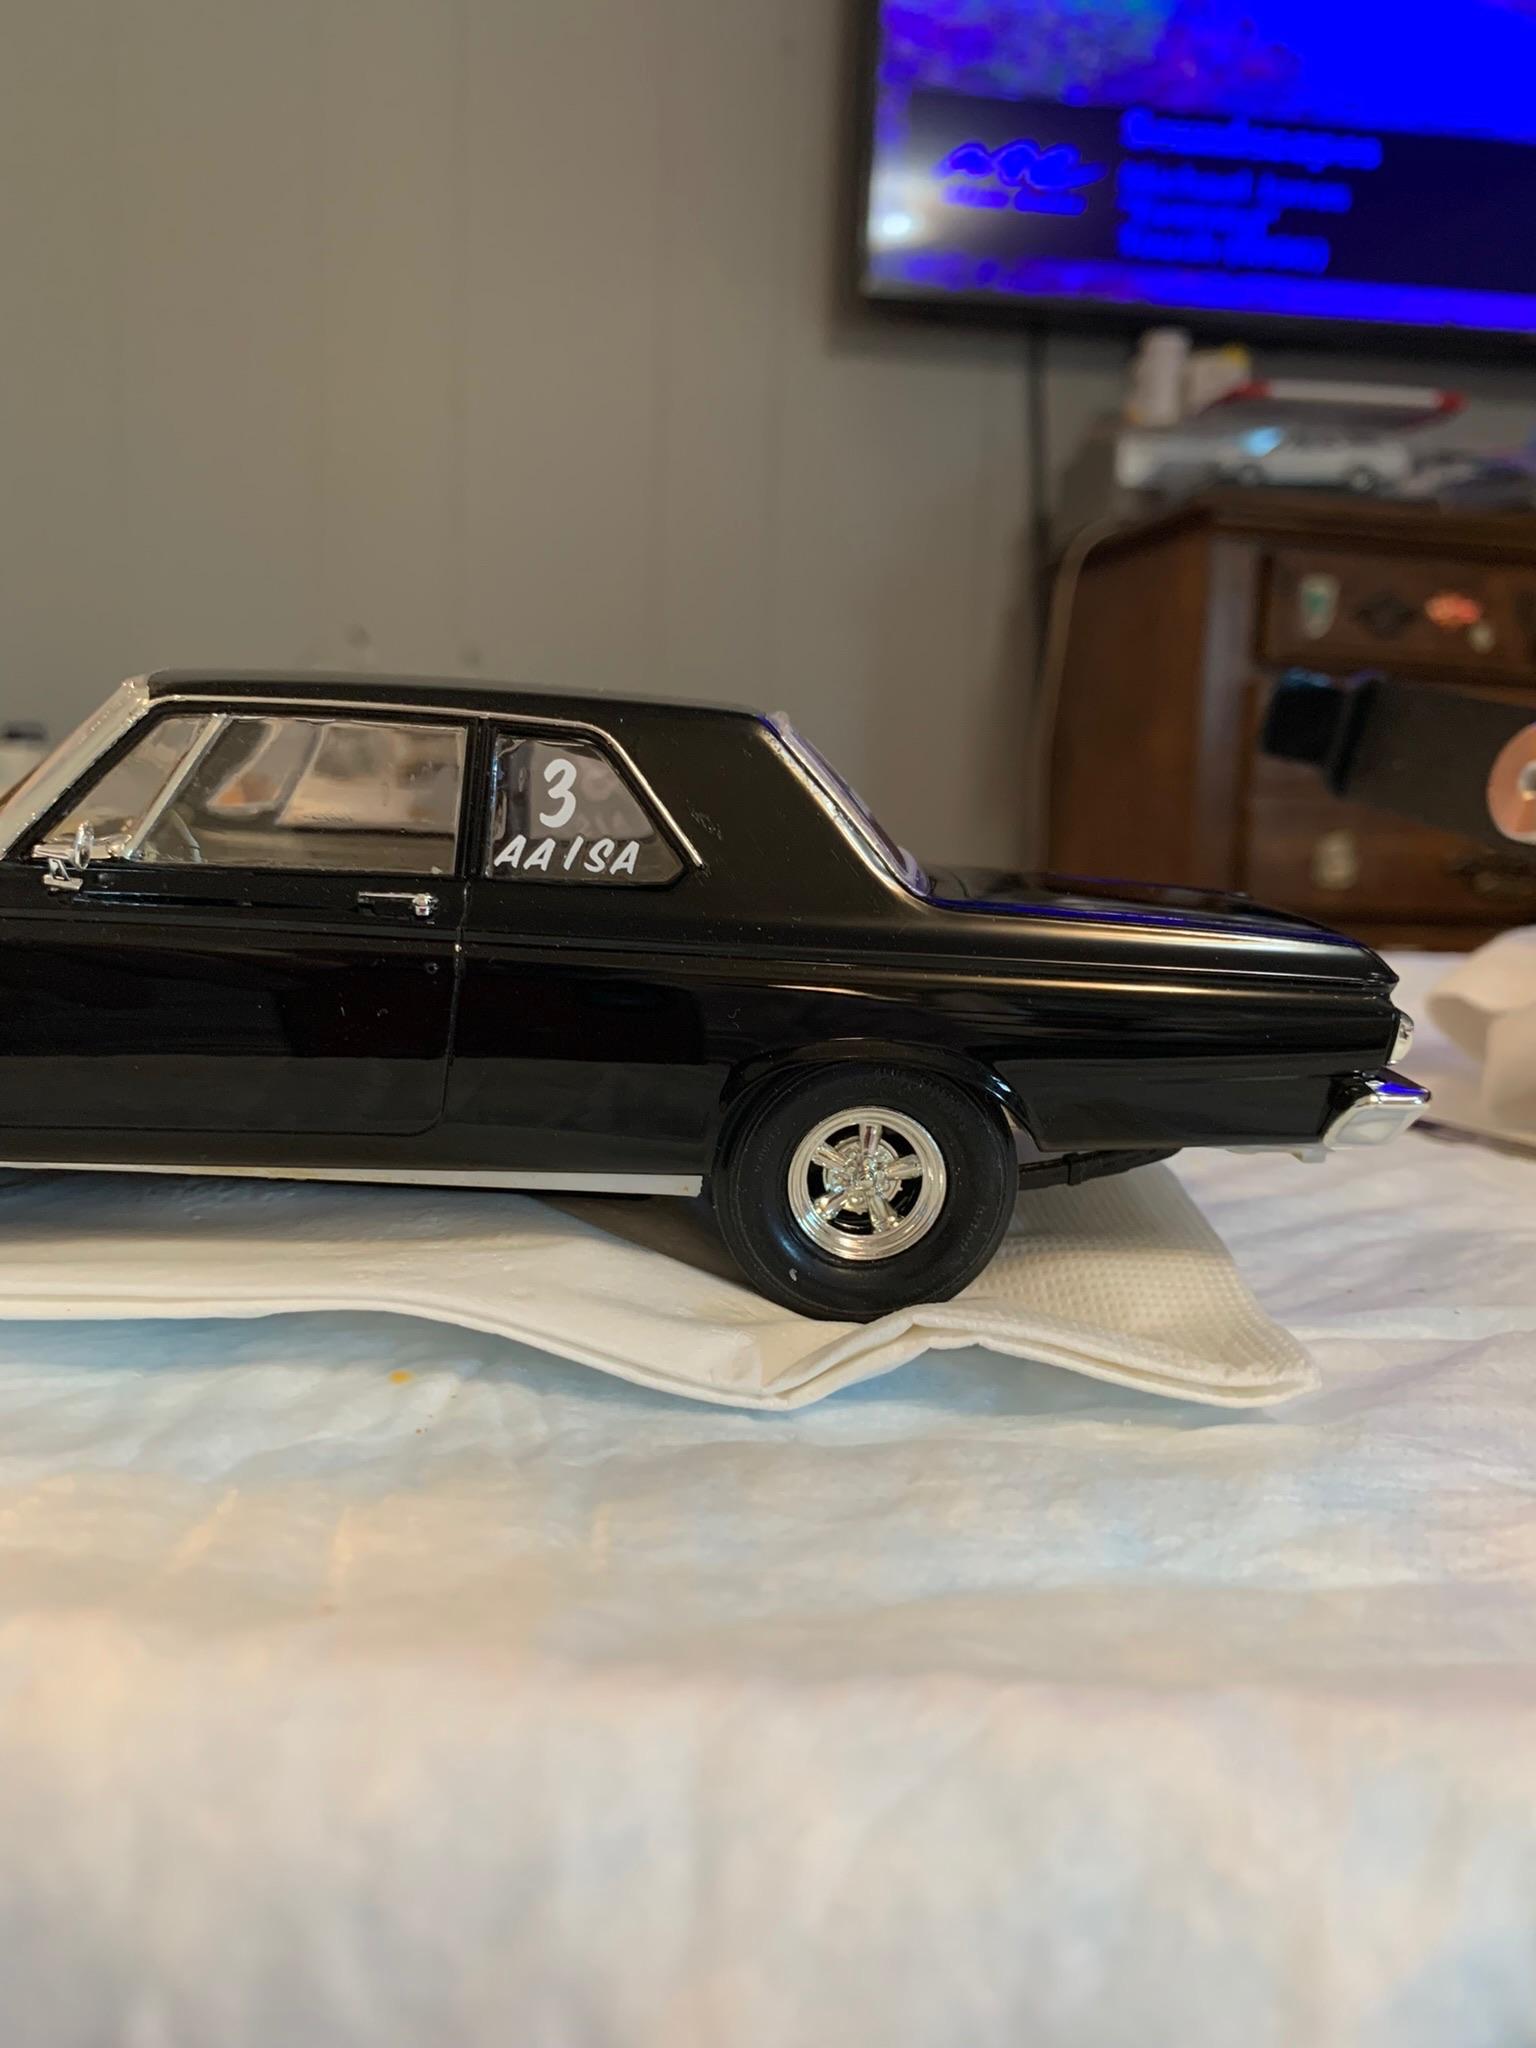
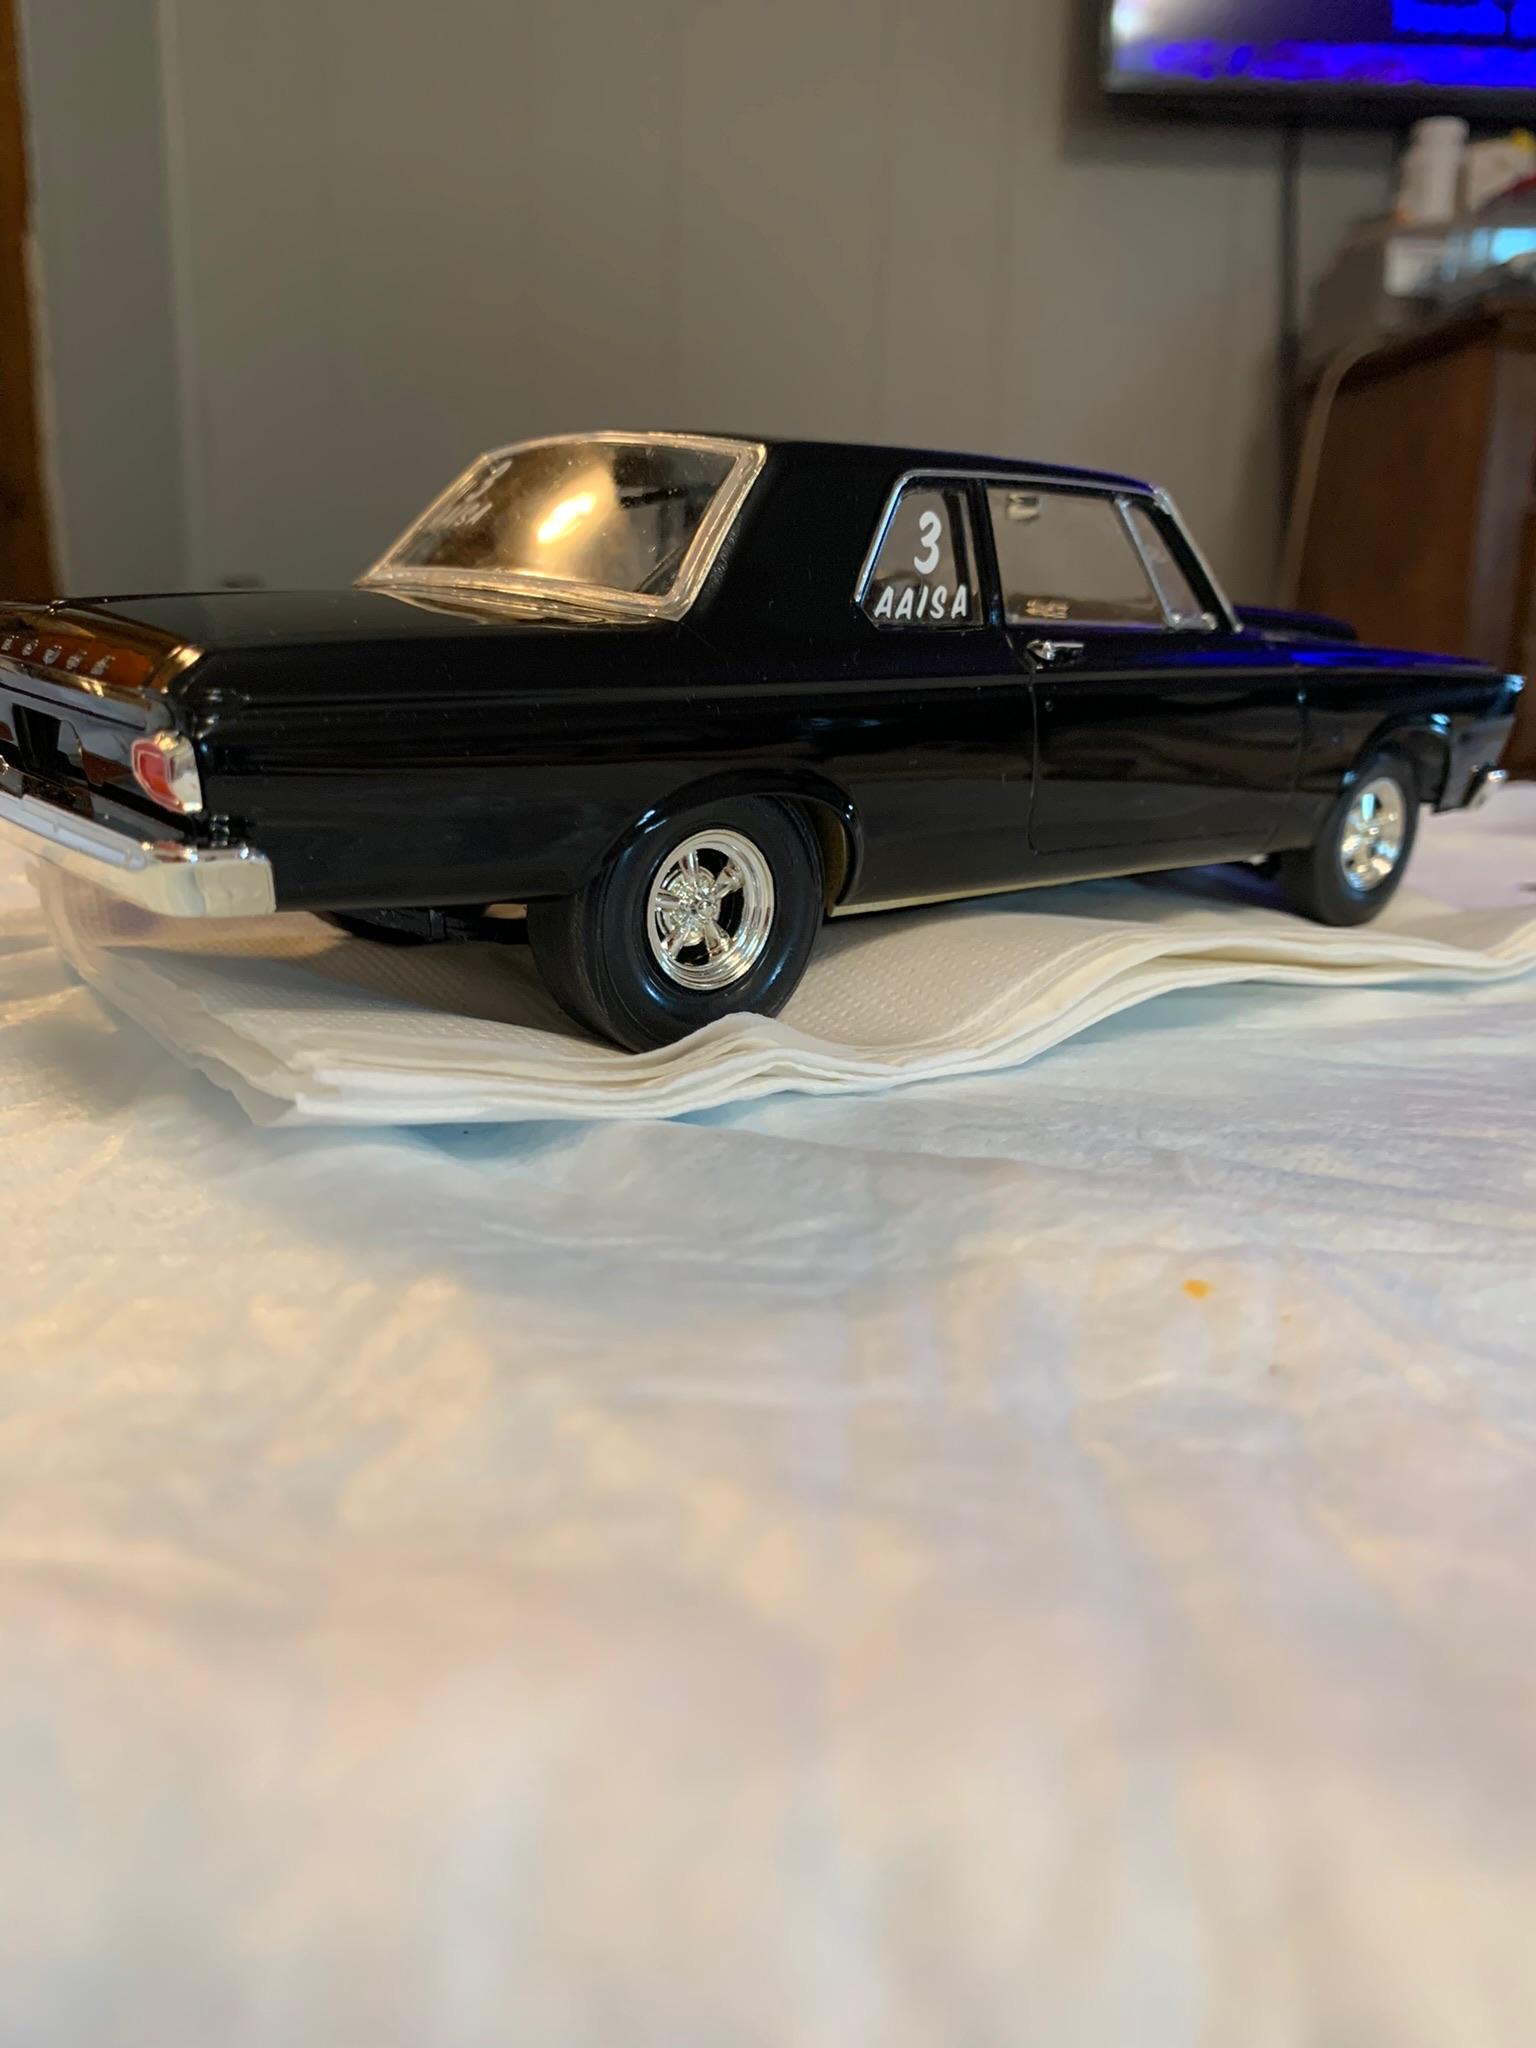
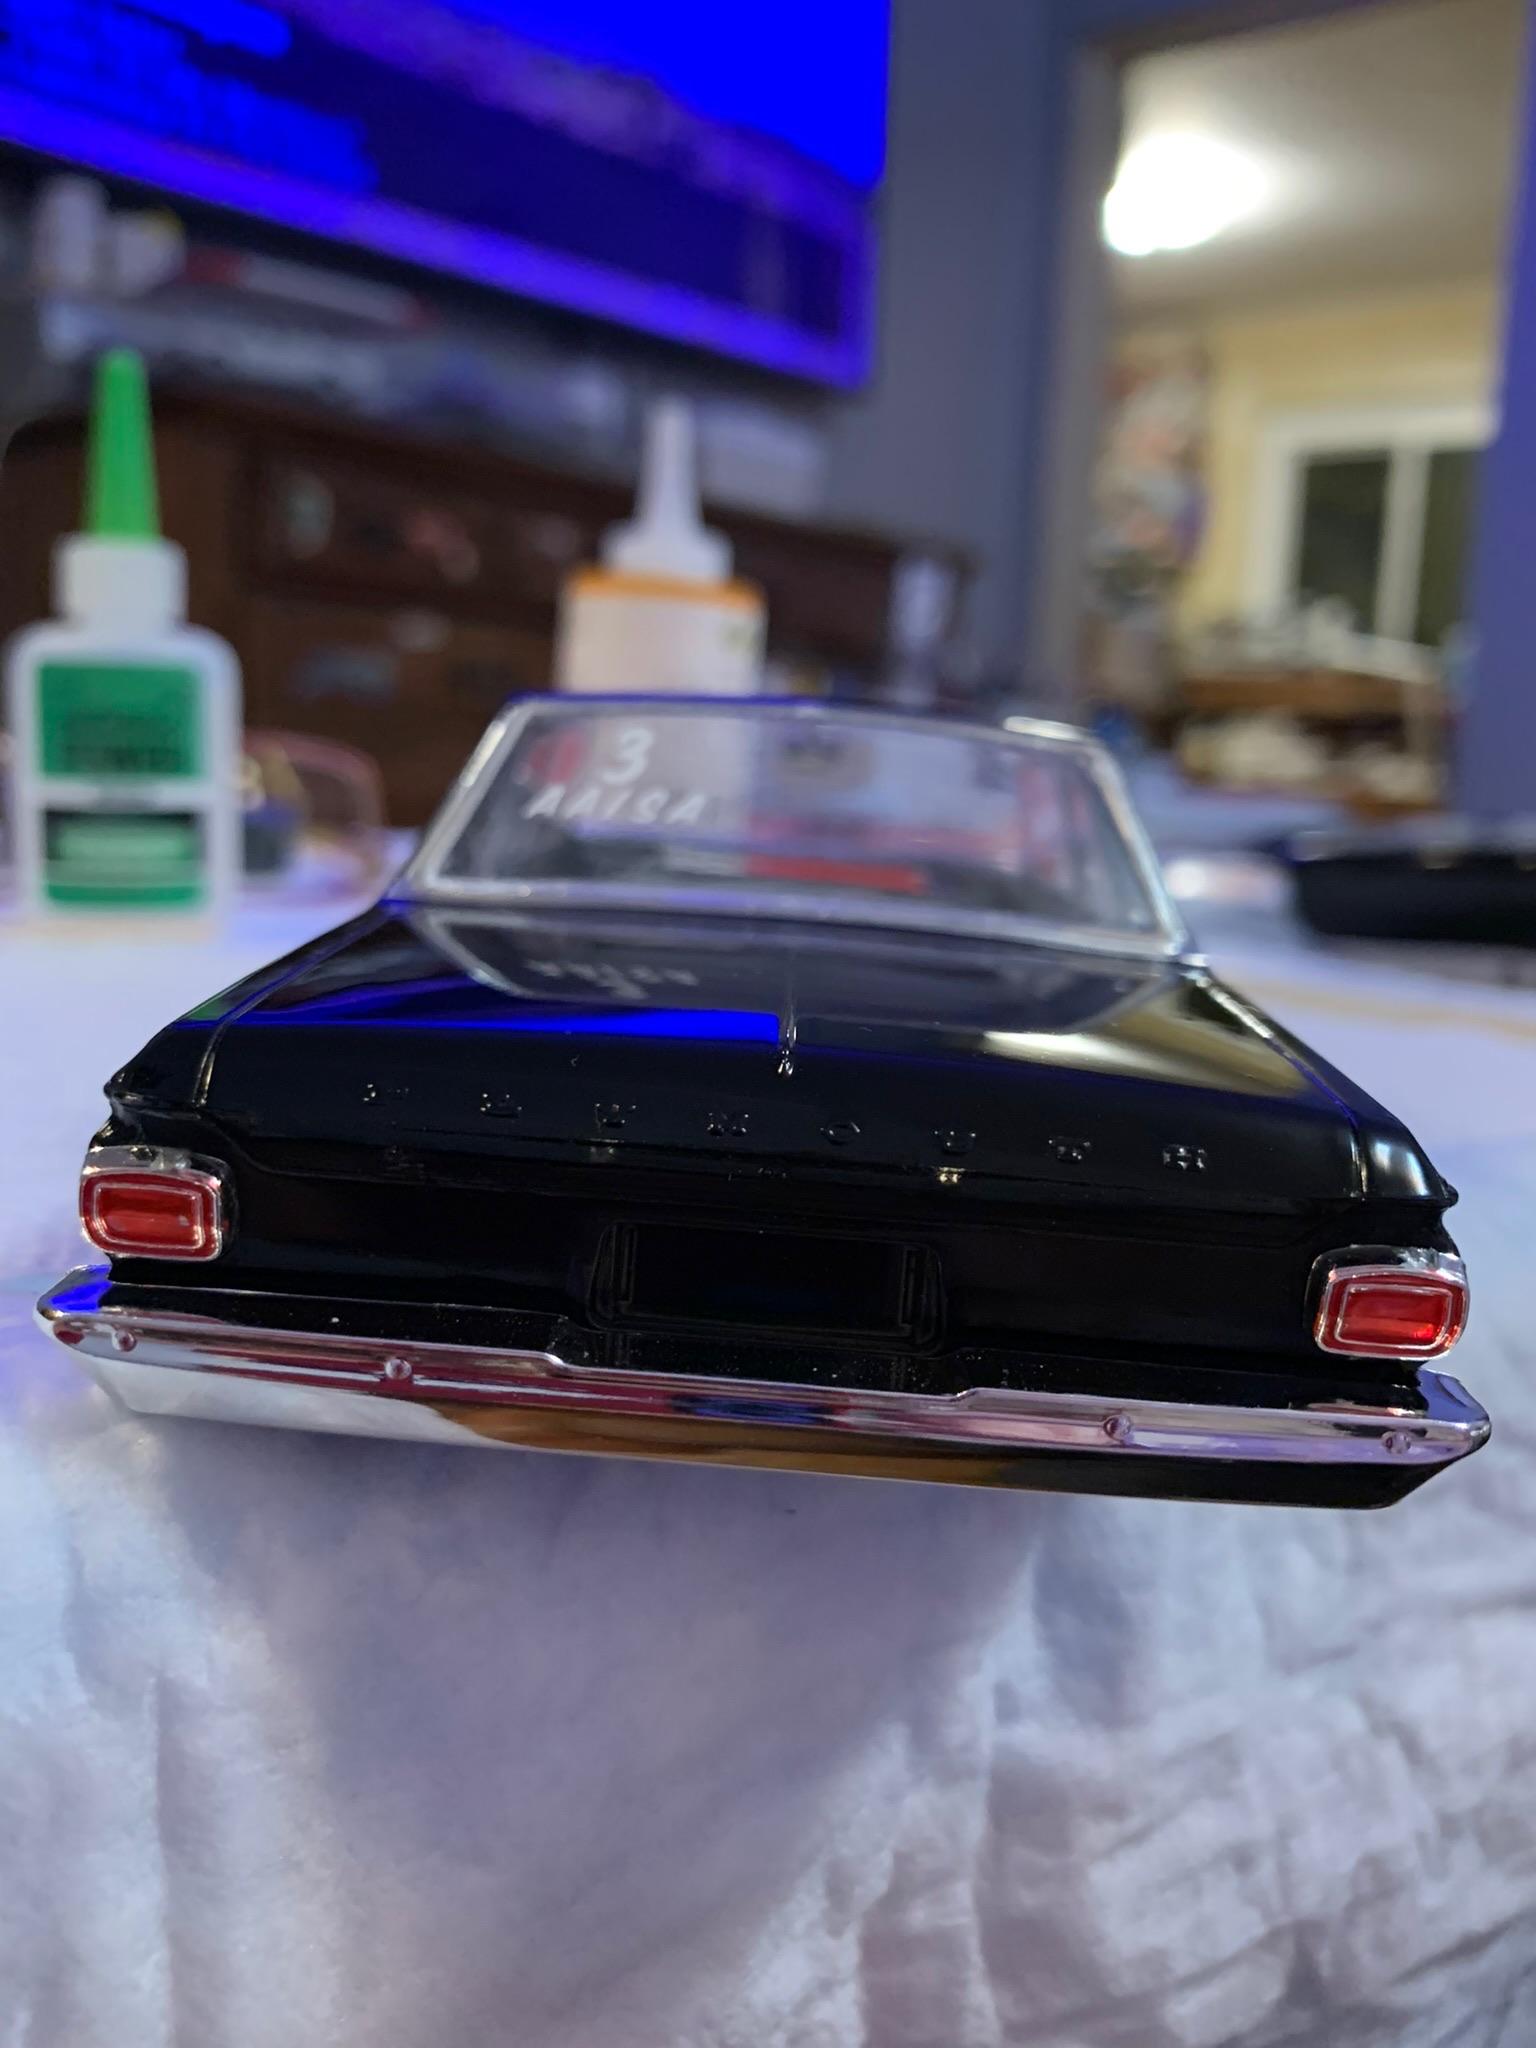
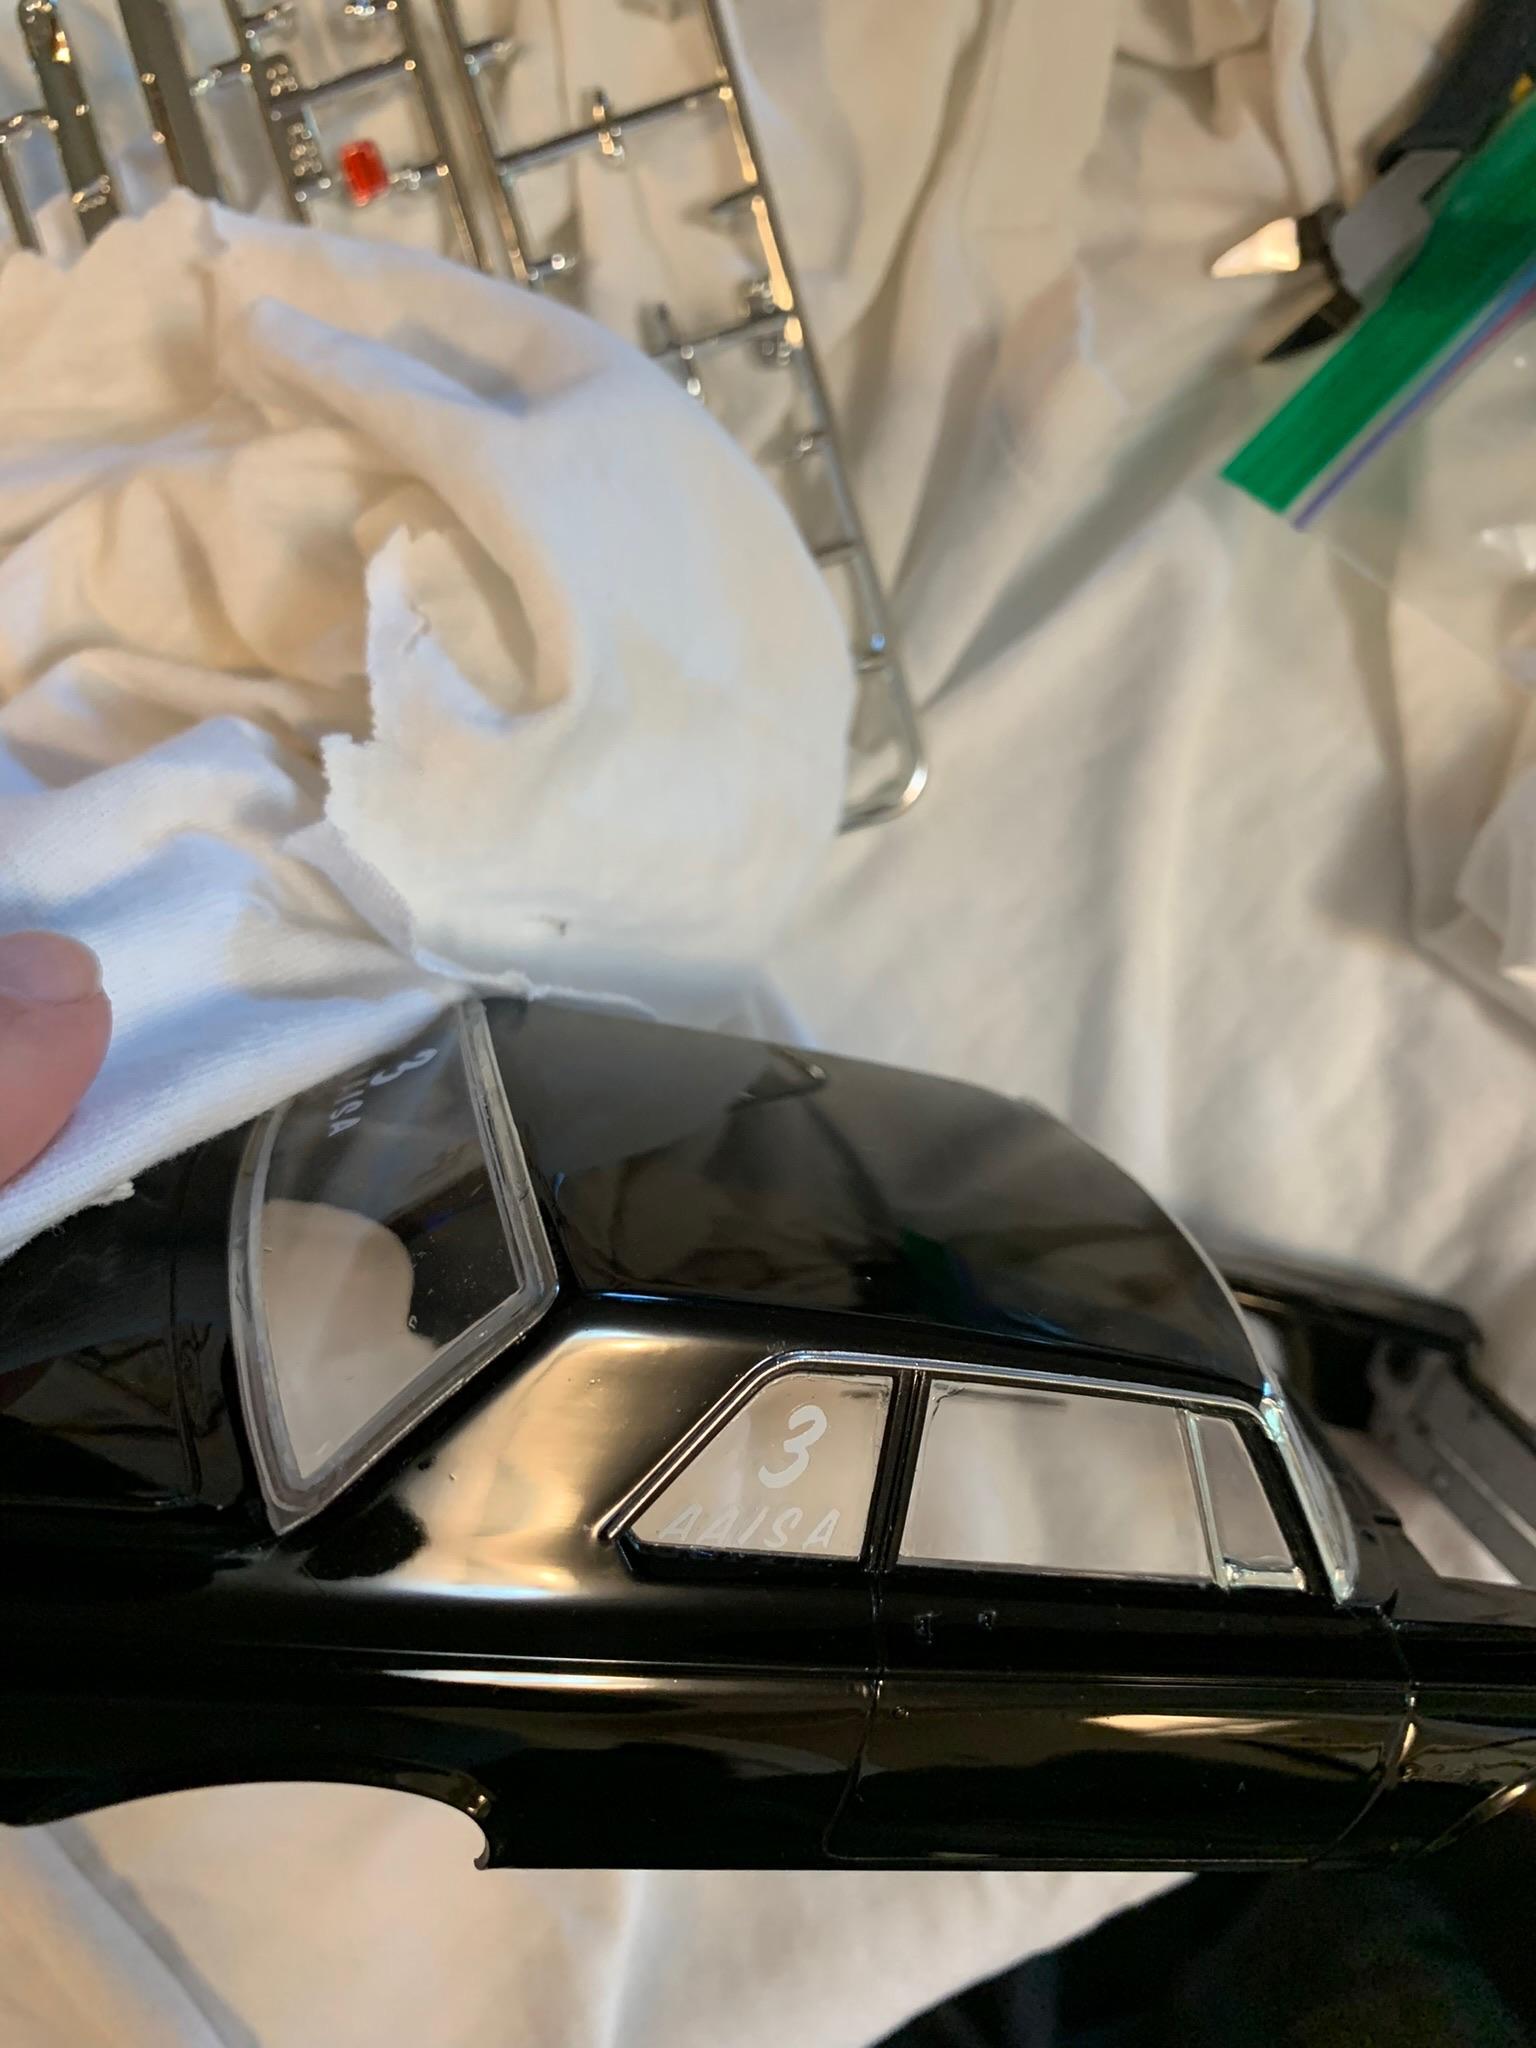
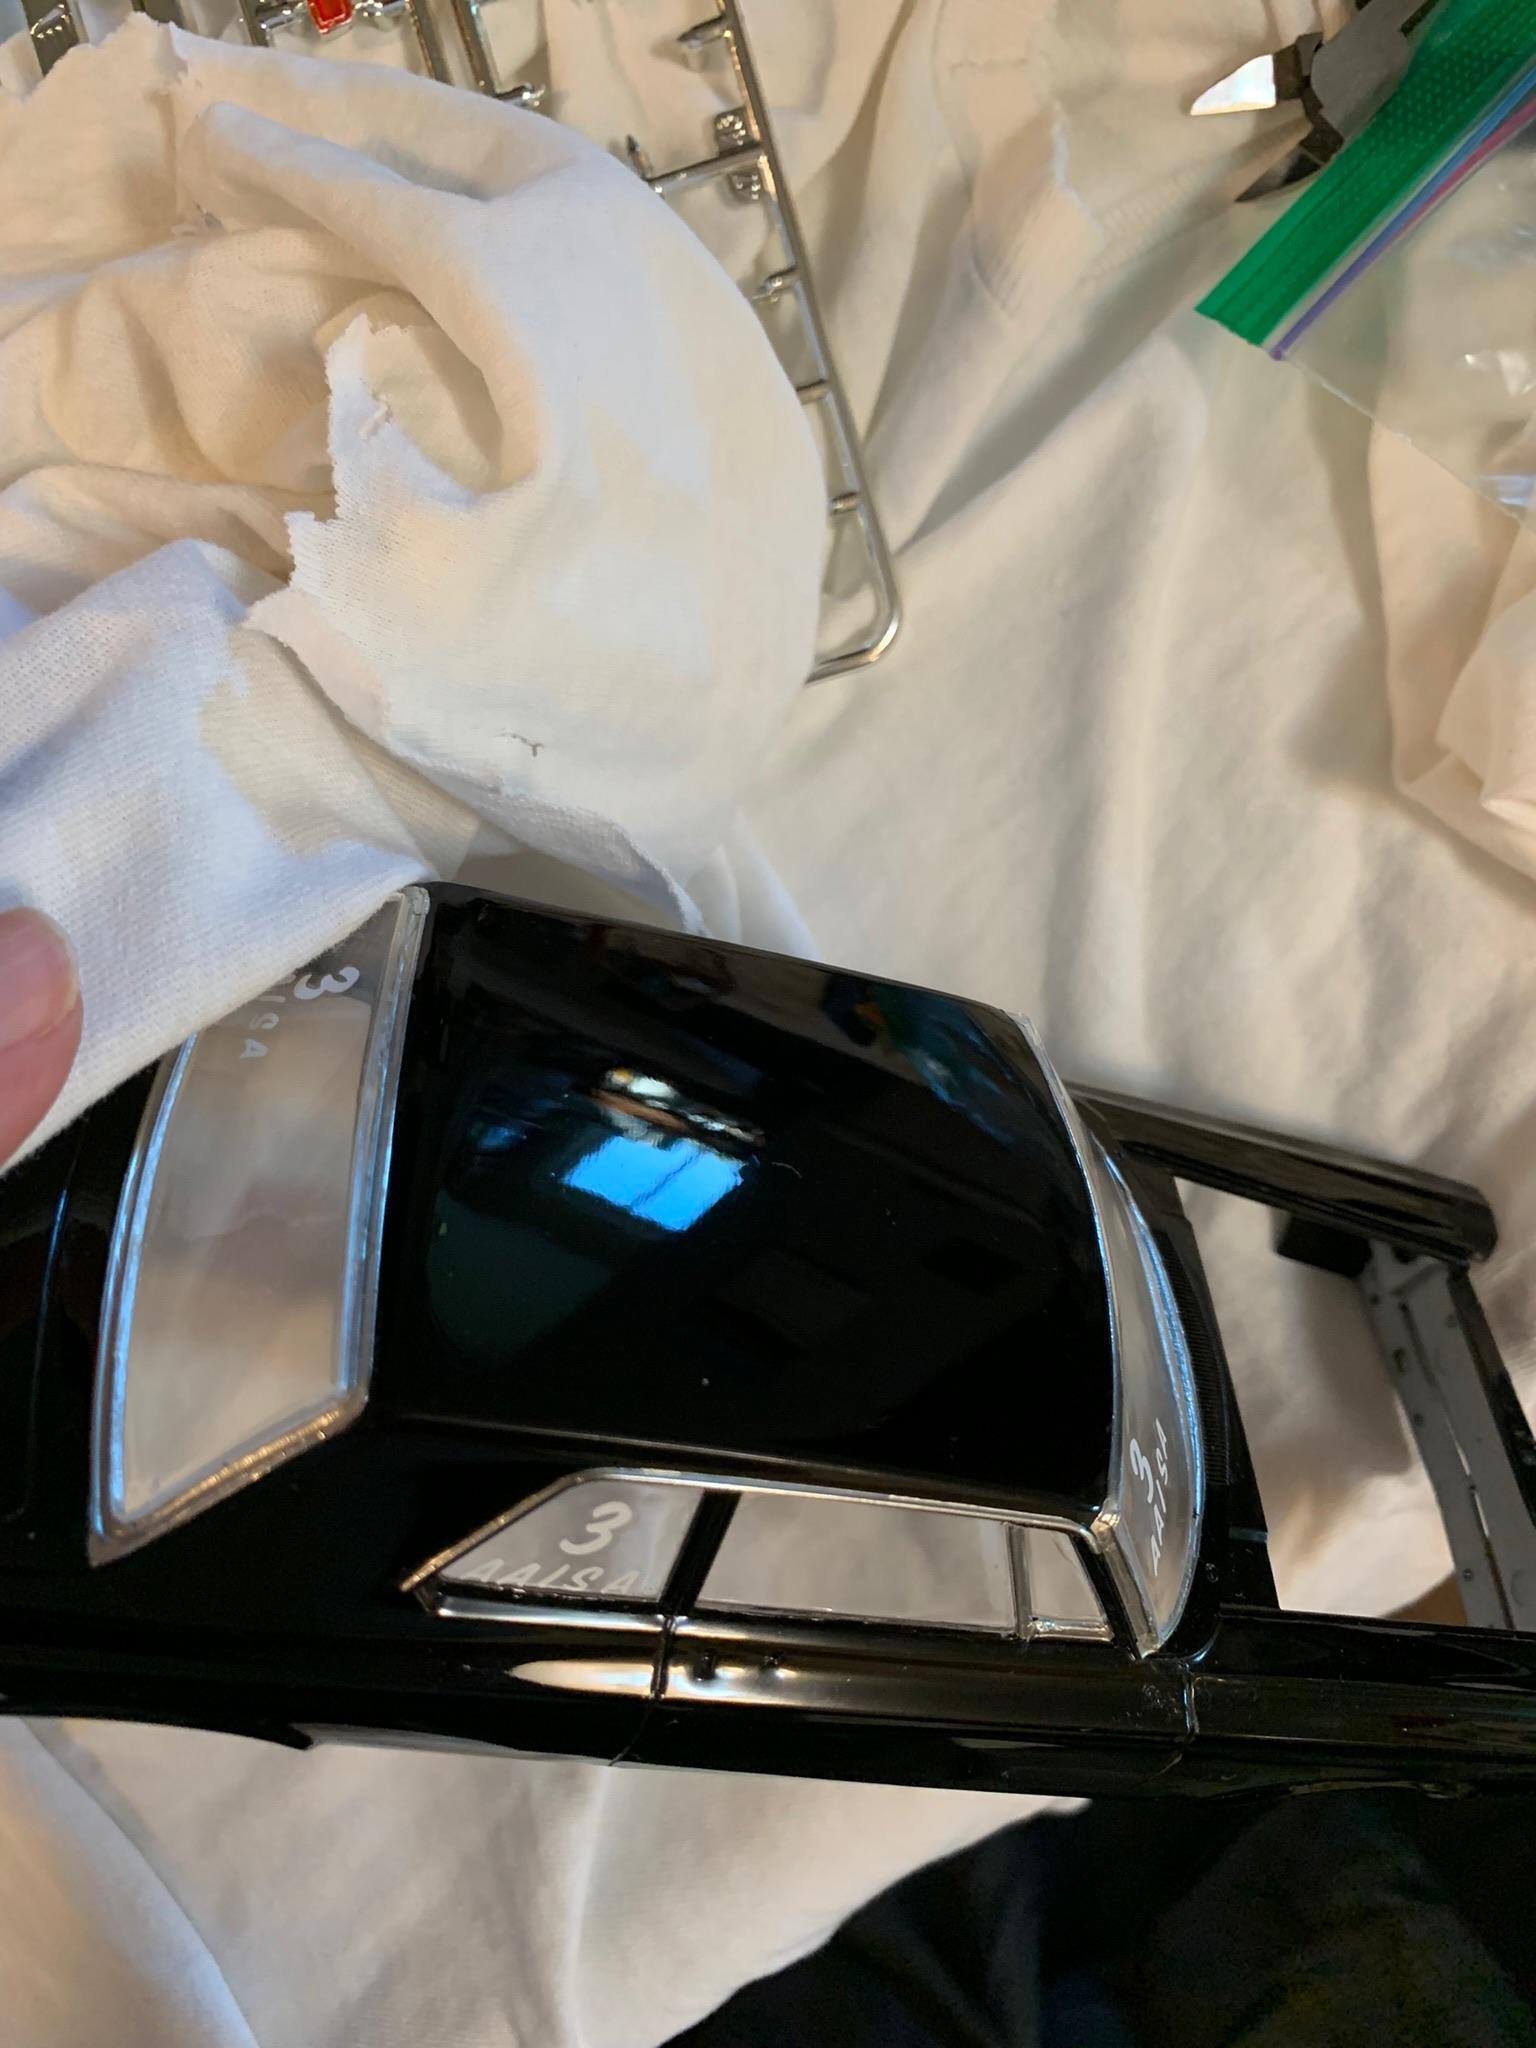
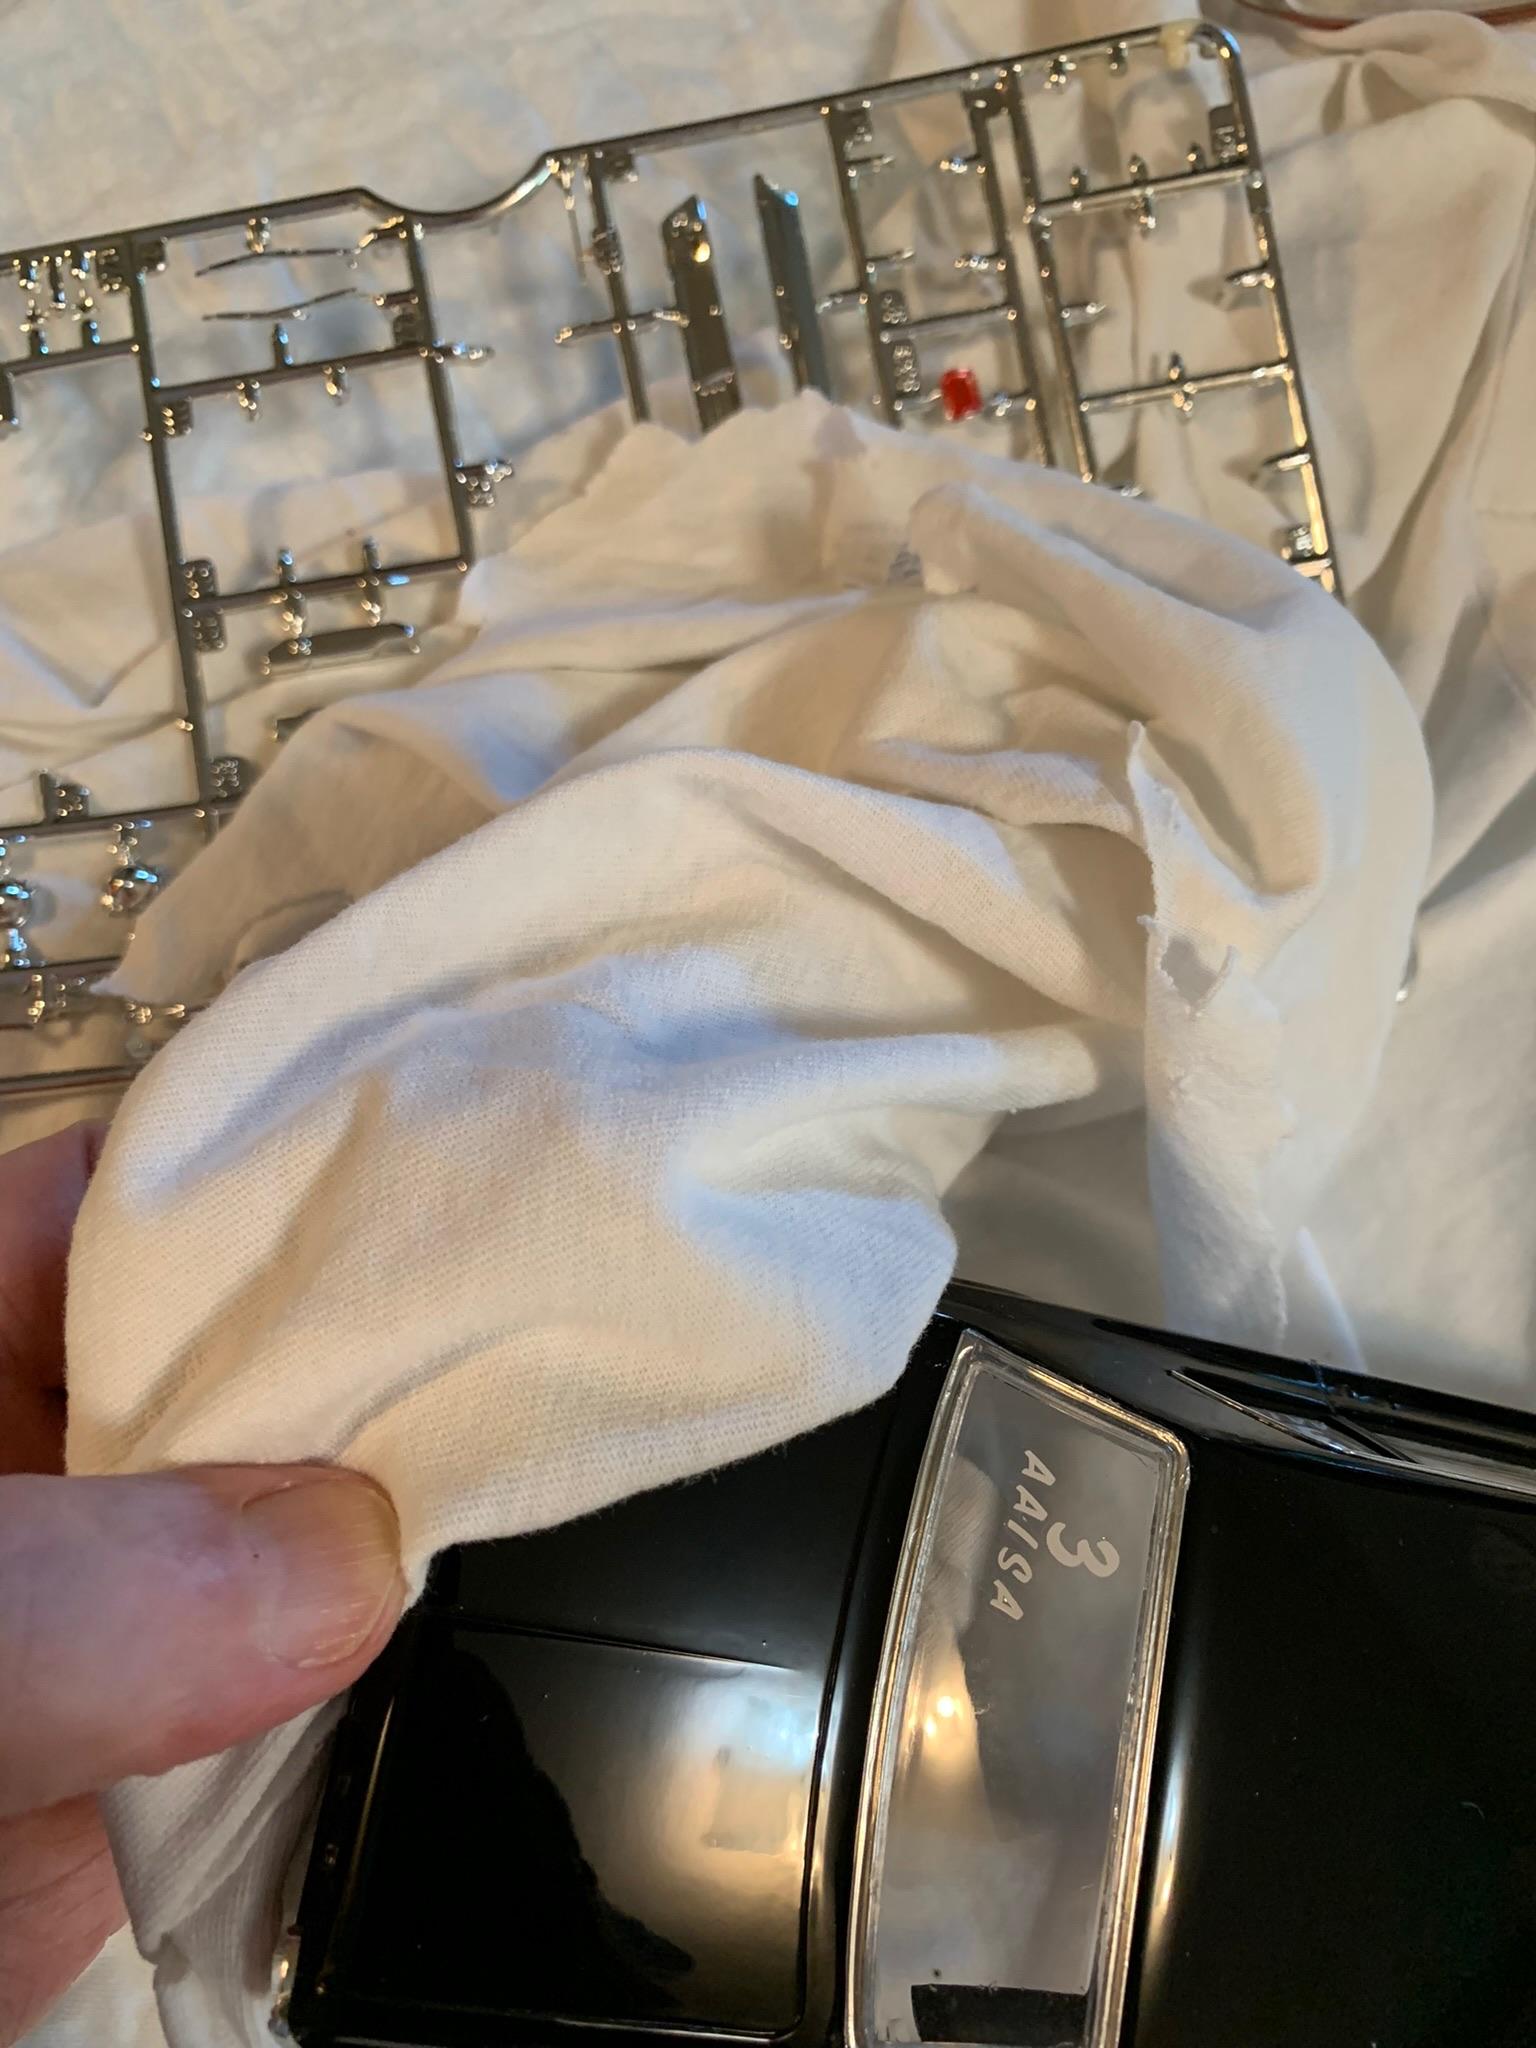
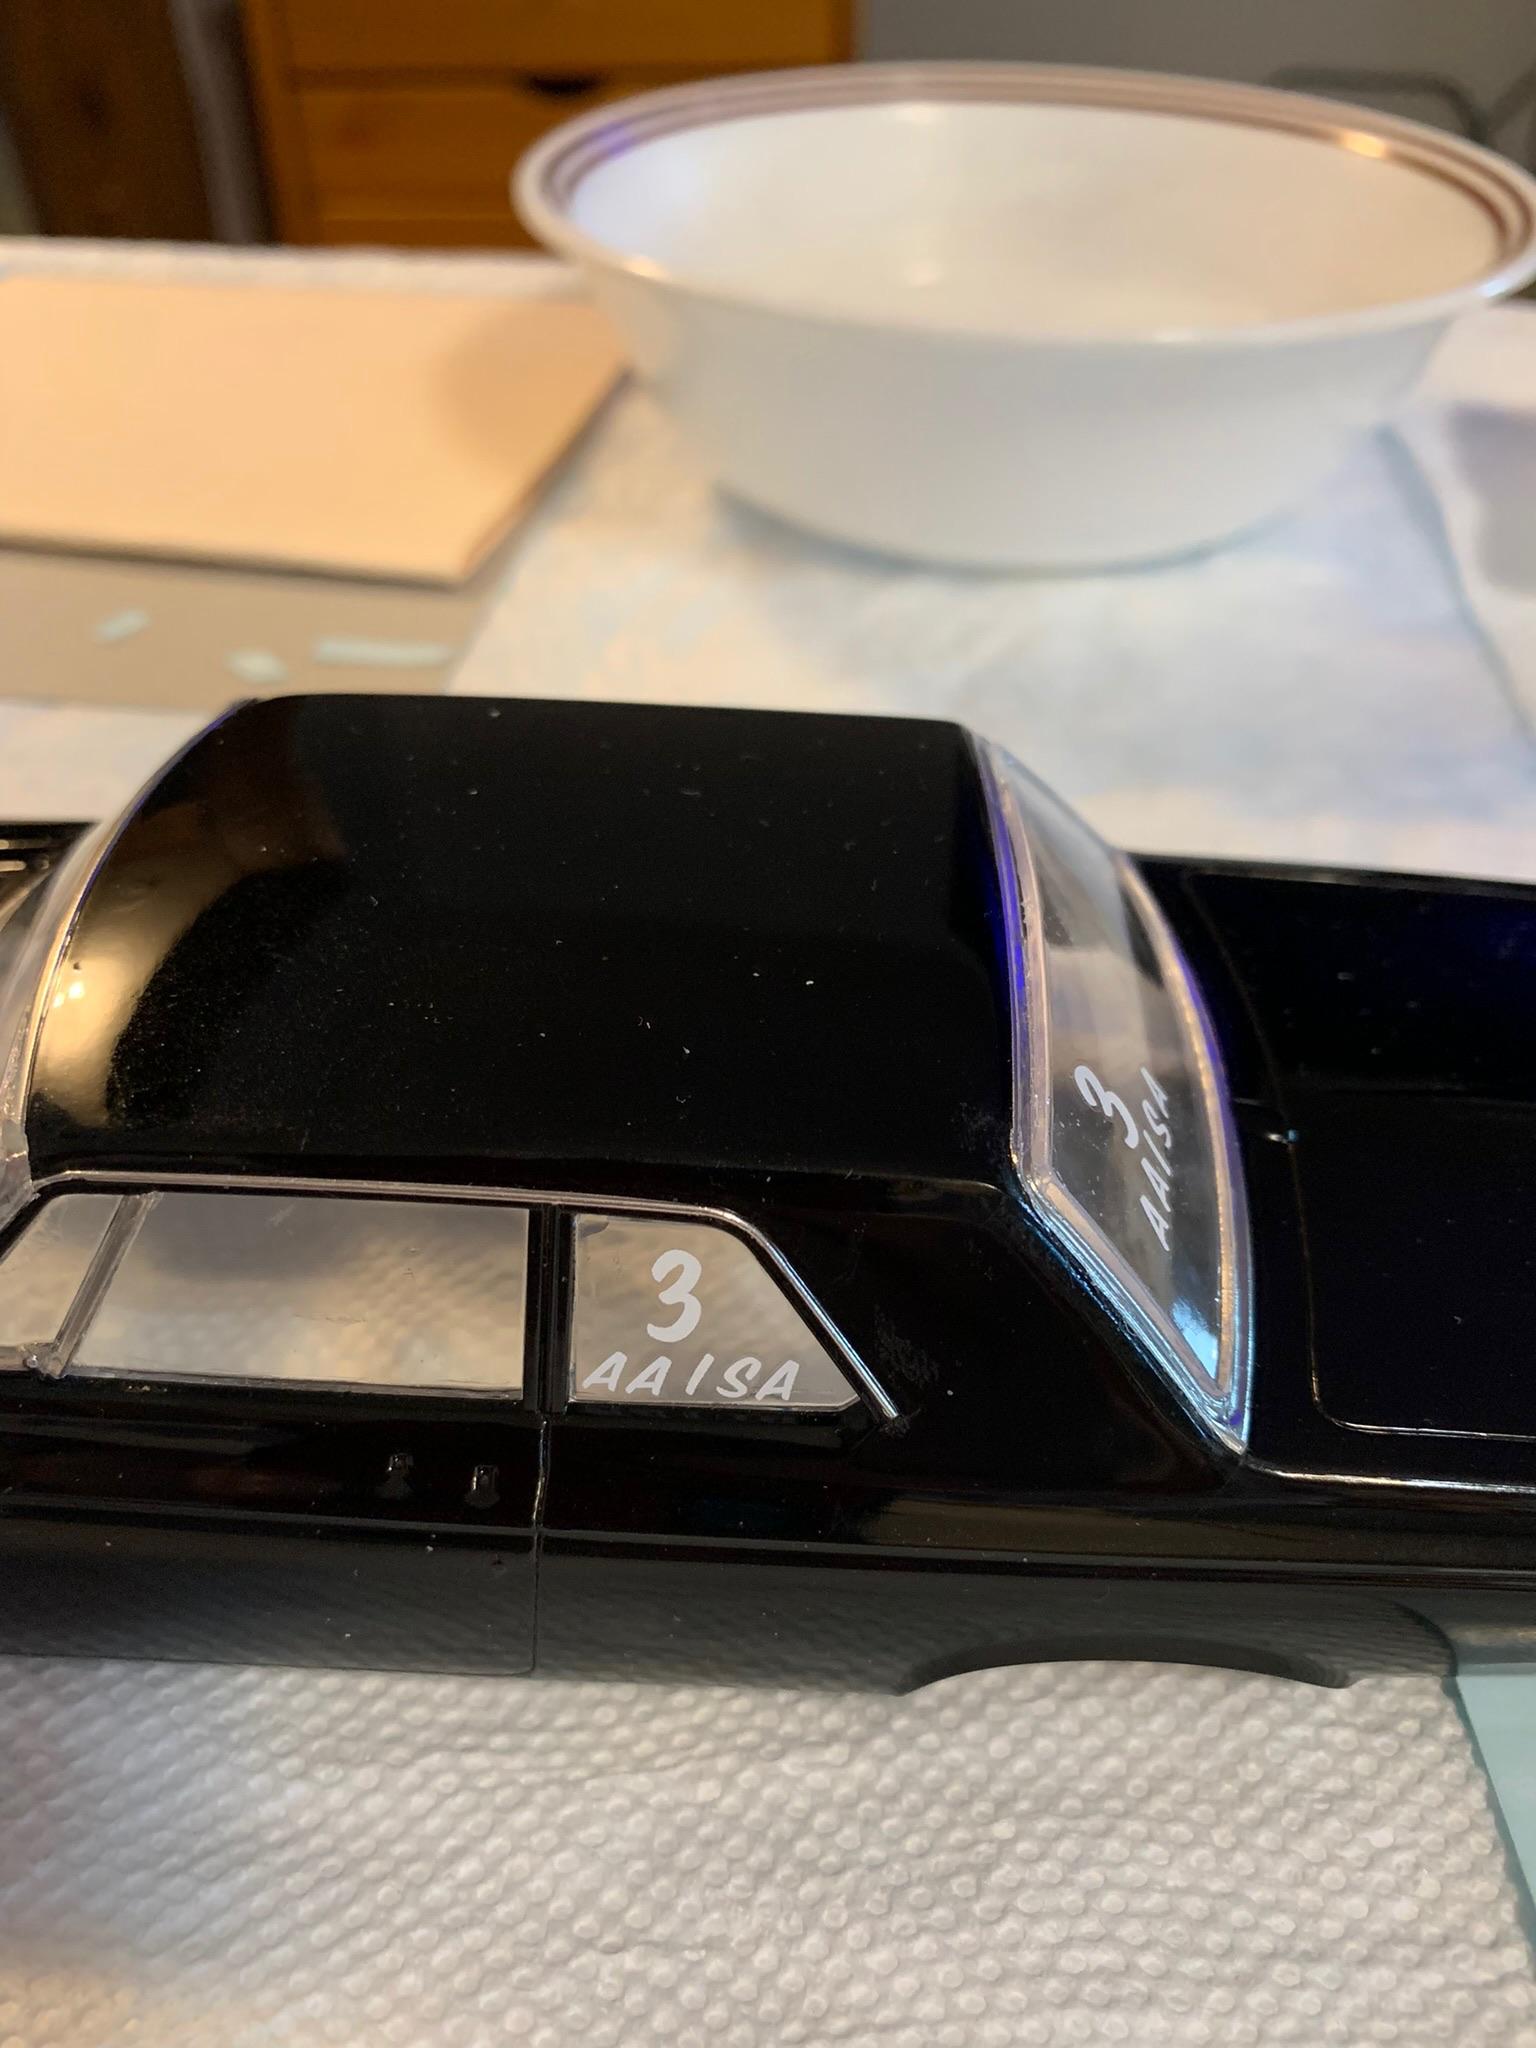
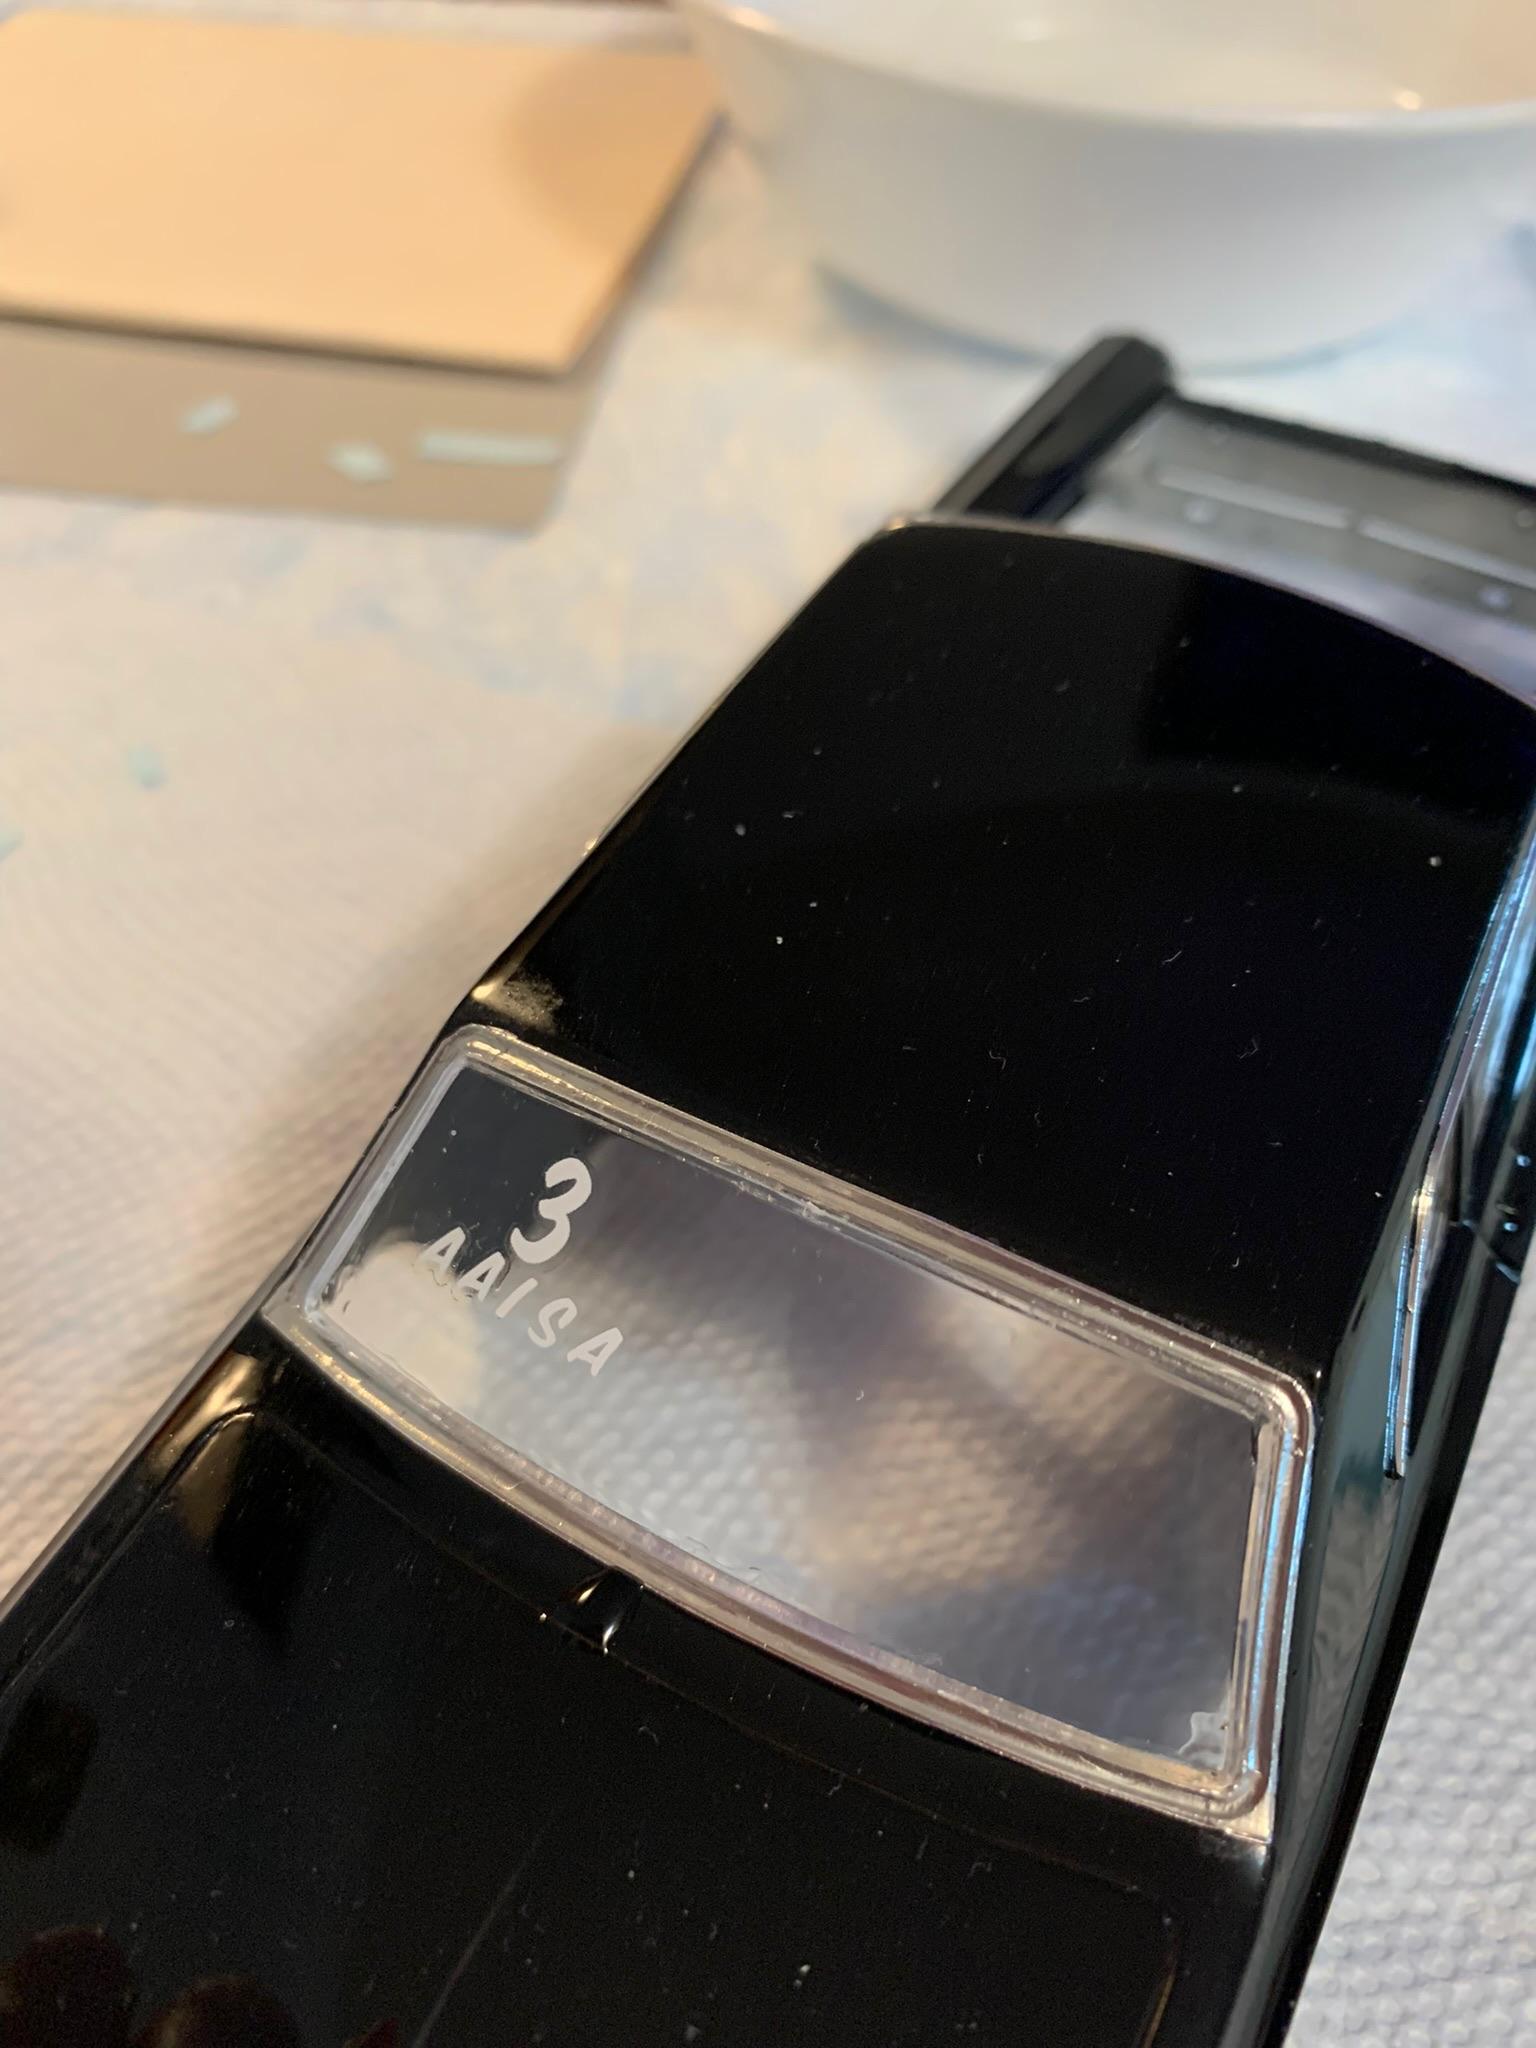
Thank you, sir. Much appreciated. As noted on the wip build, I forget to mention the #3 designation. Nothing to do with Dale Earnhardt, but an homage to Todd Hoven’s 1965 Dodge AA/SA who finished #3 in Nhra points. Perhaps a future build when Moebius releases their Dodge this fall. Maybe even Barton’s hemi, too. Plus, was fewer numbers to put on the windows than the normal 4 digit numbers.

-
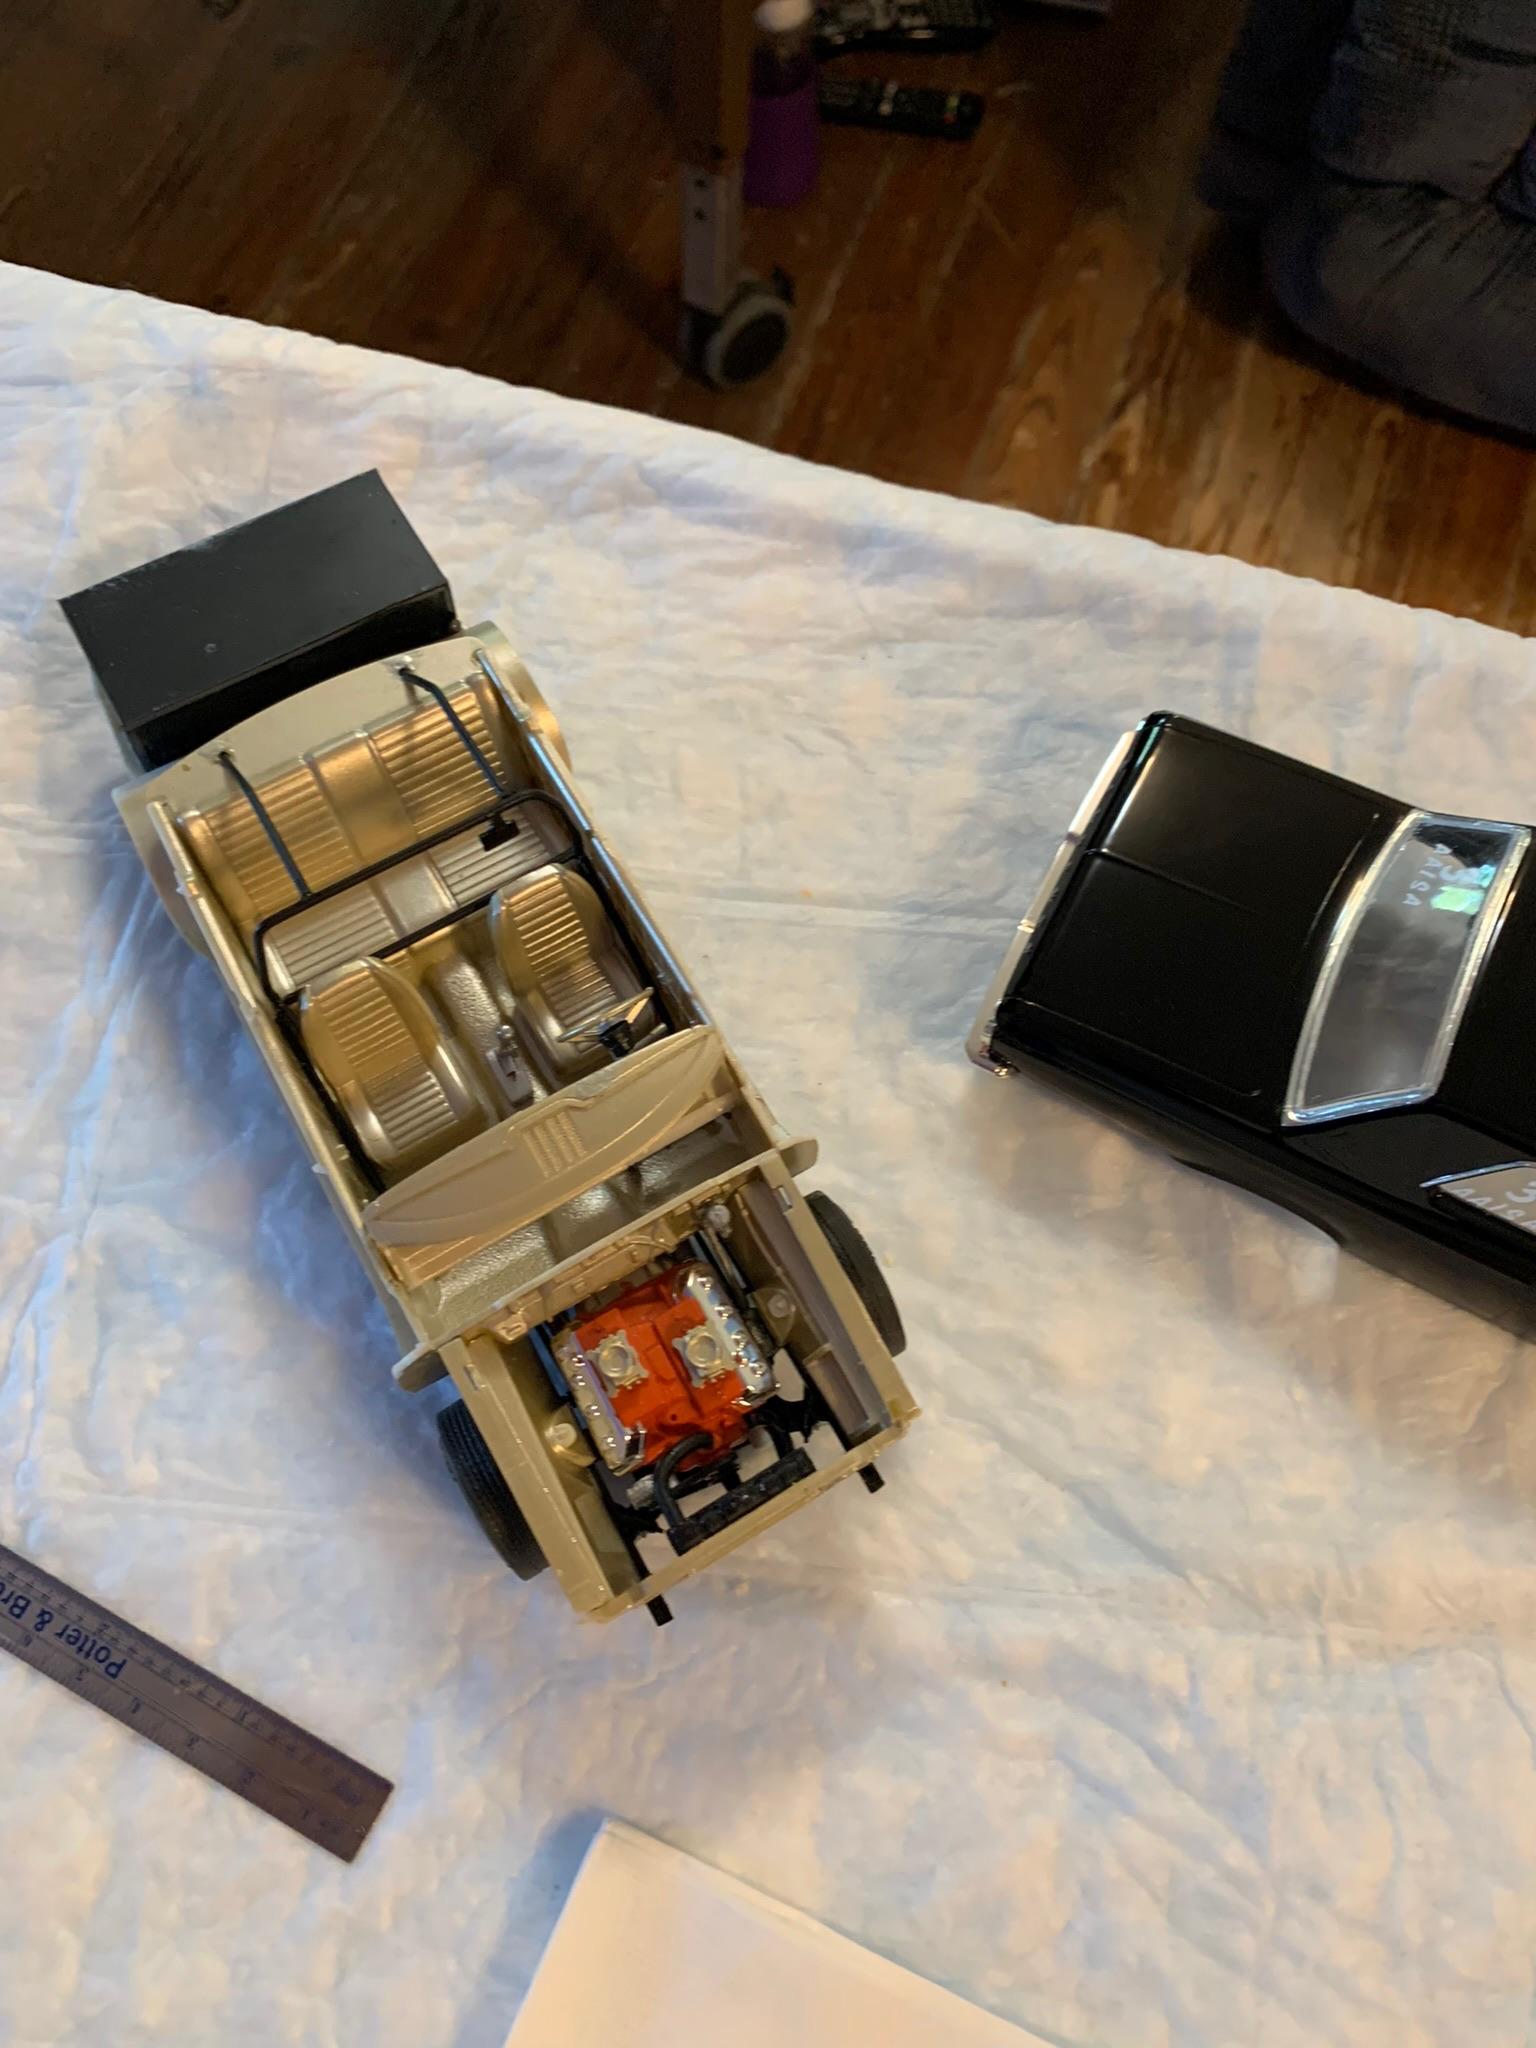
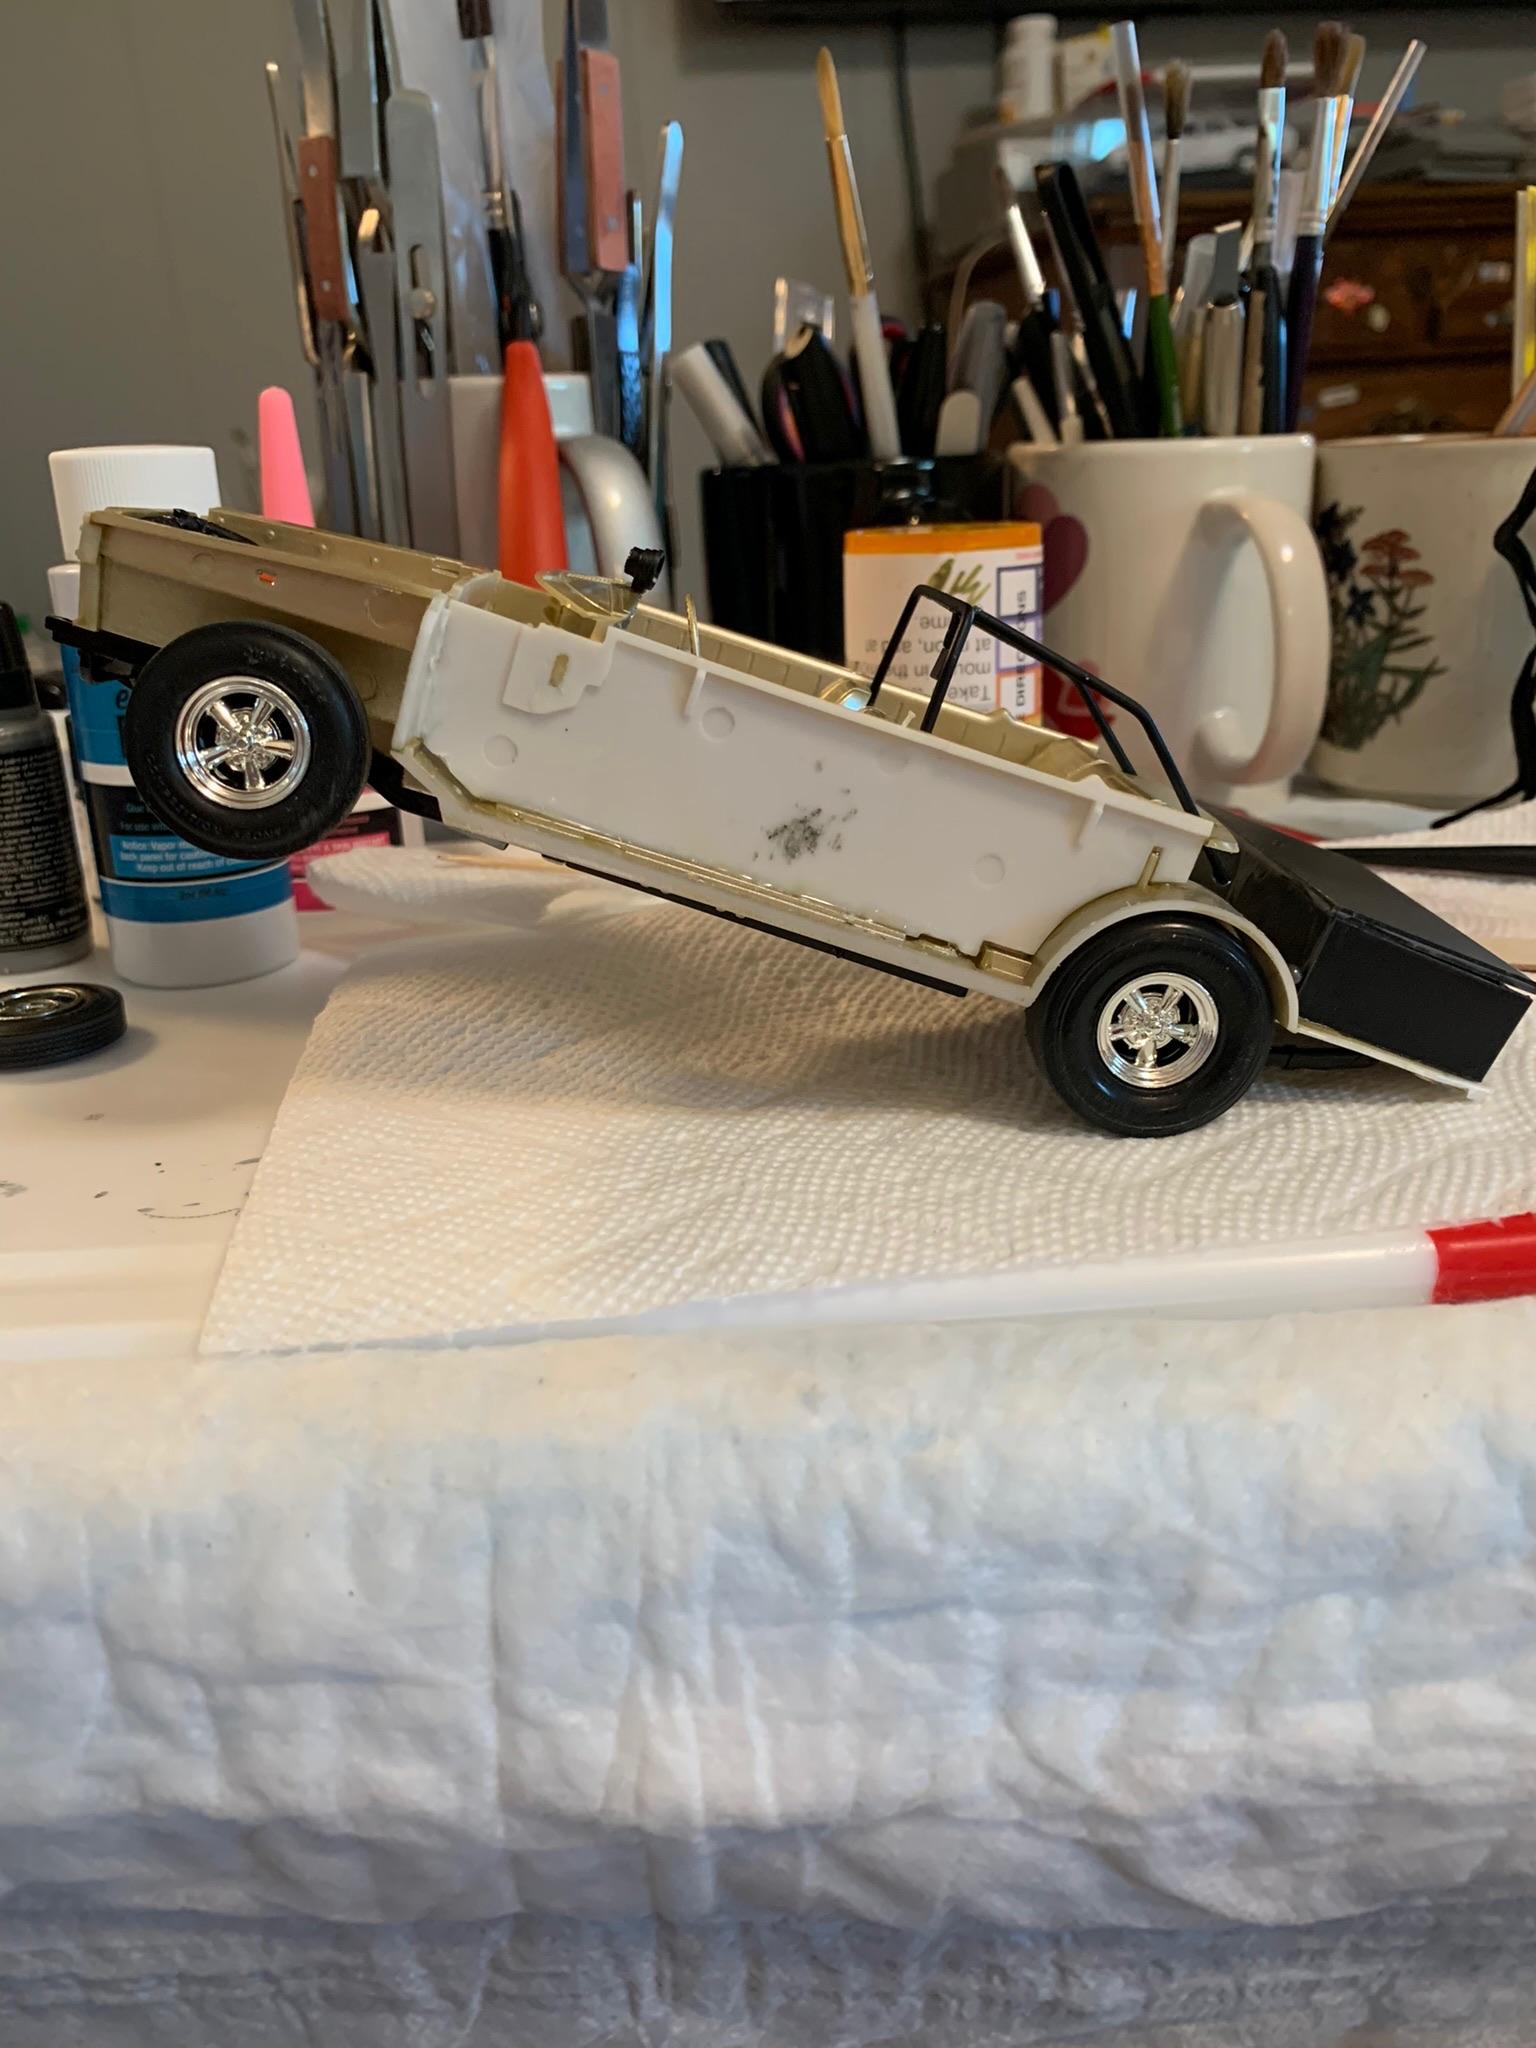
Thanks so much, Tim. Forgot to post a chassis pic. You’ll note I forgot the driveshaft loop.
-
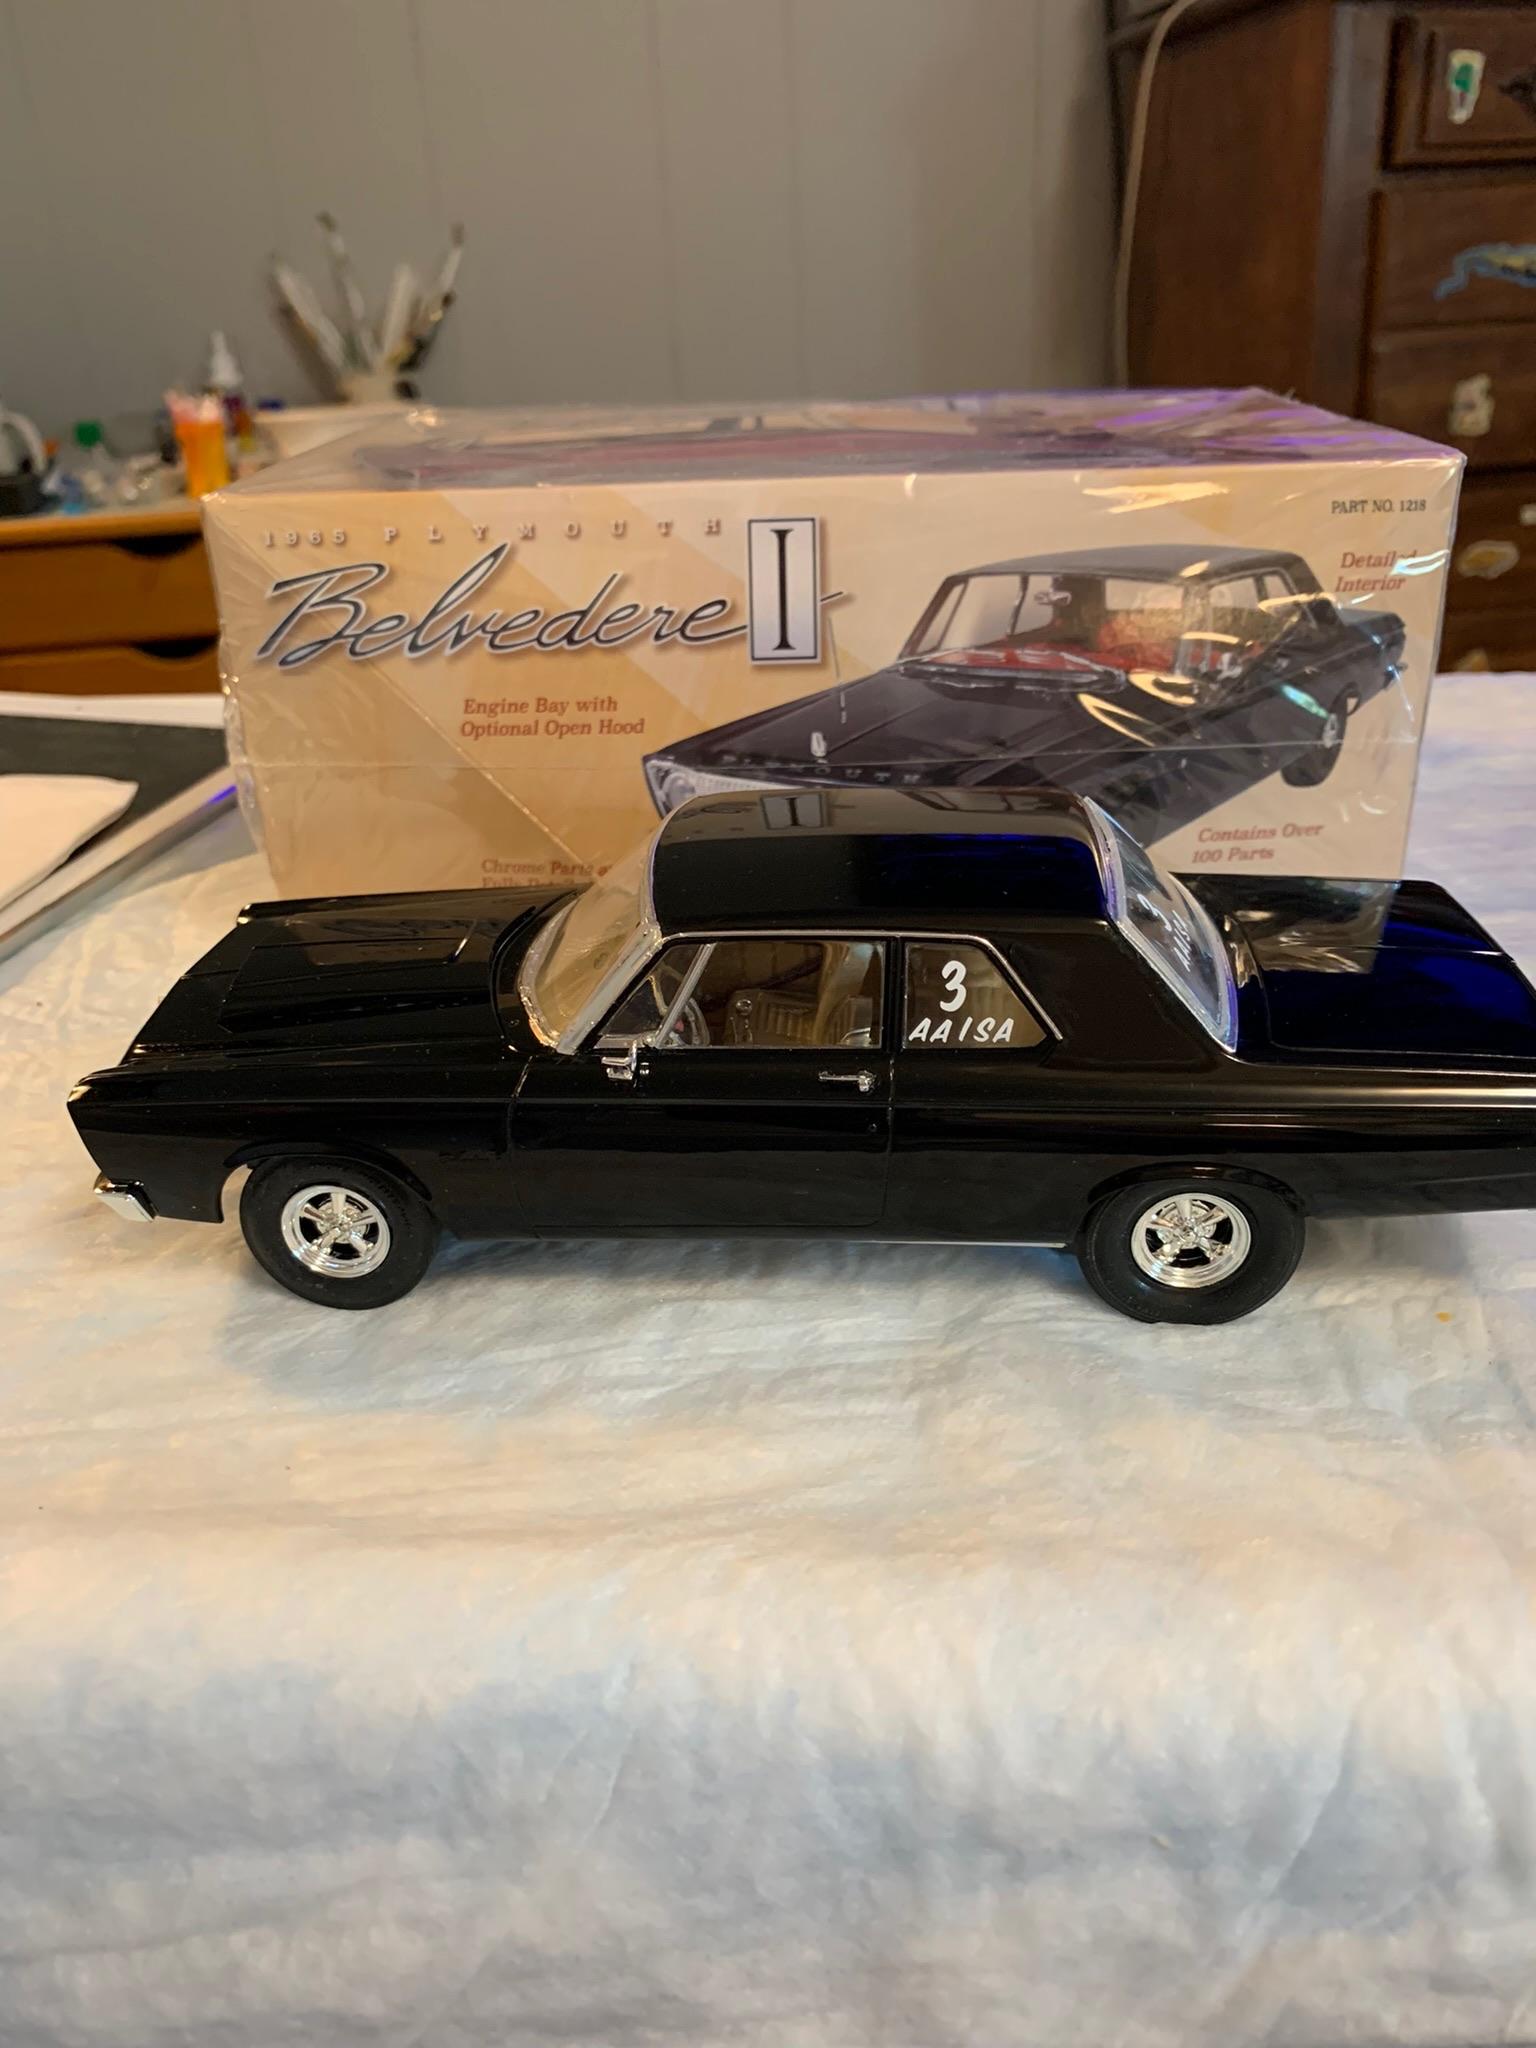
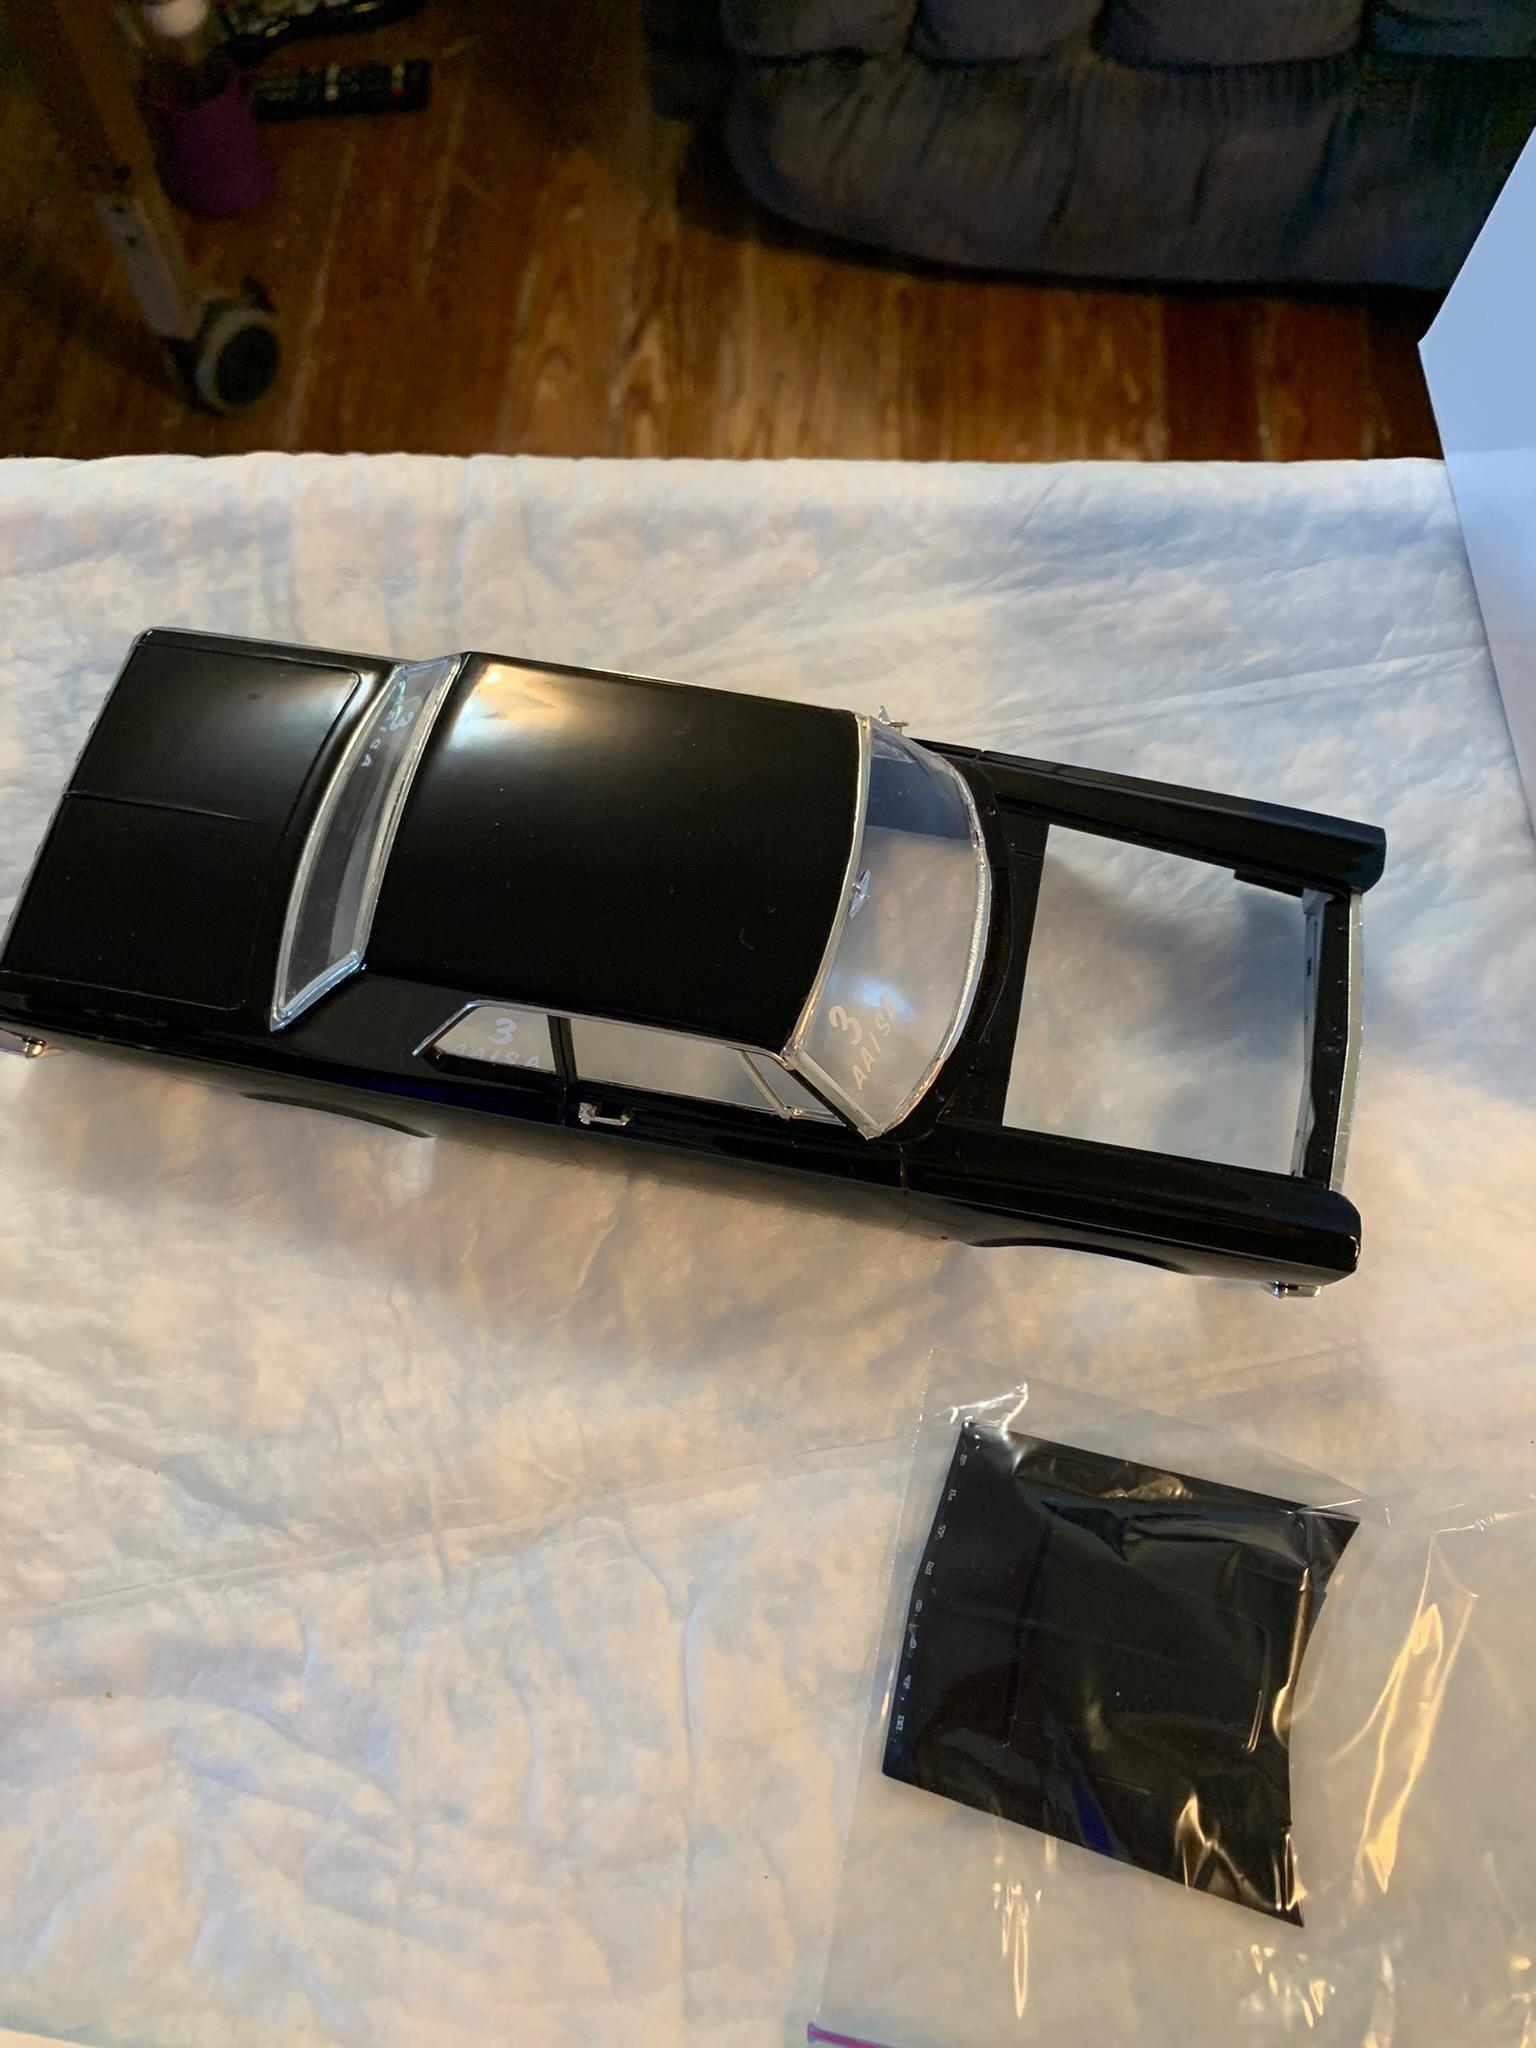
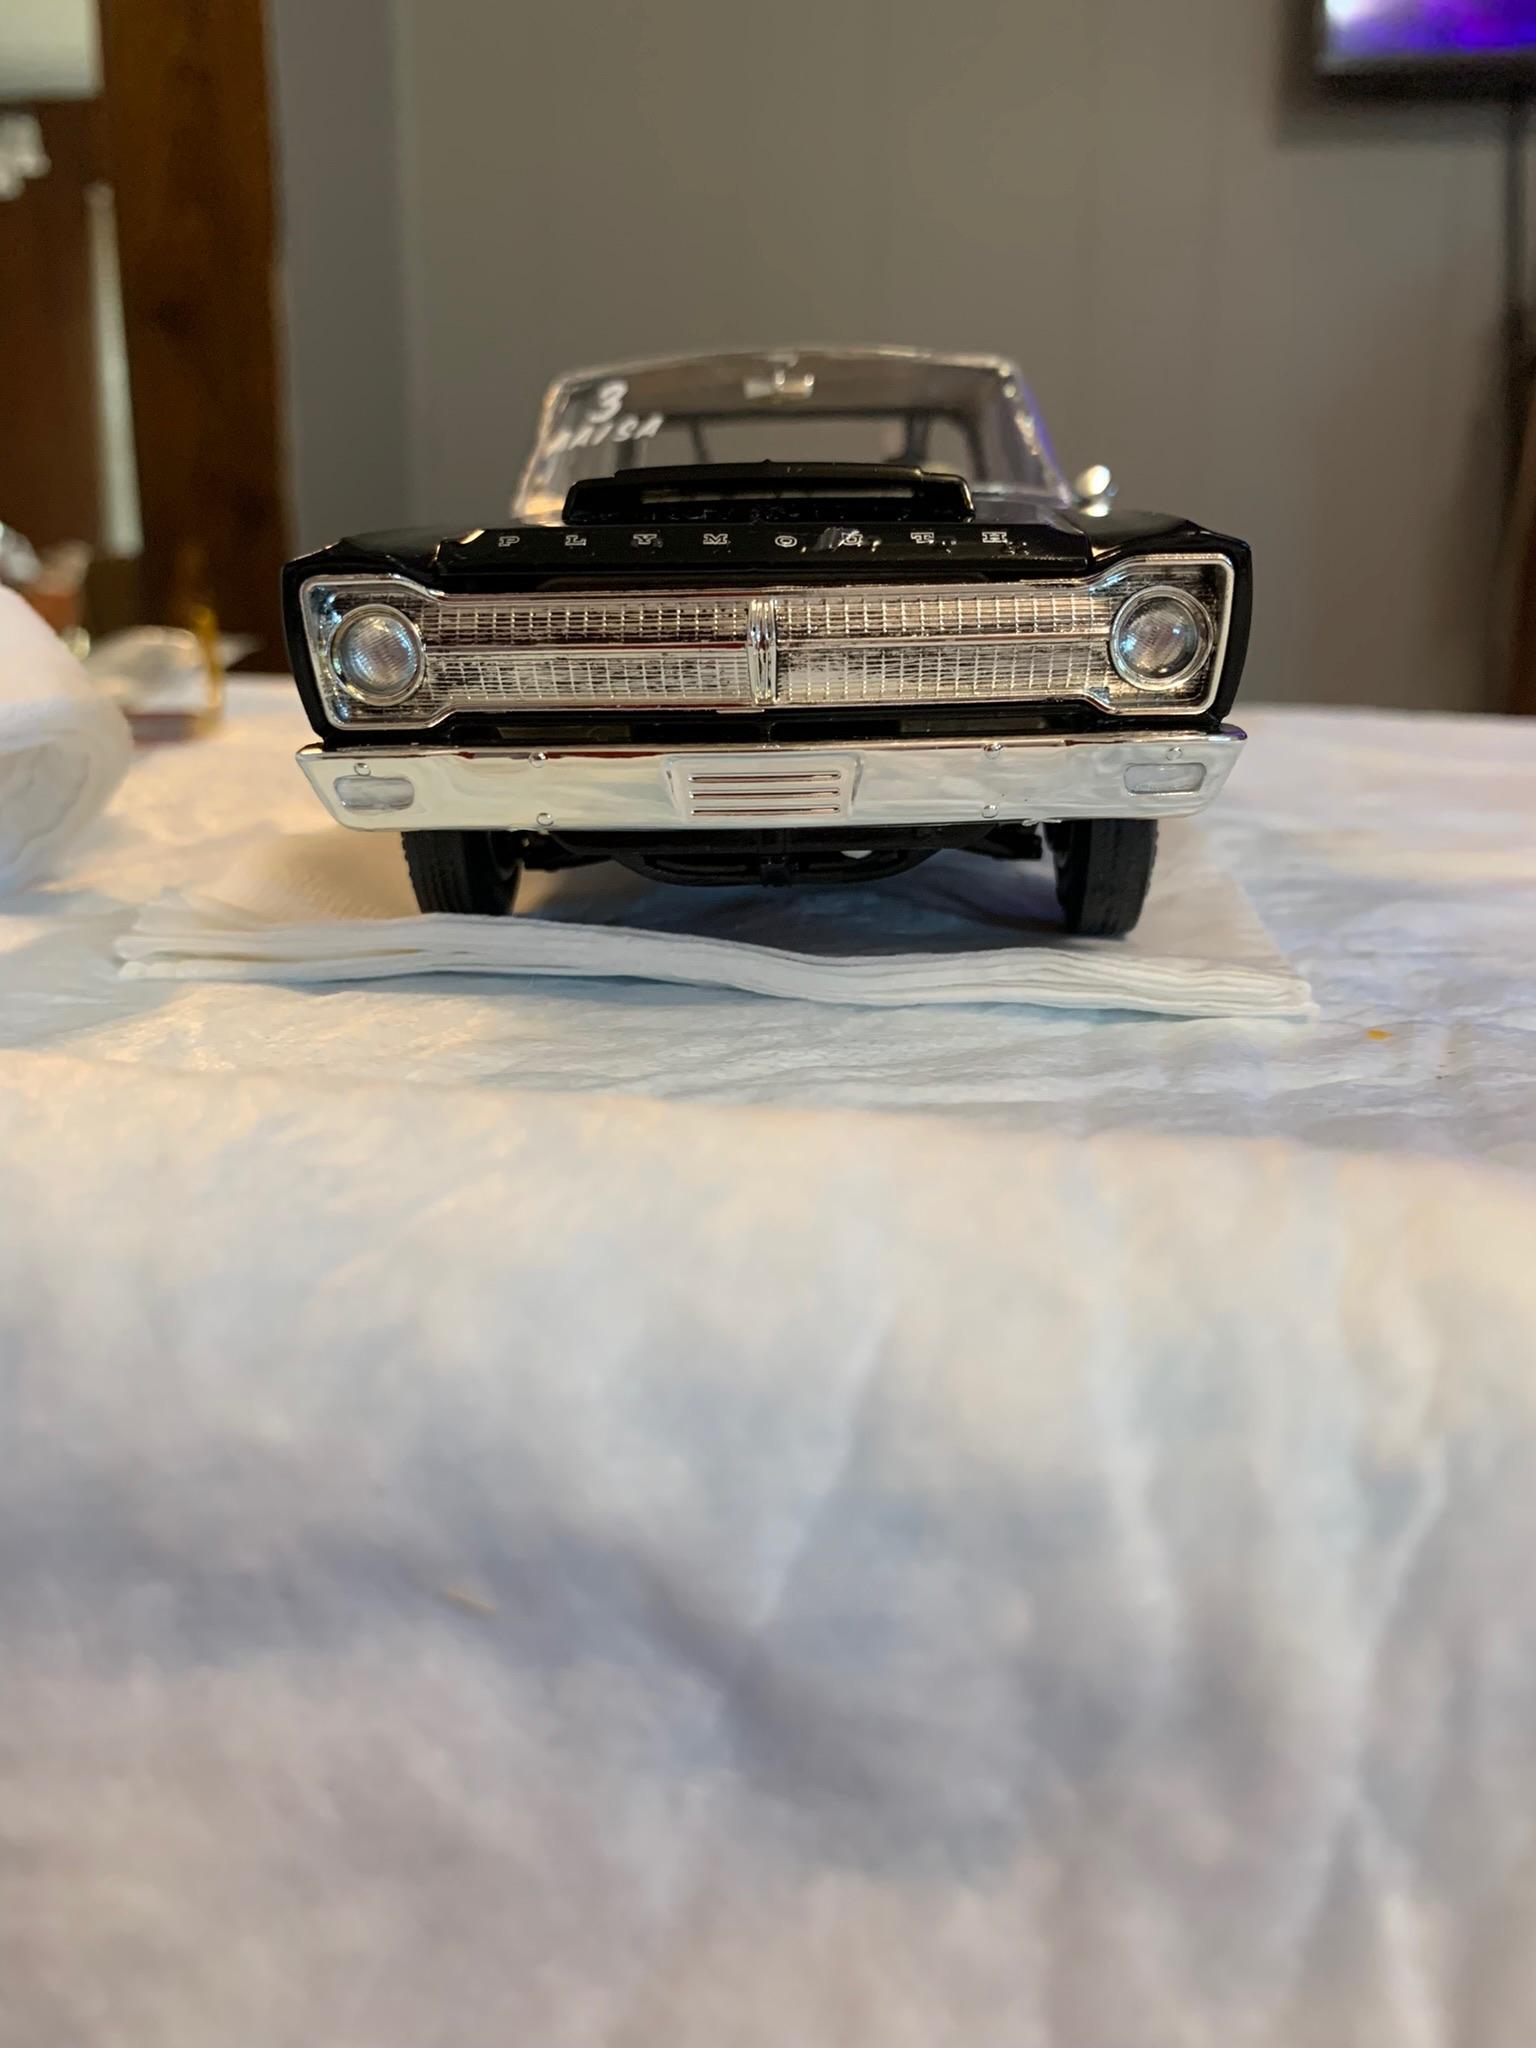
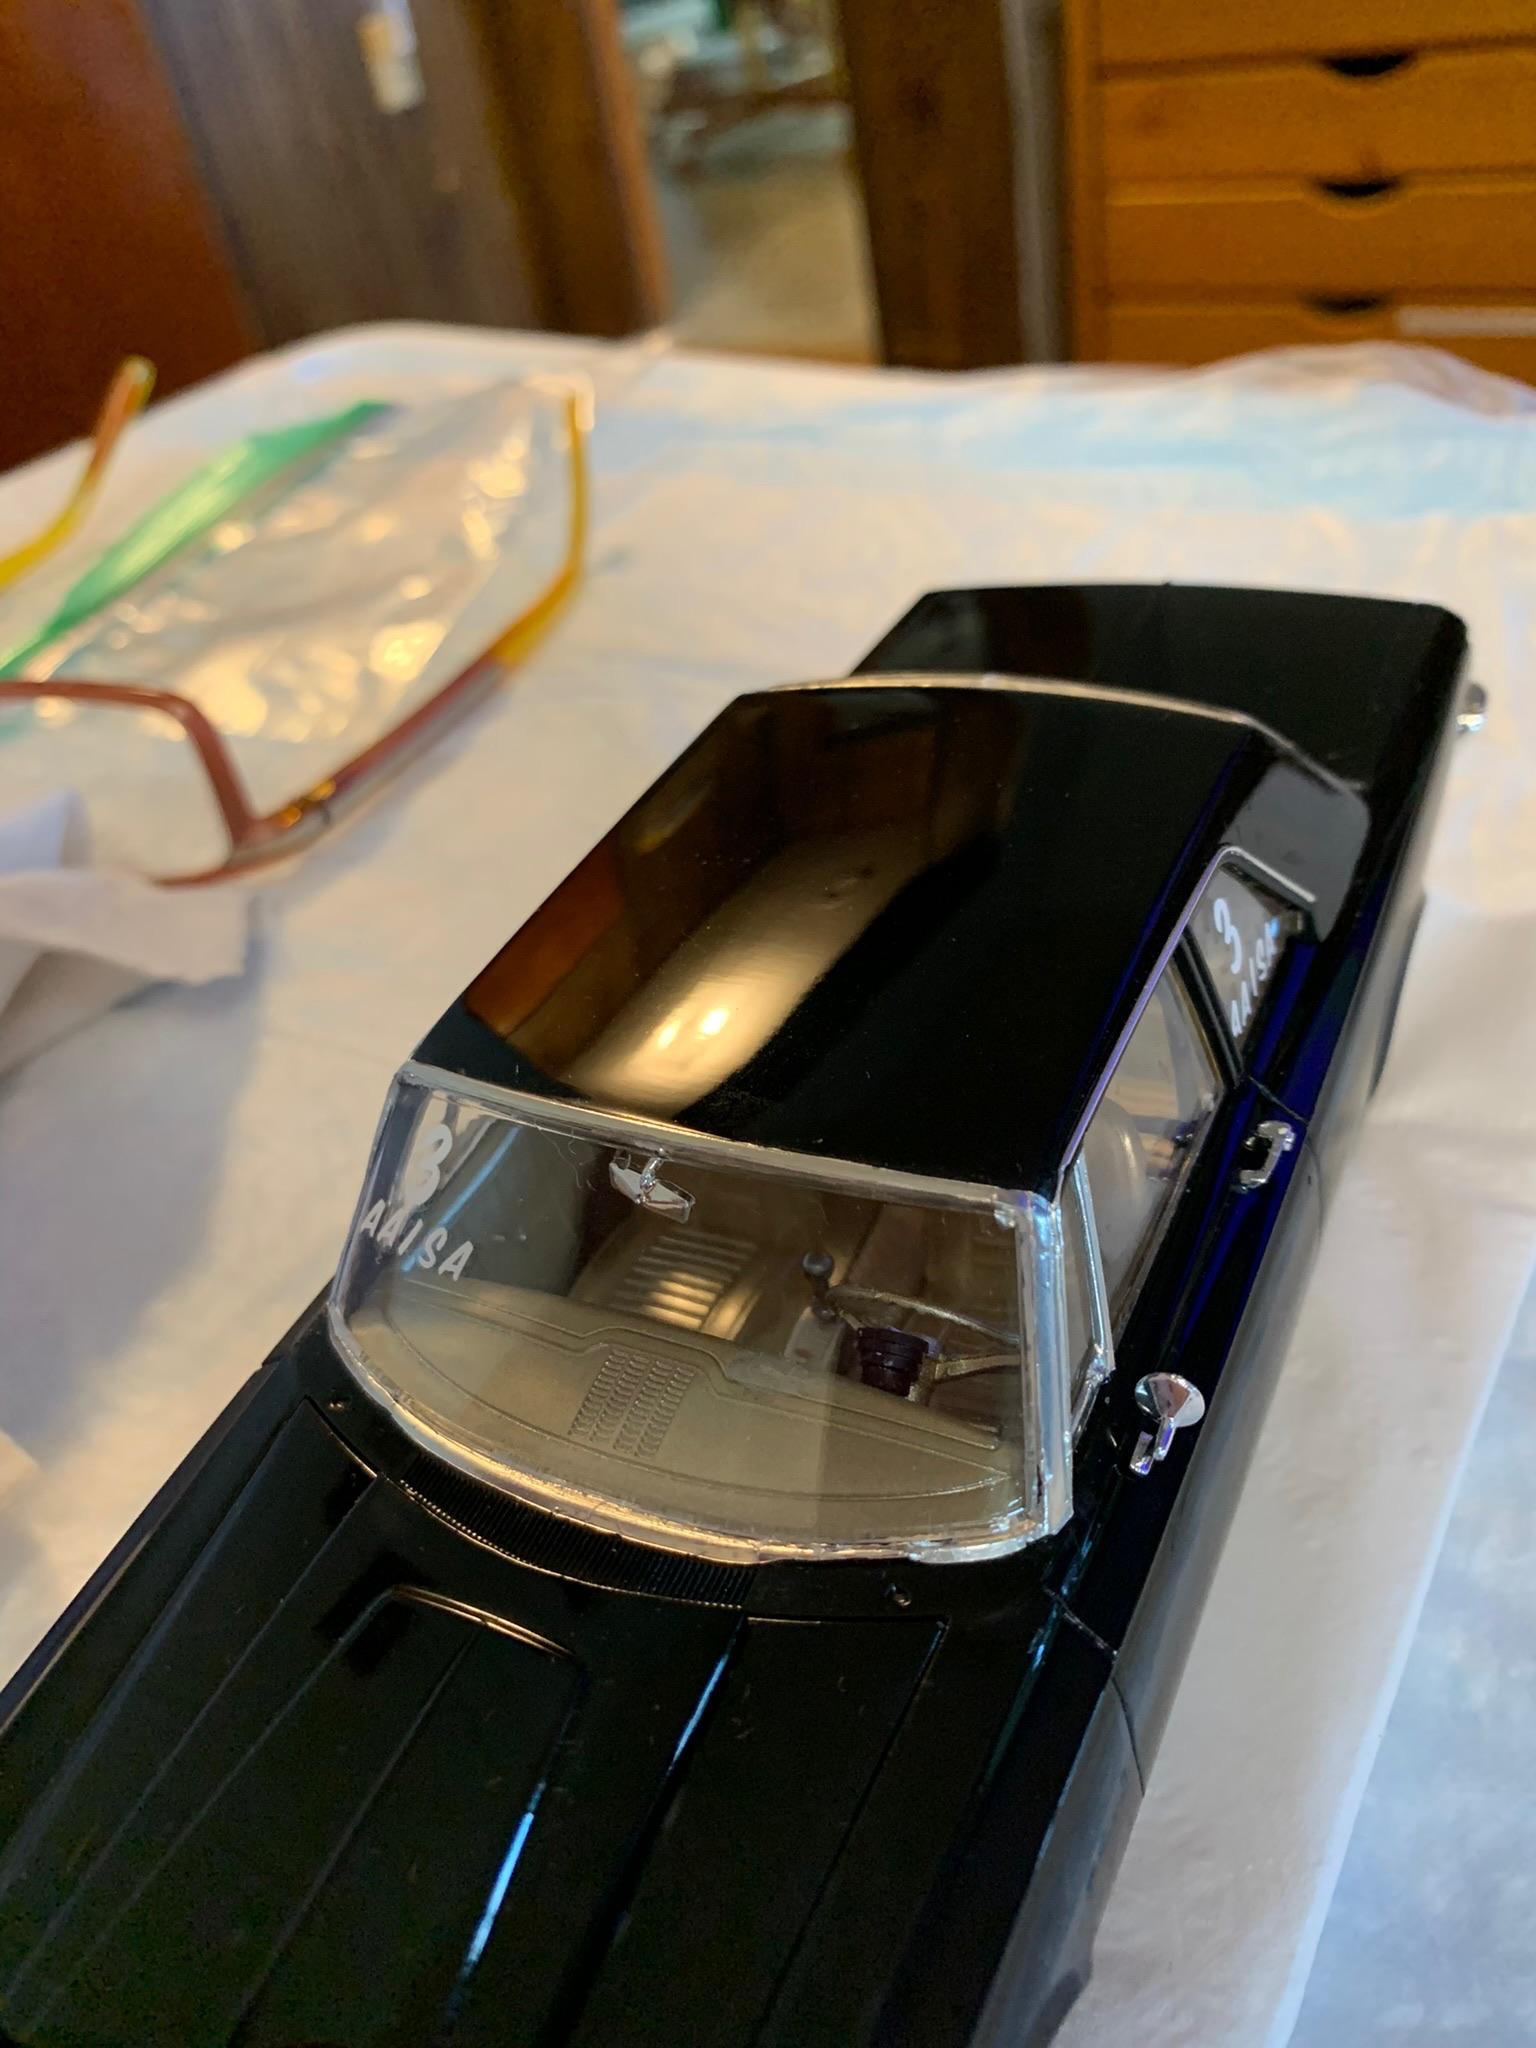
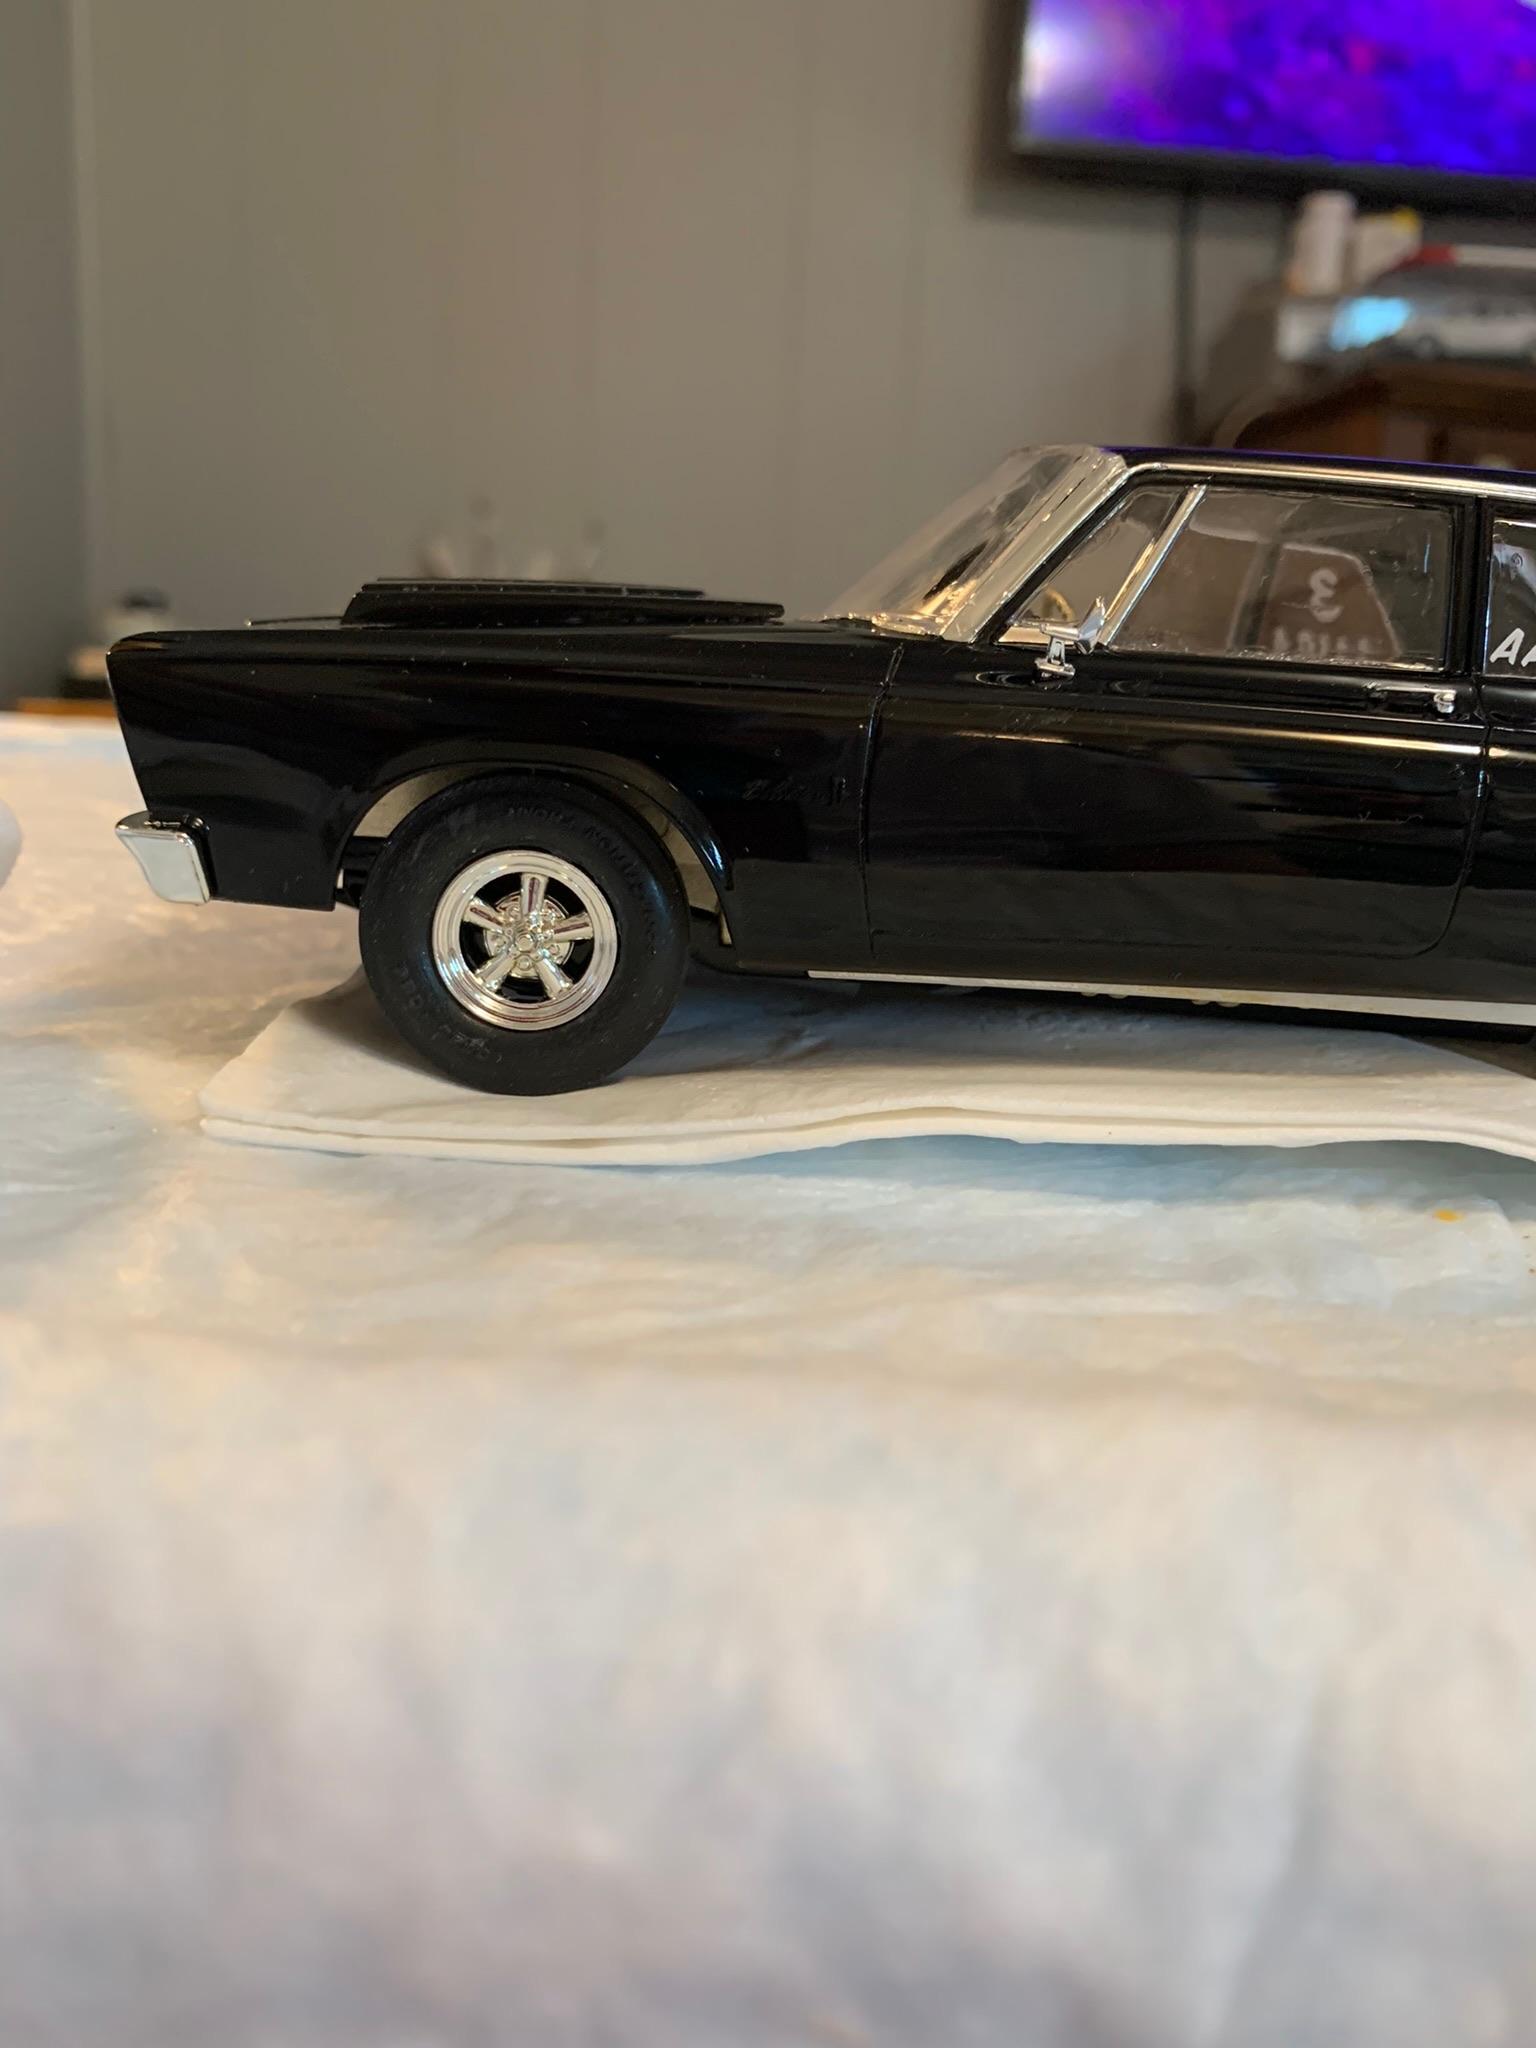
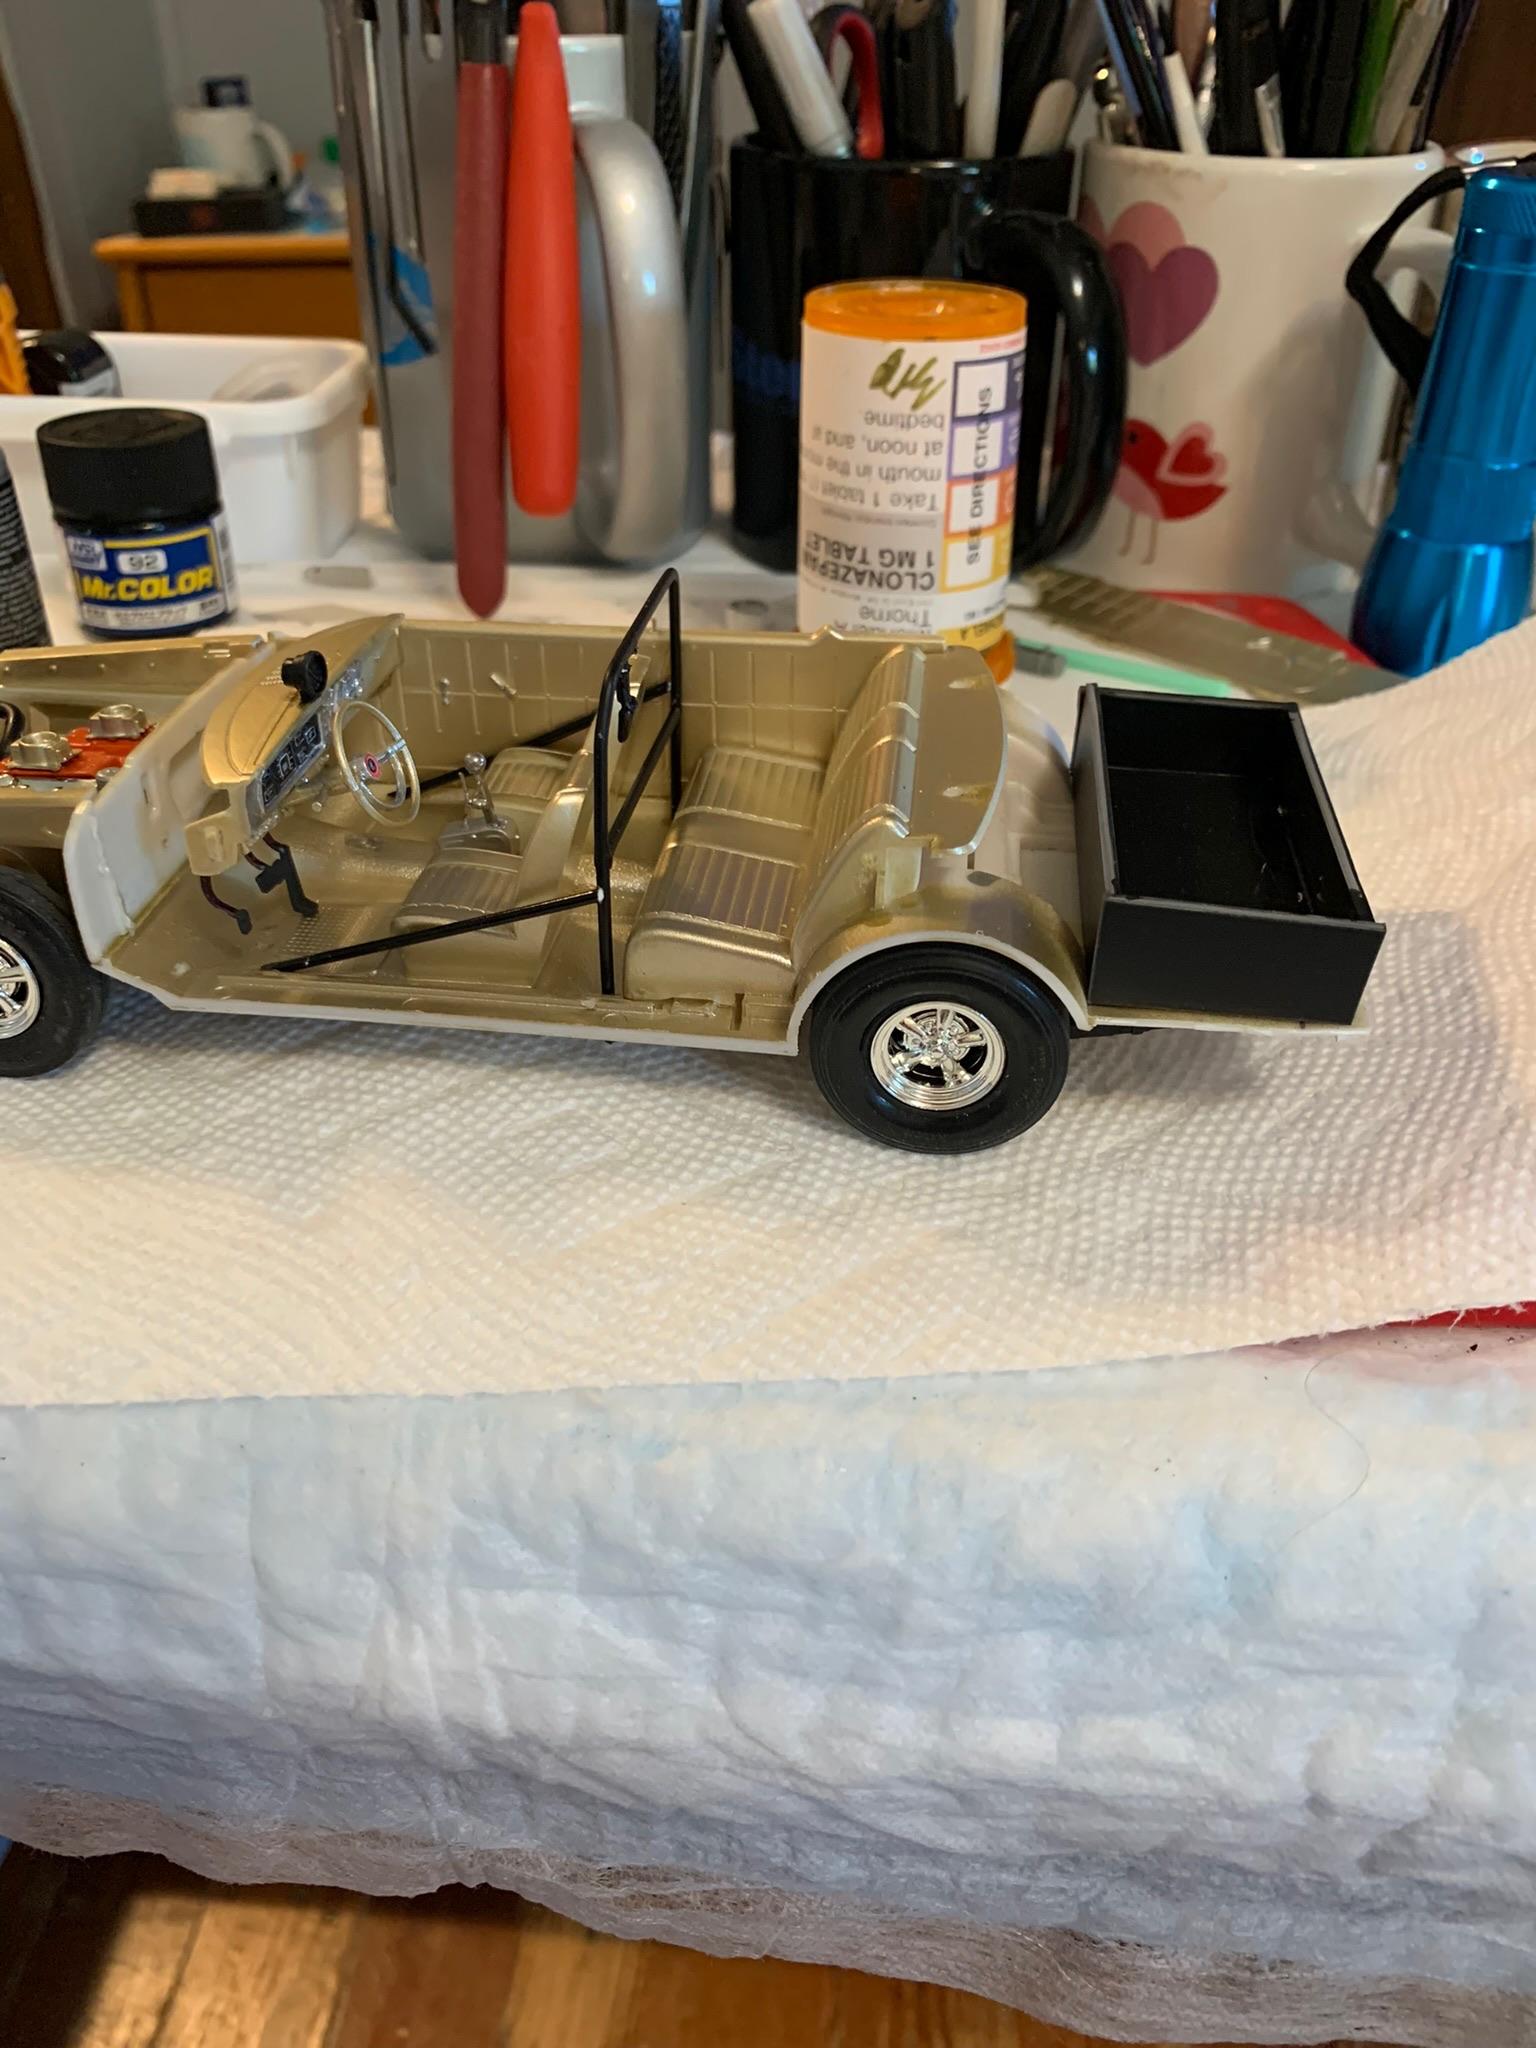
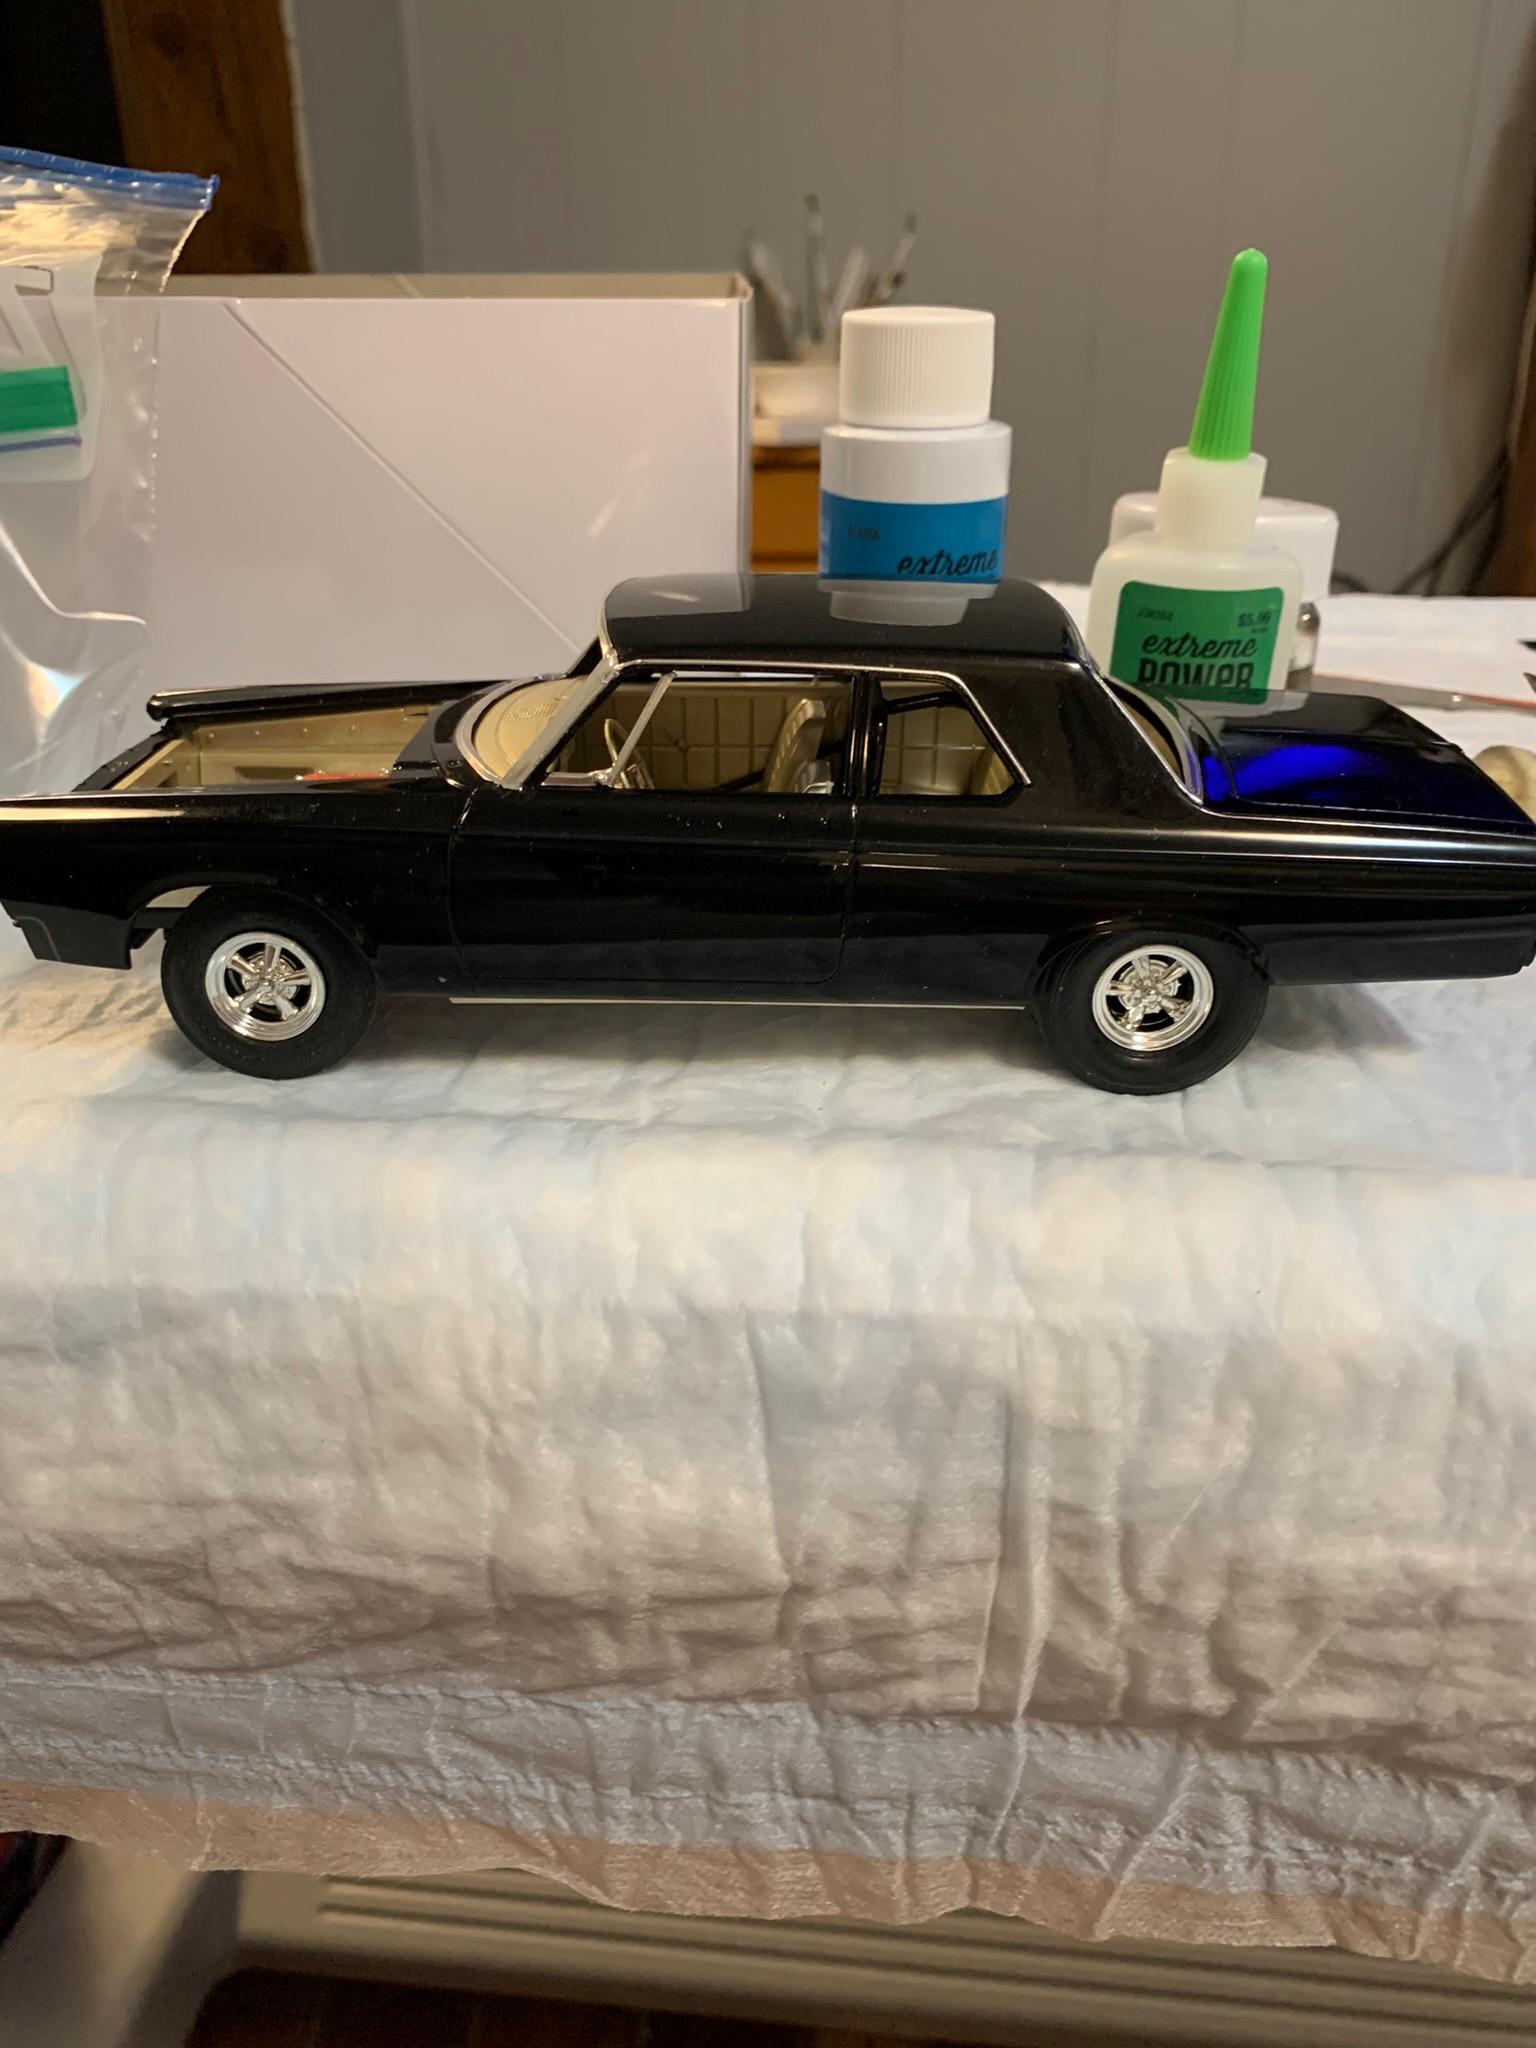
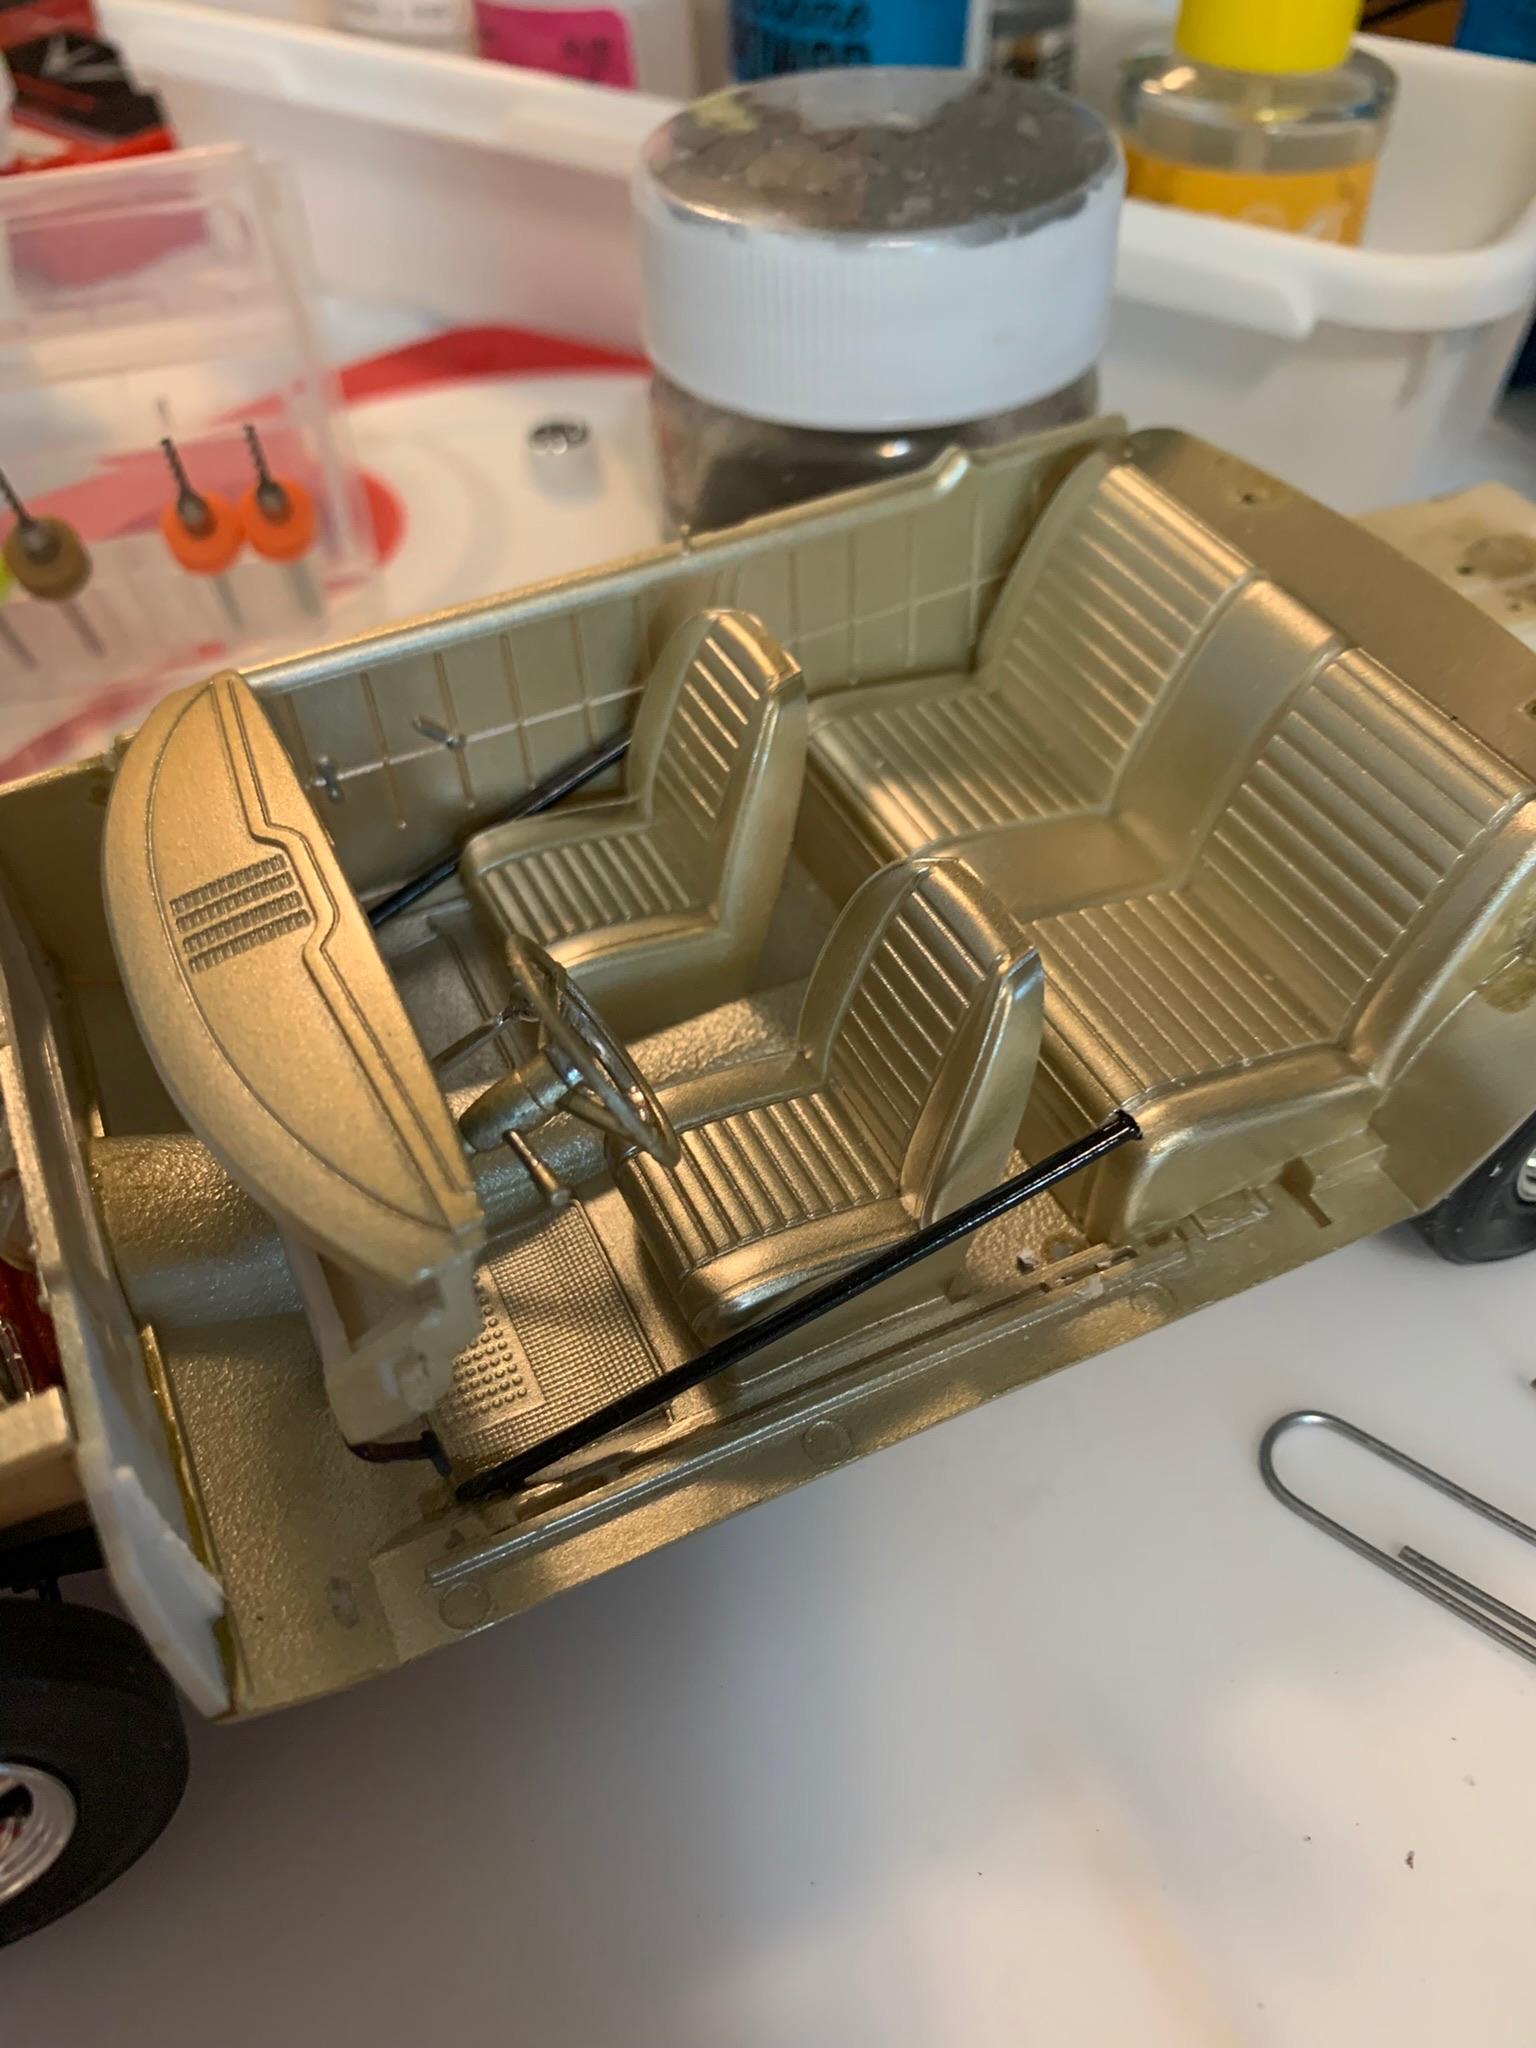
Built from a Moebius Belvedere kit with the hemi and trans from a Lindberg Ramchargers 1964 Dodge. Tamiya black, no primer, no clear. Interior was Champagne gold. This was built as a diversion from another build that I was bogged down with. Nothing too detailed. 6 point bar, aftermarket tach and shifter, scratchbuilt subframe connectors added. I was going to add Caltracs , plug wires, msd, etc., but decided to build it quick and get started on my next one with the thought of coming back to it later and adding more details (maybe should call it semifinished). More info on my wip build. Thanks for looking.
-
My first AA/SA- 1965 Plymouth A990 hemi
R. Thorne replied to R. Thorne's topic in WIP: Drag Racing Models
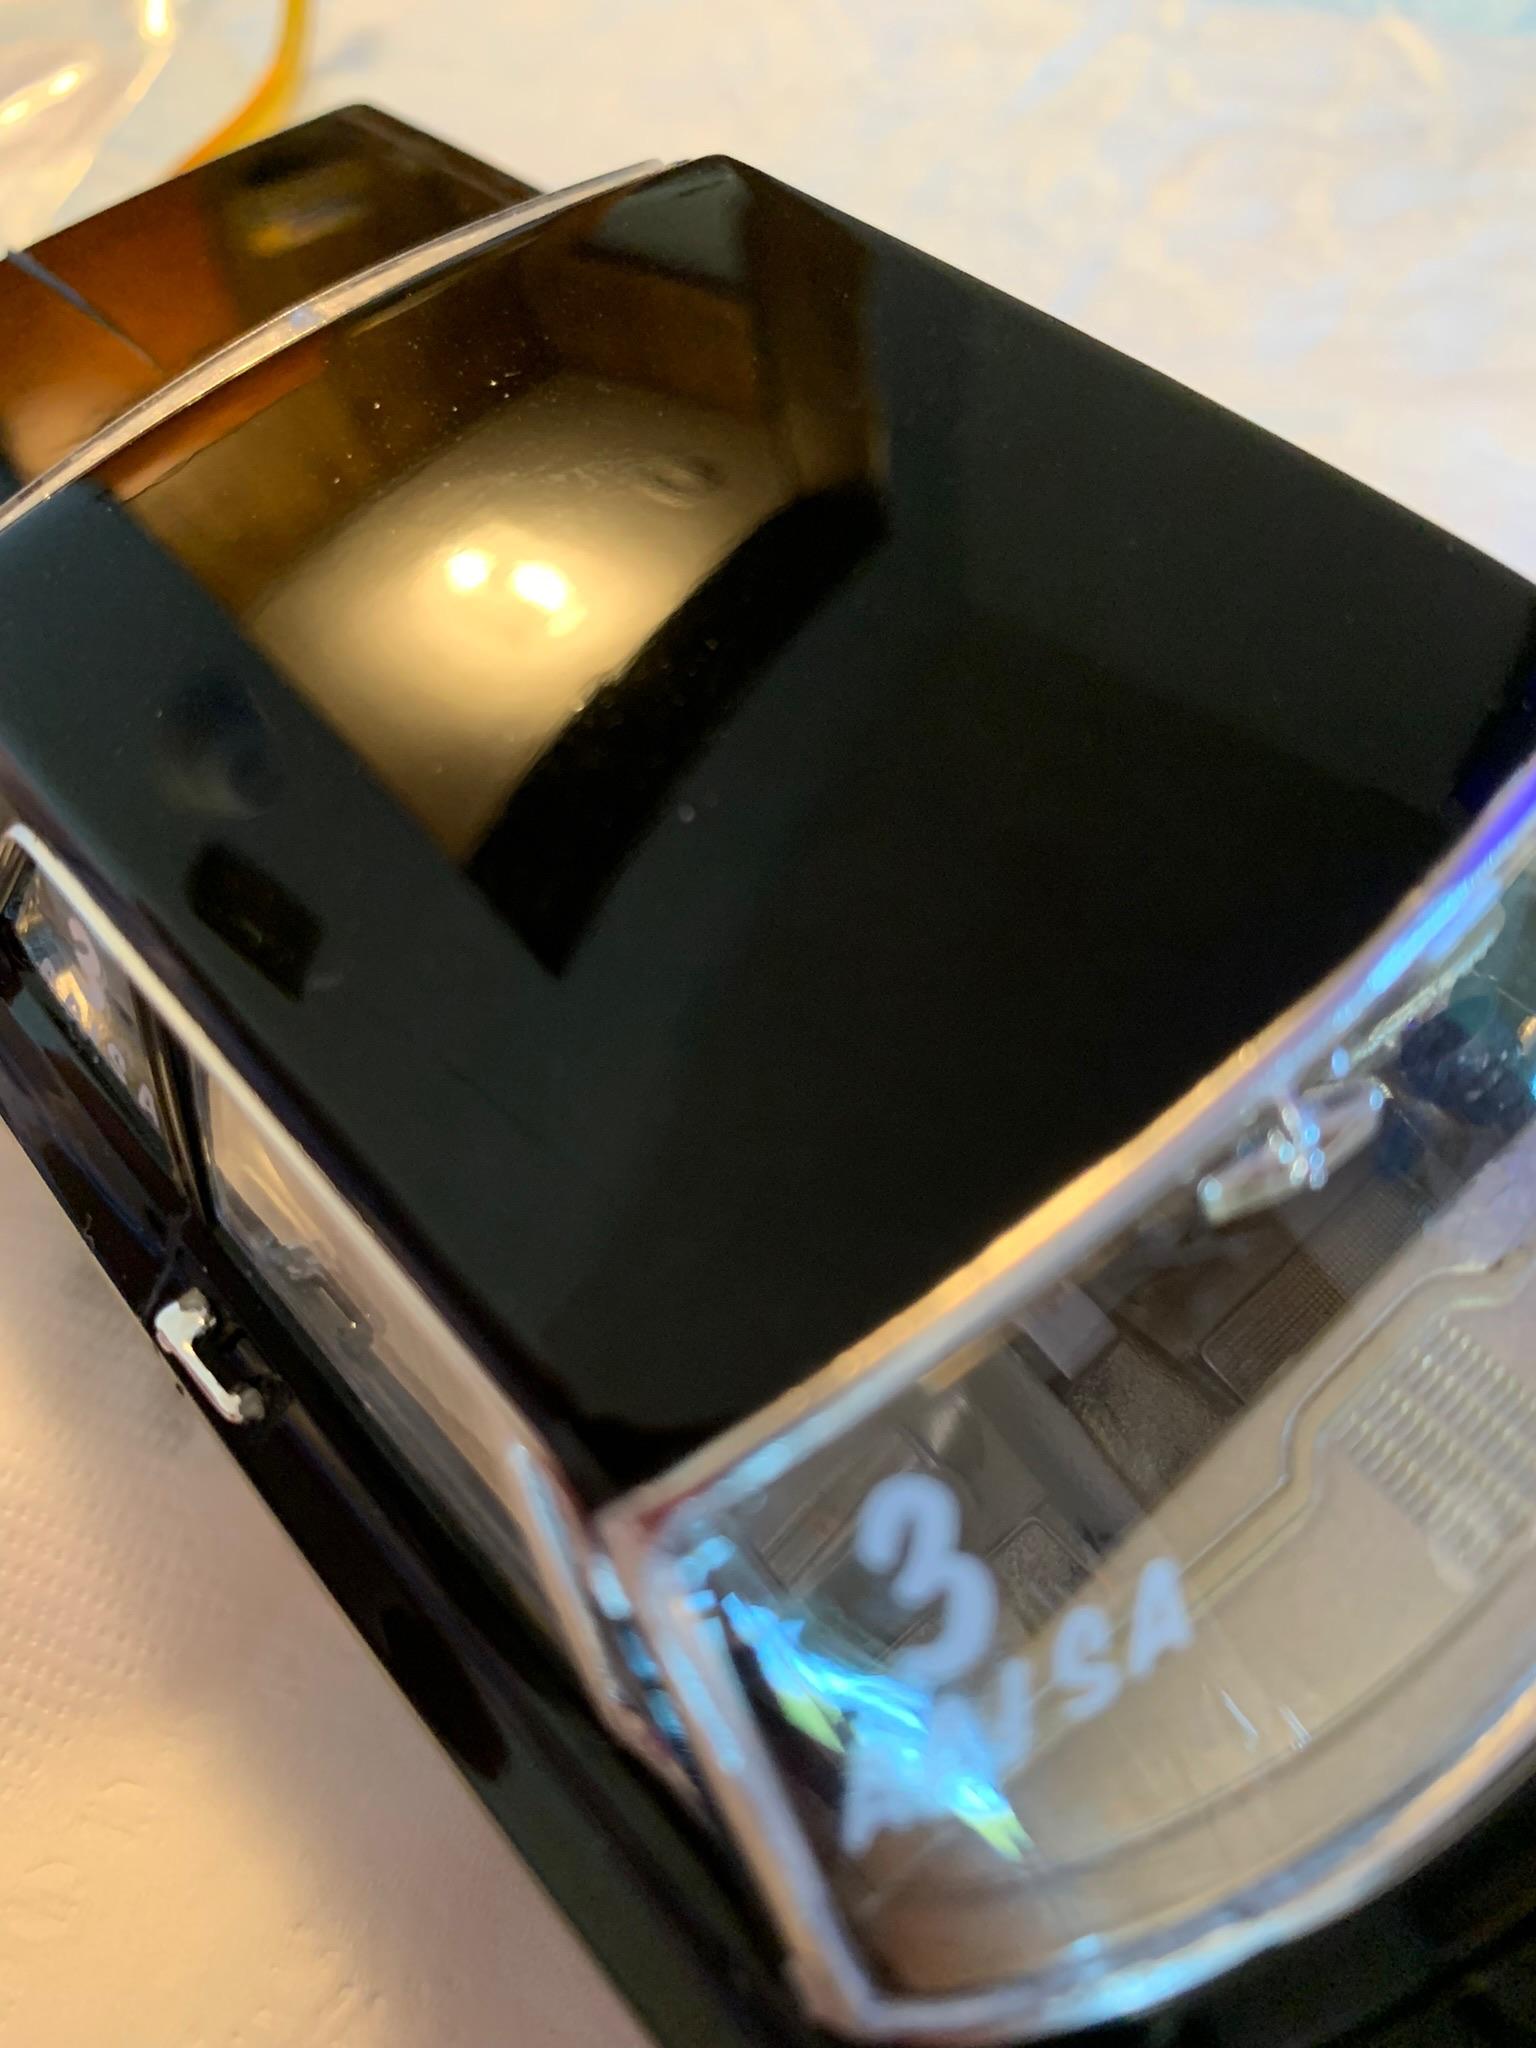
I know what you mean. I had mistakenly sanded off the the inside edge of the rear window thinking it was flash. I realize now I should have colored it black to resemble a rubber seal. First model I have done that had externally mounted front and rear windshields (not a fan). I had some trouble getting the rear window to seat properly. Anyway, finished up today and calling it done (at least for now). After I put the body on there wasn’t enough weight in my weight box for a wheelie pose. I will post in the finished section.Thank you for your comments.
-
My first AA/SA- 1965 Plymouth A990 hemi
R. Thorne replied to R. Thorne's topic in WIP: Drag Racing Models
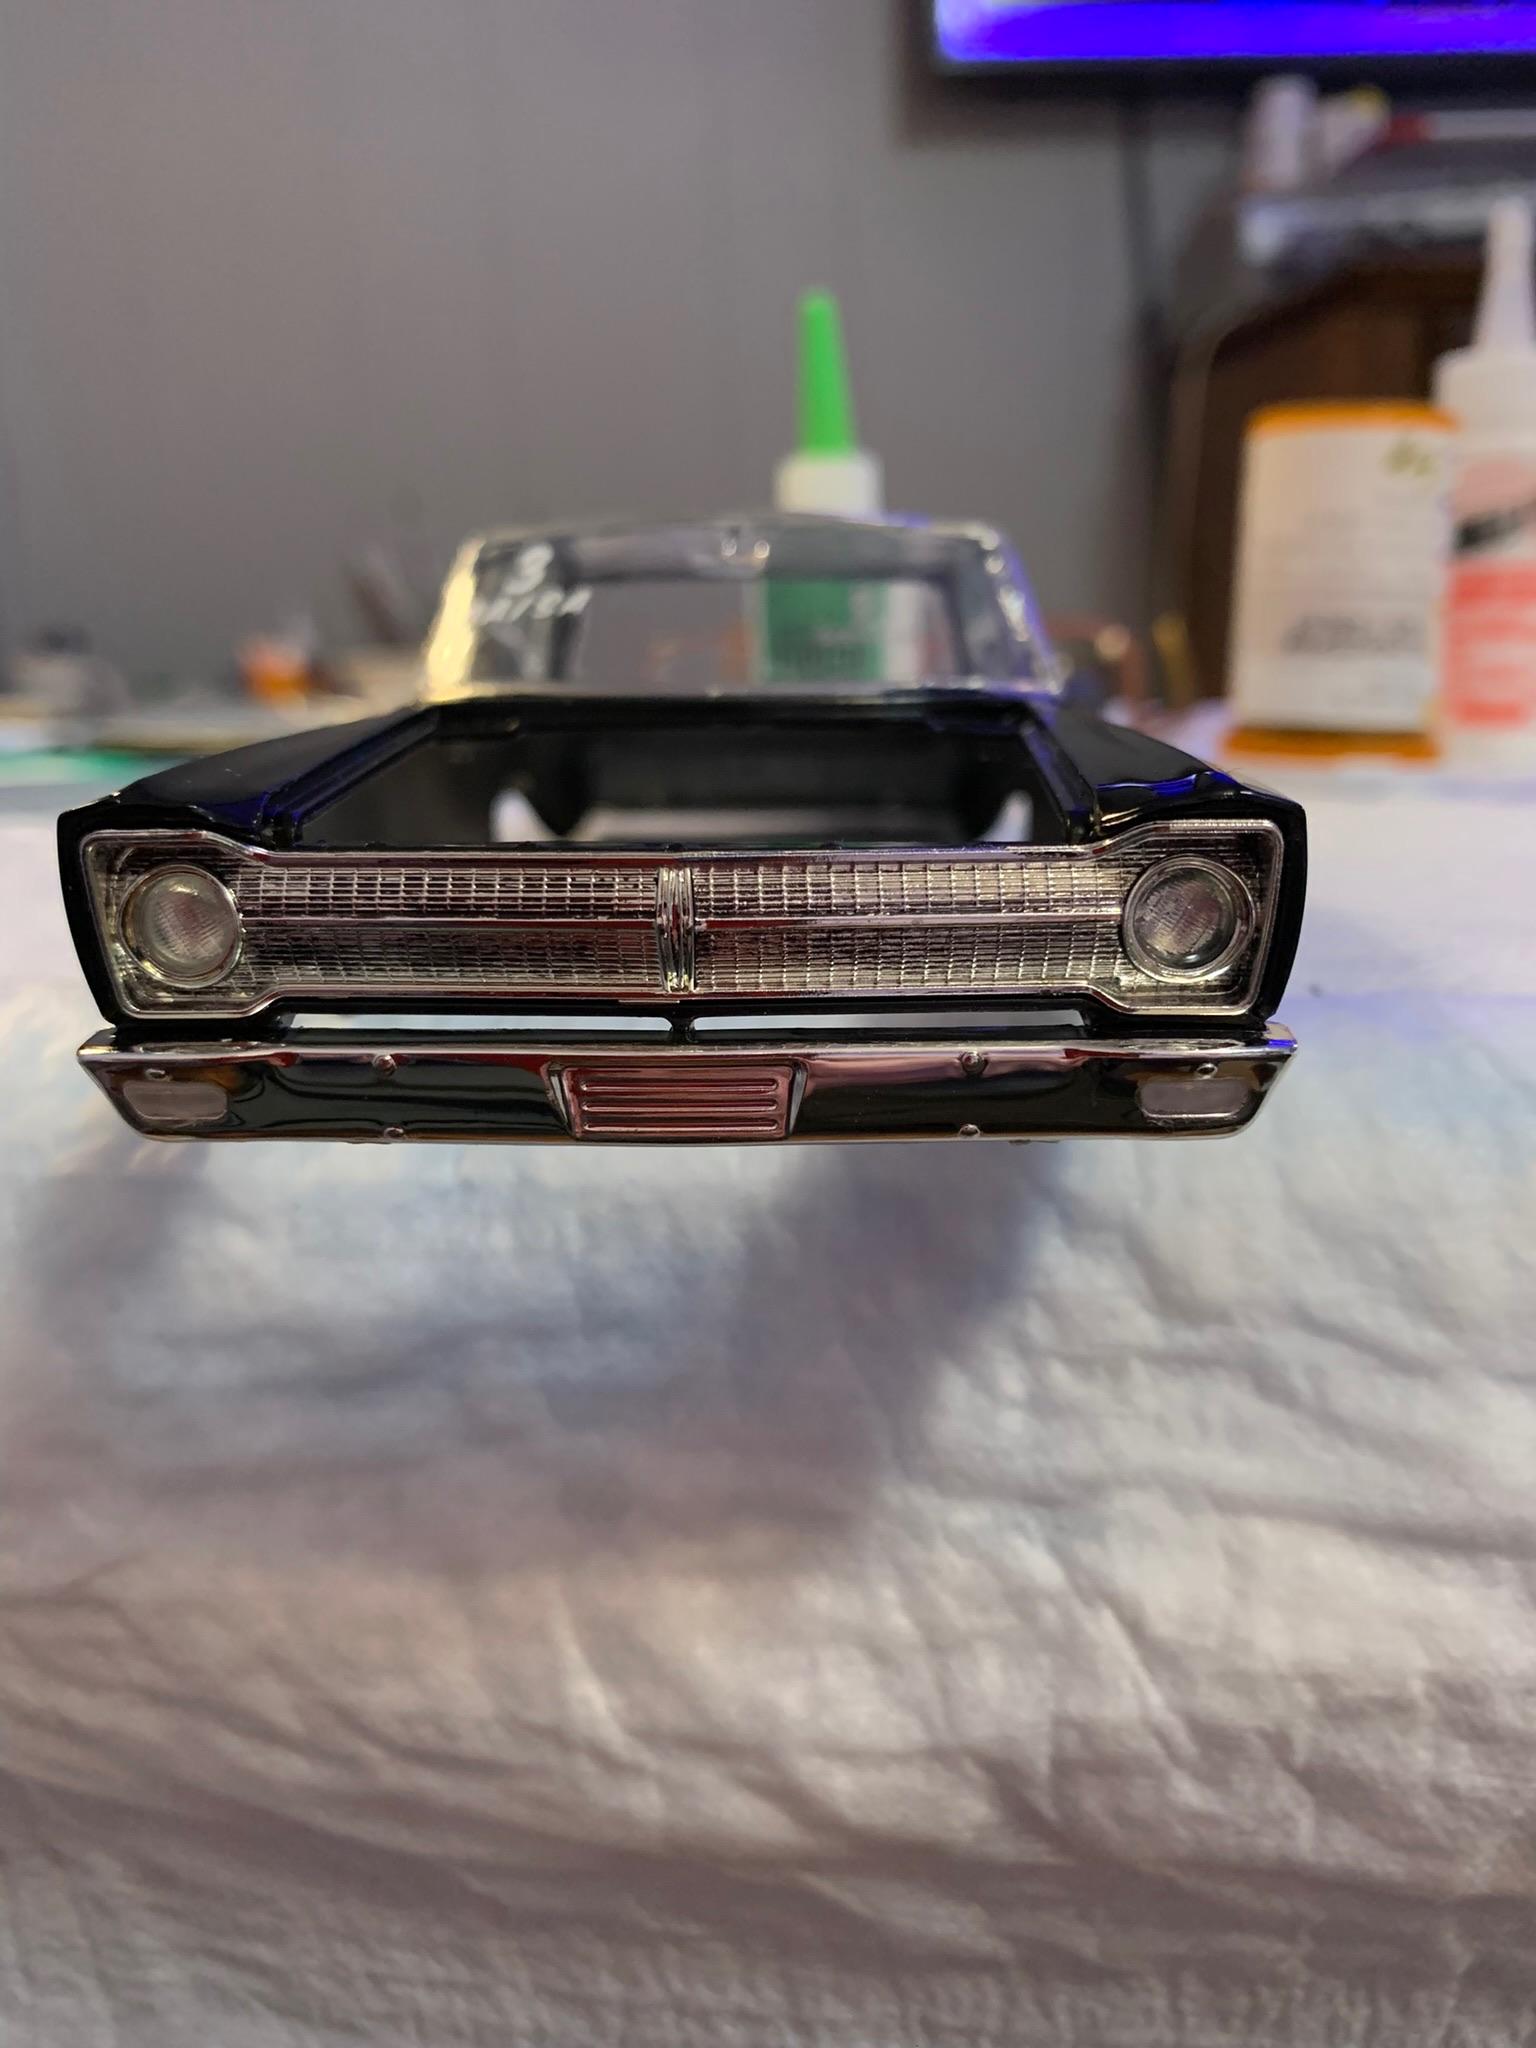
Photos. Washed off grille. Headlights and bumpers installed. All for today.
-
My first AA/SA- 1965 Plymouth A990 hemi
R. Thorne replied to R. Thorne's topic in WIP: Drag Racing Models
Photos.
-
My first AA/SA- 1965 Plymouth A990 hemi
R. Thorne replied to R. Thorne's topic in WIP: Drag Racing Models
Key word there “trying”. Probably should have left it alone. Thanks for comment. A little more done this evening. Taillights done with clear red and installed with Formula 560. Polished with Novus #1. Pleased with the finish. Tried to take some better pics. Hard to beat a shiny black car. Tried to blackwash the grille with less than stellar results. Ended up washing it off. Another step forward with a failed experiment. -
My first AA/SA- 1965 Plymouth A990 hemi
R. Thorne replied to R. Thorne's topic in WIP: Drag Racing Models
This car has “dragged” on too long. Going to “finish” it without too much detail work (may come back to it at a later date). Some progress today. Got the cooling fan, shifter, roll bar back together, weight box filled with lead balls, adjusted so car can do wheelies or not with slight pressure all installed today. Hopefully, tonight install chassis. Thanks for looking.
-
My first AA/SA- 1965 Plymouth A990 hemi
R. Thorne replied to R. Thorne's topic in WIP: Drag Racing Models
I believe it was Michigantoysoldier (www.michtoy.com), but it’s been a couple of years ago. Cost about $5 per bottle. They make airbrush and paint brush version which you just, basically blob on with a micro brush or regular paint brush, of course. Thanks for looking. -
My first AA/SA- 1965 Plymouth A990 hemi
R. Thorne replied to R. Thorne's topic in WIP: Drag Racing Models
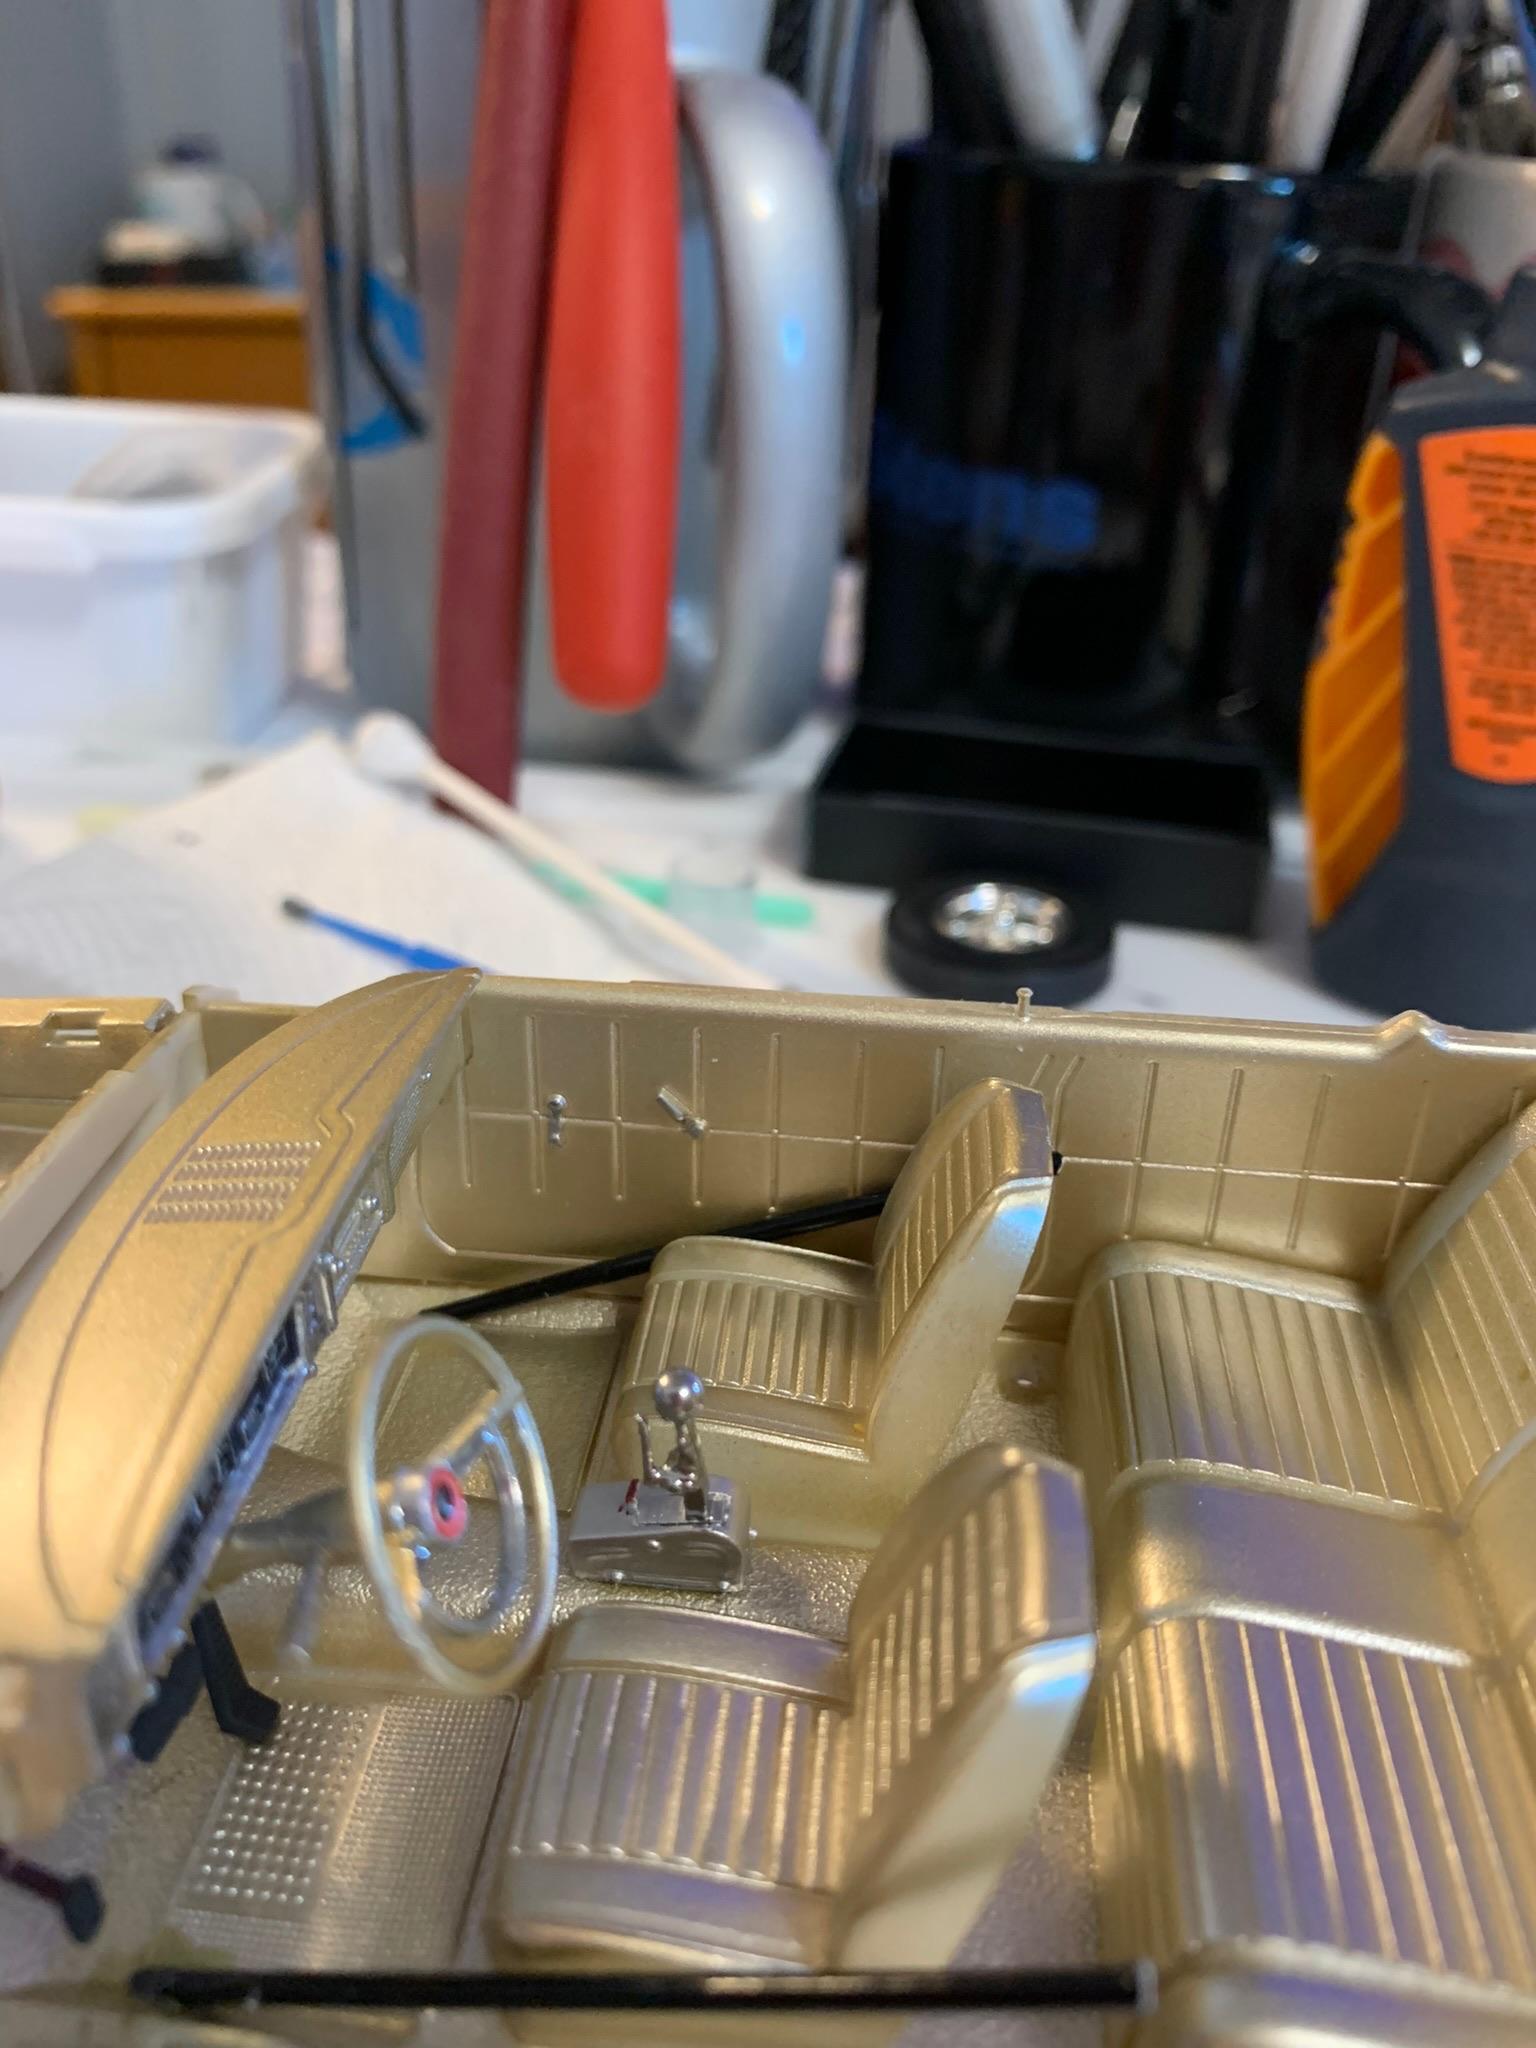
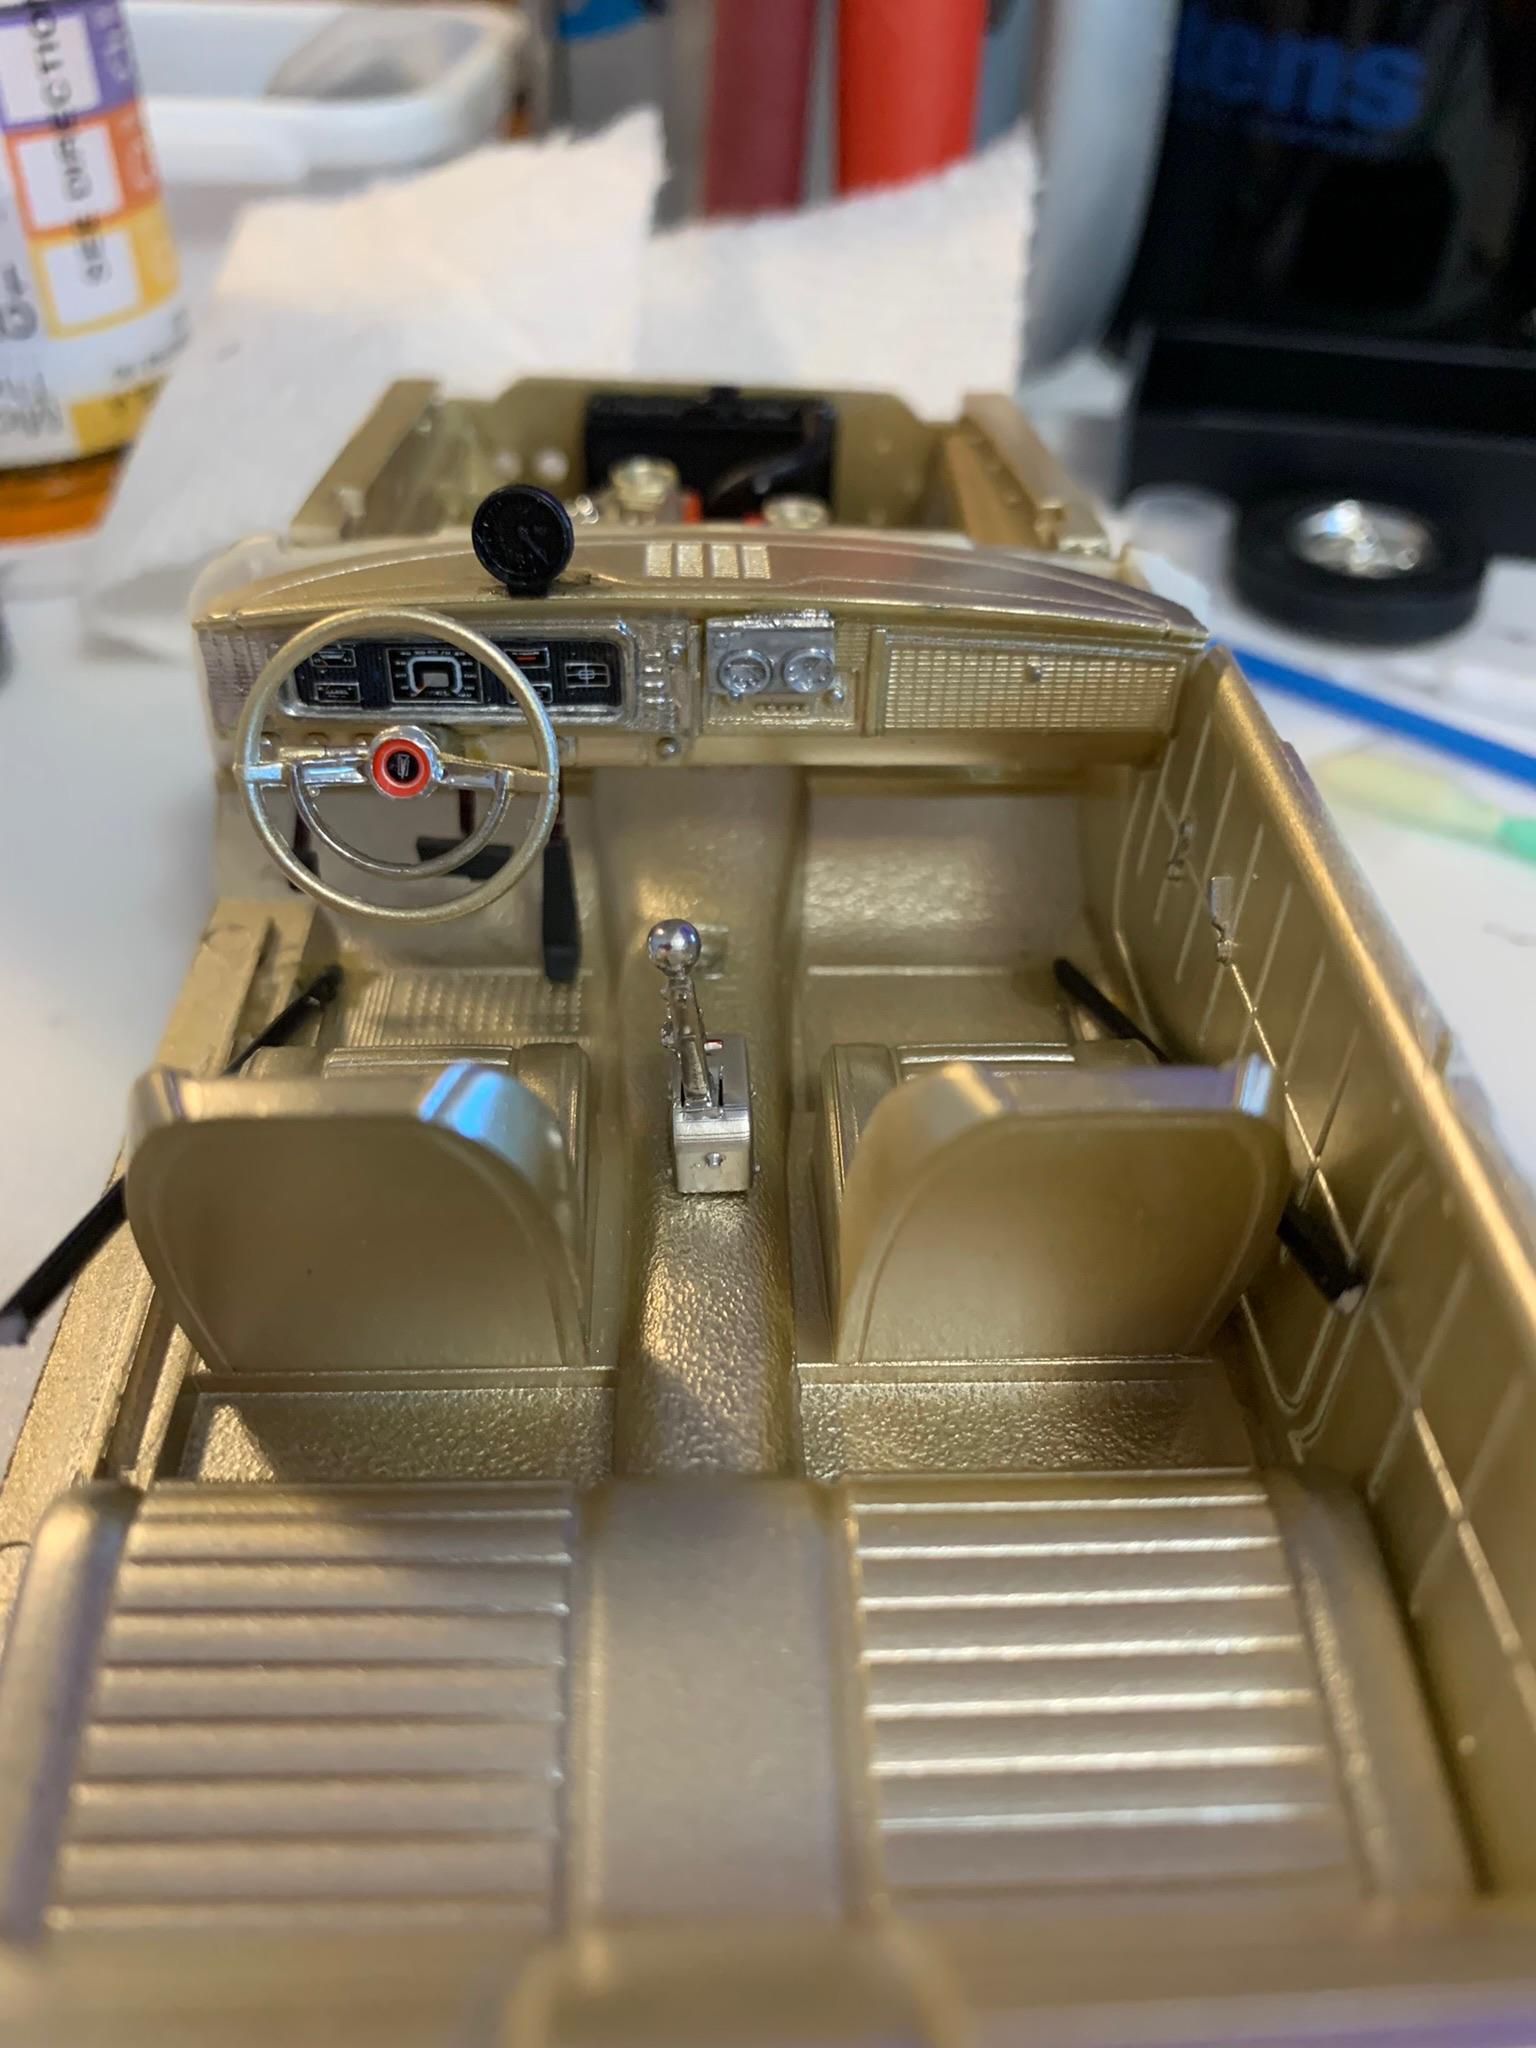
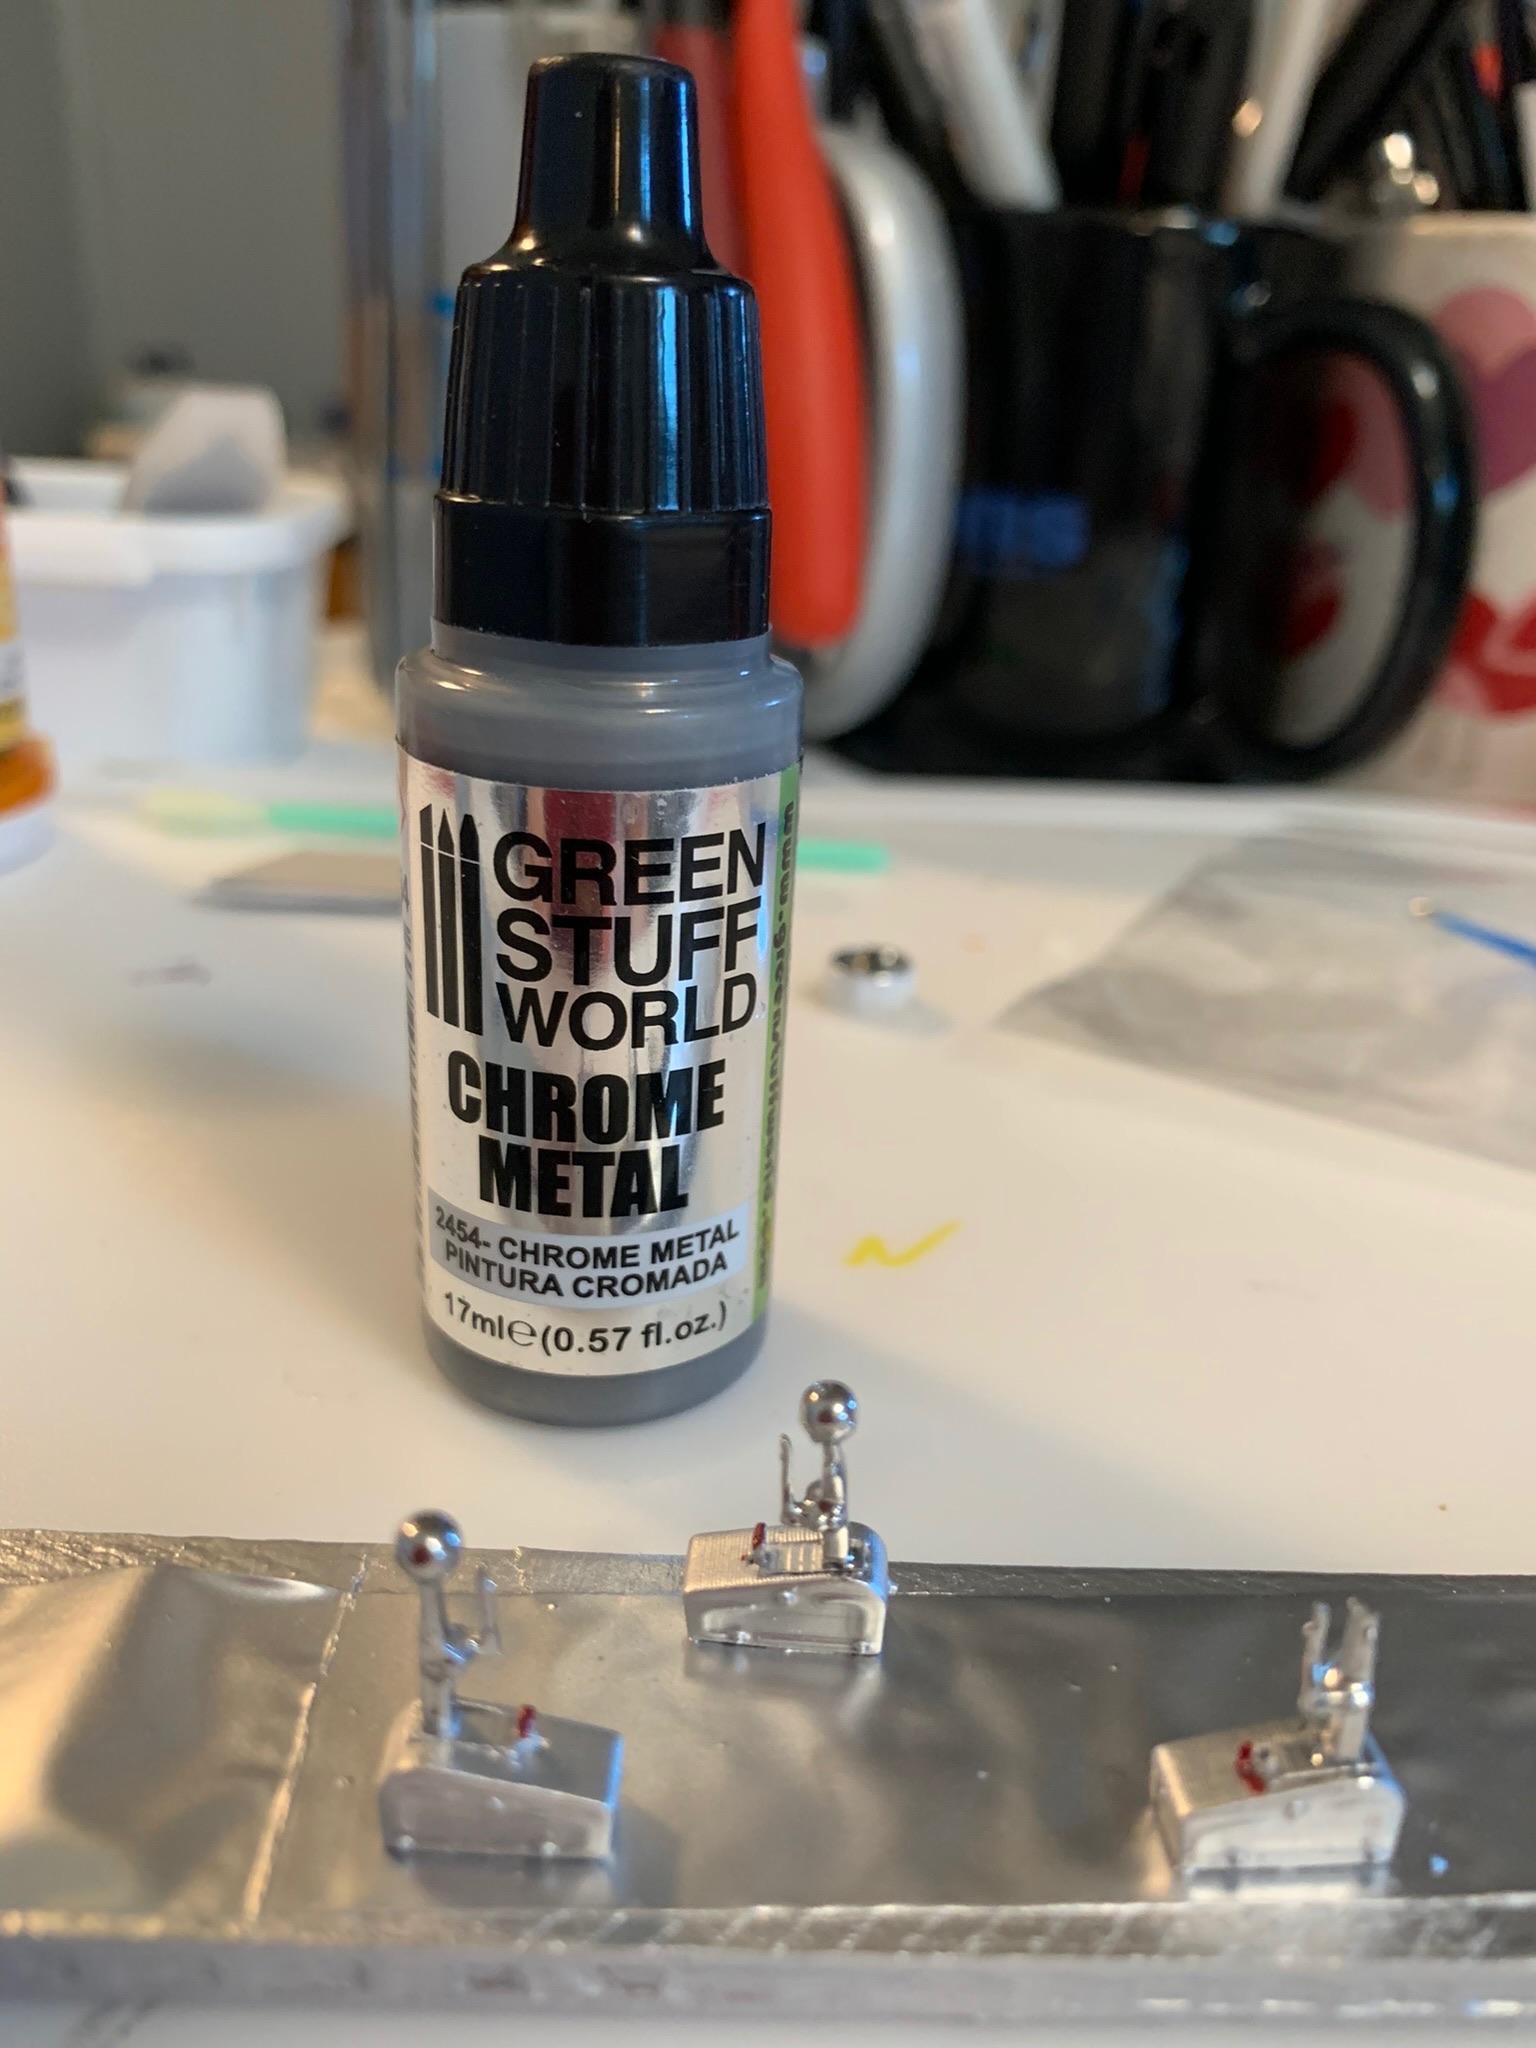
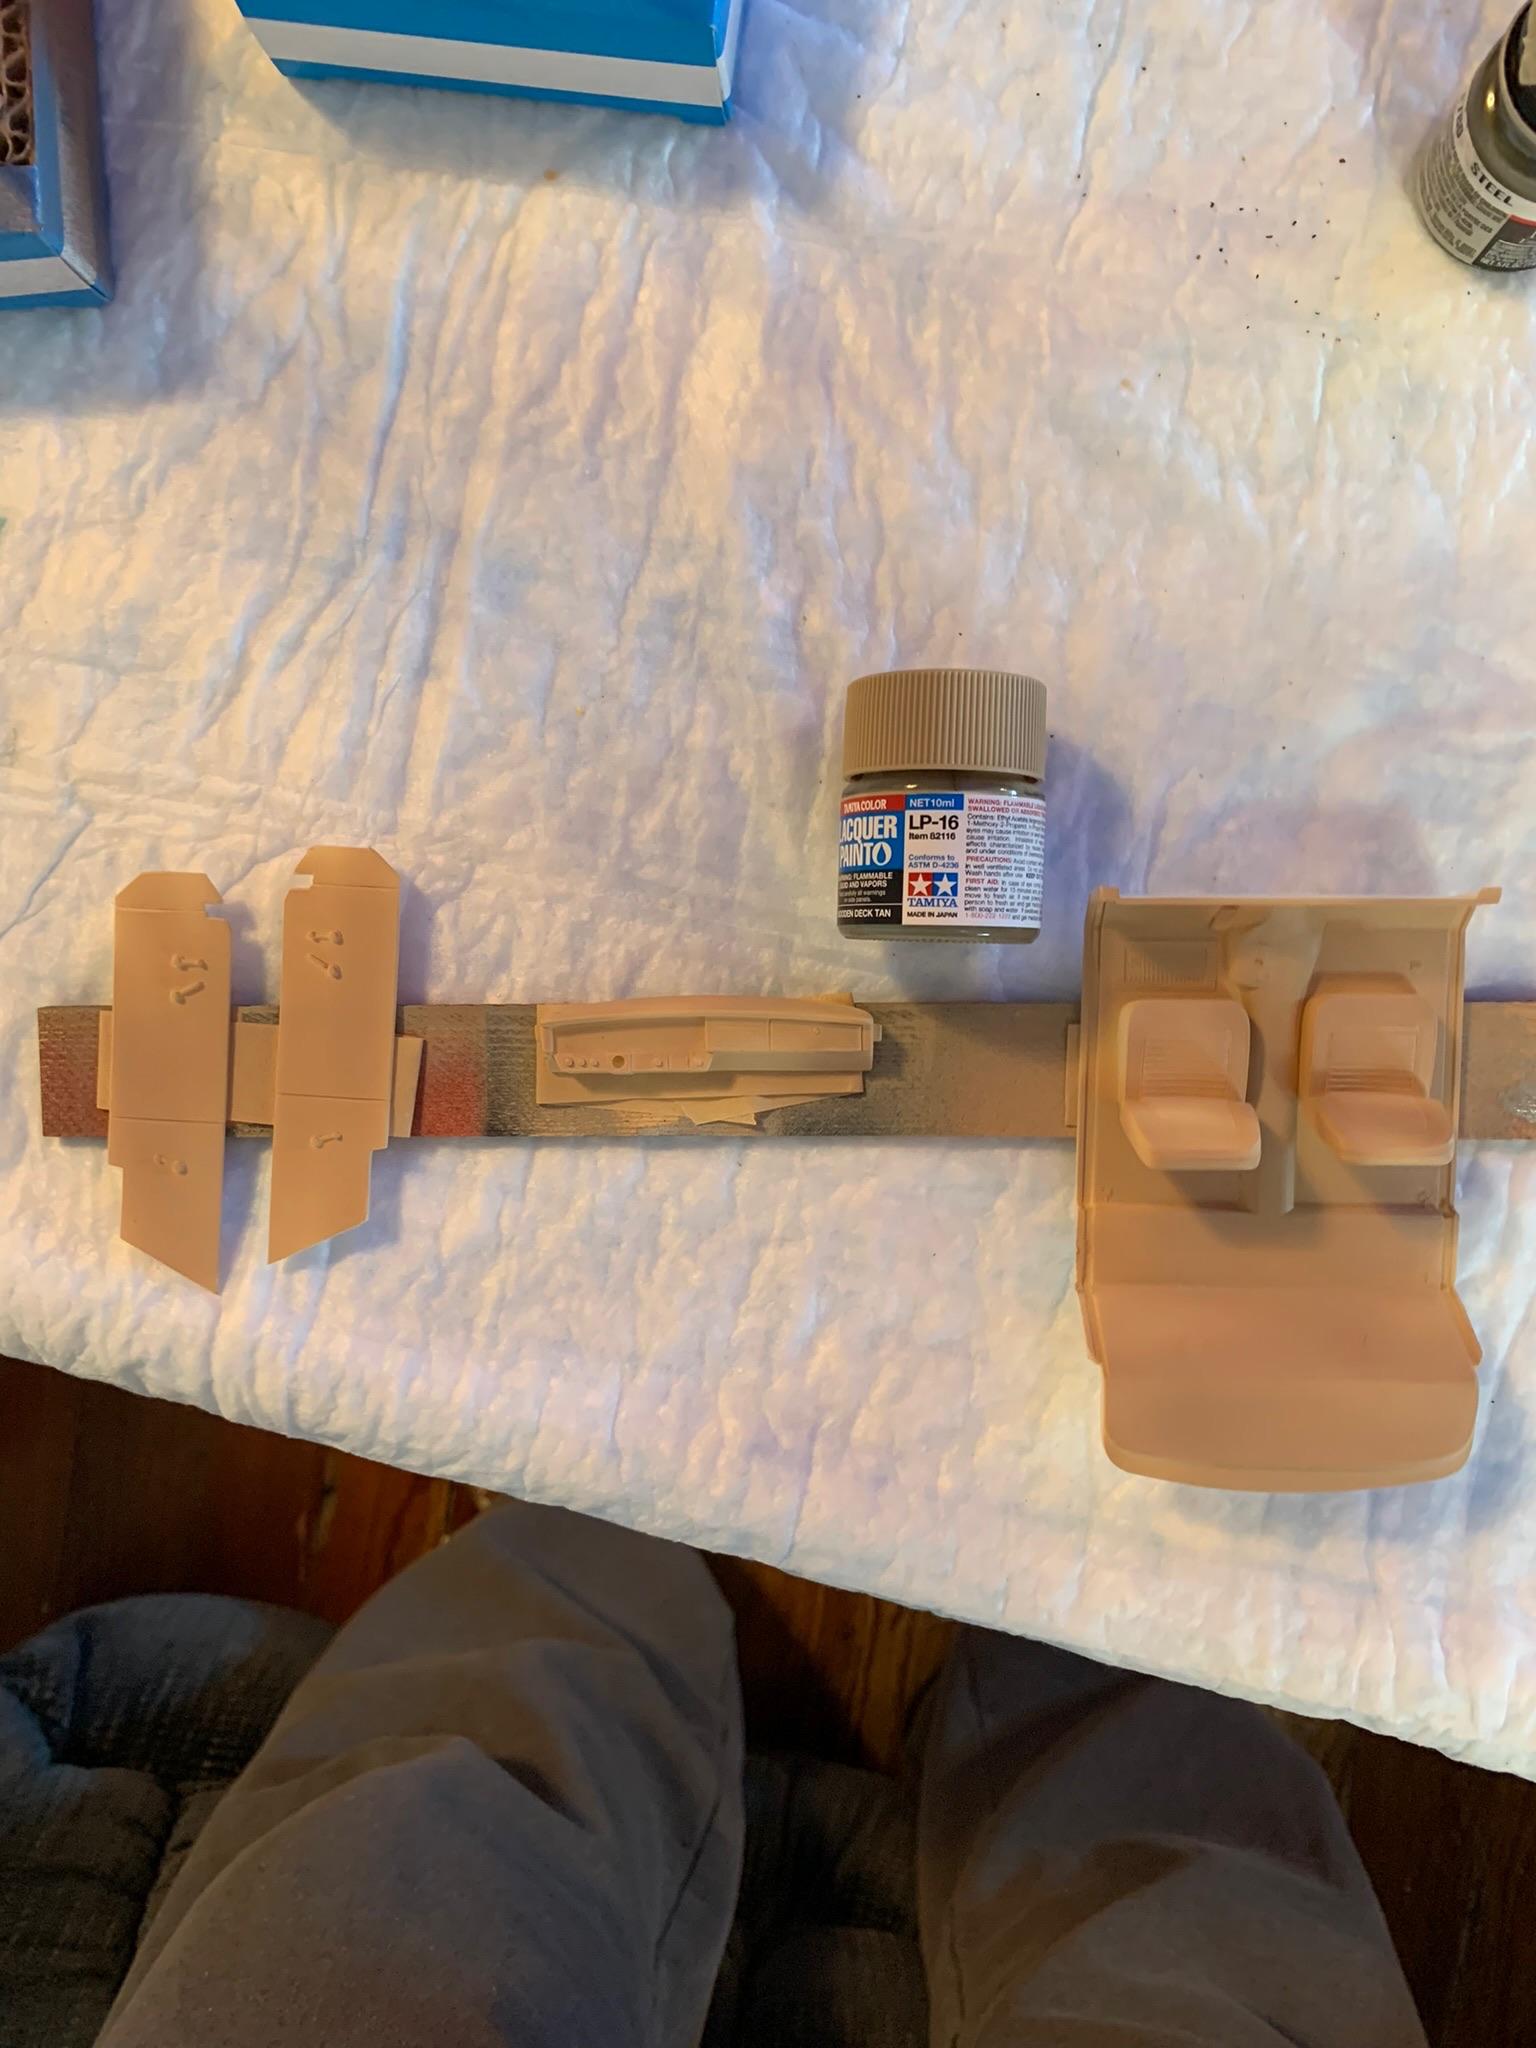
Decided to change the stock floor shift to a more contemporary design. Ordered from ThePartsBox. Separated them from the myriad “holders”, primed with Tamiya spray white primer, then Tamiya silver leaf, followed by micro brushing the handles with GreenStuffWorld chrome, and a touch of red Sharpie. Now, to cut the old off and install one.
-
My first AA/SA- 1965 Plymouth A990 hemi
R. Thorne replied to R. Thorne's topic in WIP: Drag Racing Models
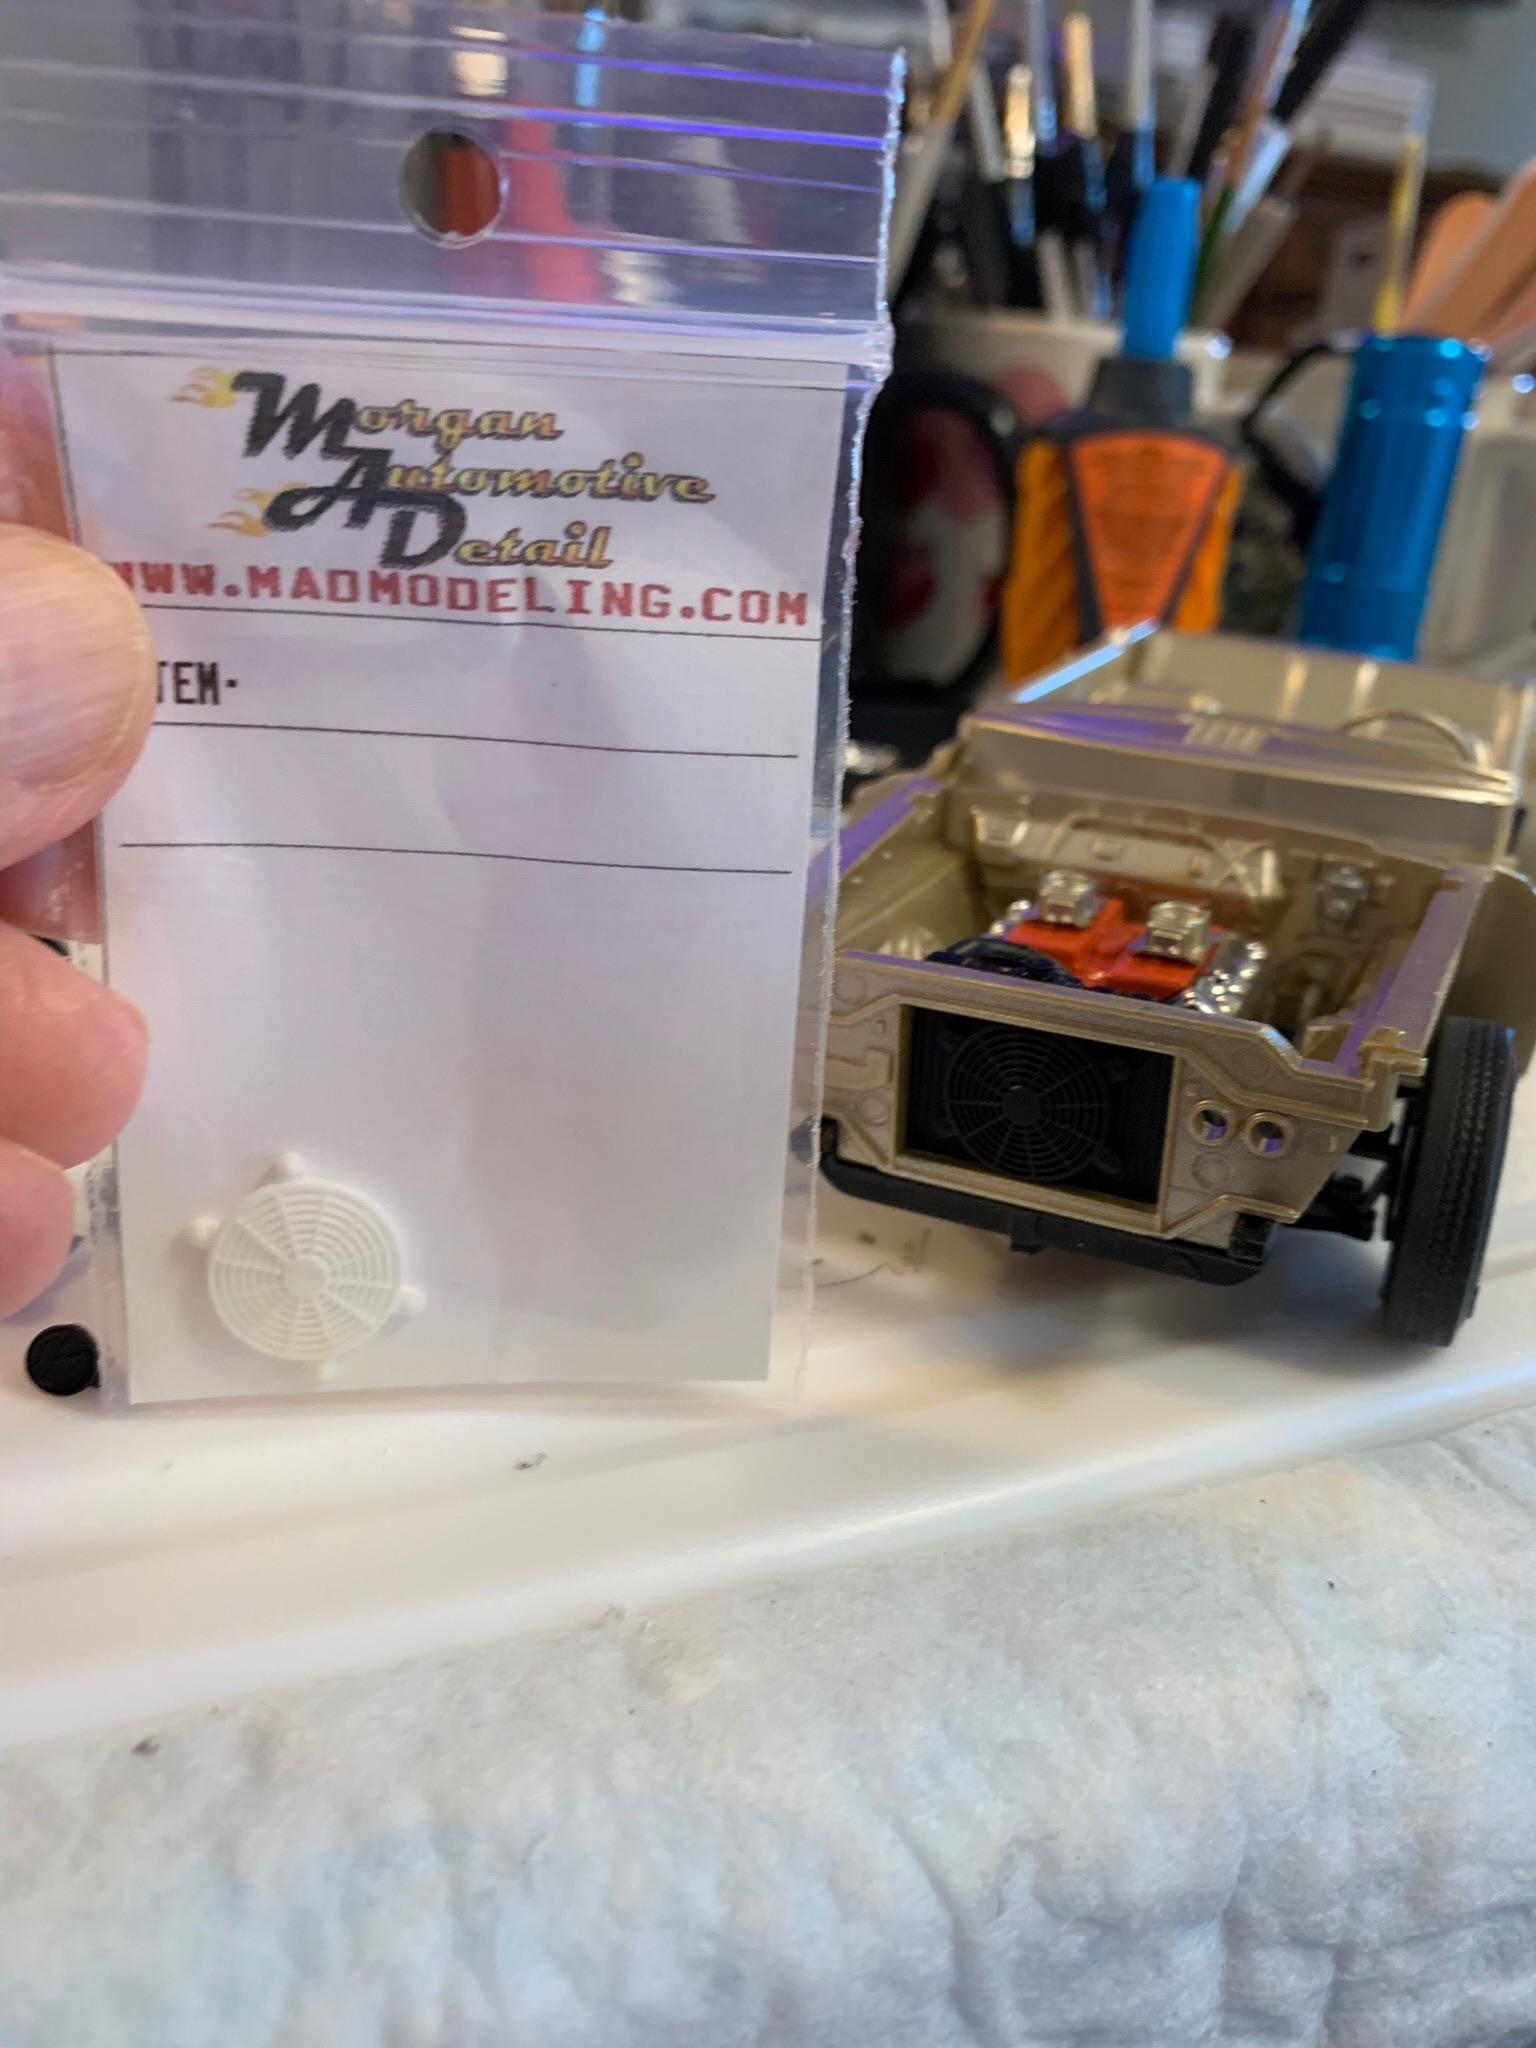
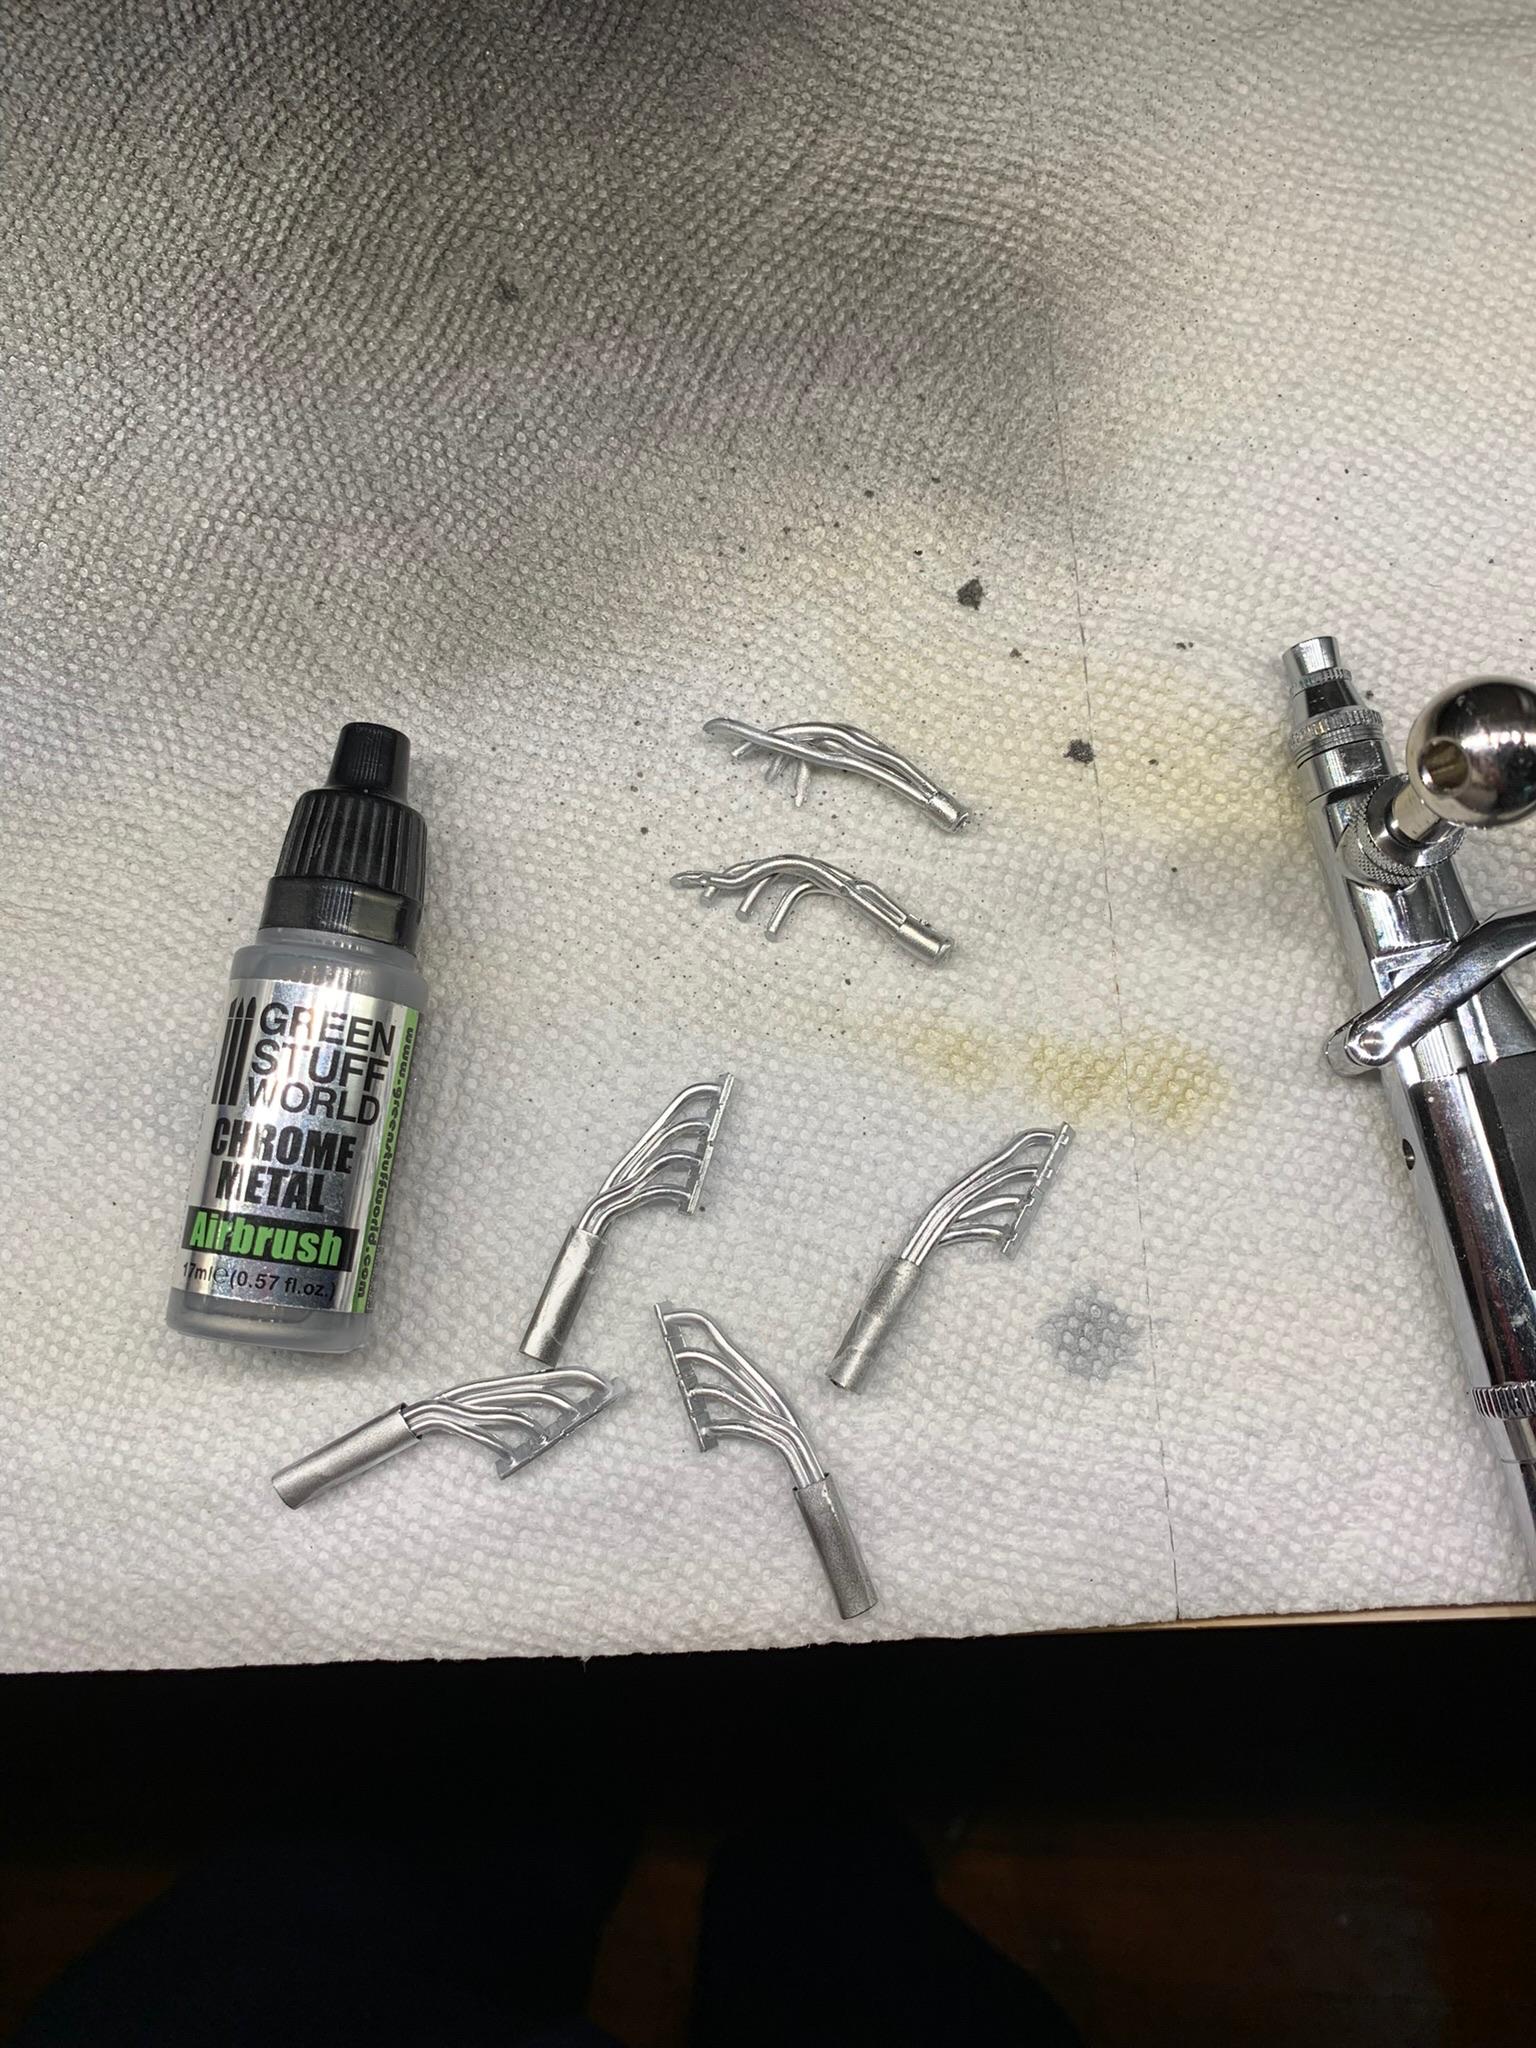
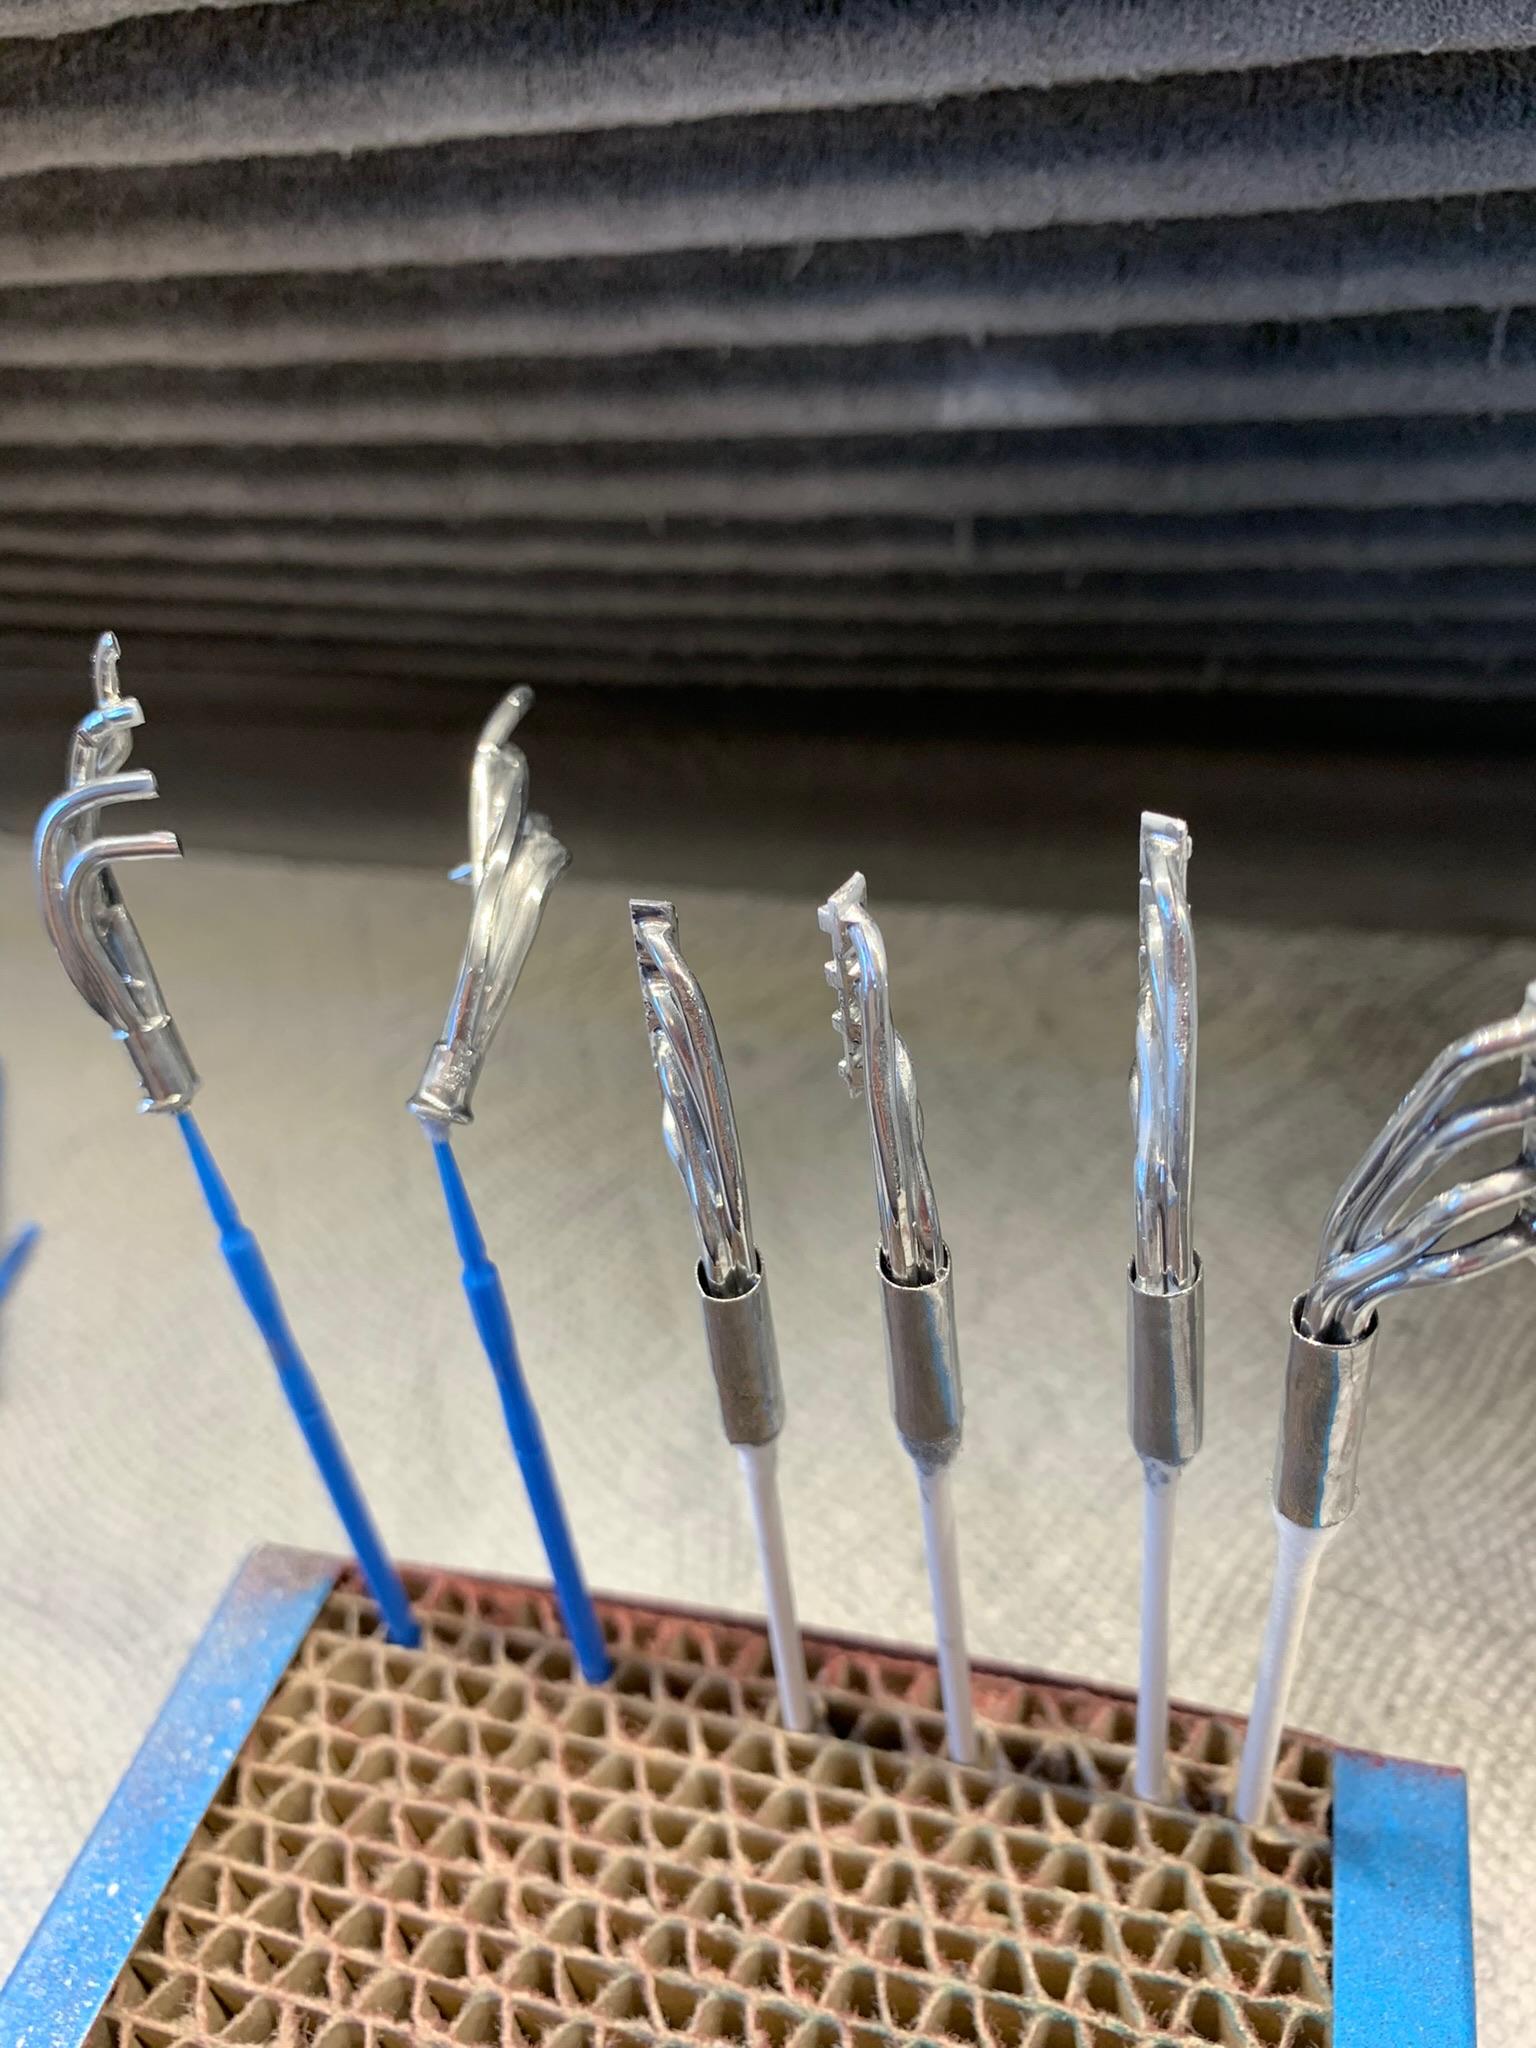
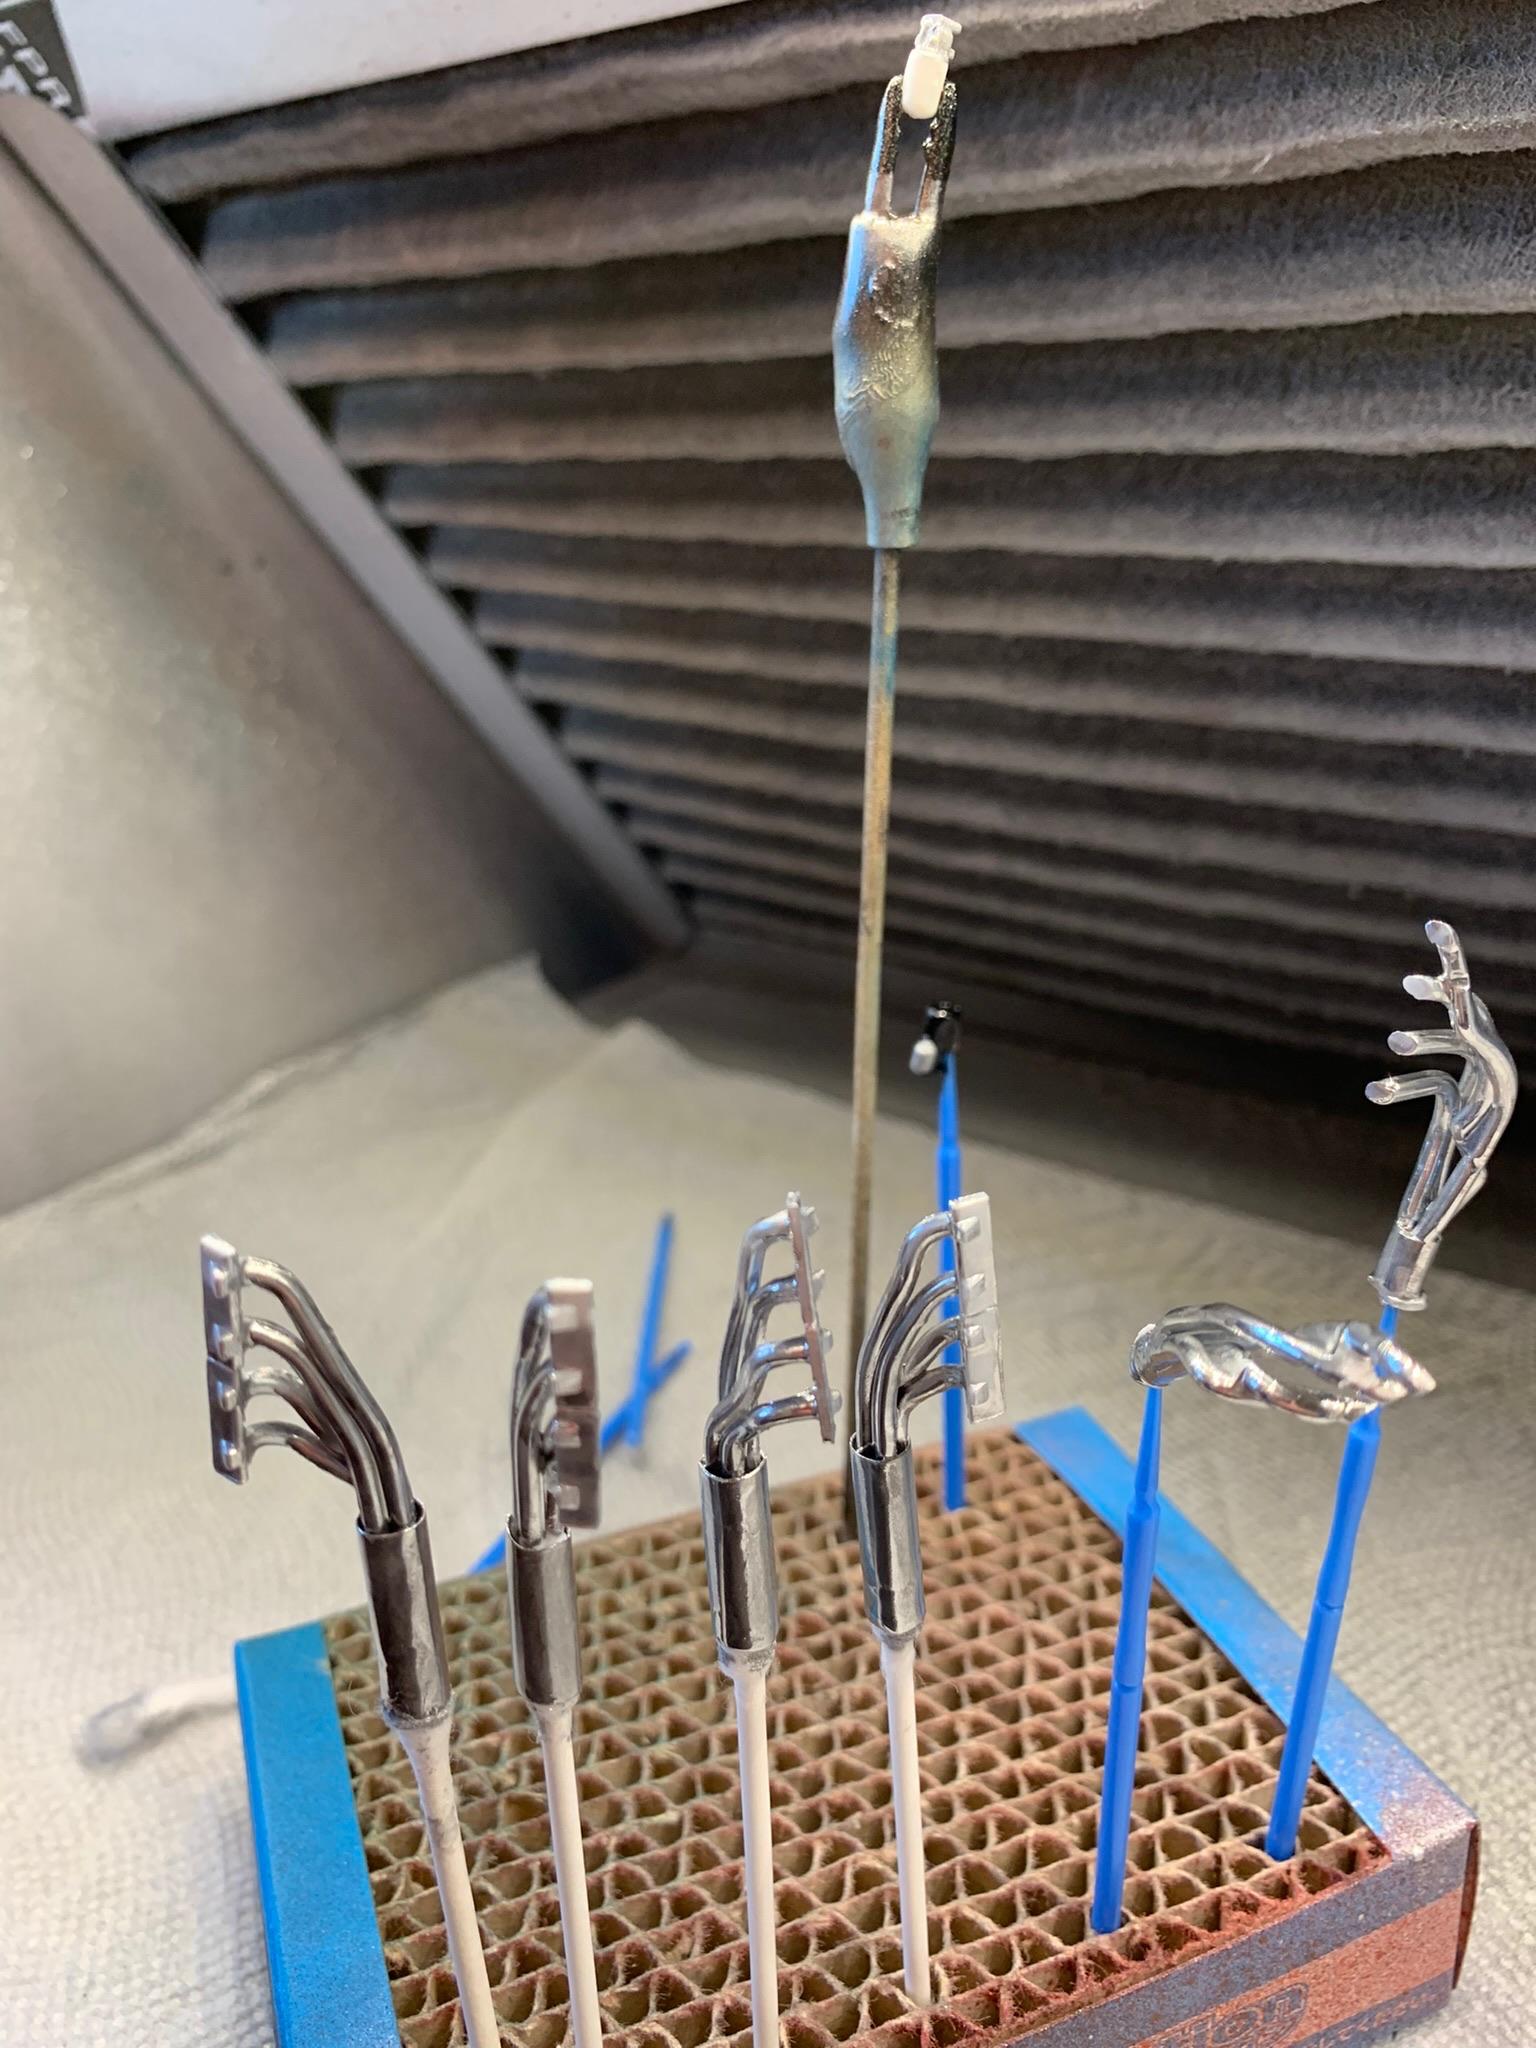
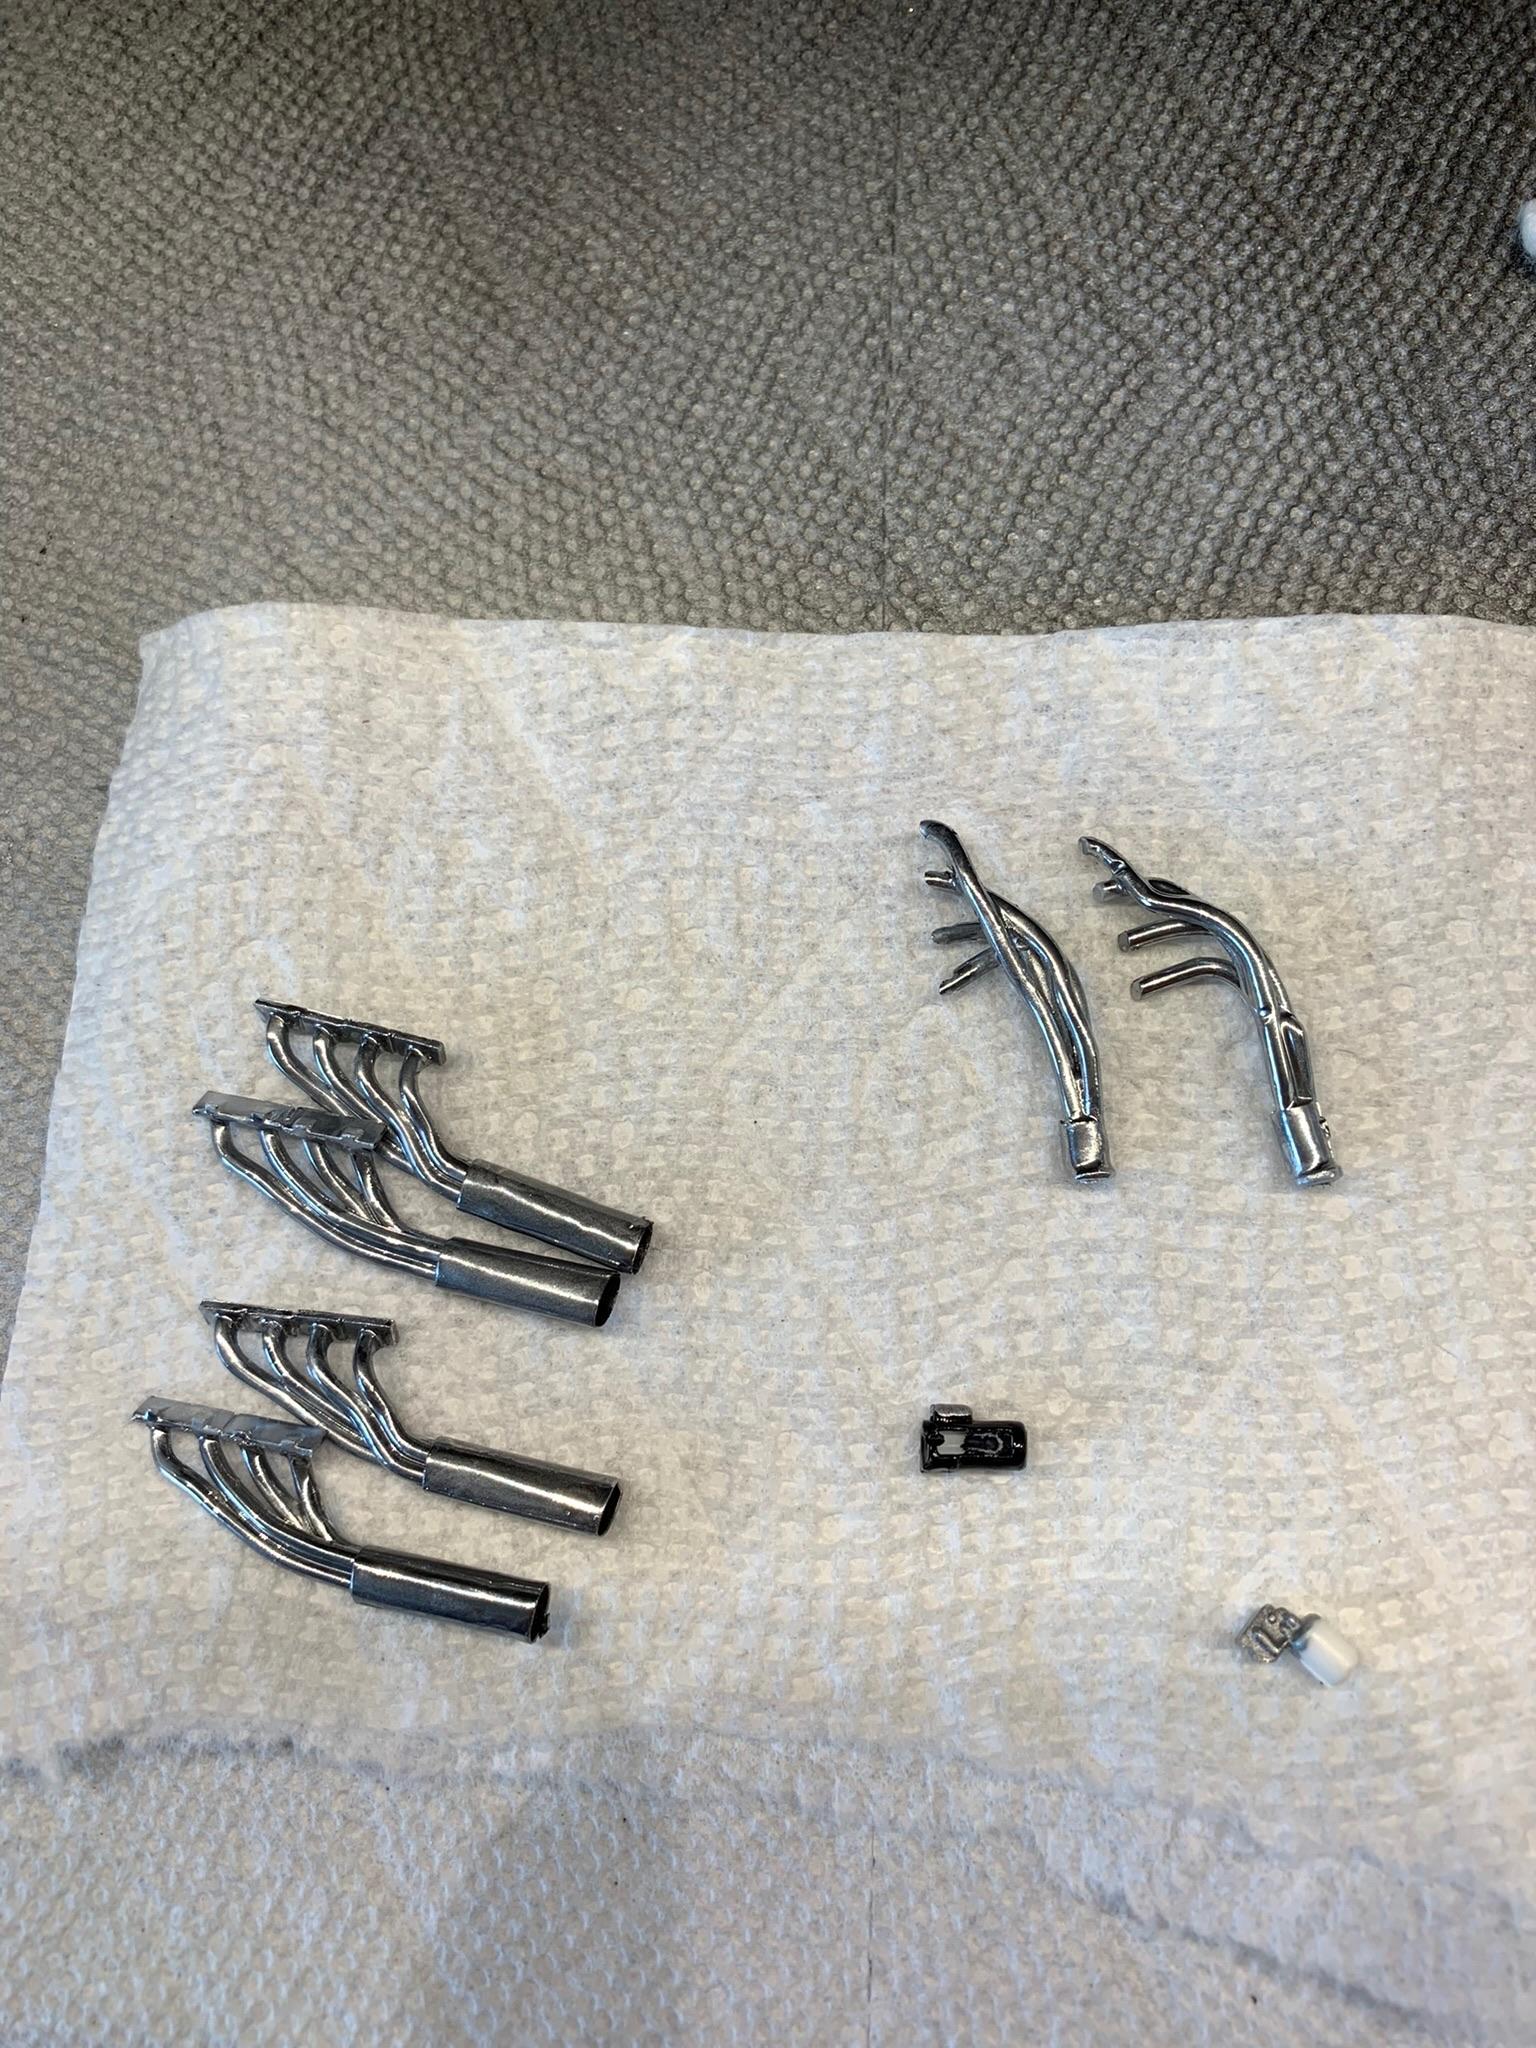
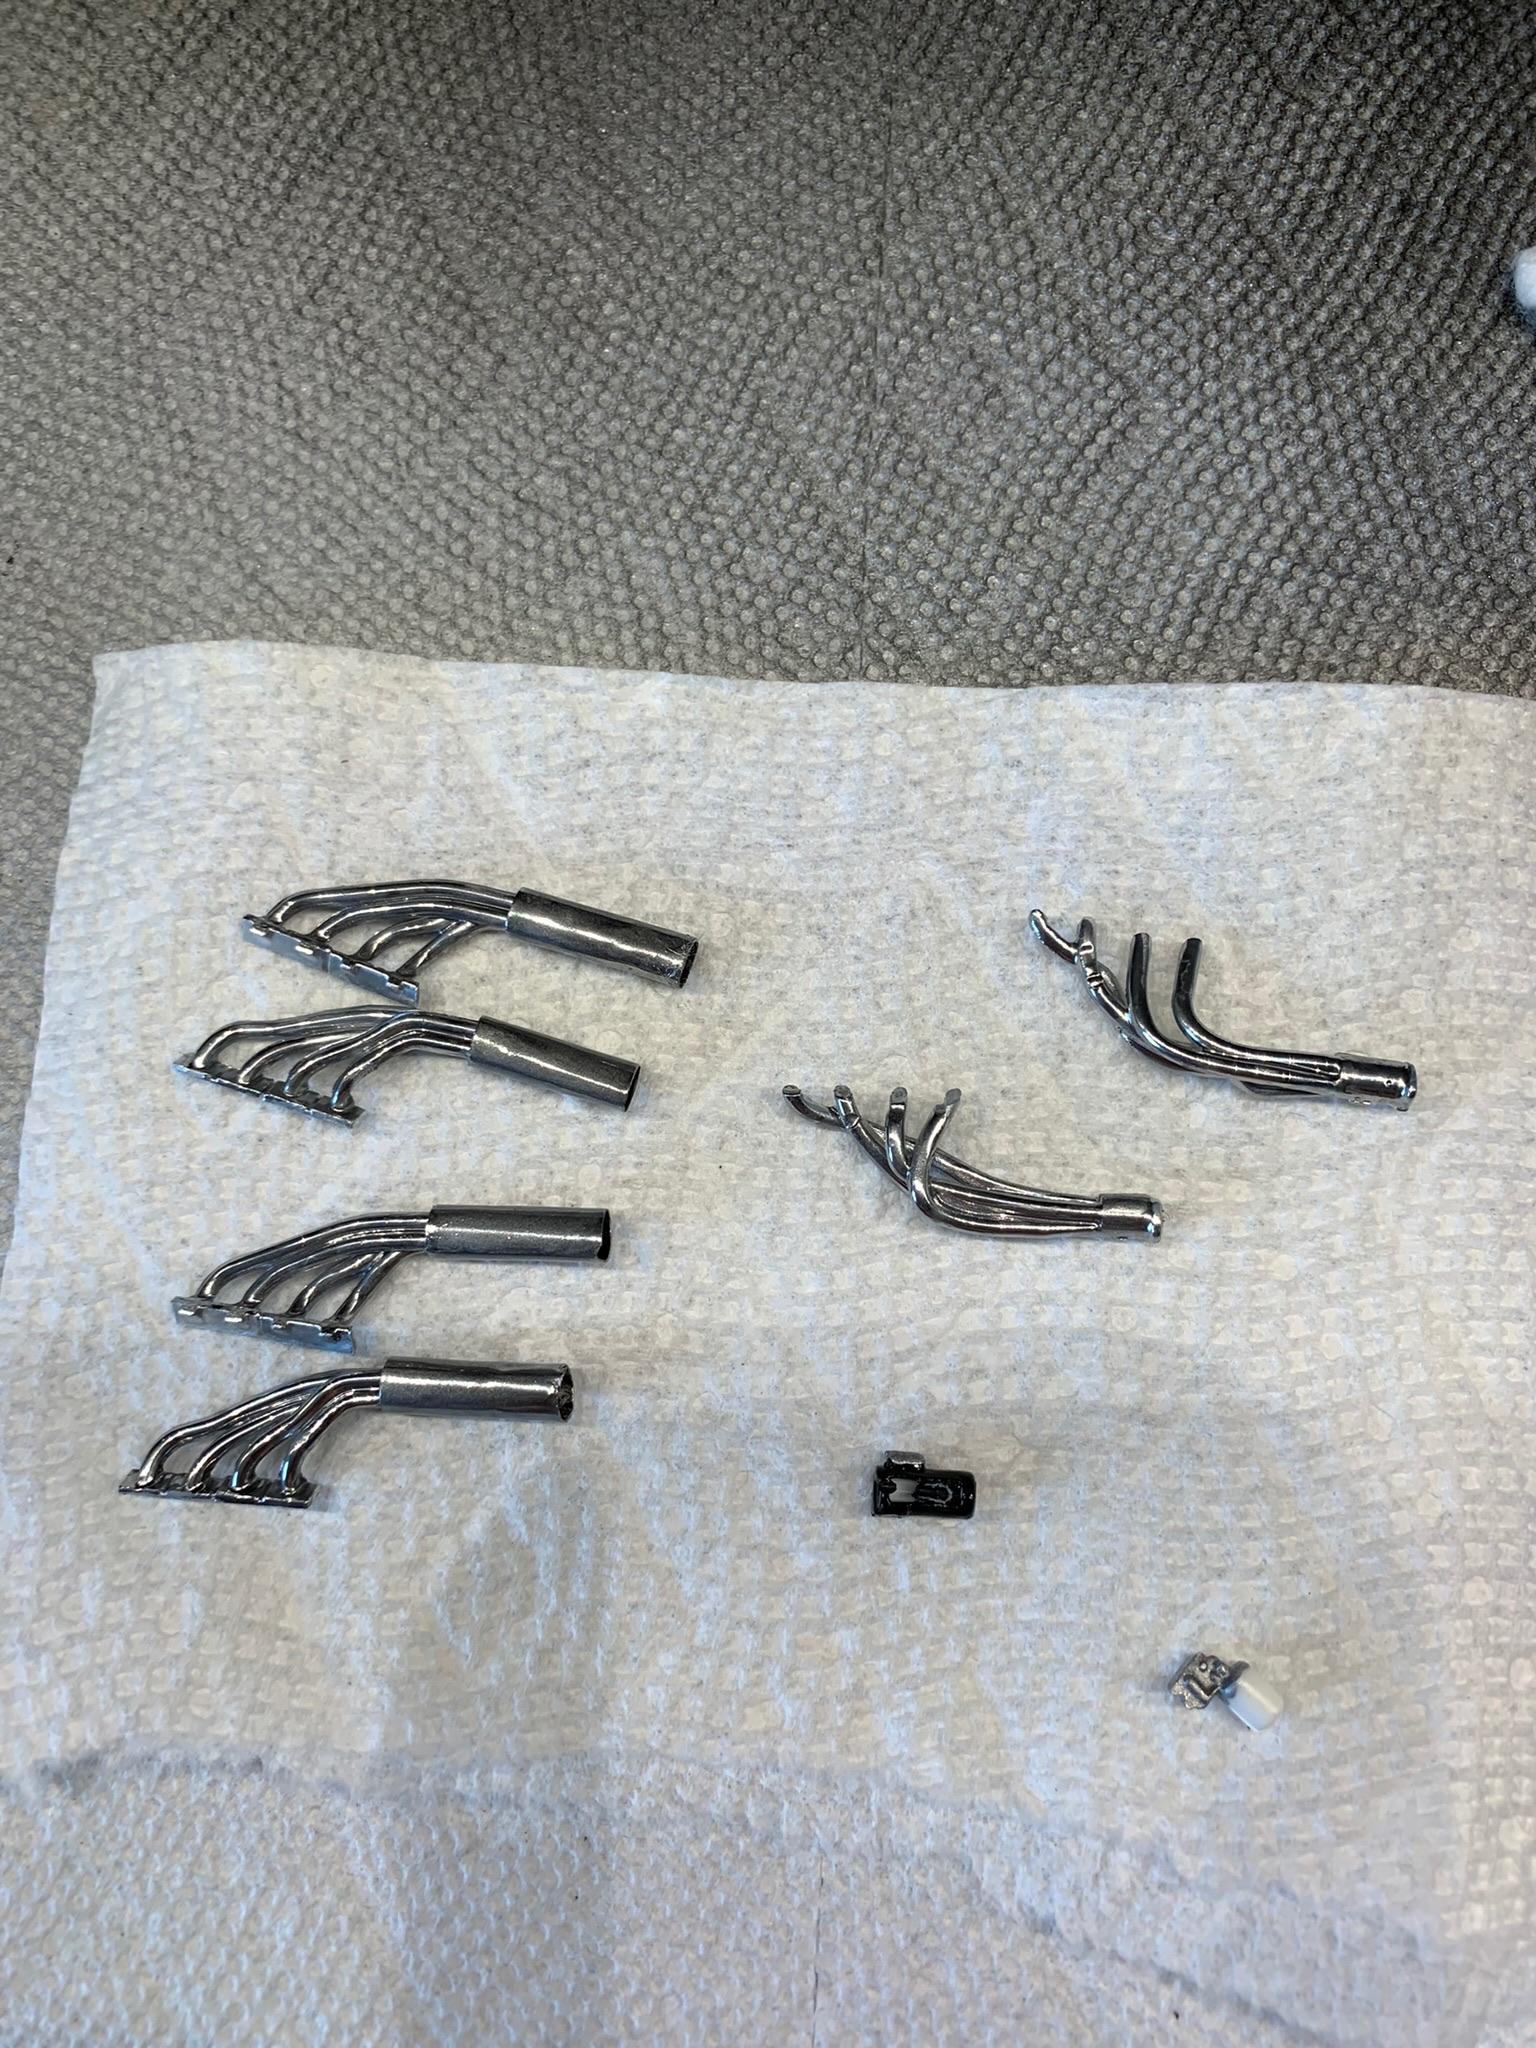
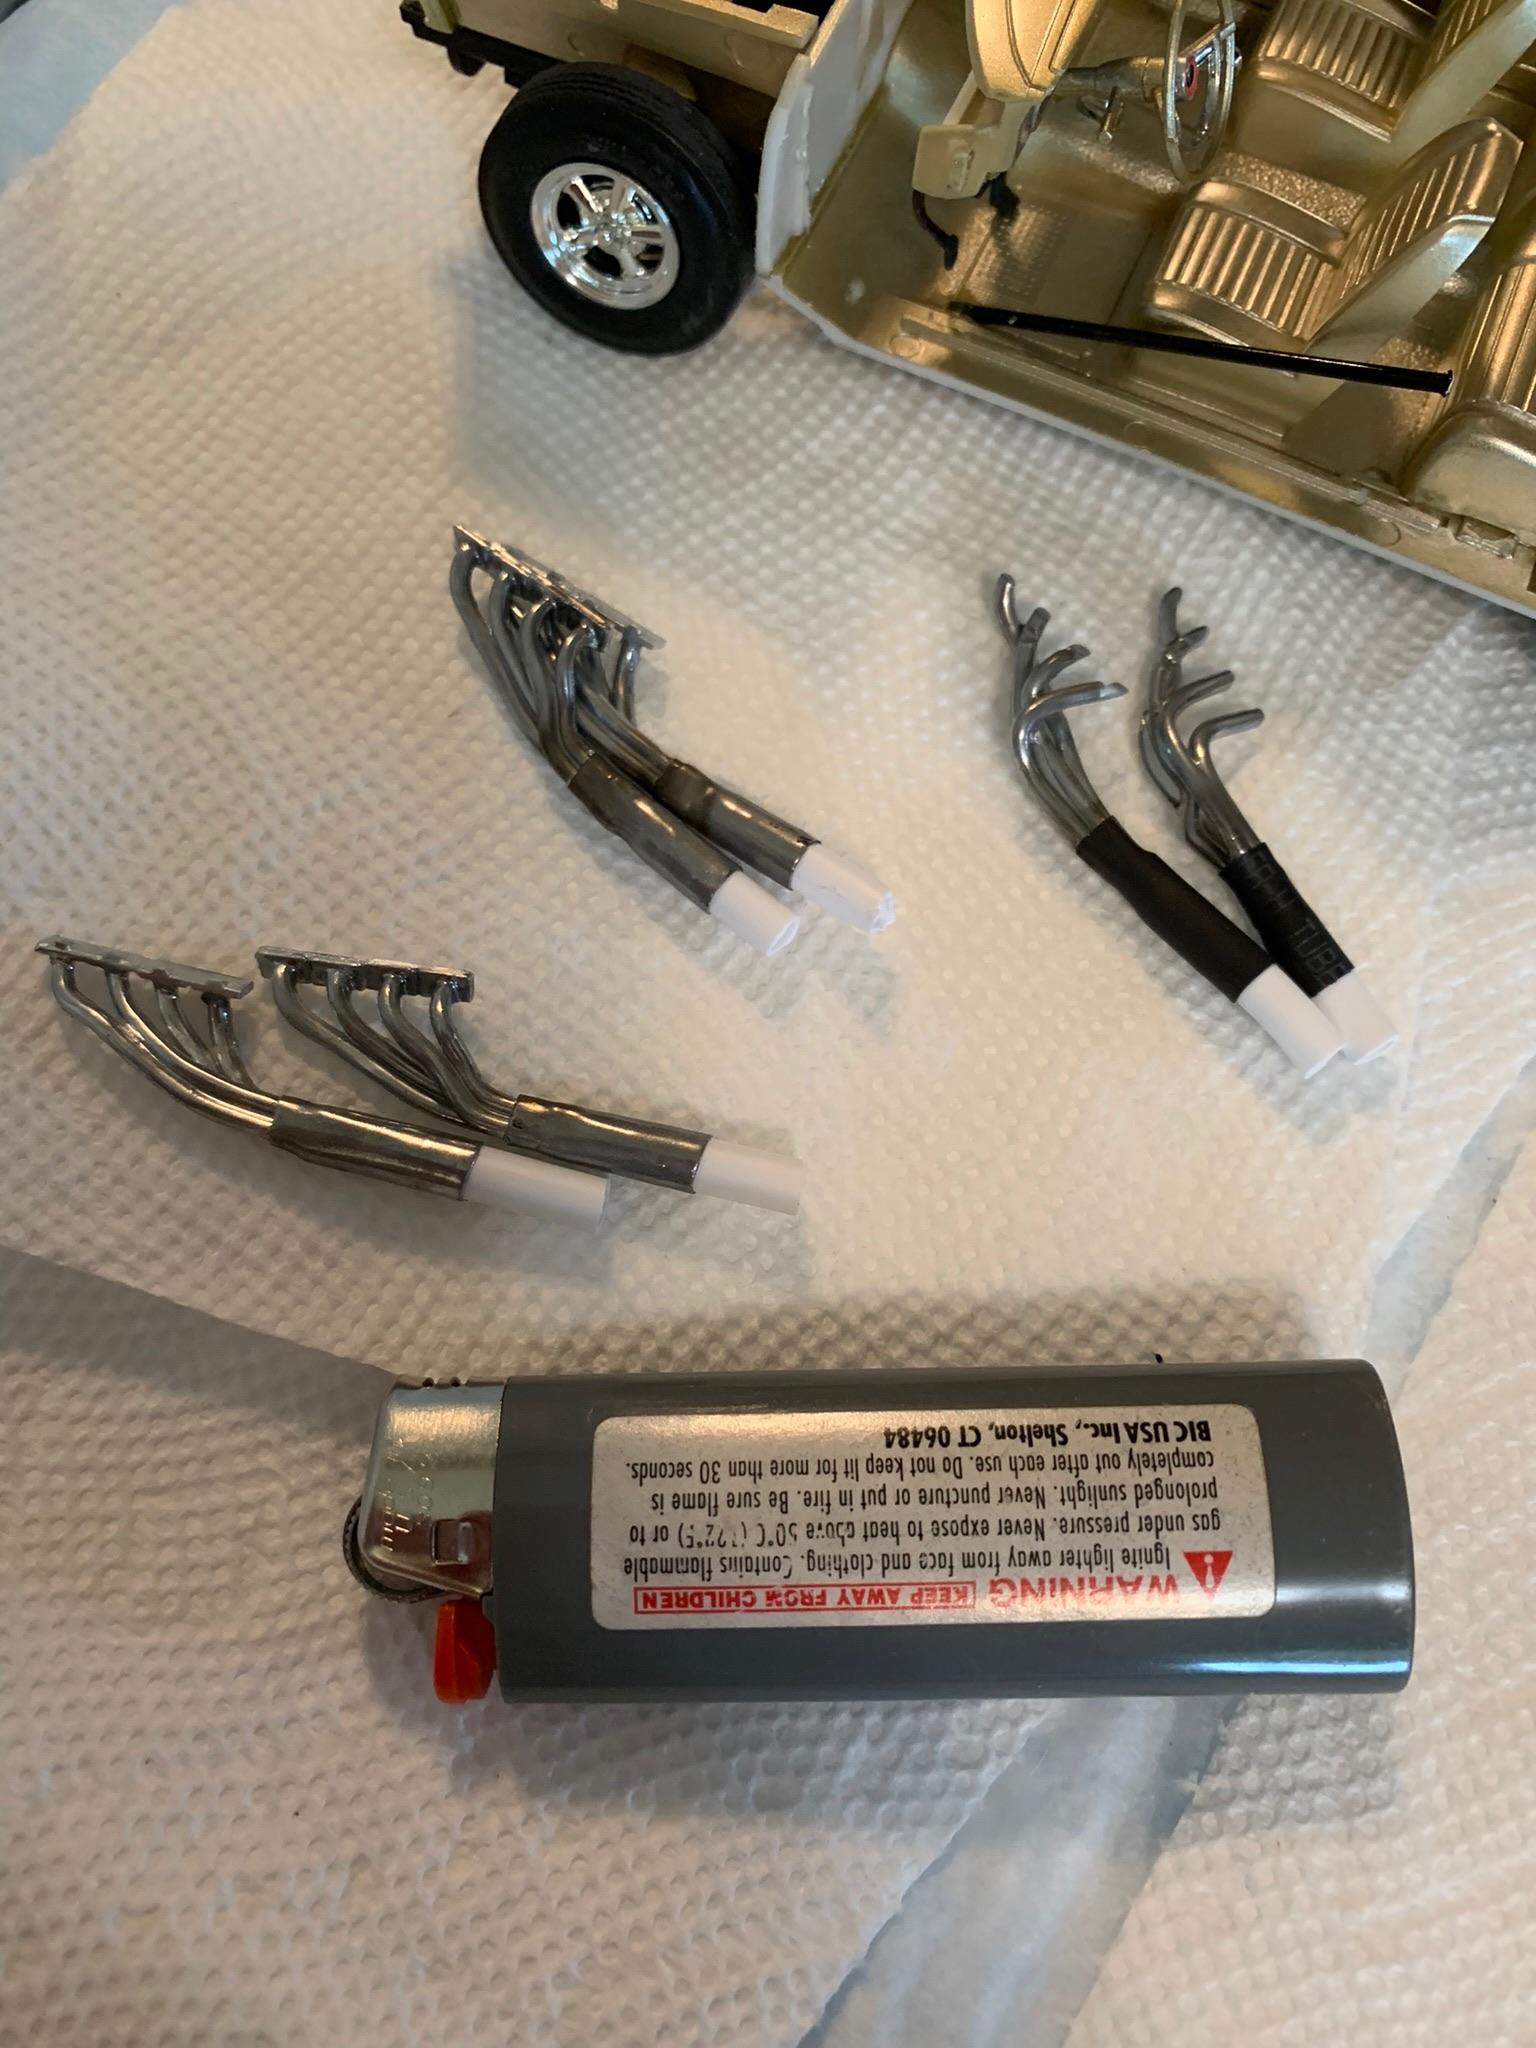
Some header painting with GreenStuffWorld. First with an airbrush, didn’t really like it. Second was the brushable version. Better. Buffed it with q-tip and called them done. Wanted the look of ceramic coated headers. I used shrink tubing for the collectors, shrunk with a cigarette lighter.
-
My first AA/SA- 1965 Plymouth A990 hemi
R. Thorne replied to R. Thorne's topic in WIP: Drag Racing Models
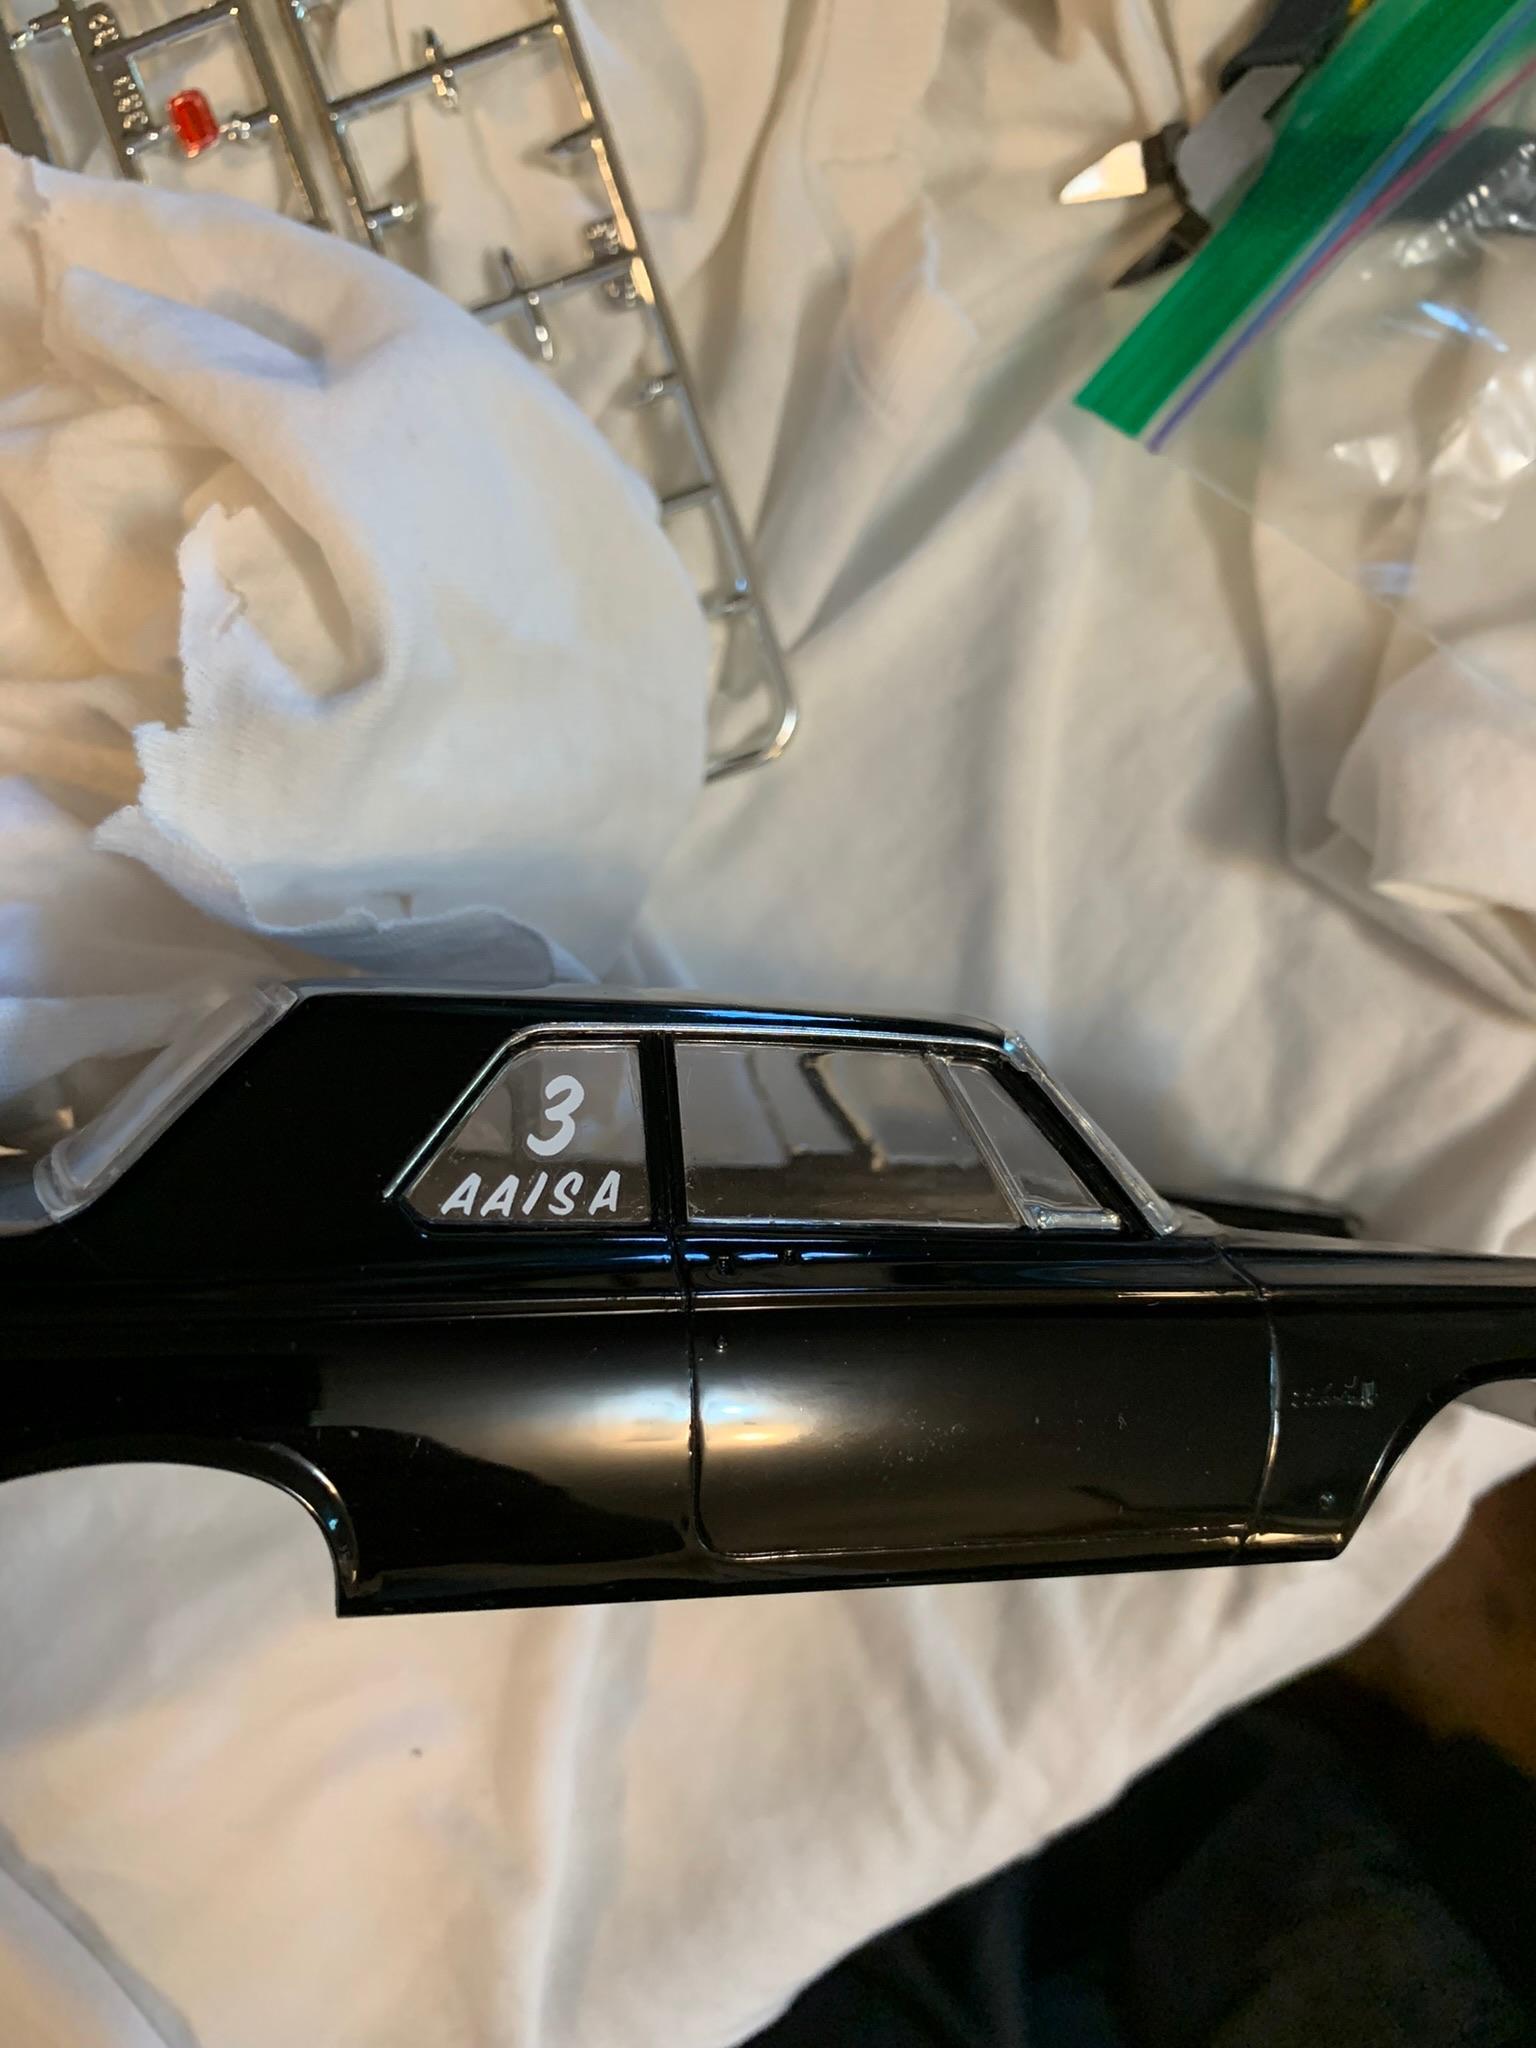
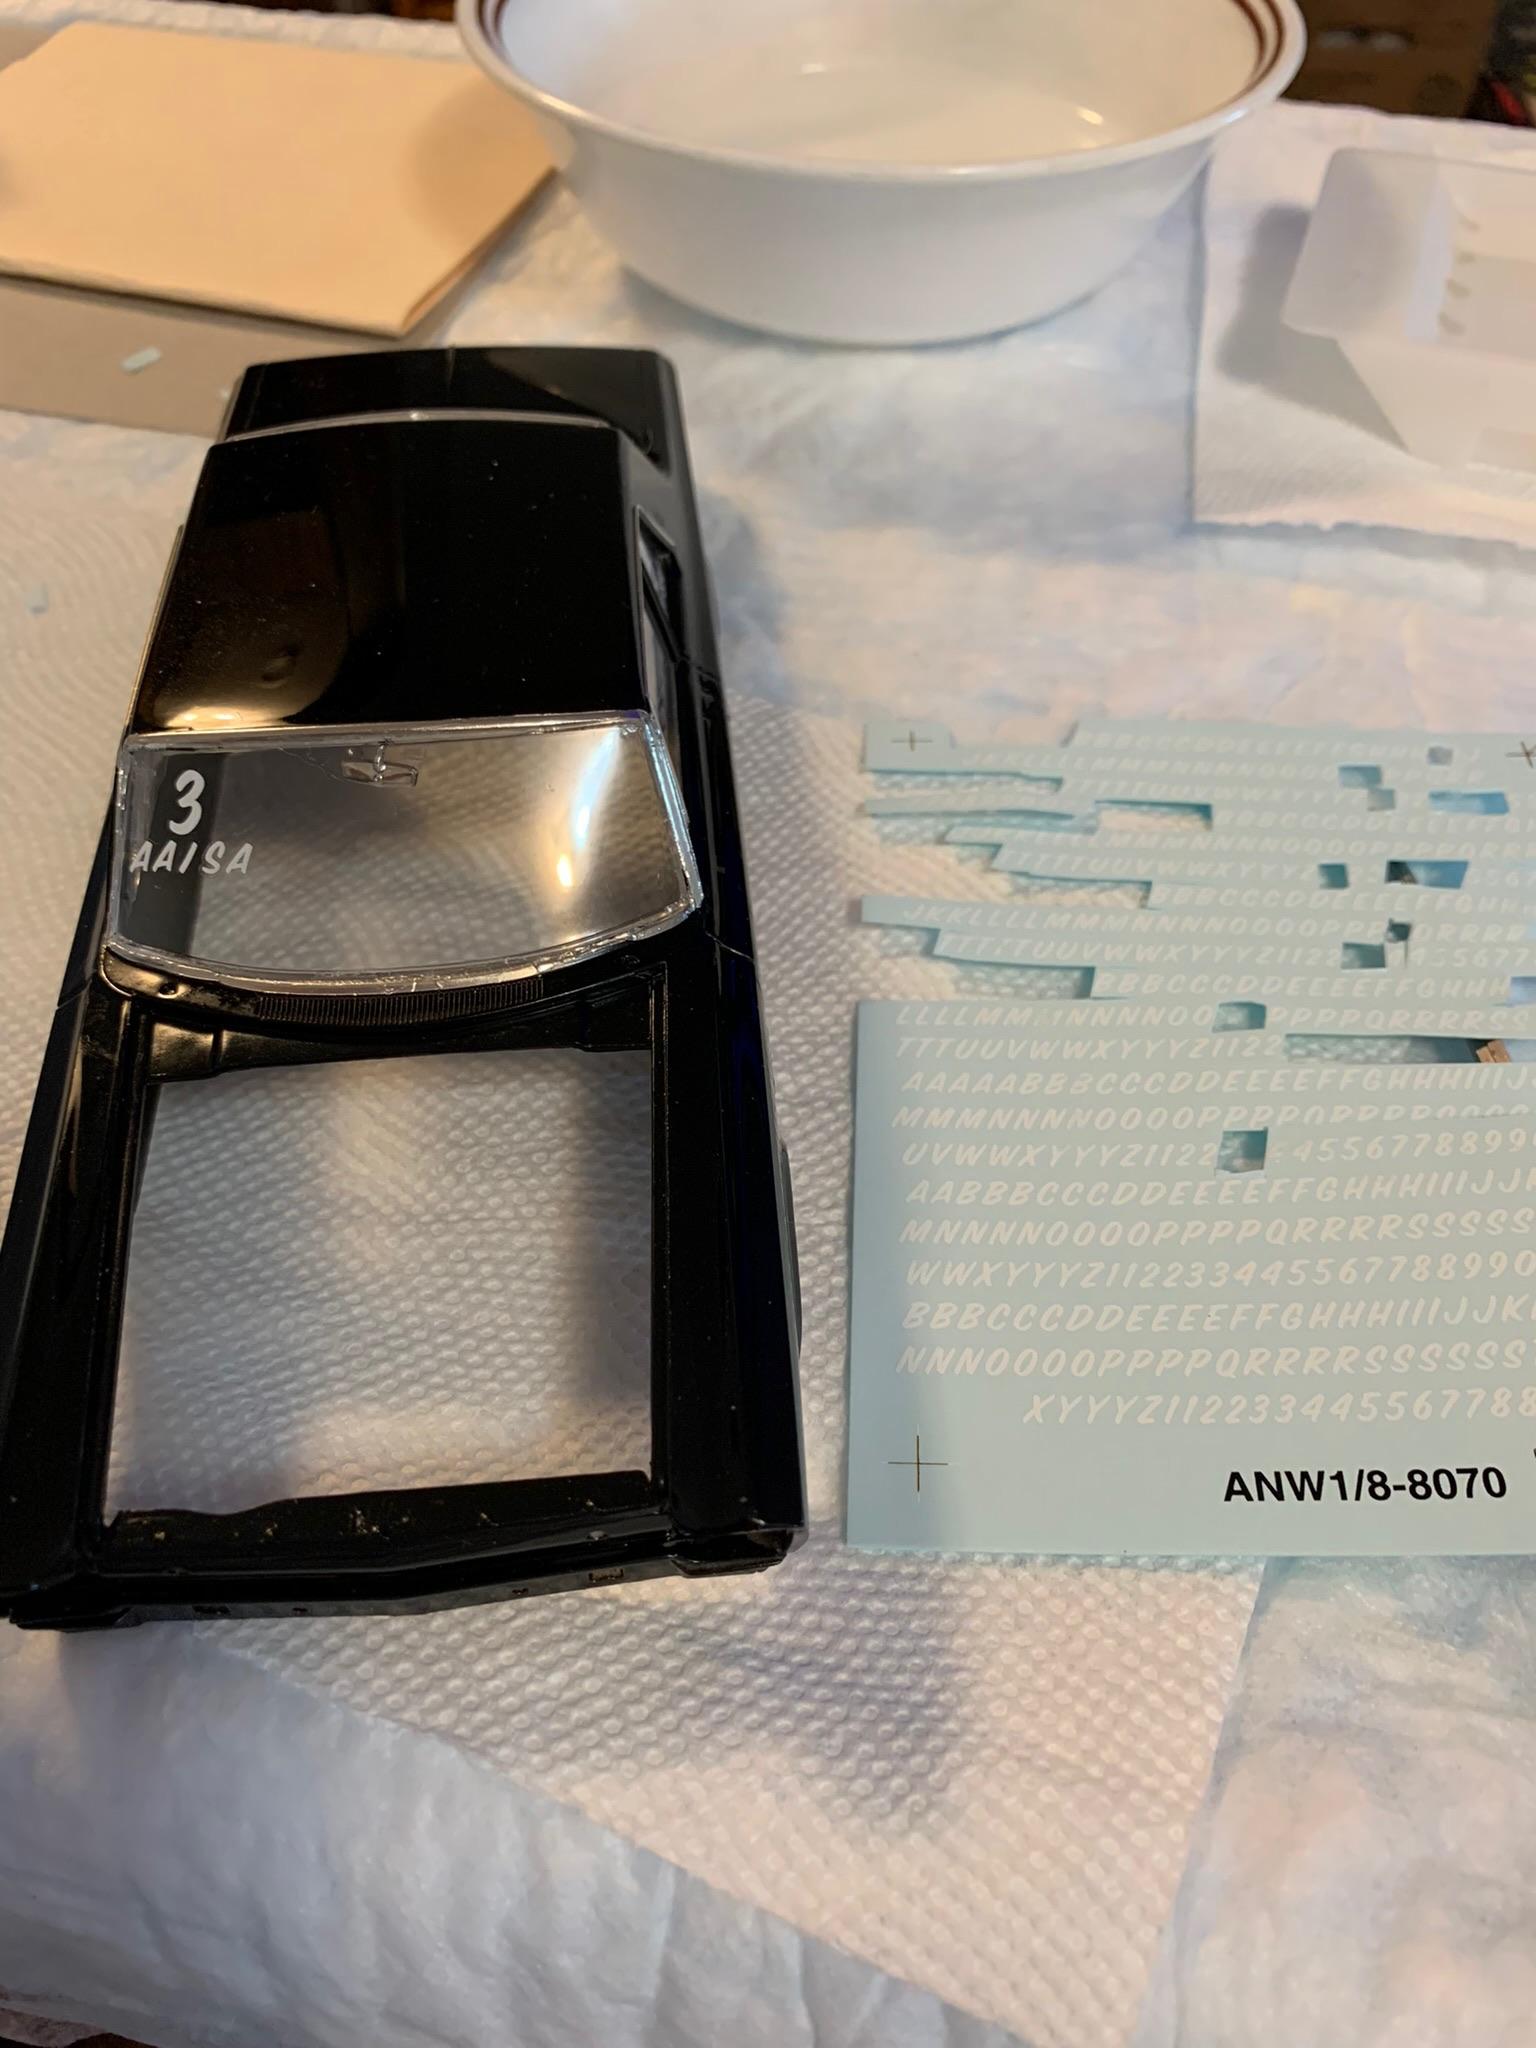
Got some class designations on. The #3 is not an homage to Dale Earnhardt, but to Nhra division 1 runner Todd Hoven who placed #3 last year in nationwide points in Stock eliminator. Hence he carries #3 this year with his 1965 Dodge hemi in aa/sa. Perhaps a future project when Moebius releases their 65 Dodge. It also makes the tedious job of individual letters and numbers decals much quicker.
-
My first AA/SA- 1965 Plymouth A990 hemi
R. Thorne replied to R. Thorne's topic in WIP: Drag Racing Models
Double sided tape to help install radiator.
-
My first AA/SA- 1965 Plymouth A990 hemi
R. Thorne replied to R. Thorne's topic in WIP: Drag Racing Models
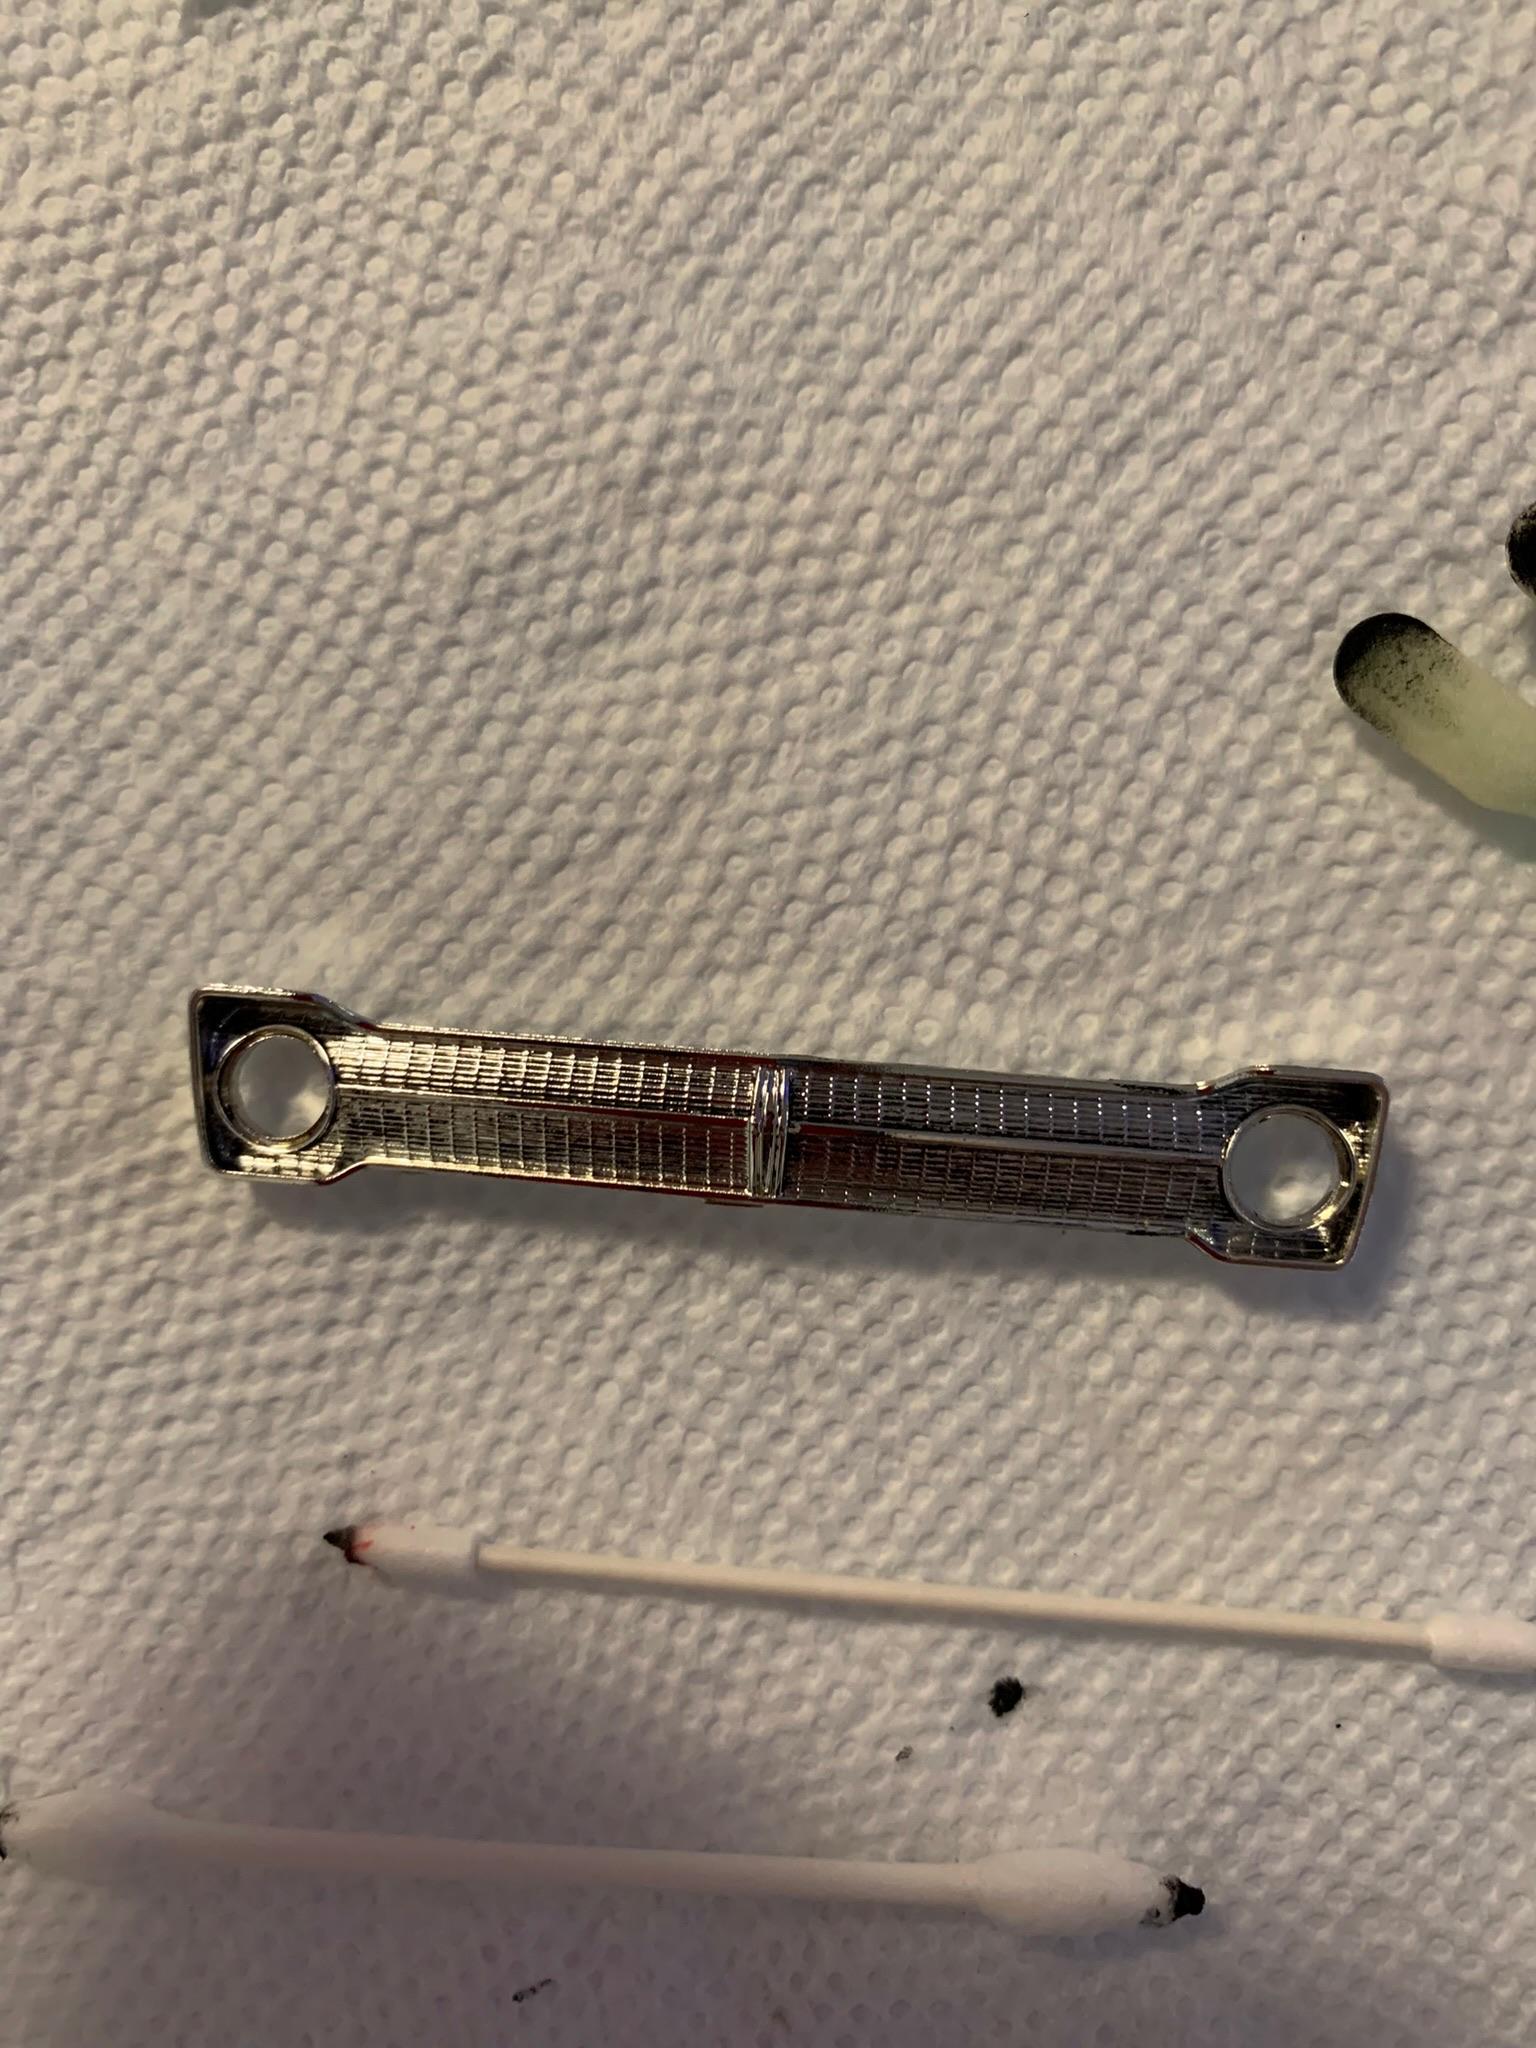
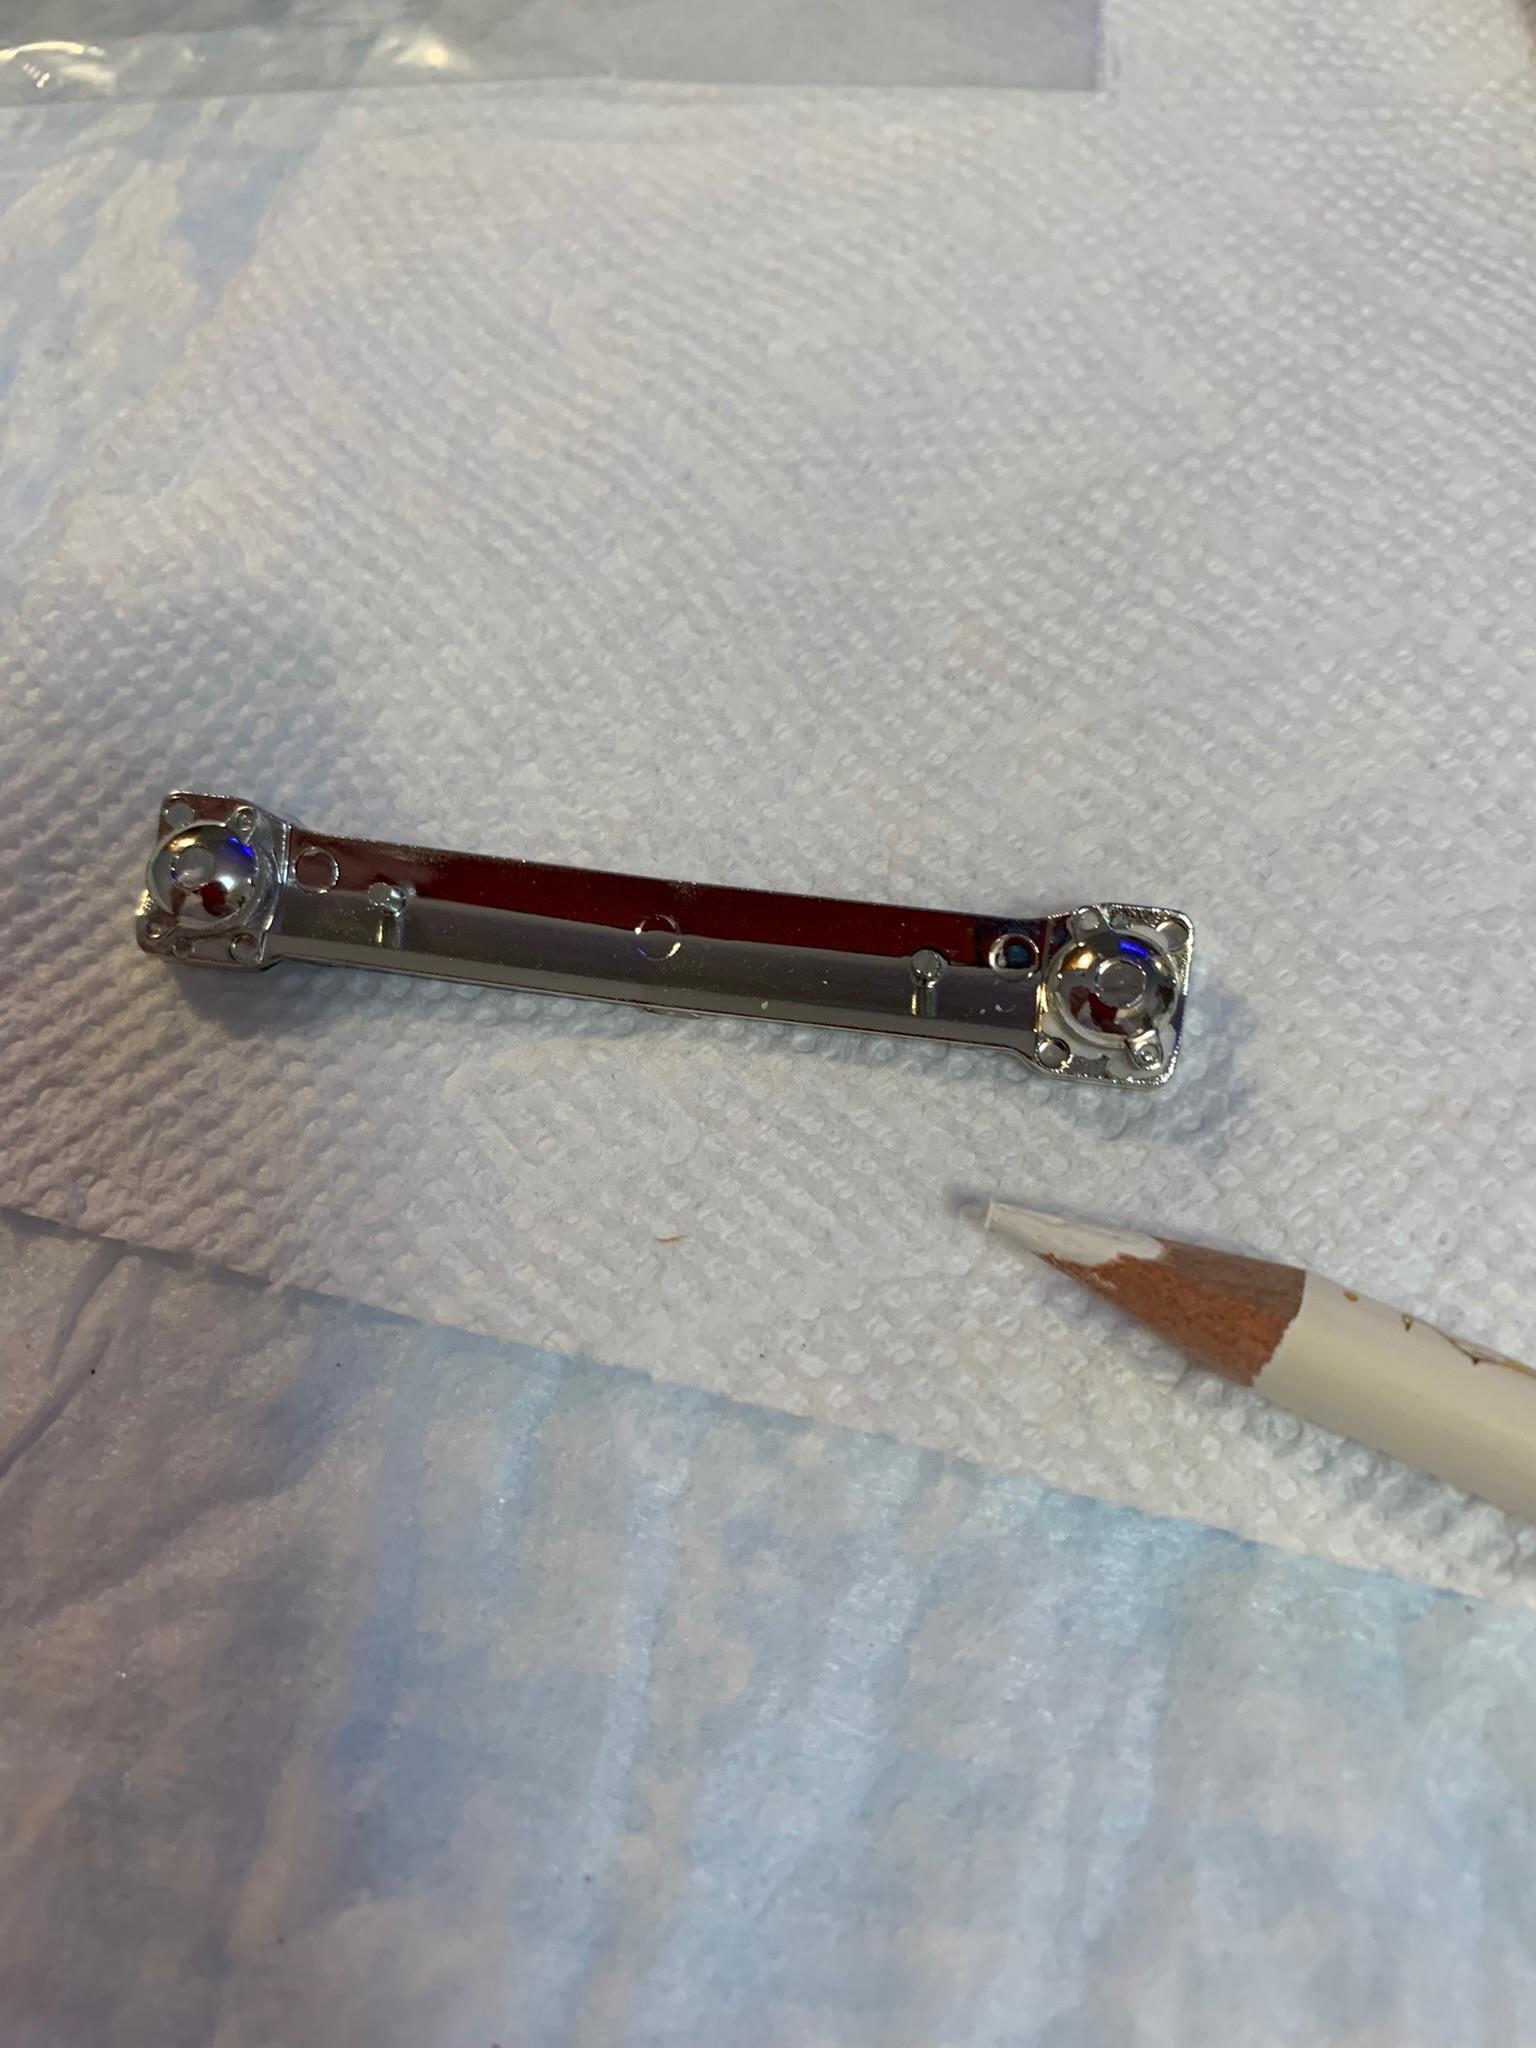
Oh yeah, here’s that little tool that has helped me pry apart glued parts to correct my mistakes.
-
My first AA/SA- 1965 Plymouth A990 hemi
R. Thorne replied to R. Thorne's topic in WIP: Drag Racing Models
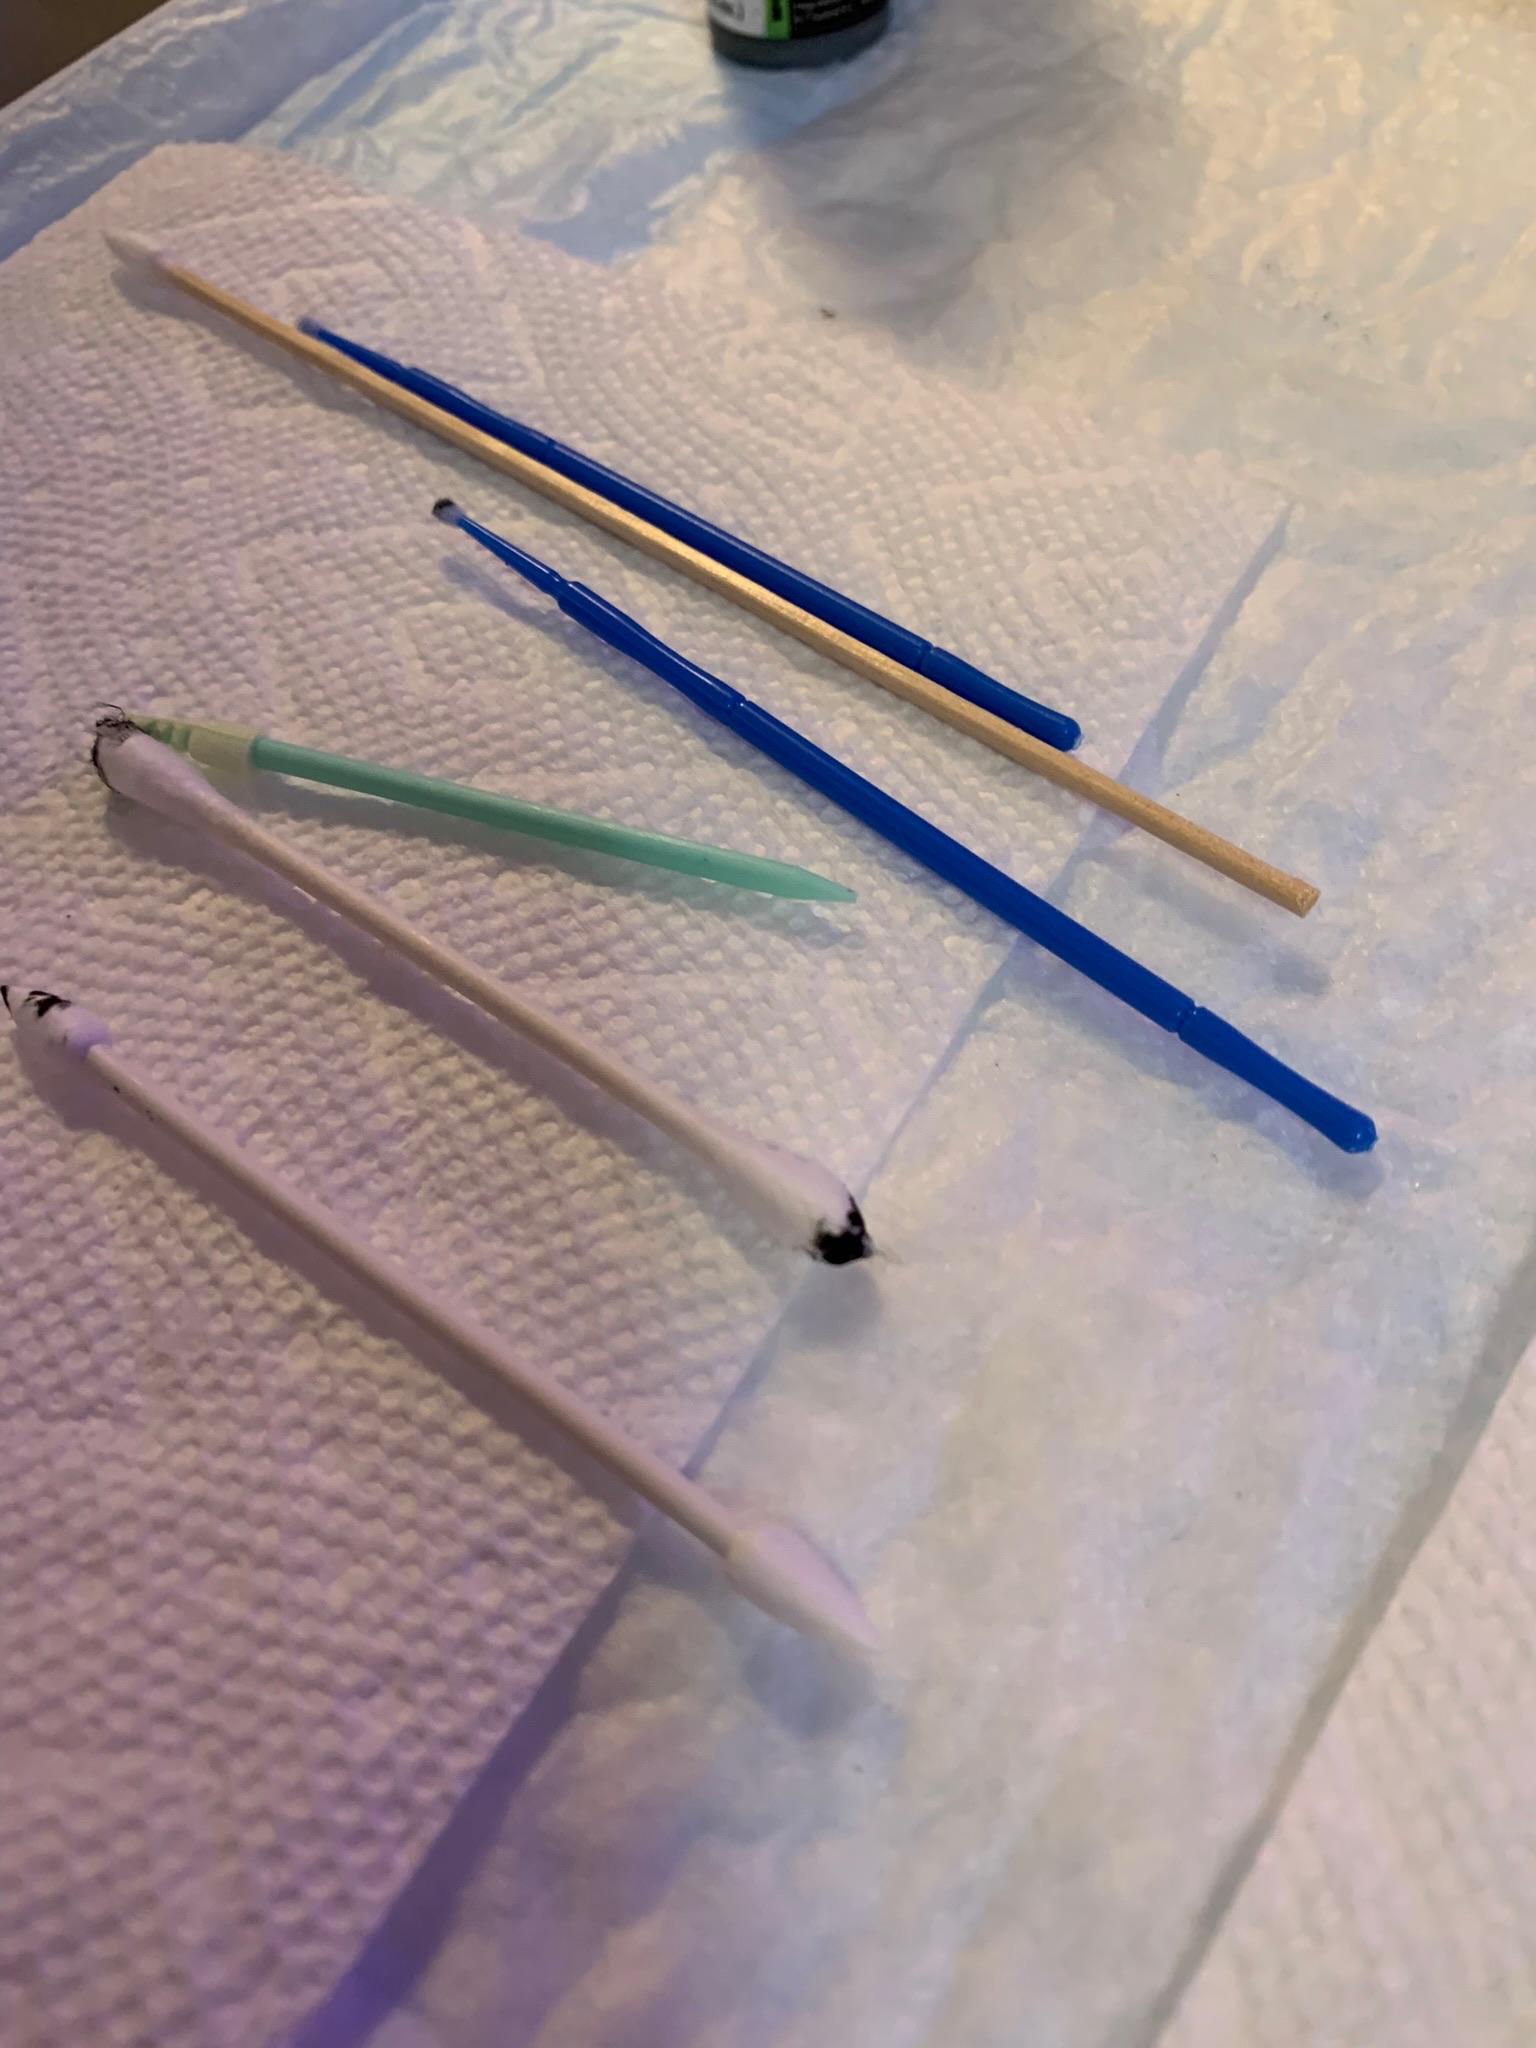
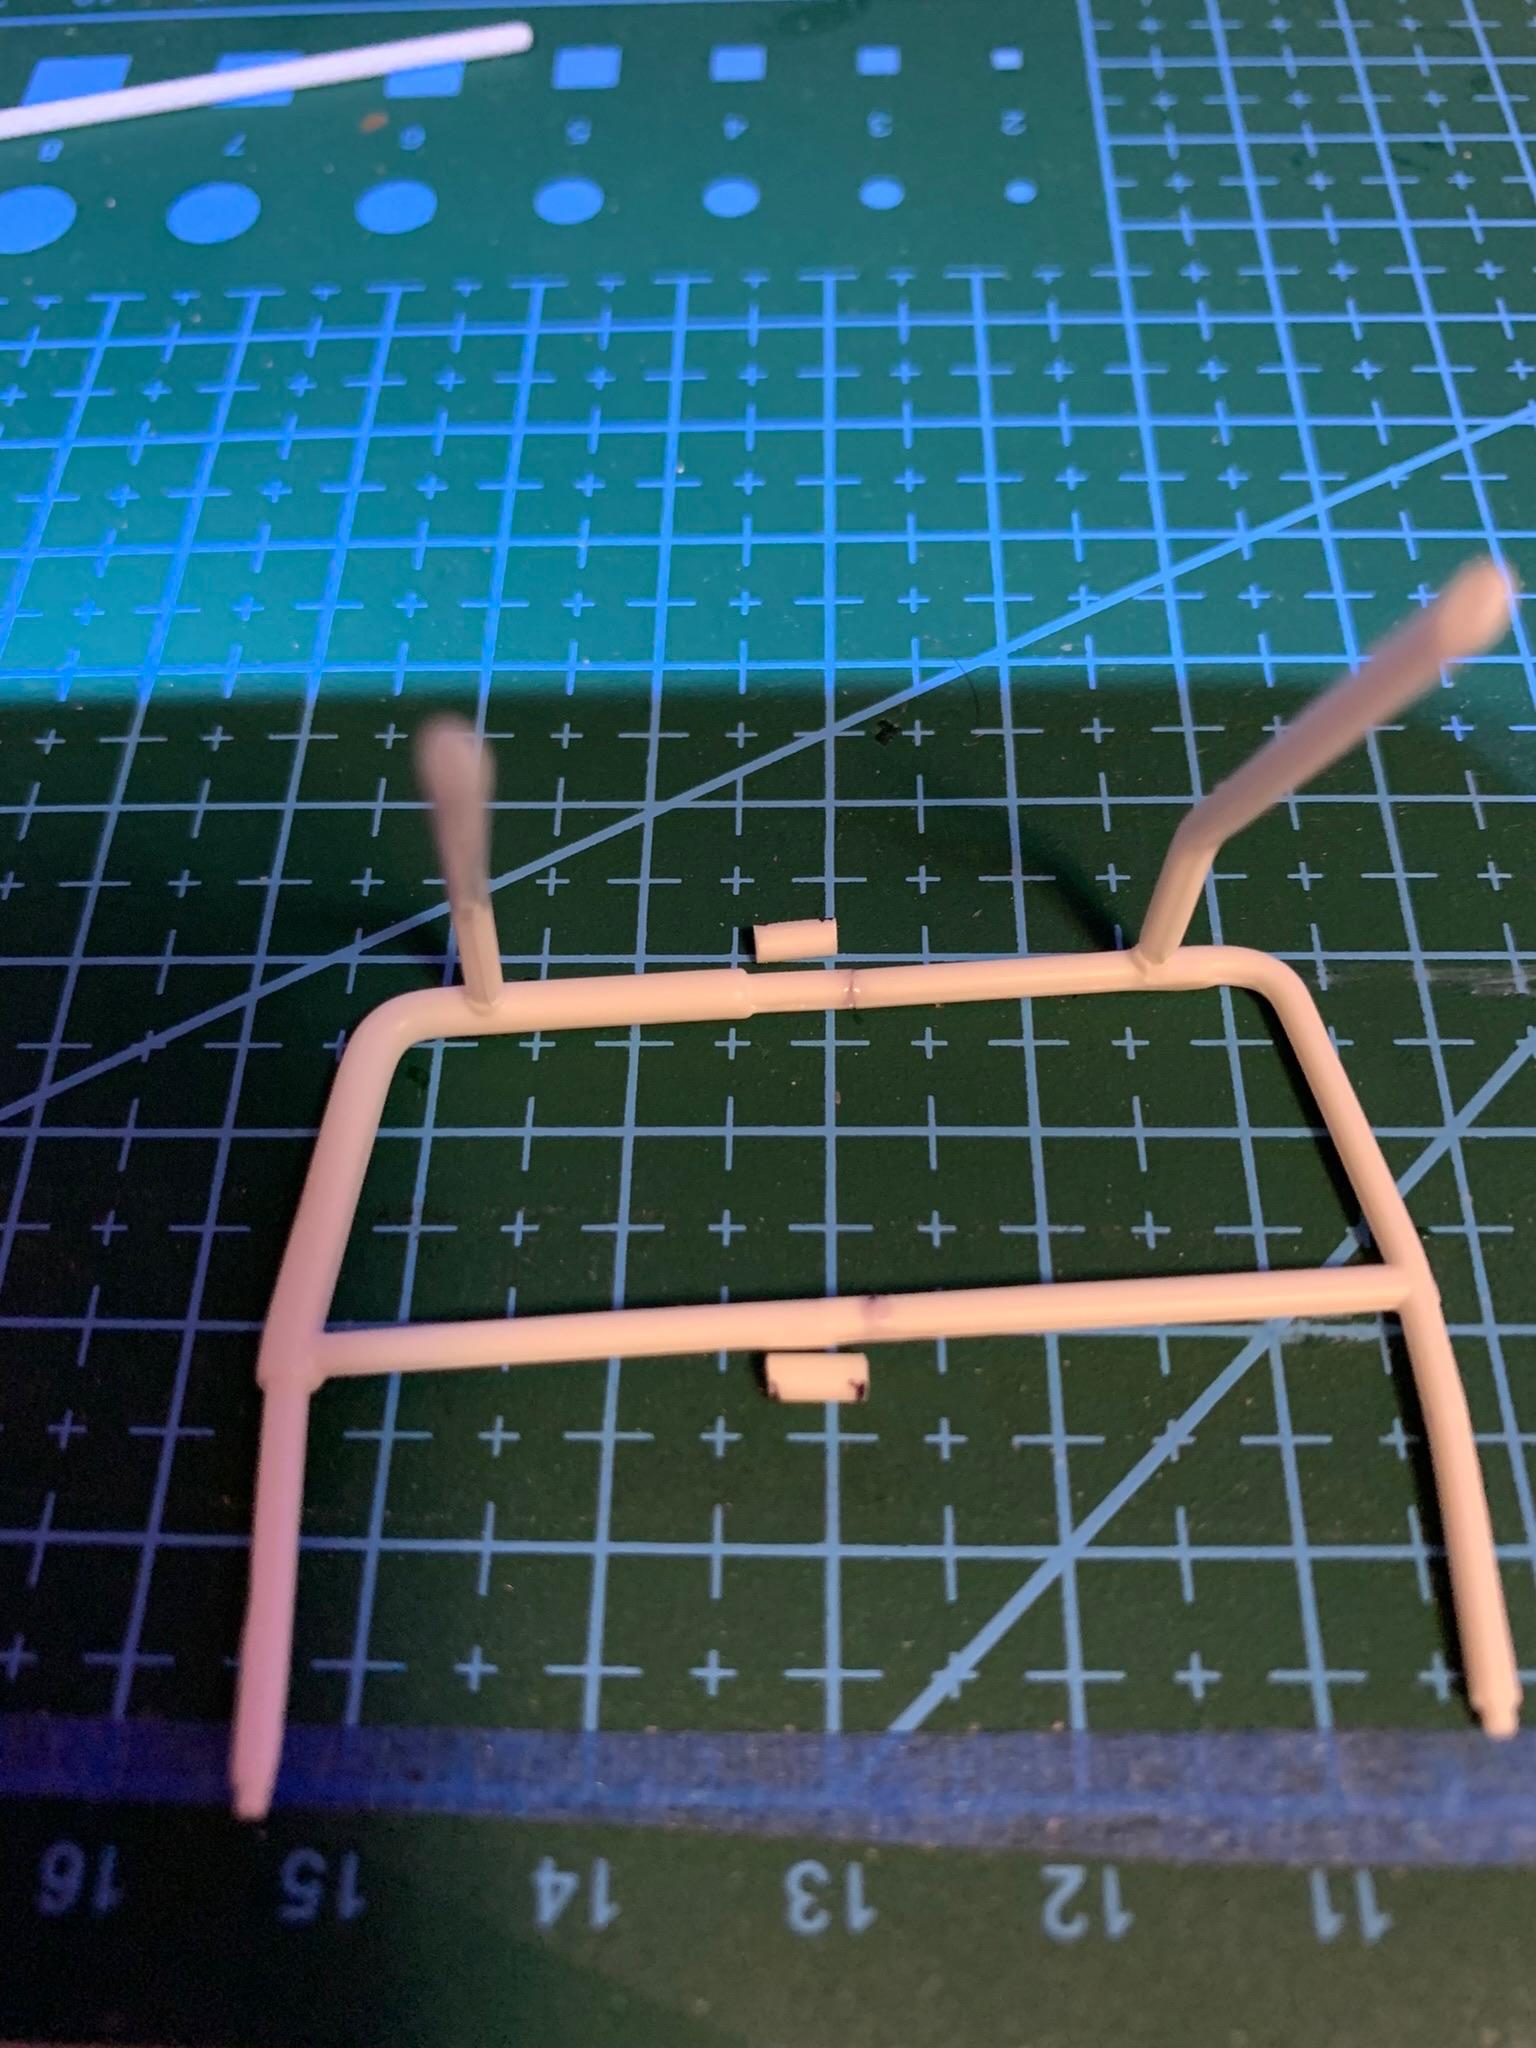
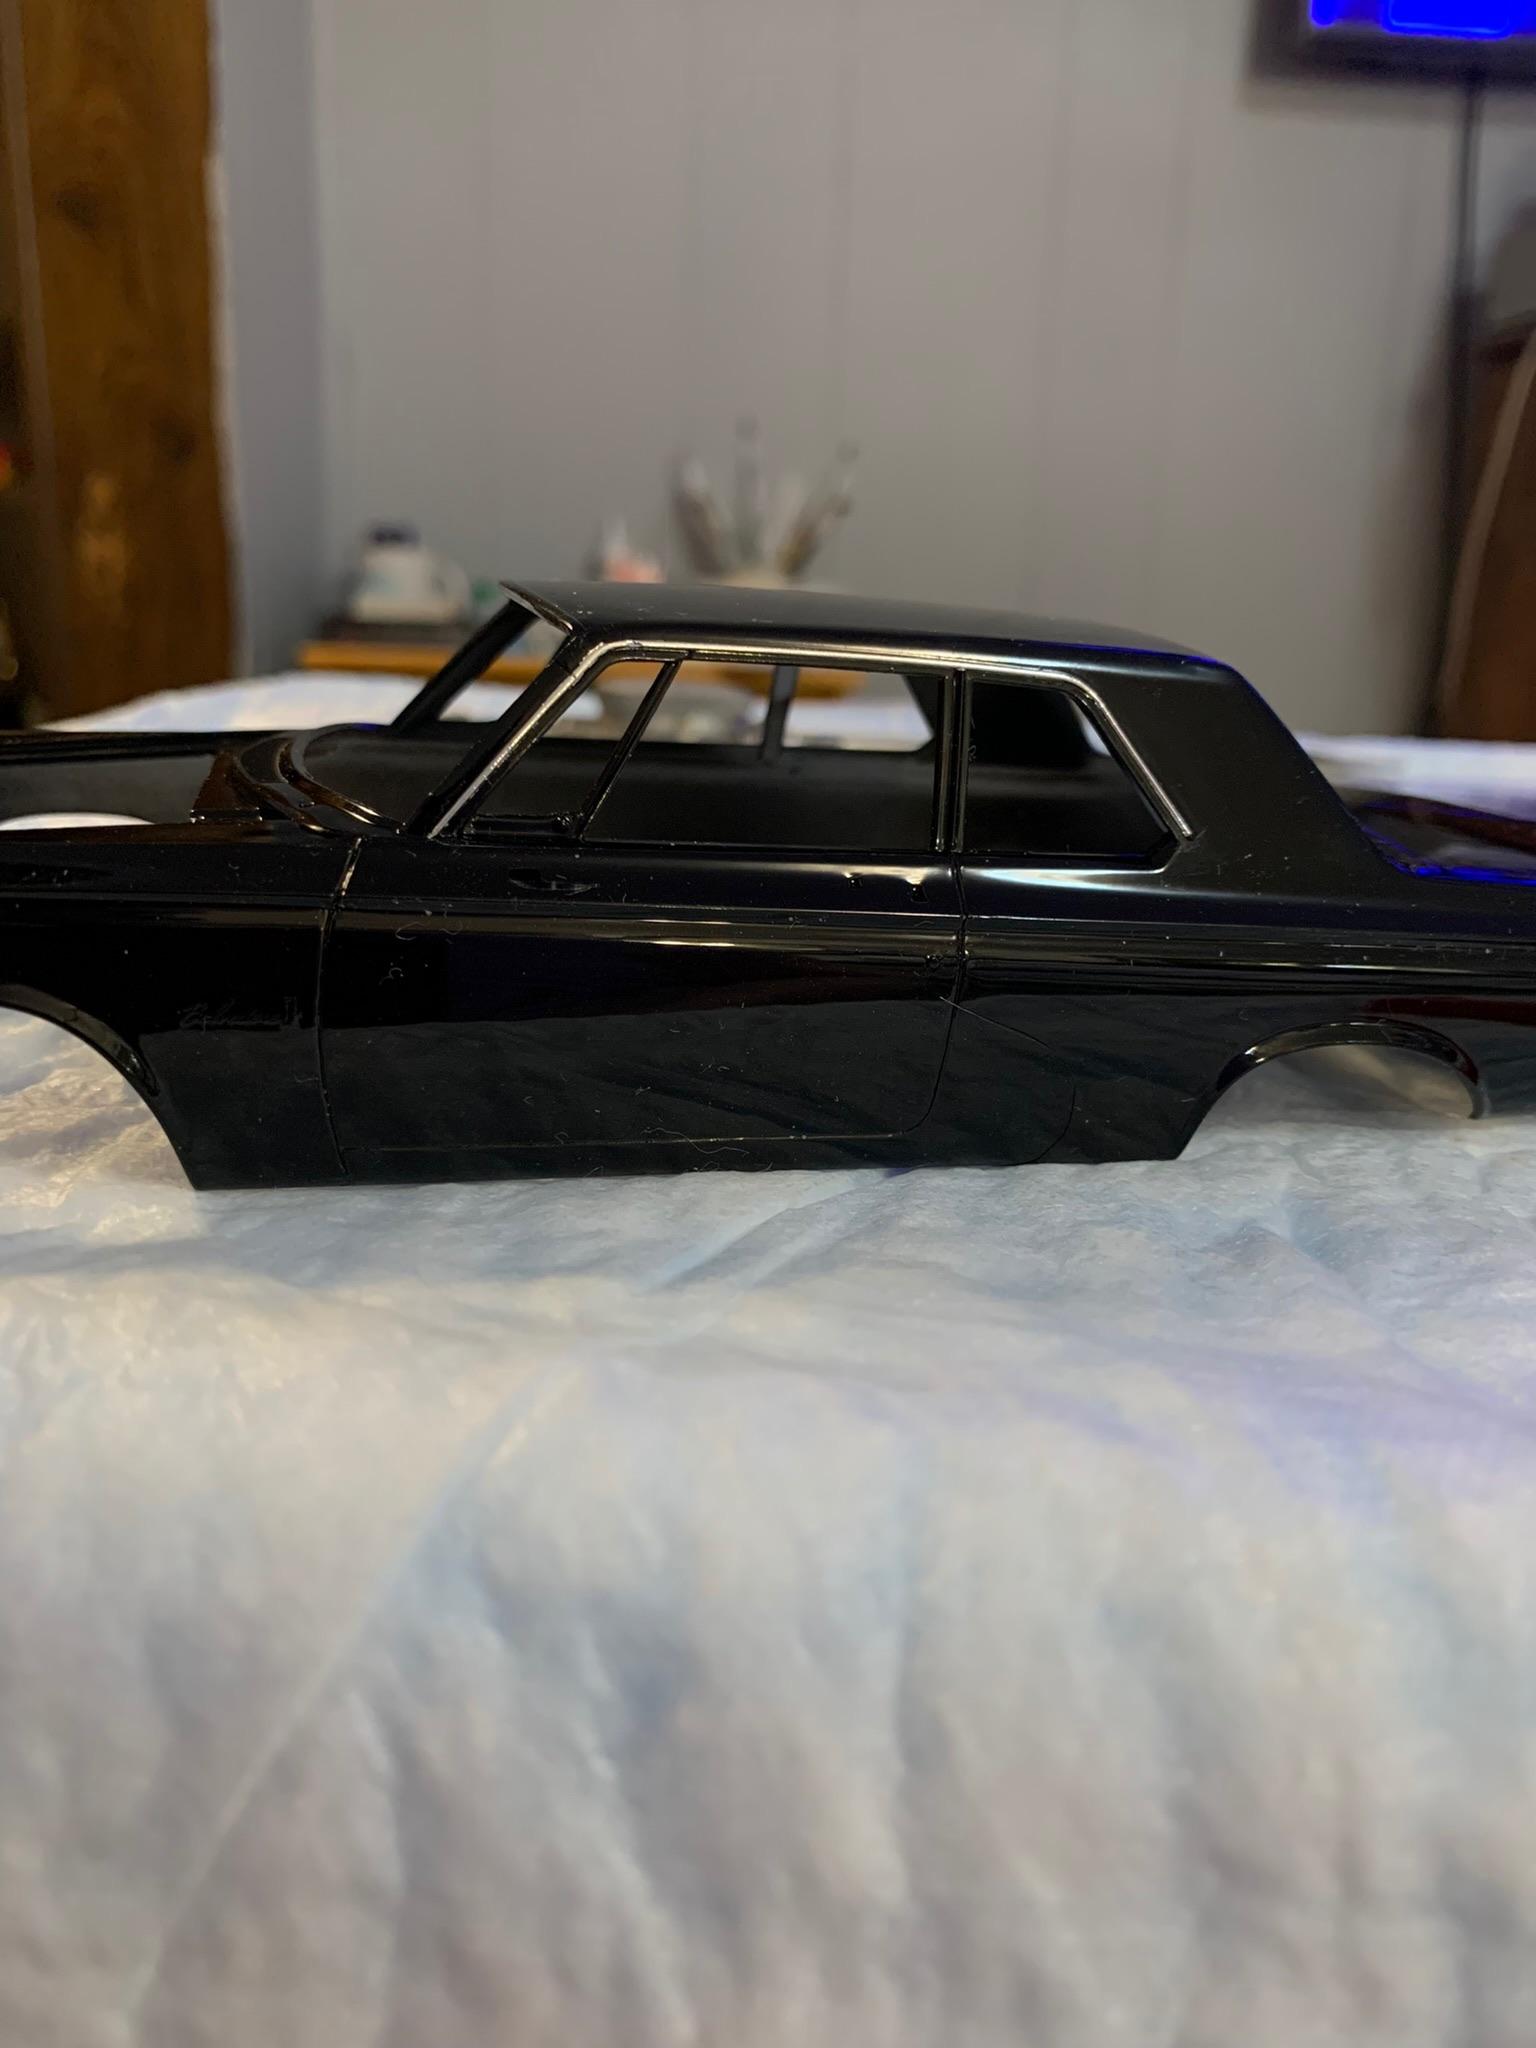
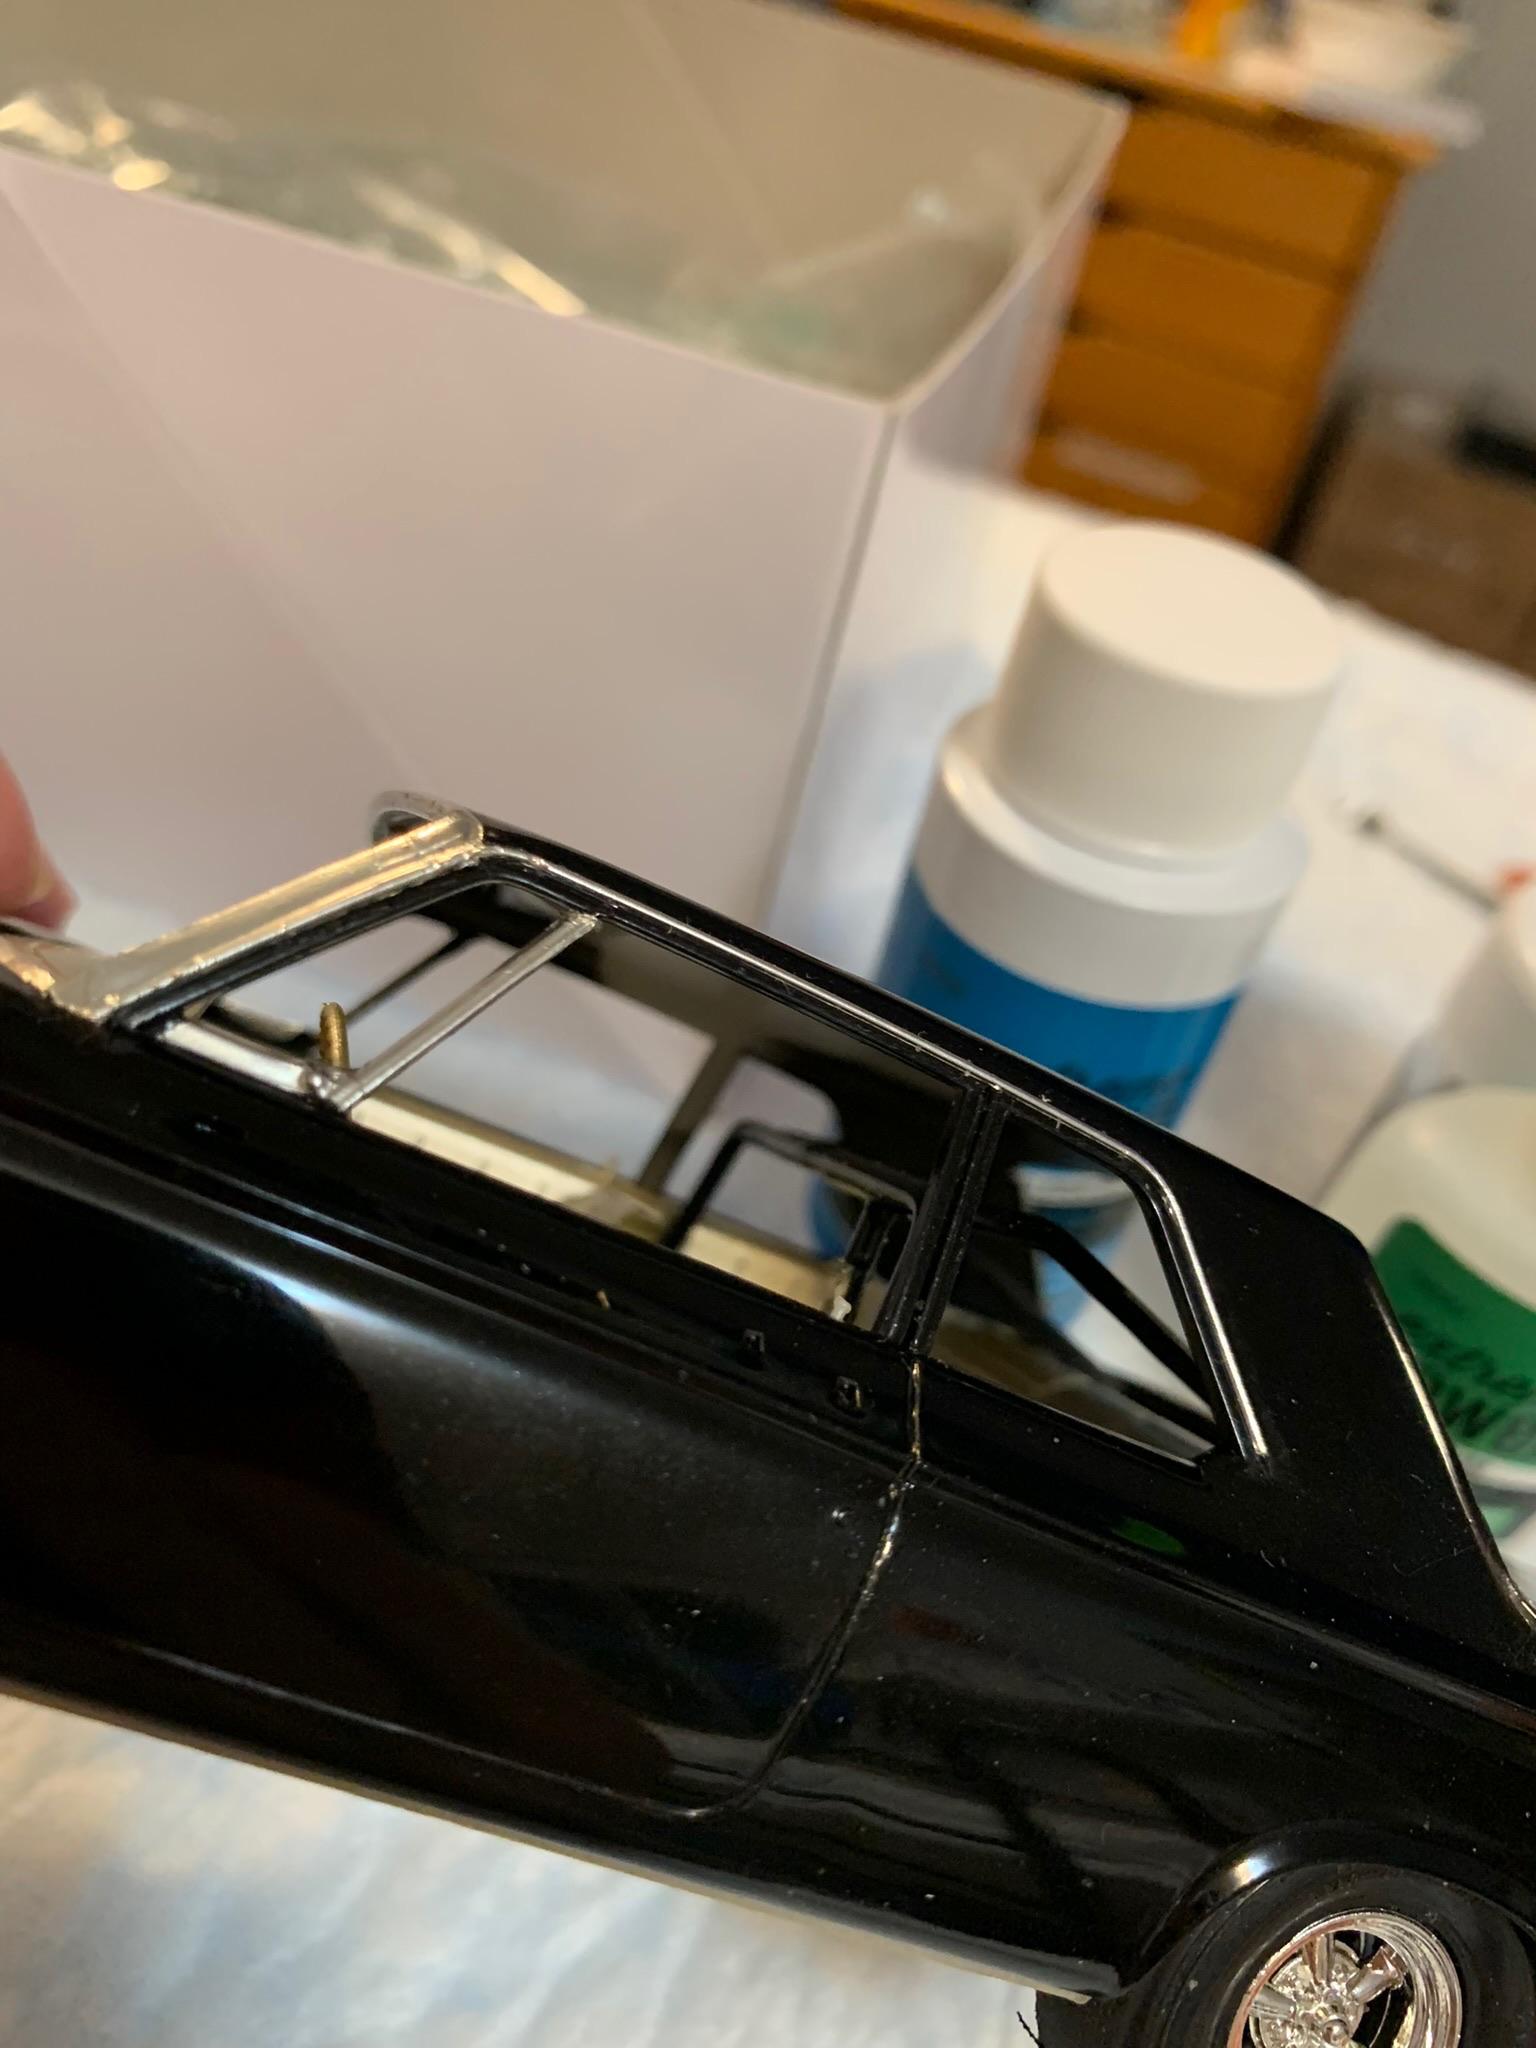
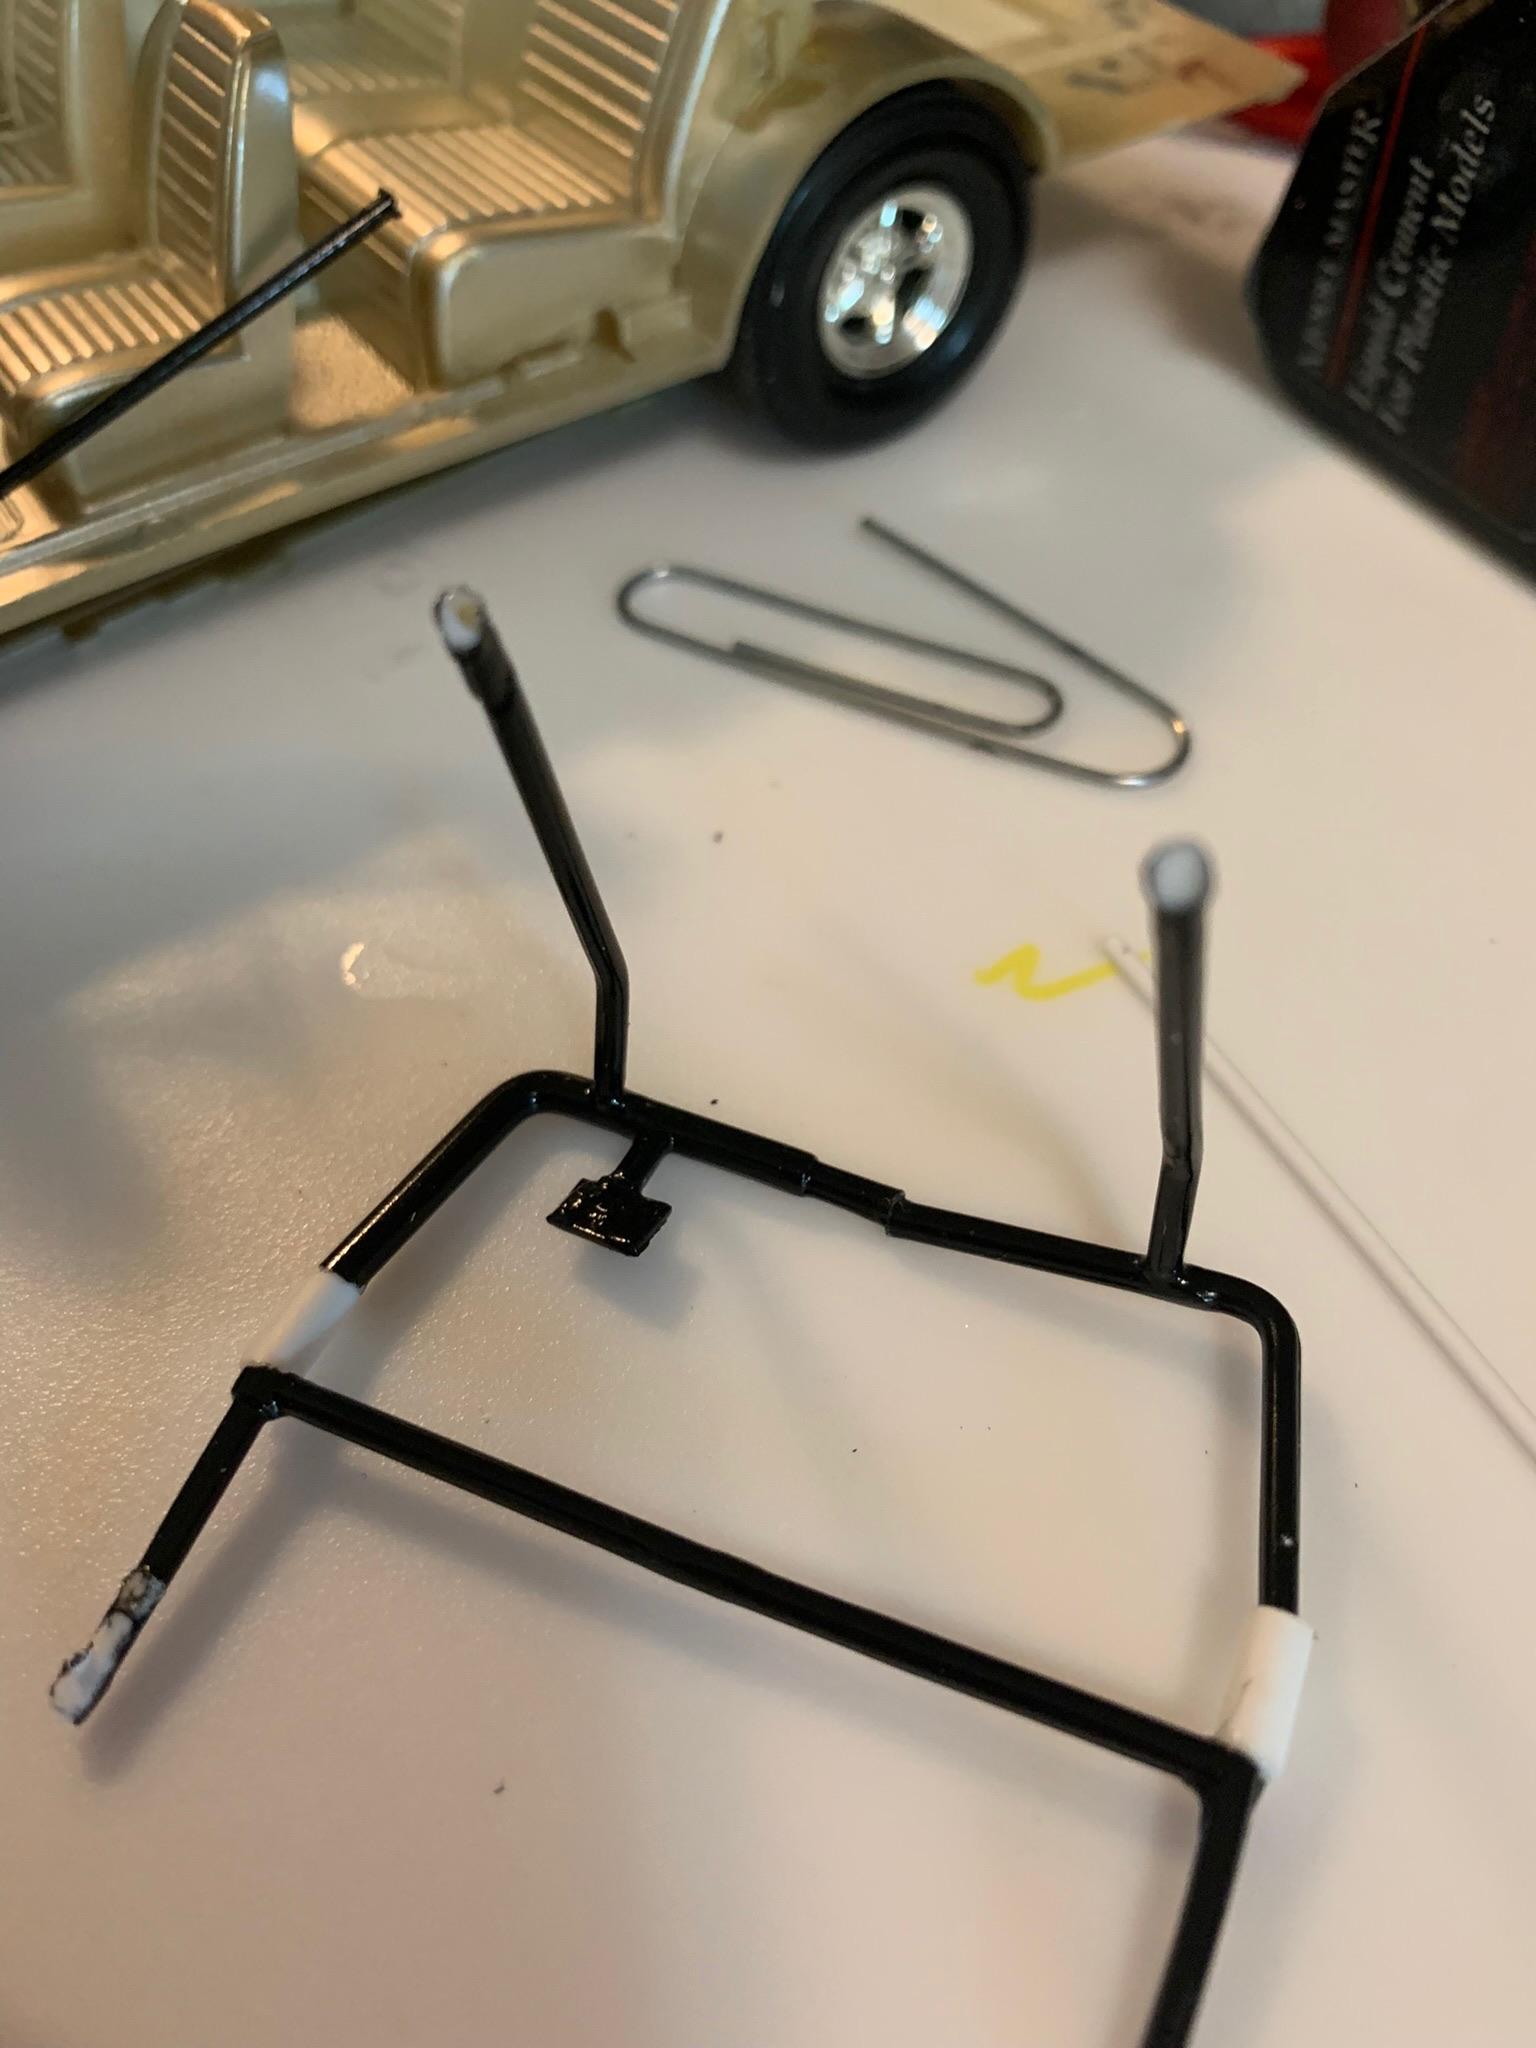
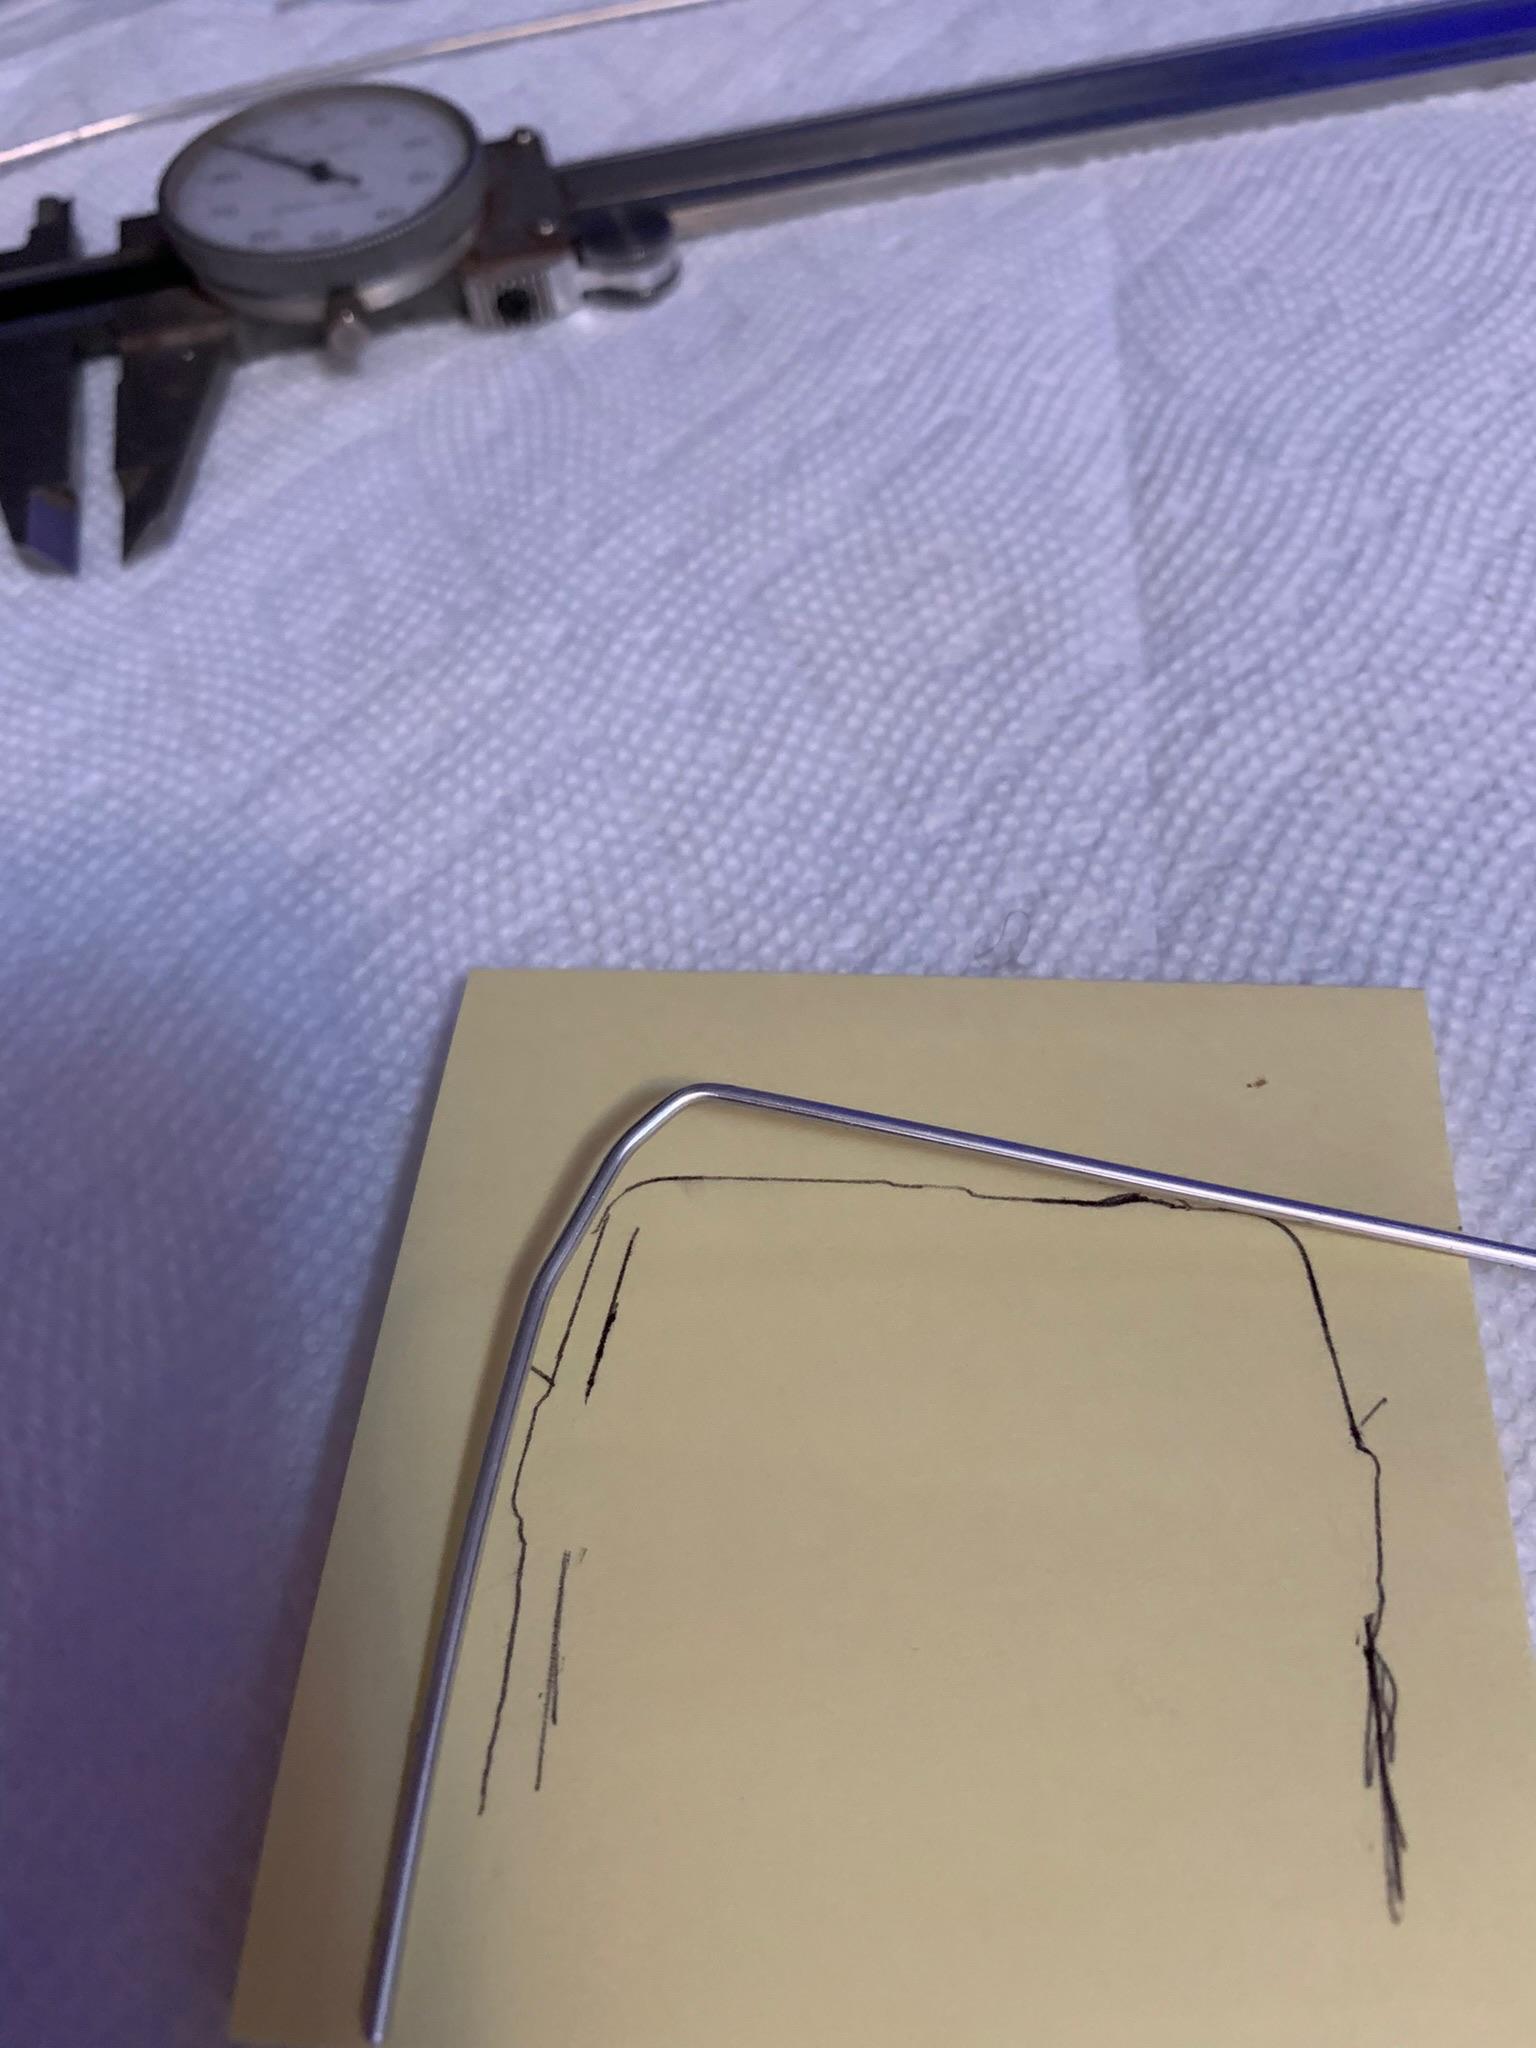
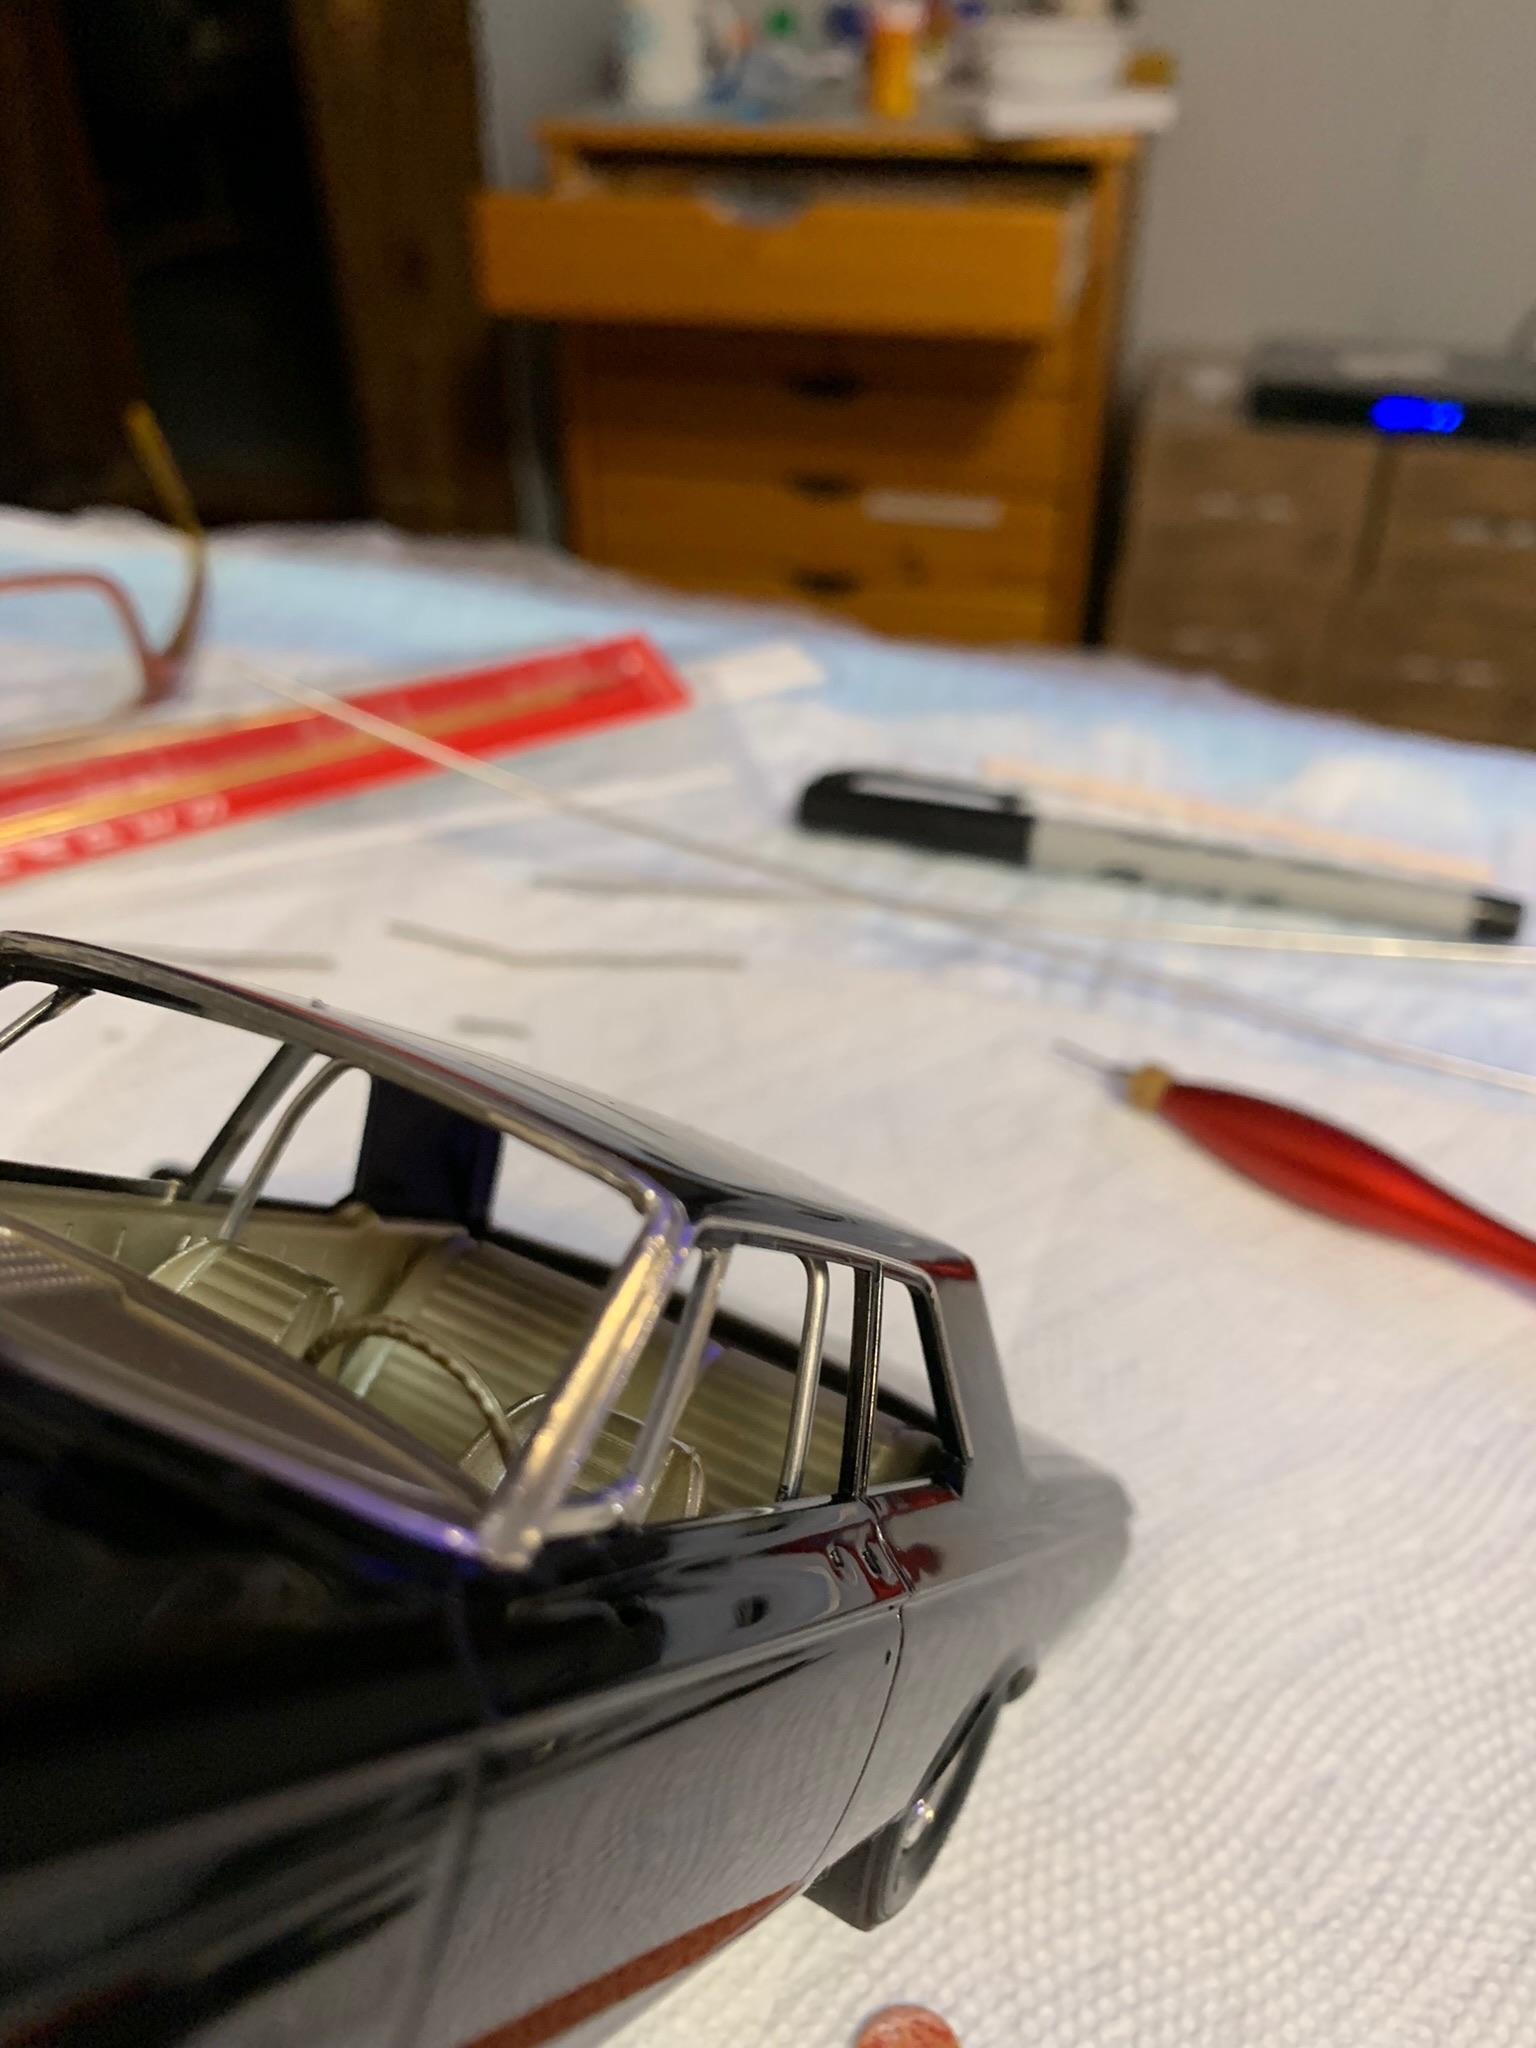
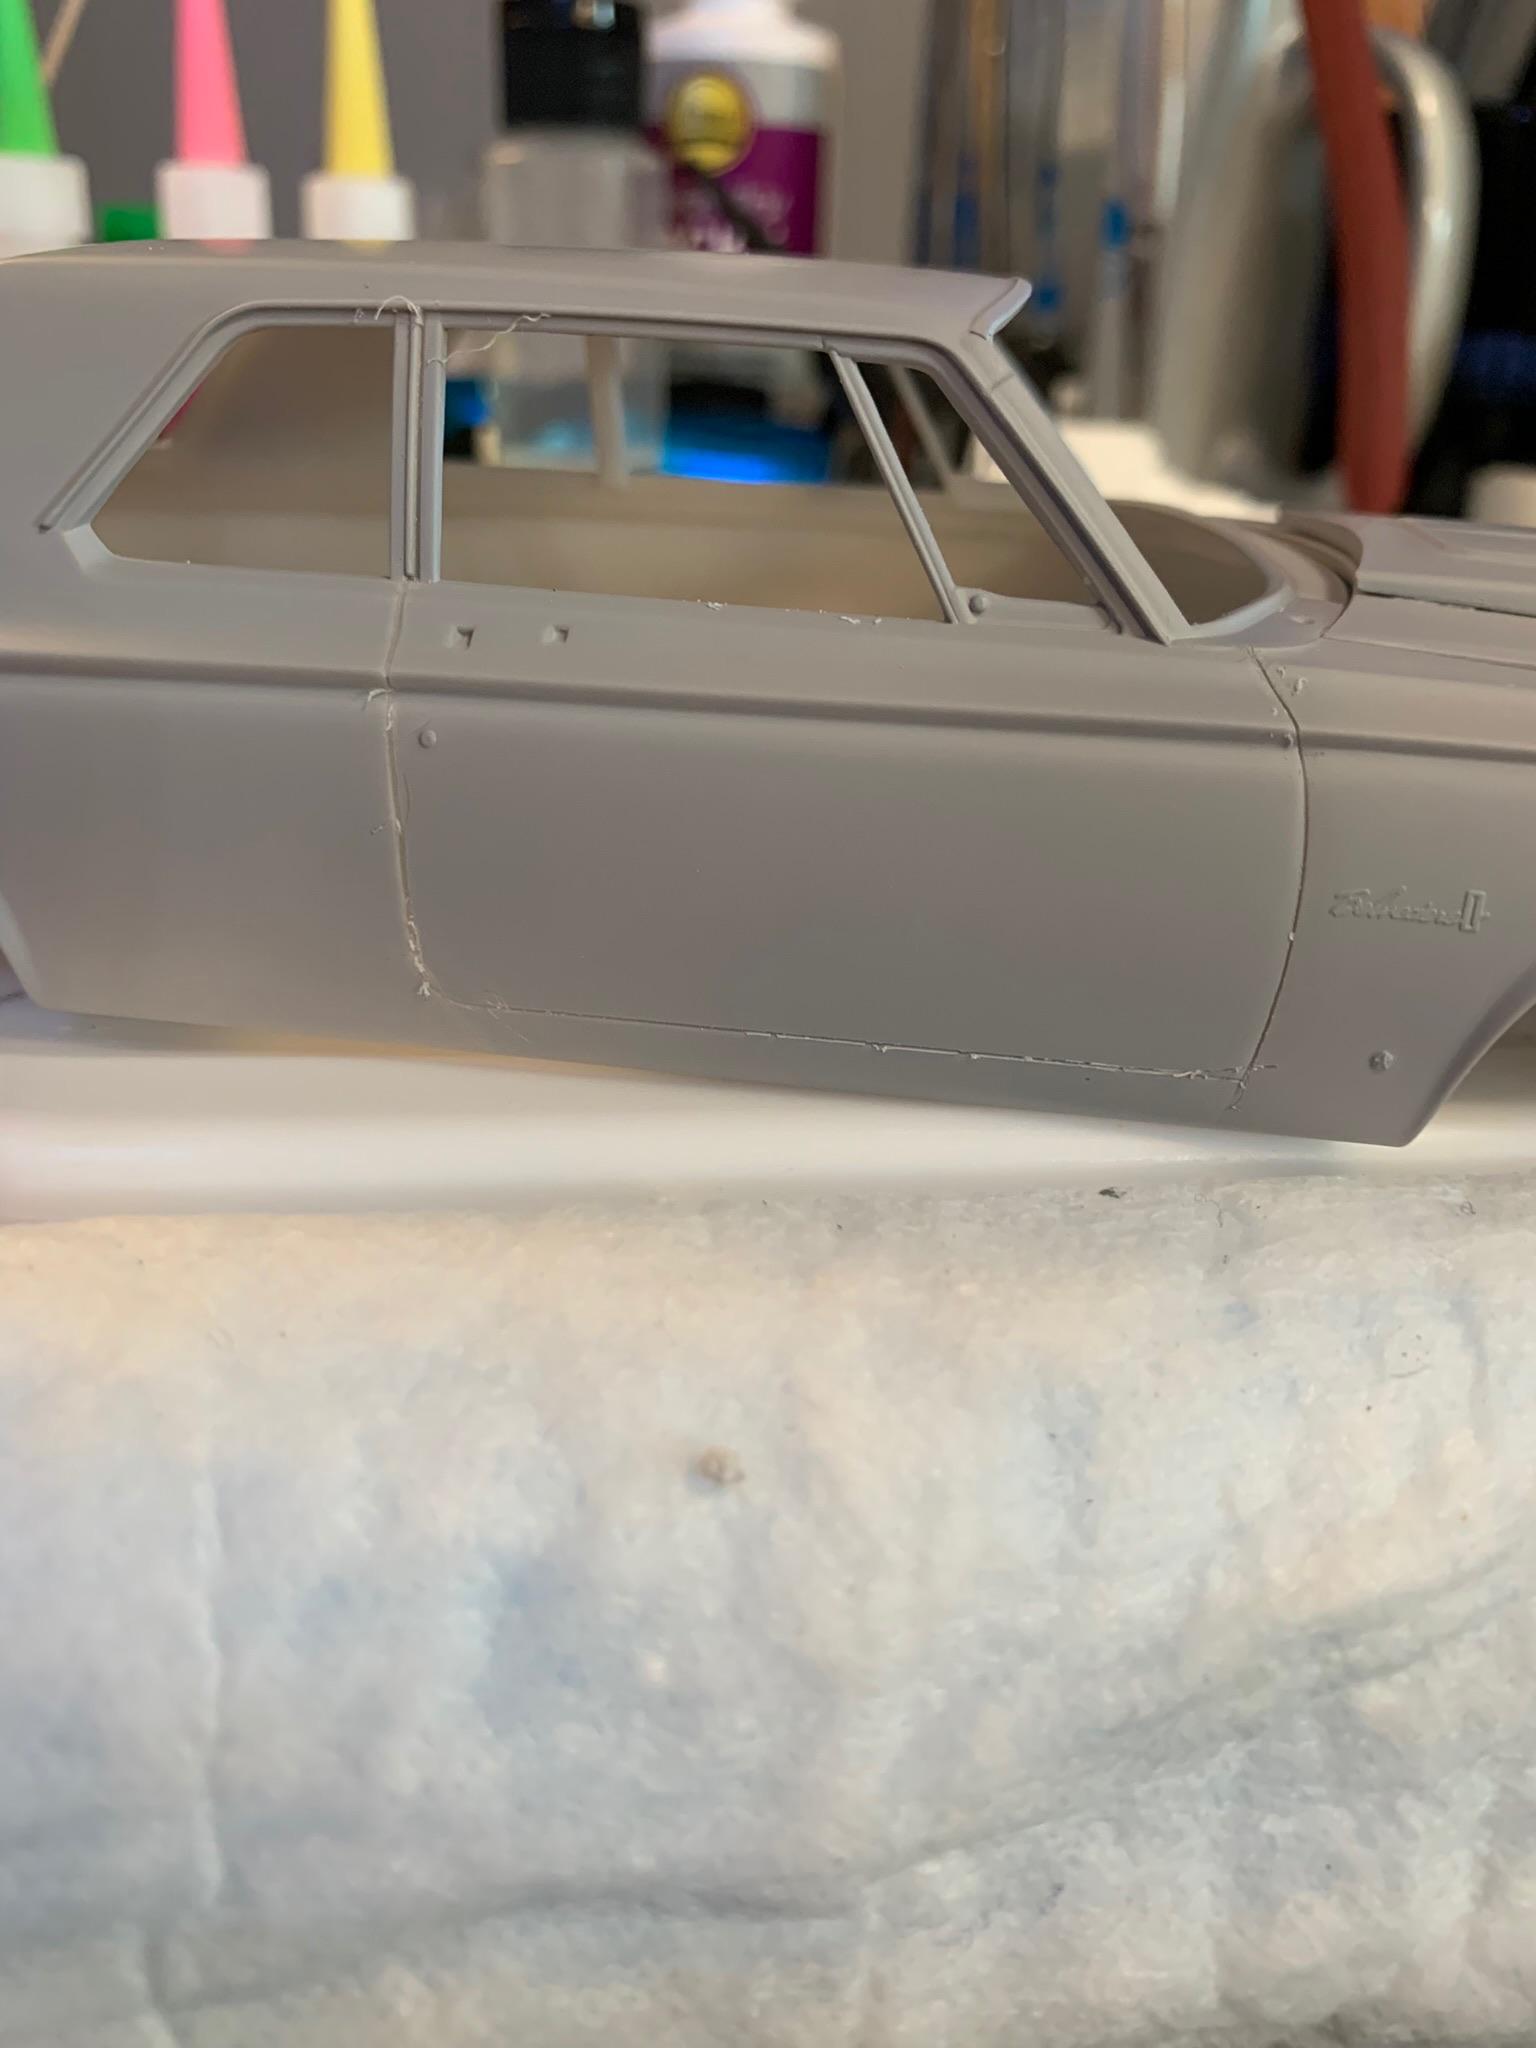
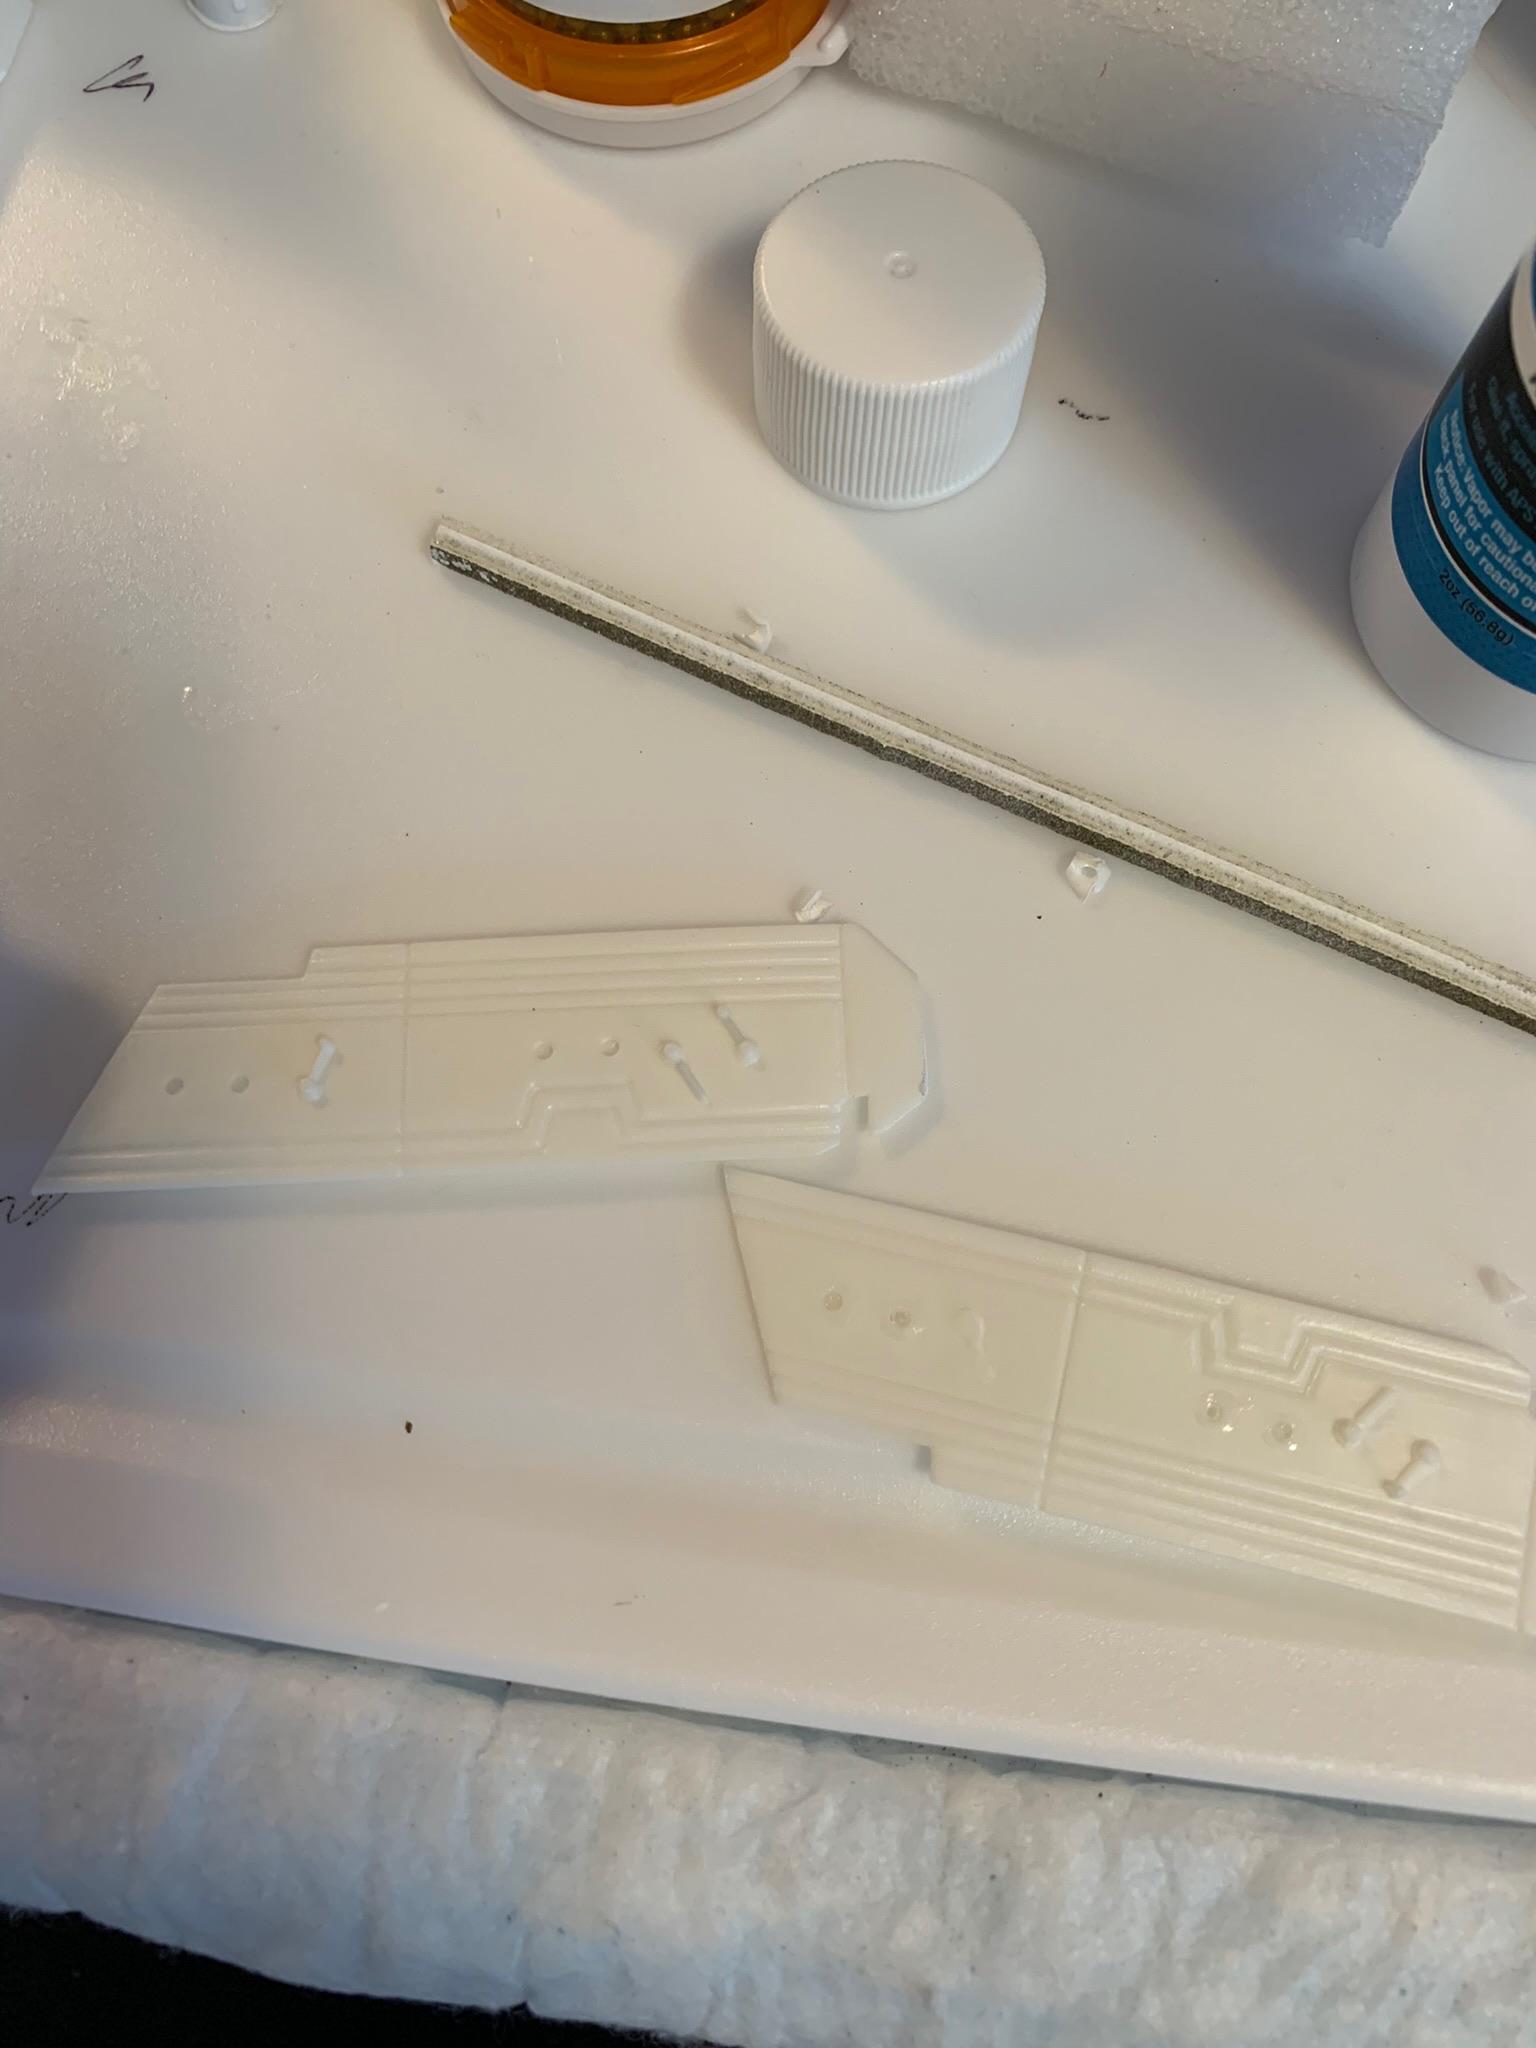
This is the kit I started with, but used parts from the Lindberg Ramchargers kit for the hemi engine and ( I thought) the roll bar. I widened the bar about 1/4”, put it in, then noticed it was too short (didn’t realize there was that much difference between a 1964 Dodge and a 1965 Plymouth). Finally gave up and pried 1 side panel off with my handy dandy little tool, snipped the forward bars off at the main hoop, and scratch built (from 1/16” tig rod) the hoop and back bars. Today I used some 5 year old bmf on the chrome trim with ho hum results.
-
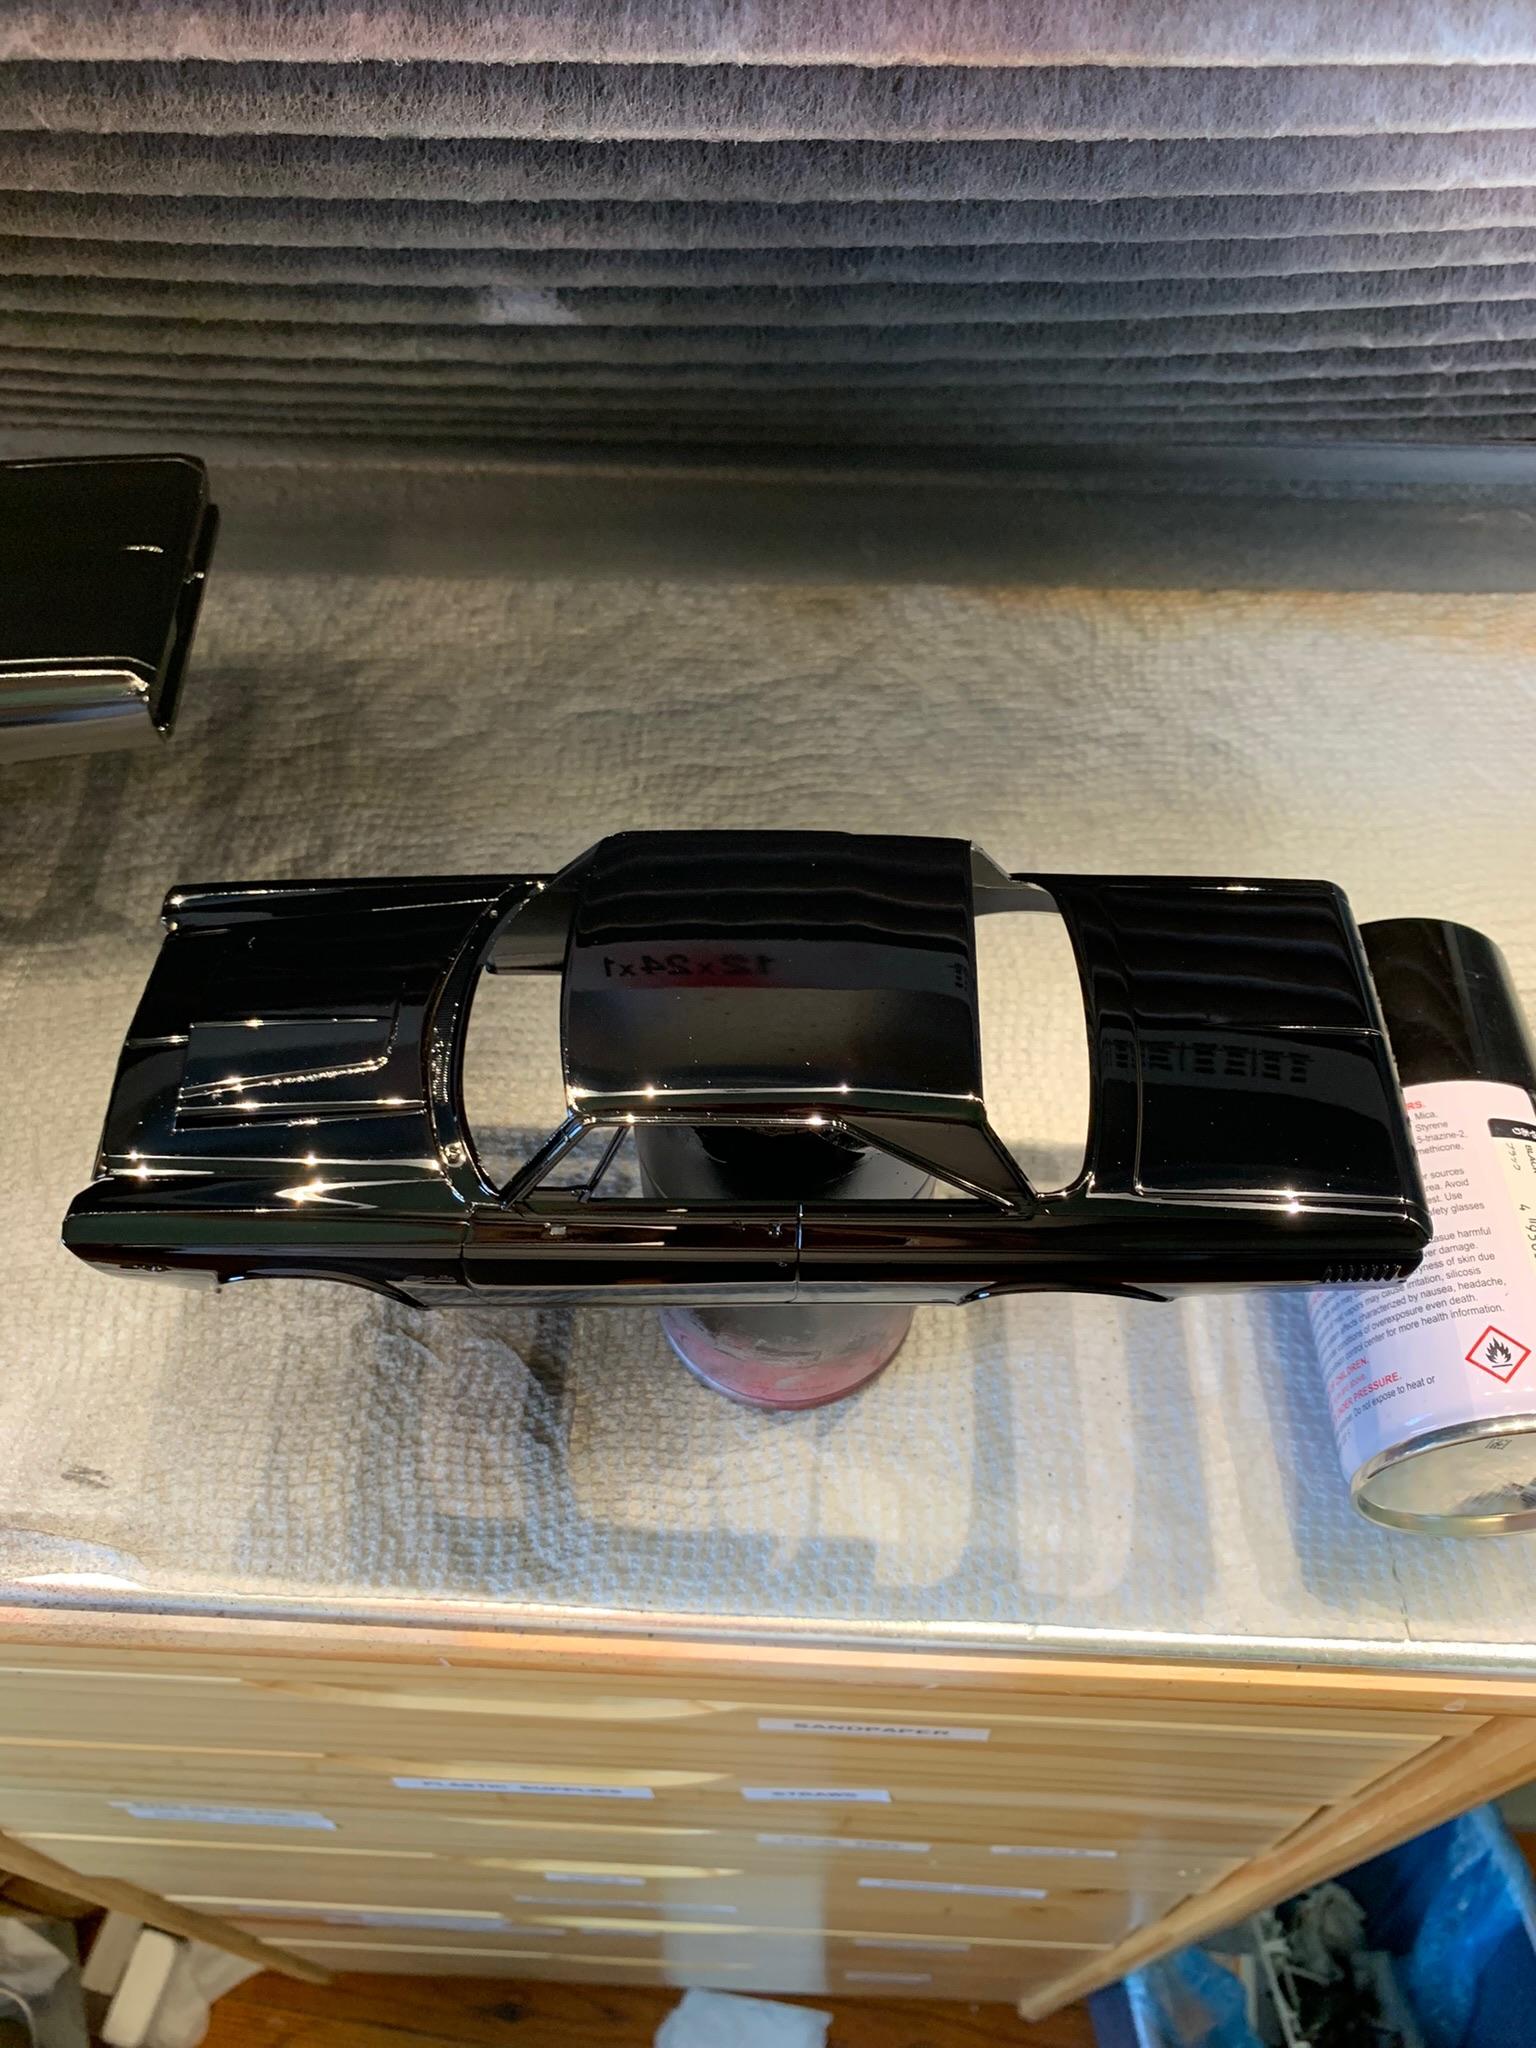
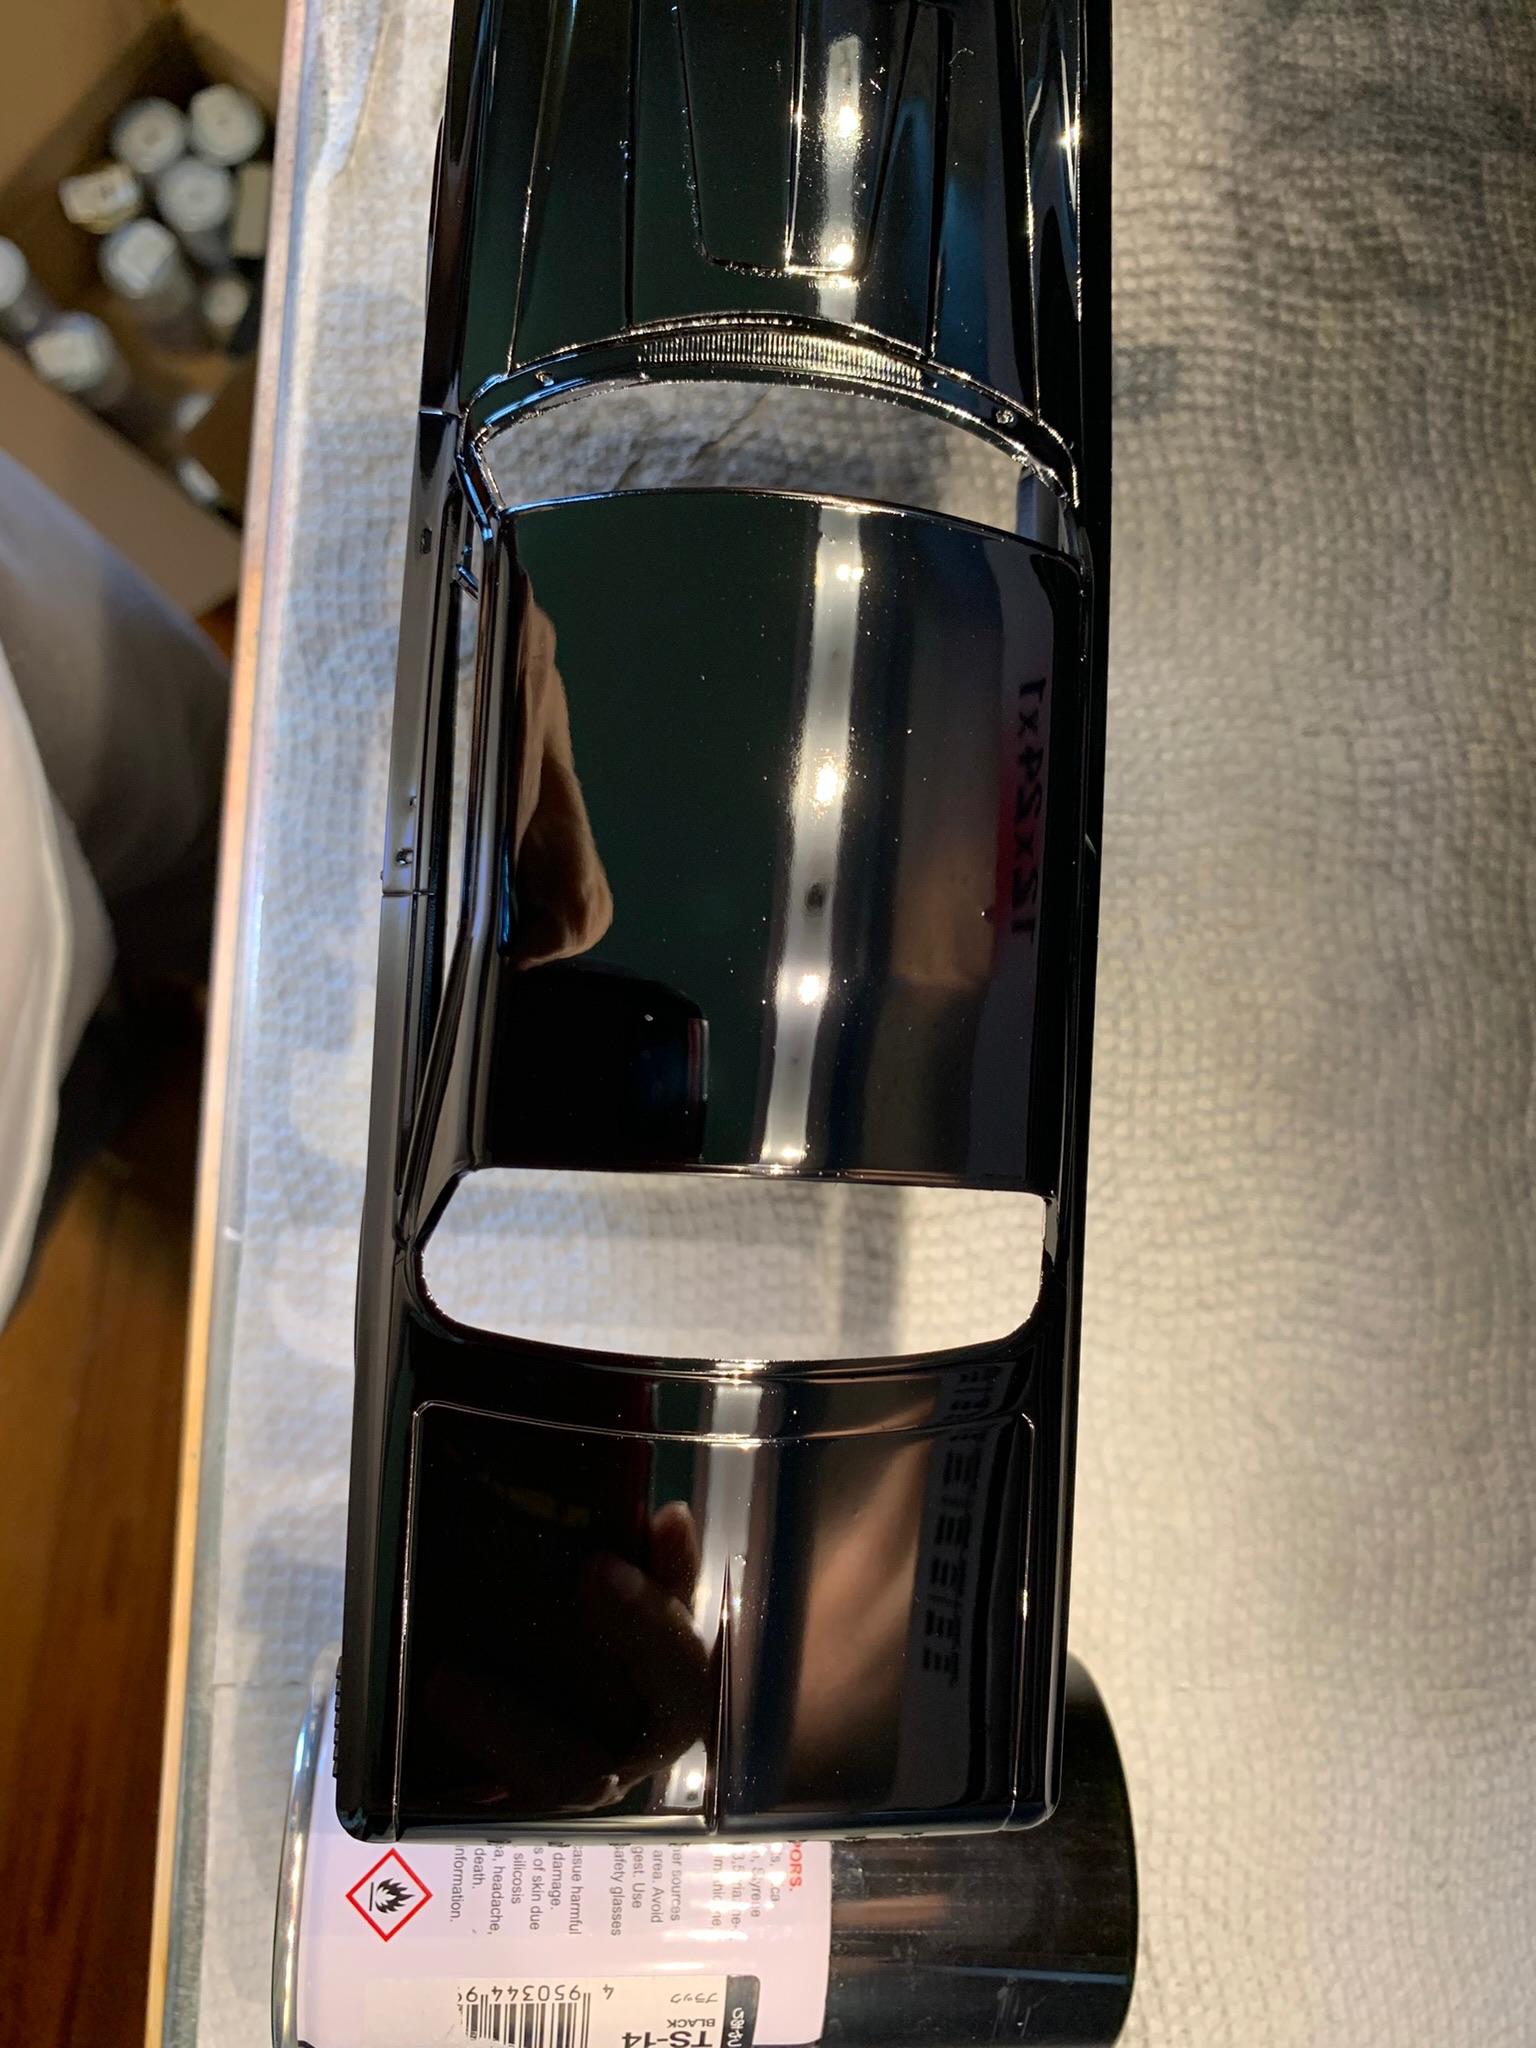
This was started as a diversion from some of my more complicated builds. Well, the best laid plans of mice and men often go astray. I now have 5 1964 and 1965 Dodge and Plymouth cars in process. This will, hopefully, be the first one I finish. This is an example of the type of car I am pursuing . Car was initially primed with 500 Surfacer to fill some sand scratches (mistake), then sprayed with Tamiya ts14 with this result. Well, after a bath in 91% alcohol, it was sprayed with no primer (again ts14). I also sprayed a couple other cars at the same time with decent results. Be back later with more. Oh yeah, comments (good, bad, indifferent) , critiques, suggestions, are always welcomed.
-
Outstanding. Wouldn’t it have had skinnier tires on the front? Gonna keep my eyes peeled for that book (at a reasonable price). Very nice job and thanks for posting.
-
Thanks for replying. Never thought about the dash being different. I have ordered some ts92 (sorry, not ts93, but you only missed it by 1, lol), and some dark gray primer to see if that would affect the color. Also, some Tamiya racing white for the 2 tone. Do you recall if your 37 was sprayed over light or dark primer? This is my first attempt at the seat brackets. Again, thank you, it is much appreciated.
-
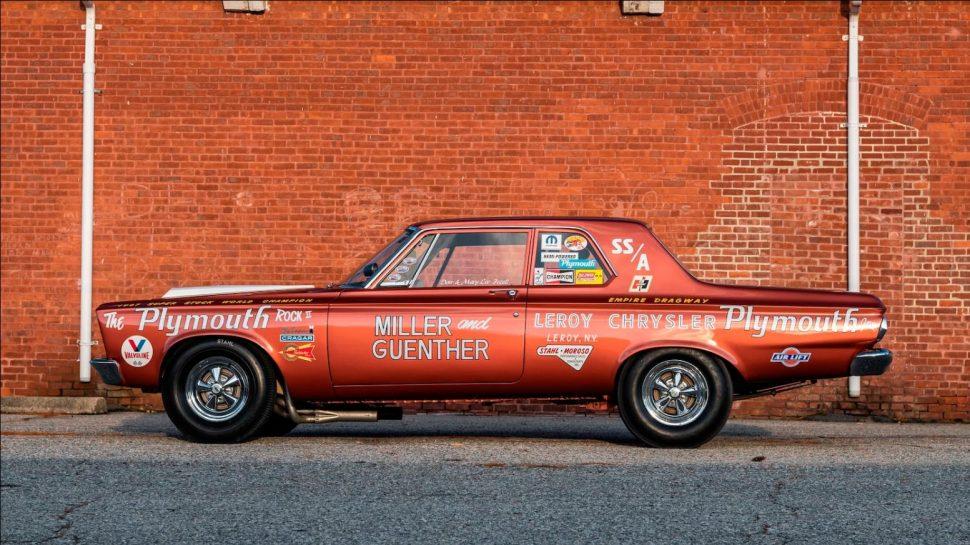
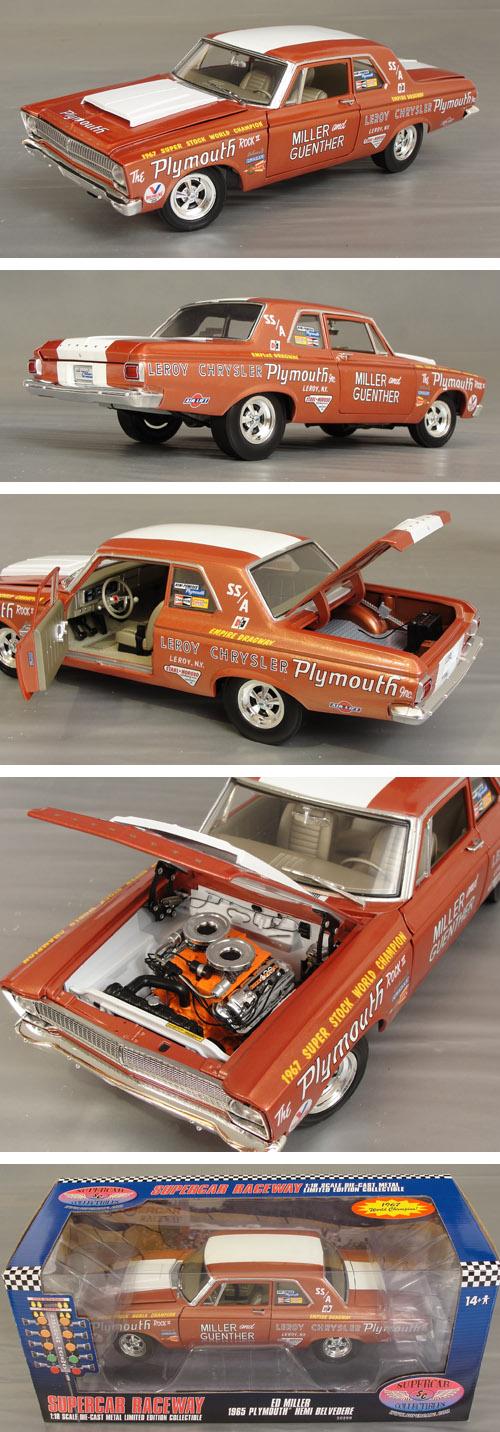
Anyone know of a close color match to the Miller Guenther Plymouth? I have some testors copper and brass enamel that I might mix for that color. Also, are there decals available for it? I have the Moebius Butch Leal kit for starters and 1937 Chevy Cragars for the wheels. What is the simplified IP (instrument panel ?), Tim? Just what I need, to start on another car, when I have about 6 unfinished projects going on, lol.
-
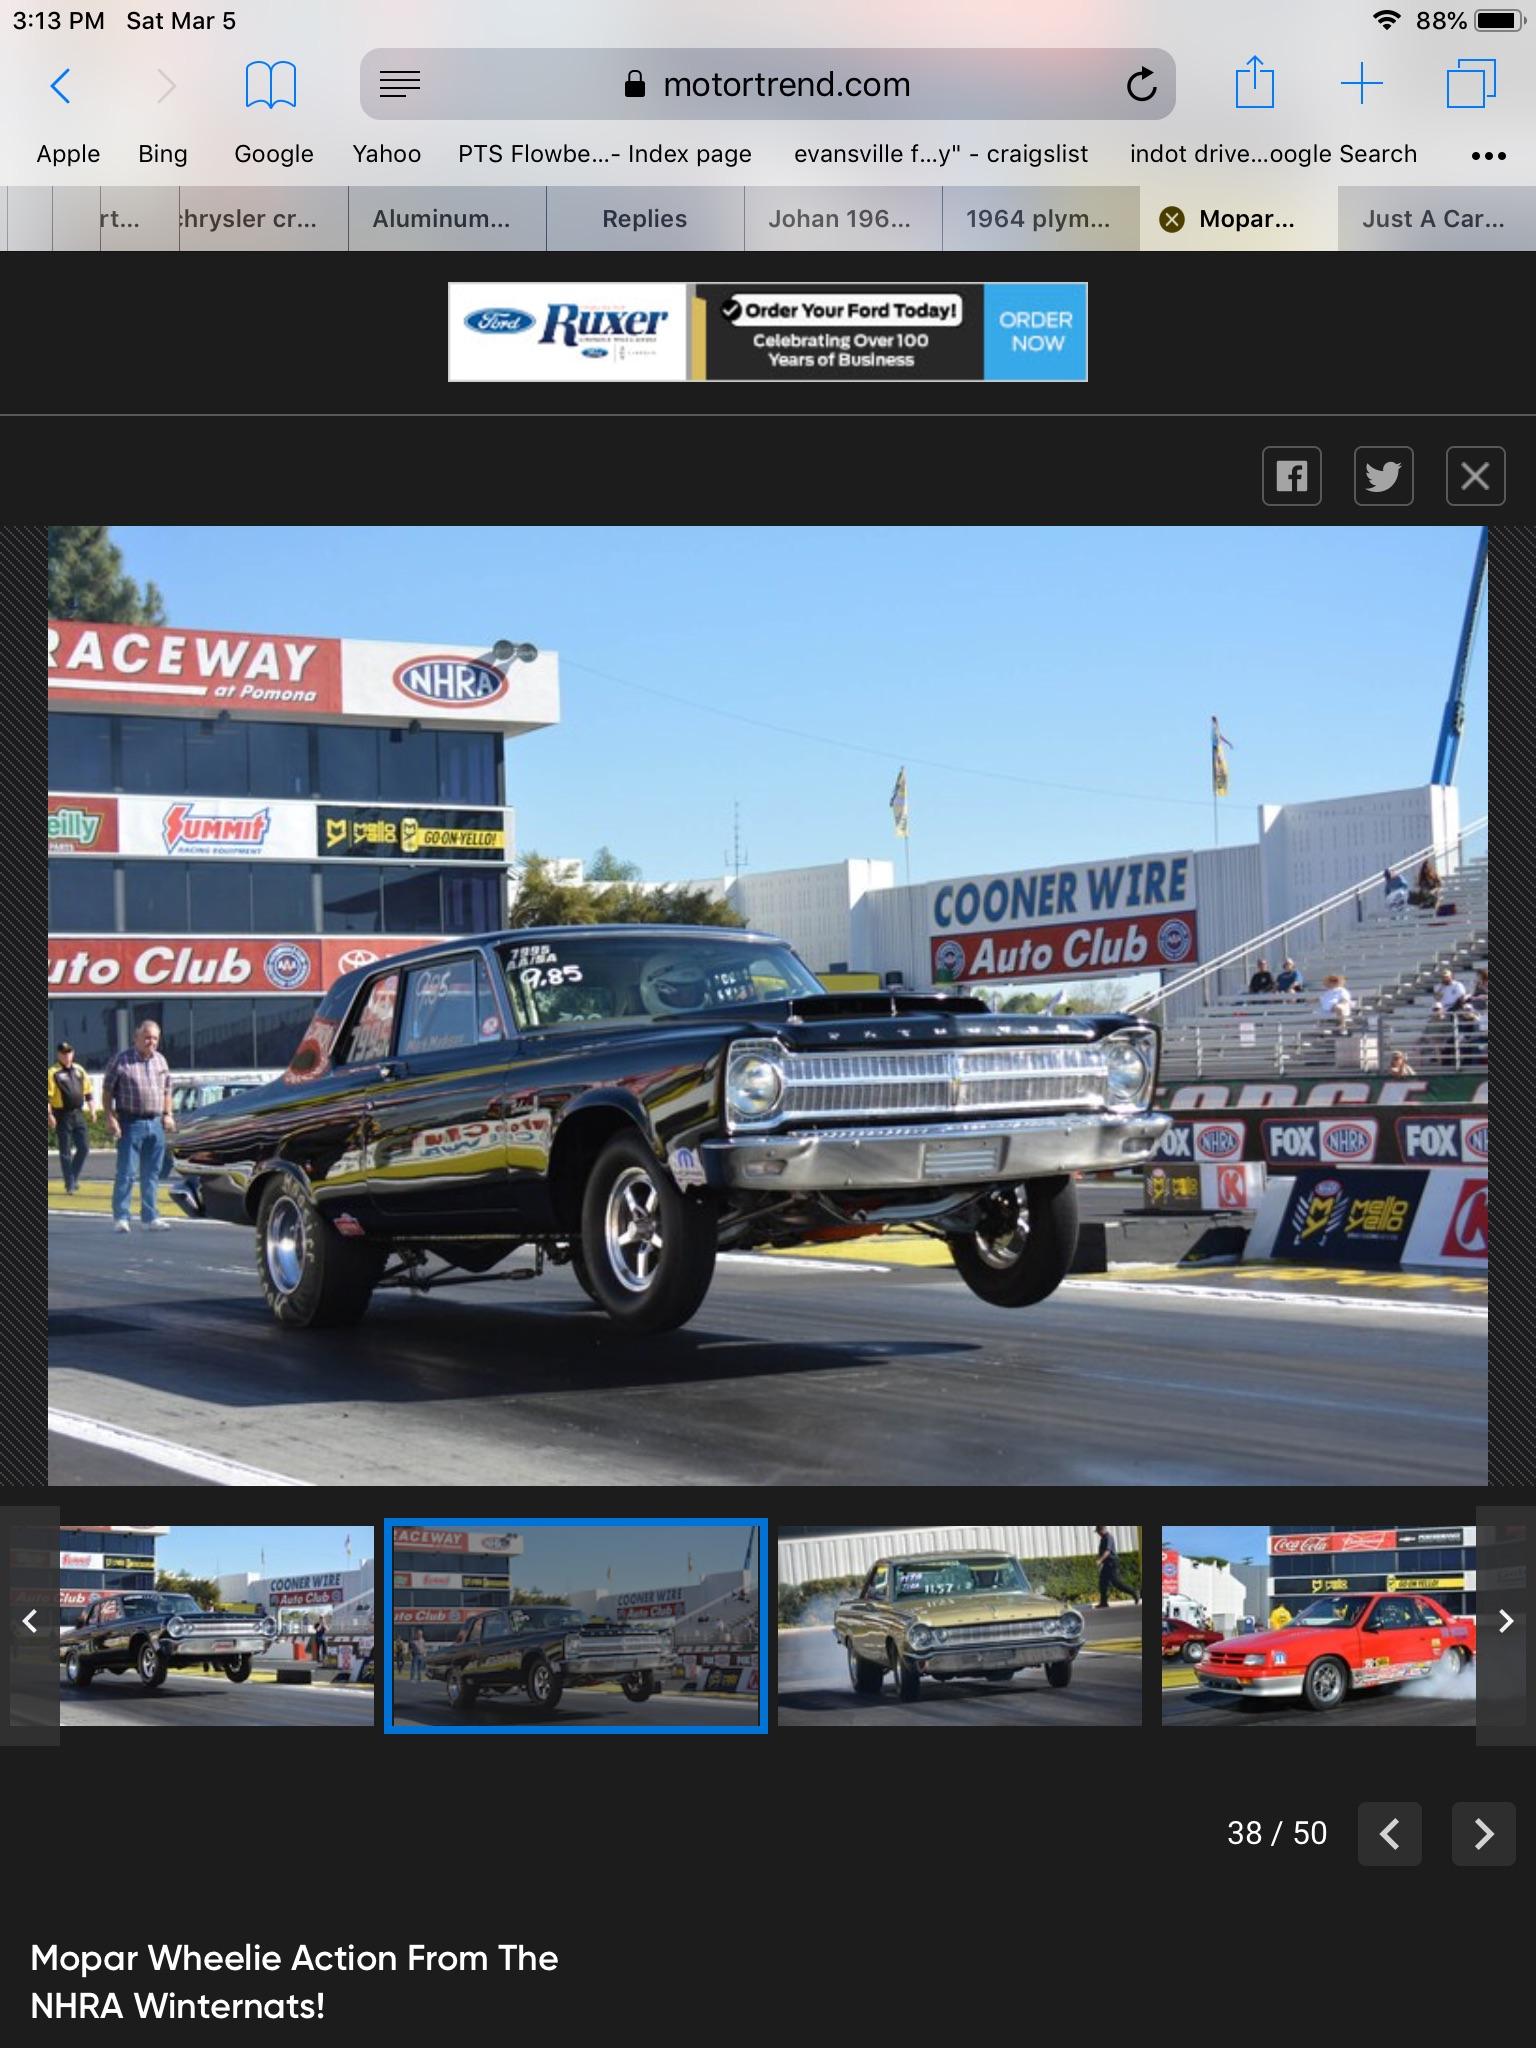
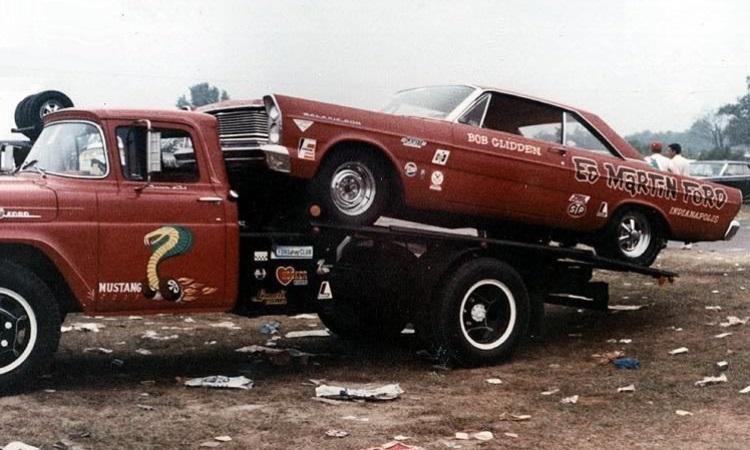
Looks like you’re off to a good start. Super guy, Bob Glidden. I first met him at a service station outside Columbus, Ohio after a points meet there in the mid 60’s. He was driving this rig ( not my photo).
-
You are most welcome, sir. If the creek don’t rise, I will be posting my 1965 Plymouth wip build tomorrow. Your passion for this hobby always inspires others, myself included.
-
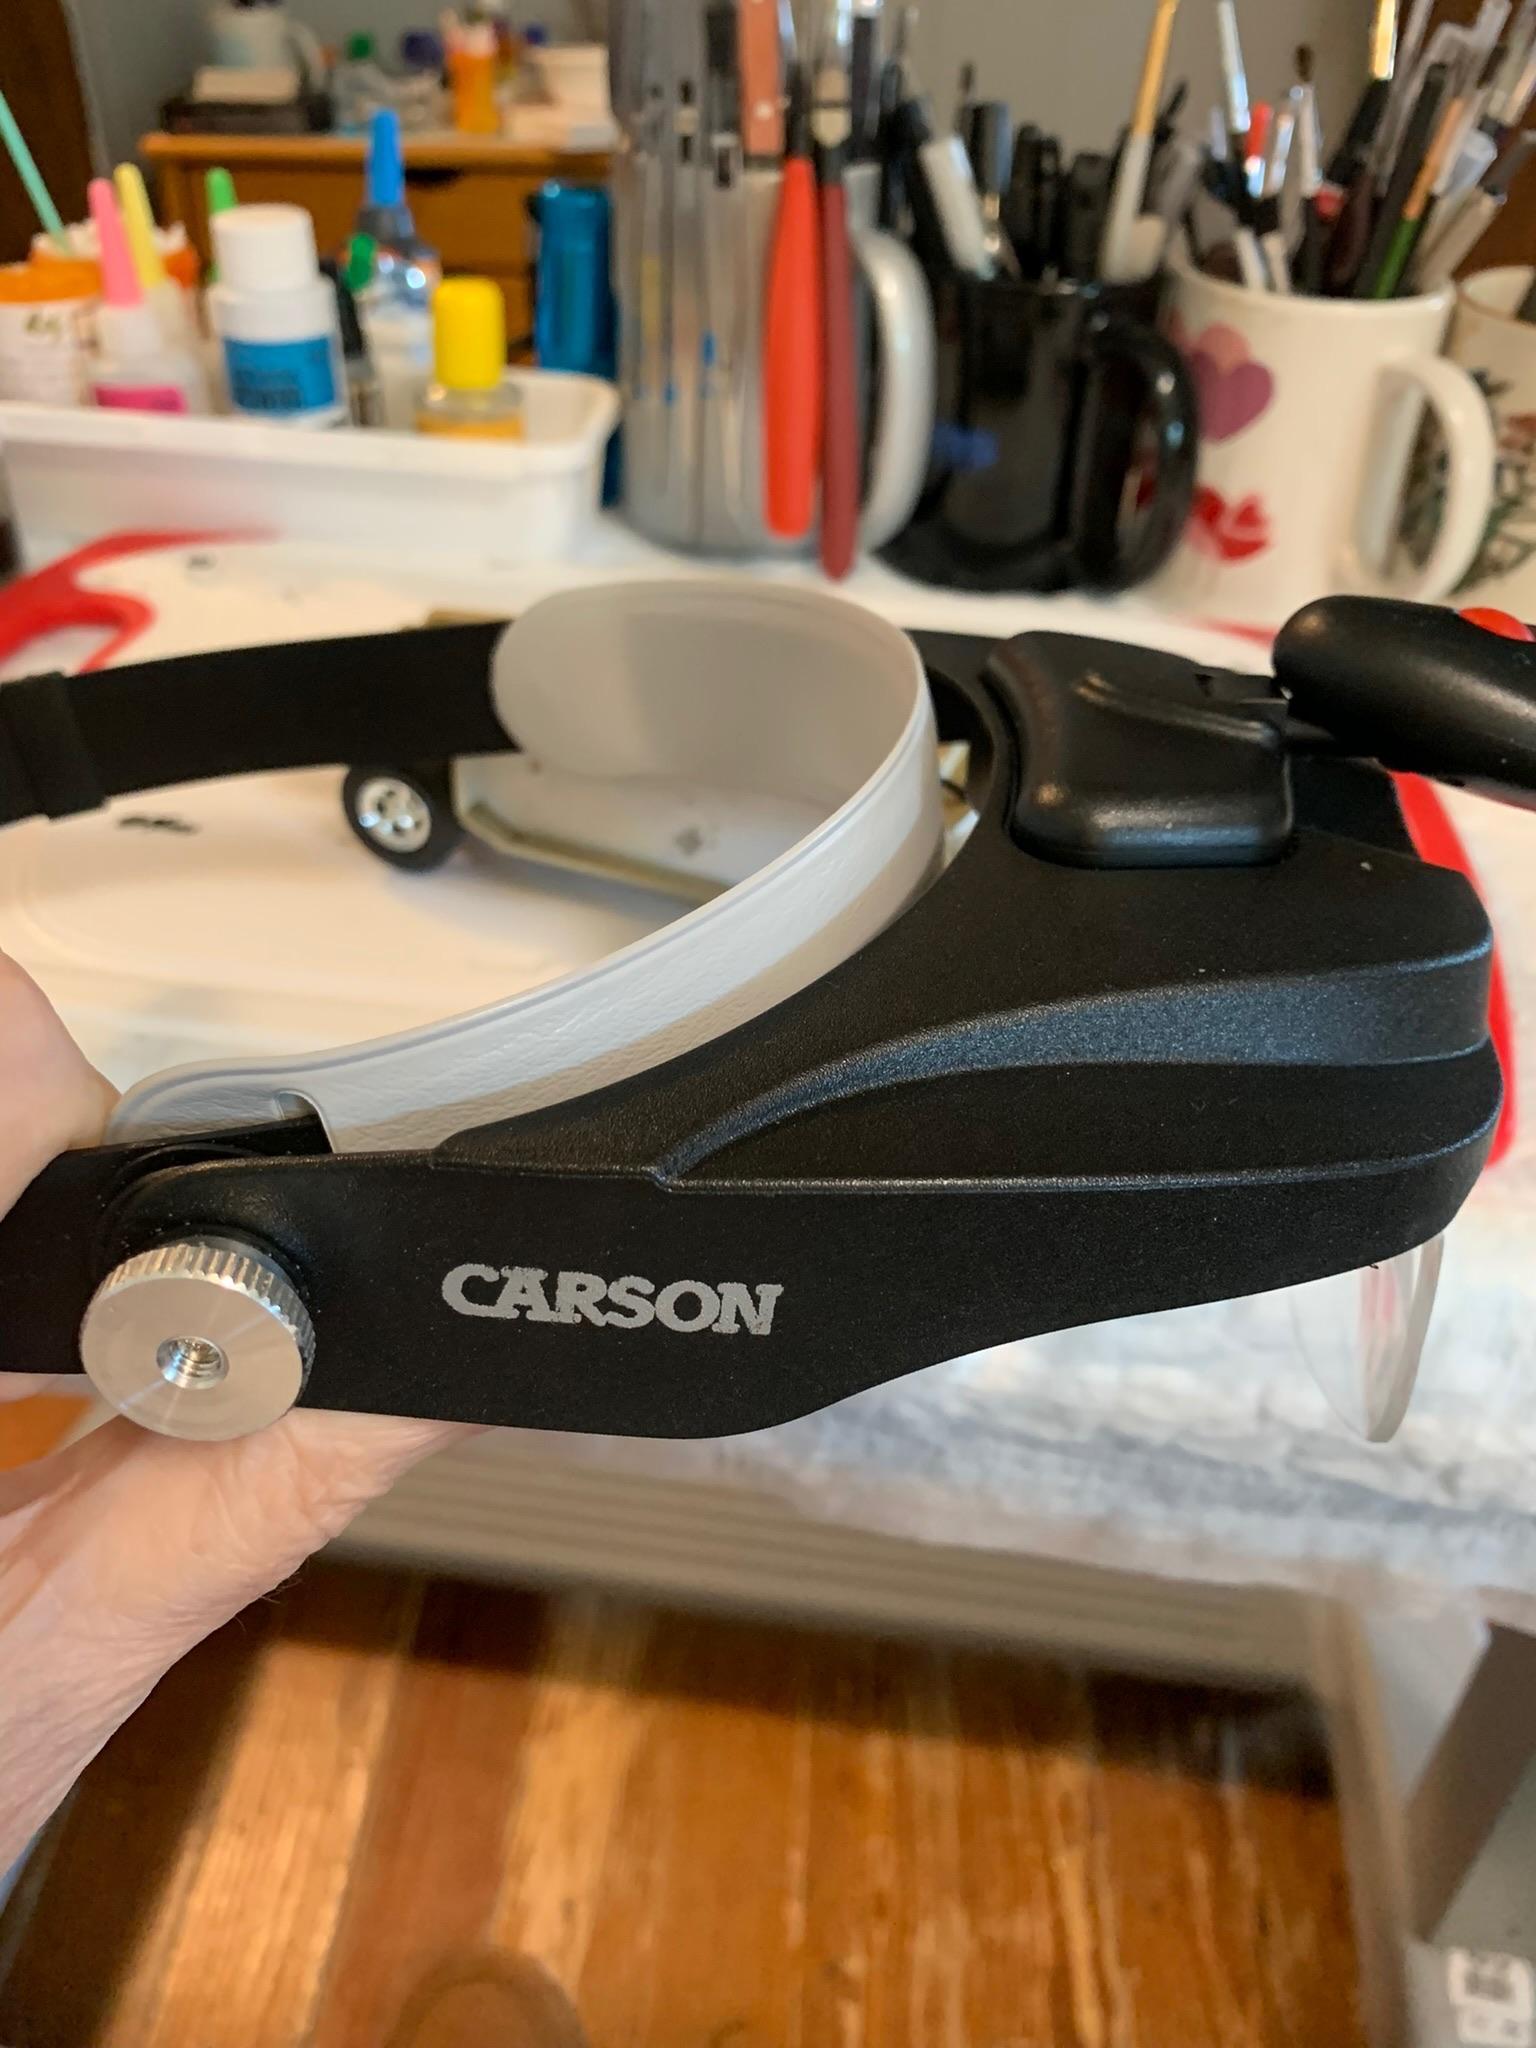
Guess you’ve got something like this. I would be lost without it, especially the light, even though I burn thru aaa batteries too quickly.
-
Nice work. Gotta love the early super stockers. Just curious, did you fill the holes for the arm rests? I did on the 1964 Plymouth Belvedere kit I have to make it into the A864 hemi car. Got it all sanded down, then, surprise, on the other side of the interior panels, as on your car, there are no arm rest holes and a plain interior as the hemi car had. So, I flipped it over. Also, did you forget to sand the rear slicks smooth and sand too much on the front tires as I did.
-
Thanks, I was pleasantly surprised at how well they turned out. All 4 black paint jobs had virtually the same outcome (unlike my picture taking and not dusting off some of the models before taking pictures). The paint and 500 surfacer came right off in a bath of 91 per cent alcohol. I fell into a 1964-1965 Dodge & Plymouth hemi Nhra Stock eliminator rabbit hole and am building a fleet of them. The outcome of that one bad paint job (with the 500 surfacer) may have been influenced by too short a drying time, also. Sorry to the original poster if I have hijacked this thread. This is my first car.
-
Sandboarder is correct. It was the gray 500, btw.I tried spraying over the 500 because it looked so smooth after priming with it. Perhaps a different thicker paint would have eliminated the roughness, but the Tamiya, especially the black, is very thin and more transparent. That is probably why the paint jobs come out so glossy. As I said, all 4 paint jobs, in the end, were sprayed with Tamiya paint only, no primer, no gloss coat.