89AKurt
-
Posts
8,429 -
Joined
-
Last visited
Content Type
Profiles
Forums
Events
Gallery
Everything posted by 89AKurt
-
Calling it ? DONE! 104 hours, started February 12. Many late nights sometimes until Midnight.

-
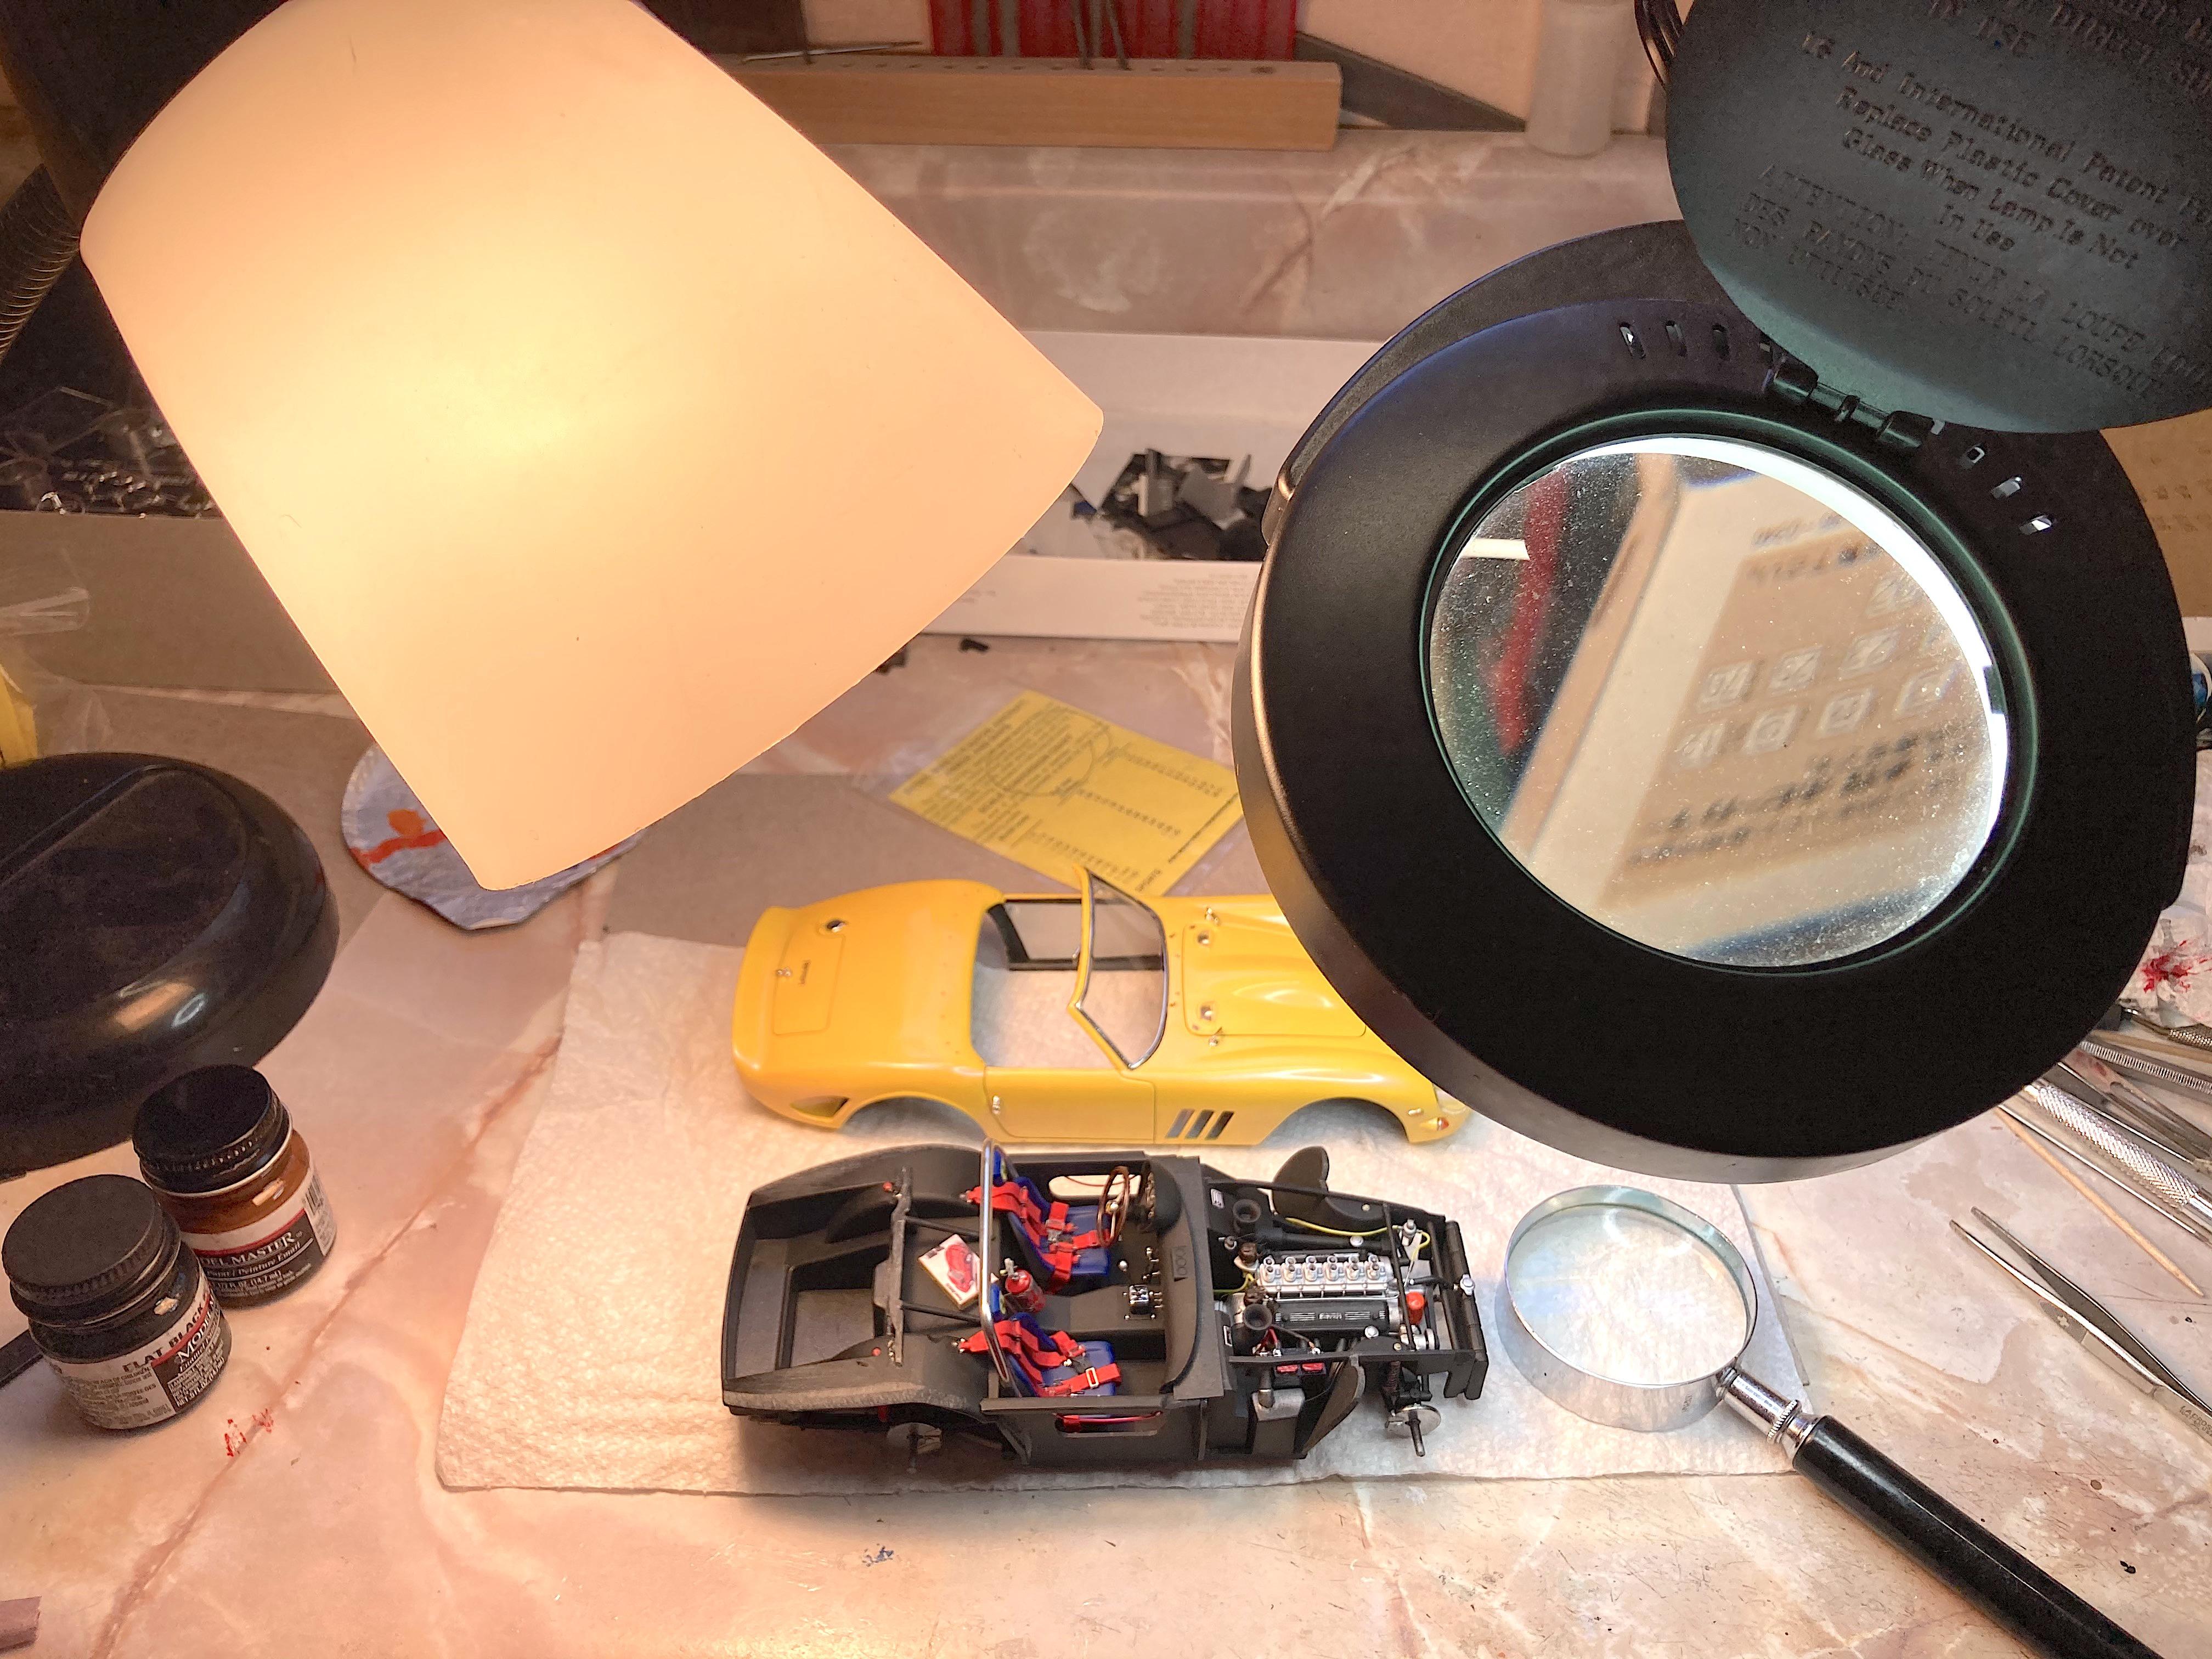
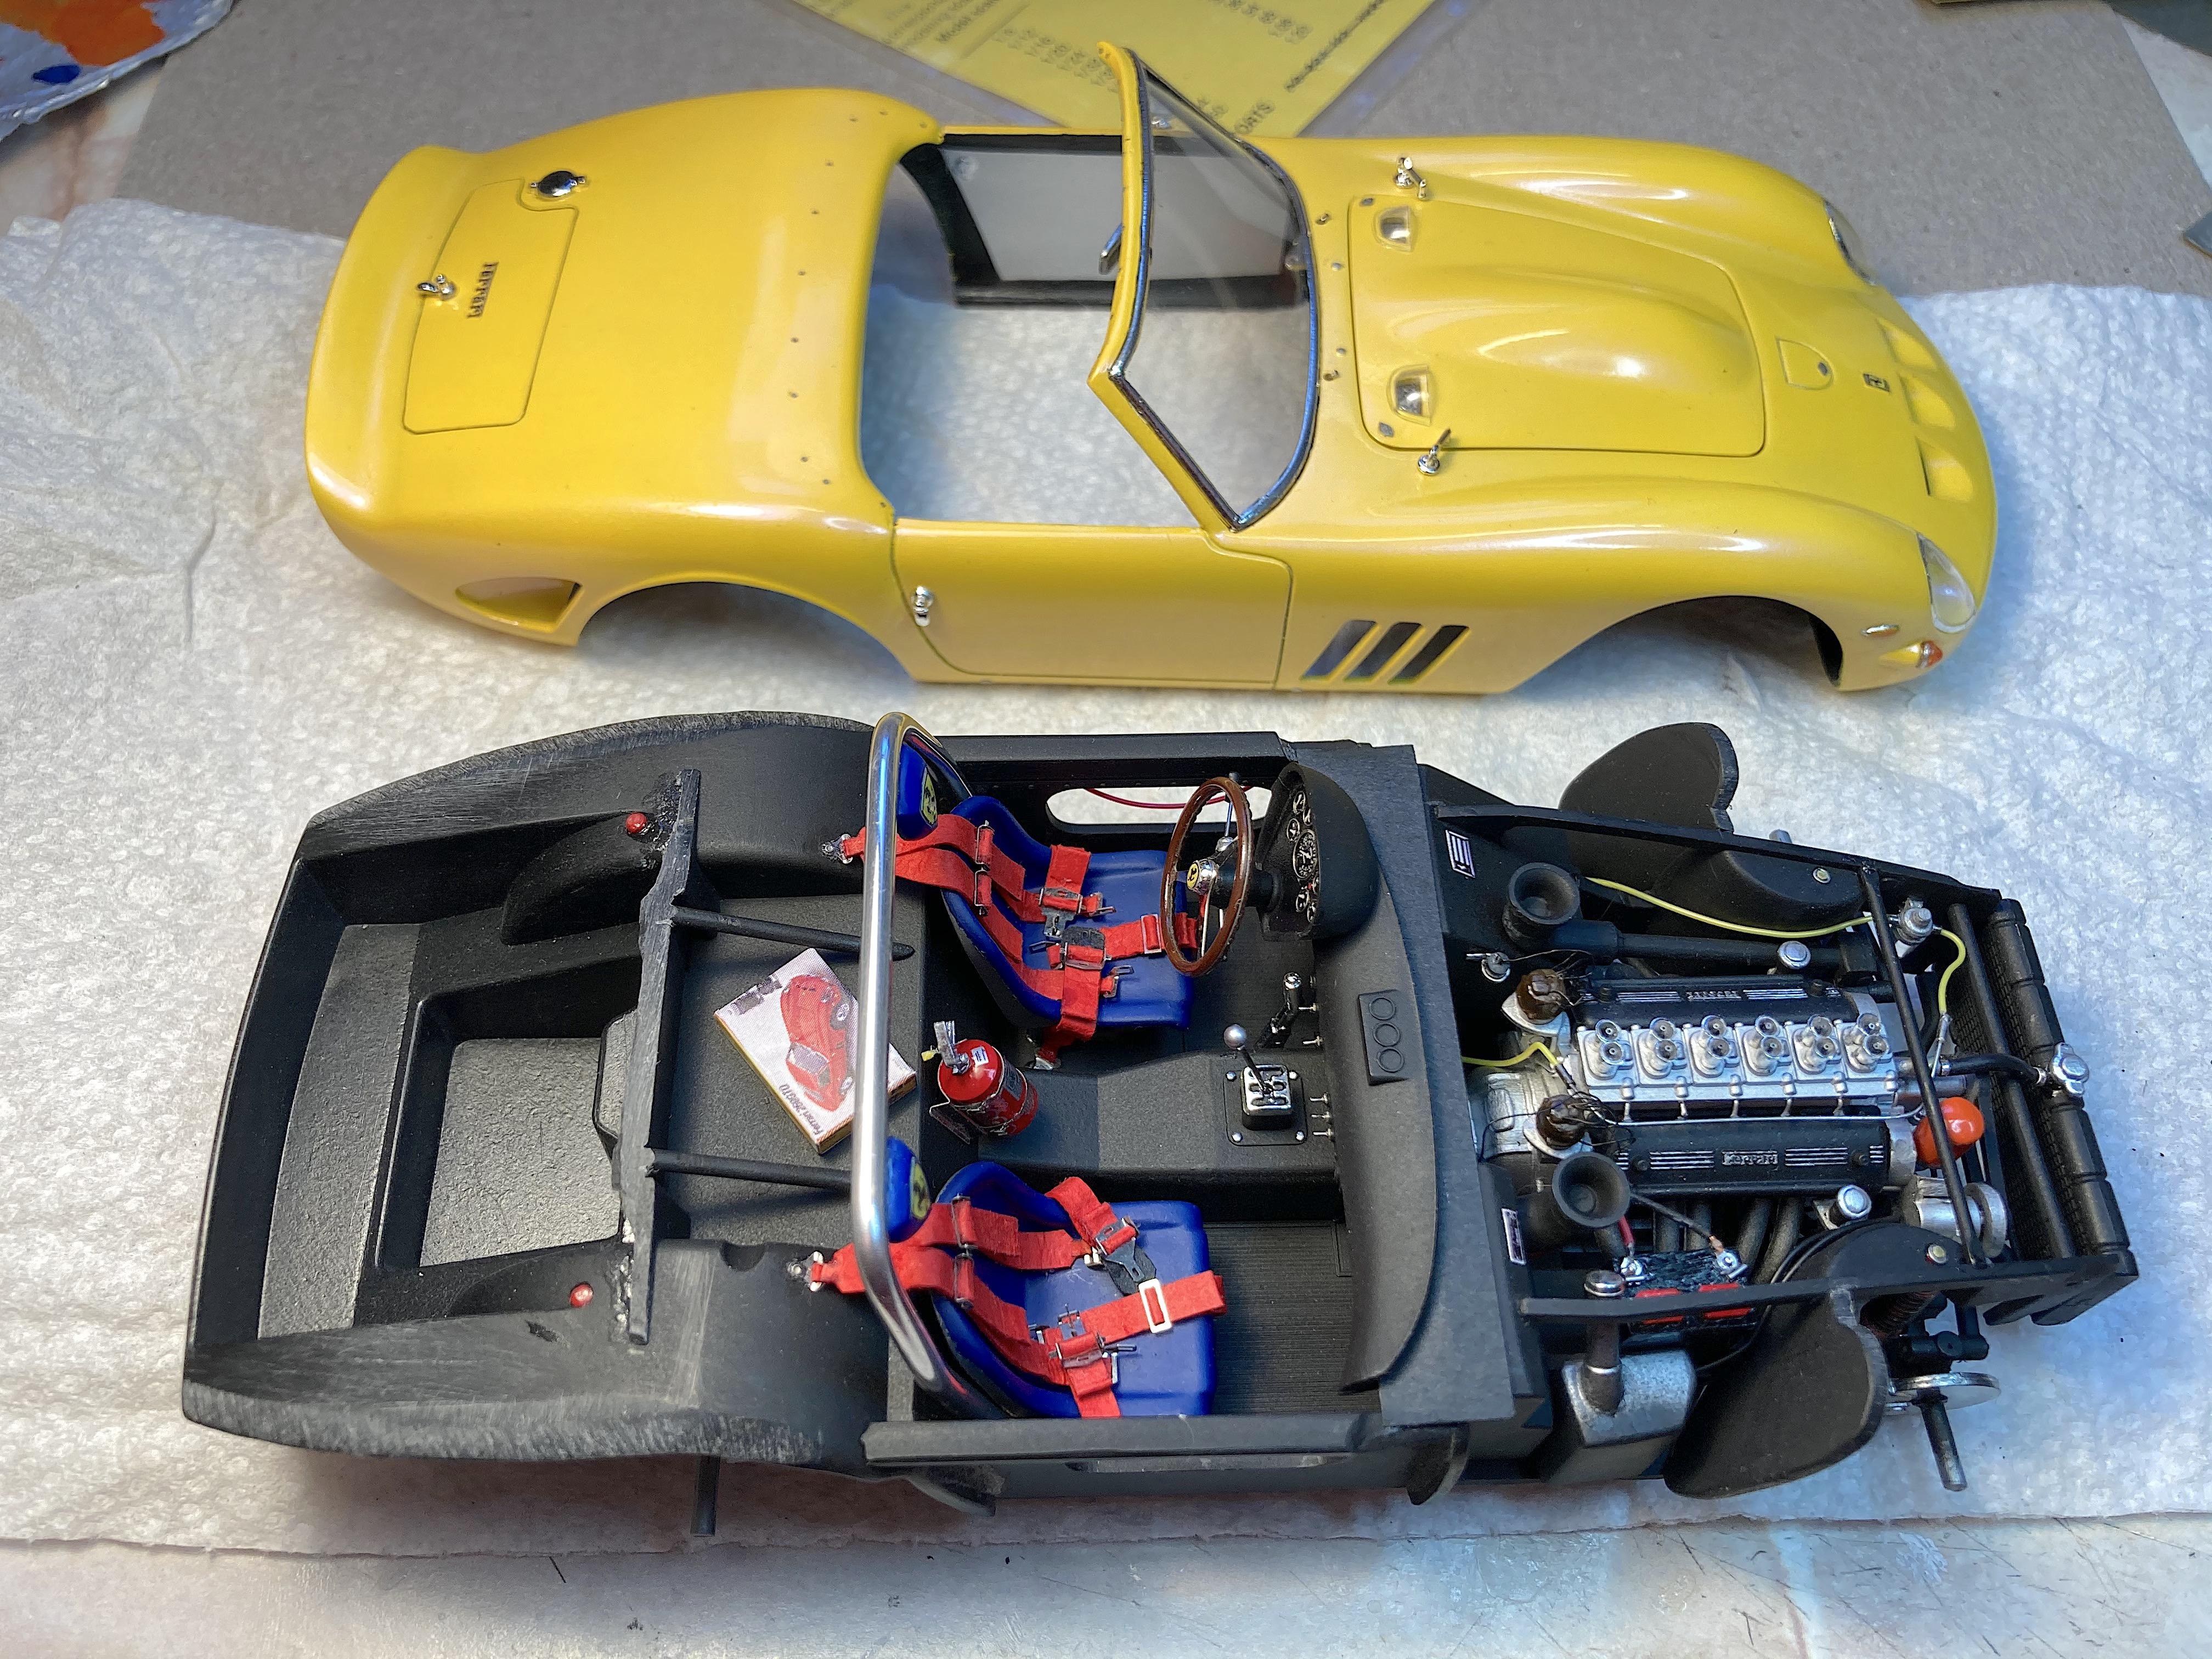
Thanks for stopping in. Mirror was made with a piece from a Trader Joes coffee can lid, punched out with this very handy tool. Finally got around to the most annoying feature to make, and not really happy with it. Felt like I was a bull in a china shop, had to use the magnifying glass, and brought in another light. Last look before gluing the two halves together. Exhaust tips glued on. Flattened the tires. Drybrushed some rust on the mufflers, simply because so much paint had been rubbed off. Since I didn't have the box, made do with the instructions. I have plans for the roof. The trunk hinges are not to be found, and I really don't want to make them. Think bug splats and a little road dust is next, but giving my eyes a break.
-
I bought his Hellcat and VW VR6 engine. When you do buy something, take screenshots of all the pictures, because he does not have instructions, and when something like the VR6 is not being made, you miss out. Looking forward to actually finishing the Hellcheetah to report on the finished product.
-
were protesting about
-
 Another cordless drill used as a lathe part.
-
Heard about this on the radio. A film company has contacted the videographer, to work on a new film.
-
Only if zombies
-
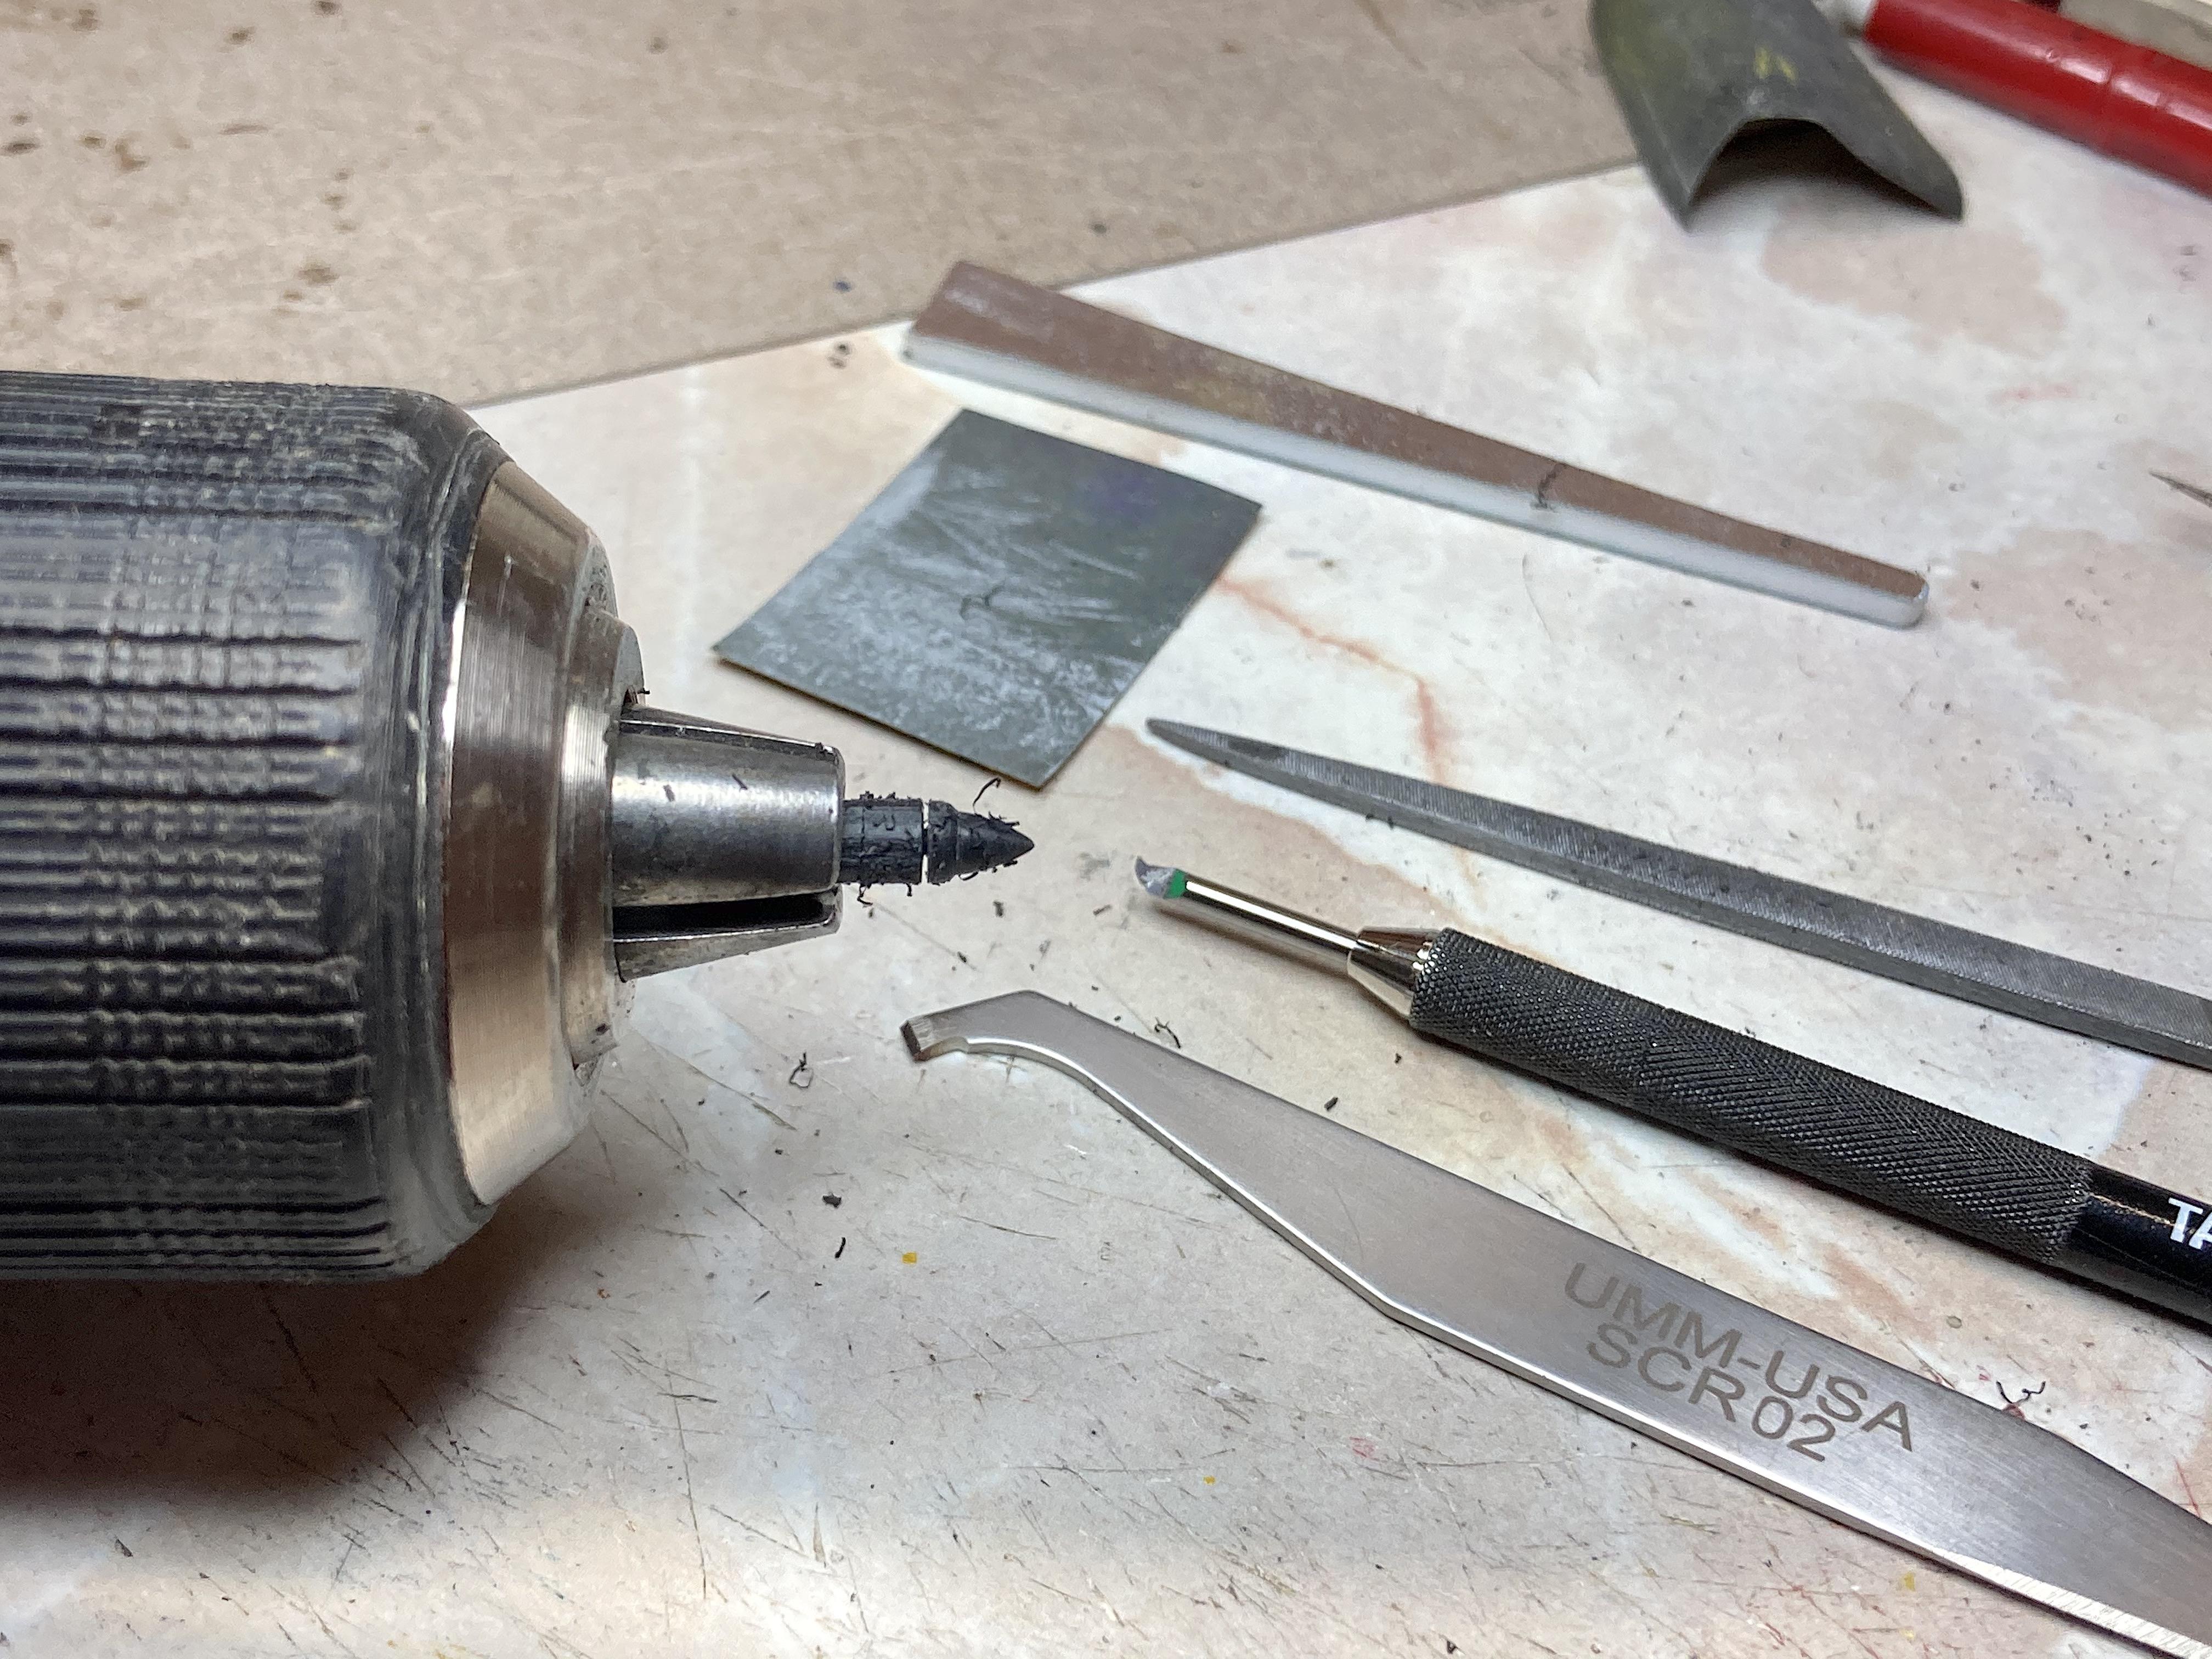
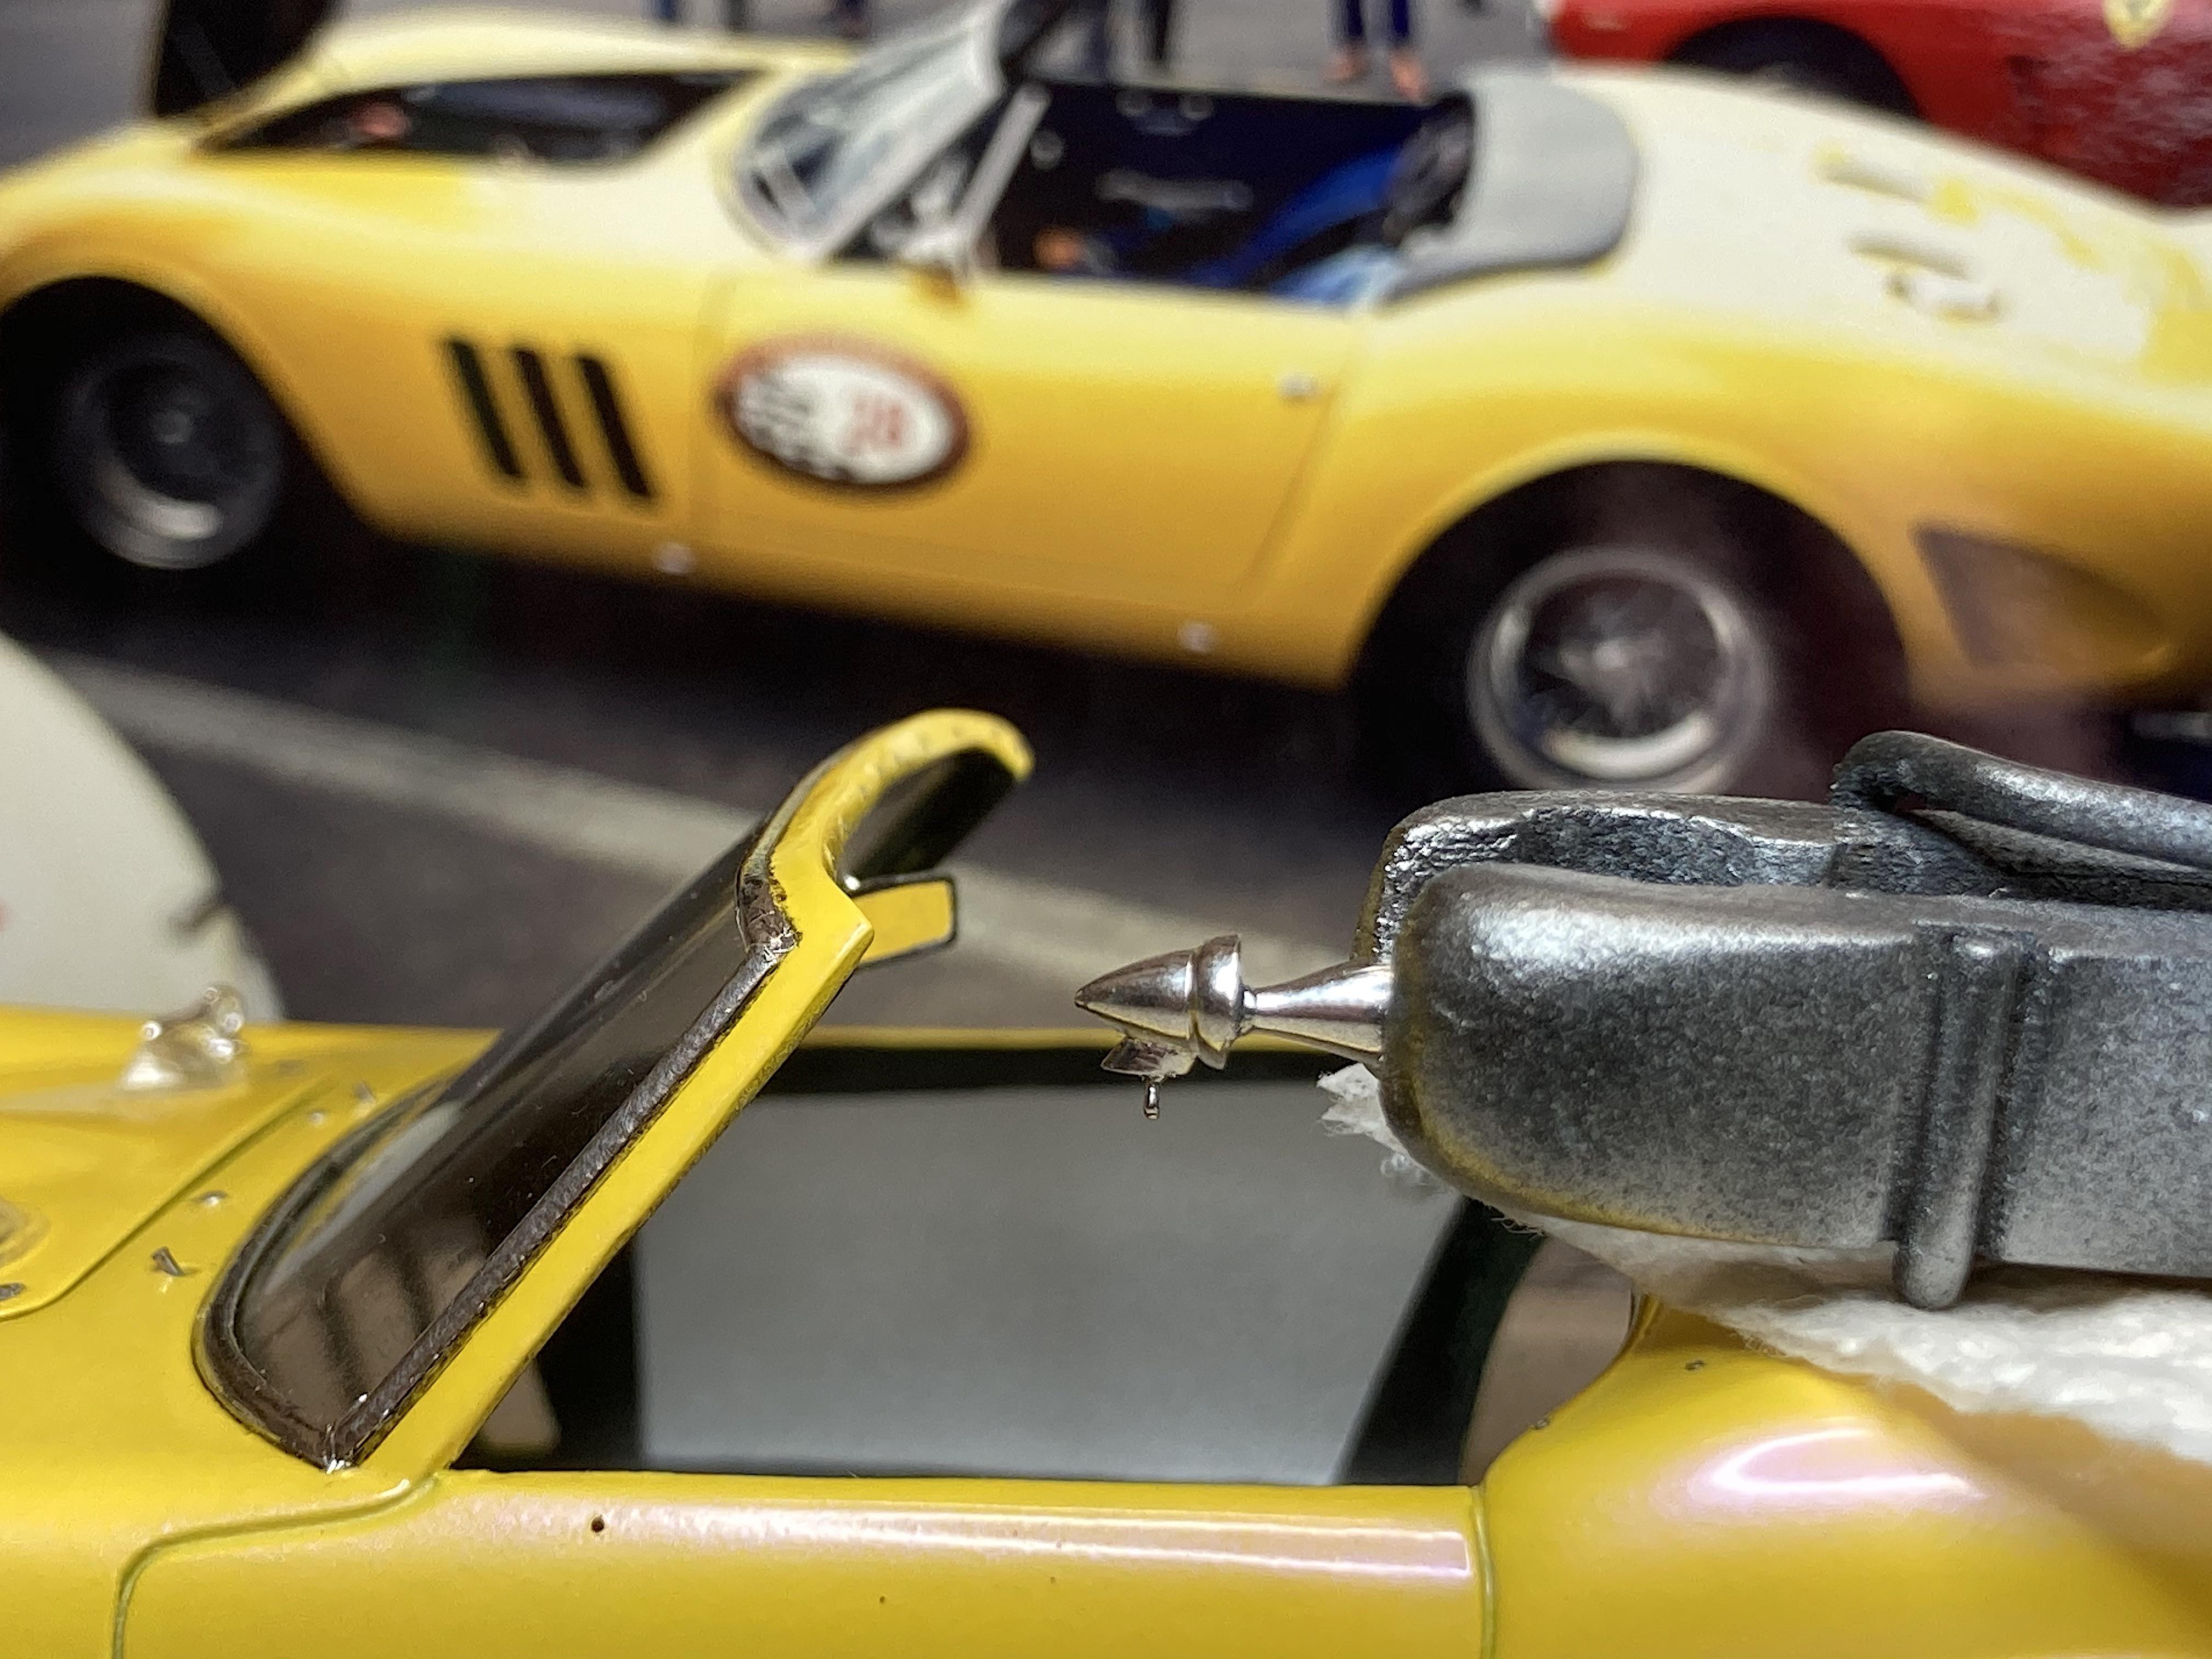
This ought to be the last scratch-built part for this project. The largest sprue I had determined the size. Used the cordless drill as a lathe. When I cut off, sanded the mirror side at an angle. After glueing on the post, drilled for the wire. Painted with Alclad chrome.
-
Coke was found
-
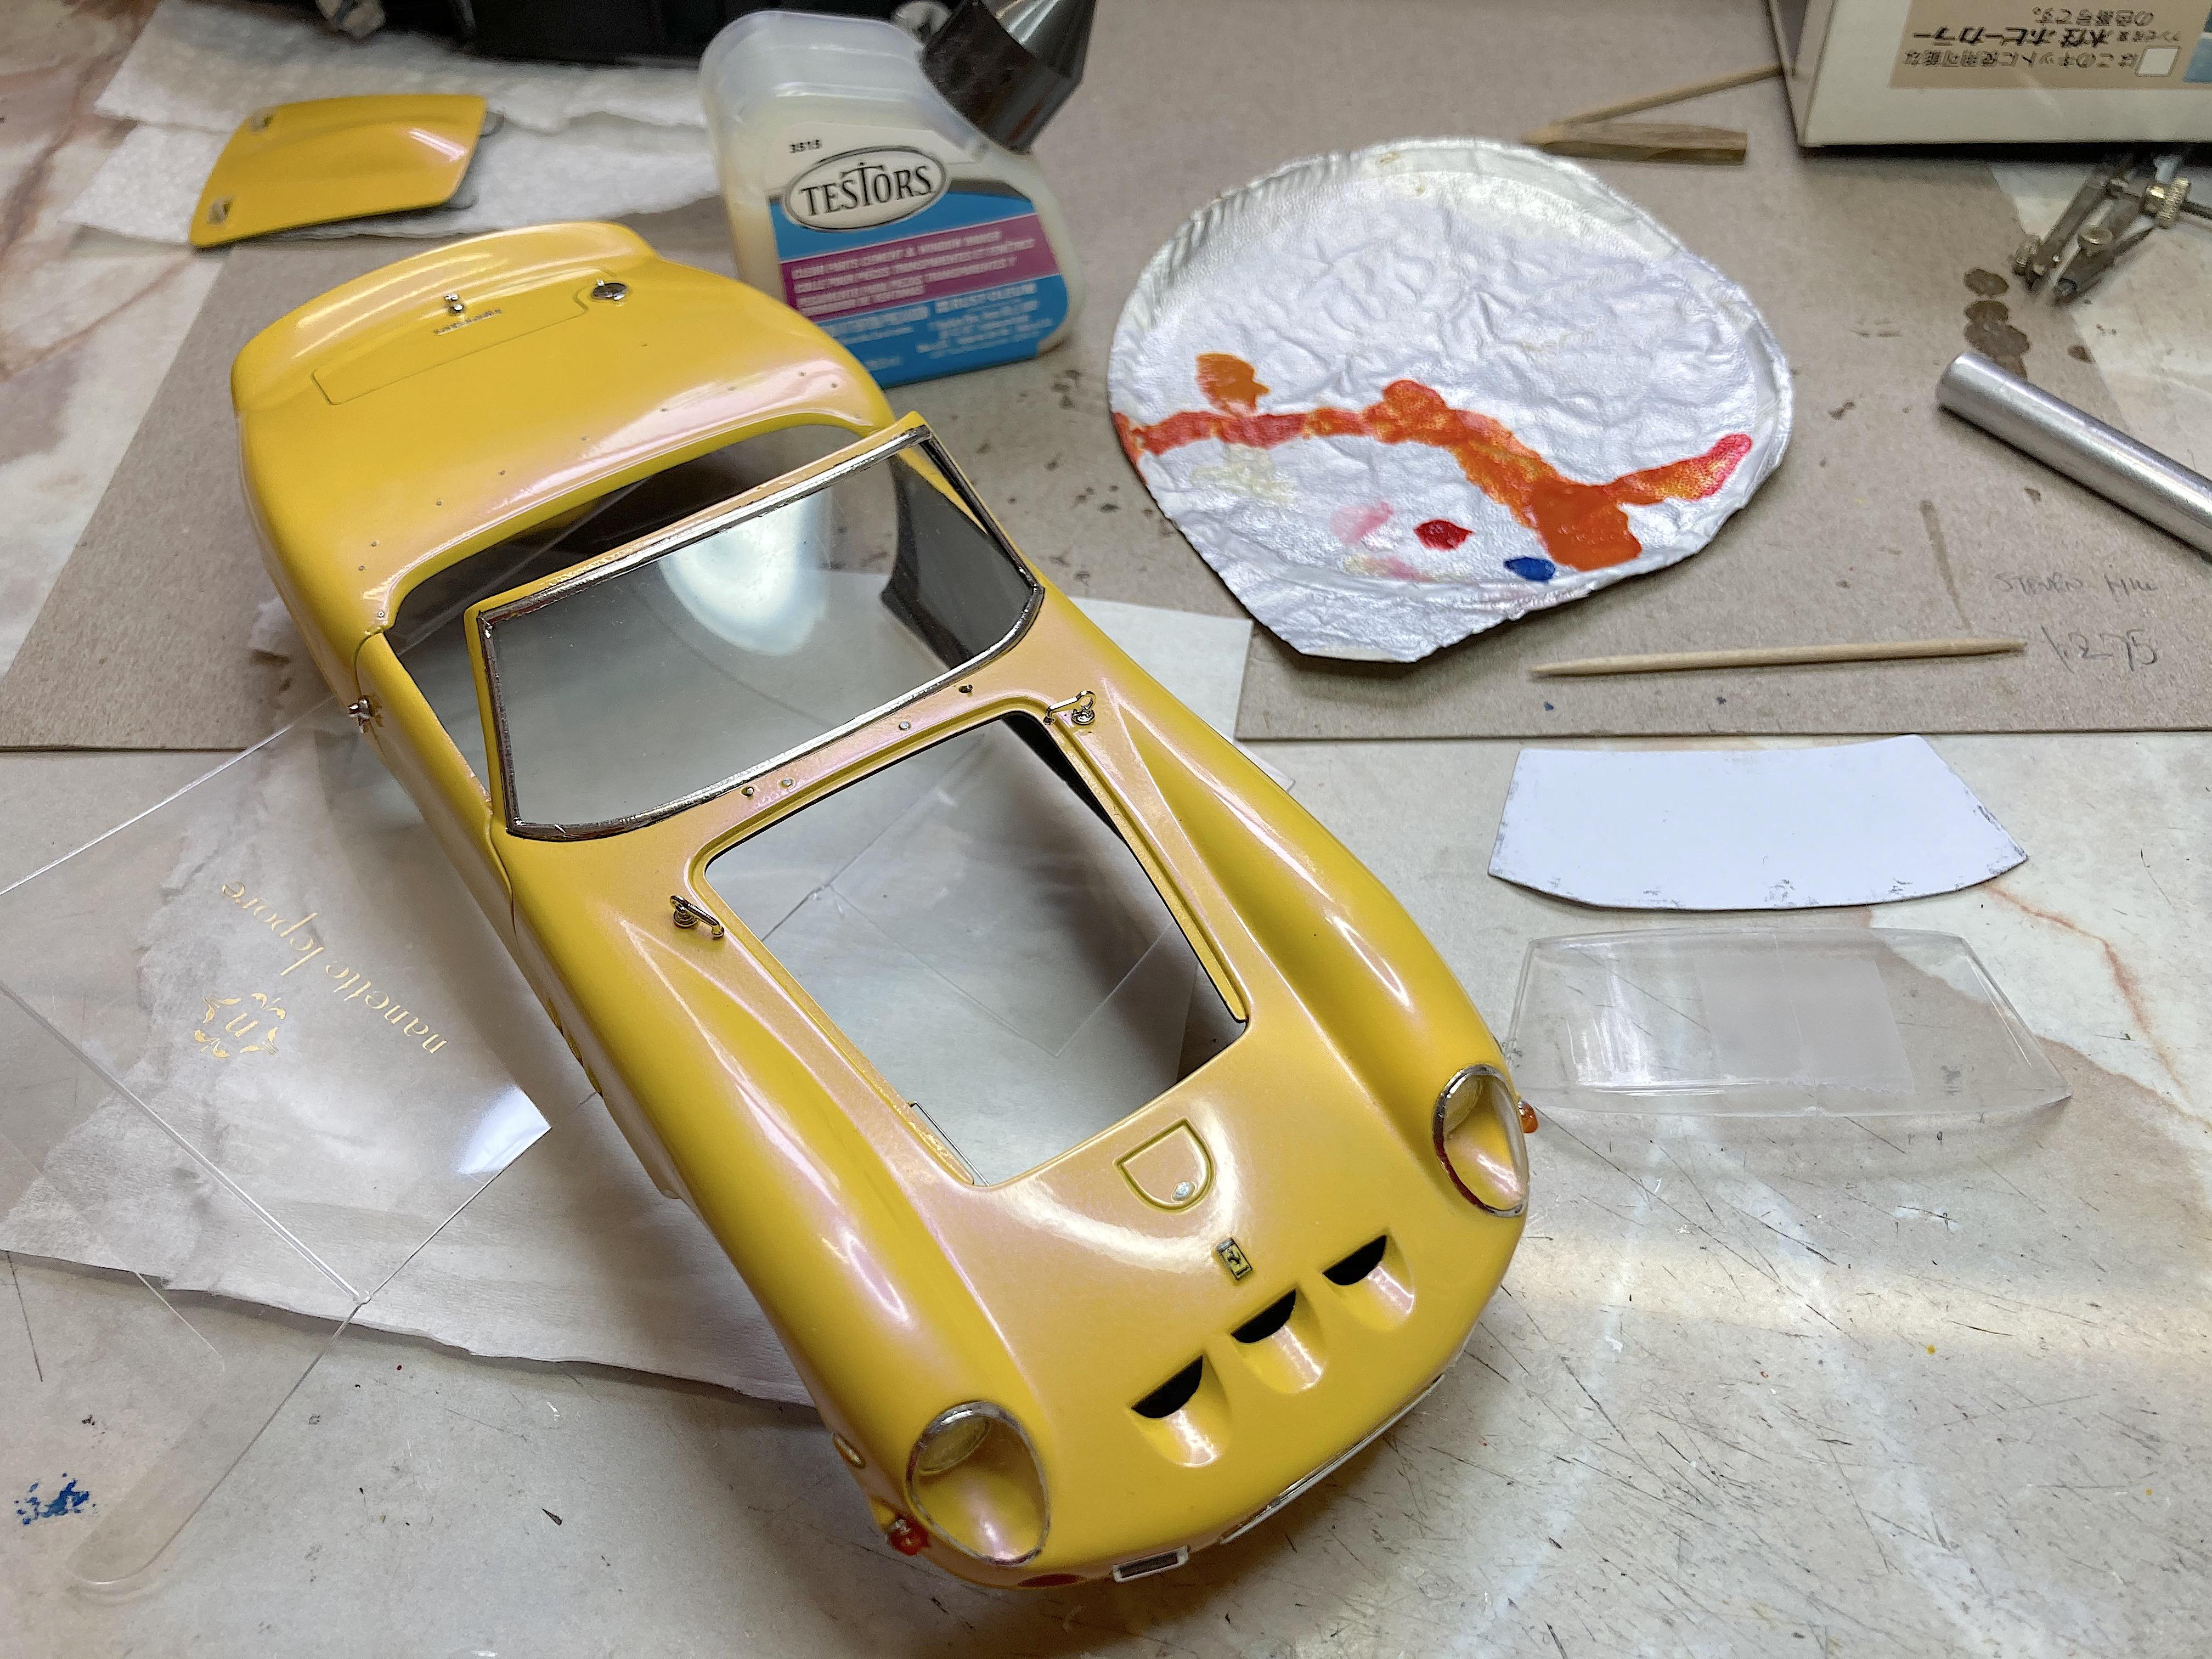
Something I like to do, is make the reflectors from reflective Farmers Insurance sticker. Cut polished aluminum plate for the bezel. Now that I'm looking at the magnified picture, looks like a step backward. ? Lenses needed the chrome bevel painted, no way was I going to BMF that! Stuck on toothpicks. The top snaps are the smallest Hobby Design allen screw heads. Measured and marked on masking tape. Since this is a fair weather car, didn't want to put the wipers on, so there are wire shafts in the holes. Something annoying, the "F" on the script kept coming up, so a tiny dab of superglue fixed that. There are jack plugs at the sill, glued on larger allen screws there. The windshield: the plastic was packaging for something, it's better than Evergreen. Made a paper pattern, then cut the plastic. The bottom is held in place with the steel tabs, and it sort of snapped into the A-pillars, so a minimum of Testors canopy glue was needed. One more photo-etch detail, Detail Master Dzus fasteners. The radiator door (top center scoop shape) seems to have one, so that was a natural. I wanted to update from the leather straps, so the hood has them now. I was wondering if the door handles are in the wrong position, looked at numerous pictures, and discovered they were either forward, backward, and also down! My excuse, you can use either hand to open the door. The instructions also show the front turn signals as orange, but now that I looked, clear was the norm, but I'm keeping the orange. Distributor wires, door mirror, and where the heck did I put the trunk hinges from the NART? ?
-
Canyonlands junk cars - diorama idea
89AKurt replied to 89AKurt's topic in General Automotive Talk (Trucks and Cars)
That is much like the B&W picture I saw years ago. All I care about is the '57 Chevys. ? -
That is amazing! Thanks for sharing.
-
holding an ax
-
Willys custom p/u
89AKurt replied to Tom Kren's topic in Model Trucks: Pickups, Vans, SUVs, Light Commercial
Nifty Willys! I was wondering about the tips too. -
Maserati A6GCS Spyder
89AKurt replied to absmiami's topic in WIP: Other Racing: Road Racing, Land Speed Racers
Cool subject, will pull up a chair. -
cheer leading squad
-
Thanks for the comment! Of course, I recall a Lotus that you painted yellow. ? Thank you for the kind comment. Wow, thank you too for that! Worked on the clear parts. Decided not to vacuum-form the headlight covers, these fit perfect, and can live with the distortion. Doing Bare Metal Foil on those covers is a pain, worked better to do the donut than strips. Added Hobby Design mesh to the hood vents. Glued the clear scoops, and the lights on with Testors canopy glue. I wasn't sure if the rectangle driving light bezels are put in the right way, the instructions didn't indicate anything. Some of the cars I looked at, have bare aluminum inside the doors, along with the rest of the interior, I thought it would add some color interest.
-
beamed via laser
-
wrong a scale
-
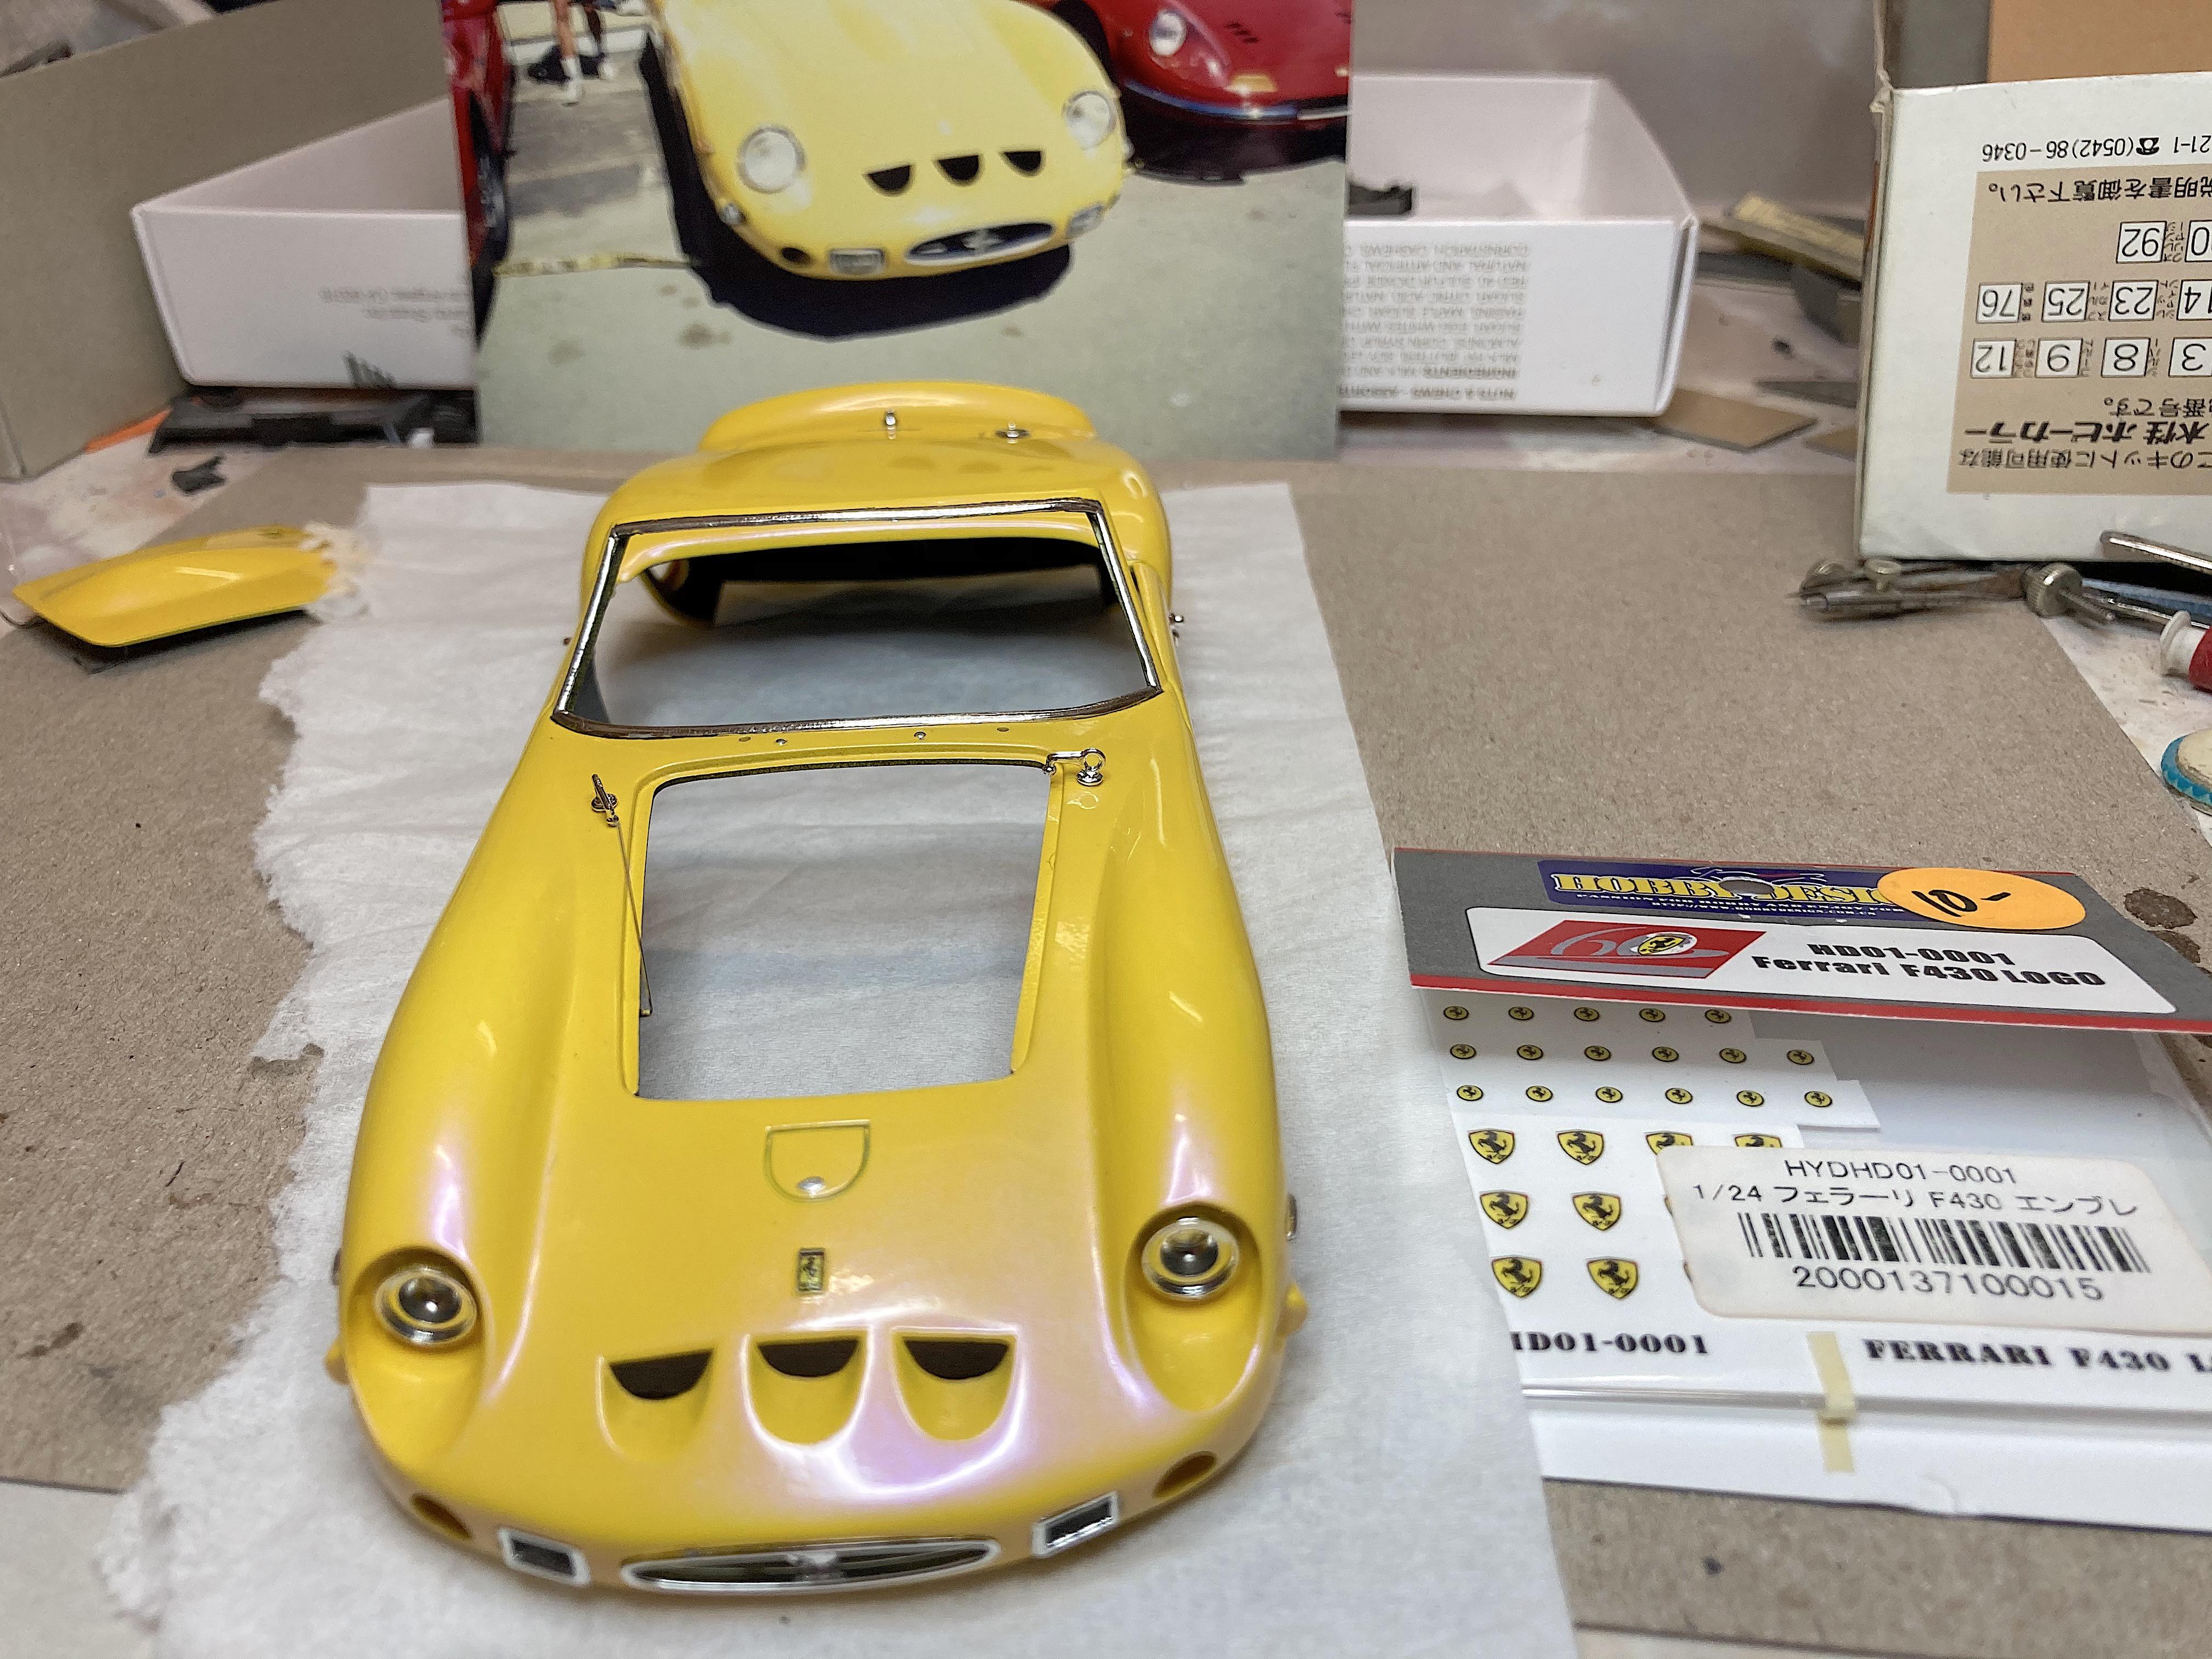
Tonight it was chrome. The hood latches got special treatment, the instructions say to melt the ends, illustration shows a screwdriver, and it's obvious that would be tricky. I've used a nail head before, if one had to do this, that's my recommendation. Punched a washer, glued to the part. The prop rod is held in with wire insulation, hope enough glue is there! Bare Metal Foil on the windshield frame, and front side lights. All the chrome parts are put on, except the mirror I made. Front emblem is Hobby Design, Ferrari script is Crazy Modeler. Vanity plate is on. Next is the glass. Really want to make a door mirror. Bikini top snaps. Plug wires. *edit* There are leather straps to help hold the hood down, something I haven't given much thought to, they all had them, tempted to just use Dutz fastener photo-etch. *edit 2* Oh yea, the headlight covers, I'm sure thinking about vacuum-forming better ones. Was thinking I'm getting close, but I keep thinking of more details. ?
-
What did you screw-up today??
89AKurt replied to TransAmMike's topic in General Automotive Talk (Trucks and Cars)
Had BMF on the windshield to keep glue off, left adhesive when removed, was wiping off and my thumb pressure was enough to crack. It had also been cut away from the rest of the window part, may have been a nick along the cut to start the crack. I've done stained glass, know how to cut glass, so I should have known better. -
What did you screw-up today??
89AKurt replied to TransAmMike's topic in General Automotive Talk (Trucks and Cars)
I can't believe this topic thread hasn't been done before! Not really a good idea to give any focus to **** ups, but it's one way to learn. I'll start off by cheating, did this awhile ago. Not only did I screw up the header, but soon as that was fixed, broke the windshield. Think a sheet of plastic will work......
-
glued to every
-
, because getting distracted
-
Got a book. Period photos, the cars were abused while racing. ? Always thought doing a damaged one would be unique.