89AKurt
-
Posts
8,426 -
Joined
-
Last visited
Content Type
Profiles
Forums
Events
Gallery
Everything posted by 89AKurt
-
 I just saw on Fakebook, someone sends stuff to Poland for chroming! This is a job opportunity for someone, I've given it some thought, but am busier than a one-armed paper hanger with the career I chose last century, people keep bothering me to help them. Also seems to get worse the more obsessed I get with building models. Here is my evaluation: Need a shop space dedicated to only this task, if you own it, that's ideal. How much space (minimum) is required? Understand you will be chained to it. How many reliable employees would be available in your town? How much does the equipment cost? I saw somewhere about $130,000. What is the maintenance schedule for this equipment? Where and what materials do you need to routinely get? How is our EPA about it? Where/how do you dispose of waste? Promotion and advertising to get started with? After you get established, with a good reputation, that won't be required. If you are passionate about models, and have some business acumen, and aren't invested in your current occupation (like me, I know enough to be dangerous, and too stupid to take a risk like this), then you ought to grab this brass ring and go for it.
 -
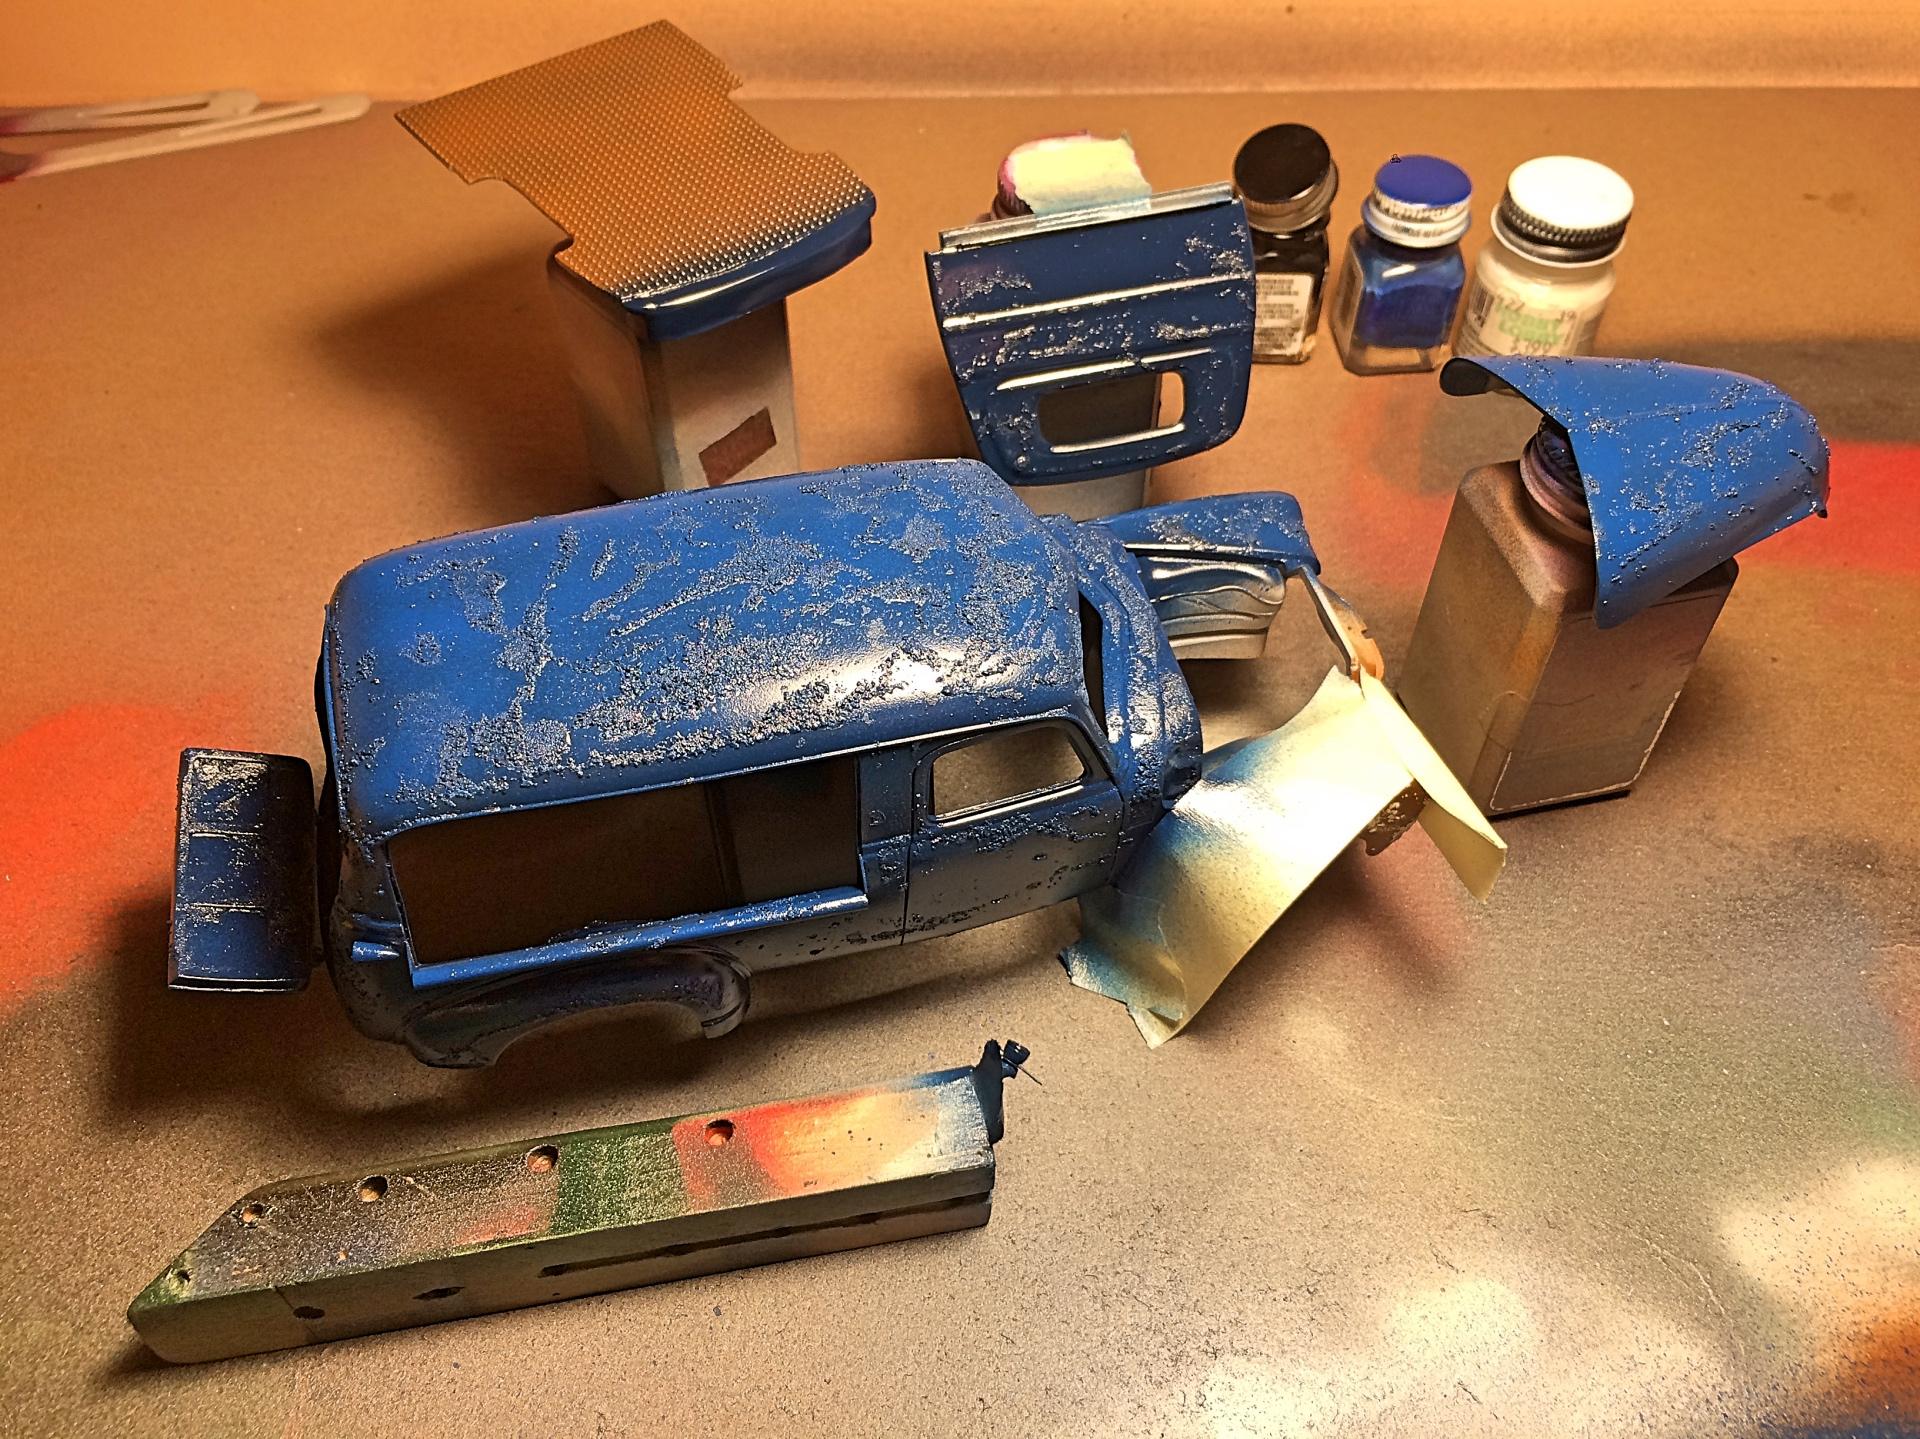
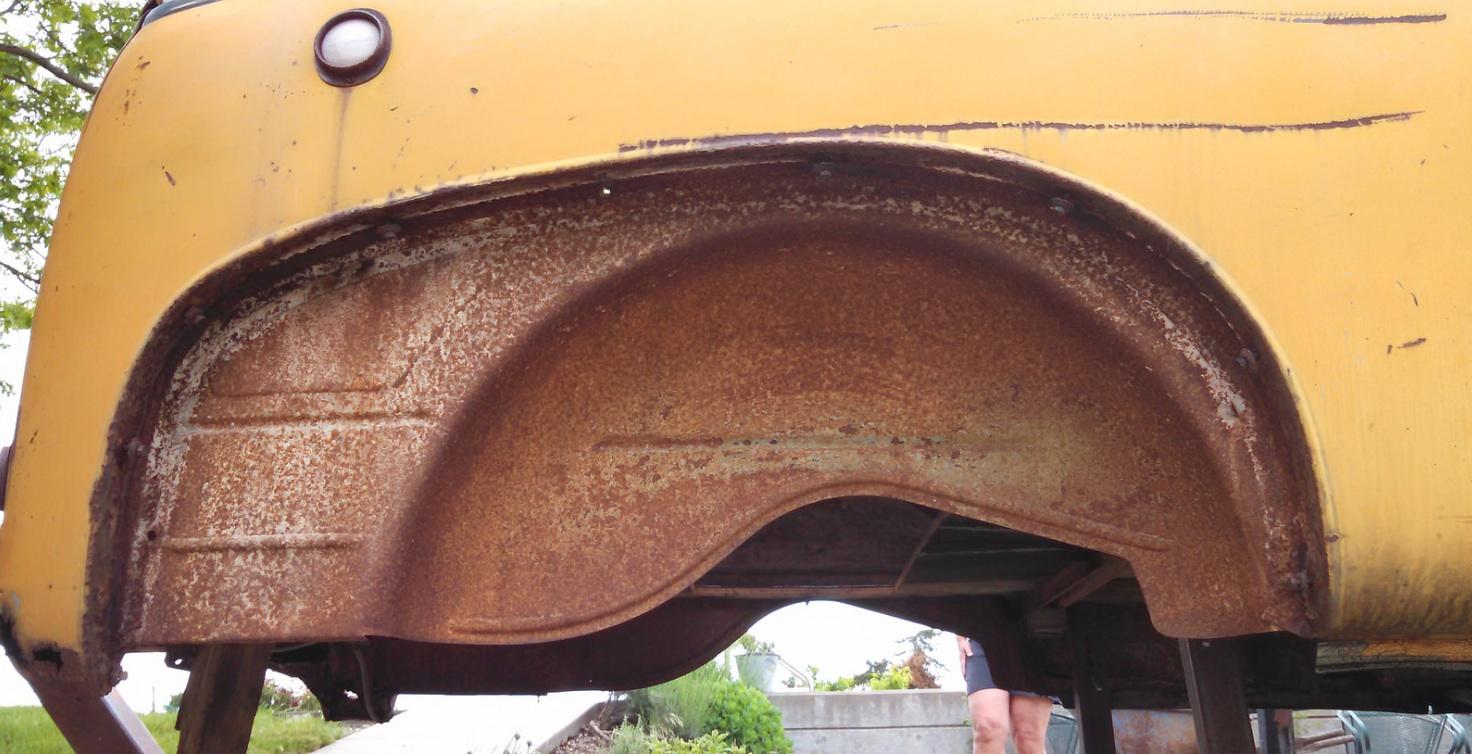
Thank you. It's more realistic to dab in brown 'rust' in those spots, blends in better, and the brush texture adds to the effect. Take a look at my Flickr - Rusty Hulks album, for a study of Southwest vehicles. In fact, Flickr is a great resource, for other climates the moss and lichen would be a fun thing to duplicate, and trees growing through vehicles would be a fun diorama. LOL I'm just in pedal-to-the-metal obsessed and possessed mode at the moment. Still have some work on this one, then back to the other two projects. THANK YOU!
-
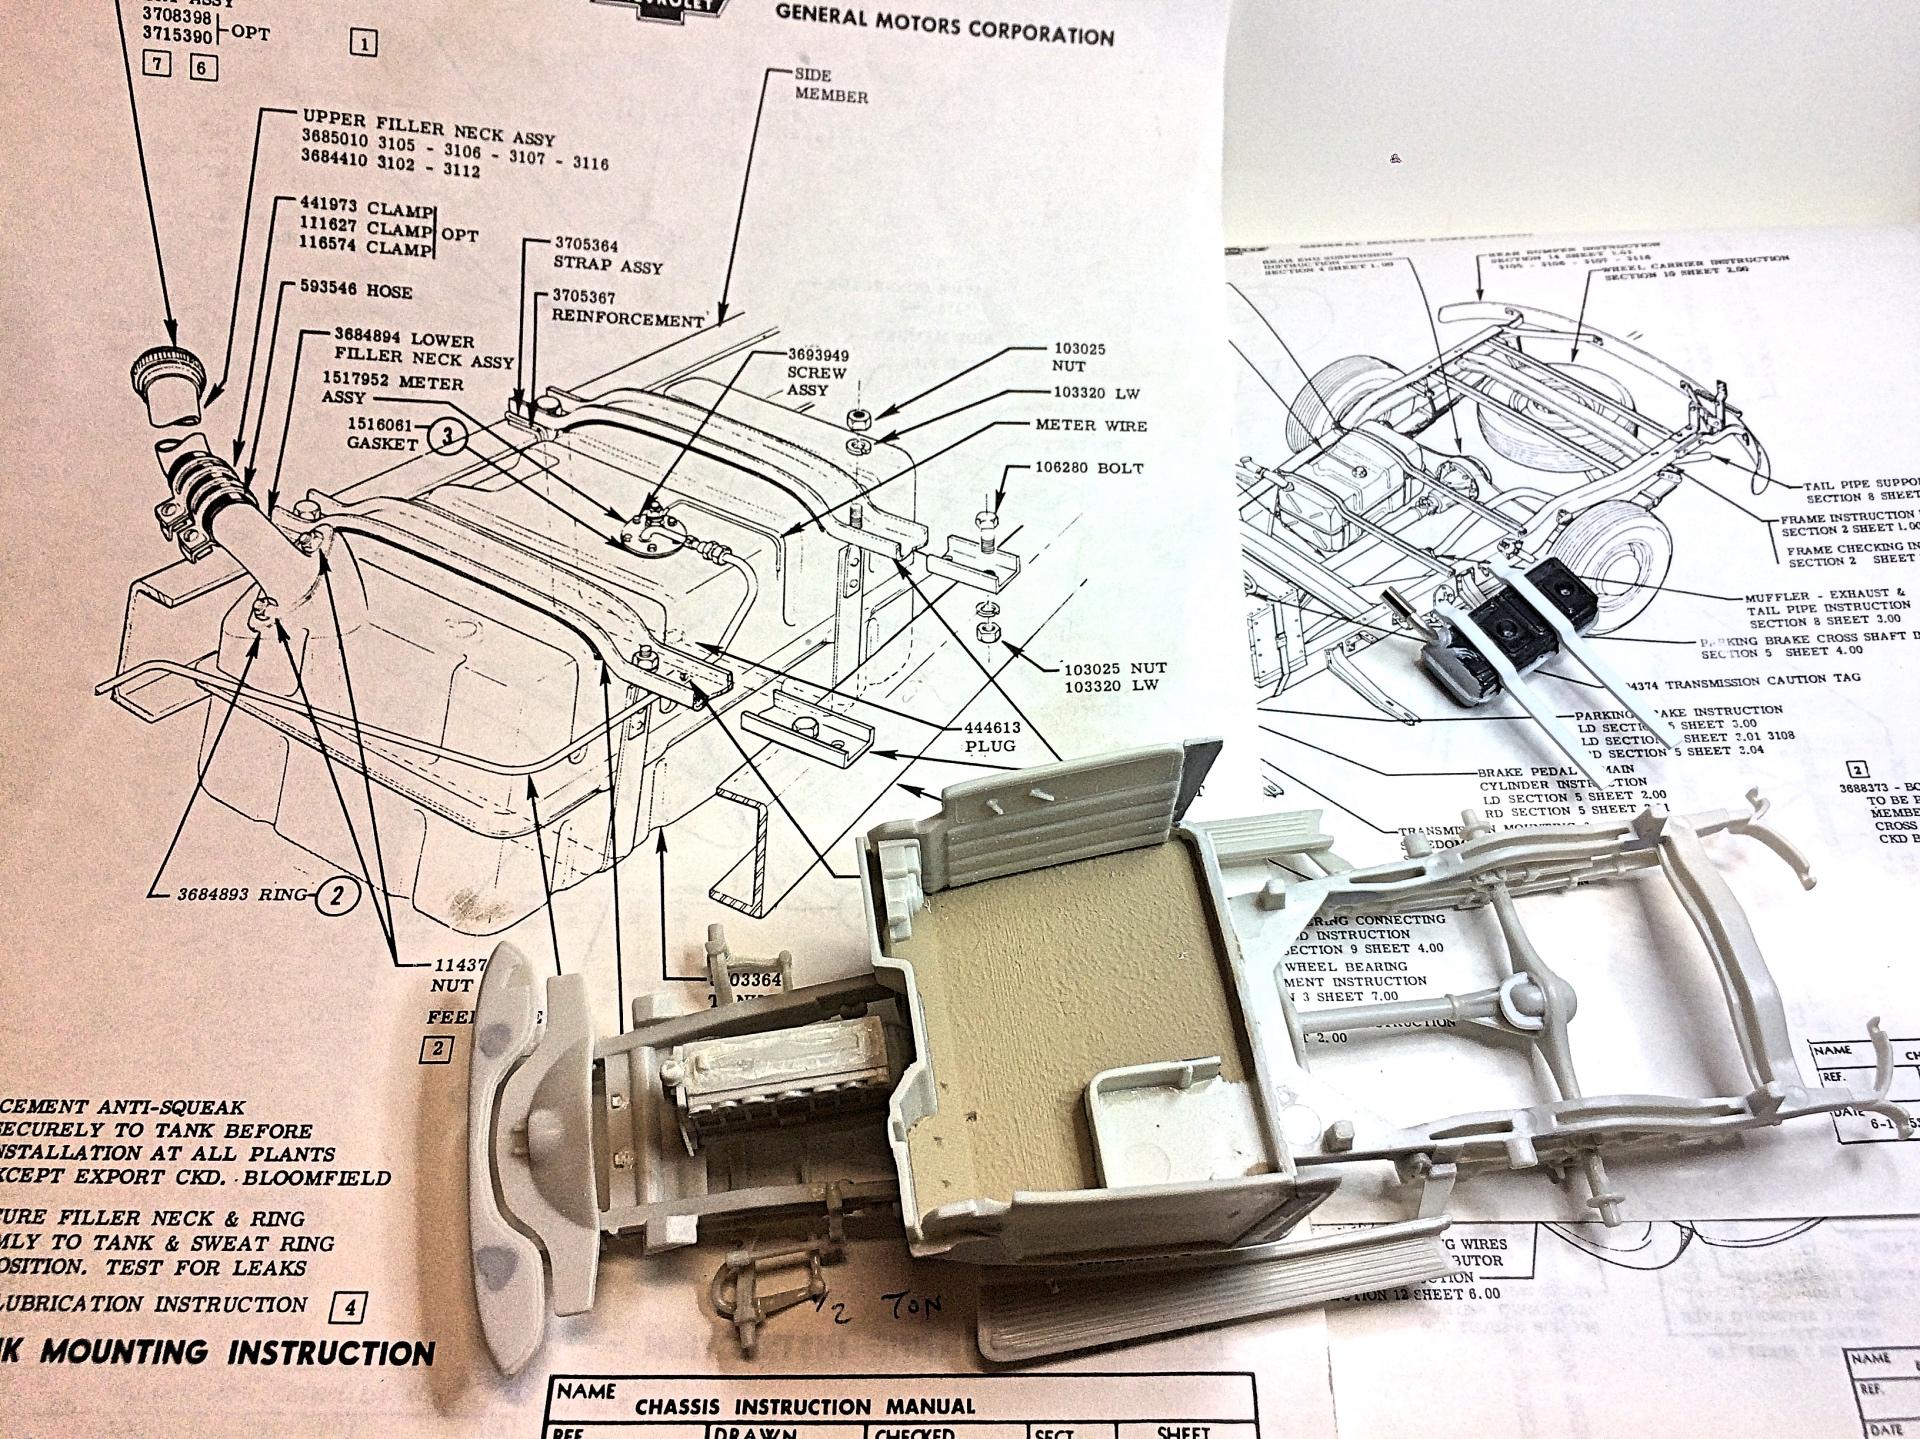
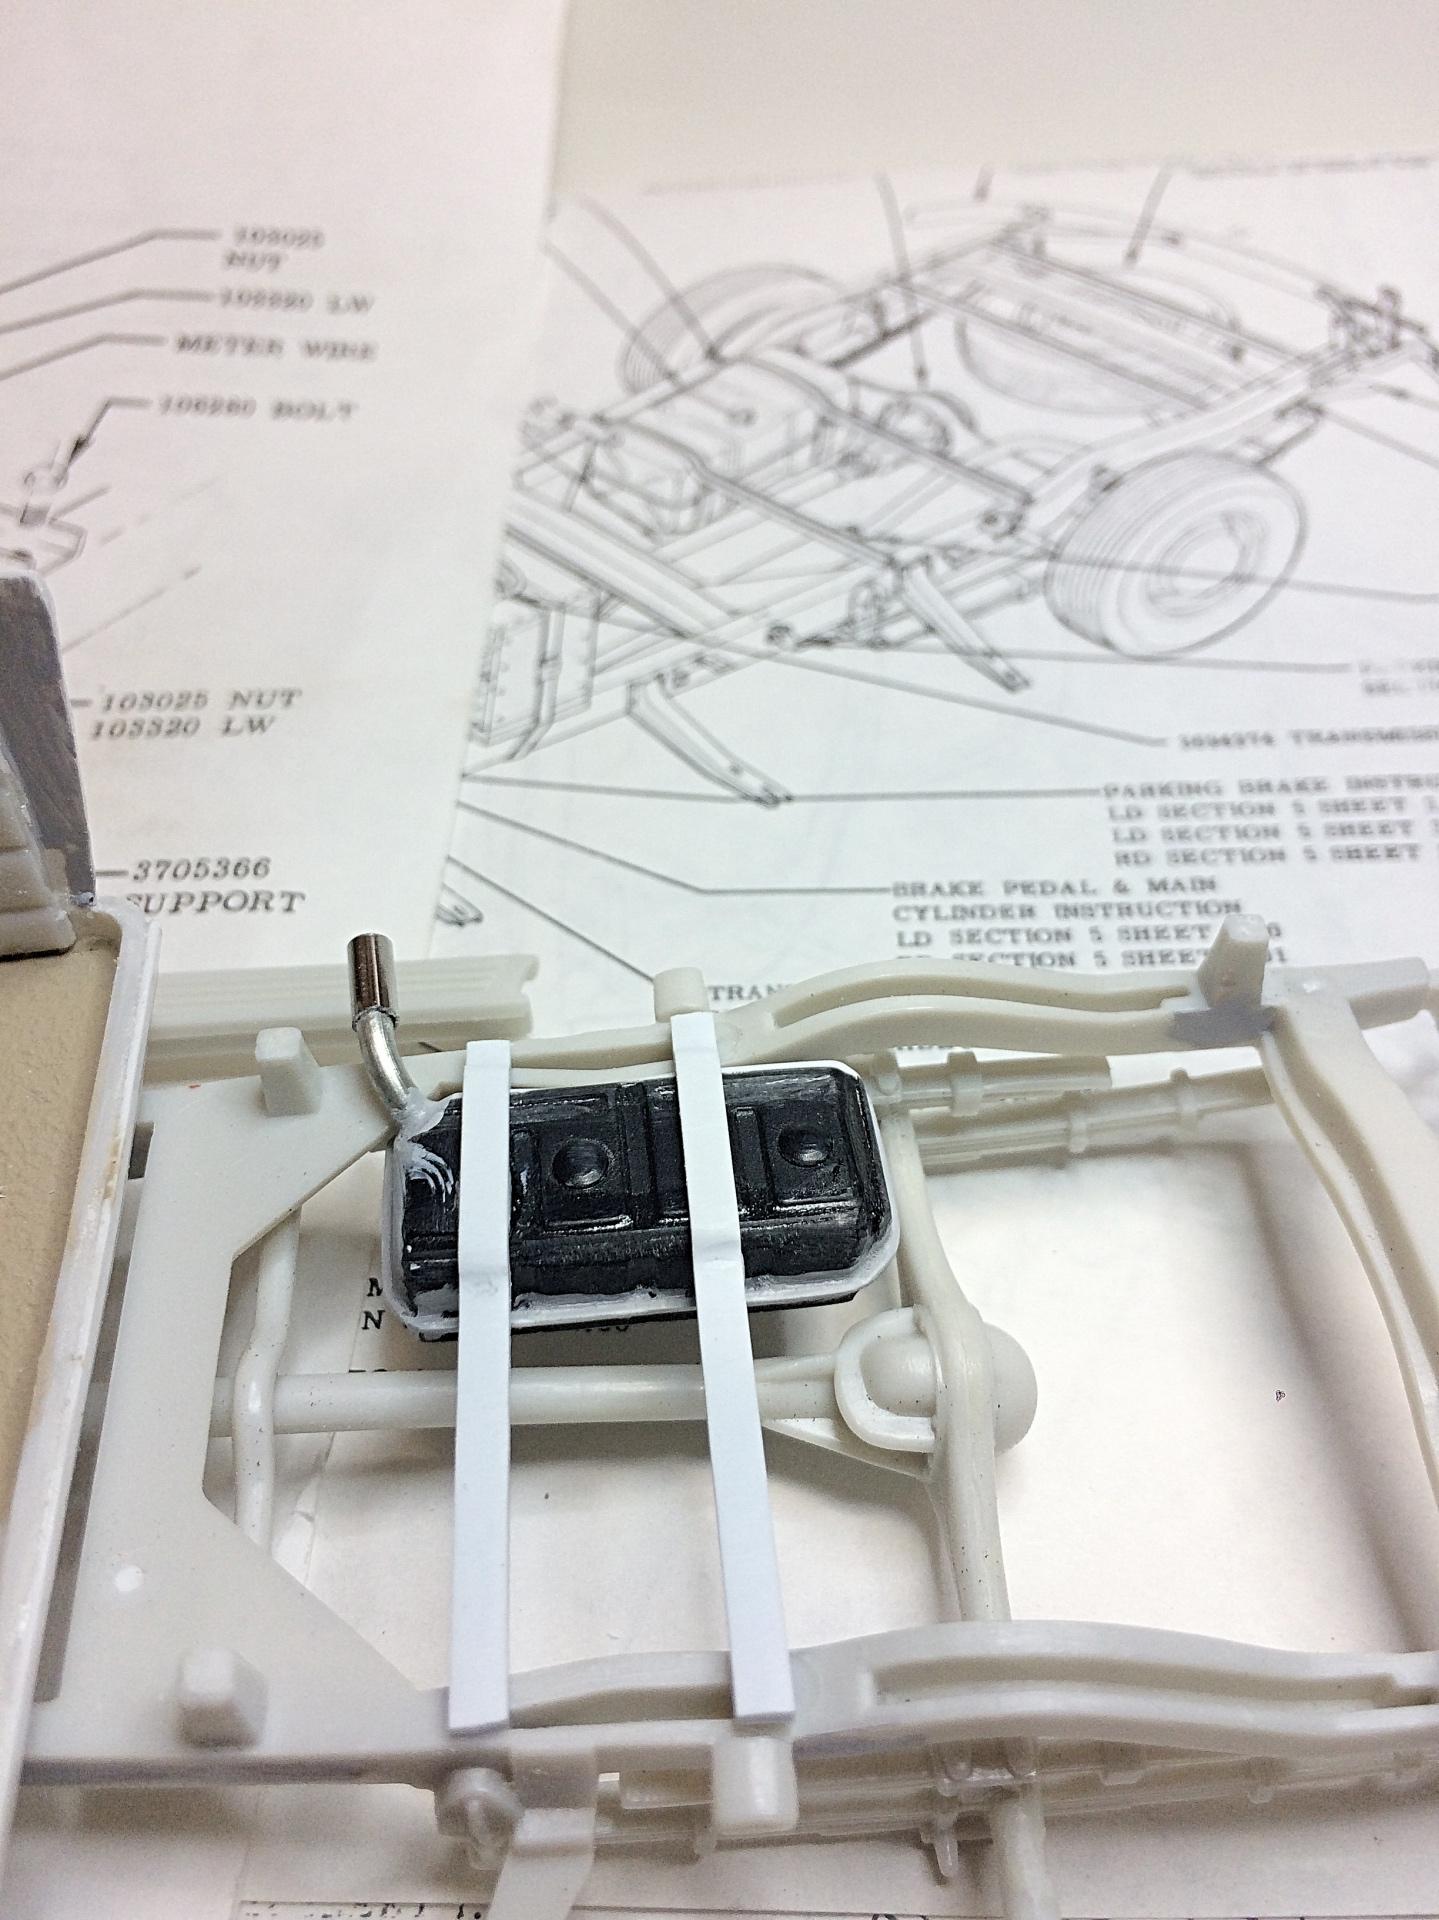
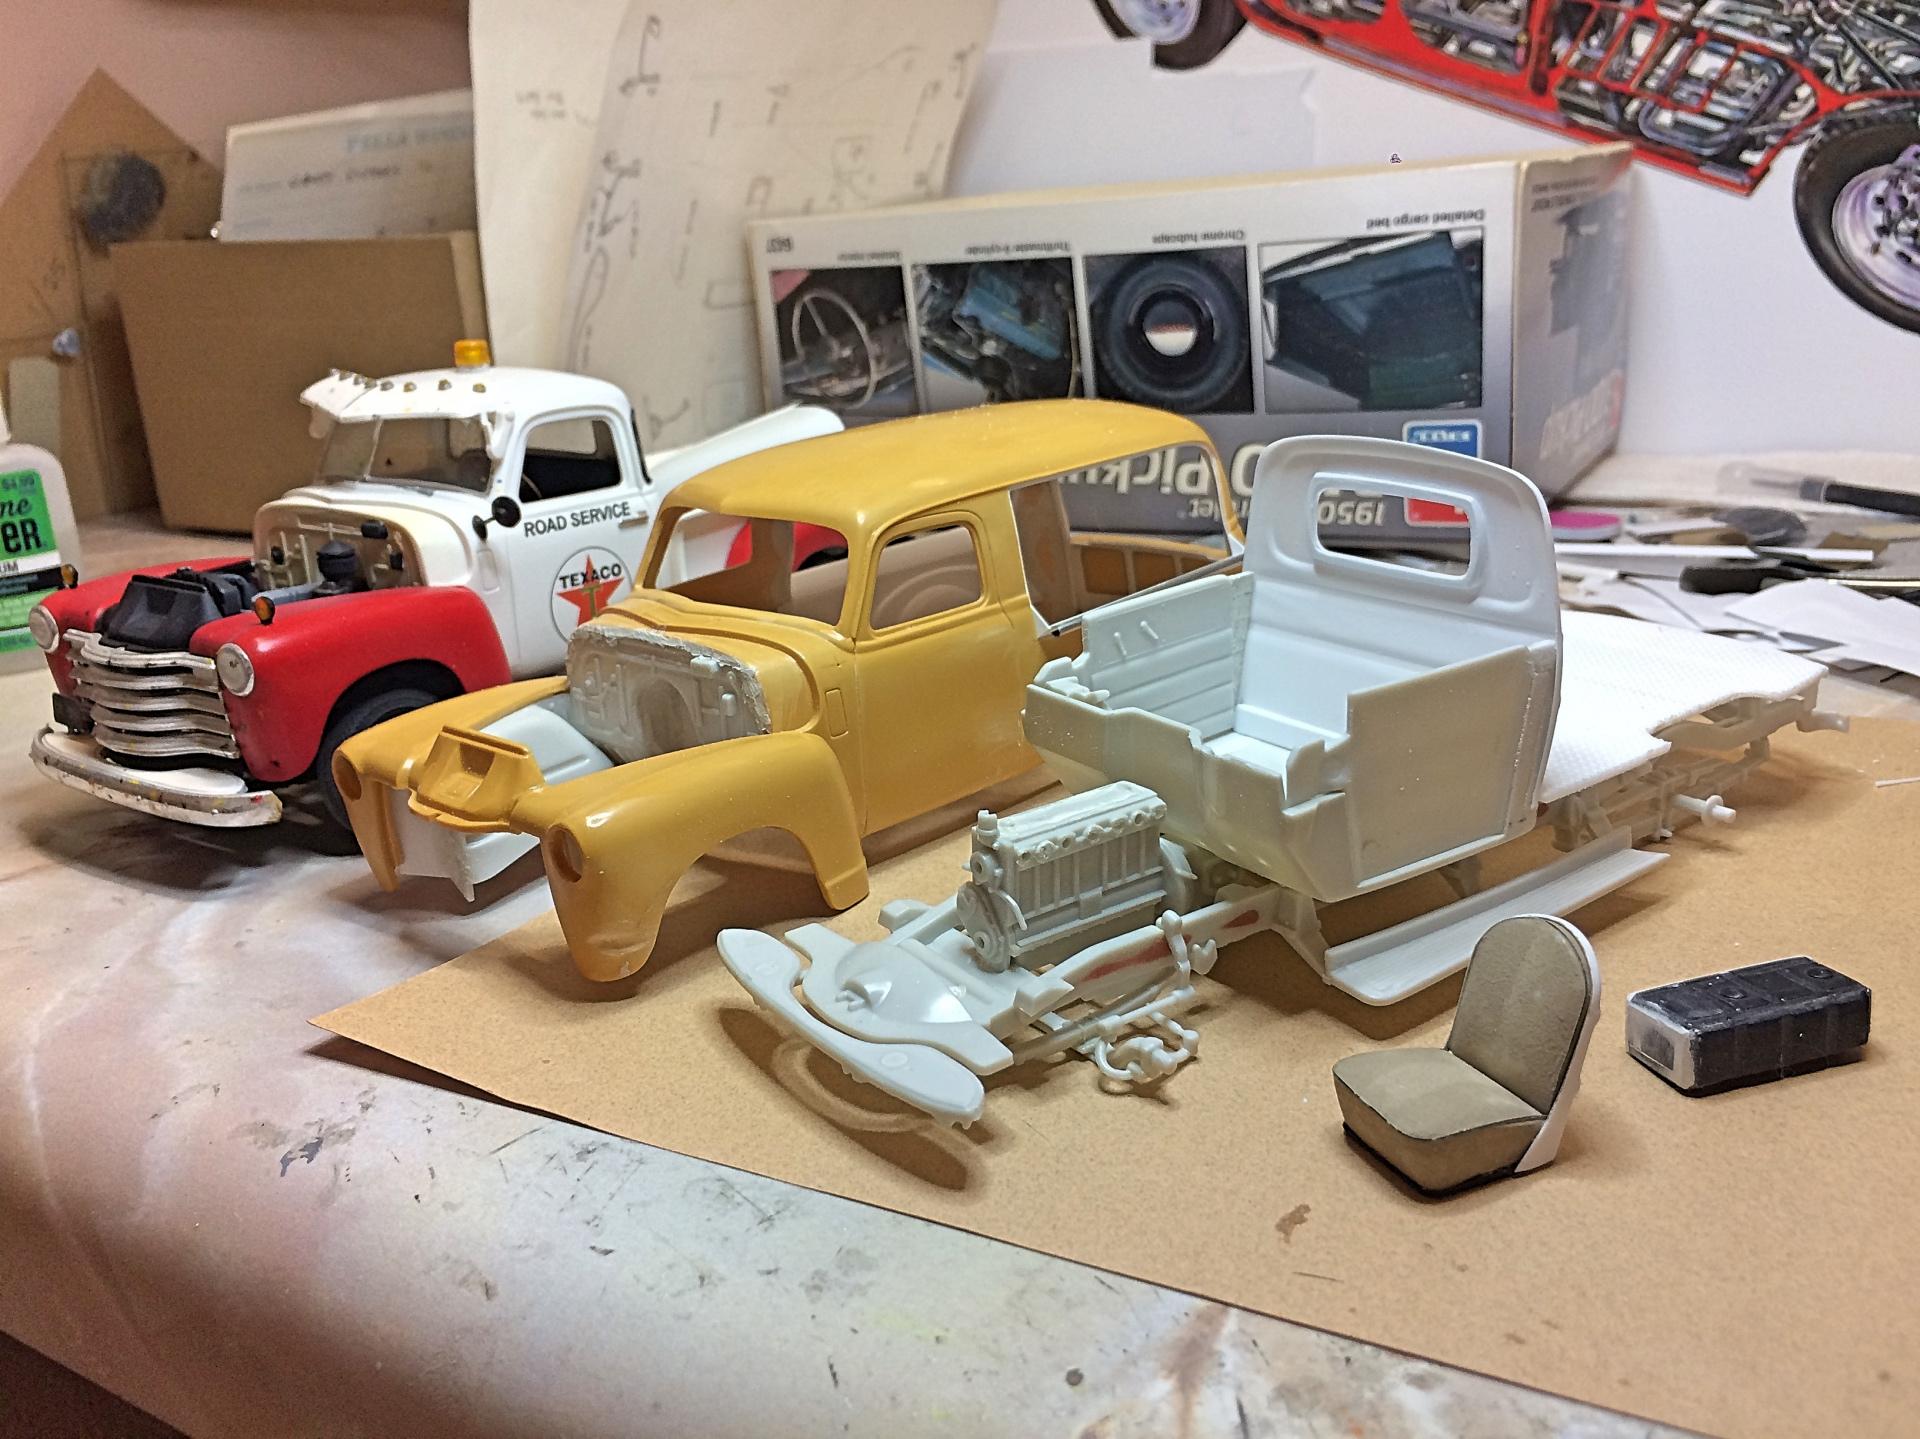
Rat Rods could use them too! ? You (and everyone on this forum) are welcome. I appreciate having this venue to share and learn. Or maybe I just like torturing people with every excruciating detail. ? GAS TANK: This was one detail that I was sort of dreading. Pickups had the tank behind the seat, you could hear sloshing when driving. On my real '48, it stunk up the cab with fumes too, good thing I didn't smoke! I had someone weld a new tank for under the bed. In this case, used the Factory Assembly Manual that I kept, just for this! I started the tank some time ago, made from a Porsche 911 floor pan, because it just looked the part, not accurate but who is going to say something (Dann of Desert Scale Classic can ha ha). Tonight I added the weld flange, cross supports, straps, and filler neck. Guess I should add the fuel line too. ? When researching for the gas filler location, found this interesting article: So Rare Yet So Rusty: 1948 Chevrolet Canopy Express

-
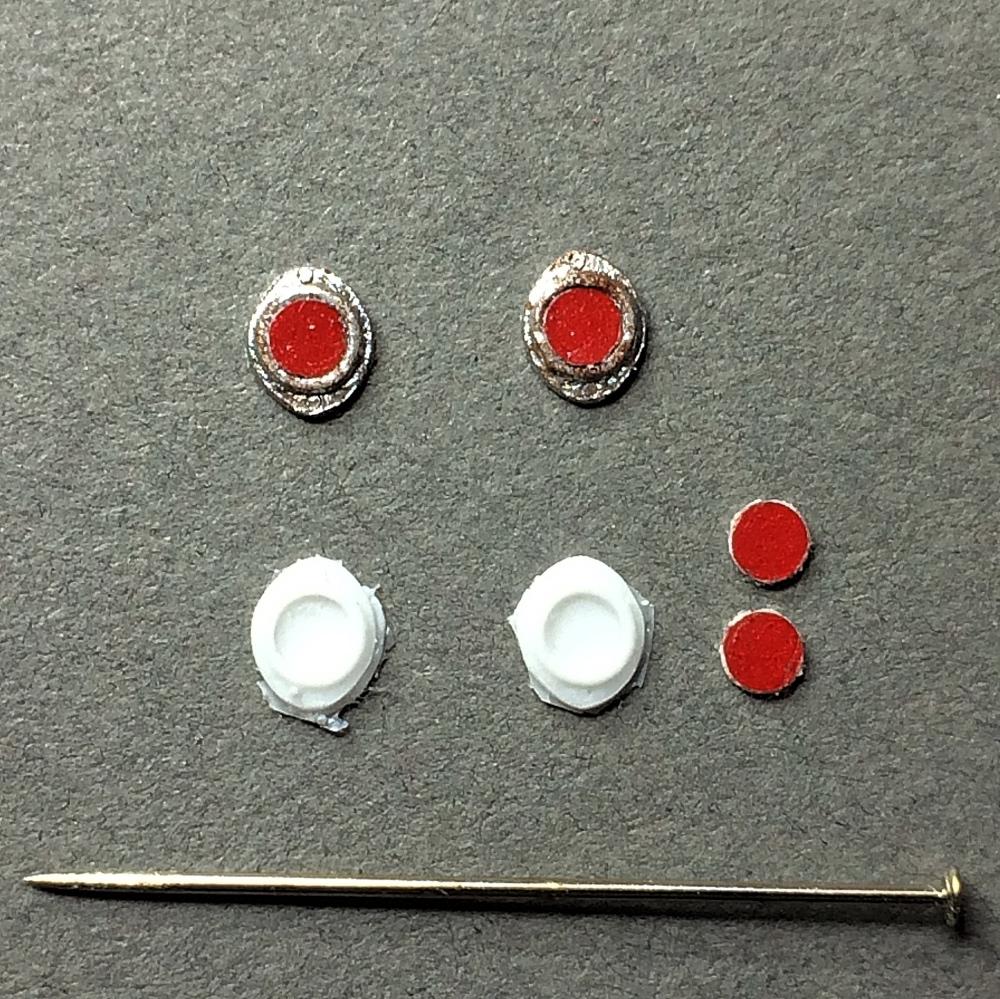
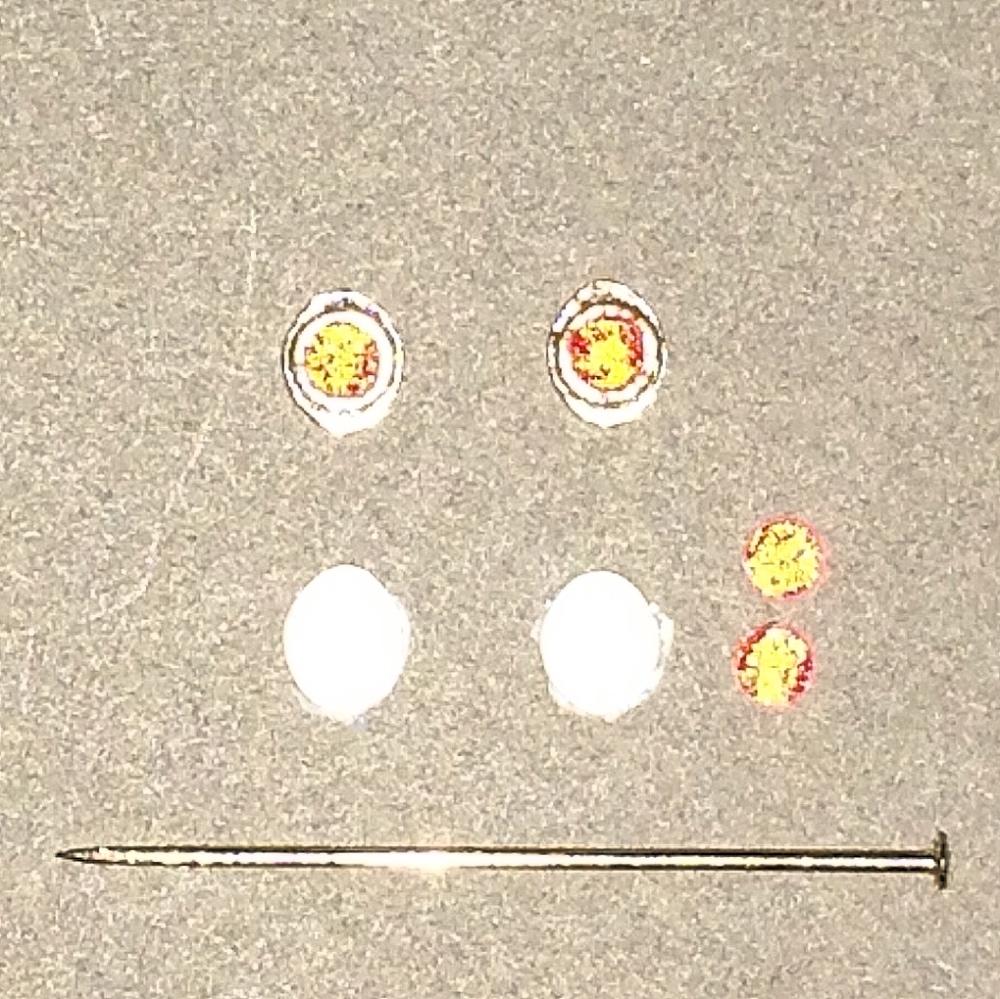
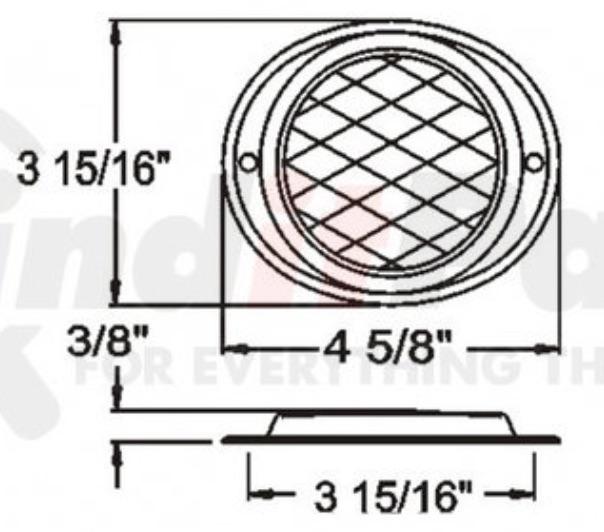
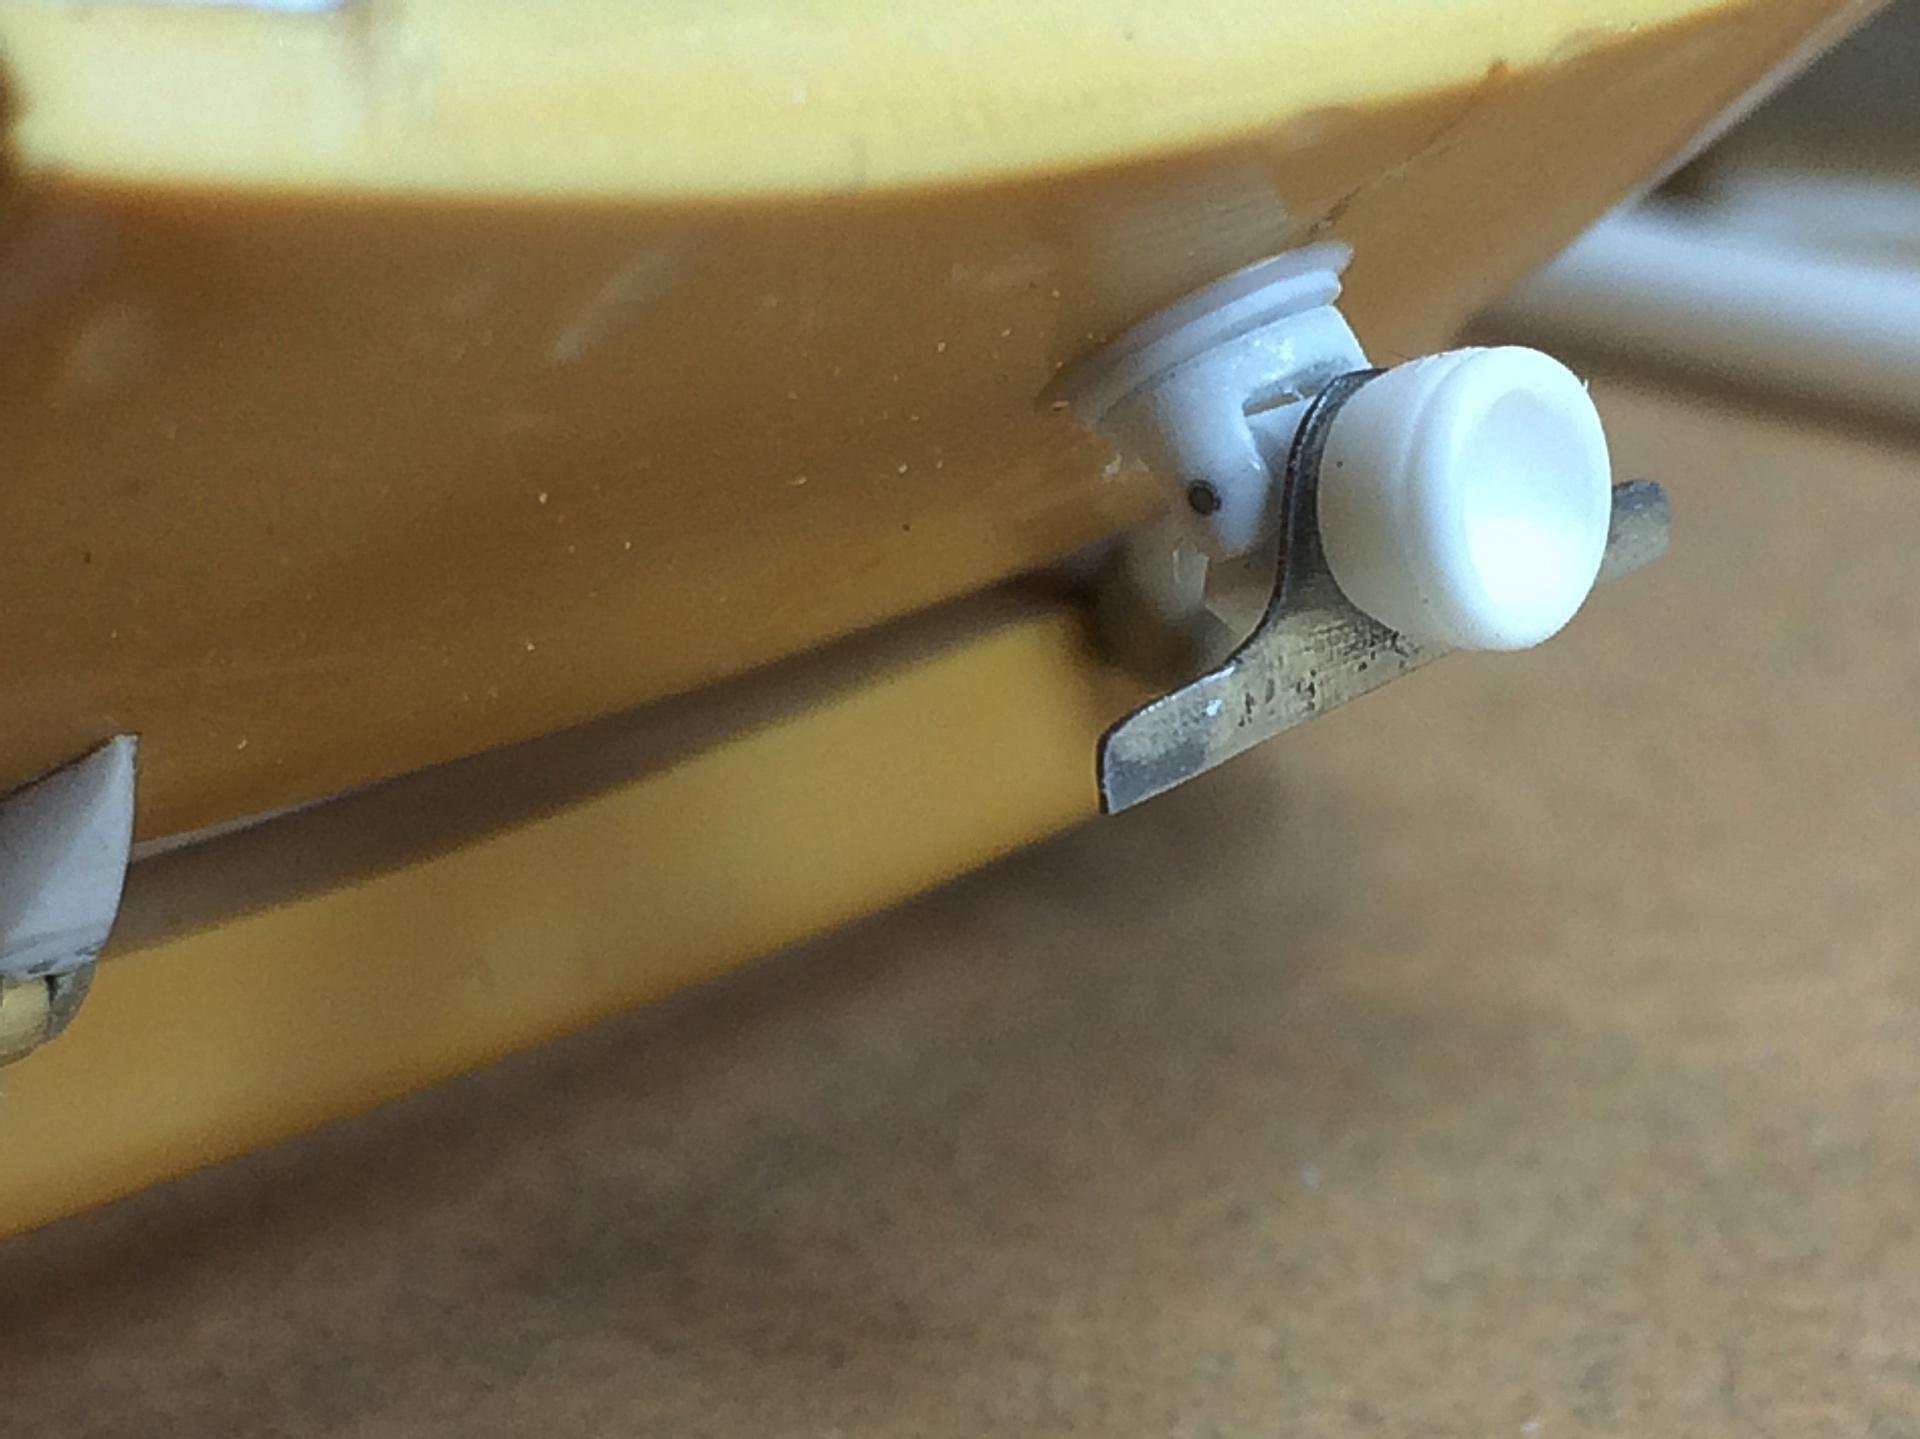
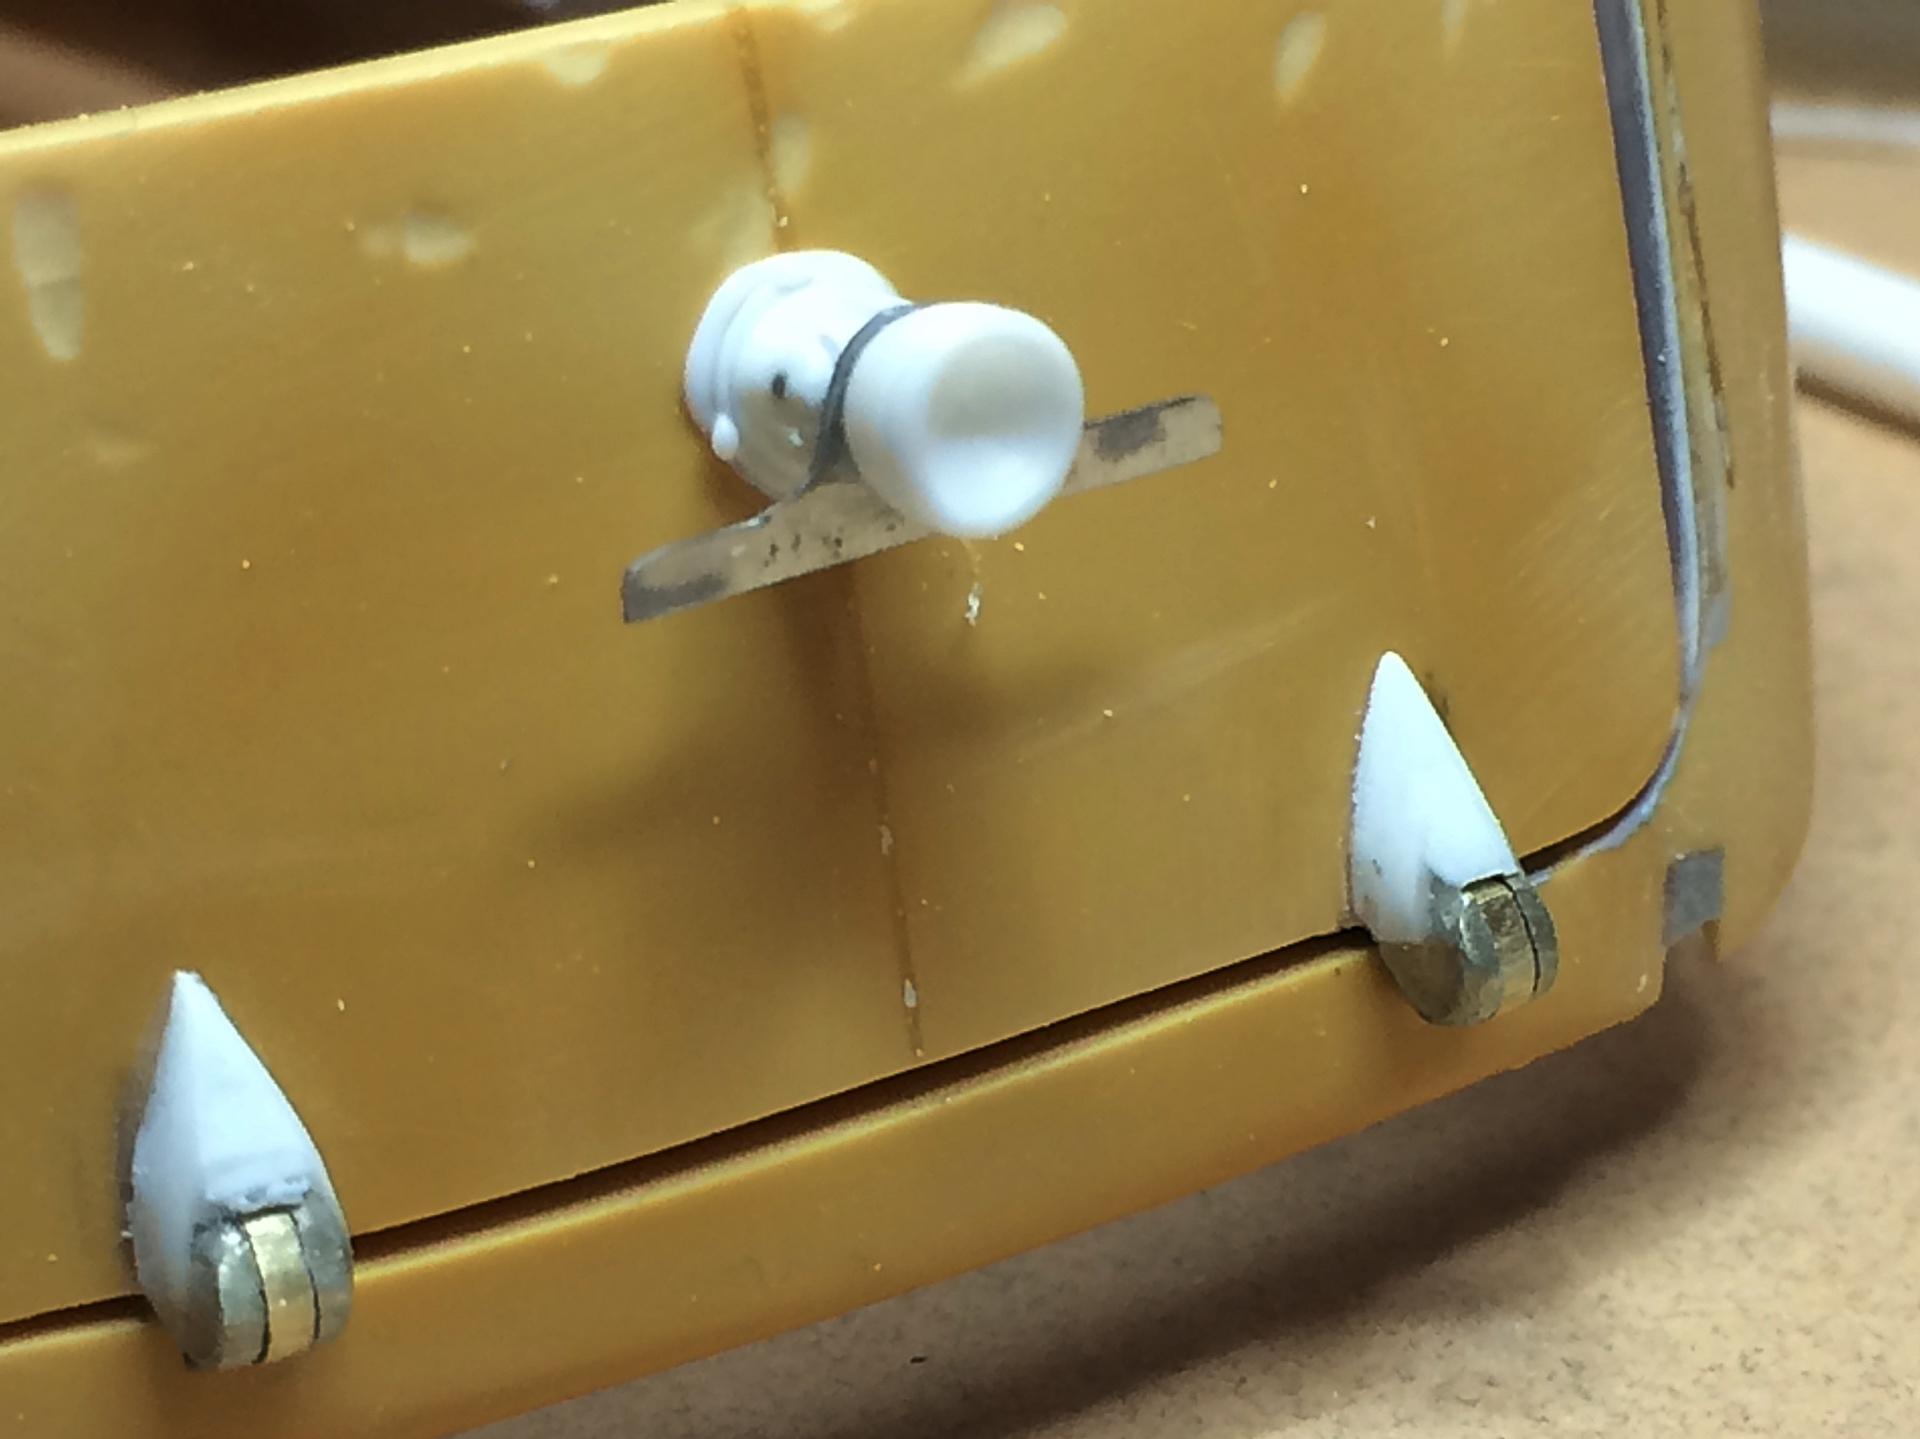
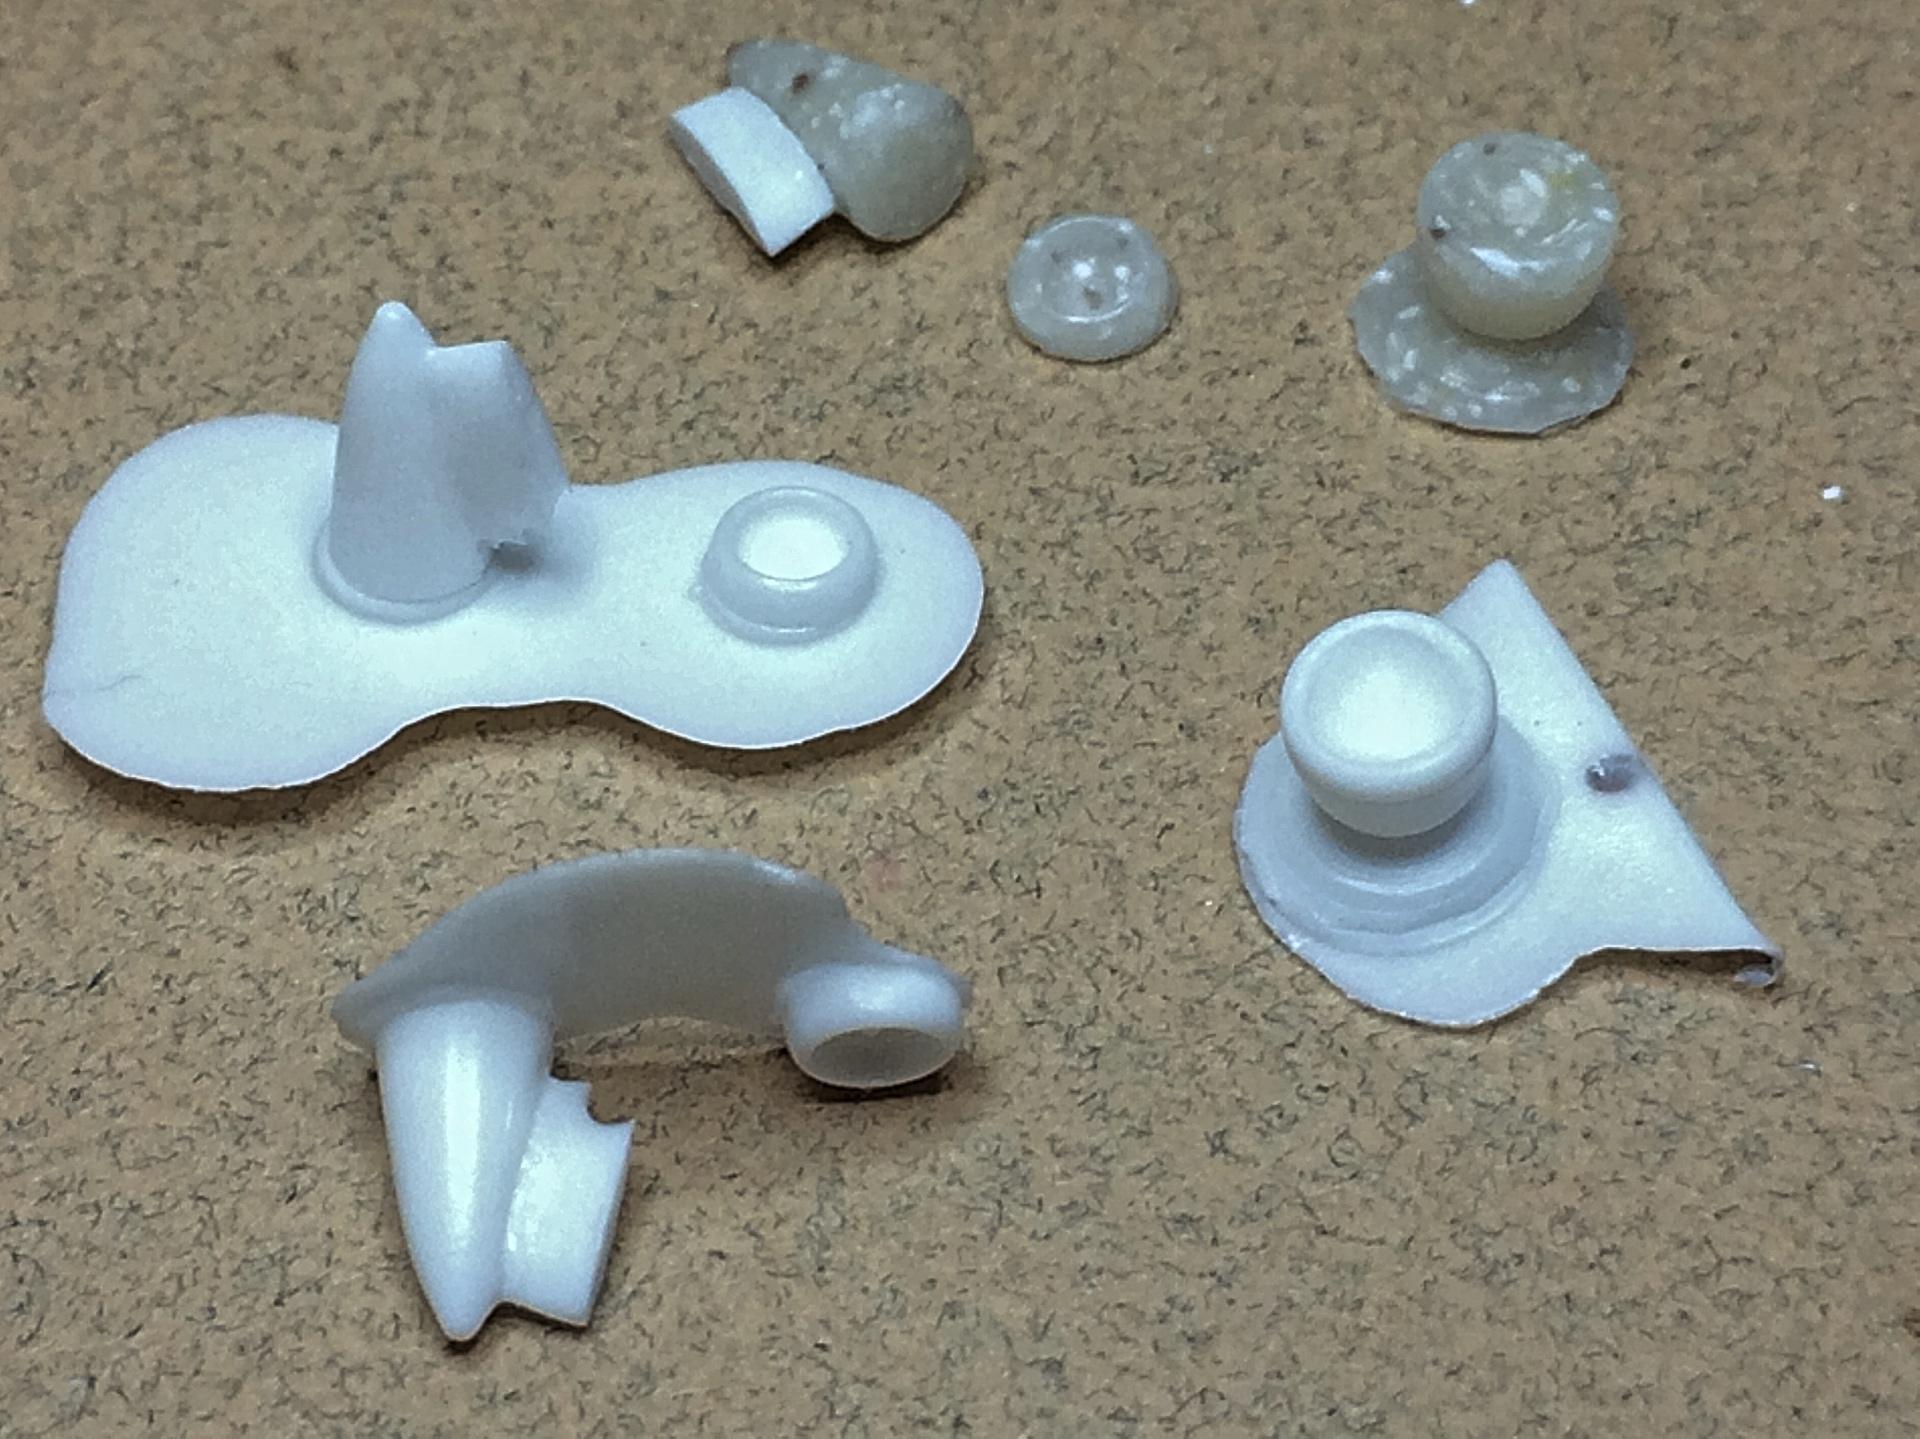
Introducing a new item, there were several manufacturers (Stratolite, Peterson, Tiger-ey, United Pacific), found on pickups, trucks and farm equipment. Resin, comes with real reflective sticker. US $2 per pair.
-
Used his steering wheel for my California Spyder, plus his seats and door details. It got me Best Interior at Desert Scale.
-
That's awesome, exactly what I'm planning to do! Made the reflectors. I'm going to post in the Resin section that I will offer these tiny details.
-
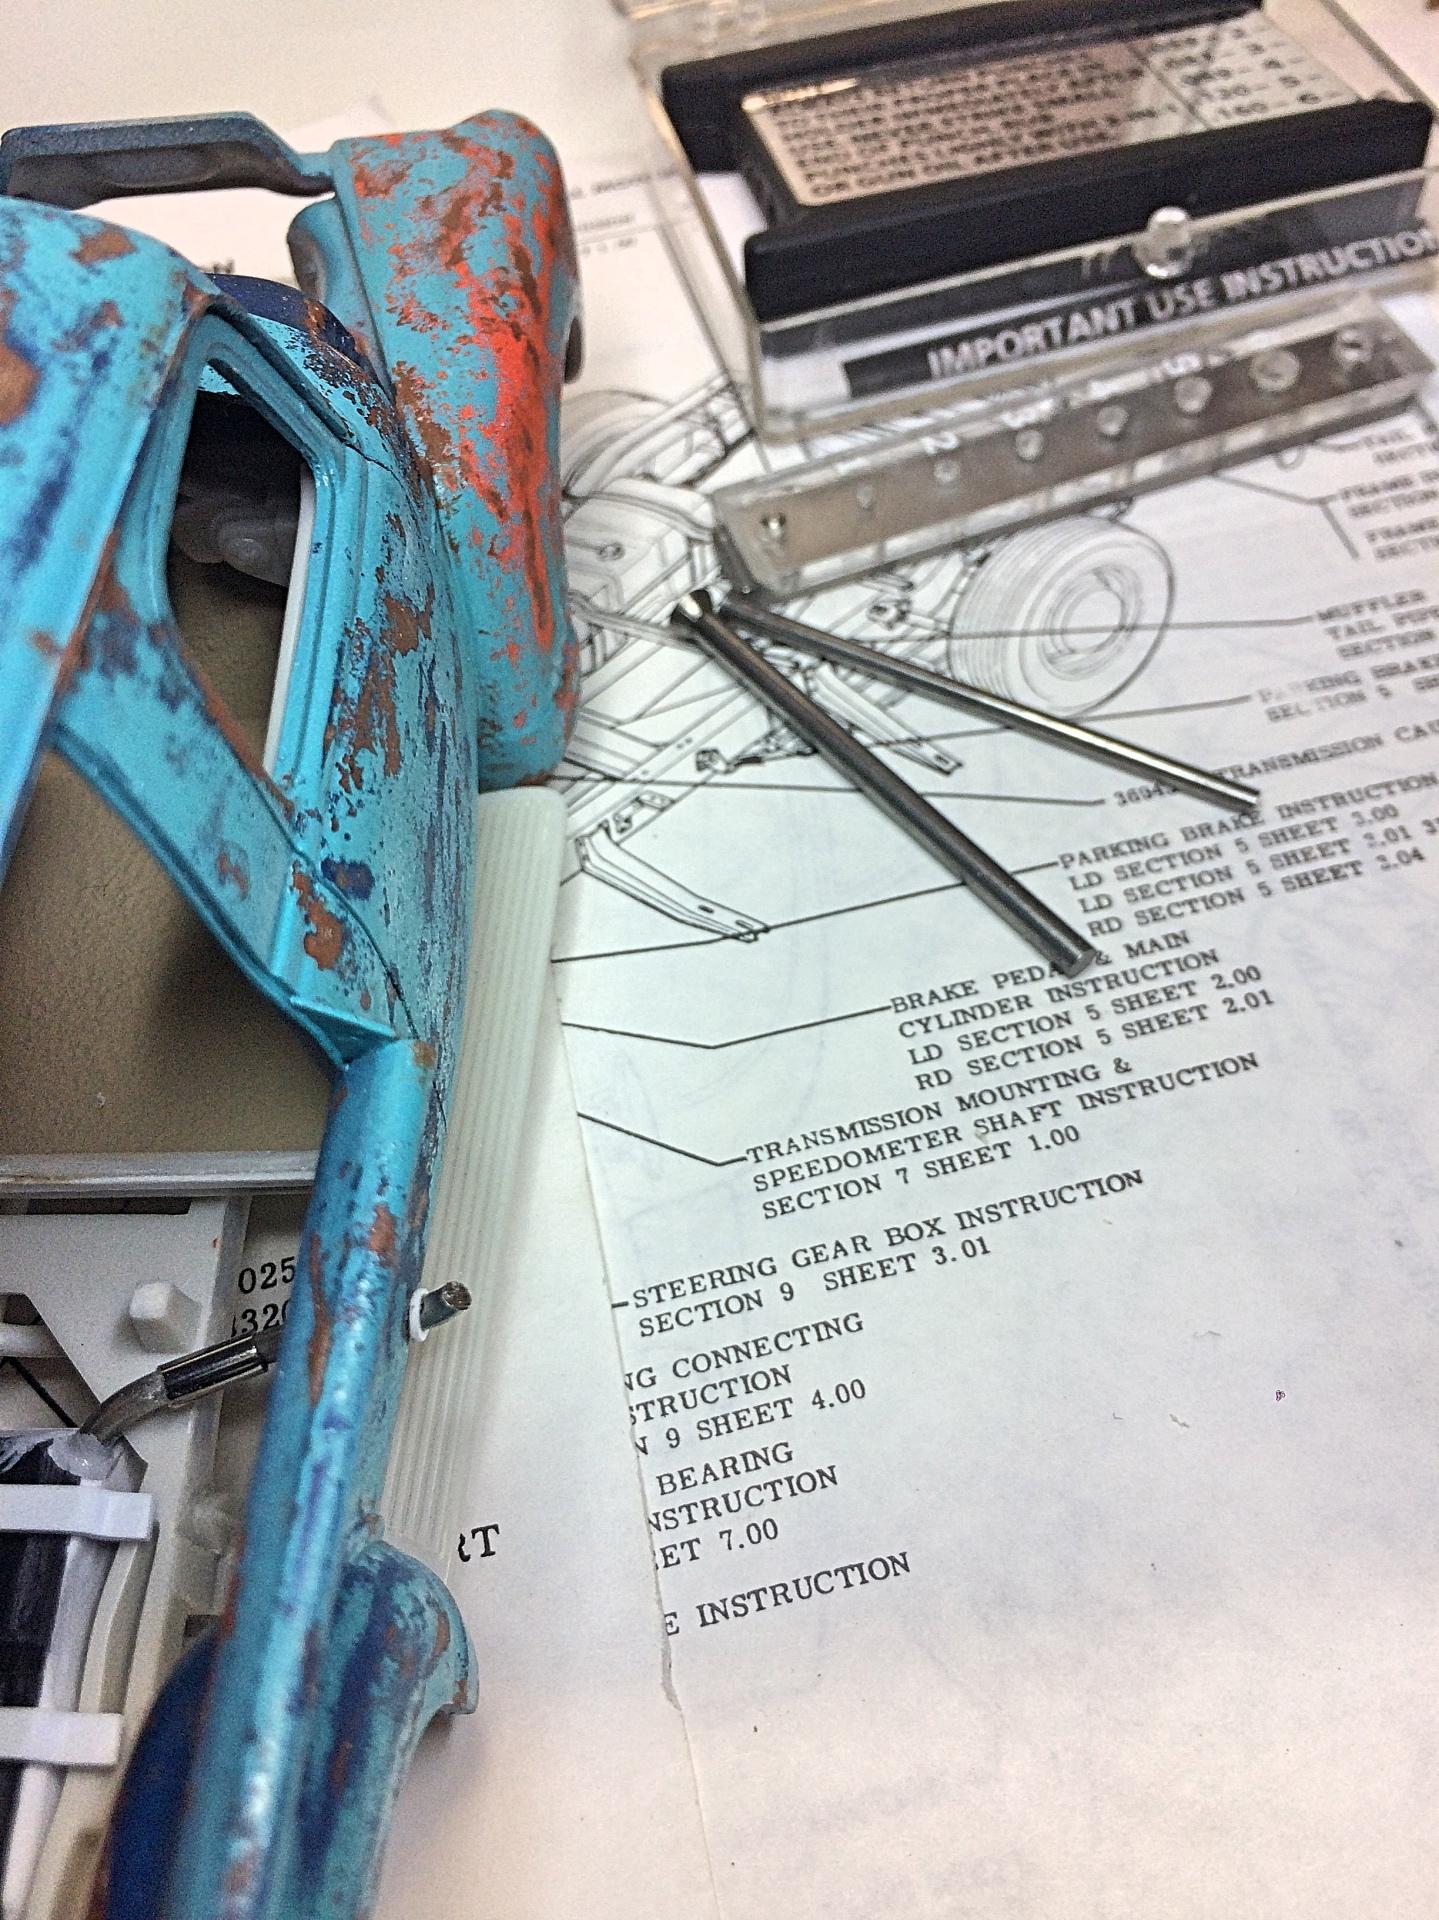
Ok, I now need to get that styrene rod. ? I used aluminum rod, which is delicate to handle after assembly.
-
Good, but it's going to be a painter's work truck, so it's gonna get real messy!
-
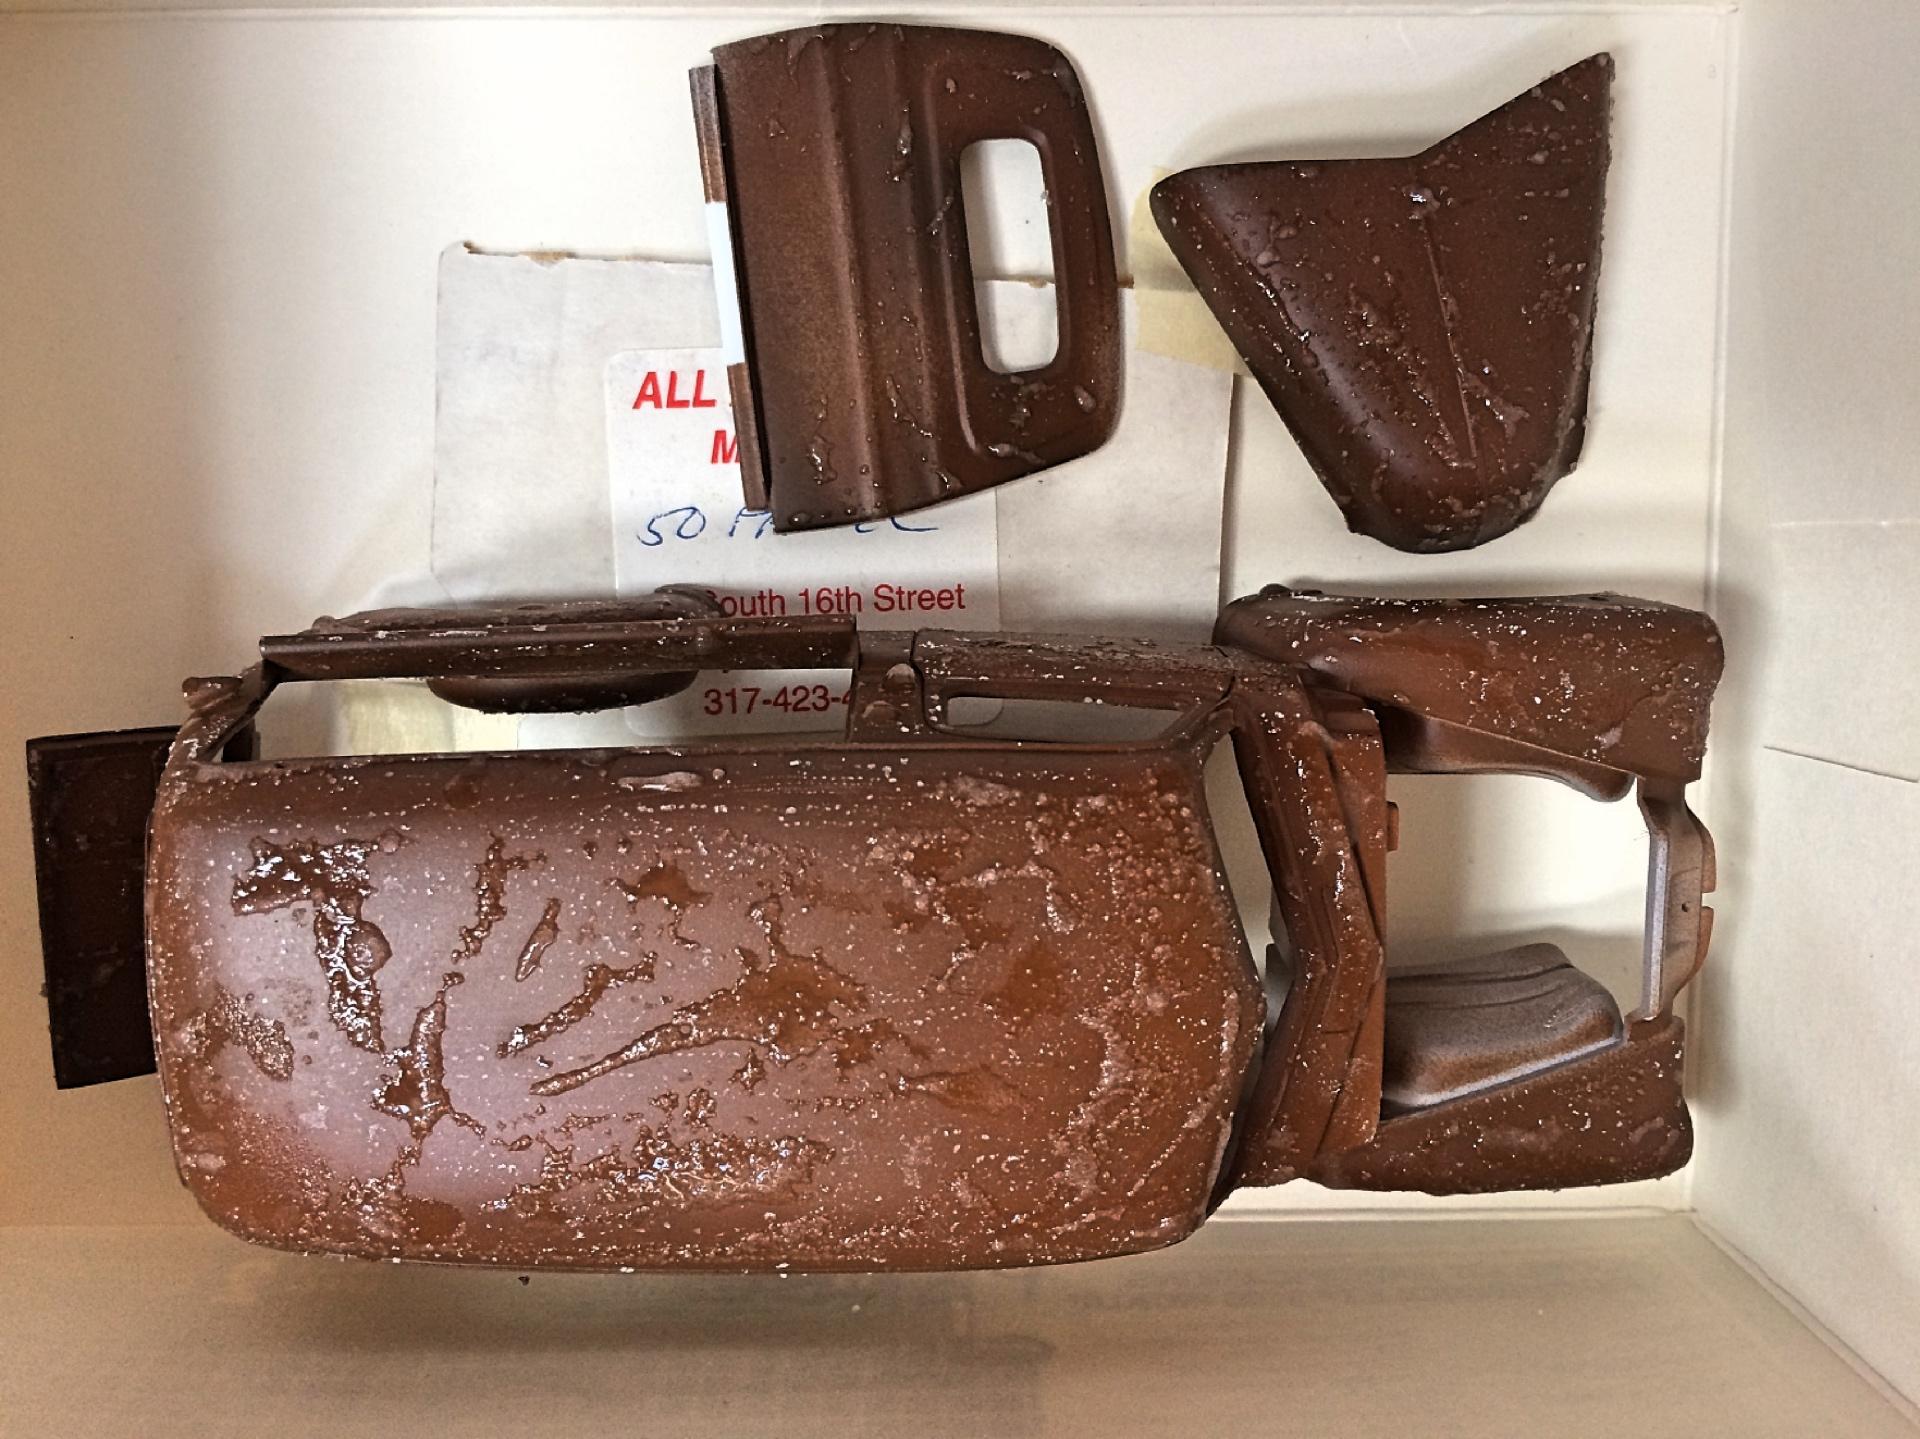
Wet-sanded. Don't like this when you go through all the paint, but this can be fixed with dabbing on brown paint.
-
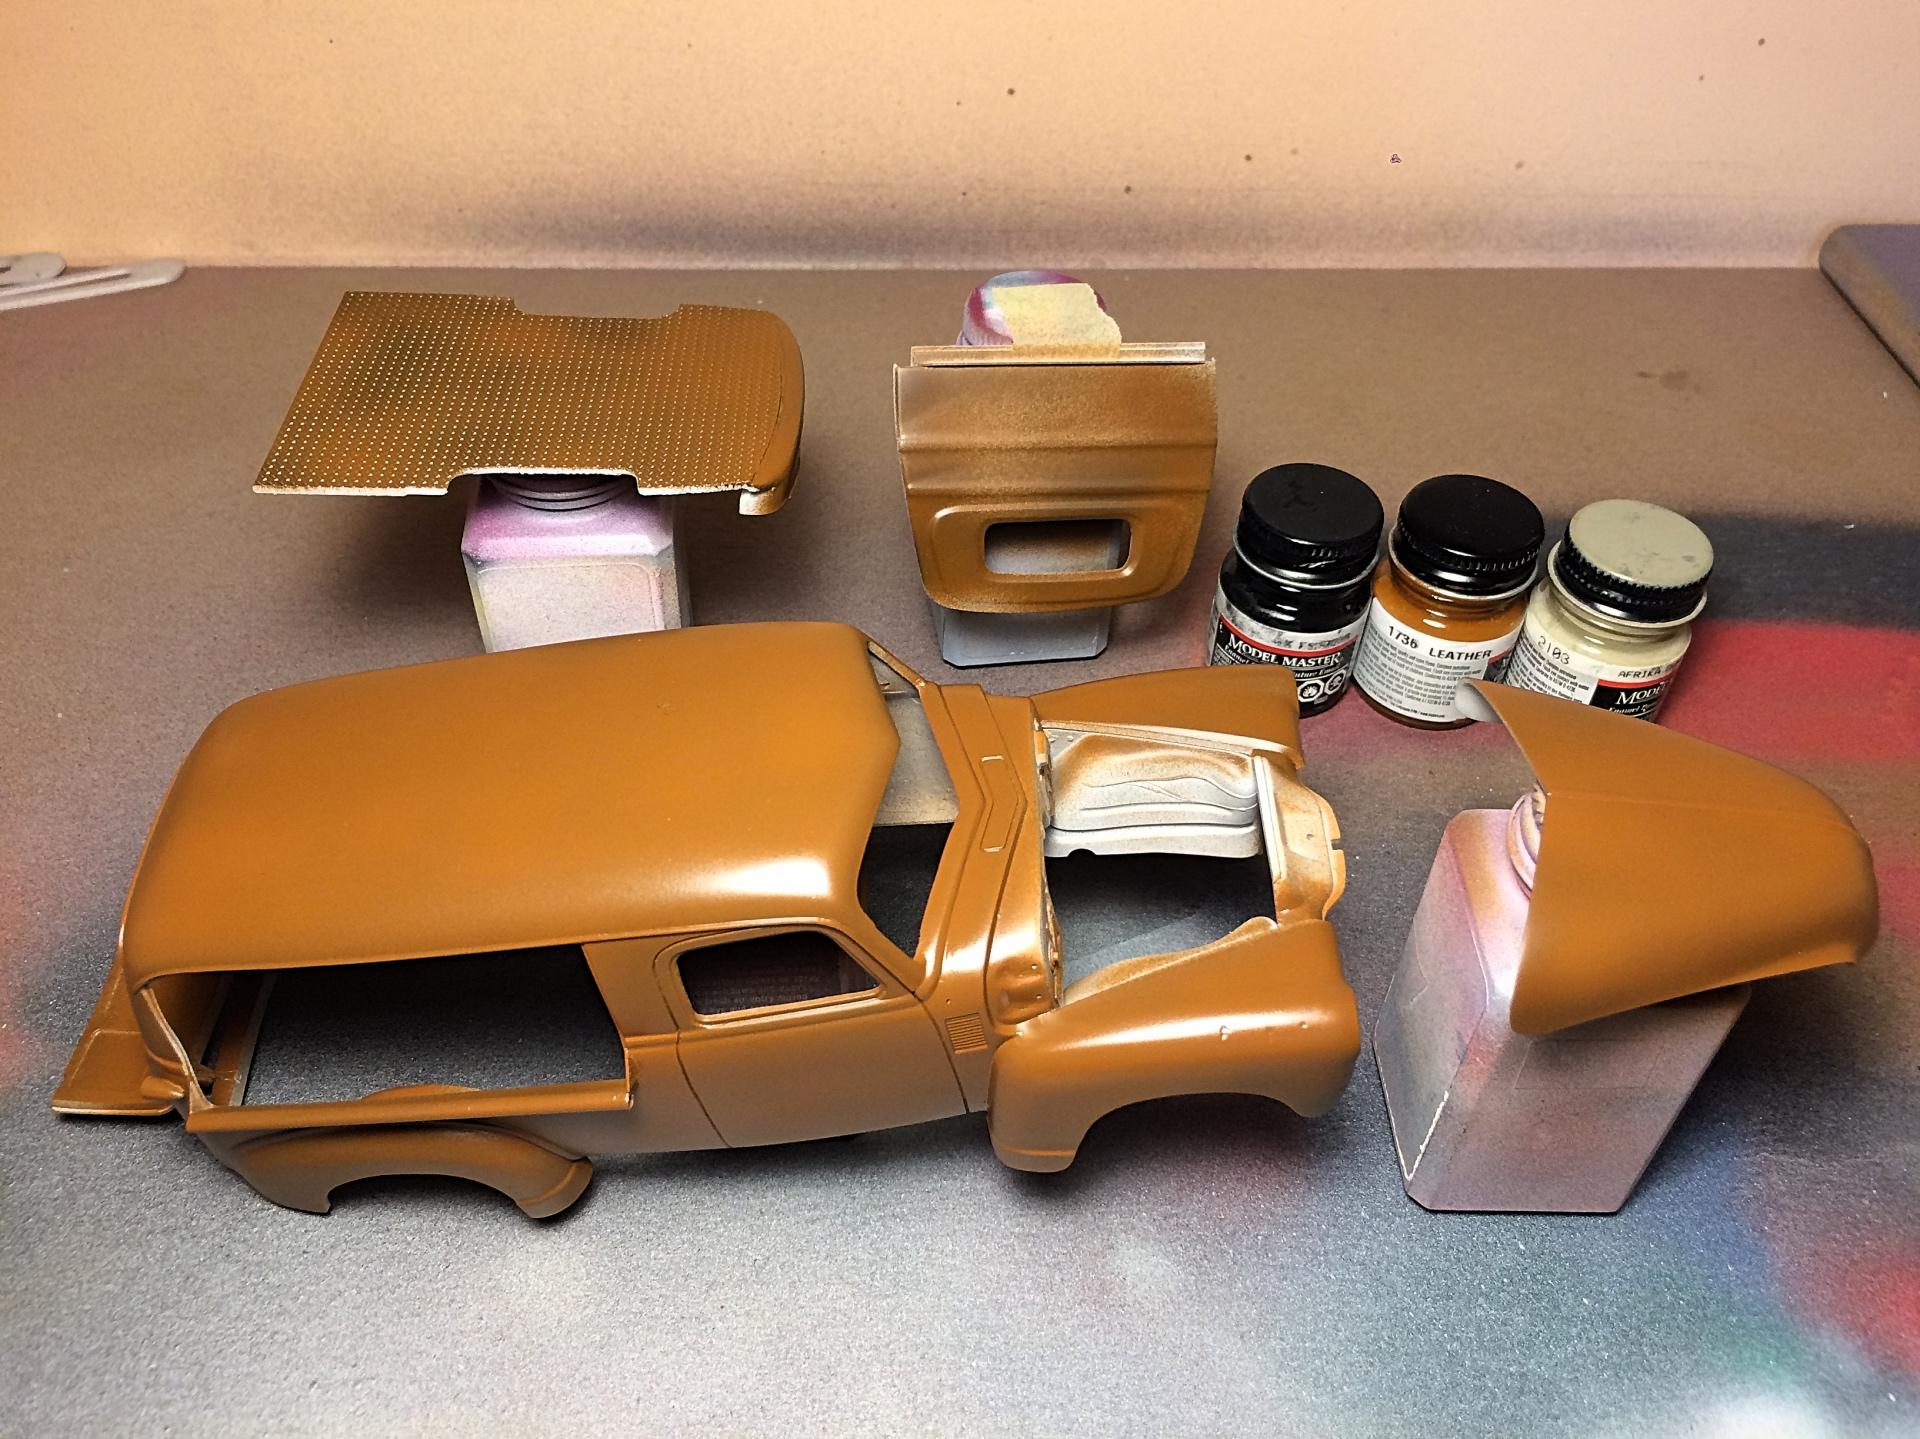
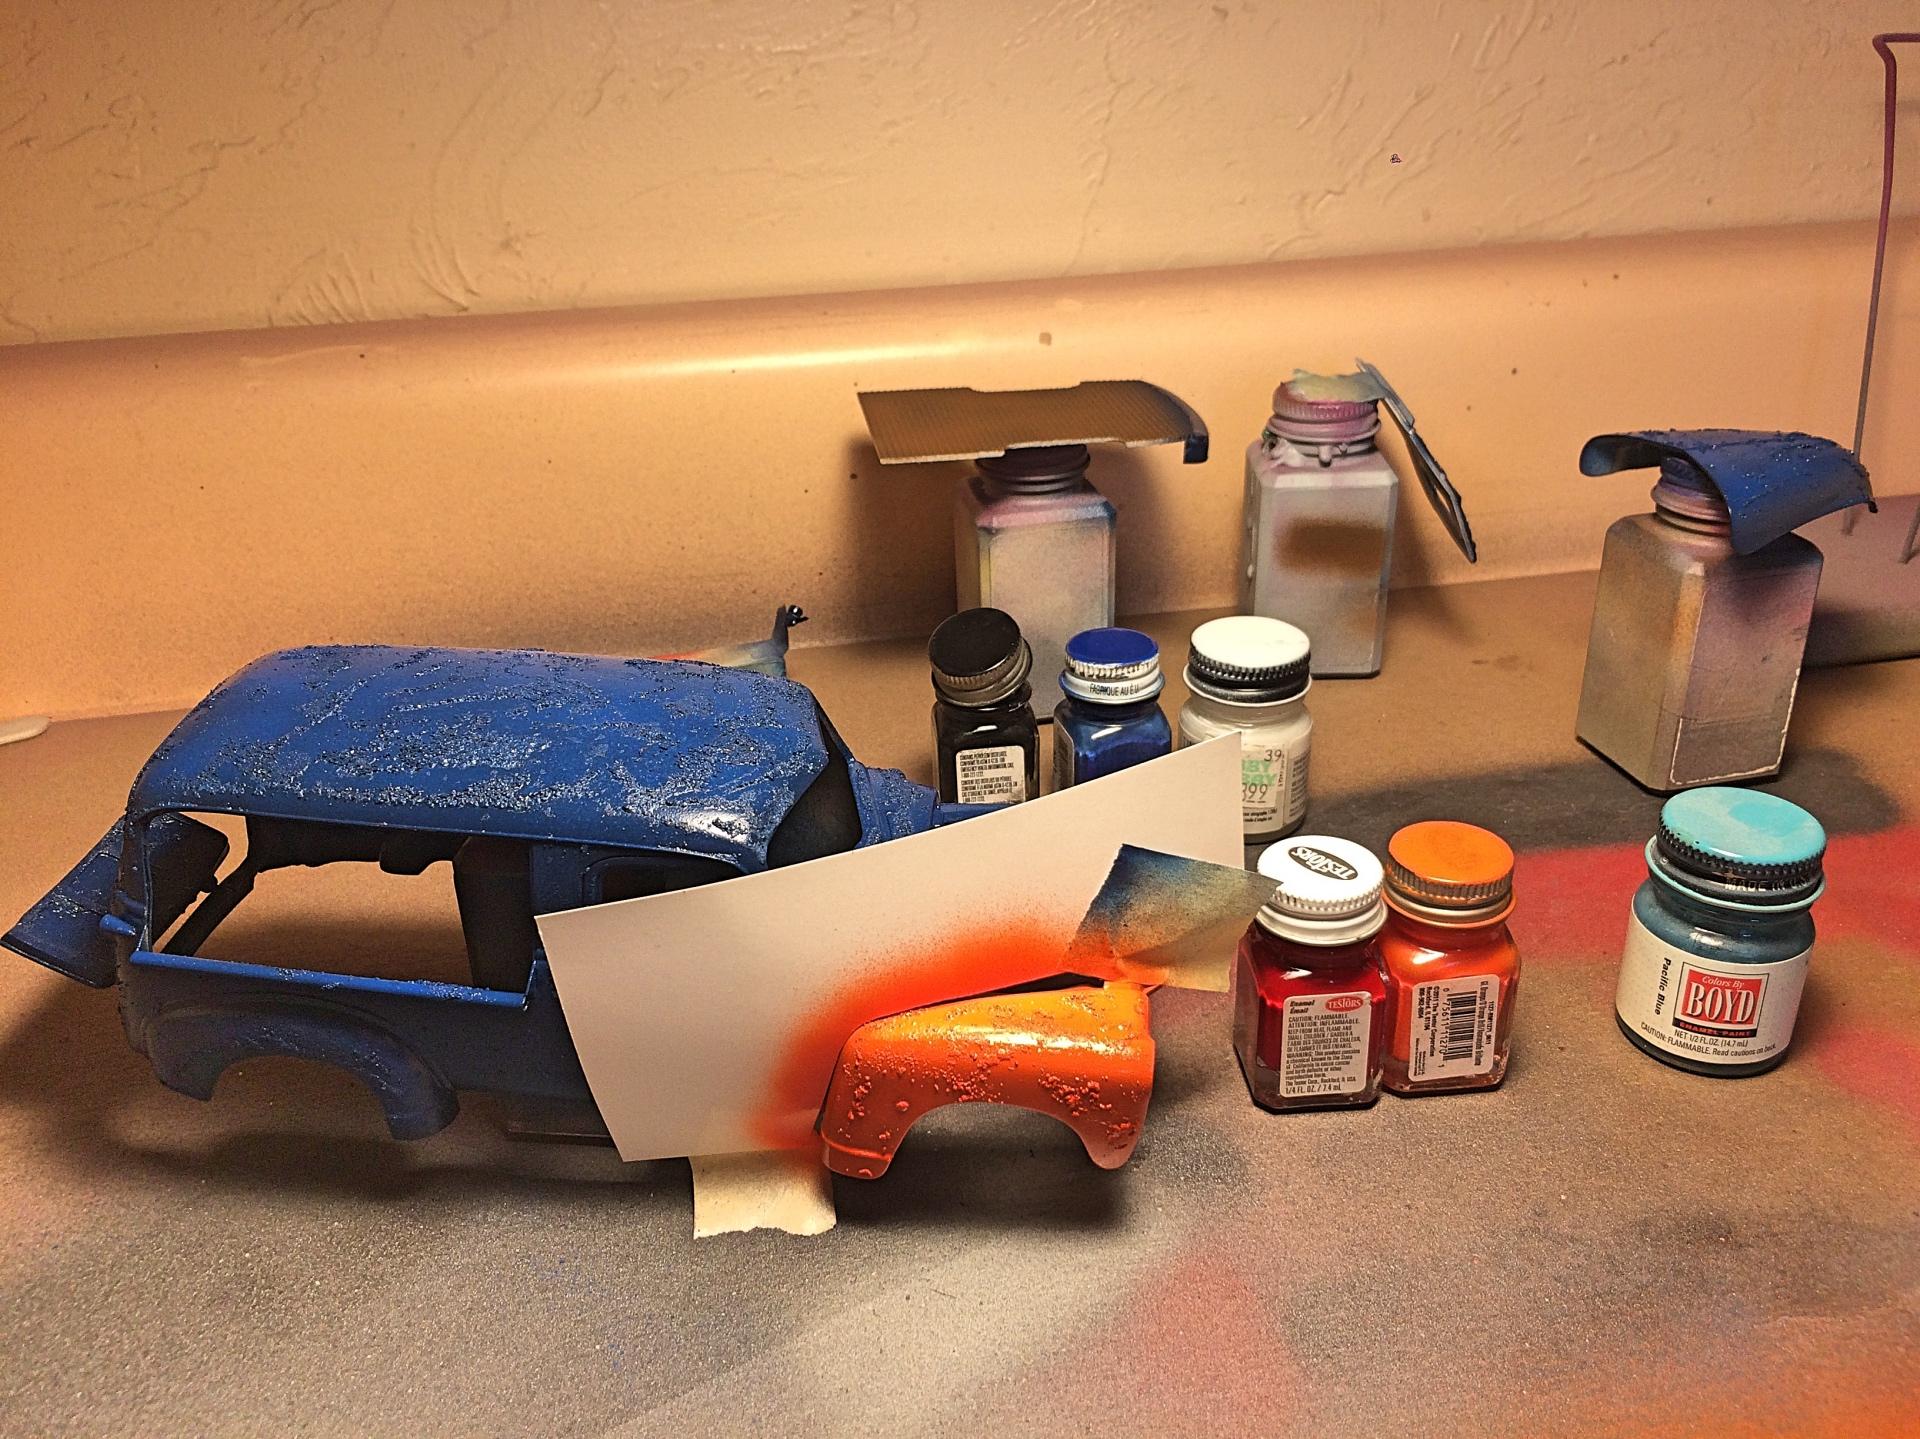
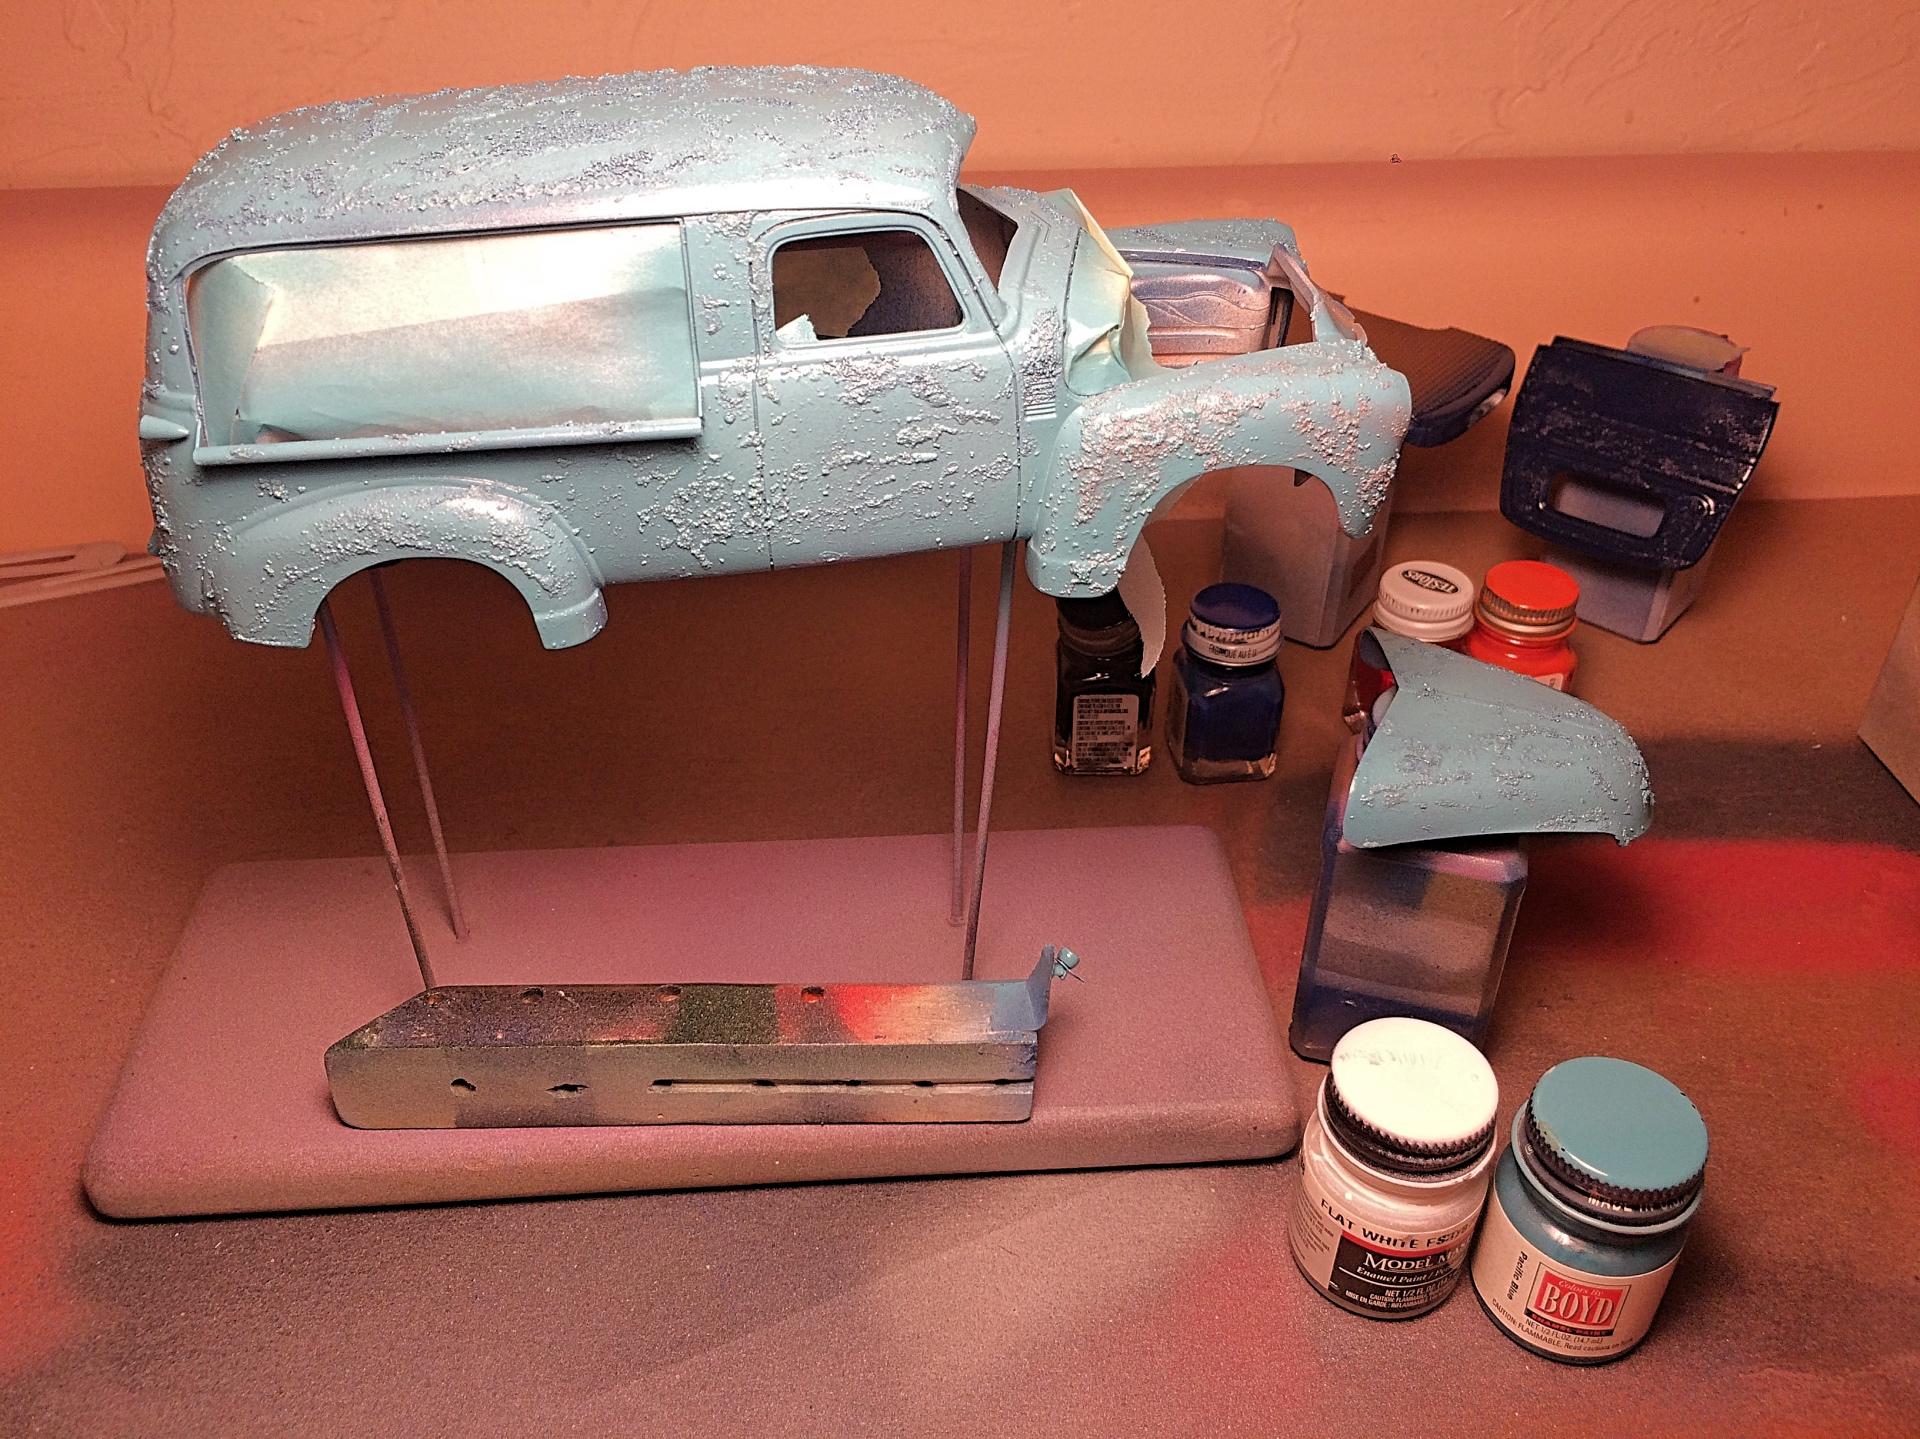
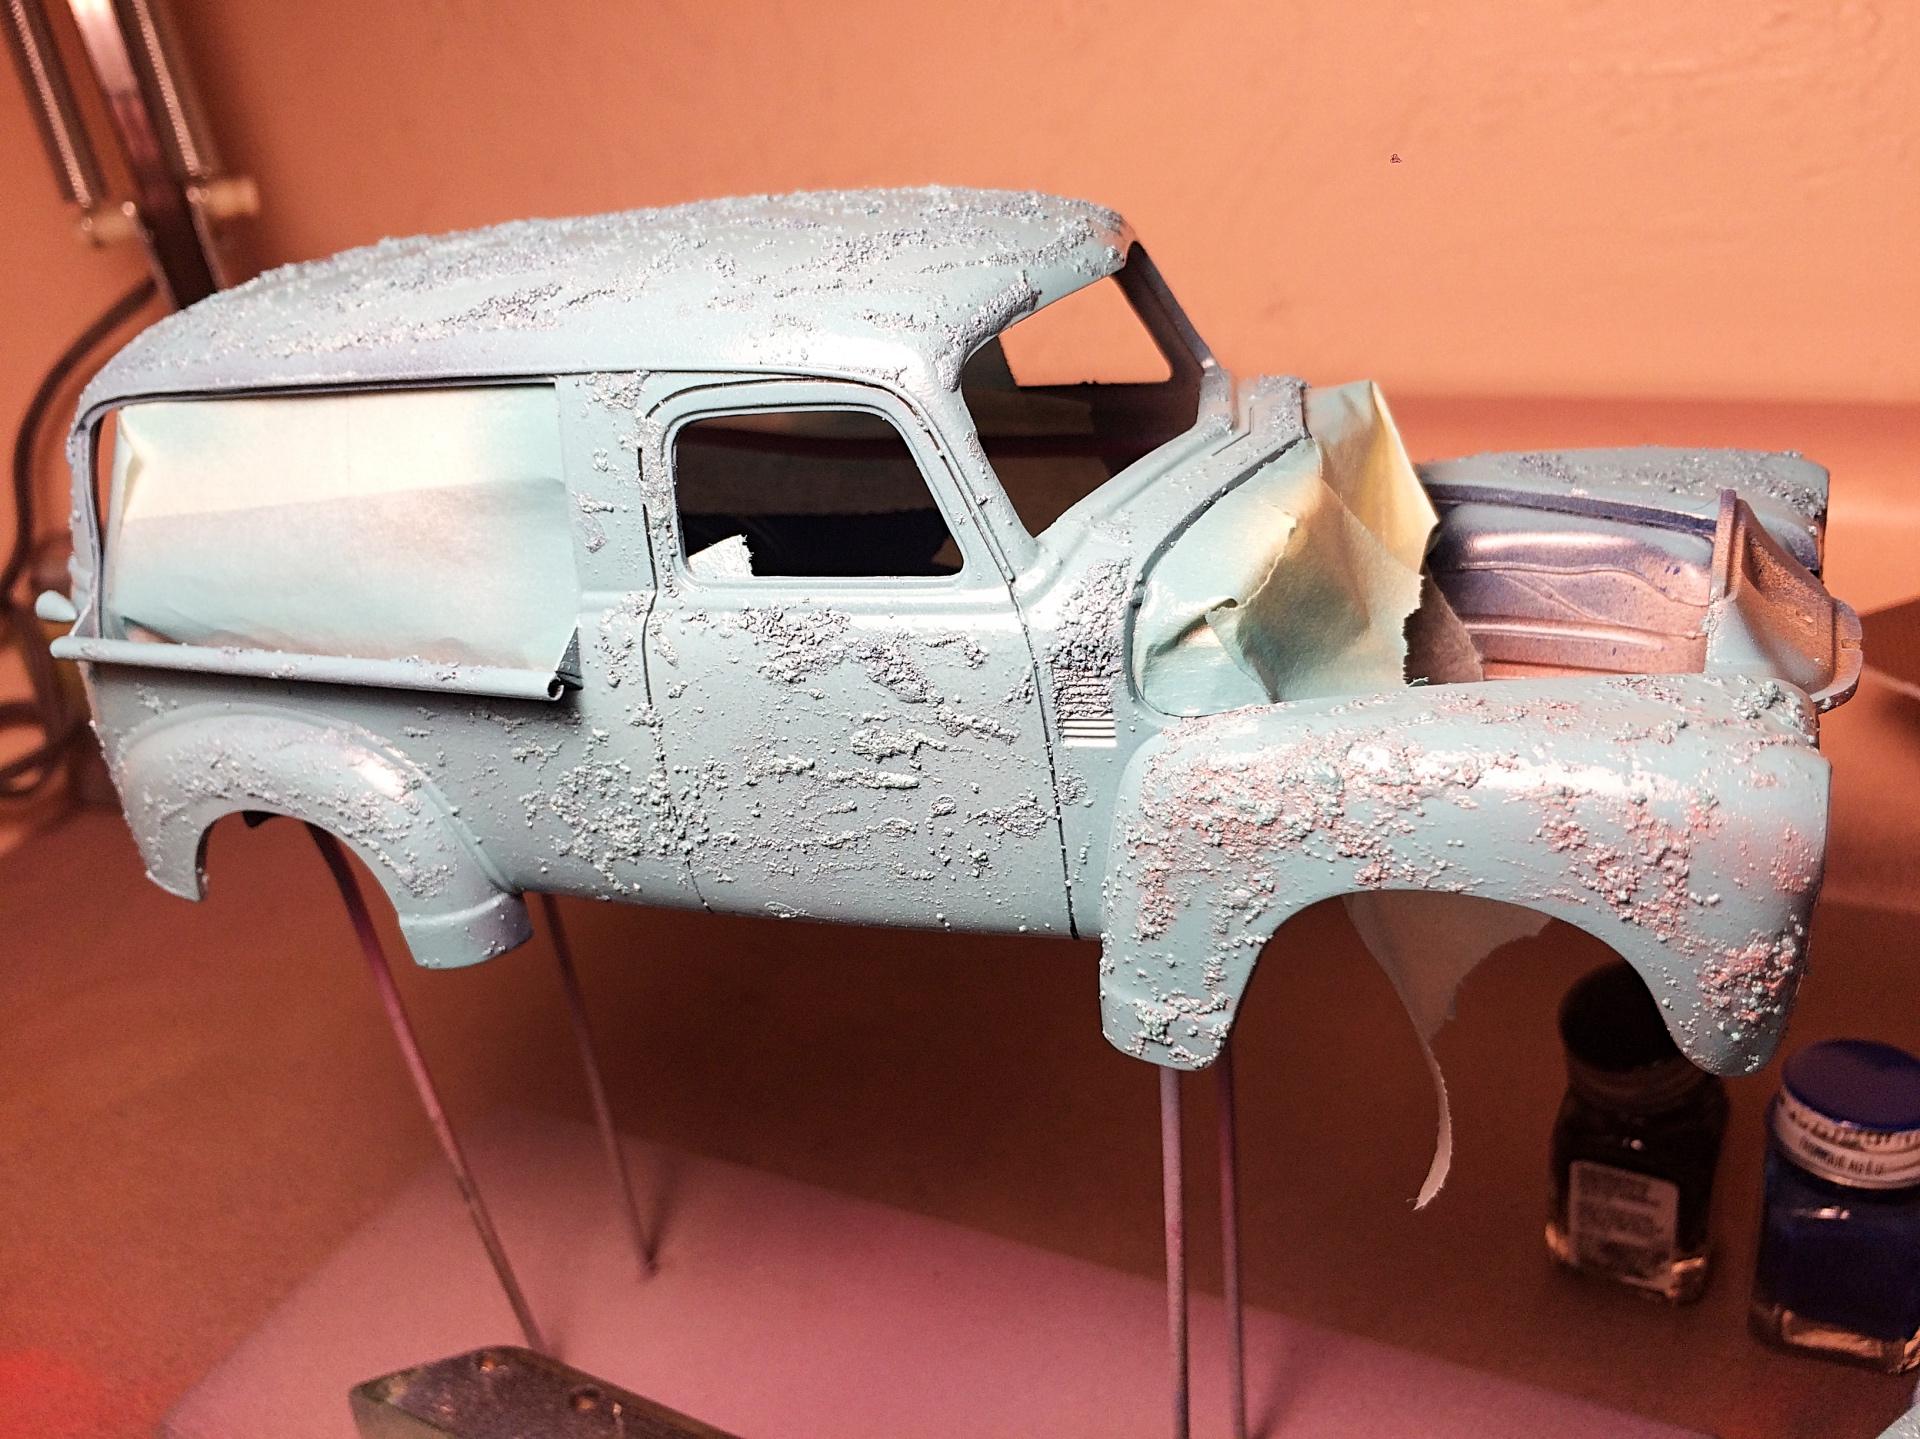
Yea, special stuff for these, like toilet paper oil filters. ? Here are the masters for the reflectors. I cast RTV, and tried the first resin copy tonight, but have a technical problem..... Did the crappiest paint job ever! ? First color was rust, just leather with black added fairly thick, then a light final coat of untinted (LED makes it loo lighter). Ground up table salt, put on wet. Searched for some paint code charts to get an idea of colors available in 1948. Painted dark blue, inside the rear section too (cab is always copper brown). Painted a fender orange, to simulate a repair. Picked the Boyd turquoise, to give it an Earl Sheib repaint to update to 50s colors. After adding more salt.
-
Thanks! Paint will change everything! I just did some research to make: steering shaft/box, reflectors*. Have a shop manual, so the gas tank is the next major item to scratch-build. *There is a reflector on the side of this example, but I will put them on the tailgate.
-
Very well done patina!
-
"Bring Out Your Dead" Completion Build--ROUND 2 Is On!
89AKurt replied to Snake45's topic in WIP: Model Cars
Thought since I announced resuming what was entered before, that counted. Don't under the Round # format. -
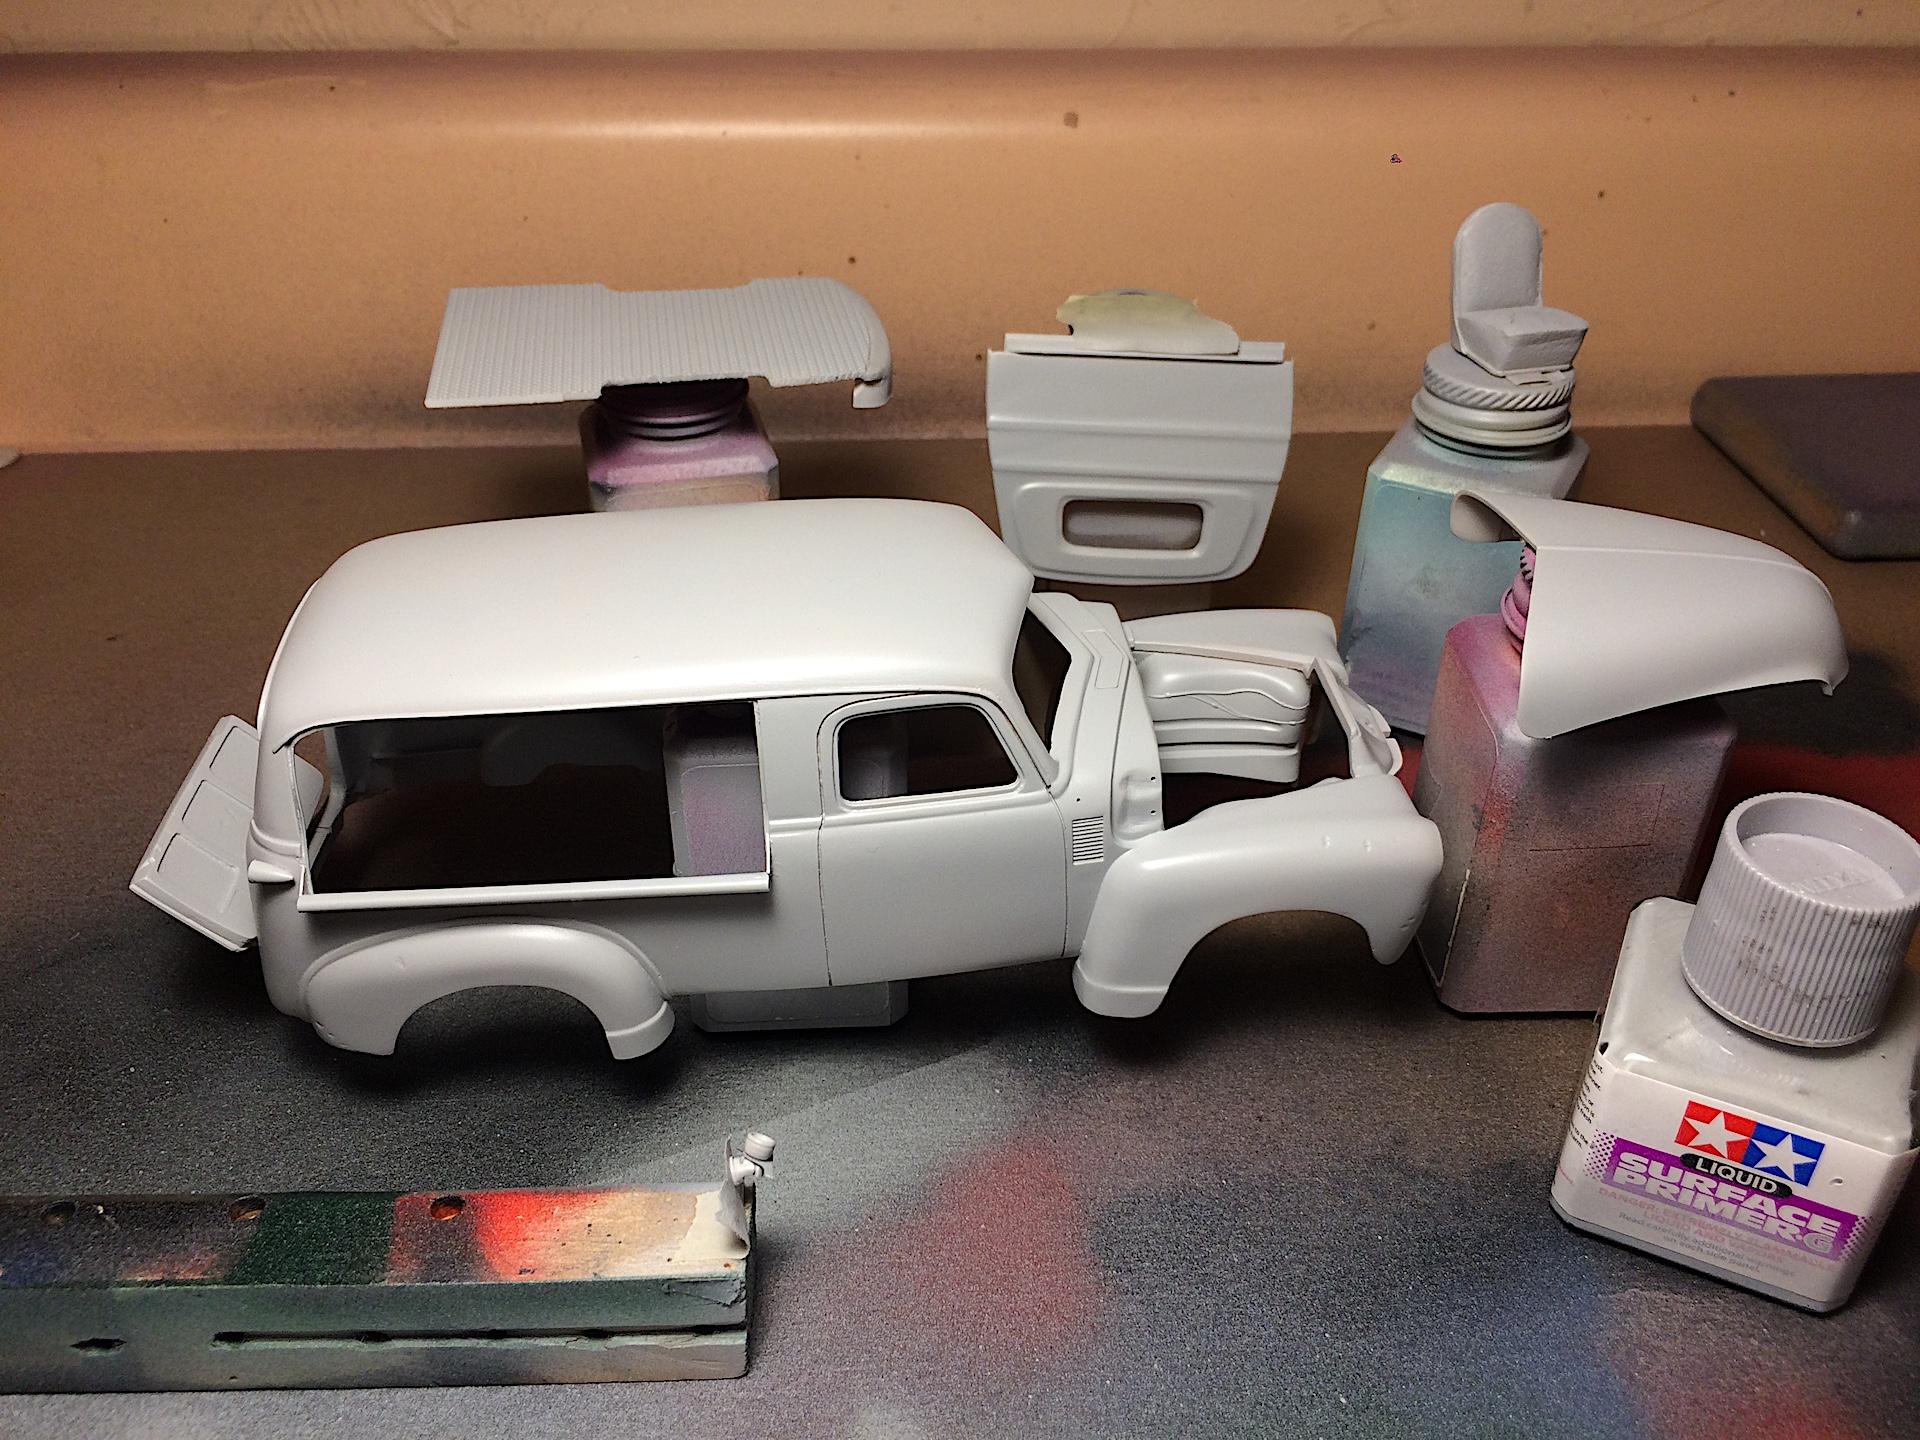
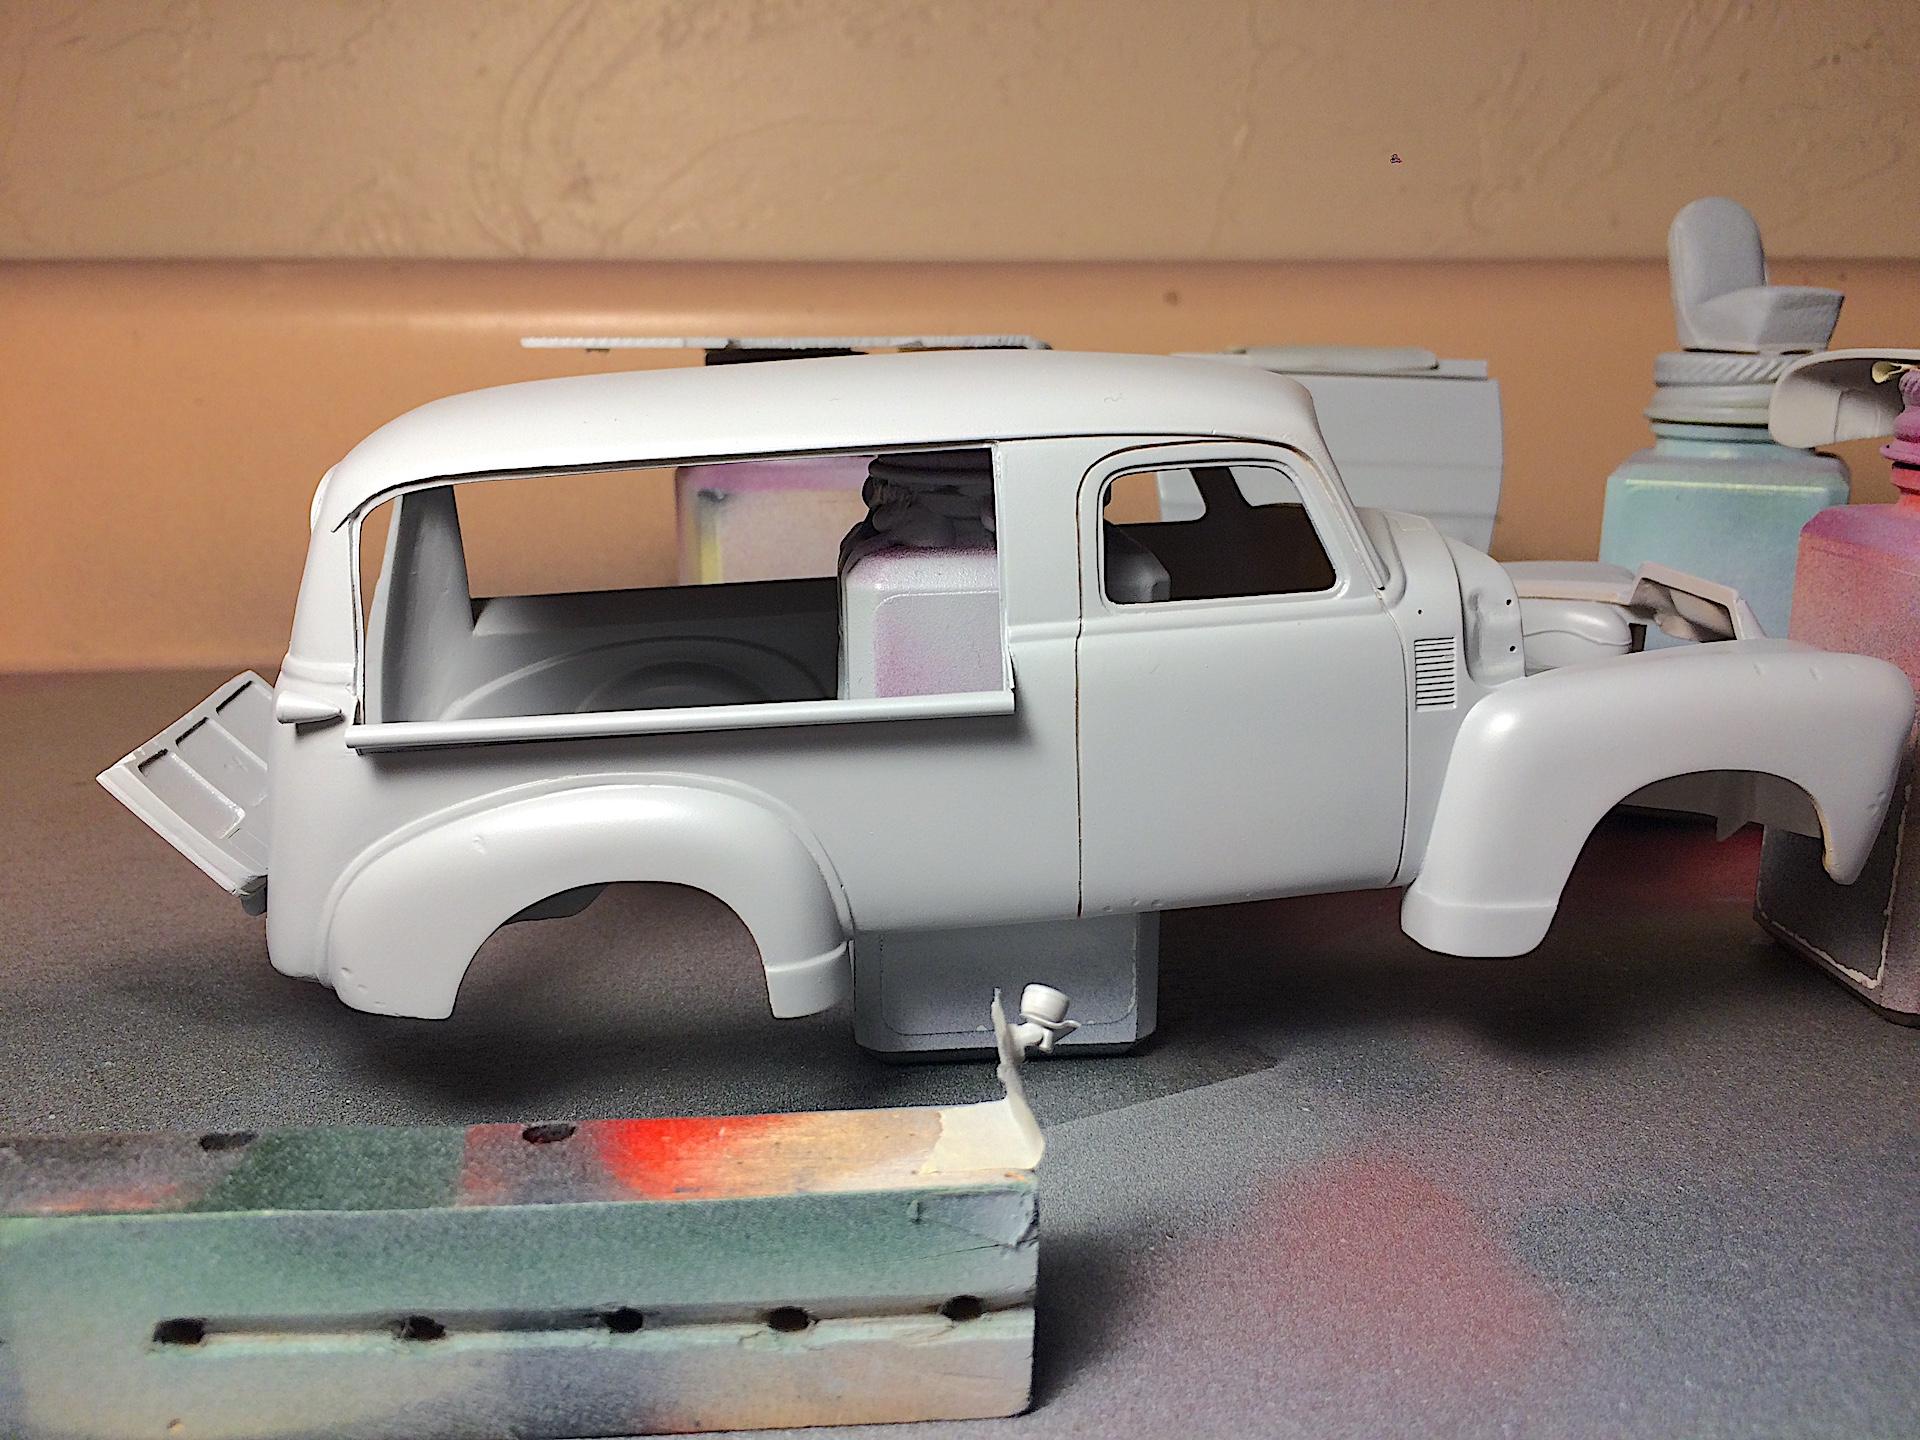
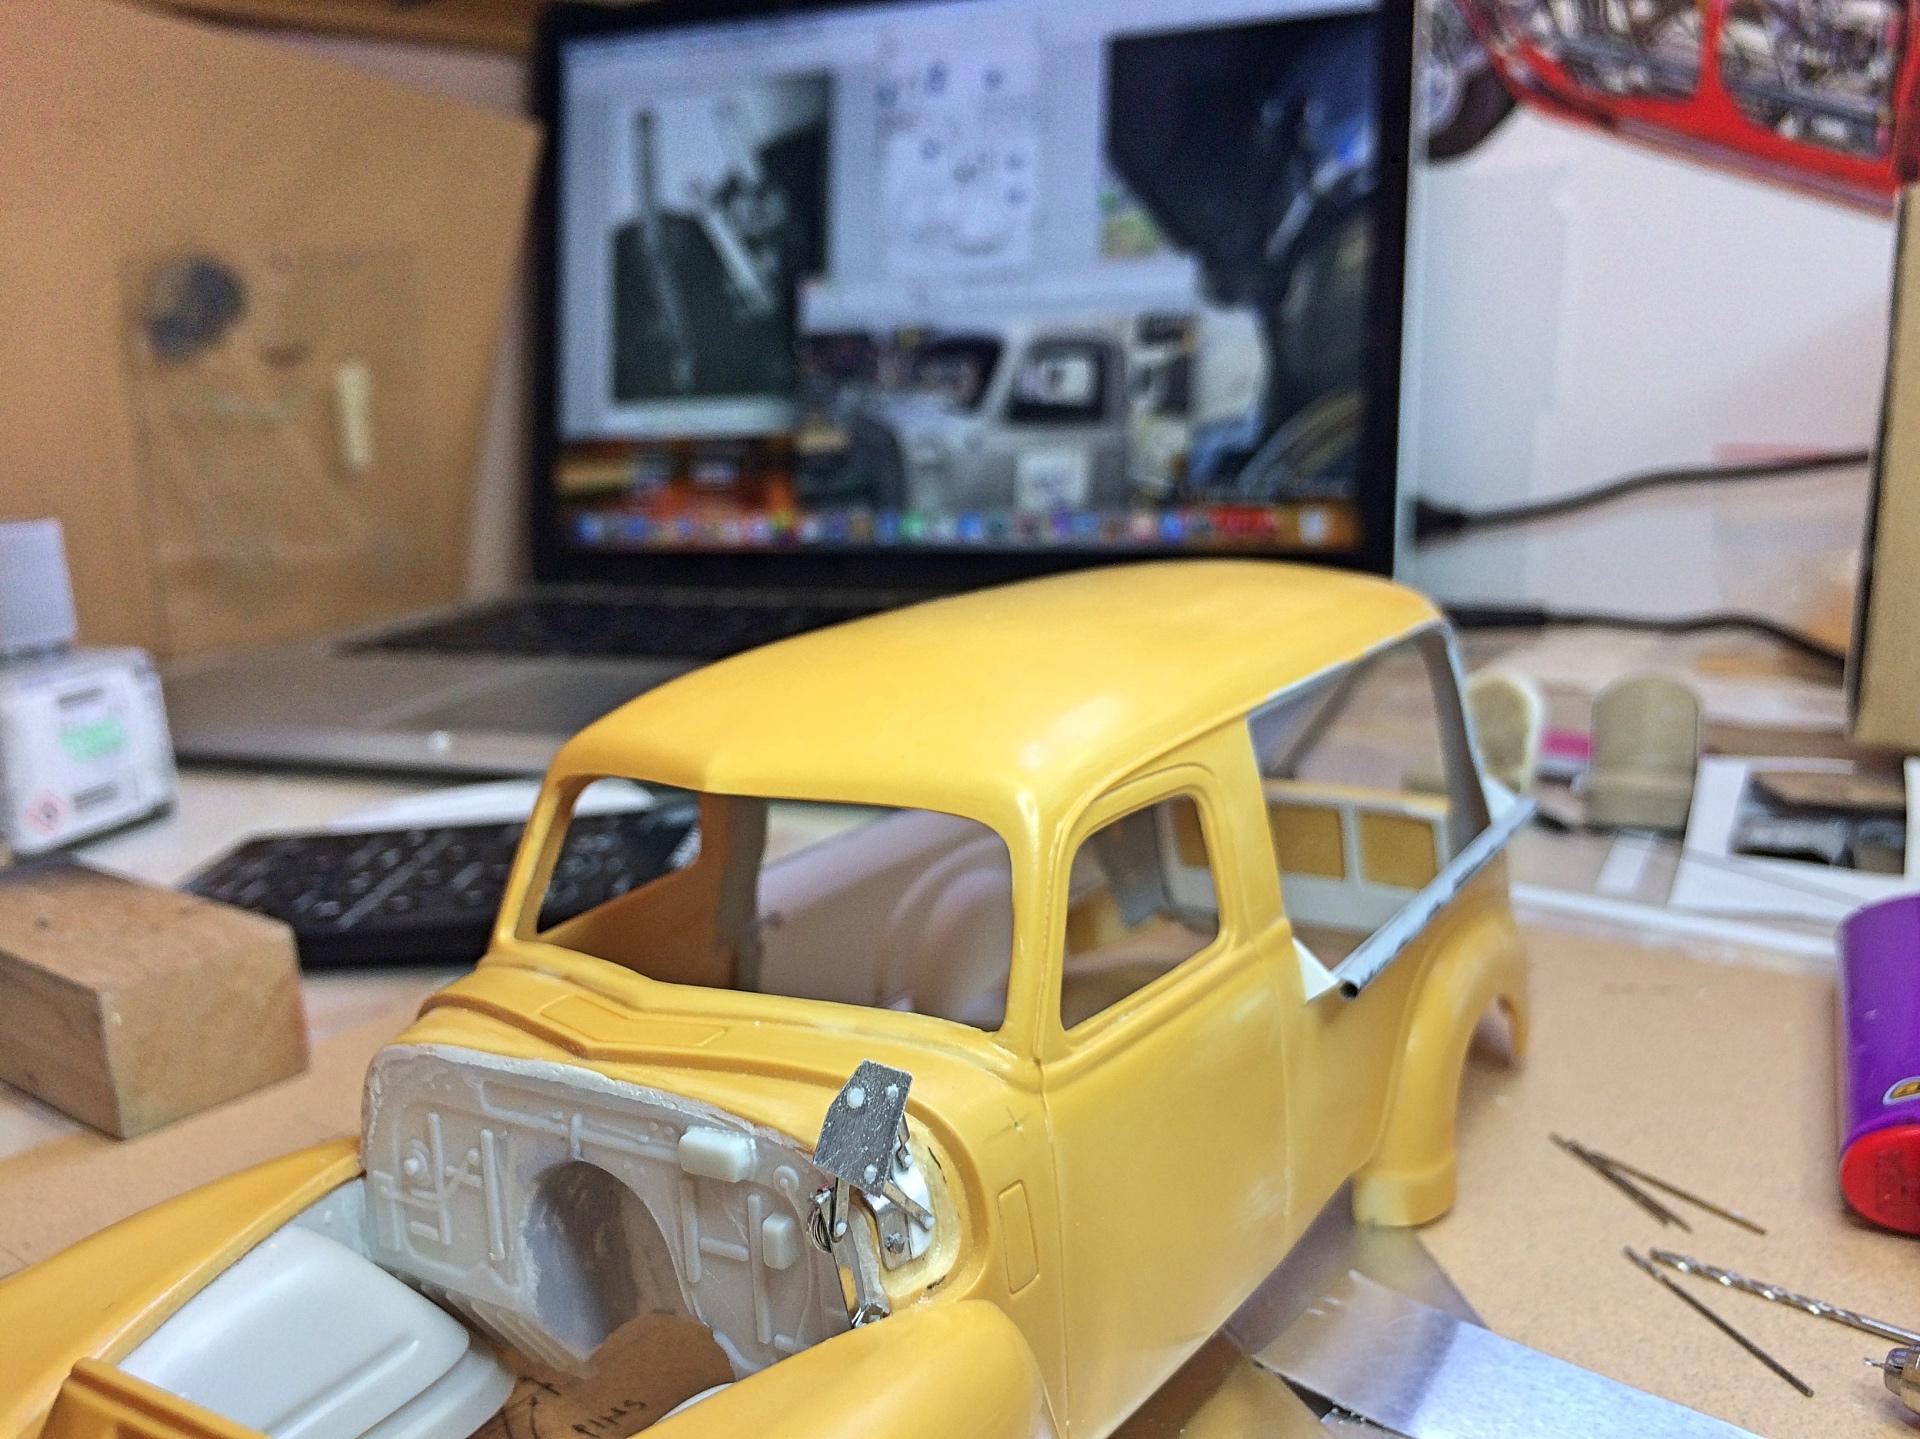
Started the other hinge, mainly to get the cowl recess, and dovetail in the hood done. Wet-sanded the body, again (did it a long time ago). Glued on the teardrop taillights. First paint on this project! ?
-
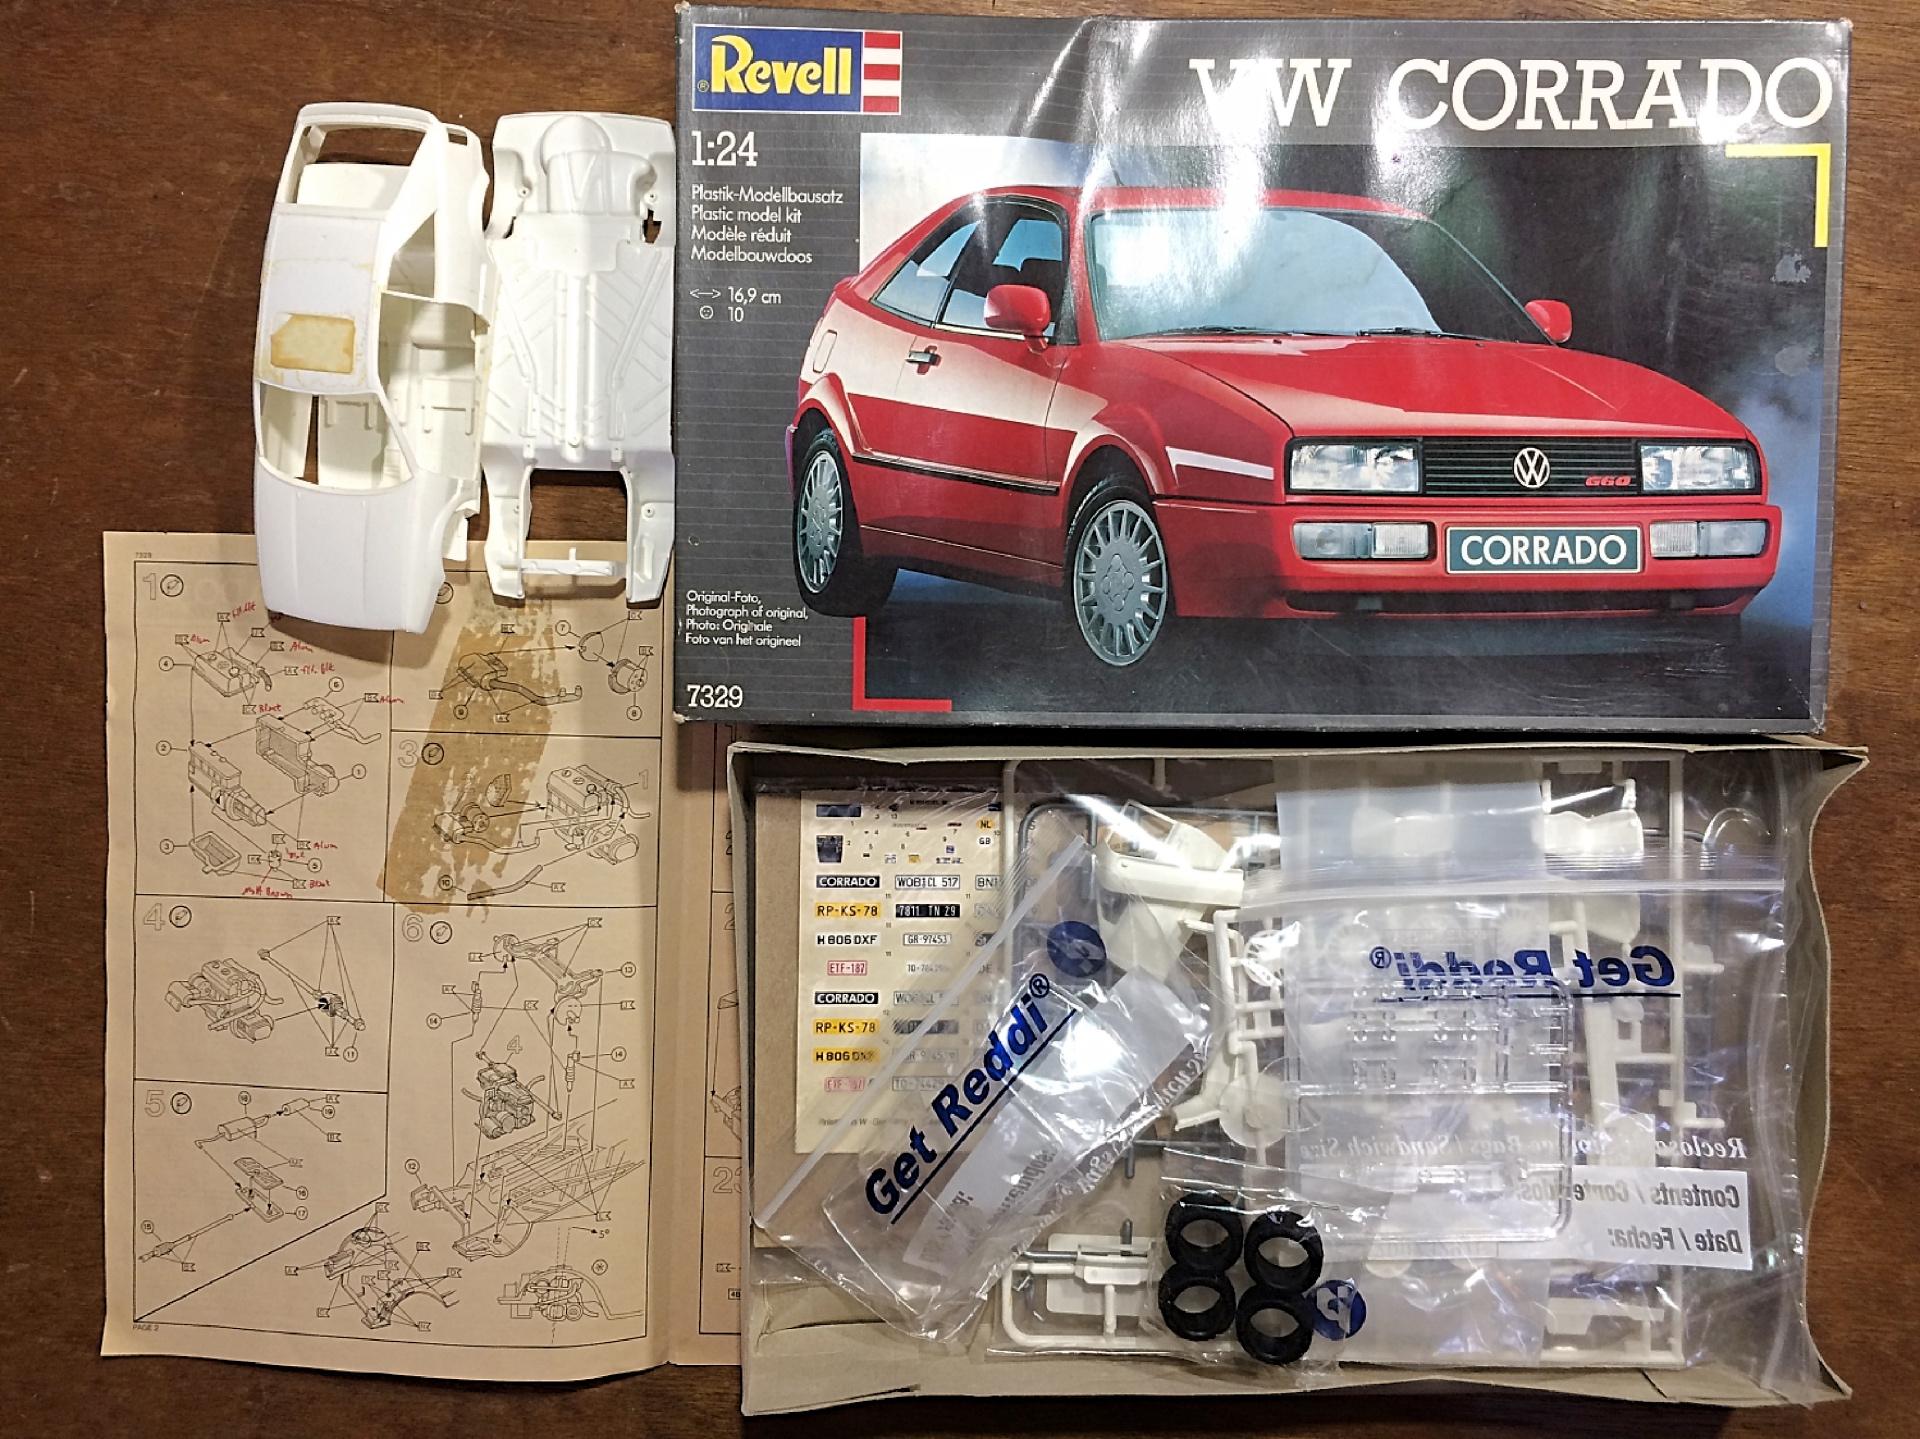
I've handed over disposable income to BNA, they seem to have stuff that I haven't seen elsewhere. I got those wheels too! Yea about tires, wish Fujimi would sell just the Pirellis that come in the Daytona kit. I'm pleasantly surprised about the Corrado. This VR6 was found on Fakebook (too bad if you don't waste time there), it's not available yet, and the guy does not do pre-order, so will have to jump when it is, because I've learned how hit and miss the aftermarket is.
-
with iron sights
-
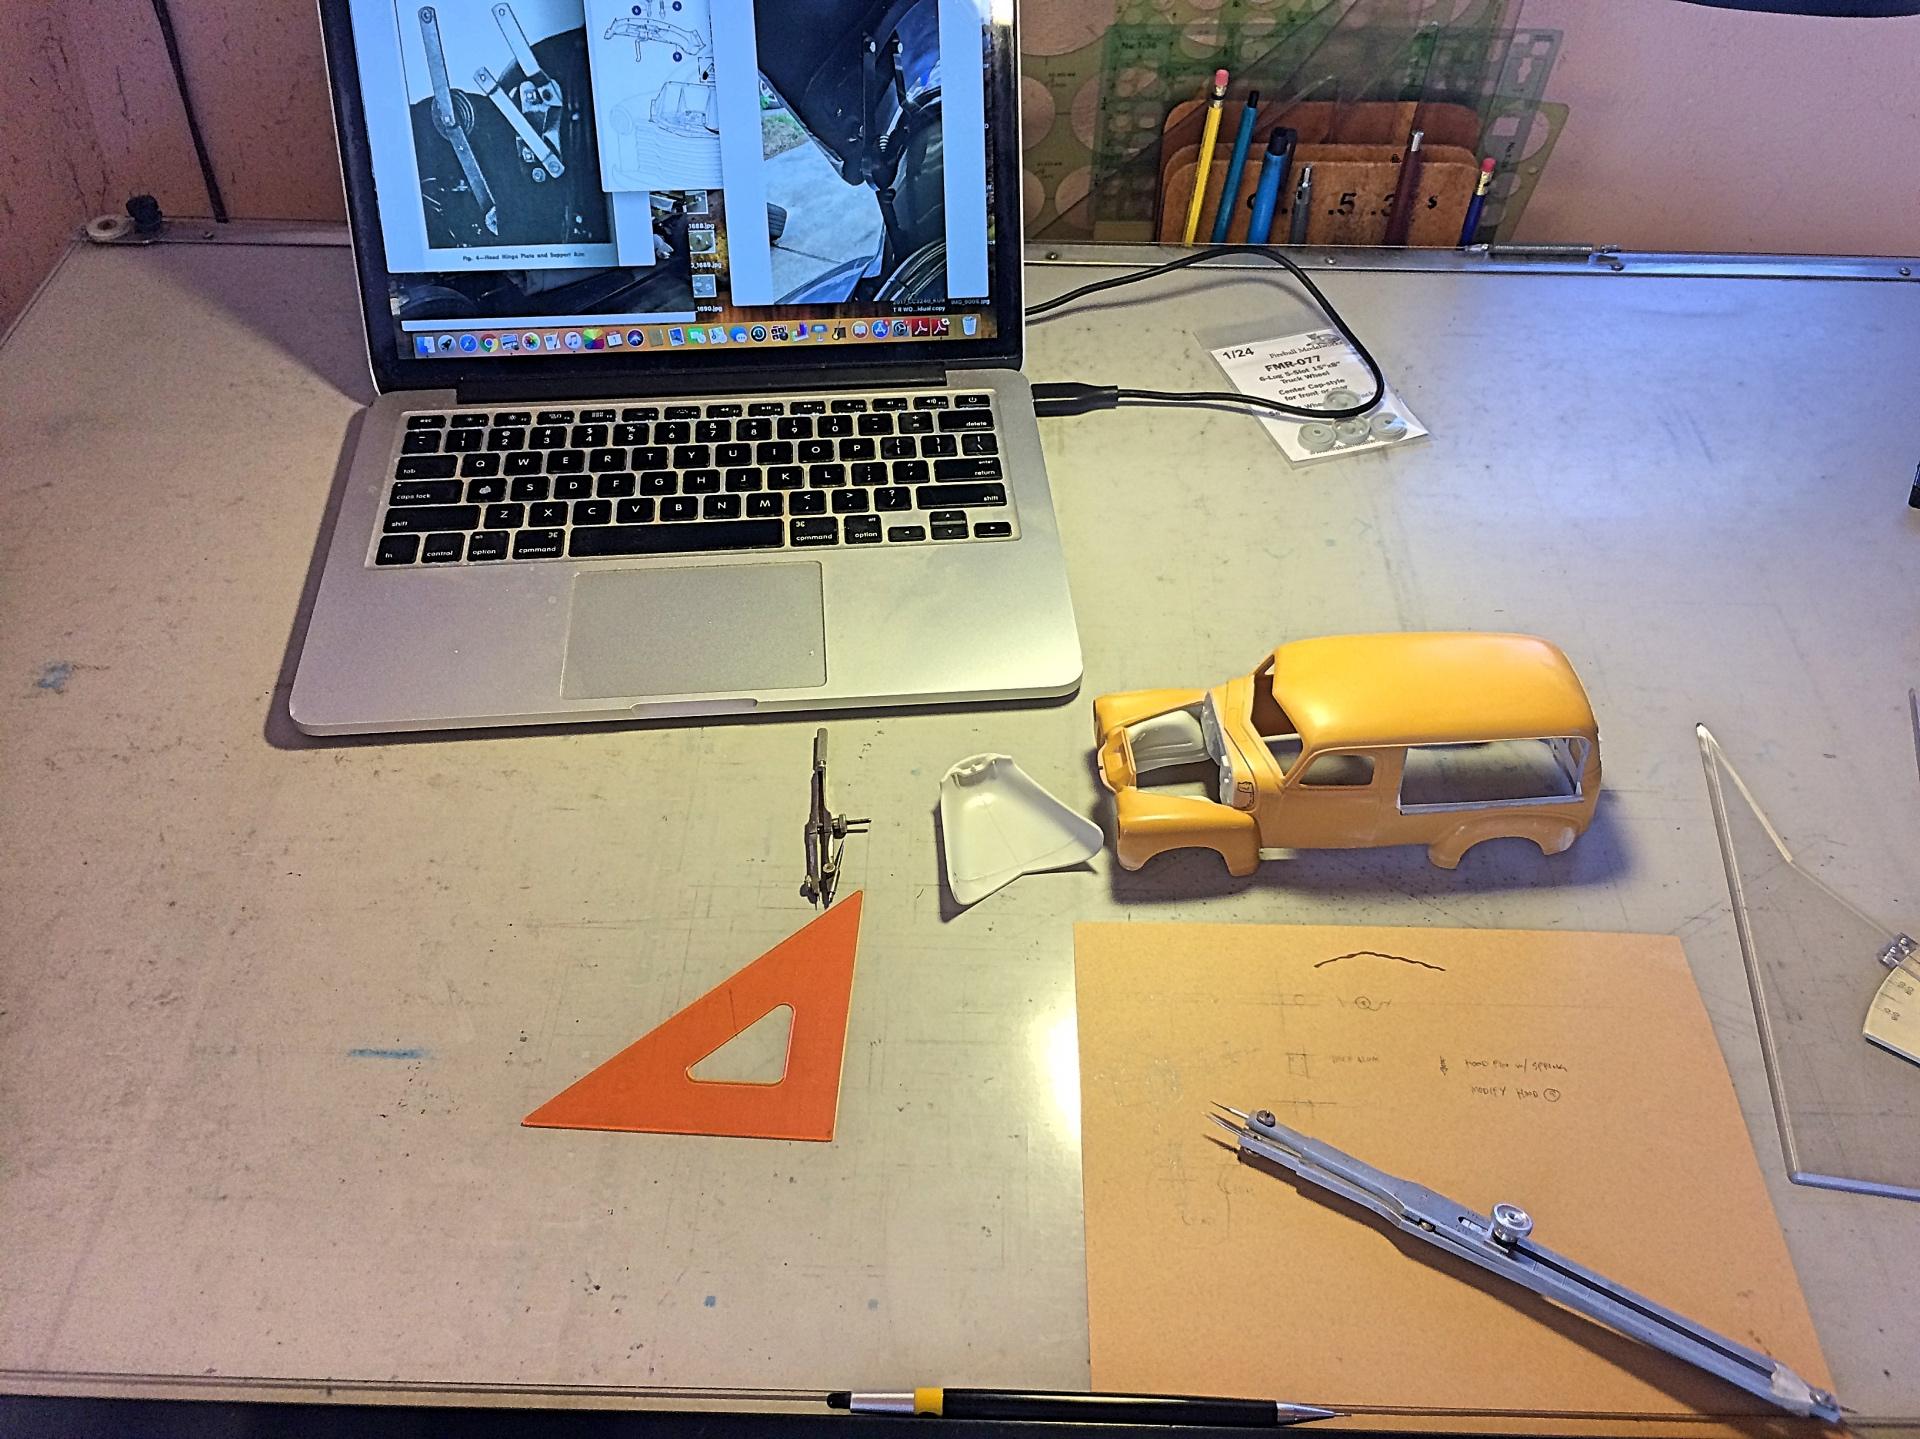
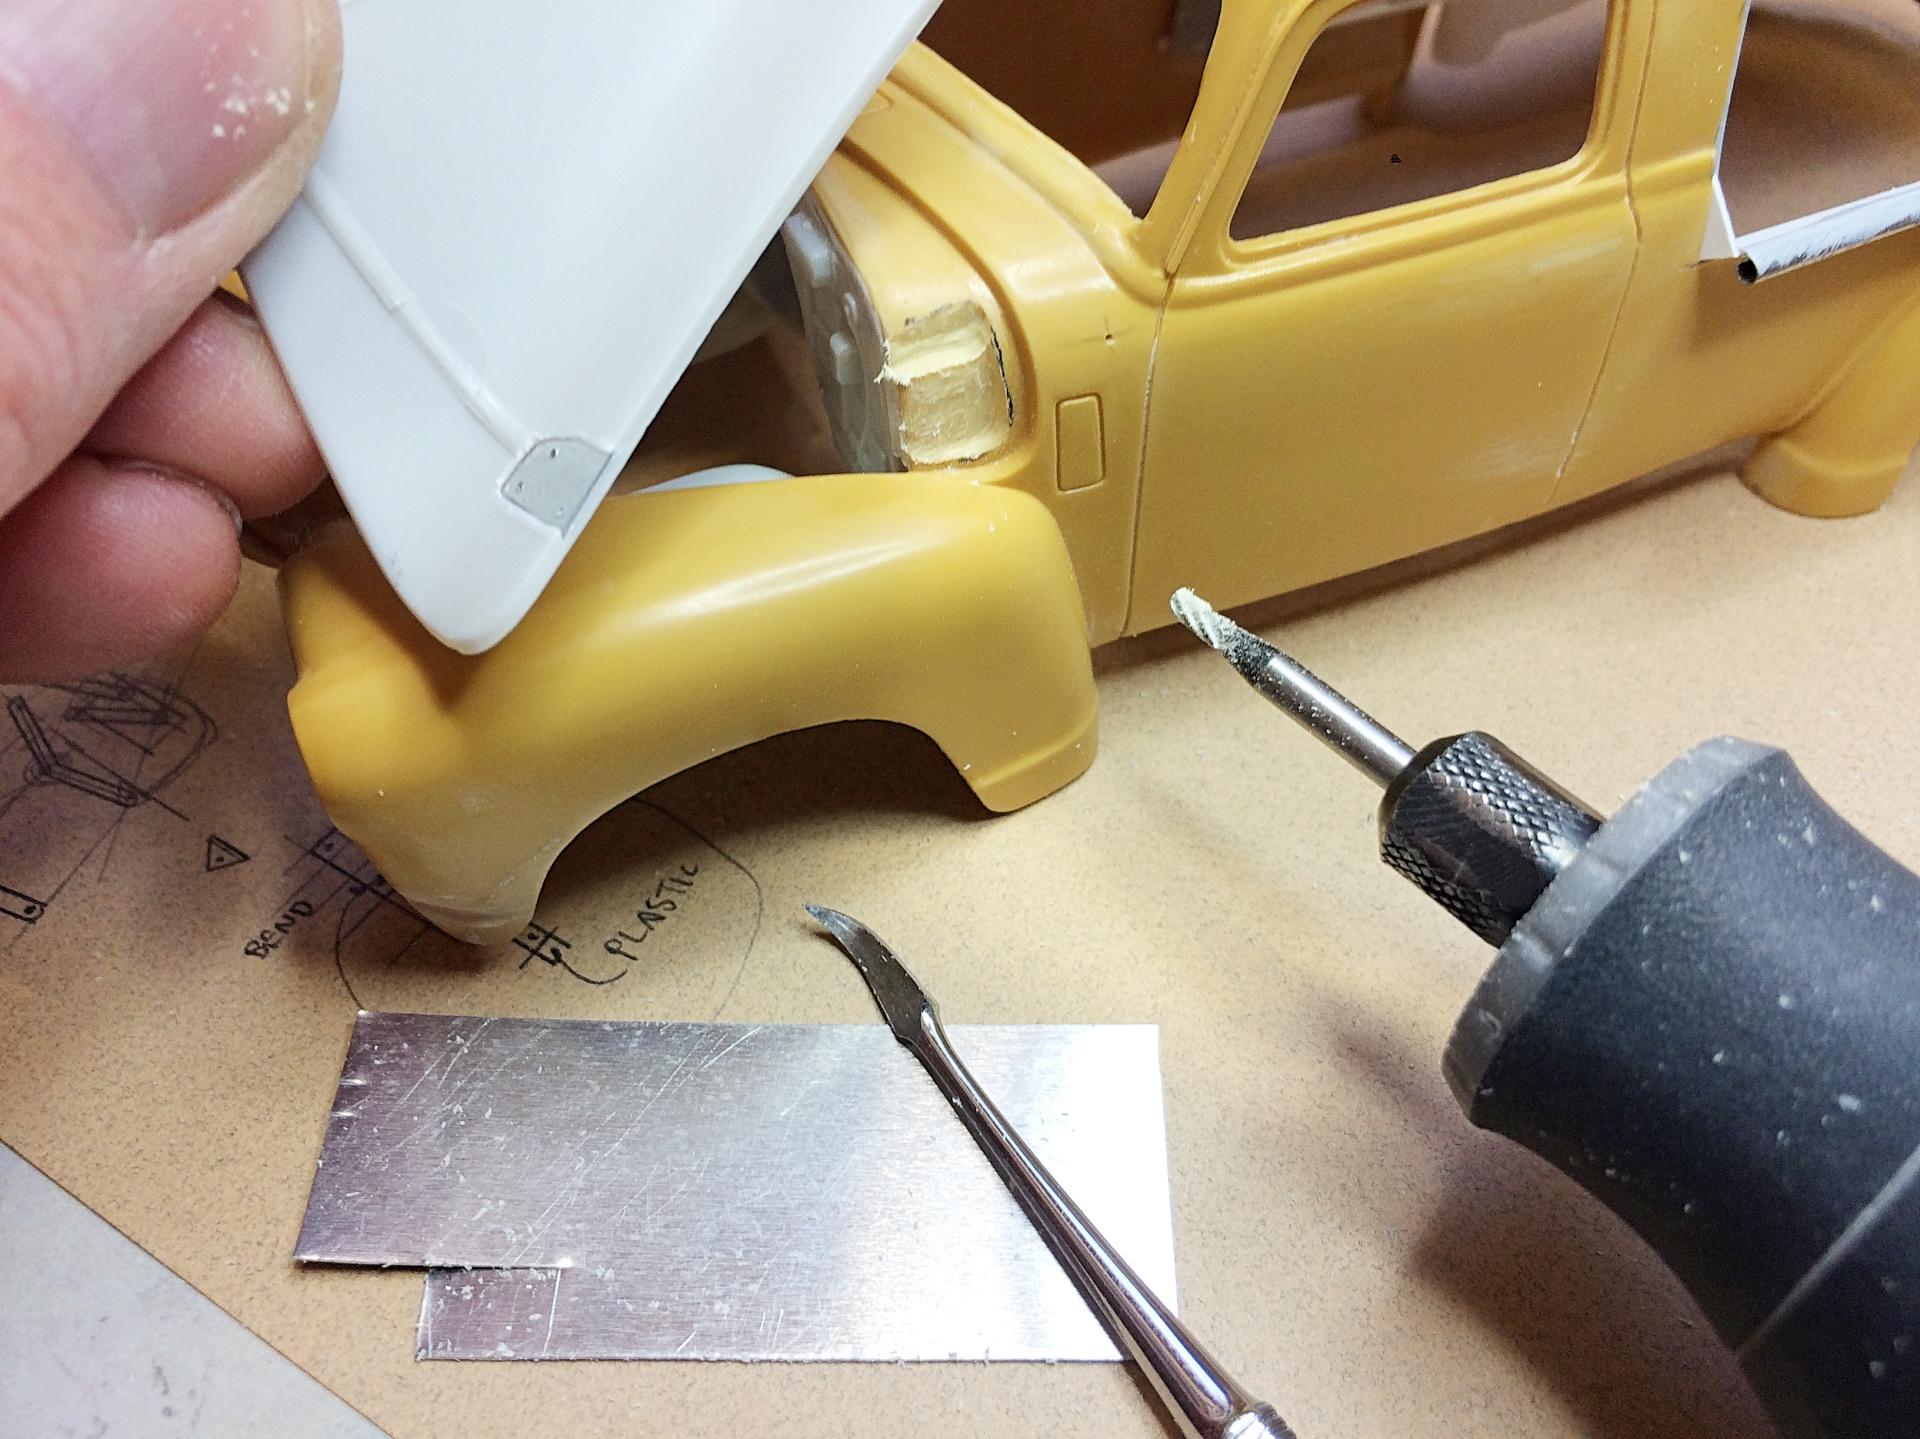
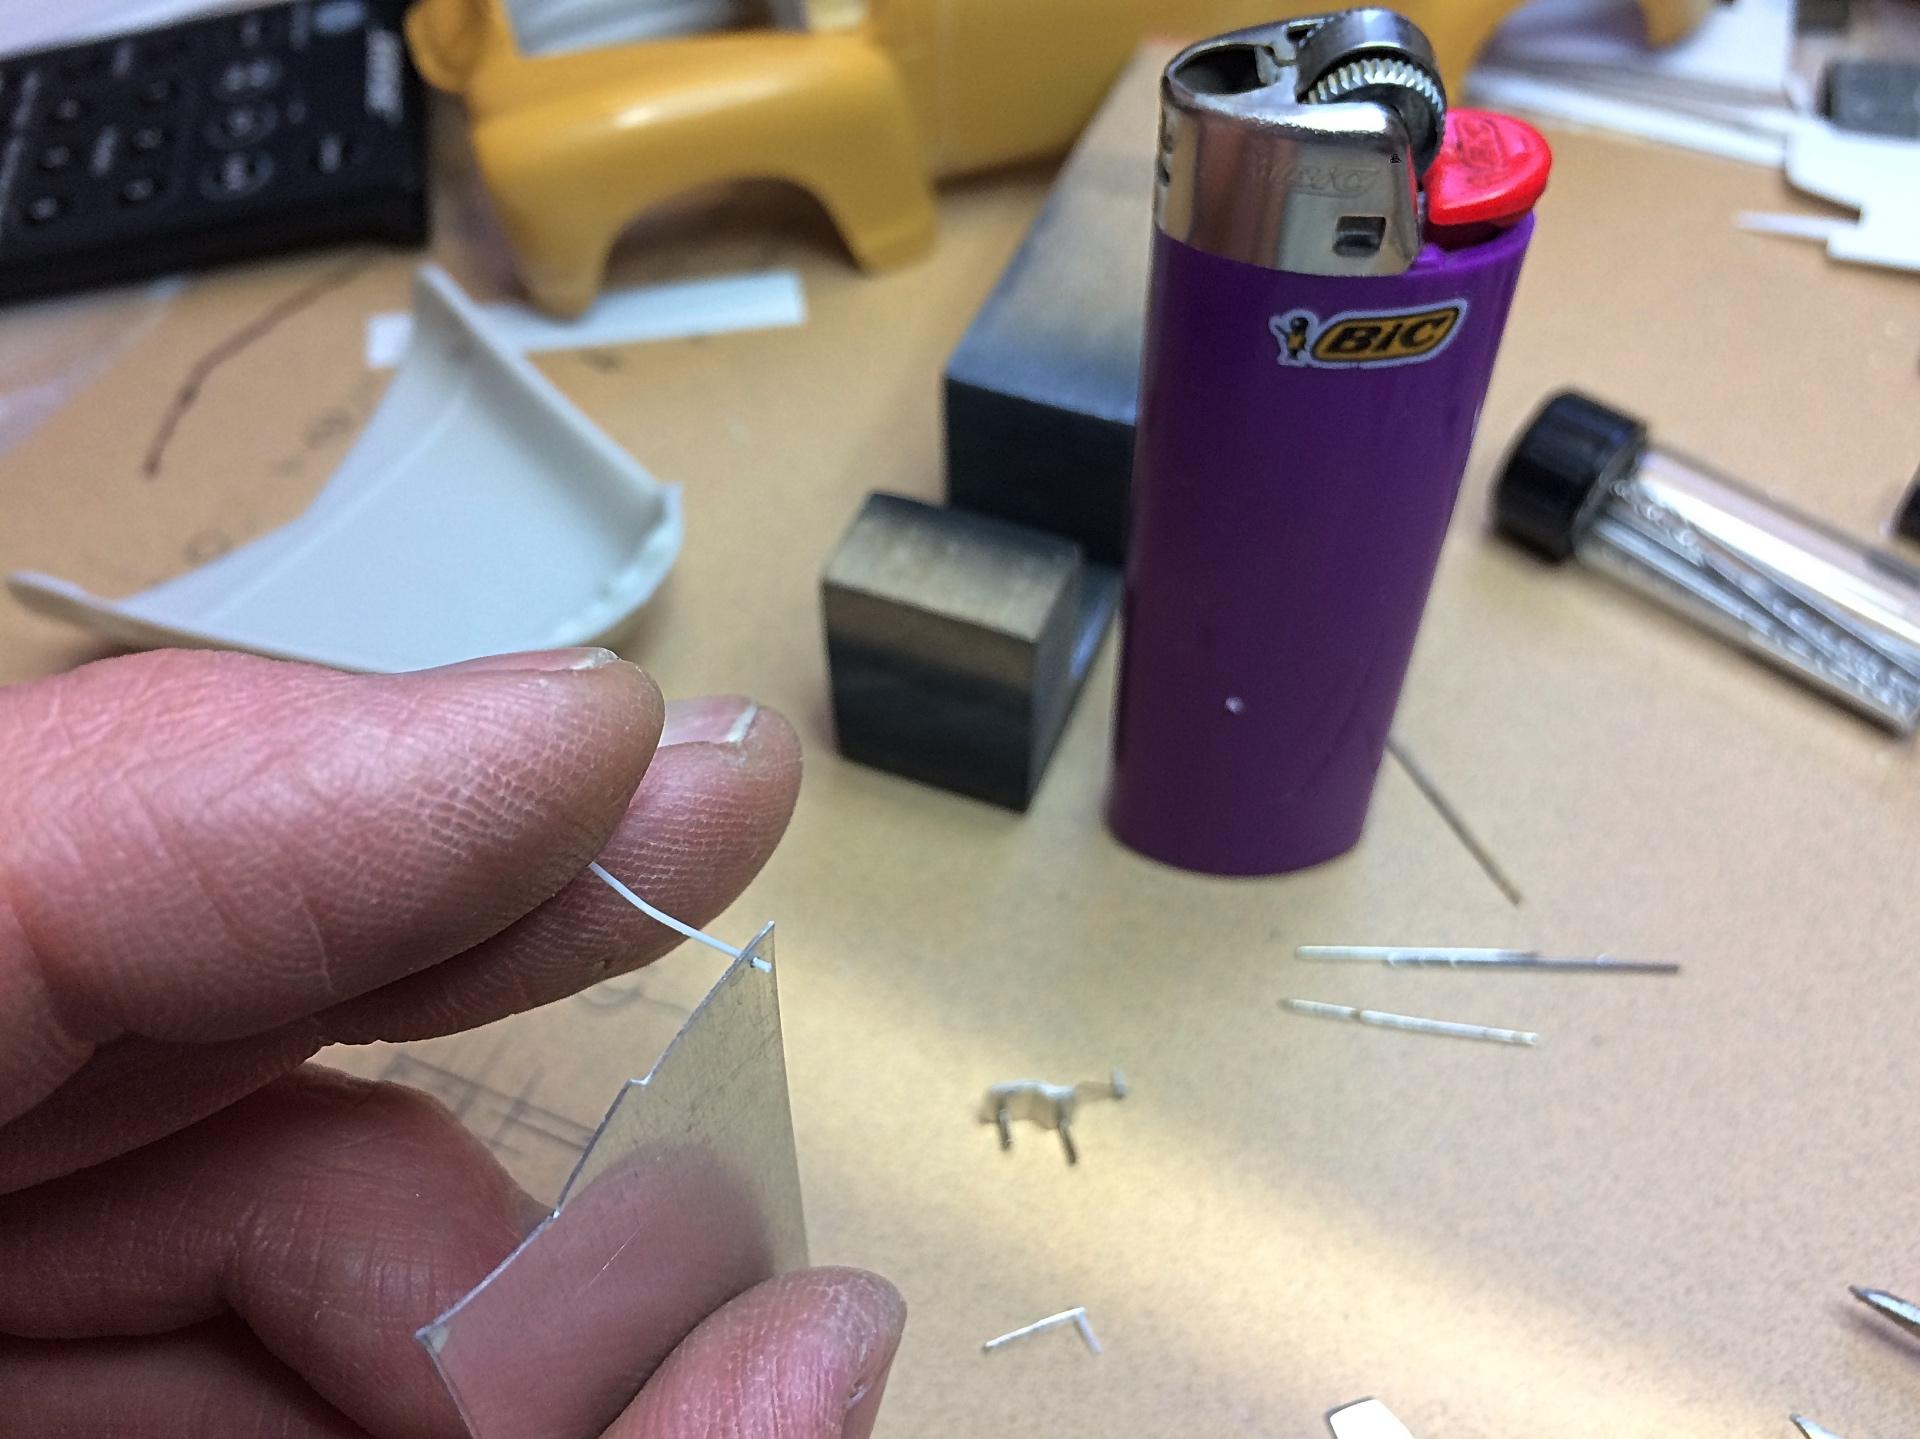
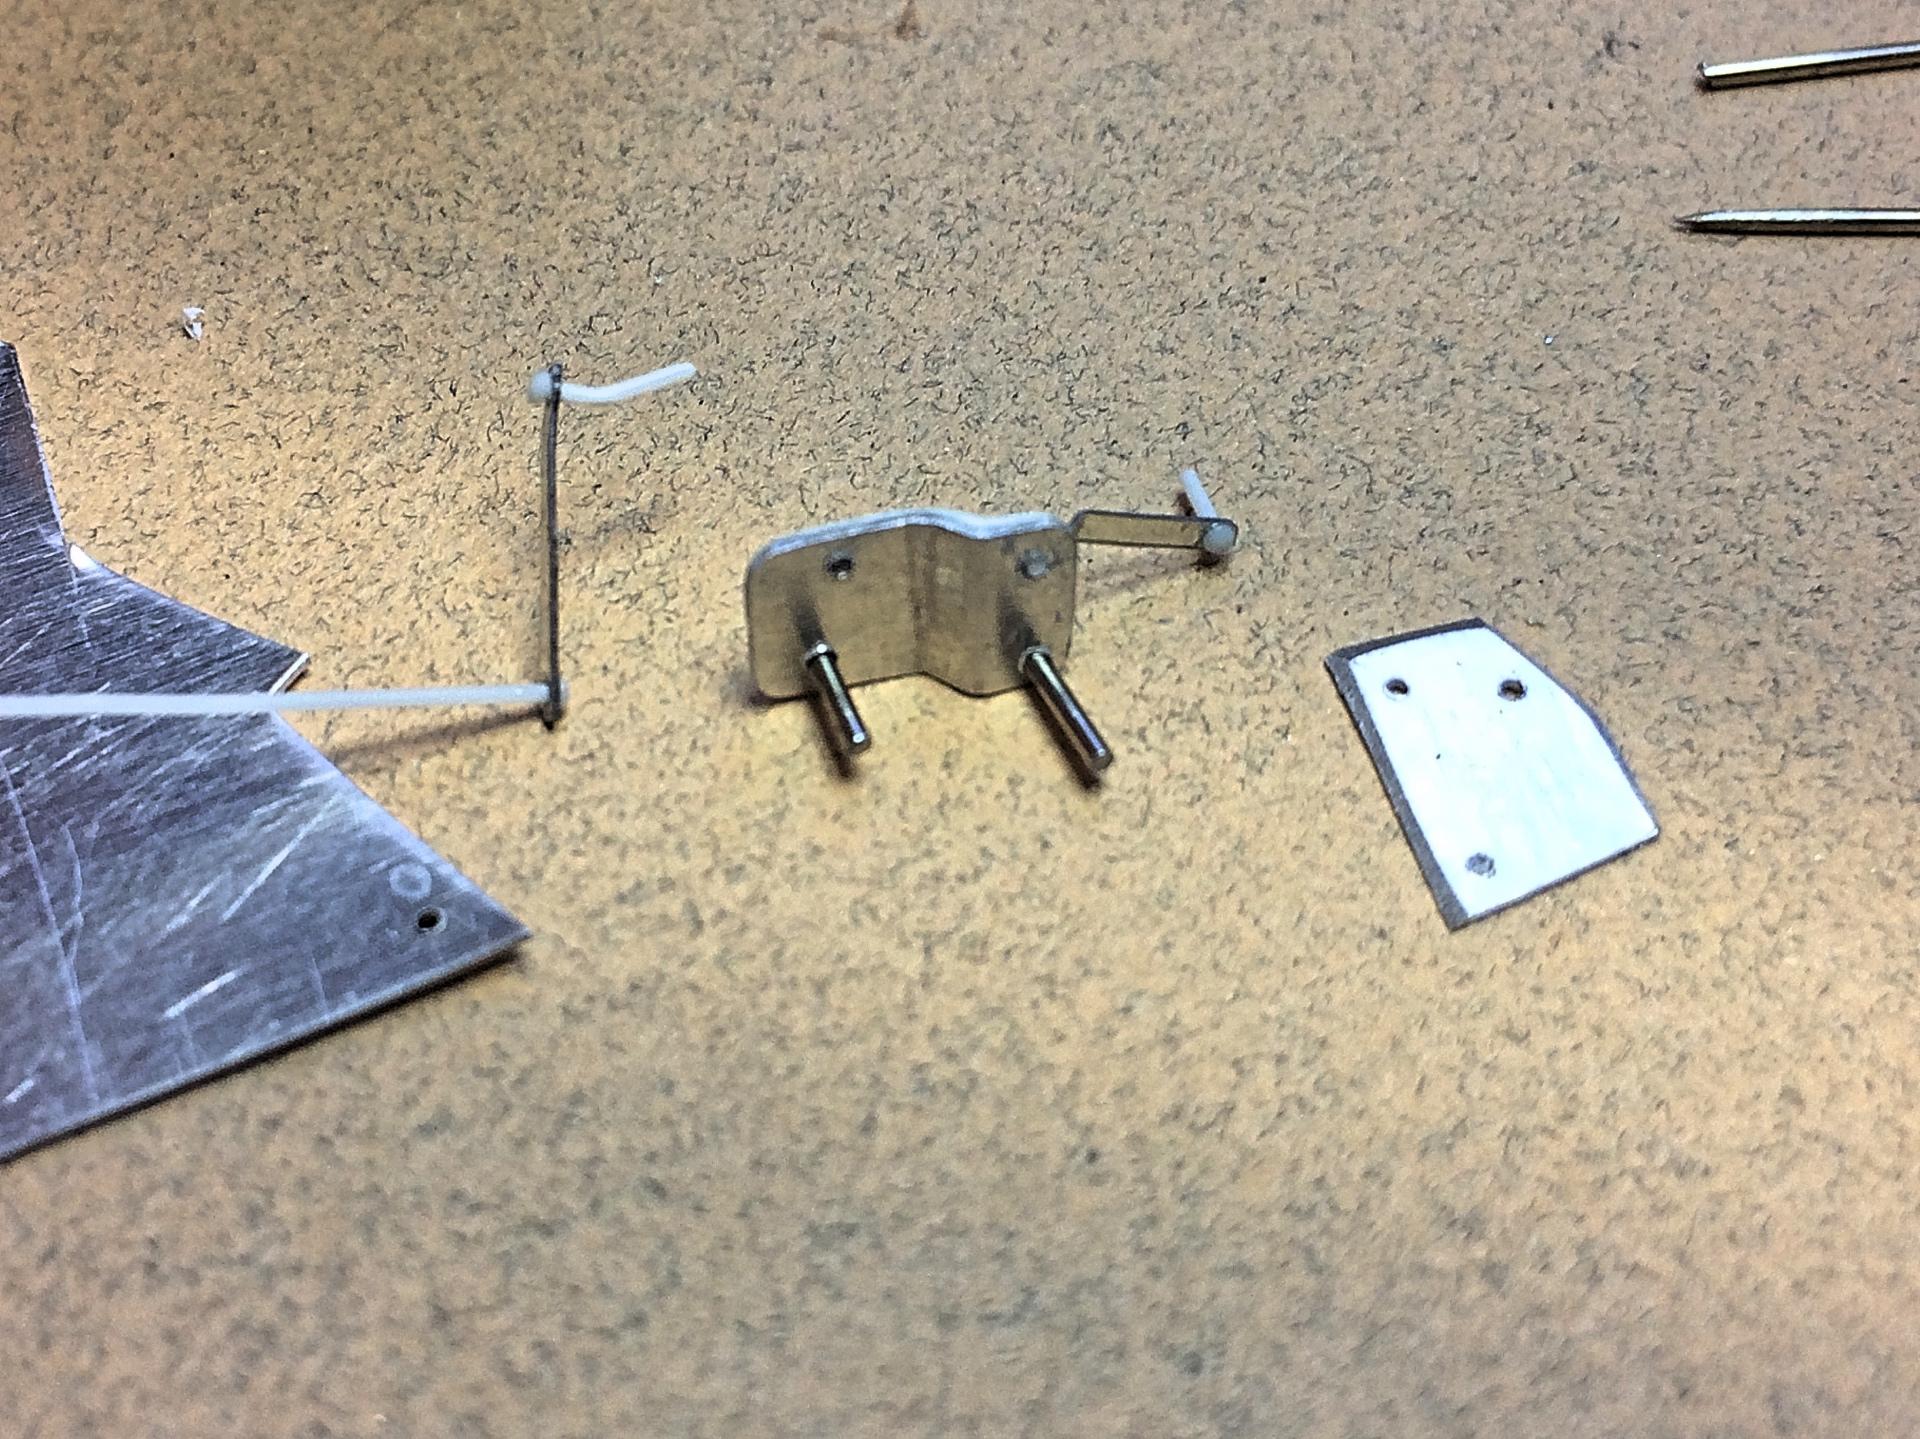
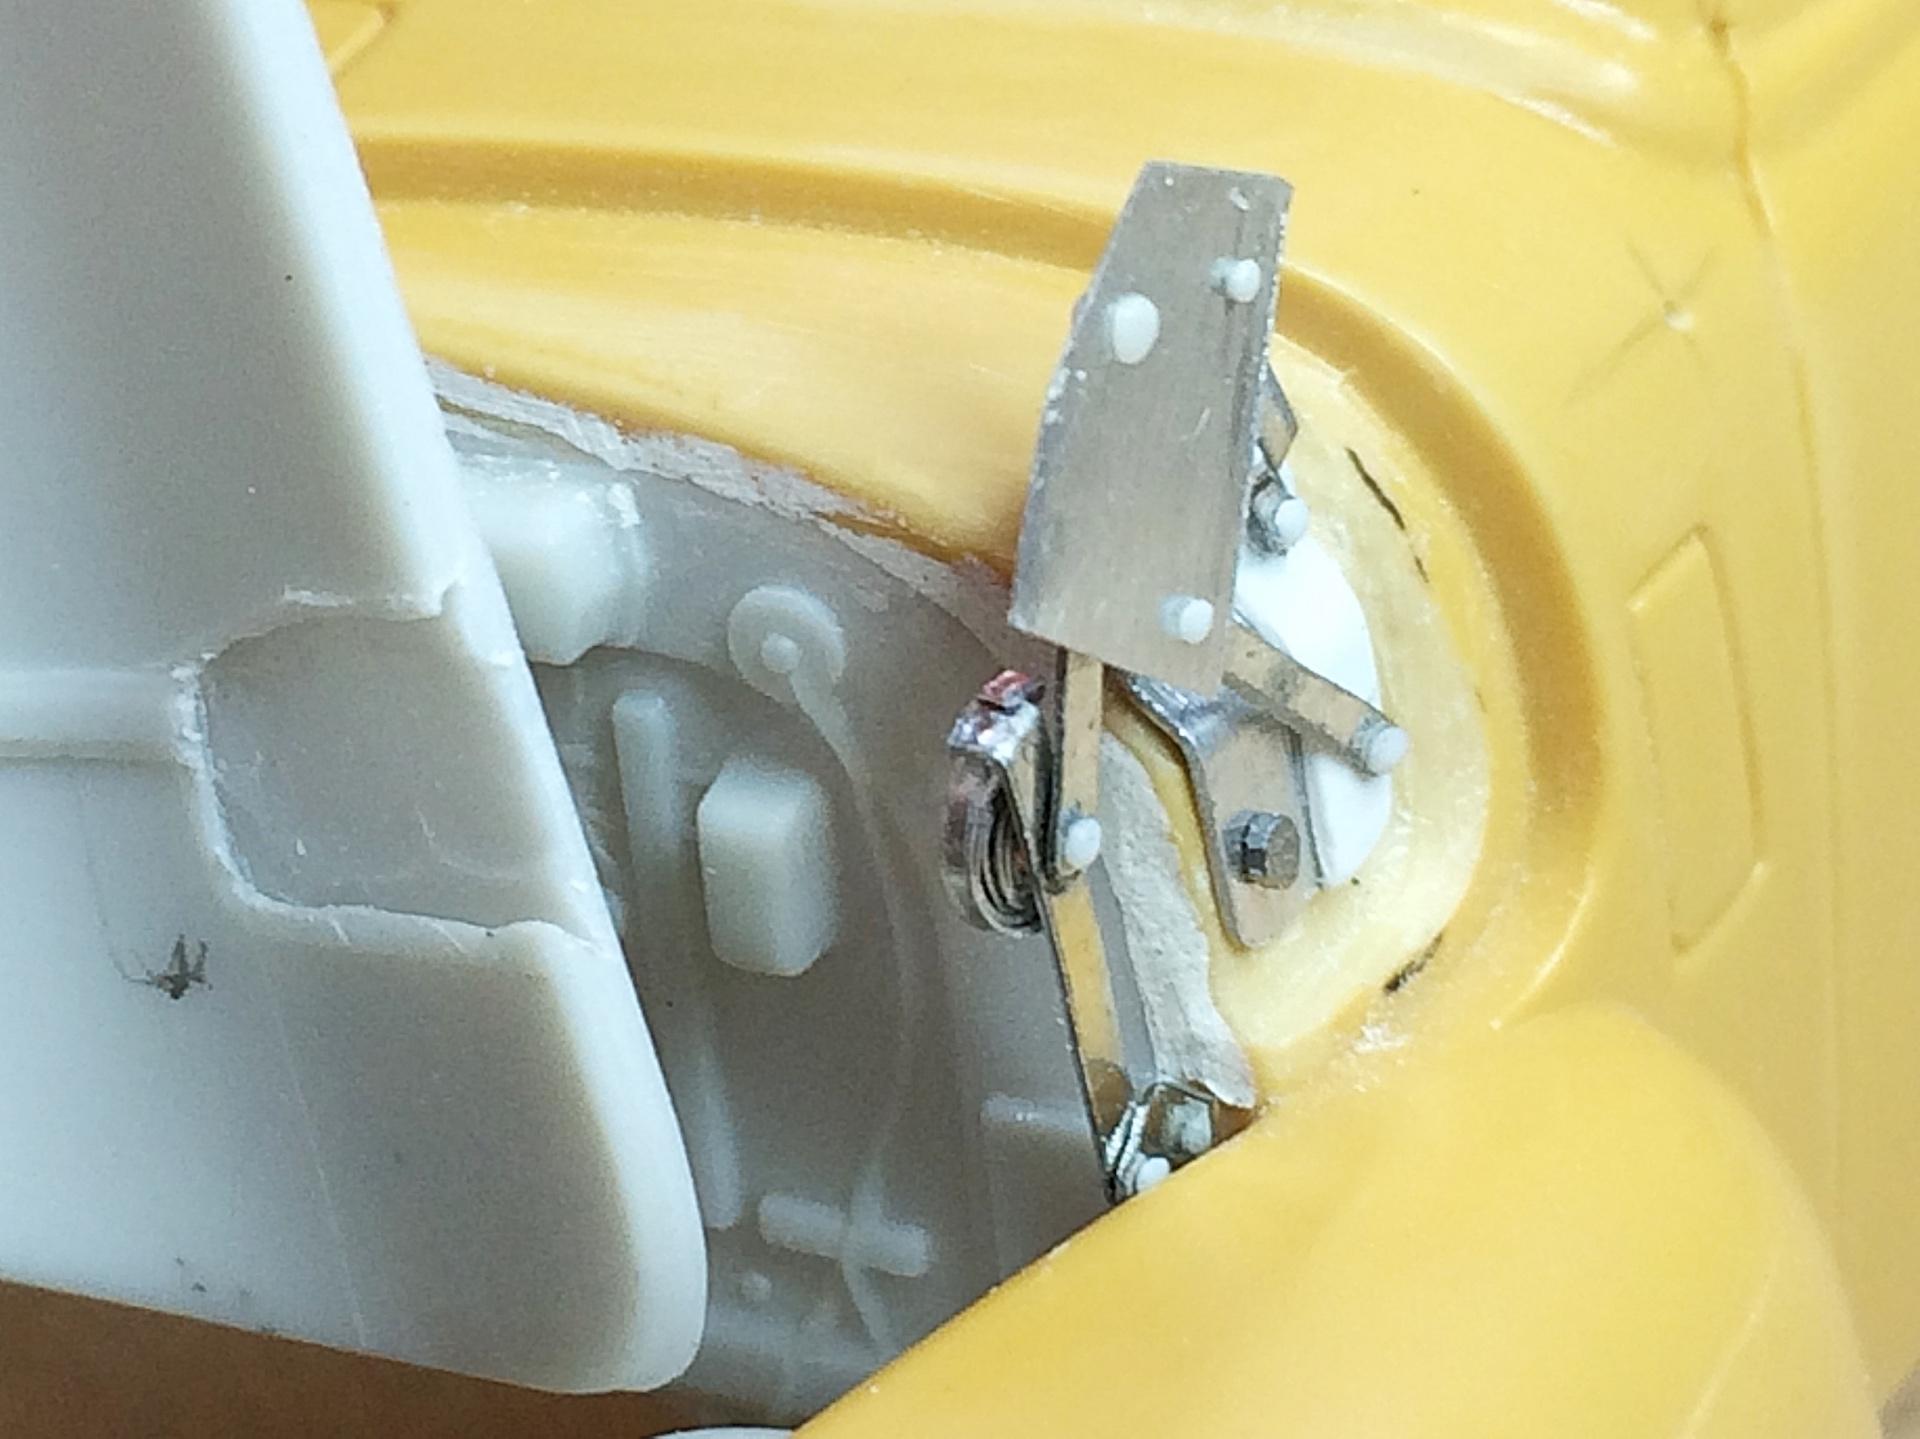
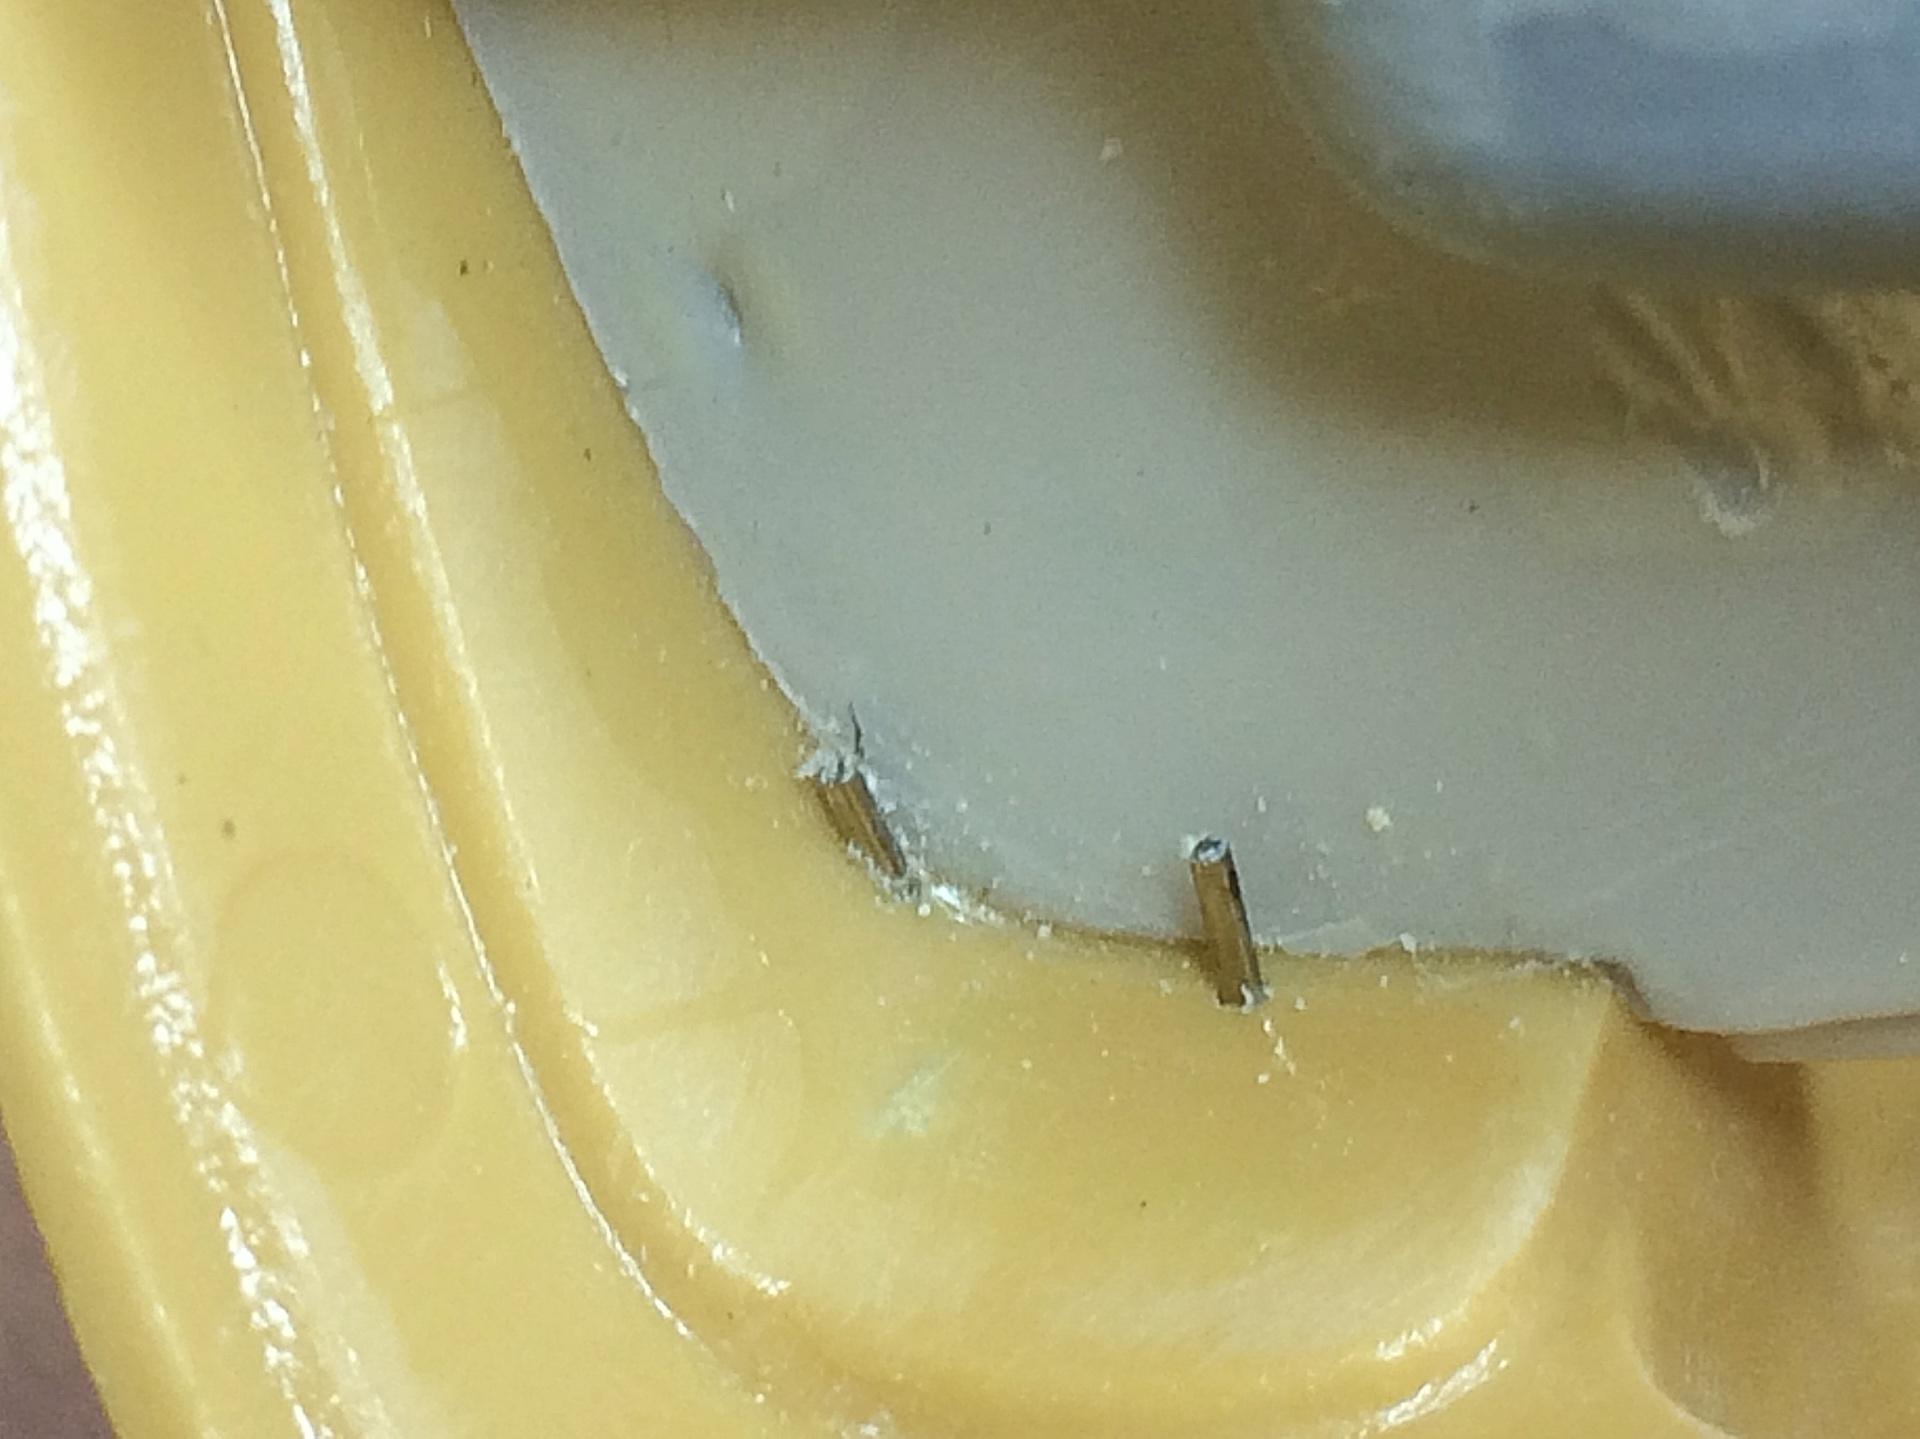
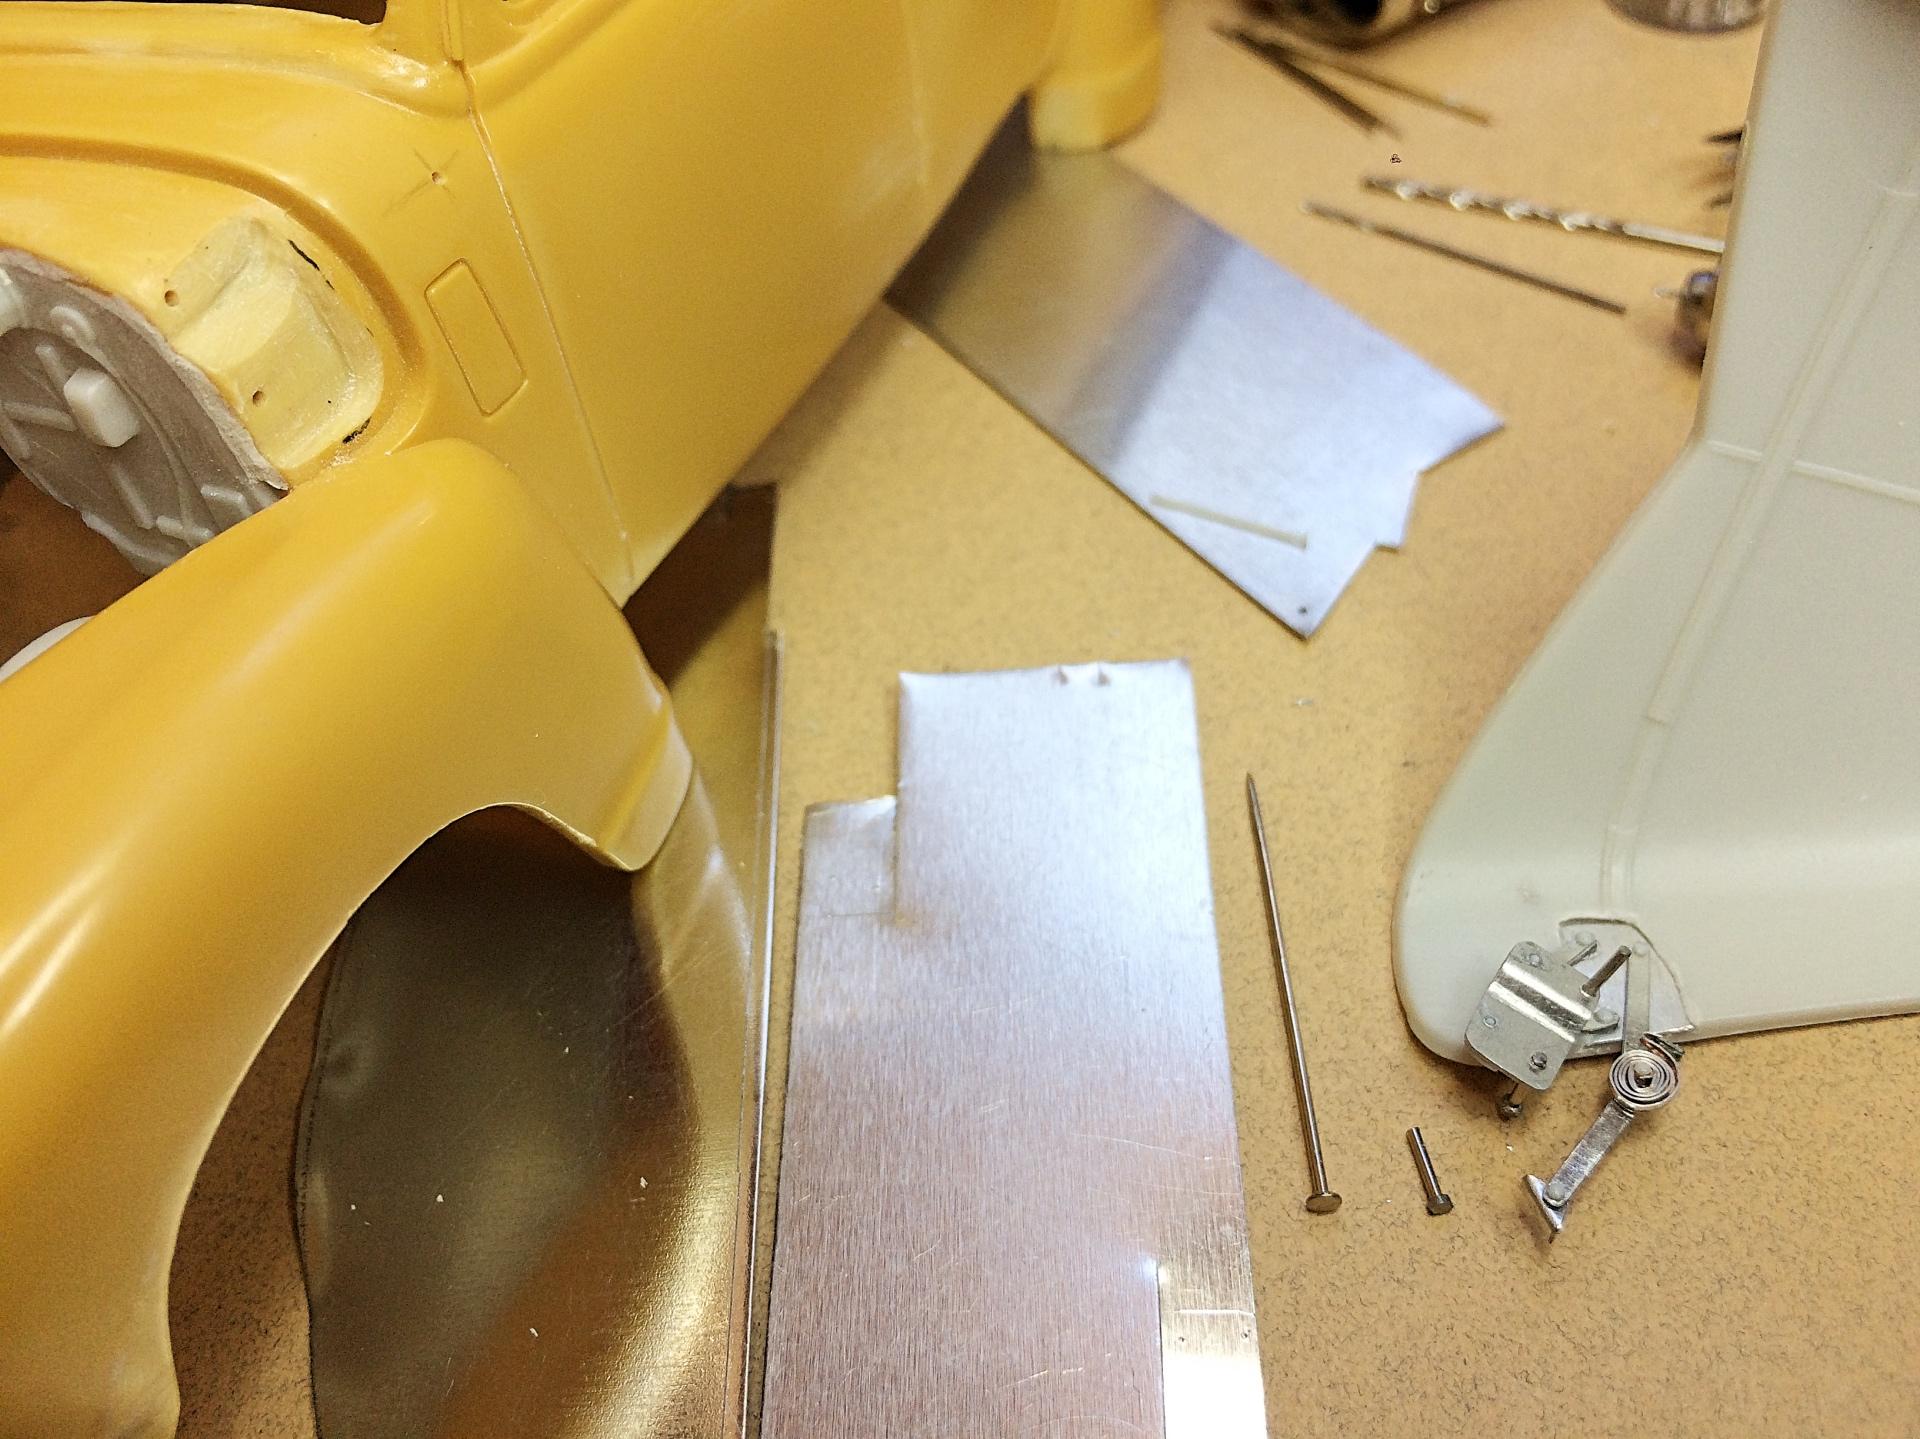
Hood hinges. Not typing much, since there is a delay with typing. ? First step, draw it out. Modify body to make a correct recess, and let-in a dovetailed recess in the hood. Melting stretched sprue for bolts/rivets. Figured out the best procedure for assembling all this. First assembly of the left side hinge. Materials used is aluminum roof flashing, coffee can steel, straight pins, thick foil. Used pictures stolen off the web, the Chevy truck forum is very handy too. This could be operable, the spring would be the must difficult thing to work. But it would take only a couple times for the metal parts to shear the plastic pins. My intent is to not have the hinges in at all for closed position, then slip into the cowl, then slide down the hood onto the dovetail plates.
-
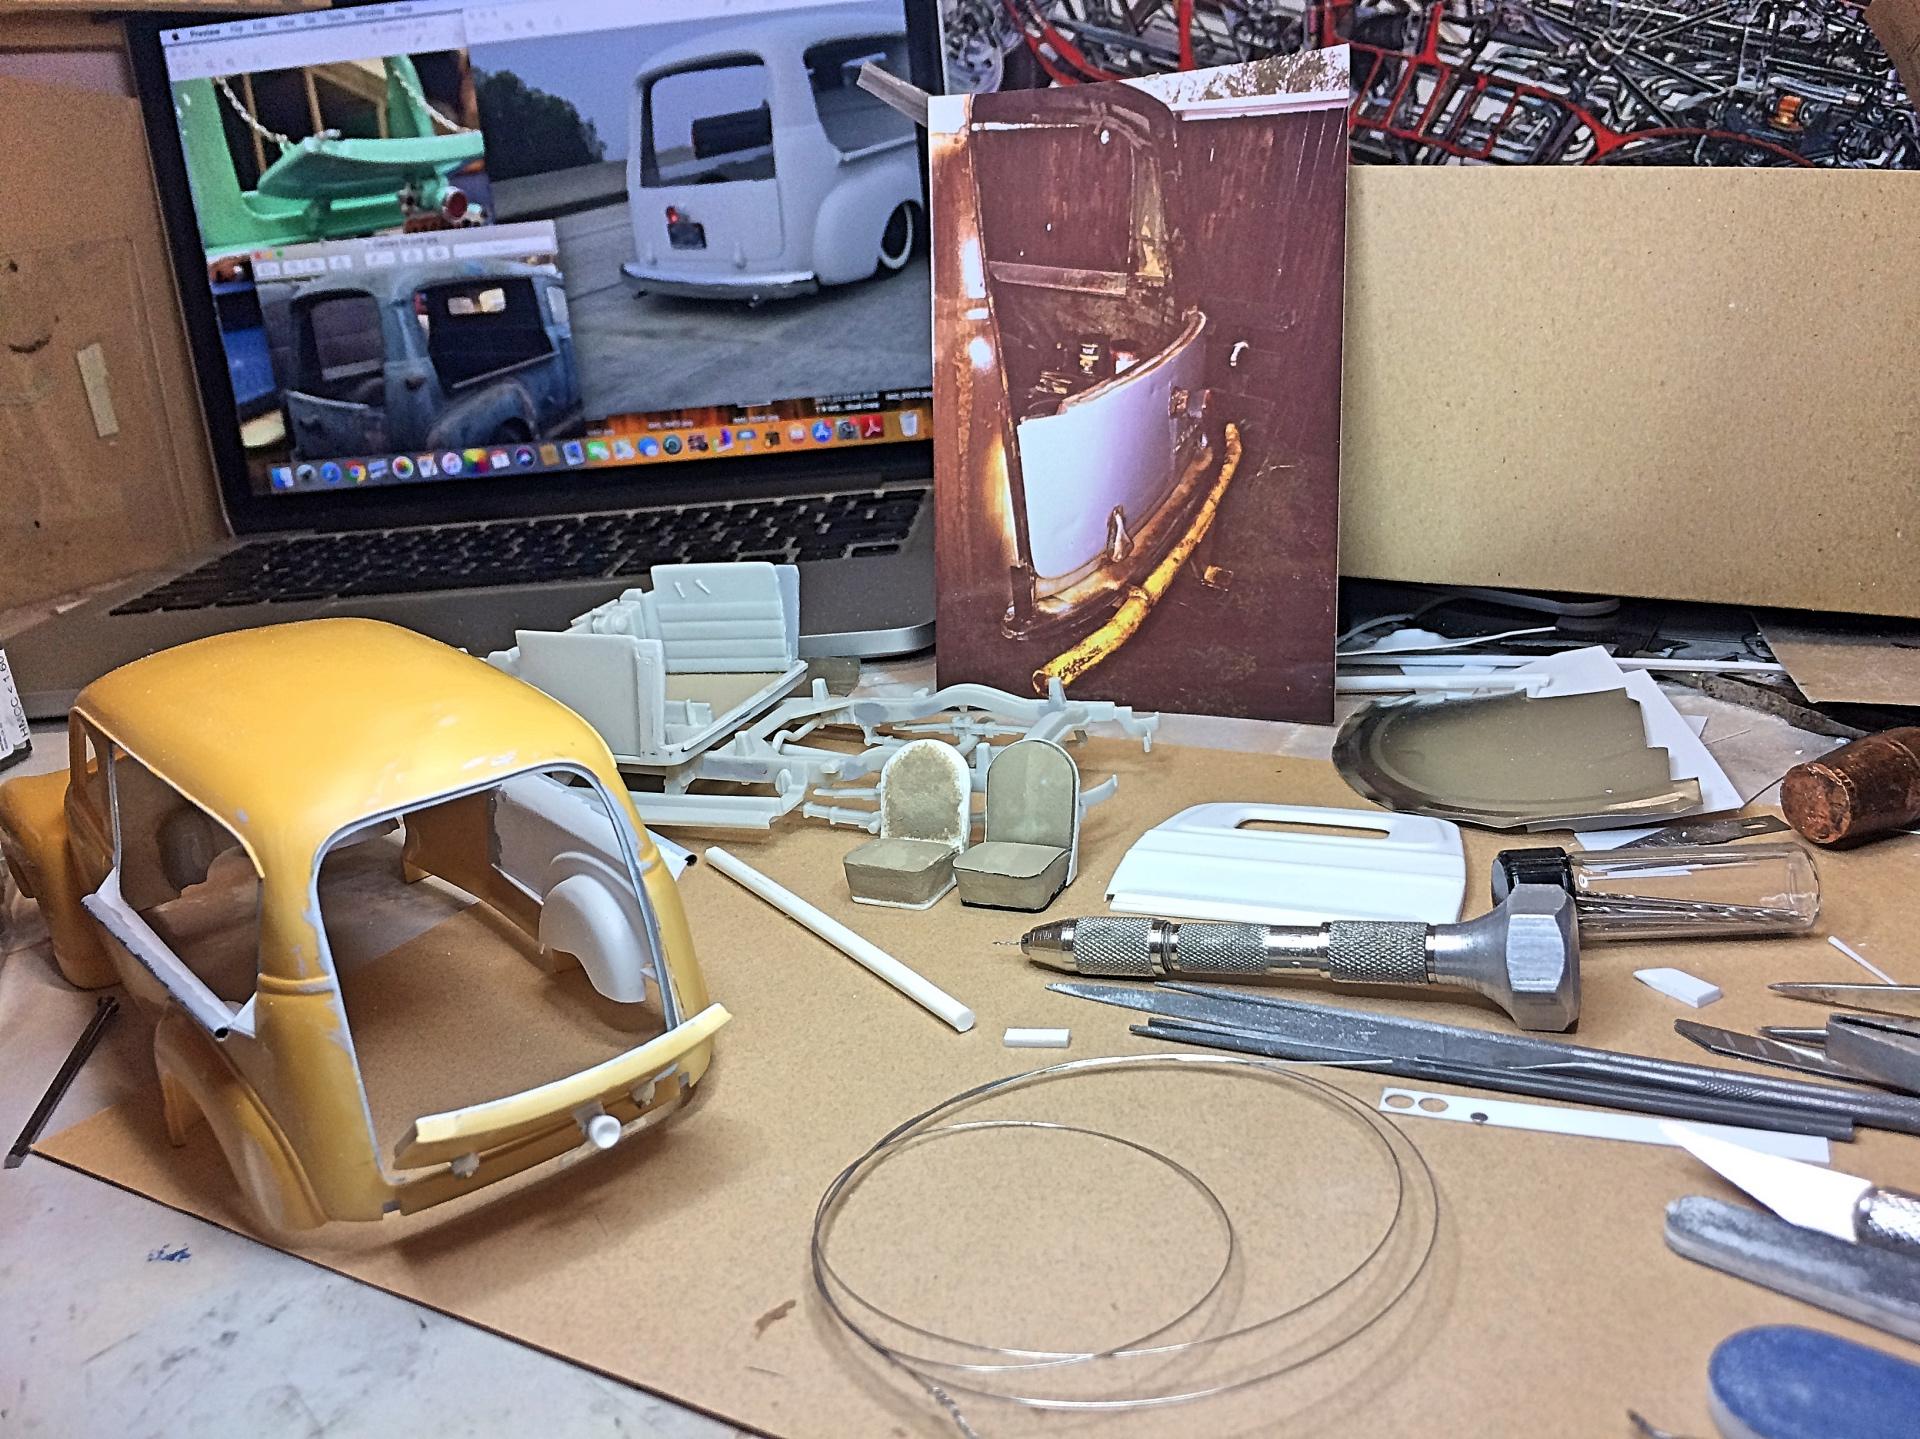
Scratch-built all the taillights. The Suburbans, Panels and Canopy Express had the pair of teardrop lights, made a mold so I could cast exact replicas. The third light is unique to the Canopy Express and Panels with tailgates, it swivels when opened, I guess so you could have a long load and light is still seen. I have also brush painted primer on areas that have putty or were glued. Painted the rubber texture for the floor mat.
-
So would I, saw on Fakebook but lost track. Will definitely let everyone know! Friends have ability to get models at wholesale cost, plus distributor was having a blow-out sale on Hasegawa models. I've always liked the Evo, so figured this was a good choice. Holy cow, not only photo-etch, but sheet plastic for flaps, seatbelts, and white metal parts too.
-
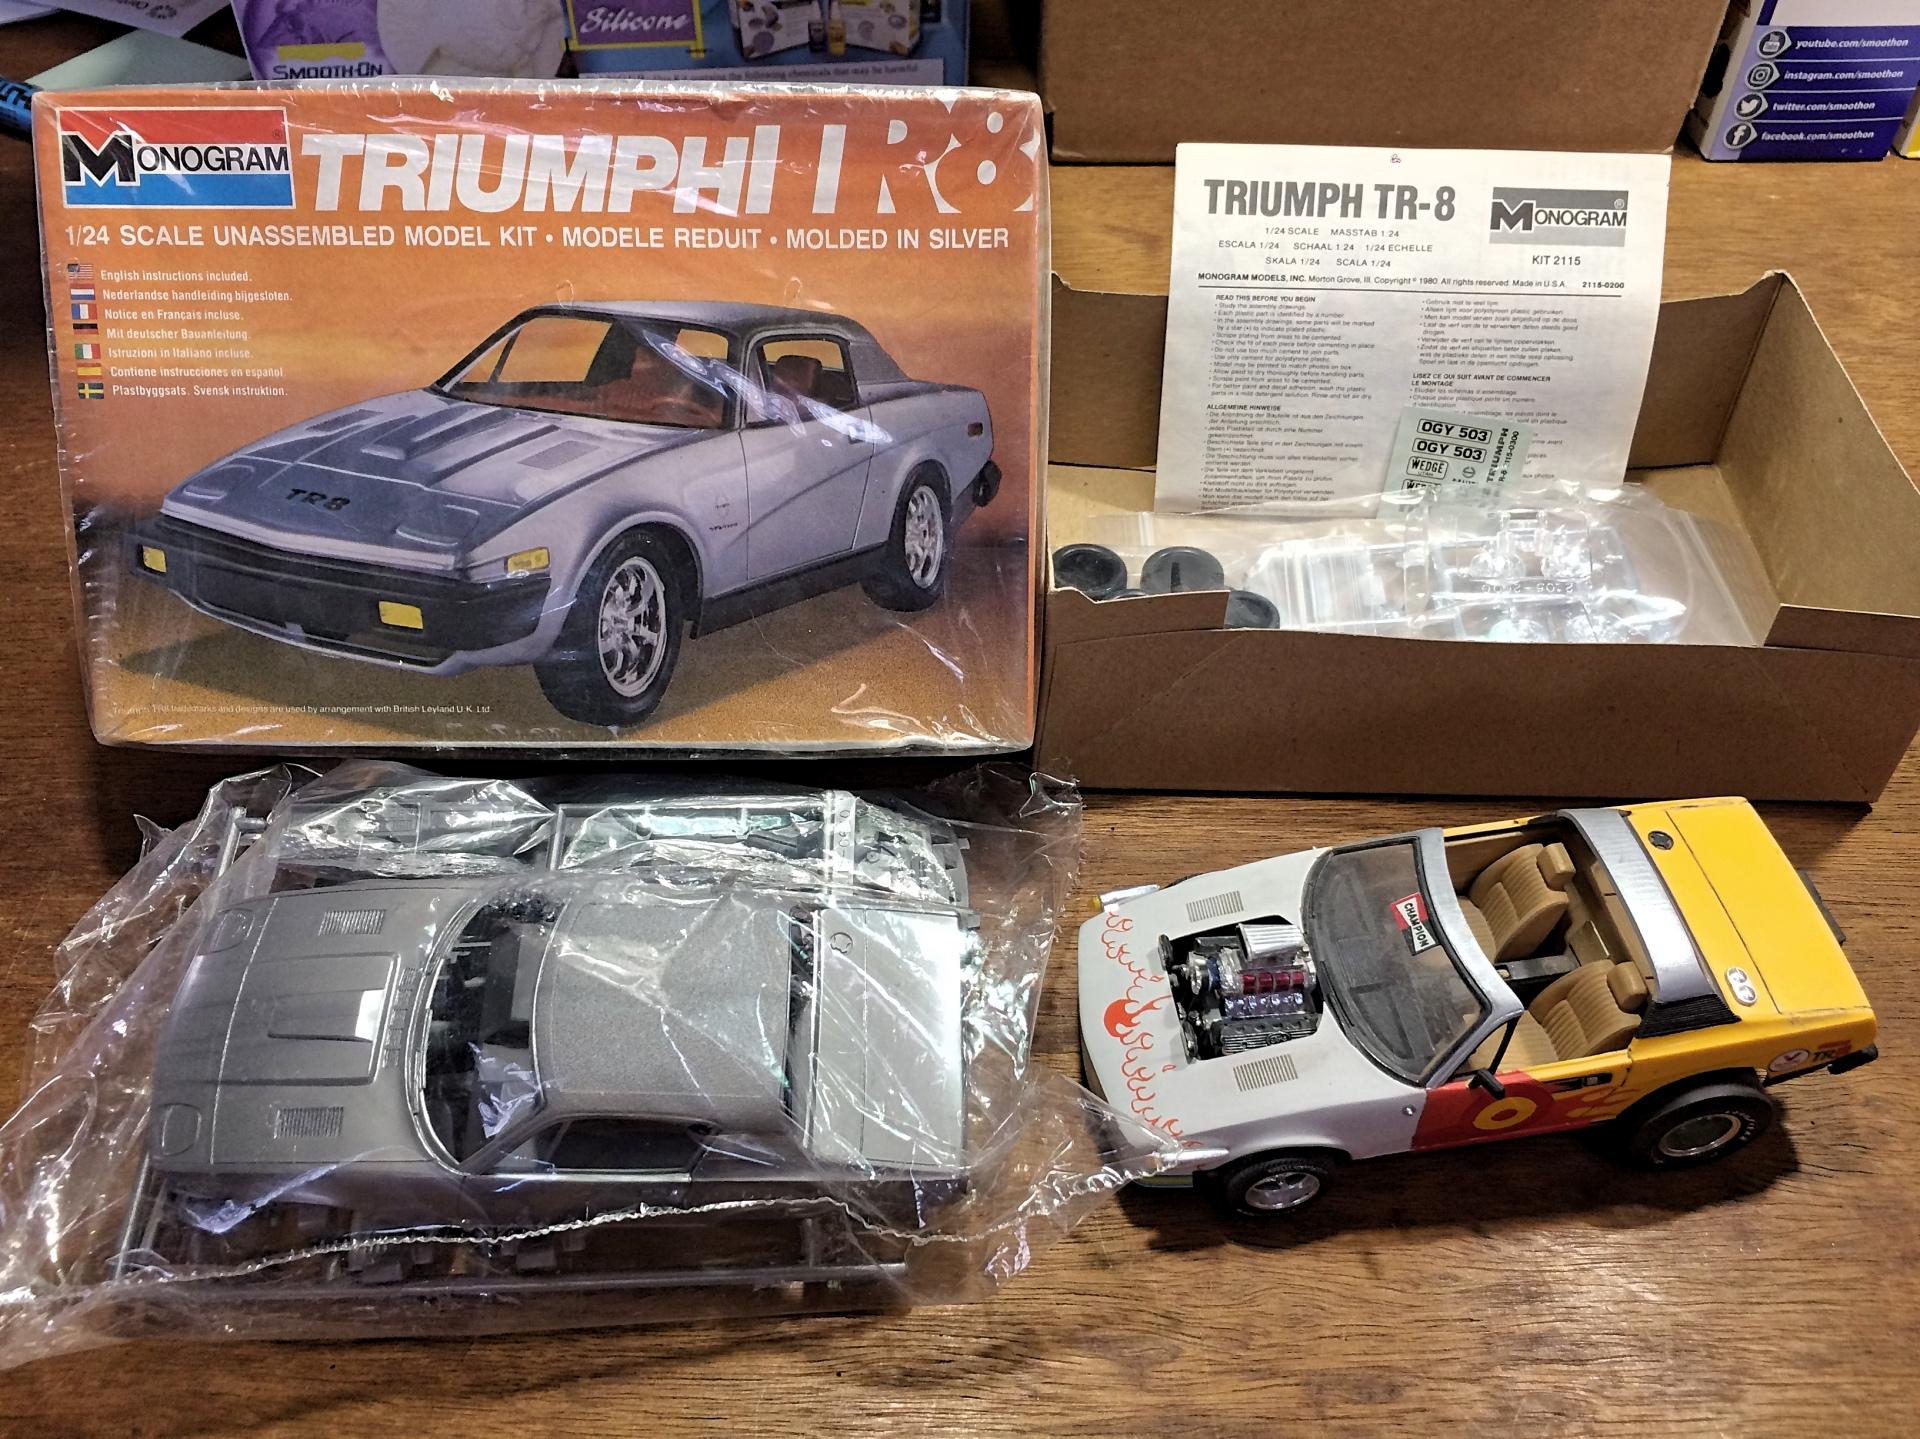
Someone on Fakebook is selling 2,000 models, he is a bit disorganized, no list, so I have asked to see what else he has available, so he sent me a bunch of photos. Since I saw a built model of this, *had to* get both, but they are exactly the same mold. Recently saw a resin VR6 engine available, which would go great with this Corrado, especially since the engine block is missing (which I knew). The builder had opened the driver door, and scribed in a sunroof but left the masking tape on! I've never seen this kit, so *had to* get it. I built the TR7 last century, think it's my first kit bash too. ? Never have seen the TR8 before. It's a very simple curbside, funny the box art example didn't have the vinyl roof and vents painted black. Will be on the hunt for a V8 car to marry with.
-
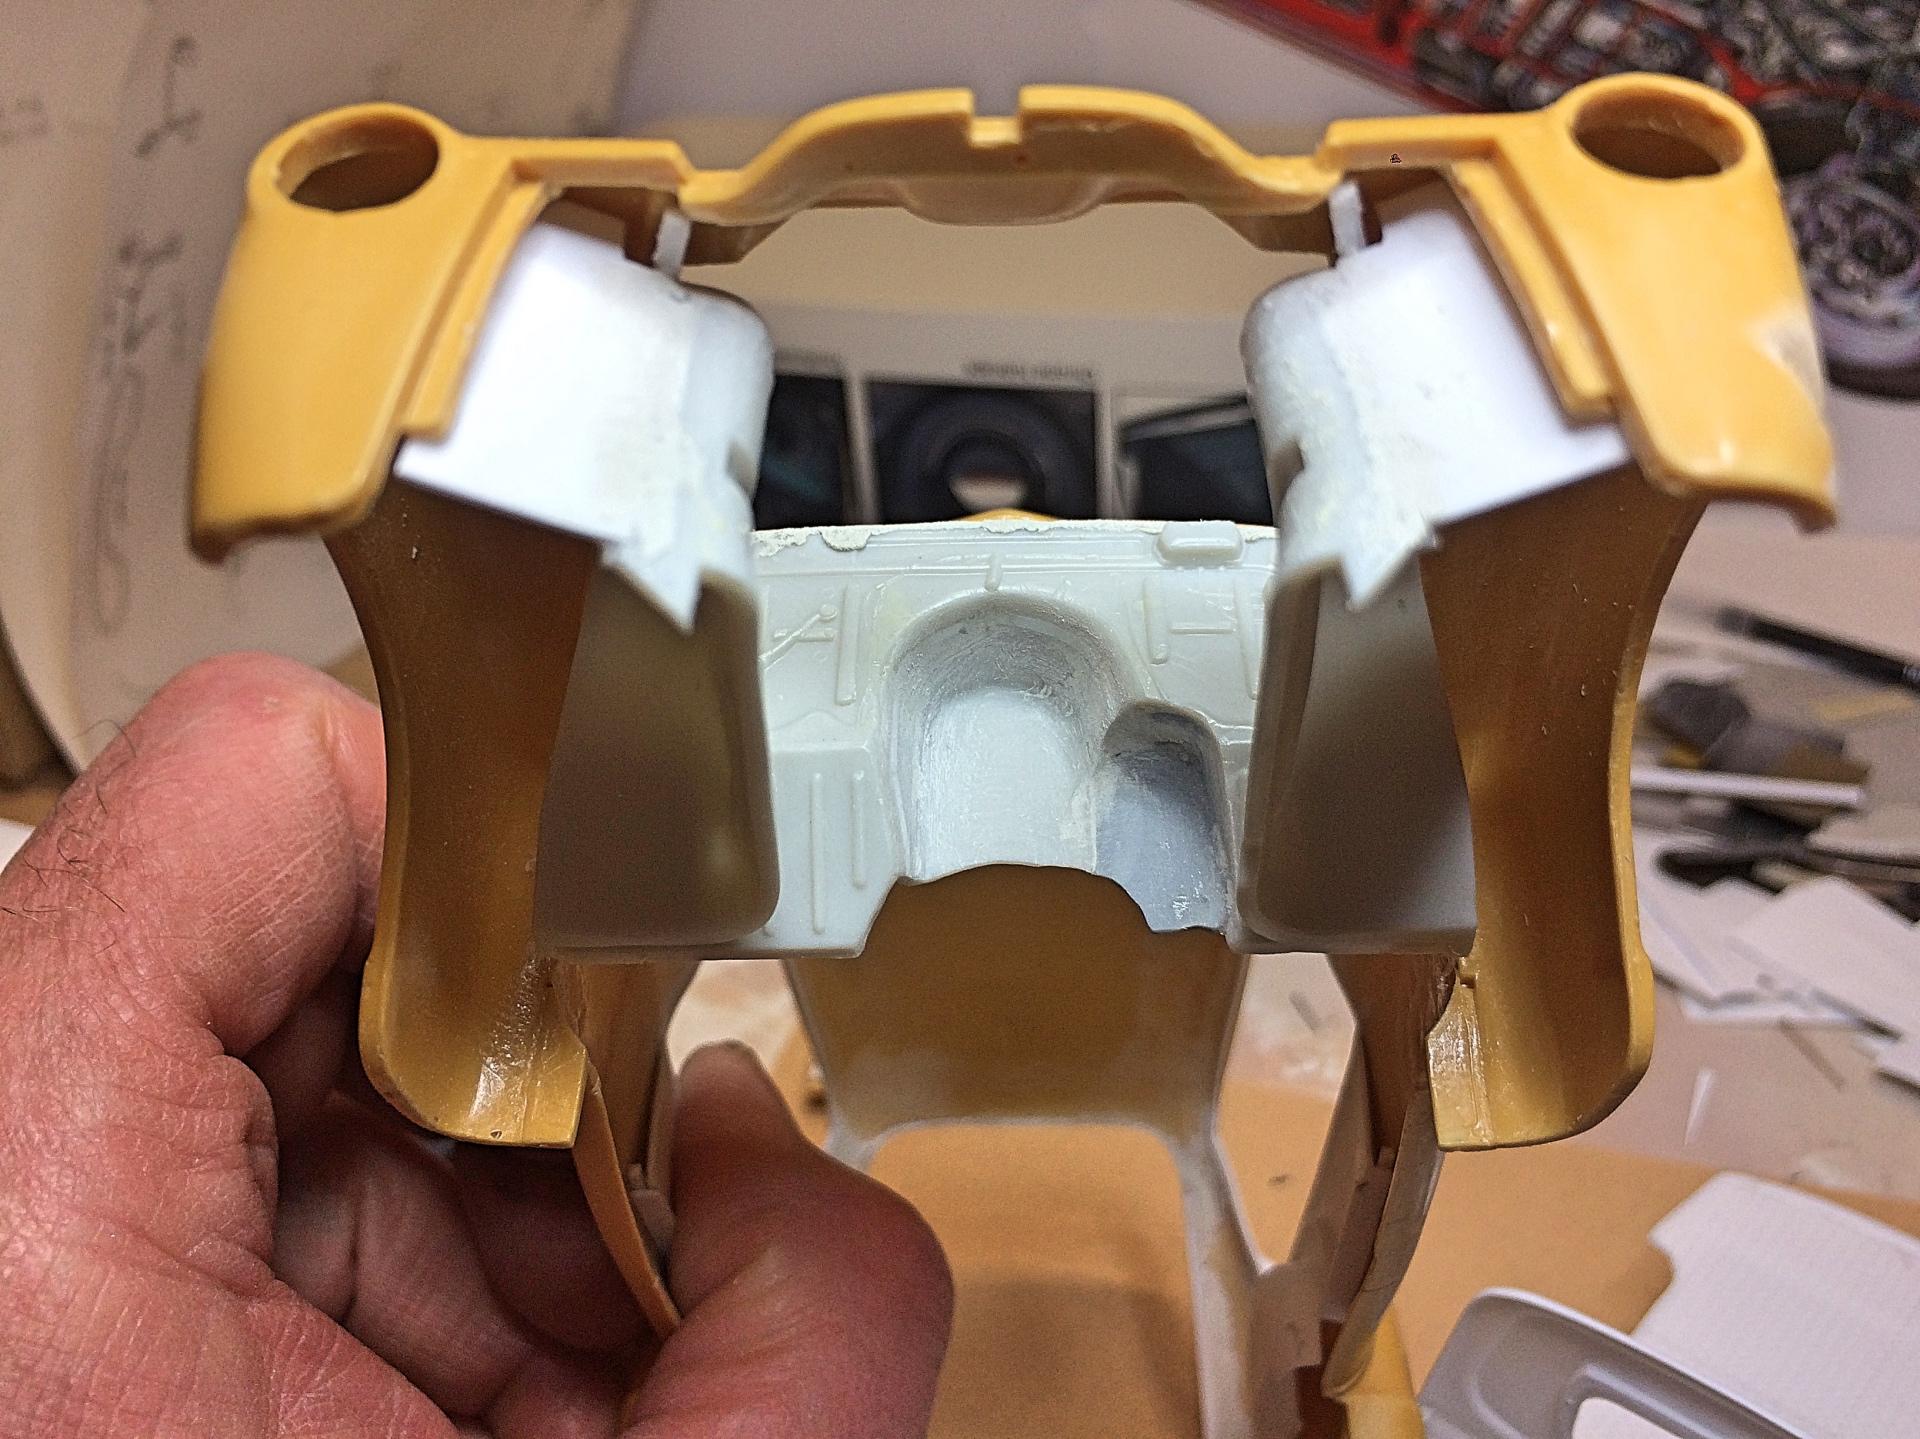
Need to finish up the body before making tiny delicate hinge parts. Did some putty work on the interior. Added some styrene pieces to the bulkhead, to keep things straight and fit almost like a snap-tite. Also took the Dremel and added some dents. Pet peeve of the kit, each side of the radiator in not open to the wheel well, air is directed to the radiator. Can also see the modification to the firewall for the engine and different intake/exhaust. The kit is incorrect with the firewall, it is not recessed back from the edge, added some putty along the seam.
-
Thank you very much! That's my goal! ? I'm determined to make hood hinges, not workable, but realistic, so the hood can be displayed in the open position instead of sitting on the table. I was happy with the '69 hinges (posted Jan. 30), so my goal is the same here, but won't be glued to the hood, that will be the trick to figure out.
-
I saw his Museum in Colorado. RIP
-
Can appreciate all the work you put into it! Nice to see another C10 get built too.
-
Doing this interior, is much different than making a square tool box, it's all been trial and error, and done by eye. Putting aside for awhile, and resuming with a fresh look, has helped figure out a few things. Slopped in some ledges for the floor to set on. This test fit was pretty good, despite having to bend the floor and scraping against the bulkhead, it's going to be fun after painting, really thinking of painting after gluing all together. Added the jamb lip around the back door. Just playing around with wheels. ?