89AKurt
-
Posts
8,426 -
Joined
-
Last visited
Content Type
Profiles
Forums
Events
Gallery
Everything posted by 89AKurt
-
Drop, roll and
-
 Very cool cars! I'm looking at your Fotki, I've taken pictures at sunrise/sunset of cars, it's really tricky, like this shot. https://public.fotki.com/howardcohen/cobble-beach-concou-3/cobble-beach-concou-448.html
 -
I had to make up for one of my projects this year, yes it's cool. ? I am trying to take my time on this one. I have cut one door out, and got the jamb fabricated. Making a working hinge is next (key word is working). Using 0.1" styrene, superglued all together with baking soda to fill/set, which is good for sanding to final shape.

-
hair balls
-
that needed ironing
-
Shapeways products self-destructing
89AKurt replied to 89AKurt's topic in General Automotive Talk (Trucks and Cars)
I'll give that a shot, AZ has more sun than Chicago. Thanks for the link, read the first and last pages. -
You have done this kit justice! Wow.
-
for intensive rehab
-
steel drums, chained
-
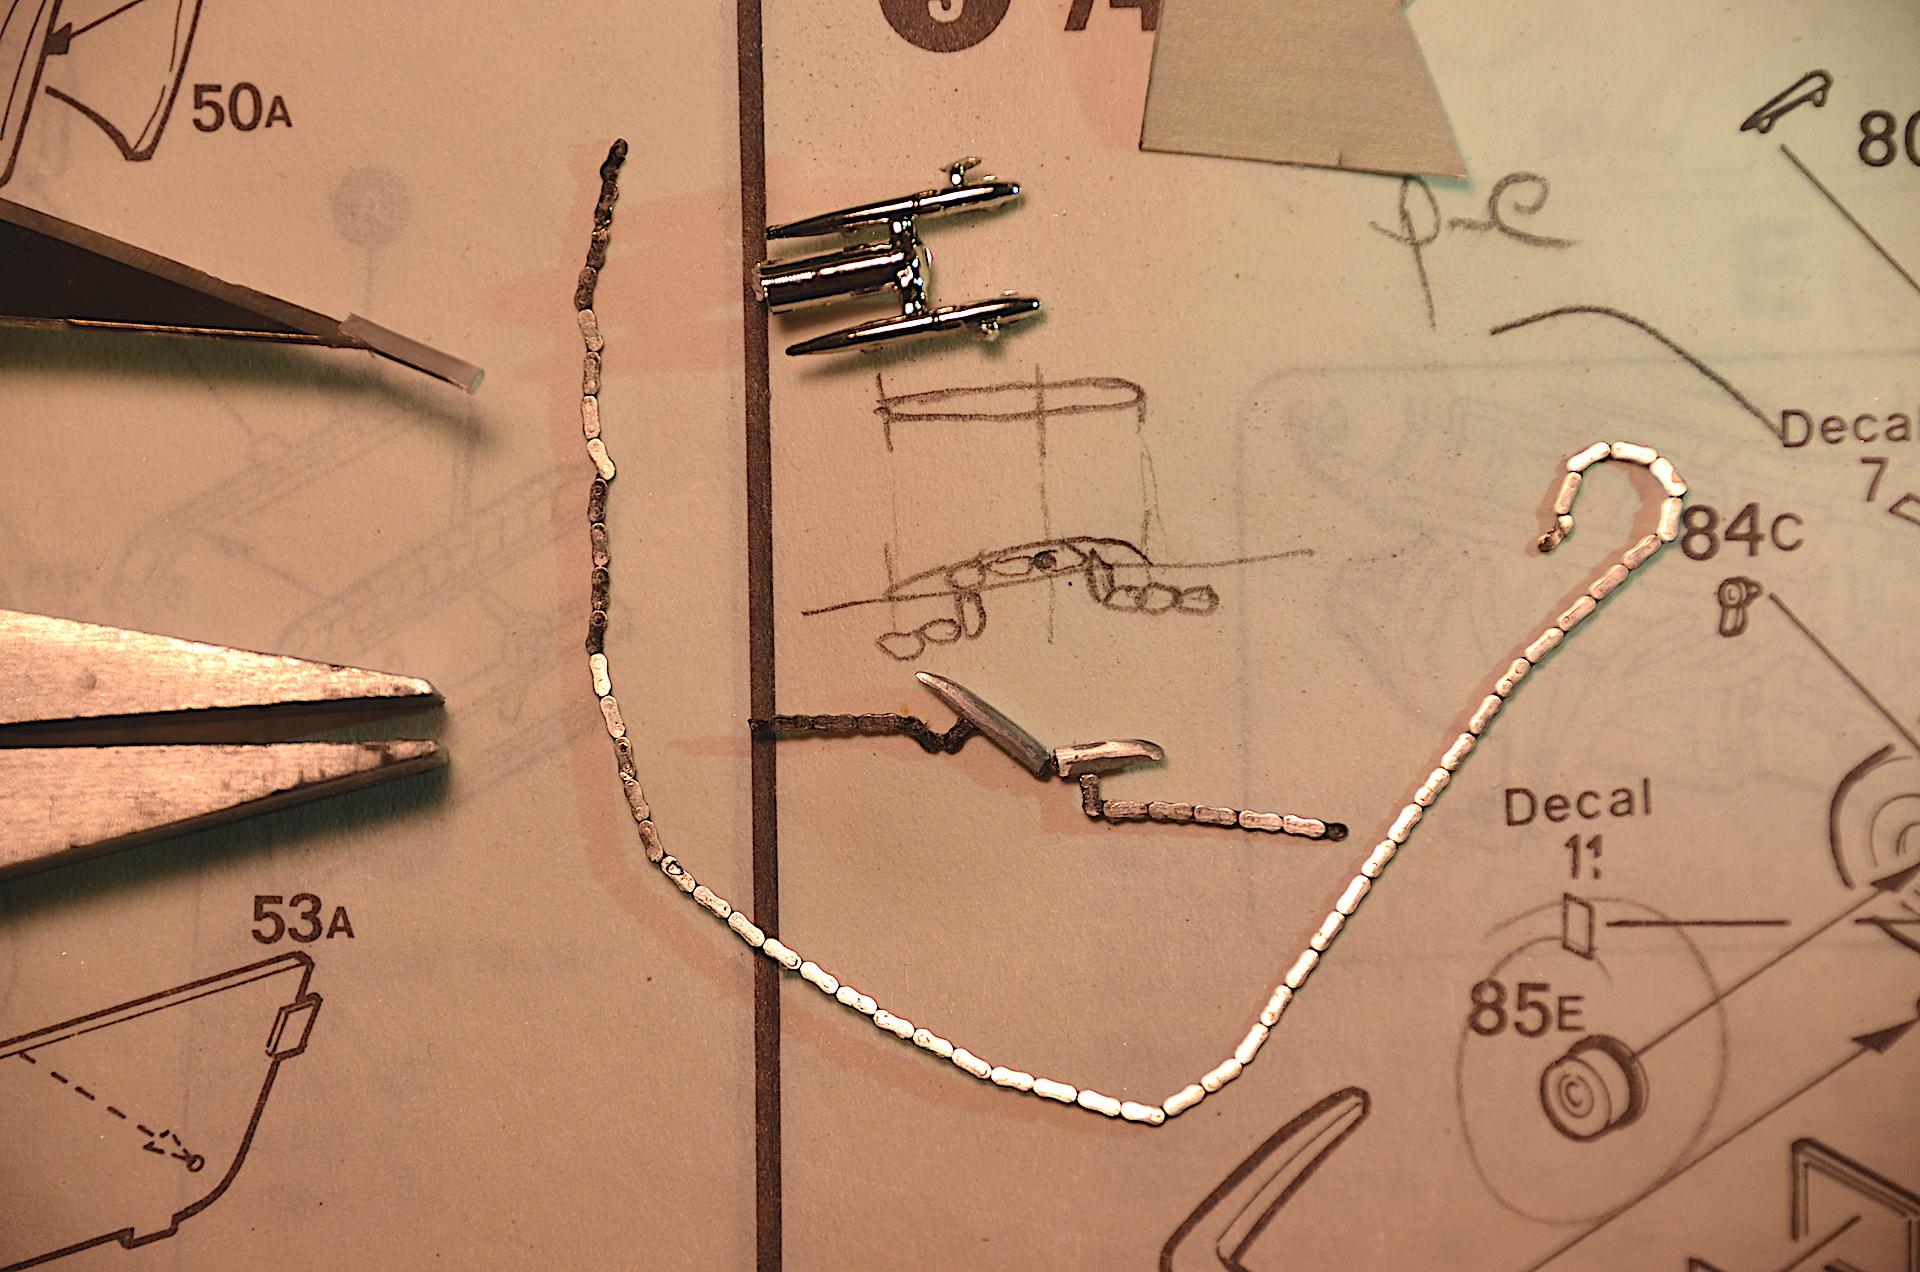
Thanks. I've seen that there is a wide selection of that scale out there. Uh, no, I tried doing two projects at the same time this past year, one got finished in about a month, the other about a year. You were lucky! Thank you! Before committing to cutting the trunk lid and making the interior, wanted to make sure that reasonable looking hinges that work could be done. Cut a length of fusee chain with the Dremel cut-off disk. Opened a new bottle of superglue, applied to all but the one pin, with the angles to go through the body. Bent newspaper printing plate, which got glued over the chain. Filed and sanded to shape. I will need to paint or BMF the new hinge. The question is to glue all that in place before painting, to avoid screwing up the paint. Will have two strips of styrene inside the body so the chain will be positively anchored.
-
stick crazy dancer
-
, just booger miners
-
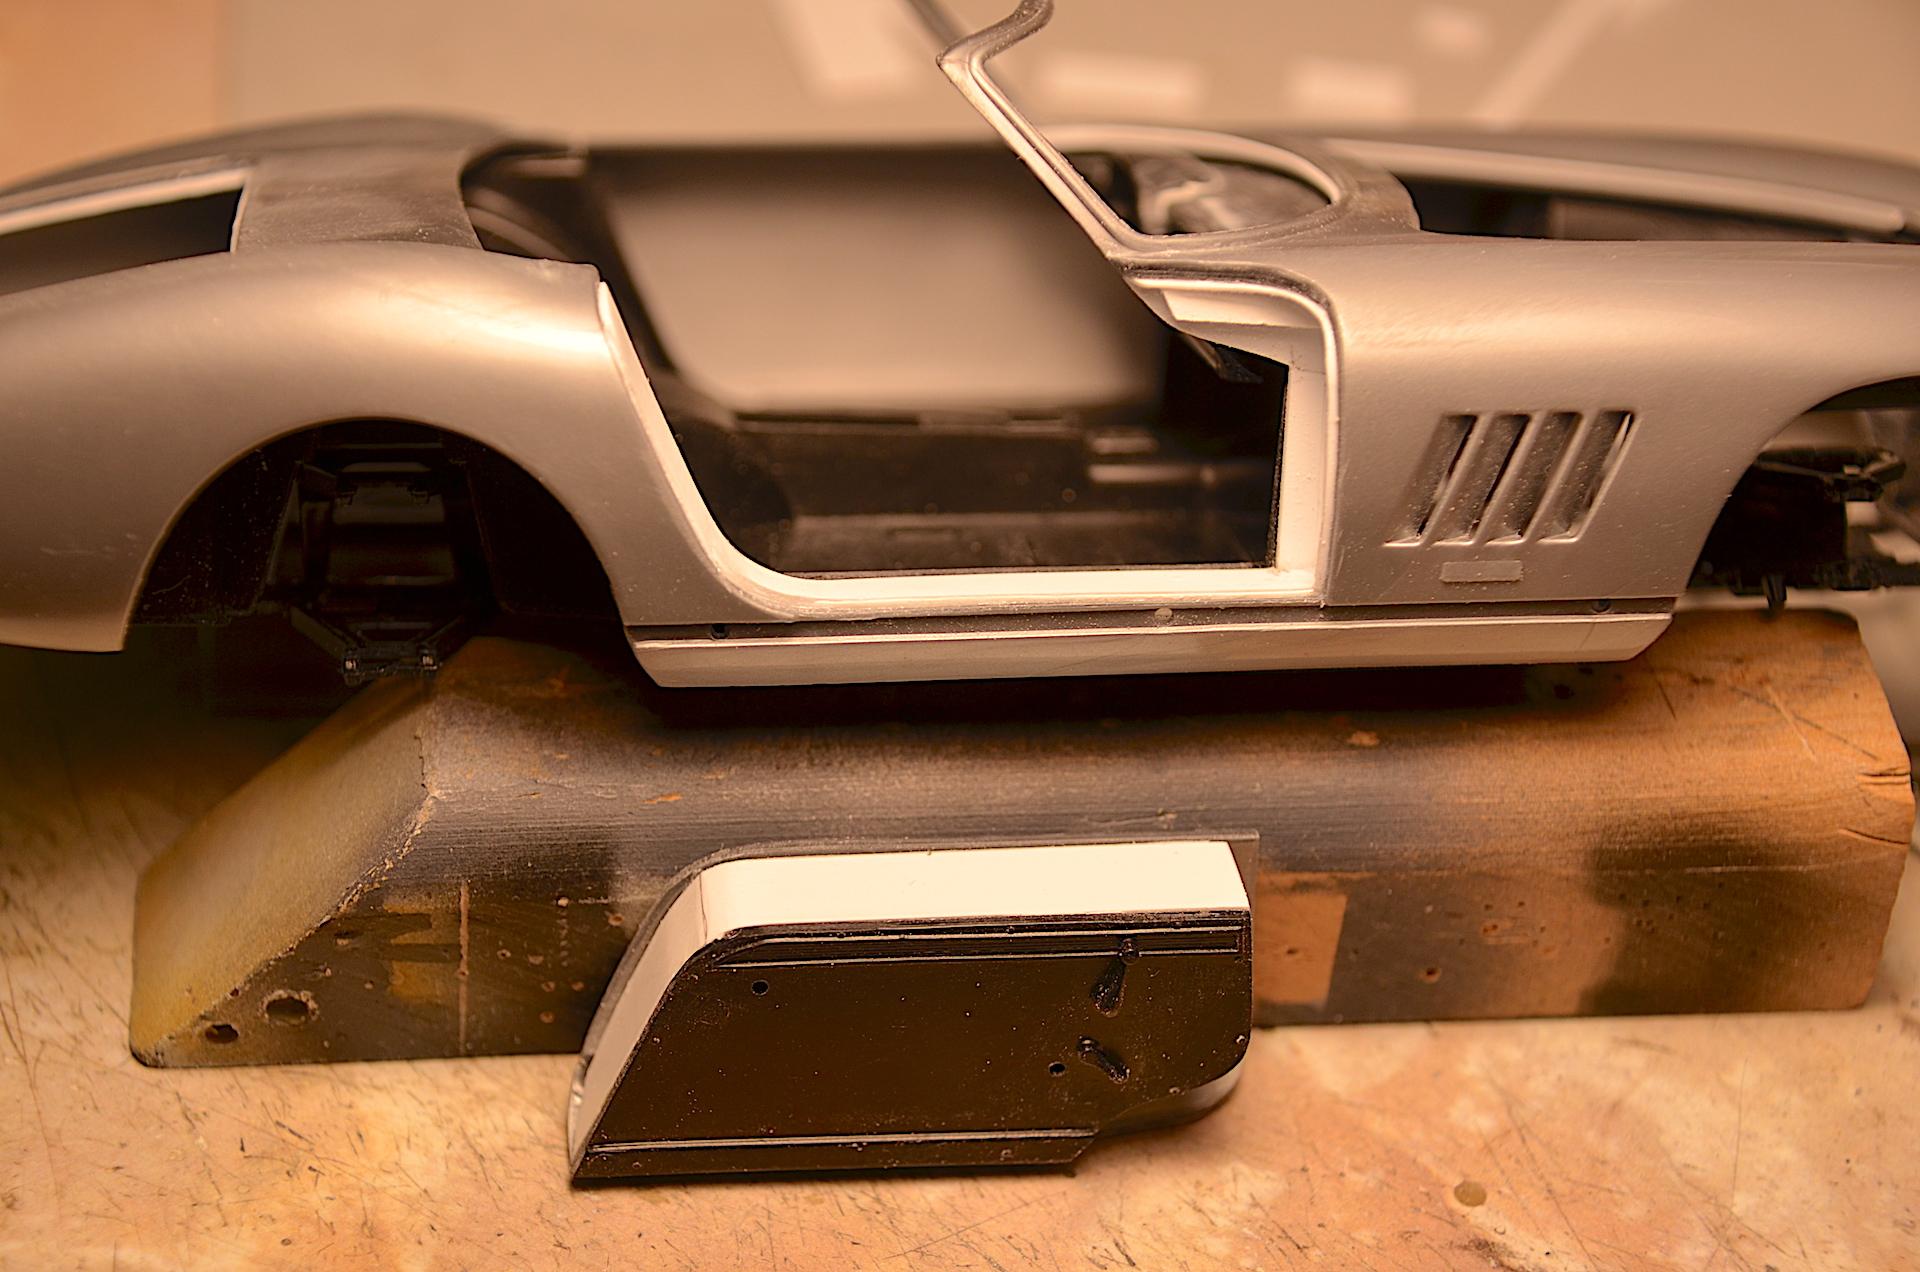
Thanks for riding along! If I was the average model builder, or a kid just starting out, I would have had a cow when I fit the windshield in! ? The problem with this kit, if any weight pushed the box down, it bent and/or broke the windshield frame. Lucky to have a GTB kit, so I pulled it out, and saw the window fit fine. That kit has a completely different window part, side windows are integral, in fact the driver window has a hole to look like it's half way down. Then I got smart, and removed the vent wing parts, and saw how badly the rake was! I had a feeling this would be the case, but not this bad. I put a block of wood at the corner, then gradually bent the posts up until the vent windows showed the same rake. The window fit really well, it's by friction in this picture. HUGE relief this is all it took. I can bet many of these ended up in the junkyard. Started adding sheet styrene to fill holes and gaps. Might never see the bottom of the battery, but it's done. ? Got the rear done. I barely glue some parts together, such as the interior, so next step is to put the body on, and figure out steel bracing and door jamb. I'm going to add styrene along the bottom of the windshield on the body, to help keep the glass in place, and fill the space so light won't shine through. Found sink holes on some more parts to putty. The firewall part needed to be cut and bent where the 4 louvers are (tweezers clamping). I'm really wanting to open the trunk too, since the fuel filler is under the lid (can't clutter the beautiful body lines with an aluminum racing filler like the GTO ?), doing that hinge is going to be a trick, since it's not what we usually do for doors, thinking of using fusee watch chain with all but the operating hinge "pin" glued. Maybe.....
-
Tamiya Evo 6.5 Tommi Makinen Edition Conversion
89AKurt replied to lghtngyello03's topic in WIP: Model Cars
That's looking REALLY good! -
abandoned movie set
-
1980 Plymouth Arrow
89AKurt replied to Chuck Most's topic in Model Trucks: Pickups, Vans, SUVs, Light Commercial
Some kits beg for getting the treatment, looks great! Like the Jackolantern graphic. ? -
fall on Arizona
-
More examples of get-it-when-you-see-it. I looked for tan Zero-Design carpet, not available anywhere! I've used the black, will *never* use flocking, I've not seen a good result yet using that stuff. I have little left-over pieces of Detail Master now discontinued white paper-backed carpet, thinking of gluing together bigger pieces, or I have another option.....
-
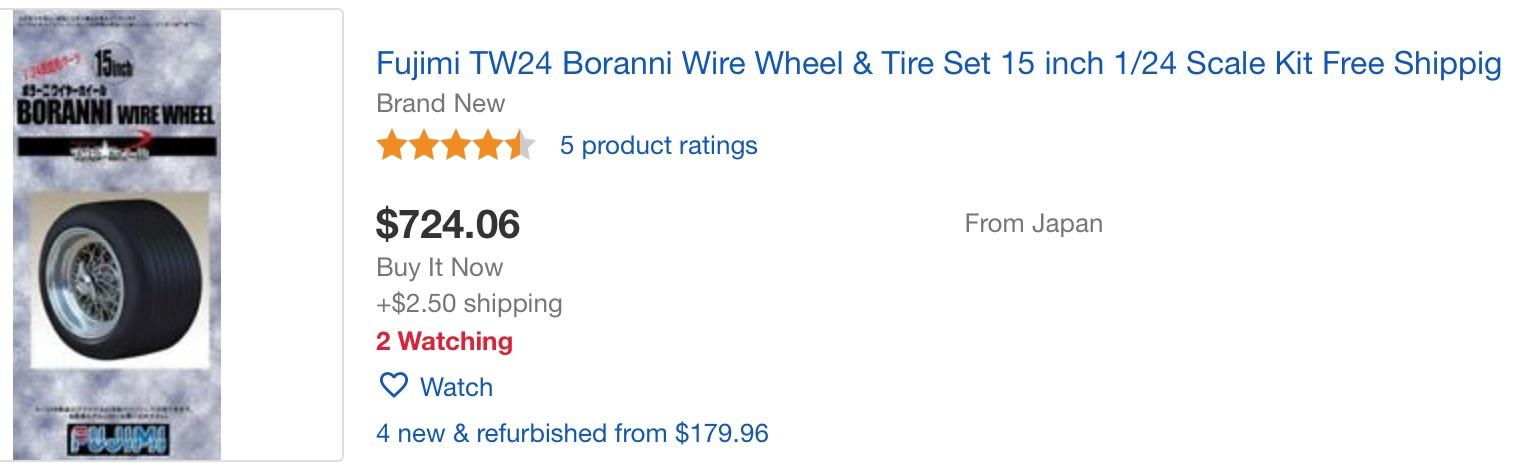
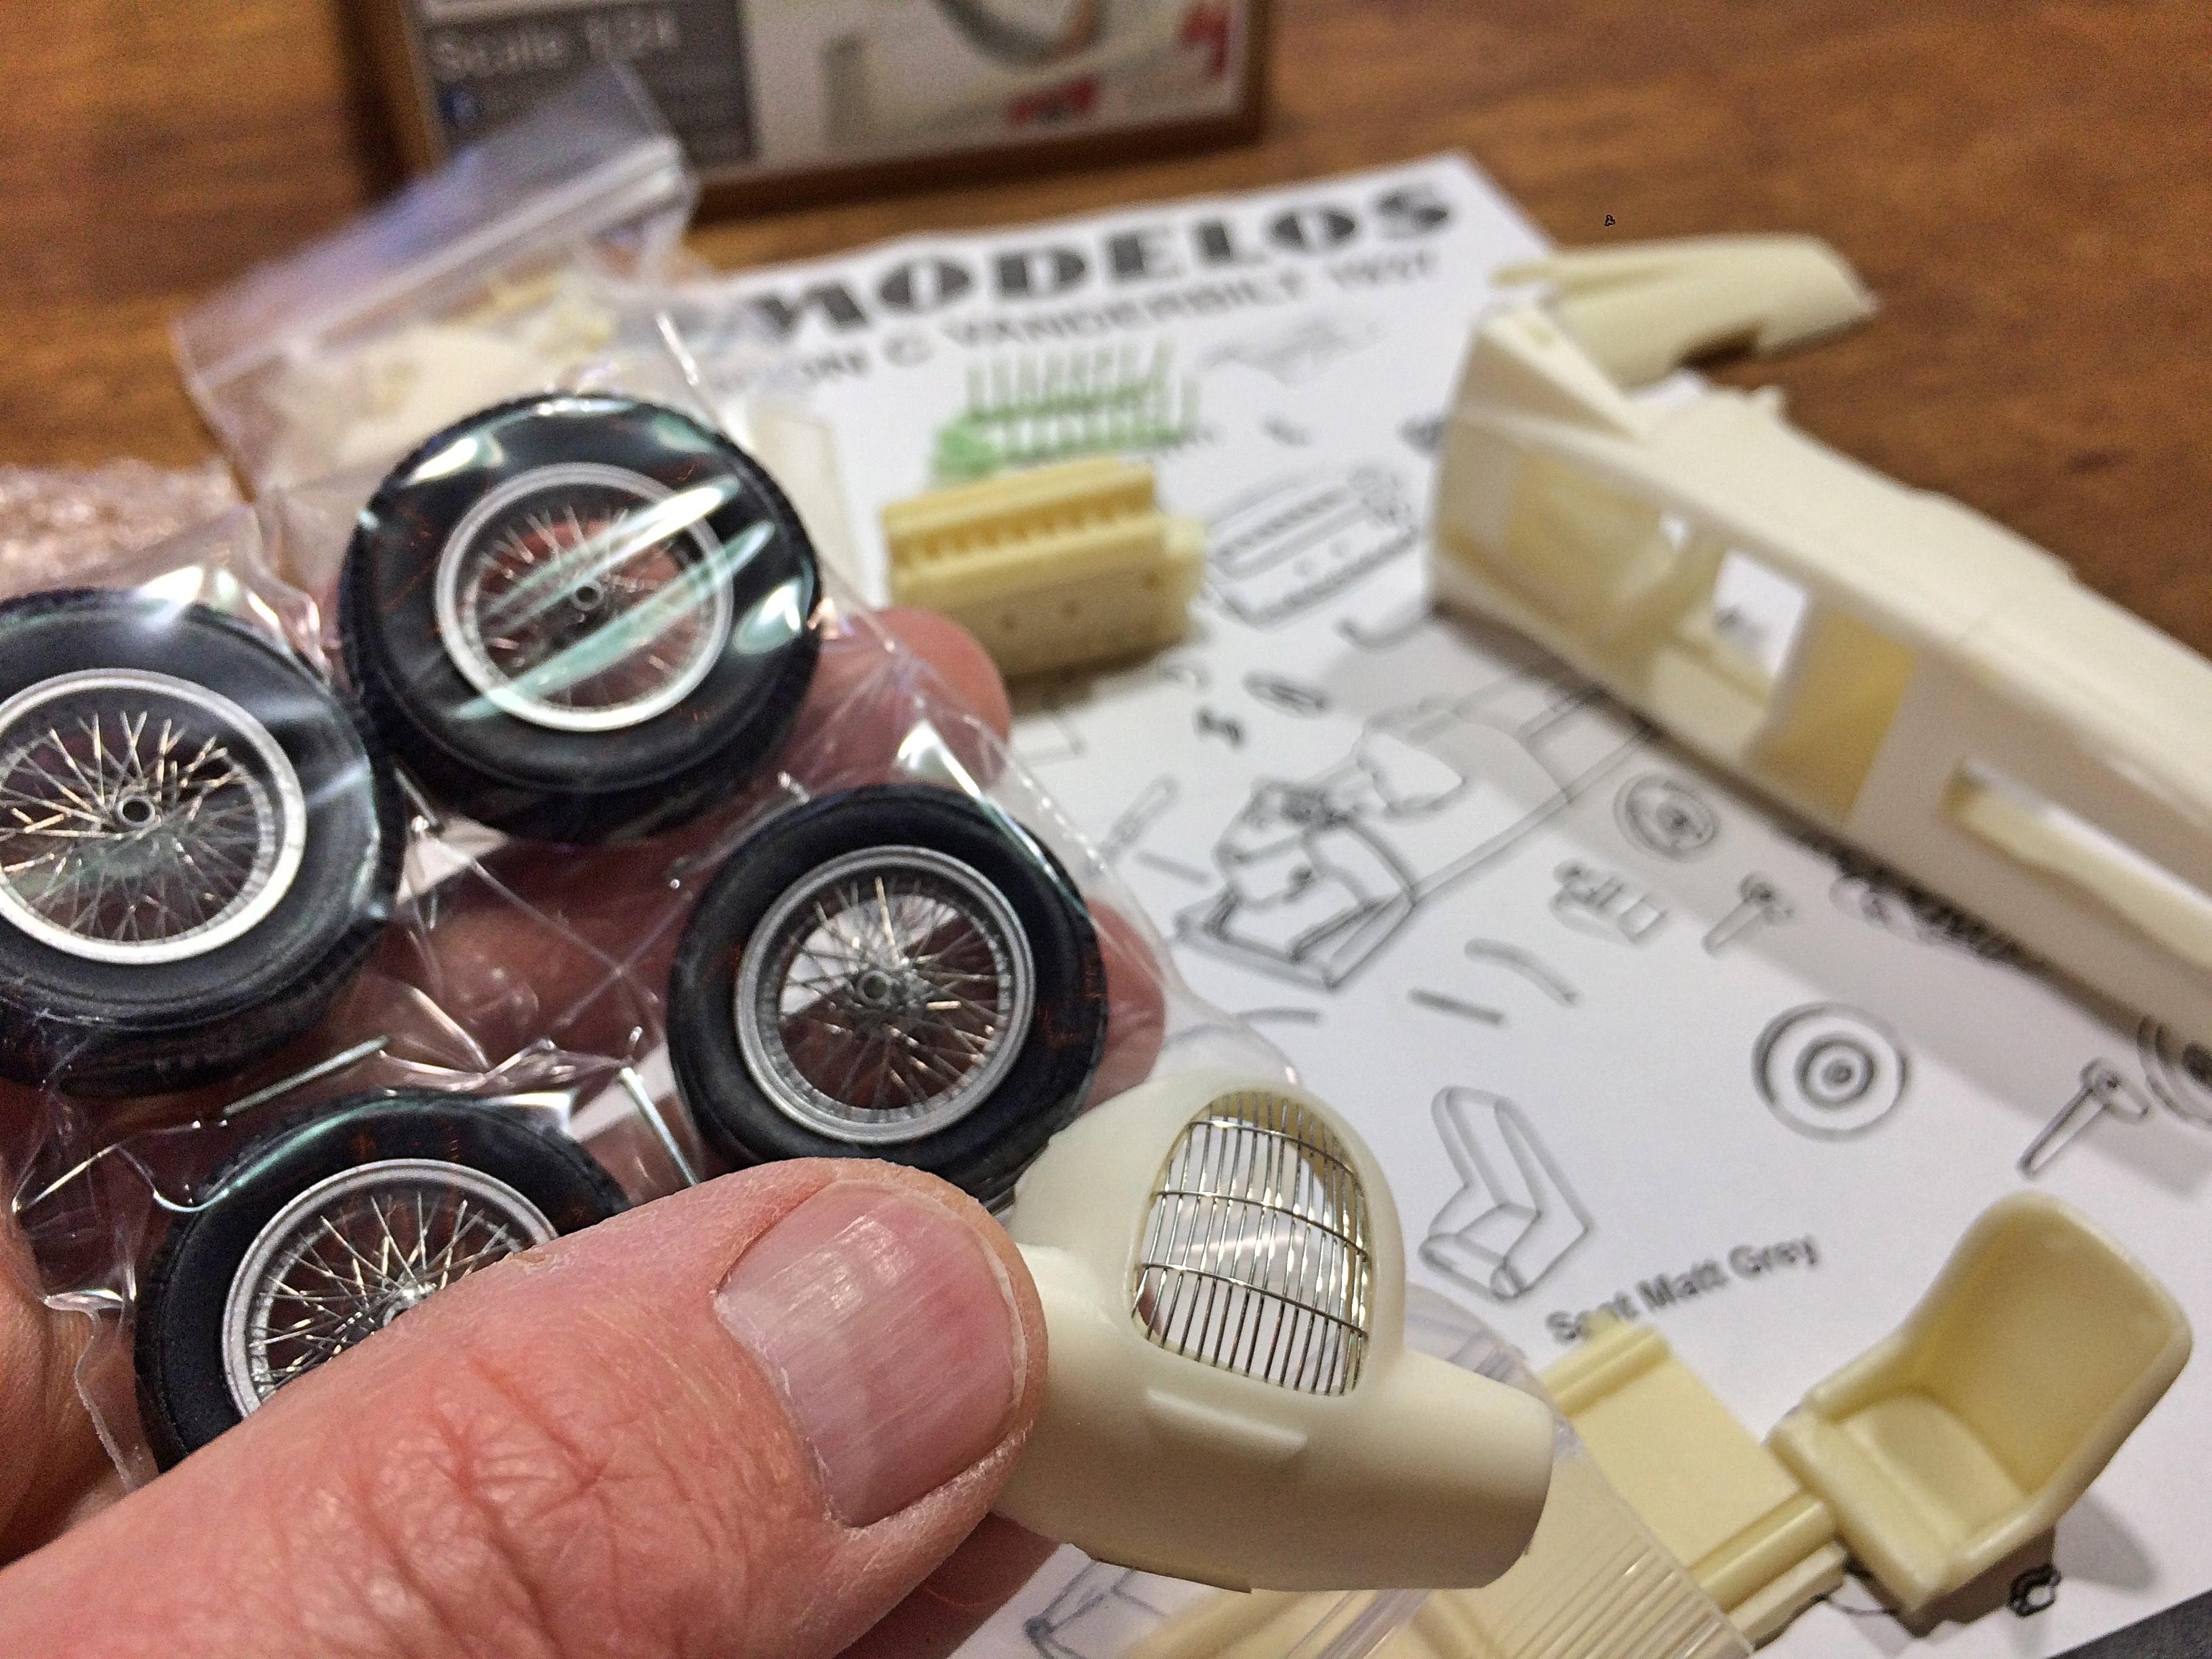
Just checked Hobby Search, not available. But I found a screaming deal on eBay for $180, and these:
-
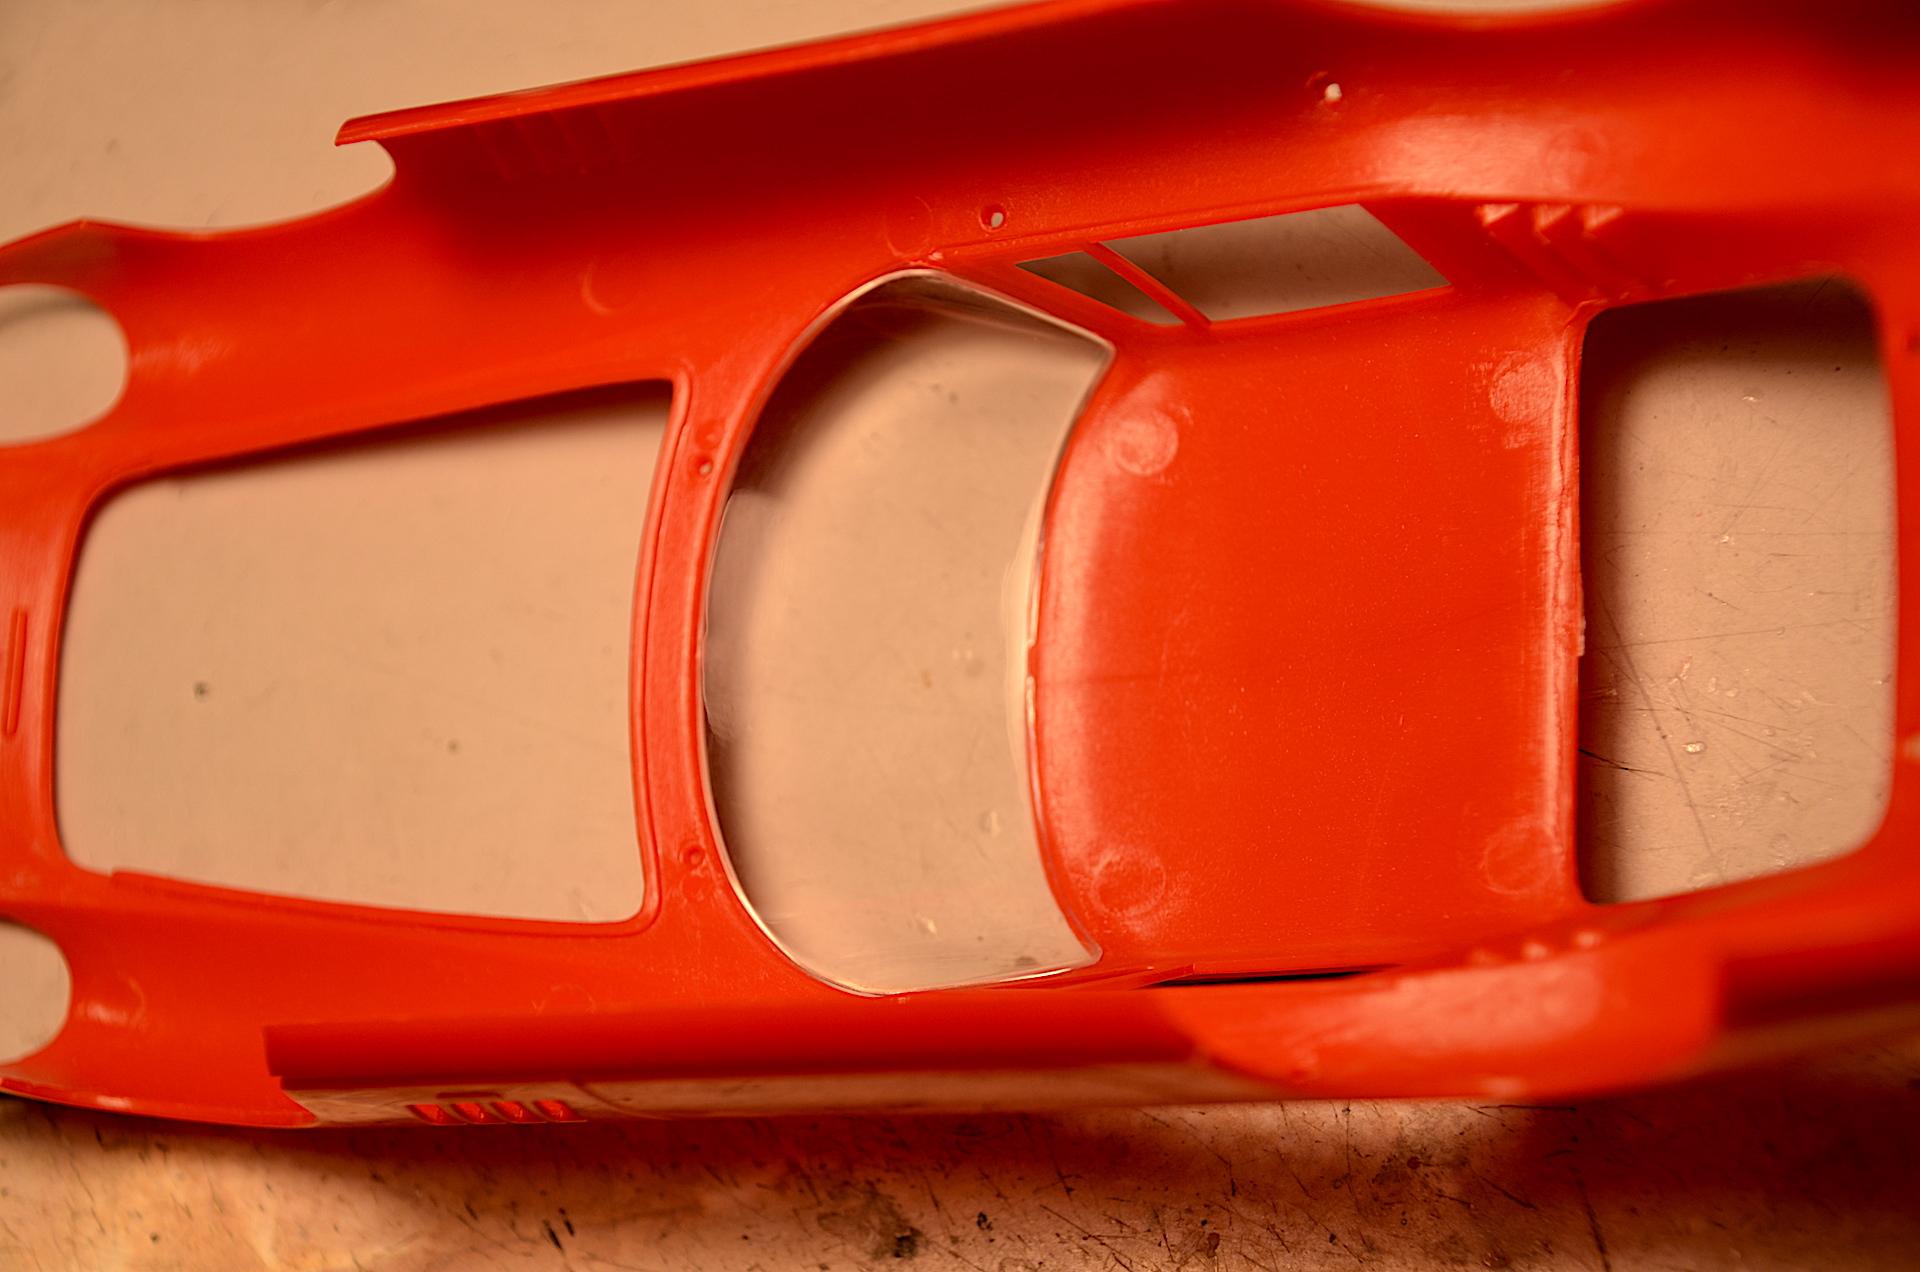
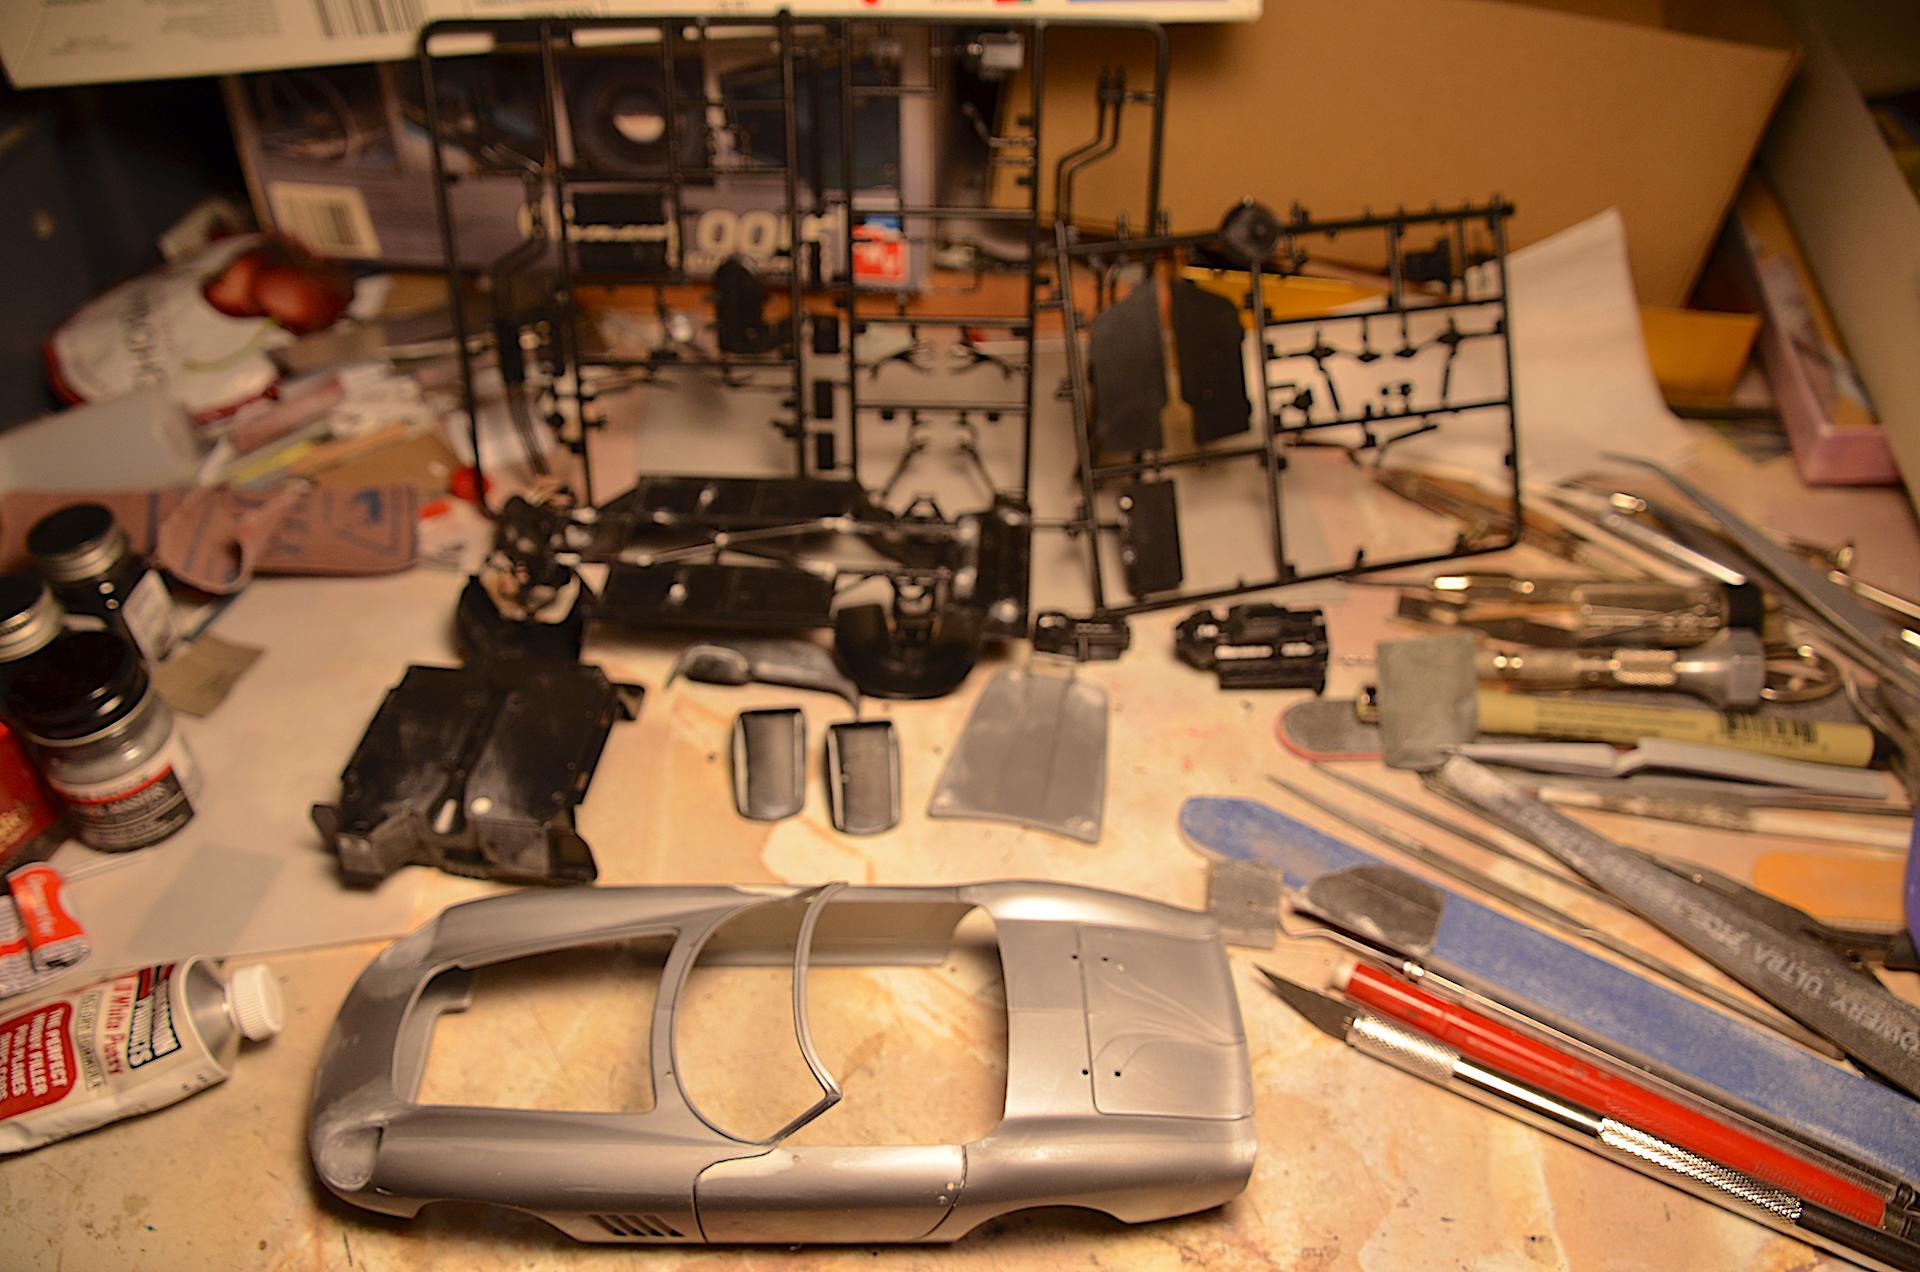
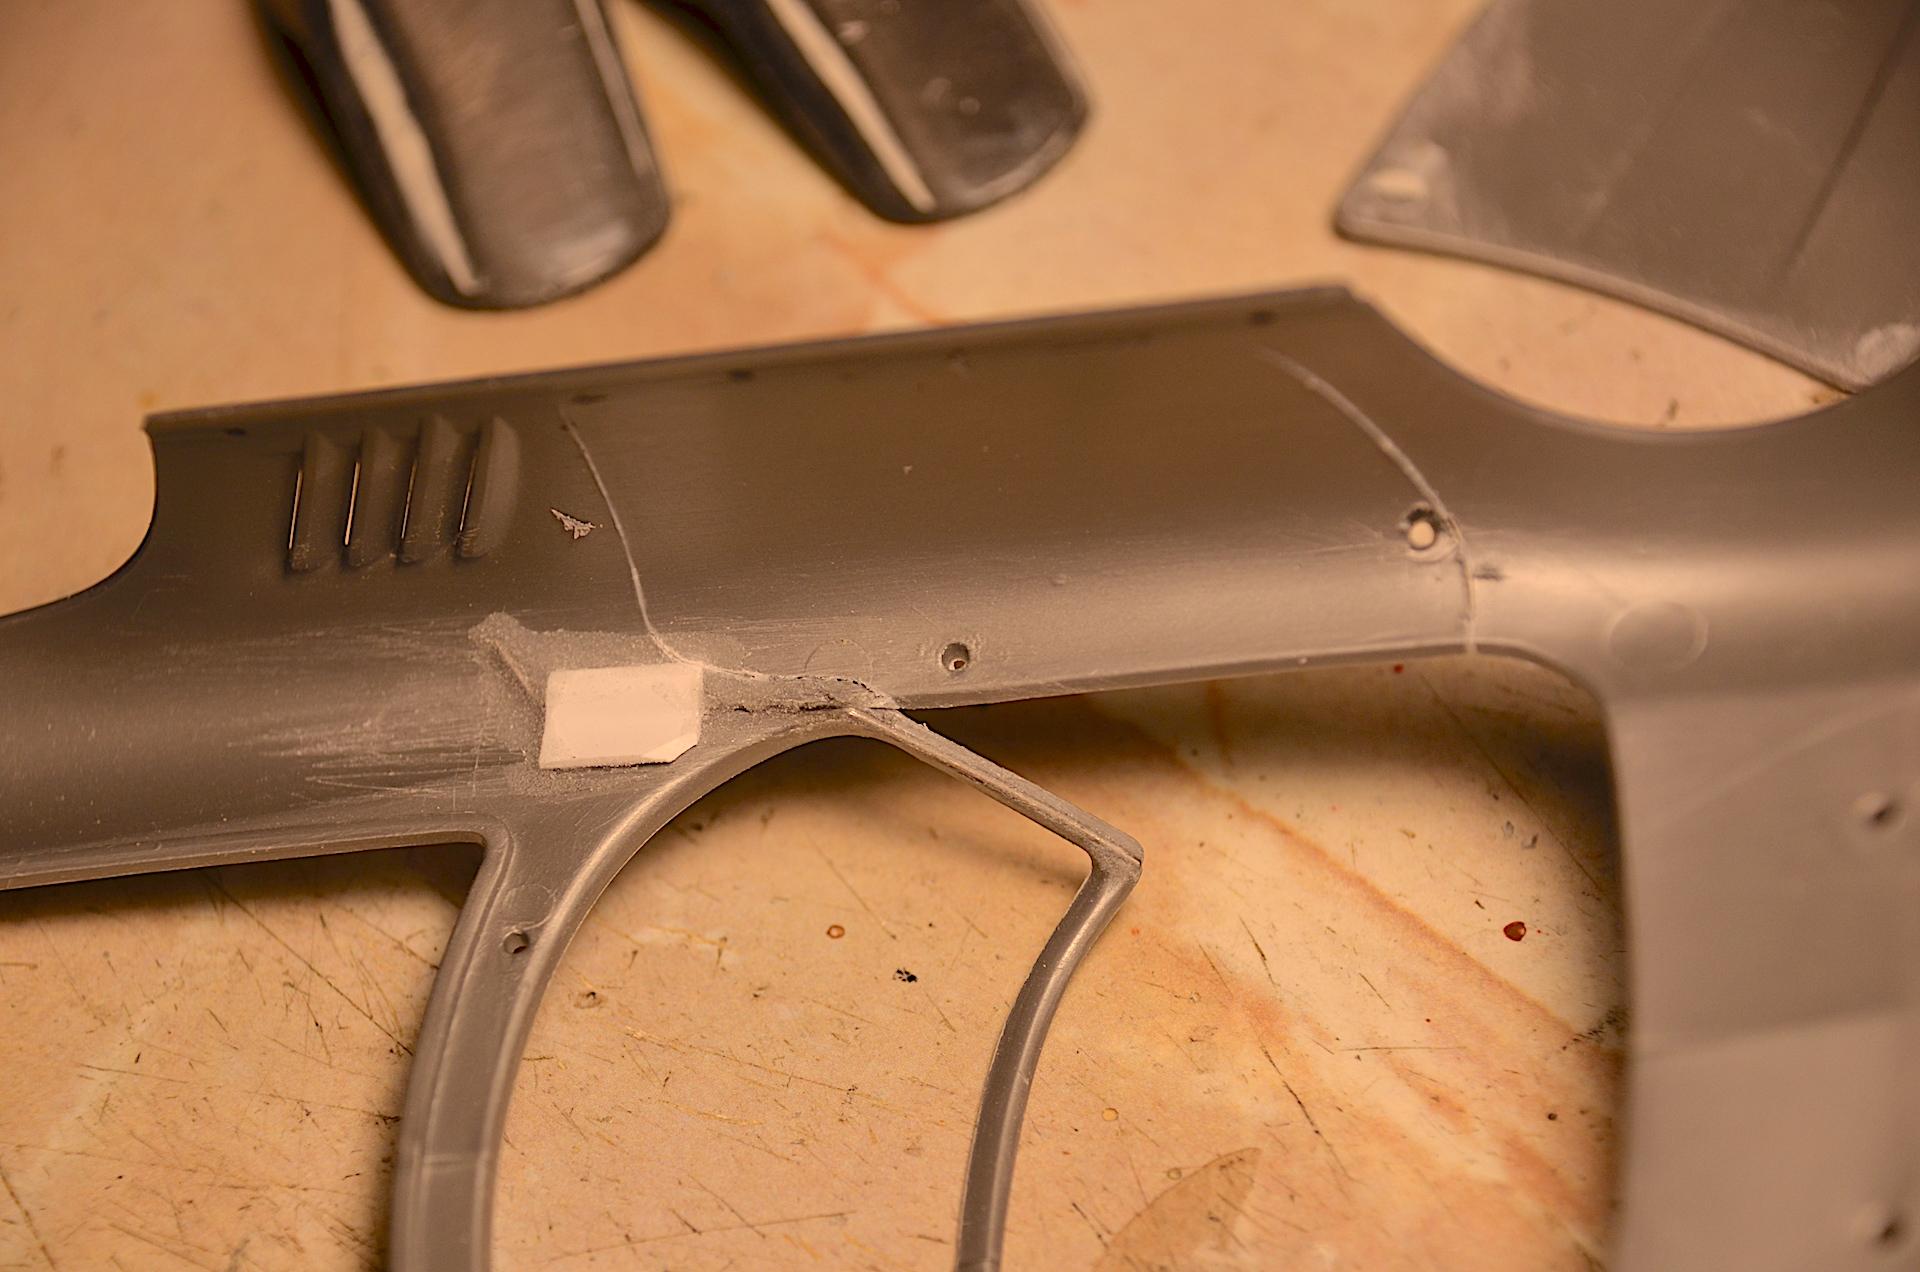
Did you rob a Fujimi kit for the tires? I have a few, but want to keep the kits together. I've been filling every sink hole, and ejection pin hole that can be seen, with Squadron putty. Scraped all parts of mold lines. But the big thing was to fix the broken windshield post. I'm figuring out where to add plastic, such as the tail end of the chassis pan, so there will be a positive match ledge, and not open air which could result in poor fitting body/chassis. I would like to add screws too, don't like counting on massive gluing. Even thinking of adding trunk floor, which is now a gapping hole above the transaxle. I ought to open the trunk at this rate. ? I used a #11 blade to scribe a kerf, then super-glued in a wire, with a bent leg going under the fender, with another bend, and then plastic over that. I'm planning to do the other post too, this ain't breaking! I have also scribed the doors about 95%, so I will glue the jambs to the body, not the interior tub as I've done on previous projects.
-
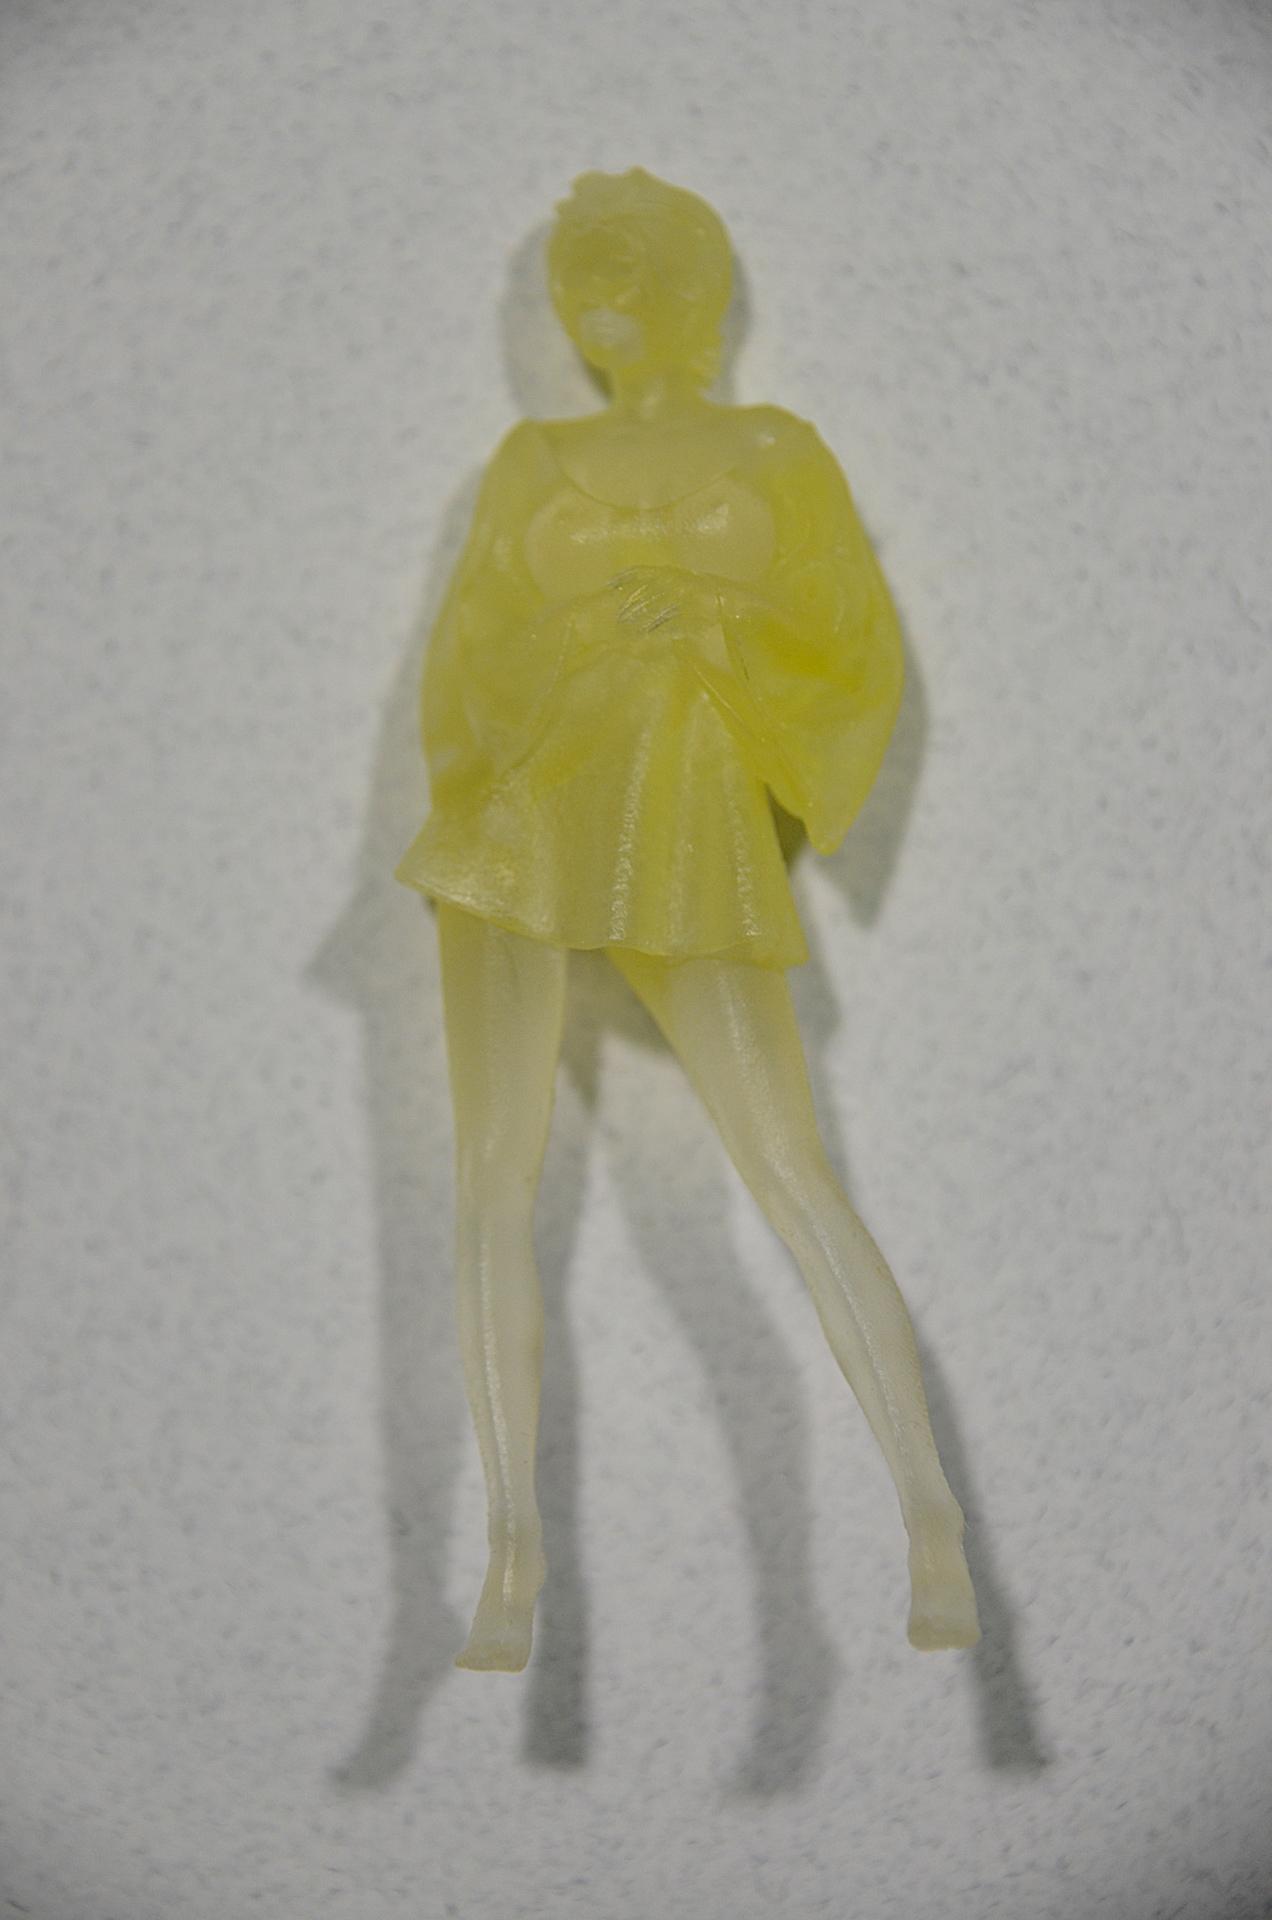
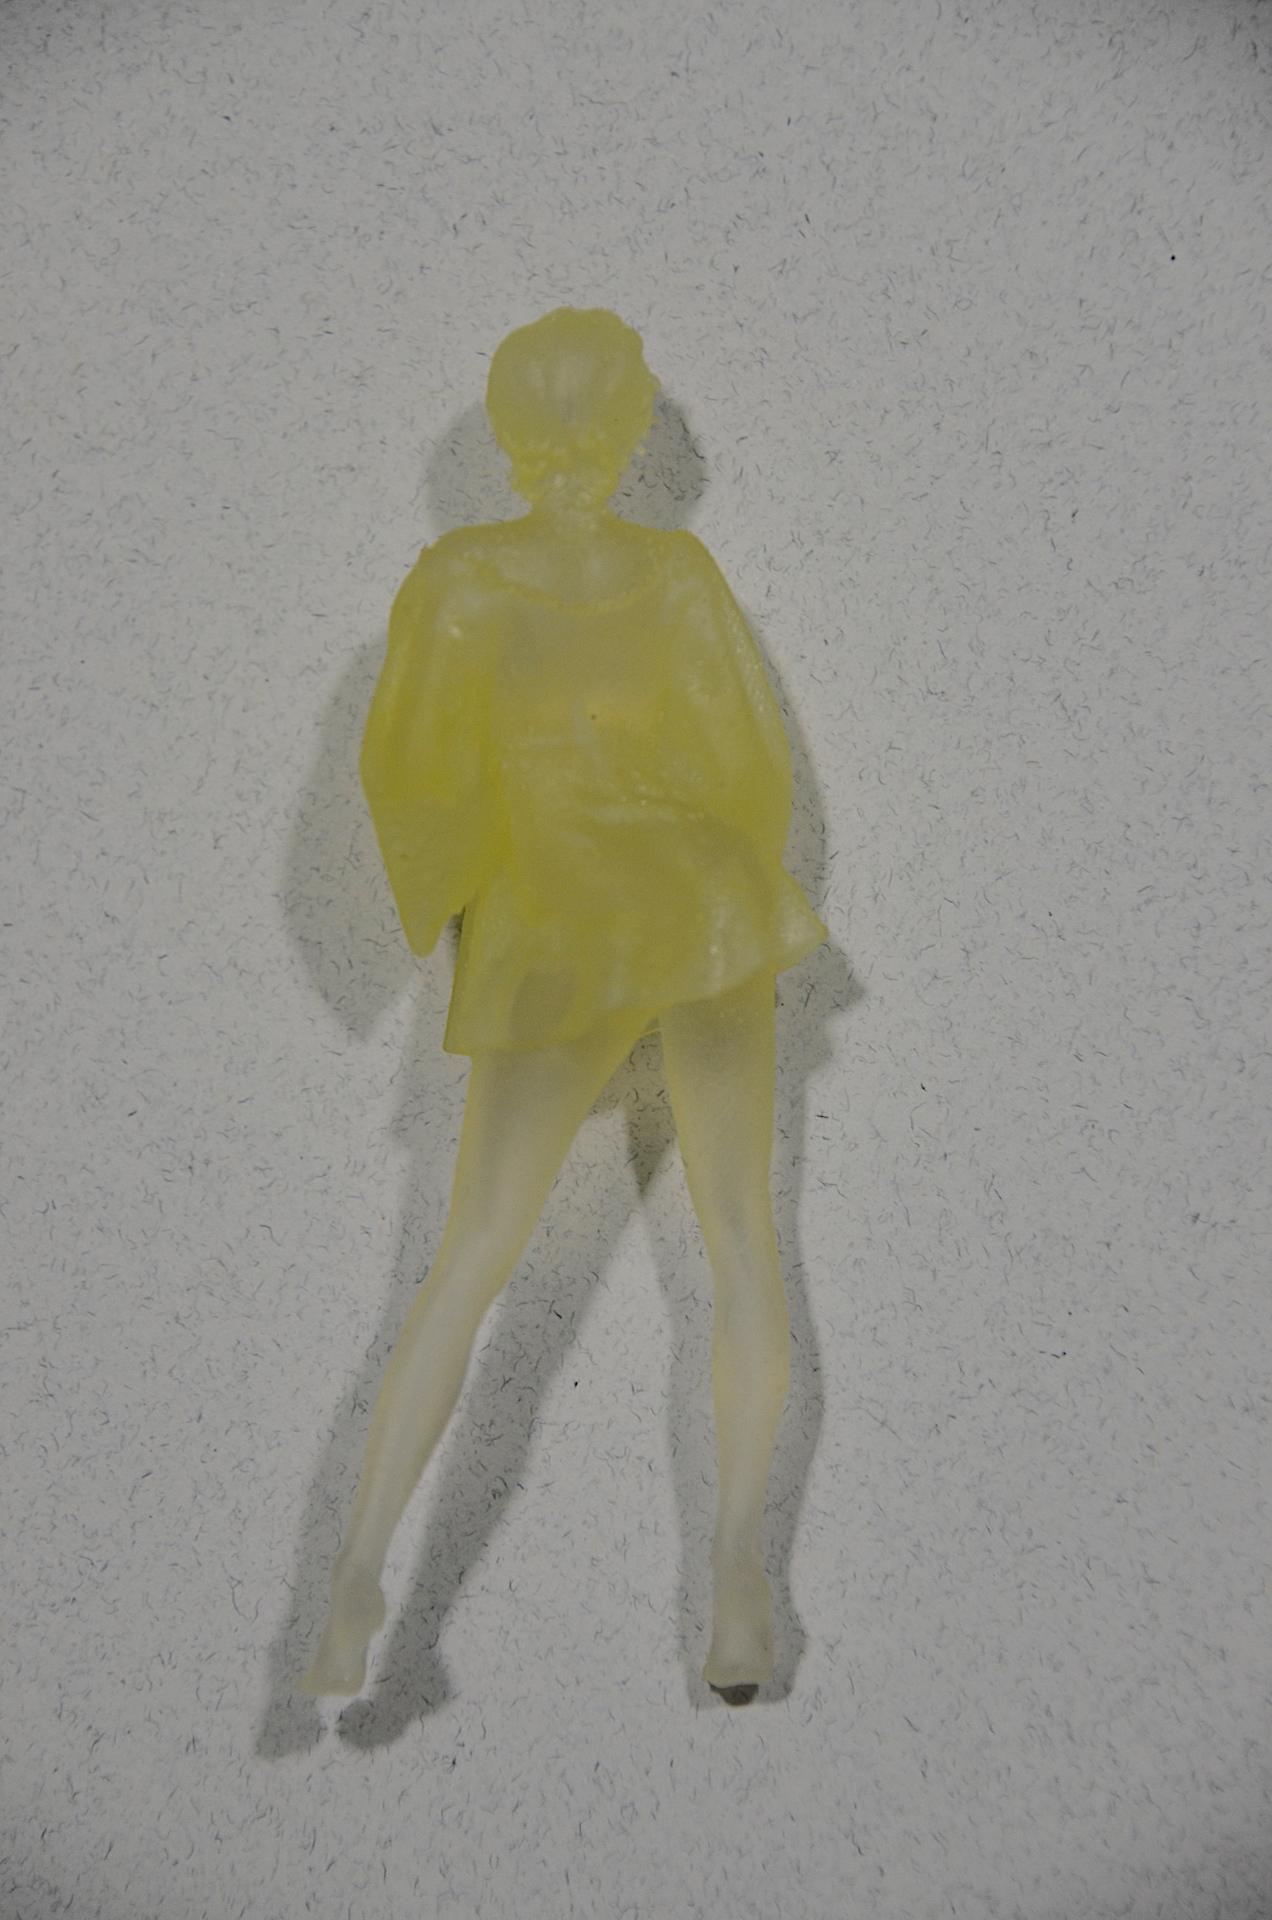
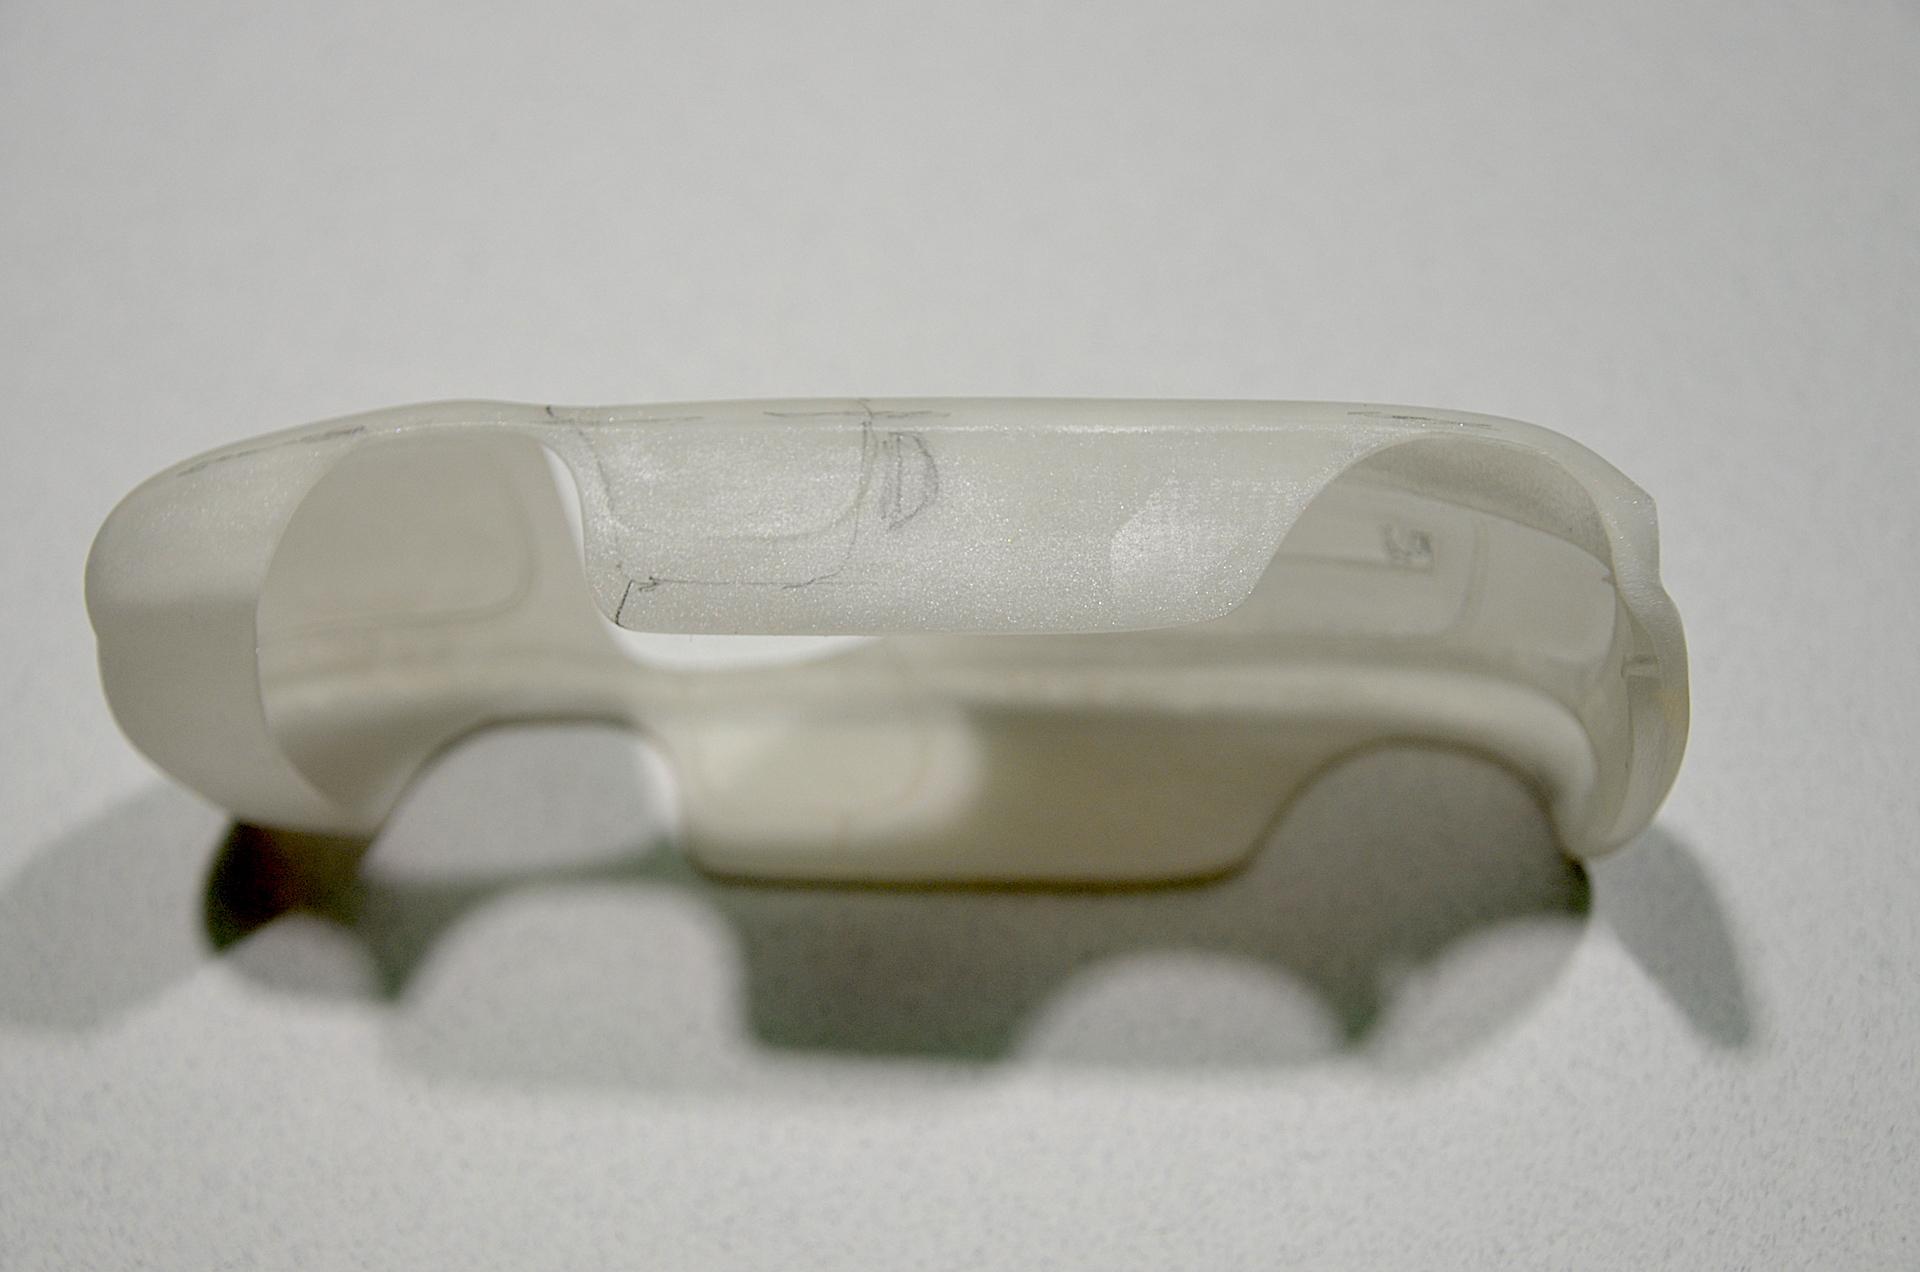
I ordered several different products at the same time from Shapeways within the past year. Today I took out this figure, and discovered it's been having some sort of chemical reaction, it was pure clear when I received it, now it has yellowed, and seems sticky to the touch. Then I looked at this body, I had sanded it when I got it, now it seems to be growing fuzzy crystals on some of the surface. I brushed my finger behind the front wheel opening. I live in low humidity Arizona, still in same bags. Sun did not get near these.
-
I attended a car show with a garage sale on the side. I took my '68 Chevy pickup, and displayed some of my dioramas in the bed, which is fun to watch people check it out. I looked at the junk for sale, and got the only model kit in the place, the Revell Ferrari Superamerica (575M), $10.
-
Yes he does! I got his Auto Union kit with these amazing wire wheels. Sure is.
-
Came out really nice! I have that kit, so nice to see one built.
-
Very well written and passionate essay, great observation! There have times in my life, going through the valley of death, to nothing else matters in life than model building (current state). This forum has been a HUGE inspiration. My first contest was in Case Grande, I was a new member in a casual club in Prescott, a veteran (not age but experience) IPMS member who did military subjects talked me into entering a model car contest. I didn't win anything, but he was instrumental in getting me into dioramas, the AMT Ferrari 250SWB beater just didn't do it, so that became a diorama, and the rest is history. They were giving out kits for entering, picked a Corvette, which got kit bashed into my only street rod ever built. I've done well at contests, but I go there knowing there could be someone better than me, just like showing up at a pool tournament. Motivation, having about +-160 kits in my stash is motivating me. Being in a model club helps, I represent the car culture, so it's a challenge to be interested in military subjects that I never had an interest in. But last month, I did a tank, and another guy did a Russian cargo truck, so we came to common ground. I'm doing kits that are not on Hobby Lobby shelves, the more rare the better. I'm also building for myself, what I like, with the exceptions being for sarcastic moods. Being on this forum is my best inspiration. Thanks to everyone who chats with me! ?