89AKurt
-
Posts
8,426 -
Joined
-
Last visited
Content Type
Profiles
Forums
Events
Gallery
Everything posted by 89AKurt
-
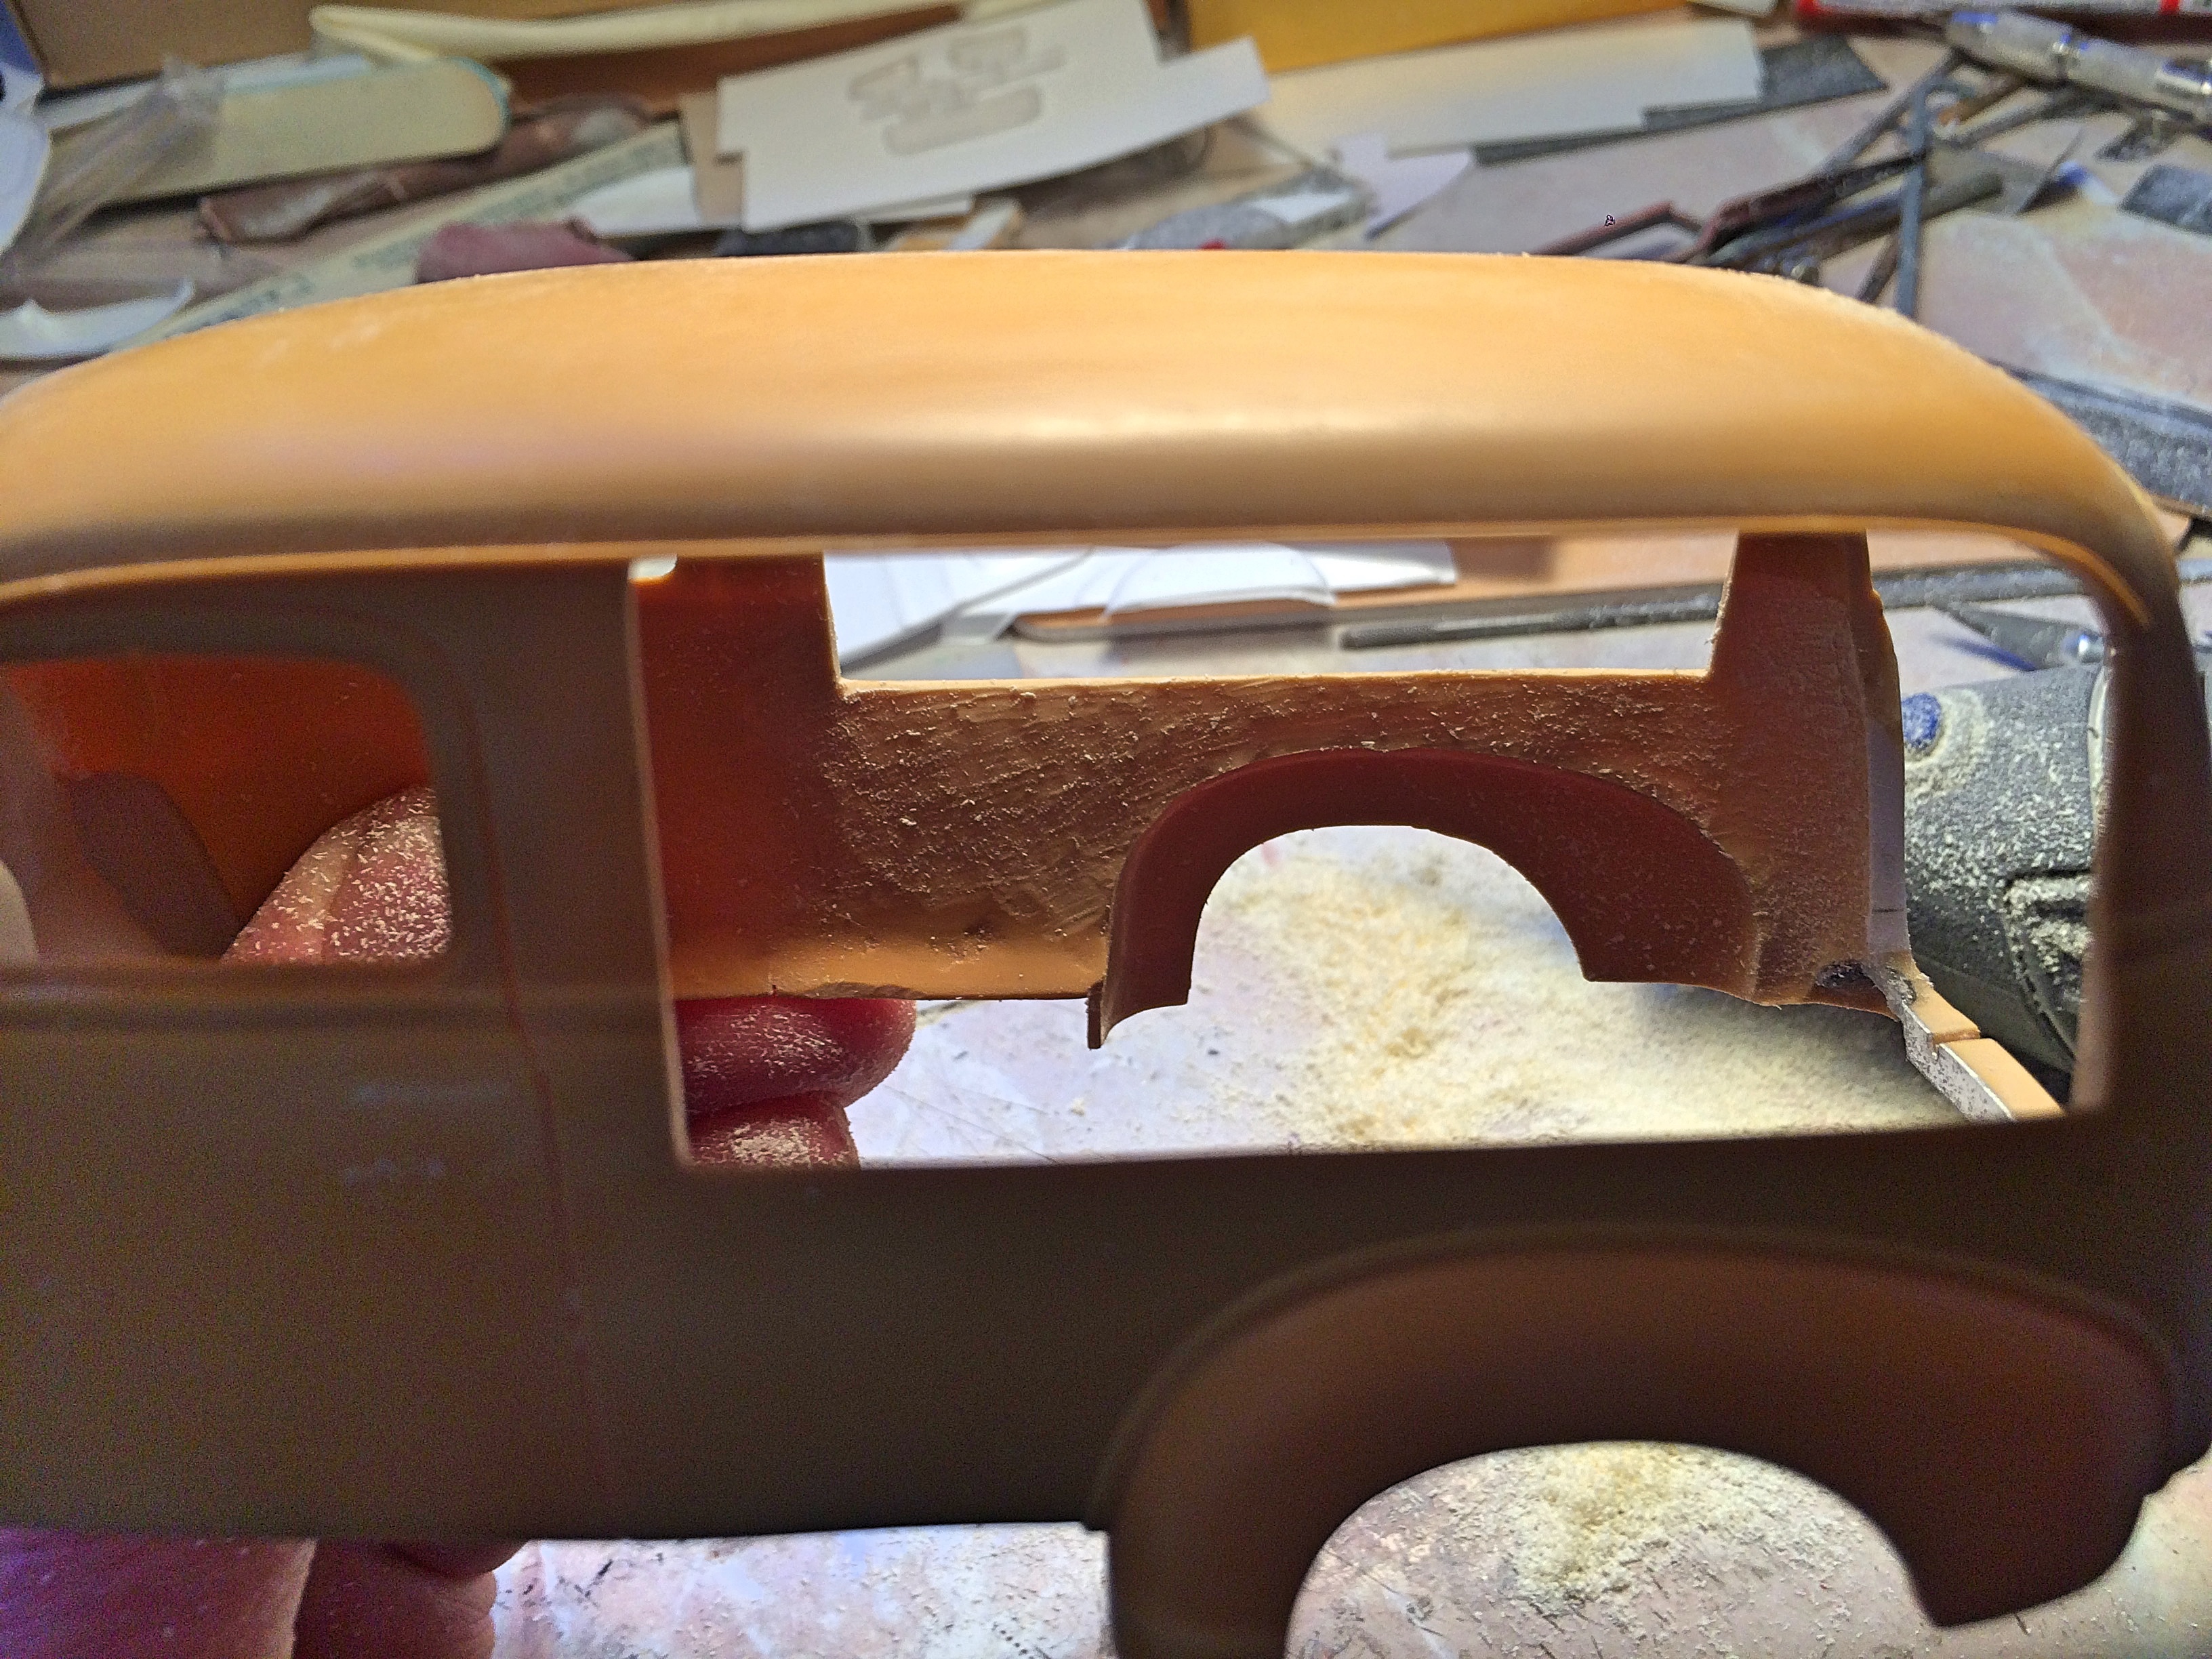
I realized the resin body was way too thick on the sides, so attacked with the Dremel. I shined the light behind to determine the thickness, was not ready to turn it into a rust bucket, yet. I know there are going to be gaps between the vac-form parts, so will cross that bridge when I feel like it. For these pictures, the panels are taped in to get a feel for the next hurdle. I'm close to cutting the floor, which will not be factory wood slats, will use corrugated Plastistruct to make it look like a newer truck bed was torched and welded in (at least that's the plan). Another tedious detail will be making the opening lip, sort of like a jamb. I'm also getting psyched out about doing the rolled edge, was planning a tube, or rolled aluminum at the ends with dowel in the center, something more than a solid dowel. As the pictures of the real truck above show, I have taillights to fabricate too, that center one is hinged. Gas tank and filler need to be scratch built too. That's all.

-
Thank you very much Mr. Superdetailed Pagani. Yes, that's what I'm talking about! But I've been planning on a rusty patina, some dents, with what looks like a rebuilt engine, new tires on painted wheels, seat cushion redone, like it's a Beater Getting Neater. Doing the canopies would take another month.
-

"Bring Out Your Dead" Completion Build--ROUND 2 Is On!
89AKurt replied to Snake45's topic in WIP: Model Cars
No way I'm finishing my Canopy Express. I'm not going to halfarse it to rush this deadline. -
Thanks for finding that!
-
Sporks, the crossover
-
food coloring mixed
-
I'm having good results using the cooktop burner, but I can't add heat if not completely sucked down.
-
I use Corian (used for kitchen countertops), which has a high heat tolerance. The profiles made from styrene plastic show slight melting.
-
Know what to look for now! Thank you. I did wet-sand the Ferrari to see how it would go, seemed to be slightly harder than styrene.
-
with straws, because
-
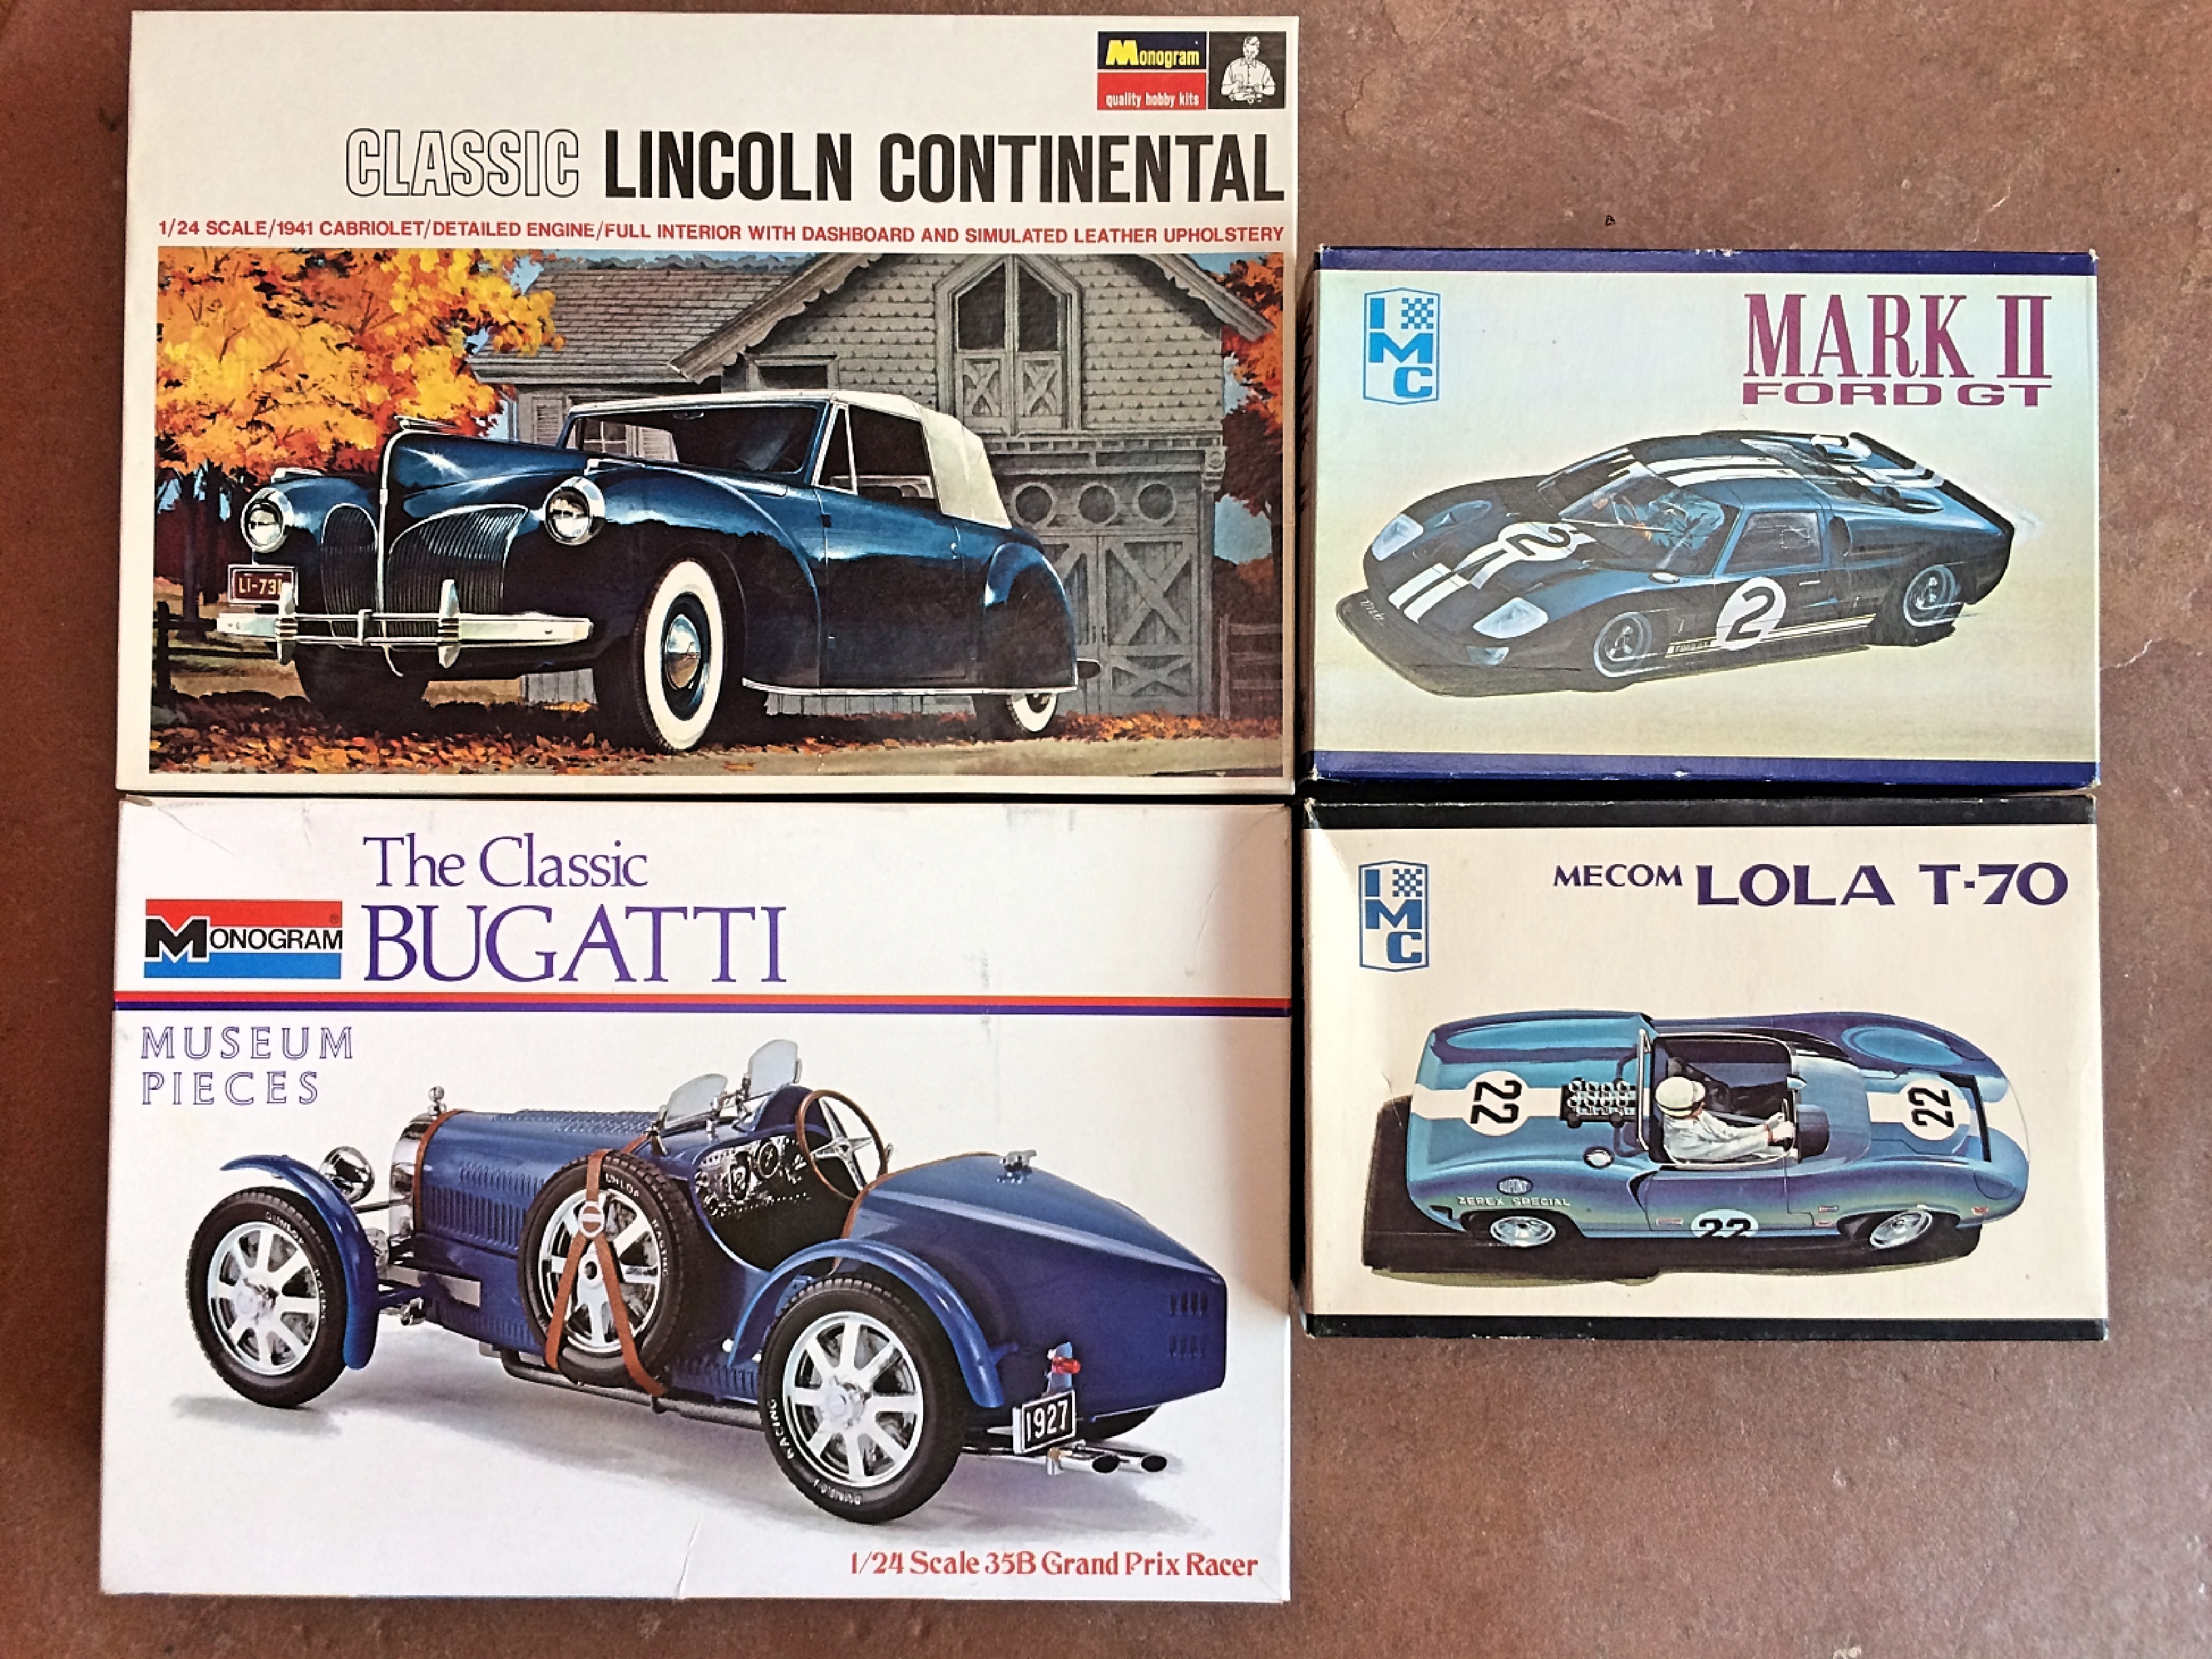
This one? Is it hard to find? I got it from an estate for $10, that a good deal? I was thinking of adding two turbos and duplicating two wheels to make like the Auto Union hillclimb car.
-
NACA air duct......... need help......
89AKurt replied to B_rad88's topic in Tips, Tricks, and Tutorials
Thank you. -
This is good! So you can heat the piece on the box, to help suck it down, vs. slapping it down and hoping it will take.
-
NACA air duct......... need help......
89AKurt replied to B_rad88's topic in Tips, Tricks, and Tutorials
Dredged up this ancient topic, so long-time experts on this forum won't jump on my case when I start a new topic, with a "it's been talked about before, why are you wasting our time." But of course, now it will be "why are you dredging up this ancient and useless topic, we have 3D printing now!" Or something like that, be creative. I did *not* find Jairus's topic, was it scrubbed, or is it titled and tagged with something creative, like "how to make parts"? I've had some interest on a current WIP about my vac-forming (vacuum-forming, vac-formed, vacuum-formed just so future searches will pick up this subject), thought I would start a new topic, but don't wish to waste my time if a real expert (I'm just a hack) has already done so. -
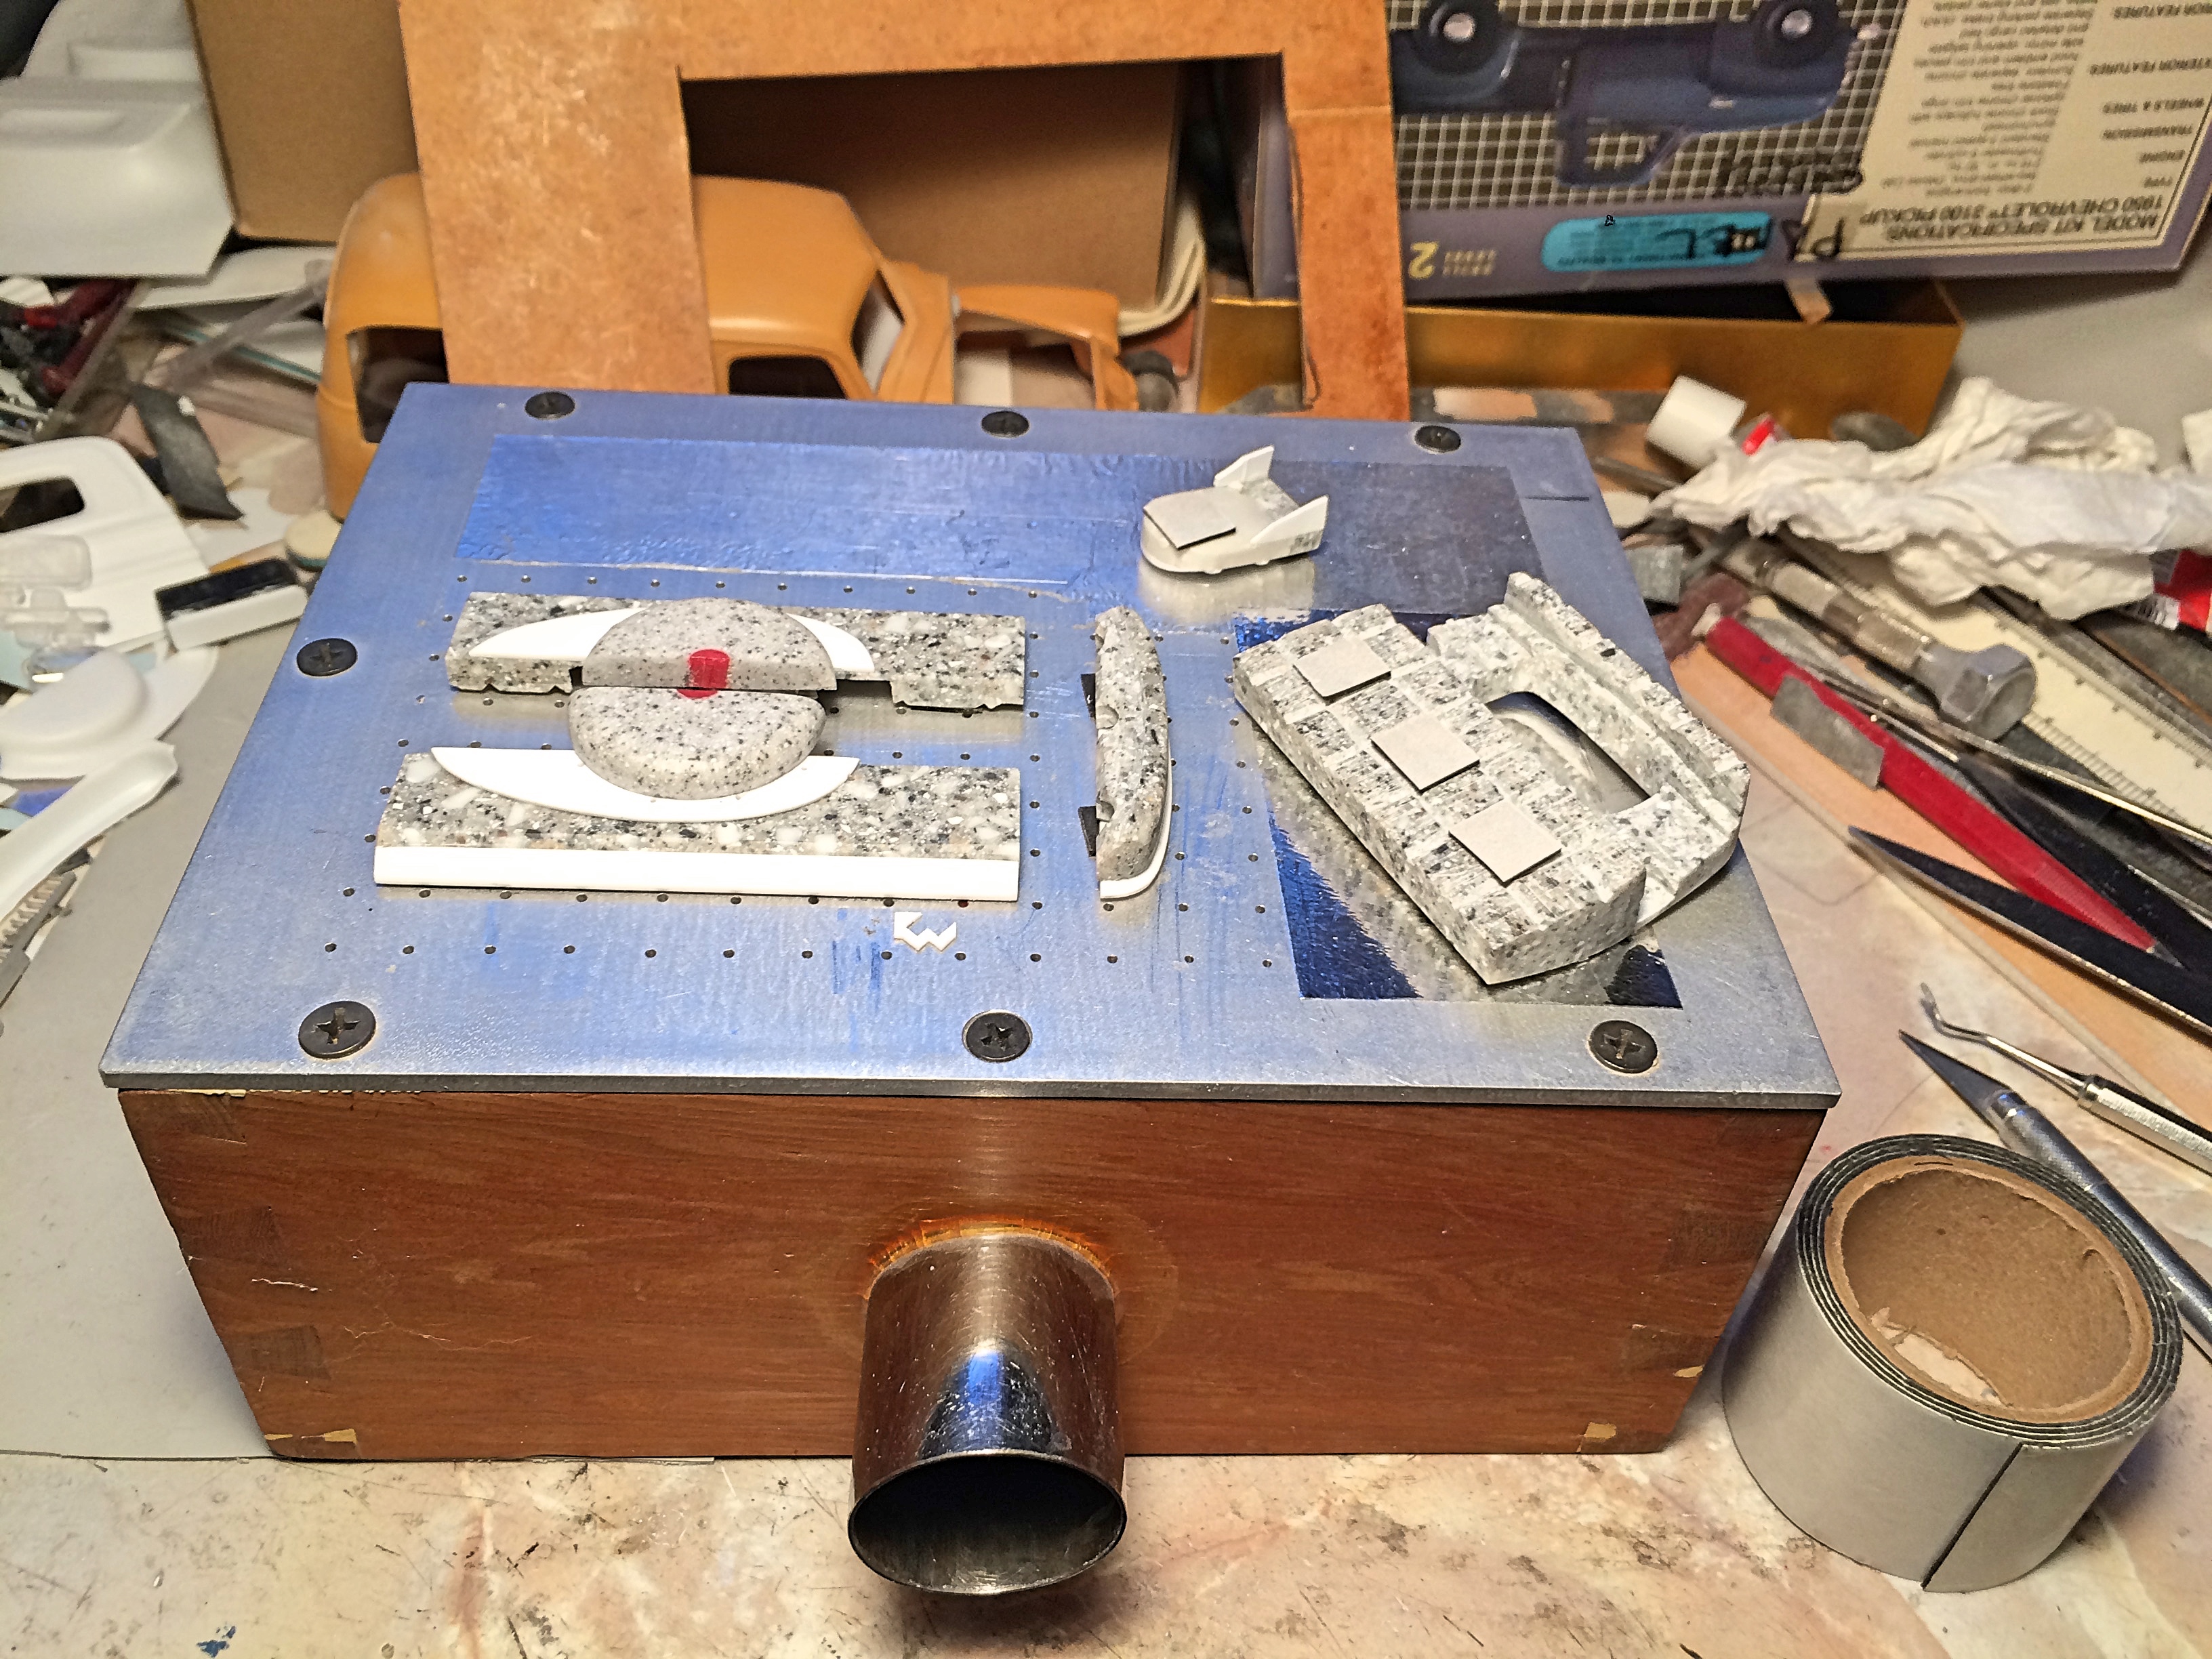
I used 1/2" cedar and dovetailed, just for the woodworking experience. You could get a wood cigar box and make one. It's 6" x 8", used 1/8" aluminum but could probably get away with 1/16" if a support is added in the center, inside the box, and maybe even use the cigar box lid which would be much easier to drill all the holes. Really good guess on hole size and spacing, YES! I broke the drill, so had to use the next size up.
-
Apologize for not replying in Feb.! I had acquired the Model Factory Hiro kit this summer, so I got that out of my system. More back to topic, I got two different bodies from Shapeways, the Ferrari Berlinetta is much better quality than the Chevy COE. It makes a huge difference on the plastic? Is there different formulas for the plastic? Does digital file size matter, if someone models in 1/43 but blows up to 1/25, would the result look like it's carved from wood or sand cast? BTW: Your model looks awesome!
-
dancing flash mob
-
standing up shovels
-
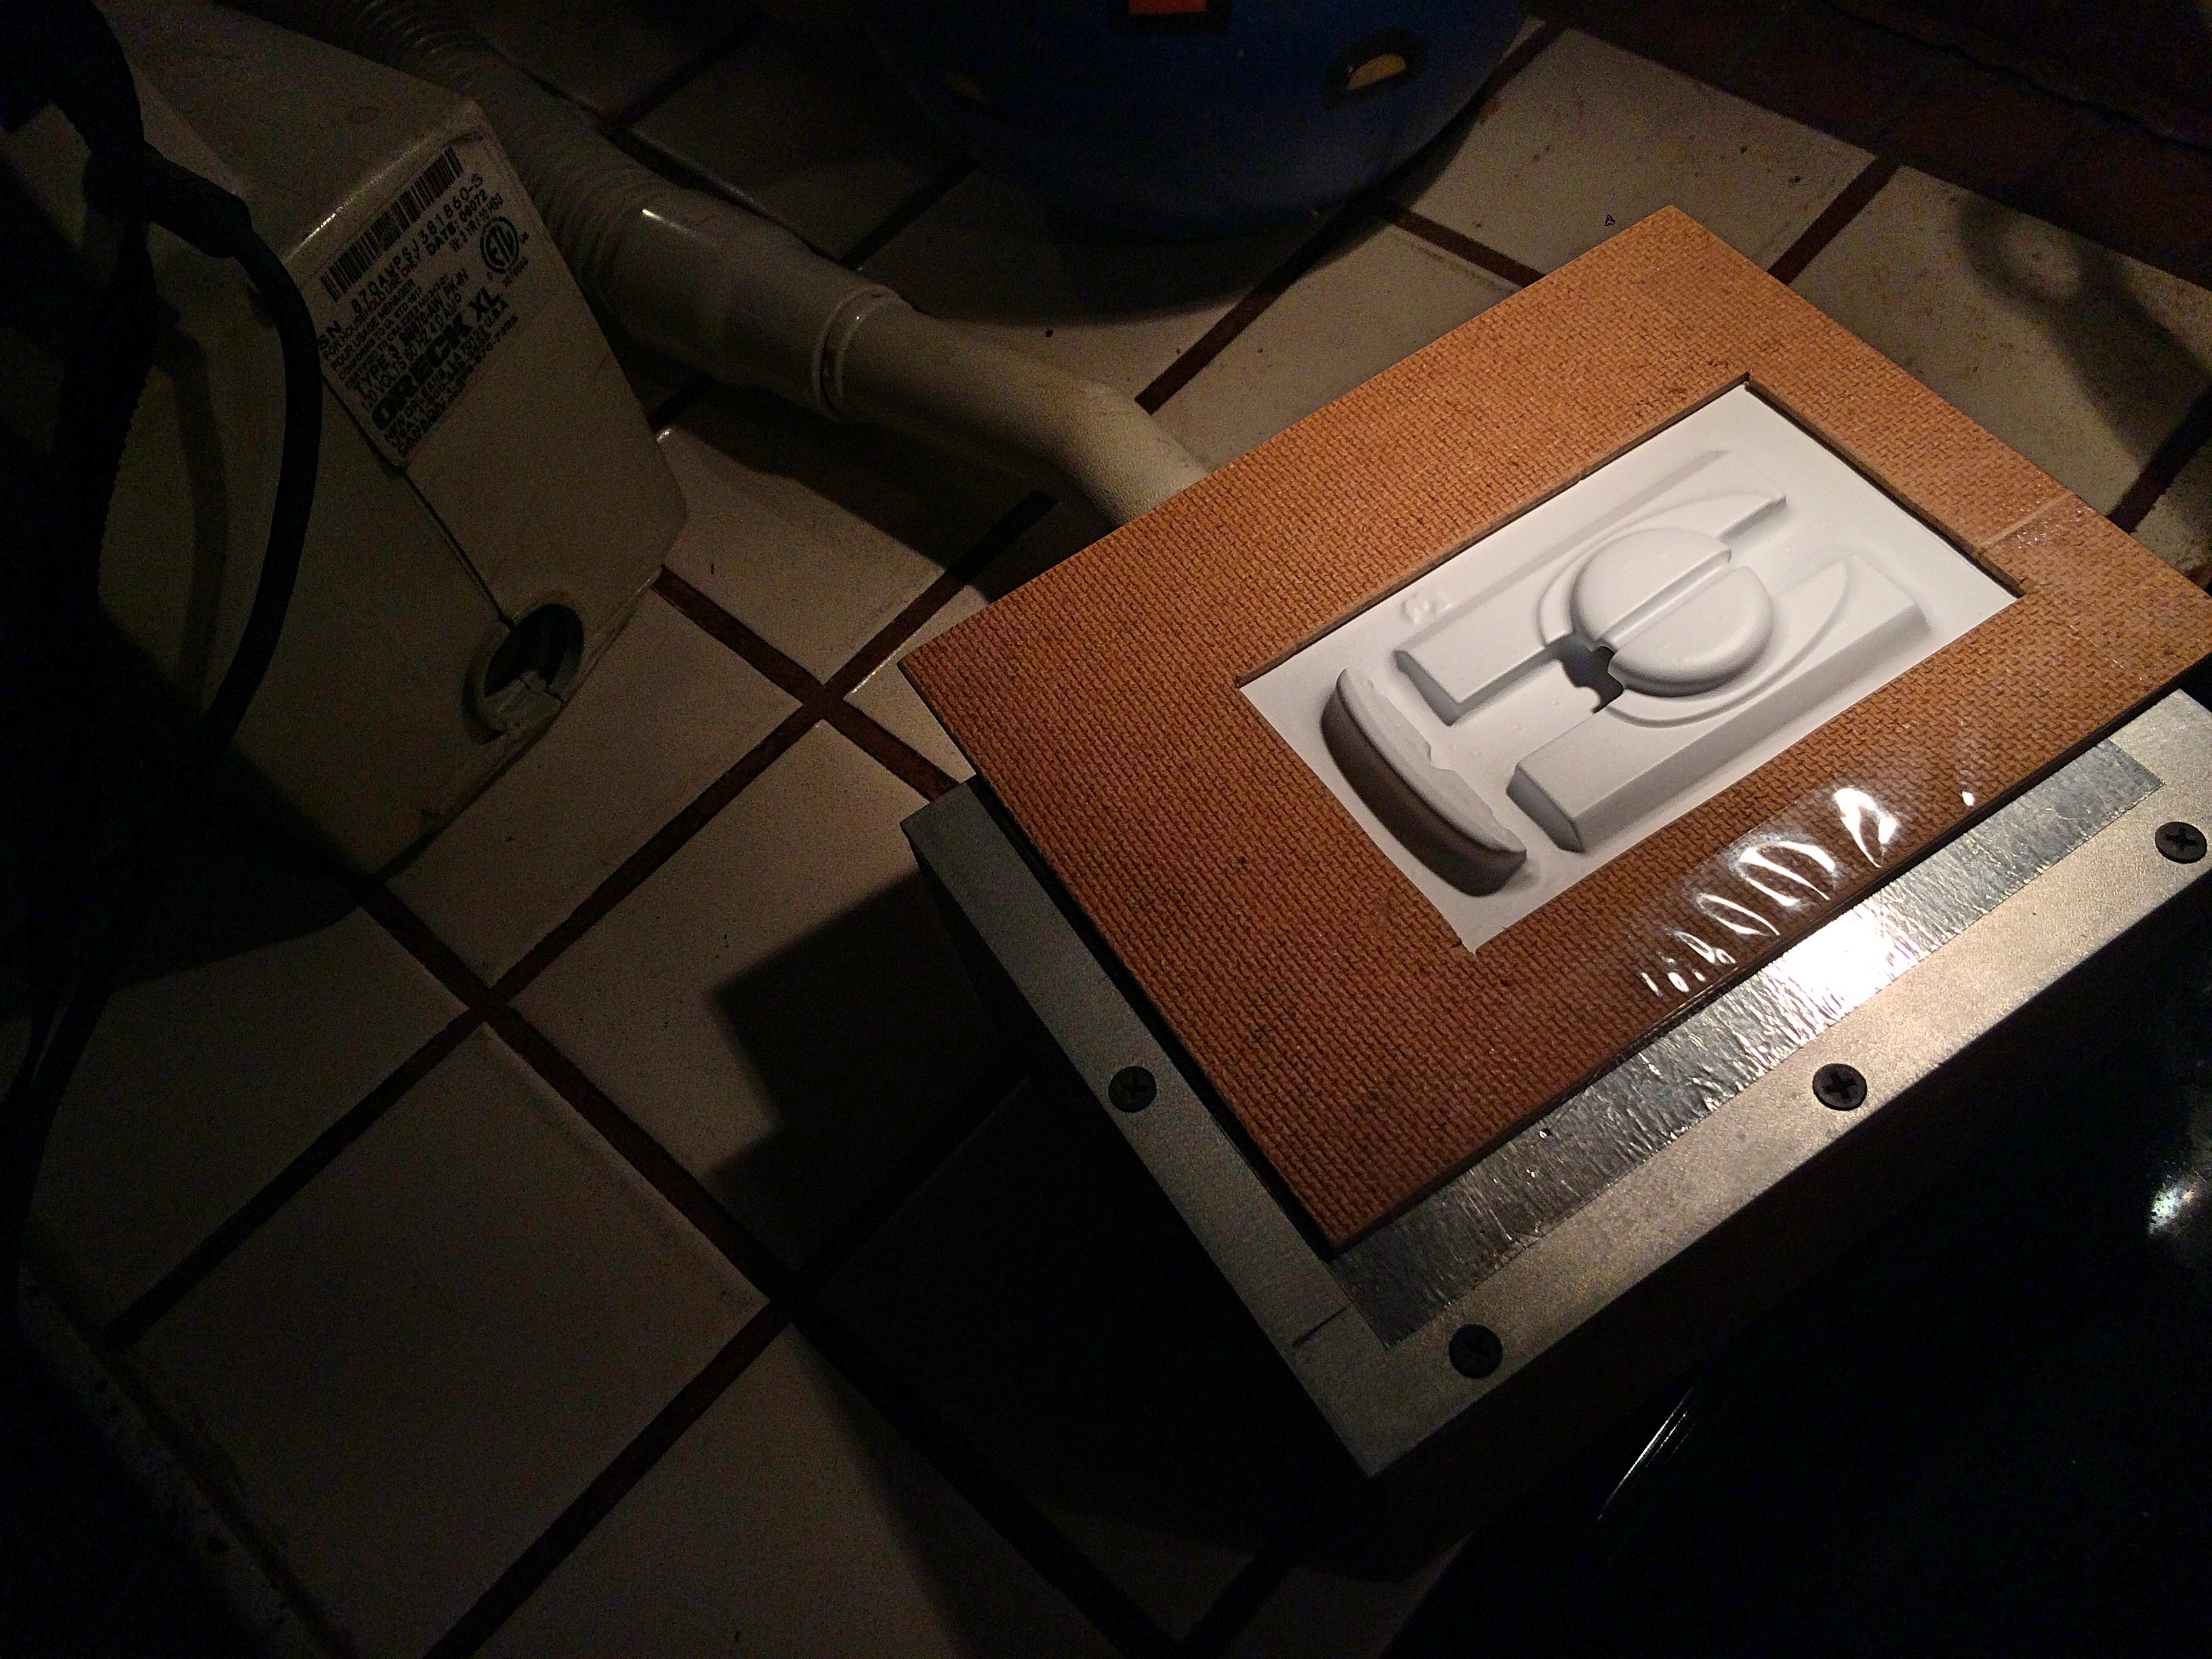
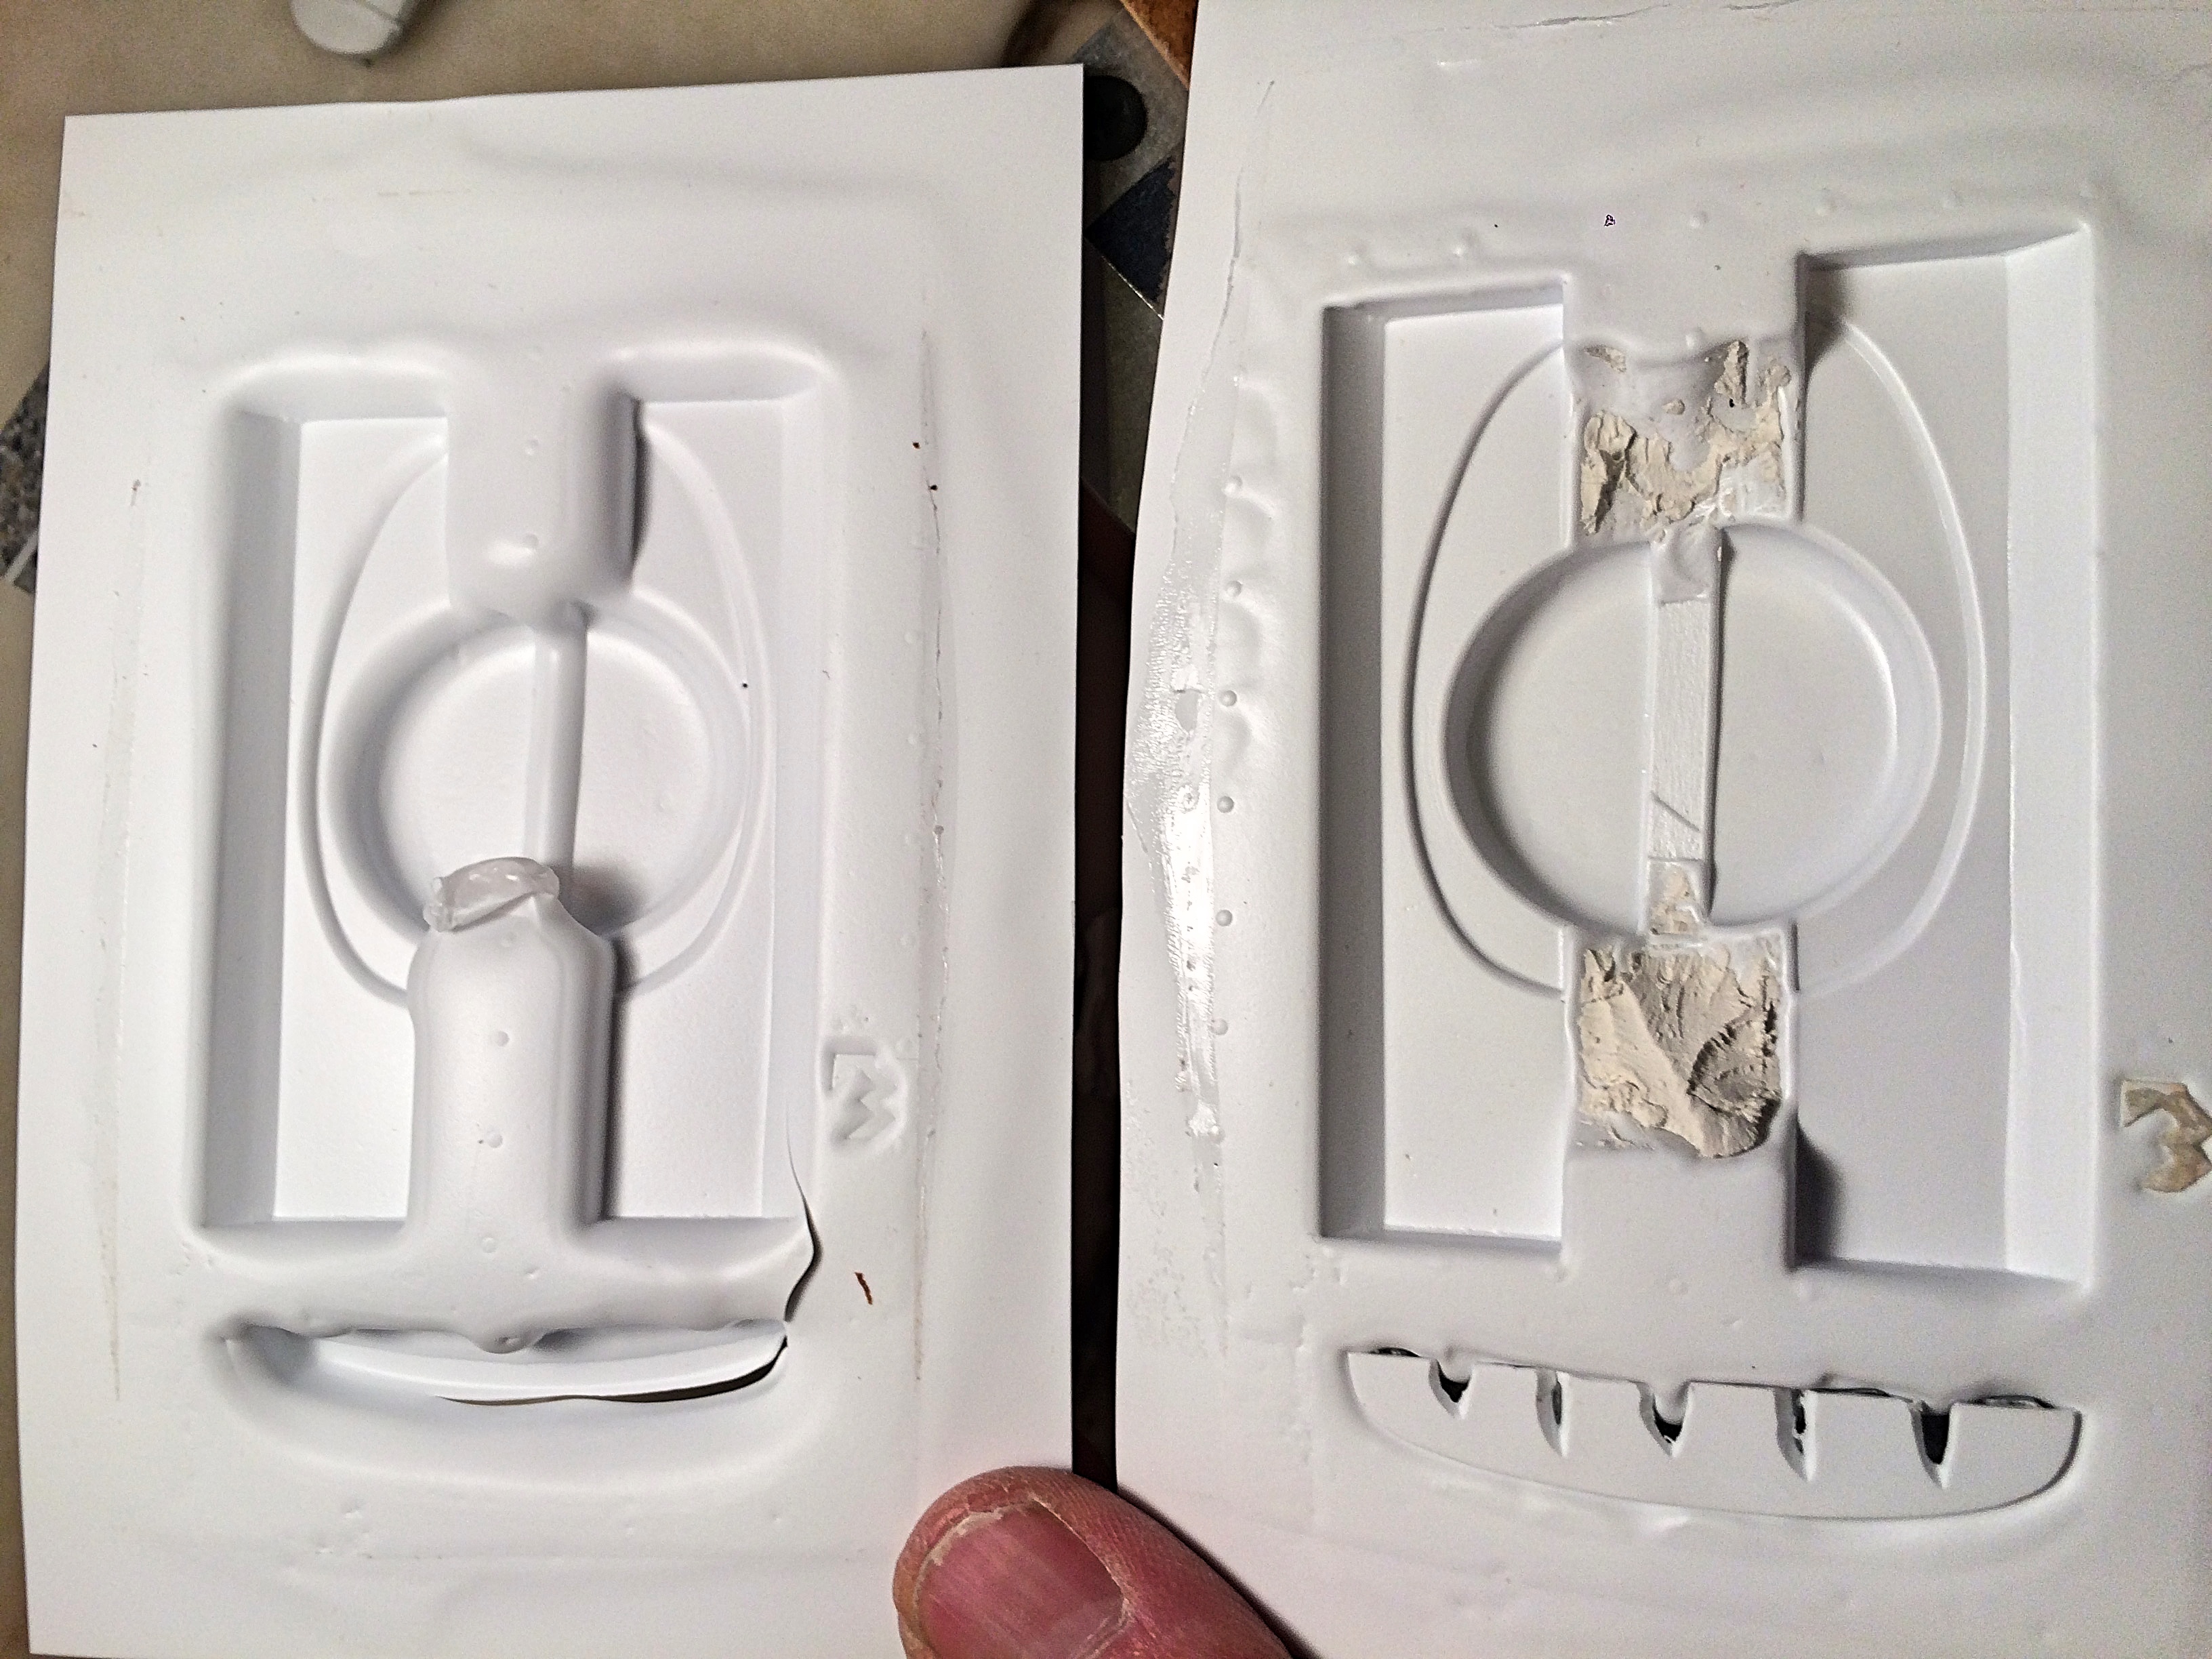
Redid the vac-form parts today. I was not happy with various aspects of the first run, so I went into full OCD mode for about 7 hours. I'm still not really sure how I'm going to fit all this together, and to glue into the body, then paint and weather in there. The floor will no doubt be glued in last before putting the body onto the frame. Time for a beer! EDIT: The pictures aren't staying in the order that I downloaded. 1. Undercut the patterns to thin out the Corian where I wanted to drill holes. I also had to redo the side panels correctly. 2. Added the seat back for a part. 3. Showing the holes, really need this at the inside corners. Also added to the top. I know the Corian is thin enough when I see light. 4. I haven't shown my box very well before. I stick down the patterns with r/c servo tape. 5. Cut grooves under the patterns to help with air flow, then line up when setting on the box. 6. Use shipping tape to mount .02" plastic to the masonite frame. 7. Tape can't go beyond the frame. 8. To avoid discussion about my wood stove (), I used the range cooktop to heat the plastic. This is the critical stage, of course. (possible separate topic?) 9. First part looked good at first.... 10. Discovered the plastic opened a hole, which resulted in loss of vacuum. 11. Added clay to the big void, with a stick that had a gap. I had also sloped the smaller part so it would come out of the finished piece. 12. Success! 13. You can see how the plastic sucked down along the inside edges better. It was still a challenge to cut out the smaller part. 14. Next parts were a success the first time. 15. Not ideal to have the plastic come underneath so much, would add a bulkhead if done again. You can see the air 'flumes' to the holes on the side. 19. Some more finesse fitting required. 18. Cutting the bulkhead, need to be really careful to not overshoot while cutting. I whittle down such edges, instead of hoping to make one cut. 17. Rough fitting of a side panel. The OCD in me is saying that needs to be redone, but lots of rust might hide it. LOL 16. The seat back, and side panel cut out. I removed much of the seat back 'pattern', some of it was temporary just for this operation.
-
"Bring Out Your Dead" Completion Build--ROUND 2 Is On!
89AKurt replied to Snake45's topic in WIP: Model Cars
Yea I hear ya! Today I spent about 7 hours, re-doing the vac-form parts. This is why I hardly get anything done. It's also why this project was sitting in the box for so many years, can say I have jumped over this hurdle without doing a faceplant.
-
but forum posting
-
That's some incredible work! And really good photography too. I have the "Lexus" kit, planning to use the engine/chassis under a classic Celica. Good to see someone else using nail 'polish' paint!
-
chariot restoration shop
-
Chrome Chrome Chrome everywhere
89AKurt replied to SCRWDRVR's topic in Model Building Questions and Answers
I still prefer BMF, but I have encountered a sheet that had the adhesive gone bad, did not stick at all. I have used the Molotov pen, you have to commit to applying in one sweep, DO NOT go over to touch up. -
of gold buried