Slotto
-
Posts
3,318 -
Joined
-
Last visited
Content Type
Profiles
Forums
Events
Gallery
Everything posted by Slotto
-

1968 Shelby Green Hornet-----Update! 8/4/18
Slotto replied to MrObsessive's topic in WIP: Model Cars
Amazing work Bill! -
Did a light sanding with 5000 then sprayed on a coat of Minwax Polyeurothane. It dried within 12 hours. Any suggestions to smooth things out? Mothers?

-
love it
-
Nice little piece
-
1967 Pontiac Bonneville. 2/20, COMPLETE!!
Slotto replied to StevenGuthmiller's topic in WIP: Model Cars
Great subject! -
Really nice build. Nice job on the engine
-
Super clean. Love the interior and engine details. Nice color choices too
-
Super clean build! What a cool little ride
-
Lot's of great stuff there! Thanks for sharing!
-
'66 panel sub
Slotto replied to dieseldawg142's topic in WIP: Model Trucks: Pickups, Vans, SUVs, Light Commercial
great detail on the dash -
What a great collection
-
'55 Ford
Slotto replied to Slotto's topic in WIP: Model Trucks: Pickups, Vans, SUVs, Light Commercial
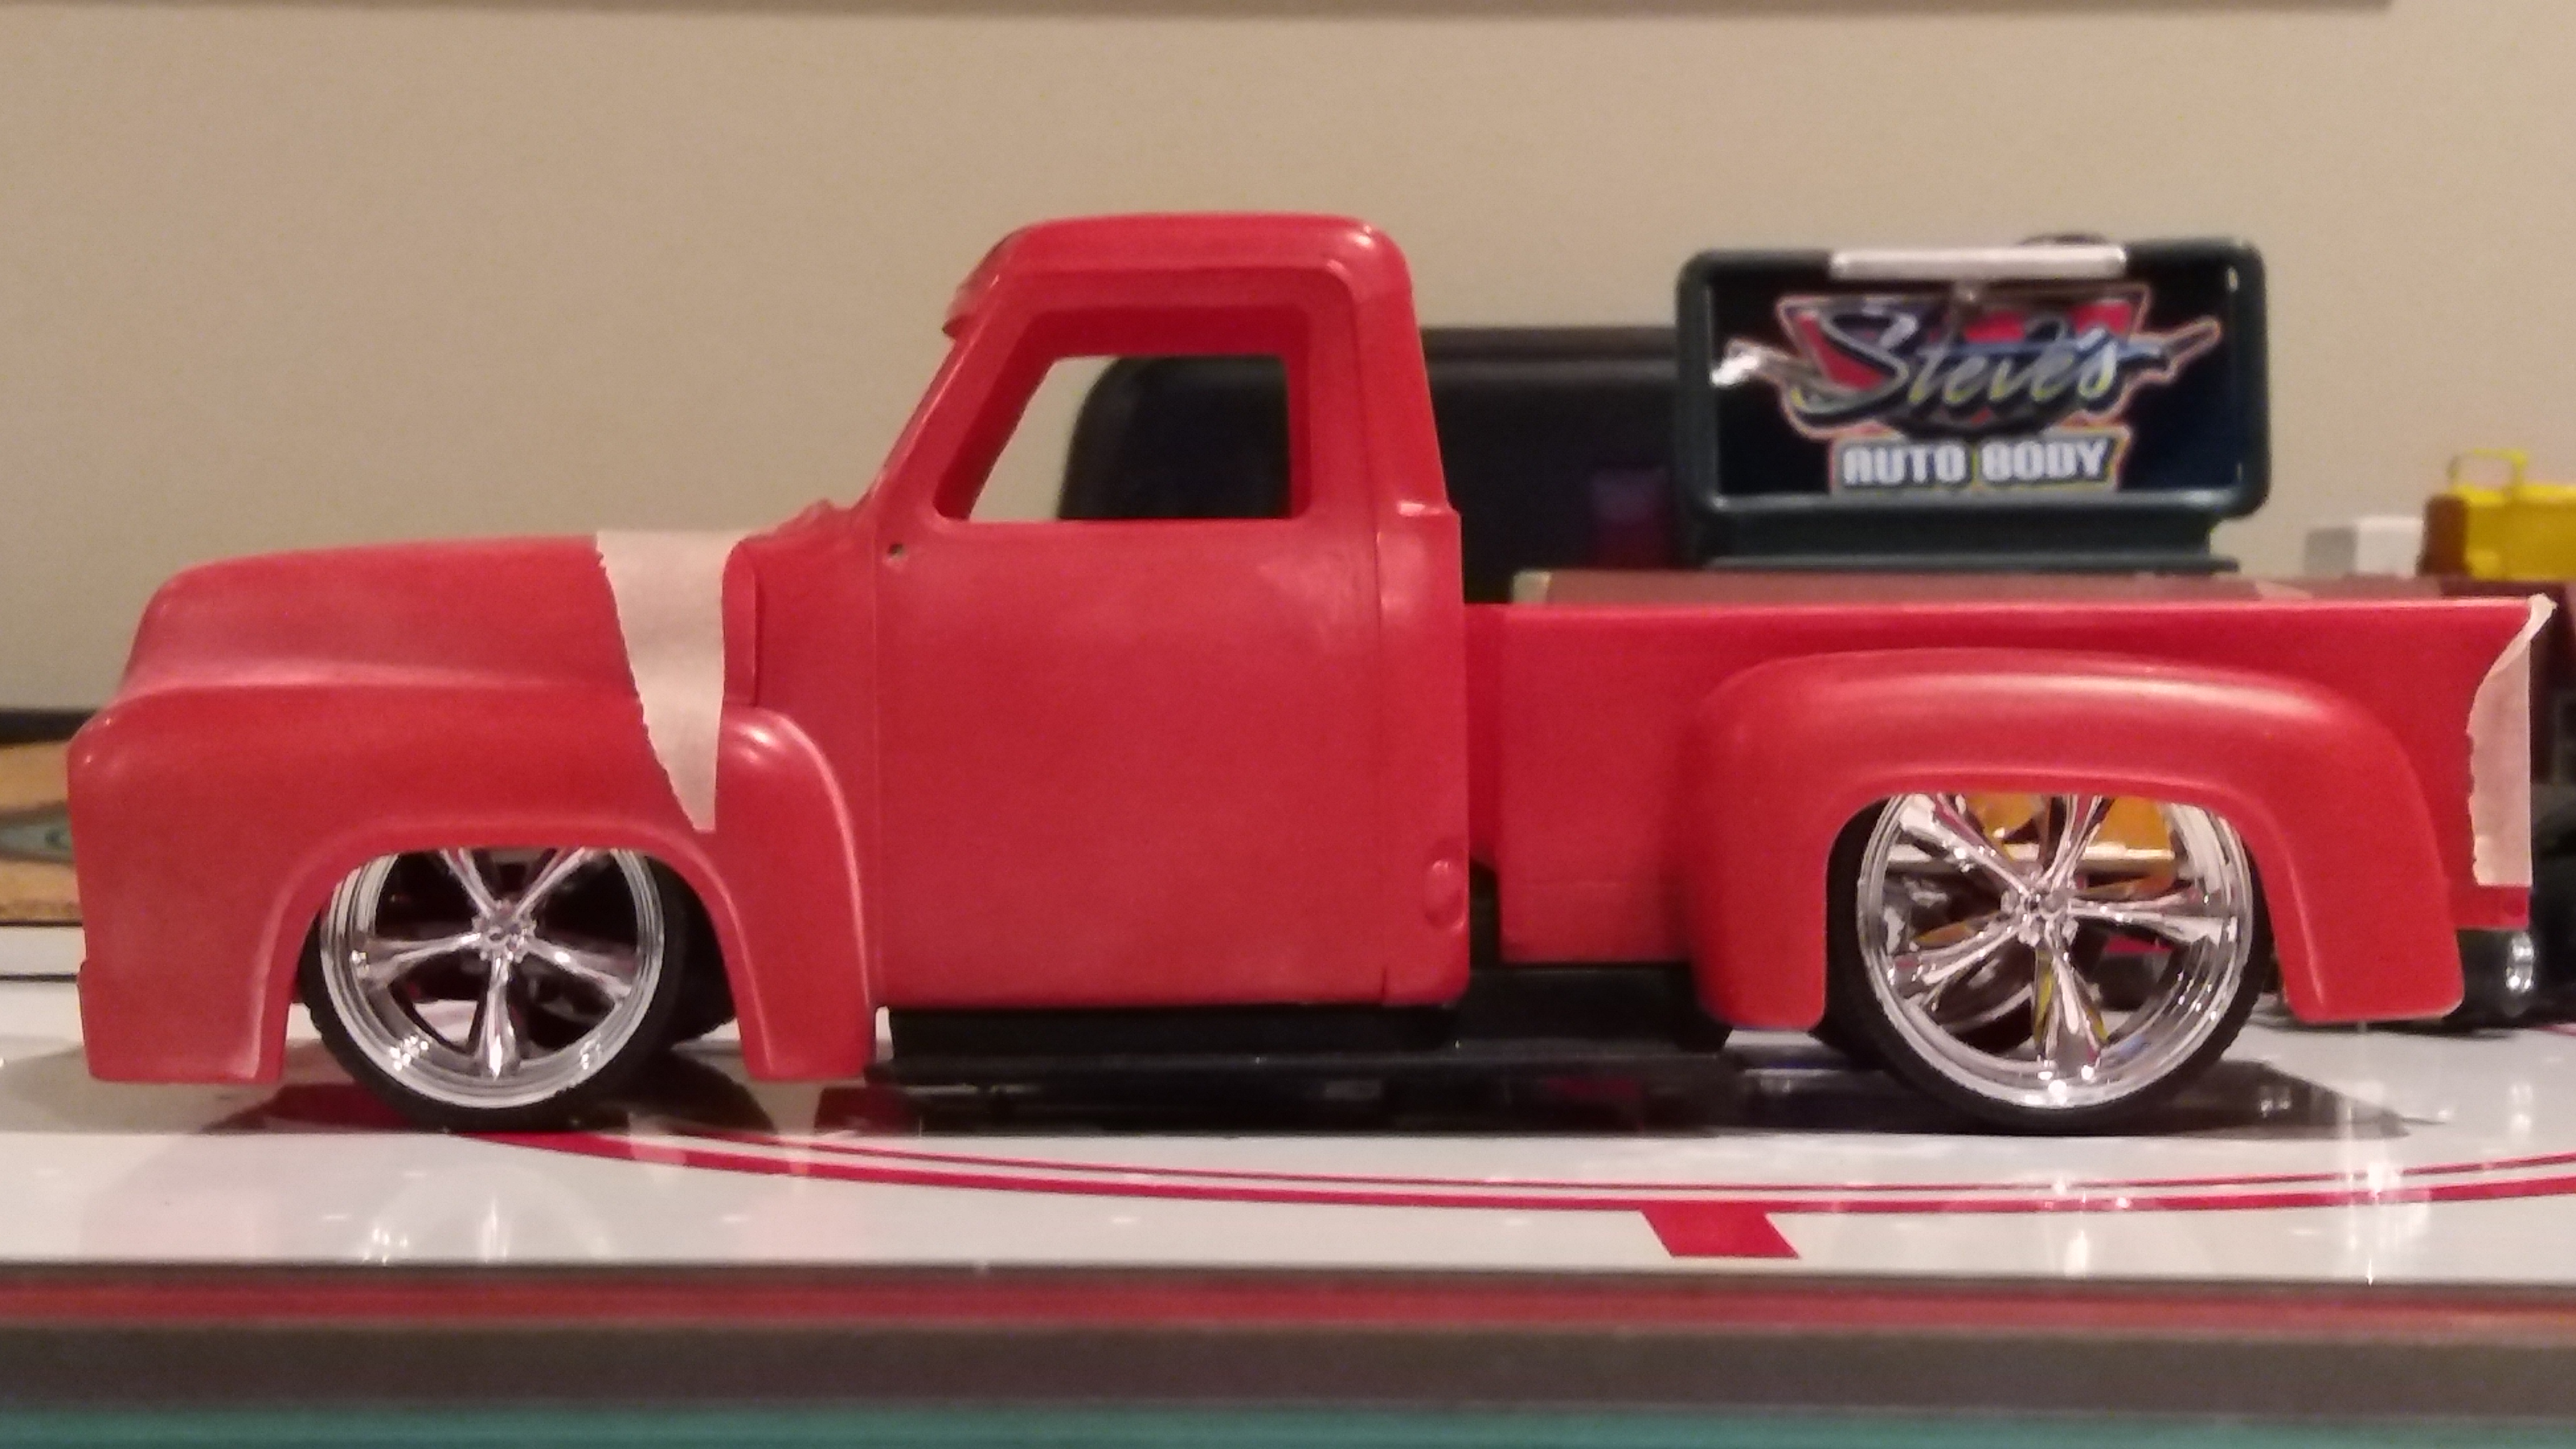
I fabbed up the inner fenders, scribed the door lines (thanks Mike!) and shot a base coat. Stay Tuned... -
I love all the details! Great wheel swap. Cragars are timeless.
-
Red and white is going to be sweet! You should paint her in MD. We are in a heat wave - it's been like 2 weeks now of 93+ no rain.
-
I agree stock wheels and esp fat white walls would look good but I'm a street rodder.
-
'55 Ford
Slotto replied to Slotto's topic in WIP: Model Trucks: Pickups, Vans, SUVs, Light Commercial
Mini update. I removed the wing windows, smoothed out the firewall, filled in the front bumper slots and shot a coat of black primer. I'm glad I switched out the wheels. I love chrome! Stay Tuned...
-
34' ford pickup
Slotto replied to vintagedragcrazy's topic in WIP: Model Trucks: Pickups, Vans, SUVs, Light Commercial
Nice job on the chop.Looks cool -
Beautiful piece. Love the interior.
-
This is going to be cool! Cant wait to see more
-
Very nice build Lizz! I love Camaro's
-
That is a killer Cat! Love it!
-
Great interior! I like the color and the flames. Did those wheels and brakes come with this kit? Very nice build!
-
Good stuff Terry! I wish I would have done more research when I was building my Dodge 330. Those engine pics would have came in handy!
-
'55 Ford
Slotto replied to Slotto's topic in WIP: Model Trucks: Pickups, Vans, SUVs, Light Commercial
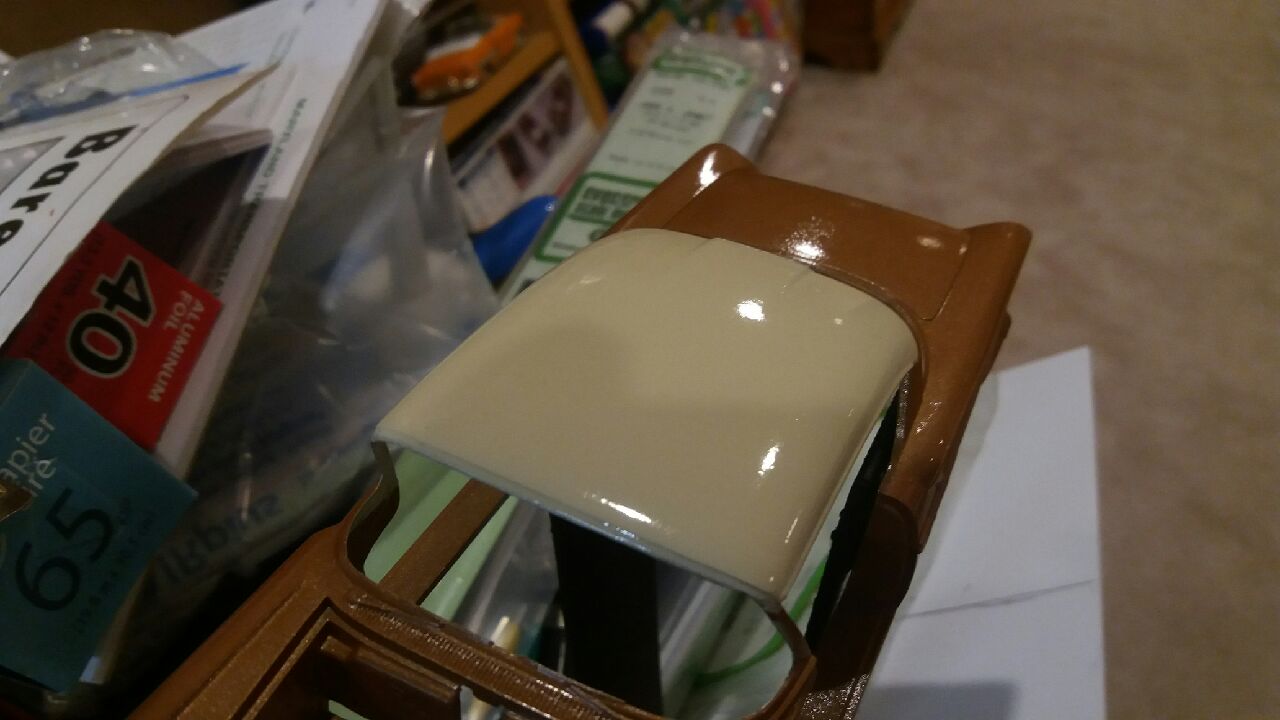
Major breakthru! I did a wheel swap to something just a little bit smaller. These wheels came from 2 different Jada toys. The cool thing is they match. Now I can get the fronts to pose. Stay Tuned...
-
'55 Ford
Slotto replied to Slotto's topic in WIP: Model Trucks: Pickups, Vans, SUVs, Light Commercial
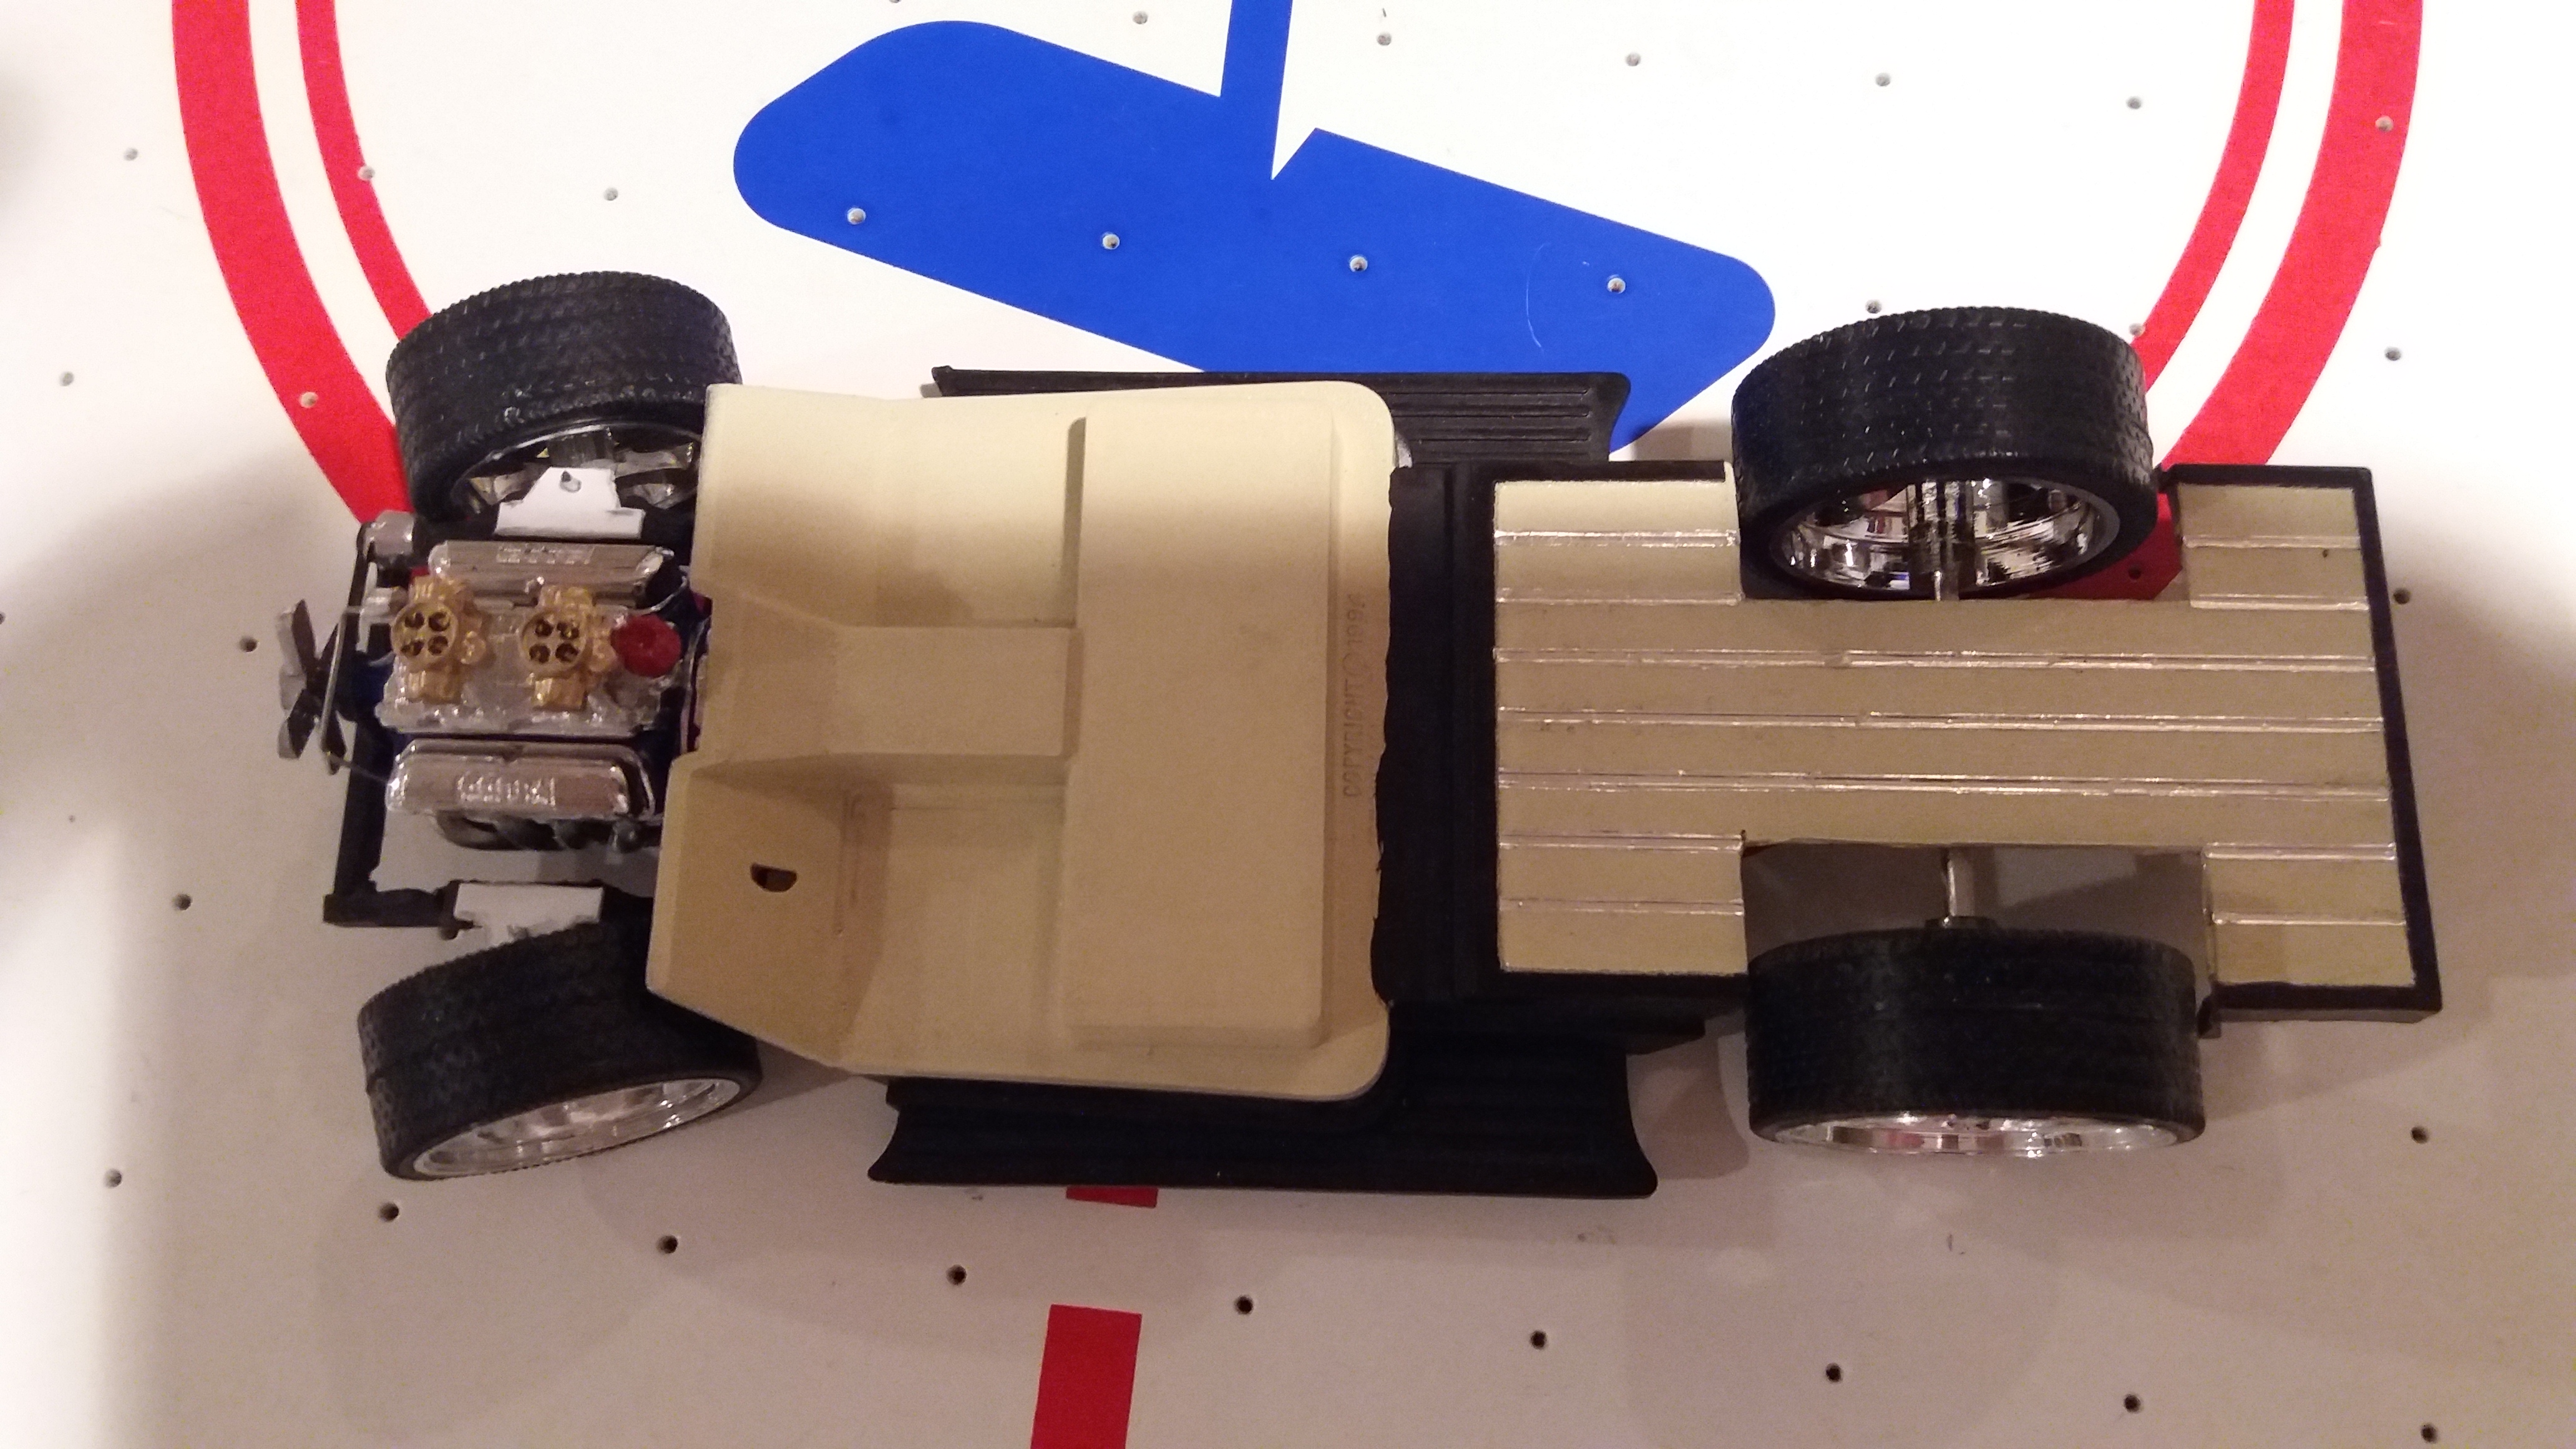
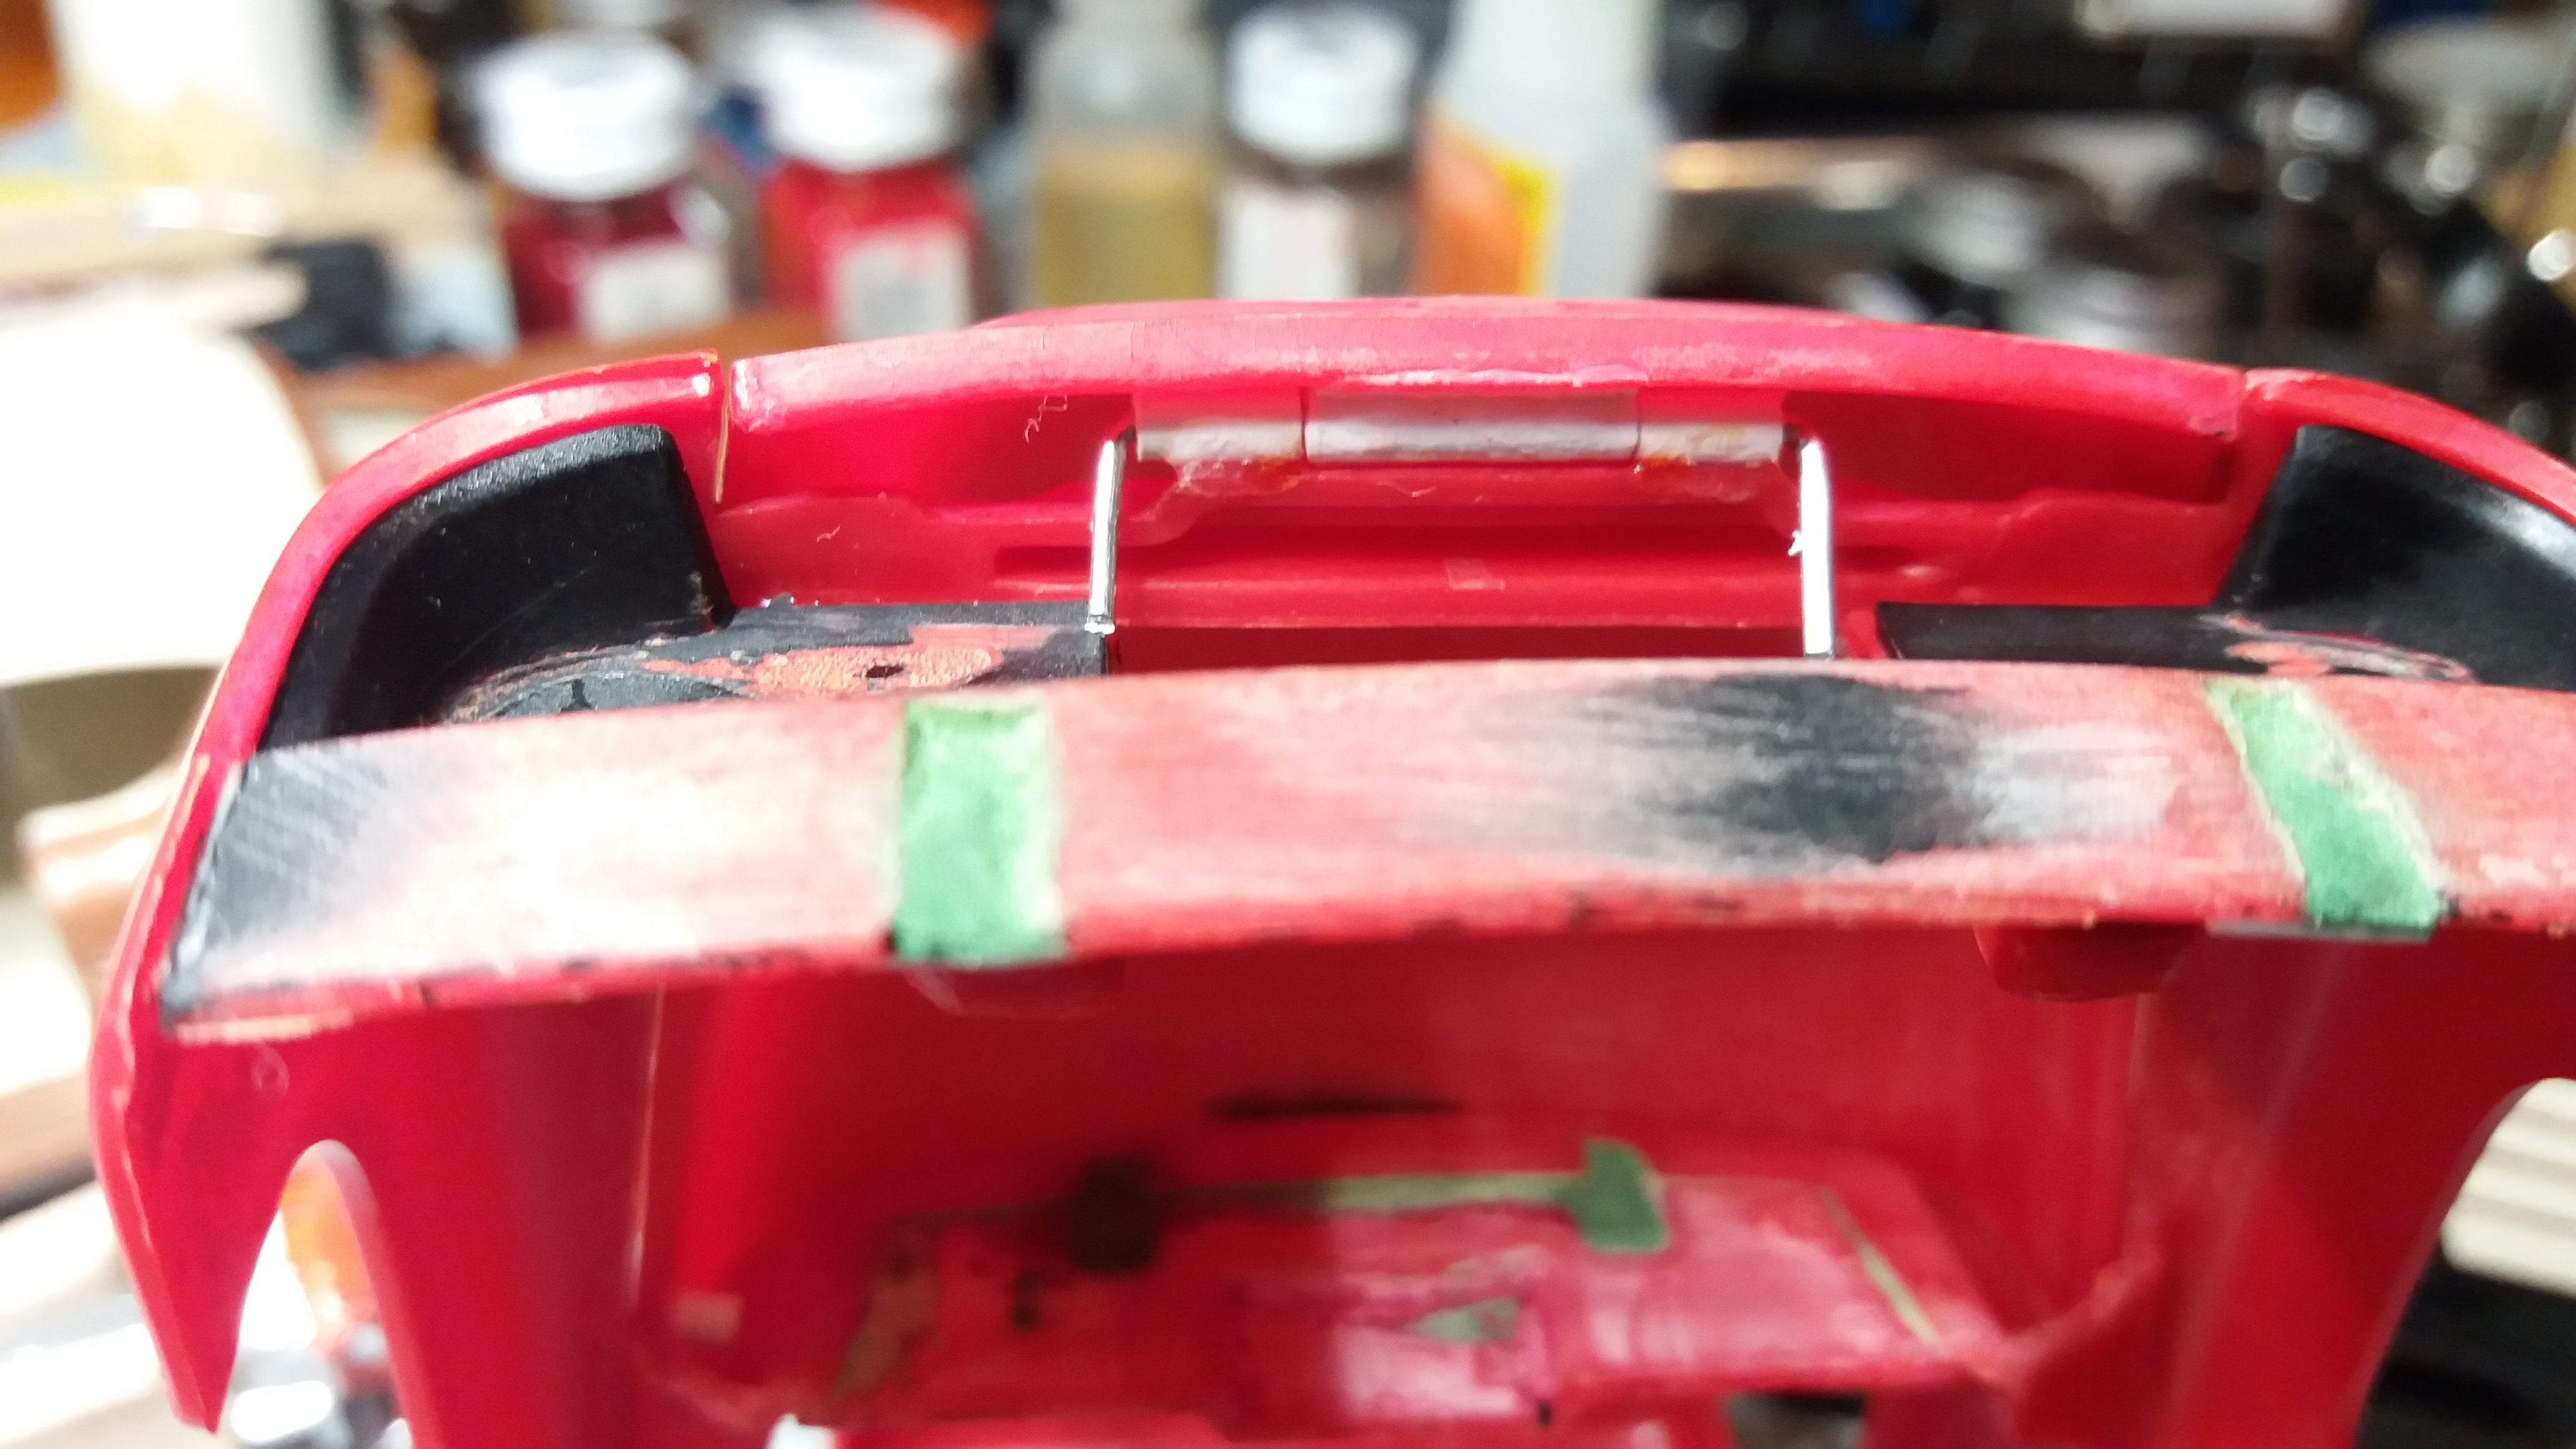
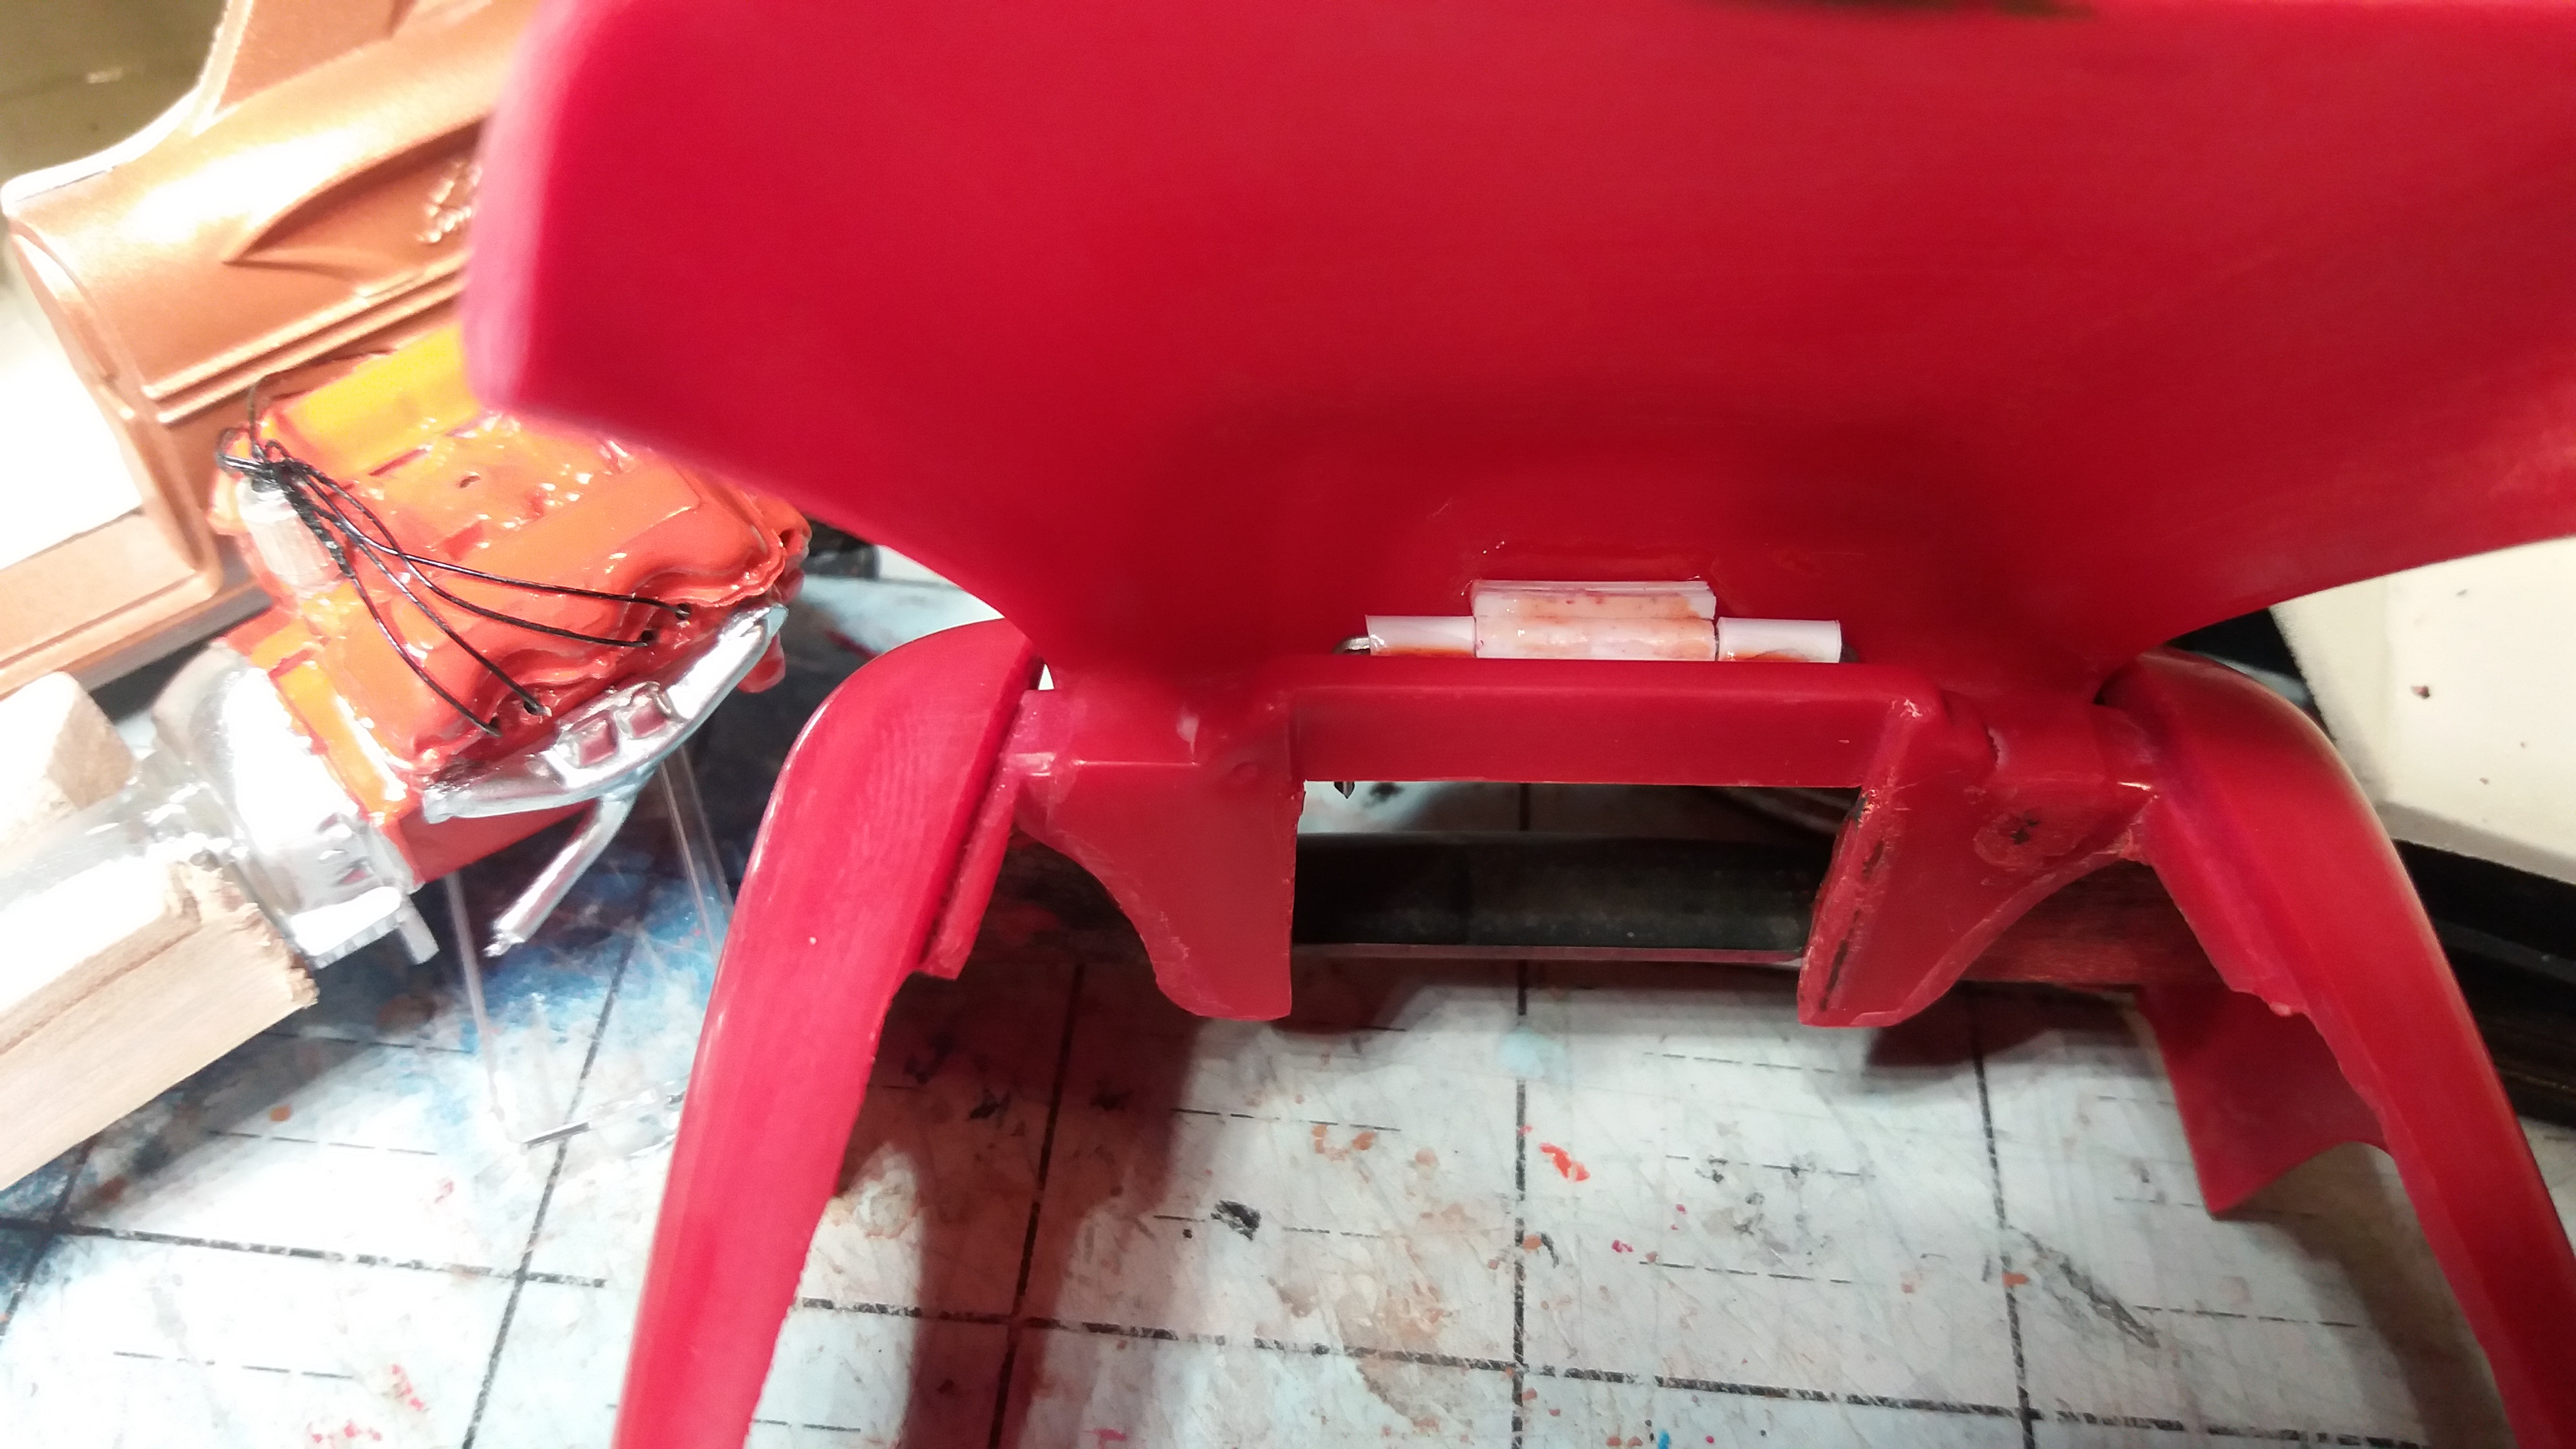
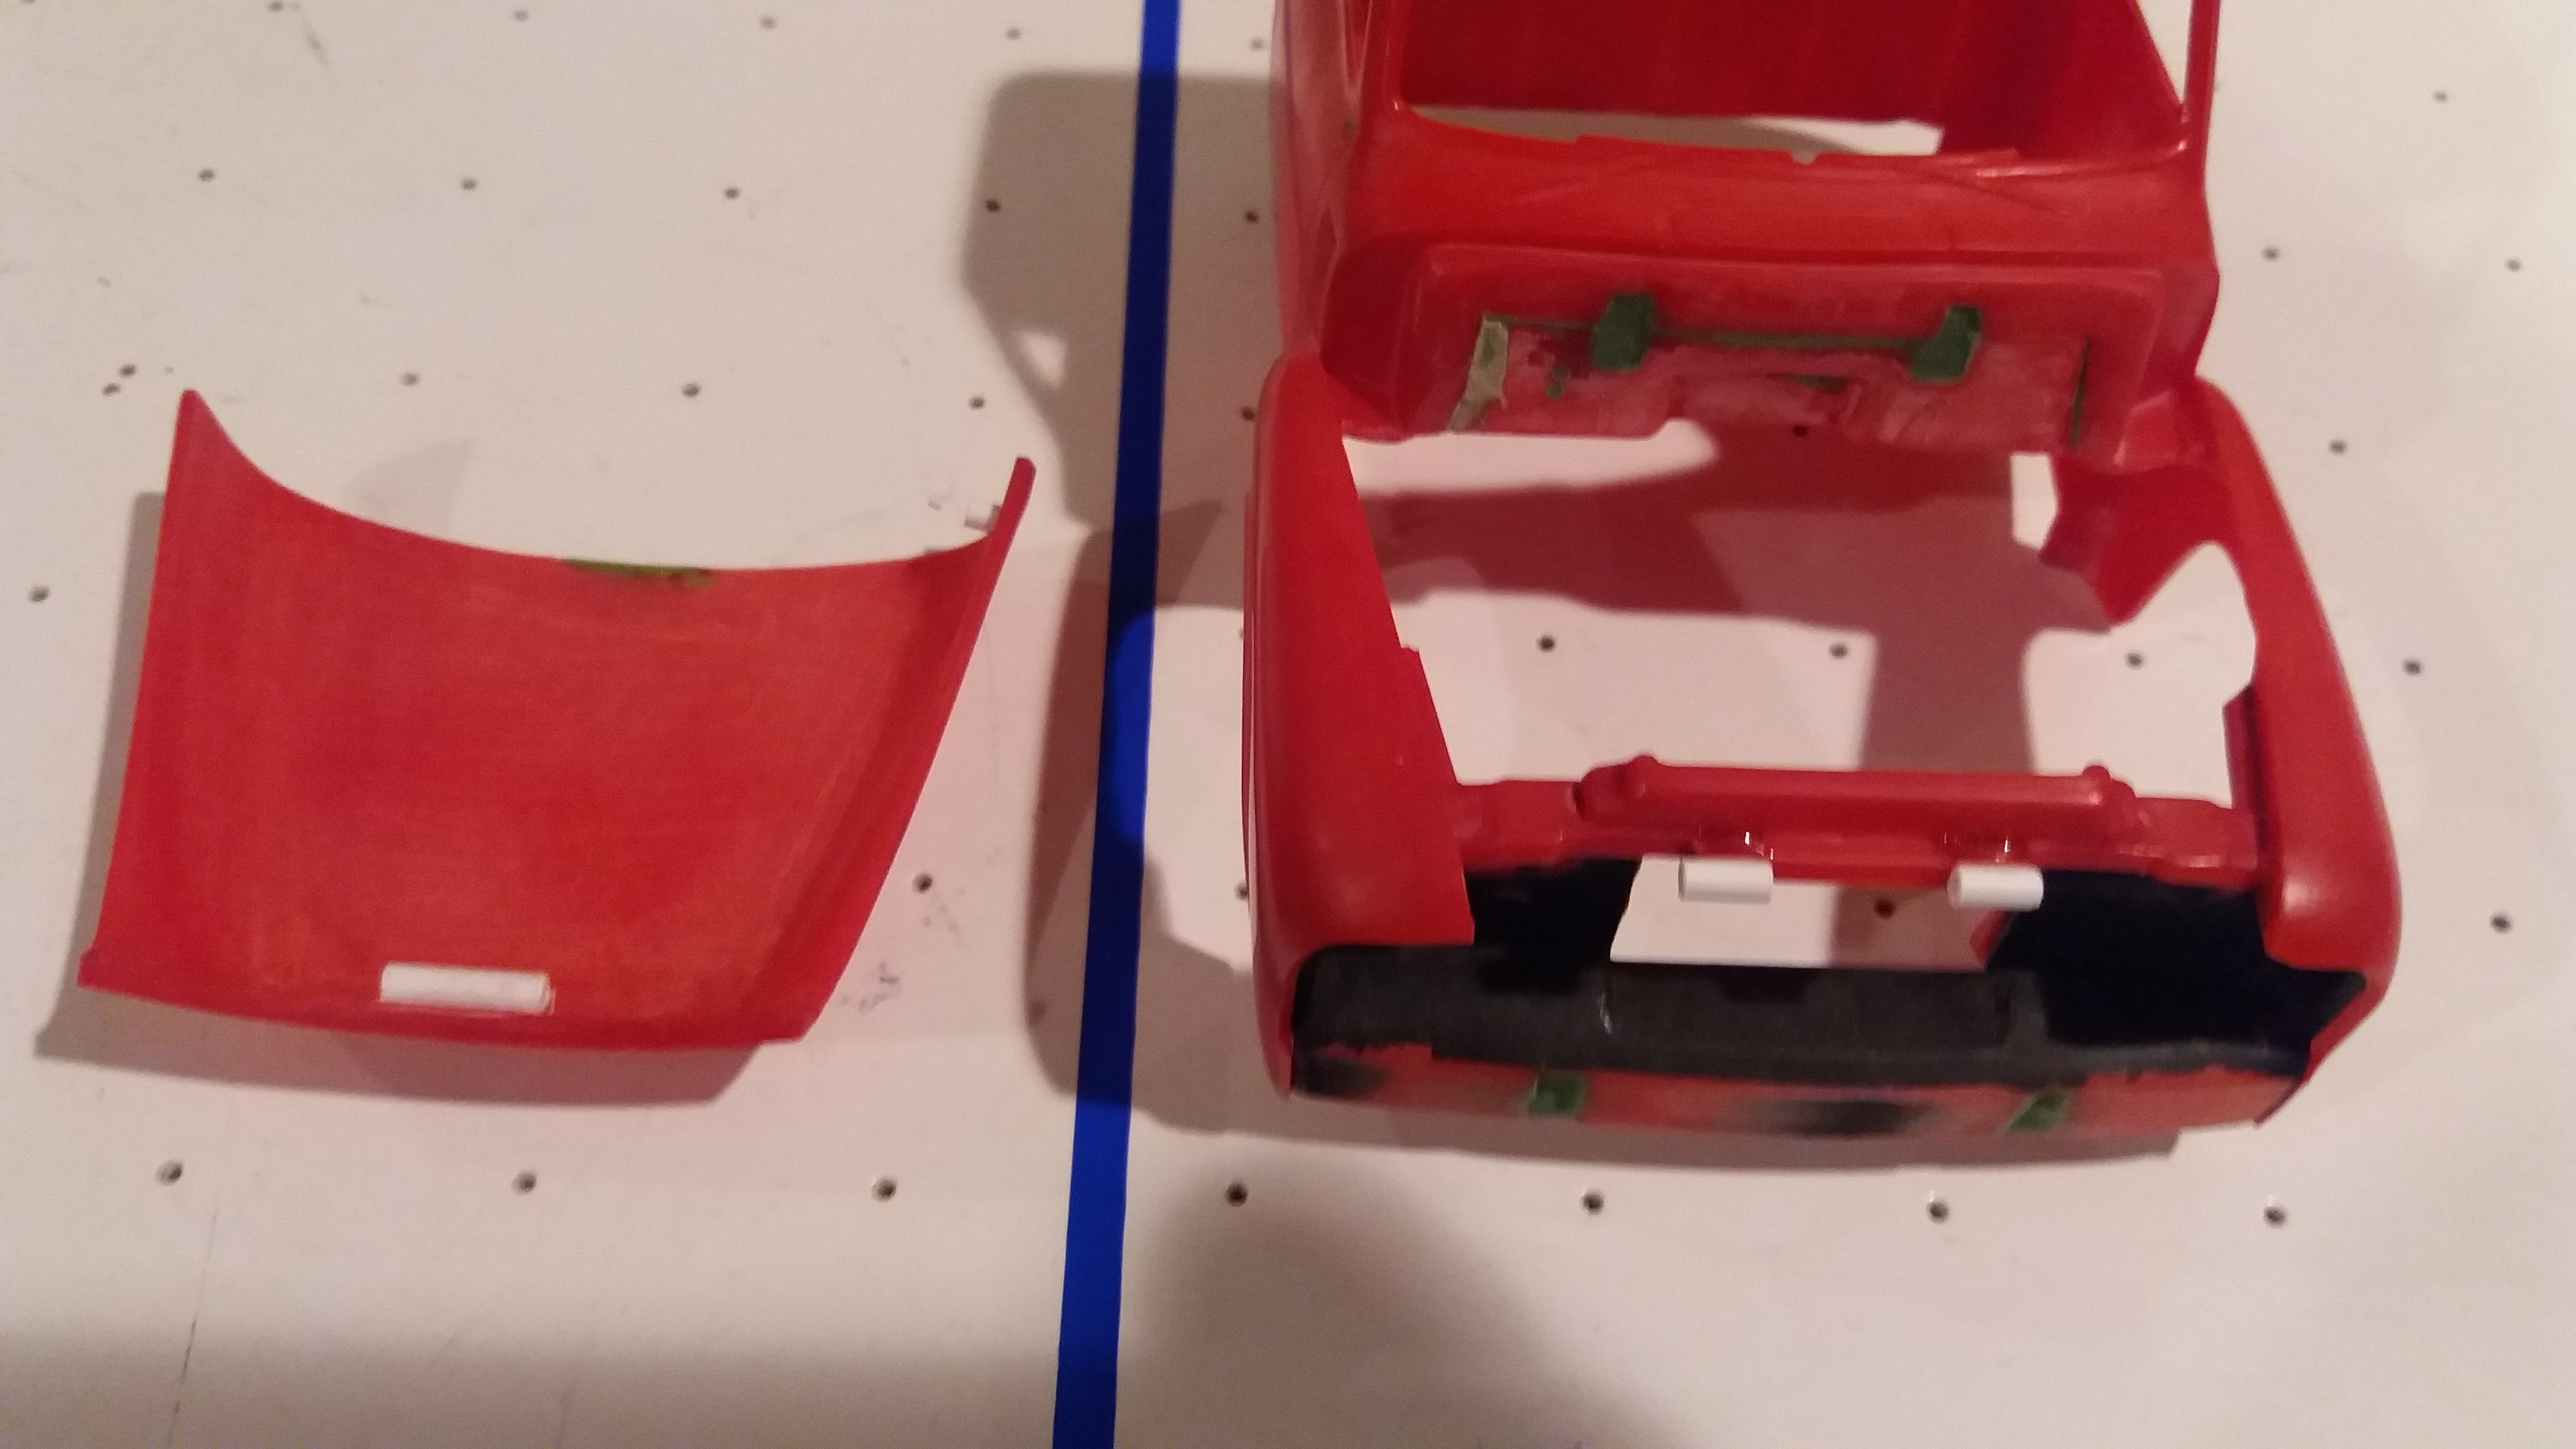
Hey Jeff, thanks for looking. I knew I wanted the hood to flip forward so the hinge point had to be in the front. I held the hood in place and looked at the car from the bottom side. The most logical place for me was at the top front side of the core support. I worked it back and forth as if it were opening and found my anchor points. First thing you'll want to do is make sure that your hood closes nice and flat. Mine didn't so I had to heat it up a little and encourage it back into place. Once your hood is fitting nicely, tape it down so it doesn't move. If if moves before you're done, you're hosed. Next I took a piece of plastic tubing and a straightened paper clip (they should go together kind of snug or the whole think will open quite sloppy). I took the plastic tubing and cut it into 3 pieces. The 2 smaller pieces I anchored to the core support and the bigger piece I anchored to the hood. When I mounted them I did it as one assembly so you'll have to put the pieces together then bond them to the model. Shown above is 2 bent paper clips to hold it all together. This is because I plan to take off the hood many times before I'm done with the build. And I will be painting the hood and body separately. This is a shot of the hood open and you can see how I mounted things. The prop rod was a last minute thing I came up with. Pretty self explanatory. When you're done, it should look like this... Hope this helps...