absmiami
-
Posts
4,776 -
Joined
-
Last visited
Content Type
Profiles
Forums
Events
Gallery
Everything posted by absmiami
-
i tend to scroll thru the builds on my I phon - but this stuff really needs to be opened and stared at on a larger screen ... just thinking that Augie Hiscano would really appreciate this engine build some of you listers know this - and Steve - I think you are familiar with his stuff - did you ever meet Augie ?? I knew Augie well - and when it came to American engines - Augie was THE MAN - but boy is this a nice build ...
-
 And a GT40 chass 1085 is going to auction also. Another bonkers walk-a-round
 -
Walk-a-round alert ... www.Goodingco.com/lot/1957-lotus-eleven/ best shoot I’ve ever seen of a lotus sports car - There’s smoke coming out of the merit Lotus 11 kit on the shelf above my workbench ...
-
29 Mercedes SSK racer
absmiami replied to BIGTRUCK's topic in WIP: Other Racing: Road Racing, Land Speed Racers
Nice ! But your poor driver !! -
Italeri Ferrari 275 gtb
absmiami replied to TC's topic in WIP: Other Racing: Road Racing, Land Speed Racers
N.I.C.E. N.A.R.T. .... -
Decided to see if I could make a roll bar mount and see if the distributor still fits ... it does. Will make the other mount and then figure out how to make and mount the water collection tank that is perched under the roll bar ... caught the tail end of Indy qualifying - there’s nothing like the in-car camera shot at 234 miles an hour ... the 29 had straight-a-way speeds of - what - 160?

-
cr-images.de the cr stands for Carsten Reide. Who is apparently a very successful / well known ? / photographer fr Germany - I think - anyway his Motorsport photography includes a wonderful tour of the Donington Museum (RIP) - and somE great photo collections from his visits to Goodwood etc. with some great engine porn - no free downloads but if you own an I phone - you know what to do -
-
That should be about an inch diameter. So you have to use some fairly large stock. Was it cut without having to use a spacer ?
-
Turning the ring requires a turned radius on both front and back of the alu bar. Which is tricky - what’s your method? You’ve made yourself a cutting tool with the required radius - or what ??
-
Cooper barn find
absmiami replied to absmiami's topic in WIP: Other Racing: Road Racing, Land Speed Racers
Great stuff - the early scratch builders often built in 14th and 15th scale - I think Wingove preferred 15th ... -
You might need to contact your lawyer. The new Spring Micro Mark catalog features this item on page 59 ... Just sayin’.
-
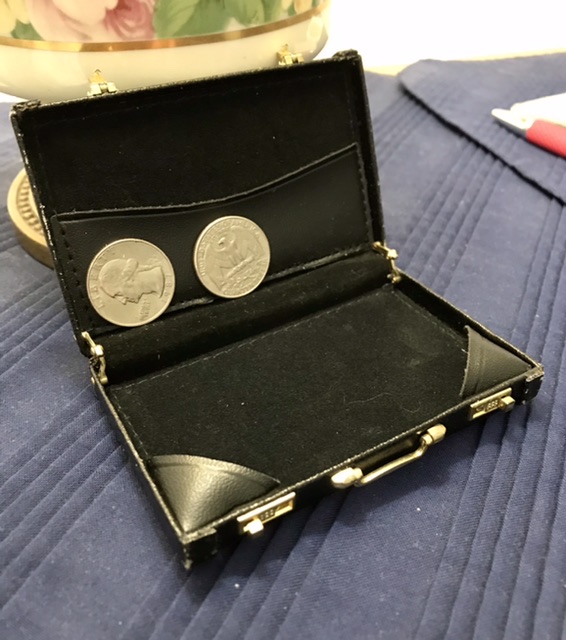
Oh. It works very well ... have a look at this brief case - it’s an old family item that I shrunk to the size of a business card case ... just dial in the scale and hit the “shrink” button.
-
Gracias ... Don’t drop the ideas that you have picked up - they’re hard to find on the floor ...
-
So. Does this mean that I have to return the Micro Mark Shrink Ray that my wife bought me for Xmas two years ago ?
-
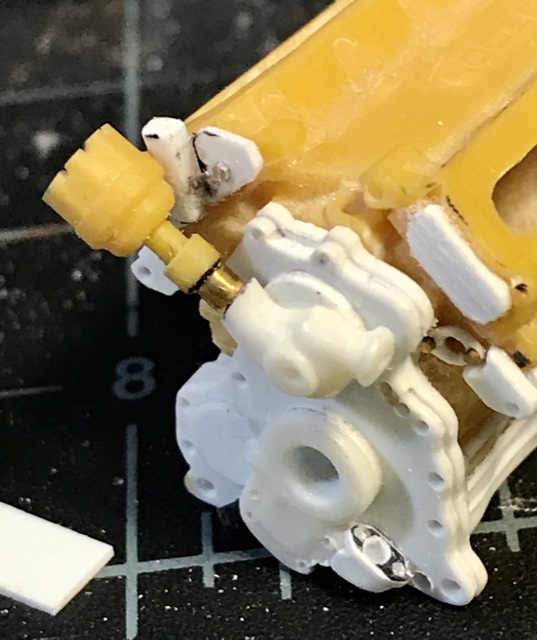
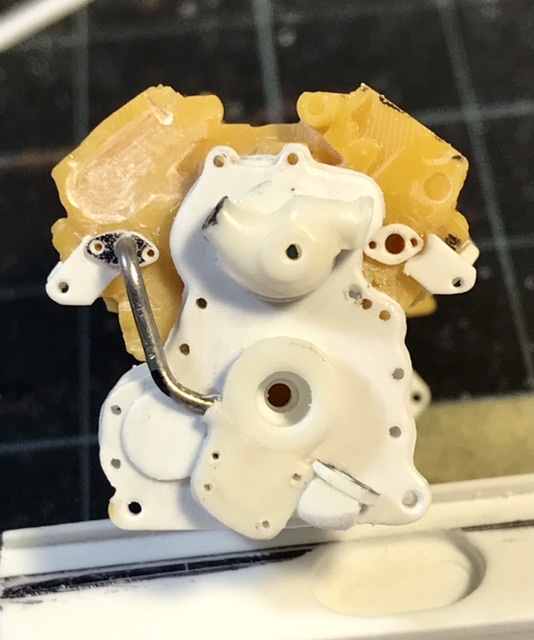
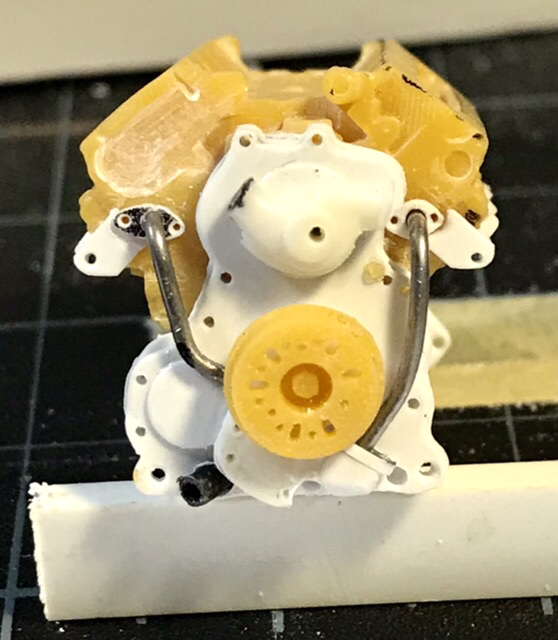
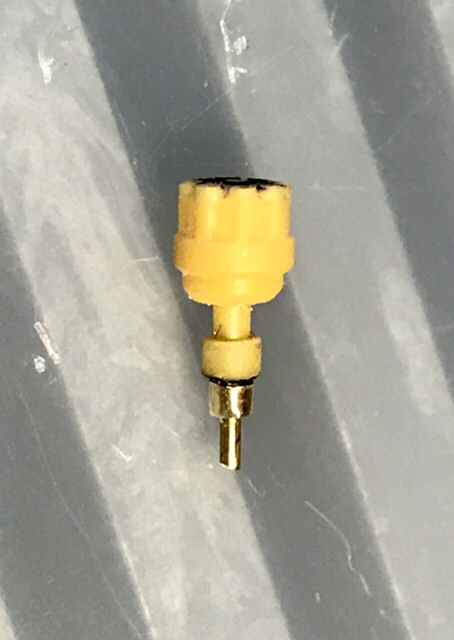
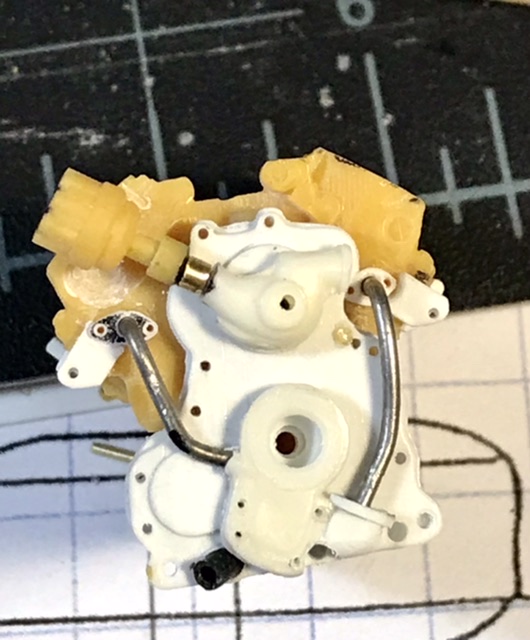
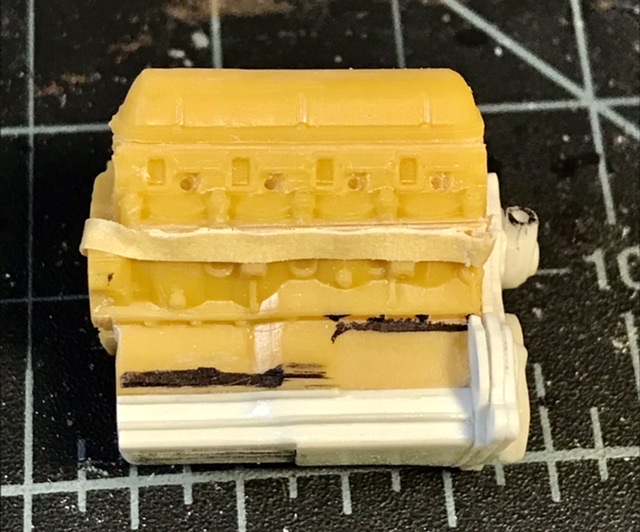
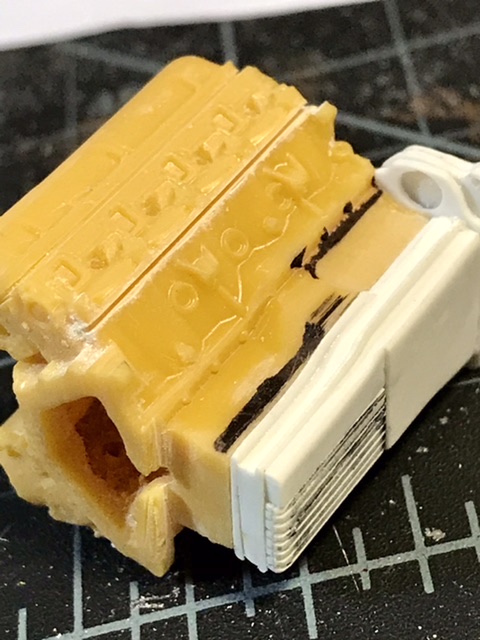
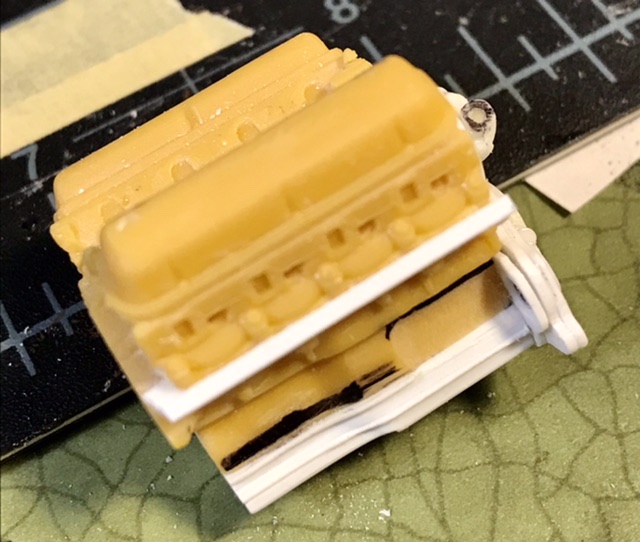
The plug distributor is “pegged” w a brass rod and sleeve - so it won’t break off when I install and bend the plug wires ... the oil lines are - at the moment - .032 solder - but the scale lines look to be closed to one inch - so I’ll probably replace these - time to make The roll bar and It’s base - unique to the 29 - the bar attaches to the leading edge of the cam boxes - with braces running back into the carb manifold - an arrangement that Chapman abandoned with succeeding open wheelers - he had lots of ideas - they weren’t all winners ... most of course were ...
-
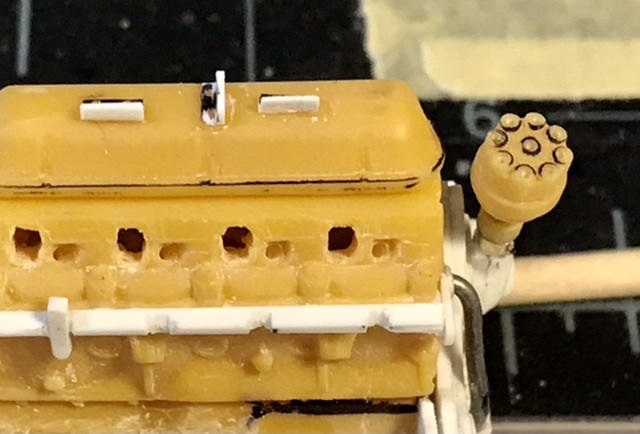
Well. McLaren has just given us a good reason to watch the Monaco Grand Prix next week ... the valve covers have plug wire looms - 3 each side - evergreen L shaped strip. - their smallest is .060 x .060 - but we’ve got files ... so. ... these are about .035 x .035 - closer to scale ...
-
Some more work on the engine - mite use solder for the exhaust pipes - it’s the easy way out - but the bends will be very hard to execute in brass or nickel - even with heat treatment ... and the collectors in the AMT kit are actually quite good - so I think I’ll use them ...
-
Size and shape are in line with Clidinst’s great drawings ...
-
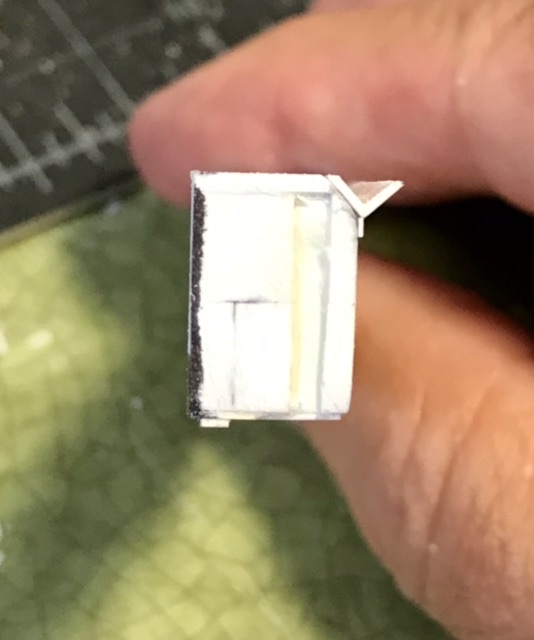
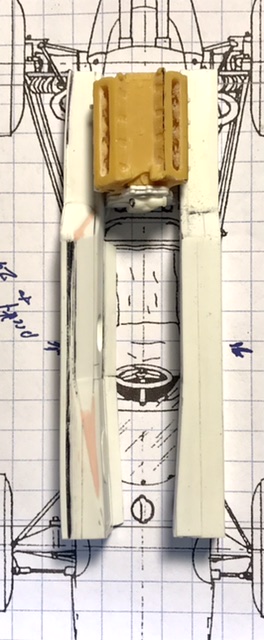
Once the boxes are done I’ll add some of the rivets and the openings for the fuel bags and then measure, cut, and fix the bulkheads and the floor - at that point this will start to make some sense ...
-
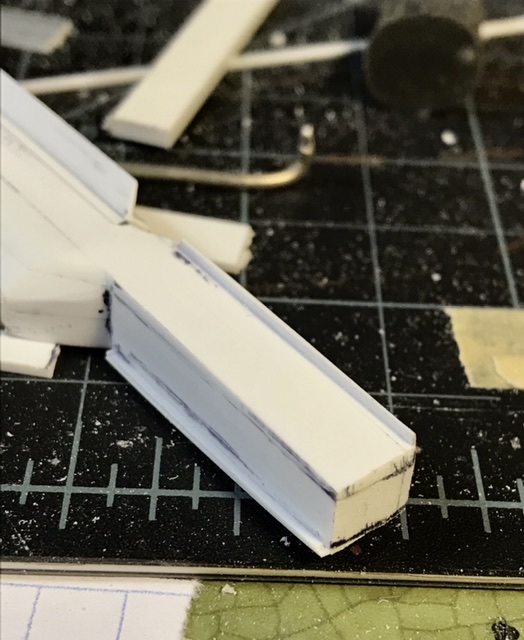
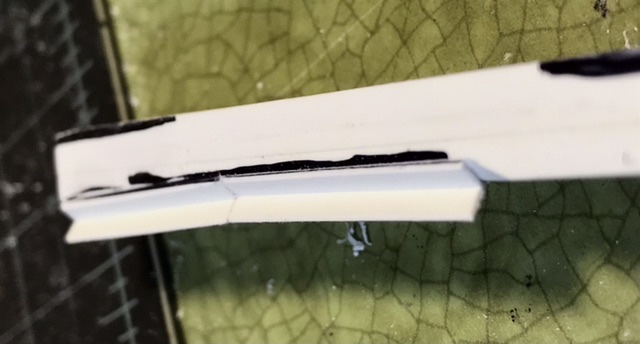
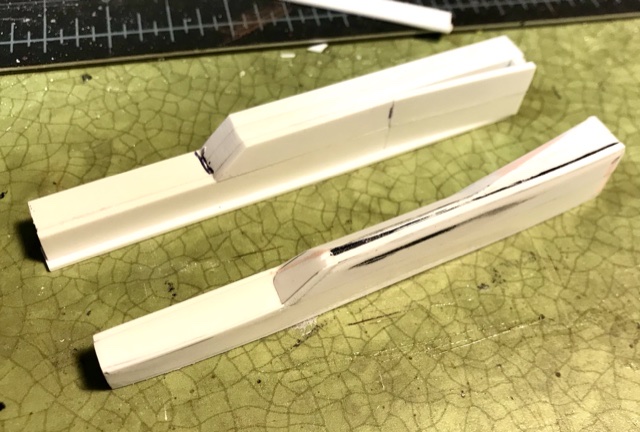
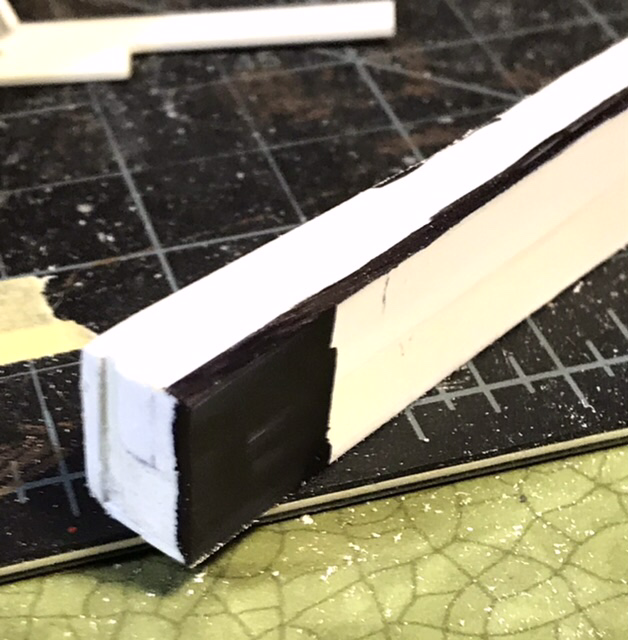
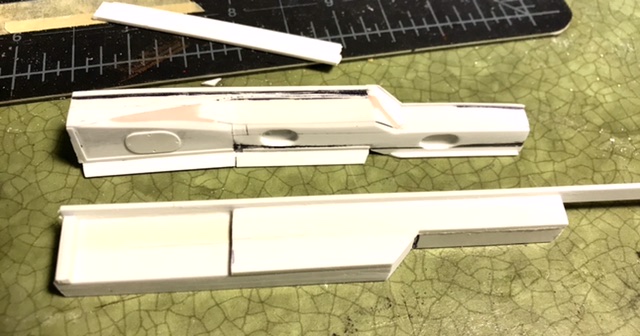
The monocoque is riveted together from folded sheet metal - this is visible in sheet metal folds or extensions seen clearly on the Indy Museum resto videos for the 29 .... this feature is added to the chassis boxes with strips of .040 and .060 that are glued on with a support strip - which is then sanded away once the bond is set ...
-
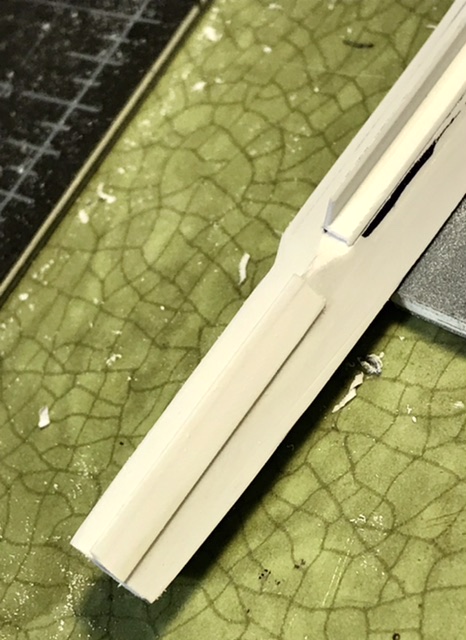
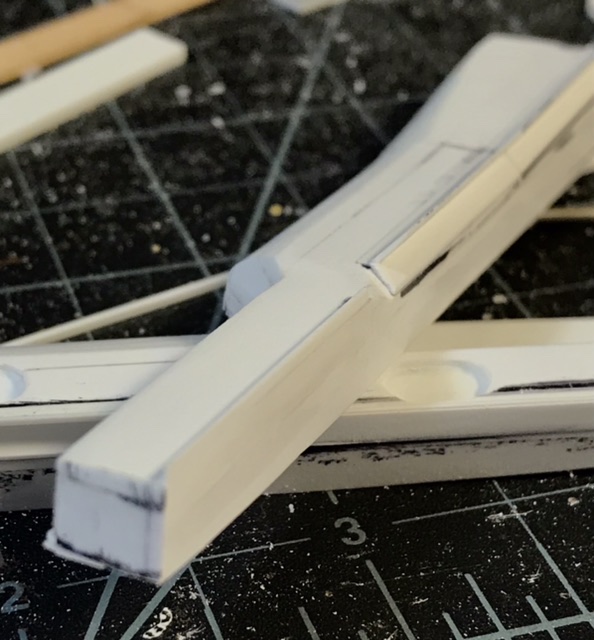
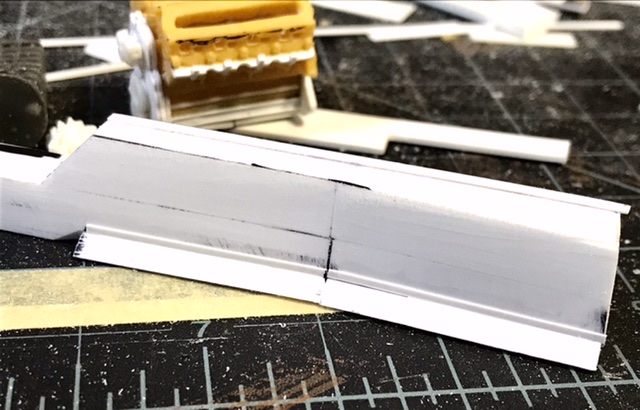
Each box has a channel made from Evergreen L shape strip that bends inward at the mid point of each box - the kink in the boxes is what distinguishes the 25 and 29 from the 32 and 33 ... the channel houses the water and oil lines plus the brake line and the wiring ...this is one of the features of Lotus kits that usually is missed -
-
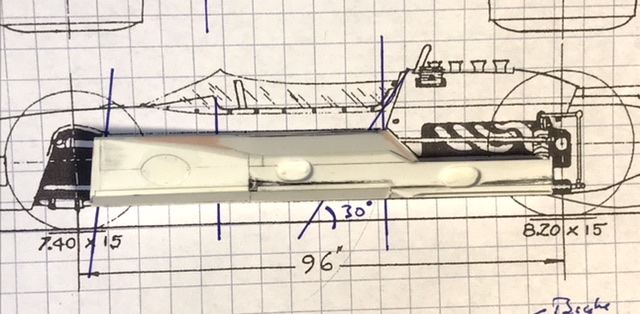
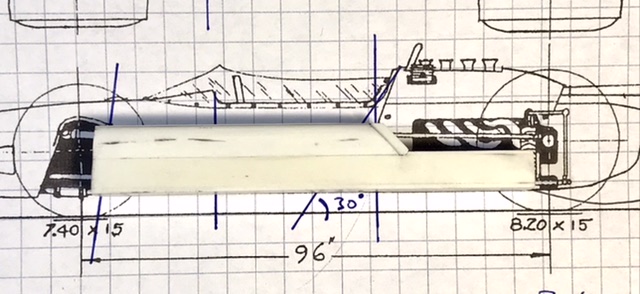
Making the left hand chassis box - trying to correct some build errors on the right side - and trying to match left and right - which will be critical for bulkhead location - engine mounts - etc
-
Maserati A6GCS Spyder
absmiami replied to absmiami's topic in WIP: Other Racing: Road Racing, Land Speed Racers
This post suggests thaT I mite be somehow scattered or unfocused... I resemble that remark ... -
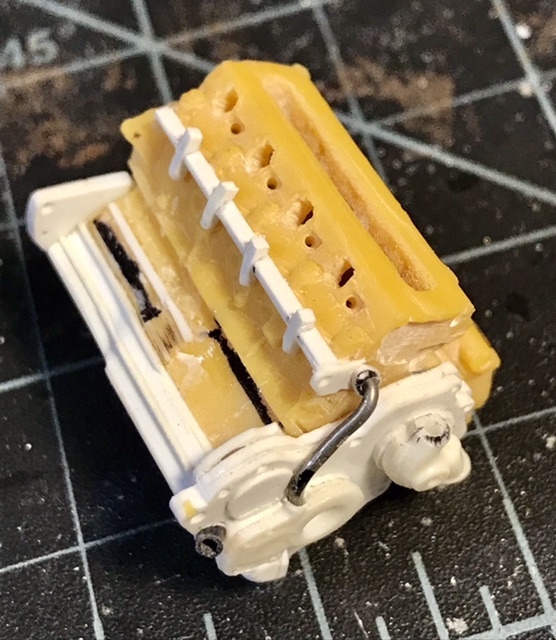
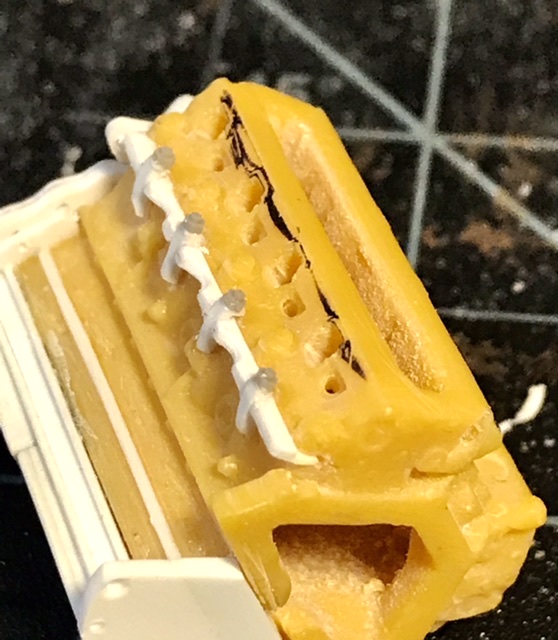
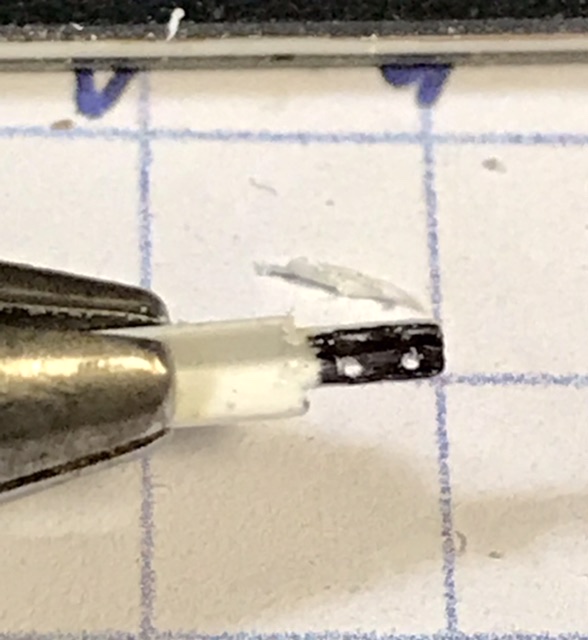
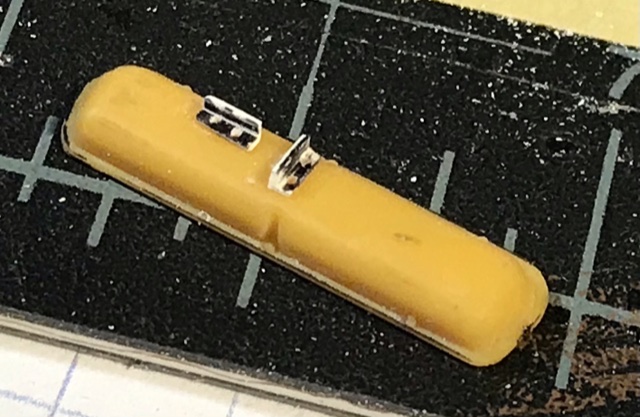
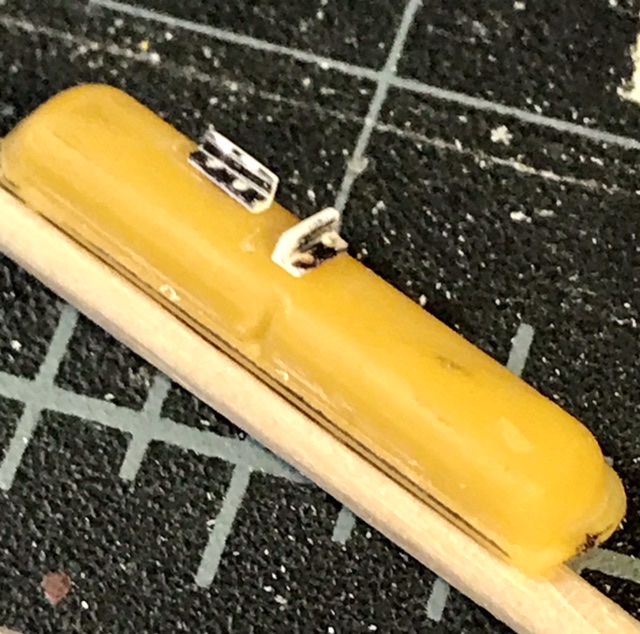
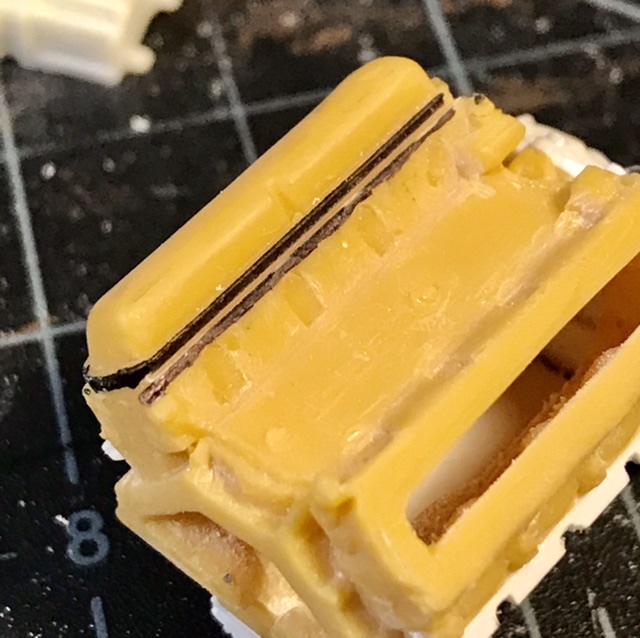
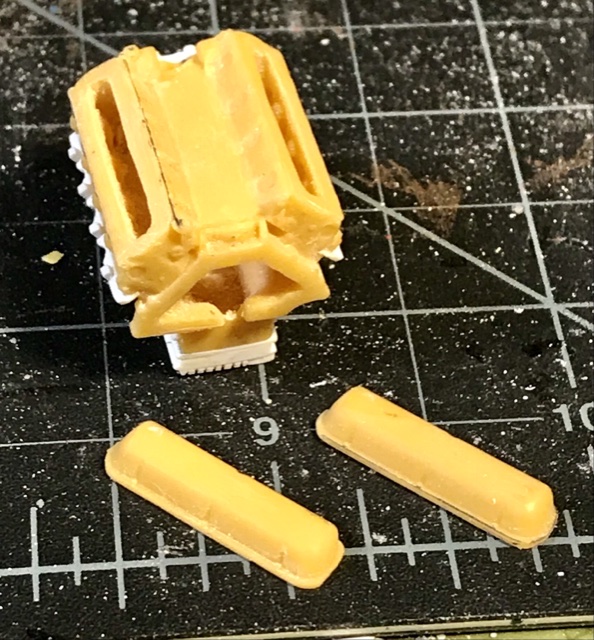
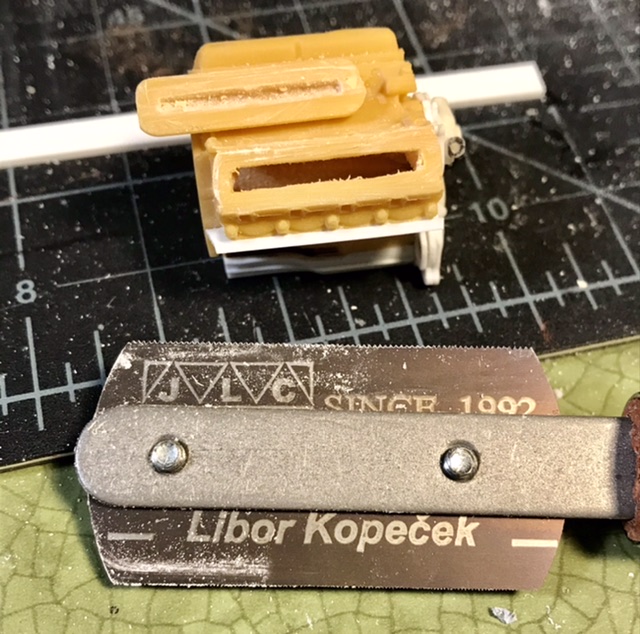
Whilst adding the studs to the top of the engine block - I decided to remove the valve covers - making them easier to finish - probably Alclad - or maybe try a spray of Molotow- Used the razor saw that is super thin - so only a sliver of material is hacked off ...
-
Martini Porsche 934
absmiami replied to Rich Chernosky's topic in Other Racing: Road Racing, Salt Flat Racers
Maybe white metal ?