Dragonhawk1066
-
Posts
3,932 -
Joined
-
Last visited
Content Type
Profiles
Forums
Events
Gallery
Everything posted by Dragonhawk1066
-
That is nice! Very well done!
-

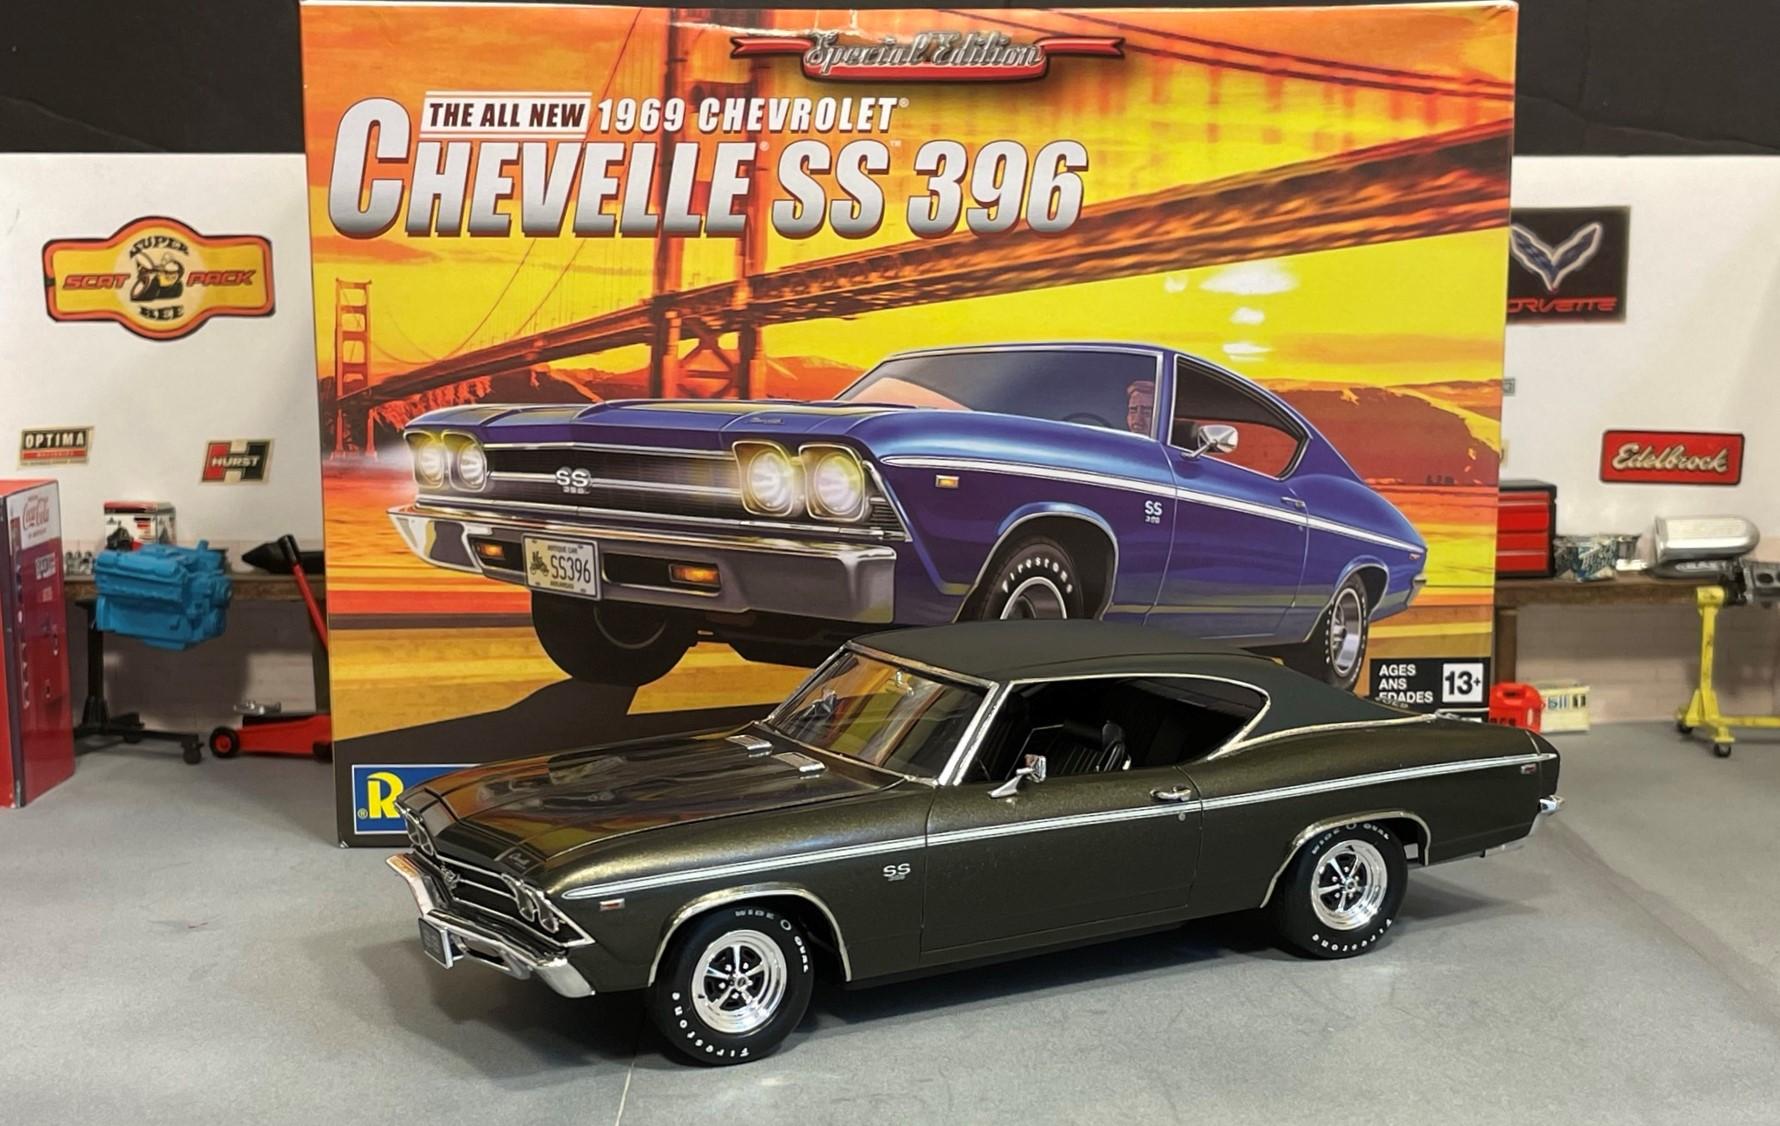
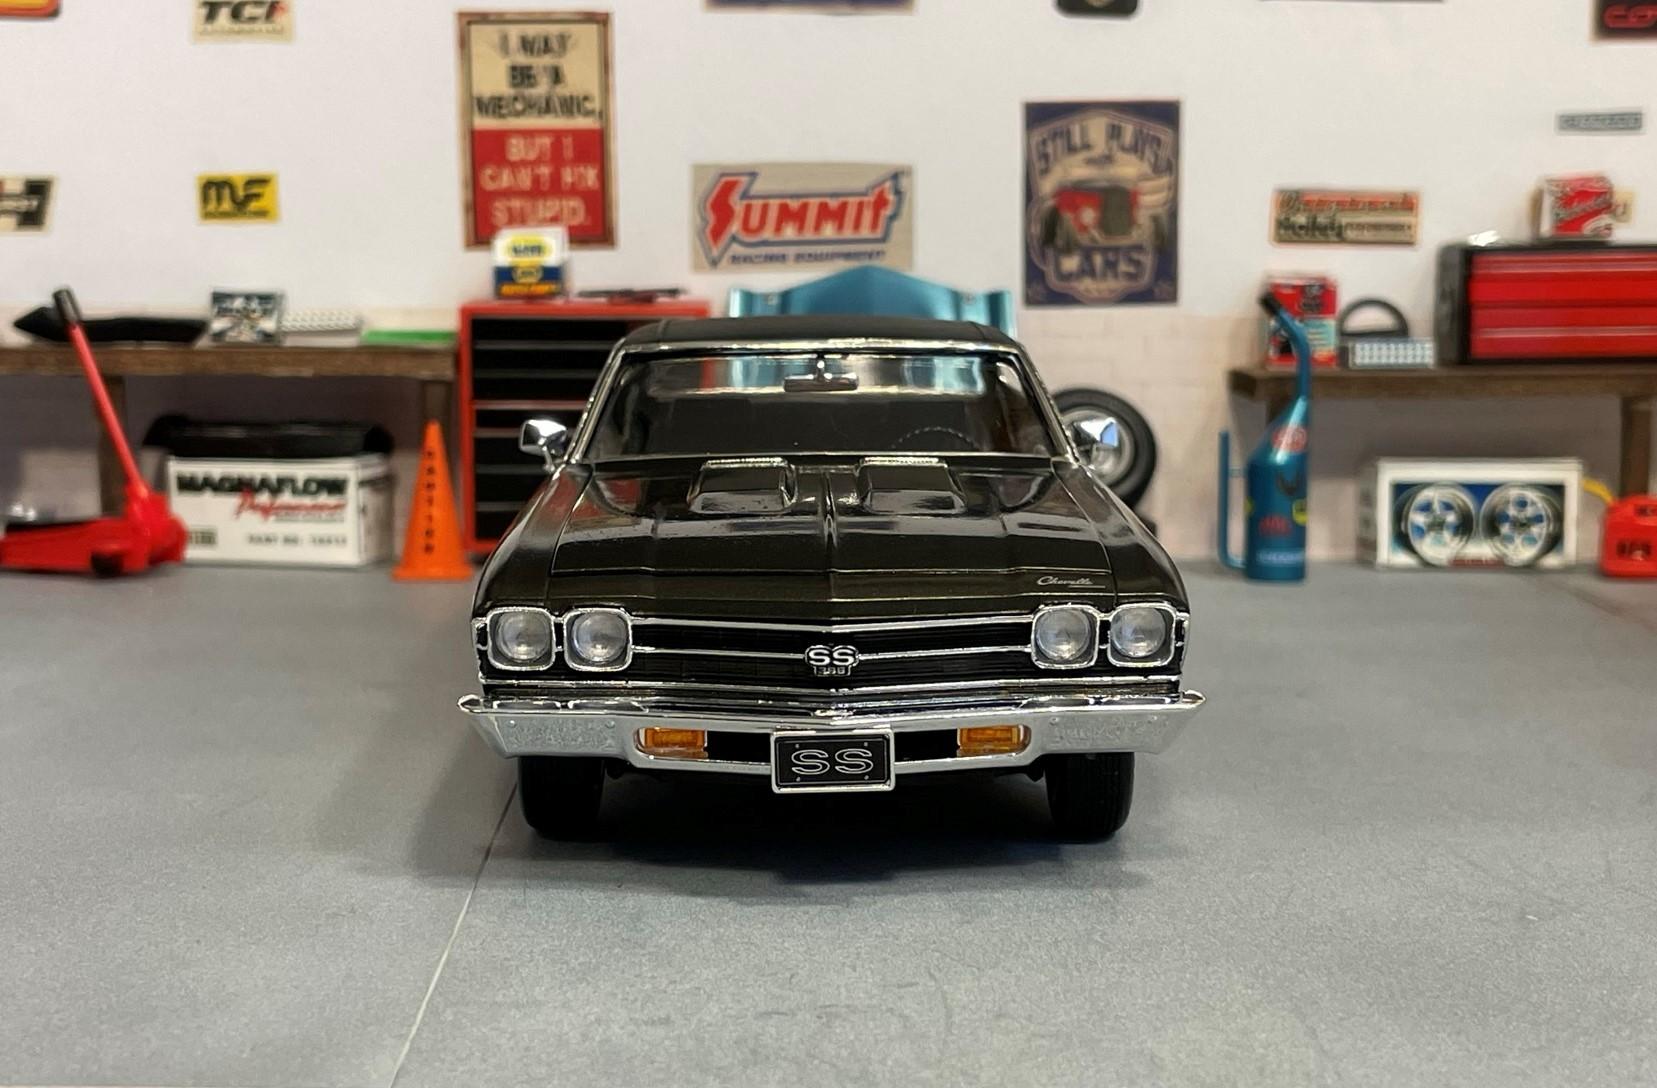
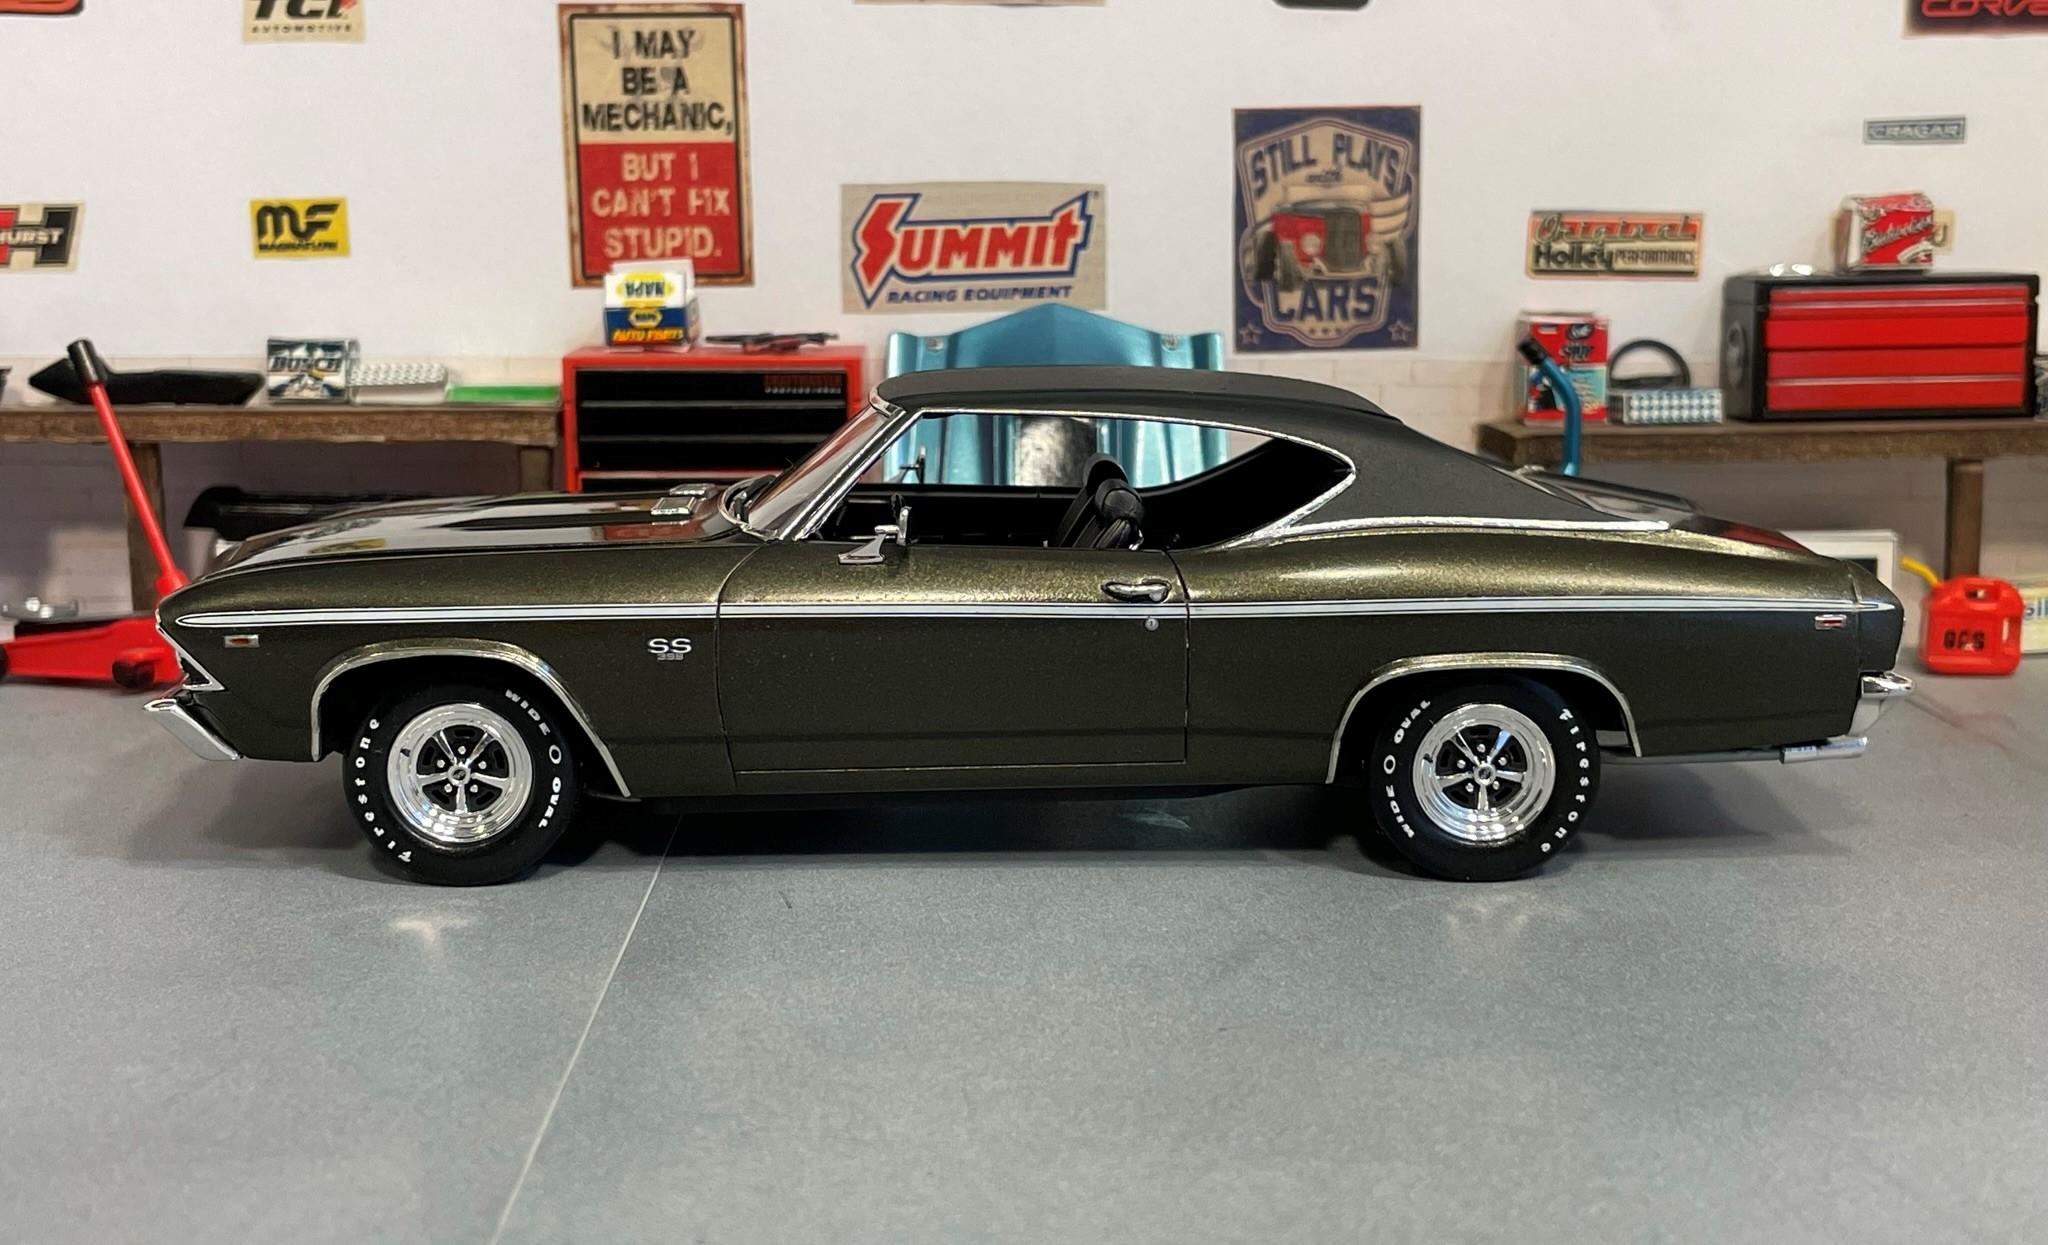
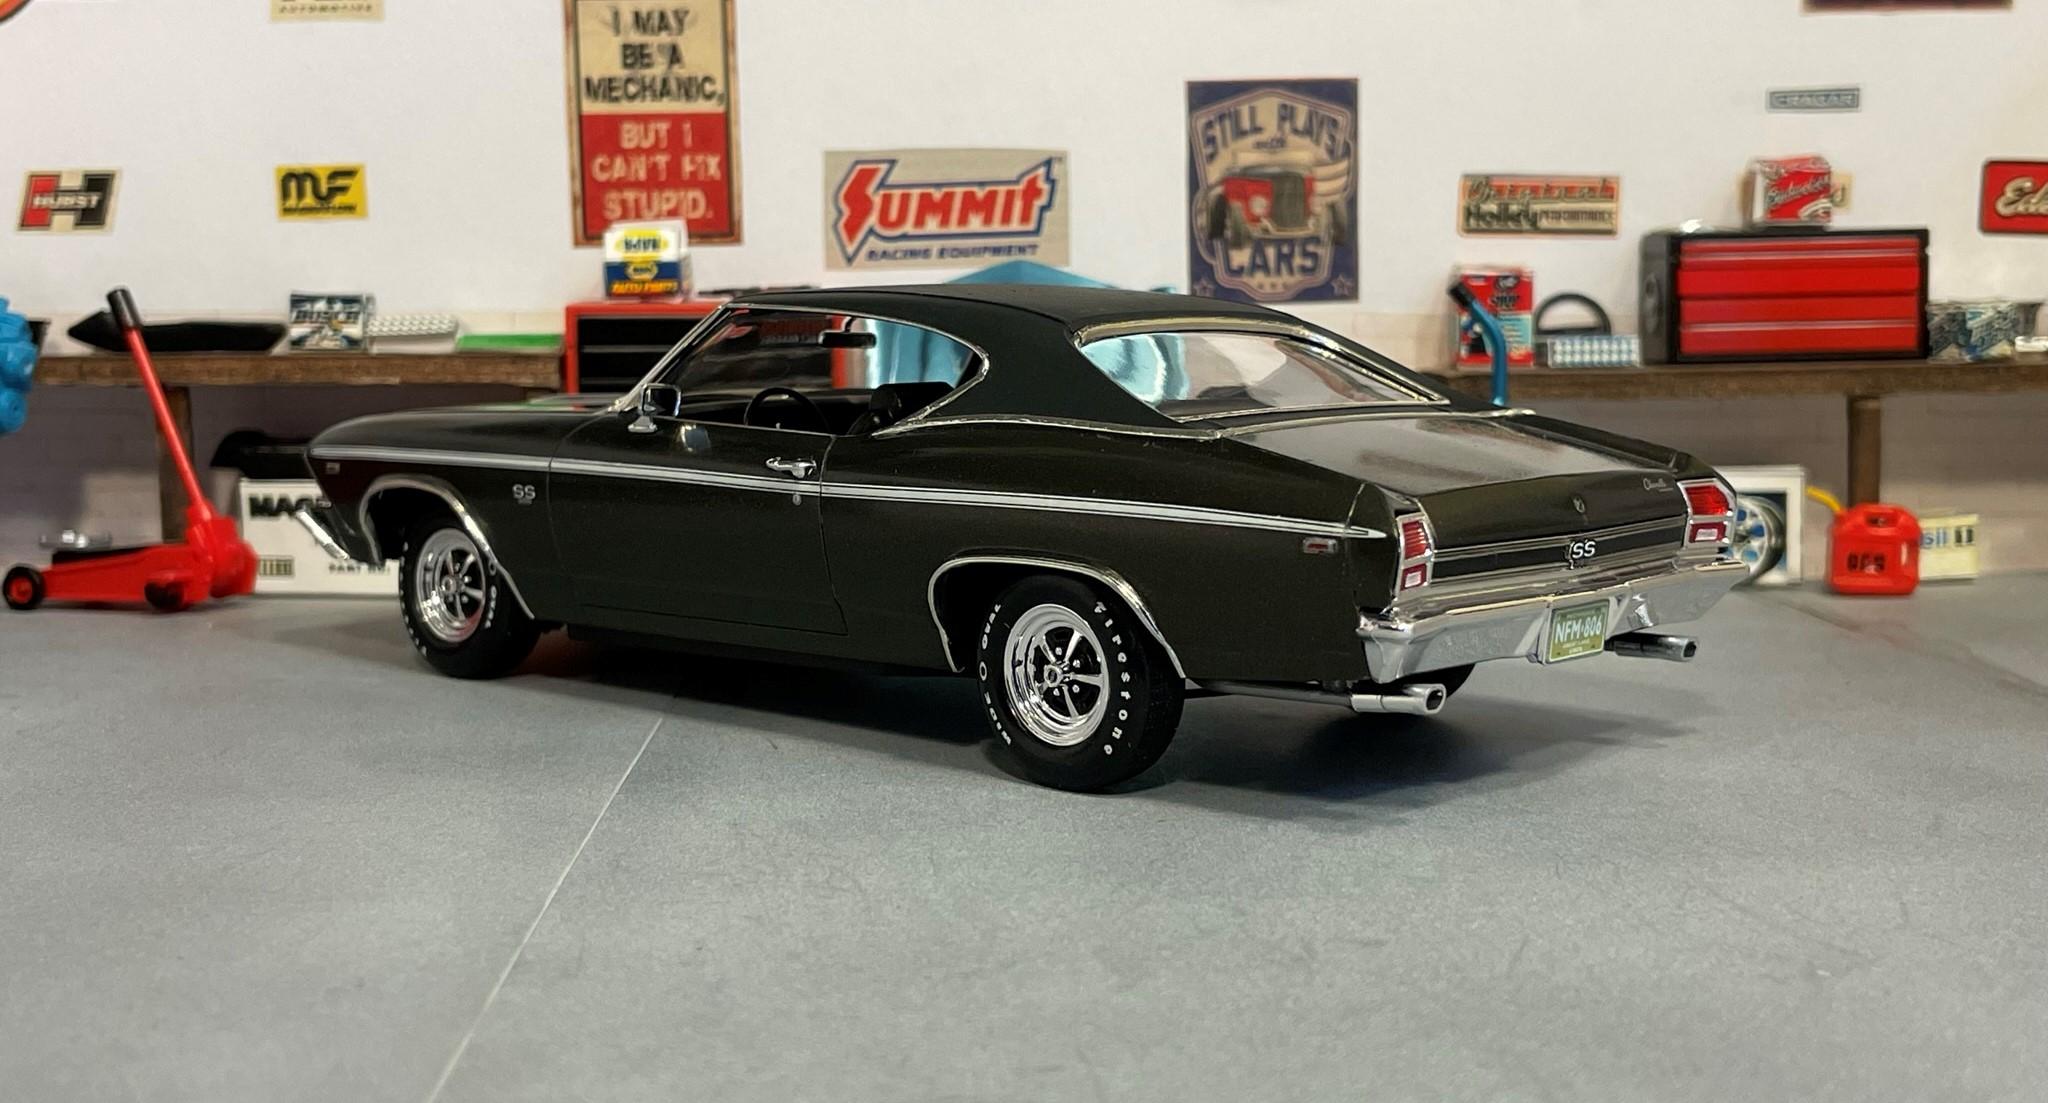
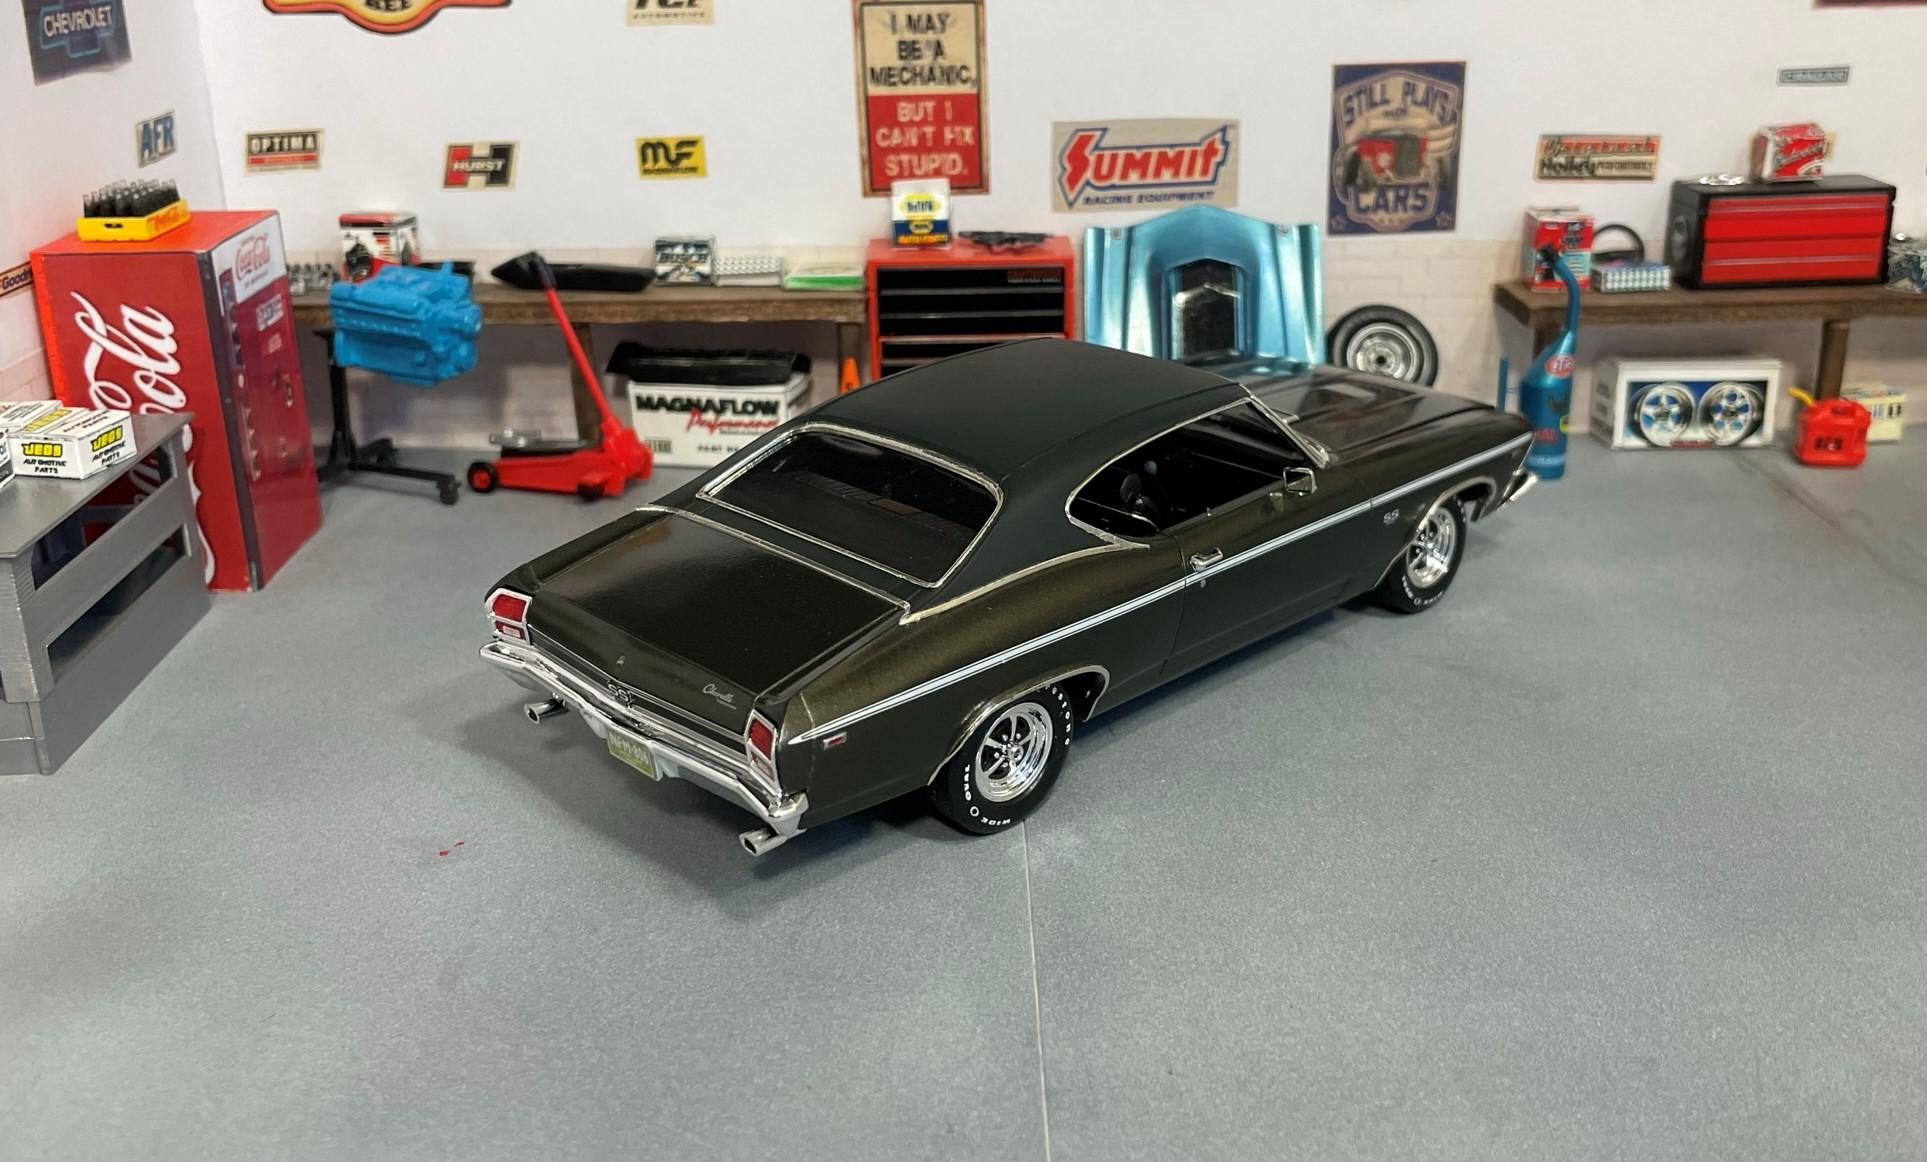
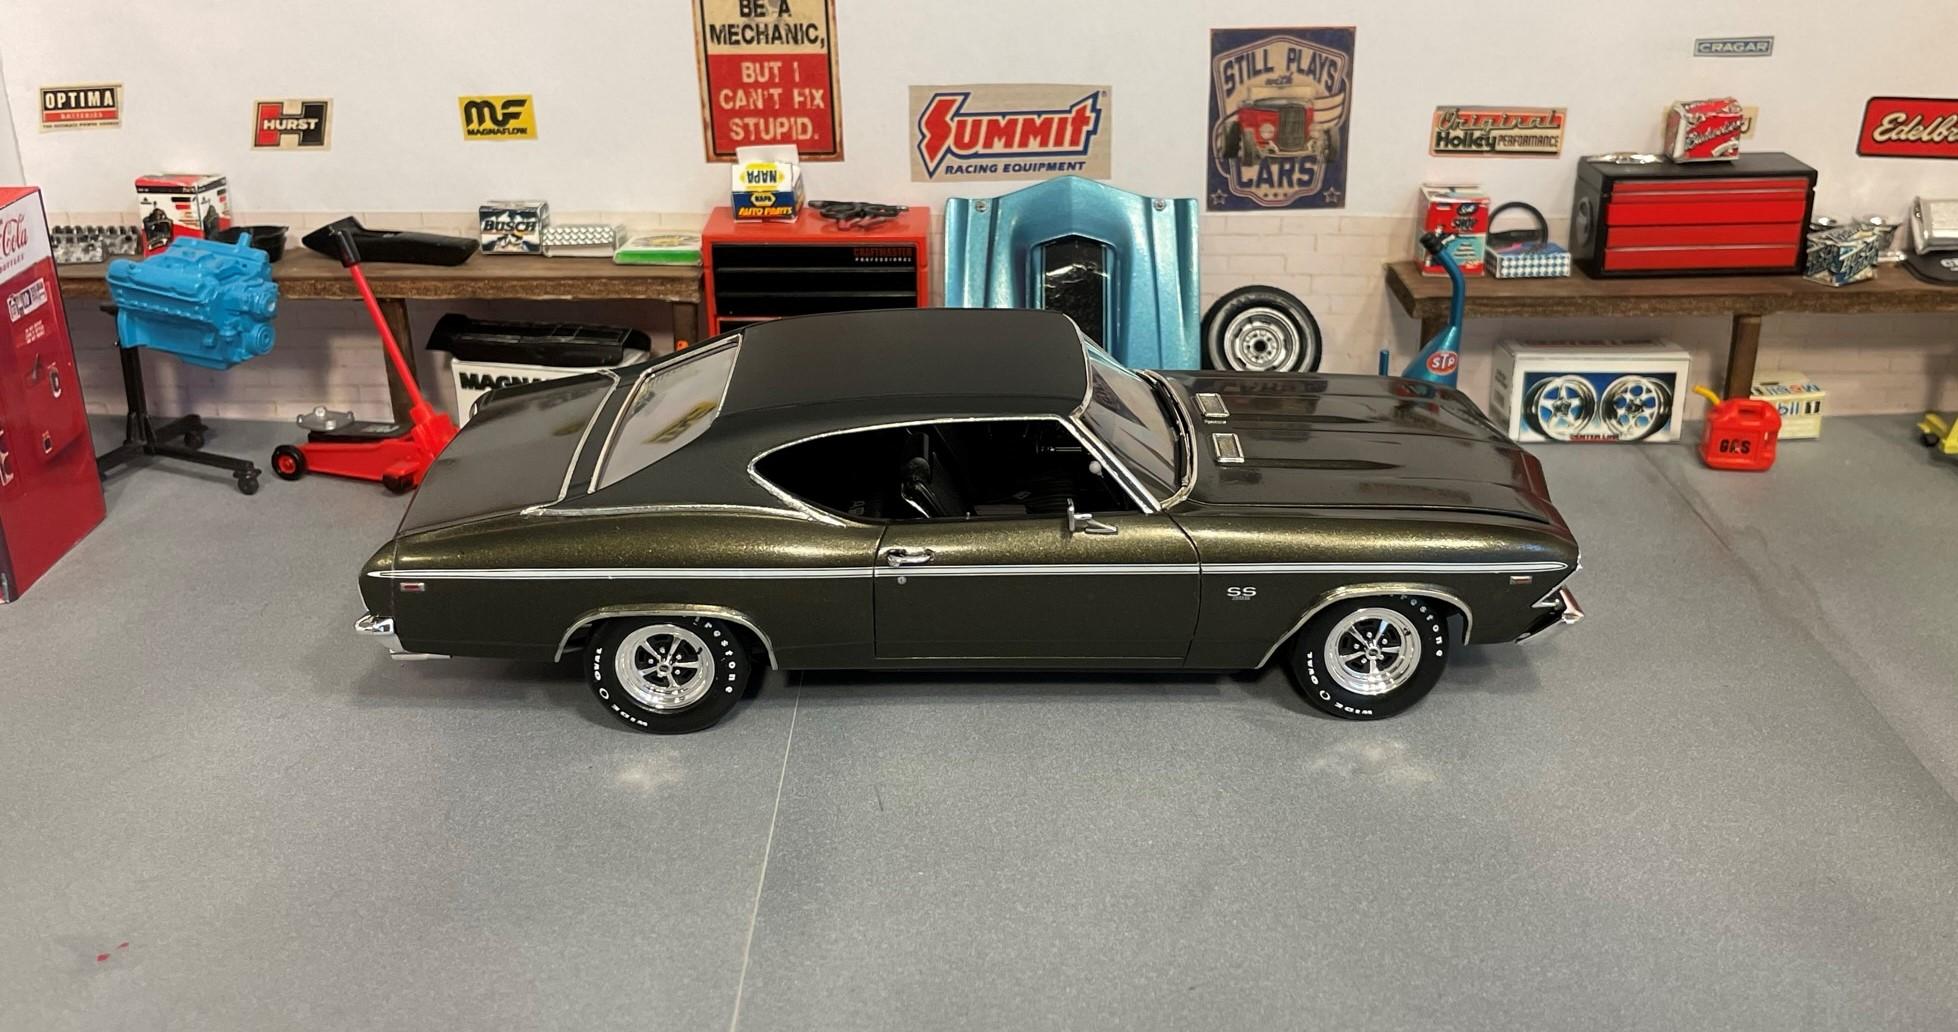
Revell 1969 Chevelle SS396 in Fathom Green W/Green Vinyl Top.
Dragonhawk1066 replied to Dragonhawk1066's topic in Model Cars
Thanks, I appreciate the compliments! -
Revell 1969 Chevelle SS396 in Fathom Green W/Green Vinyl Top.
Dragonhawk1066 replied to Dragonhawk1066's topic in Model Cars
Thanks guys! -
Revell 1969 Chevelle SS396 in Fathom Green W/Green Vinyl Top.
Dragonhawk1066 replied to Dragonhawk1066's topic in Model Cars
Thanks Joe! The craft paints are pretty nice to work with, but there is a bit of a learning curve. There are definitely pros and cons, but they have no odor so I can spray them in the house. That got me to learning how best to use them so I can build year-round. -
Revell 1969 Chevelle SS396 in Fathom Green W/Green Vinyl Top.
Dragonhawk1066 replied to Dragonhawk1066's topic in Model Cars
Thanks for the compliments guys! Much appreciated! -
Very sharp! I love the decals!
-
Looks good! I definitely have to get a few of those kits!
-
Well done! I've always liked those little cars!
-
WOW!! Outstanding job on the Shelby!
- 45 replies
-
- 1
-

-
- shelby gt 350
- amt
- (and 1 more)
-
Nice looking Roadrunner!
-
Nice looking Road Runner!
-
Camaro looks great, nicely done!!
-
My '66 Chevelle SS (with pics this time)
Dragonhawk1066 replied to TransAmMike's topic in Model Cars
Nice work Mike! That's a sharp looking Chevelle and I bet the real one was a blast to drive! -
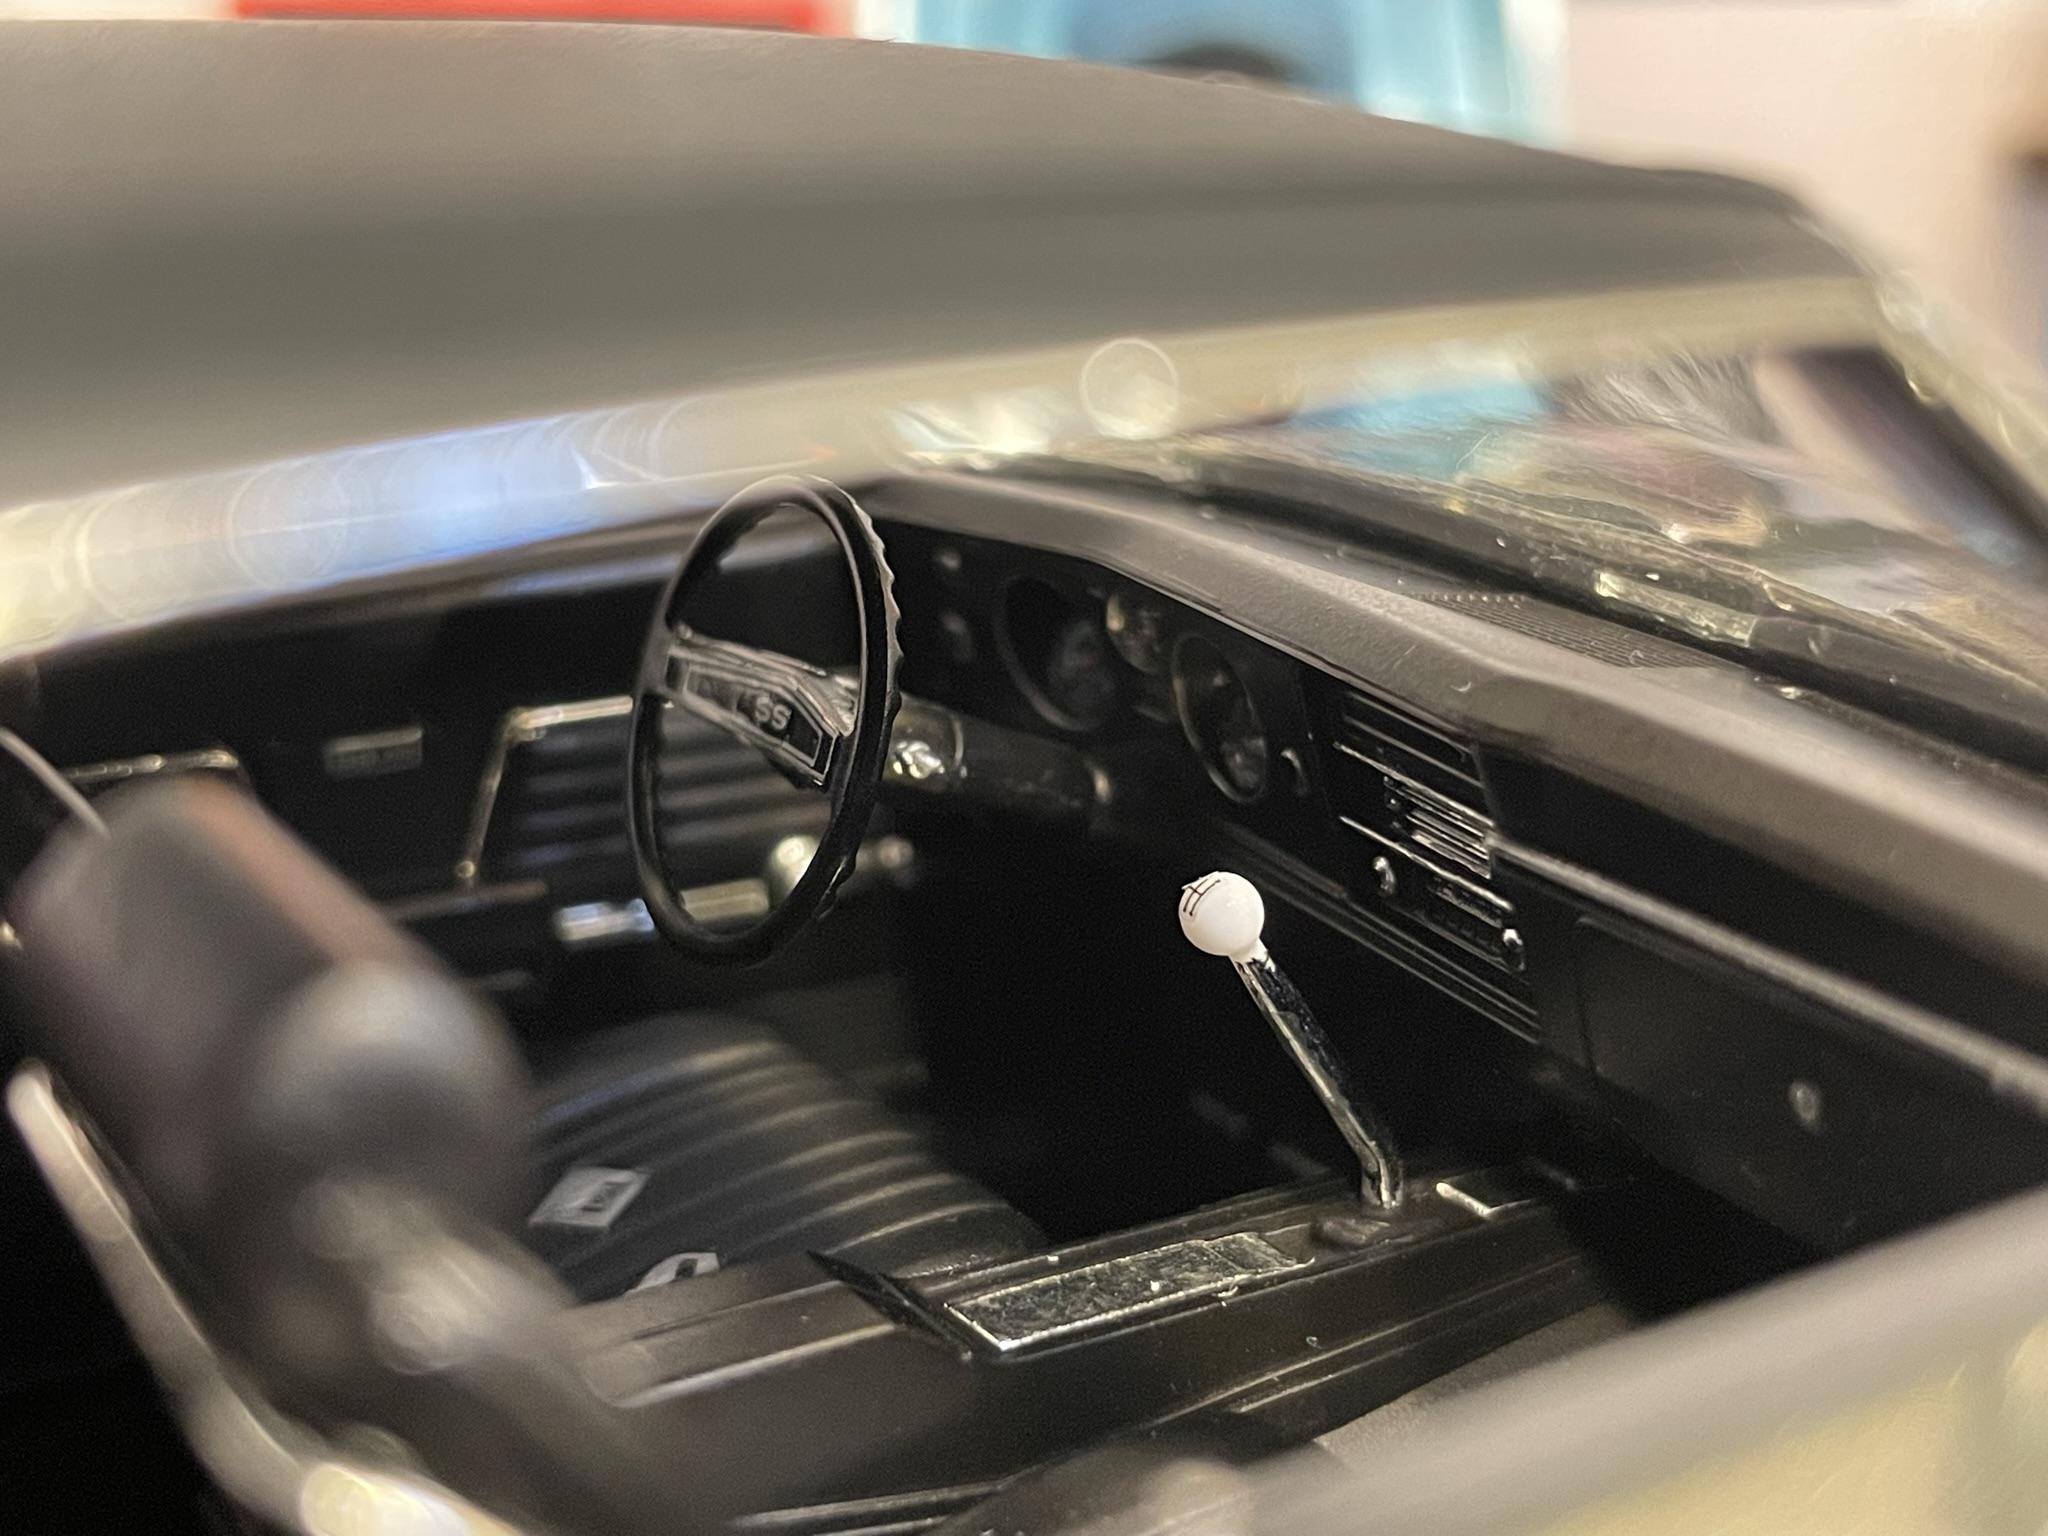
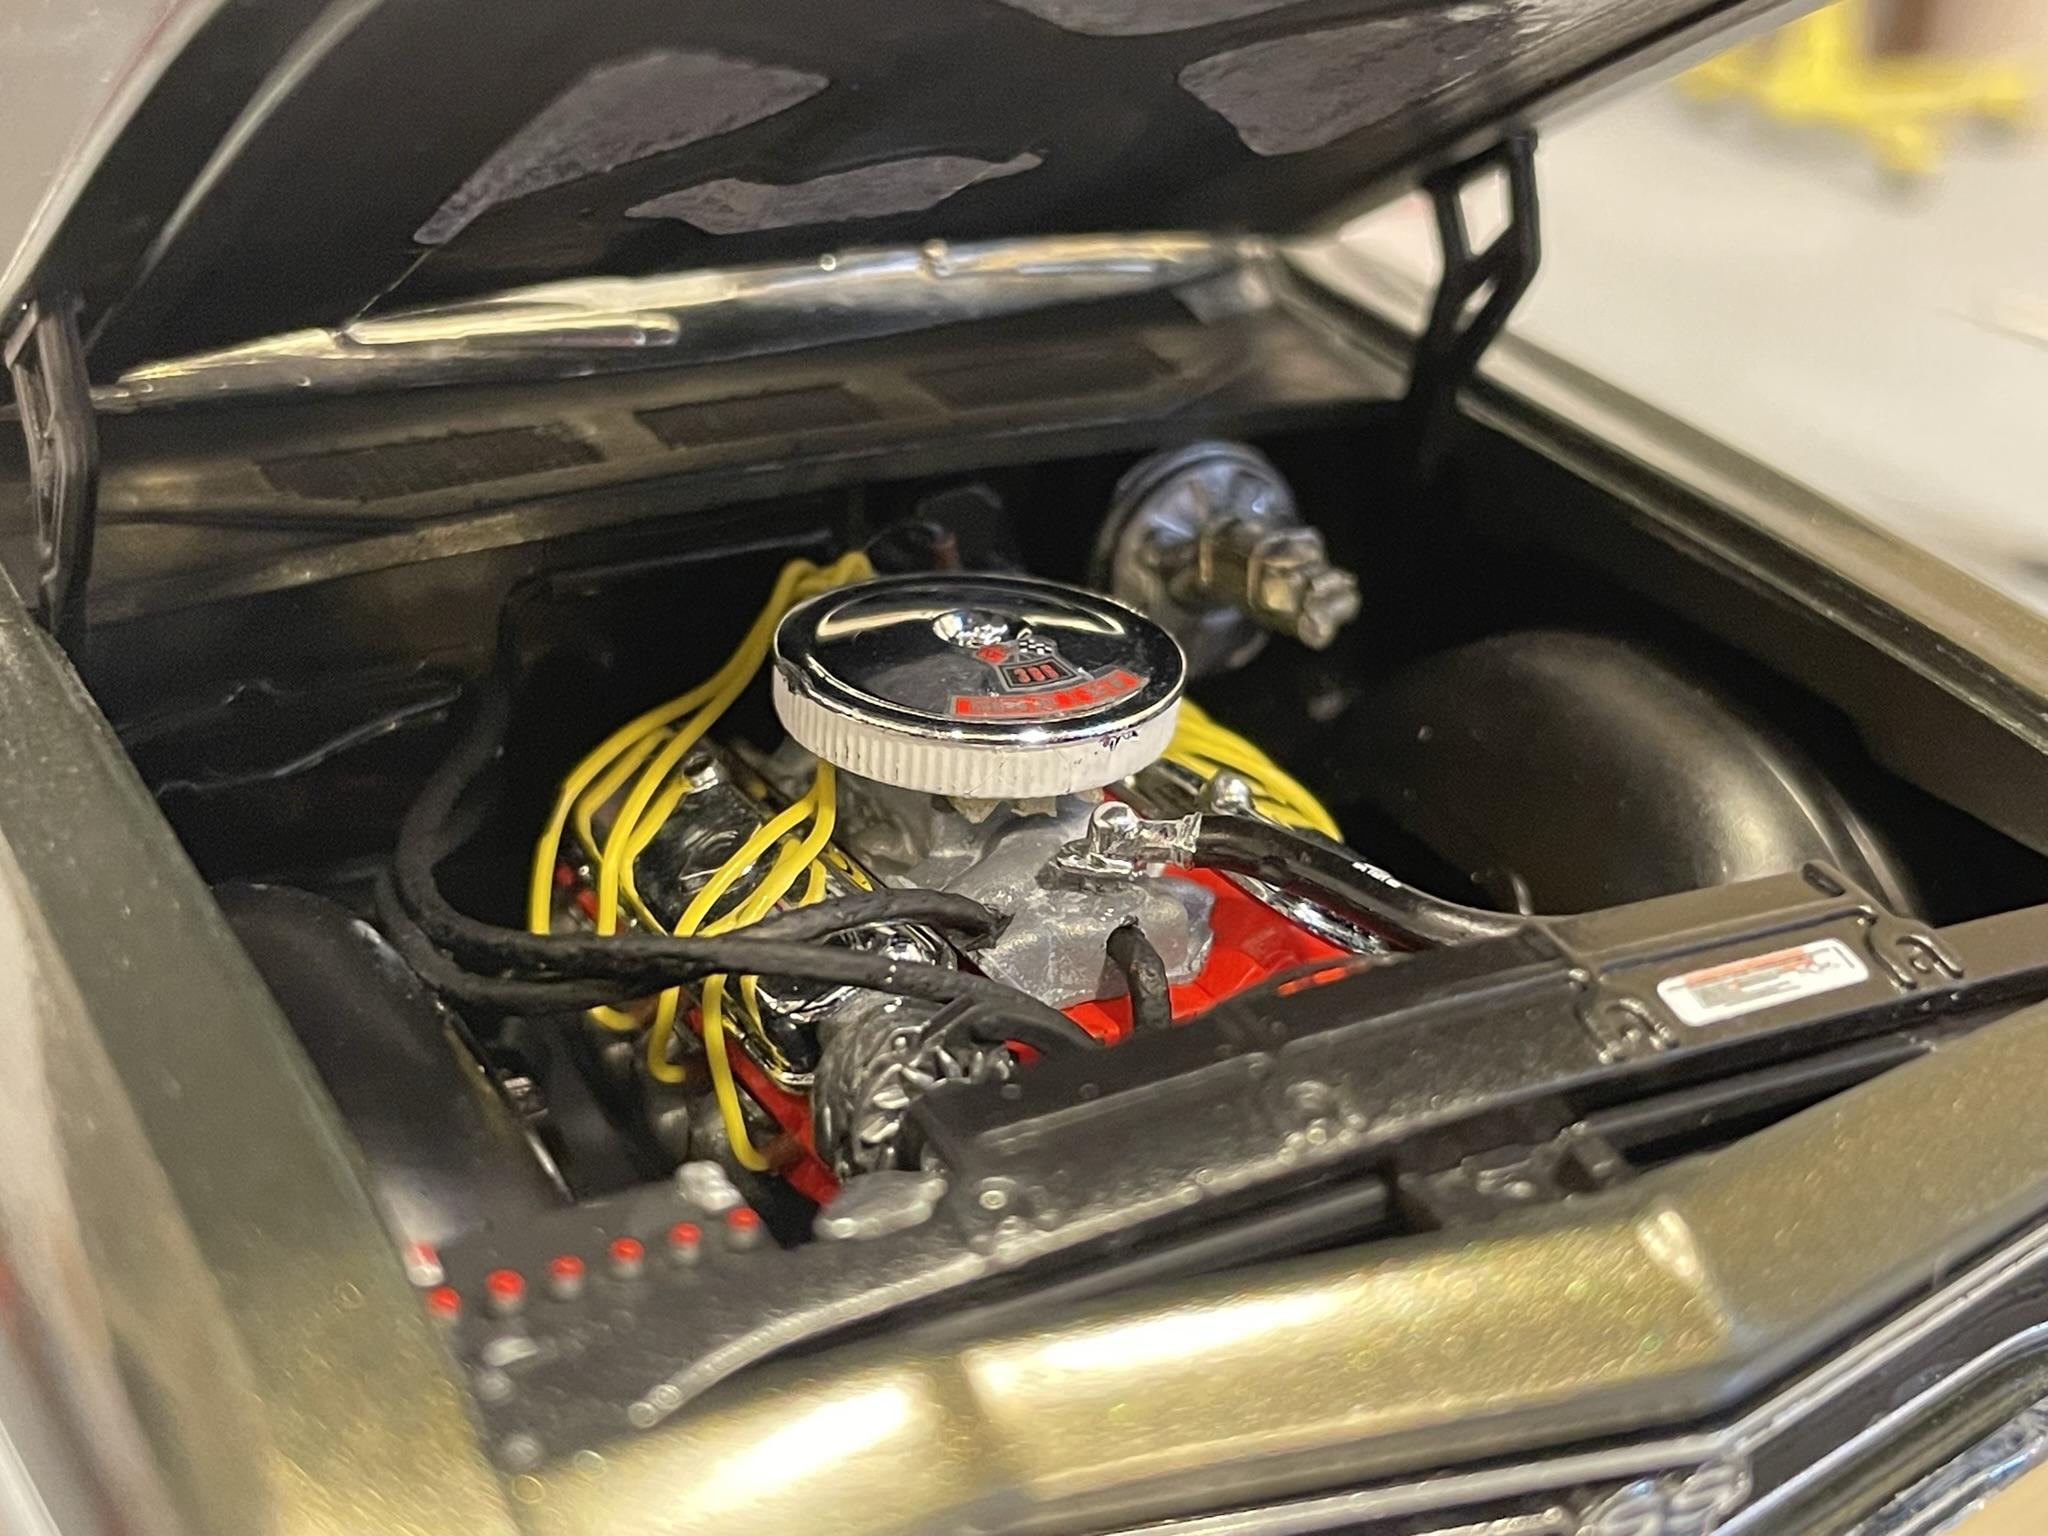
I finished my version of the Revell 1969 Chevelle SS396 today. It's painted in a custom mix of craft paints to simulate Fathom Green, and was cleared with Createx UVLS 4050 Gloss Clear. The vinyl top was trimmed using .010" x .030" strip styrene and was also painted with a custom mix of craft paints. The interior is painted in Delta Black and Anita's Glossy Black. I used Bare Metal Foil for the trim and added valve stems, door locks, spark plug wires, and heater hoses for extra details. This is a fantastic kit and while it was tricky getting the body over the radiator support and firewall, everything fit great and it was a pleasure to build. Thanks for looking!

- 46 replies
-
- 14
-

-
2022 Cannonball Run Year of Birth Voting Poll
Dragonhawk1066 replied to White Rabbit's topic in Community Builds
Having finished my build in July, I had completely forgotten about this build-off until I saw a post in Under Glass of a just finished entry. Once I found all of the posting and voting info, I posted my finished build not knowing I missed the "deadline" and my build will not be in the voting. I understand there are time frames and all, but we do have other things going in our lives and a simple reminder from the organizer, like via personal message, would have been nice. And to go back on the original build thread and see that time was taken to post pics of our builds that we forgot to post for voting, basically feeling like you're rubbing our noses in it, really adds a lot of insult to injury and in my opinion was in very poor taste. A little bit of consideration for those of us that lost track of things would have been very welcomed, and considering there were only 6 of us, it would have taken very minimal time and effort to send a reminder message, after all we were finished. I did not expect to win, but to have my efforts recognized and have at least a chance would have been nice. It's not like we had to be reminded to try to finish our builds. For a yearly contest that has sought more entrants, this situation certainly doesn't help in that respect. -
Well done!
-
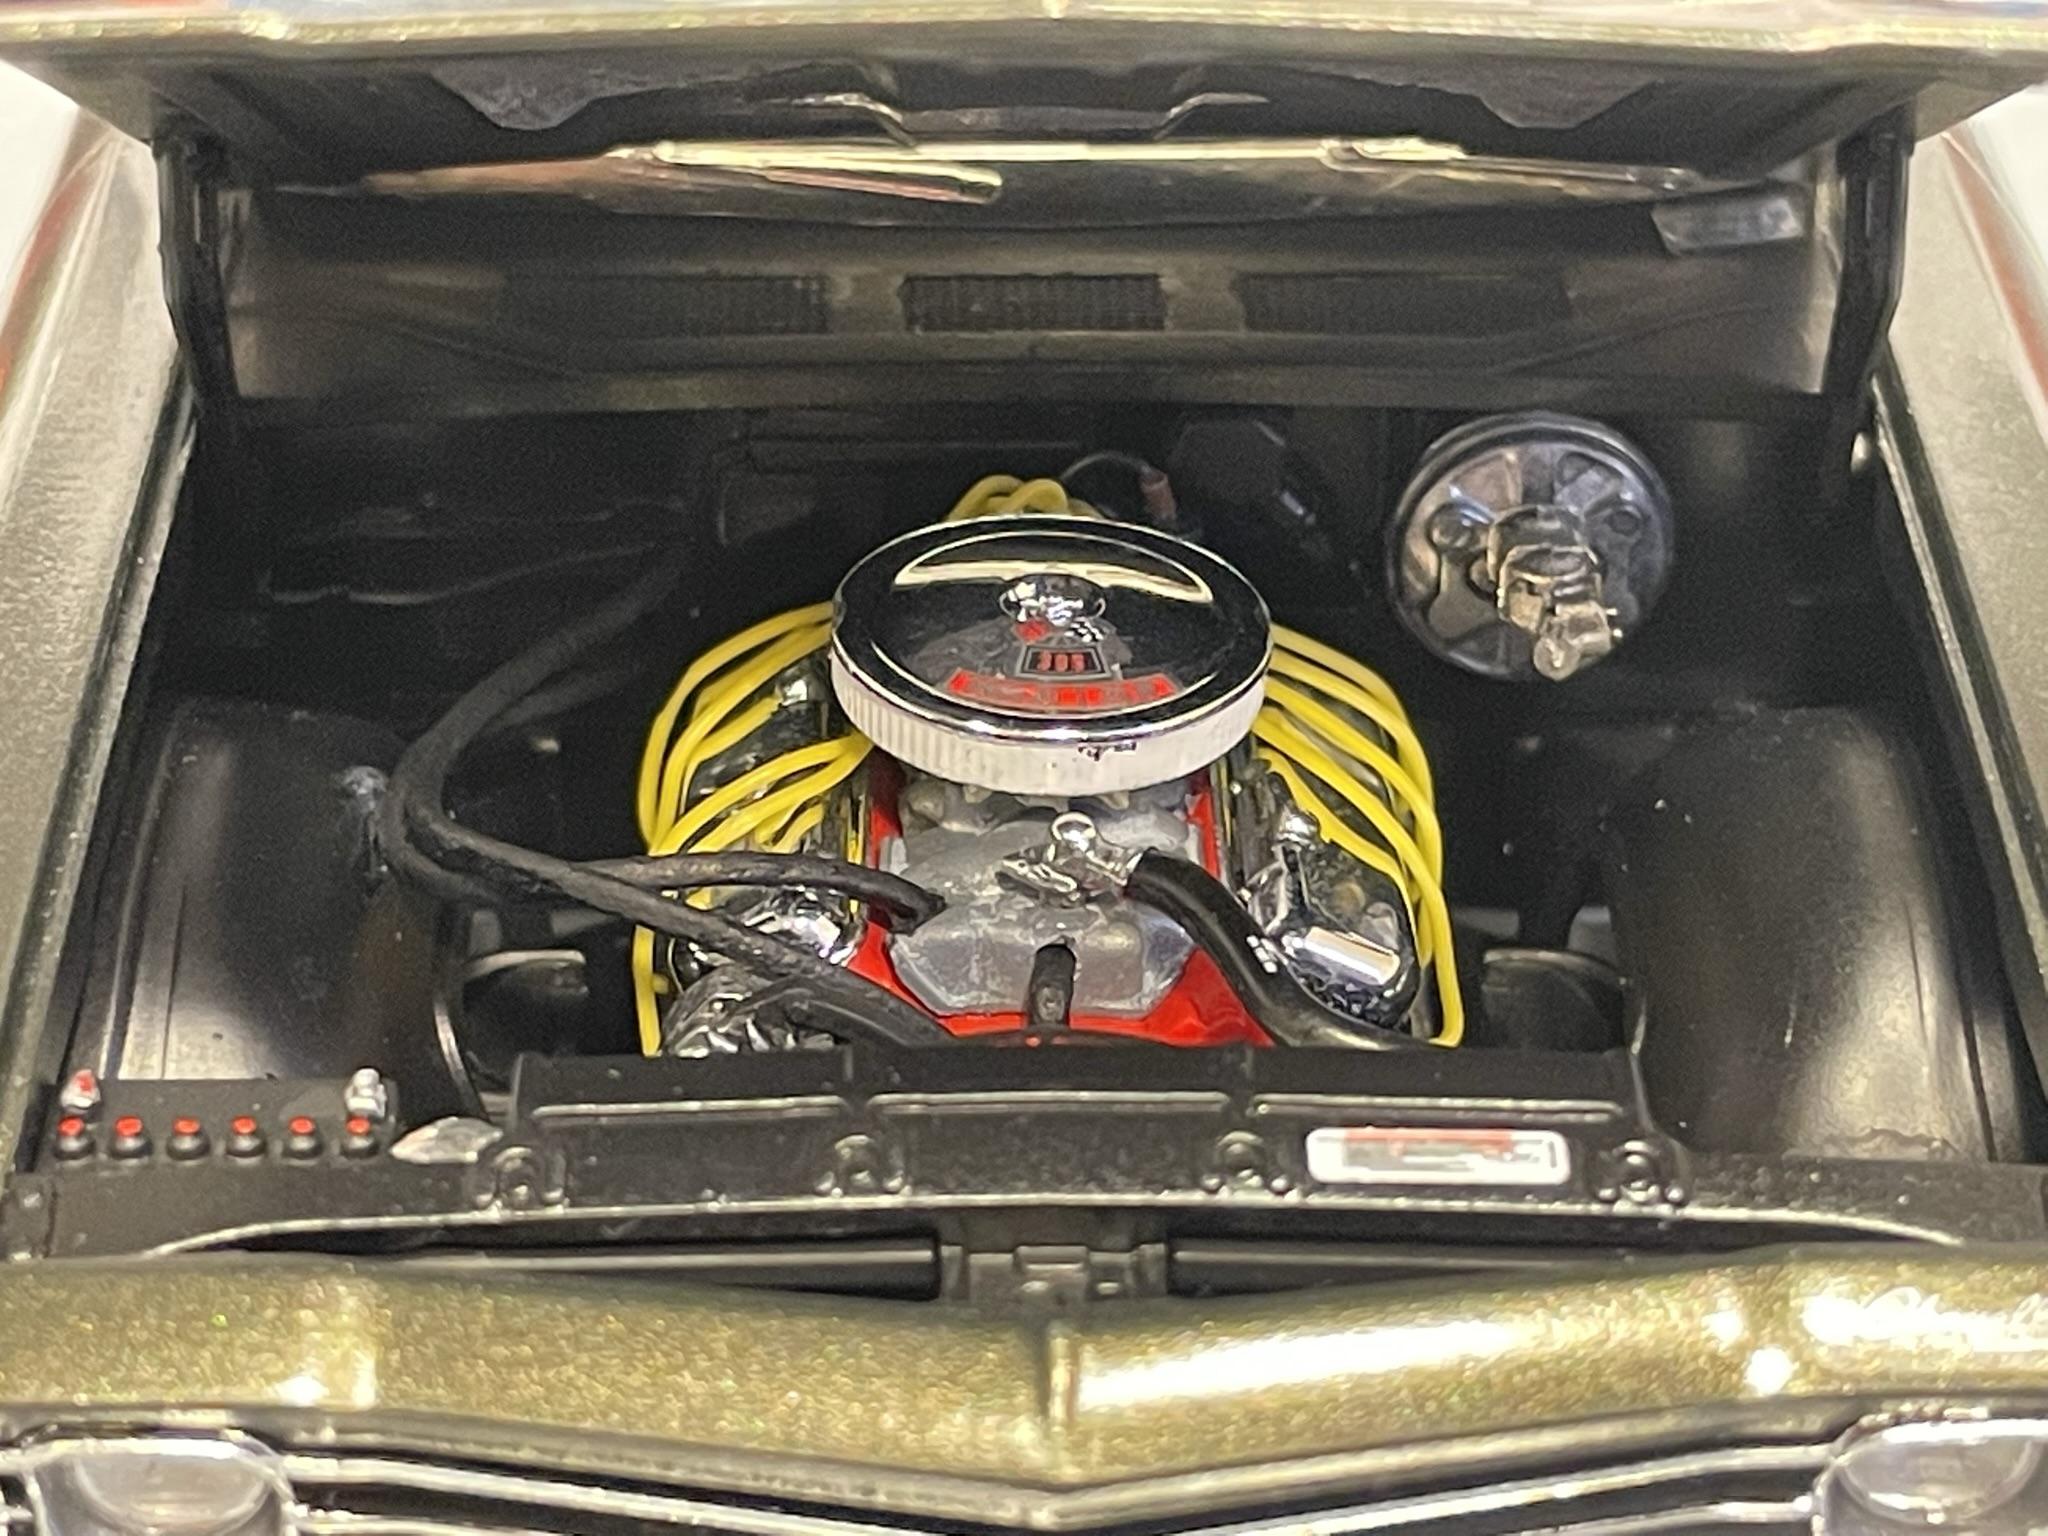
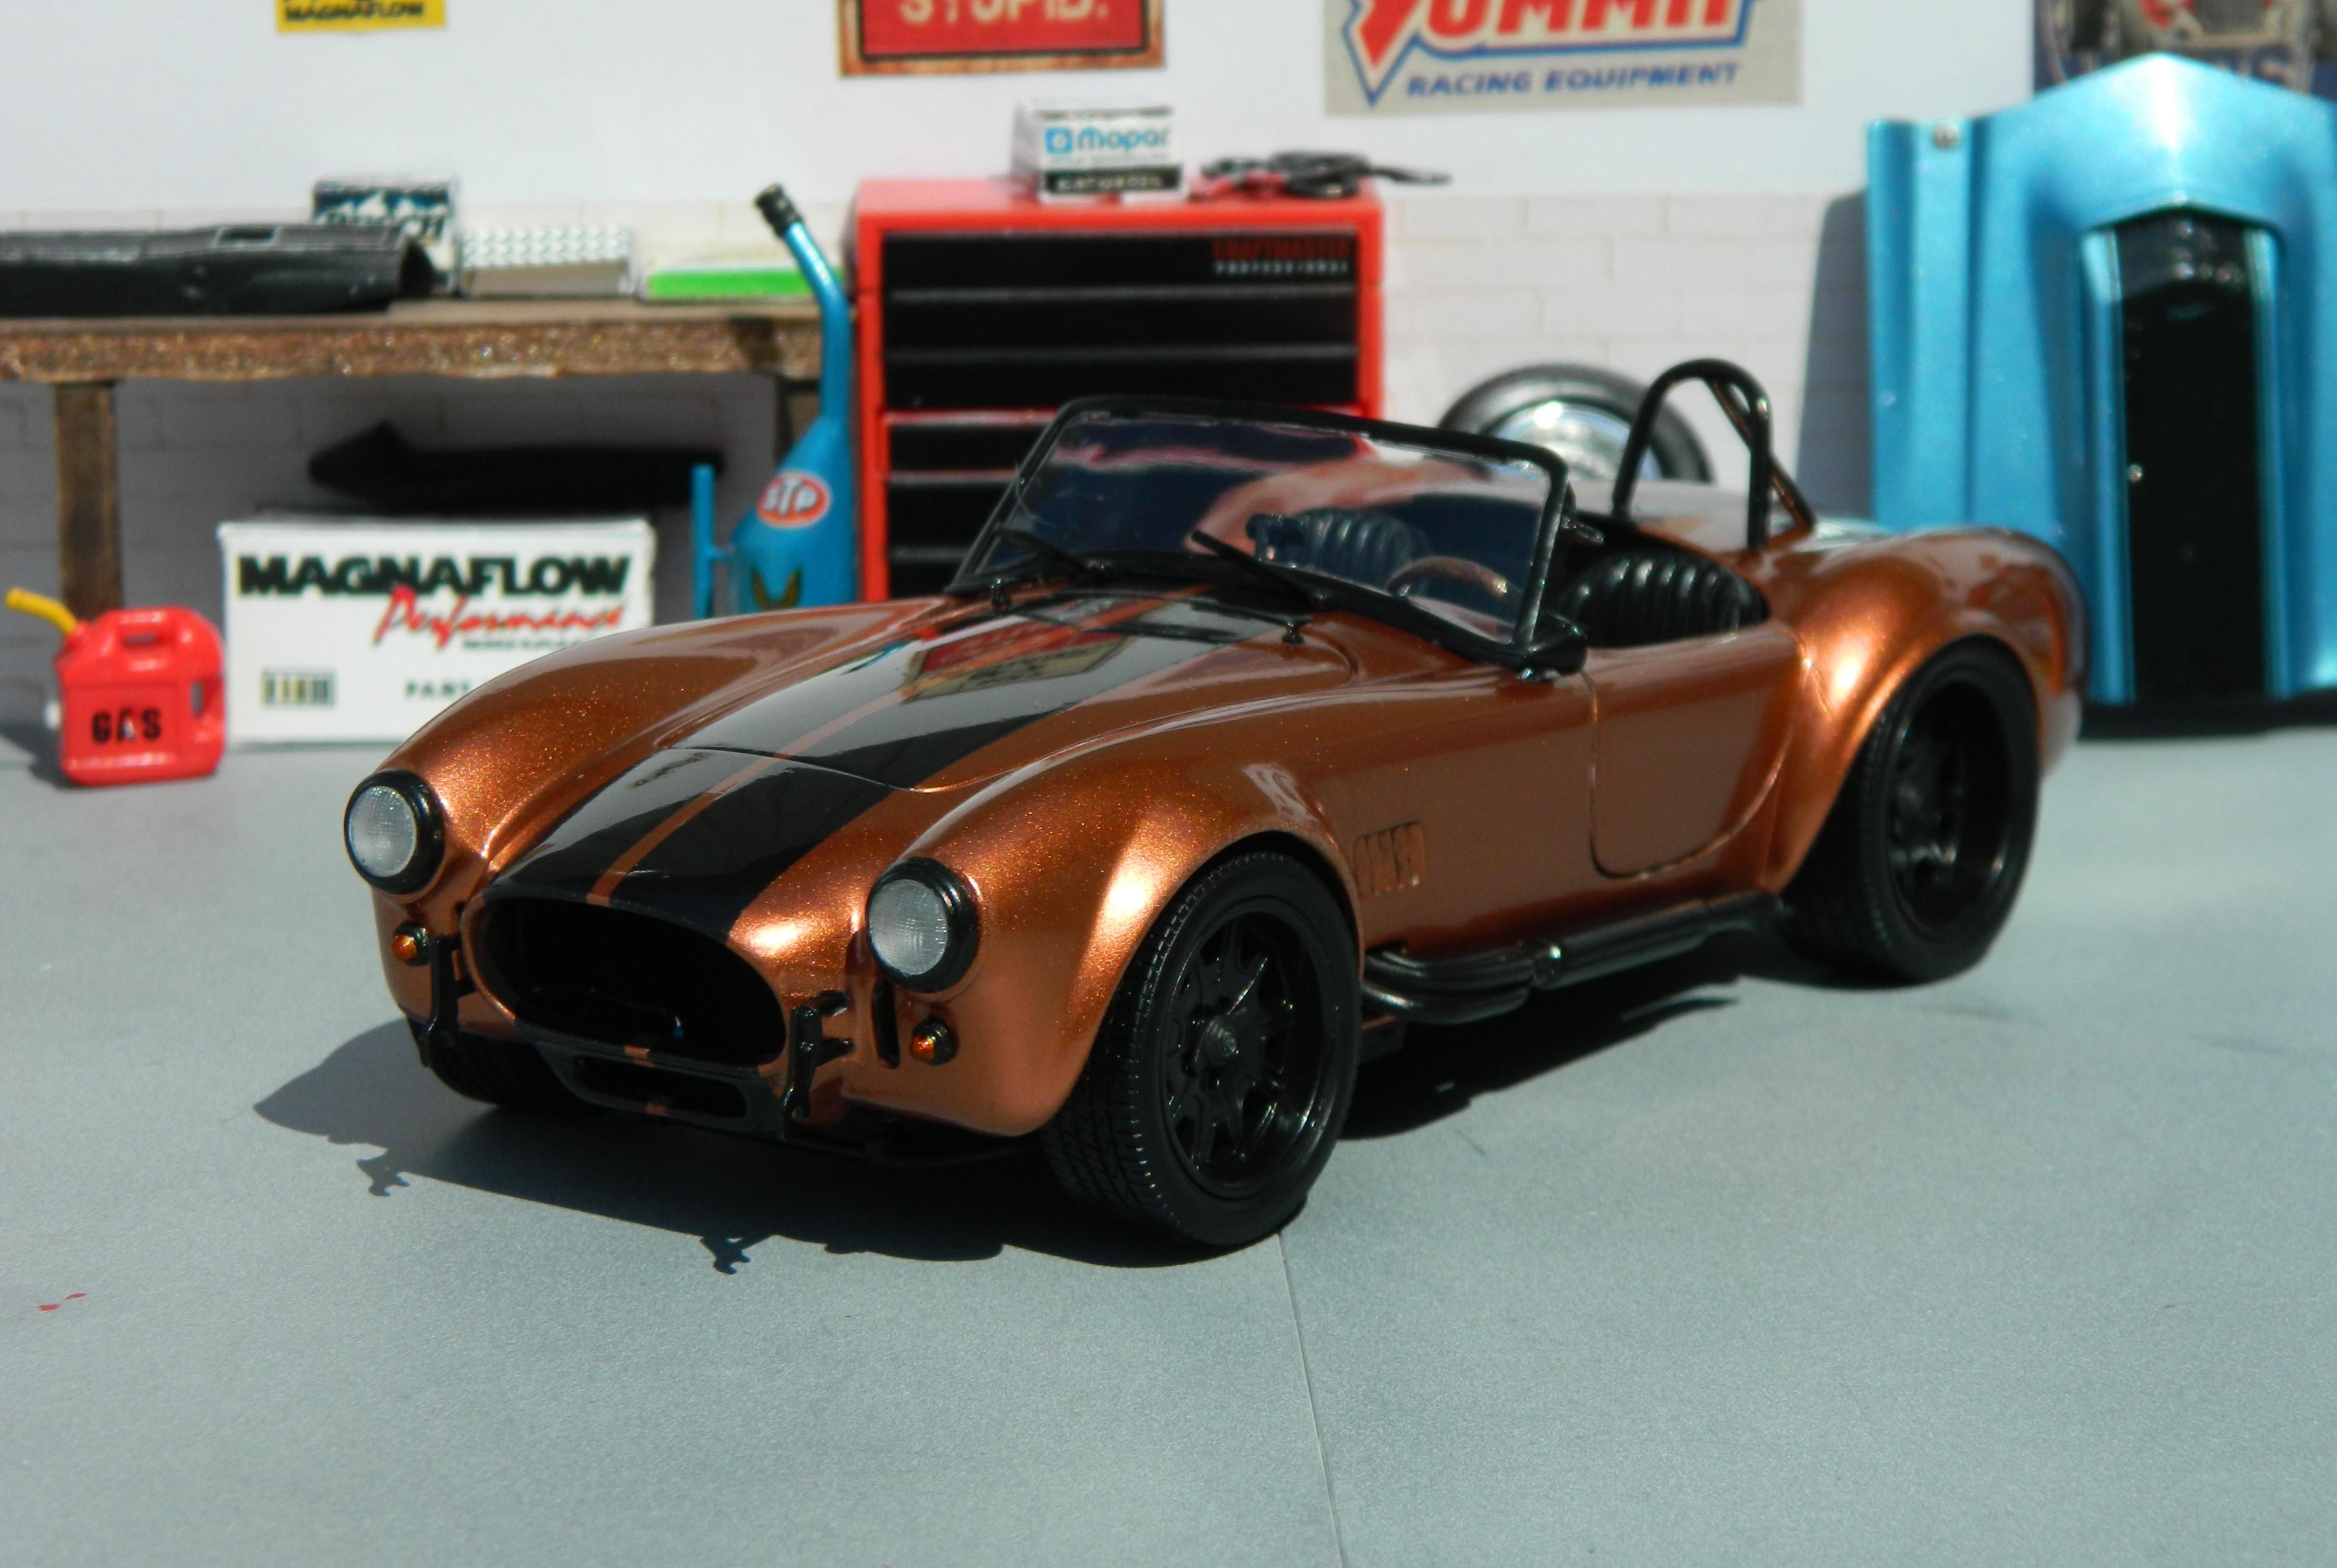
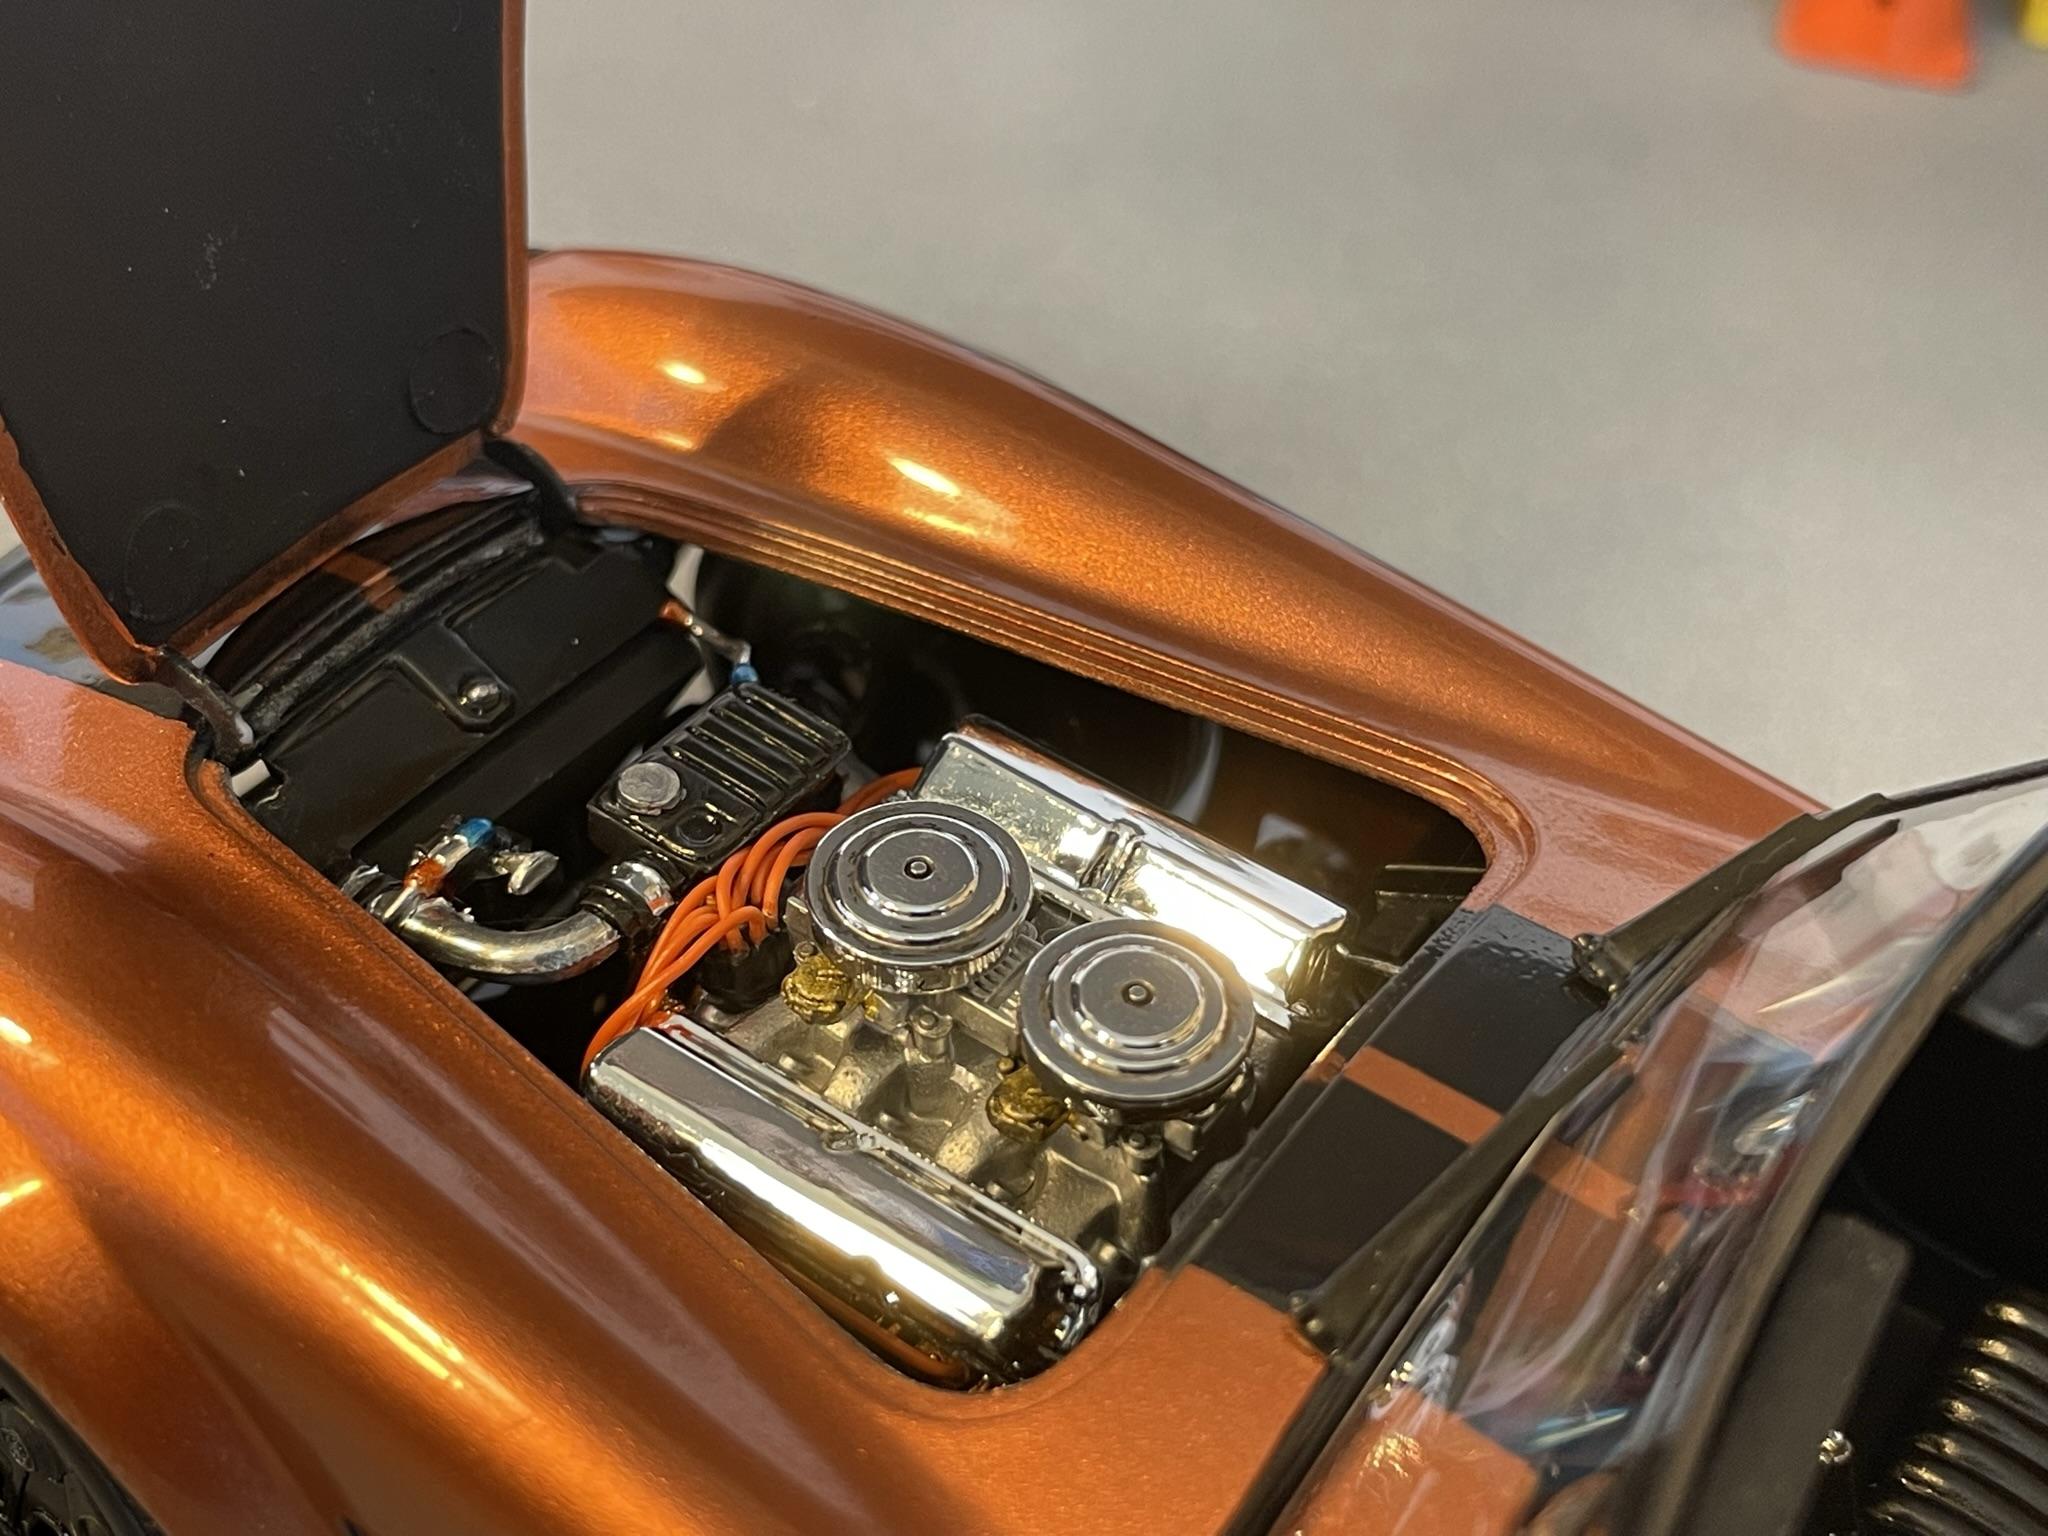
2022 Year Of Birth CBR Finished Builds
Dragonhawk1066 replied to disconovaman's topic in Community Builds
My birthyear build for the 2022 Cannonball Run. Monogram 1966? Shelby Cobra 427 S/C. It's painted in a custom mixed copper color using Chroma Molten Metals and Delta Creamcoat Black craft paints. The stripes are painted on using Delta Ceramcoat Black. It's cleared with Krylon Short Cuts Gloss Clear, wet-sanded, polished, and waxed. The wheels and tires are from the Revell Dom's GTX kit, the steering wheel from the Revell Ferrari Testarossa, gauge decals from Best Model Car Parts on ebay, and I added ignition wires. The chrome parts were stripped and painted with Anita's Glossy Black, and the interior is sprayed in Anita's Glossy Black craft paint as well.
-
Nice looking Coupe!
-
Nice job on the Nova, that's a real nice color!
-
Ollie's strike again
Dragonhawk1066 replied to GLMFAA1's topic in General Automotive Talk (Trucks and Cars)
Honestly not really interested in any of those subjects, especially for 13 bucks now. Hobby Lobby still has a few lower priced kits that 40% off to 14-16 dollars that I would rather have another copy of than the Ollie's Snap kits and the old tool '56 Chevy, but that's just me. I'm sure the ebay re-sellers will still clean out the shelves ASAP in the stores nearest them though. -
Well done! That's a real nice color!
-
Very nicely done!
-
That looks incredible, just like all of your builds! If this is just a "practice" car, I can't wait to see the result of the one you go all out for!
-
Ghostbusters Ecto-1 (modified from the Ecto-1A kit)
Dragonhawk1066 replied to bh1701's topic in Model Cars
Nice work! -
Outstanding! Very well done!