NOBLNG
-
Posts
9,962 -
Joined
-
Last visited
Content Type
Profiles
Forums
Events
Gallery
Everything posted by NOBLNG
-
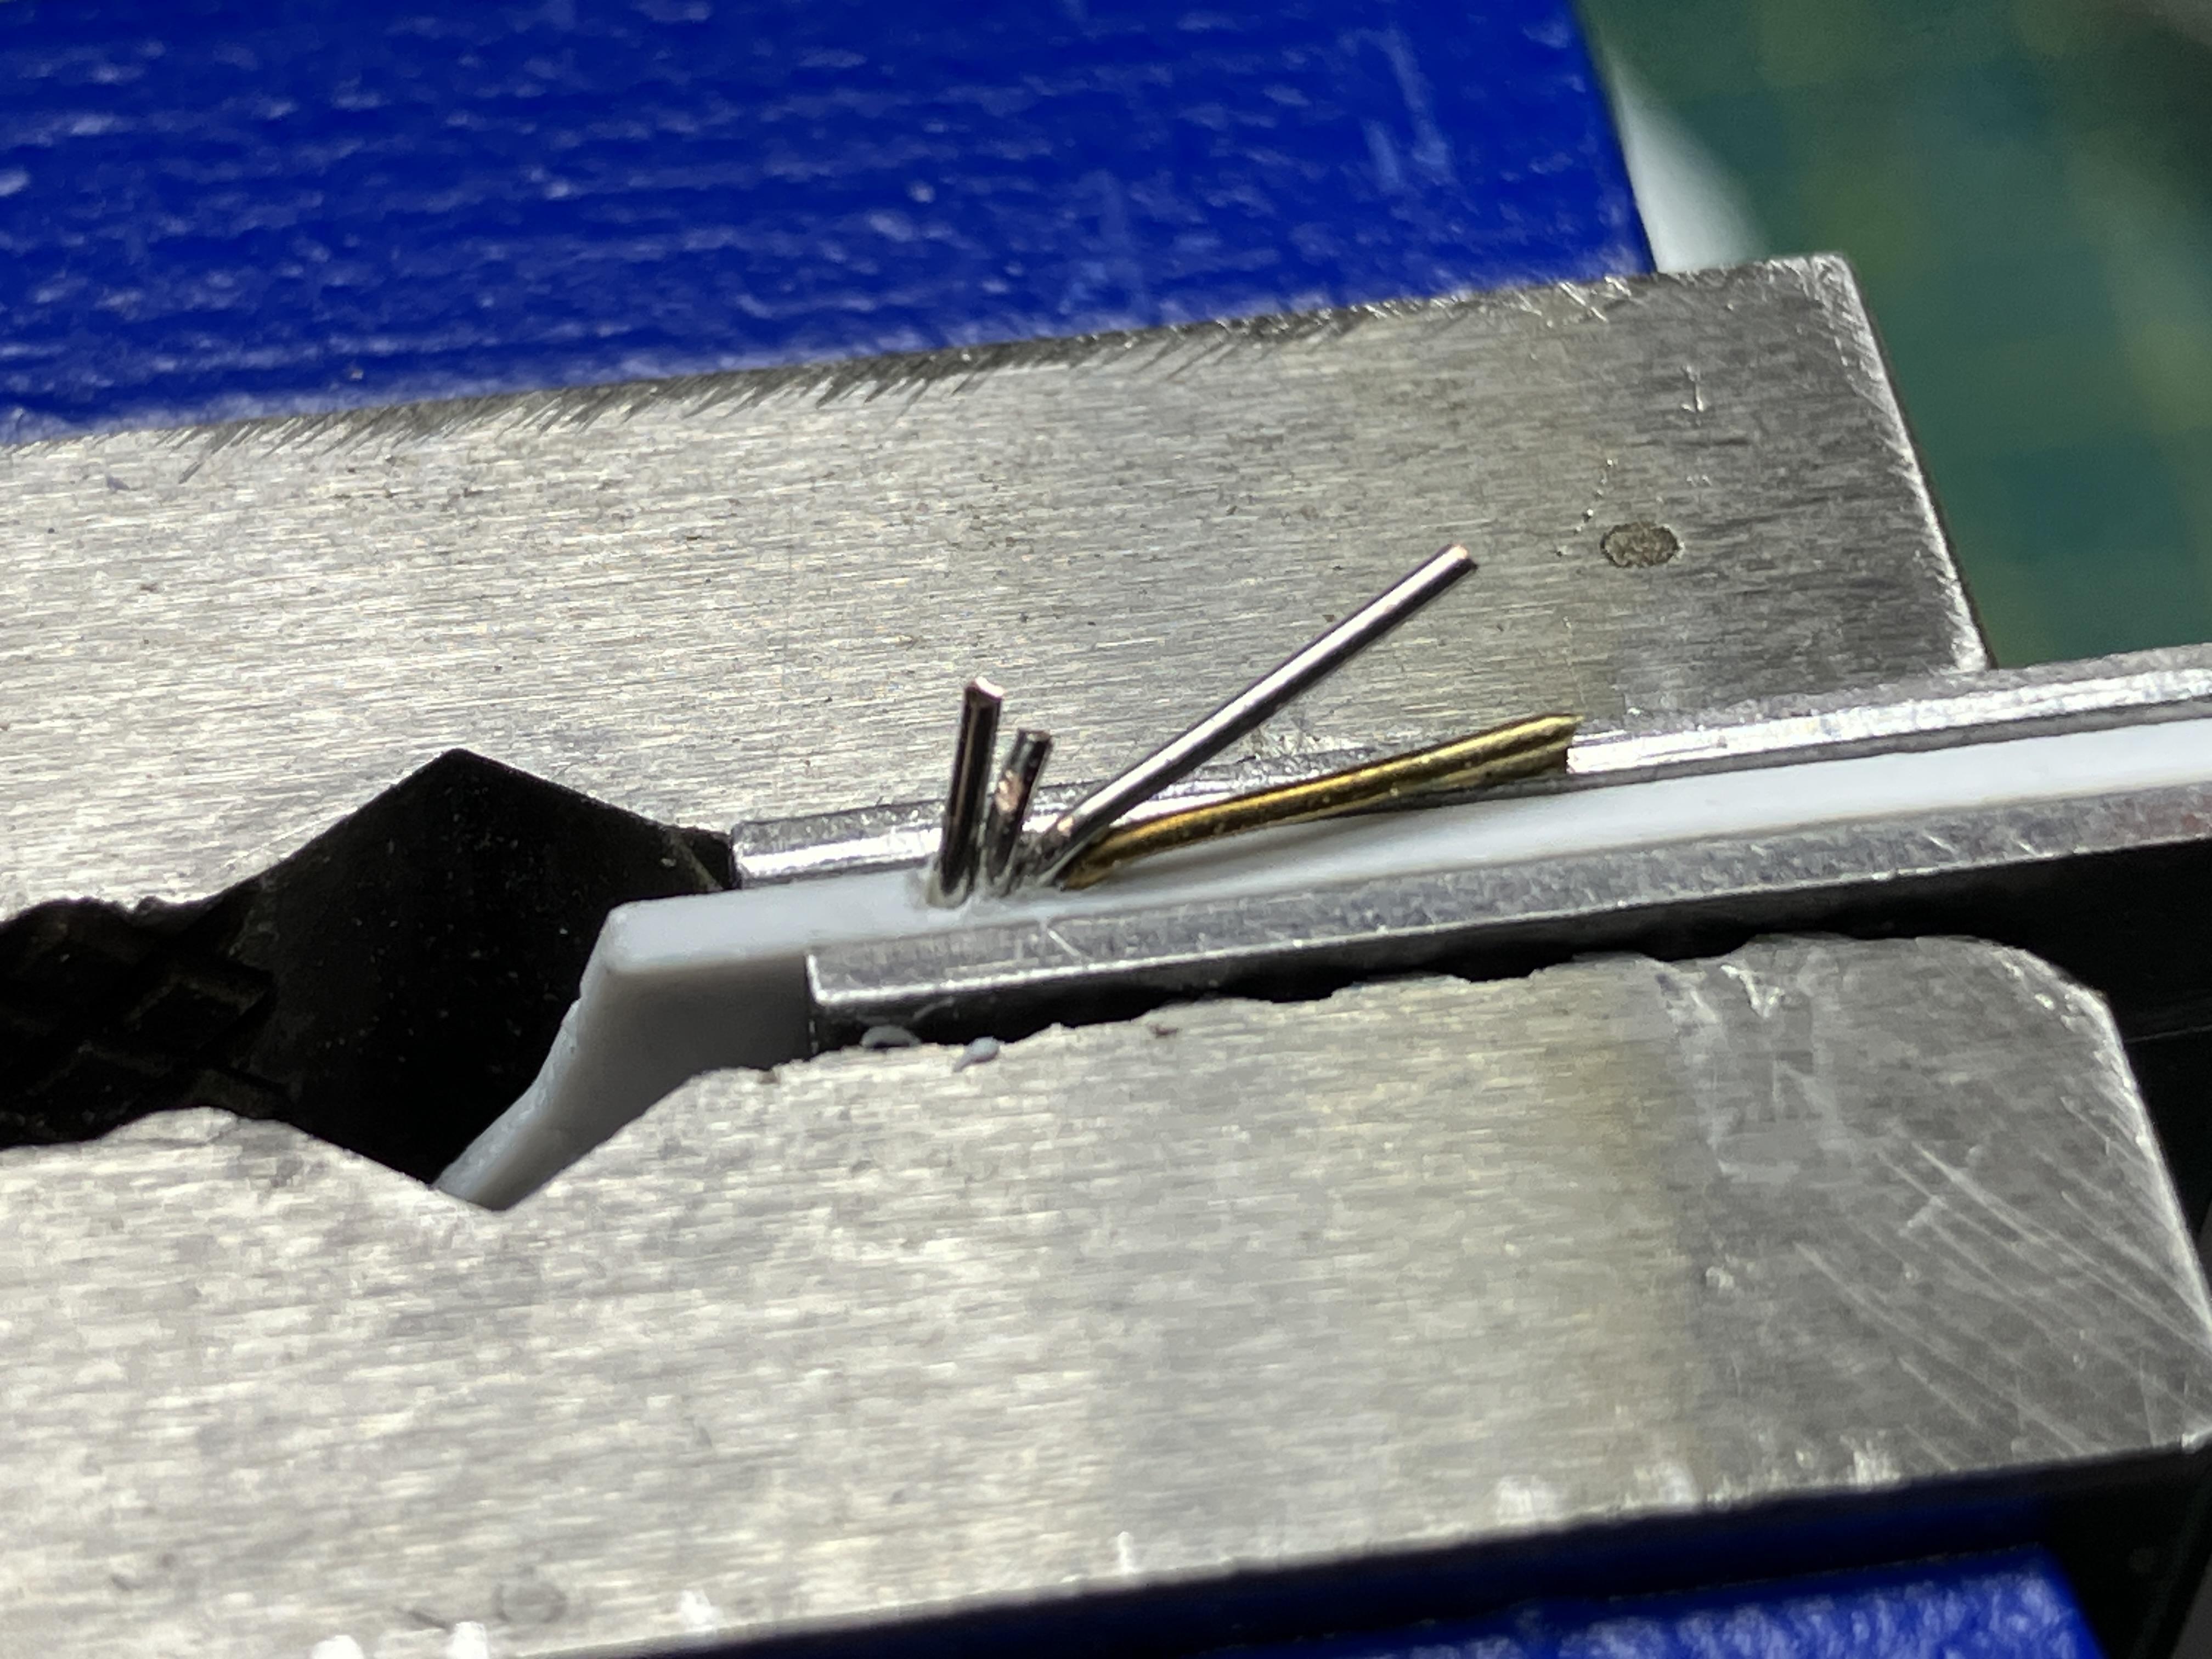
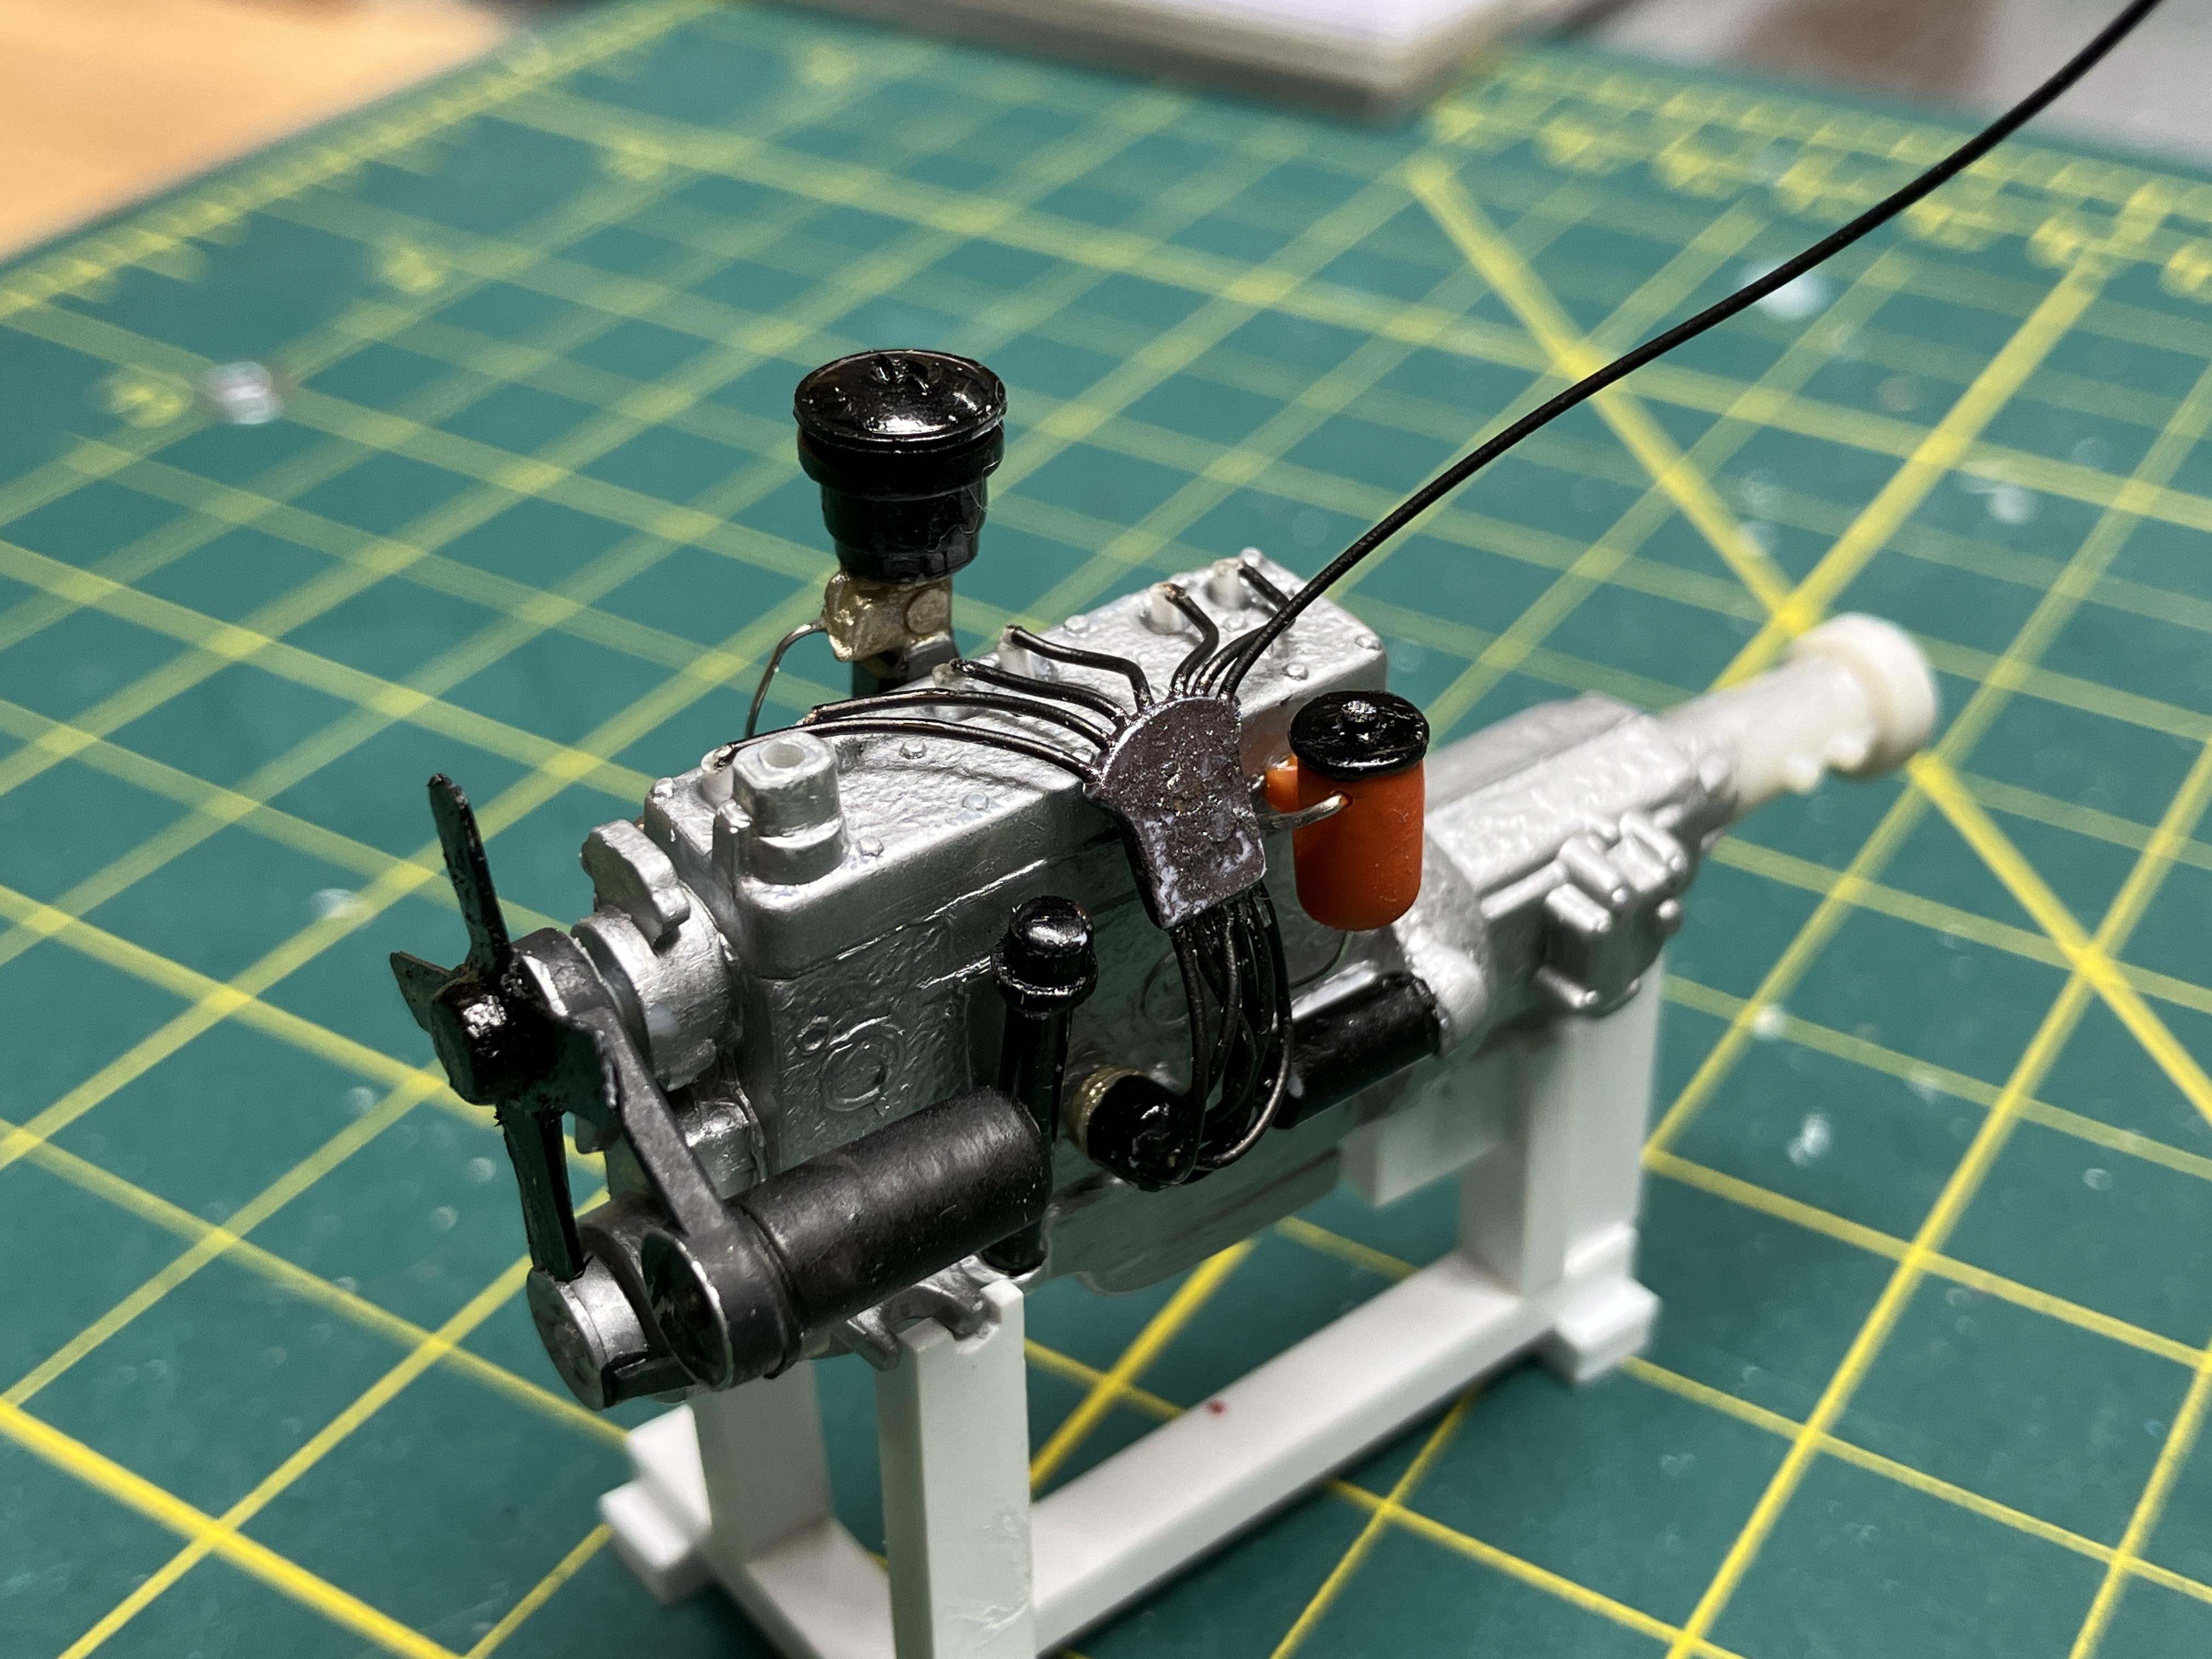
Thanks. I clamped a piece of .040” styrene between two metal plates and drilled a .0225” (#74) hole in the edge. Then I inserted a short piece of wire to prevent the drill bit from wandering back into the previous hole, and drilled the next one. The metal plates keep the drill bit from wandering out sideways. The two part plug wires are just stubbed in from both ends.

-
Cute girls get all the attention.
-
I can search all threads and members content back to 2006 on my iPad. FWIW.
-
PM sent.
-
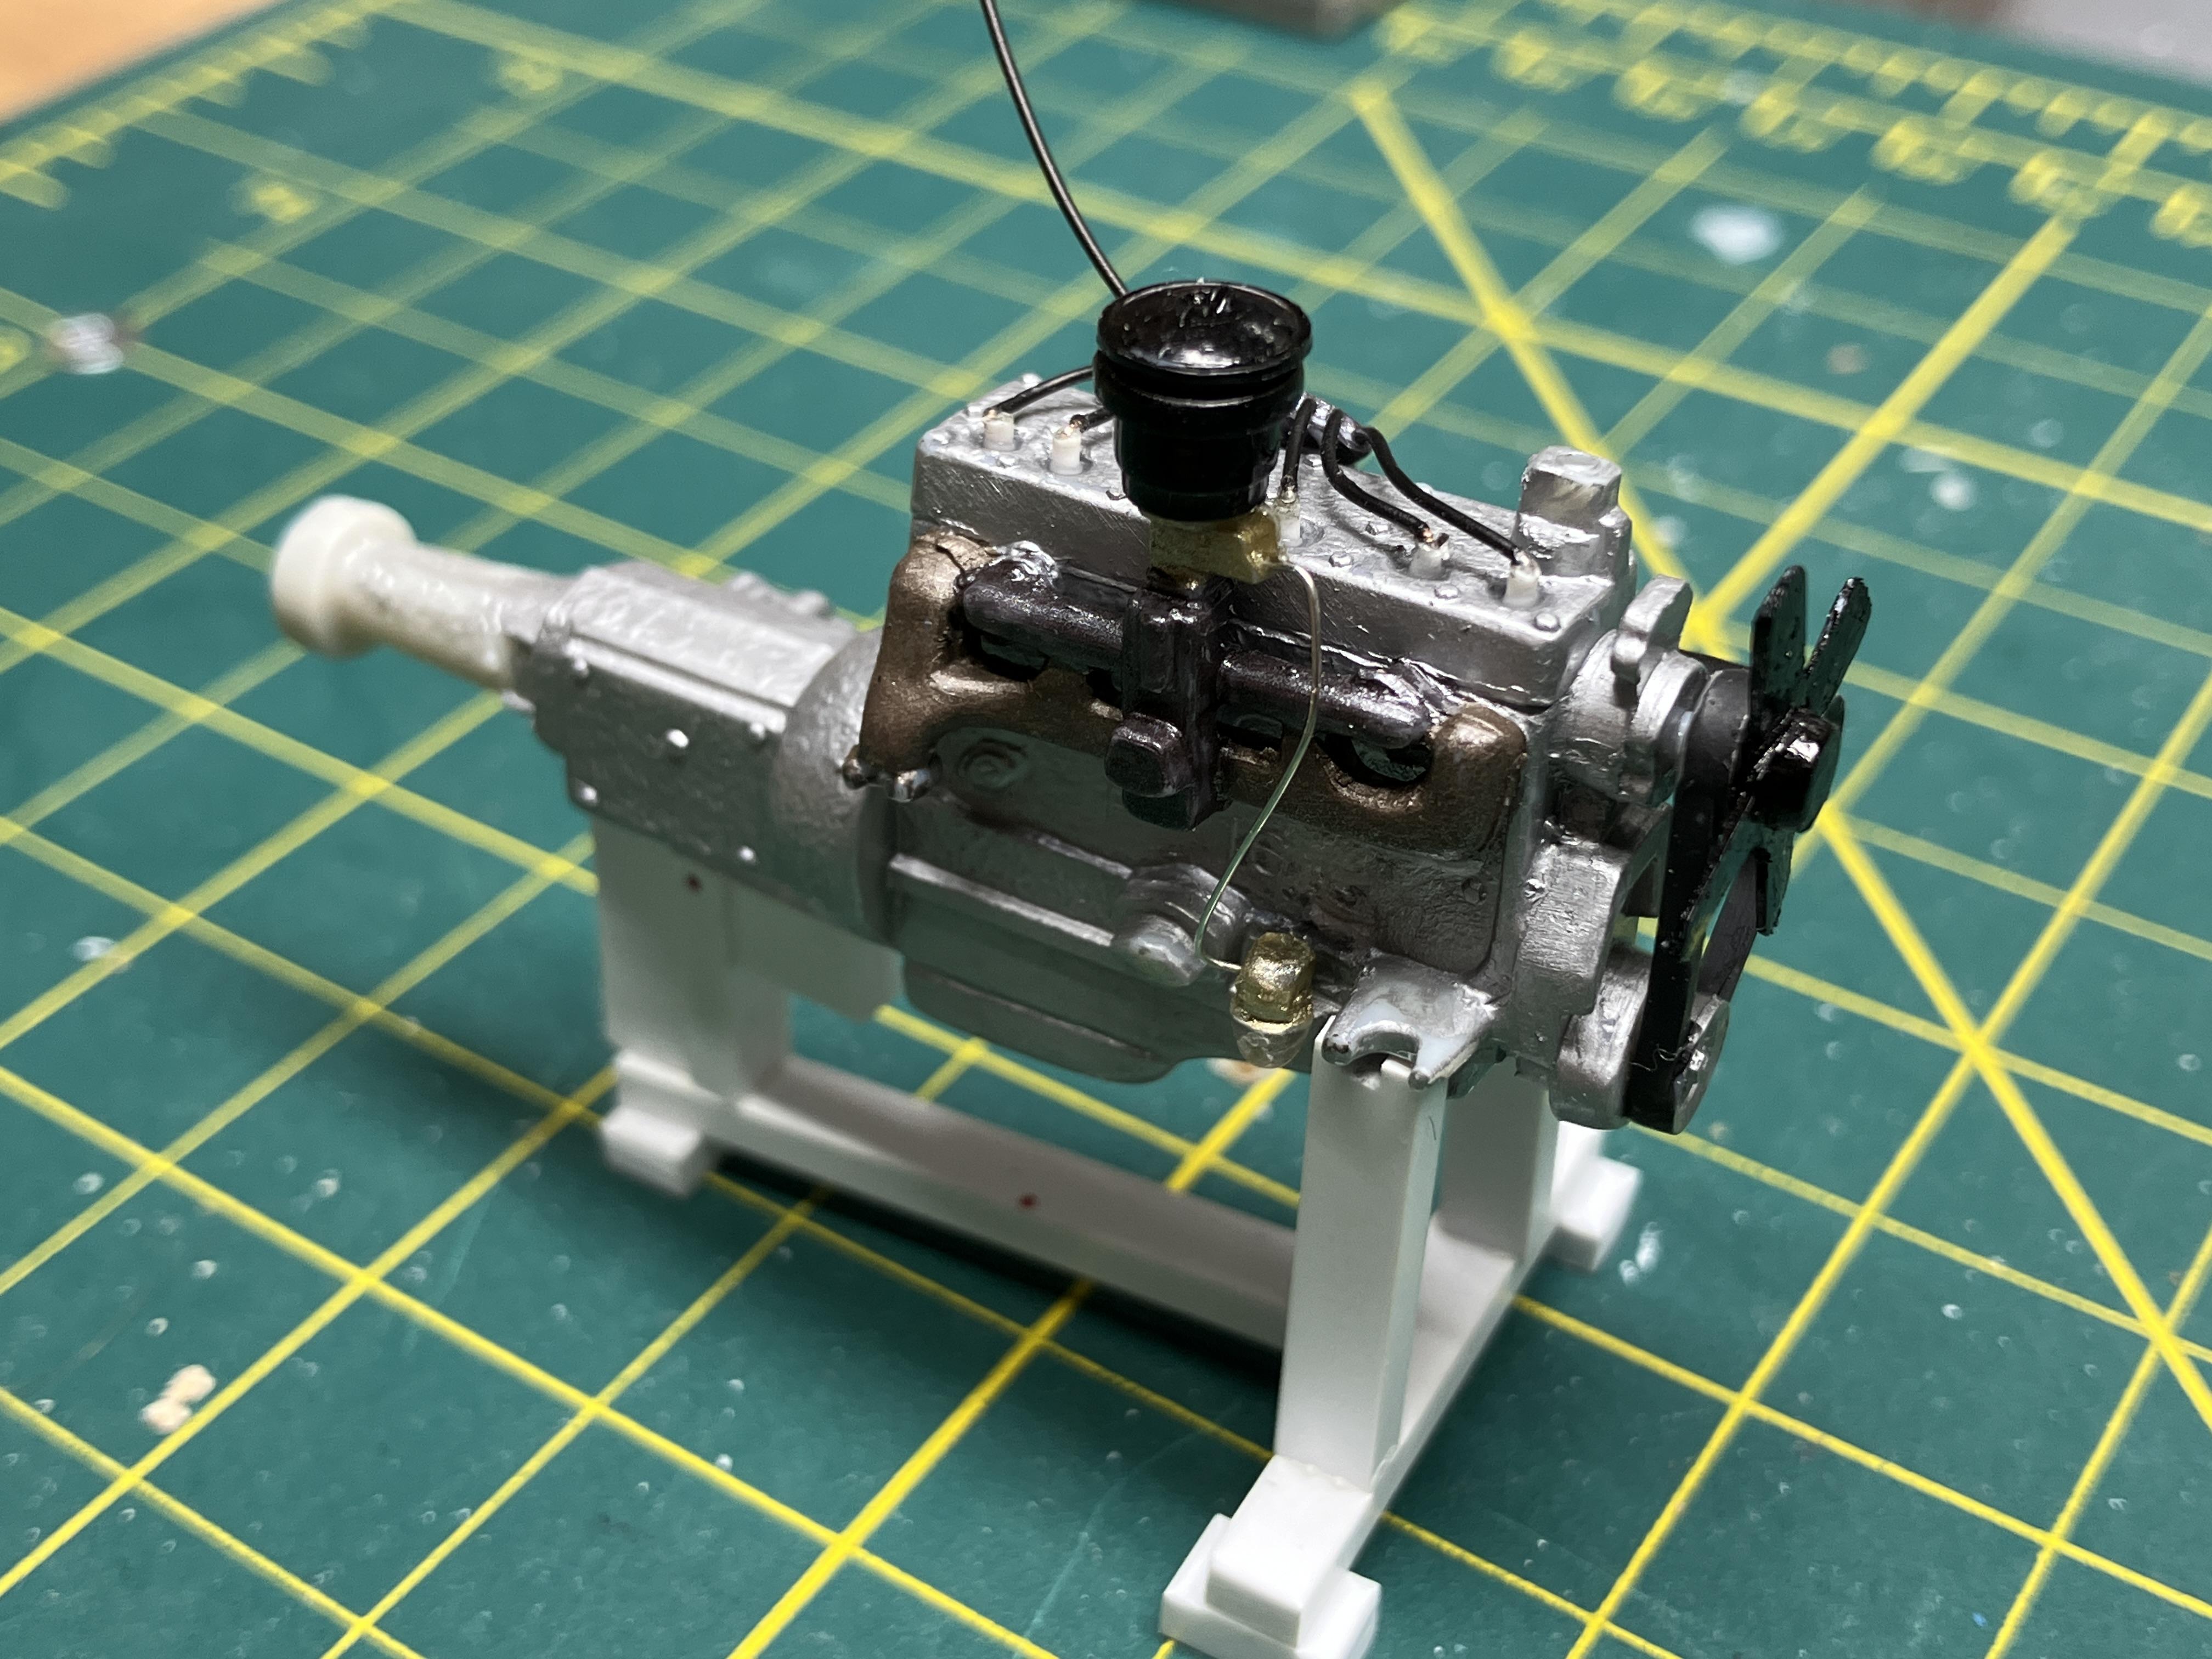
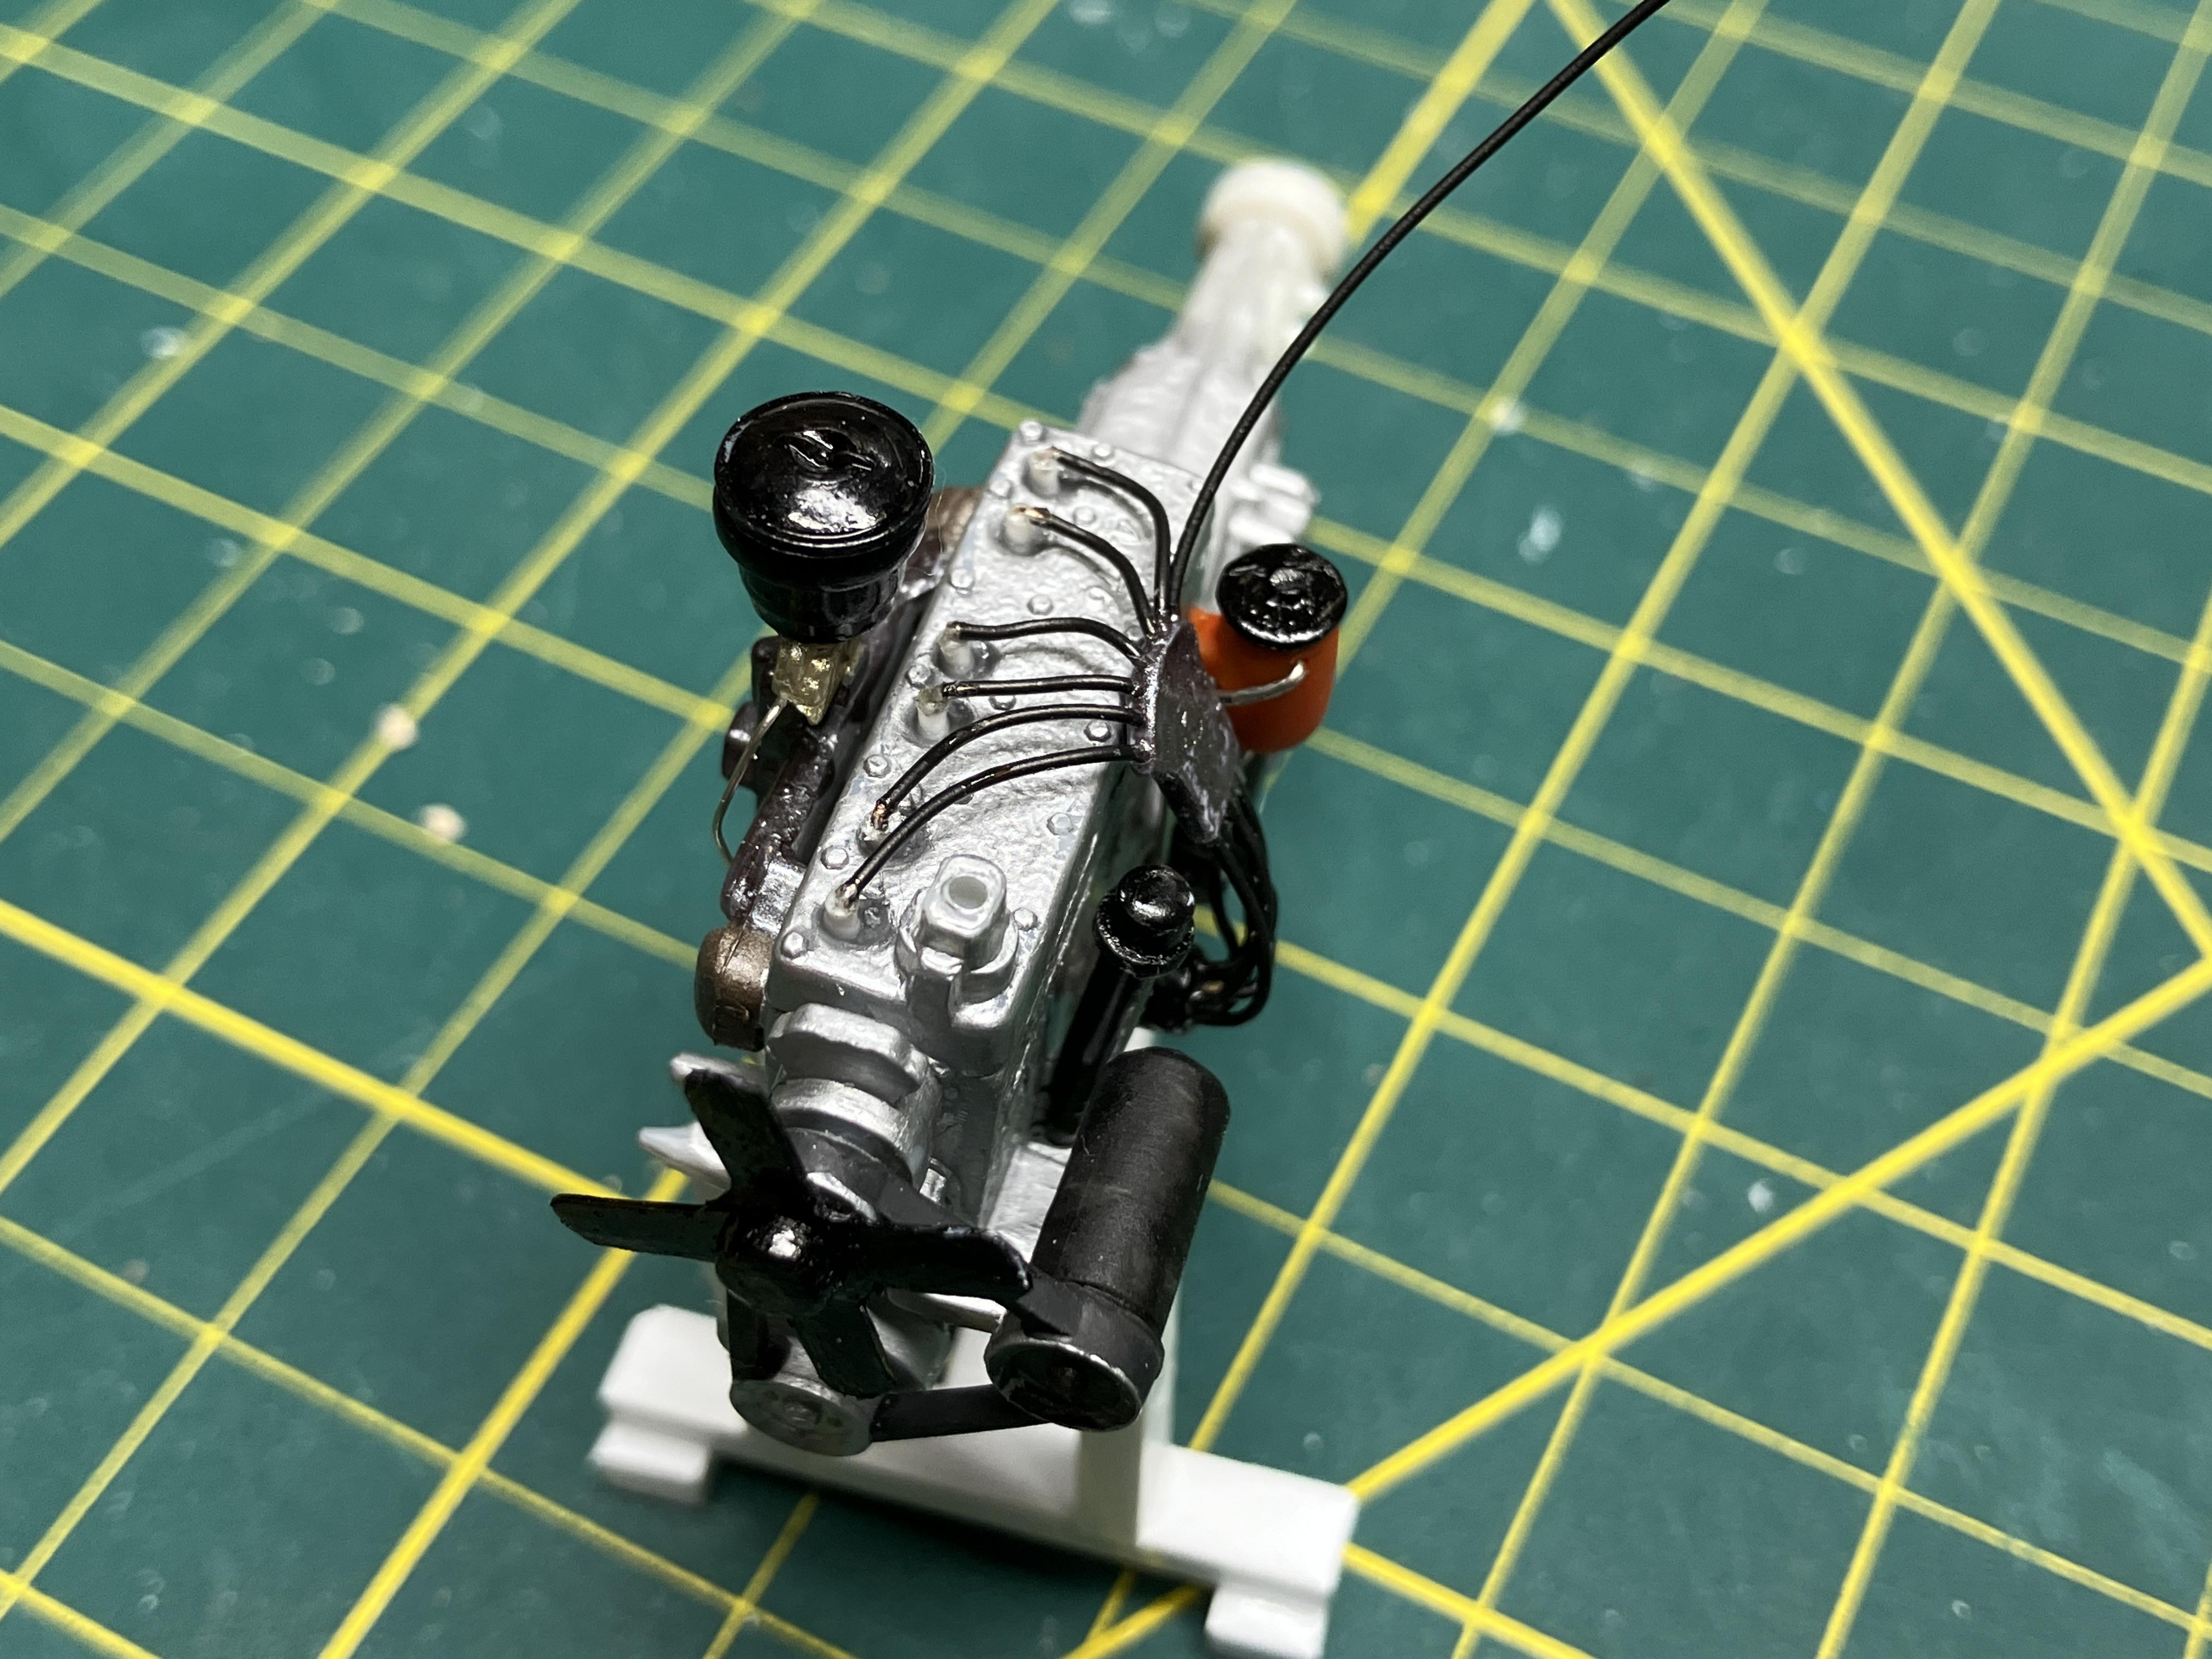
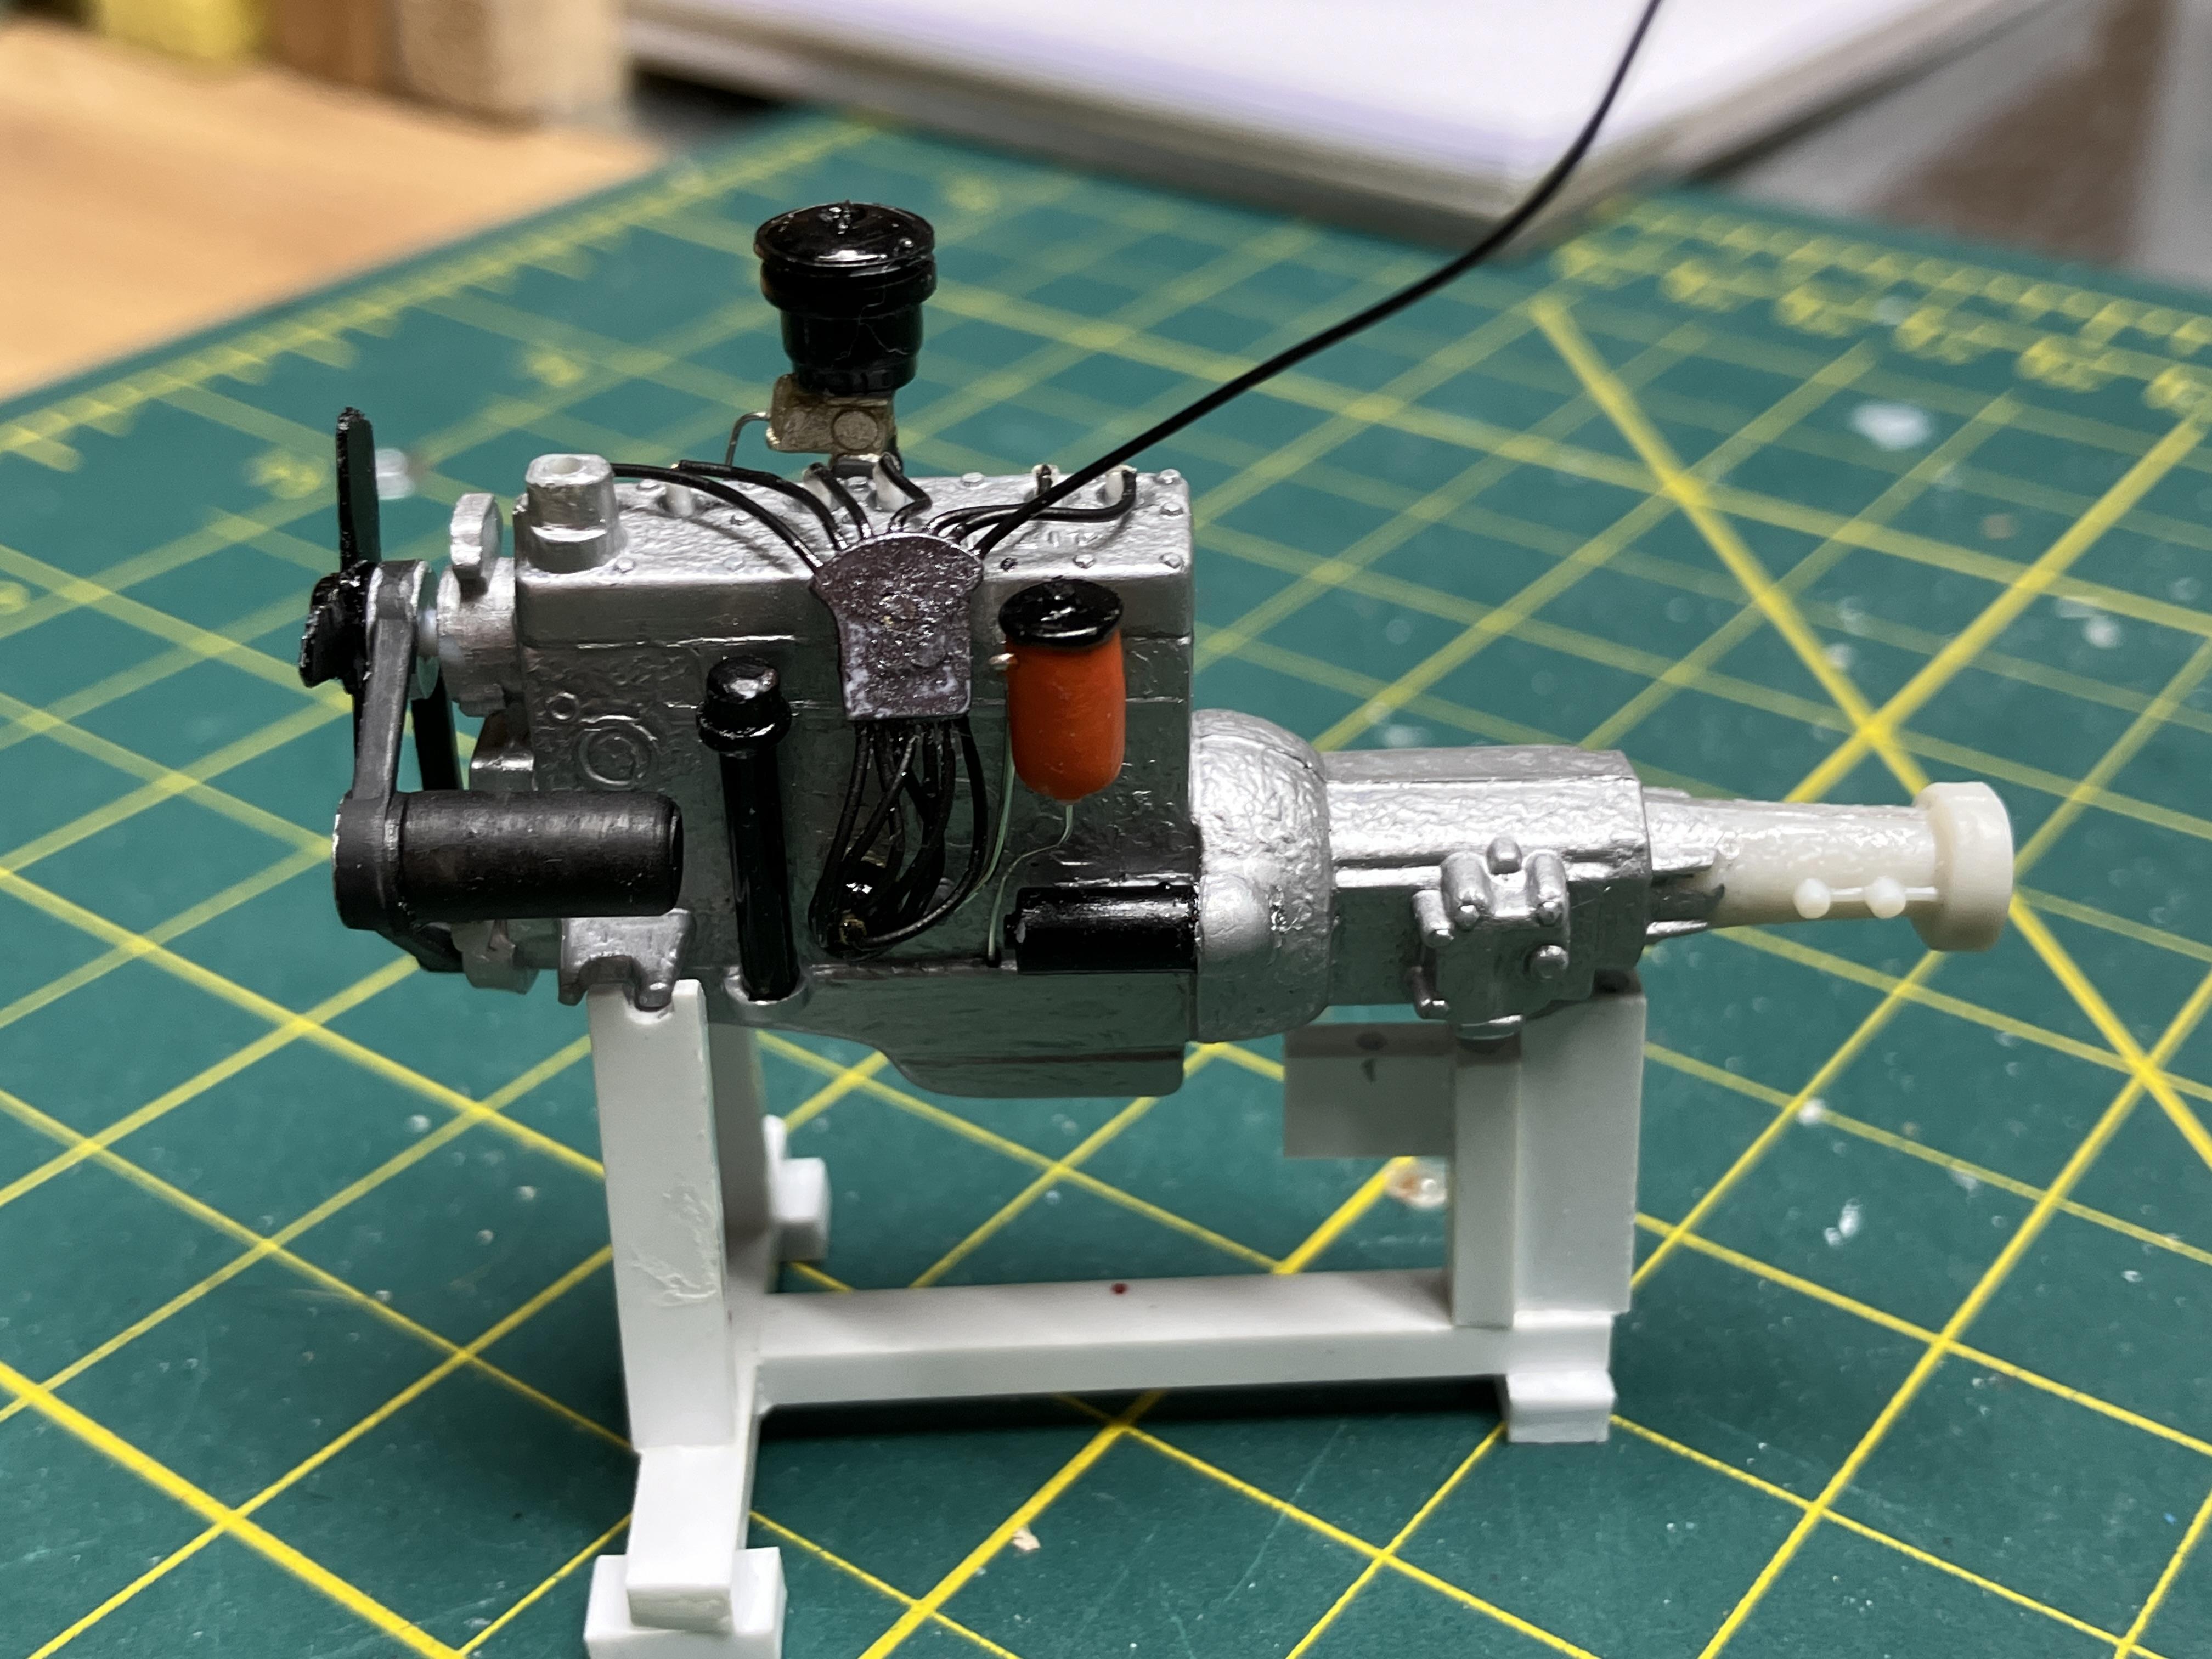
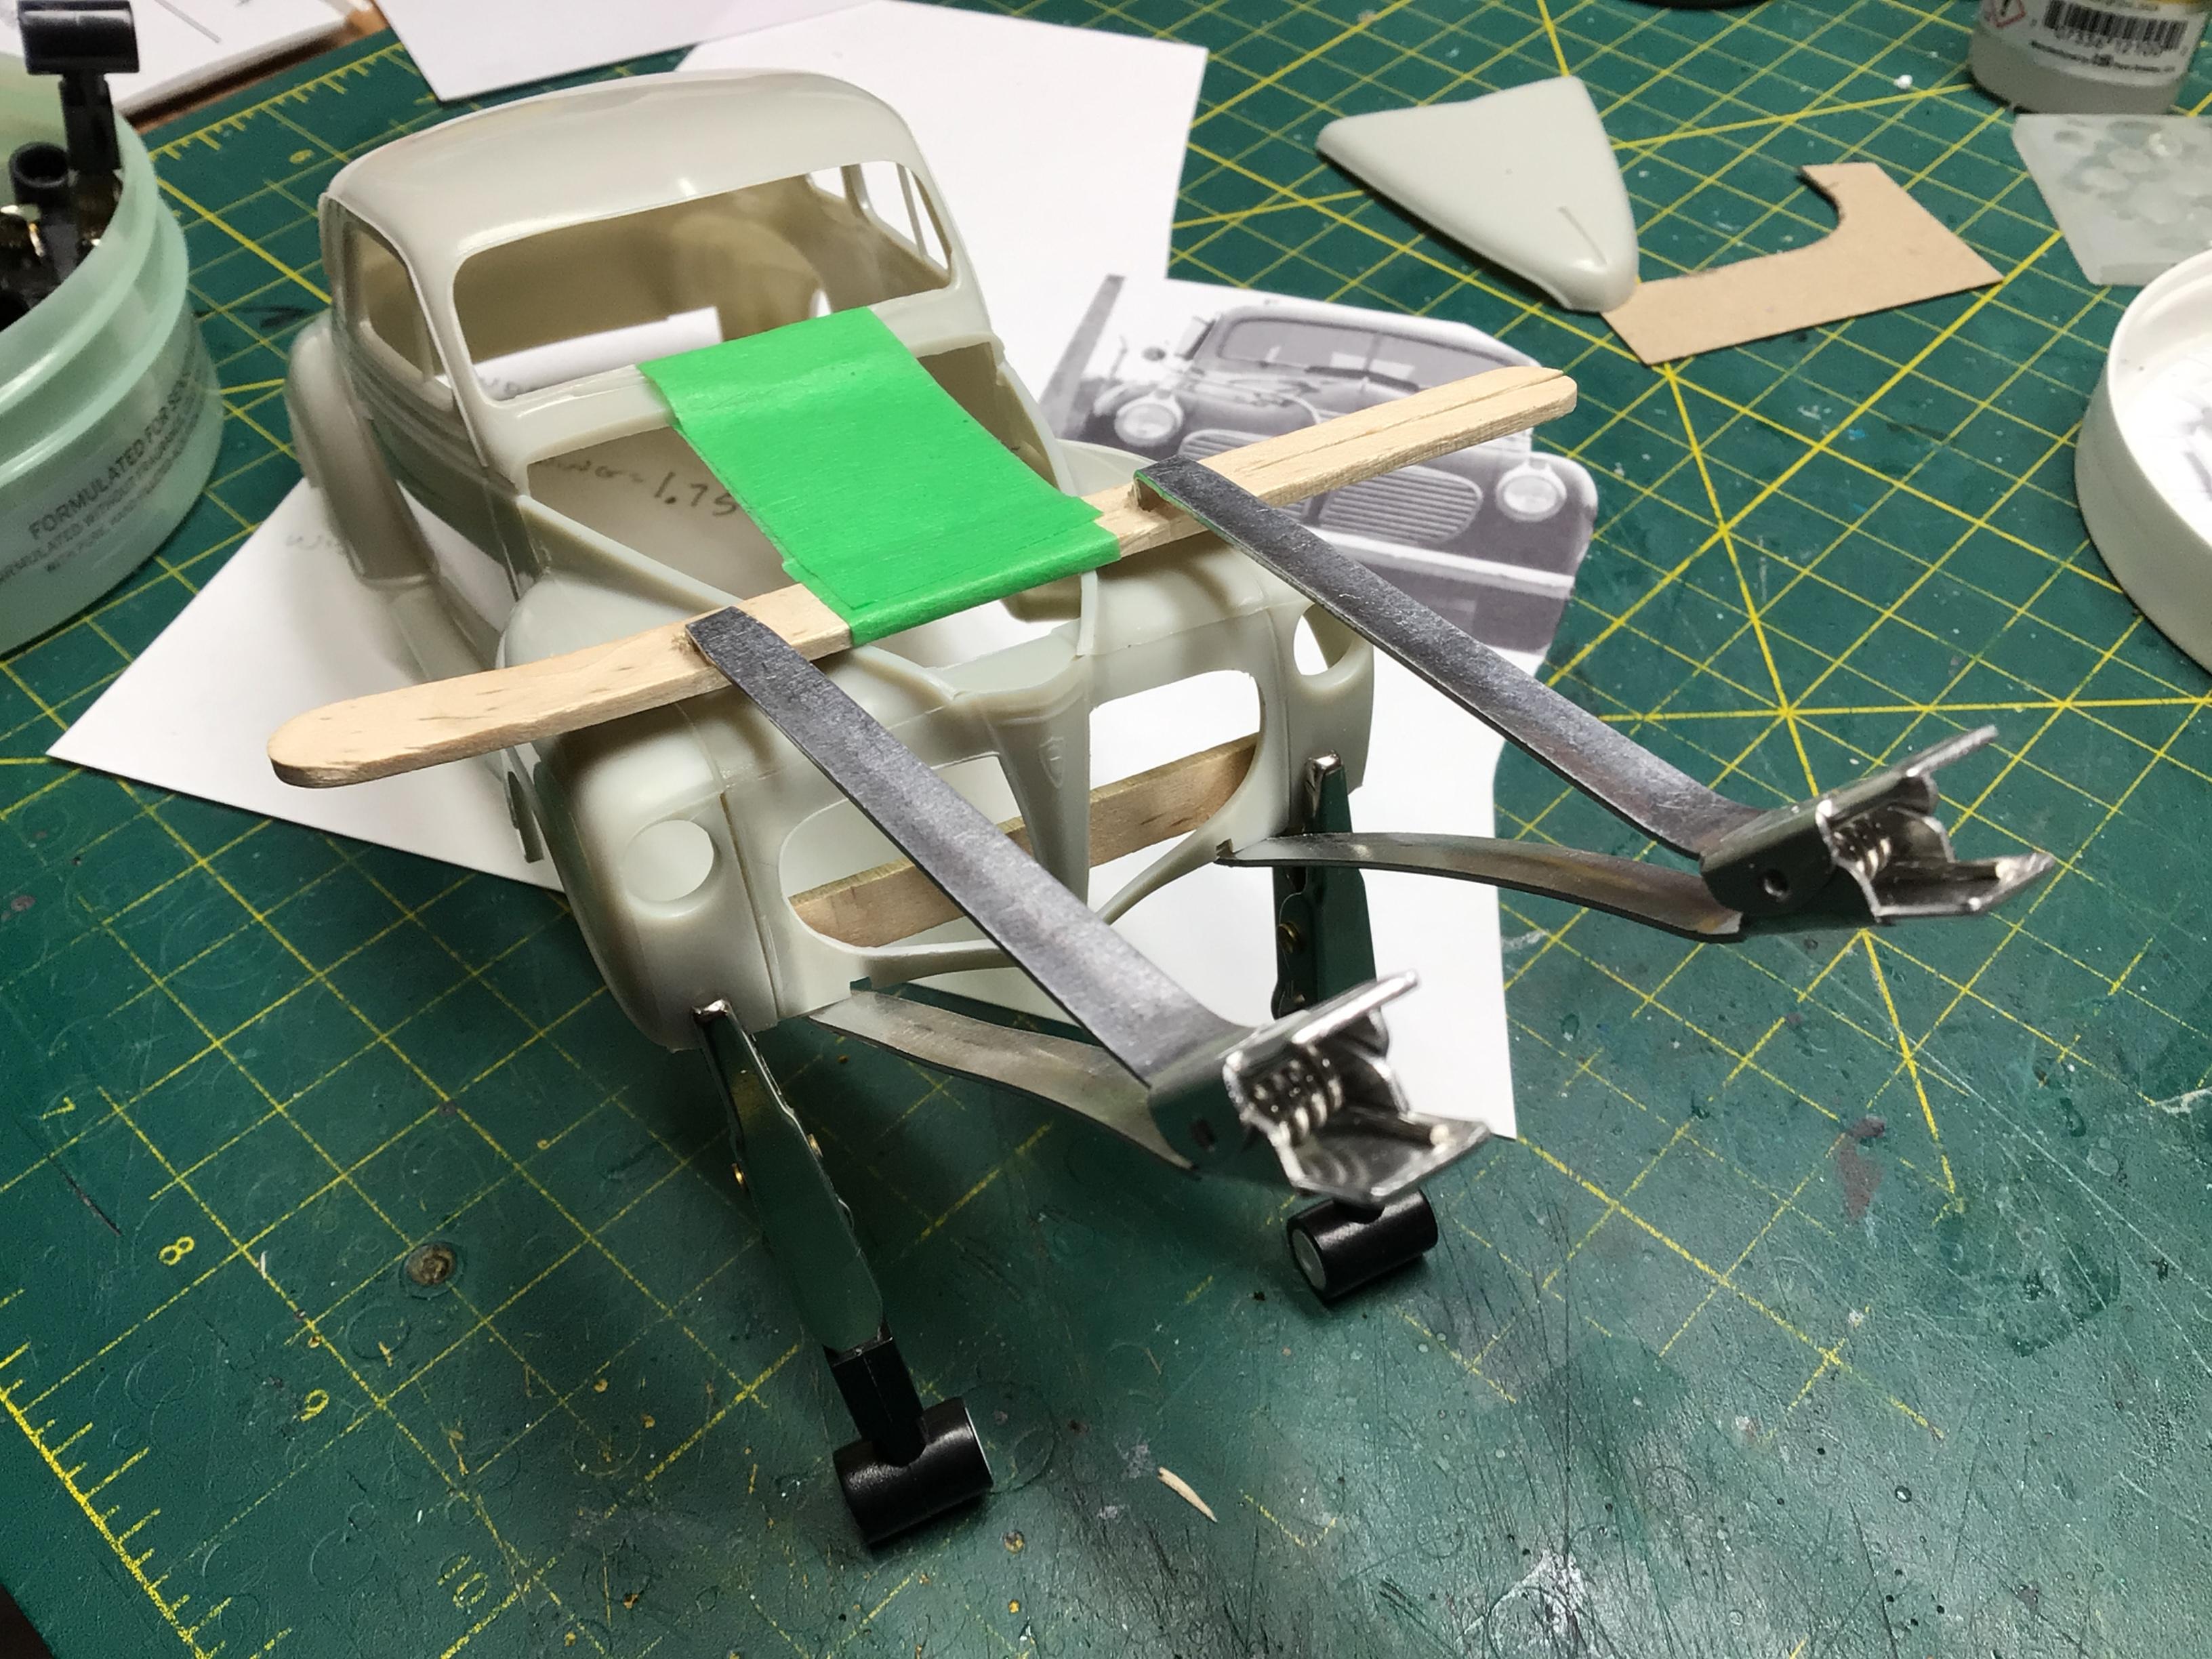
OK, back on topic…? I got the engine finished. I clipped off the molded in starter, fuel pump, oil filler tube and distributor??I scratch built new pieces along with the plug wire loom. I still have to make a coil for it. I think it was molded in down where the fuel pump should be. Not sure where to mount it yet either. I also thinned down the 2” thick fan and gave the blades some pitch. Thanks for lookin’.?
-
Away to the outhouse he flew like a flash…
-
 Nice looking rig for sure!?
 -
AMT 1939 Ford tudor sedan chopped and sectioned
NOBLNG replied to Paul Payne's topic in WIP: Model Cars
I’m gonna follow along too….that 1:1 looks slick!? It’ll look great pulling a little teardrop, or even an Airstream.?? -
Can we all just get along?
-
Impressive work Dennis,? I am always envious of your engine bay wiring jobs.?
-
Sorry I suggested a hacksaw.?
-
Identifying parts through sprue numbers
NOBLNG replied to ewetwo's topic in Model Building Questions and Answers
You might have better luck if you can post a picture of them. There are a lot of old experienced modellers here who could likely identify them by sight. -
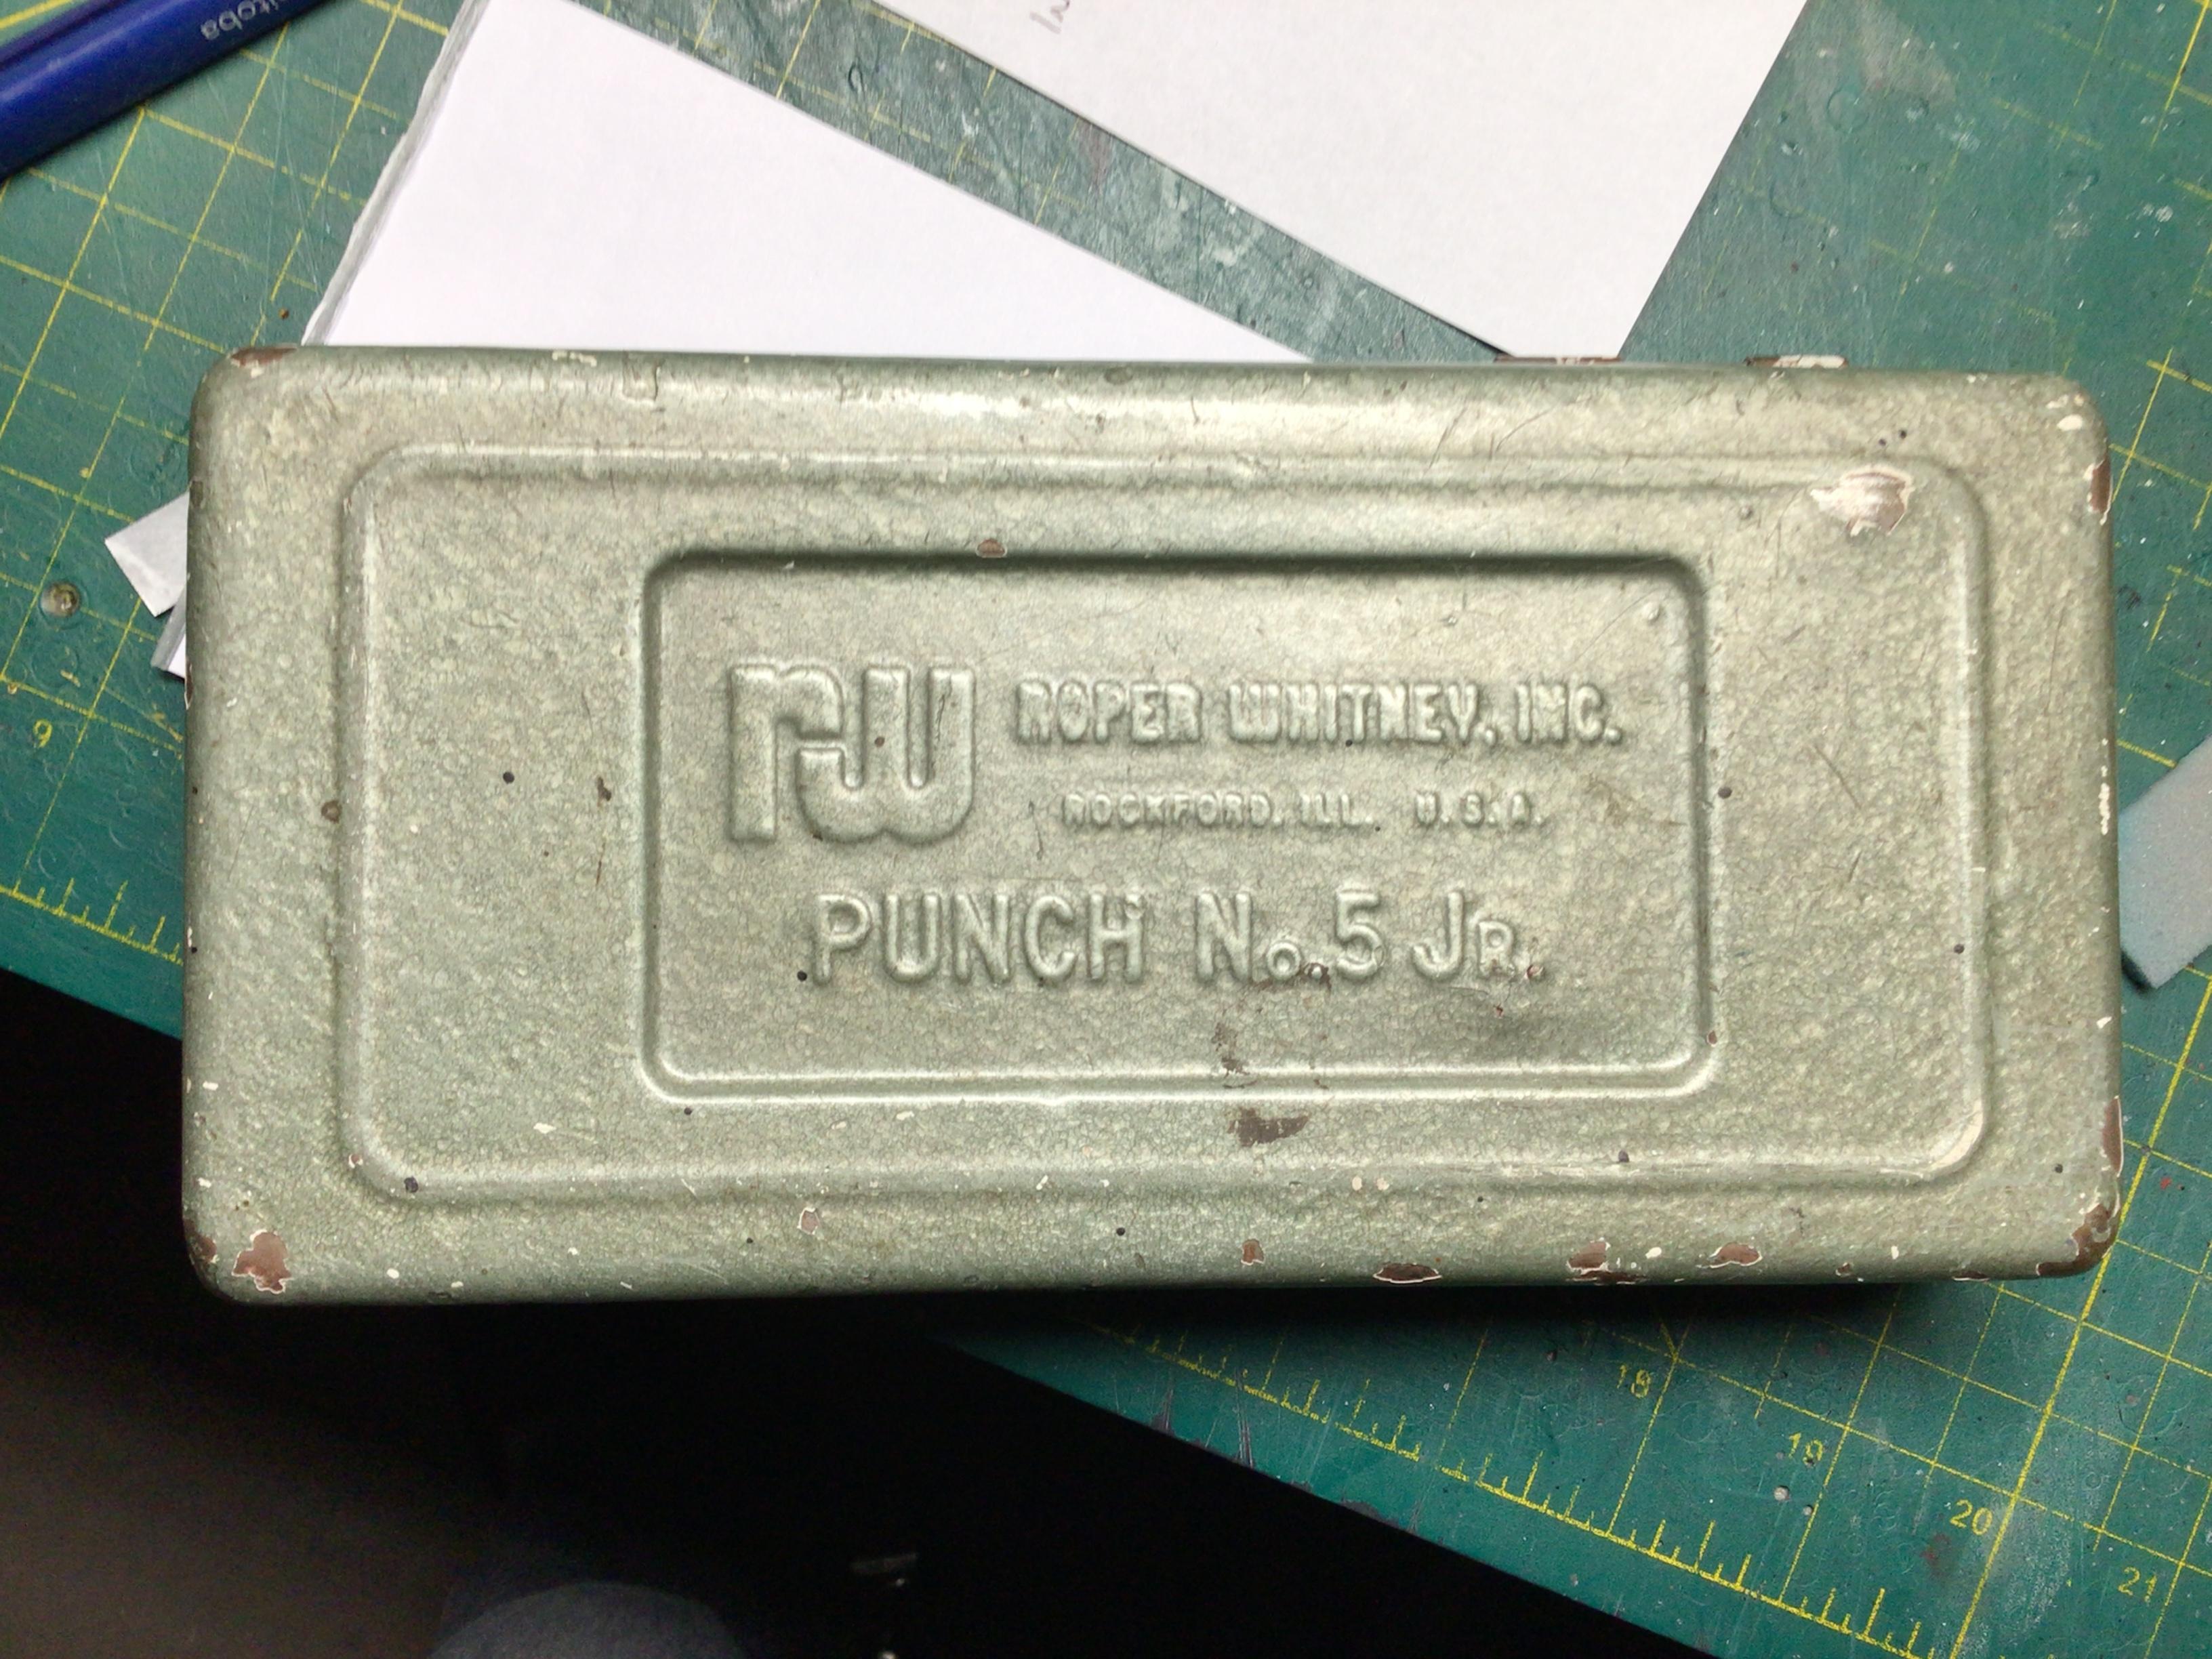
?That box was probably my first custom paint job….a hammered finish. I bought it used (hence the paint job) when I got into the sheet metal trade 40ish years ago. There are millions of them out there, and they still make them, but they’re in a plastic case now which I’m sure won’t last 40+ years.? There are lots of chinese knockoffs too, but this one was made in the good ol’ USA.? https://www.roperwhitney.com/our-products/no-5-jr-hand-punch-in-kit/
-
Cool project Len!? I wish I had boxes and boxes of parts.?
-
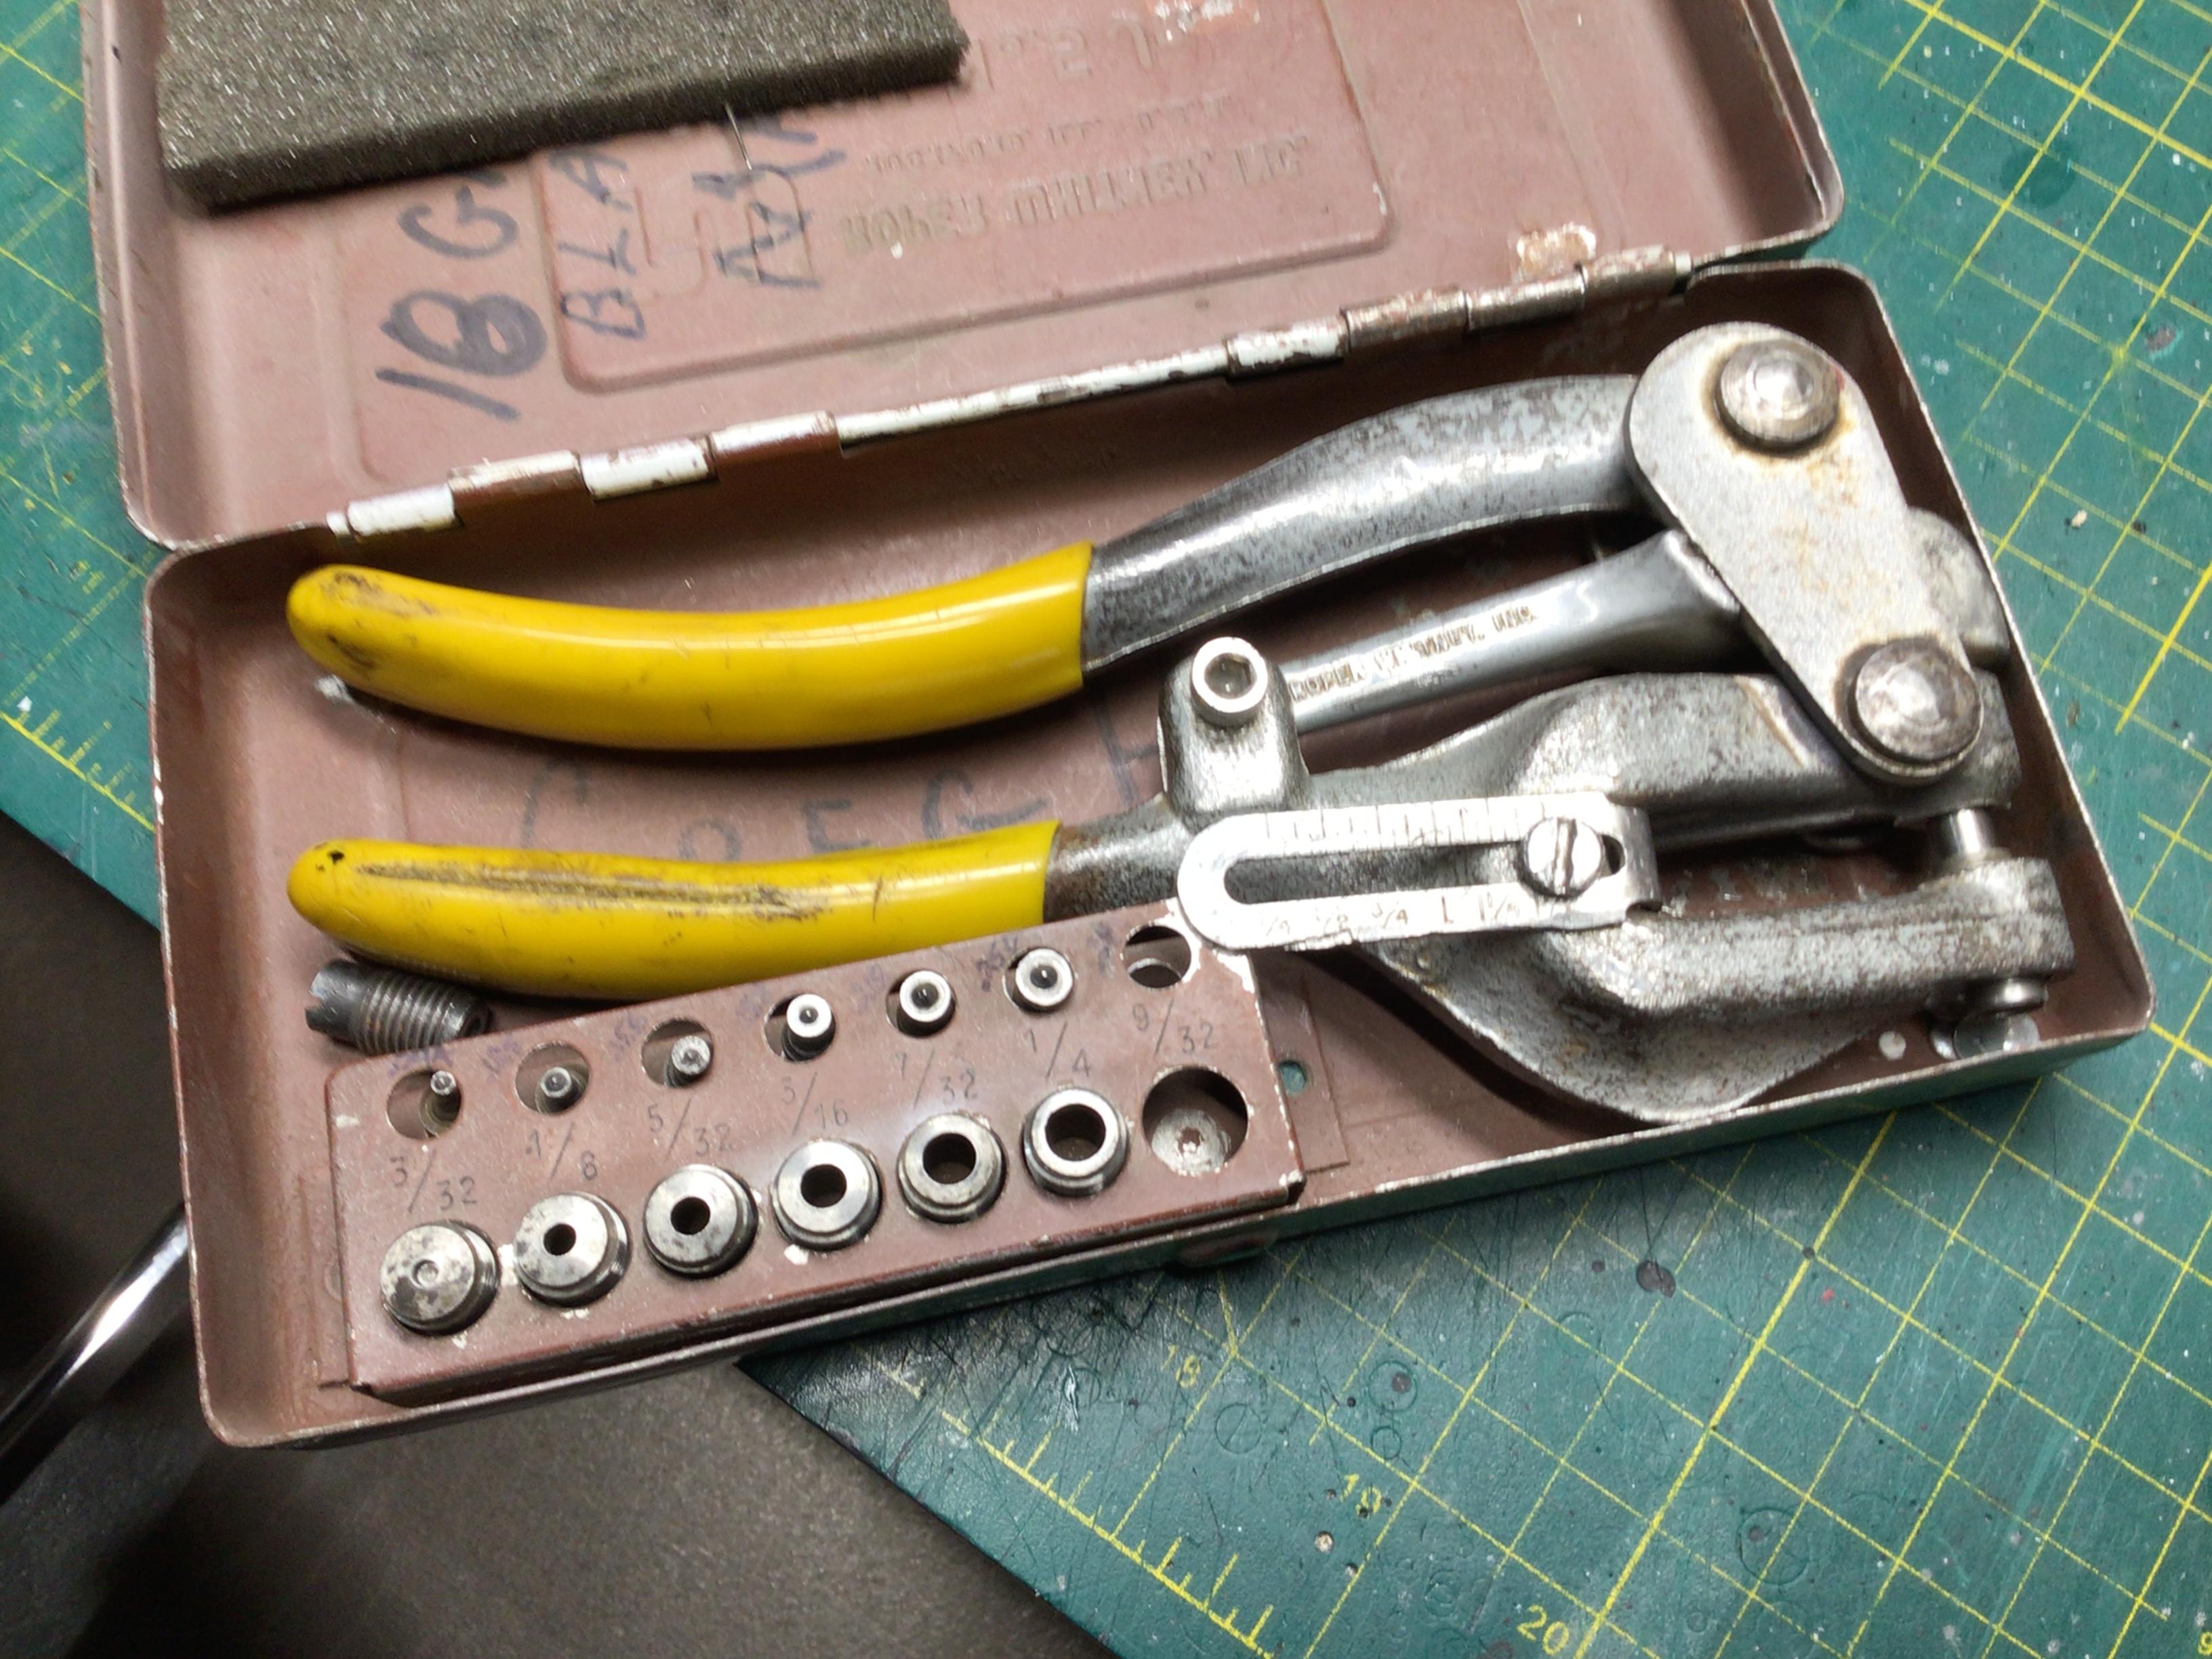
Yes, it is a metal punch and will do a 1/4” hole in 16ga. (1/16”) mild steel.?
-
Acceptance of 3D printed models?
NOBLNG replied to jdhog's topic in Model Building Questions and Answers
I would buy one in a heartbeat if I was confident that I could master the skills needed to use it effectively.? I think in my case, it might just take up a huge chunk of my time with limited results. It’s the computer software skills that intimidate me.? -
Yours is the nicest model I’ve ever seen.?
-
What are the must-build classic kits?
NOBLNG replied to OldNYJim's topic in General Automotive Talk (Trucks and Cars)
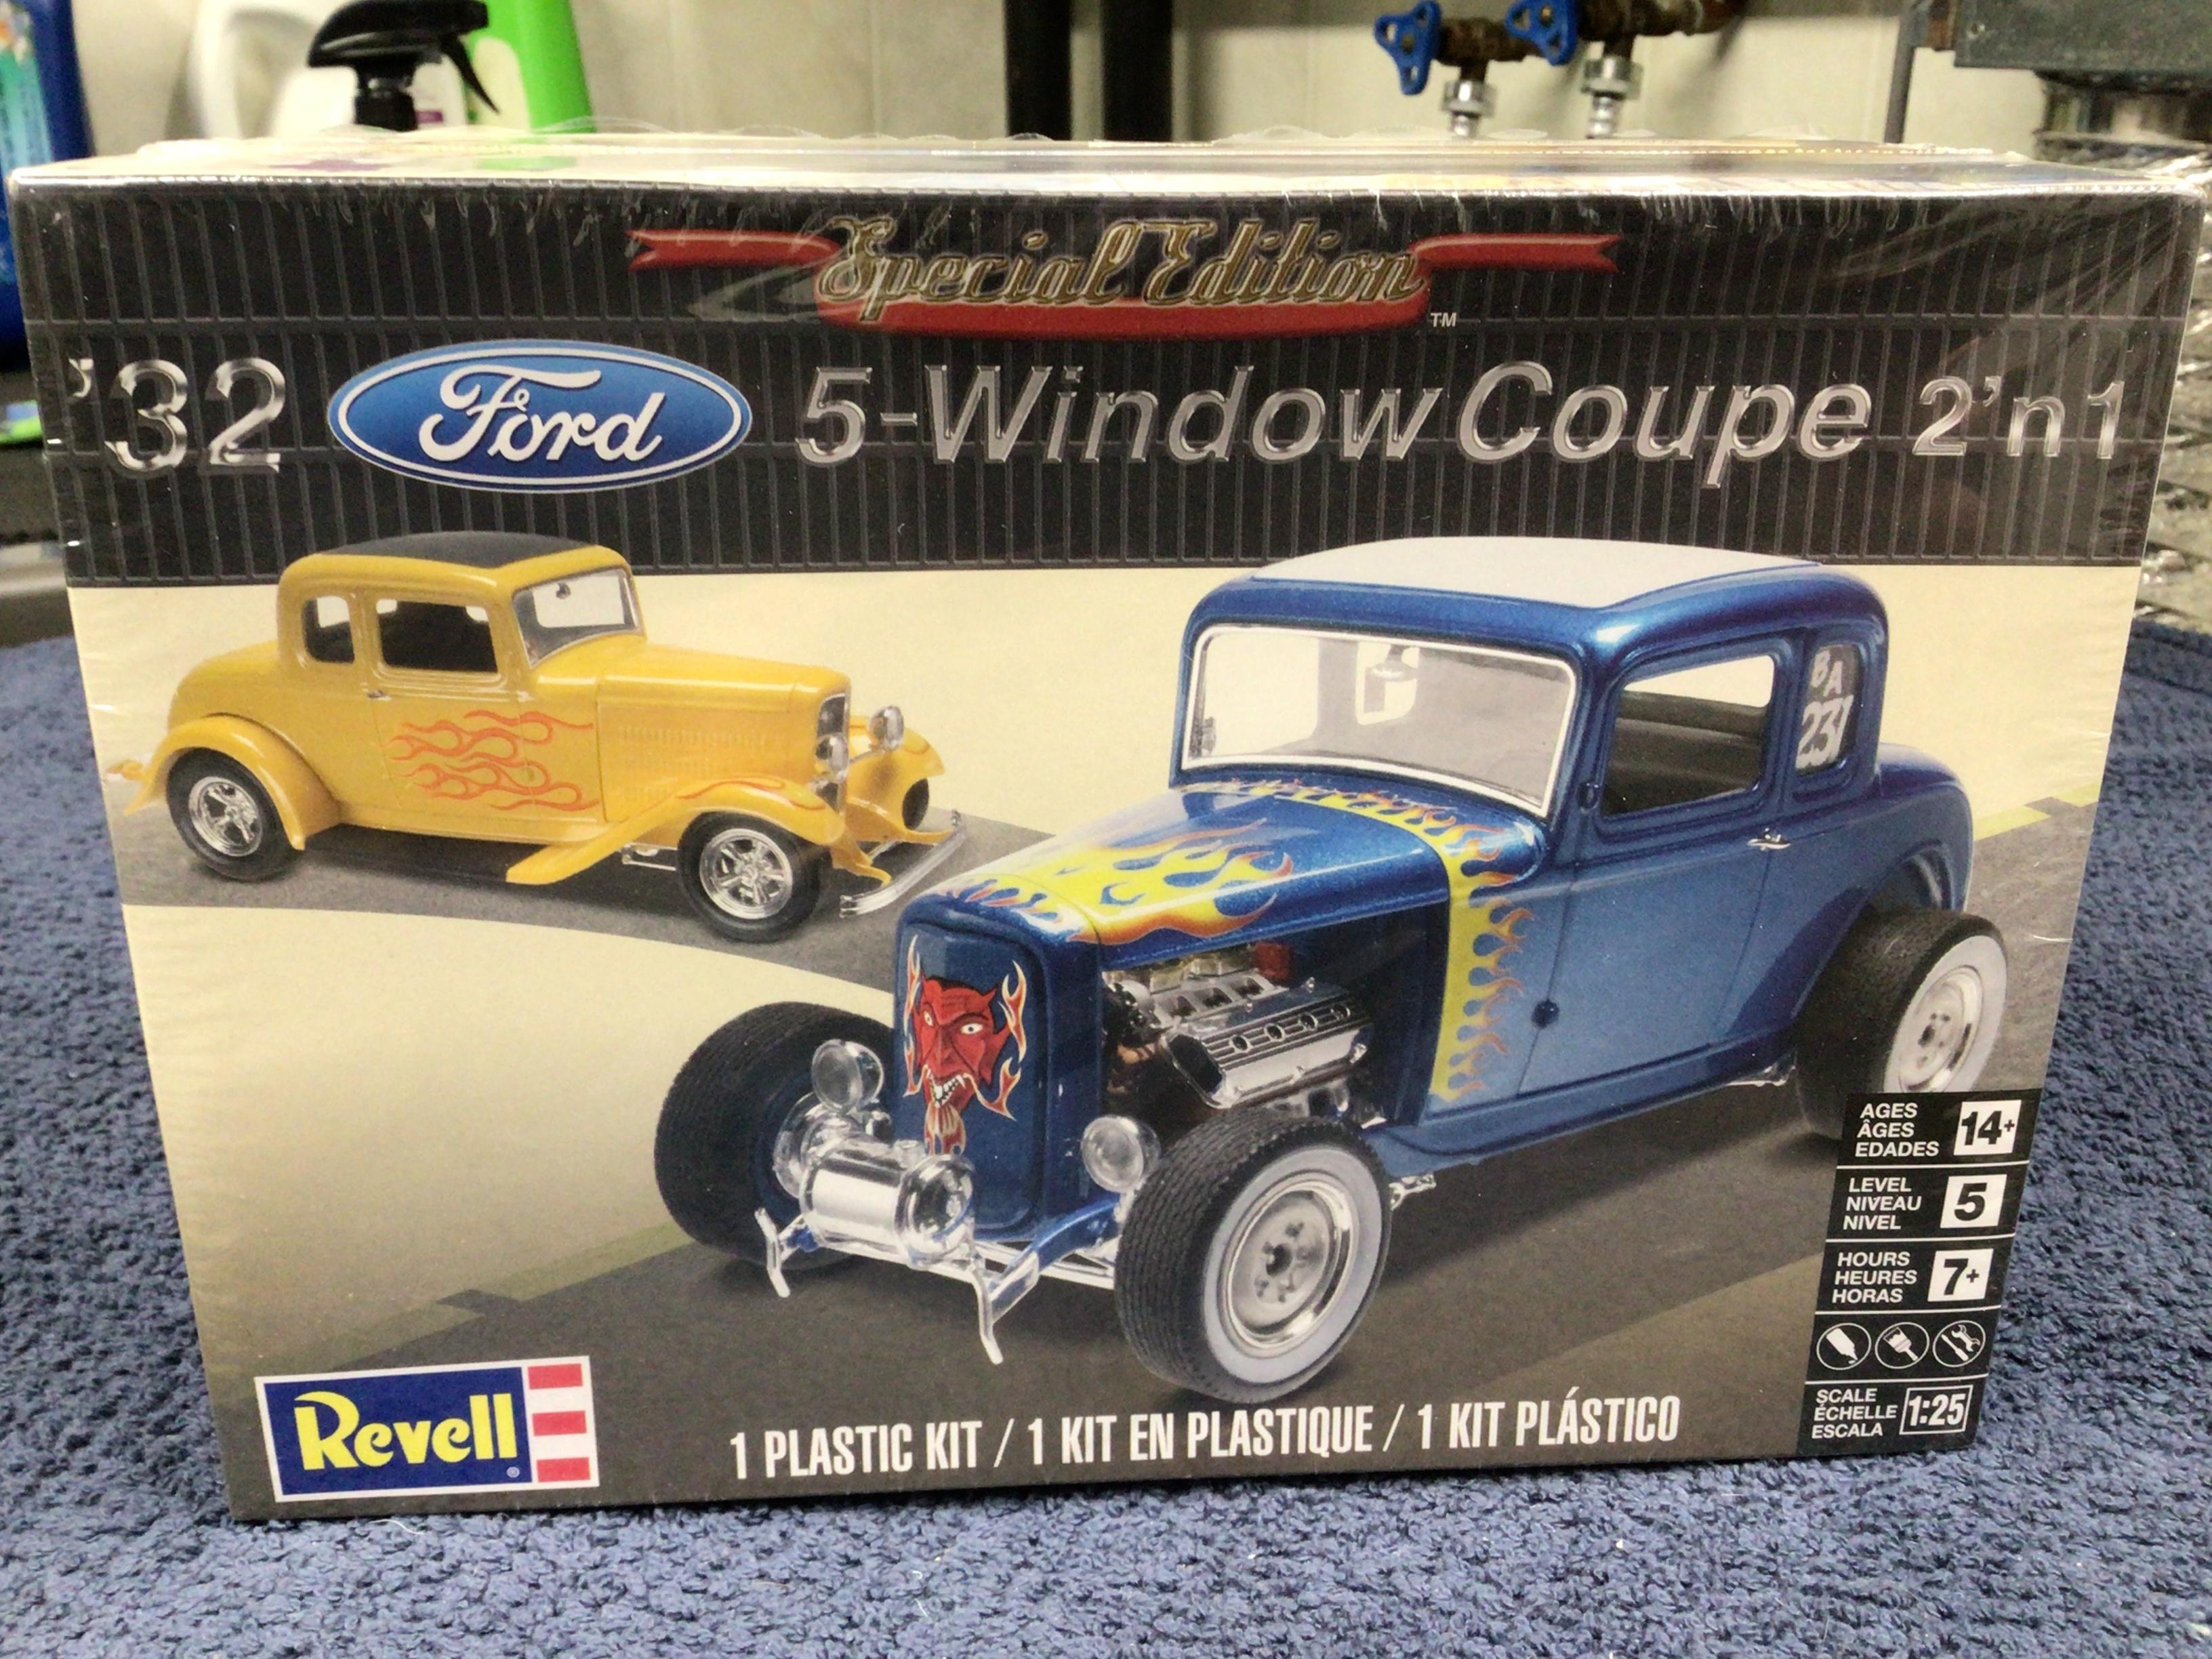
I don’t know if this kit qualifies as a “classic”. But I think everyone should build one.
-
I punched them from .100” evergreen with my Whitney punch. 9/32” fit perfect.? I would have preferred no dimple, but that’s what it does.
-
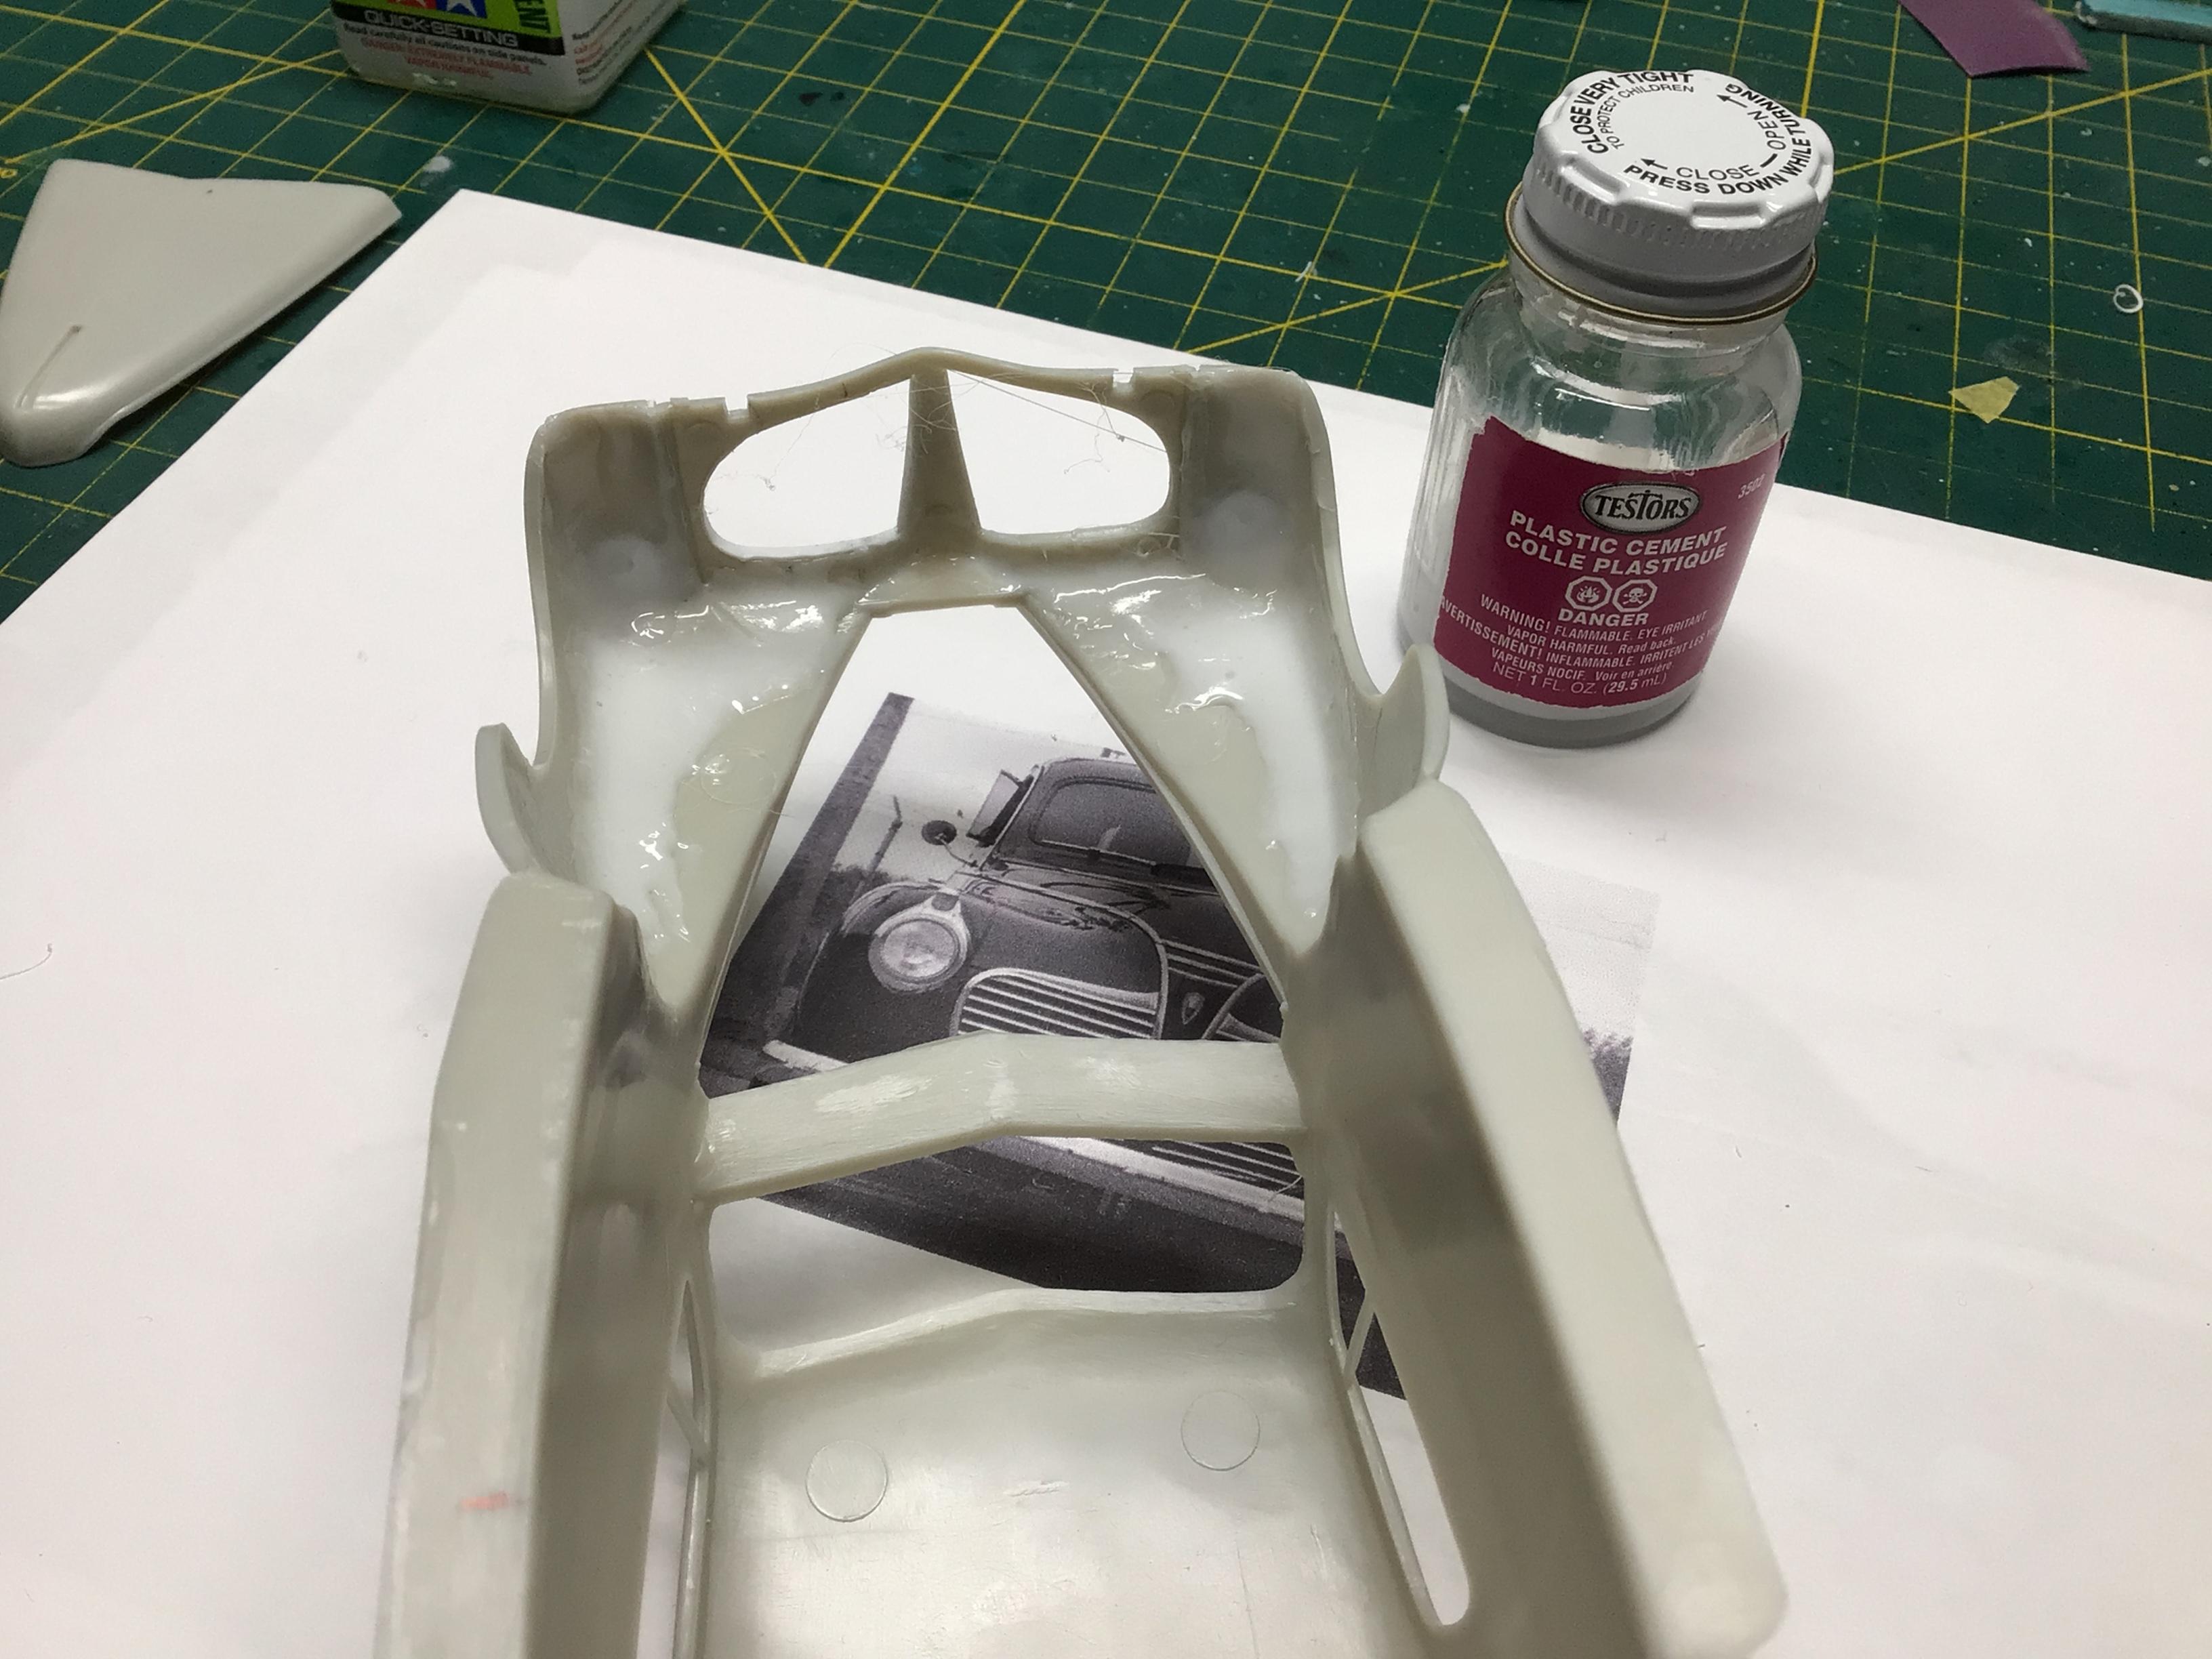
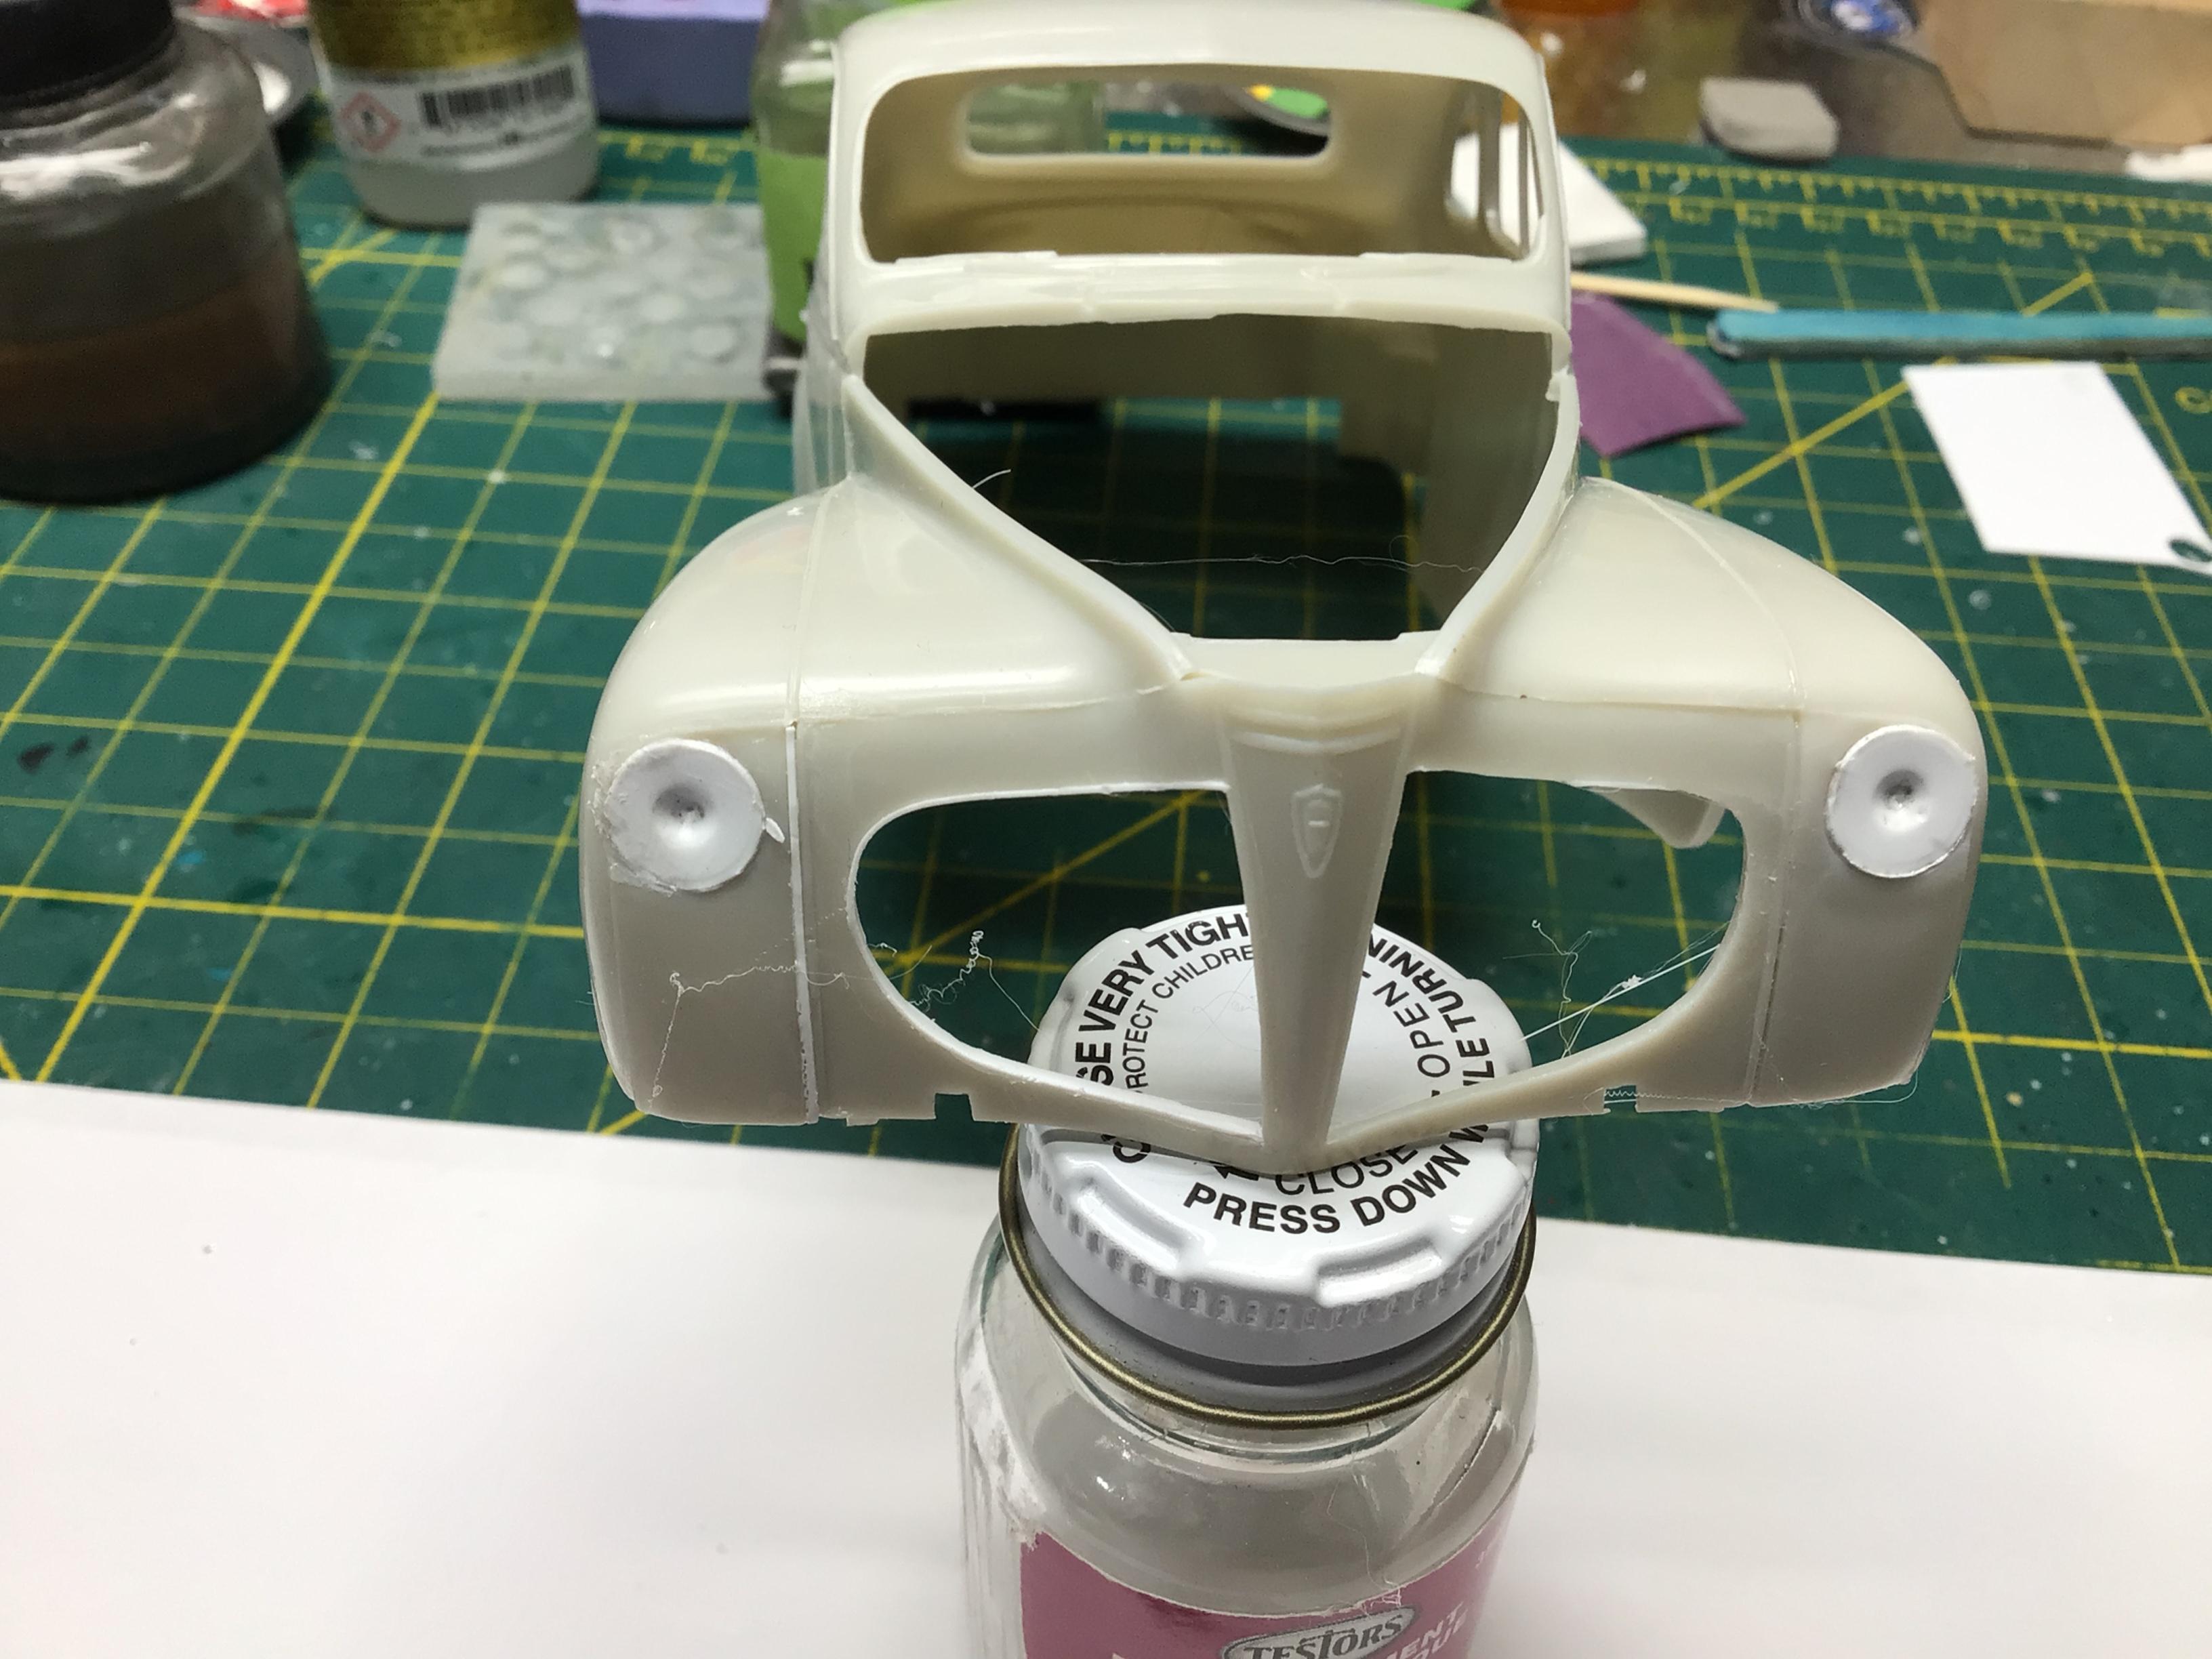
Thanks David. I read your WIP…nice work, it looks great in red!? Thanks Steve. There’s more than one way to skin a cat, so the saying goes.? I have glued the front panel in place and applied some sprue goo to the inside. I also plugged the headlight holes because I think I may need to move them in and down slightly. We’ll see after the goo is dry…which may take a week or more. I want it dried back to rock hard styrene in case I sand through to it.? Now I can turn to other tasks for a bit.?
-
Congrats Mike, good news for sure! ?
-
Chekov all the things on your list that you have finished.
-
That is looking beautiful Nick! It is a really good kit, I loved building it.?
-
Nice stance, and those wheels look great!?
-
Nice looking day two upgrade James.?