NOBLNG
-
Posts
9,988 -
Joined
-
Last visited
Content Type
Profiles
Forums
Events
Gallery
Everything posted by NOBLNG
-

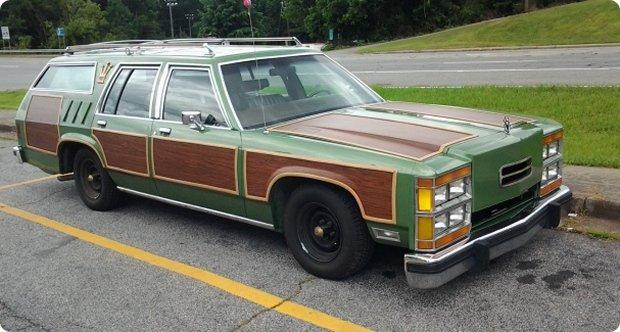
Where do you GET inspiration?
NOBLNG replied to iBorg's topic in General Automotive Talk (Trucks and Cars)
I google what ever vehicle I want to build and click on images. If I see anything inspiring I follow the link and usually find more photos. -
Looks great! Brings back memories too. My Buddy had a dark green ‘69 Beaumont with 3” spacers, air shocks and Keystone Klassics all around.
-
Bought my first glue bomb. Need advice please.
NOBLNG replied to Mike C.'s topic in Model Building Questions and Answers
I’m pretty sure it will. Try carefully prying things apart first. A lot of times an inexperienced builder will not scrape the chrome off of glue points so chrome parts may pop right off. The purple pond will definitely destroy any chrome. -
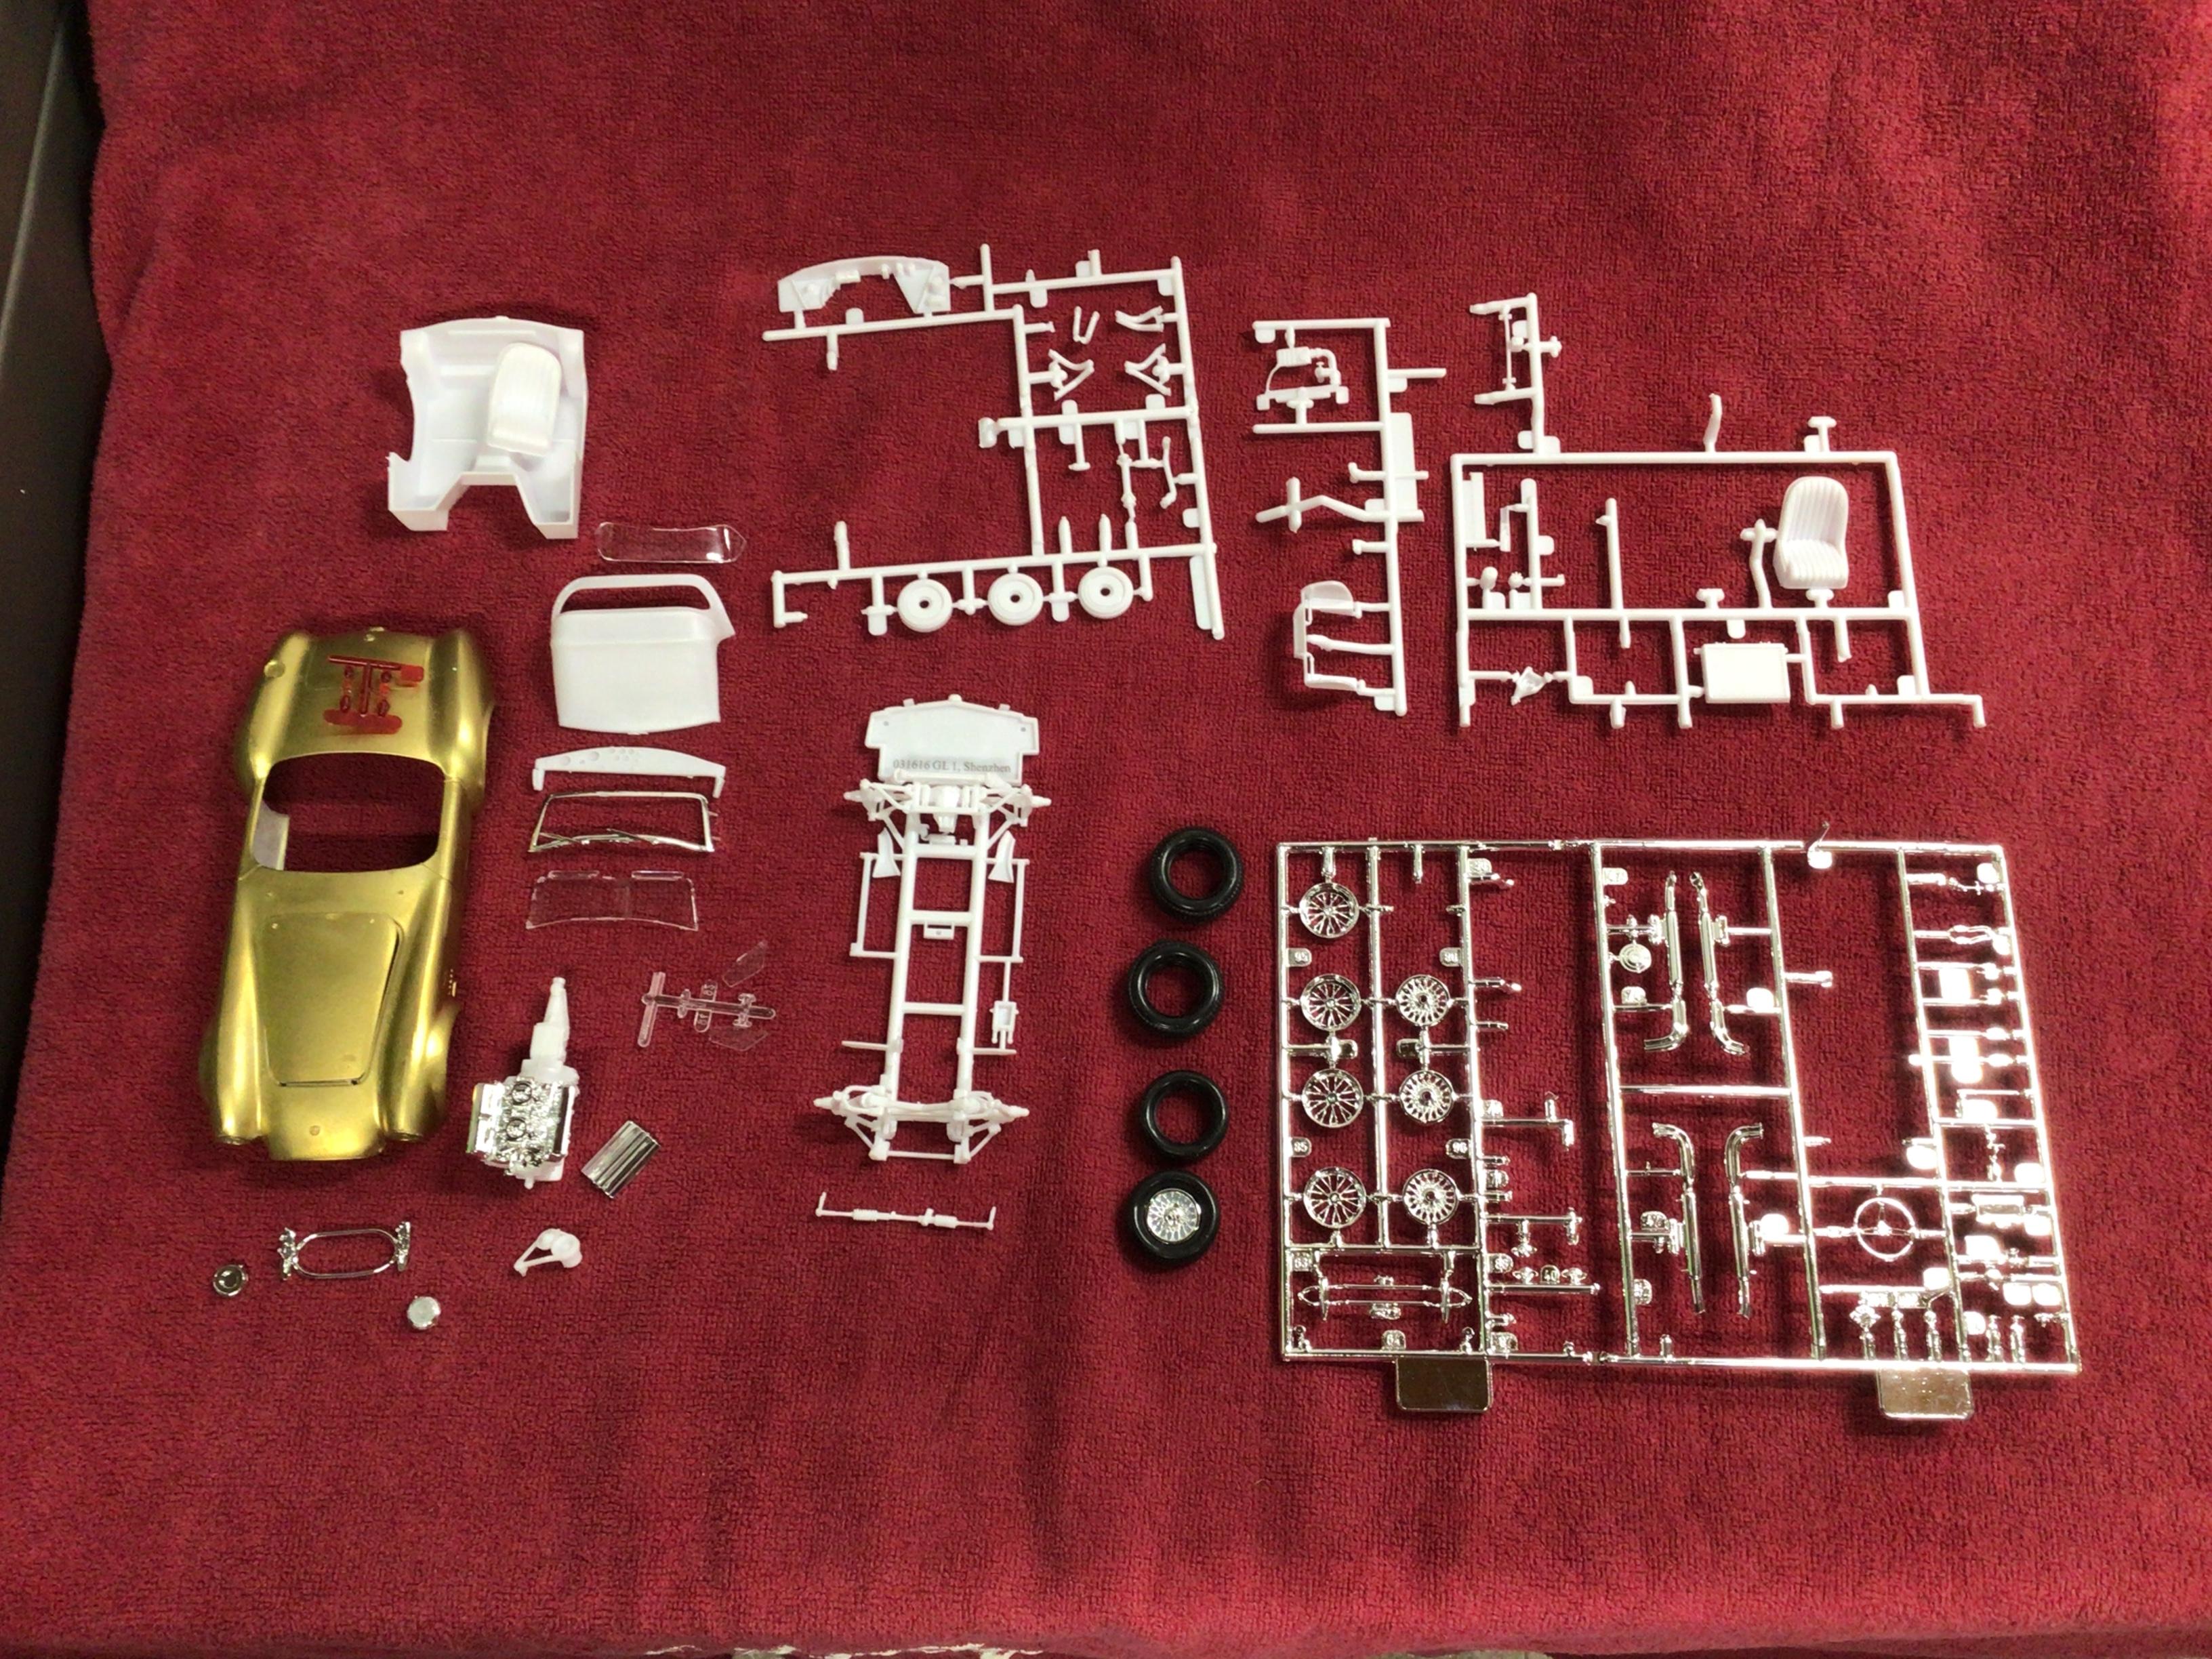
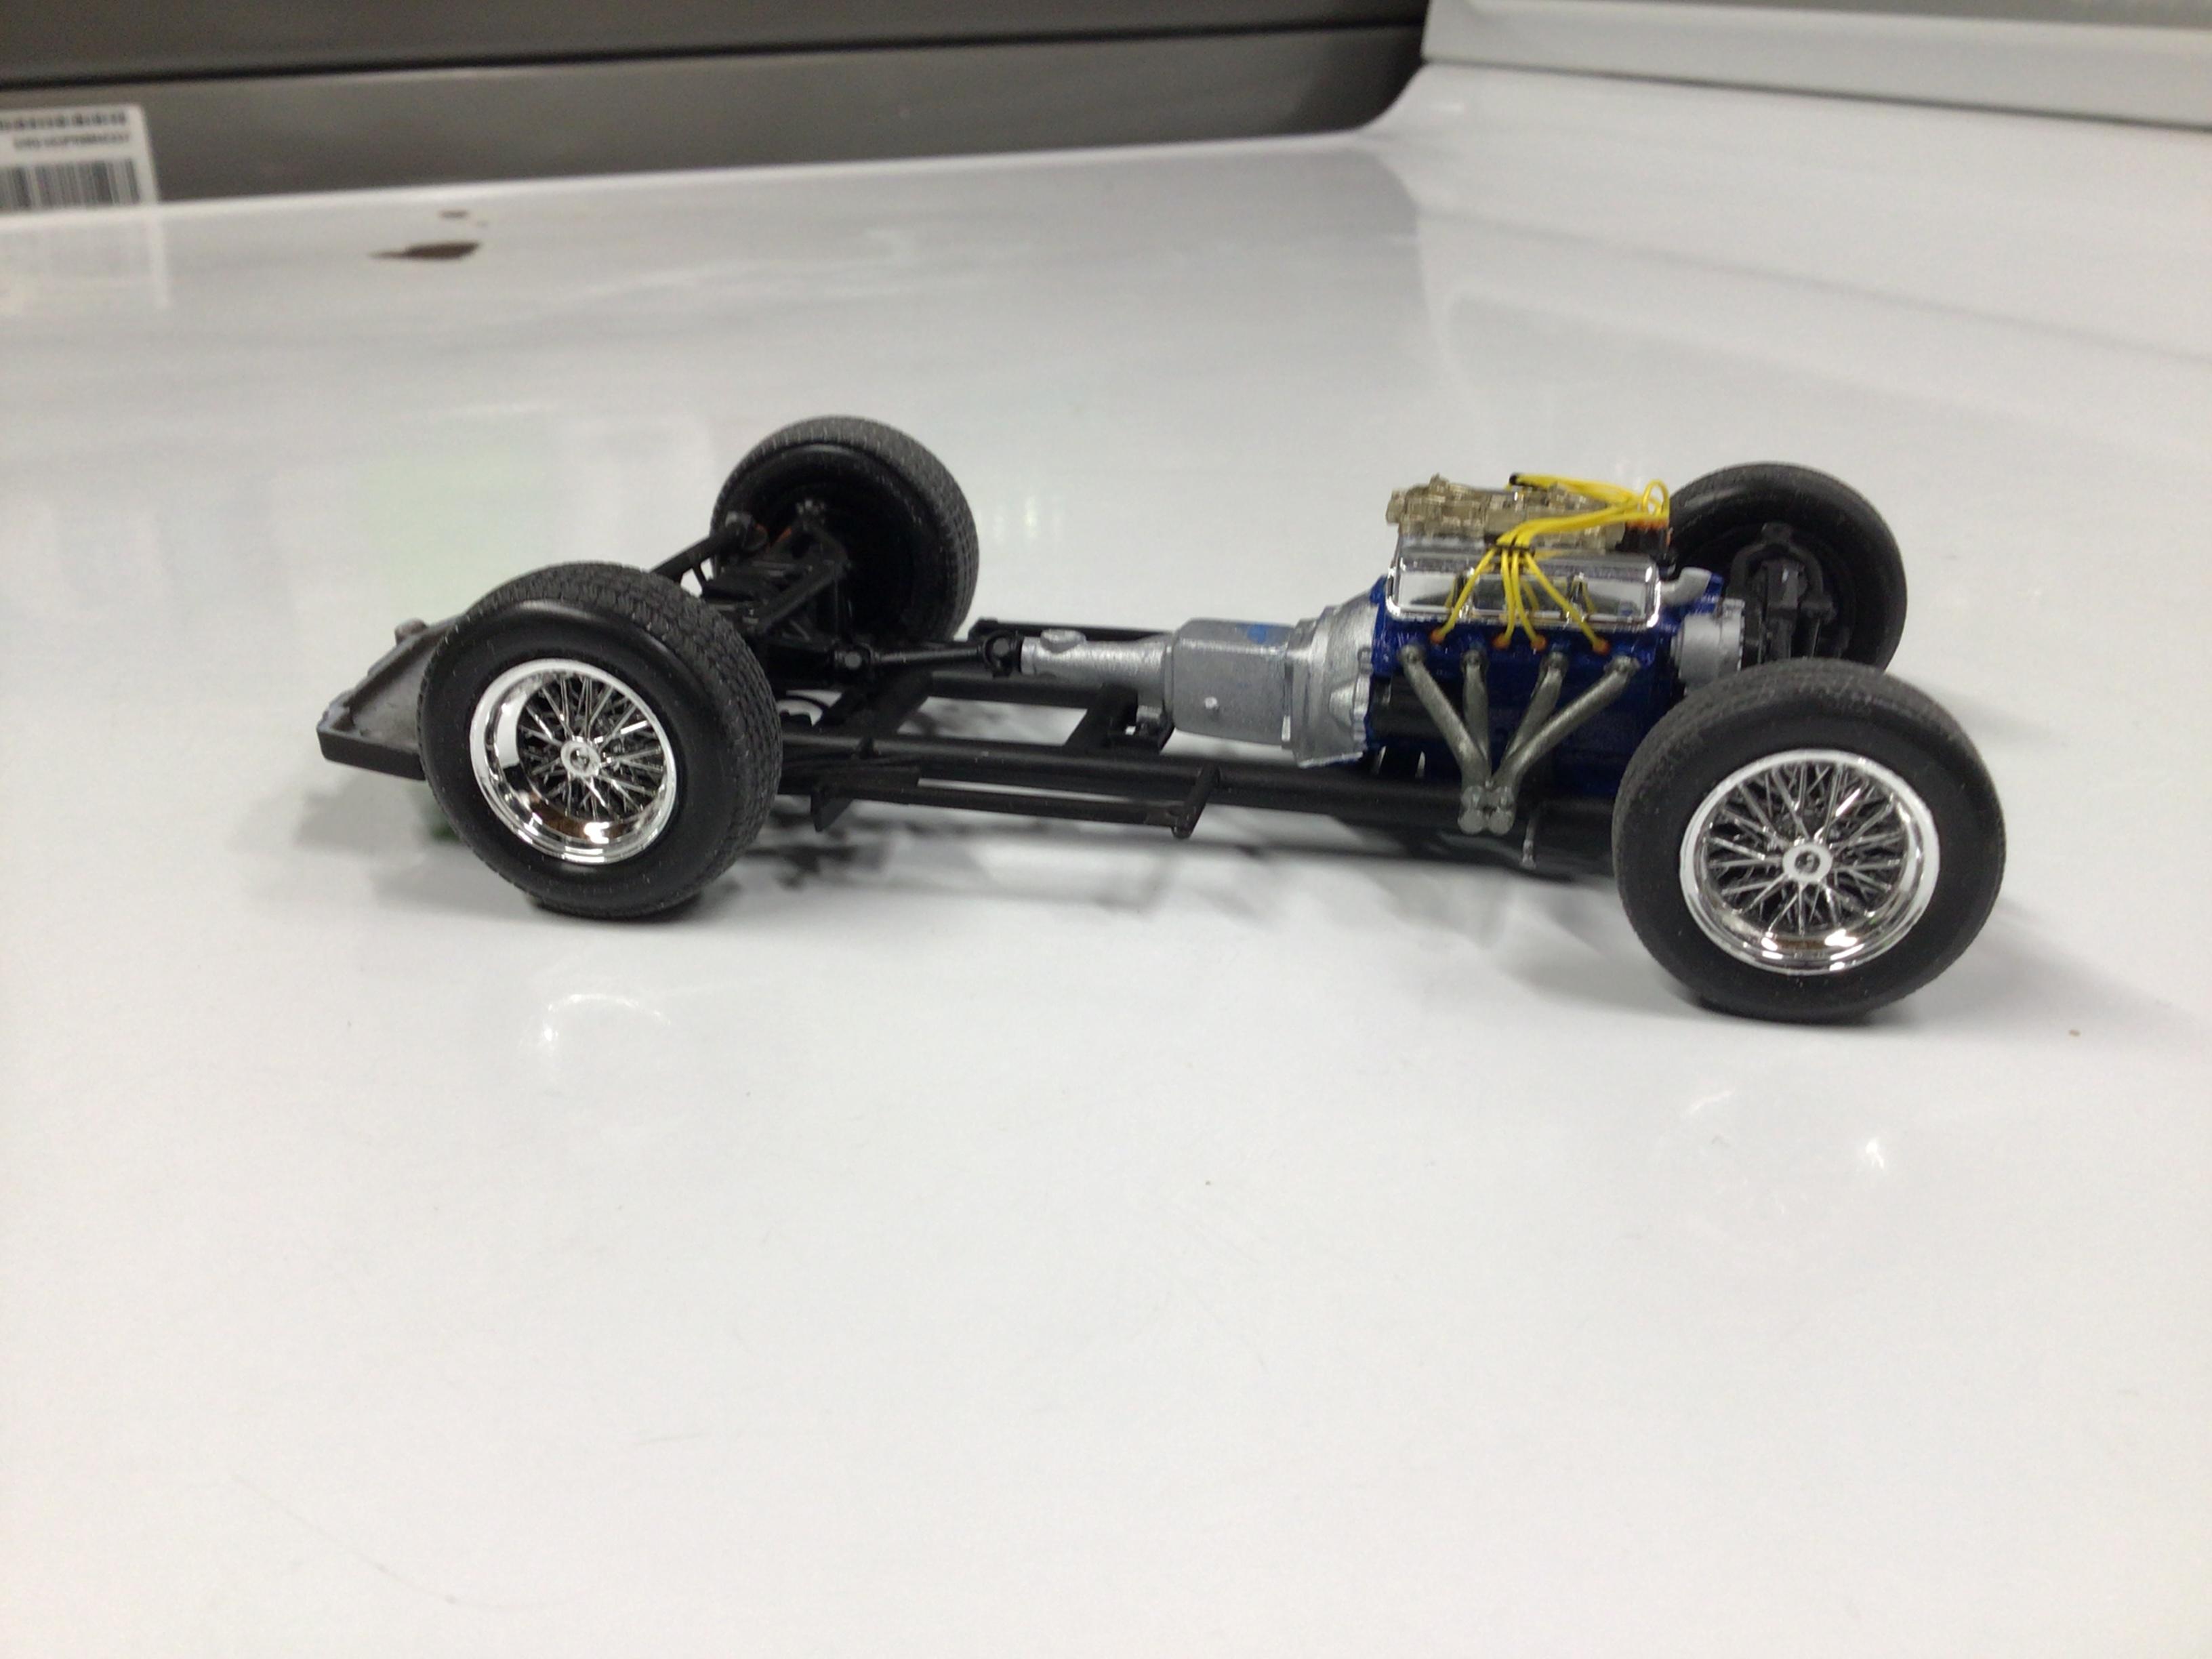
I picked this kit up on Sunday at a flea market. The diff was glued in upside down and the right front A arm support was glued in crooked. I stripped the paint off the body, fixed the errors and painted the parts yesterday. Today I assembled the wheels and wired the engine.

-
Looks good so far! I think there is a chain link steering wheel in the ‘64 Impala lowrider kit. It is pretty small diameter though.
-
Yes, that would work. You could use part A of the old mold plus the master to cast a new part B of the mold and vice versa.
-
A bumper or grill could likely be dipped also? I have limited experience with Pledge, but I understand it levels out nicely. It sure does! I have only masked gages with it so far.
-
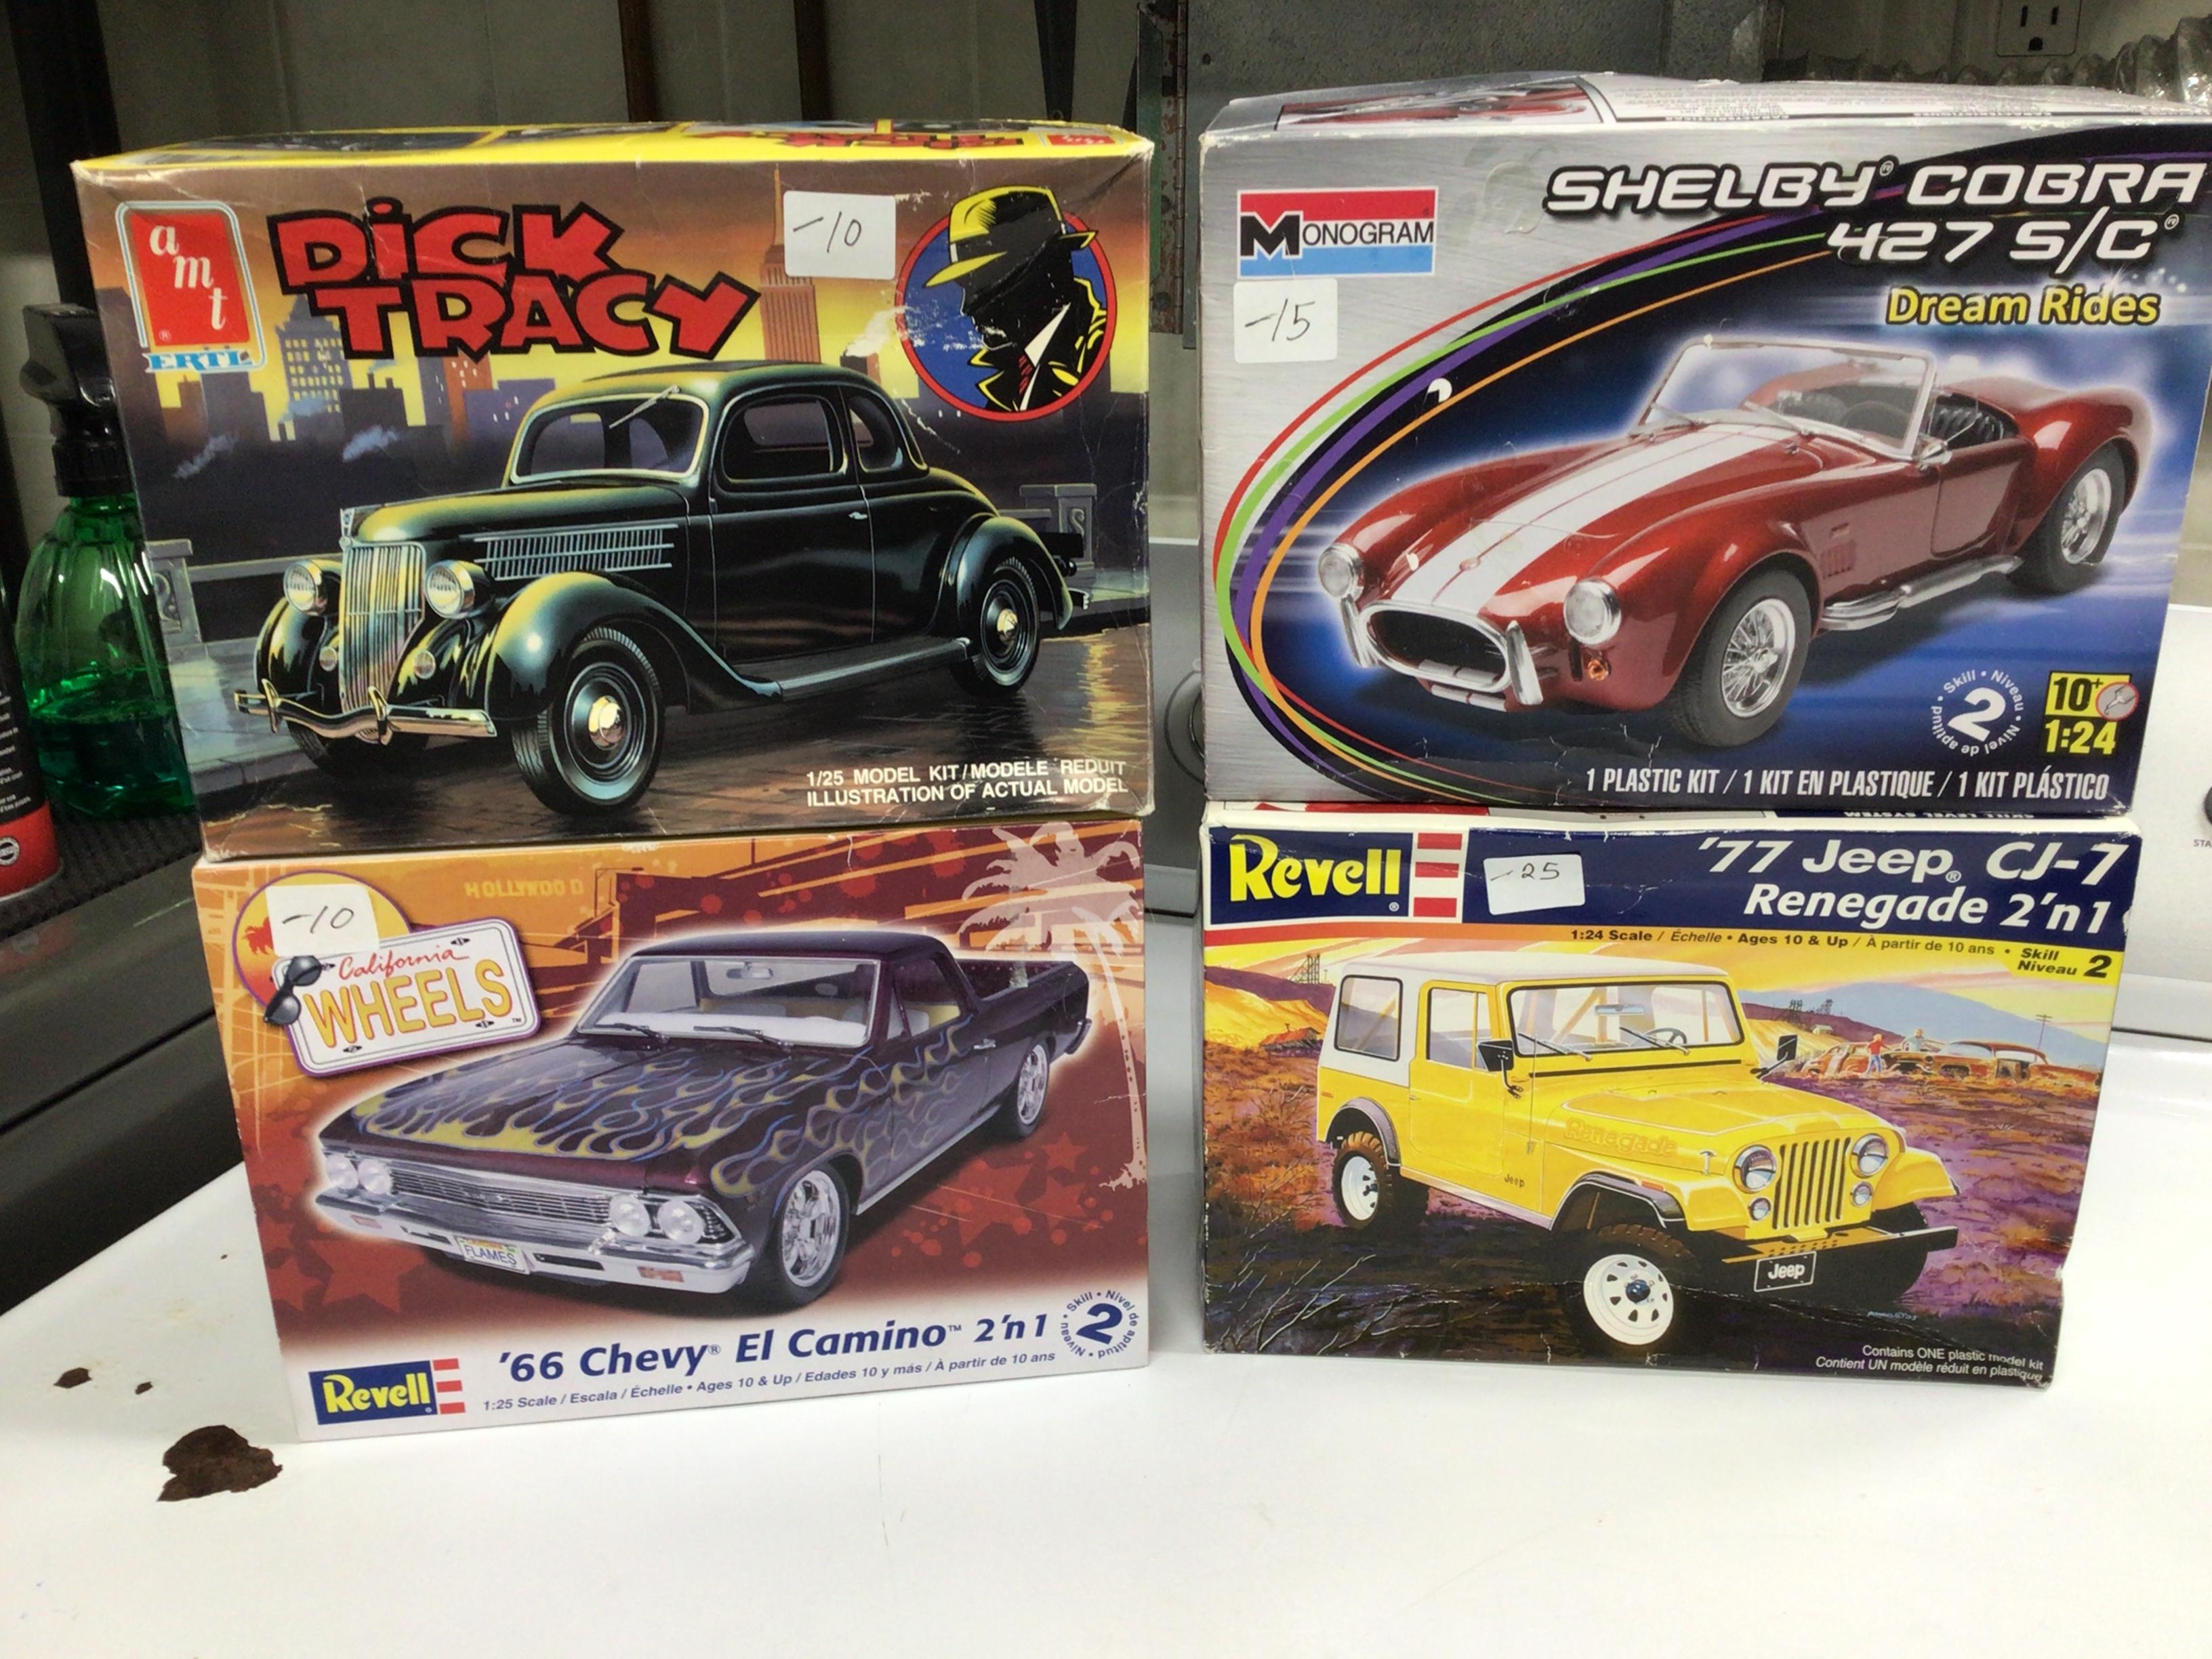
Got a good deal on these at a flea market today. All complete except the Cobra is missing one headlight lens.
- 38,896 replies
-
- 3
-

-
- johan
- glue bombs
- (and 1 more)
-
I have some of that Microscale liquid mask. Does it come off easily without leaving any trace? Thanks.
-
Other than never ever touching it in the first place, is there anything that can be done to kit chrome to restore shine to slightly dulled chrome? Once it is scratched or rubbed off it is gone,☹️ but what about removing finger prints or tape residue though? And then protecting it from future damage? I find the chrome on newer kits to be extremely thin and delicate. Any cleaning, polishing, protecting advice appreciated! Thanks.
-
Well if you’re going into production, it might be better to make two sets of molds. Use one set for casting, and keep the other set and the master for making new casting molds when needed?
-
I bought my F-250 off the lot, and it just happened to have heated seats, power fold/telescoping mirrors and remote start. I wasn’t shopping for those options although I would have gotten a remote starter installed if it didn’t have it. The mirrors I really like since I have to park it right up tight beside my garage. I did have to get the drivers one replaced already (just off warranty). $1000 for an aftermarket one…$2000 from Ford!? I tried dismantling it to see if it could be fixed, but NO WAY!? The seats are nice but I could certainly live without them.
-
I also taped the inside of the windows with masking tape. Then I put a slab of modelling clay up against the tape to protect it and then packed the rest of the cavity with clay. Sorry, no in progress pictures.
-
So what exactly is that $12,000 “market adjustment” fee? And that must be a really awesome winch for that price!?
-
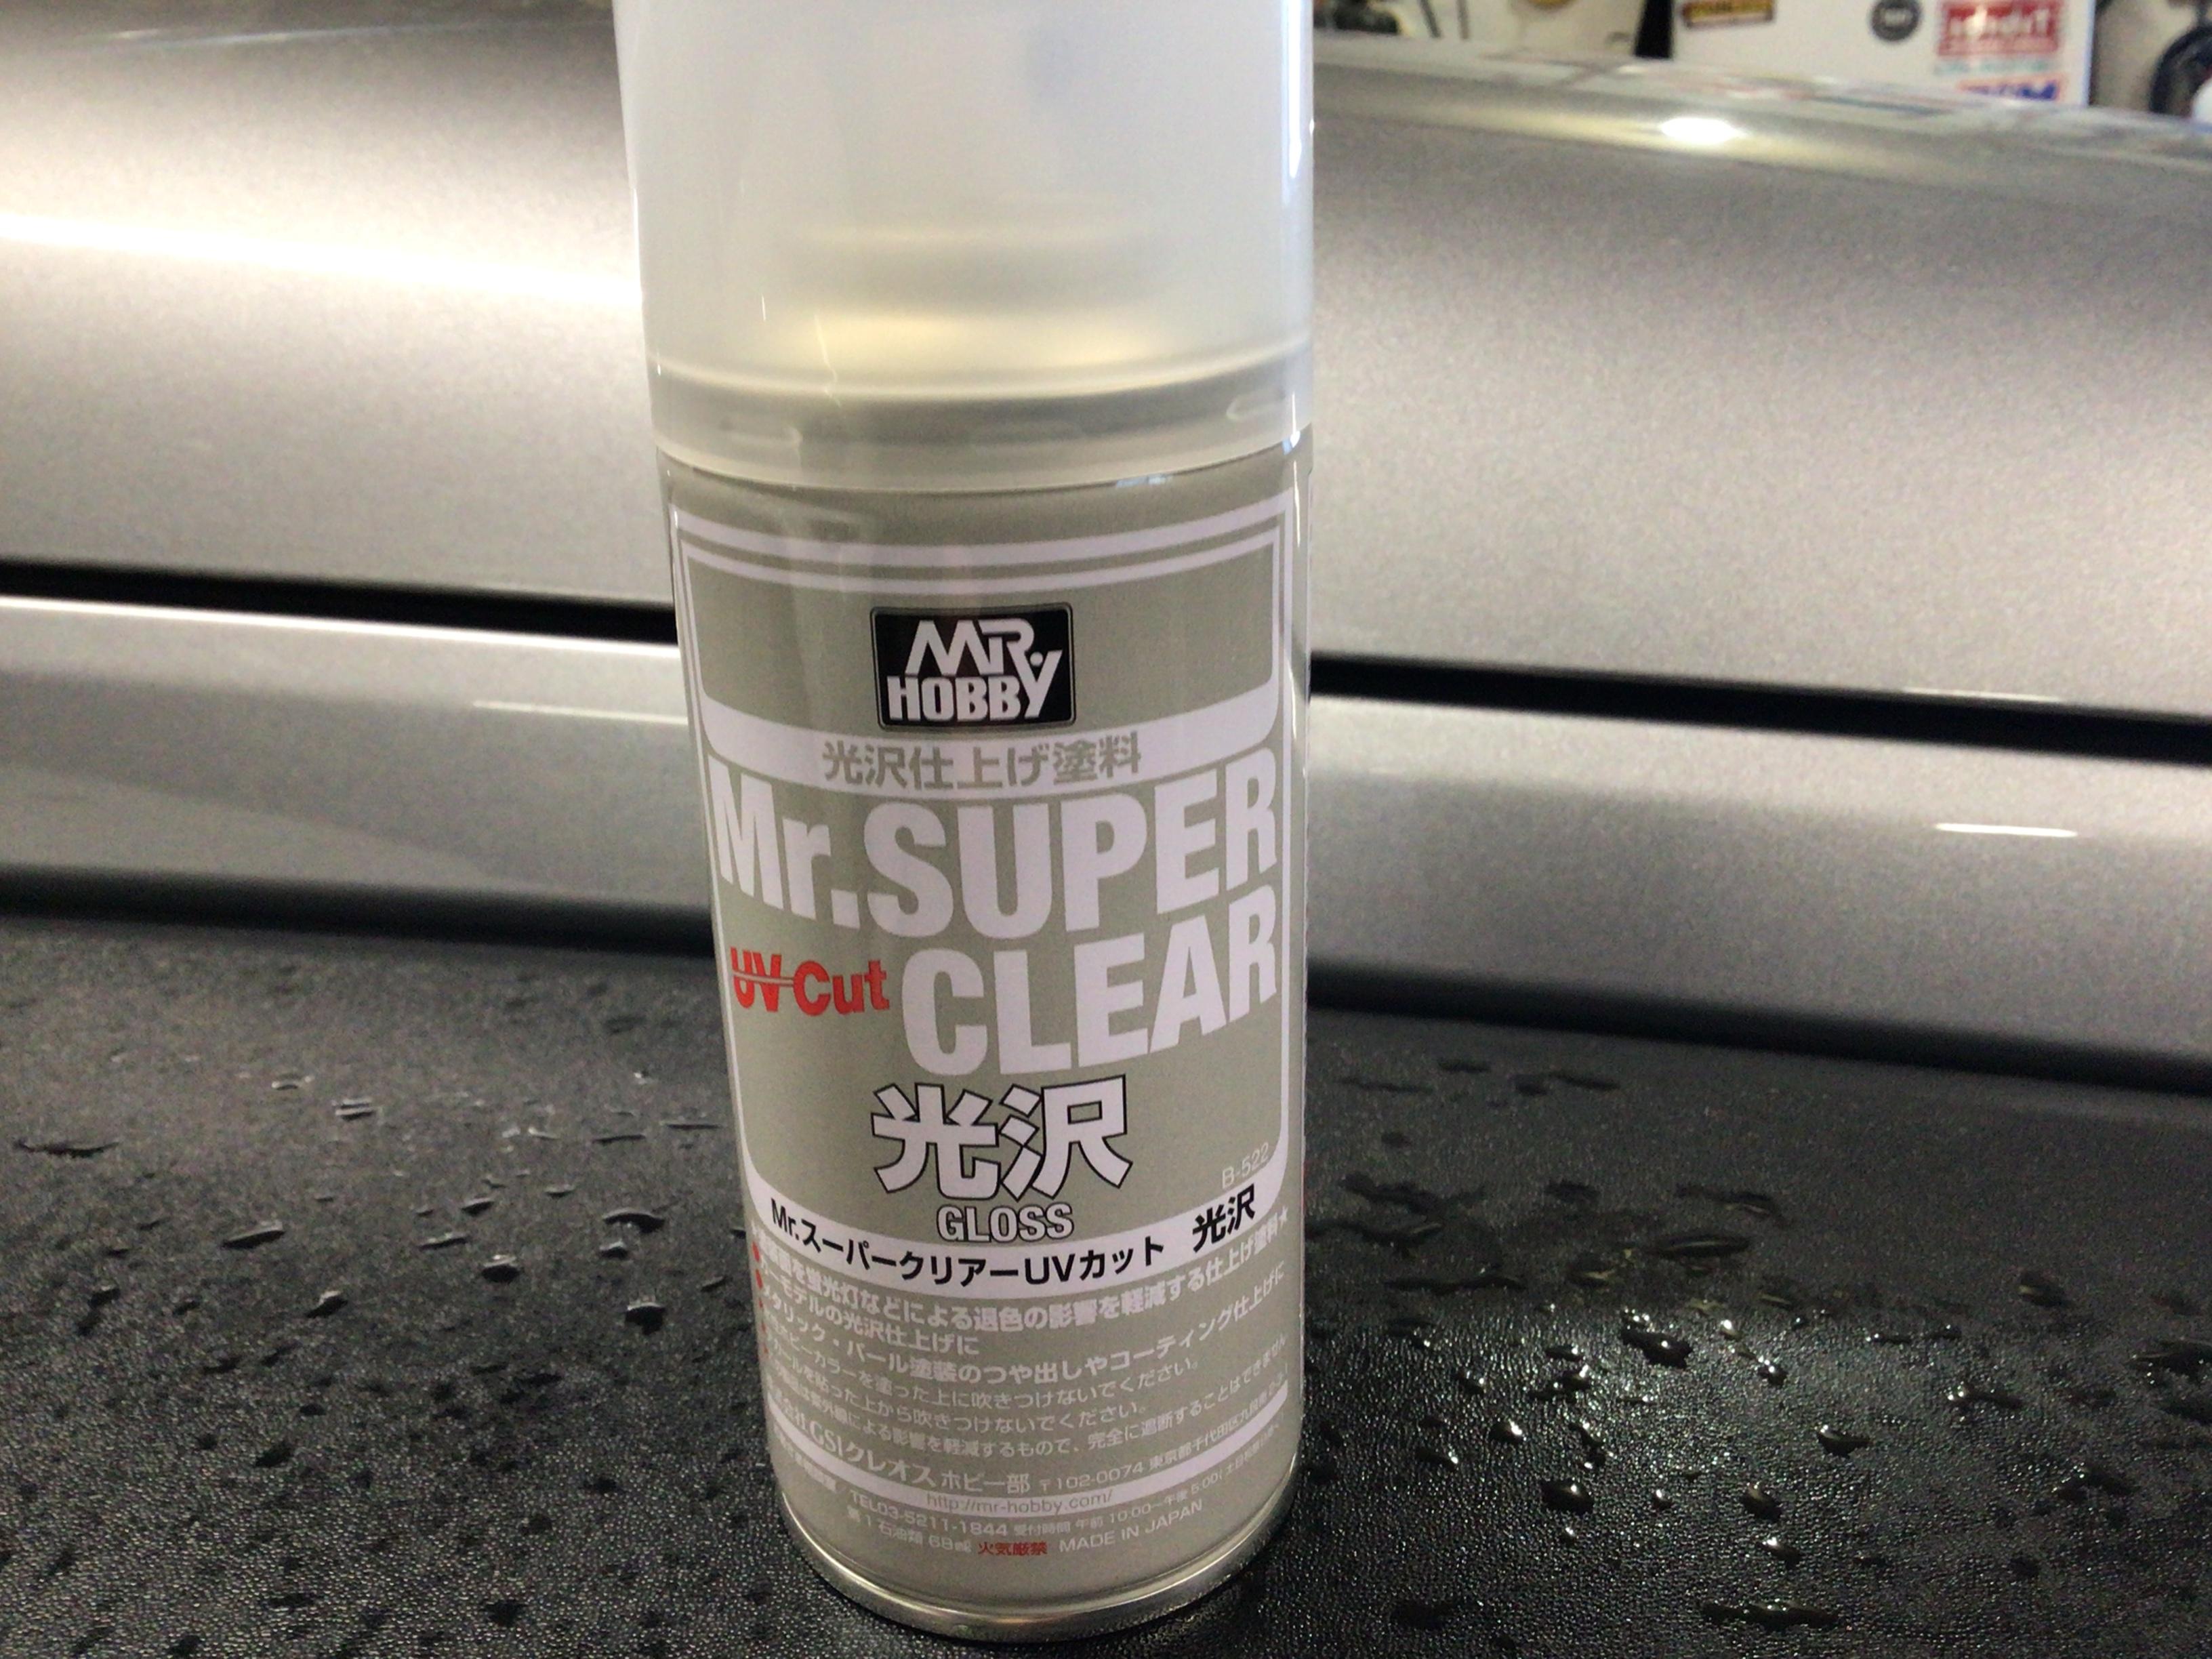
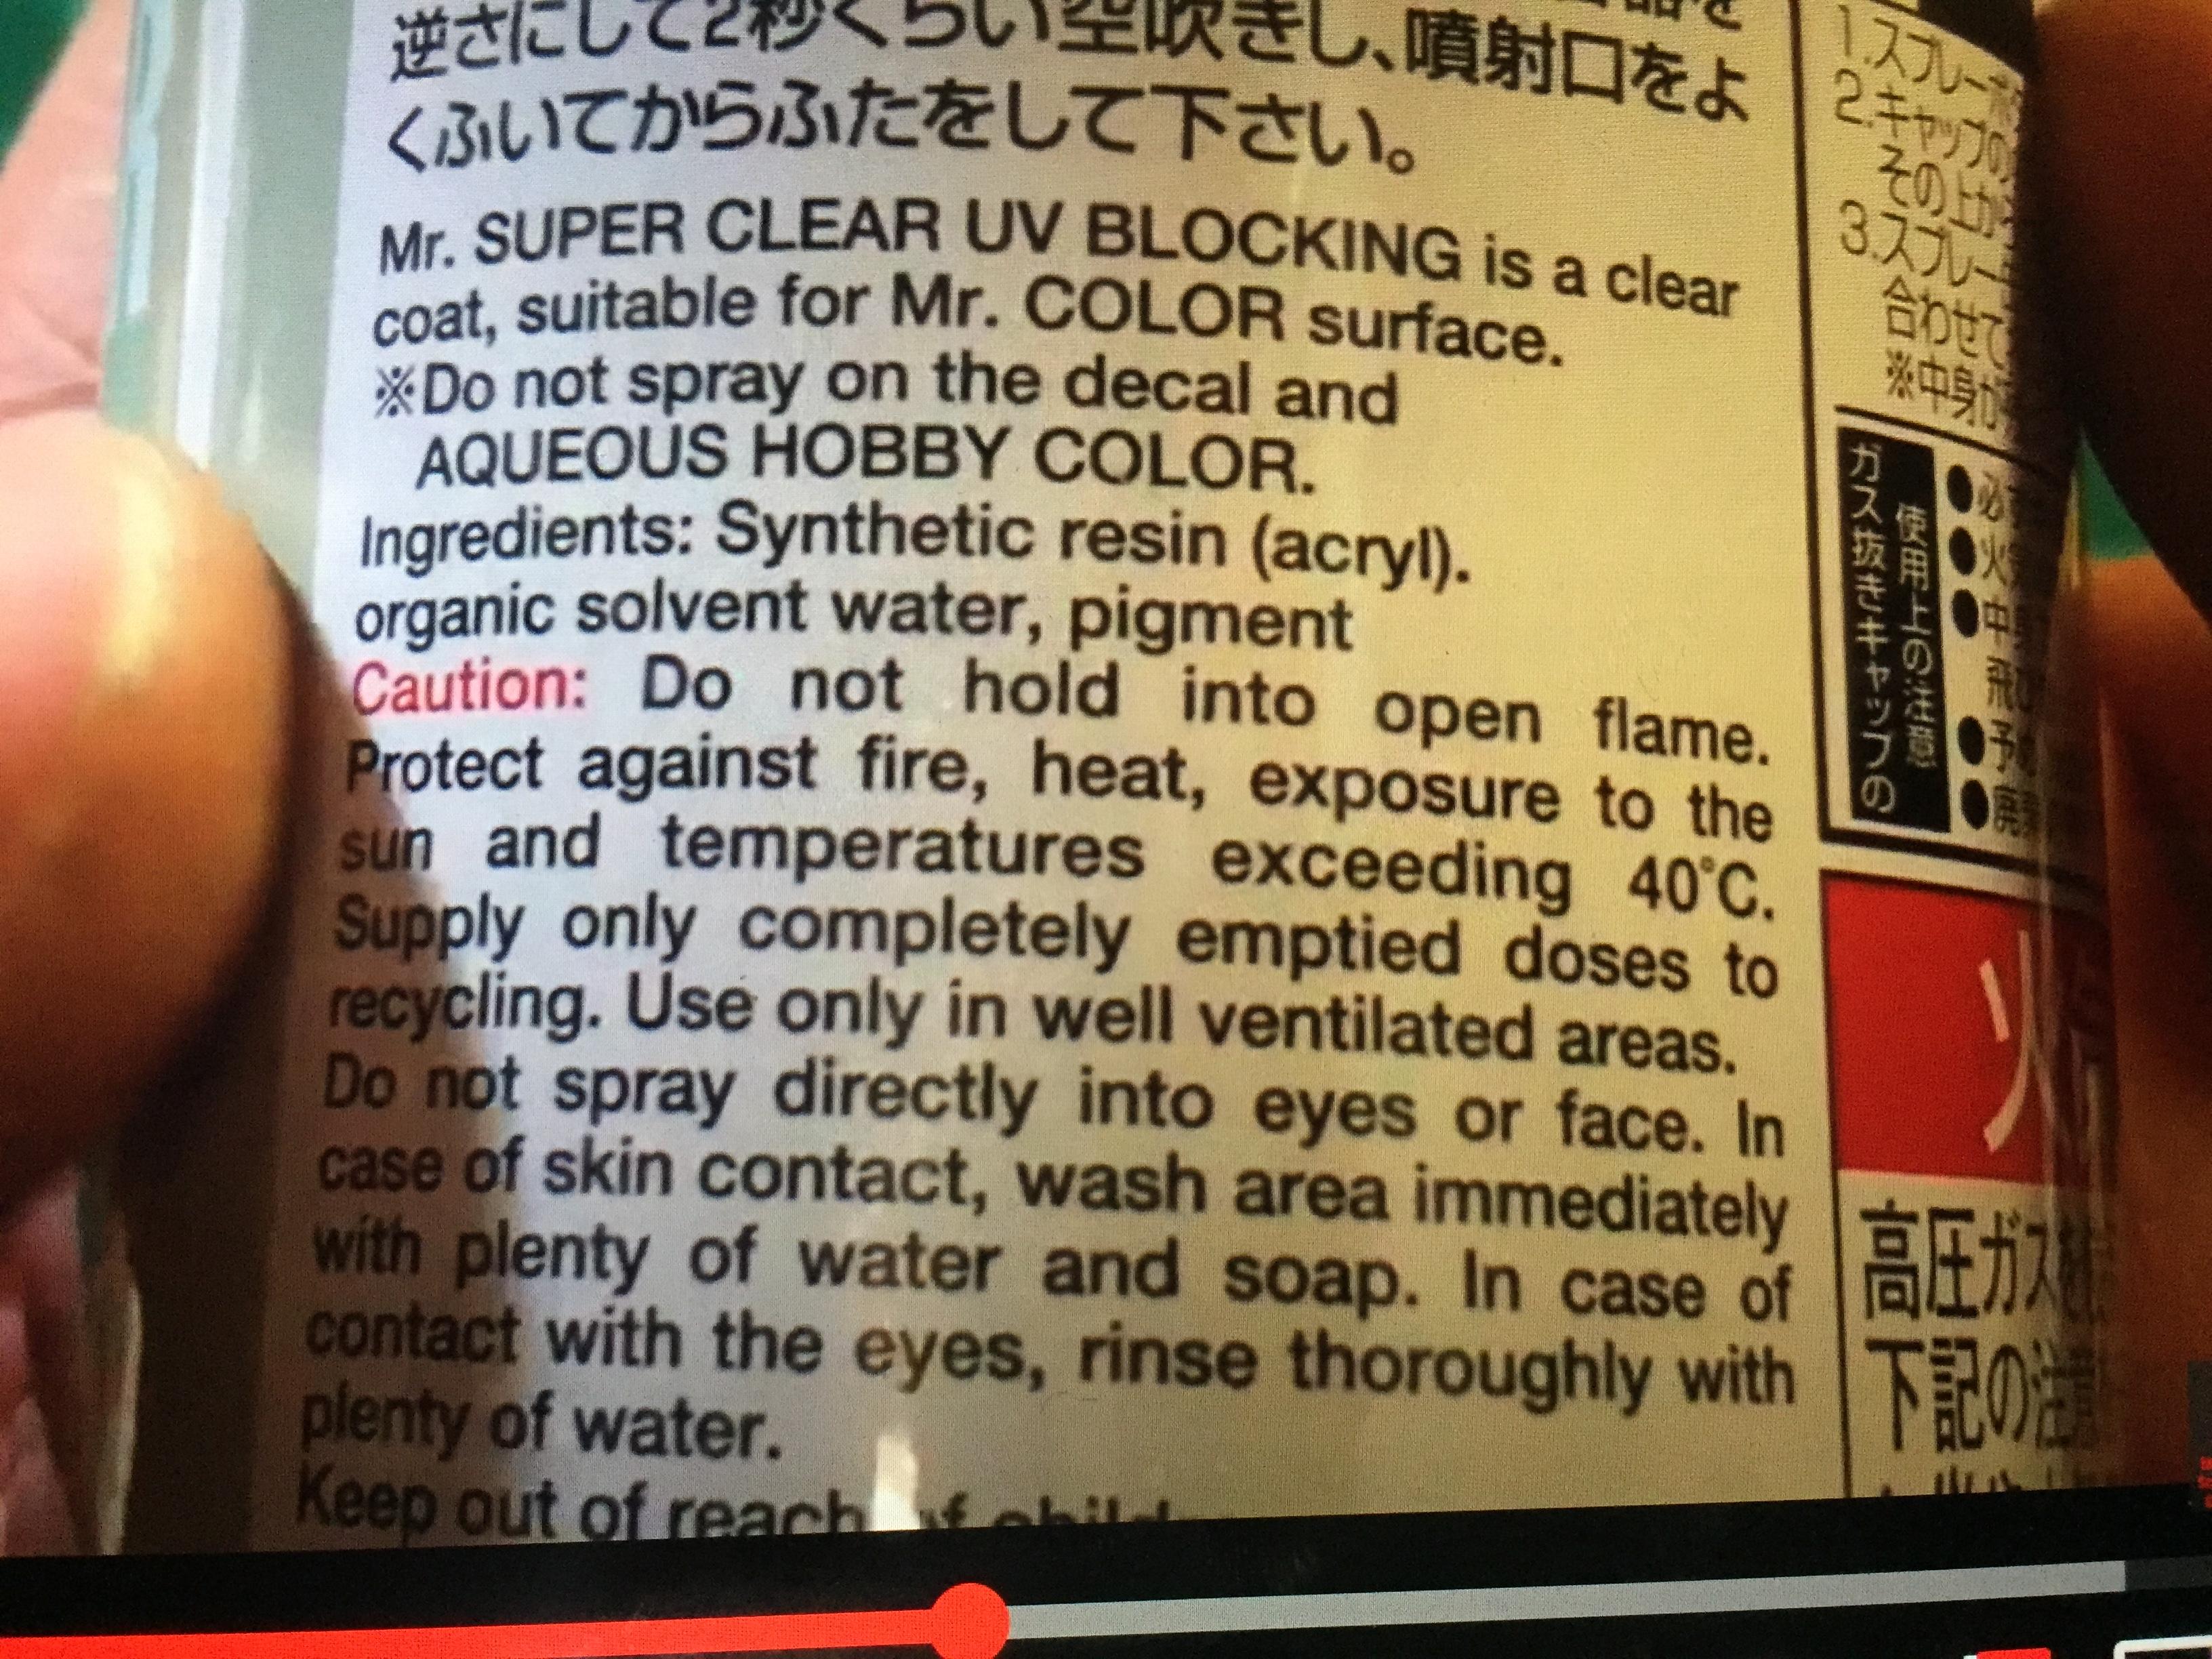
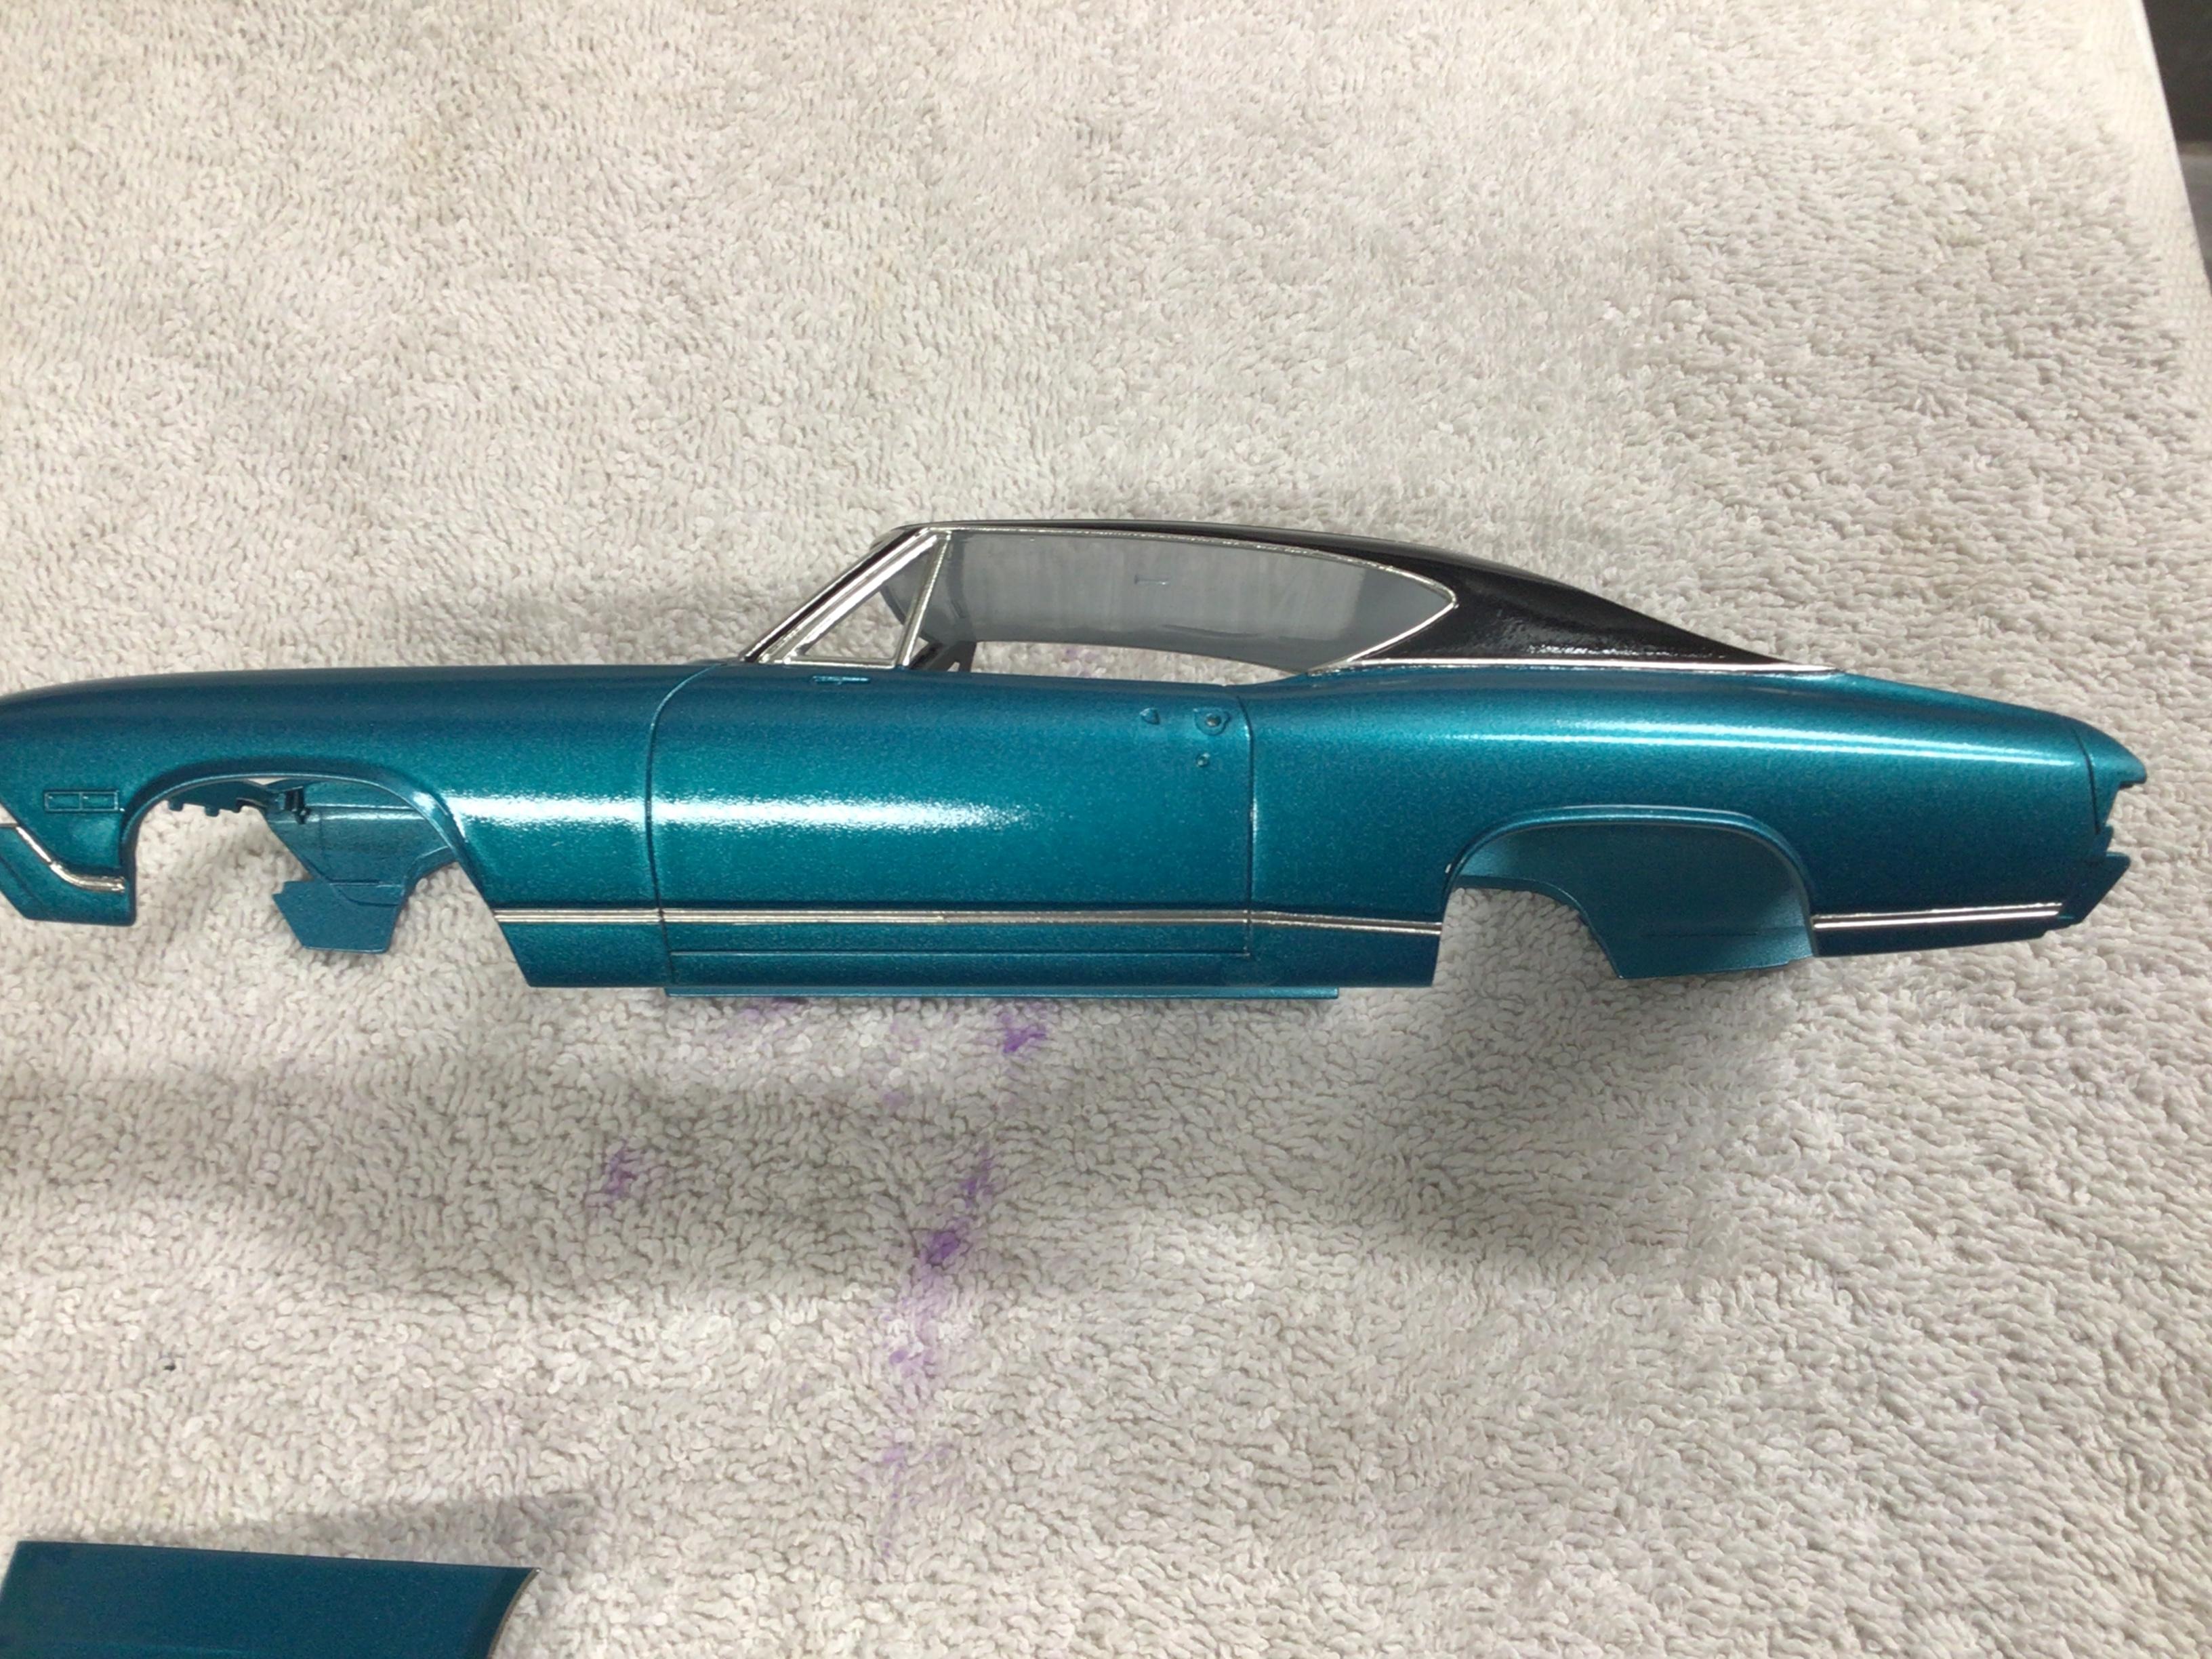
This is a lacquer as far as I know. It seems to cover the foil nicely, none of it has lifted, and I did put a really heavy coat on. I see from a bit of research (this can is entirely Japanese) that it should NOT be used over decals. I intended to cover the decals also, but now I’m not sure.?
-
Thanks Guys!?
-
How about a slightly newer one??
-
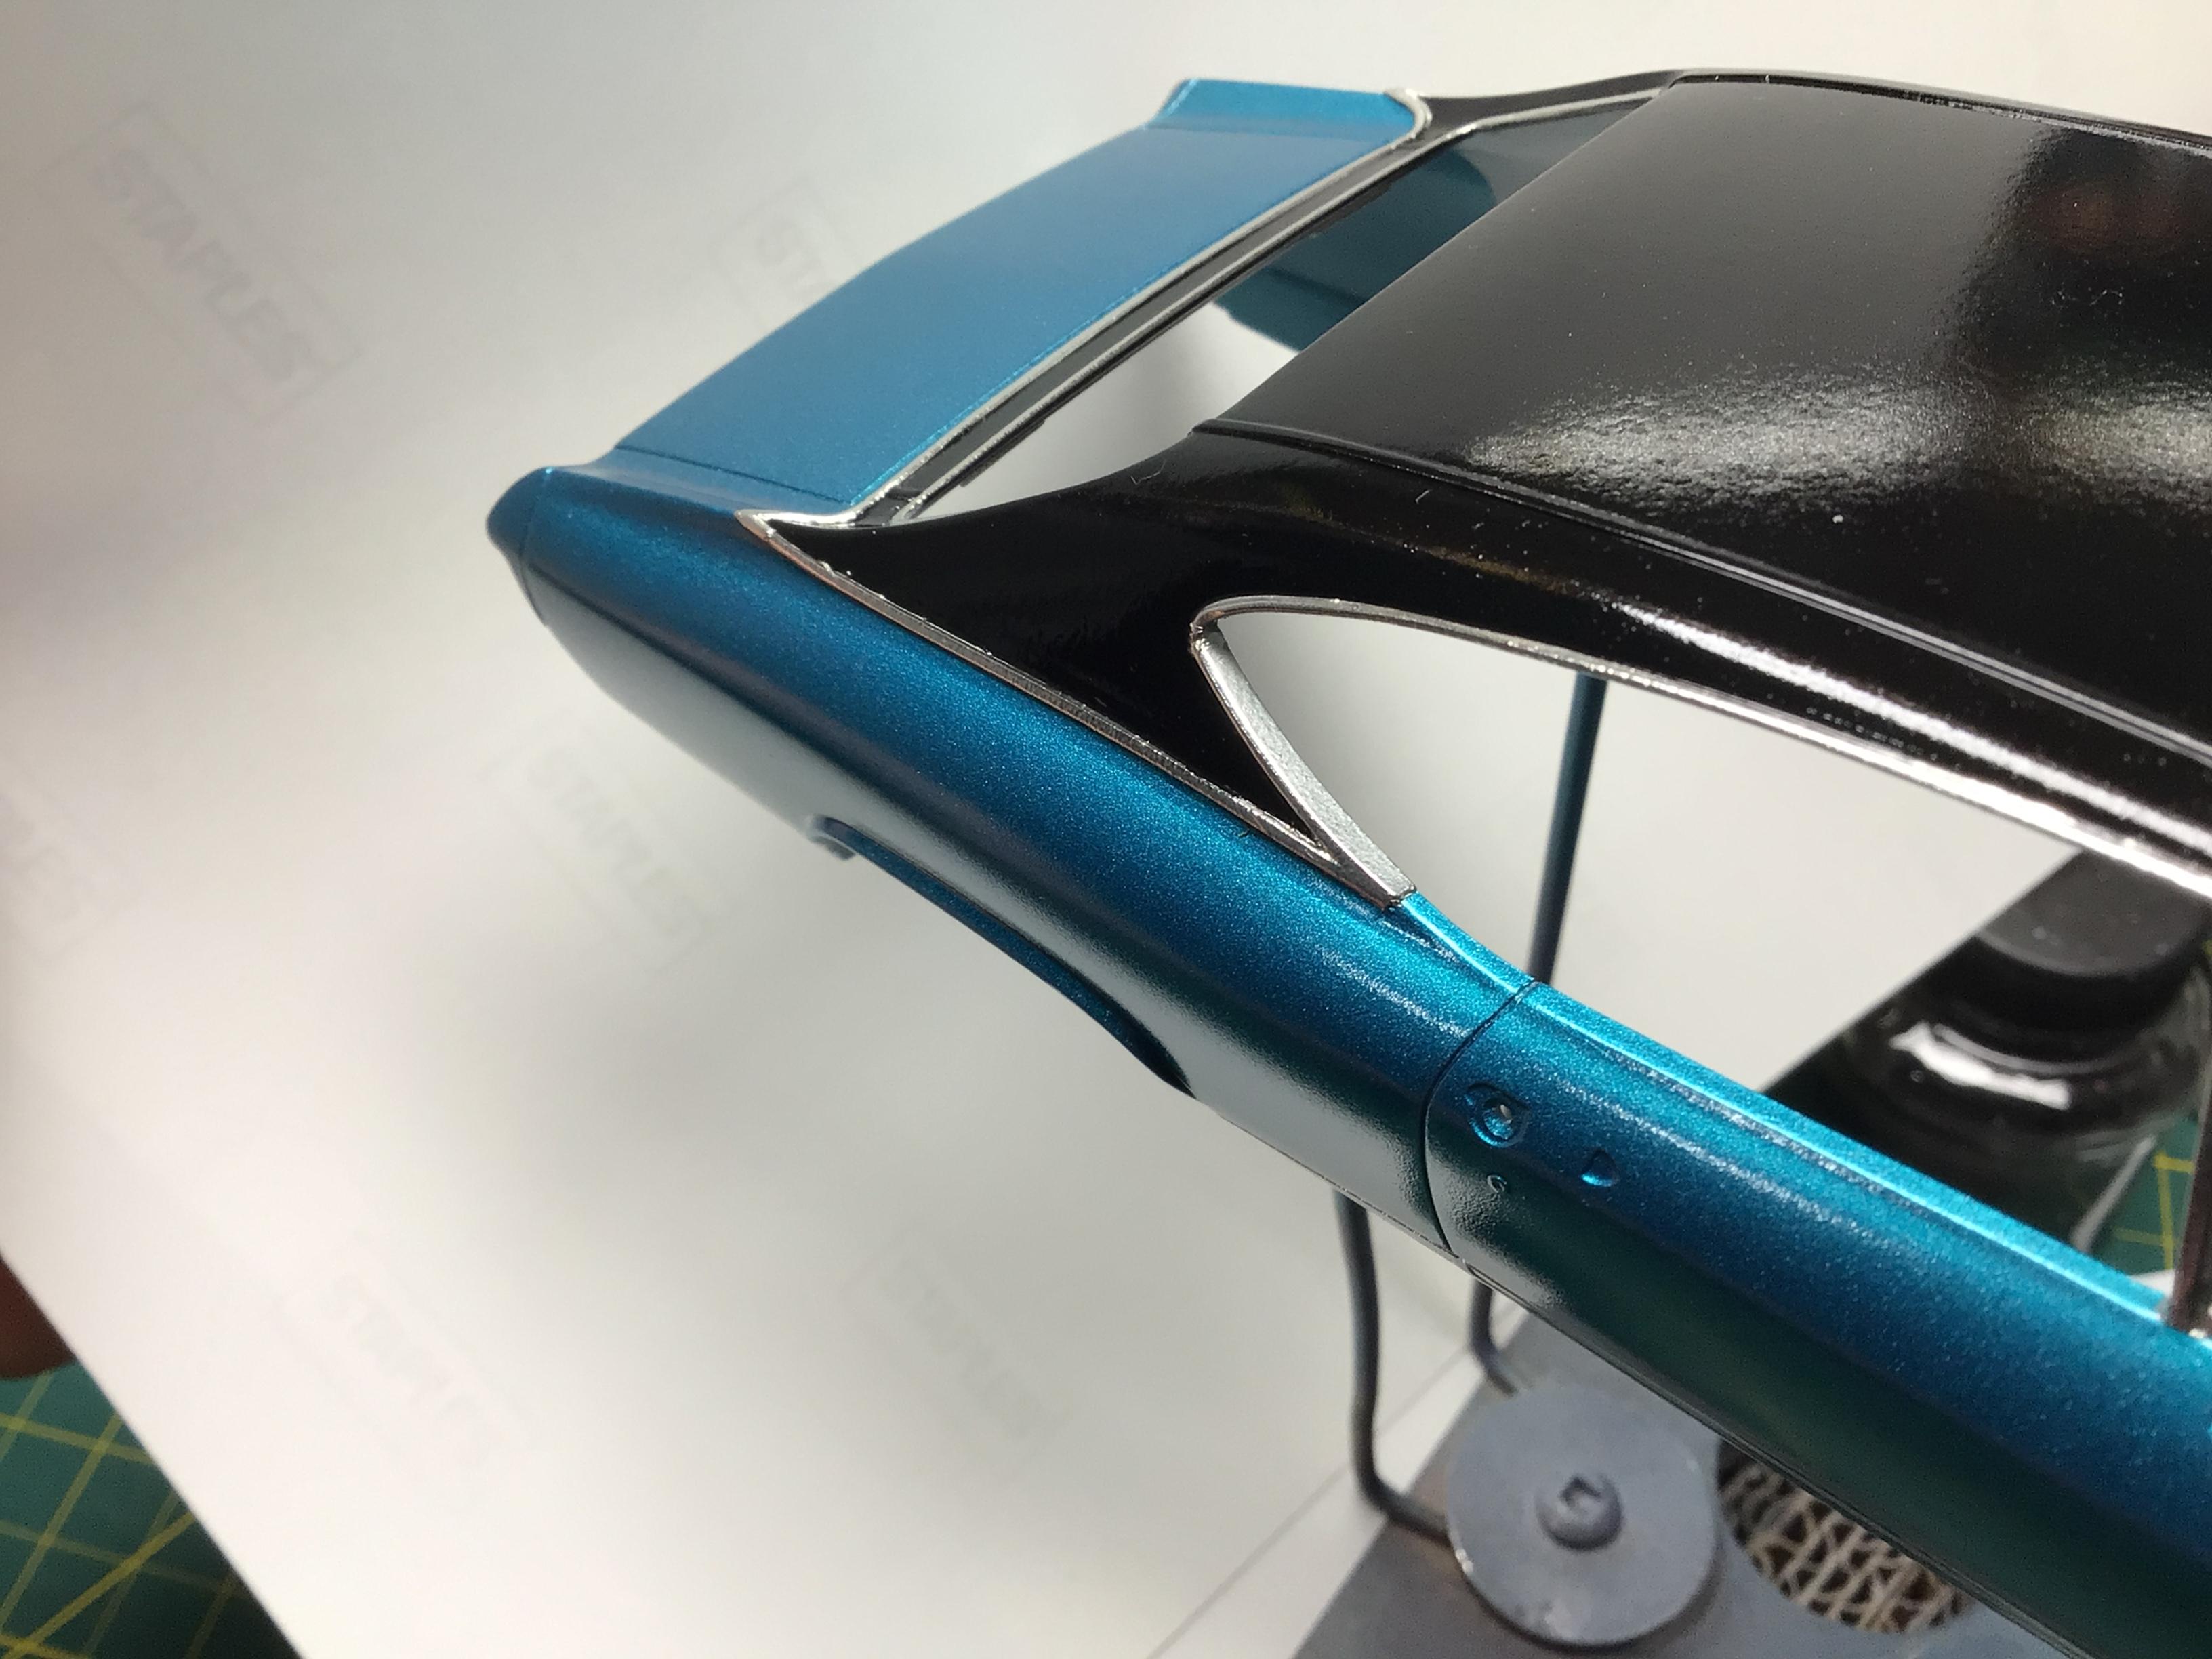
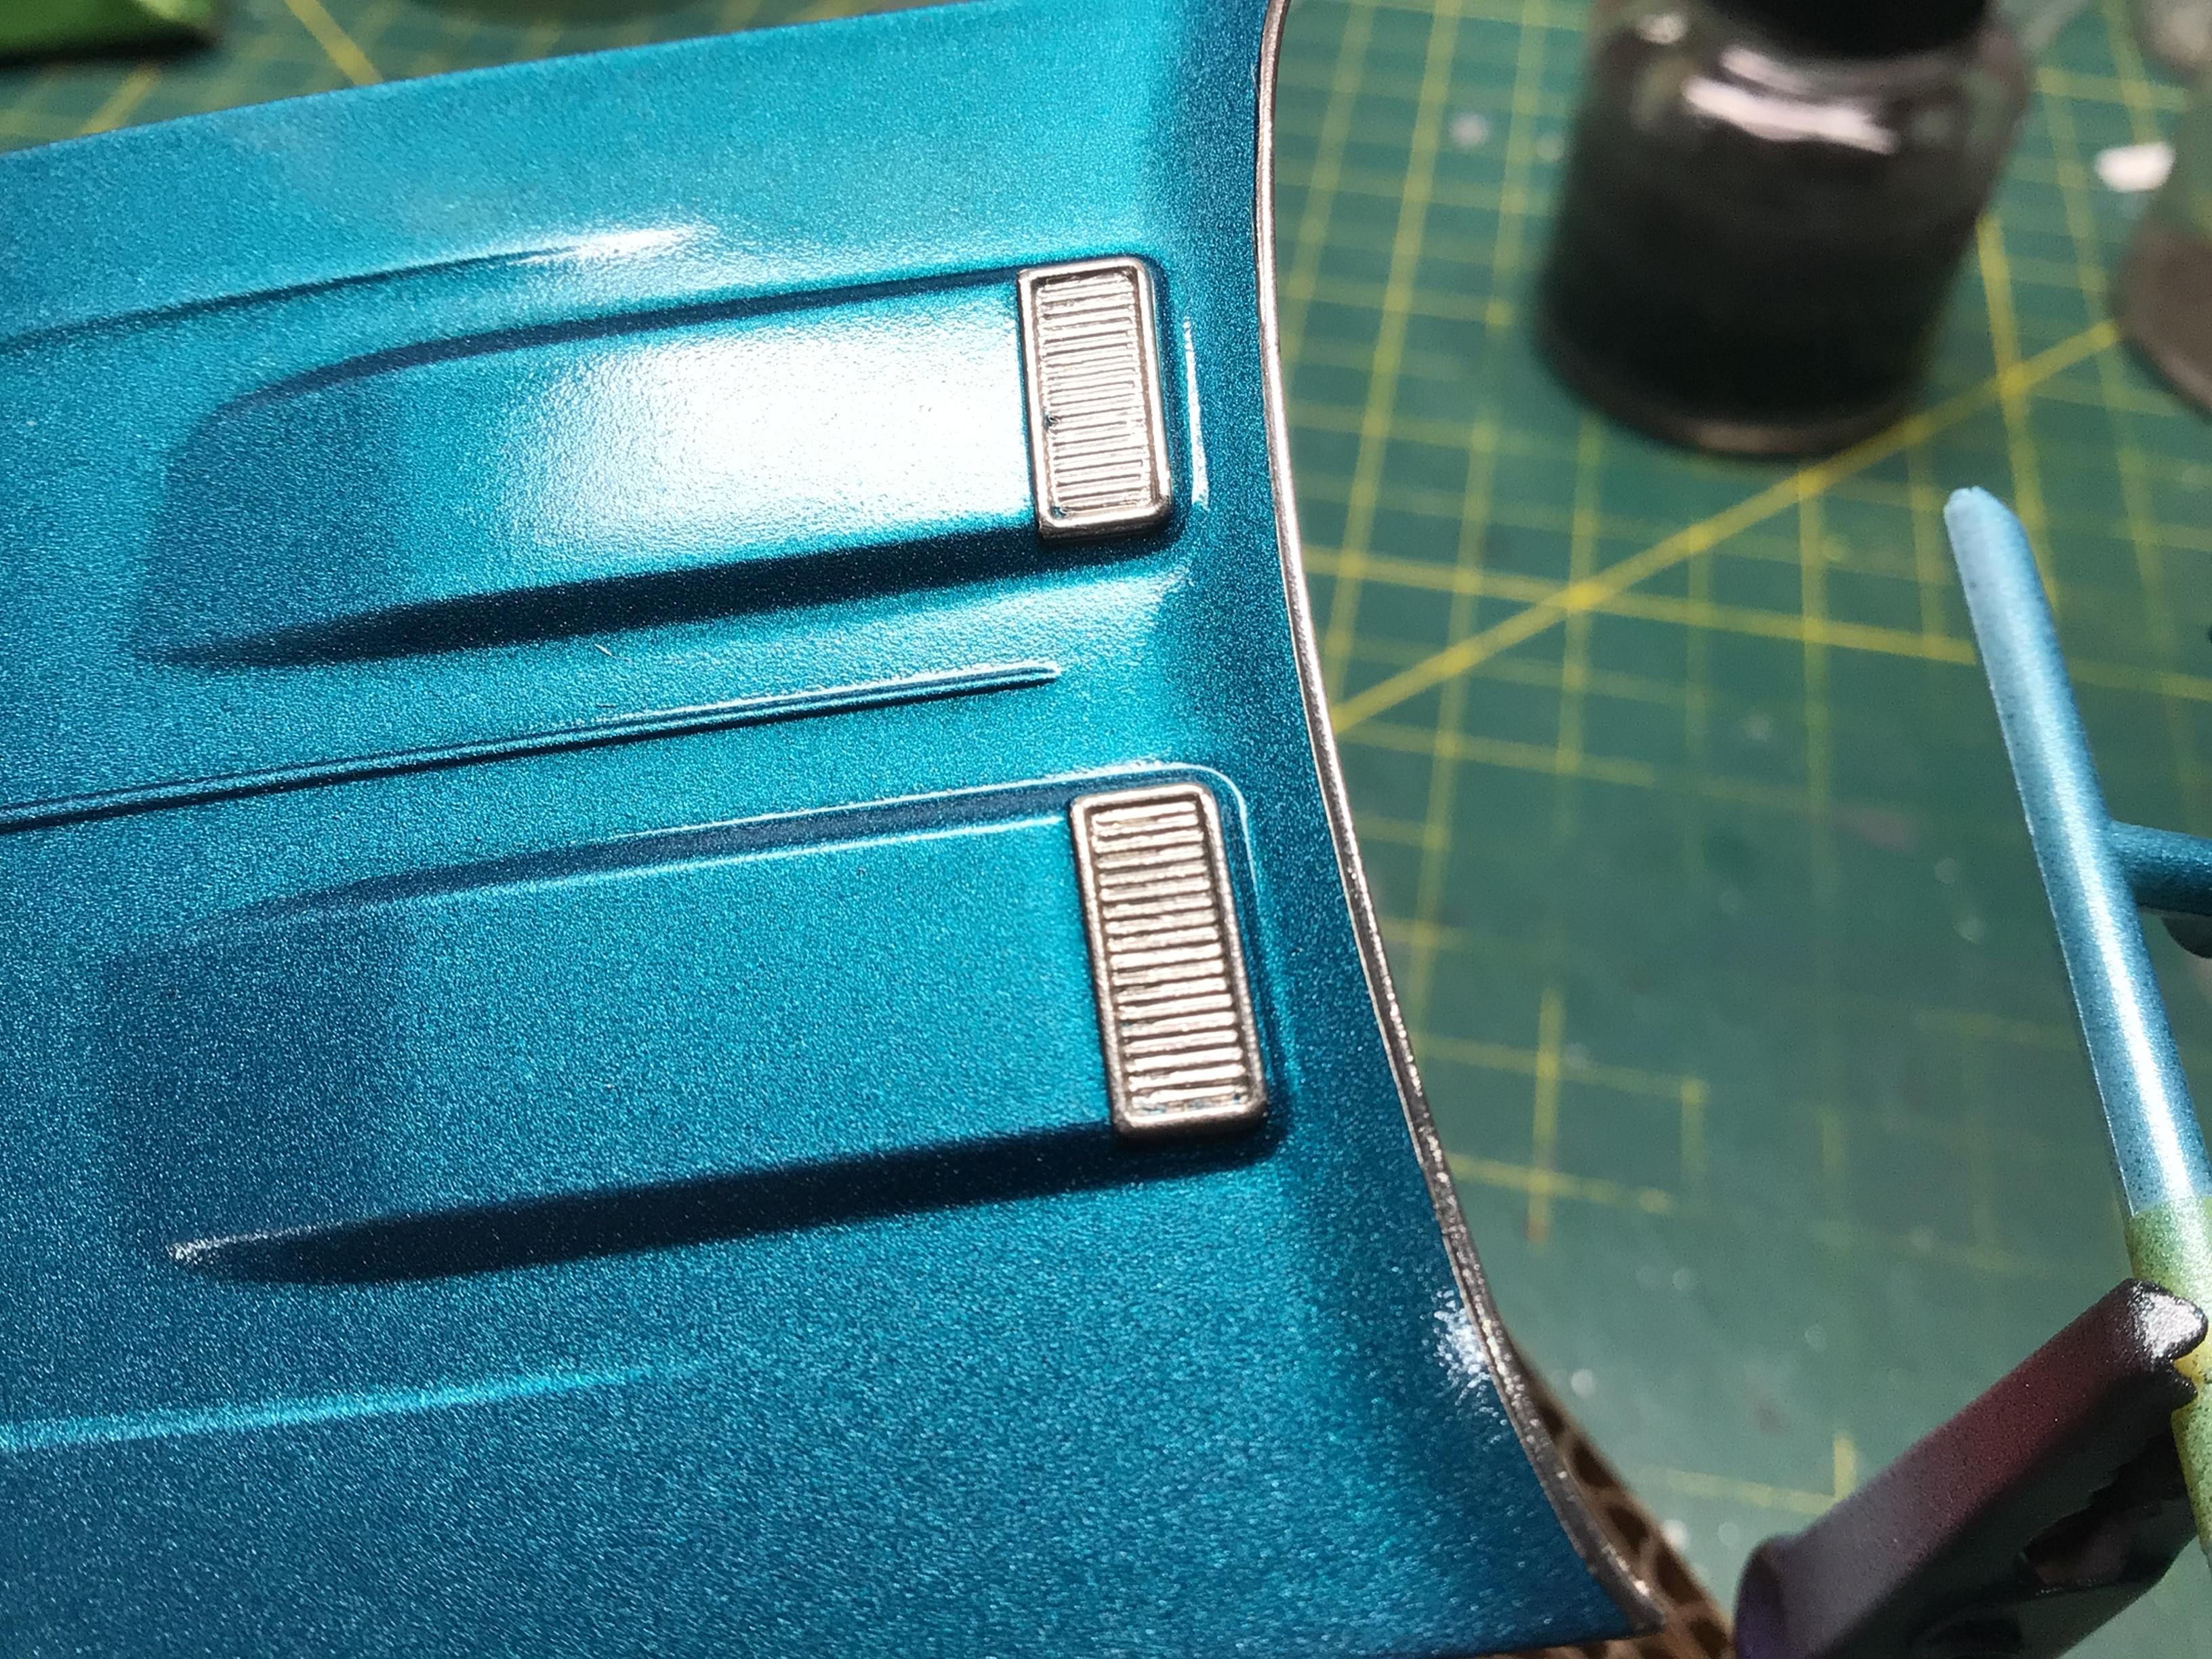
Thanks Everyone! I got the foil done and it turned out pretty good I think. ? I wanted to do another coat of clear to seal the foil before starting the decals, and In my haste, I laid it on a little thicker than I should have.? I may have to do a light sanding with some #3000 in some areas. Hopefully a couple more light coats after the decals will improve the looks.?
-
Welcome Dan. That does look great!?
-
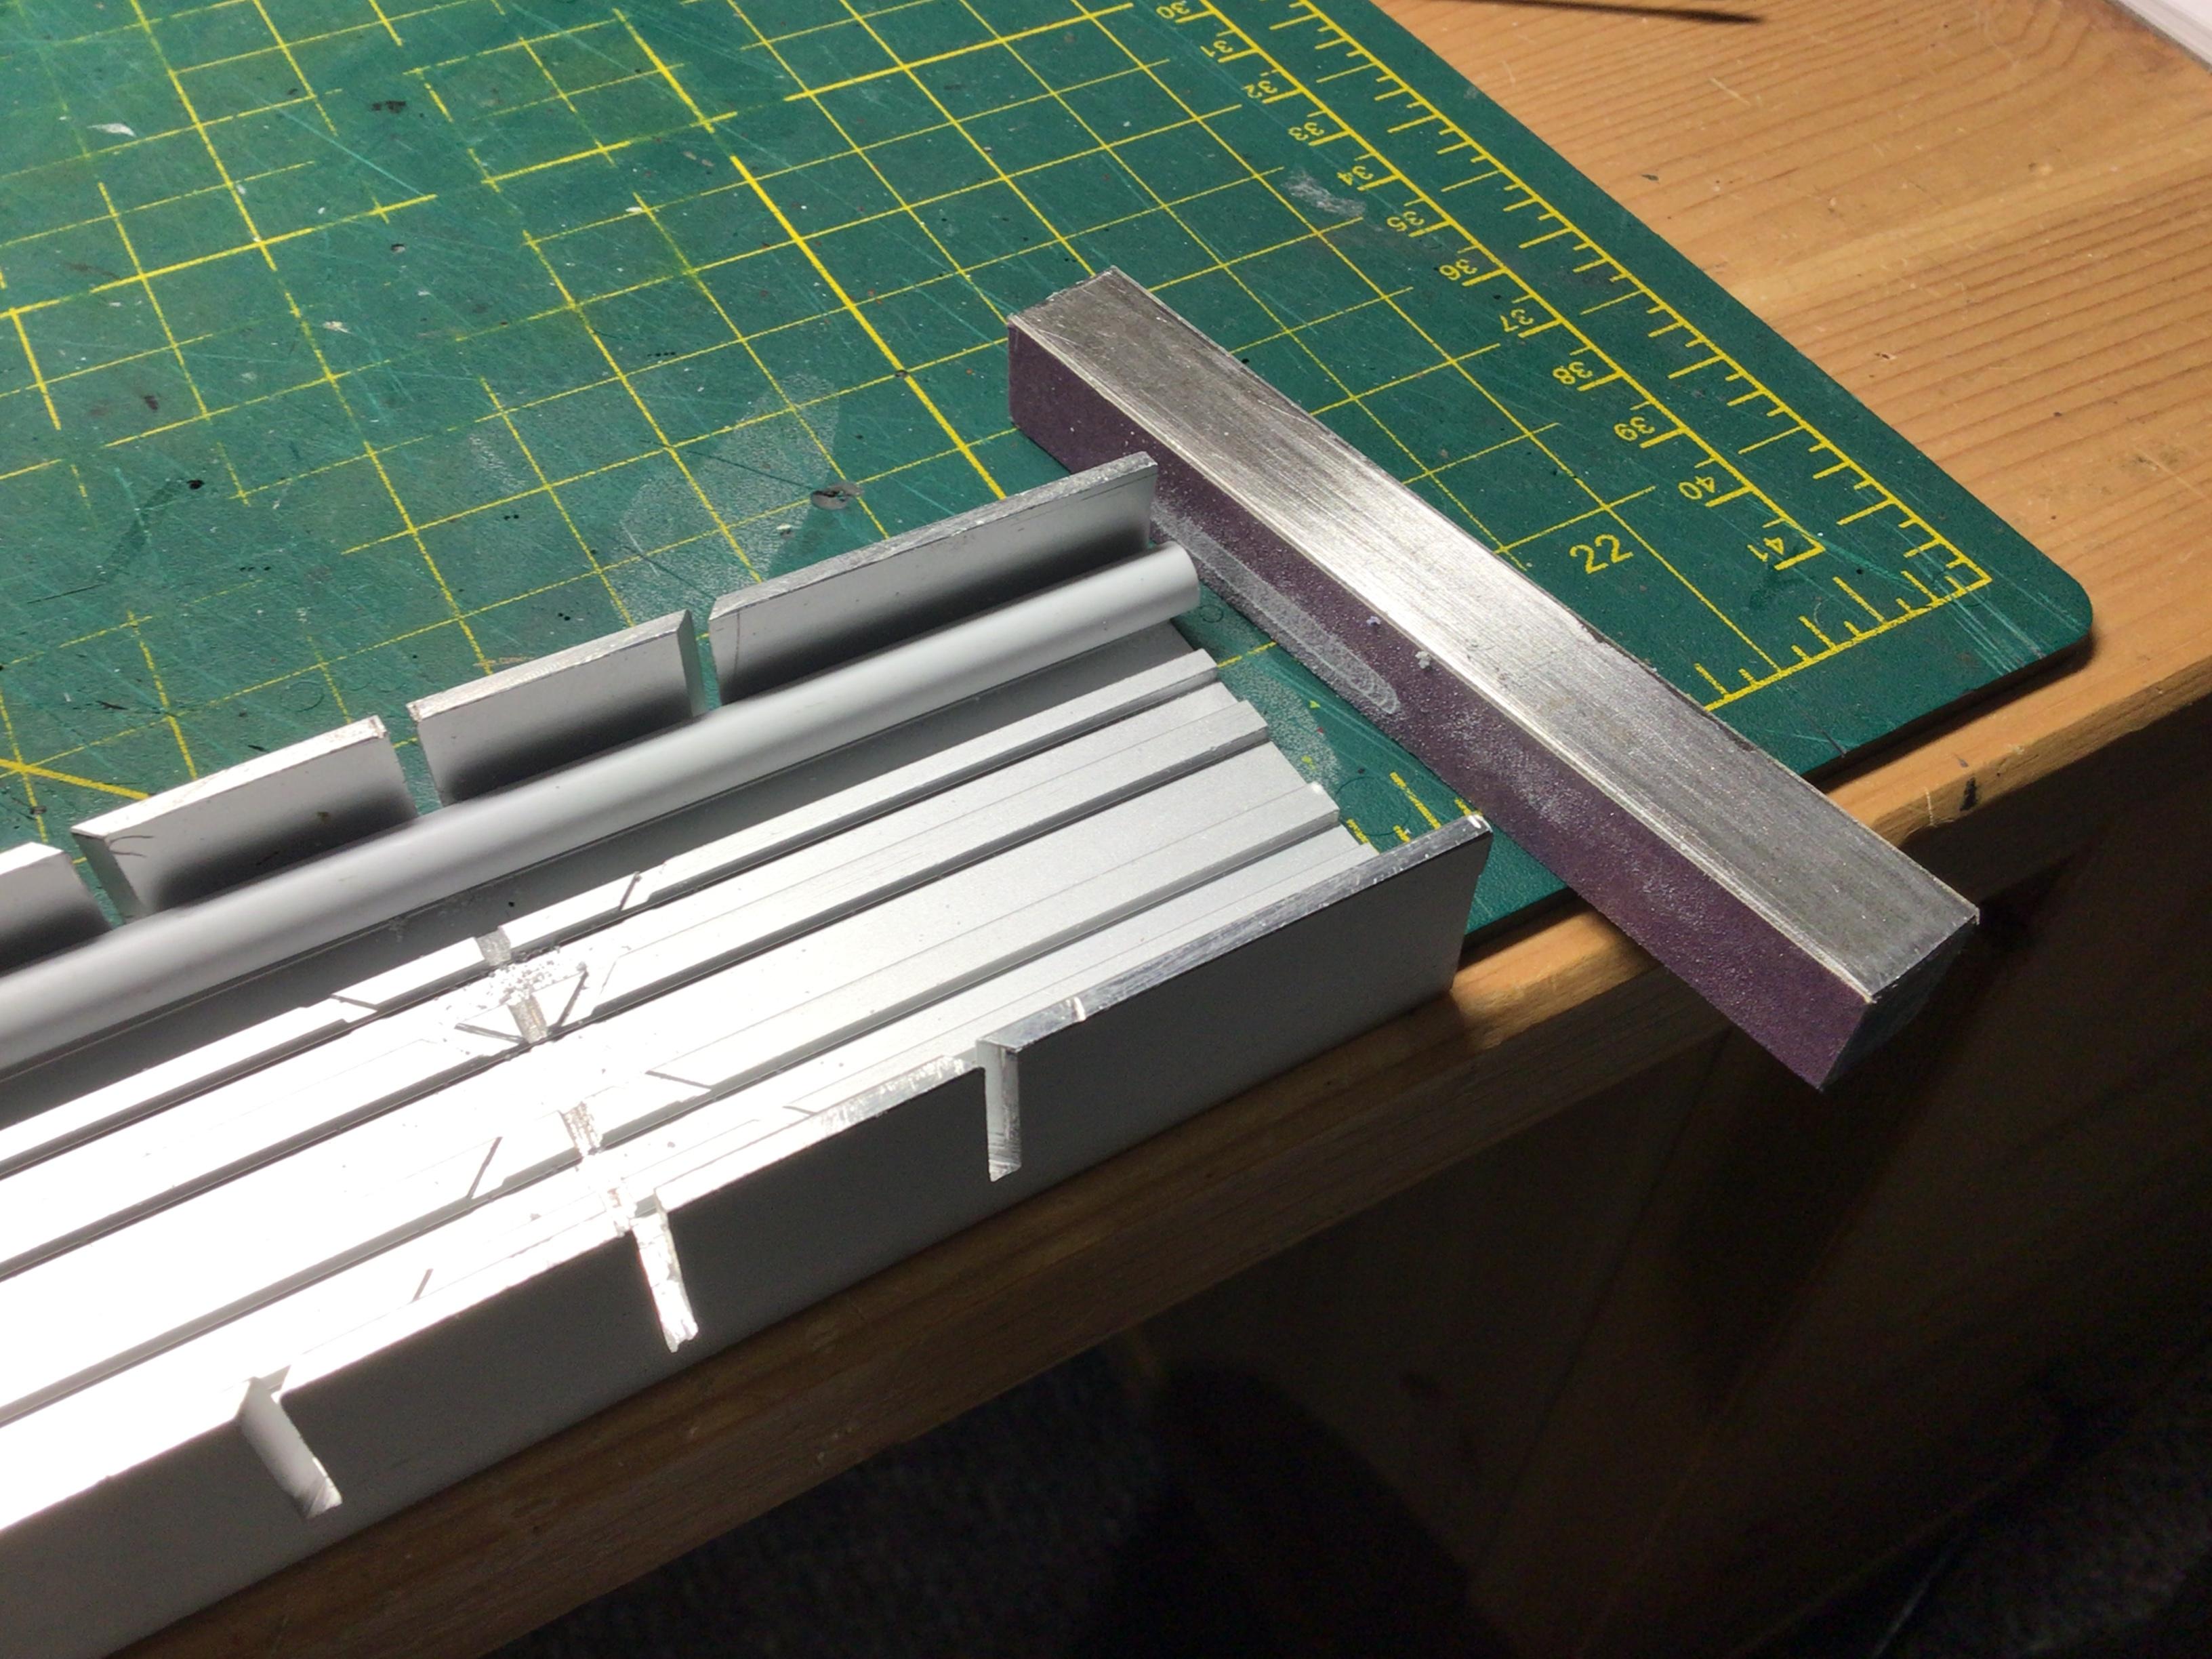
Cutting styrene tubing
NOBLNG replied to Jordan White's topic in Model Building Questions and Answers
I attached some sandpaper to a piece of square bar with double faced tape that I can square up the cut if it is off a touch.
-
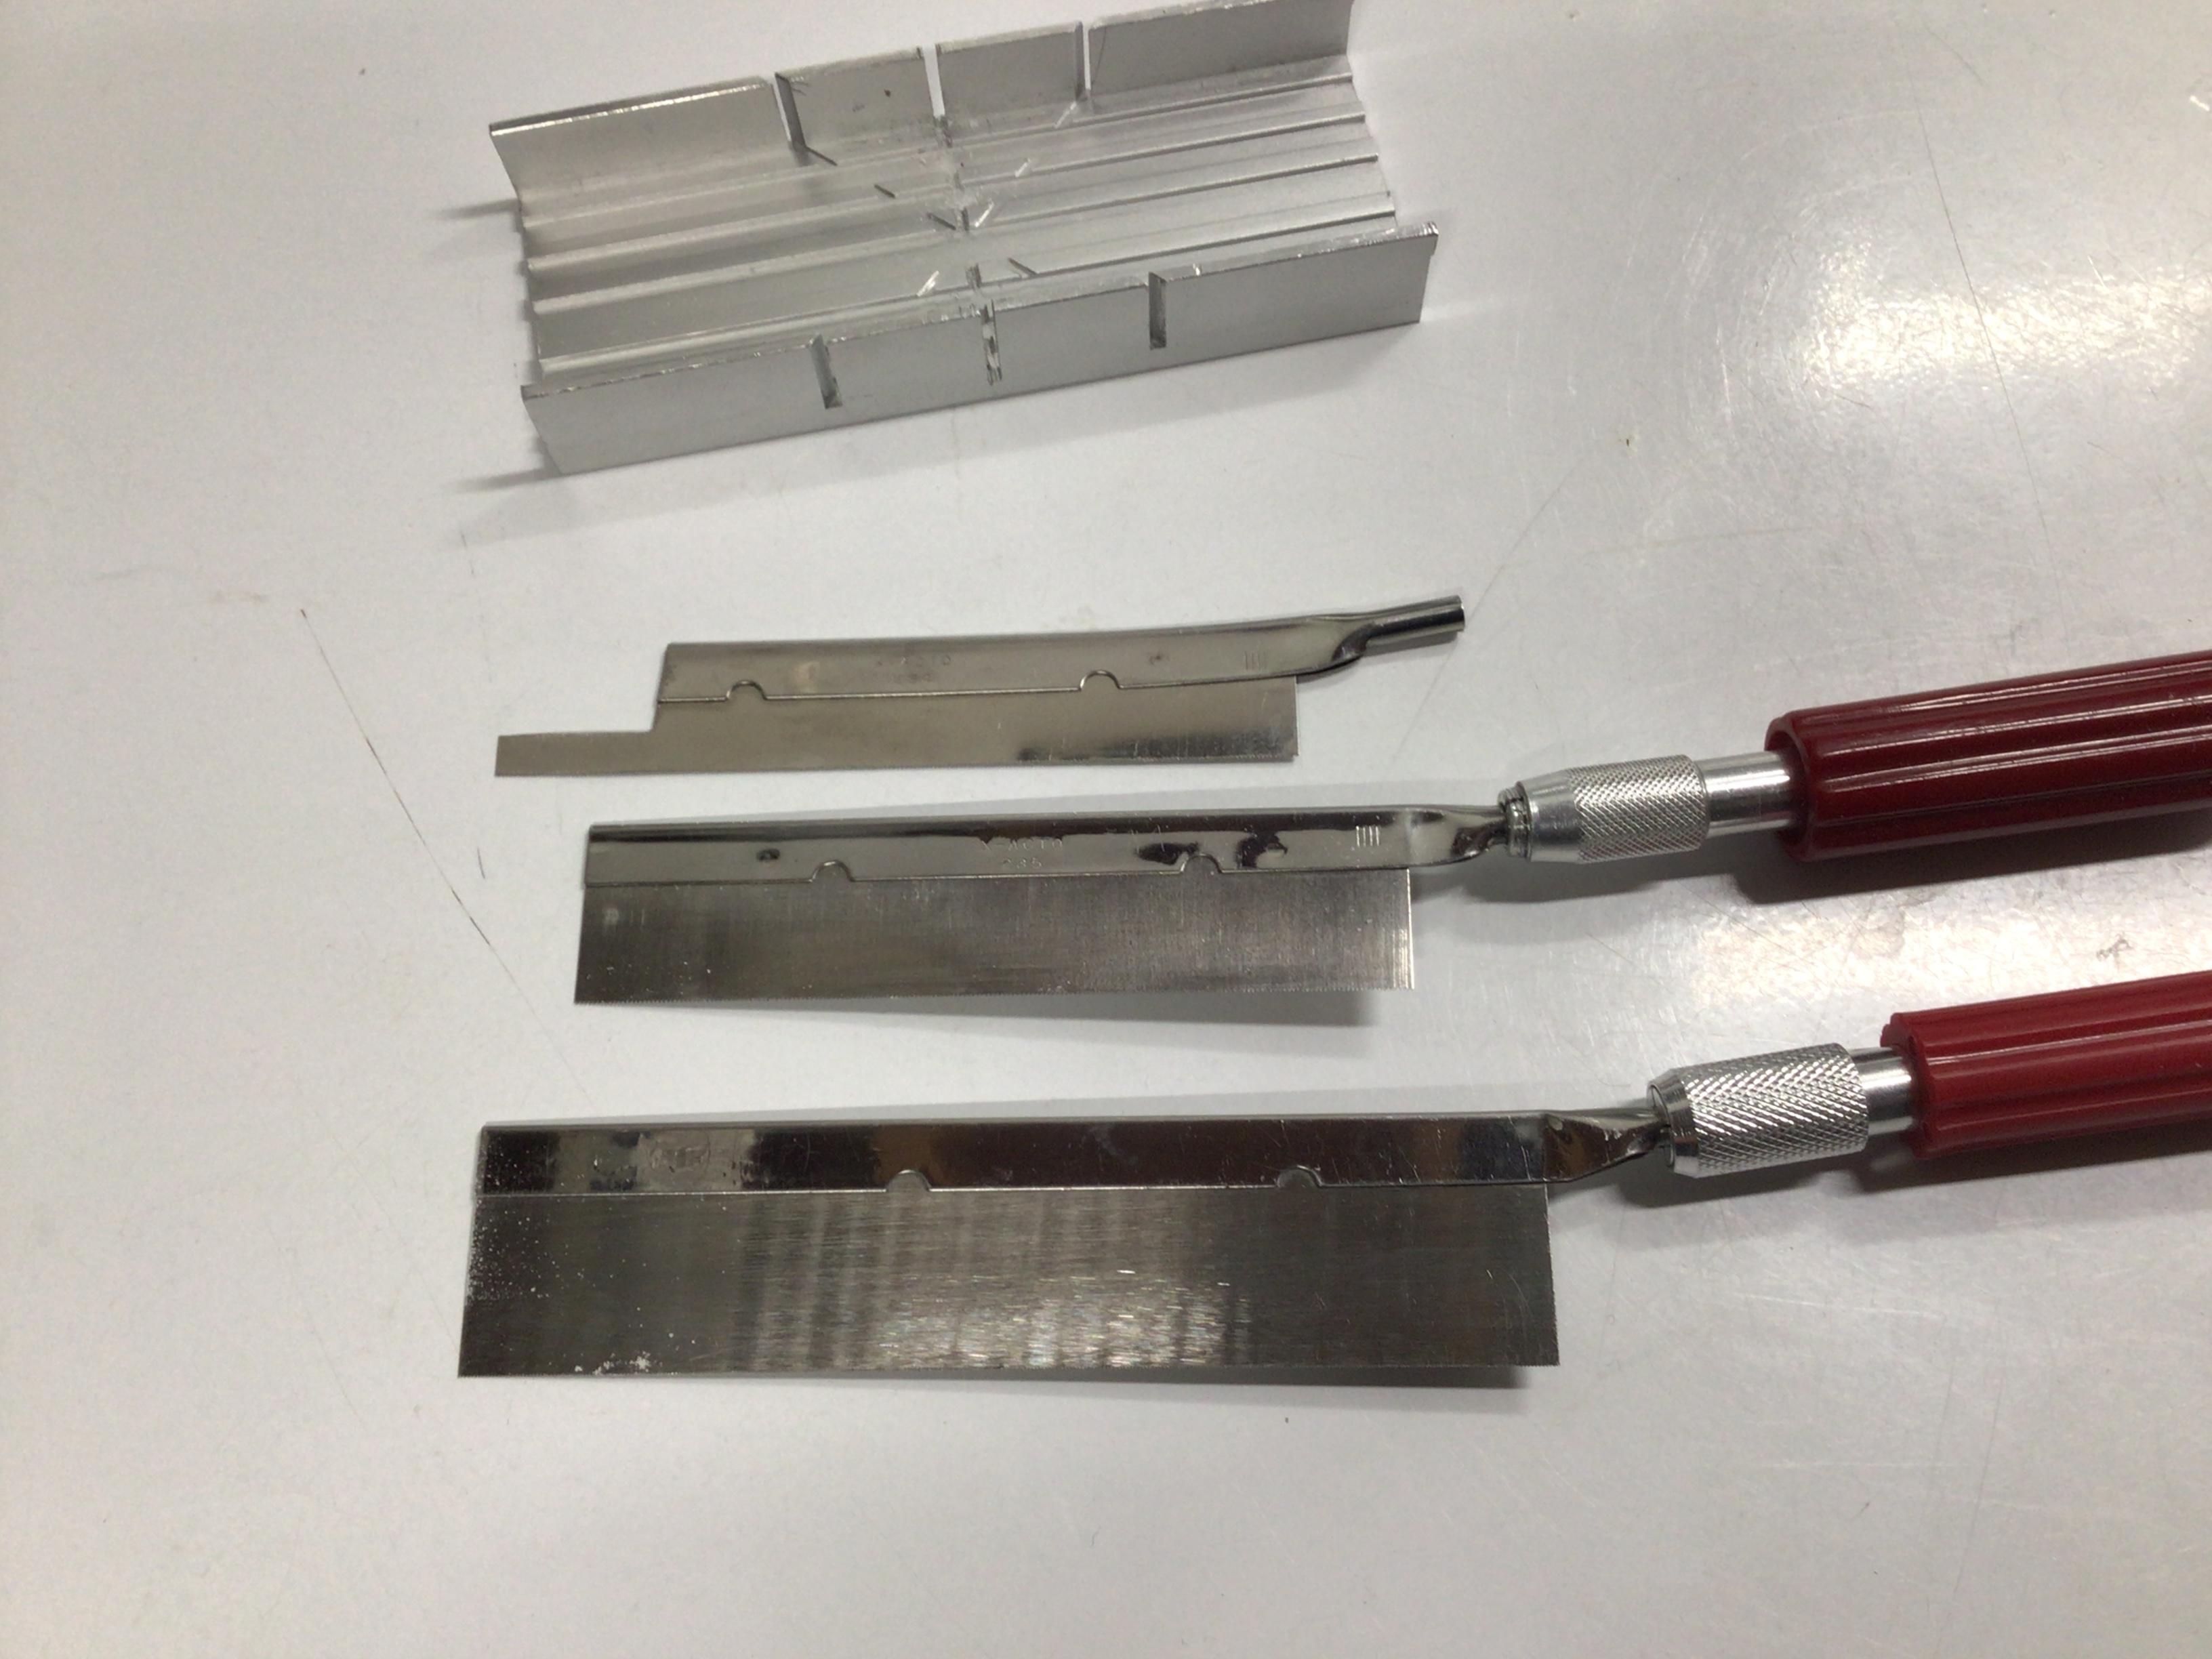
Cutting styrene tubing
NOBLNG replied to Jordan White's topic in Model Building Questions and Answers
I use the Exacto mitre box also. I keep a finger up against the side of the saw blade to hold it tight against one side of the slot. The slot in the mitre box is wide enough that the saw can wobble if not held vertical. And yes, some blades are not deep enough to work properly. The top one in the pic Is too shallow to be used with the box.
-
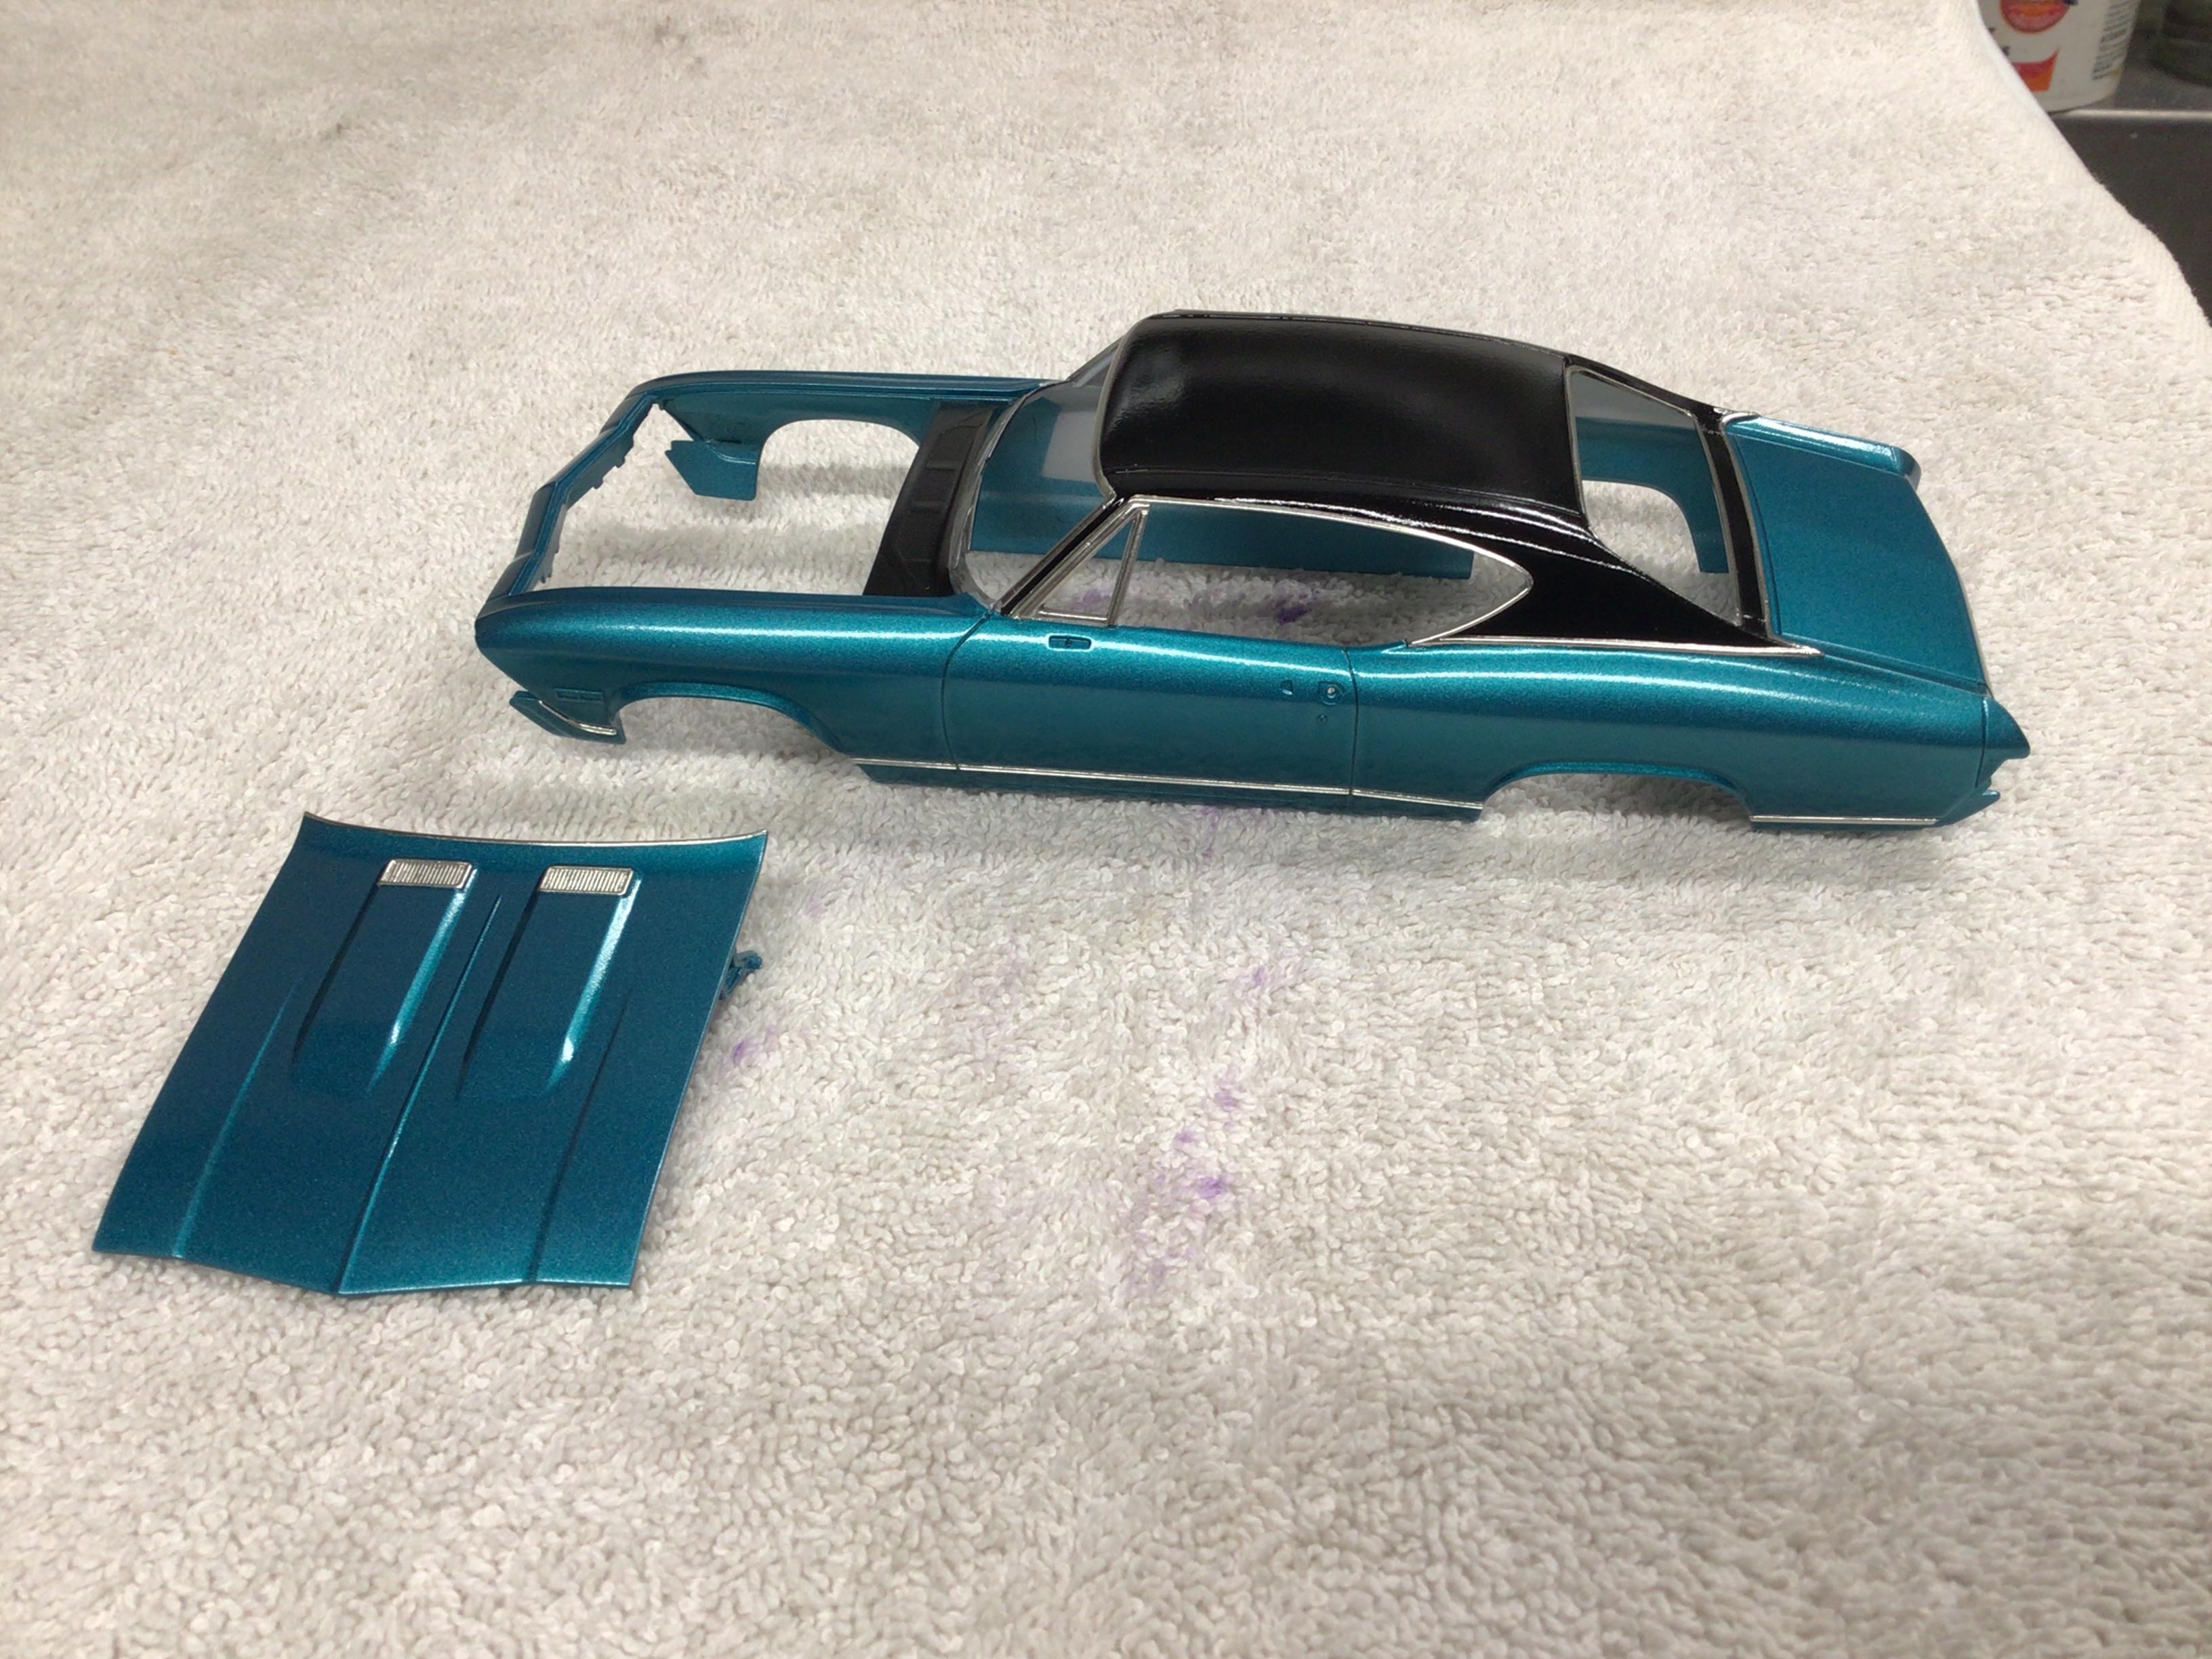
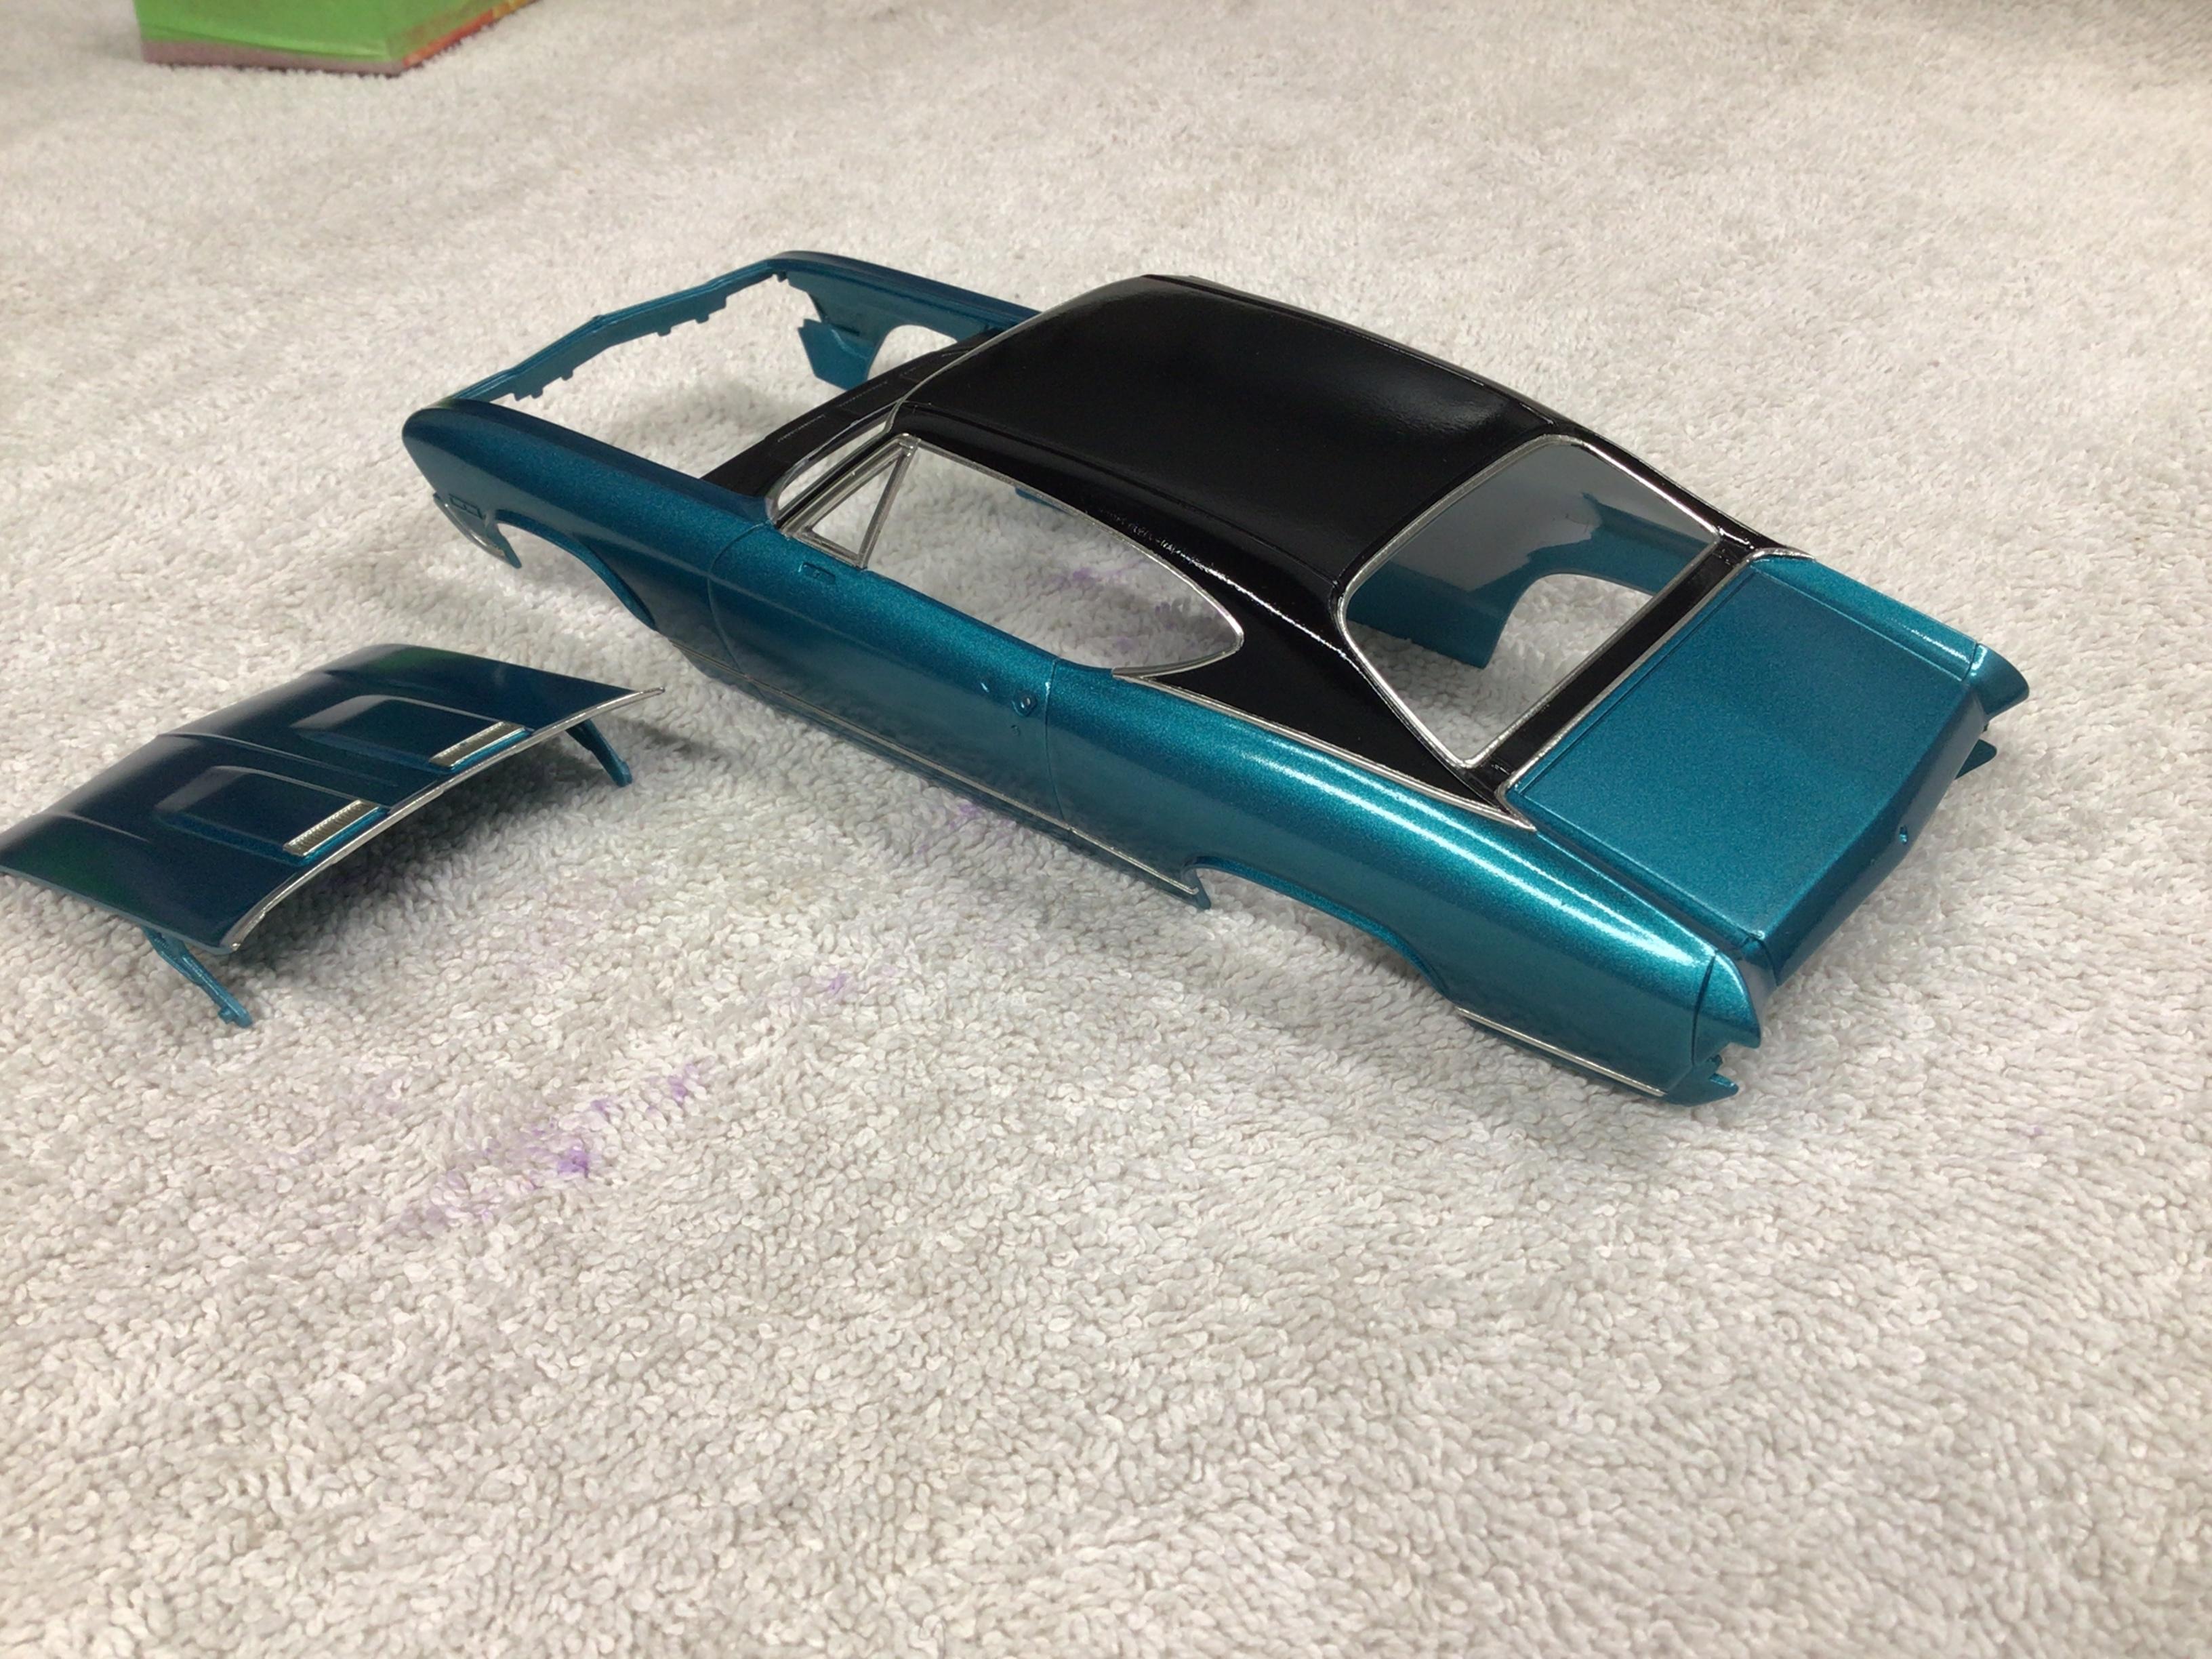
Thanks Mike. Thanks Carl. Thanks Alan. It is Mr. Color #57 Metallic Blue Green, sprayed through my Paasche H, and Mr. Color super clear gloss straight out of the can.
-
Looking good Ken. I really like that colour, and the trim should really make it pop!?
-
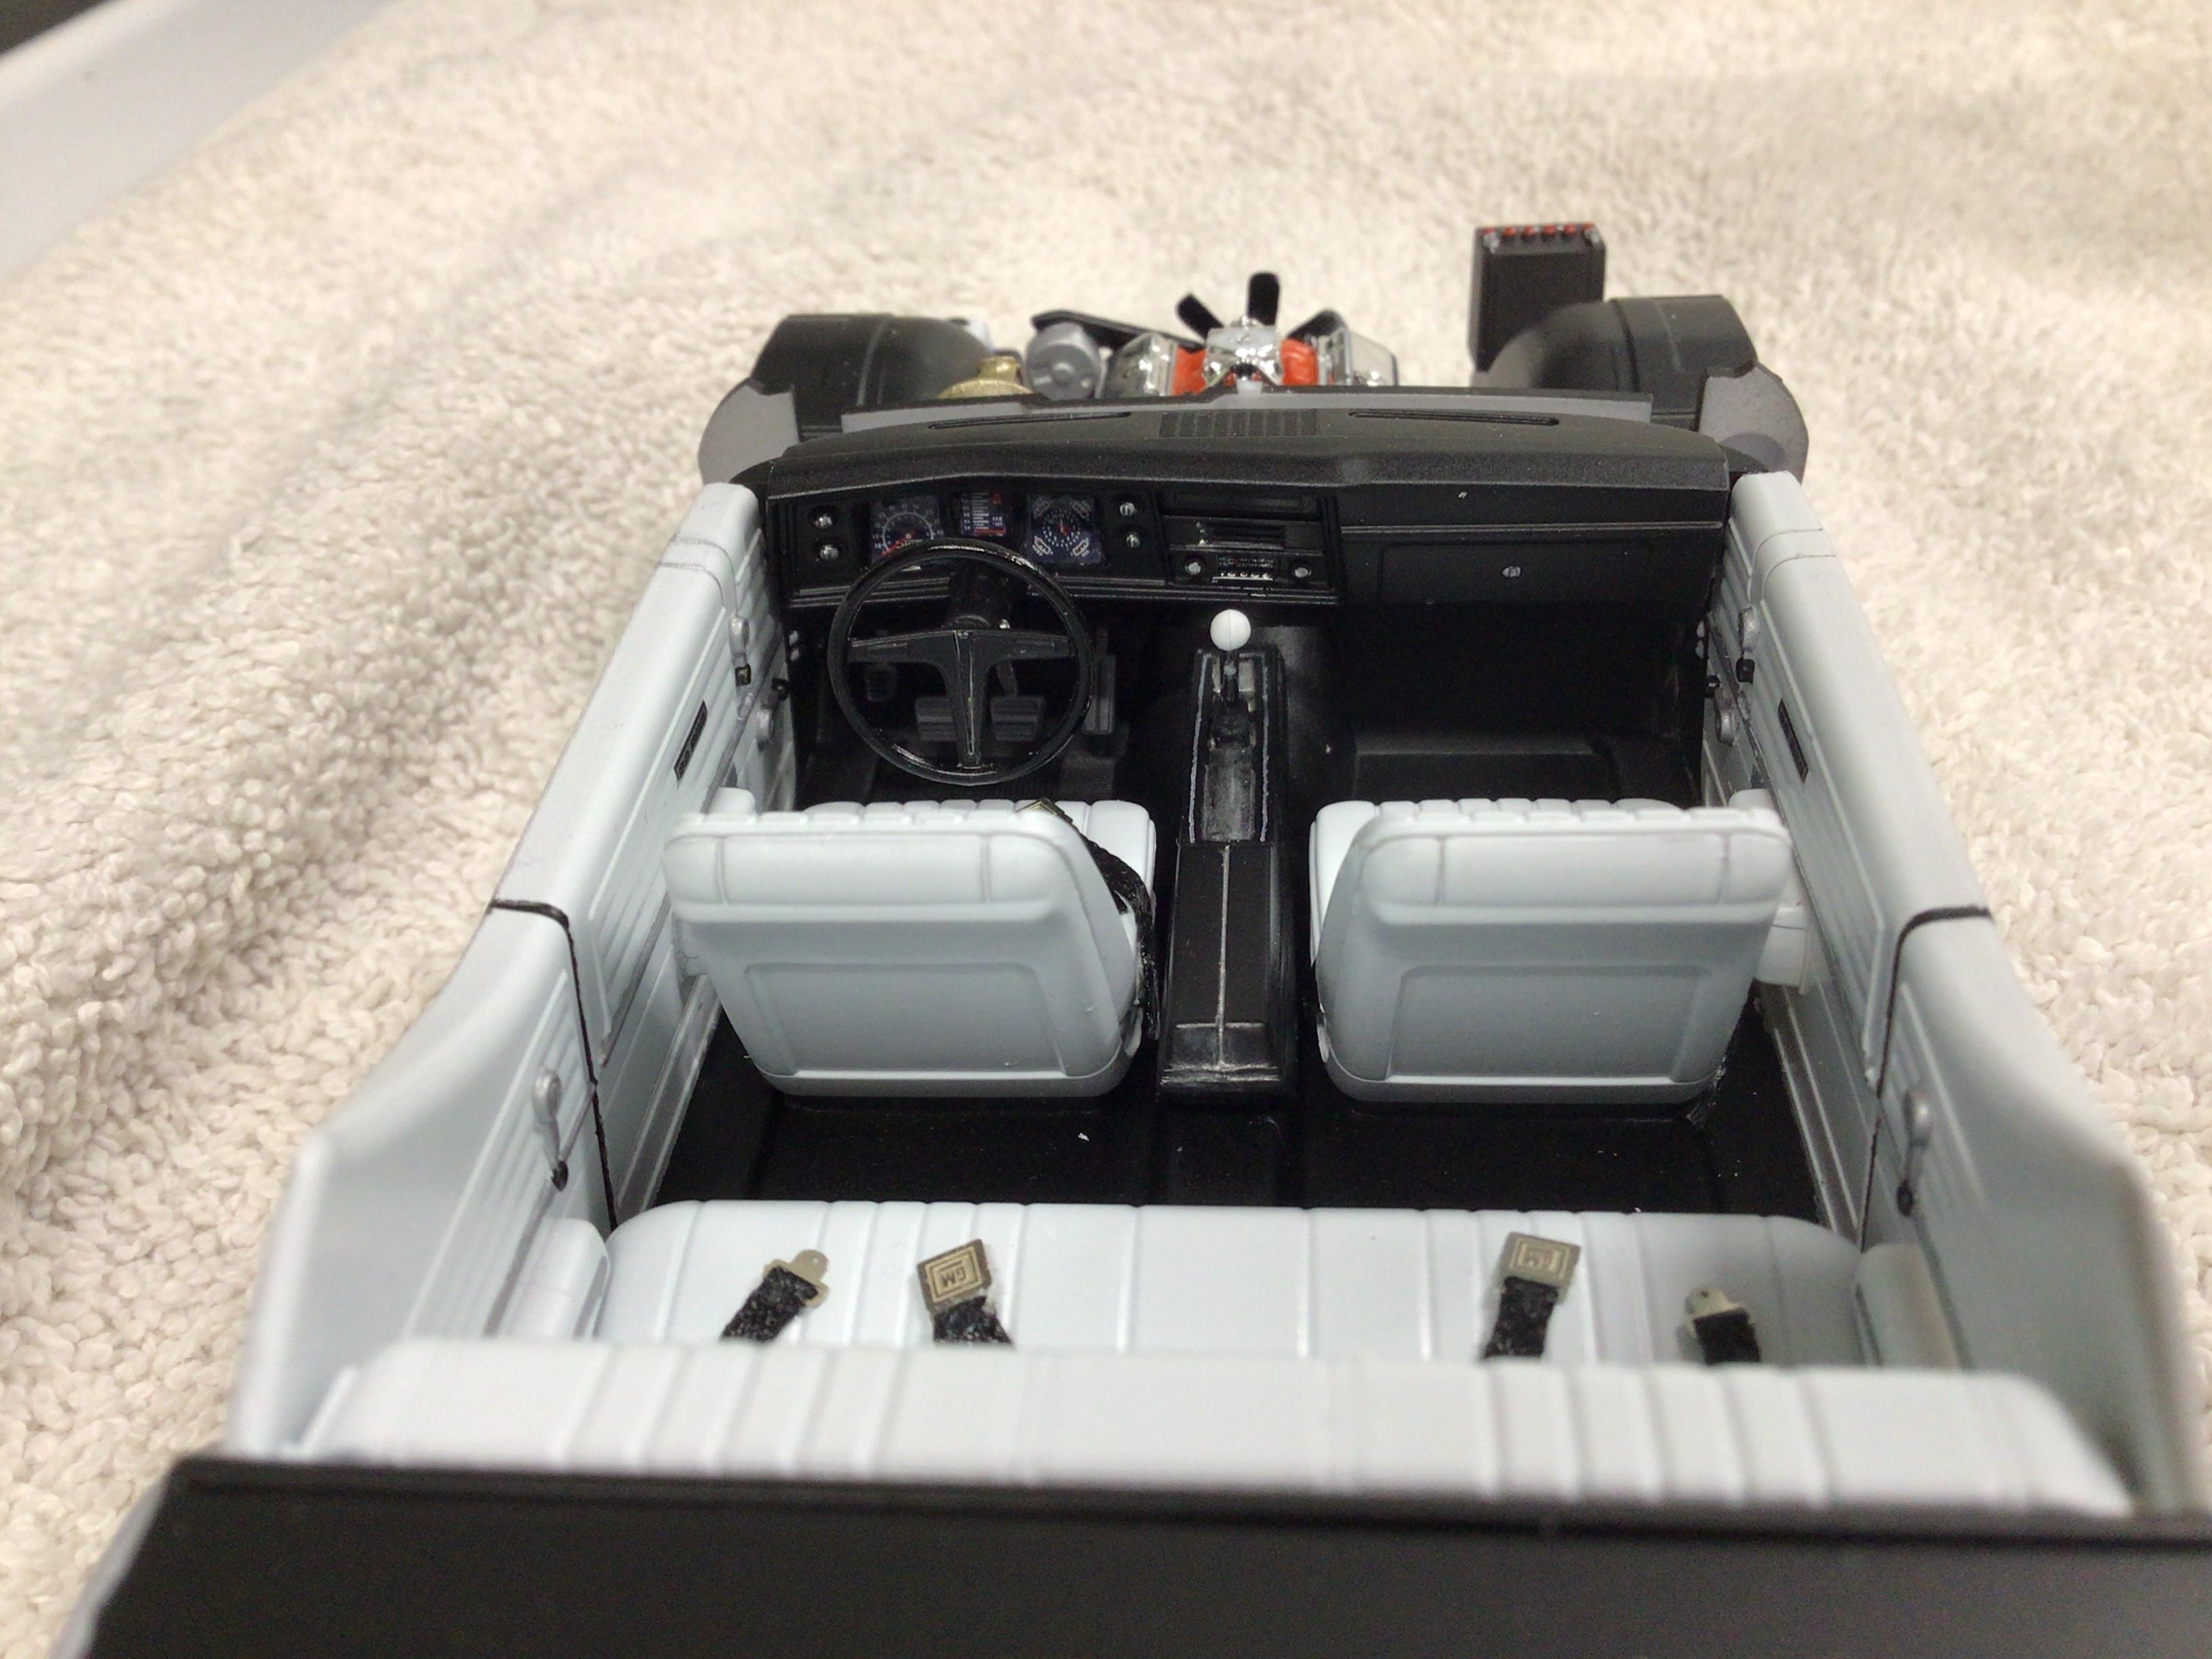
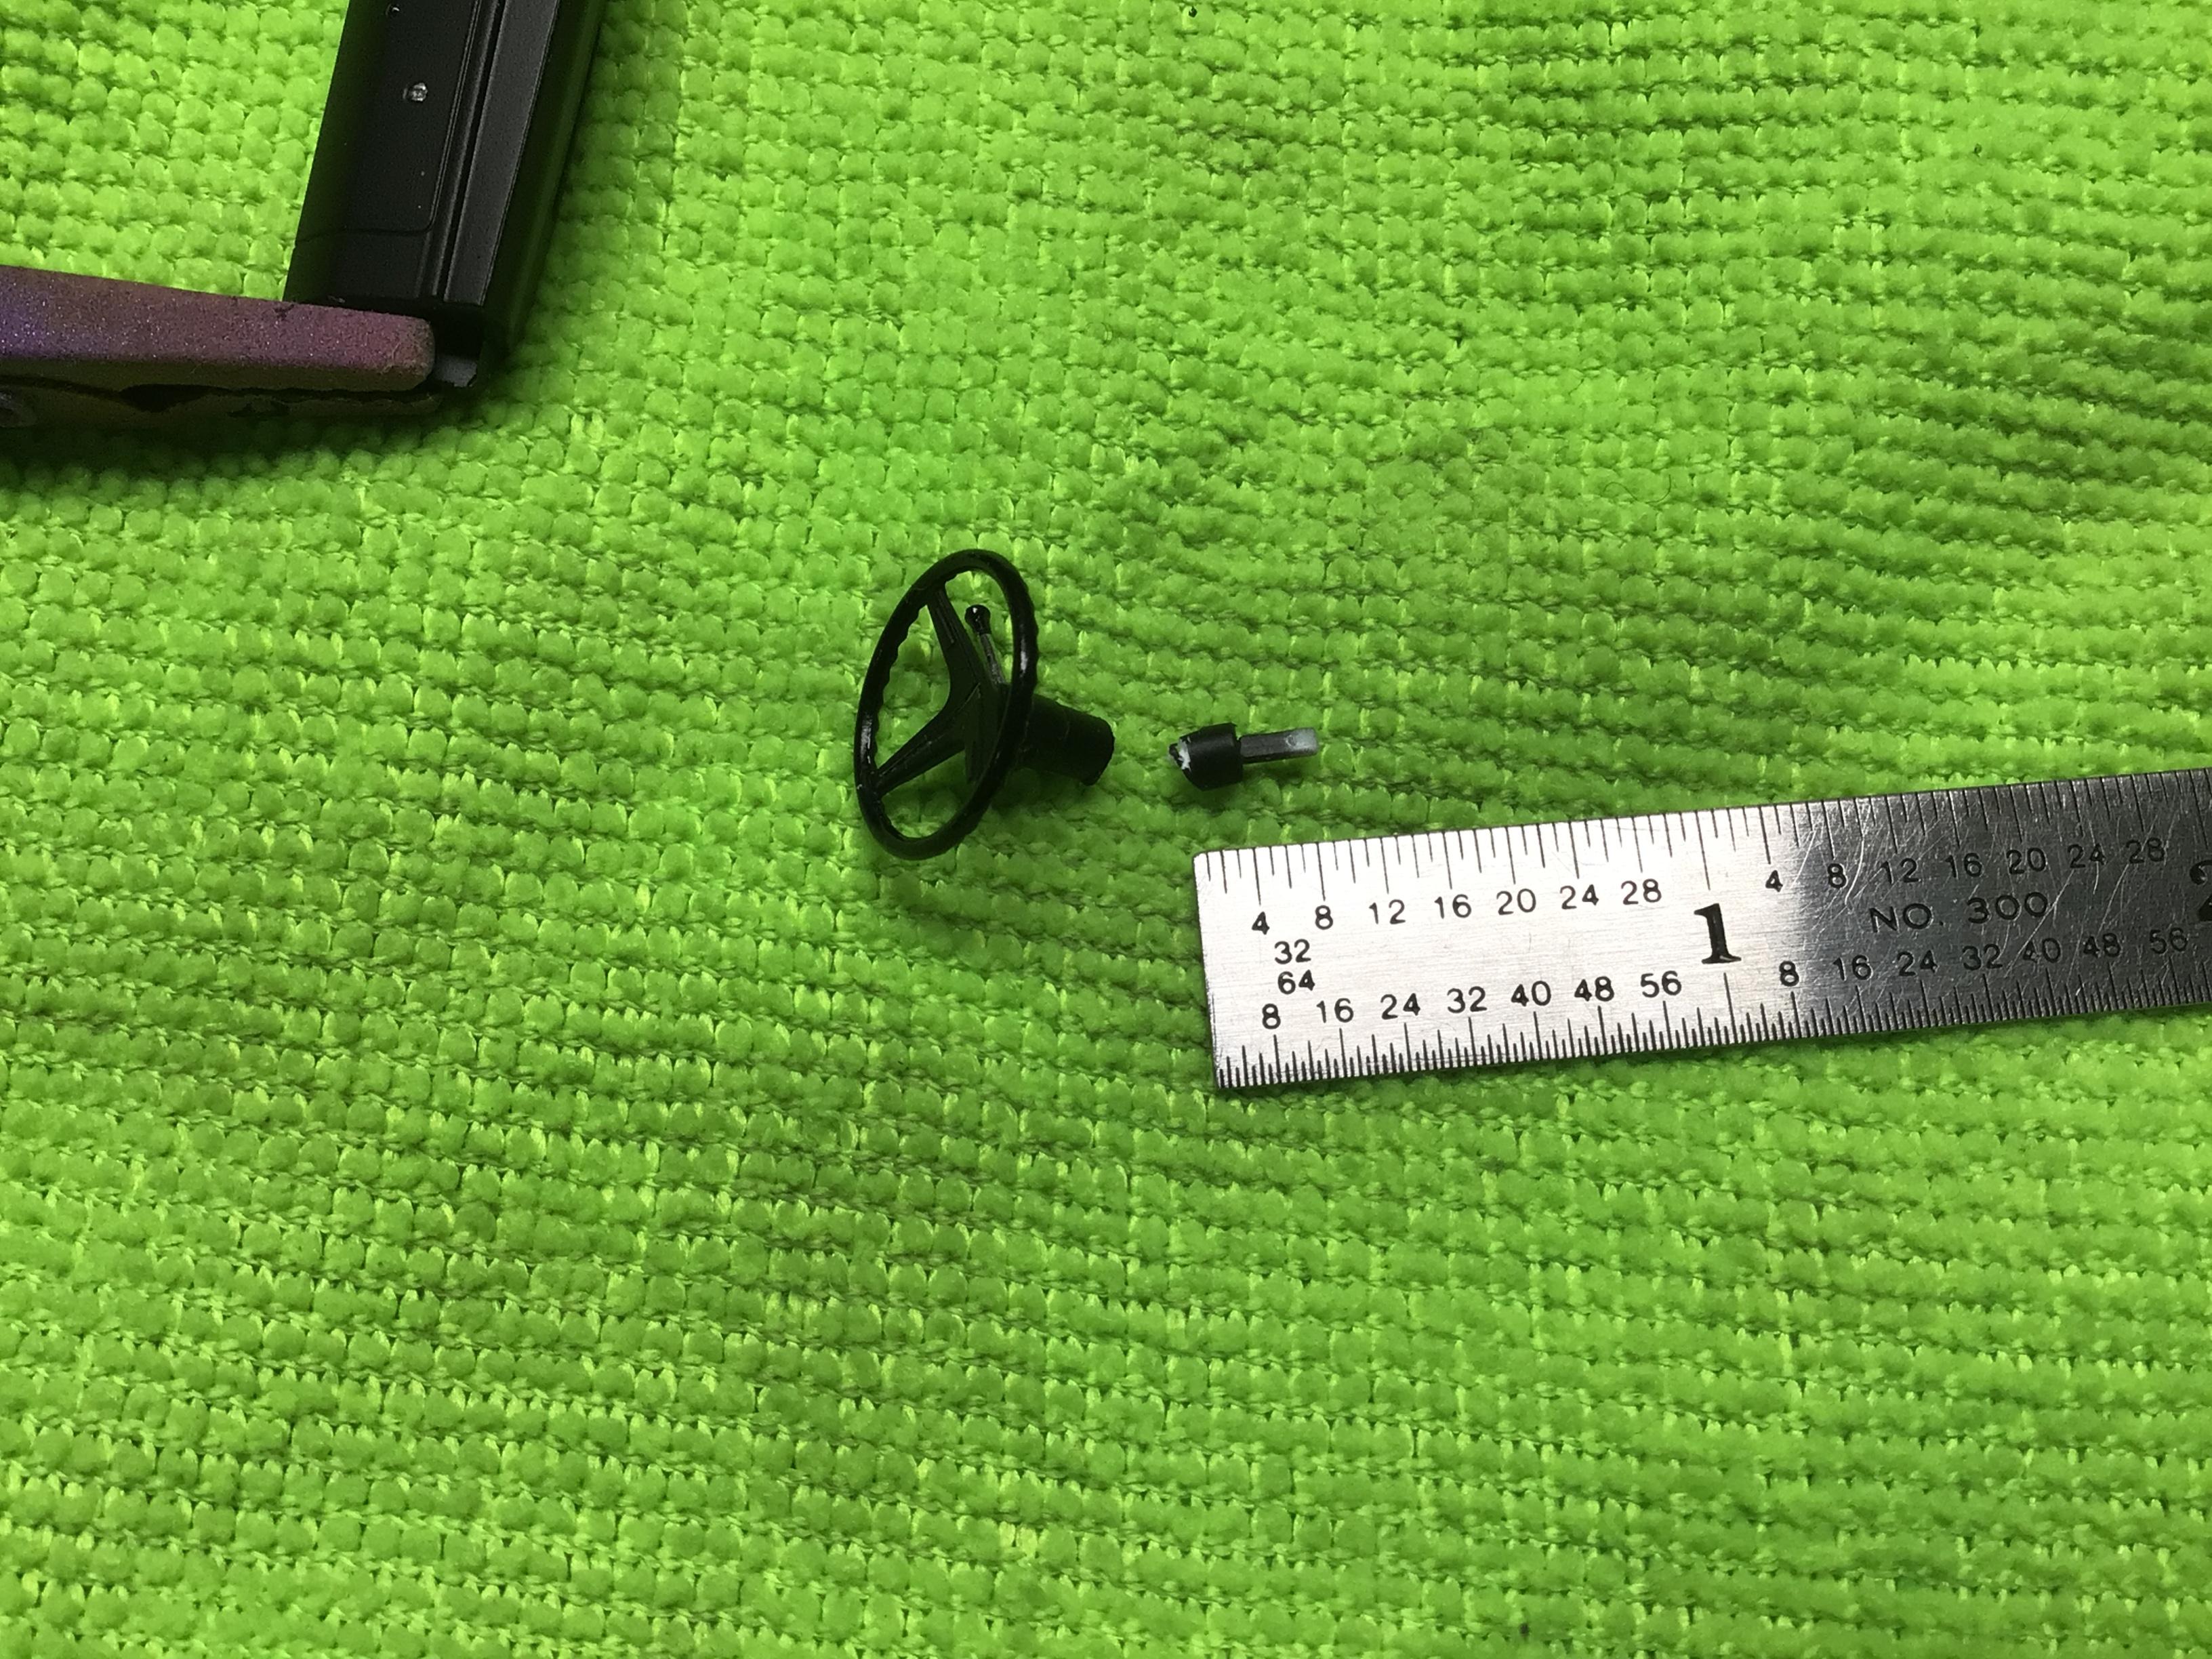
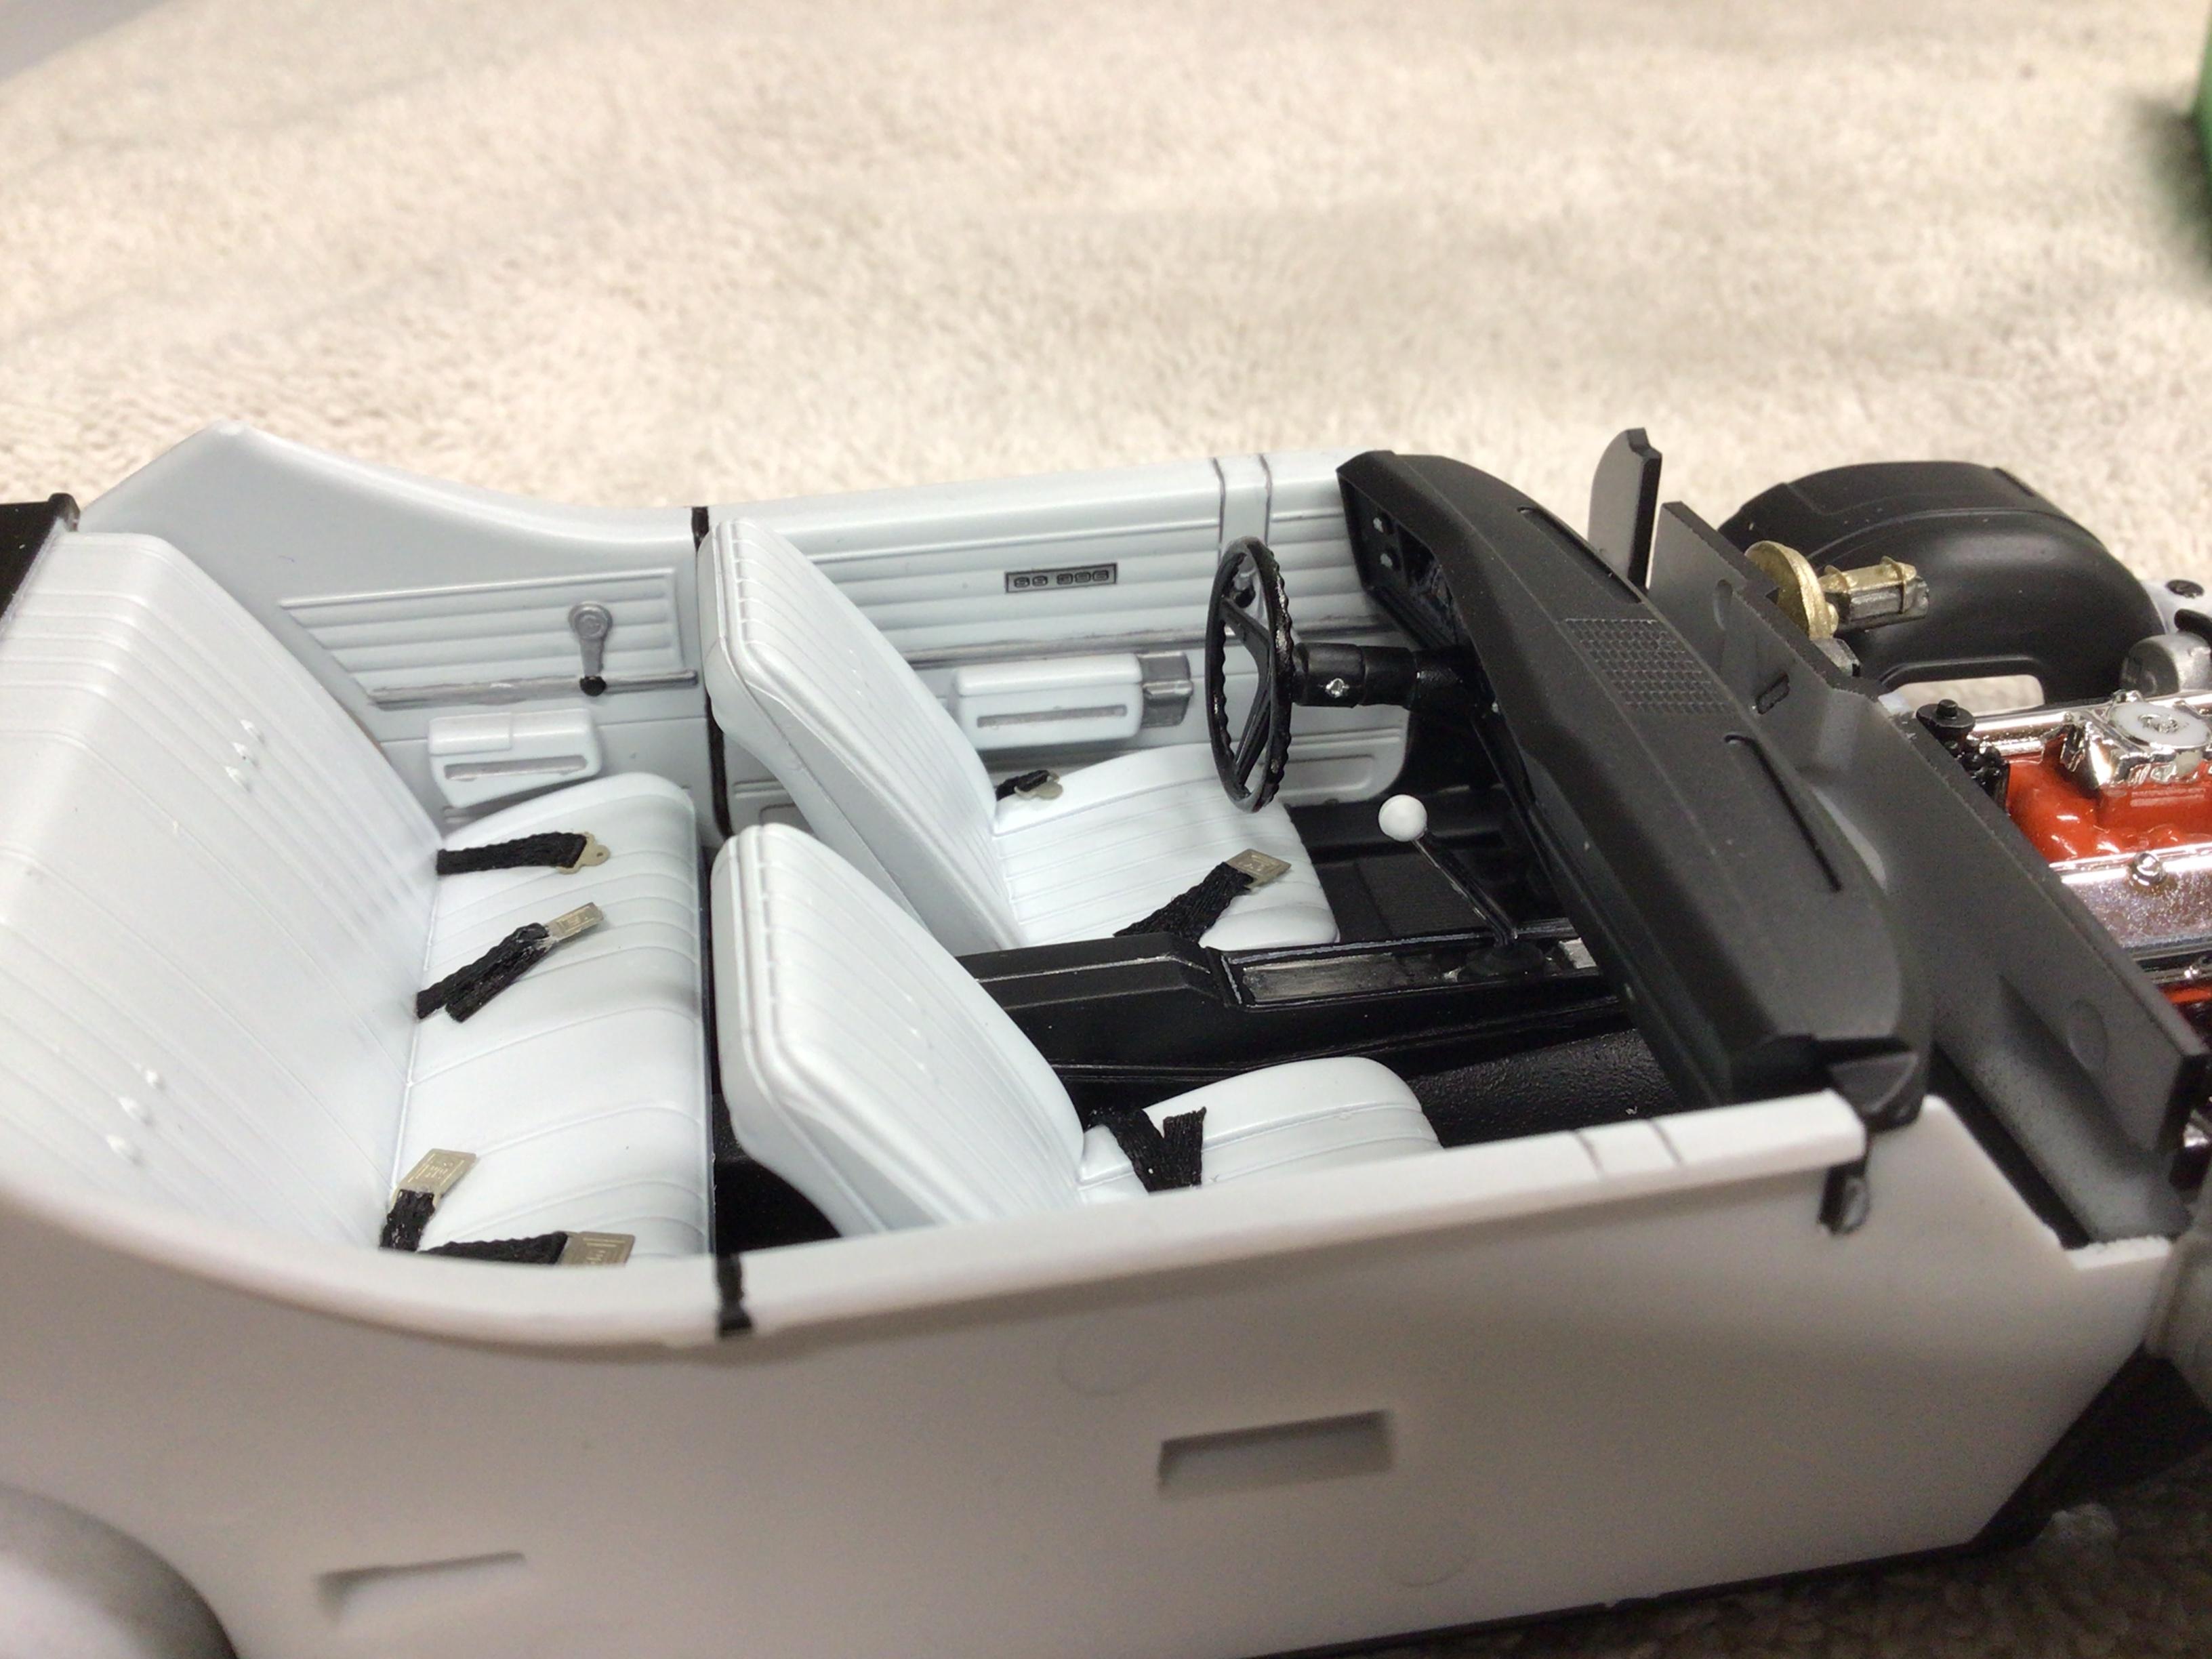
Thanks Guys! I’ve got the interior finished. I used some Gofer Racing seat belts instead of the kit decals. I also hacked 1/8” off of the steering column as the wheel looked way too far away from the dash. And I finally got some colour on it. Next is the foiling and decals before some more clear. Wish me luck!?
-
That is one beautiful paint job Mario!?