NOBLNG
-
Posts
9,985 -
Joined
-
Last visited
Content Type
Profiles
Forums
Events
Gallery
Everything posted by NOBLNG
-
She’s a beauty! And excellent photography too. Love that first pic!?
-
That is a beautiful shade of green! Nice work on the frame mods and fixing all the warpage Jarrod. This is going to look good when done.?
-
 Wow, this 3d printing is definitely the wave of the future. You can download a file and get started quicker than a trip to the hobby shop. Your parts are looking great by the way!?
 -
Chevy Extended Cab
NOBLNG replied to Terry Jessee's topic in Model Trucks: Pickups, Vans, SUVs, Light Commercial
Well done. Nice clean build.? -
Sweet! Nice clean build.?
-
Sweet! I love it! Excellent work!
-
Impressive what those printers can do. You are sure making the most of it Jim! Amazing work going on here.?
-
f250 7.3 powerstroke mudder
NOBLNG replied to cheyenne93's topic in WIP: Model Trucks: Pickups, Vans, SUVs, Light Commercial
Nice mock up. Just the right amount of lift for a full size truck.? -
I would get two small pieces of smooth metal. Put one on either side of the puncture mark and squeeze them together with a pair of pliers or Vise Grips. That should mostly flatten the damage. Then use some two part putty like Milliput or auto body filler to fill the remaining depression on the outside. Depending on how flat you get it, regular putty may do the job. The inside can be sanded back down level if needed. The A pillar I think can be gently coerced back to shape. Good Luck!? What kind of dog have you got??
-
Nice work so far Bob! That red paint is going to look fantastic on it I think.?
-
Yeah, nice start. Is that Tamiya black the aerosol, or airbrushed LP-1 or X-1?
-
The seats and door panels look great! The body looks to be a nice casting too.
-
That’s a nice shade of green. I don’t think I’ve ever seen anything quite that colour.
-
Can you post a picture of the damage?
-
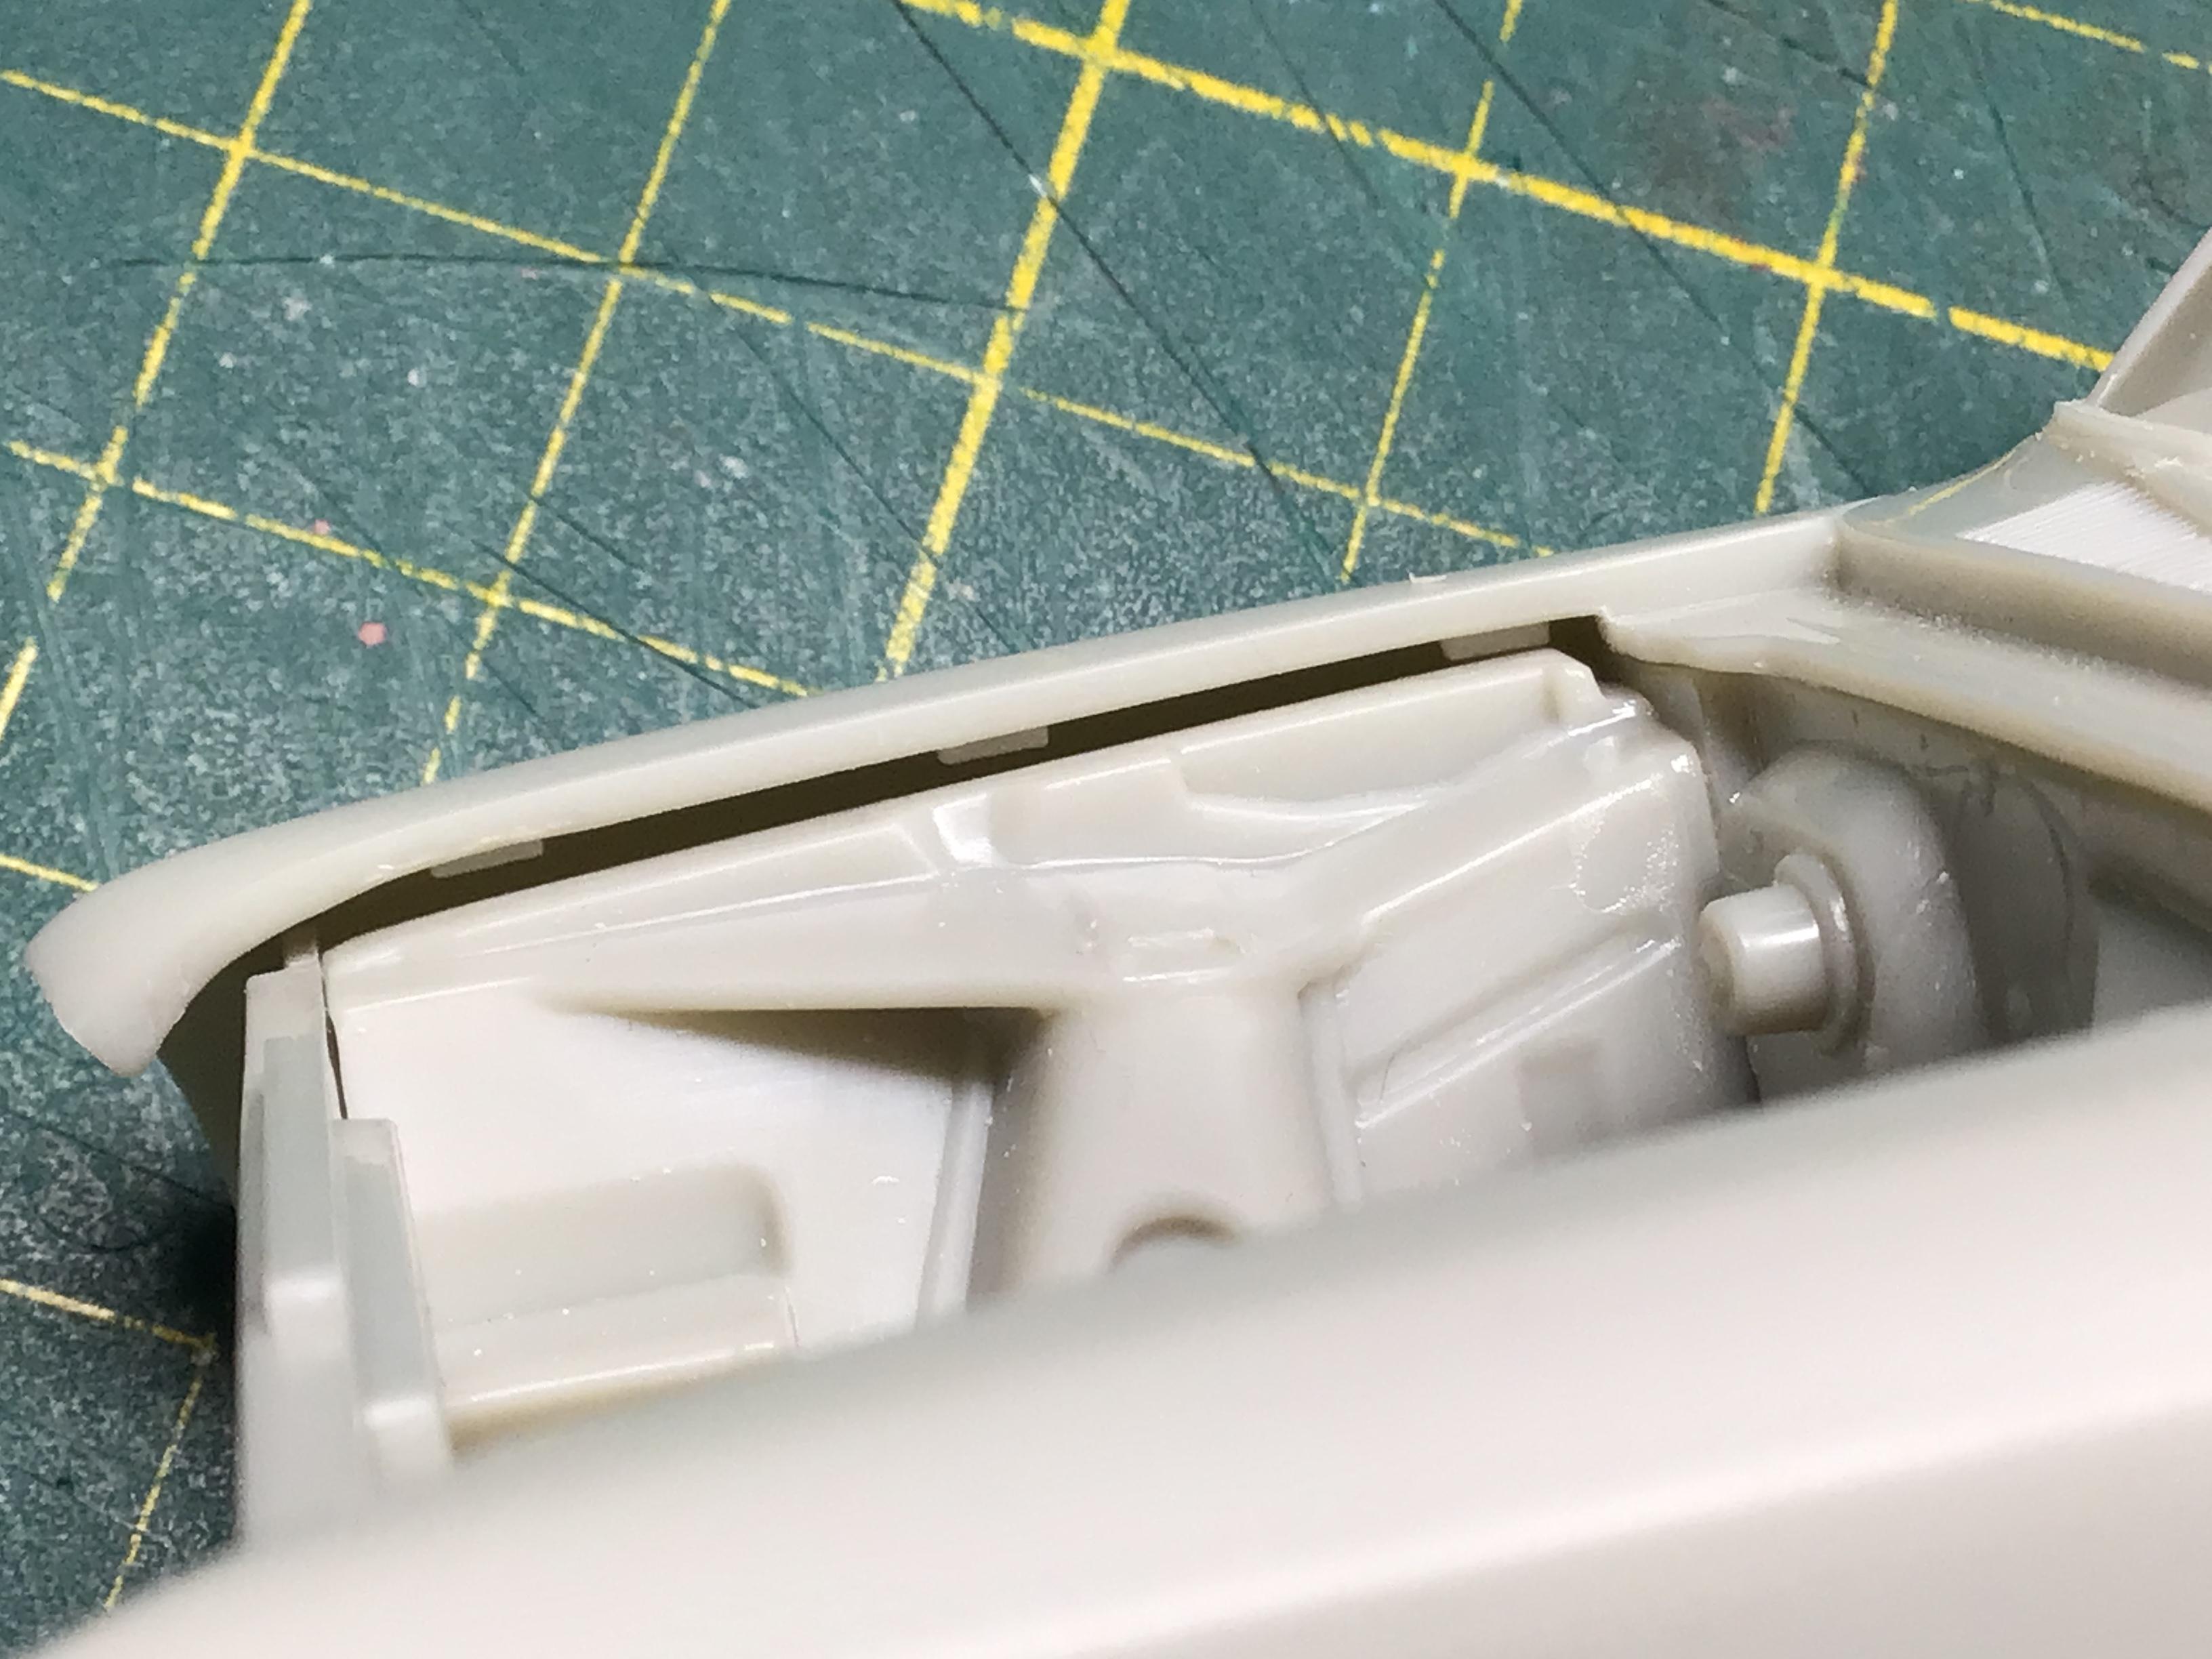
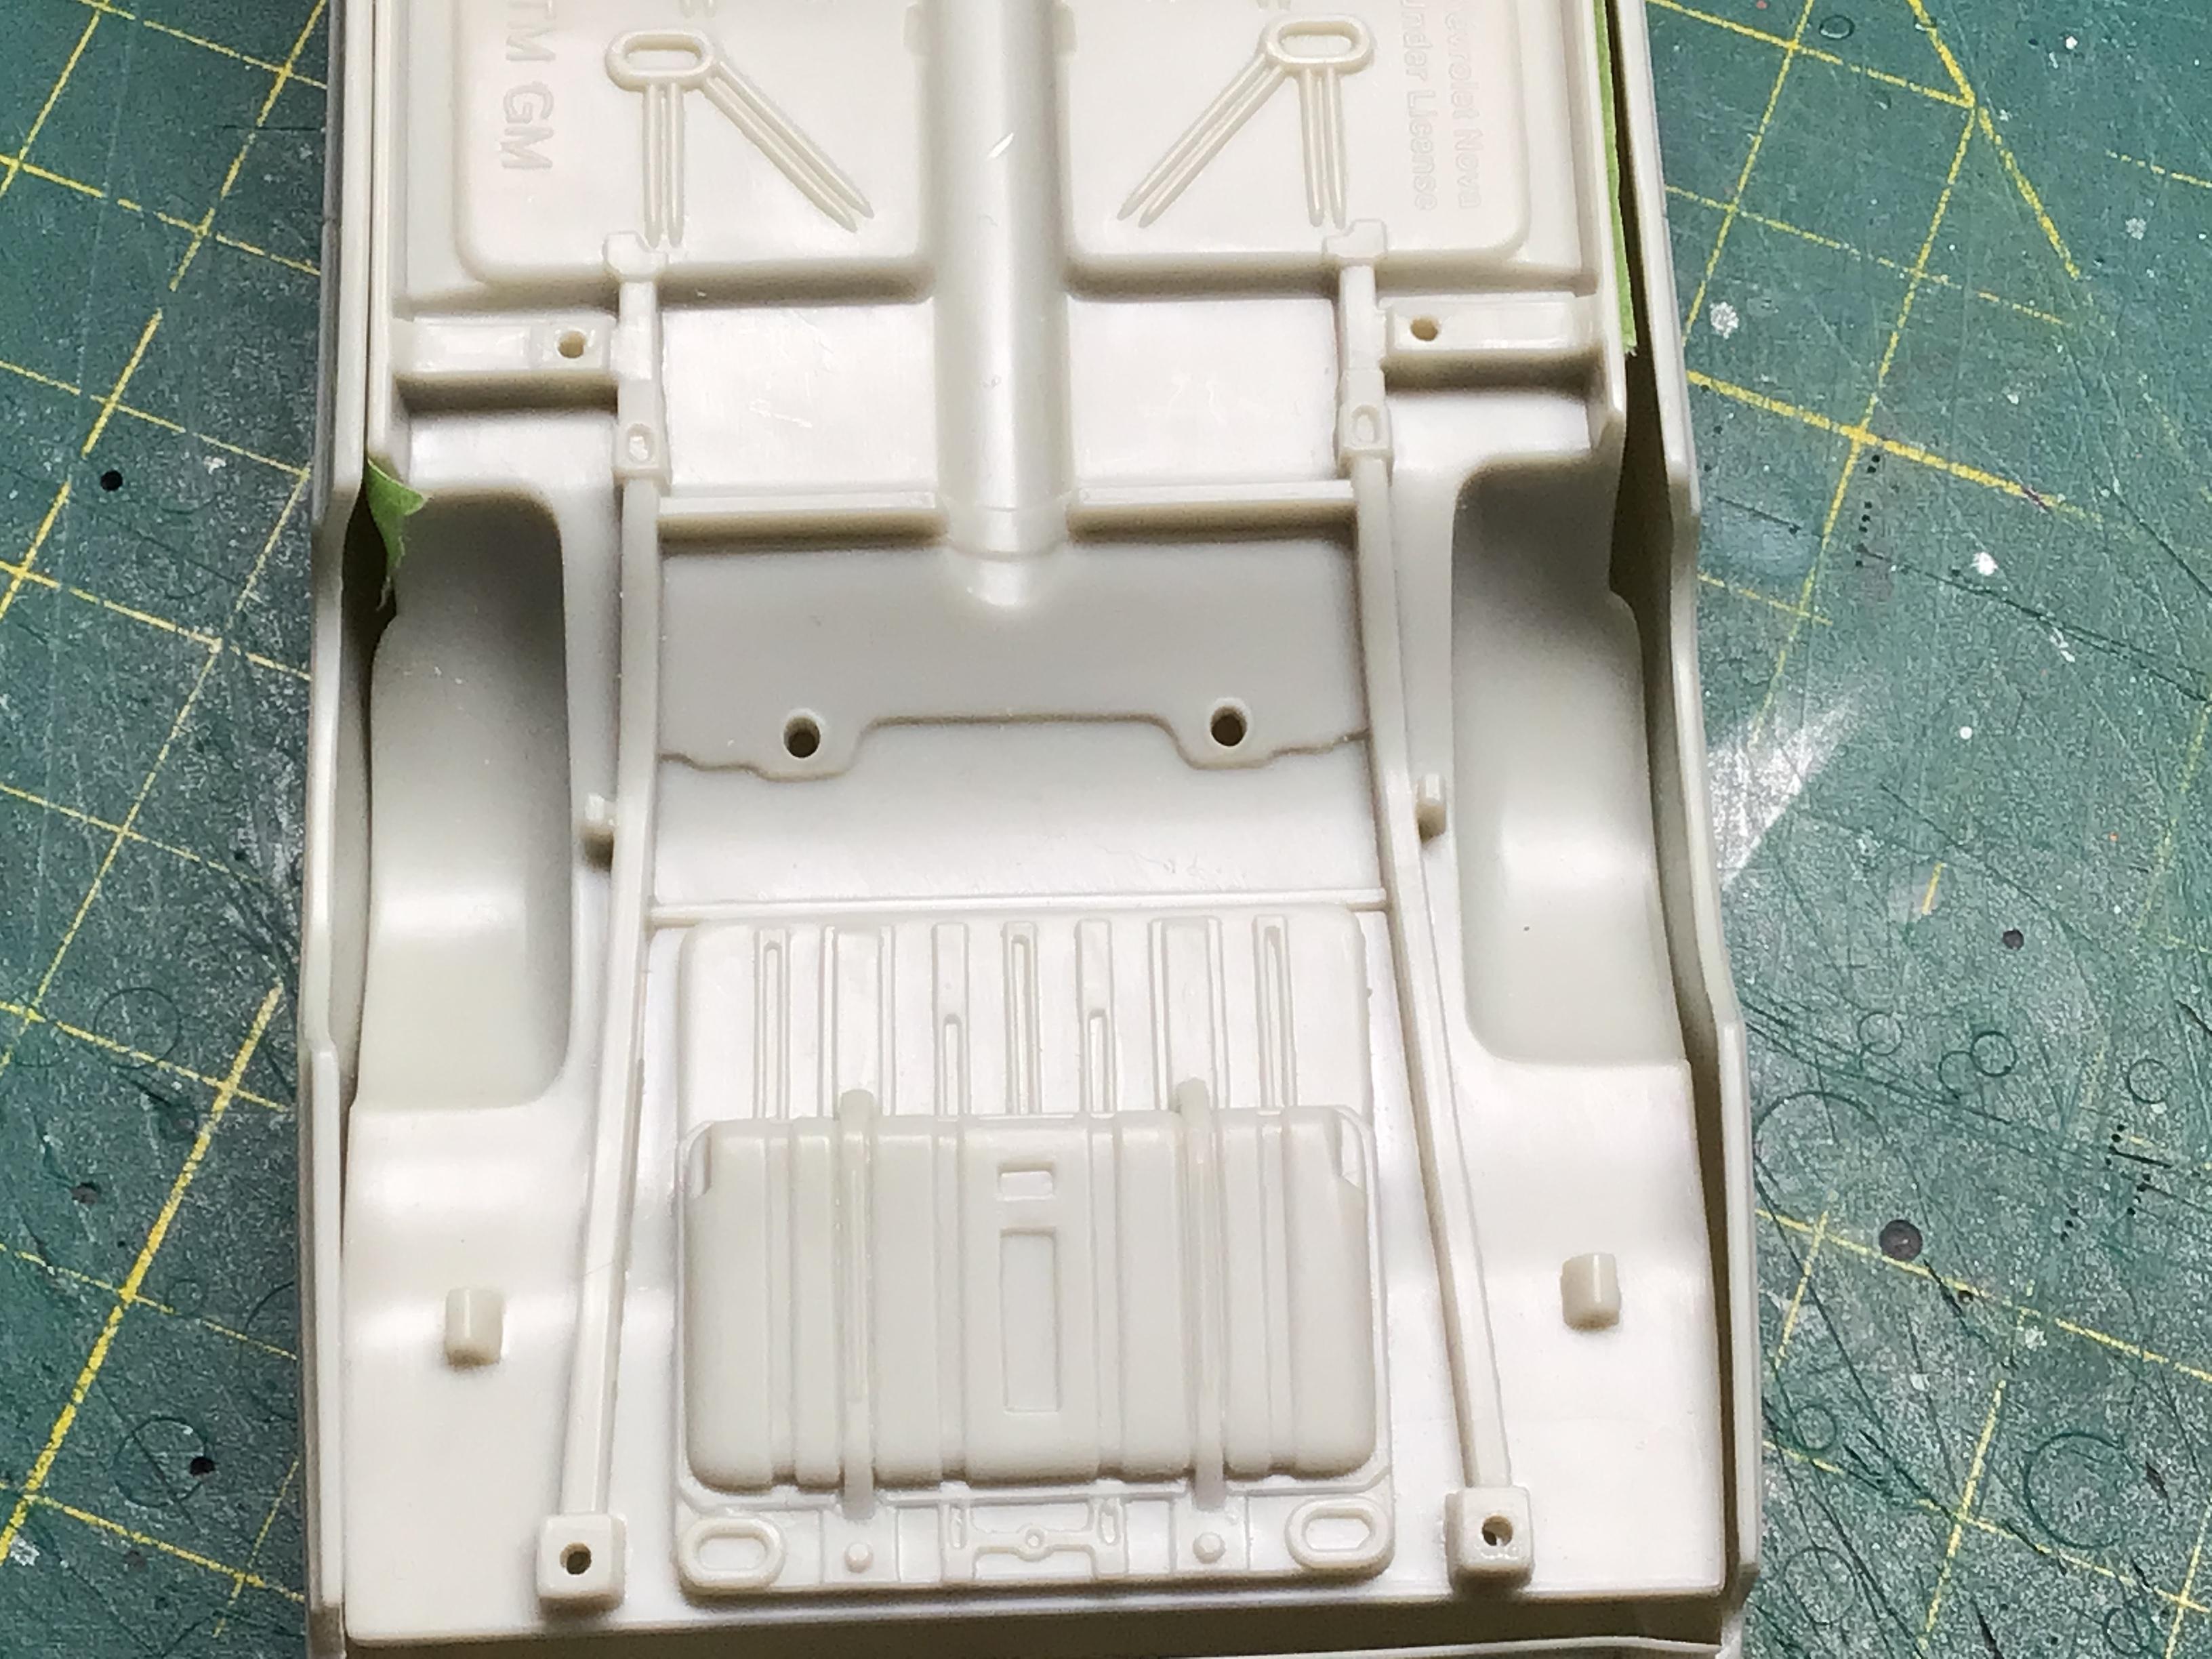
I like the look of these little cars so I grabbed this one at a flea market. The instructions that came with it are for the pro stock version.? So I am guessing on a few steps. I’m not getting too carried away with it, just a bit of detailing and a two-tone paint job. For that I needed to add the chrome trim along the bottom of the side windows and the divider strip between the sail panel and rear fender. I also scribed the missing chrome trim on both sides of the rear window. I have read on here about versions of this kit having a poor fitting hood and grill, but they seem to be ok on this one.? The rear wheel tub on the drivers side may need a little trim so the body side can meet up with the floor pan. I don’t know what to make of those three tabs under the front fender. There are no corresponding slots on the inner fenders and the firewall prevents any more upward movement so I guess they just sit on top of the inners? **Edit: Yes! There are clearance issues between the grill and the radiator support!? Also between the step on the interior tub under the rear seat and the floor pan. The glass fits poorly and could possibly interfere with the interior tub?***

-
Bulk Squadron Premium Sanding sticks
NOBLNG replied to chris chabre's topic in Model Building Questions and Answers
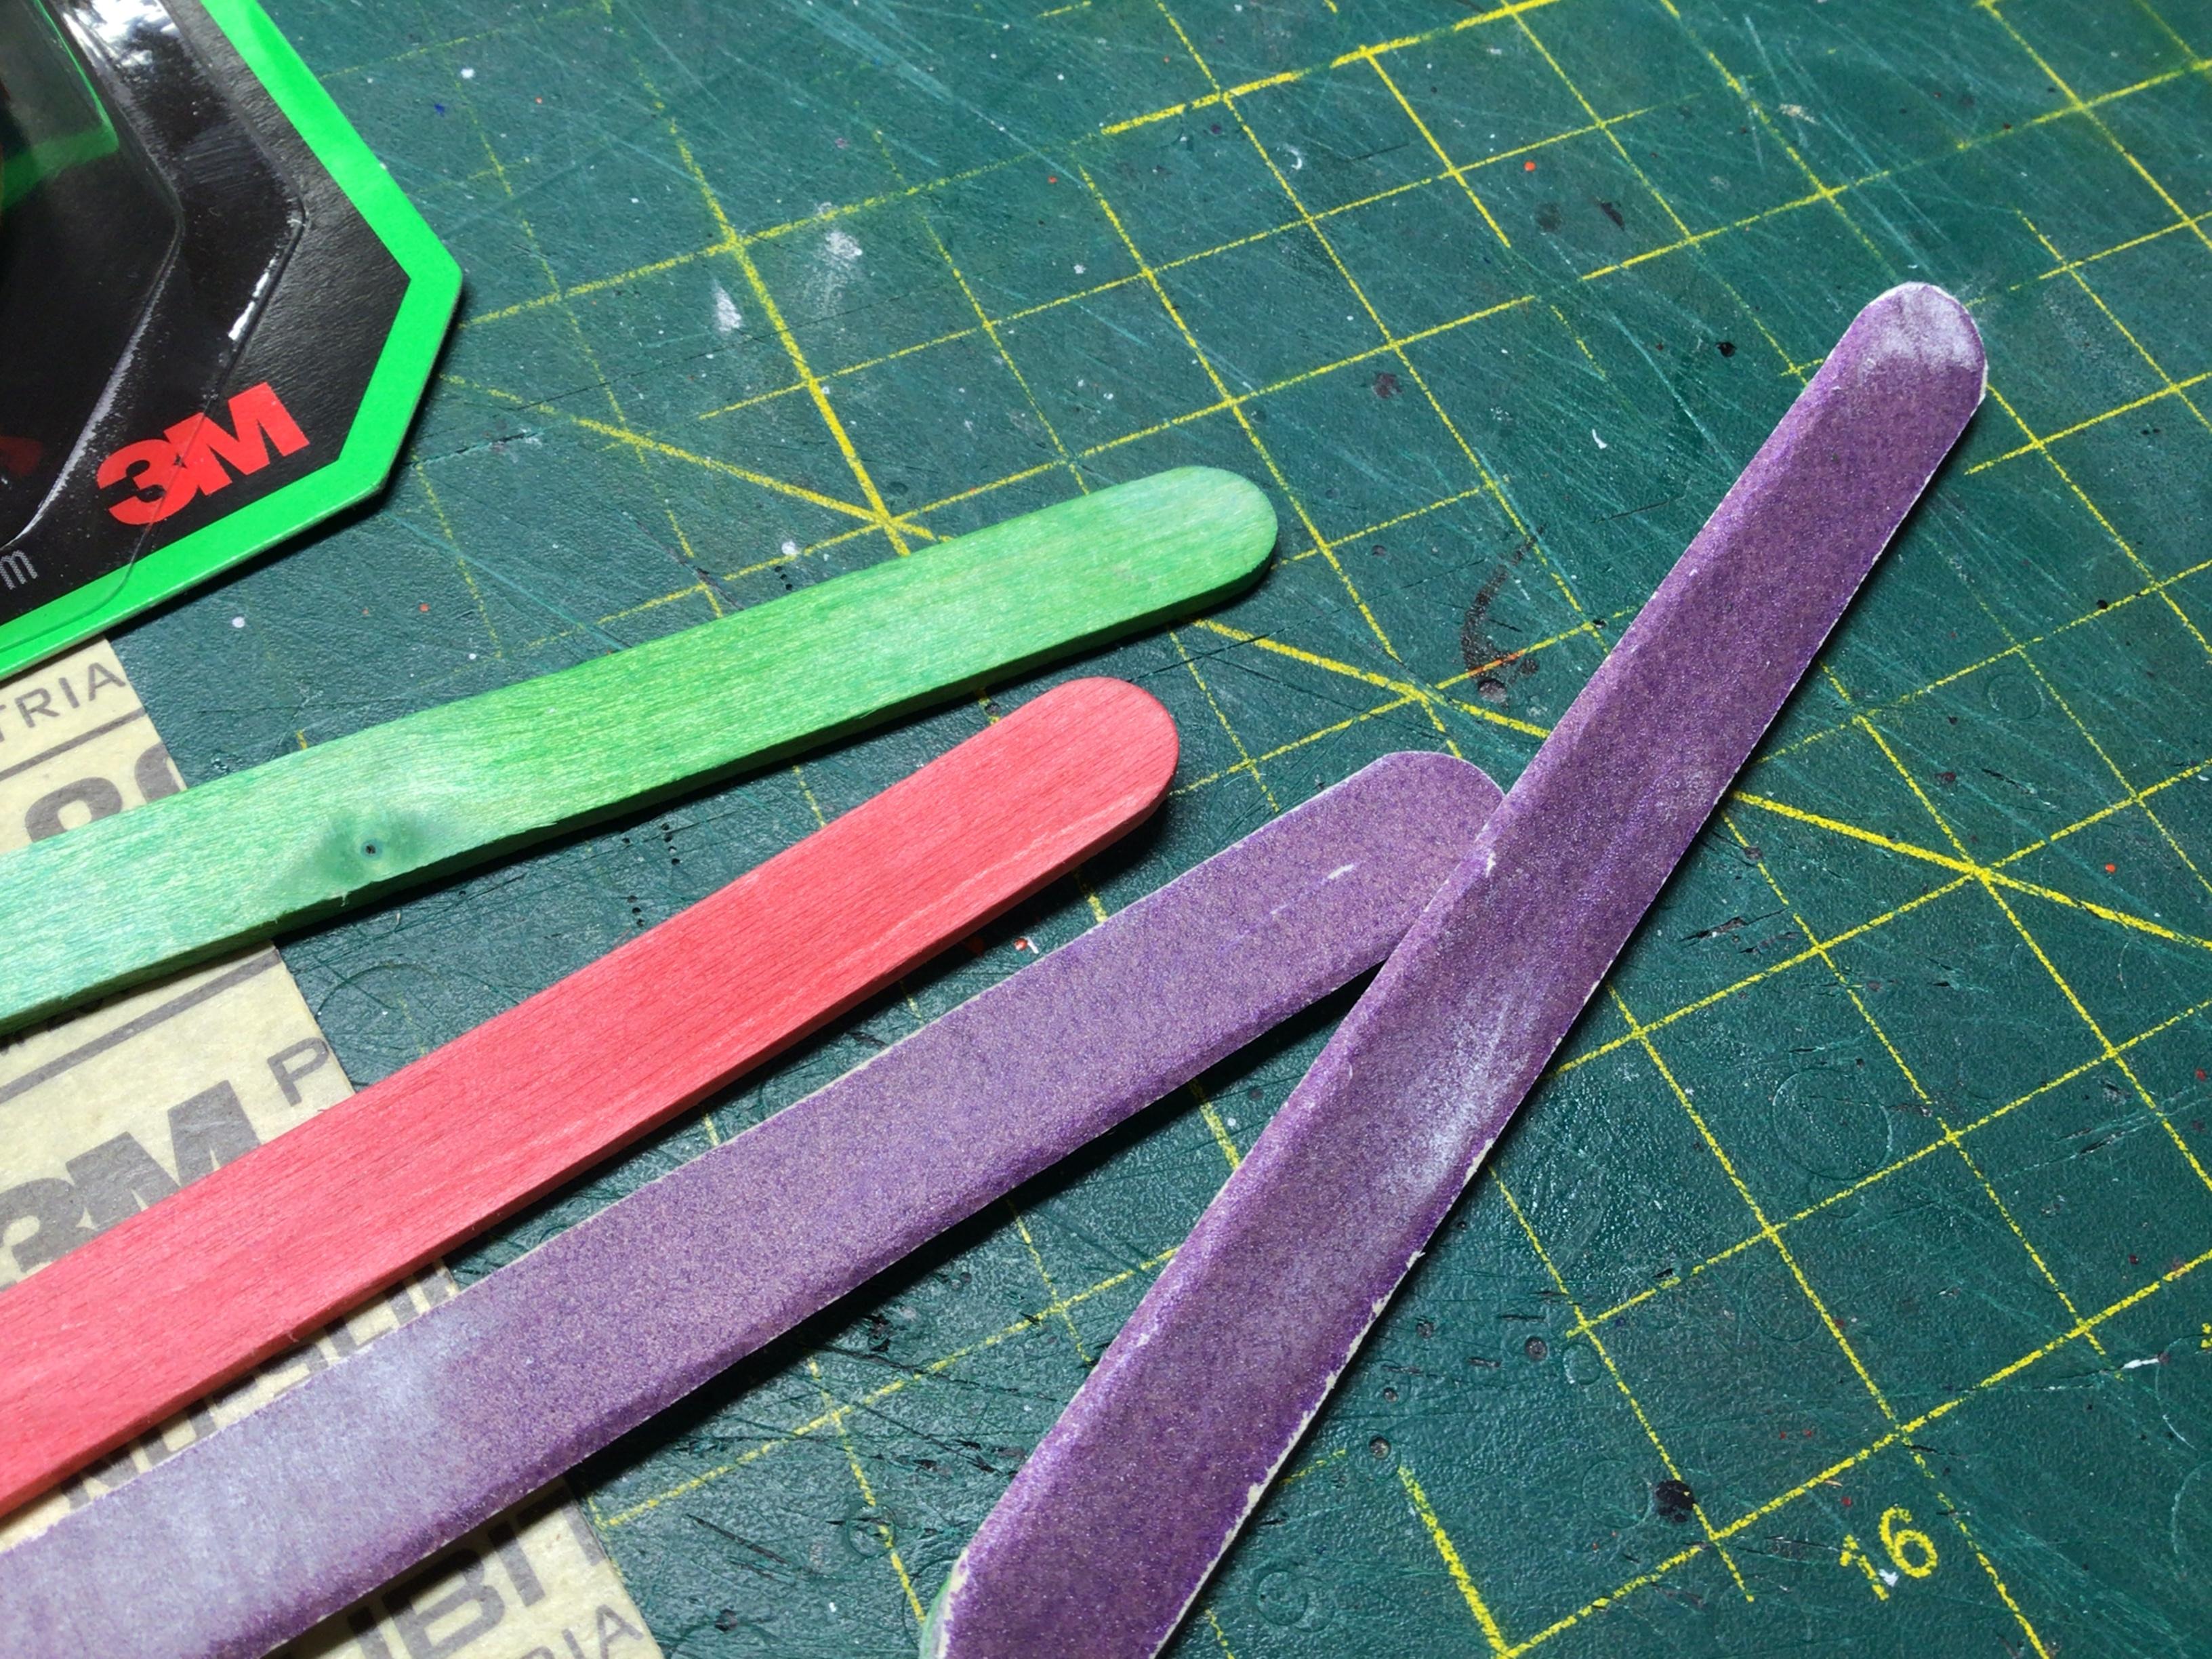
Sorry, I can’t help with a source for the Squadrons. But why not make your own? It is likely cheaper, and you can have any grit you like and any type of paper. I like to leave the paper hanging over the edge a bit on one side. That way one side of the stick can sand up close to a sharp corner, and the other edge can do a slight radius.
-
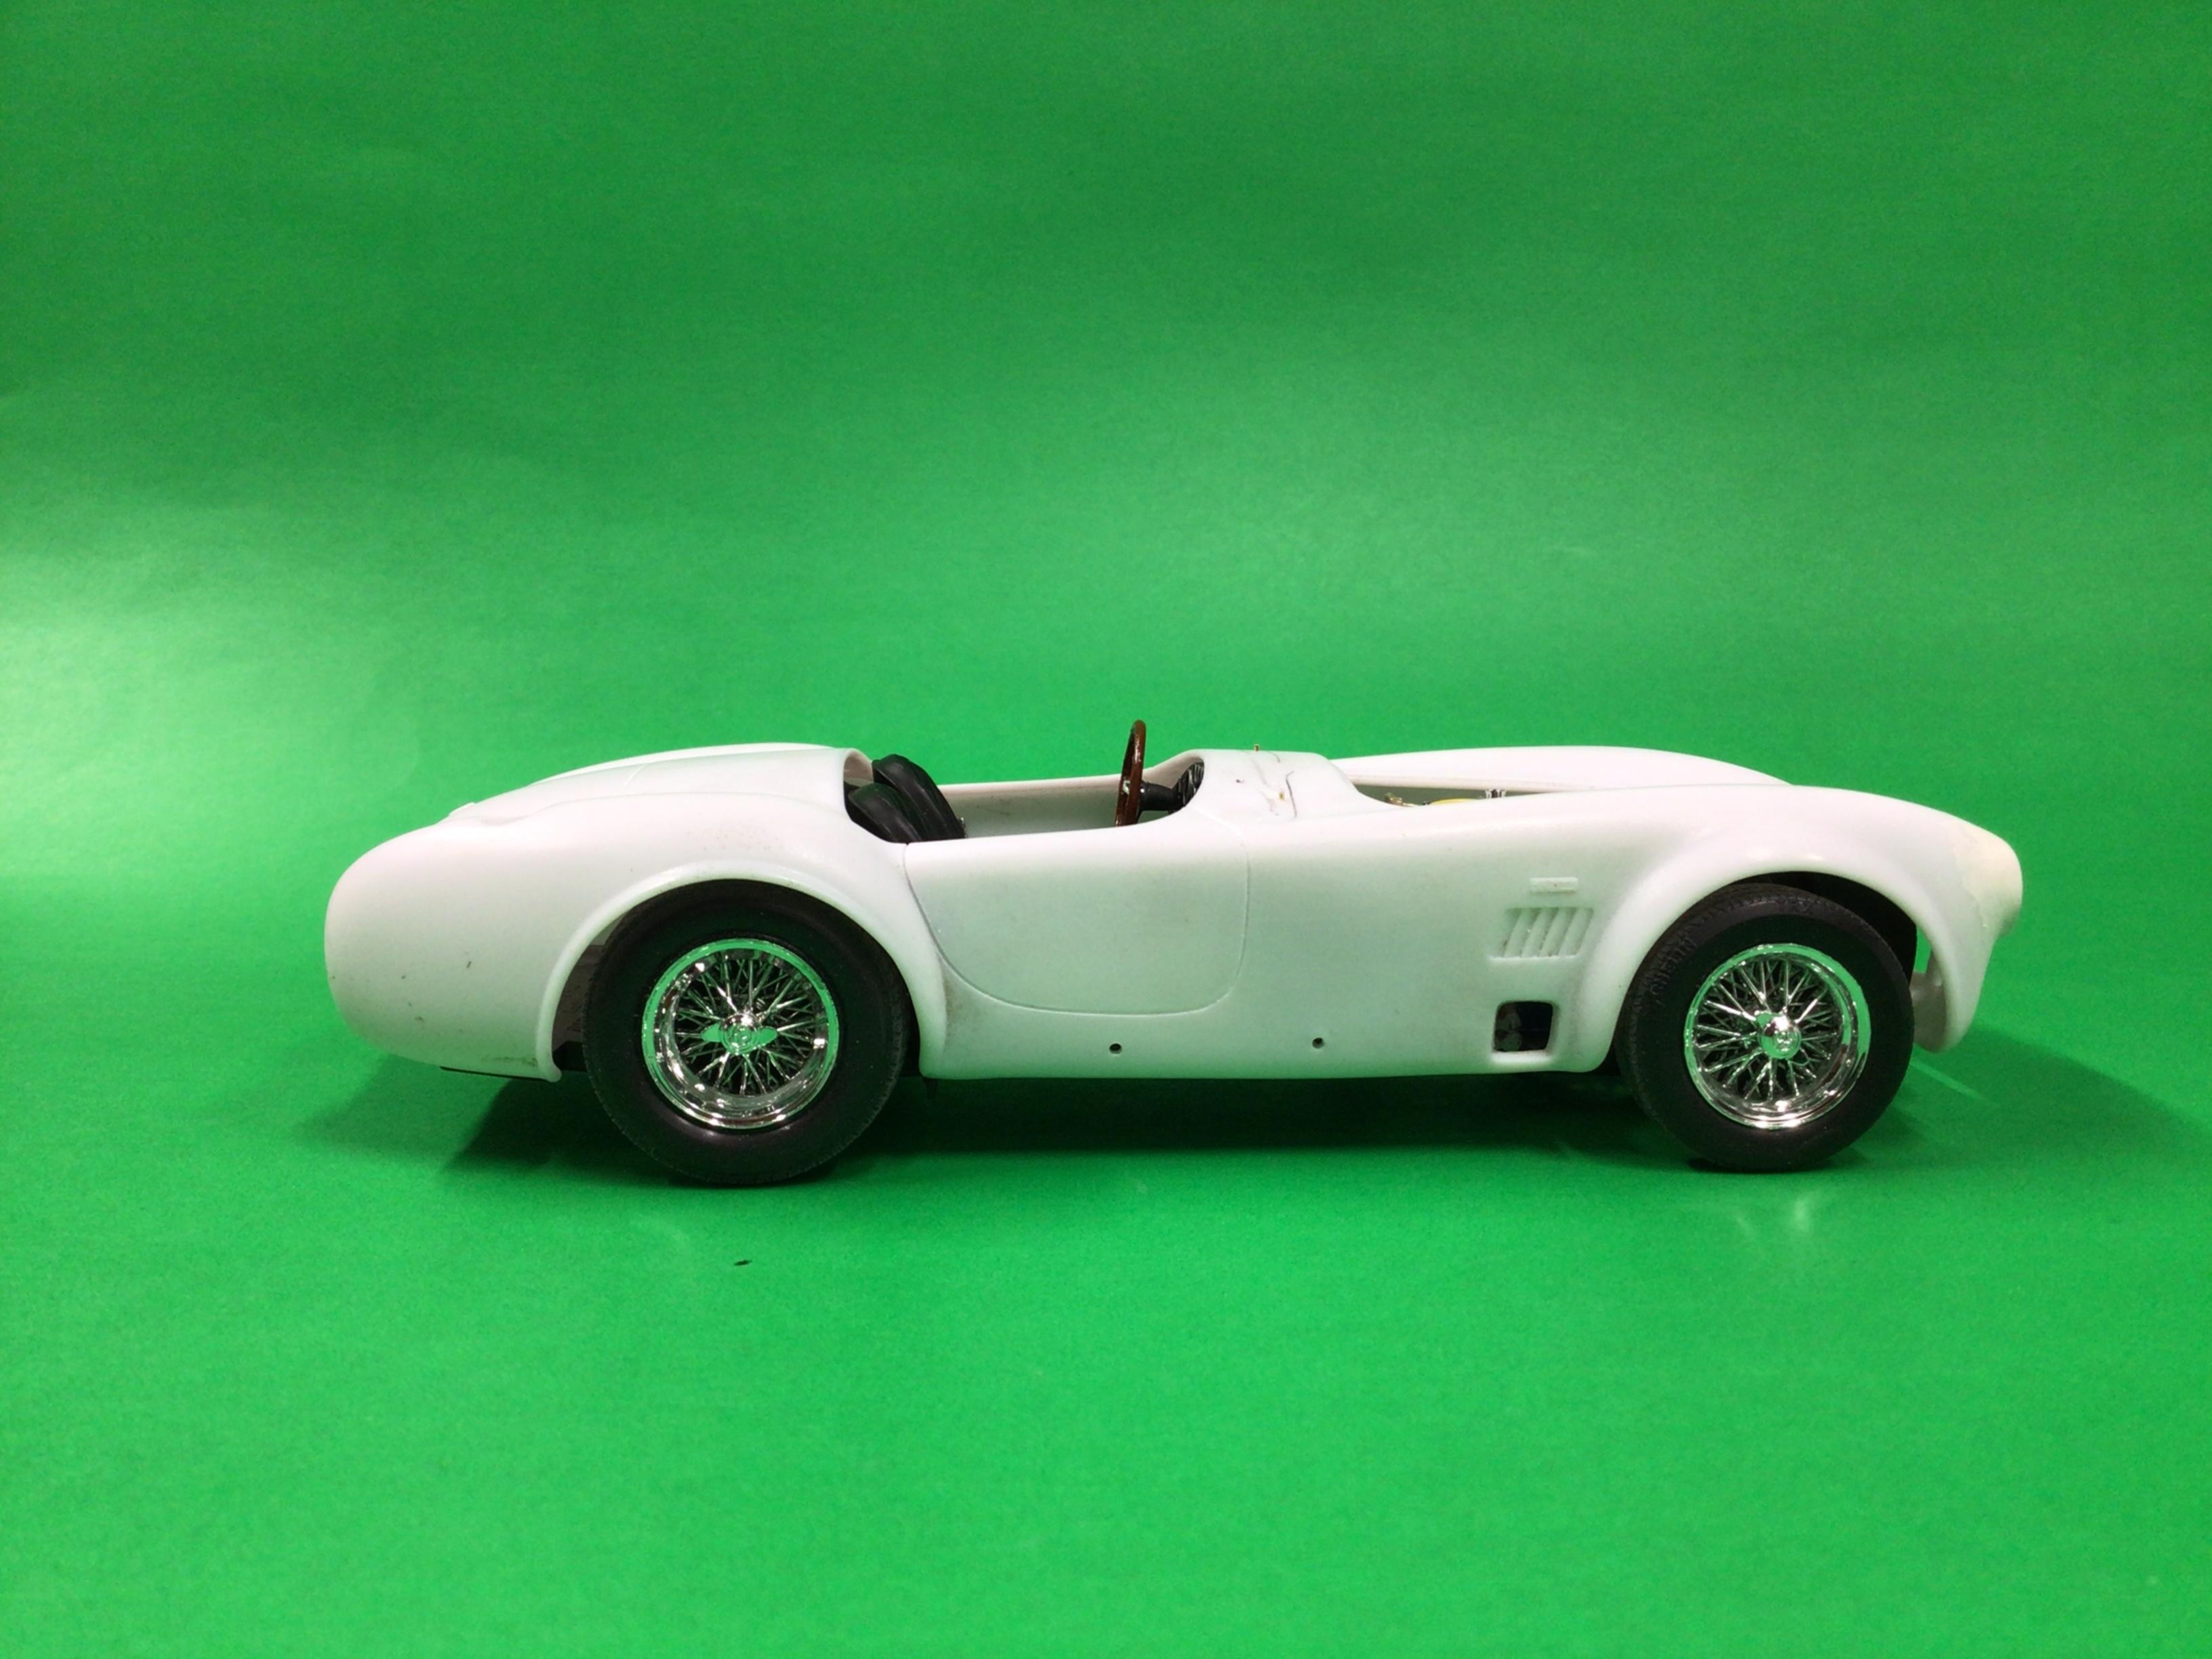
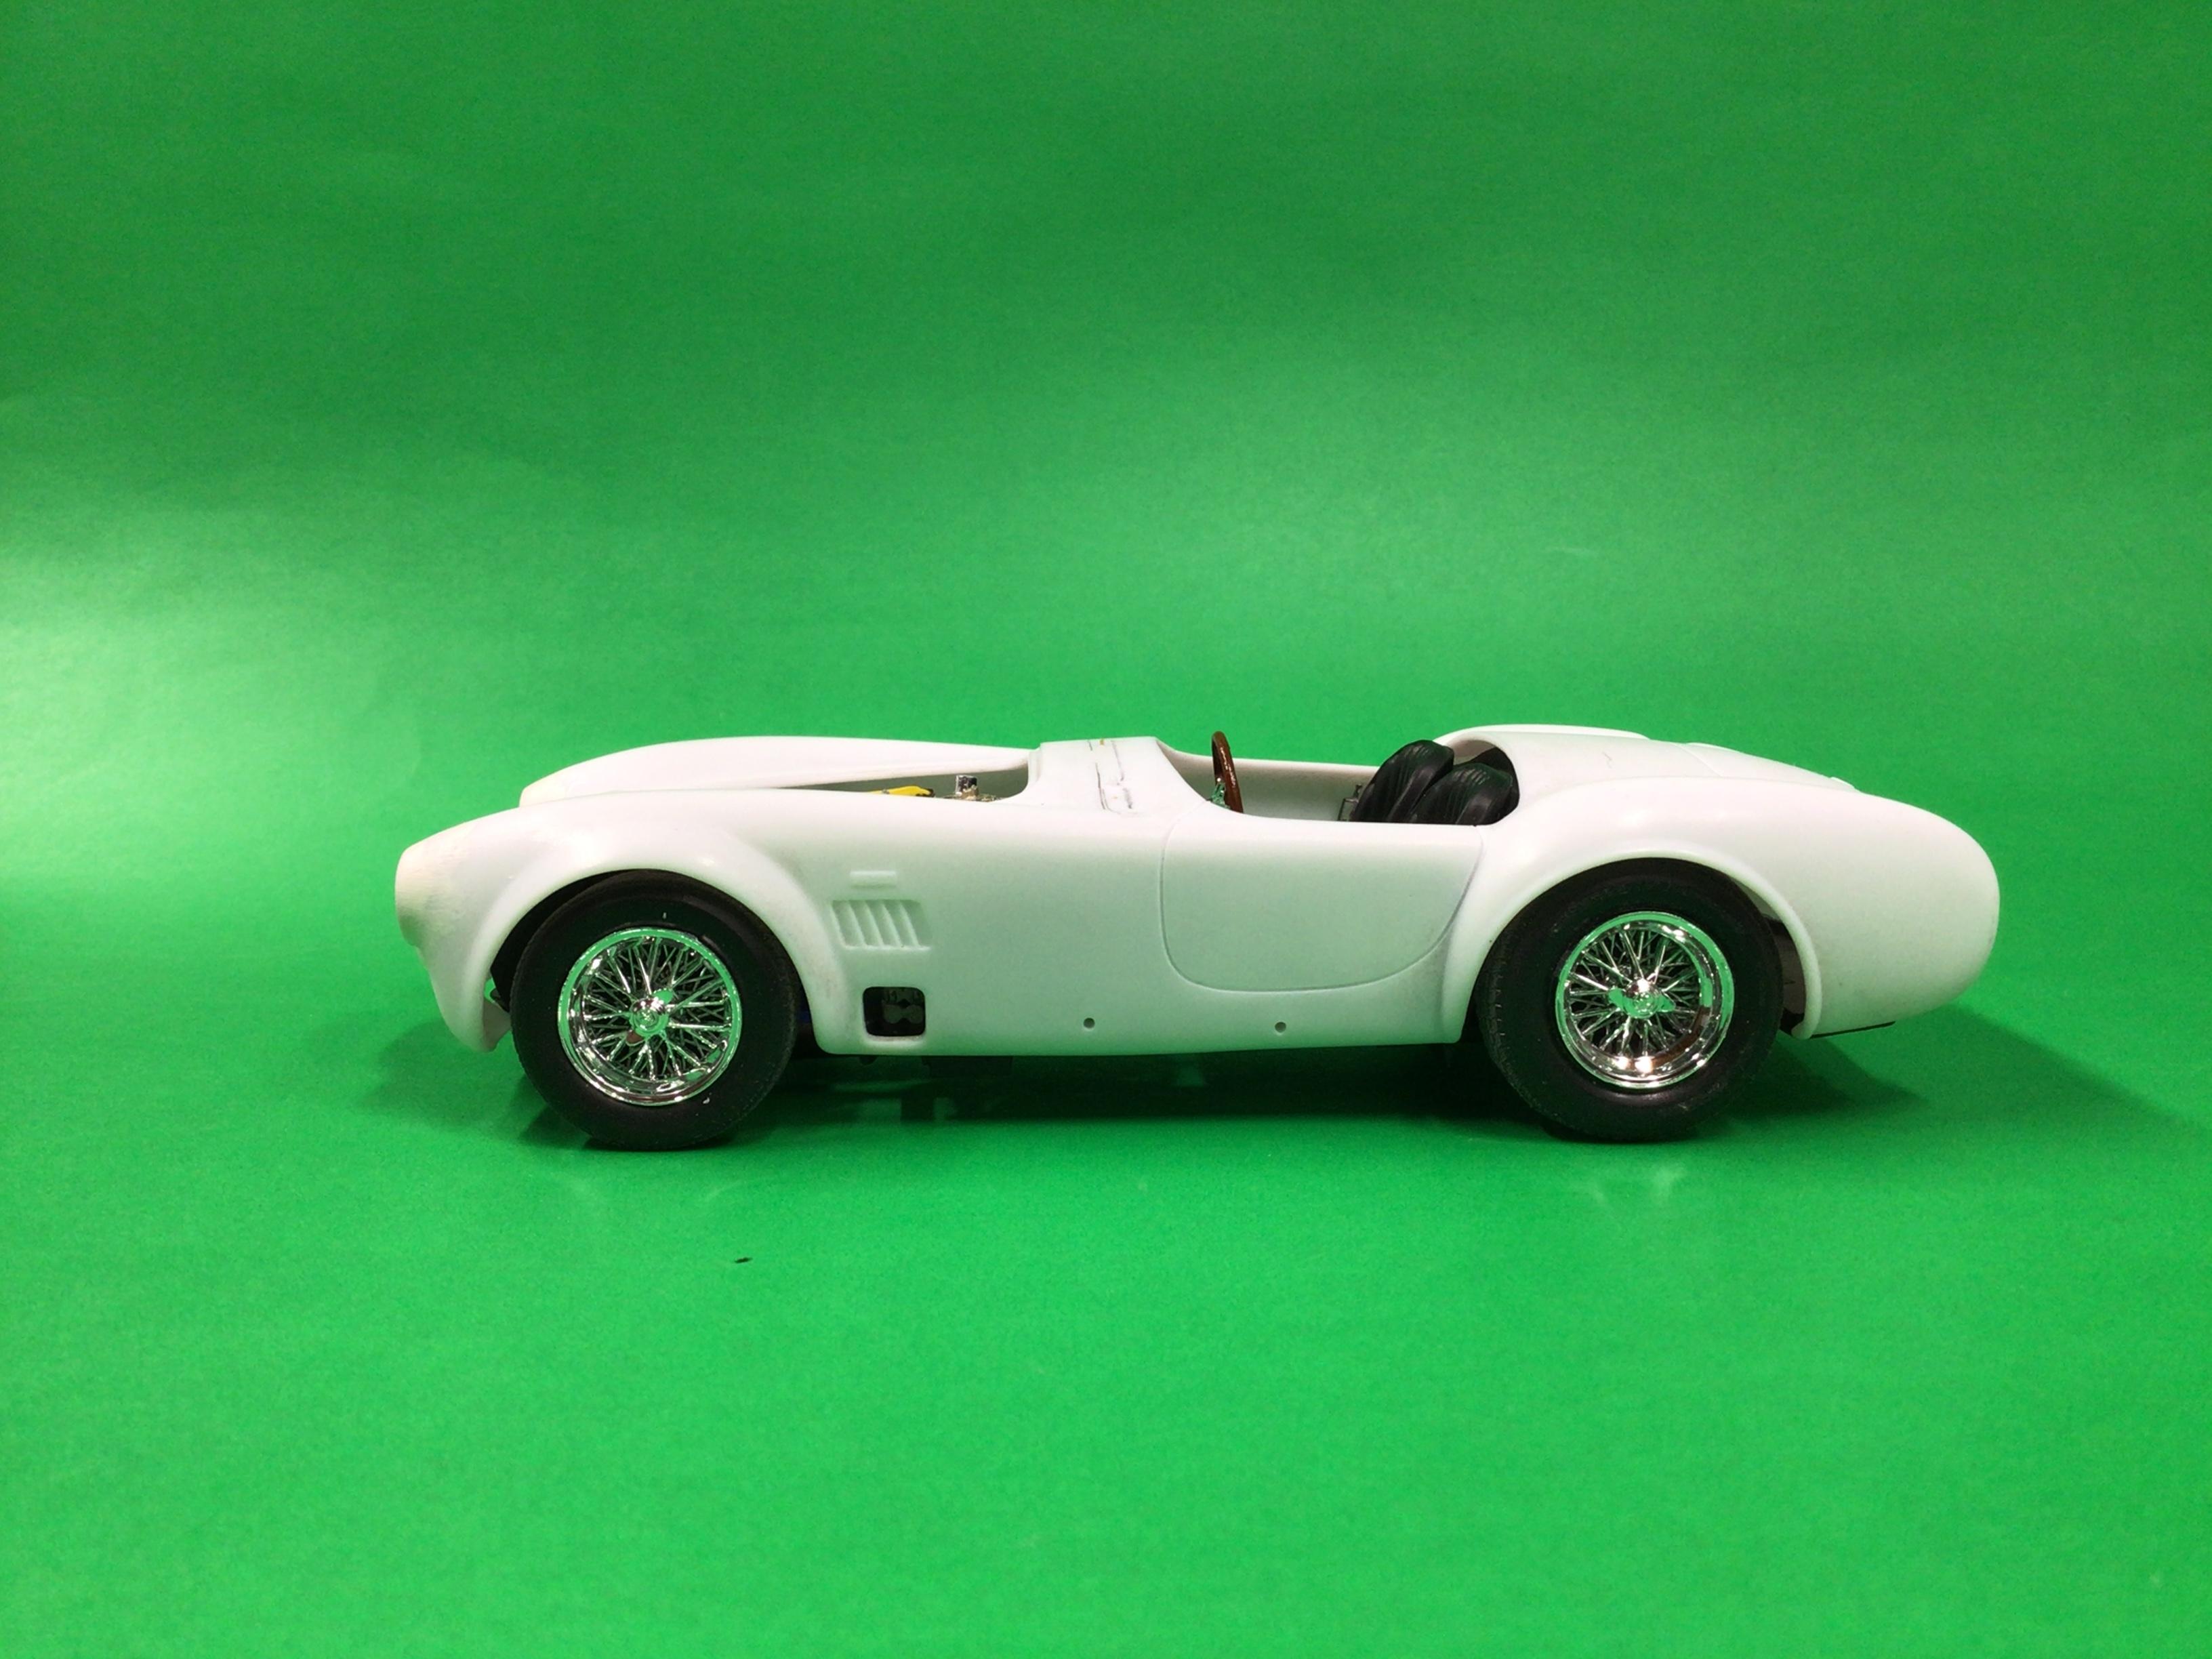
I got some clear on the cobra. I got the kit at the flea market and it didn’t have any decals. I downloaded some pics of the badges from the internet, resized them and printed them on photo paper. I brushed a little clear lacquer on them to make sure the ink wouldn’t run and epoxied them in place.
-
Wow, that engine is a thing of beauty!
-
I have never shipped anything that delicate so this is just a guess. I would say wrap it loosely with some bubble wrap. Put that inside a medium sized box. Use packing peanuts or something to take up any space so it can’t rattle around. Then put that box inside a bigger box with peanuts to fill the voids. Mark it “FRAGILE” and hope for the best. I have no idea what shipping company would be safest. Good Luck!?
-
Who doesn't love a mock-up? Let's see yours!
NOBLNG replied to Belairconvertable's topic in WIP: Model Cars
-
Yes, it is completely safe, assuming you’re not breathing in any overspray….just not very durable in my experience. It is likely fine on parts that will never be touched, like sections of a grill. Entire bumpers etc. would be better off stripped and primed.
-
Very nice!? Well done on all the detailing.
-
Fabulous job on this one Harry!? An thanks for the lighting tips.
-
Nicely done!?
-
How to use Tamiya Panel Line Accent Color
NOBLNG replied to Chevy II's topic in Model Building Questions and Answers
Be careful using that stuff!? Static electricity can cause the accent to leap off the applicator onto your model. I have also had the applicator belch a large drop of accent, so I always try to bleed some excess out of the applicator. Even better…I havestarted using a “glue looper” for thin CA to apply it. You could also make some accent by watering down some black acrylic paint. That would not harm the enamel paint. Good luck.