NOBLNG
-
Posts
10,231 -
Joined
-
Last visited
Content Type
Profiles
Forums
Events
Gallery
Everything posted by NOBLNG
-

'41 Chevy Pickup
NOBLNG replied to NOBLNG's topic in WIP: Model Trucks: Pickups, Vans, SUVs, Light Commercial
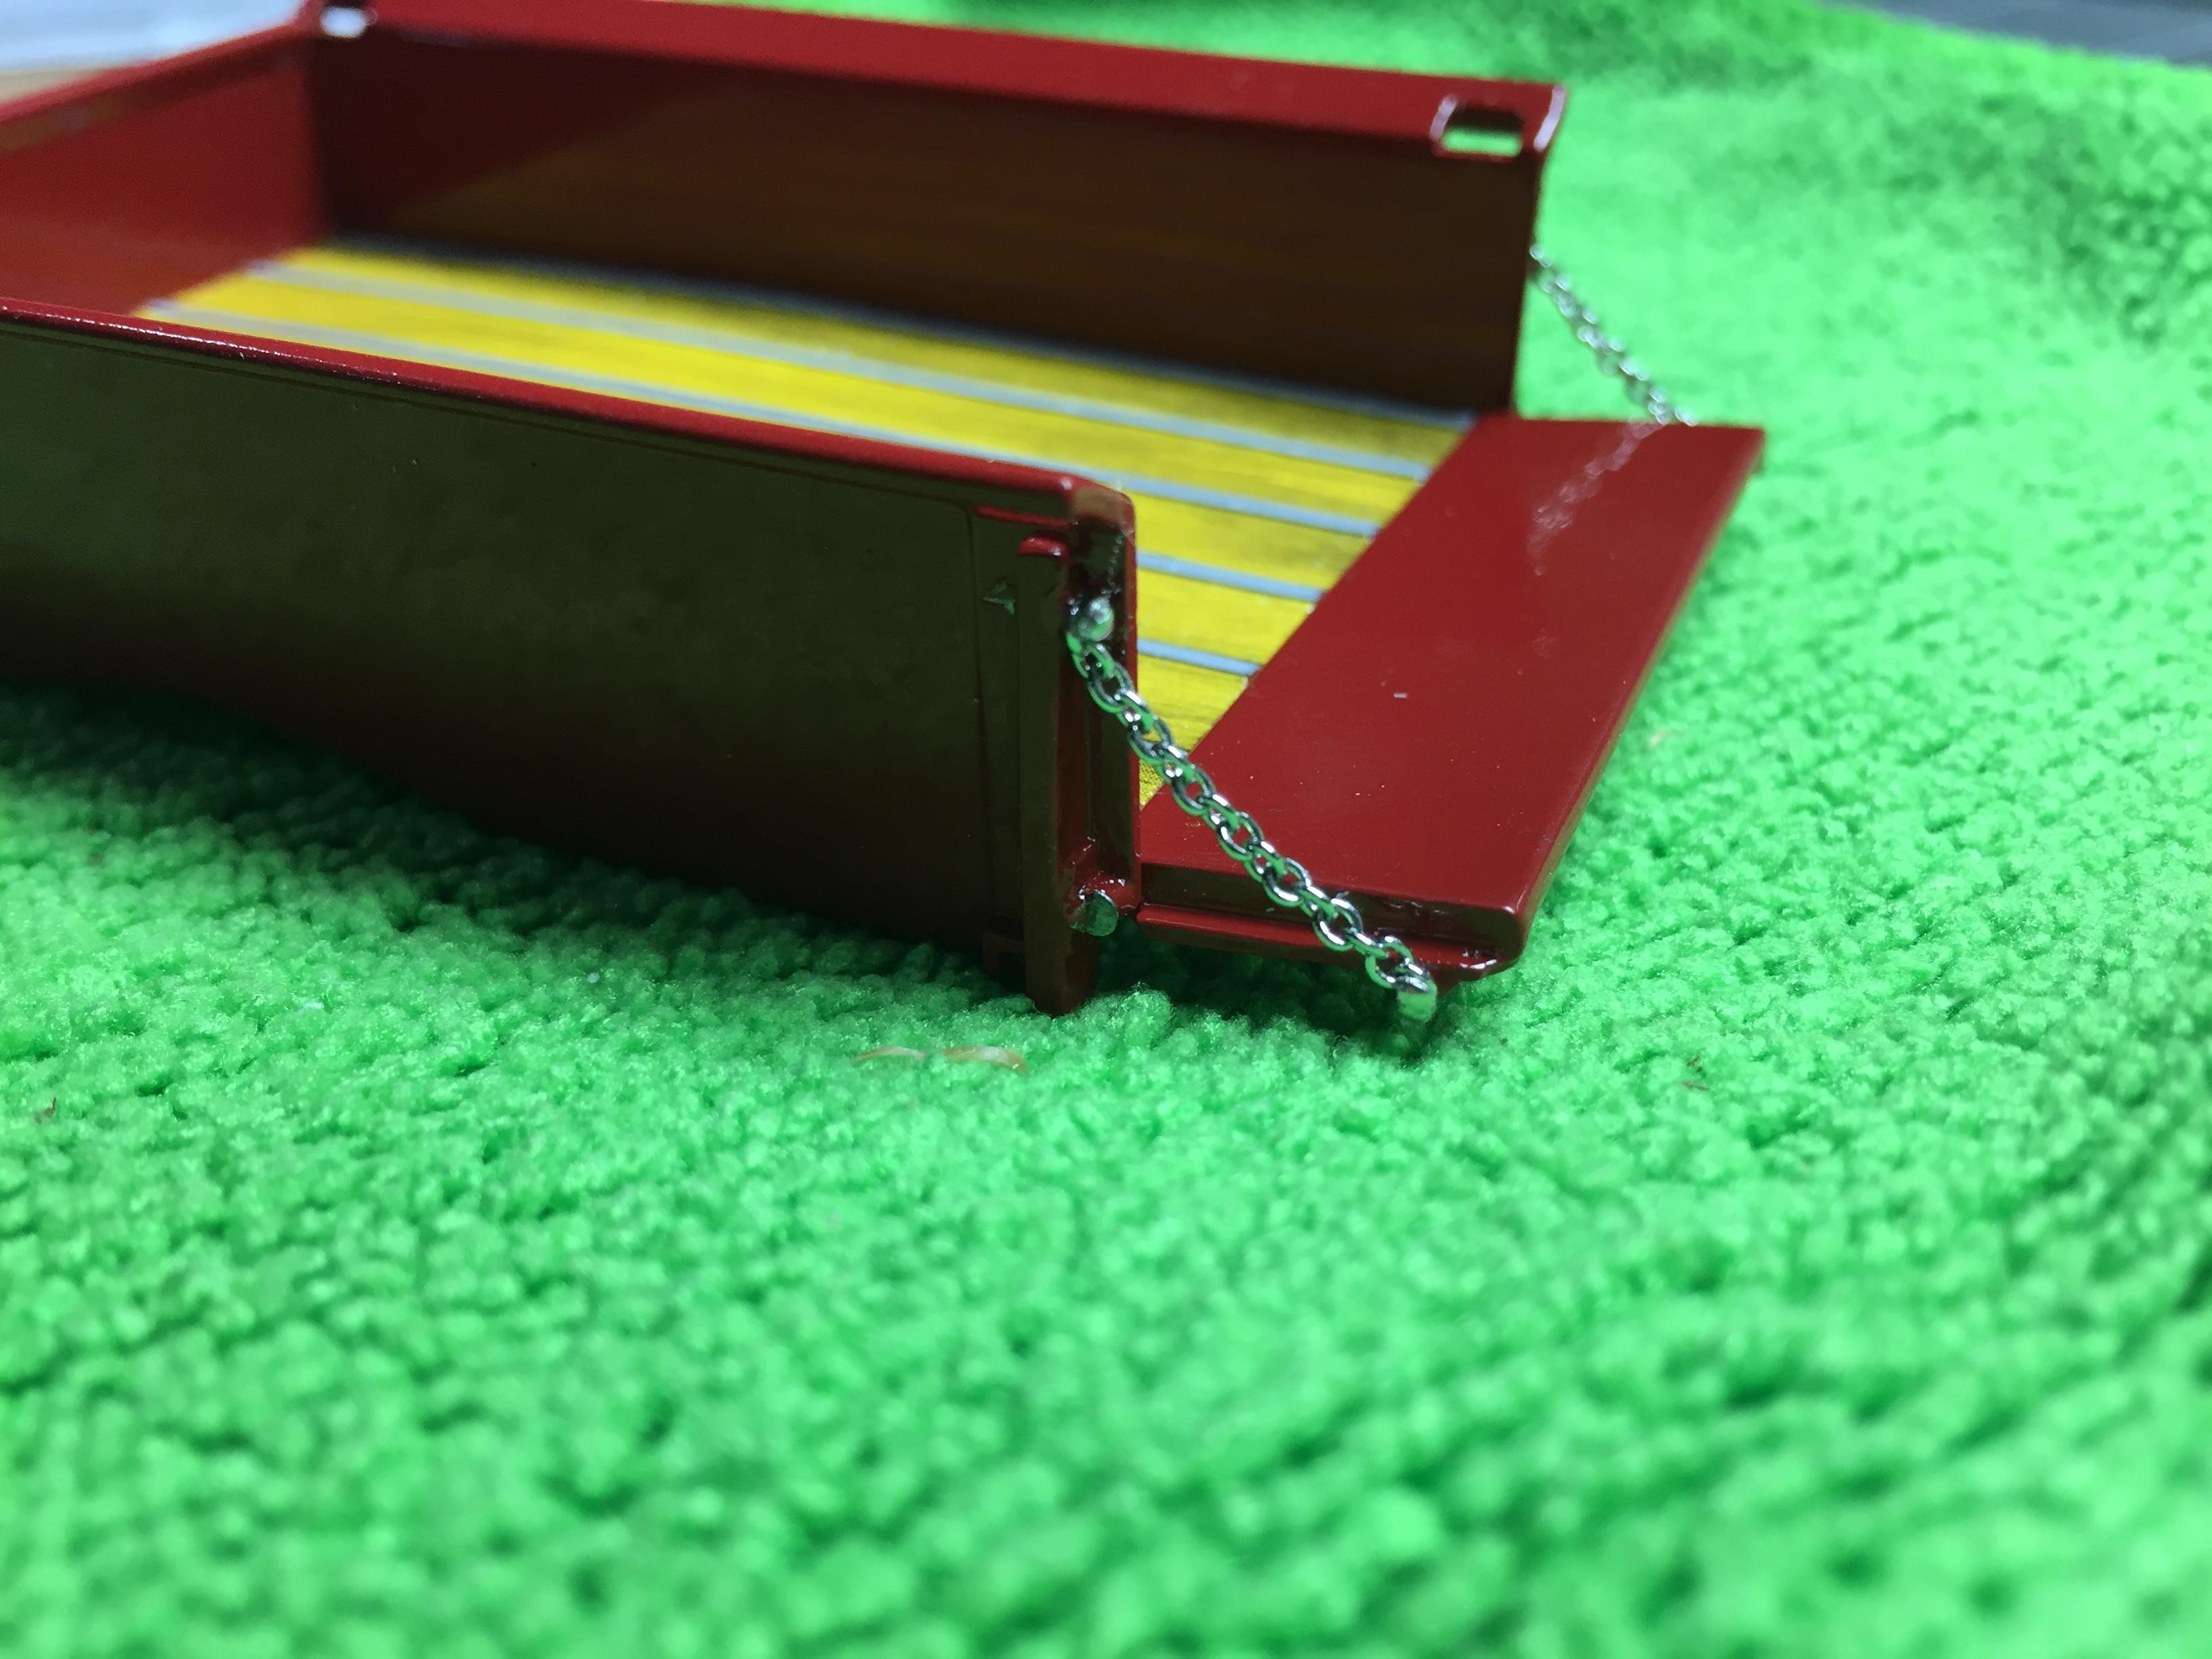
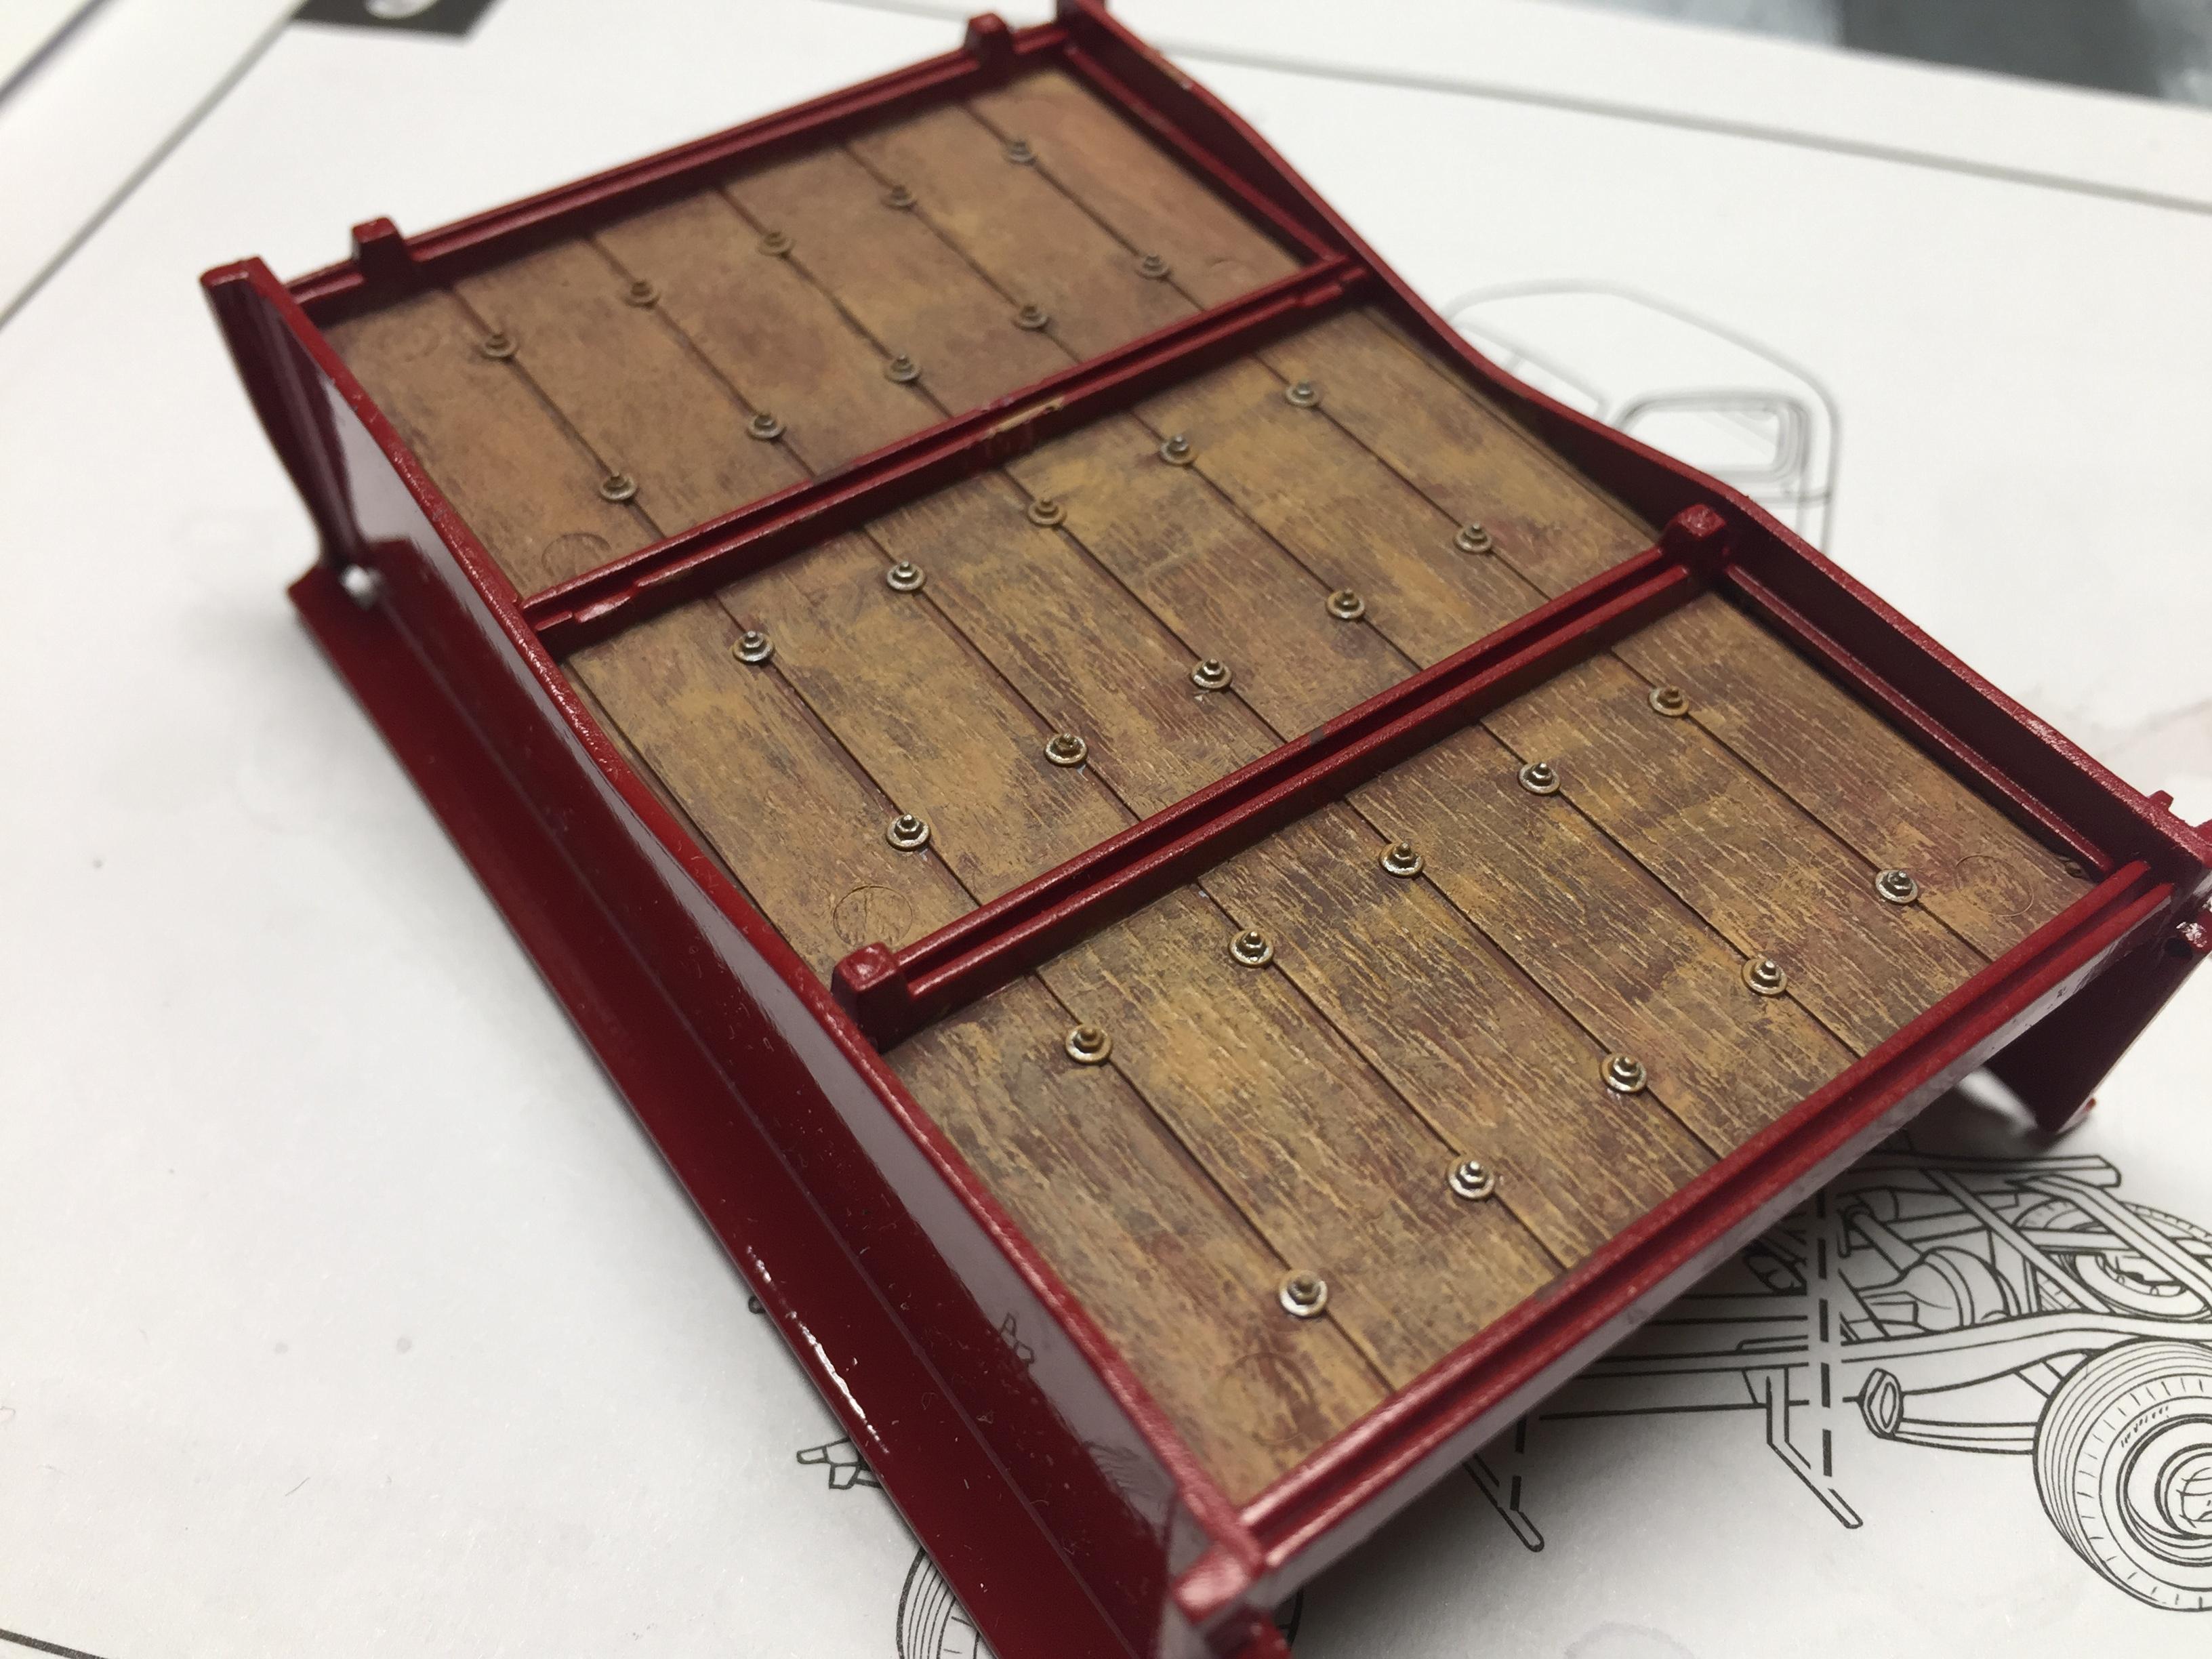
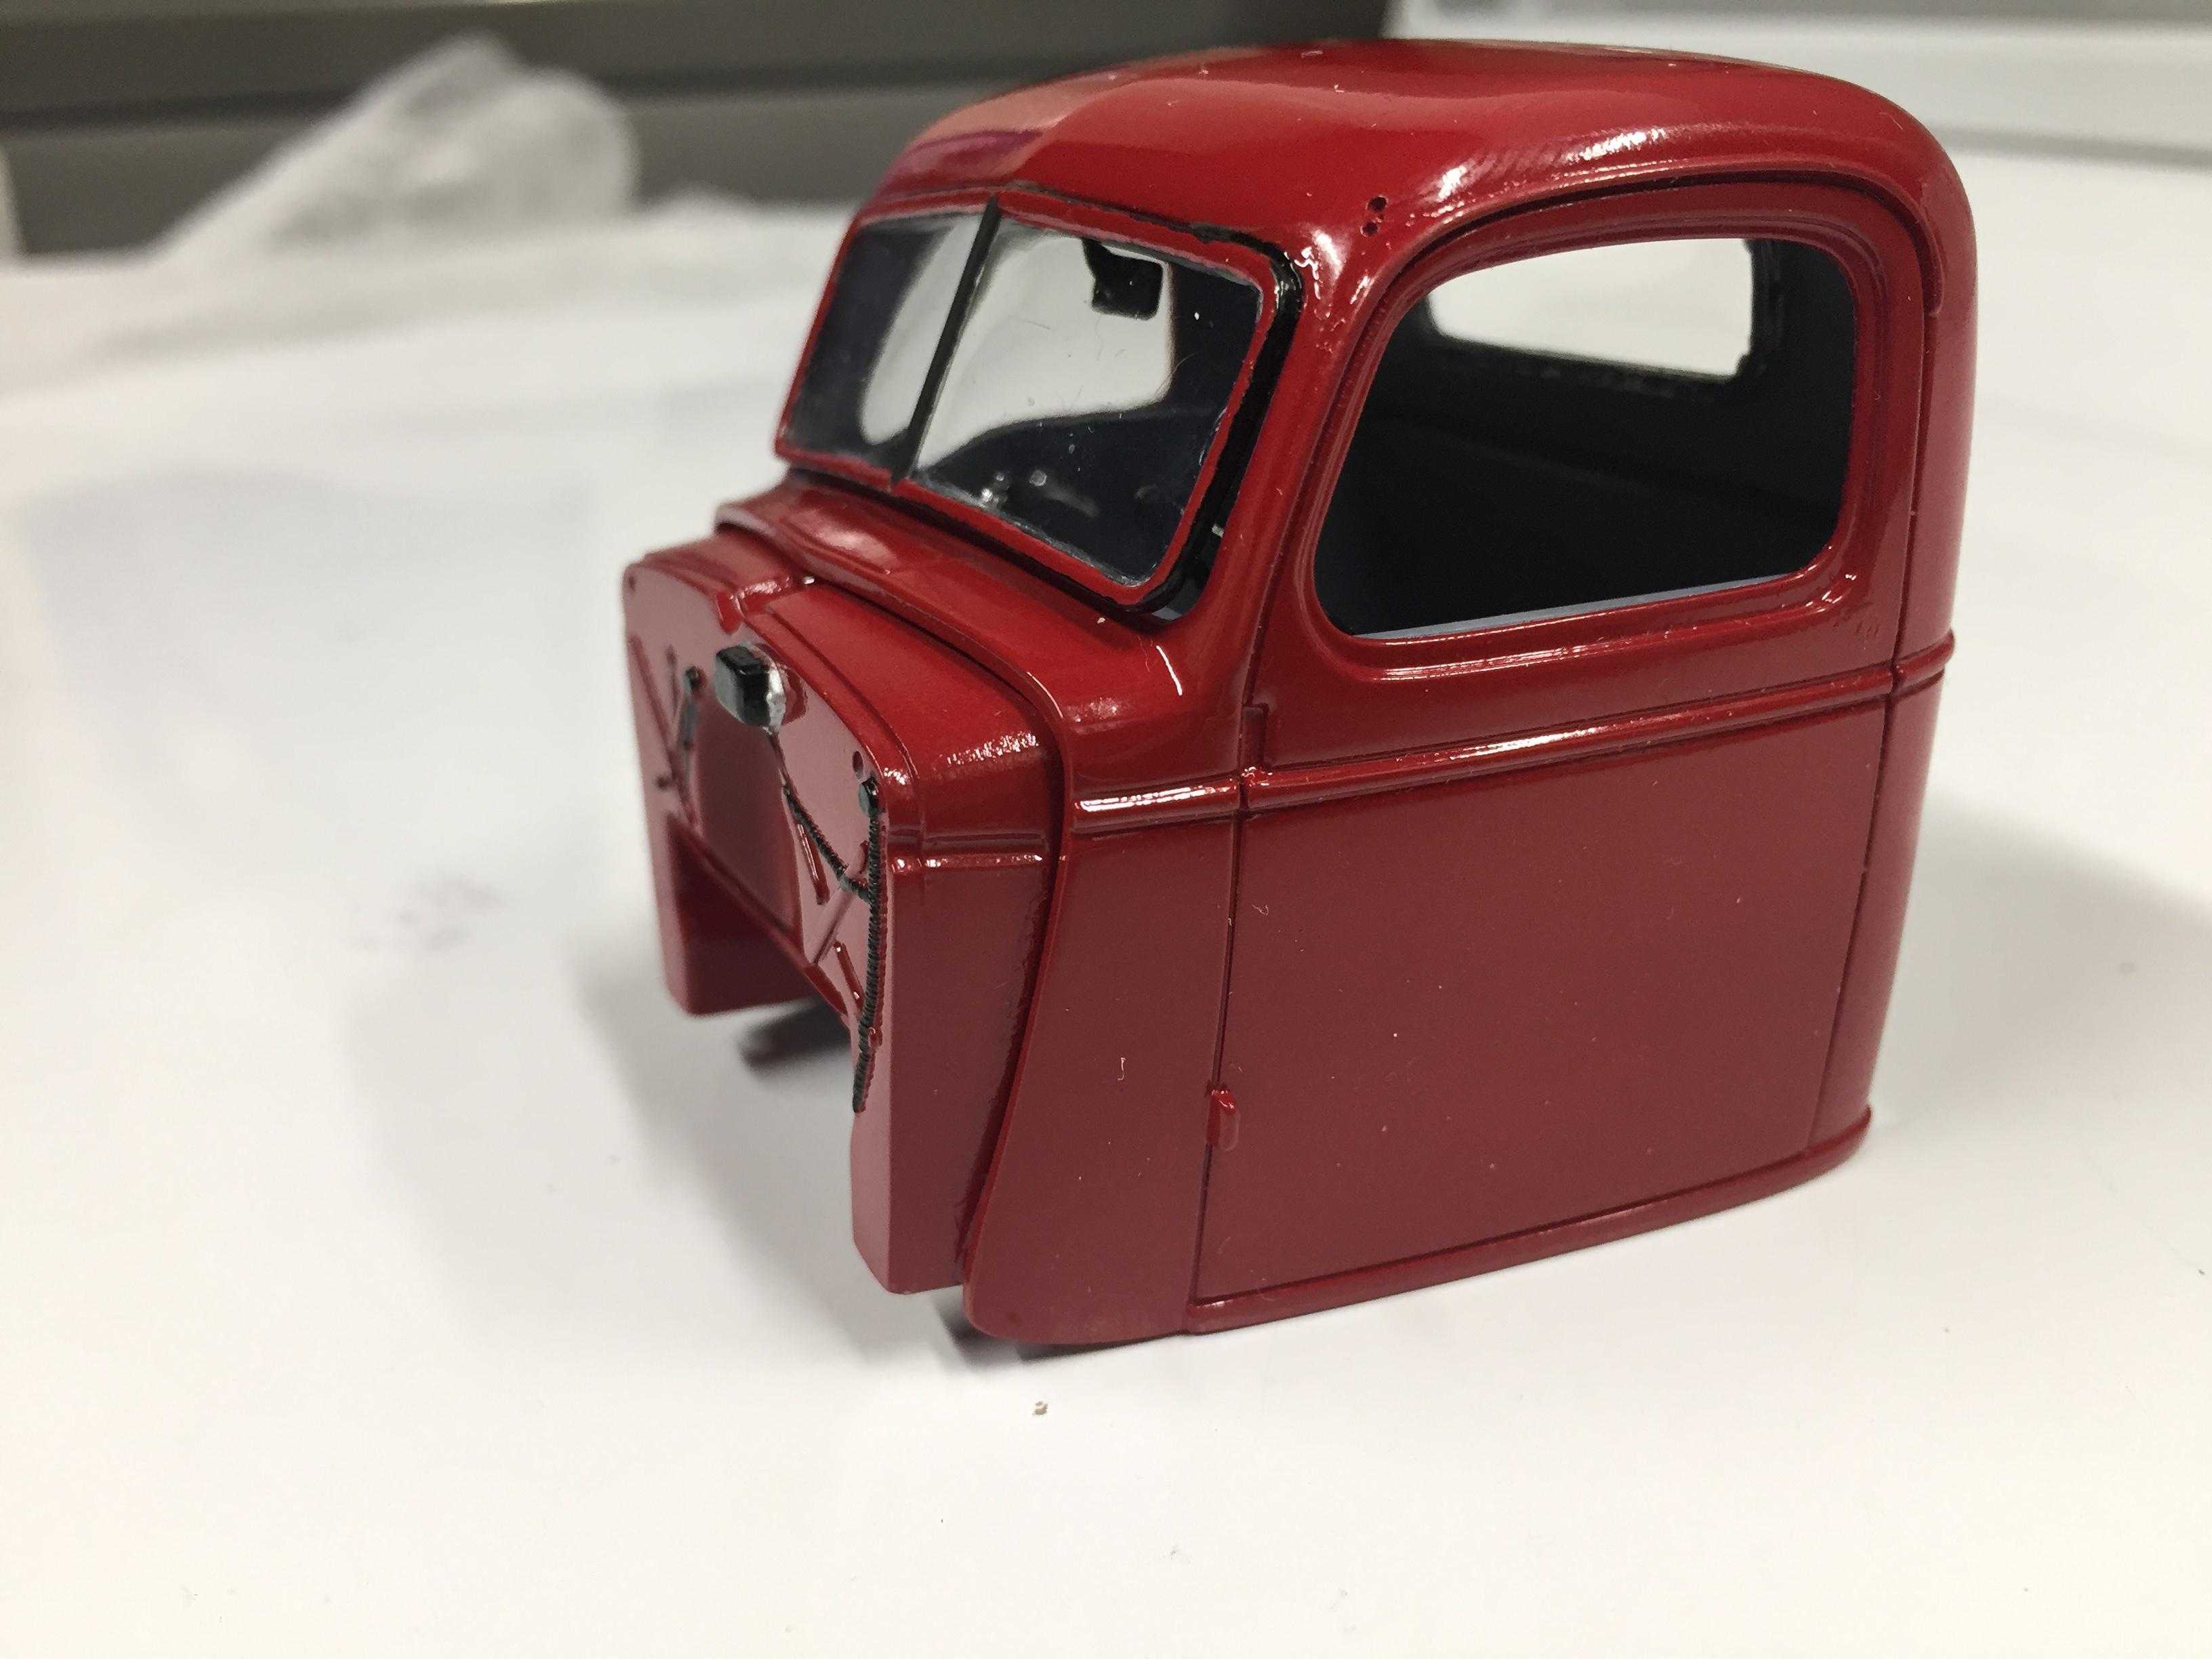
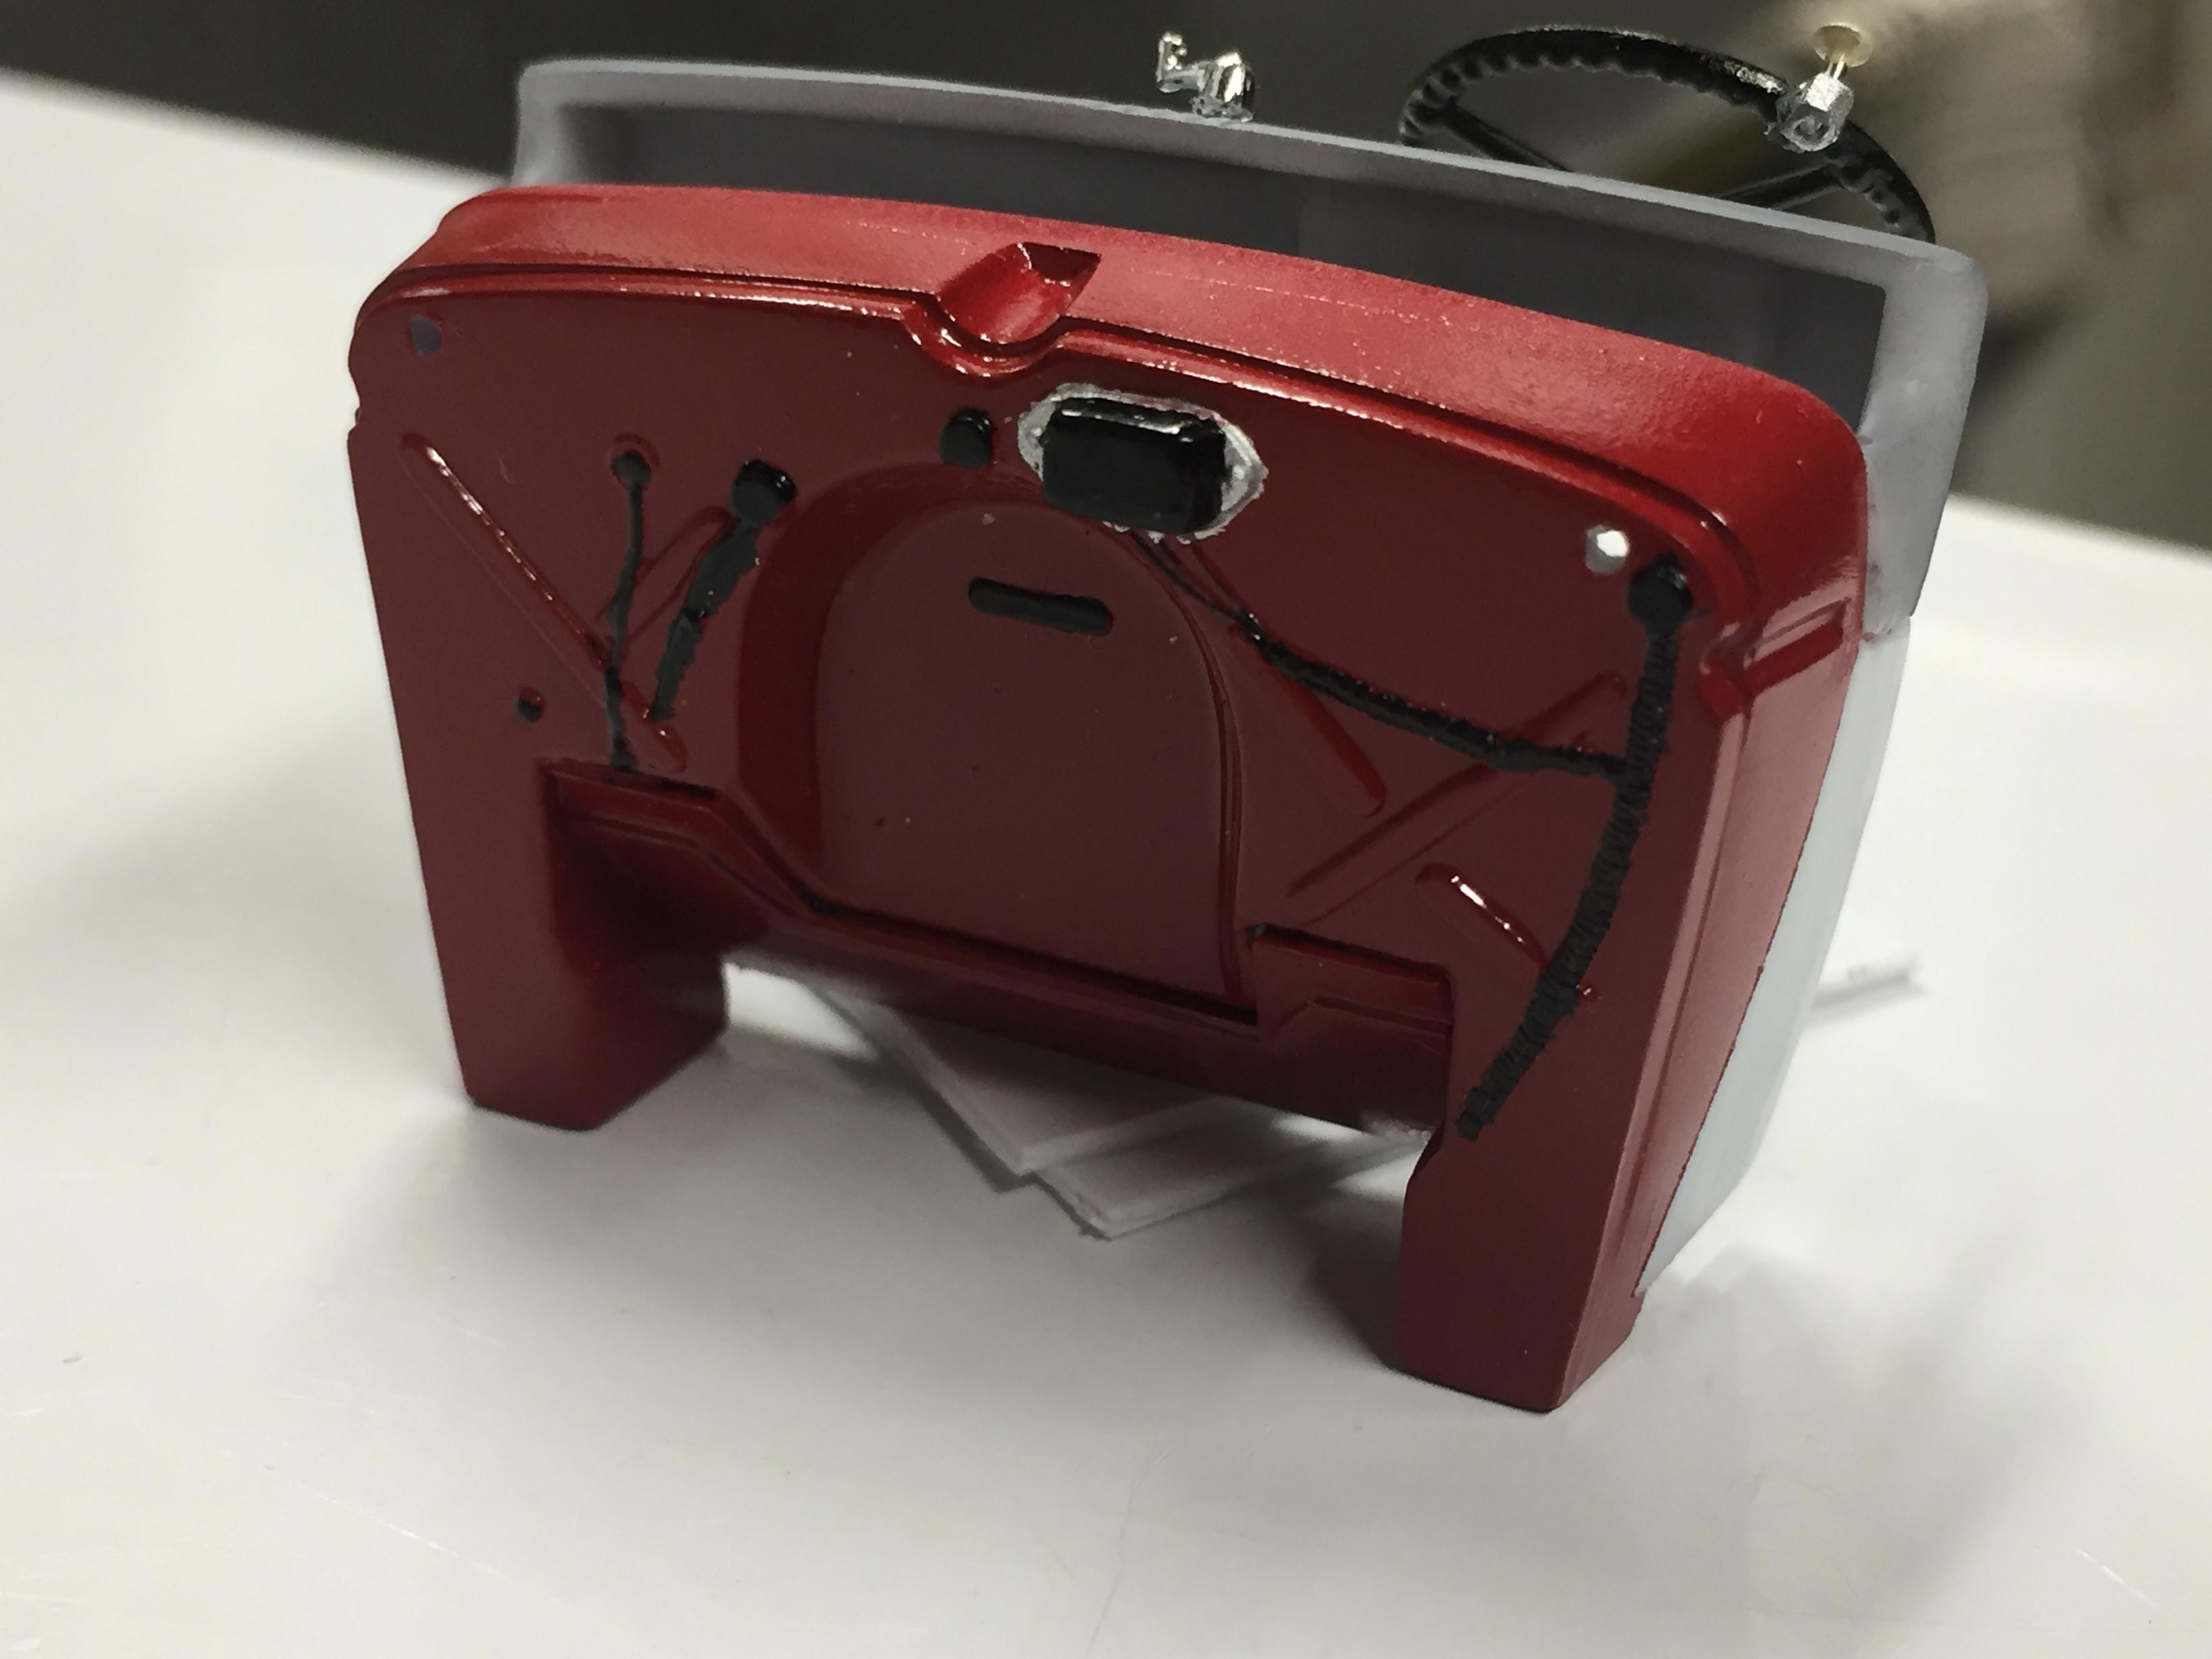
I've got the cab and the box finished. I had no idea the bottom would look so good or I would not have bothered with the decal in the bed.
-
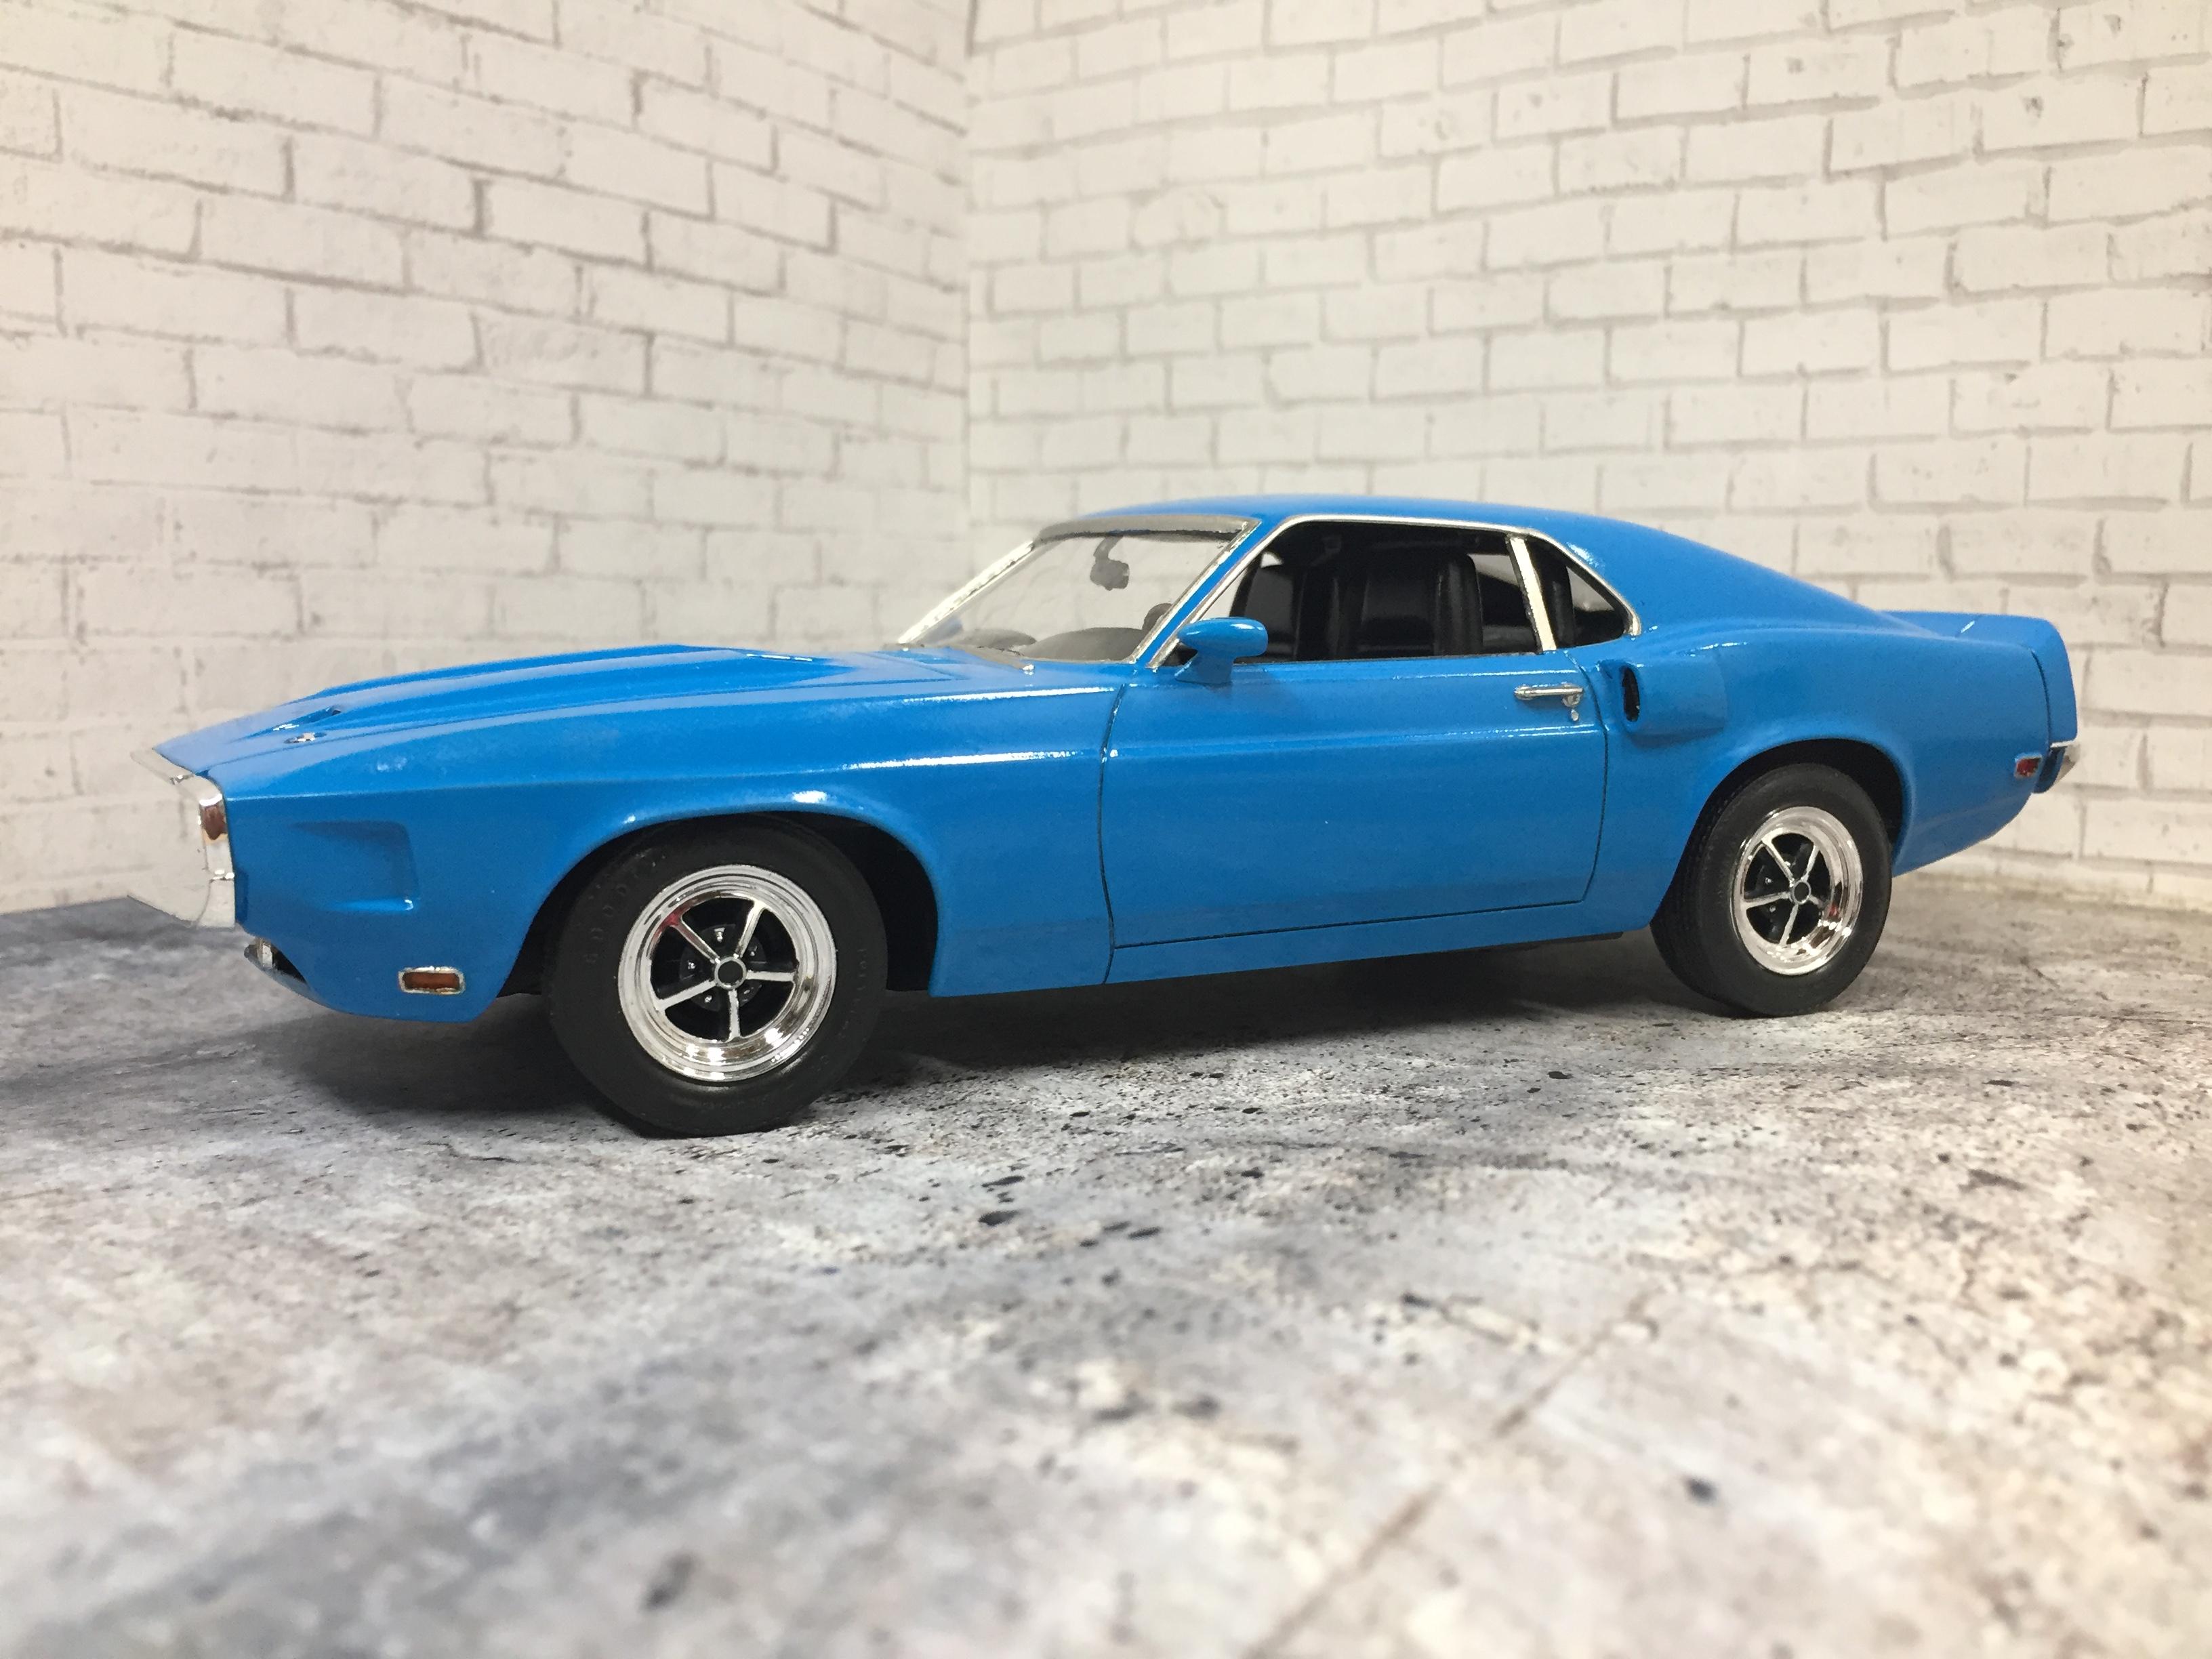
That windshield mounting looks great. I wish I had thought of that while doing my Mustang.
-
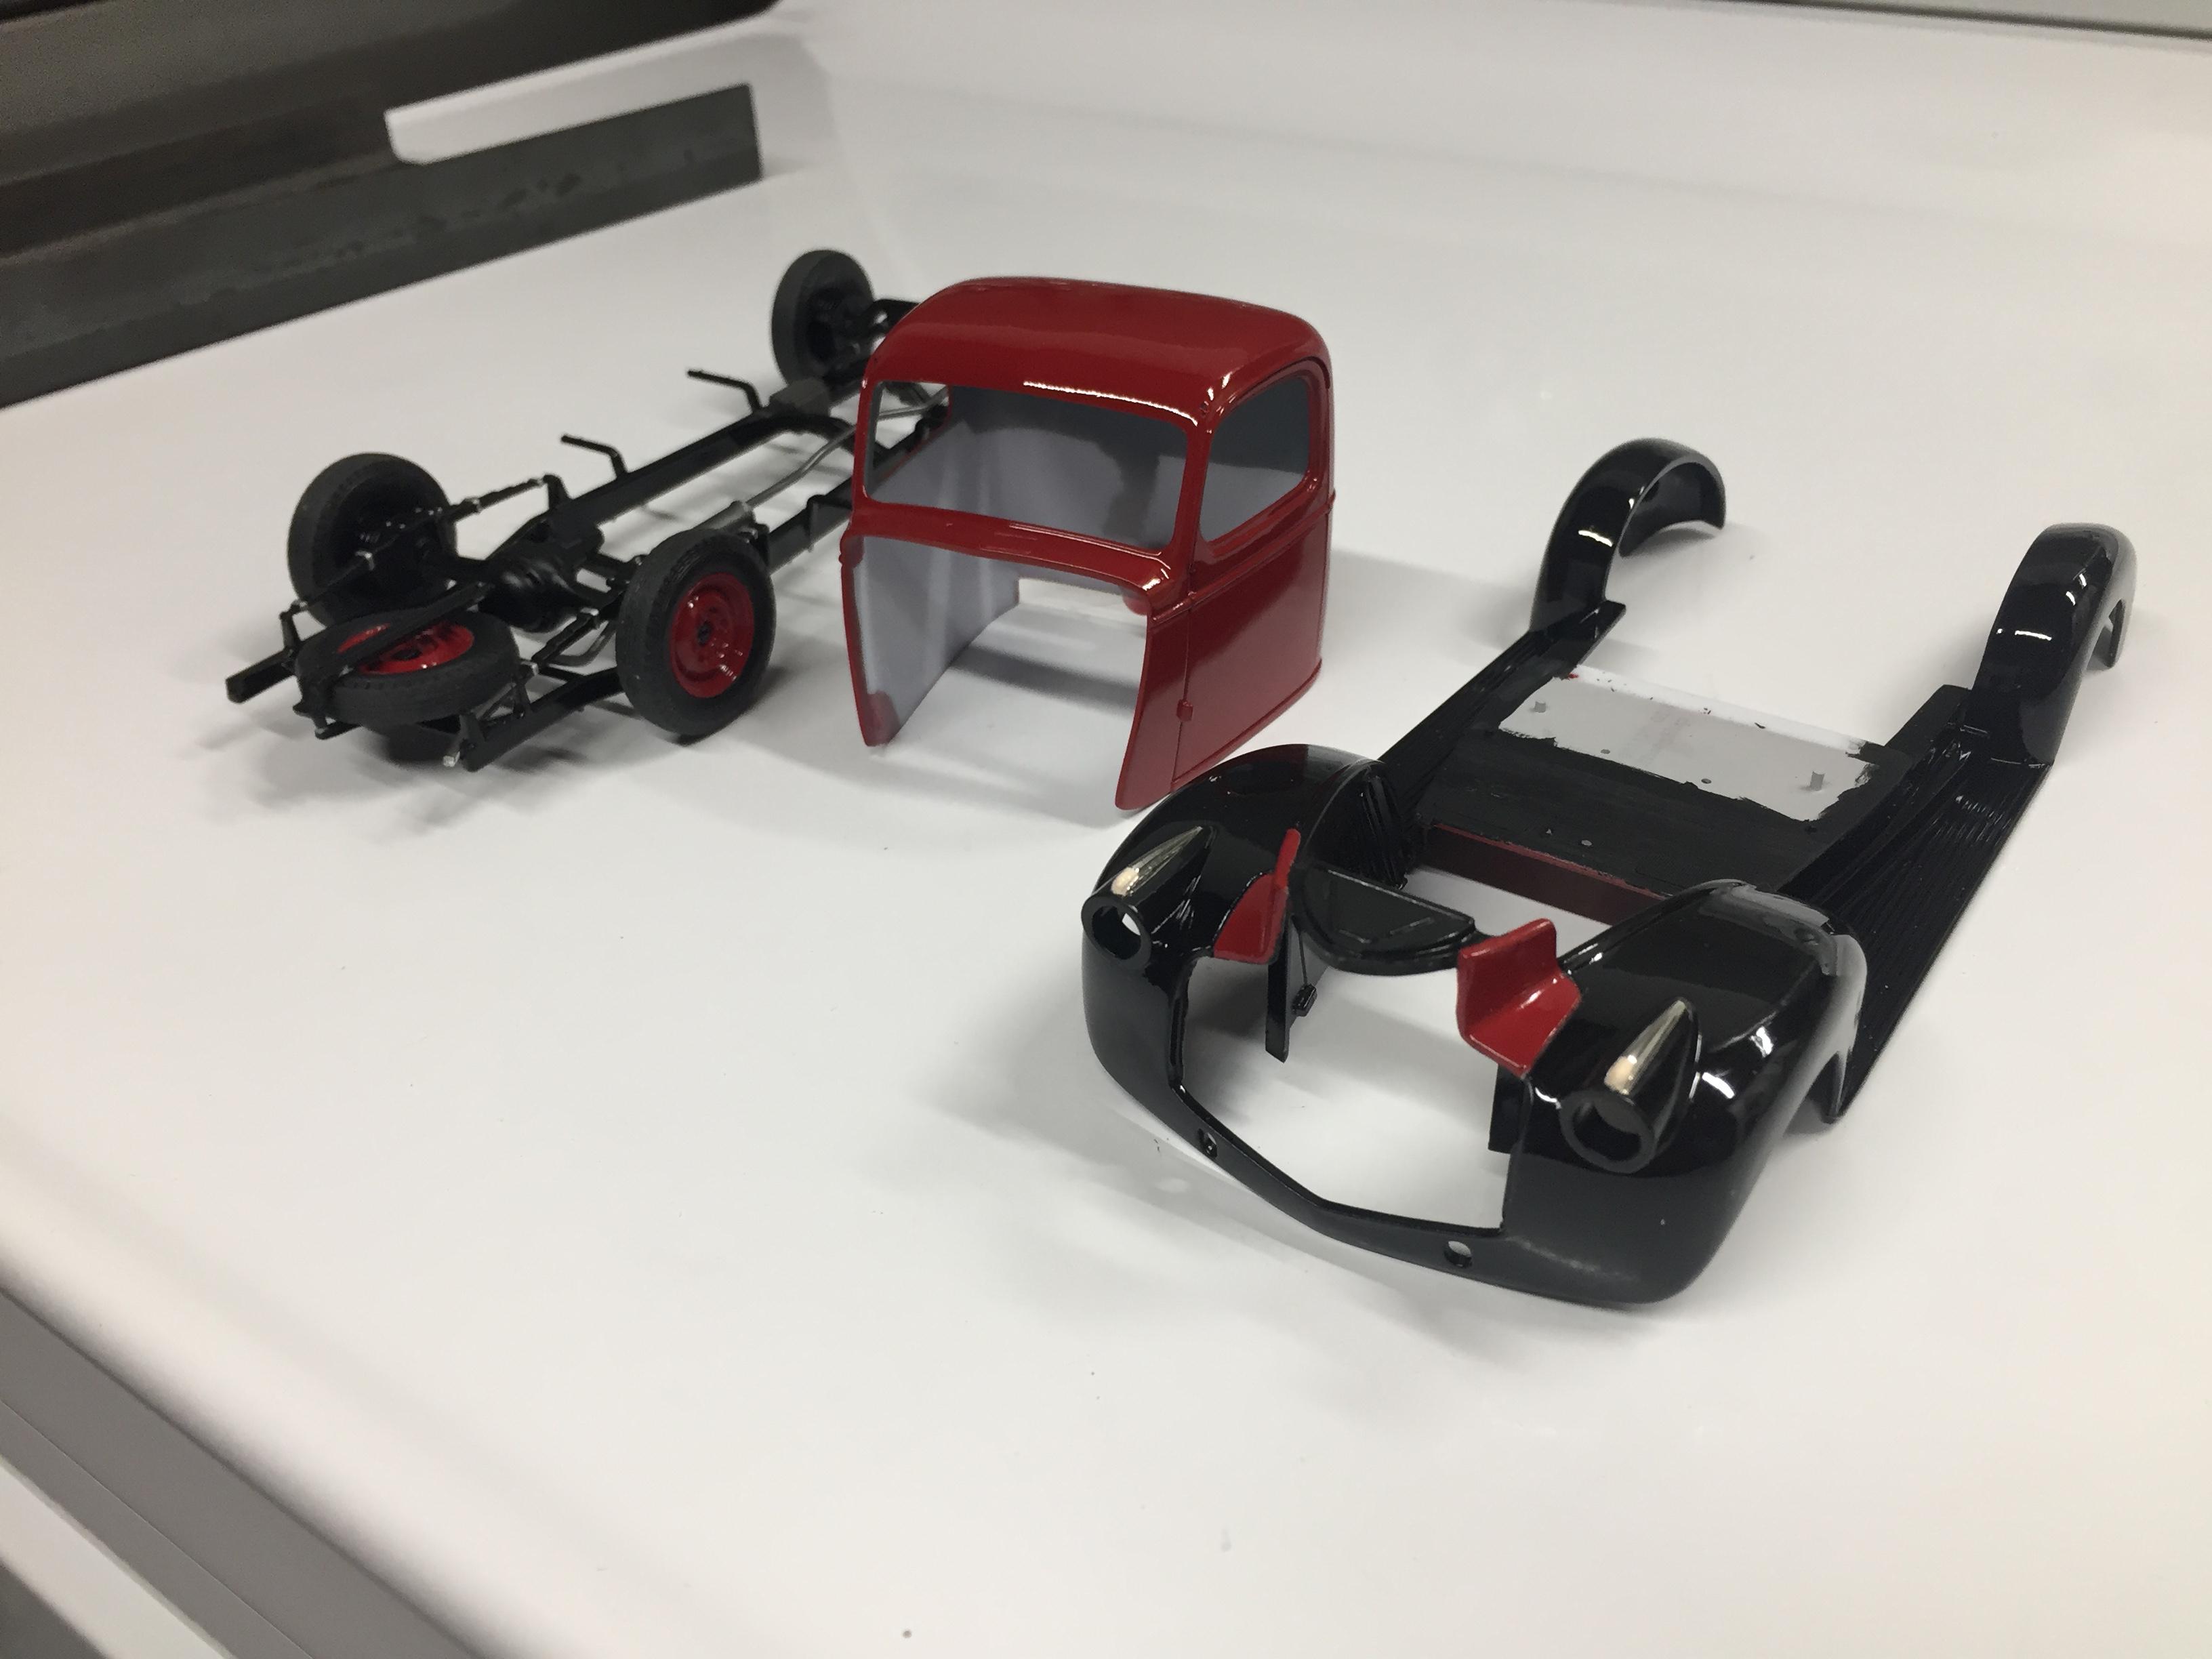
Okay, I am happy with it too.
-
'41 Chevy Pickup
NOBLNG replied to NOBLNG's topic in WIP: Model Trucks: Pickups, Vans, SUVs, Light Commercial
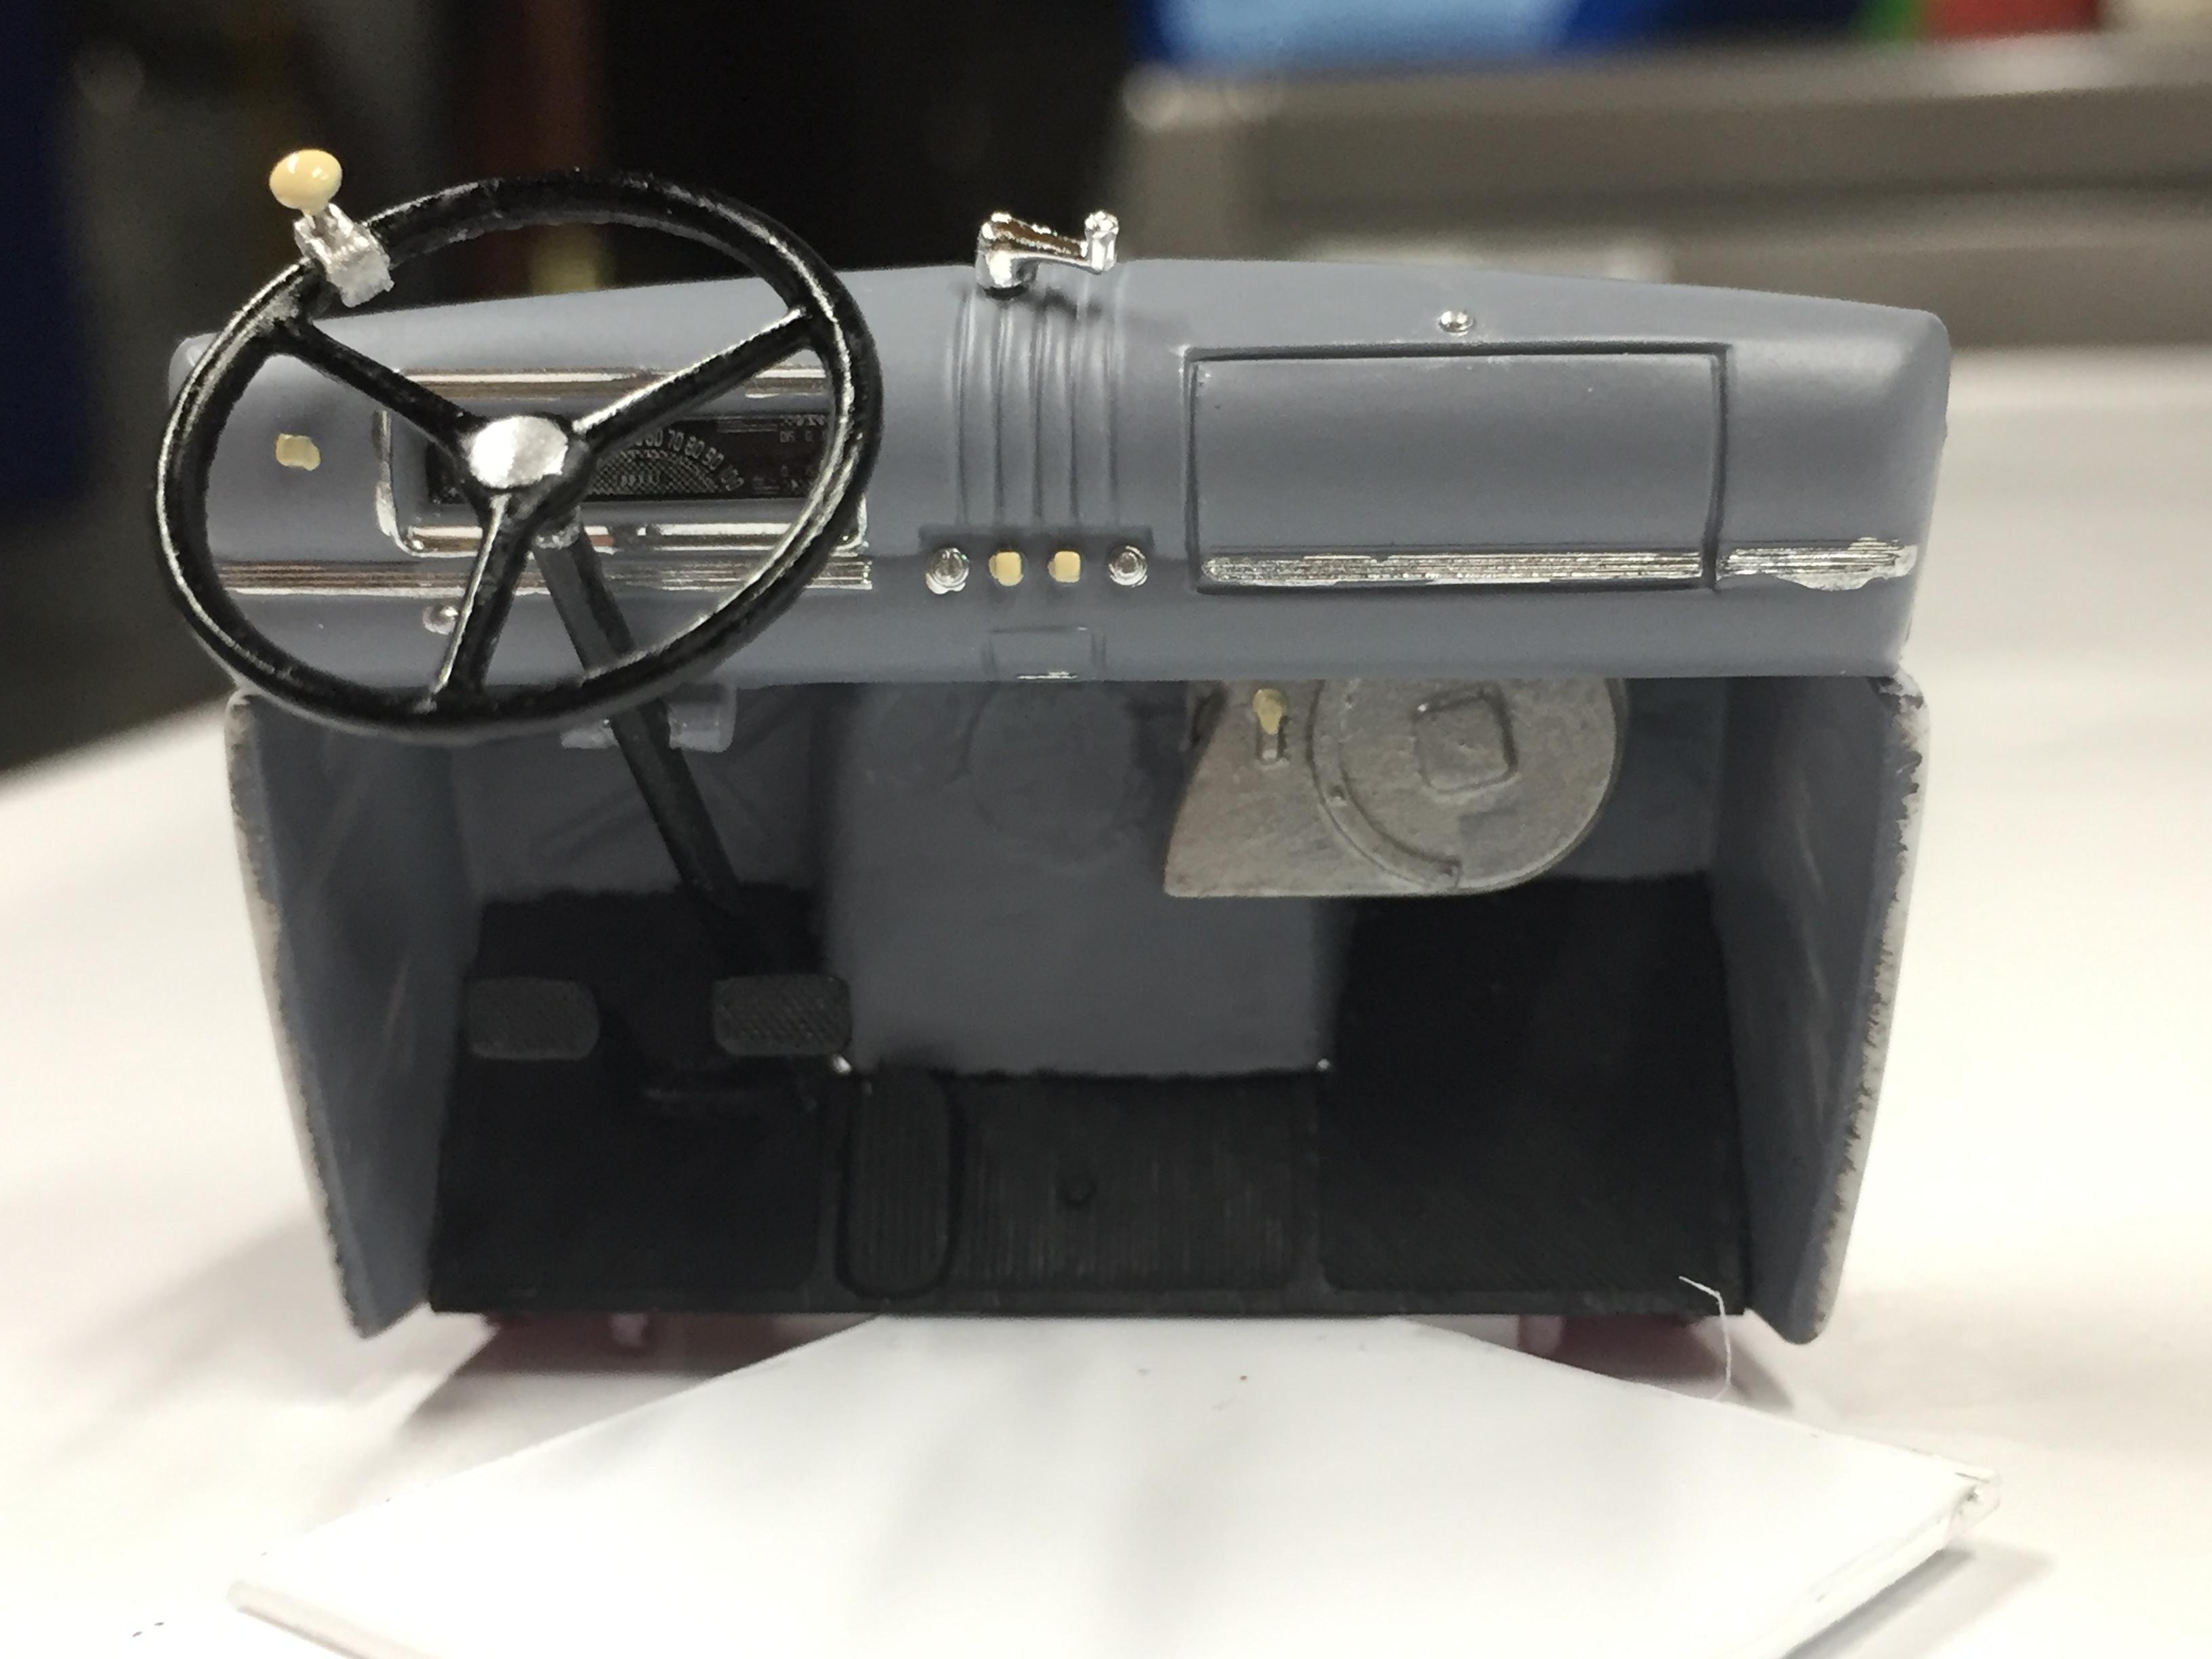
Got the firewall and dash done. I see I need to clean up that trim a bit. The camera reveals stuff my eyes alone can't!
-
Well I took the easy way out. This is Tamiya acrylic flat black free handed and cleaned up with some nice tapered cotton swabs that I got at a local electronics supplier. It needs at least another coat, and I may try semi gloss?
-
That looks GREAT Gerry! If I screw up the paint I think I will try that instead of painting the whole thing black and then trying to do the reverse of painting the slots. Did you strip the bumper and headlight bezels also, or is that the kit chrome still? Do you have a thread on that truck somewhere?
-
Wheel Arch Molding Foiling Tutorial
NOBLNG replied to StevenGuthmiller's topic in Tips, Tricks, and Tutorials
Molotow is great for small items and touch-ups and can look really decent on larger trim if done well...but there is no way you could duplicate the results shown above. That looks just like real chrome trim on a 1:1! JMO, Greg. -
Thank you All for the suggestions. I think I will try the gloss black. I don't believe the panel line accent would work well here because the slot is very wide and the accent very thin. Stripping it and using a Molotow pen or silver sharpie will be a last resort if I screw it up. I am going to try to mask the bars with some 1mm tape I just bought and spray it. I have some self-etching primer that I may decant a bit and give it a mist coat to help adhesion to the chrome. Wish me luck! Greg.
-
41 Chevy Pickup Hovercraft
NOBLNG replied to Daxman's topic in Model Trucks: Pickups, Vans, SUVs, Light Commercial
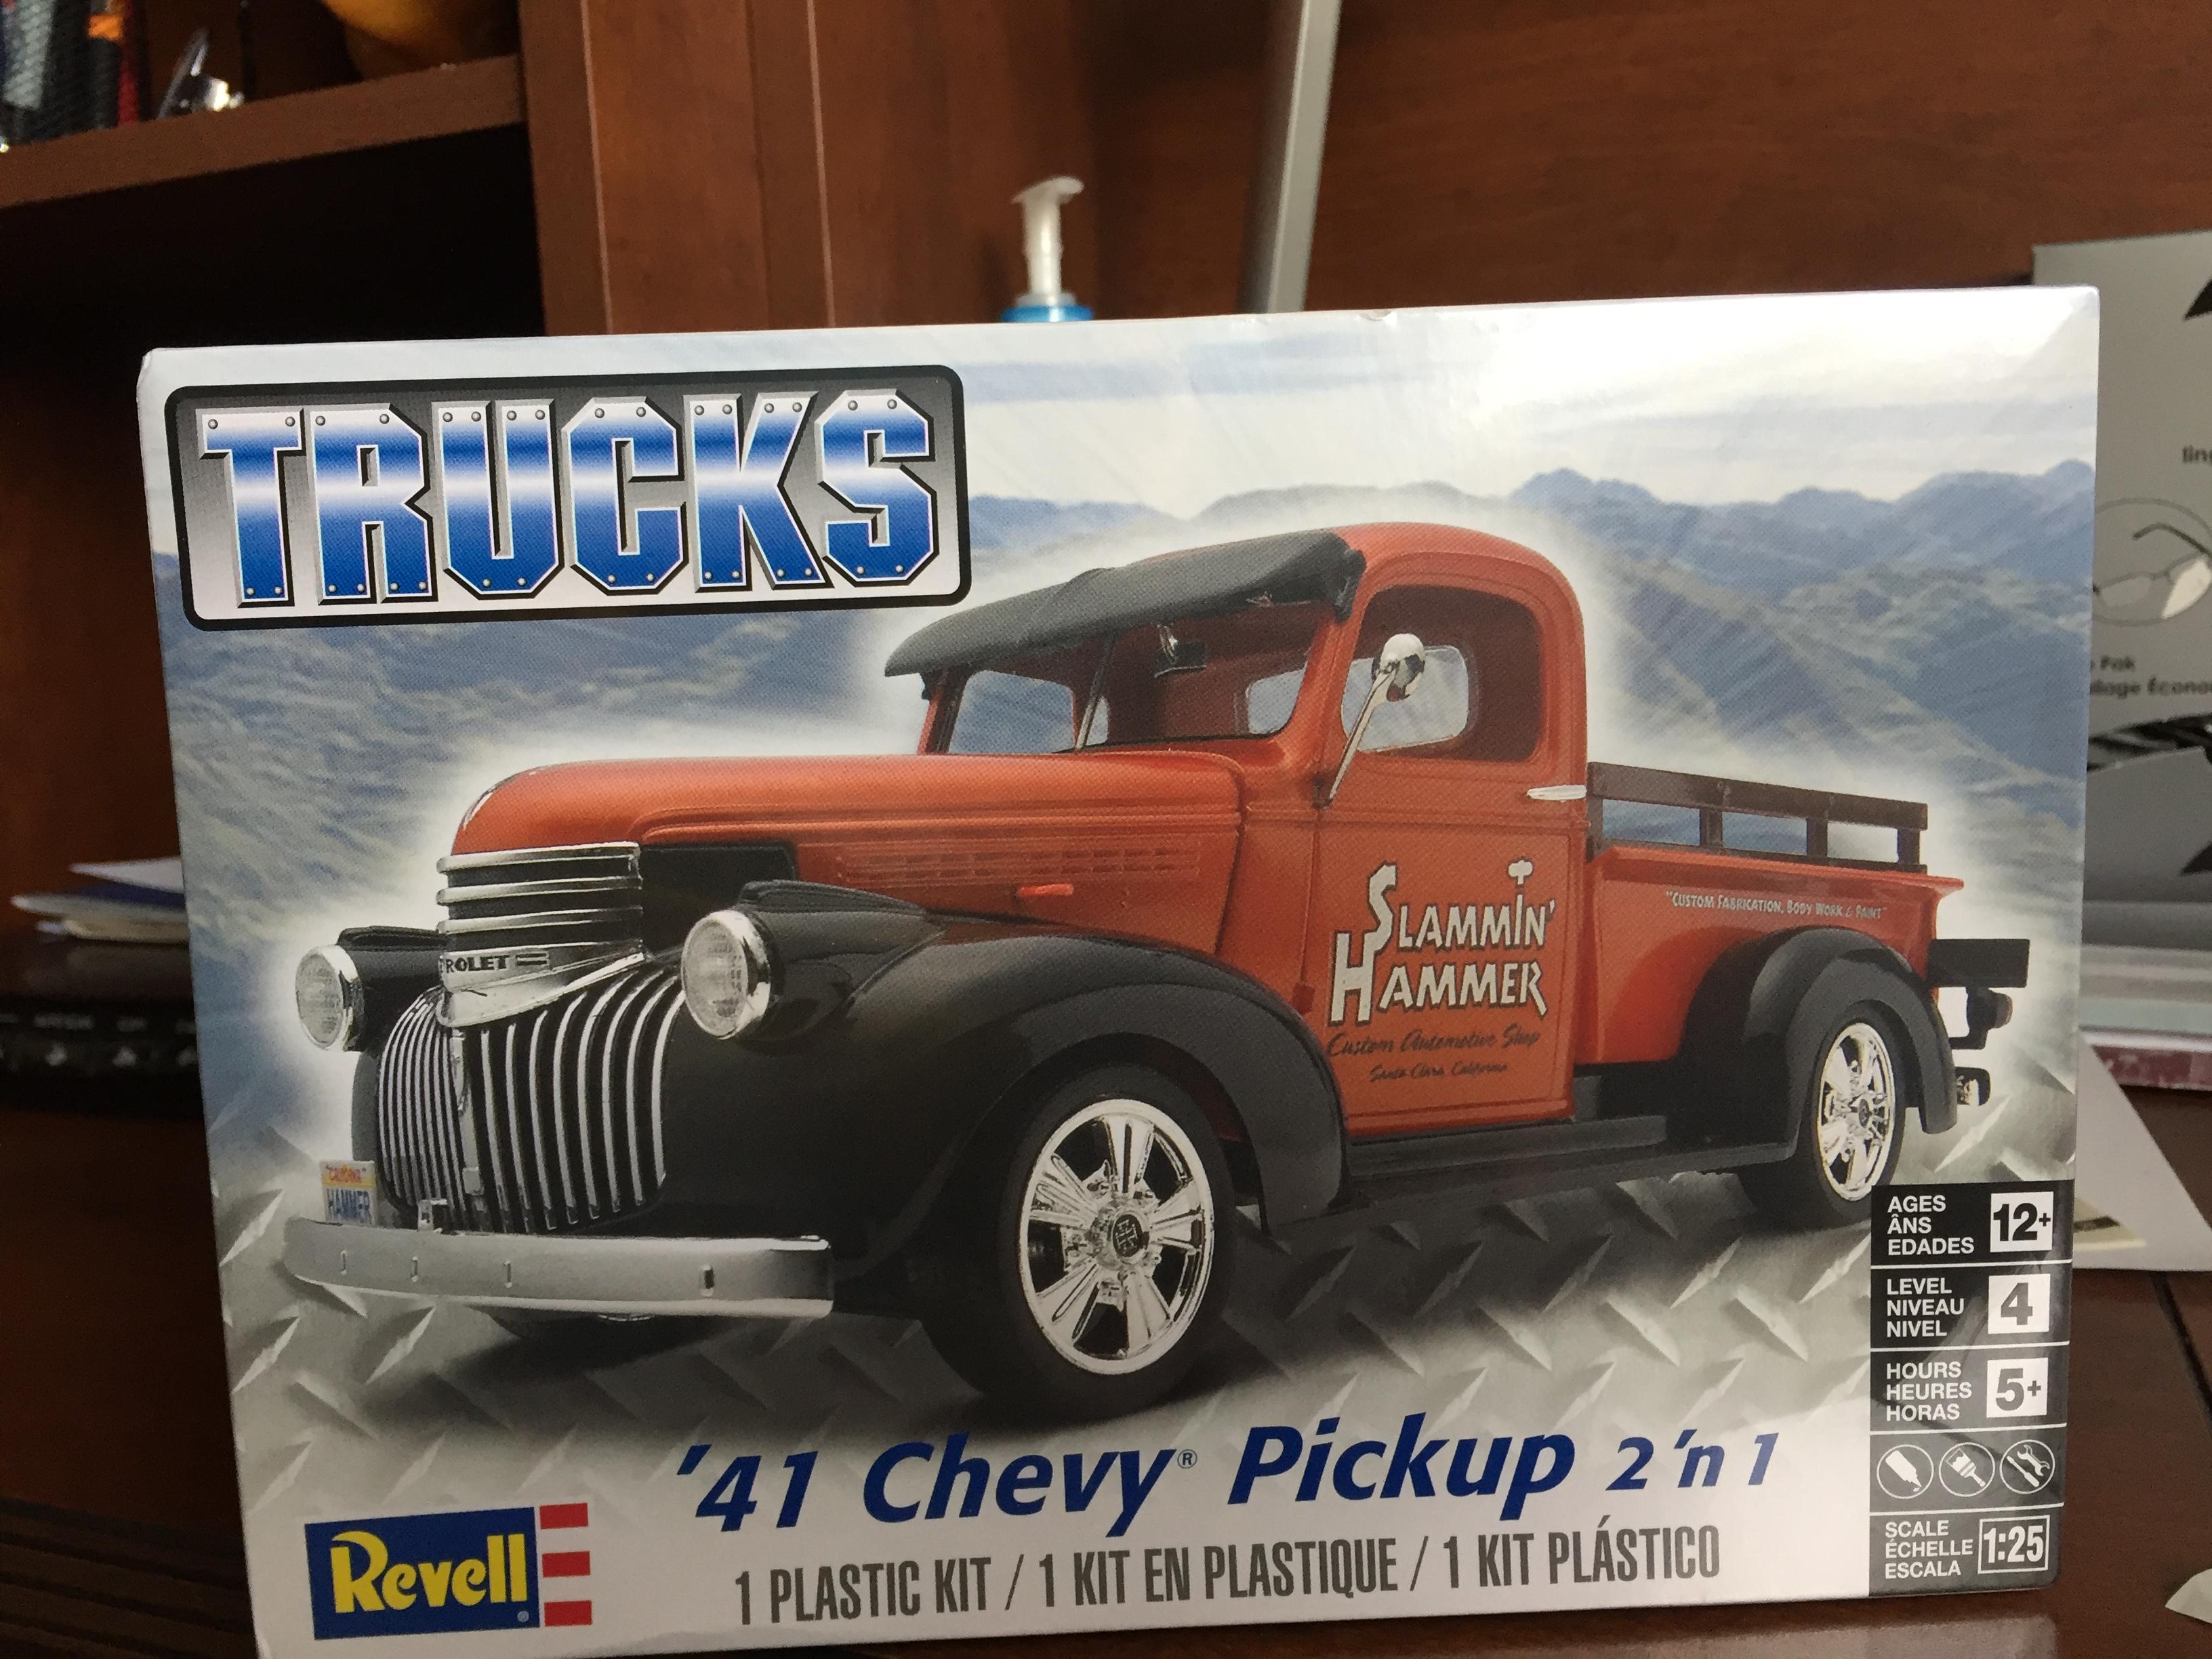
Very cool! I am currently building a stock version of this kit. Yours takes a lot more imagination and skill that’s for sure! How about a flat deck with a hover bike on it instead of the box? -
I started this one earlier this winter.
-
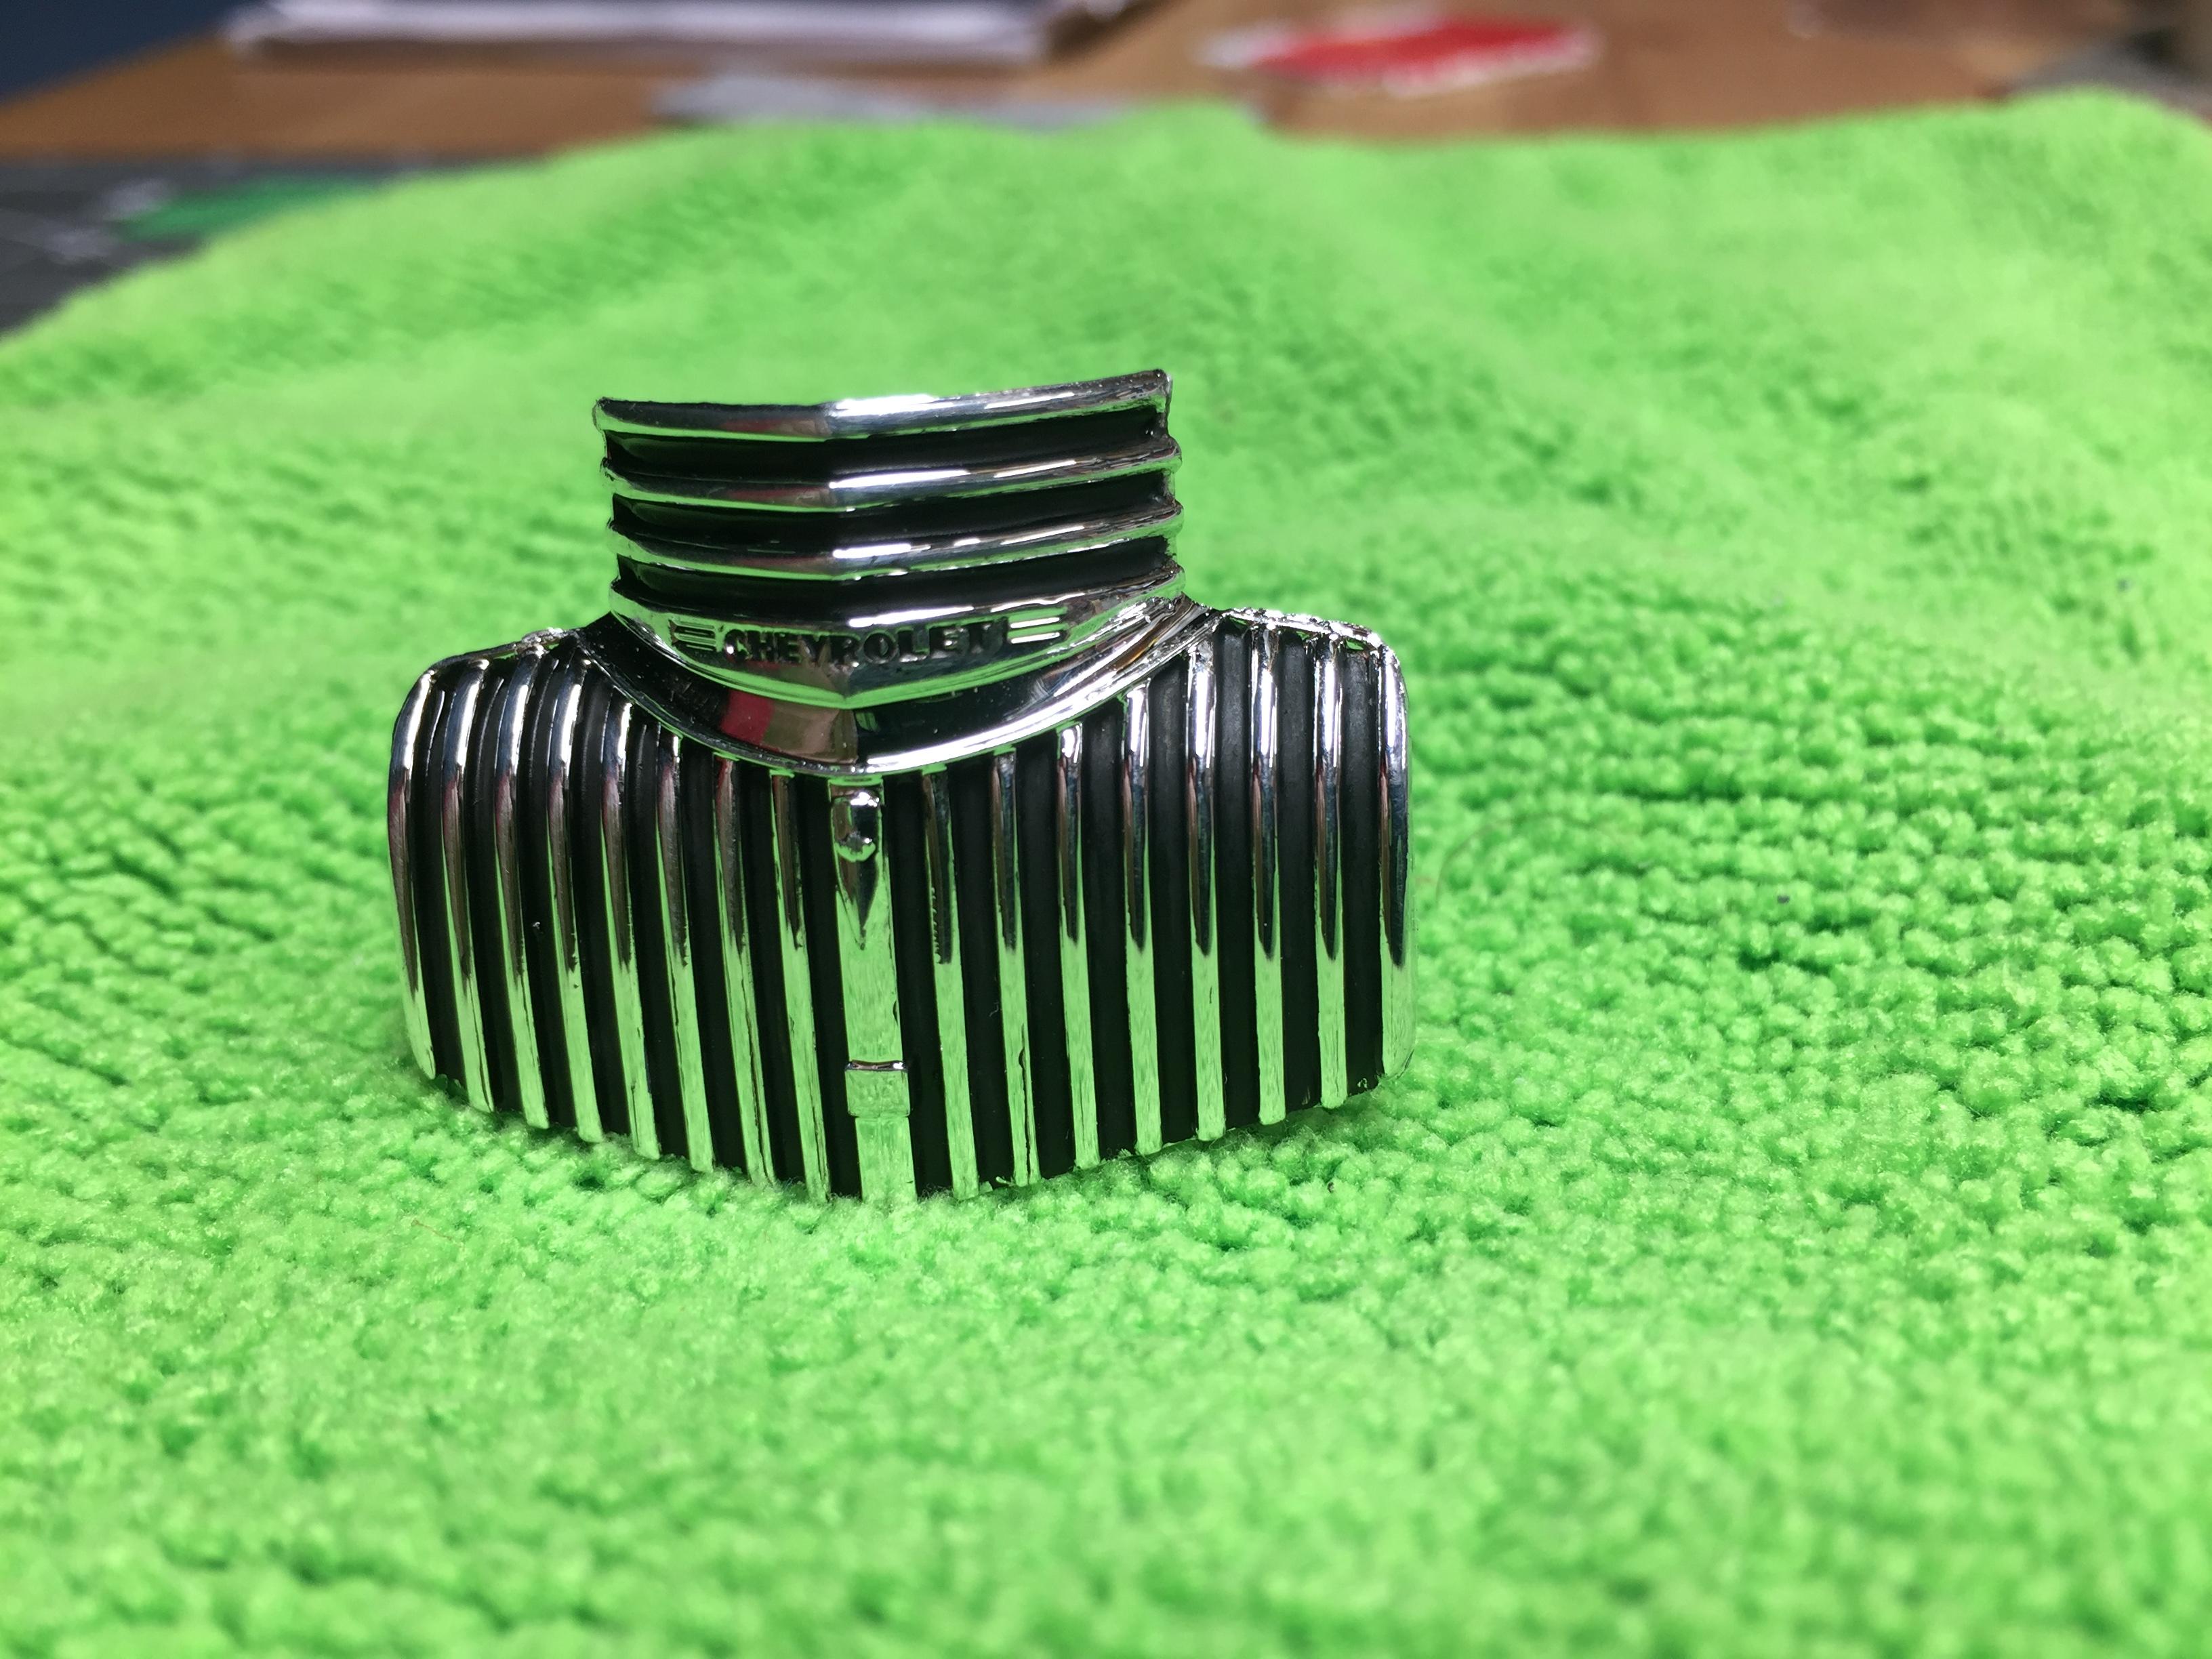
I am working on a ‘41 Chevy pickup. The grill has wide shallow indentations that represent the open slots. What black paint would look better, flat or semi-gloss? Actually opening them up is too difficult and would destroy the chrome. I think the SG might give the illusion of more depth.
-
Thanks for the offer...PM sent.
-
Just checked and it is definitely 1/24th, it measures 7-1/8” overall.
-
Nope...that was another thing not in the box. Oh well.
-
Nice save! It could also be this kit maybe?
-
I finally finished this one. It was a flea market special that I was missing all the clear parts and one tail light. It took me about six tries to get a windshield to conform and stay put!
-
Wheel Arch Molding Foiling Tutorial
NOBLNG replied to StevenGuthmiller's topic in Tips, Tricks, and Tutorials
Great tutorial! I like the painters tape idea. Now do one on how you do those beautiful scripts! Thanks, Greg. -
Modelers lead the way!
NOBLNG replied to Richard Bartrop's topic in General Automotive Talk (Trucks and Cars)
And the door to the parkade should open automatically as you drive up. -
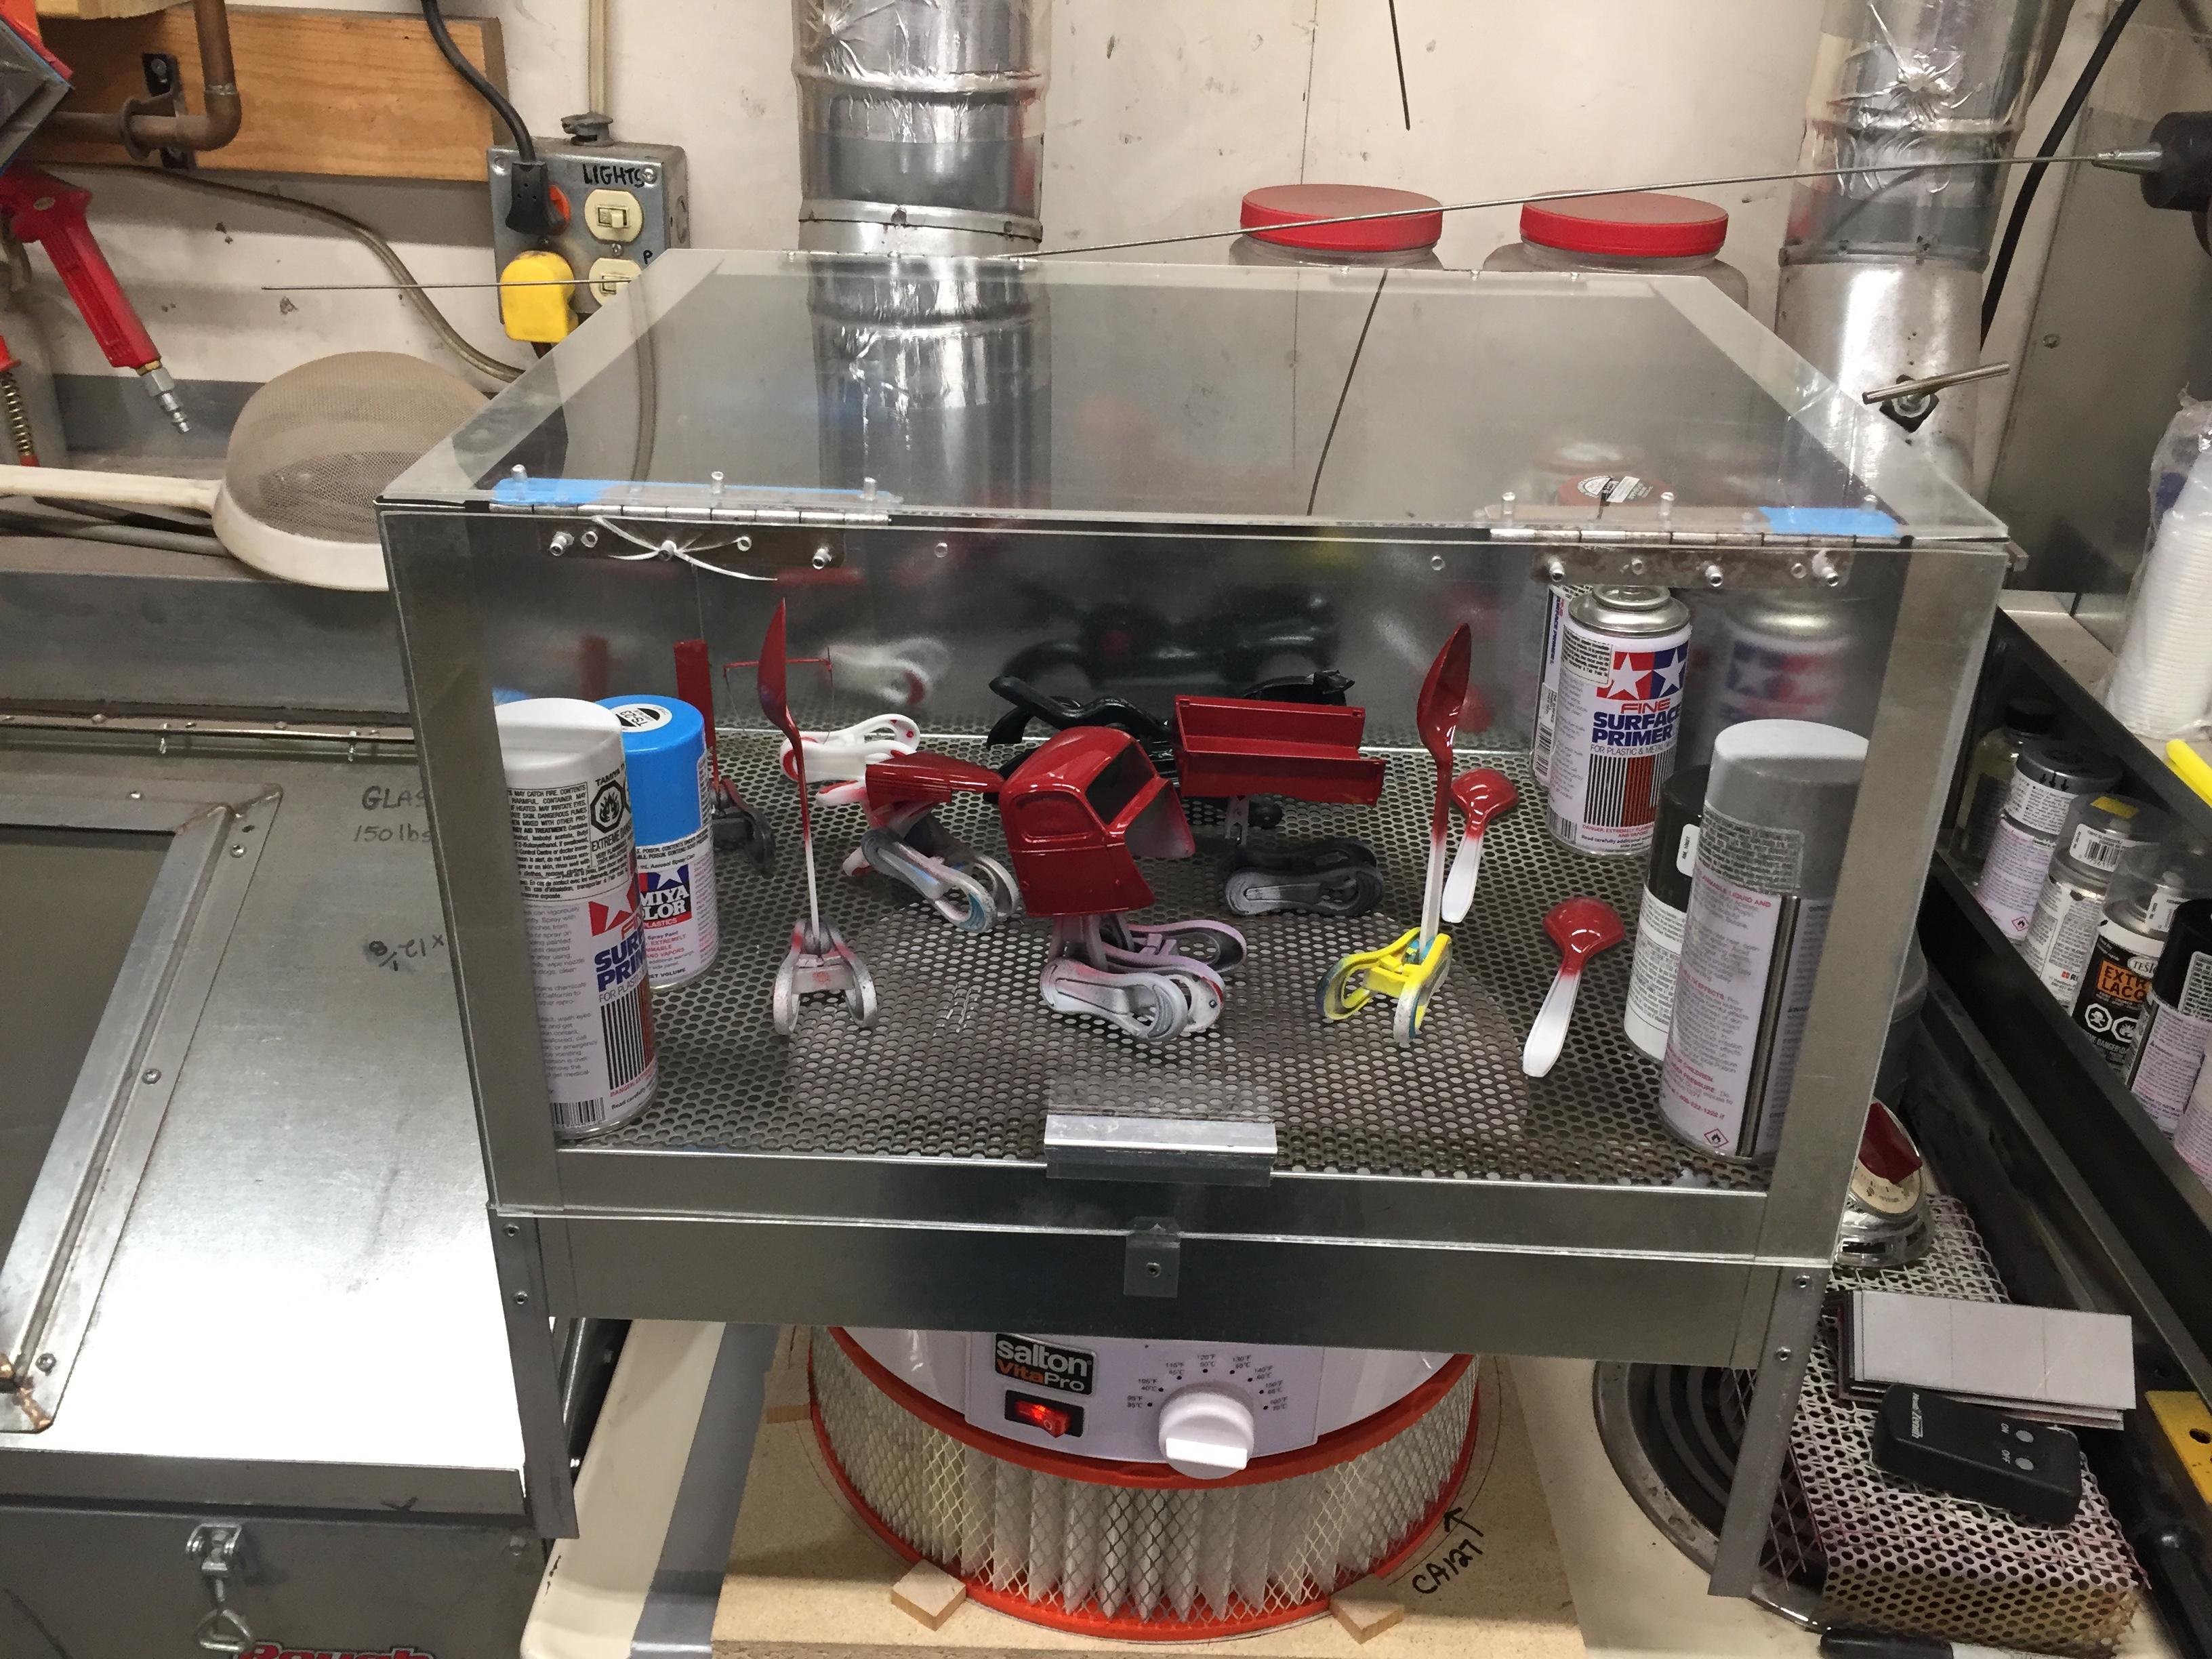
Food Dehydrators & Paint Dryers
NOBLNG replied to JayVee's topic in Model Building Questions and Answers
Thanks! Yes it has a fan in it. It is a cheapo I bought on sale at Canadian Tire. It definitely doesn't move as much air as it did with no filter, but I guess if I had 6 trays stacked up and loaded with jerky...that would be a lot of restriction too. -
Food Dehydrators & Paint Dryers
NOBLNG replied to JayVee's topic in Model Building Questions and Answers
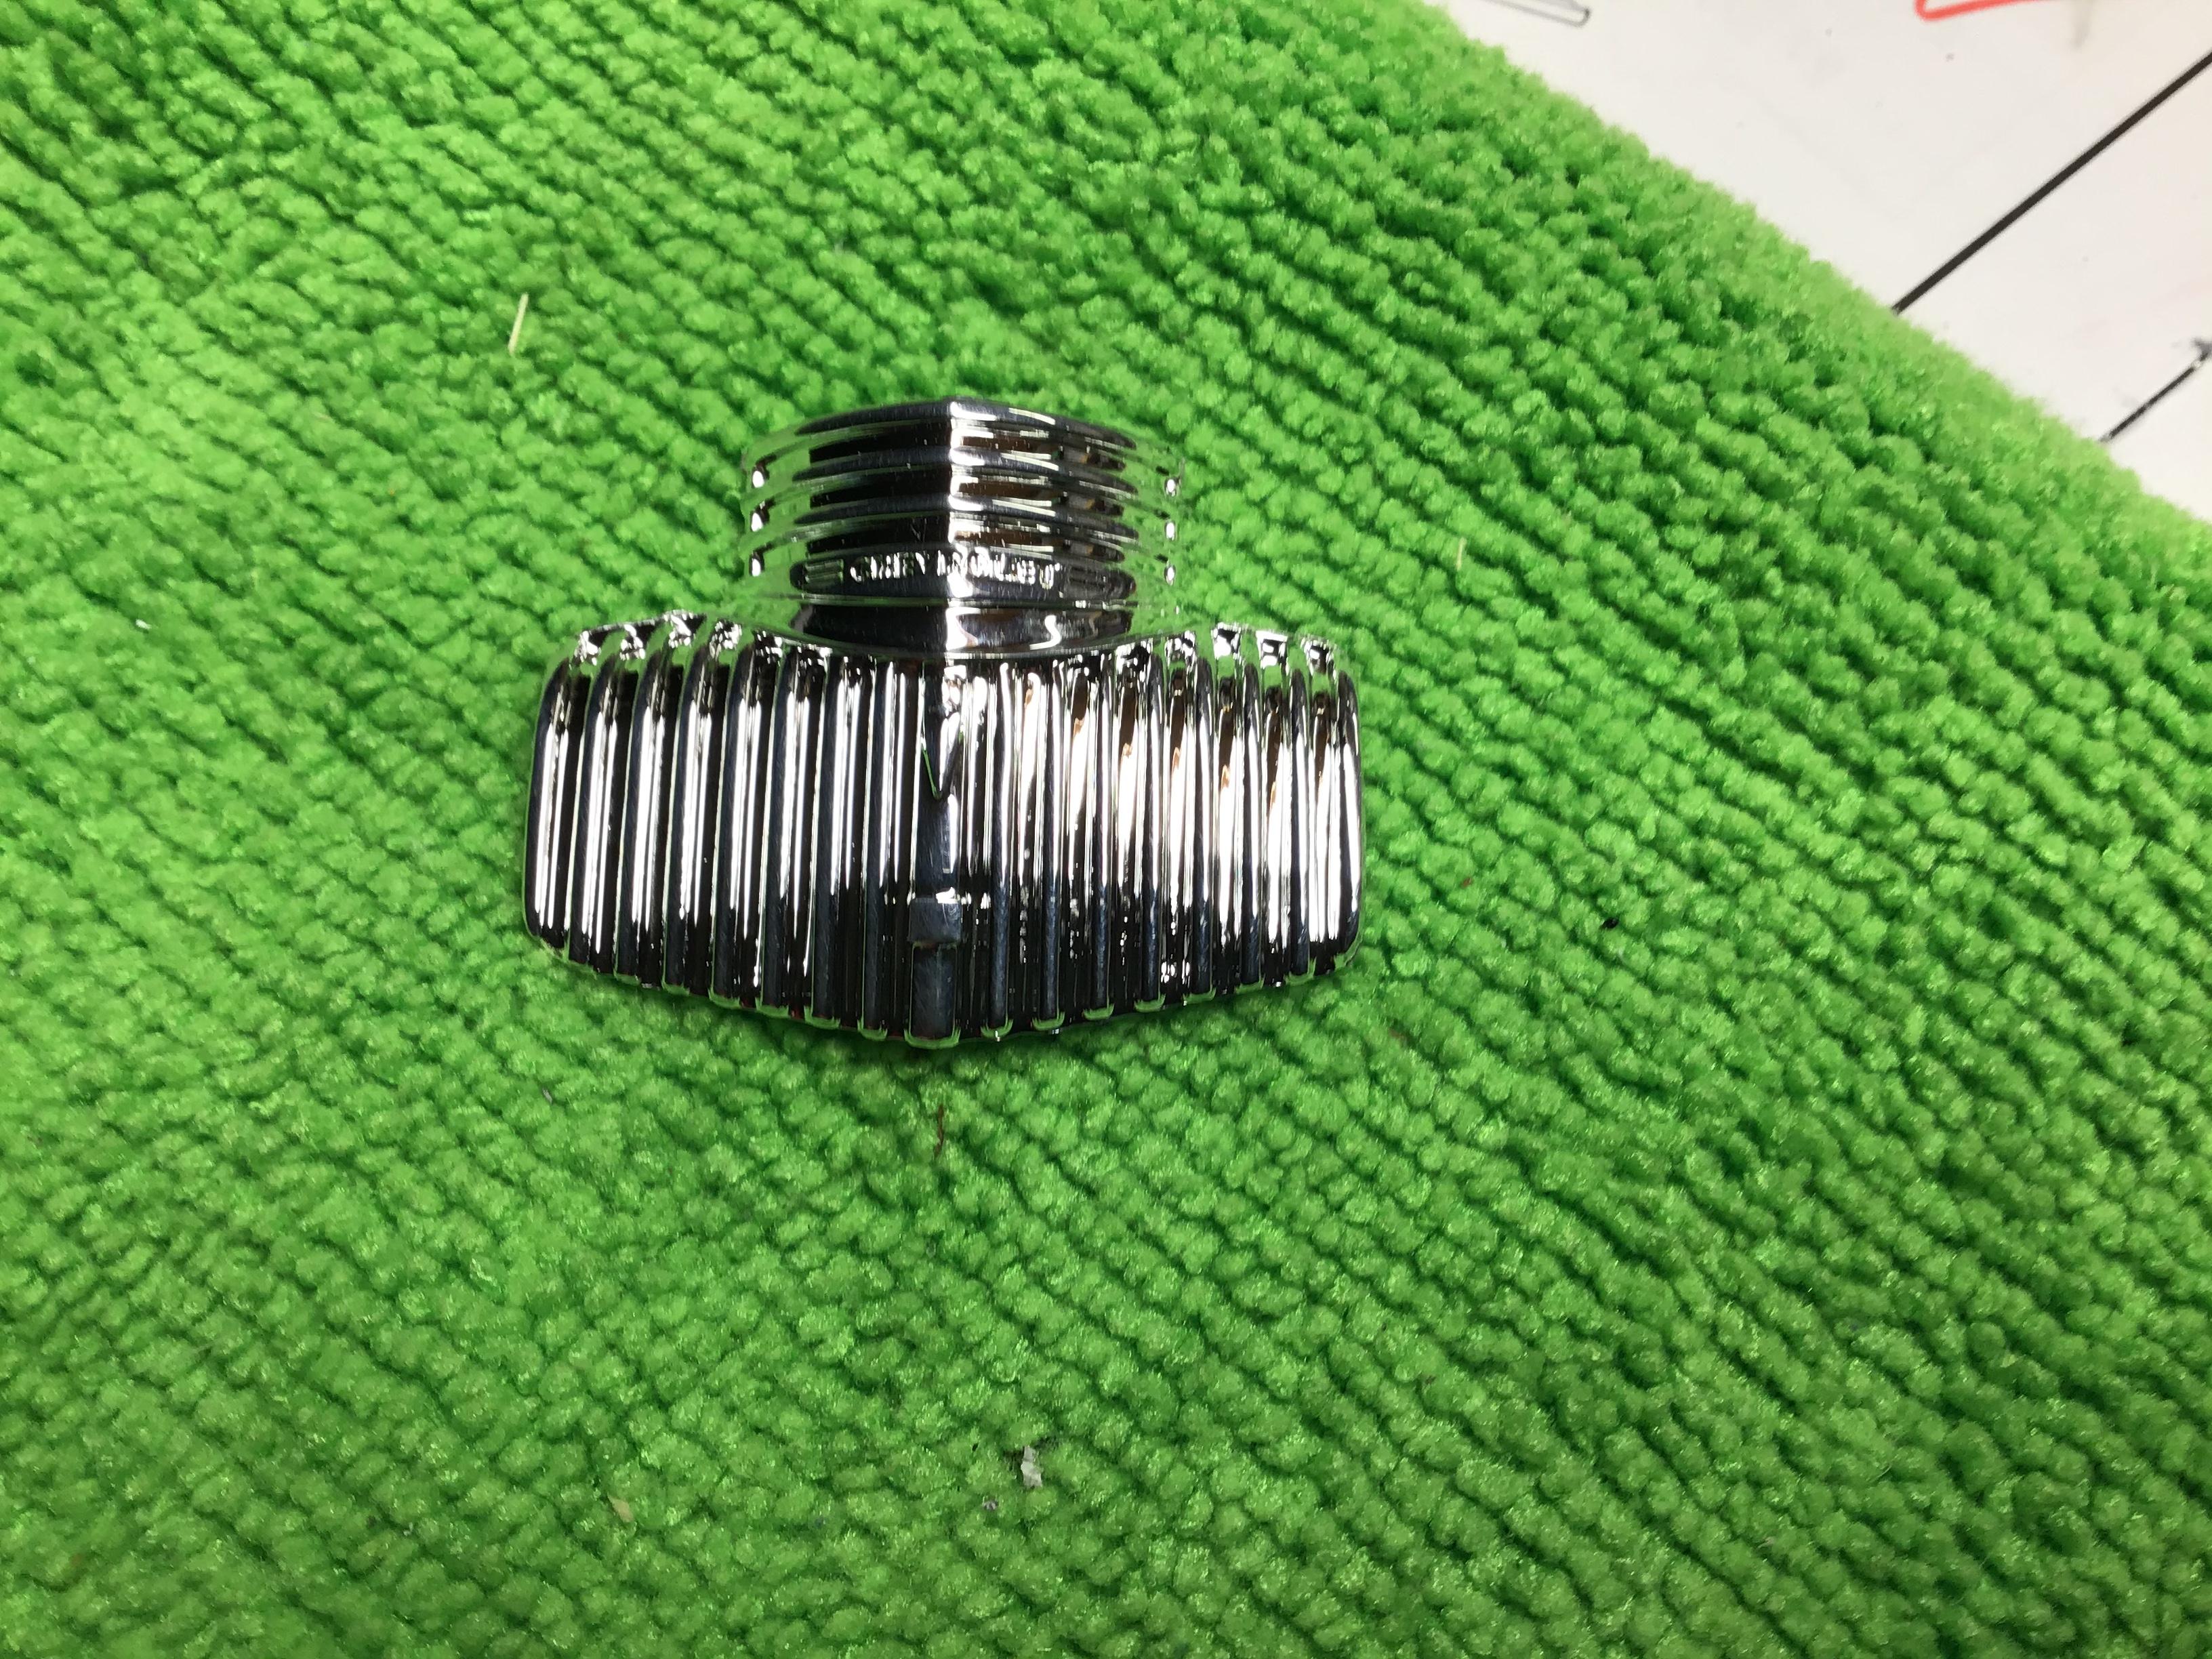
I do all my spray painting in the garage which is far from a dust free sanitary place. So I decided to add an air filter for my dehydrator. It turns out that one from a '75 Chrysler New Yorker is just the right size! I have kept an eye on it for a while to make sure the extra restriction will not cause overheating. It seems to be OK so far.
-
I have Short Berber carpet where I build. It’s amazing how far bits can bounce! I have found what often works to find them quickly is to lay my powerful little flashlight flat on the floor and scan the area with it. Anything above the carpet level stands out.
-
Biggest pet peeves on builds.
NOBLNG replied to LL3 Model Worx's topic in General Automotive Talk (Trucks and Cars)
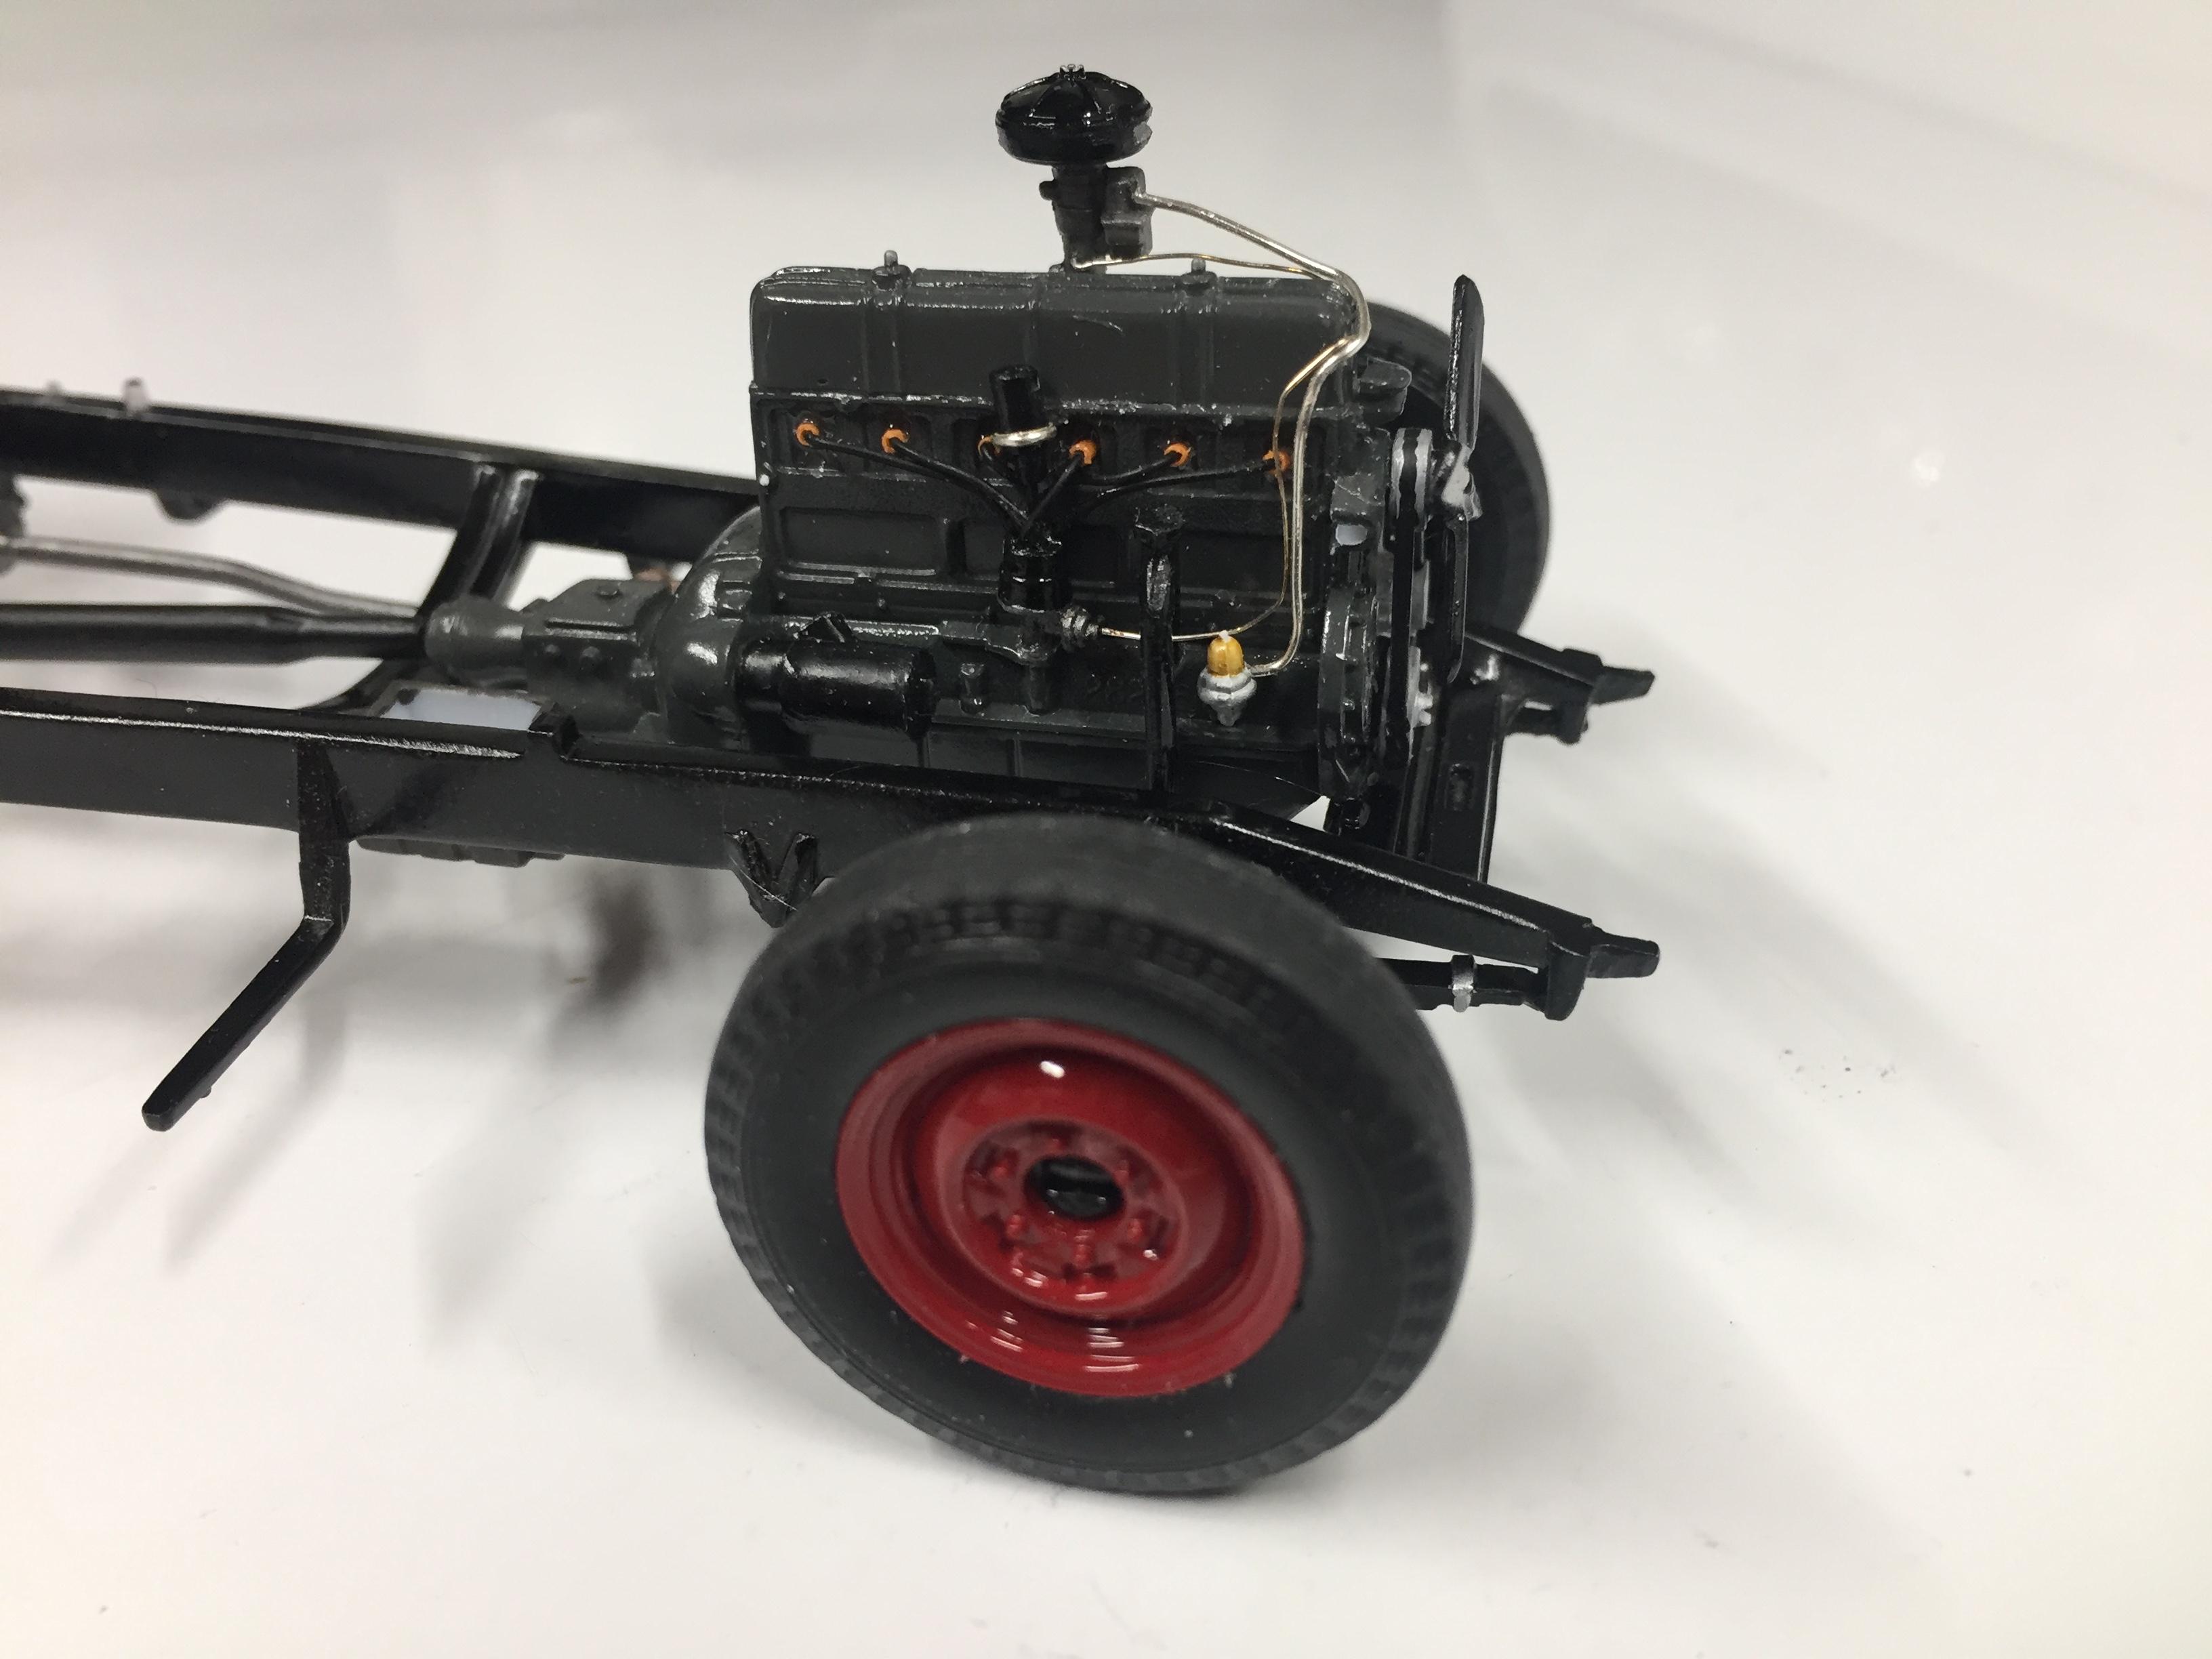
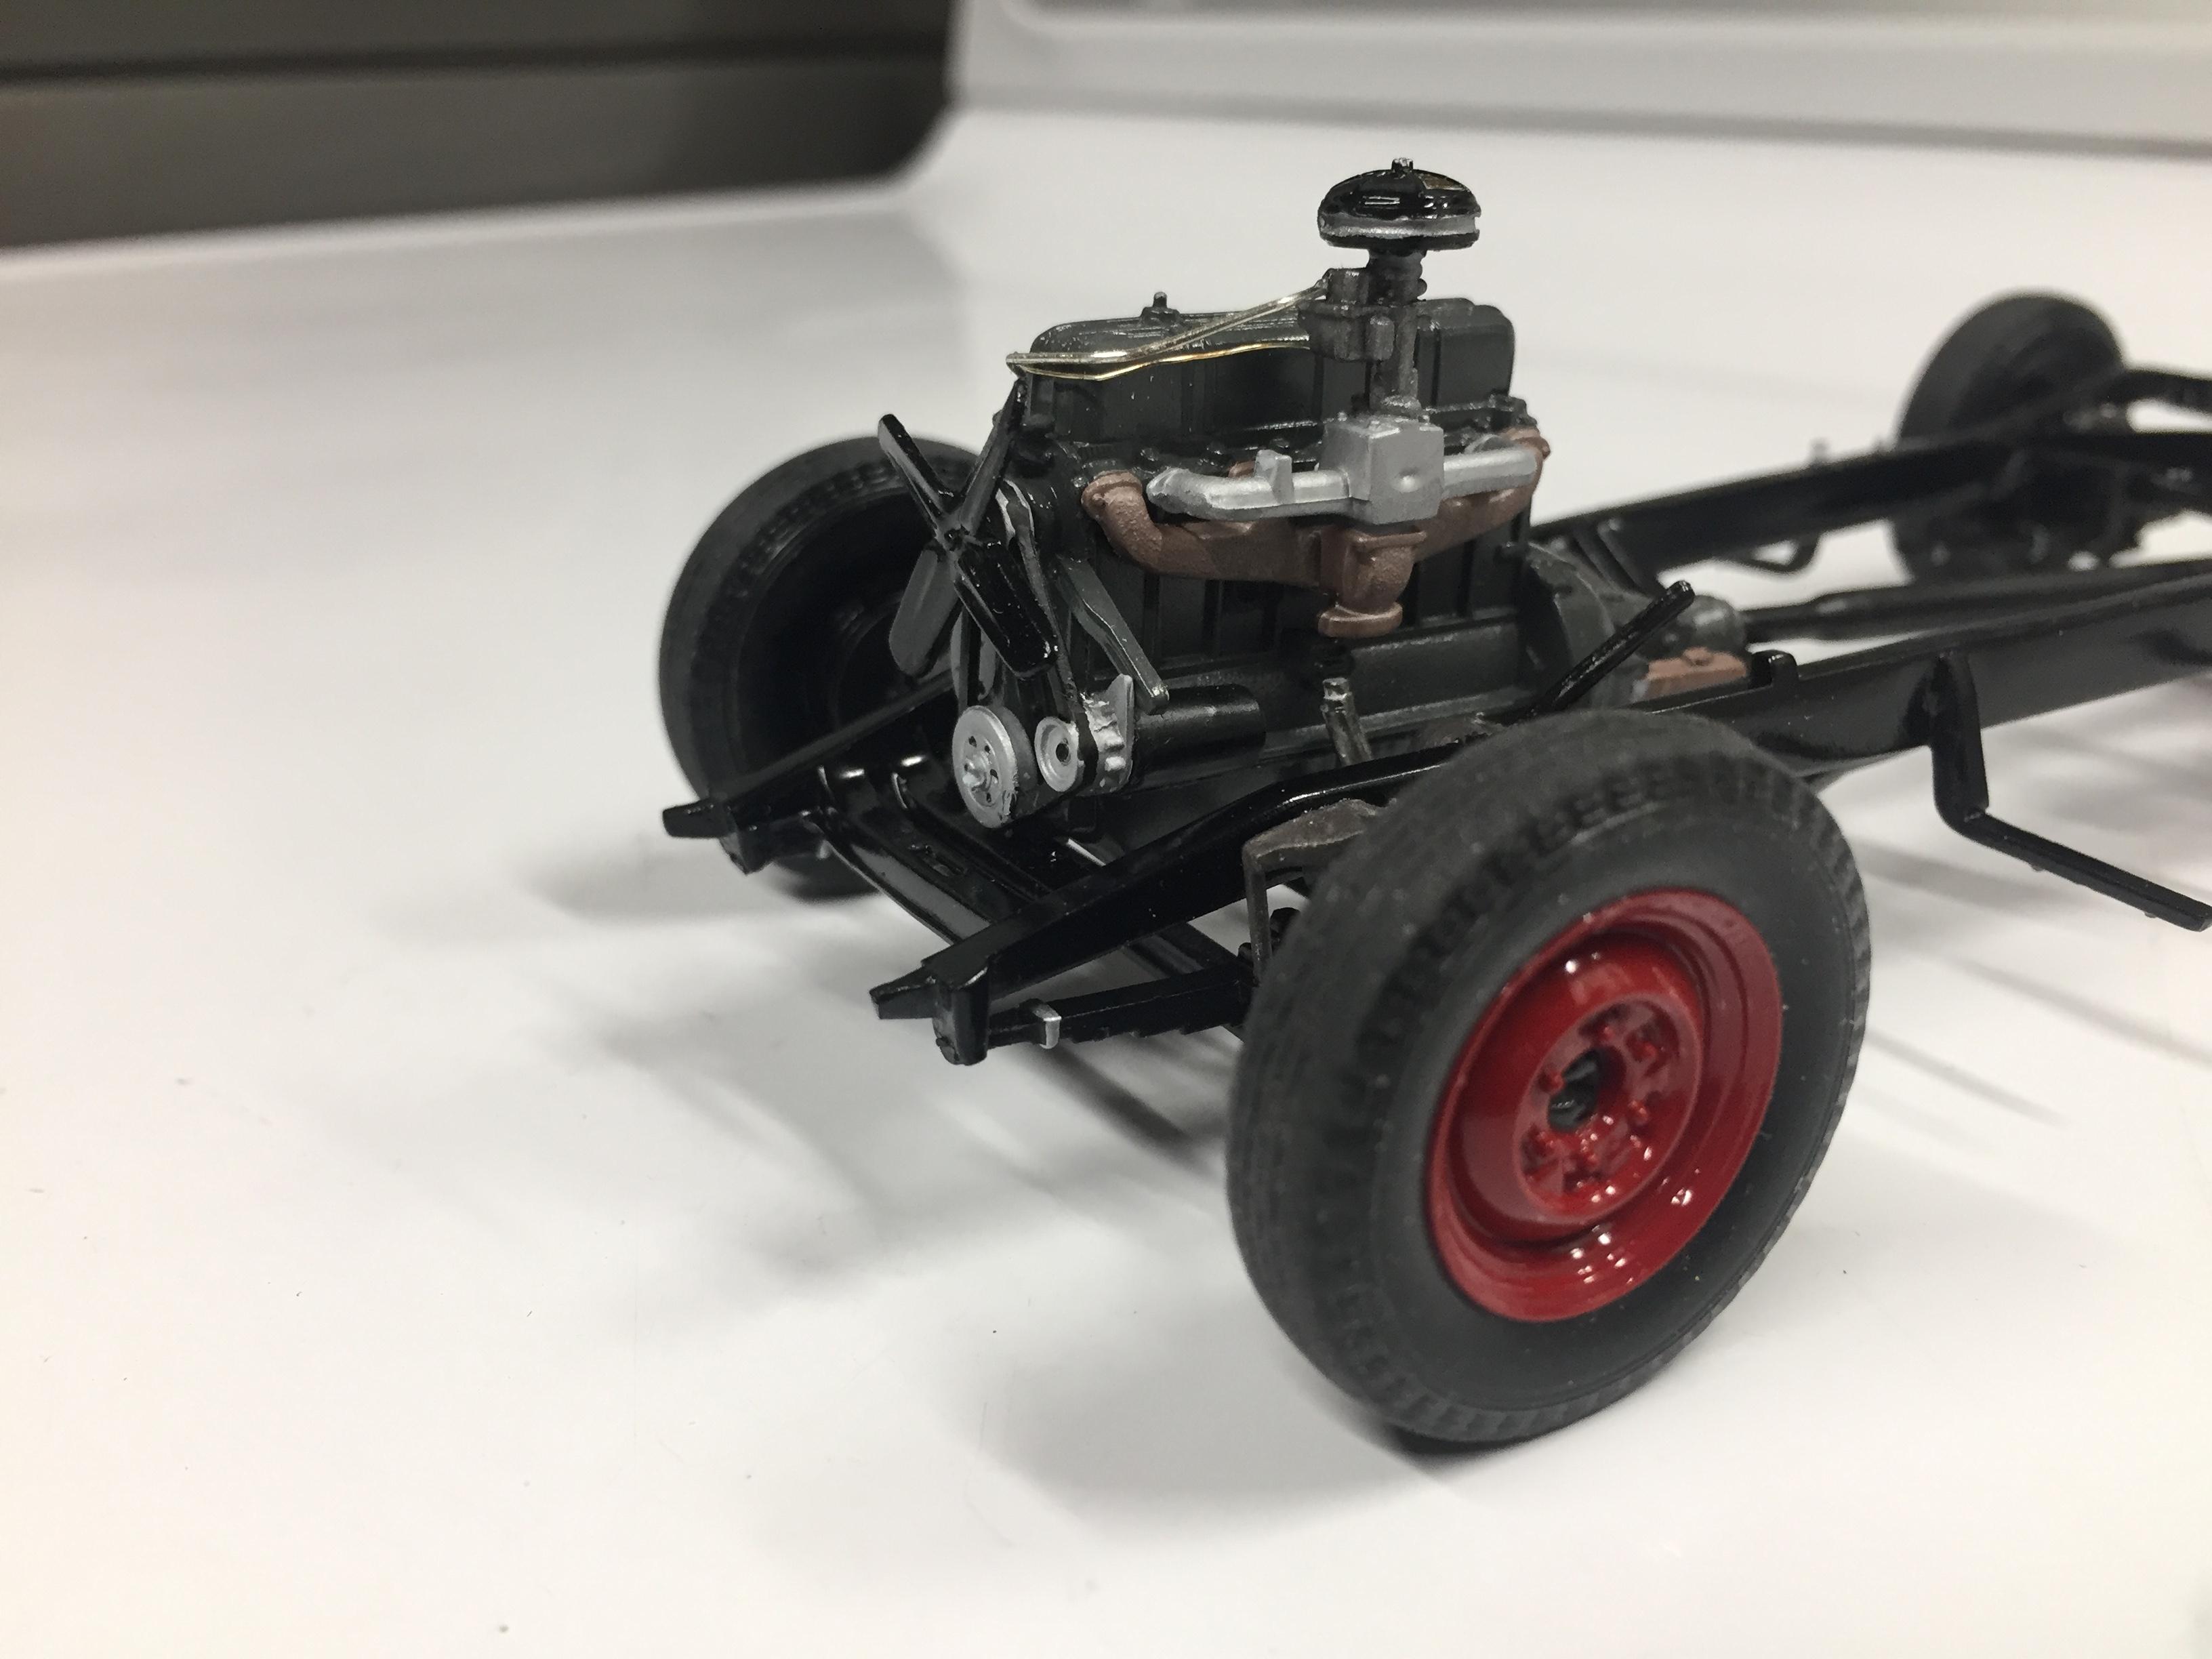
Not really a build peeve, but a kit peeve. Why can't manufacturers mold in semi proper engine mounts? Granted this is an older kit, but the 409 engine in the AMT kit I am working on has a rectangular peg on the bottom of the oil pan for a front engine mount. It makes it difficult to build a stand to work on it and display it! -
Wow Bill! Your attention to detail is astounding!
-
shipping charges apply
-
Which modeling glue to use ?
NOBLNG replied to Ctmodeler's topic in Model Building Questions and Answers
How long does the Elmers take to dry before it can be handled? And does it have any strength, or does that have to be built into the joint design?