NOBLNG
-
Posts
10,231 -
Joined
-
Last visited
Content Type
Profiles
Forums
Events
Gallery
Everything posted by NOBLNG
-
Very nicely done! Love the colour.
-

1964 Pontiac Auto Transmission
NOBLNG replied to StevenGuthmiller's topic in Model Building Questions and Answers
I think there is more historical-technical knowledge on this forum than there is on the 1:1 websites!? -
So...talk to me about brushes
NOBLNG replied to Monty's topic in Model Building Questions and Answers
I do like to buy quality brushes, but you would be absolutely horrified if you saw me cleaning them!? -
I just made a new rear brake light lens from some Clear flash because I wasn’t happy with the kit piece. Red or amber bits could possibly be used for side marker lights?

-
Painting over Pledge future clear coat??
NOBLNG replied to 2zwudz's topic in Model Building Questions and Answers
It’s gotta be pretty durable, it’s made to be walked on!? -
Really nice. I LIKE!
-
The primer looks pretty good. Back to the Milliput idea...could it be rolled out with a rolling pin or dowel to the proper thickness, cut to shape and laid on the body so it conforms to the contours? Just spitballing, I have no experience with Milliput.
-
Coronavirus (COVID-19) Discussions
NOBLNG replied to Dave Ambrose's topic in General Automotive Talk (Trucks and Cars)
Best of luck to you Vince! Everyone else...stay as safe as you possibly can! -
Sorry, I was a sheet metal worker by trade and assumed it was obvious. I clarified it. That was the first attempt and I just pinned it down over the guard with thumbtacks. I think if a person was to make a frame, the actual screen could be glued in to make it even more realistic?
-
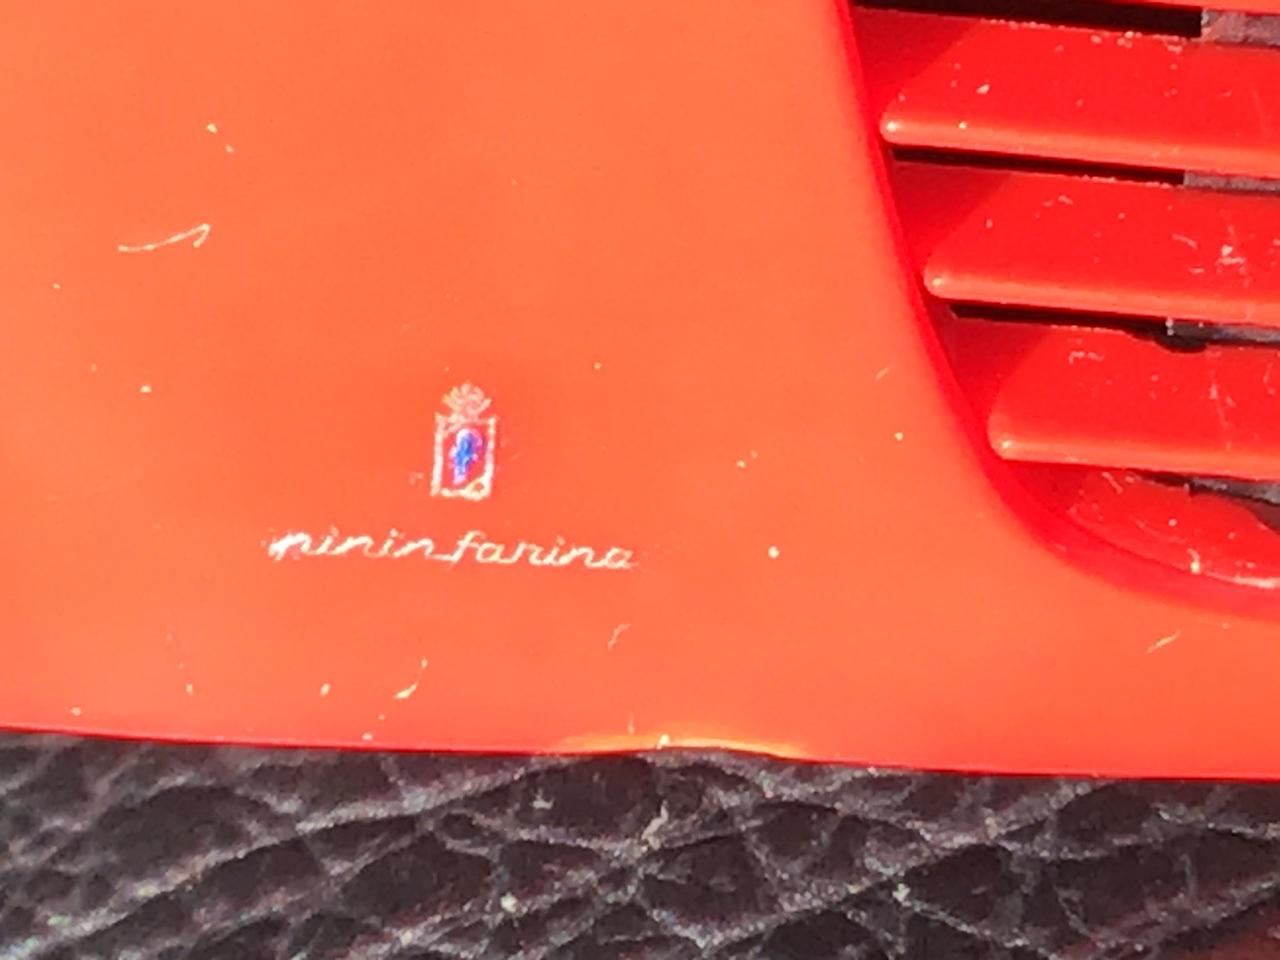
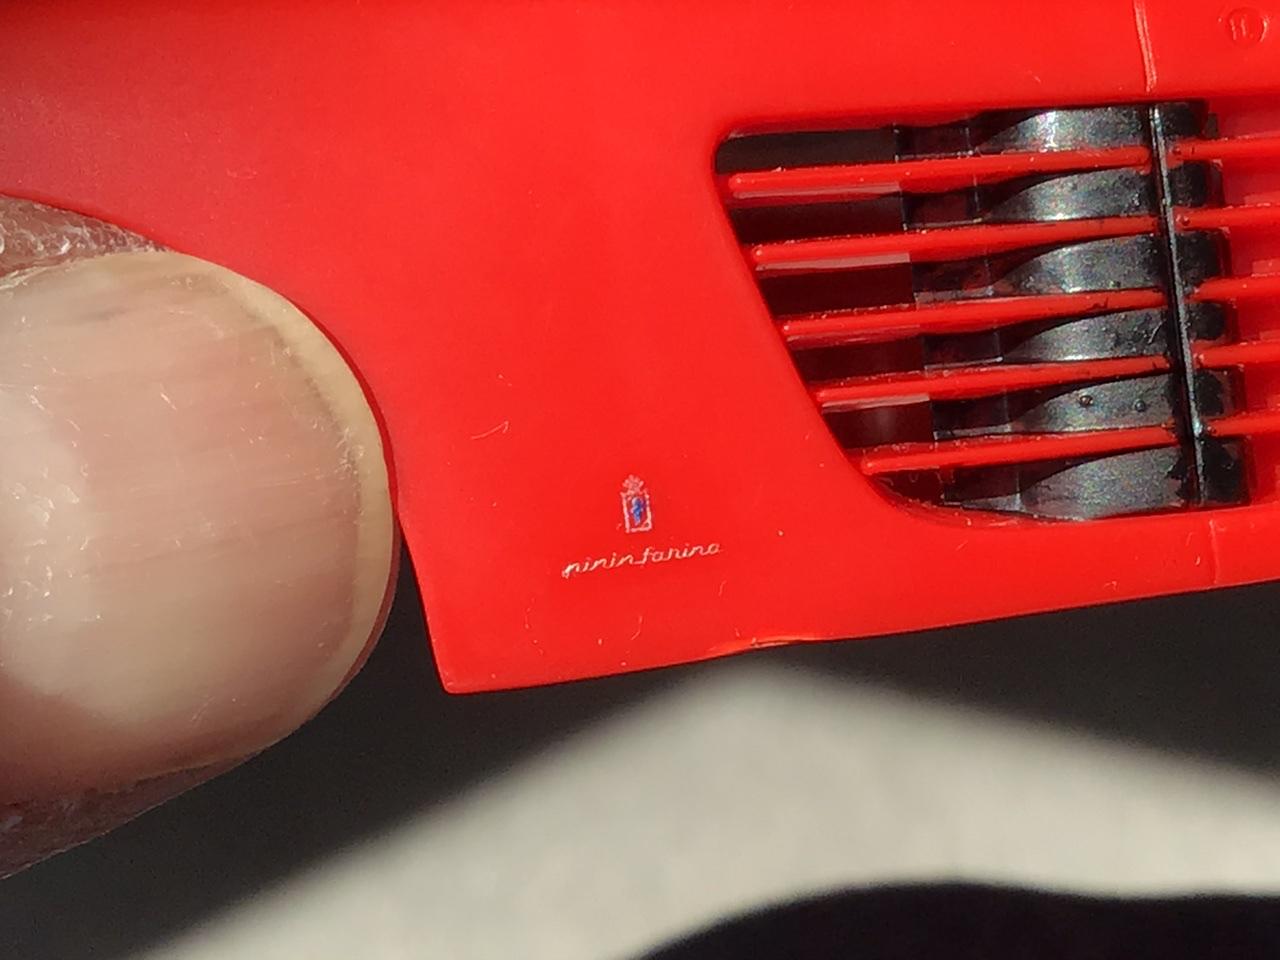
Managed to paint the script on the Ferrari. Thanks for the dry brushing suggestion Richard.
-
The finish does look beautiful!
-
That is looking great. You certainly have some talents!
-
Vinyl roof chrome trim size?
NOBLNG replied to 2zwudz's topic in Model Building Questions and Answers
I used .040 half round for the chrome trim and .030 half round for the seam on the vinyl. I sanded both slightly to get a half-oval shape.
-
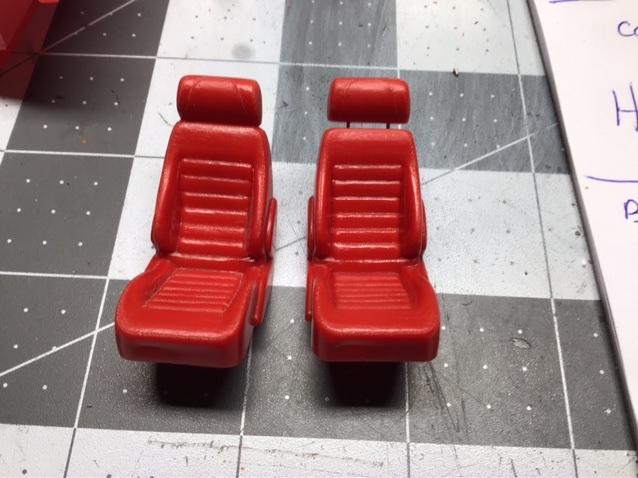
They are both done, but I will be setting them at different heights. I have often thought of sliding the passenger seat father forward also, but always wind up mounting them even. ?
-
If those are all models, Johns been a busy Boy!
-
Here’s a little trick I discovered for simulating expanded metal. This is the belt guard for the compressor in the “Joe’s Garage “ kit. I sprayed the aluminum first, then stretched a piece of fibreglass window screen diagonally and used it as a mask. Then I shot a lite coat of black on it.
-
Very nicely done. I like the colour too!
-
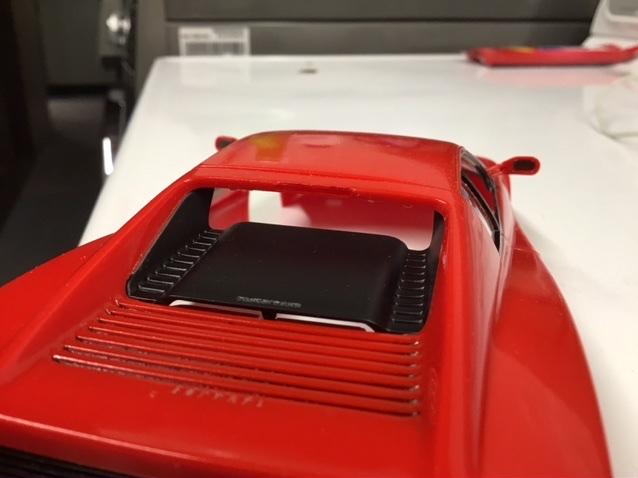
Detached the headrests on the Ferrari seats. Still need to trim the pins to length.
-
Really fabulous work on these! Kudos on your talents and diligence to pull that off so perfectly!
-
We got back from 10 days in Mexico on Friday, so this is day 4 of the currently prescribed 14 day self-quarantine. I am retired so normally spend most of my time back and forth between the garage and the basement anyway. I know economics don’t allow it, but if everyone stood in one spot for 2 weeks, most of the infected ones could be identified and treated. Hopefully someone can come up with a vaccine soon. Stay safe everyone!
-
Painting over Polar Lights Pre-Painted body
NOBLNG replied to Carmak's topic in Model Building Questions and Answers
Always wash the body with soap and water also to remove any residue from the moulding process. I use comet and a toothbrush, I like the mild abrasiveness. Rinse well! edit: oops, pre-painted? I haven’t seen one of those. -
Chopped 1932 Ford 5-Window Coupe with Y-Block Power!
NOBLNG replied to Dennis Lacy's topic in WIP: Model Cars
That is lookin’ real fine! -
Looks fabulous!
-
That is one sweet looking little Corvette!
-
What more can I say? It’s beautiful and about as perfect as humanly possible! Love your work!