NOBLNG
-
Posts
9,953 -
Joined
-
Last visited
Content Type
Profiles
Forums
Events
Gallery
Everything posted by NOBLNG
-
That is a neat idea! Being styrene it could be glued right into the joint and the excess filed off after the glue has set. The brass or aluminum one has merit too…you could put a short slit in the end of the strip and bend one tab 90 degrees in each direction to avoid having to solder anything.
-
That is looking great Jim!👍 That silicone tip tool is great for pushing BMF into script and emblems too…see I can read.🤓
-
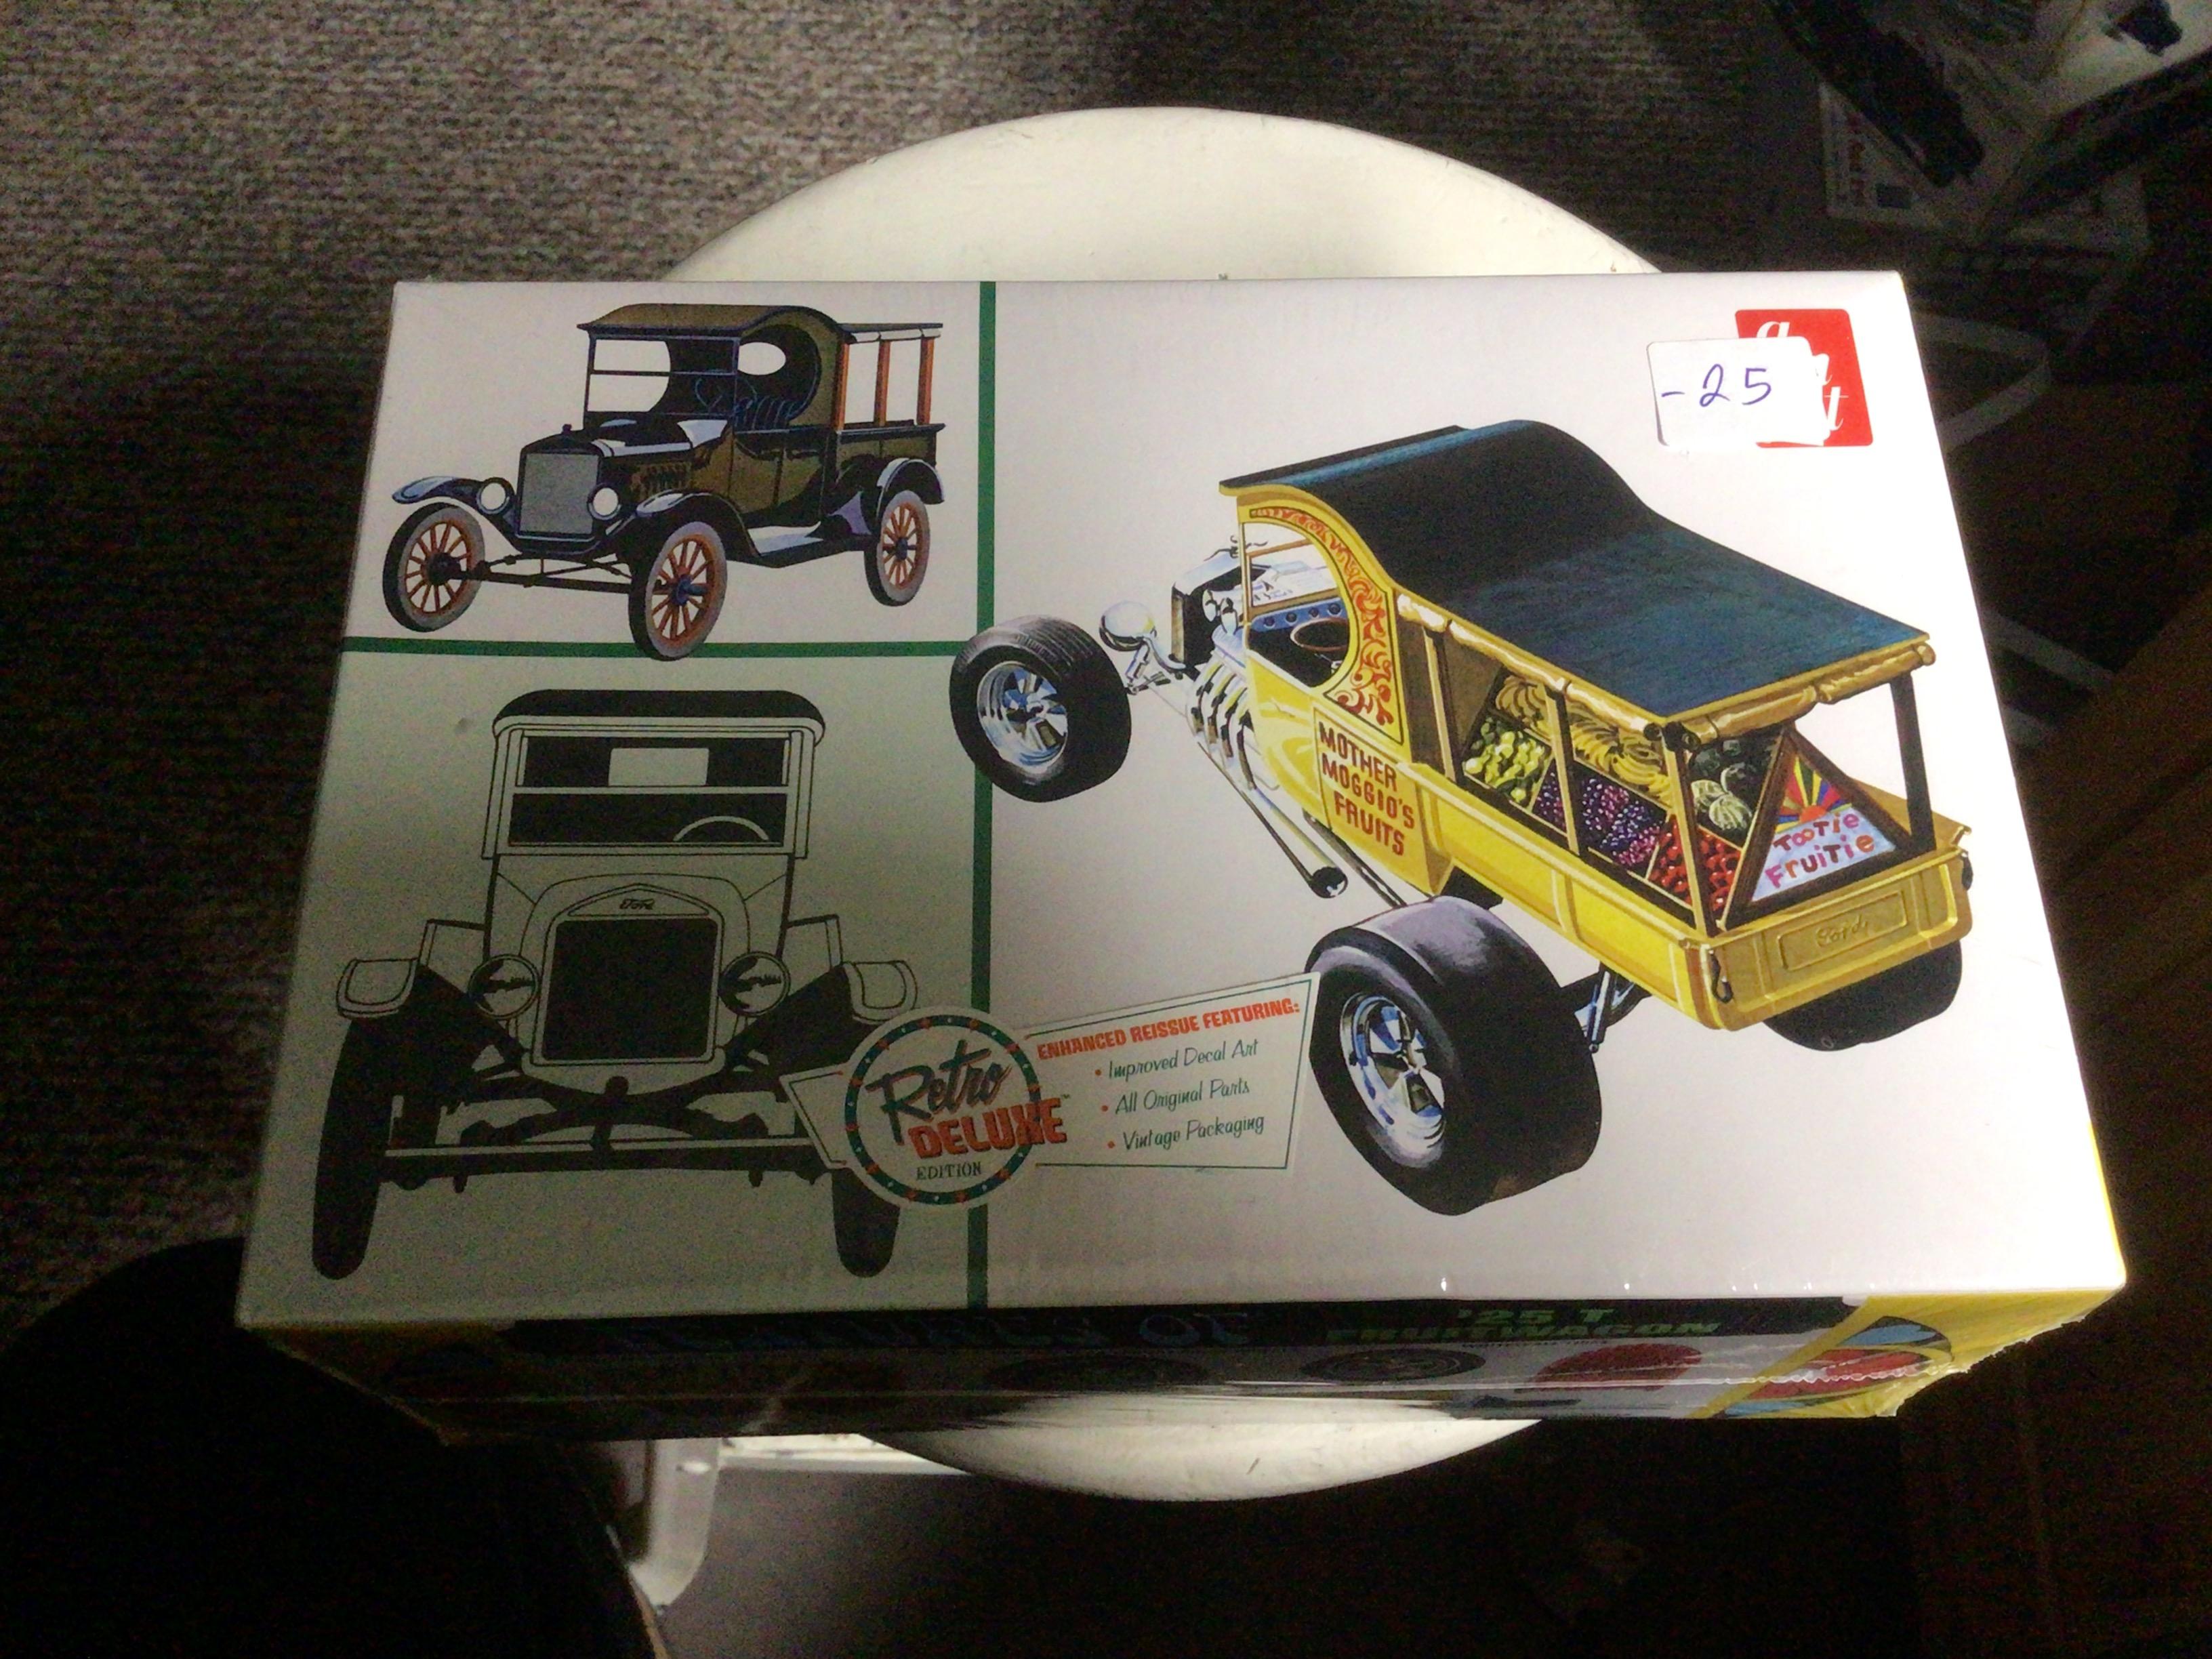
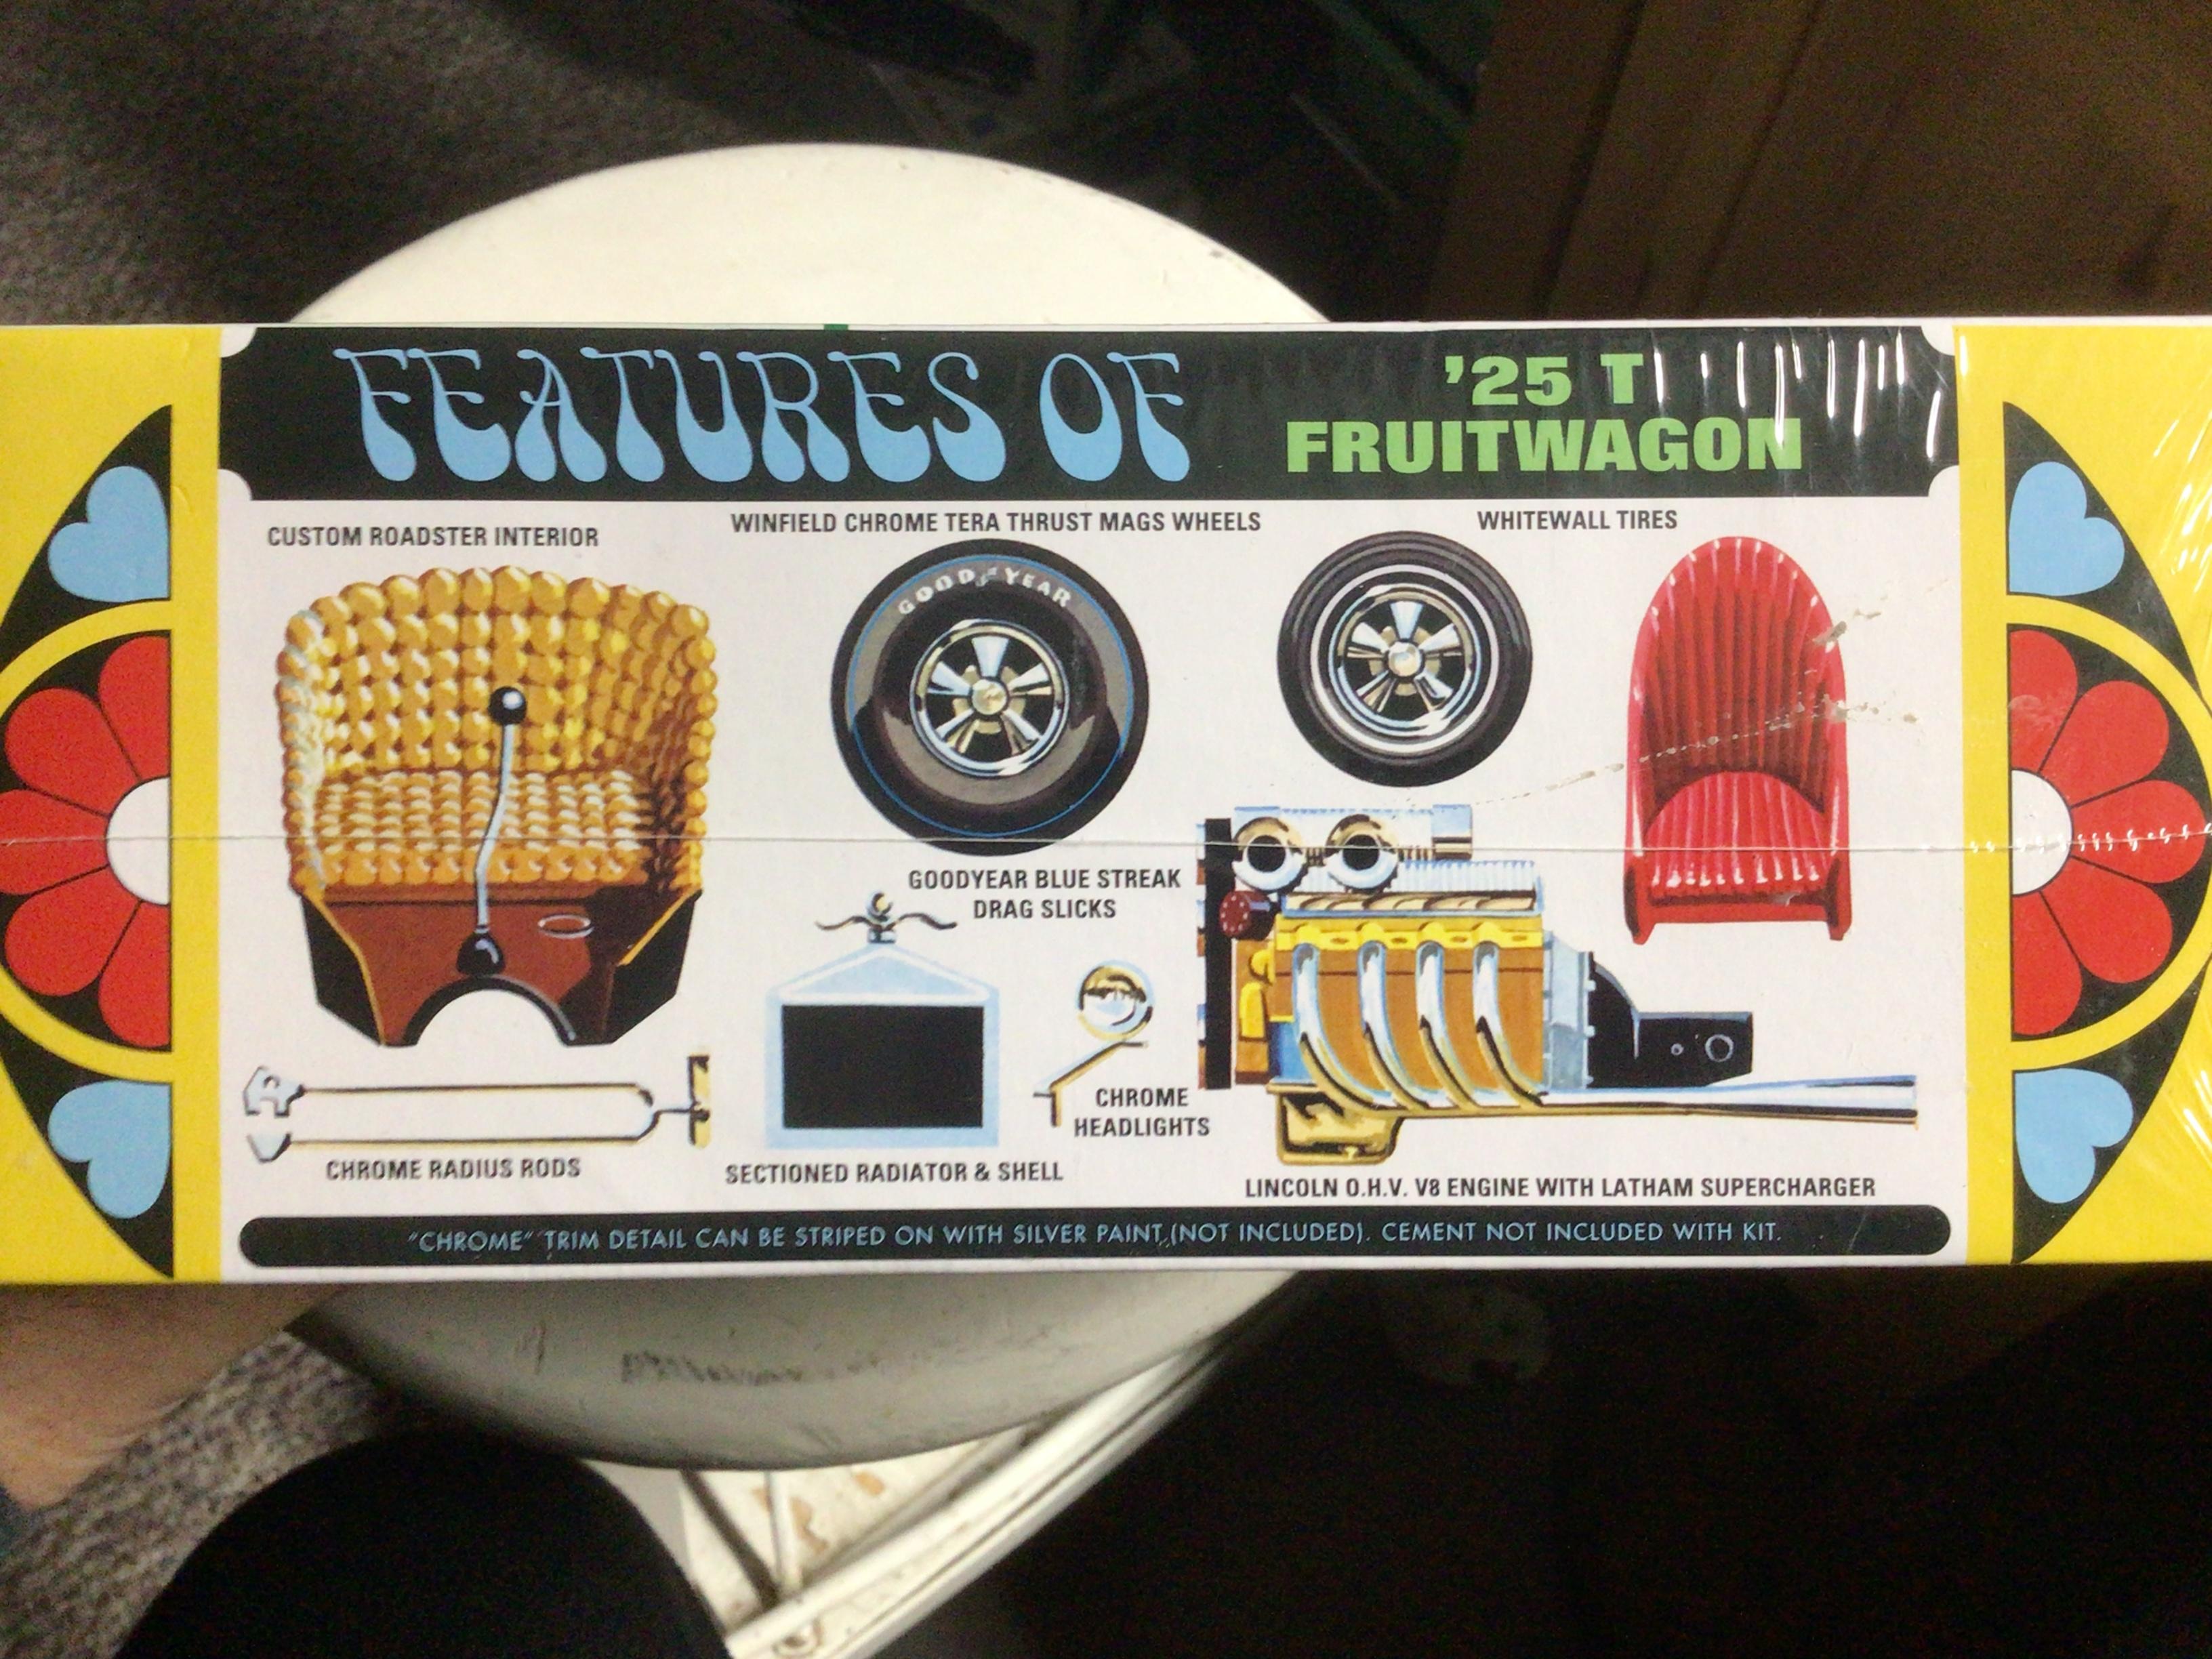
 I picked this unopened kit at the flea market for $20. because I see it has a supercharged Lincoln engine as an option.😎 Anyone know if it is any good?
- 38,881 replies
-
- 4
-

-
- johan
- glue bombs
- (and 1 more)
-
- 43 replies
-
- 11
-

-
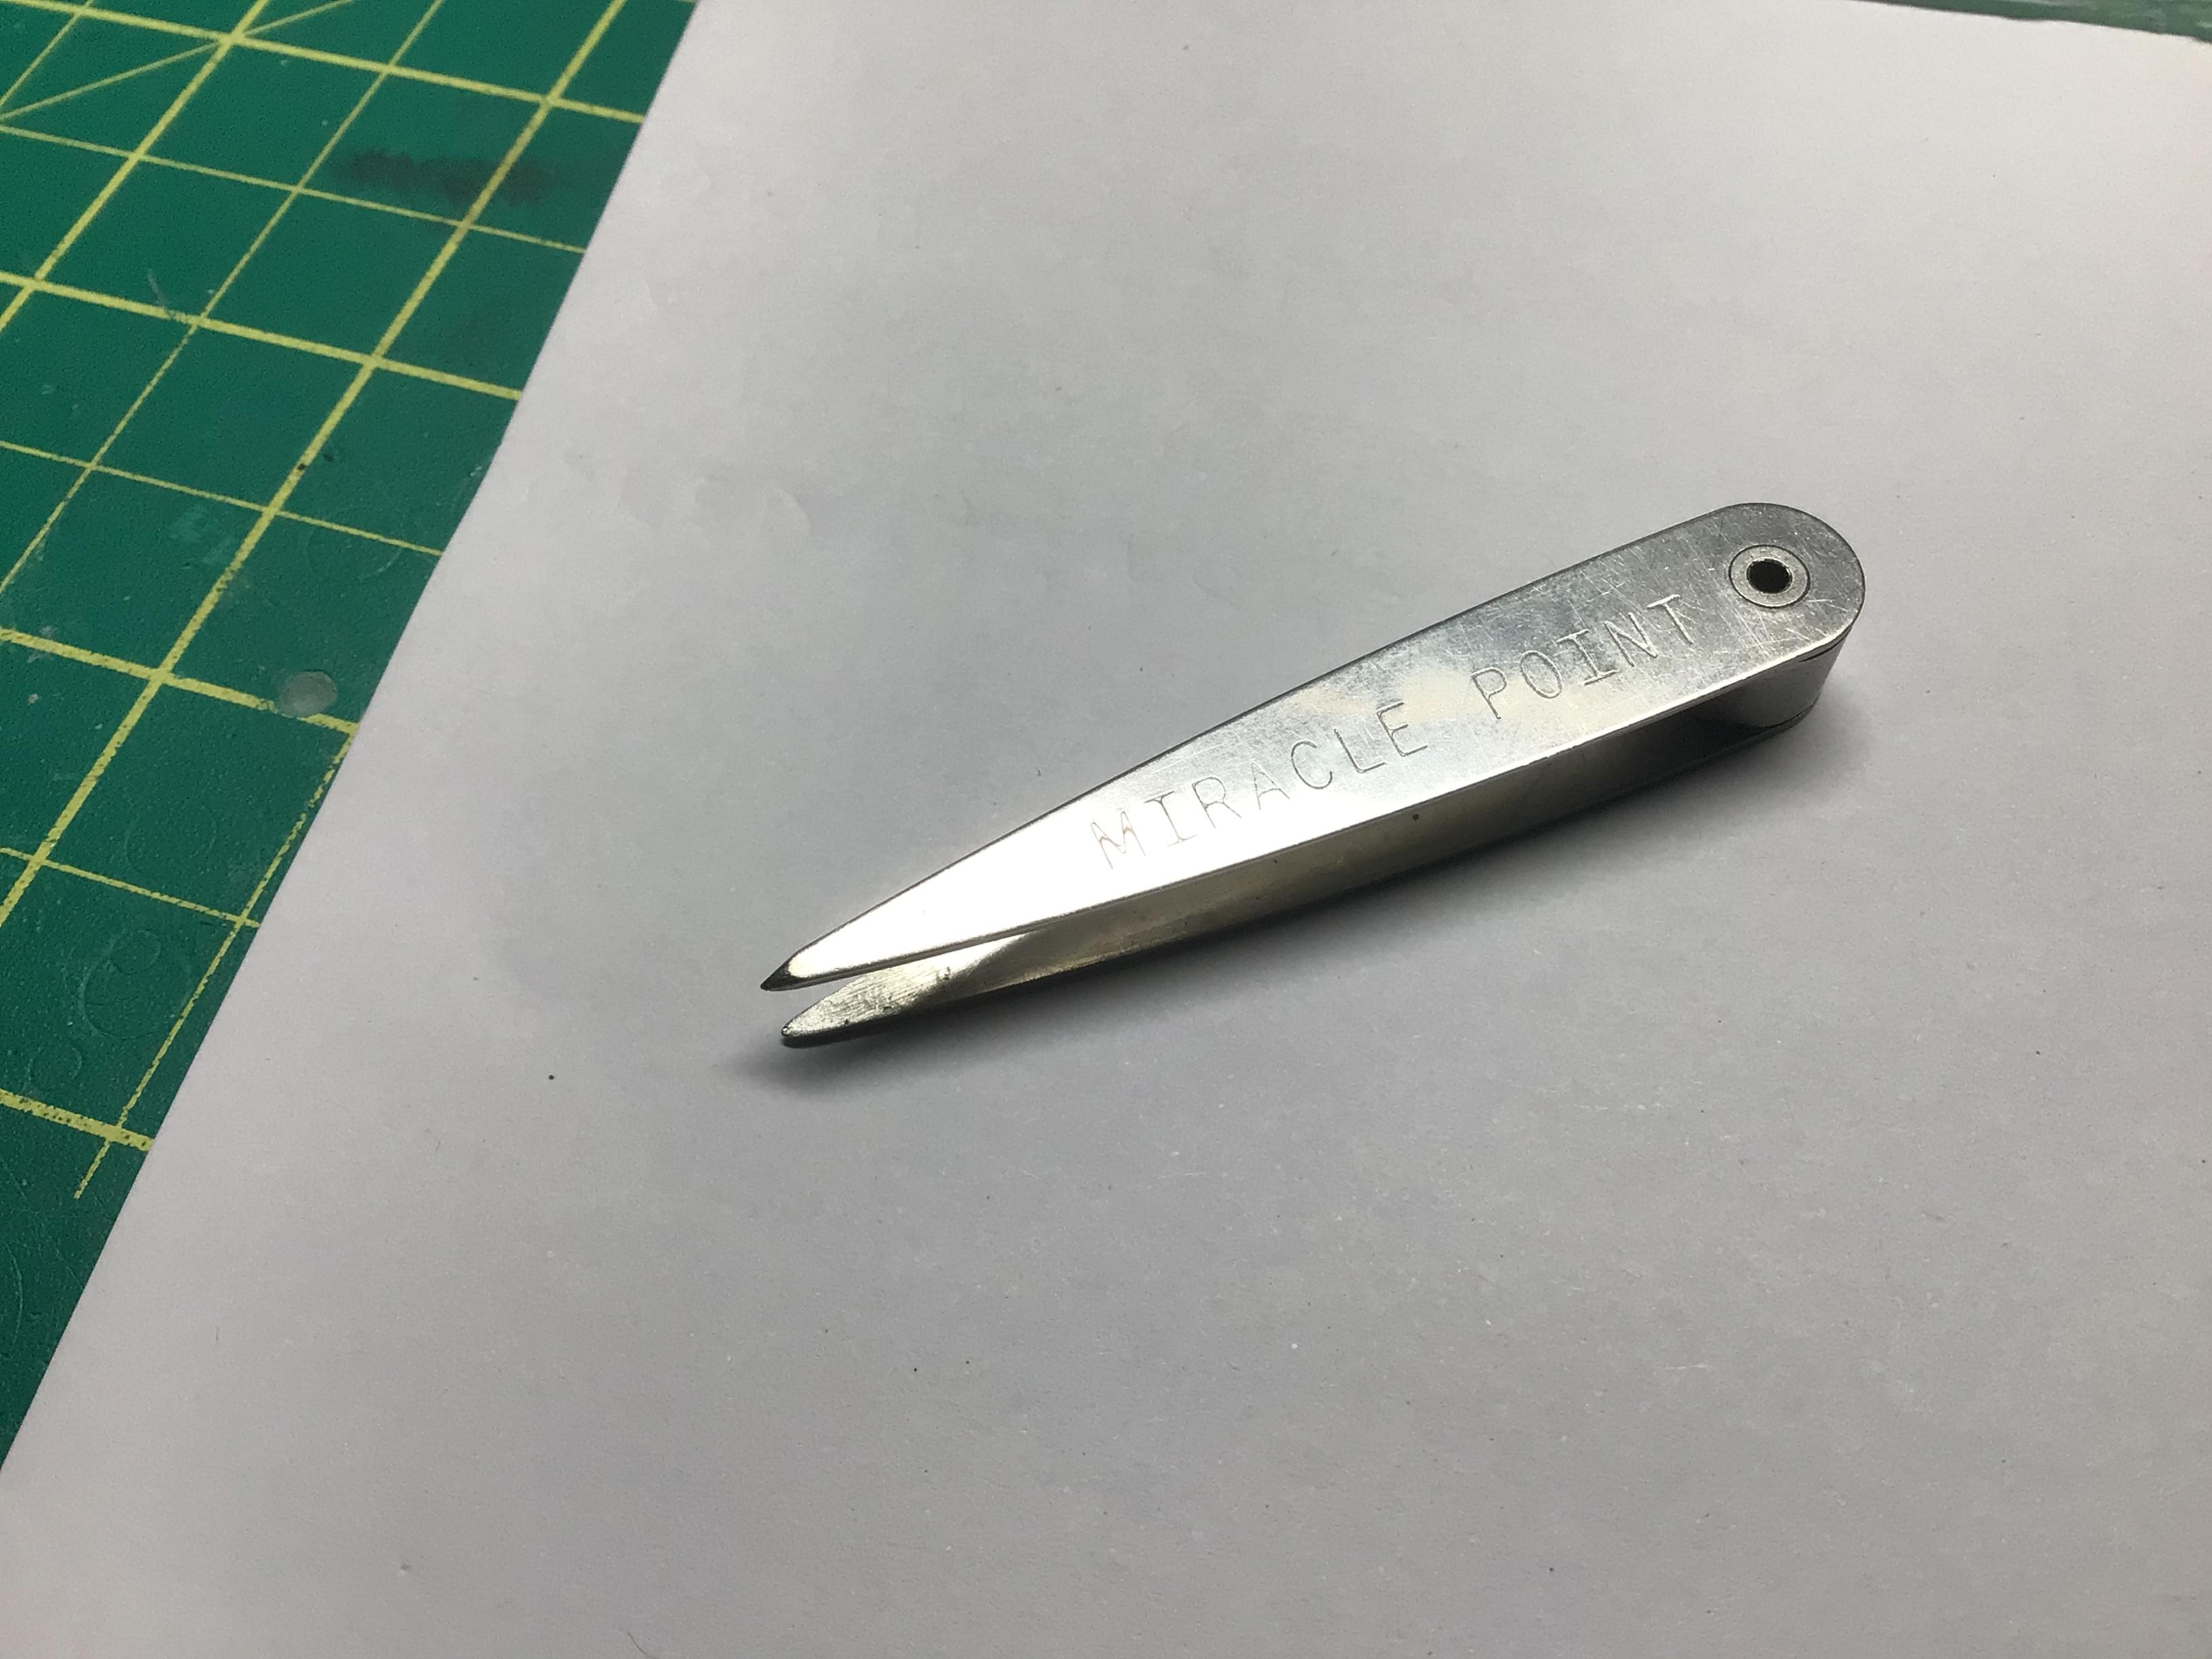
I have similar set tweezers and it is the most precise one I have for picking up tiny parts or removing slivers.
-
Awesomely cool!😎👍
-
Bind your cargo securely.
-
“Fix It Again Tony” is what I am told Fiat stands for.😁
-
I would like to see another stovebolt build! 😎
-
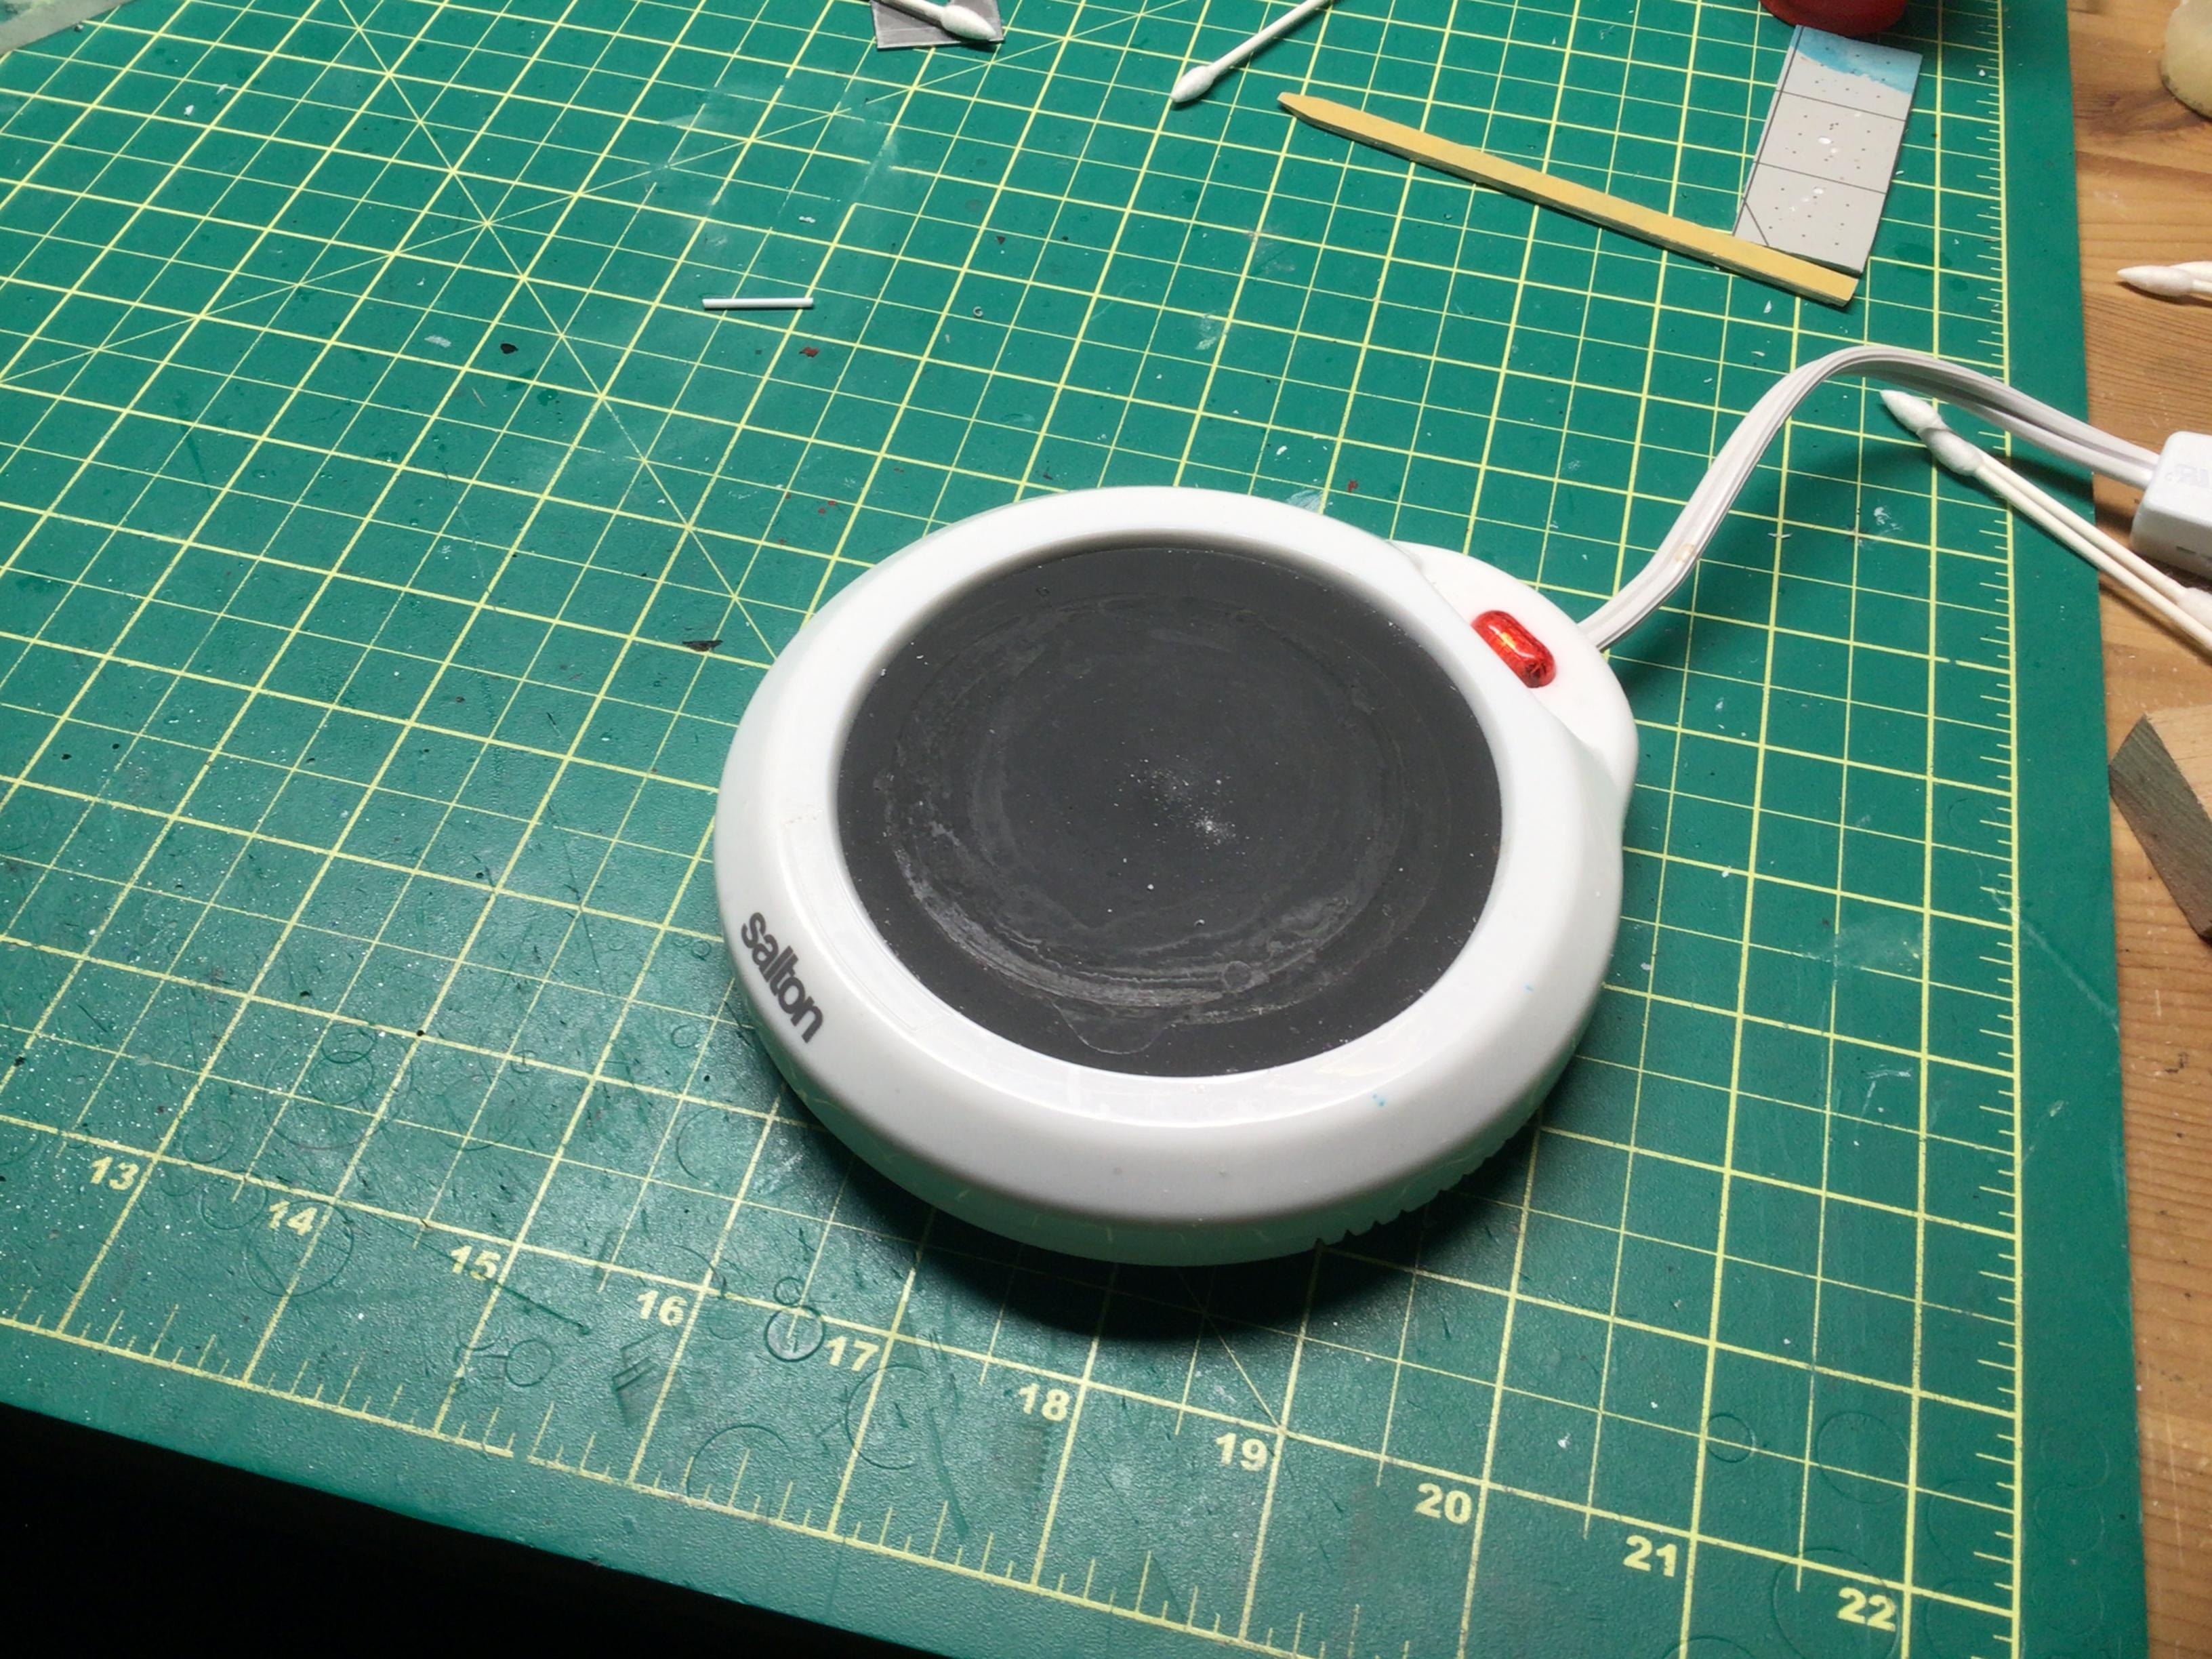
Bottom of my coffee cup stays nice and hot due to my mug warmer.
-
Sugar absolutely ruins a cup of coffee.
-
You’ve done a great job on this one David…including the macabre work on the driver.😬
-
That looks amazing Les. You 3d printers make me jealous.🥴
-
I think it’s a car that will look good in just about any basic color. I kinda like the caramel.🤓
-
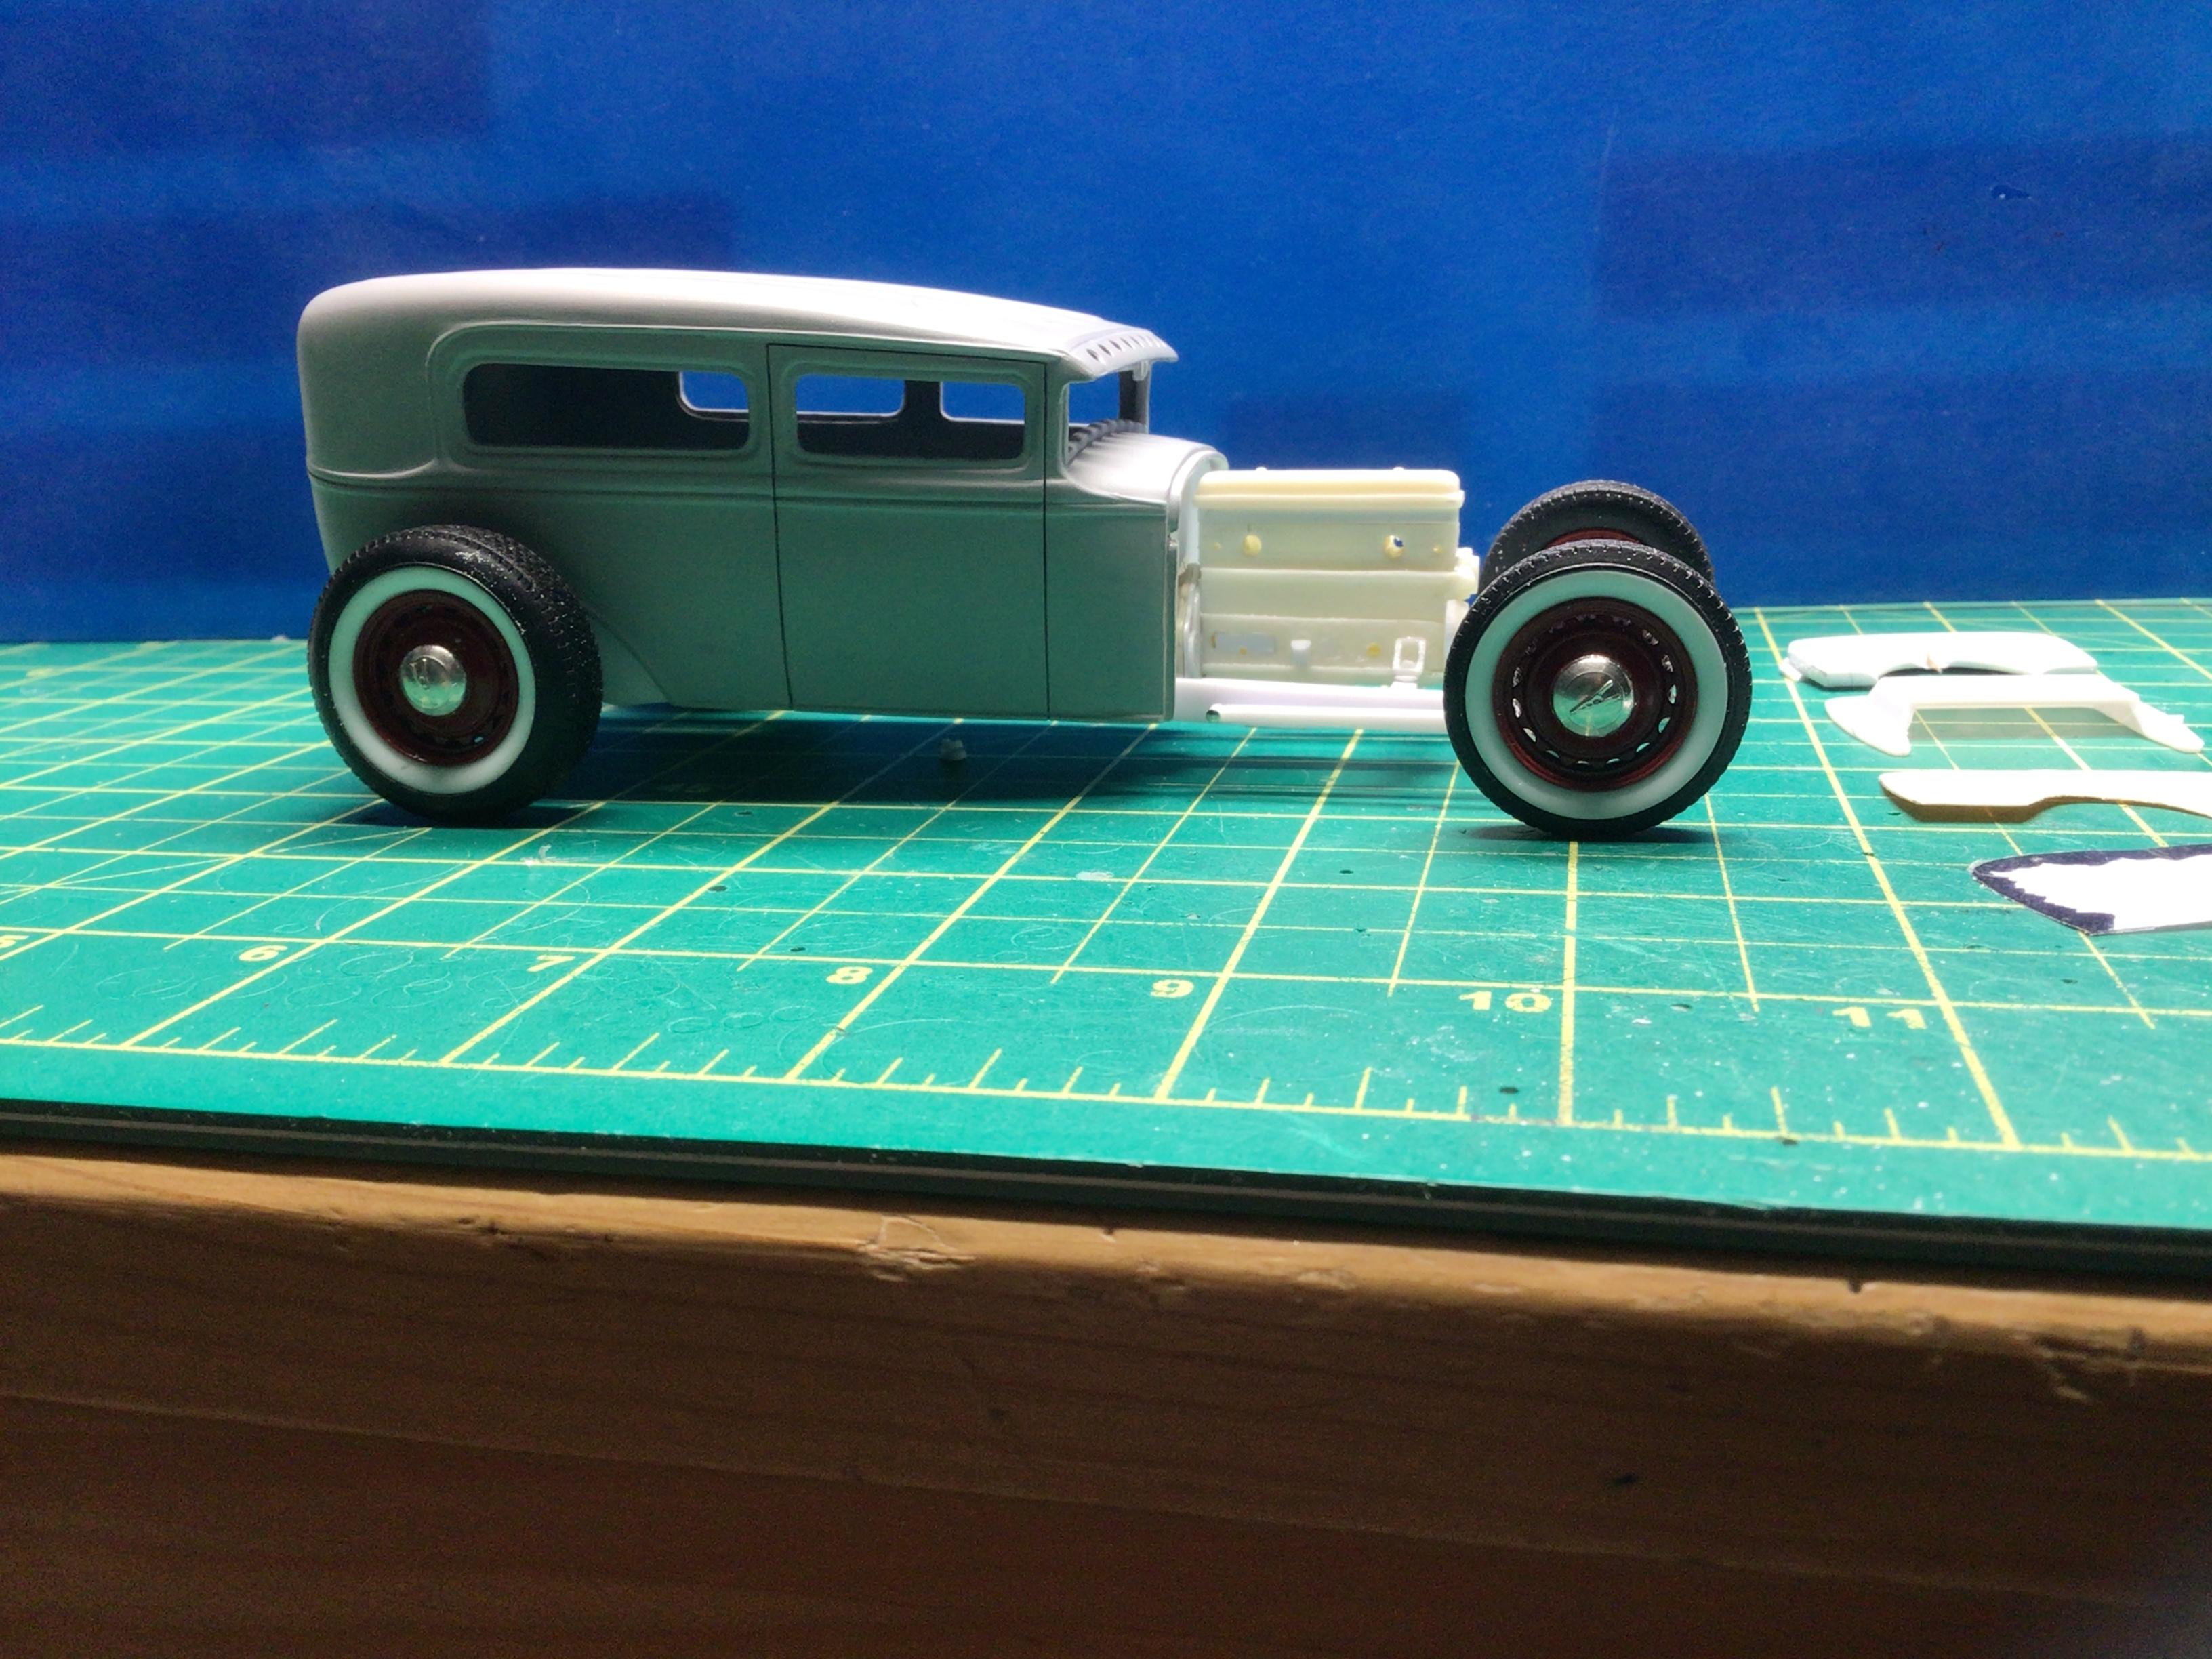
And I corrected the attitude of the engine. What a can of worms that opened up.🥴 I had to move the firewall back and after a number of tries to get everything to sit nicely, I discovered my floor pan was about 1/16” longer on one side, and everything was a little Rooster-eyed.🥵
-
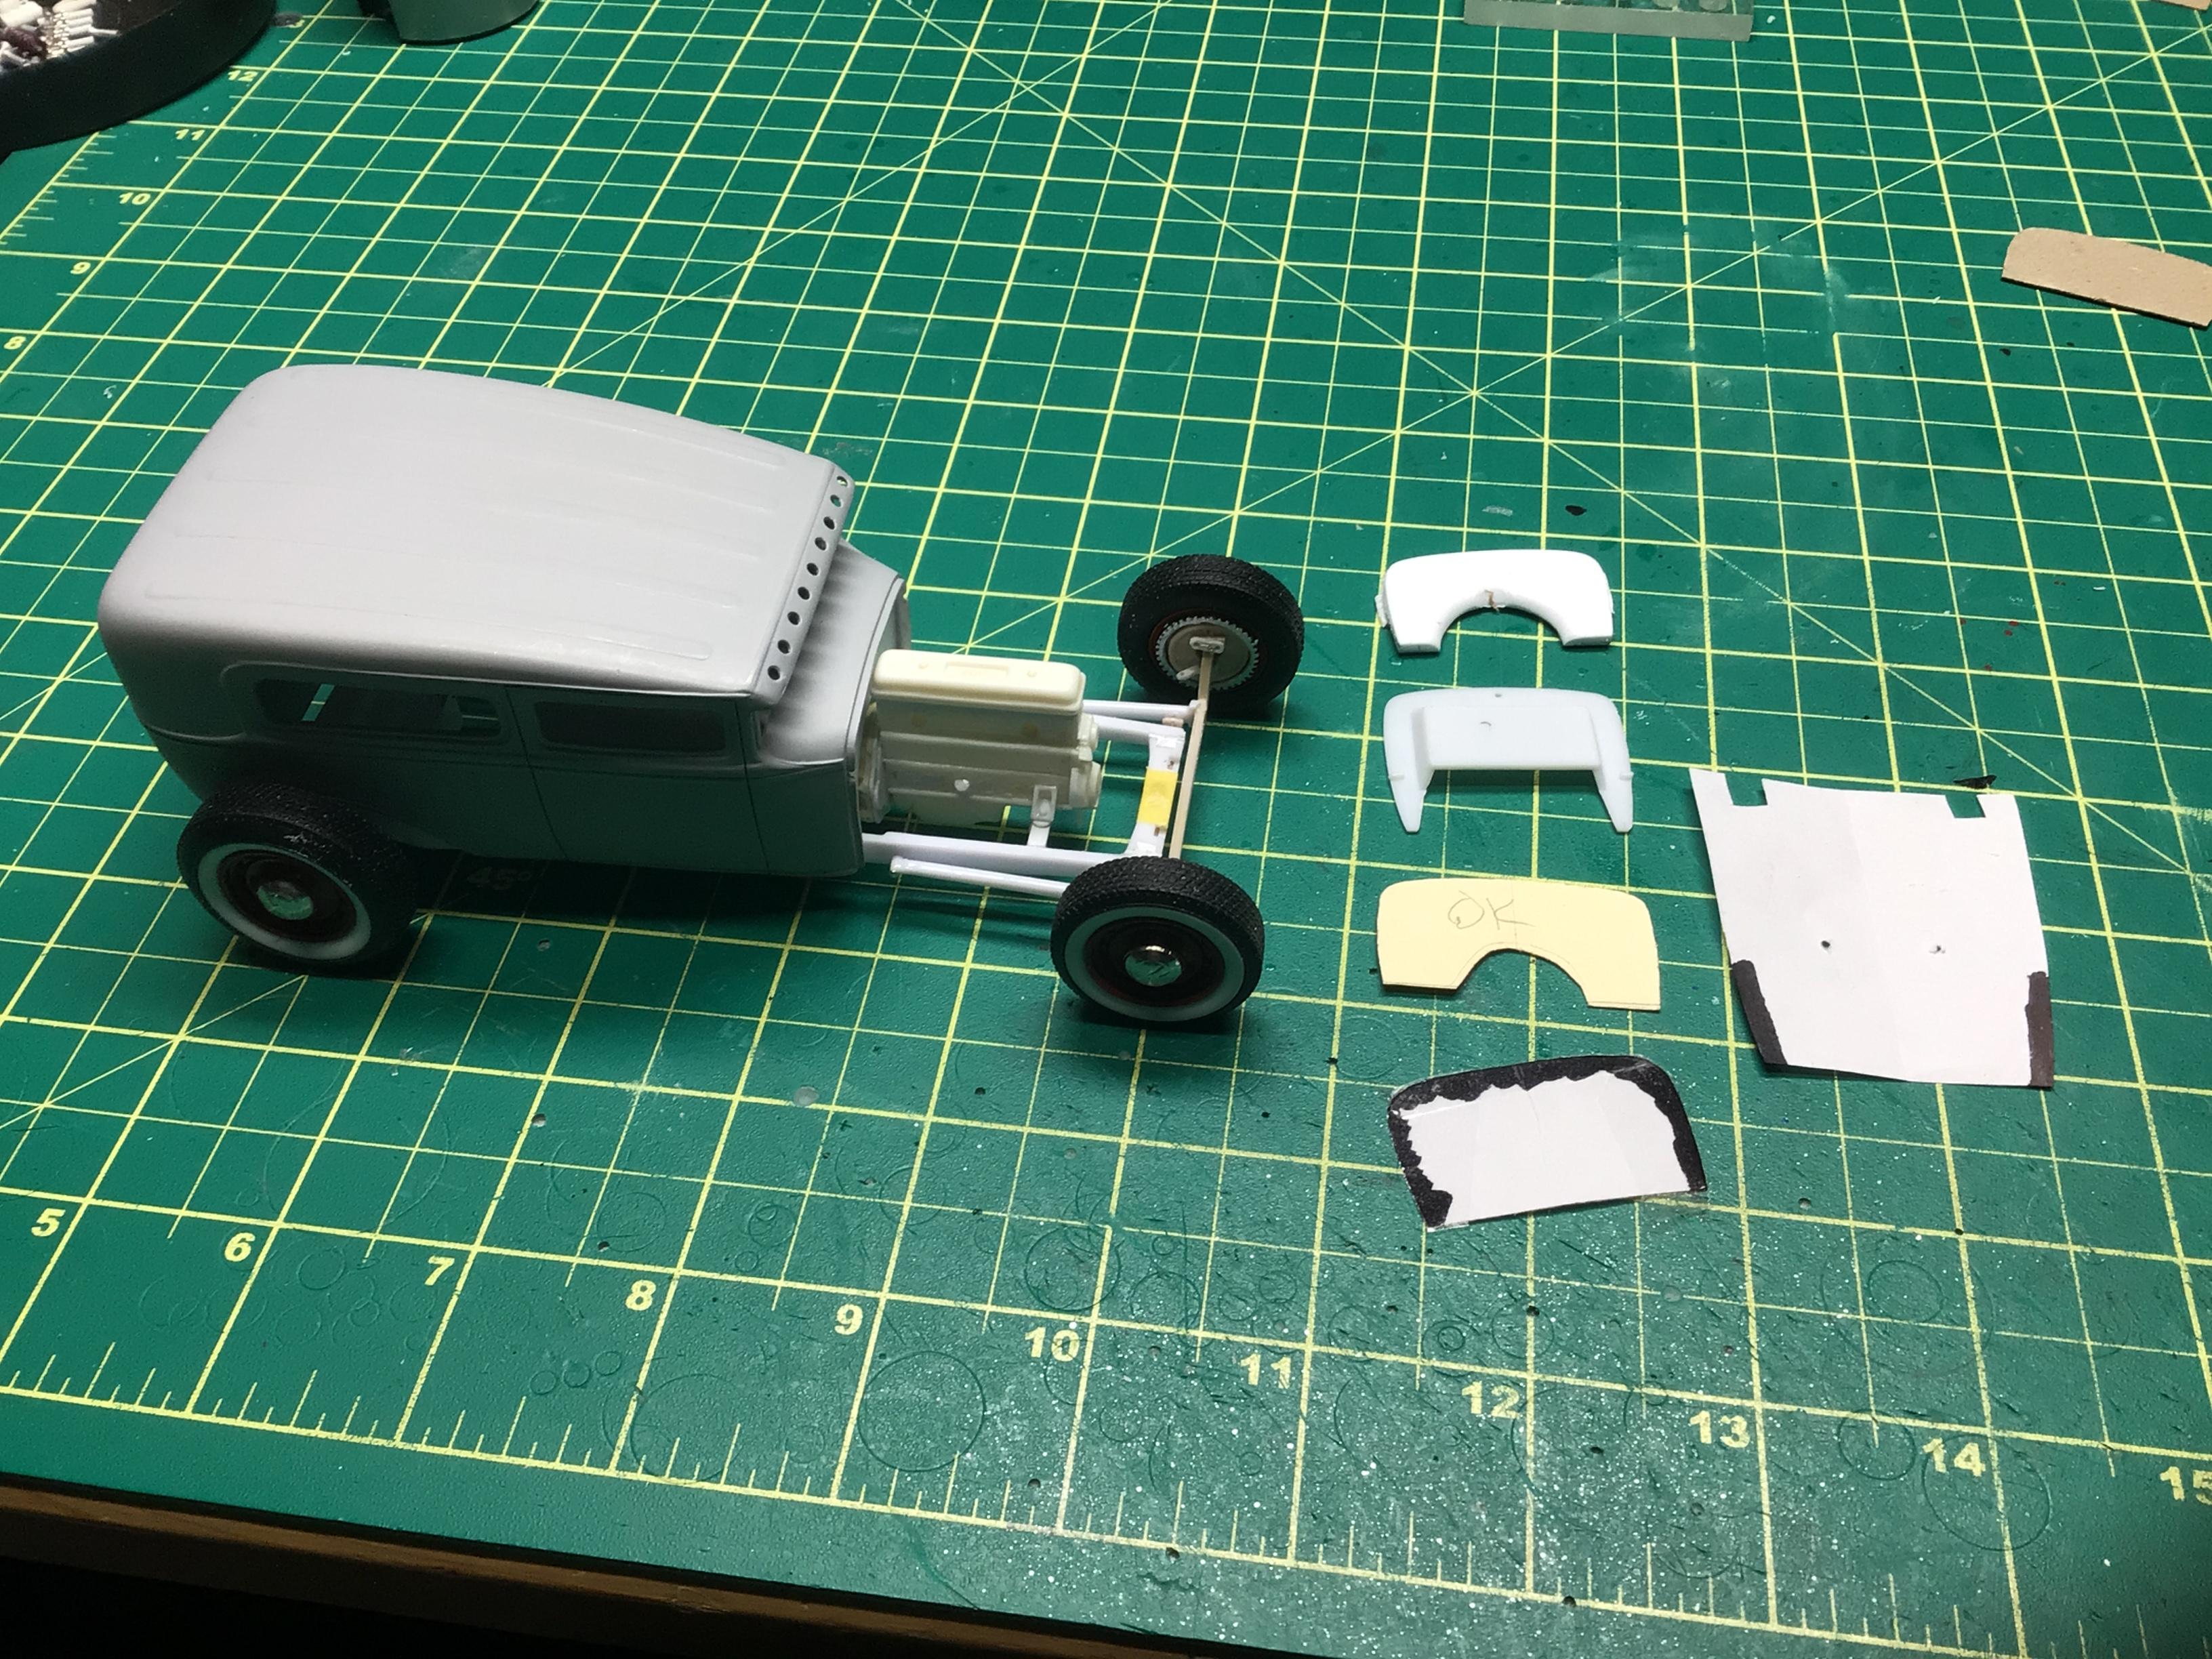
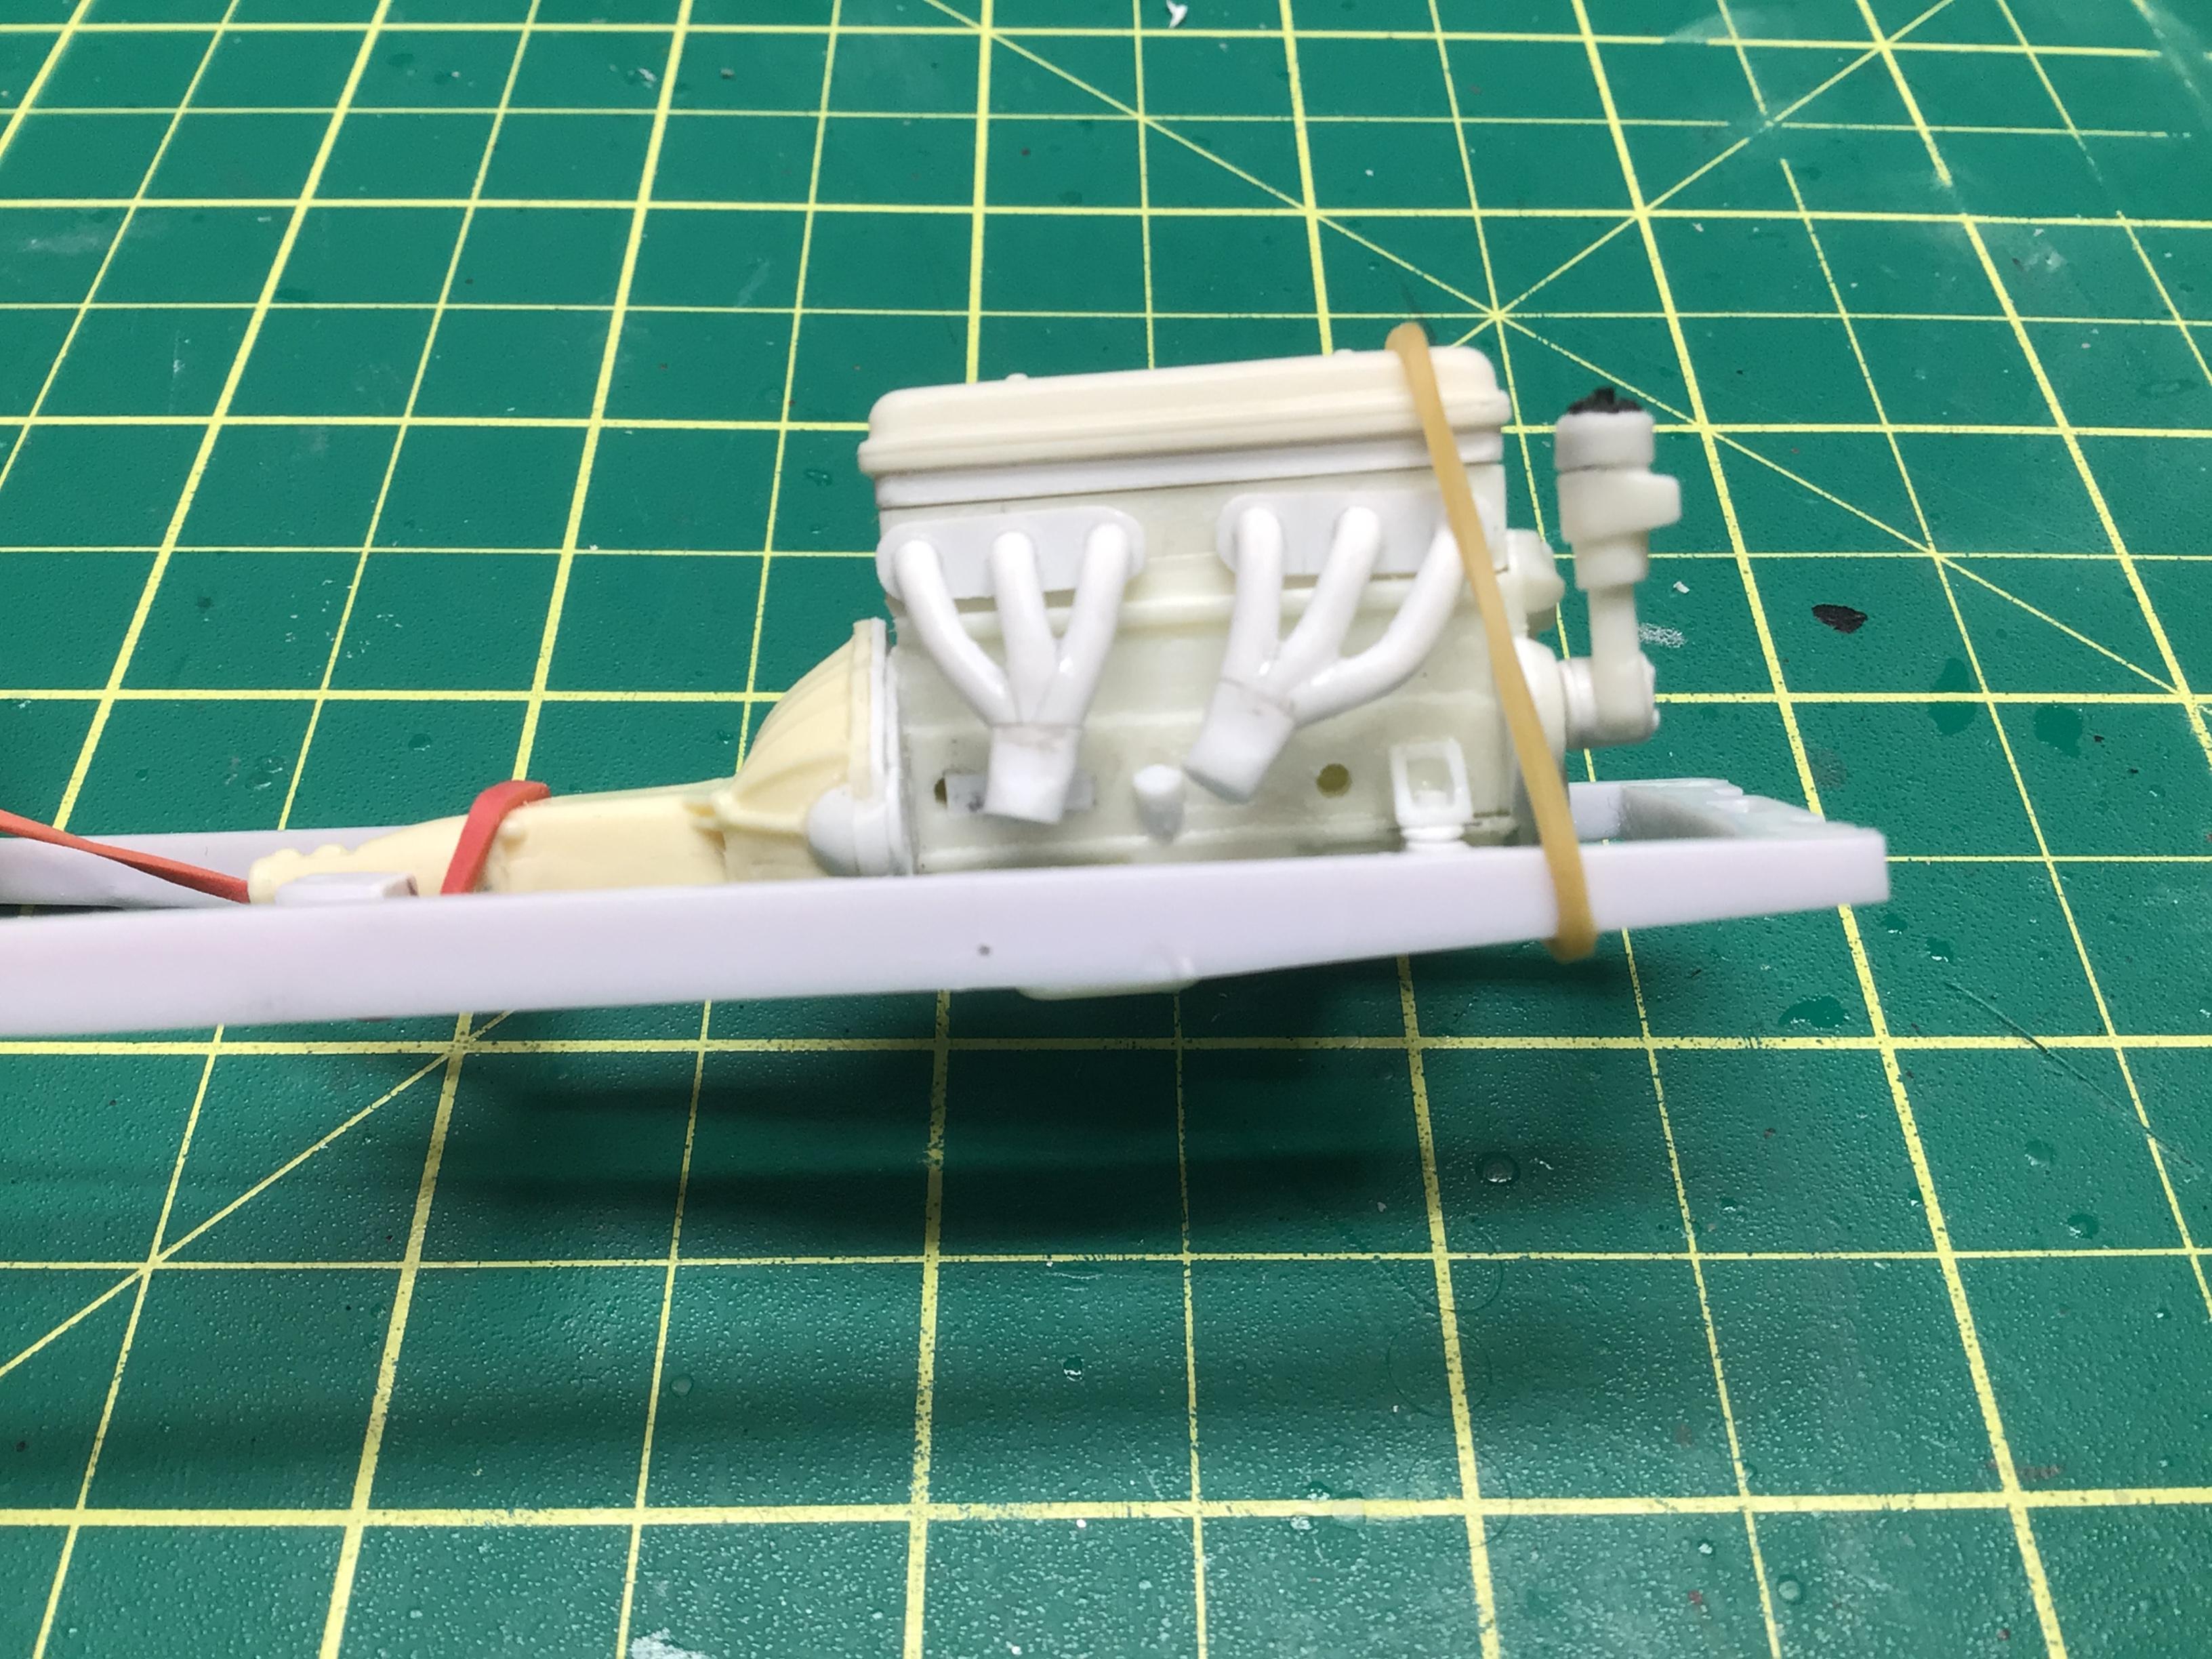
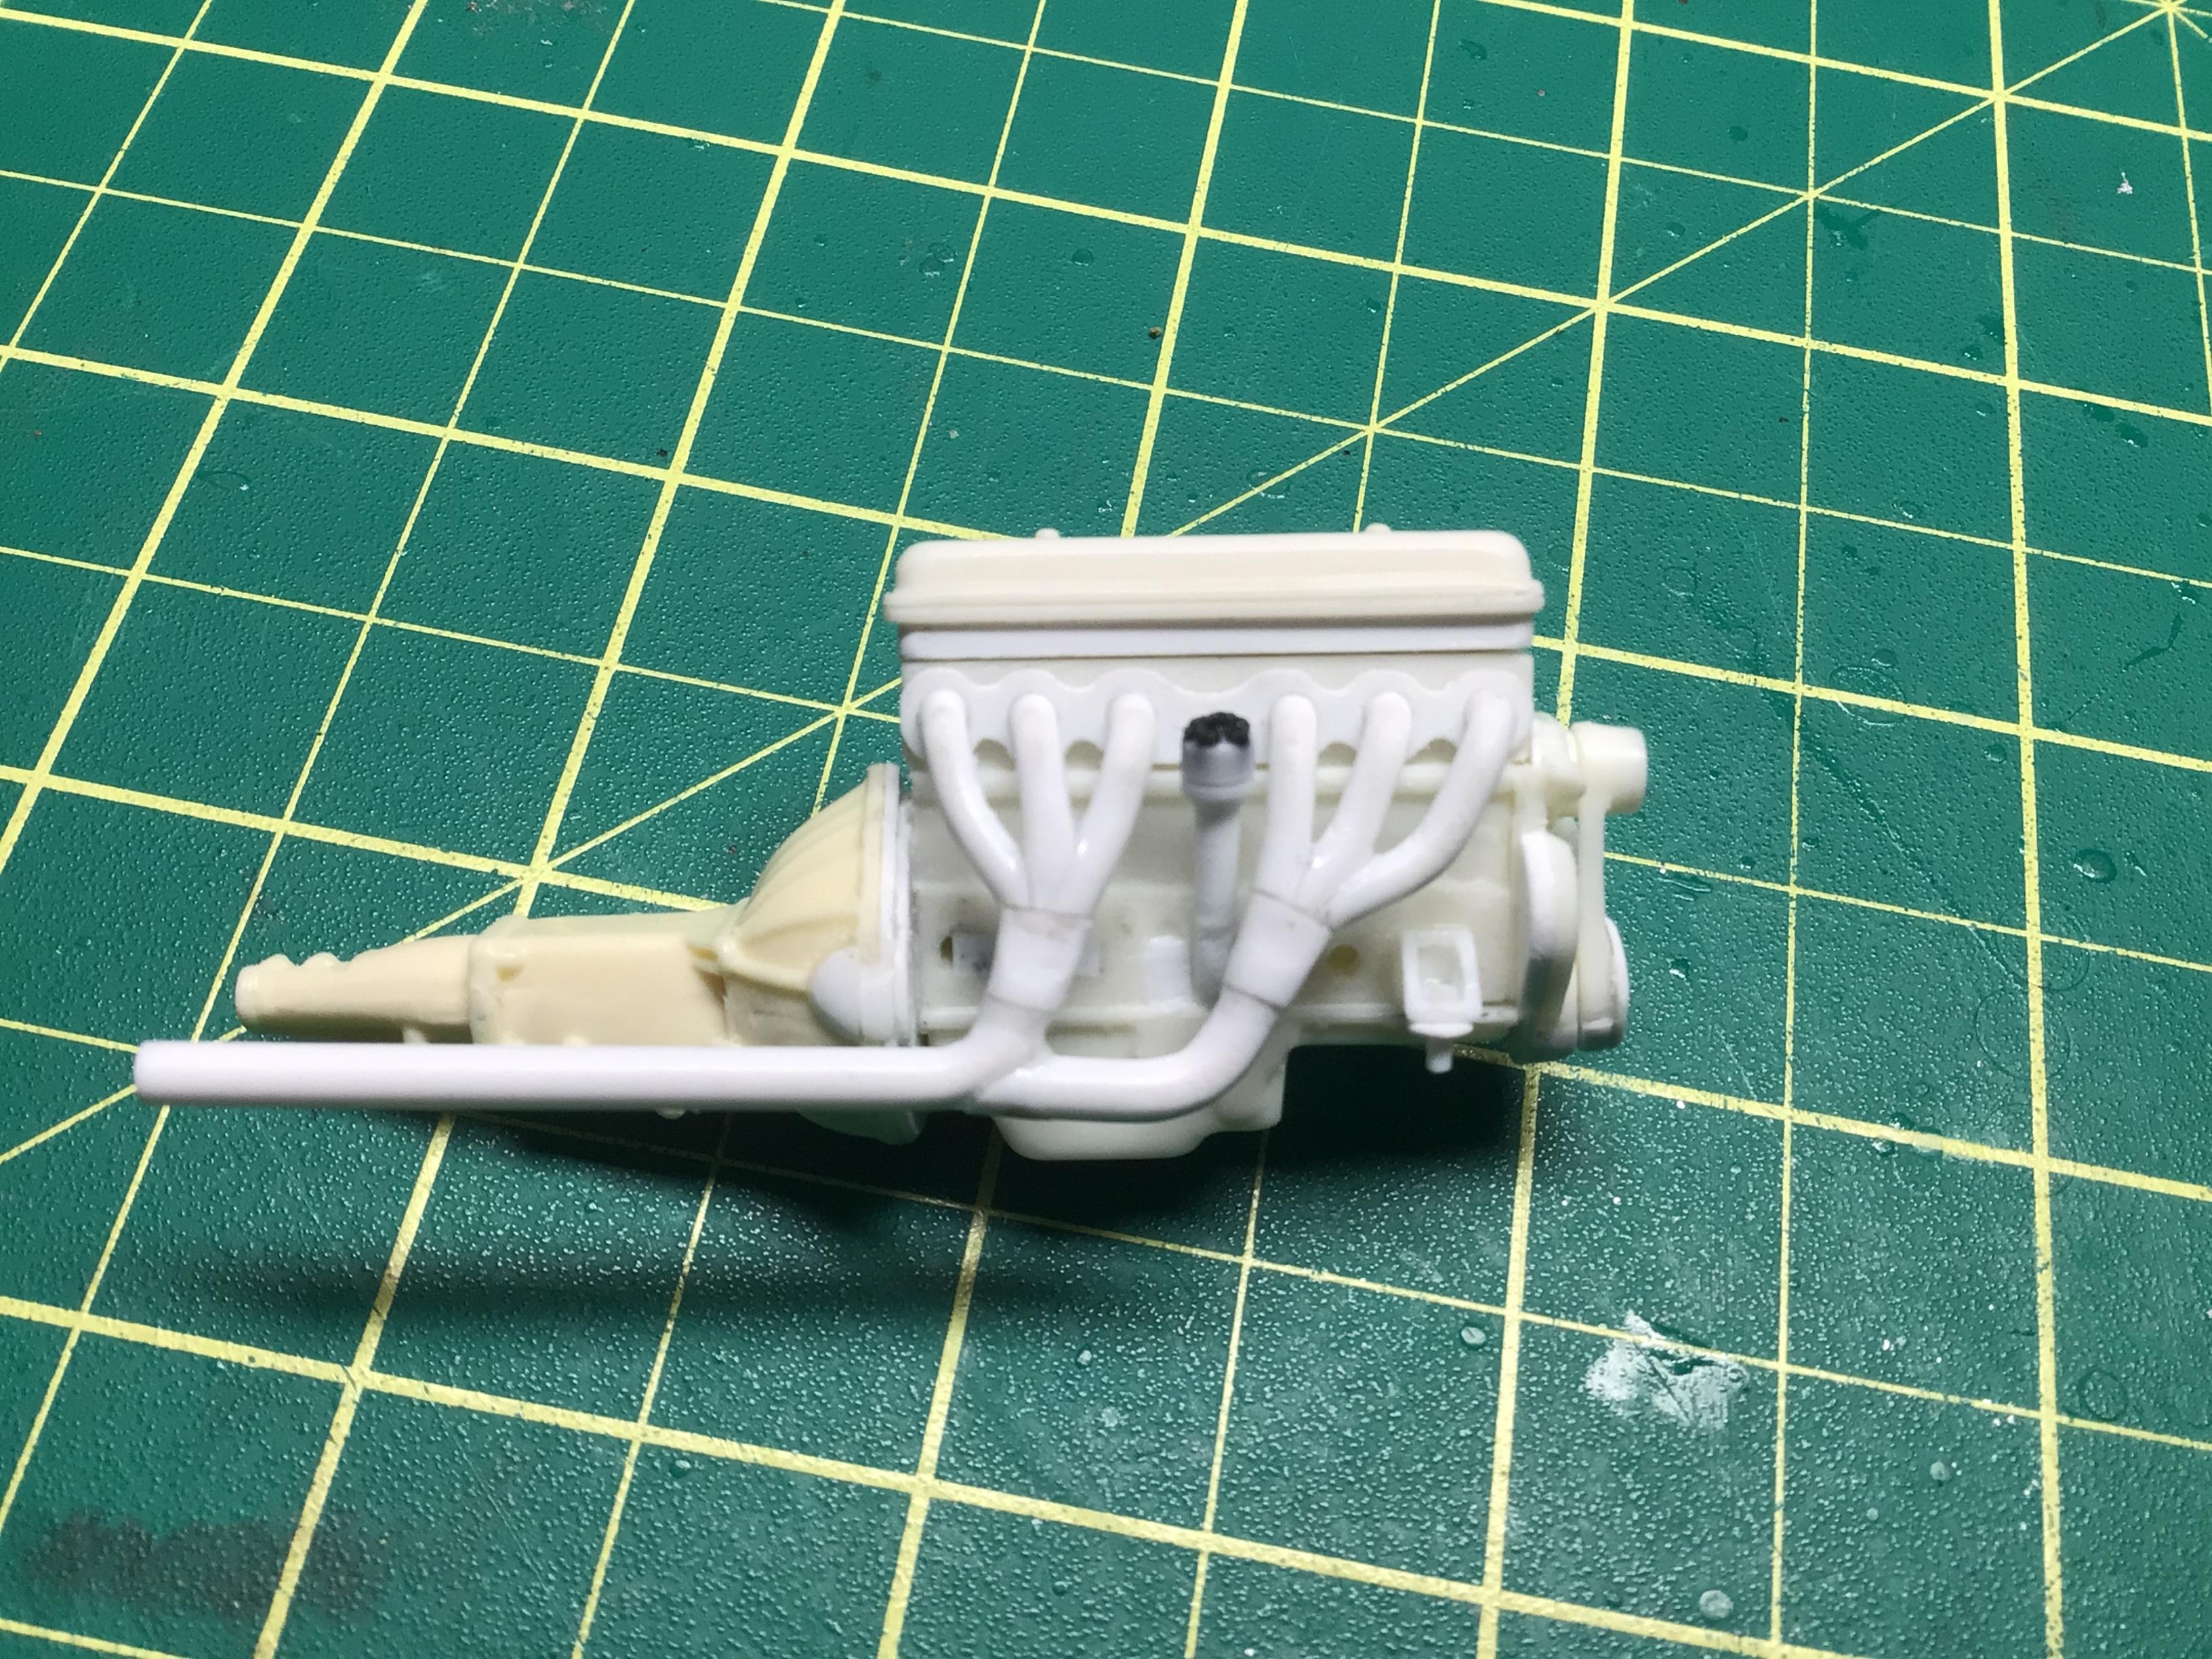
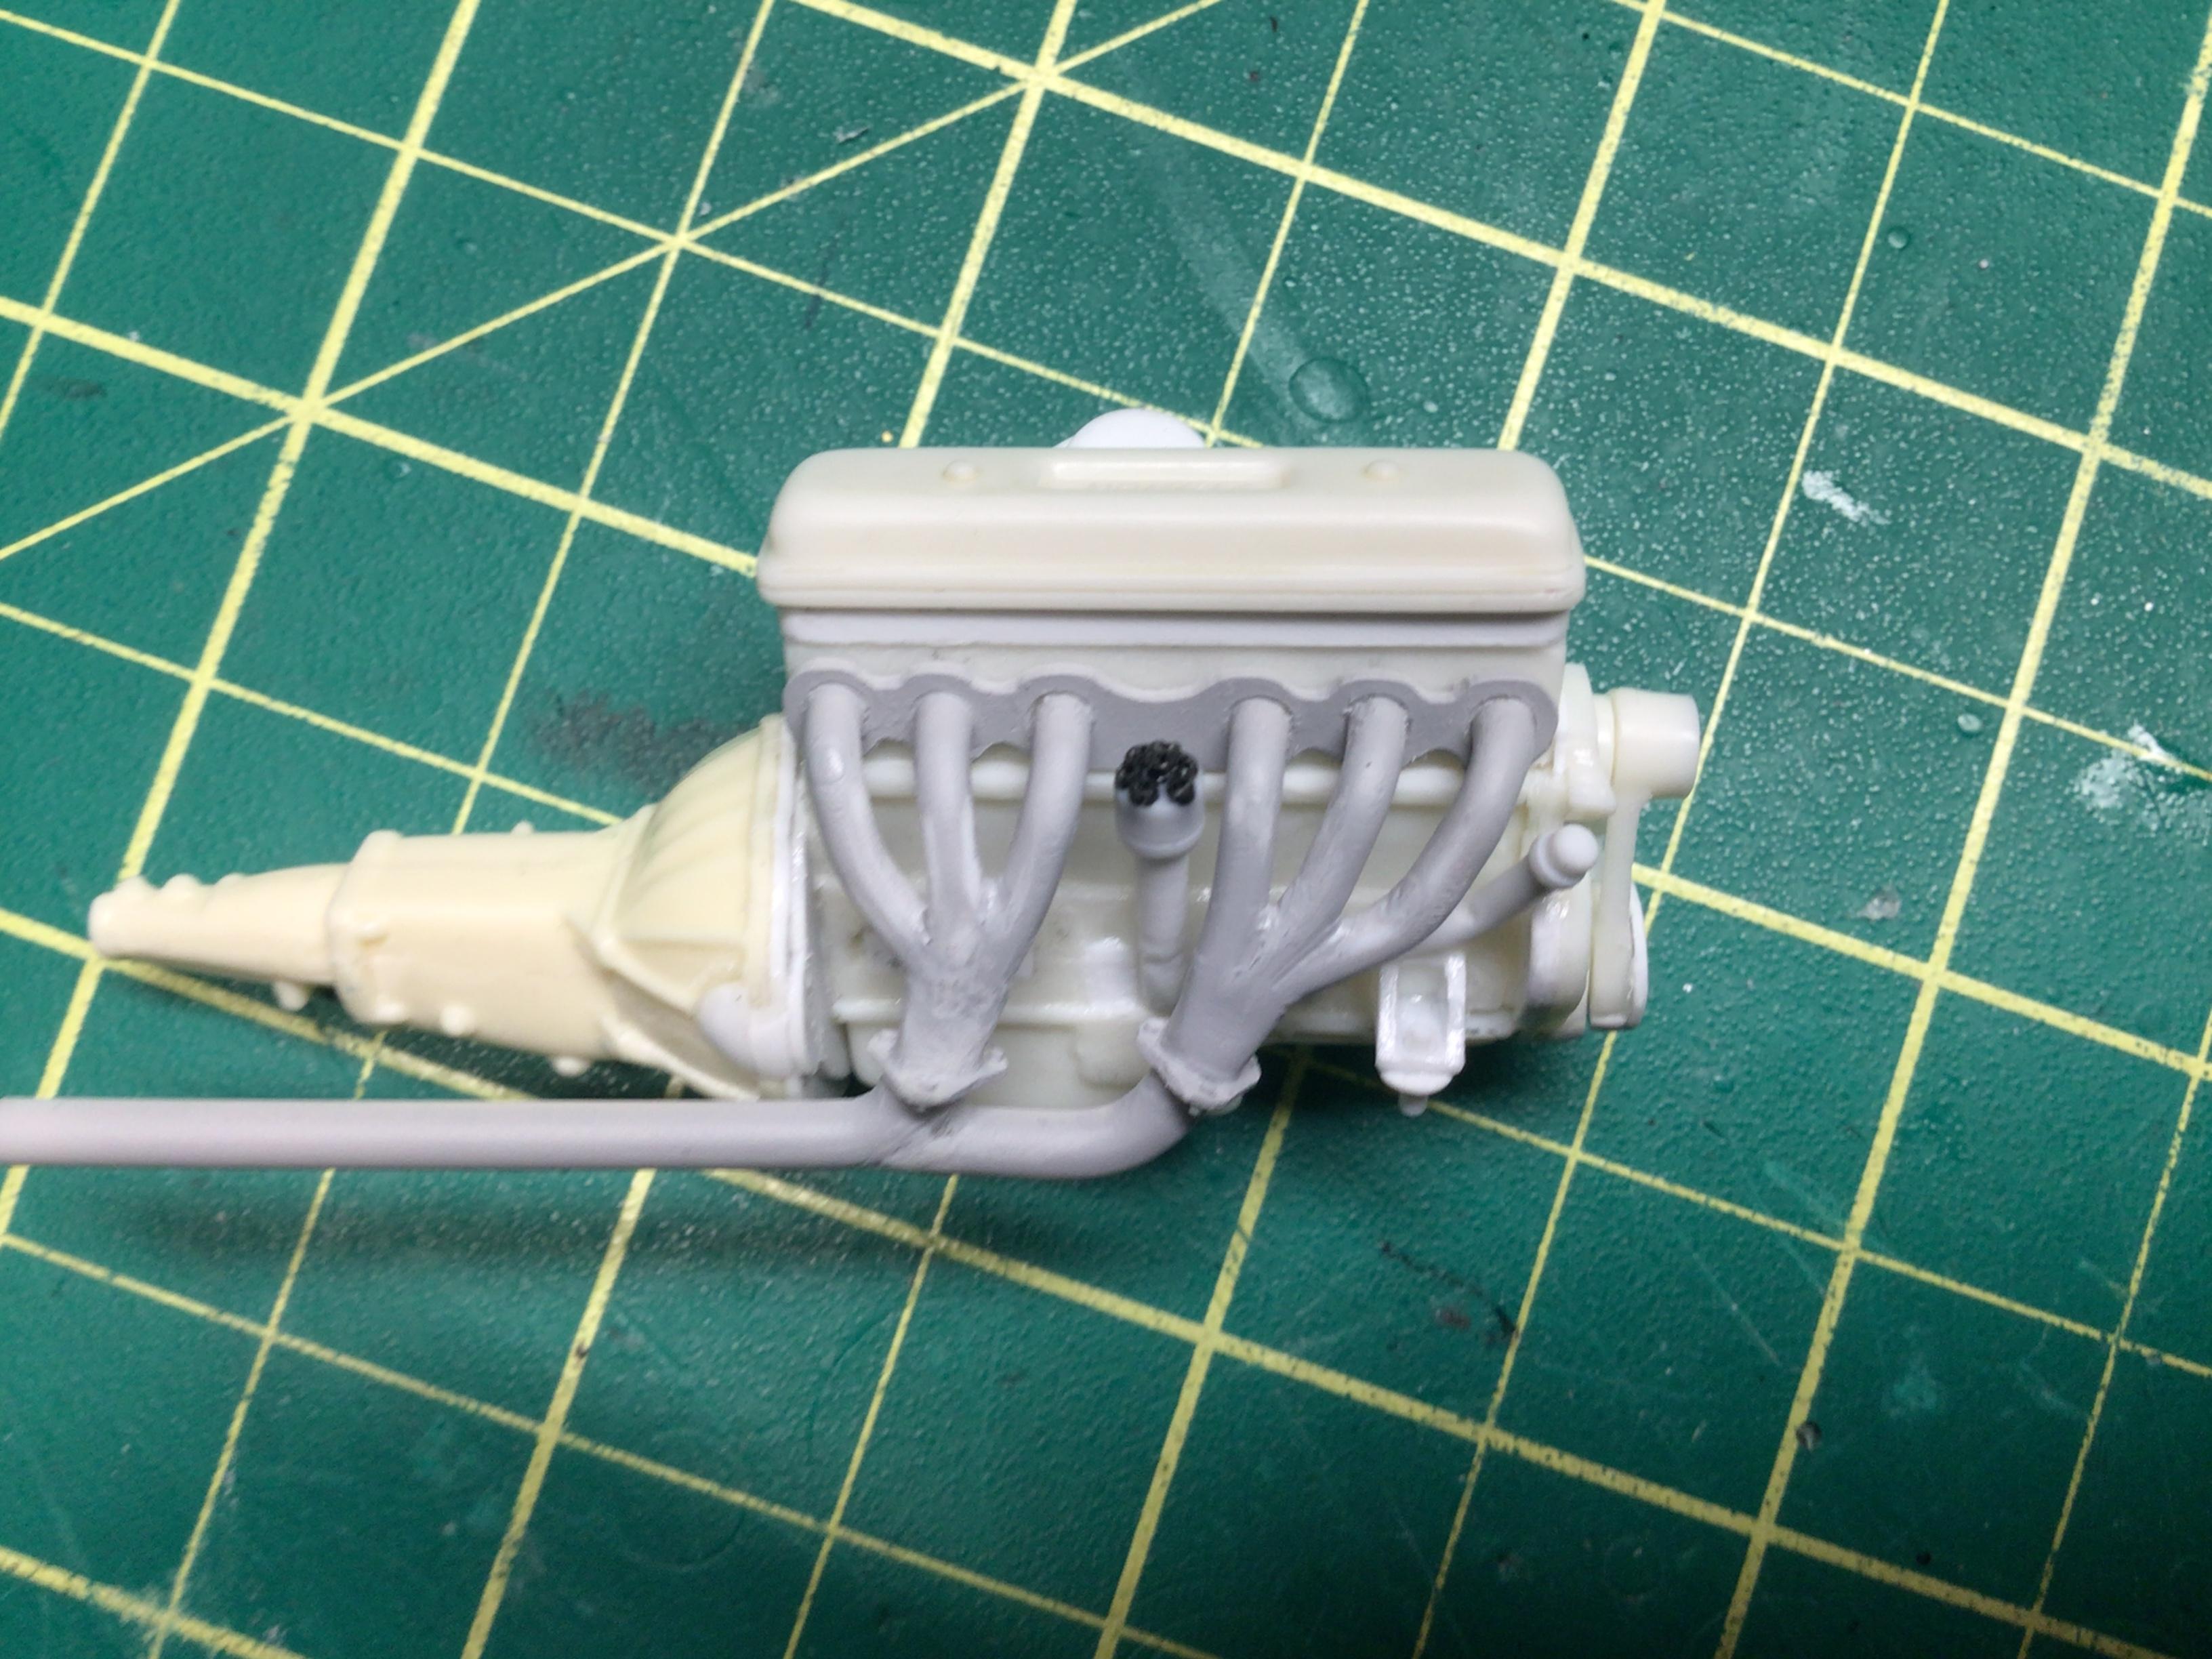
Unfortunately, I am not going to use the exhaust manifold.😕 Moving the distributor to be driven off the camshaft gear creates problems for the pulleys. So I’ve put the distributor back to the stockish location and built a set of headers instead. Also changed the draft tube to an oil filler tube and will add a pcv line later.🤔 I drilled the block for a remote oil filter and added a mount for it.
-
You’re moving in the right direction Jim!😎
-
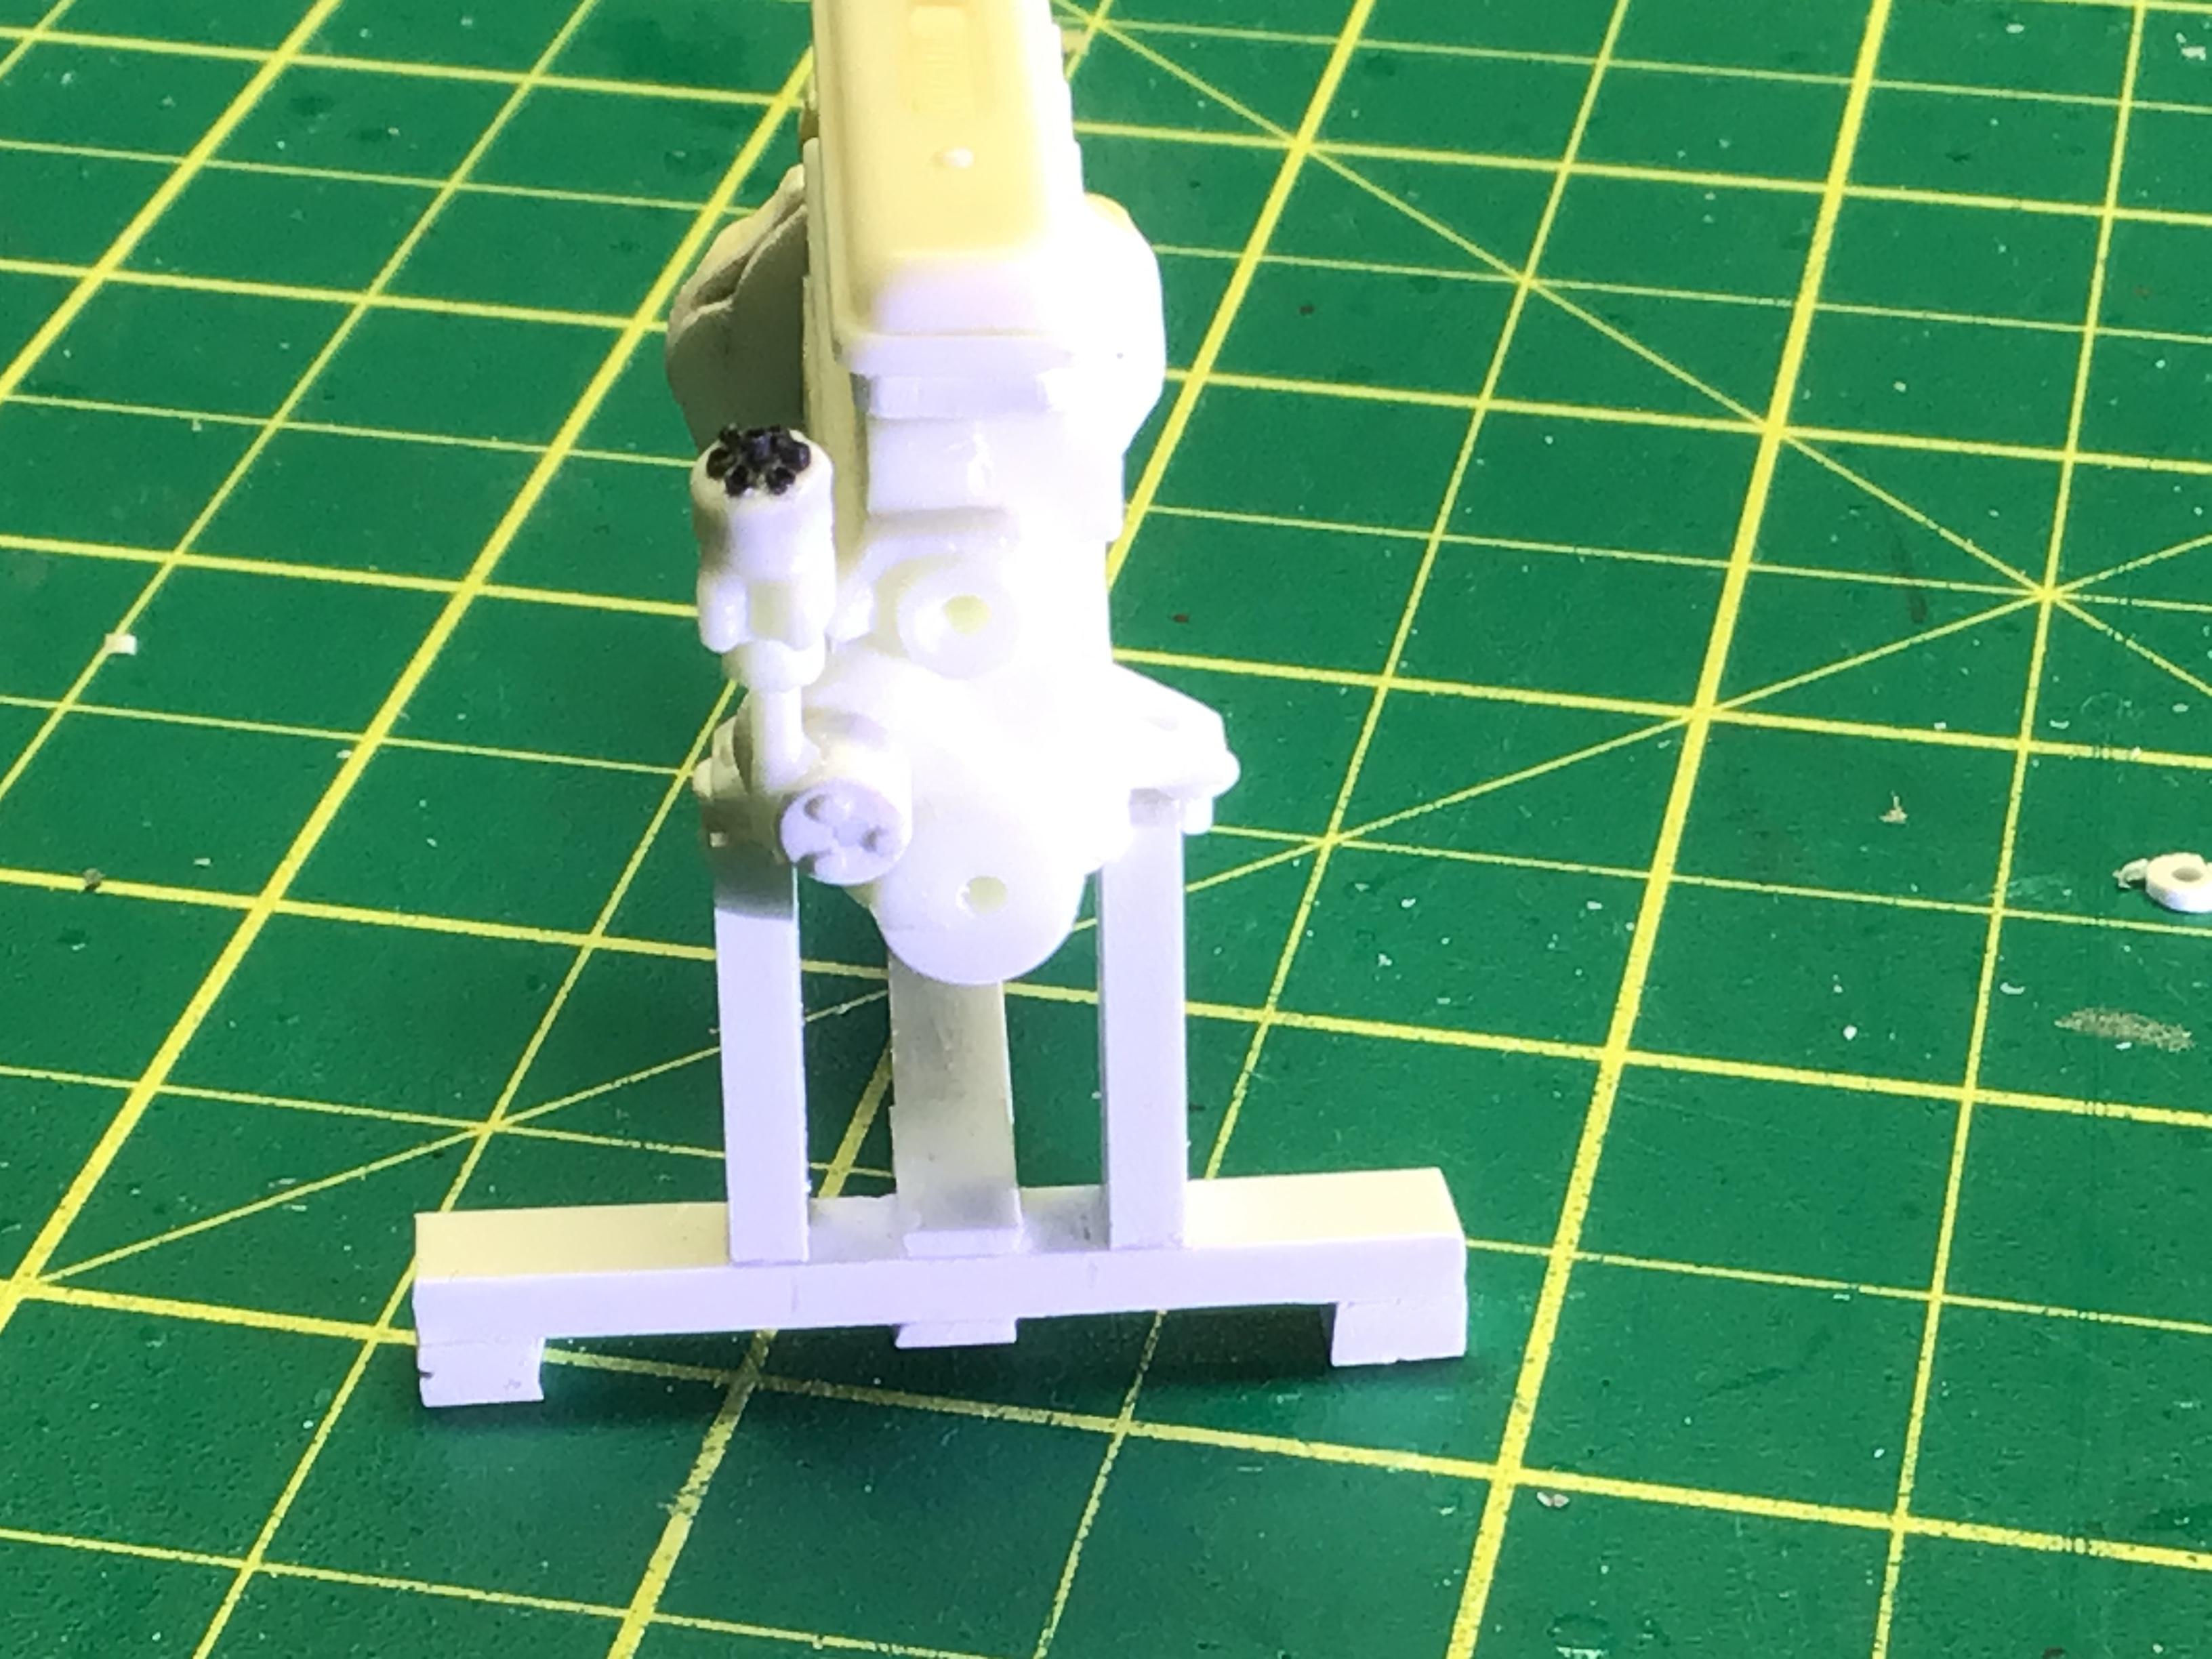
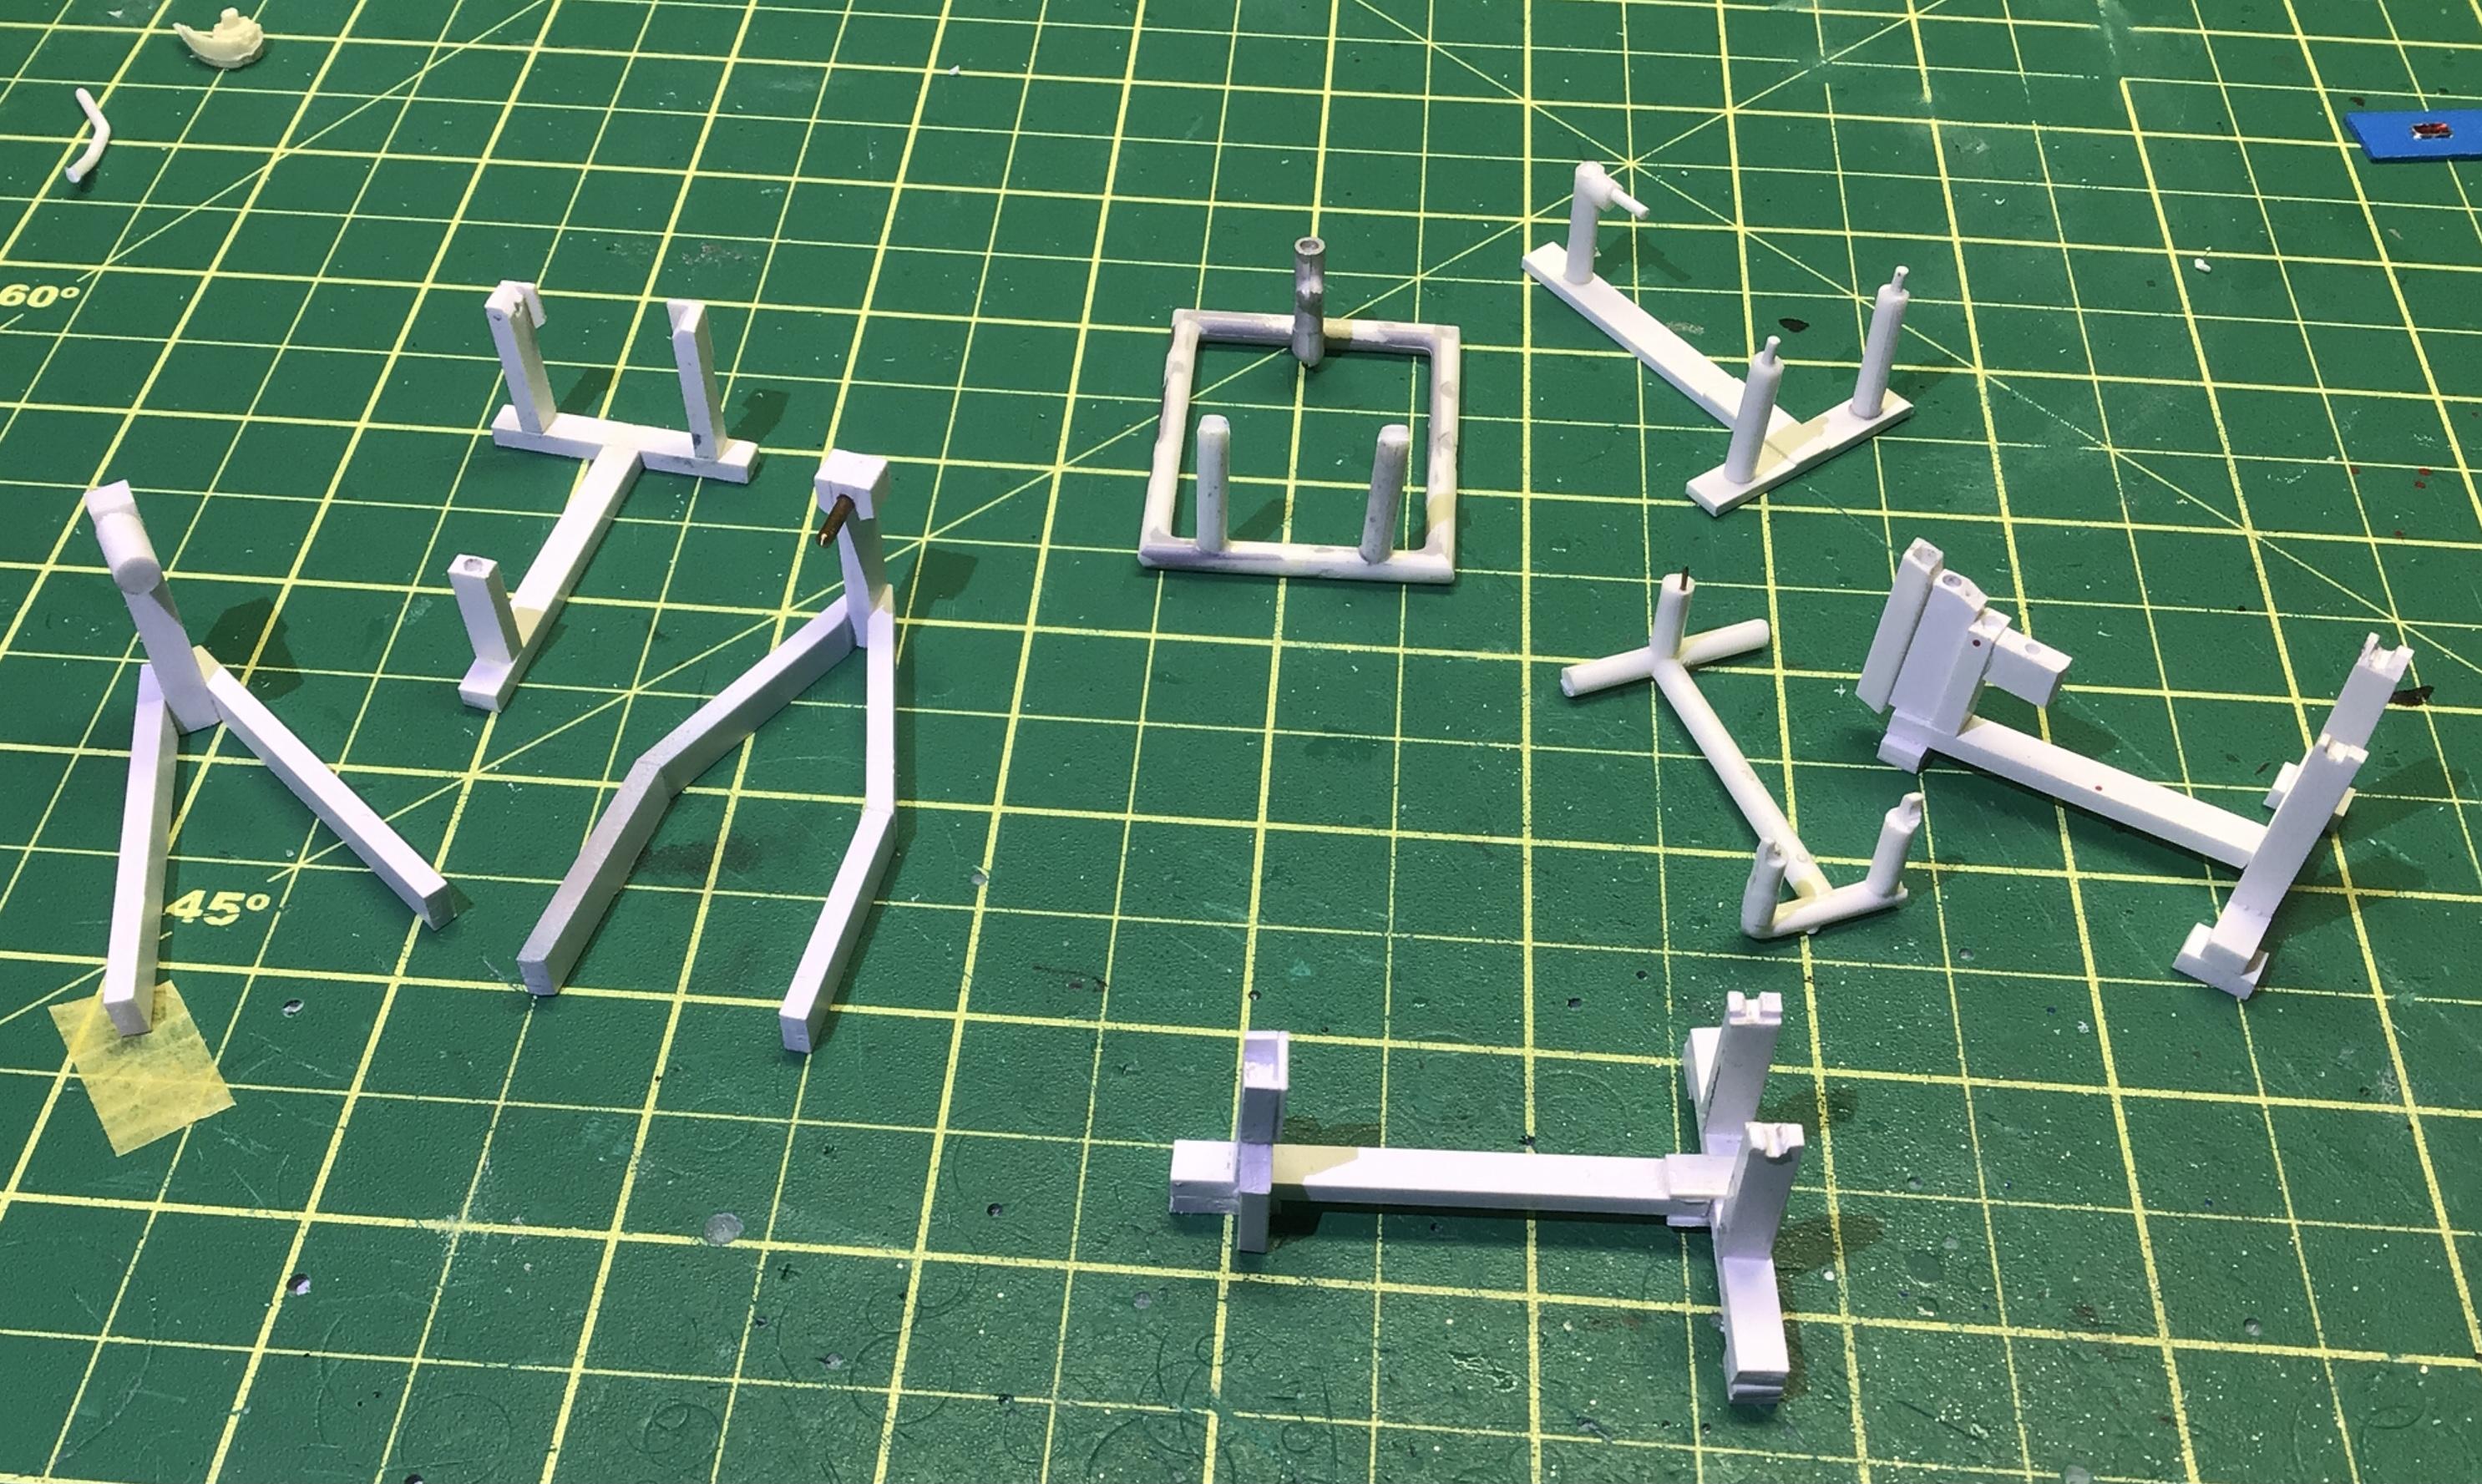
You’re welcome Guido. The two on the bottom left have little pads under them to raise them off the bench. That way I can wrap a small rubber band around it to hold the engine and trans to the stand.
-
Those old bias ply tires didn’t work too well in snow and extreme cold weather.🥶 I remember driving away and the tires going thump, thump, thump from the flat spot.
-
Money talks, as the saying goes, and bovine excrement walks.
-
Meatball is what my rotund friend looks like.
-
It’s coming along nicely David. Bodywork looks nice, and the wheels definitely look better when drilled out.👍😎
-
My scrap bins are not enclosed, so I only get that rush from cracking open a new kit.🤤
-
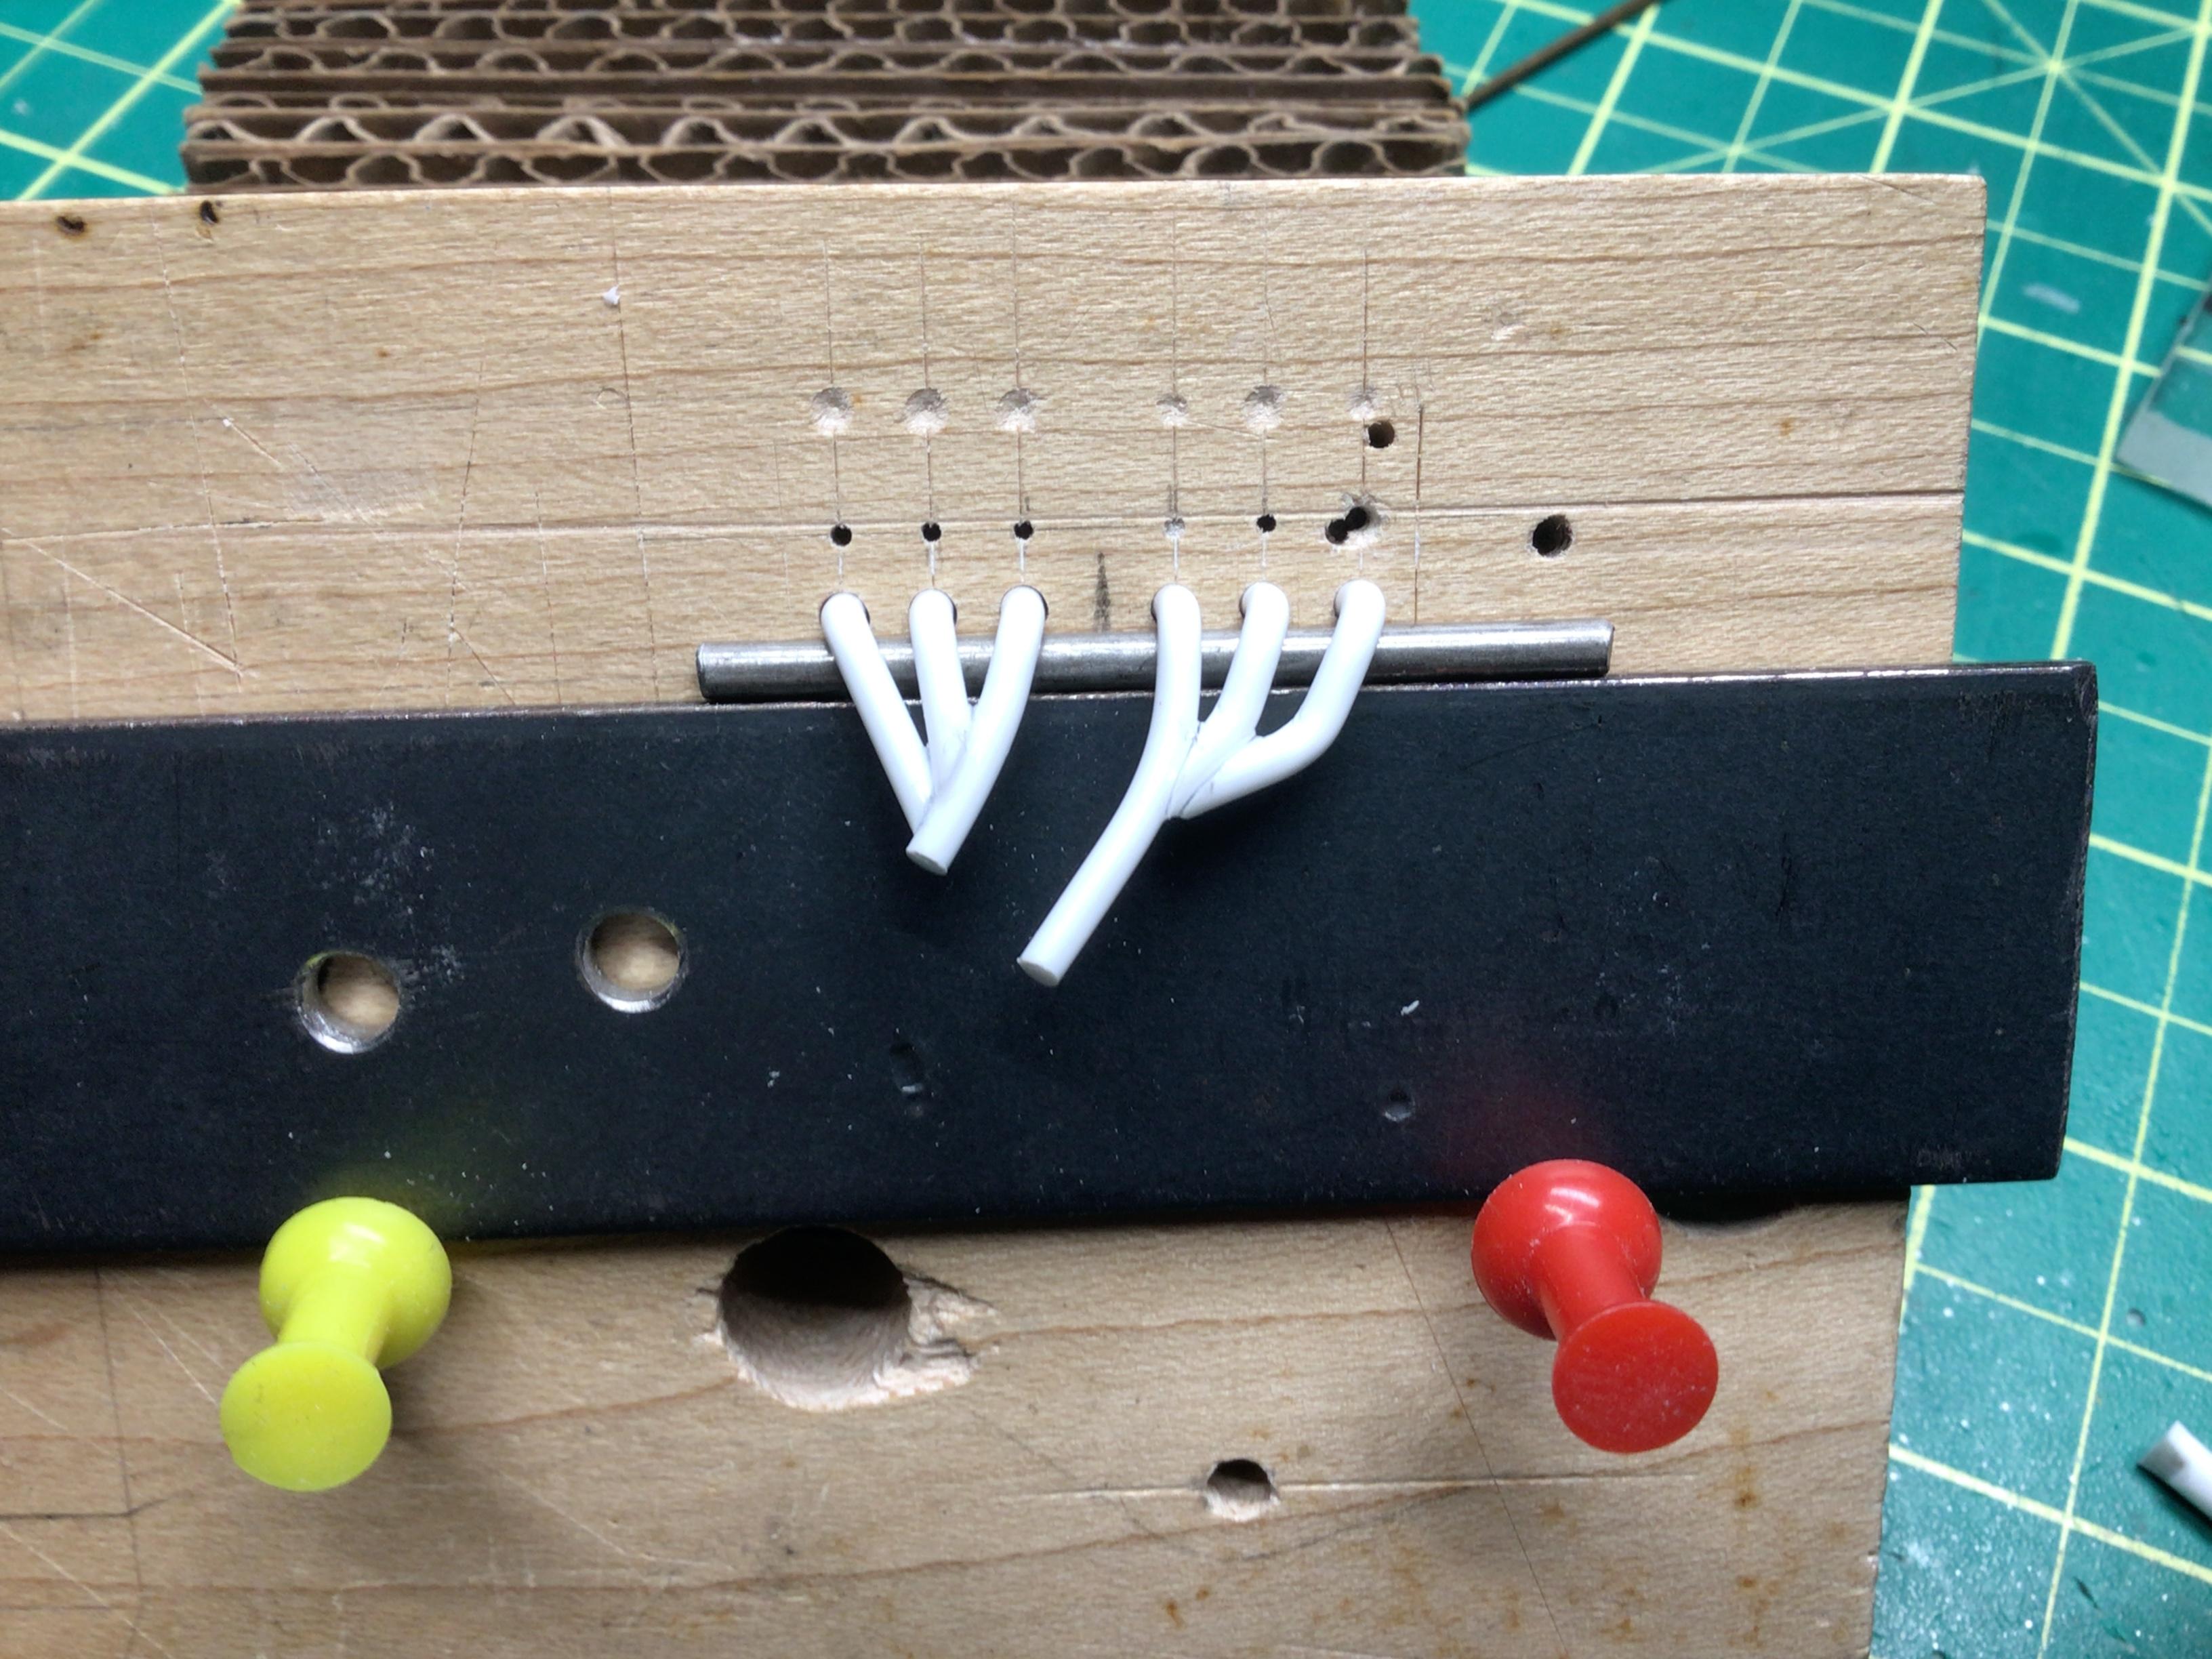
These bends were all done cold. I bend it around an old axle or piece of coat hanger to get the same radius on all of the bends. You need to bend it well past the degree you want and let it relax back to the desired shape. The angle cuts were done after bending.
-
Thanks. I make my simple engine stands from evergreen or chunks of sprue. Some of them have been modified a number of times to suit different engines.