-
Posts
1,032 -
Joined
-
Last visited
Content Type
Profiles
Forums
Events
Gallery
Everything posted by Misha
-
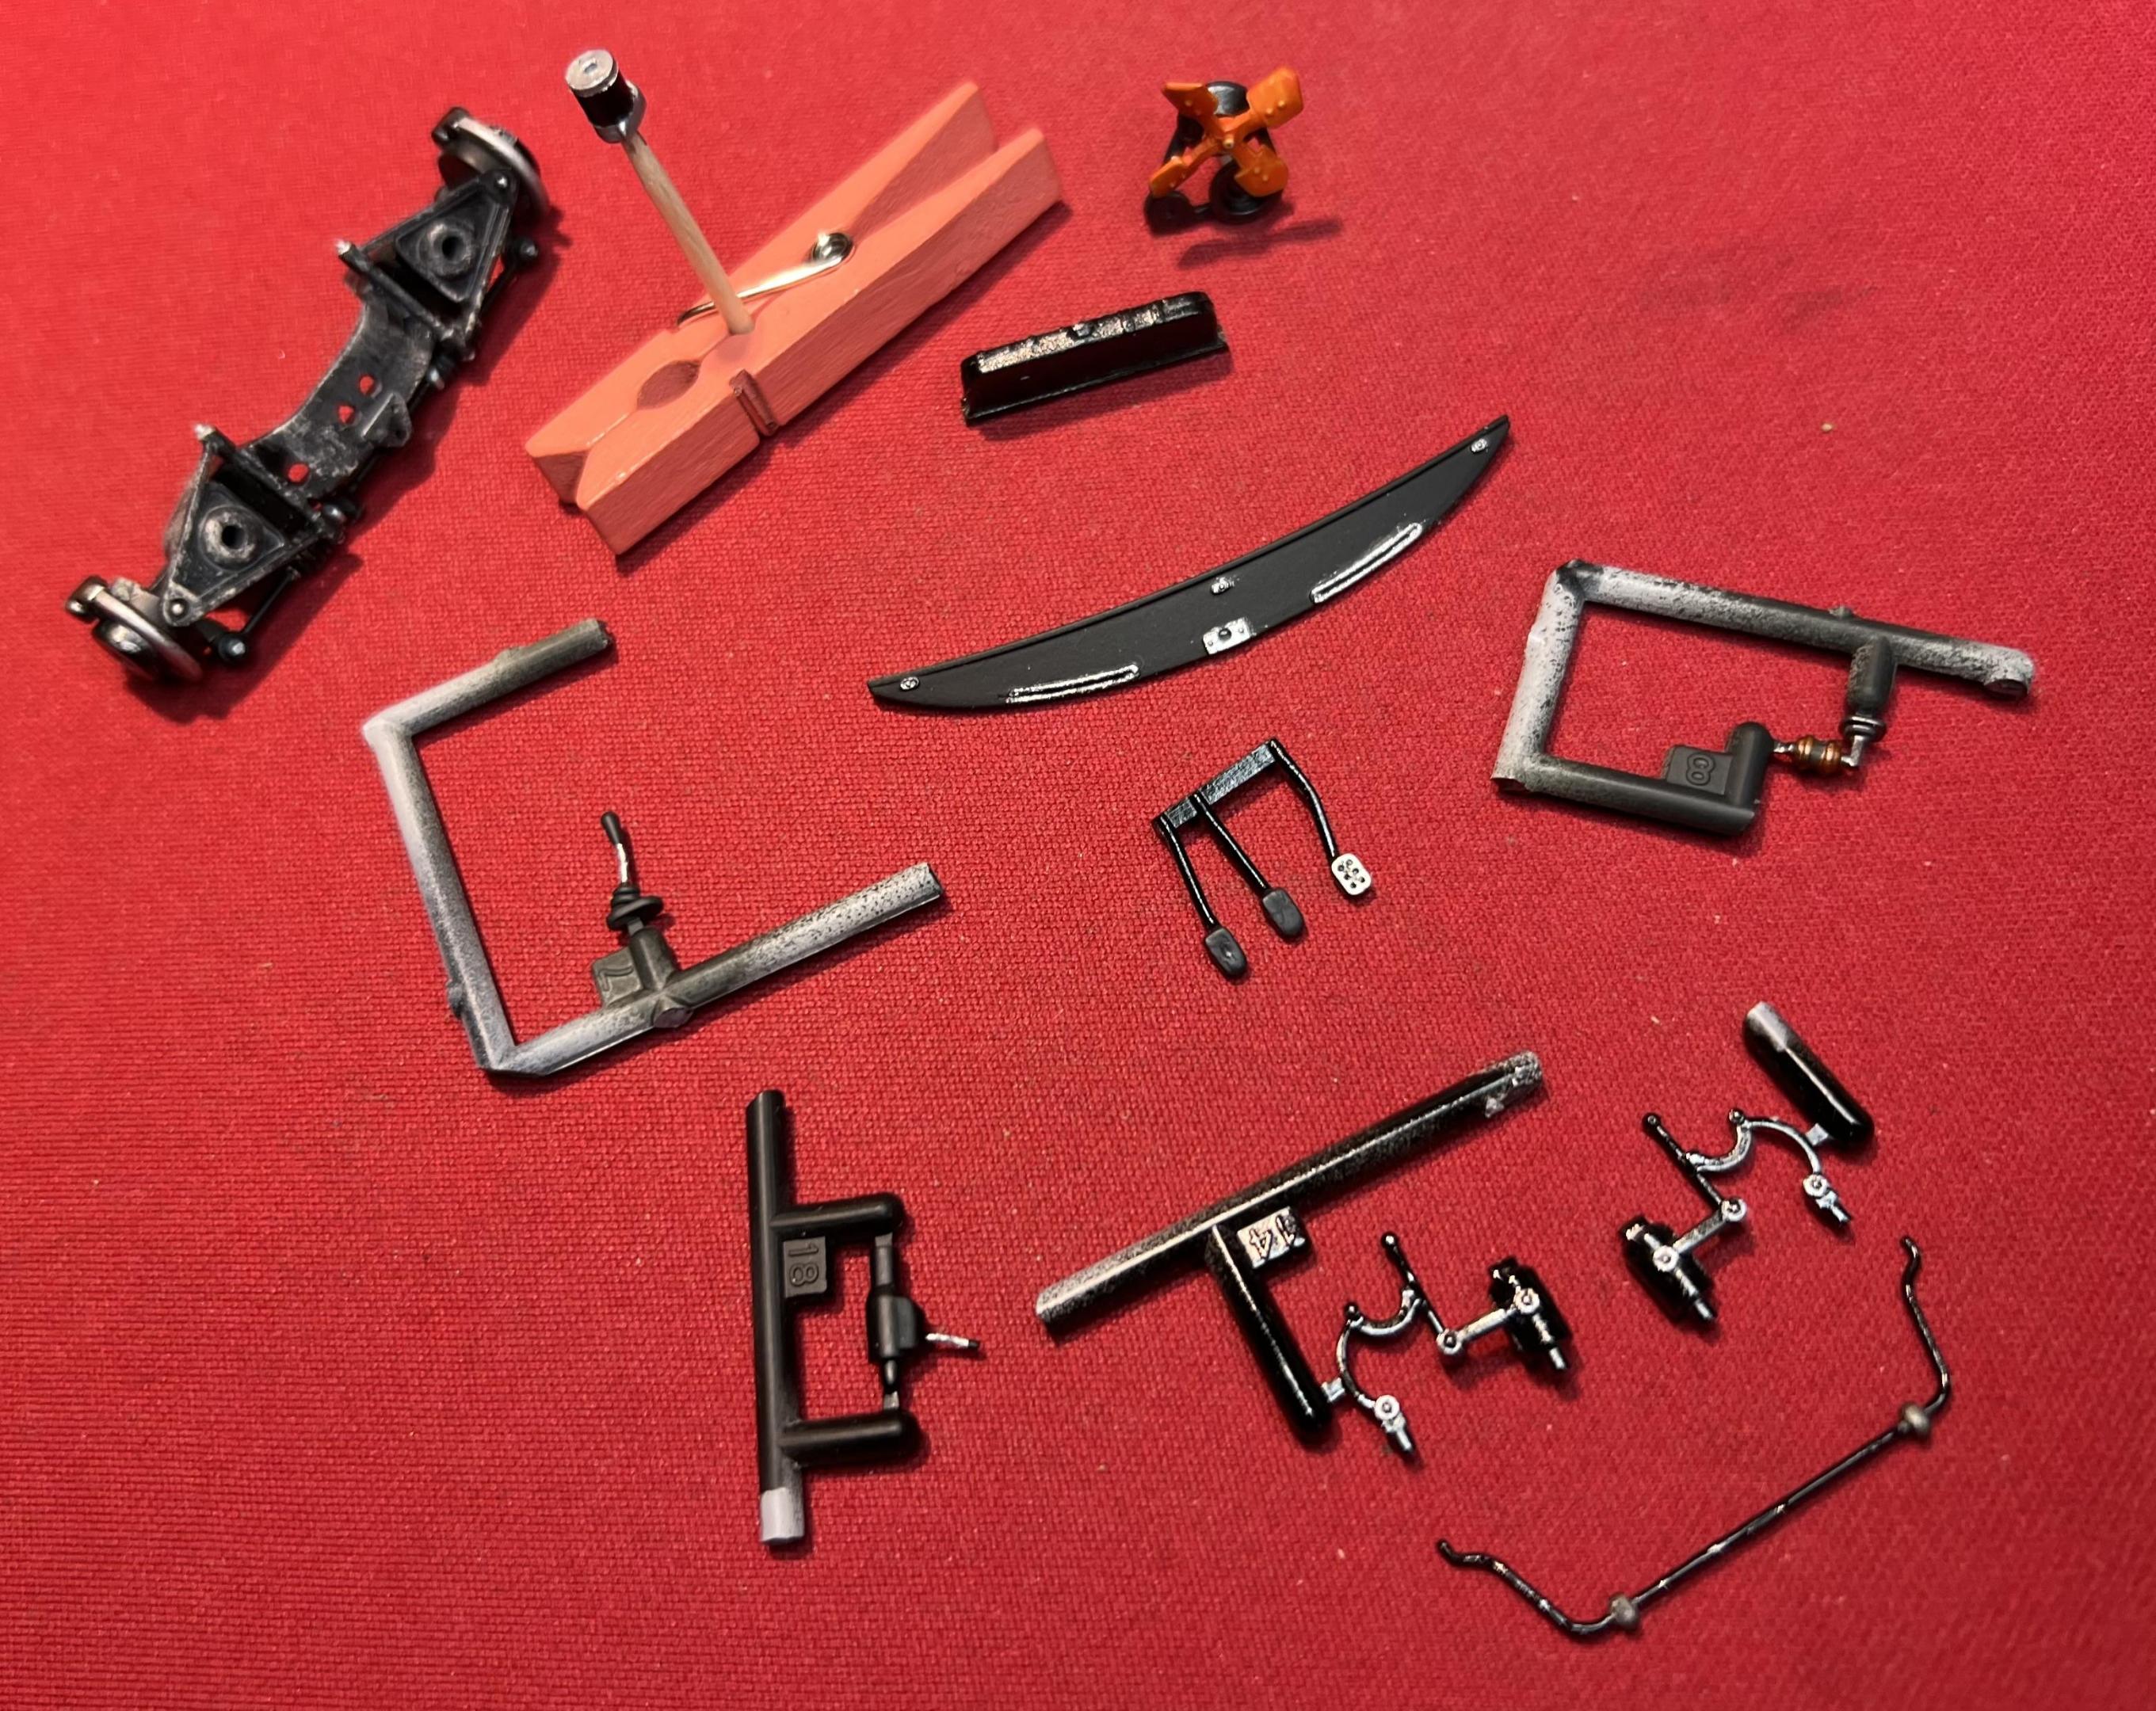
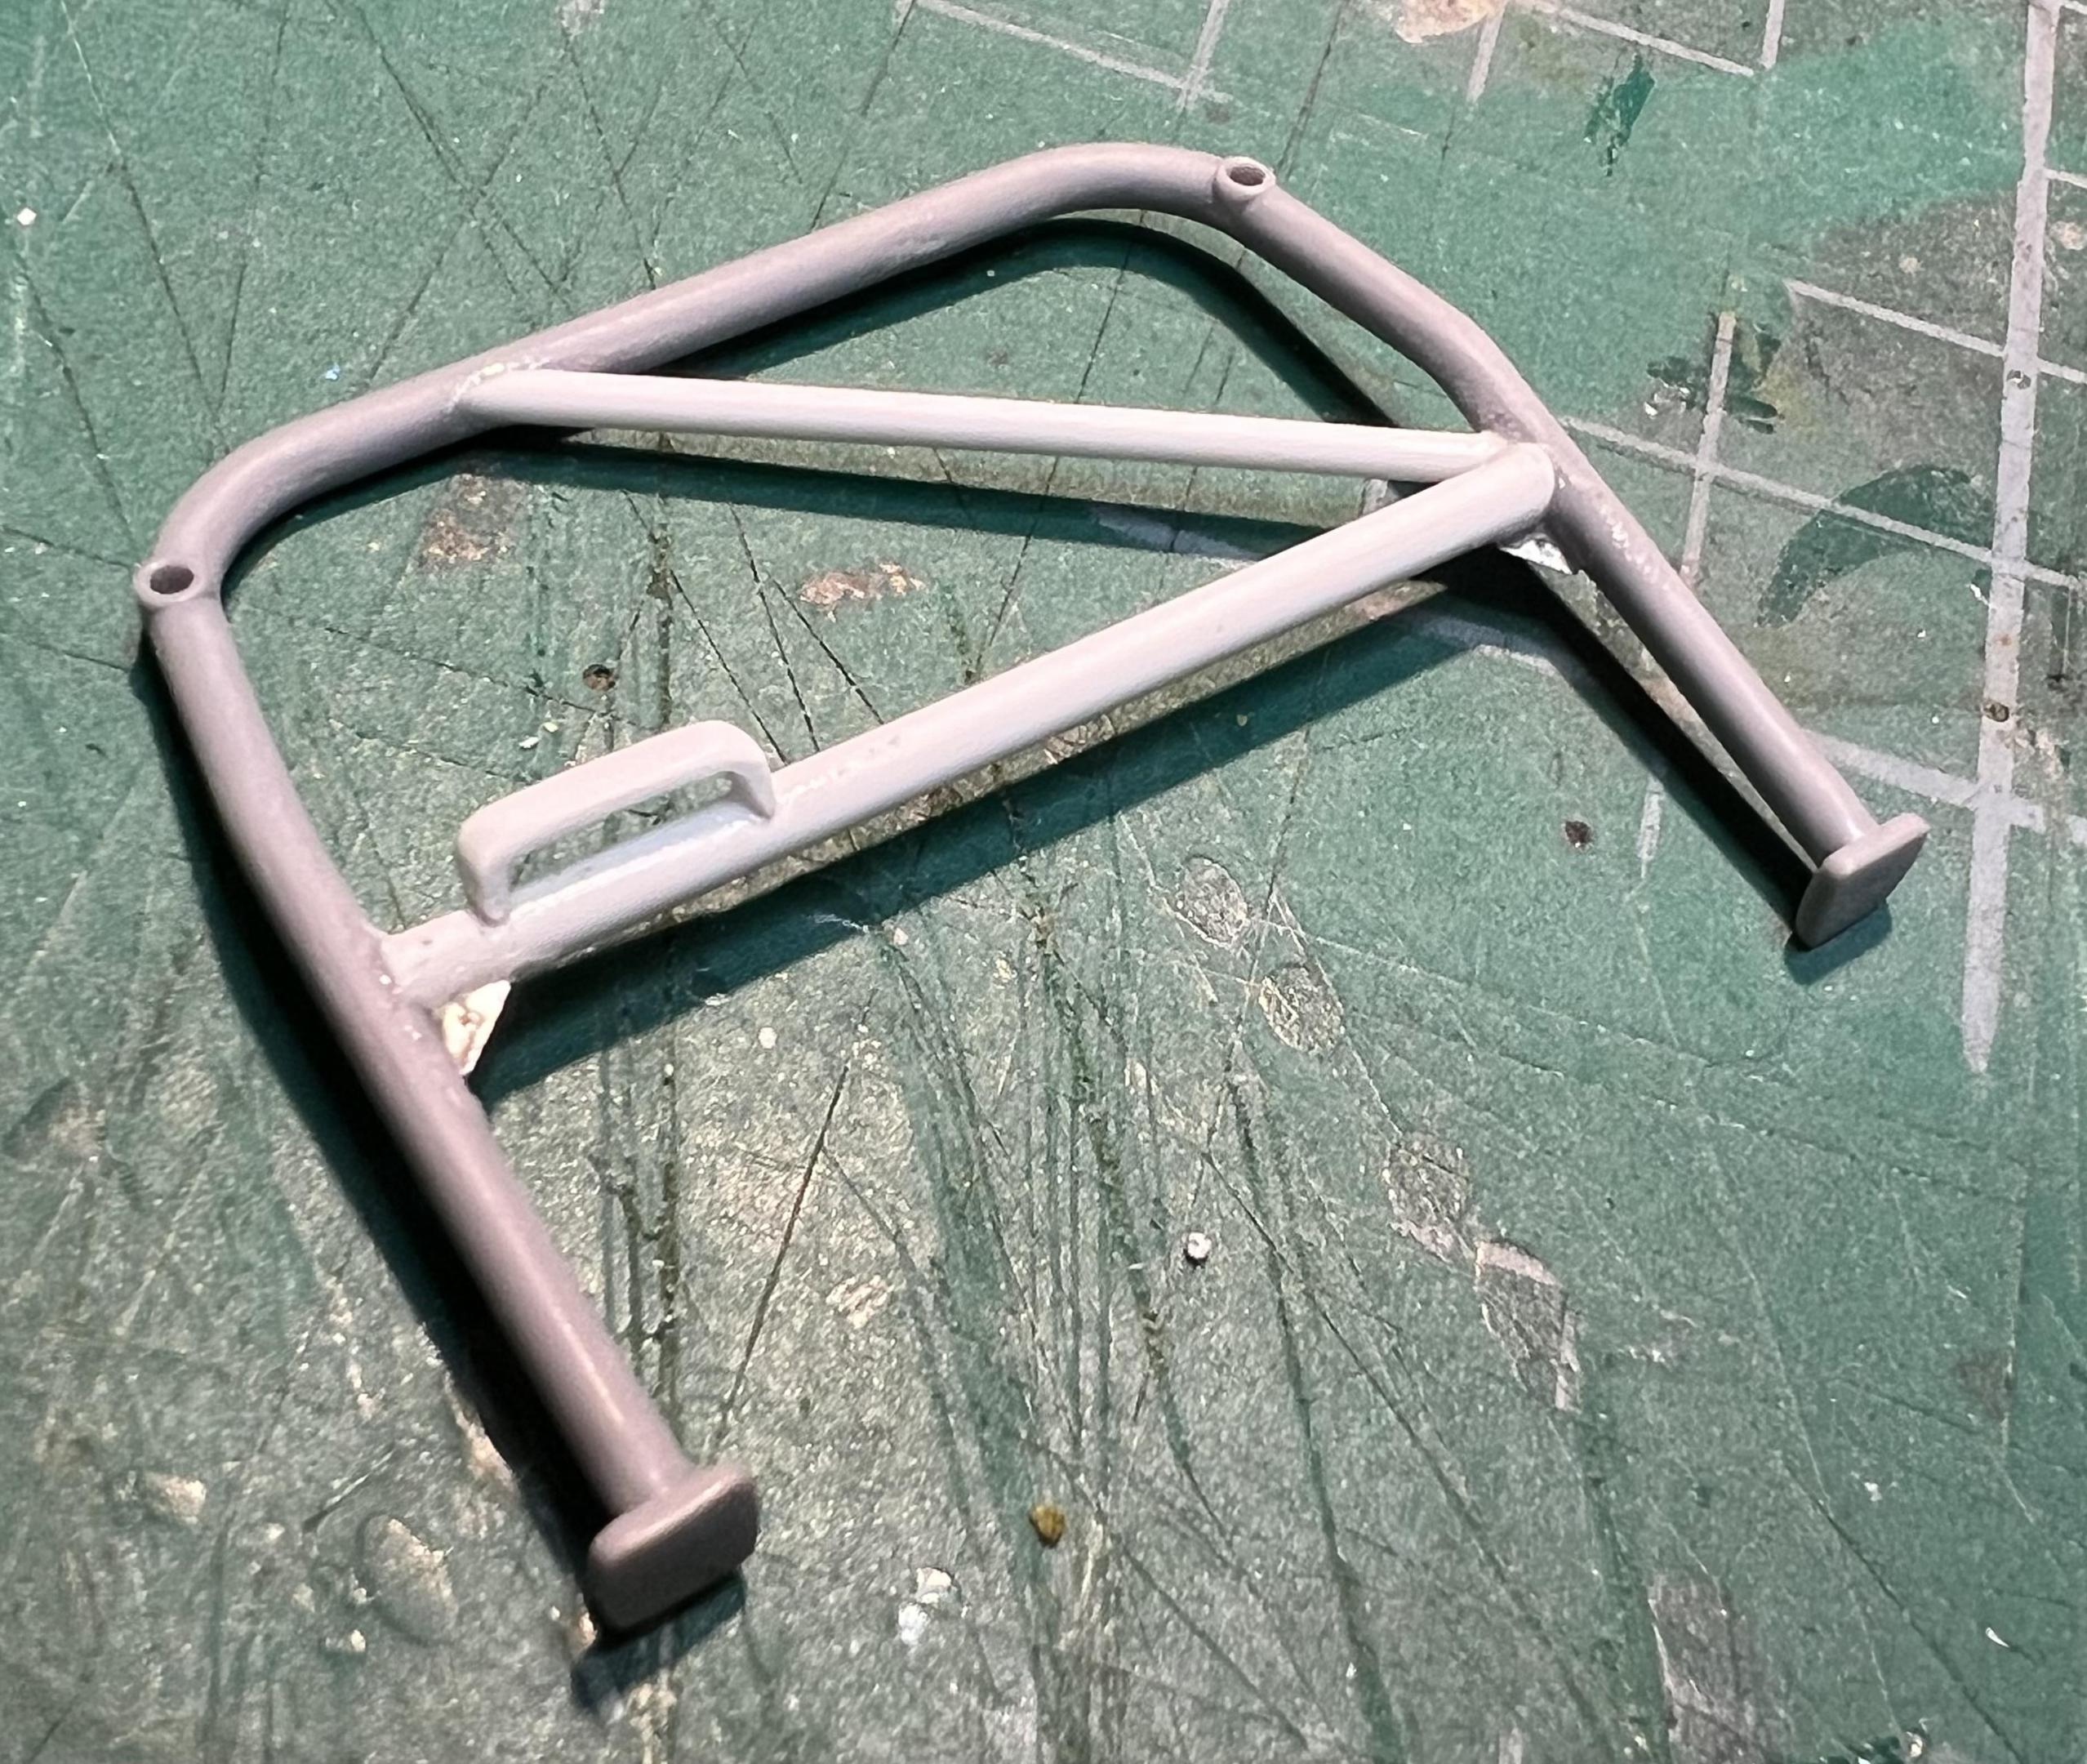
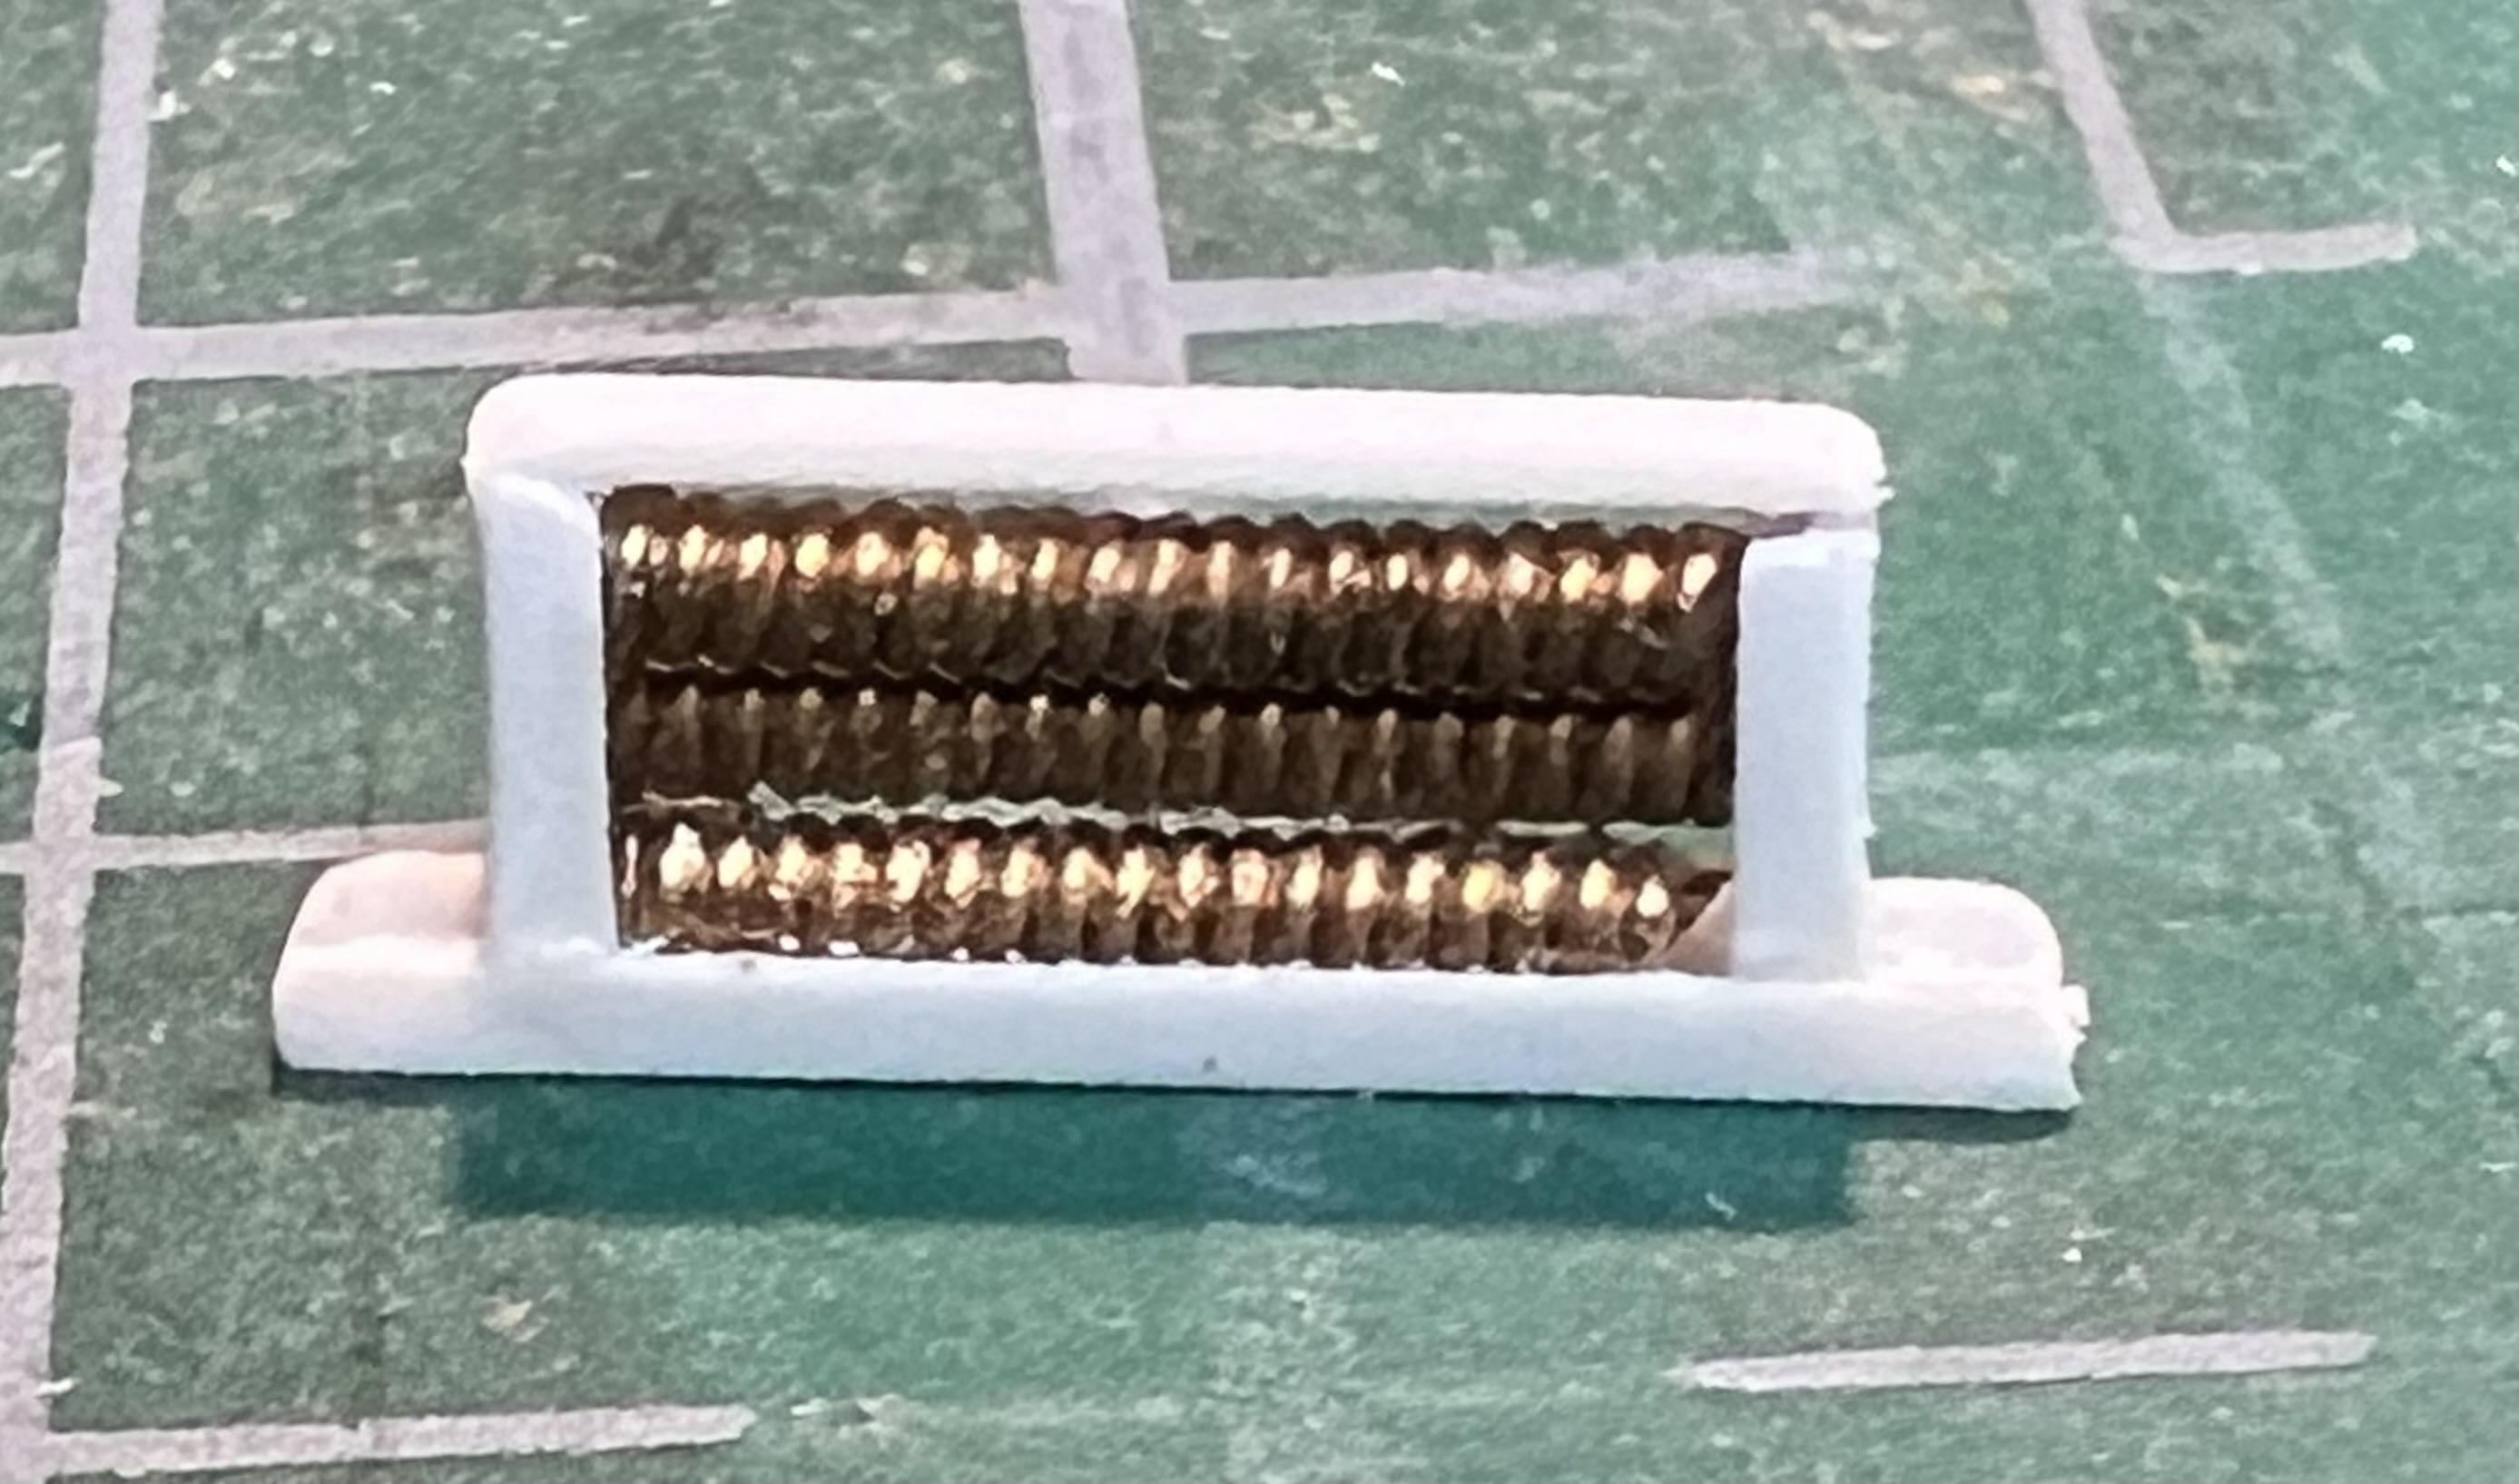
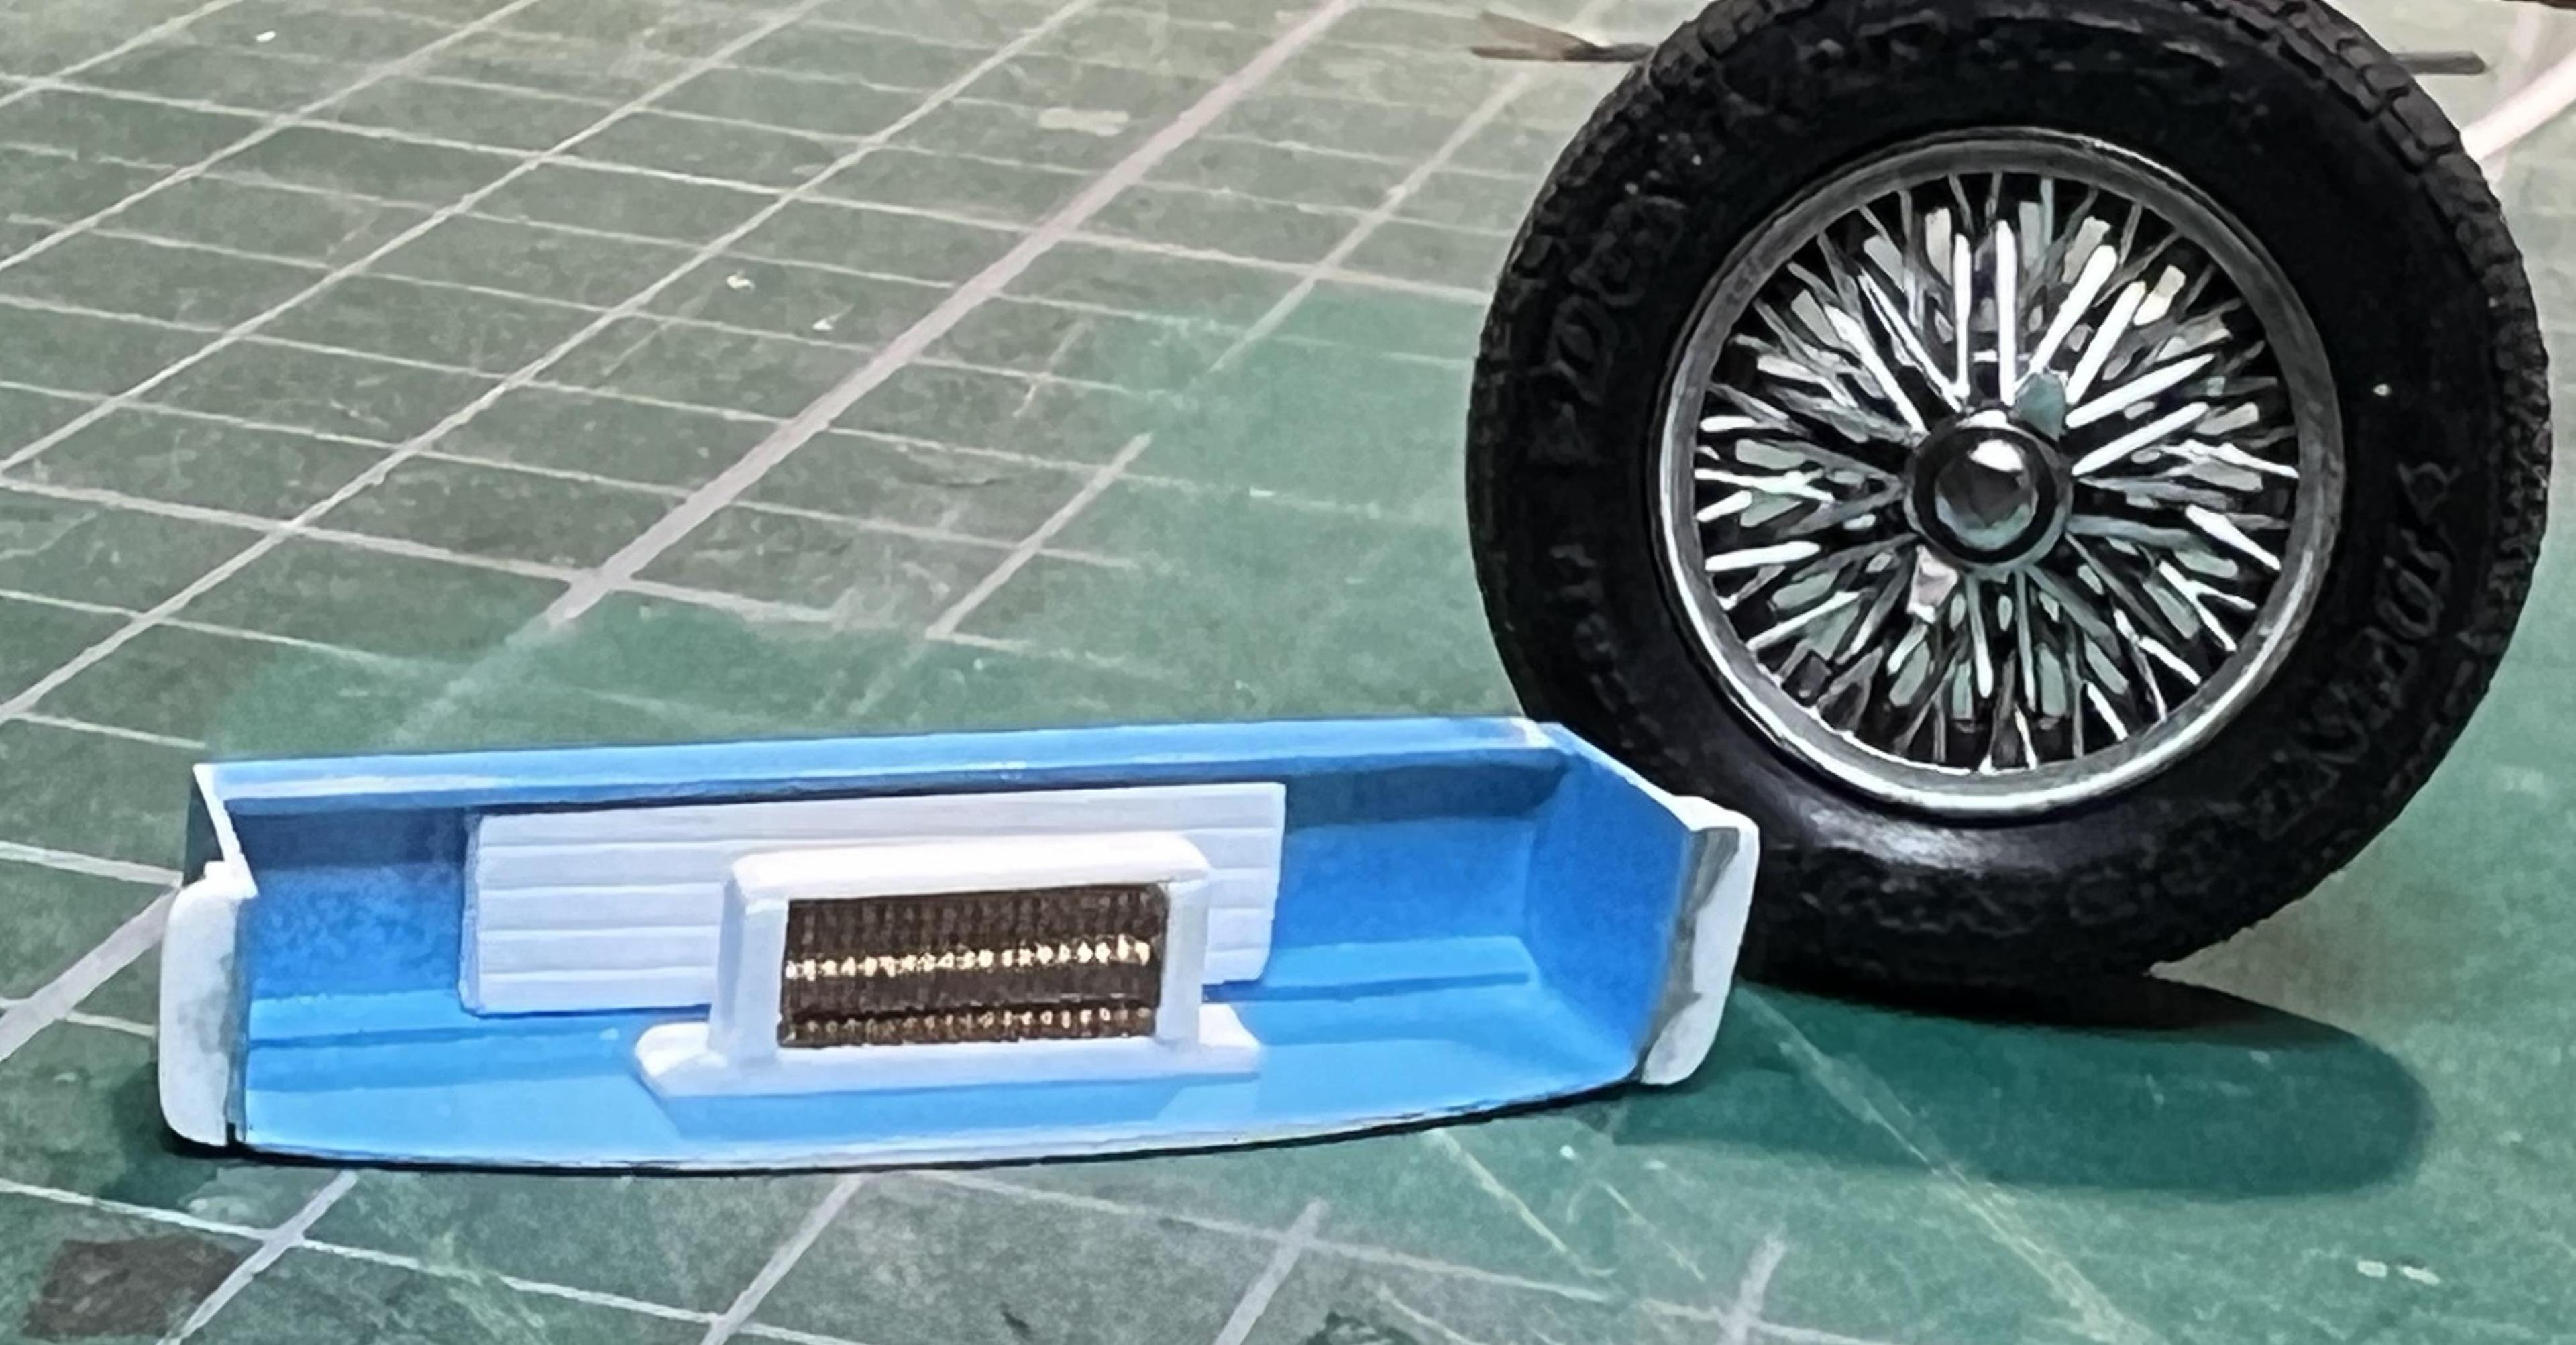
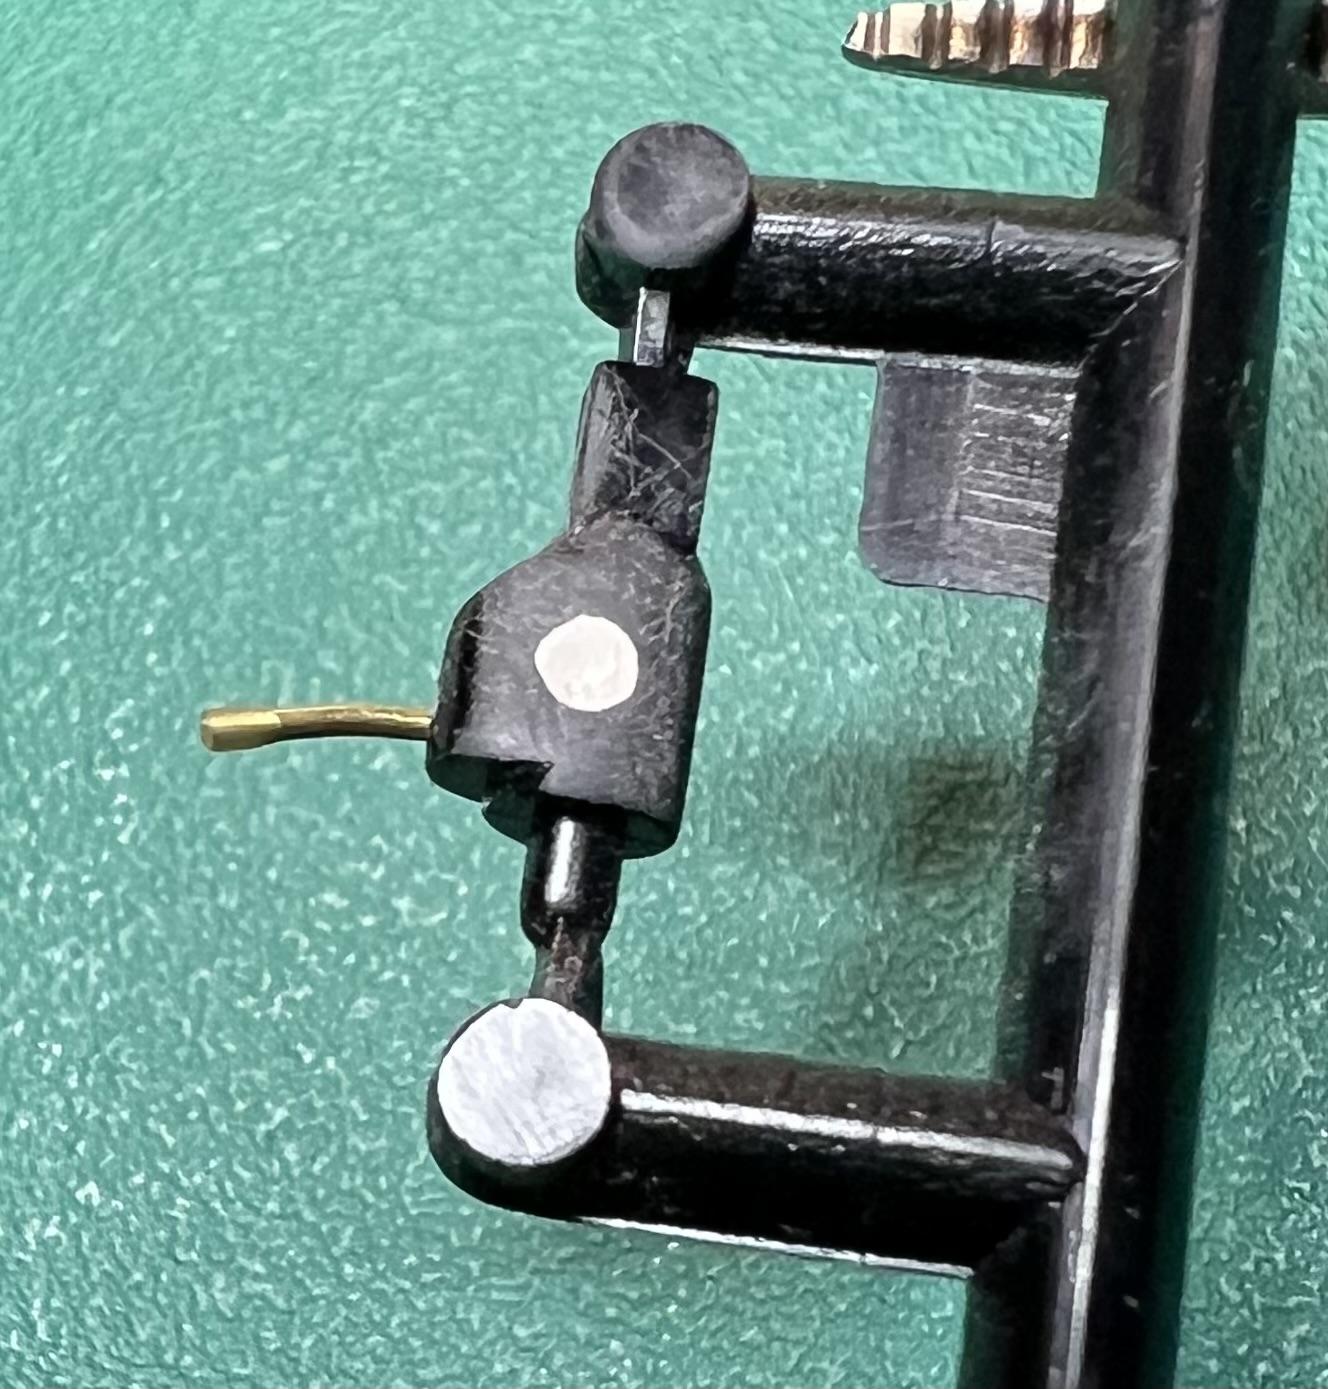
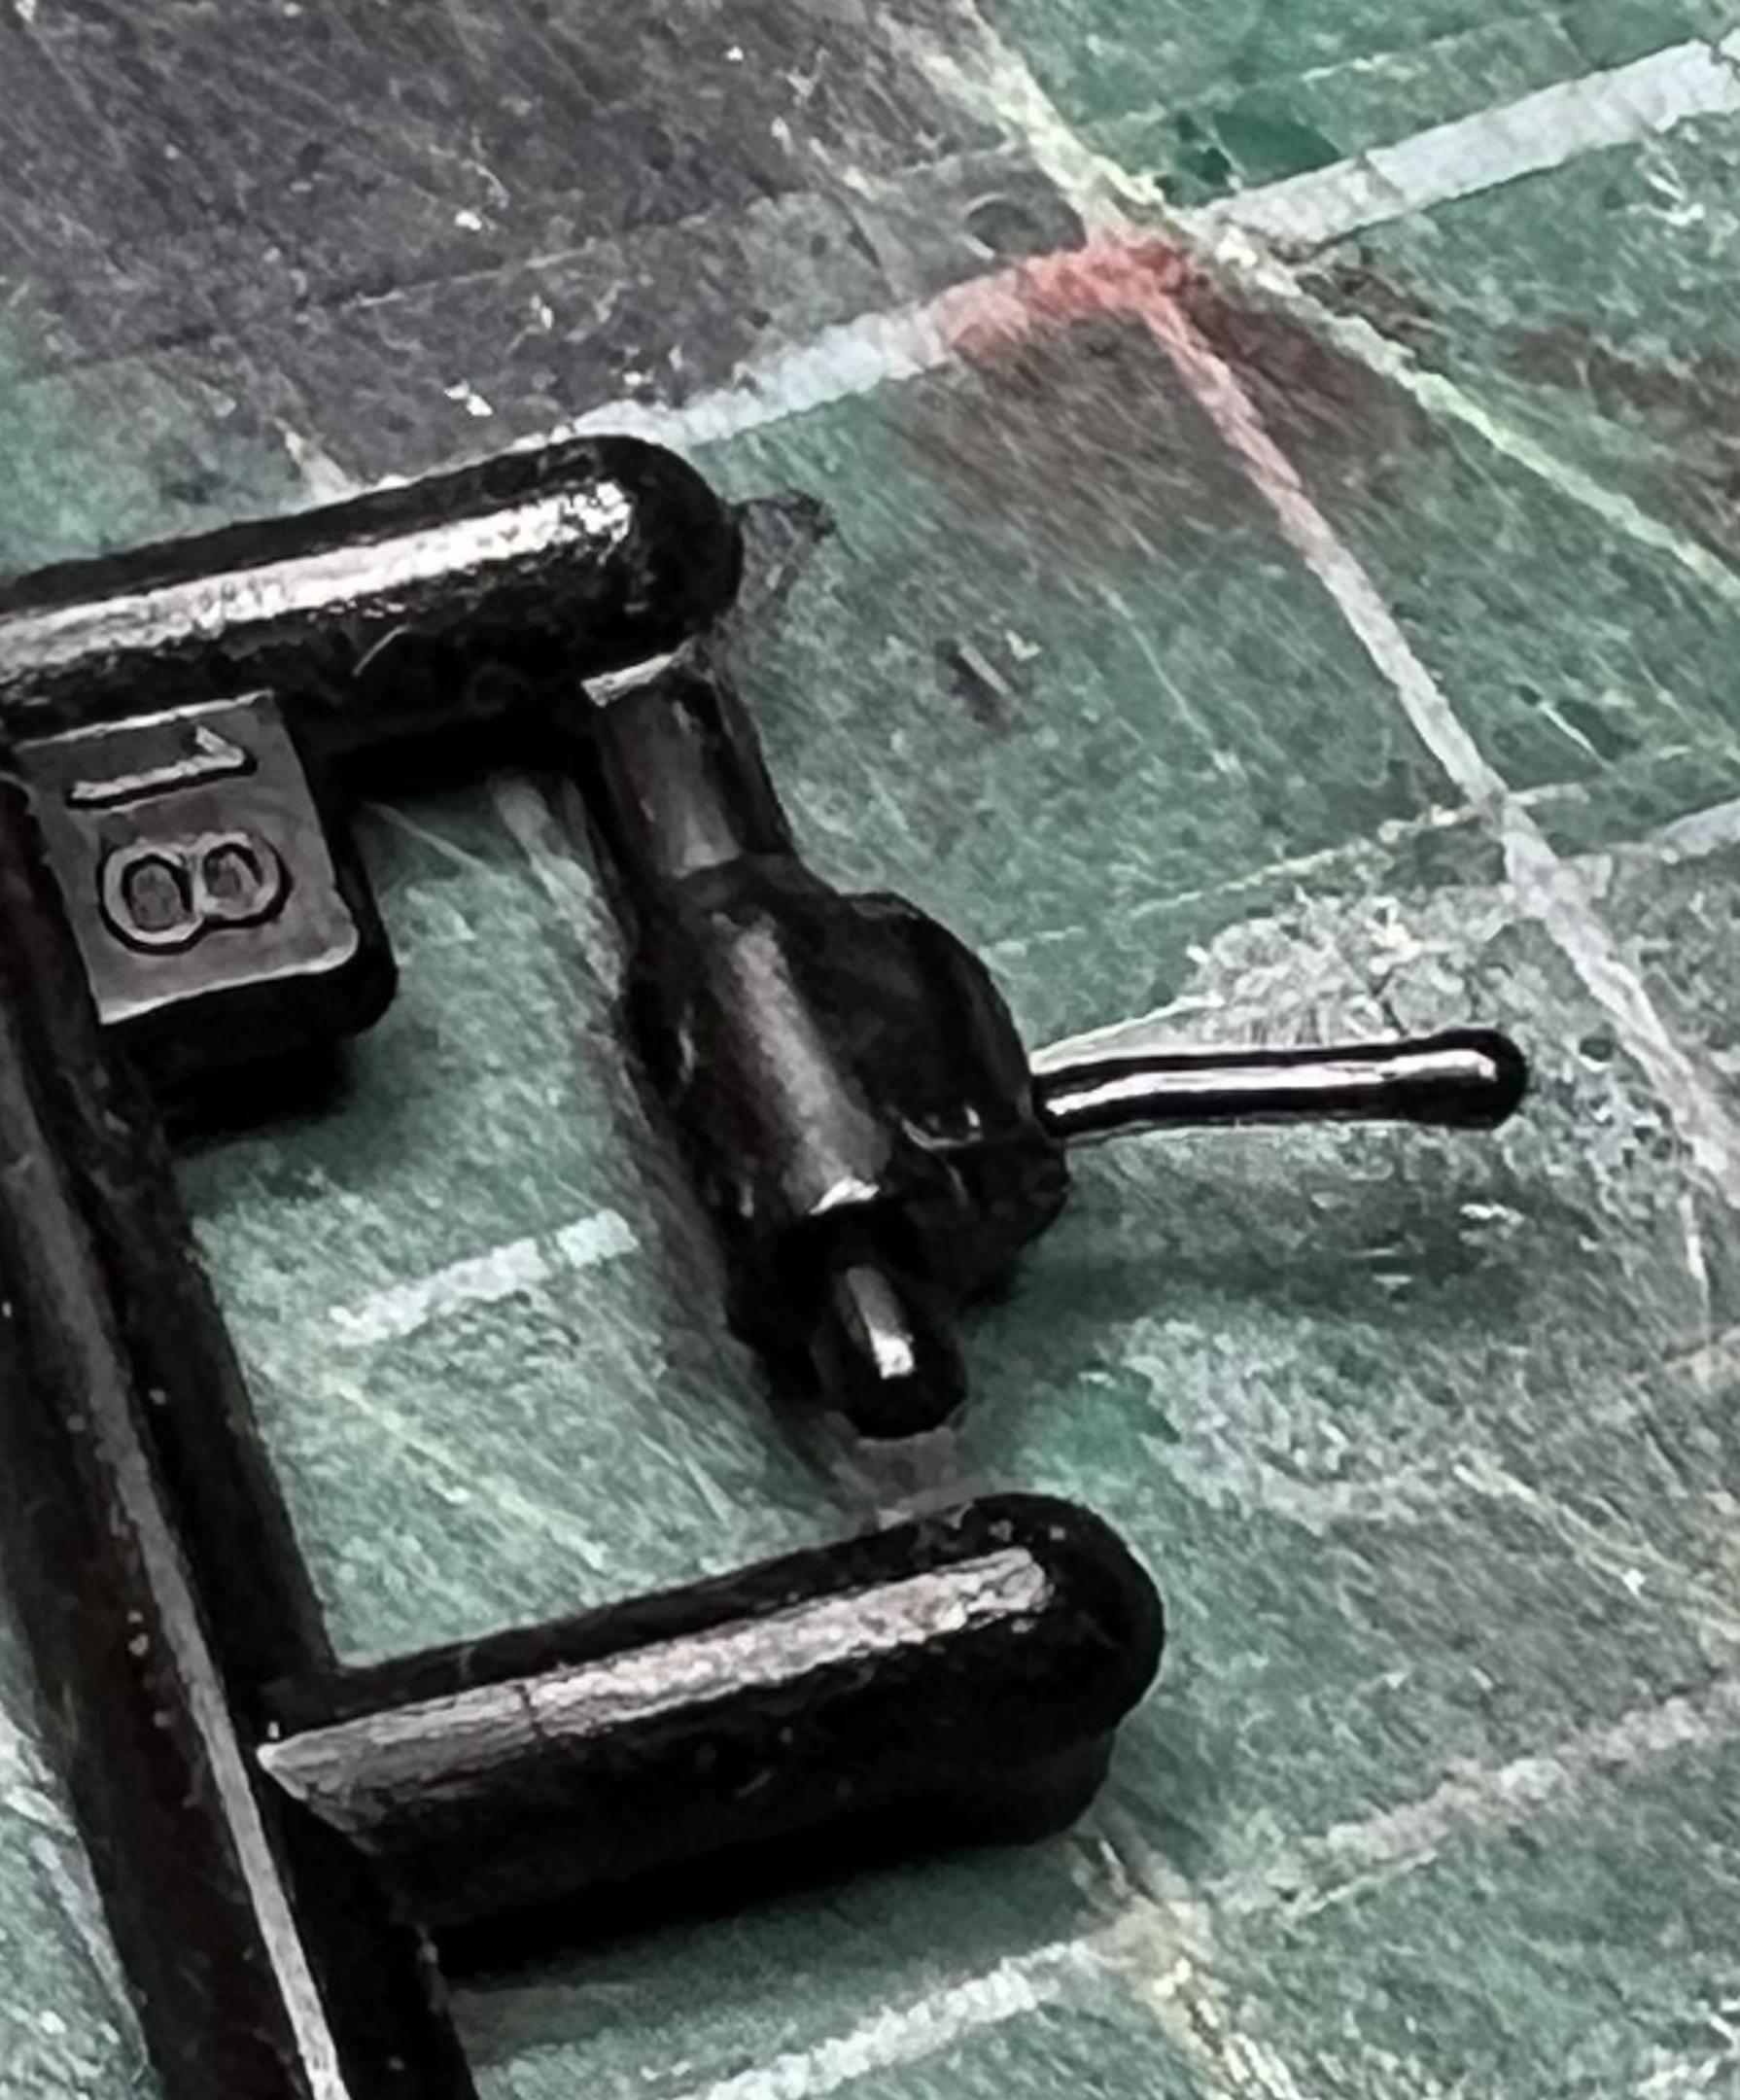
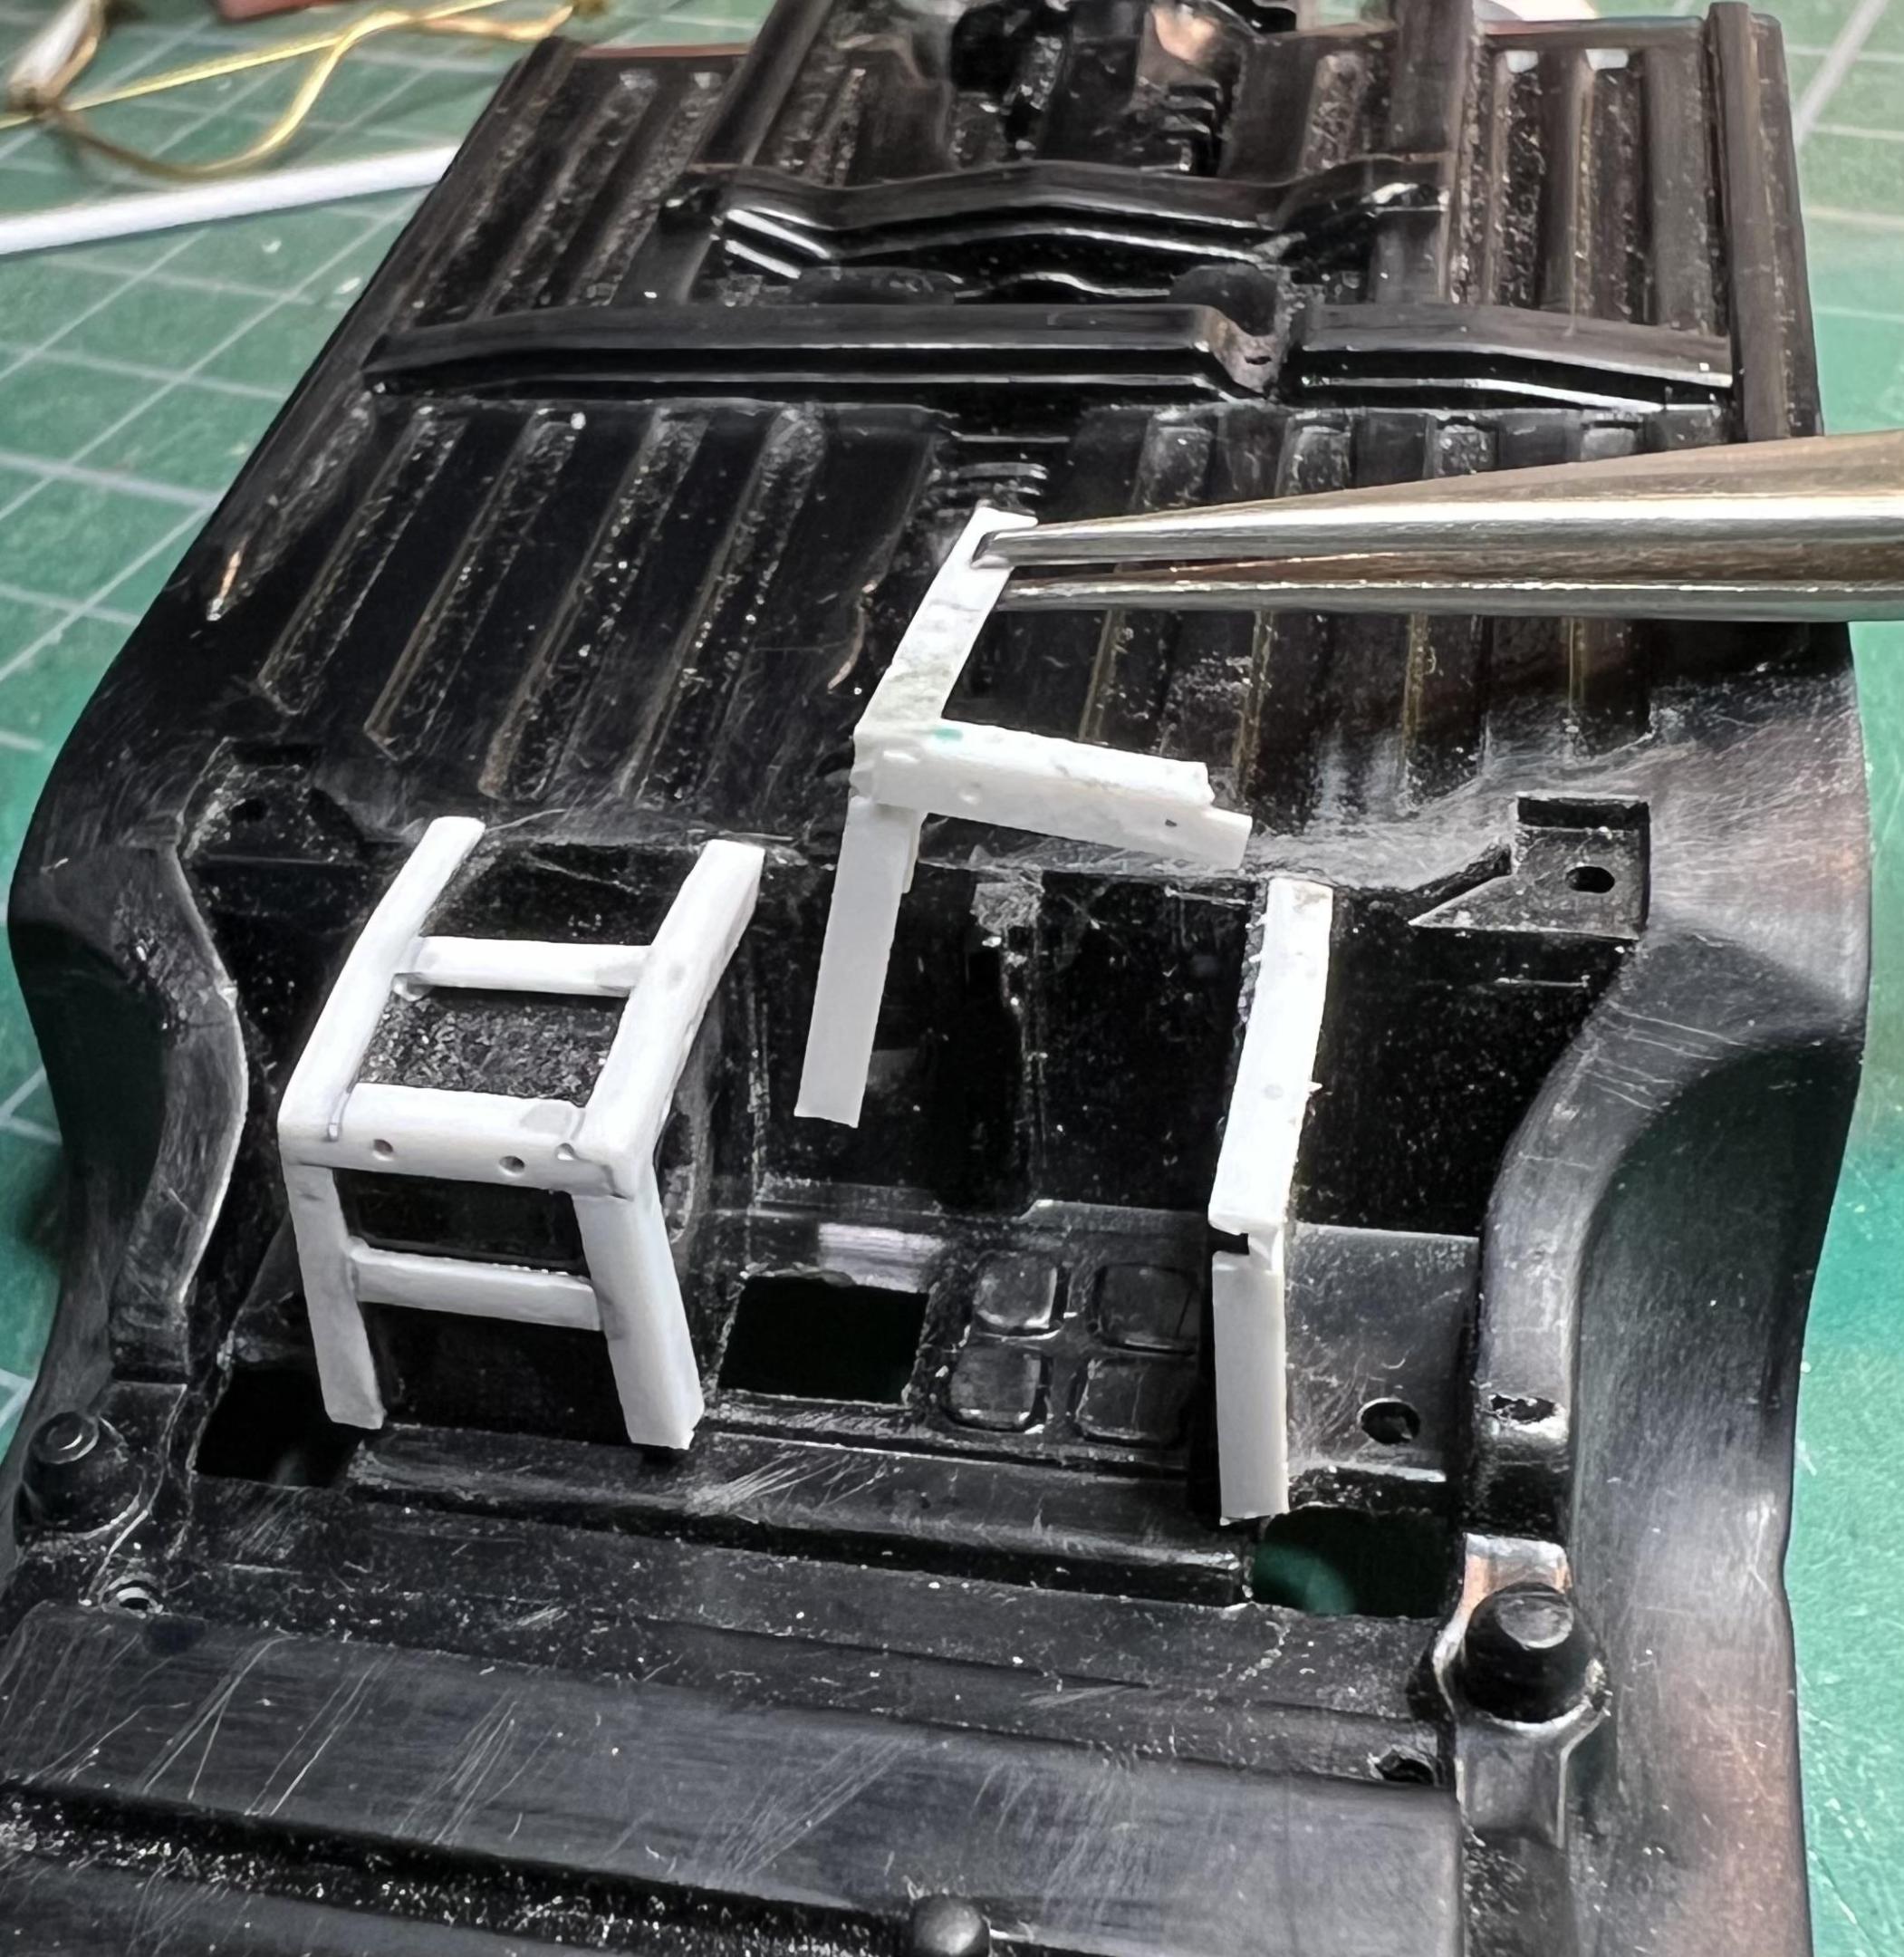
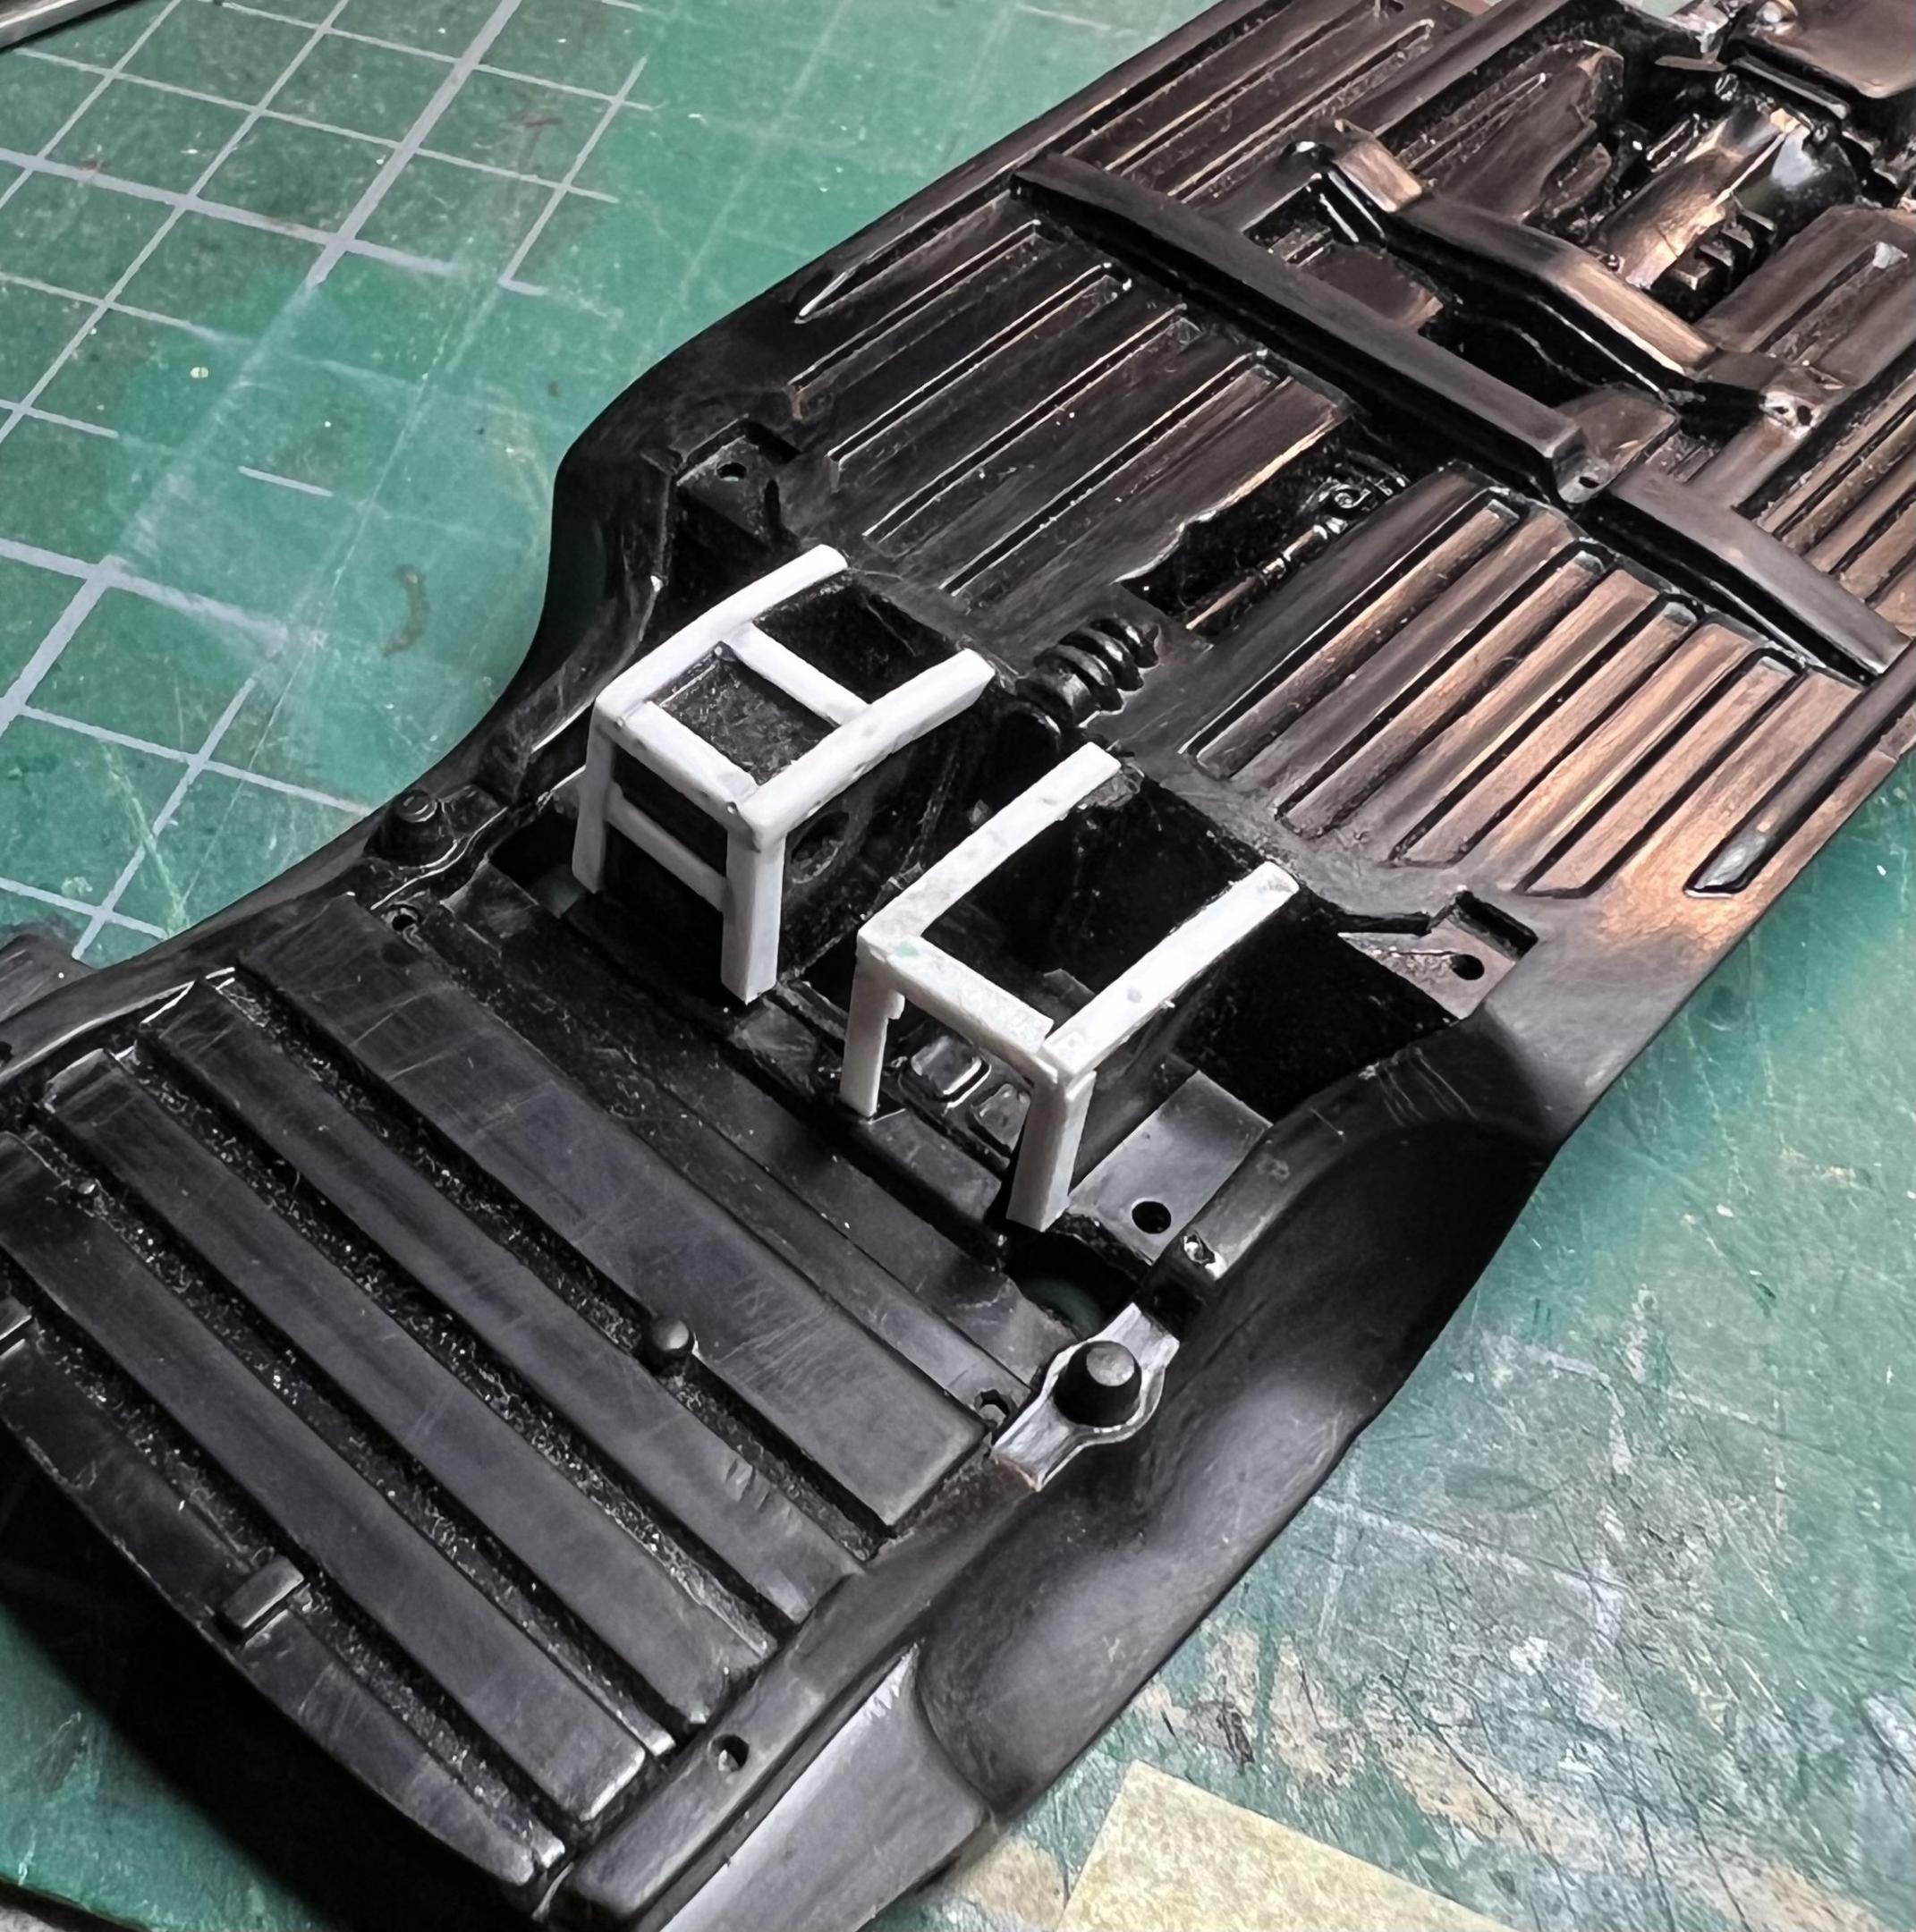
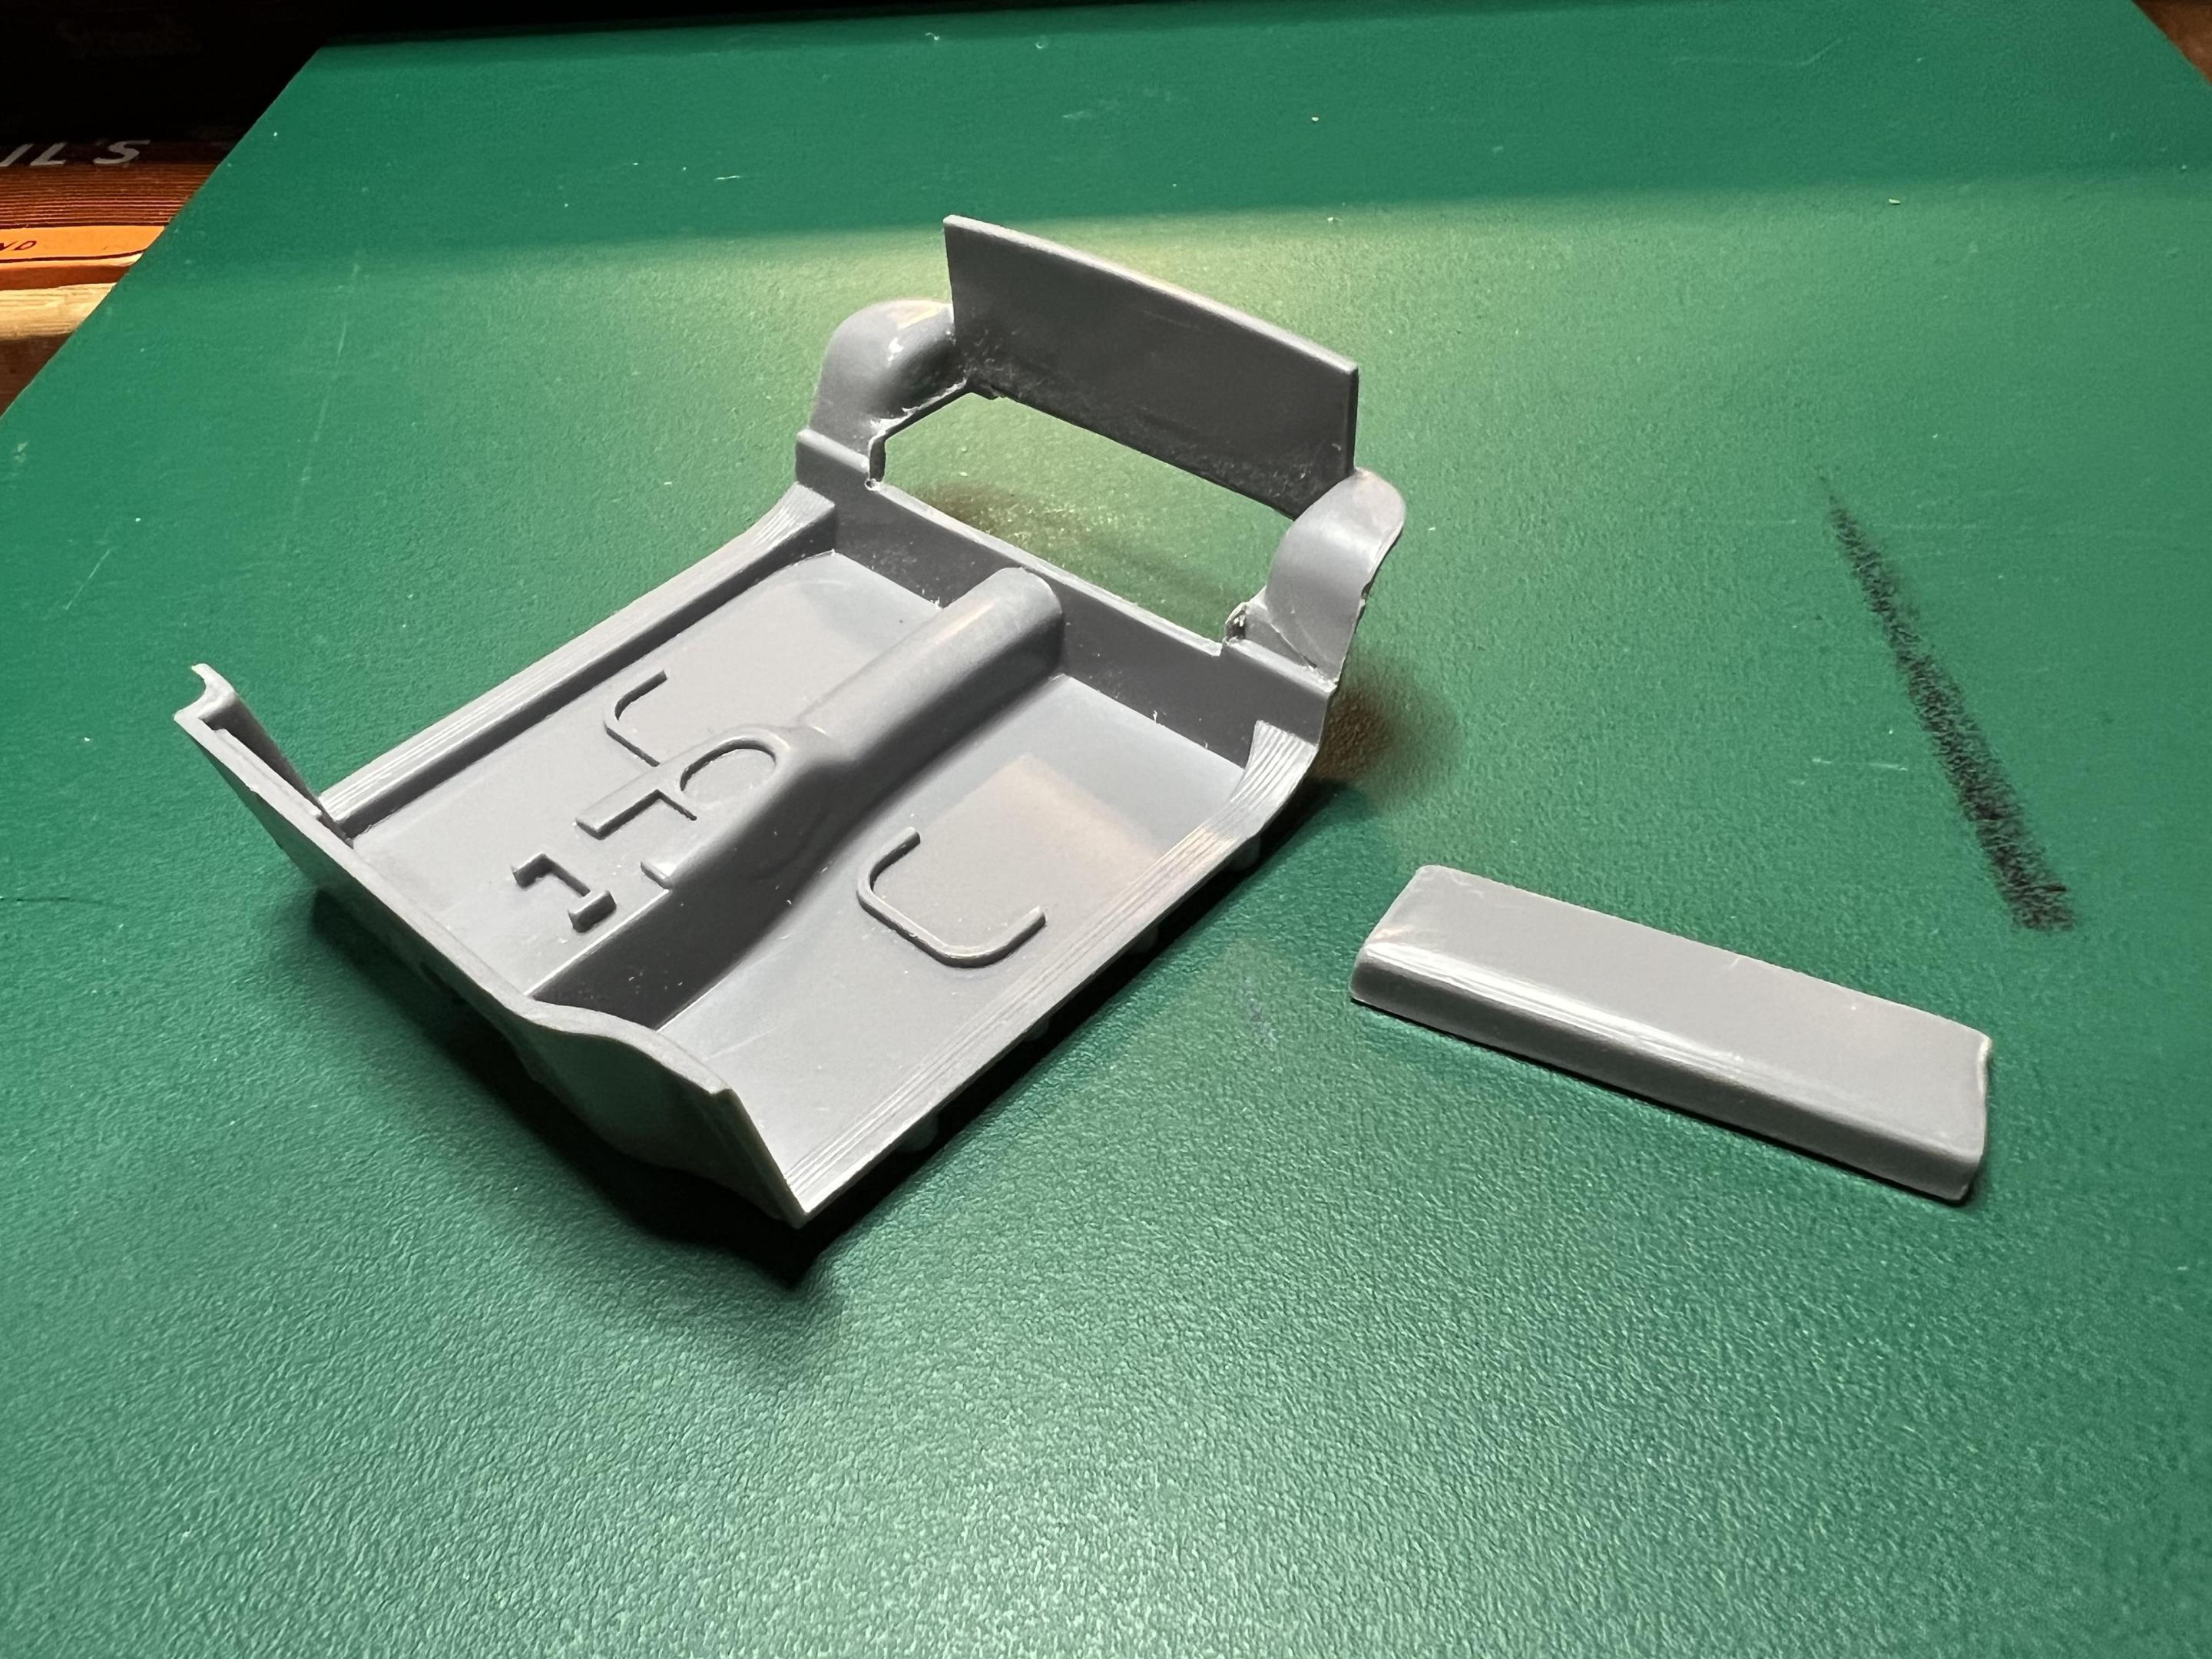
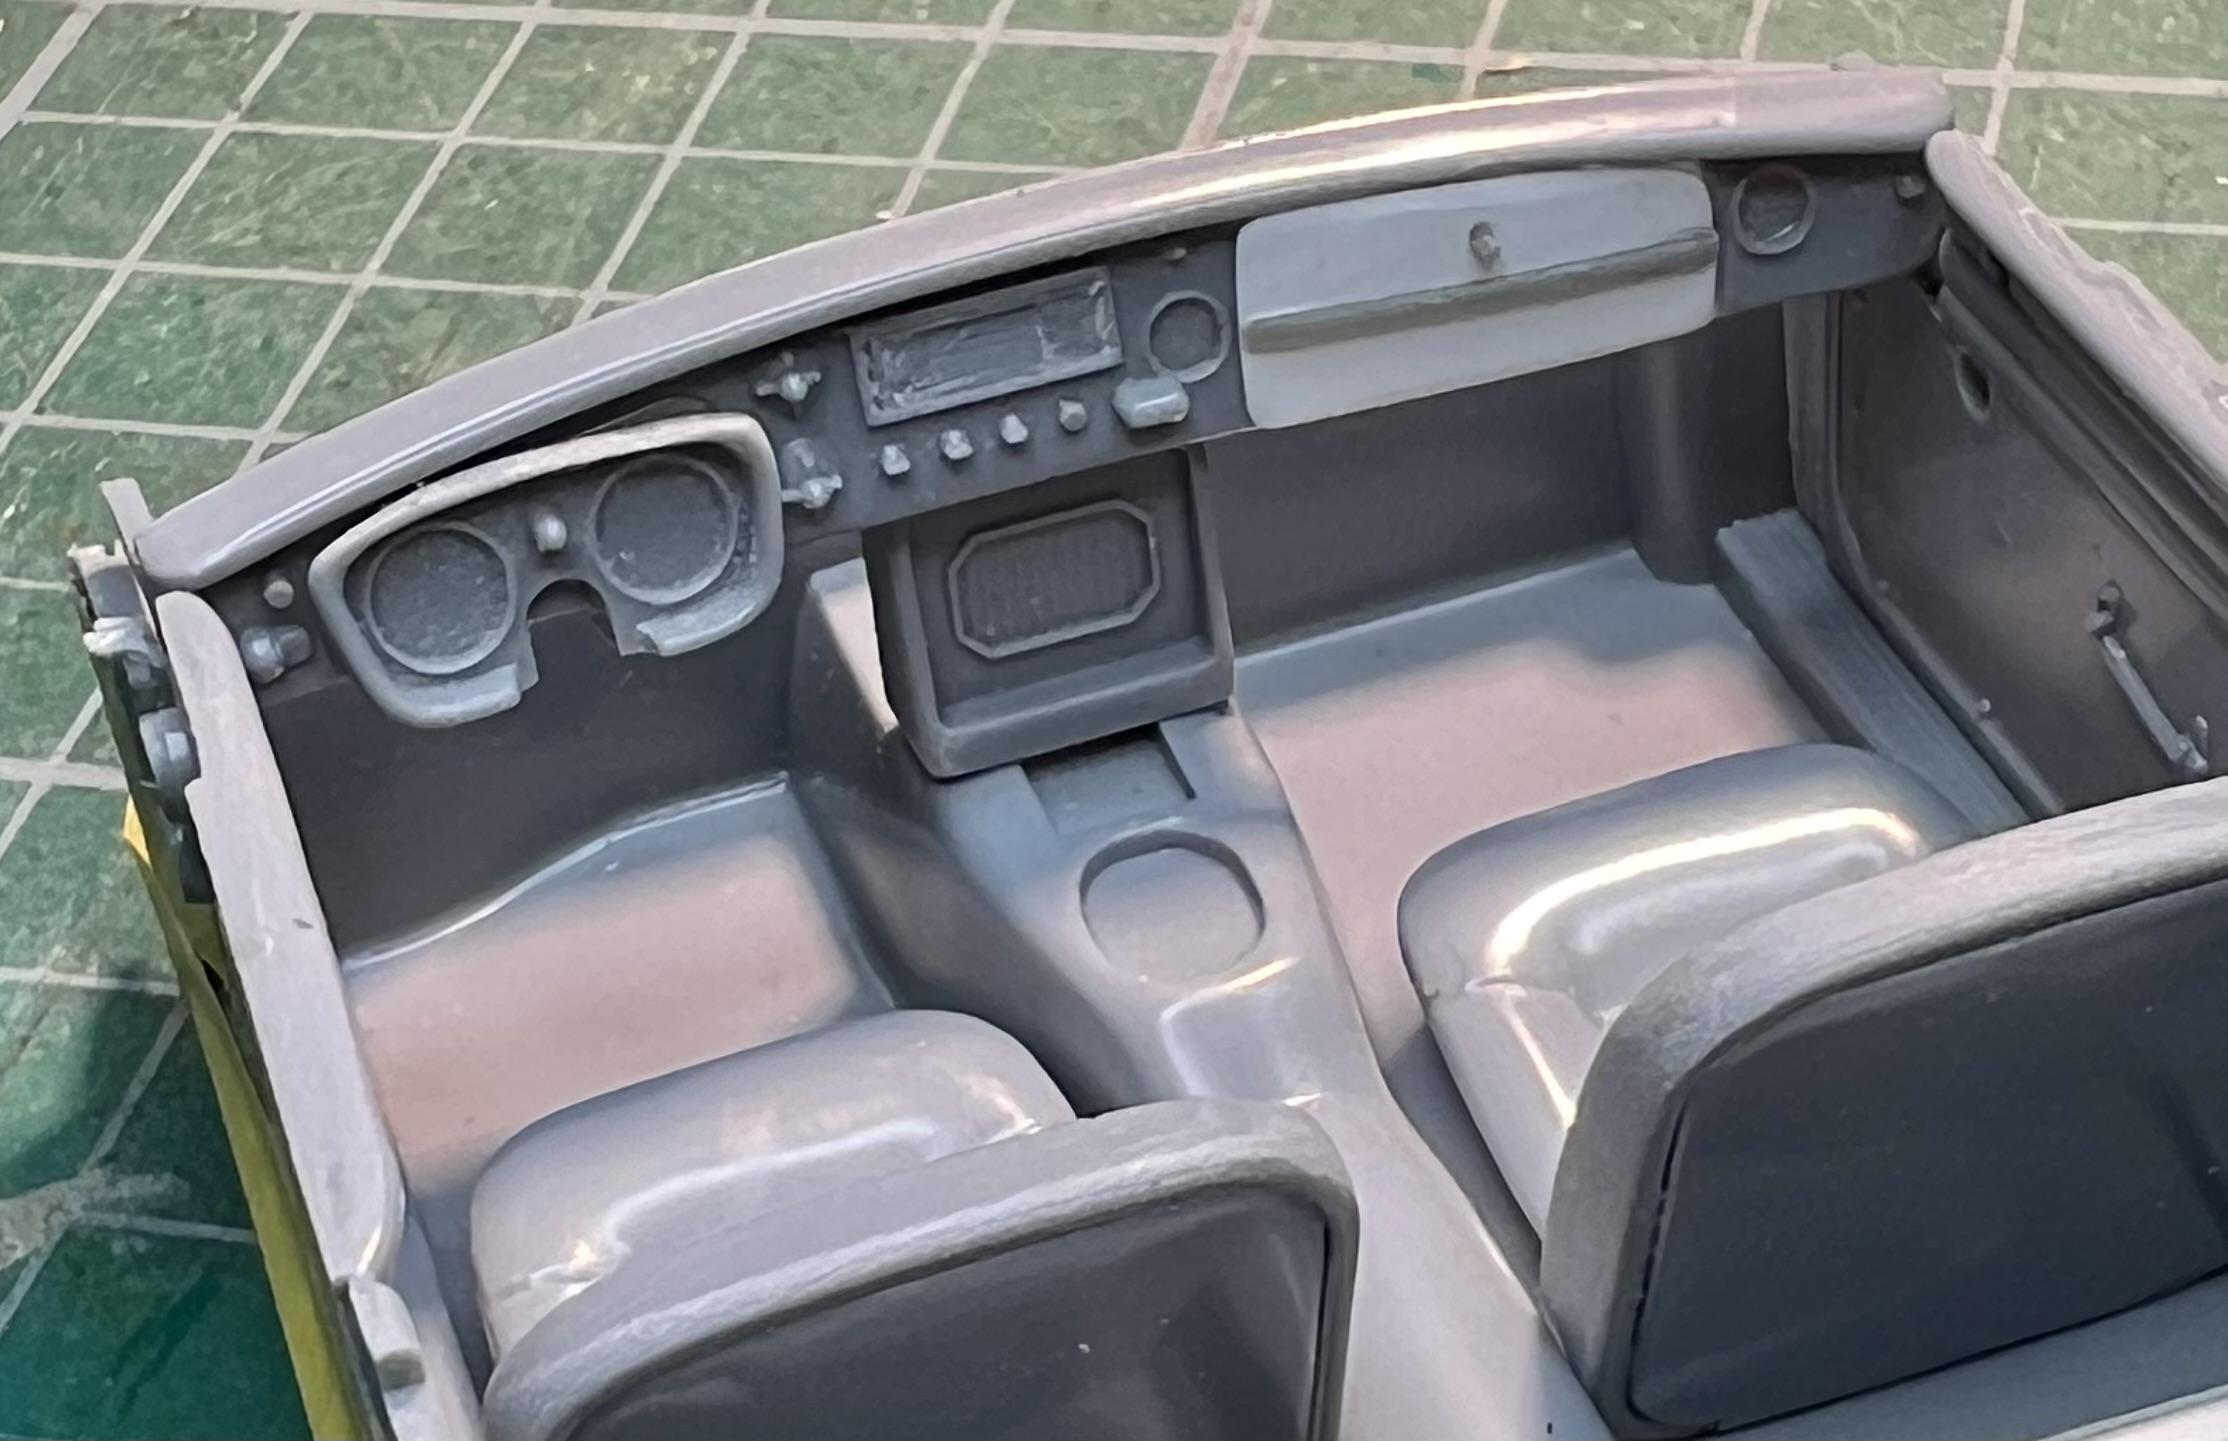
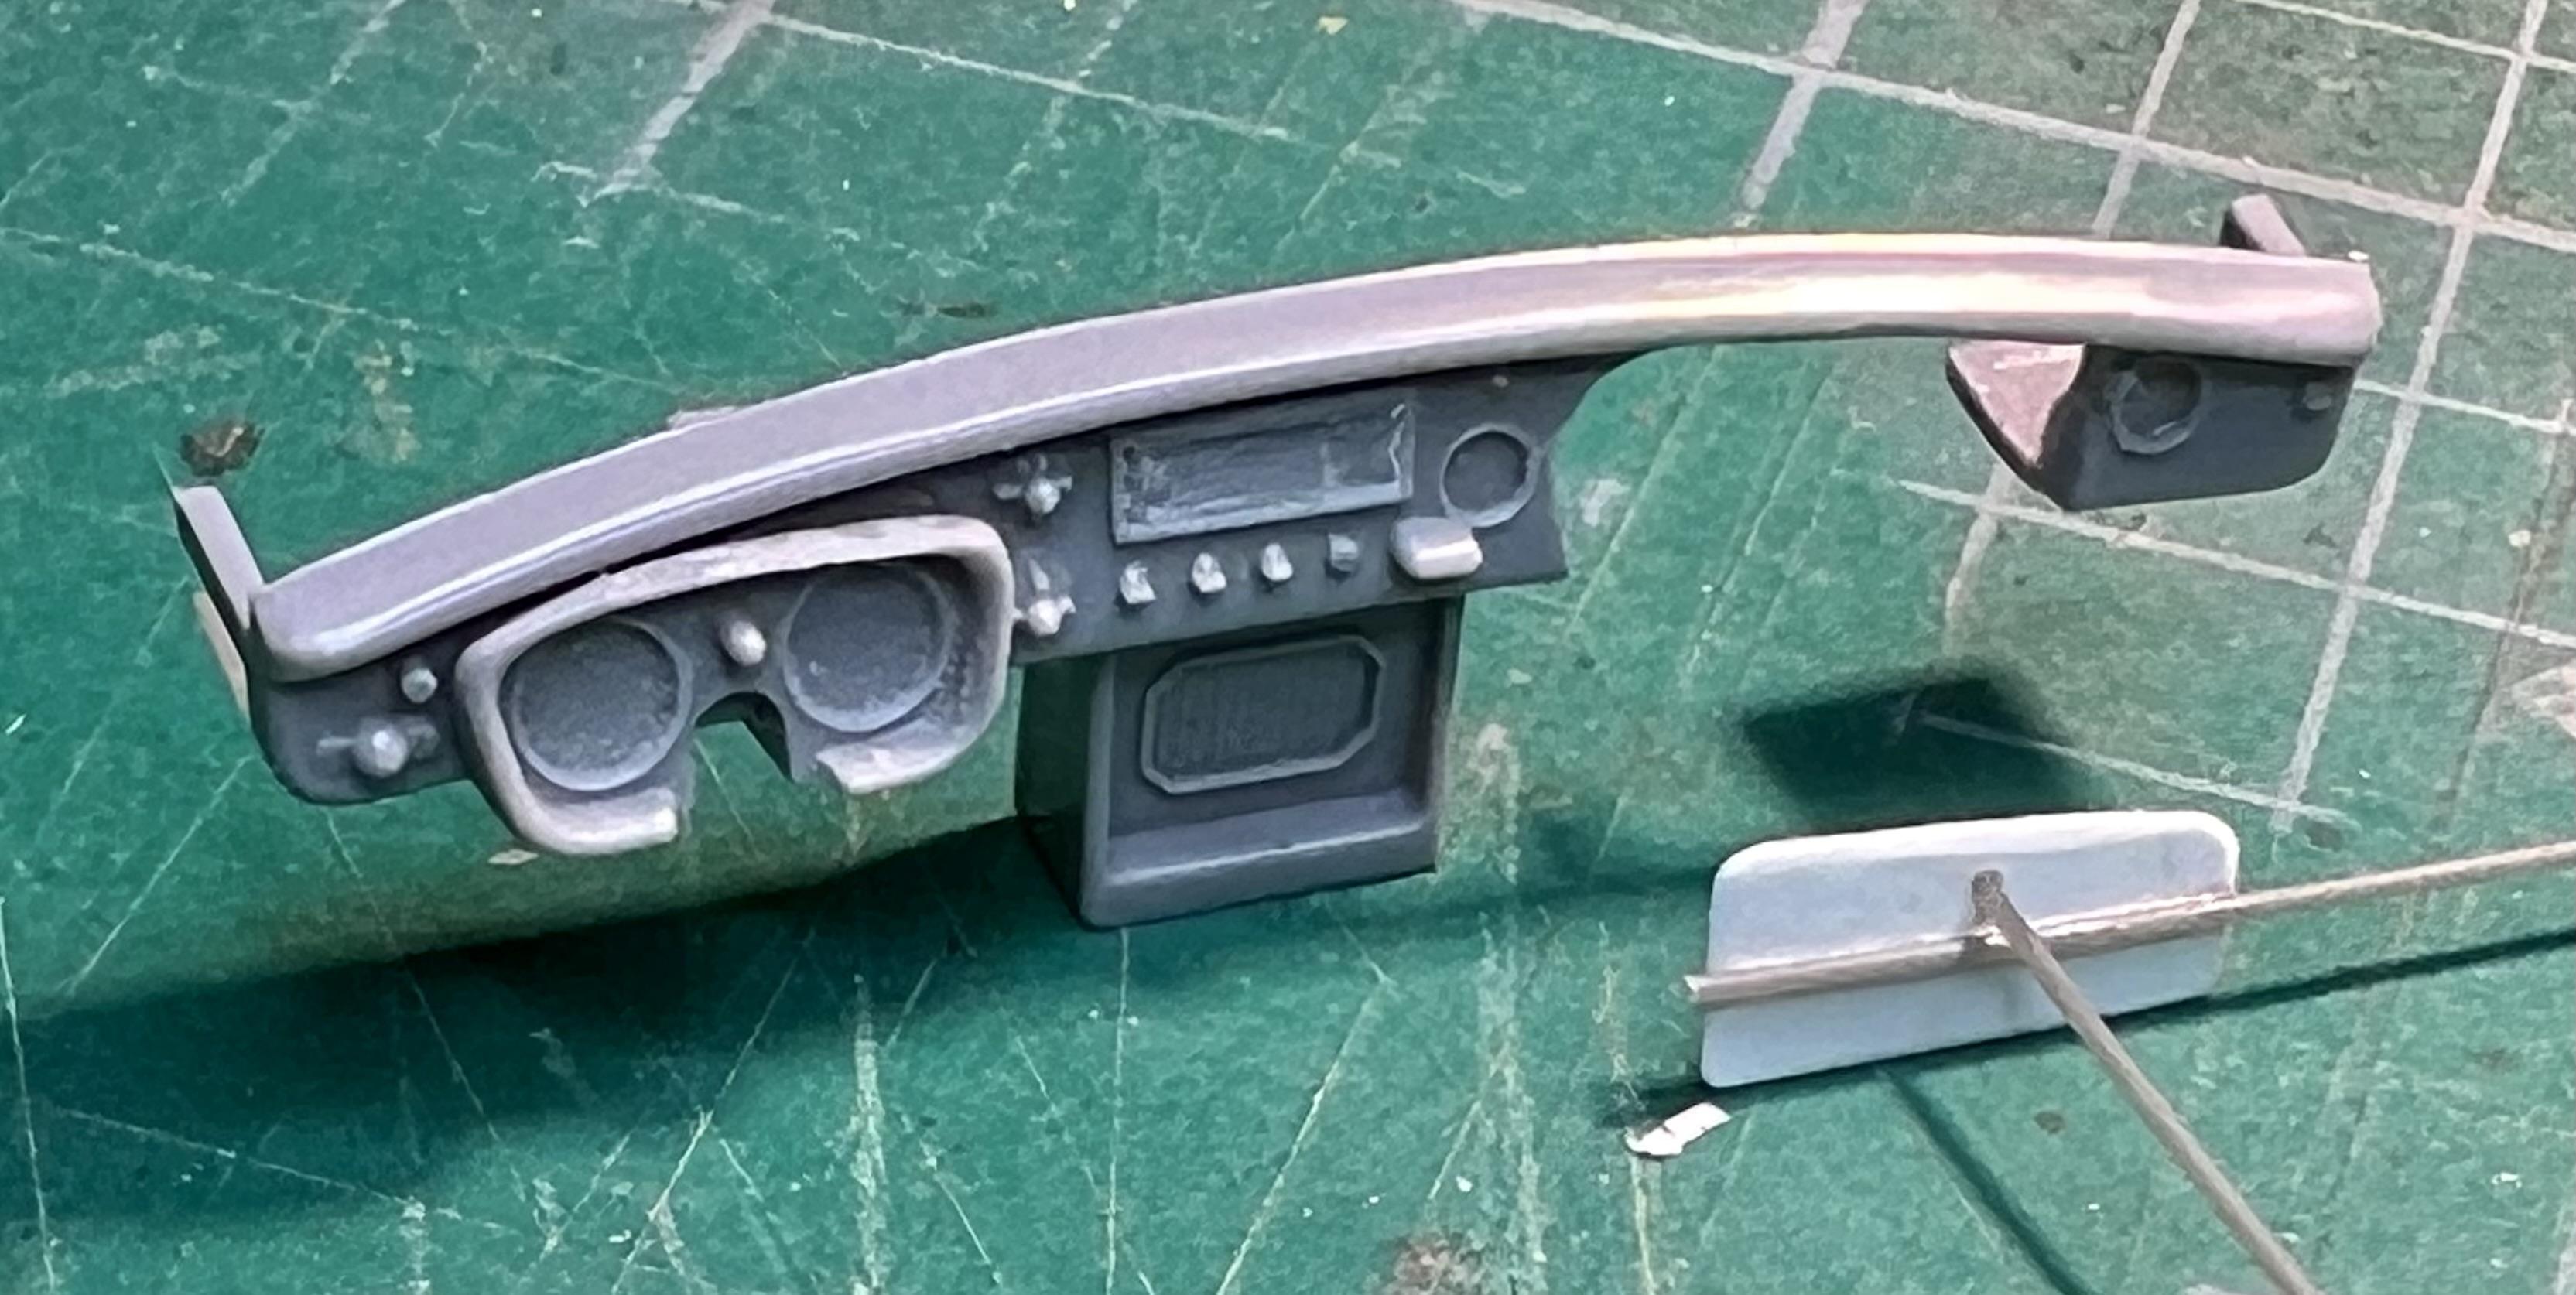
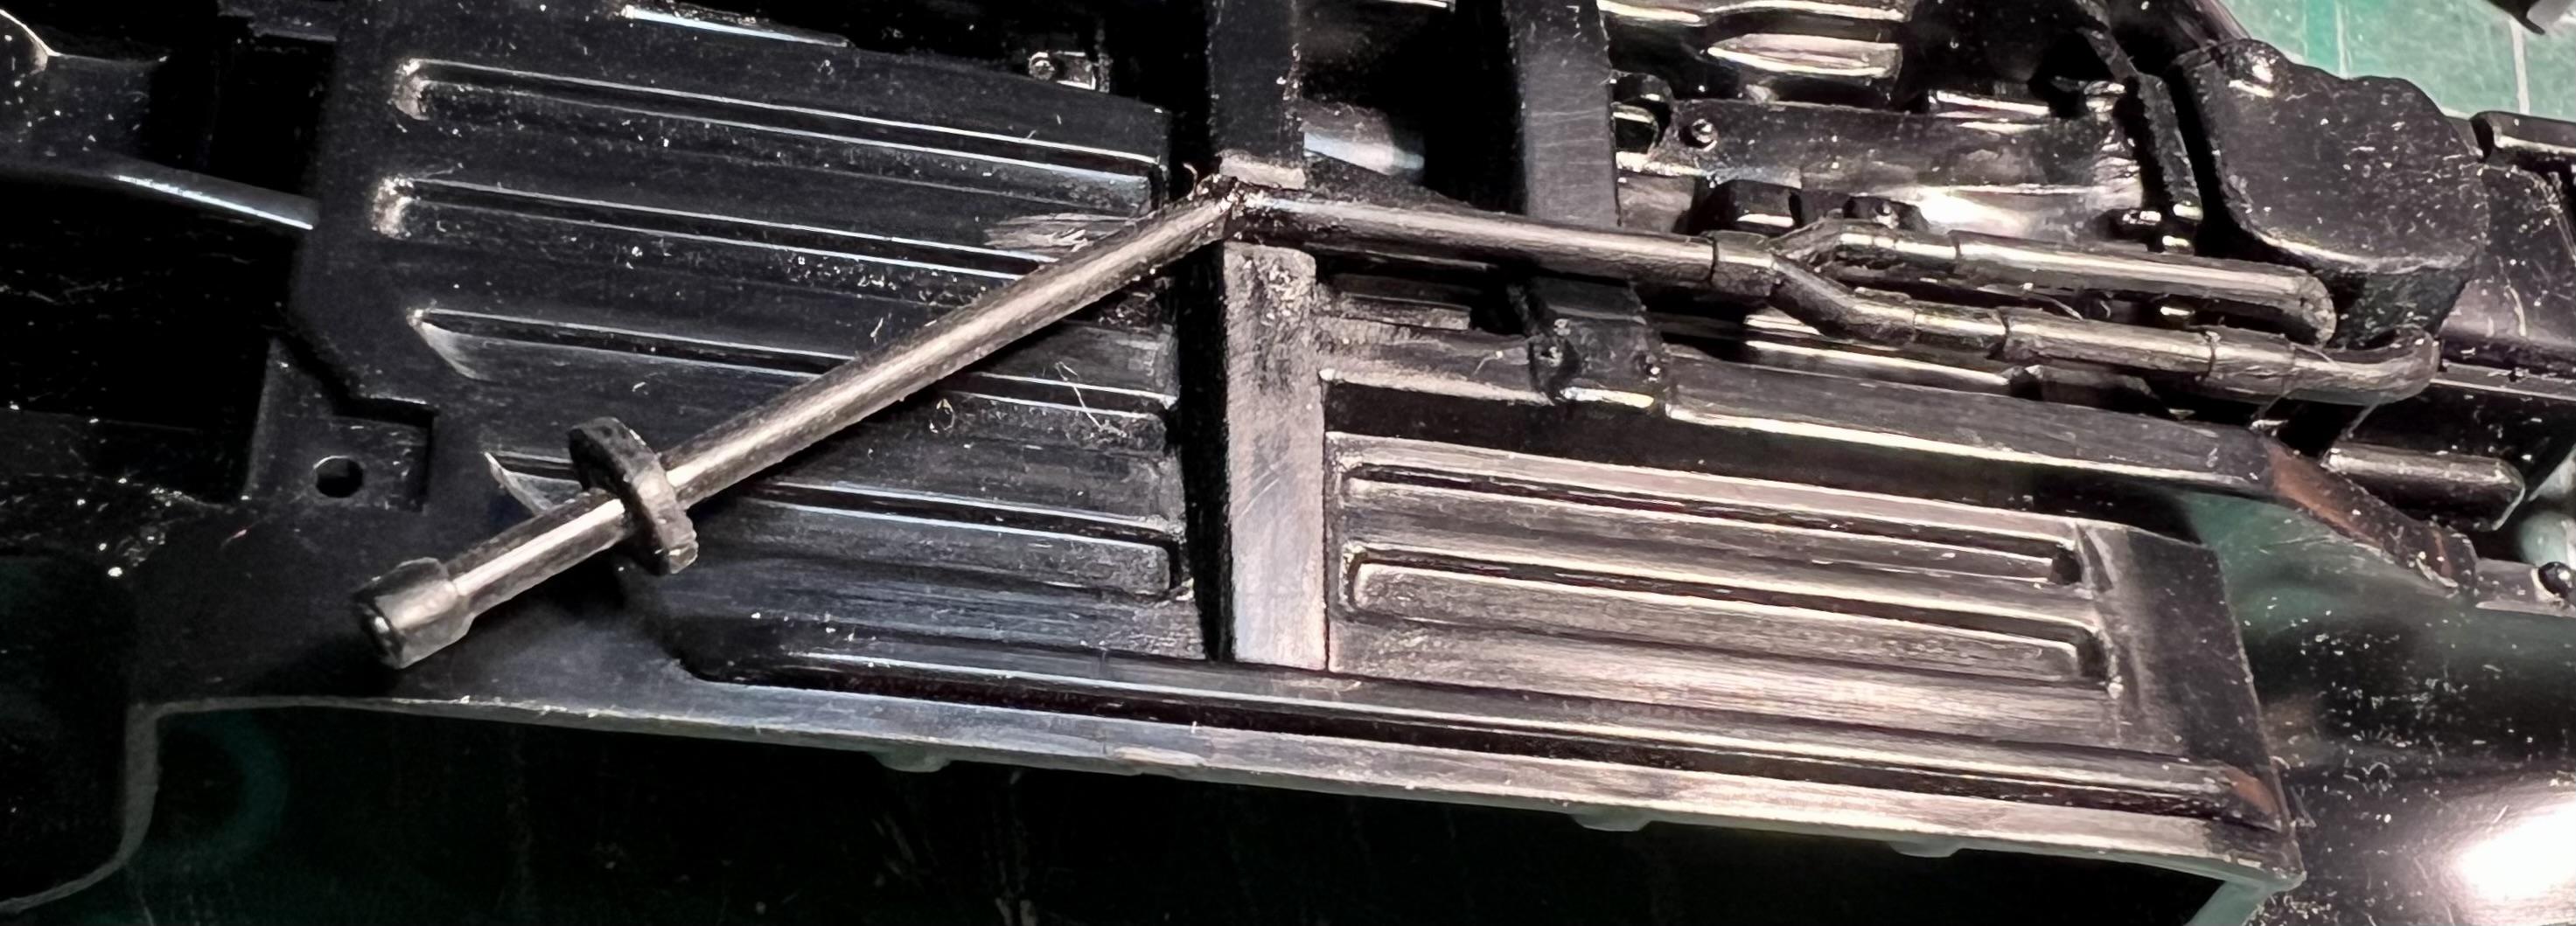
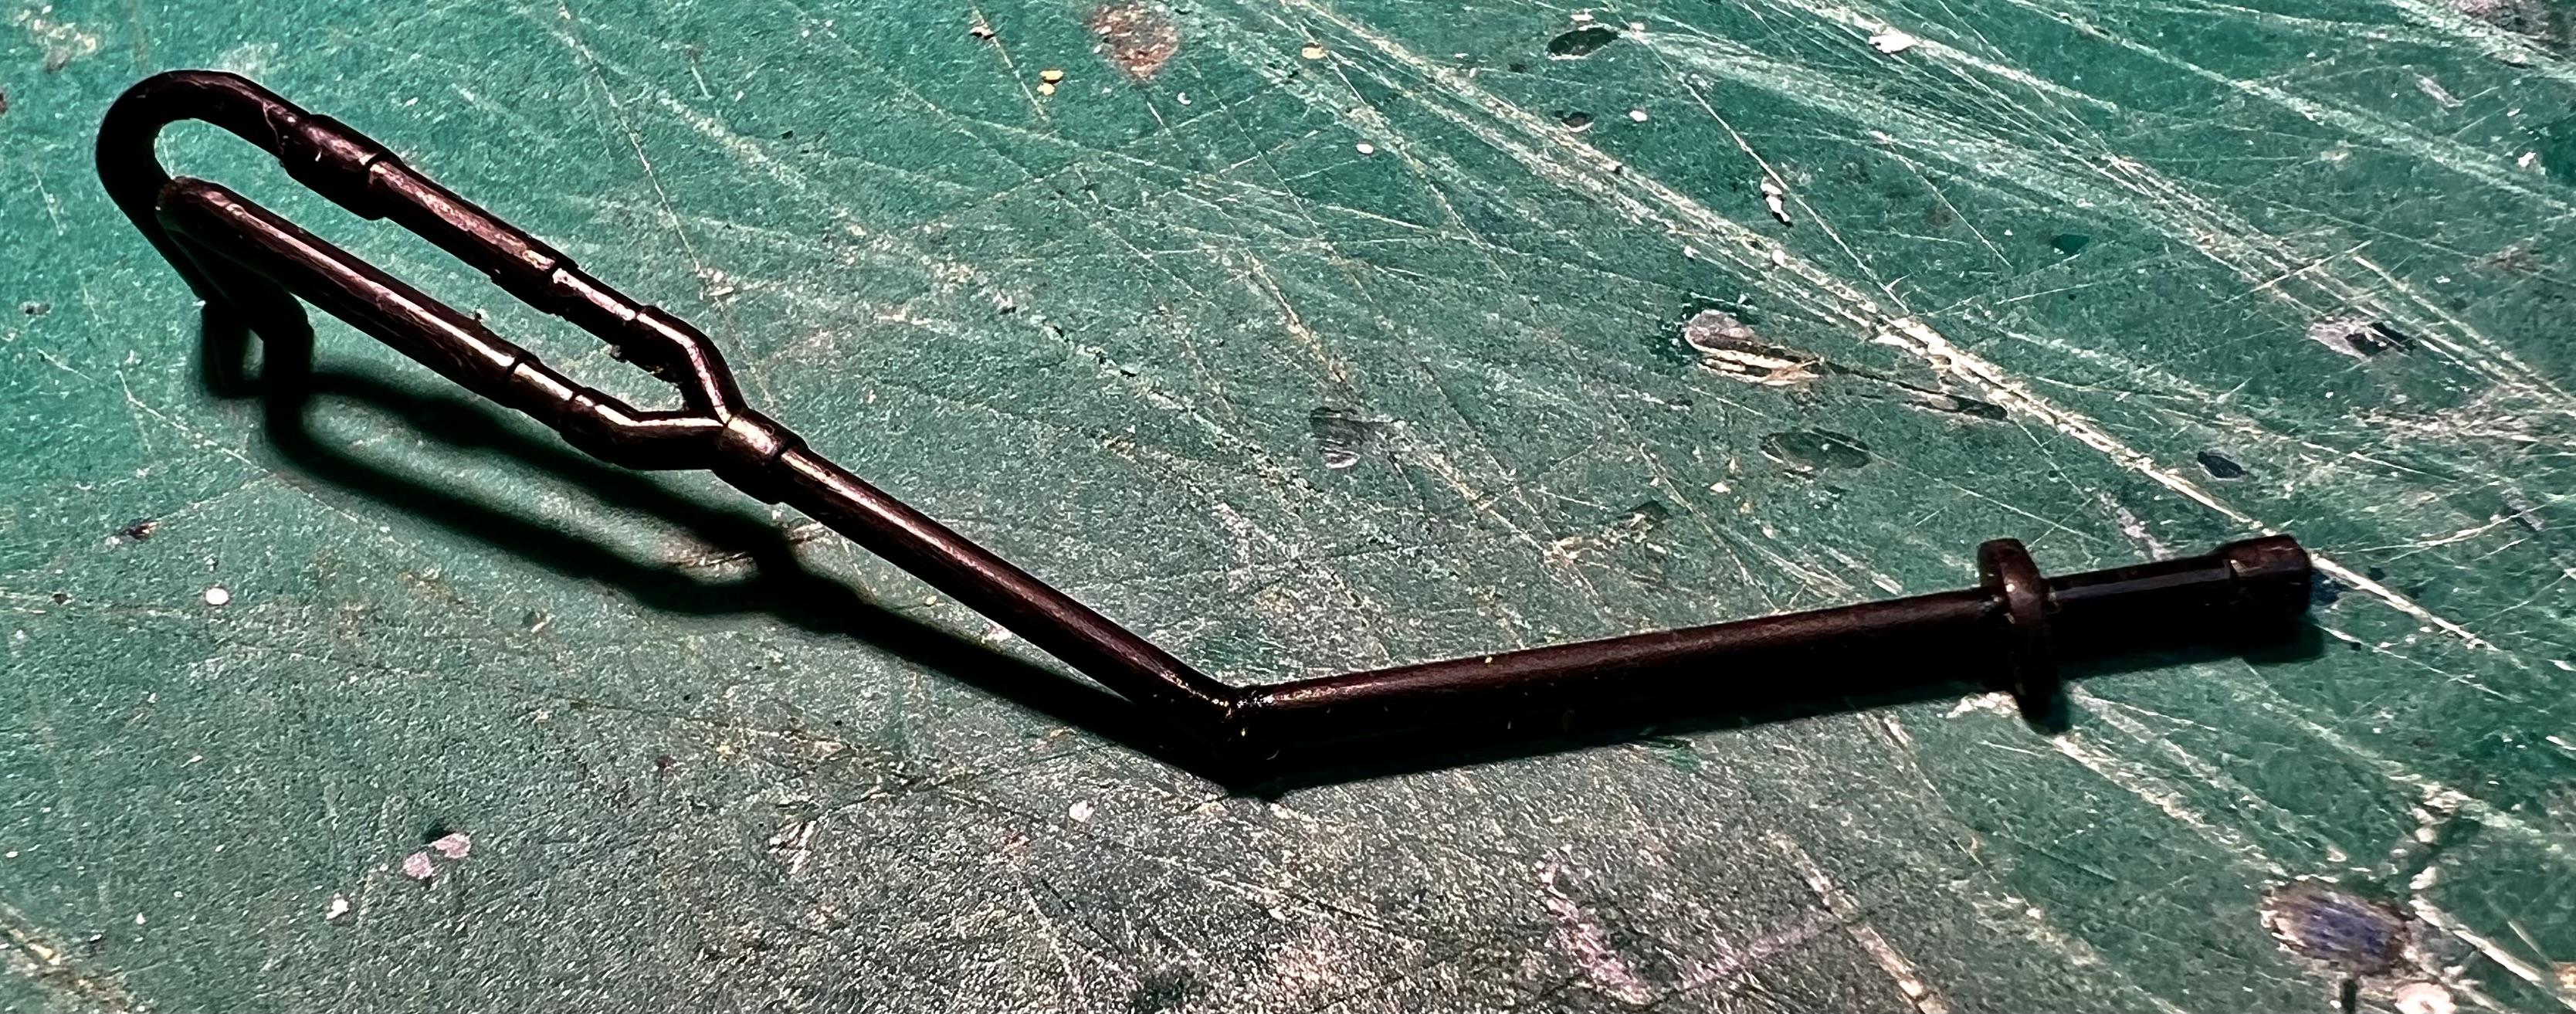
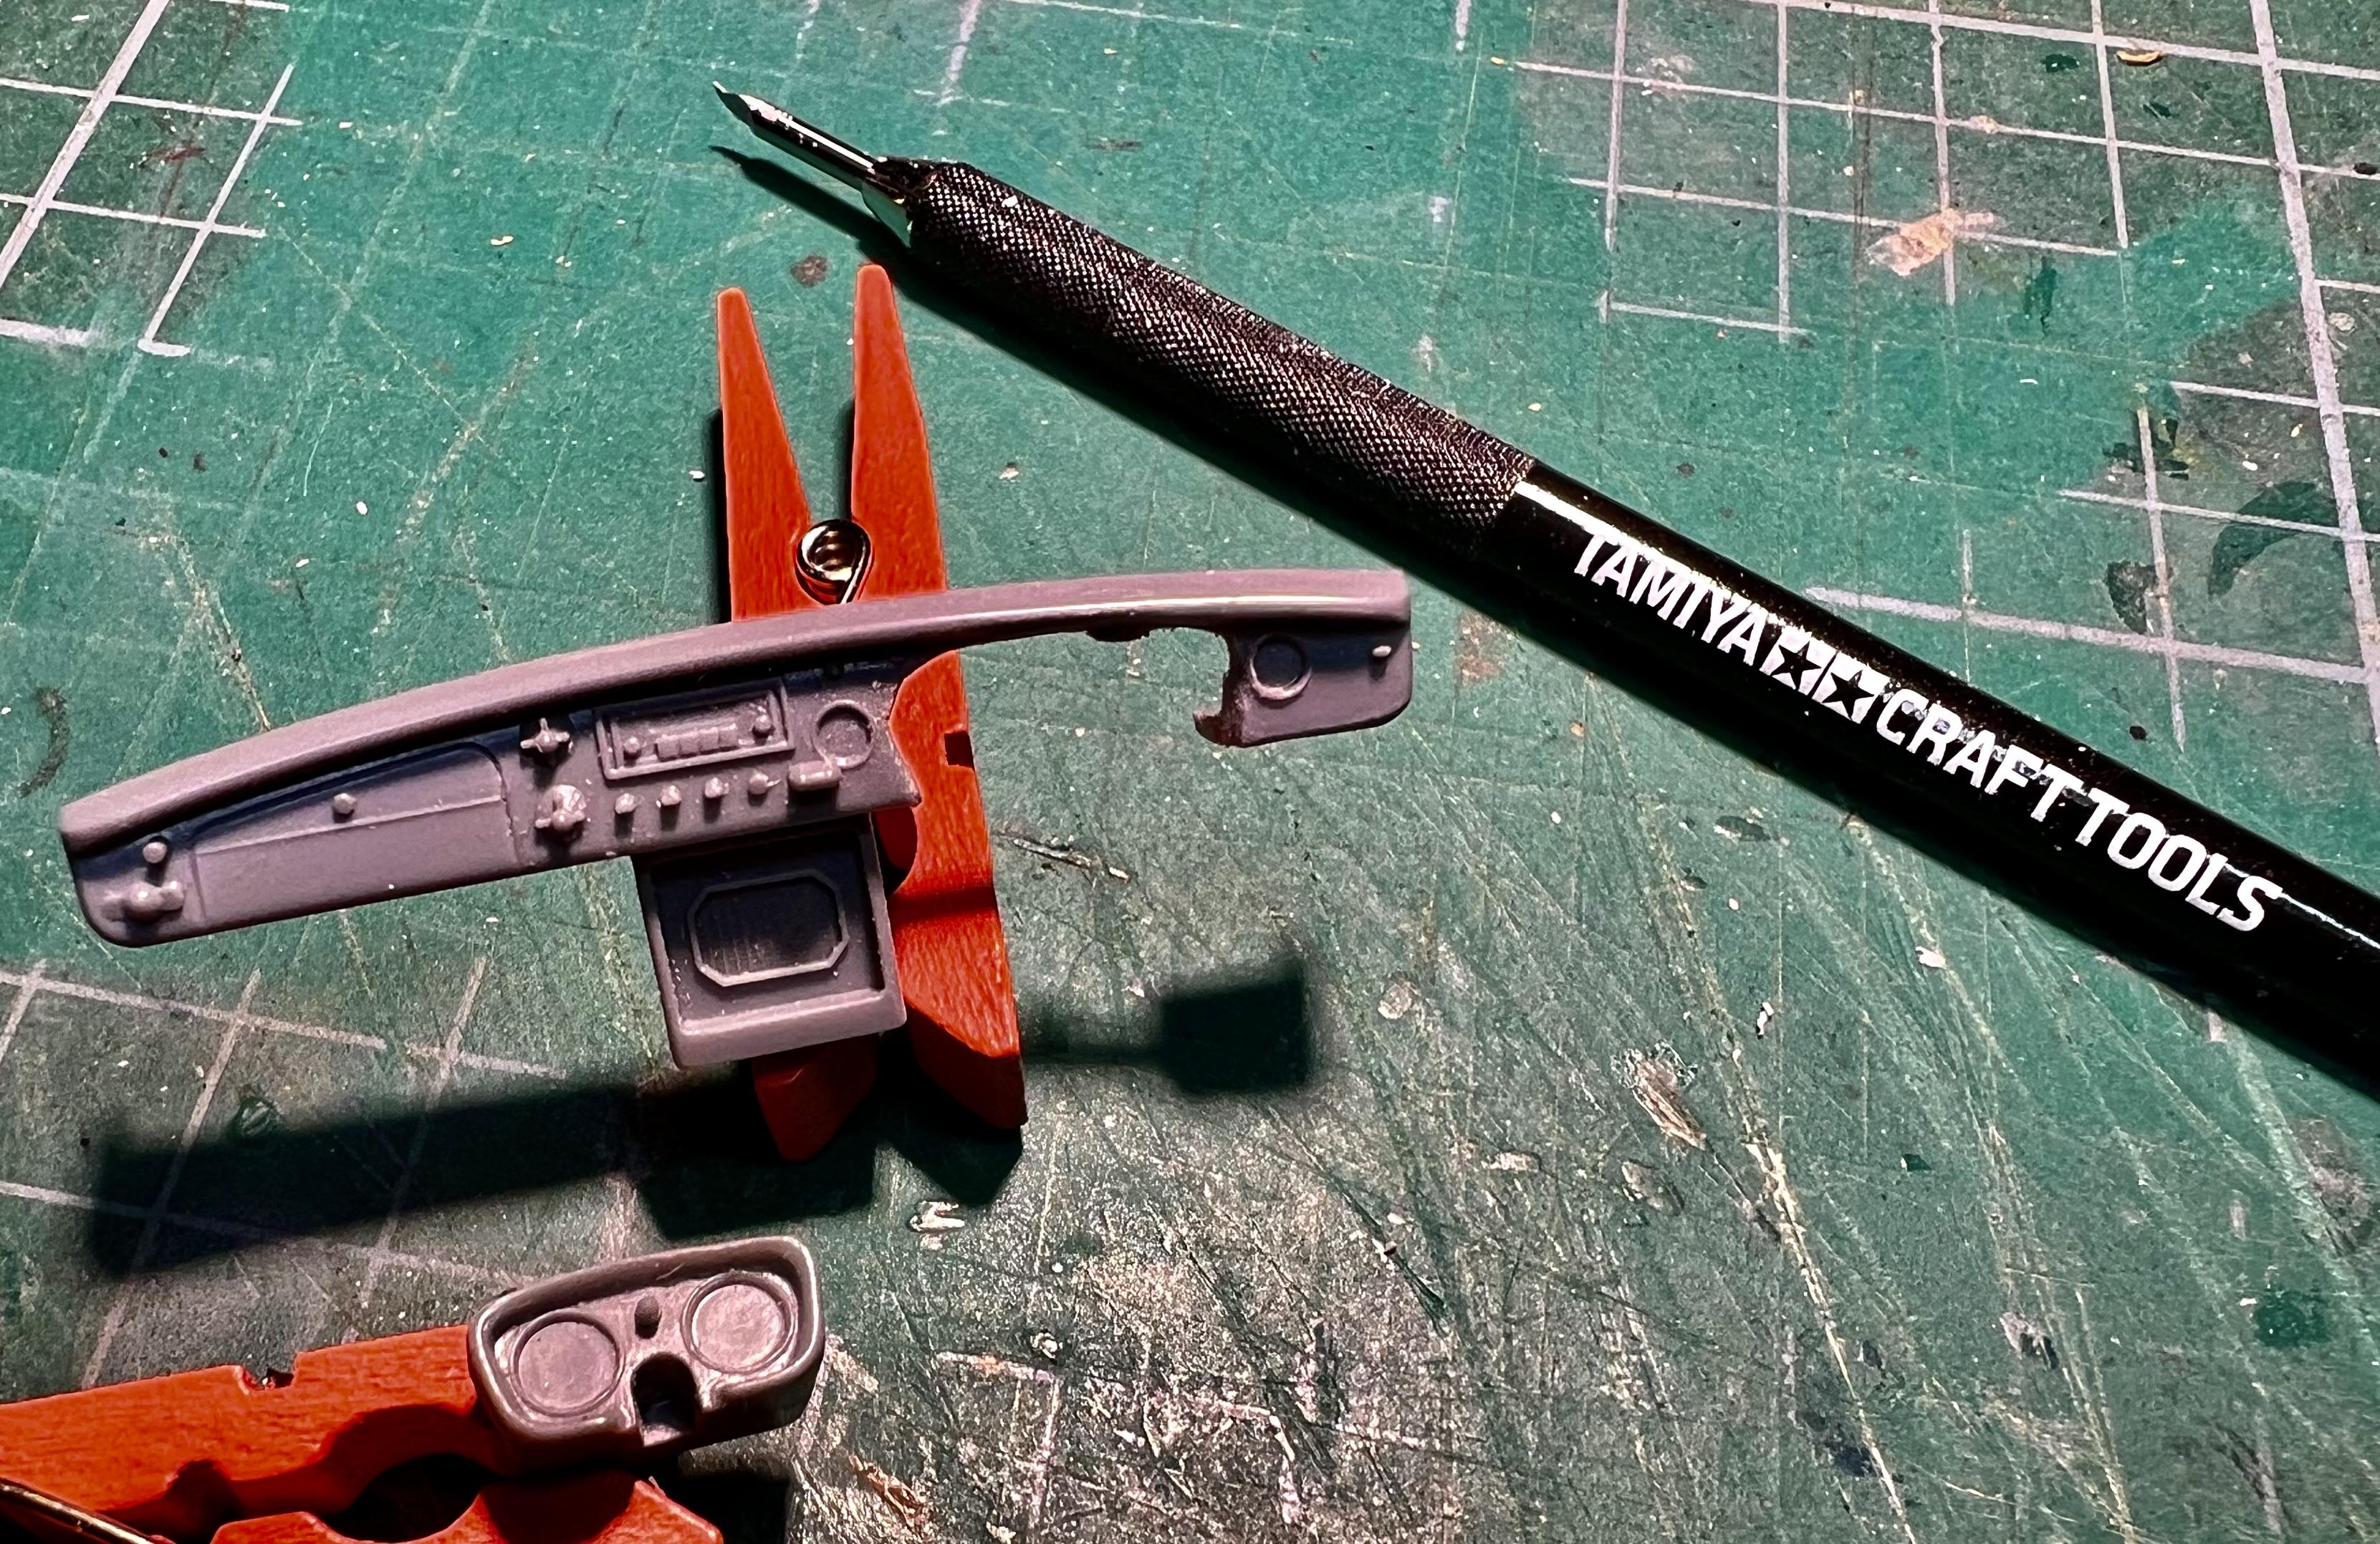
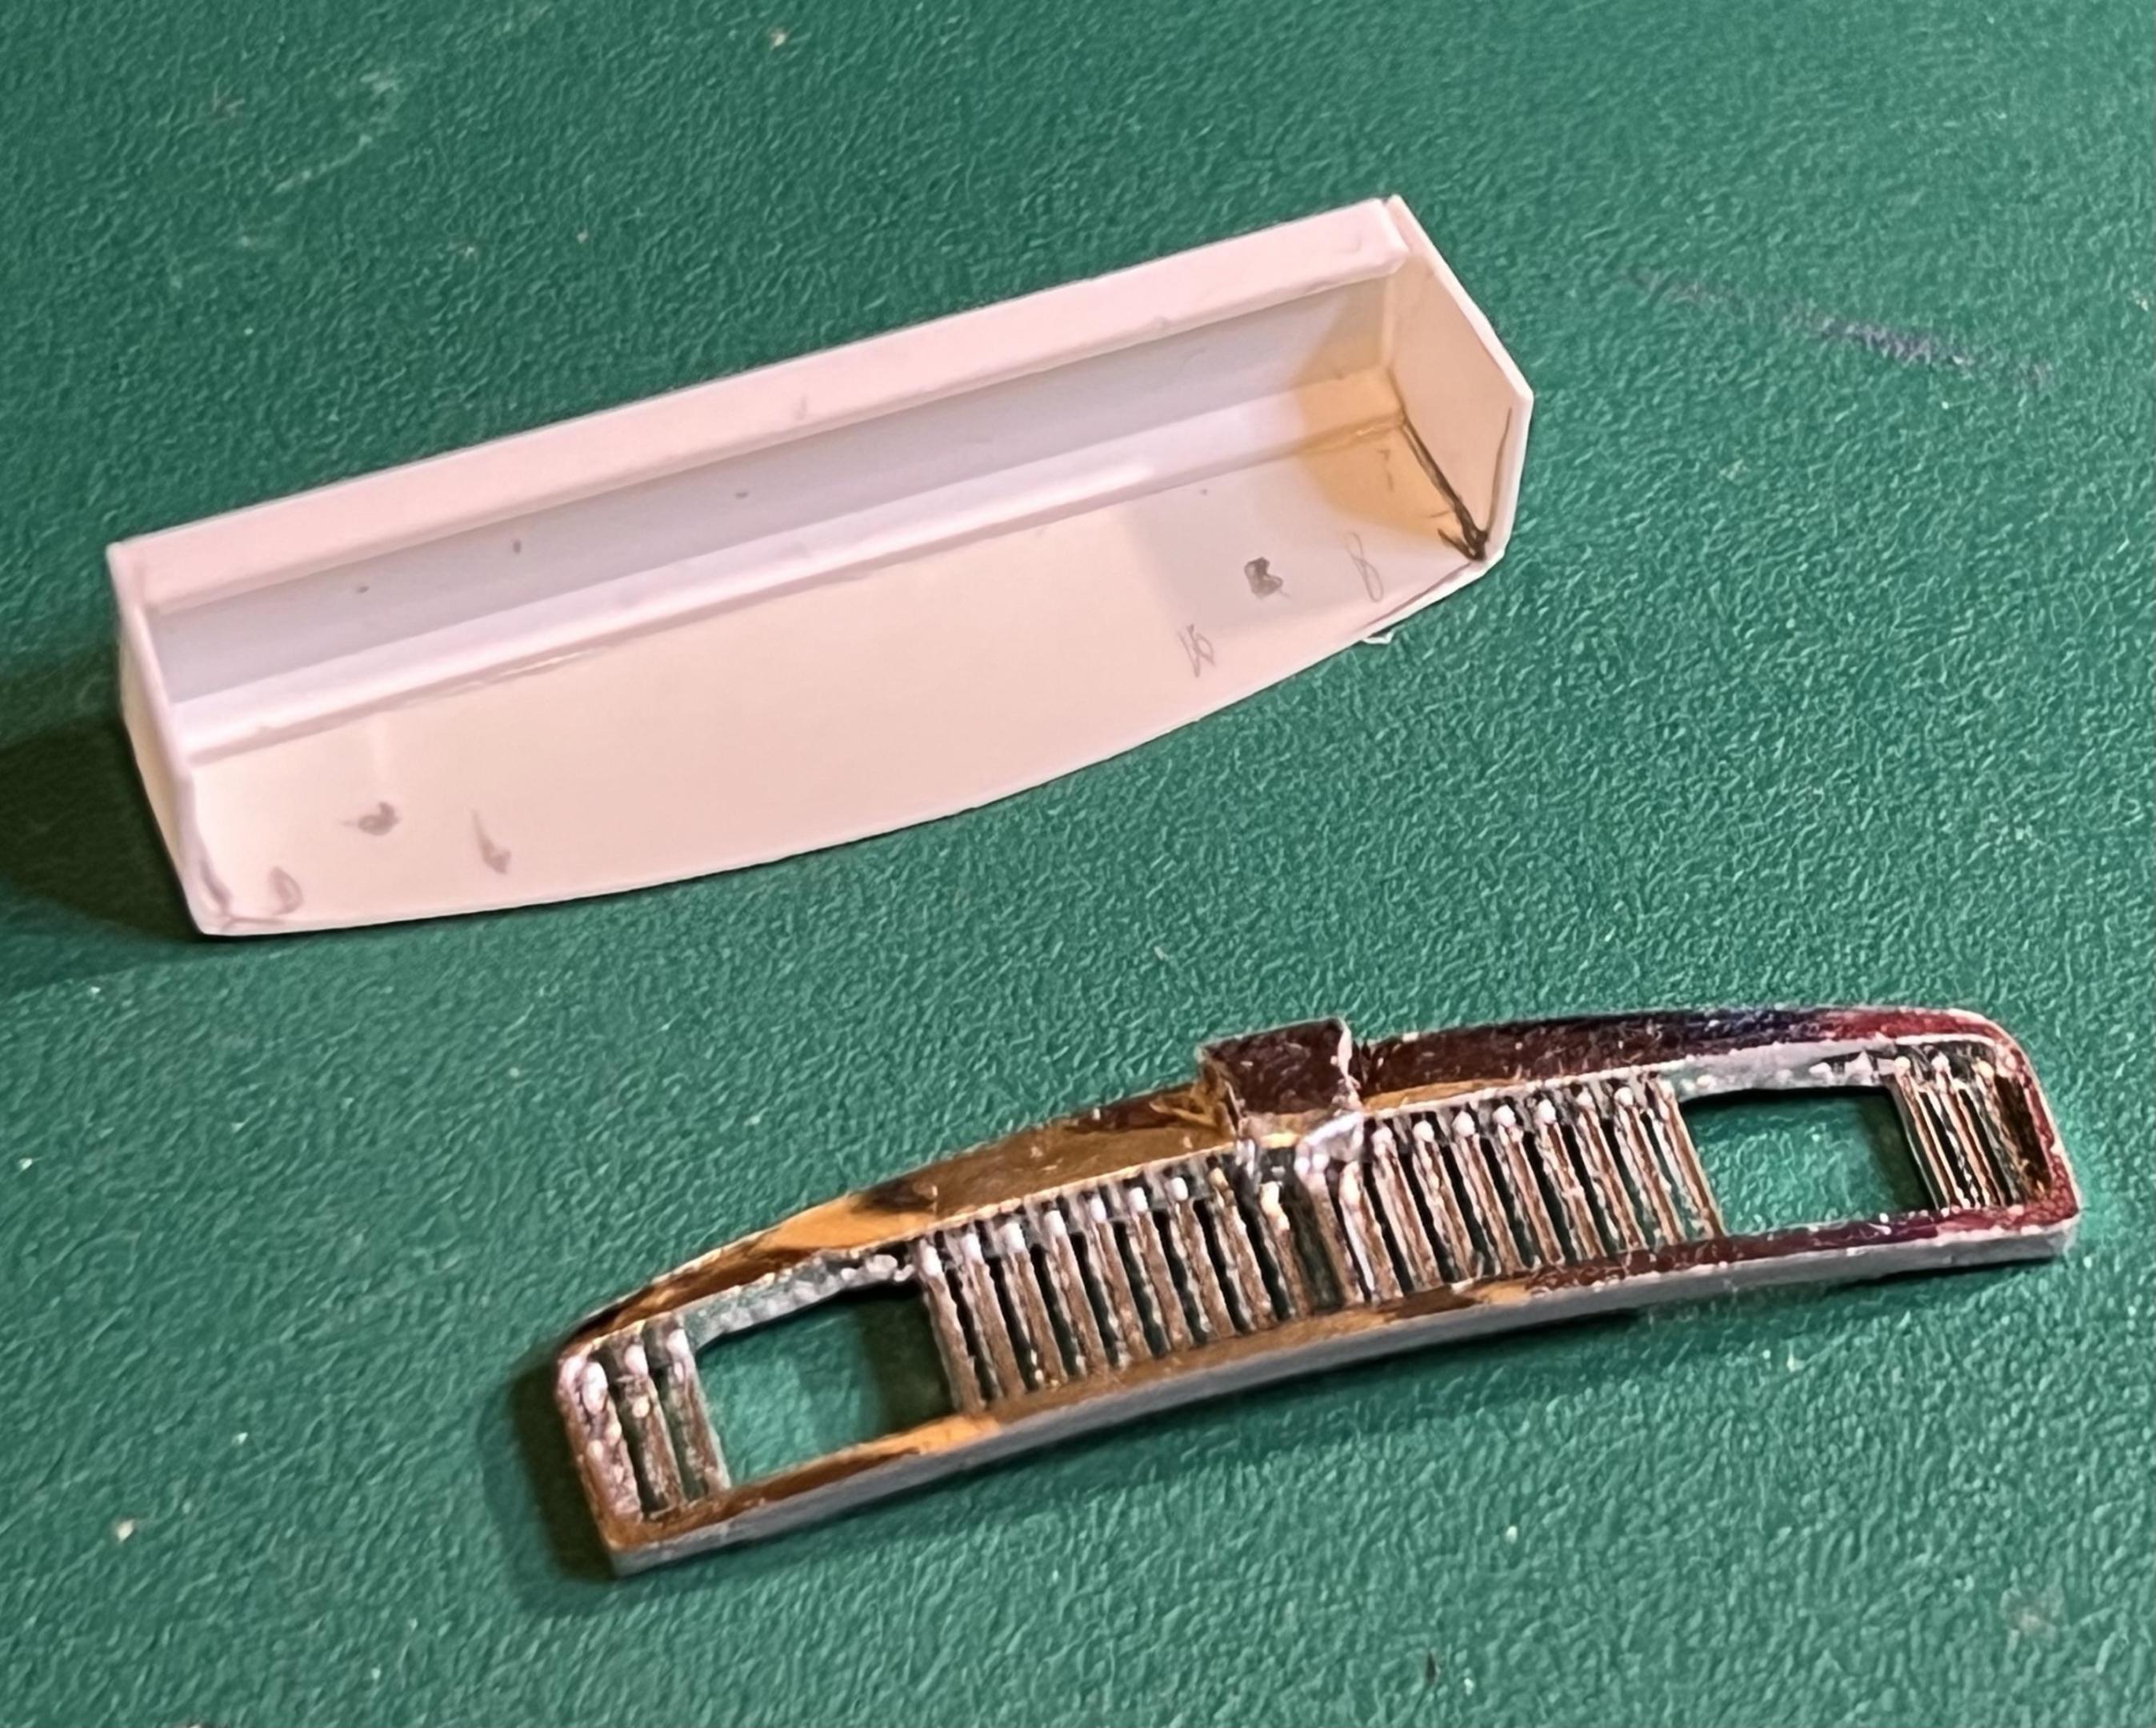
Been working on the smaller details employing kit parts, which have fine, delicate mouldings, and a bit of scratch-building. I had constructed an inlet to sit behind the kit grill. This will house the extra Marchal driving lights, engine oil cooler, and have a “fake” rad opening. The cooler is made from a guitar string representing the coils with an Evergreen plastic surround. The kit roll bar has been modified with an extra horizontal bar to locate the seat harness with a diagonal brace for added safety. Also installed P/E braces below the horizontal bar along with a bracket for keeping the harness in place. The next photo shows an assortment of parts, beginning with the front suspension now with the Lockheed disc brakes. To the right is a group of three added items; held in the clothes pin is the generator, a modified front pulley assembly with a radiator in the foreground. To the left is a grouping of interior bits comprised of the dash top with chrome tonneau snaps, centre mirro mount and defroster outlets. All examples of the fine detail built into the kit. I usually remove parts from the sprues for sanding mould lines and painting, yet withthe delicacy of the stick shift, steering column (having replaced the turn signal stalk with finer wire for scale appearance). The pedal assembly has been painted with a gloss black followed by rubber for the pedals and P/E for the accelerator. The remainder are chassis parts such as the slave cylinder clutch assembly, the front sway bar and the Hydrolastic Suspension units are finely crafted kit parts. The next group will consist of chrome bits for the exterior and interior handles & cranks, in addition to detailing the dashboard, starting hardtop painting and the rest of it… Thanks again for looking in, Cheers Misha
-

Fujimi Ferrari 250gto
Misha replied to Pierre Rivard's topic in WIP: Other Racing: Road Racing, Land Speed Racers
Been following your build Pierre with great interest of this wonderful icon of motor racing. Your attention and execution of the details is compelling and instructive. Chiming in with others, it’s great to see a Ferrari in other colours. We are all getting closer to being on the grid in March. Cheering you on! Cheers Misha -
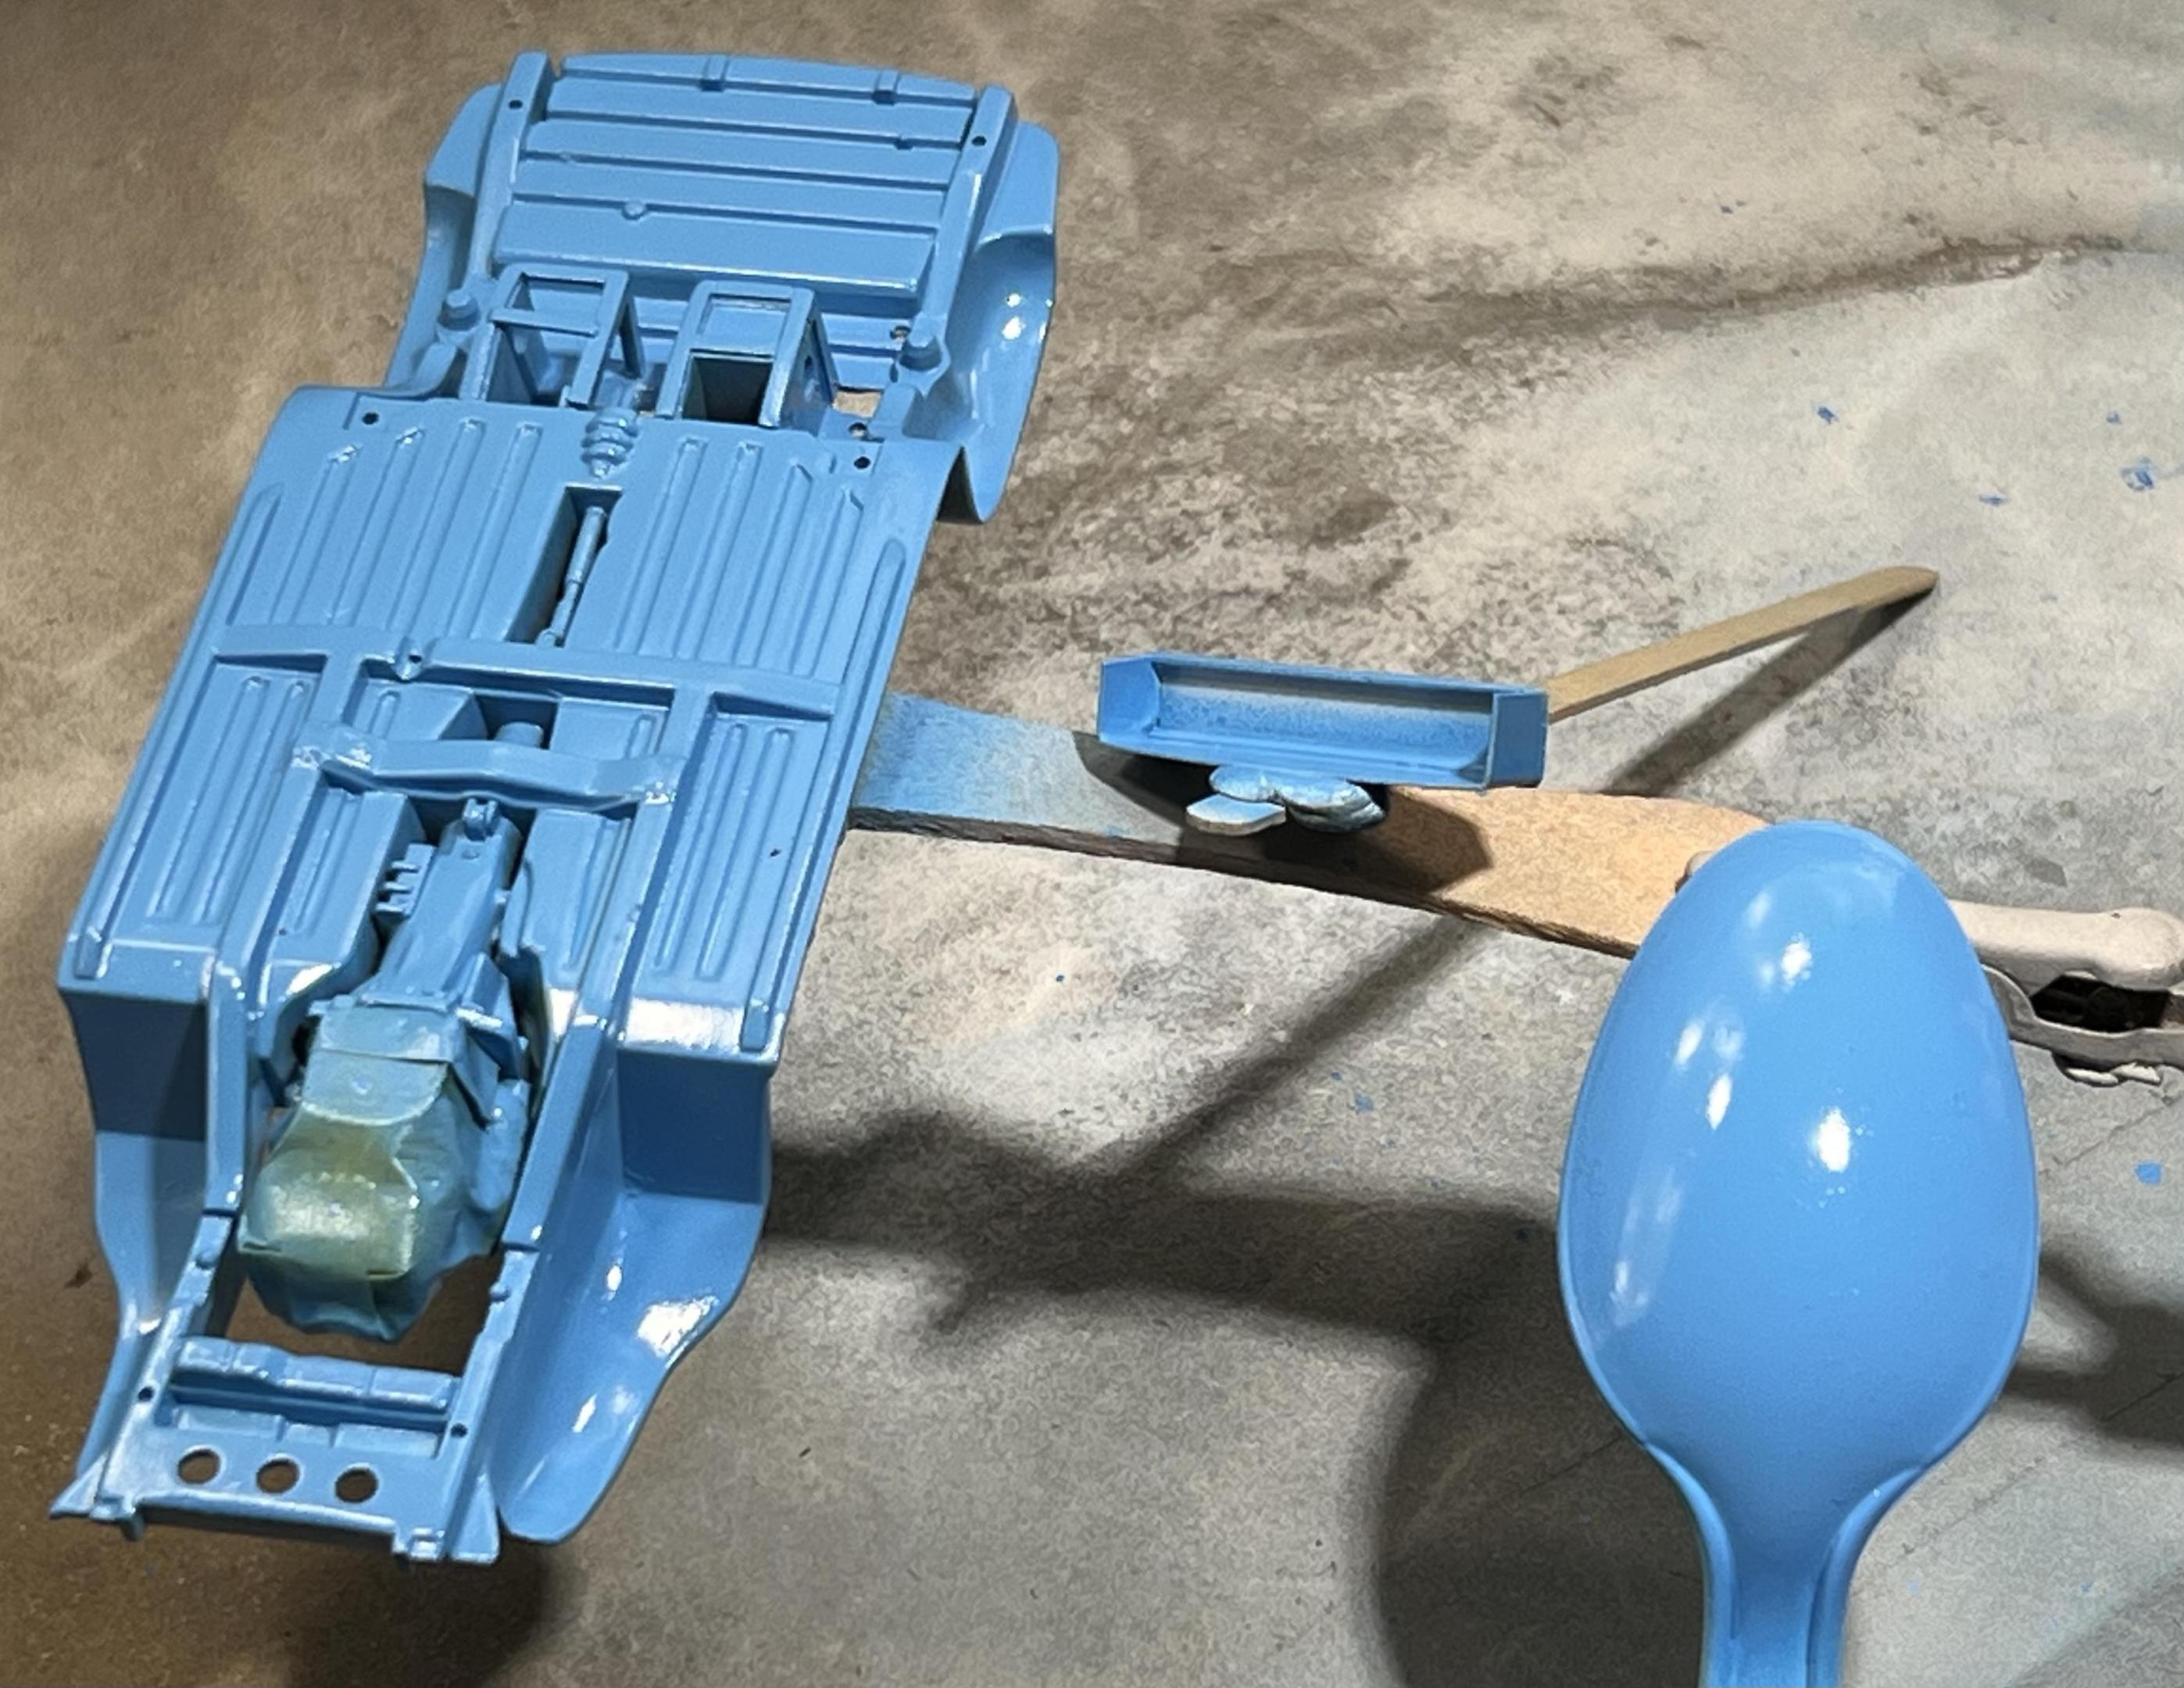
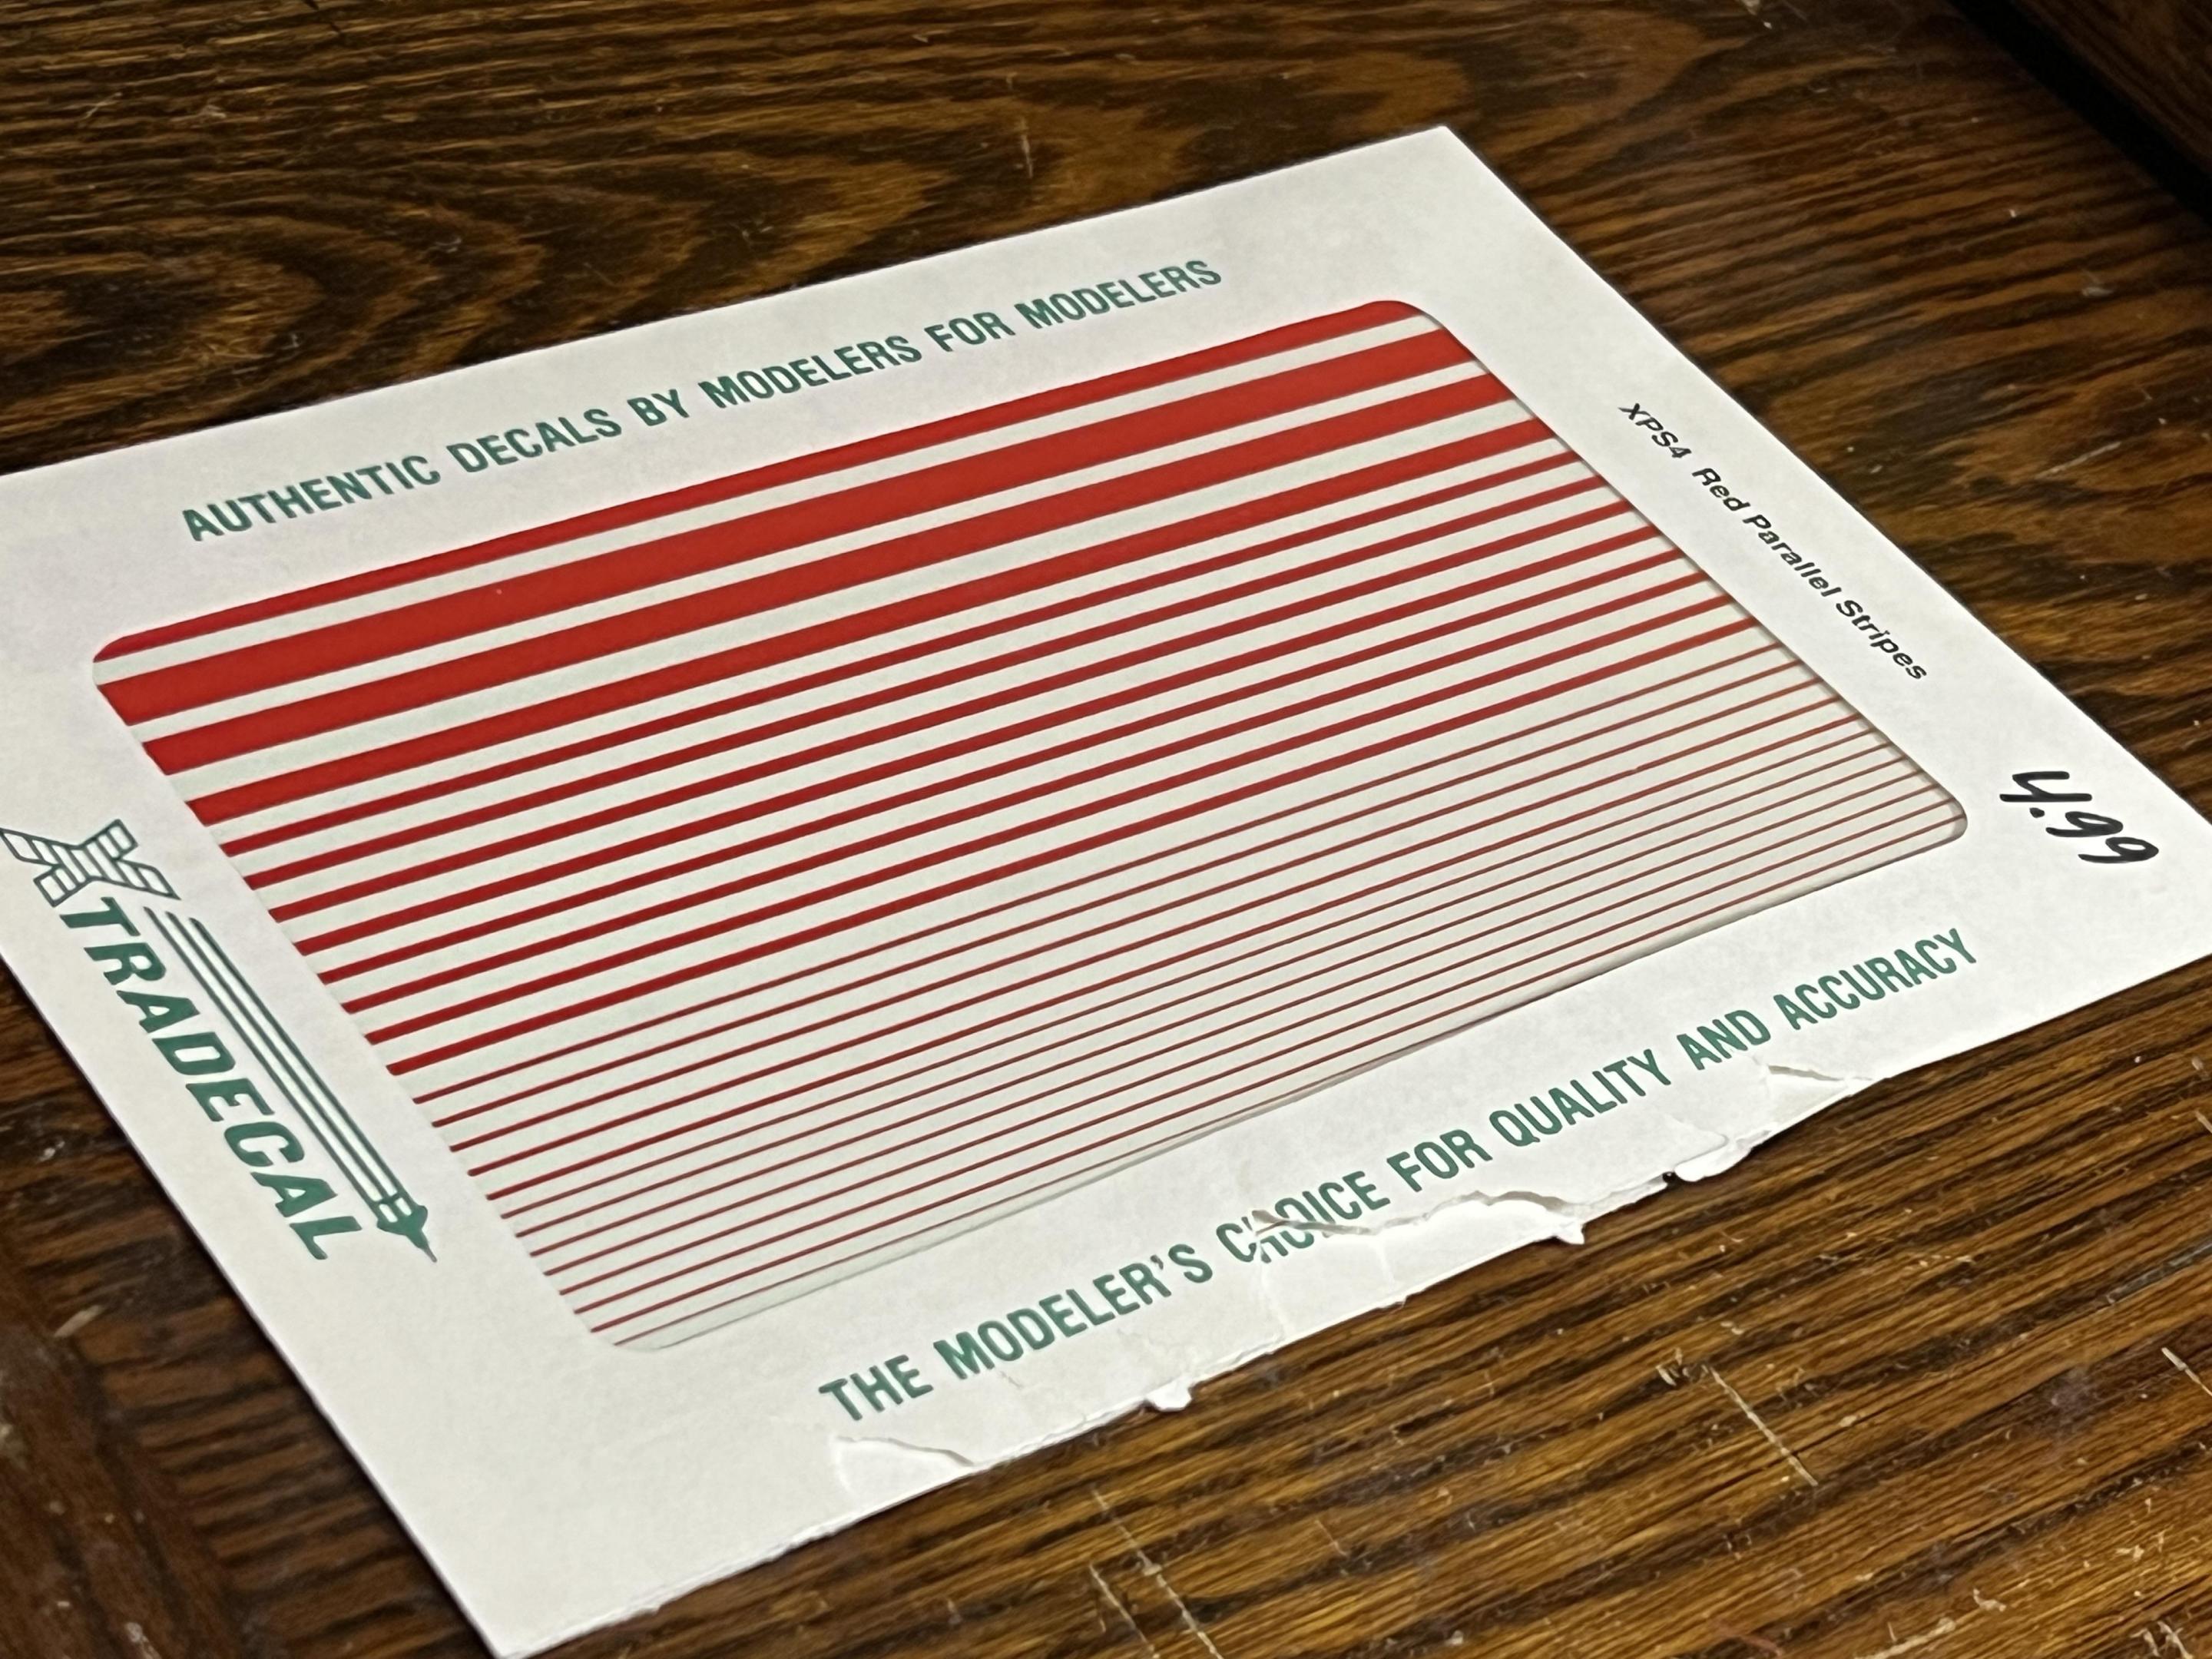
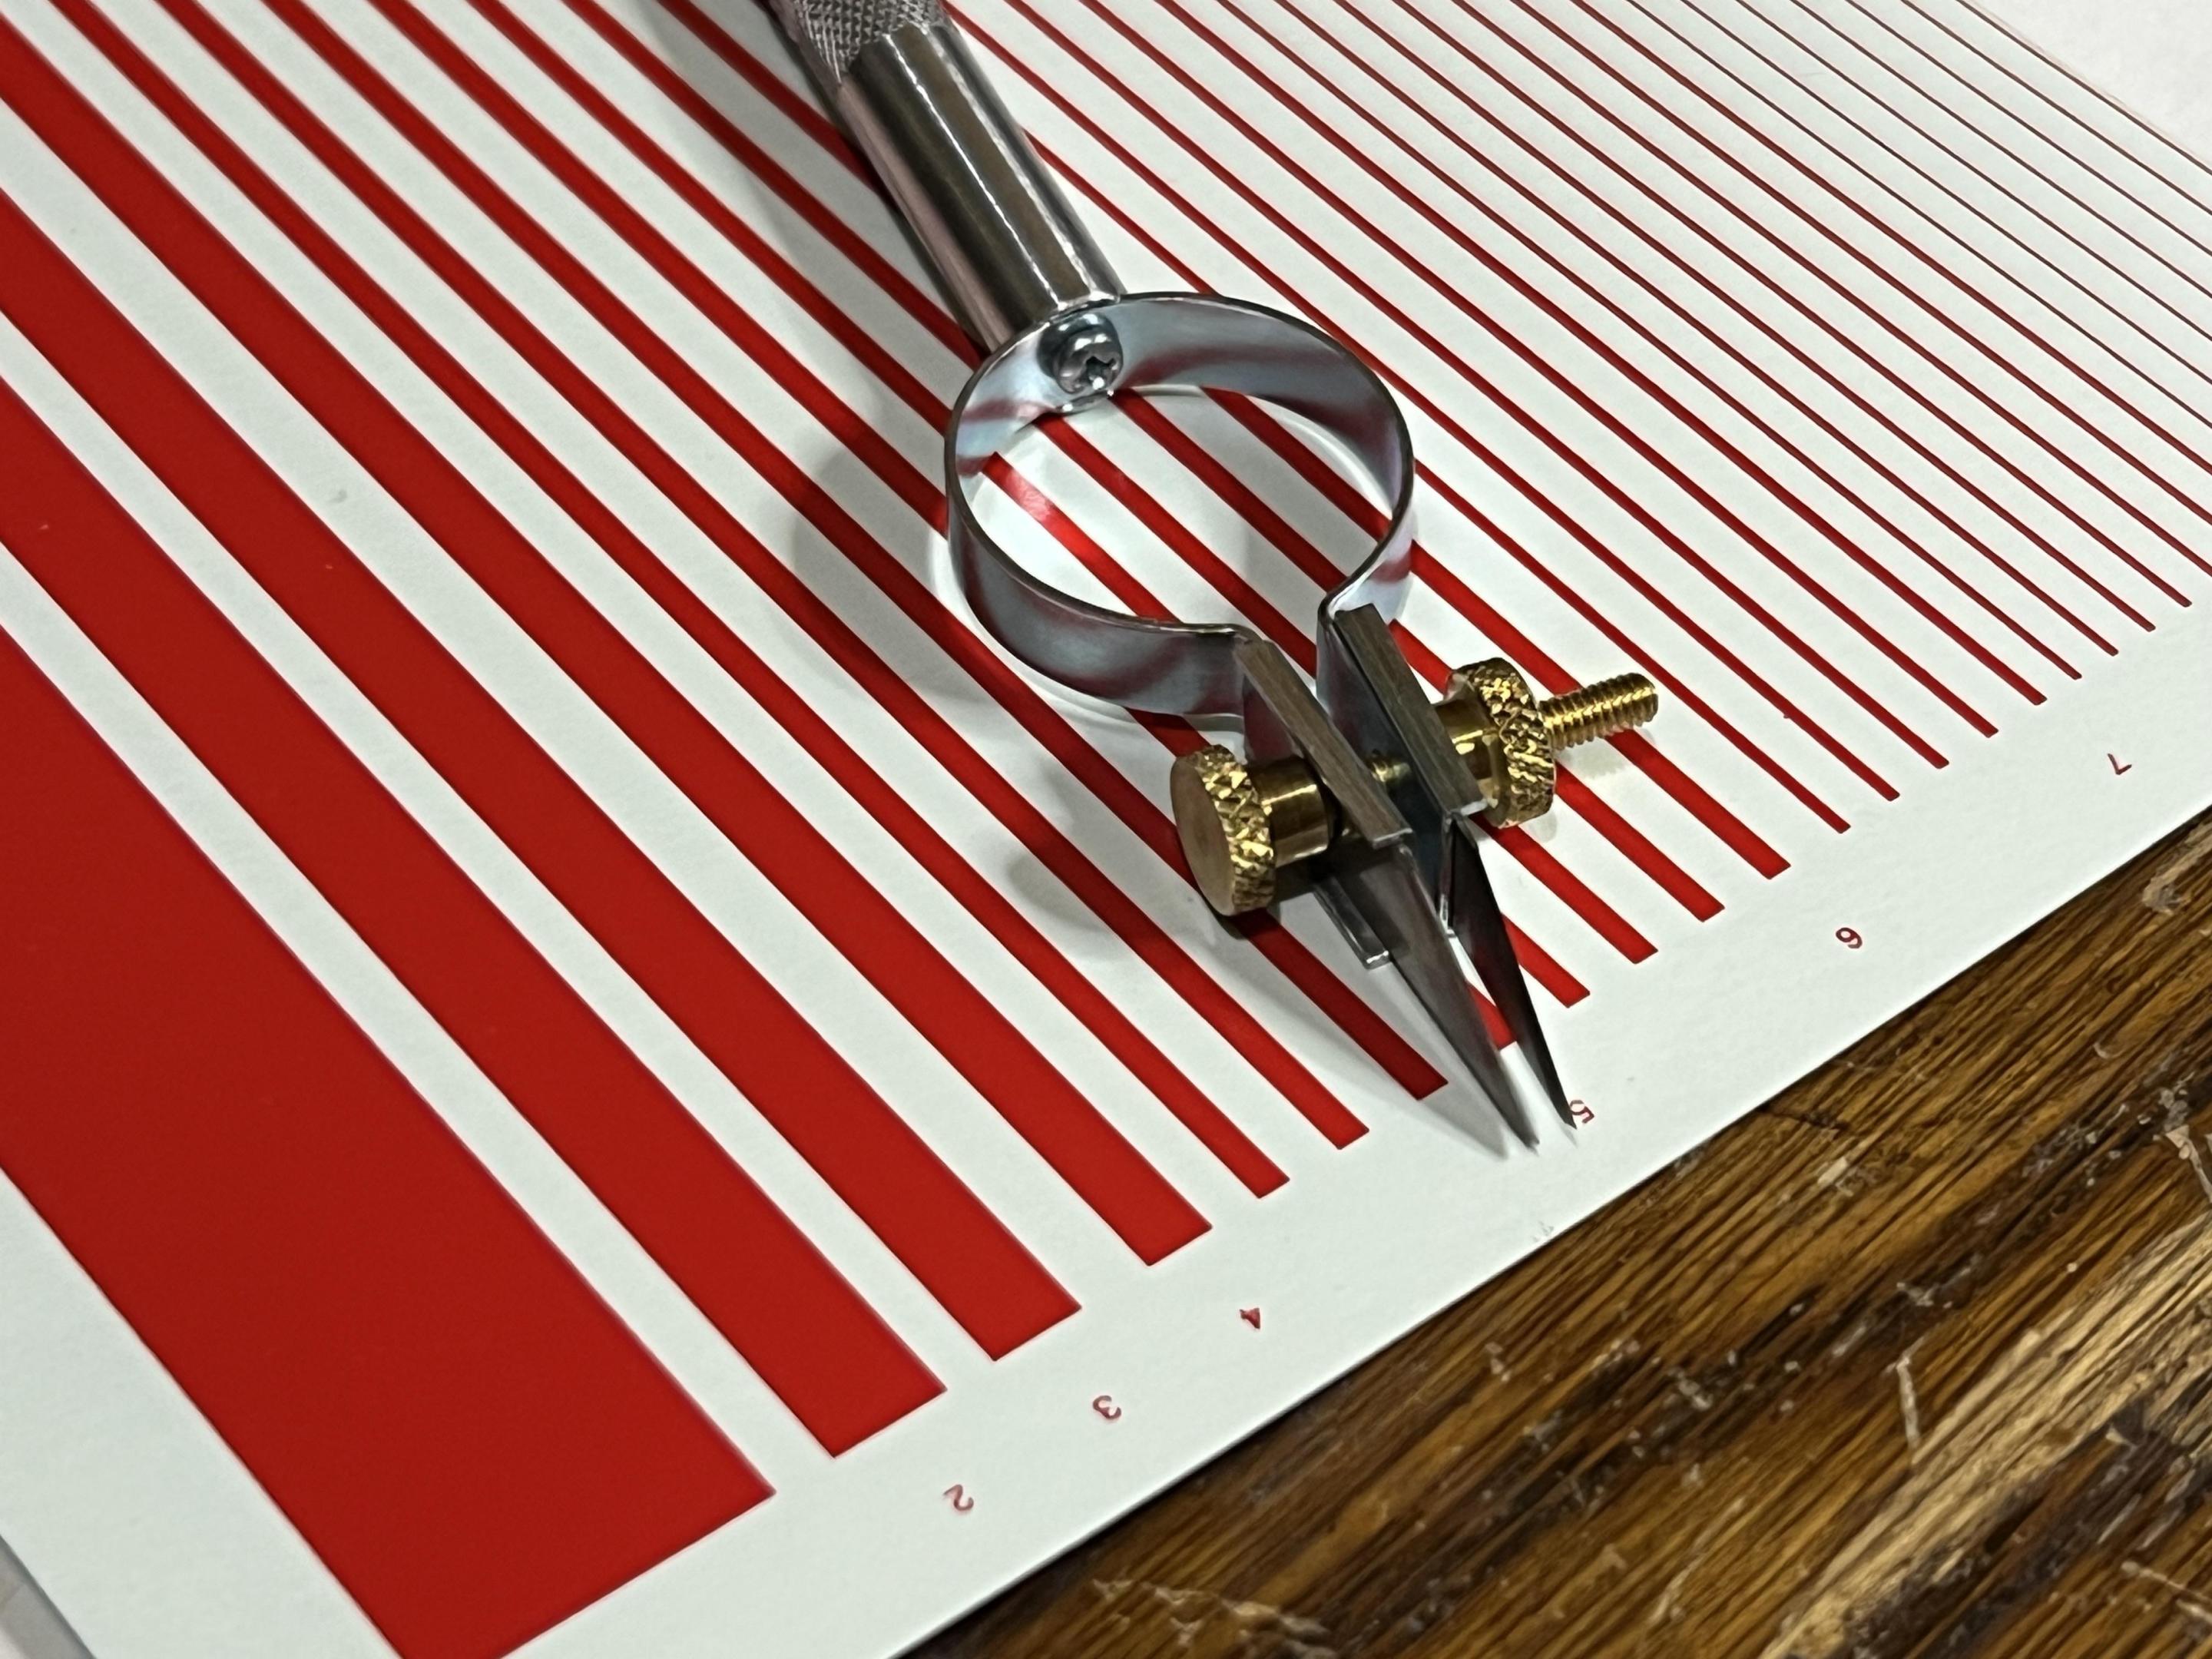
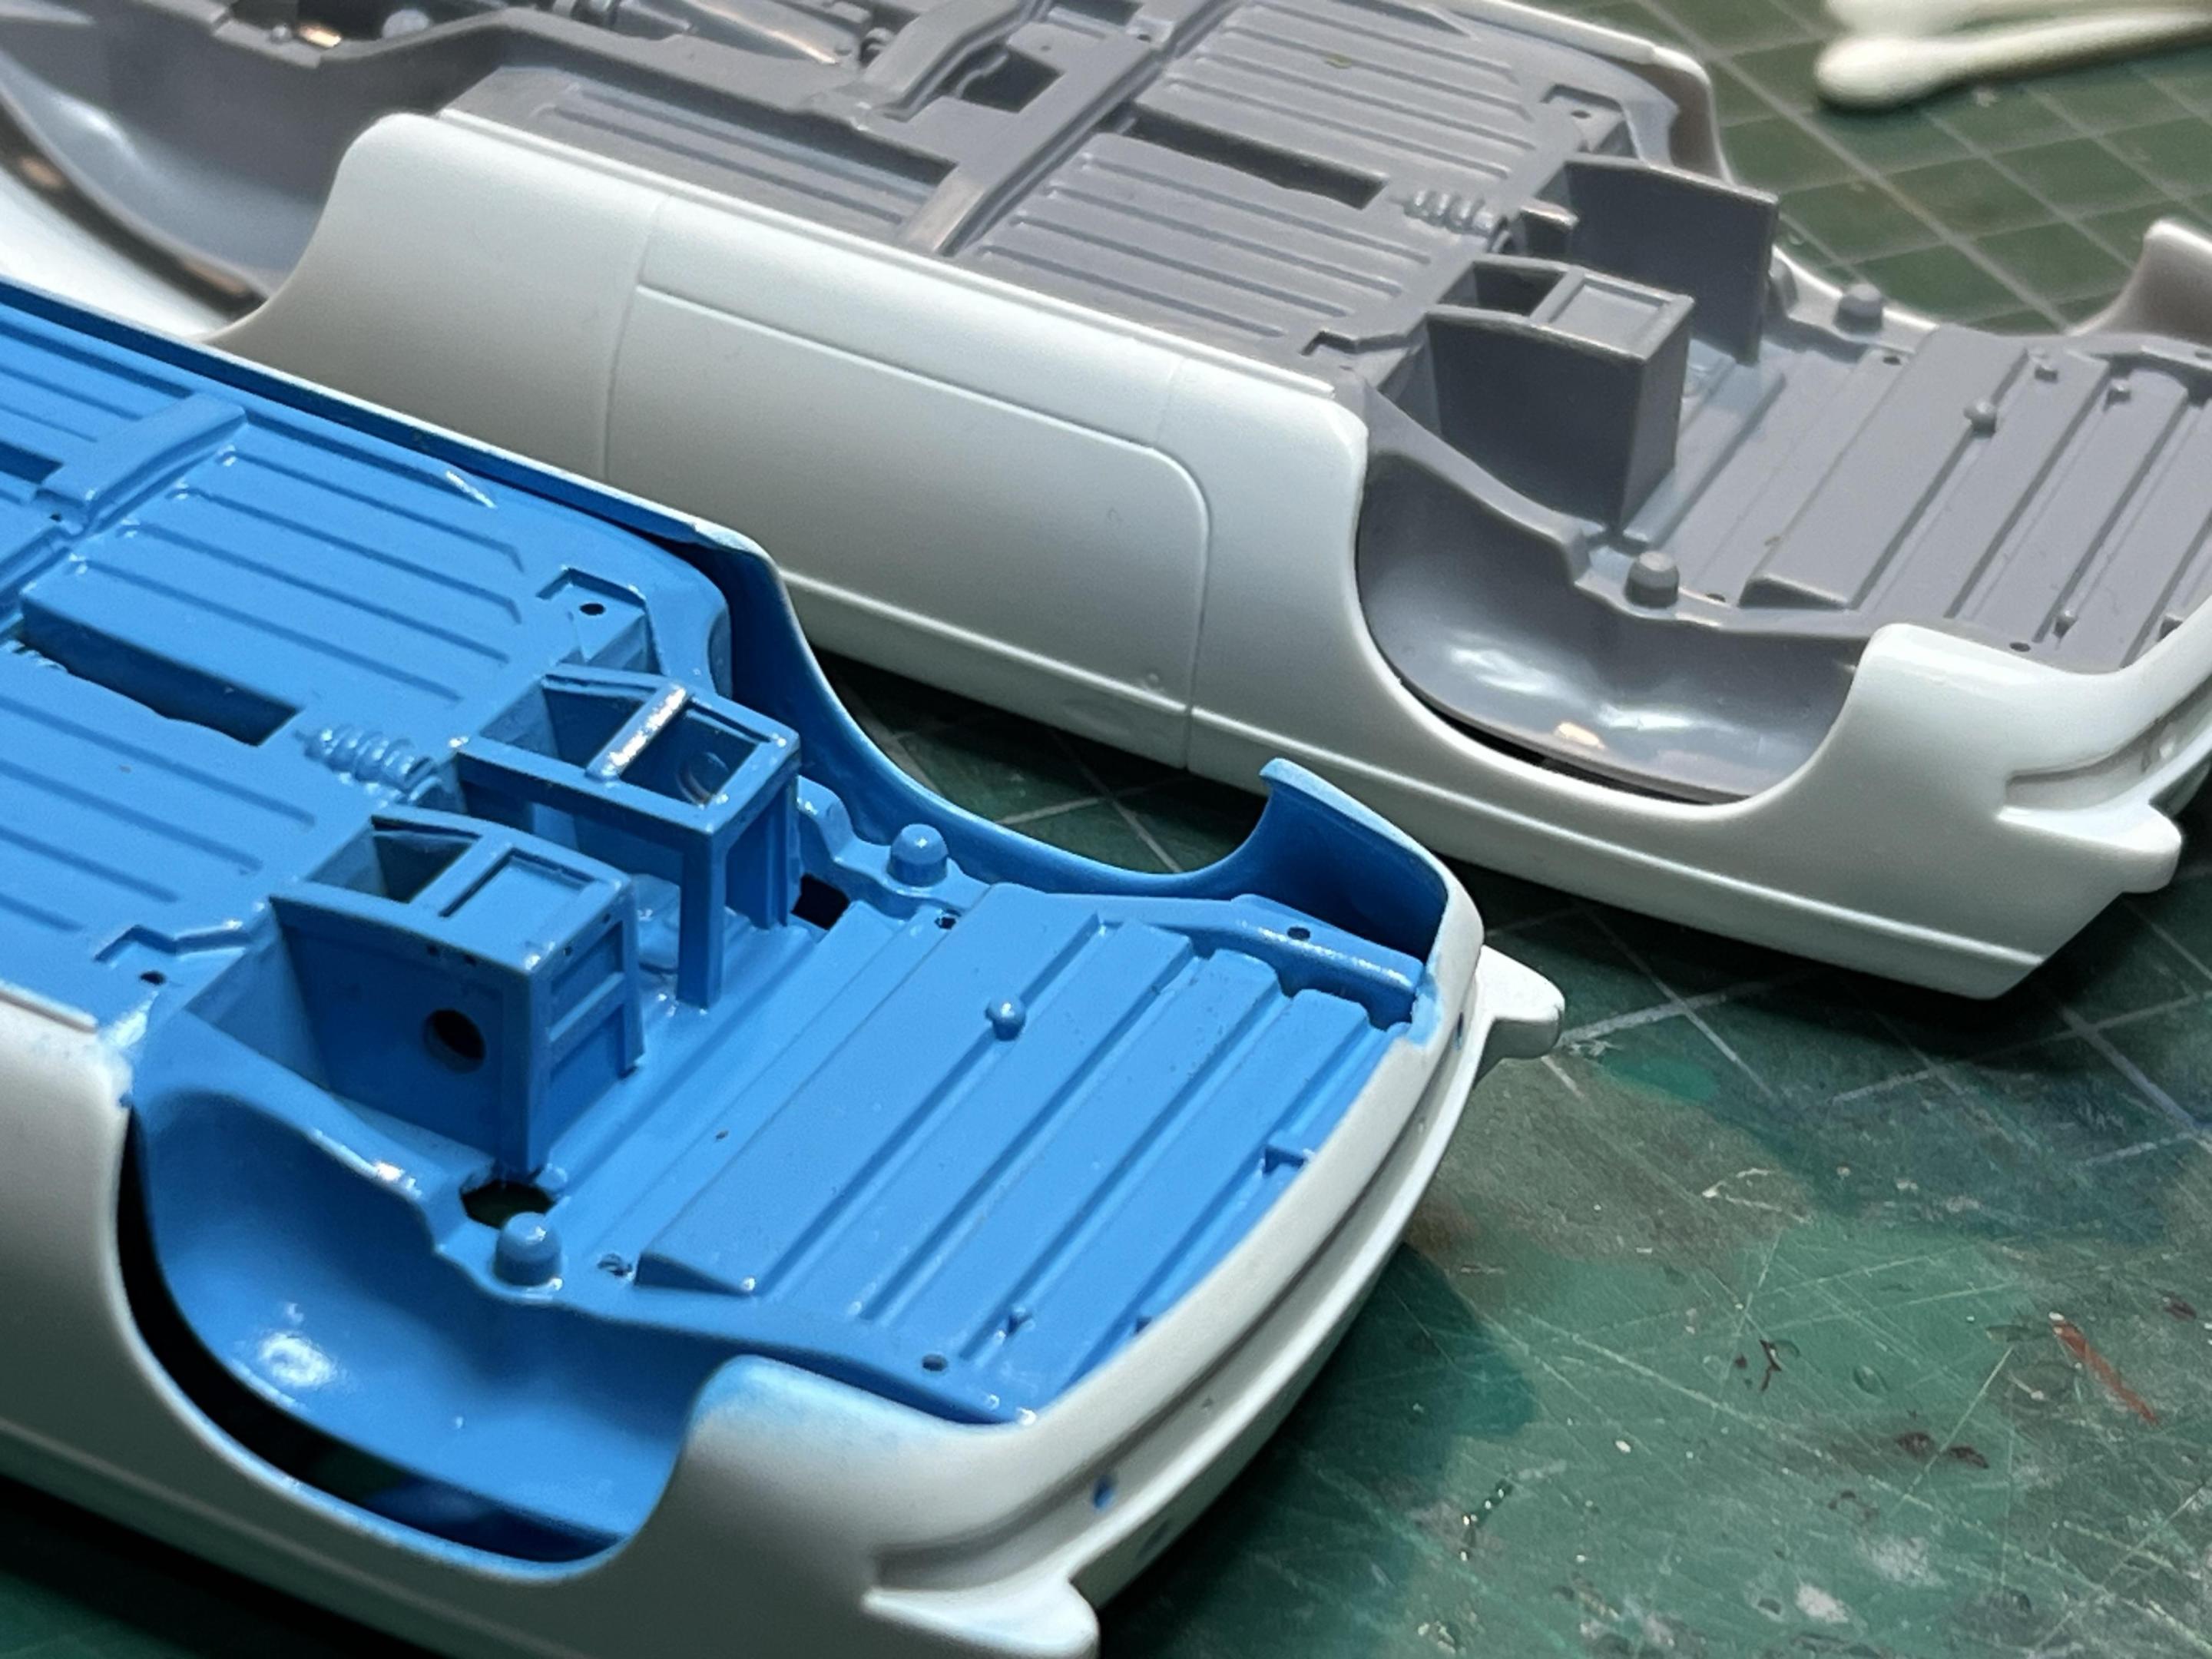
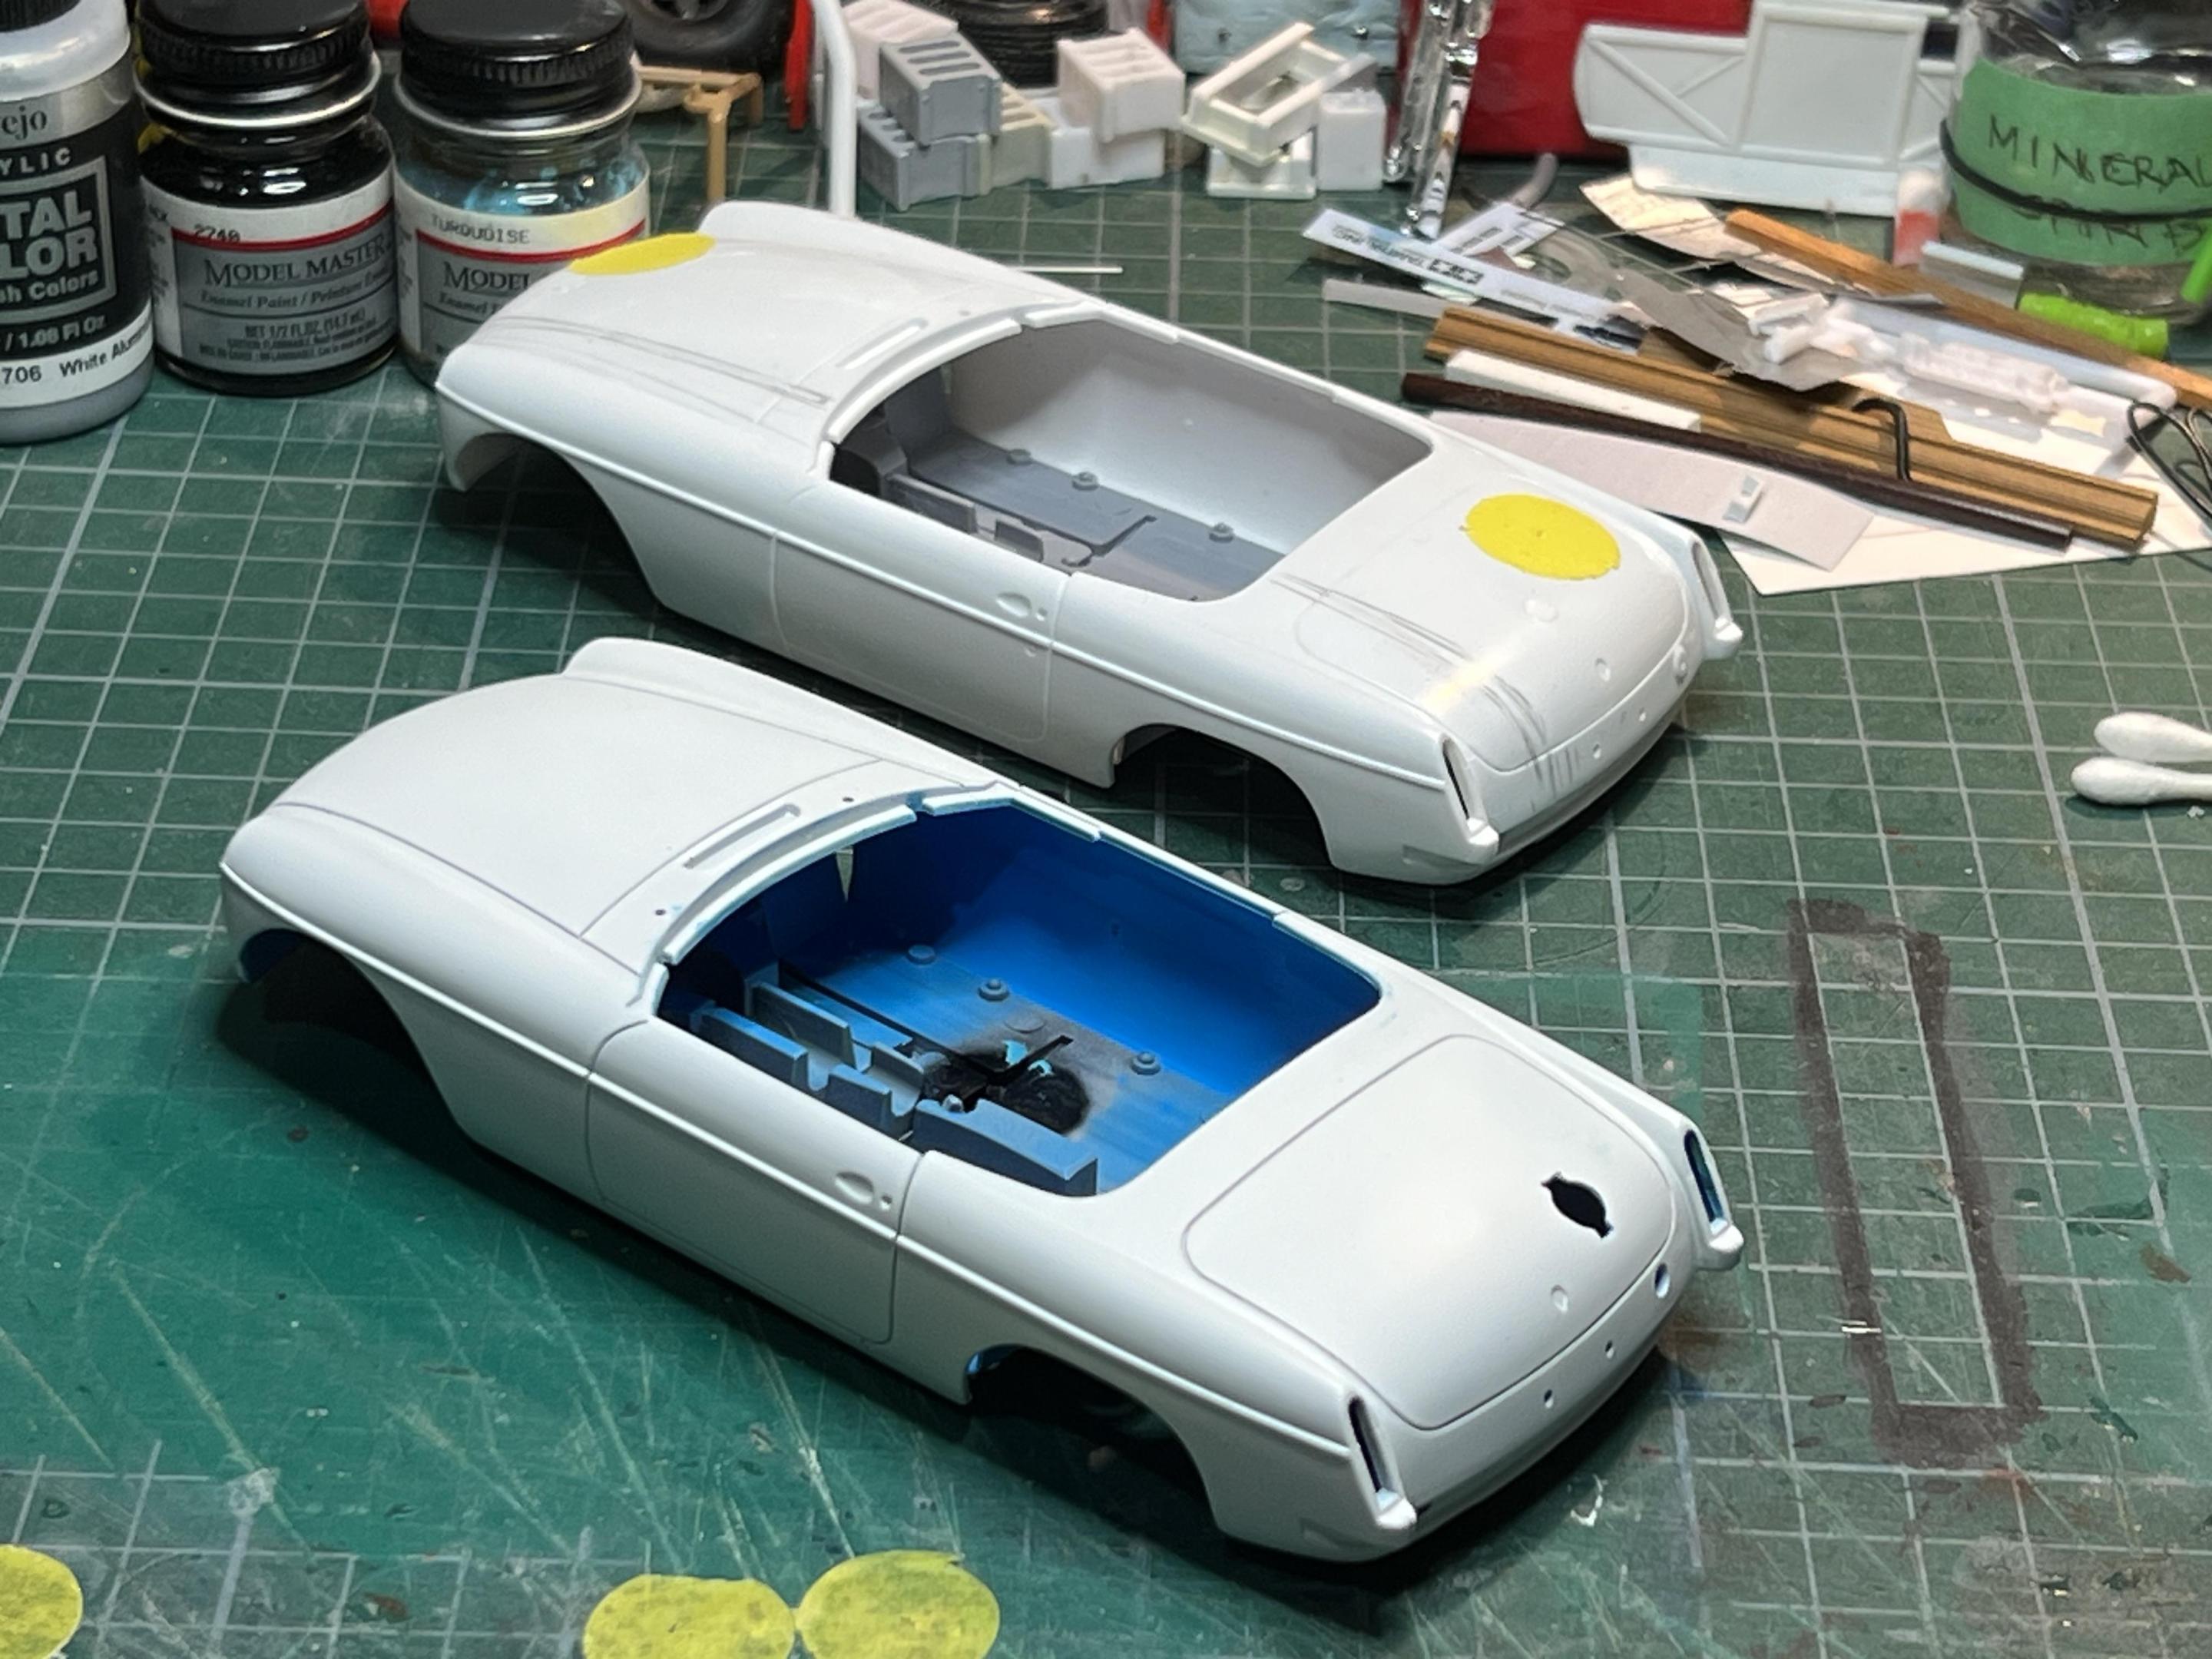
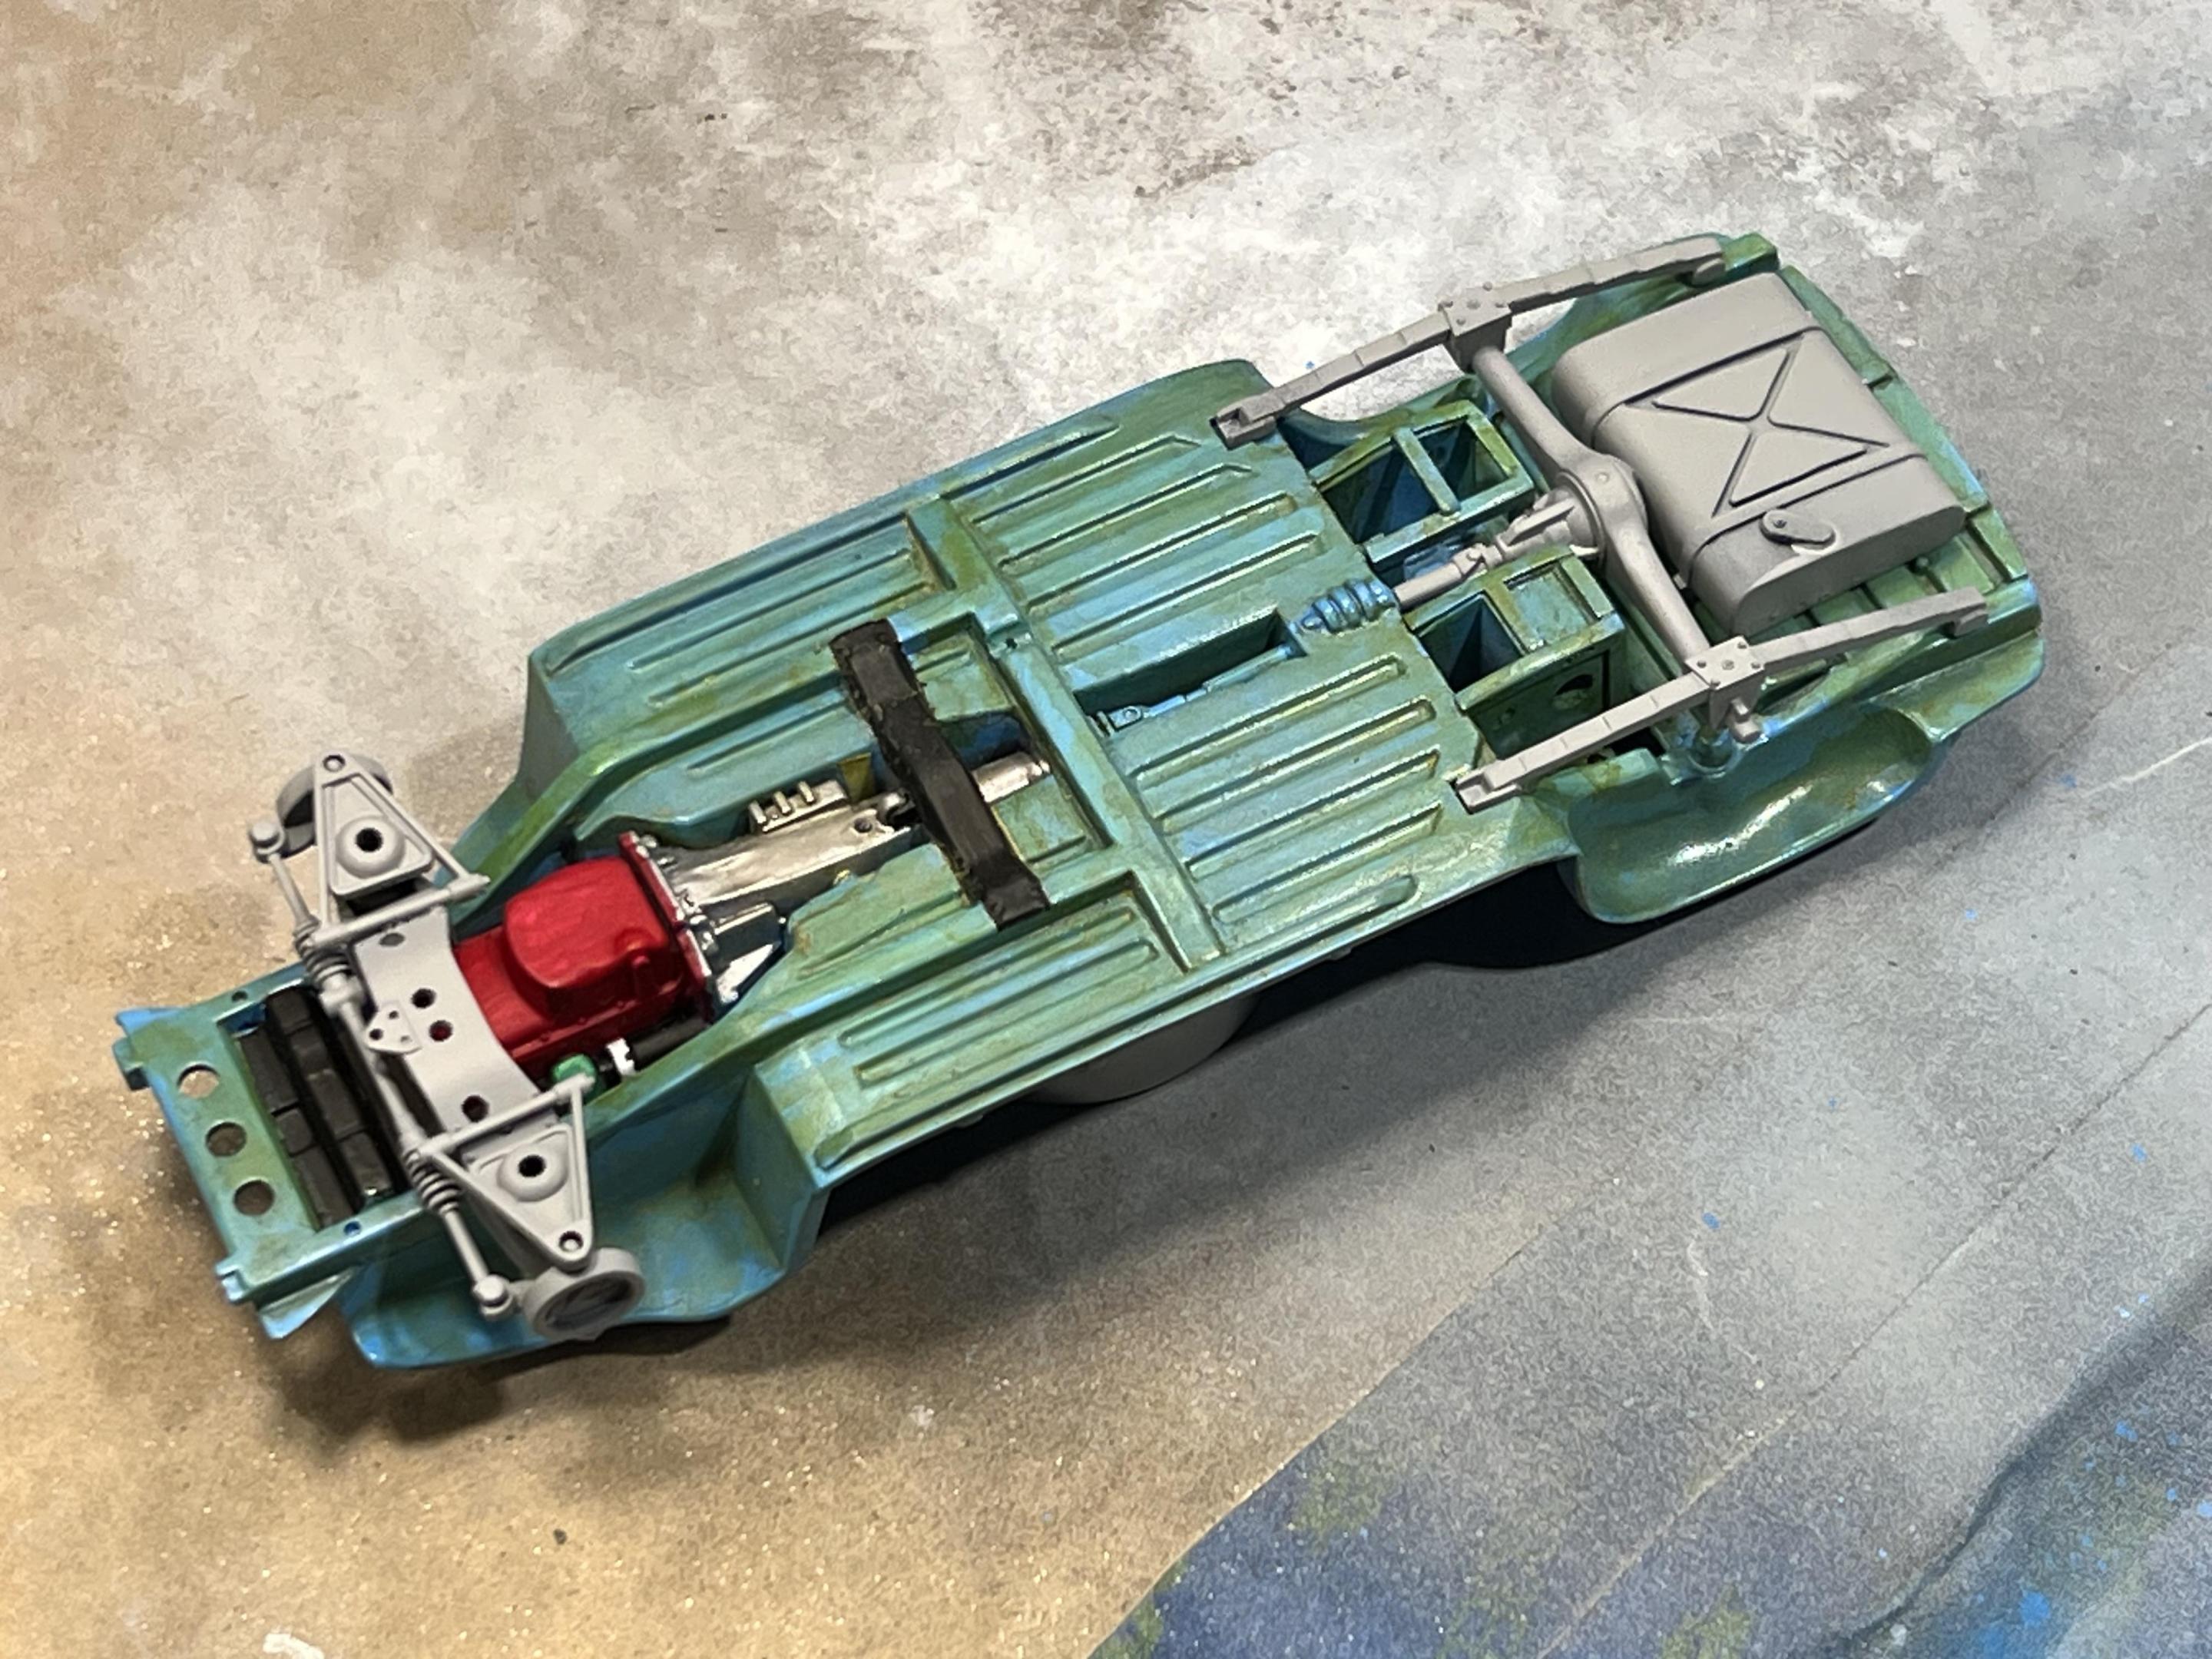
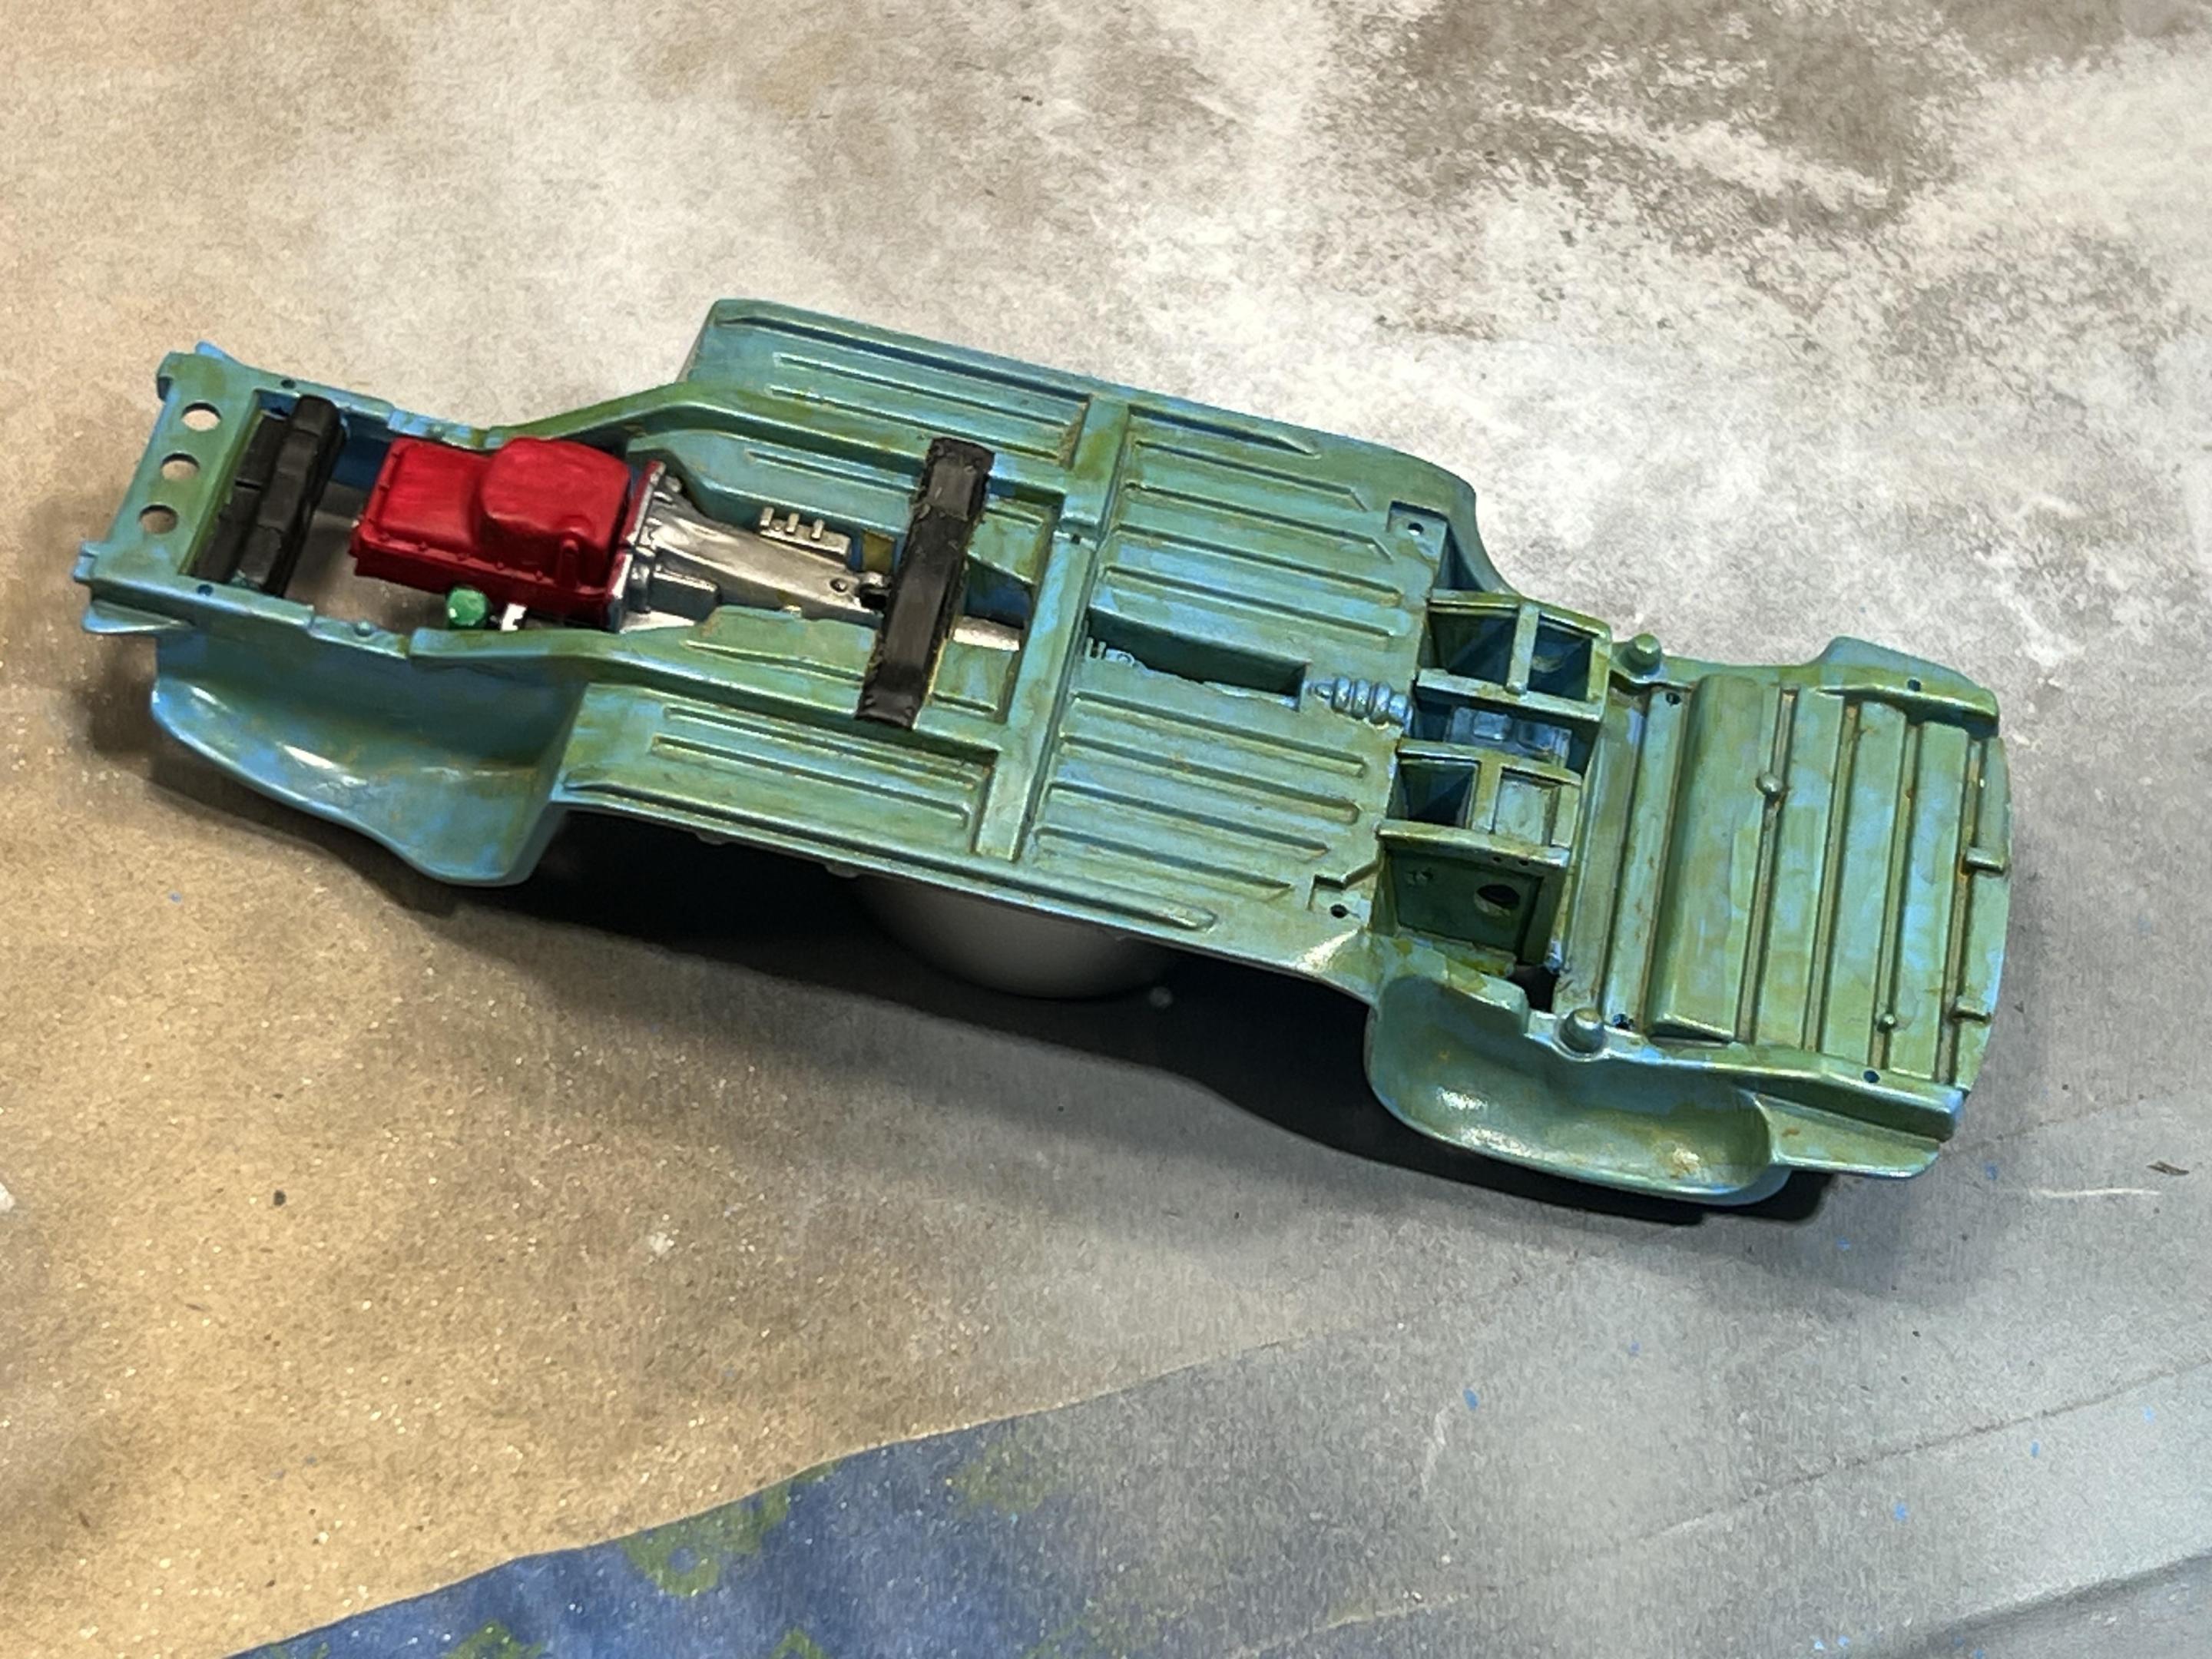
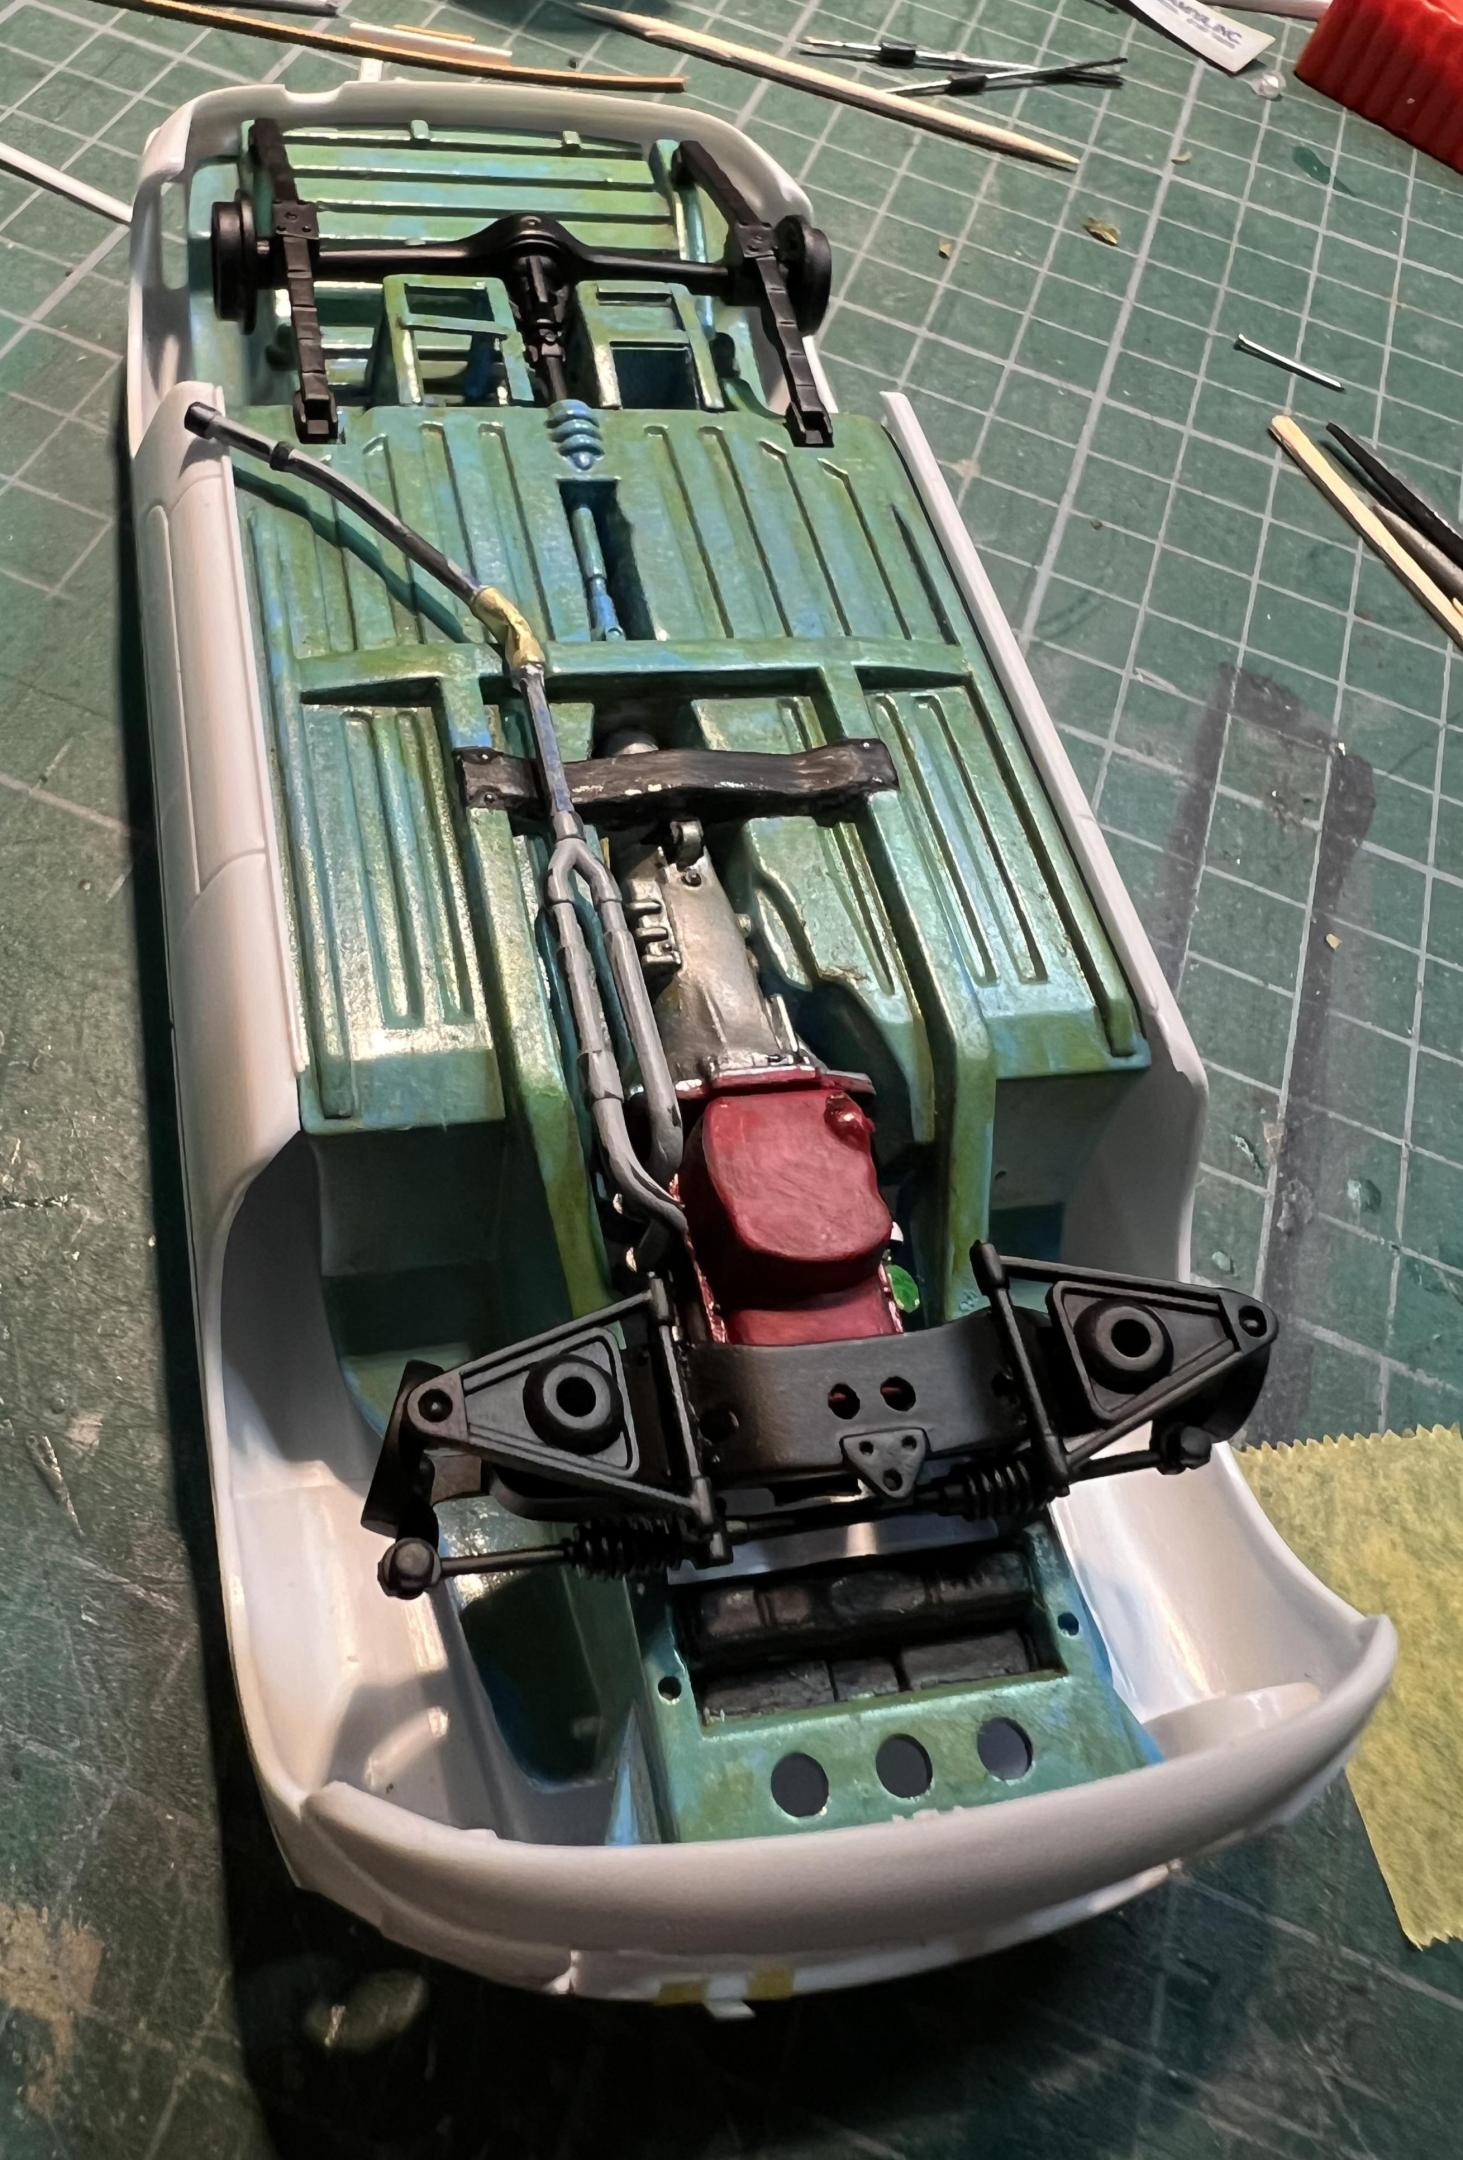
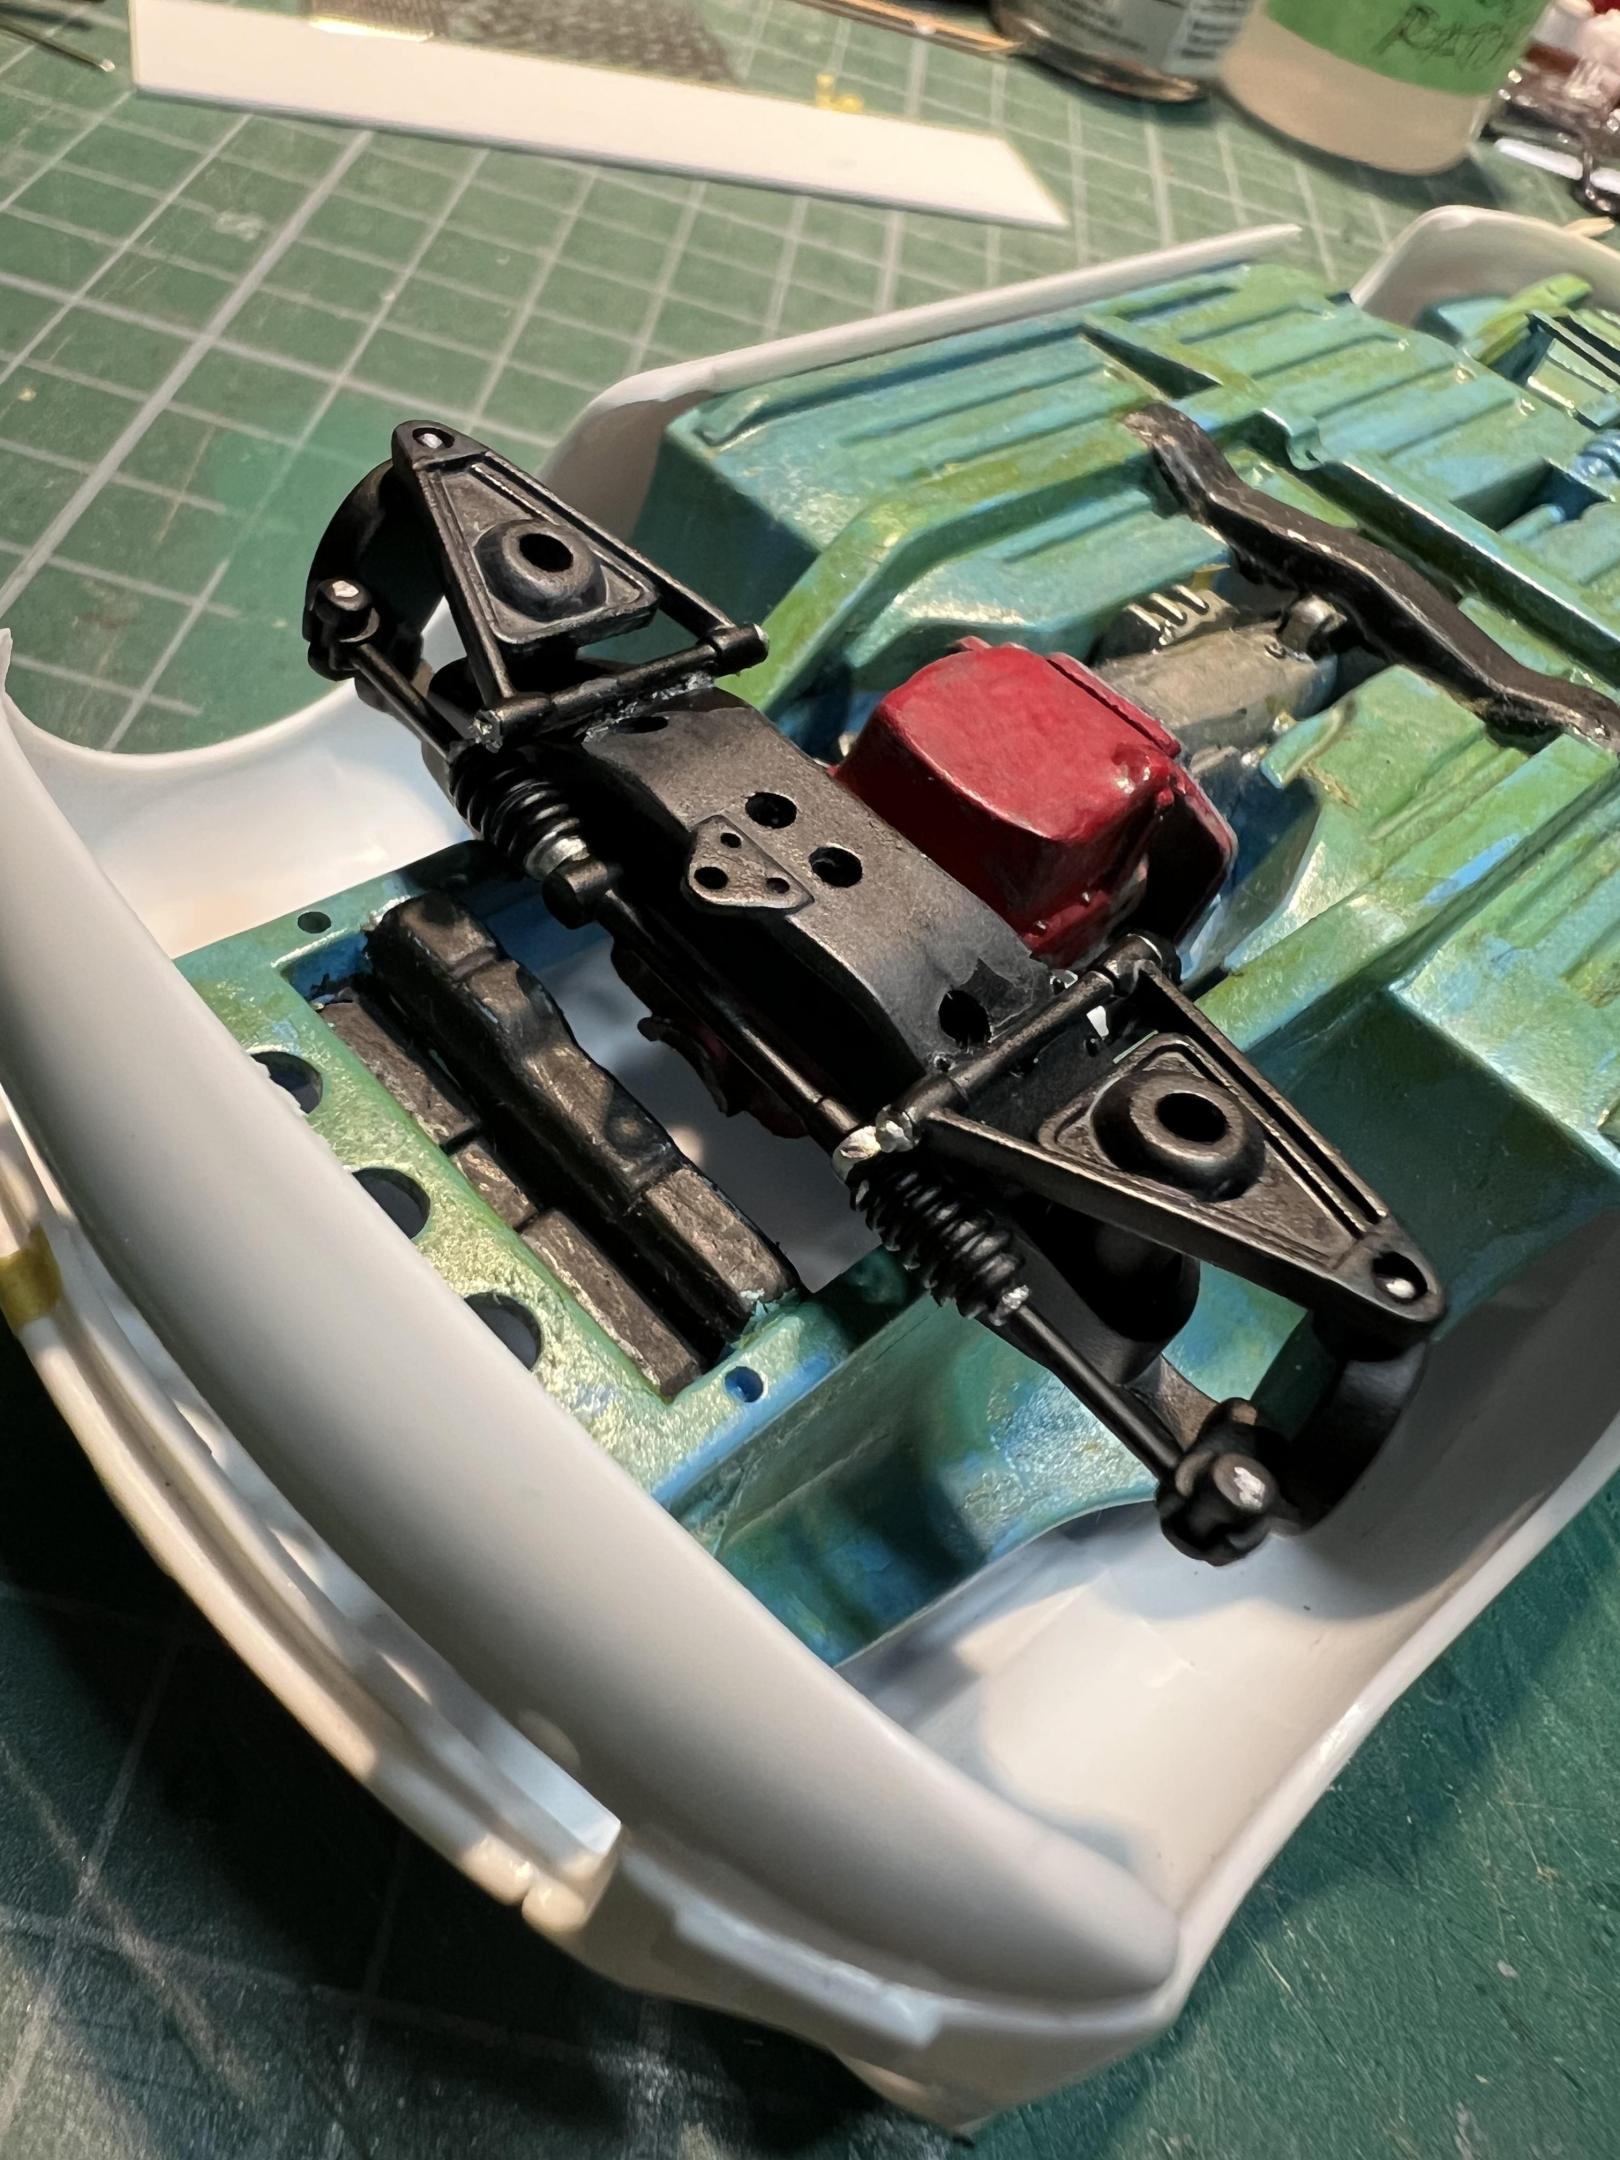
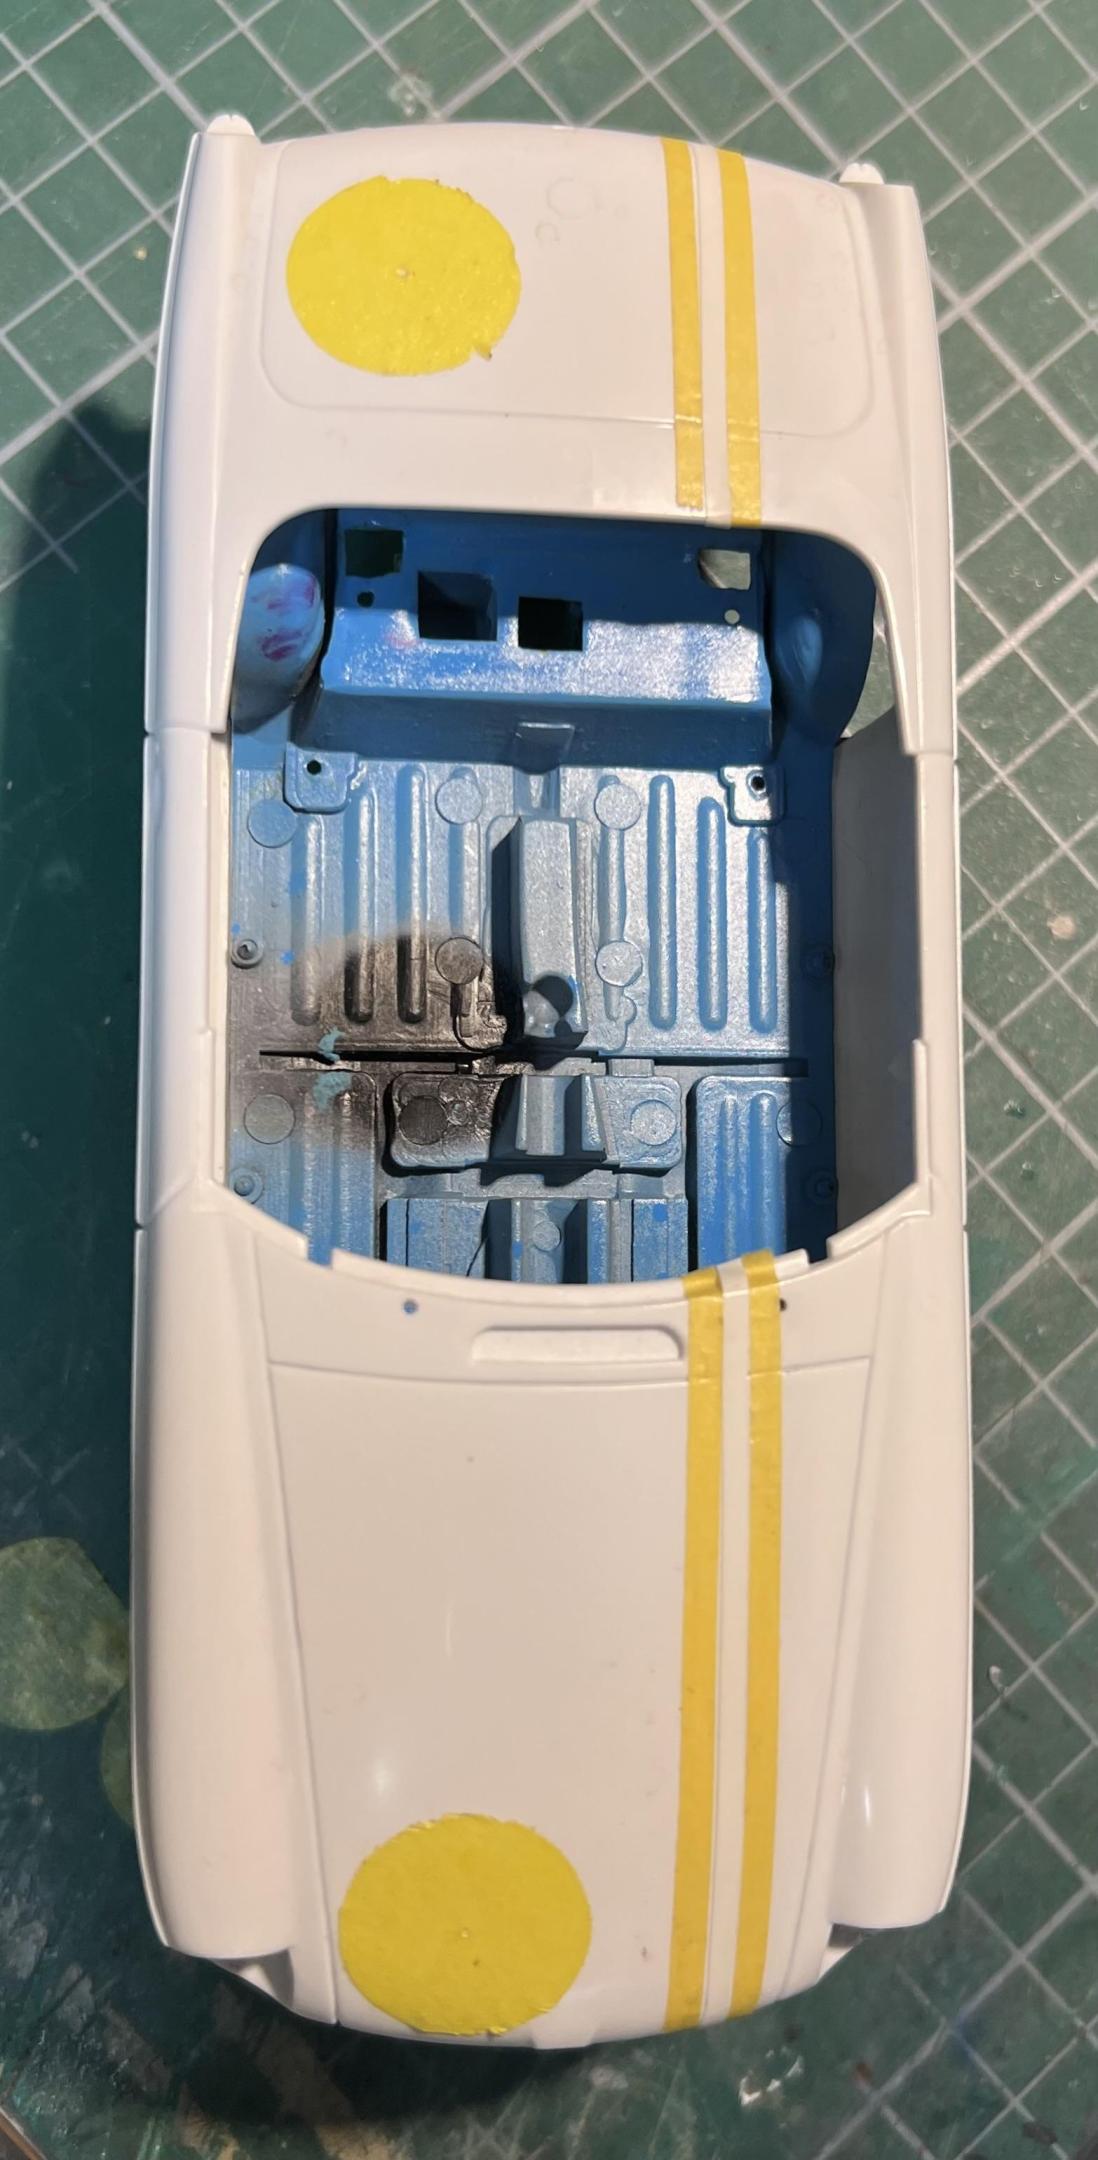
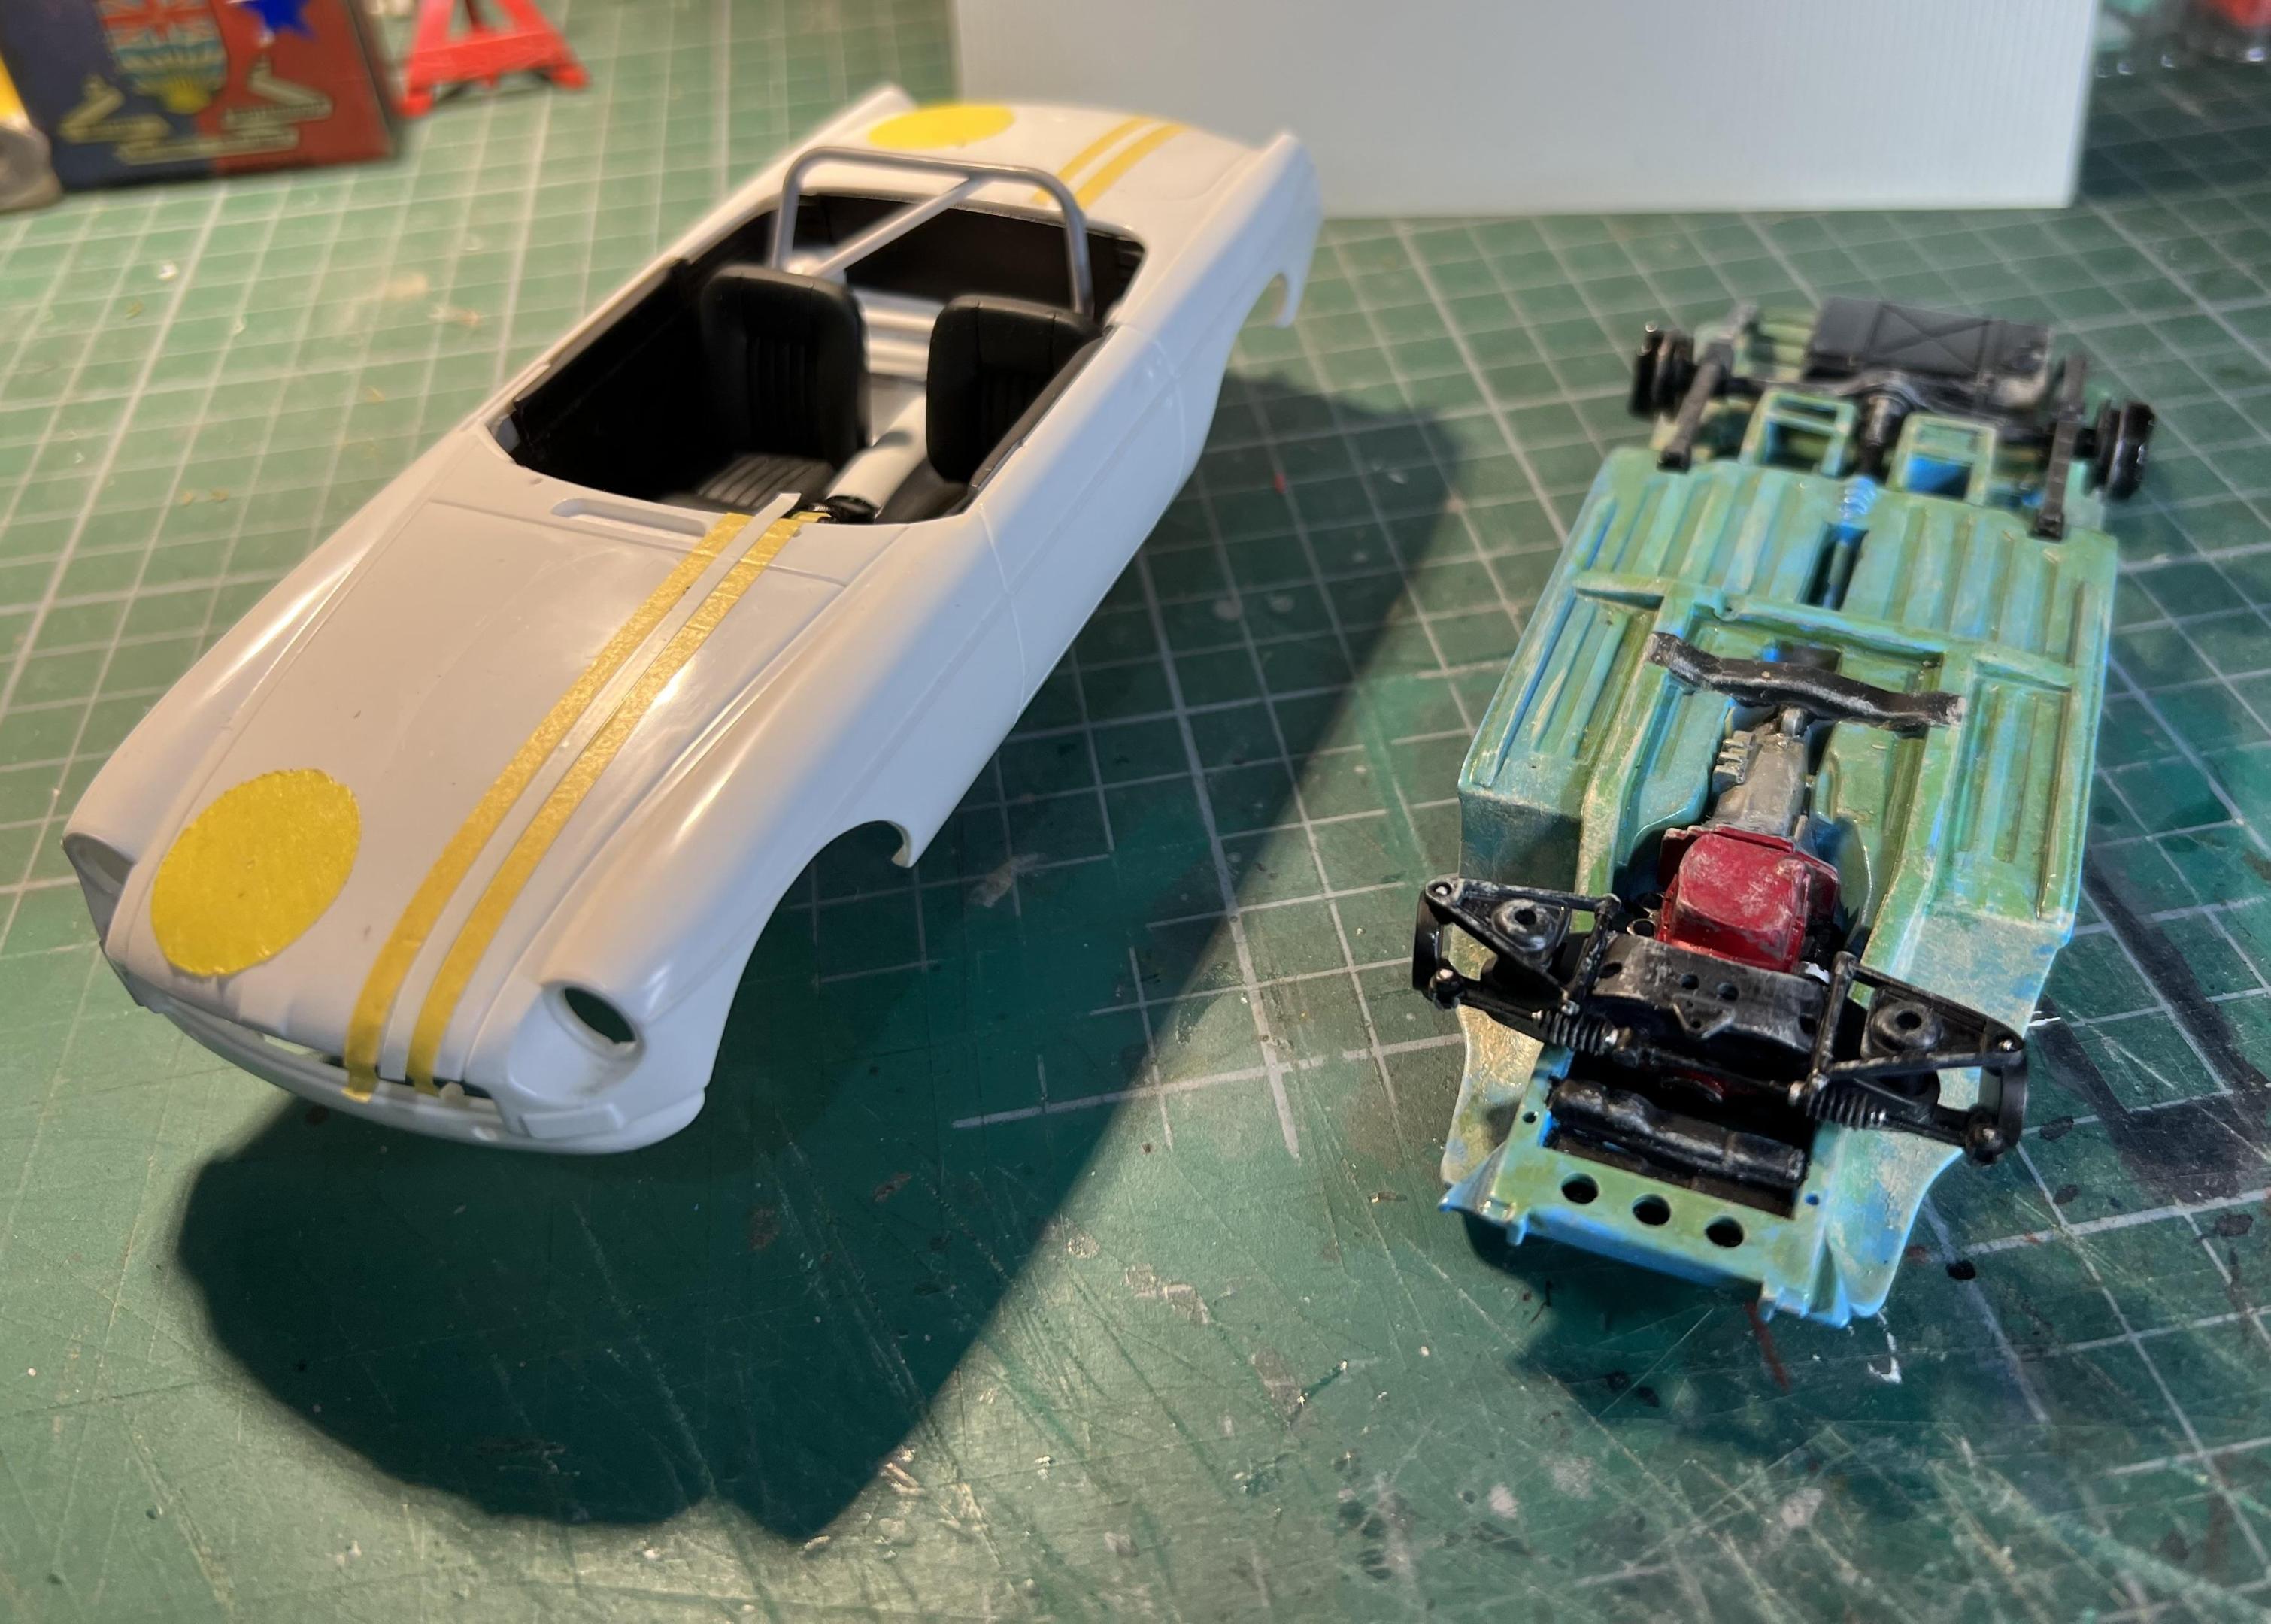
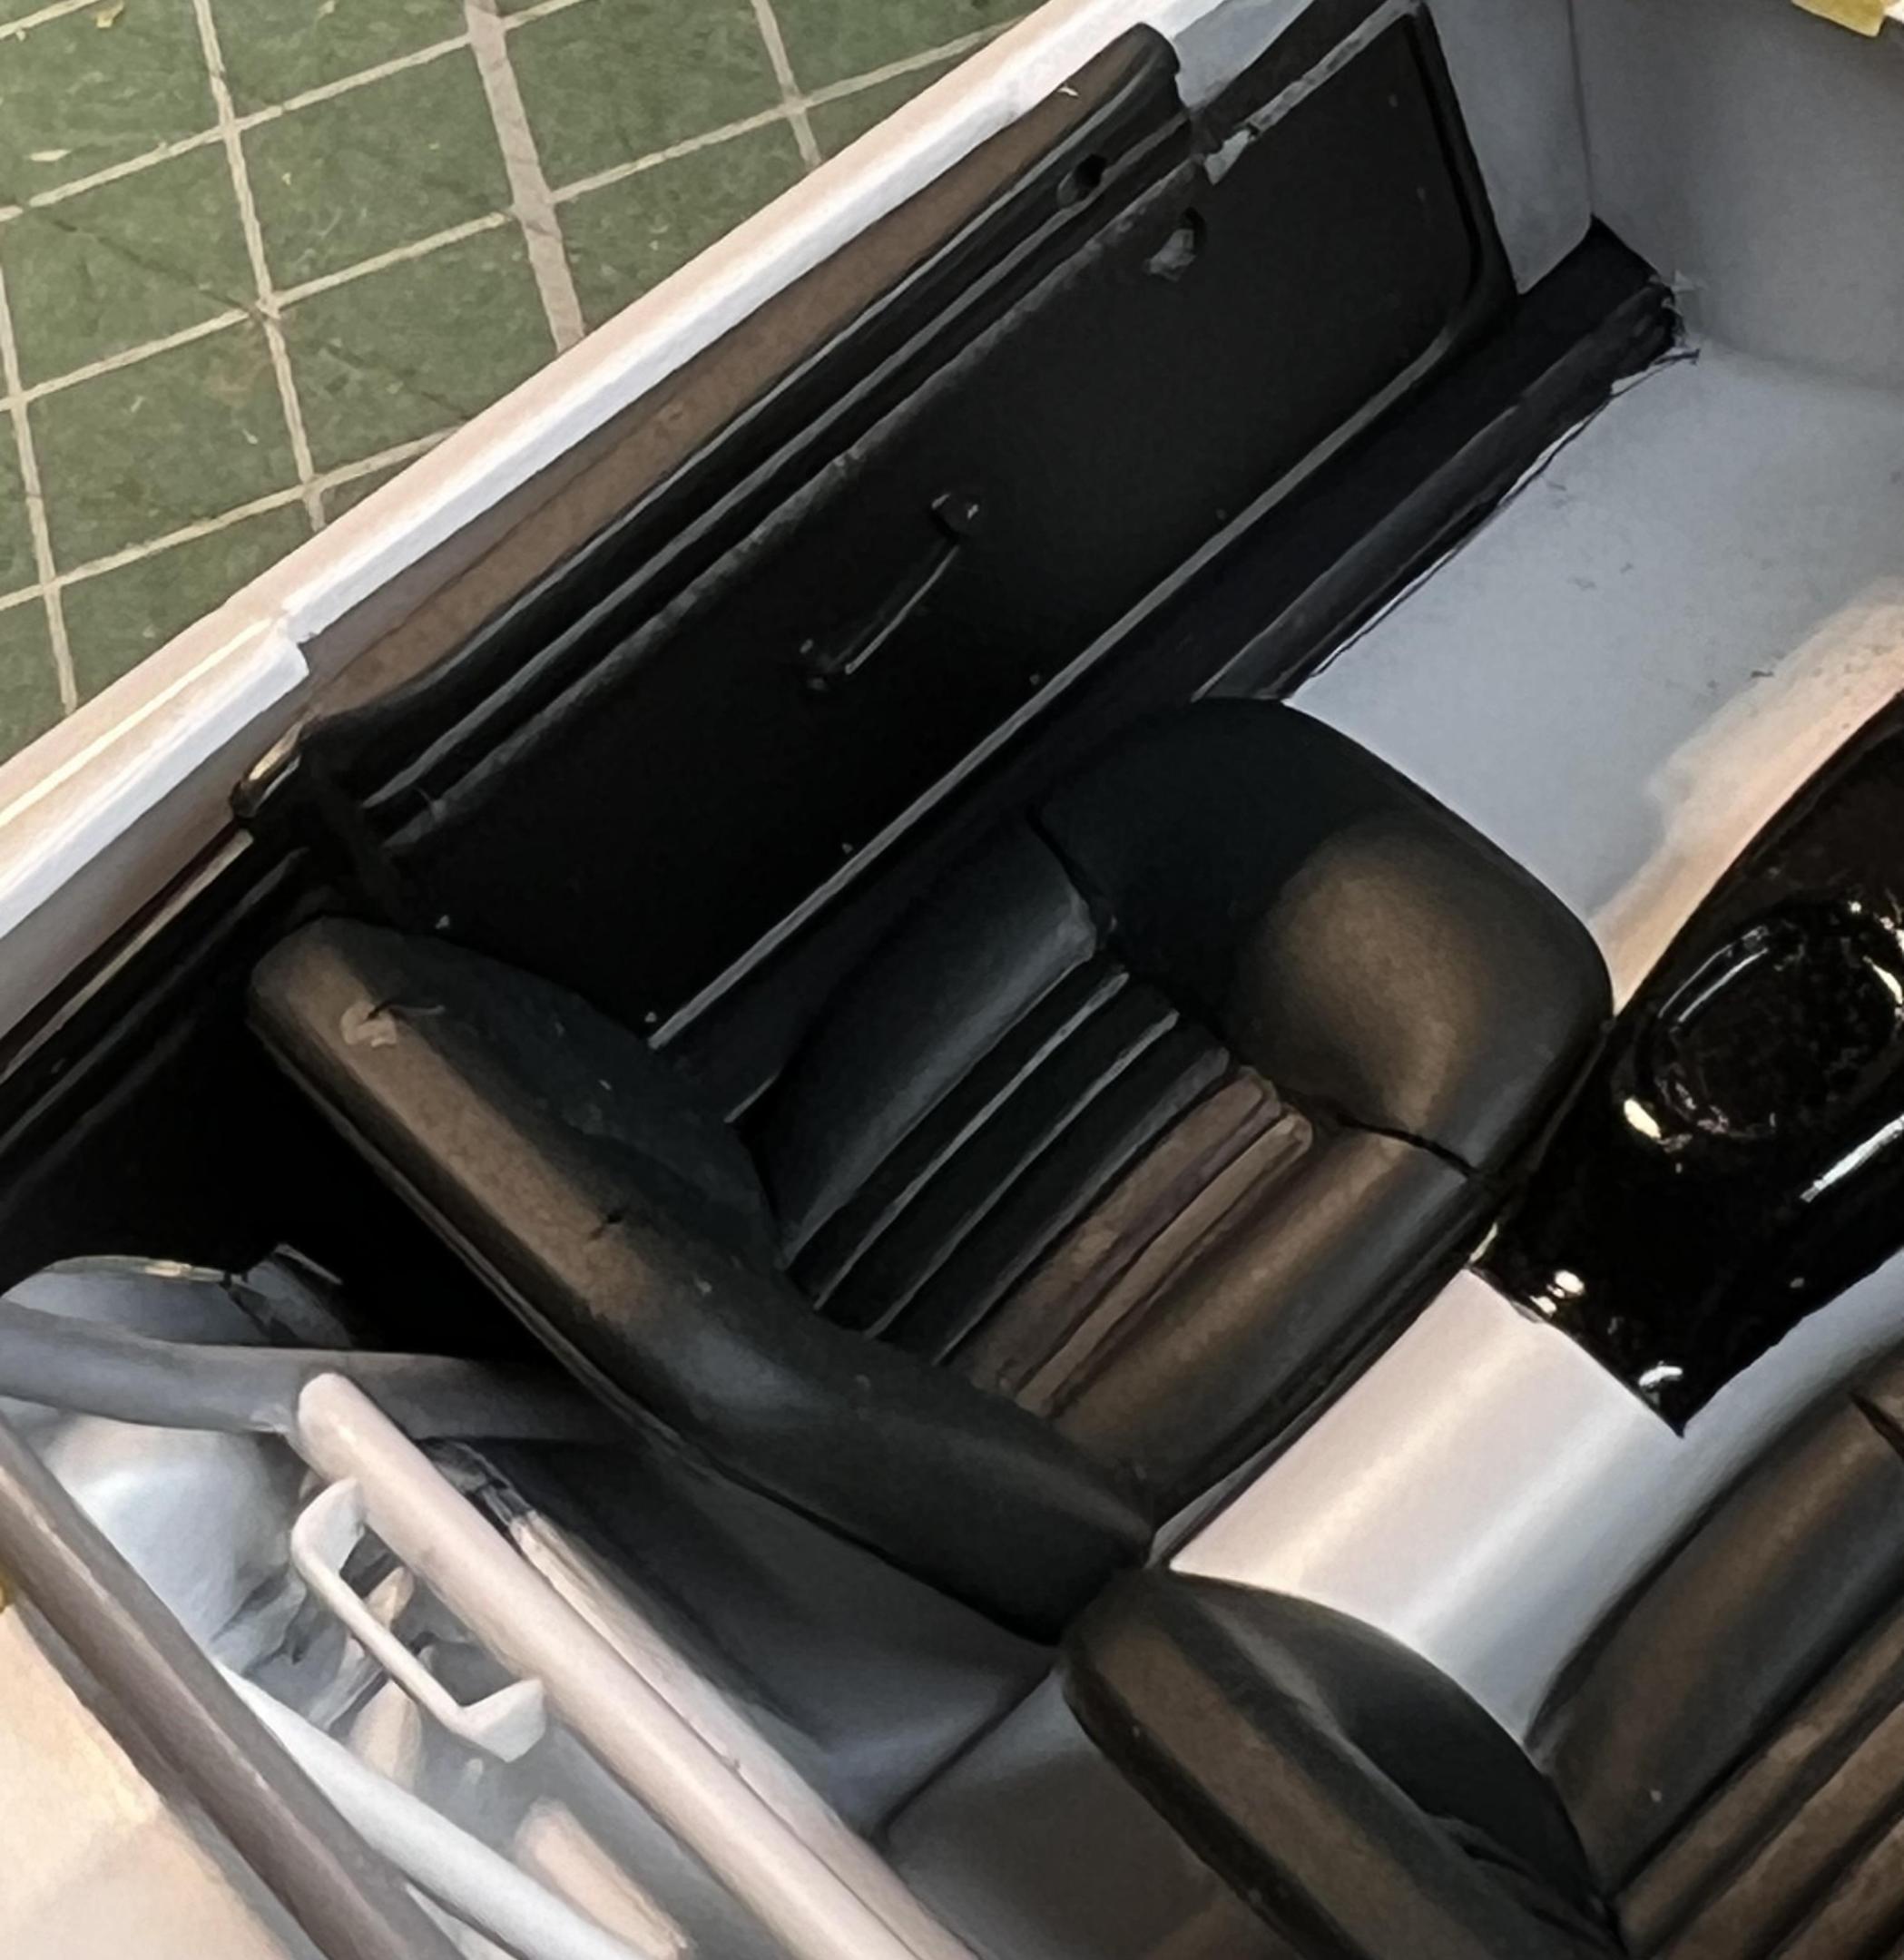
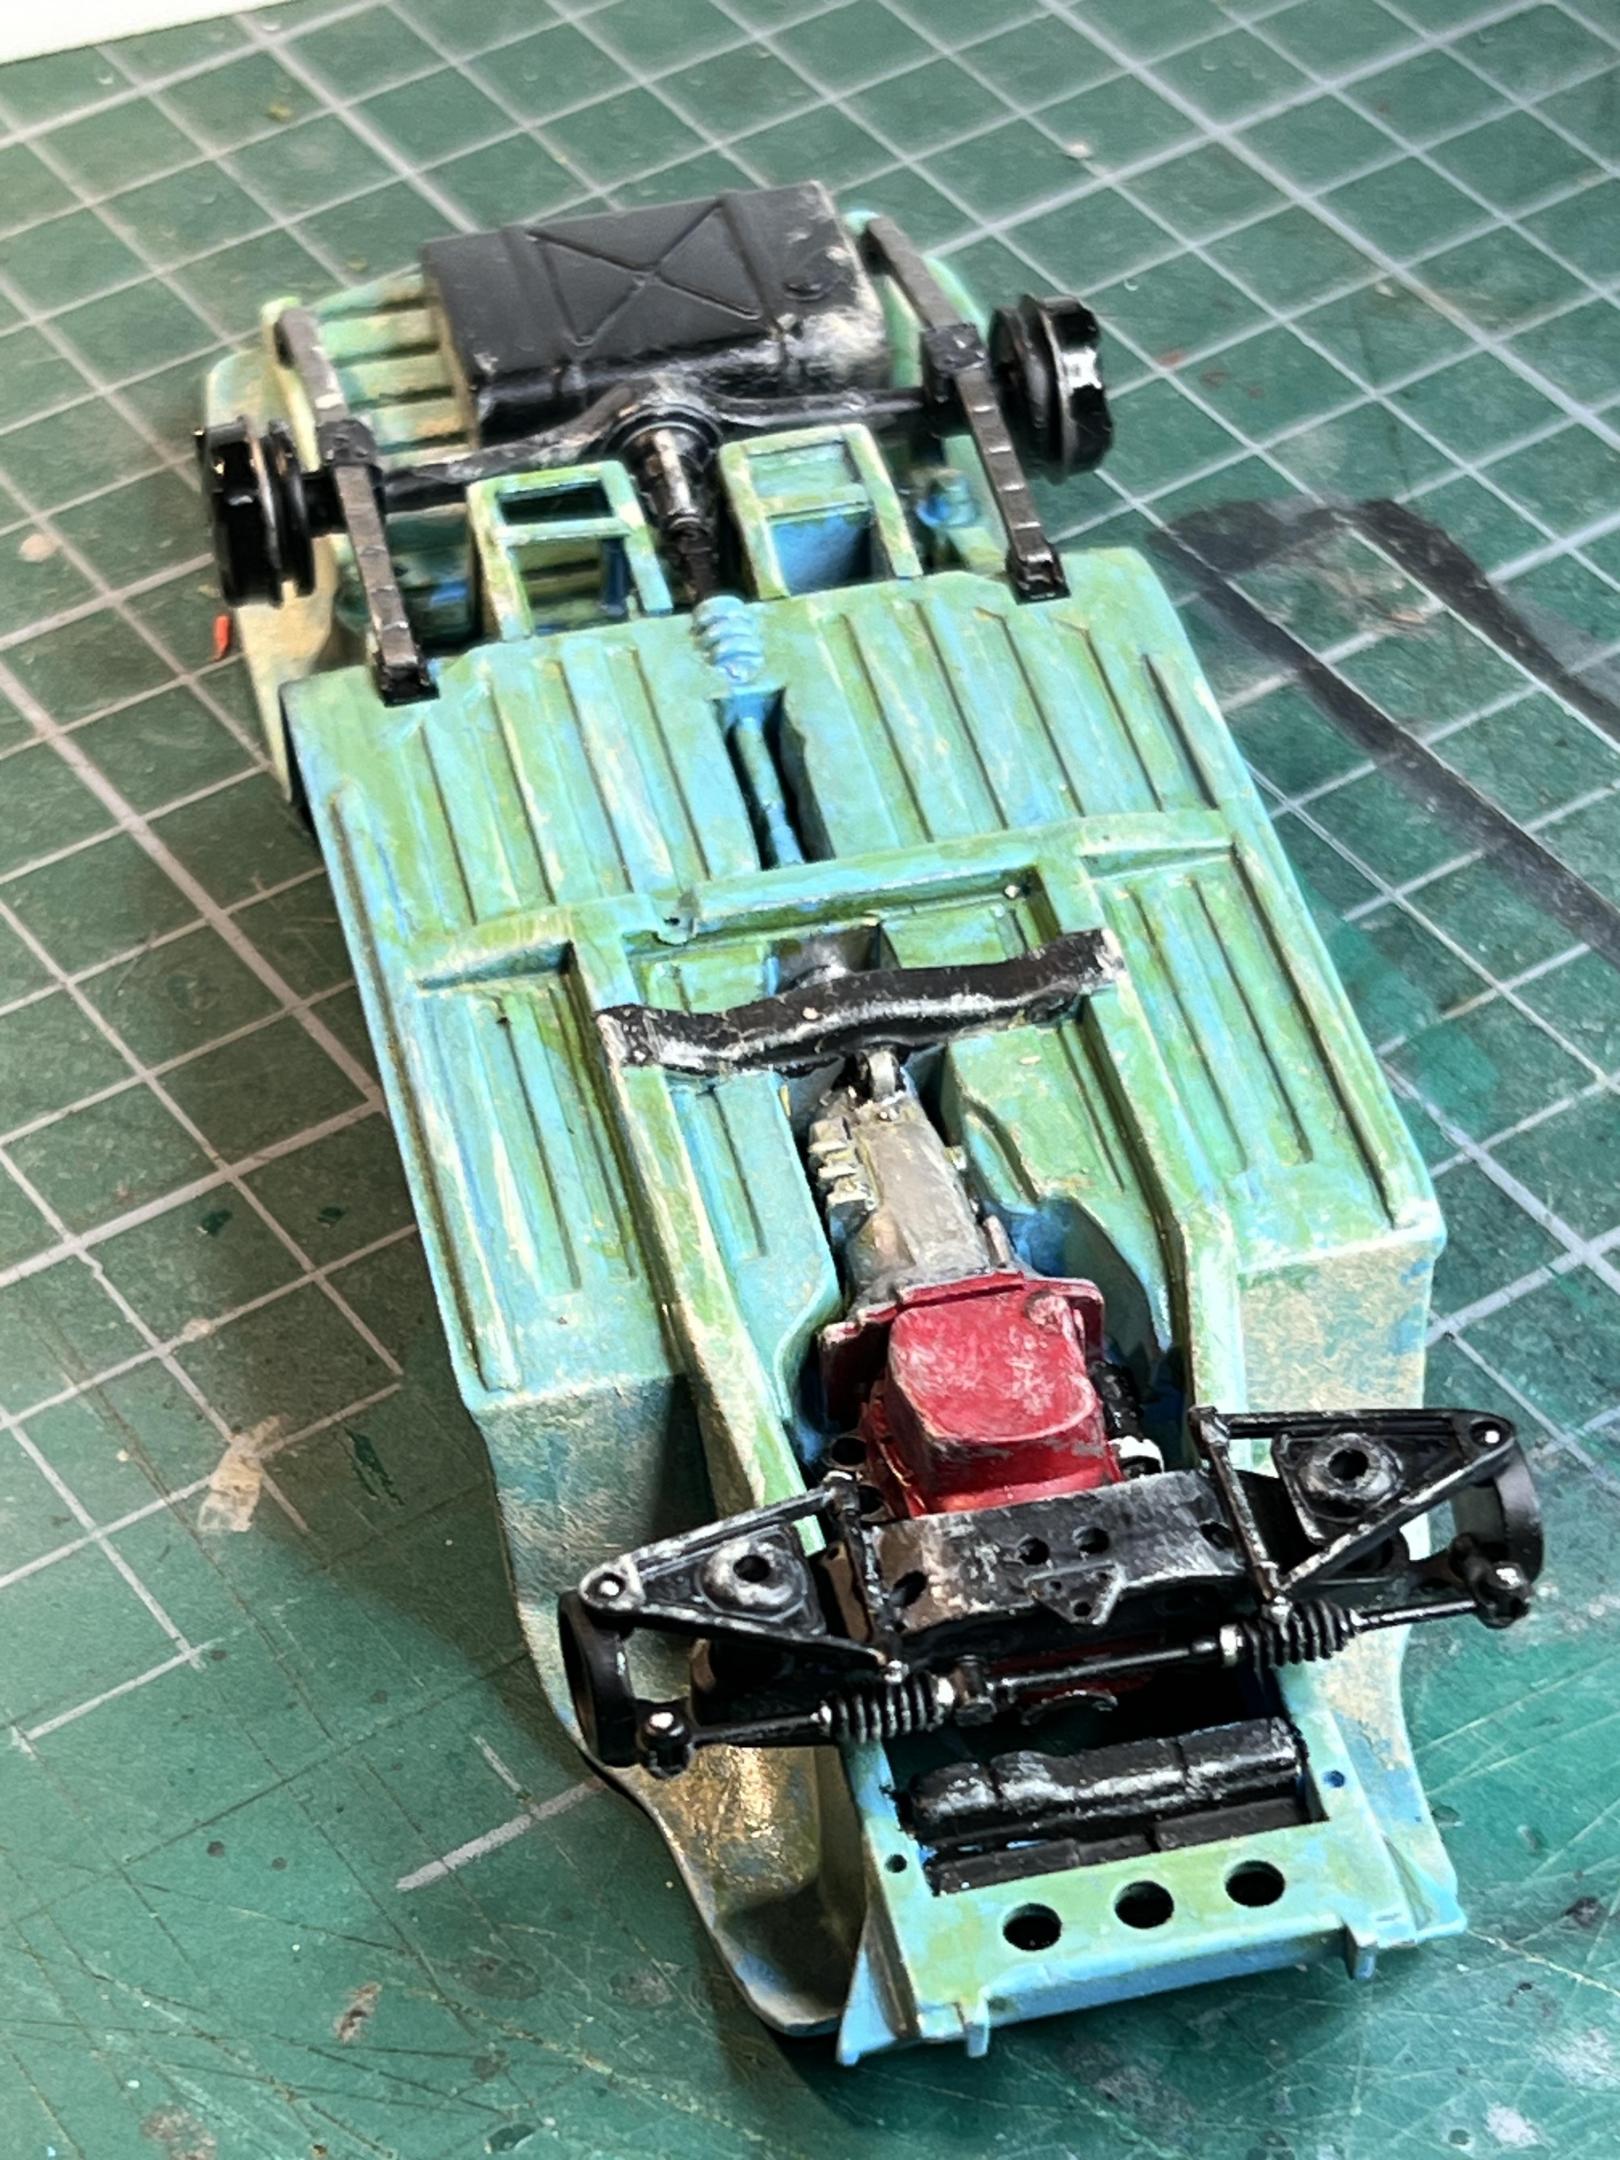
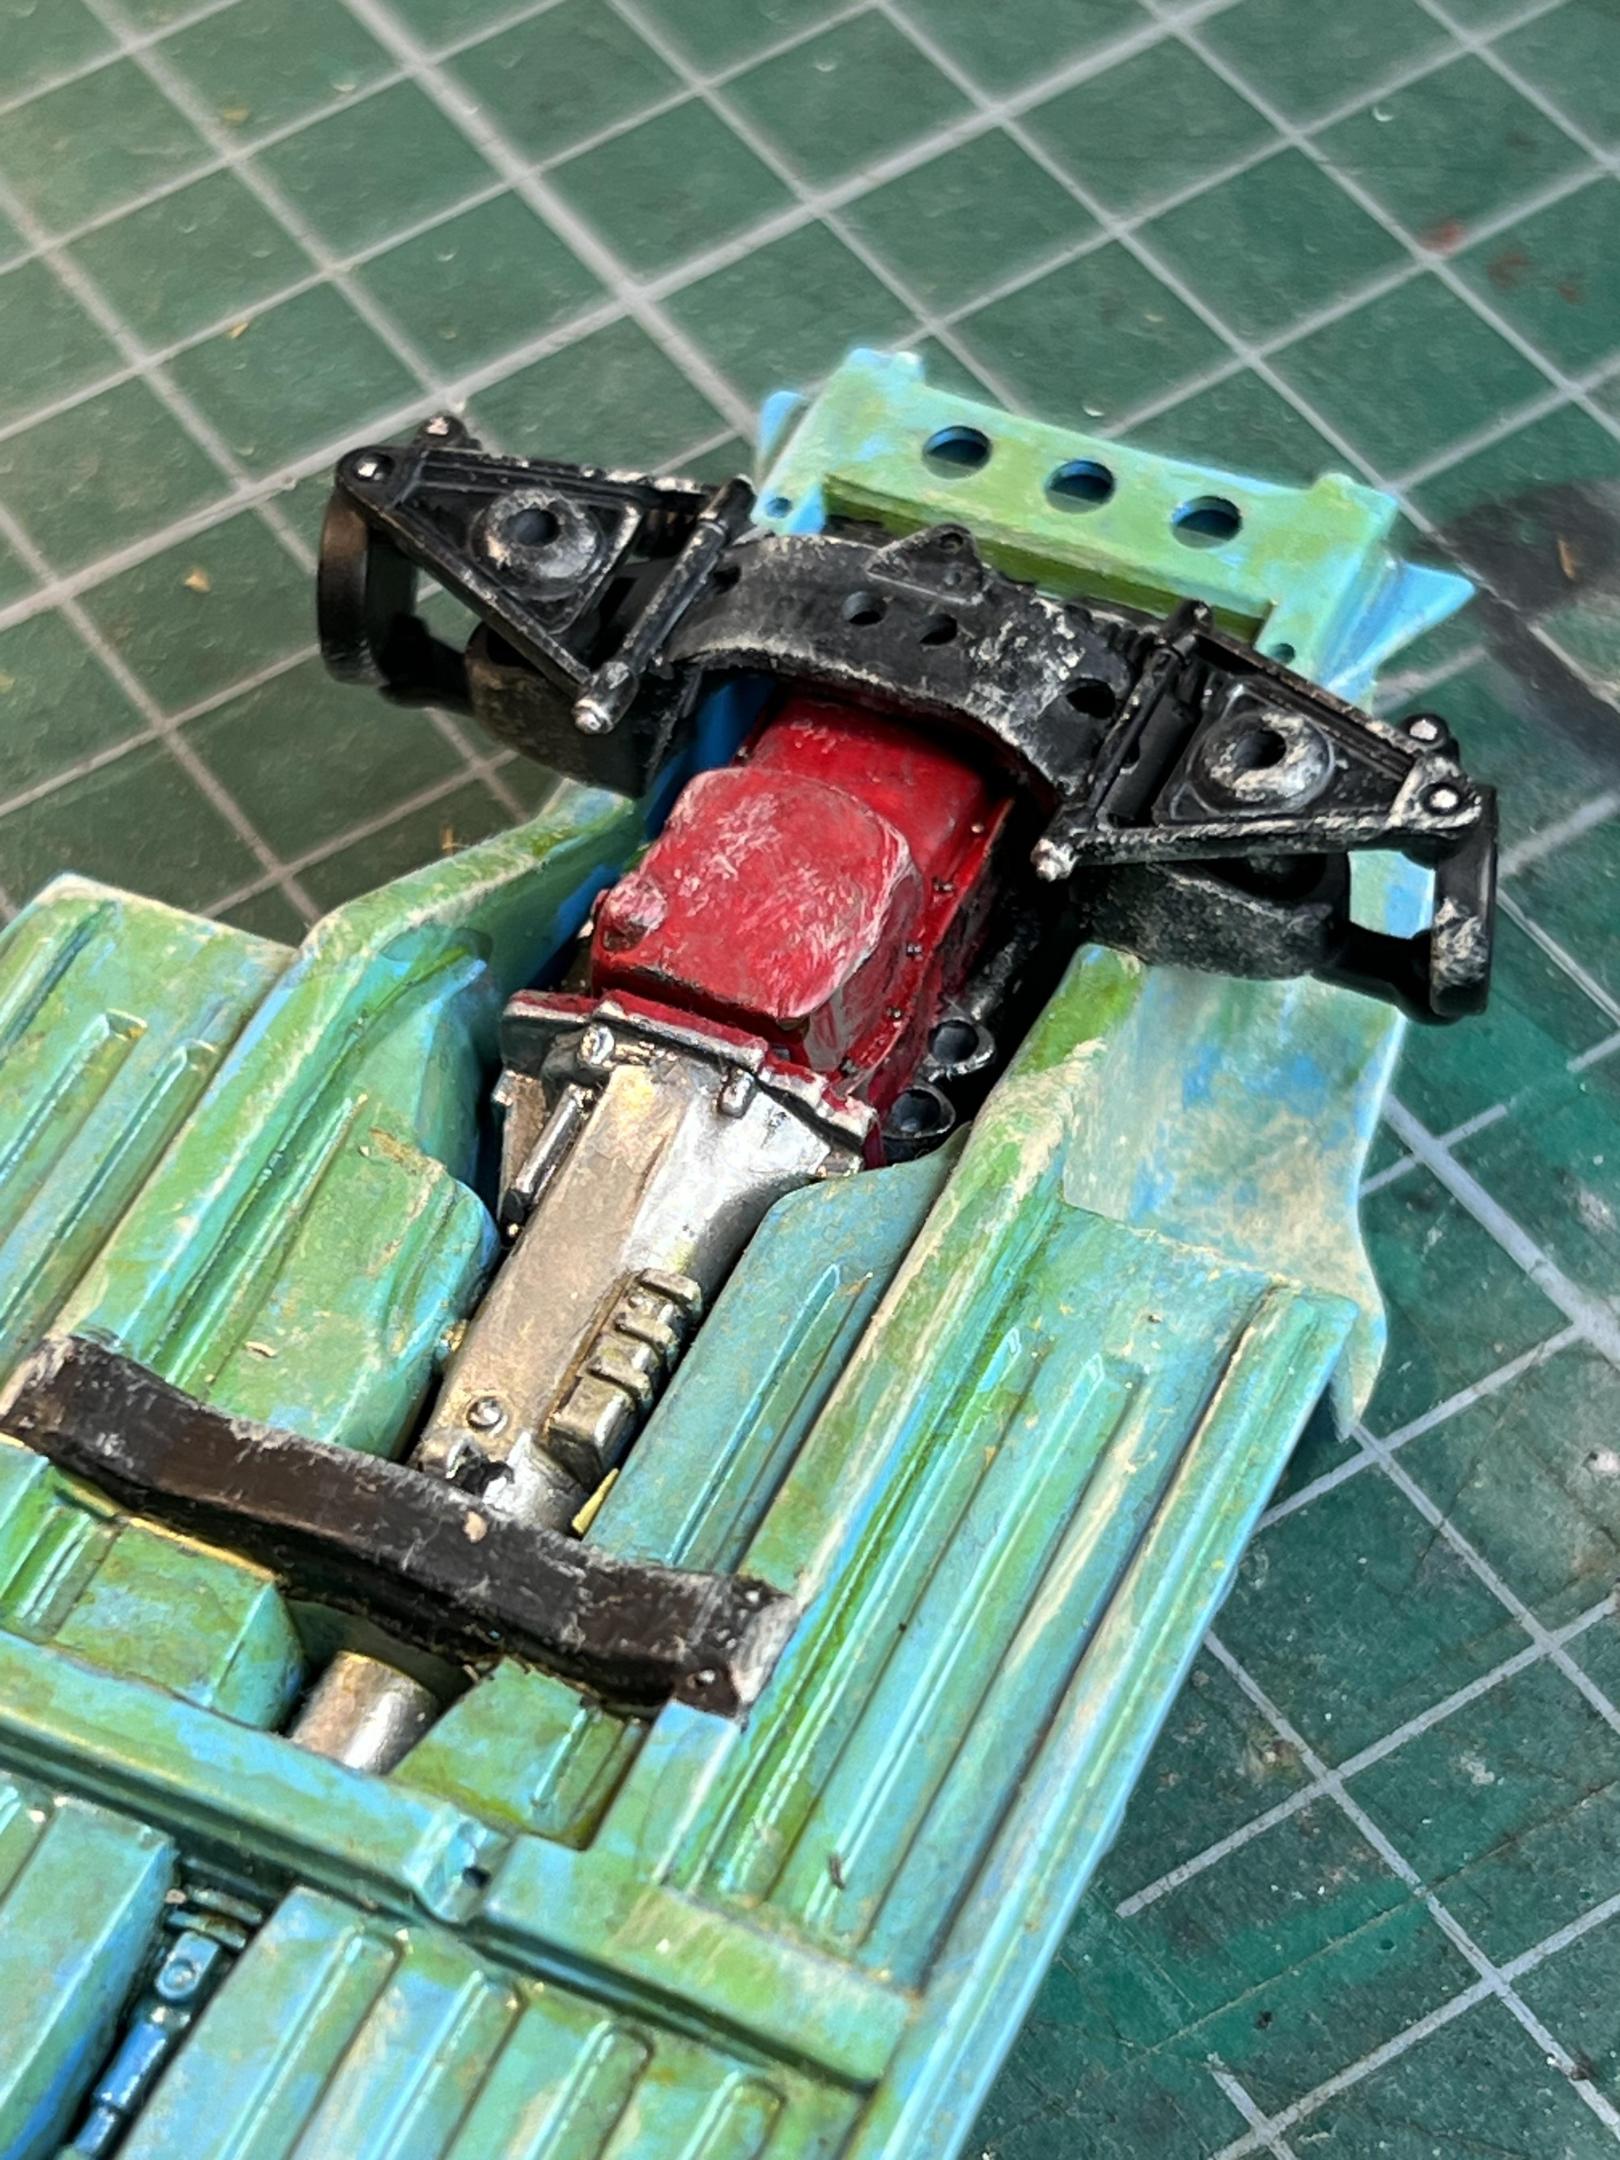
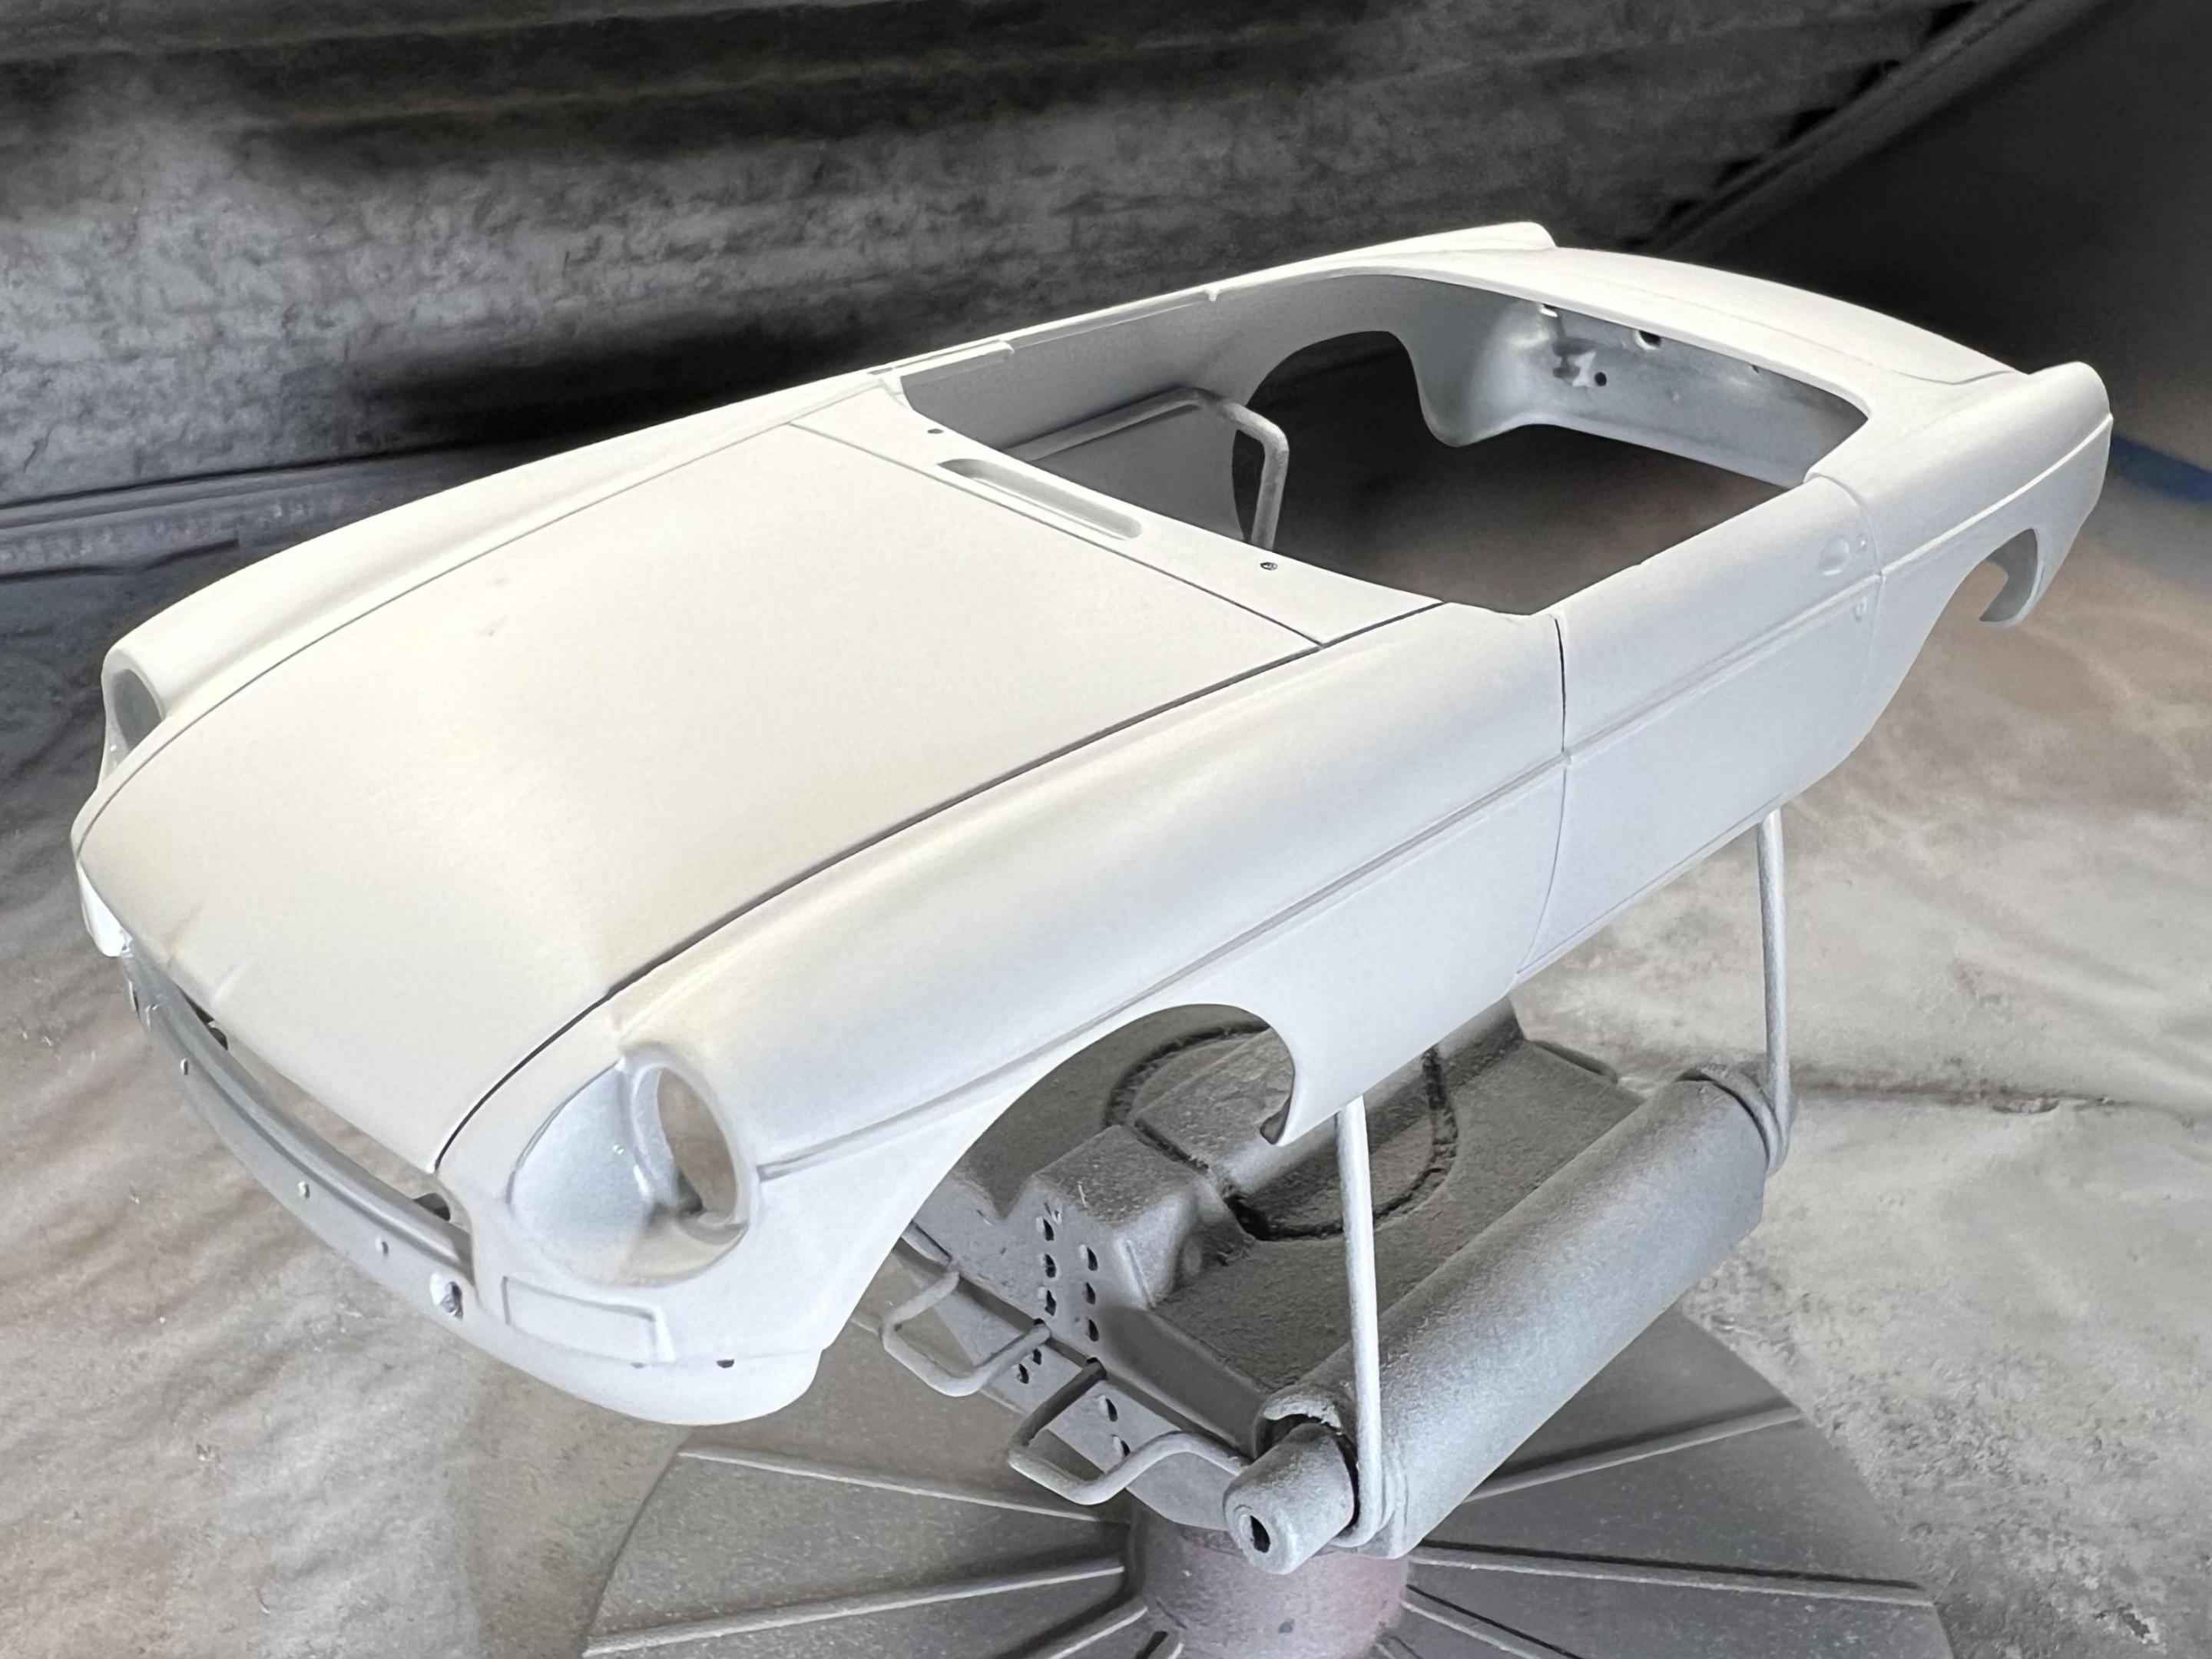
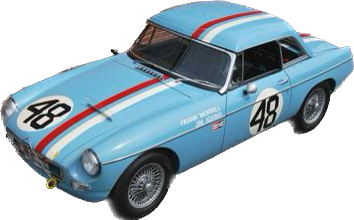
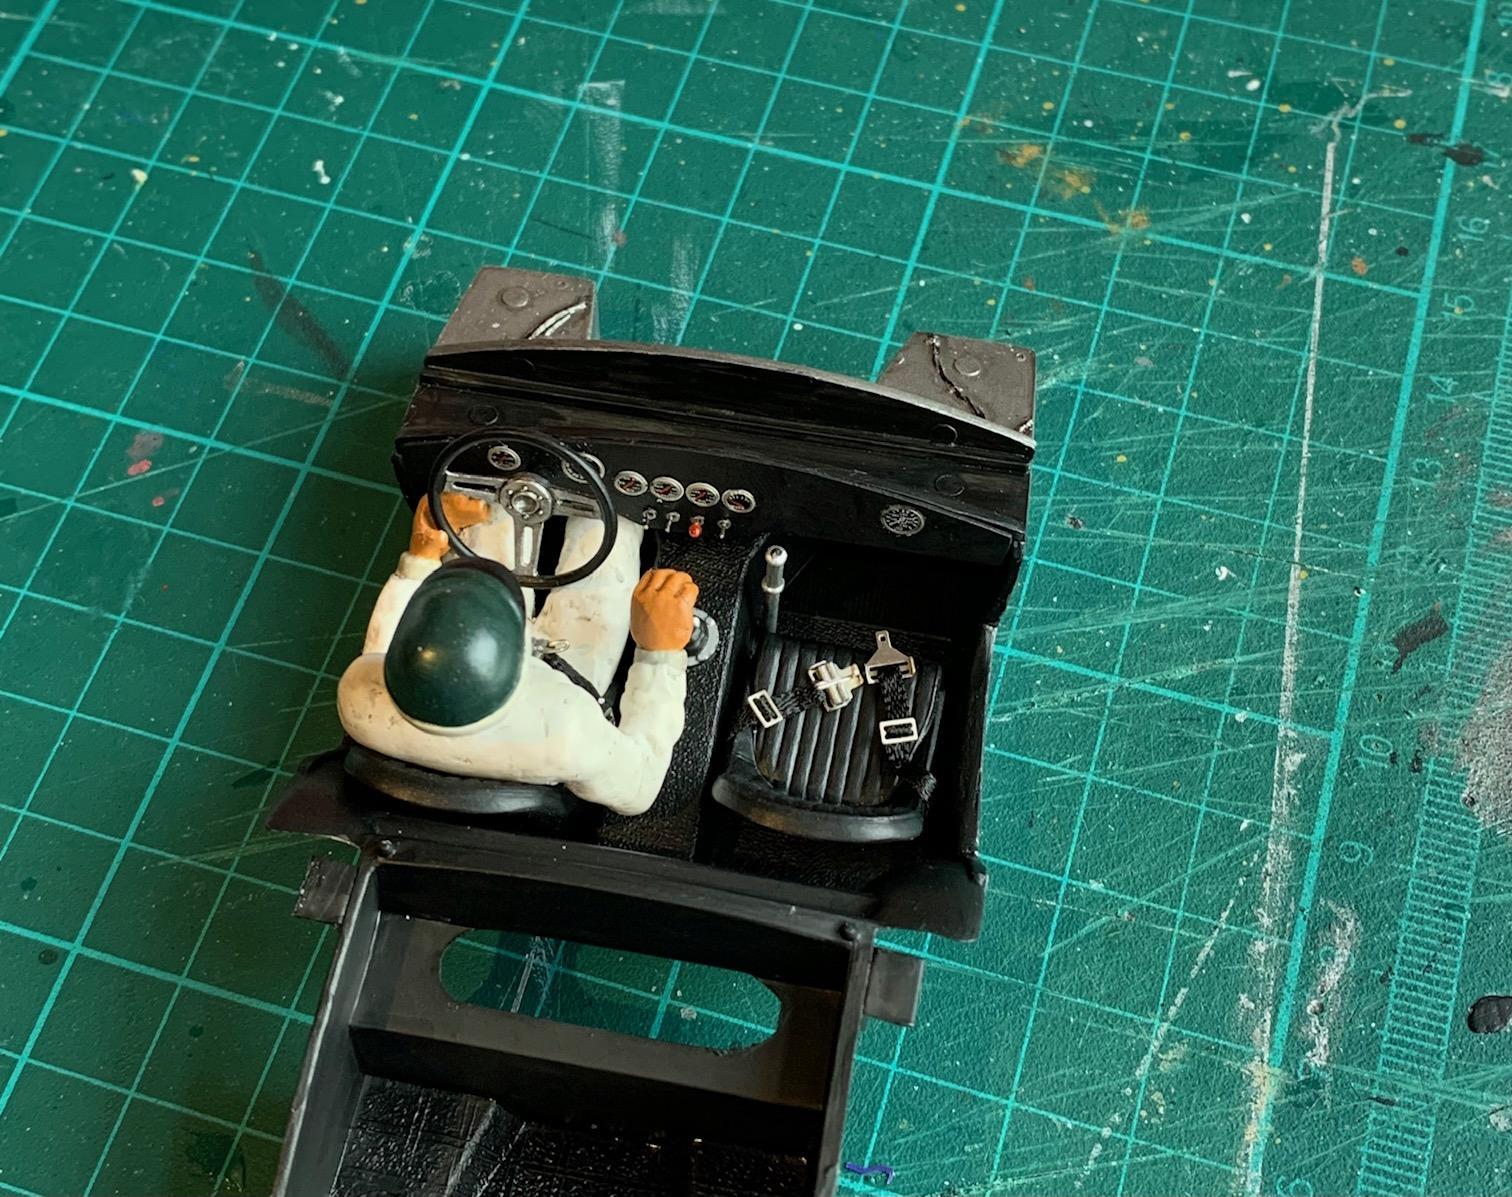
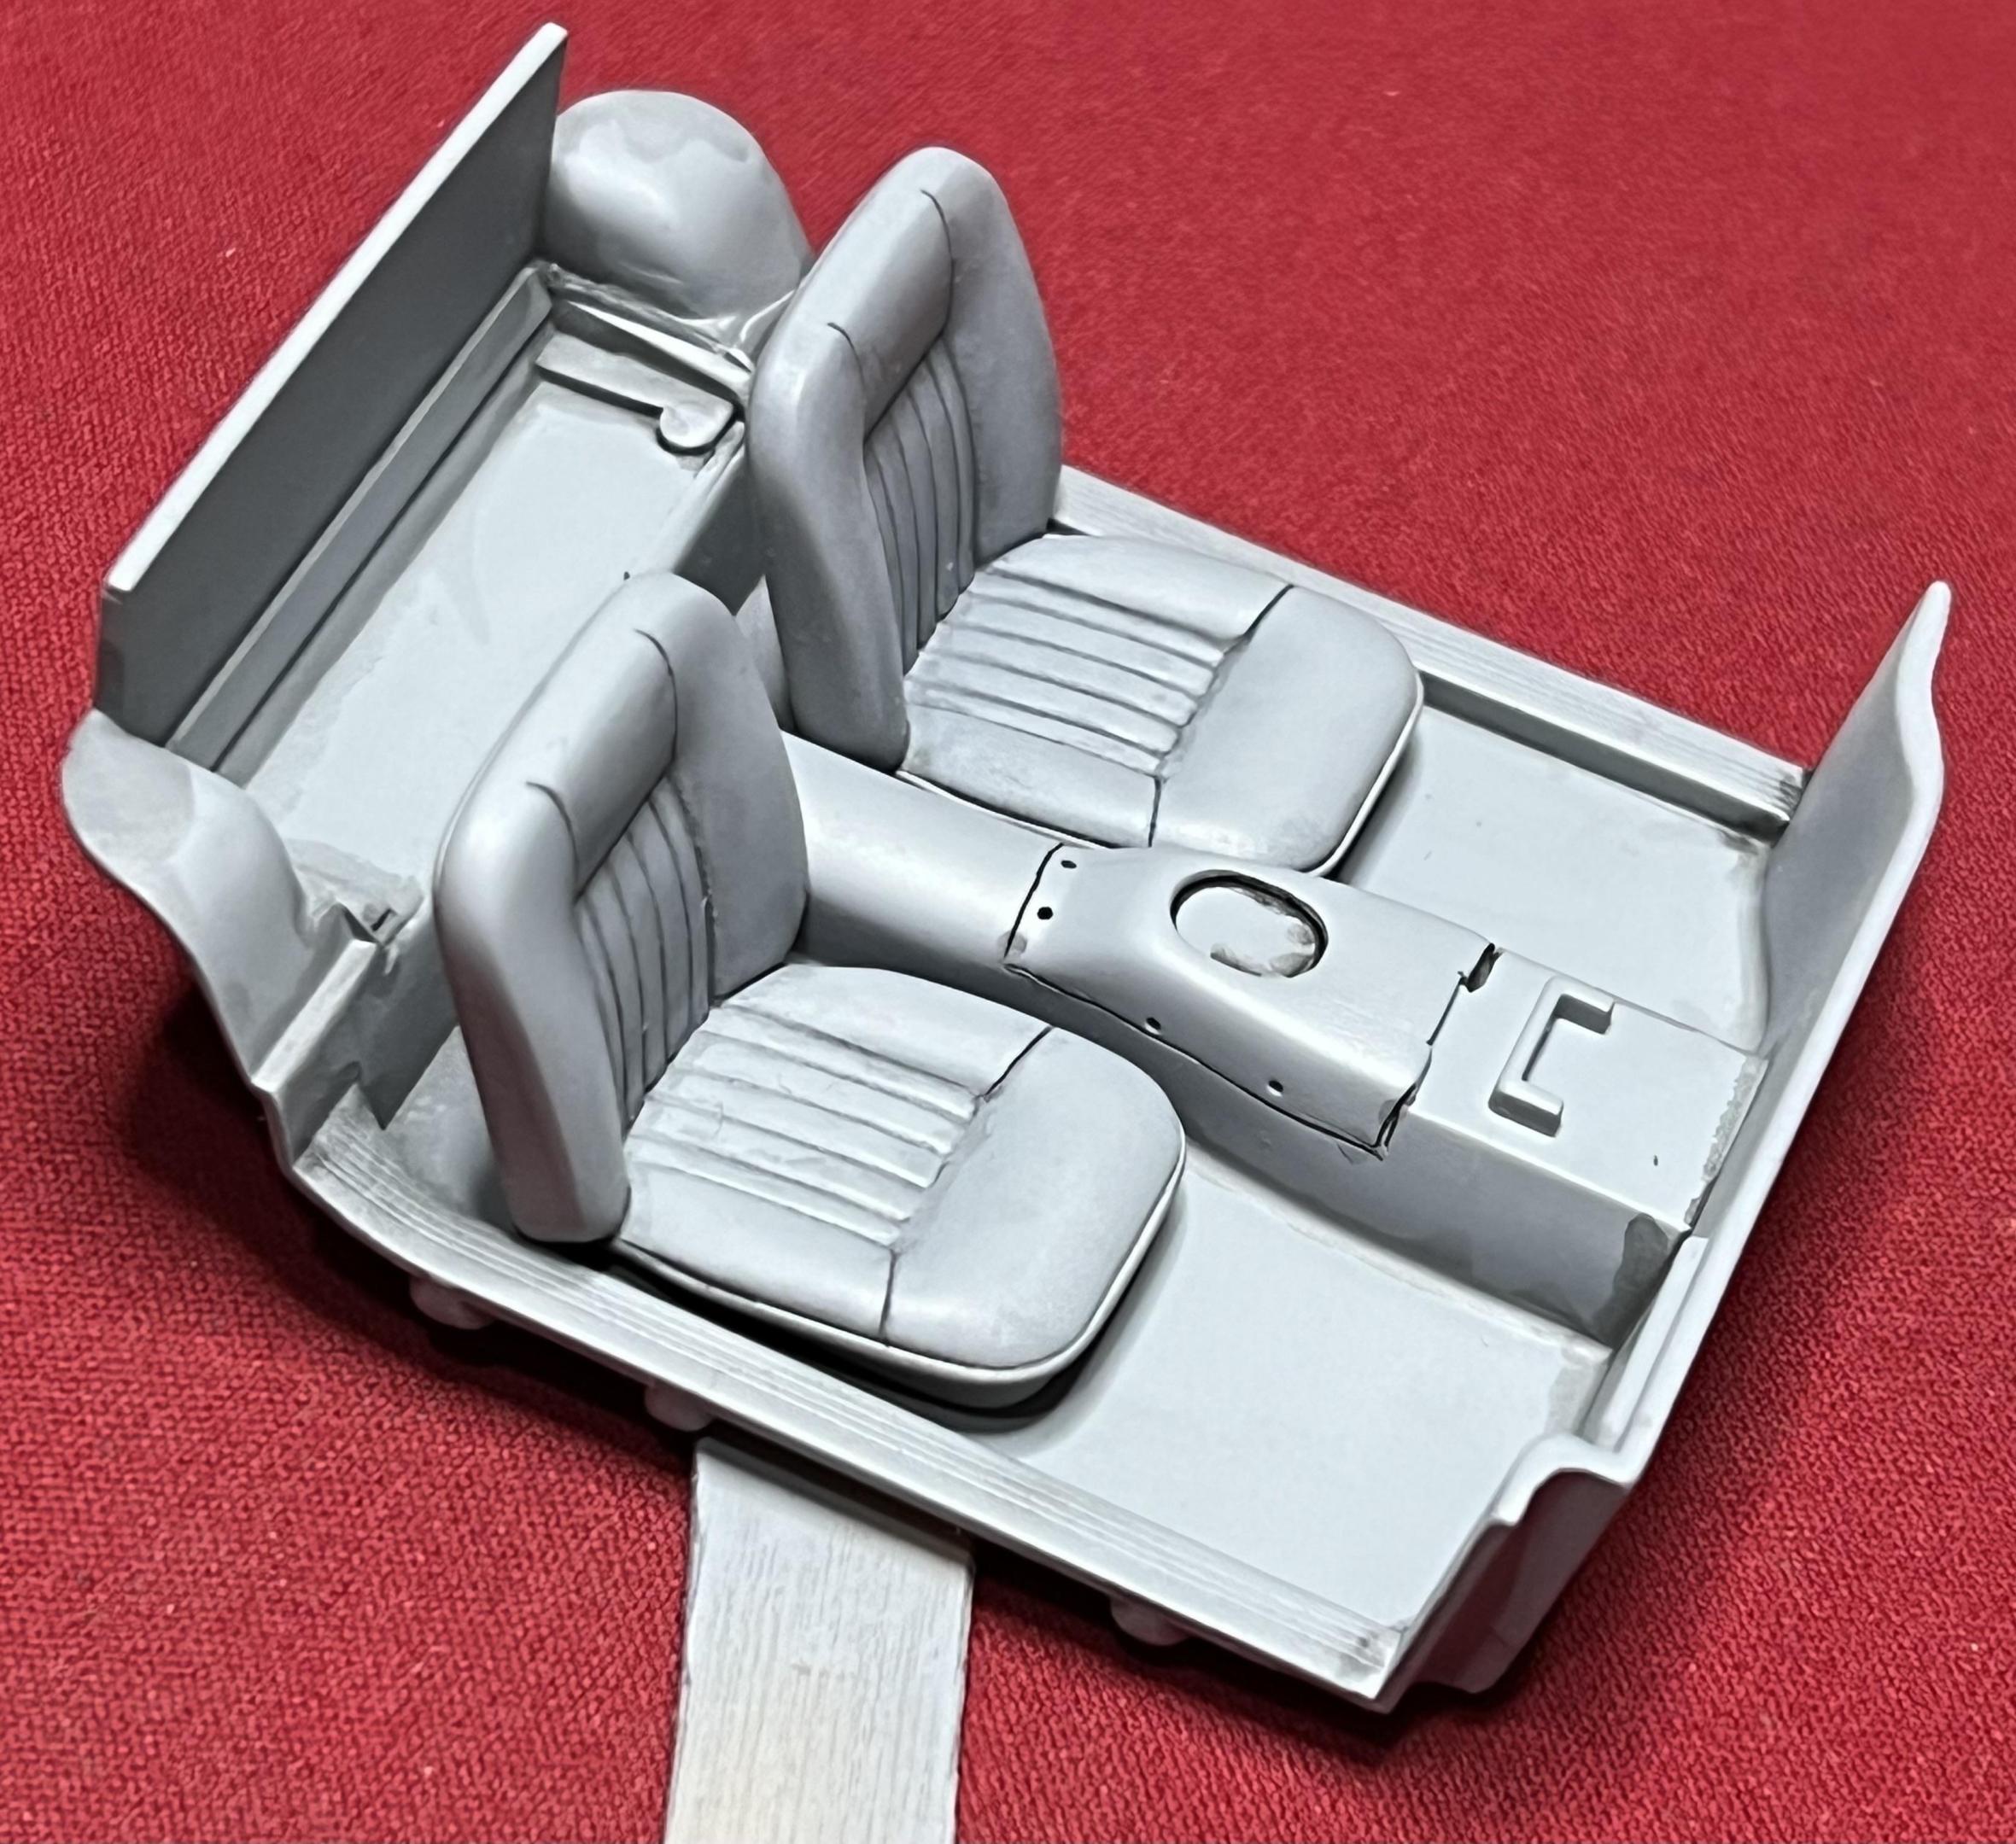
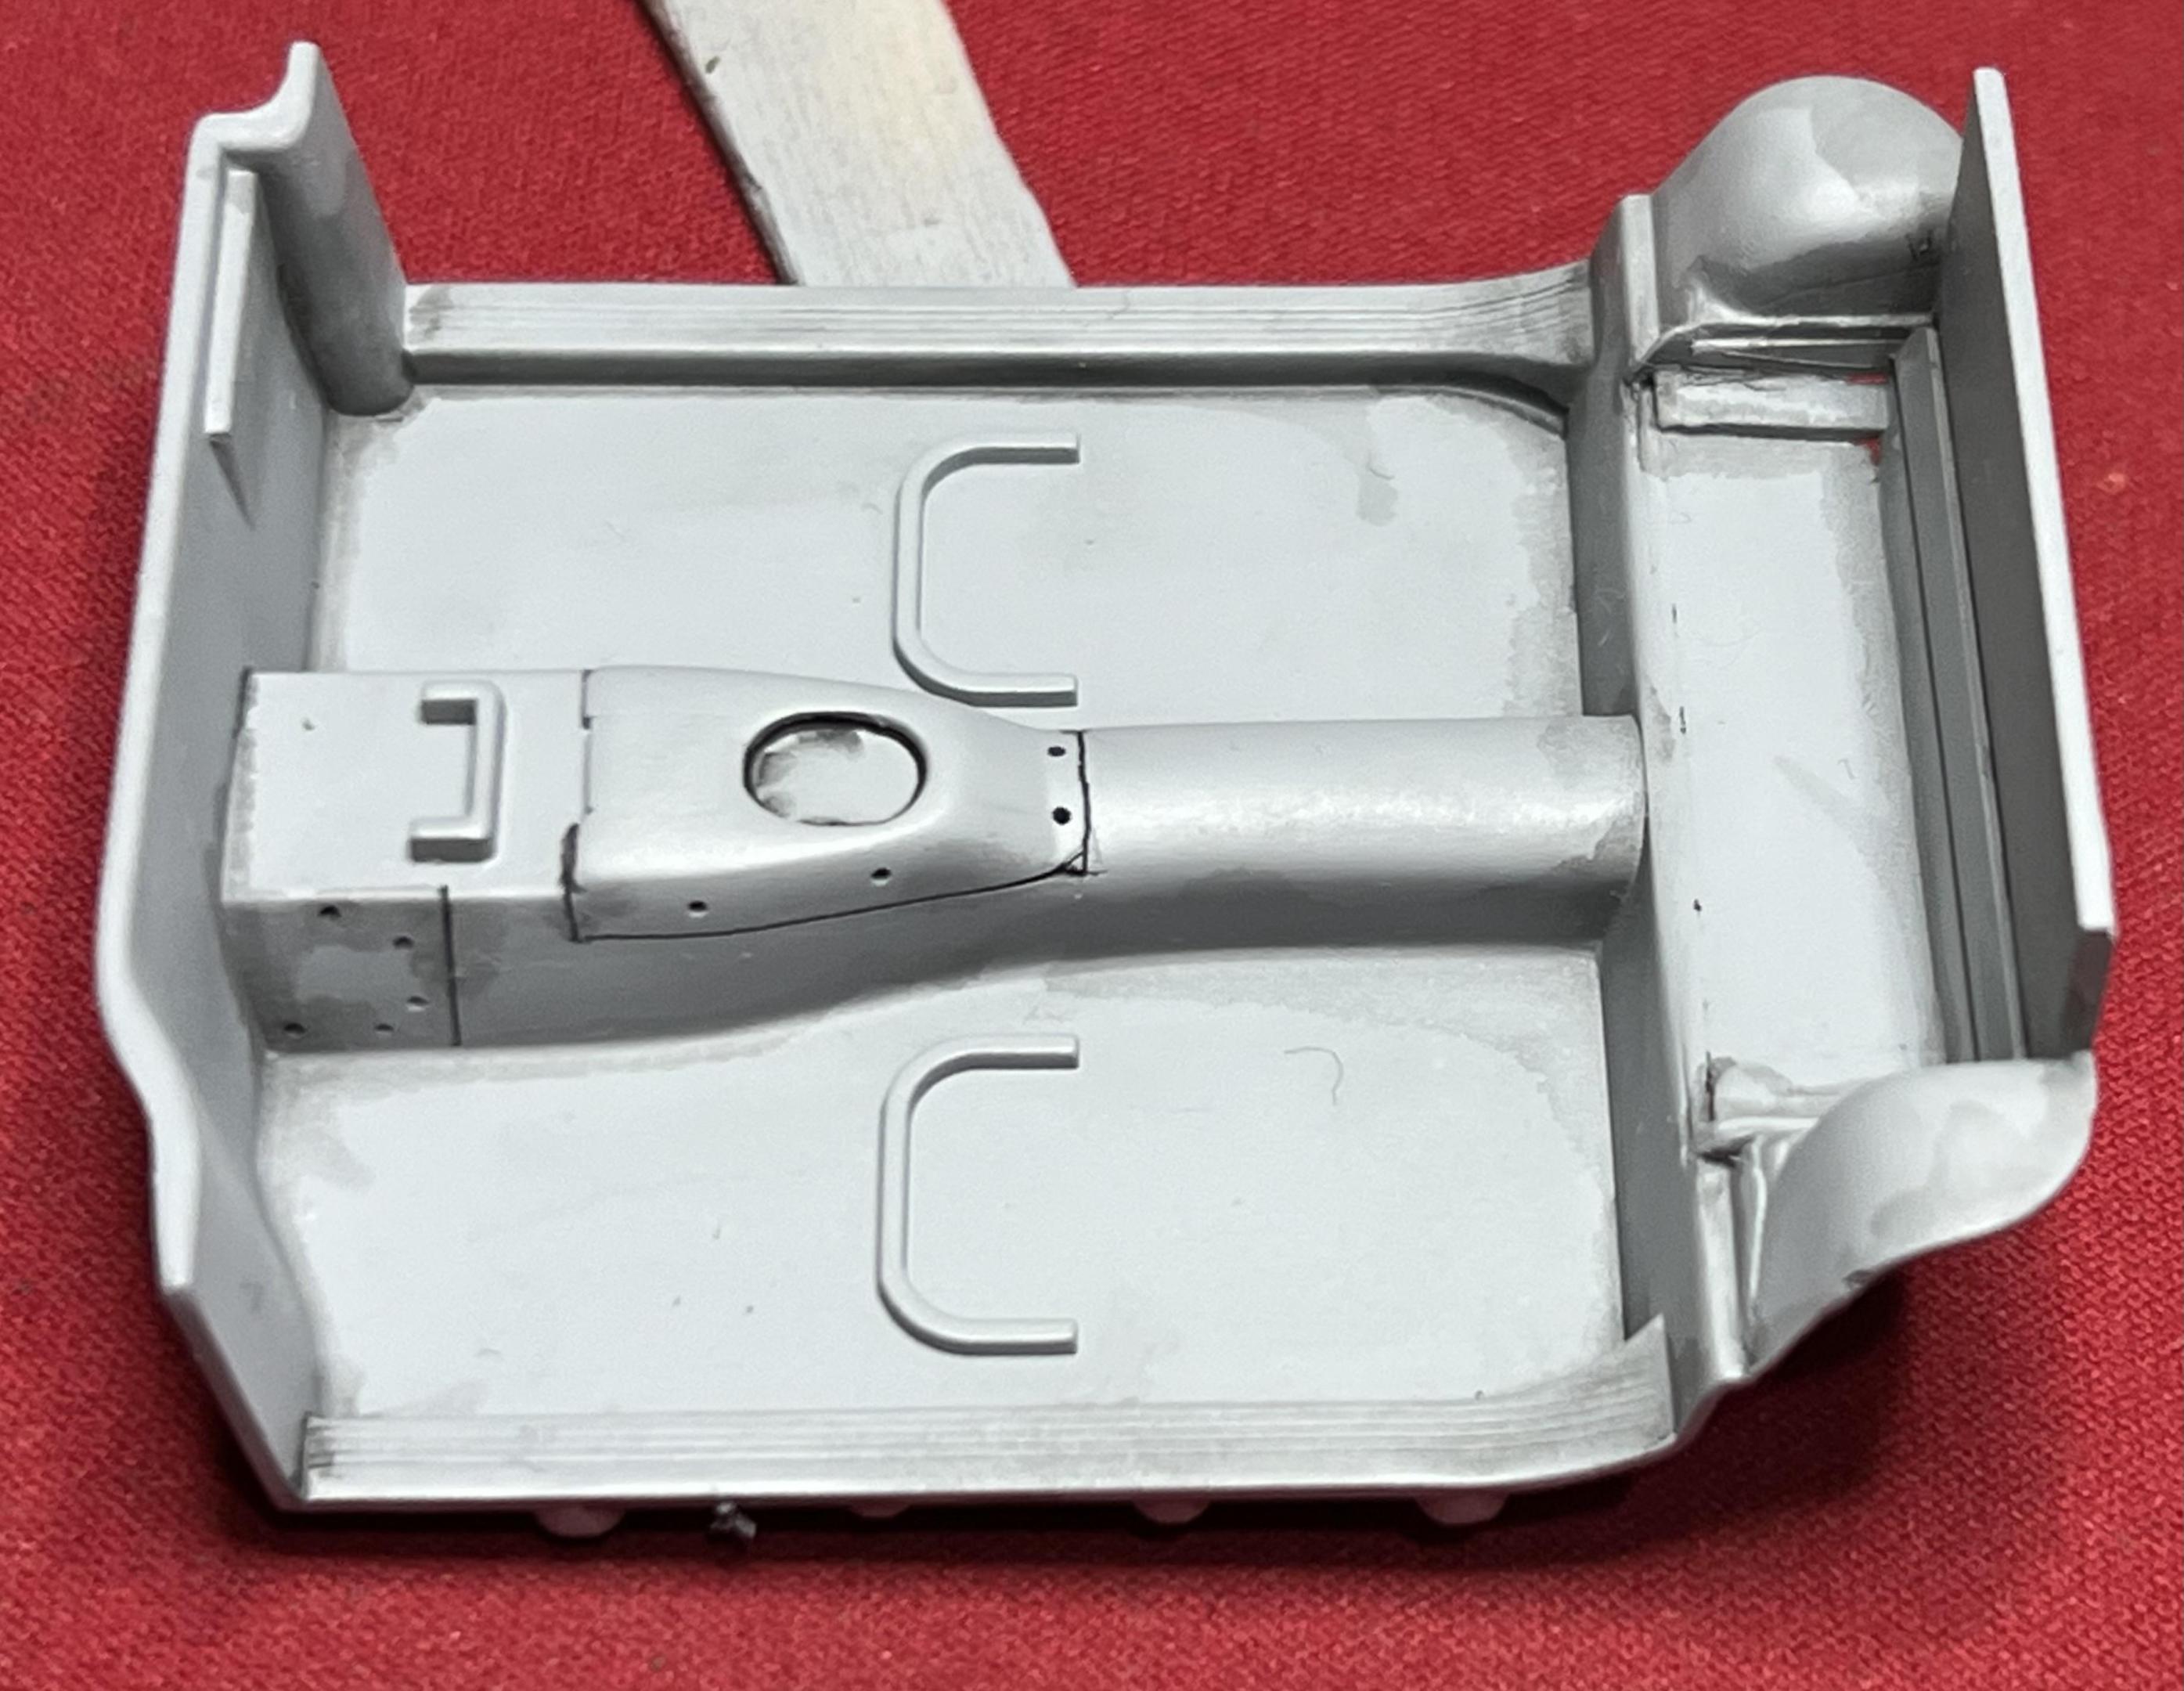
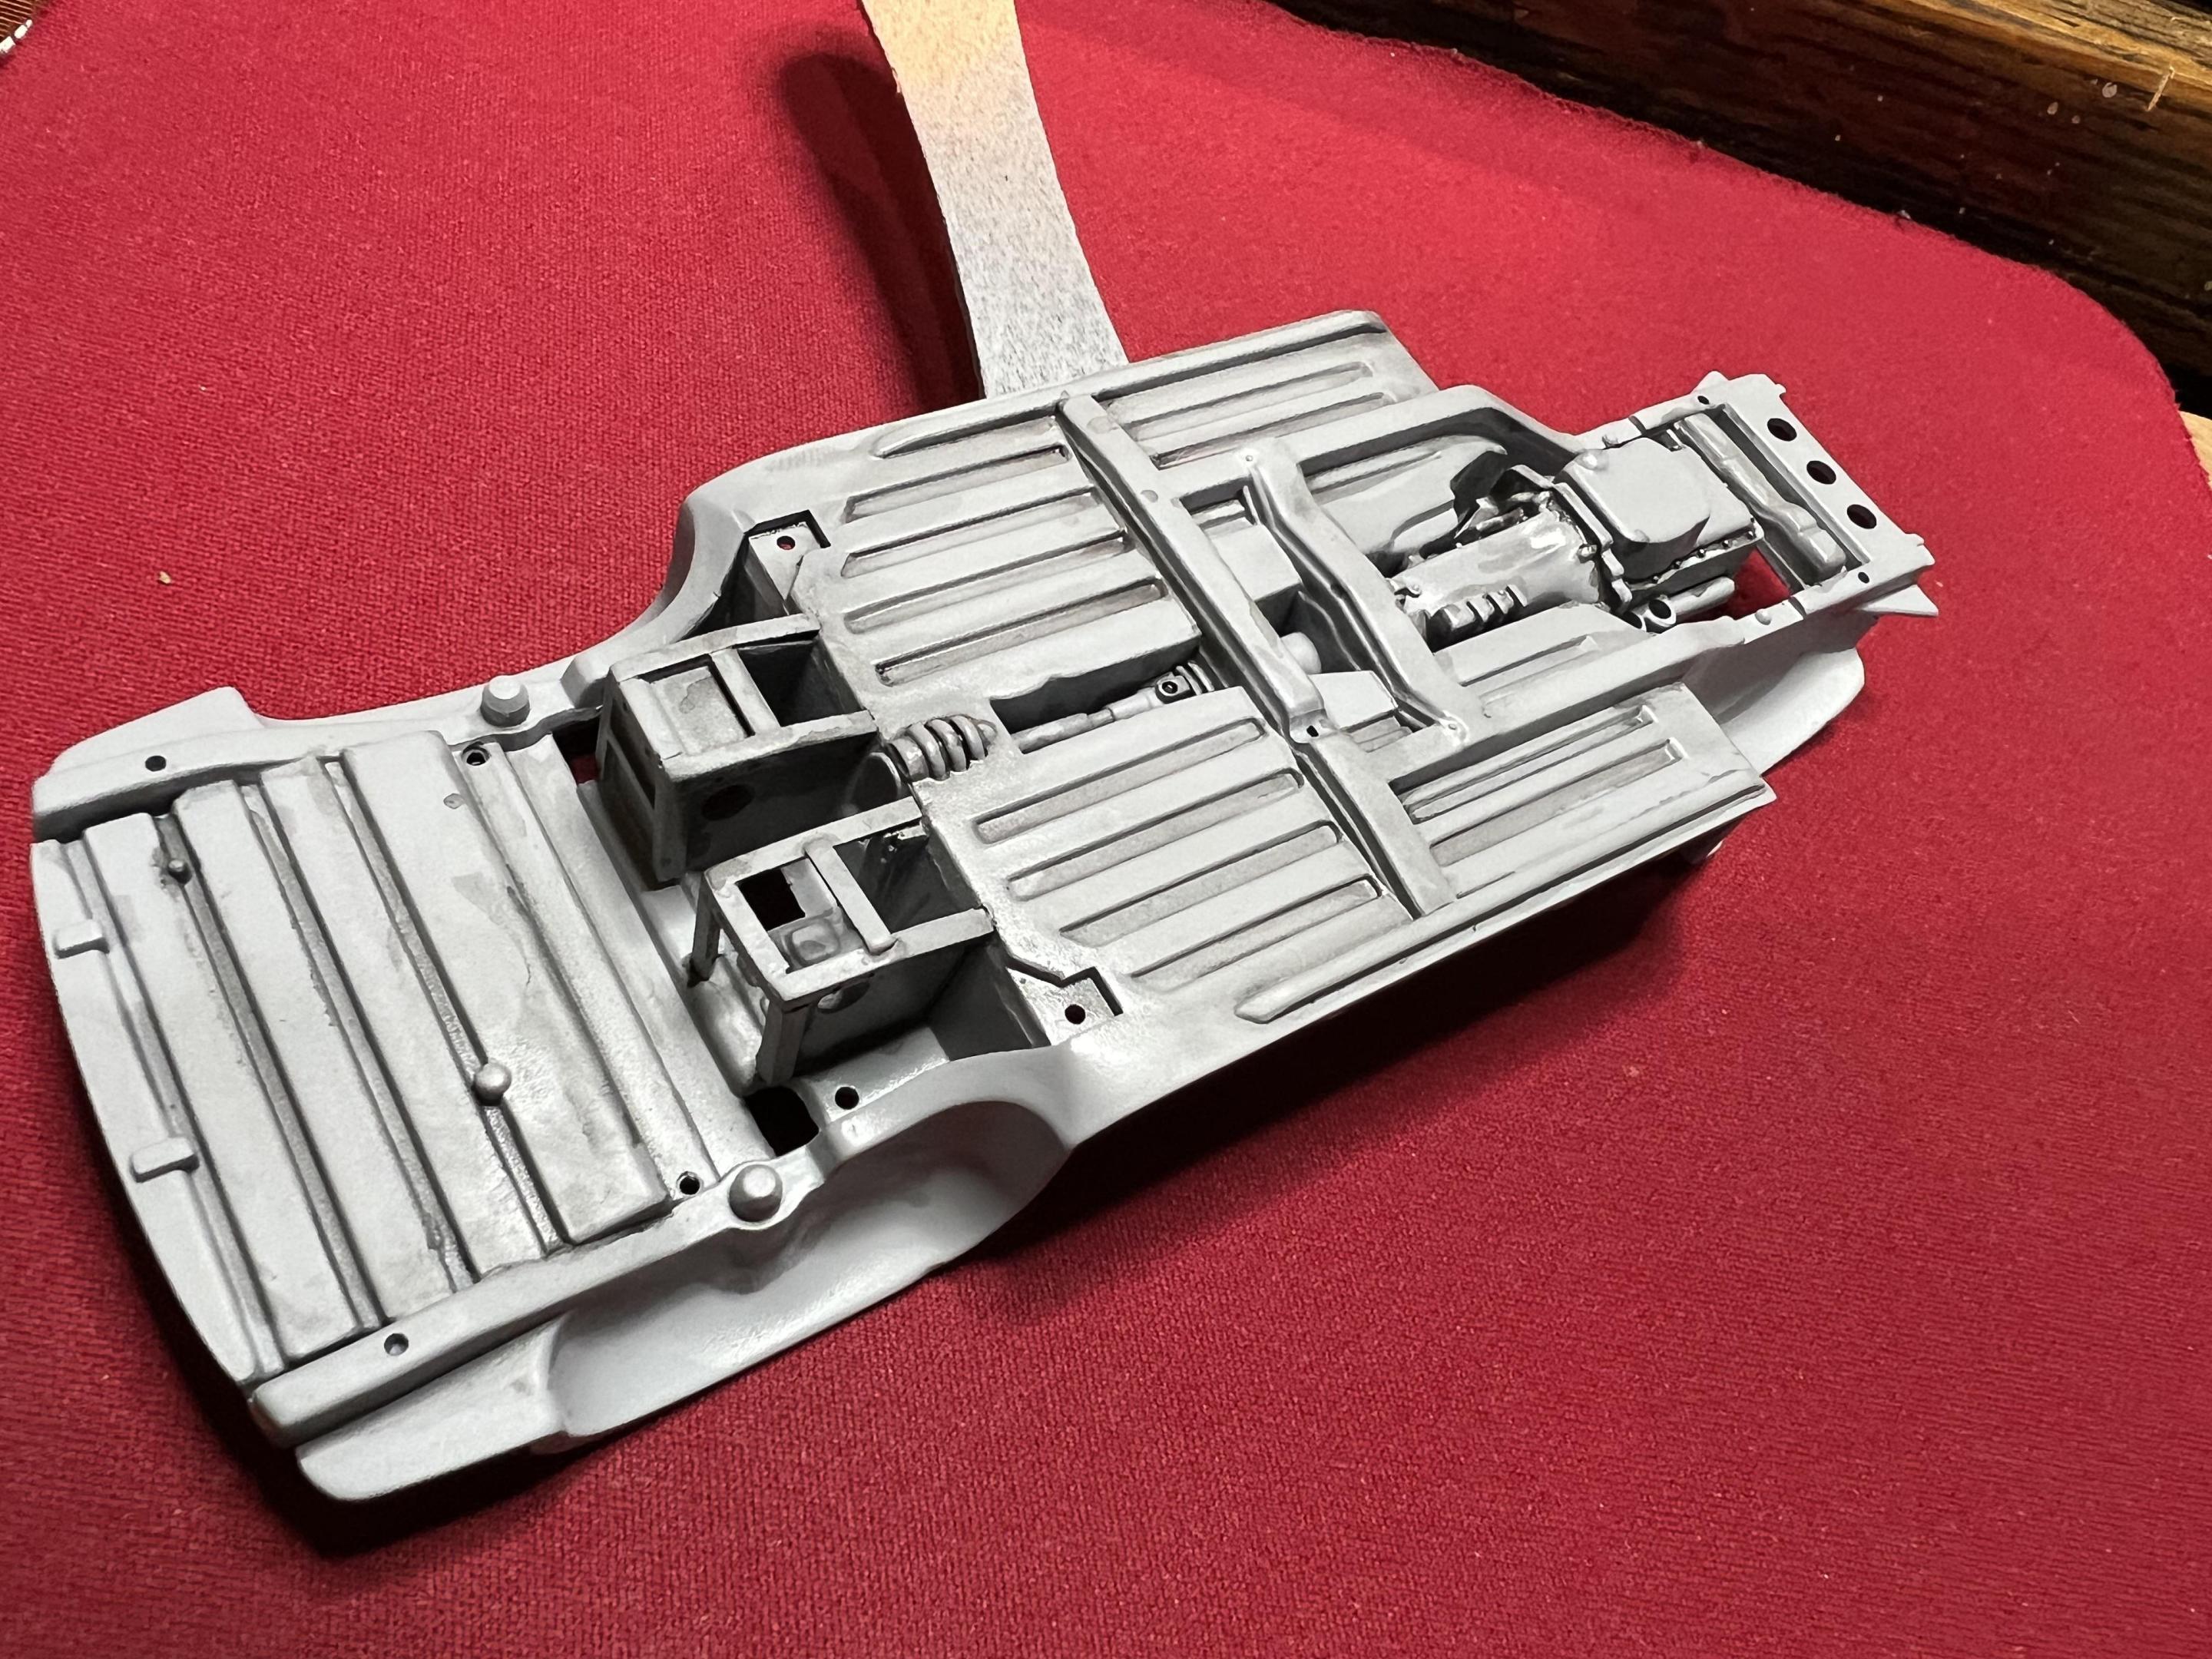
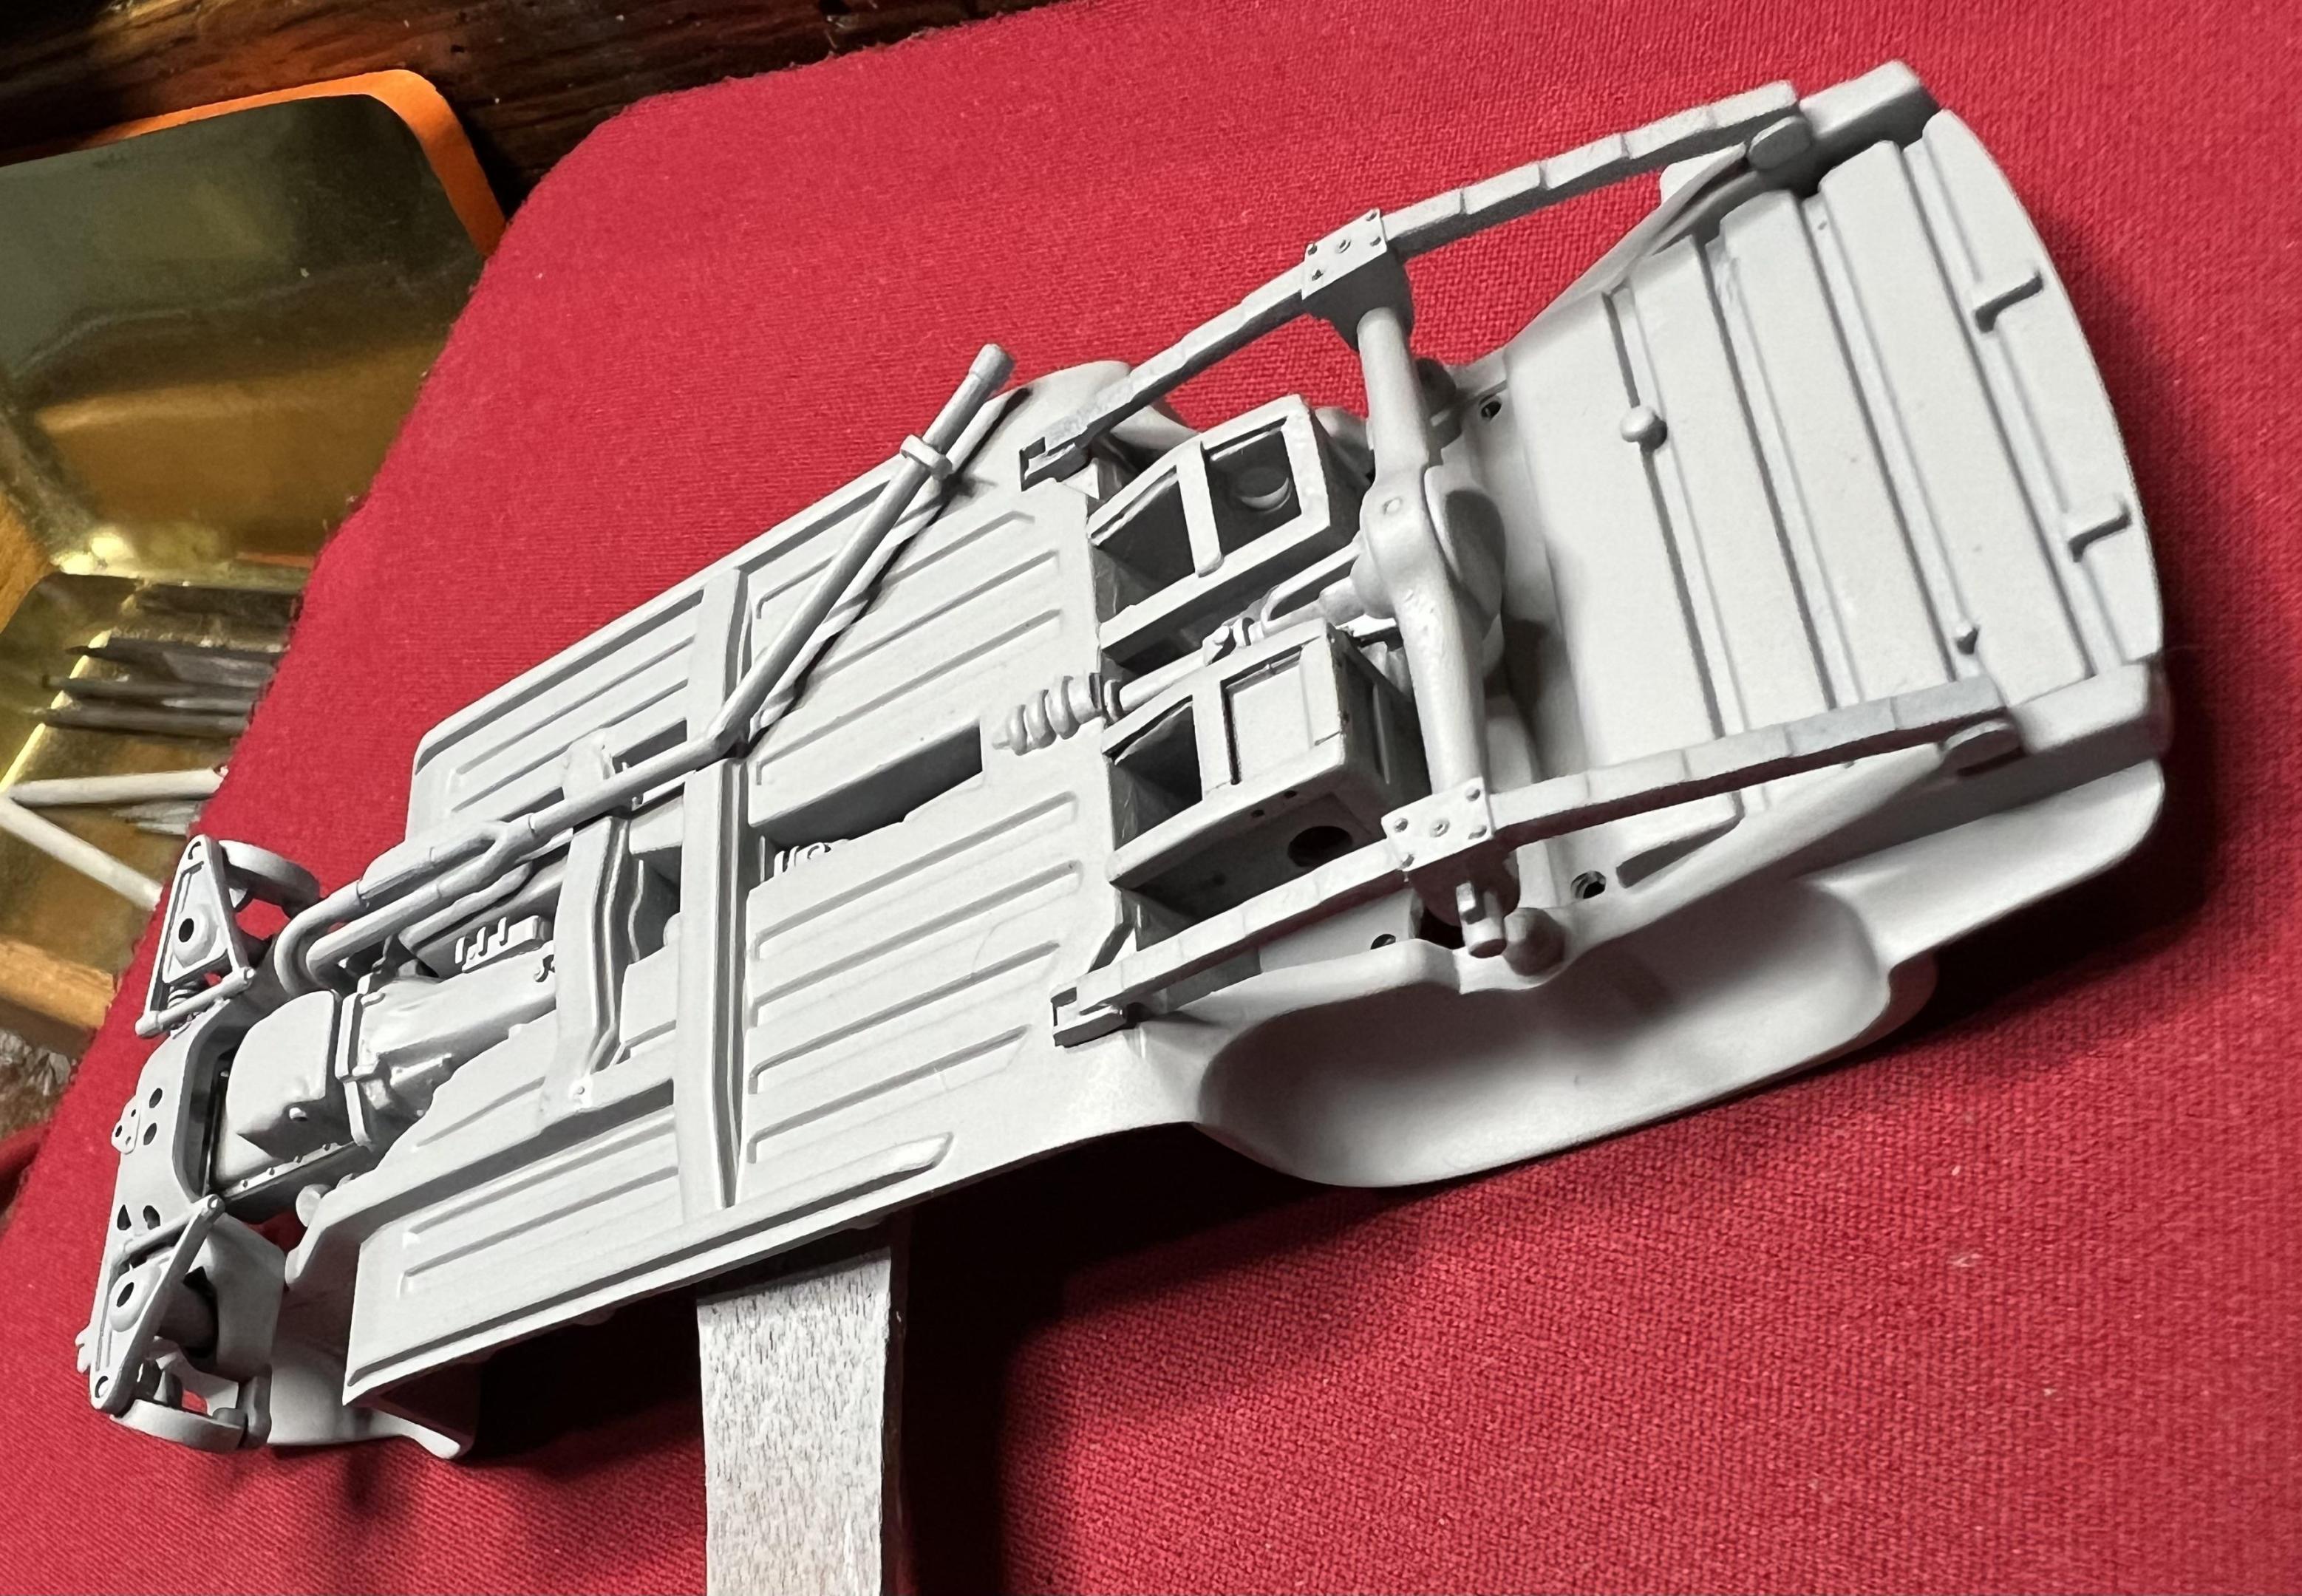
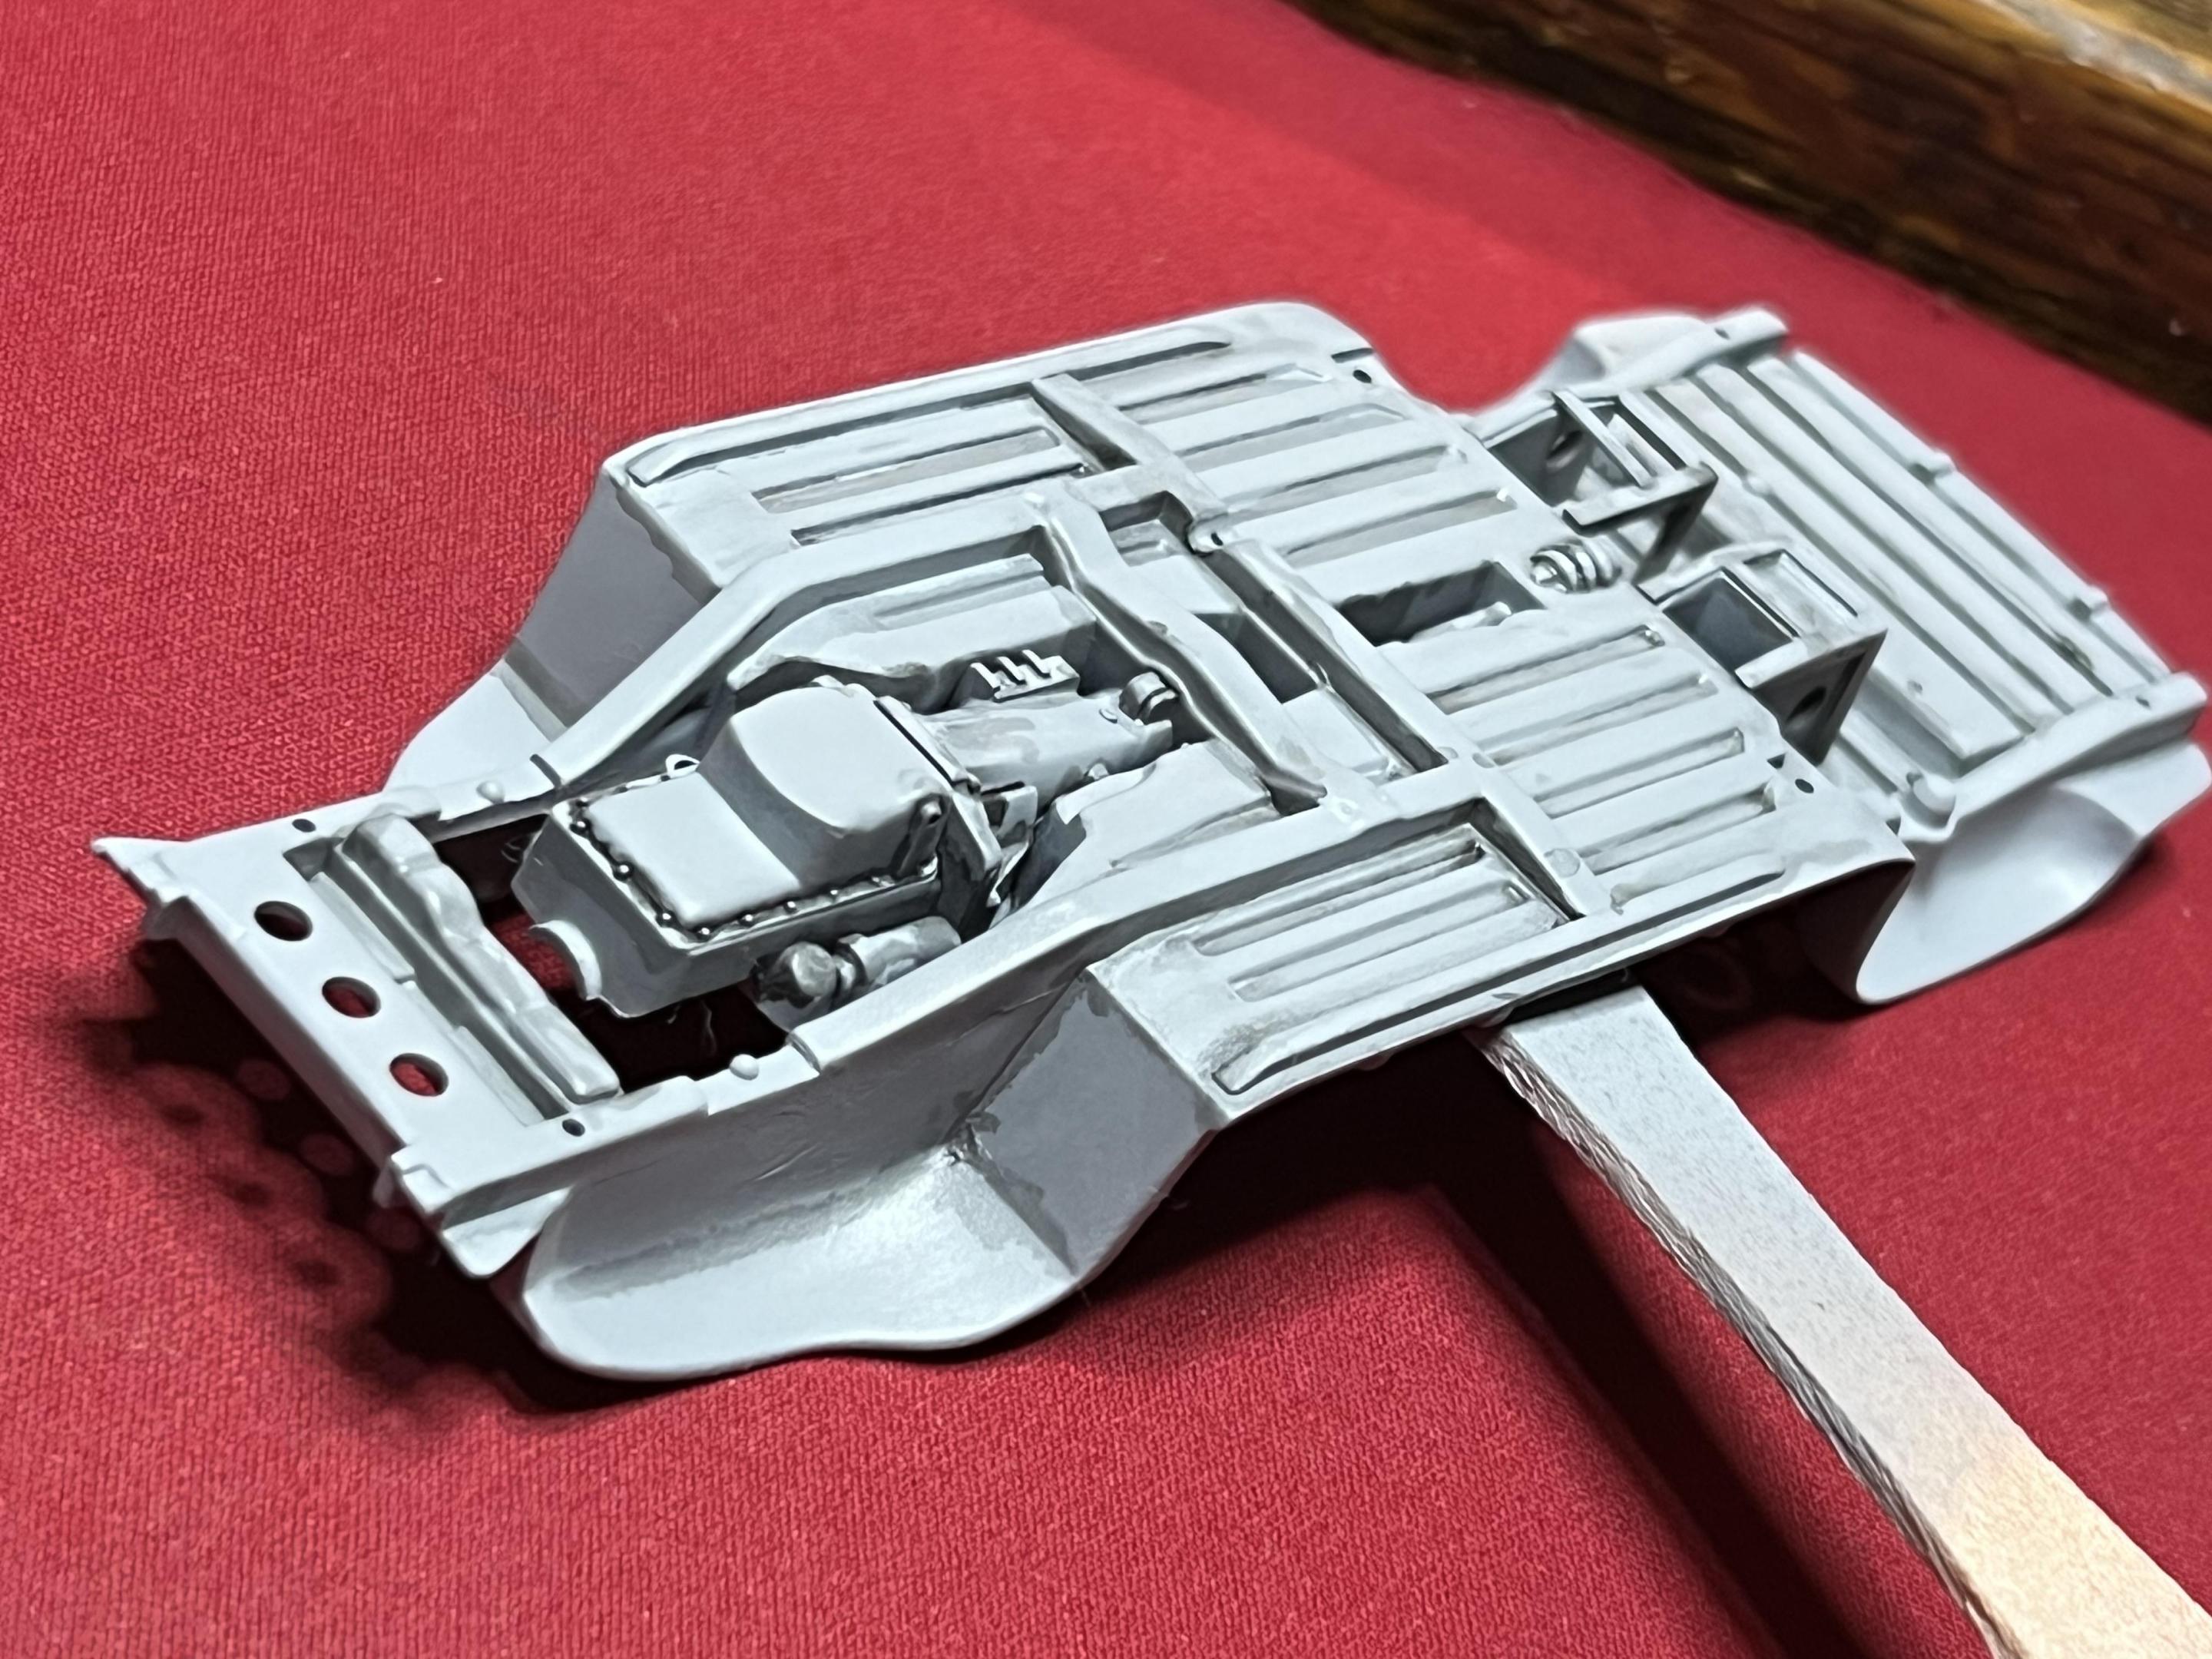
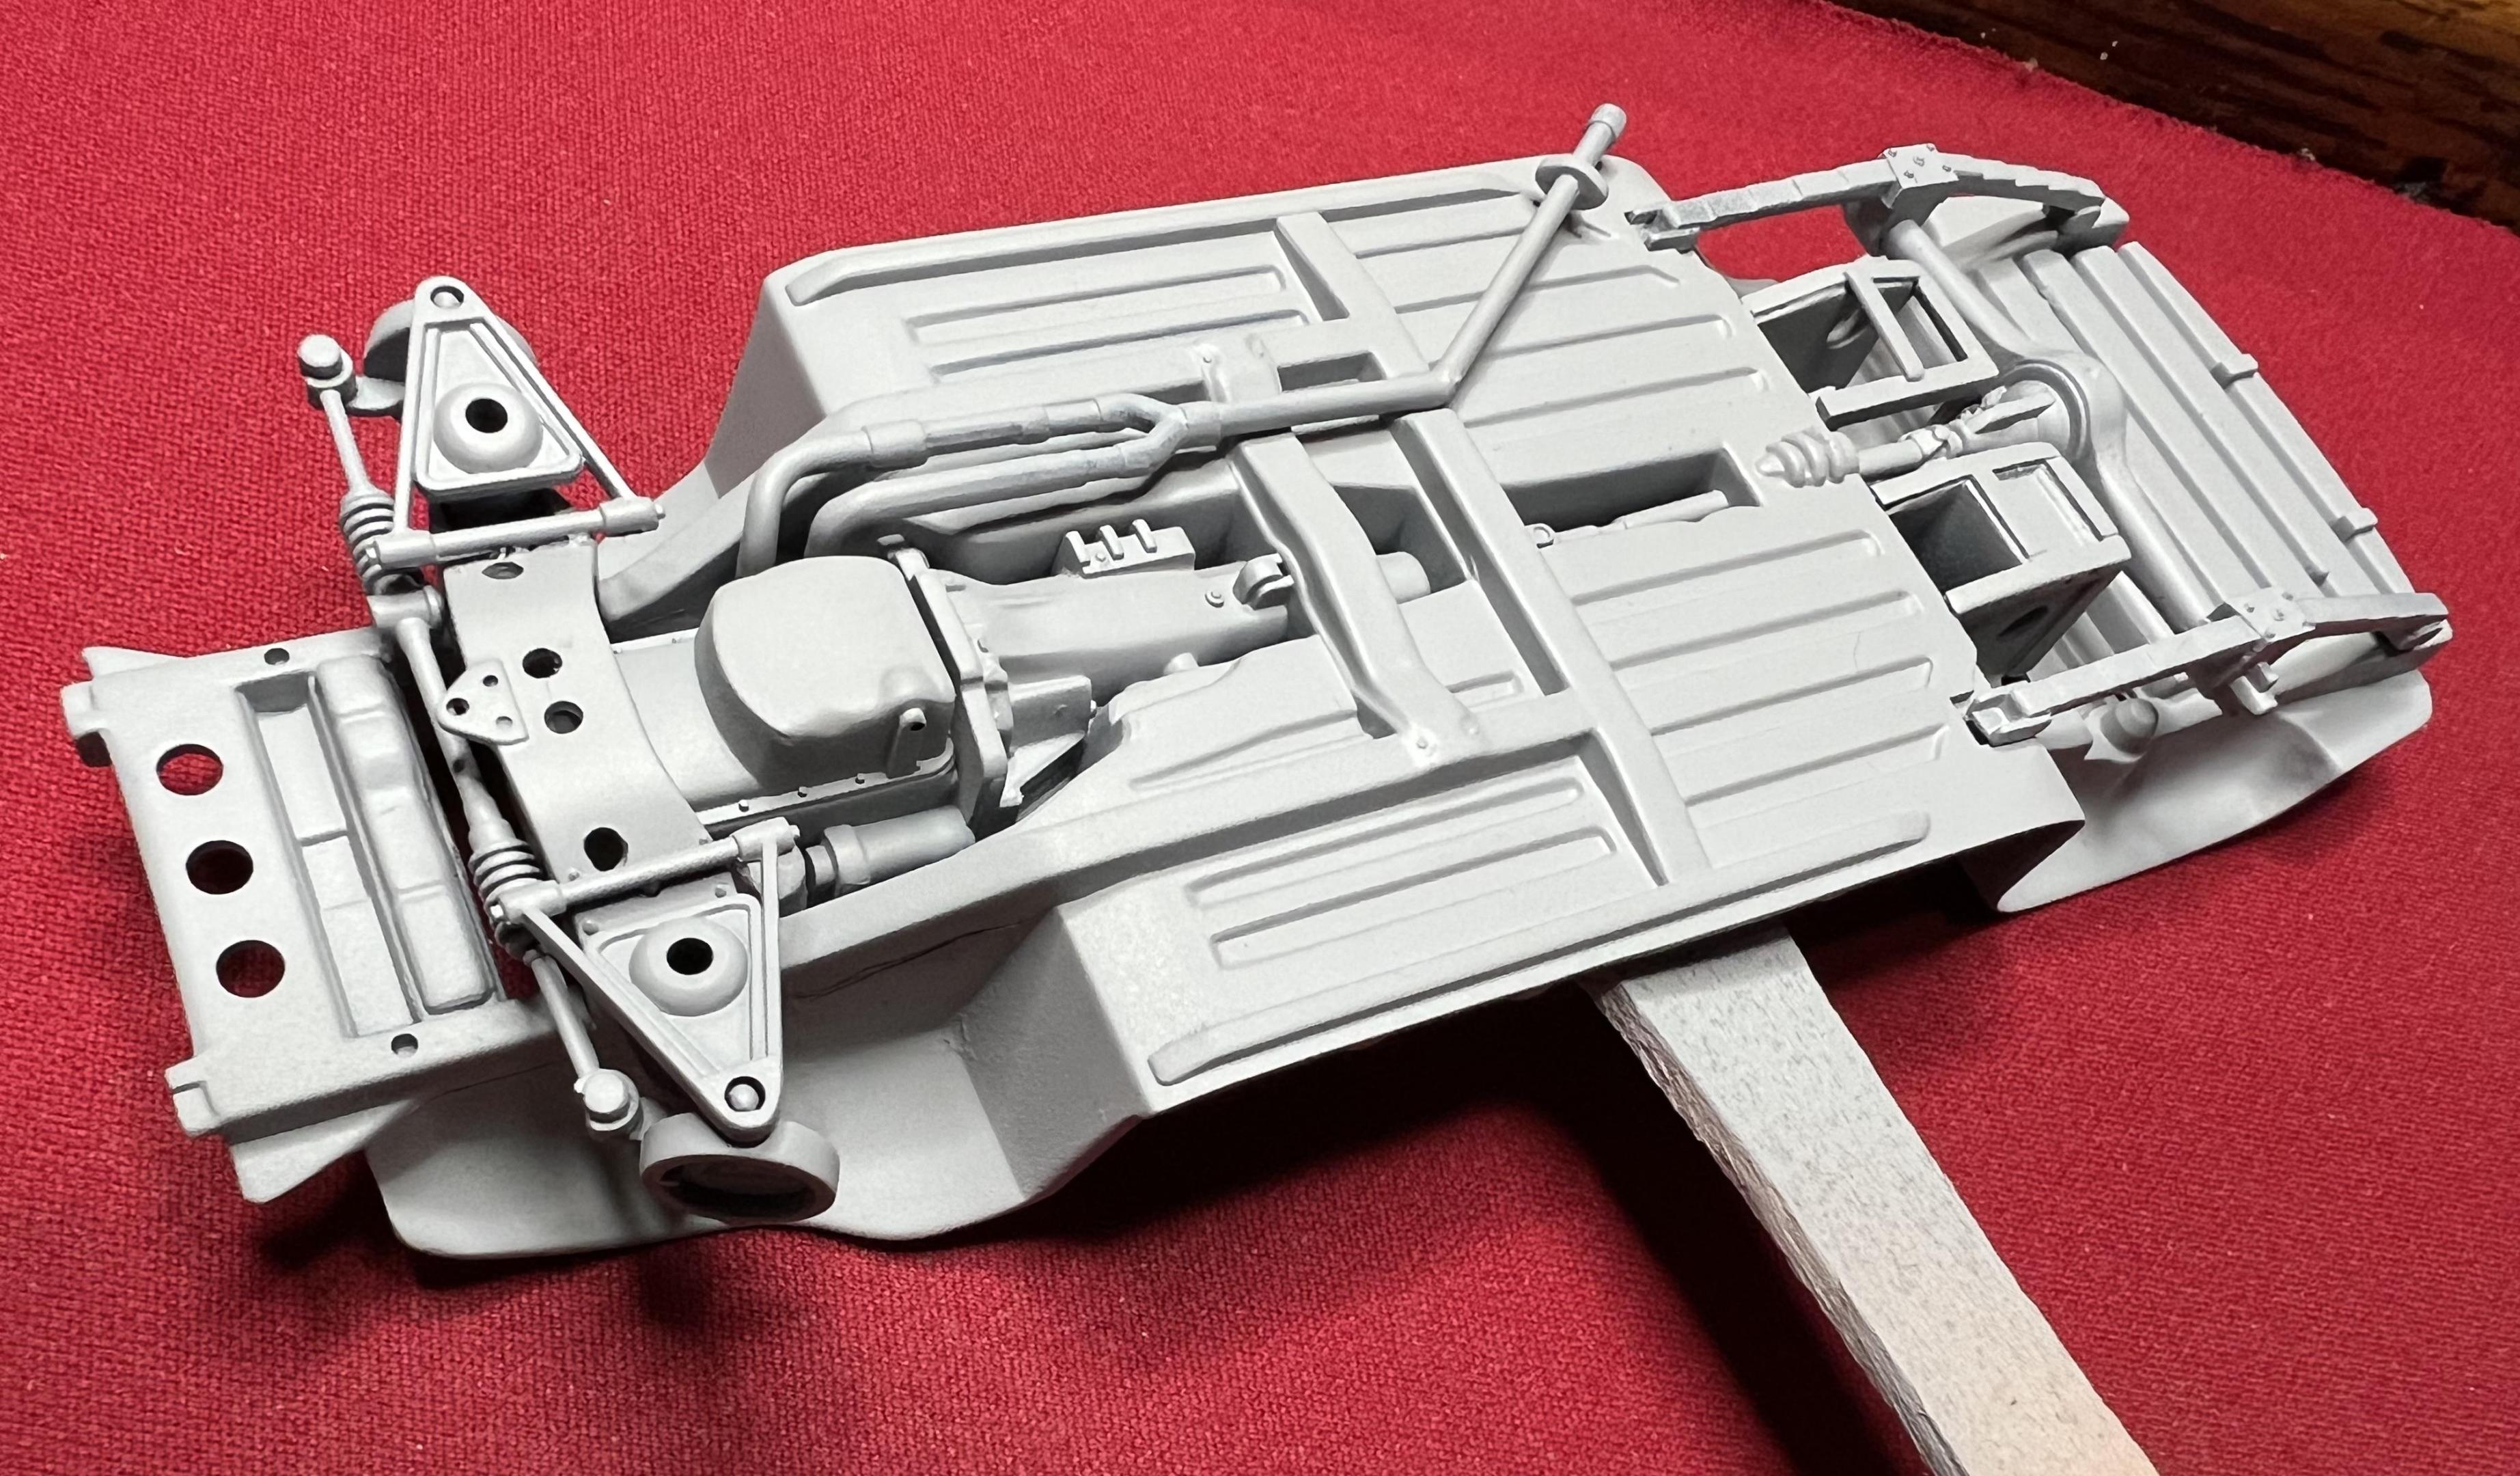
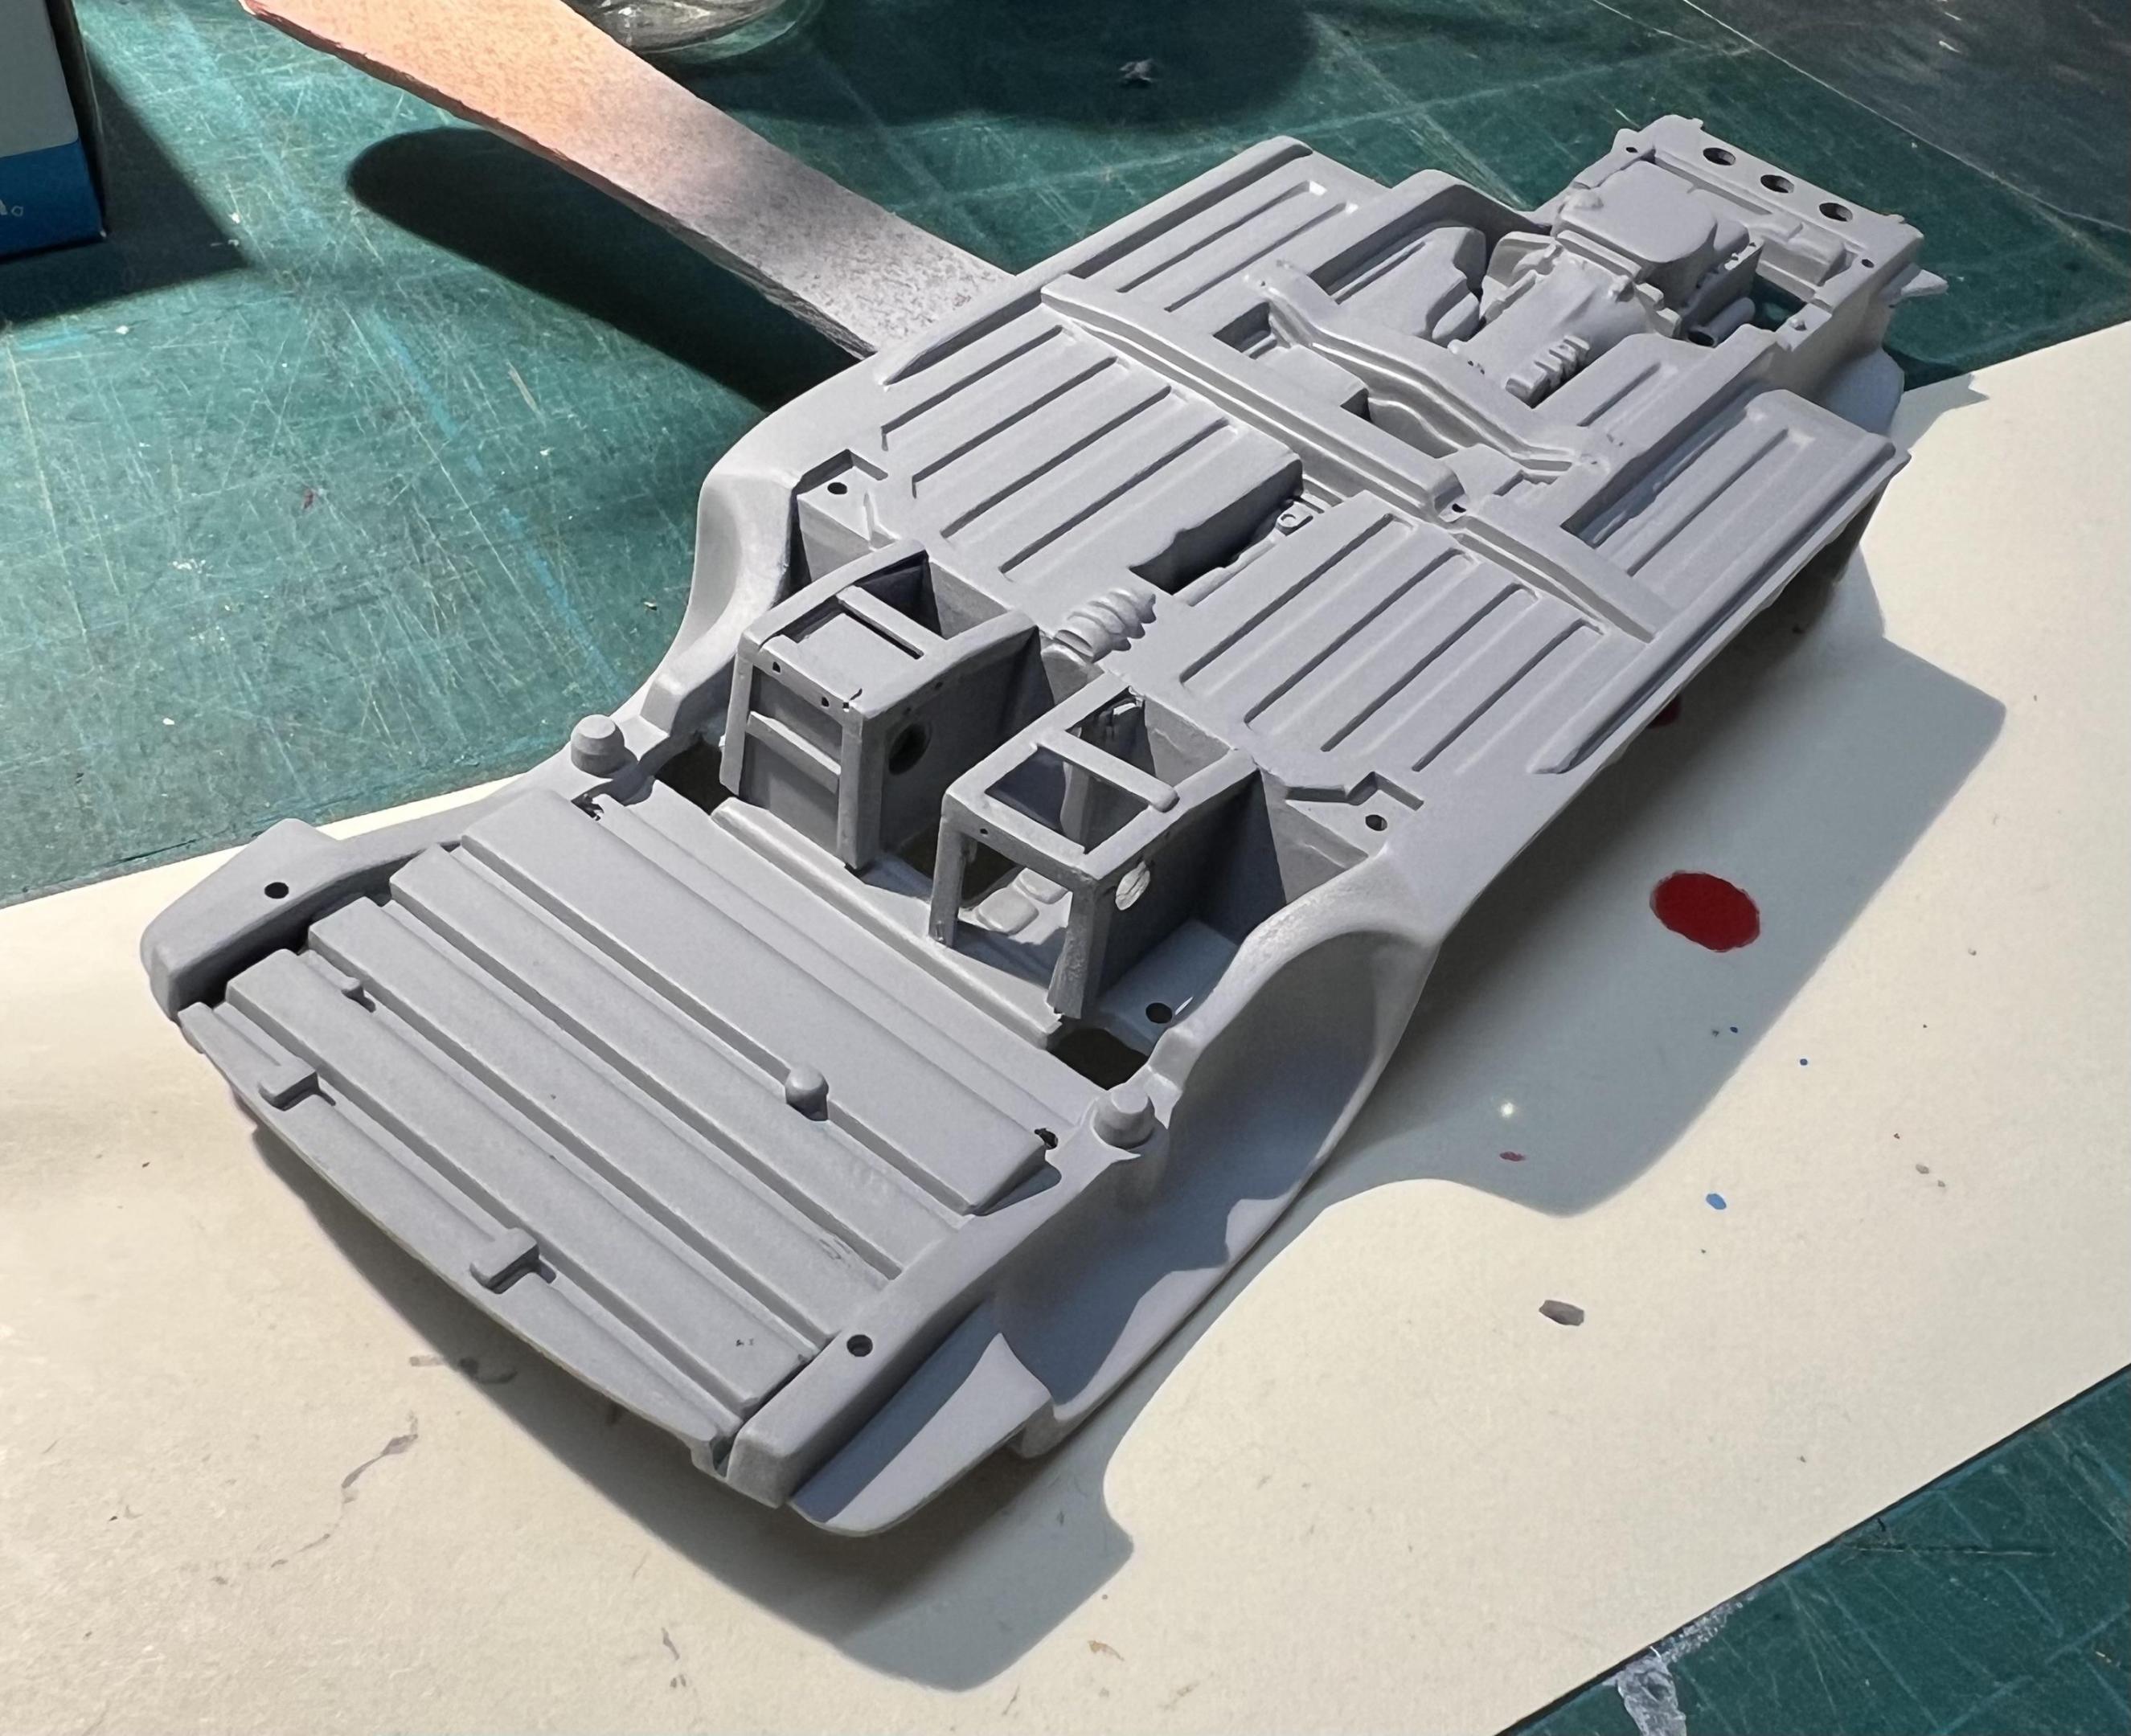
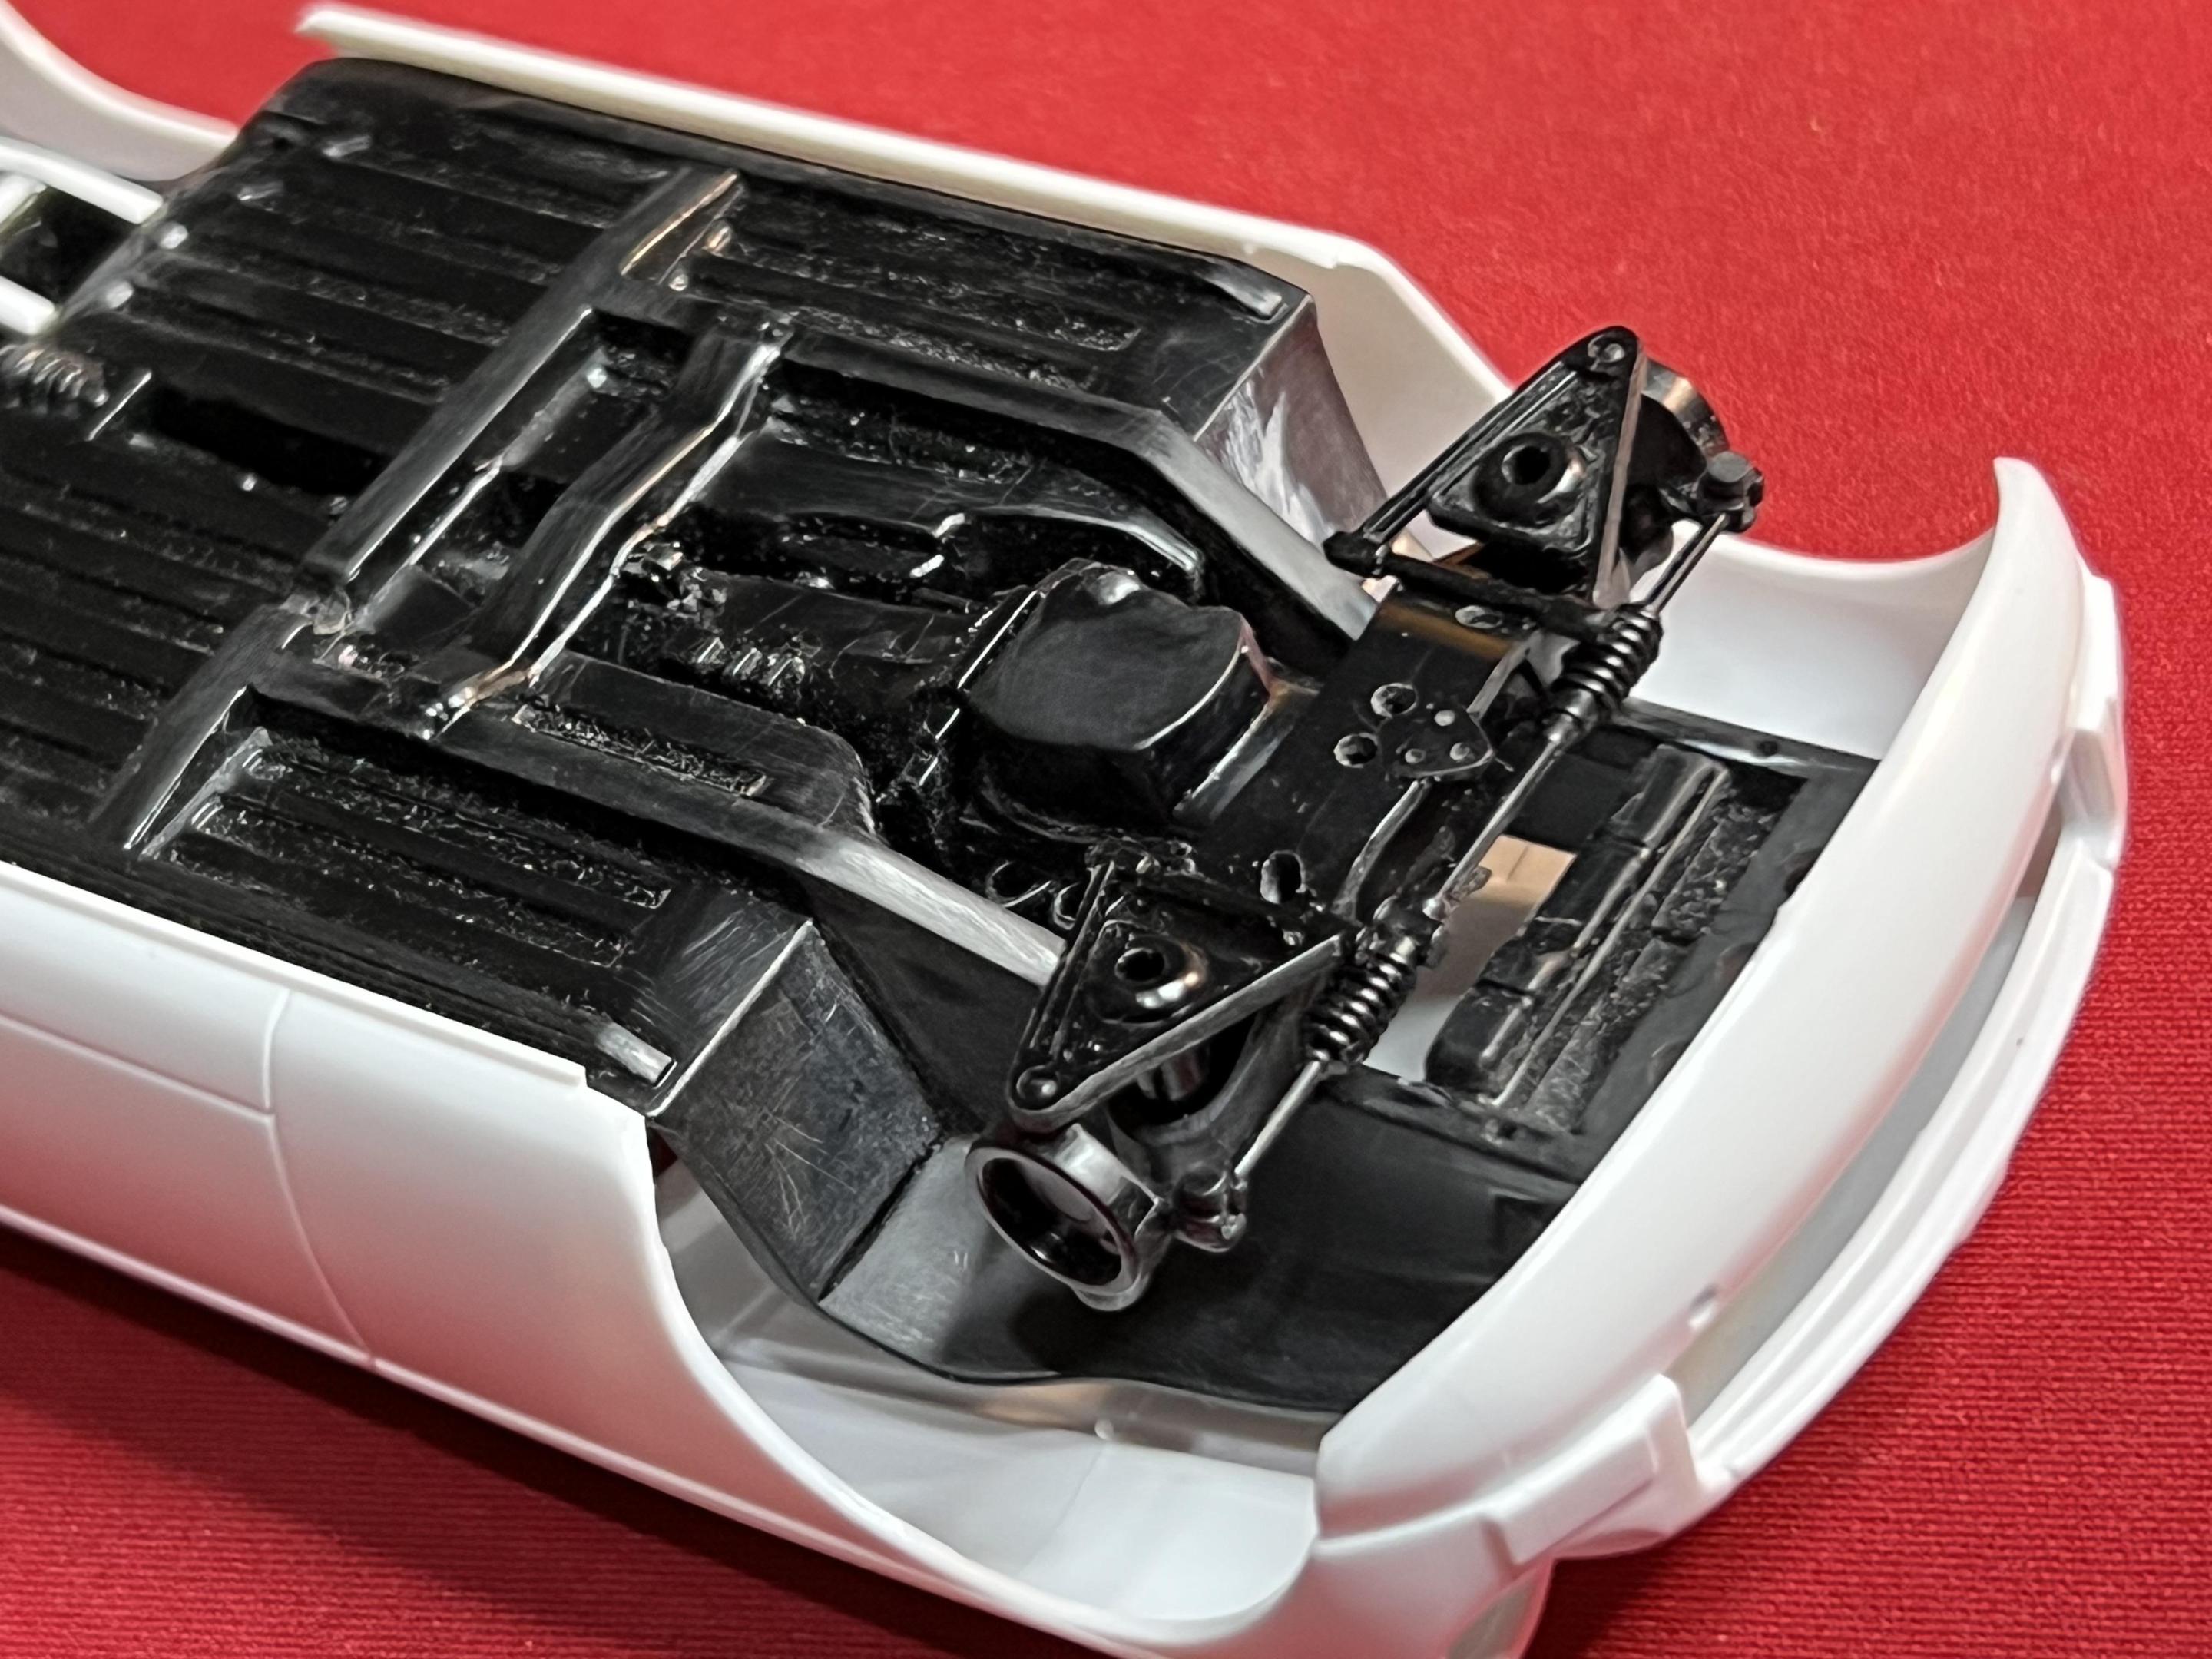
Been away from the work bench for a while, the result of flooding from an atmospheric river event while having our roof repaired and reshingled! After moving projects, tools, references and mopping up the floor, my bench has never been neater. The build left off with mixing the right shade of light blue using acrylic paint for the body colour. I did need to lighten the last batch considerably to achieve “MGB Iris Blue”. The three factory entered MGBs were painted in red #47, meant to set the pace; light blue #48, to endure the twelve hours; and the white one #46 as backup. Respectfully they scored 17th overall and 3rd in 2-litre GT class; followed by 22nd and 4th in class and a DNF for the white entry. Each car wore a racing stripe with the two other contrasting body colours. Checking with photos and an available sheet of red stripe decals in varying widths determined the size to use. To achieve the white stripe I would be masking the white primer before applying the body colour. Using an adjustable dual blade knife masking was cut to match the width of the red stripe. Using a spare body and the cut masking I began positioning the racing stripes with a ready made roll in white to separate the colours and ensure they remained parallel. The third try was the charm and the body will serve as a guide for the placements later. The chassis was sprayed with the body colour as this was the first MG to feature unibody construction with suspension components bolted to it. While being a curbside, this kit supplies extensive GT detail to the underside. With further paint application the realism will be heightened. Having said that, I did need to fix a glaring omission by the lack of a cage structure ahead of the rear axle to match the other side housing the battery. As an aside, while searching out photos on the net, most examples tend to be restorations, especially on the auction sites. This is true for this vehicle as the original still exists and has recently crossed the auction block. In our case, the replica builds are for the grid line at the March 1964 Sebring event, and would not appear with the same level of perfection nor with the more current FIA regulations such as tow hooks or emergency shut off switches. In light of this car’s history it would have appeared in Florida with a certain amount of wear, especially to the underside with the mechanics and road grime. With this in mind, the weathering process was to begin with a variety of washes, with specific ones for the engine compartment and transmission area. As the blue body colour is an acrylic paint, gentler washes are required with my favourite being the Vallejo line. Dry fit of the primed front and rear suspensions with the fuel tank. Now with a coat of LP 5 semi-gloss black. Also visible is the modified exhaust now exiting in front of the rear wheel well. This is the stock piece shortened and reshaped. It will receive further paint detailing. The front suspension is further detailed with hand brushing and touch ups. Using fine brushes, down to 10/0 along with an illuminated magnifier makes the detailing much easier, plus a steady hand. The next layer of weathering simulates the road mud thrown up by the wheels, mainly in the wells with sprays on the chassis in line with the tires. Another layer will follow when the body is fitted. For this effect I used Vallejo’s Weathering Effect’s “Light Brown Splash Mud” applied with a small sponge brush. Meanwhile… The interior painting was underway using a variety of shades of black to avoid a uniform black applied to the entire interior. As the body colour would be applied last, lacquer paint was used throughout this stage. Door cards to be painted flat black LP to contrast with the semi to gloss shades. A mock up of the interior with the stock seats (only the red one employed a race seat) with the in progress, roll bar being modified. The remaining white areas will covered with MGB light blue body colour as all three entries were stripped of carpets and insulation to lighten the car while retaining the stock interior. Keeping a stock appearance of the MG roadsters was key advertising feature belying the aluminum body panels for further weight reductions. Close up of the paints employed for the interior. The cockpit coaming and seats are done in LP60 Nato Black; the vinyl surround and dashboard are LP 5 semi gloss blk.; door cards LP3 flat blk.; with the door sills LP65 rubber. The tranny cover is done in LP1 gloss. Currently the build is at this point in the process. High on the list is prepping the body for the blue by masking for the stripes. The hard top is masked for its first coat of white primer to be followed by the stripe masking before the body colour. There remains a lot of hand painting while most of the airbrush will be used on the exhaust system, in addition to the body. Thanks for checking in and apologies for the rather long posting. Cheers Misha
-
Well deserved award Robert for detailed build. Your engine compartment has the right look with the weathering and paint details. The body finish is great with the chrome and decal work. Congrats! Cheers Misha
-
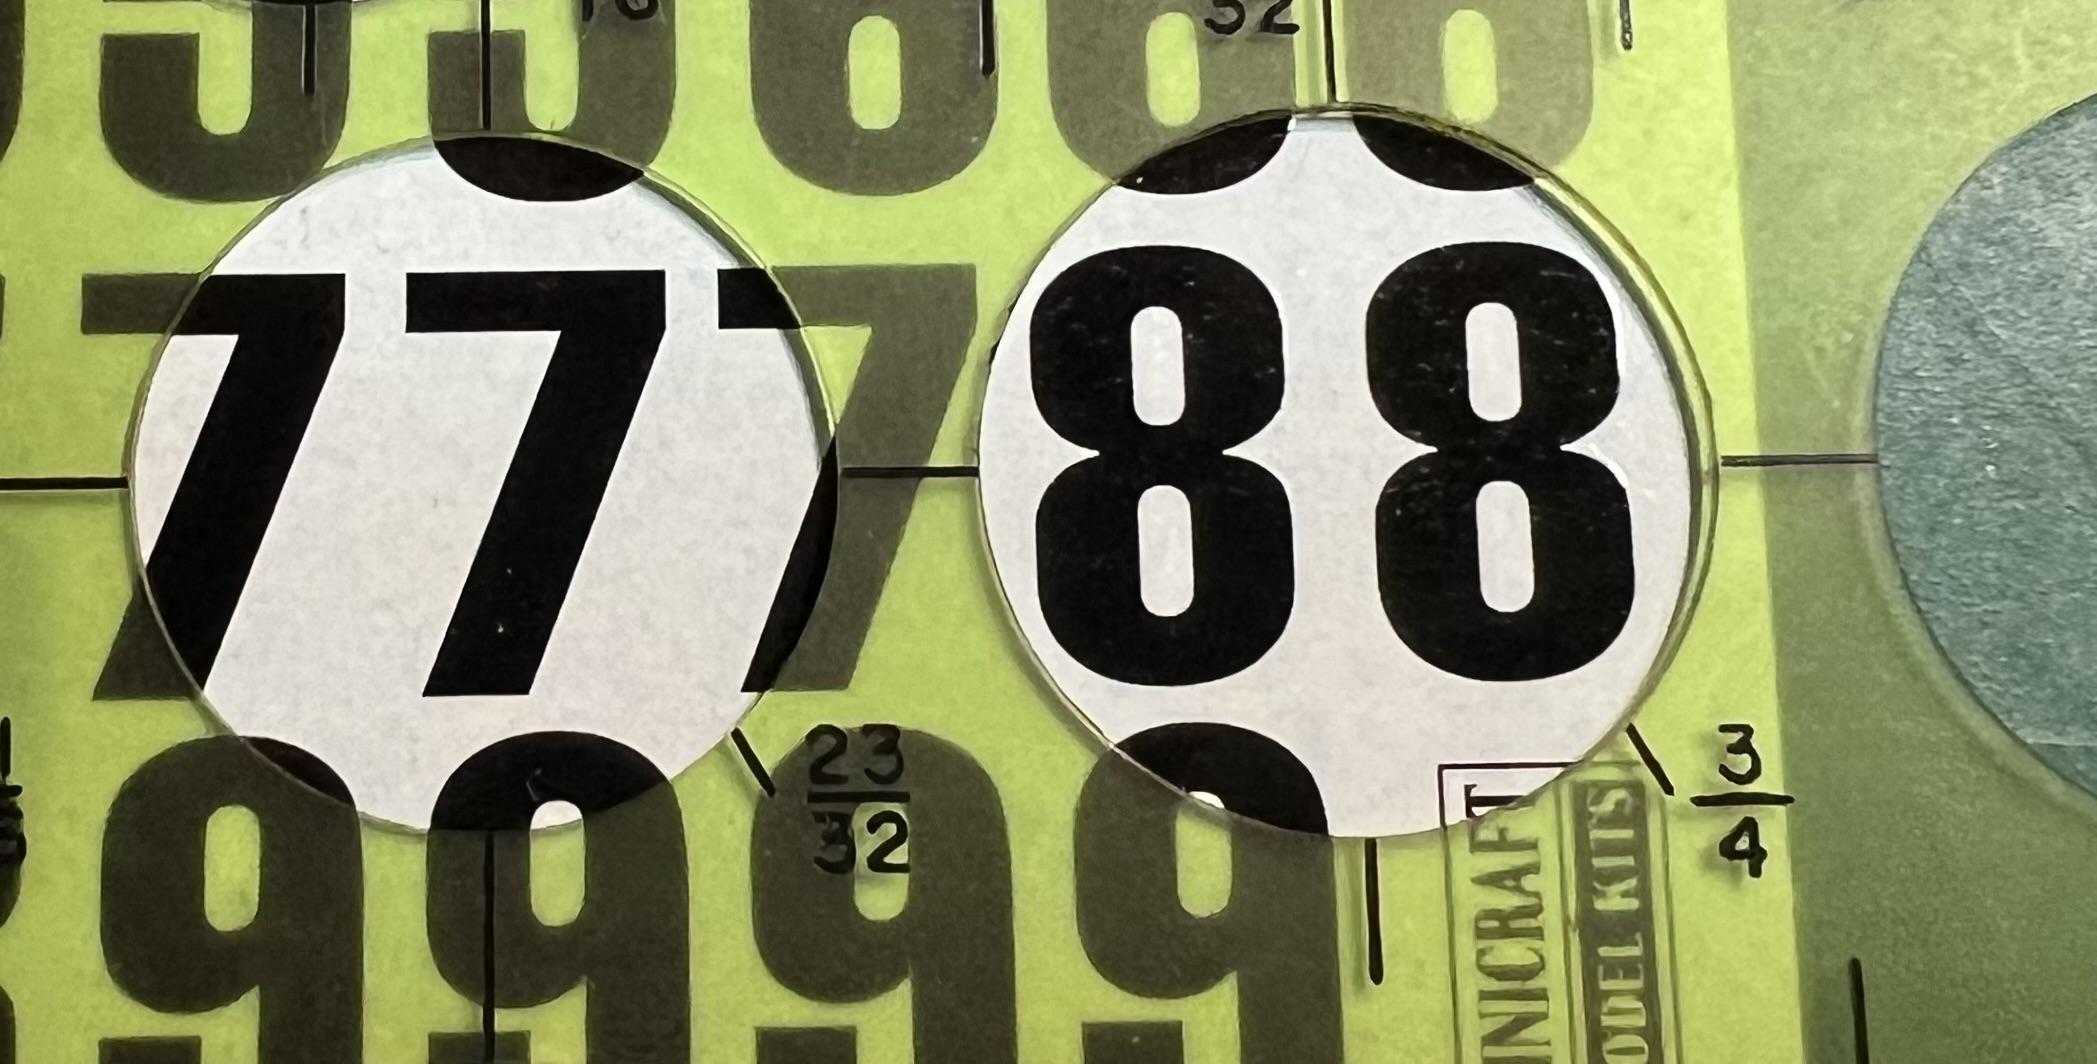
A quick note on progress… I used a circle template to determine what size the balls need to be. Surprise! The ones on the sheet match the required 3/4 “ diameter on the car. With the quality of the sheet, I’m expecting them to be opaque, so only need to mask for the white stripe before body colour. Speaking of body colour, I sprayed a spoon and the chassis and it still needs to be lightened by a couple of shades. Also hit the inside of the body shell. Tomorrow will see how far I will get, cheers Misha
-
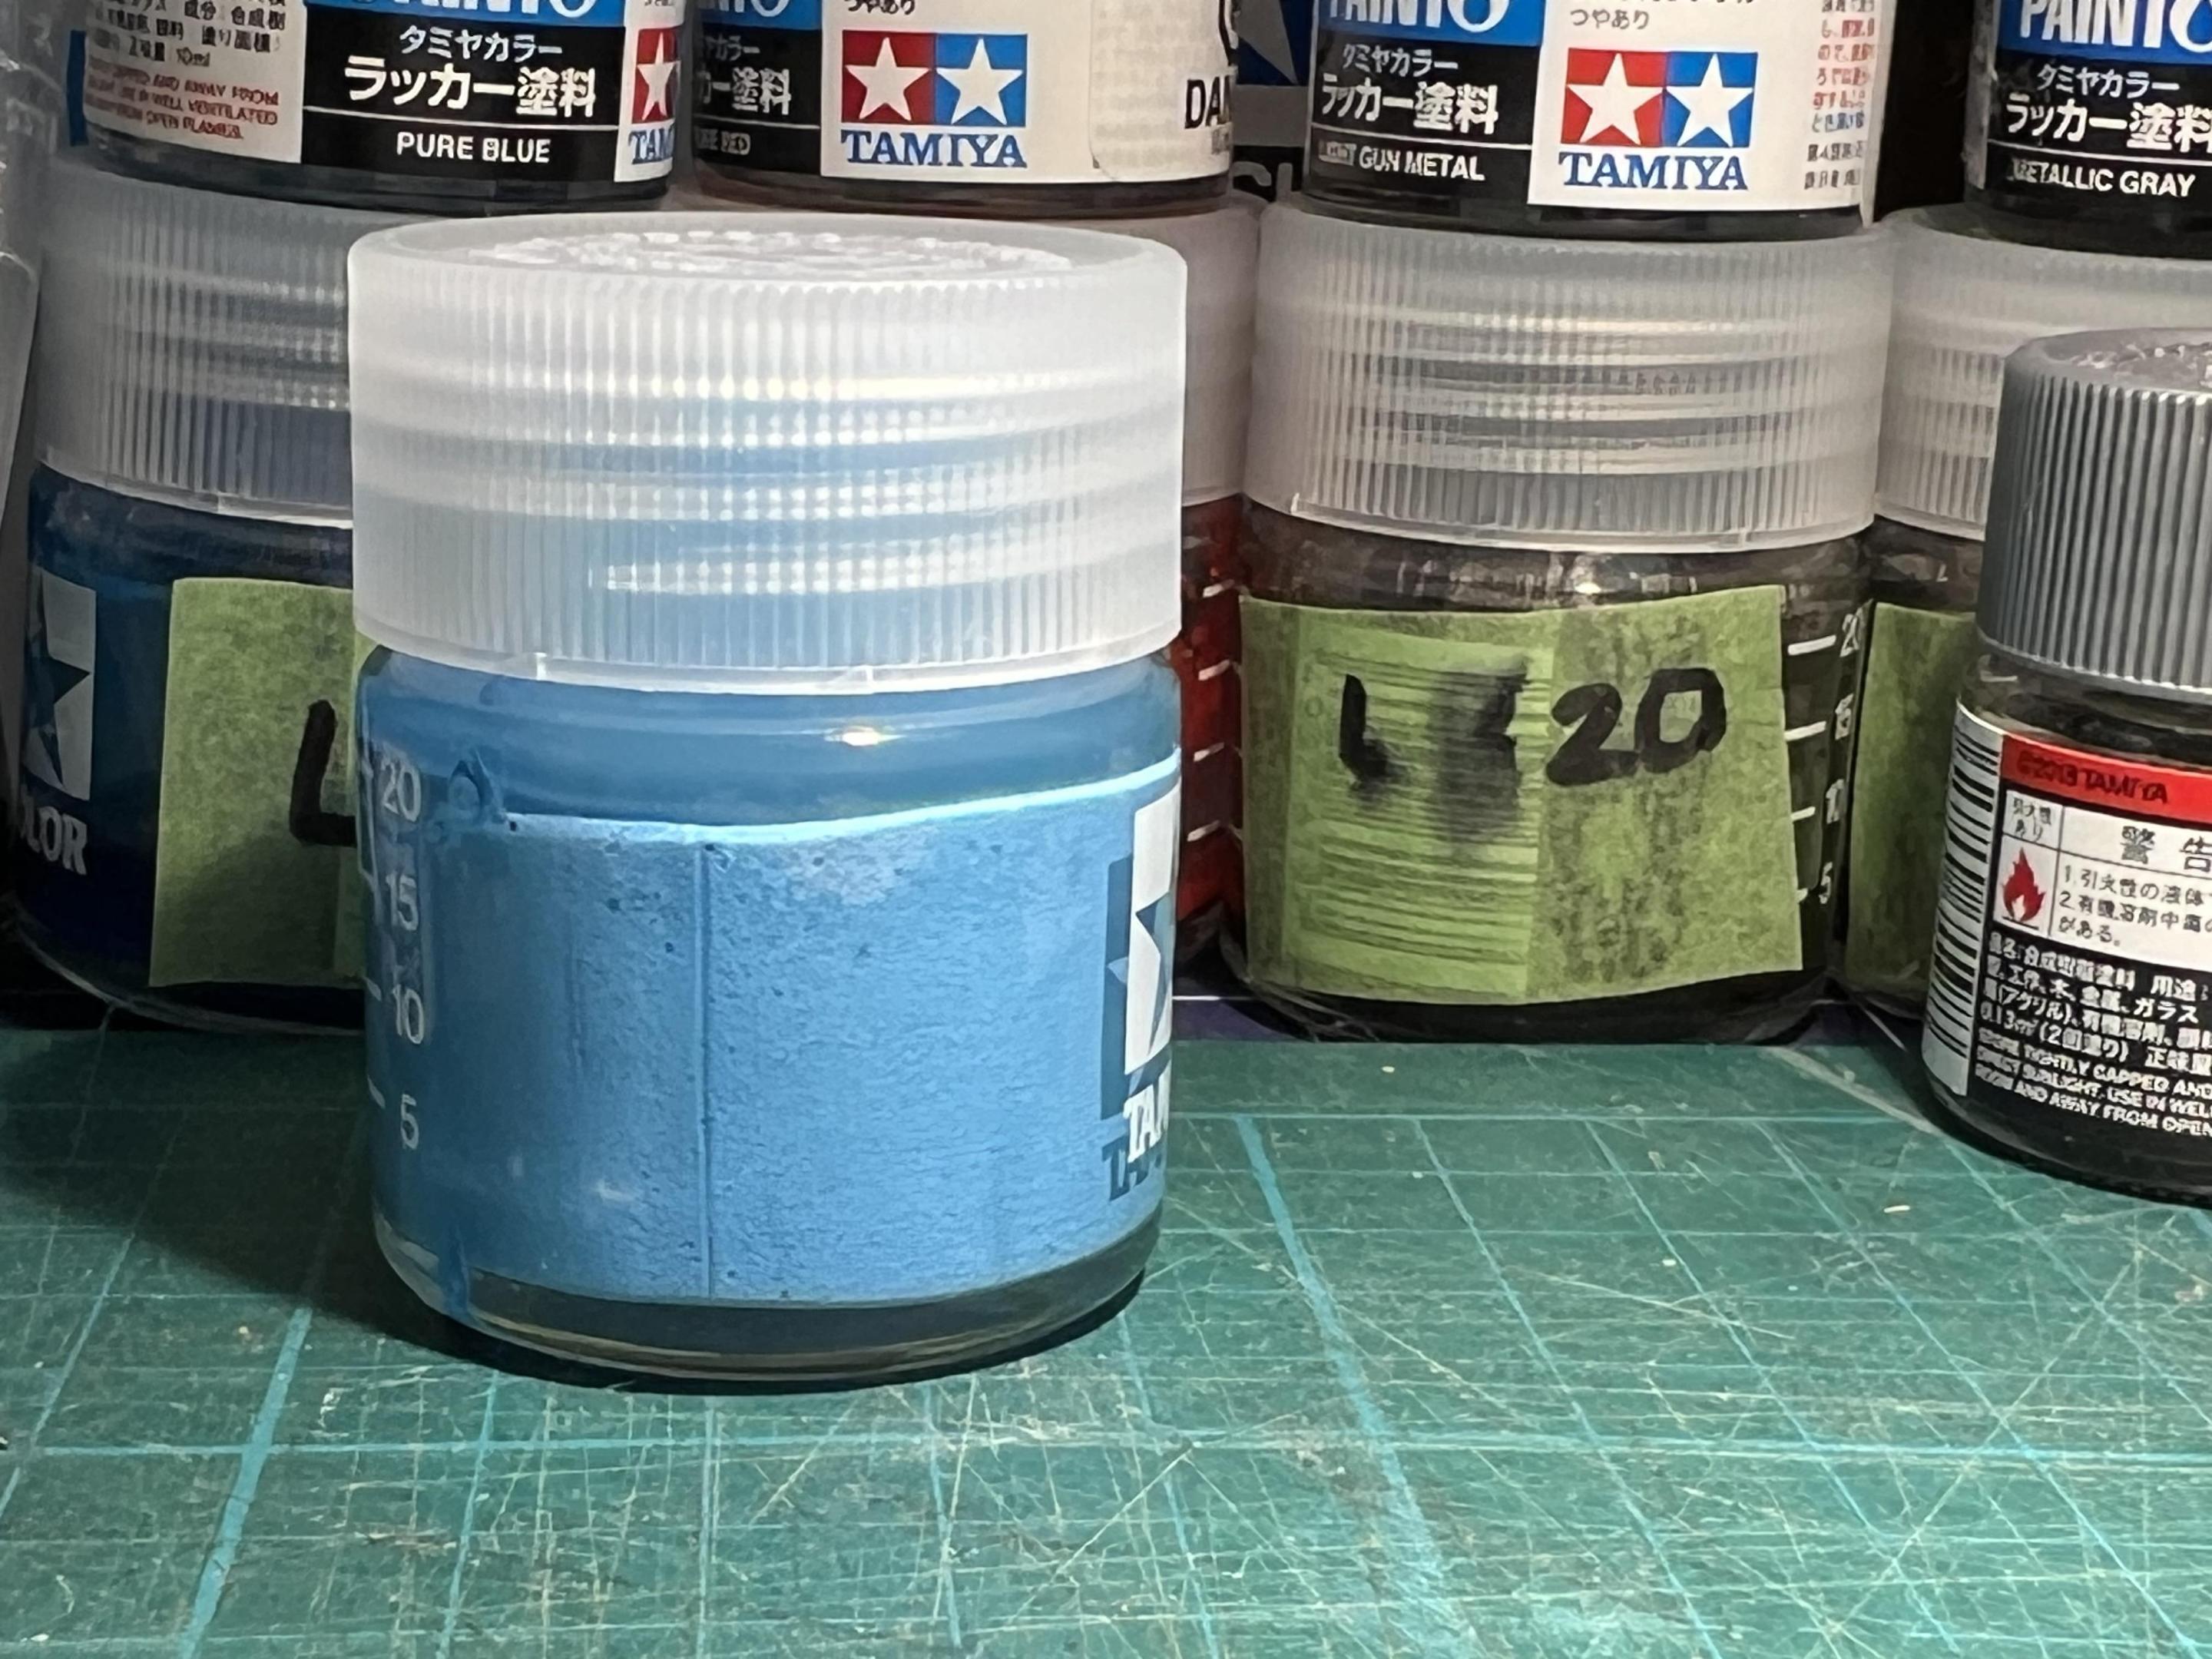
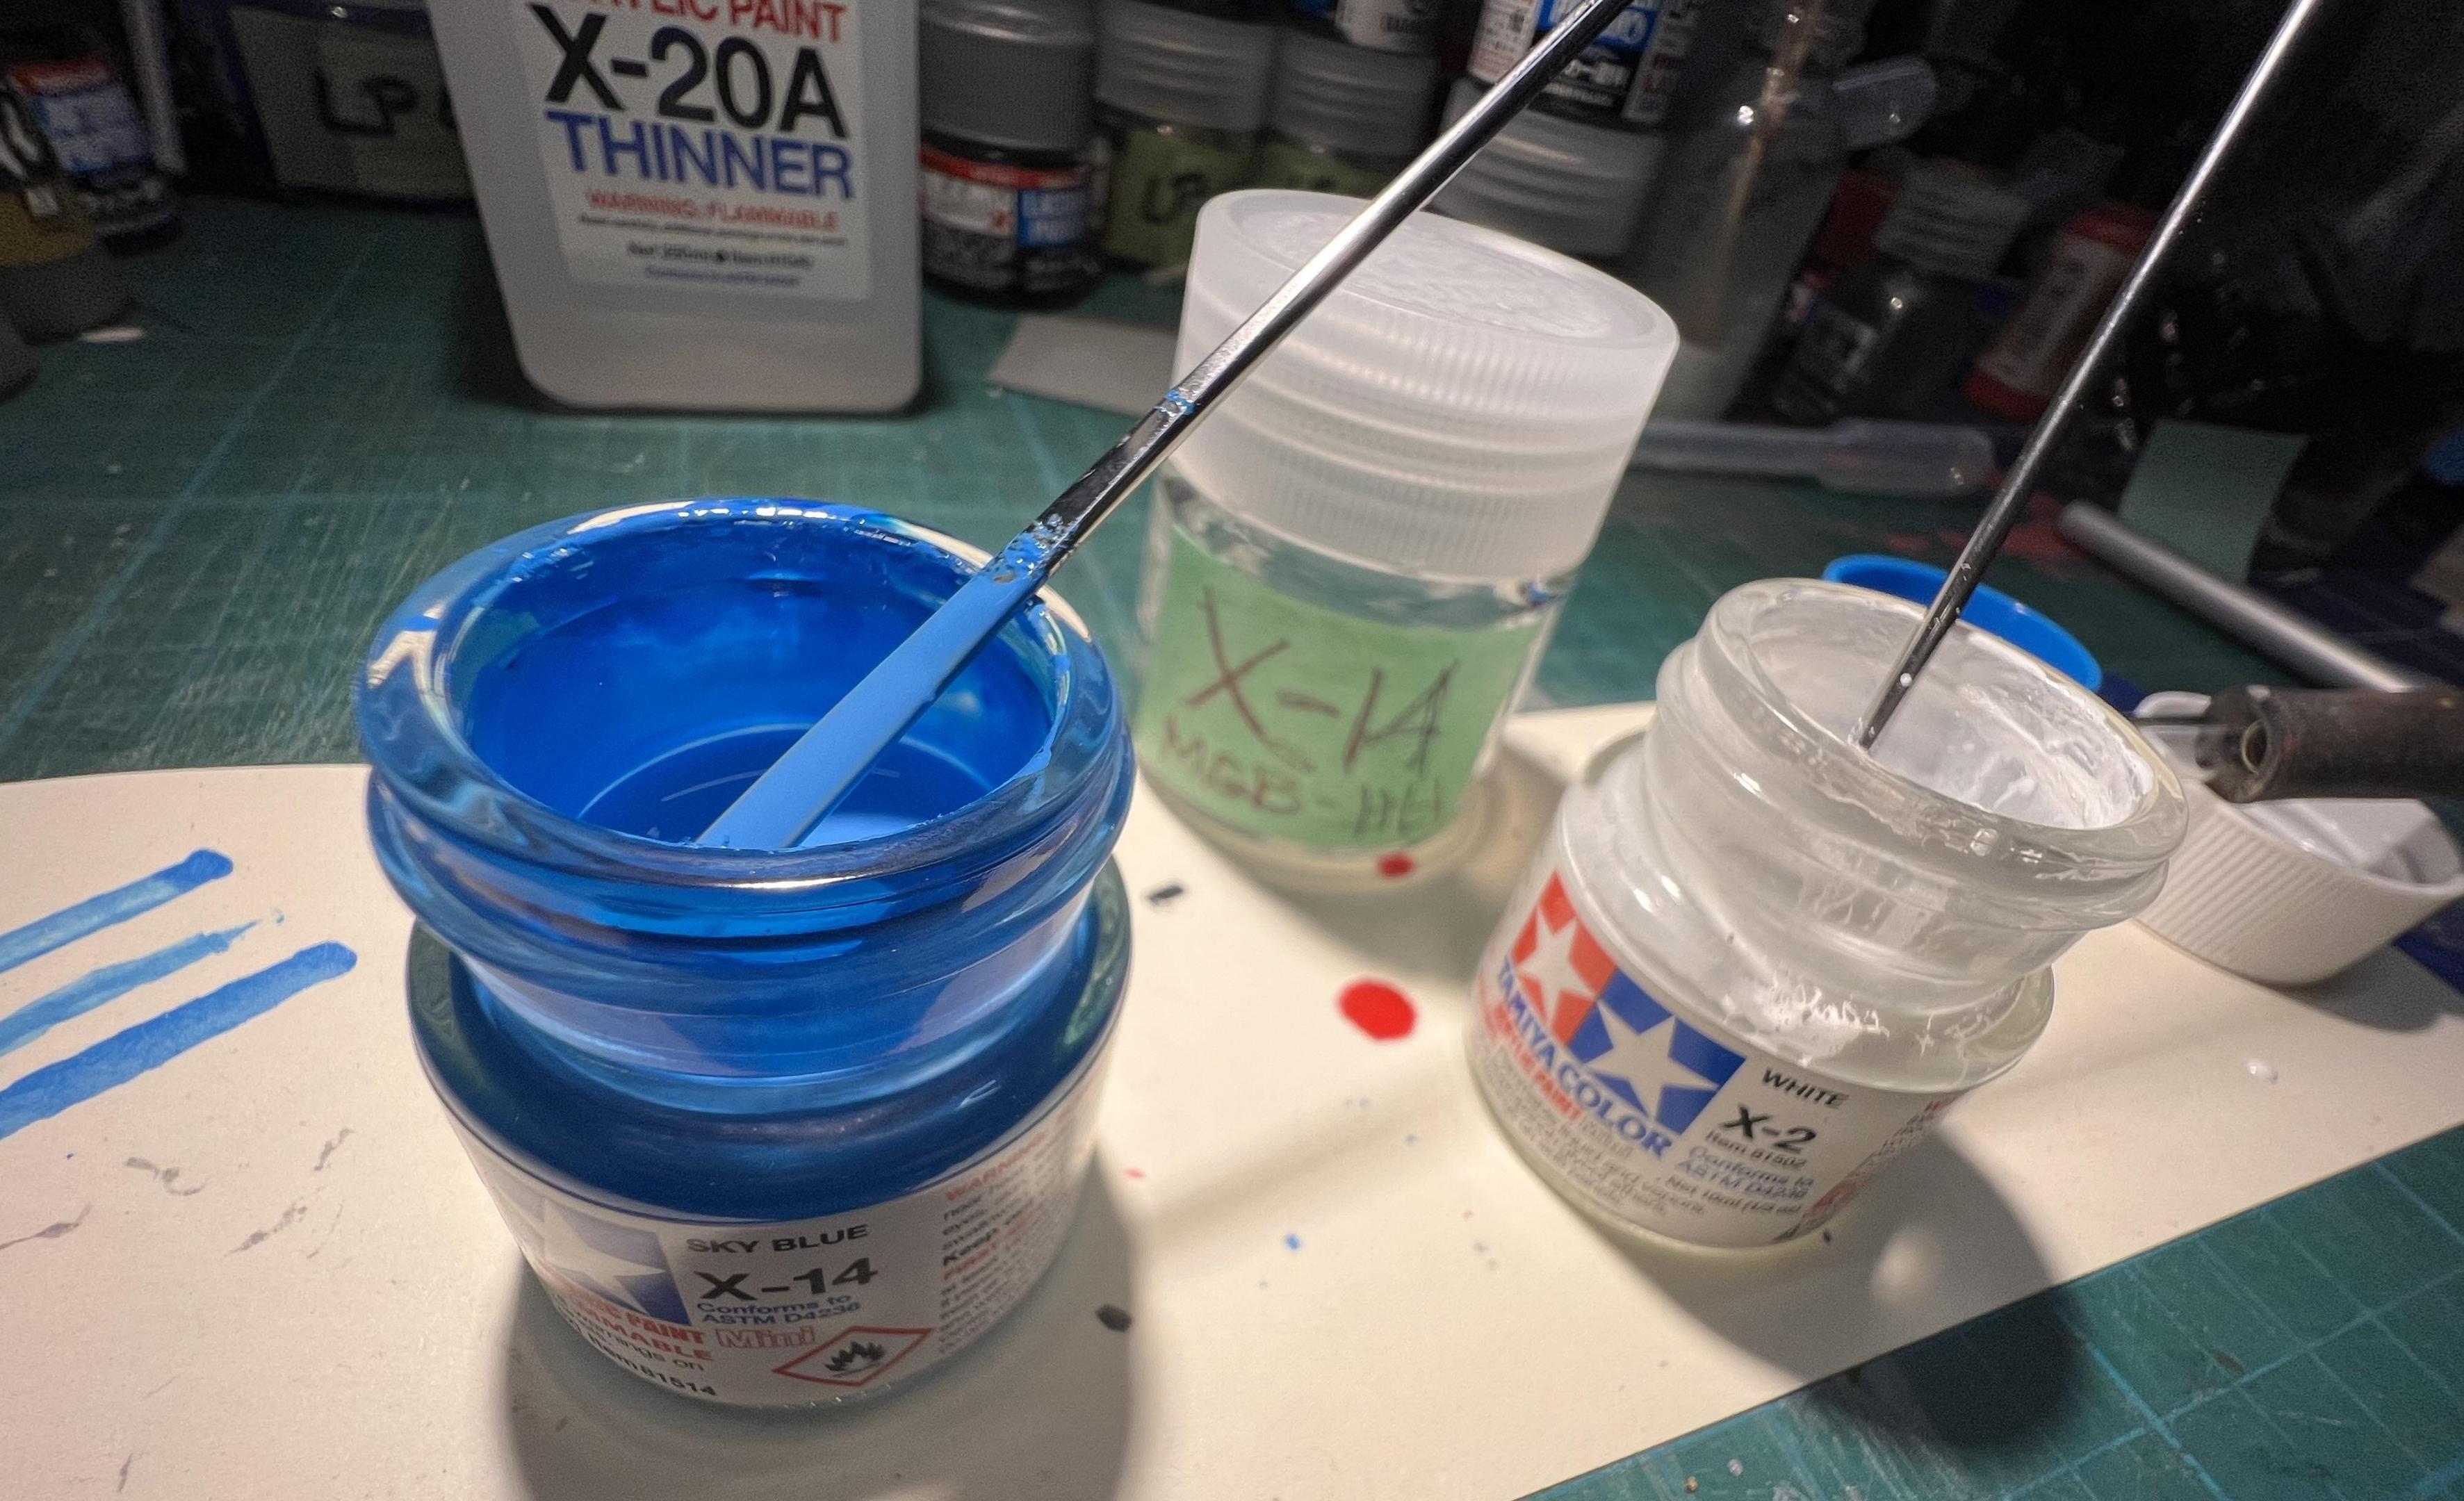
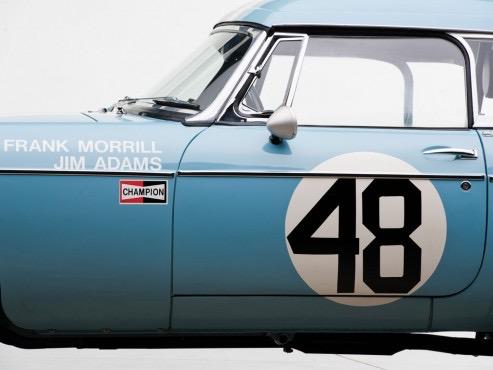
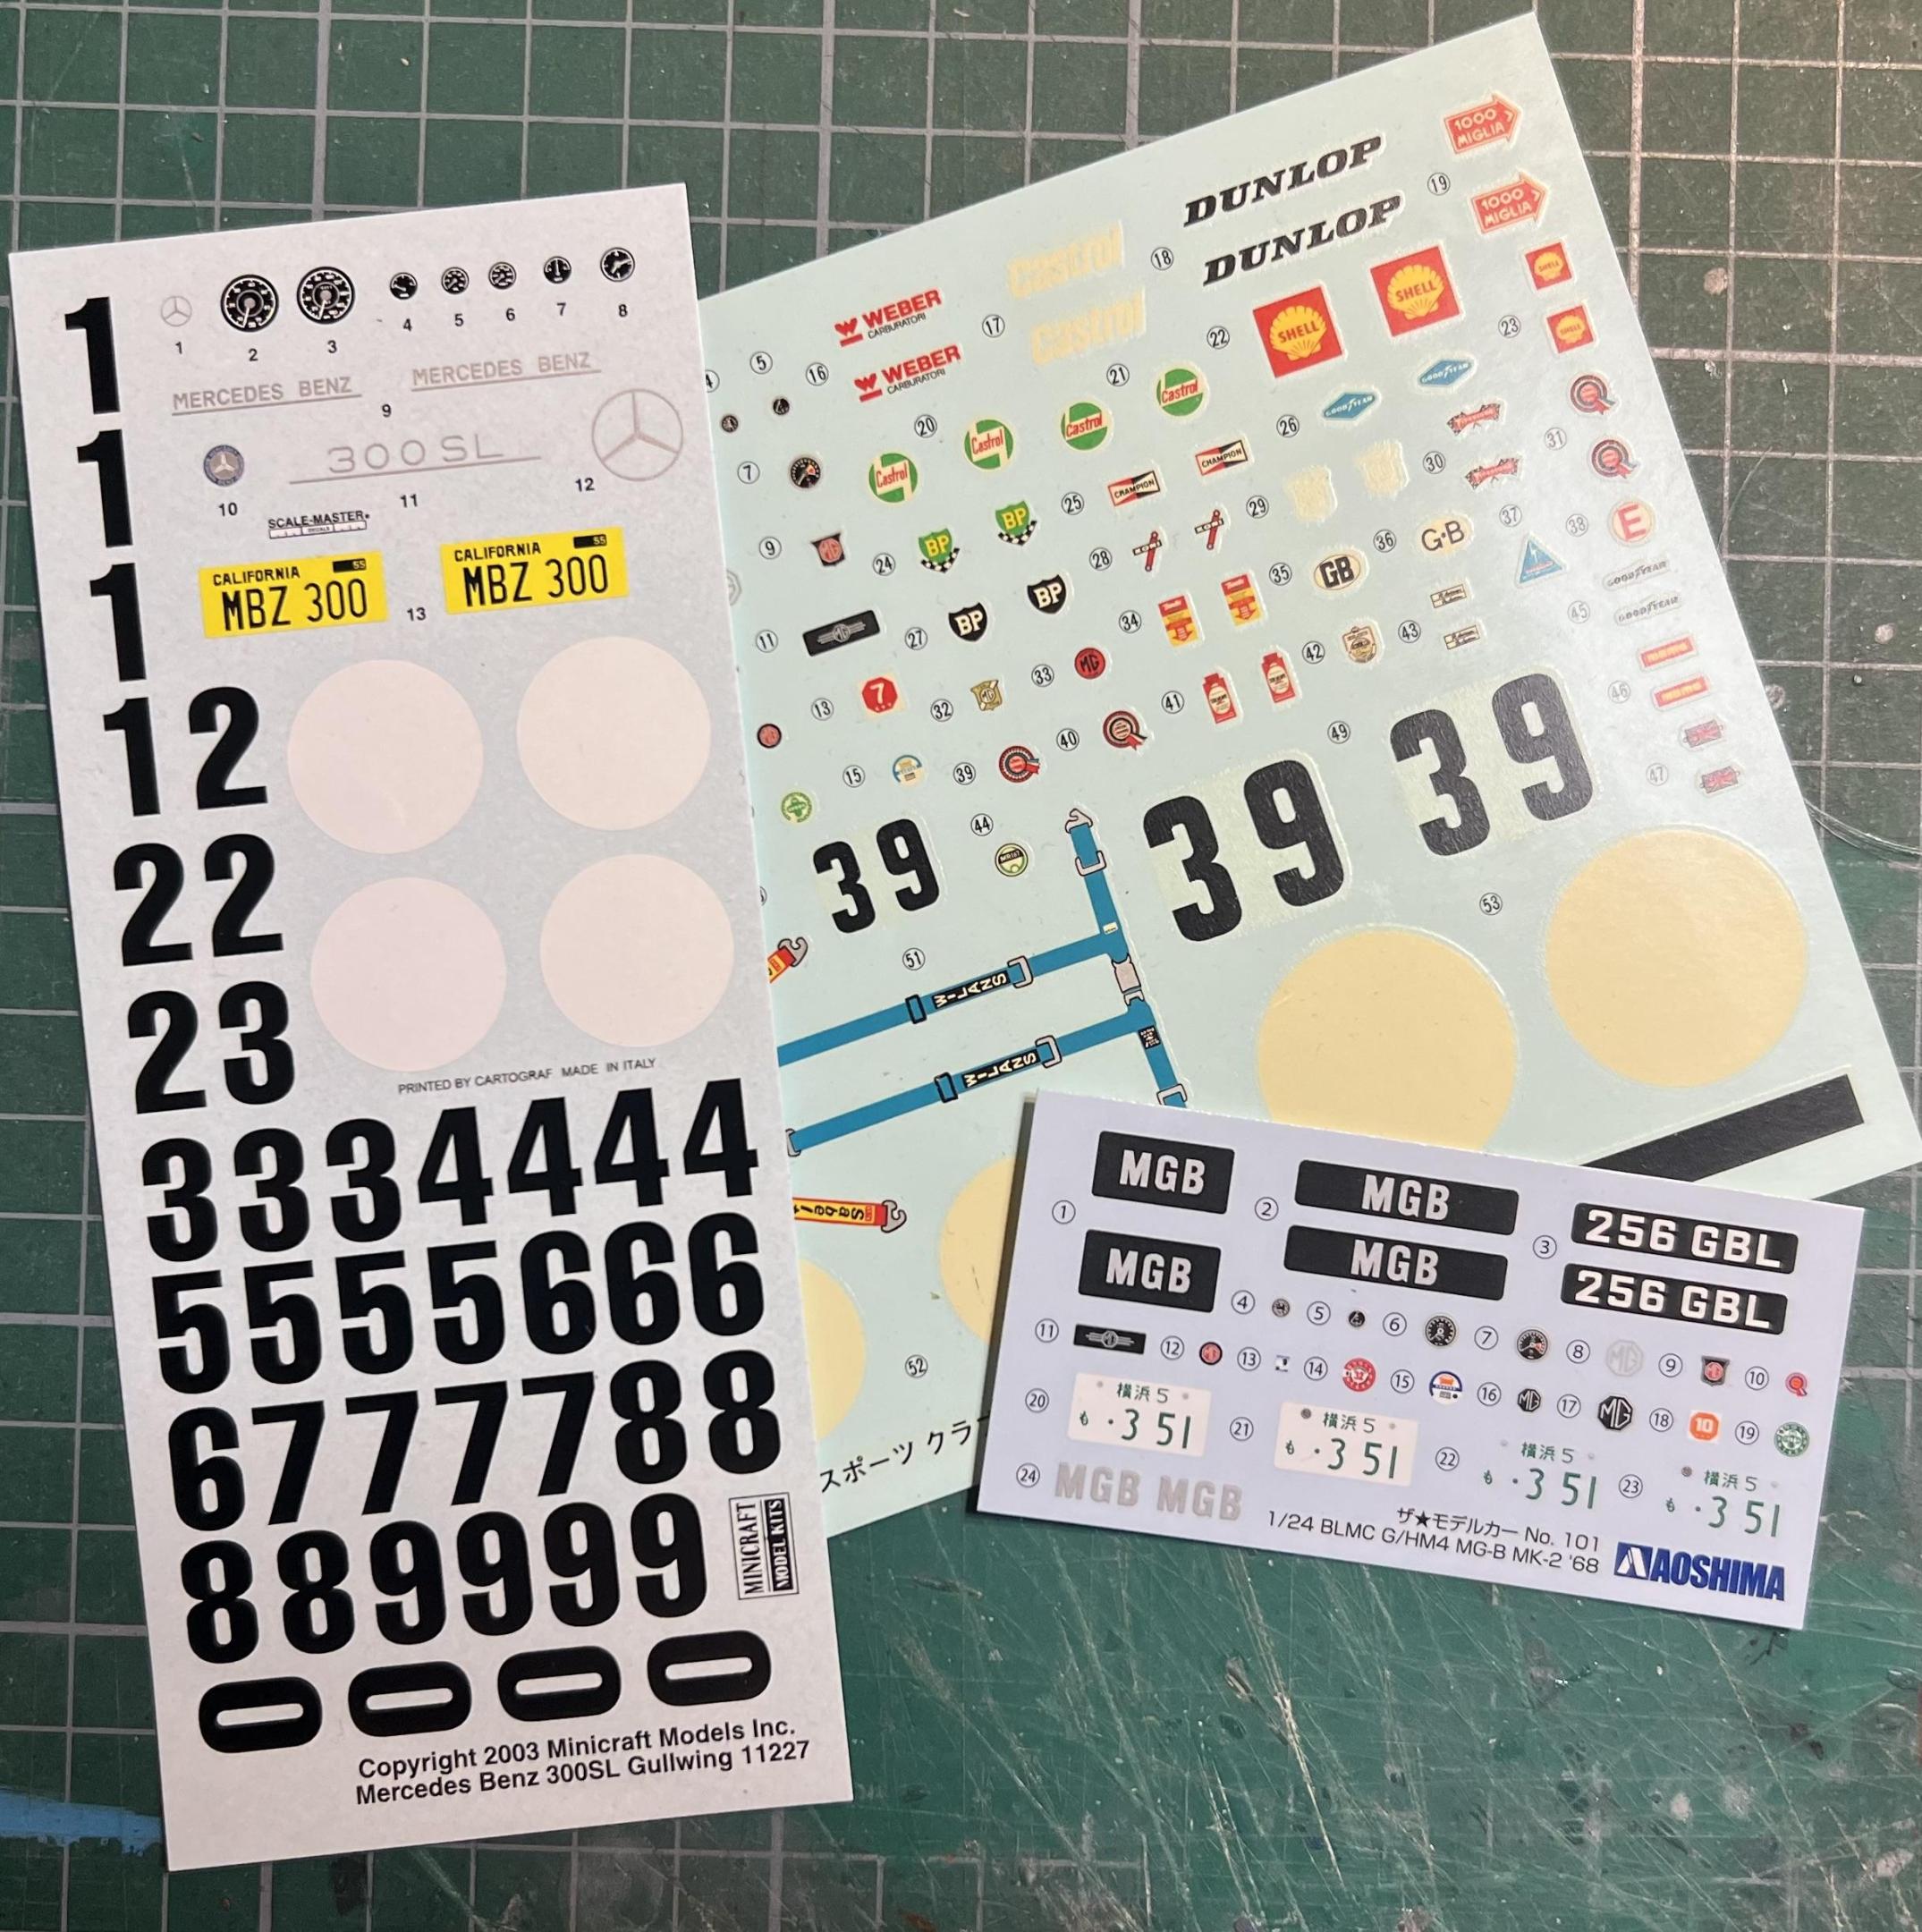
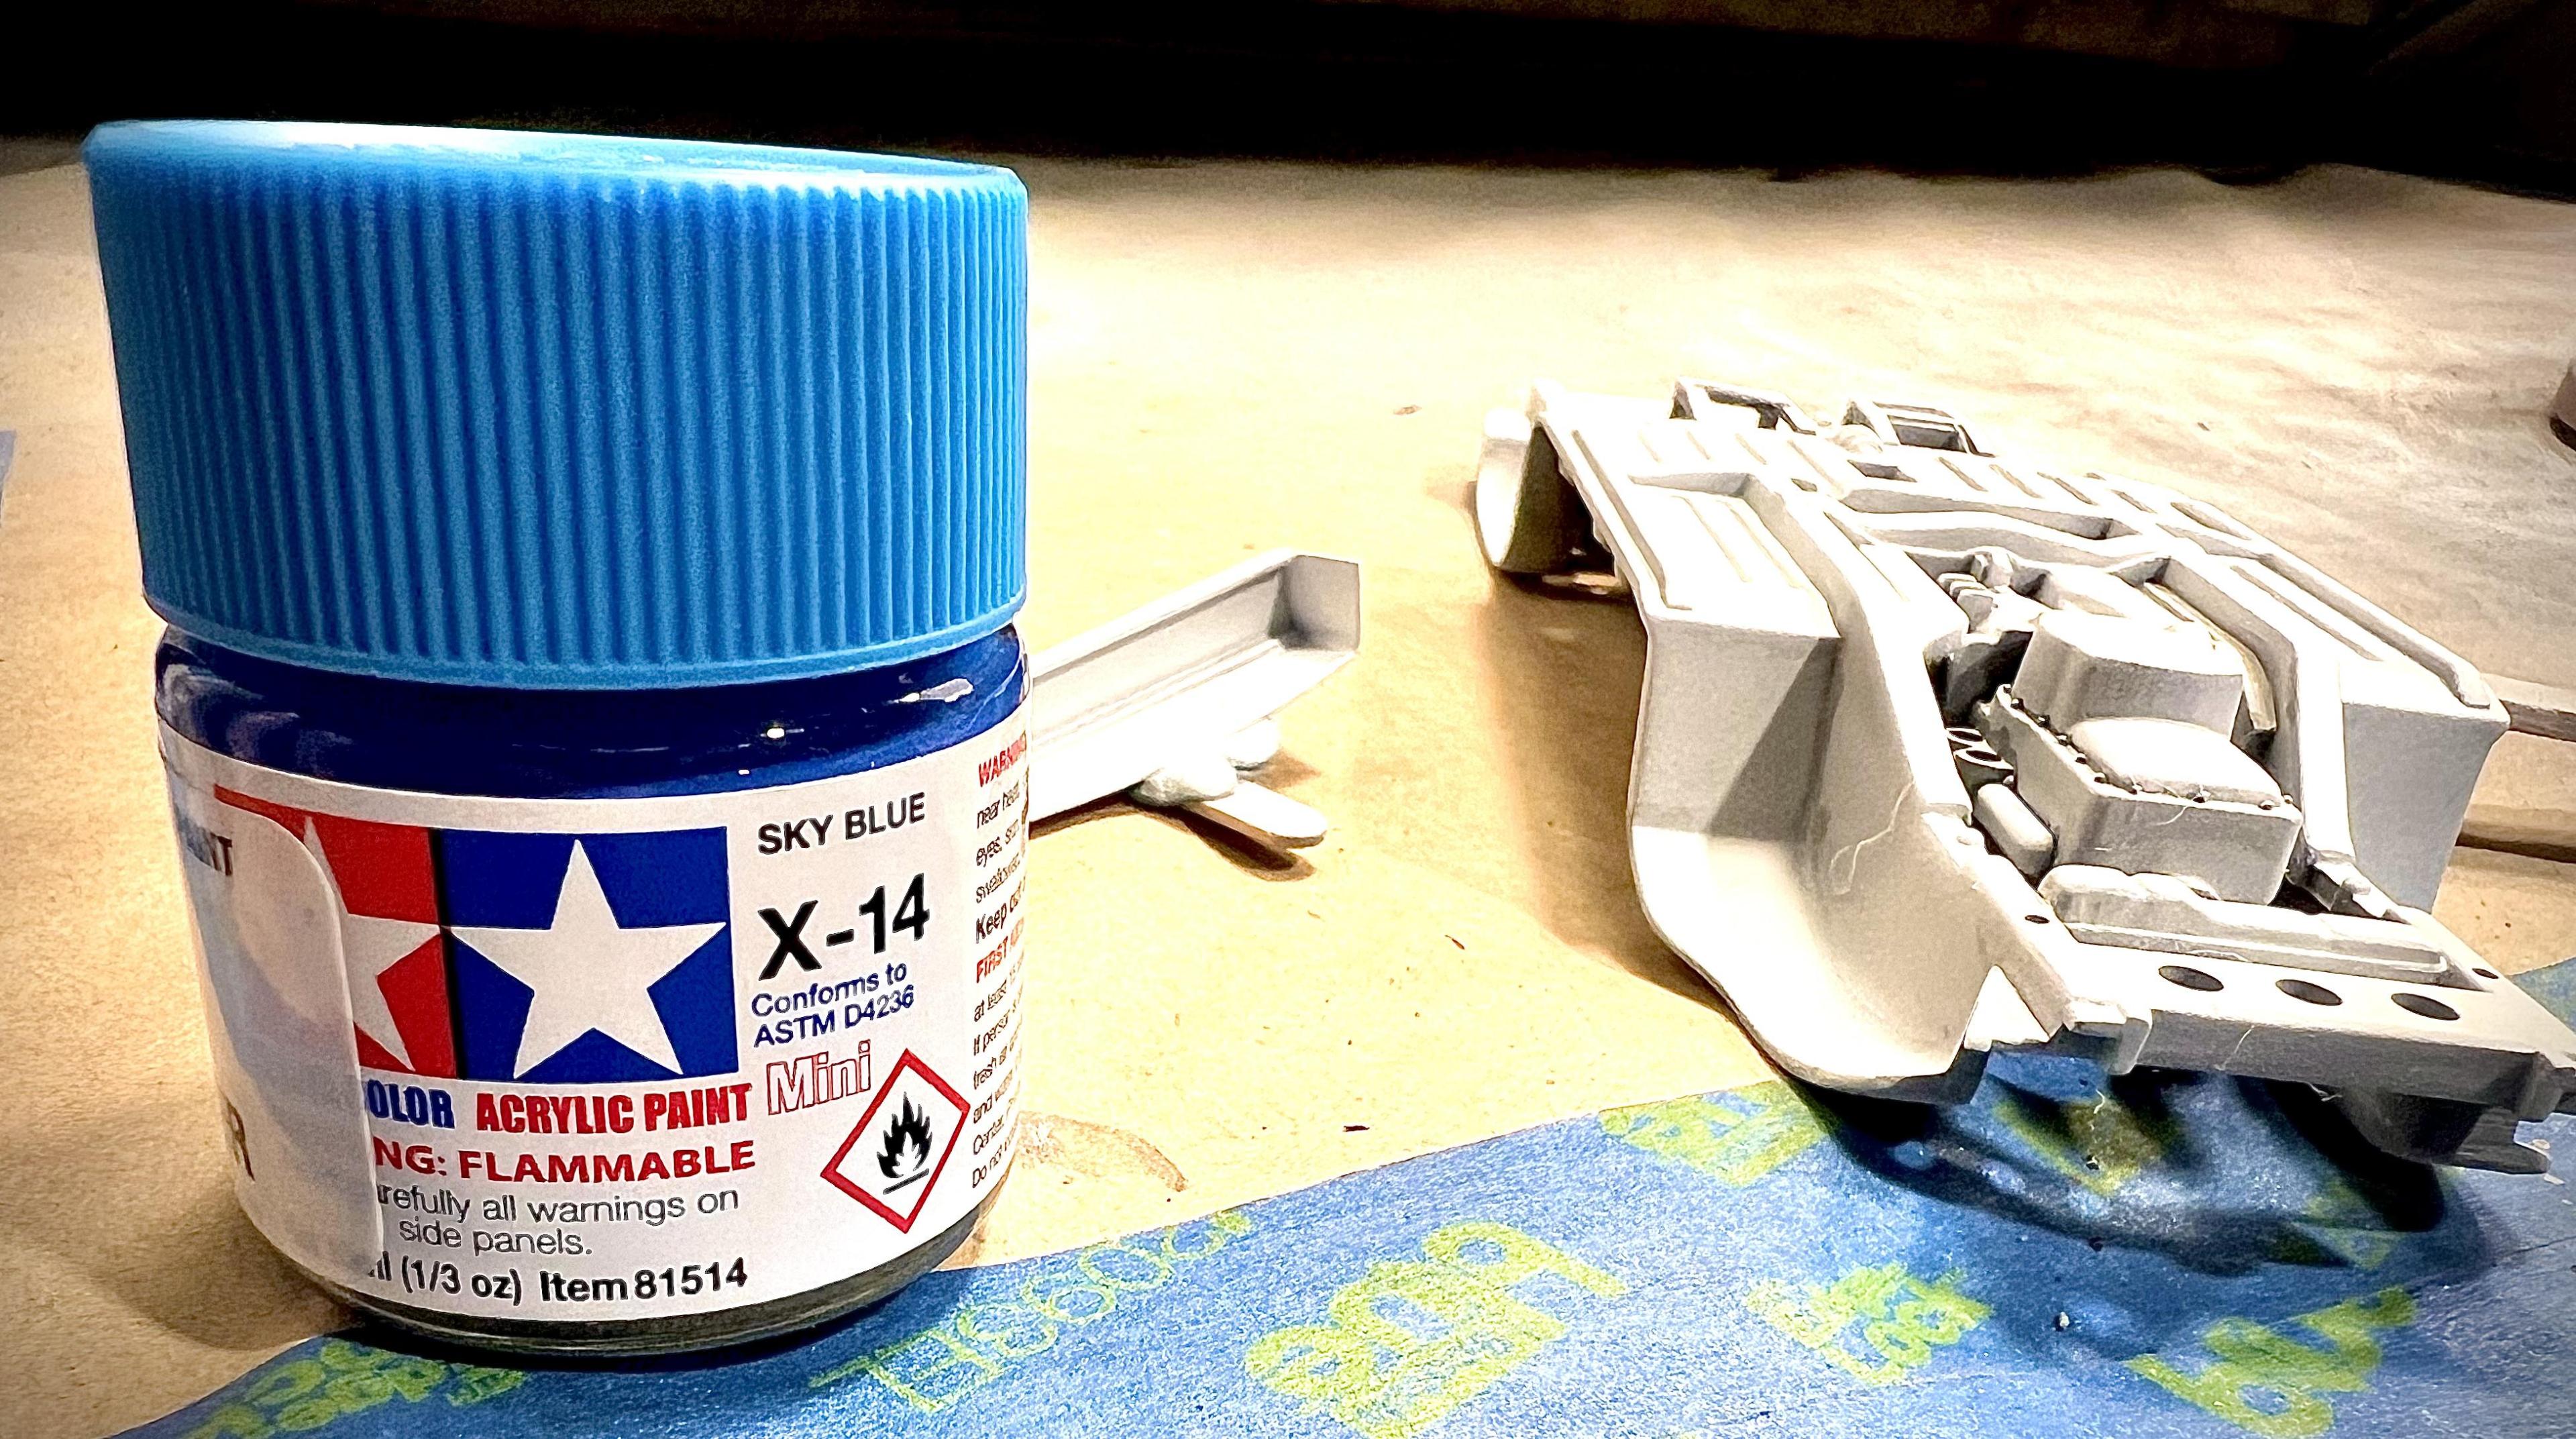
It’s great to see all the masterful work being accomplished on these Sebring entries! The research being done is impressive and seeing completed replicas appear is quite a treat. Cross over at Sebring, 1964 - “MG Safety Fast!” As I gear up a bit more I’m considering an additional build thread to this one. I enjoy following the ones already posted. The history of the three MGB entries is impressive in light of their grid competition made up of Ferraris, Vette GS’s, and other high powered vehicles. Yet MG racing heritage goes back decades before. Spent time planning out the sequence of body colours. The primer coat is ready to go having had two applications each of grey, to prep the body and white, for the stripe and meat balls. It is now ready for the blue body colour to be followed by a red decal stripe for the alternate red MG. All three MGB entries alternated their stripes accordingly to their body colour. Two of the original entries surviving with current safety items added such as tow hooks and LX switches. The white entry had been lost to history. Originally I had planned on mixing up the light blue, nearly Sky Blue in a lacquer base colour, using Tamiya’s LP range, as it doesn’t appear as a stand alone colour. Poking thru my paint stores I came upon Tamiya X-14, in their acrylic line. Having been disappointed by the early water based paints offered I have shied away from using them. The Vellejo range has changed my opinion, using them predominantly for interiors. By choosing the acrylic X-14 for the body colour affects subsequent paint applications. Since the MGB was the first unibody replacing the MGA the Sky Blue was applied to the underside and interior. The curbside plate chassis and the interior will require planning to avoid applying a lacquer (my preferred medium), over the body colour. A question regarding thinning the Tamiya for air brushing , using X-20A would I use a 1:1 ratio, equal parts of each? Thanks! The Scale-Master sheet lies on top of the Club Racing and standard MGB decal sheets. I also had a look thru my decal collection for the number “48” finding a Scale-Master sheet from the Minicraft large scale 300 SL Gullwing. Just eyeballed it so far. The meatballs will be the masked white primer areas. The Sky Blue will be a matte finish as well so that all decaling will be done after the gloss coat to avoid silvering. Having had decent outdoor weather for yard work, the past few days have kept me from the bench, today it’s pouring rain! I know where I’m spending the day. Hoping to mask the white stripe and meatballs, get the blue on the chassis and catch up on priming a few pieces. Cheers Misha
-
Hi Pierre, This is a bit of an experiment from my days of building aircraft and using pre-shading. In this case the chassis and interior are the elements to be weathered or show wear. Much like a cockpit a vehicle’s interior is much more visible and in this case the upholstered parts are black as is the dash. As this is a curbside kit I’m looking at spending greater attention to the chassis, especially to improve my weathering skills. Even pre-shading at this point gives my eye a better sense of the space. Black is a very difficult colour to distinguish different parts in an interior. I prefer using Vallejo acrylics for interiors due to their matte finishes, ease of mixing colour, and easy hand or air brushing. In reviewing your great #1 Cobra build I focused on your interior as it is black and used Vallejo paints. Would you have any hints or advice? Thanks again for checking in, Cheers Misha
-
Your chassis is a real jewel ? Phil! I have the same photo etch detail set, yet have never built up the courage to attempt it. Your workmanship is very evident in the construction of the underpinnings of this testosterone based Sting Ray. Now for the final layer of the beast! As with most of the builders on this thread, we have paid close attention to details that are unique to the 64 Sebring. Your Penske entry is a good example of your research and is most evident in the body modifications you’ve made. I’m waiting, as many are, to see the next stages of this challenging kit. Time to fire ? up the airbrush! Cheers Misha
-
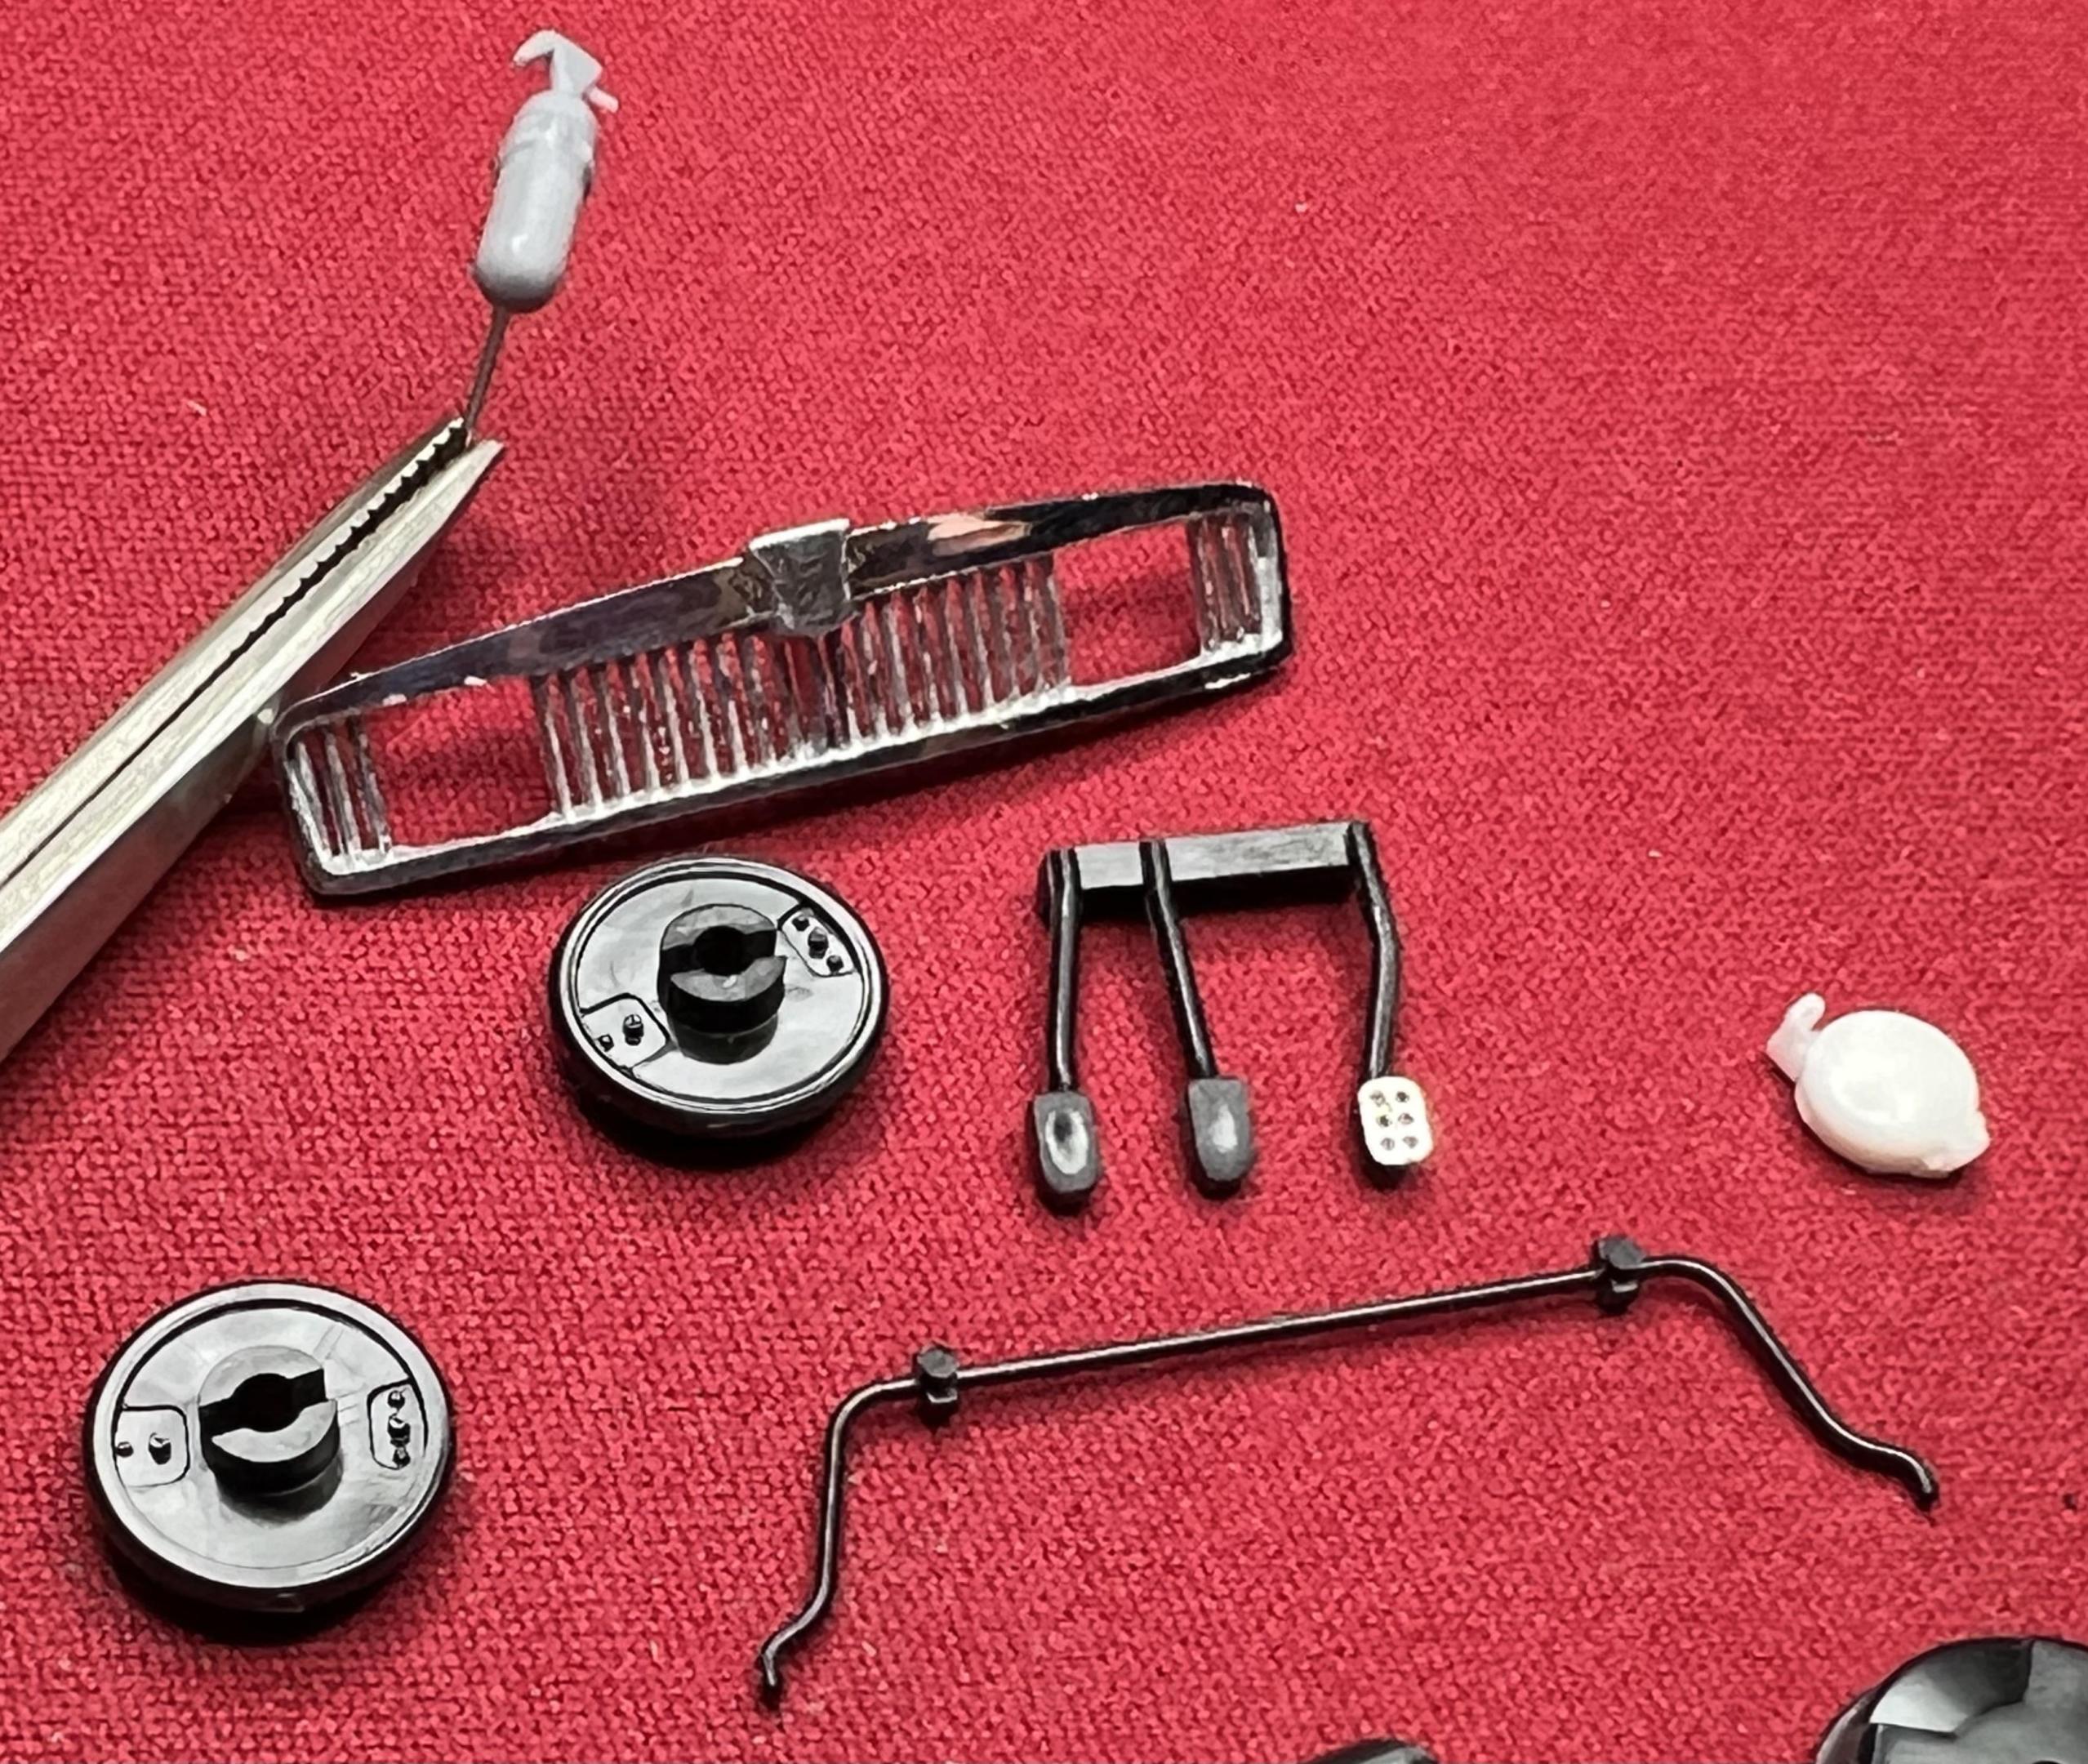
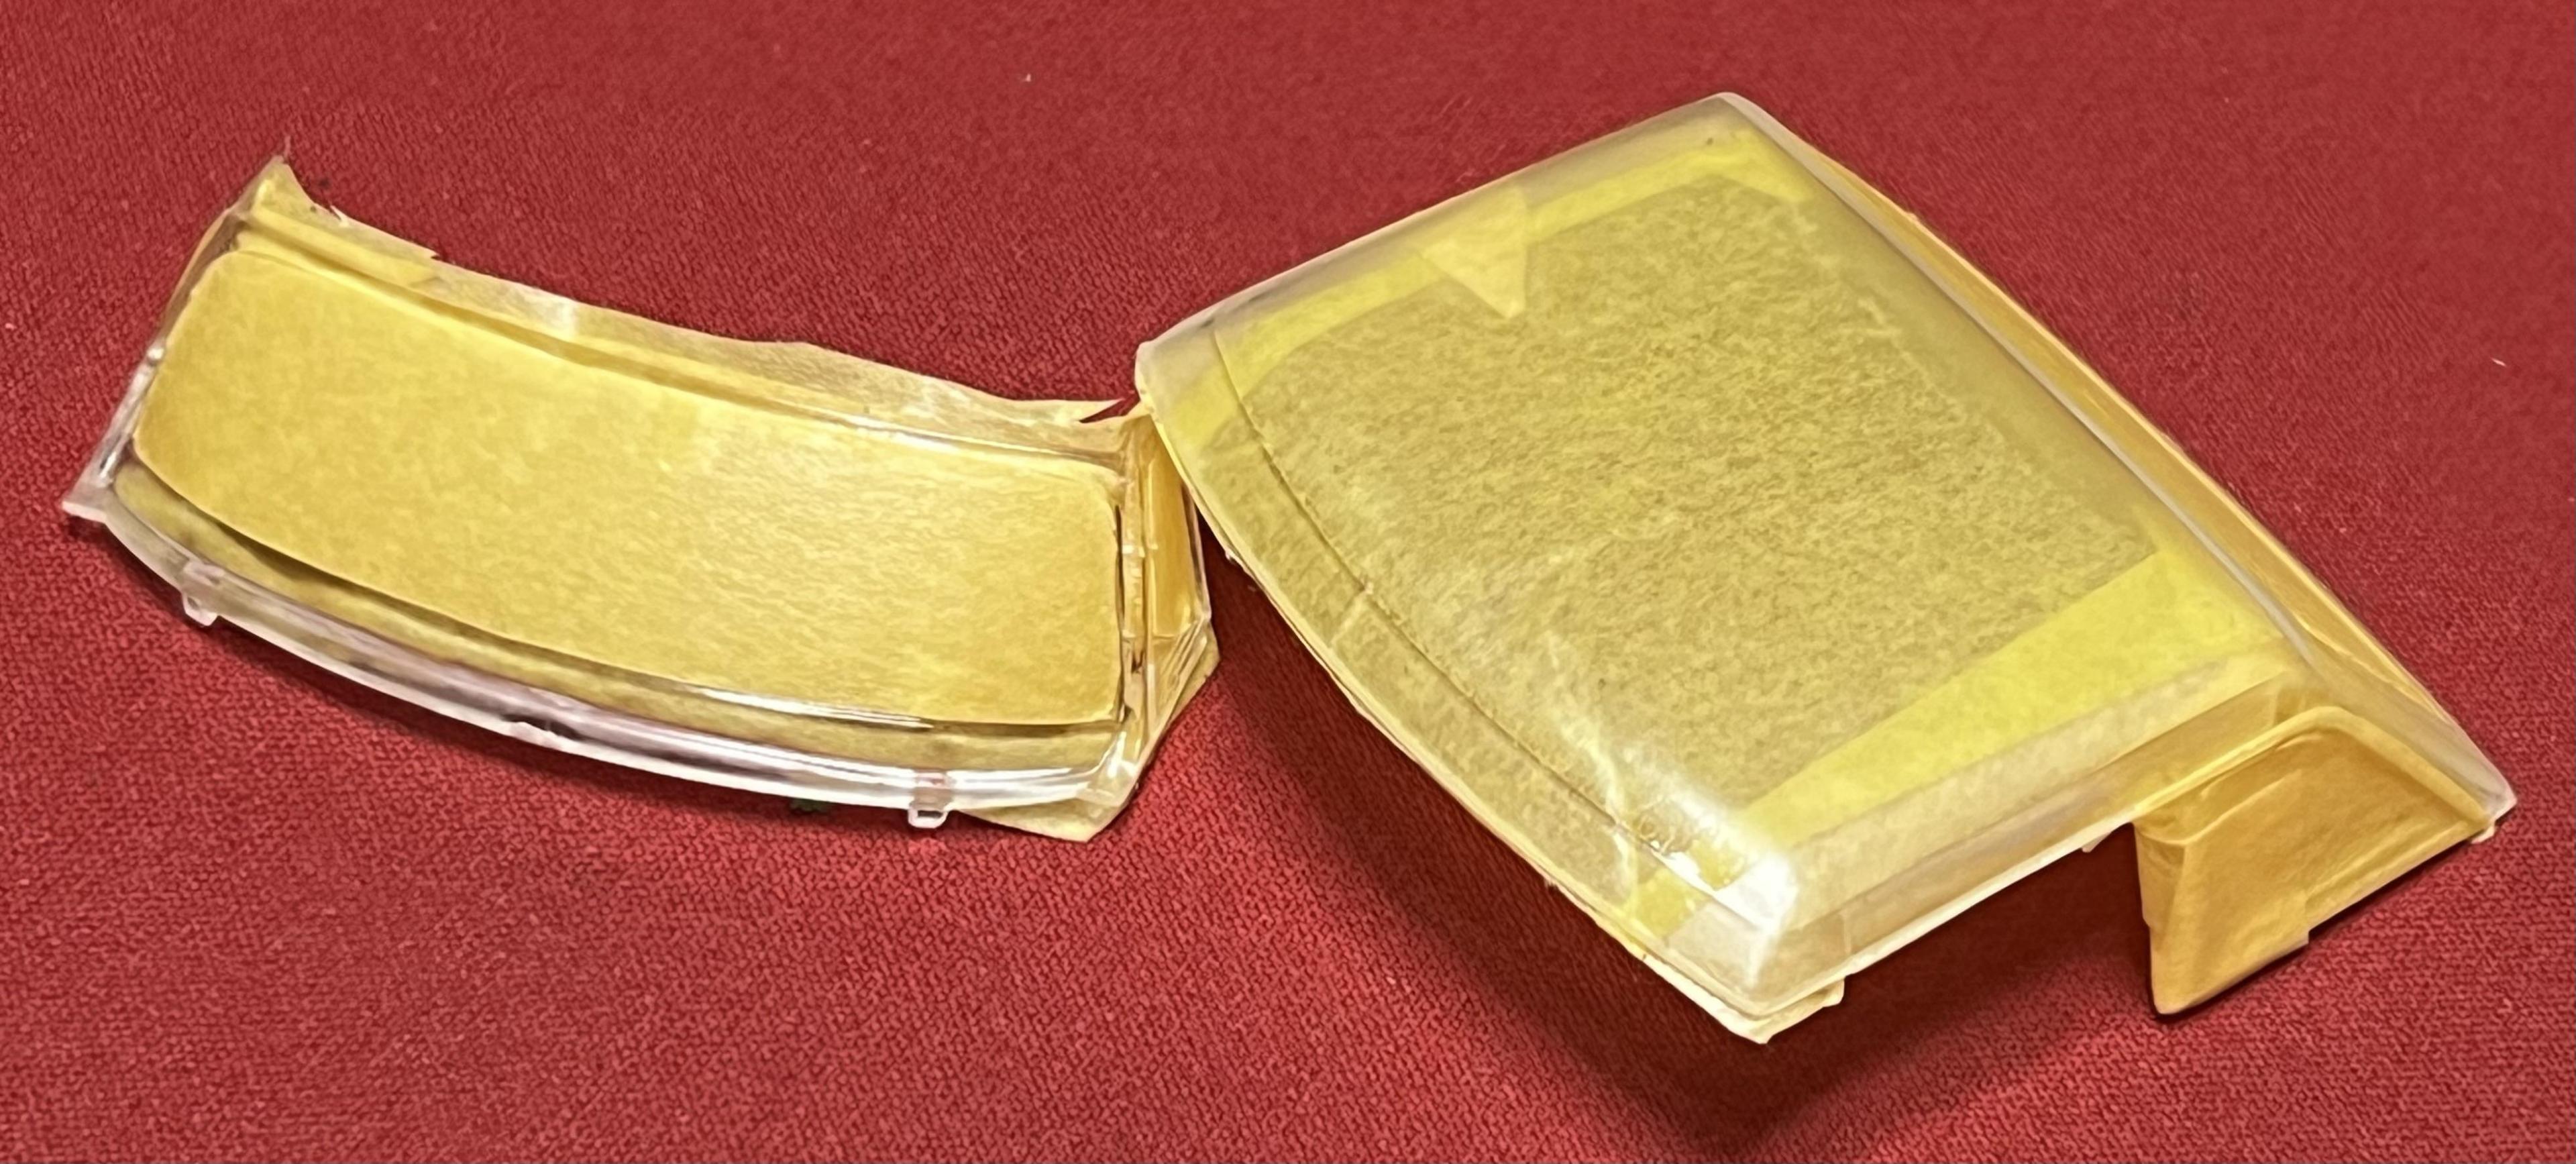
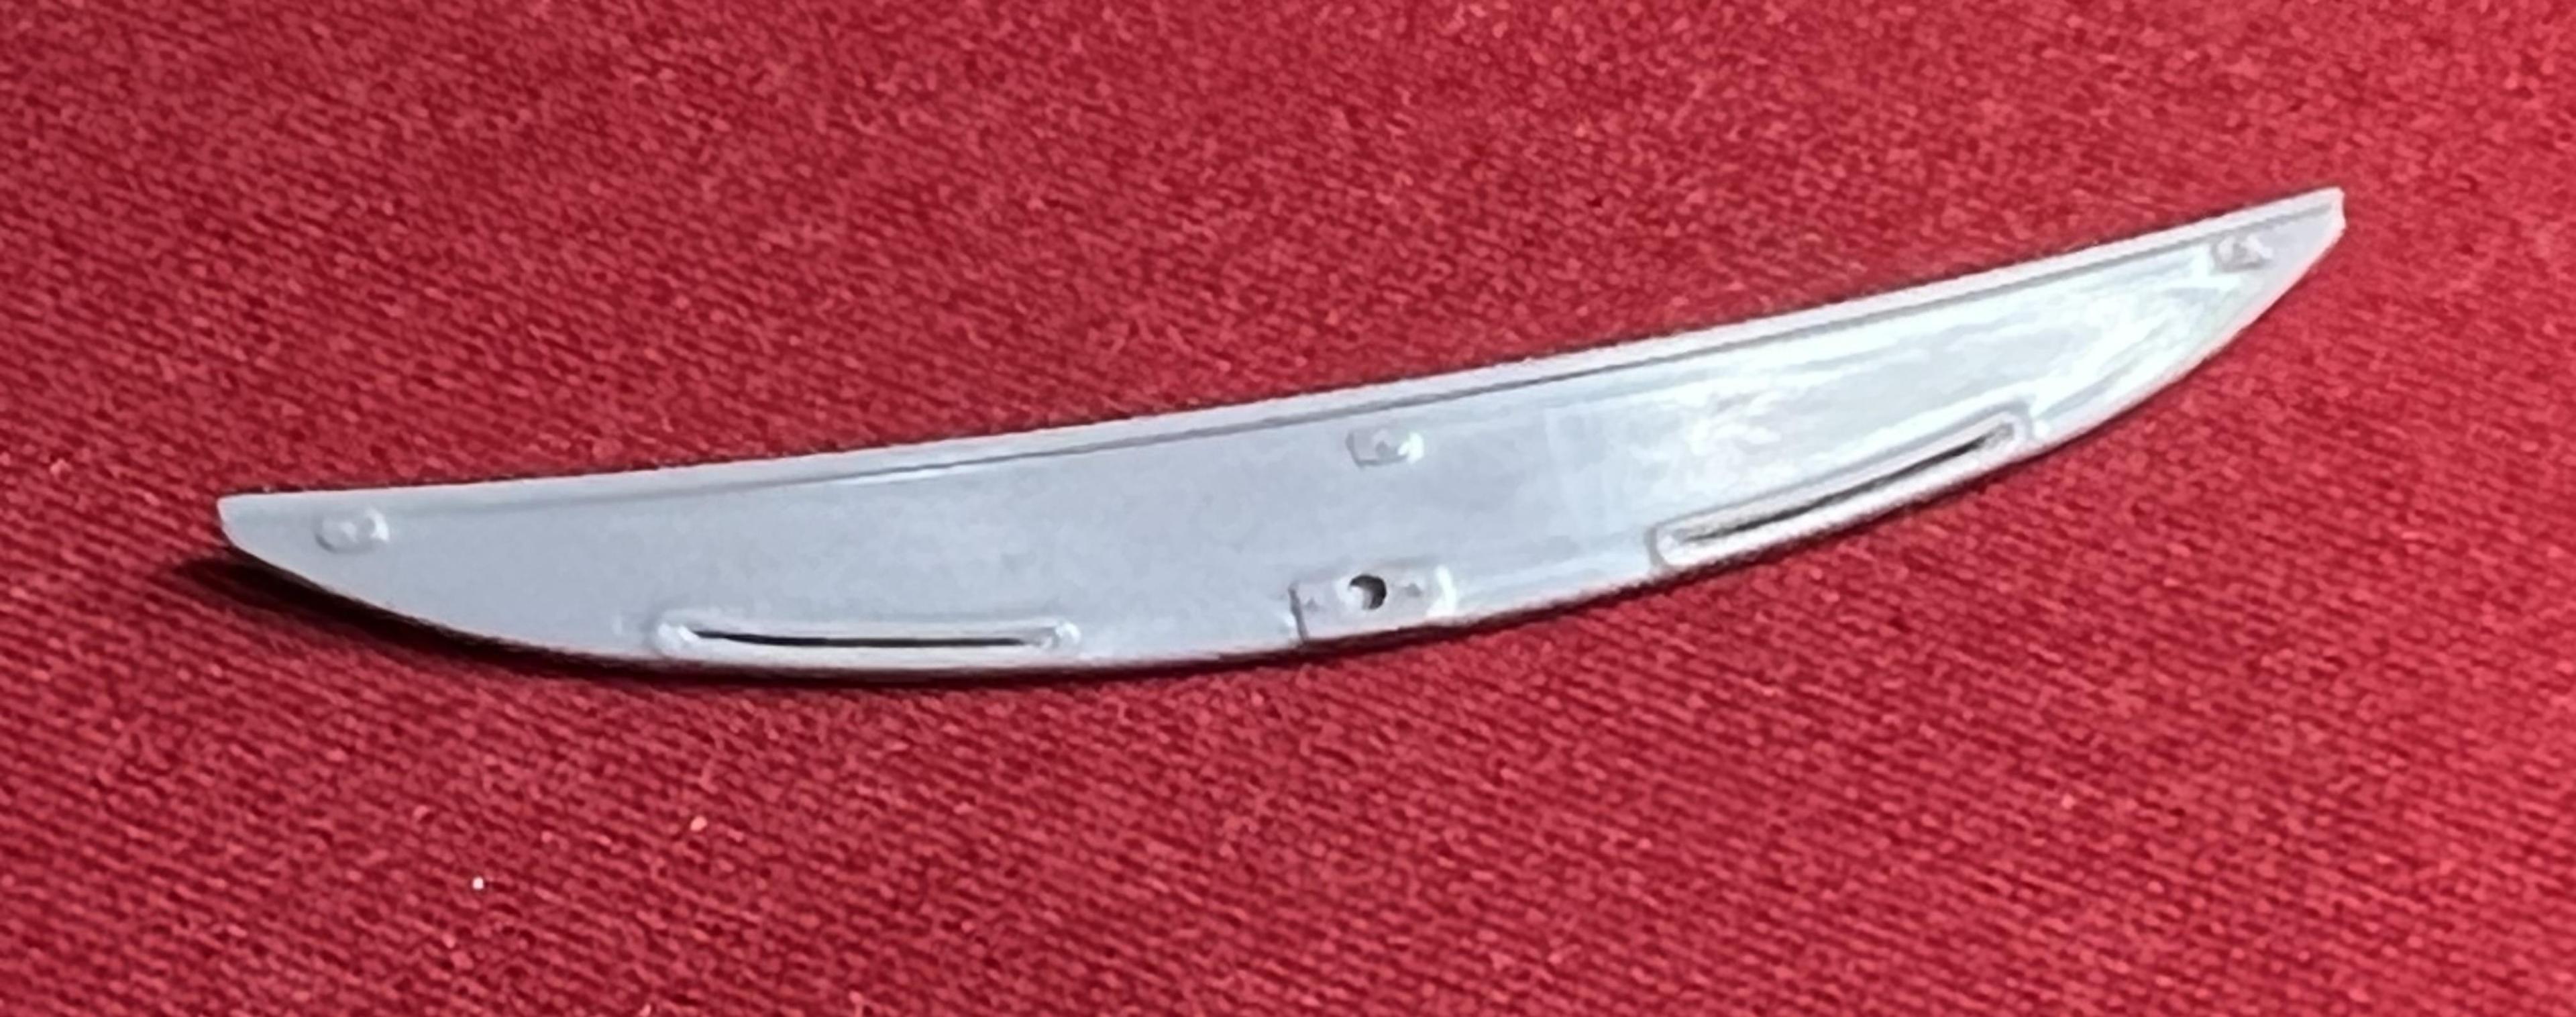
Back at the bench… using the Tamiya panel line washes, I applied black to the body using the fine point applicator to dab a section and allow capillary action to flow along the edges of the doors and body sections. Having deepened the panel lines helps to create a greater depth effect. For clean up I use a variety of shapes of cotton balls and mineral spirits to remove excess washes. With the interior a more liberal wash was applied, then cleaned up with mineral spirits. The aim is to create shadows to achieve greater depth perception for realism. The seats show the effect the wash produces by creating a deeper depth perception, giving volume to them. Top photos show primered chassis and bottom has had the was applied. Masked the windows and frames on the clear windscreen and fibreglass hardtop in preparation for primer, white for the hardtop for it to be visible on the inside followed on top by the blue body. The windscreen, after priming, will be painted black in prep for chrome and rubber sealing. The side frames on the top will done in a similar manner with aluminum trim. There are still a number of parts to be primed, mostly smaller detailed ones. I prepped them by eliminating mould lines, adding mounting pins and installing photo etch parts. I rarely leave parts attached to sprues for painting with the exception of finely moulded ones such as the shift lever and the clutch slave cylinder mounted on the bell housing. Above are the modified grill, rear brake backing plates, pedals with a P/E gas pedal, the resin gas cap from R&D of M, and a finely rendered kit sway bar. The shift lever has been gently sanded while on the sprue. One of my wheel hubs executed an escape! Luckely I have the stock version from which I pirated another hub. The photo composite shot is of the actual MG from an auction site. I often find these to be very helpful as they offer a variety of good detail photos. In this case, while being the original racer, it does display current modifications for vintage racing that would not have been in place for the 64 Sebring, such as tow hooks and the racing seat. The blue and white entrants in 64 retained the stock seats while the red roadster was outfitted with a race seat at the driver’s request. Sorting thru the parts bin I did locate a set of driving lights to fit behind the grill. There are still a few more tasks before really getting into airbrushing, especially mixing the body colour with the Tamiya LP range. The rainy season is upon us and spending more time indoors will allow for greater bench time! Thanks for lookin’ in, Cheers Misha
-
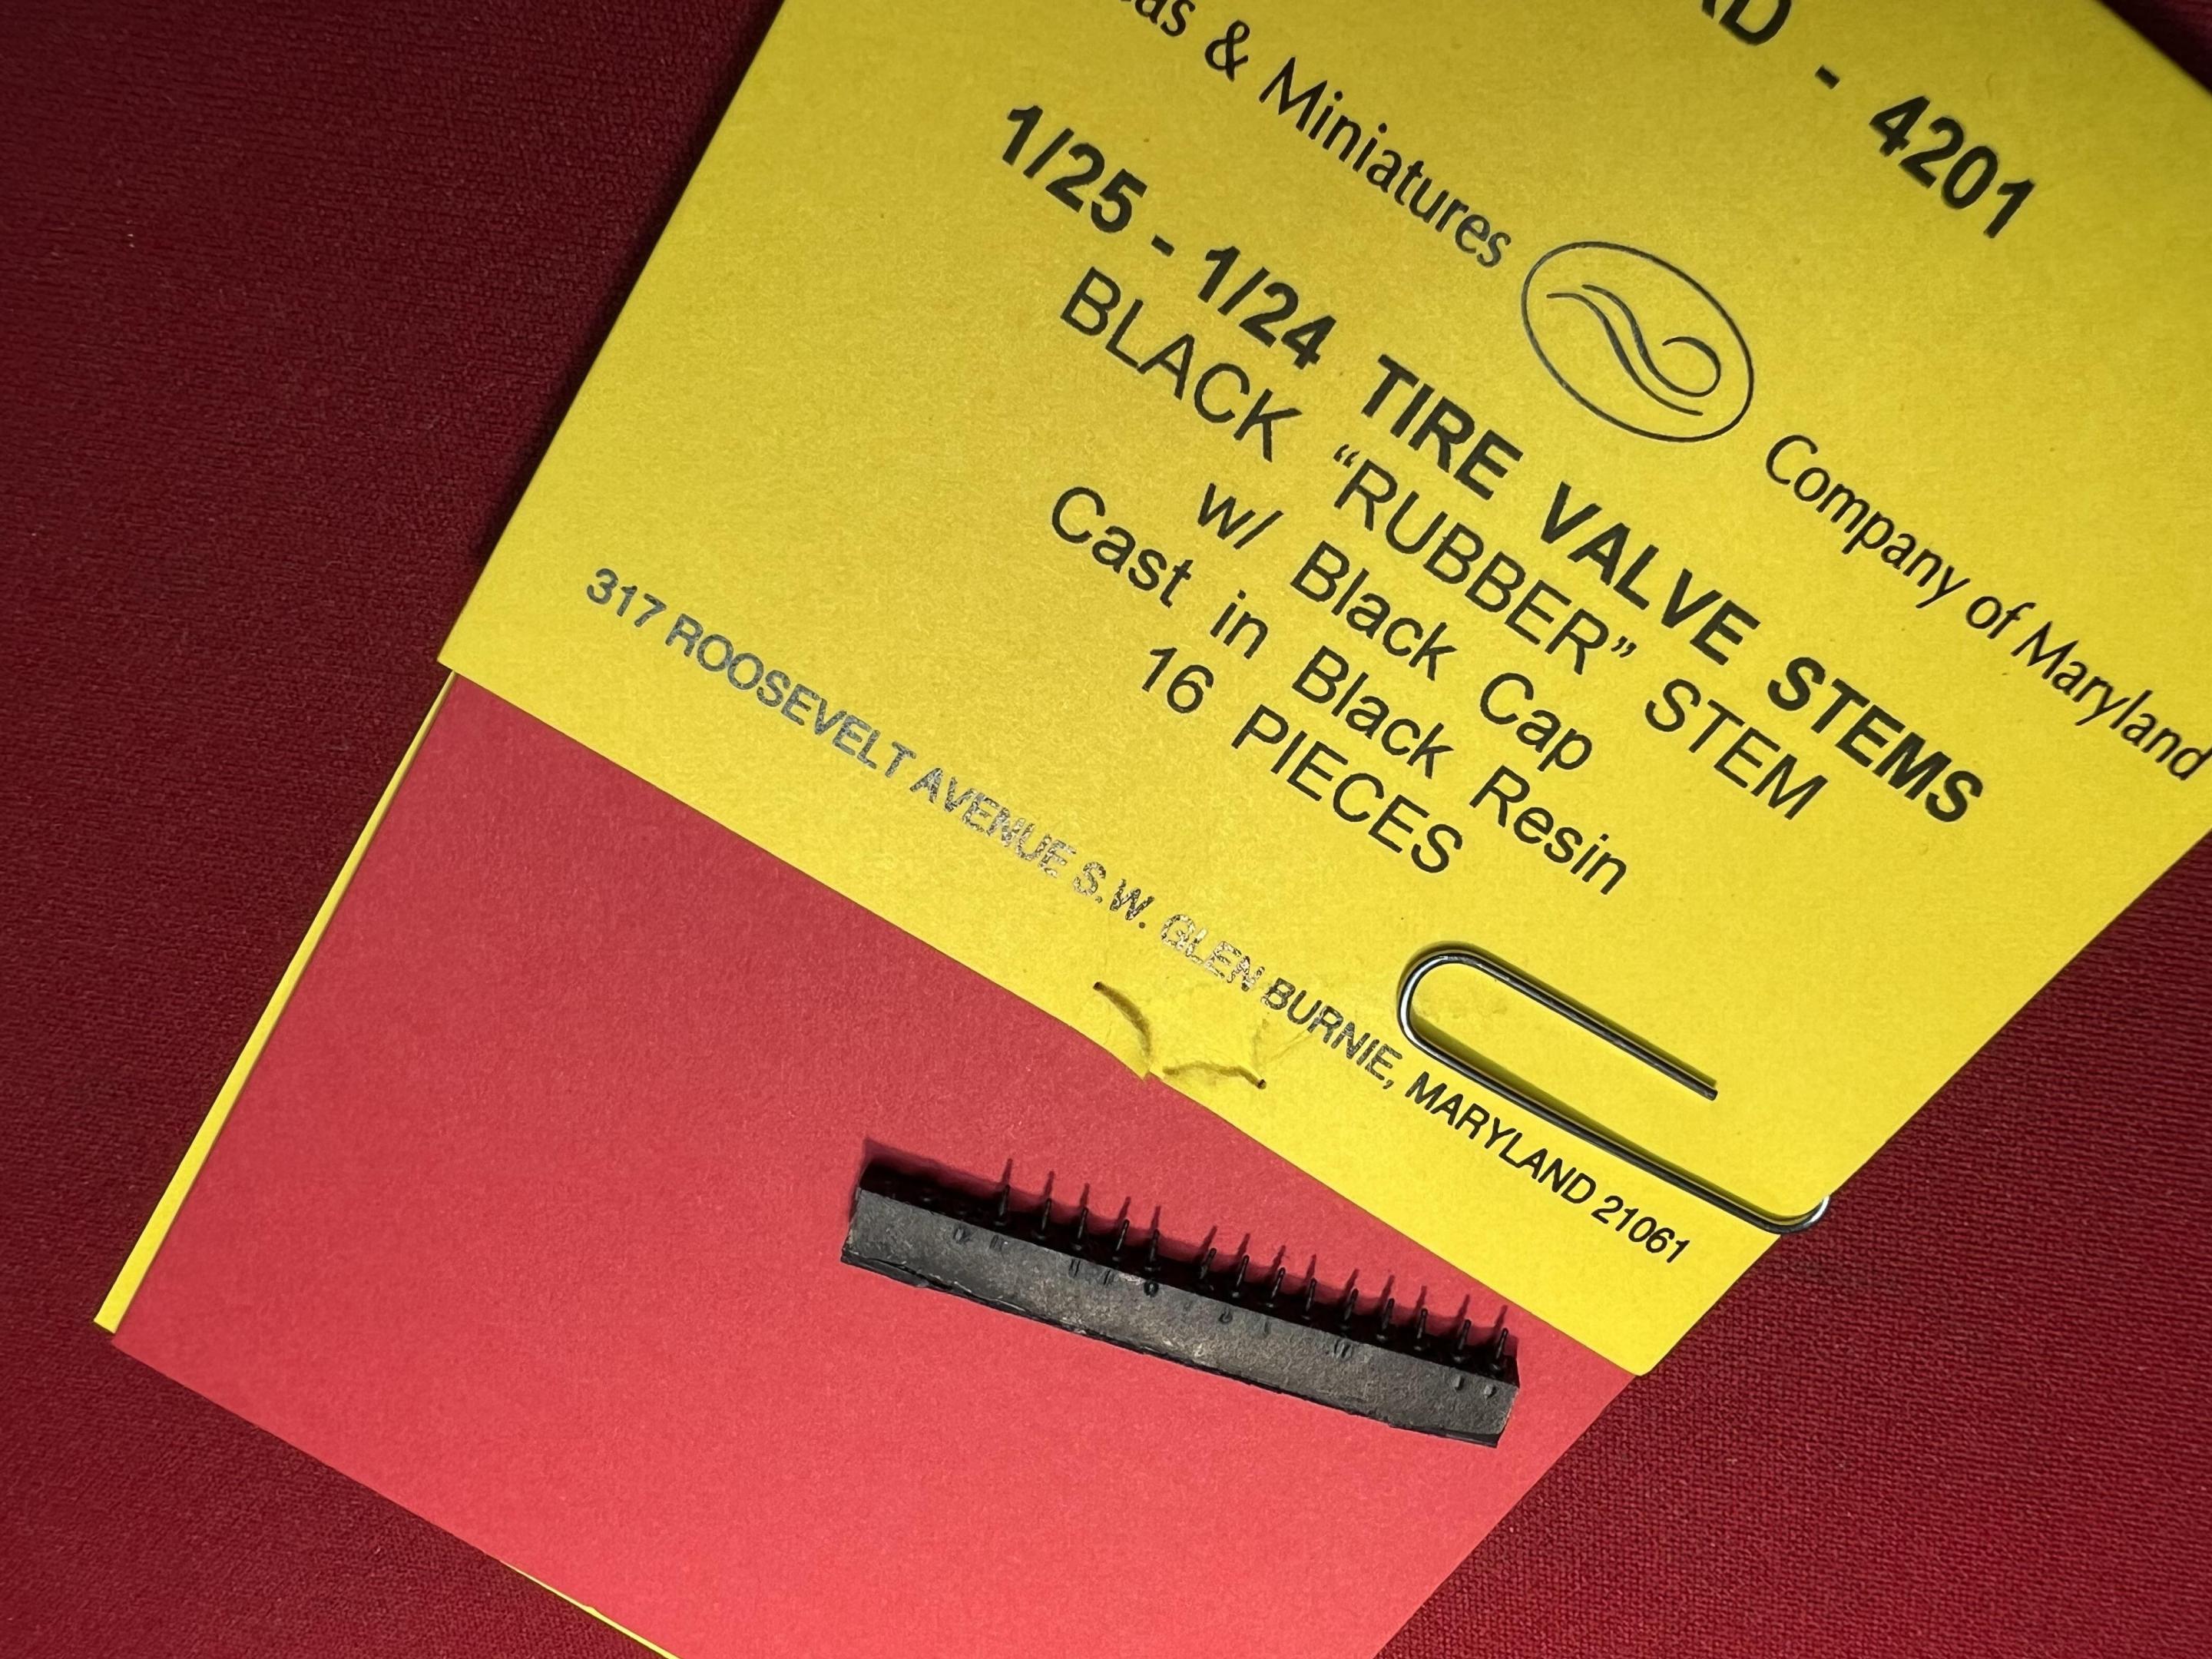
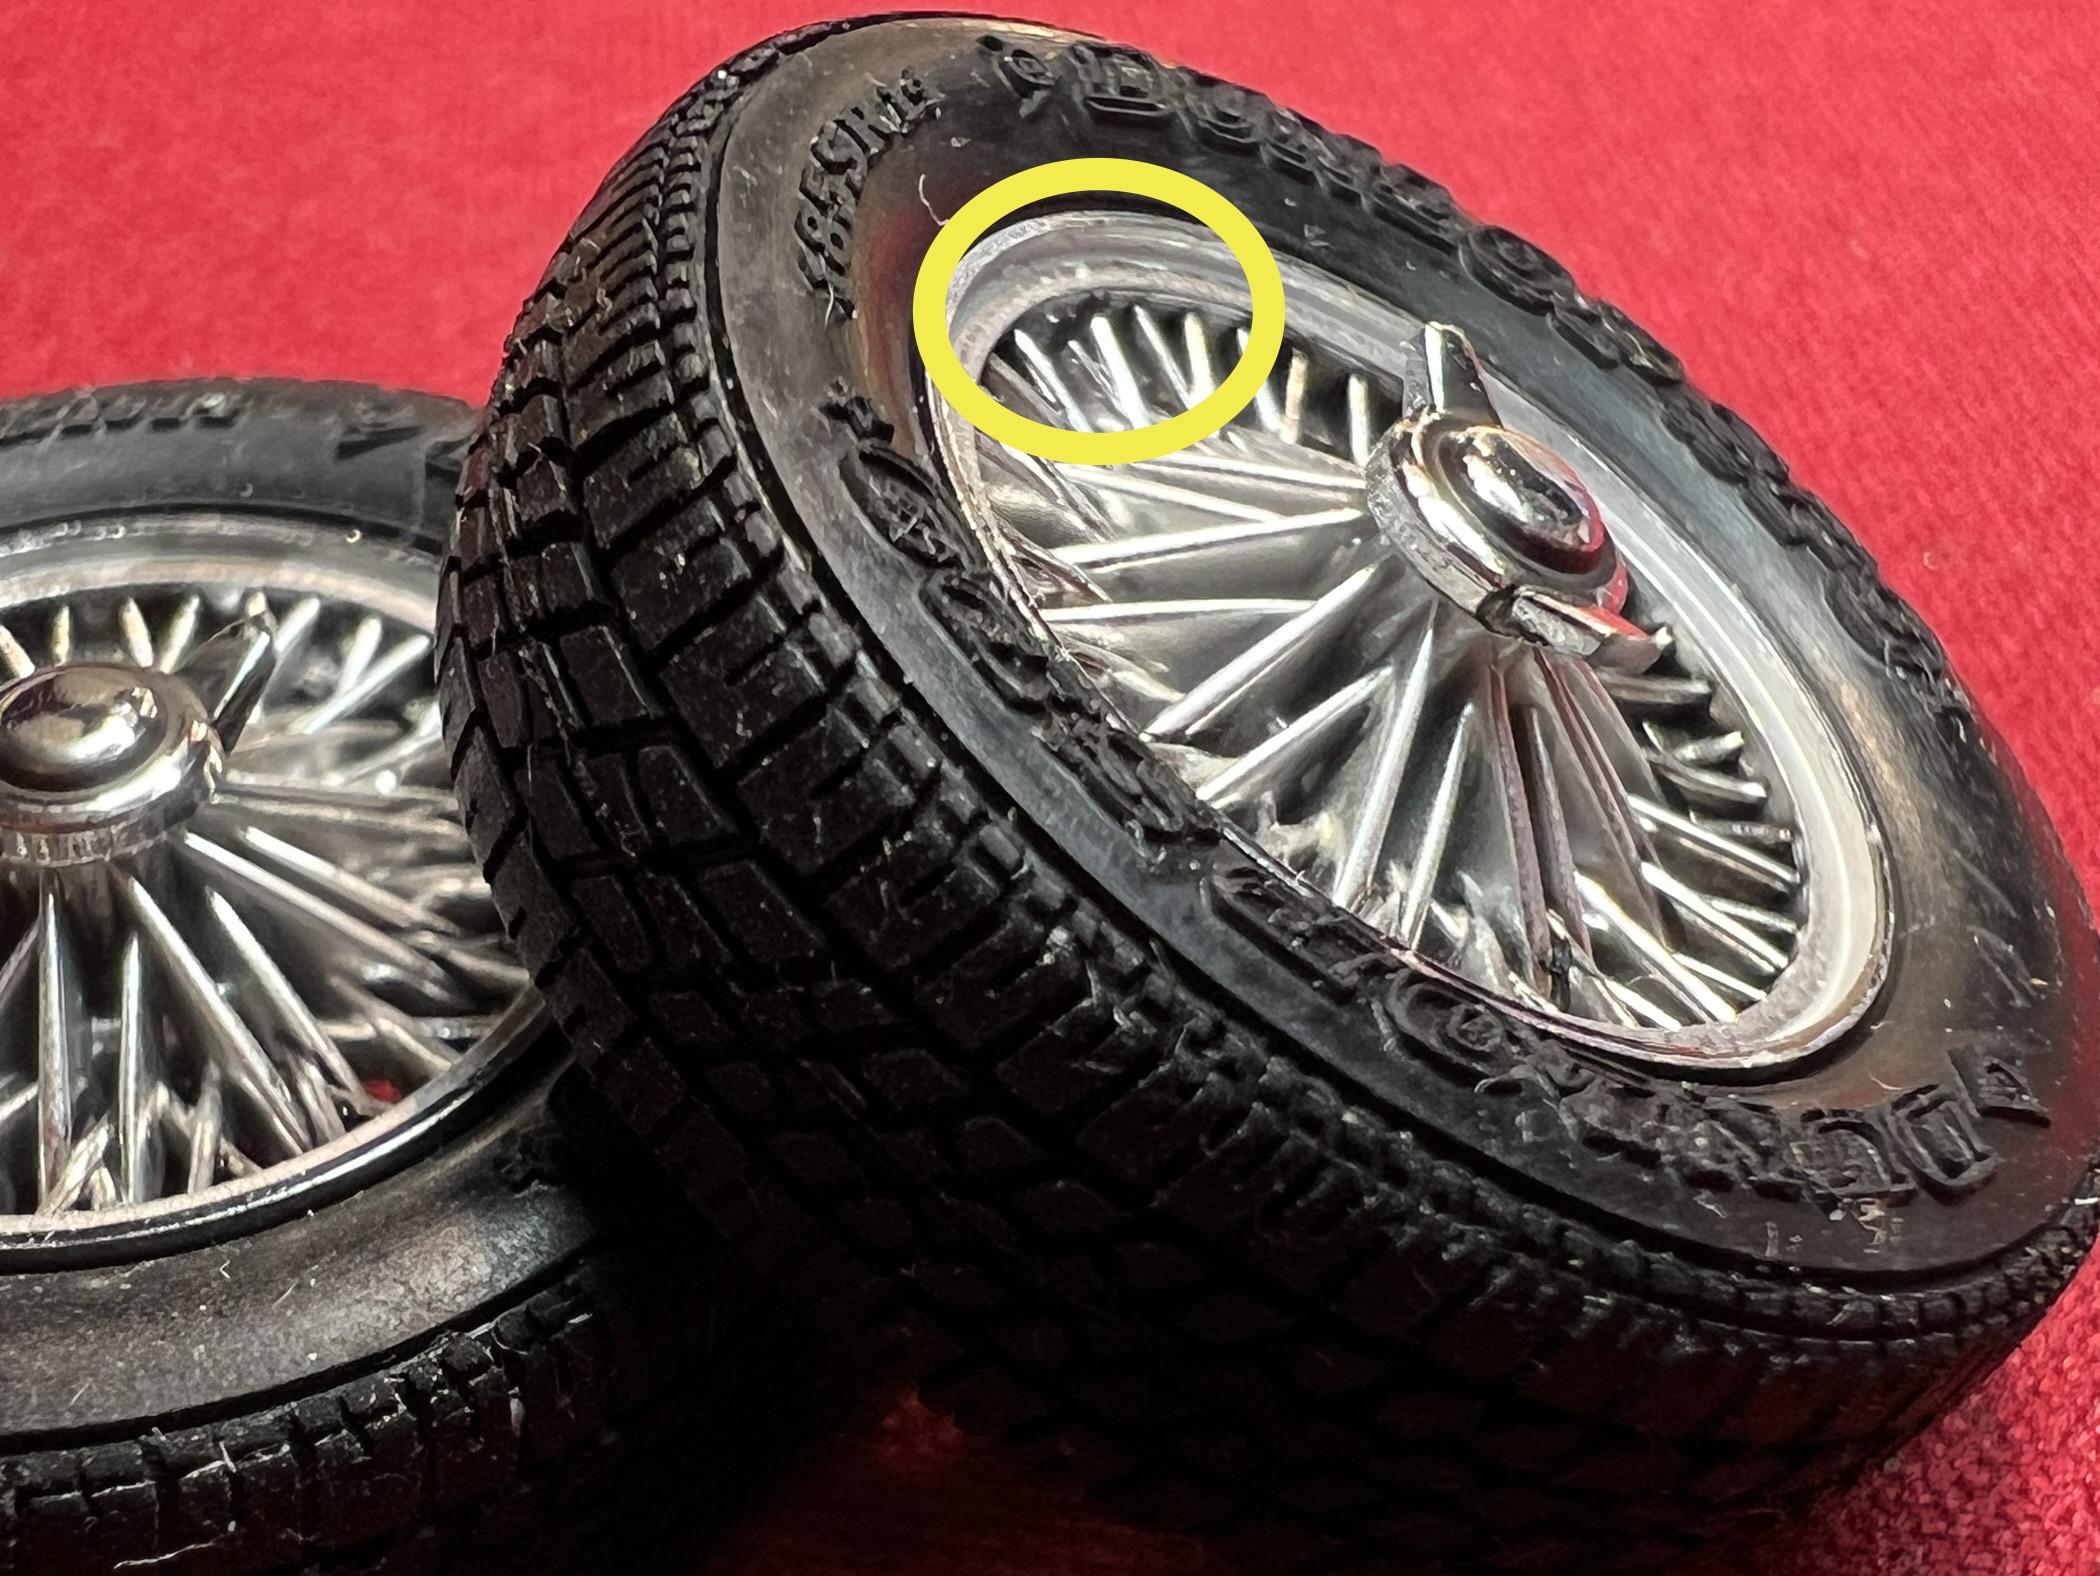
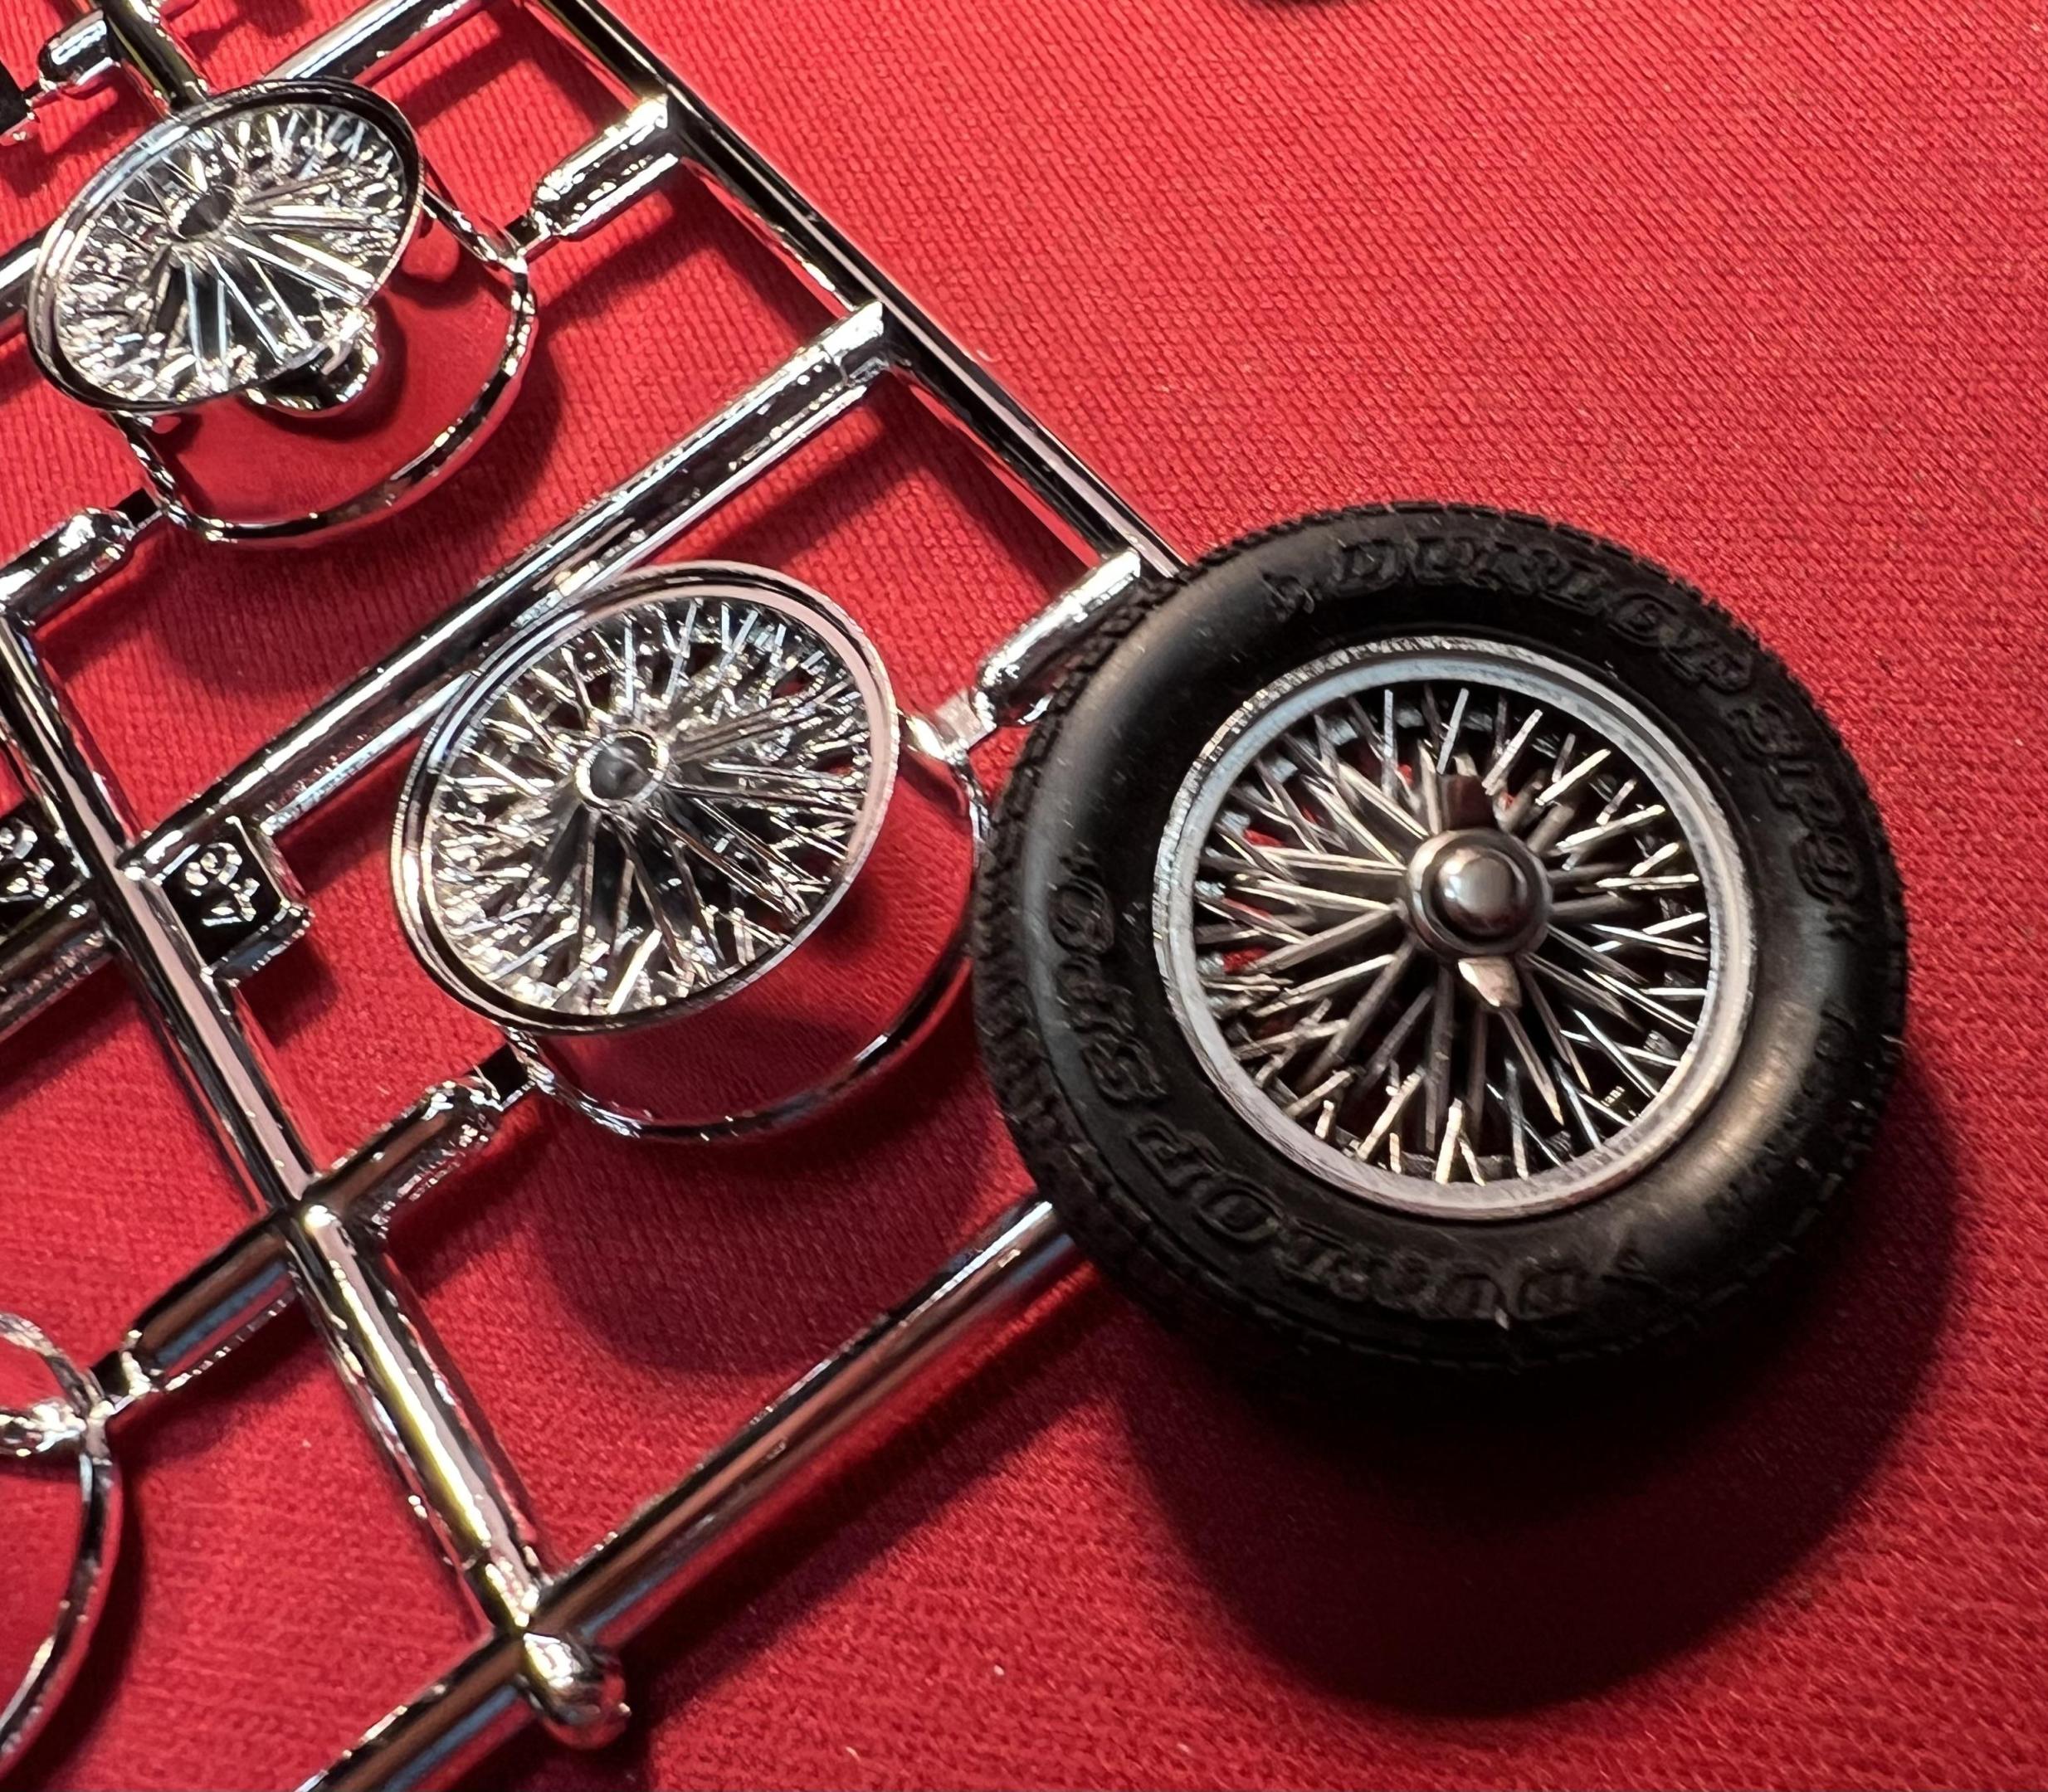
Thanks for checking in Donato and yes, using a wash greatly enhances the scale effect. That was my second detailing stage along with installing R&M resin tire valves for the first time! Thankfully Norm Veber included instructions to use a #77 drill bit for the install. Originally I dreaded attempting to achieve a decent job because of the tiny parts, yet I found it to be very slick. Drill at the appropriate spot, cut the valve off its sprue and using quality fine point tweezers dip the stem in white glue and install! The tire valve is circled above. One needs a magnifier to spot it, yet I know it’s there. Above is a comparison between the finished wheel to the original on the sprue part. This shot shows the excellent rendition of wire spokes for an injected piece. Now 3D modelling offers much greater fidelity. Below is the actual wheel on the original car.
-
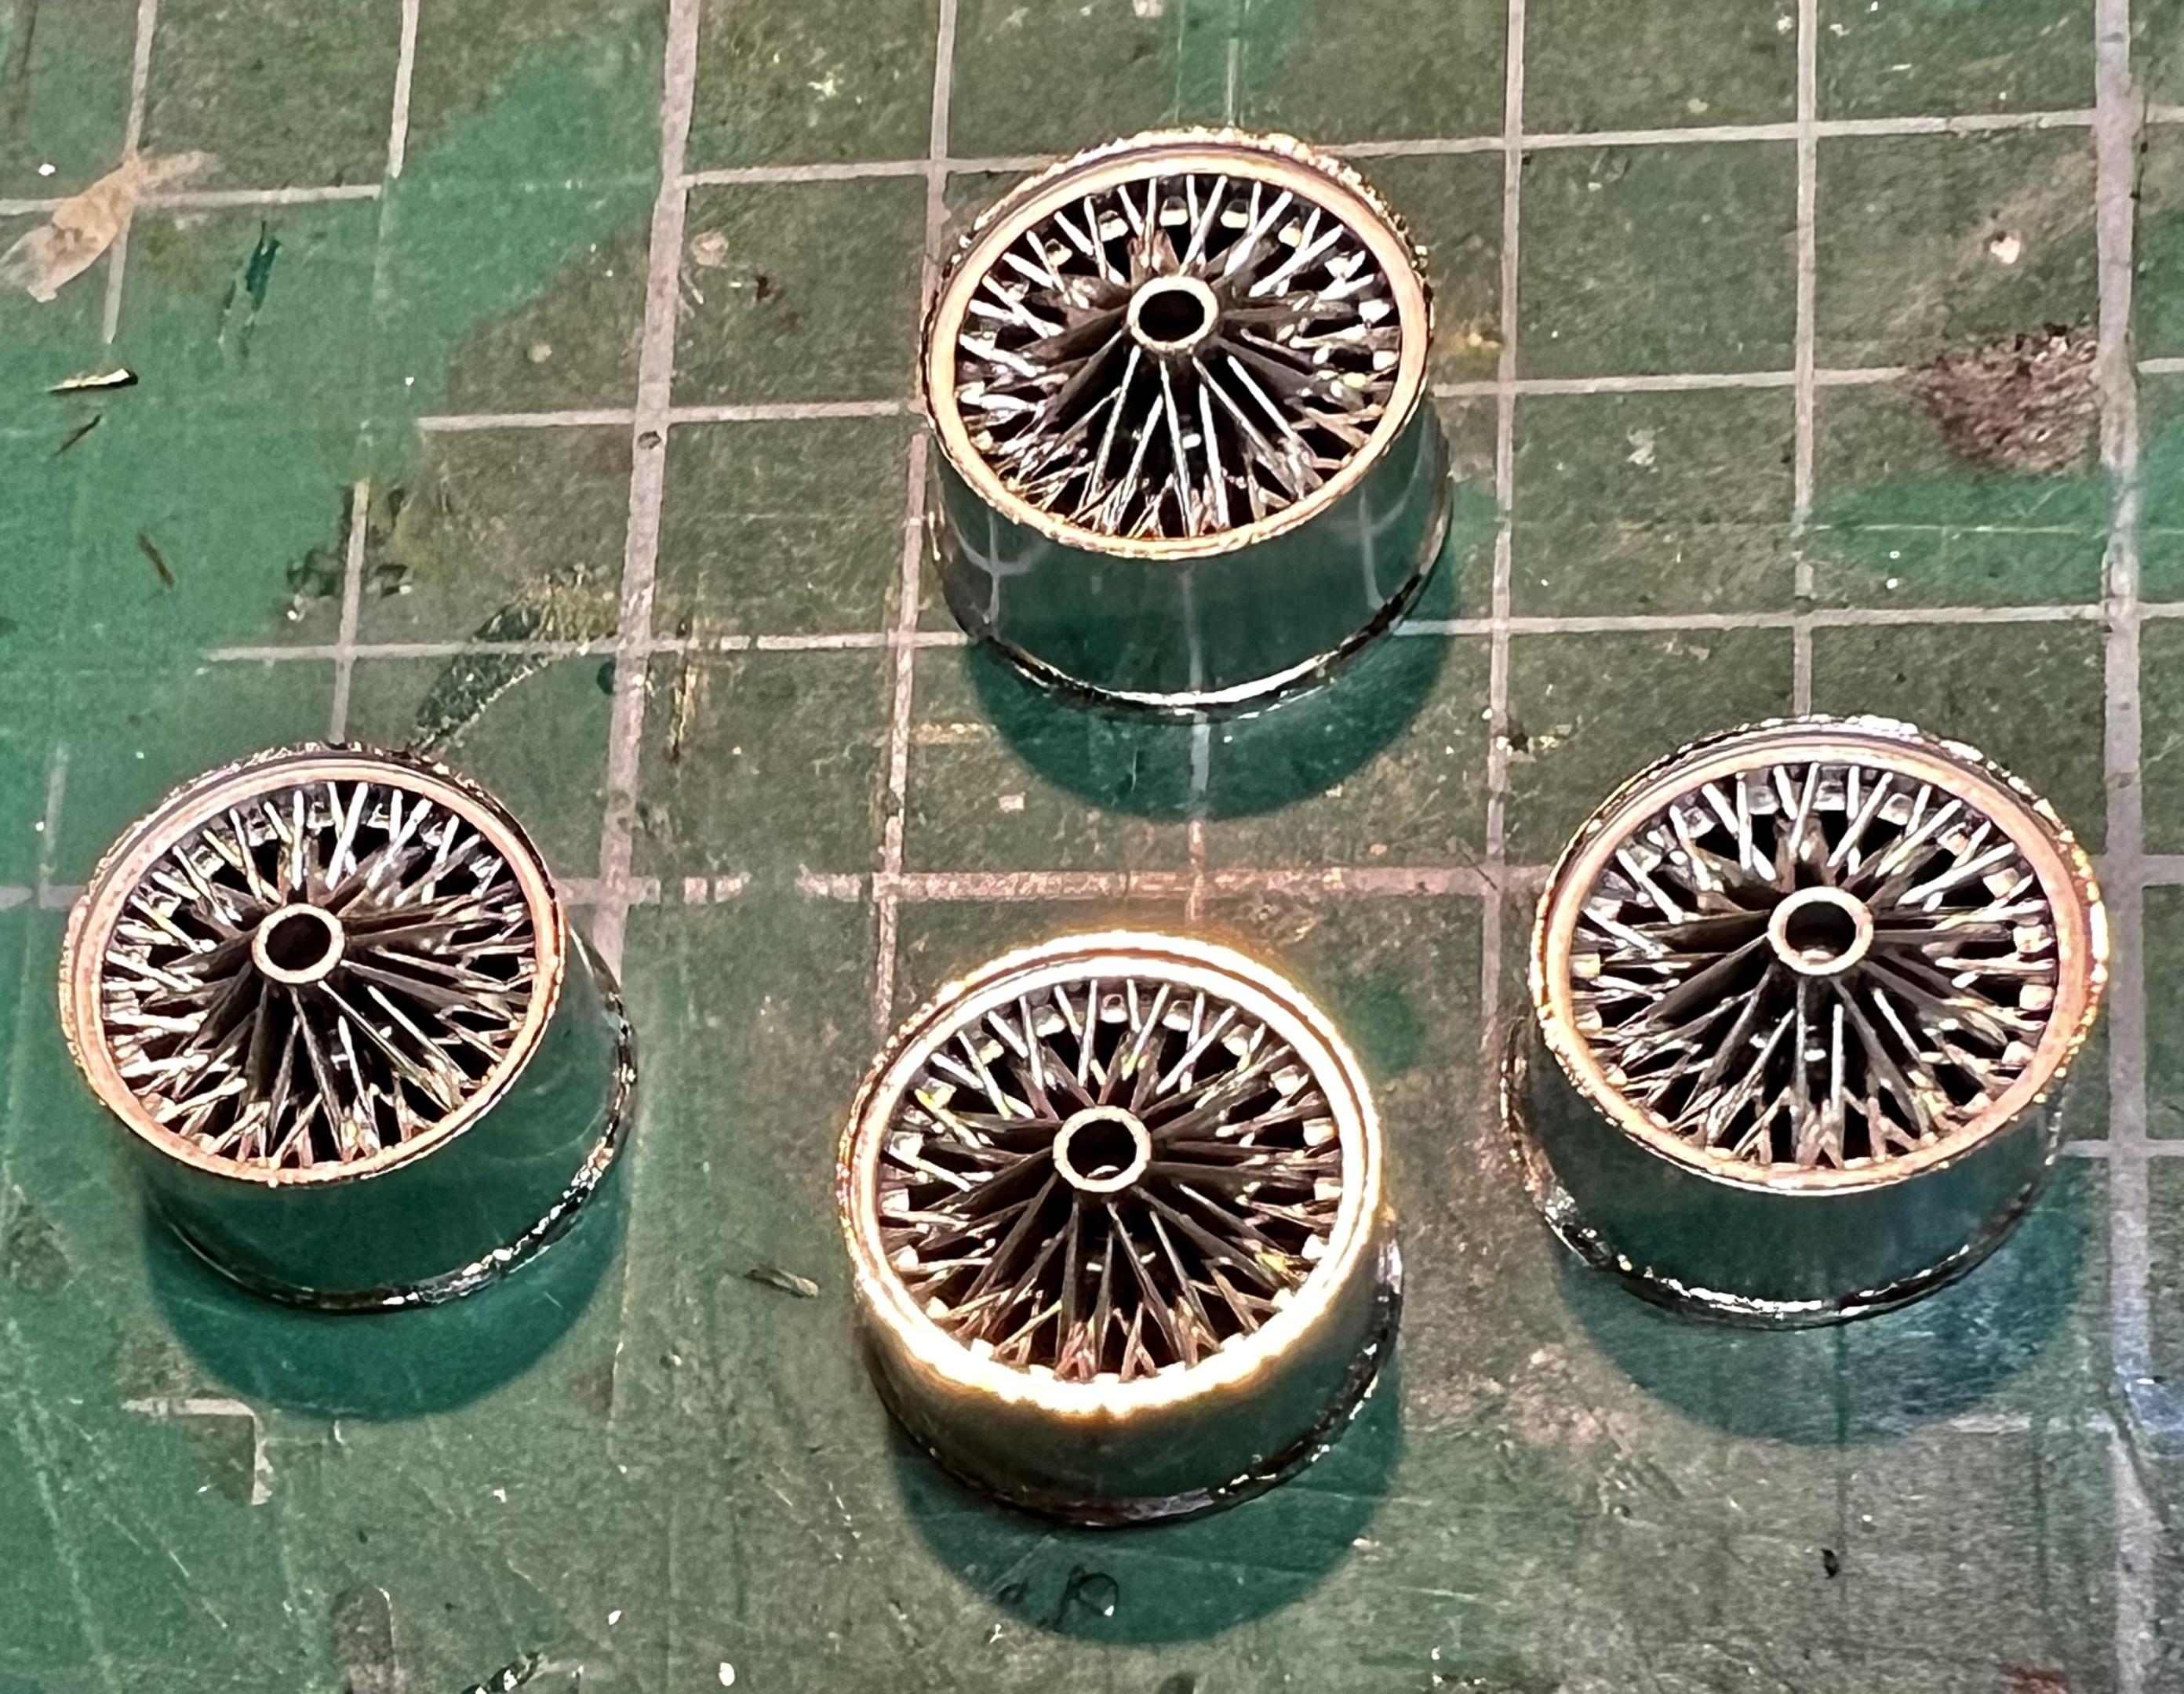
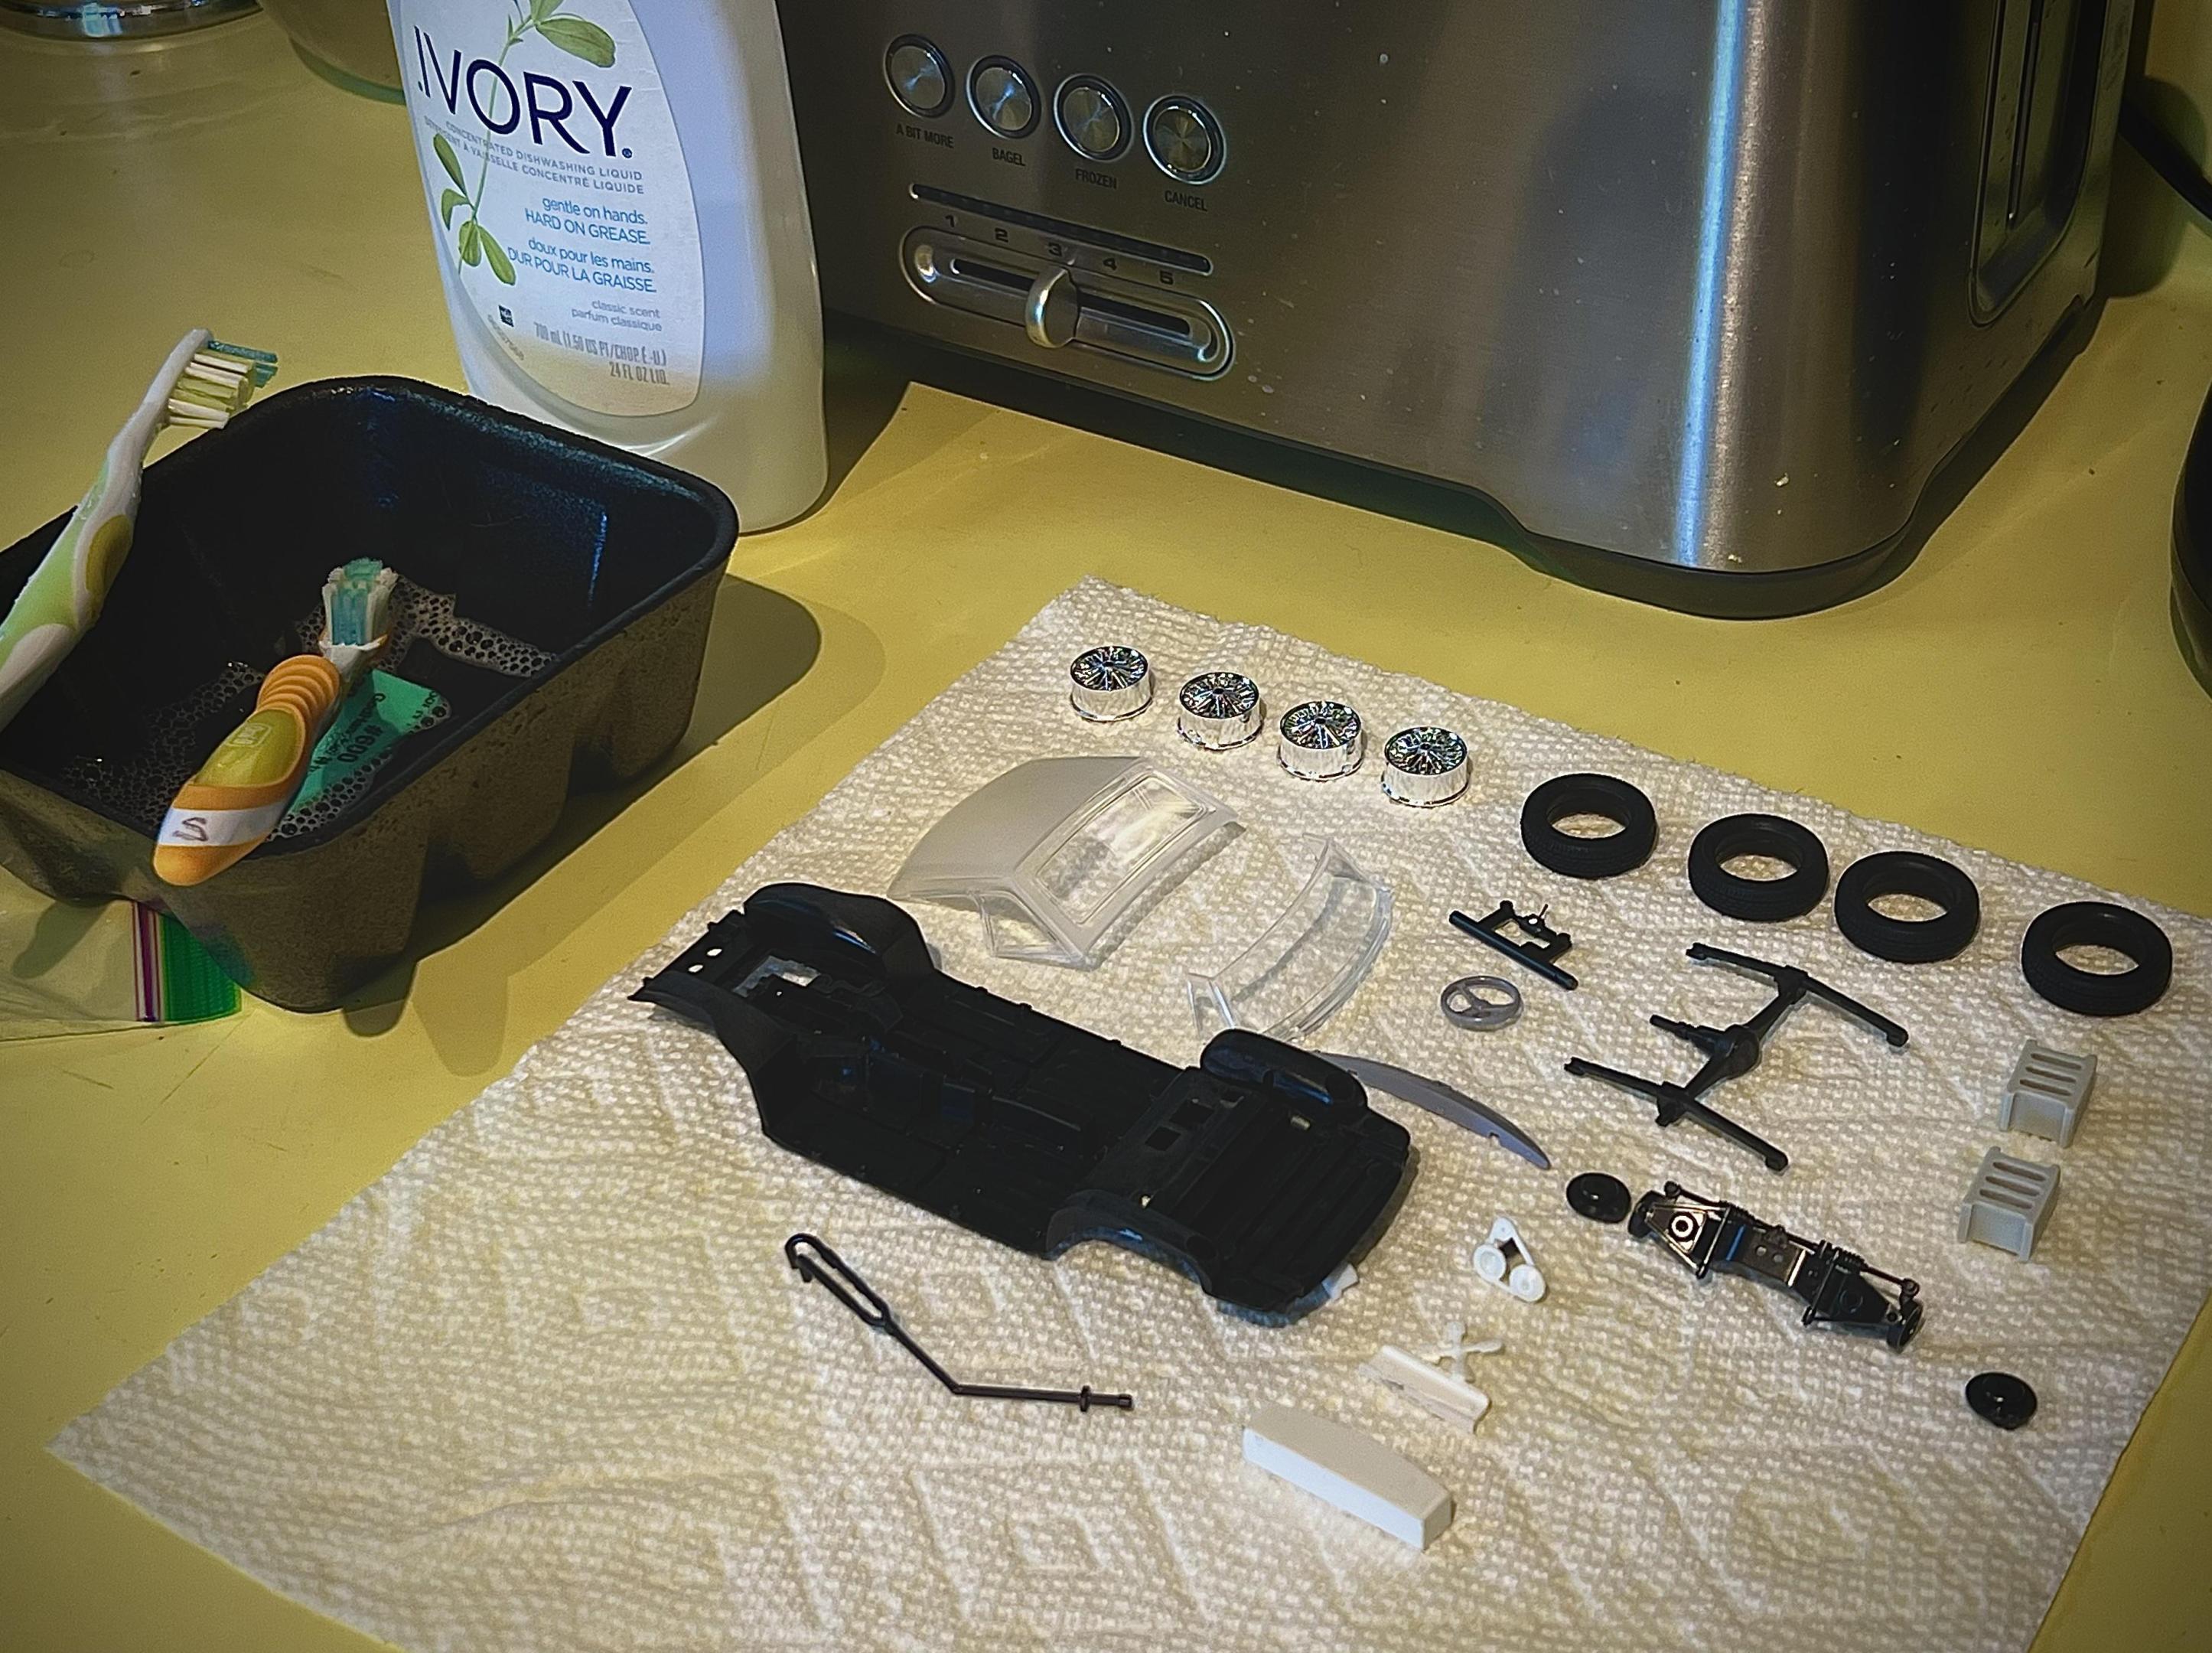
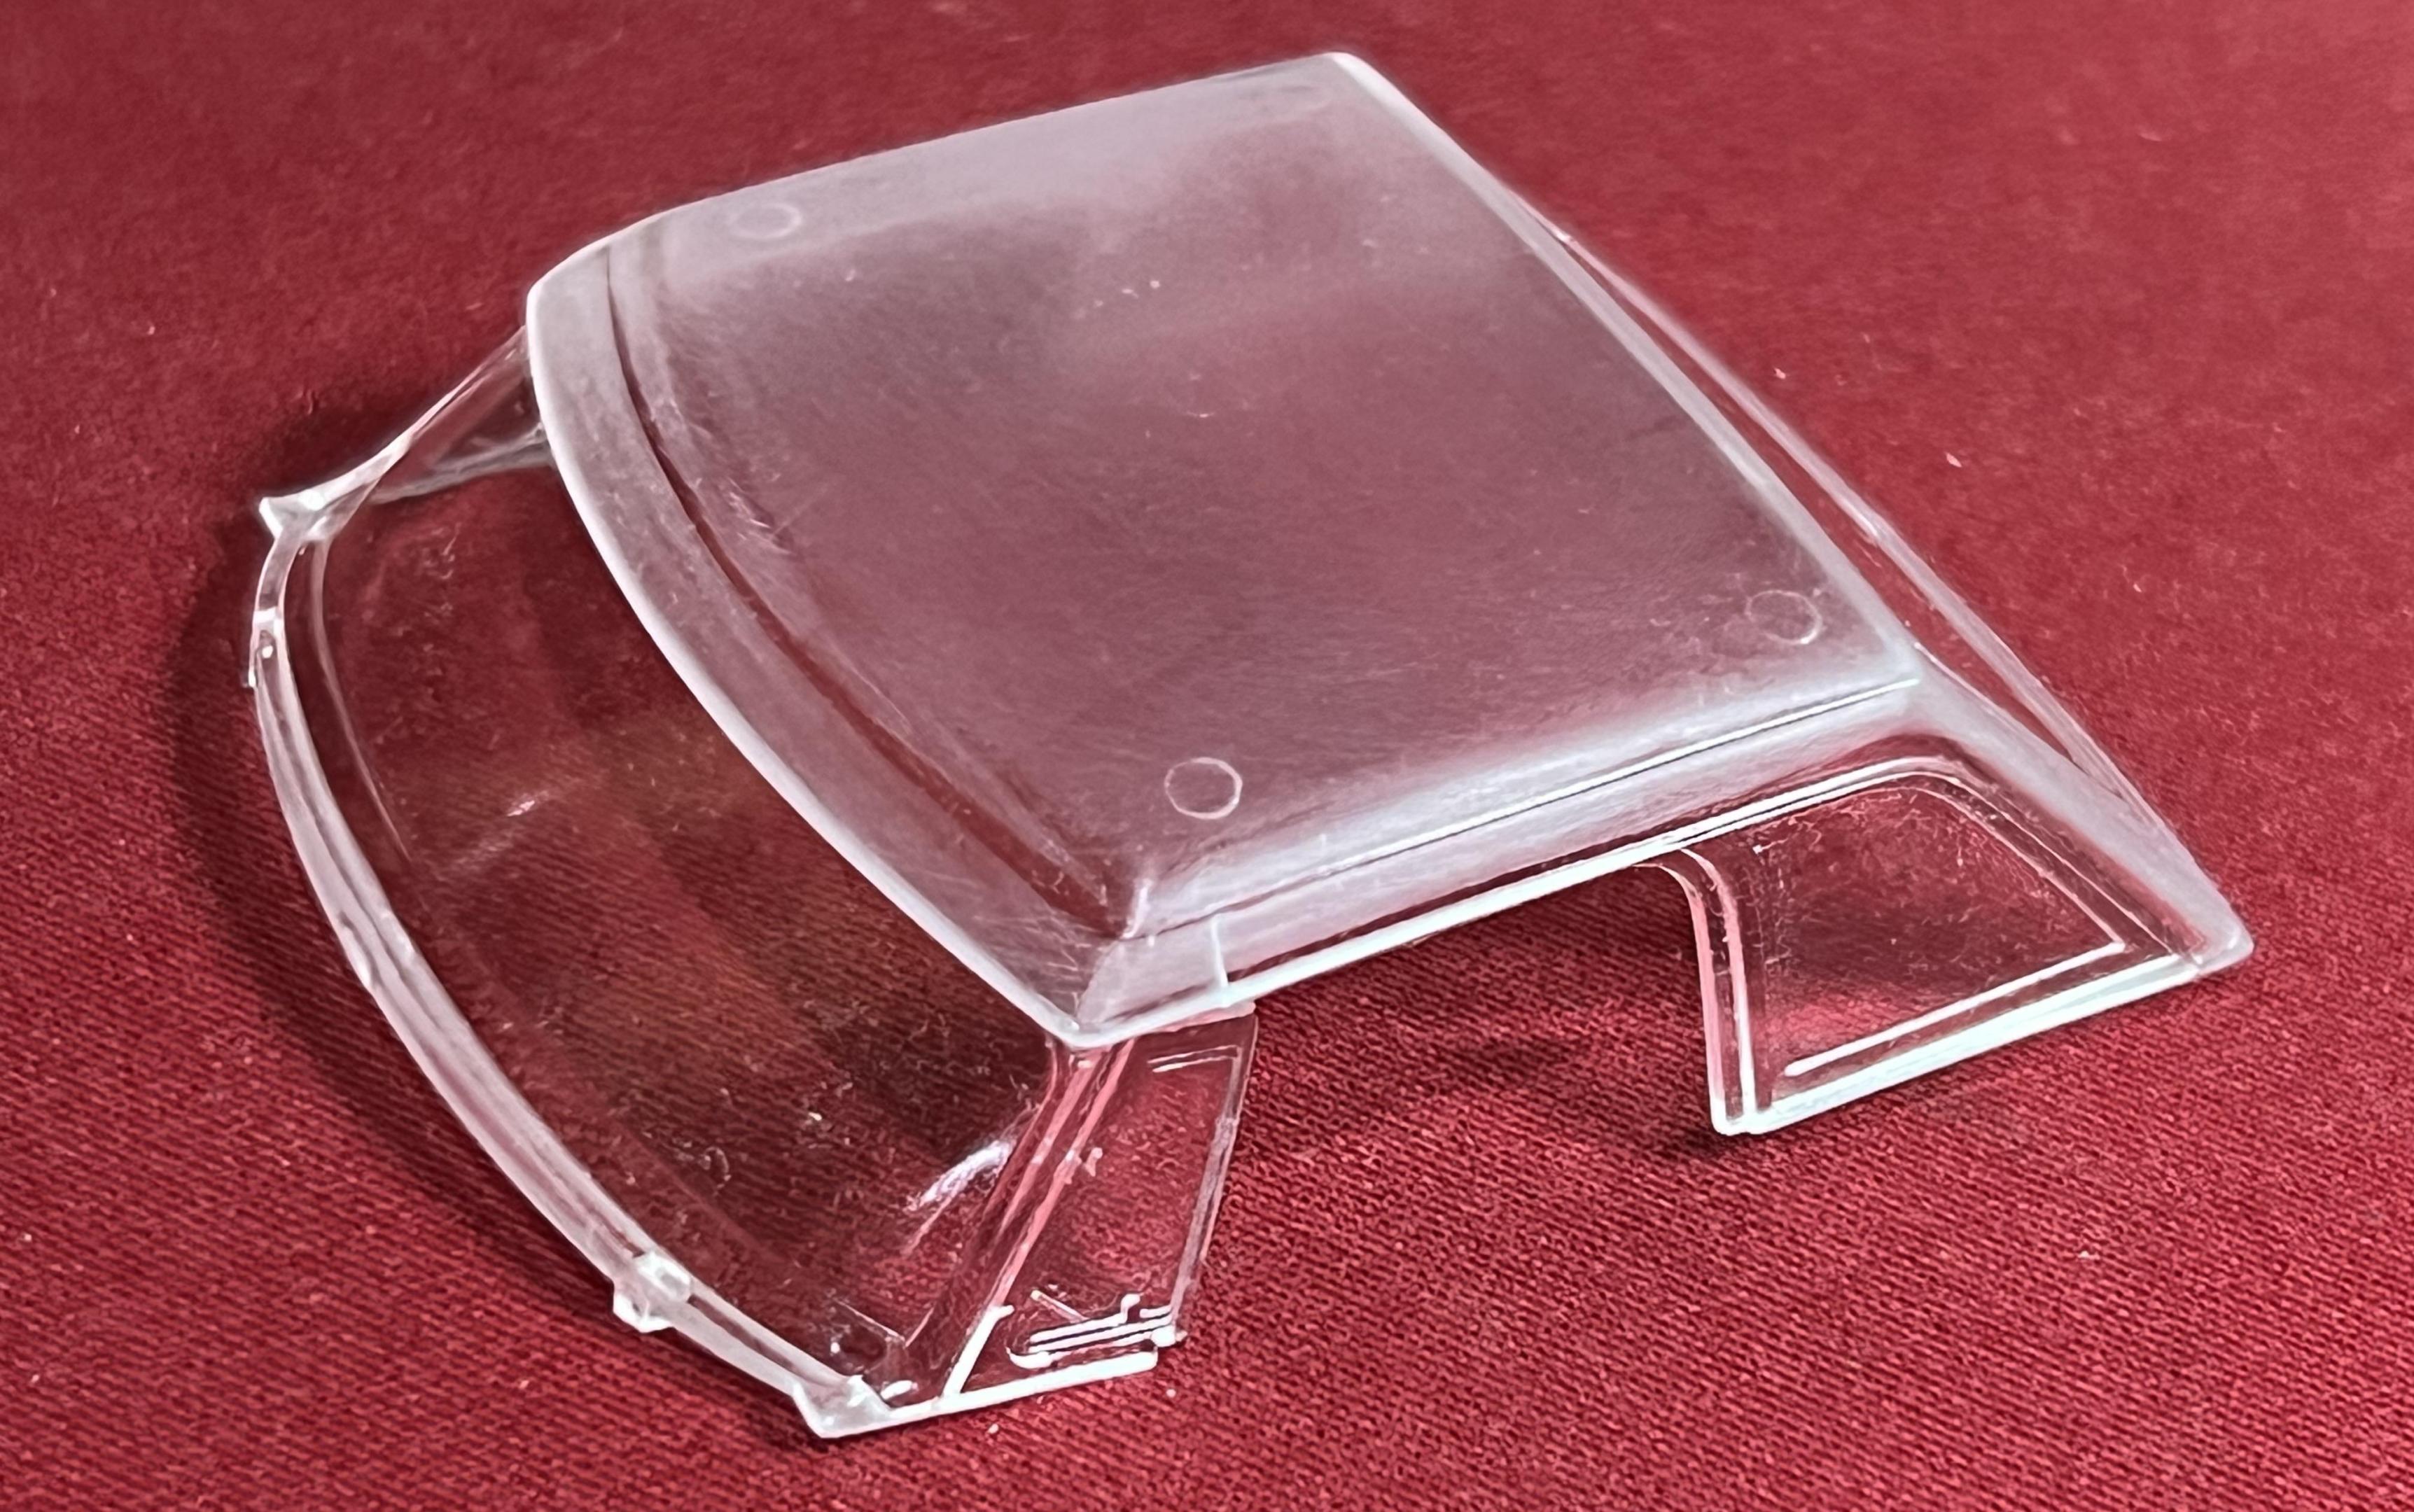
Over the past week I’ve been able to move along on the build, main objective is getting parts primed, then paint and assembly. Prep remains key to a better result, so most of today has been spent in the kitchen! My usual routine is to wash the parts with Ivory soap, rinse and dry. Many dish soaps contain a silicone-like additive to make dishes shine, yet Ivory remains pure; you can tell by the squeaky clean feel of the plastic. Avoid drying by using a rubbing action, gentle soaking up wet spots with a paper towel prevents static build up. After air drying the first step will be to give the parts a blast with the airbrush followed by a sweep with an anti-static brush just before applying paint. Prep began with the clear molded pieces for the windscreen and fibreglass hardtop. Being careful of the clear portions, a wet sand with 600 gave a tooth for the primer. Using my new Tamiya scriber that I picked up at the DSC I deepened the de-misting vents on the dash top to add greater depth to the final look. The front suspension builds up into a single assembly to attach to the frame of the unibody chassis. Using my spare body with the chassis I mocked it up to determine if it needed to be lowered. Comparing the photo to the model the front required a slight adjustment, roughly a scale one inch drop to place the wheels higher up in the body. This was easily done by sanding the suspension’s attachment points to the chassis. I decided to complete the chassis detail by adding the empty cage opposite the battery. This required careful measuring and assembly with Plastruct lengths. As the driving position has changed to LHD the steering column needed to be flipped due to the signal light control. An injection mark needed attention as did the bulbous, out of scale control stalk. Using a section of brass rod with the end tipped in white glue to represent the end of the control stalk a much improved look was achieved. With chassis detail completed at this point it received the first primer coat as did a number of other parts. The wire spoked wheels are vey nicely detailed with no backing on them allowing a see-through effect. The actual wheels used in competition weren’t stock having been modified with heavy duty spokes. Using a circle template to mask the rims I toned down the spokes with Testor’s Dull-Cote to eliminate the chrome finish on them. A side note, two of the MGBs used the modified spoked wheels while the red one used American Racing mags. This was part of the effort to have the MGs appear as stock as possible for publicity purposes. This also extended to the interiors which kept the factory door cards and seats (with the exception again with the red car where a driver requested a racing seat). Next on the list is to mix up the body colour using Tamiya LP colours in a large enough quantity for the project. Going to keep an accurate record of the paint ratios in case more is required. Most of the running gear is primered and will receive its base colour in preparation for further detail painting. Being a curbside with minimal engine detail the concentration is on the chassis. Thanks to all looking in and especially to members who comment. Always on the look out for more info and hints! Cheers Misha
-

Johan ‘70 Cadillac ElDorado pro touring (low and aggressive)
Misha replied to Steve H's topic in WIP: Model Cars
Hi Steve, What a great build, being so adventurous with all the modifications! Just went over your entire thread to catch up with it. I’m just getting back to the workbench now after health issues and being down south. Hope to see your project in person soon. Cheers Misha- 220 replies
-
- johan
- pro touring
-
(and 1 more)
Tagged with:
-
Amazing work Louis, the engine compartment appears to be 1:1 scale, your scale fidelity is most impressive! I was curious about what your references were? It’s easy to find photos of modern vehicles on the web, not so much for old classics. Beautiful work along with great photos, thanks for sharing. Cheers Misha
-
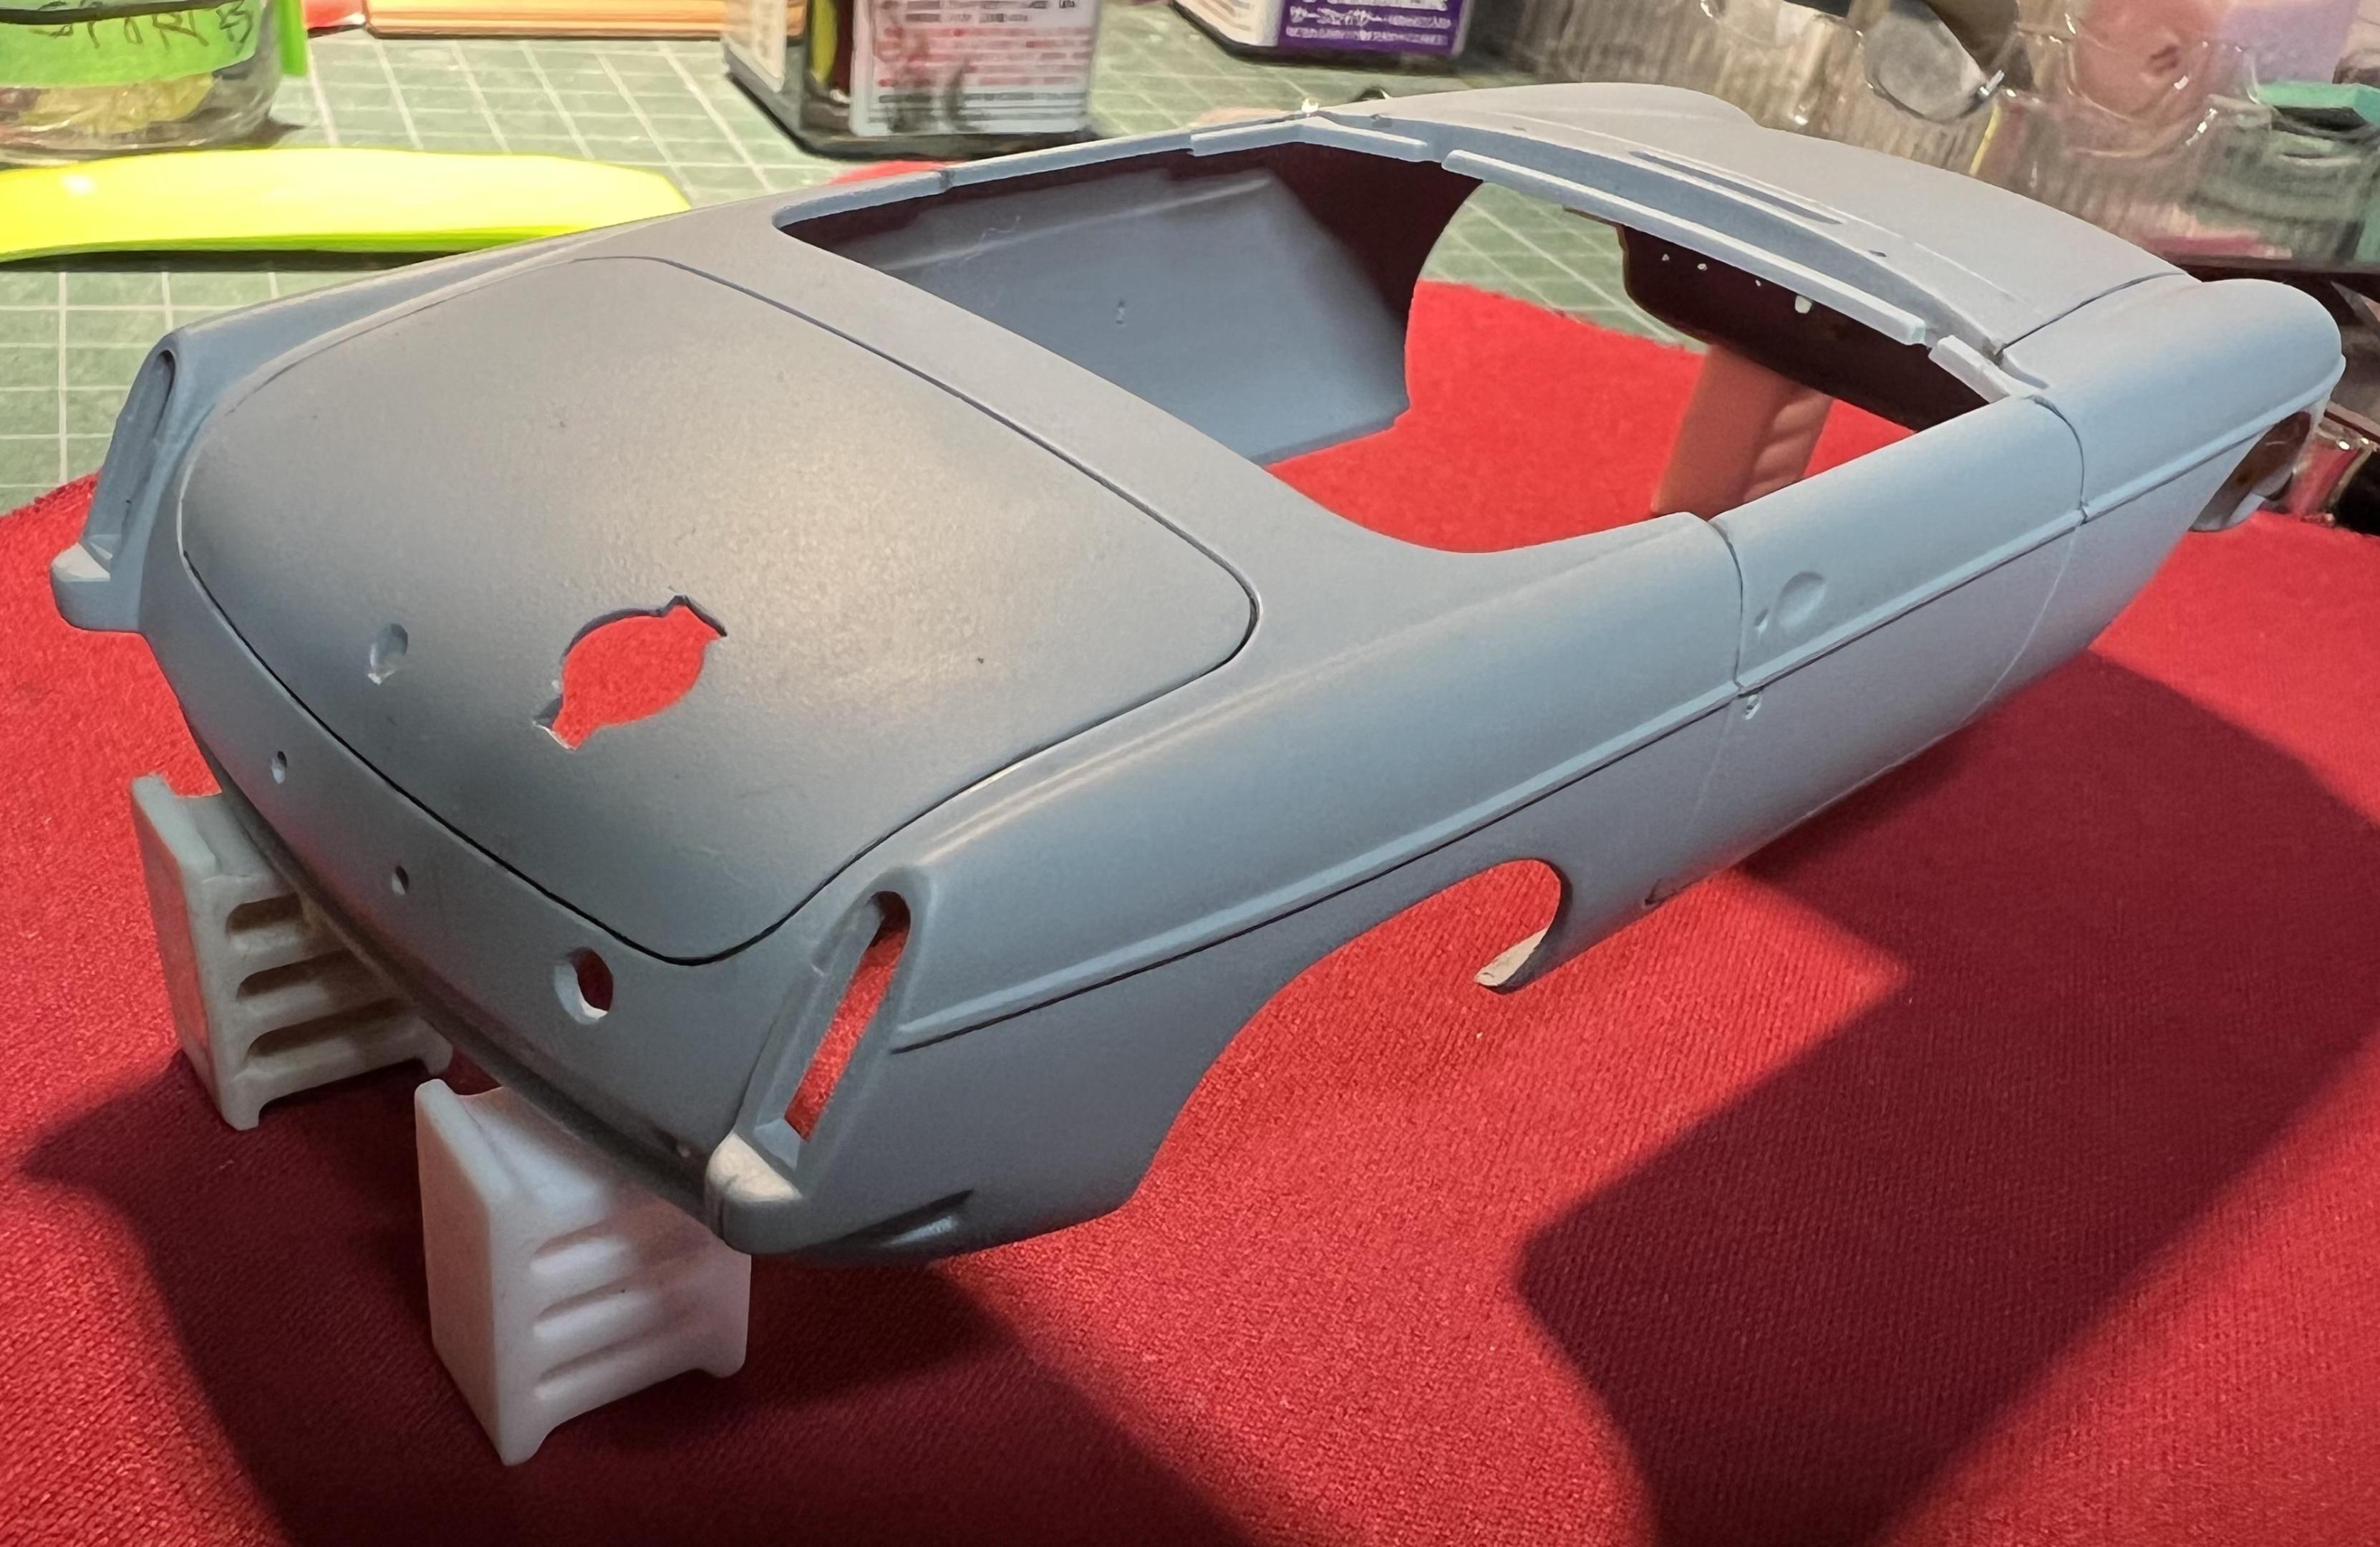
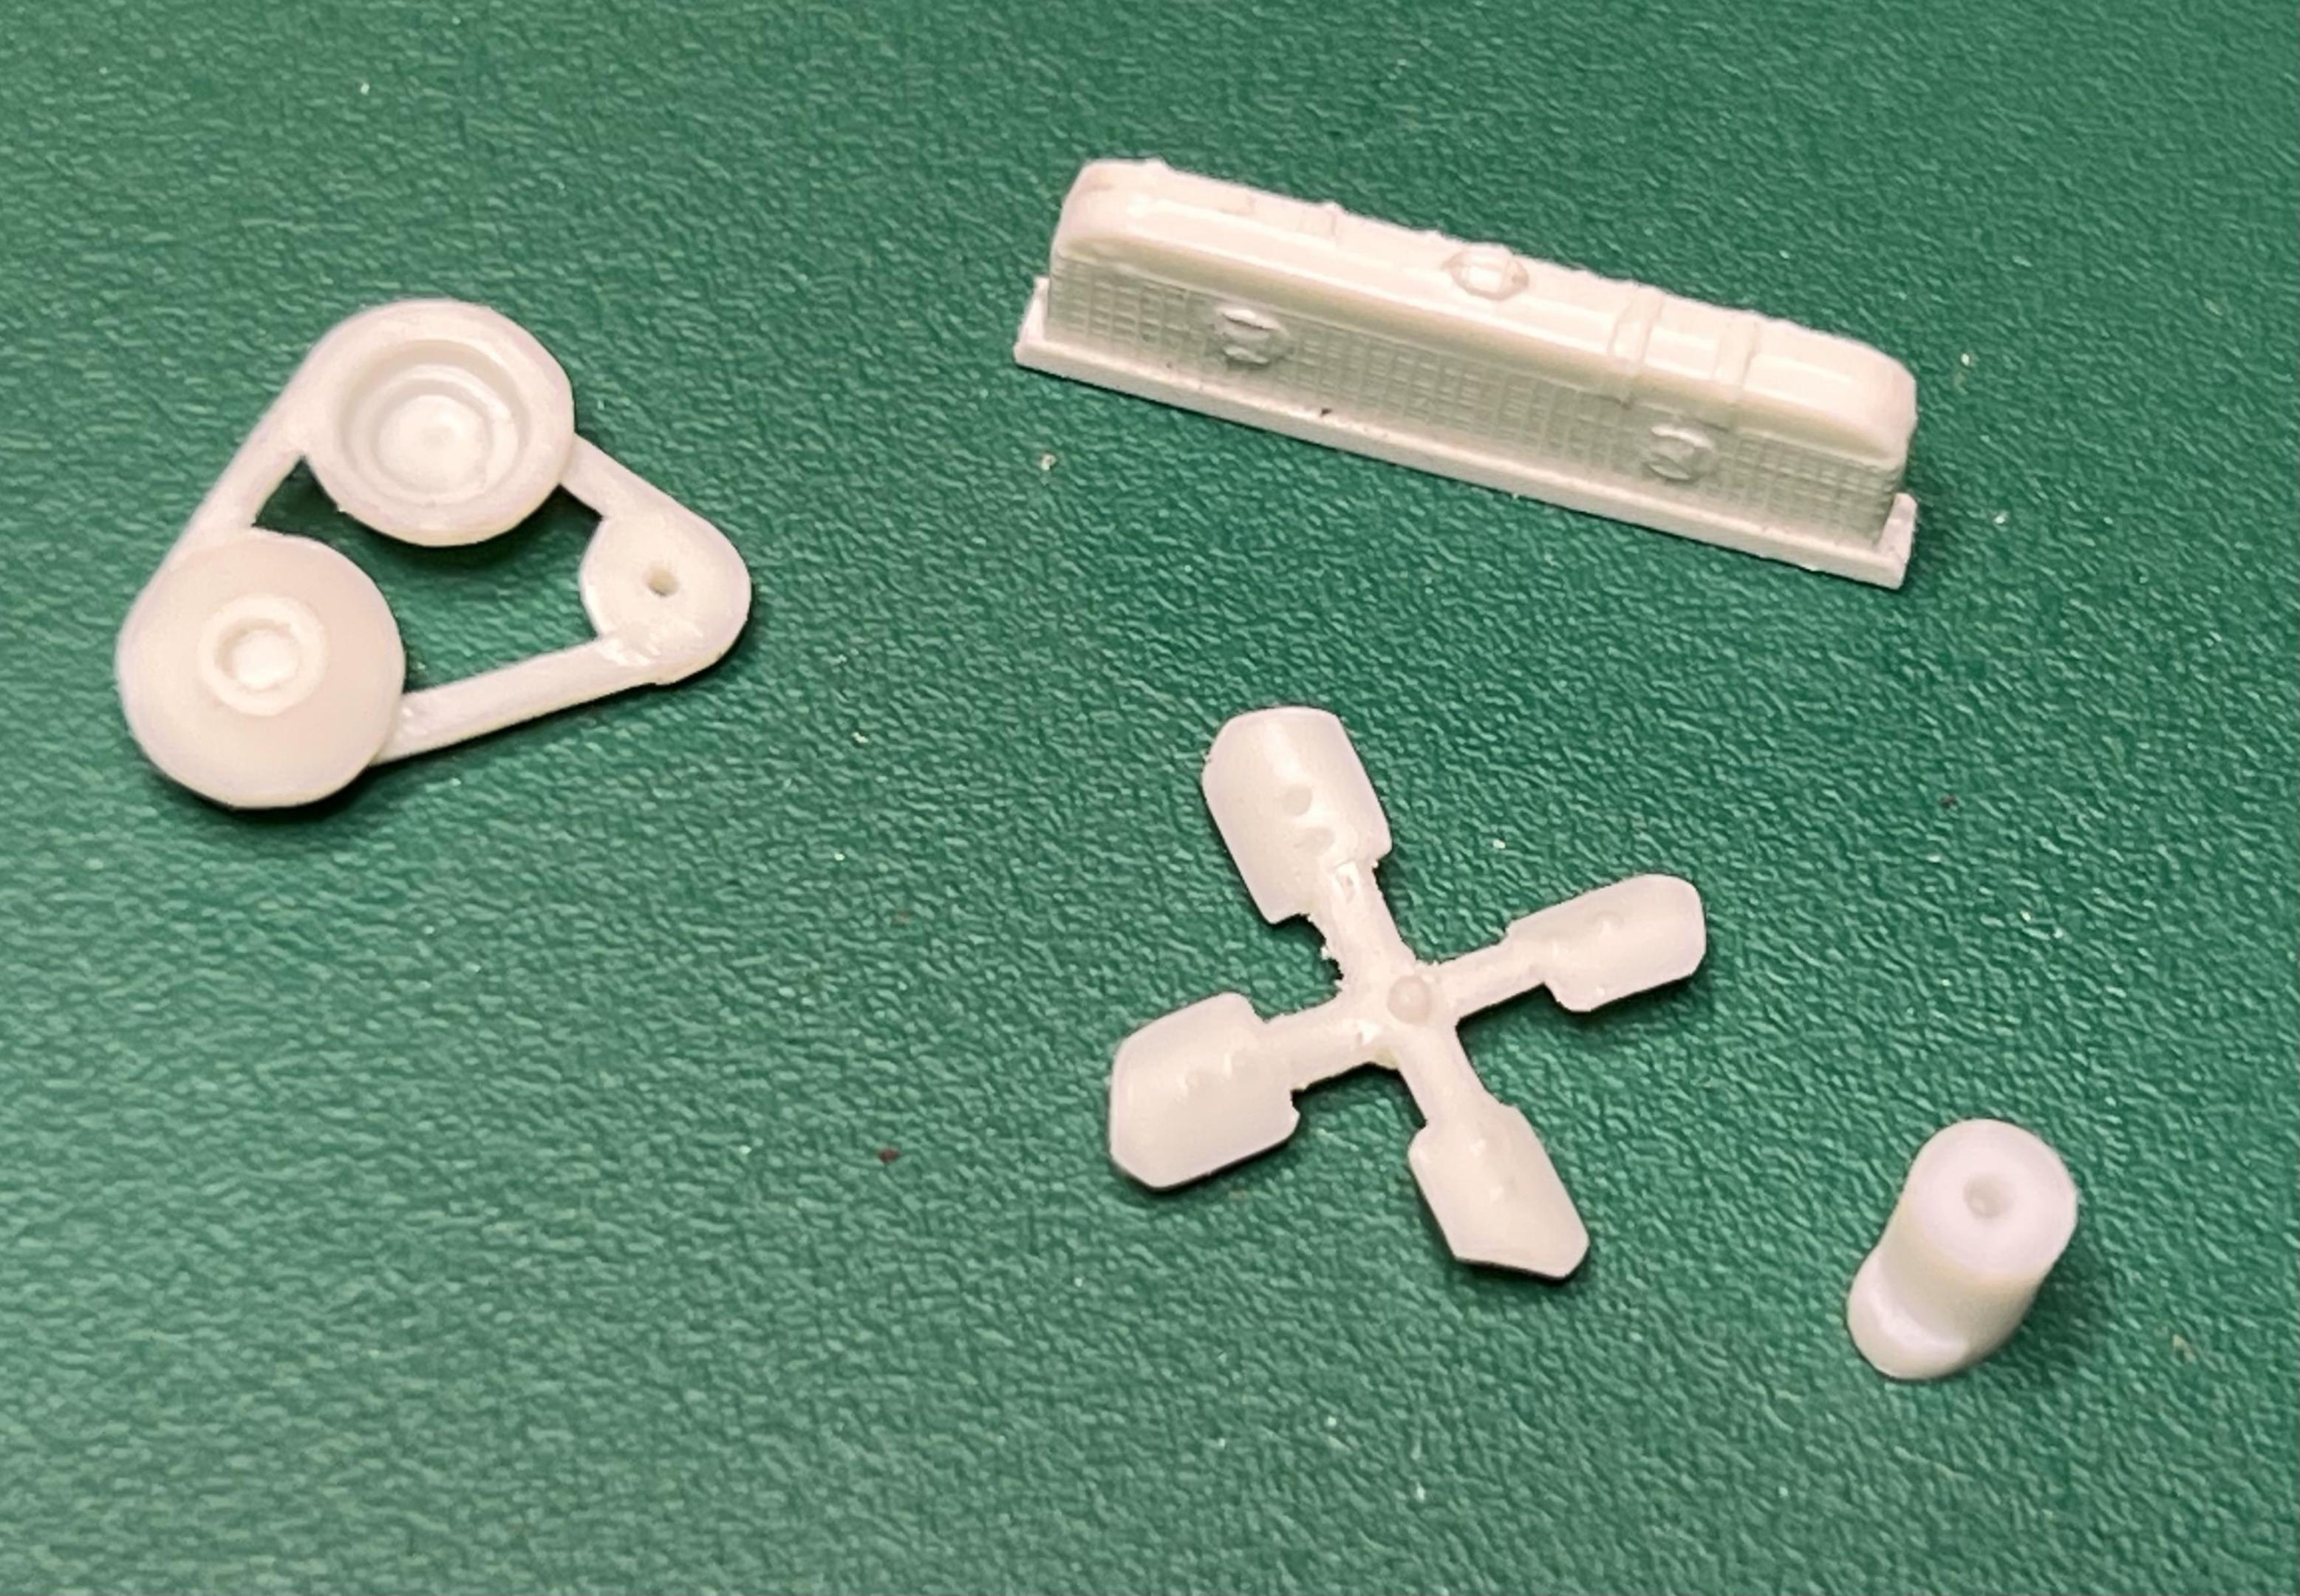
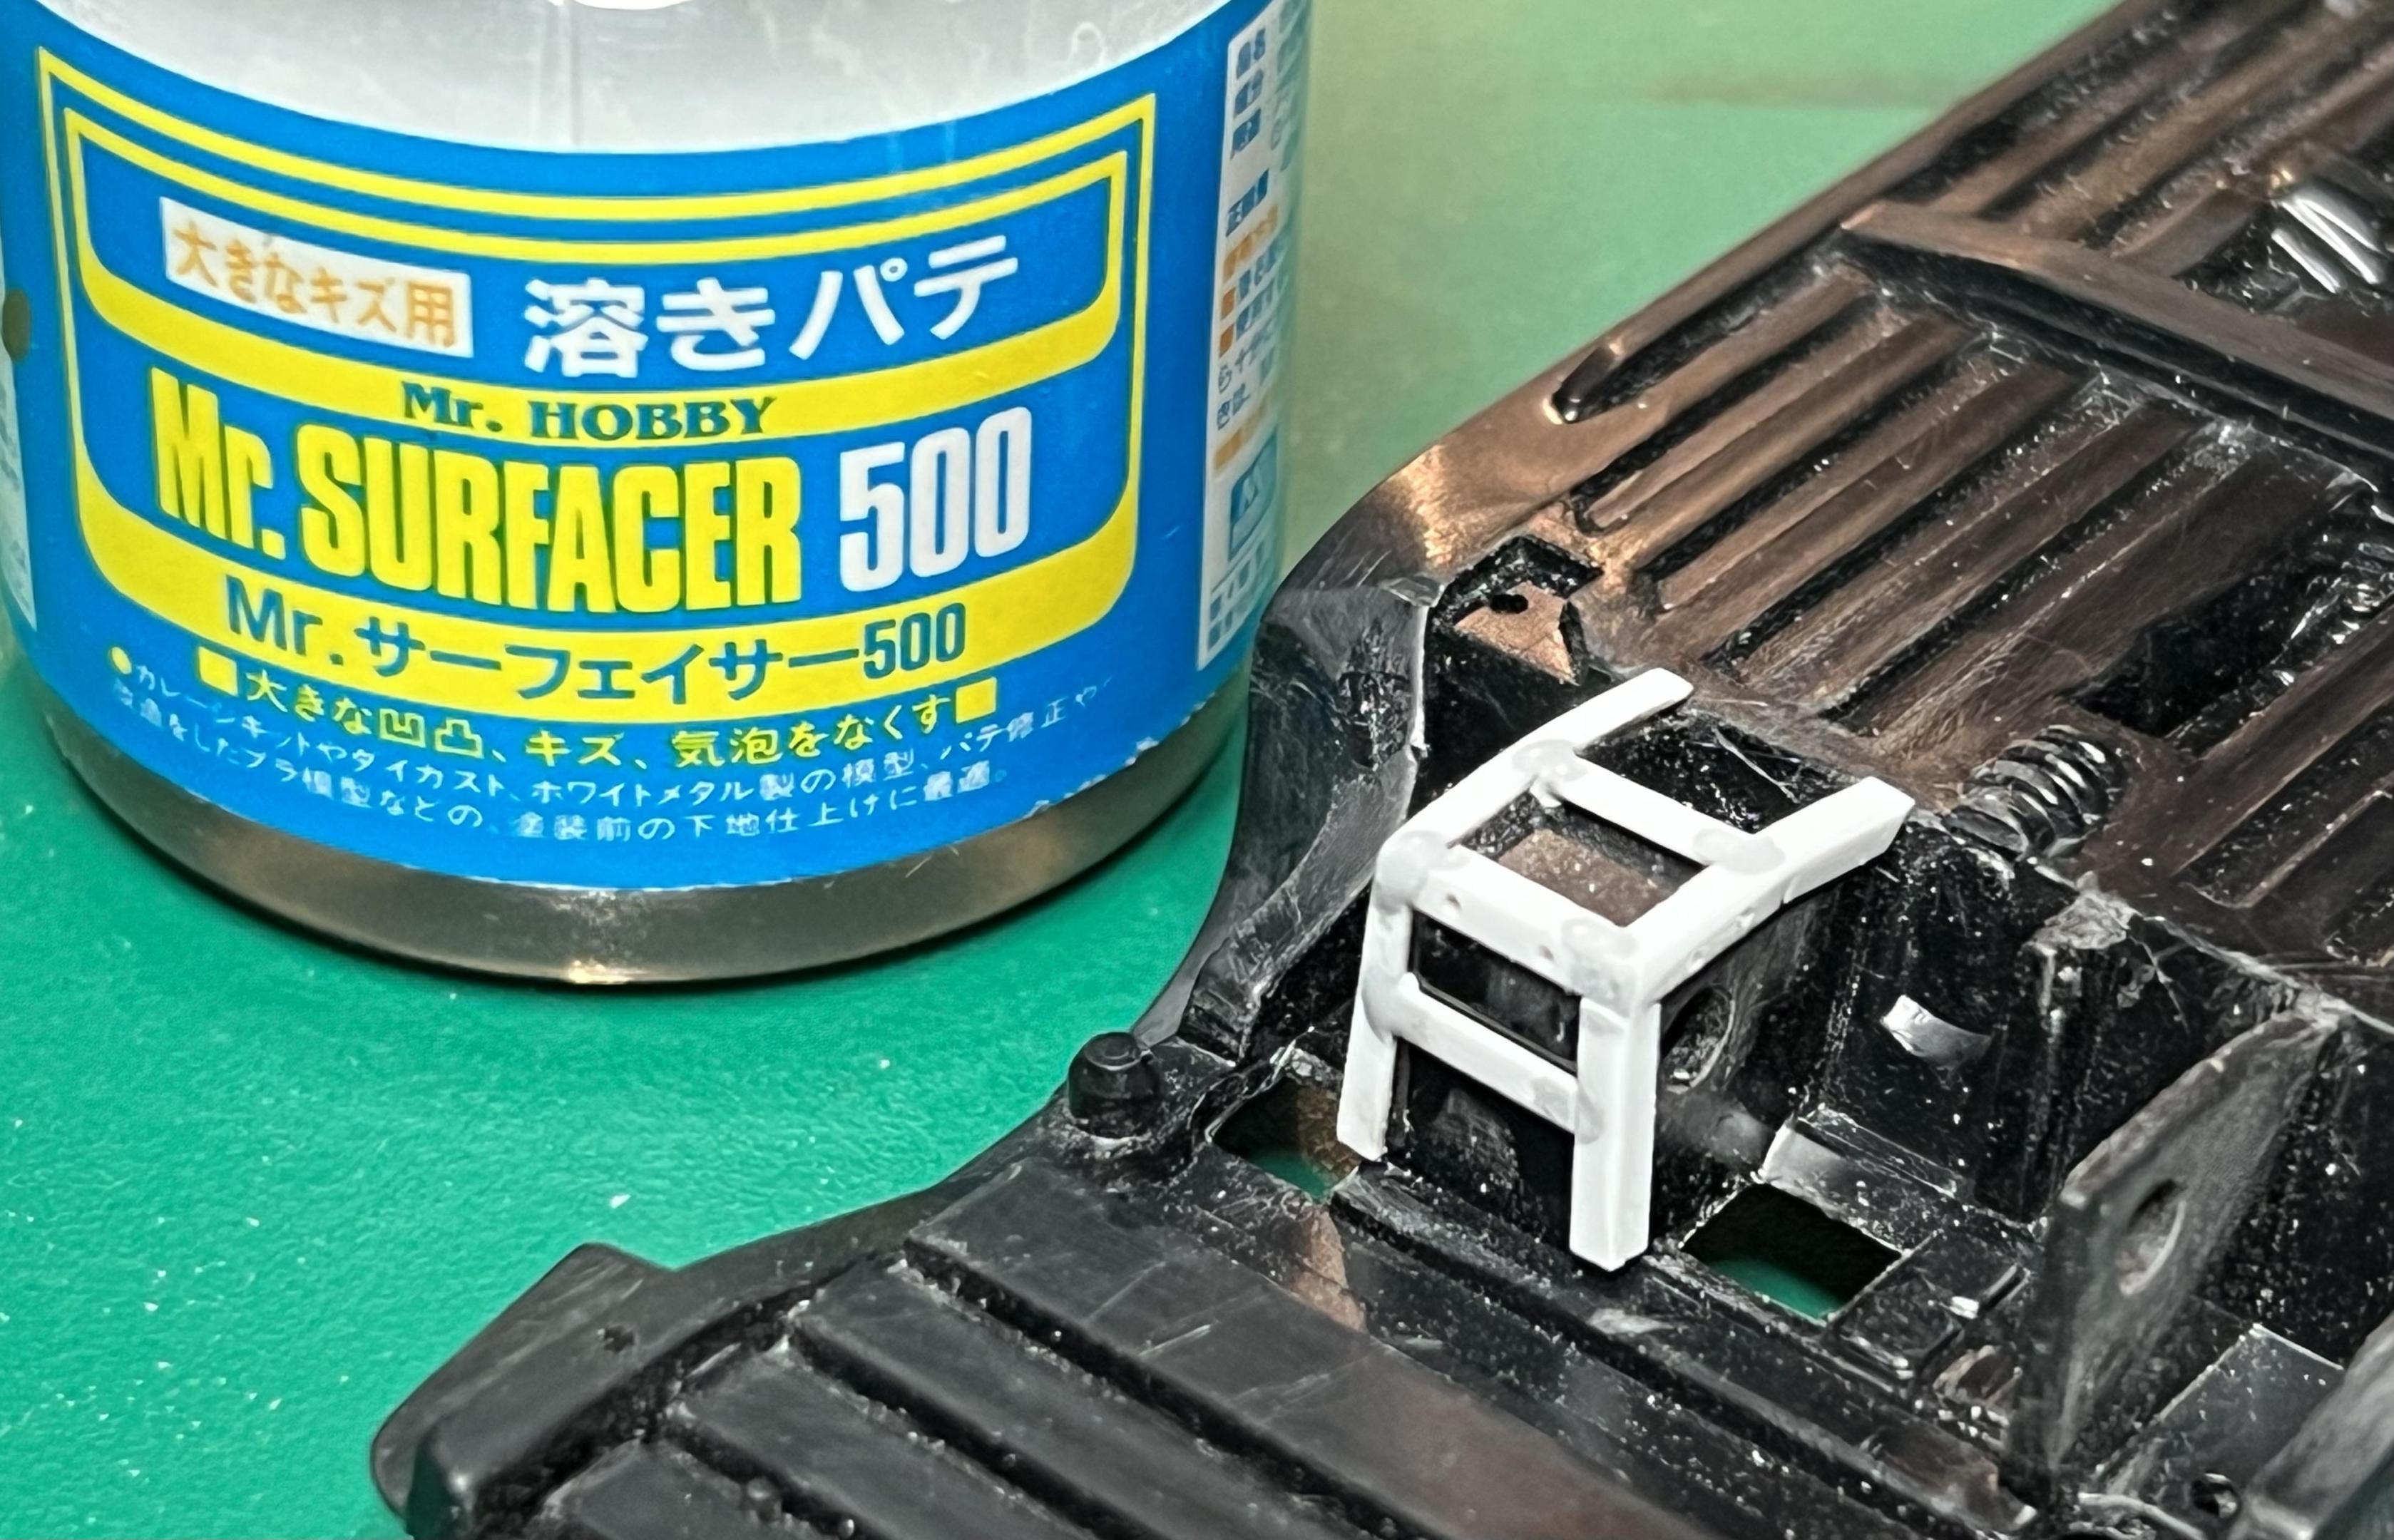
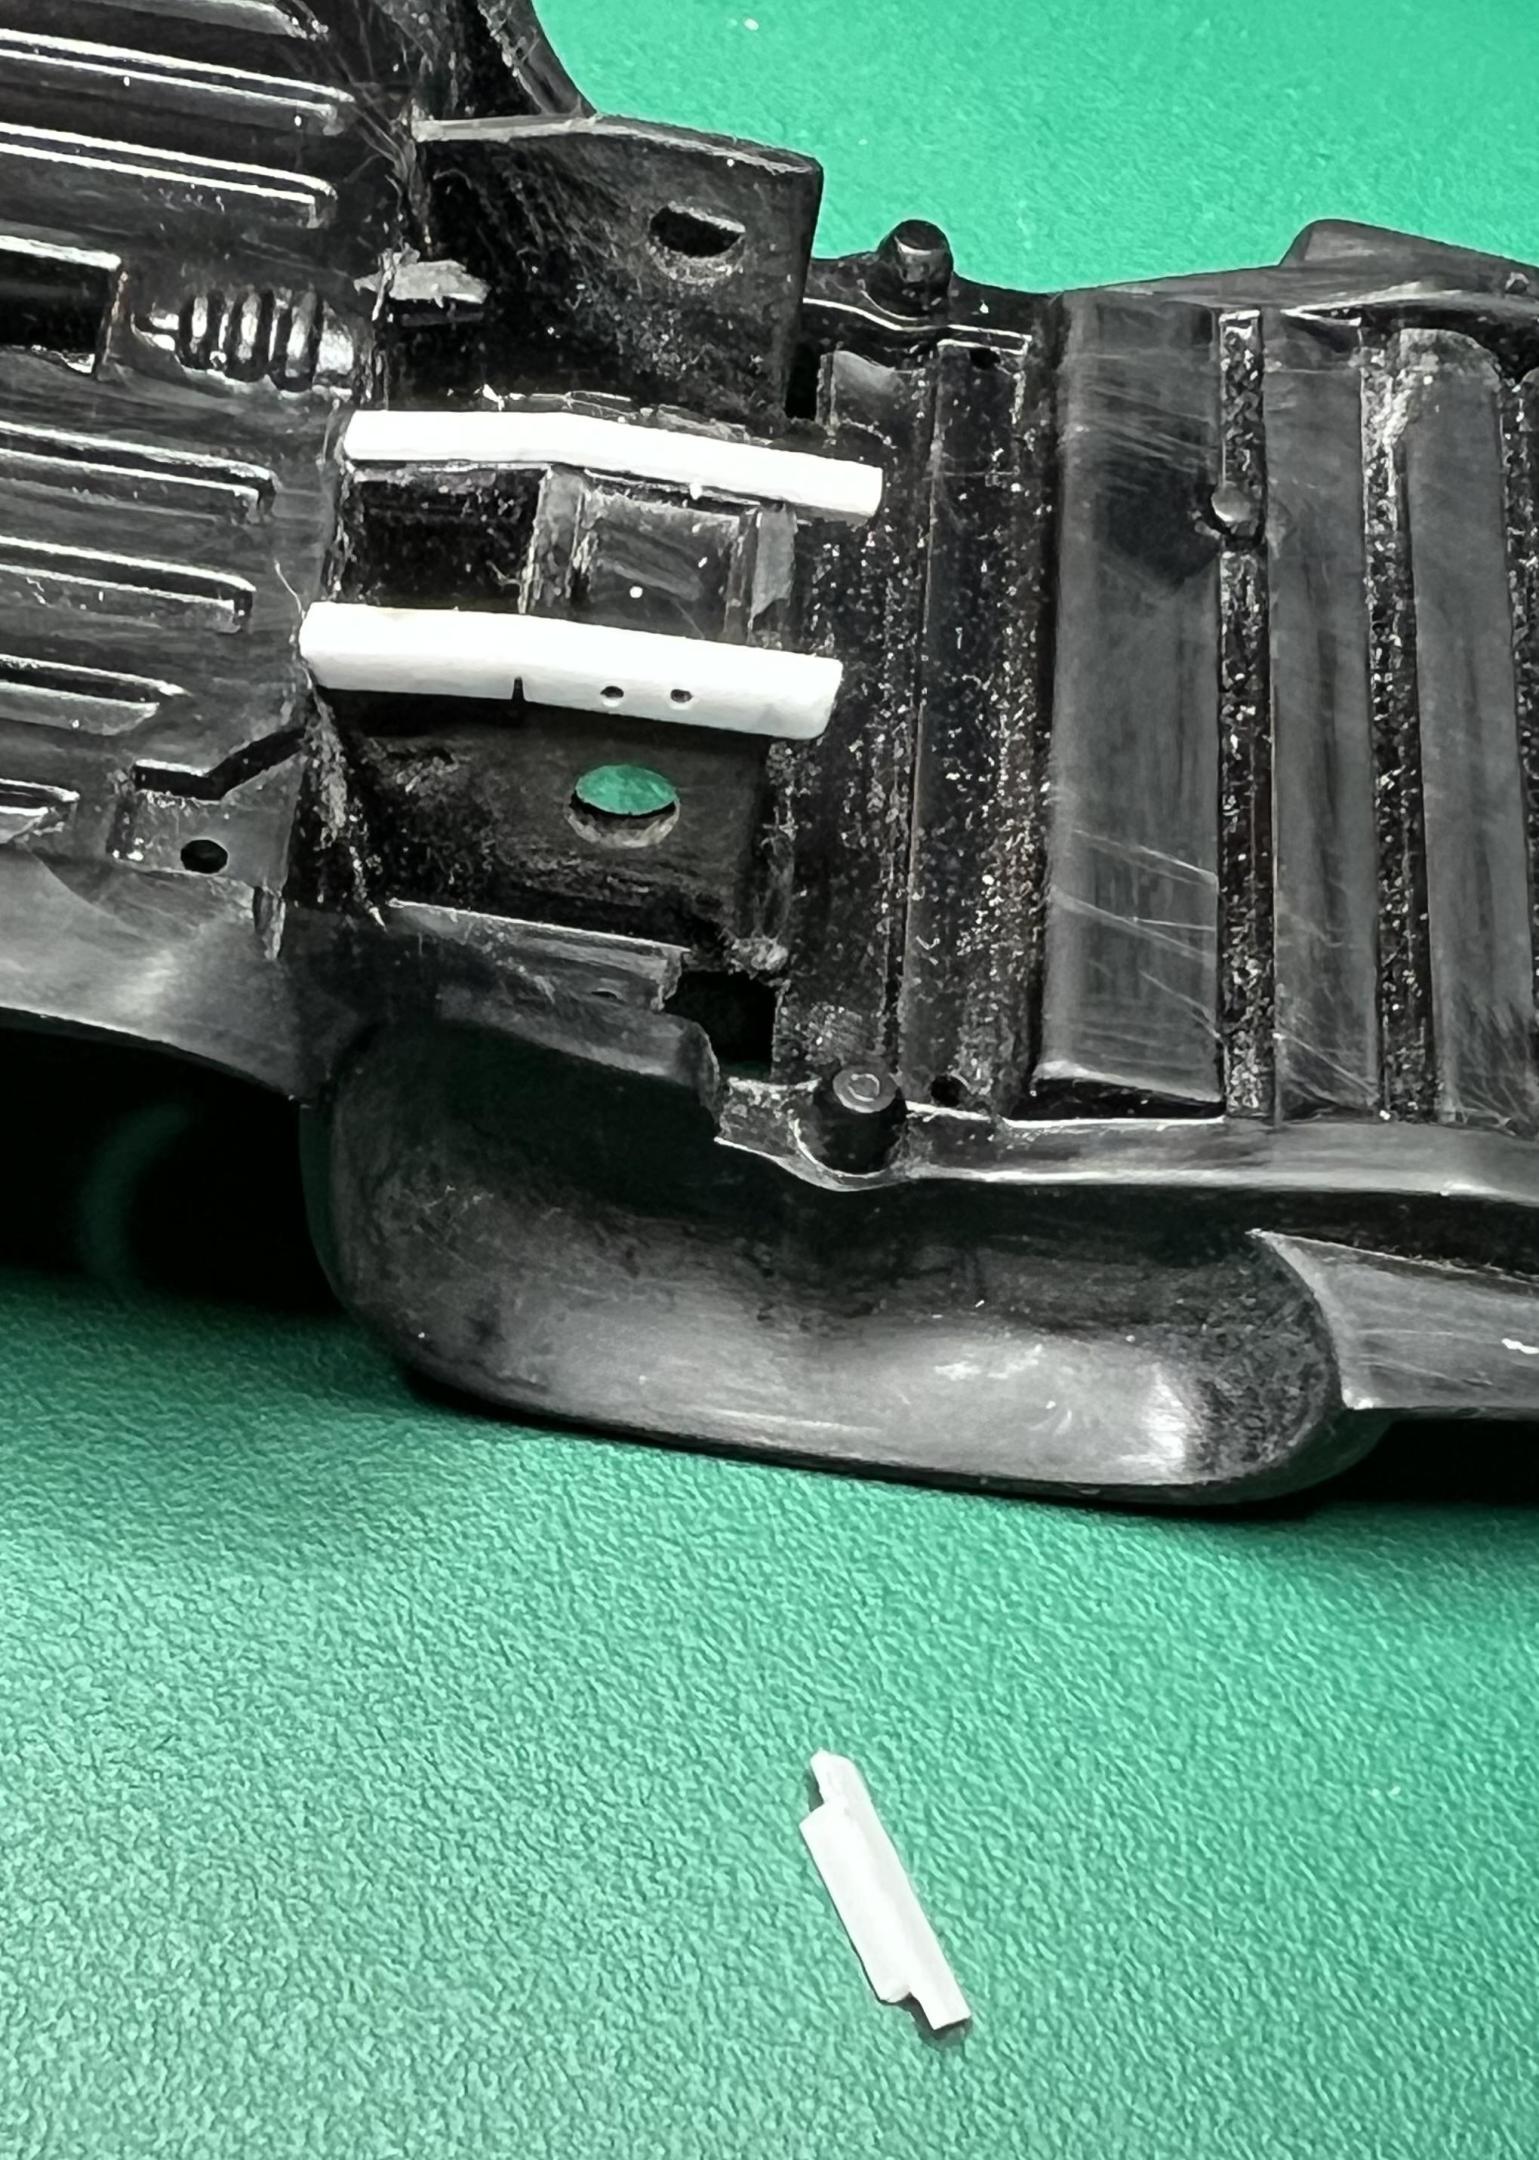
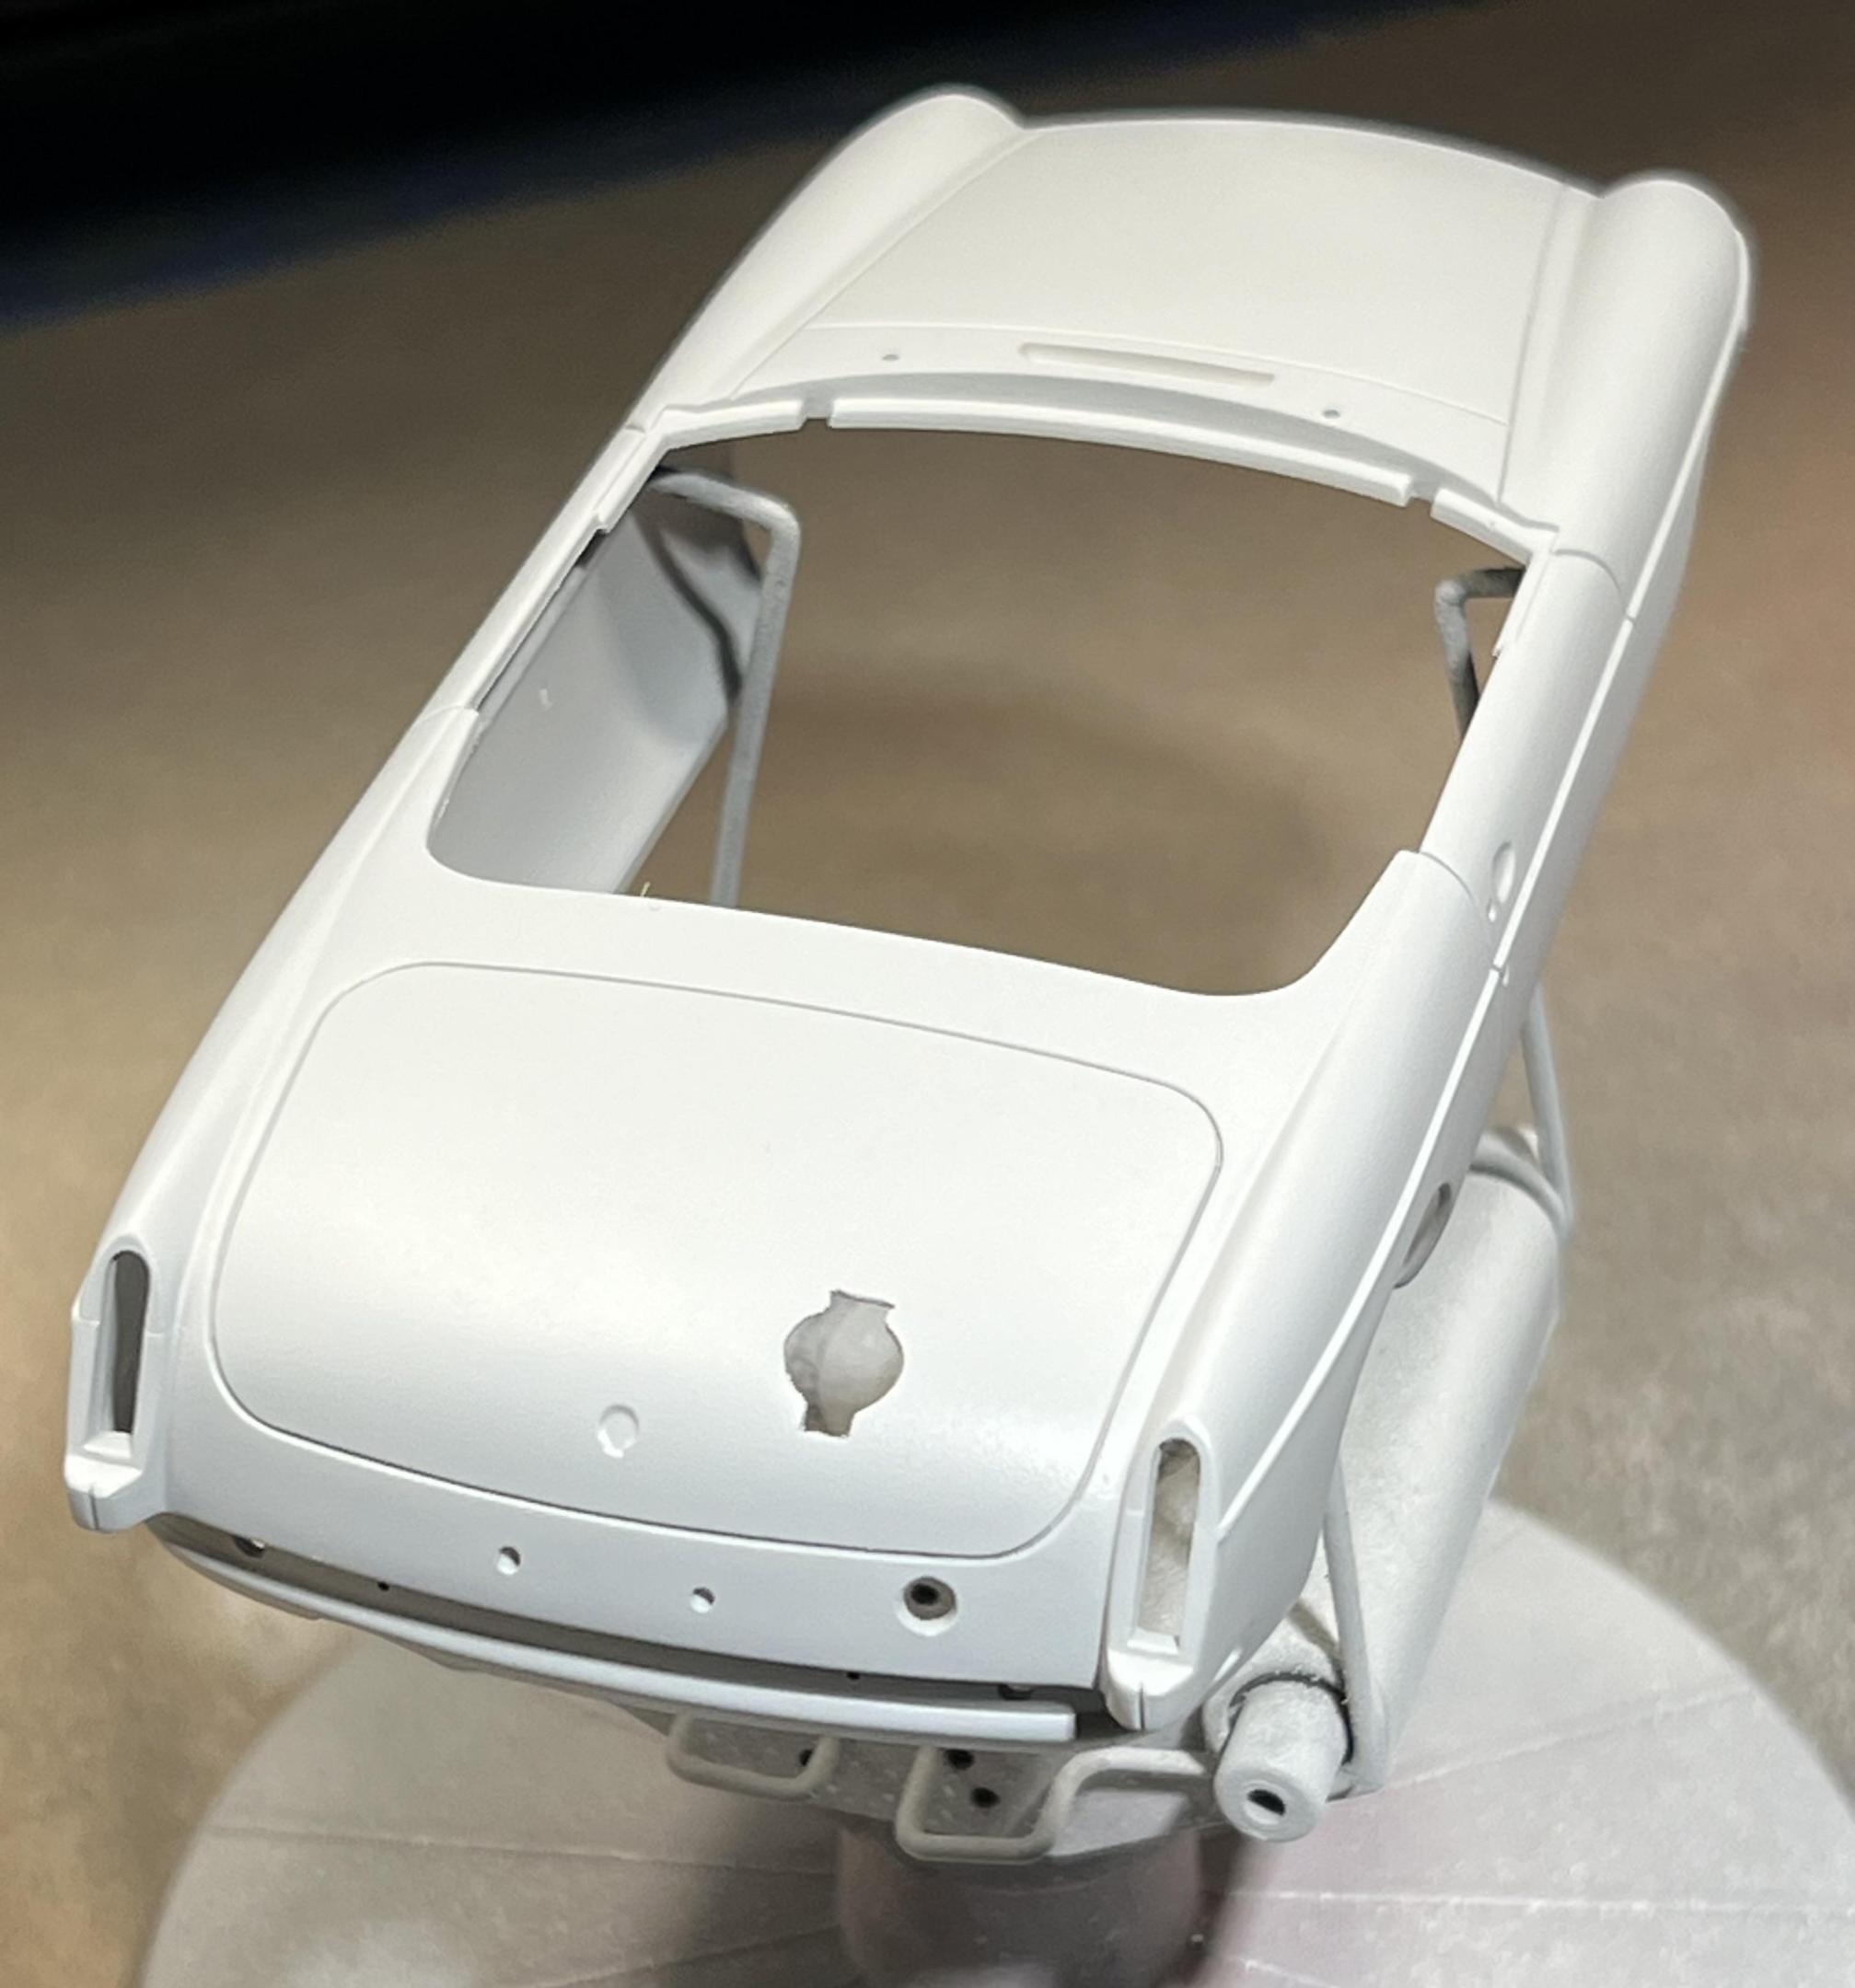
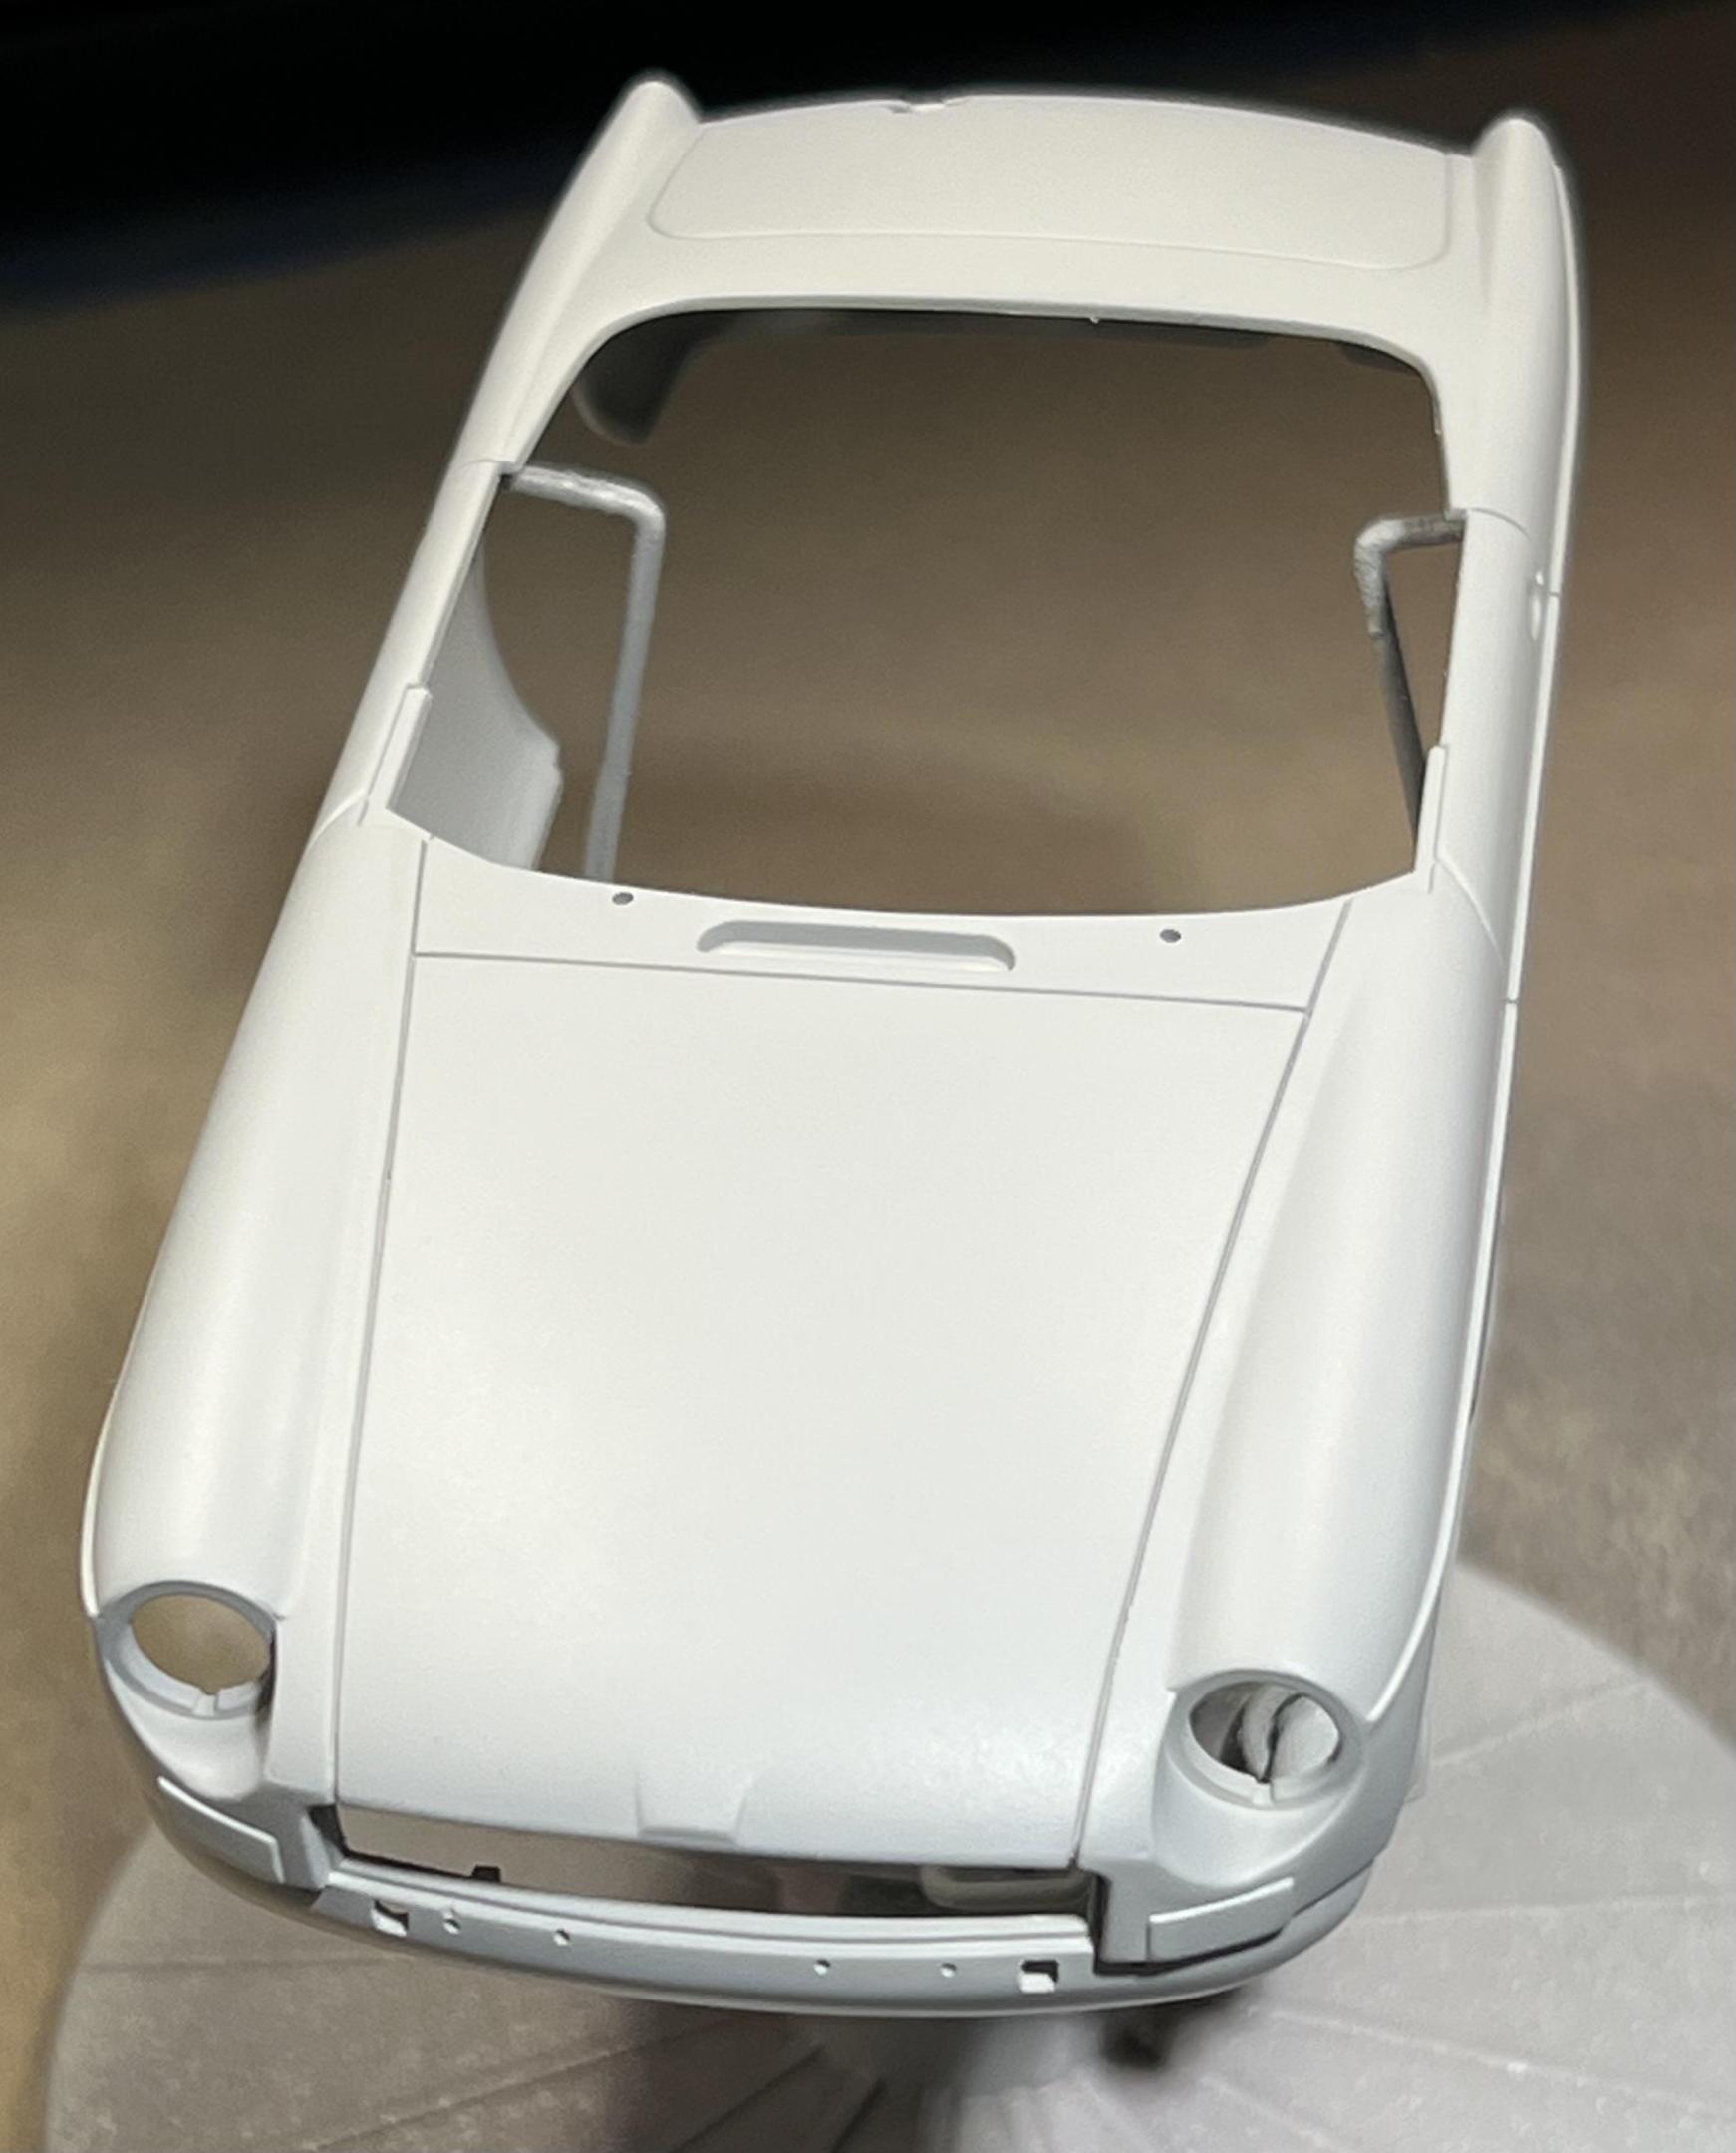
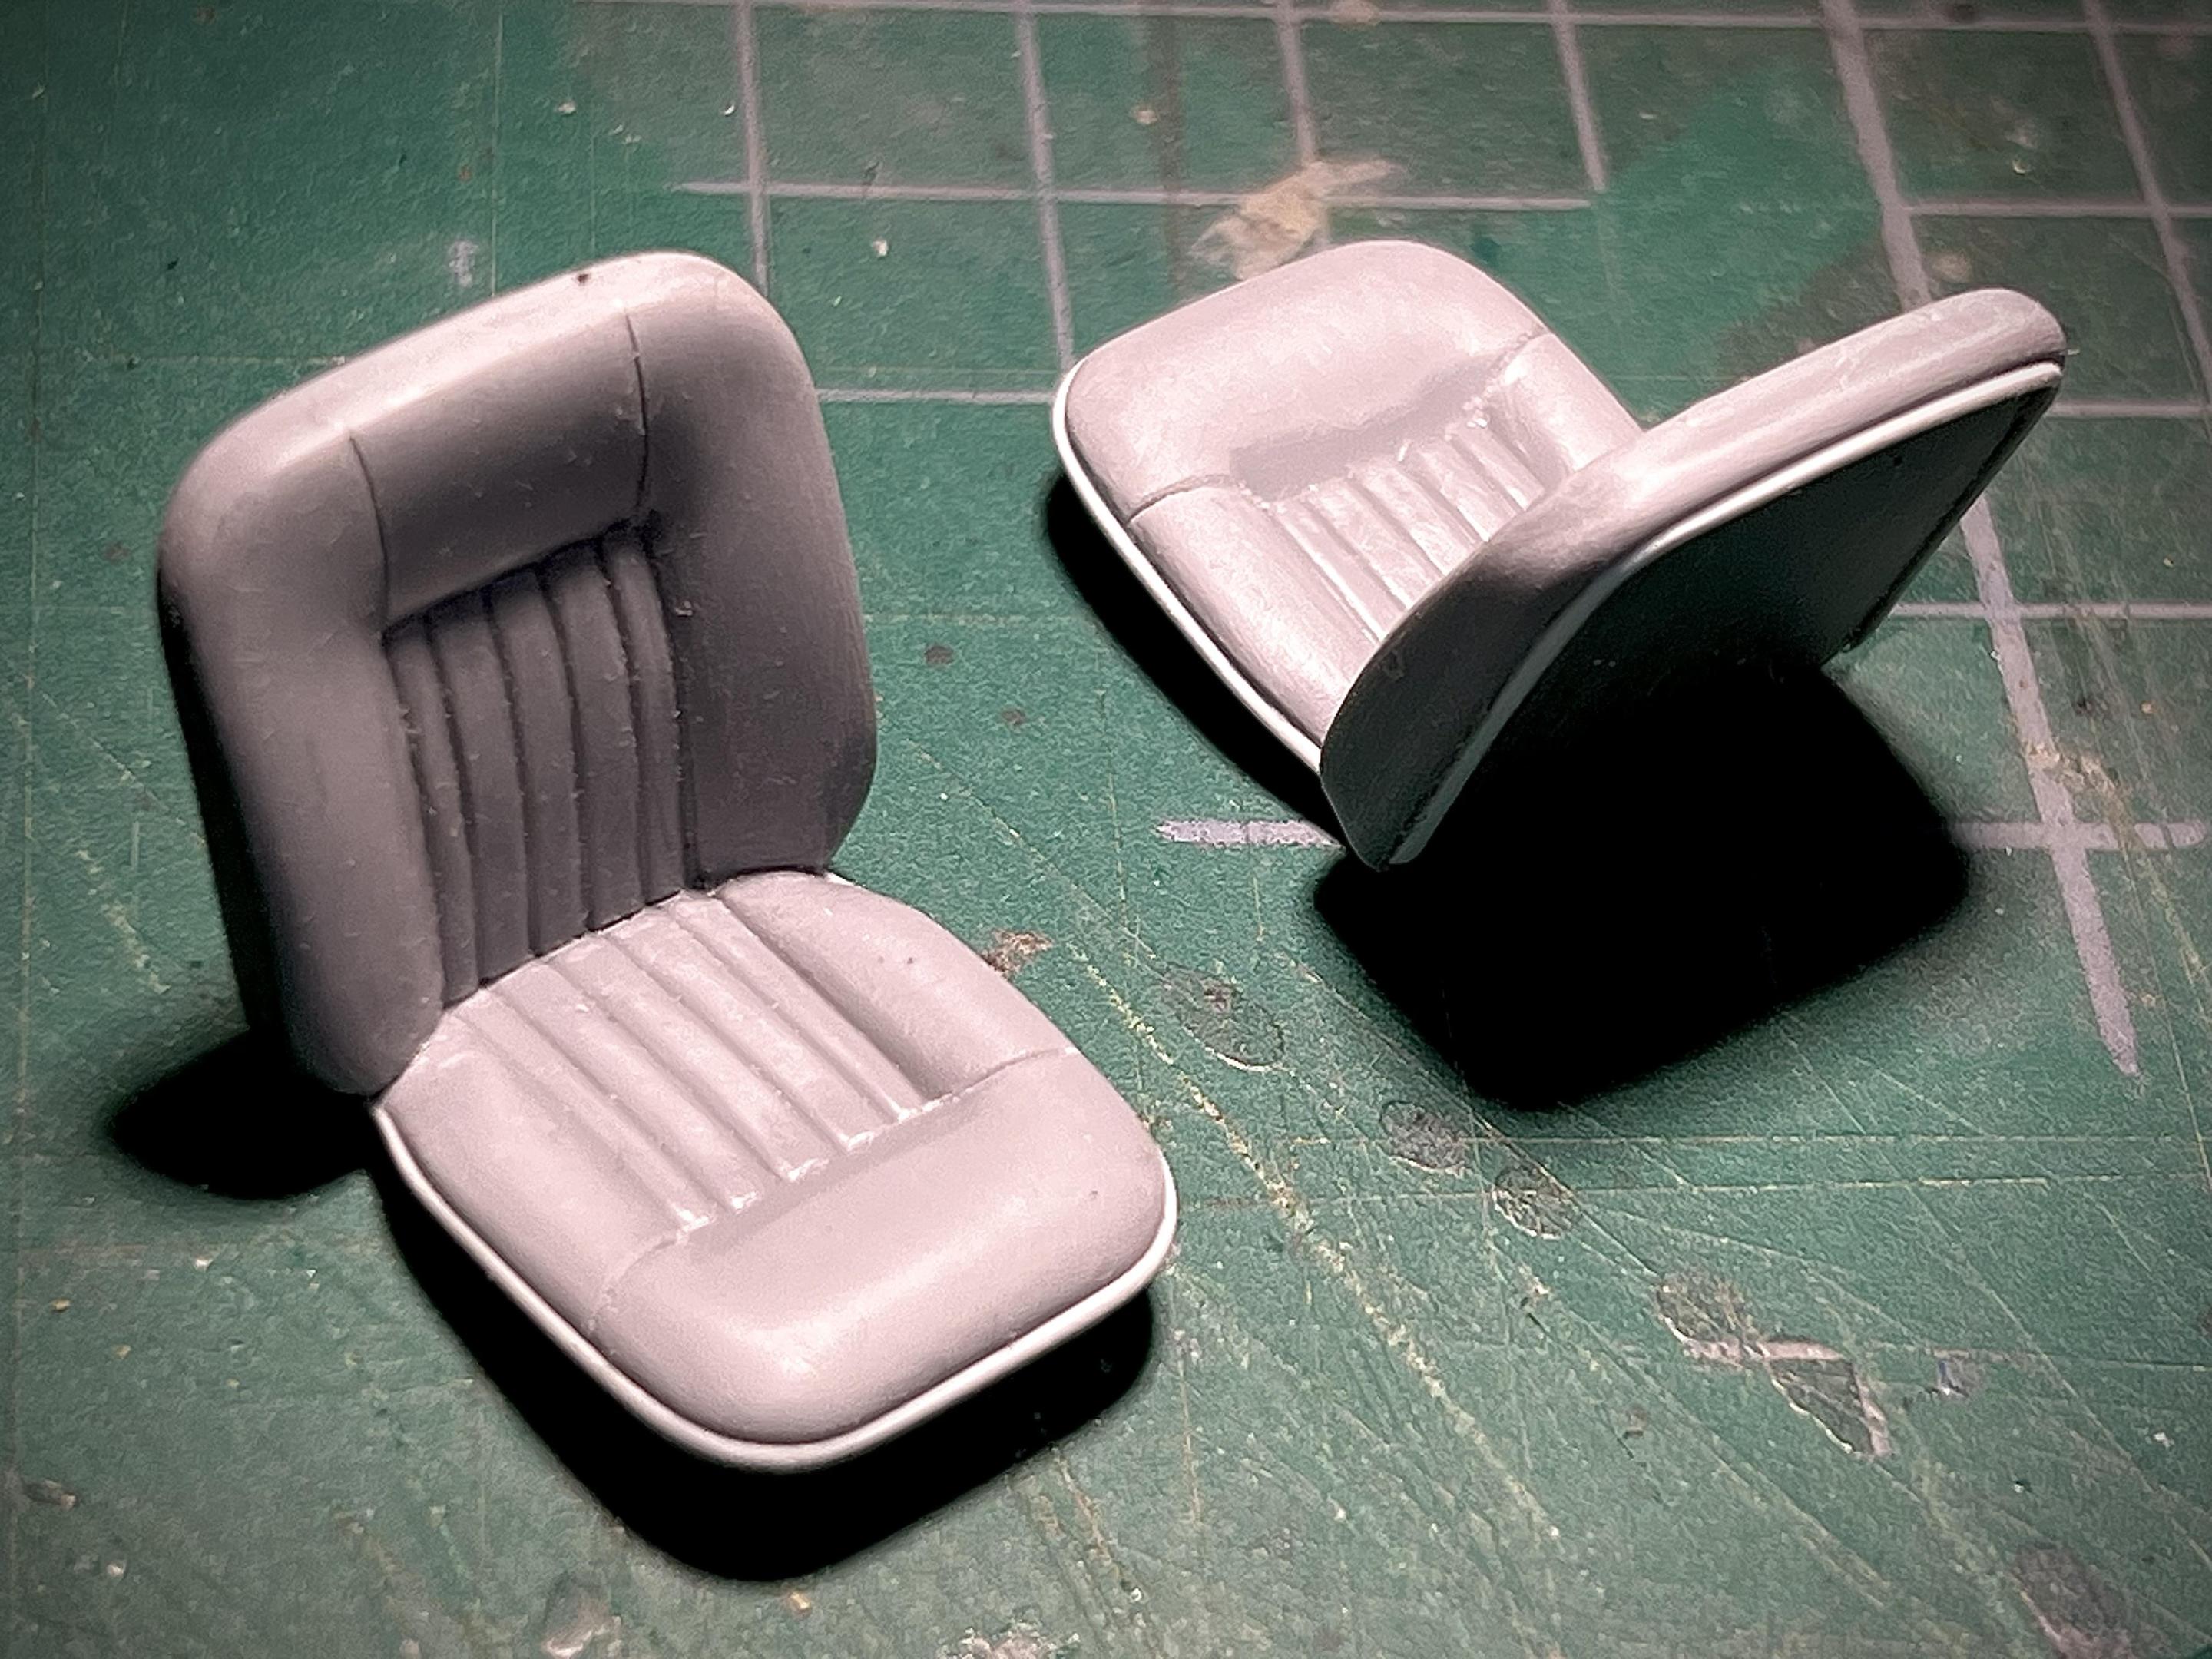
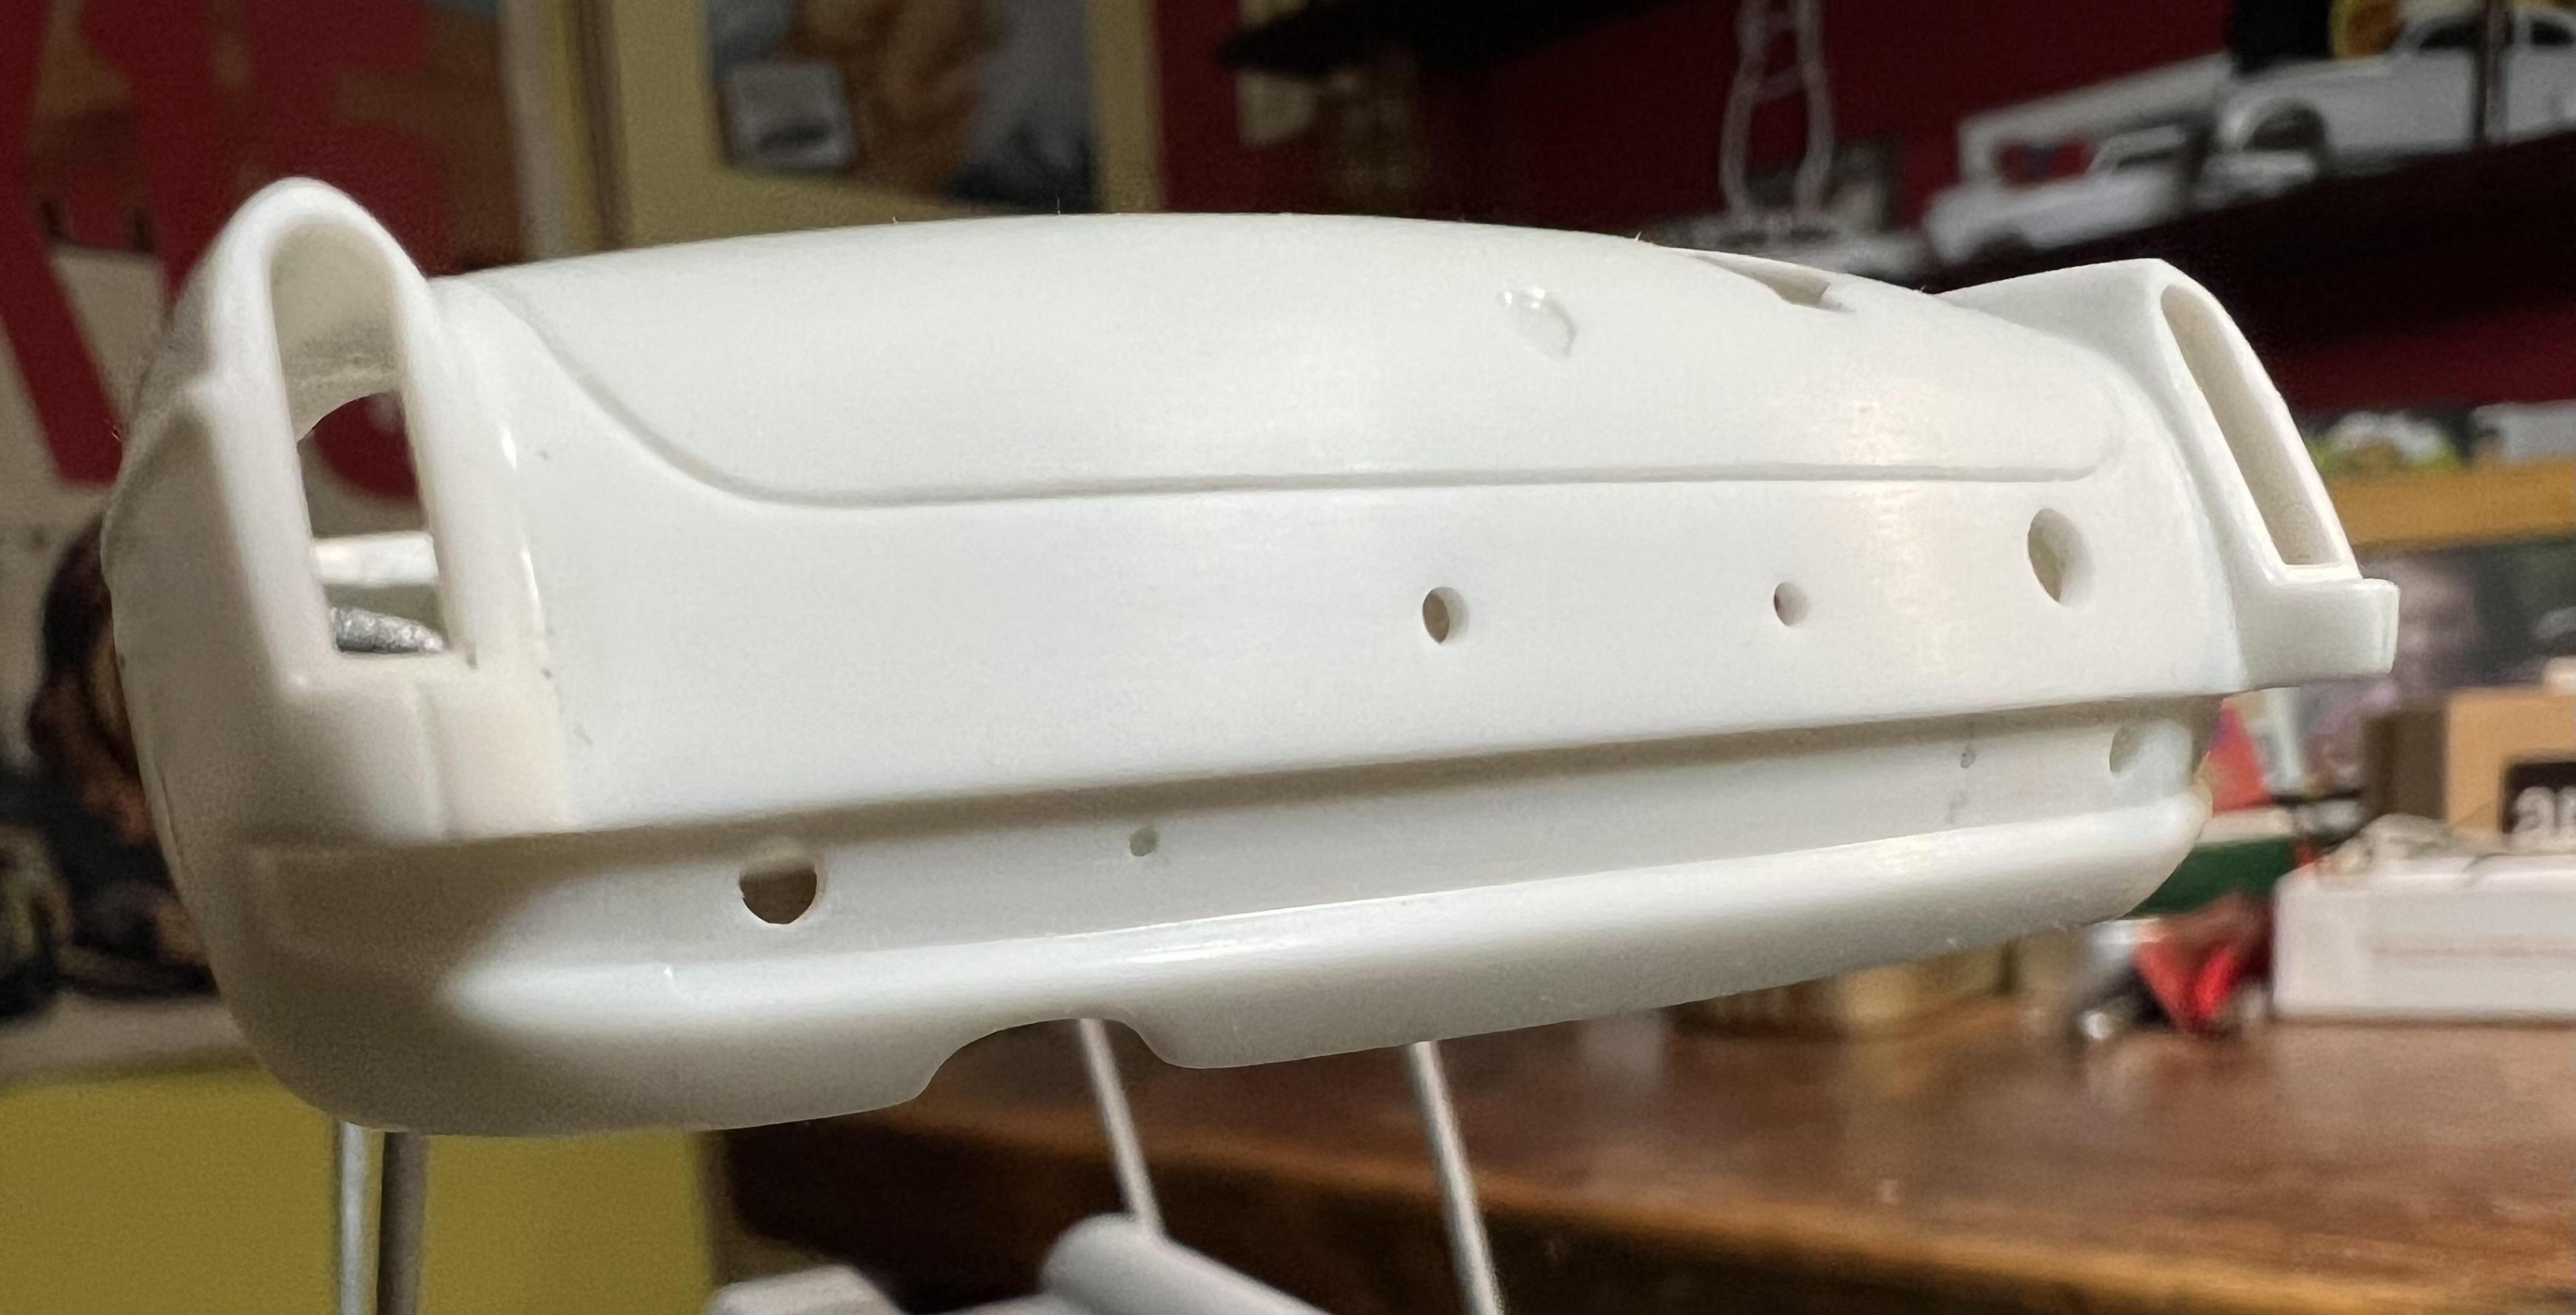
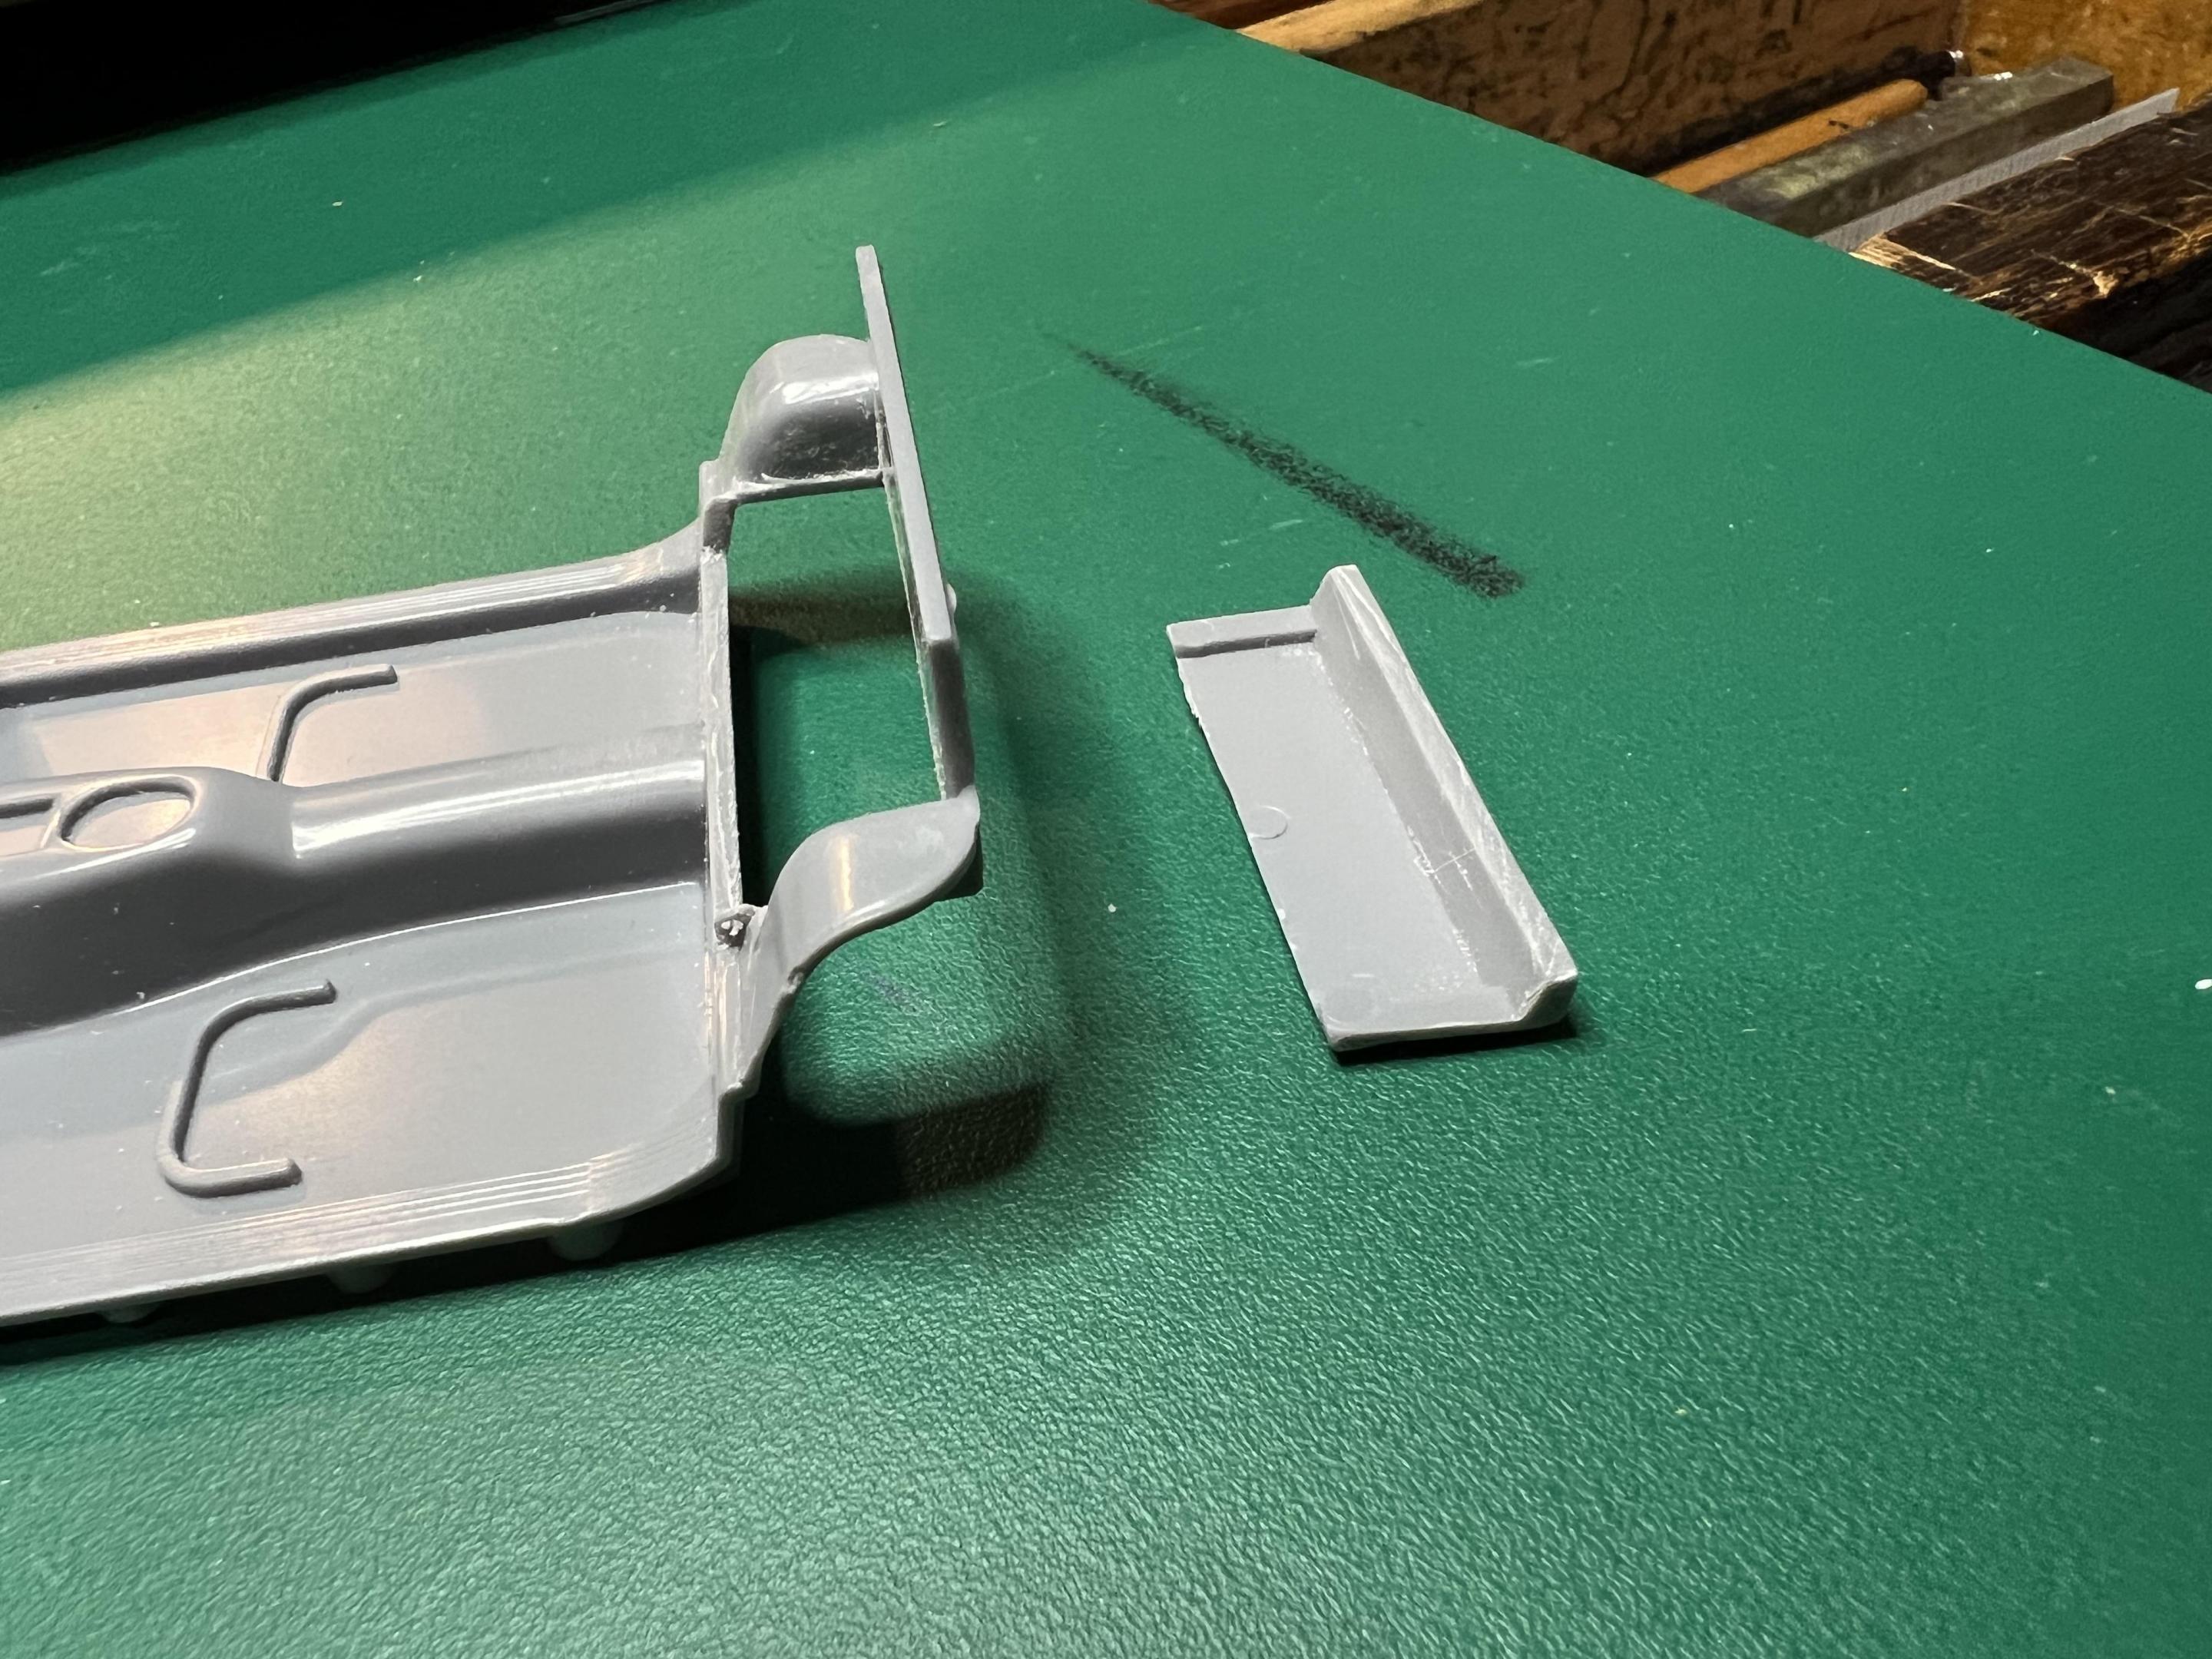
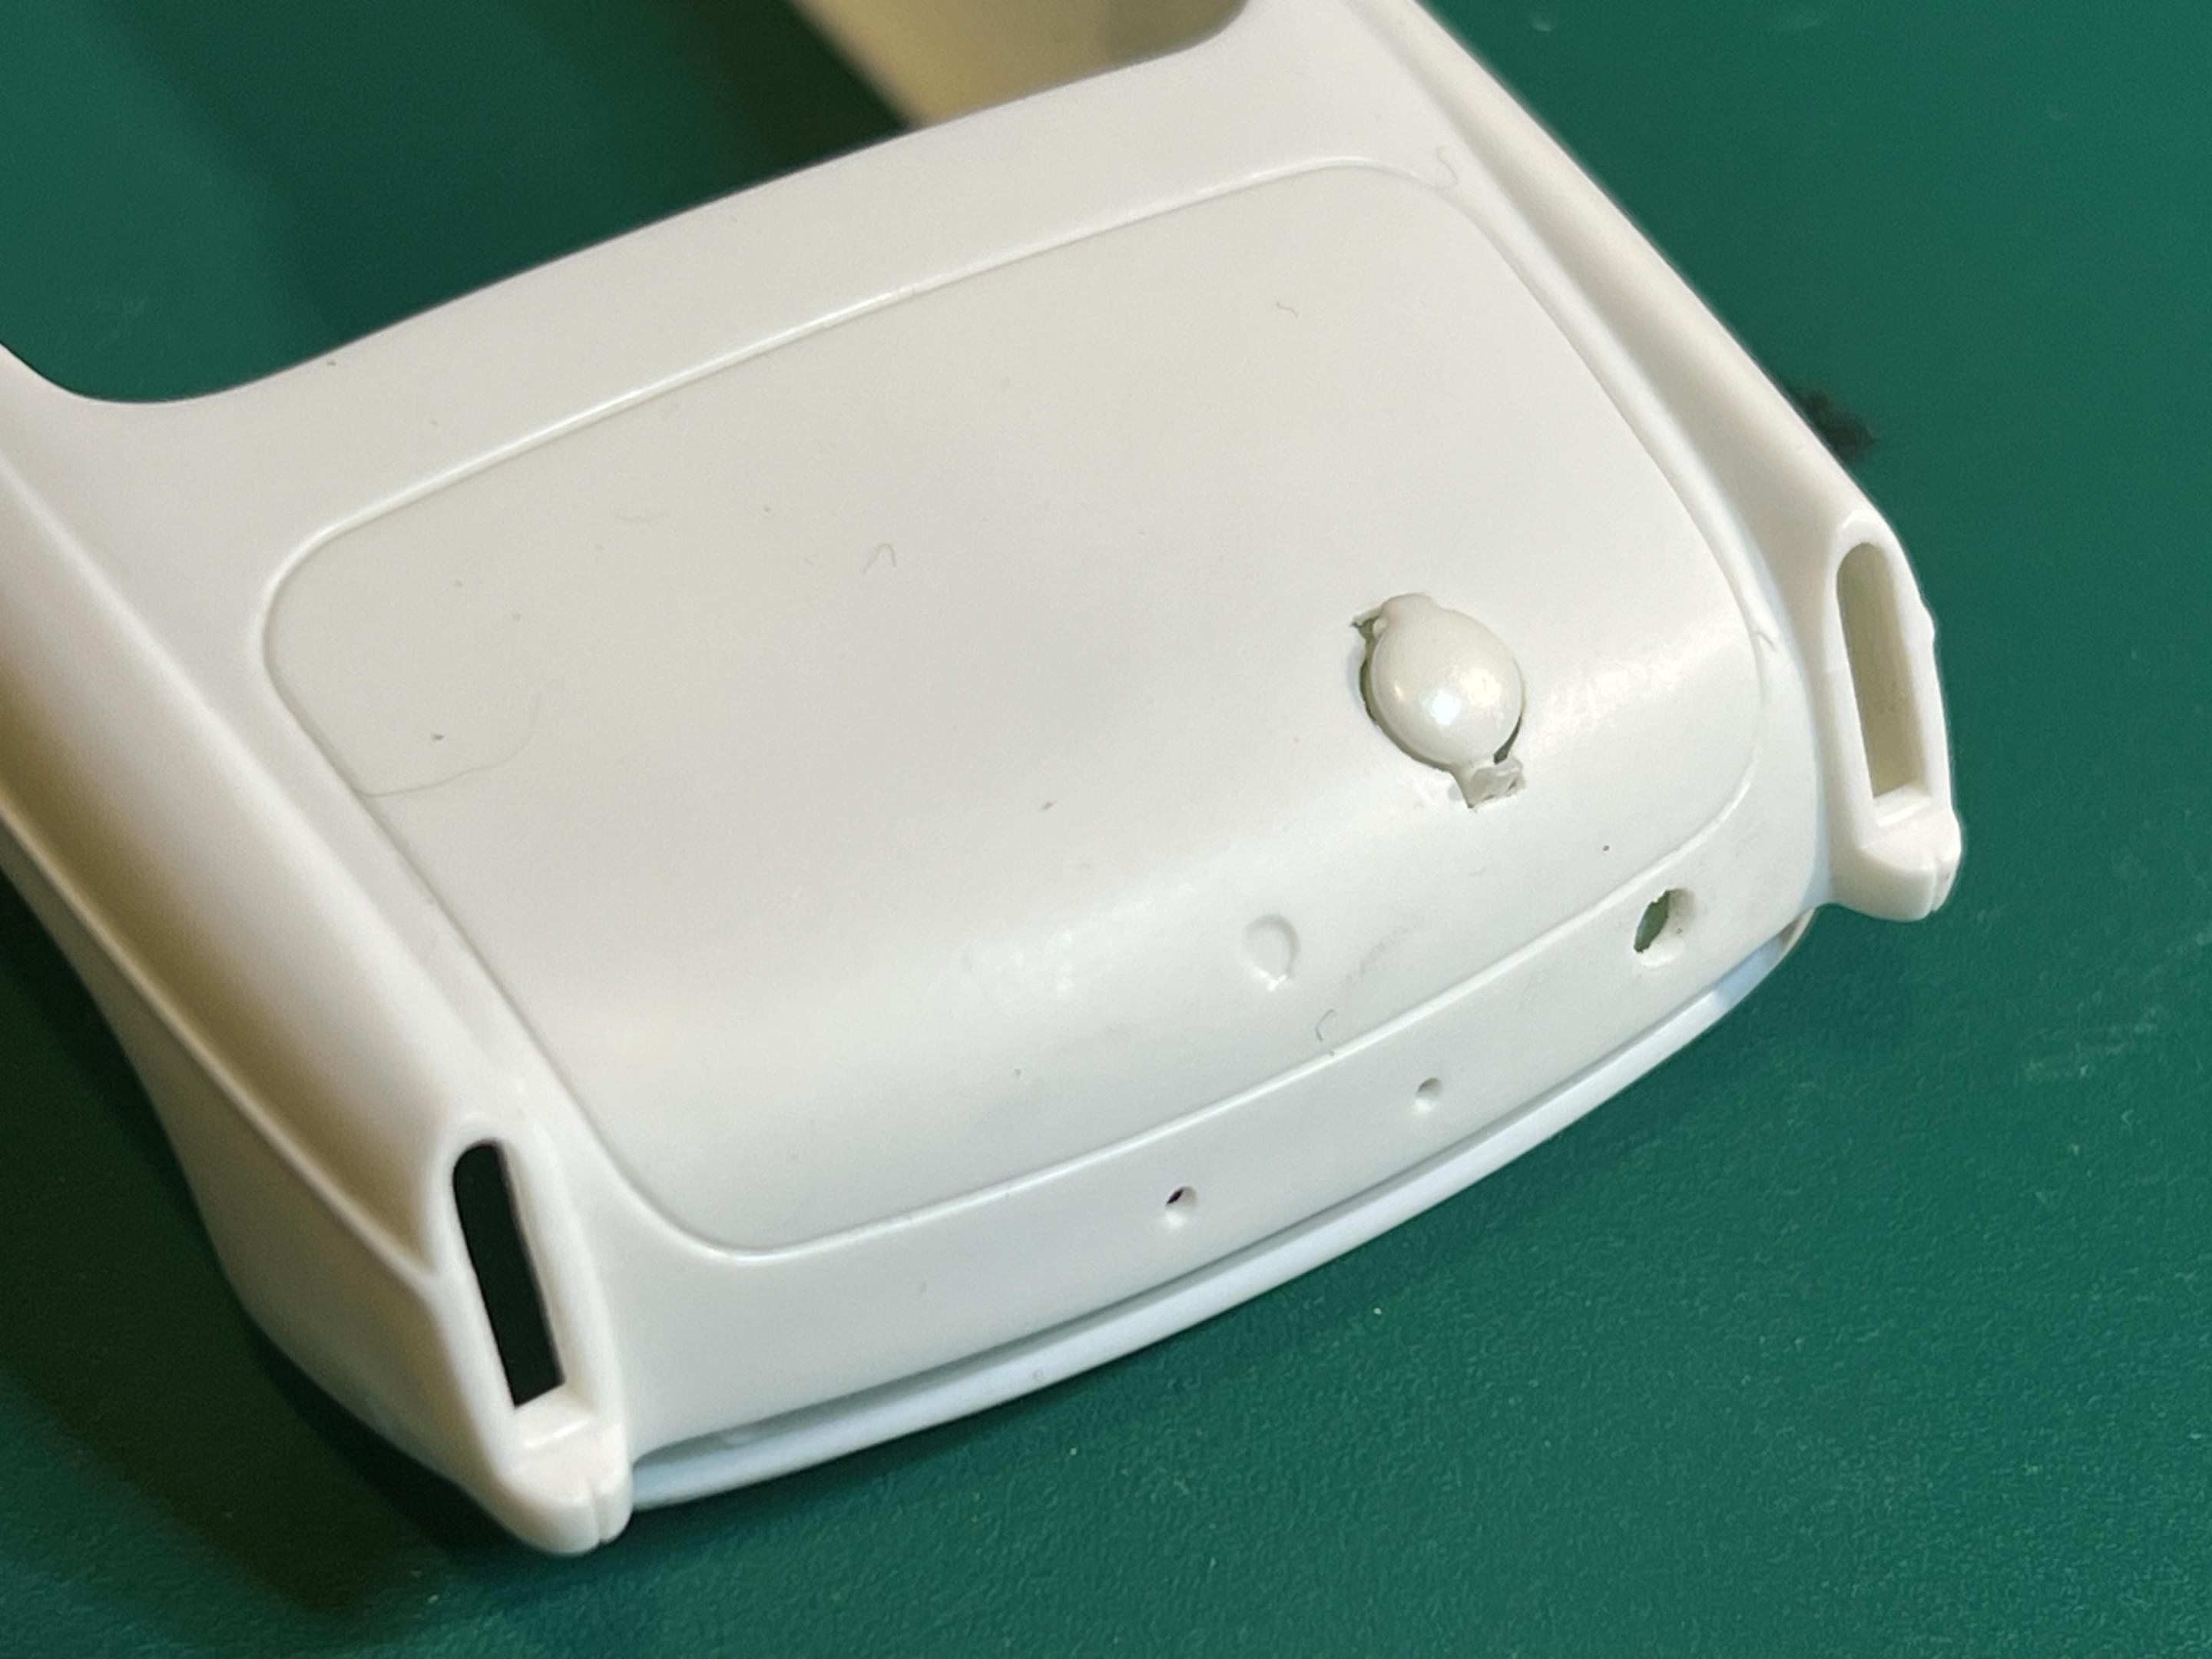
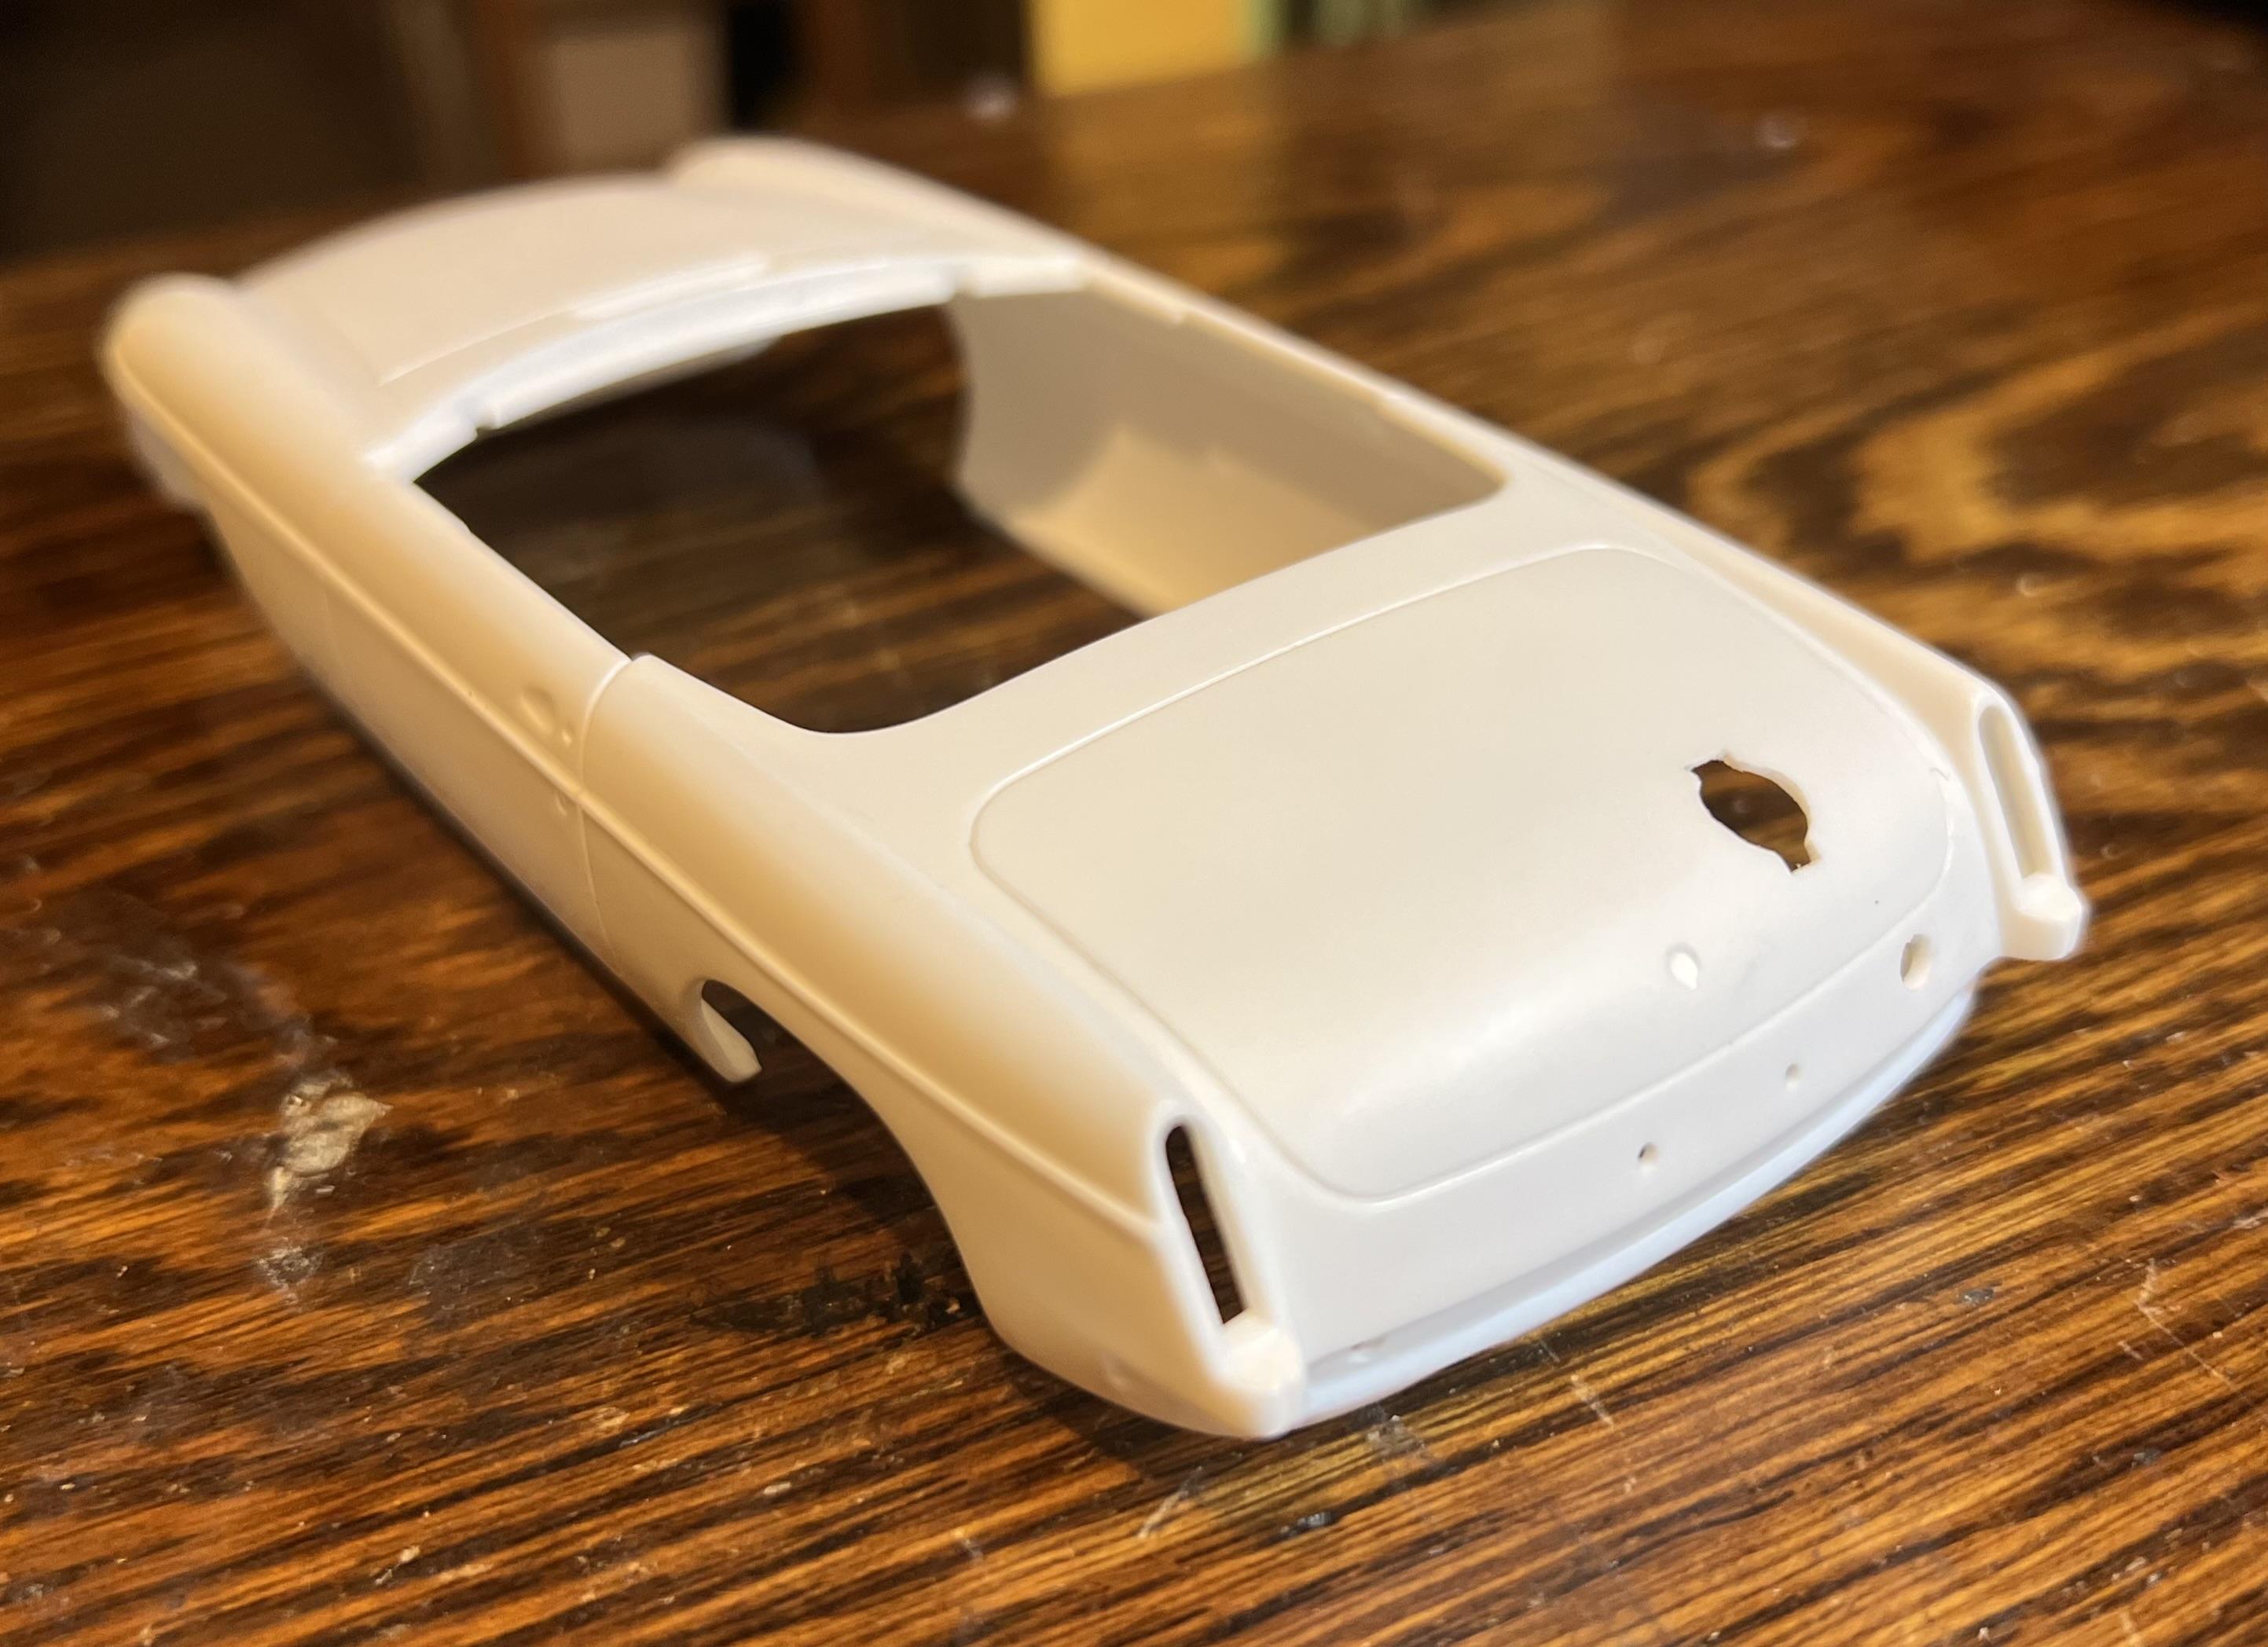
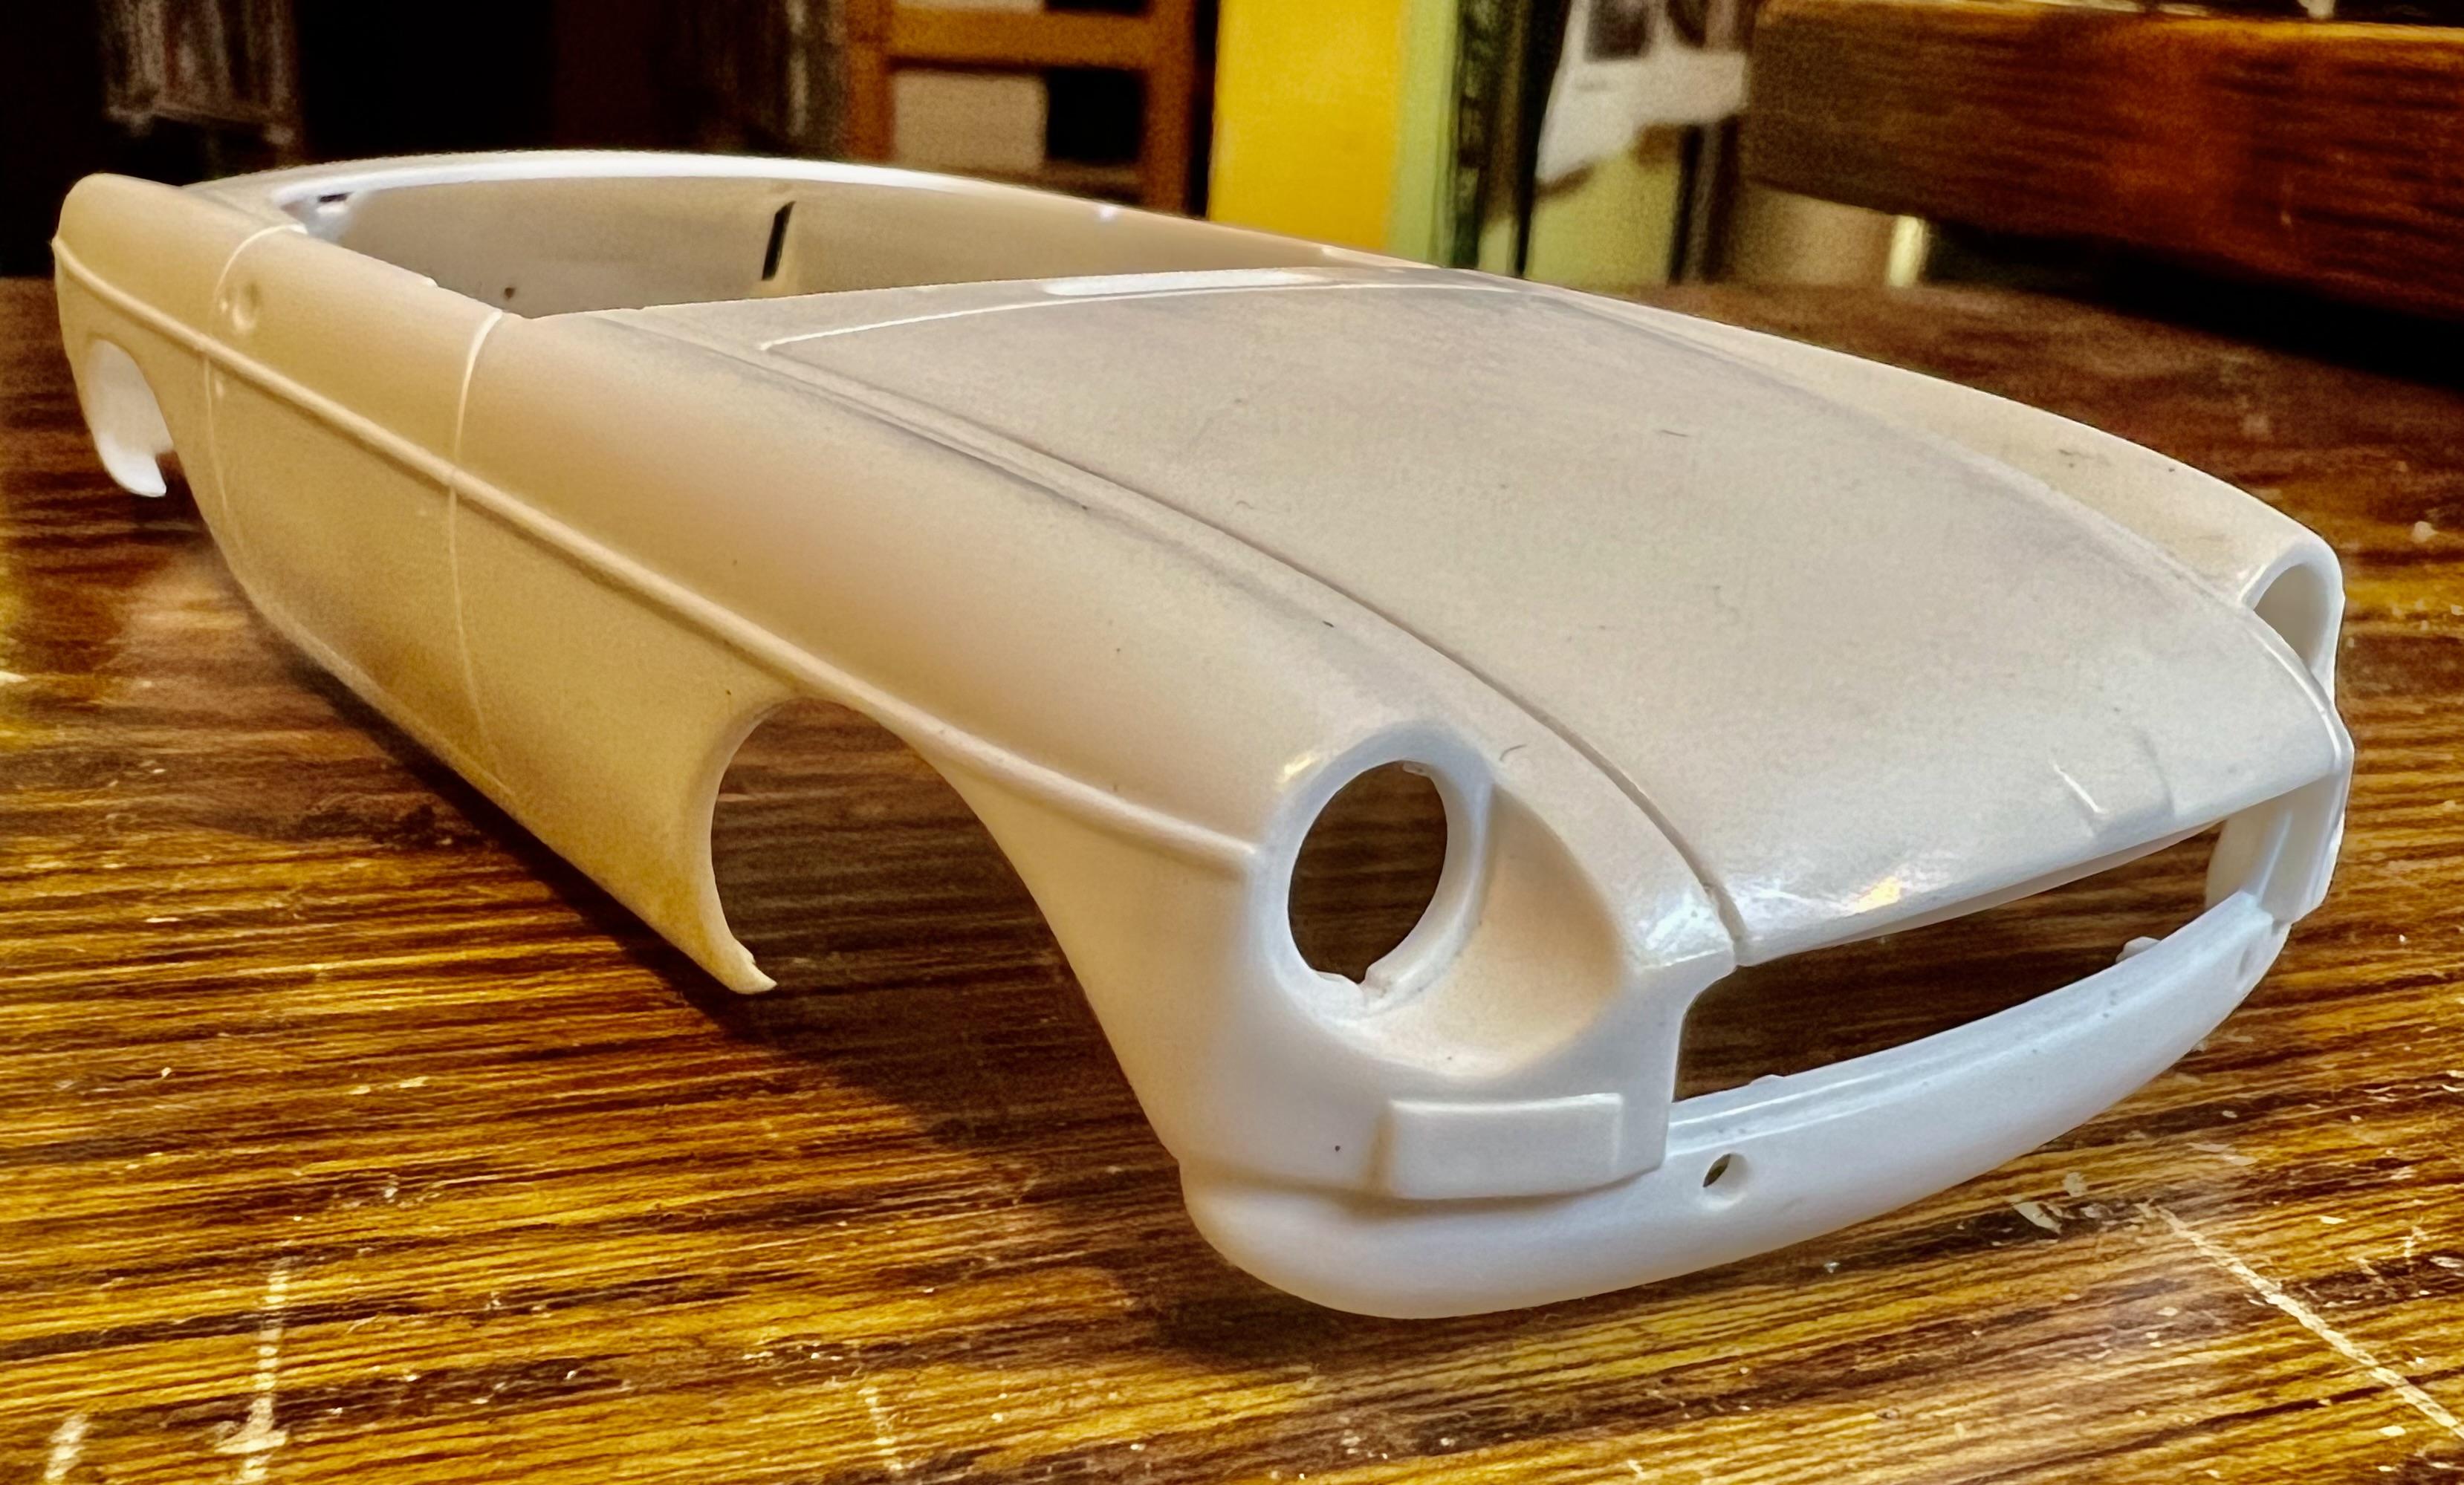
I was able to get back to the workbench over the weekend to get a bit further with the MGB build. I had a quick look at the body before priming it to discover I had missed openings in the front and rear valances. Referring to photos and using two small drill sizes they were added and two existing openings in front were modified to be rectangular. In assembling the stock bucket seats a rather unsightly seam in the back was covered with piping as well as around the seat cushion. The seats required a lot of attention due to prominent mold seams. Additional sanding was needed to soften hard ridges along the seat back. Small details that help the overall scale look. While looking at the photos and comparing the kit chassis I couldn’t help to notice some omissions on an otherwise great curbside chassis. The most obvious were the two cage structures on either side of the rear end. The one housing the battery is a square blob and on the other side it is absent save for a slice of plastic. I decided to do a minimal fixup without attempting a complete rebuild. Using Plastistruct lengths of angle iron the blob has been outlined with greater definition. Not sure if I’ll tackle the empty cage on the other side. The other item is the void between the block and the bottom of the rad. Searching thru the parts department I assembled the parts that will fill the gap and offer a refinement to the curbside look. The cut down rad from another project fits perfectly while the pulley/fanbelt assembly needed to be pulled in tighter to fit. Fortunately the generator will fit right into the stock position filling in a gap. The fan also needed a trim to fit the engine bay. To finish off I primered the body after a through wet sanding with a 600 sponge, dry time and a dusting with an anti-static brush. Quite happy with the result so tempted to move onto the colour coats. I’ve switched the the LP Tamiya paints for most of my air brushing, yet I will need to mix up a colour match as a light shade of blue isn’t available. Going to begin with a small batch while noting the paint ratios before mixing a larger amount. Thanks to Andrew, Gary, JC, Phil and Mark for checking in on the build. Getting back the bench, cheers Misha Whoops, some extra photos…
-
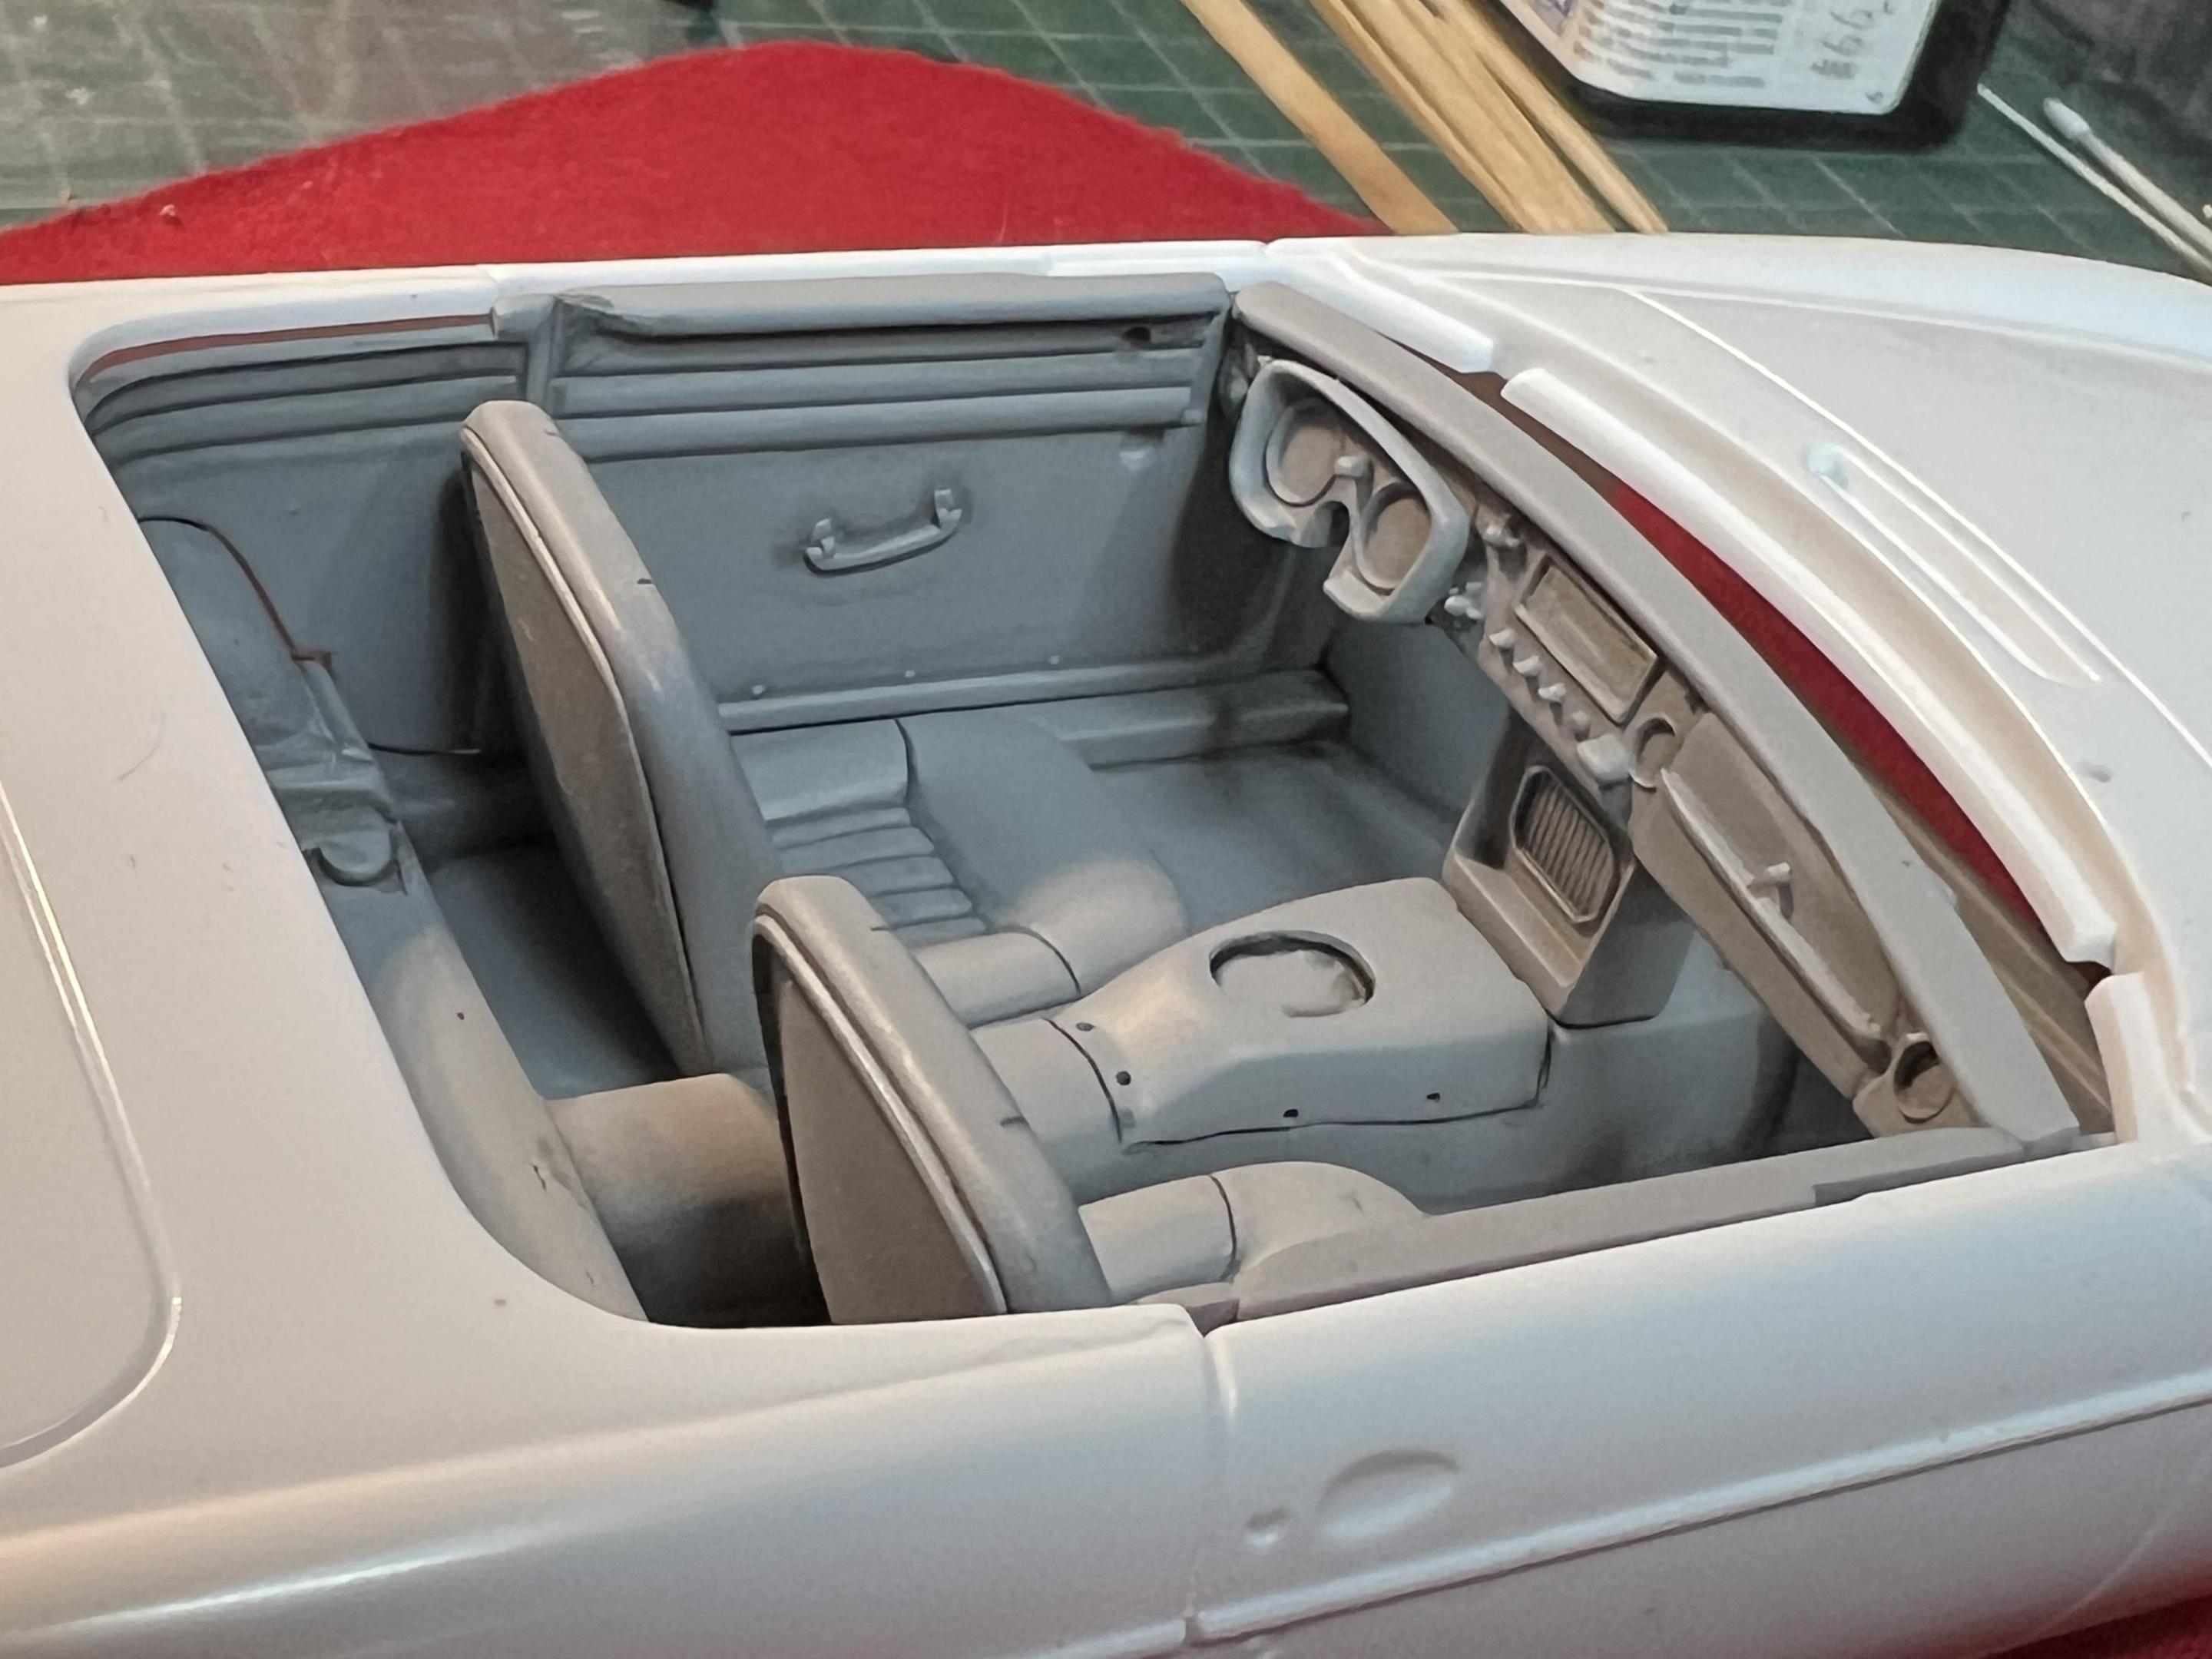
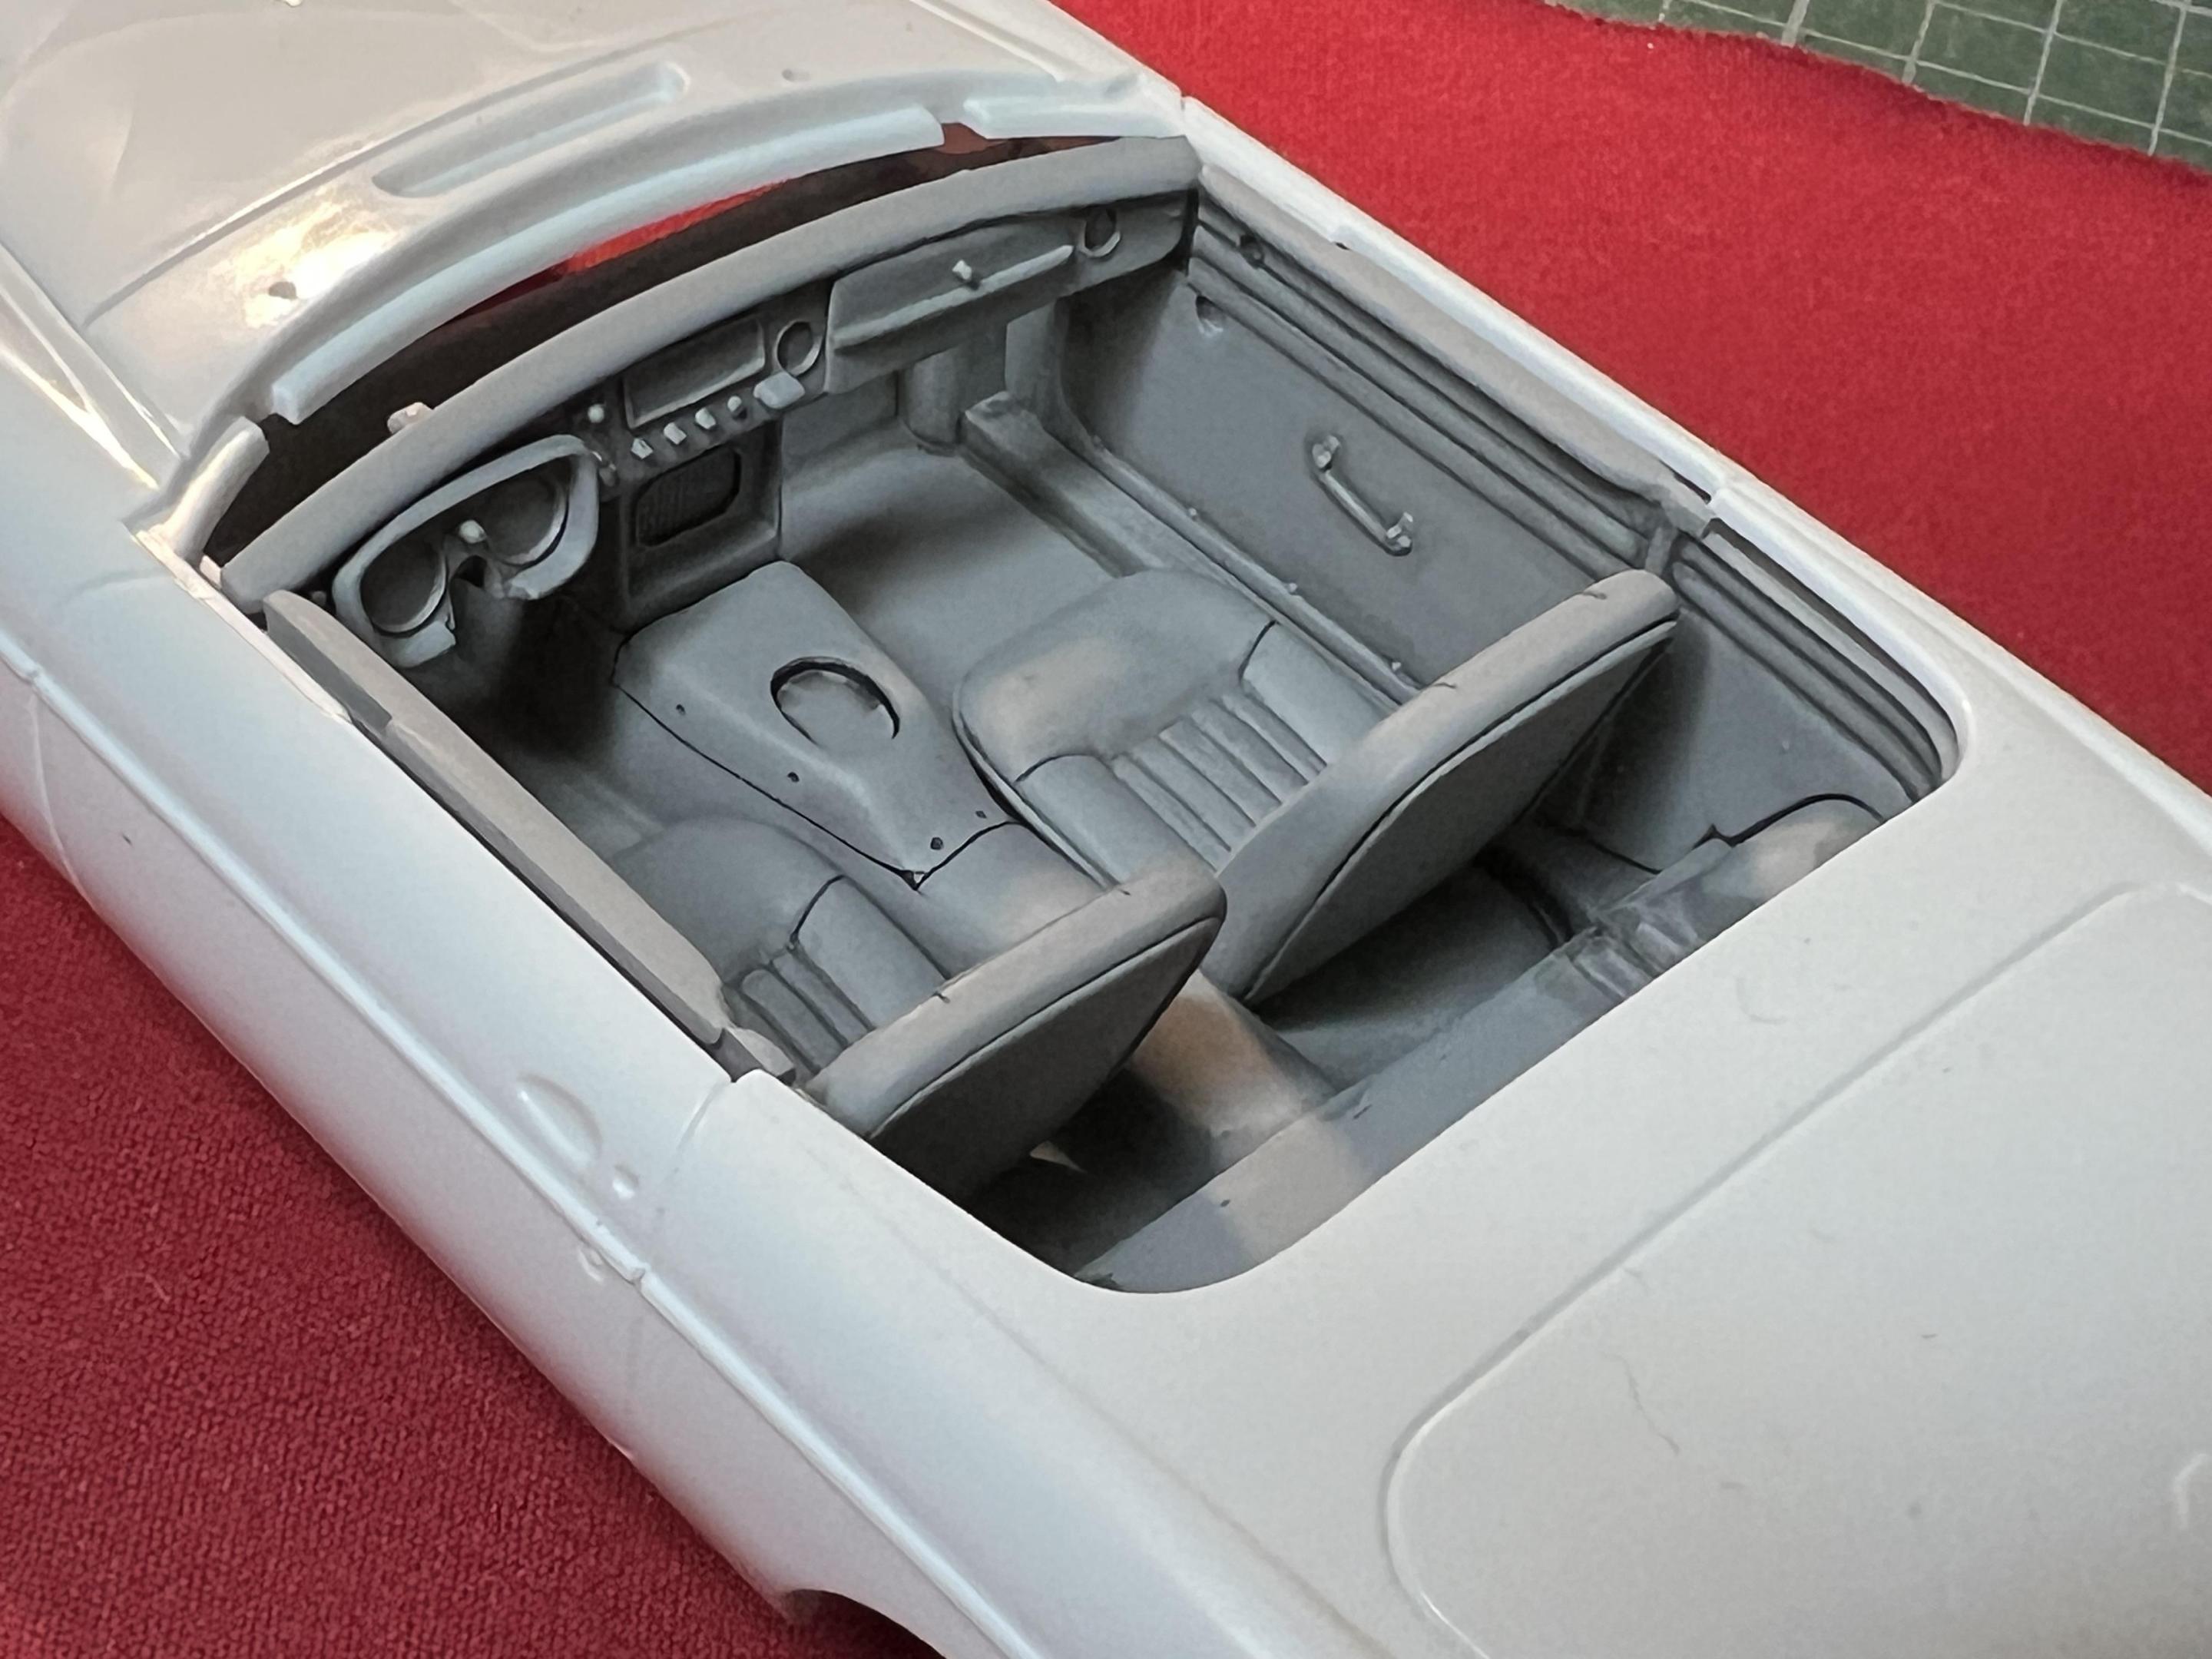
It has been just over a year since I first posted my planned MGB build for the 64 Sebring 12 Hour anniversary in March. Travels and health have kept me away from the workbench until this past week! During the downtime I did research the car and race finding a number of sources on the web. Auction sites also provided a wealth of information with detailed photos. Yet one needs to be aware of changes made to vehicles to conform to current vintage race regs that would not have been in place back in the 60s. In building the blue #48 from the trio entered at Sebring I began with prepping the body for primer. To deepen the panel lines I used the Tamiya scriber with the fine edged inserts that has become my go to tool for this. Checking my photo references I made the cutout for the gas filler cap and closed off the stock opening. The exhaust pipe also required an alteration to have it exit in front of the rear wheel. The grill is finely cast with open spaces between the vertical bars making it easy to alter to fit the driving lights. Being a curbside there isn’t an engine bay to speak of, so I scratch built an assembly to fit behind the grill to attach the lights and to install the prominent oil cooler. The biggest challenge so far was converting the MG to left hand drive as the three cars were North American versions. Using the same scriber the cut out the gauge cluster and installed it on the other side. A thin sheet of plastic was cut to fit the passenger side and detailed with the glovebox. MG wanted the cars to appear as stock as possible and made few changes to the interior. Stock seats remained with the white car only being fitted with a race seat. Carpeting was removed as was the rear cushion behind the seats. This required the removal of the molded in cushion in the kit. By flipping the cutout cushion over and reattaching it I had a decent representation of the revealed metal work. This still required a lot of fiddling around to get the interior tub to fit the chassis plate. Next up will be priming the body to get it ready for paint. Will also be mocking up the assembly to determine the stance. The kit does require a bit of lowering all the way around as it does sit high. Glad to be back working on this project, even with the other WIPs on the bench! Cheers Misha.
-
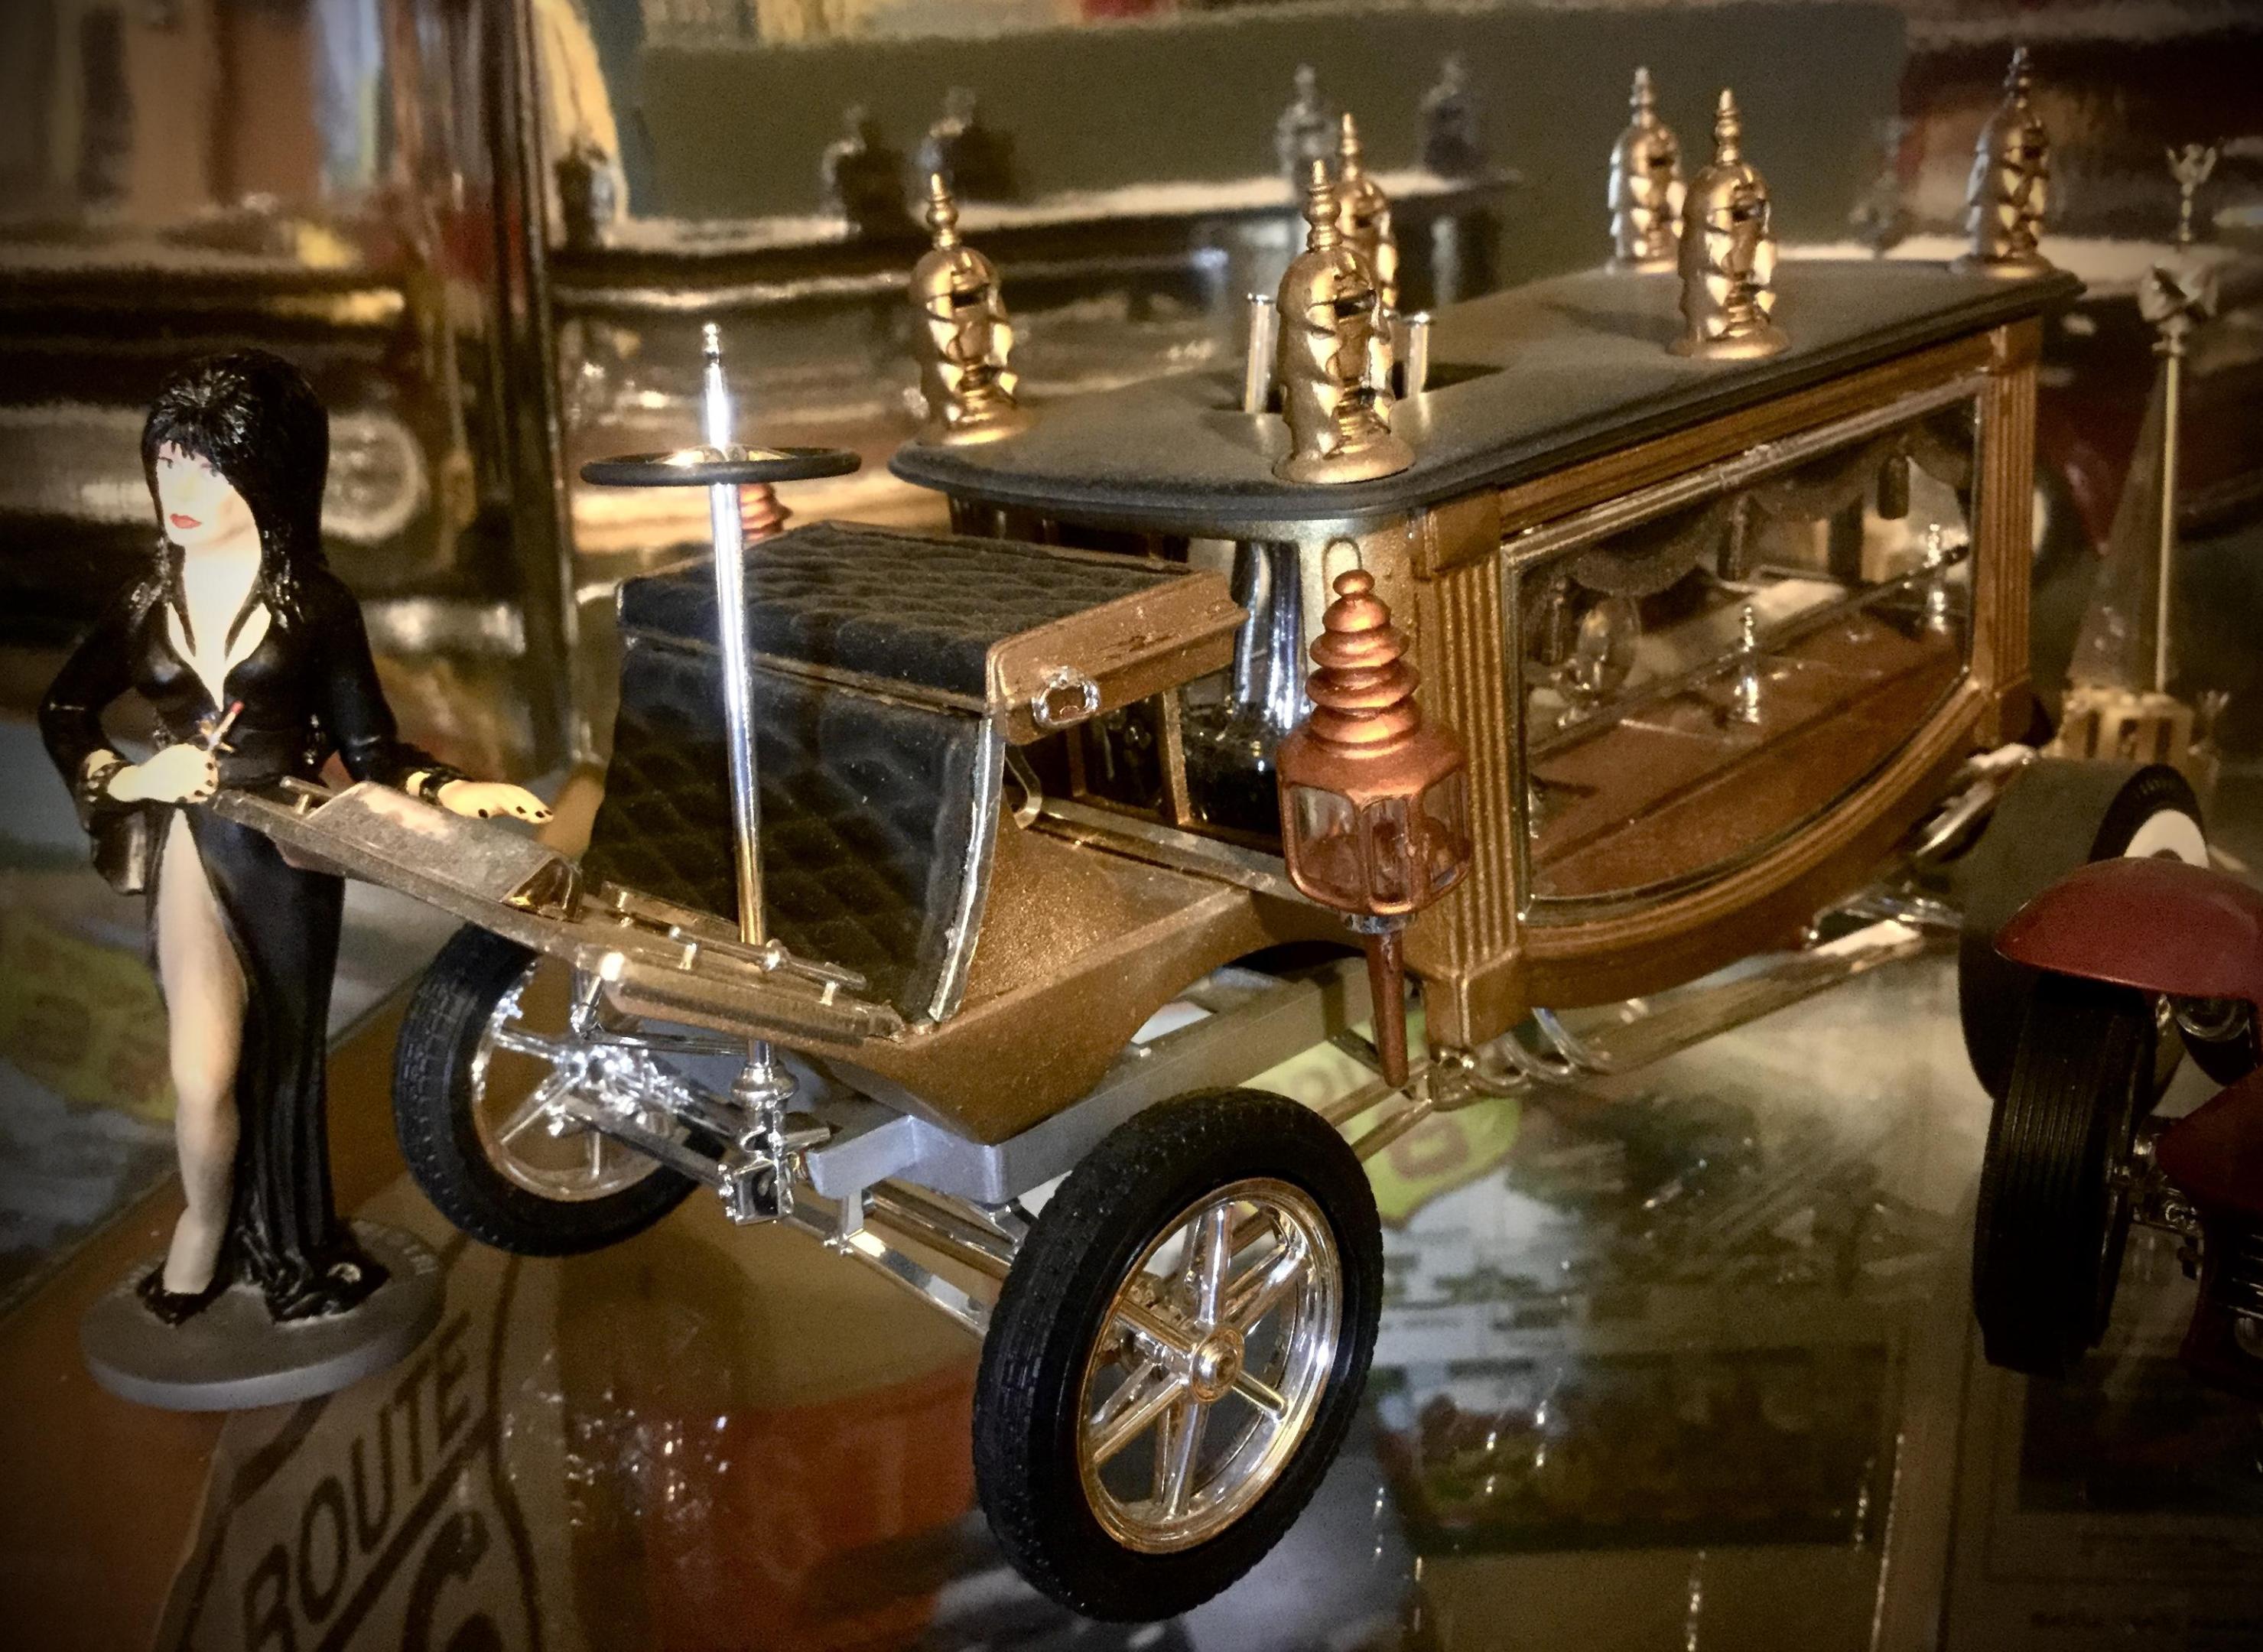
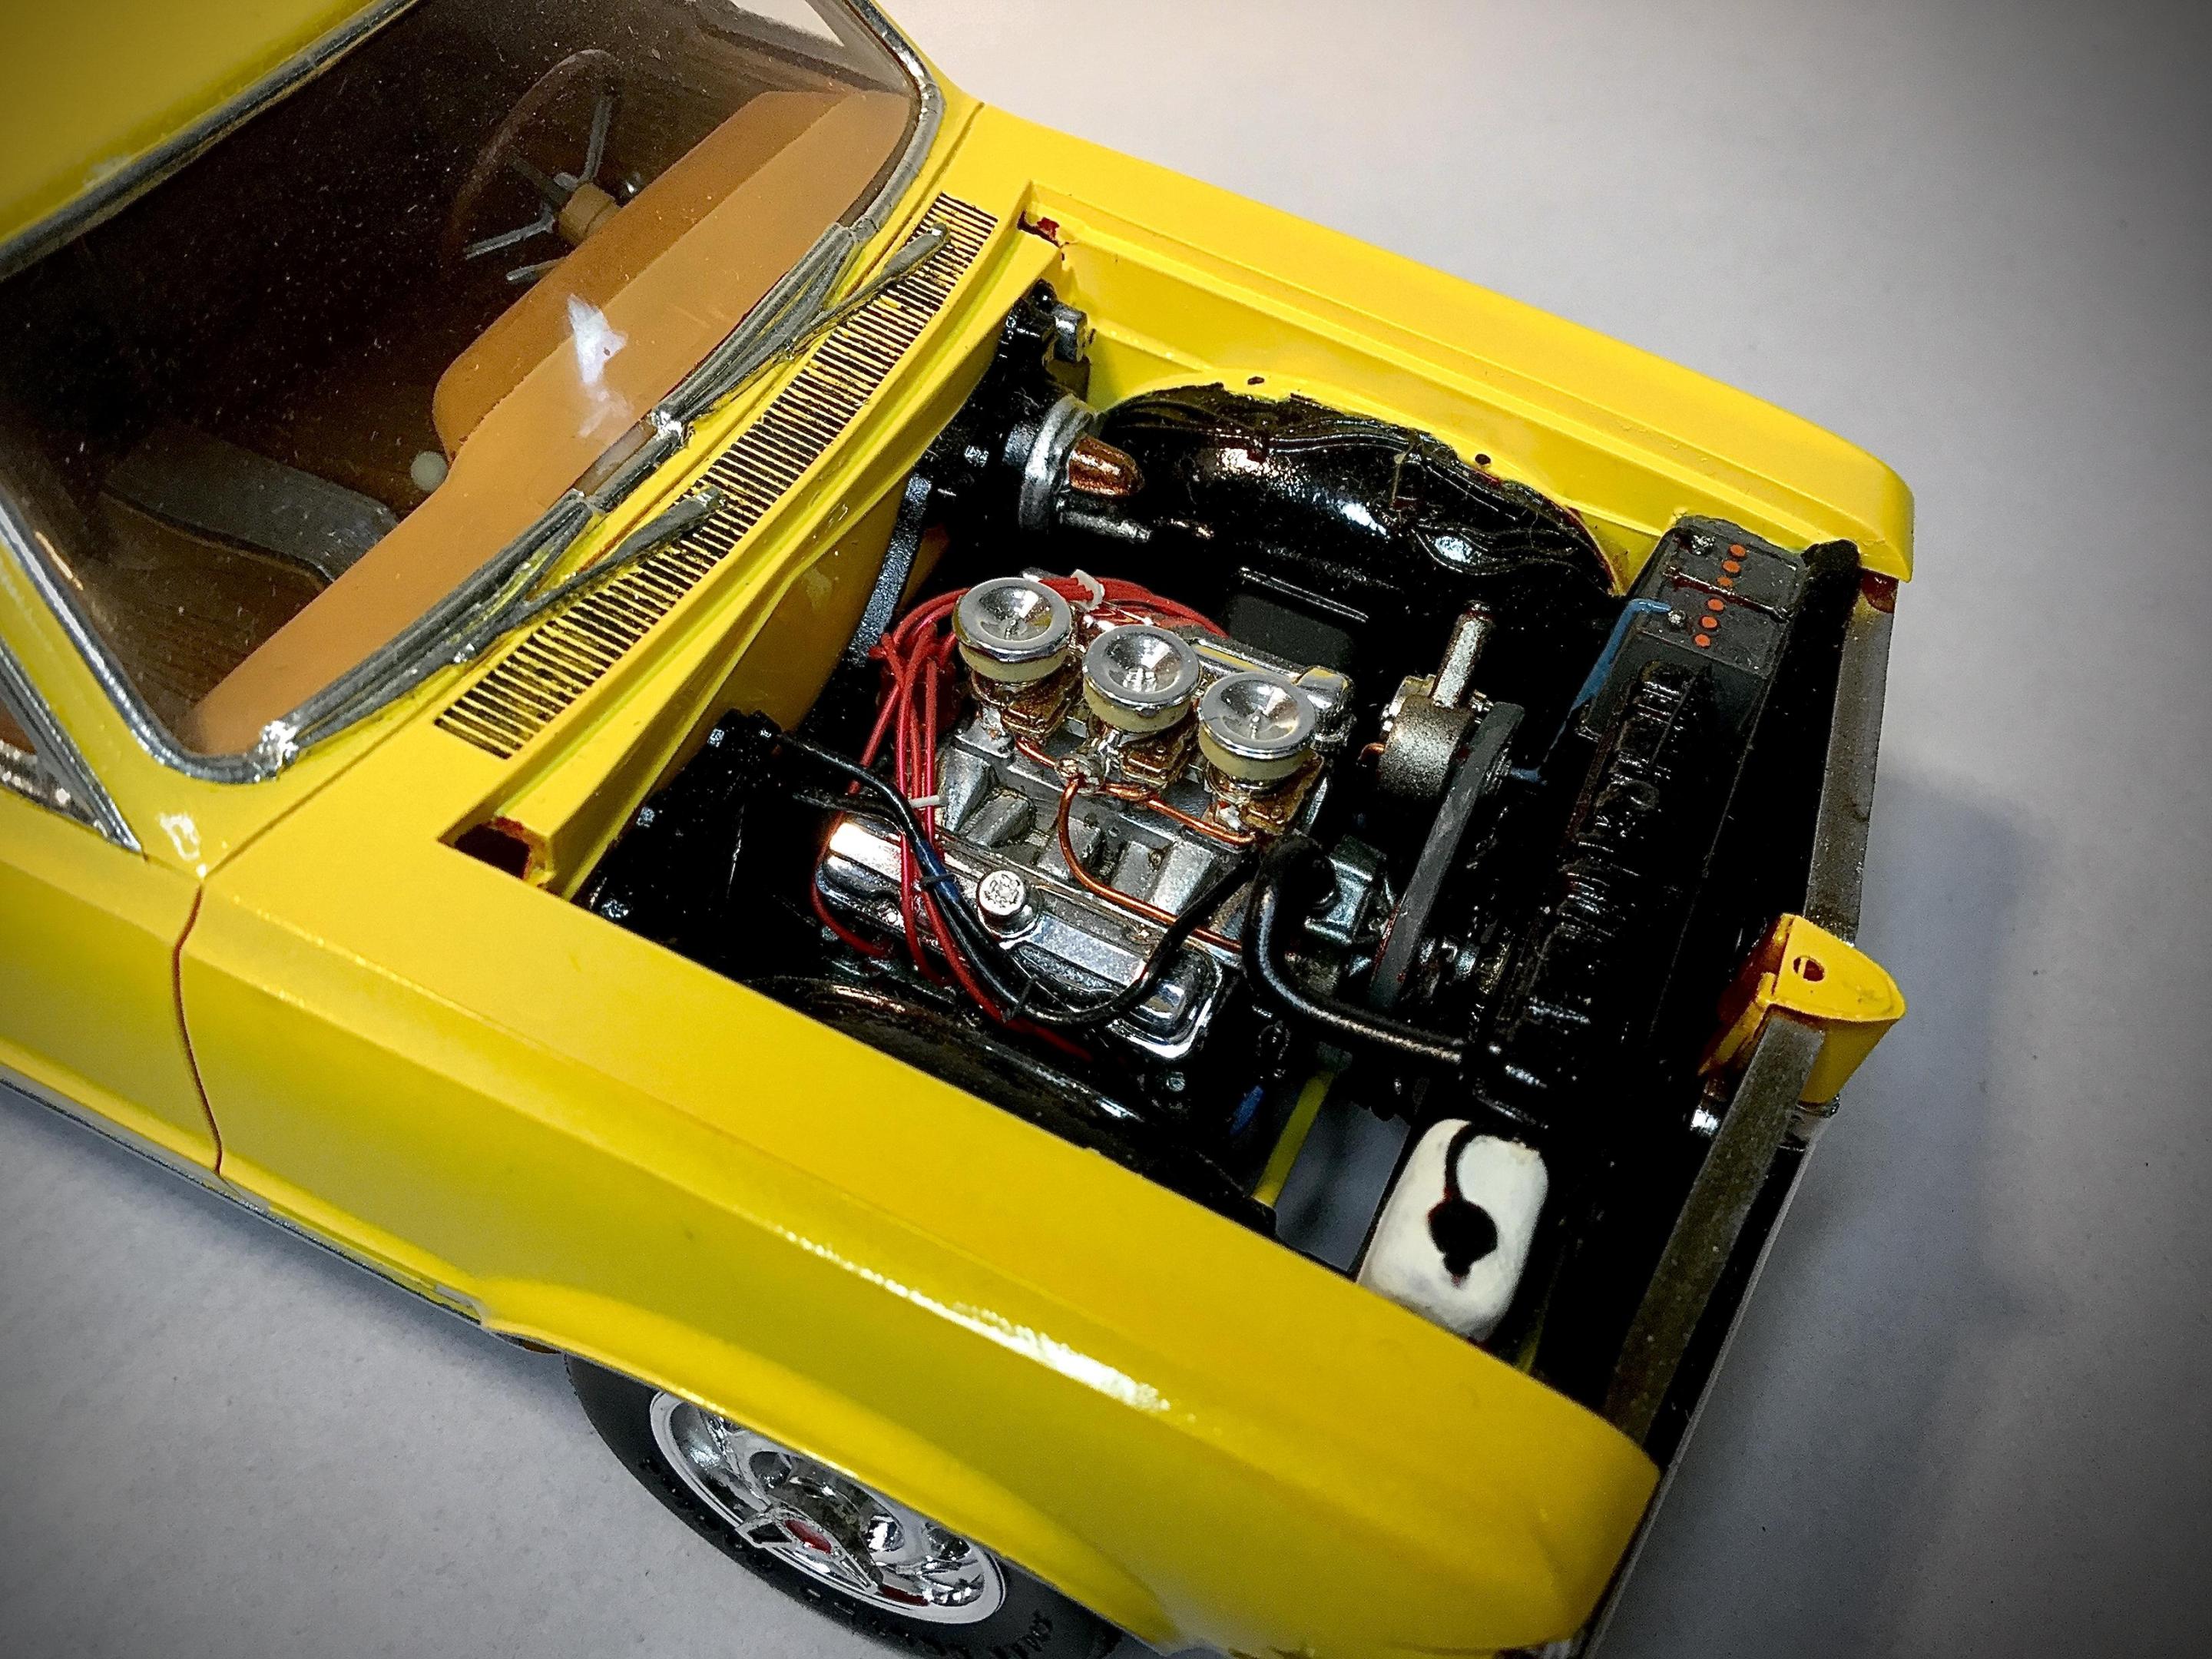
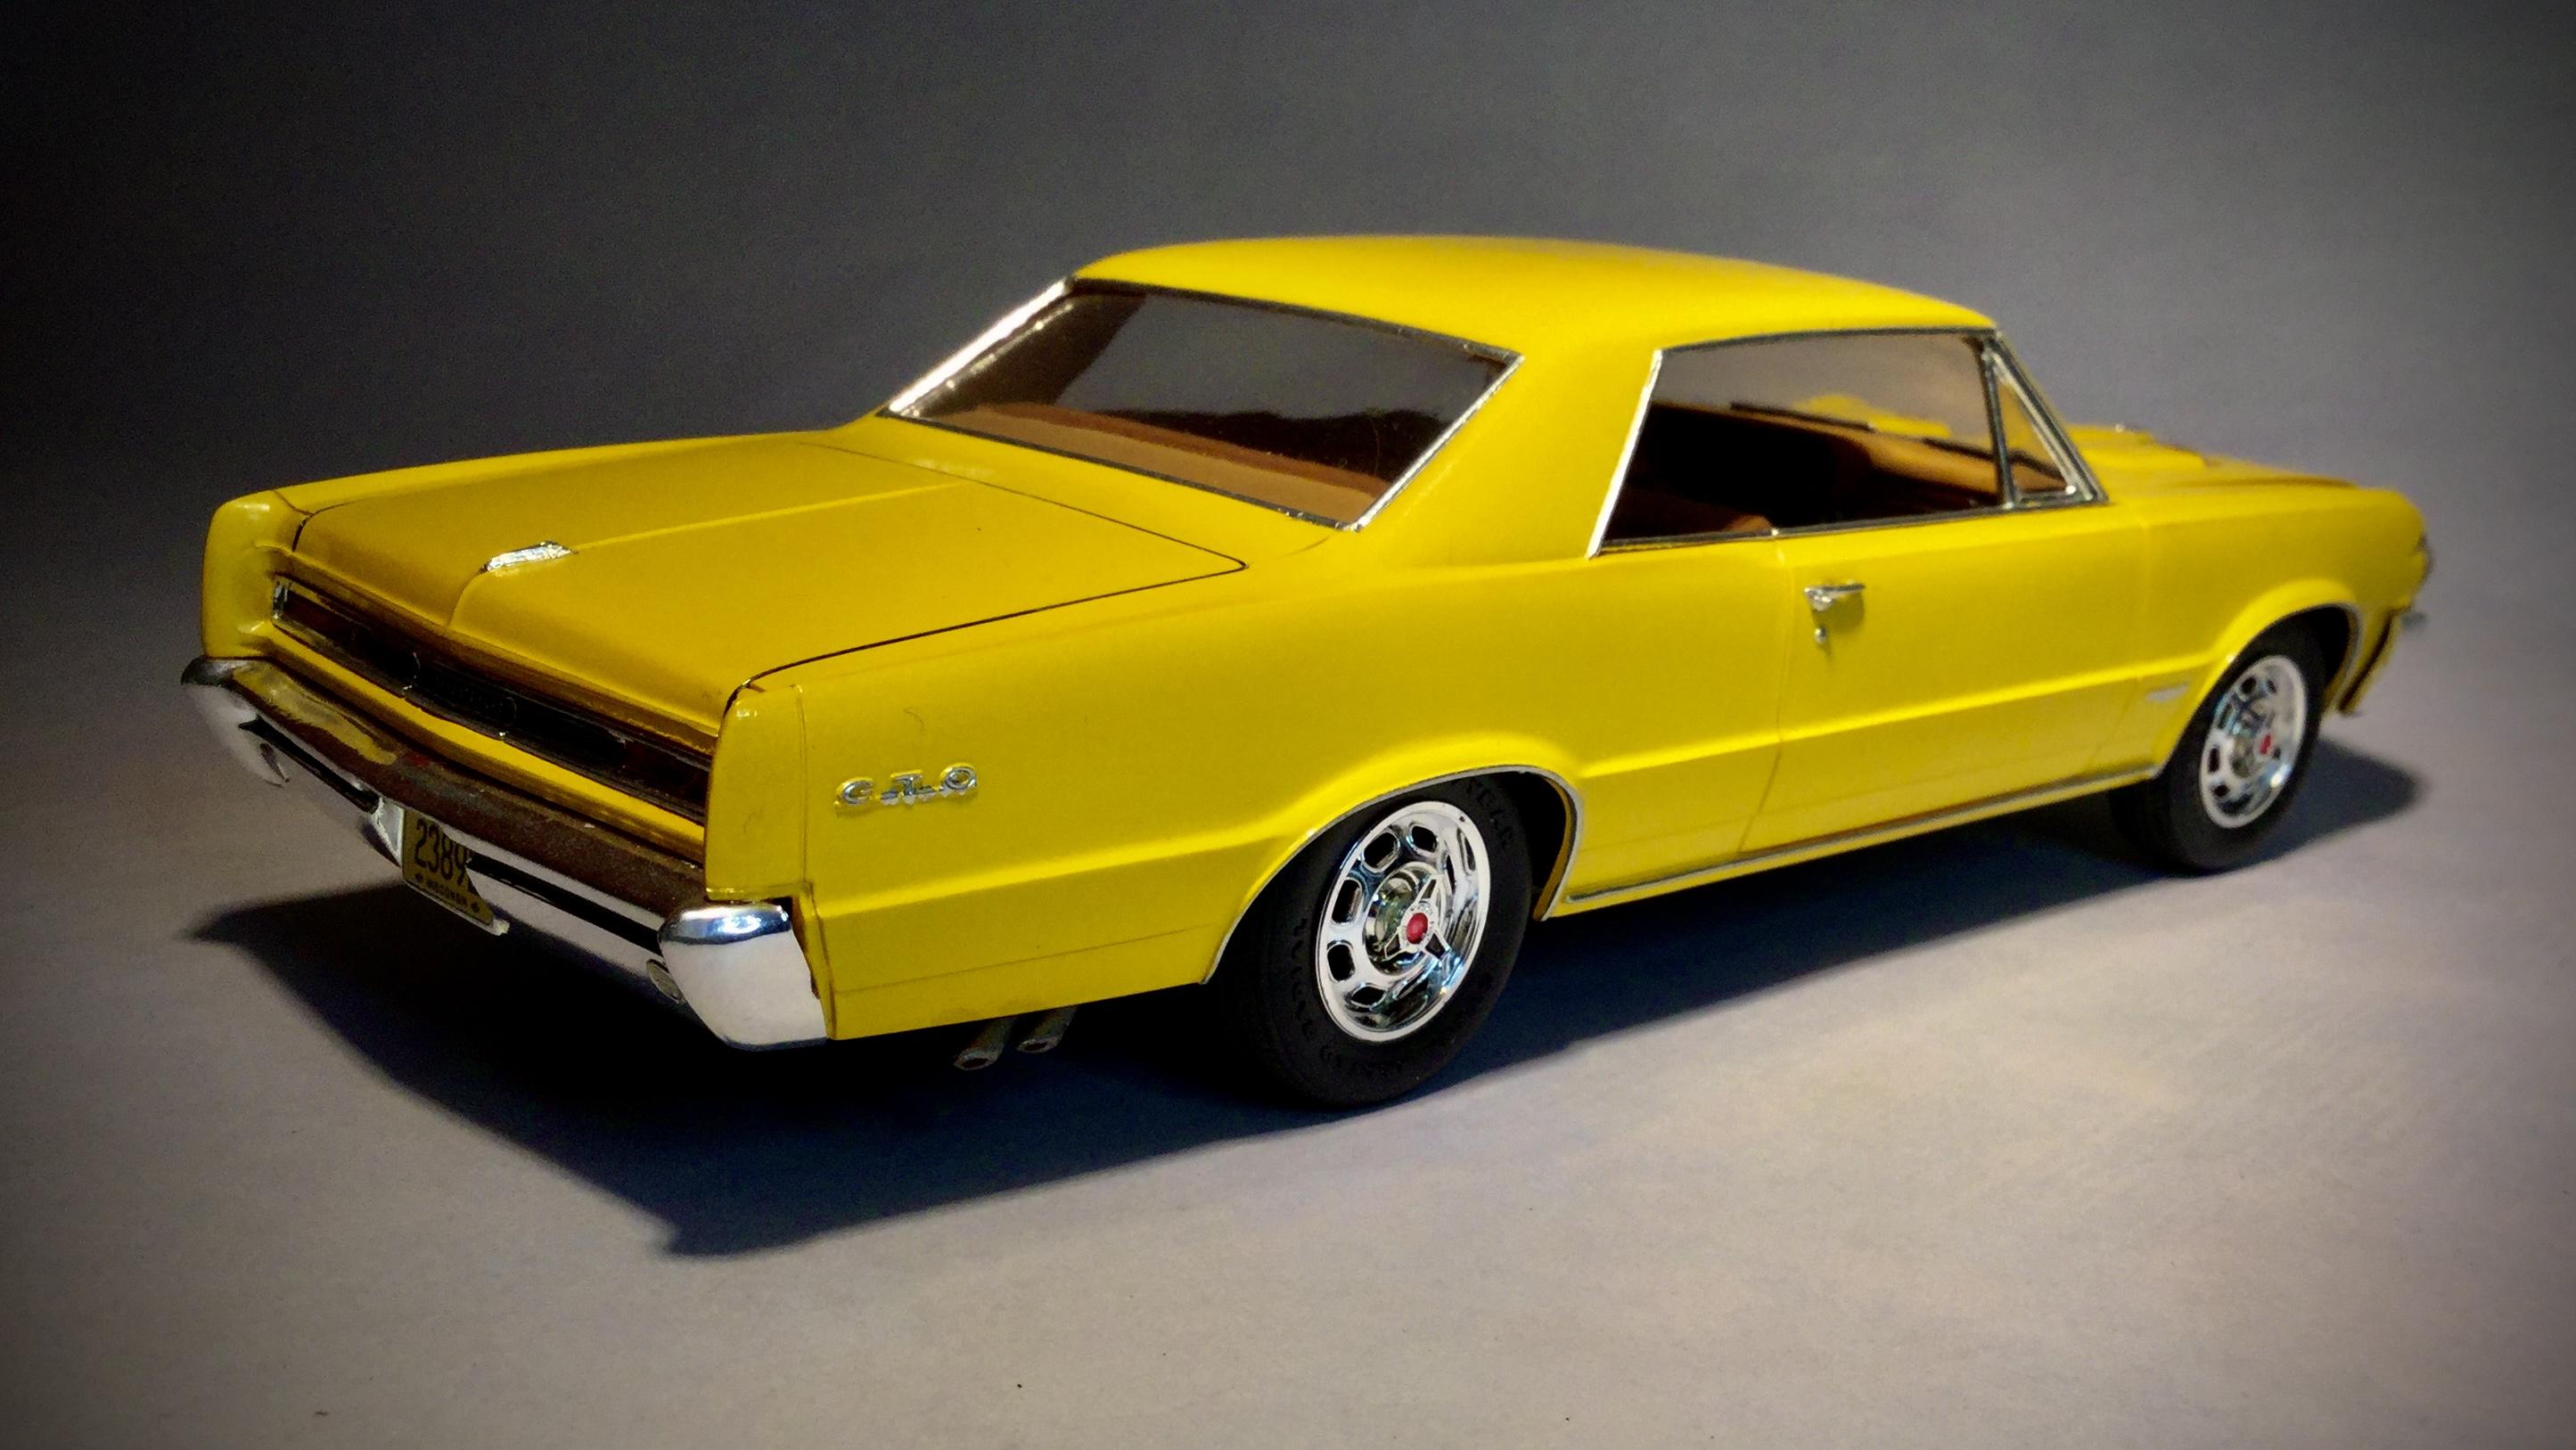
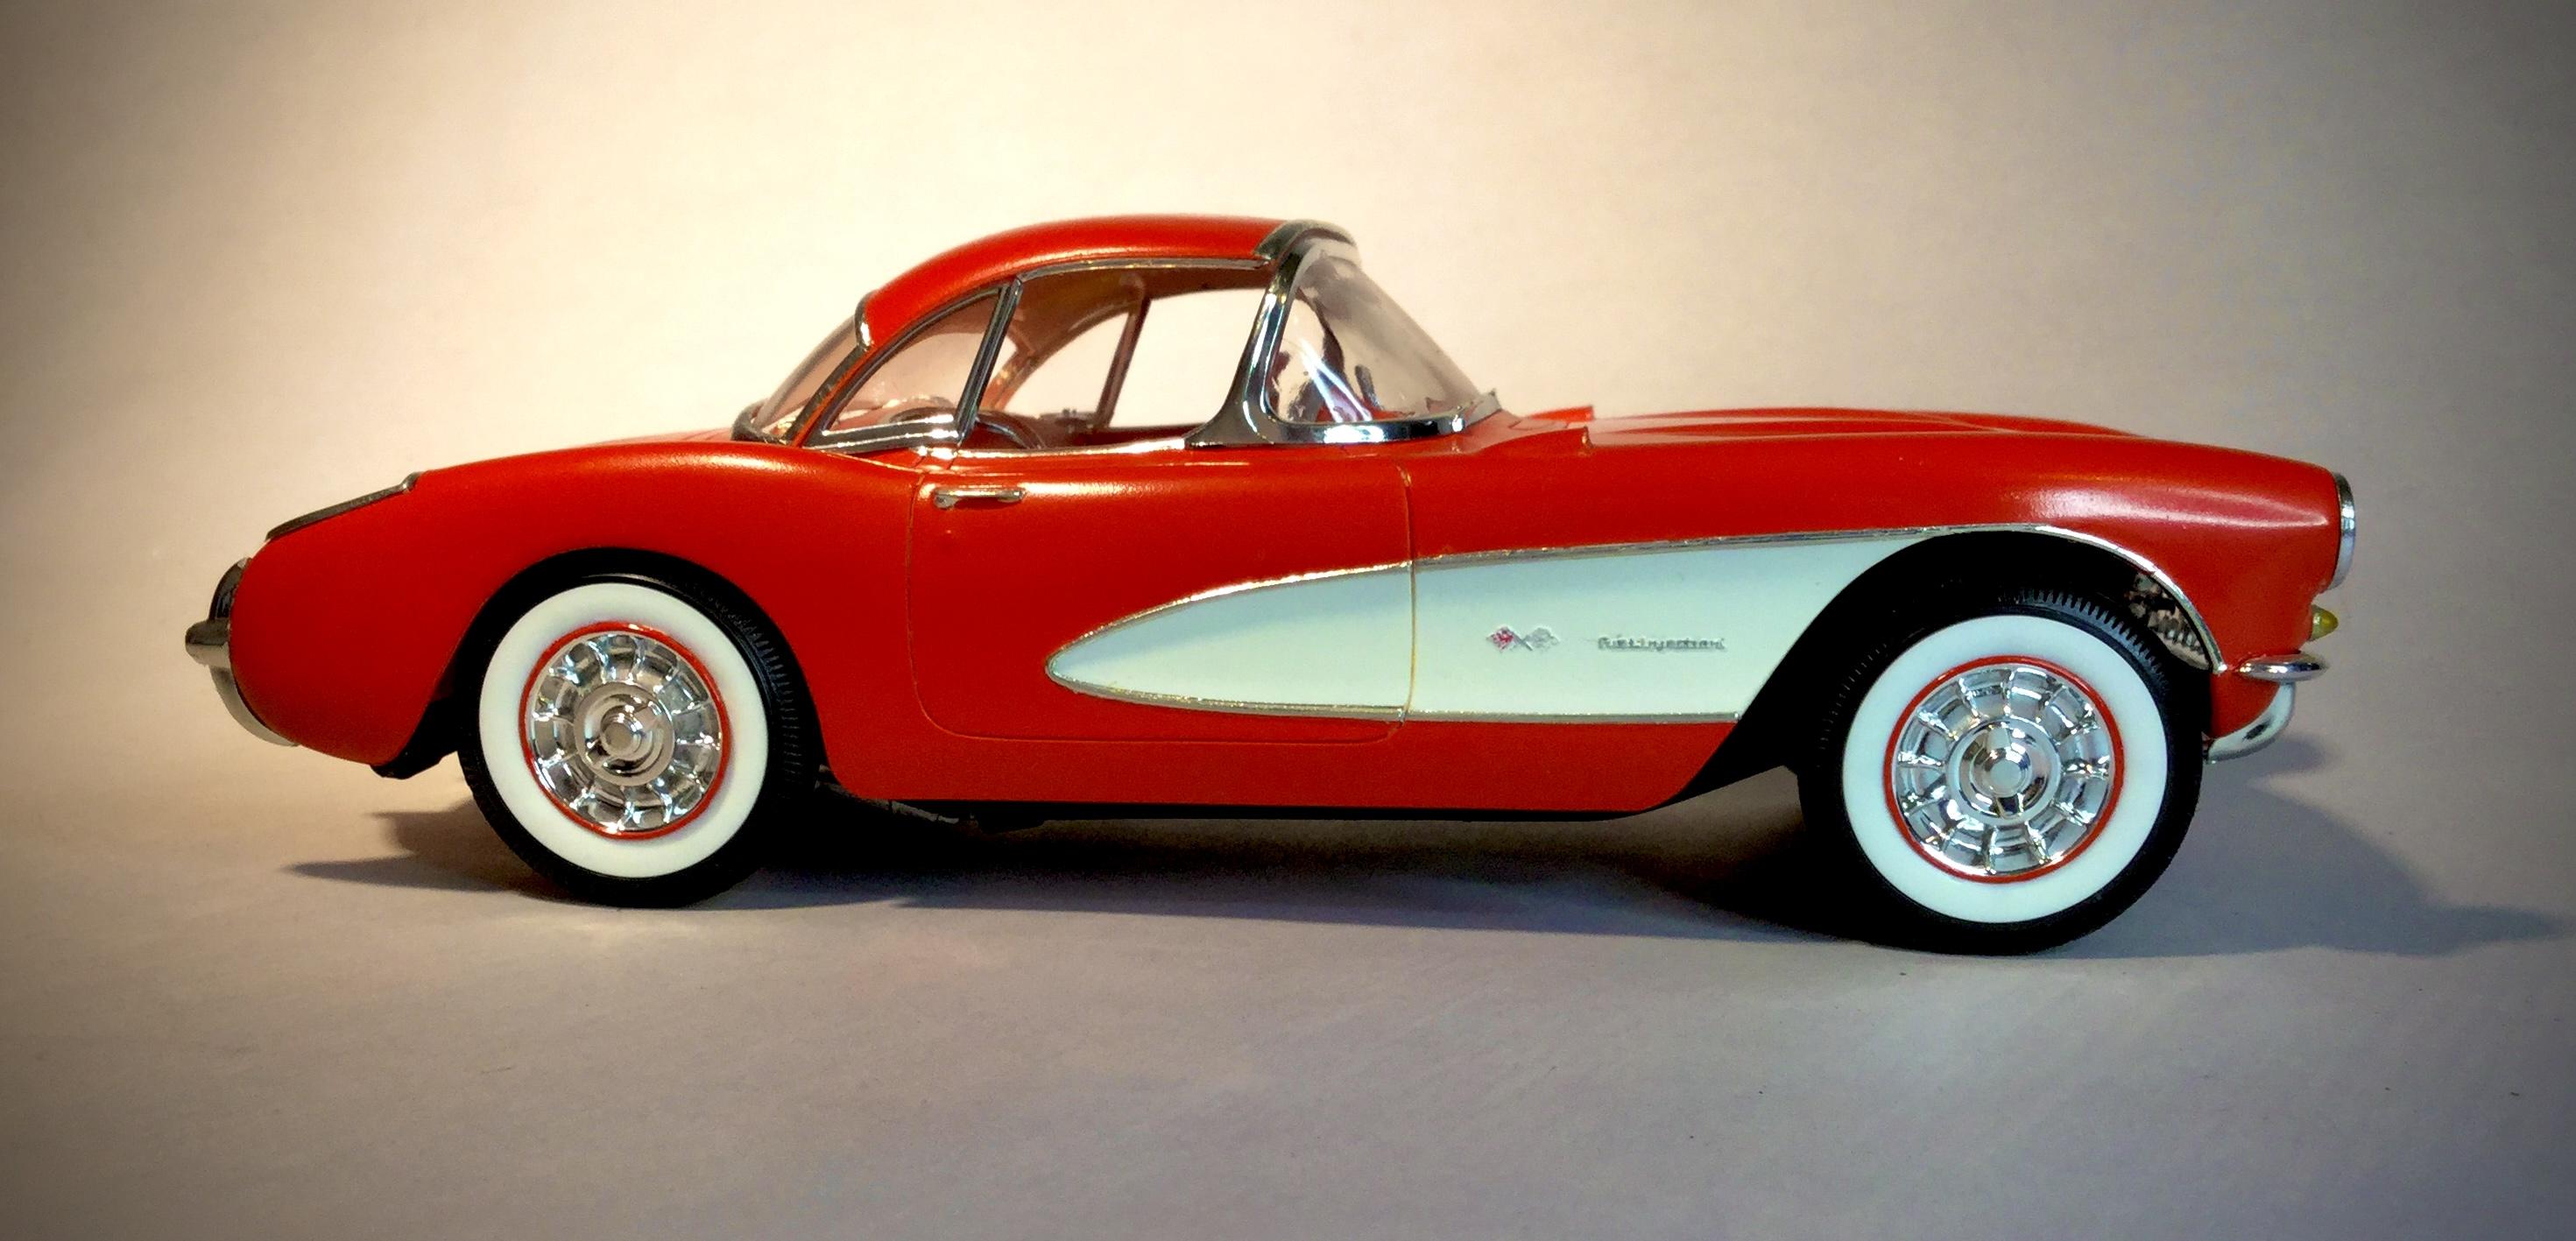
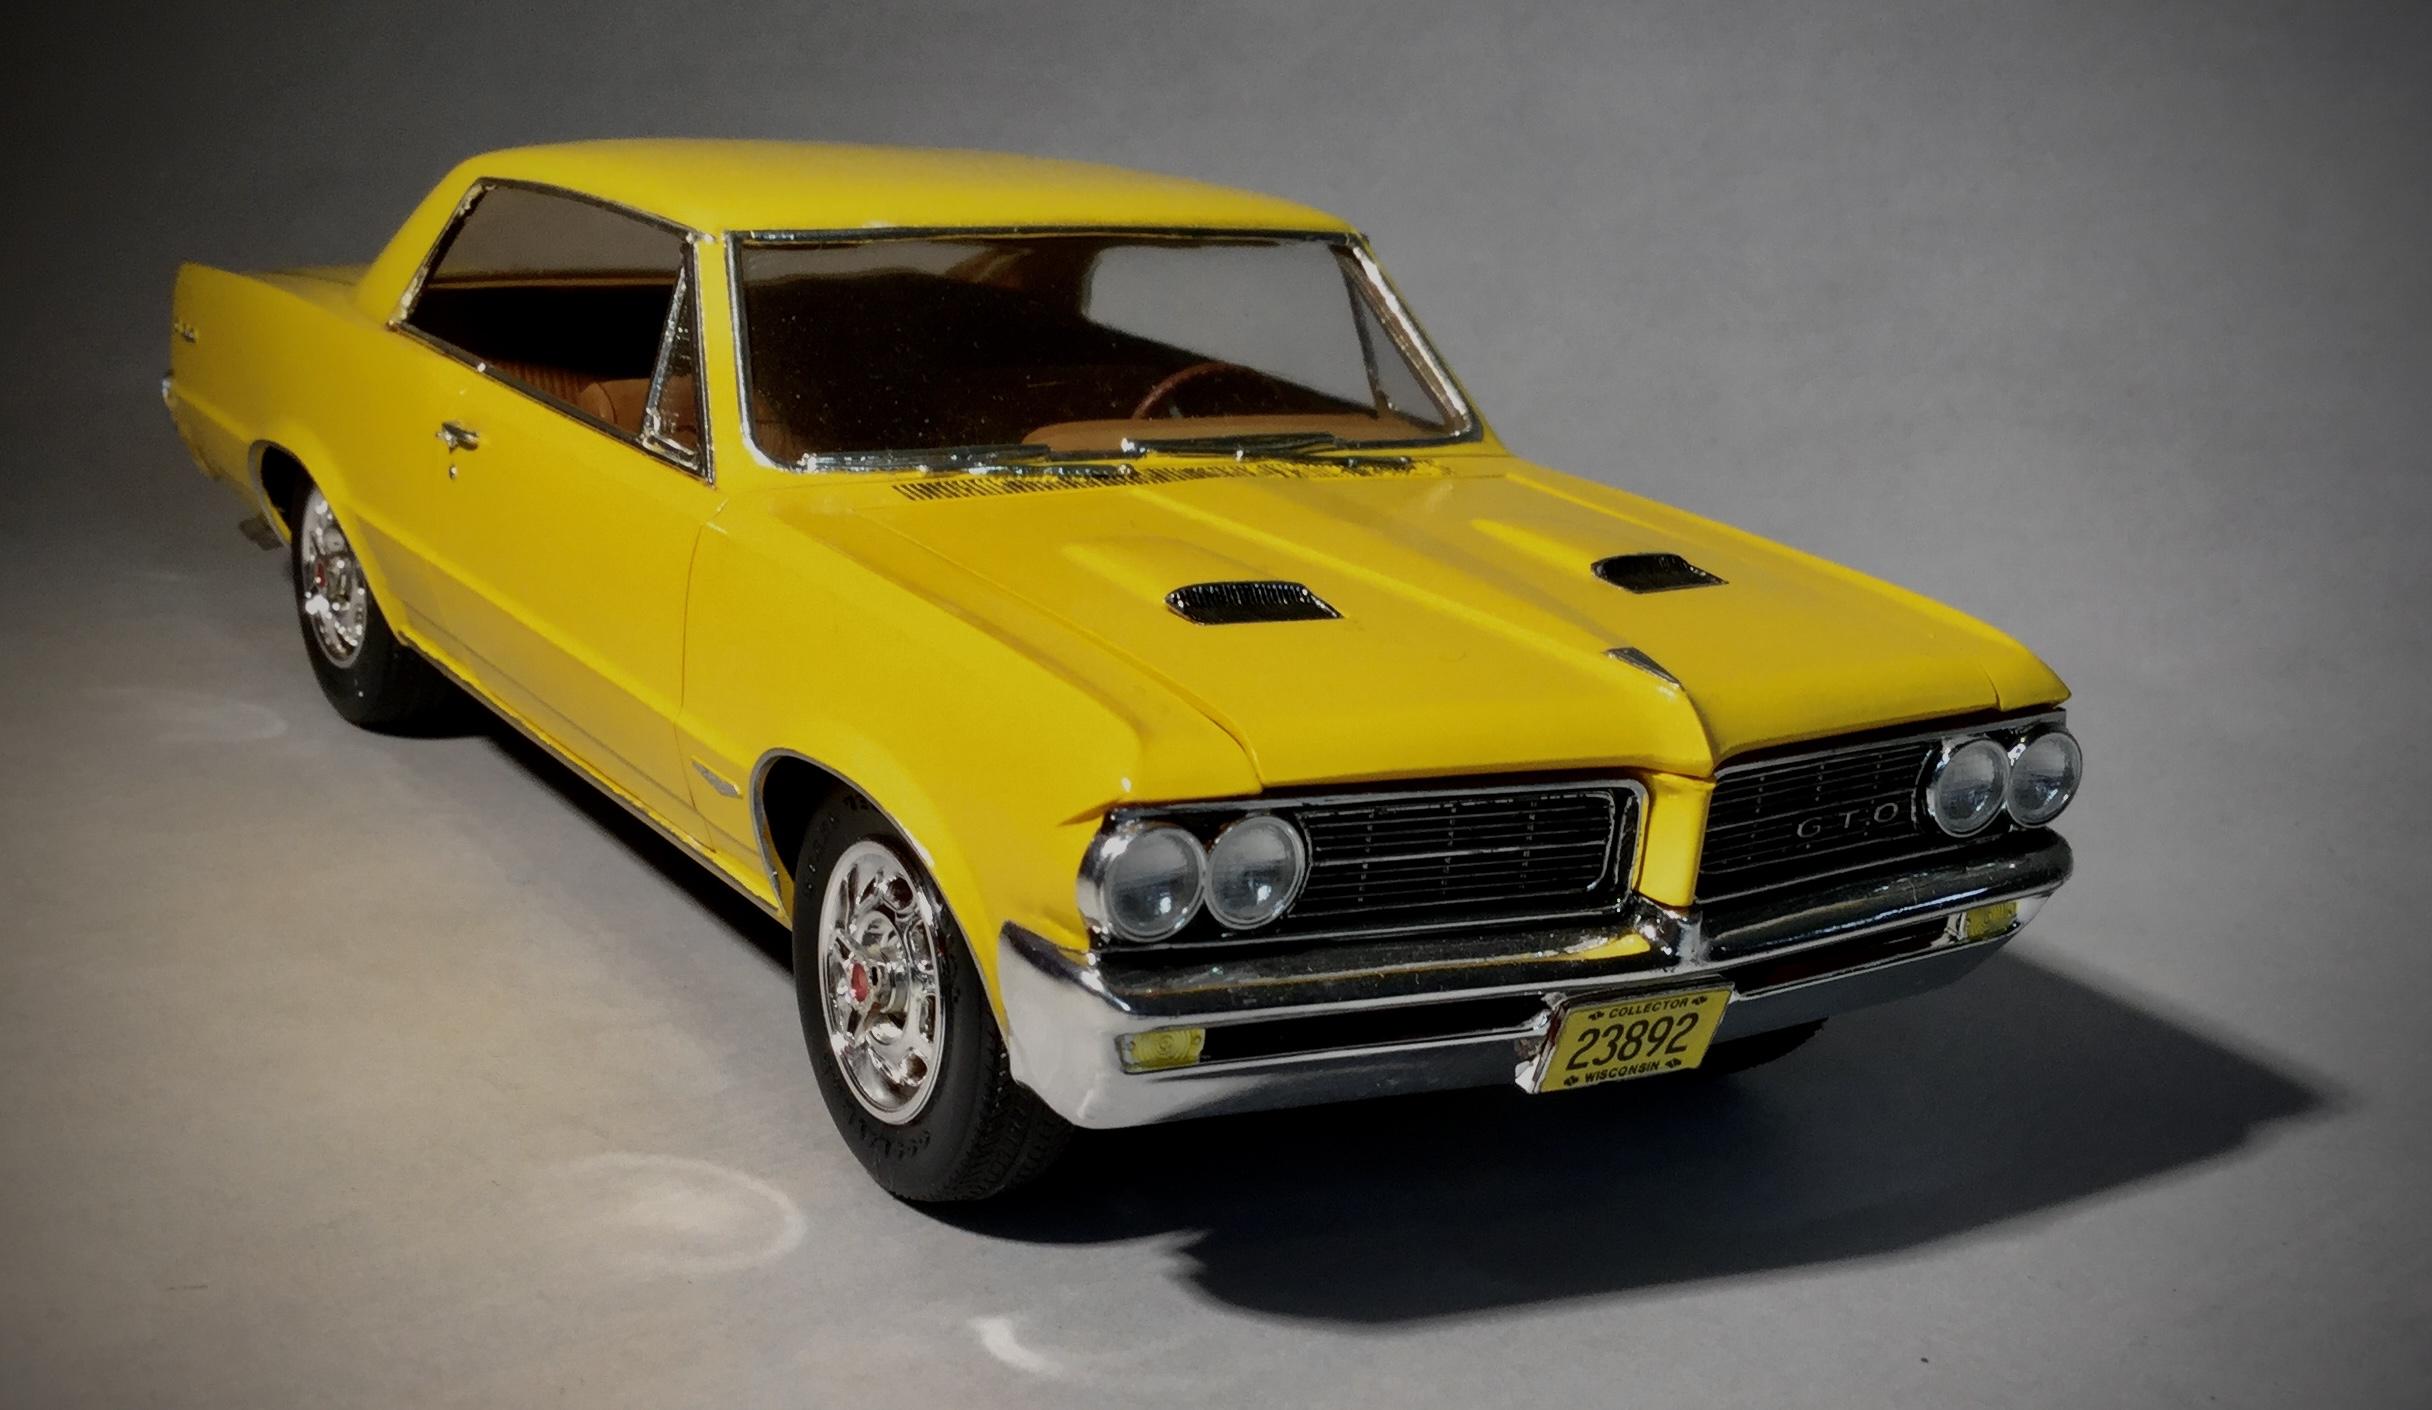
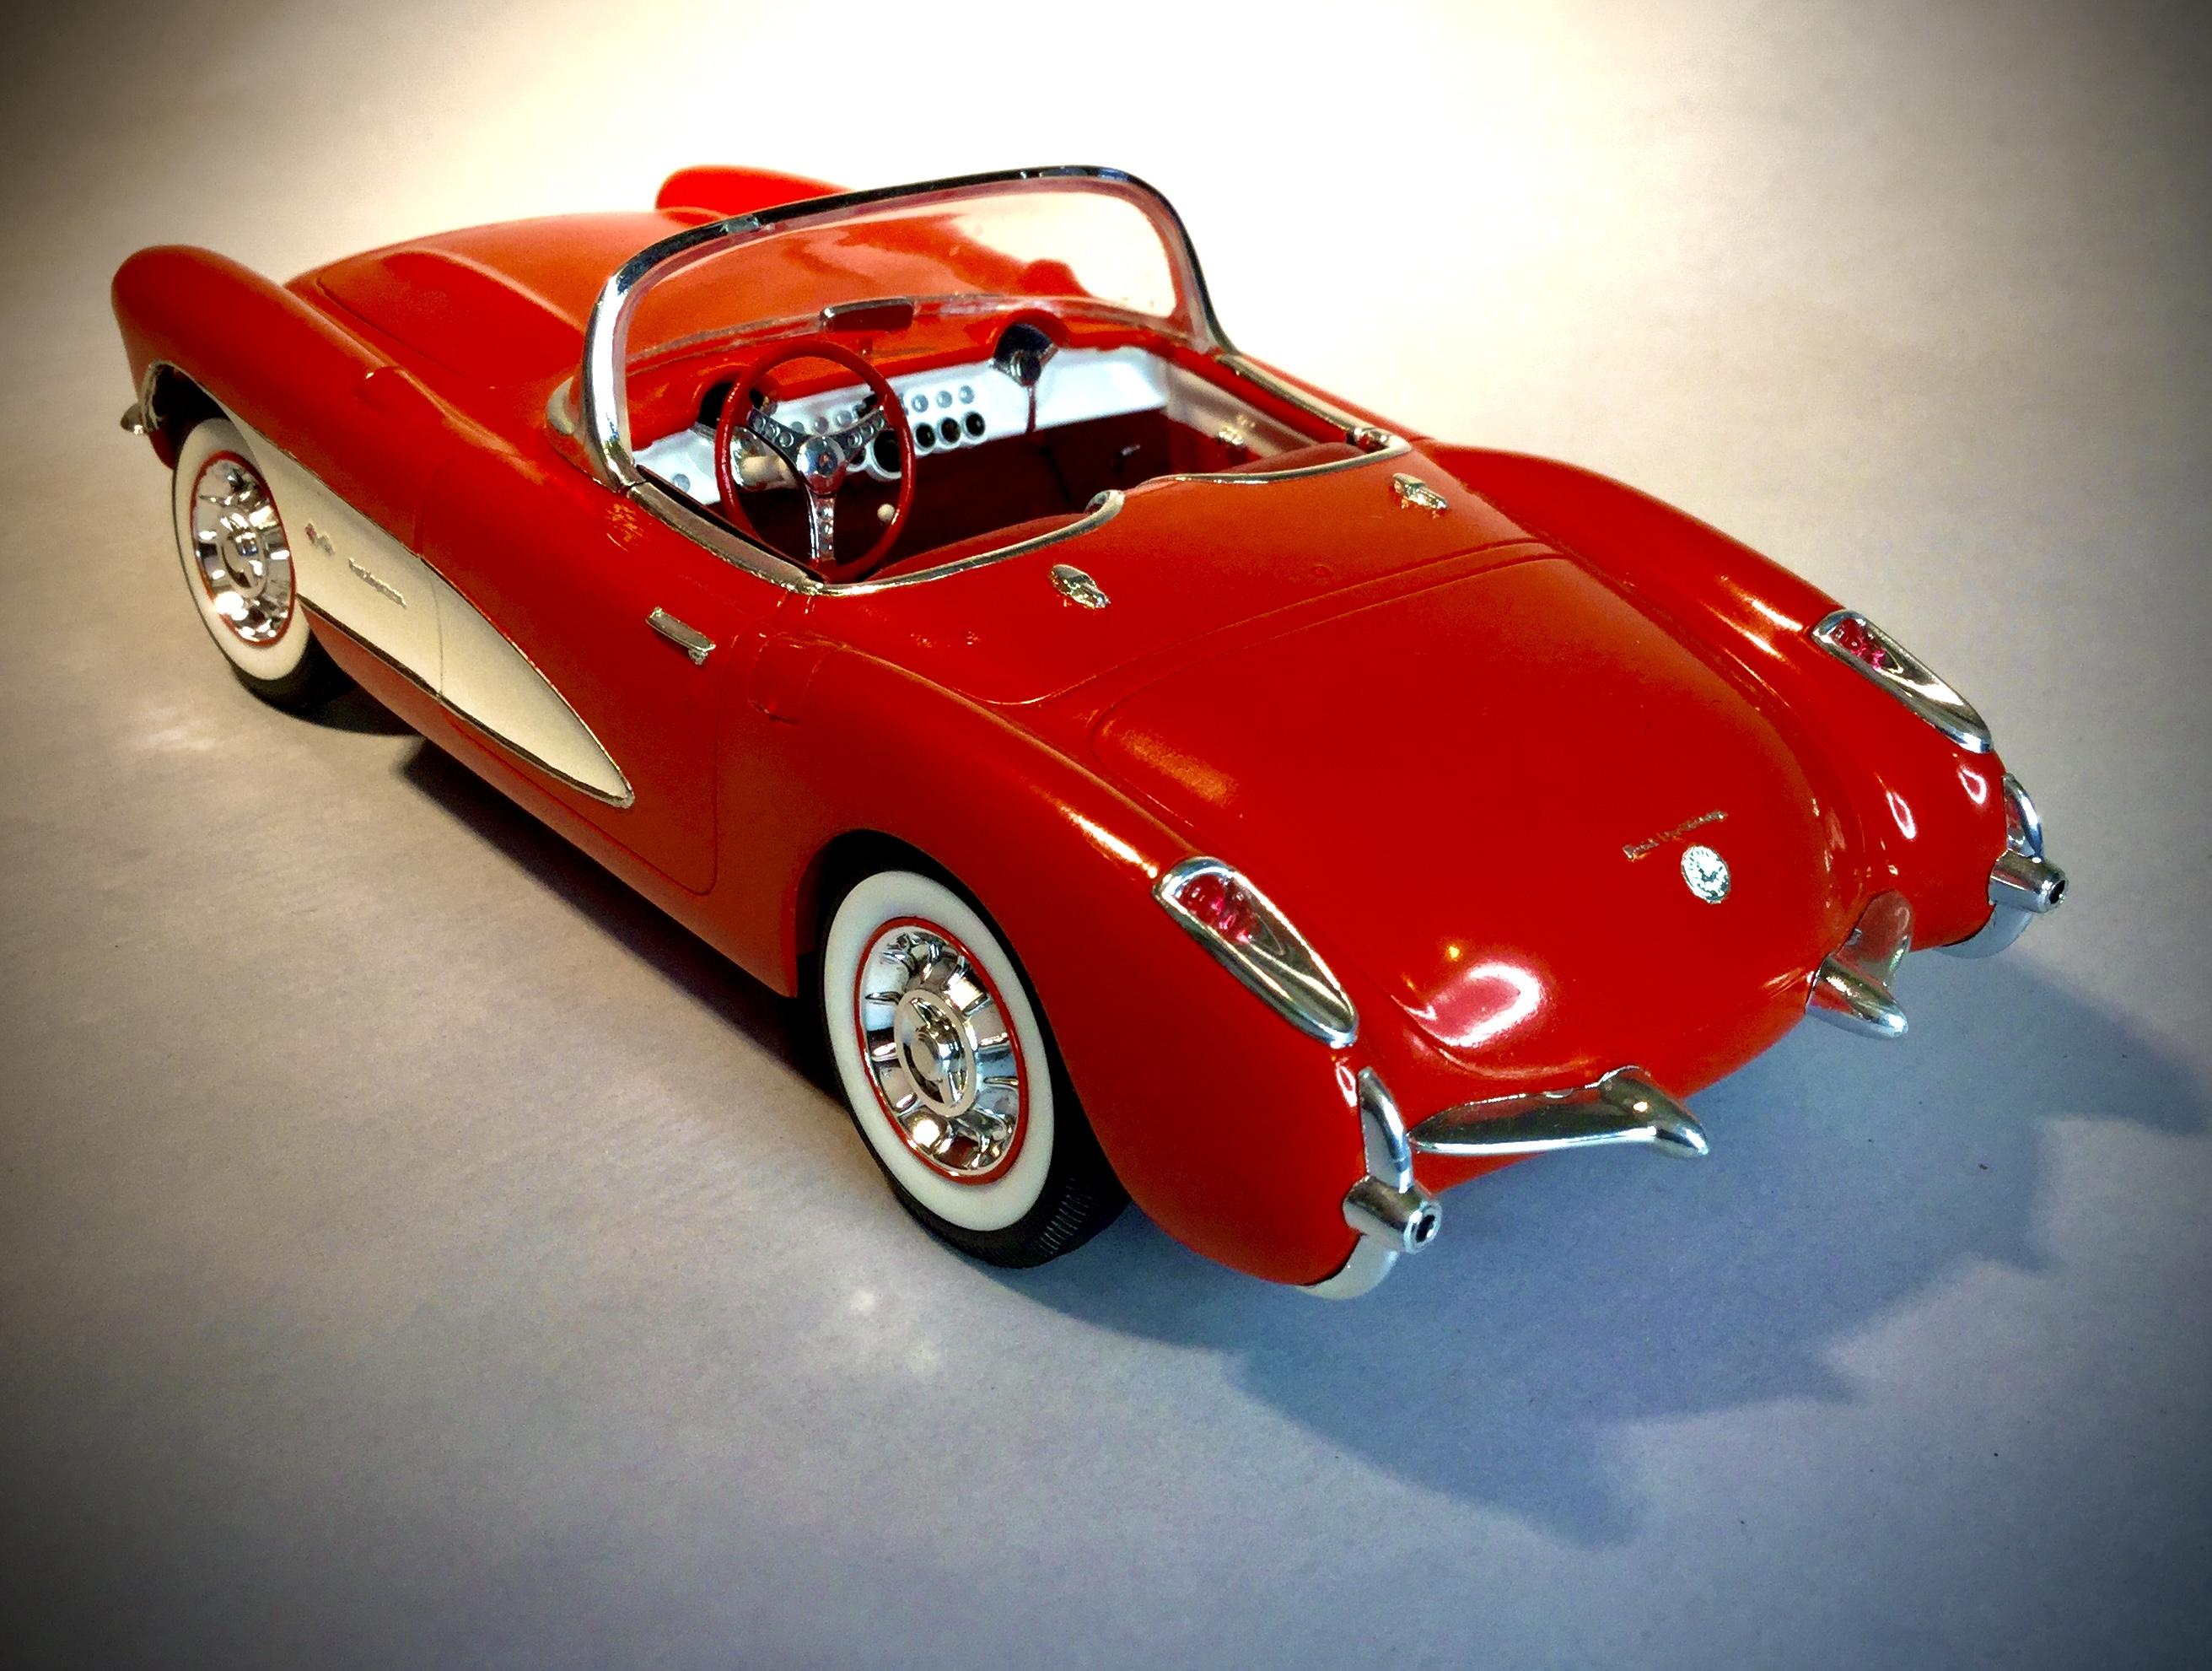
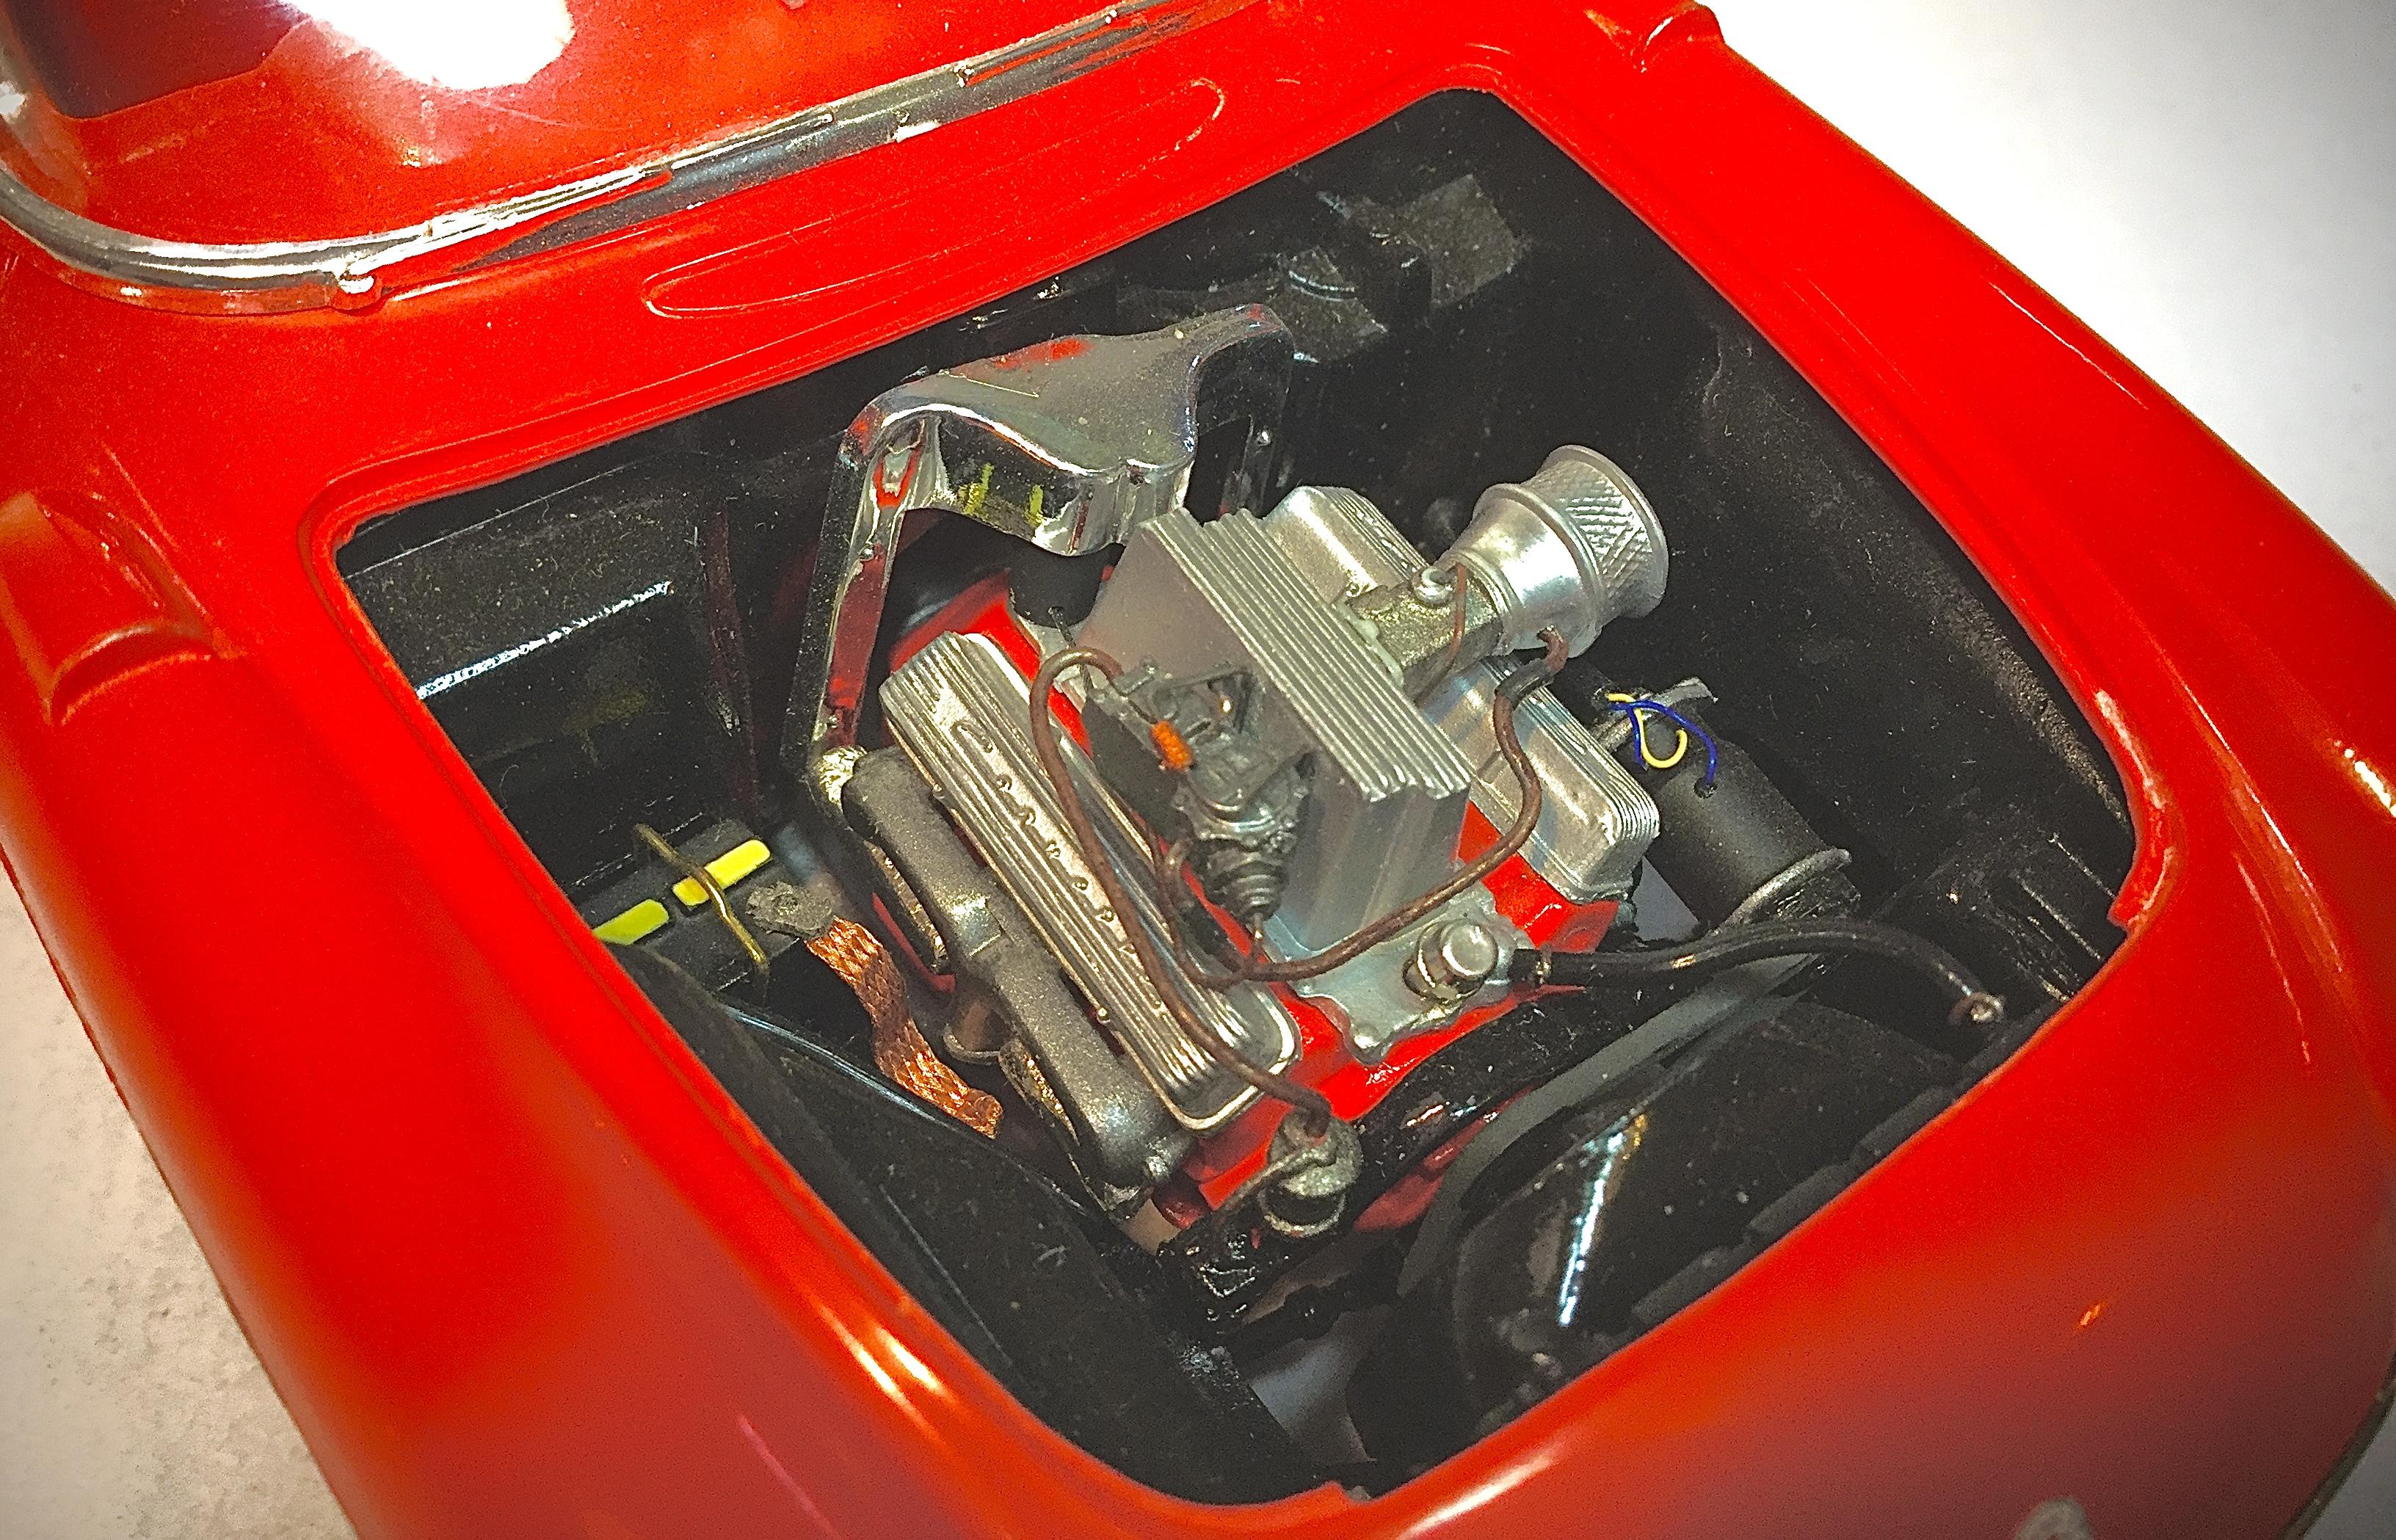
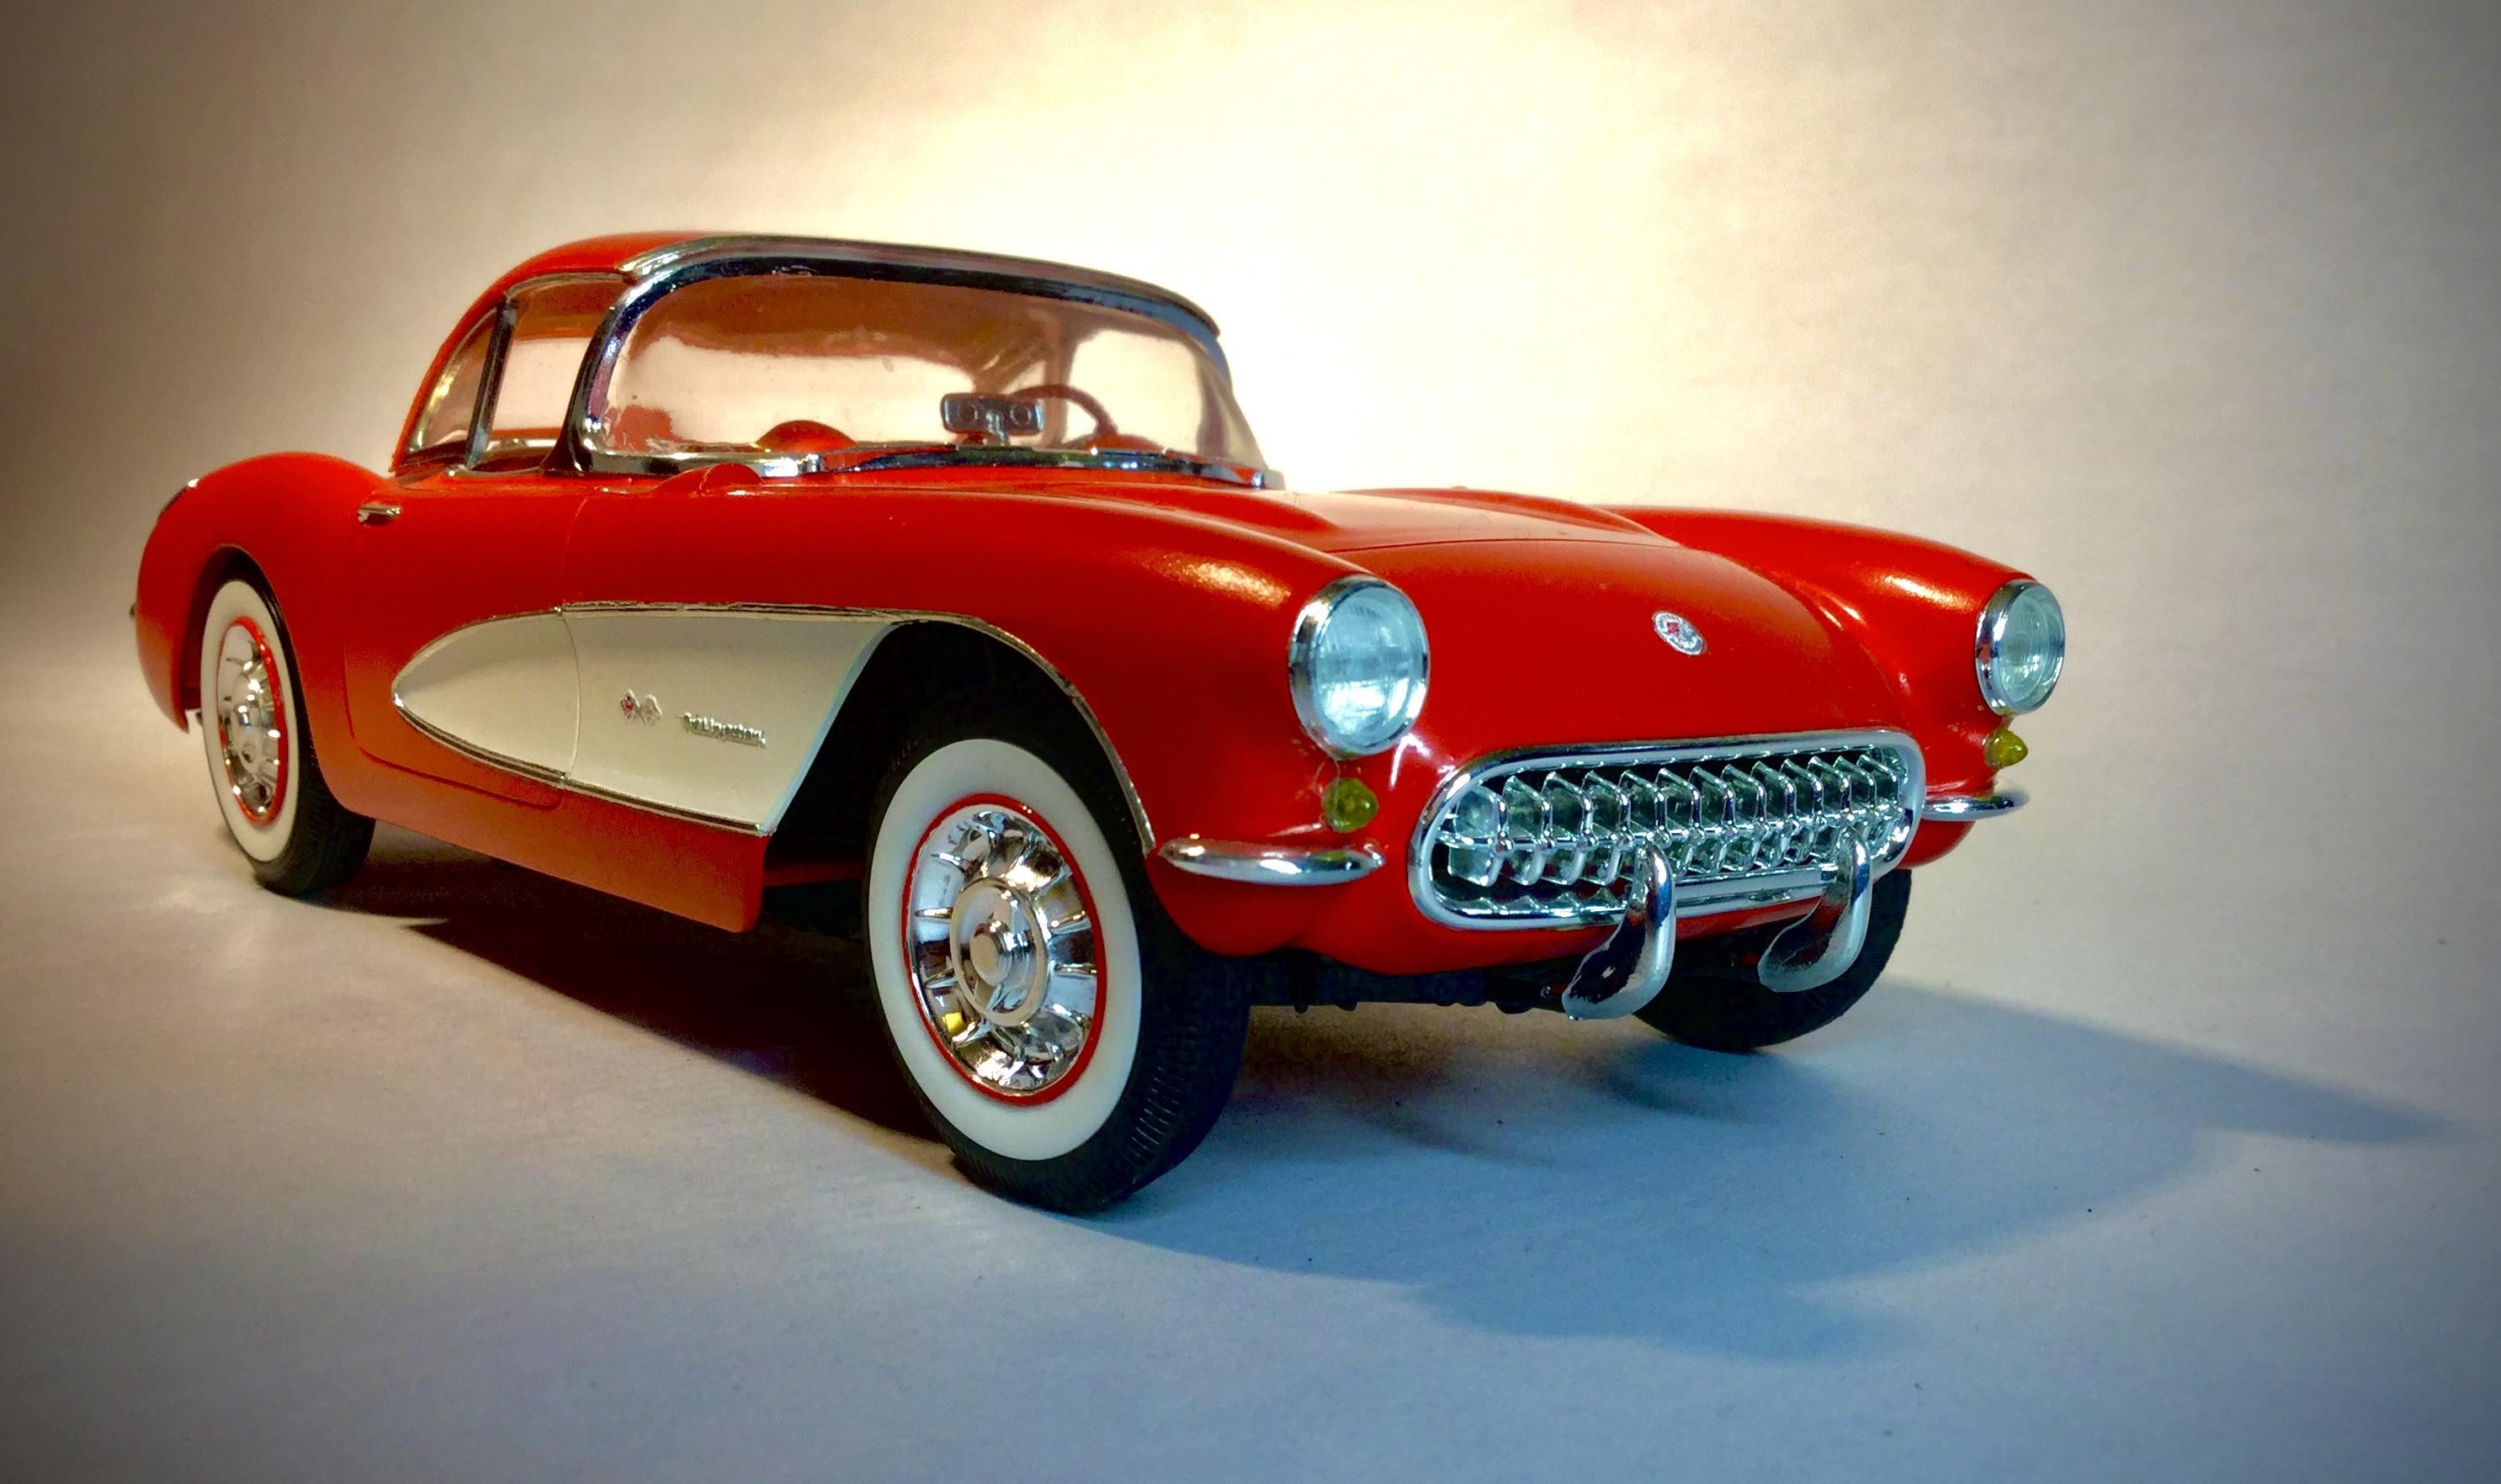
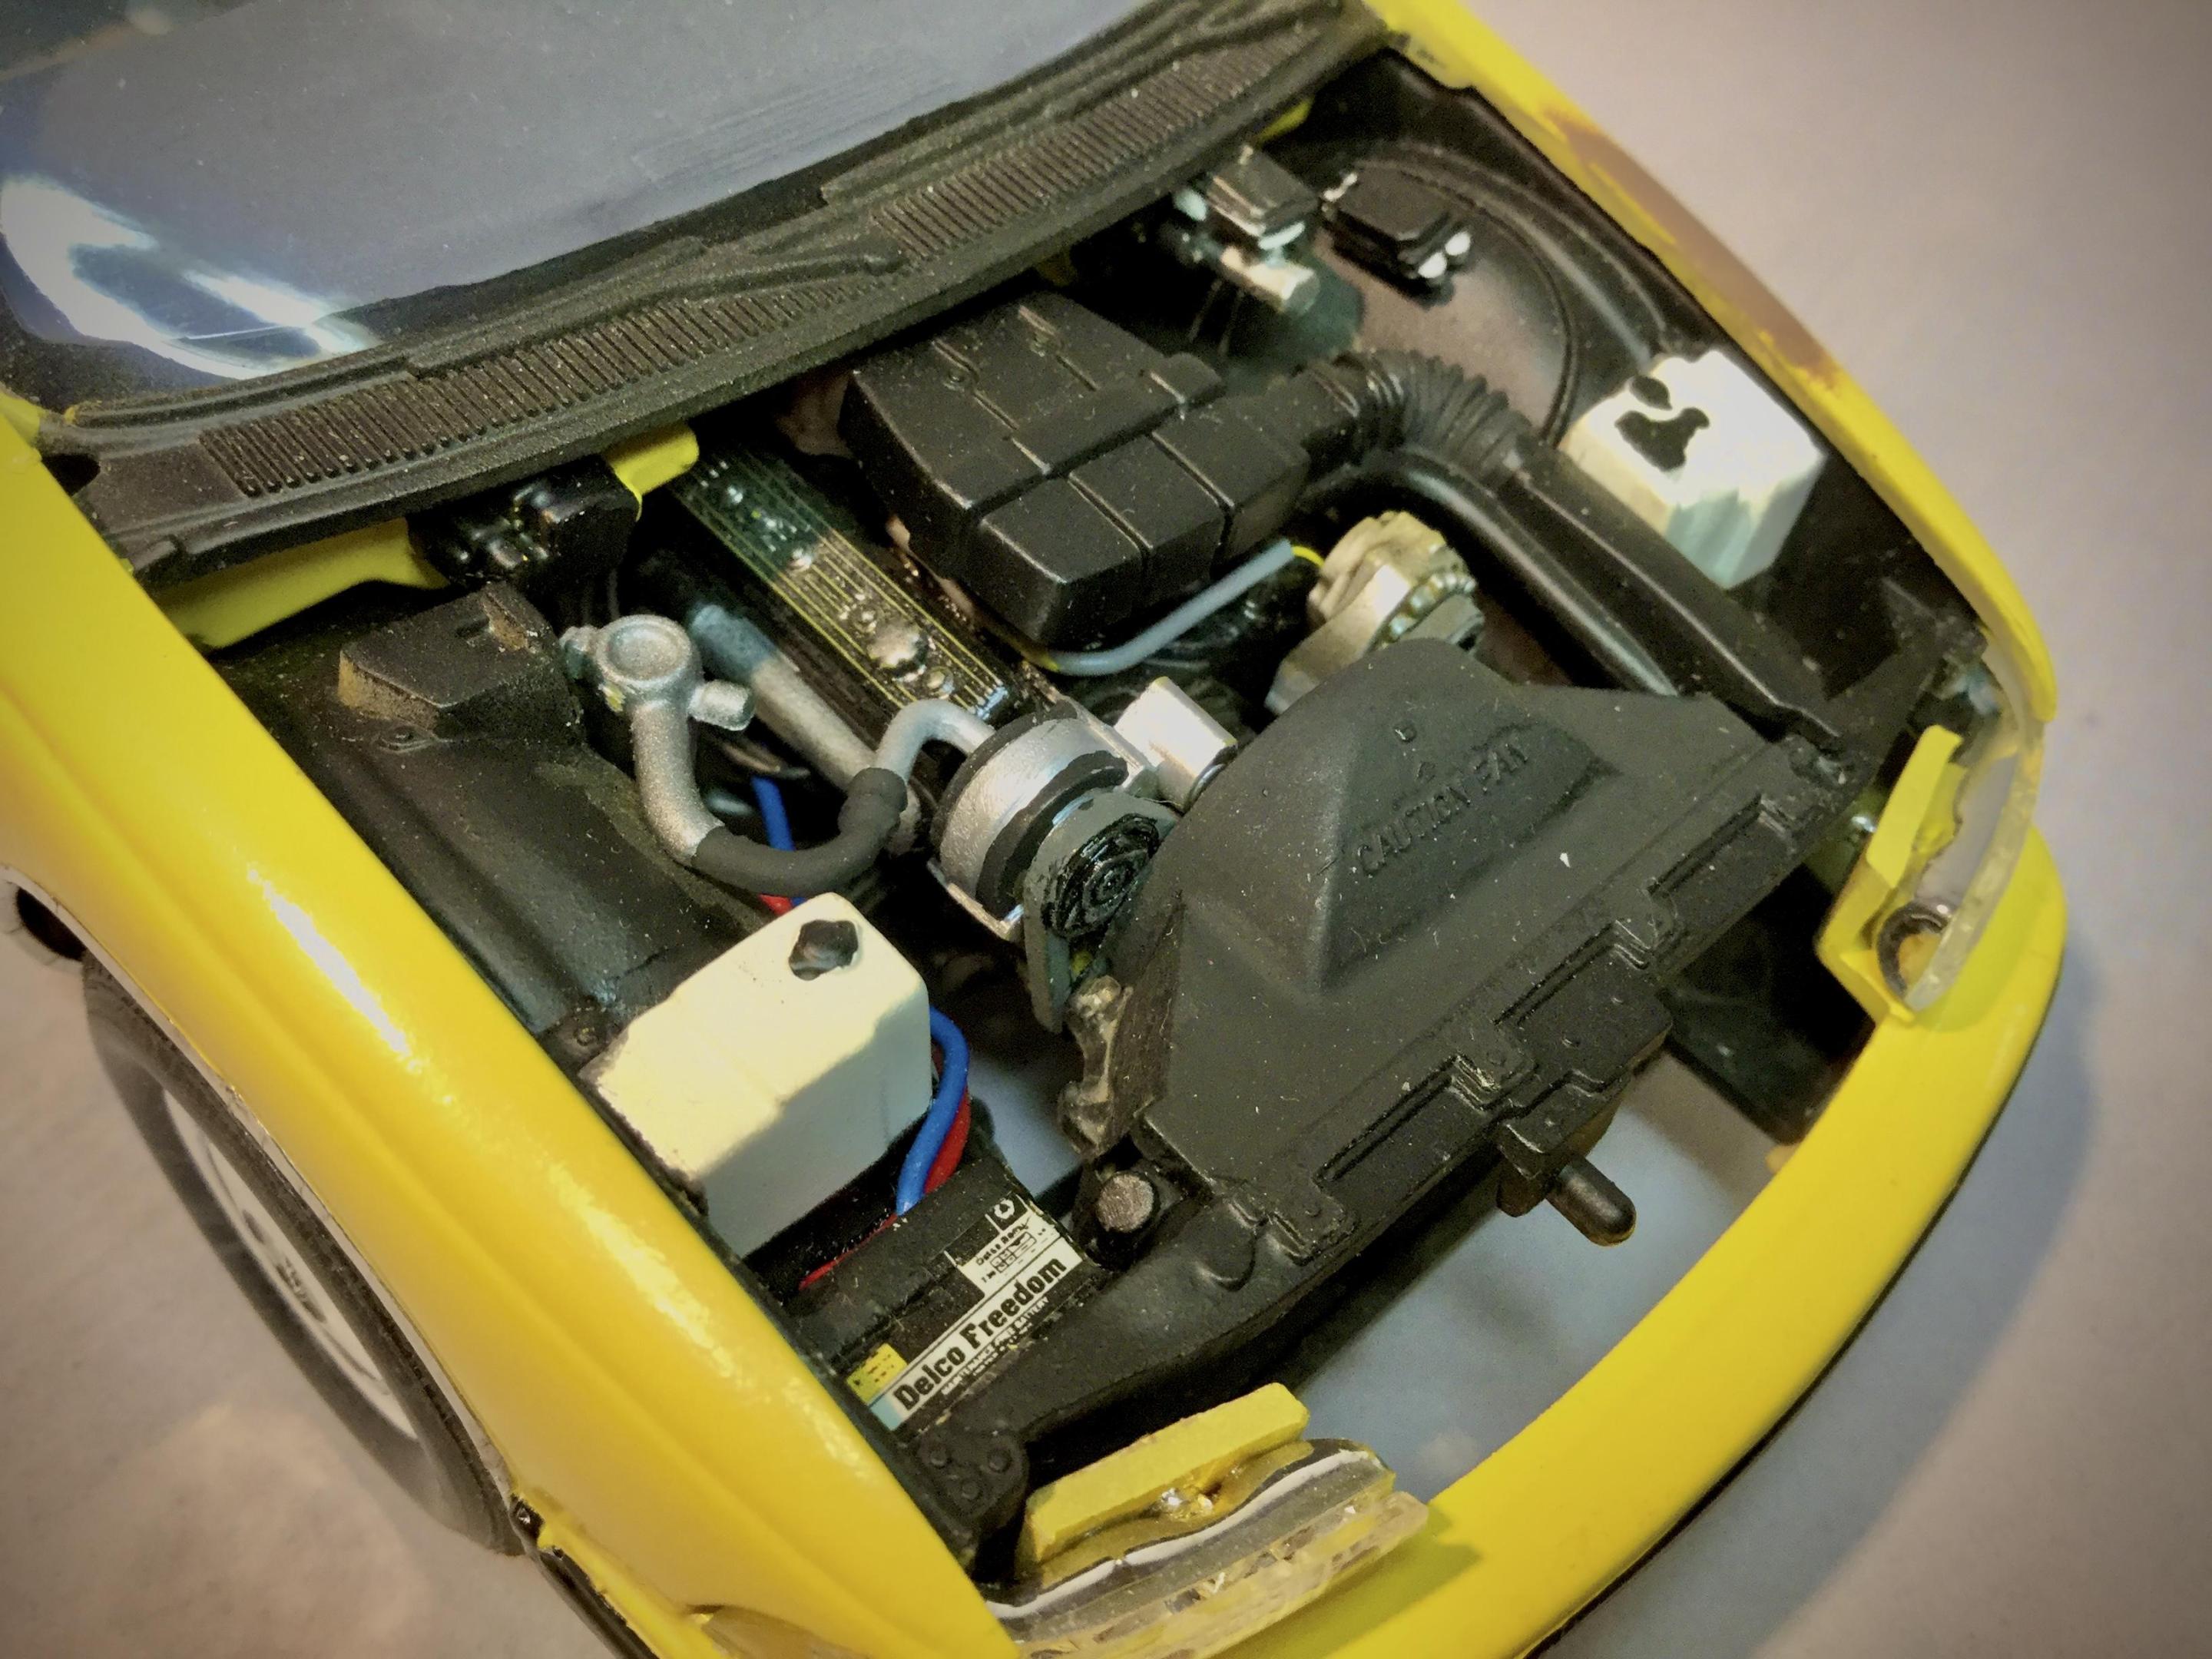
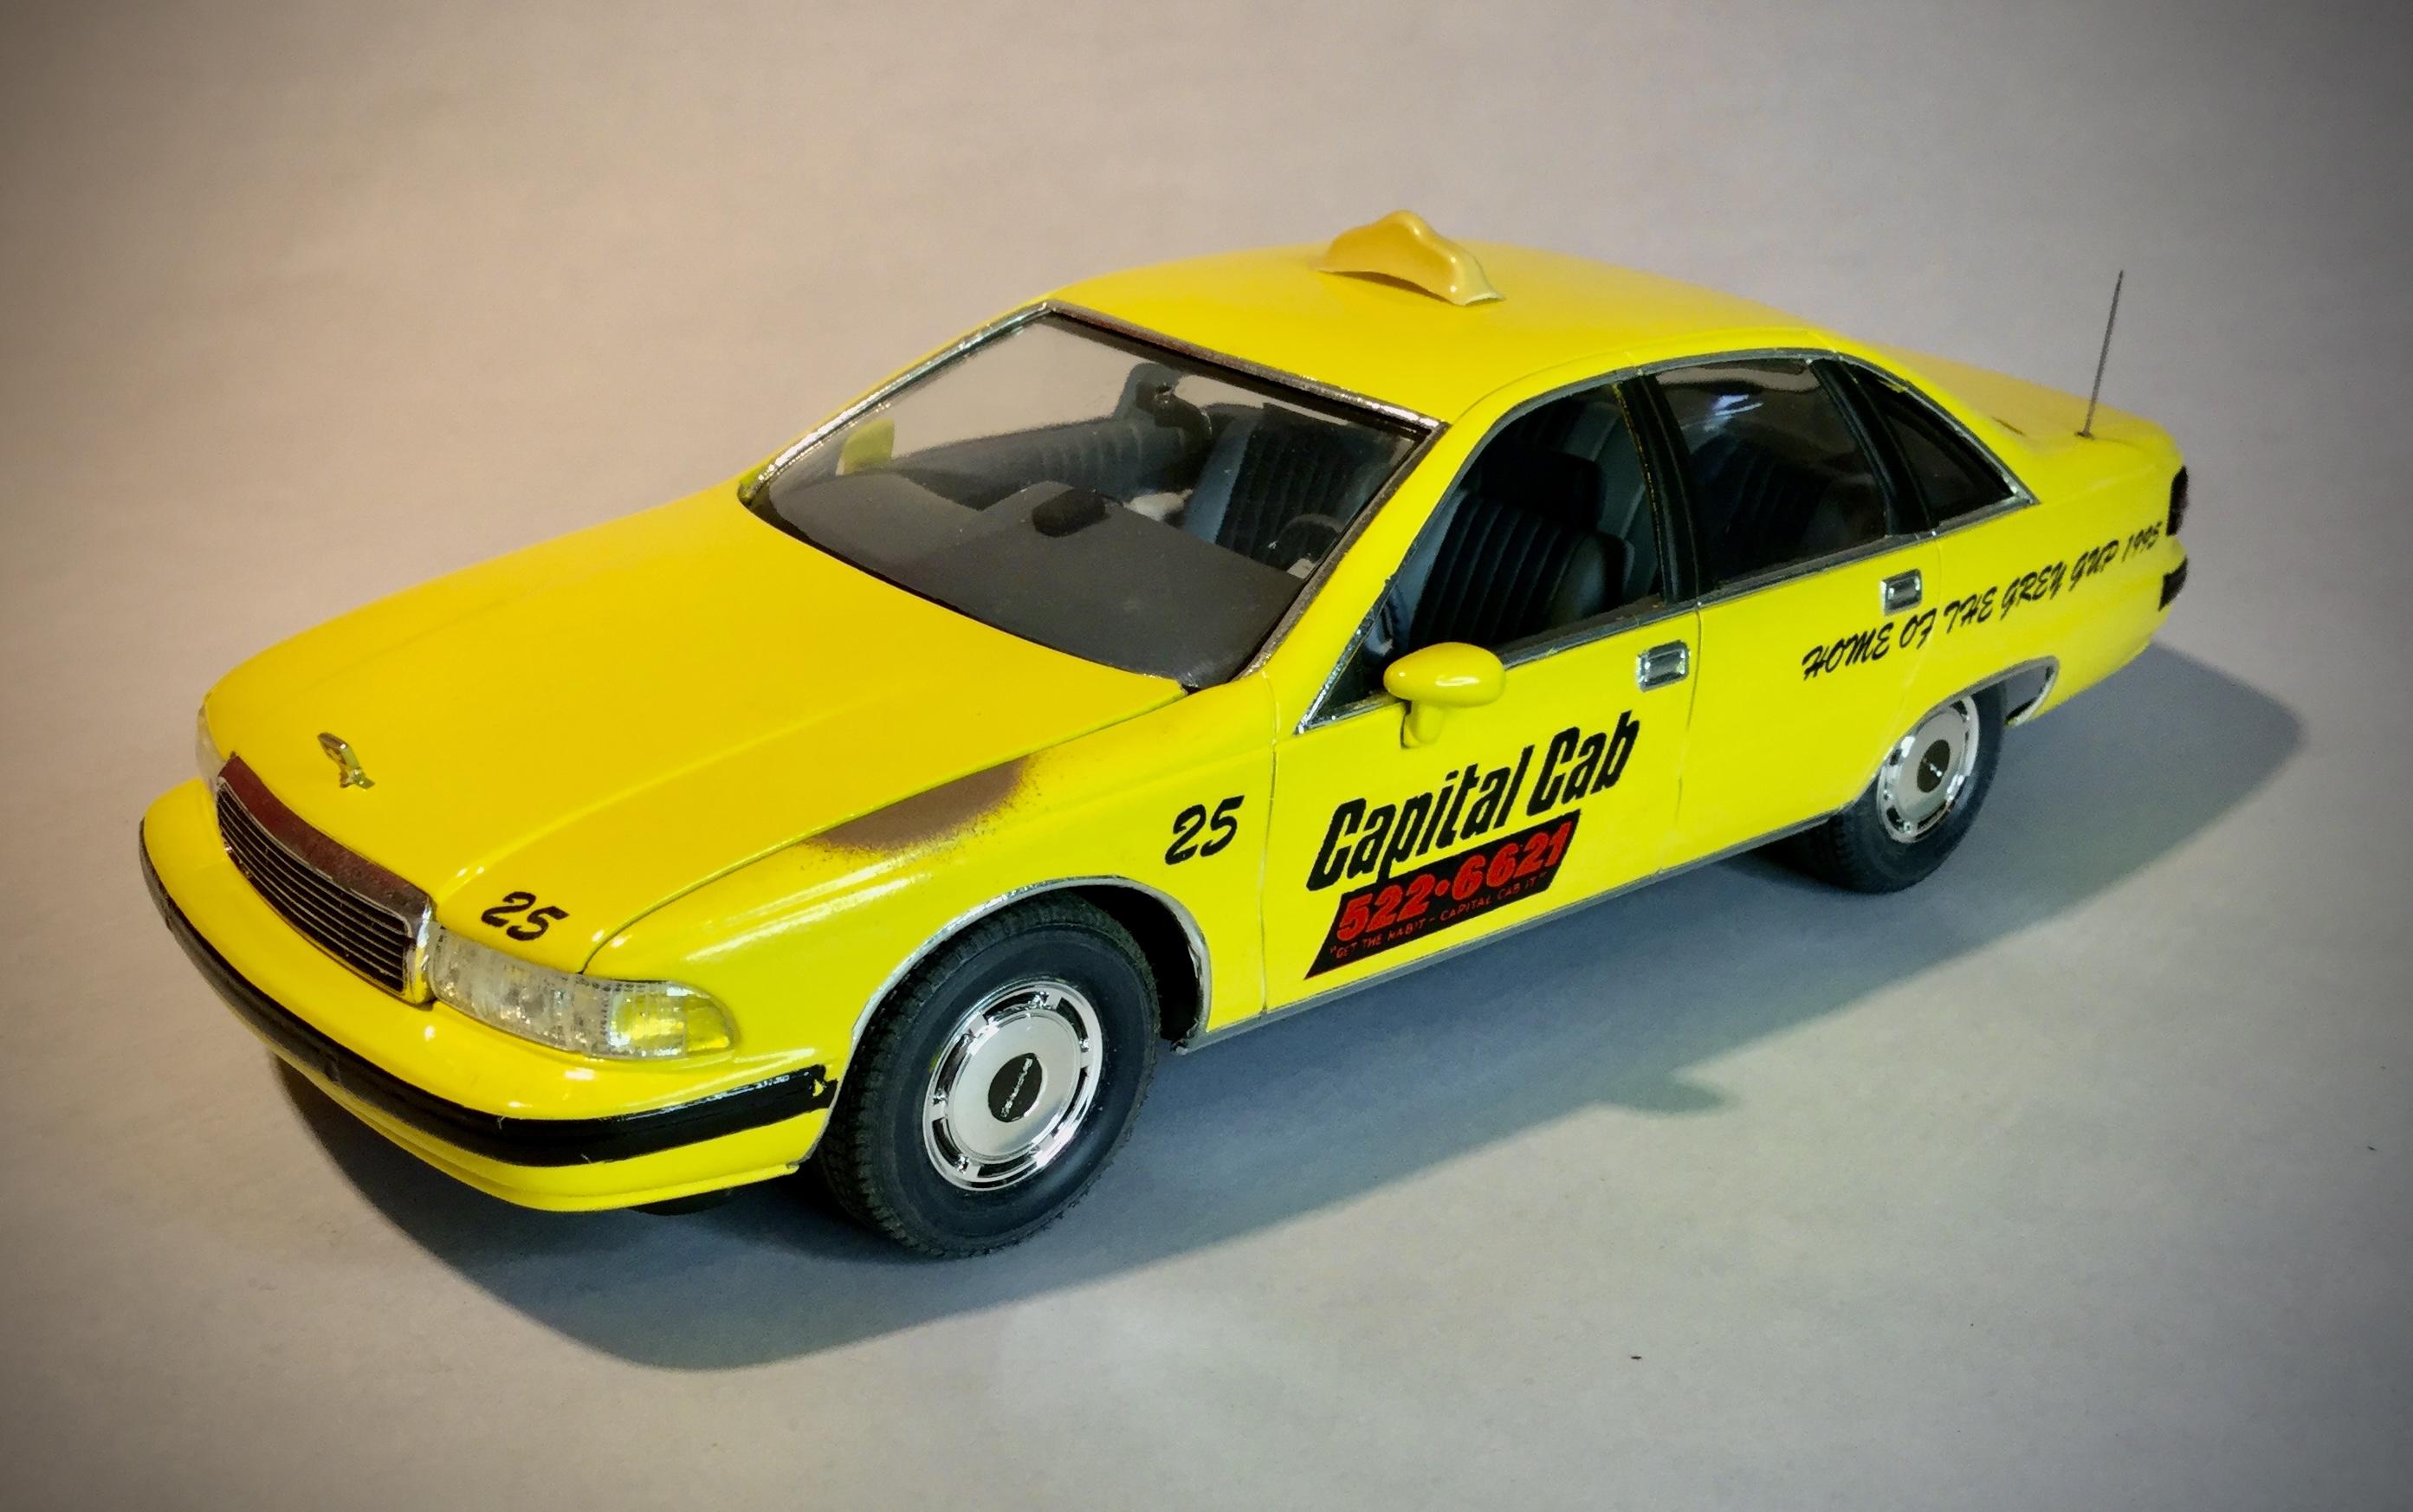
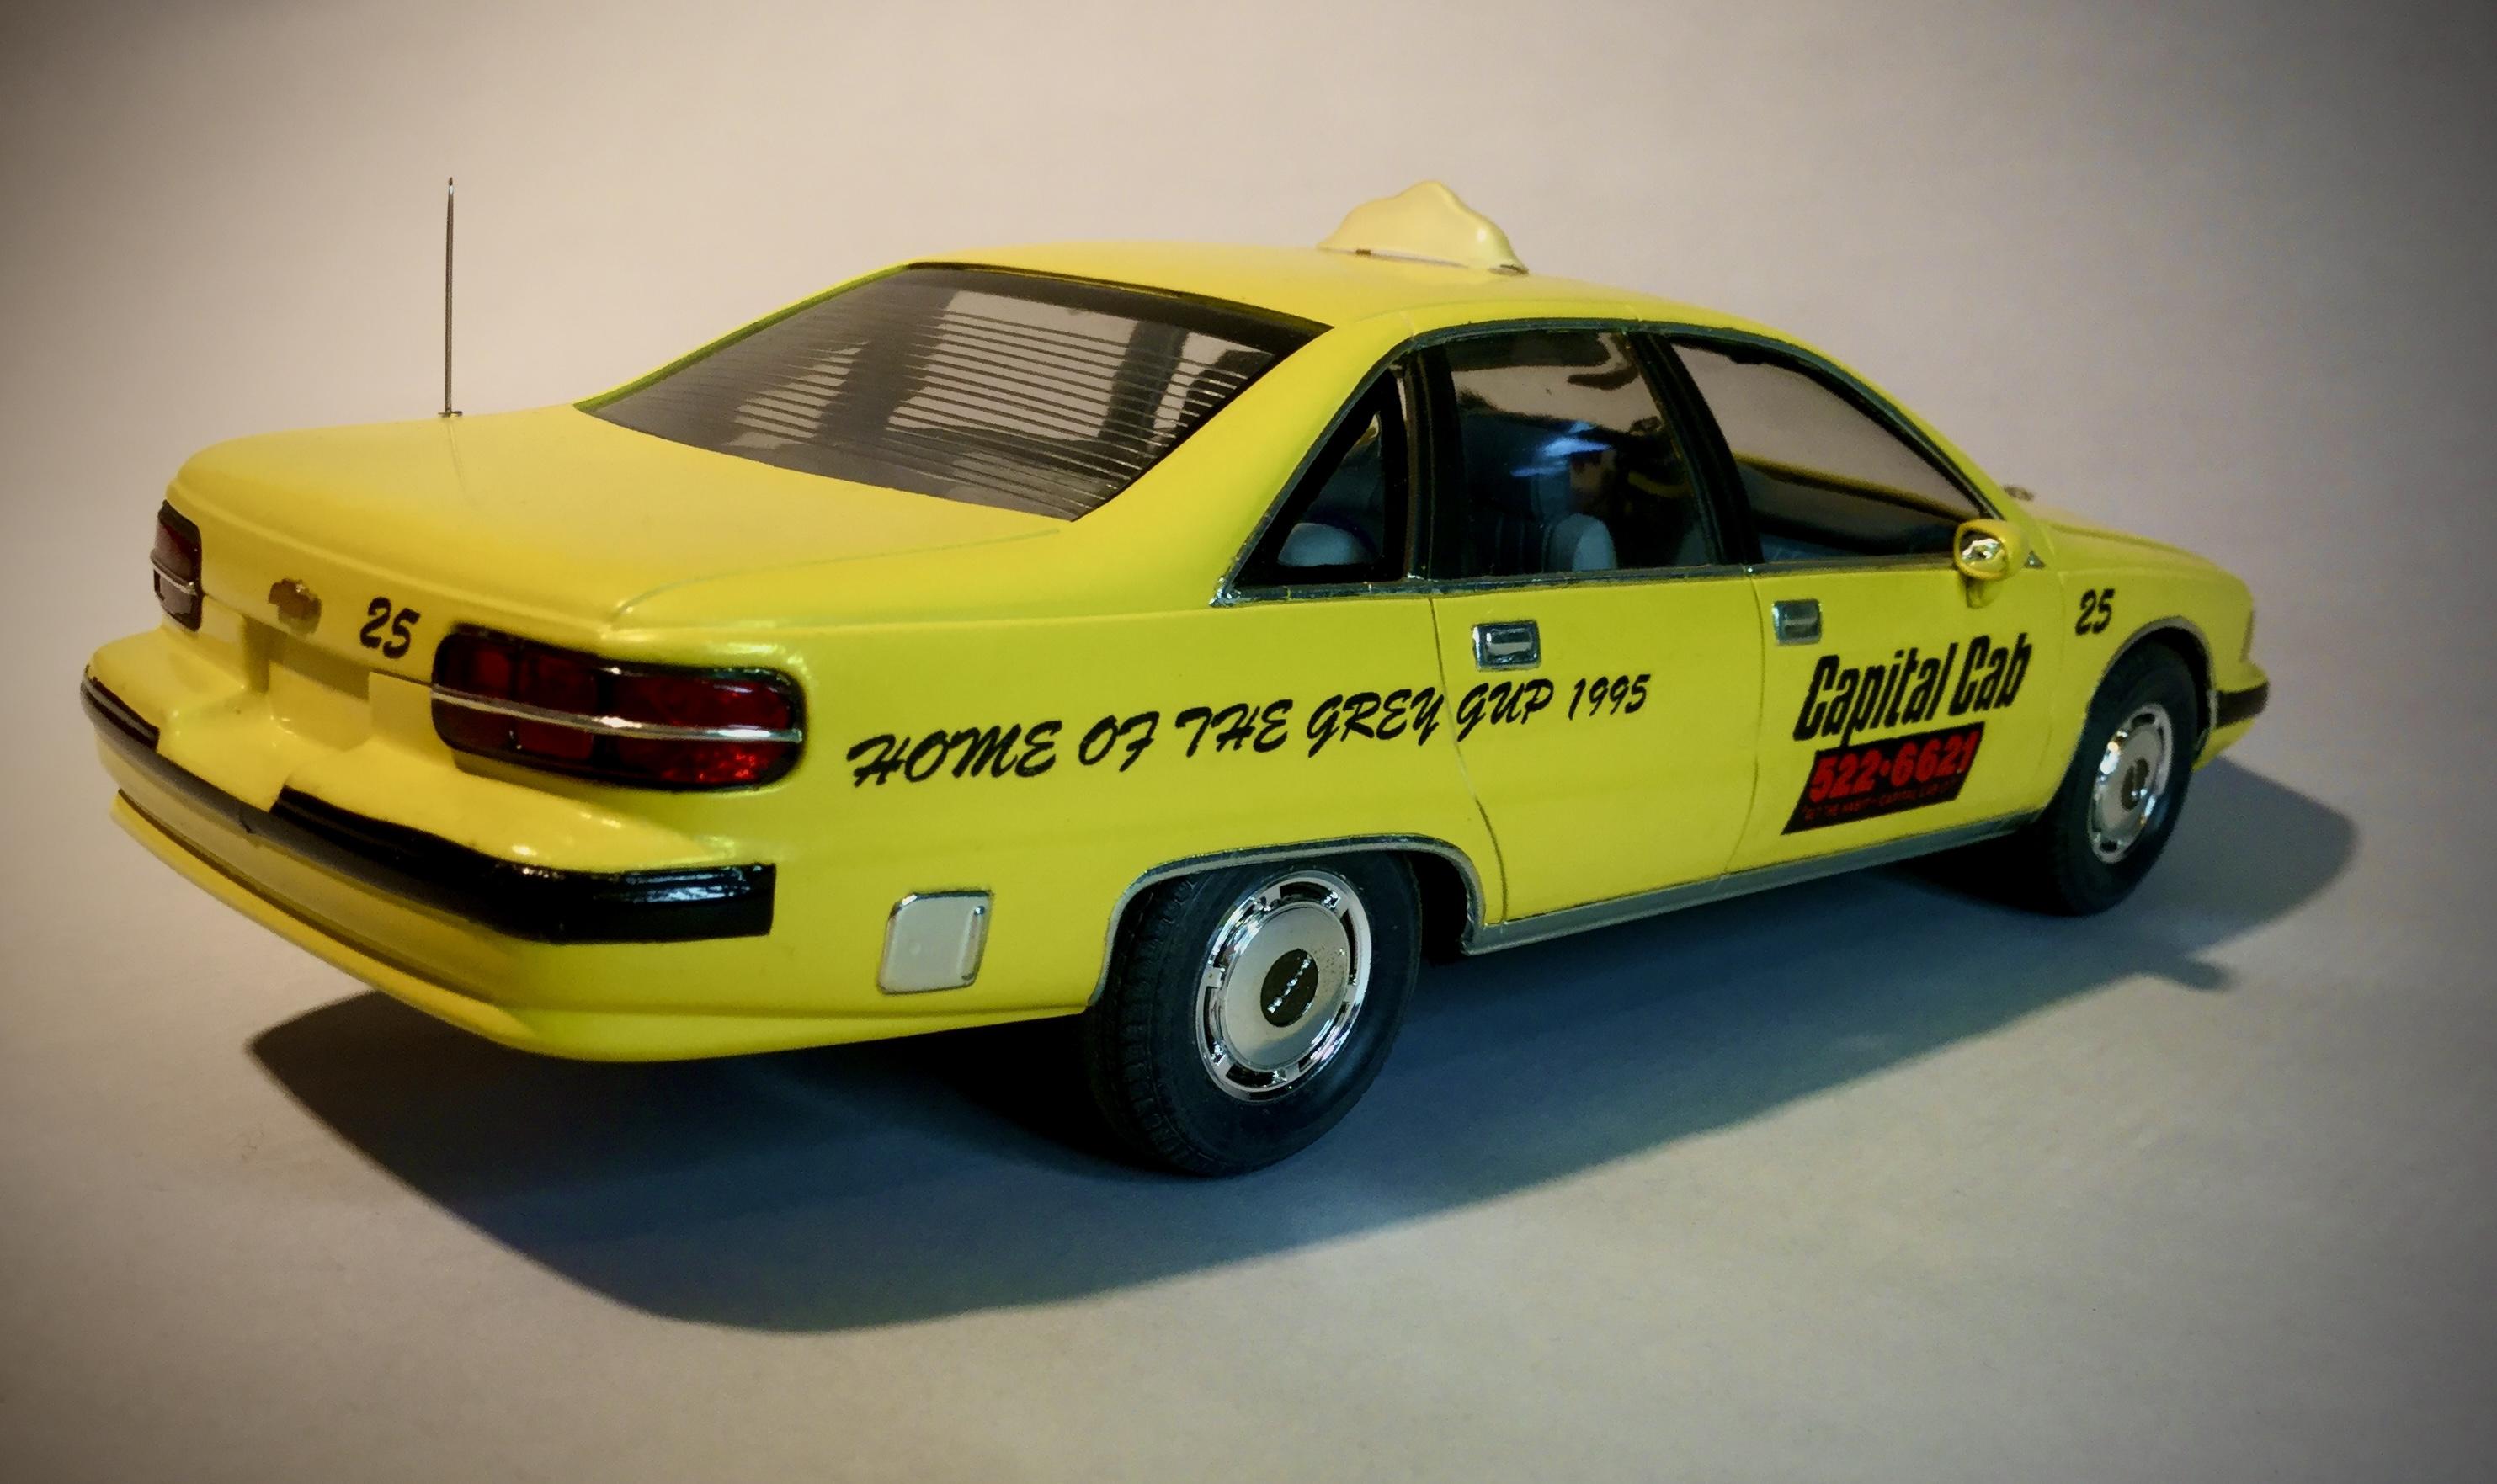
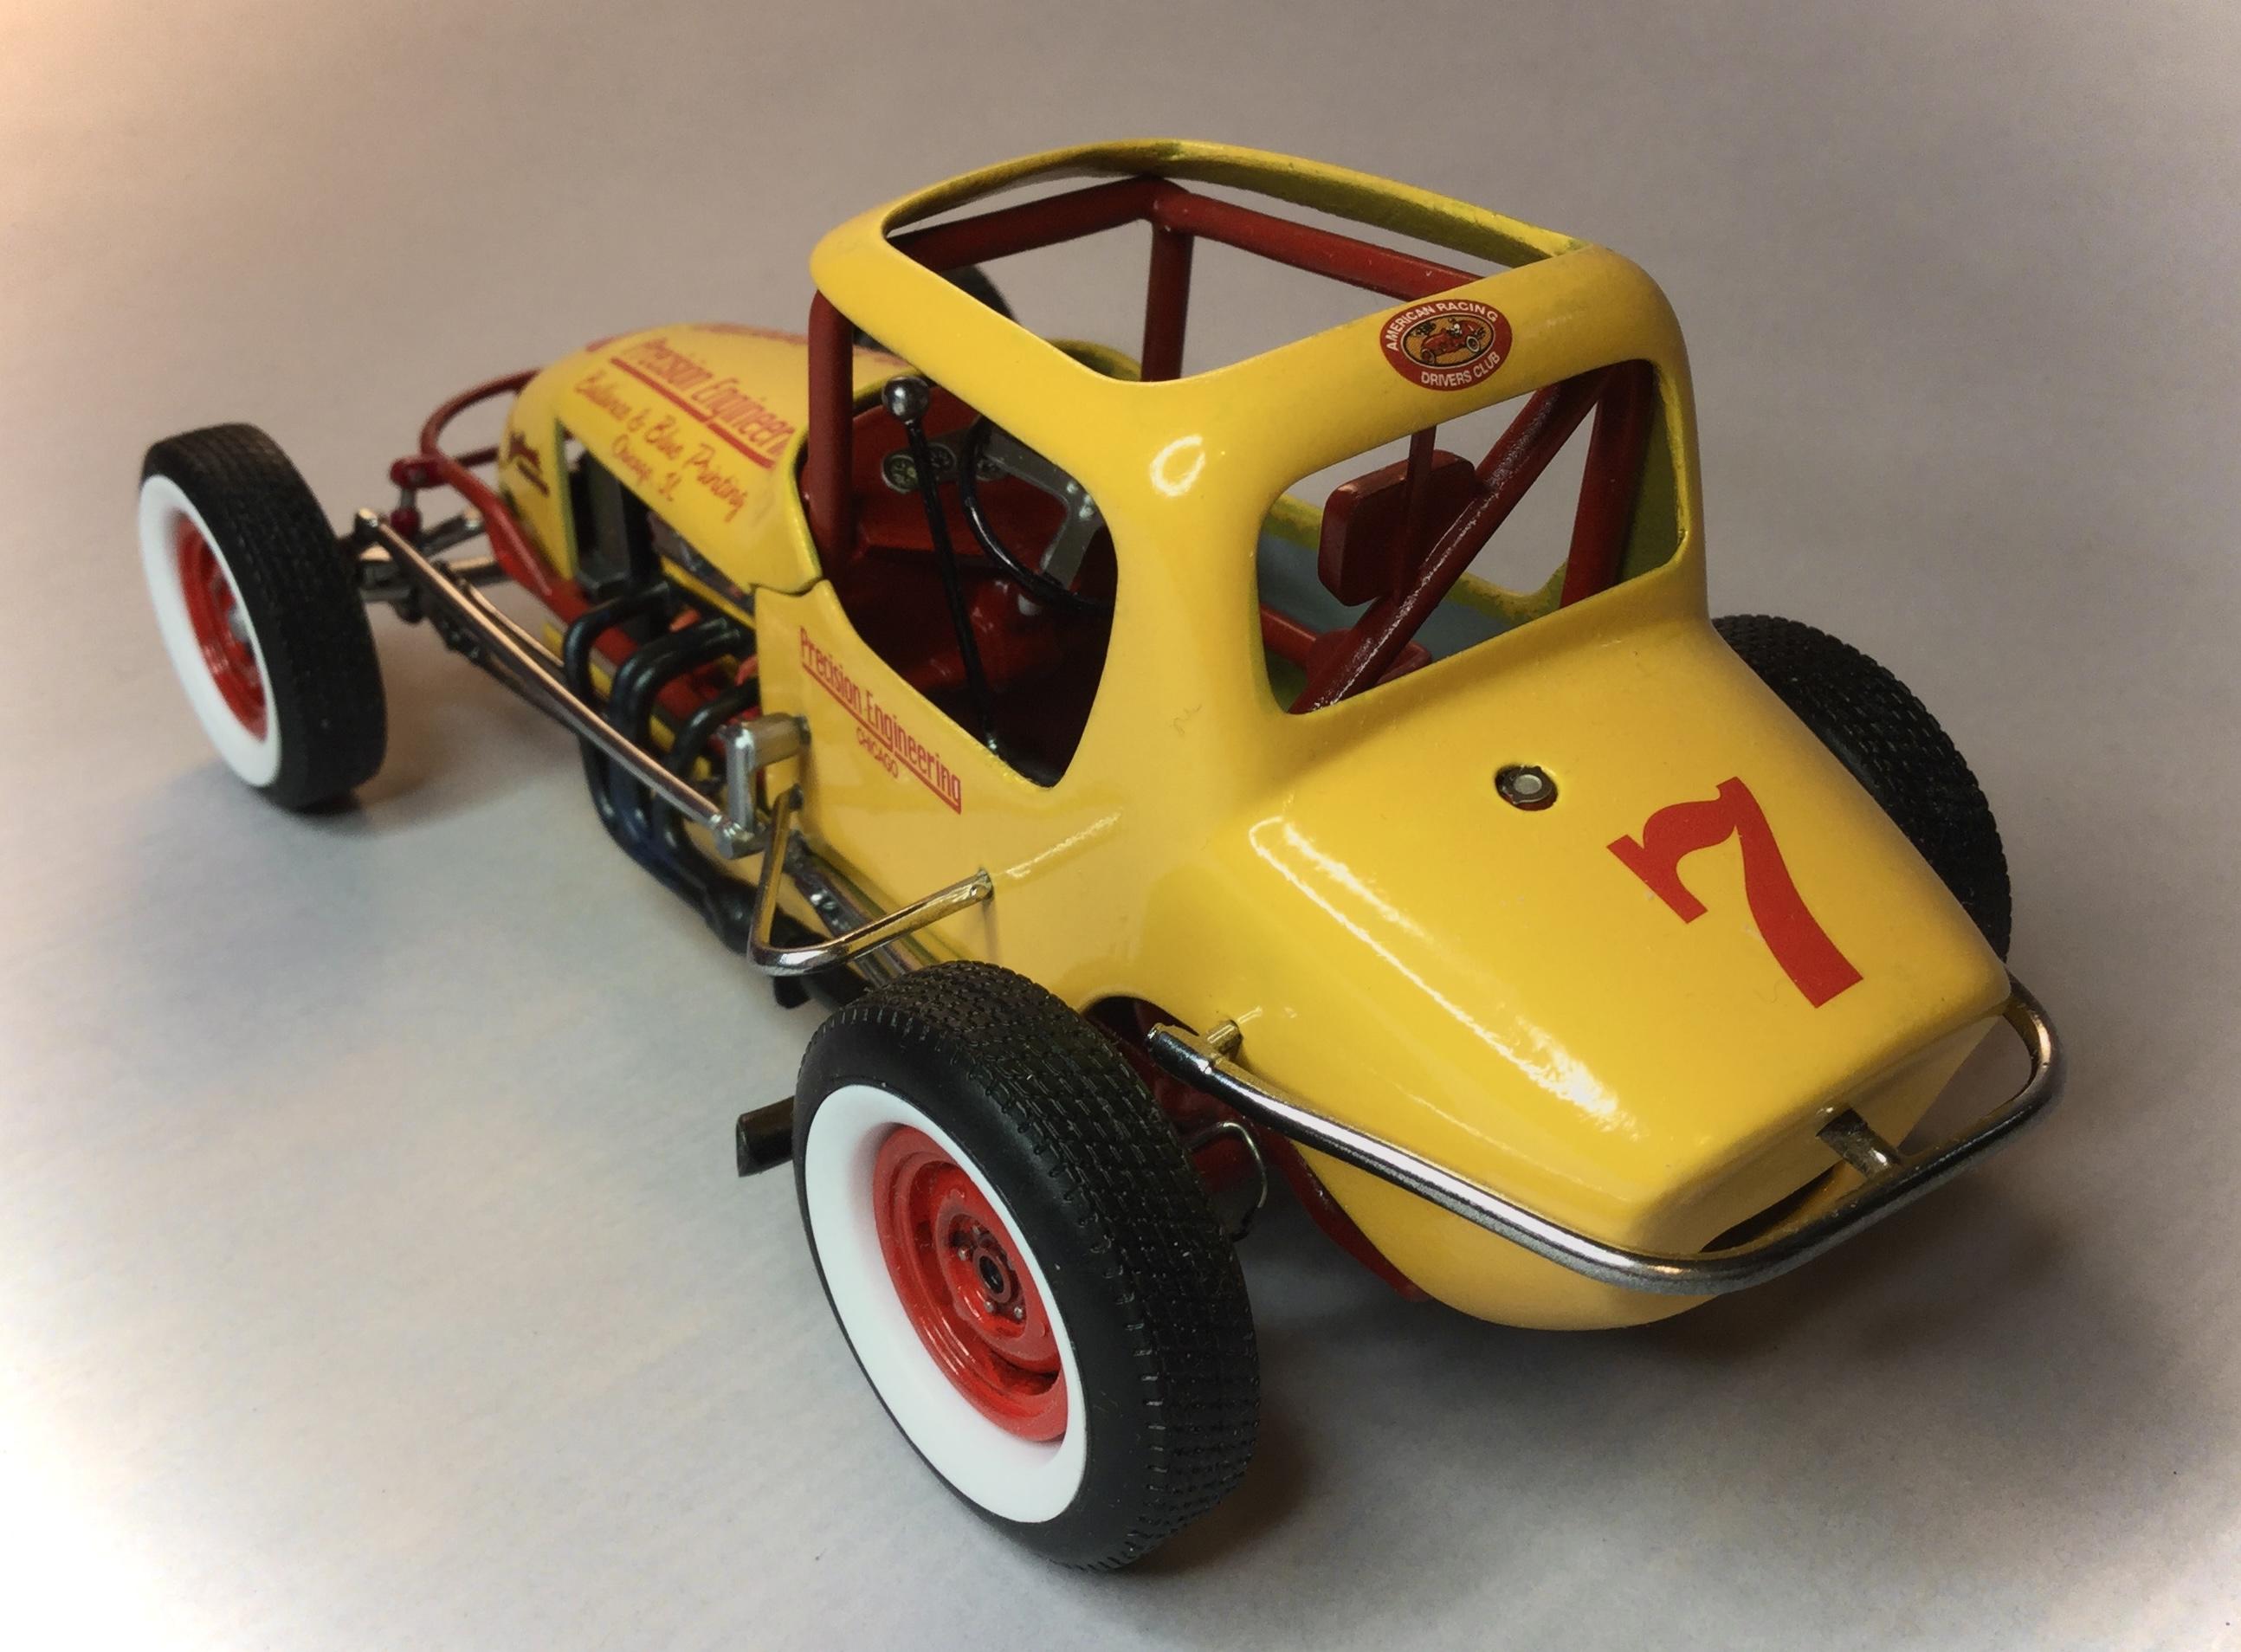
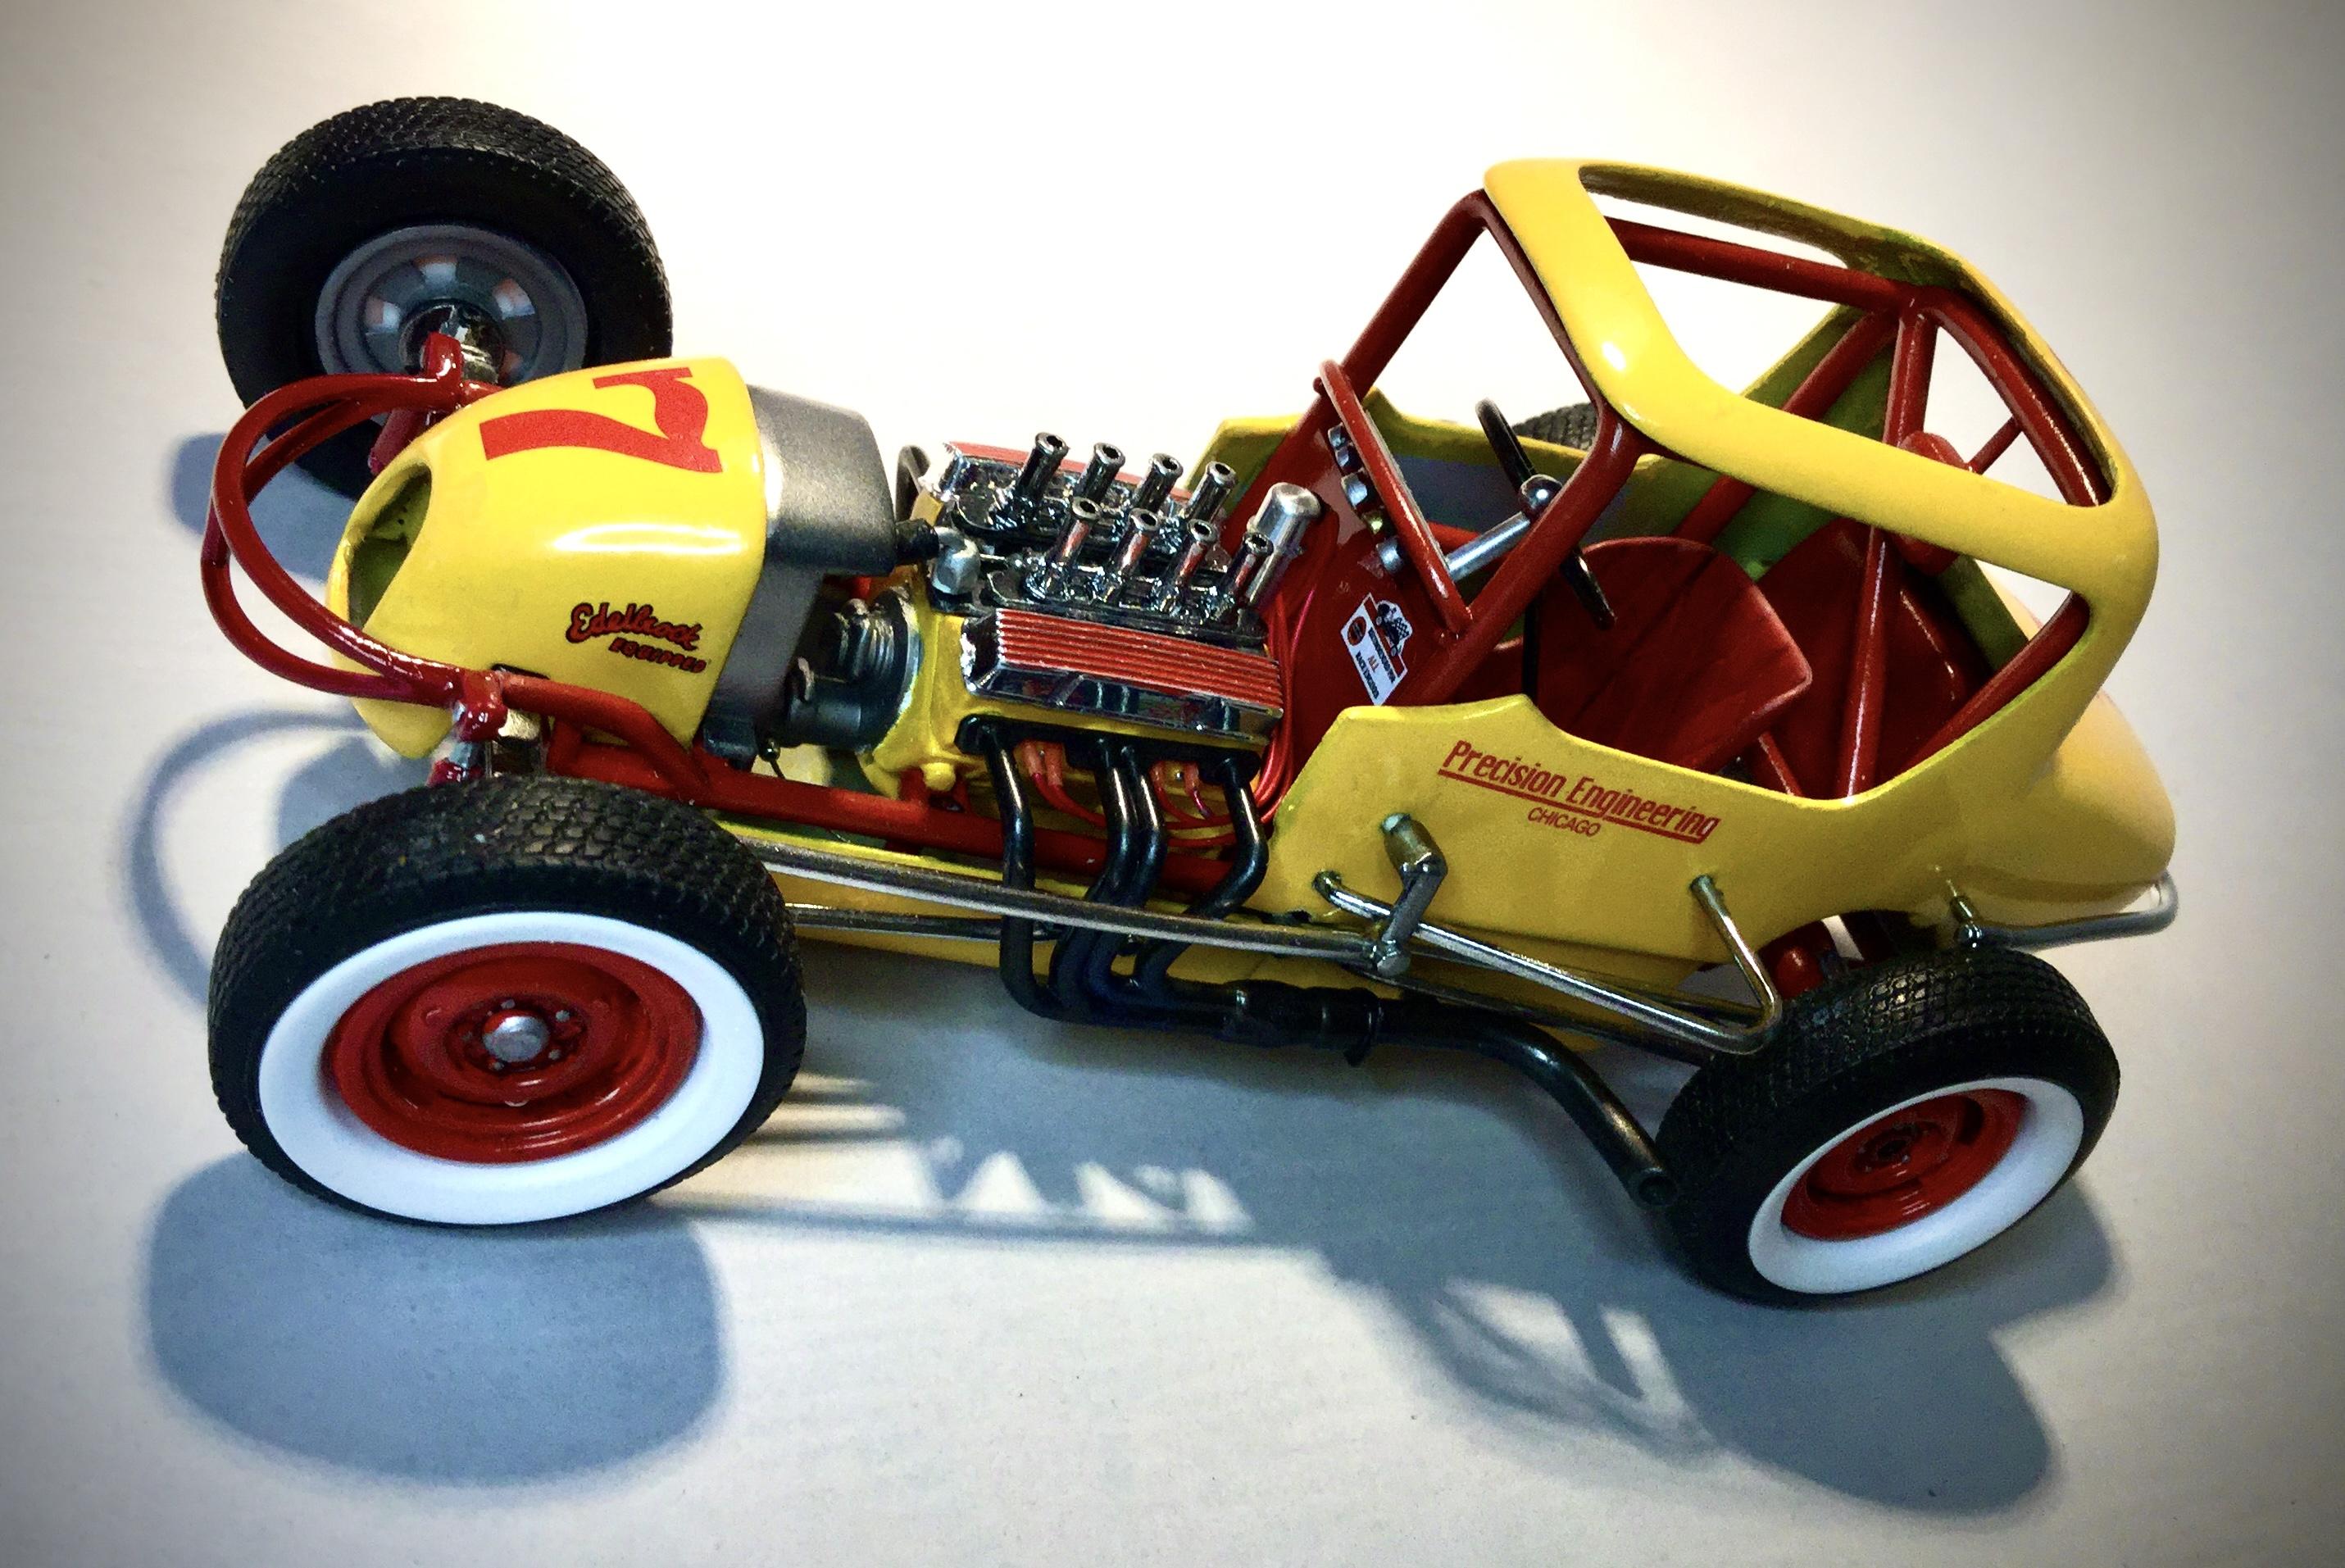
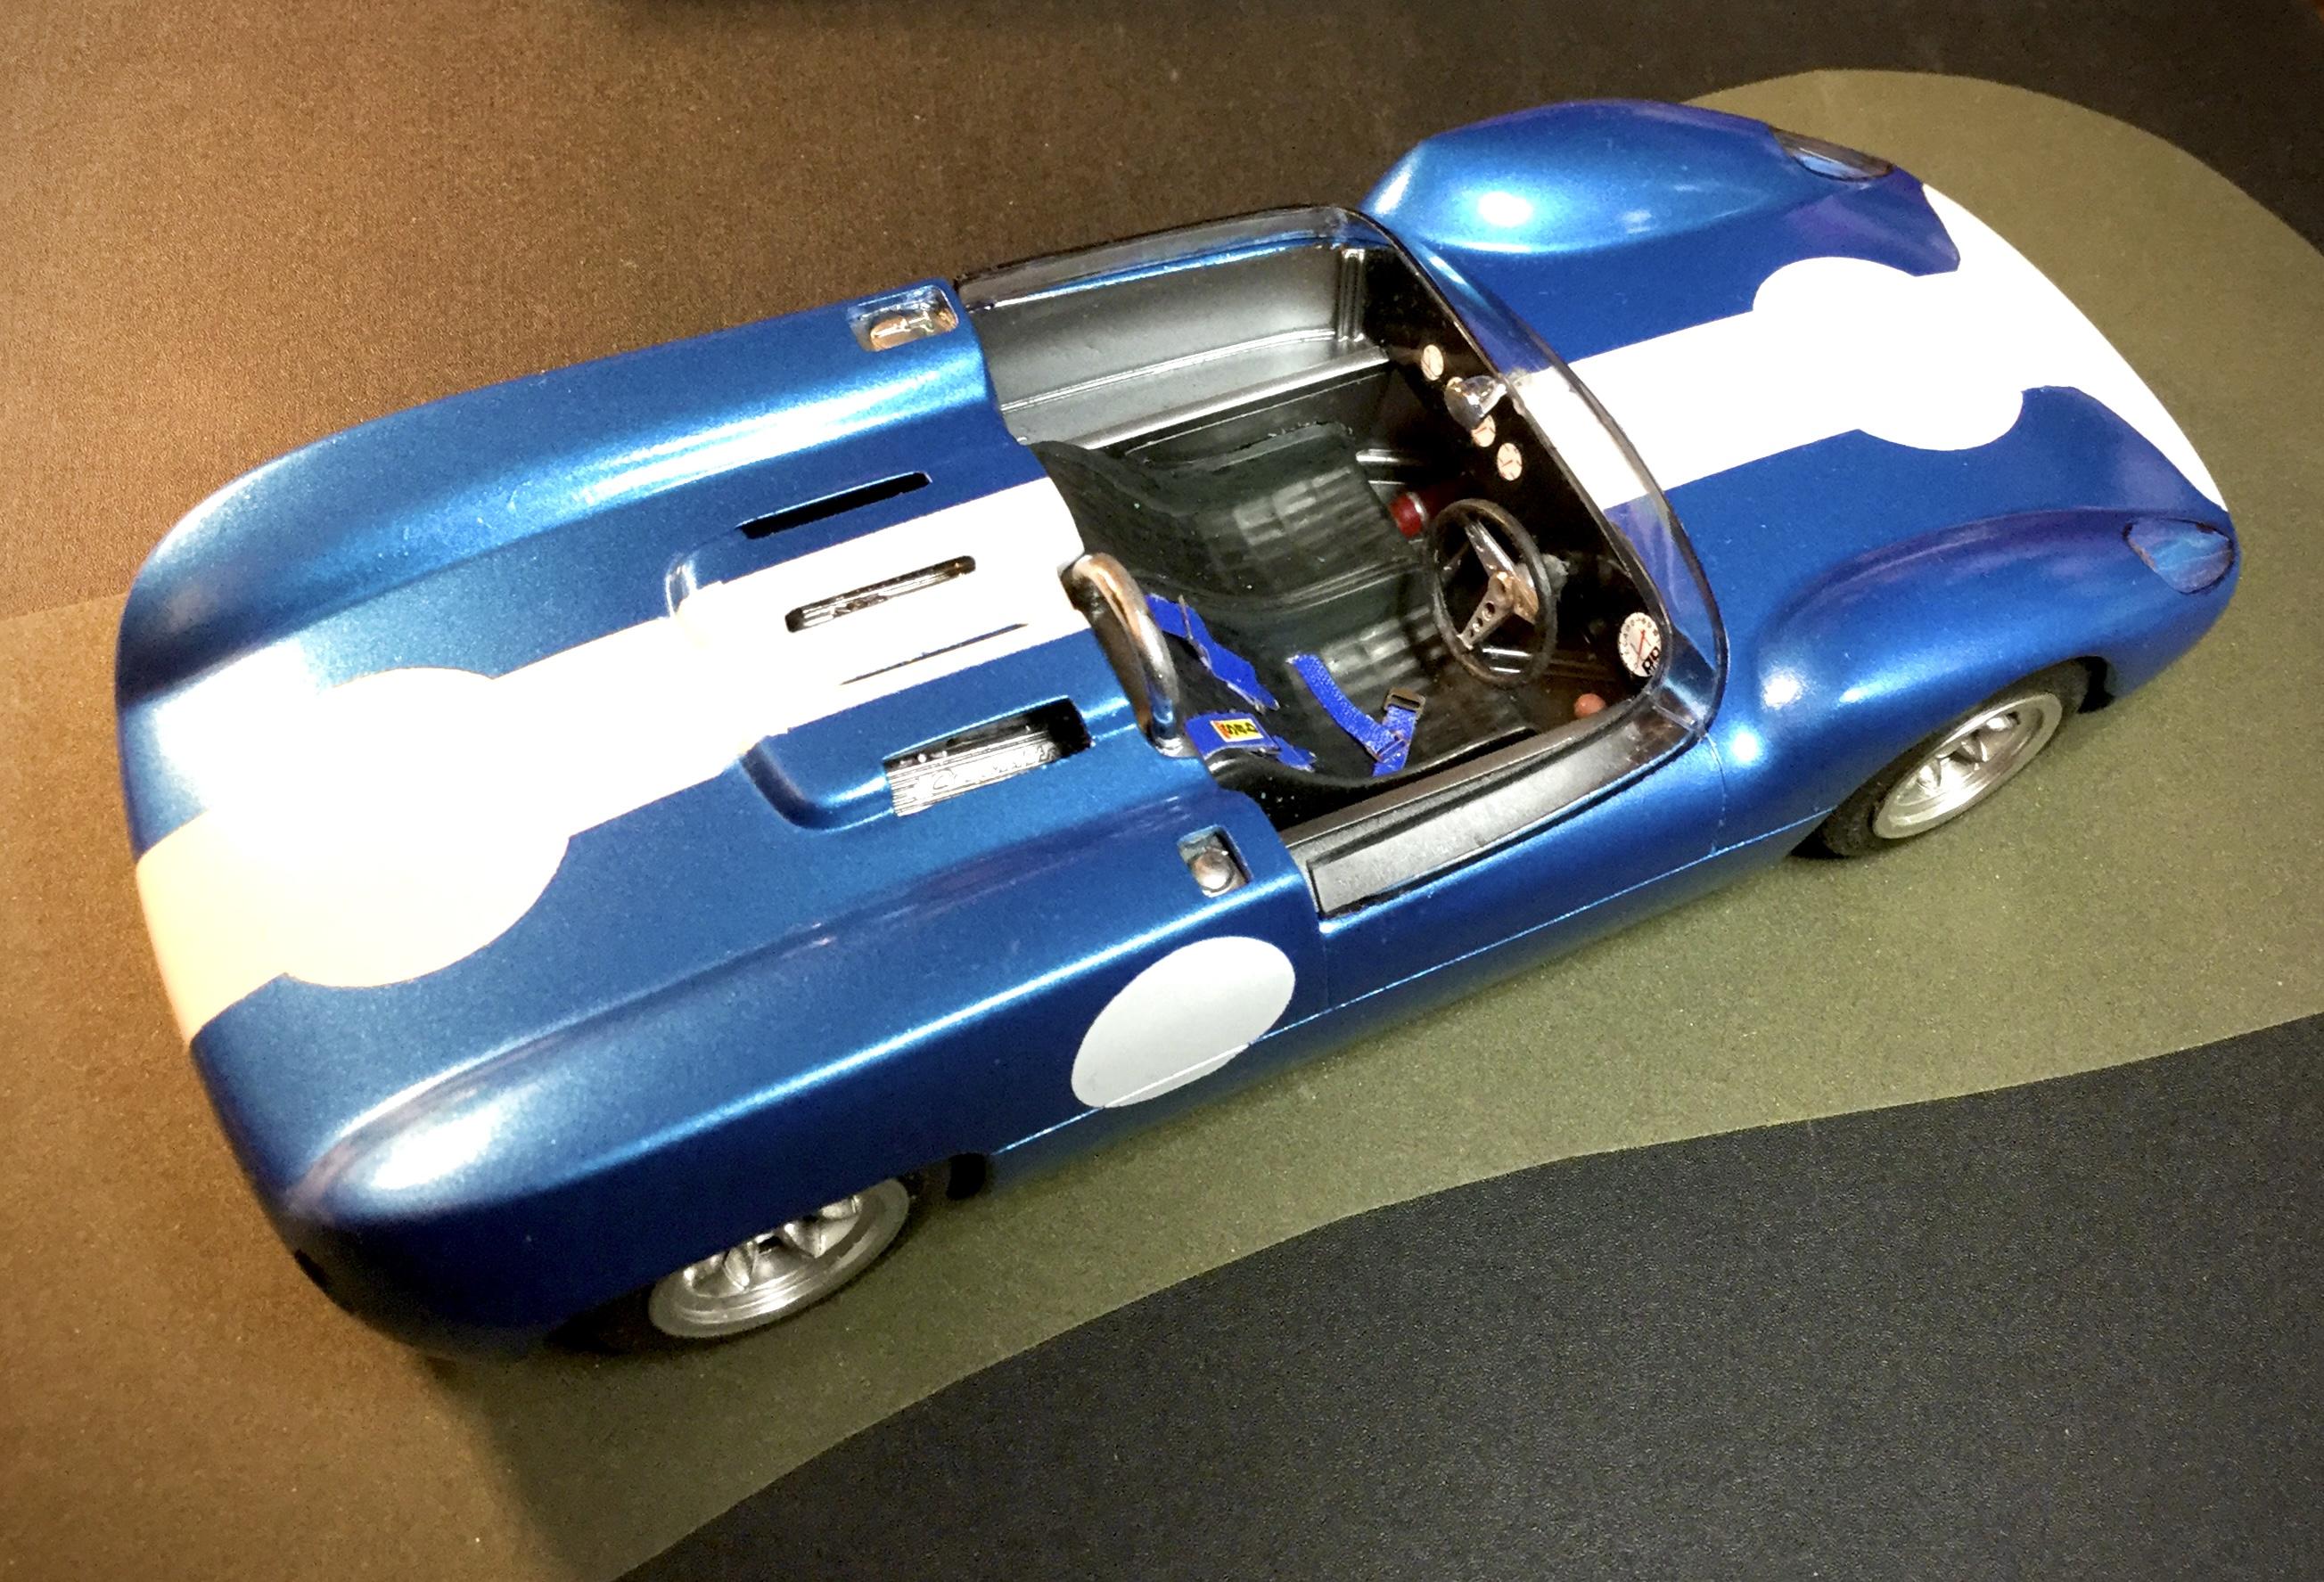
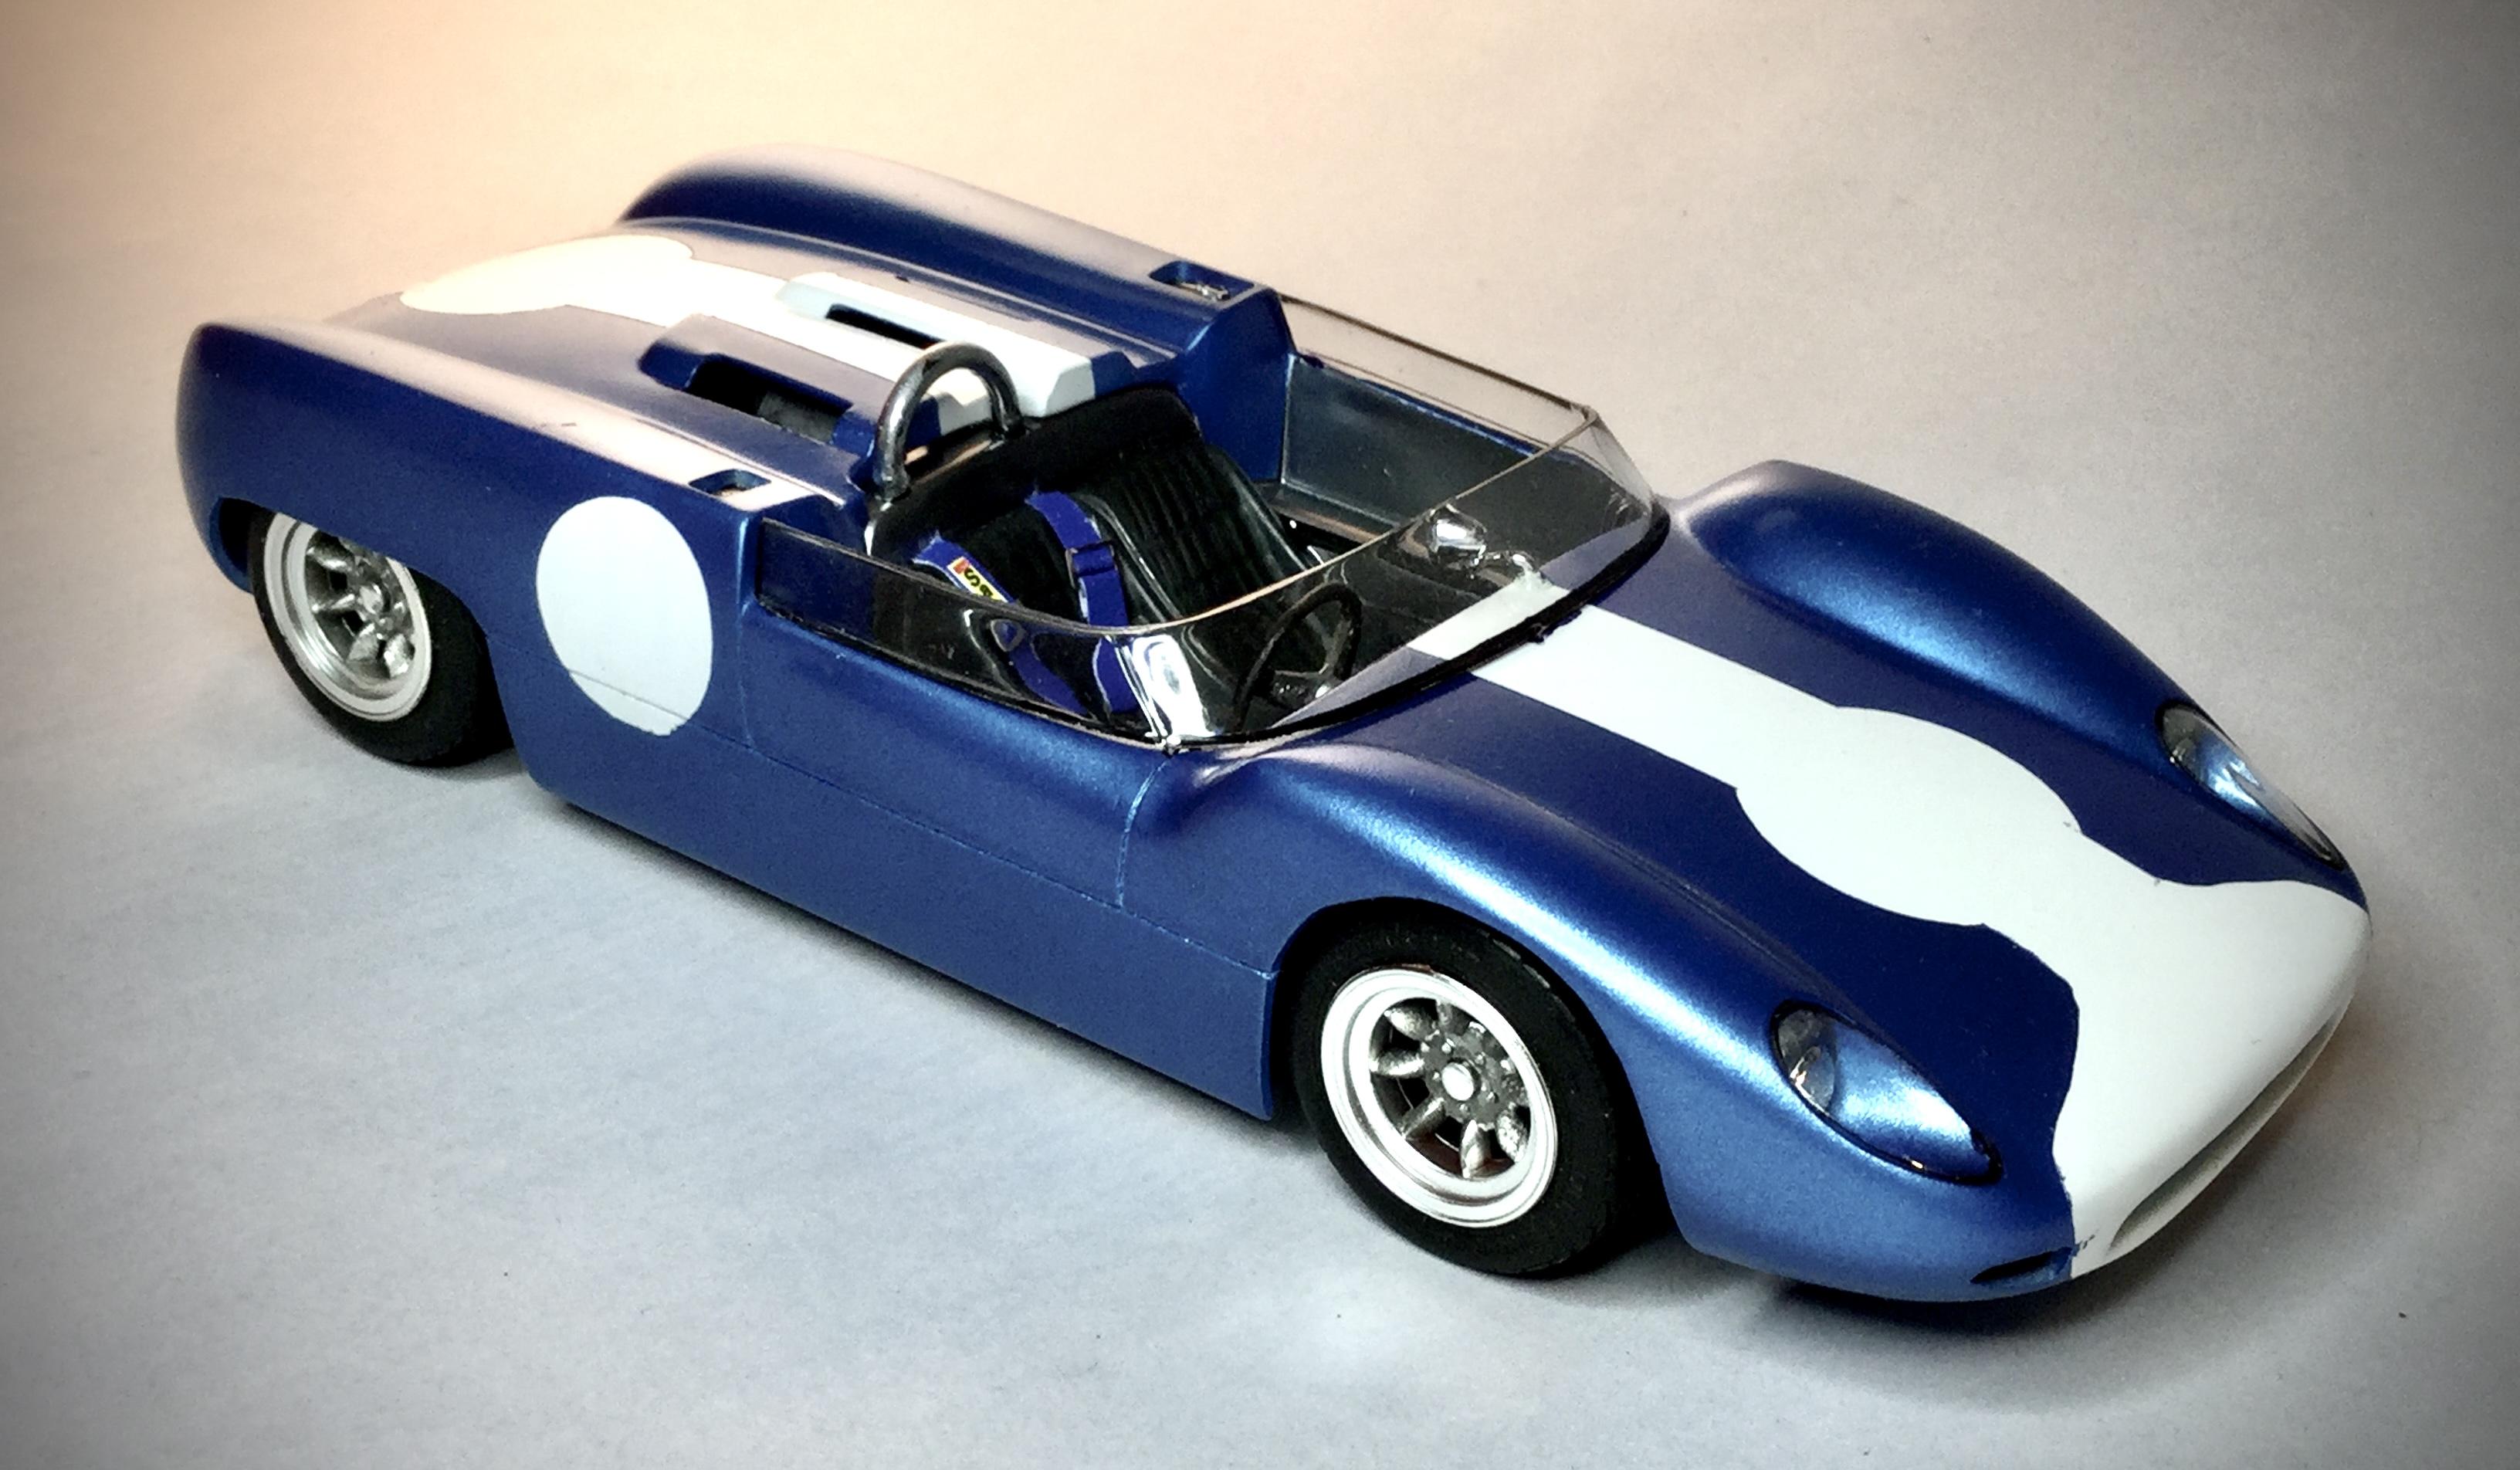
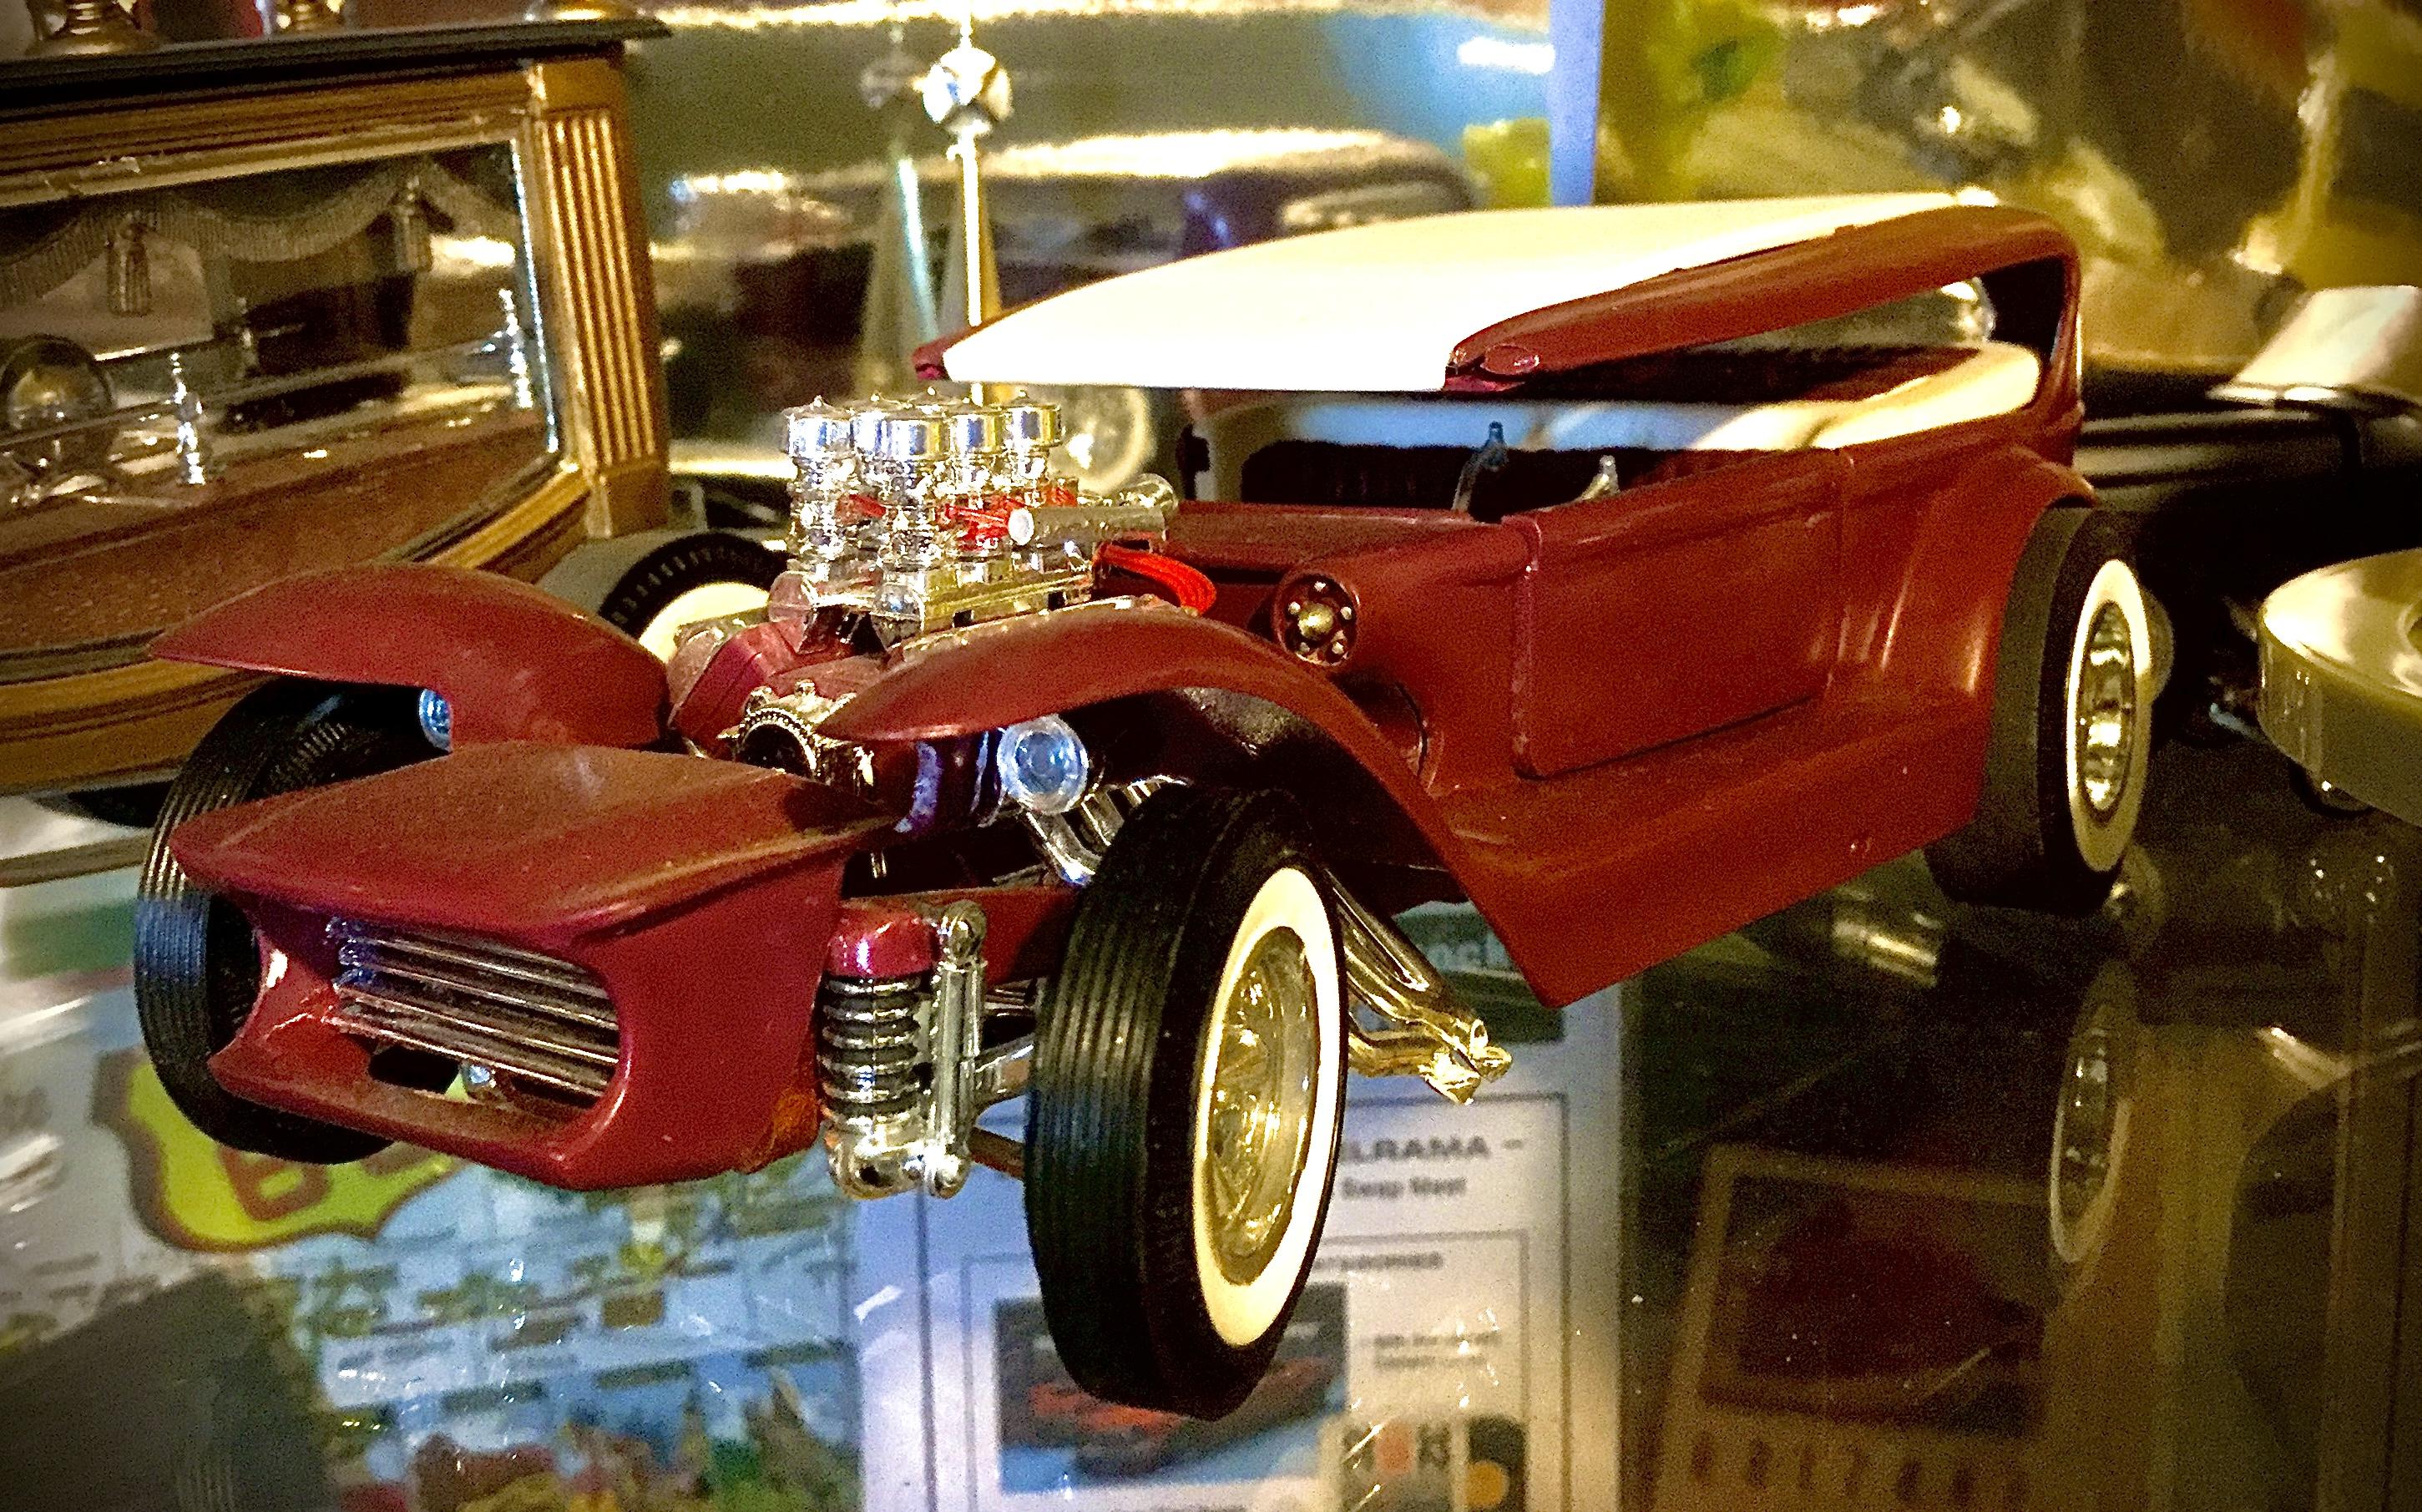
While being partial to 1:25 scale models the original Monogram kits were released in the larger scale as most of the European kits. The difference in size is slight and only apparent when the same subjects are placed side to side. Monogram focused on custom vehicles and somewhat simpler builds compared to AMT or the over designed Revell kits of the day. Over the years a number a number of Monogram subjects have found spot in the display cabinet. Monogram released a number of their slot car bodies as curbside static kits. One was the Lance Reventlow Scarab Mk IV that built in a basic scheme with no sponsorship decals or numbers to focus on the clean design of the body lines. A SBC was also fitted into the void behind the cockpit that benefited from extra detail. The super modified dirt track racer is an early Monogram kit that is jewel to build. I chose this to be a “show ‘n’ go” example used by the company to advertise on the track and the show circuit. While a vintage kit it was easily spruced up with aftermarket bits to add details such as the dash being wired as is the engine. The Capital Cab’s “Two Bits” is based upon the Monogram Caprice, a kit that was produced closer to the company’s demise. It featured good detail overall to which I added more taxi specific interior details. Also added was a propane conversion as evidenced by the filler flap on the passenger side, a common practice by fleet operators in the day. The 57 Vette features the Rochester fuel injection SBC which has been wired and plumbed. It’s finished in the classic red with white coves. Another favourite Monogram kit with decent details upon which to build upon. The 64 GTO appeared roughly midway during Monogram’s existence as a stand alone company. It has proven to be a popular subject as shown by this thread. The kit may be built as a two door post or a hardtop. Reaching back to the 80’s I also built the Lil’ Coffin and the Boot Hill Express that I still have in the cabinet. Both are wired and plumbed with the addition of a cooling system for the Express with a radiator fitted under the seat and transparent red fuel lines feeding the carbs on the Lil’ Coffin. Cheers Misha
-

Garage 56 Camaro - Le Mans 2023
Misha replied to Phildaupho's topic in Other Racing: Road Racing, Salt Flat Racers
Congrats Phil on a challenging build. It was just a while ago I saw the beginning stages and it’s now it’s done in that eye popping scheme! A neat addition to your collection of historic race vehicles! Cheers Misha -
Welcome Martin, great to see your craftsmanship on the forum! Congrats also on the MCM cover. Having viewed your builds in person has been a real treat and certainly looking forward to your WIPs. There will be a load of techniques and methods that all members will benefit from. Welcome aboard, cheers Misha
-

What did you see on the road today?
Misha replied to Harry P.'s topic in General Automotive Talk (Trucks and Cars)
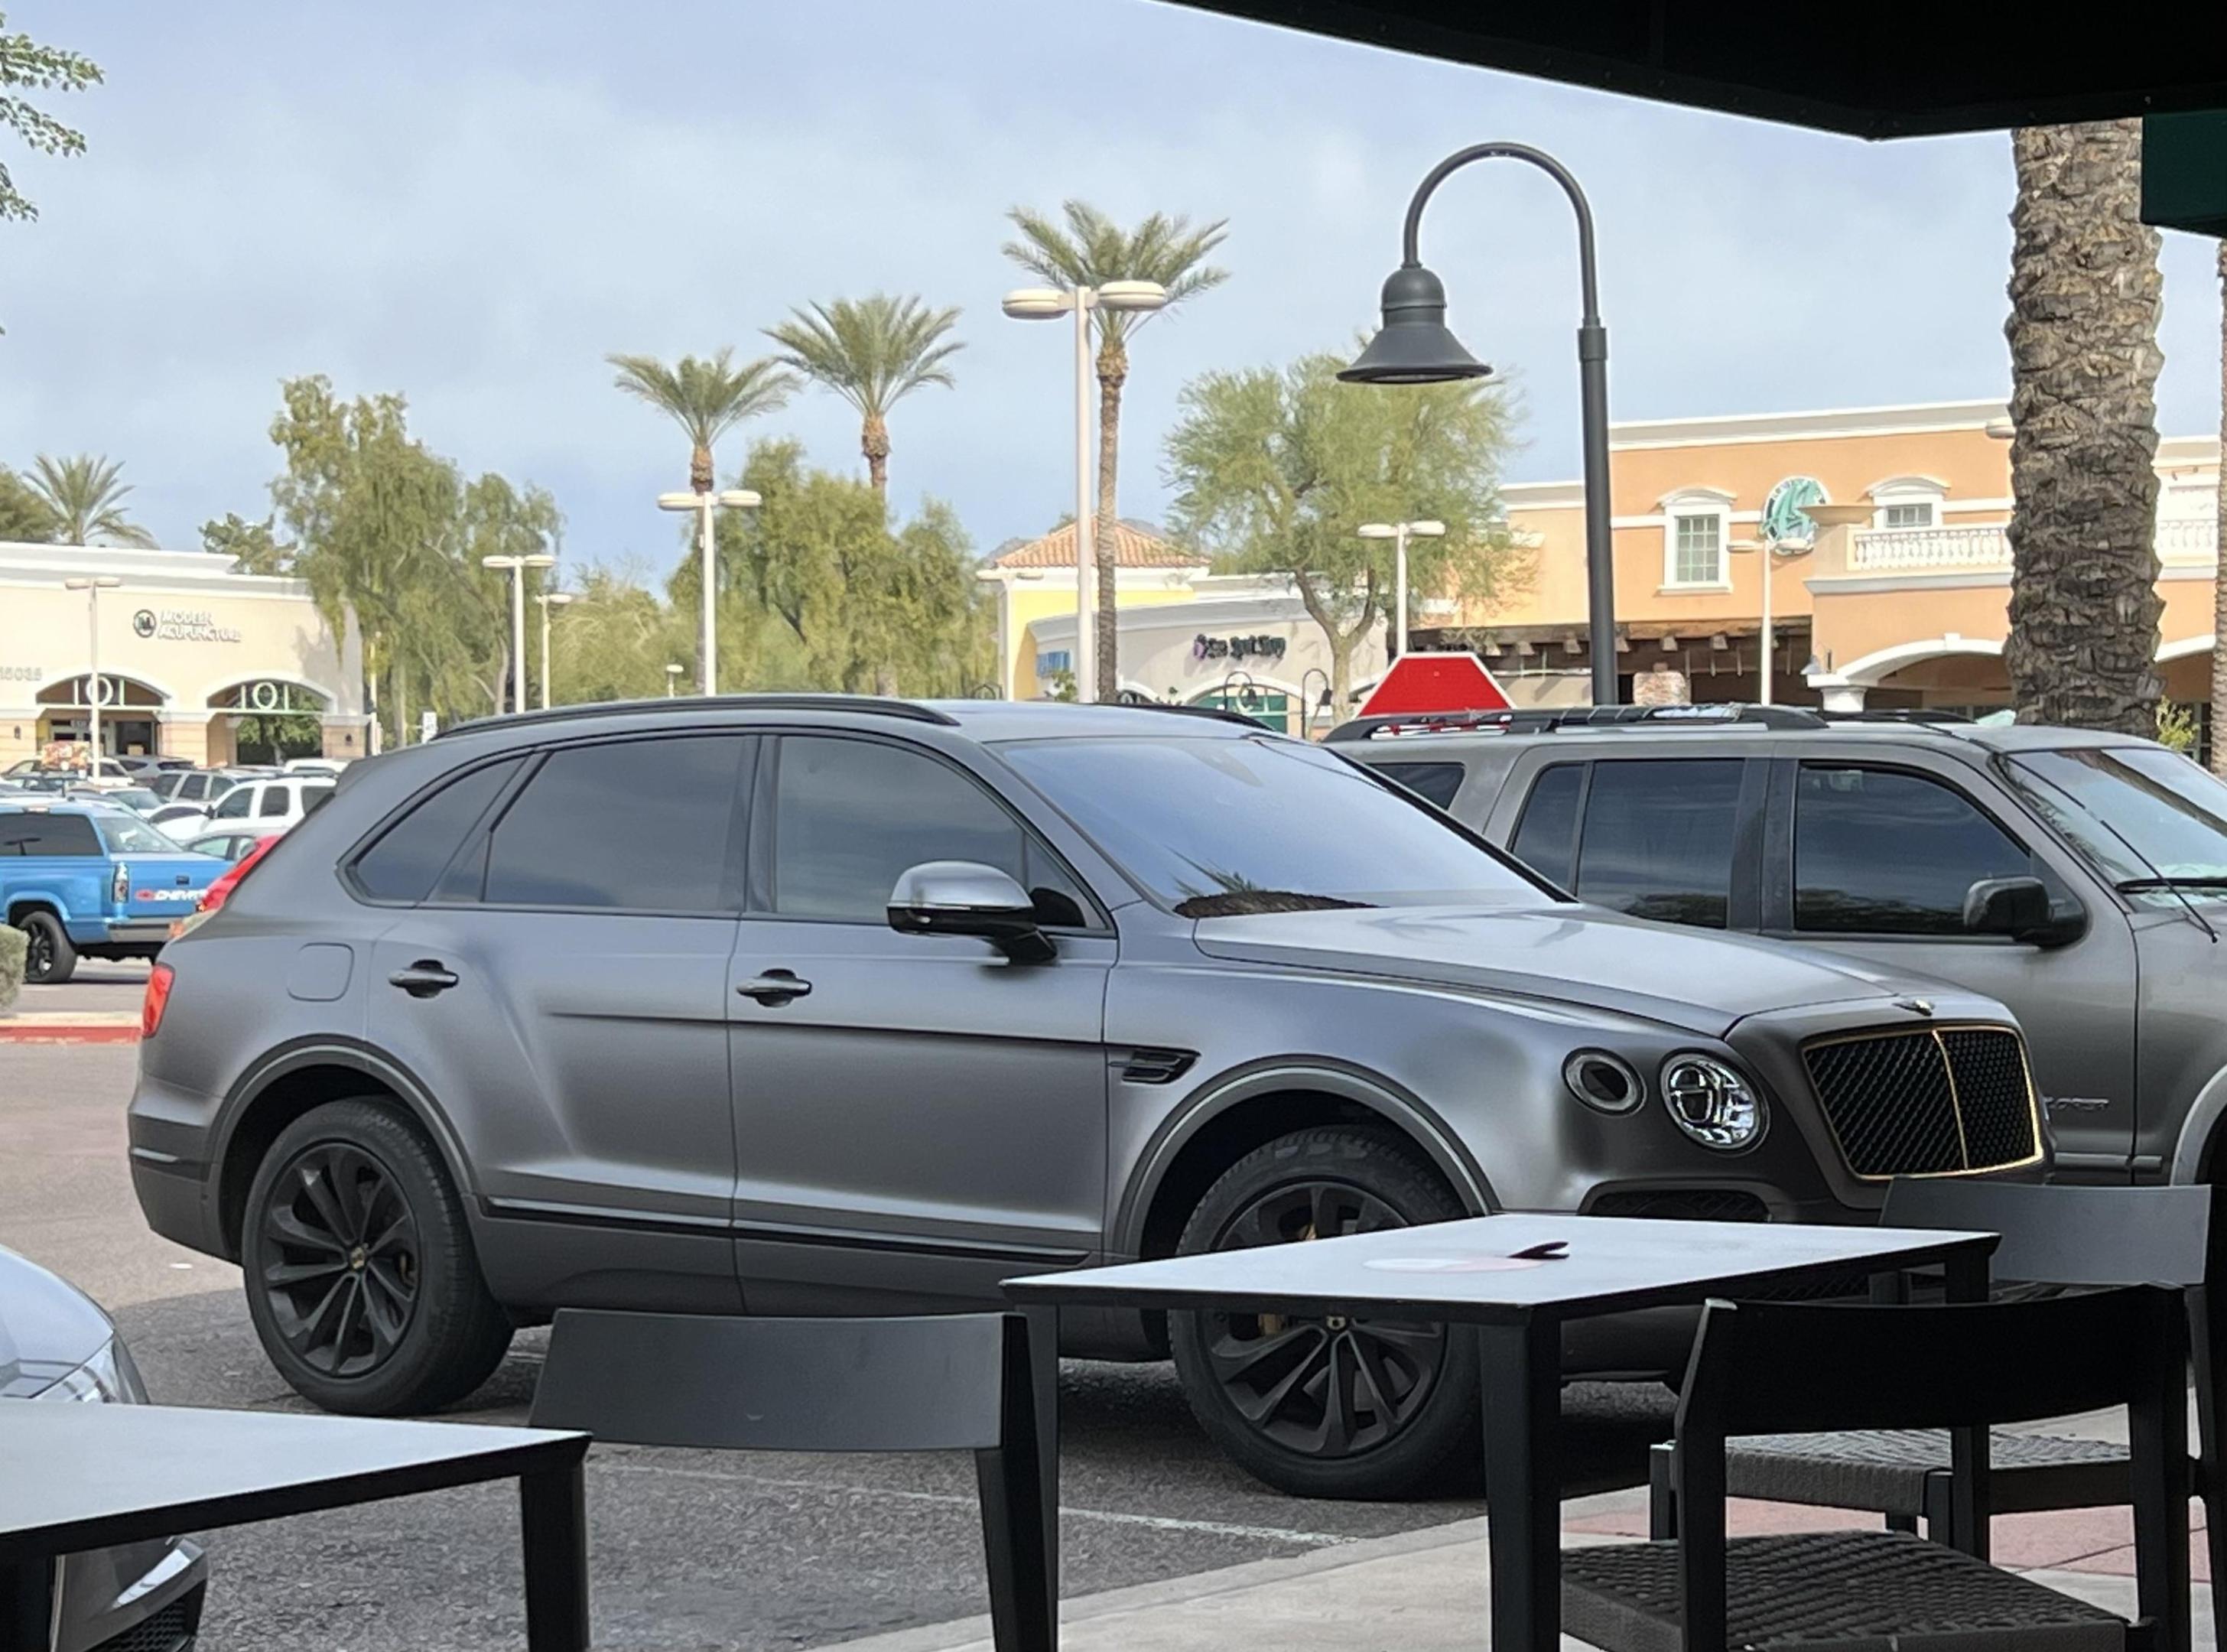
Having my morning Americano ☕️ at the local coffee joint and spotted the Bentley SUV or perhaps “shooting brake” would be more appropriate. I’m generally not in favour sporty or lux vehicles looking like this, yet I find this somewhat appealing. The suede lead colour with a bit of gold trim actually makes it, the body design from the cowl back would look much better with the fastback two door. Next the Corvette seems to be on the block for “SUV-ness”… Cheers Mishs -
Those are great solutions for the suspension and chassis Greg, updates the original ‘Bird nicely! The exhaust system fits in like a stock unit with your scratchbuilding, looking forward to seeing the modern Ford engine fitting in. The first Thunderbird has always been my fav of all the years. I’ll be following hour progress, cheers Misha
-

2023 Cannonball Run Build Theme Suggestions
Misha replied to White Rabbit's topic in Community Builds
My top three are: mid-engine mania, delivery vehicles, and wagons. Cheers Misha -

amt '69 Buick Riviera - John D'Agostino's Pantheon
Misha replied to Koellefornia Kid's topic in Model Cars
Great companion piece to the D’Agostino’s Olds! Always enjoyed his kustoms the best of all the builders. Congrats on your build, cheers Misha

