Misha
-
Posts
1,032 -
Joined
-
Last visited
Content Type
Profiles
Forums
Events
Gallery
Everything posted by Misha
-
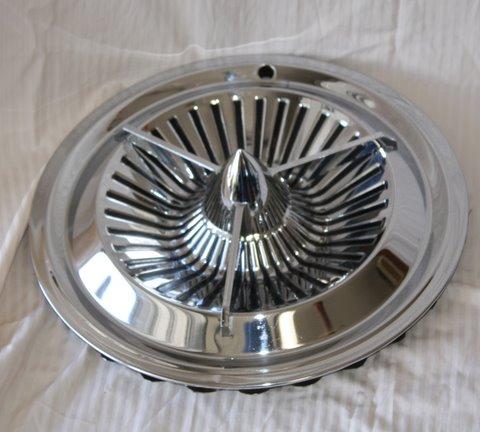
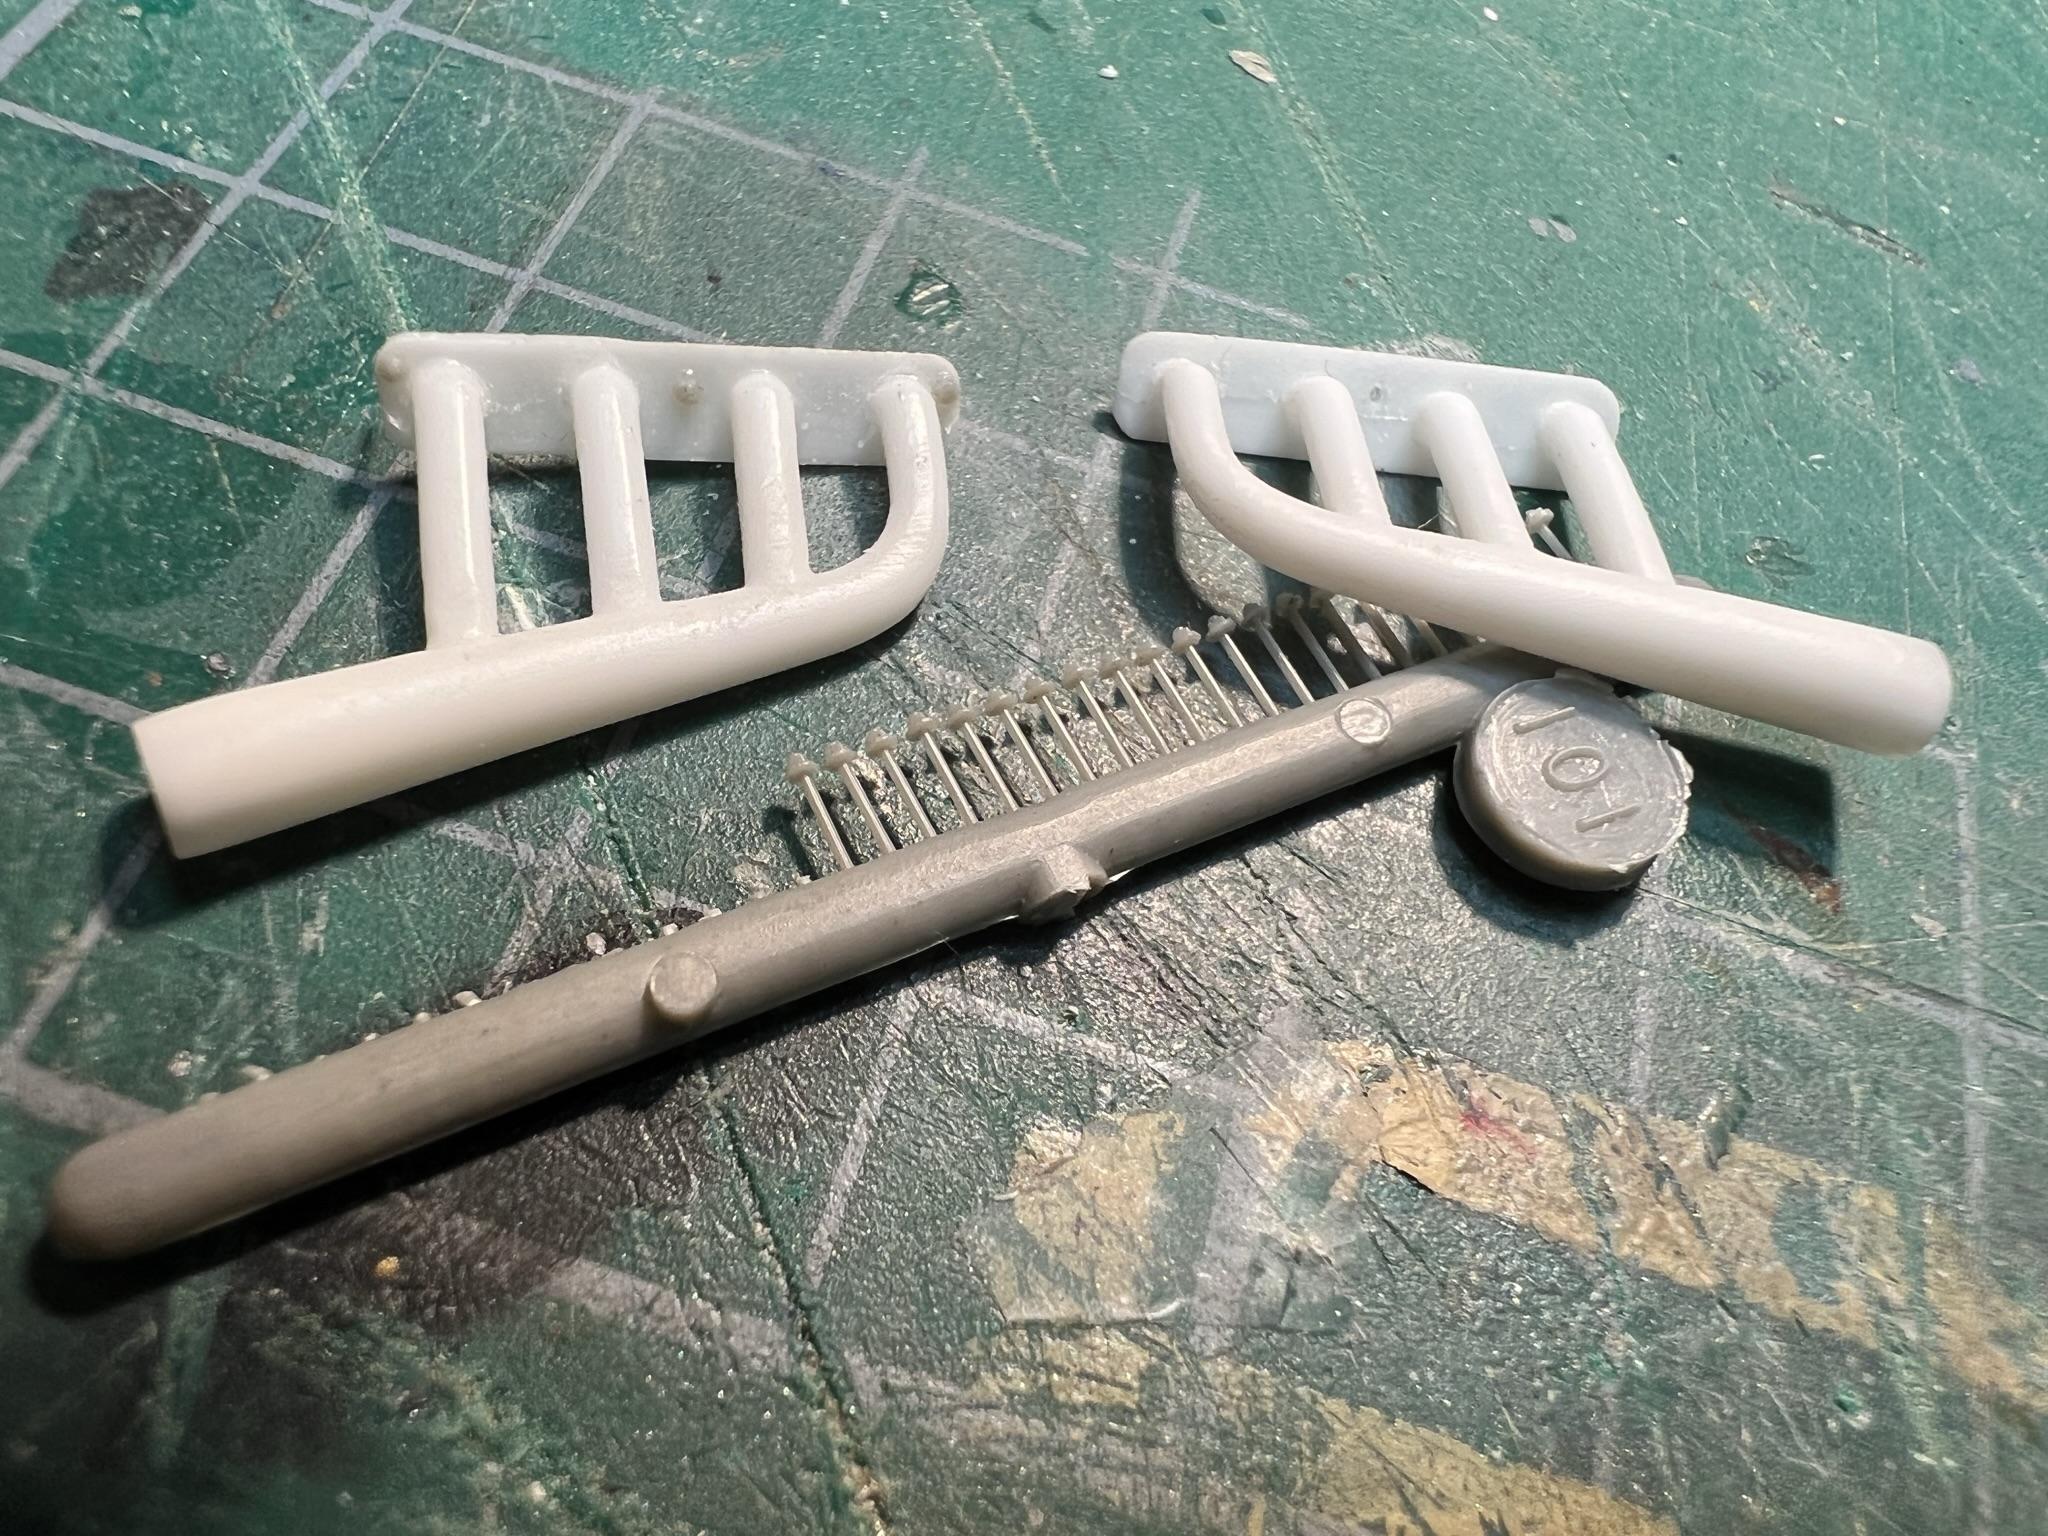
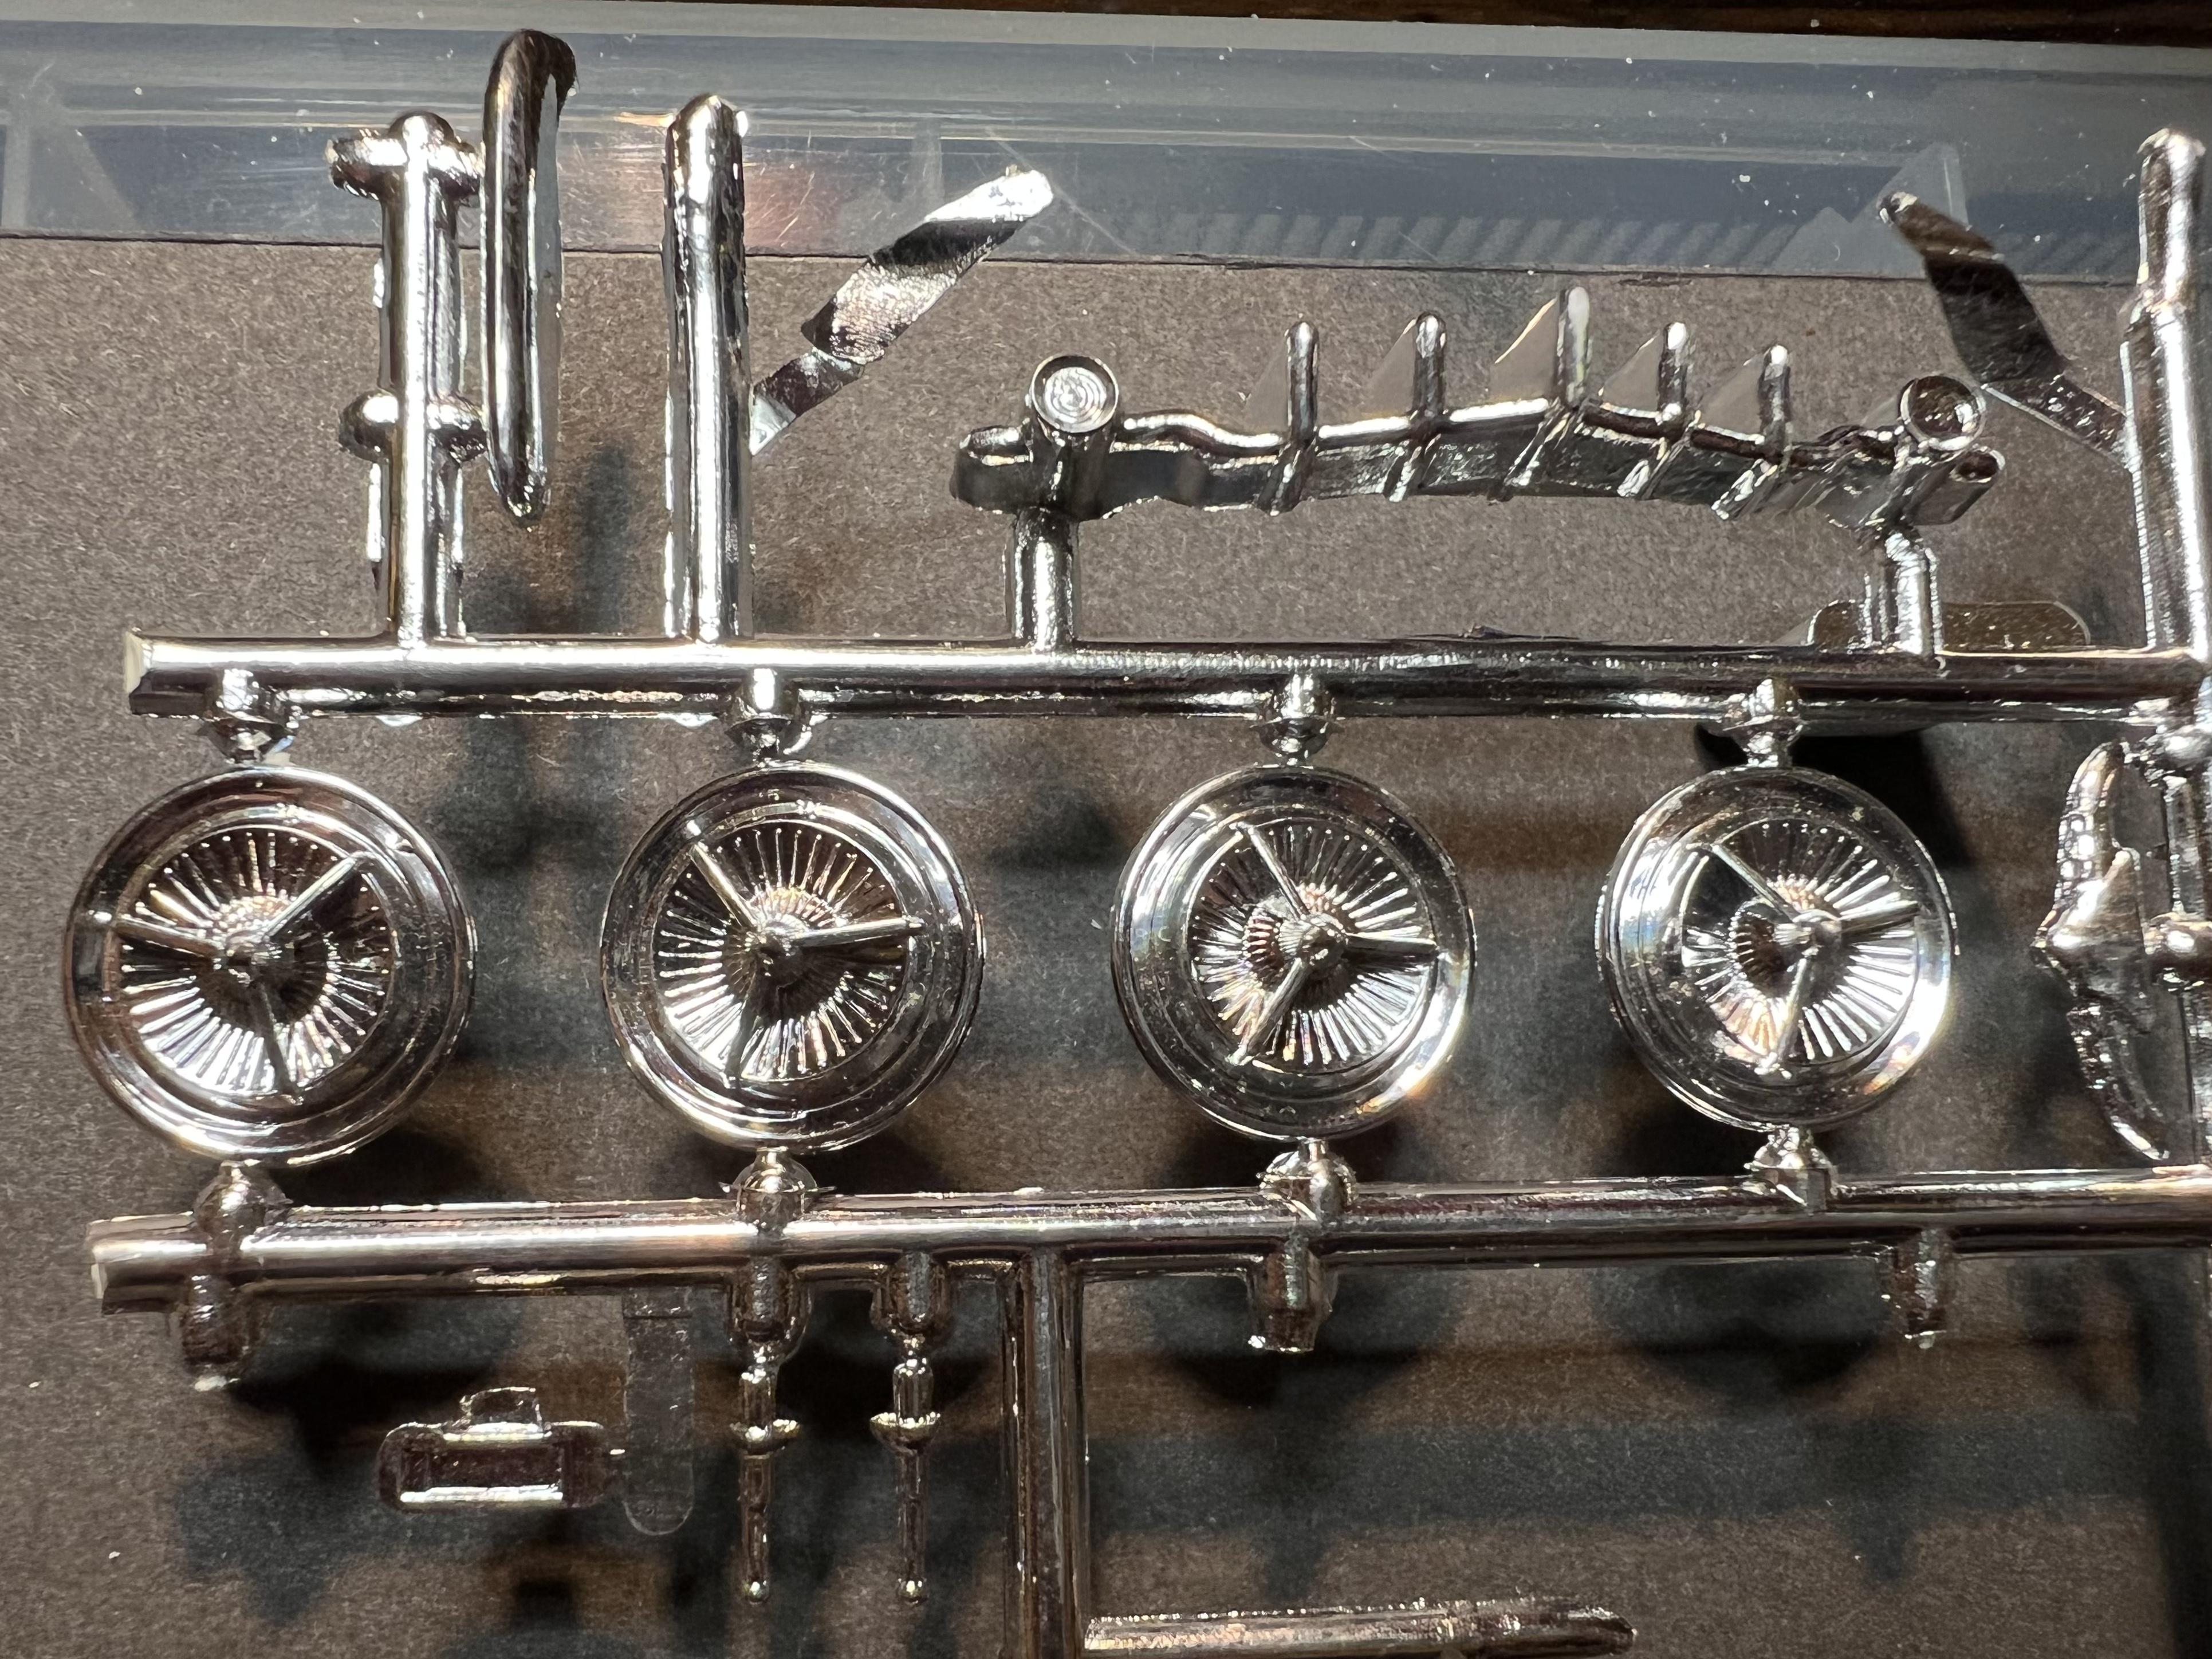
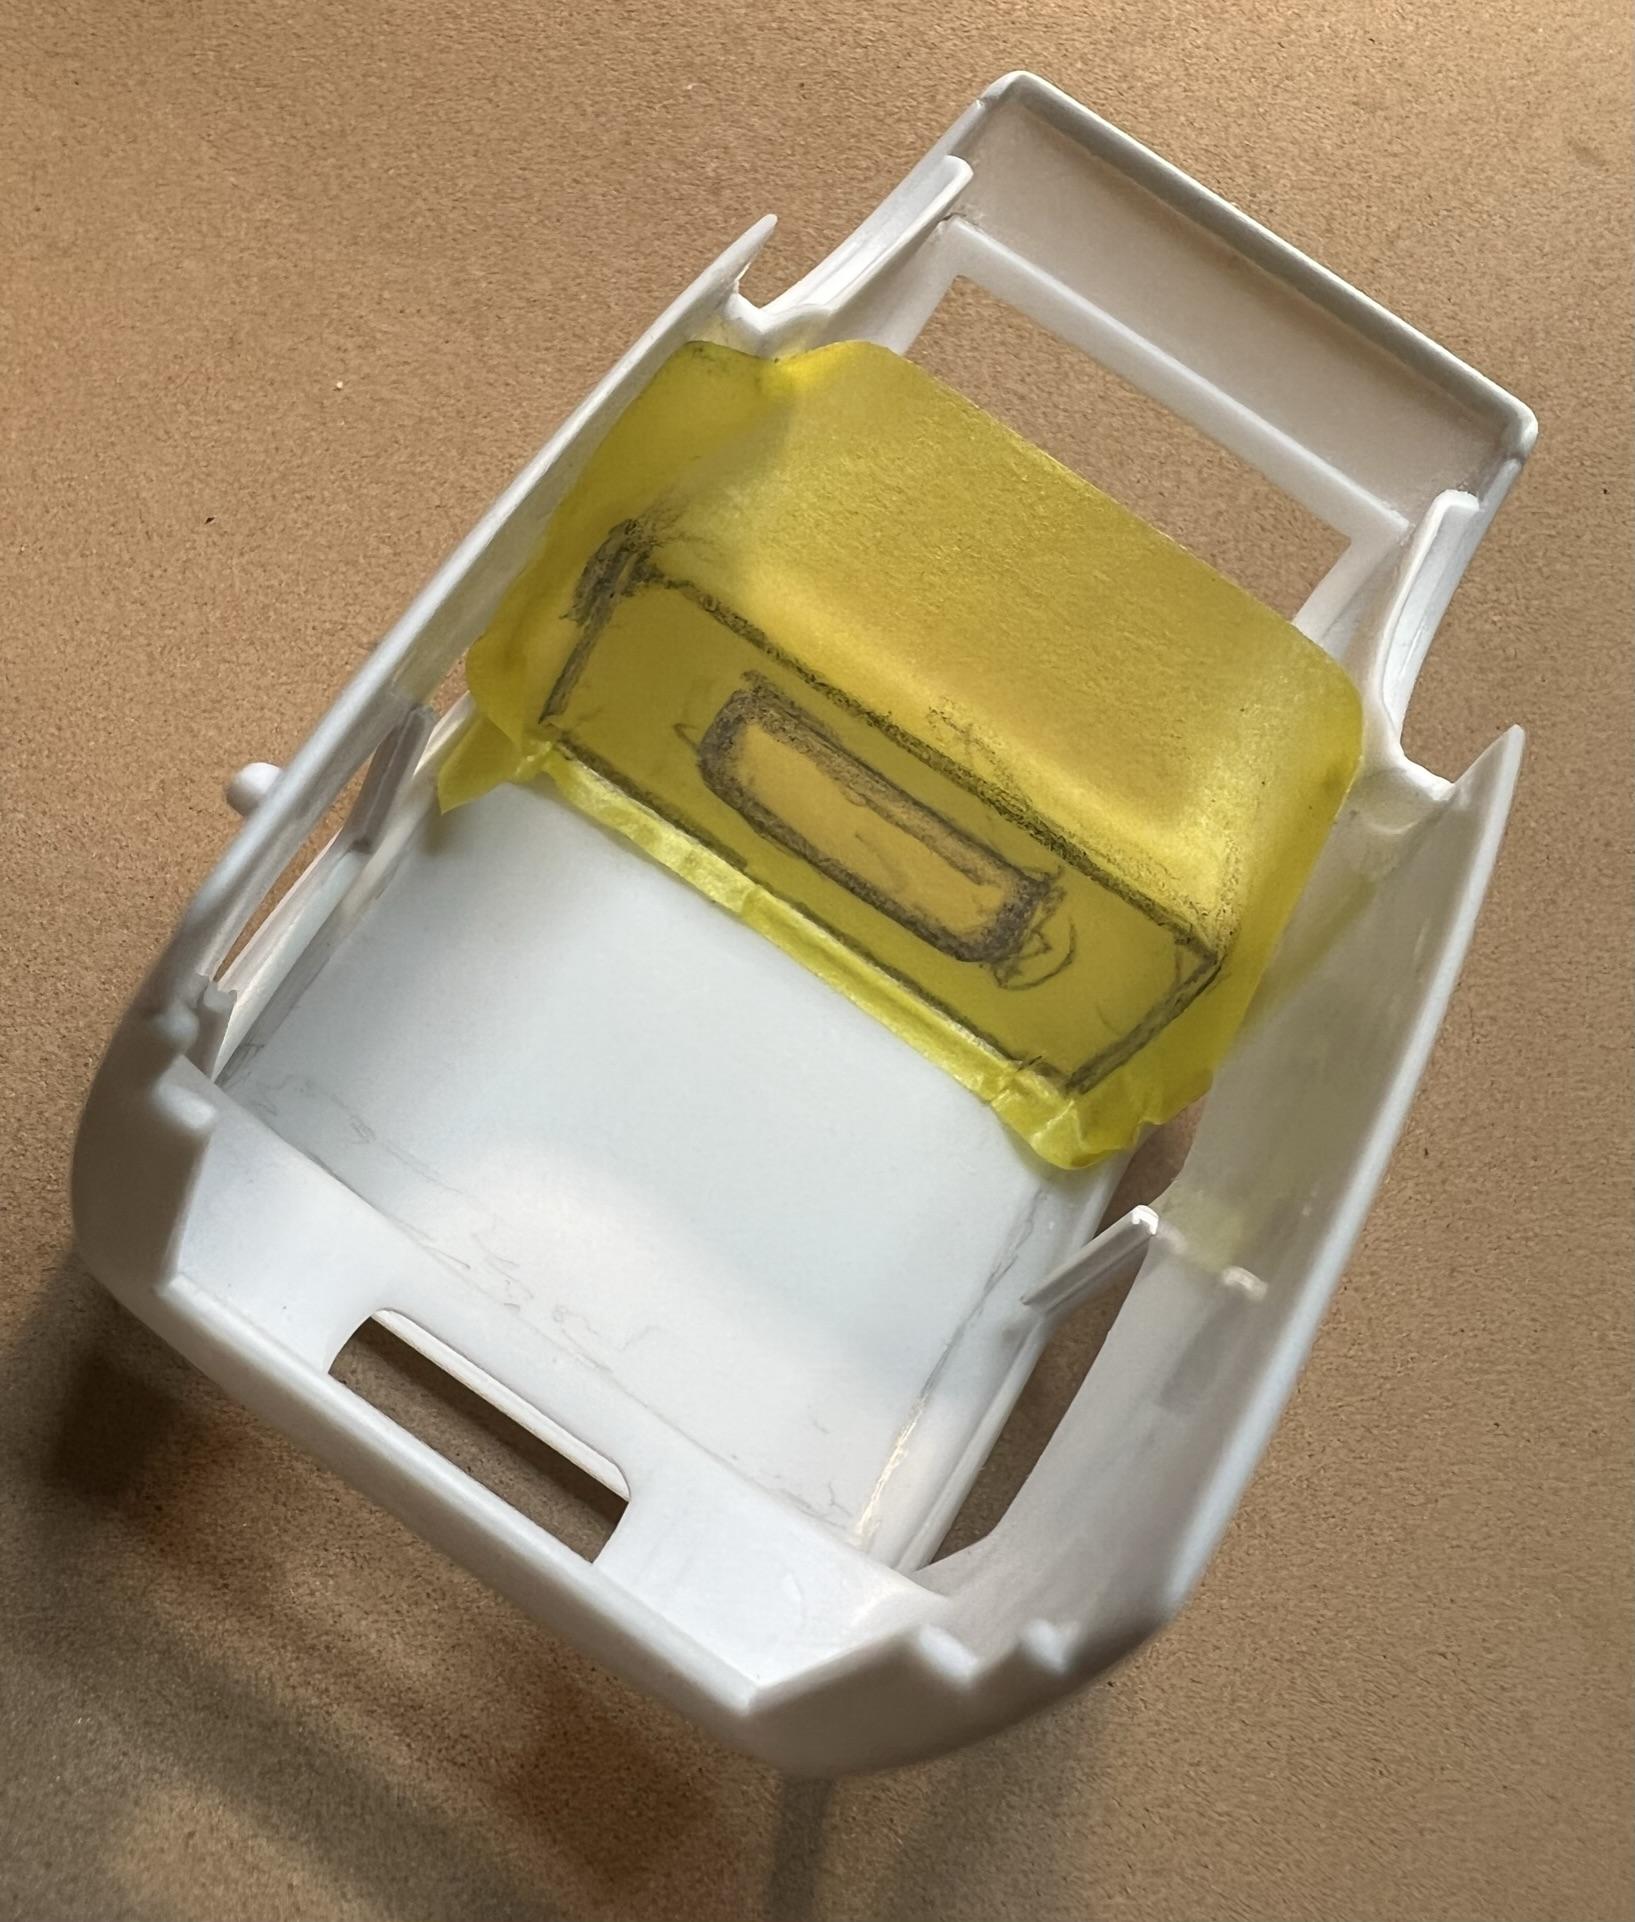
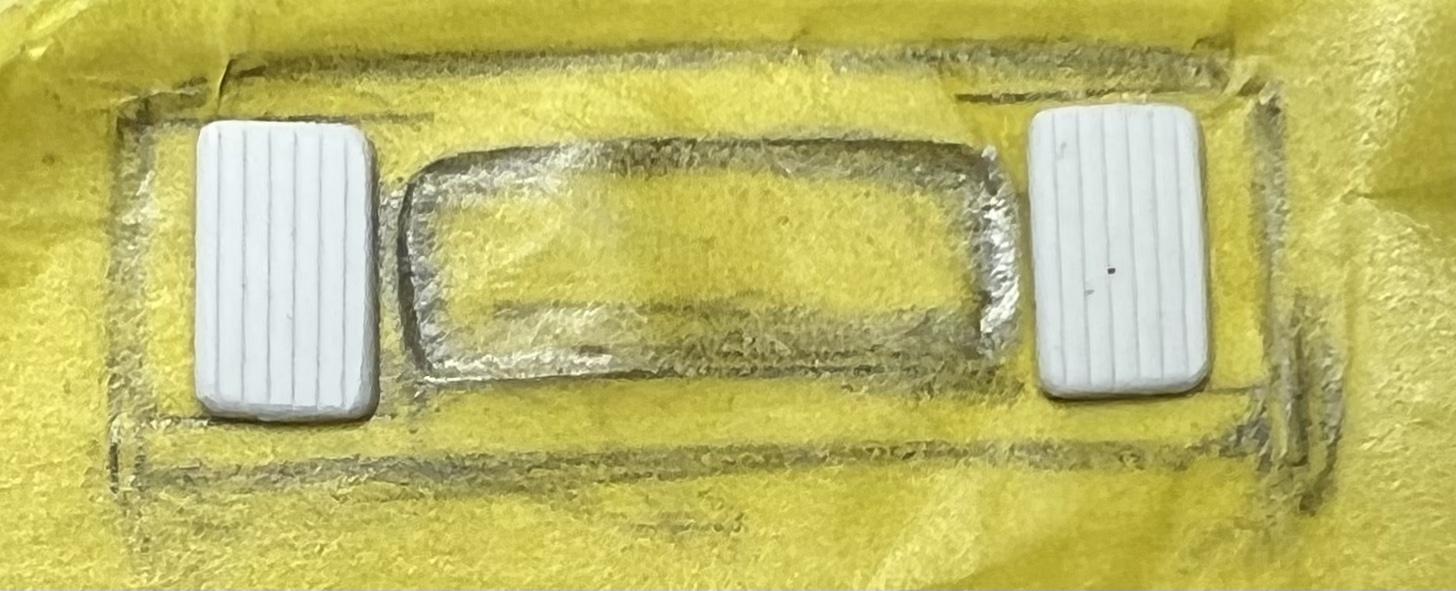
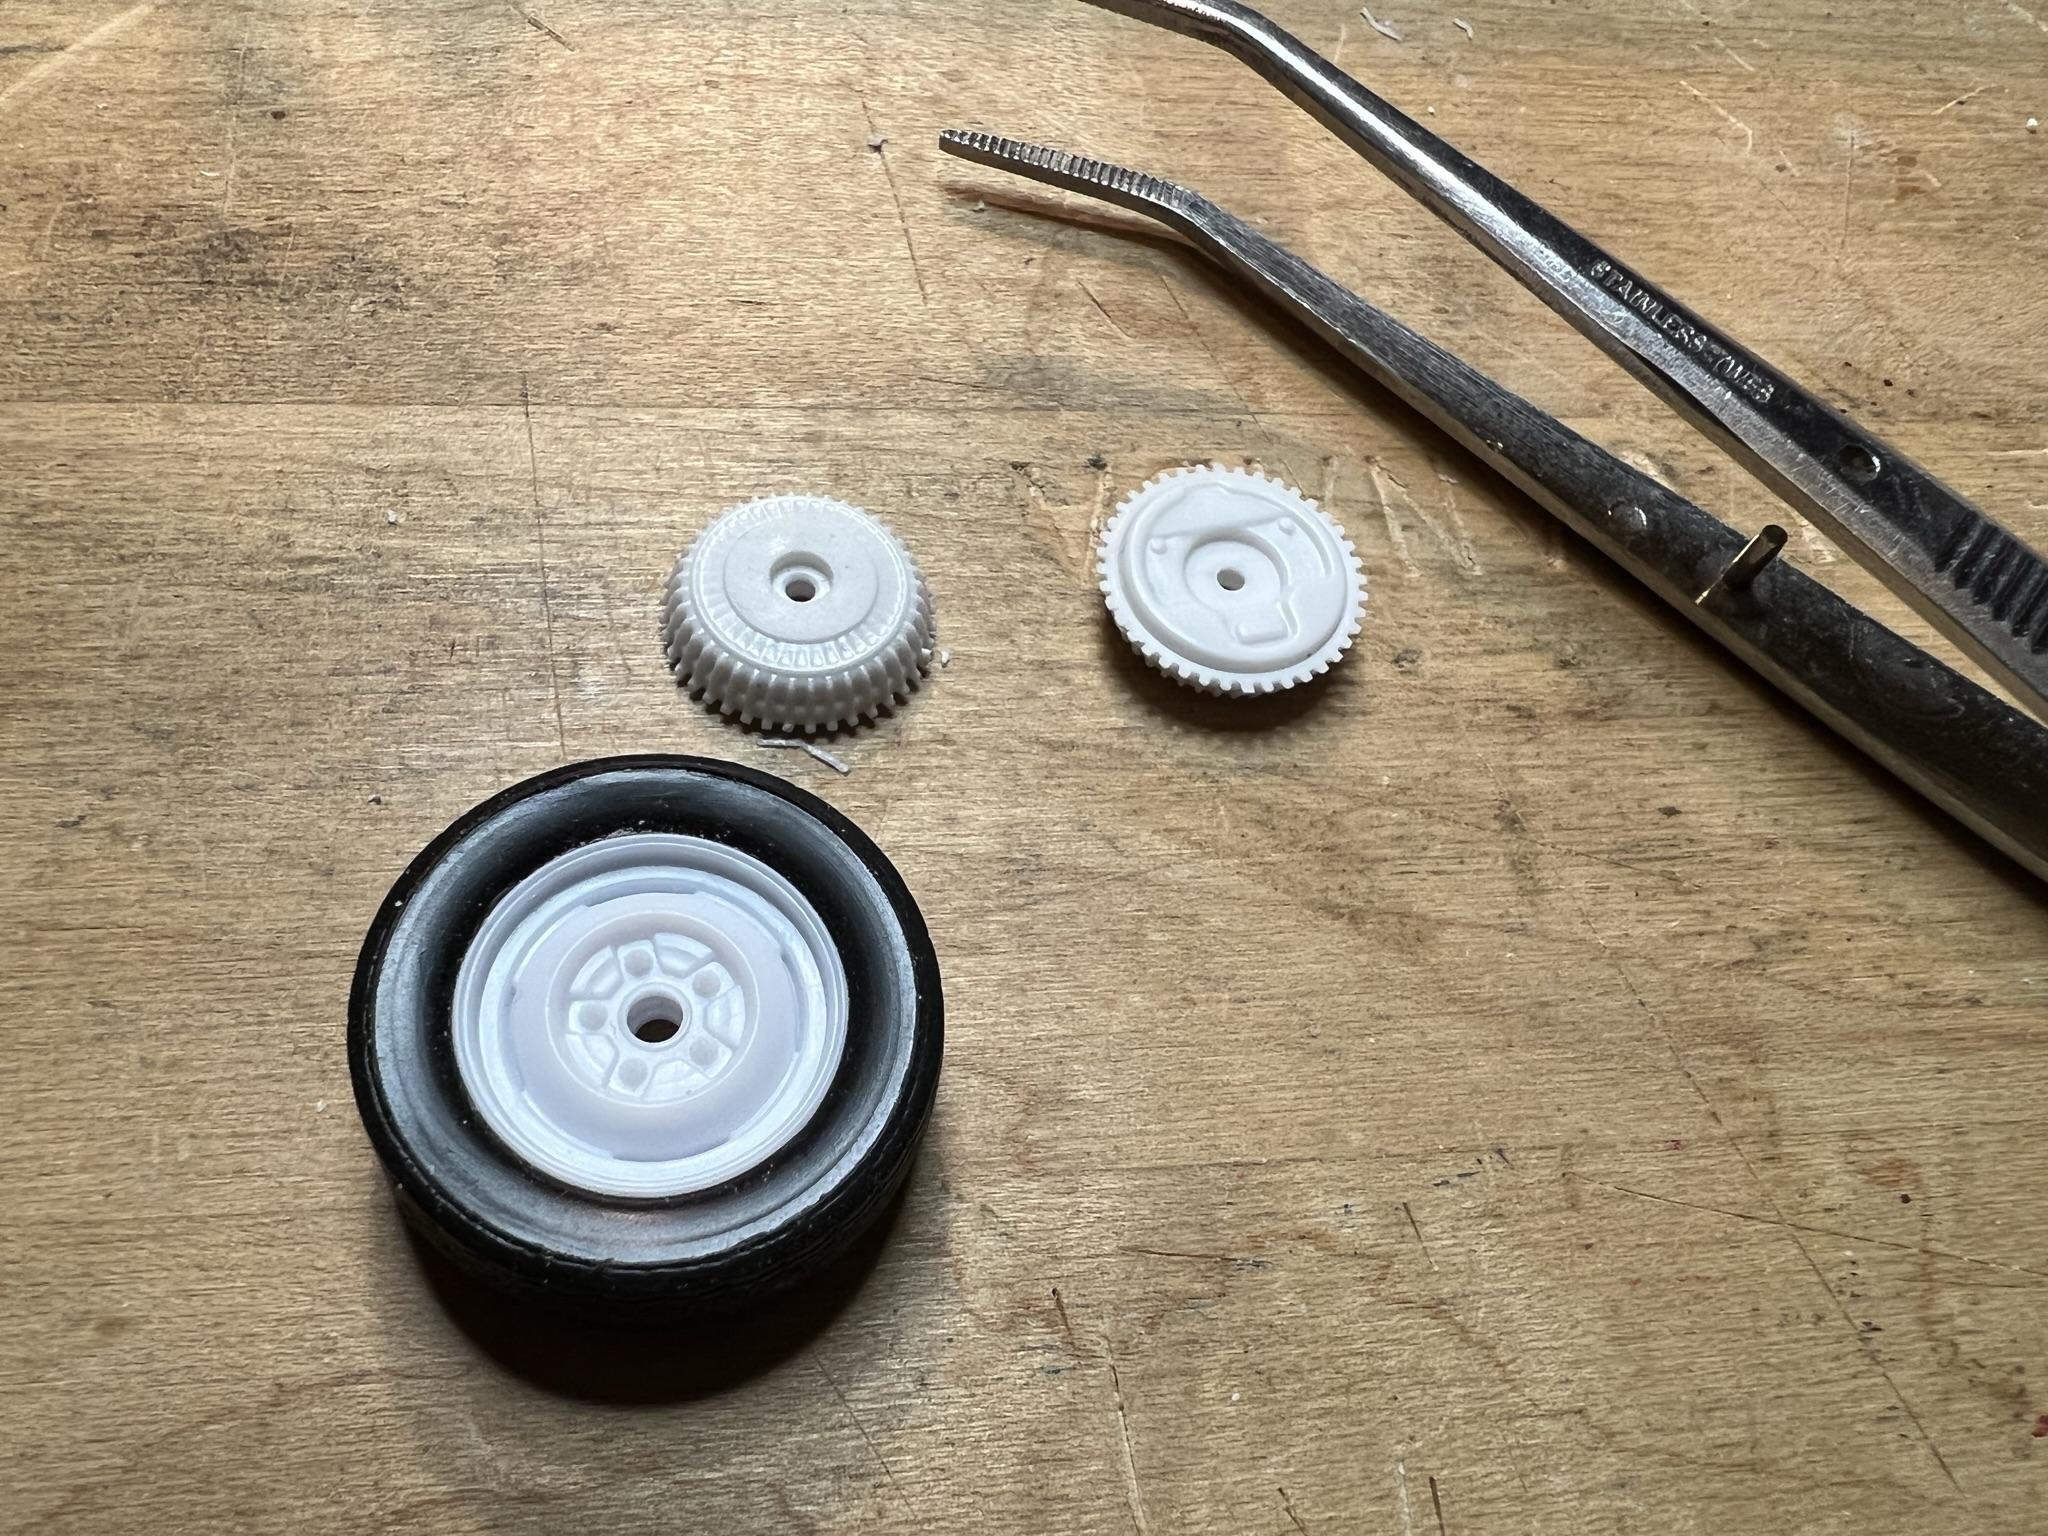
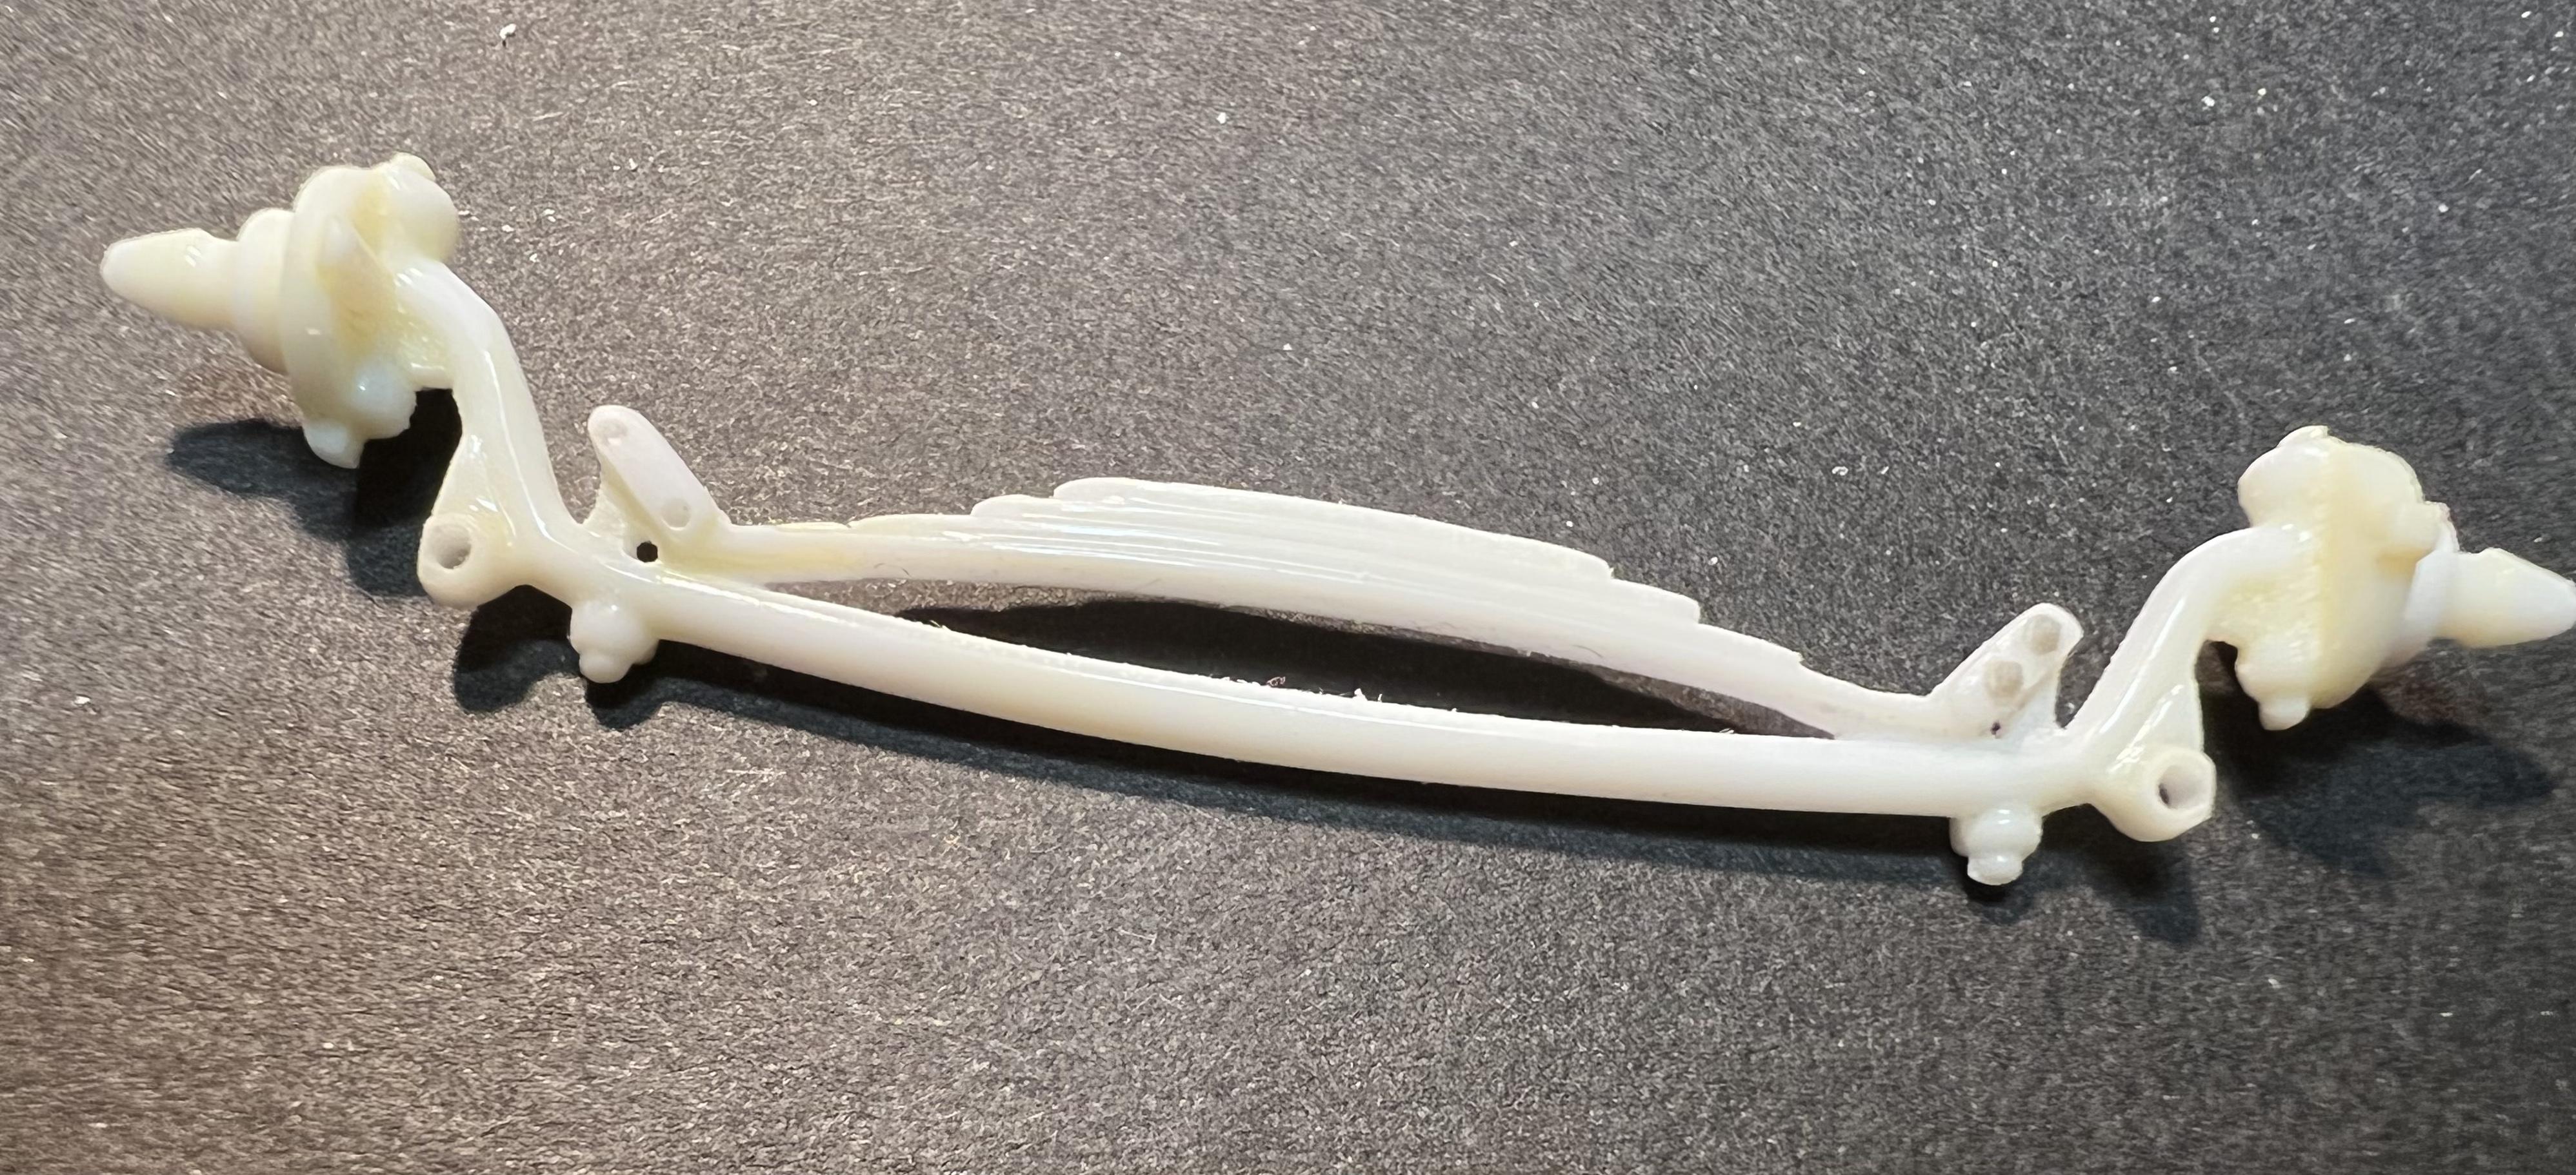
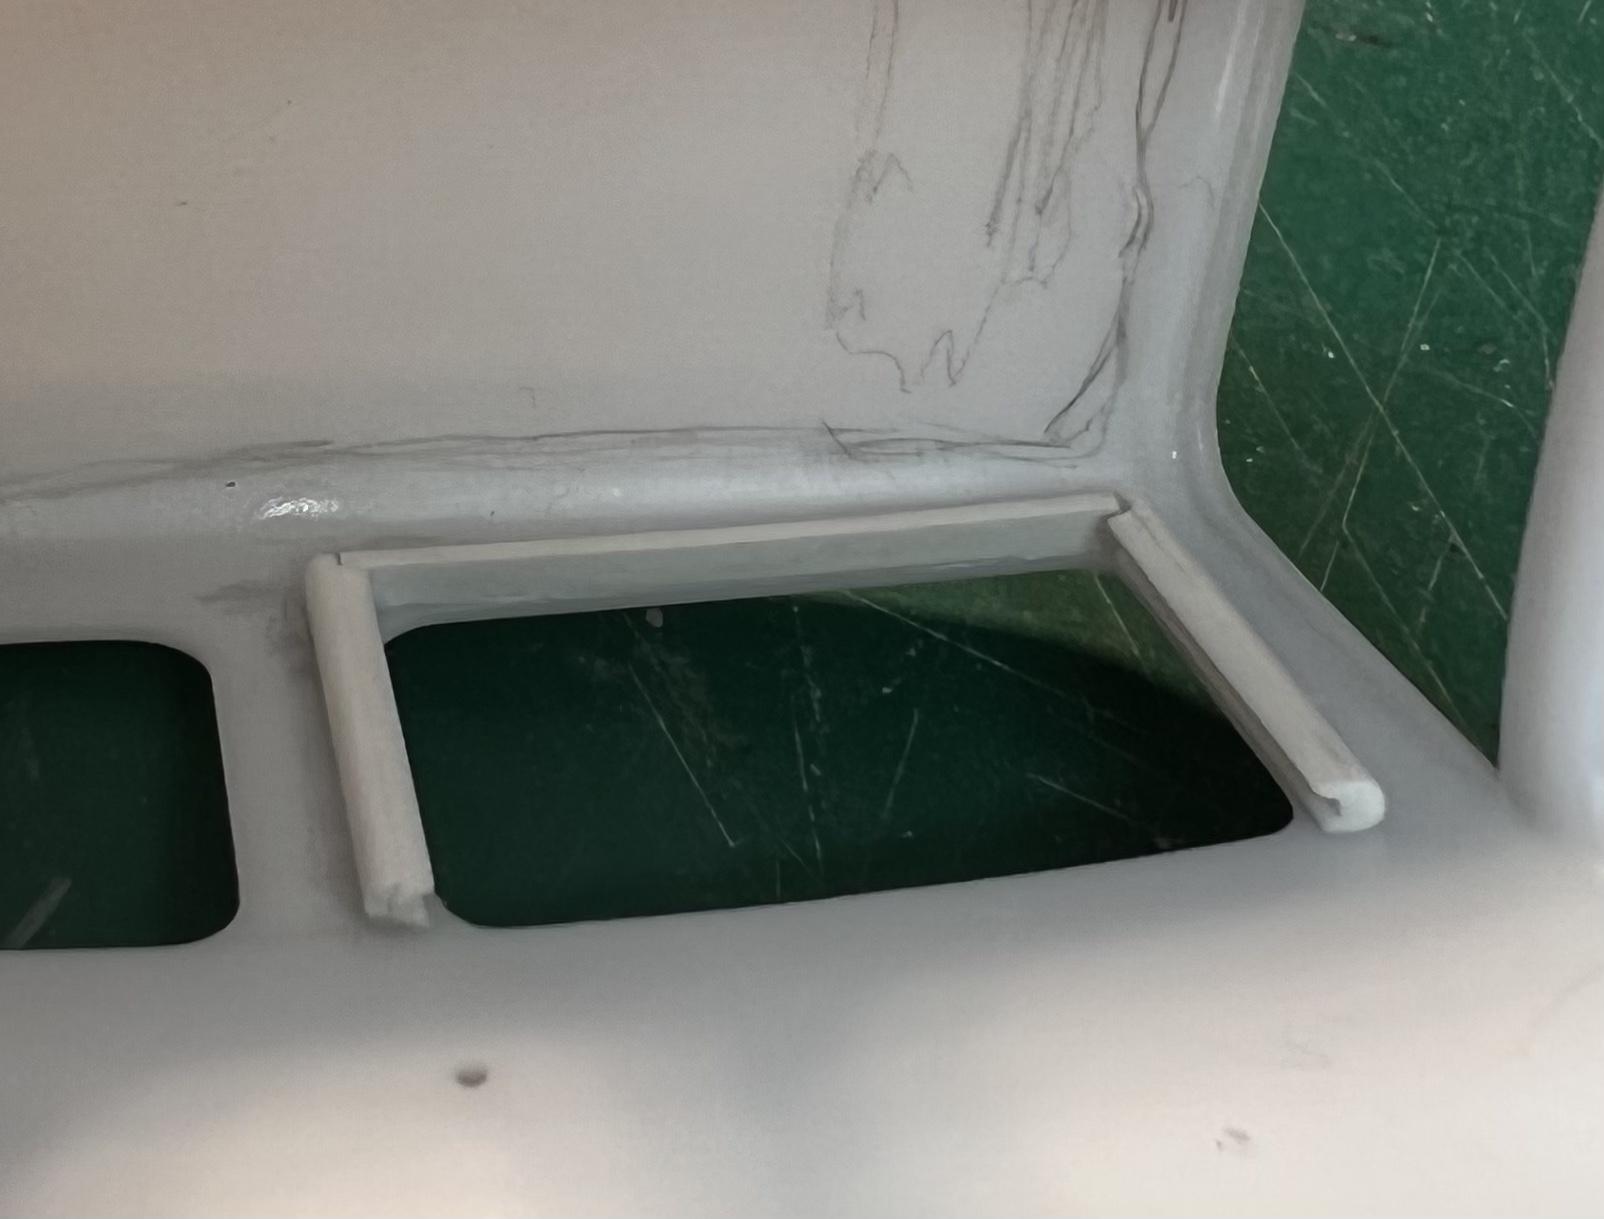
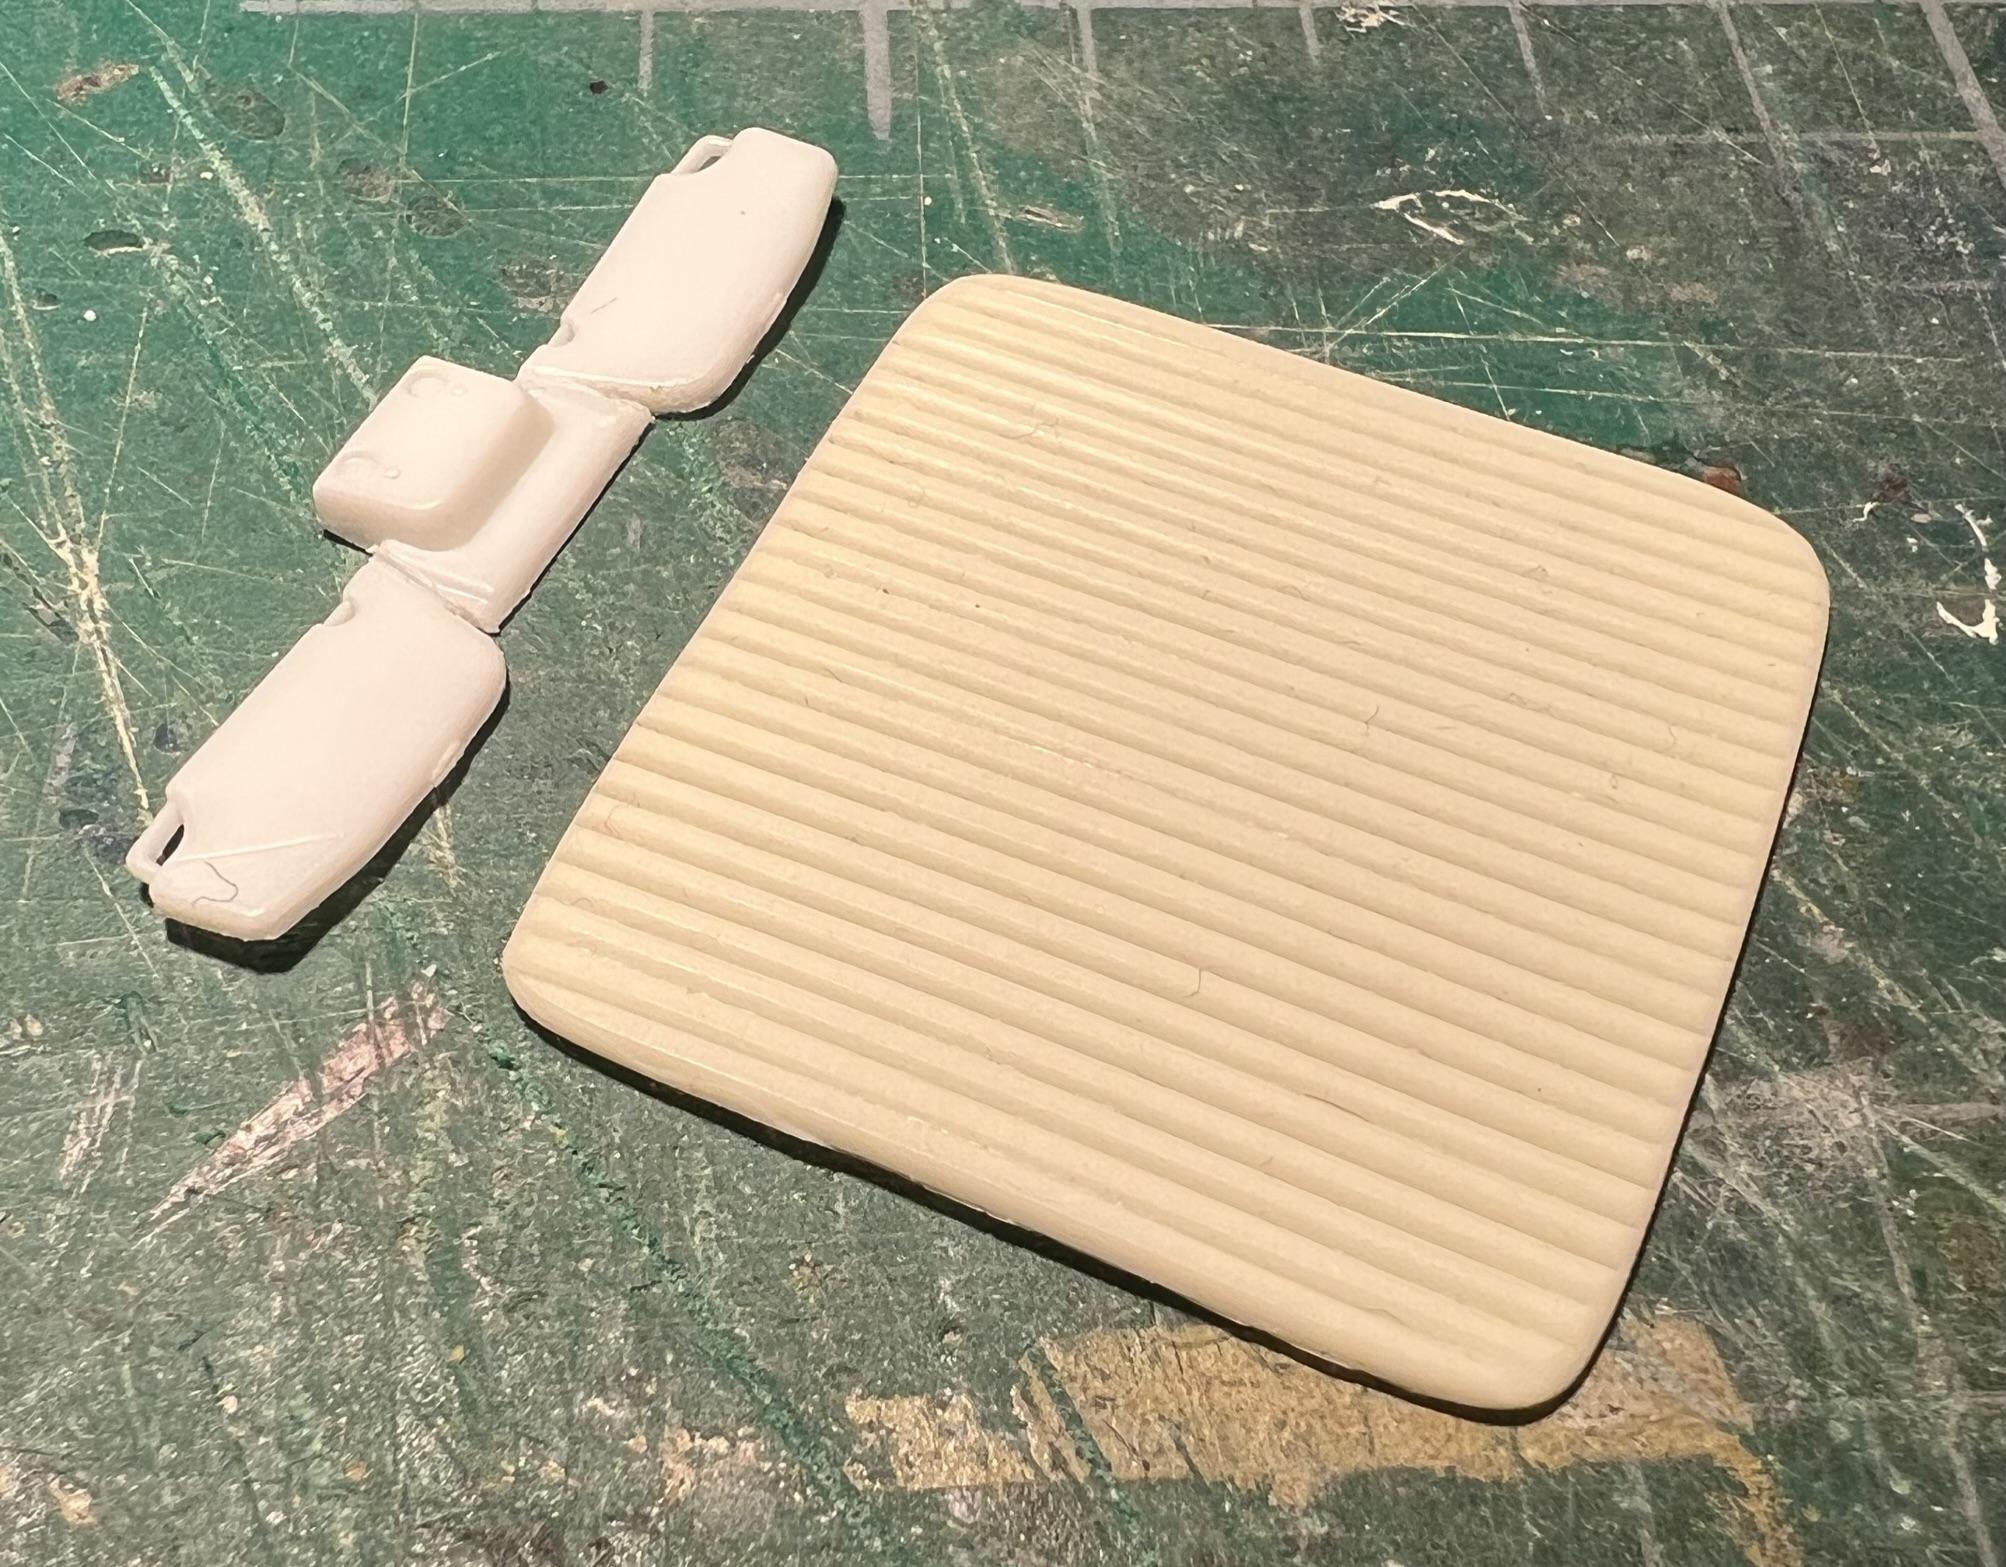
A very wet West Coast weekend offered me a chance to spend some time at the workbench rather than tending the garden! Spent most of the time prepping the parts for the kit’s Hemi 392 engine, detailing the R&M megaphone exhaust headers with bolt heads, as well as on the front axle’s spring perches. Using my collection of tiny dental files I opened up a lot of the spaces between the tubular axle and the transverse spring which has the top leaf removed to lower the front end. In swapping in the Buick finned brake assembly for the front end I had to modify the wheel backs from the Model A kit to fit the Deuce axle by enlarging the holes. I also did some work on the interior by making a masking tape template of the rear of the cabin in order to fashion two tuck and roll pads to break up the areas on either side of the rear window. Using Evergreen sheet and measuring off the tape two panels were made. I’ve had a hard time deciding on the wheel and tire combination to use. East Coast style dictated painted stock steel wheels with either small hub caps and beauty rings or full wheel covers selected from fashionable Detroit options. Mag wheels and wires were just beginning to appear in California to become the West Coast rodders’ style. I had settled upon stock steelies, that is until I came across a small box of parts still from my early teen years. In it was a complete set of 1961 Dodge Polara Tri-Bar wheel covers!!! This was offered with the first pressing of the AMT 49 Merc, and at the time I went with the drag version, putting away the covers in the box. I’m unsure how long the Polara covers lasted in subsequent releases, or even if it was only the original issue that offered them. None the less, a great find, especially in the perfect shape they’re in! Skies are forecast to clear tomorrow, yet with this last bench session, I’m planning to stick with it as the Deuce Days deadline draws near. Thanks for checking out the build, cheers Misha

-

34 Ford 3W Coupe
Misha replied to ModWrench's topic in WIP: Other Racing: Road Racing, Land Speed Racers
Welcome to the Forum Mark! For your first WIP it is certainly intriguing and you are off to a great start with the parts you’ve gathered. Your subject is a favourite of mine and I’ll be following your build with great interest. How are you liking the Flintstone body and will you be cutting into it to open up hood, door…? Cheers Misha -
Hi Steve, somehow I missed your great WIP thread with all the steps outlined so well on constructing your dio base. The result is a perfect setting for photographing a scene with multiple vehicles. I’m planning to build a similar base to enhance the realism rather than shooting against the typical rolled white background. An important skill in modelling is to develop your eye to see in scale that you have illustrated in finding common objects, such as the garlic press, to represent an item in scale. Working as a theatre designer, which involves building a proposed design in 1/48 scale, It seems I’m always on the lookout for items to collect in both scales. Congrats on your recent work! Cheers Misha
-
That base looks terrific Steve! Your posing it with the garden works really well, had to take a second look. Oh, still haven’t located the hood?! Cheers Misha
-
Lacquer over Pledge Floor Care Finish?
Misha replied to aurfalien's topic in Model Building Questions and Answers
I was curious Bill about how you thin Bin-Zinsser, what type of thinner and the ratio used when using it from the can. Also what would the ratio be for decanted sealer? Thanks and cheers Misha -
Neat to see the British Columbia plates!
-
Congrats Ken on getting it done! While not an easy build yours looks great and is a great companion to your roadster. Here’s wishing you an easier build with the hearse version as using your previous experience with the kit will be of great benefit. Cheers Misha
-
Need a car recommendation
Misha replied to Jantrix's topic in General Automotive Talk (Trucks and Cars)
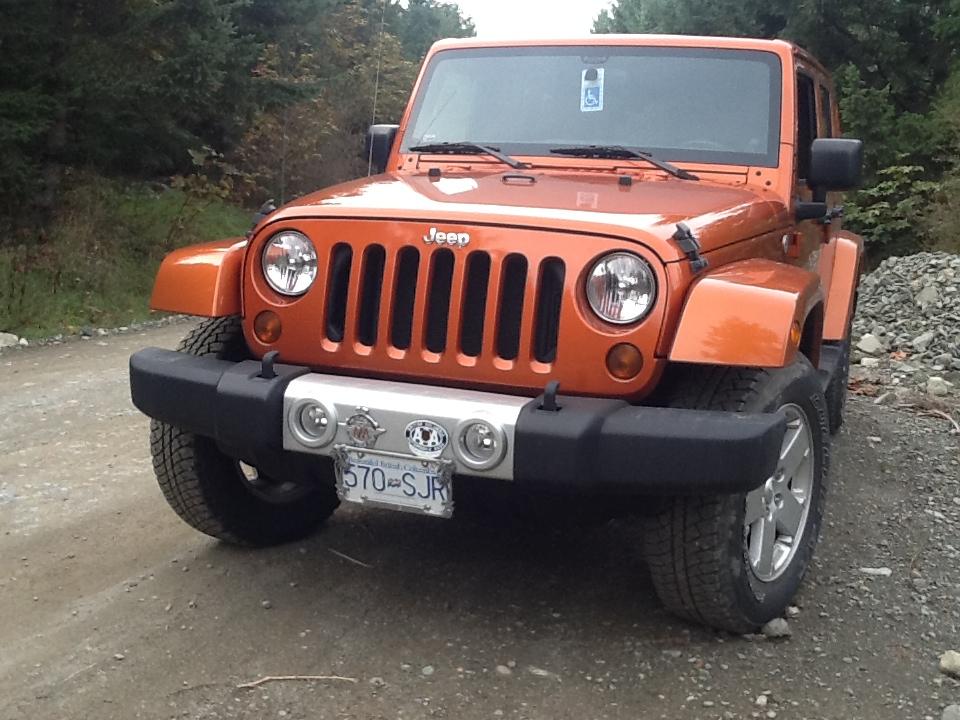
I would also recommend a Jeep 4 door, ours is a 2011 JK Sahara bought new. Over the decade it has been trouble free and has served us well. The Unlimited four door has a much improved ride over the shorter two door wheelbase. Jeeps tend to hold their resale price so perhaps an investment in a new model may be the way to go. Regardless of which vehicle you may chose Rob, it’s always an adventure to research the choices available. Our second and third choices at the time were the Toyota version and the Honda Ridgeline. Cheers Misha
-
Mid-engine custom Corvair aka "Unsafe At Any Speed" :)
Misha replied to ea0863's topic in WIP: Model Cars
Great construction work Emre! You’ve combined some of the features of the original with your own solutions to achieve a unique model, bravo. I’ll be following along with great interest. Cheers Misha -
Mid-engine custom Corvair aka "Unsafe At Any Speed" :)
Misha replied to ea0863's topic in WIP: Model Cars
This may not be all that difficult to accomplish Emre as back in the day a conversion kit was marketed by Crower that allowed placing a V8 into the back seat by flipping the transaxle 180. Considering that the kit interior can be built without a rear seat and the basic pan chassis has enough material to cutaway, it can be done I believe. The stock kit may already include similar side scoops as shown on that gorgeous red Corvair. (My first car was a 2nd Gen Corvair and I poured over articles to enhance the “poor man’s Porsche) Cheers Misha -
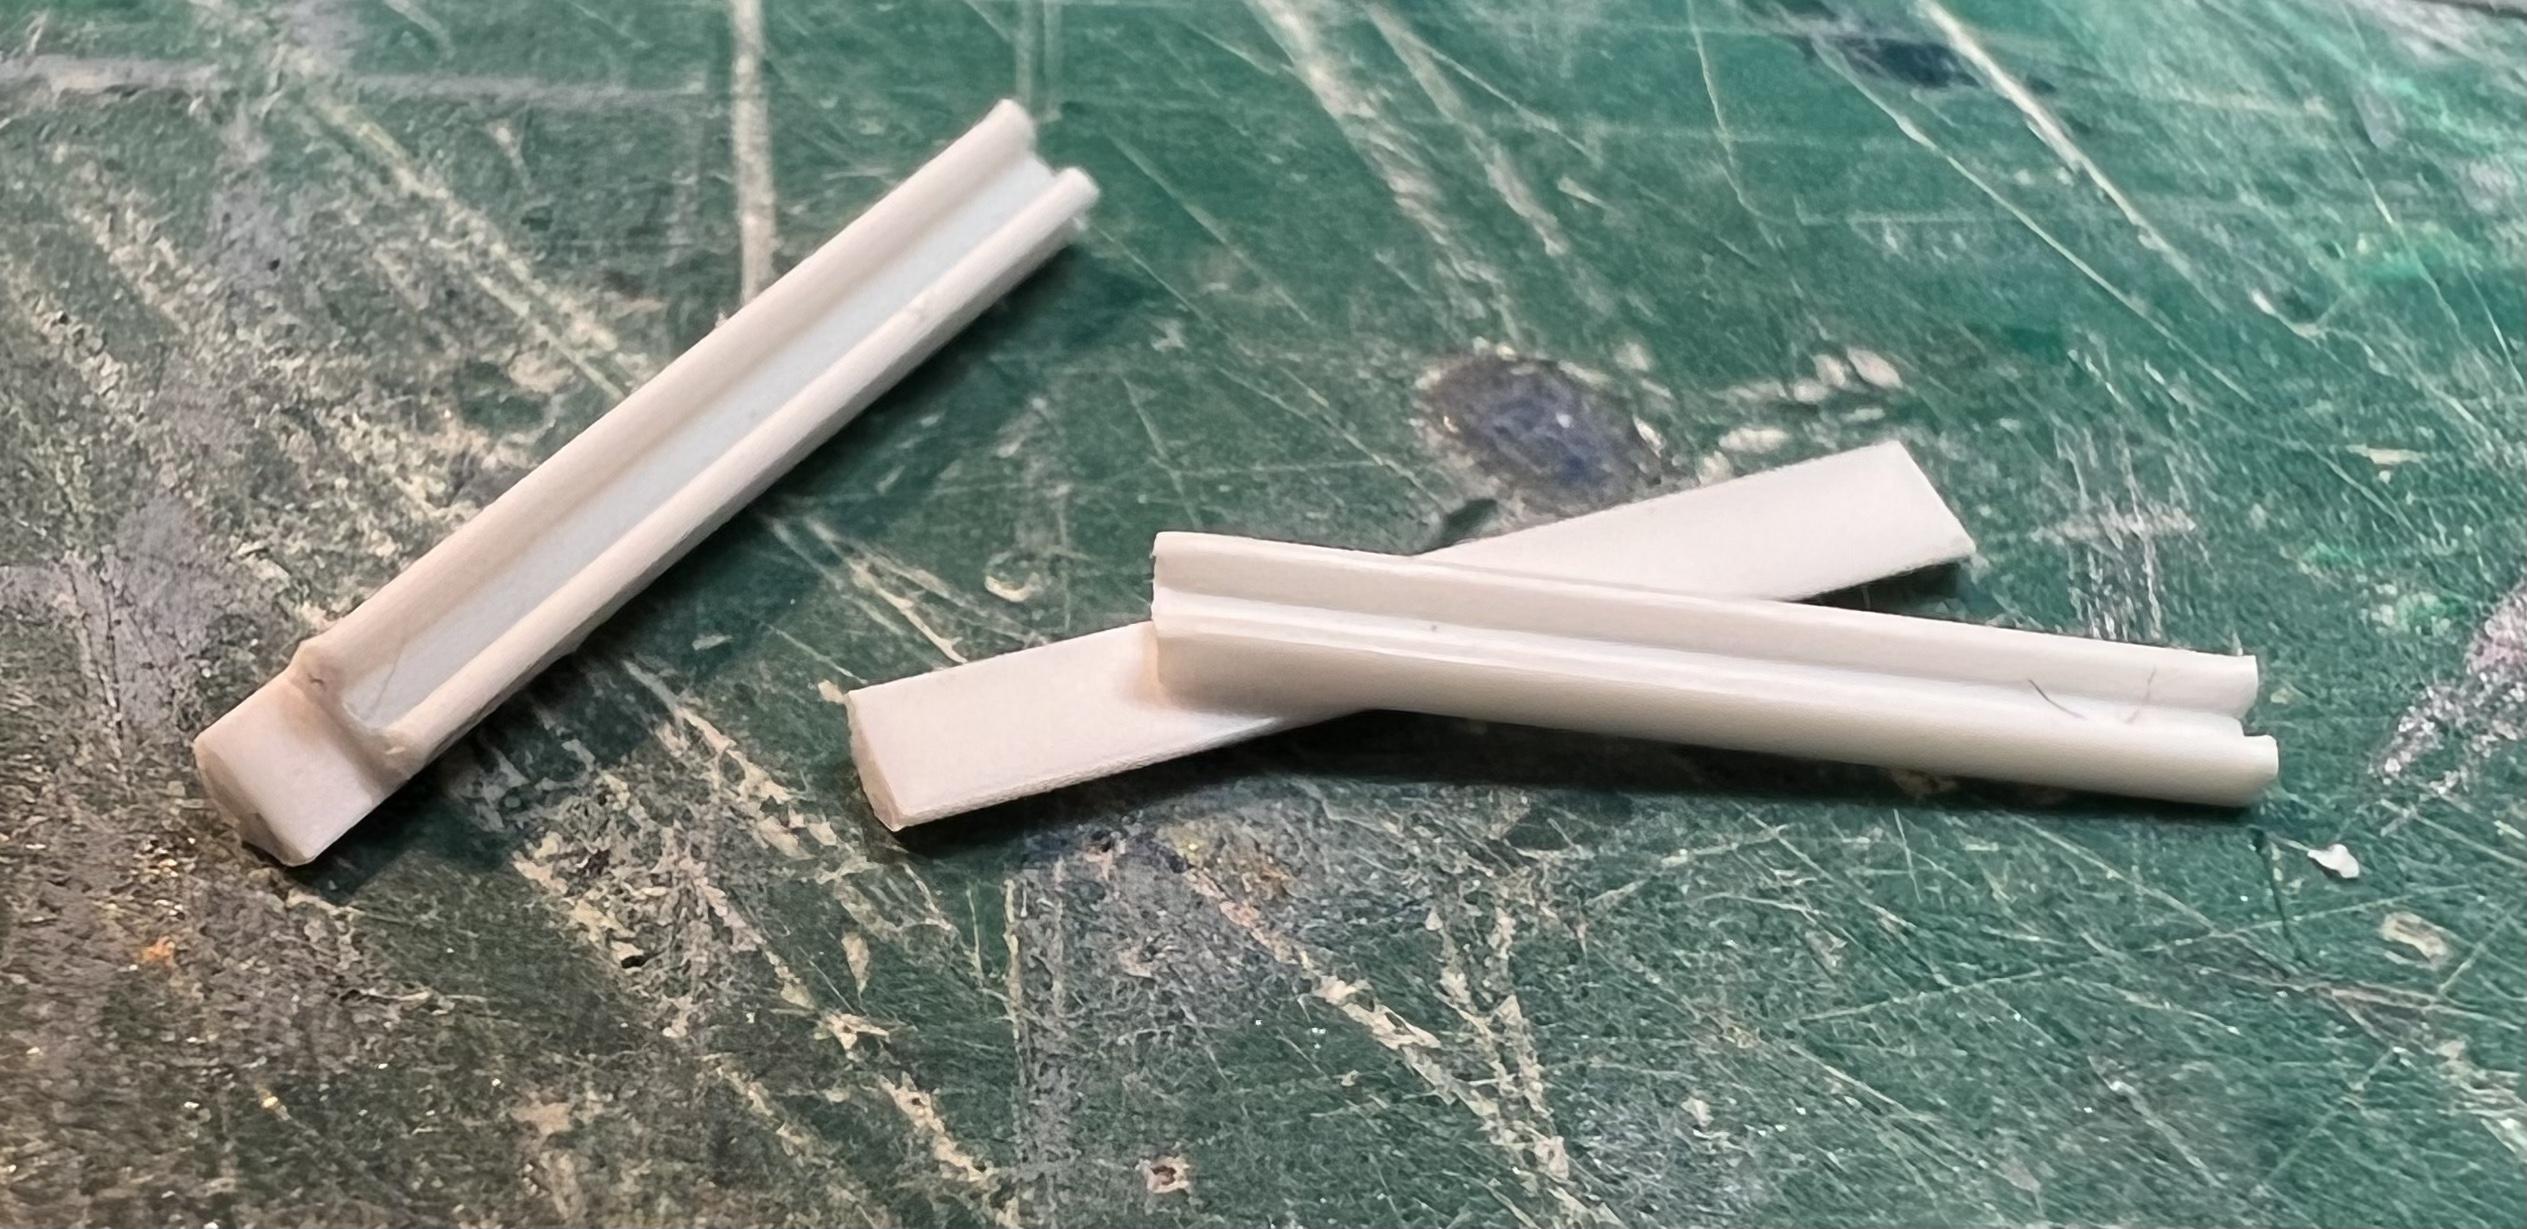
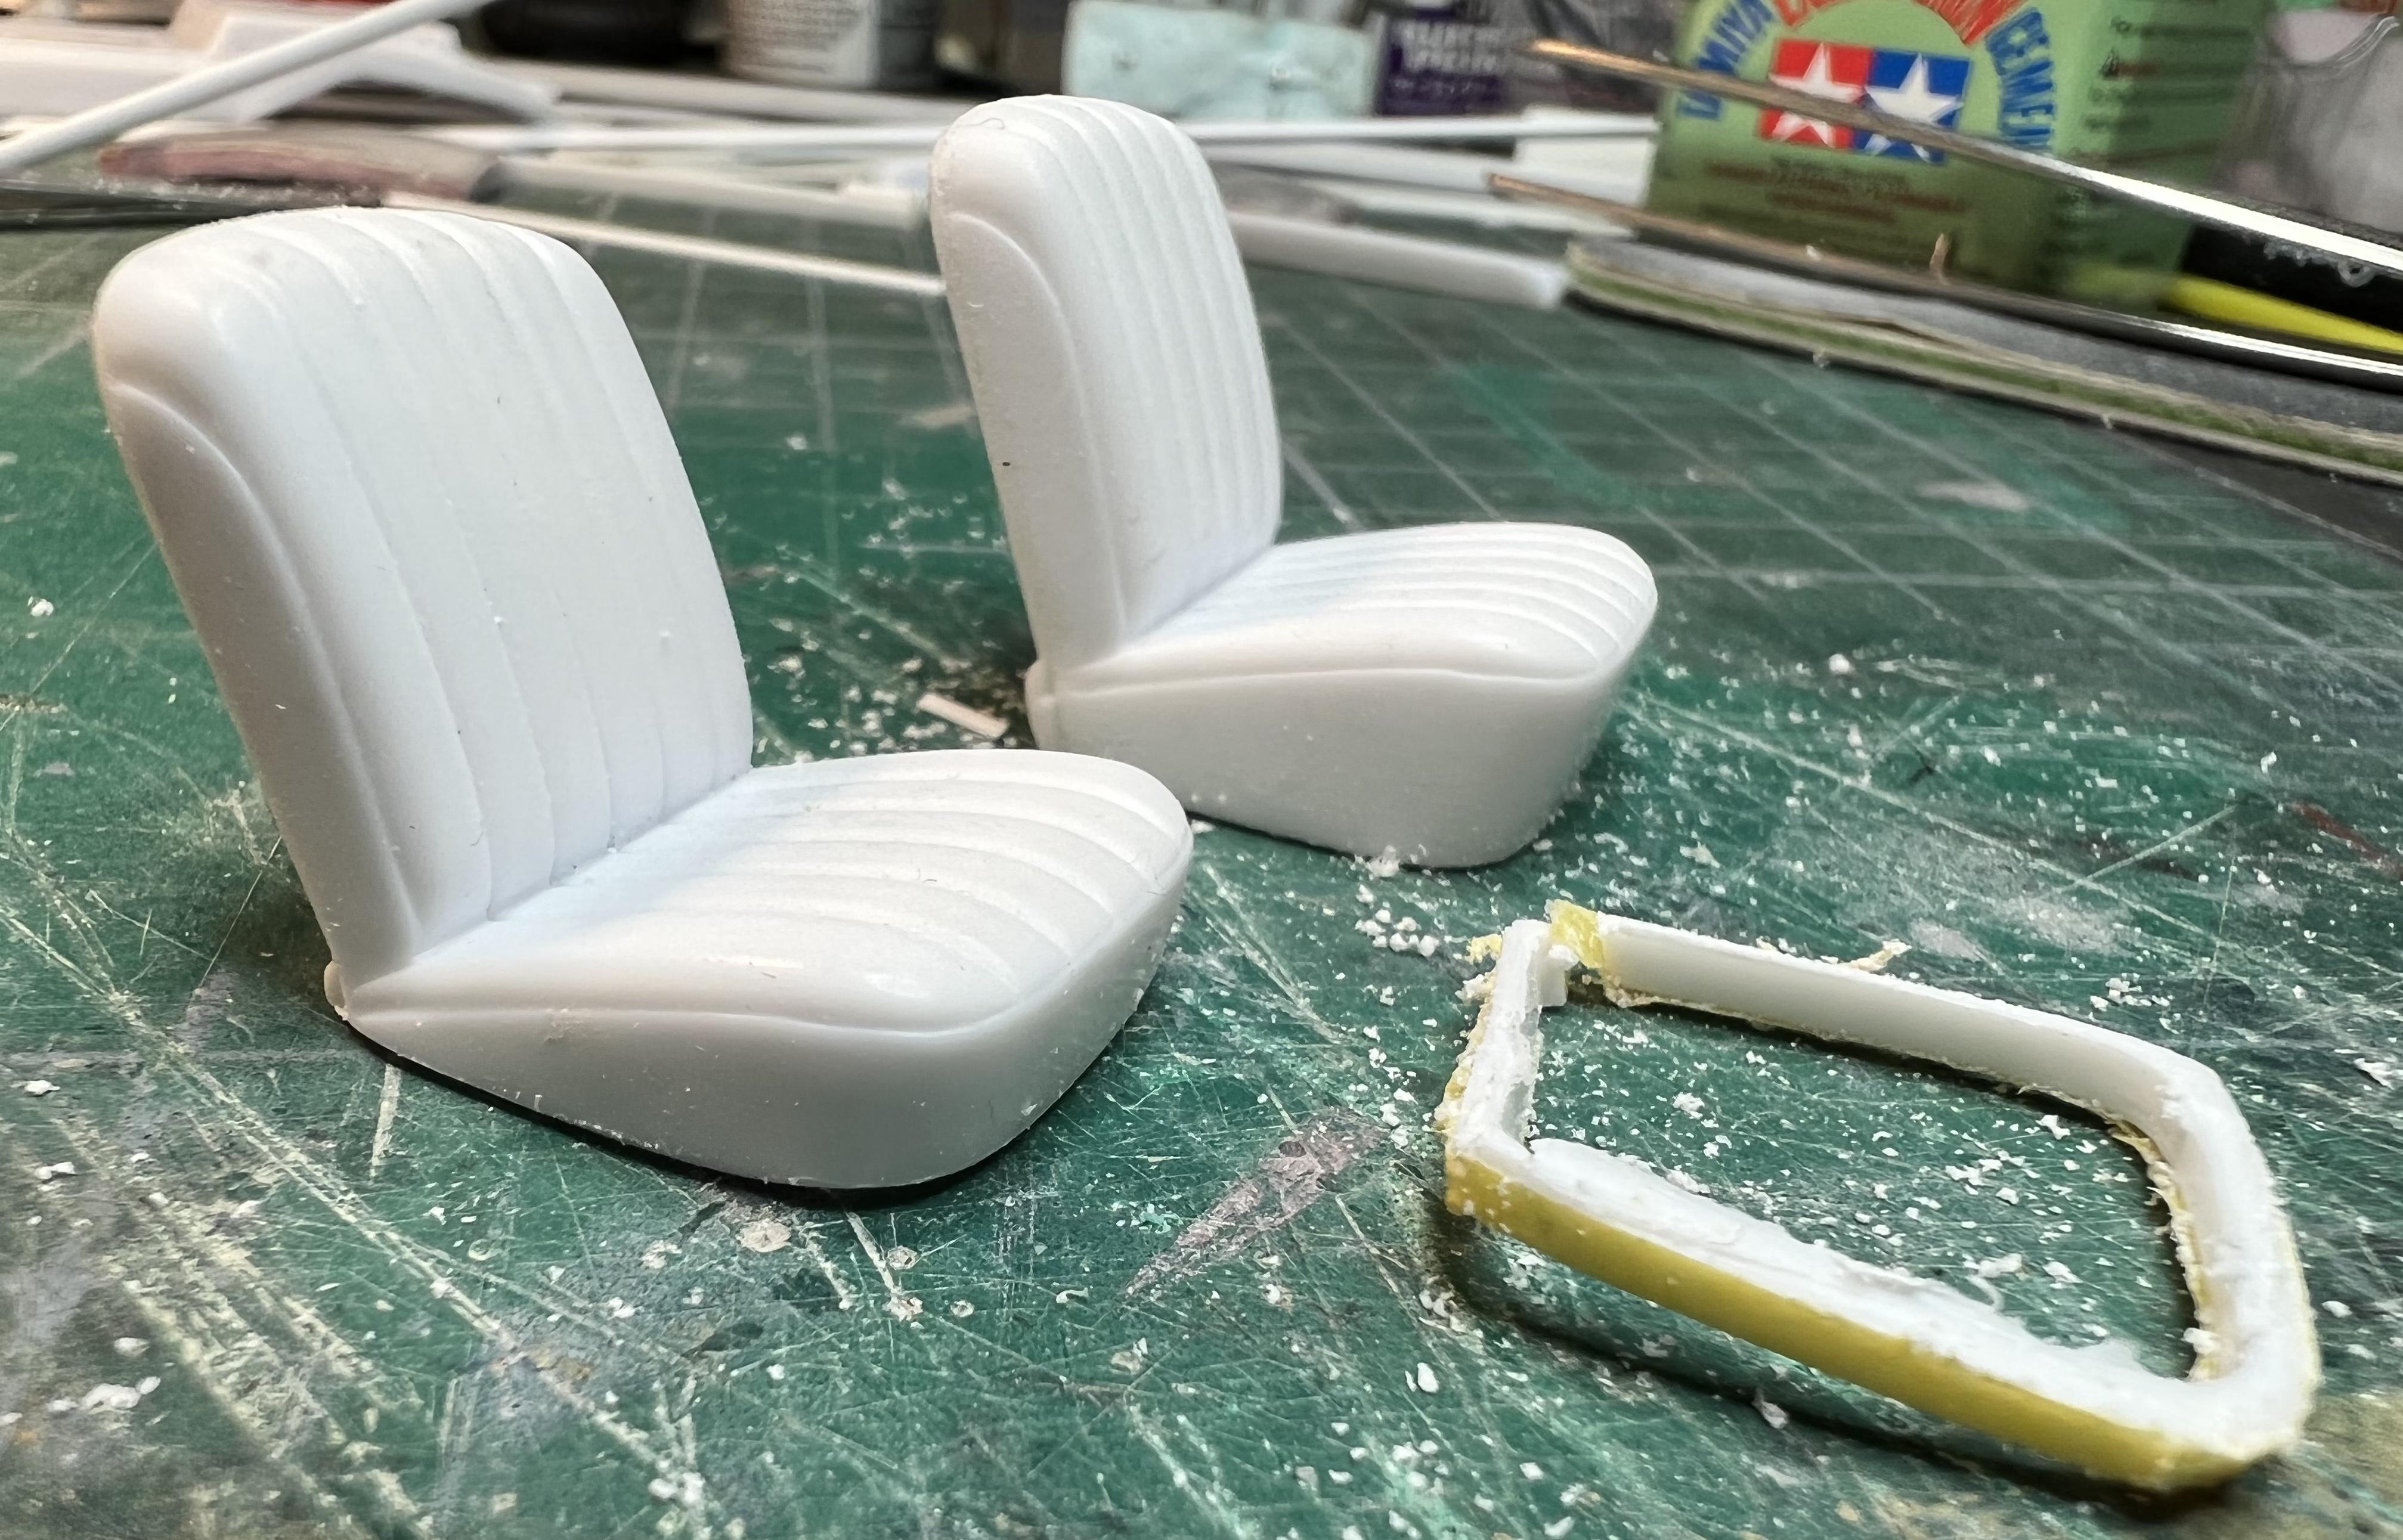
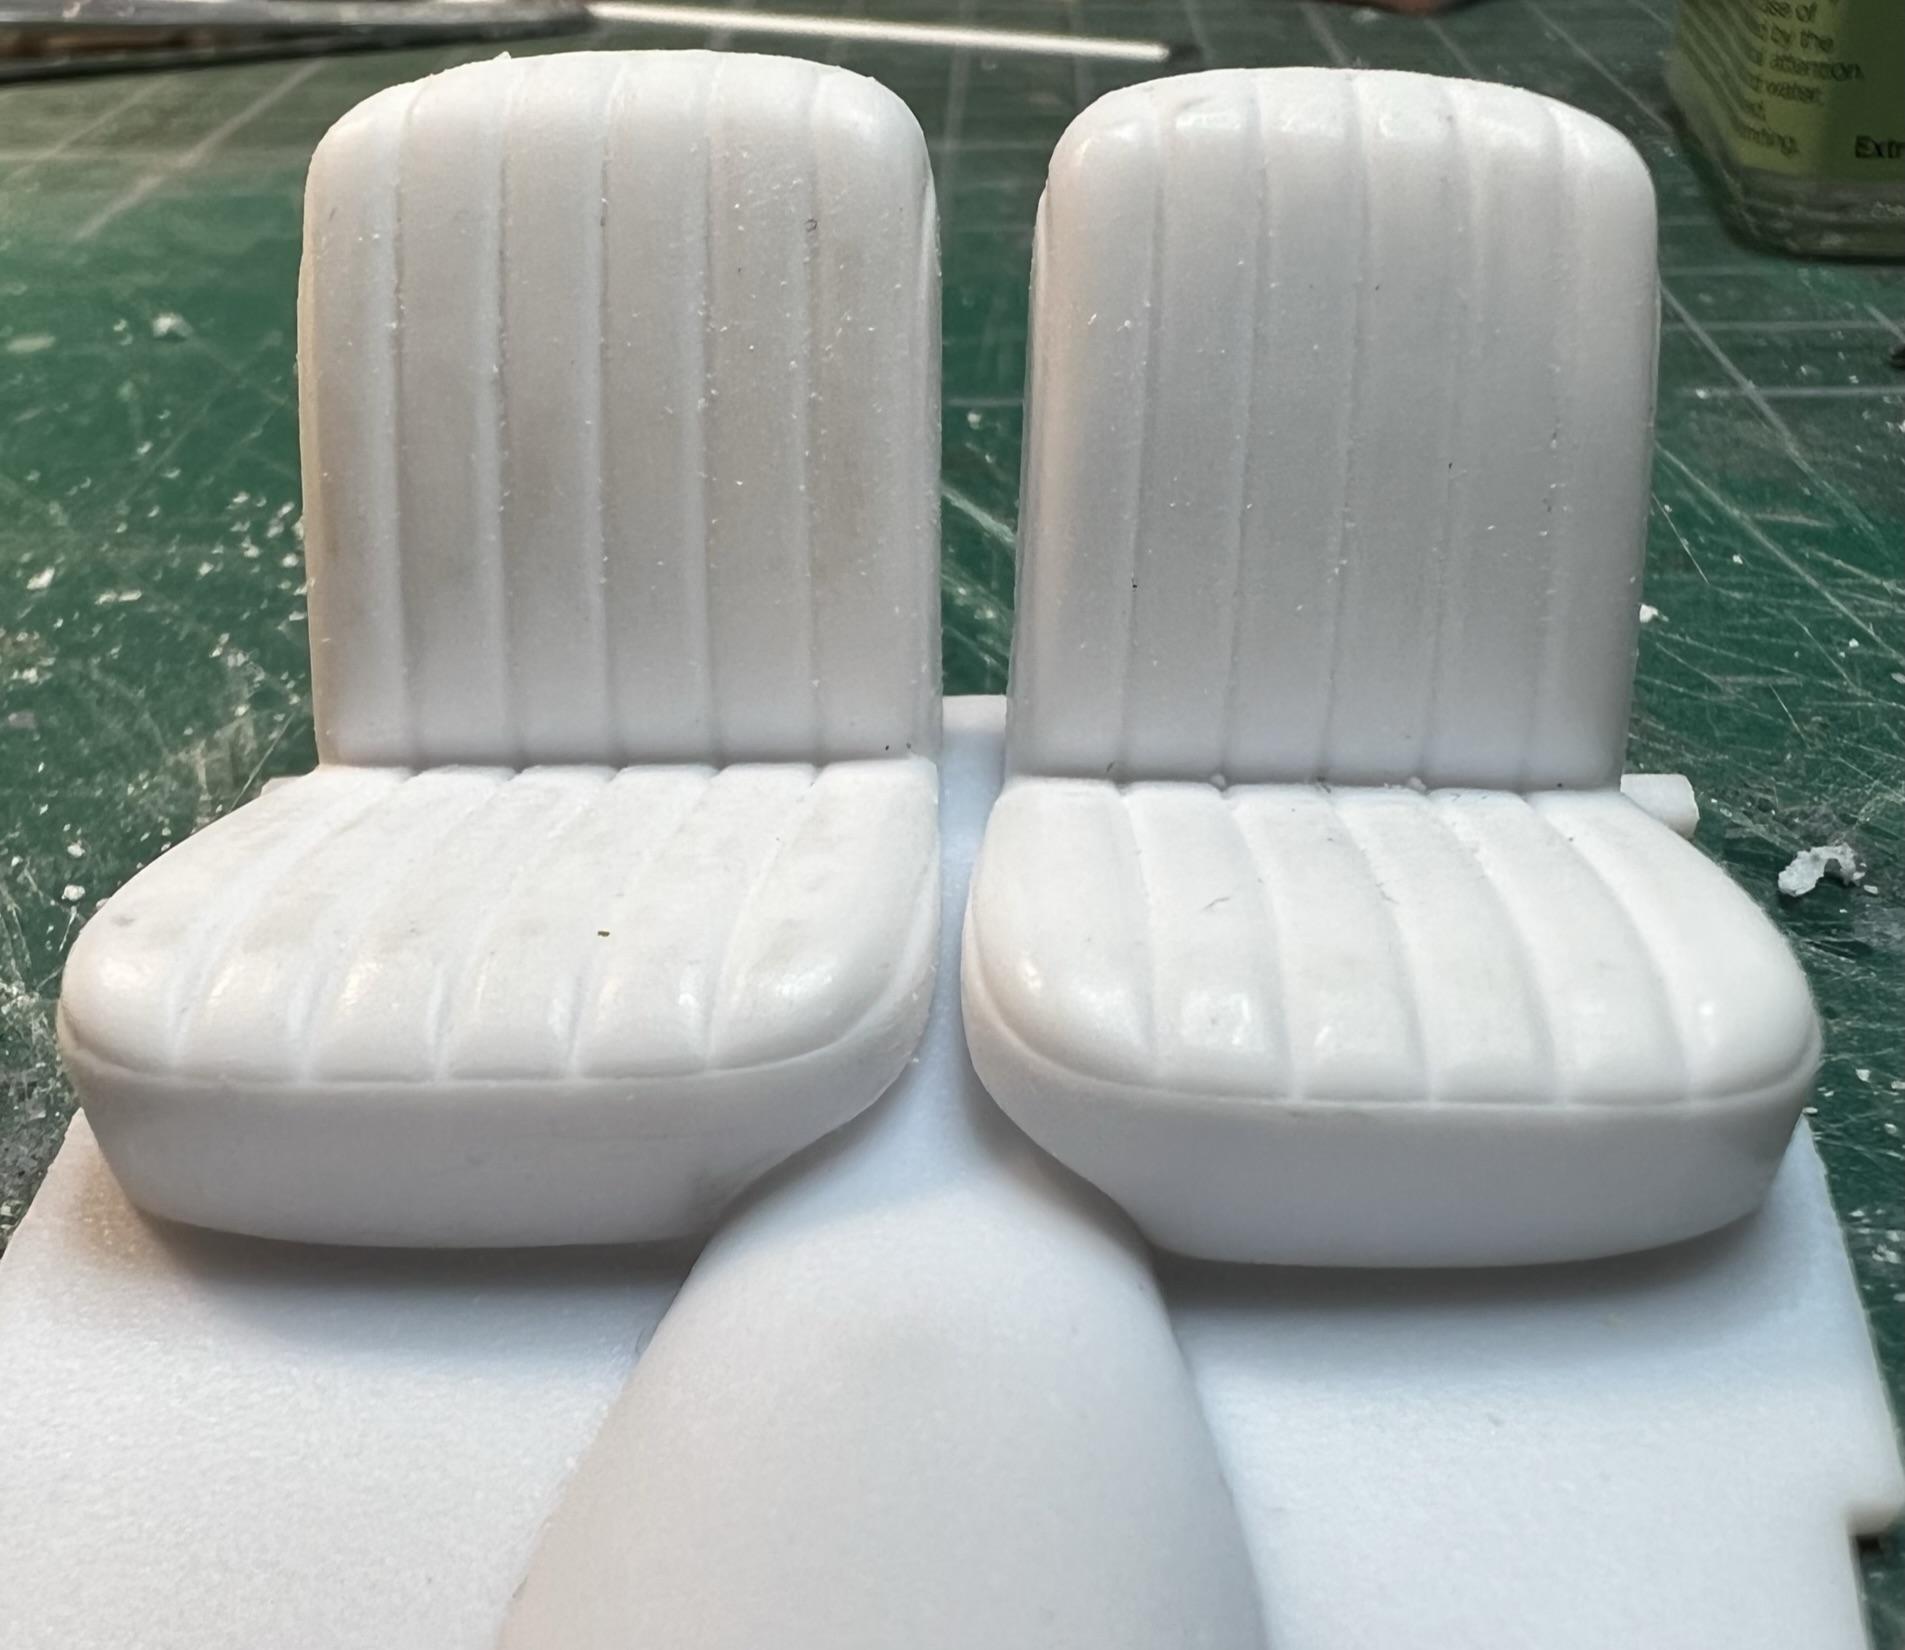
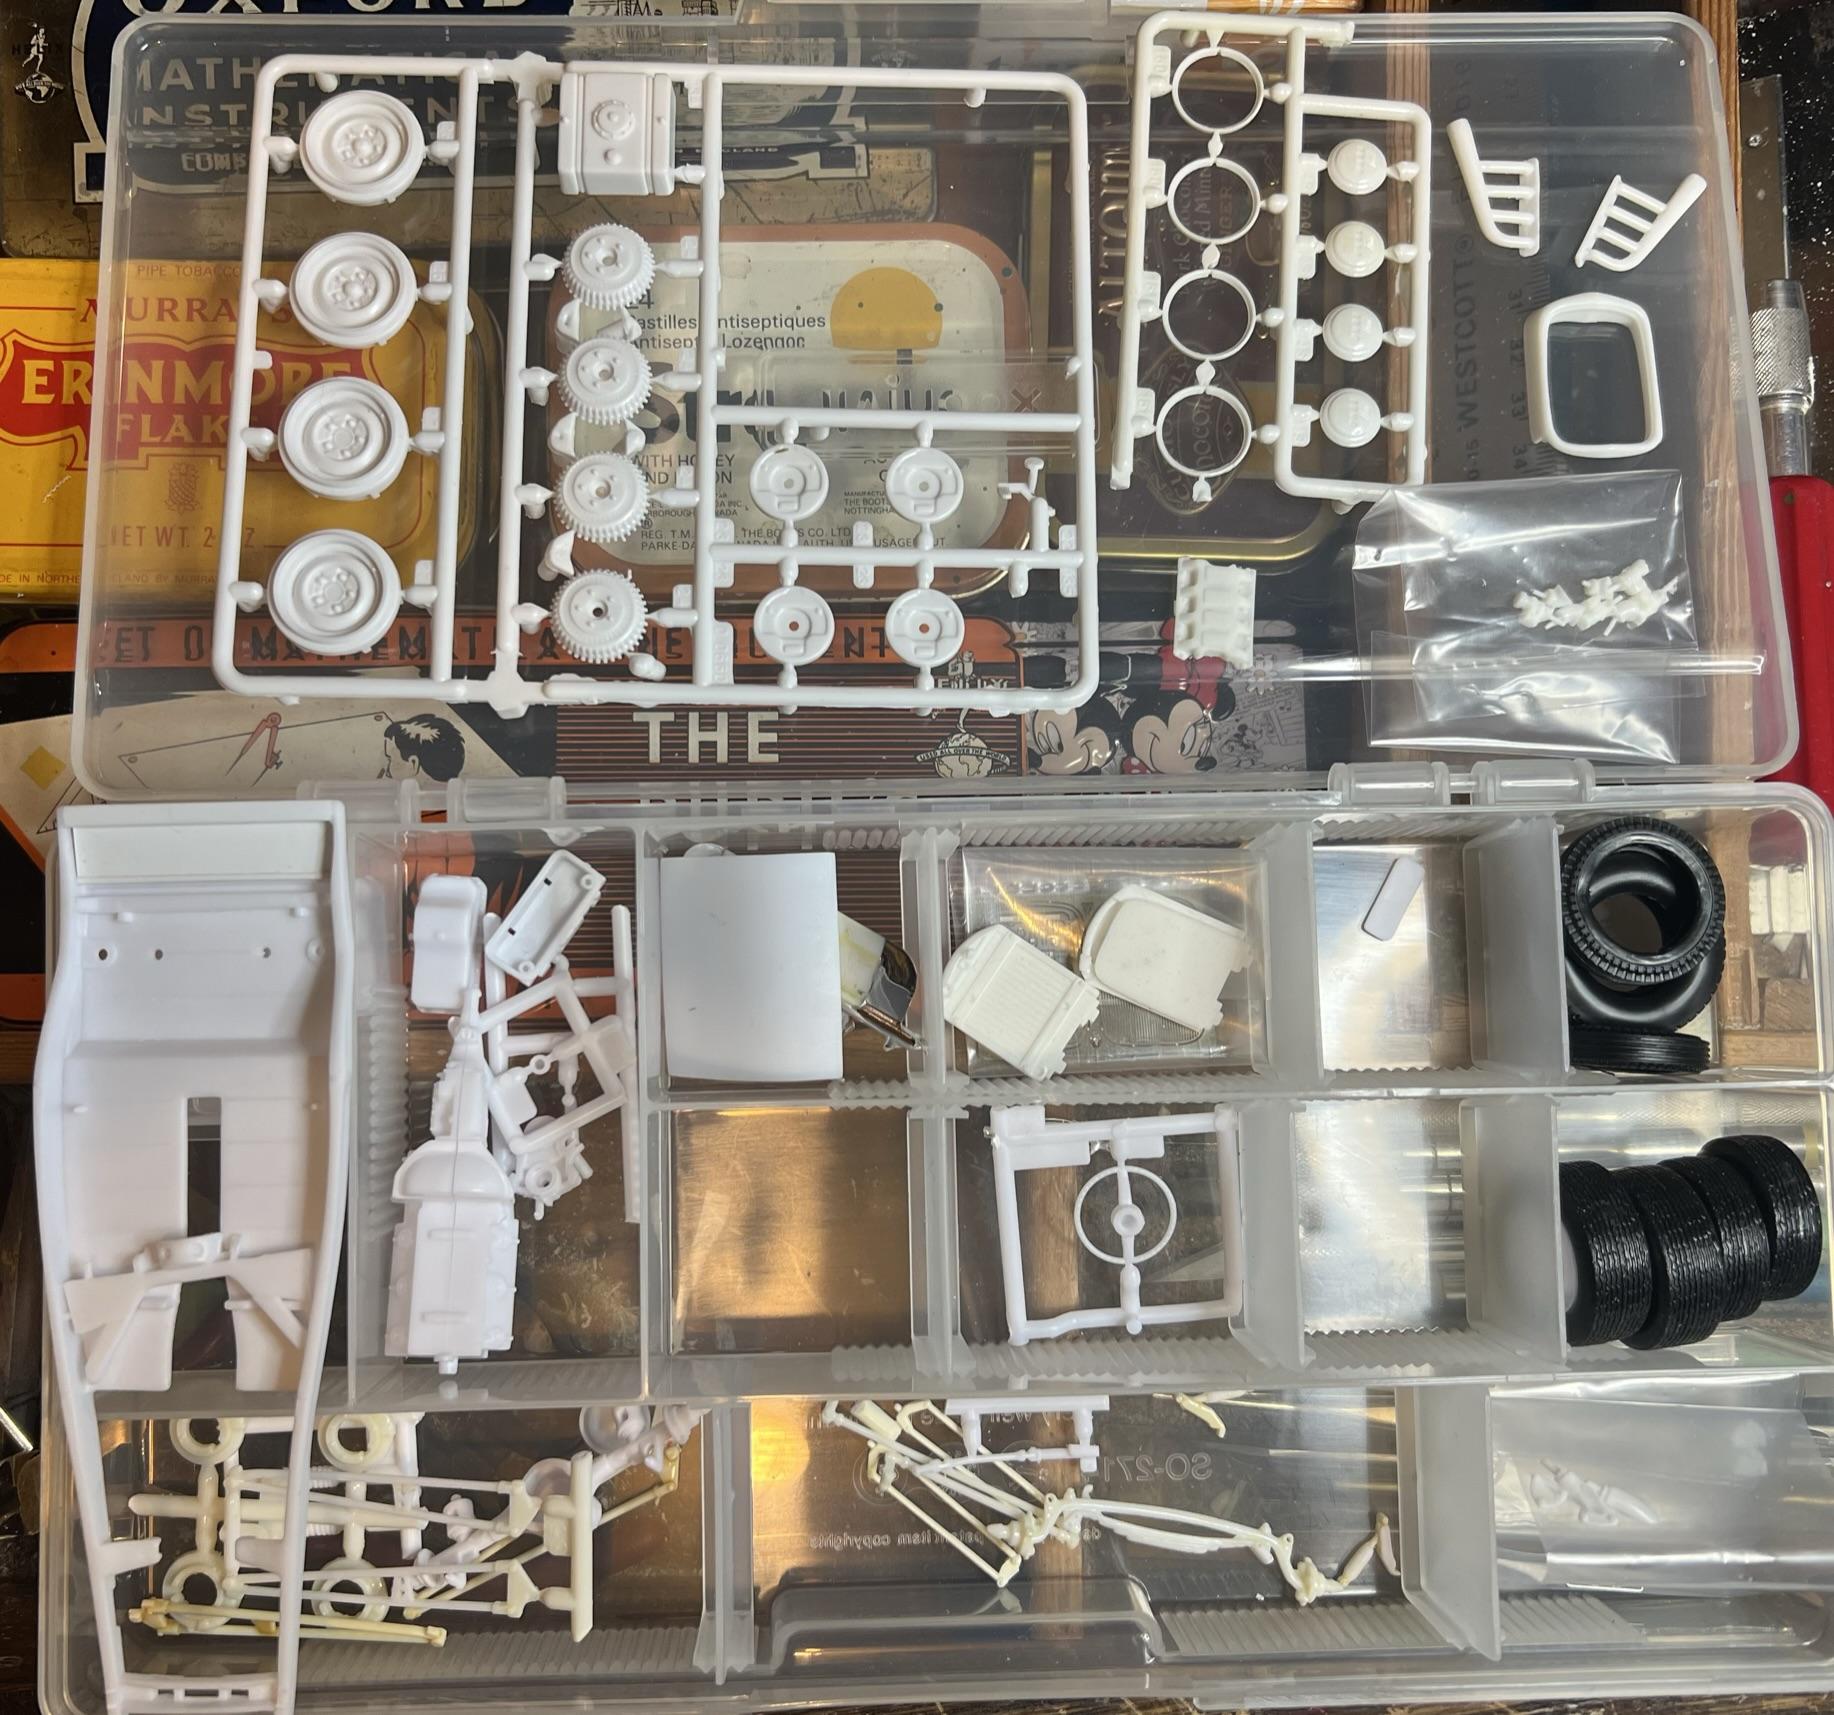
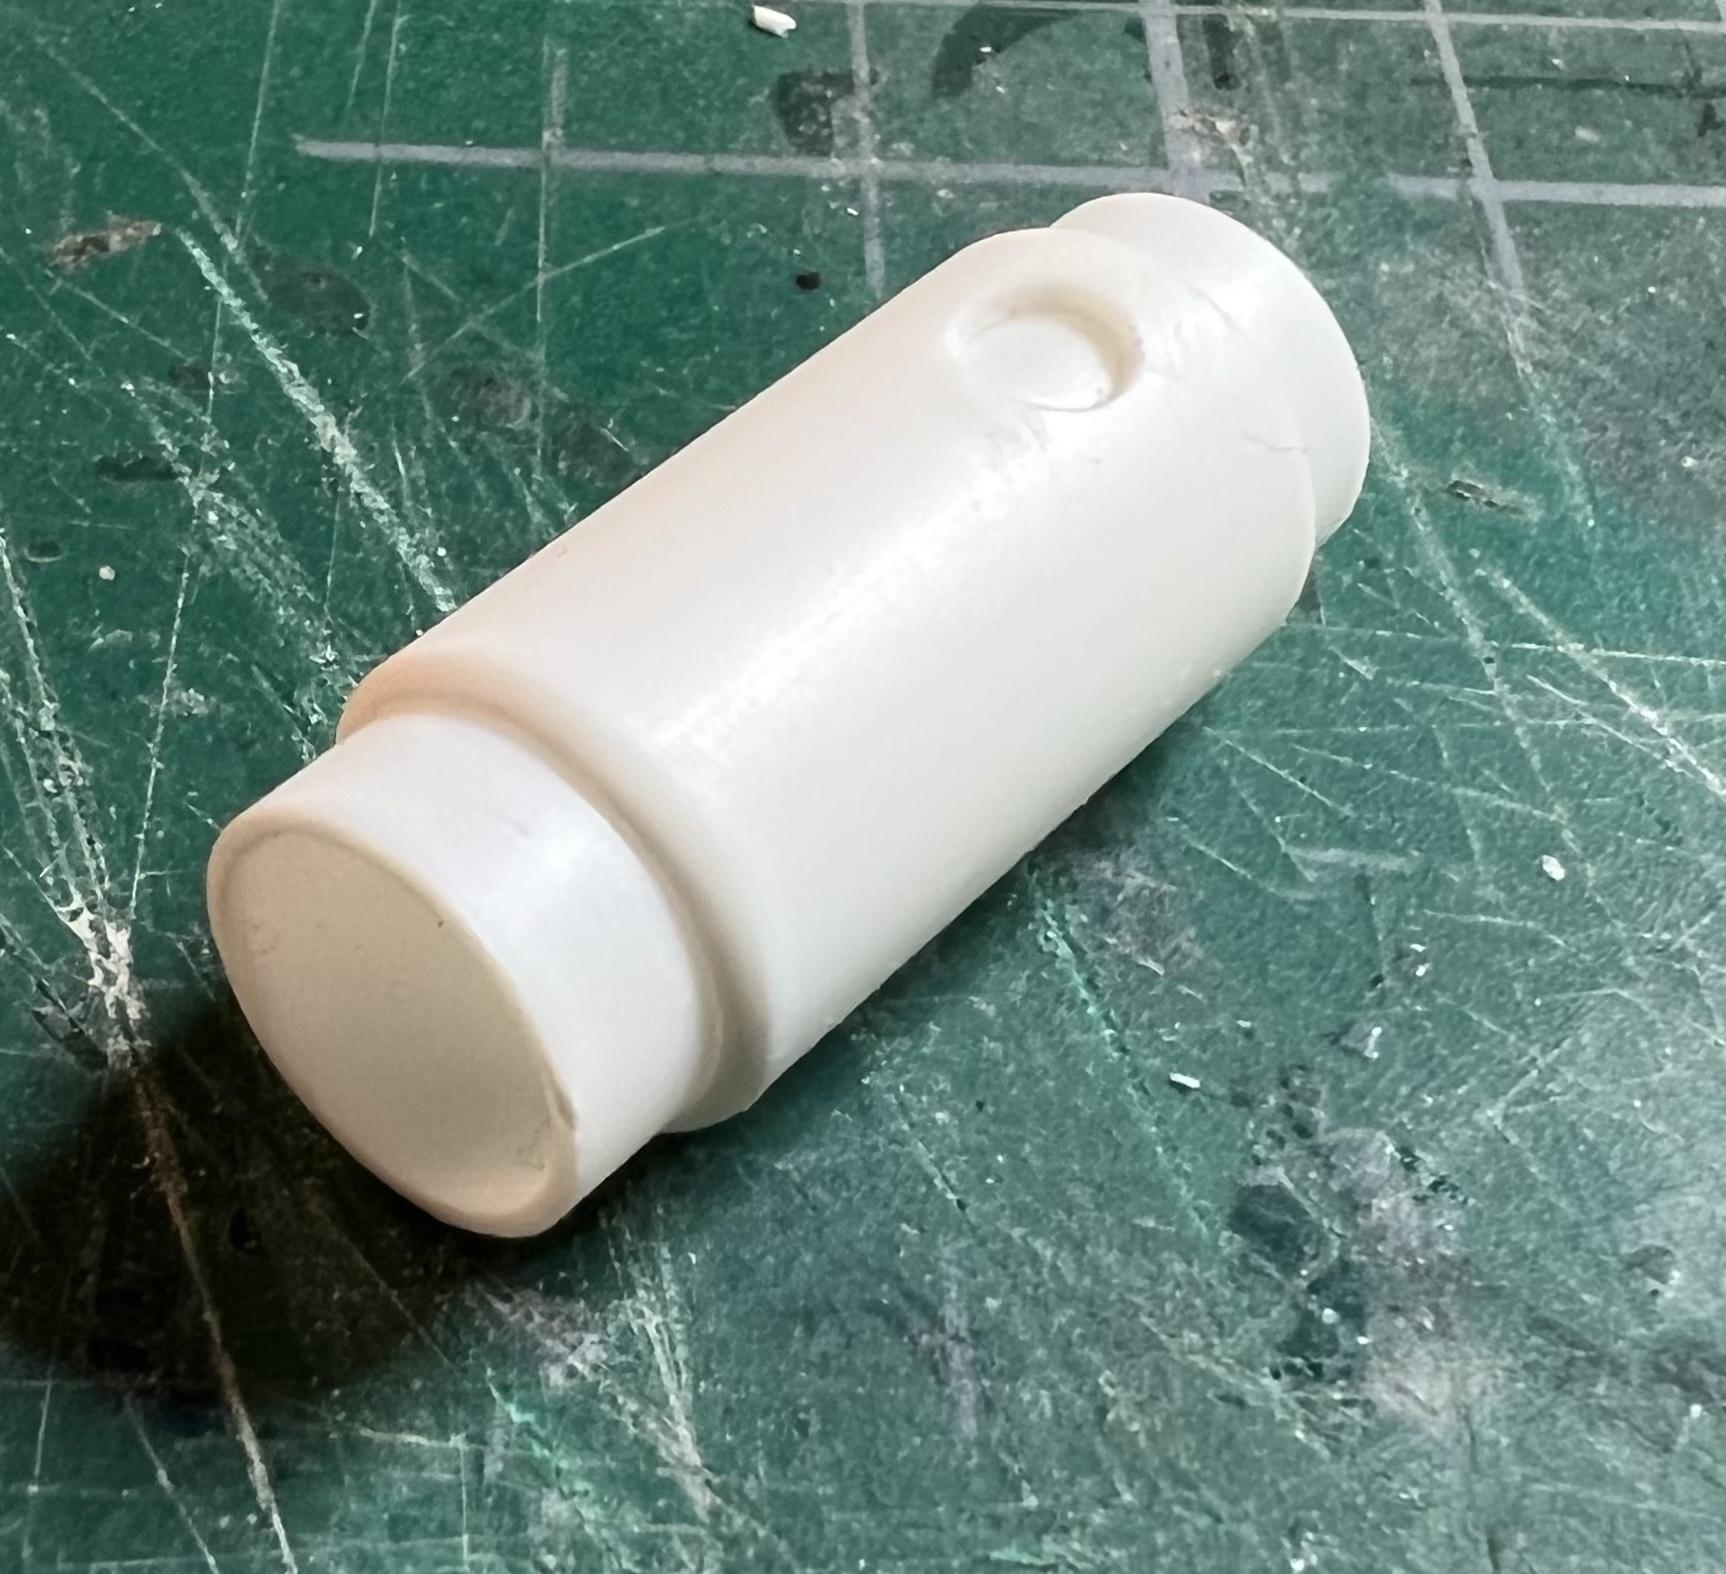
Been busy assembling various parts and dechroming many with household bleach. Starting on the top left are the wheels and Buick brake drums from the R/M Model A kit along with its dechromed beauty rings and hubcaps. Next to them is a collection of resin parts from R&M including a chopped grill shell with rad and PE grill. The remainder of the box has mainly kit parts with suspension pieces dechromed and the kit early Hemi. Bench time has been spent on interior bits and pieces and building a fuel tank for the trunk using two sliding Evergreen tube pieces with a beveled opening for the cap. Still need to complete the ends and installation brackets. The interior colours will be a combination of red upholstery with white rolls and pleats. Steve Guthmiller has been a strong influence on my building style with his highly detailed interior features. For this build I’m installing a headliner with a visor assembly from the 2011 Boss 302 Mustang kit and am building up the interior window door surrounds by using Plastistruct narrow channels with half-round shapes glued to them and sanded flat on the gluing surface. Since this Deuce is channeled over the frame the interior floor sits roughly 6 inches higher than stock and requires seats that sit lower to provide the required head room. Using parts bin bucket seats I glued the seat backs to complete them and laid masking tape to guide the razor saw for the required cut. Once done, it was obvious that the drive train tunnel would interfere with the seat fitting flat against the floorboard. Using a Dremel tool and a large round file the seat sides were re-contoured to fit around the tunnel. As always, comments and questions are welcome and encouraged, Cheers Misha
-
I certainly agree Craig that not enough of these rods get built, yet now there is a greater availability of kit parts and after market pieces making it possible to build such a wide range of Deuces and Model As, just like in 1:1 scale. Happy with the pan as it fits perfectly with the changes to the rear frame. I usually spend quite a bit of time doing visual searches for a variety of looks and options. I looked briefly at period valve covers, yet now you’ve gotten me to take a second look… Dug thru the parts bin and came up with the Double Dragster kit’s VC… plus scratch build the plug wire covers and it’ll be just right. While I’m staying close to the kit, I did recently order from Replica & Miniatures early Hemi parts that I’ll be using on this build, including the four Strombergs and Megaphone Exhausts. Thanks Paul for your interest in the build and for following along. Cheers Misha Thanks Bil, this is more encouragement that expected! Your interest is much appreciated. By the way, Edmonton is a ride thru the mountains away from Vancouver Island, come out for Deuce Days. Cheers Misha Thanks Peter, Often I take a long time to complete a build, starting is always easy. Yet I hope to keep the momentum going with all the encouragement received. Hi Dennis, I find the early development of Hot Rodding in various regions fascinating for the differences and similarities, yet retaining a distinct style reflecting the community. One can also look further abroad to see the distinctive rods from Australia or from England. Thanks again to all for following and commenting on the build, I’m looking forward to the next steps. Cheers M
-
Thanks J.C.! Building rods such as this is my main passion, that accounts for all the Deuce WIPs hangin’ about my bench. Thanks Phil, It’s great to be building towards the 3rd Deuces in Scale, even on the short time available, it has gotten me going again! Hi Steve, thanks for adding the photos and the encouragement! it is difficult to show just how big of an event it is from photos, need to experience it! Hoping to stay at the Hotel Zed for that weekend and watch the rods arrive off the ferry. L.A. Roadster Club usually travels up with quite a few cars. See you tomorrow, cheers Misha
-
That’s real eye candy! Great finish along with the photos, congrats ?. Cheers Misha
-
Hi Russ, Thanks for checking out the build. Planning on attending, I’d be interested in having a look at those valve covers! Cheers Misha
-
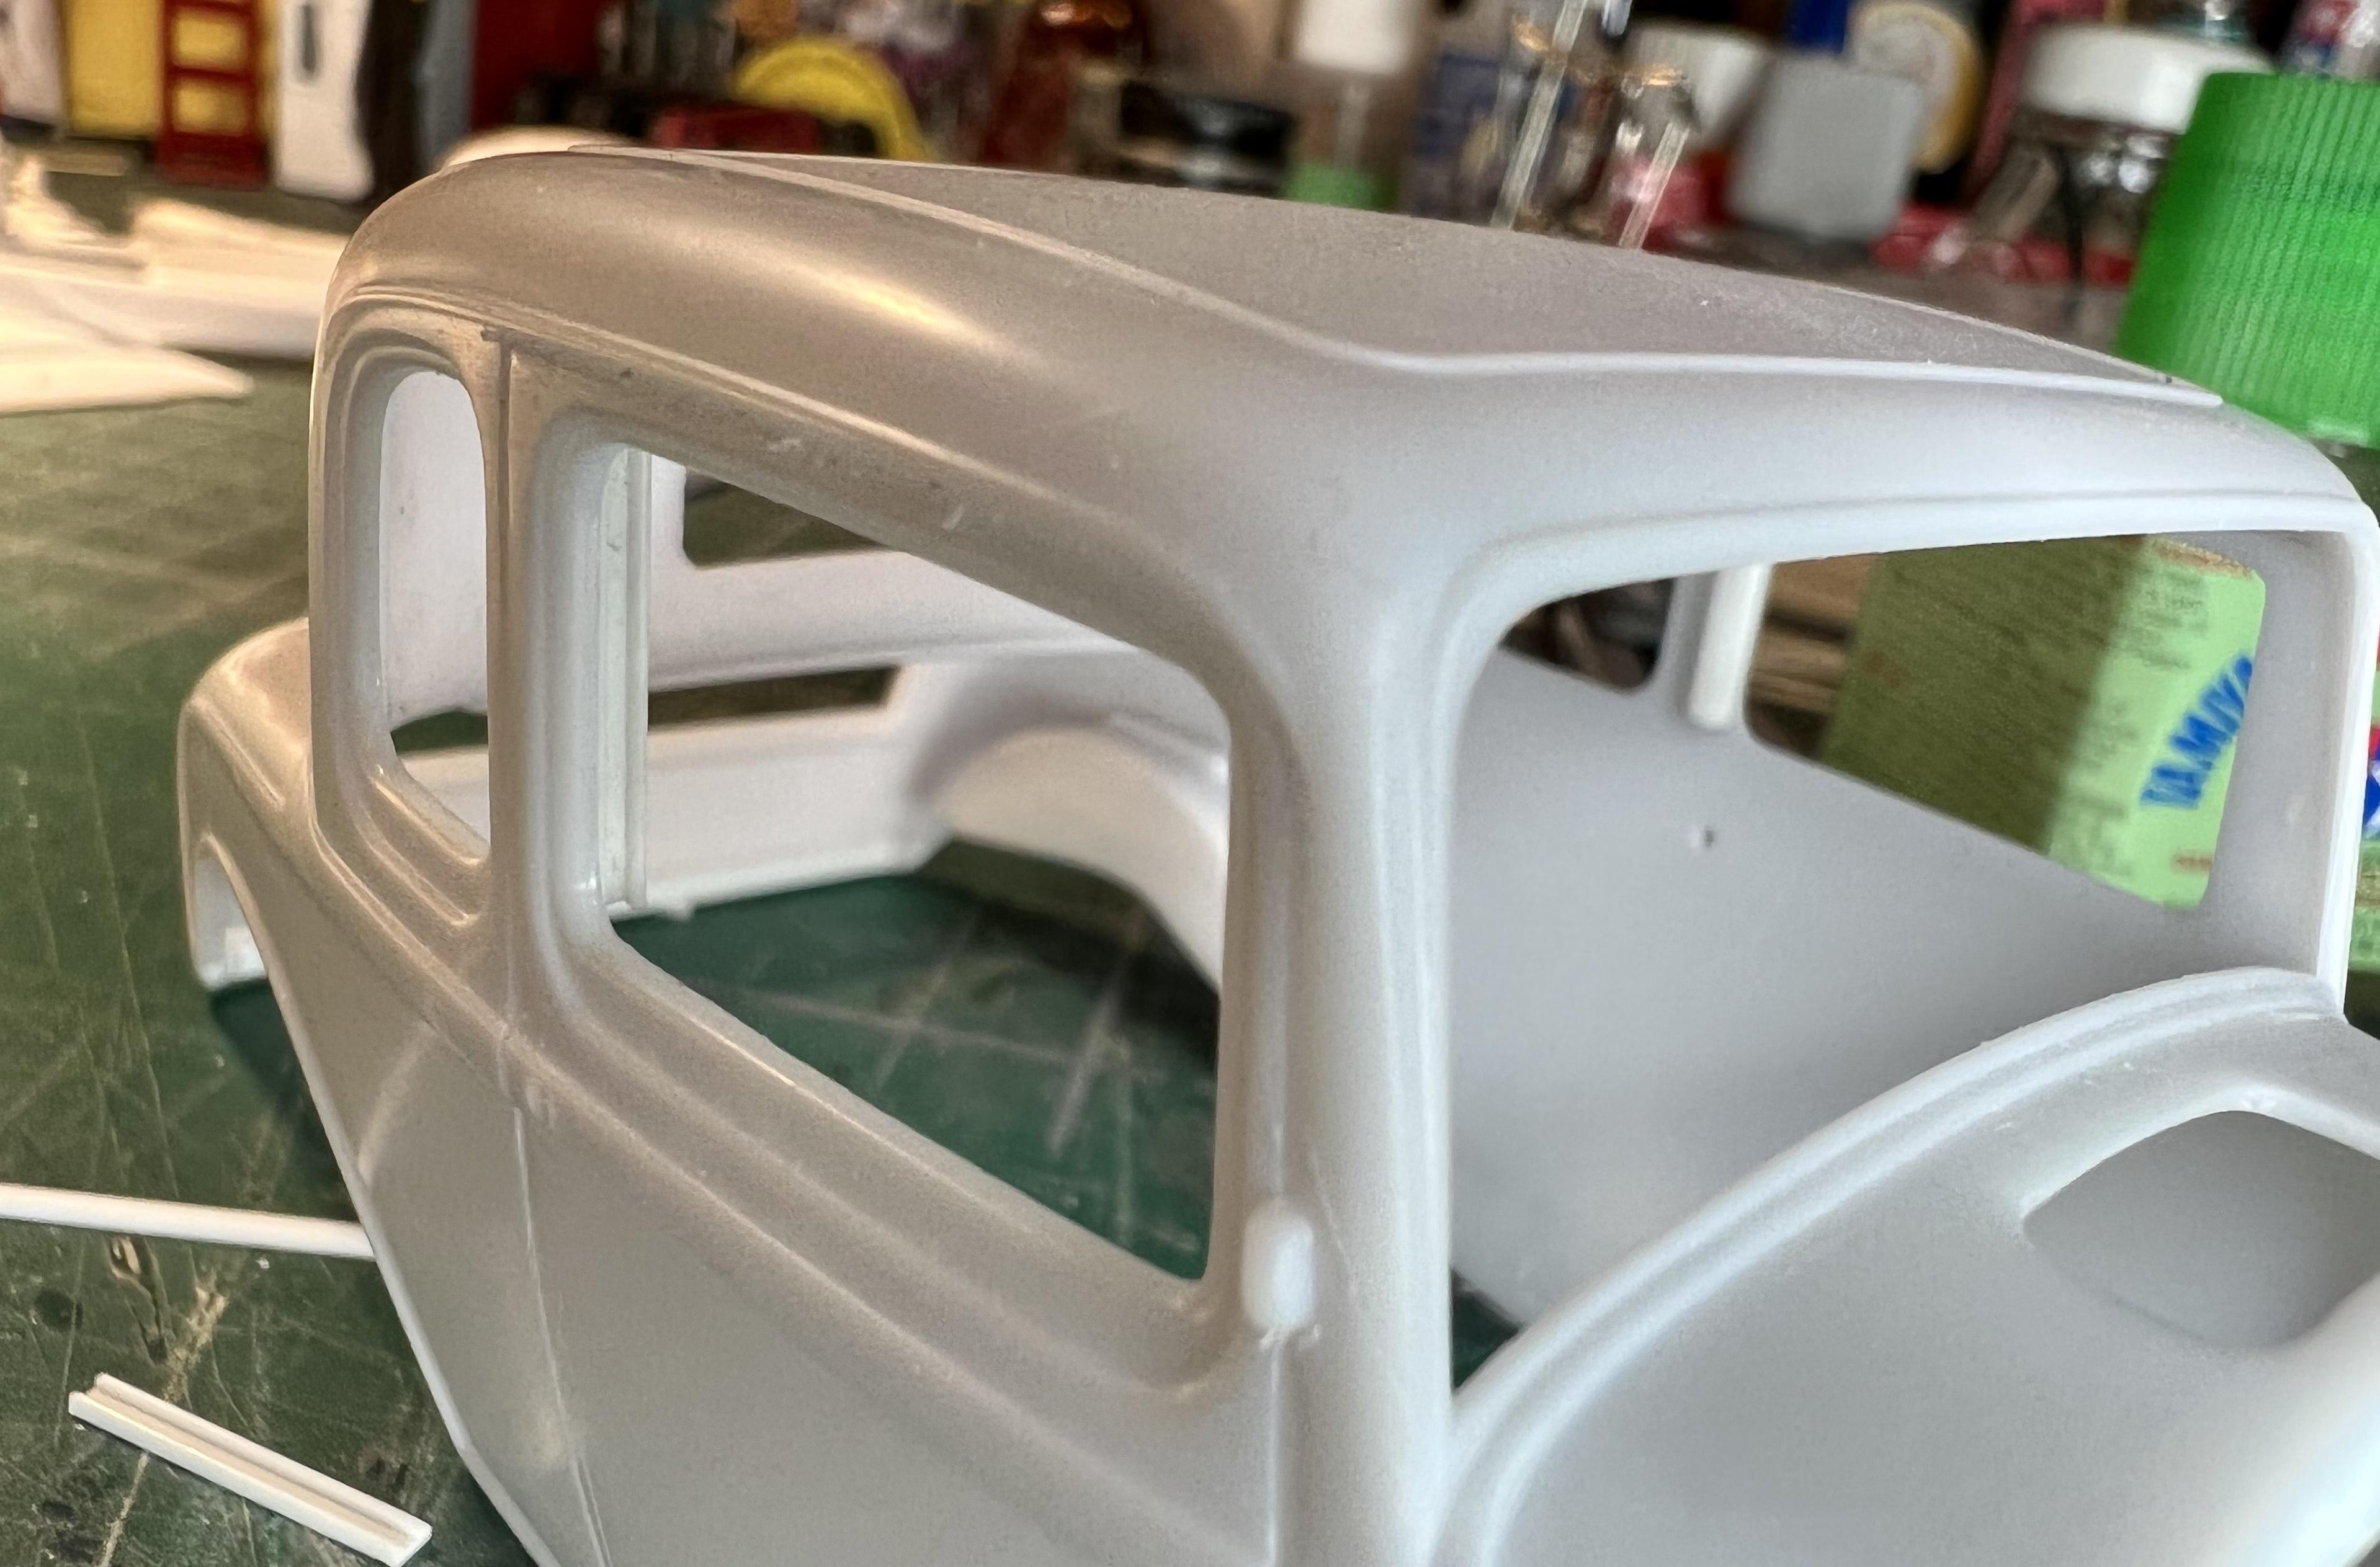
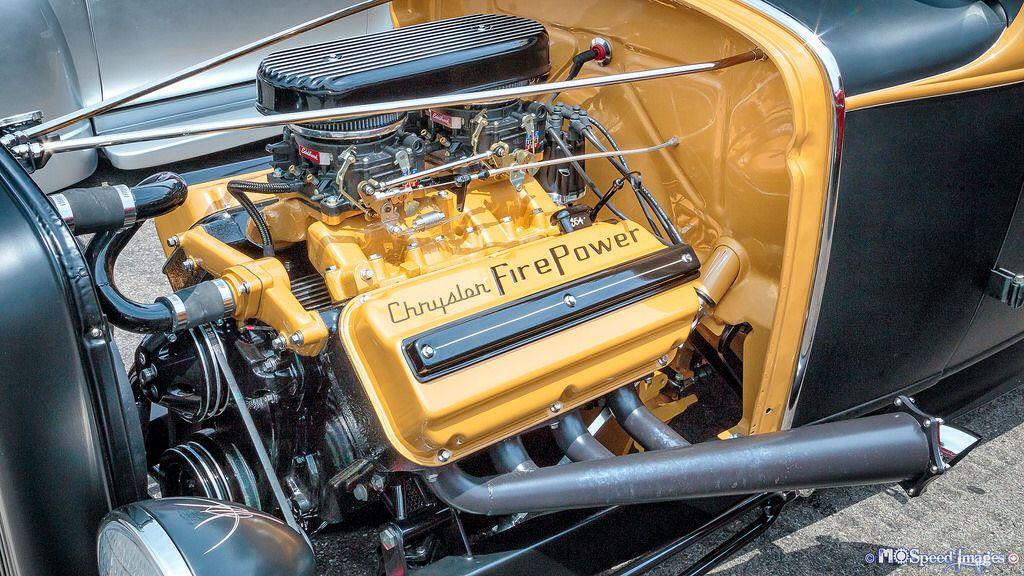
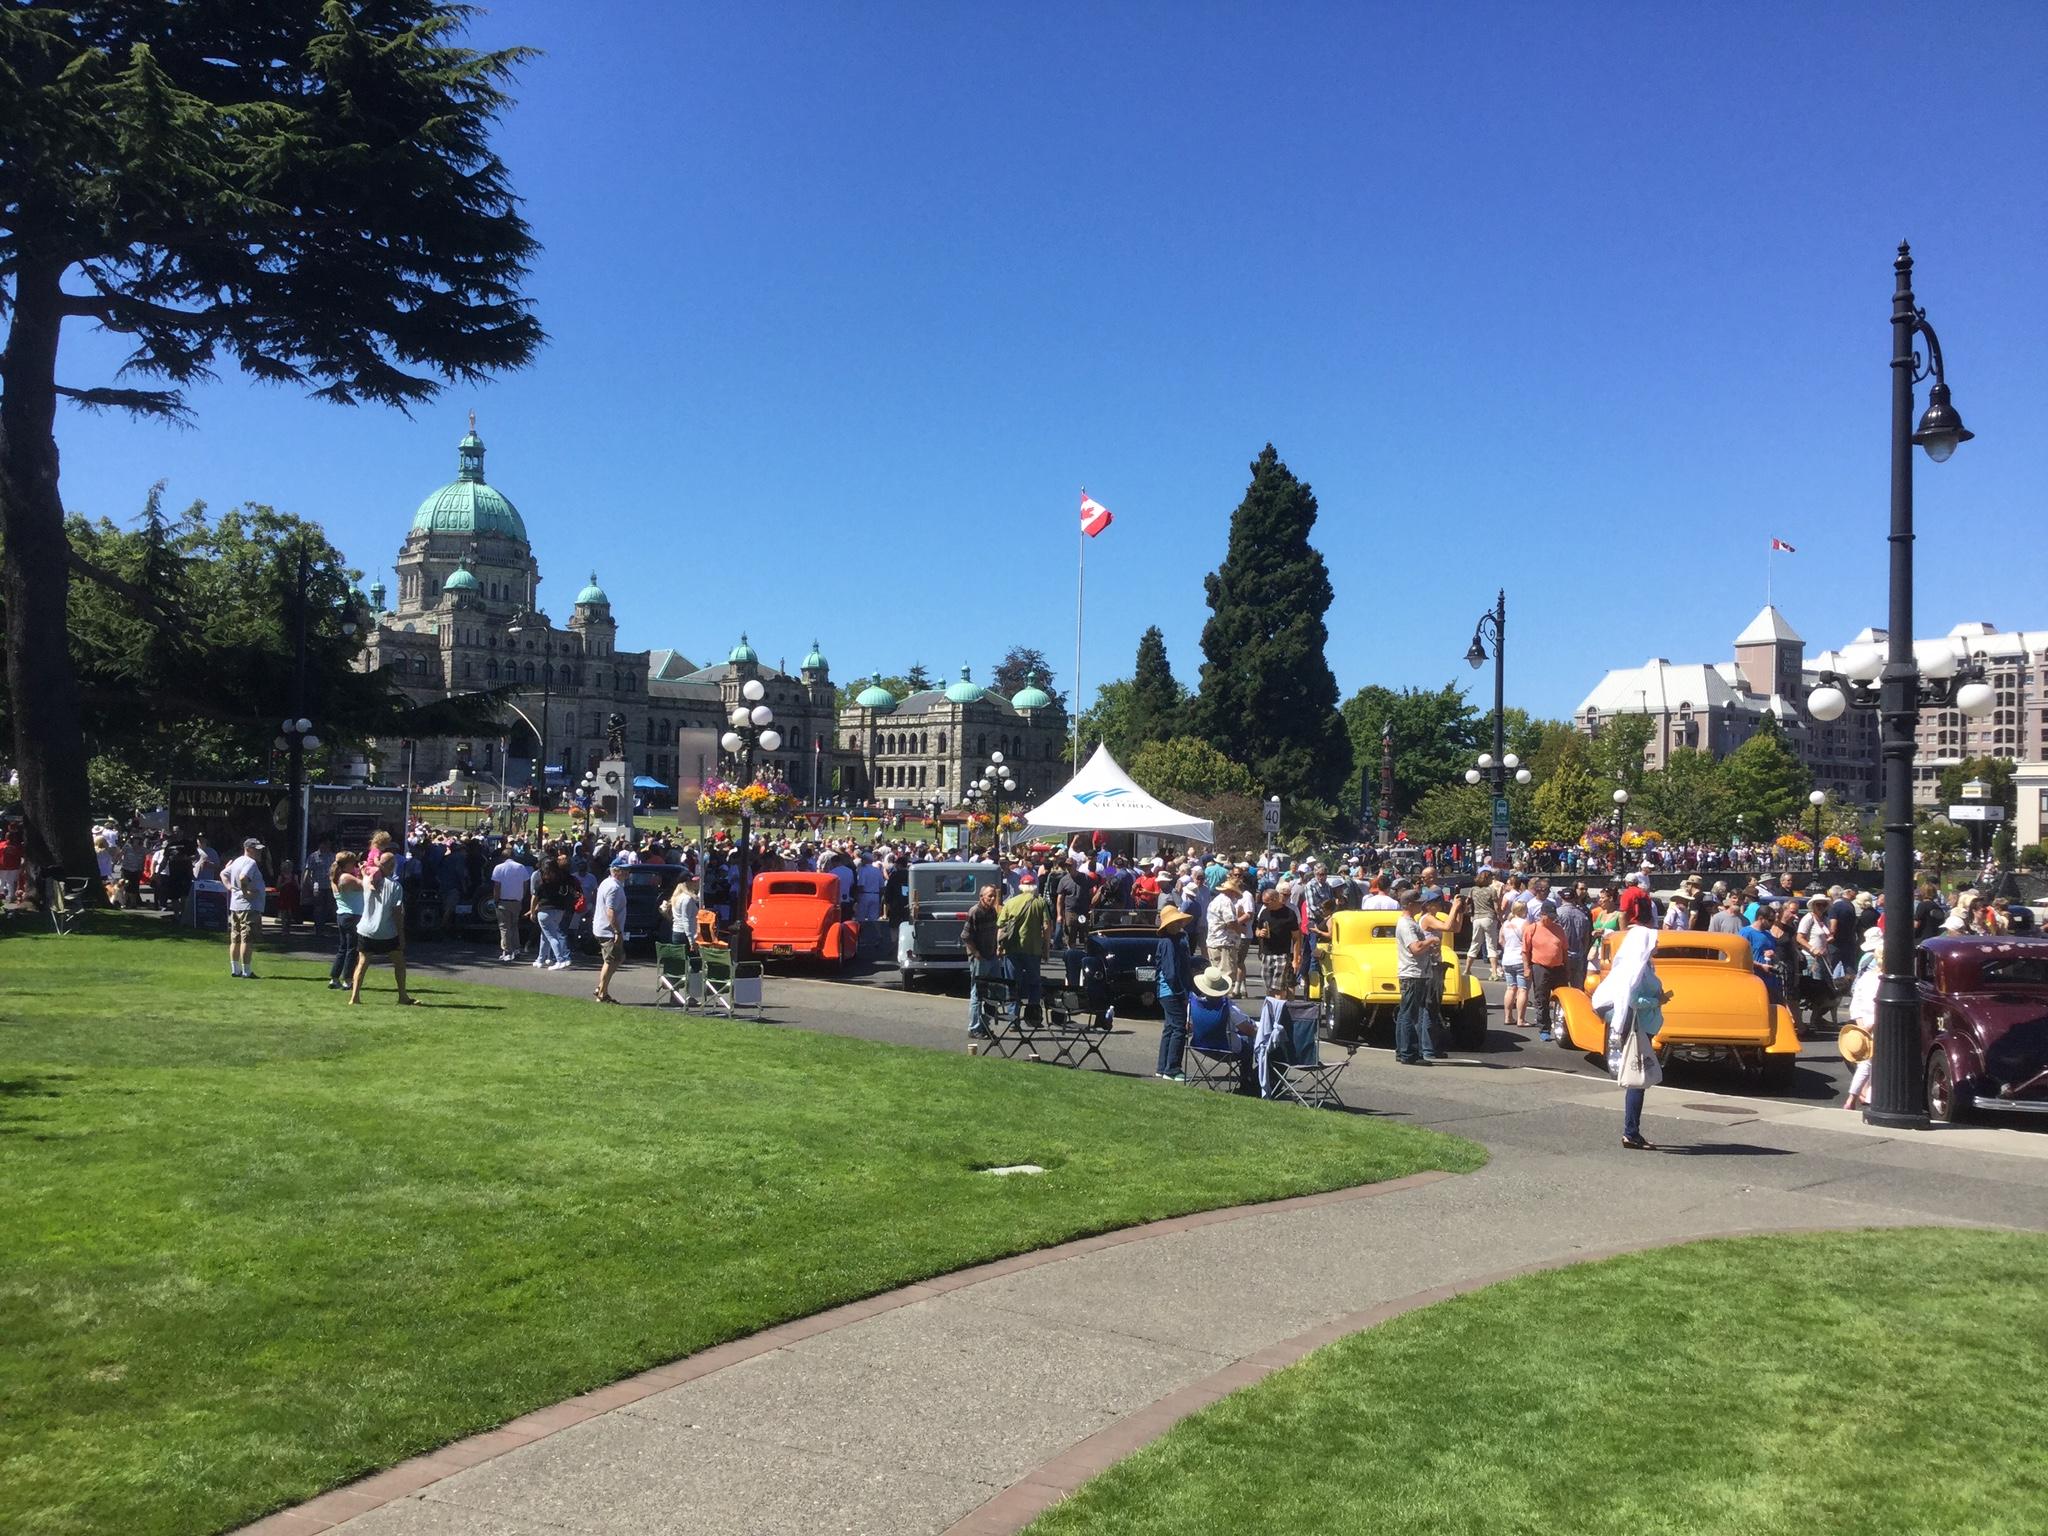
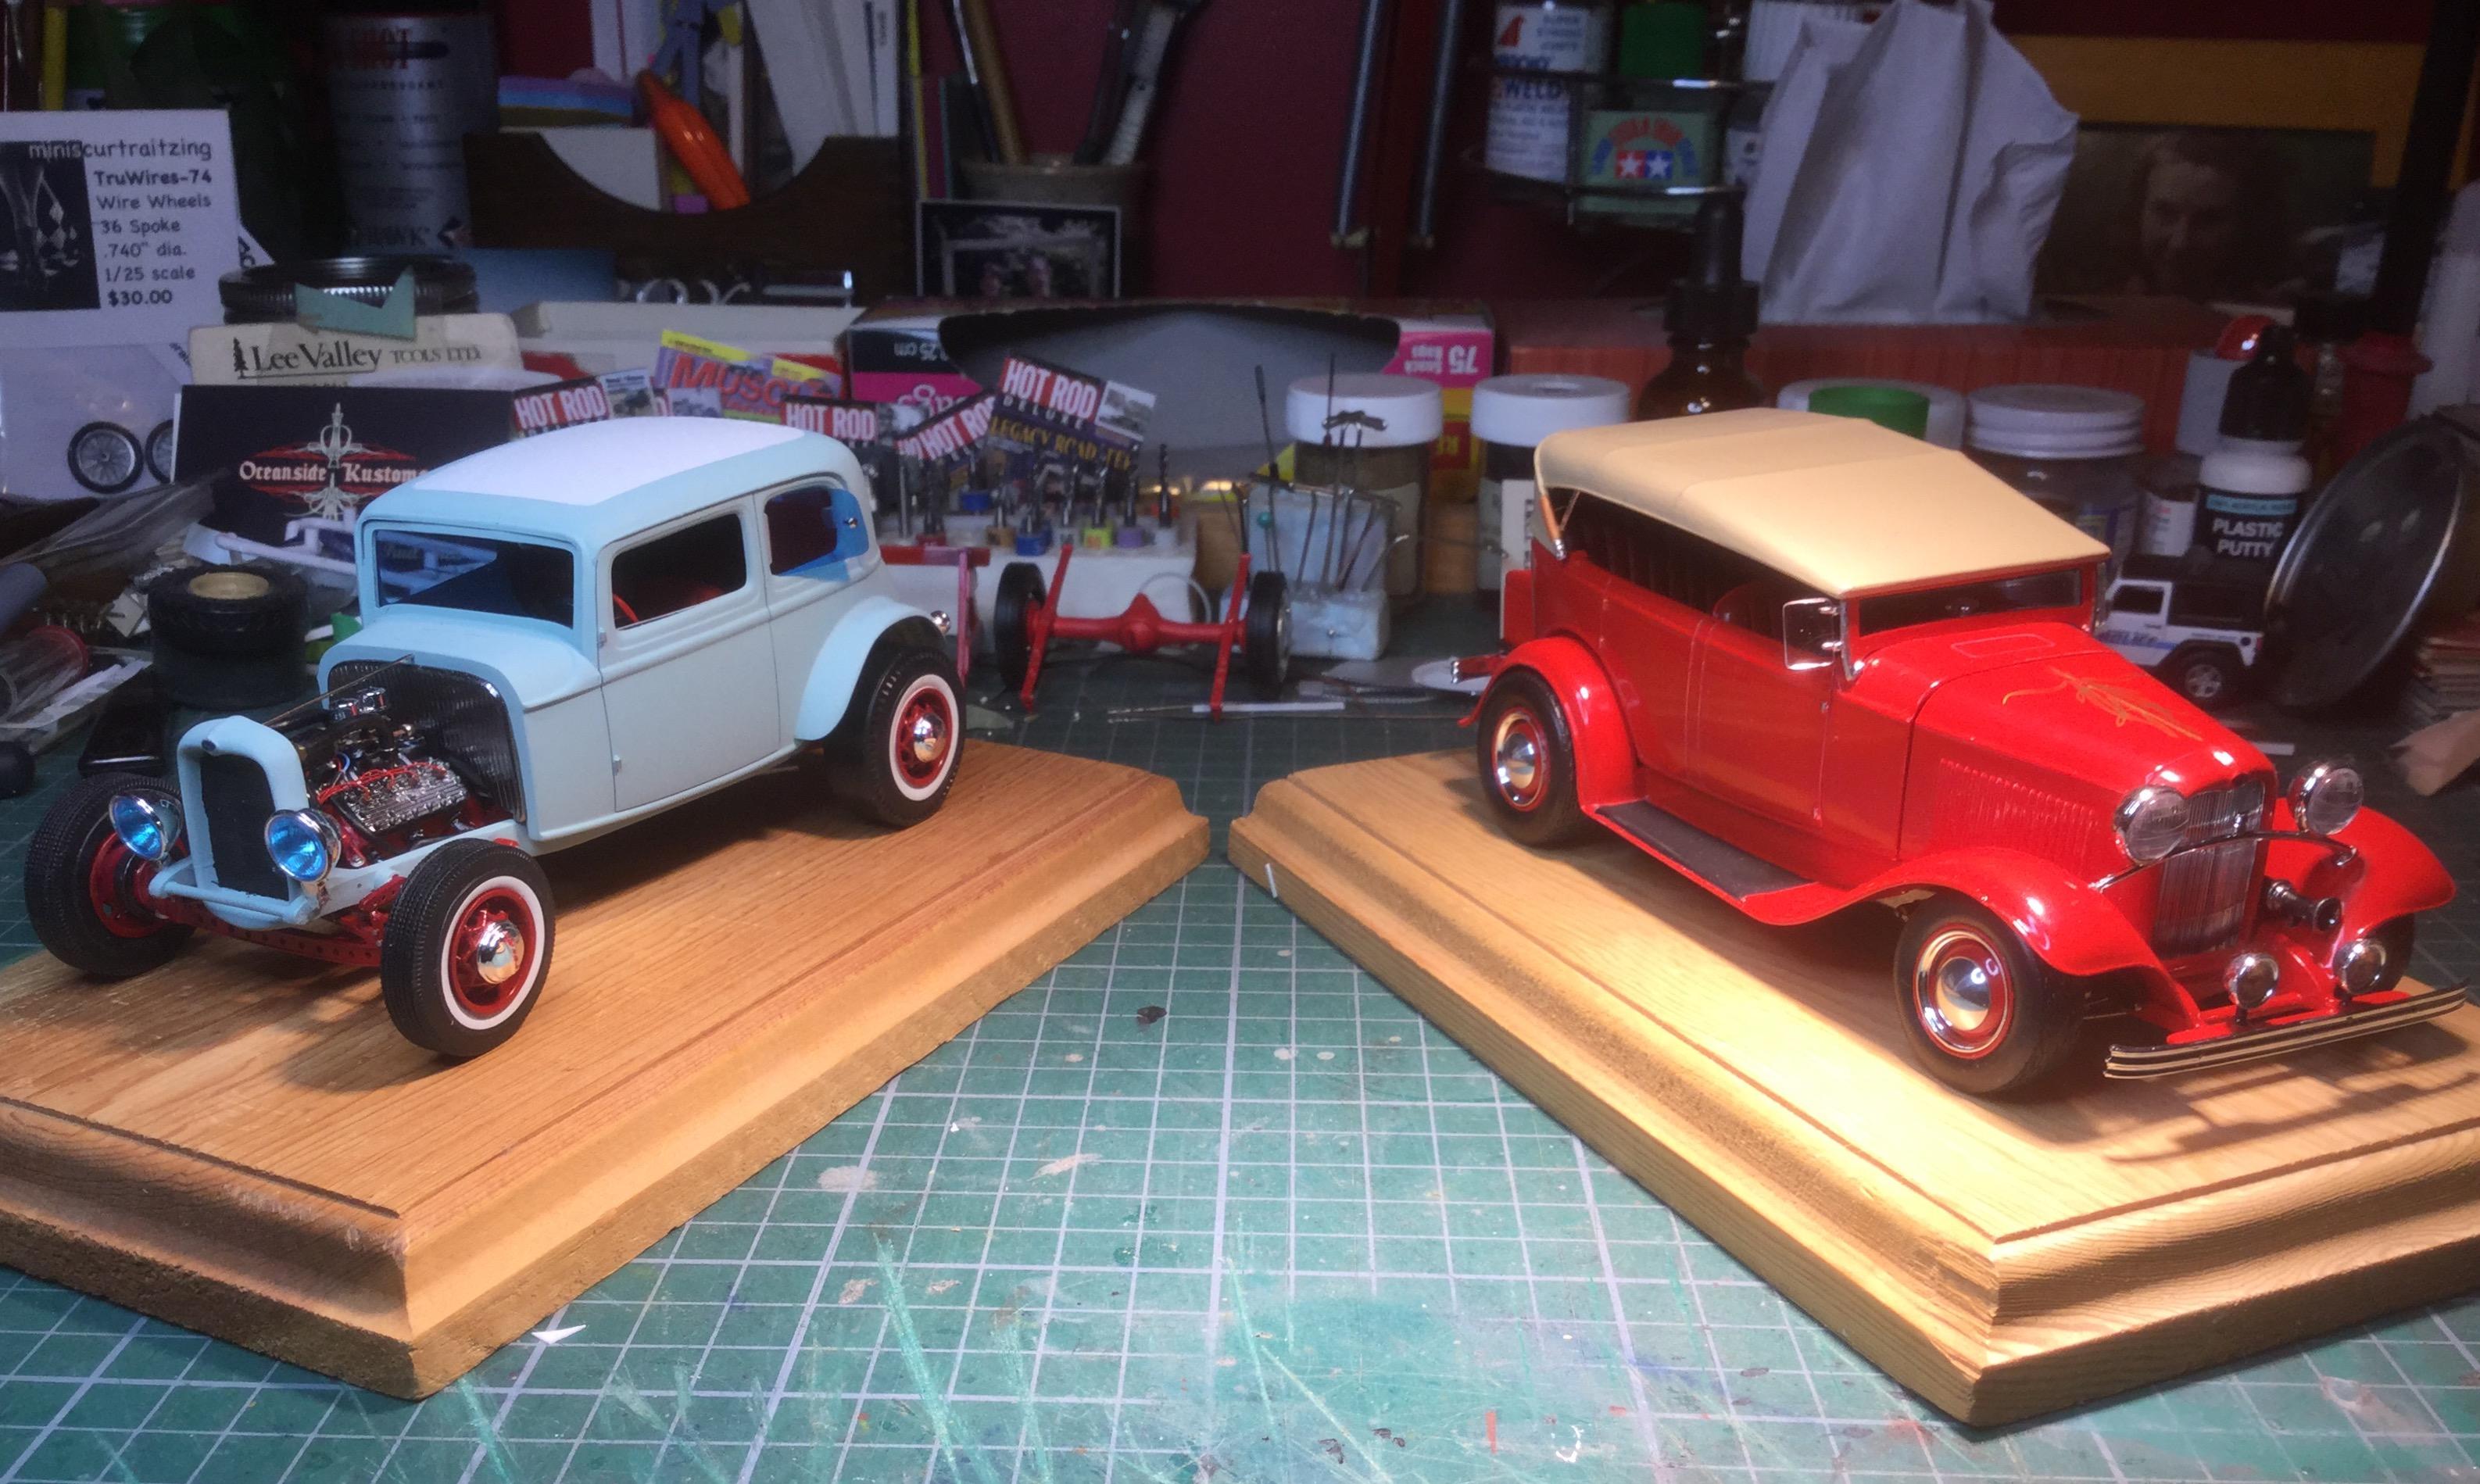
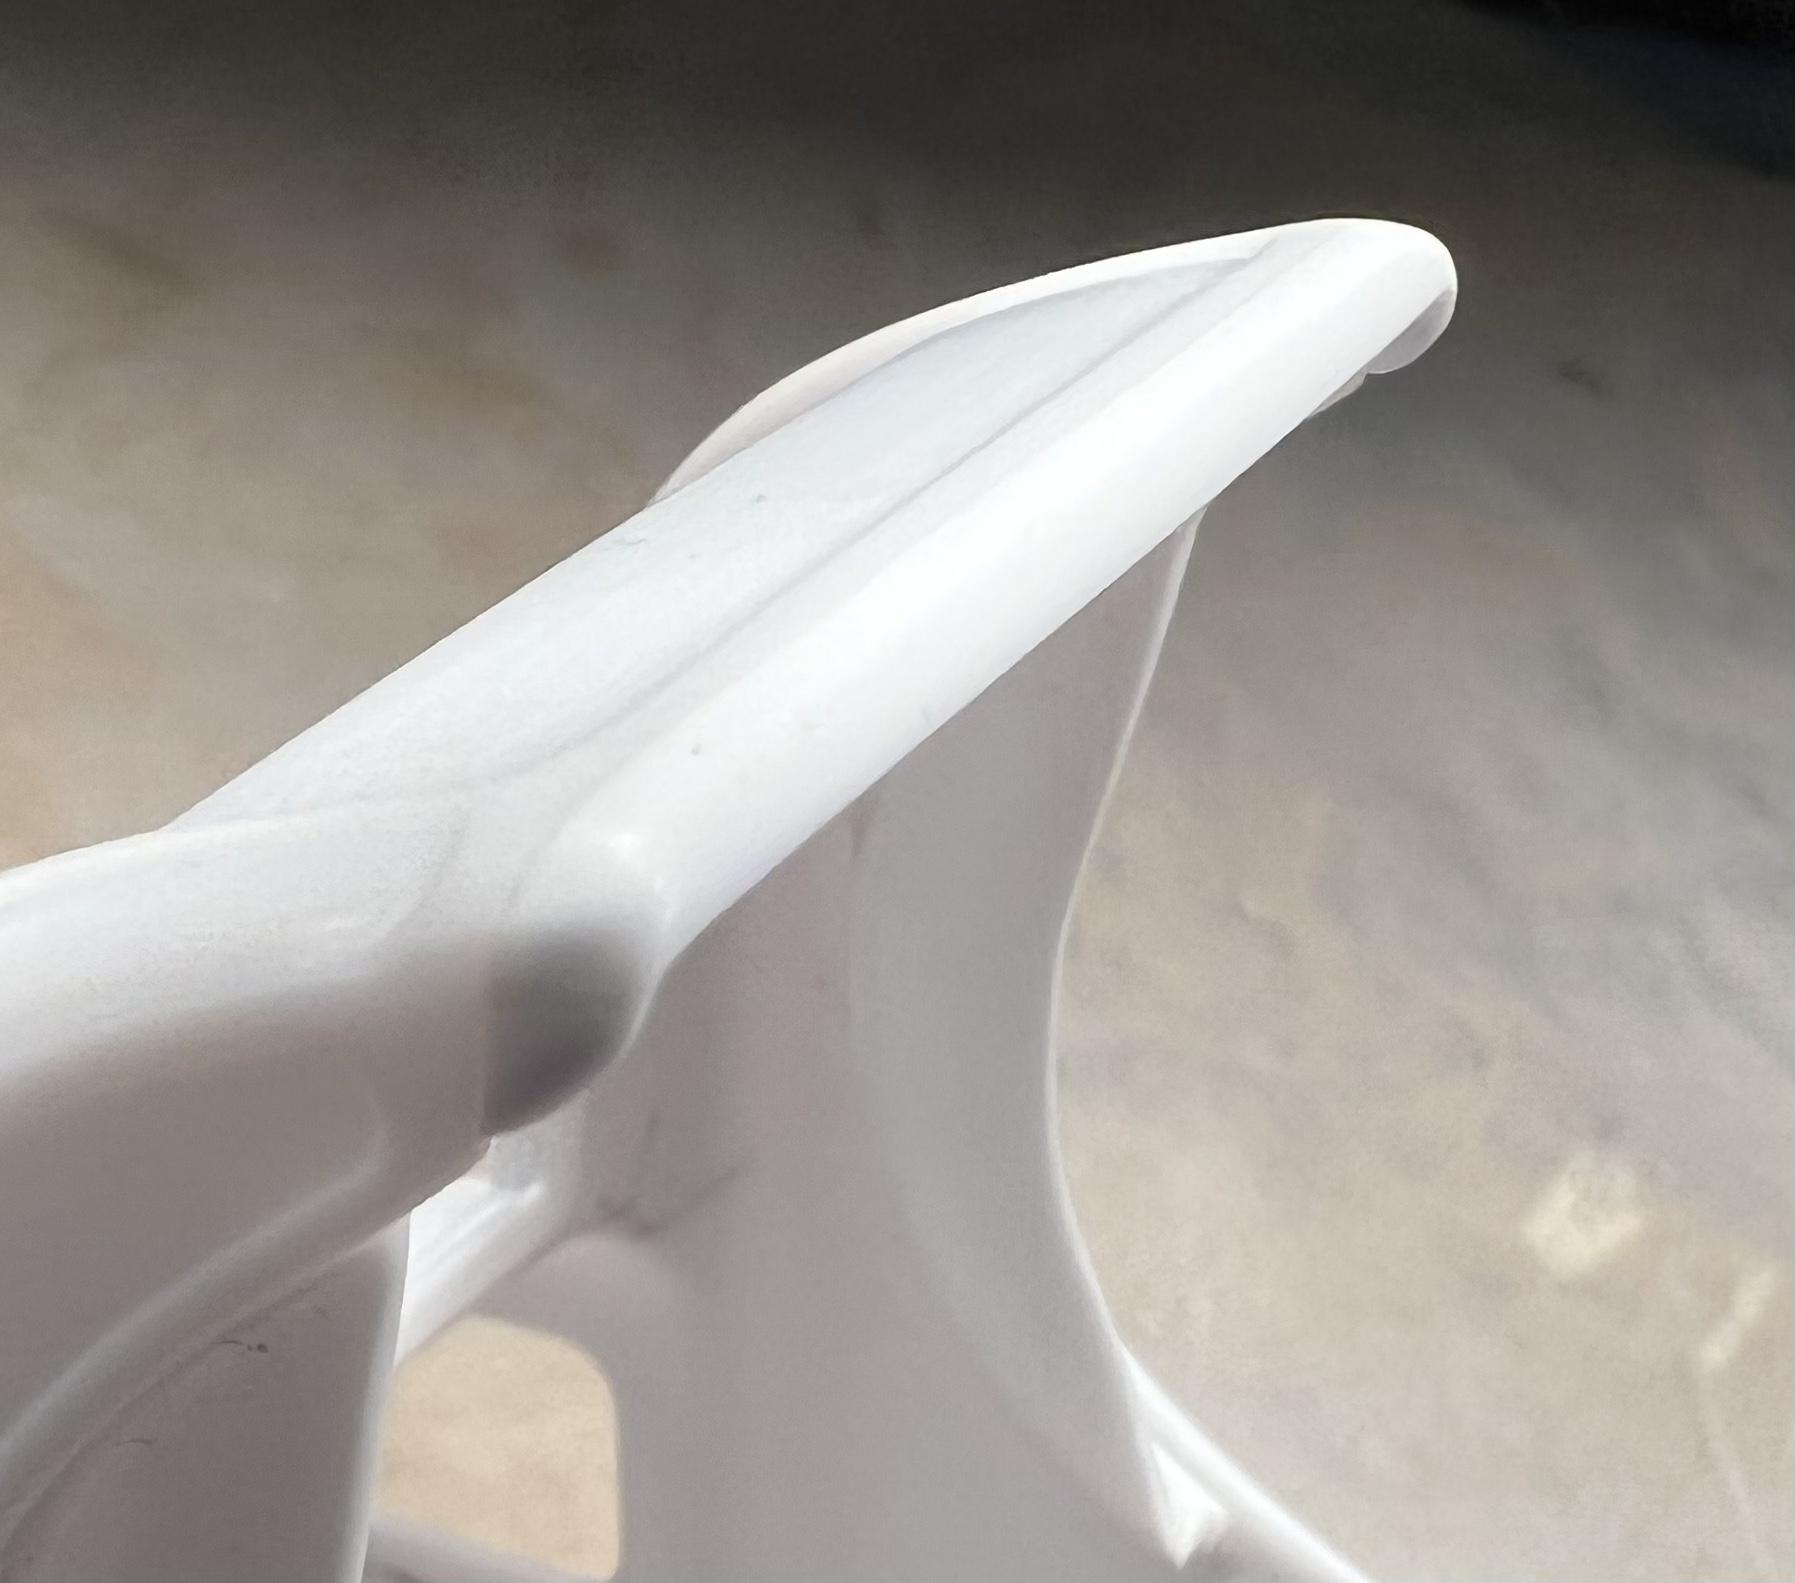
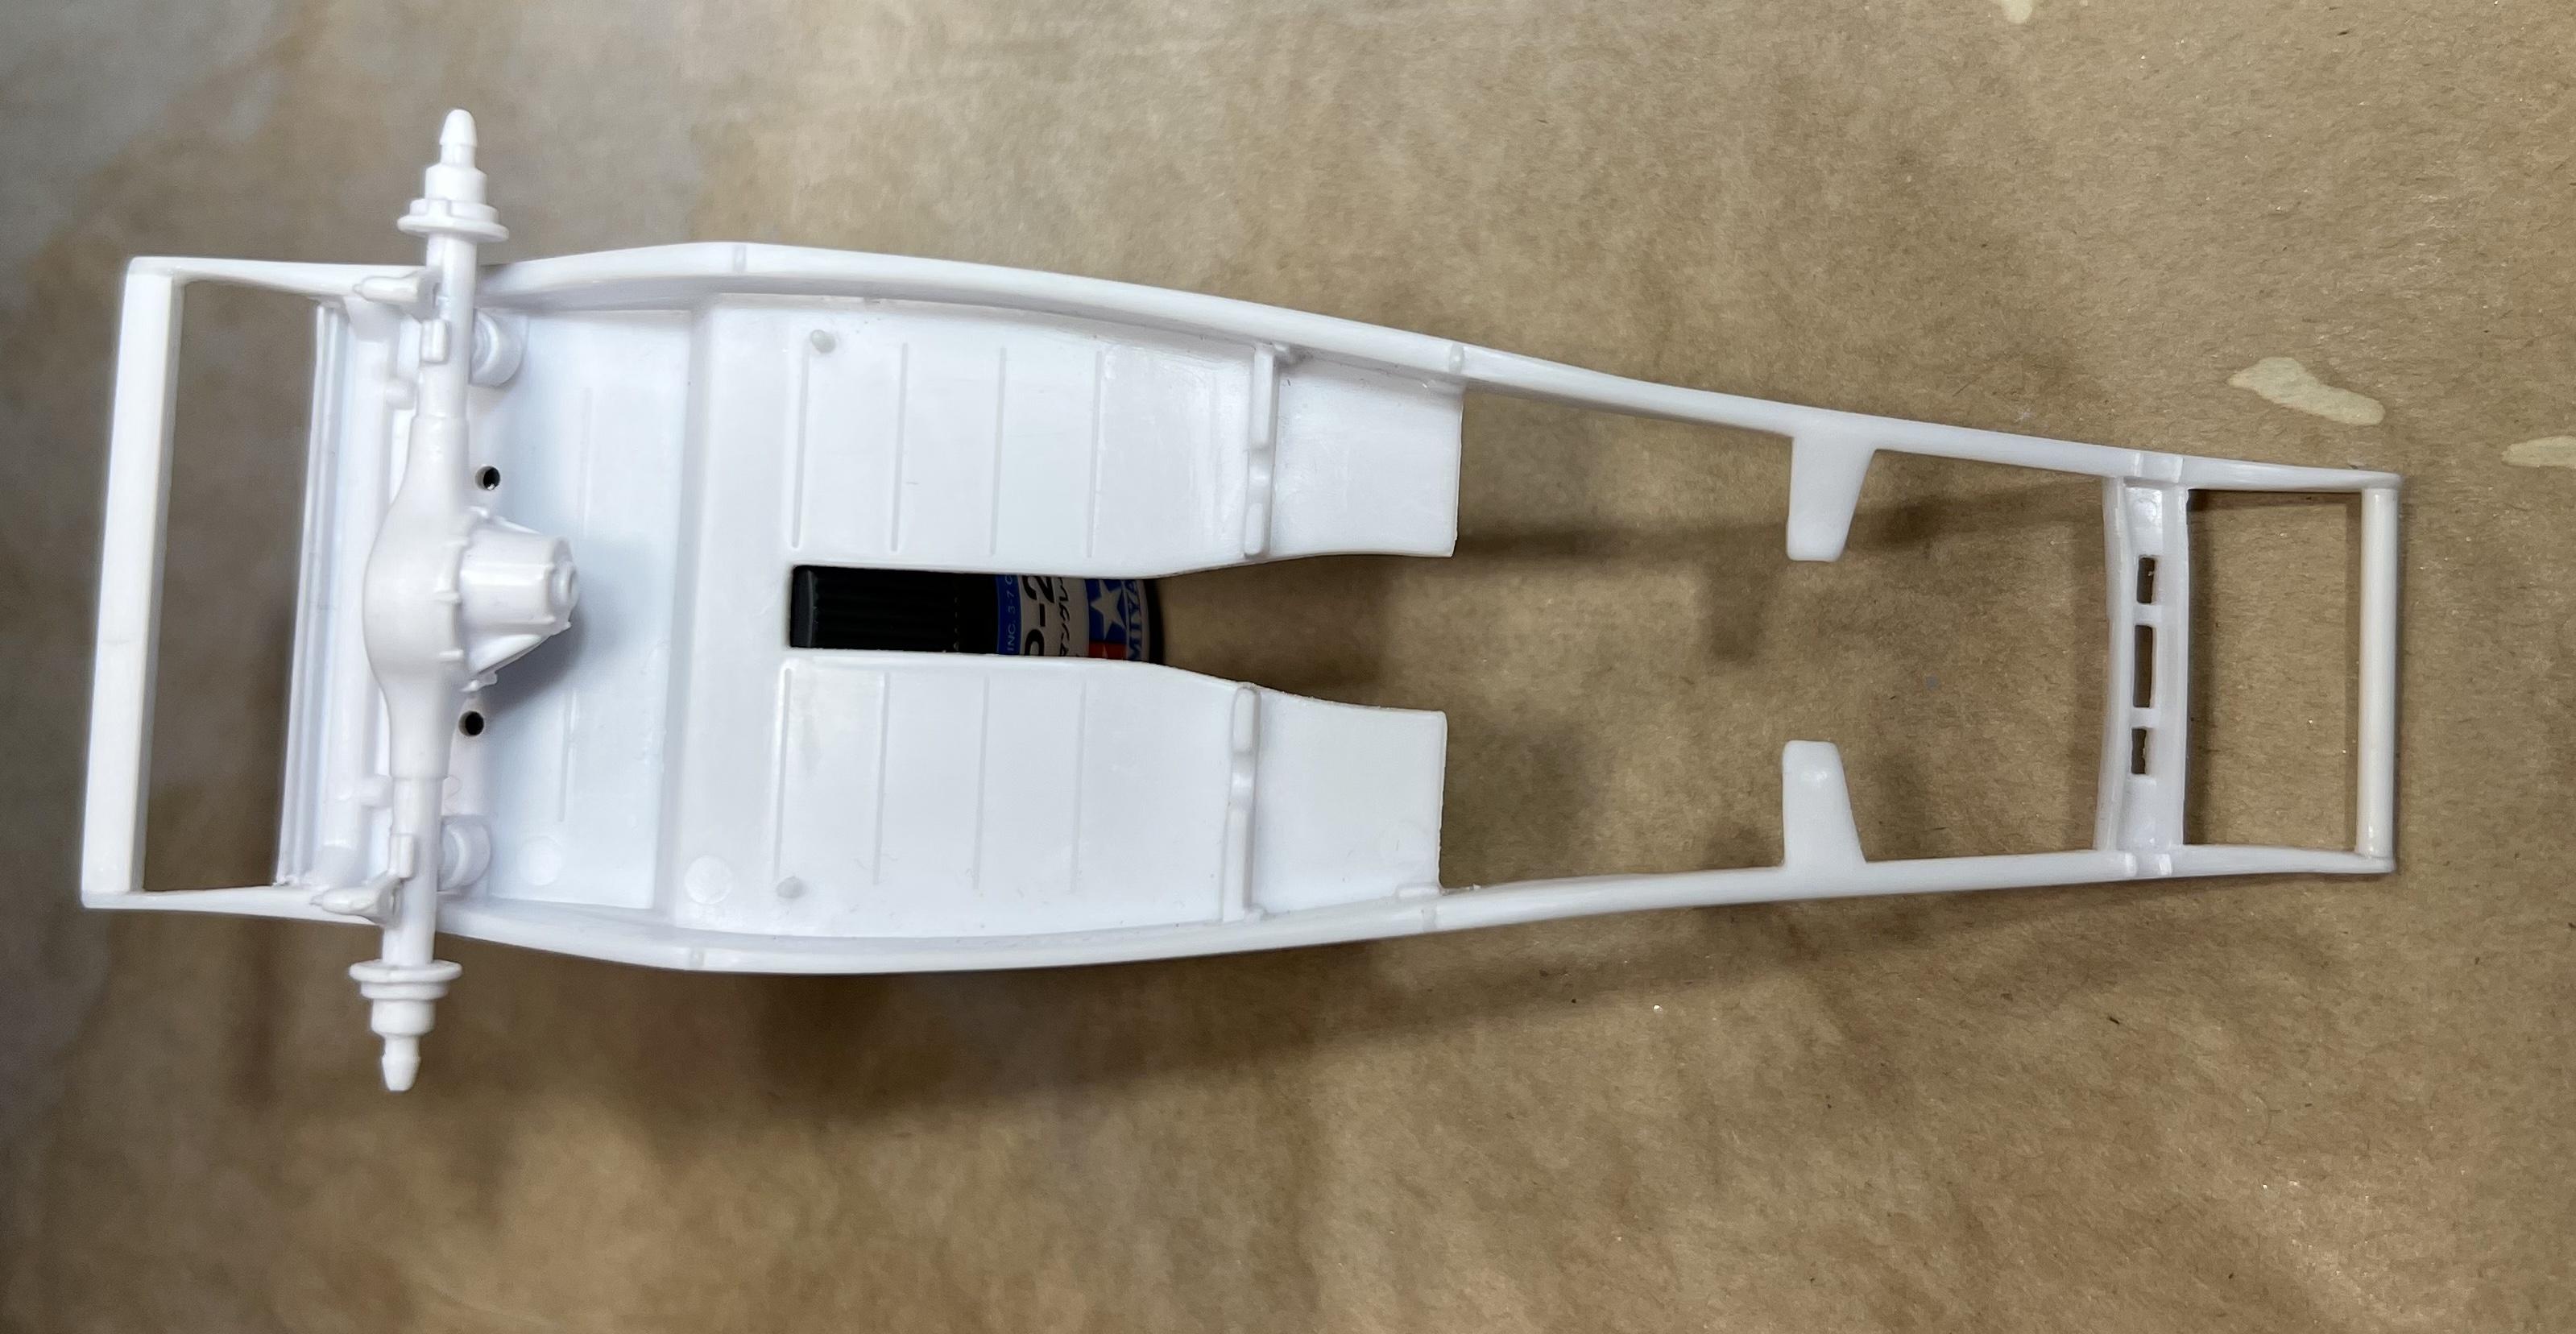
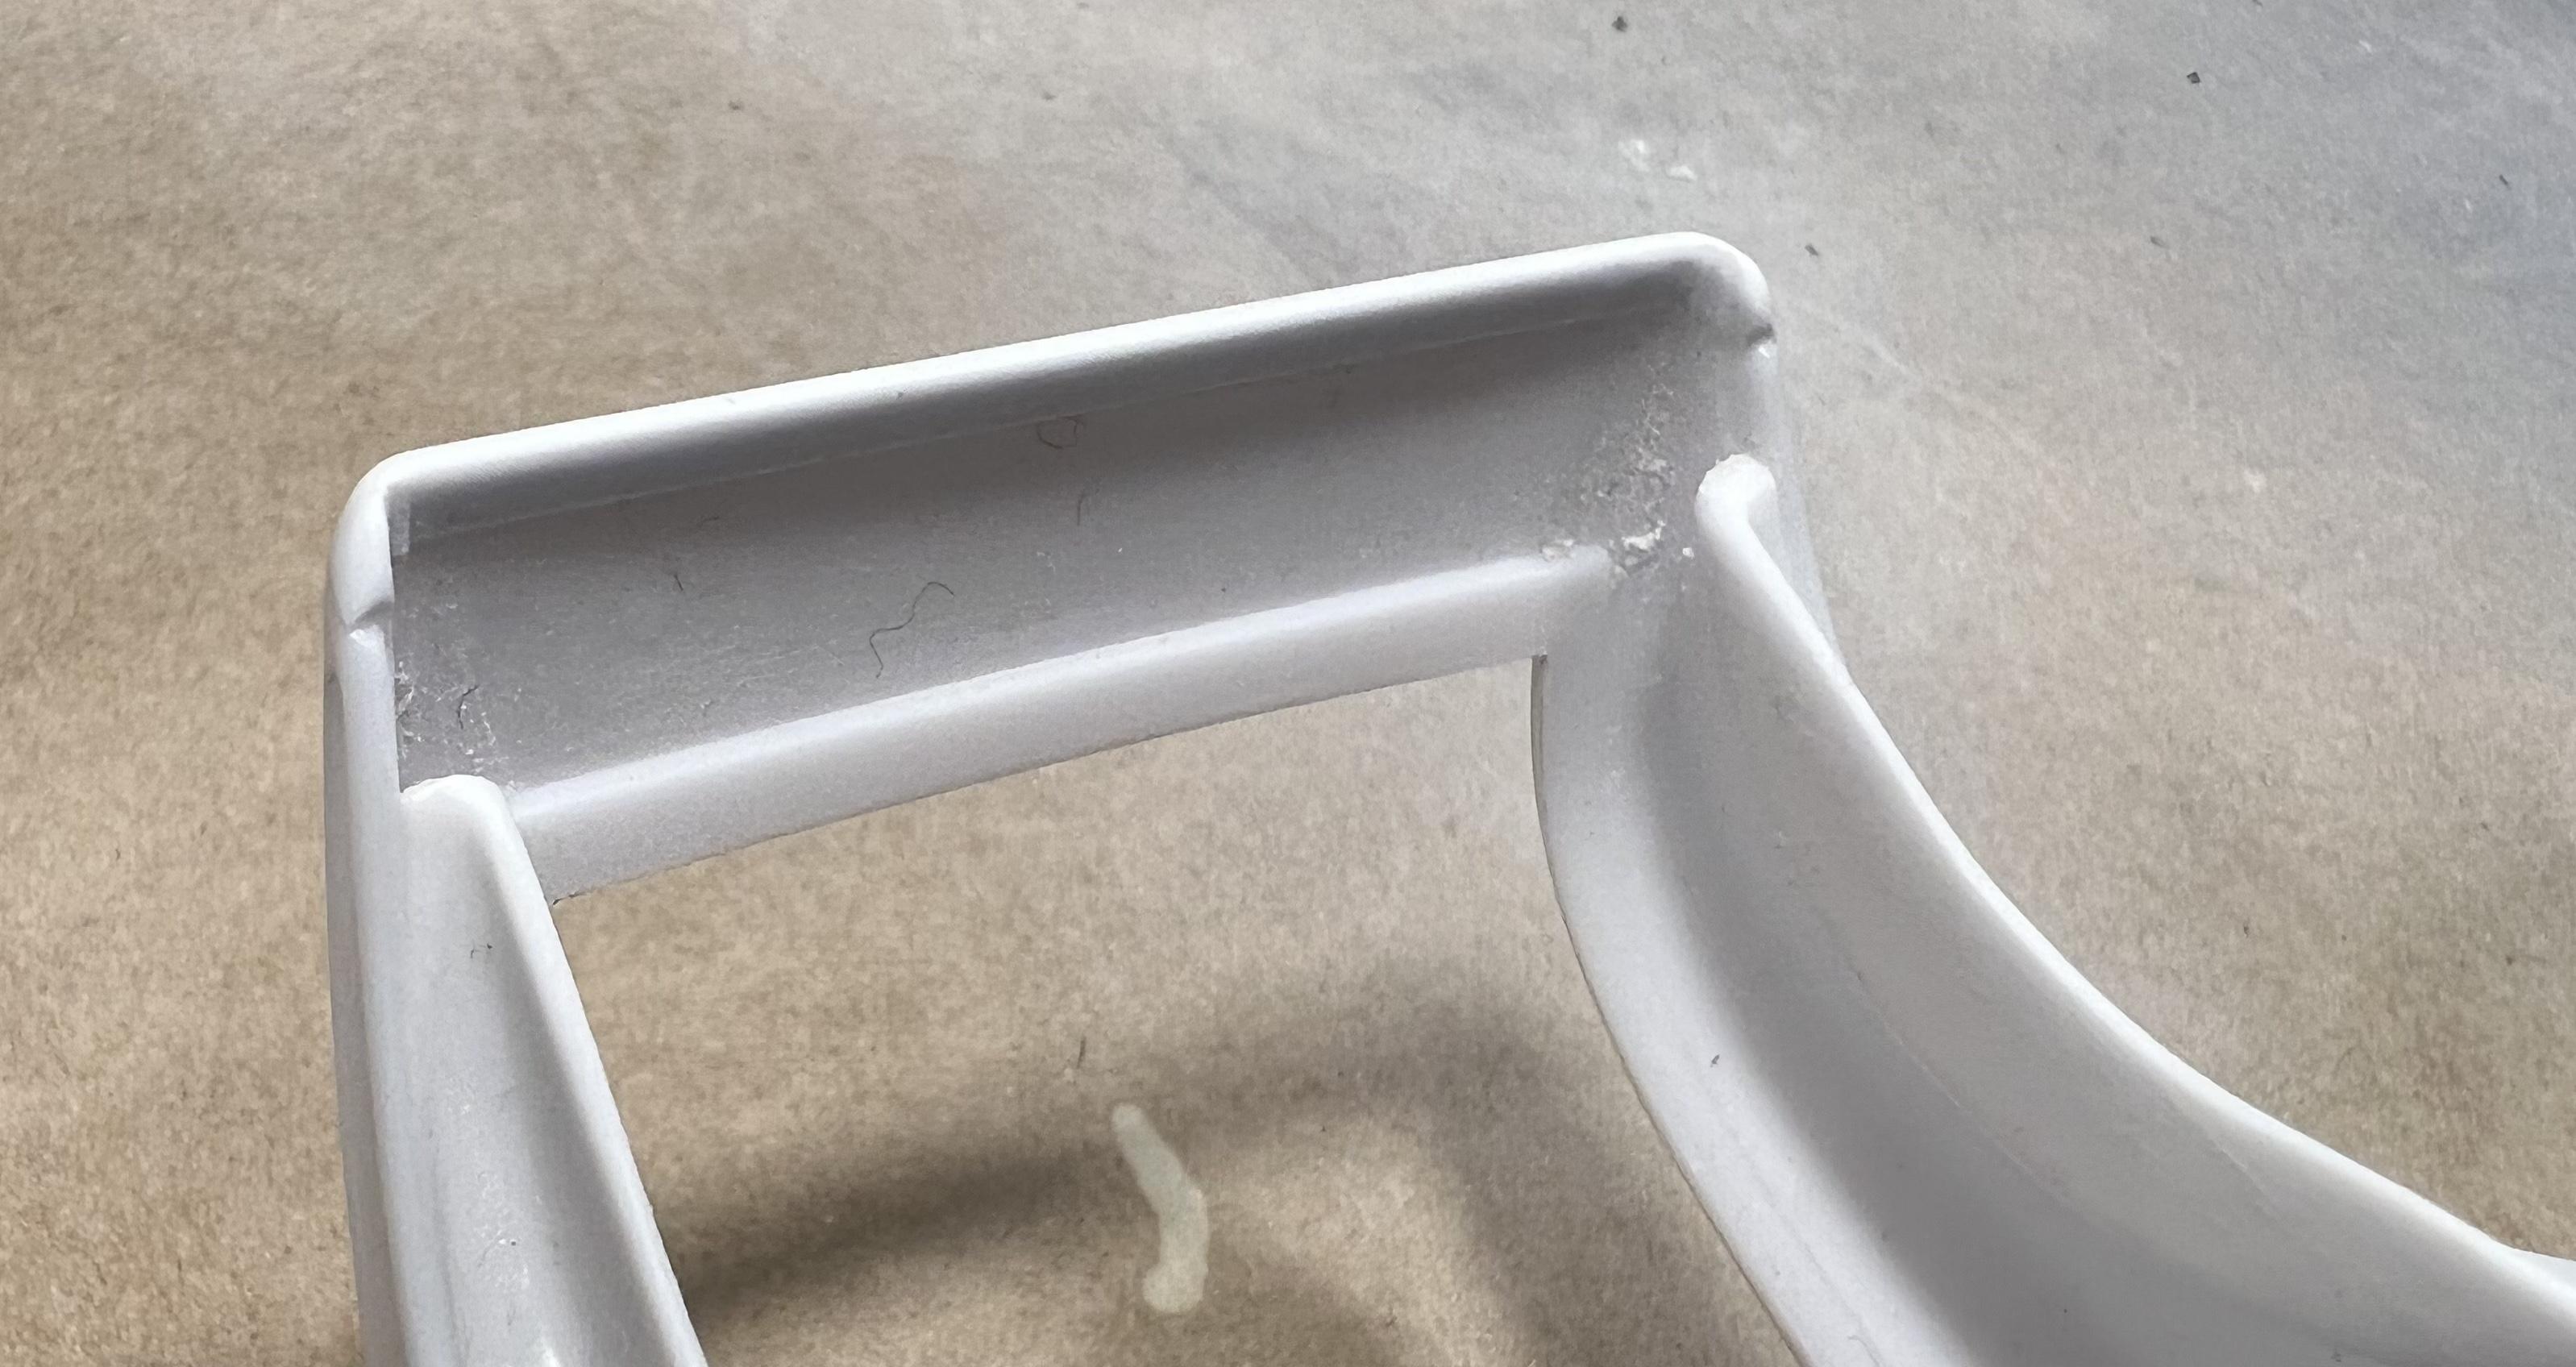
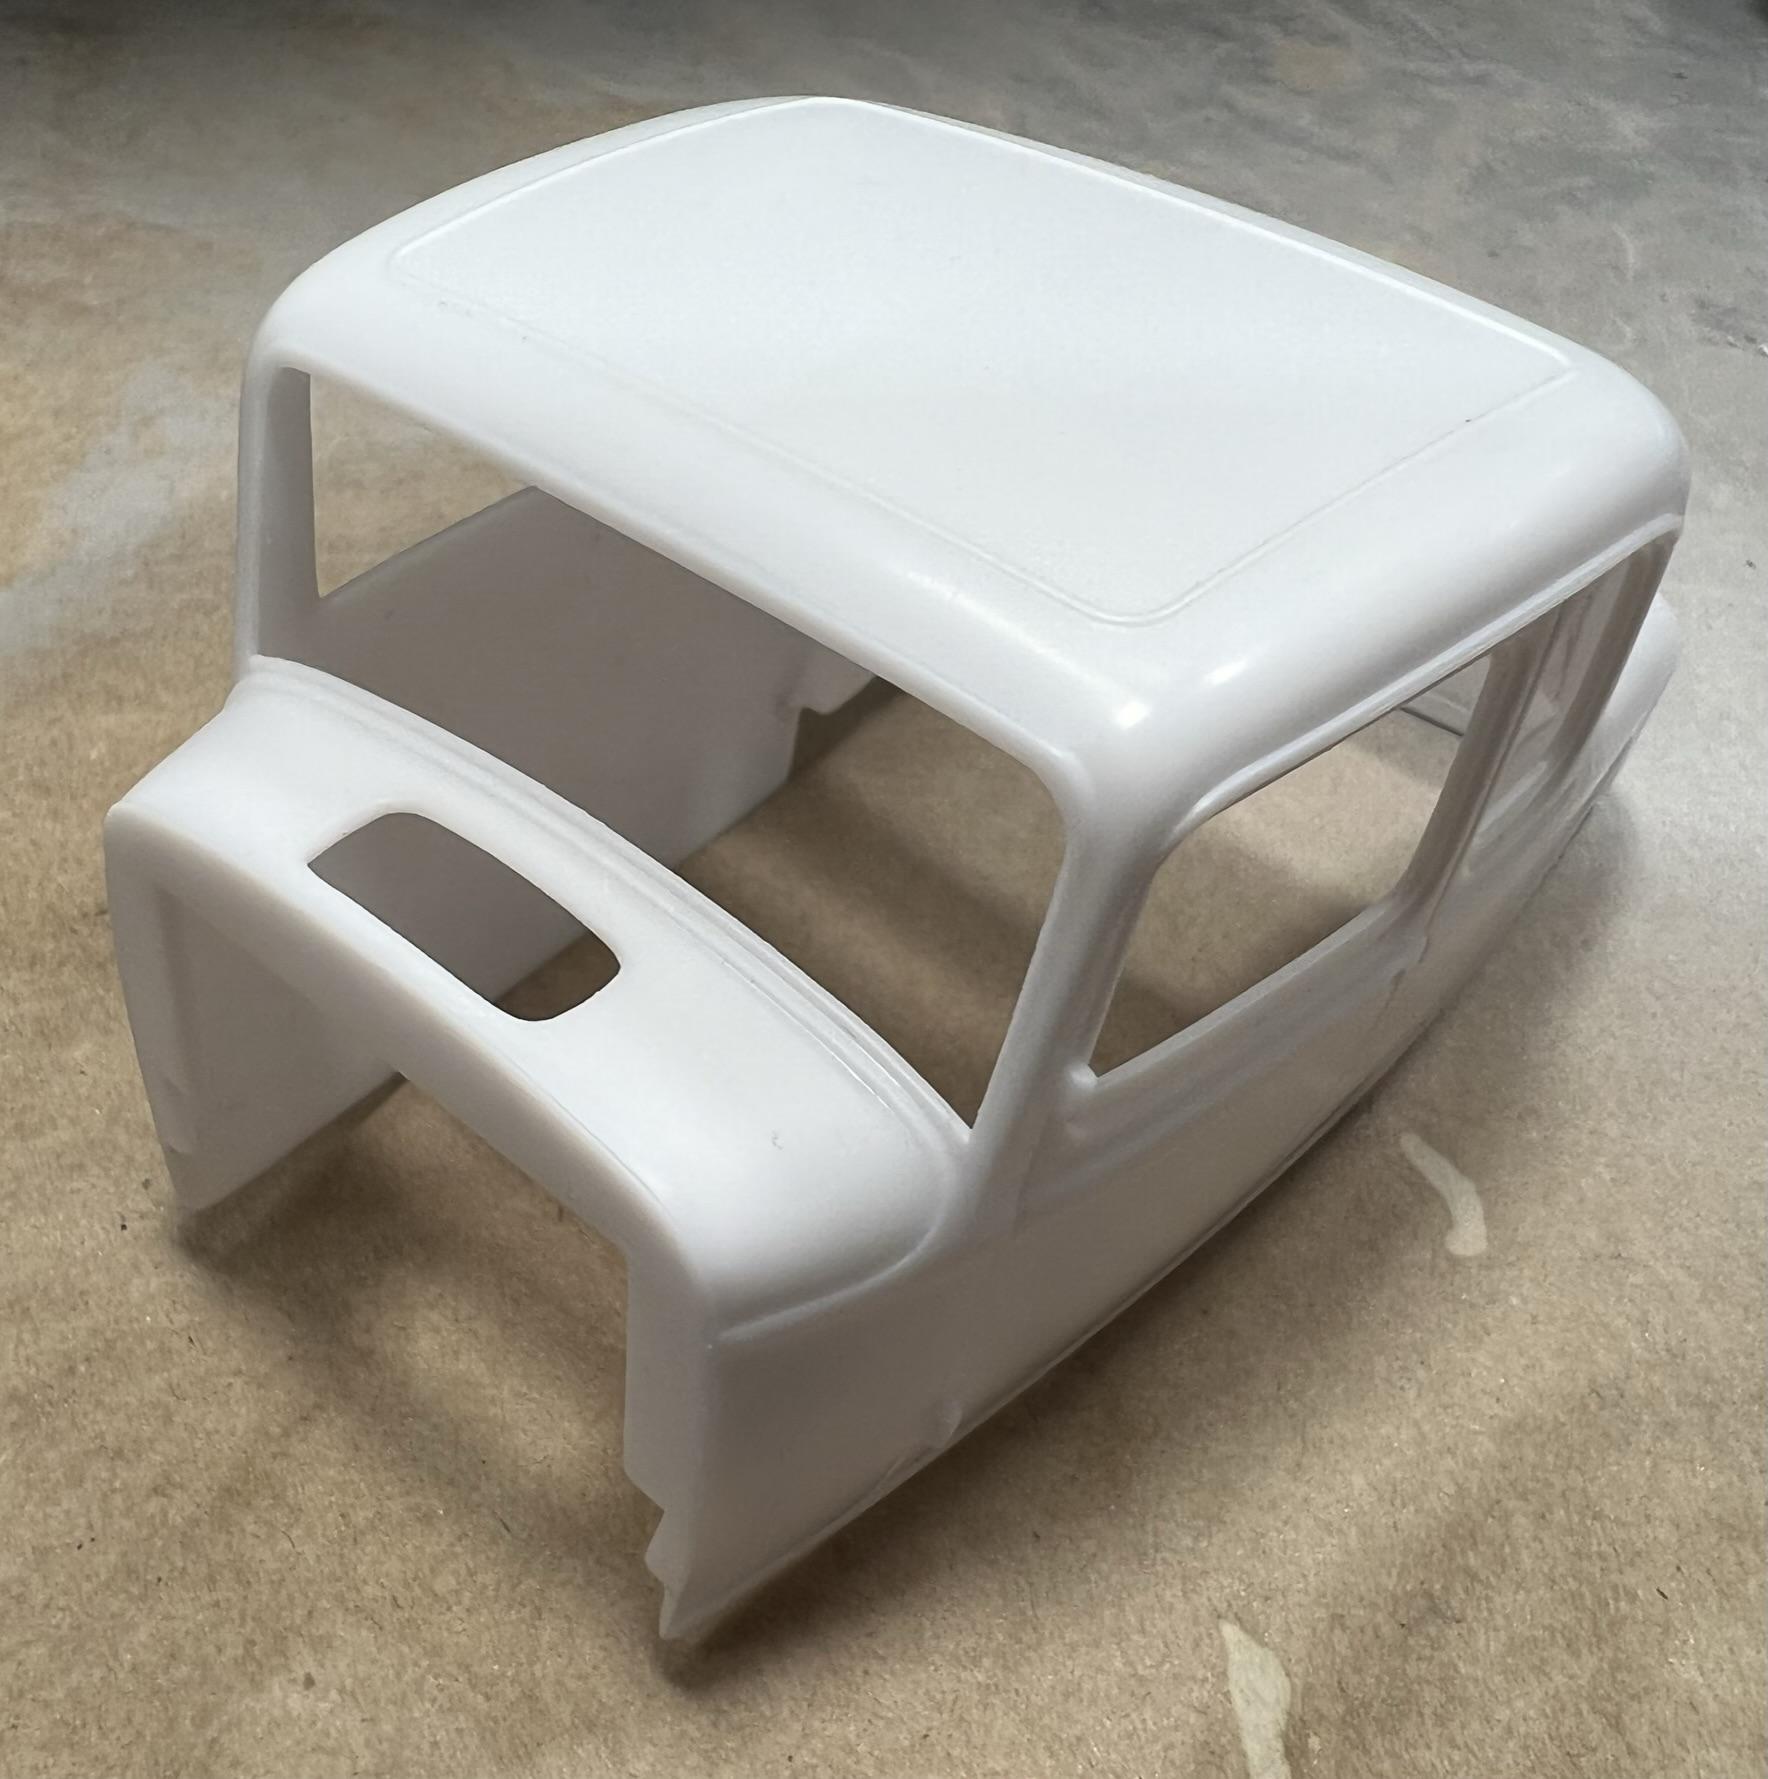
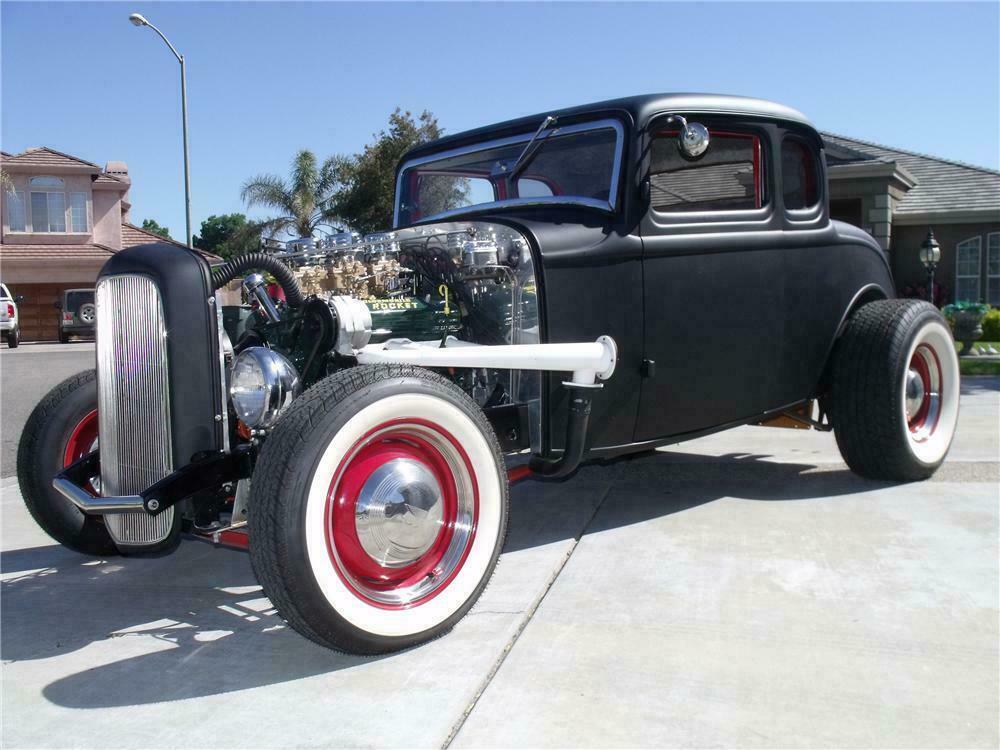
Deuce Days July 2022 Victoria, British Columbia For over two decades Victoria has hosted the Pacific Nor’West Deuce Days every three years, first in the neighbouring community of Oak Bay it has now grown into a major show held in Victoria’s Inner Harbour downtown. It is greatest number of Deuces gathering in one spot anywhere! In conjunction with this Summer event our club, SPAM is hosting the third “Deuce Days in Scale” at the host hotel. For the first two events I built the “Blue Suede Vicky” and the “Red Hot Phaeton” and for this year I have settled upon constructing an East Coast Style 5 window coupe based on the R/M issue. Being under the gun with a short build period I’m attempting to limit the changes to the kit to a channelling job and some other rolling stock. East Coast rods were noted for keeping the stock heights while lowering the body over the frame rails. While stock fenders were eliminated they were often replaced by cycle fenders up front and bobbed ones on the rear. Magnesium wheels were just being introduced on the opposite coast in California in the late fifties, so steel wheels with or without hubcaps was the norm out east. Effort was spent on using one of the newer overhead valve engines at the time; Caddy, Olds, and Nailheads were often used, while the early Hemi was a more exotic choice. It was often the interior mods that drew the eye with a complete make over with tucks and rolls done in bright colours. The exteriors remained rather conservative compared to their west coast brethren with low key enamel schemes rather than candies and metalflakes. In this case I’m looking at LP 27, German Grey with a gloss coat overall. I began the build by tackling the channeling job first. The R/M kit has separate rear wheel wells that I installed first and carefully outlined the required cut by lining the frame to it and drawing the new profile. It was then a case of careful trimming out to fit. The chassis itself required a bit of tweaking to reduce its overall width near the leading edge of the wheel well. Once satisfied with the fit I moved on to the interior mods to reduce the overall height of the assembly allowing it to fit into the lower confines of the body. This was done by cutting away the lower edge of the door panels and the rear bulkhead. For the frame to fit the lowered stance it required the removal of the gas tank and a shortening of the rear frame rails. A new crossmember was fashioned to fit in the rear and a round spreader bas was added to the front end of the frame. In addition the front cross member where the front spring sits in was deepened and the top leaf from the spring was removed to lower the front end somewhat for that typical hot rod attitude. Having gotten rid of the fenders and the fuel tank in the rear left a sharp ridge to the coupe’s body below the trunk. To improve the look I fashioned a small rolled pan to complete the body lines at the rear. It was an easy modification using quarter round shapes across the rear and small sections at the ends to complete a smooth transition at the rear. More to follow, thanks for looking in! If you are anywhere near Vancouver Island in July, do drop by, and even better bring along a scale Deuce… Cheers Misha
-
The 2022 Cannonball Run Year of Birth Build Thread
Misha replied to disconovaman's topic in Community Builds
Thanks Joe, Laying out the precise location with masking tape certainly helped with the alignment consistency. I also forgot to mention that even the louvres had to be detailed to the extent of opening up the rear scoop. In the above photo the one on the right has been modified while the left one has a solid blank at the end of the louvre. Thanks for looking, cheers Misha -
The 2022 Cannonball Run Year of Birth Build Thread
Misha replied to disconovaman's topic in Community Builds
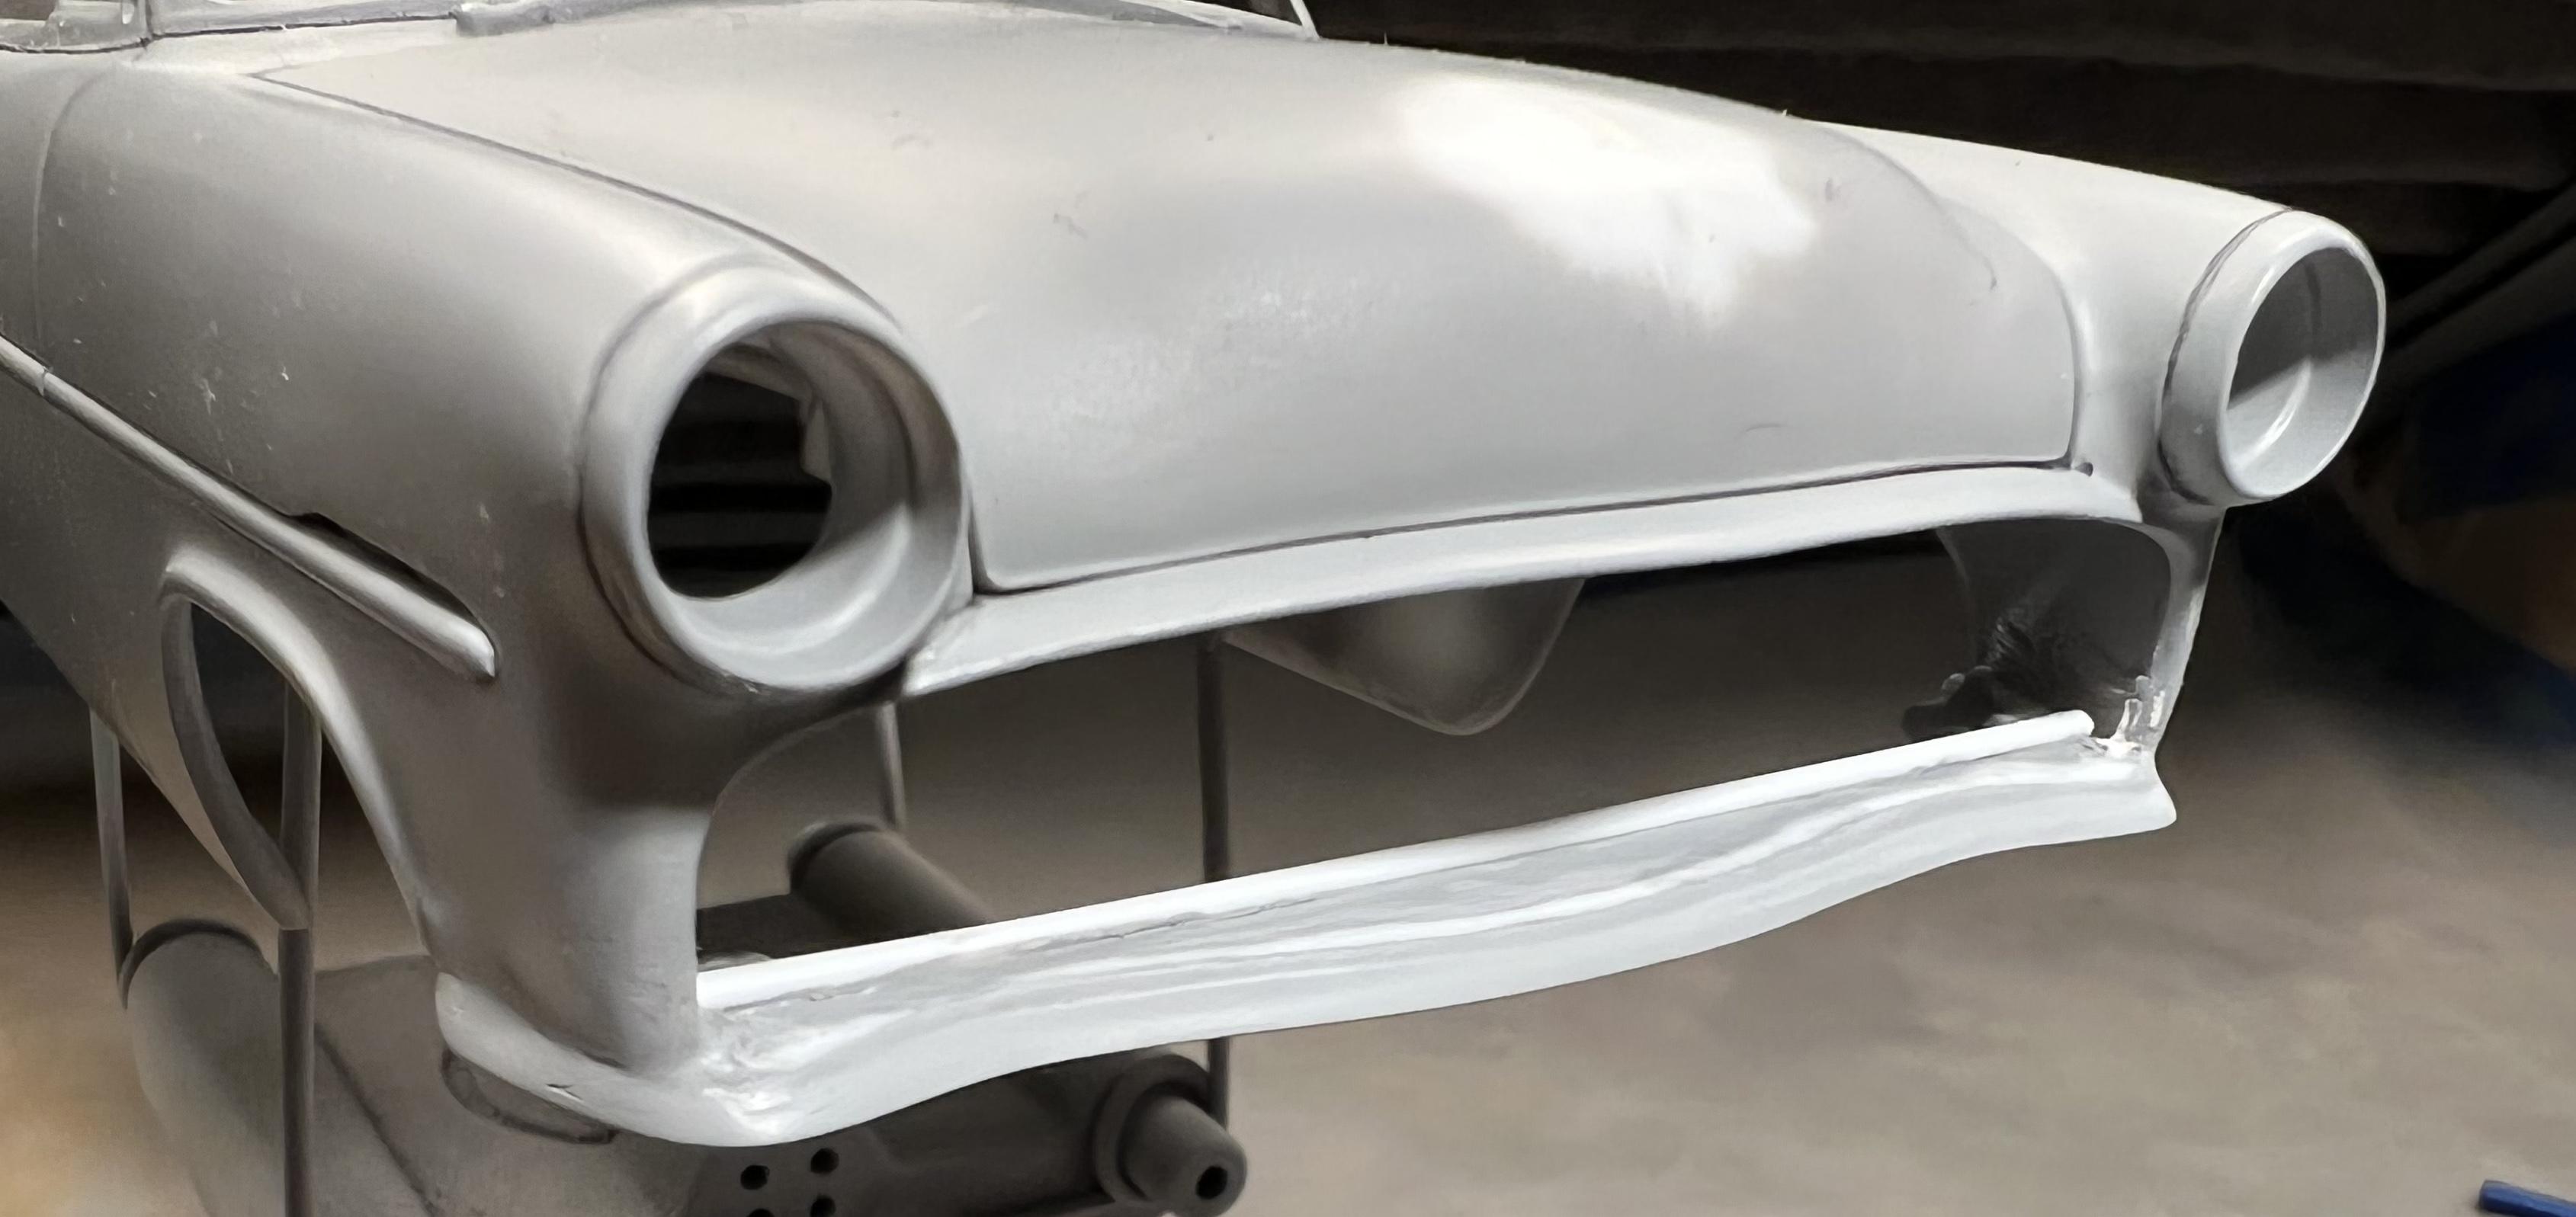
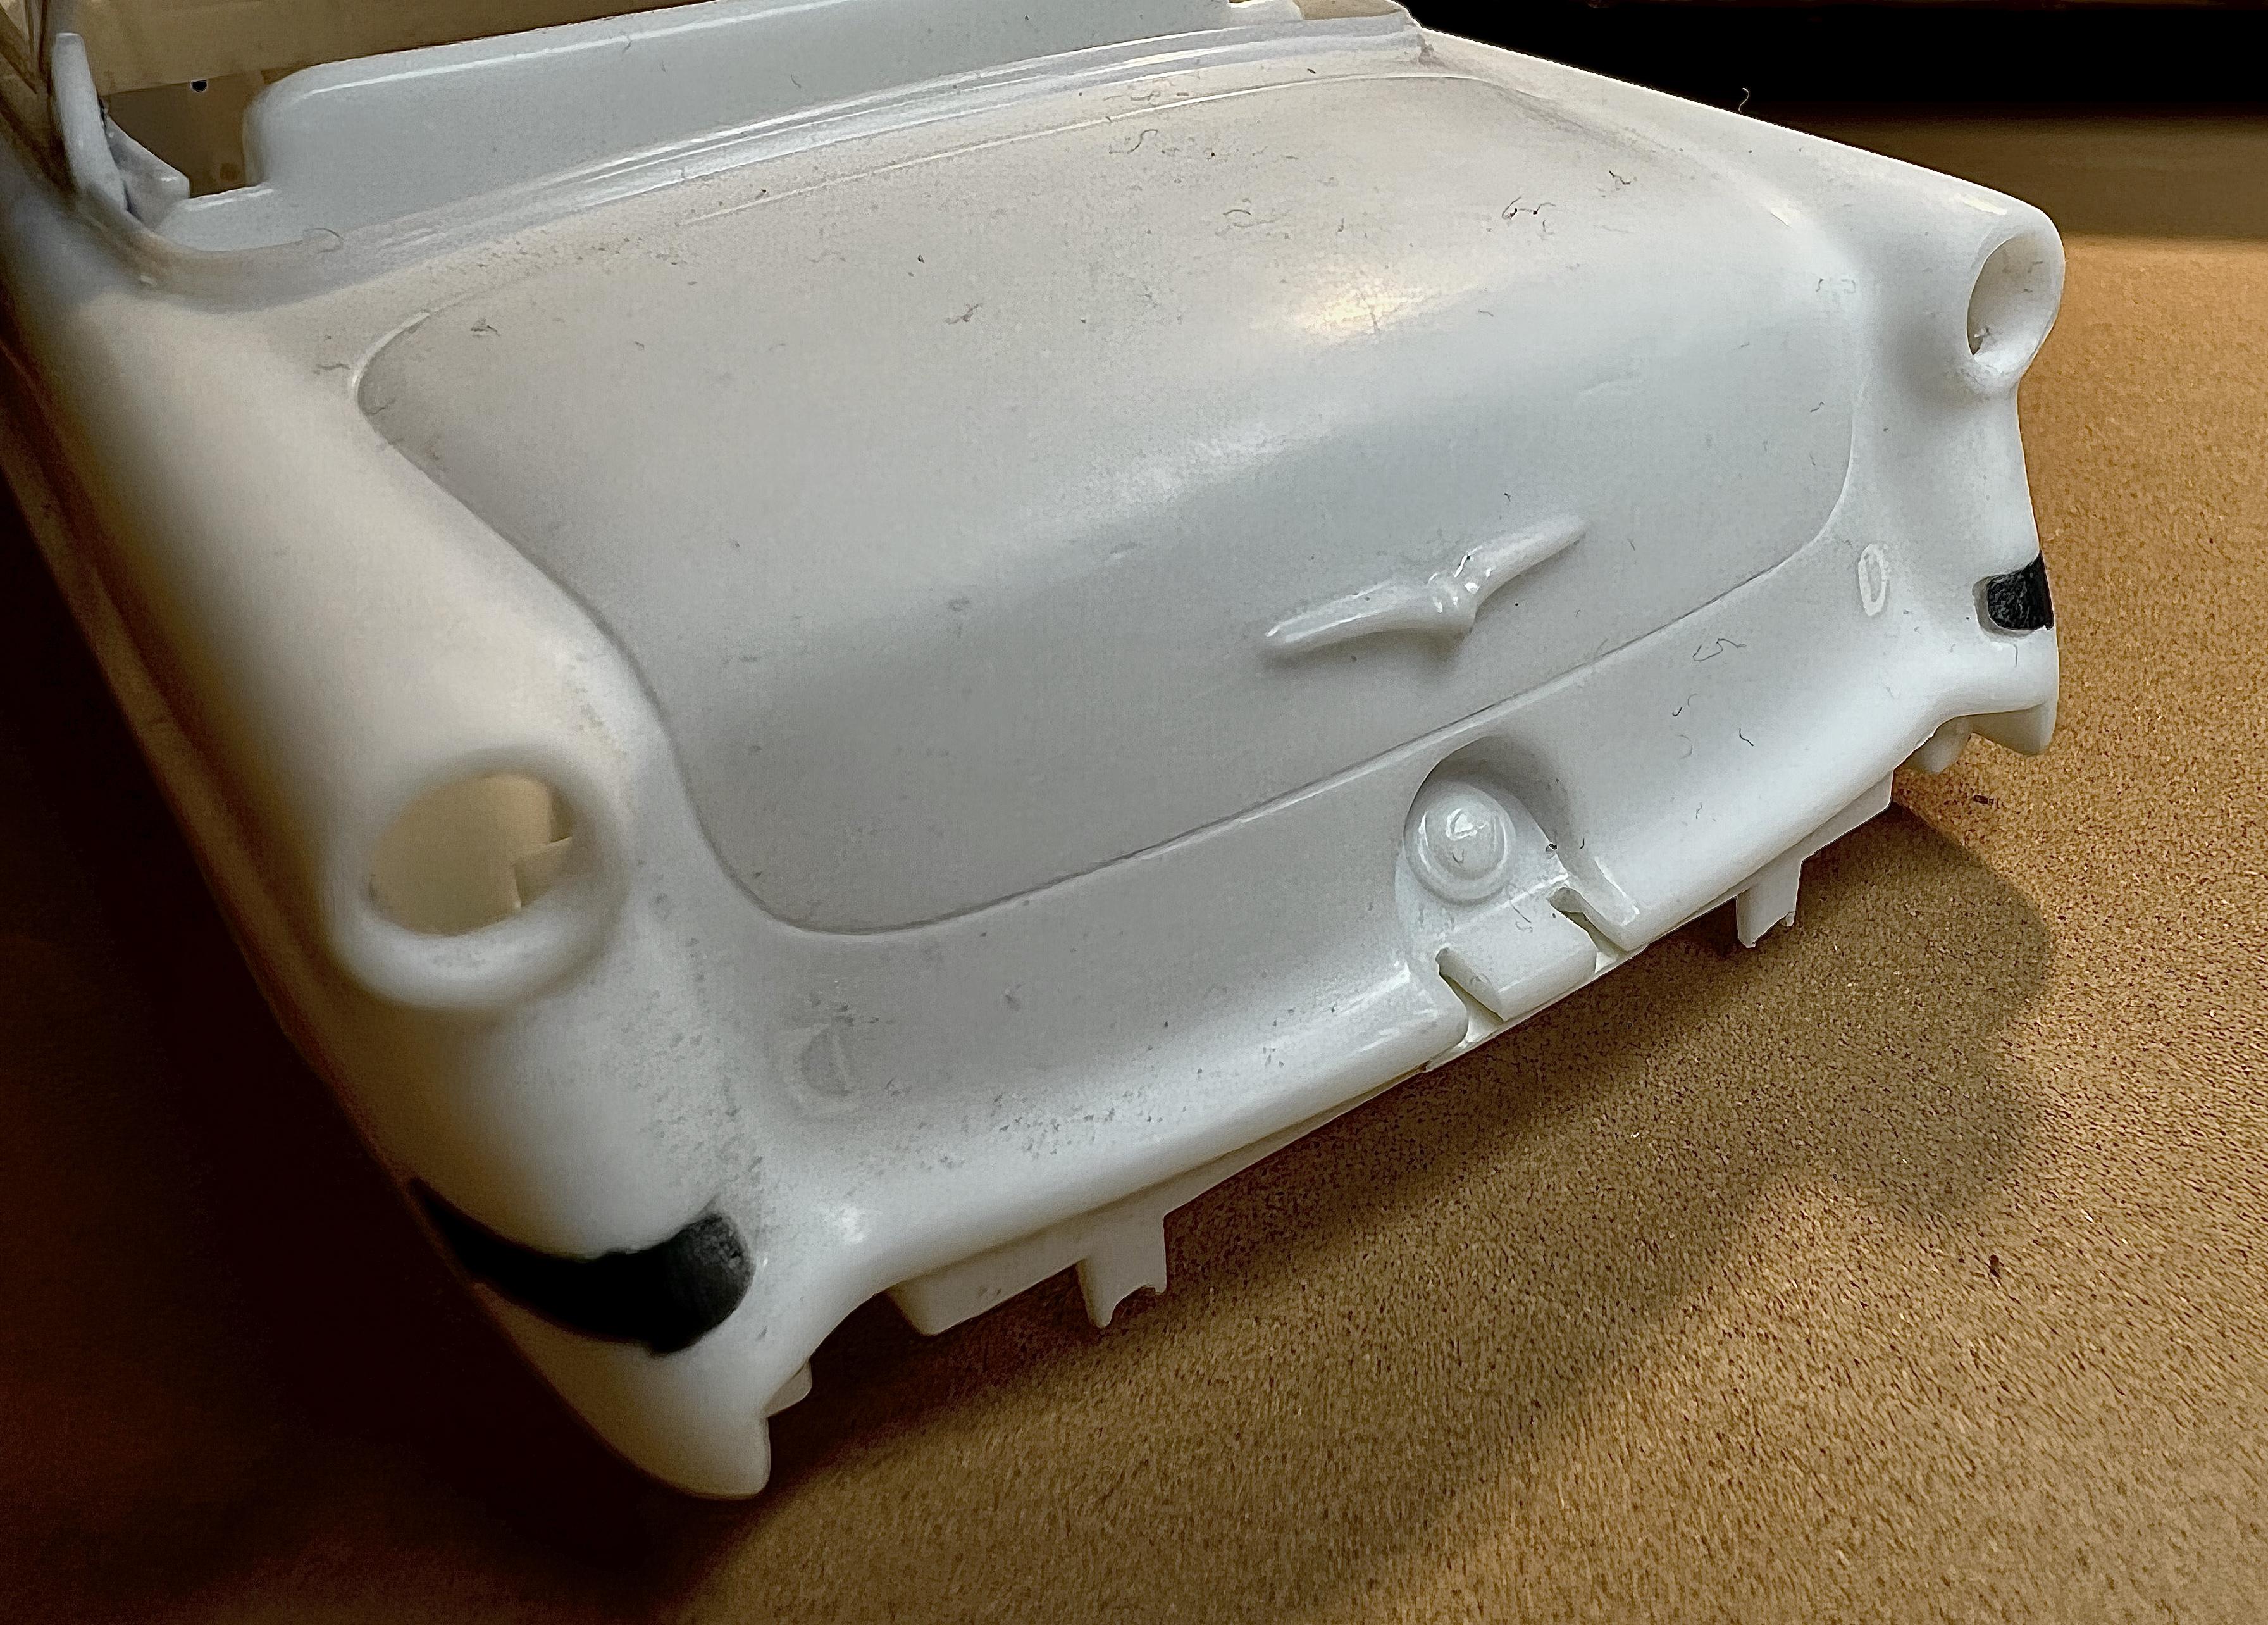
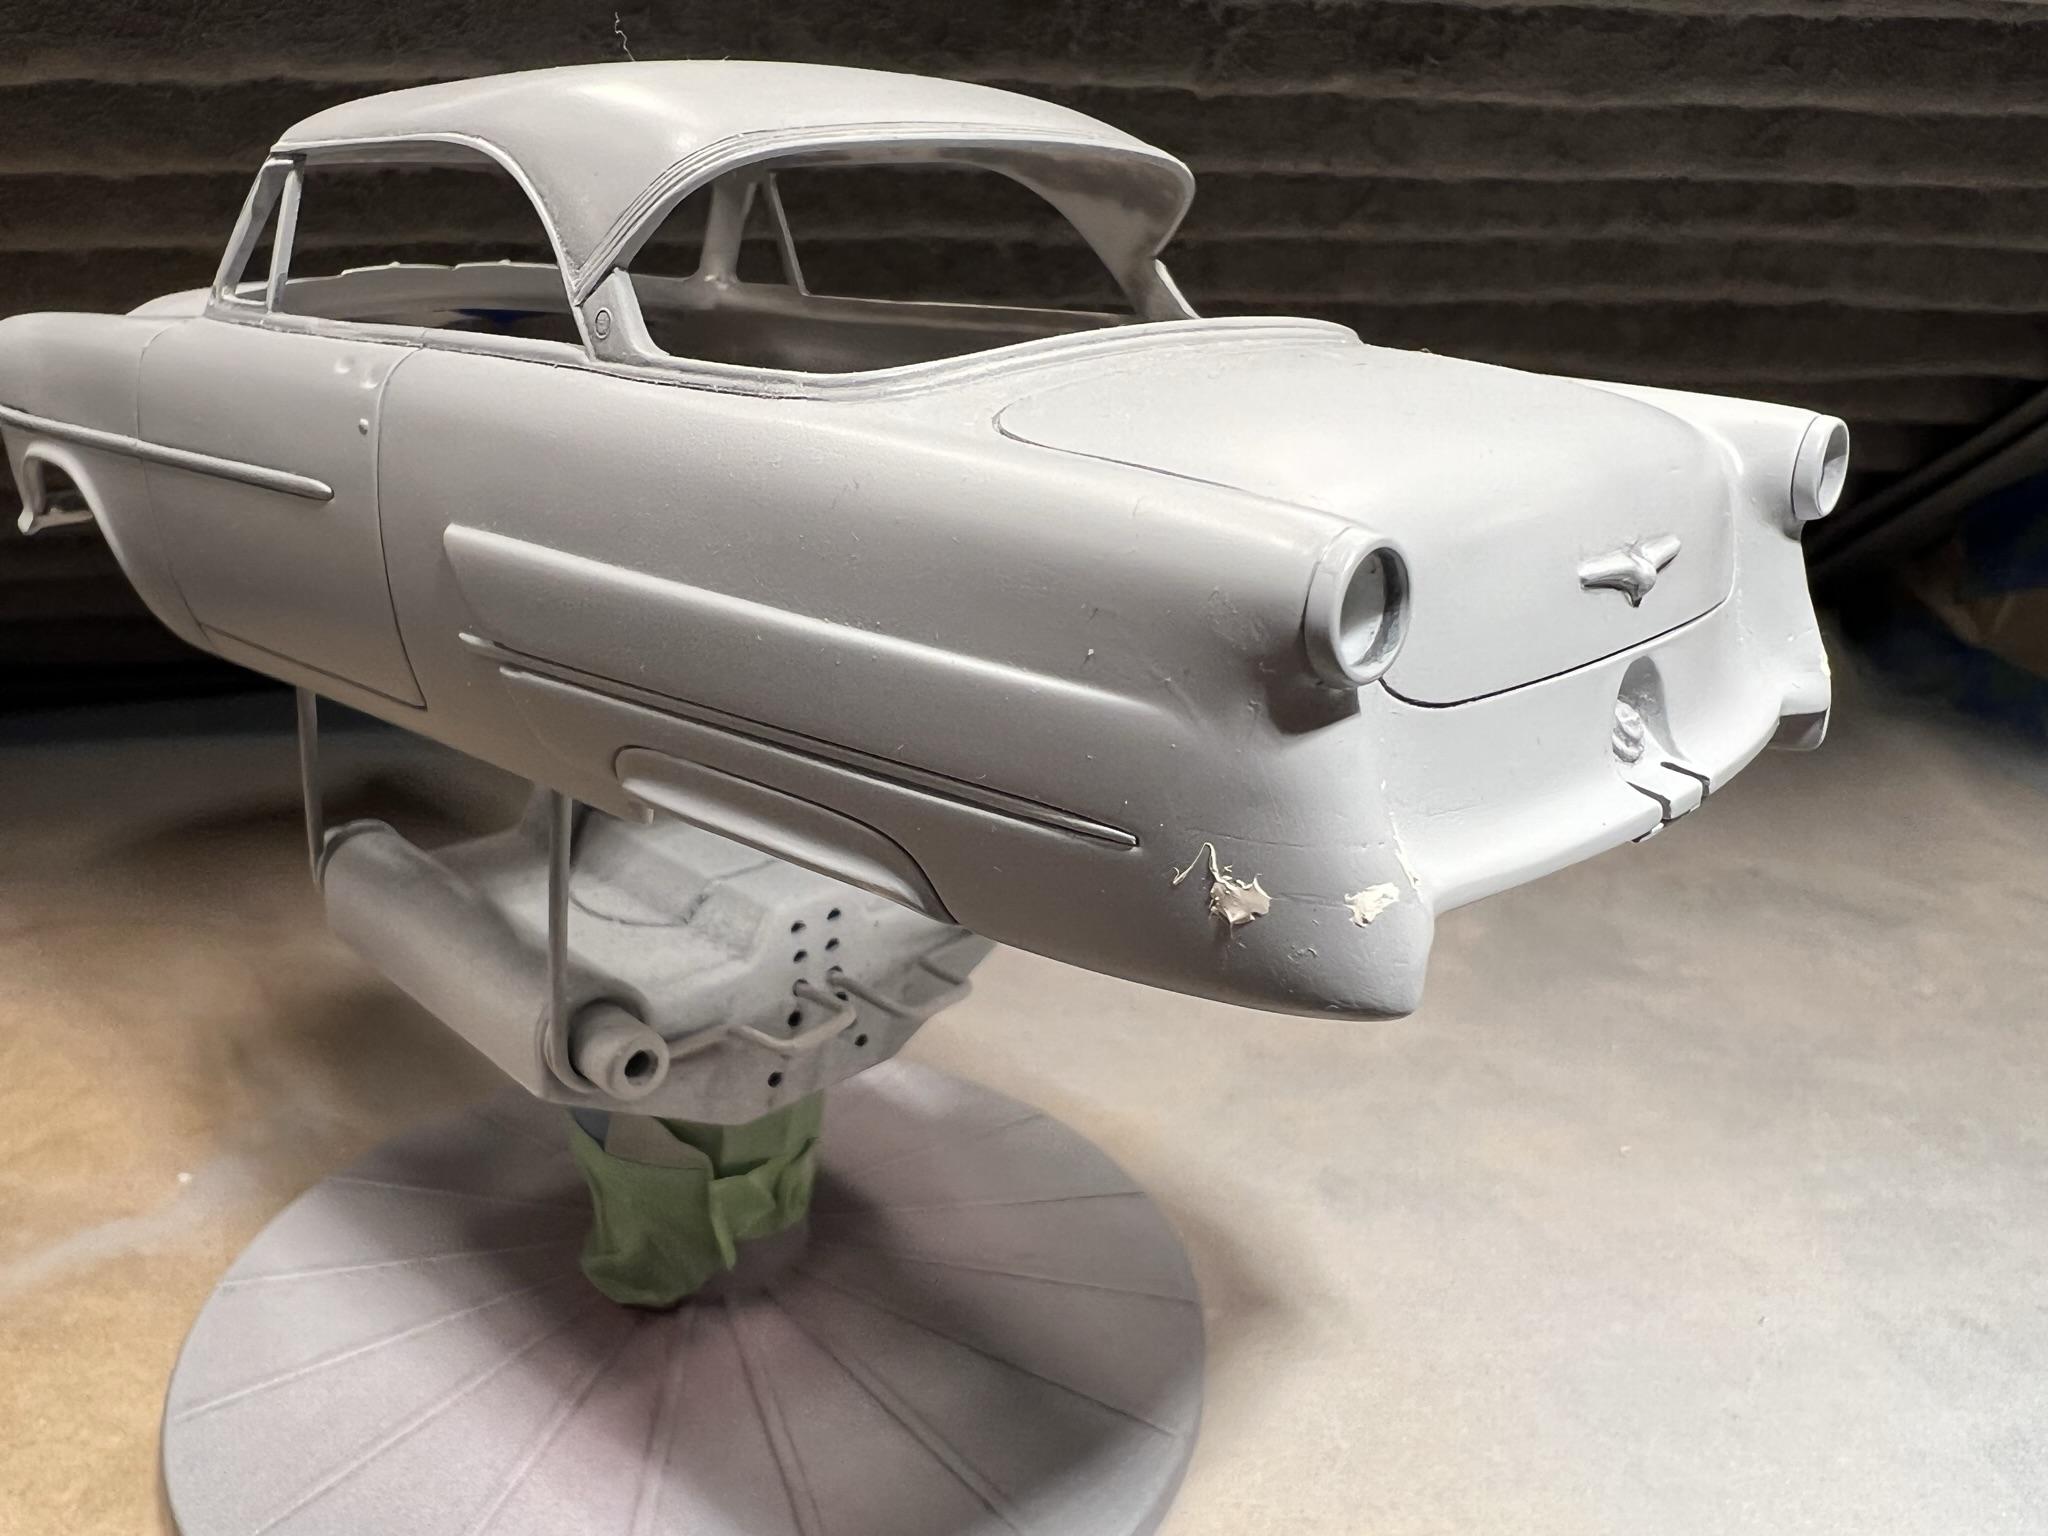
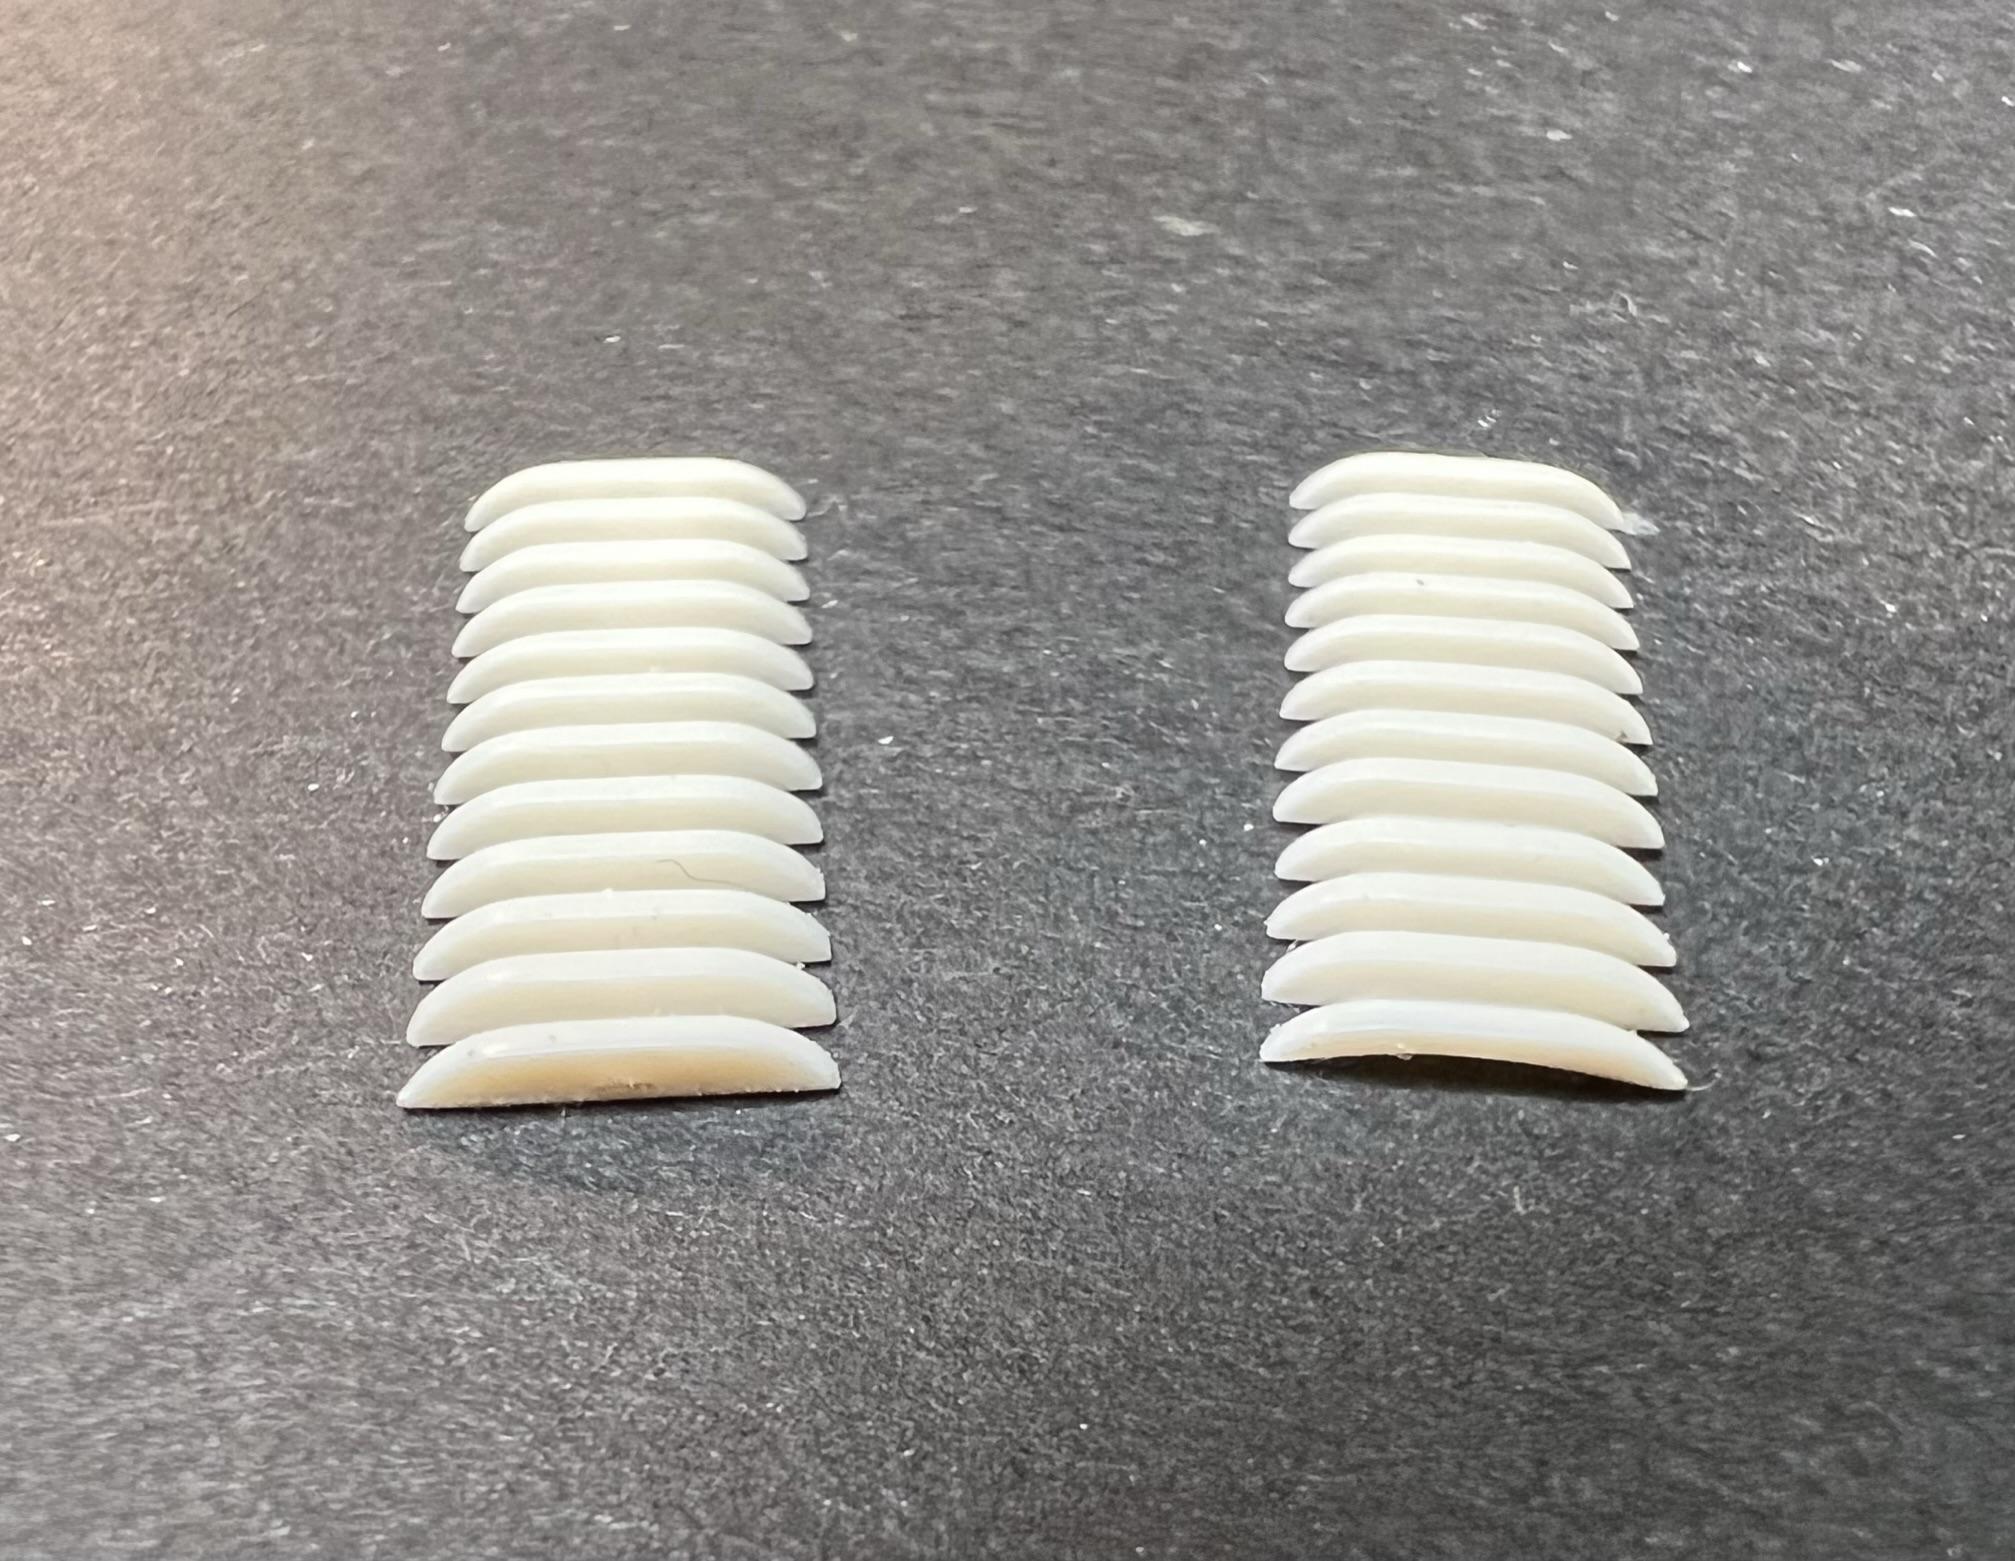
Been awhile since the last update on the 53 Vicky, while this build remains one of the current top three WIP the Deuce Days 5 Window has occupied the majority of workbench time. Been working on the body modifications to smooth out some lines. The rear has had its backup lights removed by filling in the half moon openings and the tail light trim has been dechromed and will be body coloured, blending in with the fender line. In the front the body to bumper panel extension has been shortened in depth to move it closer to the grill. The opening seemed quite gapping to my eye, so the addition of a strip going across the bottom seemed to help the overall look, a small subtle change that yielded a better appearance. Looking at the broad expanse of the hood it seemed to want some type of additional detail to breakup it up. Recalling that the 62 JoHan Plymouth in the stash had a set of nicely done louvres as a custom option I dug them out and added them to the hood. (Wish the modern kits would come out with such bits.) In my search for a more modern interior I returned to the 2011 Boss 302 kit from which I’m using the engine for the Vicky which has a separate rear seat in addition to the buckets and console up front. Getting out the razor saws I have been able to fit the back seat into the interior tub. So far, so good! Cheers Misha
-
Very well executed Ville, it was a neat idea to lift up the Porsche! Overall I find the colour to be an interesting choice and very well suited to the vehicle. Was the colour matte and then gloss coated? Your build gives me all sorts of ideas, cheers Misha.
-
What a gorgeous auto! It’s great to see more of your work Steve, done in the top notch style. I was working in a carwash as a teen back in 67 towelling off the cars when a new Pontiac came thru, what a sensation wiping down that flowing body. Hope to see more of your work soon, cheers Misha
-
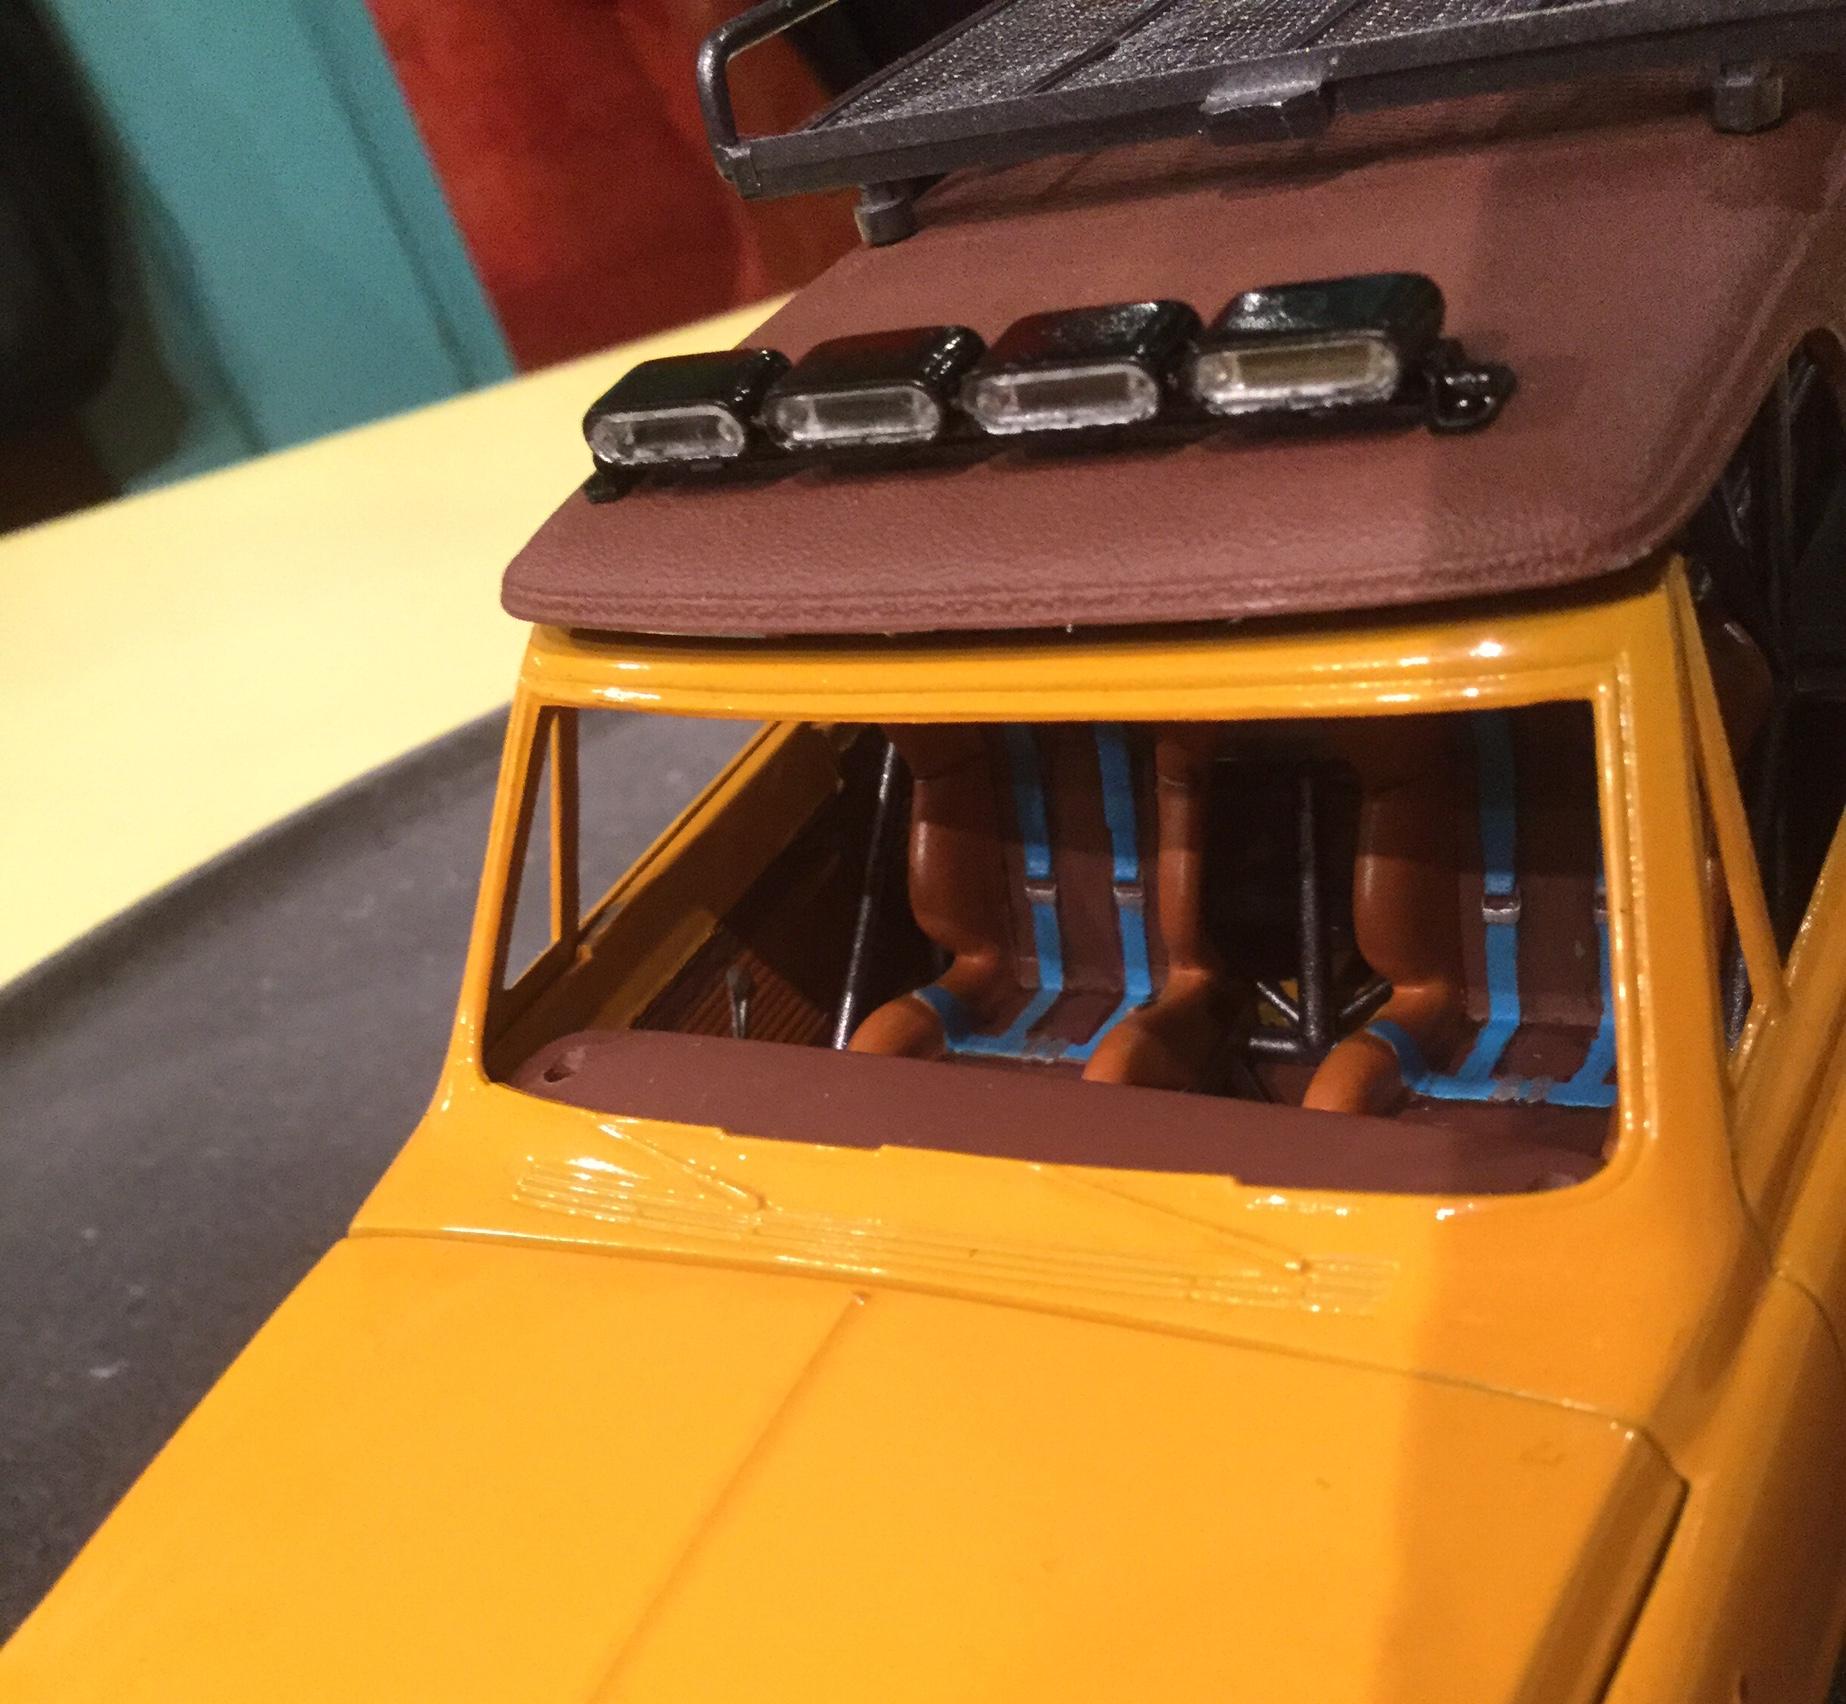
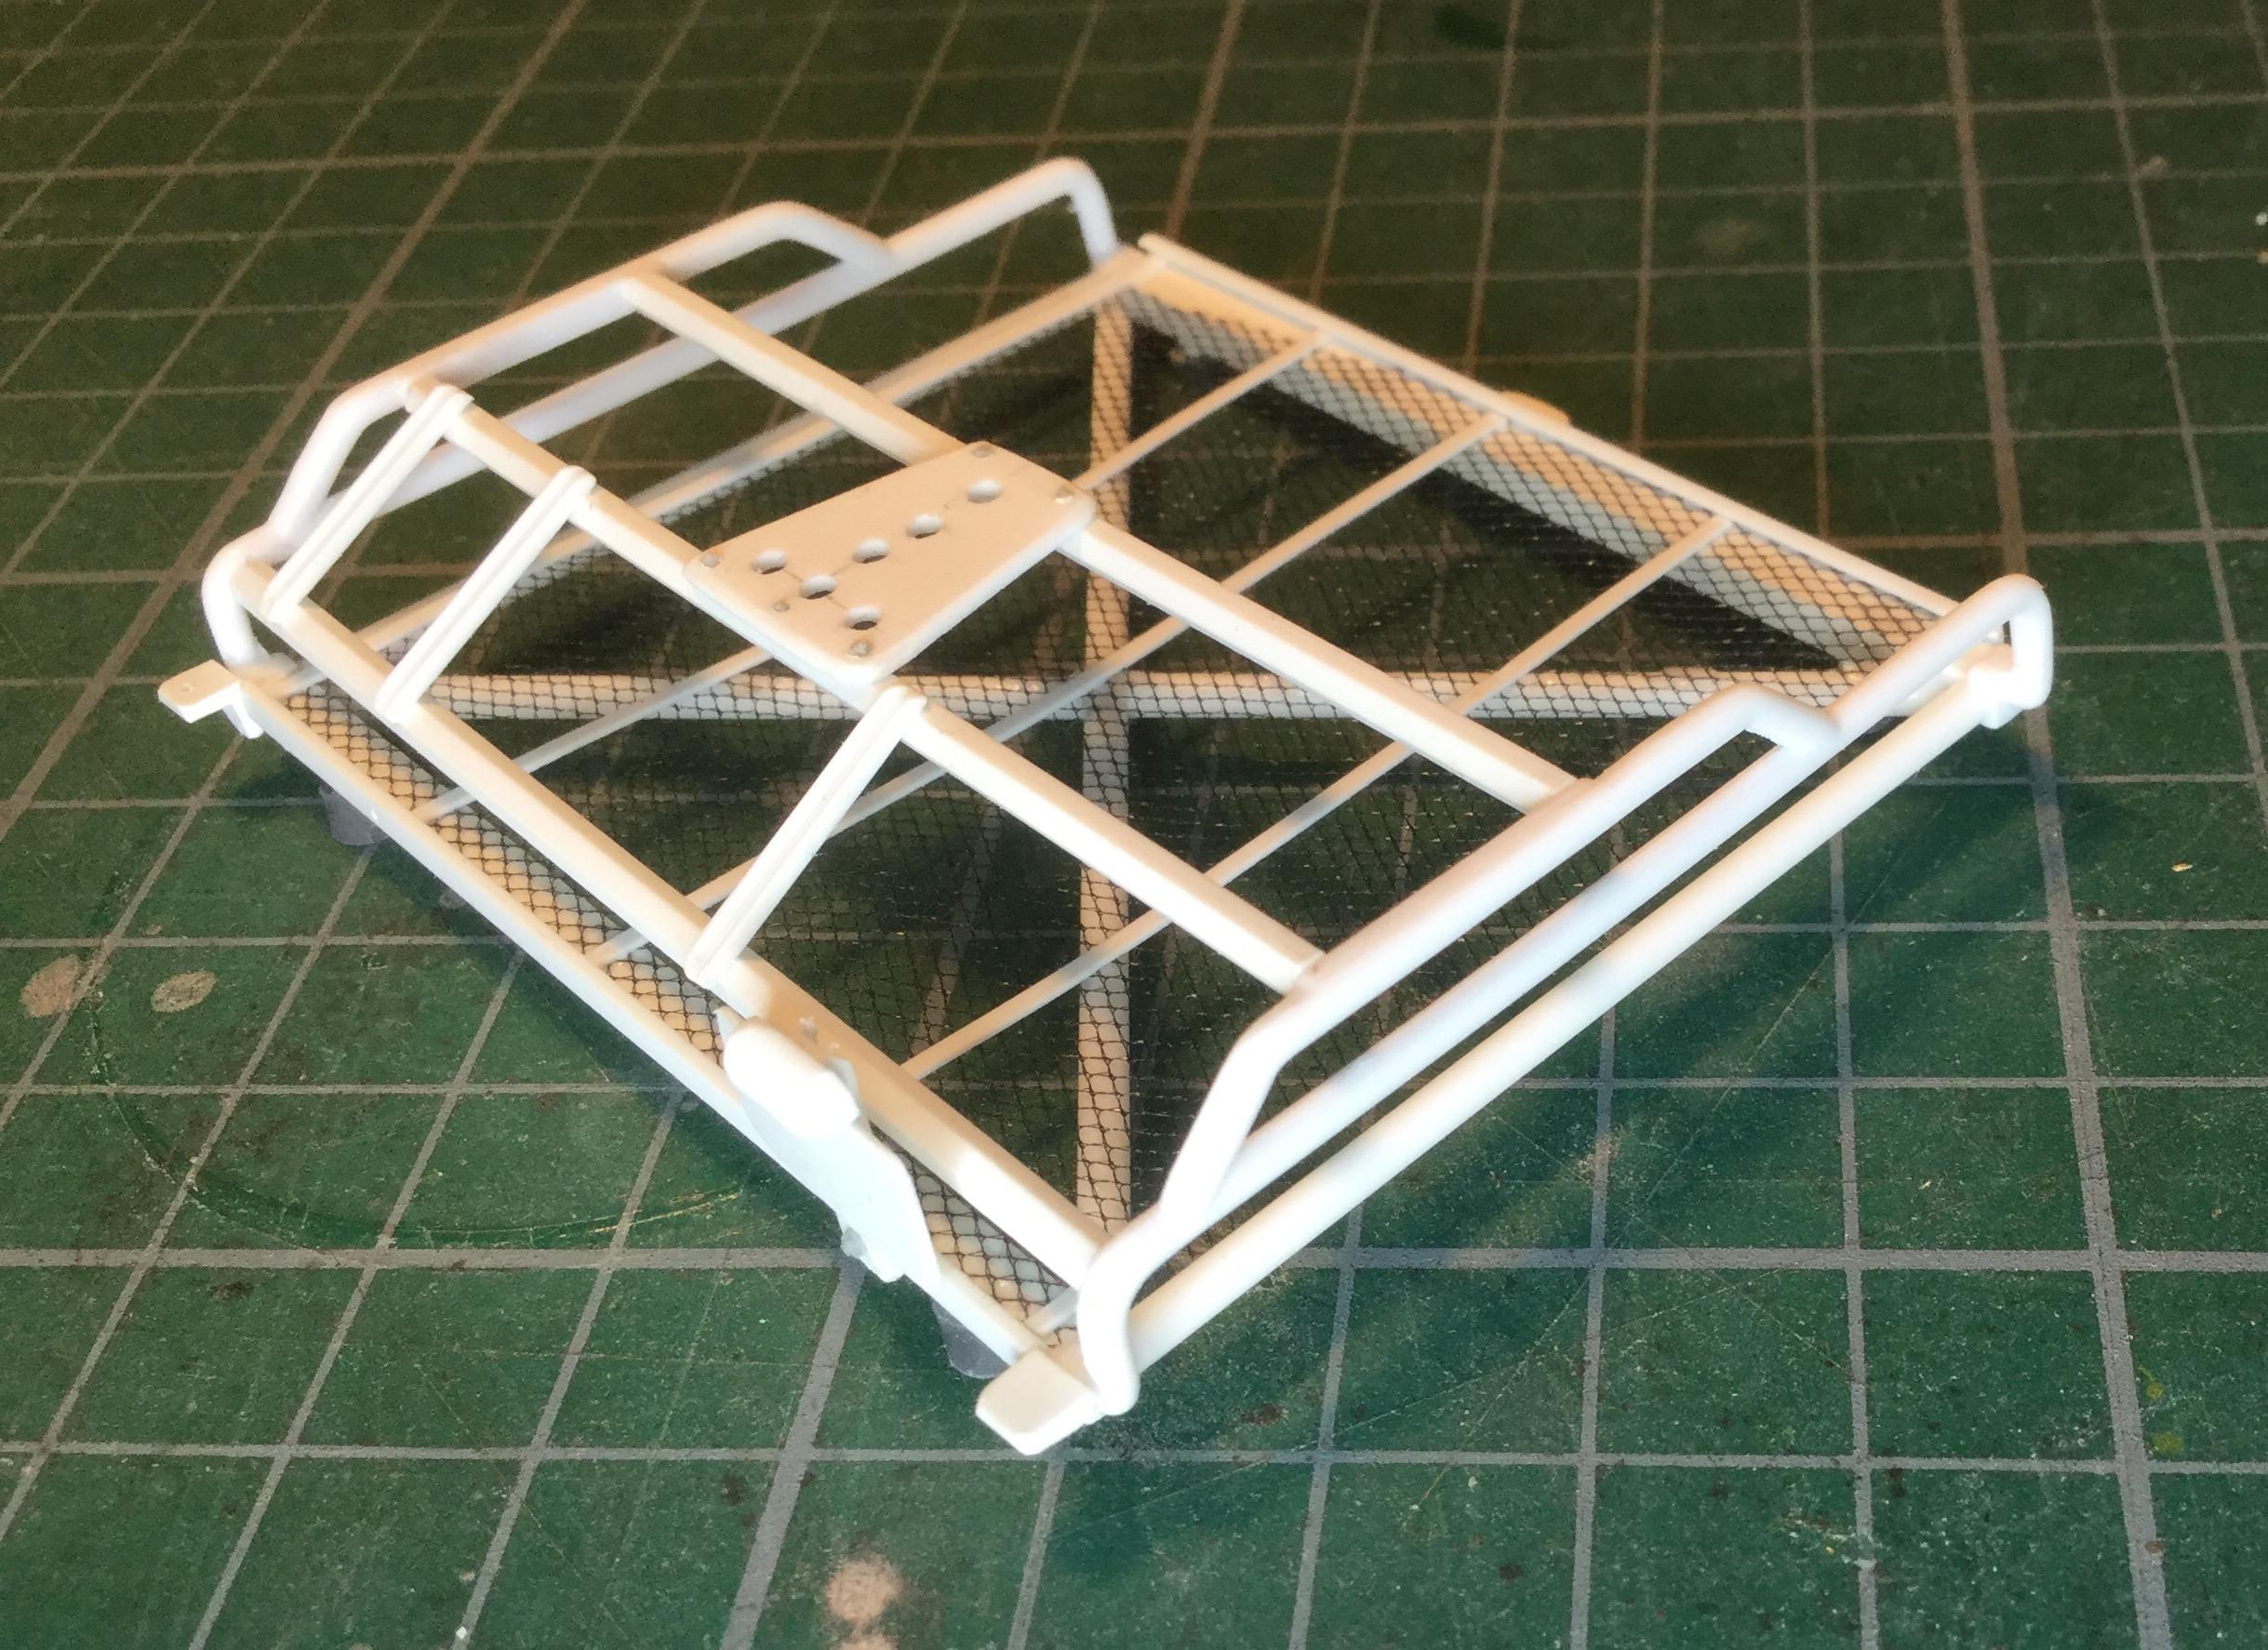
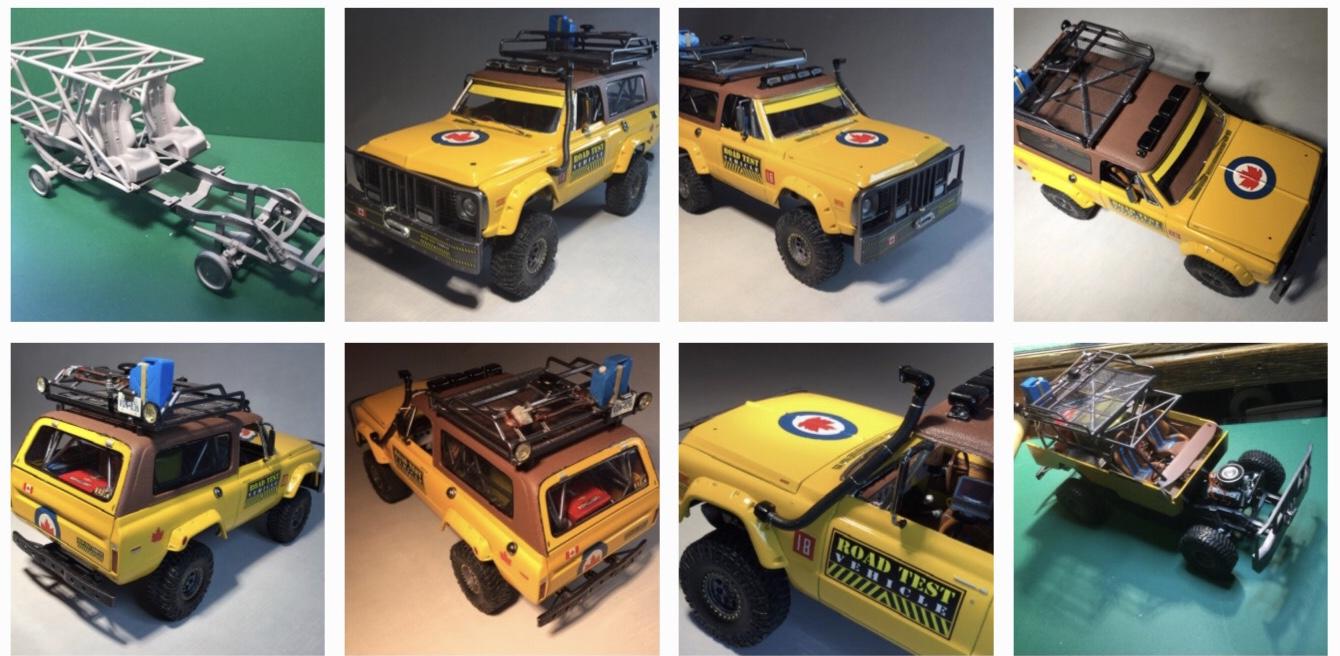
Hi Steve and Mark, I used the Revell Wrangler Rubicon kit for a number of parts that I modified. The light bar from the kit fits onto the rollbar, yet for my use on the rooftop I built brackets out of angle iron Evergreen rod and Grandt Line bolts. The Rubicon’s rock rails formed the basis for the scratchbuilt roof rack that would bolts to the roll cage. They were used to build the sides. The fender flares were flipped front to back and modified to fit the Blazer. The Westcoast mirrors were used straight from the AMT 53 Ford pickup with no mods. Thanks guys for the interest and questions, cheers Misha
-
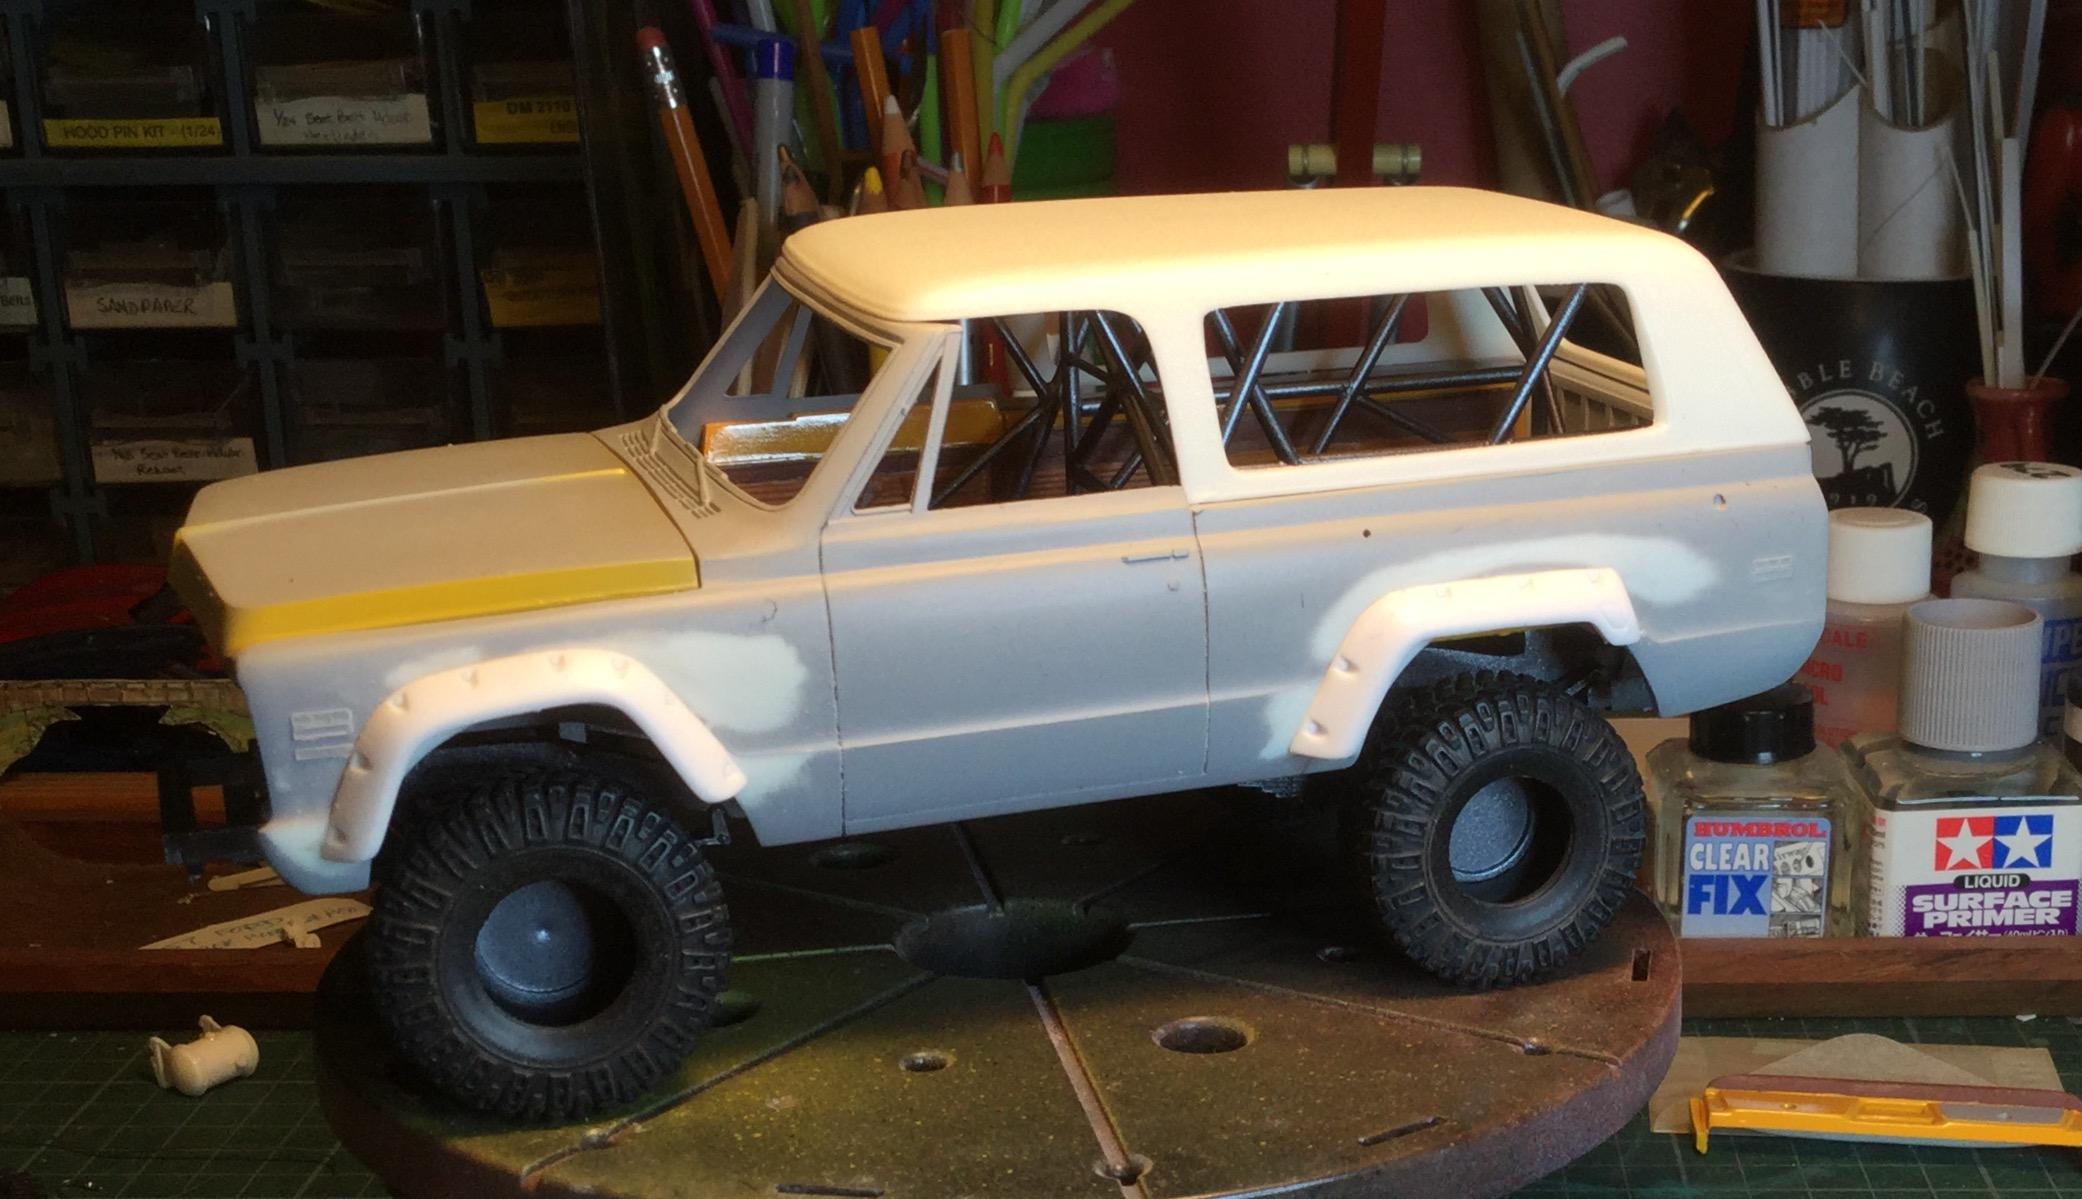
Hi Steve, I’m quite interested in your new build, a bit of a change from the usual low ones to mile high! I built one a few years ago for the Aussieball run of the CannonBall that involved a lot of scratchbuilding. The main change was to convert to right hand drive and building a skookum rollcage, along with the gear for a trek across the Outback. During the run the Blazer managed to tie for first and later score a third place at the DSC! I have another kit in the stash which I wanting to build low rider style, a switheroo from your plans ?. I’ll be following your build closely, Cheers Misha
-
Best in-scale Hilborn style FI setup for SBC
Misha replied to Mr. Metallic's topic in Model Building Questions and Answers
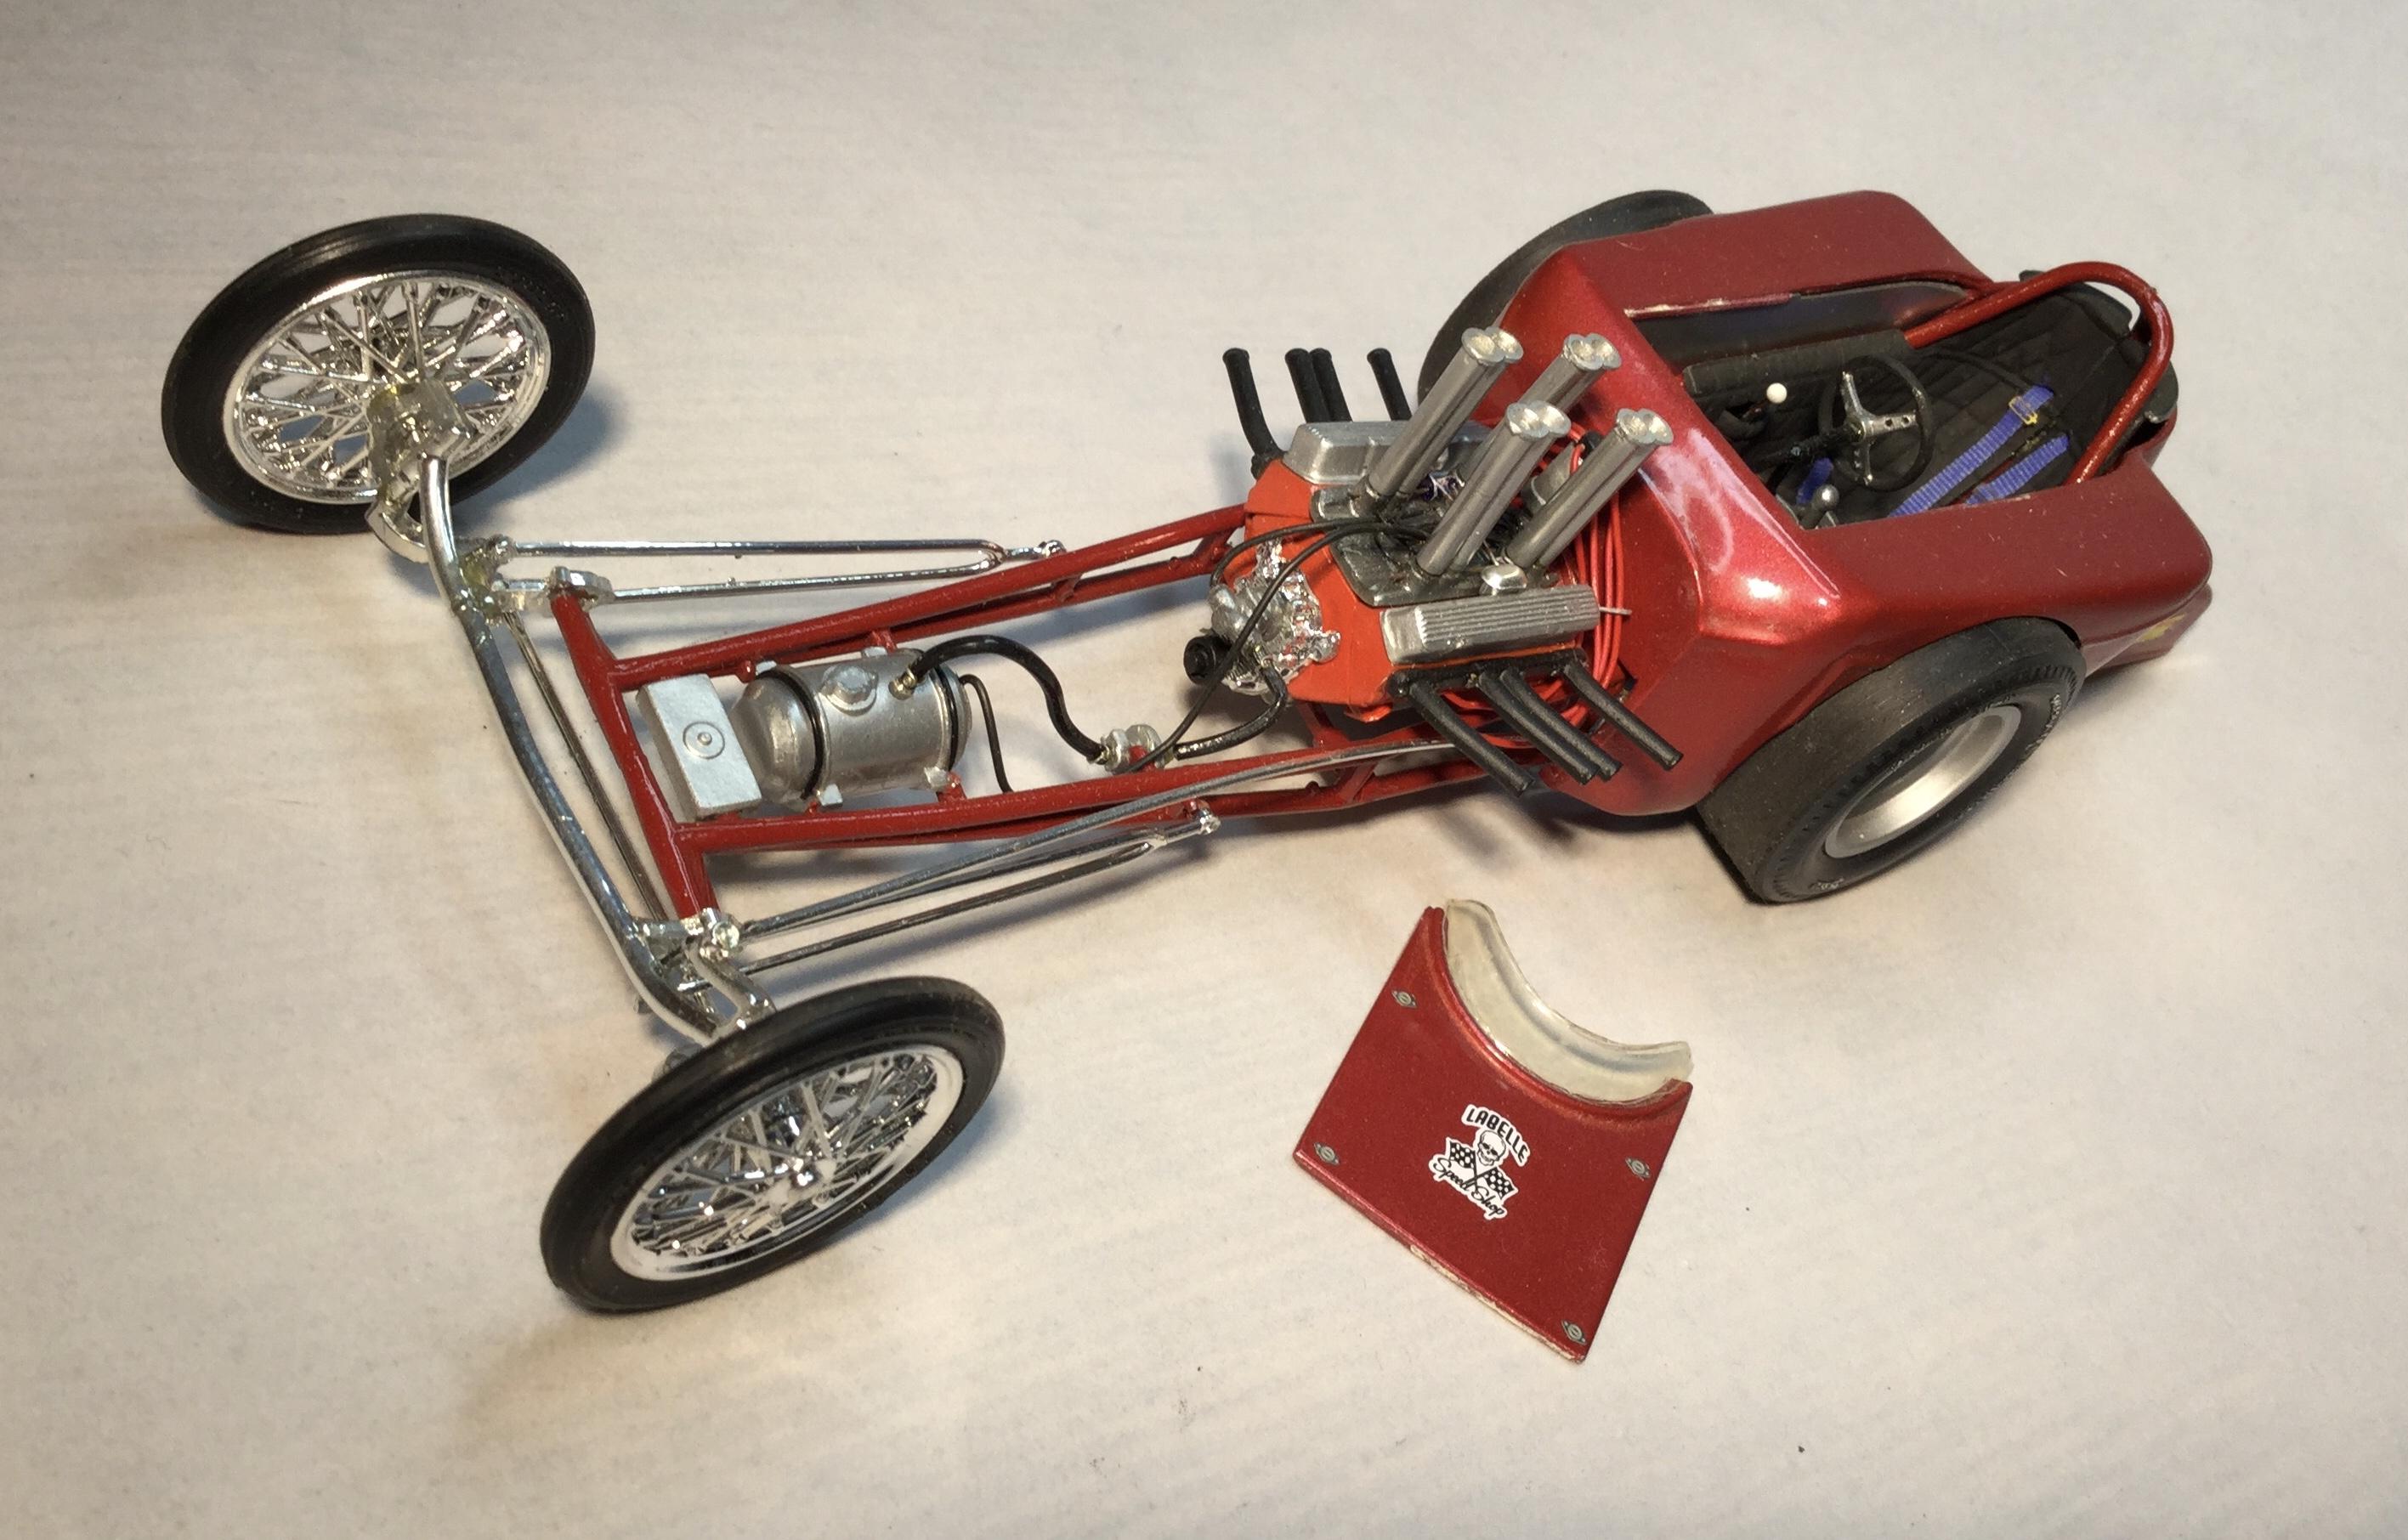
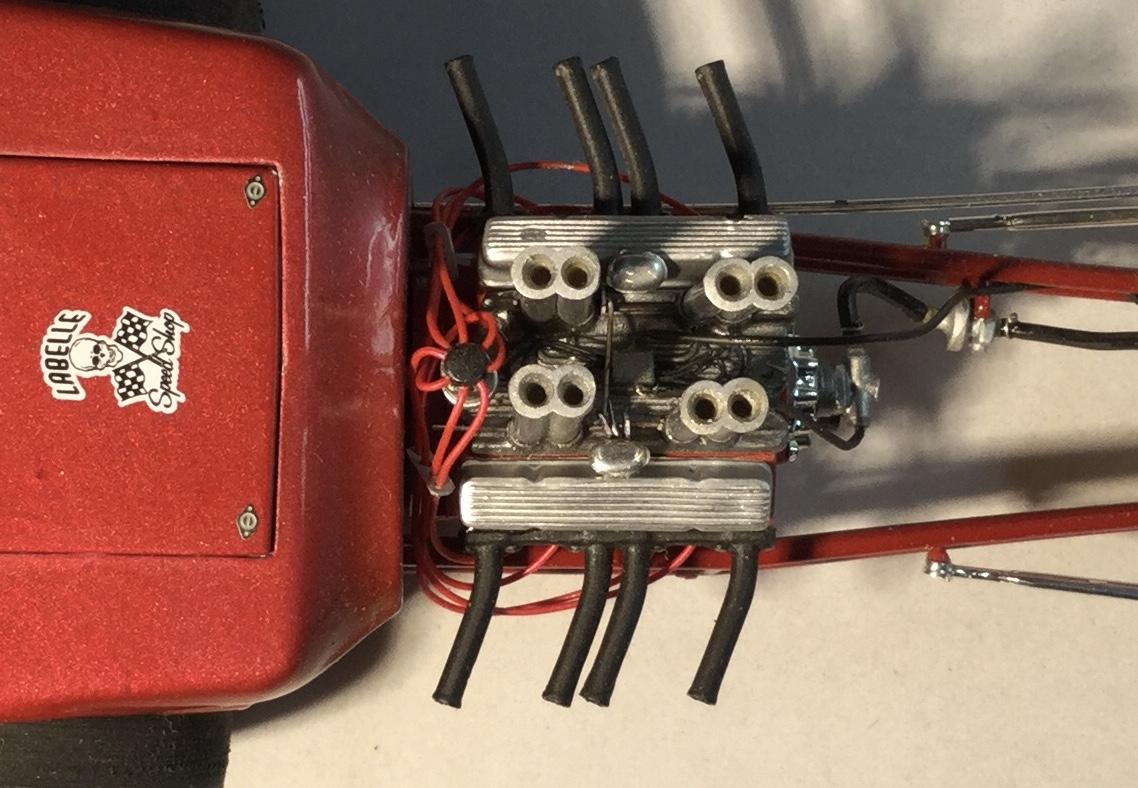
Here is an example of the AMT 55 Nomad SBC with the kit injectors installed in the Tony Nancy rail. This was built a few years ago along with a 55 Chevy PU as push vehicle for the La Belle Speed Shop from the early sixties. Cheers Misha
-
Great looking custom Gary, quite the transformation! In agreement with all the comments above. The grill appears to be from the 59 El Camino kit as the custom Mercury replacement. Cheers Misha
-
Great job on the ragtop David, especially your colour choices for the body and interior. The interior is beautifully executed, a real bonus for a top down car. Fabulous ride overall, I would certainly enjoy cruising in your Chevy. Cheers Misha