bill-e-boy
-
Posts
889 -
Joined
-
Last visited
Content Type
Profiles
Forums
Events
Gallery
Everything posted by bill-e-boy
-
Hi Don, Me - I am a Kiwi - and although spring has arrived the temps are still a bit wintery a bit like Tassie. Oh, for some nice weather like you have this time of year A polishing kit has either sanding cloths or sponges with grit grades from 2000 to 12000g. Or there abouts anyway - mine is 2400 to 1200g. The kit usually will also have some polishing compound and a polishing rag to finish with. Mine is from Micro-Mark and is called "Micro-mesh Polishing Kit". I think Temu may have something similar. And like I said earlier leave Tamiya for at least a week before touching it - even after a spell in the dehydrator. And leave at least an overnight spell between sanding and polish. Tamiya paints take an age to harden but when they finally do you can get a jolly good shine with them And Stu, that 442 is stunning
-
The Tamiya gun metal is a nice colour. It is metallic so you can't colour sand/polish as it will come out patchy where you cut into the metal particles. Get some clear gloss on it - TS is good. Let it sit for at least a week preferably in a warm place - or use a food dehydrator if you have one - see posts in the tips section. When the clear has cured start with the polishing routine. If you have a polishing kit go through the grit grades up to the finest. Take care around sharp edges to prevent burn through. Then polish it - I use Megiurs Brazillian Carnuba wax then do the foil - whew The thing with Tamiya paints - they take time to harden and wont polish nicely until they are hard. A trick is to polish with the coarsest grade then let it cure at least overnight before using the next grit up If you do not have a polishing kit - mine is 2400-12000 grit - use some 2000g wet and dry sand paper cut into smal squares. Use it wet. To get a finer grit rub two pieces of 2000g together to dull it down some for the second cut. Then use some polish with some cut in it and finish off with the Carnuba. It is what we did before the advent of polishing kits Good luck
-
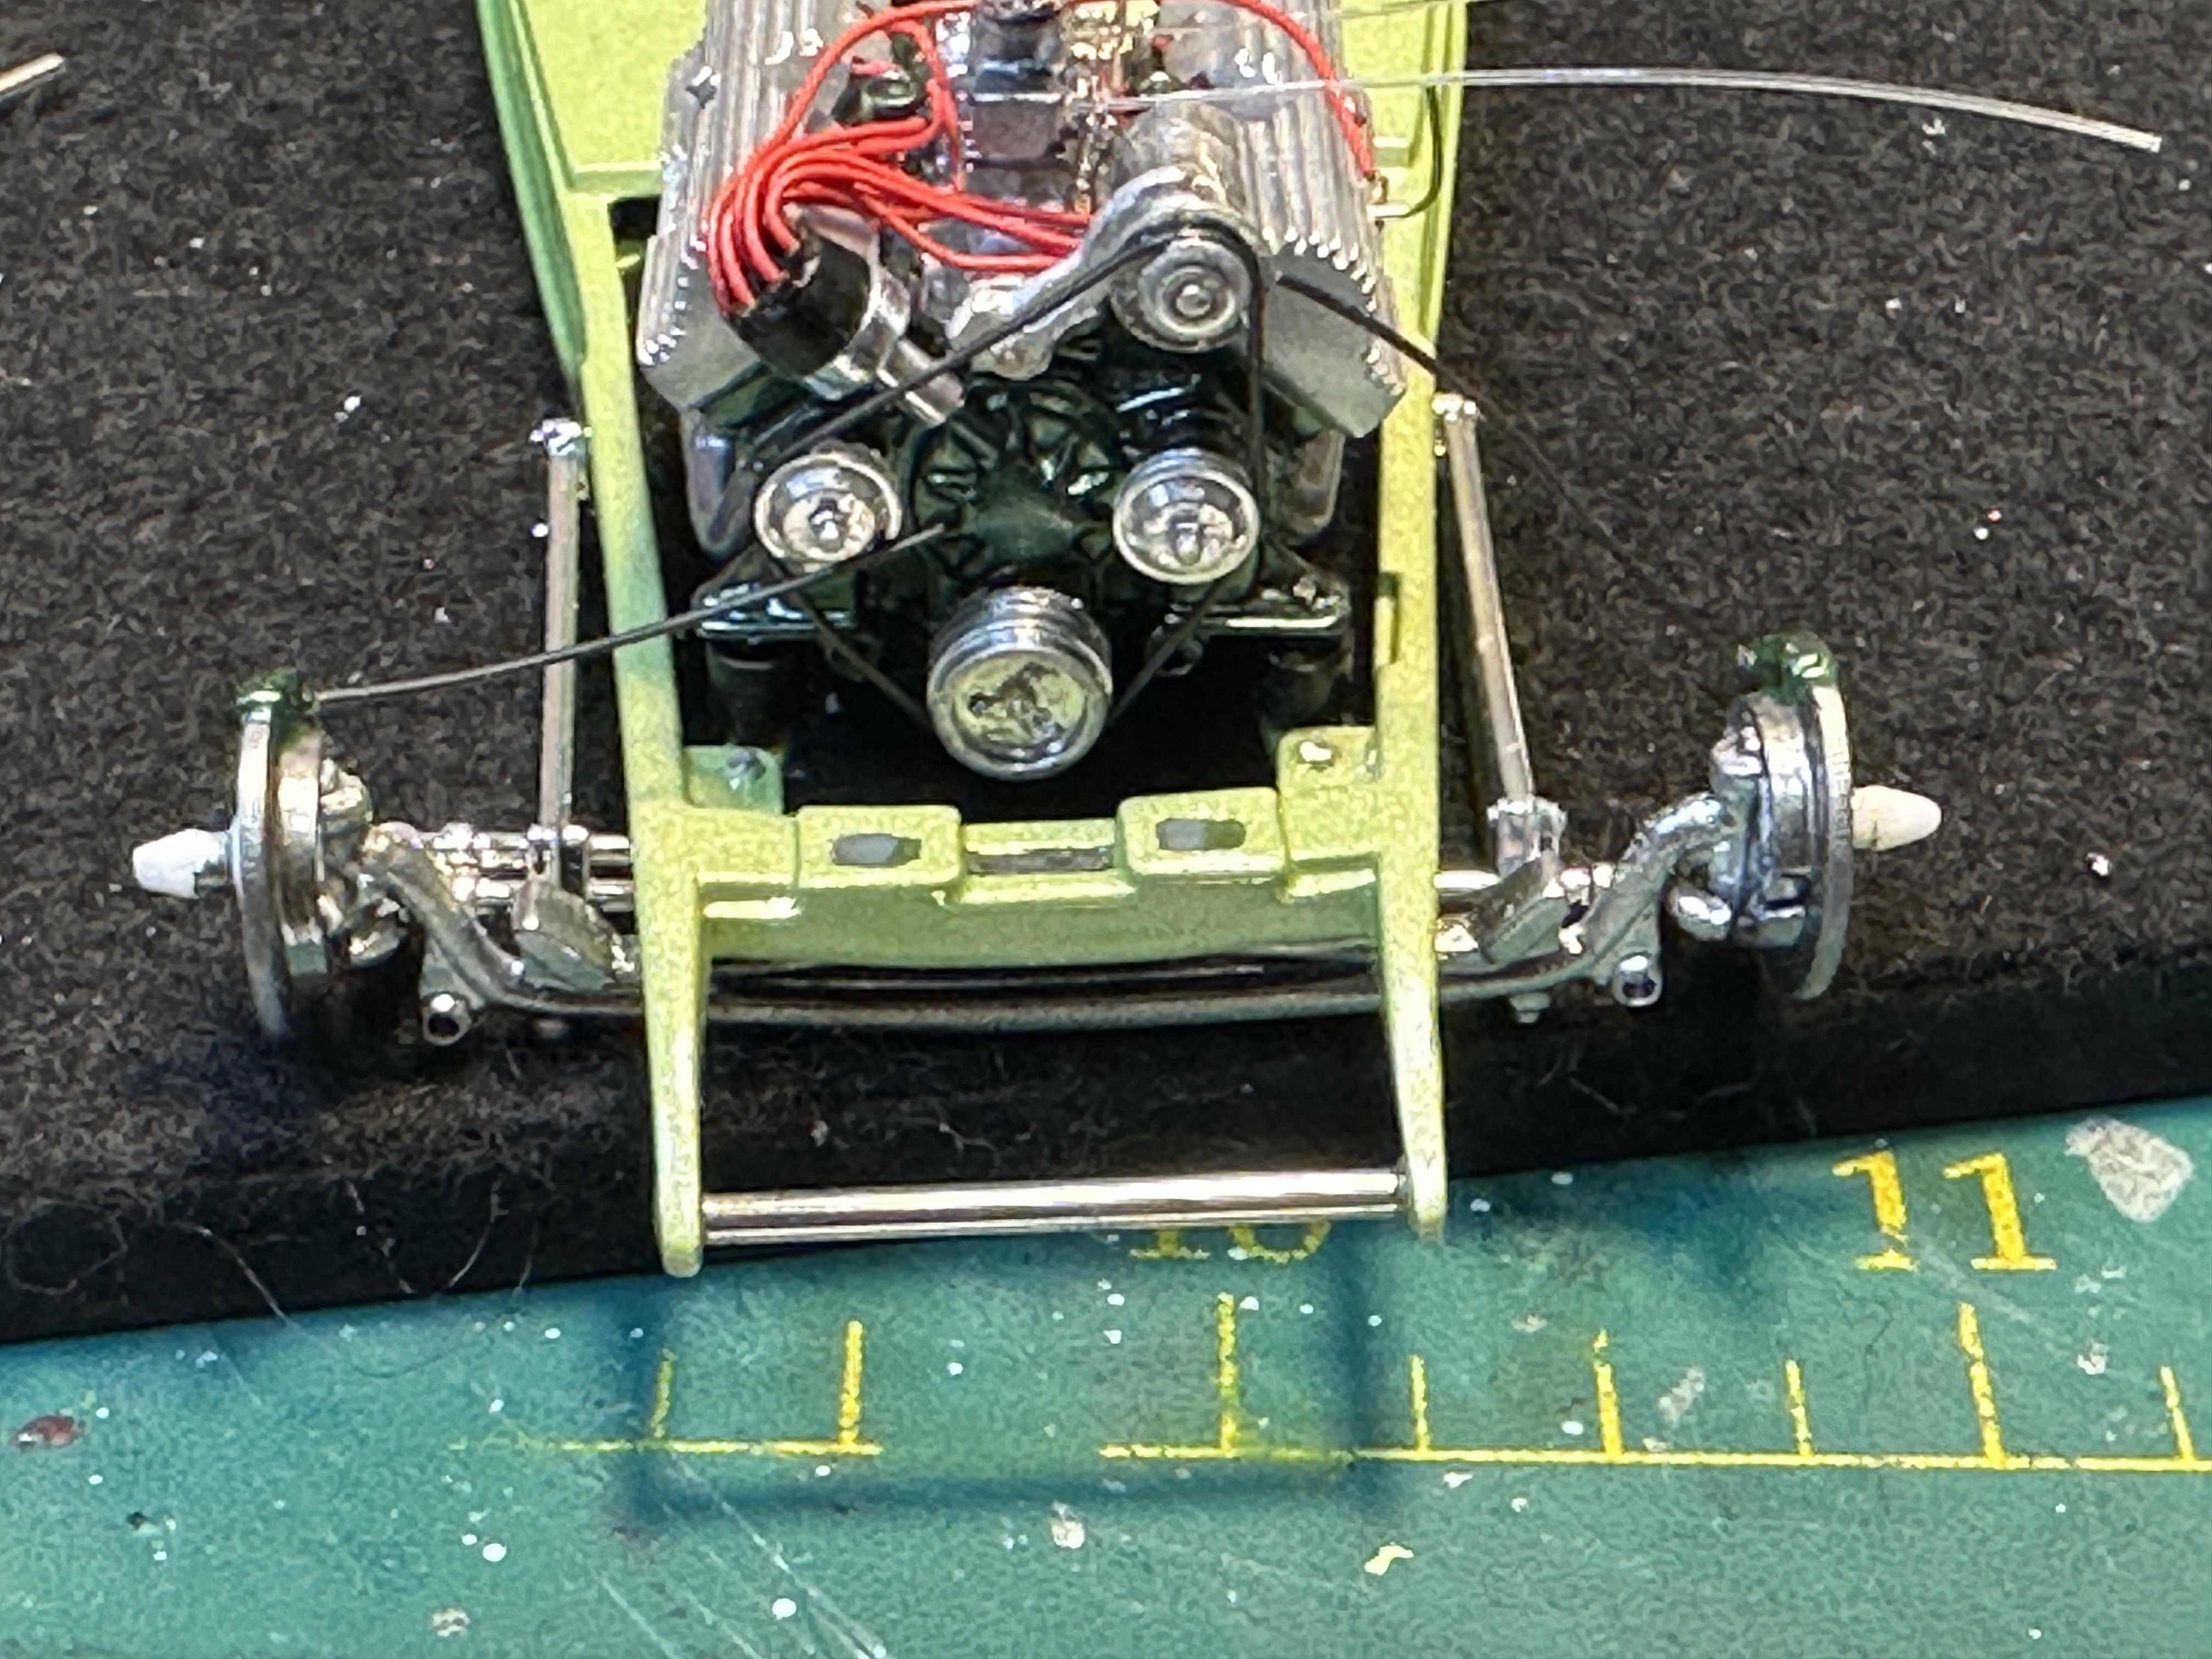
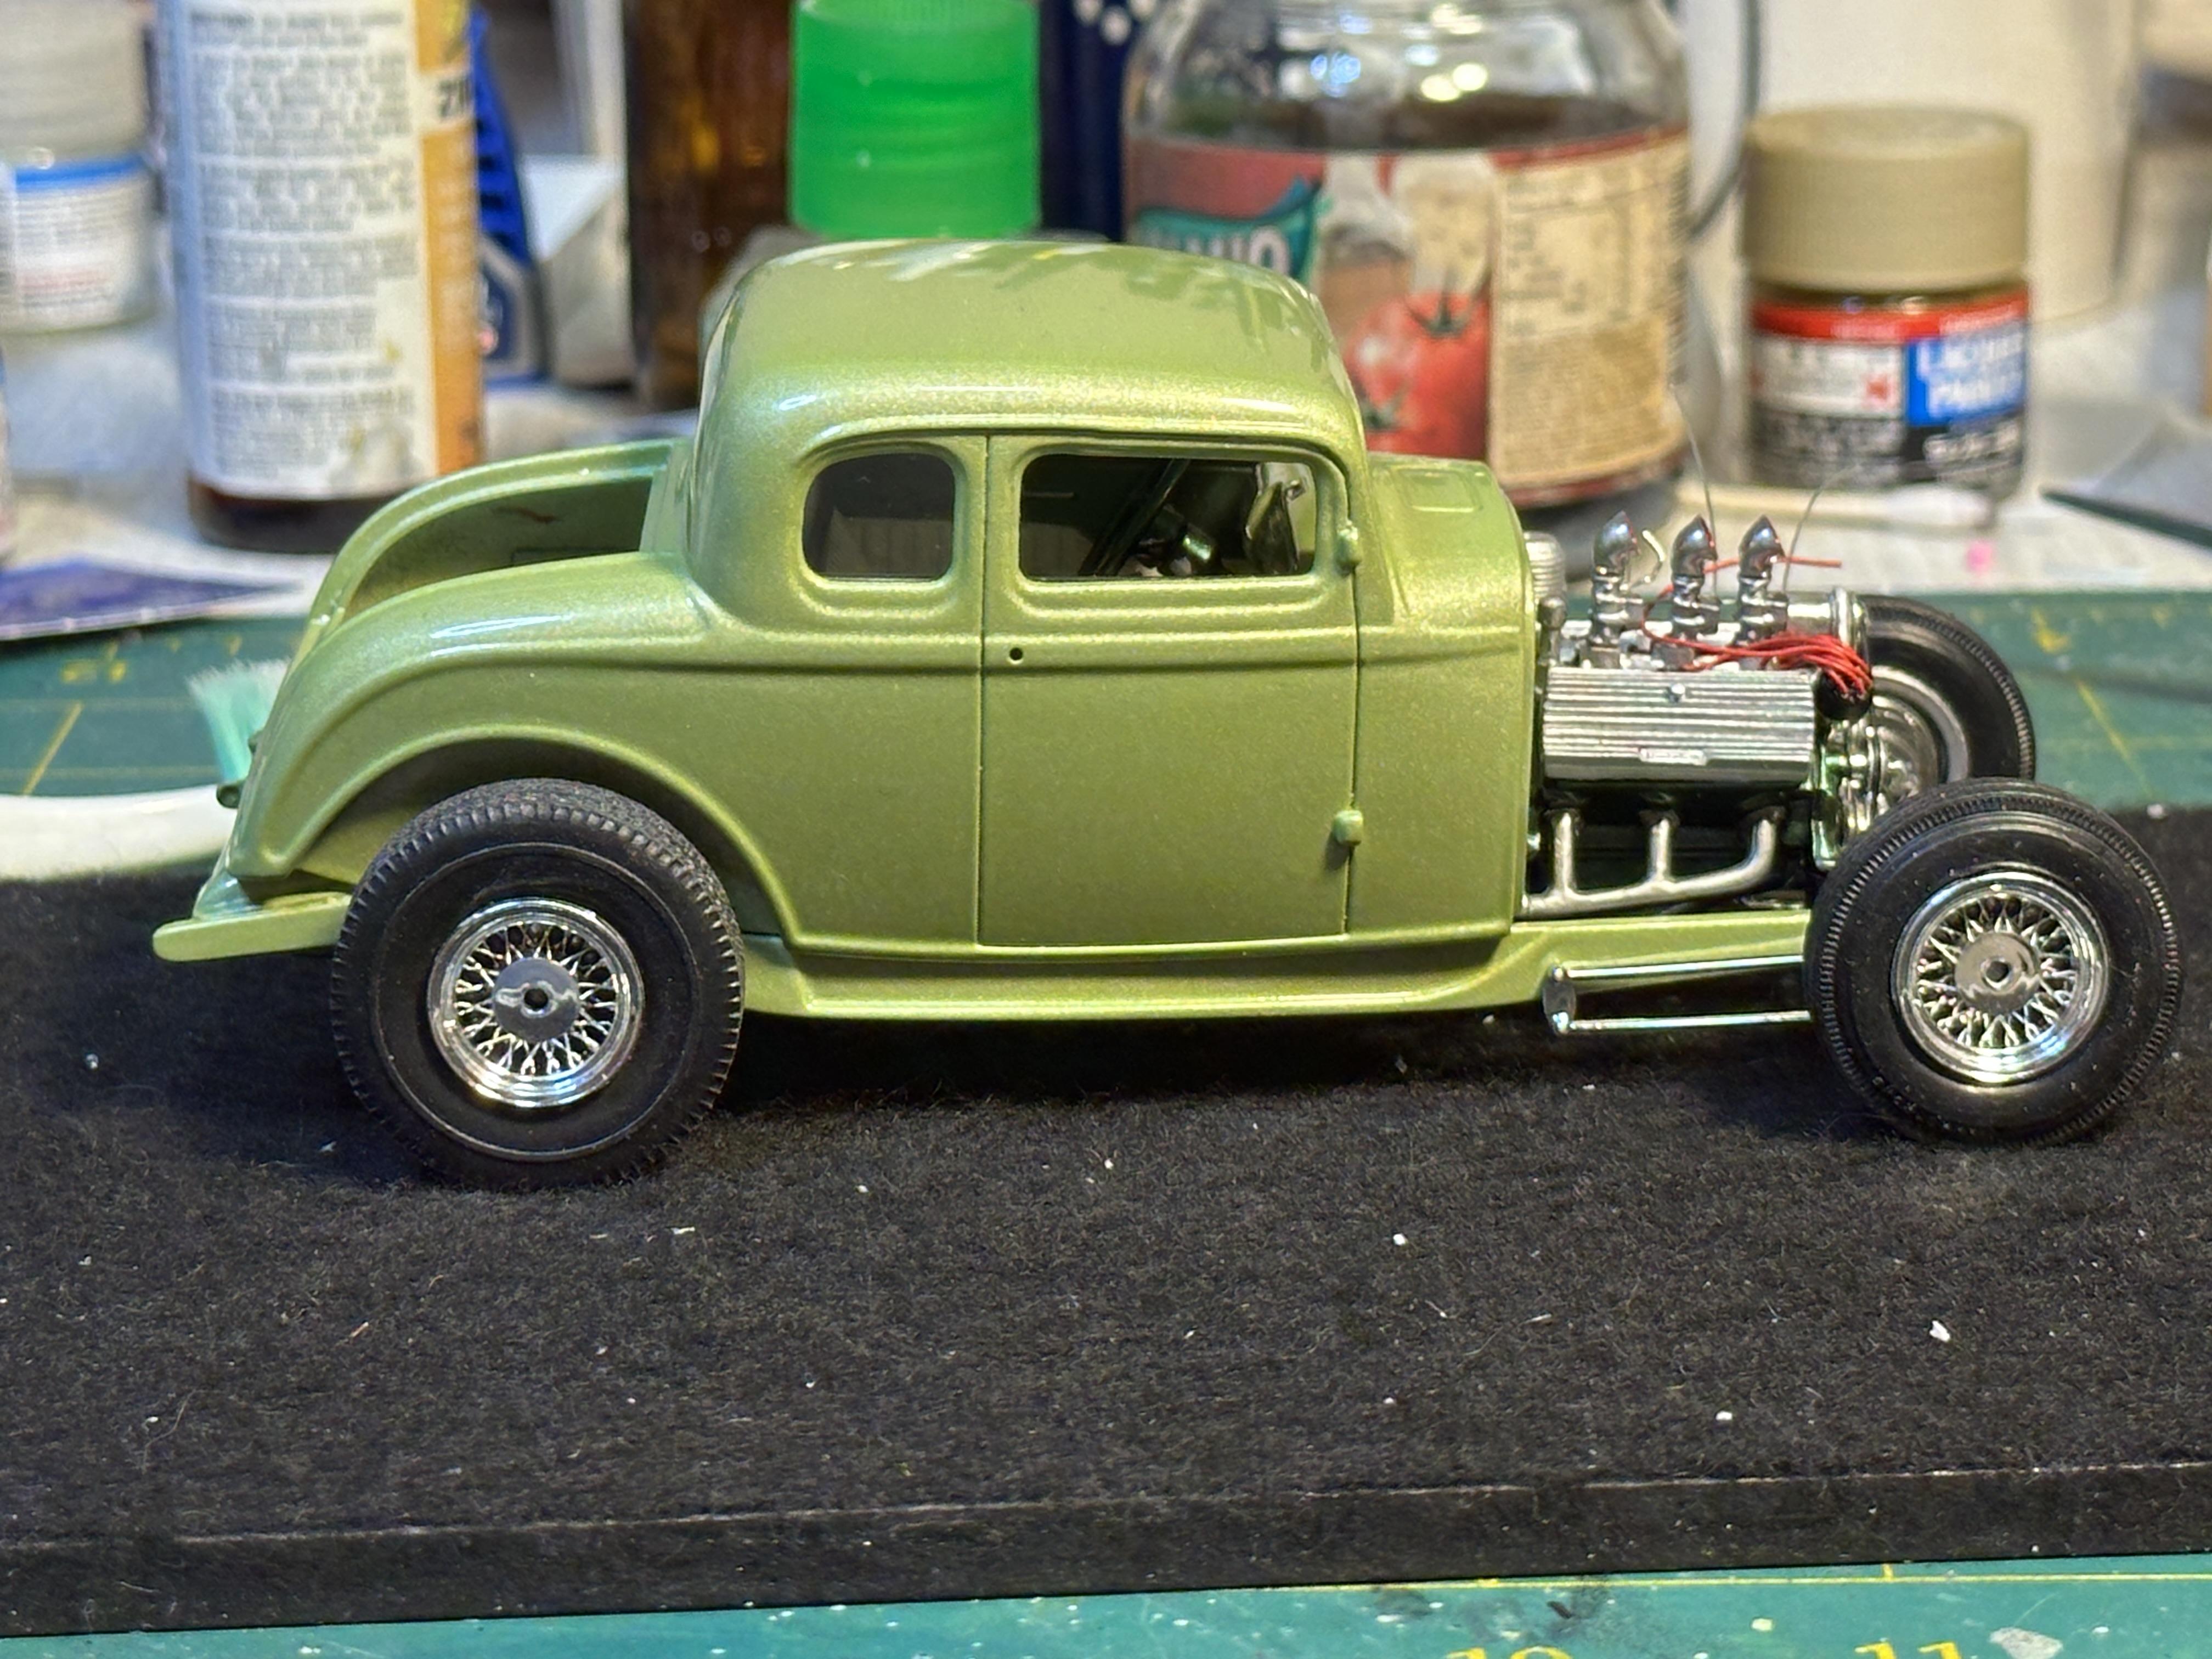
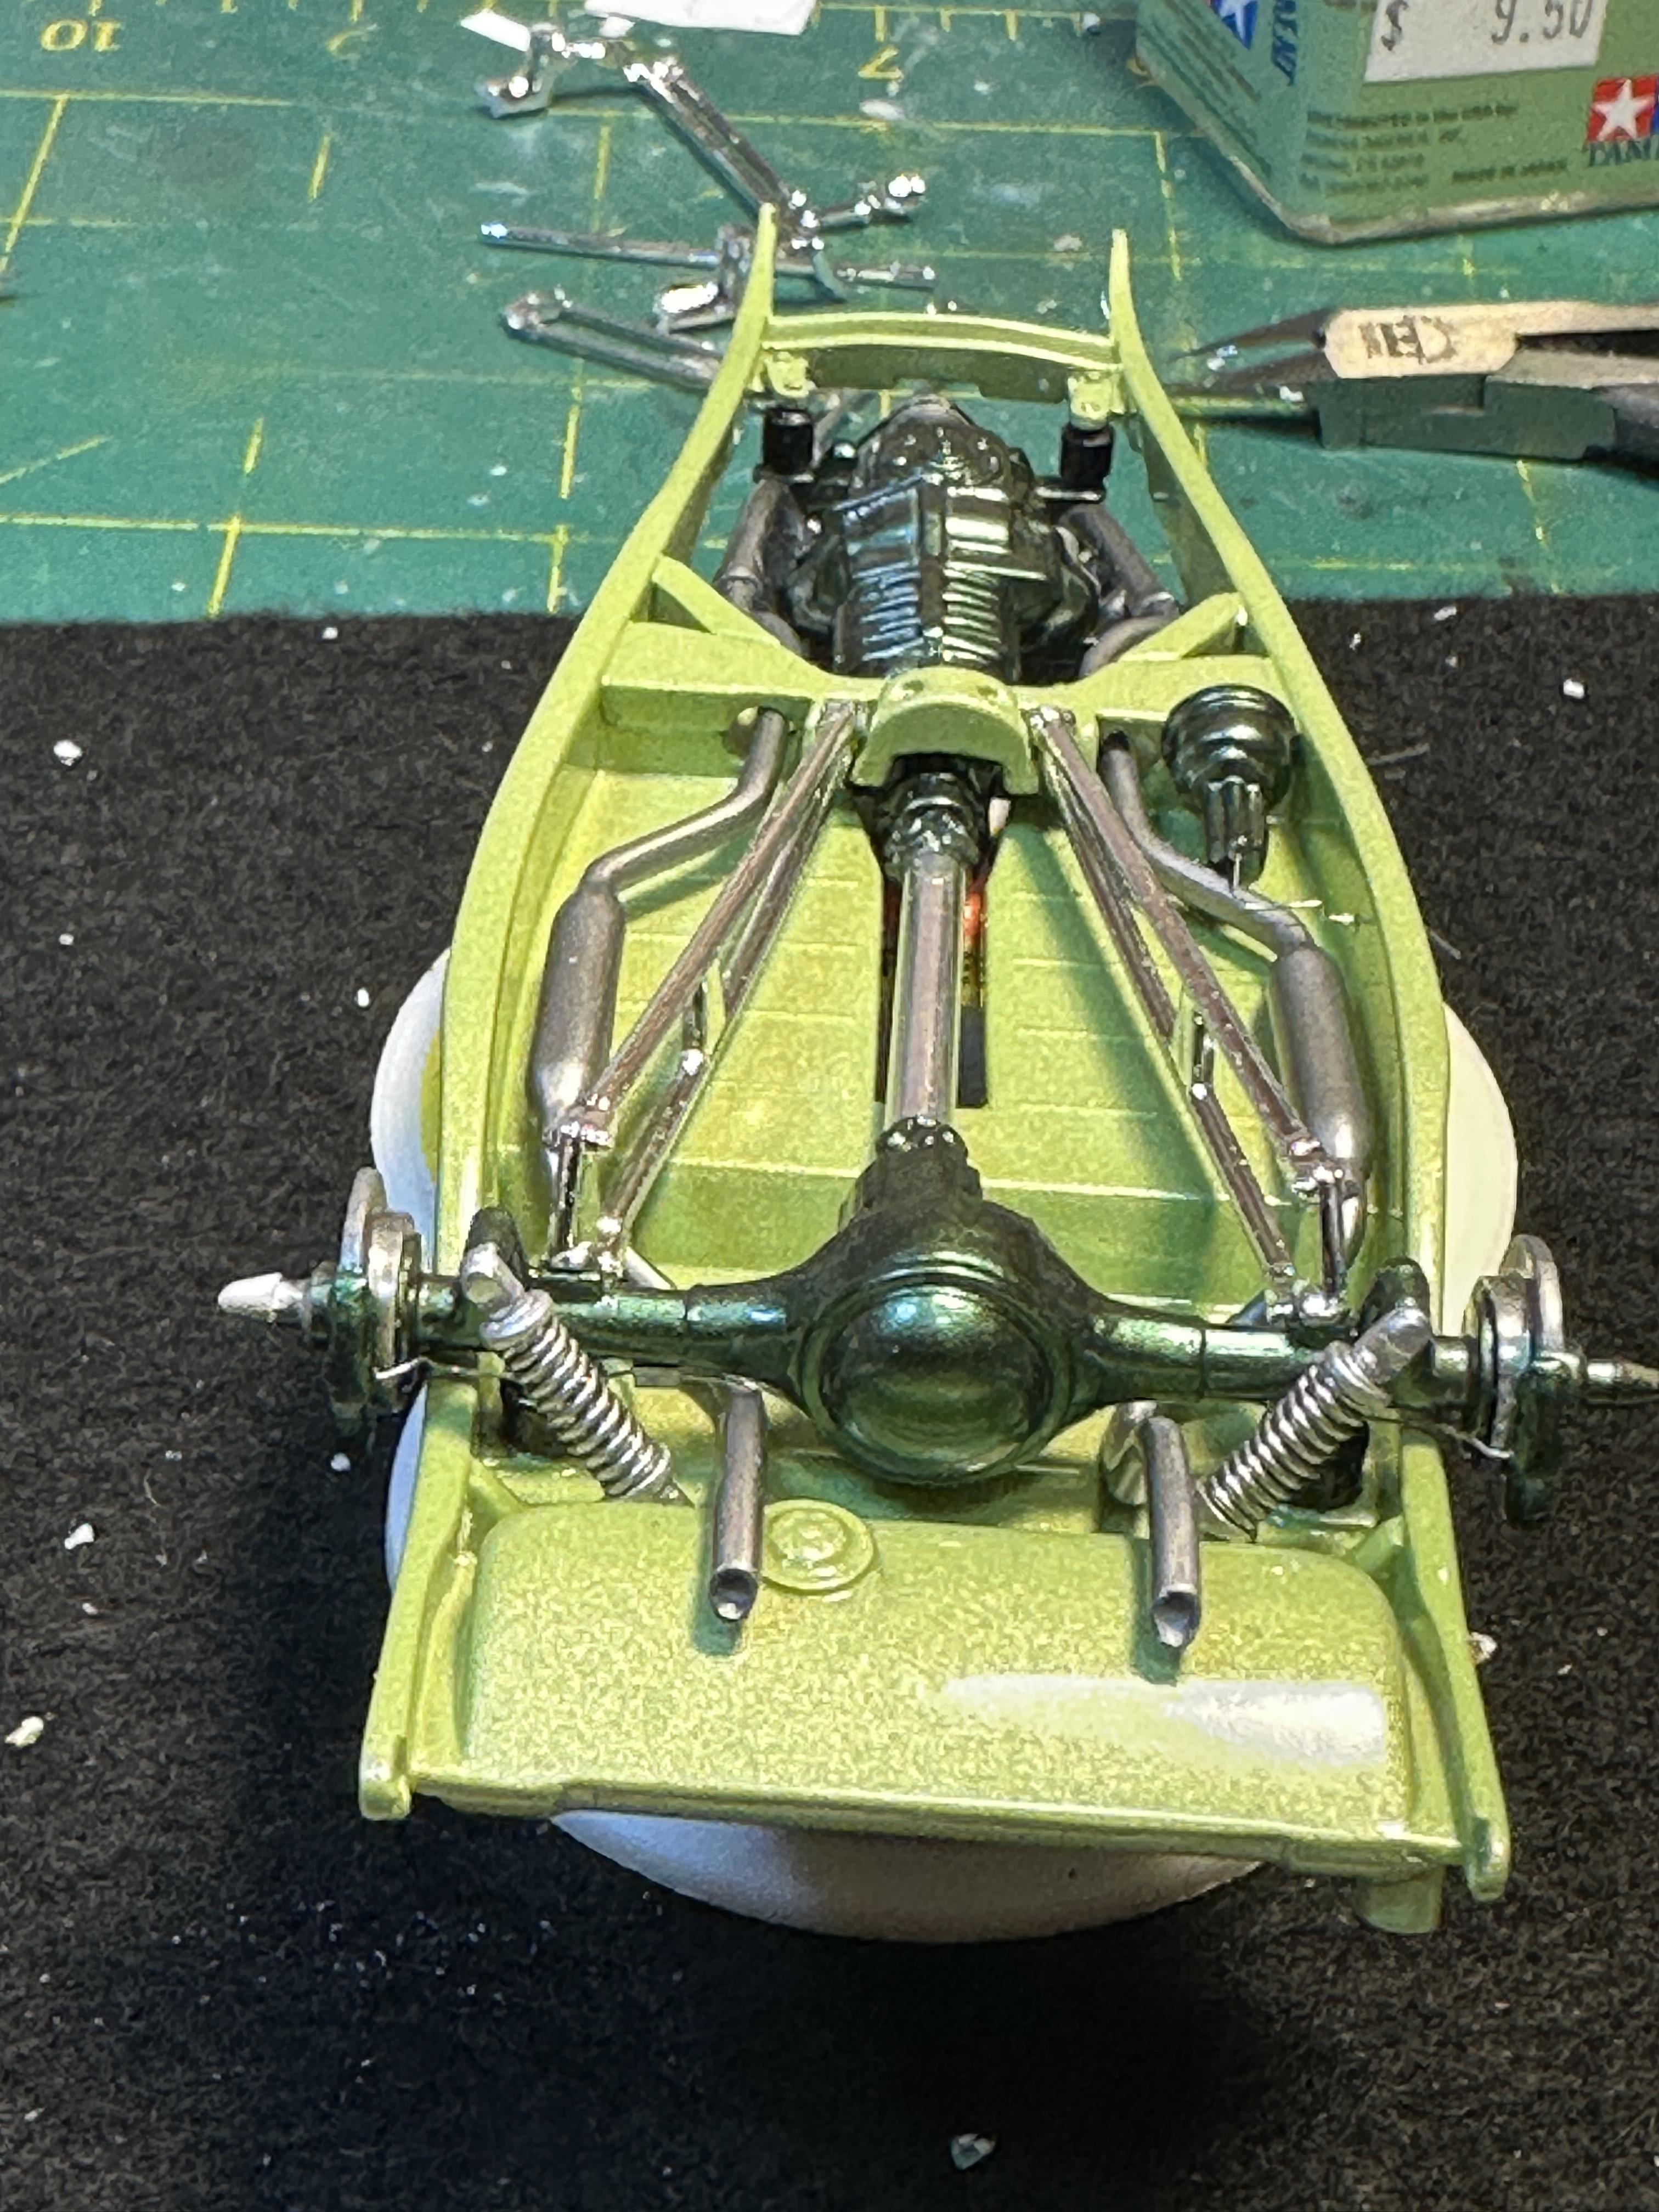
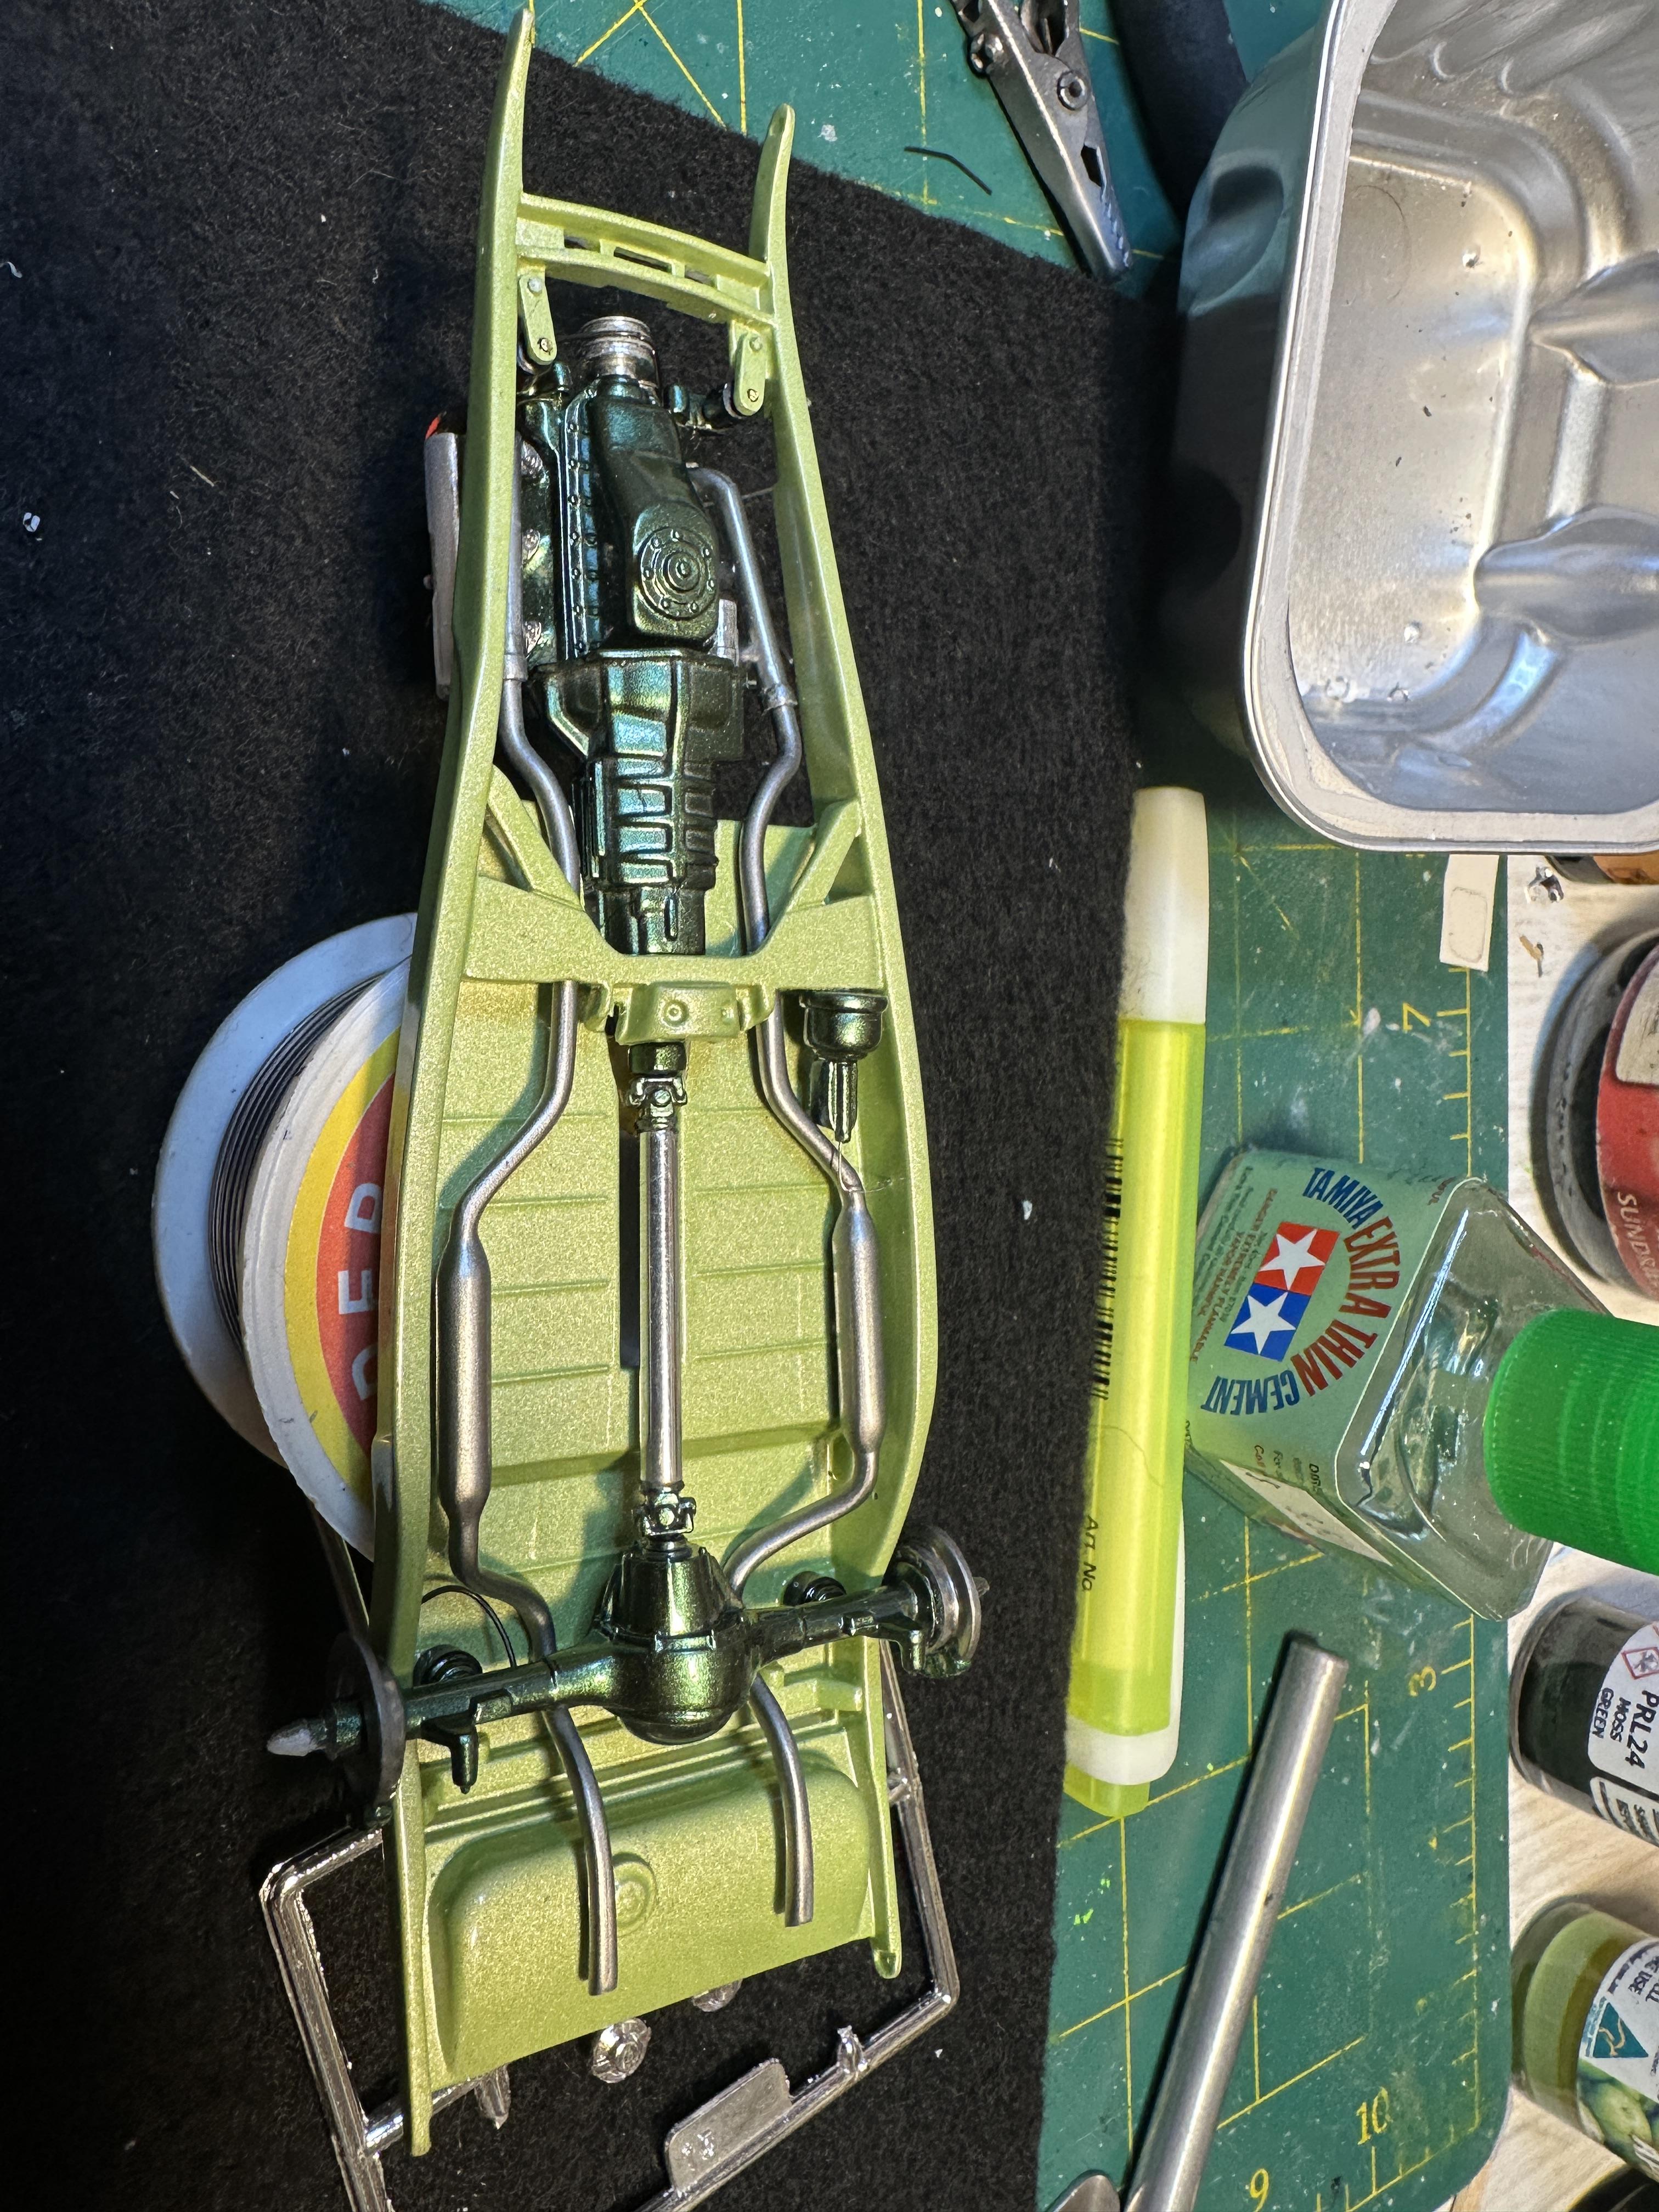
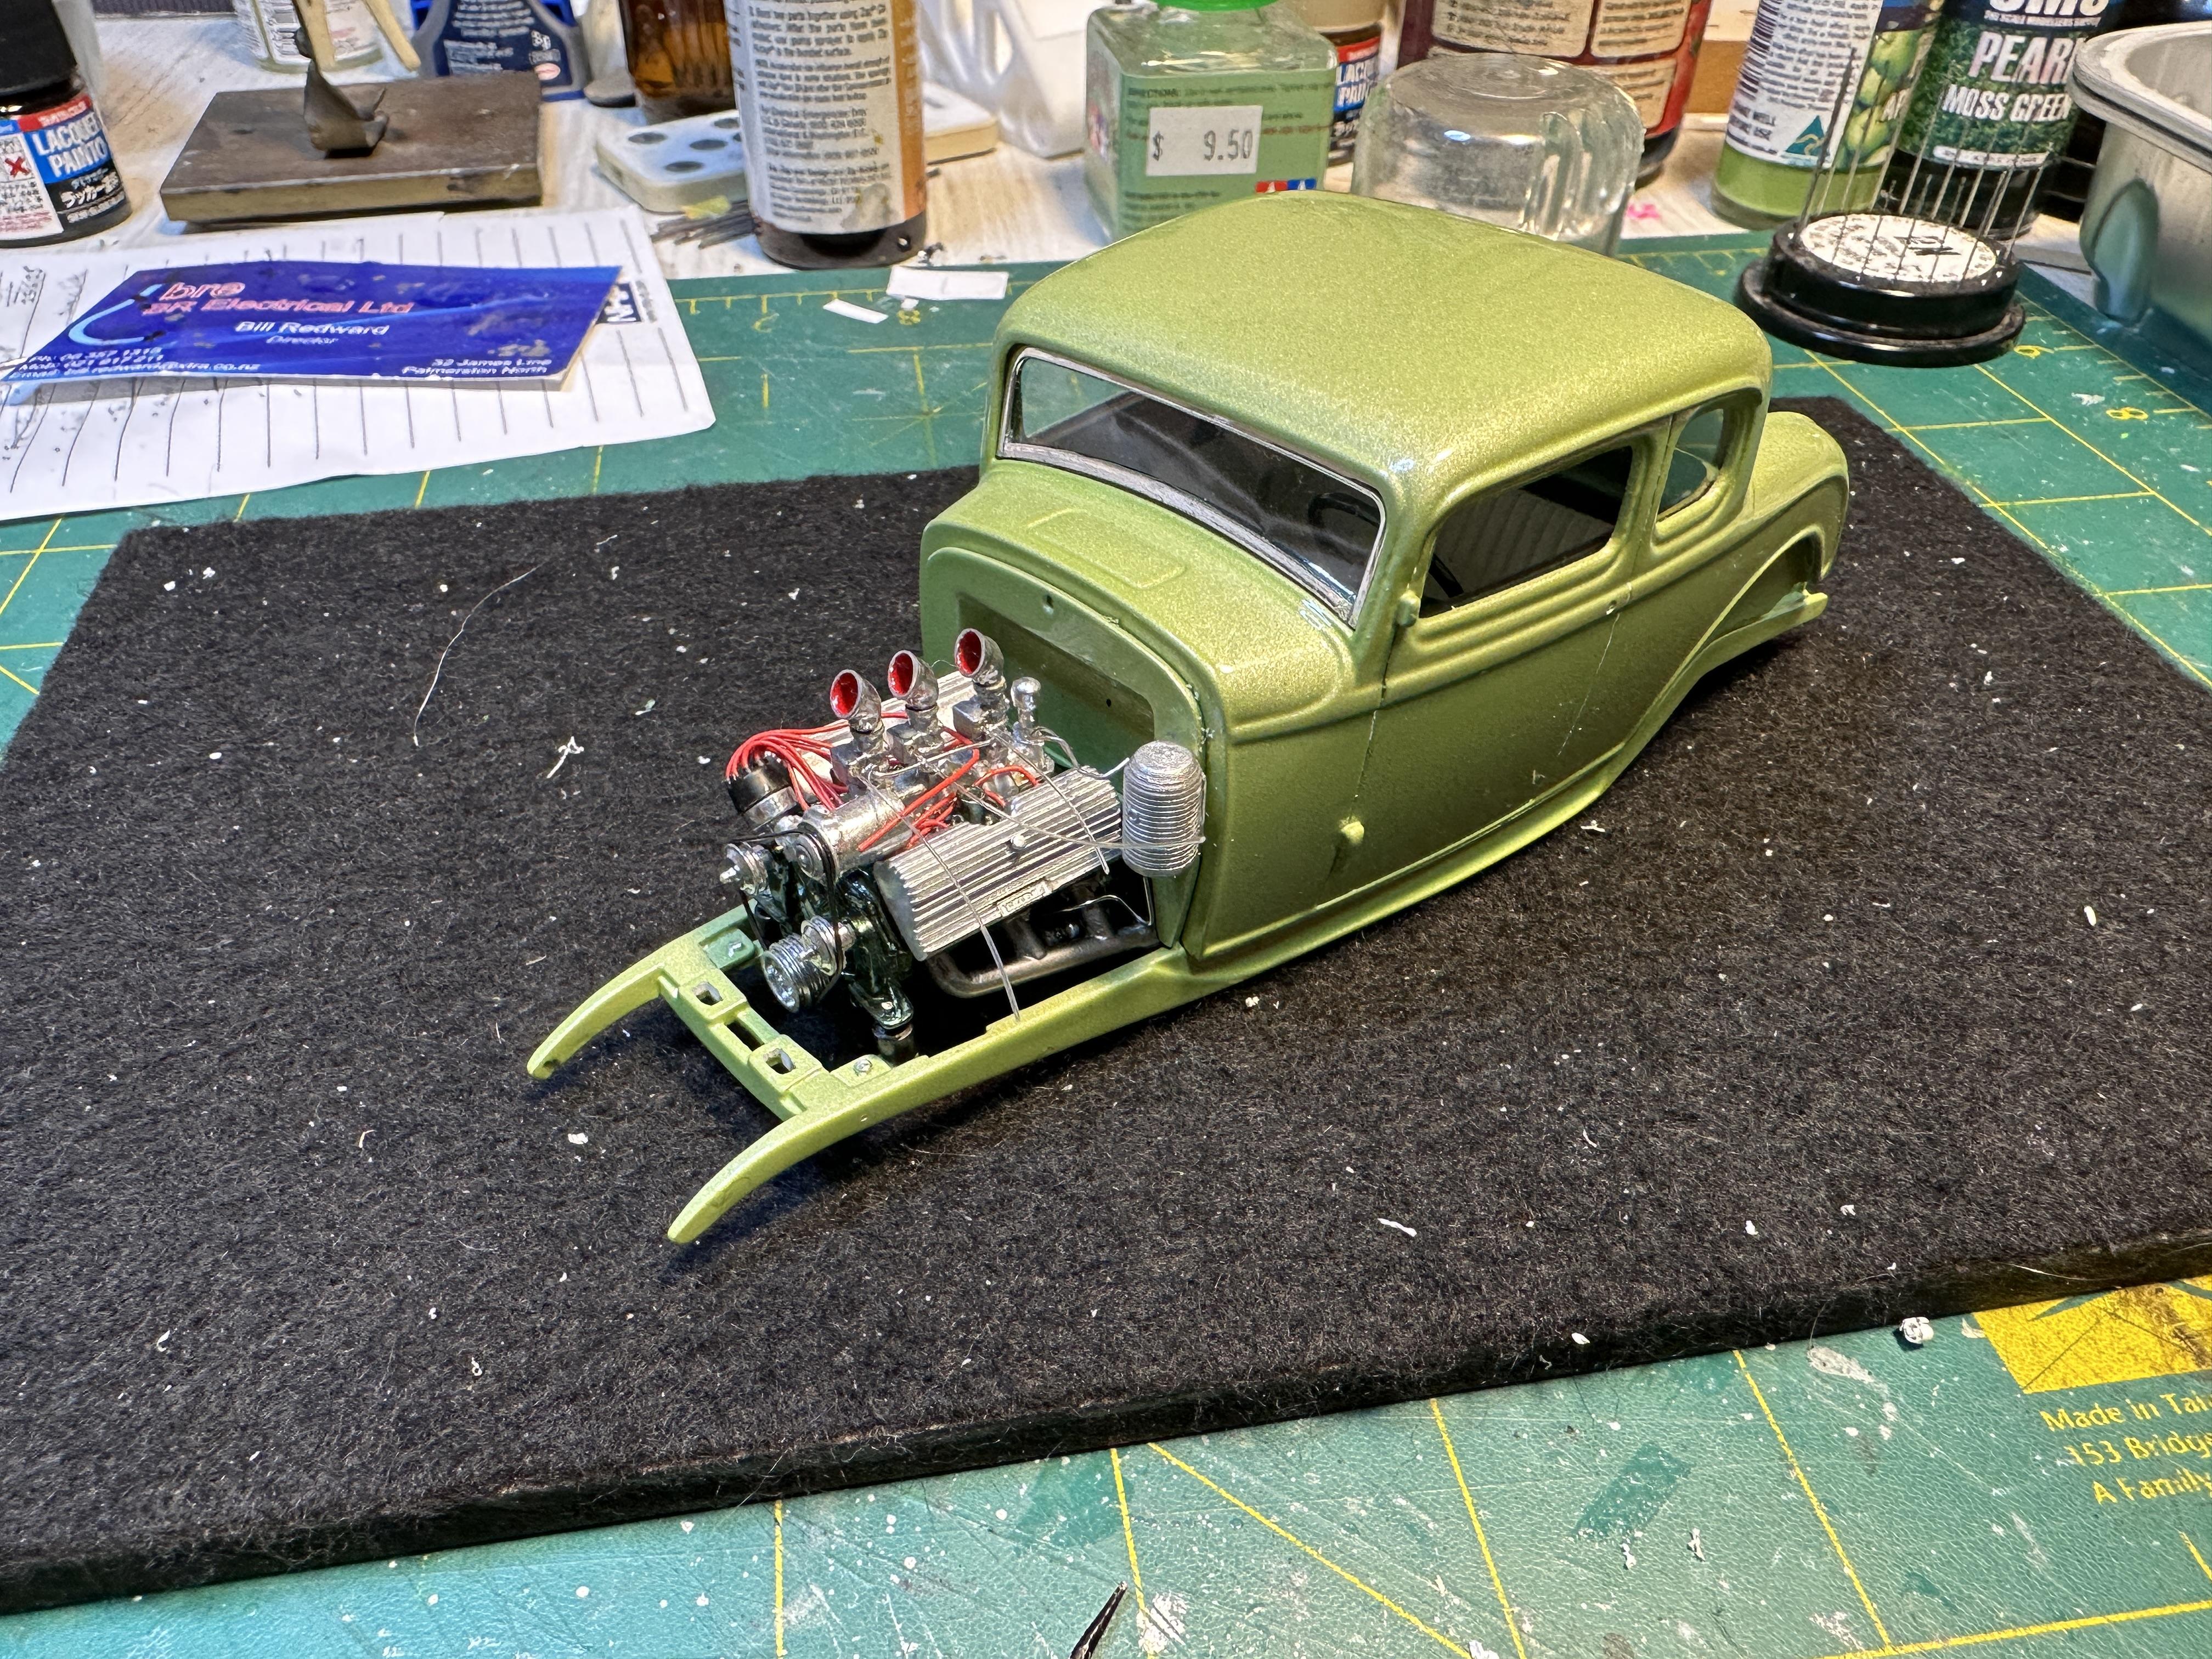
Been working on the chassis. I made up a front and rear spreader bars as I was not happy with the kit chrome ones. I used 1.6mm (1/16") stainless steel welding filler rod that I polished up in the lathe. I made slightly longer and filed back to size to fit snugly between the frame rails The motor is looking like a porcupine at the moment. These will find a place when I mount the body to the chassis - soon

-
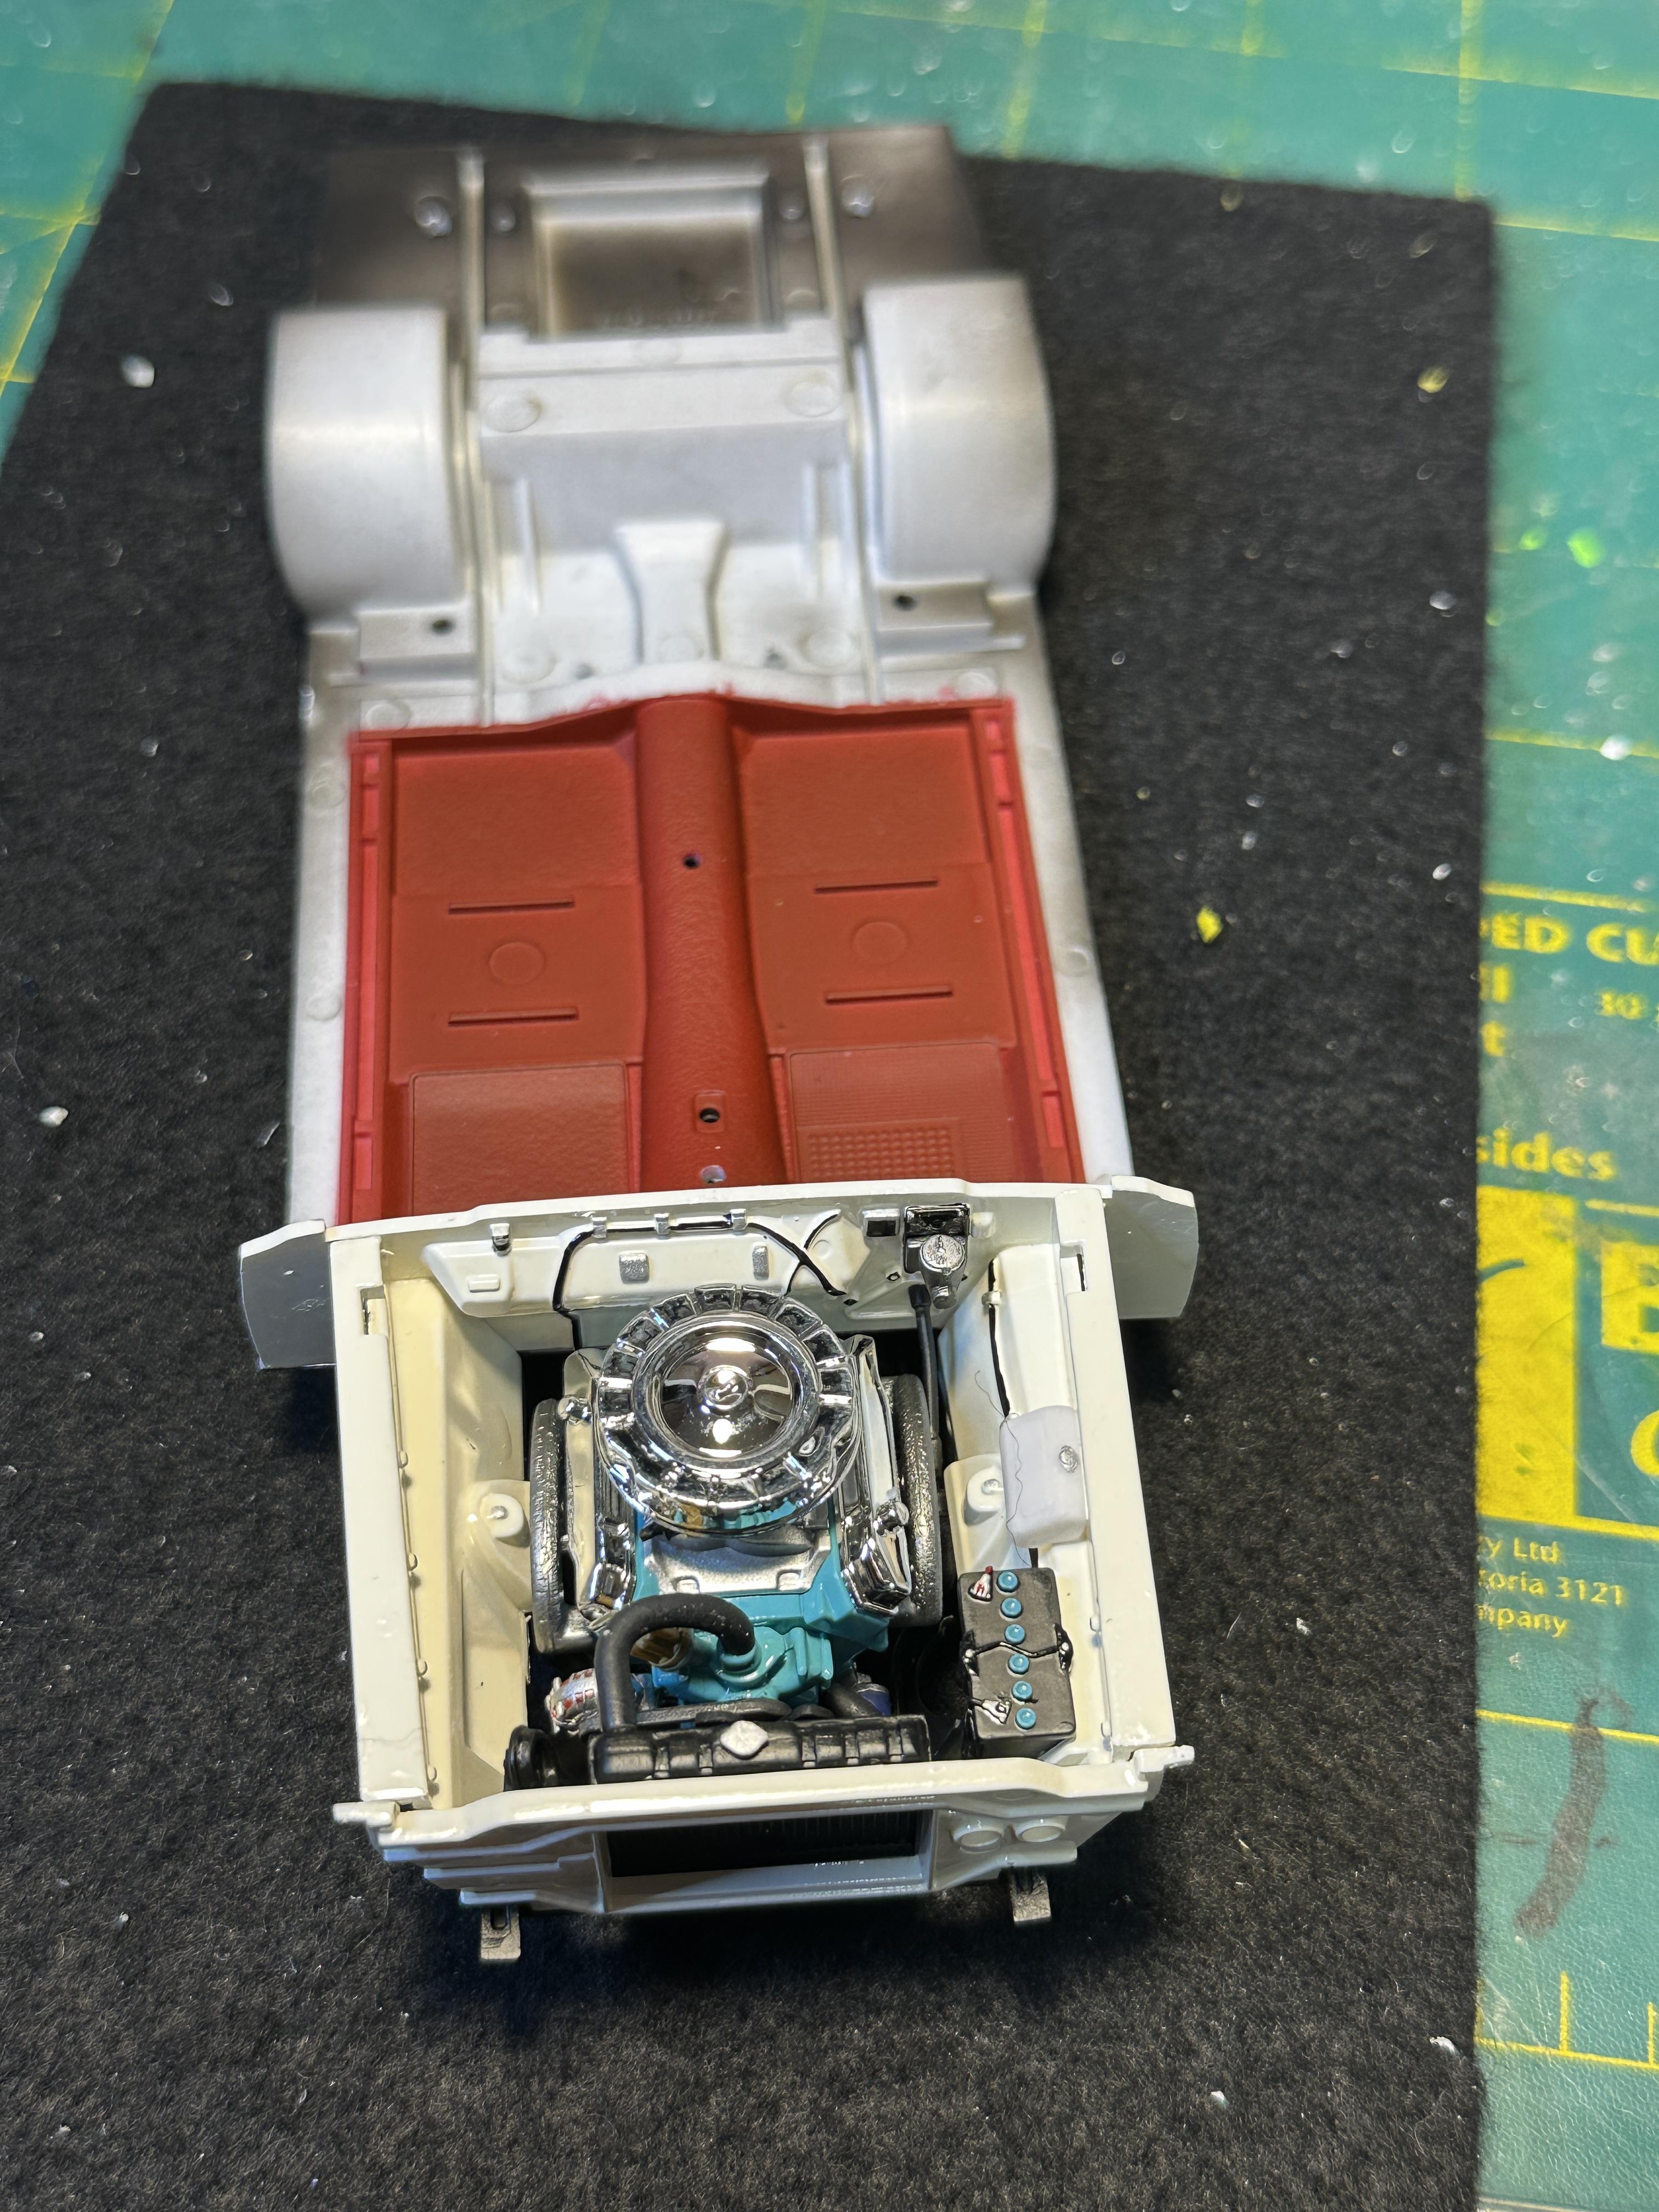
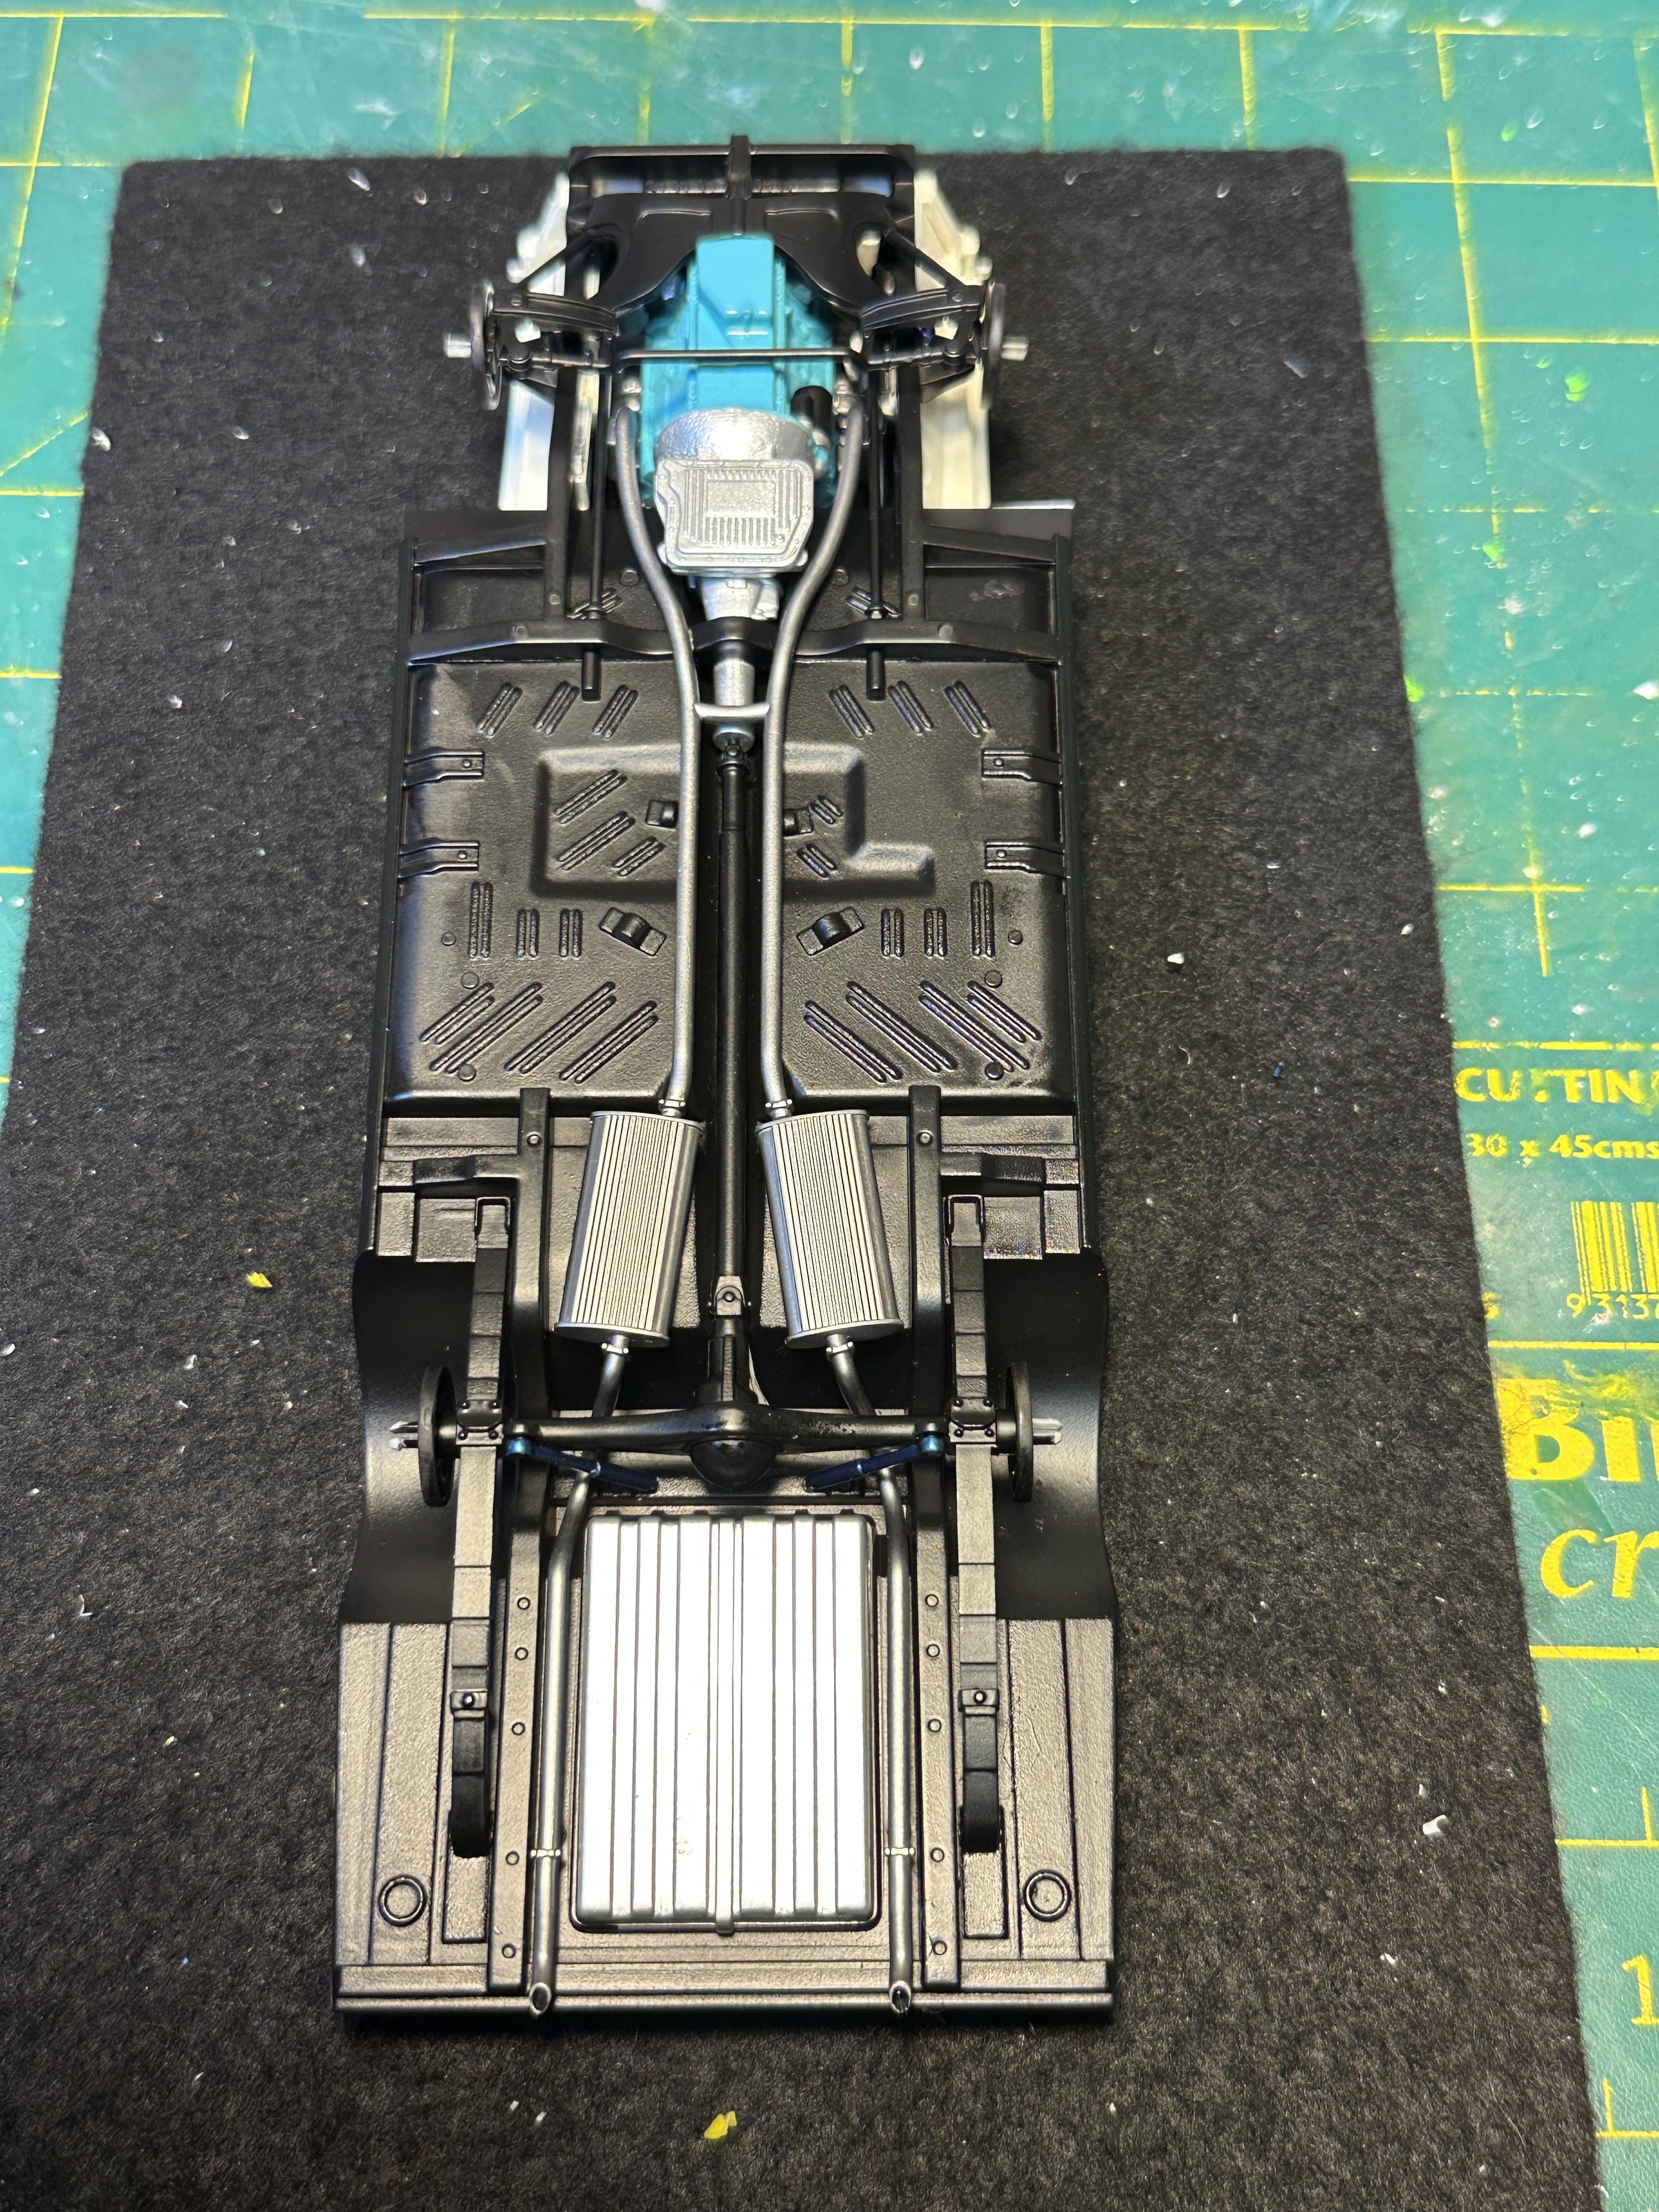
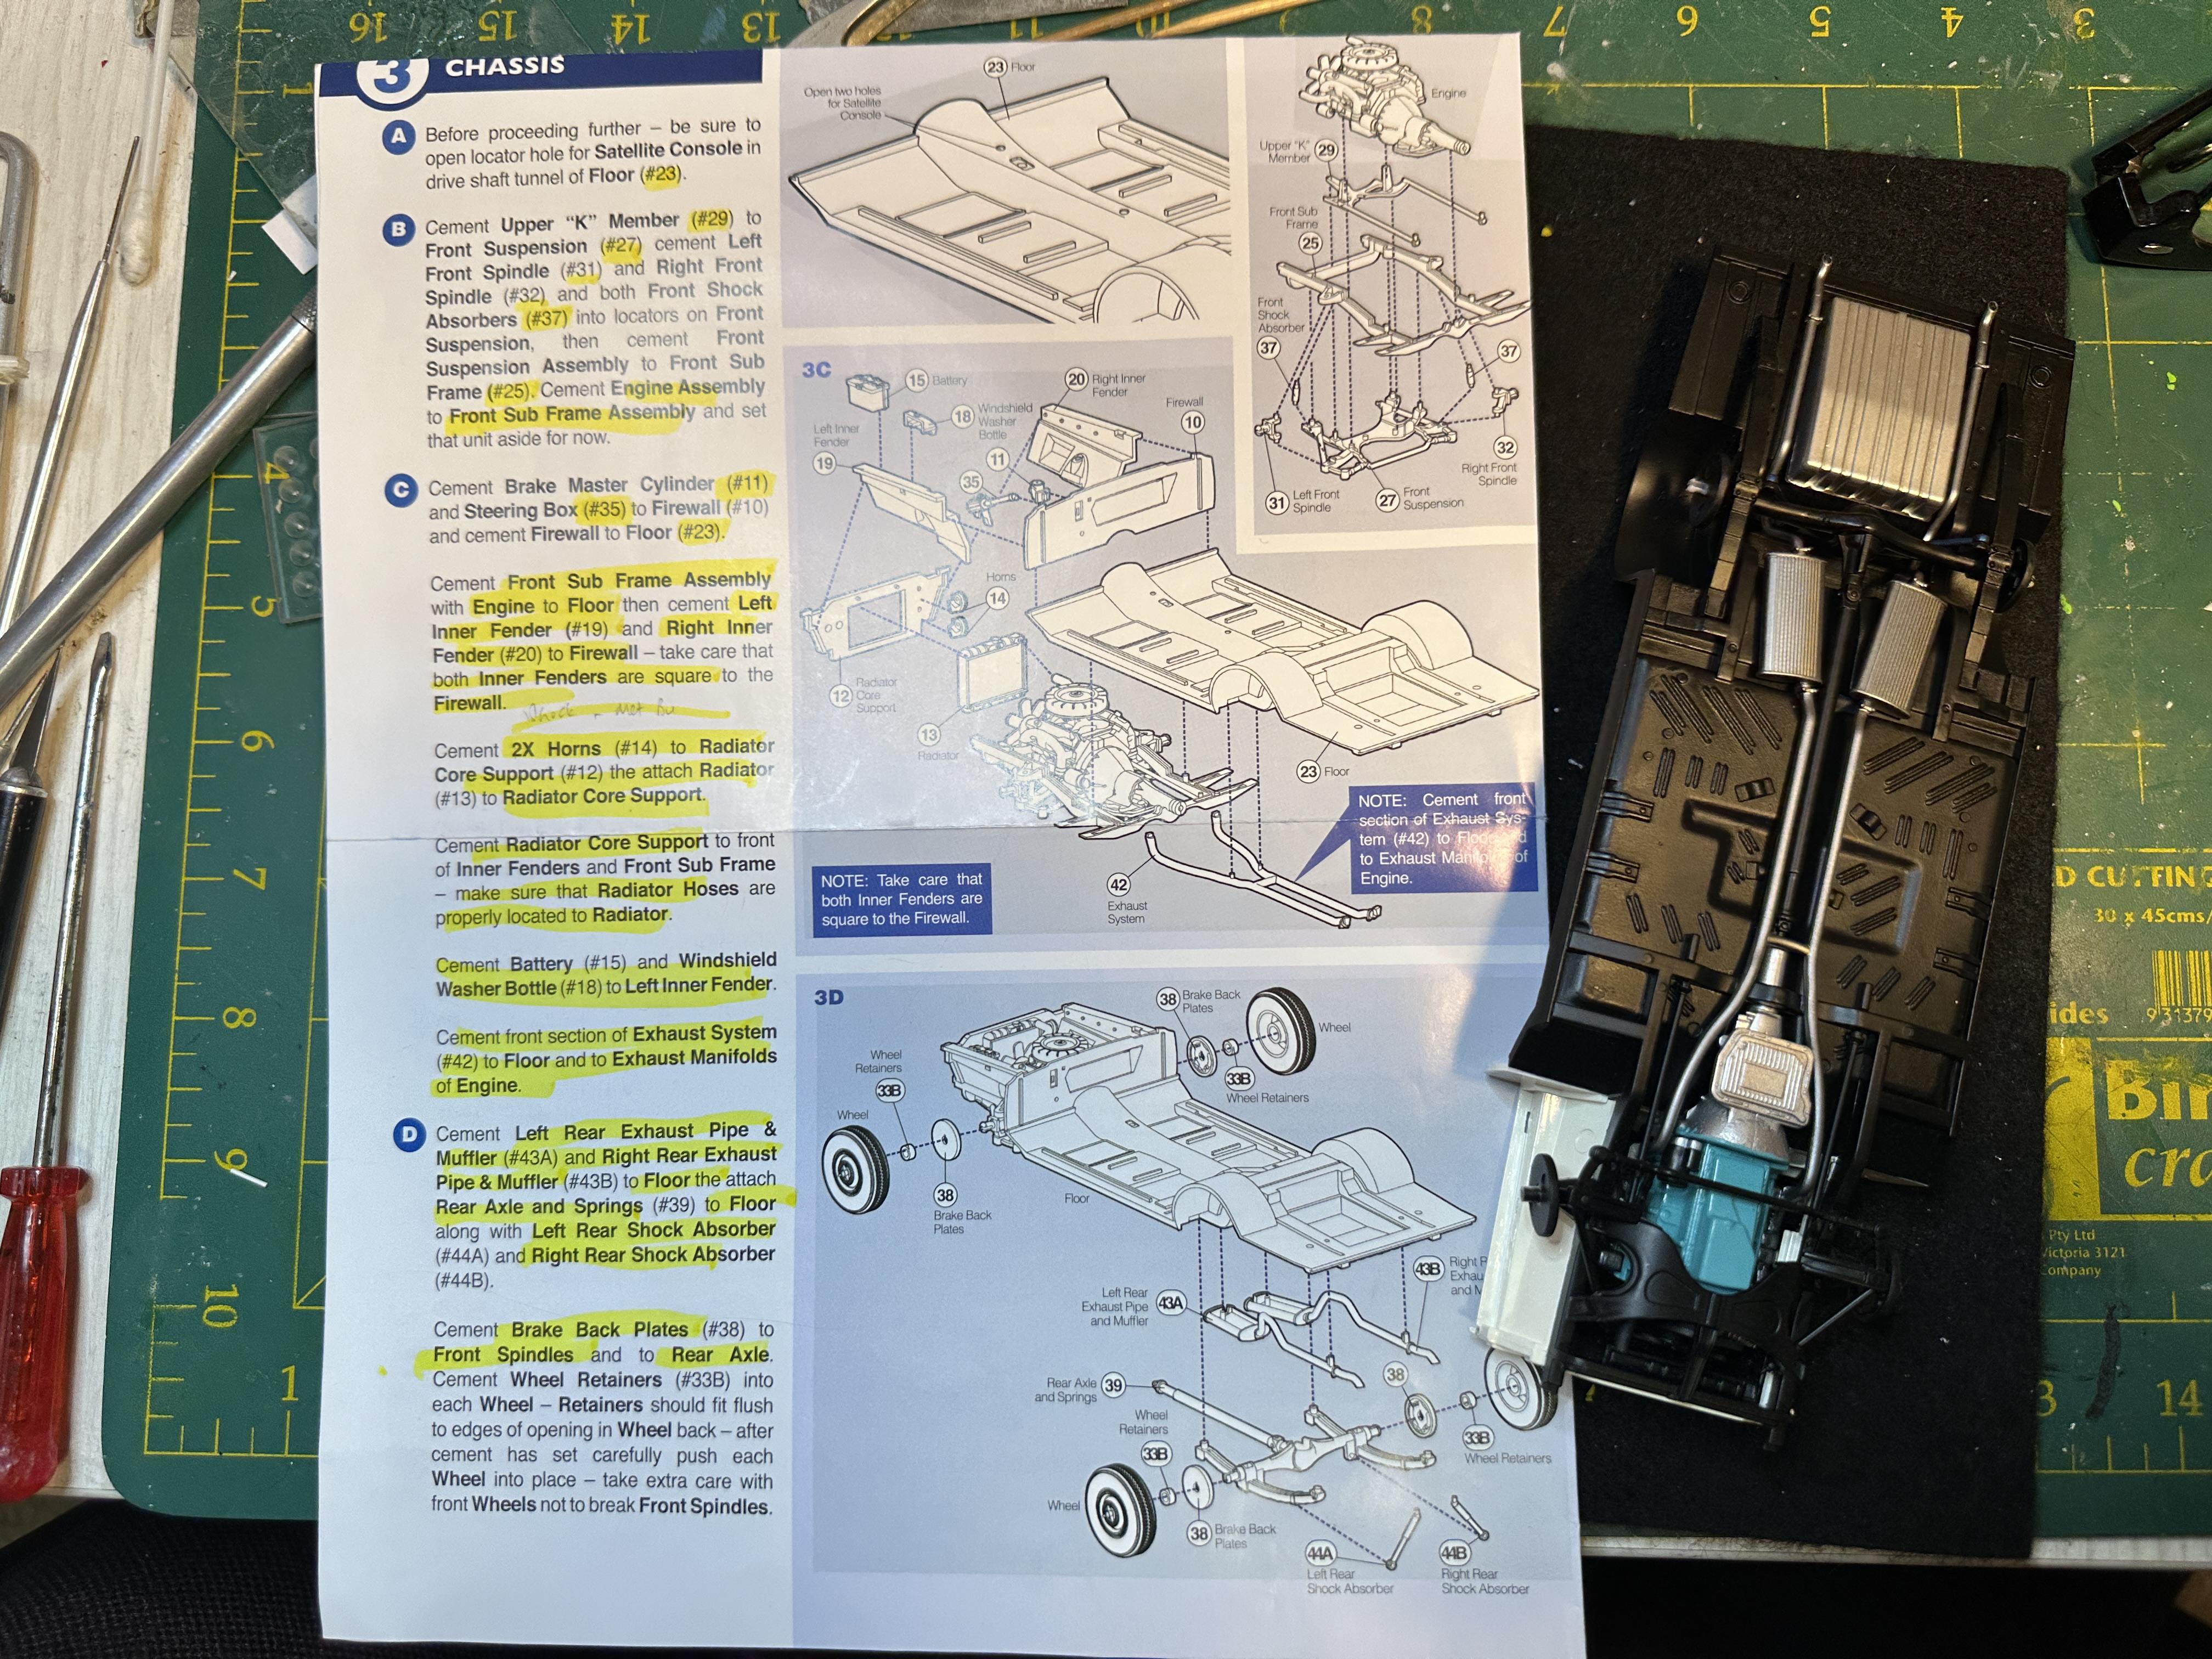
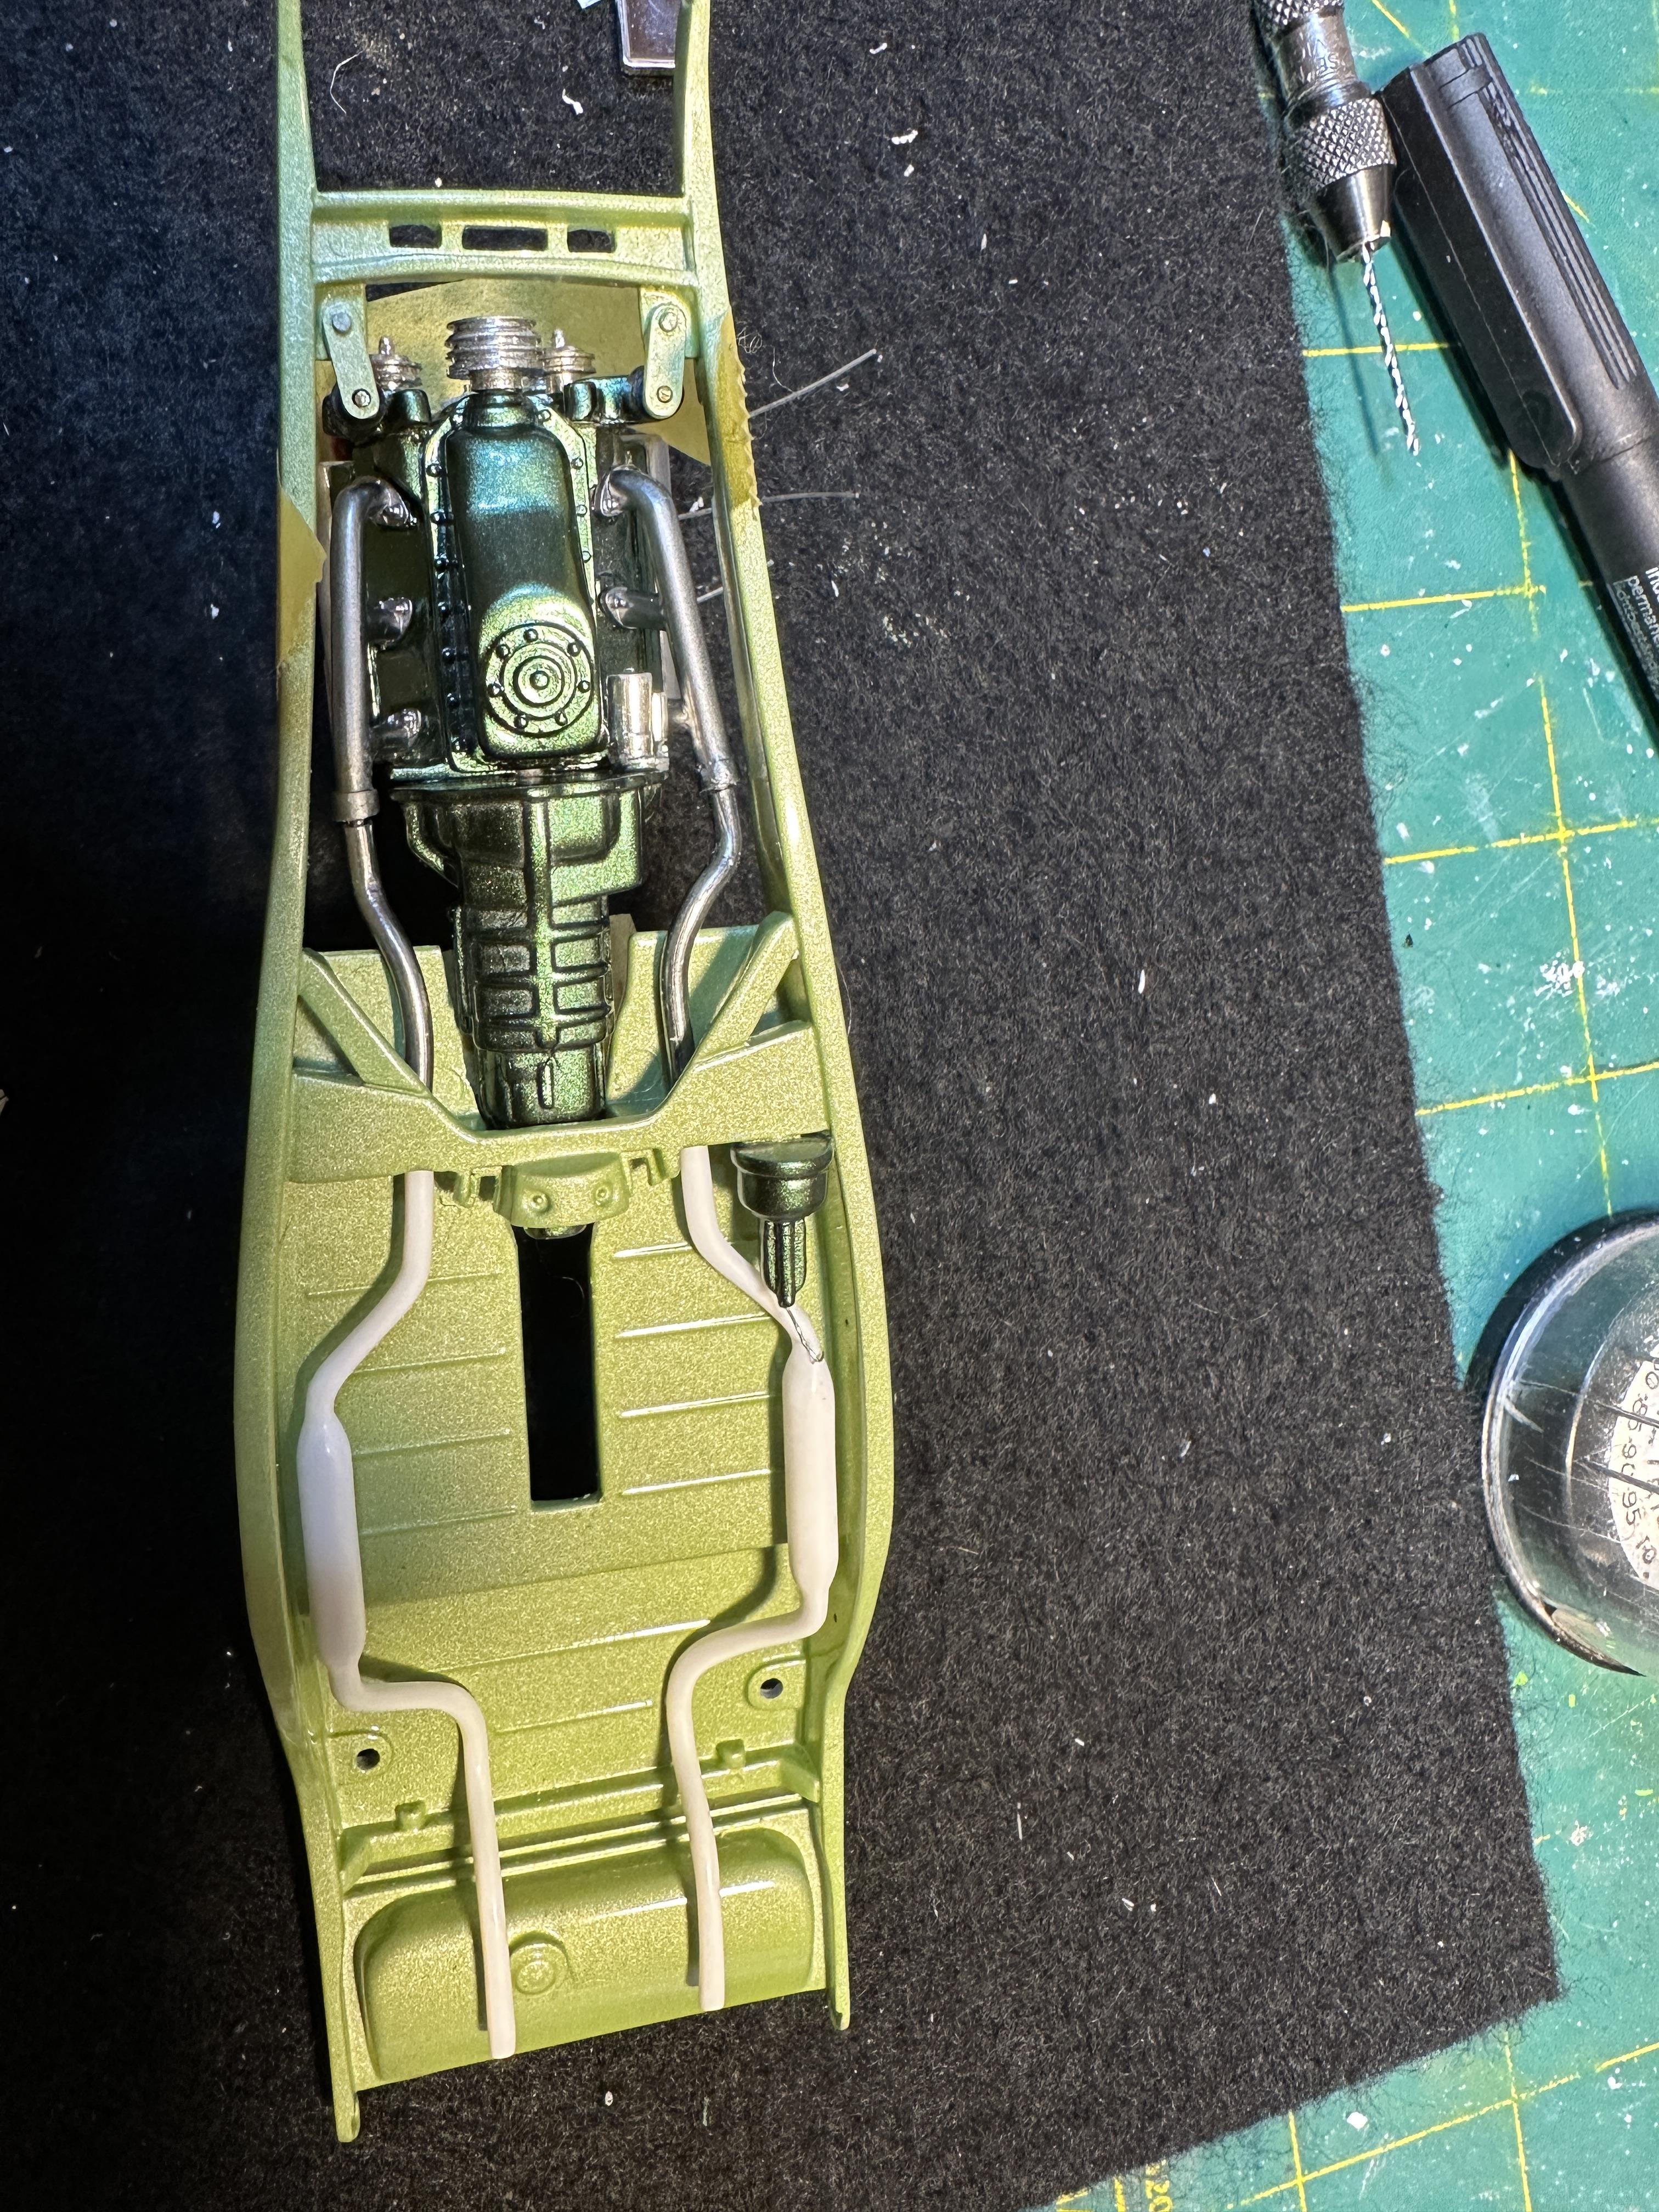
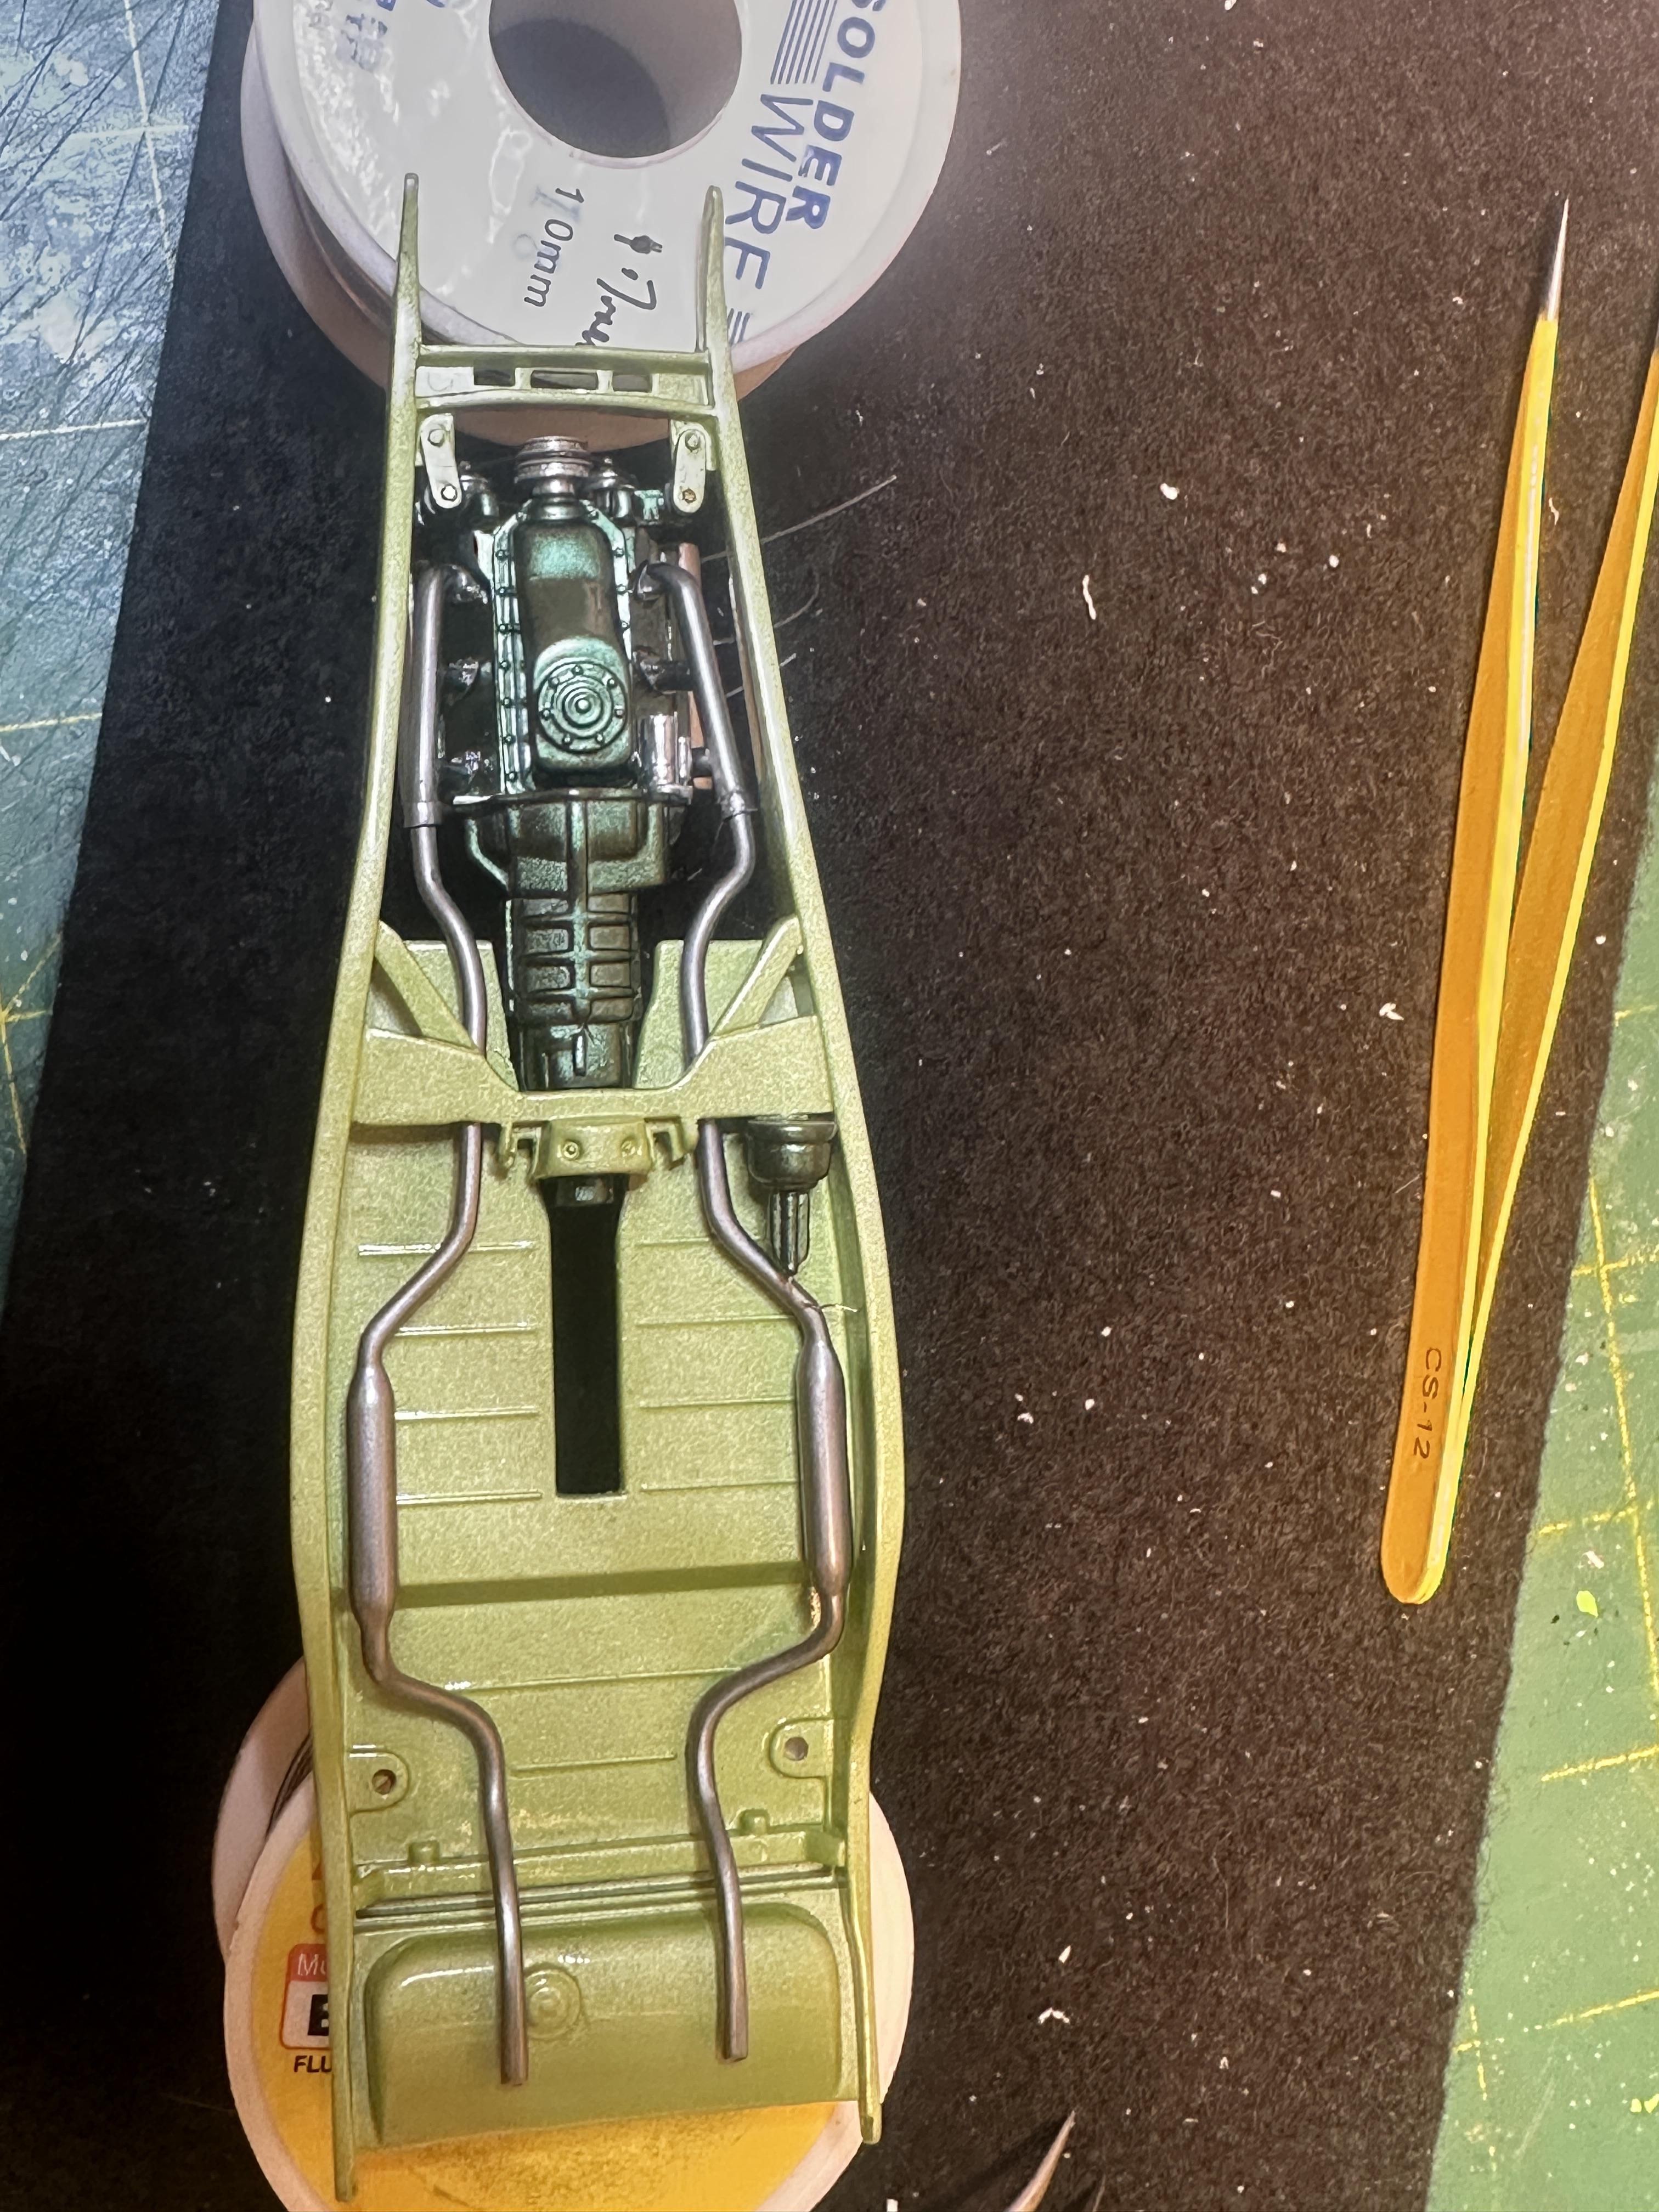
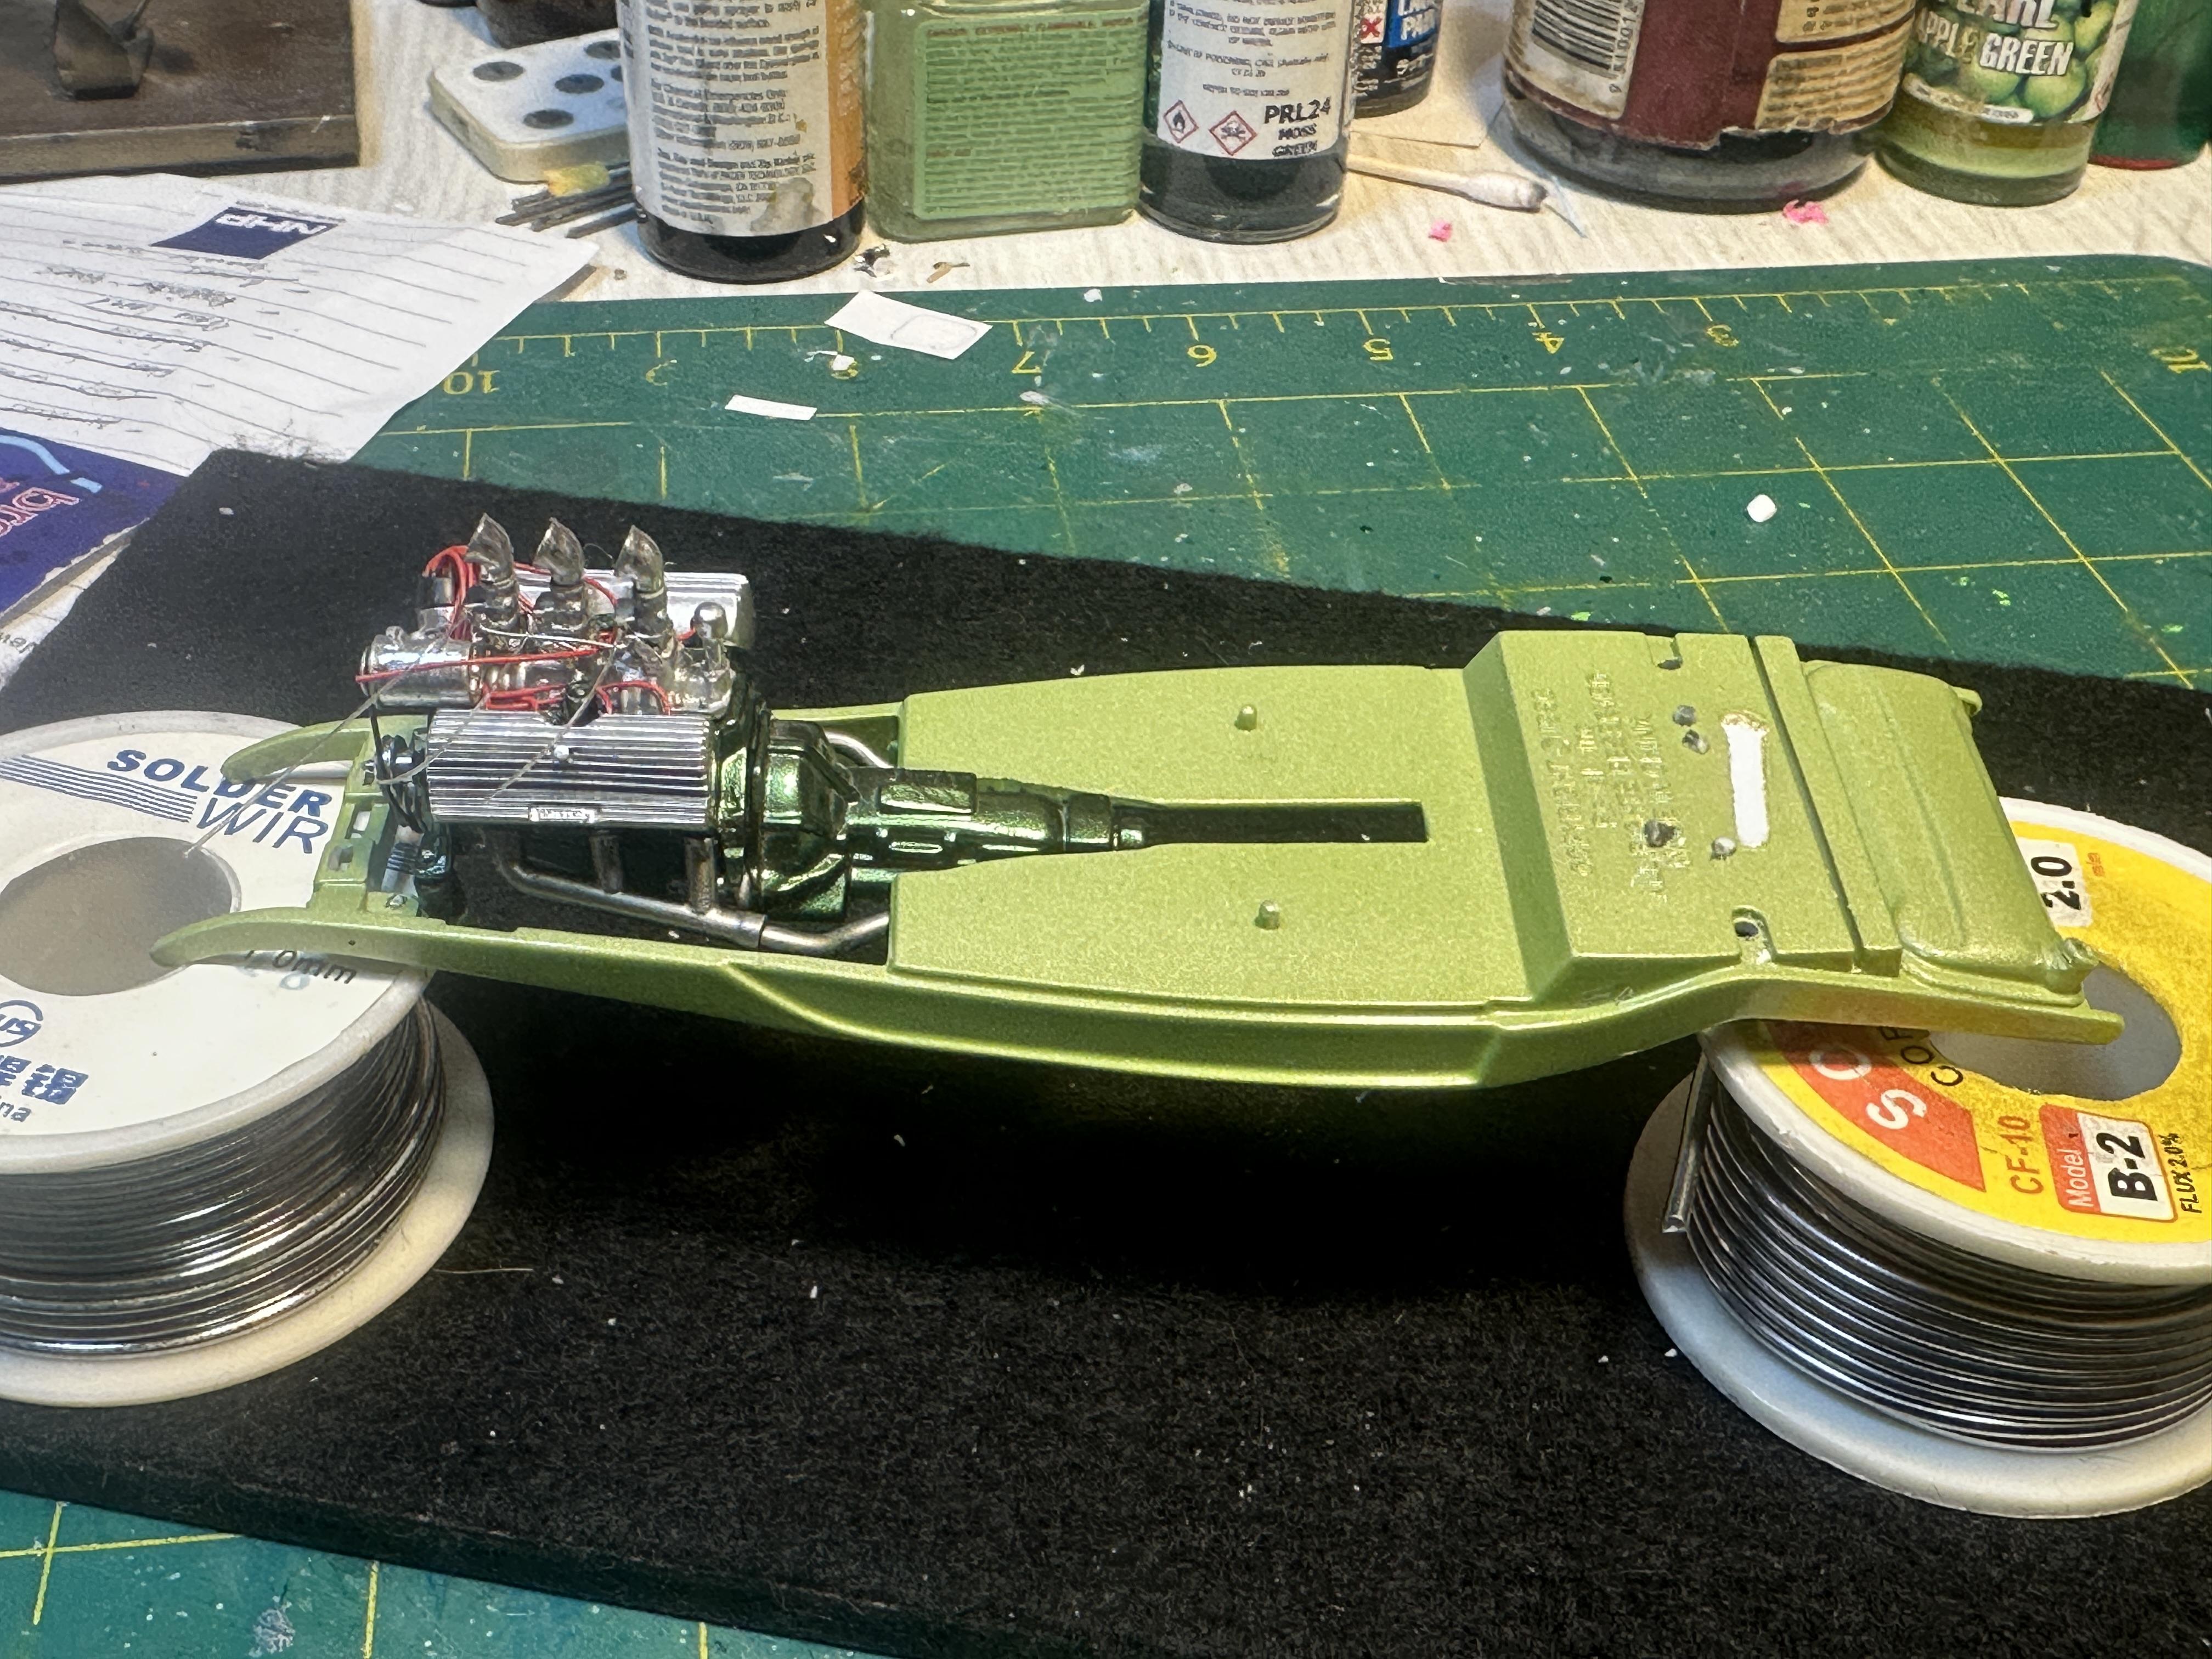
Moving on with the assembly. Front end all squared in. The exhausts are in. The motor is in. The engine bay sheet metal and all the doodads attched to them all in. Rear end in - whew Engine bay shot - the engine is a BB and it looks small in there. Enough room for an elephant😁 And an underside shot Been following the instructions - well mostly. The wheels are staying off for a bit as I am going onto the interior and body polish and foil next
-
I like your concept too Found the pix I was looking for
-
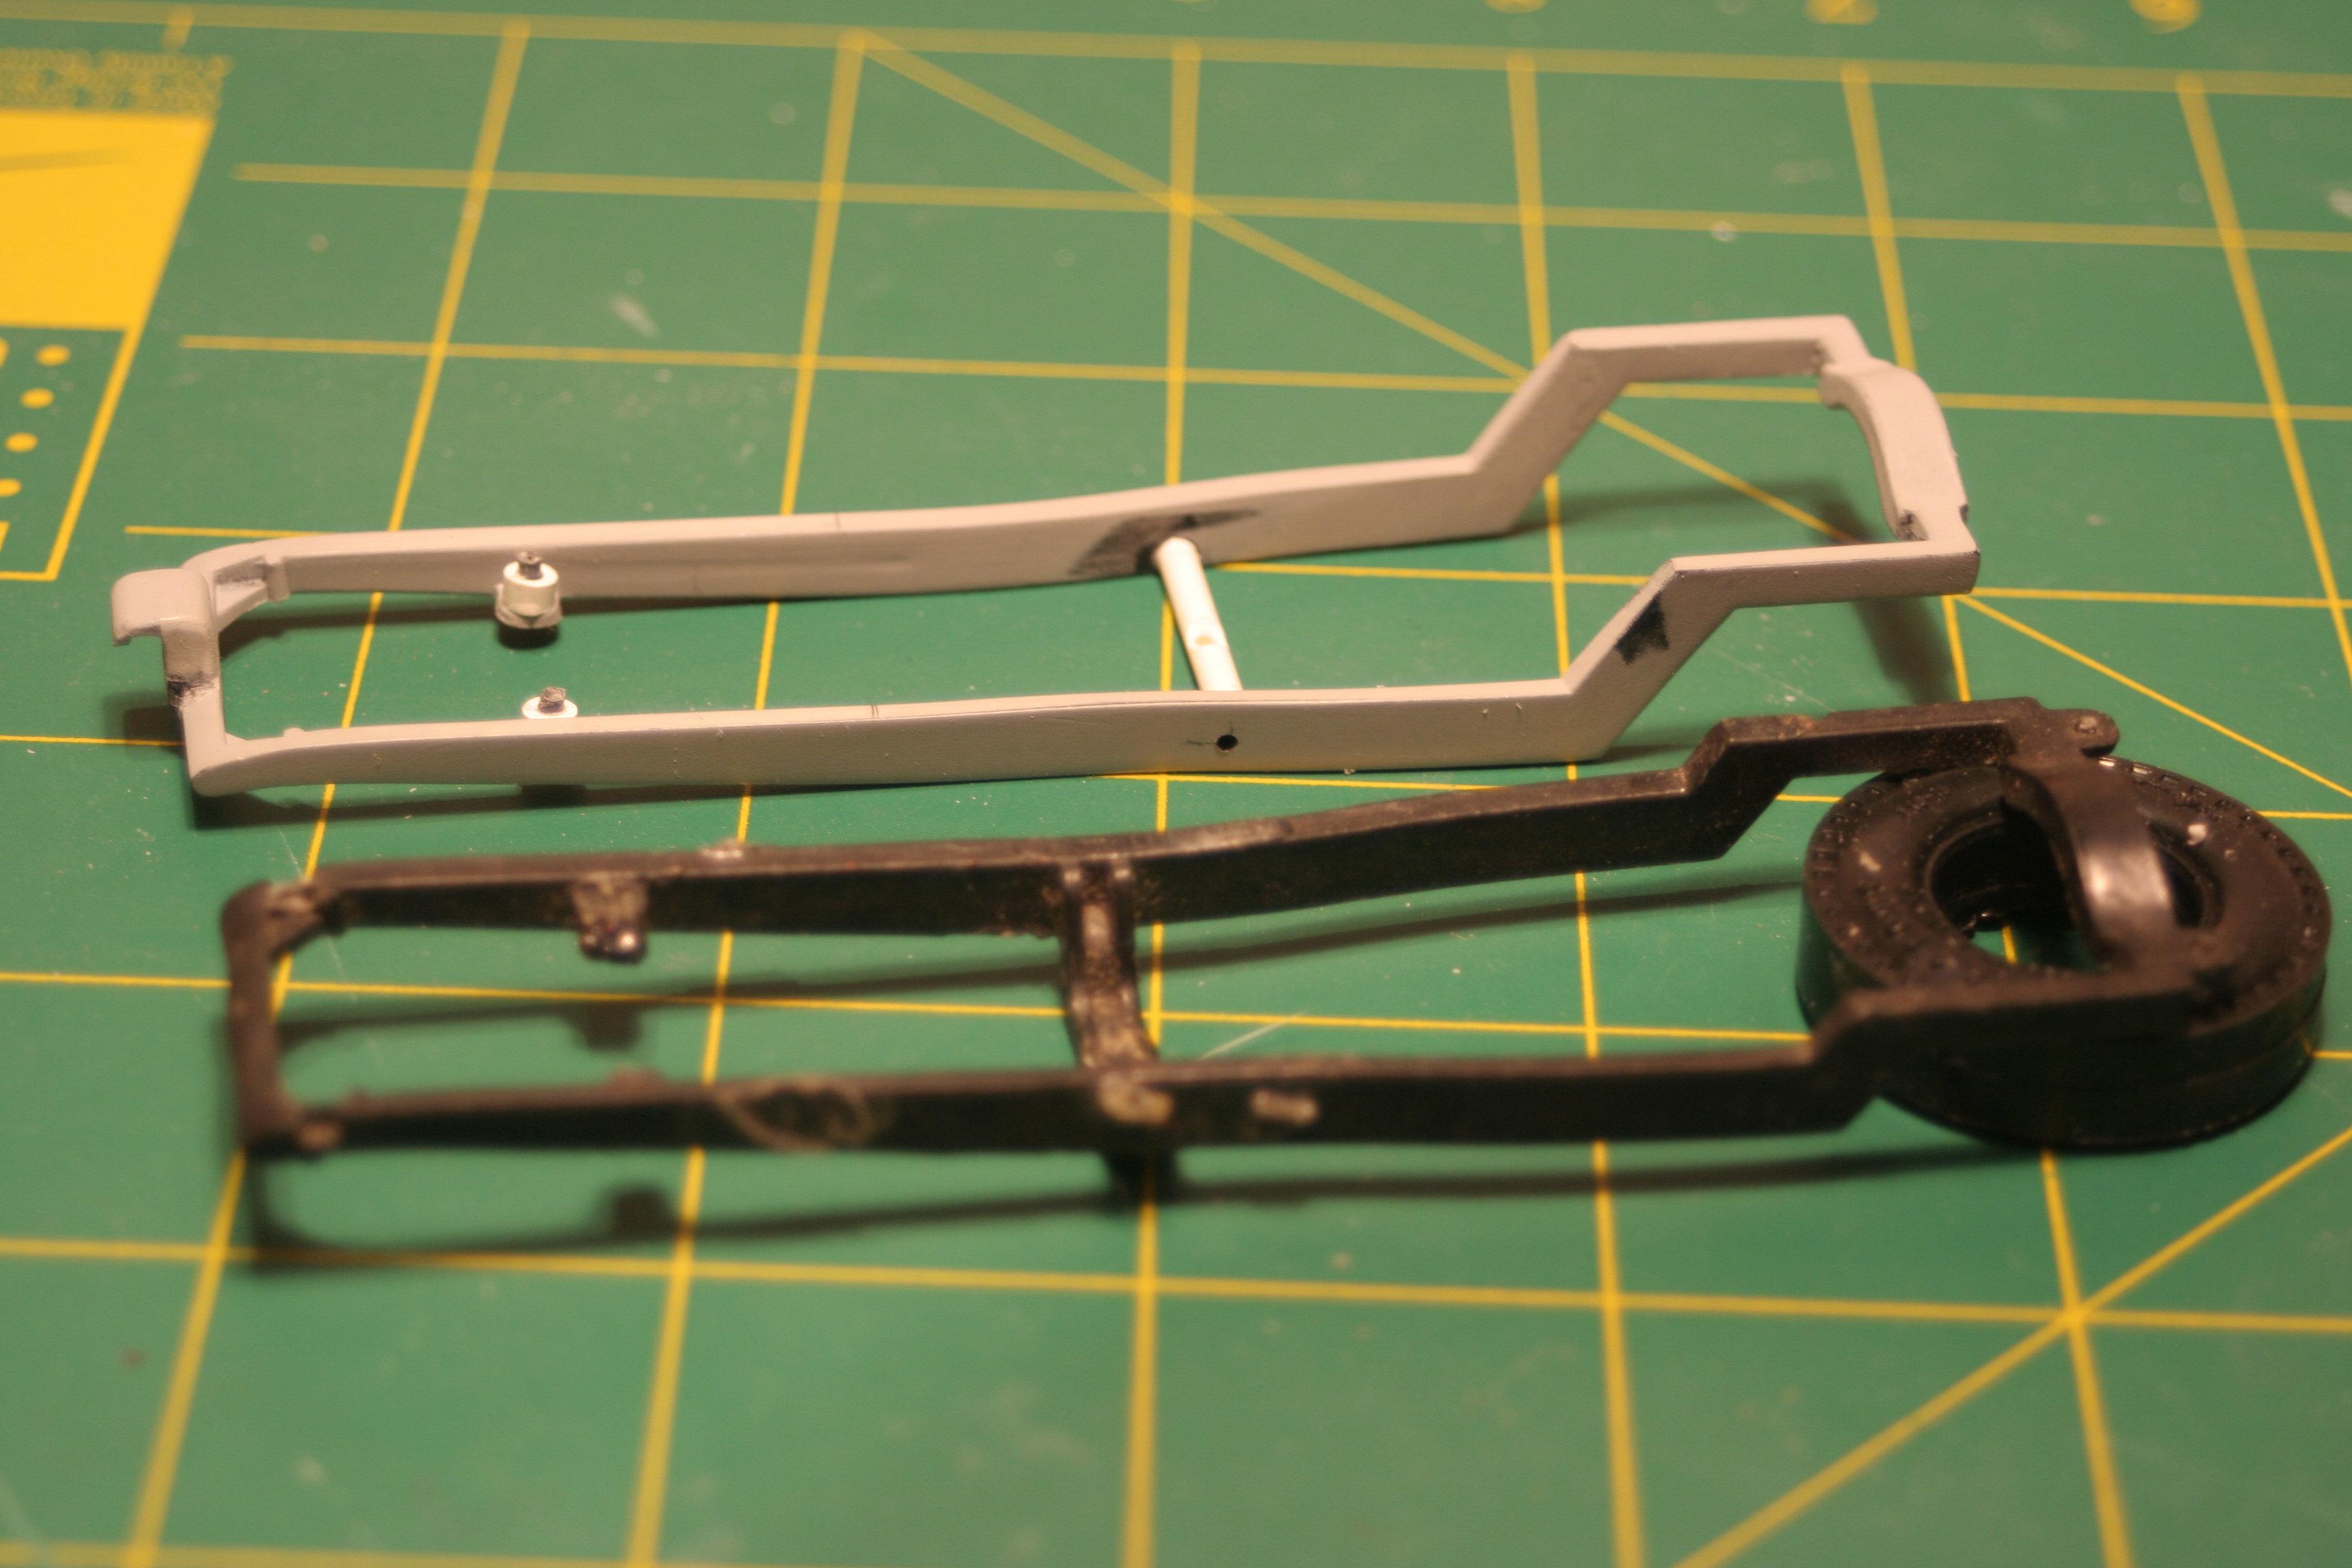
If you have one use the chassis with the suicide front end from the AMT 23 T roadster or tall coupe - the chopped coupe, fruit wagon etc. The T is easy to Z I have added a Z to the back of a 29 Chassis I will put up a pix of the AMT T chassis when I find it
-
Dont let it touch other stuff. I may become transmitted..........
-
This is looking wicked Jim. Always wondered how the AMT bodies would work with the Revell chassis. The AMT bodies have quite a severe wedge section and give you a rakish look without trying. May not be too accurate for a stock looking car but in the right place perfect - just like here
-
Who doesn't love a mock-up? Let's see yours!
bill-e-boy replied to Belairconvertable's topic in WIP: Model Cars
Getting close to the finish line with this so I though a quick mockup to keep the juices flowing
-
A quickie mock up while I decide how to sort out front shocks as the front end has been lowered a fair amount. the body id still loose while i do the chassis work
-
Thanks for the offer Bill
-
I have completed the rear end installation. The scratch built shocks were assembled and glued in place. Looks a whole lot better than the kit shocks The front axle is glued in so work now on getting that end complete then we can get her up on all feet
-
Thanks Bill. Problem is I live at the other end of the world but appreciate the offer. I will live what is in the kit - mainy because it is an OOB build and I am building to the rules with an upcoming IPMS competition in mind. The rules are quite strict with only able to use what is in the box. Foil and decals being the only deviations allowed.
-
Mounted up the rear end and checked the kit drive shaft - oh darn too short. I mounted some 1/8" ally tube in the lathe and polished it up and cut to the new extended length. I cut the ends off the original shaft and filled down stubs to fit into the new shaft tube and glued up with 5m epoxy. Thanks for looking
-
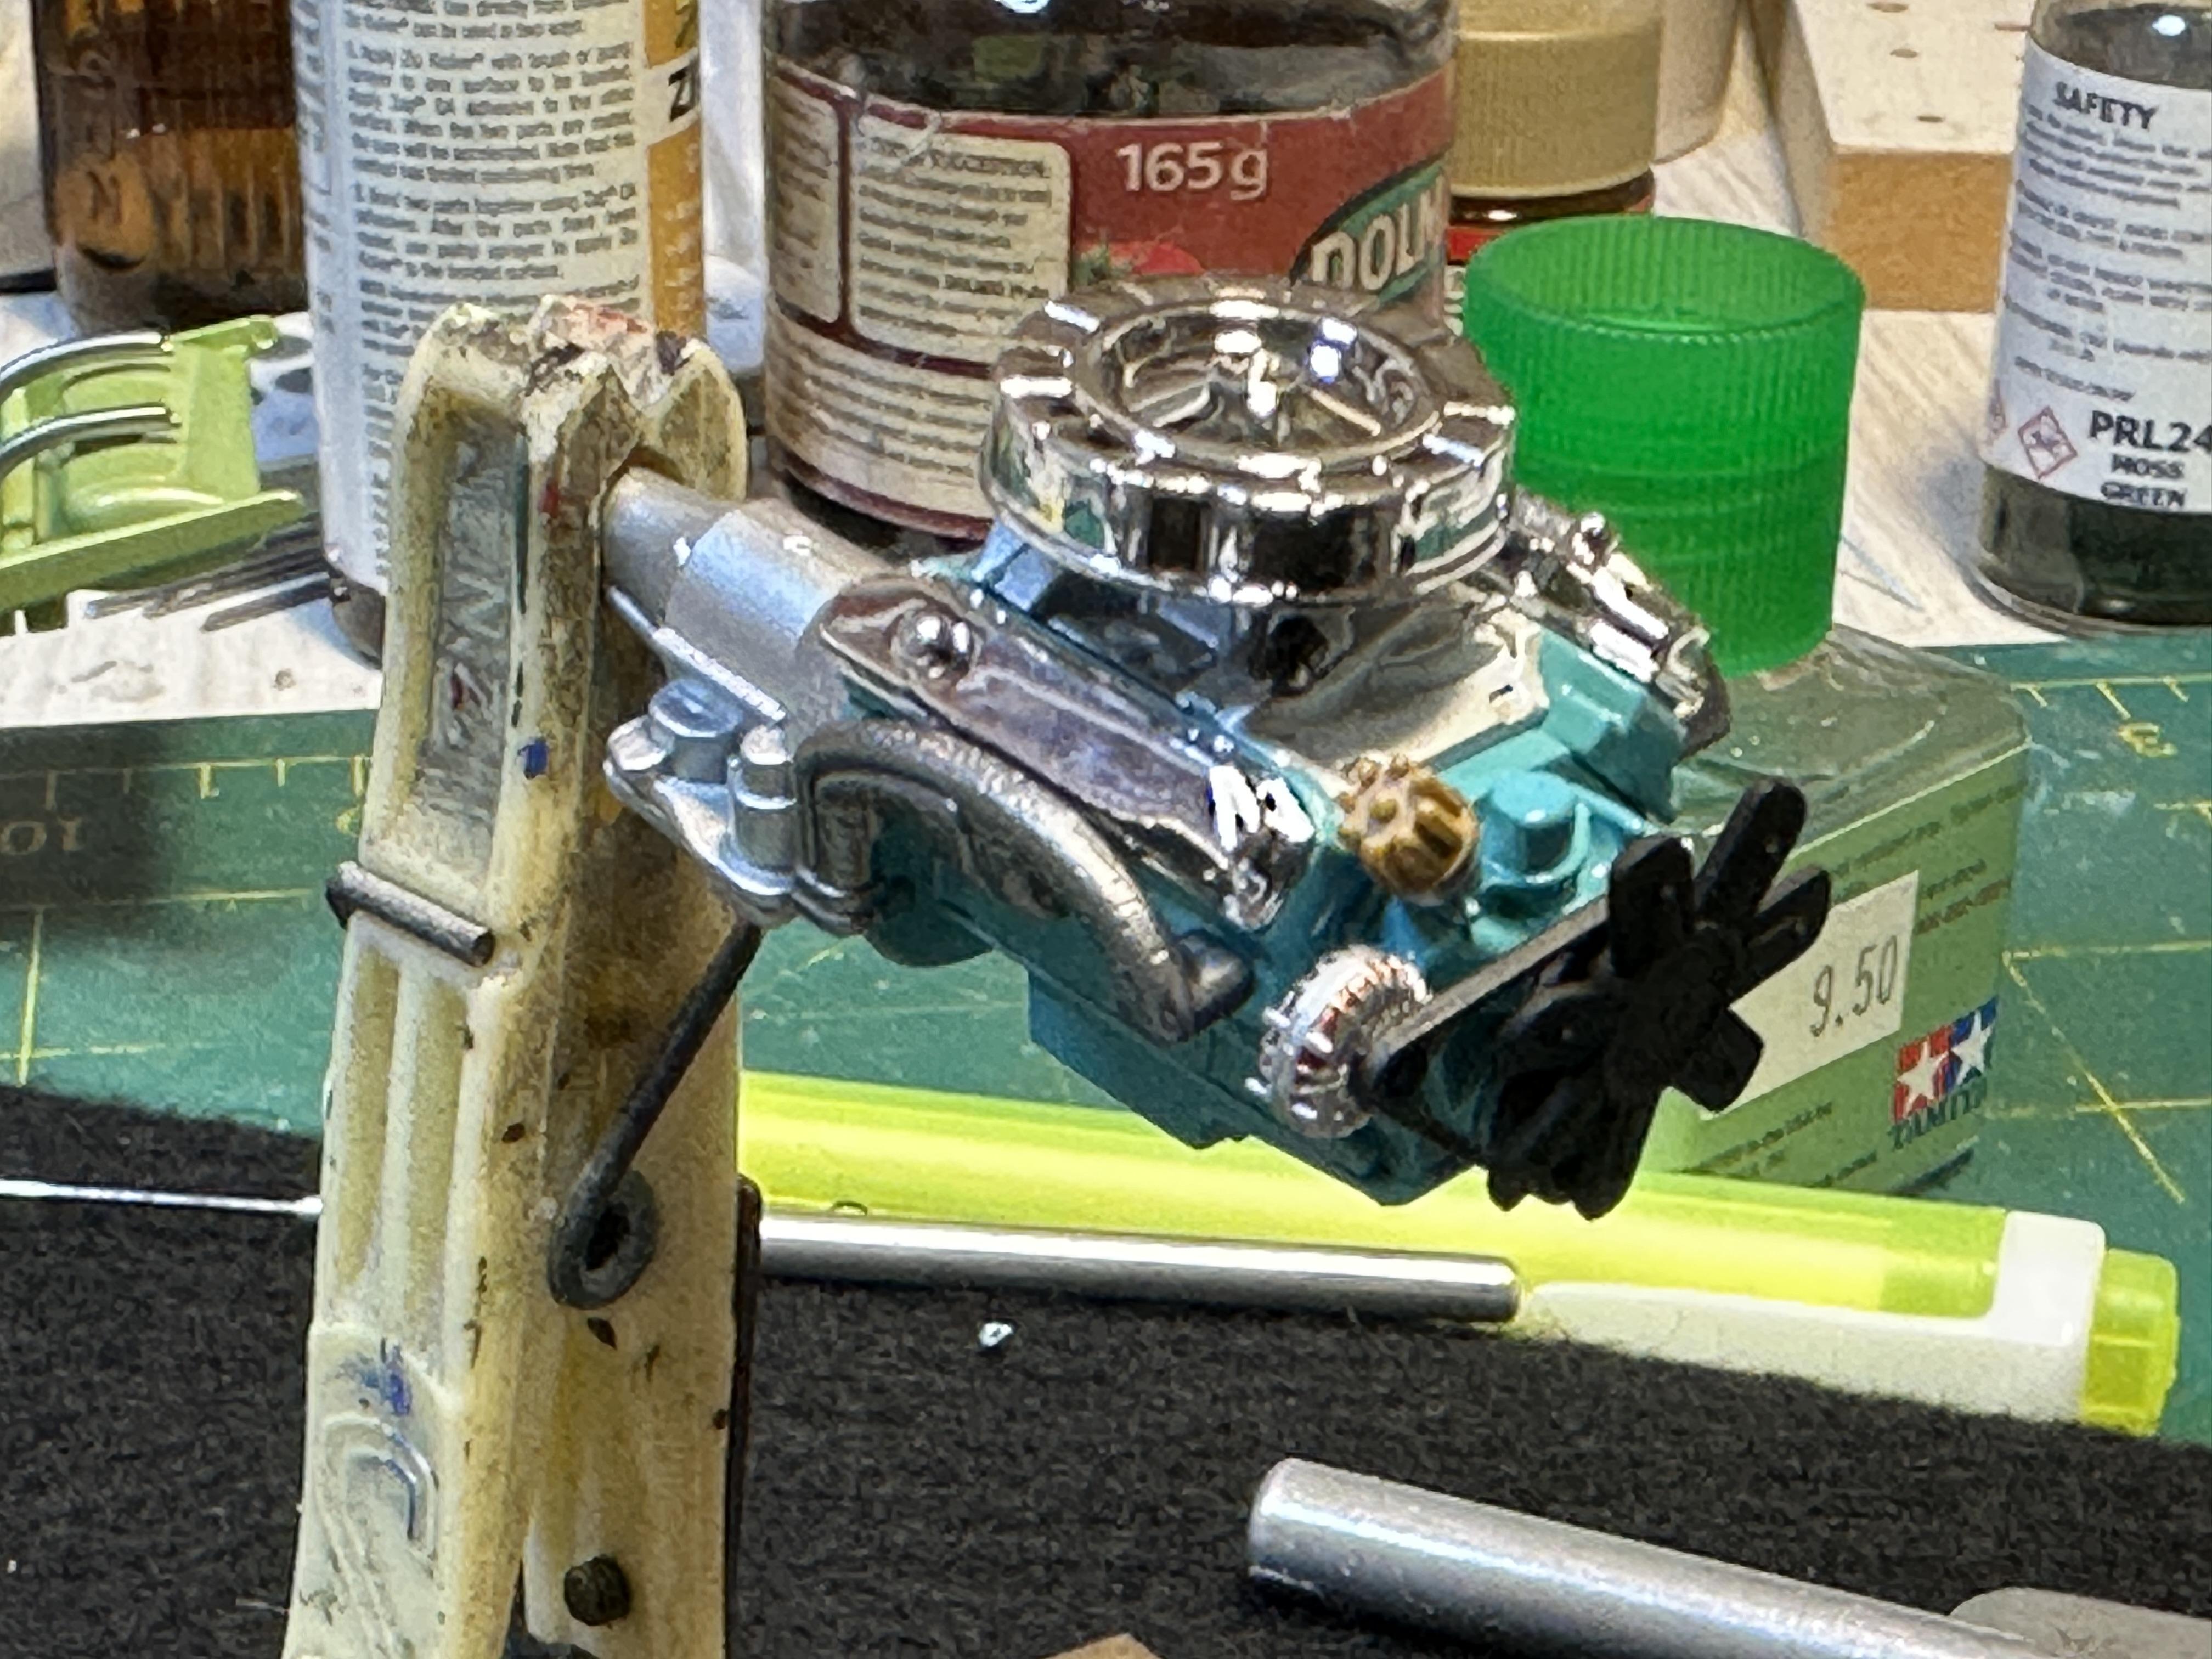
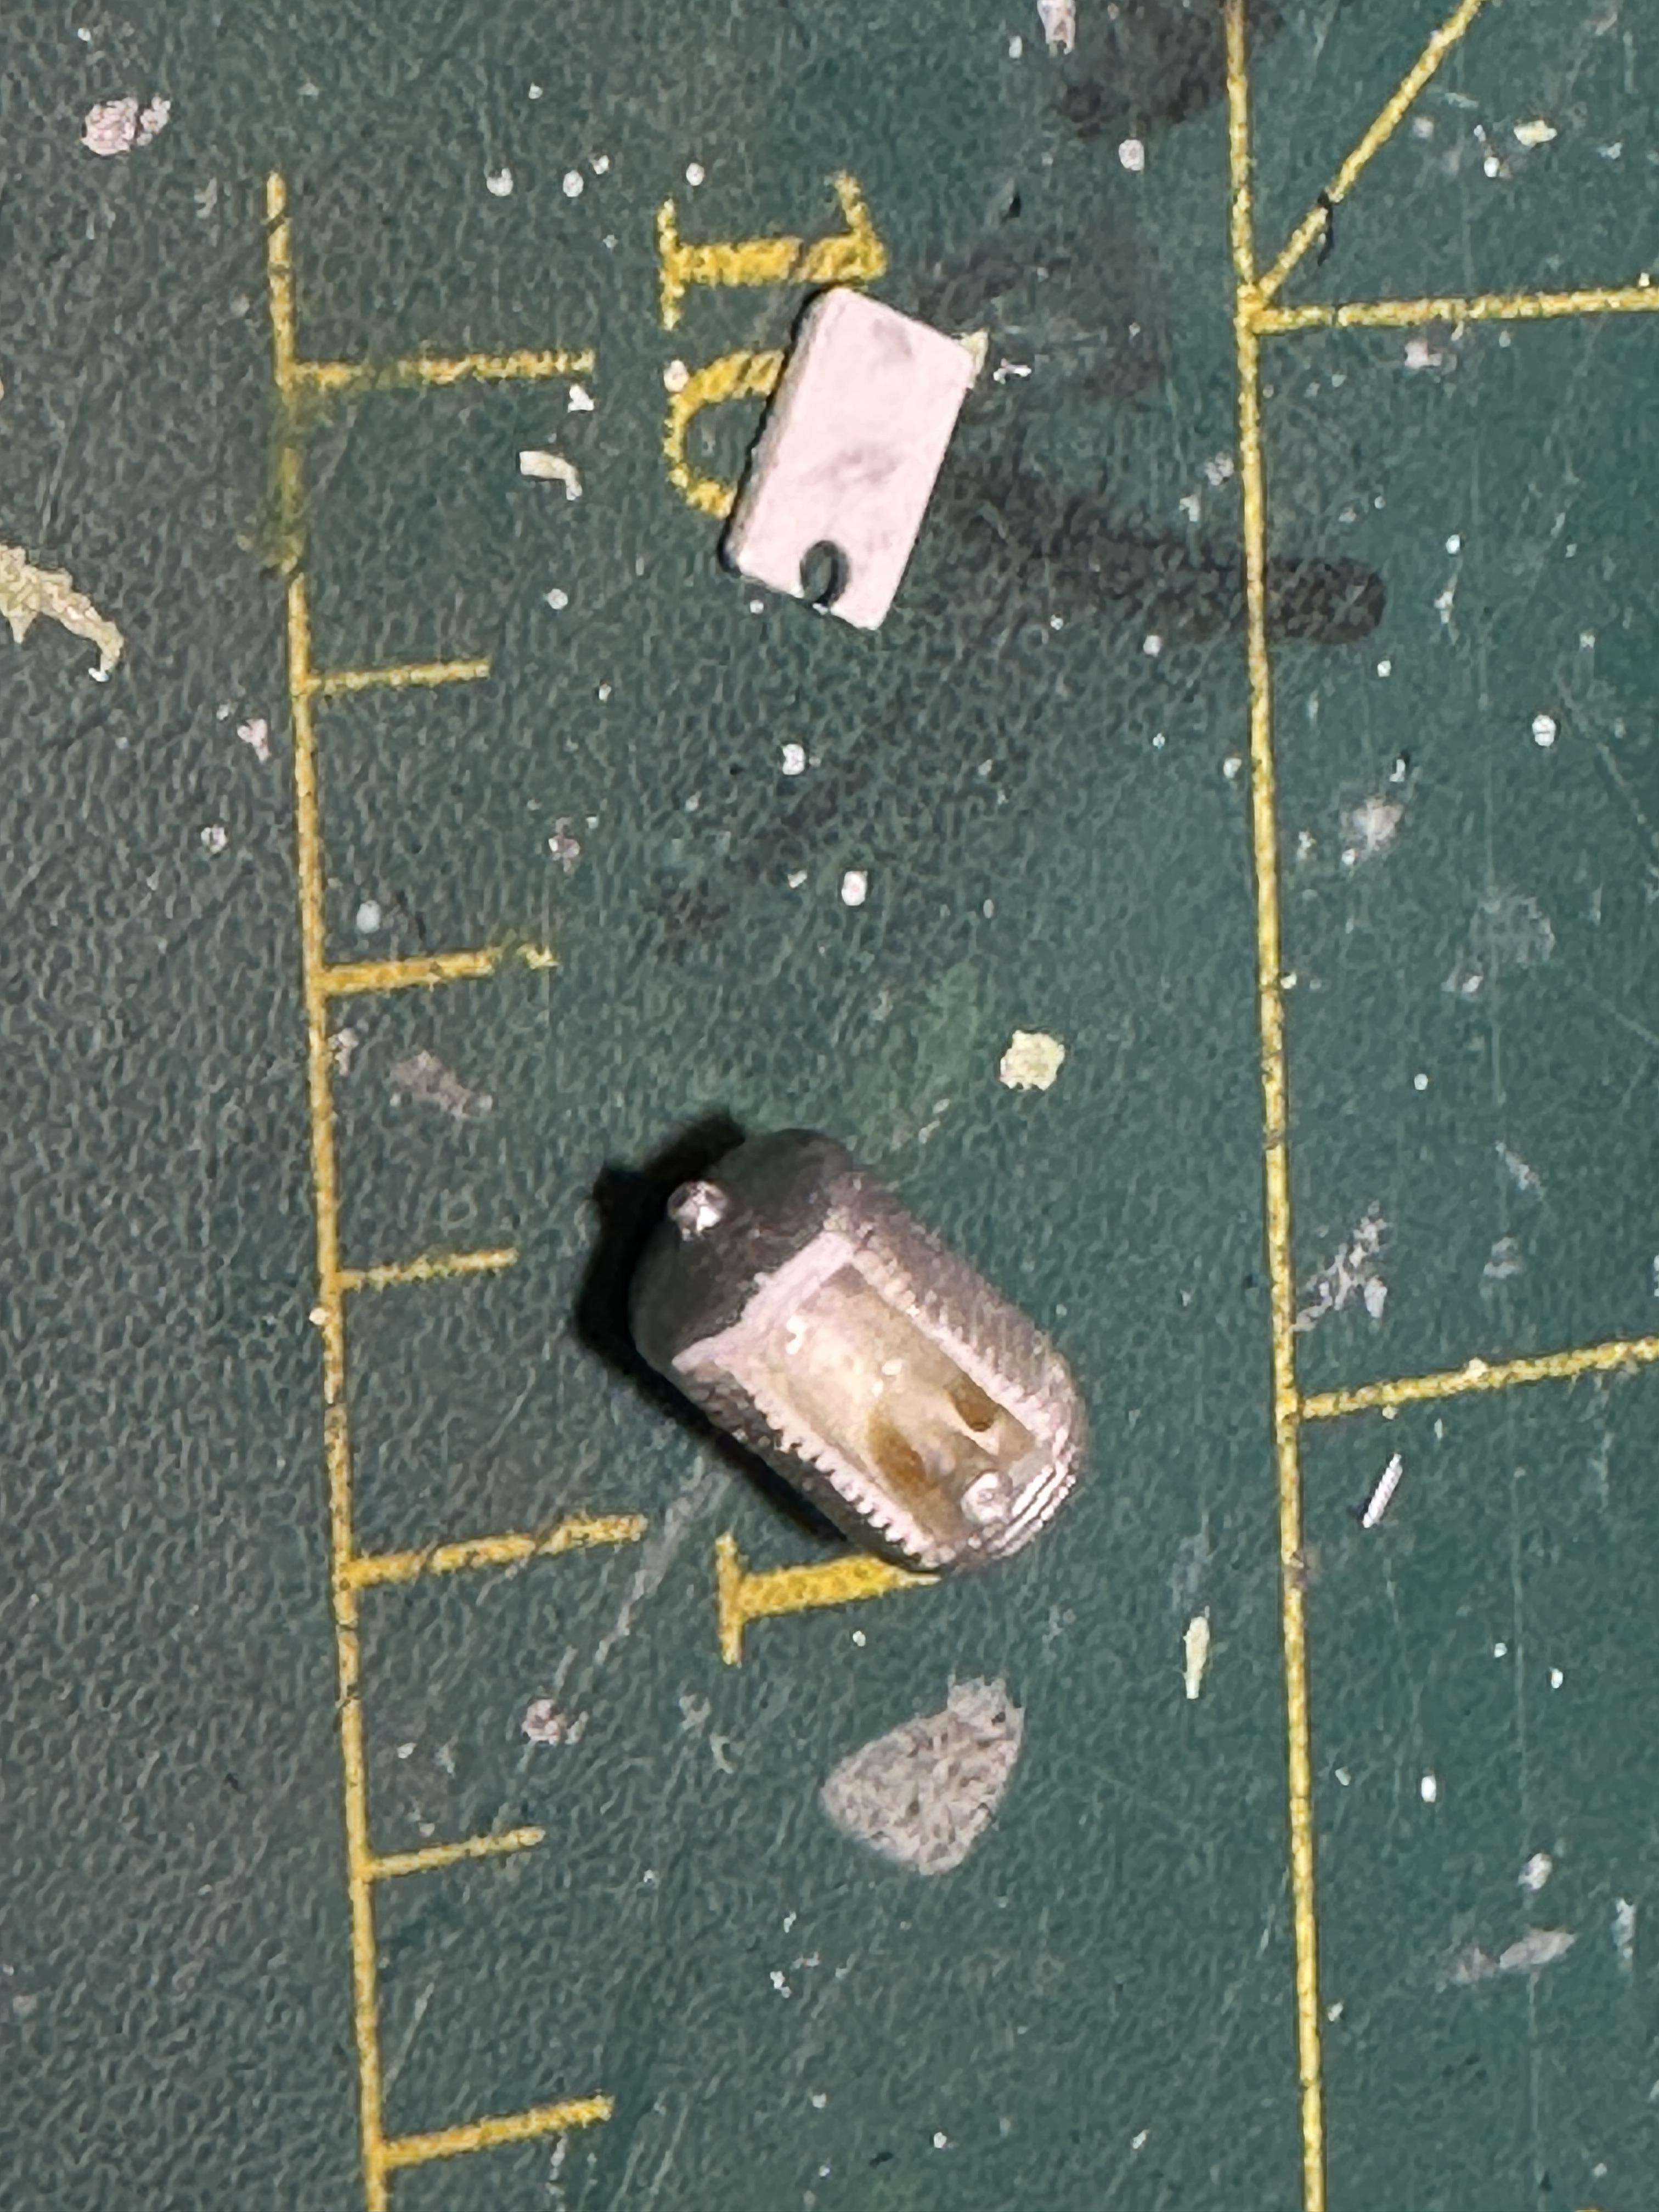
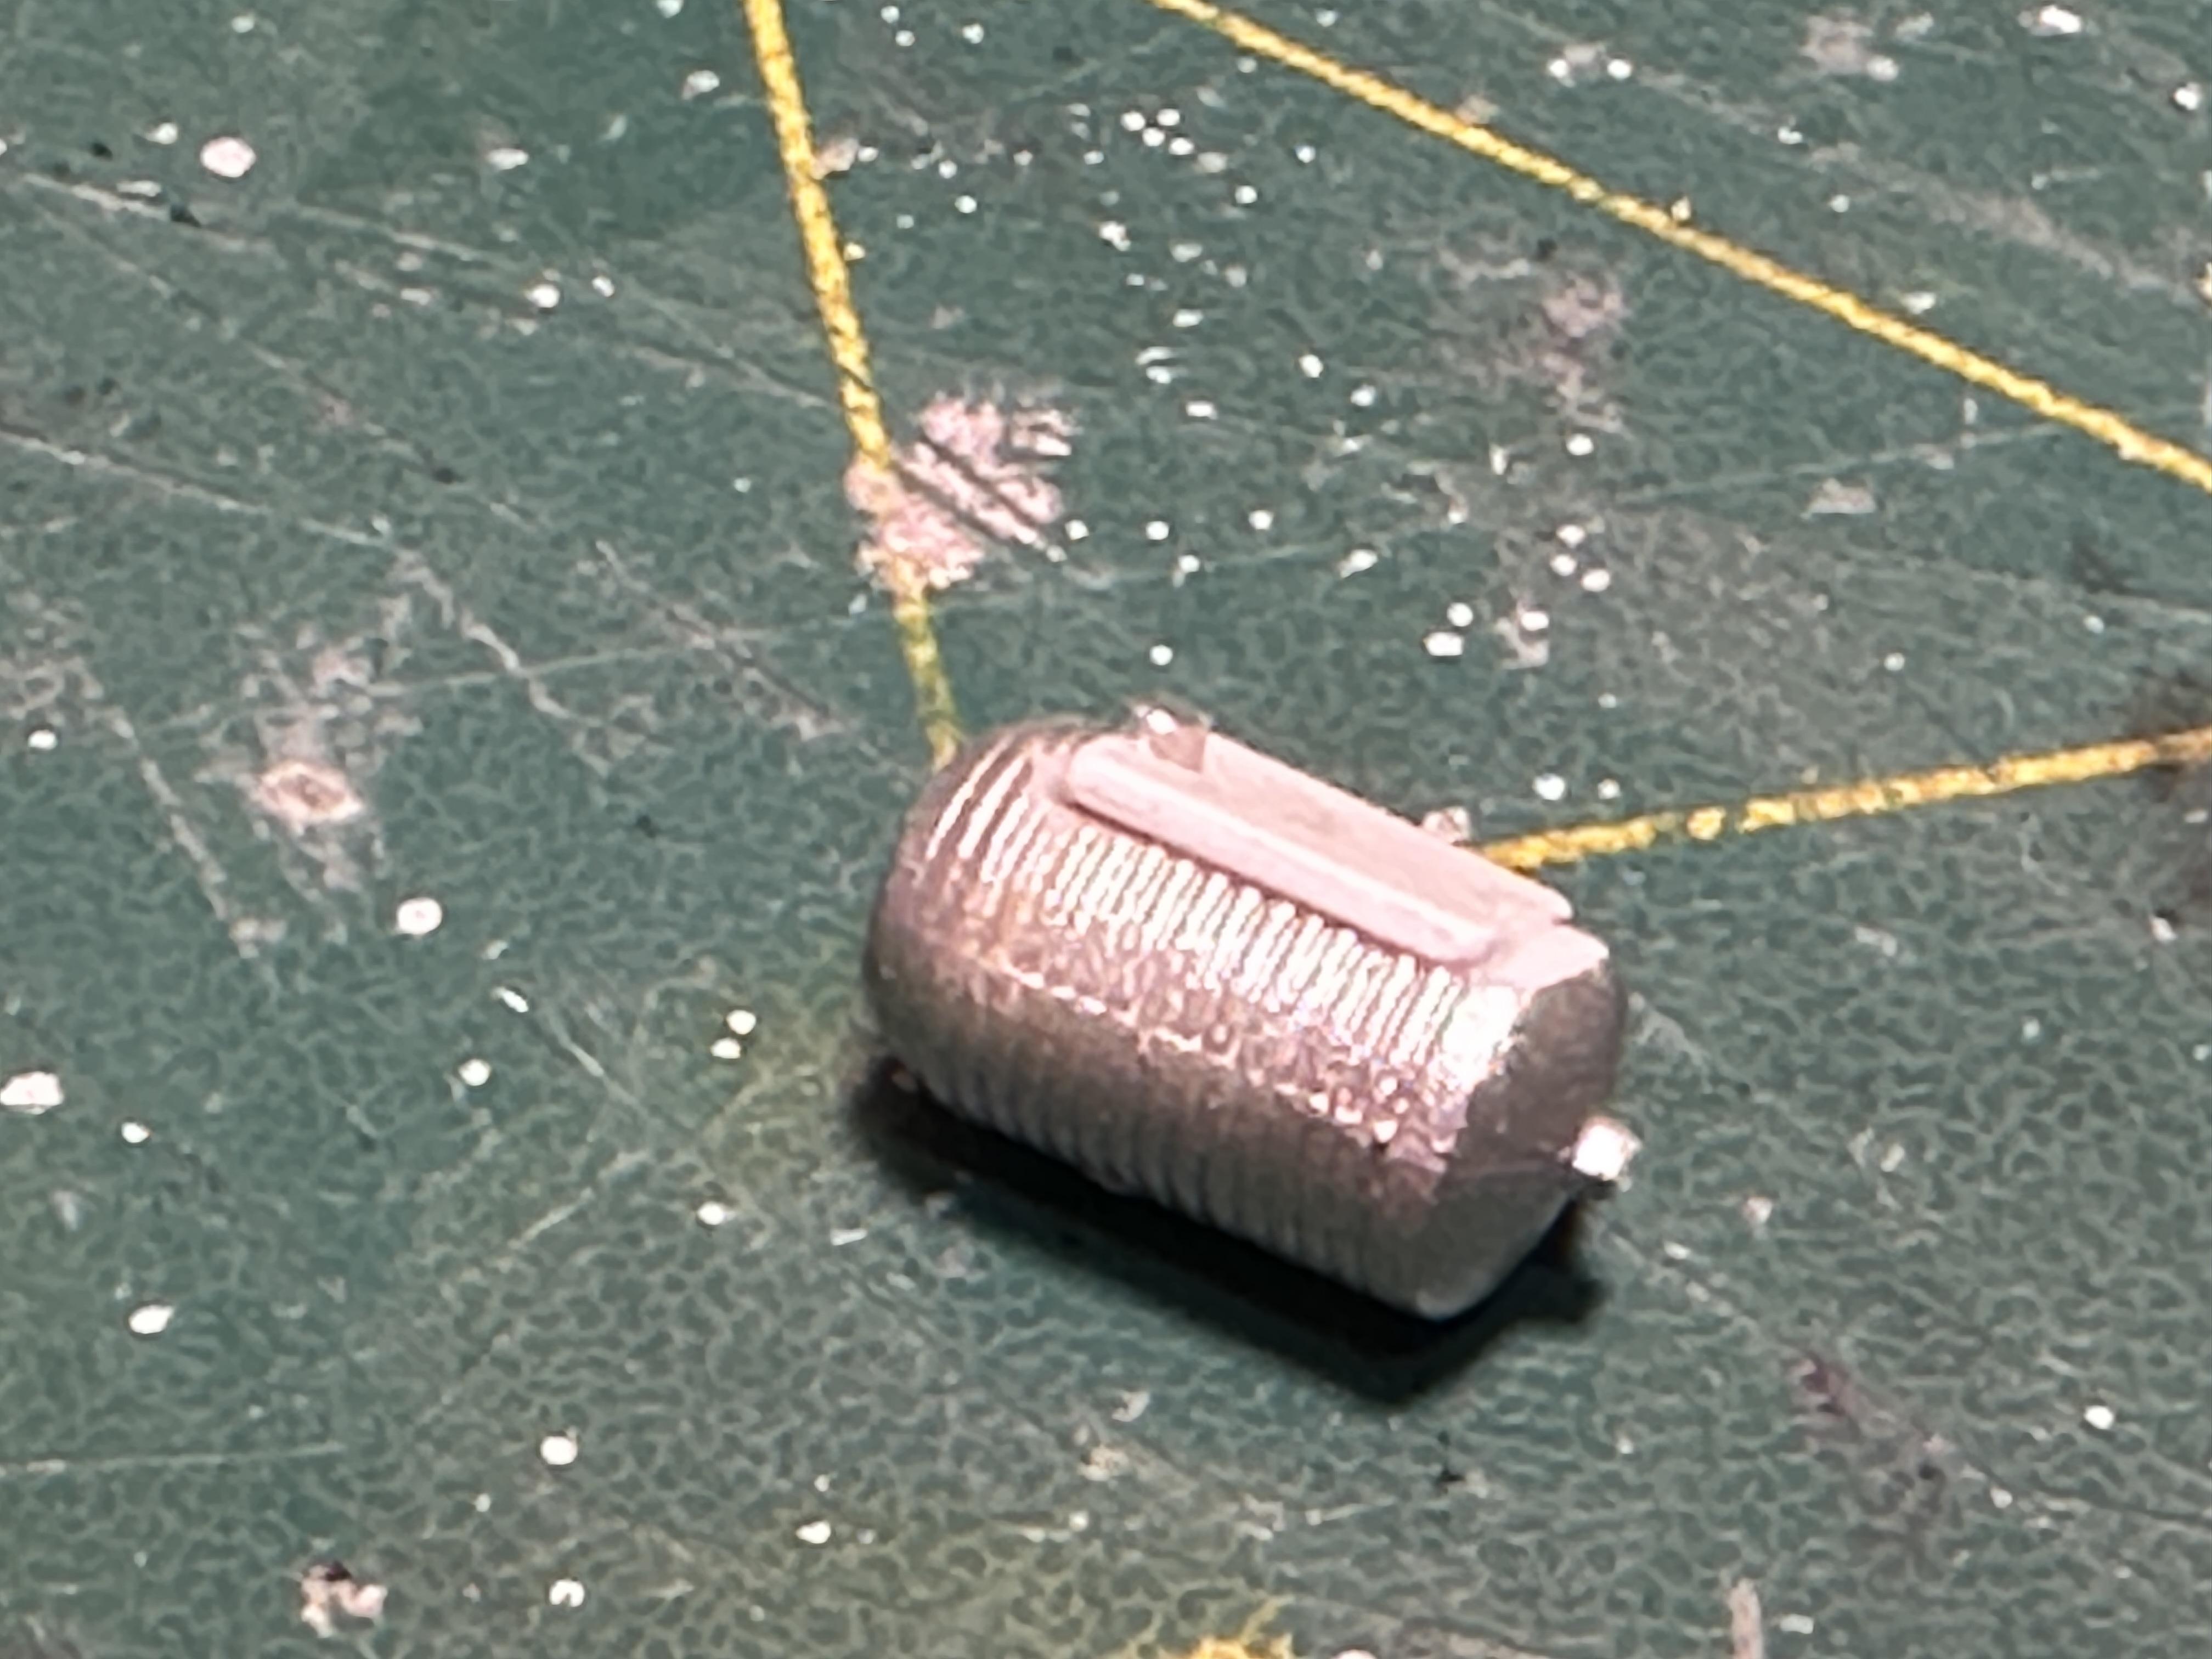
Body is back in the paint shop for clearcoating after I sanded out the worst of the masking tape rash and fixing some red overspray Between coats and sanding between coats I did some assembly work on chassis and motor. This is a very nice Mopar B motor I must say. Moebius call for it to be assembled as a wheezy old 2bbl 383 and give you the air cleaner decal for a 426 Commando. The carbs and intake are in the kit but not the air cleaner for the 426 so I have not put a decal on the air cleaner. I lost a front shock whilst cleaning it up, it pinged off somewhere so I made two replacements and have painted them metallic blue. Chassis assembly will continue when the paint dries.
-
I fixed the brake booster mounting and redid the brake line - sorry no pix Looked at the oil filter and was not happy with empty back side of it as it would show up when mounted on the firewall. Ugly! So to fix the ugly I made a small mounting flange and glued that to the back of the filter and gave it a touch of paint. I had to mess around with the mounting placement on the fire wall as the Thickstun head covers are quite large. Also the motor sprouted a few more line lines that need to be connected when the body meets the chassis. The new lines are oil lines to the filter. I did not clean up all of the mould lines on the oil filter as these were sand cast ally and there would be a parting line in the same place a the 1/25th version. If I were to polish it up I would remove them, but I haven't. A mock up to see how it looks It is getting there - just taking a bit longer than I thought
-
Got the headers all completed, painted and installed. Install a fan belt on the motor and mounted it into the chassis. Next up was marrying the kit exhausts to the headers. I cleaned up the mould lines and drilled out the ends ready to fit up. I cut the kit exhausts at the K member and bridged the gap with some 2mm solder. Pinned and bored the ends so they all fit nicely The exhaust system was painted with SMS stainless steel (headers too) and installed Note to self - need to fix the brake booster mounting and brake line View from top side - this thing is getting close to final assembly Thanks for looking
-
Only just come to this. A superb build as usual Dennis. I am liking the colour combo a lot too, and I have used the Racing White and Champagne Gold colours in recent and current builds - just not together (yet)
-
Nice looking rod and a cool colour too. I have built a few of the AMT 32's over the years and the first car kit I built was a Phaeton.
-
It’s Boyd Month! Building the full-detail Coddington Alumacoupe
bill-e-boy replied to OldNYJim's topic in WIP: Model Cars
Me too - same circumstances. After unpacking I just pushed it to the back of the cabinet. The tyres are made from a silicone rubber material and just dont like being stretched over the wheel I seem to remember he took the project on about 75% into the build. Just finished and got all the Kudos - along with Tim the Tollman when he raced Bob Vila who was in the Aluma Coupe -
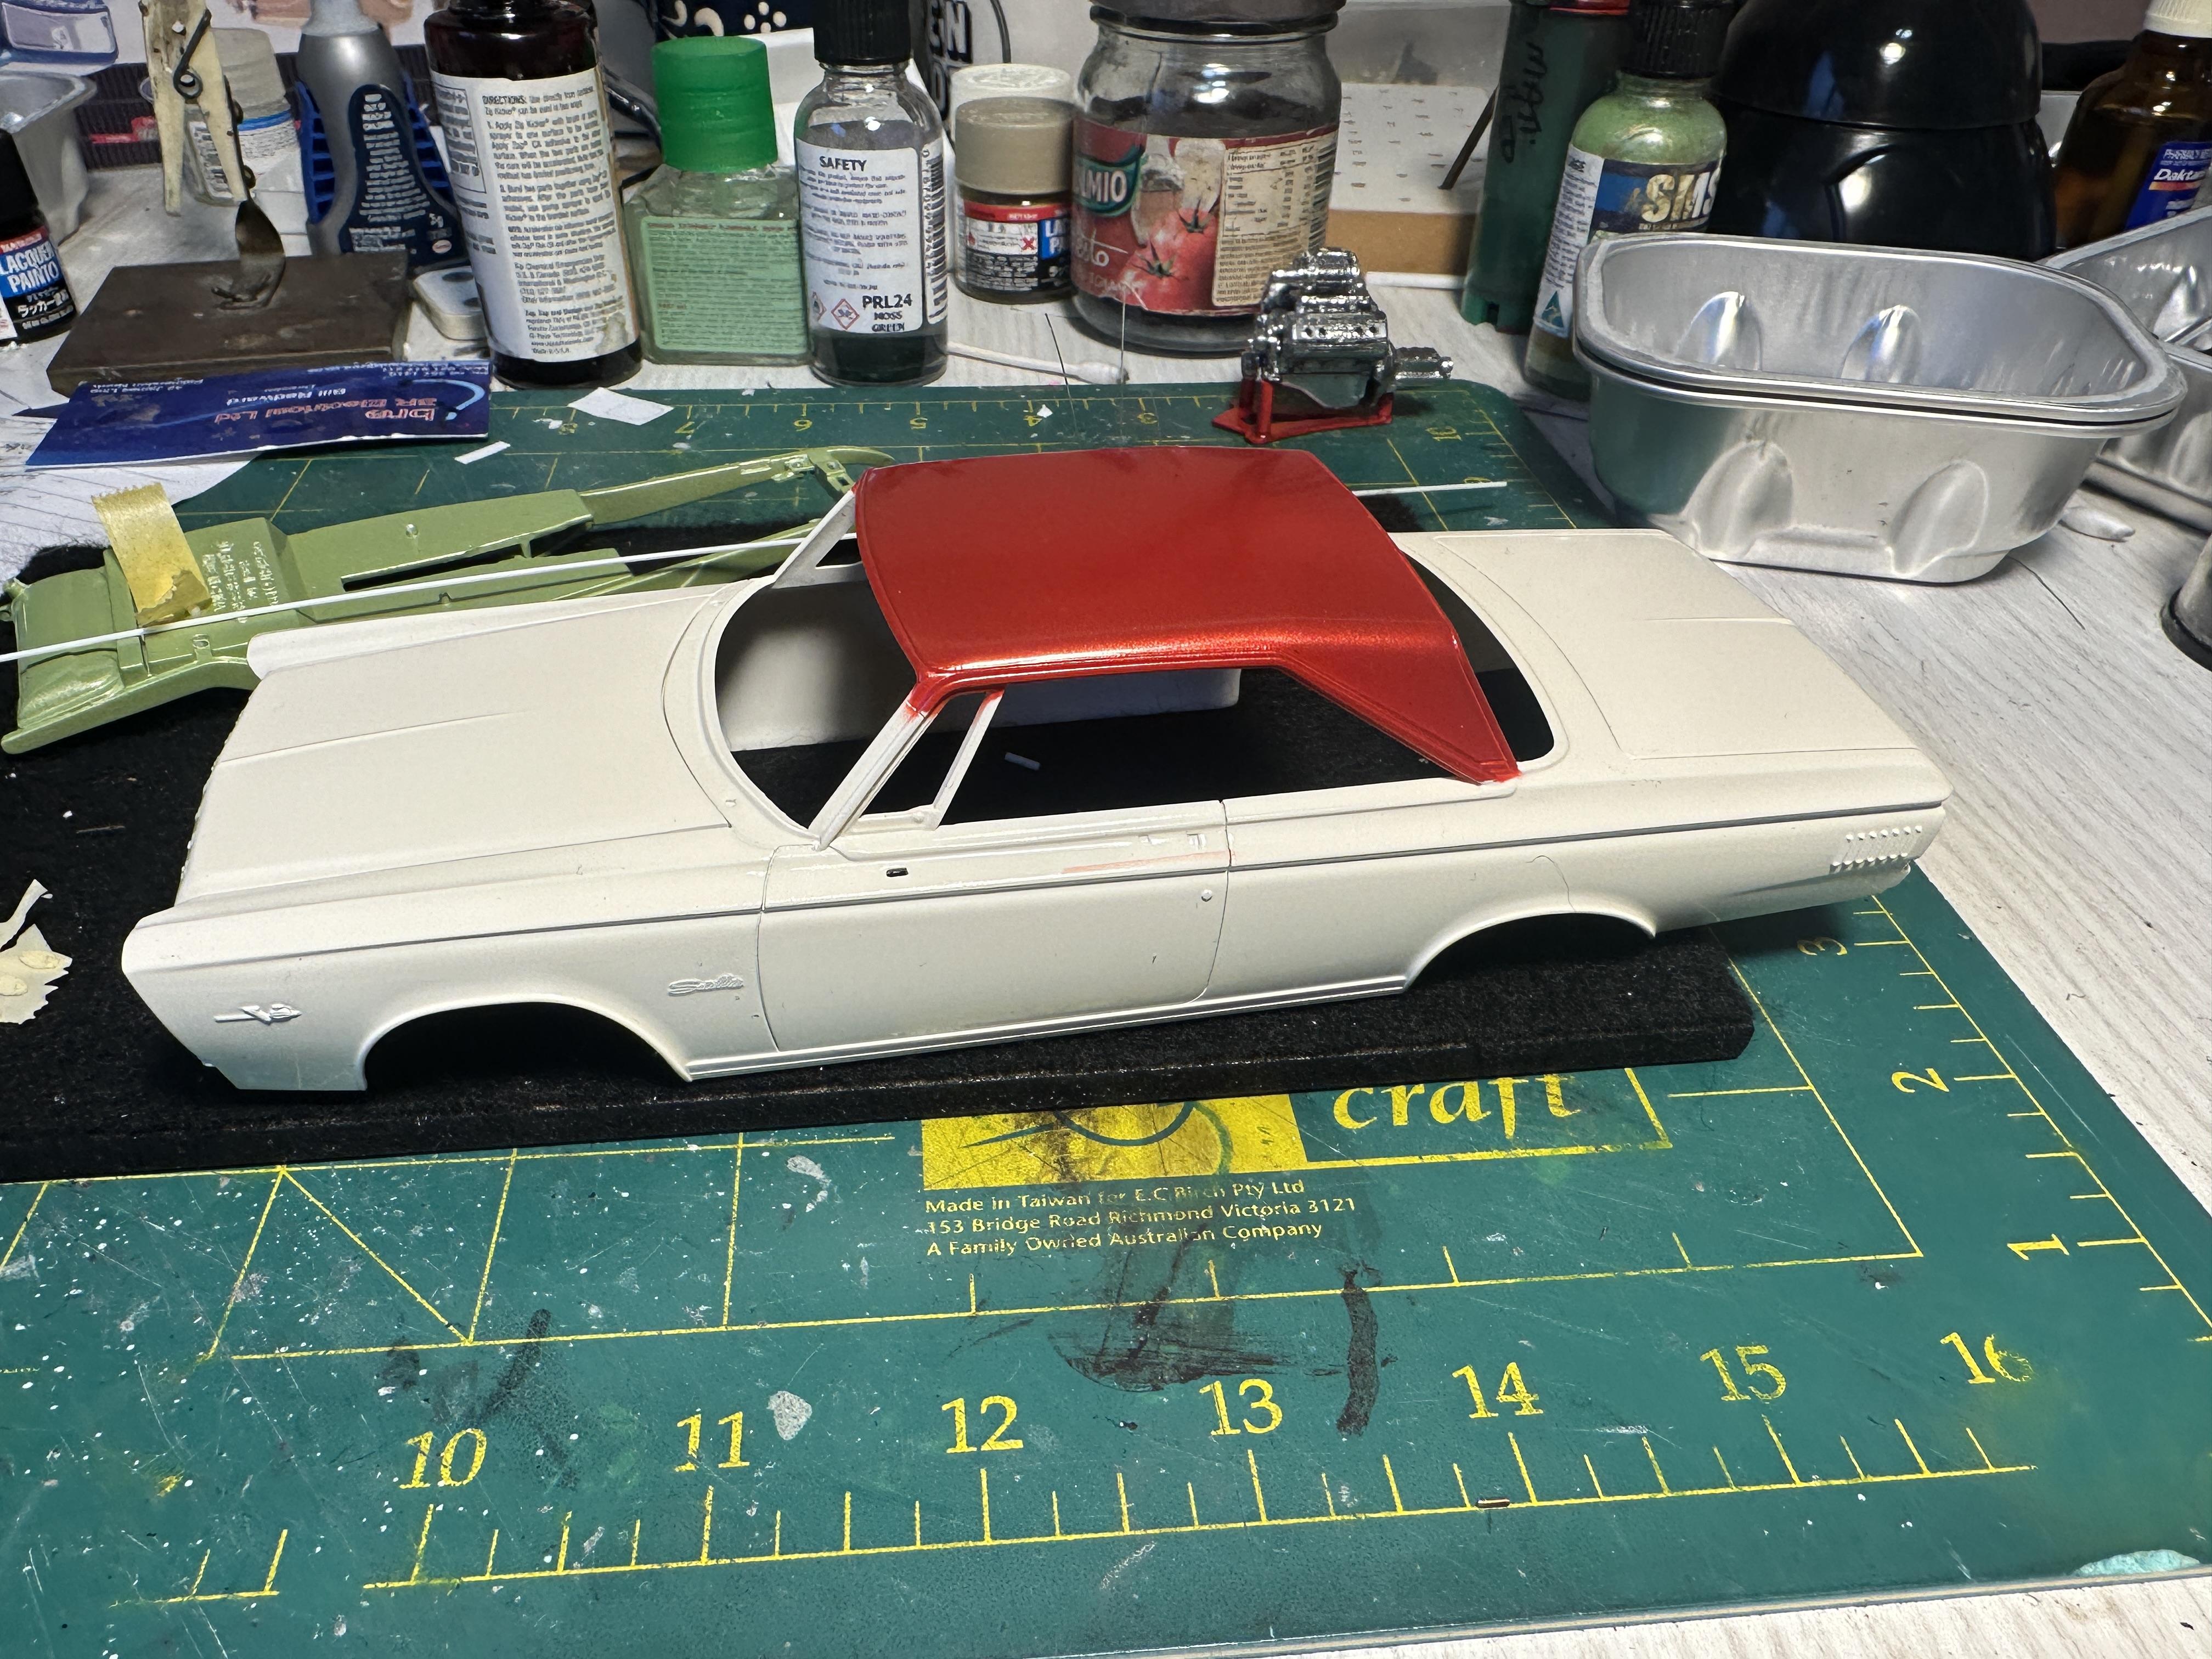
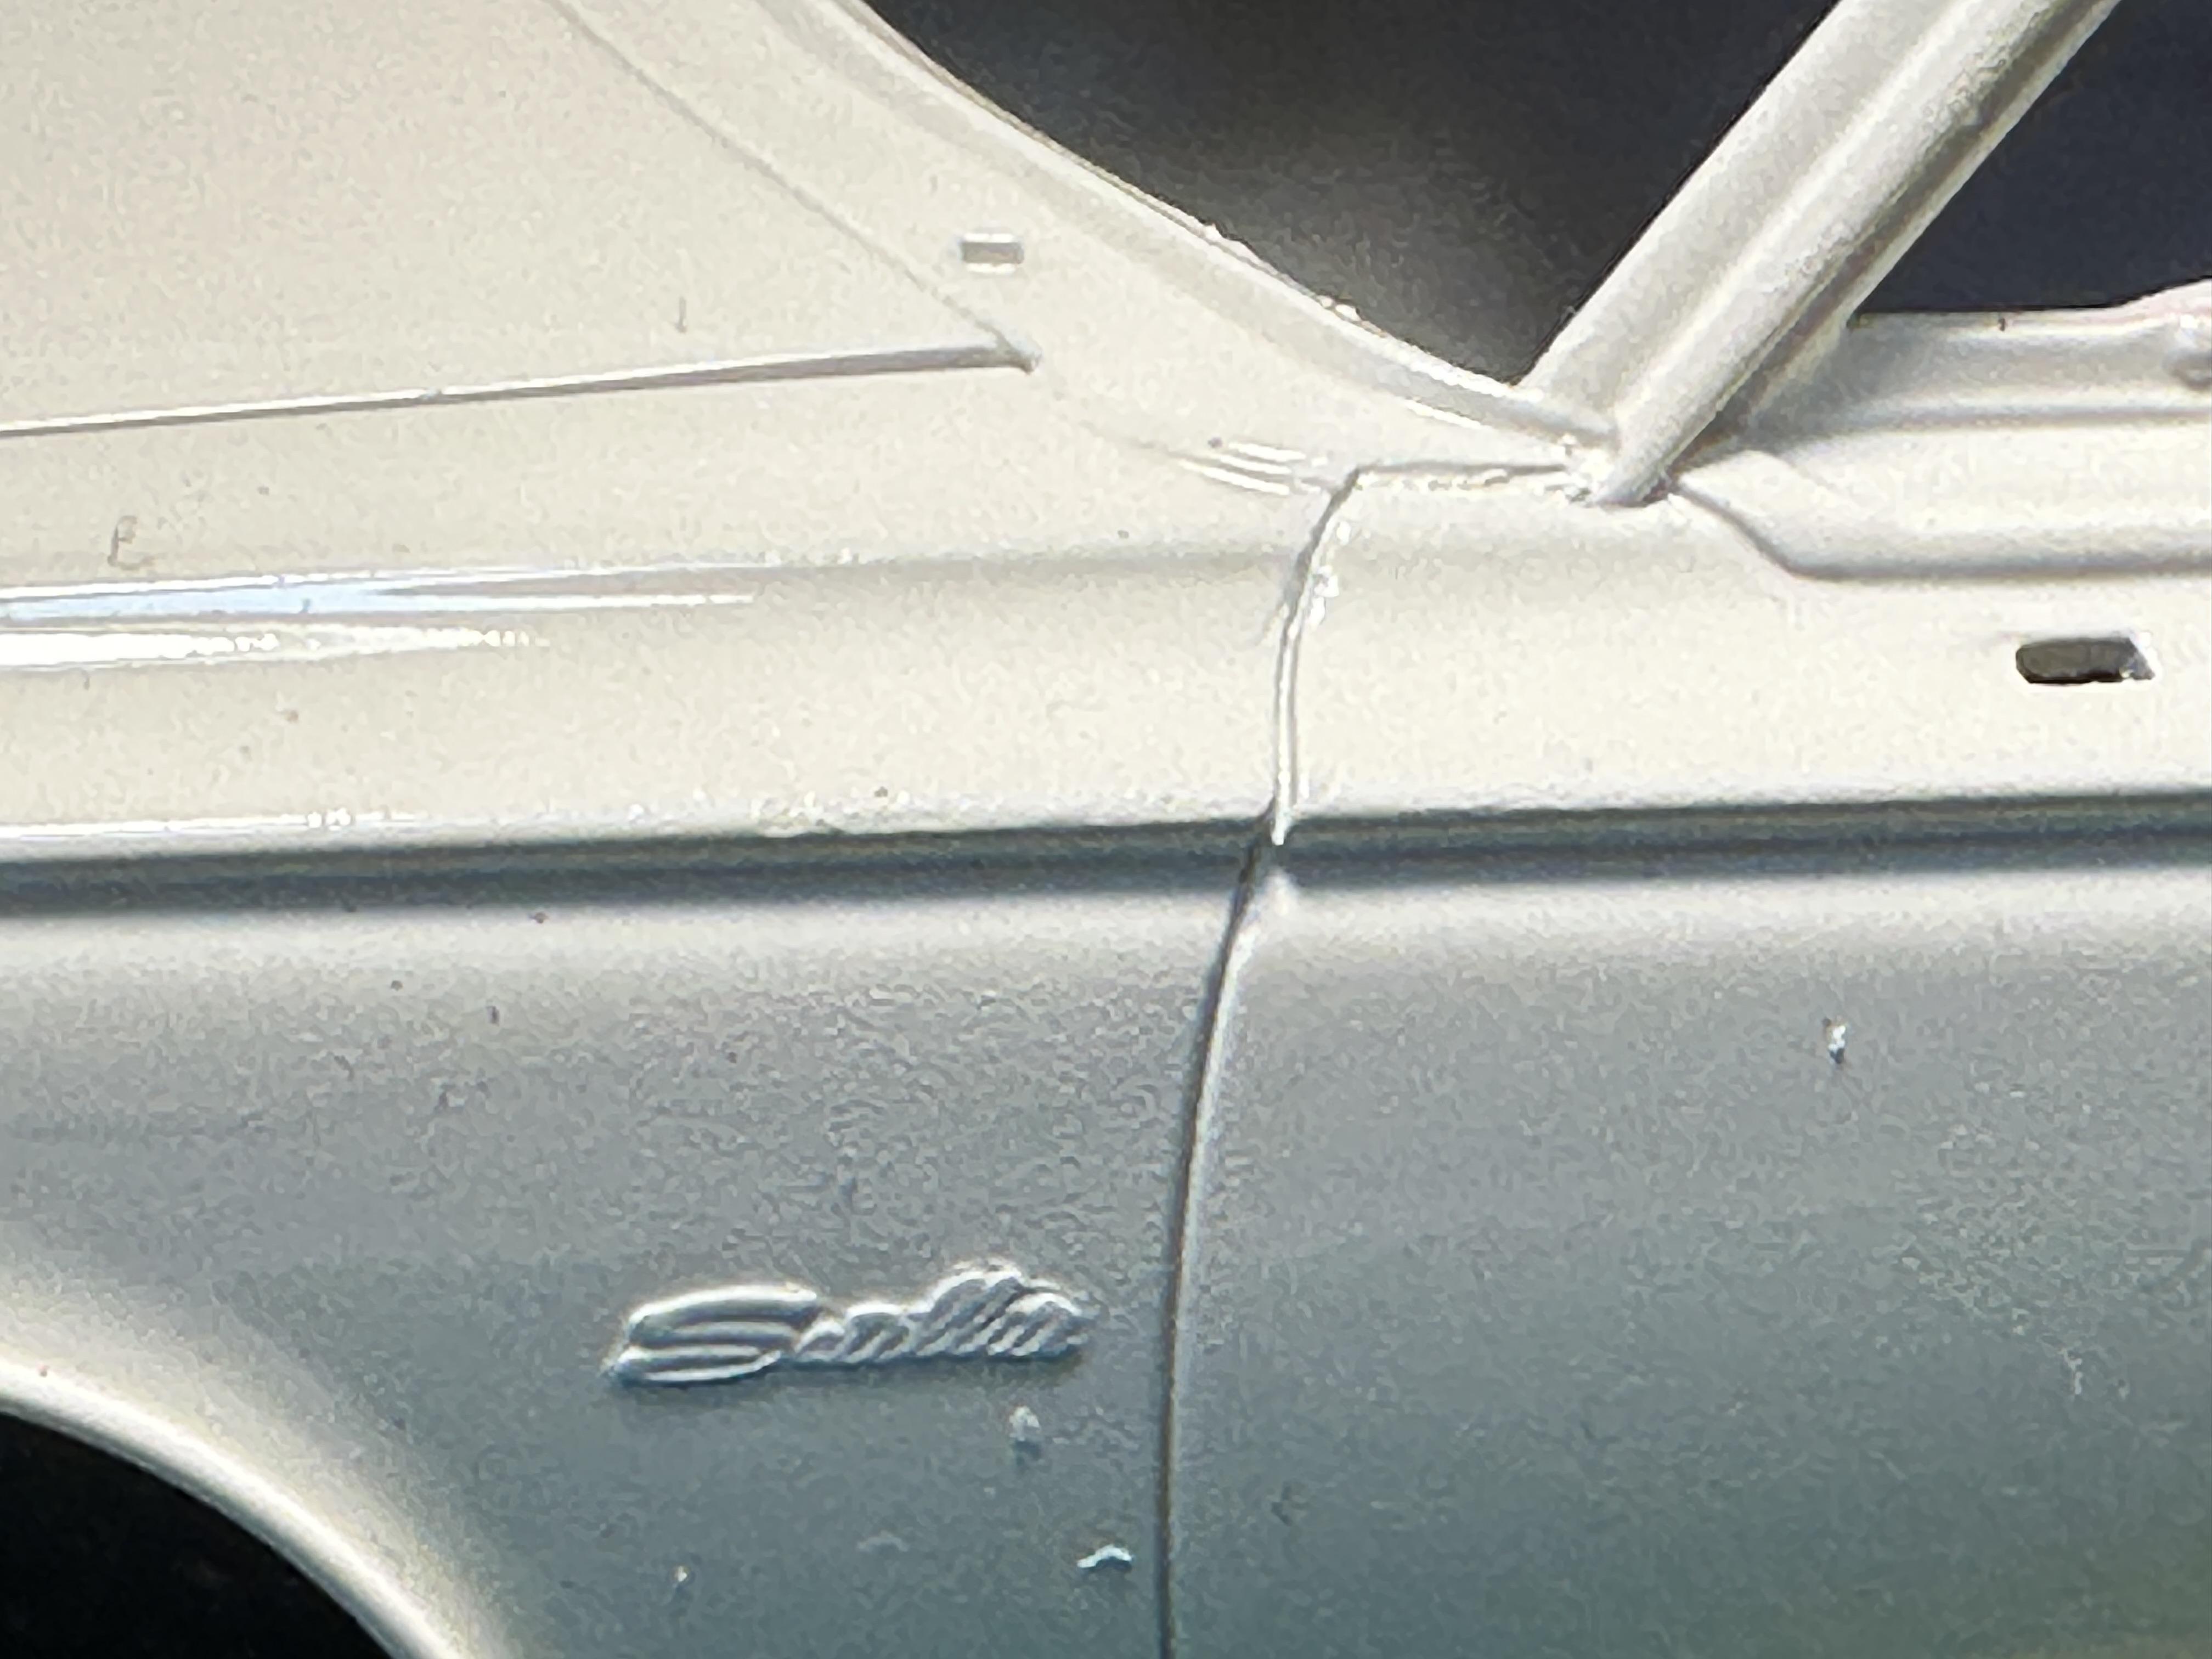
Goth the second colour on. Paints are Tamiya LP Racing white and Metallic Red. A reverse two tone. I have an issue I need to sort where the masking tape ate into the white. This is a known issue with Tamiya paints where they do take a while to fully harden. Even the lacquer takes a while just not as long as the acrylics. I waited three days but obviously not long enough. It is a bit hard to see in the white paint but it is there. Oh golly gosh (and some more explicit words were said)
-
It’s Boyd Month! Building the full-detail Coddington Alumacoupe
bill-e-boy replied to OldNYJim's topic in WIP: Model Cars
Looking good Jim. That "whole bunch of nothing" certainly does take up a fair amount of time to achieve. And worth it too IMO -
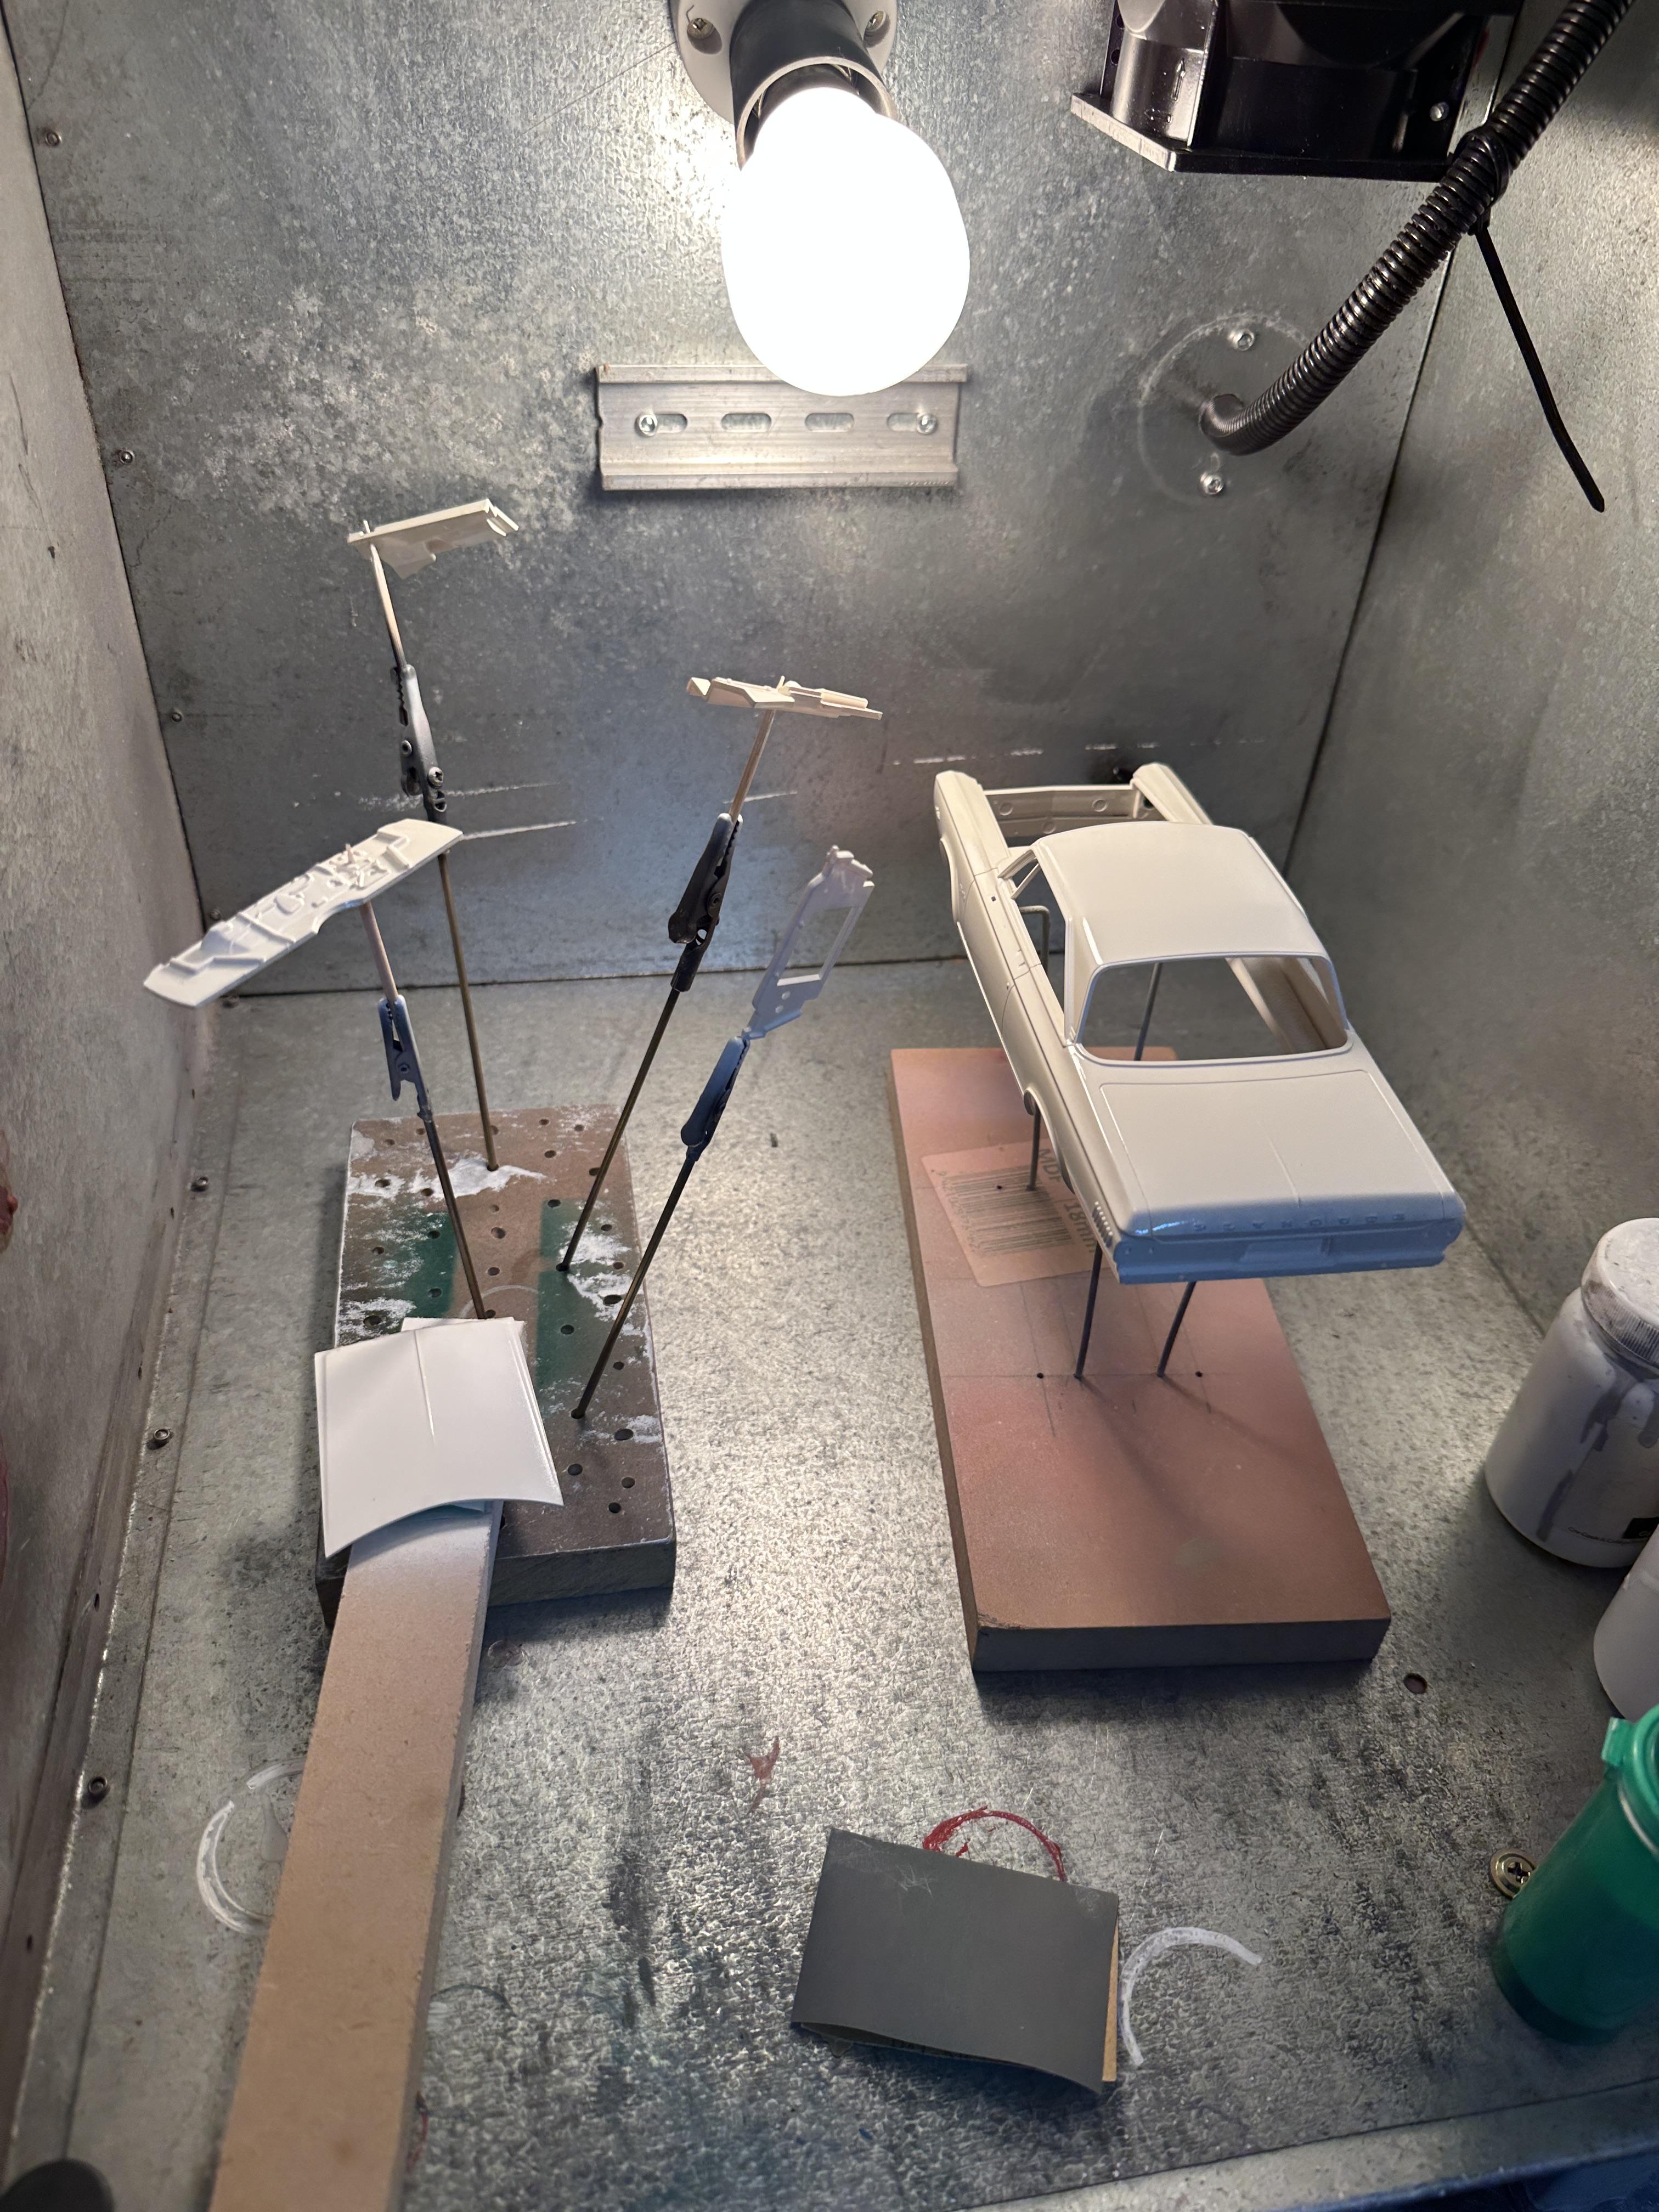
We are in the paint shop at the moment. I laid some Tamiya white primer/undercoat down and then sanded it ready for colour. I foiled the scripts on the sides and the Plymouth lettering on the hood and the trunk so I could clean off after paint. I was a bit messy as there was glue residue and the marks left form polishing down the foil in the matt primer . I cleaned what cold off with warm soapy water before hitting it with colour. We will wait and see if it works or not. I think a note to self about putting the foil on after the first gloss coat so the residue can be cleaned off easier.
-
Wicked looking 53 Bob
-
centering the rear axle
bill-e-boy replied to sidcharles's topic in Model Building Questions and Answers
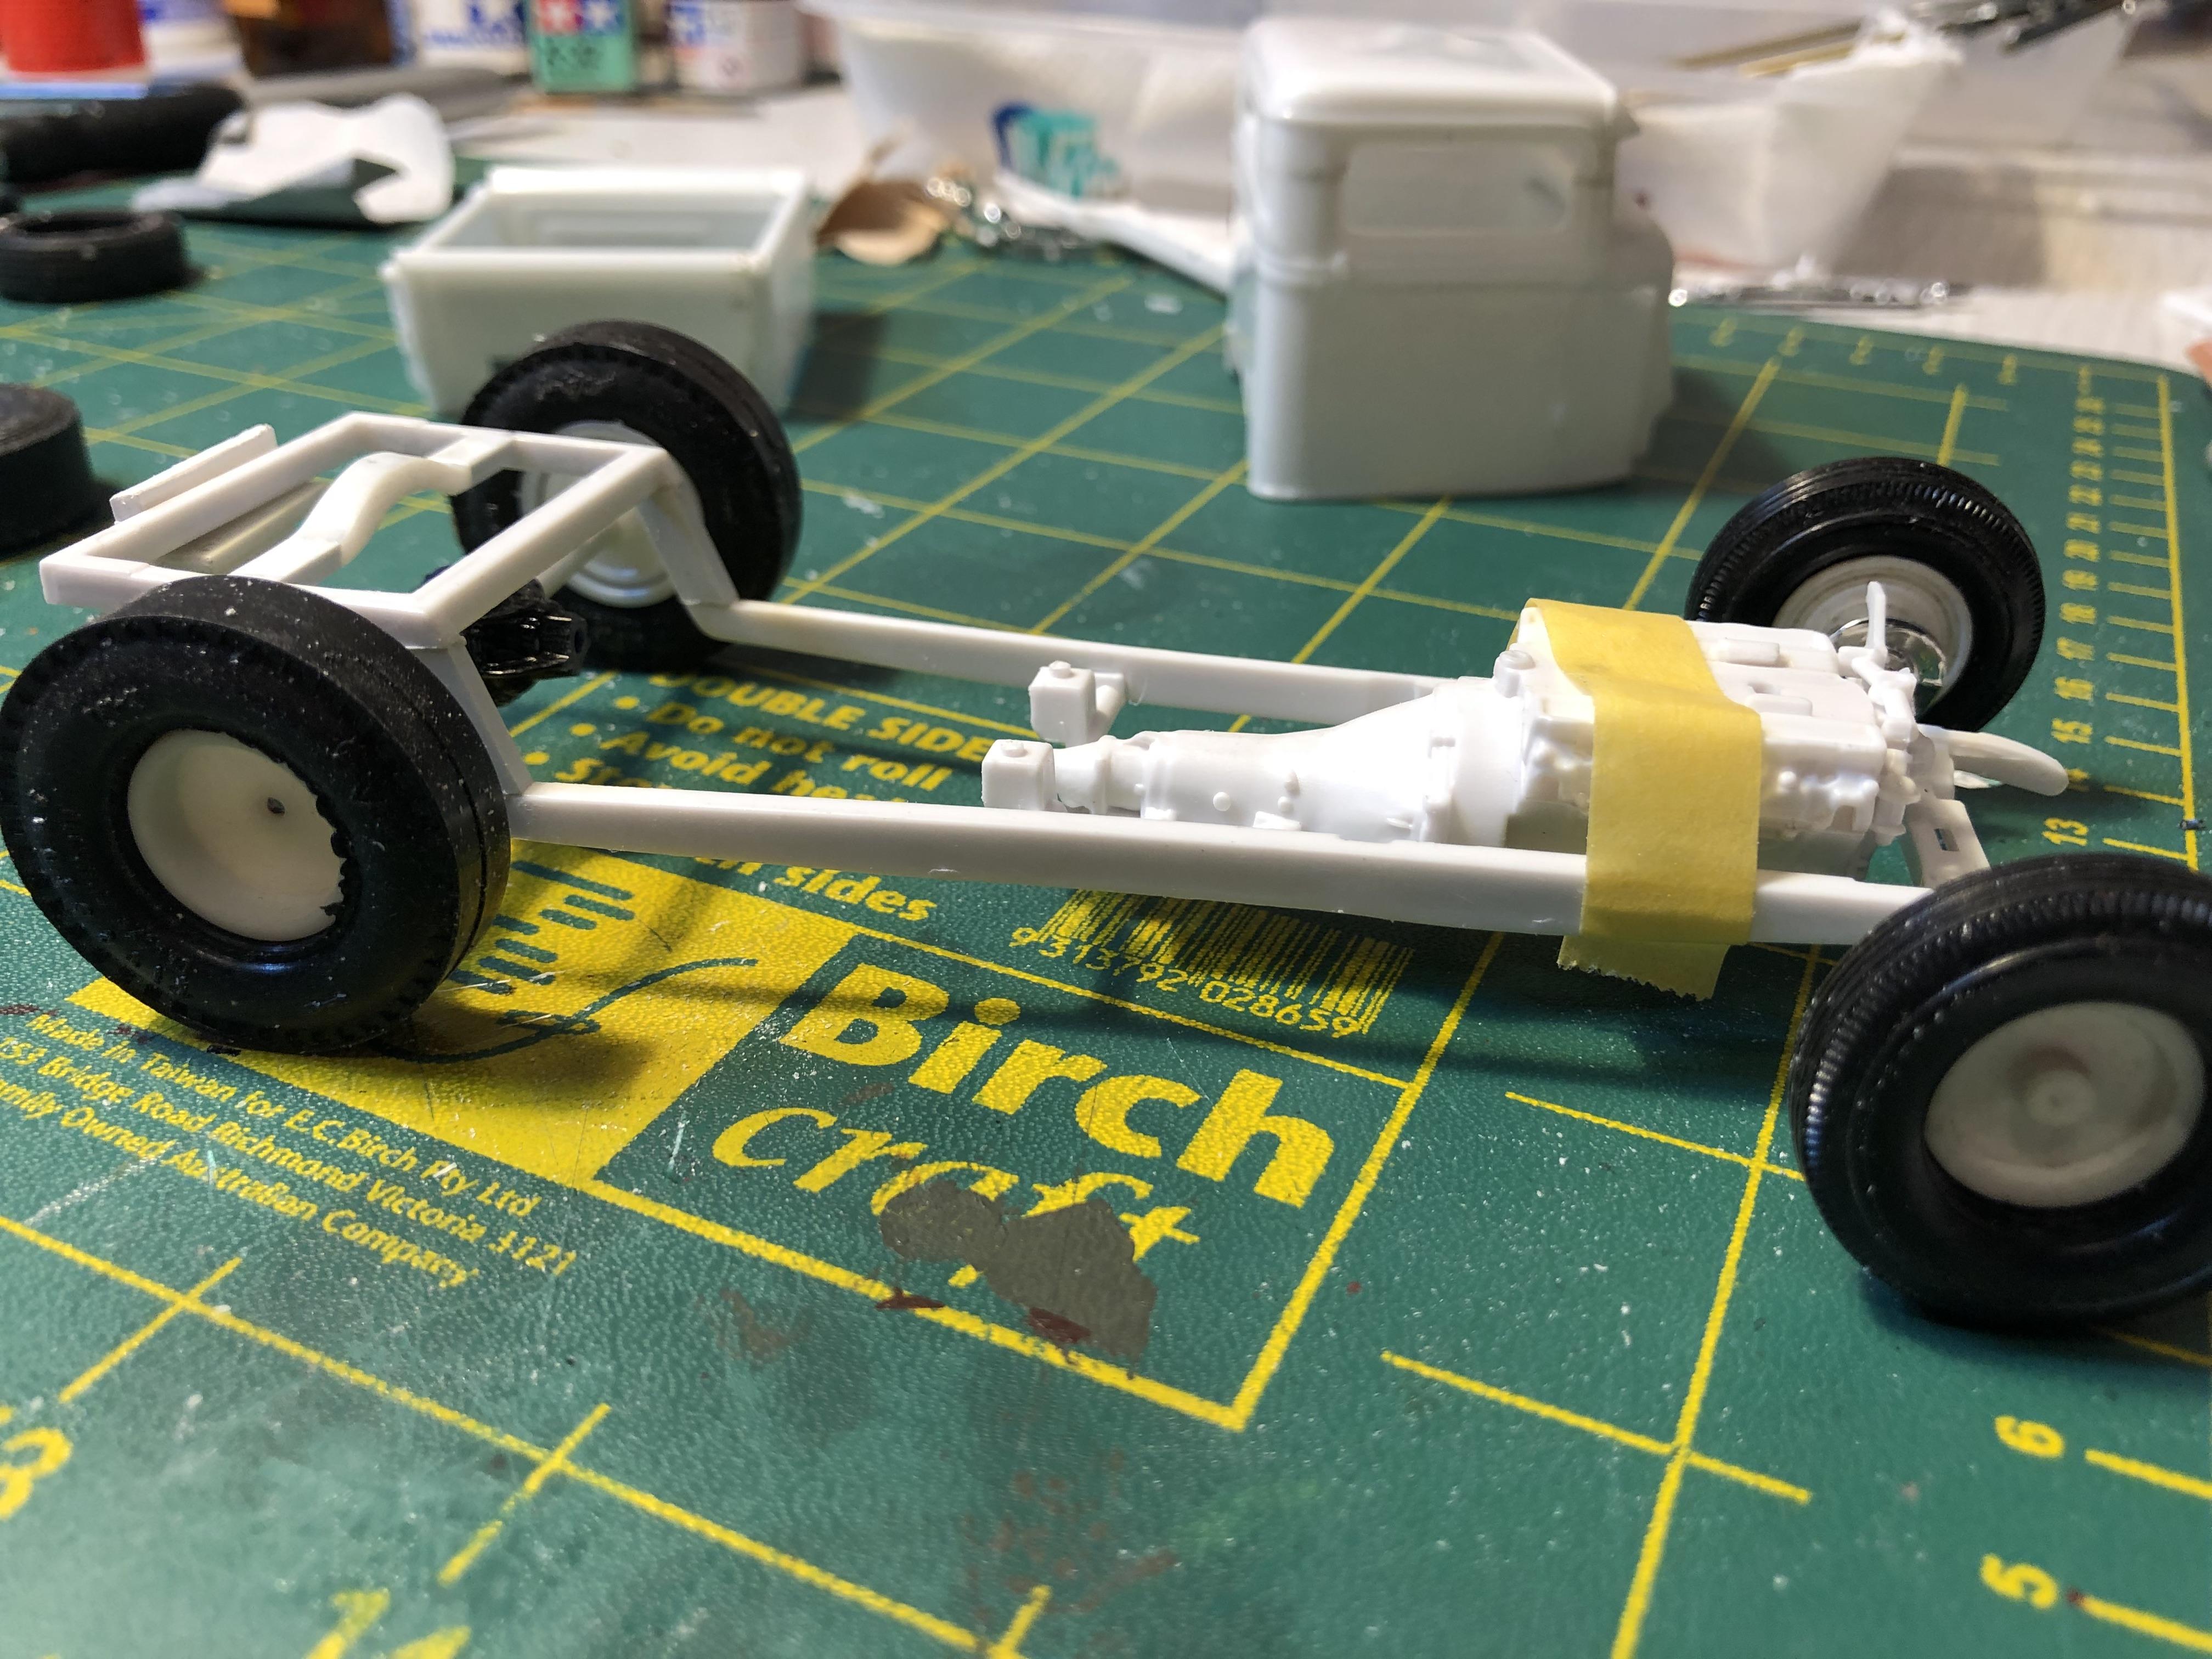
You are on the right track. Mockup, mock up and repeat when kit rodding