bill-e-boy
-
Posts
900 -
Joined
-
Last visited
Content Type
Profiles
Forums
Events
Gallery
Everything posted by bill-e-boy
-
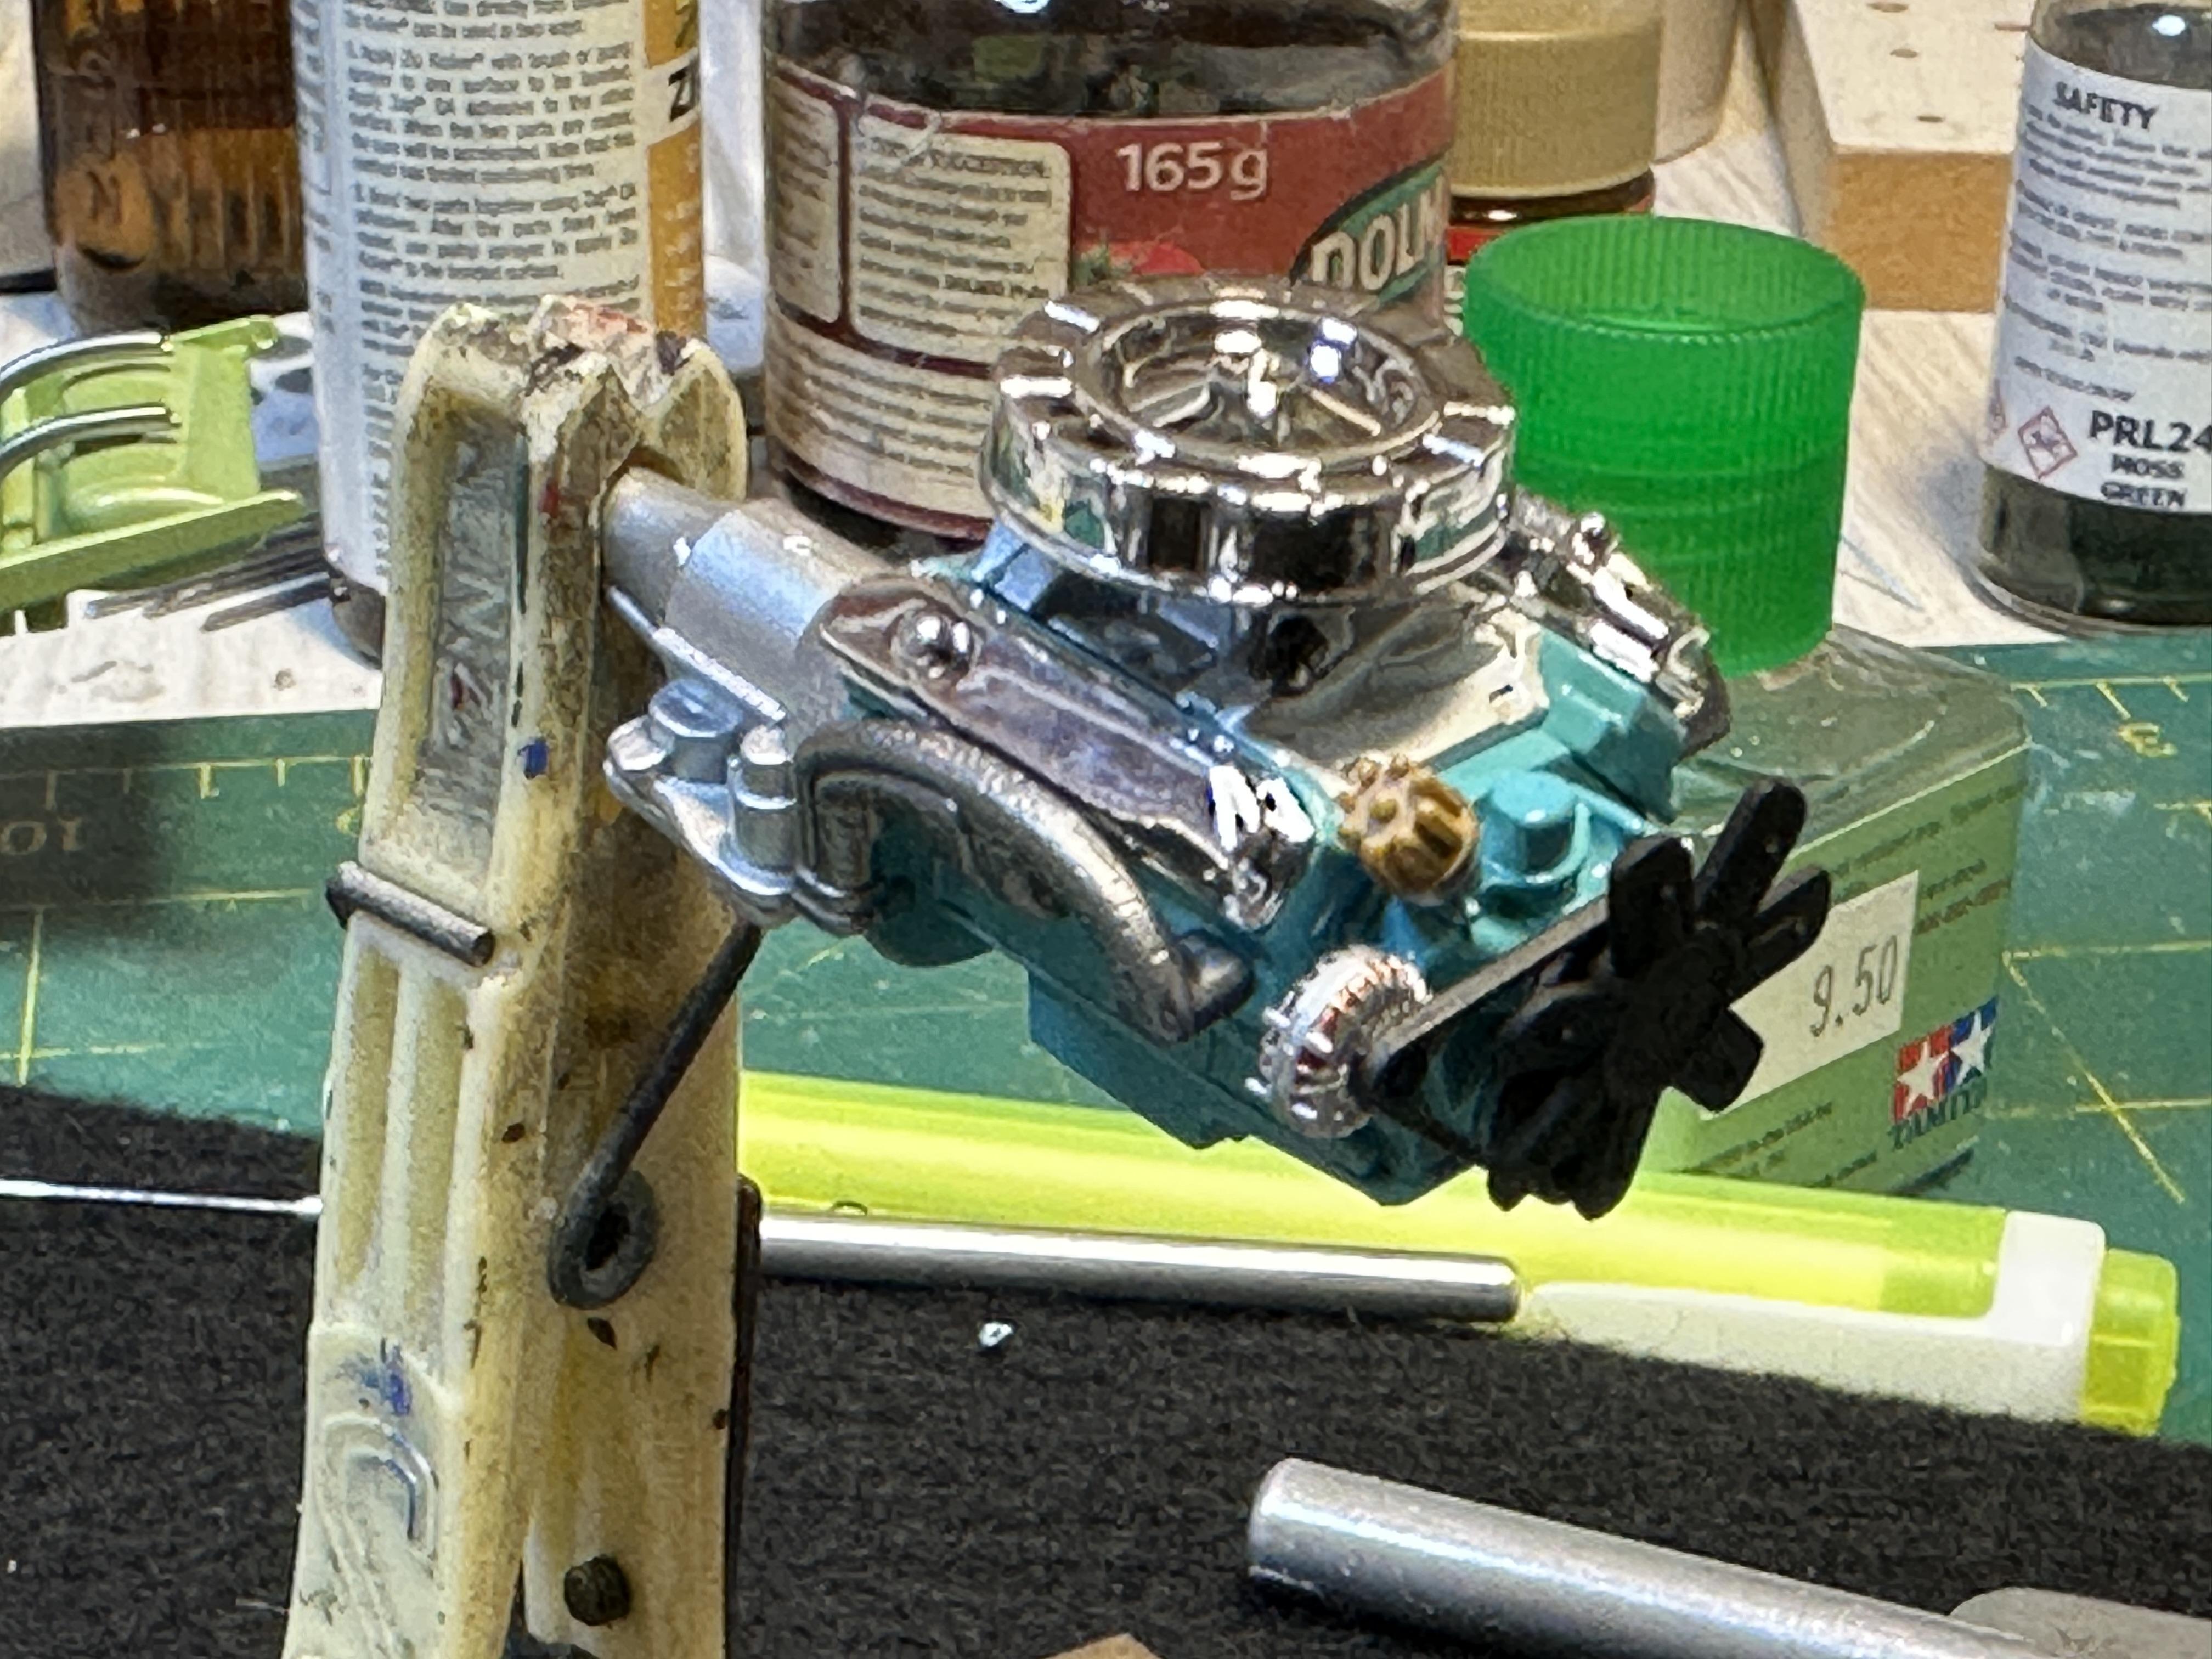
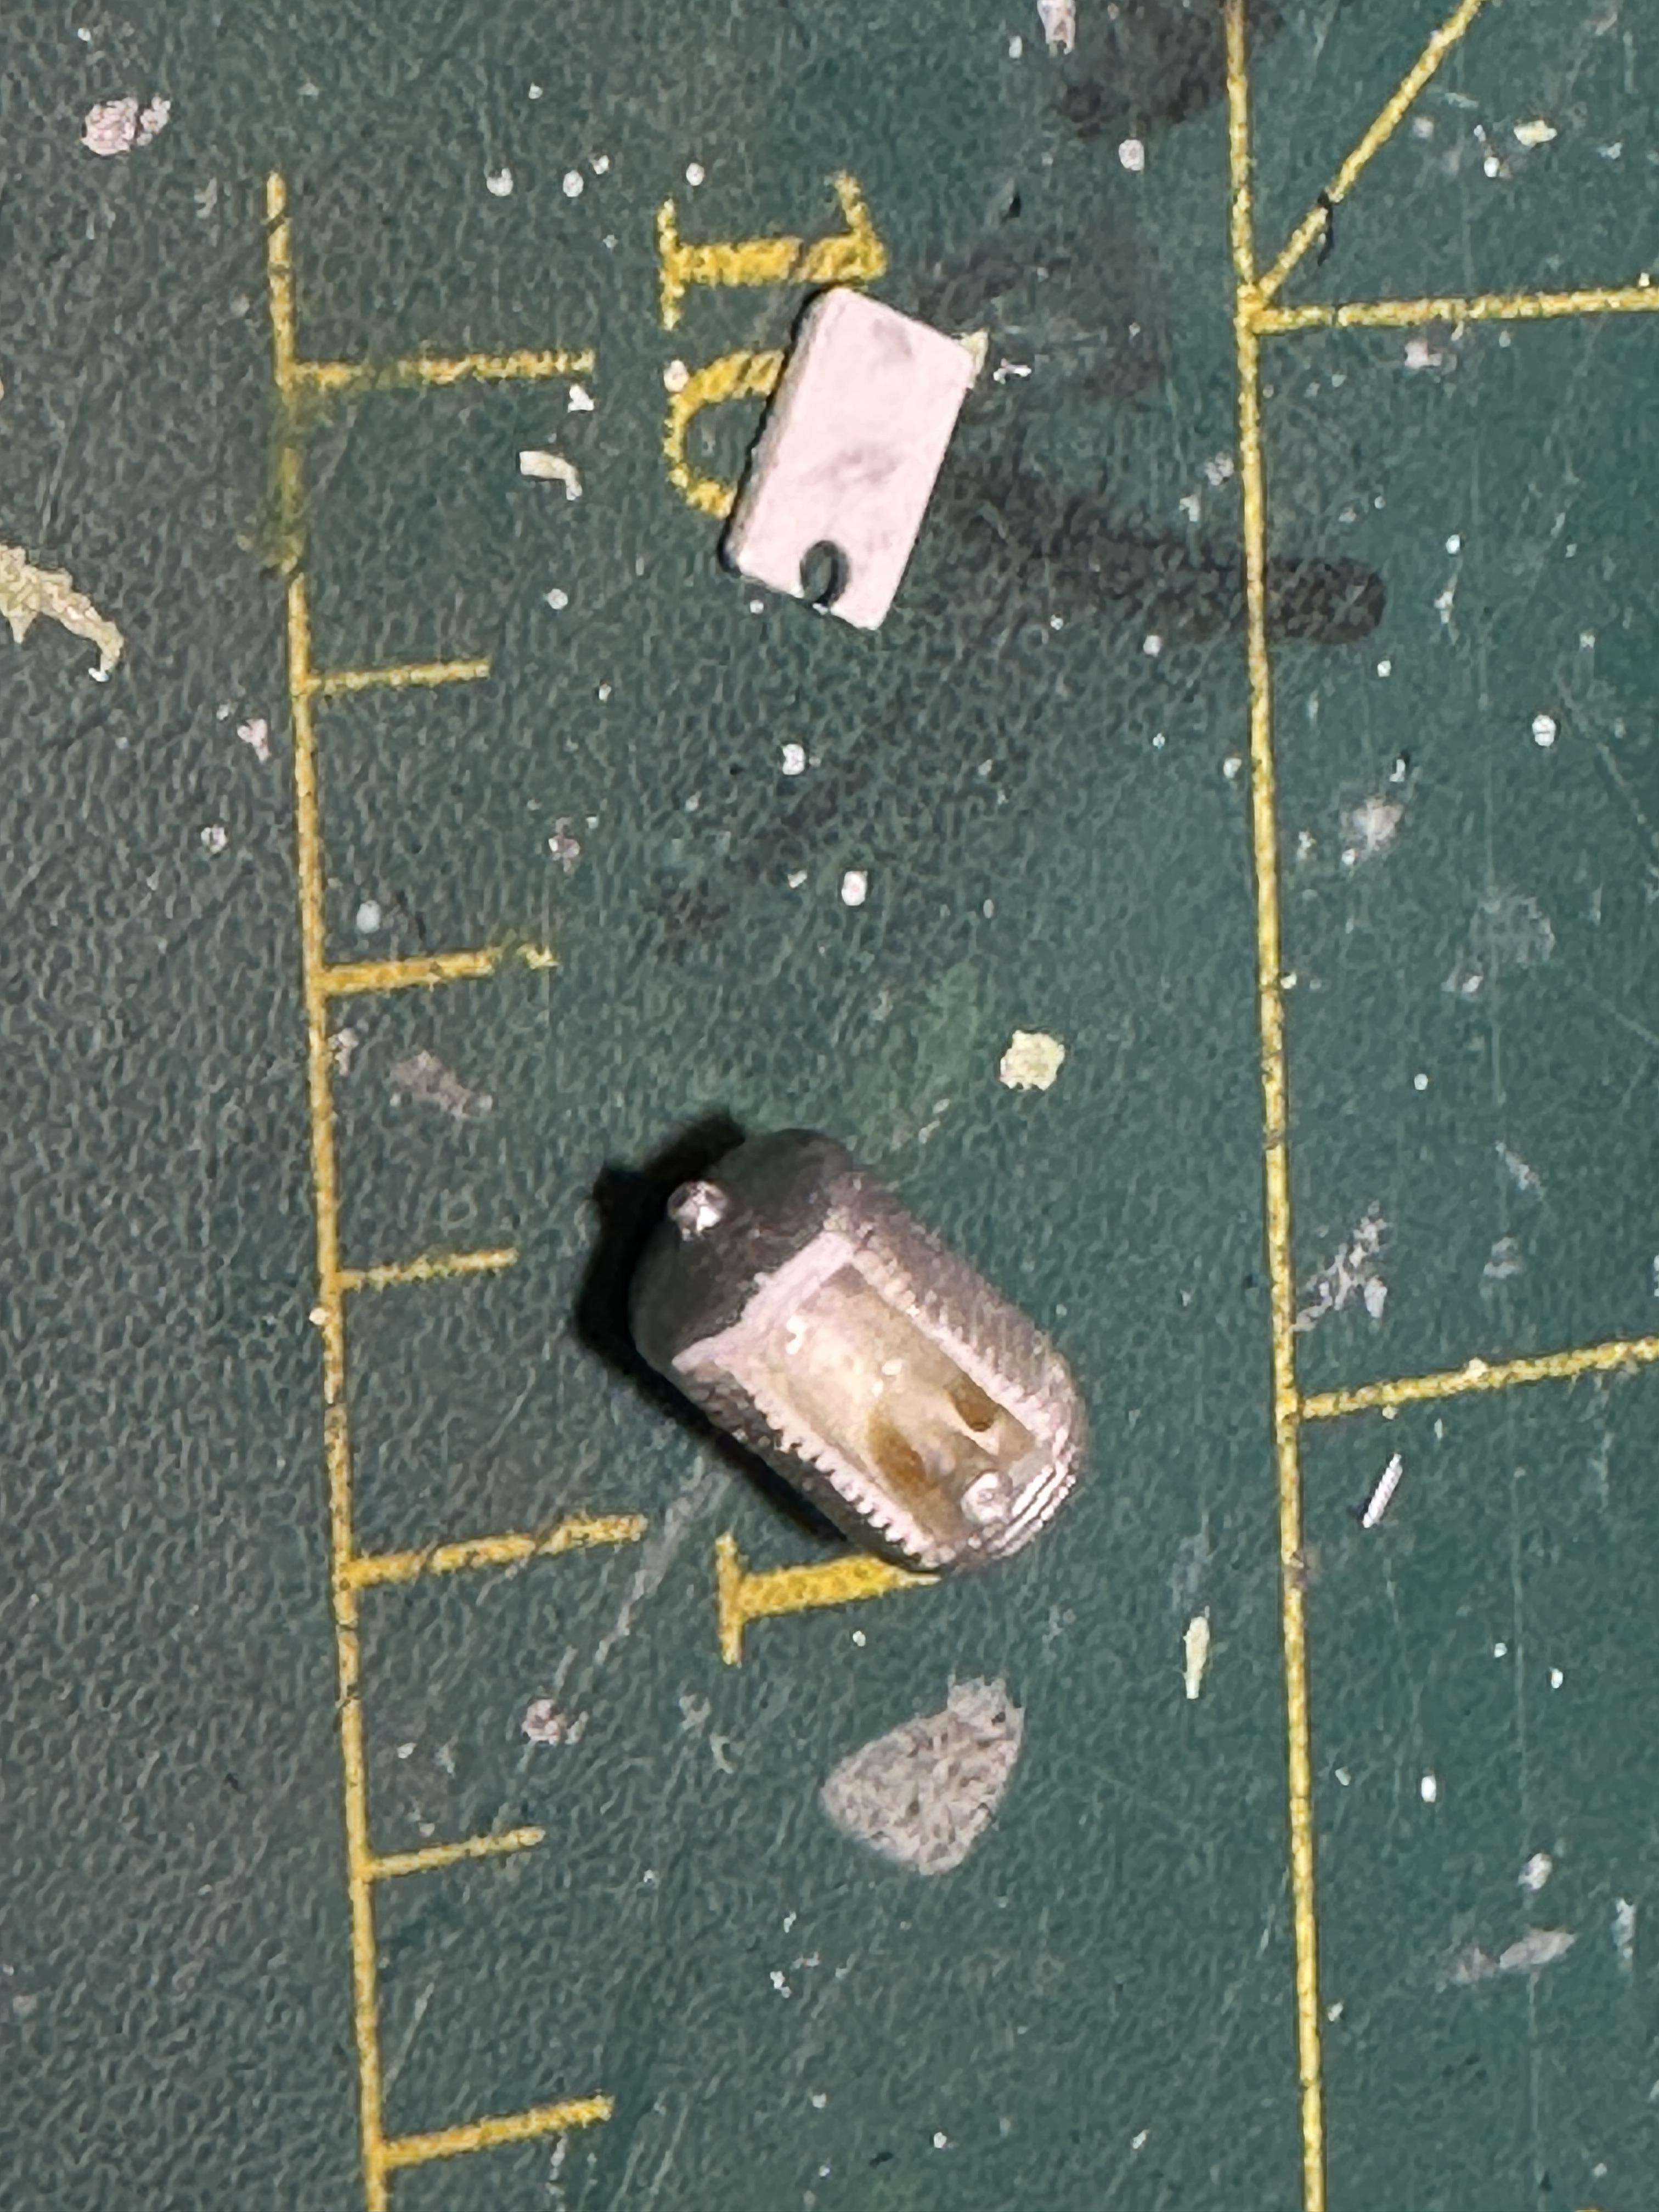
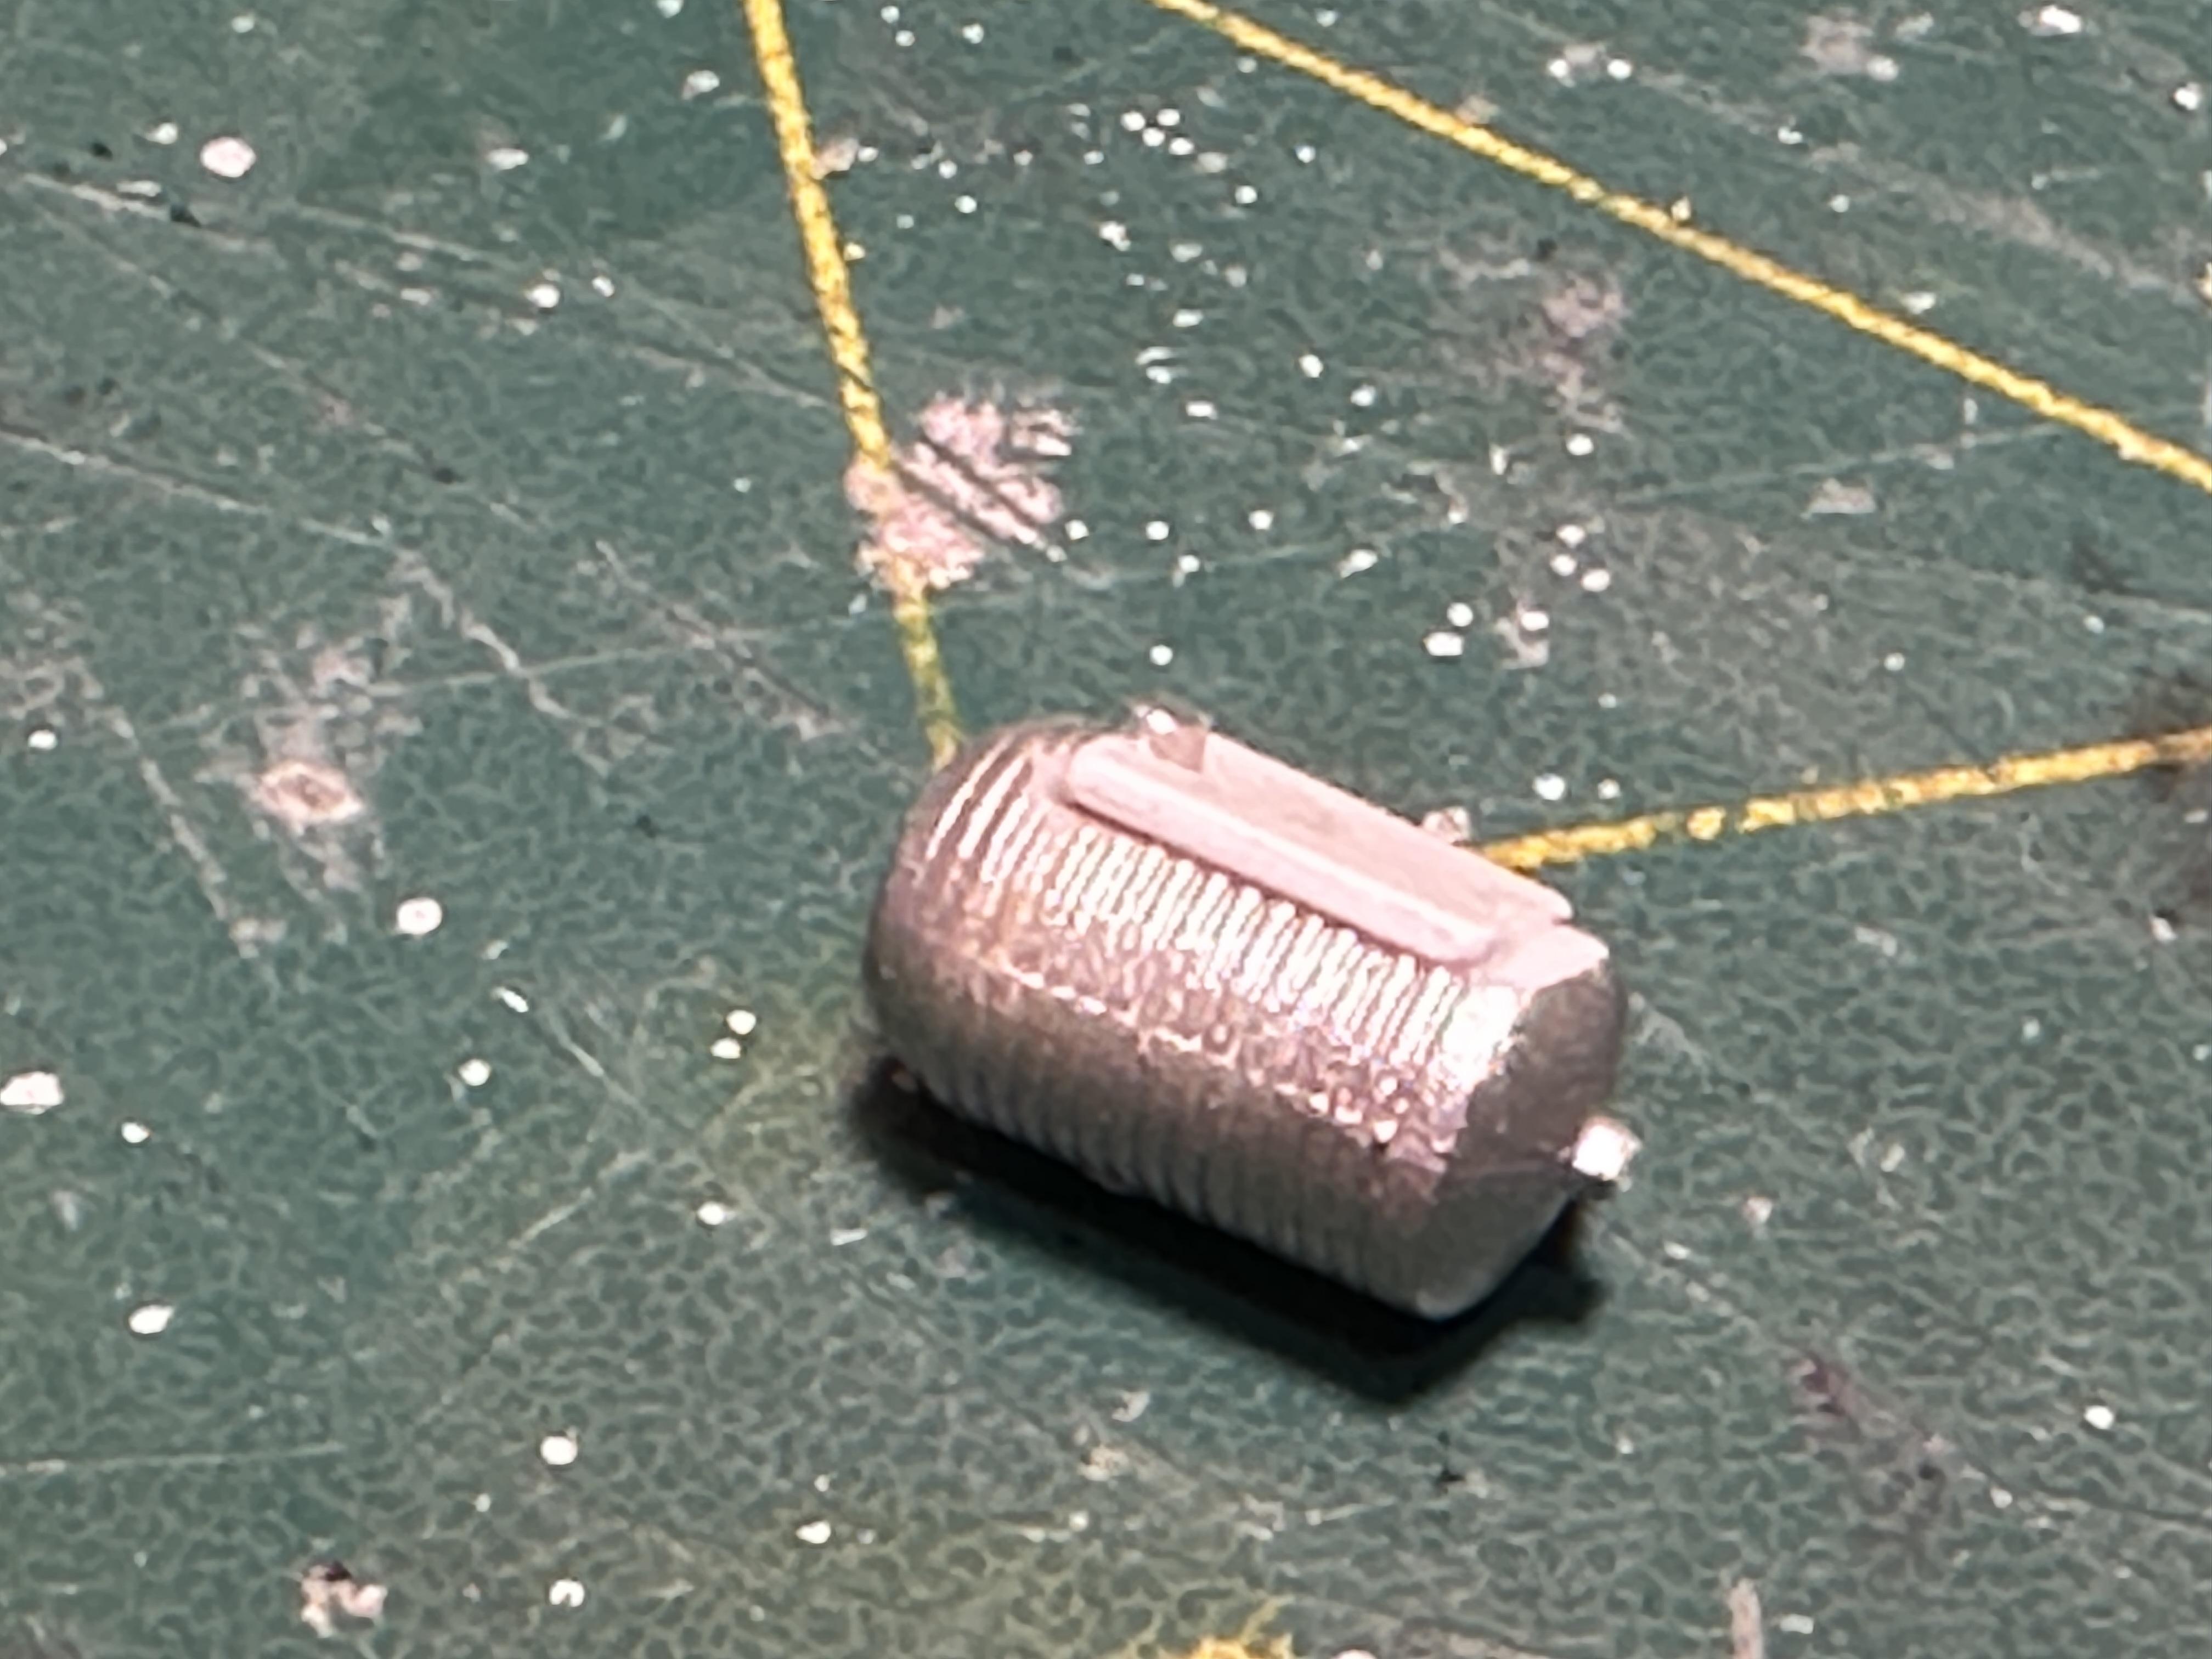
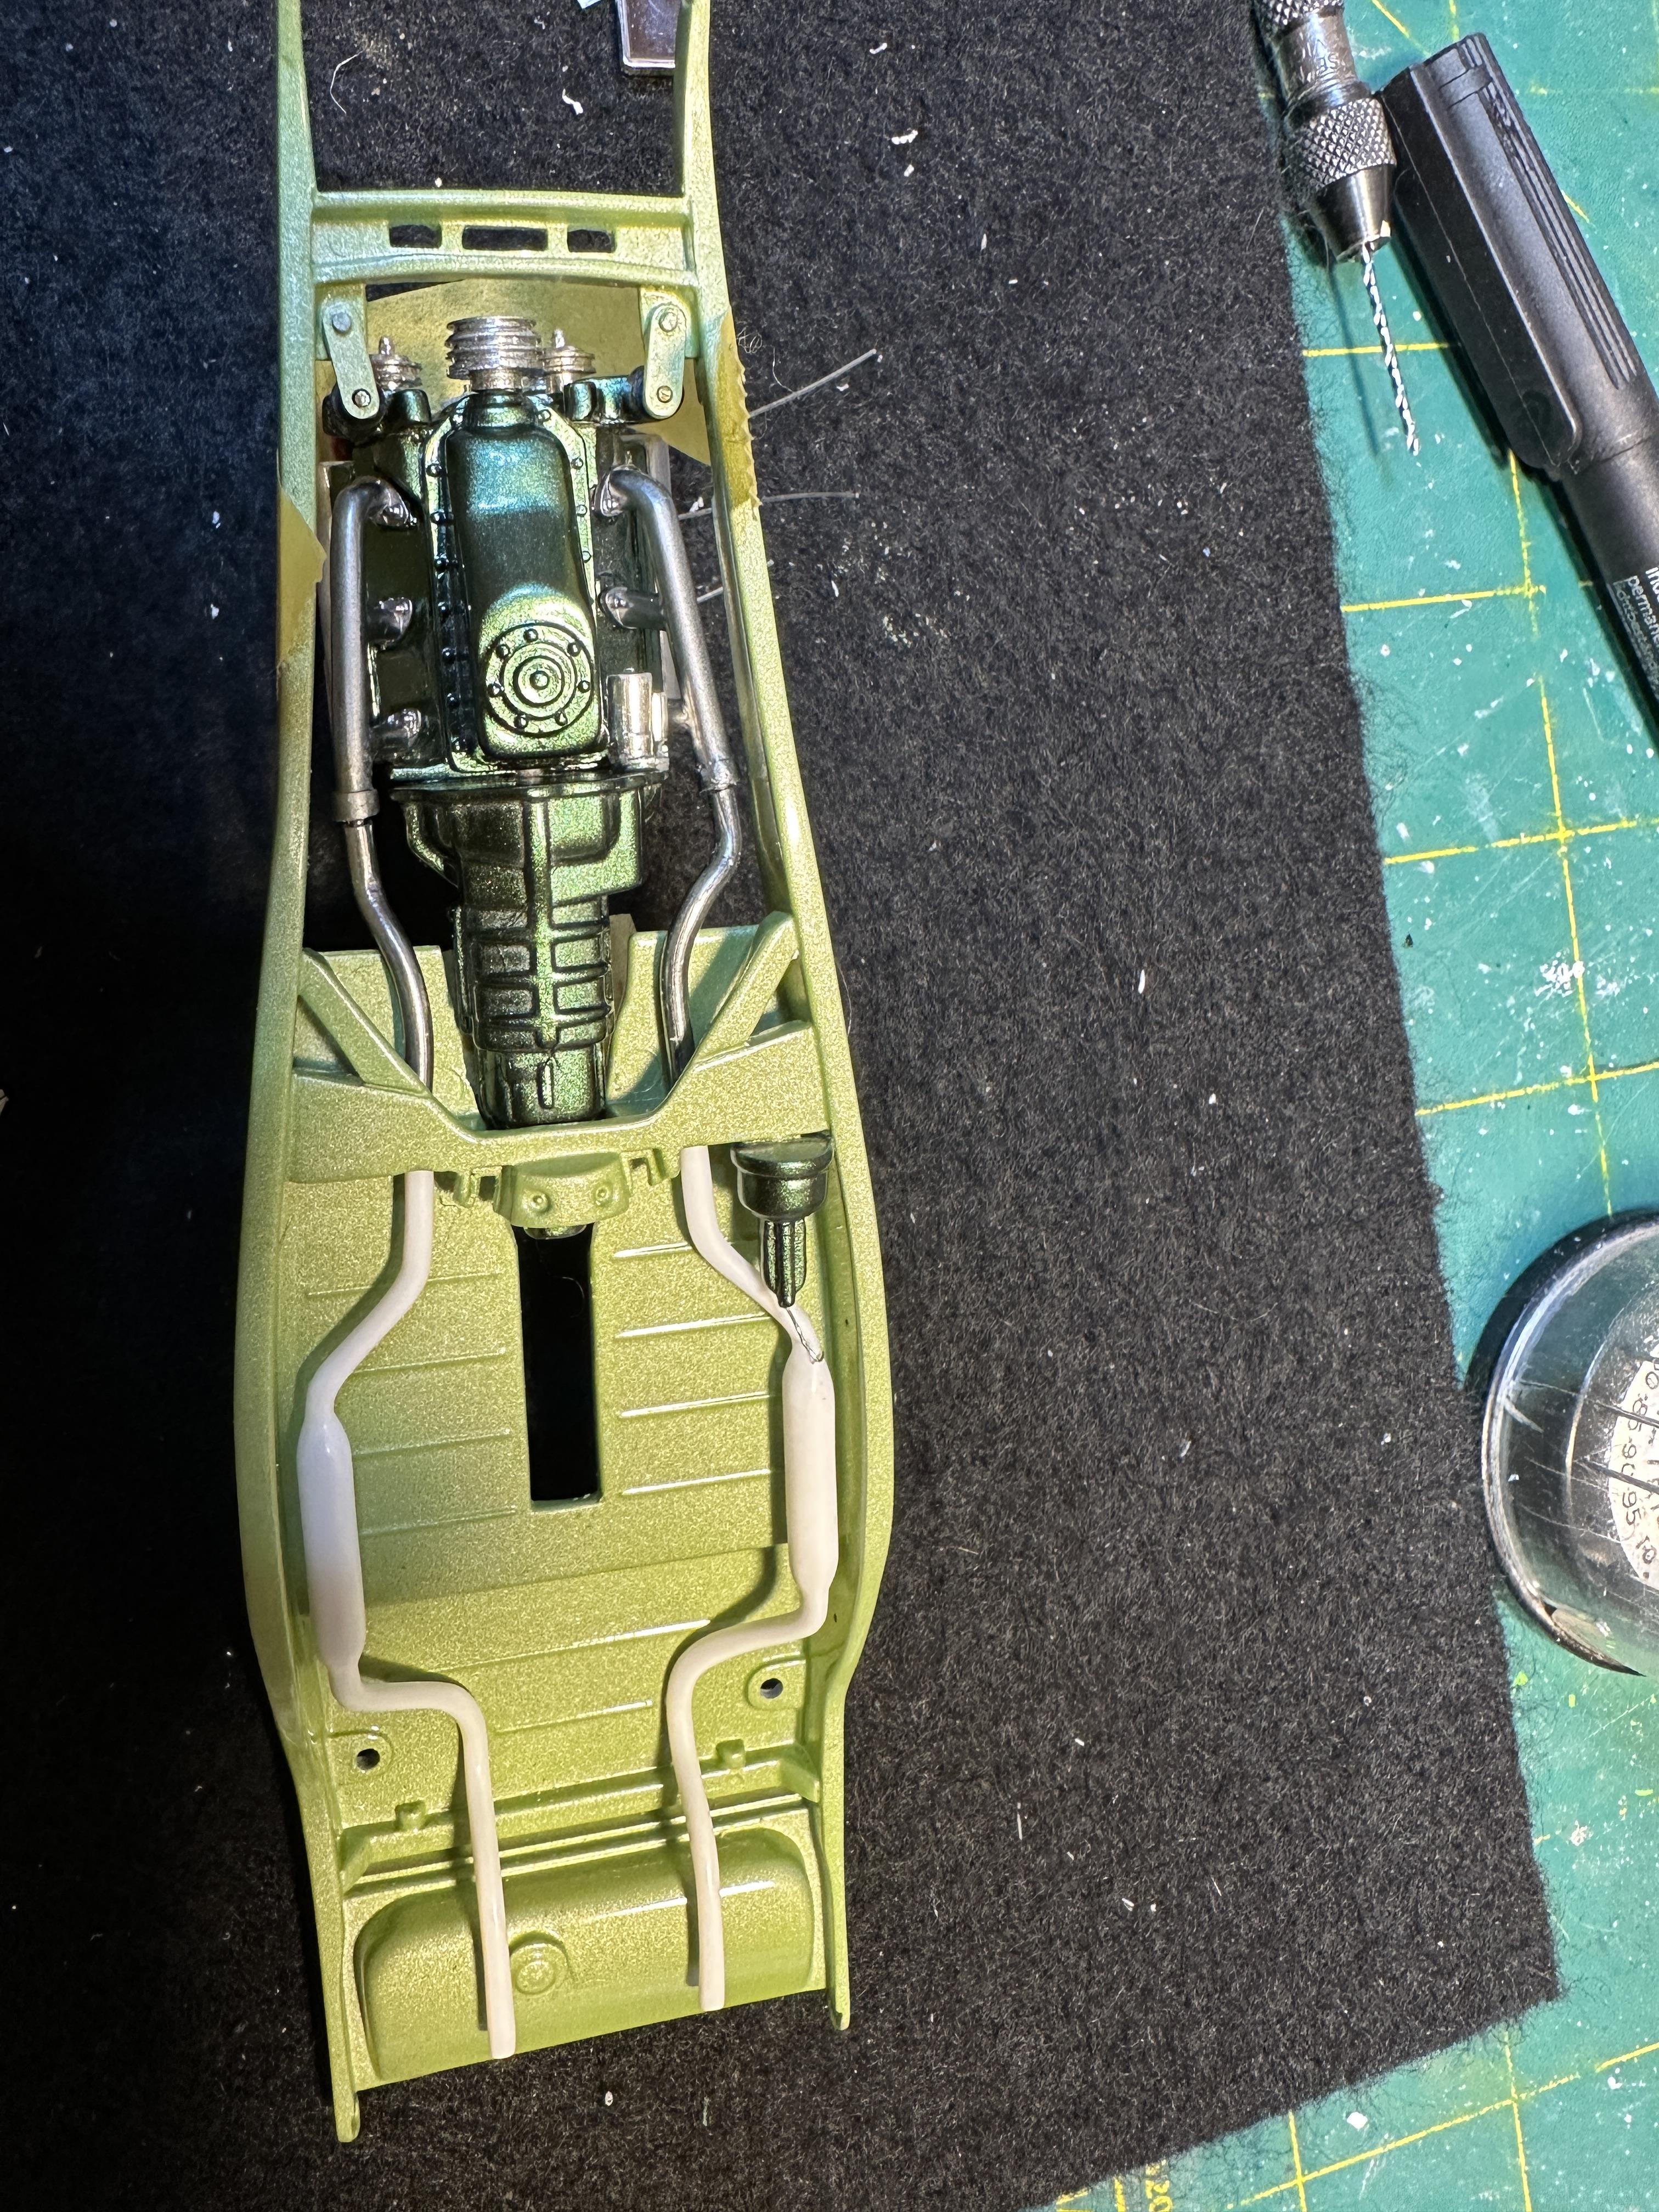
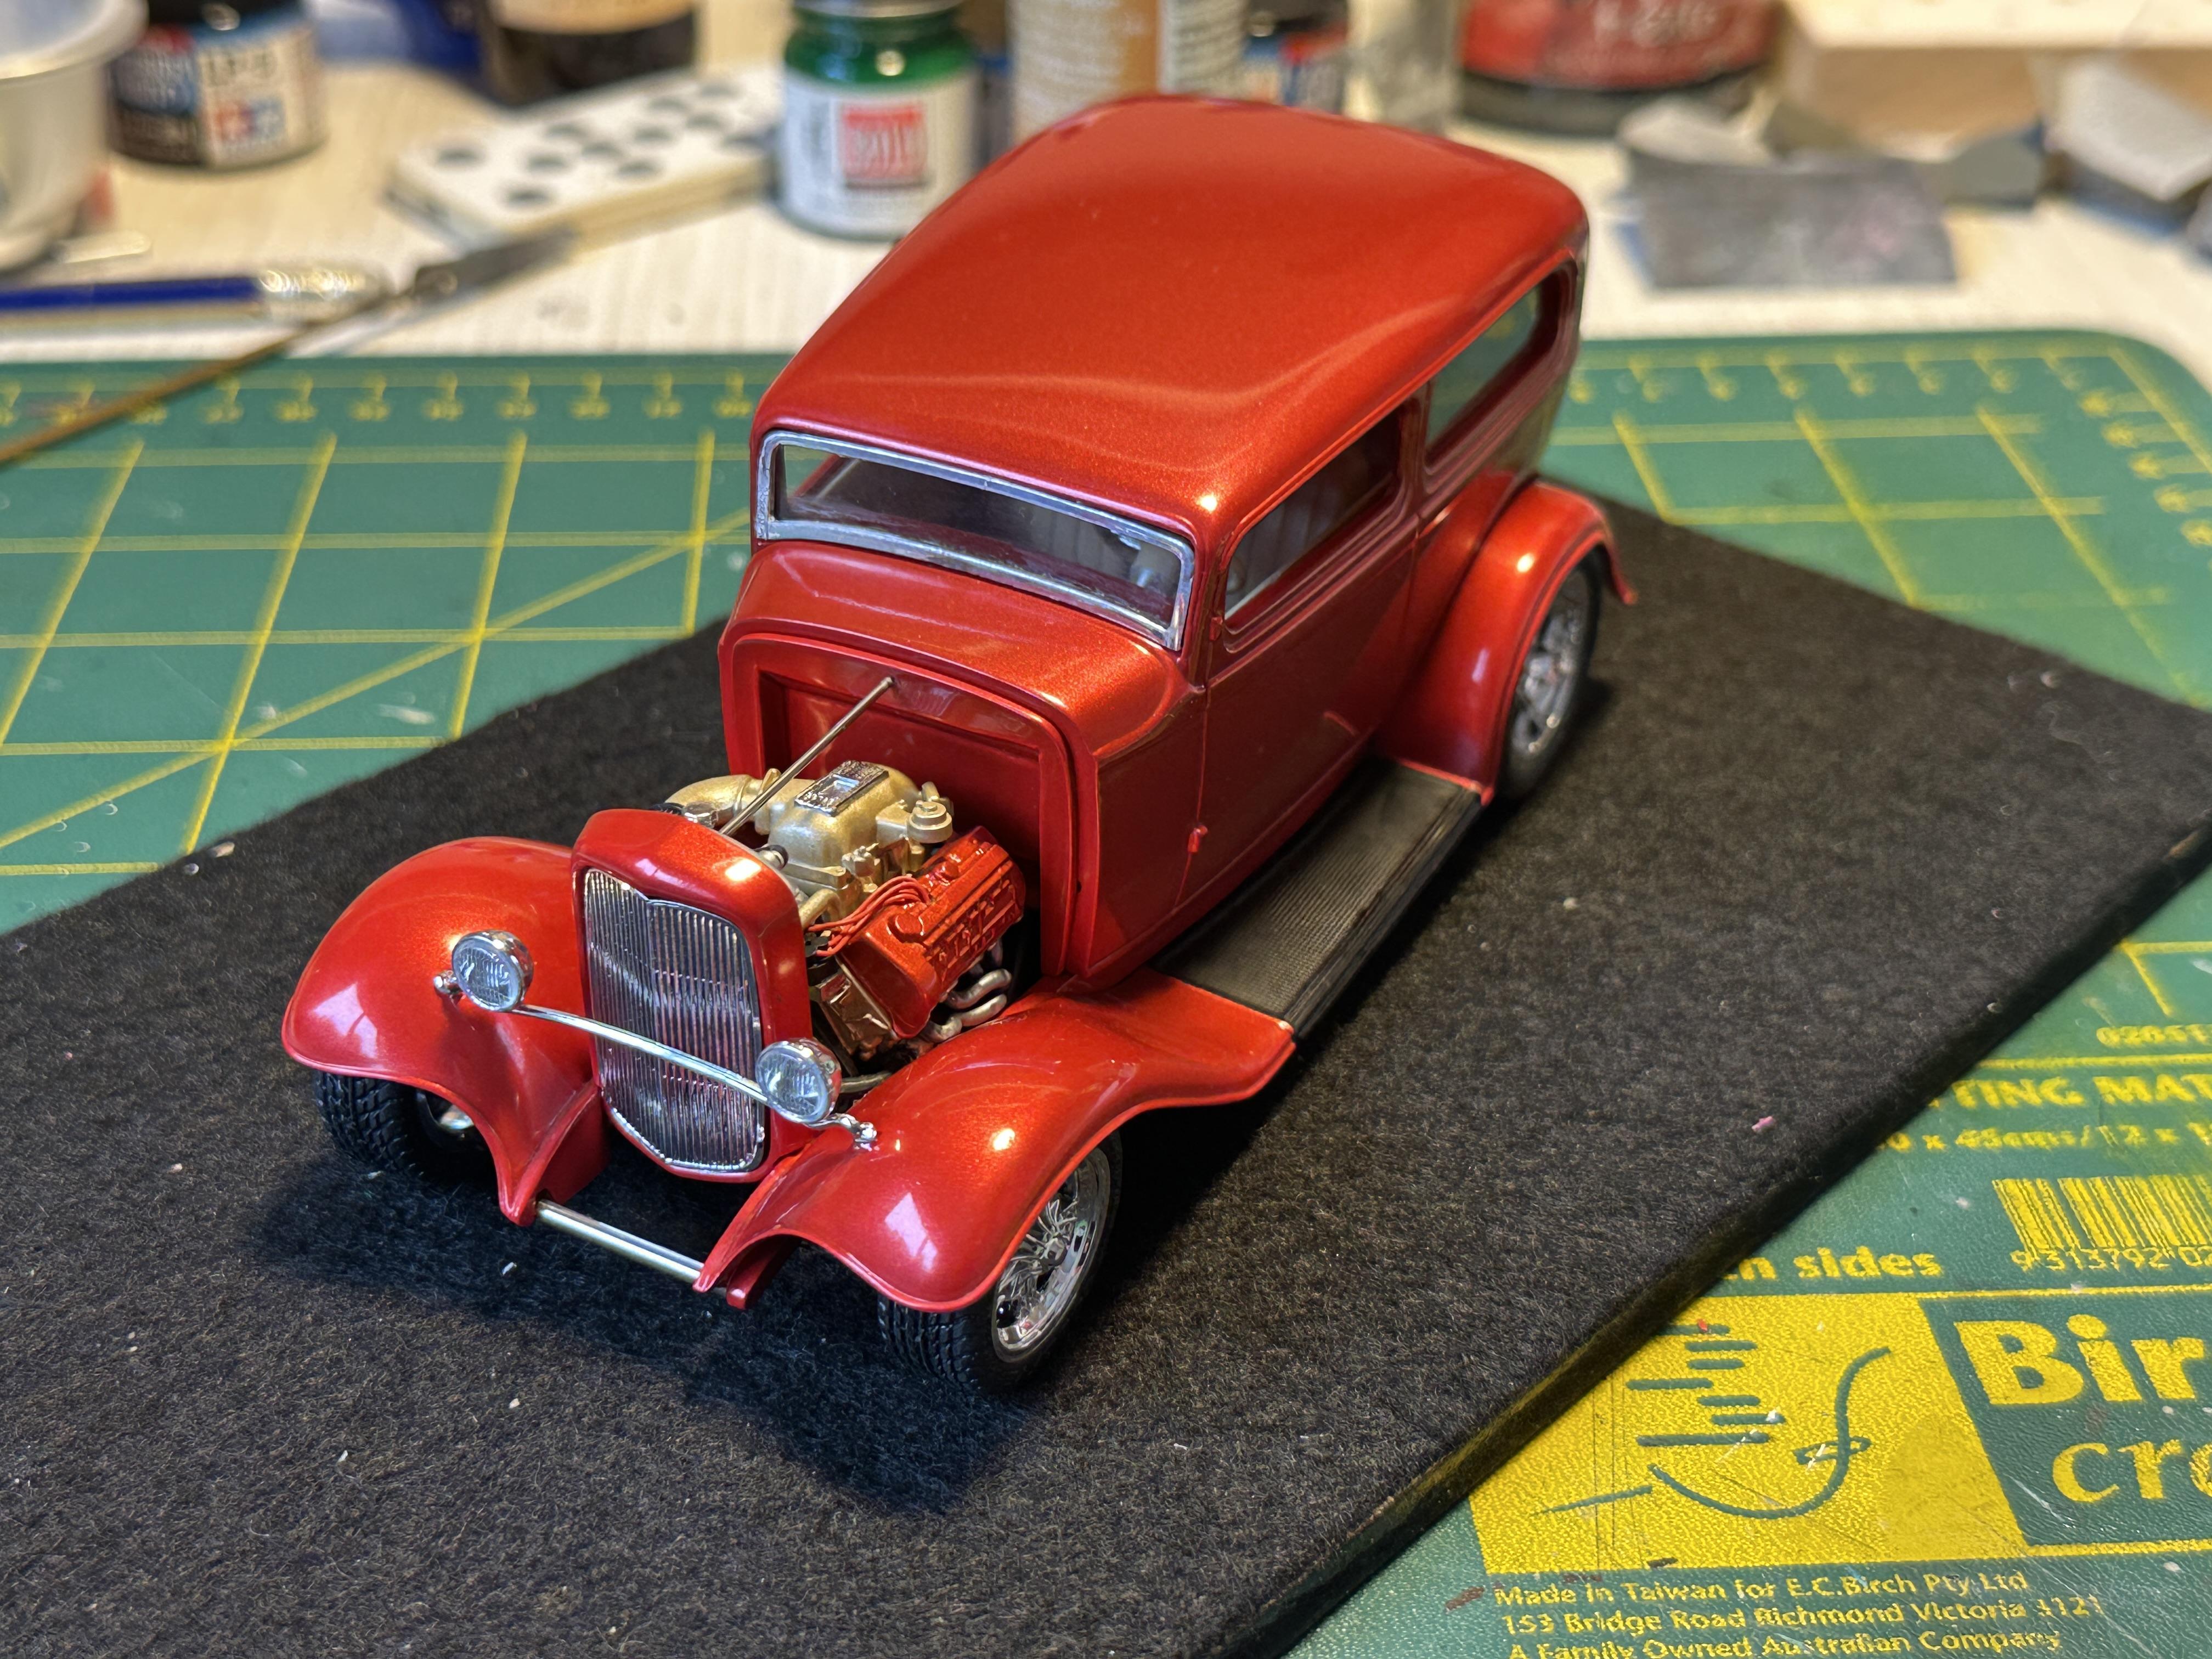
Body is back in the paint shop for clearcoating after I sanded out the worst of the masking tape rash and fixing some red overspray Between coats and sanding between coats I did some assembly work on chassis and motor. This is a very nice Mopar B motor I must say. Moebius call for it to be assembled as a wheezy old 2bbl 383 and give you the air cleaner decal for a 426 Commando. The carbs and intake are in the kit but not the air cleaner for the 426 so I have not put a decal on the air cleaner. I lost a front shock whilst cleaning it up, it pinged off somewhere so I made two replacements and have painted them metallic blue. Chassis assembly will continue when the paint dries.

-
I fixed the brake booster mounting and redid the brake line - sorry no pix Looked at the oil filter and was not happy with empty back side of it as it would show up when mounted on the firewall. Ugly! So to fix the ugly I made a small mounting flange and glued that to the back of the filter and gave it a touch of paint. I had to mess around with the mounting placement on the fire wall as the Thickstun head covers are quite large. Also the motor sprouted a few more line lines that need to be connected when the body meets the chassis. The new lines are oil lines to the filter. I did not clean up all of the mould lines on the oil filter as these were sand cast ally and there would be a parting line in the same place a the 1/25th version. If I were to polish it up I would remove them, but I haven't. A mock up to see how it looks It is getting there - just taking a bit longer than I thought
-
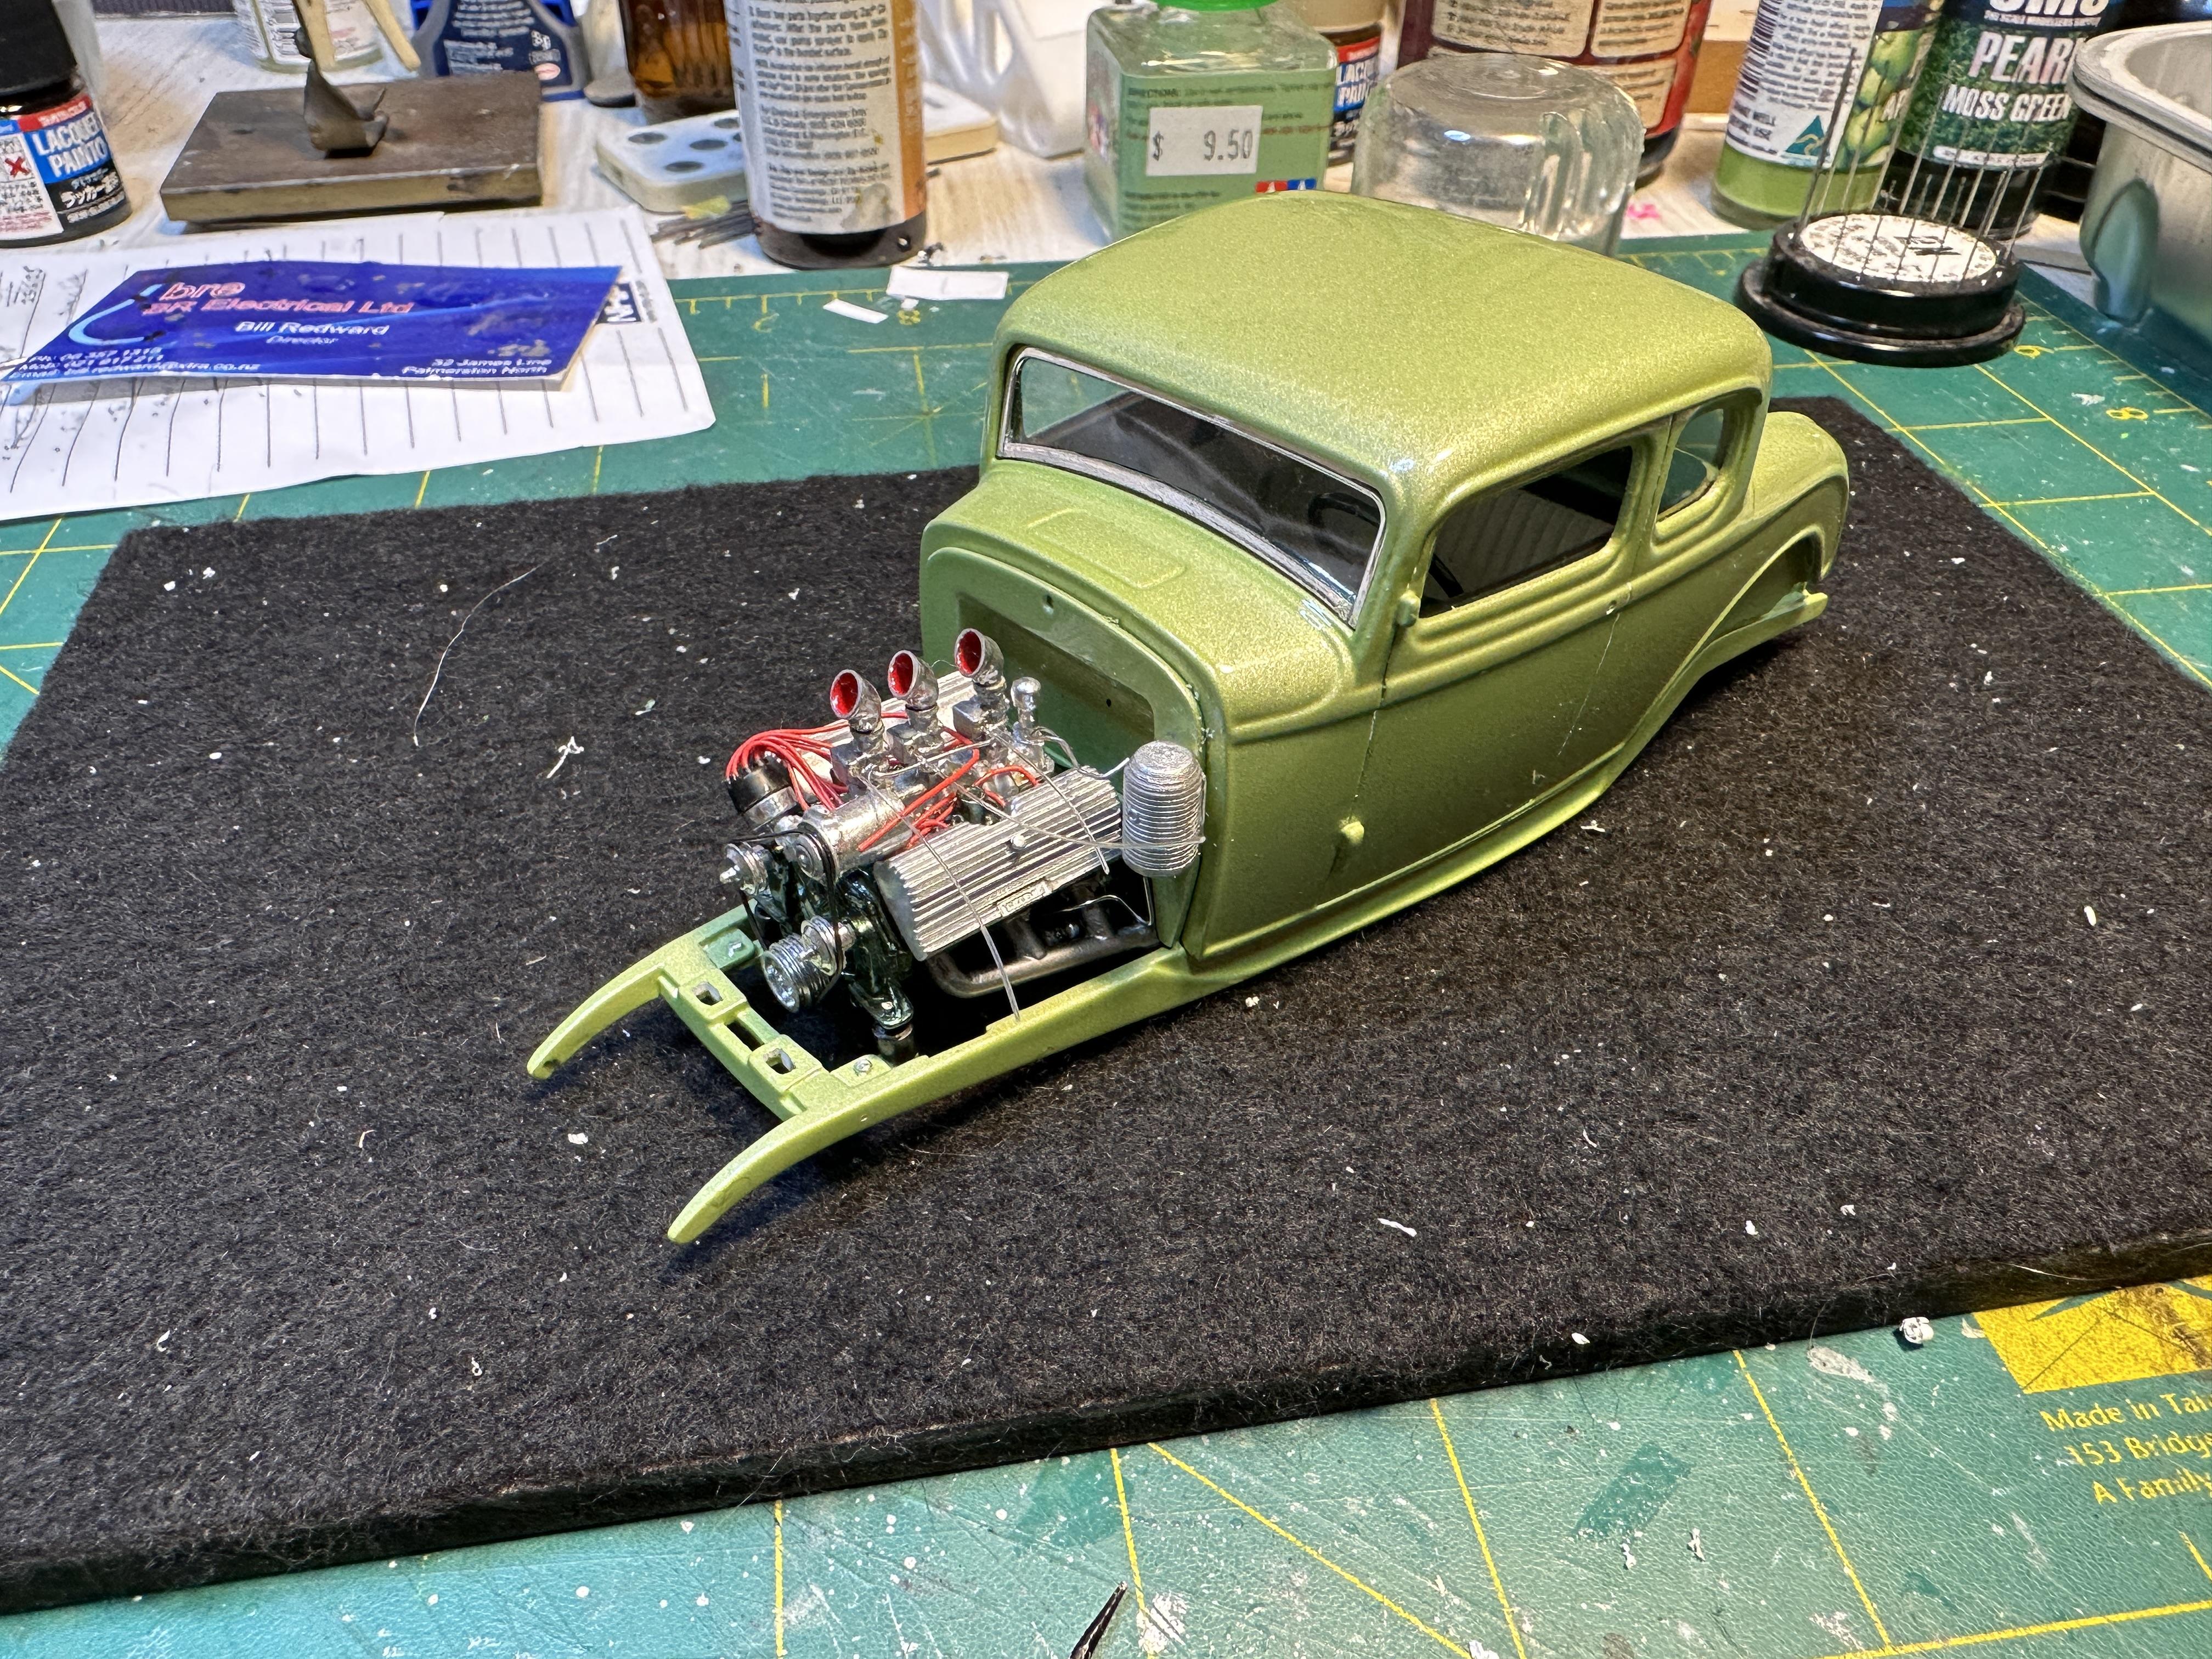
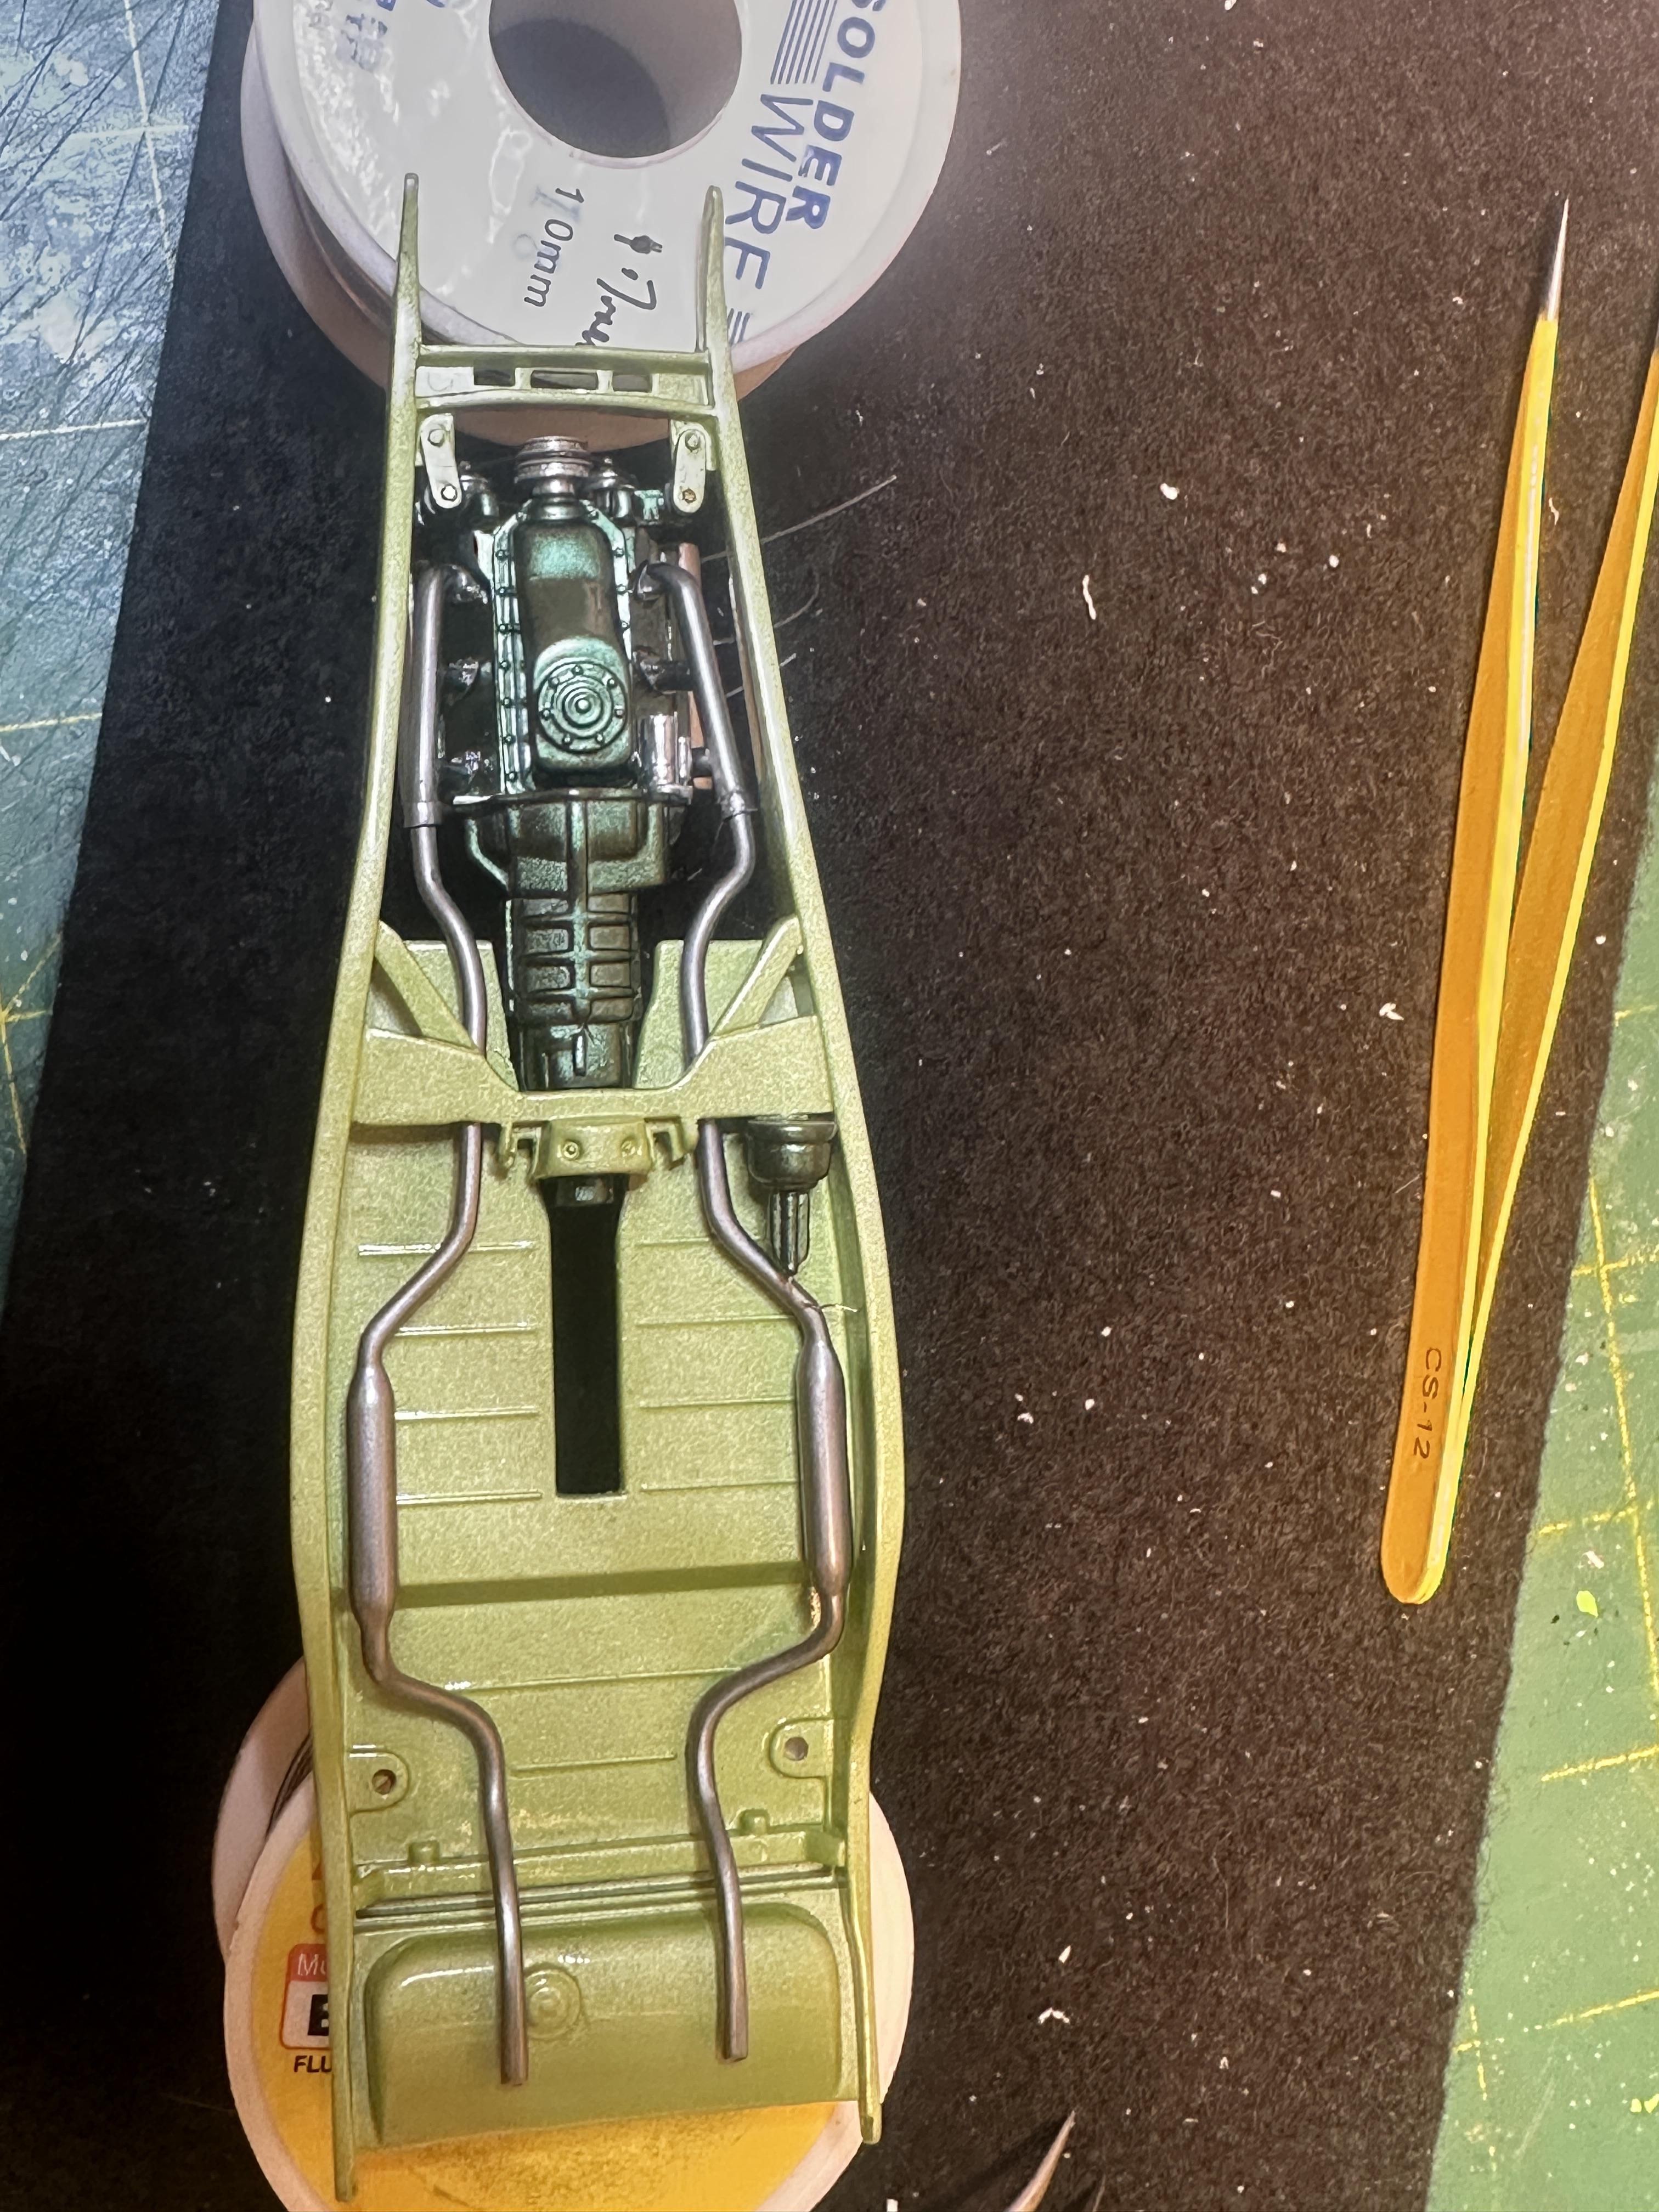
Got the headers all completed, painted and installed. Install a fan belt on the motor and mounted it into the chassis. Next up was marrying the kit exhausts to the headers. I cleaned up the mould lines and drilled out the ends ready to fit up. I cut the kit exhausts at the K member and bridged the gap with some 2mm solder. Pinned and bored the ends so they all fit nicely The exhaust system was painted with SMS stainless steel (headers too) and installed Note to self - need to fix the brake booster mounting and brake line View from top side - this thing is getting close to final assembly Thanks for looking
-
Only just come to this. A superb build as usual Dennis. I am liking the colour combo a lot too, and I have used the Racing White and Champagne Gold colours in recent and current builds - just not together (yet)
-
Nice looking rod and a cool colour too. I have built a few of the AMT 32's over the years and the first car kit I built was a Phaeton.
-
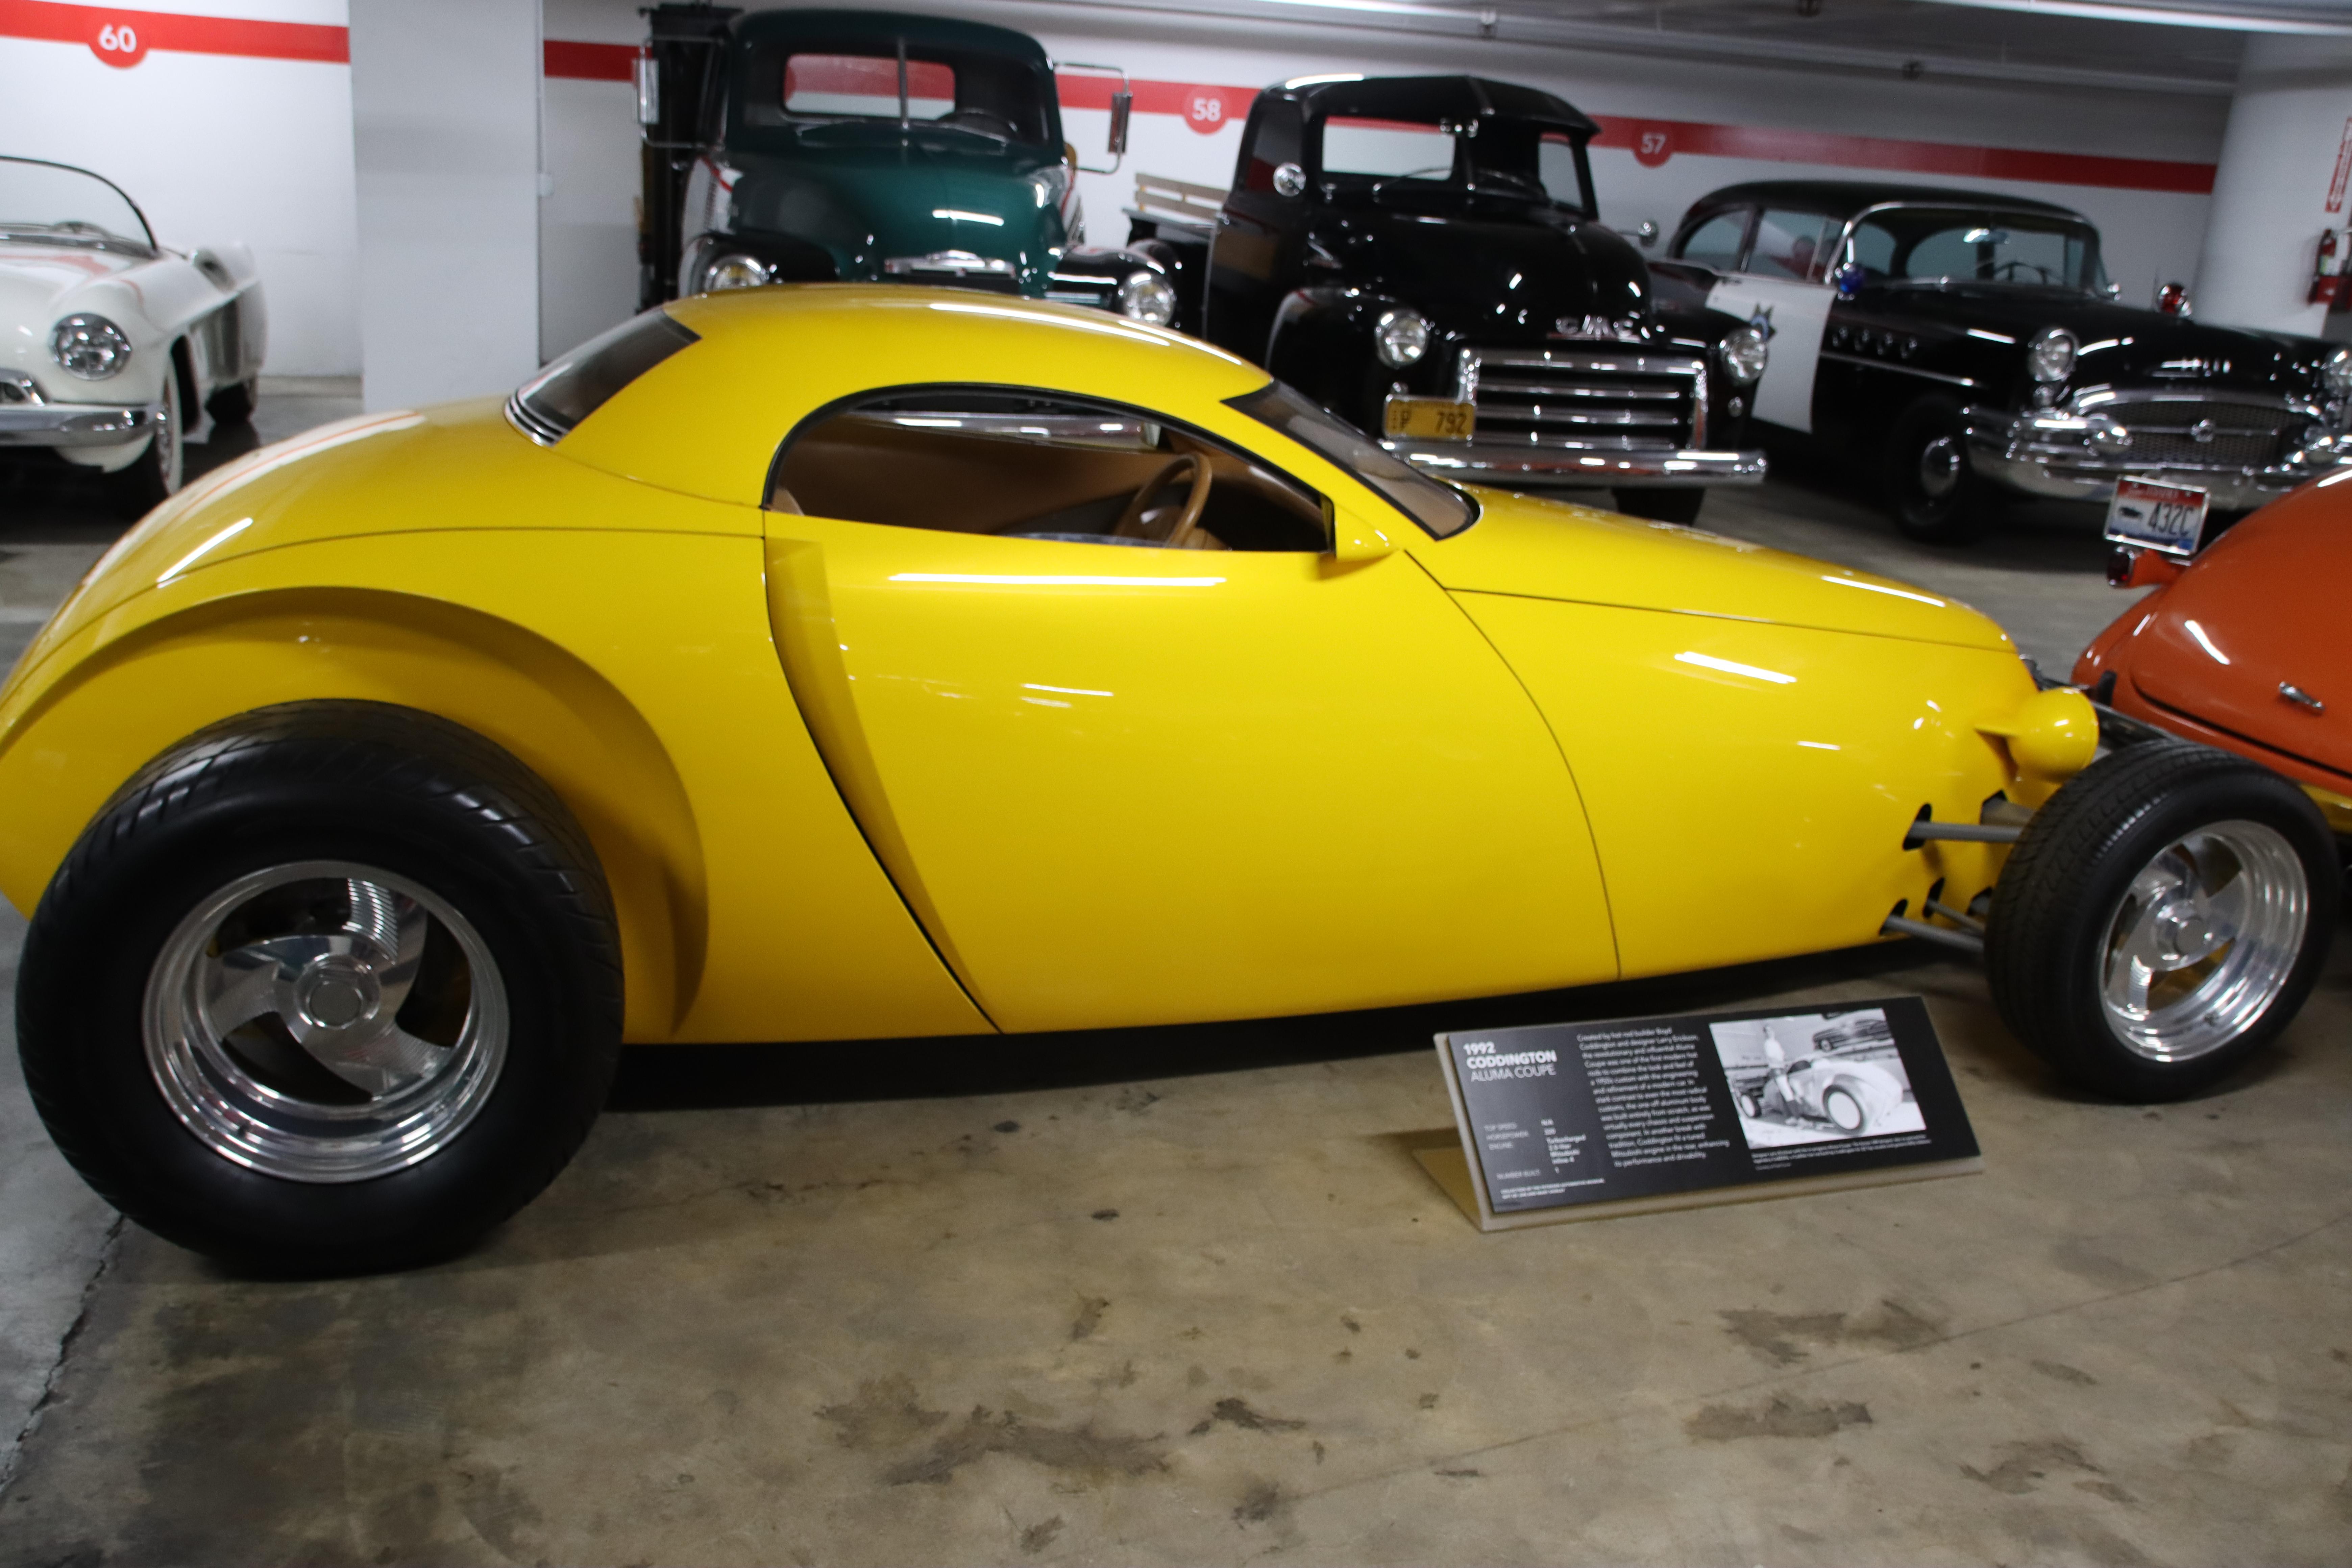
It’s Boyd Month! Building the full-detail Coddington Alumacoupe
bill-e-boy replied to OldNYJim's topic in WIP: Model Cars
Me too - same circumstances. After unpacking I just pushed it to the back of the cabinet. The tyres are made from a silicone rubber material and just dont like being stretched over the wheel I seem to remember he took the project on about 75% into the build. Just finished and got all the Kudos - along with Tim the Tollman when he raced Bob Vila who was in the Aluma Coupe -
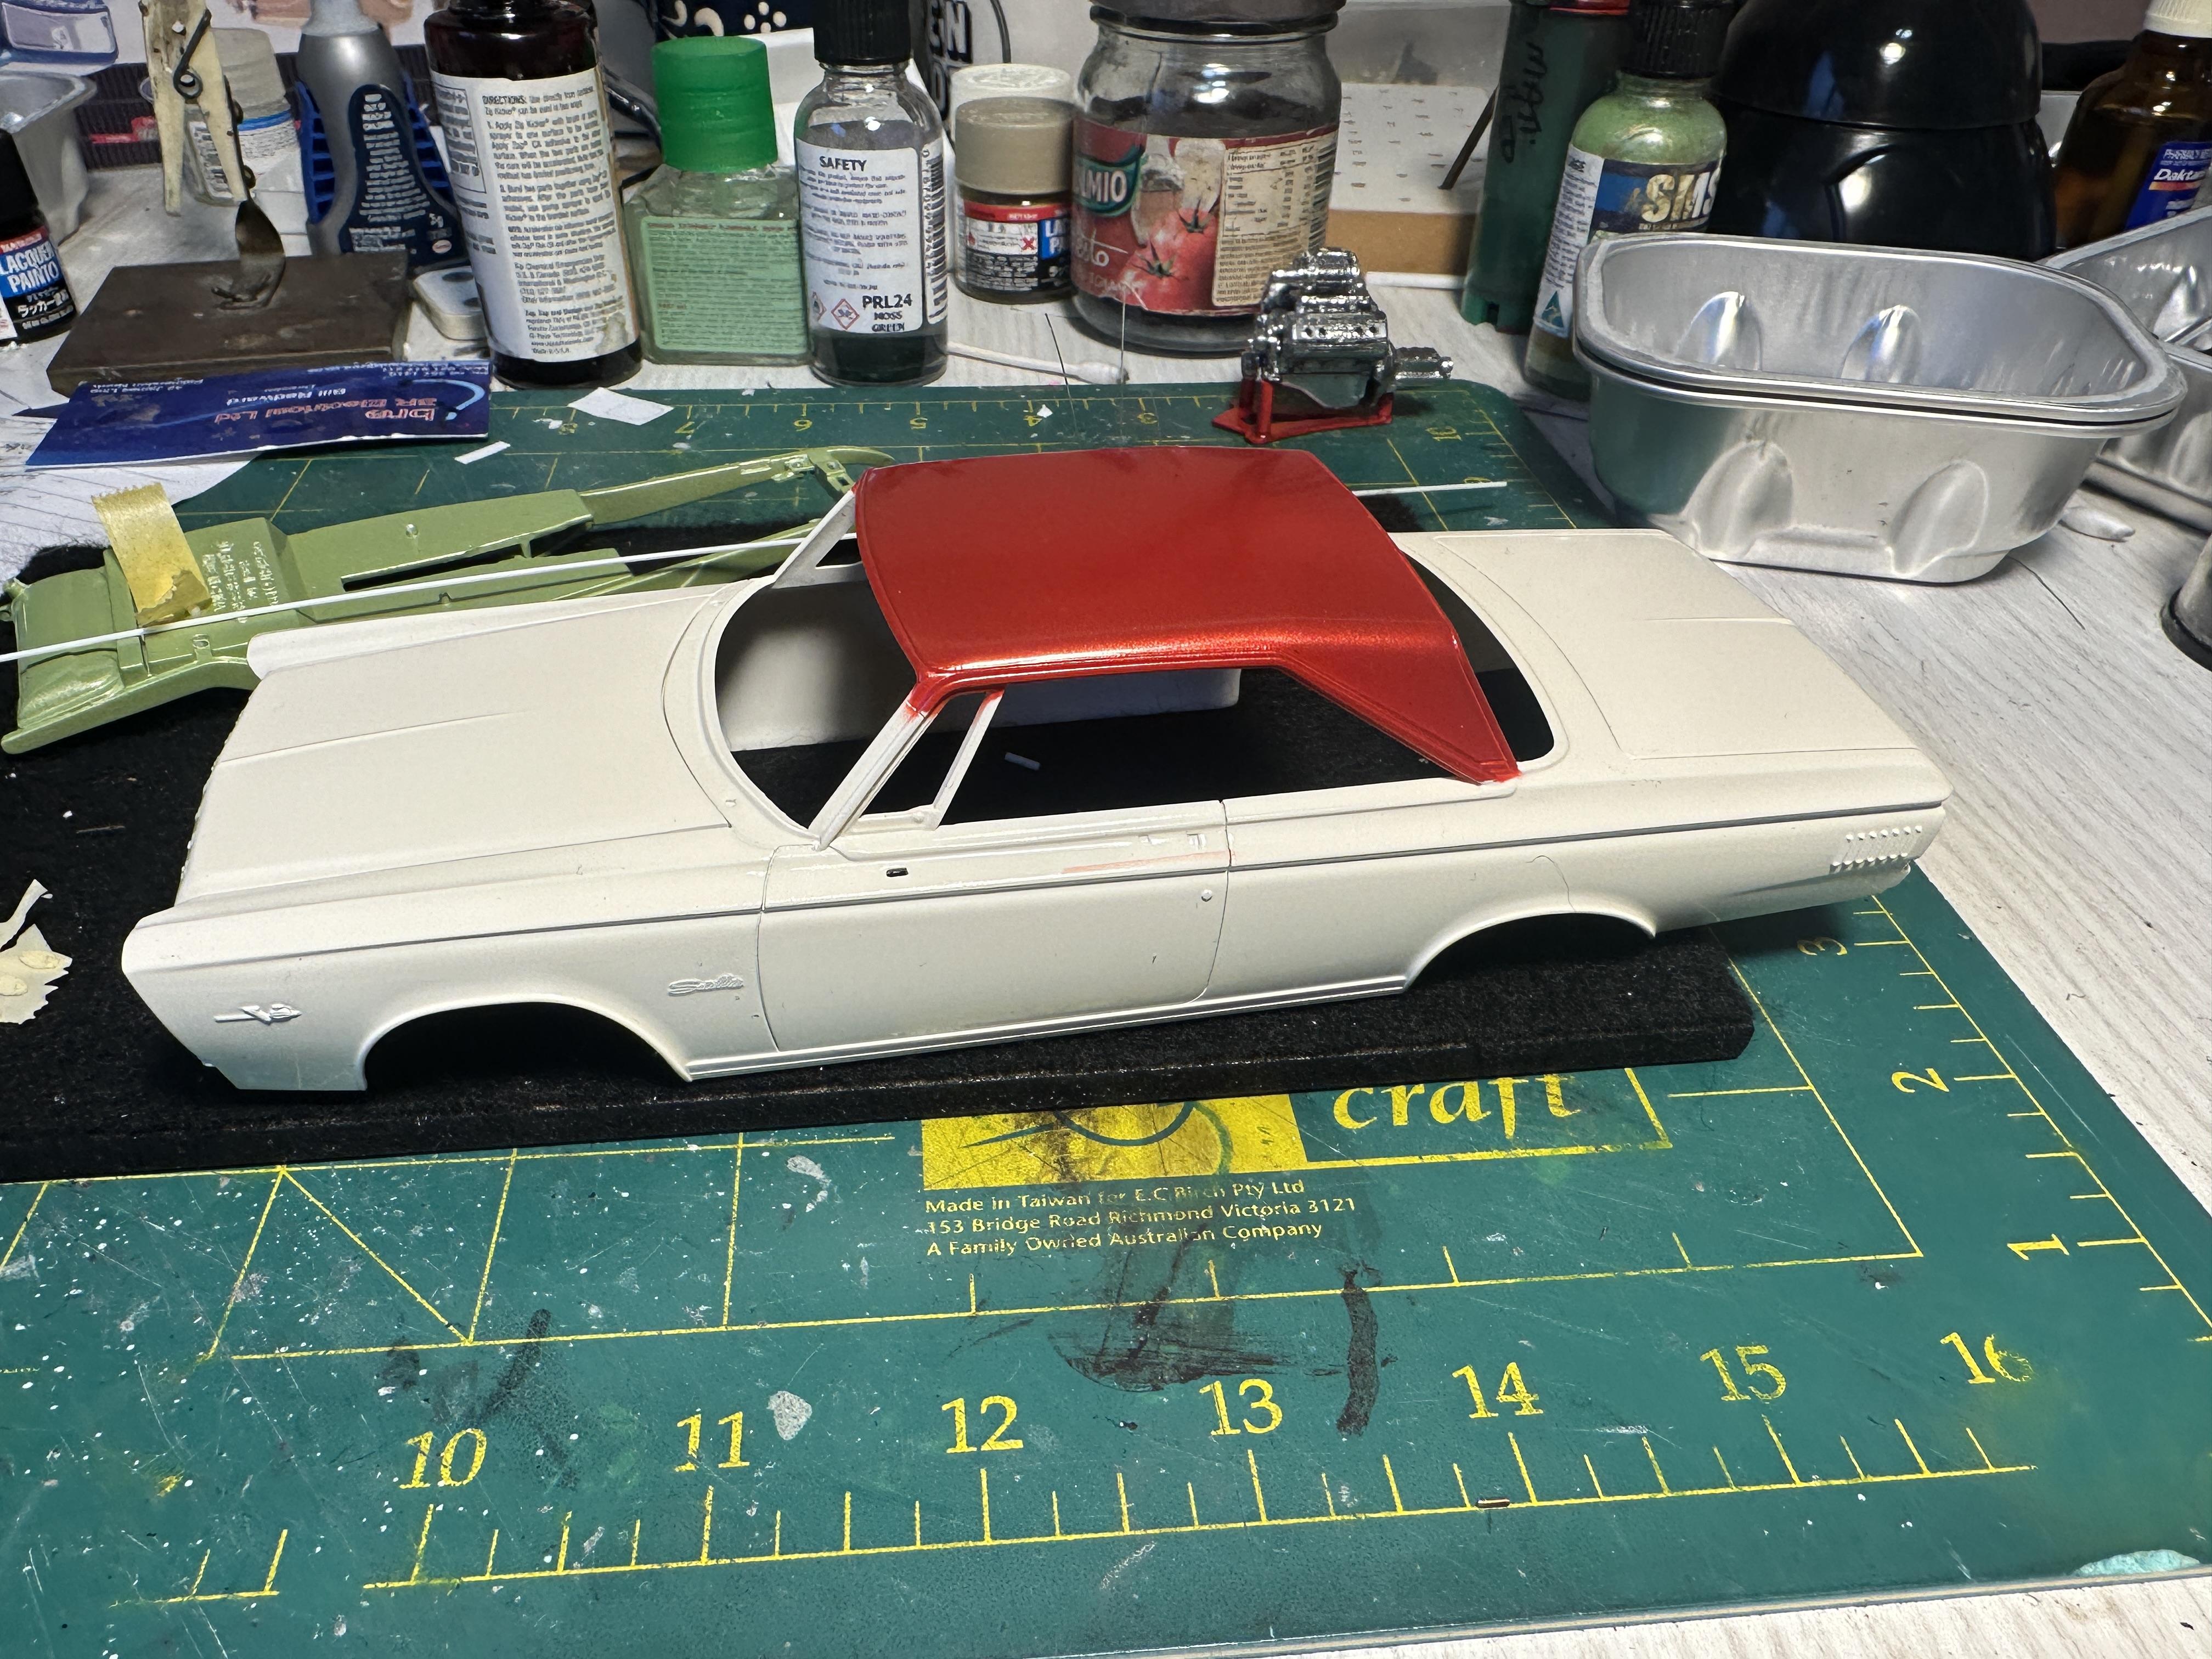
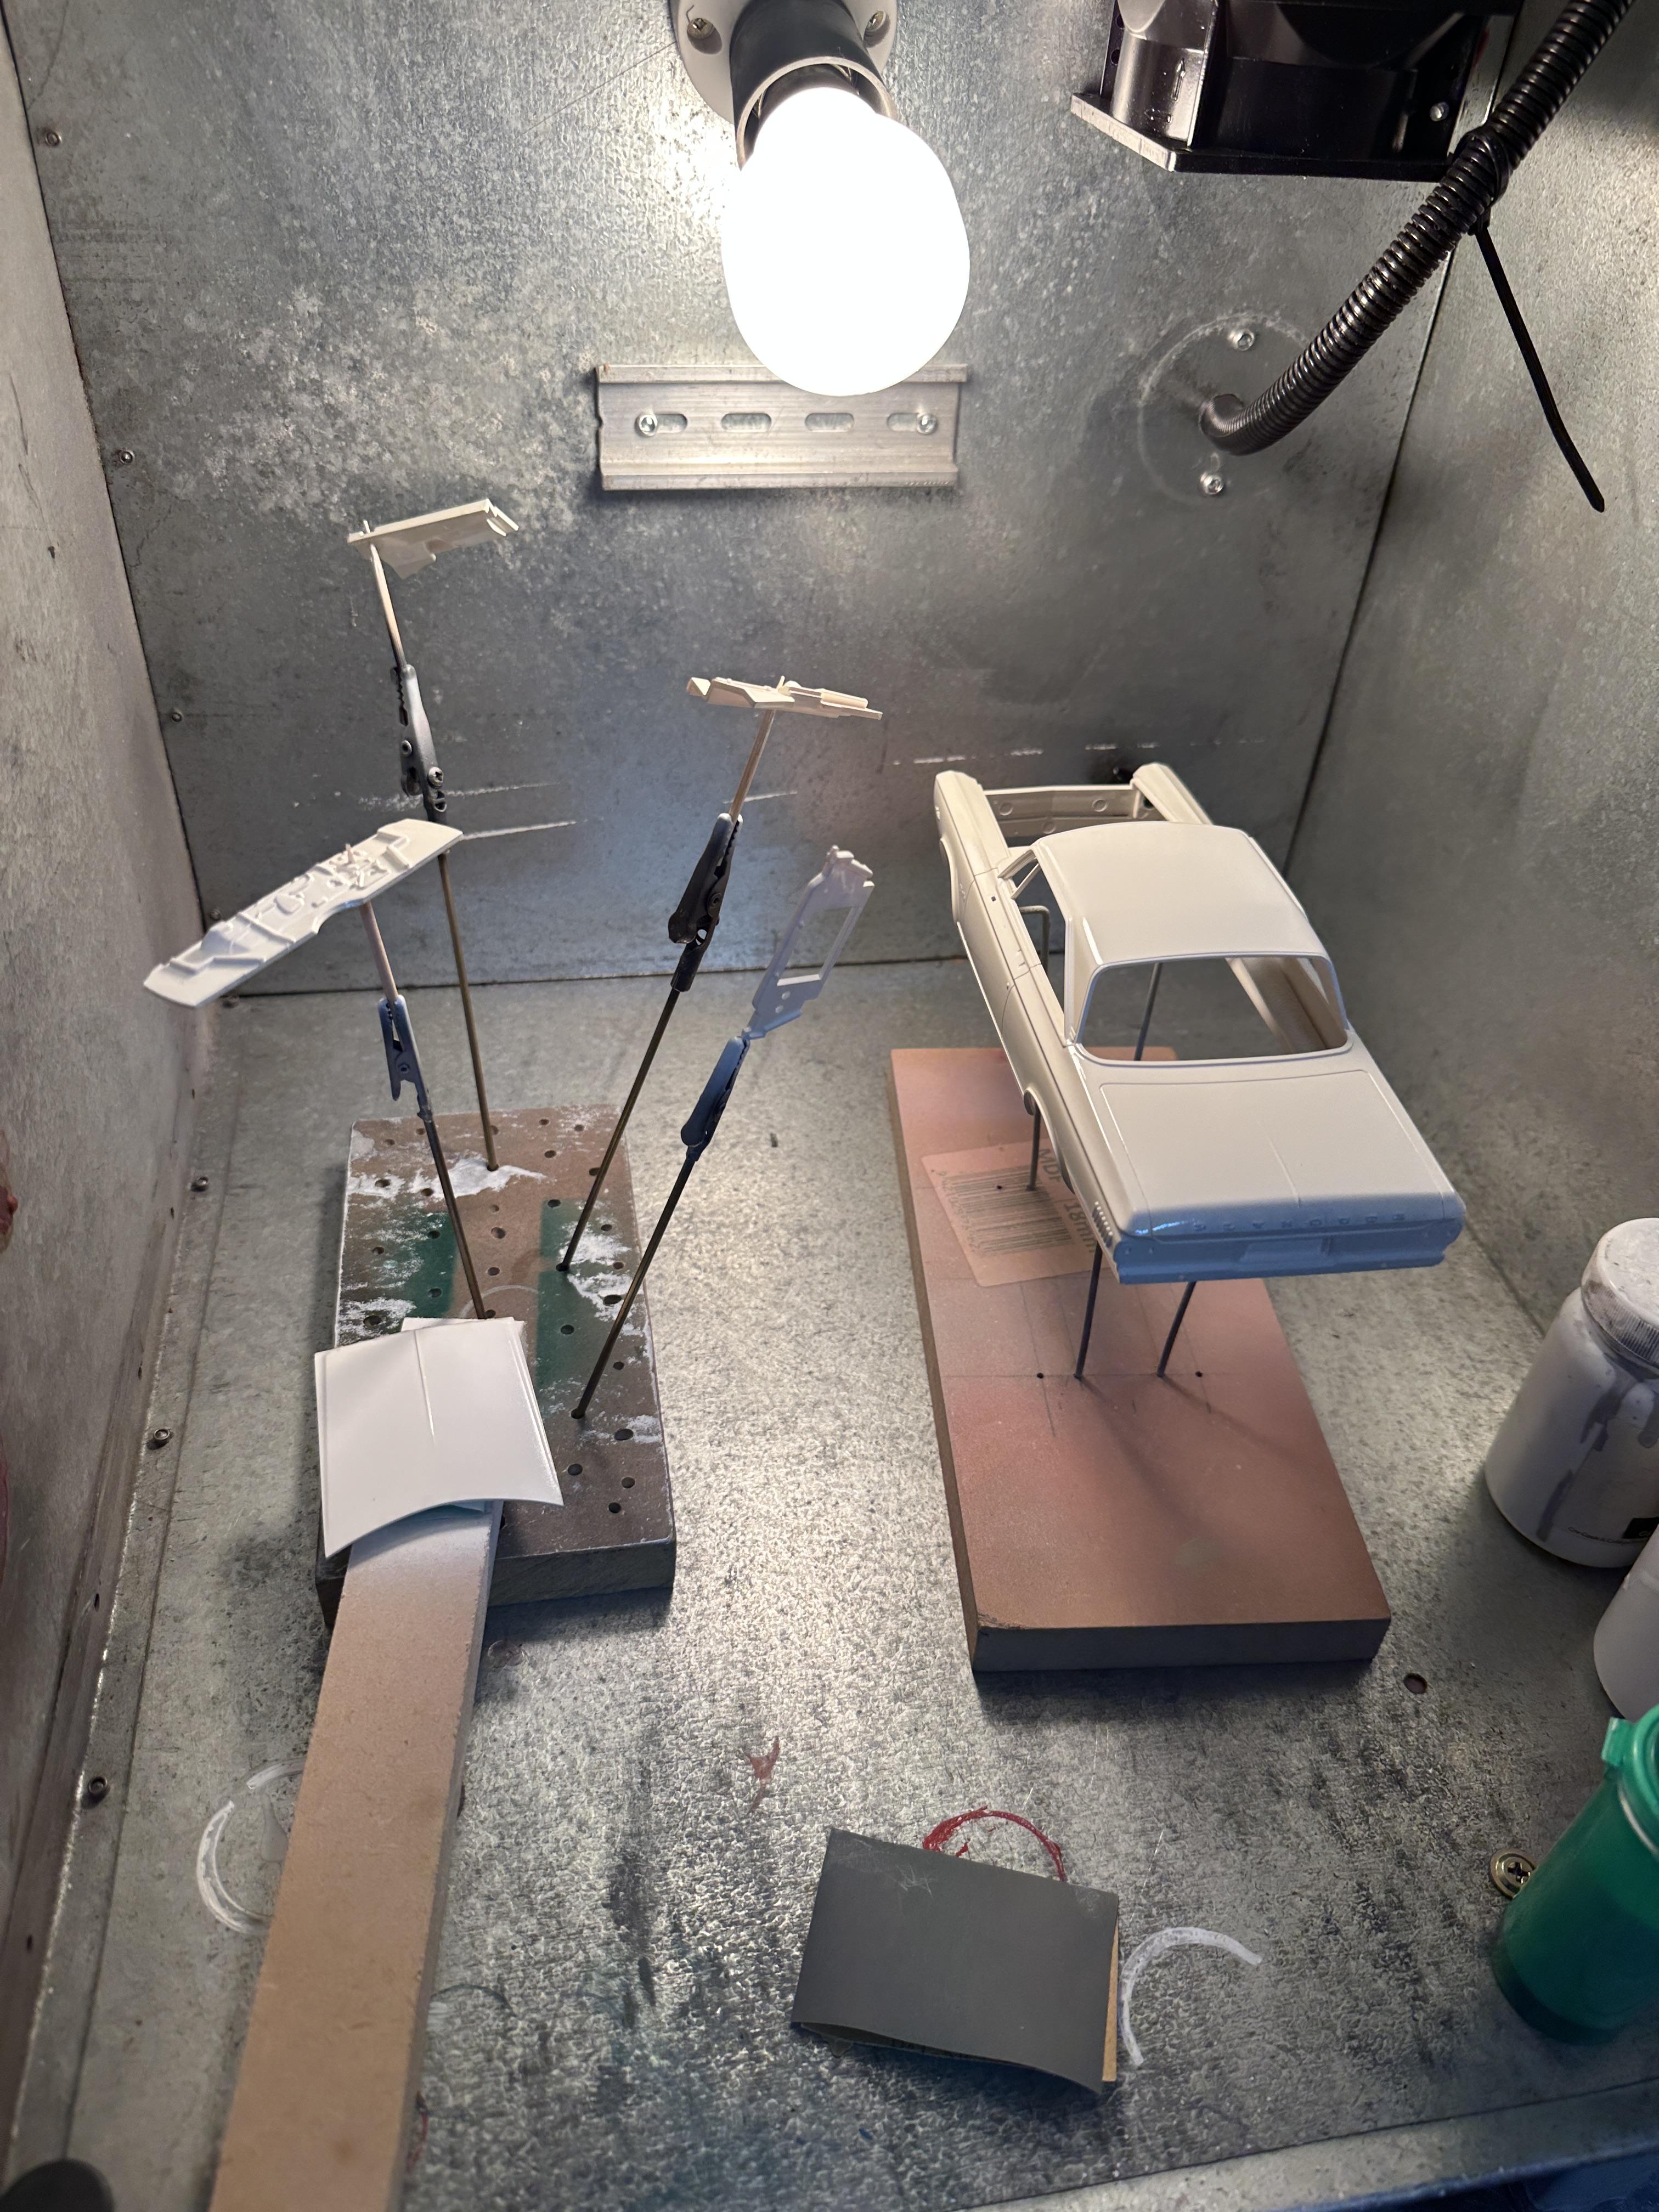
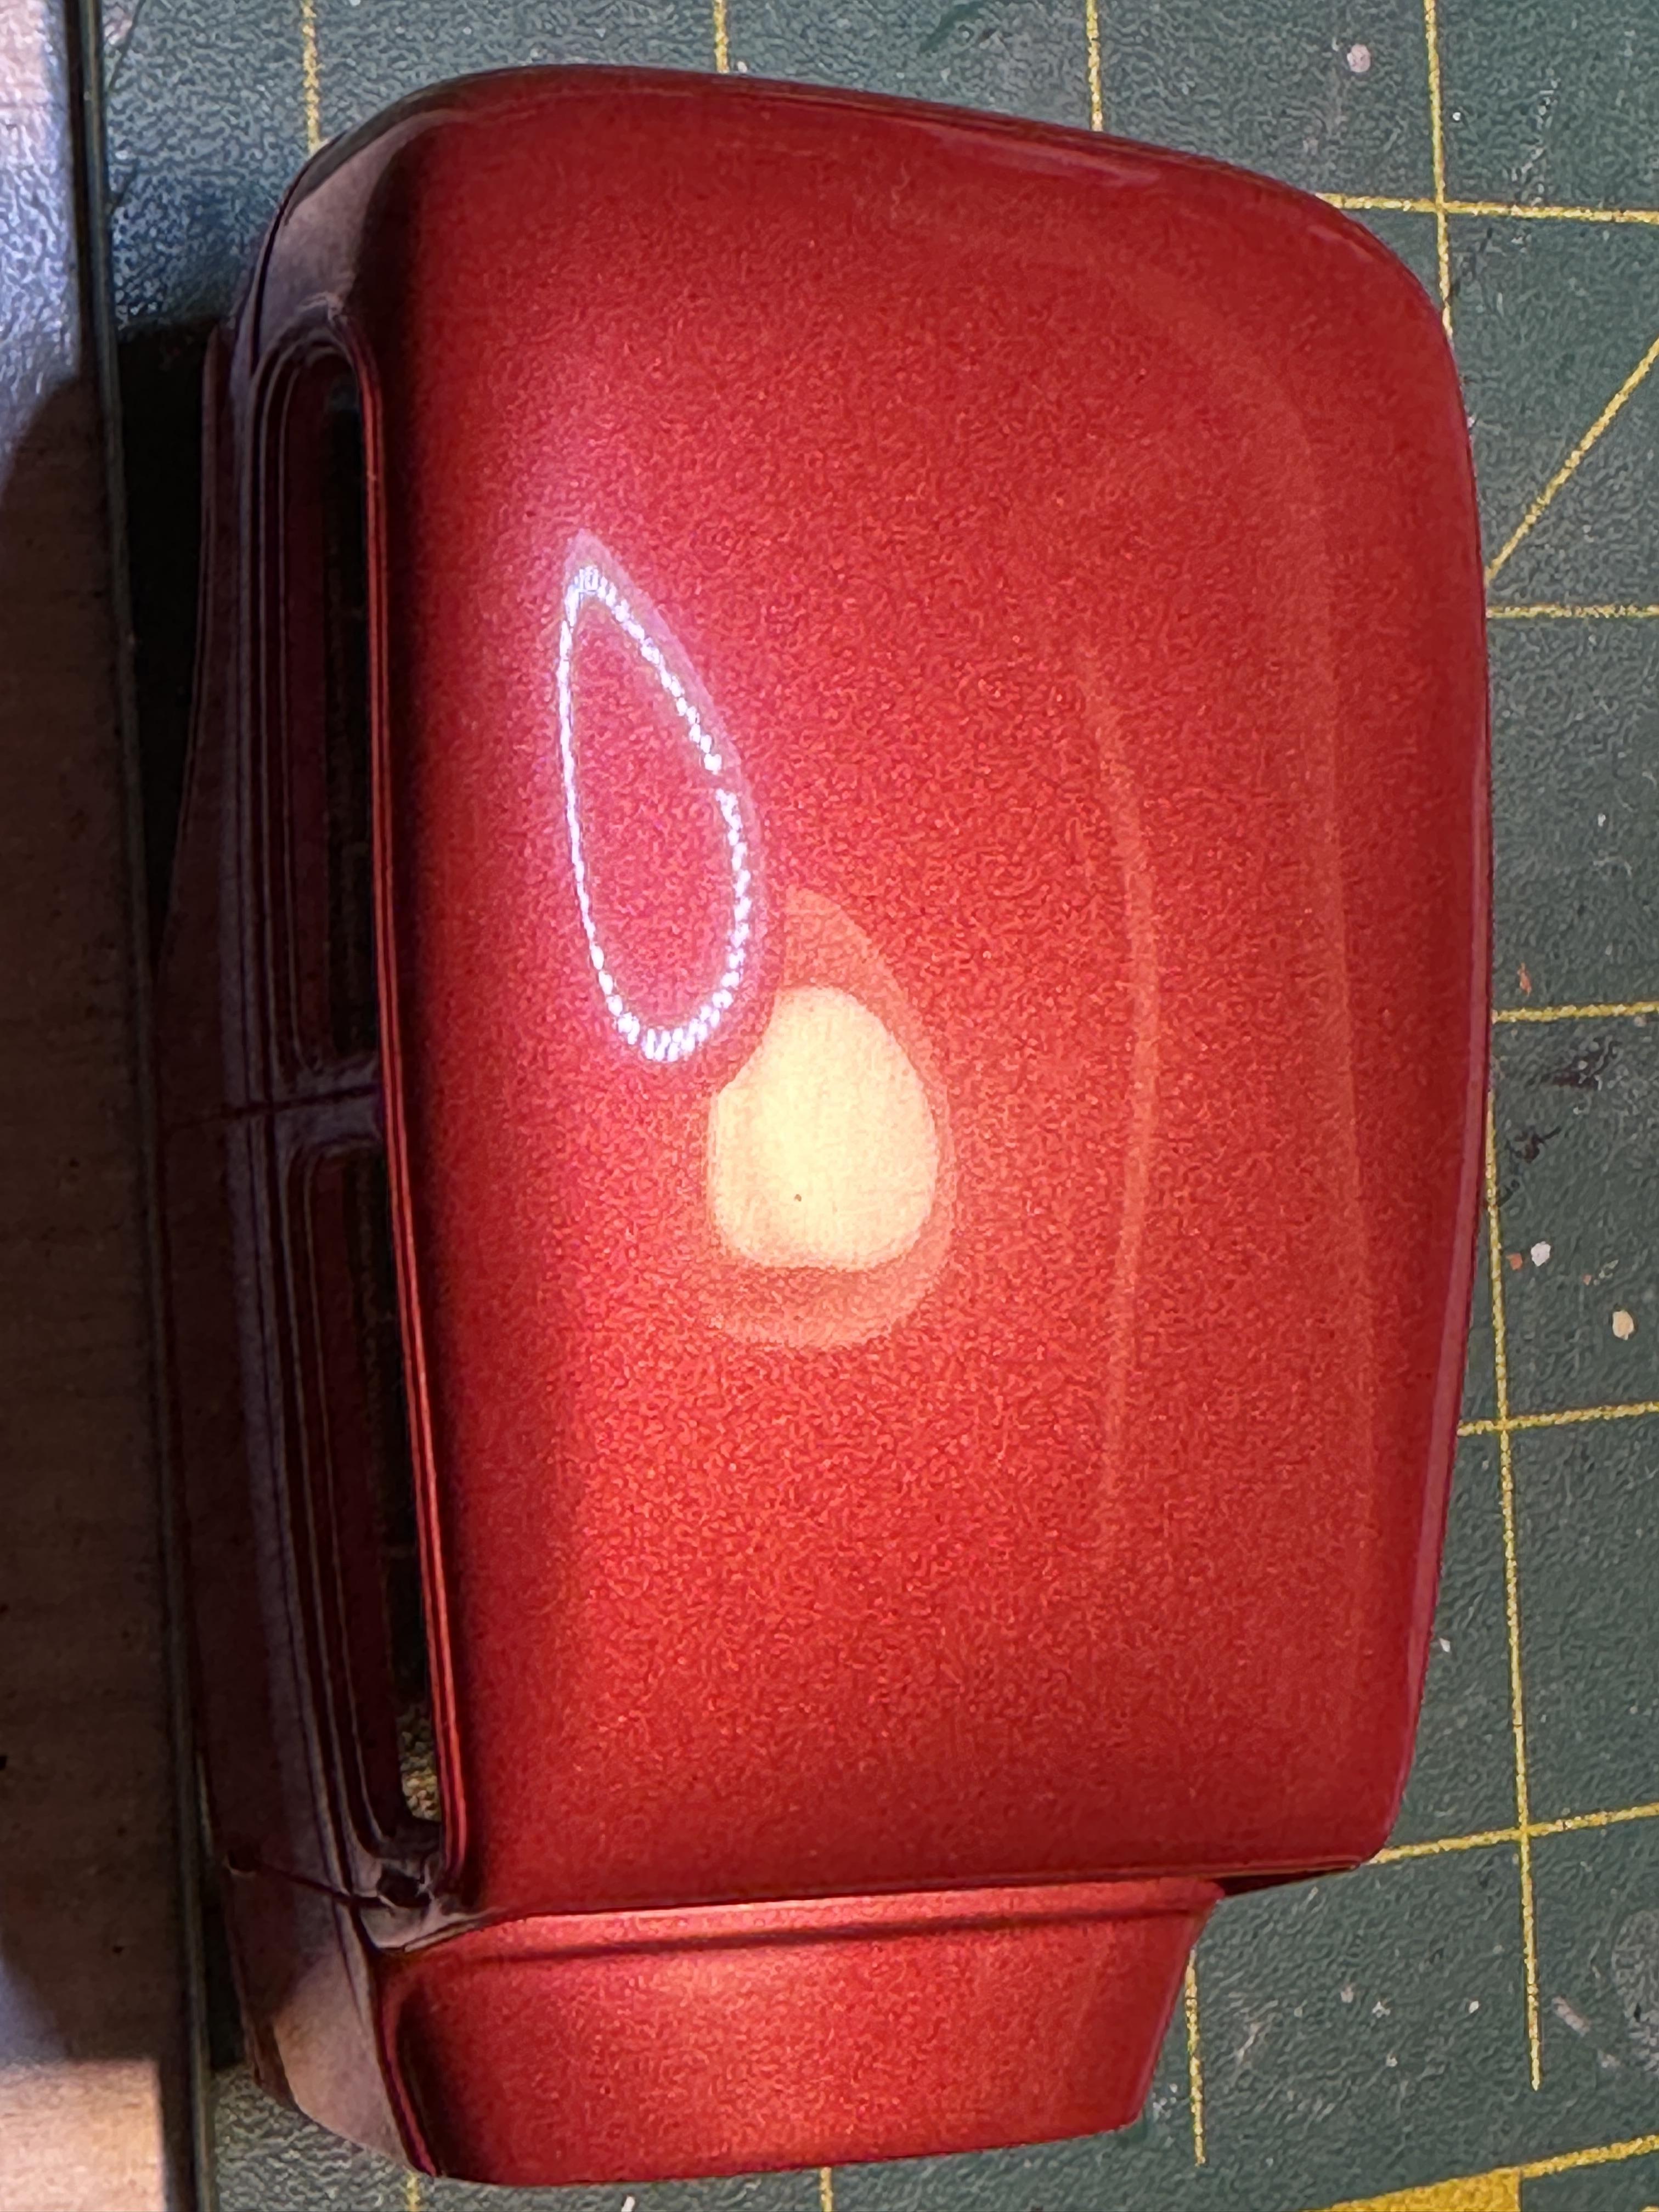
Goth the second colour on. Paints are Tamiya LP Racing white and Metallic Red. A reverse two tone. I have an issue I need to sort where the masking tape ate into the white. This is a known issue with Tamiya paints where they do take a while to fully harden. Even the lacquer takes a while just not as long as the acrylics. I waited three days but obviously not long enough. It is a bit hard to see in the white paint but it is there. Oh golly gosh (and some more explicit words were said)
-
It’s Boyd Month! Building the full-detail Coddington Alumacoupe
bill-e-boy replied to OldNYJim's topic in WIP: Model Cars
Looking good Jim. That "whole bunch of nothing" certainly does take up a fair amount of time to achieve. And worth it too IMO -
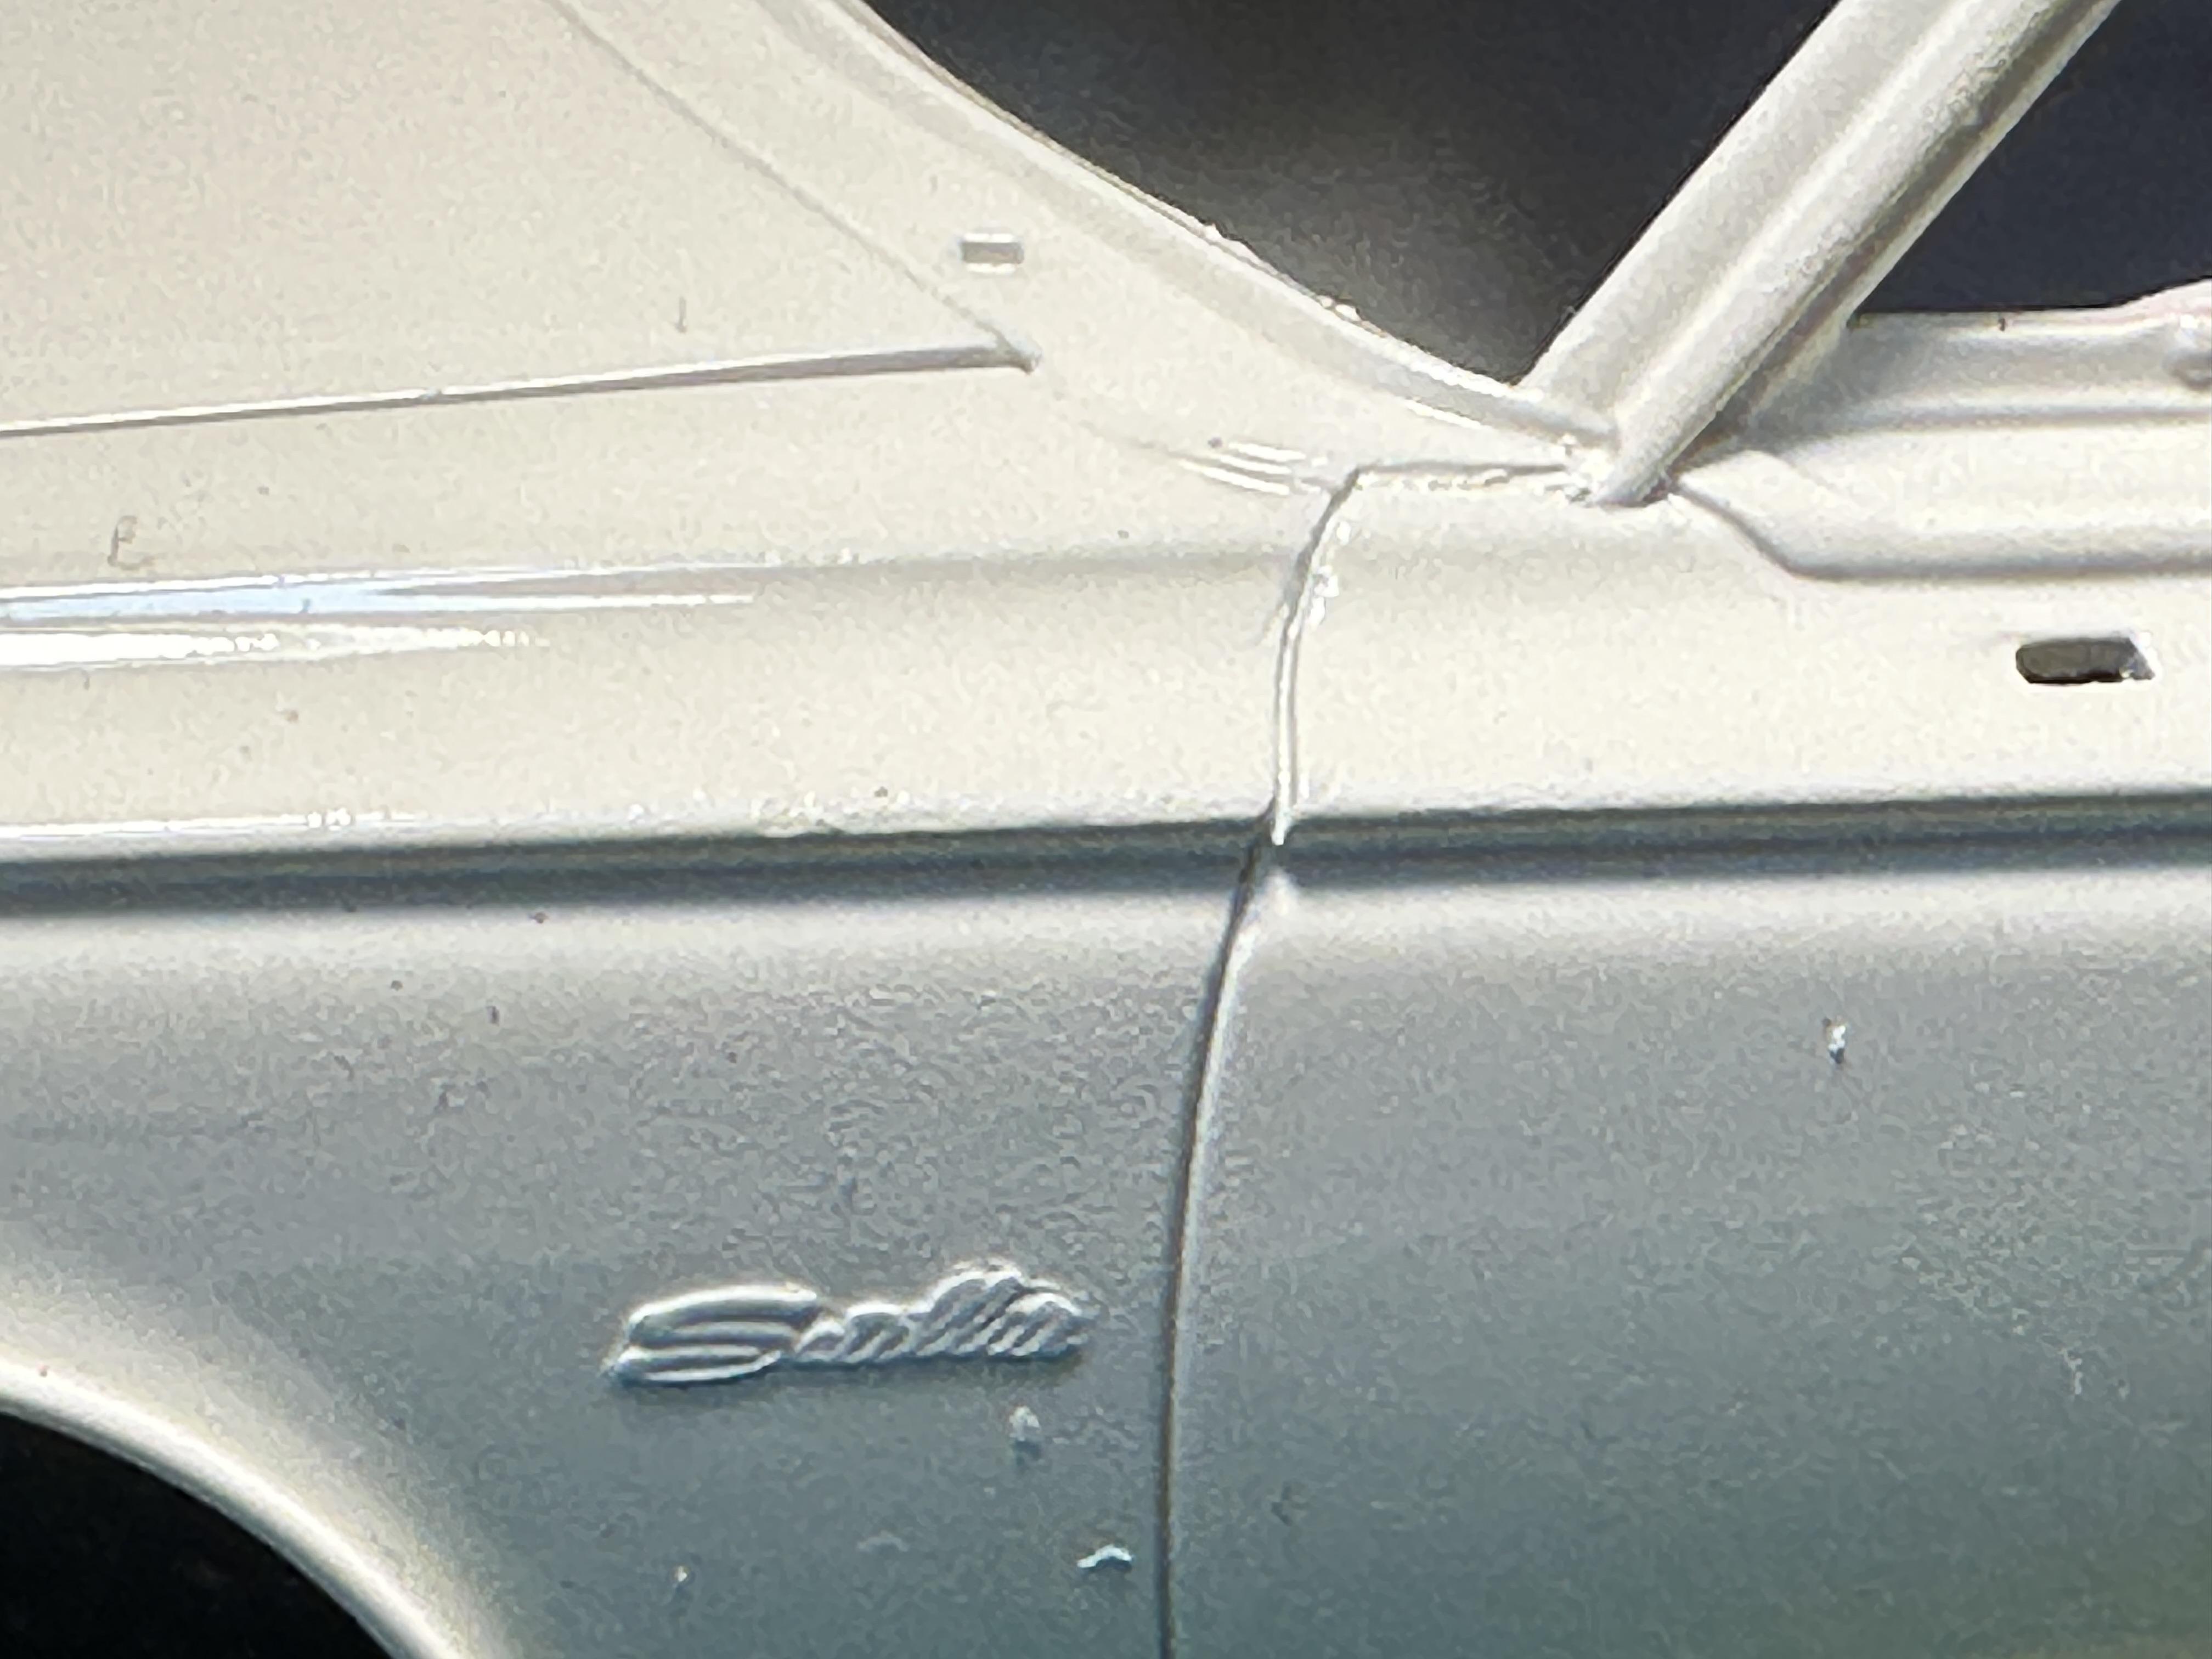
We are in the paint shop at the moment. I laid some Tamiya white primer/undercoat down and then sanded it ready for colour. I foiled the scripts on the sides and the Plymouth lettering on the hood and the trunk so I could clean off after paint. I was a bit messy as there was glue residue and the marks left form polishing down the foil in the matt primer . I cleaned what cold off with warm soapy water before hitting it with colour. We will wait and see if it works or not. I think a note to self about putting the foil on after the first gloss coat so the residue can be cleaned off easier.
-
Wicked looking 53 Bob
-
centering the rear axle
bill-e-boy replied to sidcharles's topic in Model Building Questions and Answers
You are on the right track. Mockup, mock up and repeat when kit rodding -
It’s Boyd Month! Building the full-detail Coddington Alumacoupe
bill-e-boy replied to OldNYJim's topic in WIP: Model Cars
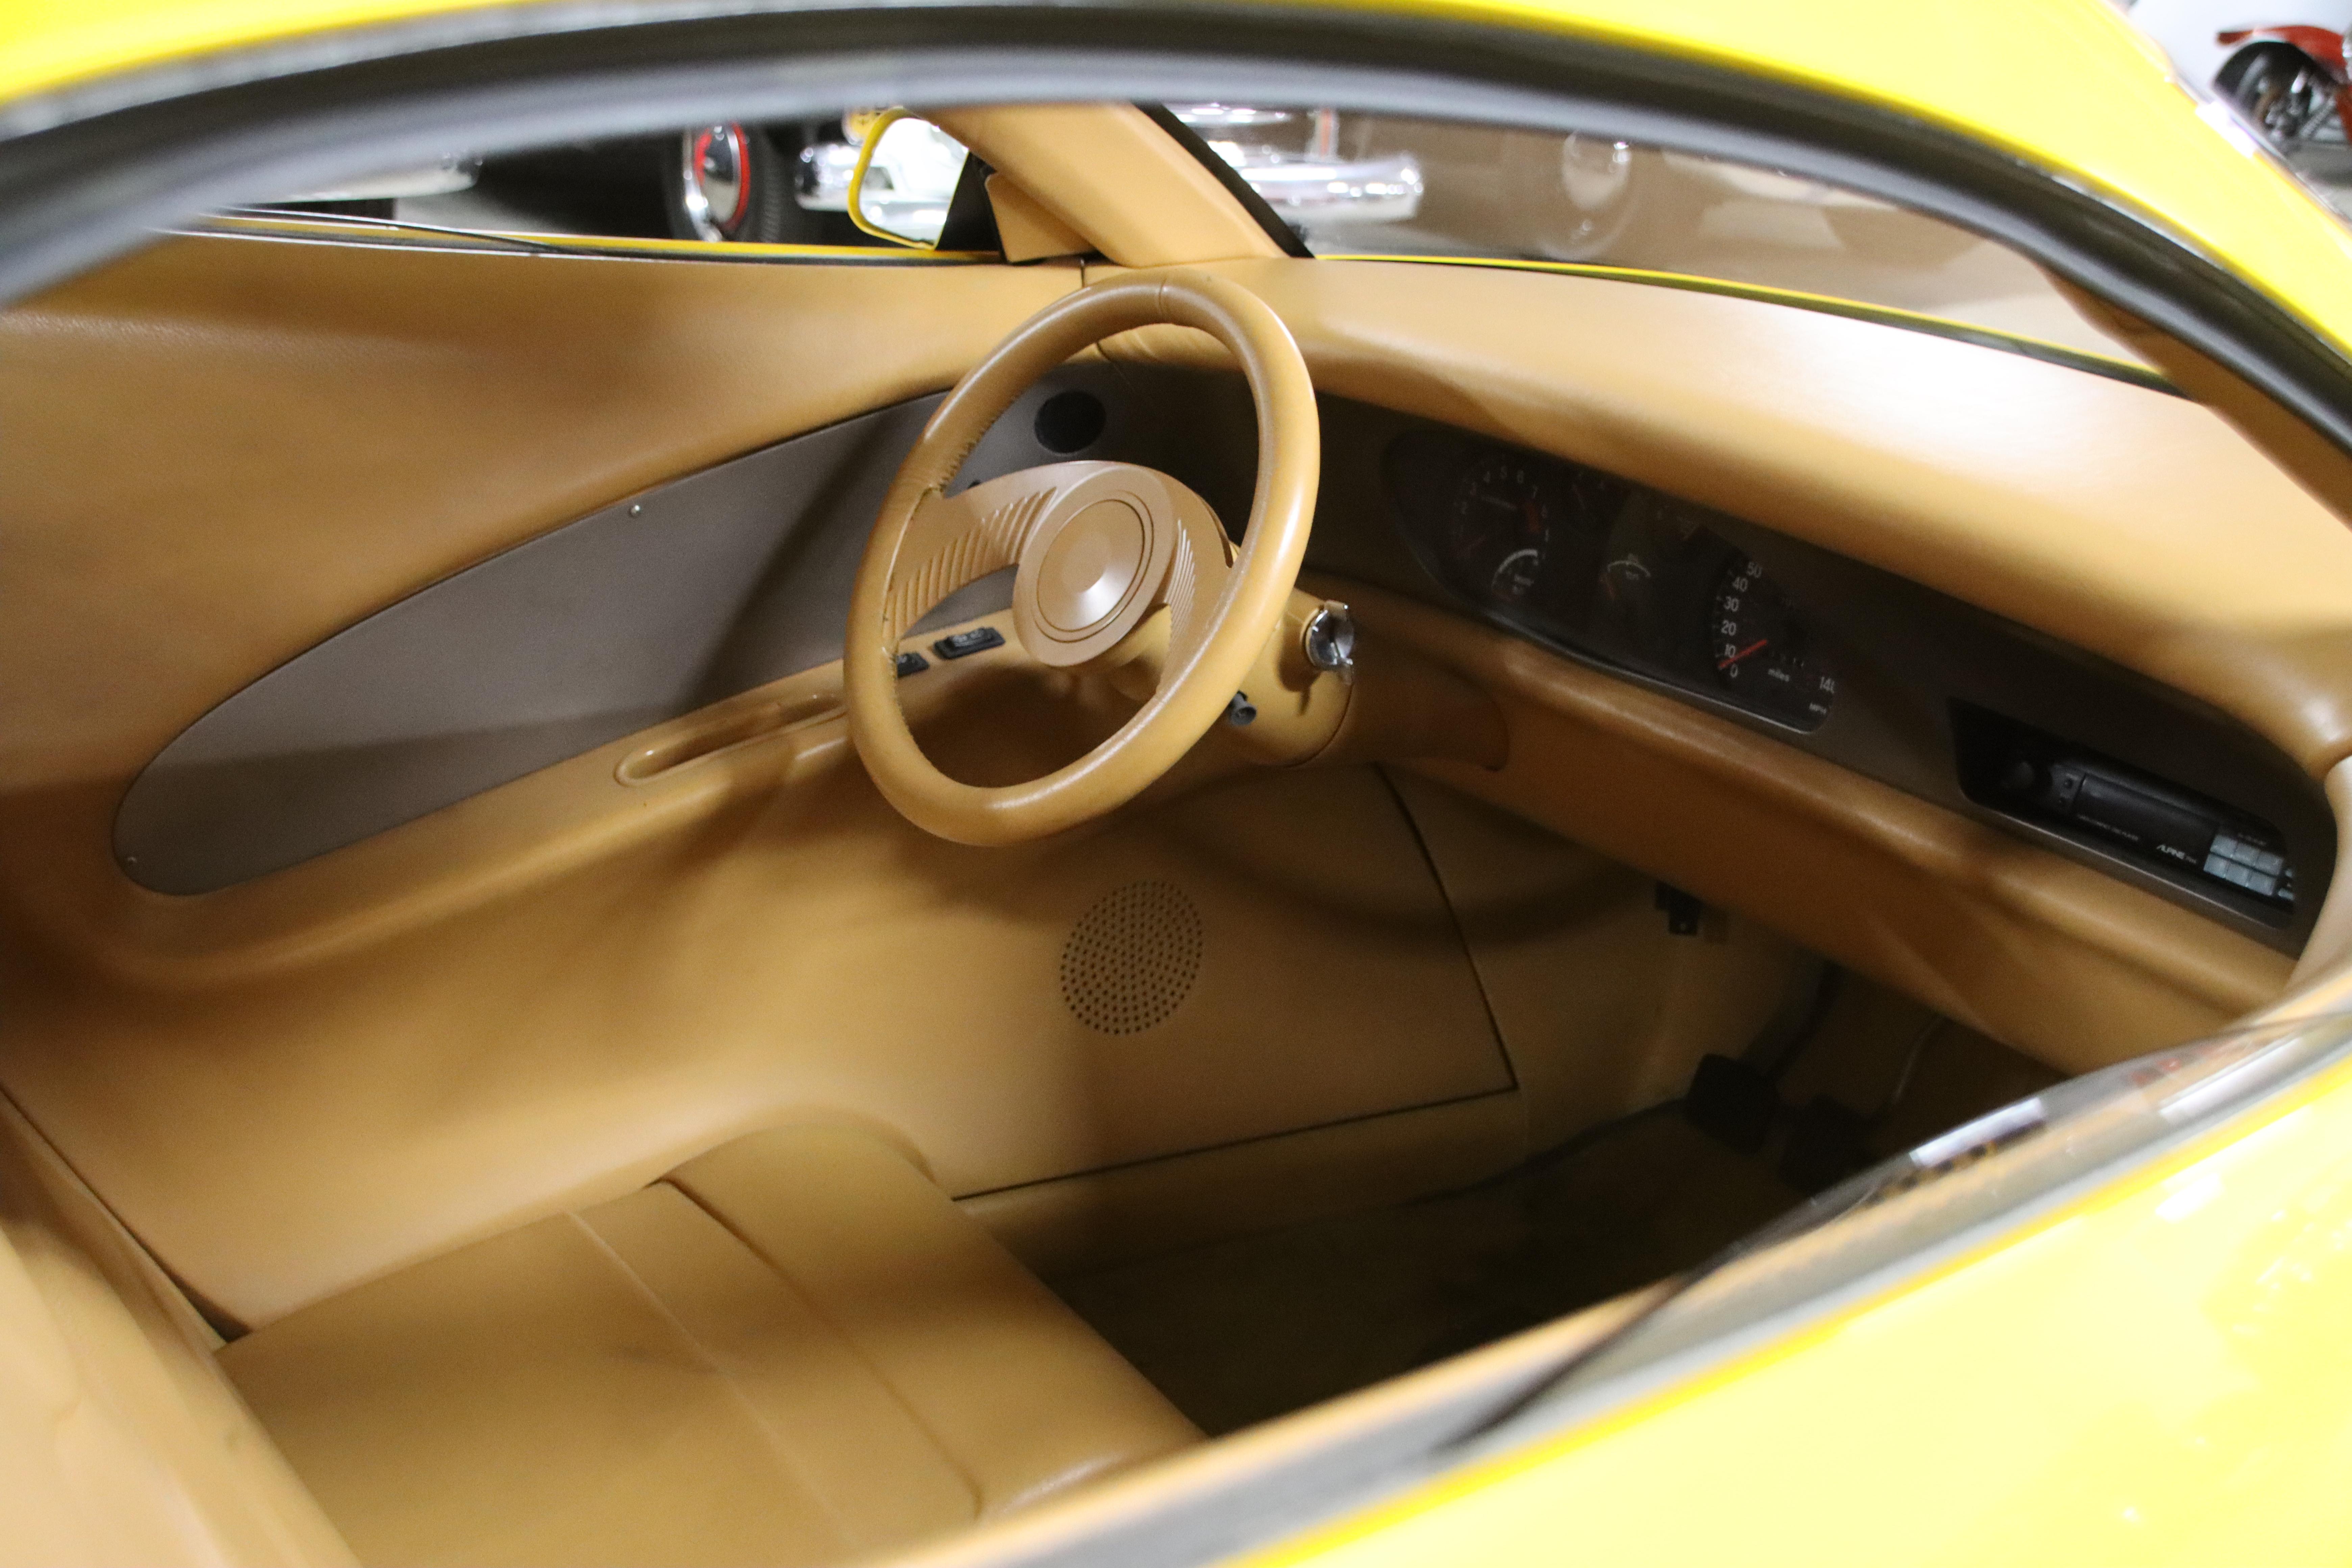
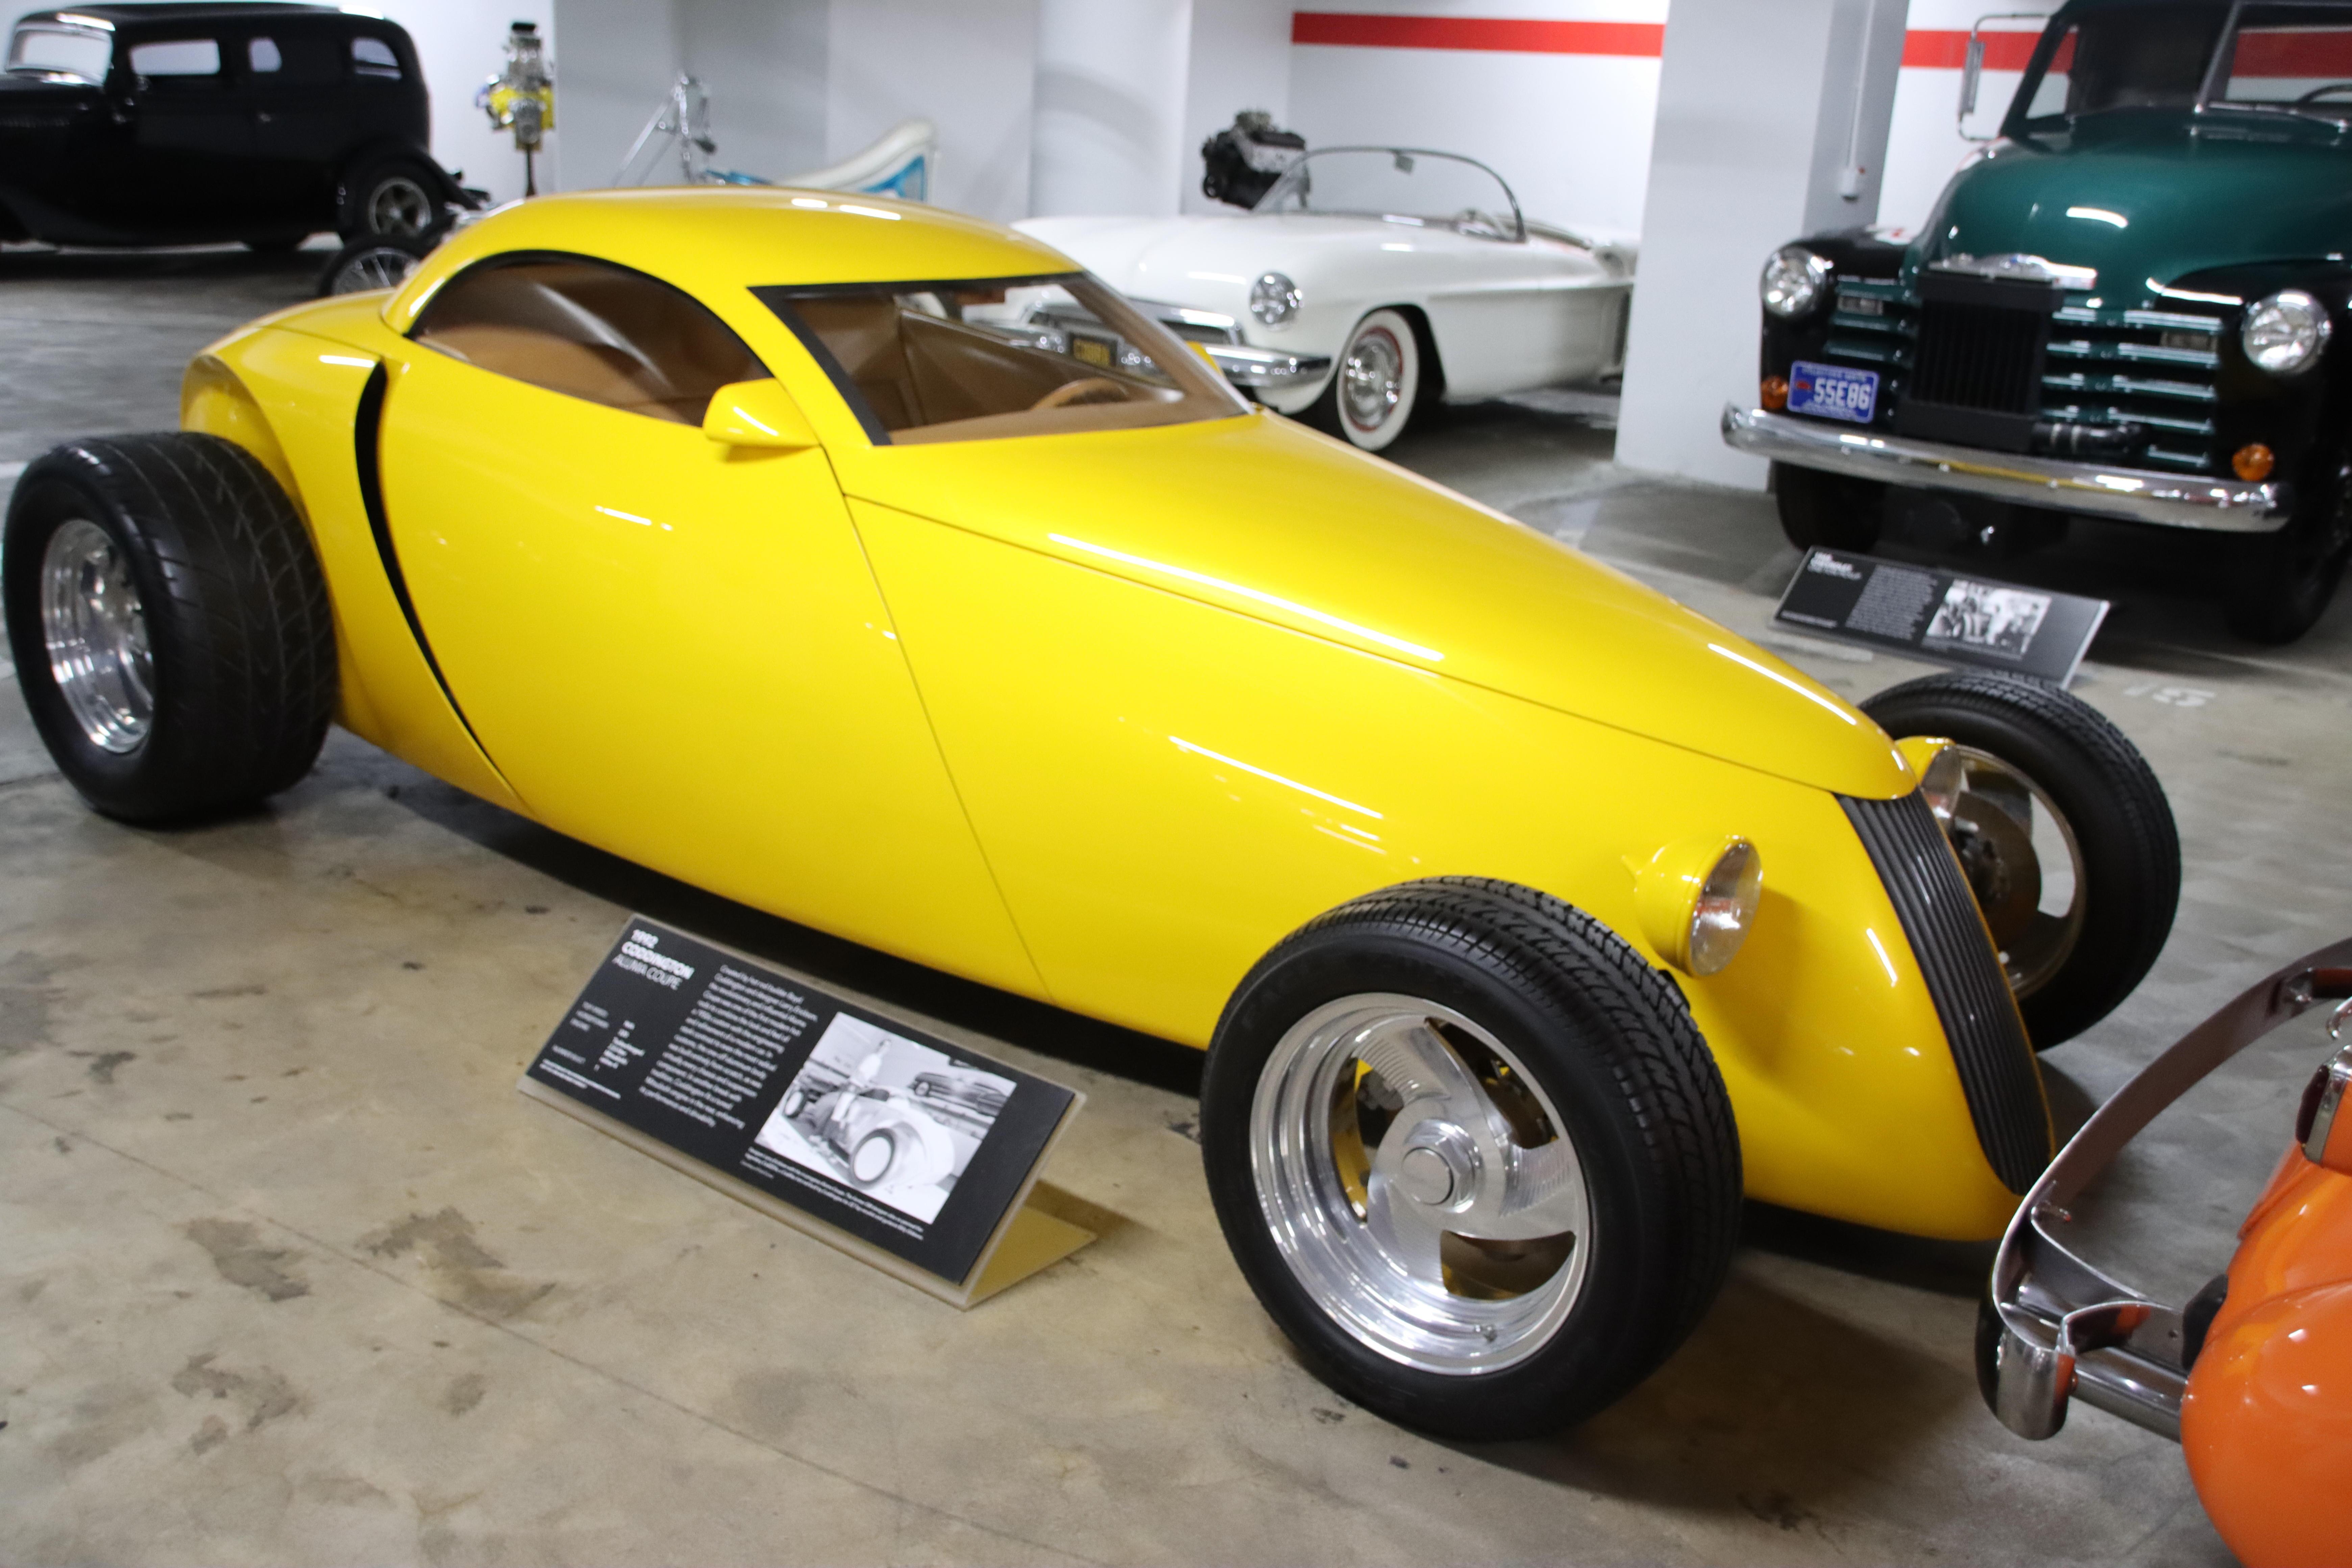
I too built it a while ago - just find the pix But I do have some of the real thing - it is at The Petersen Museum that I visited last year. And it is a superb looking car
-
And thanks to all above for fine comments - much appreciated
-
Hi Bill, thanks for the heads up - I checked my reference pix and you are correct - just straight pipes. Looks like a mod coming up - or do I leave to stay with OOB build - decisions, decisions.
-
Hi Jose, I had the same thoughts with the faint separation lines, hence the decision to scribe the junction prior to paint. The reason for this is to help guide the knife when applying the foil after paint. There are some tutorials for this and BMF application in the Tips, Tricks and Tutorials section. You can apply BMF prior to paint and am going to do that the front fender emblems. I would not do it to say the window trim as the foil will give you a better separation line
-
The engine is as Kooll as the rest of the car - WICKED!
-
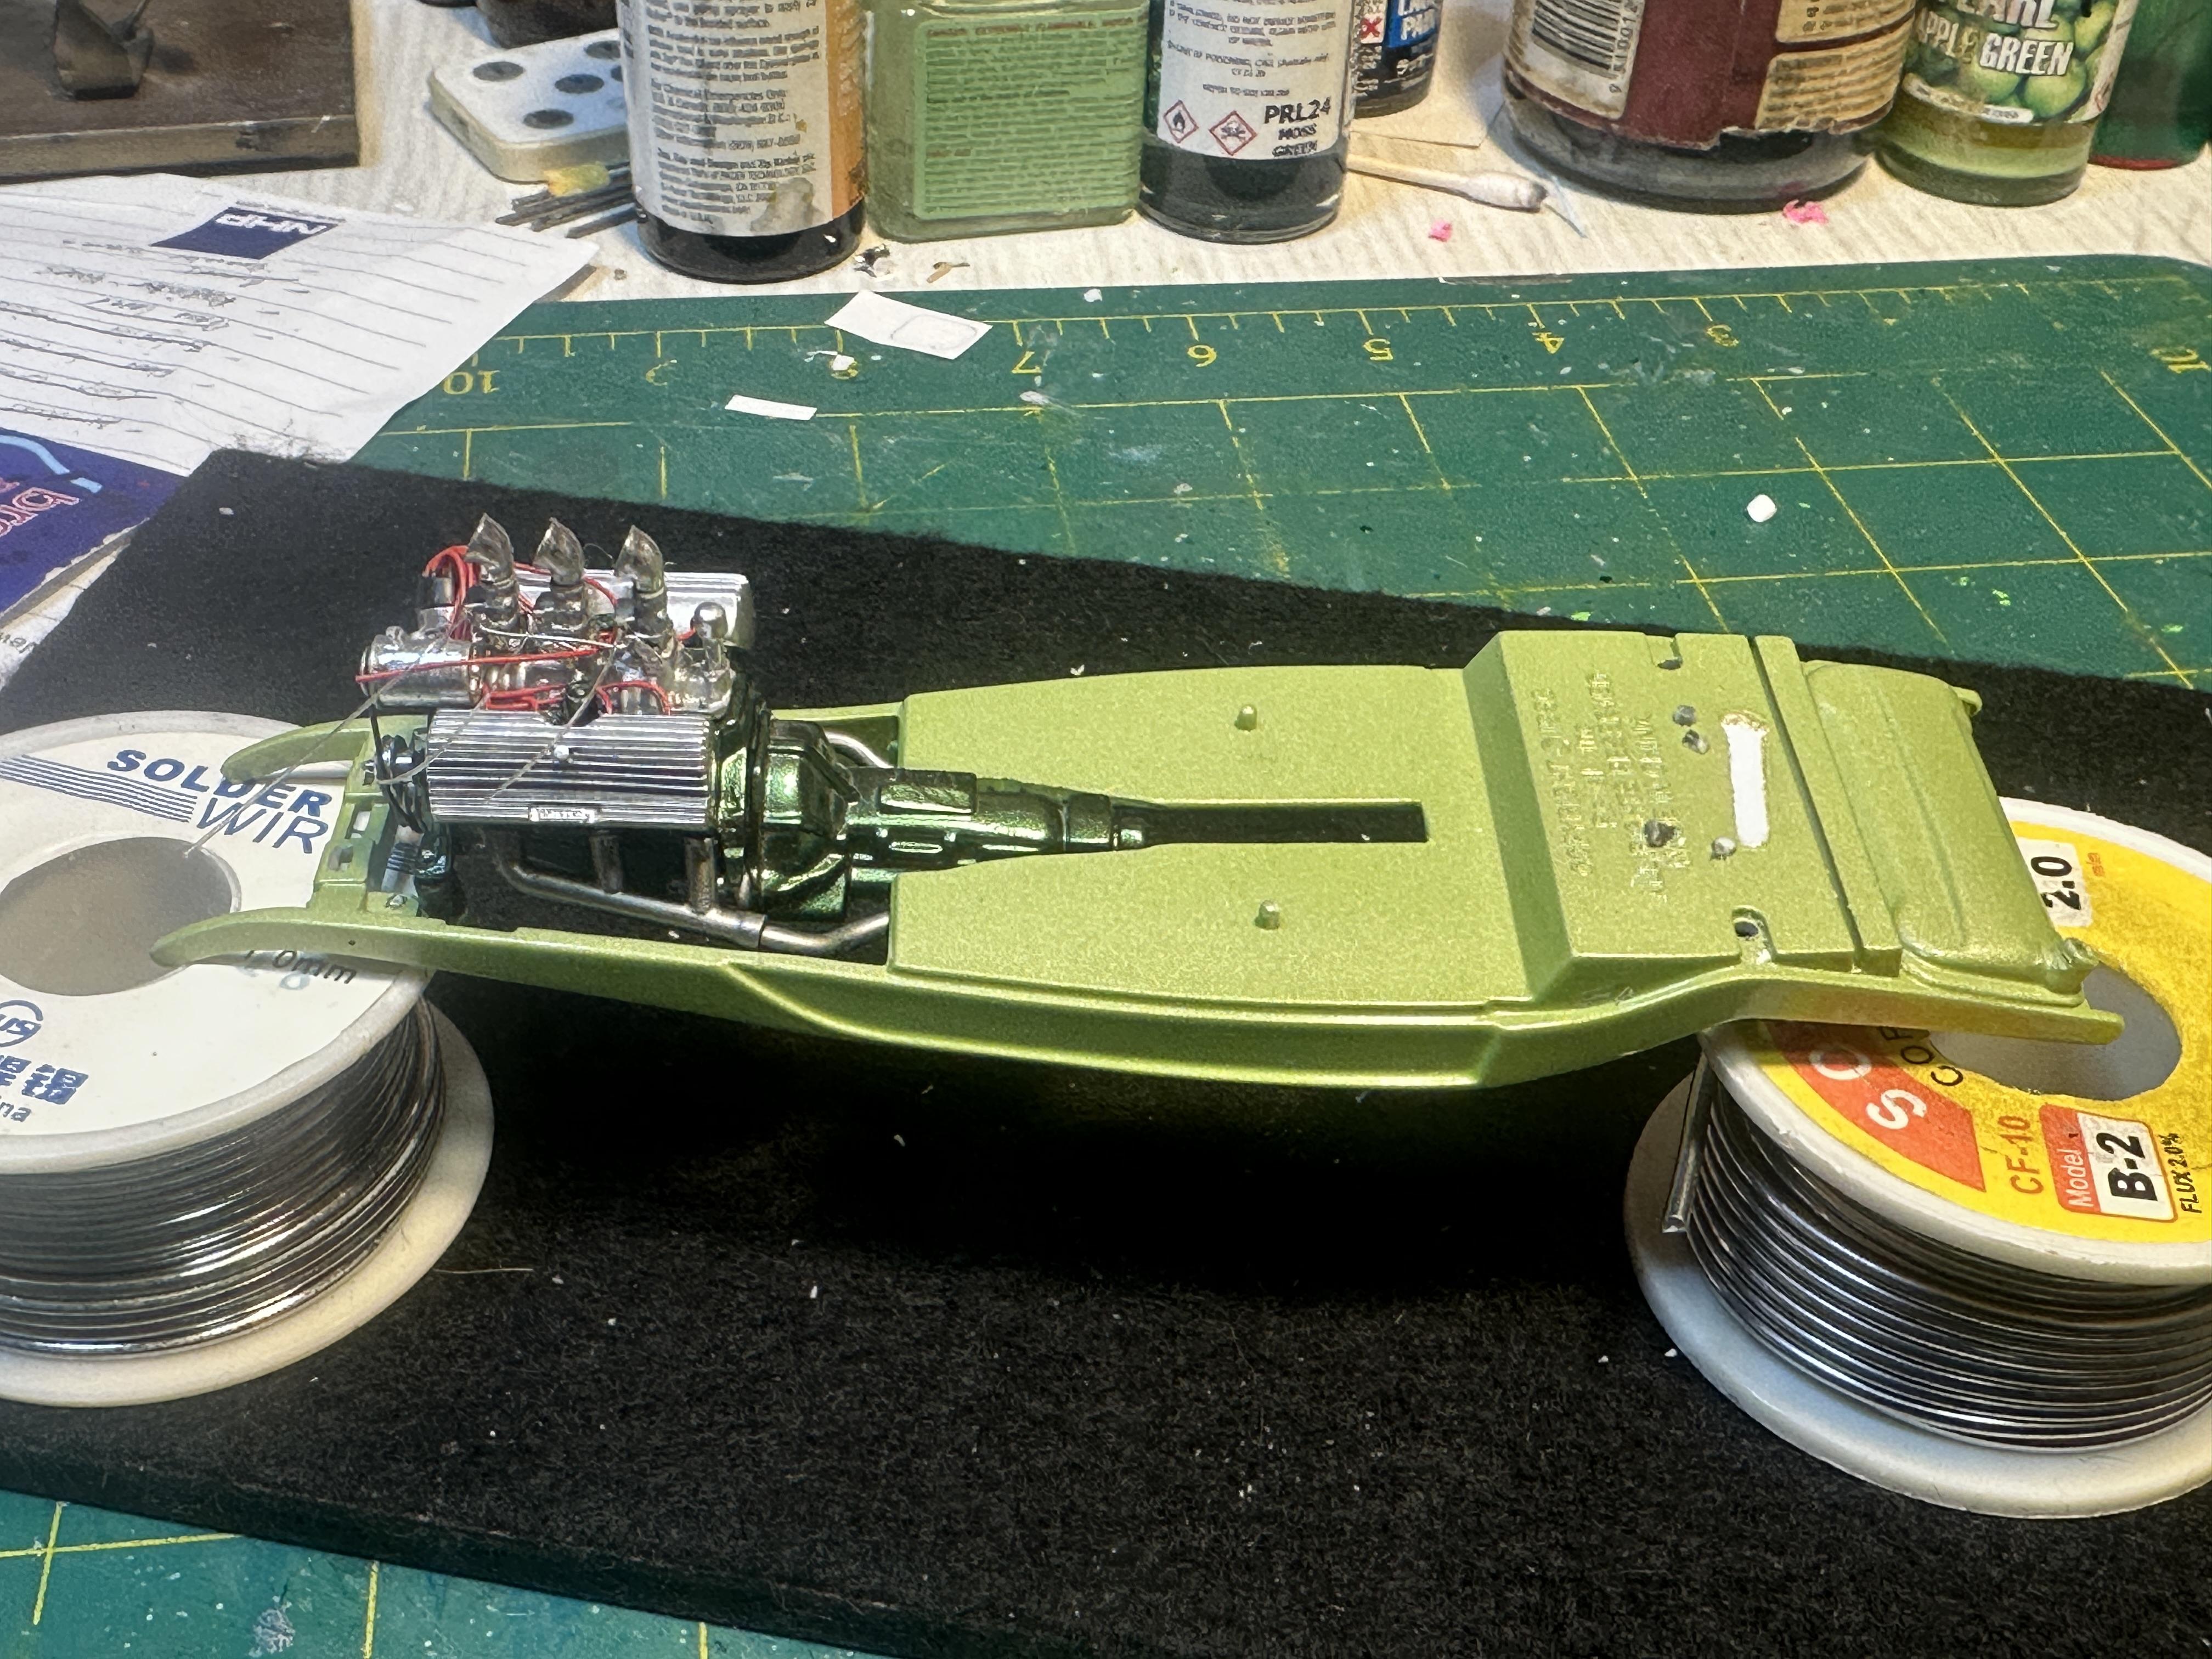
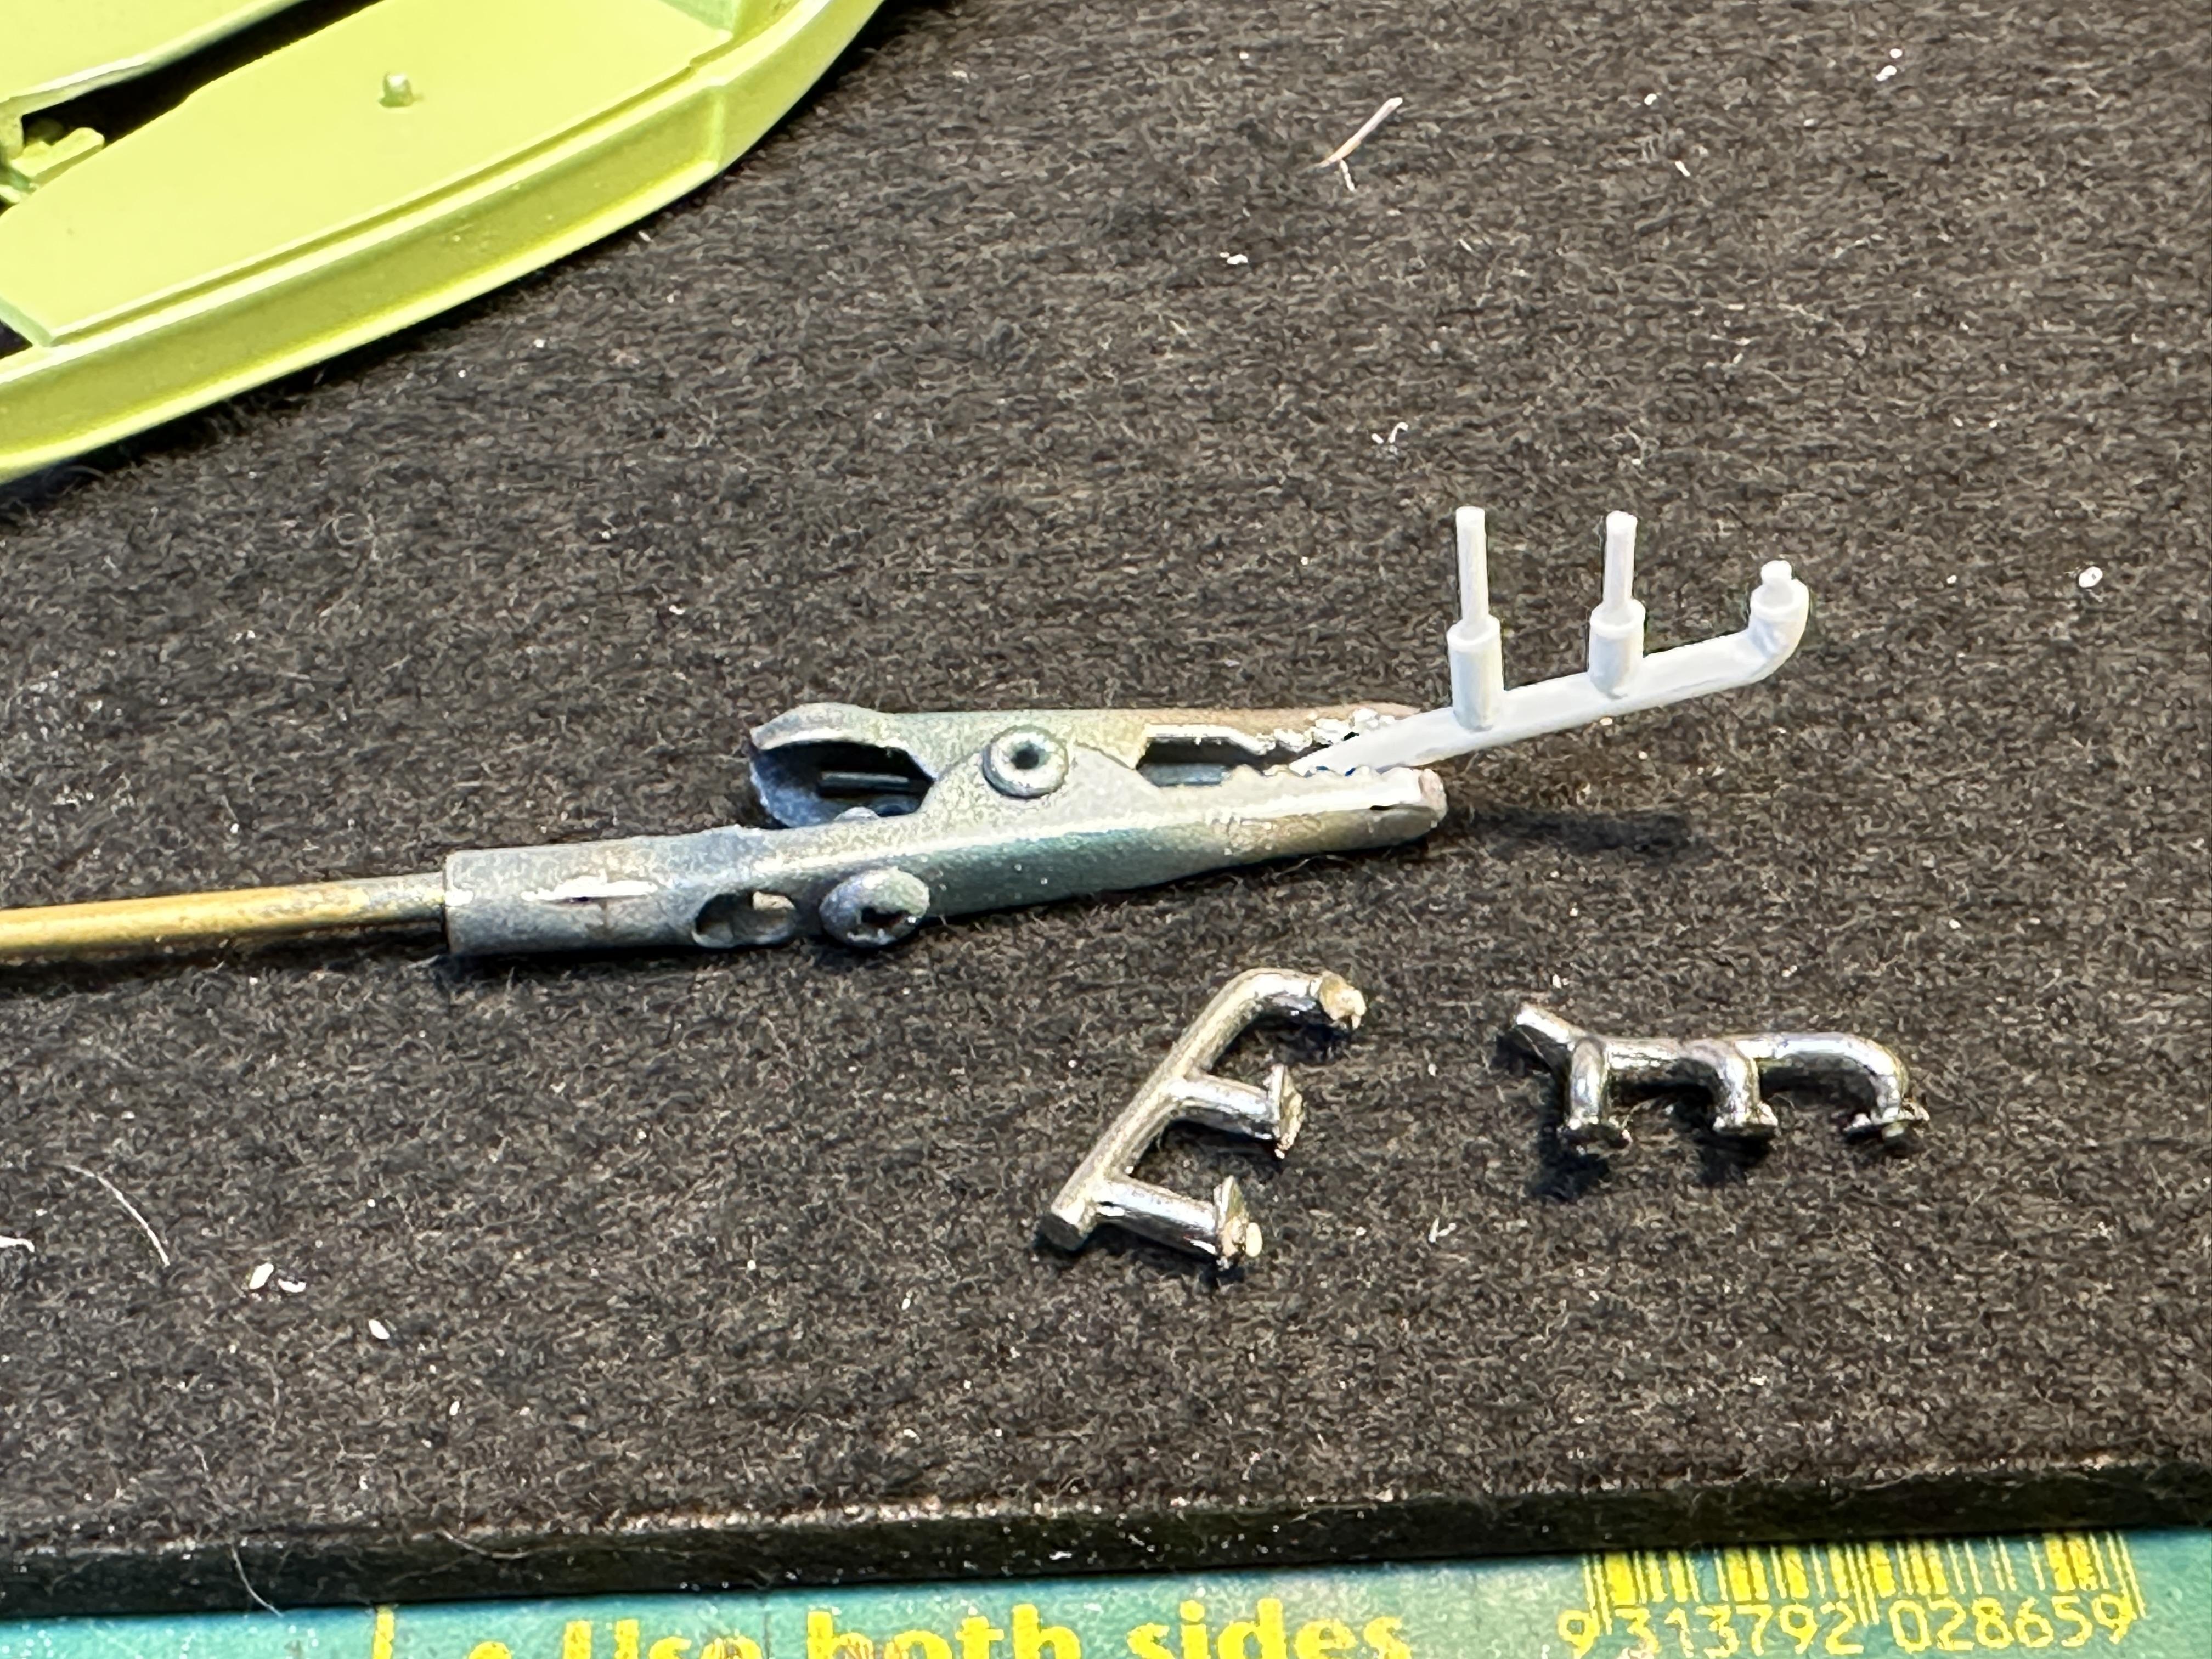
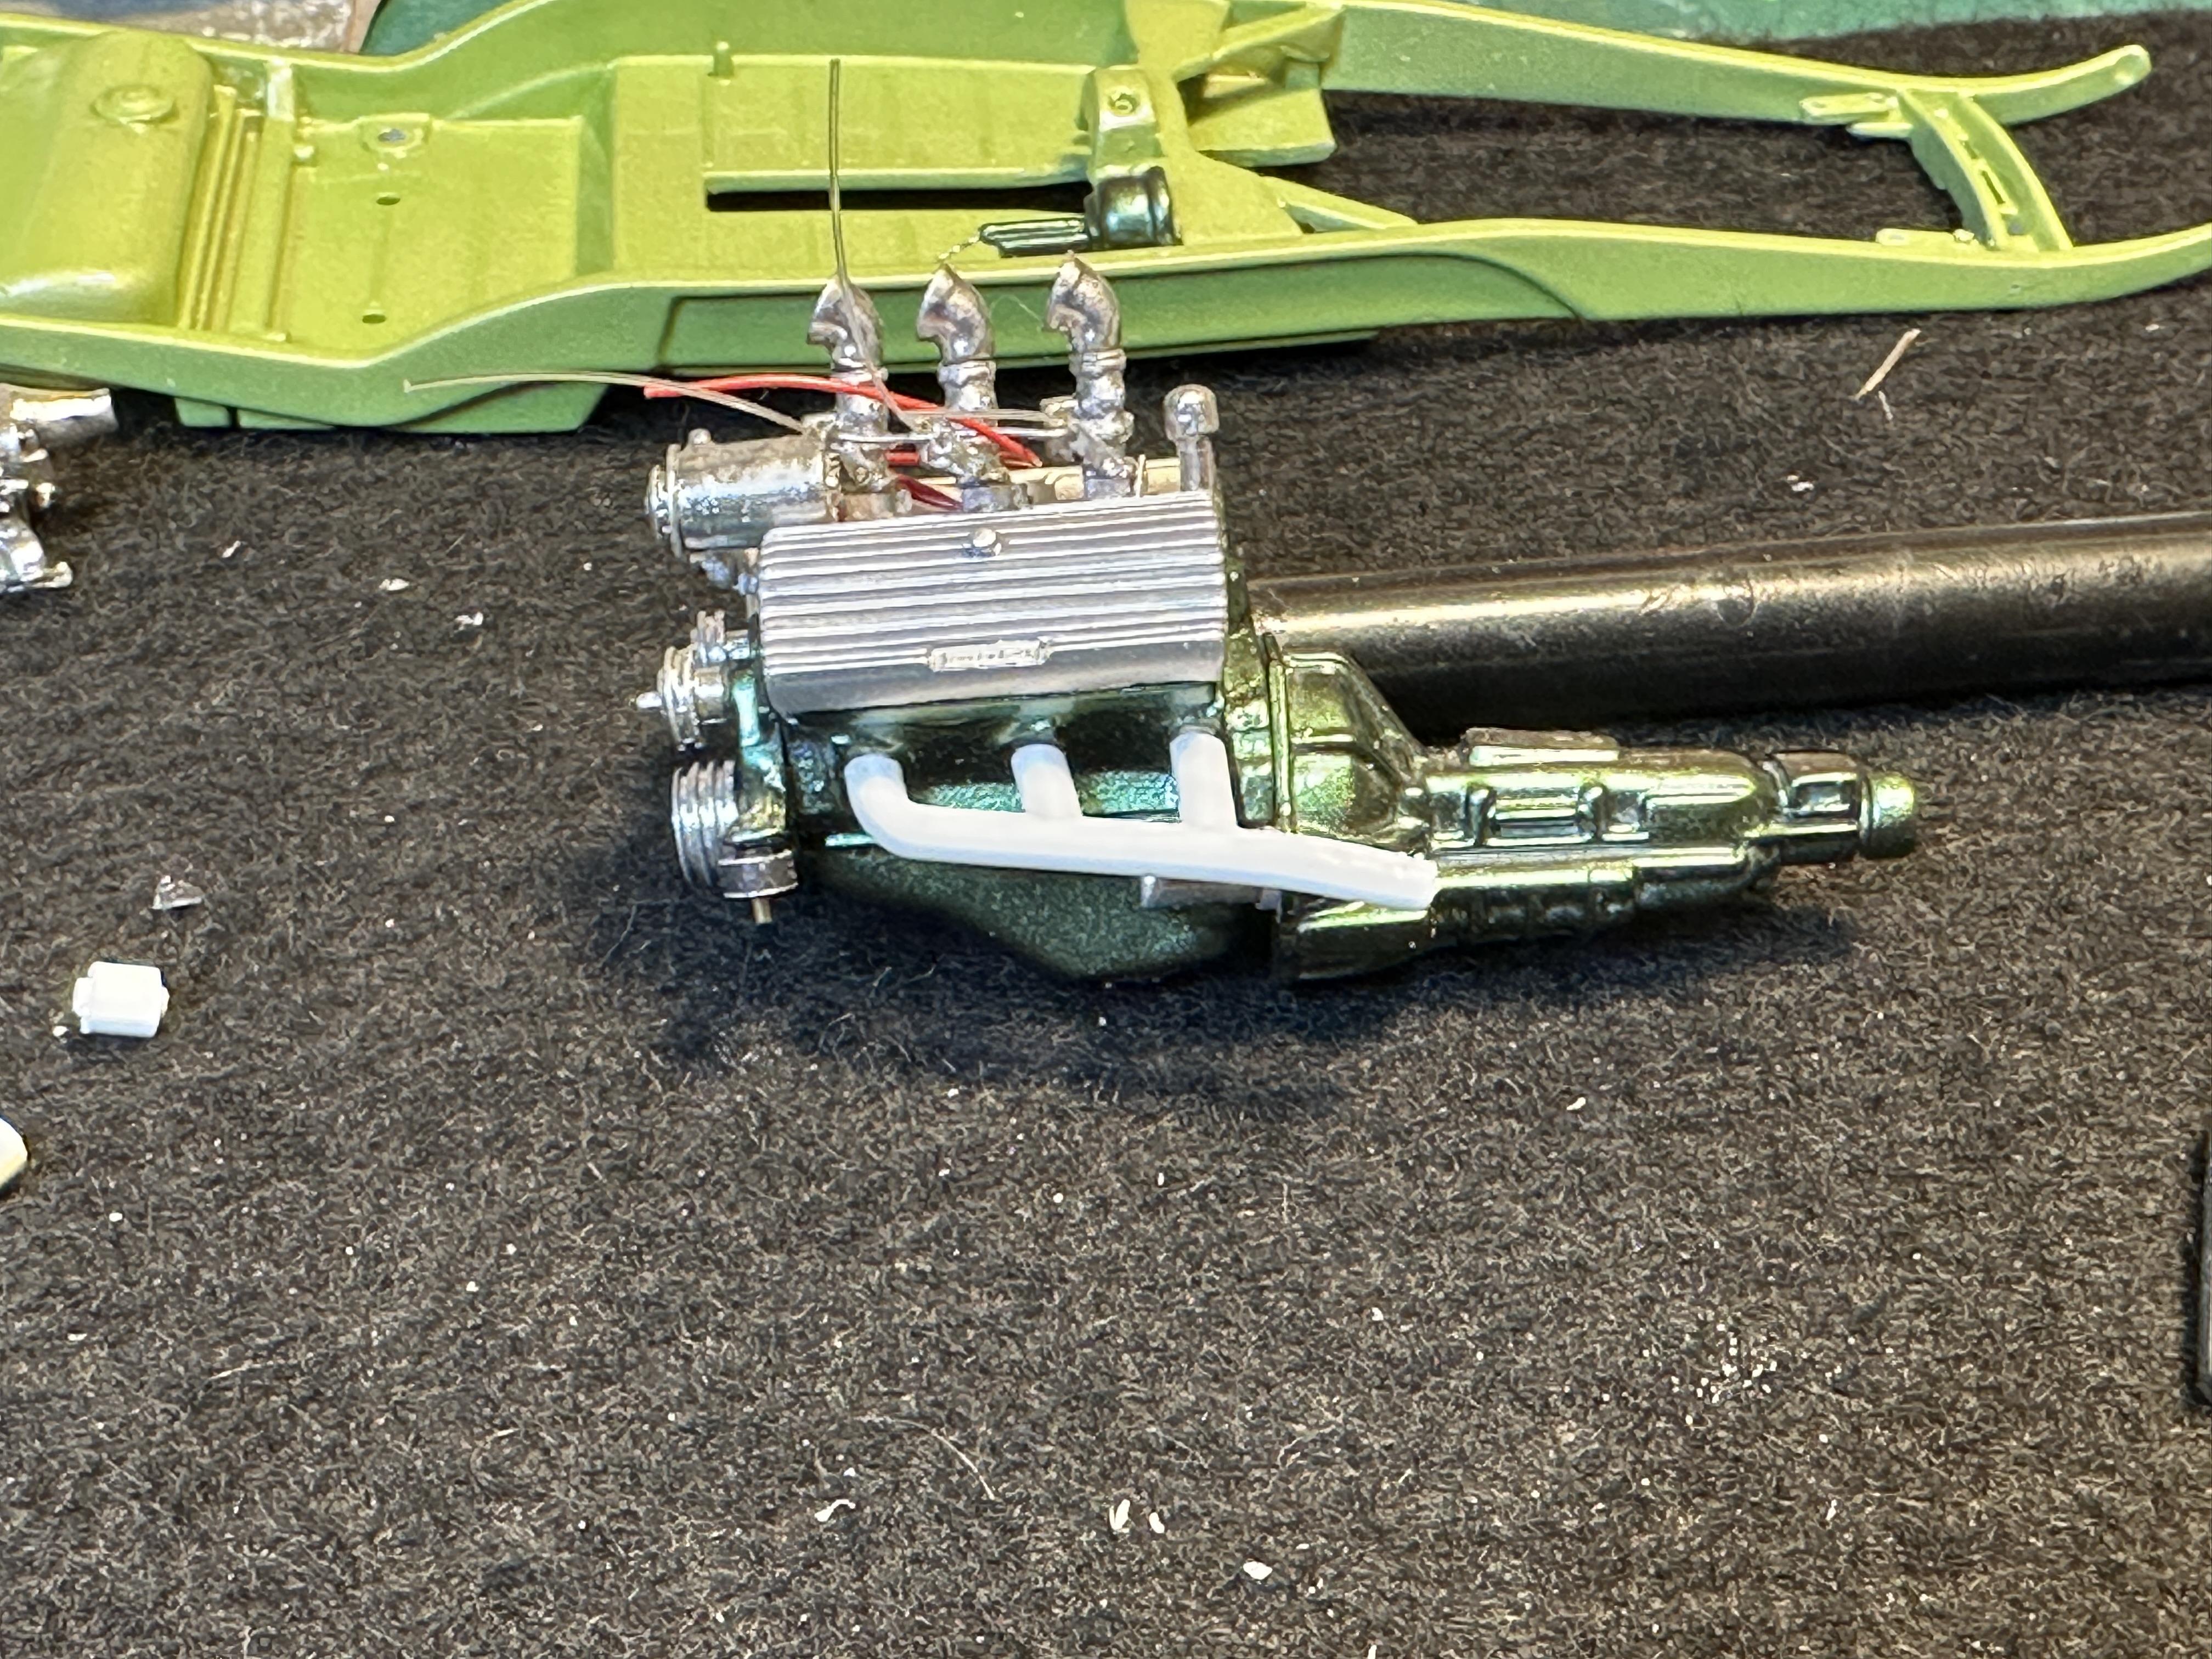
I went to fit up a starter motor - one from a sbf from a 32 kit - and it would not fit as I mounted the trans too high. Oh dash. Remounted the trans a bit lower and got the starter motor mounted up and went to install the Fenton headers that came with the motor but the LH side clashed with the starter motor - surprise, surprise as the Fenton headers are asymmetric. The original flat motor has the starter on the RH side but the later multi-speed manual I am using has the starter on the opposite side. To get over this wee hiccup I have scratch built a header for the LH side copying the one from the RH side. I check fitted and the LH header now clashes with the steering column. When I moved the tranny down I suspected that I would need to alter the front motor mounts - they now need to be longer so I made new ones up. This is the third set so far in the build. You can just see one sneaking into frame on the LH side of the pic.
-
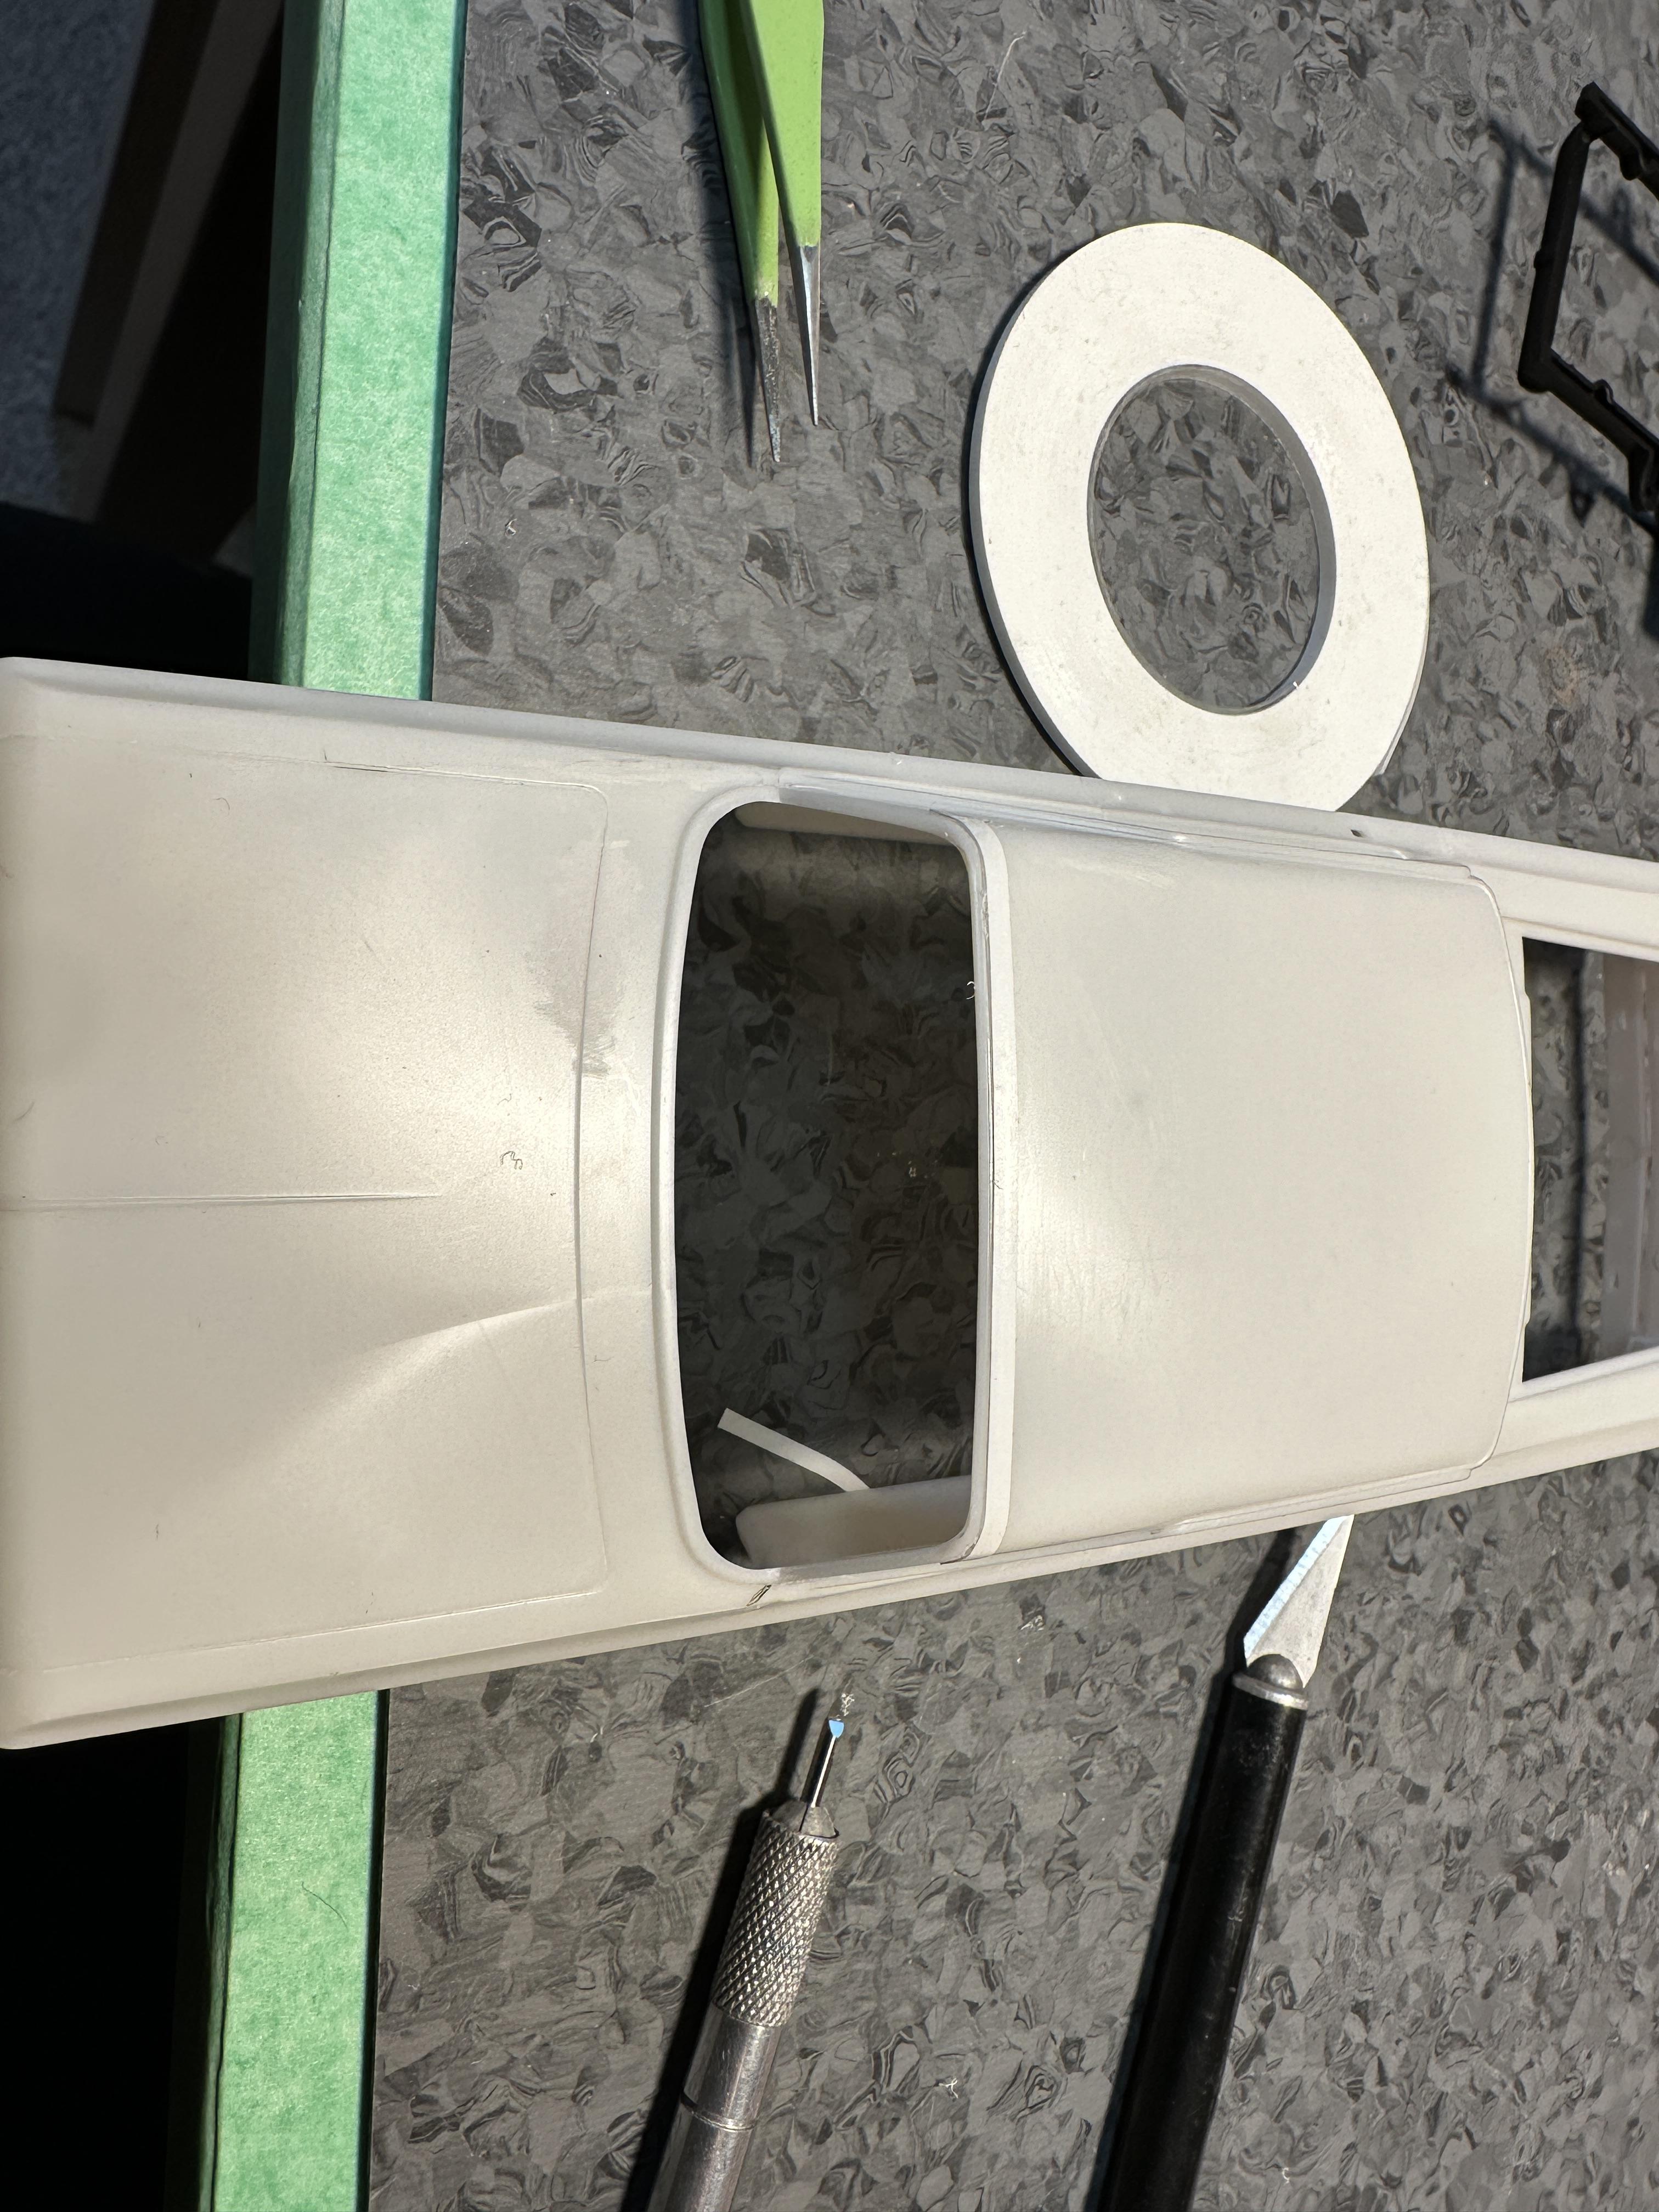
I have been procrastinating again. This time over scribing the chrome trim prior to paint to make foiling easier as there is a lot of faint trim especially around the top. Well I got down and did it. I used the thin tape as a guide to lessen the likelihood of run of with the scriber. The sciber I used is a 0.1mm Tamiya sciber - expensive but these things do a marvelous job. Nothing like good tools I also got to work on the mould lines and now the body is ready for its first undercoat
-
Has this bad boy got an engine?
-
What they all said - what else can I say.
-
My latest build. Tamiya Mica Red
- 917 replies
-
- 11
-

-
What they all said - sharp as a tack
-
Lindberg's '53 Ford - following the instructions
bill-e-boy replied to customline's topic in WIP: Model Cars
Looking Good And the Molotow touch ups are what is done - well at I do it too -
CV Joint Boots
bill-e-boy replied to Straightliner59's topic in Model Building Questions and Answers
Shrink tube can be made to stretch a little some the wall thickness can be kept down. The amazing thing about HS is it will normally shrink to half of it's original size Being an industrial sparkie I use it all the time -
CV Joint Boots
bill-e-boy replied to Straightliner59's topic in Model Building Questions and Answers
Heat shrink idea is cool I have used it to make 4n1 header collectors in the past