geetee66
-
Posts
1,540 -
Joined
-
Last visited
Content Type
Profiles
Forums
Events
Gallery
Everything posted by geetee66
-
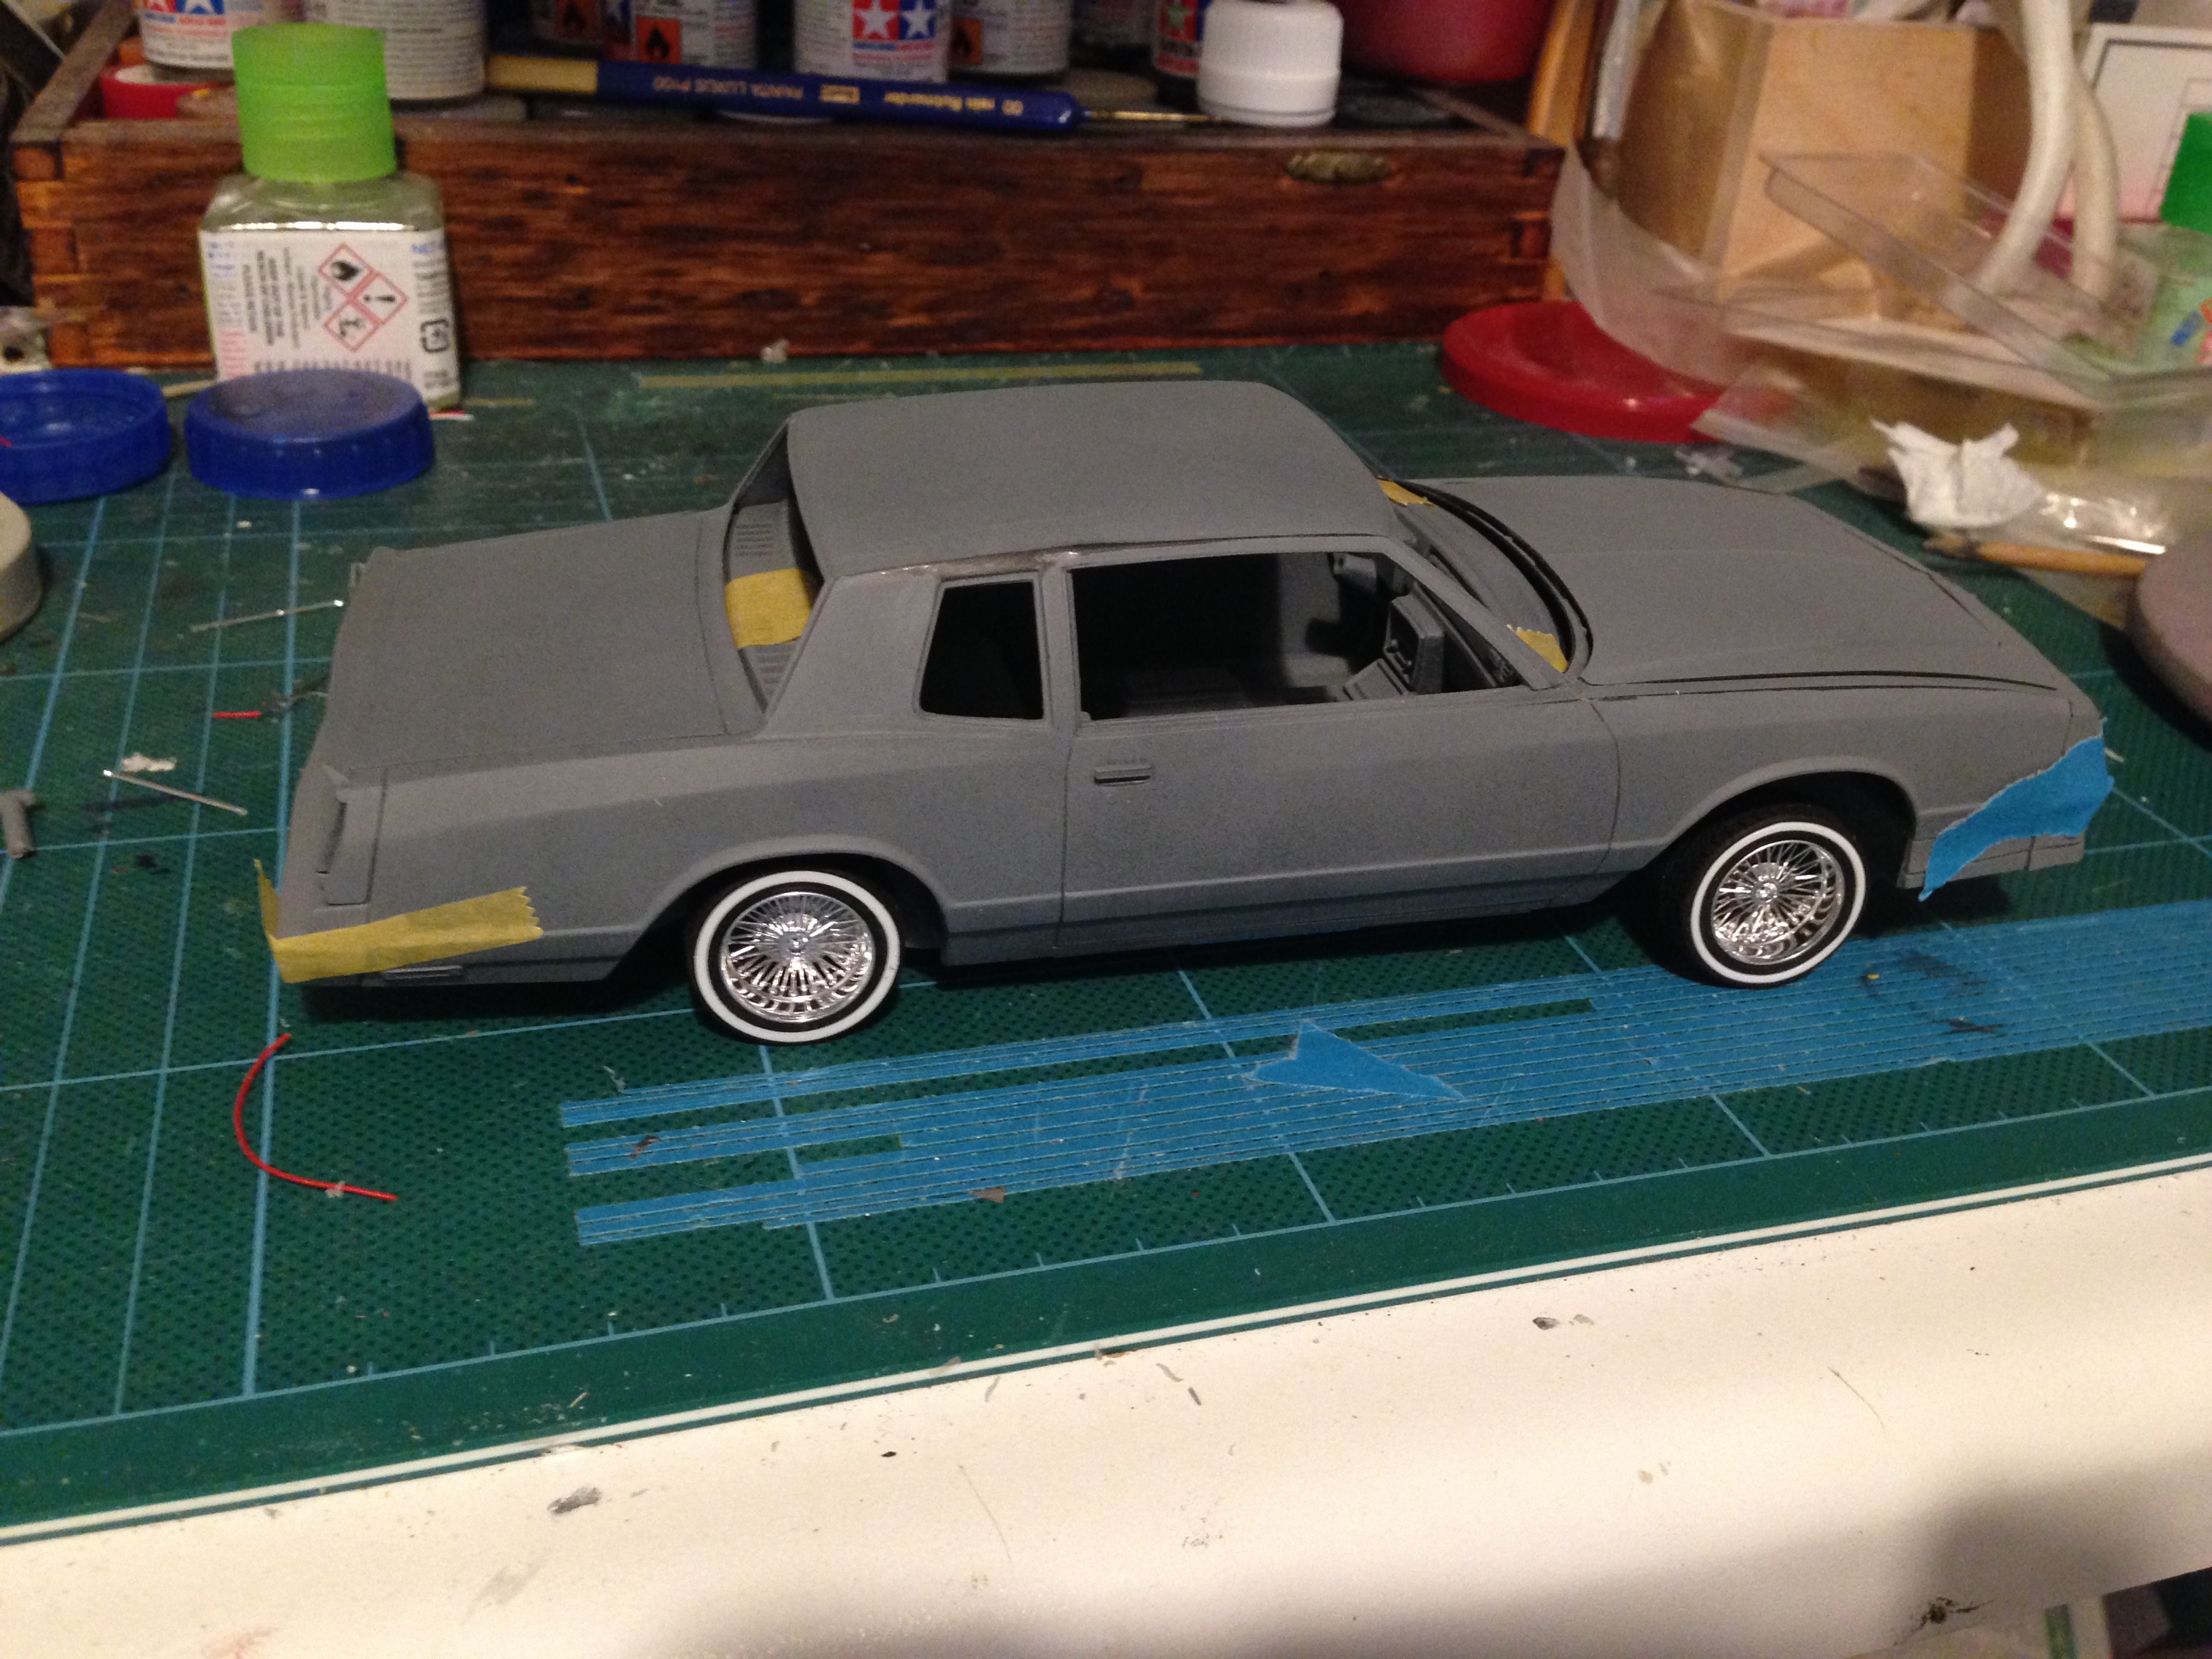
Got the wheels drilled out to fit the axles and couldn't resist a mock-up.. ?

-
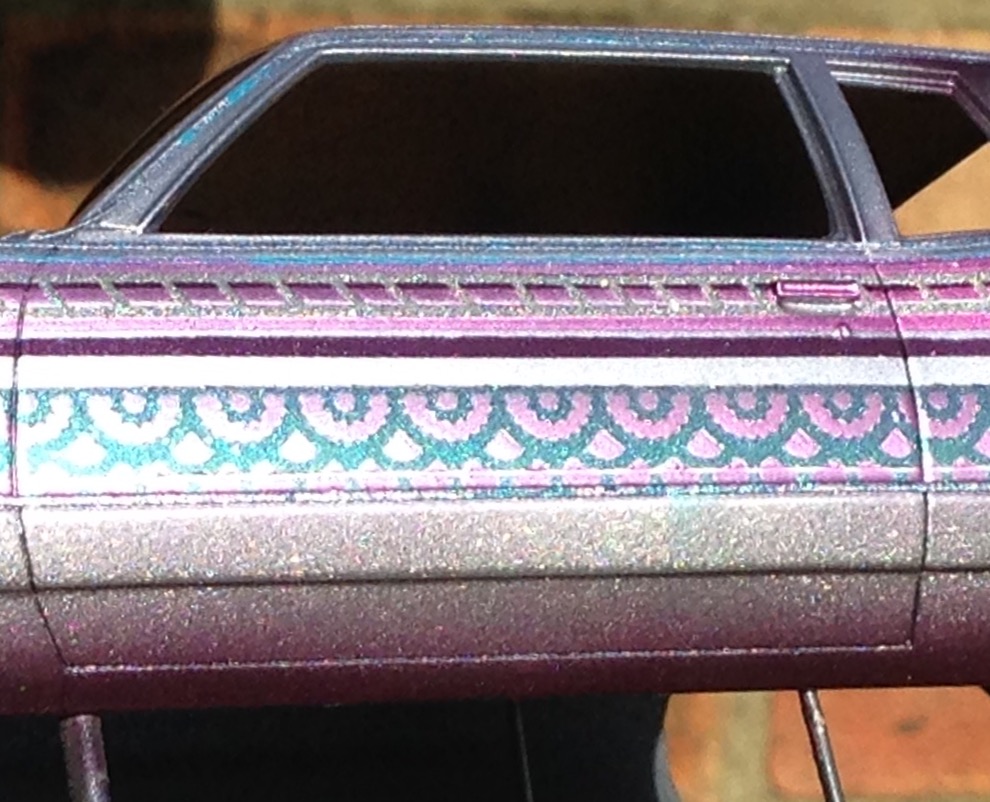
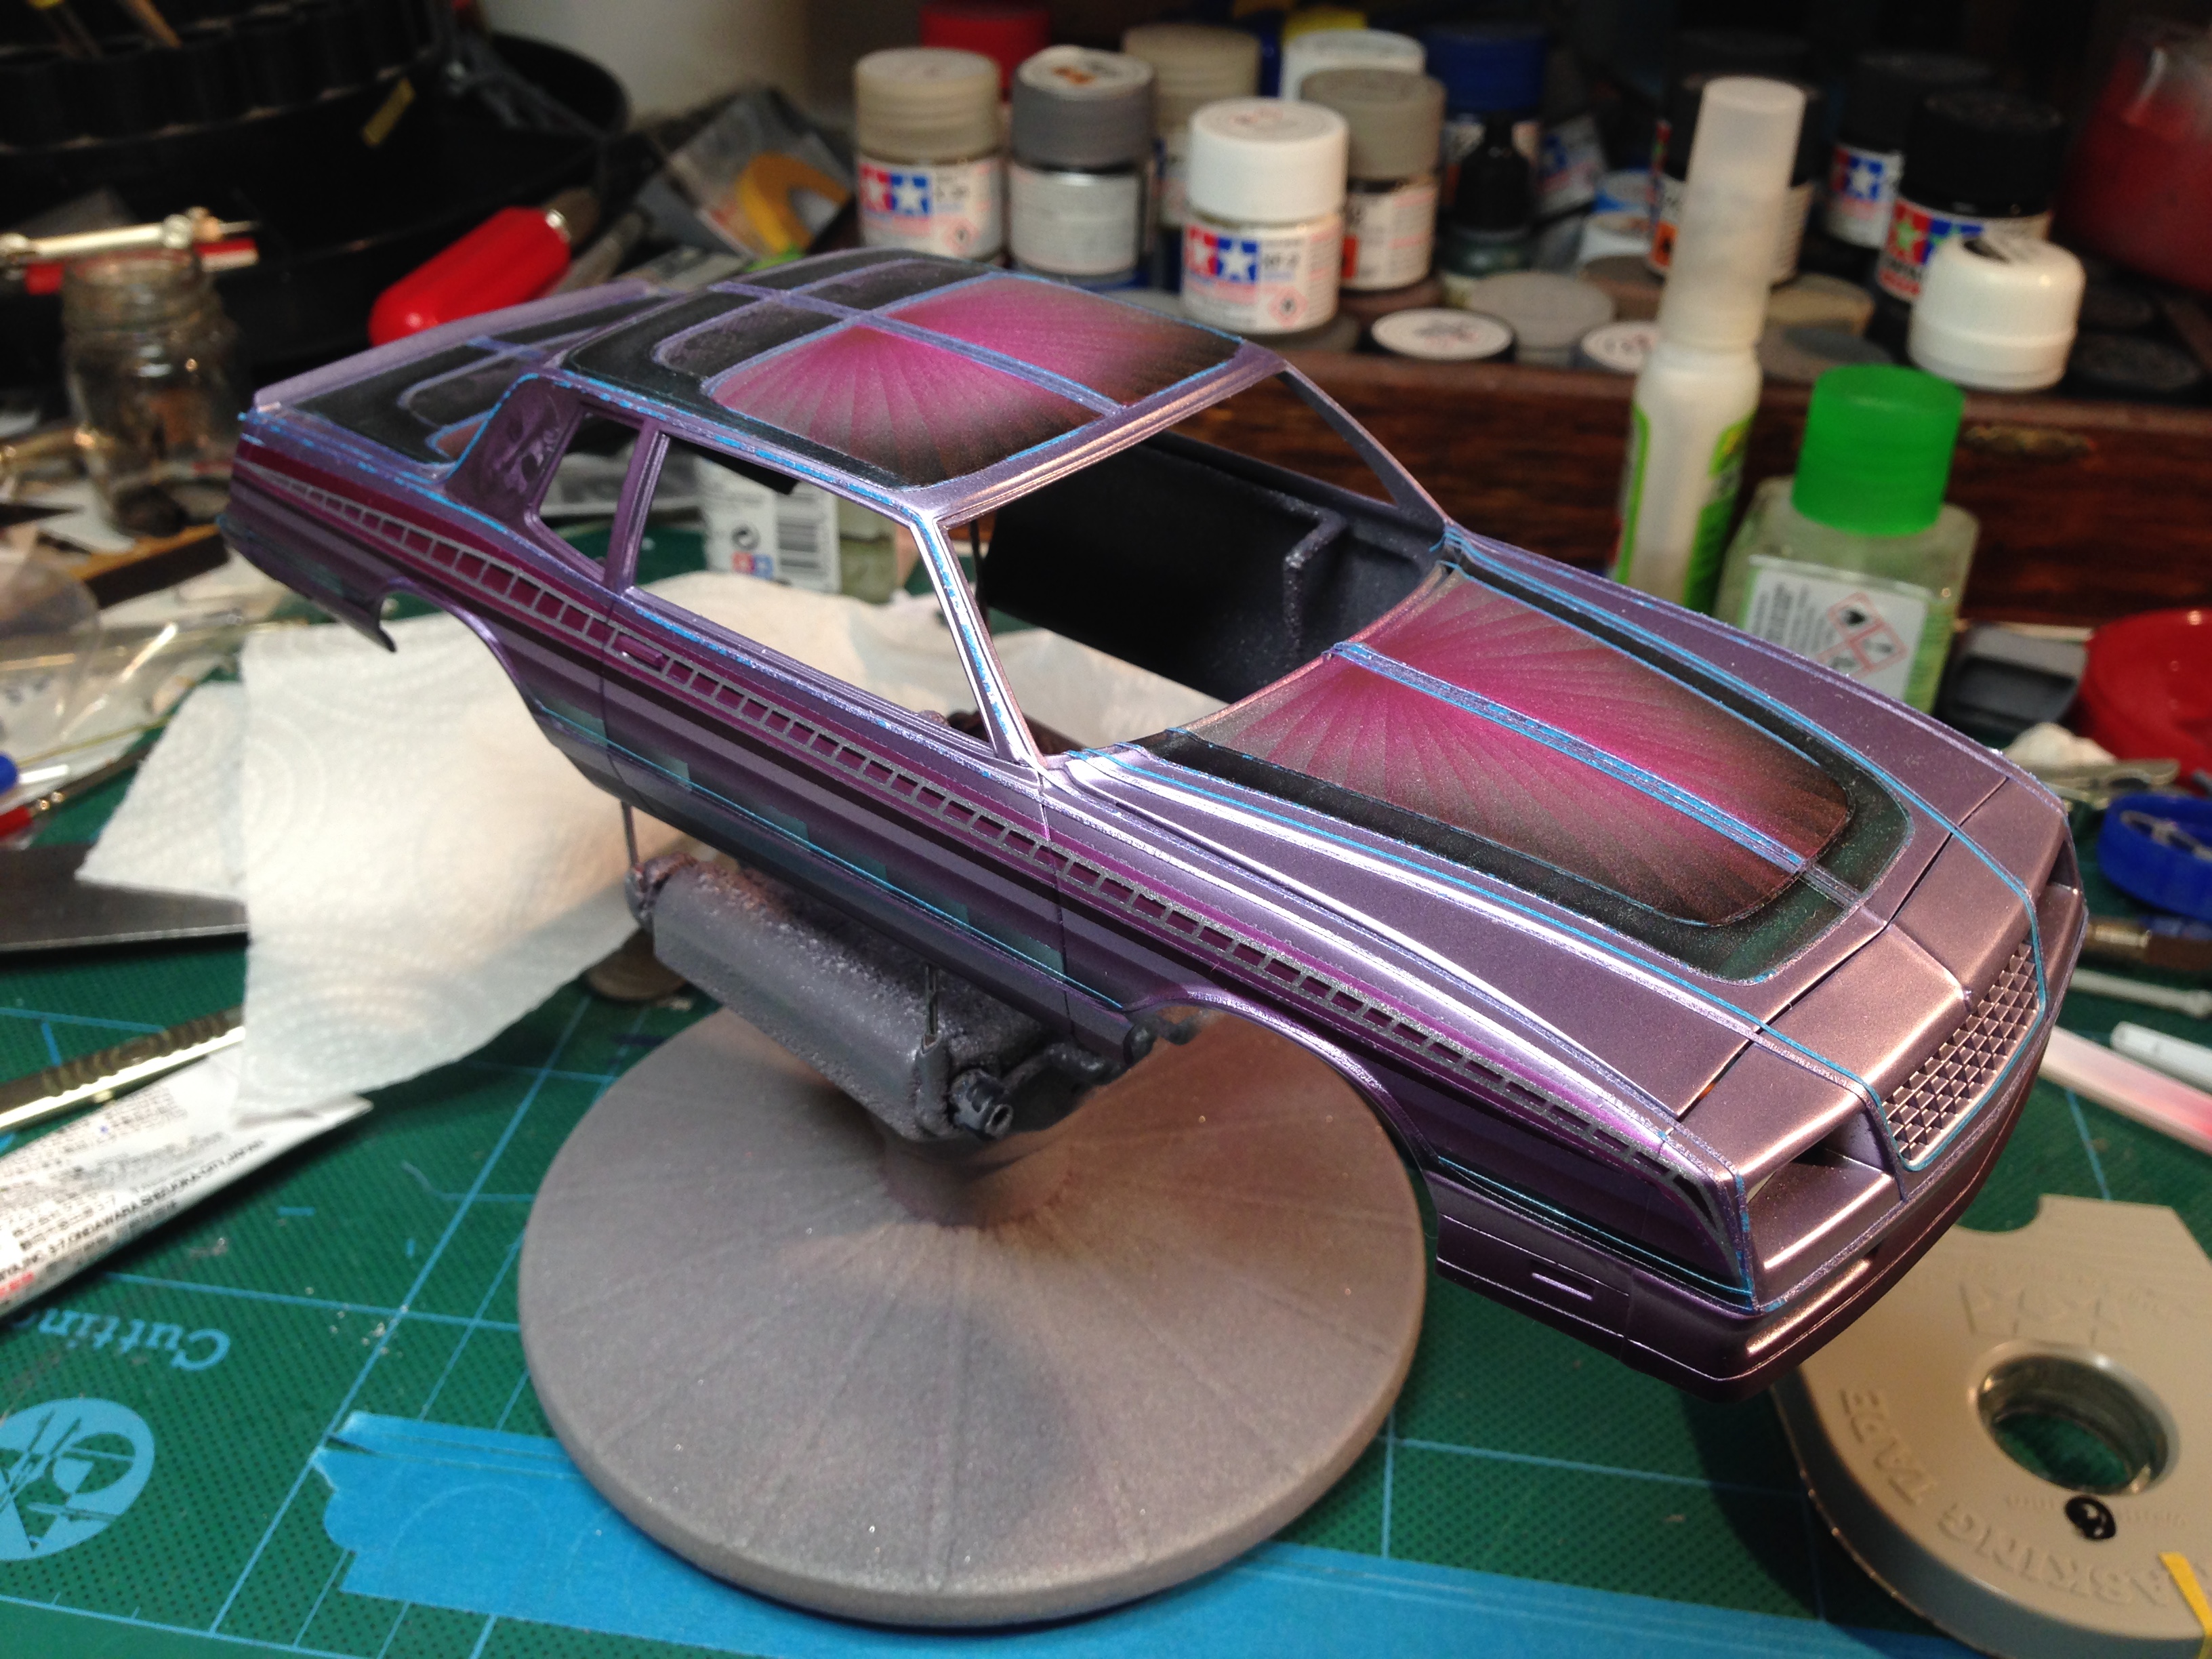
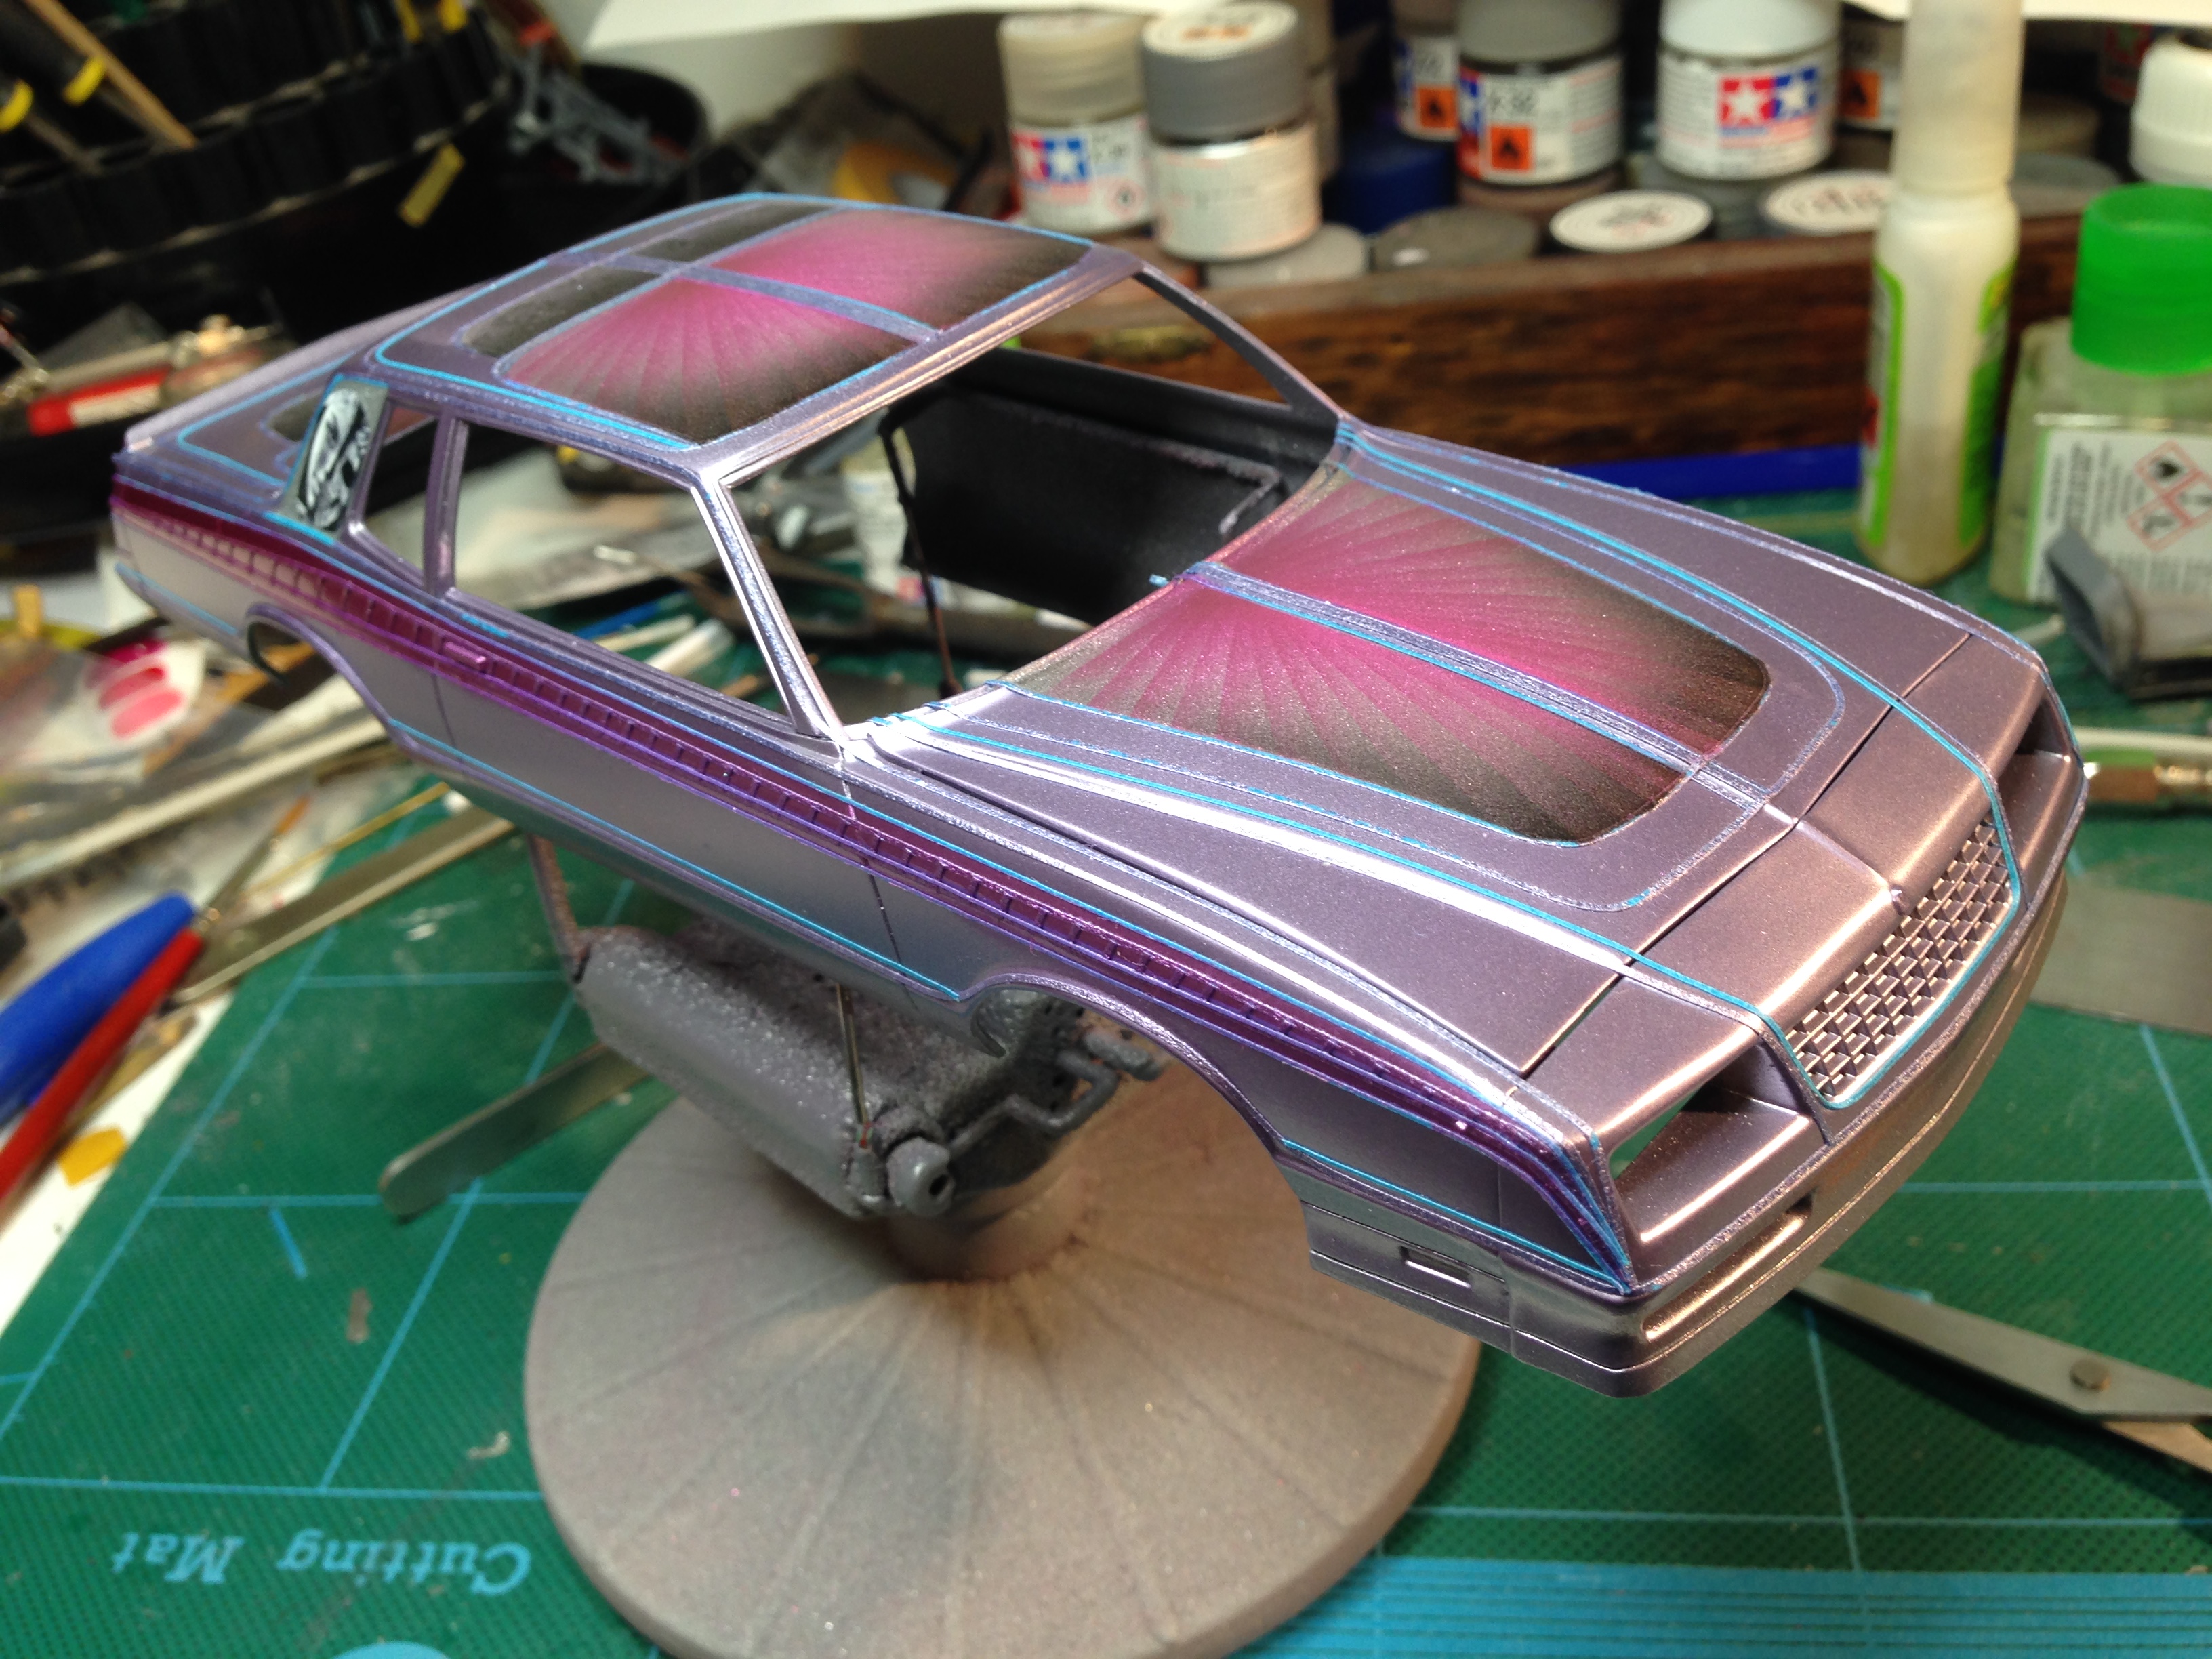
I didn't like the blue fades on the sides, so I covered them with some blue/purple. that looked too plain, so I masked it with some self adhesive foil border pattern for card making. Some chrome pink was shot over this. Just waiting for some purple candy to arrive in the mail and I can finish it off.
-
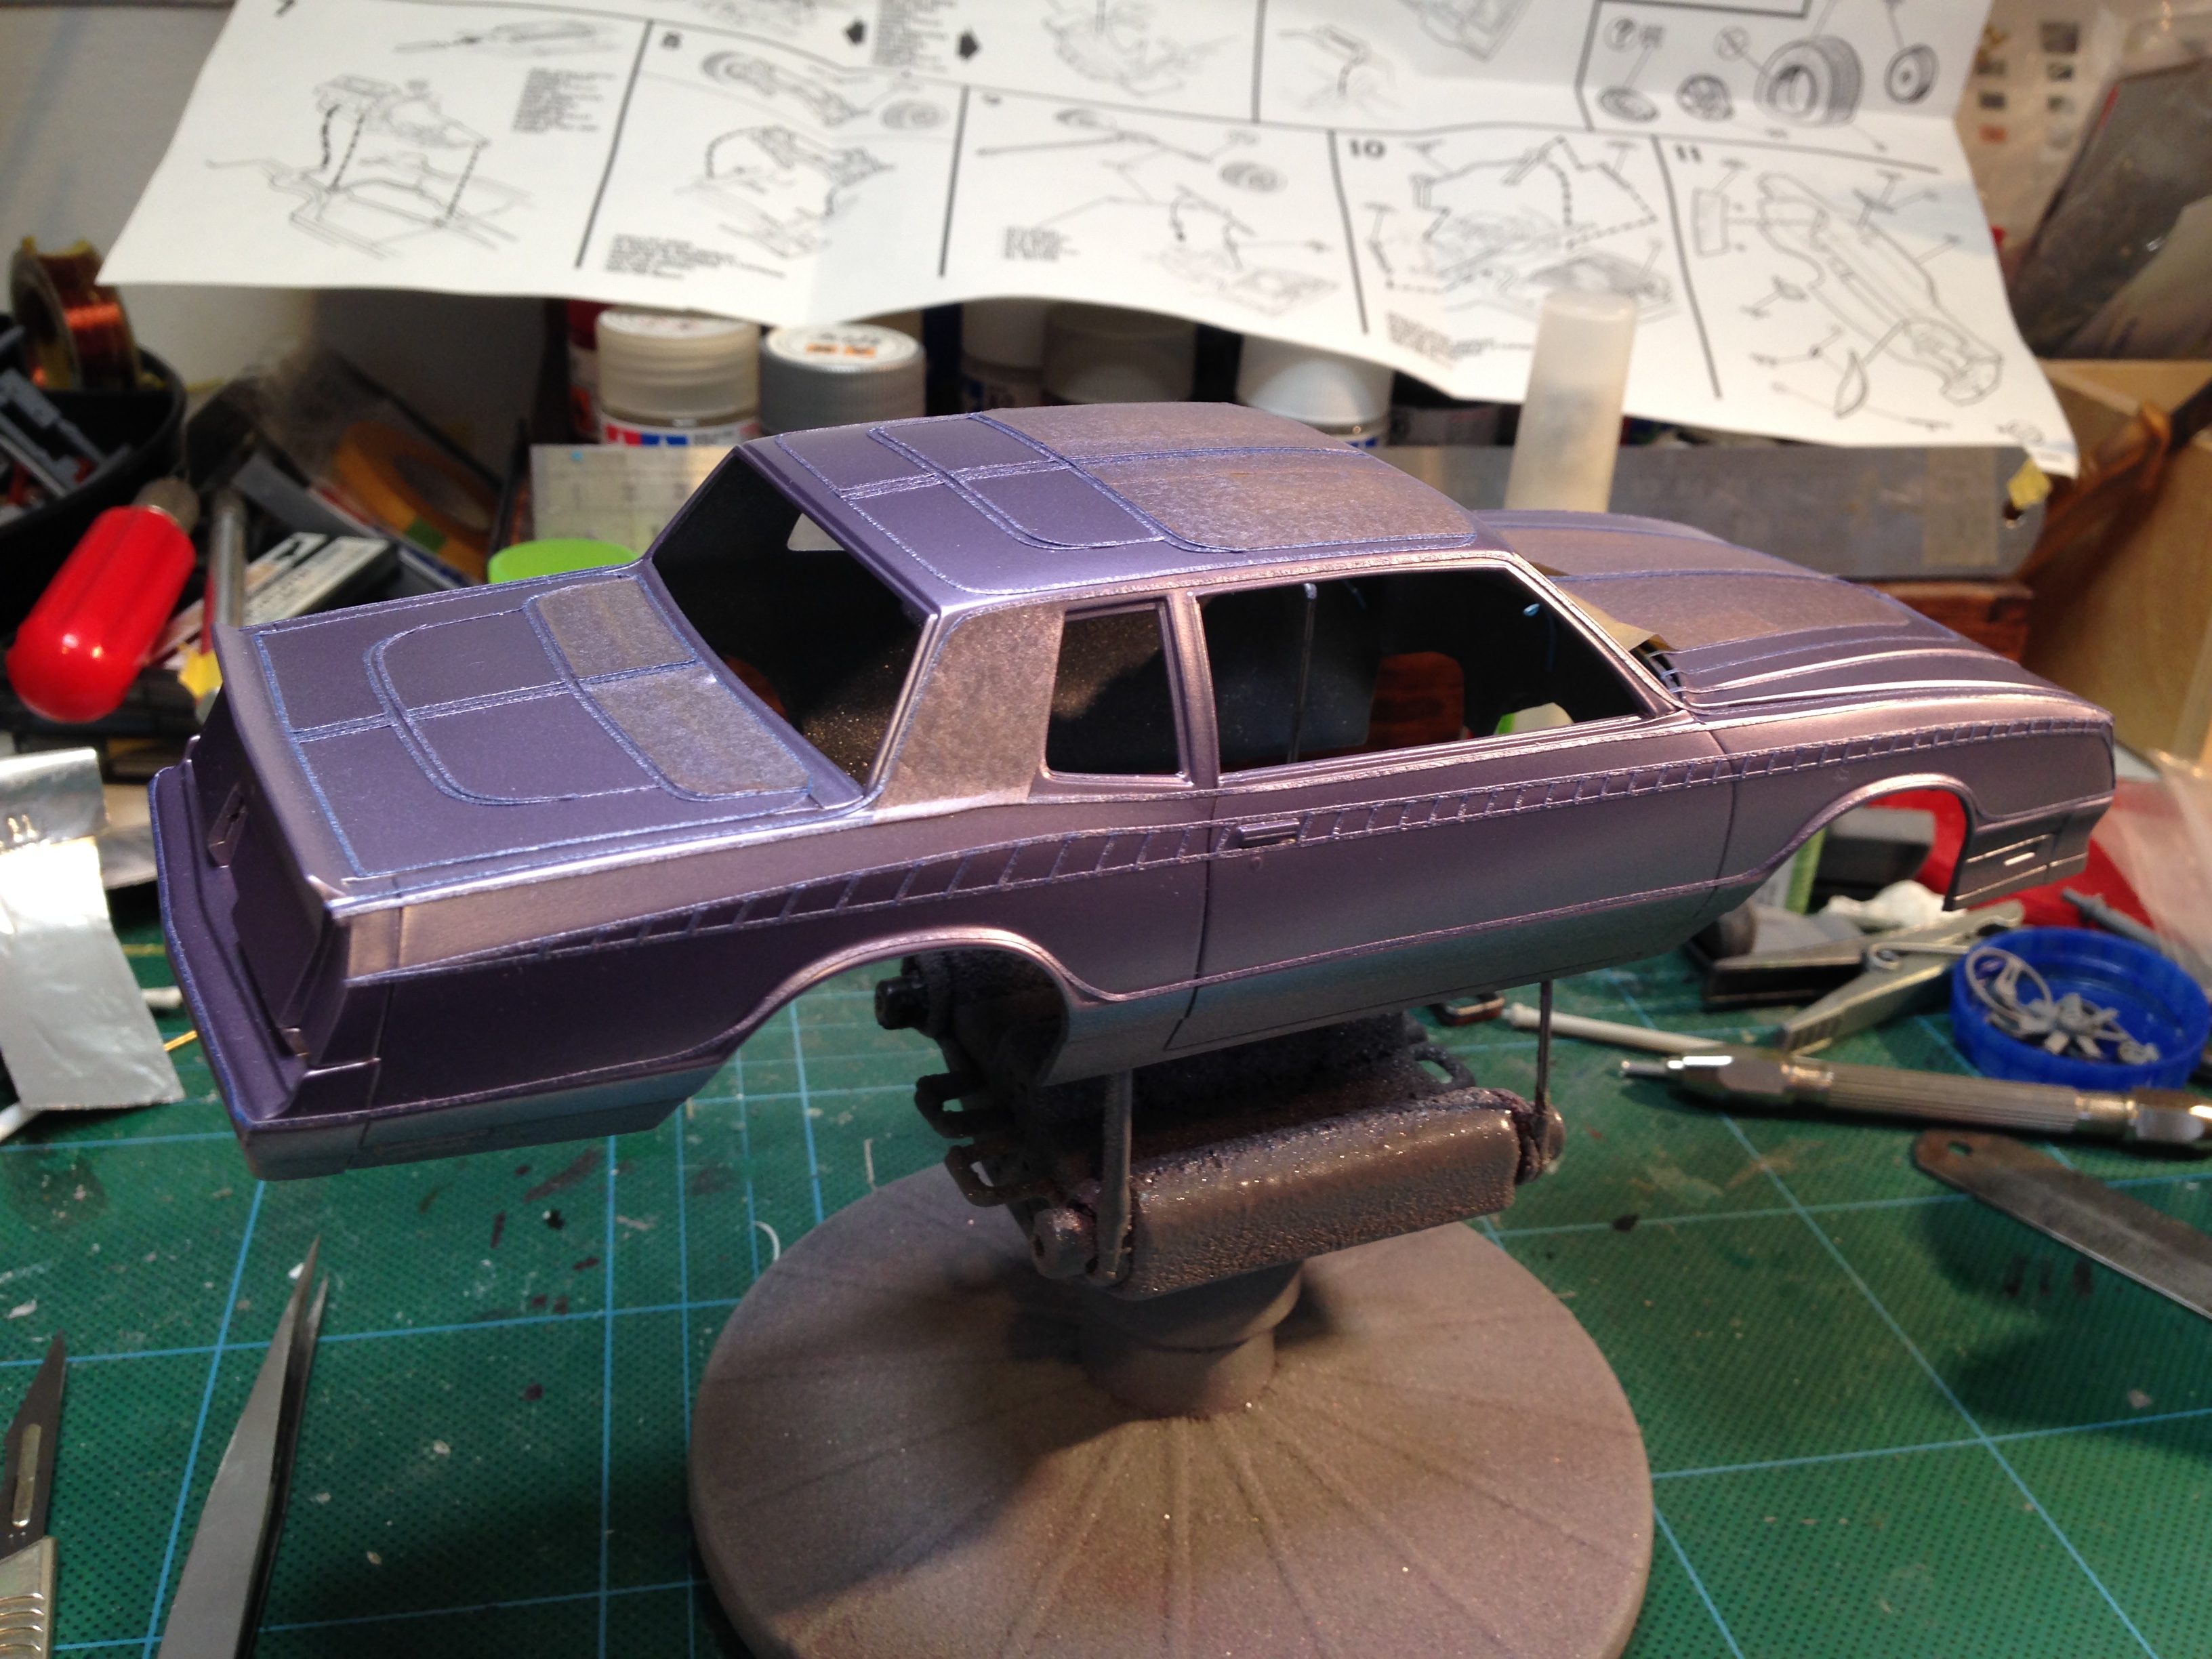
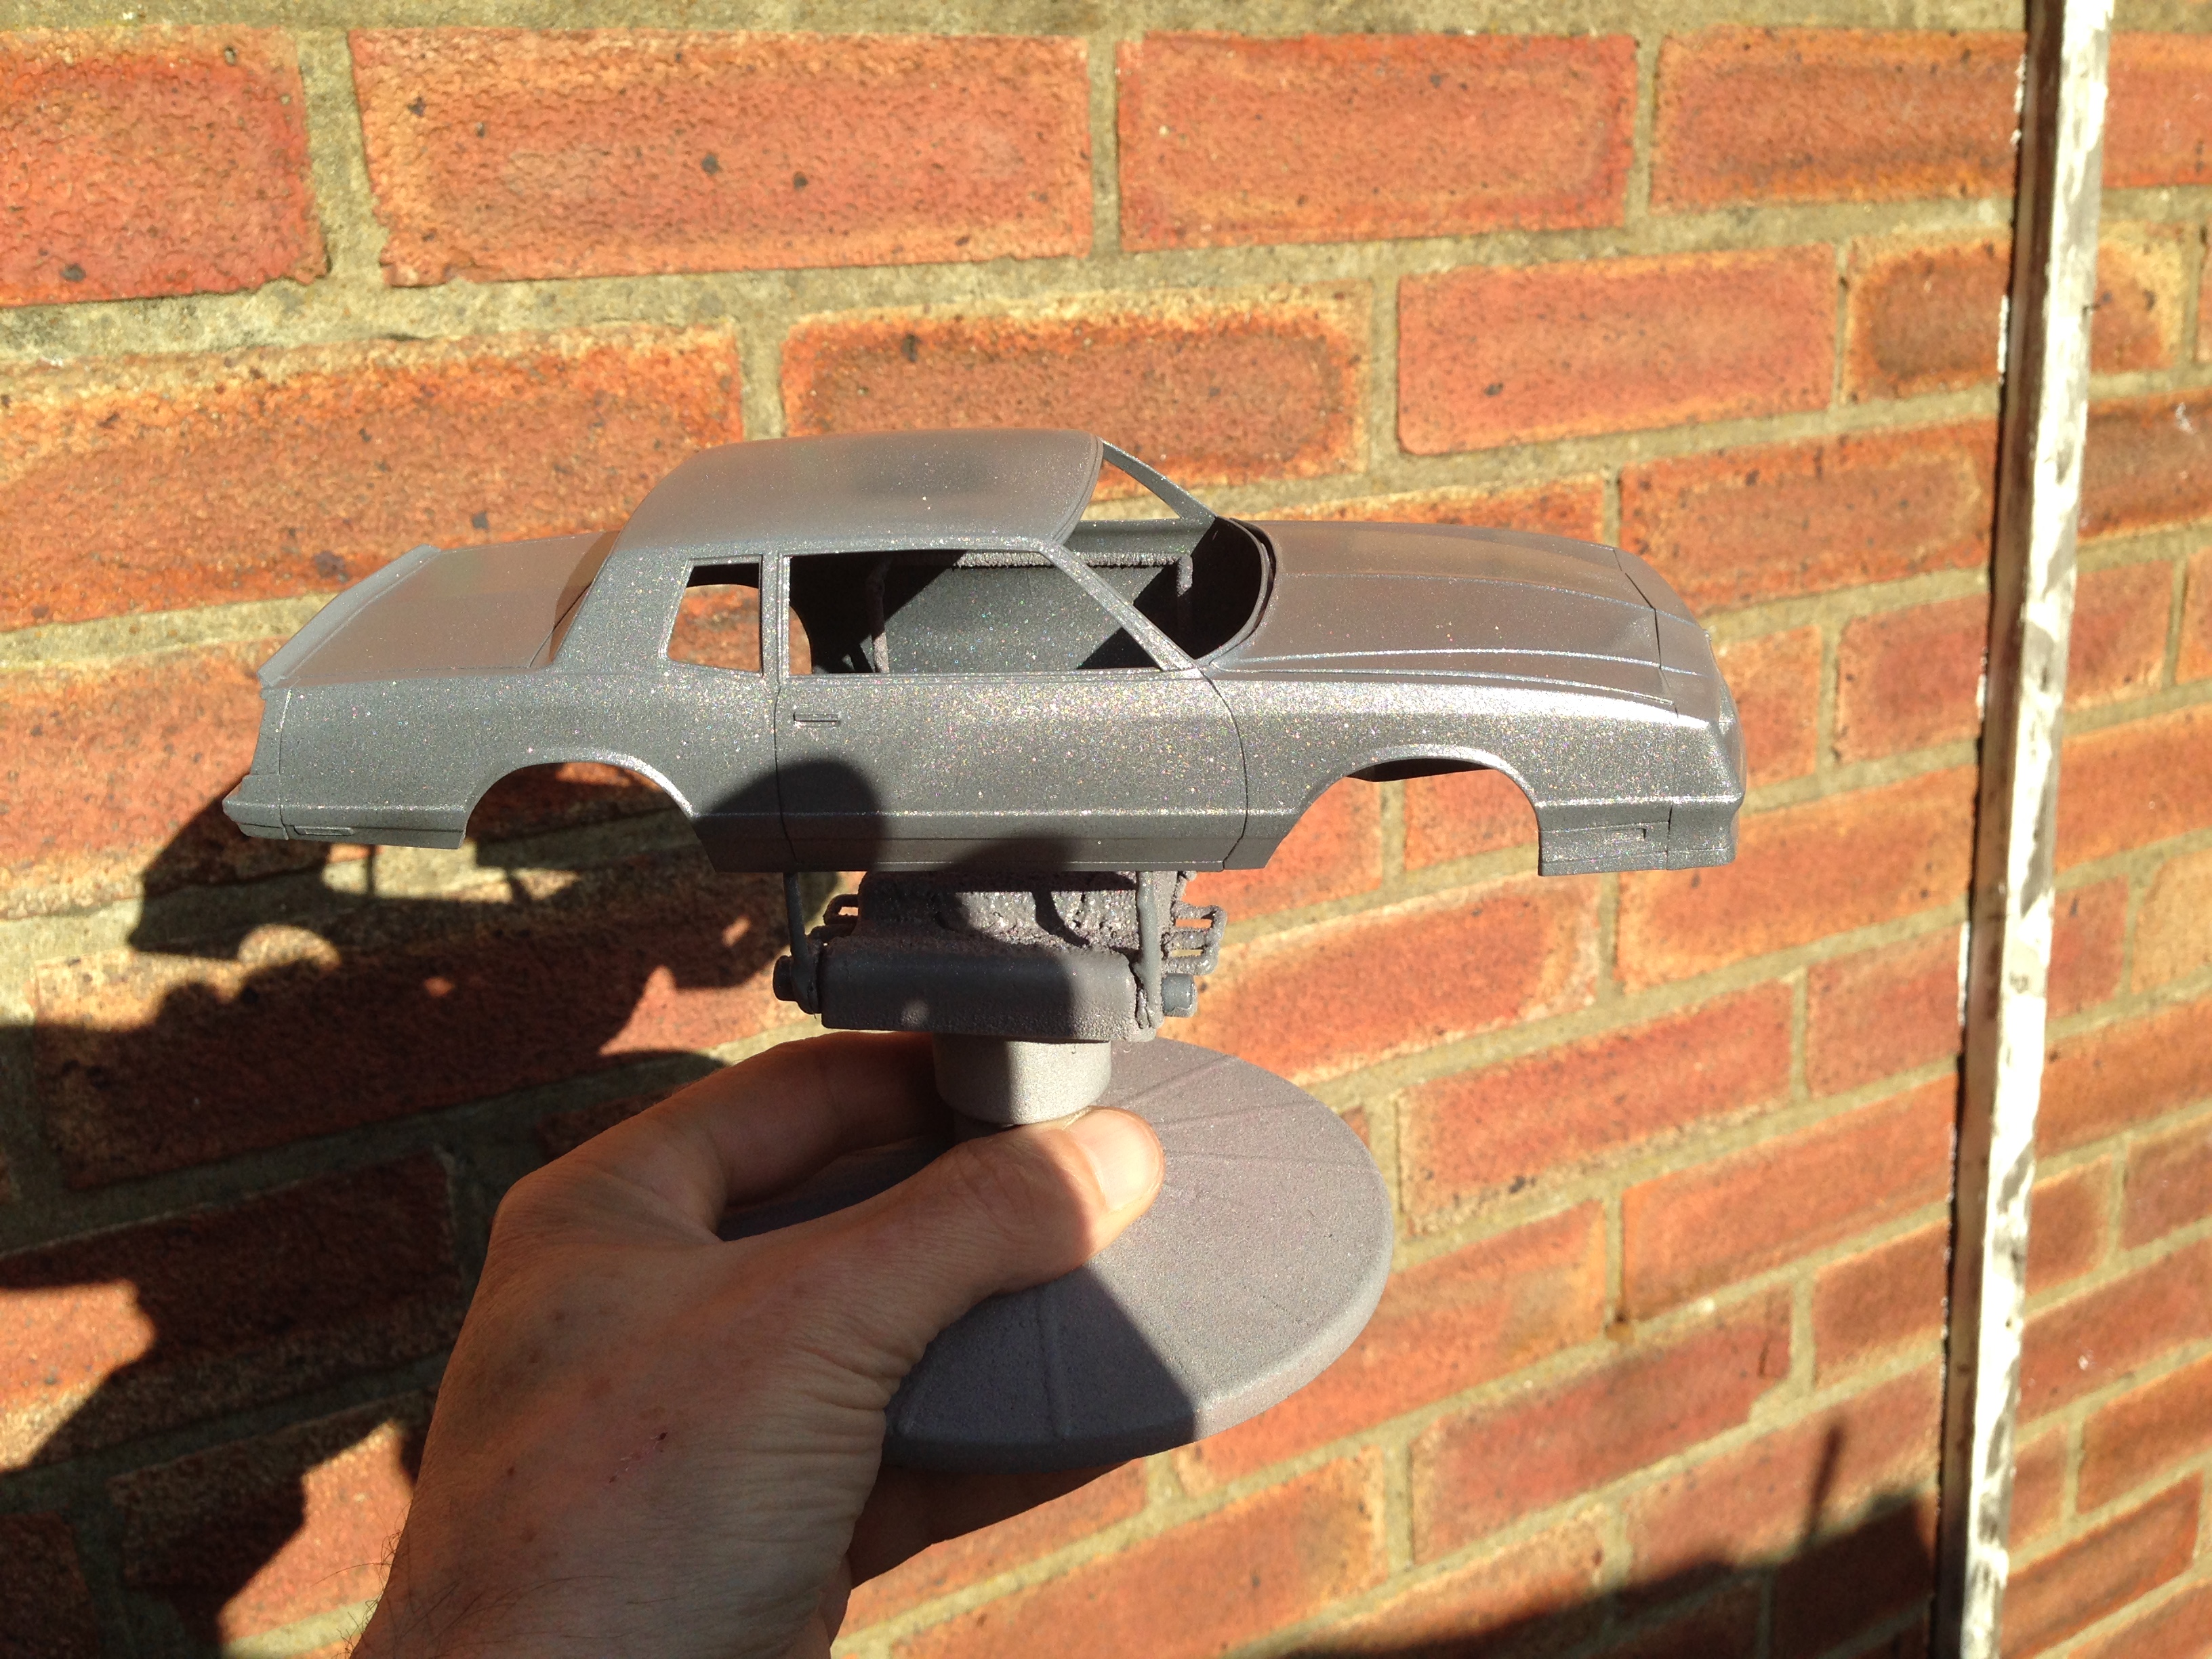
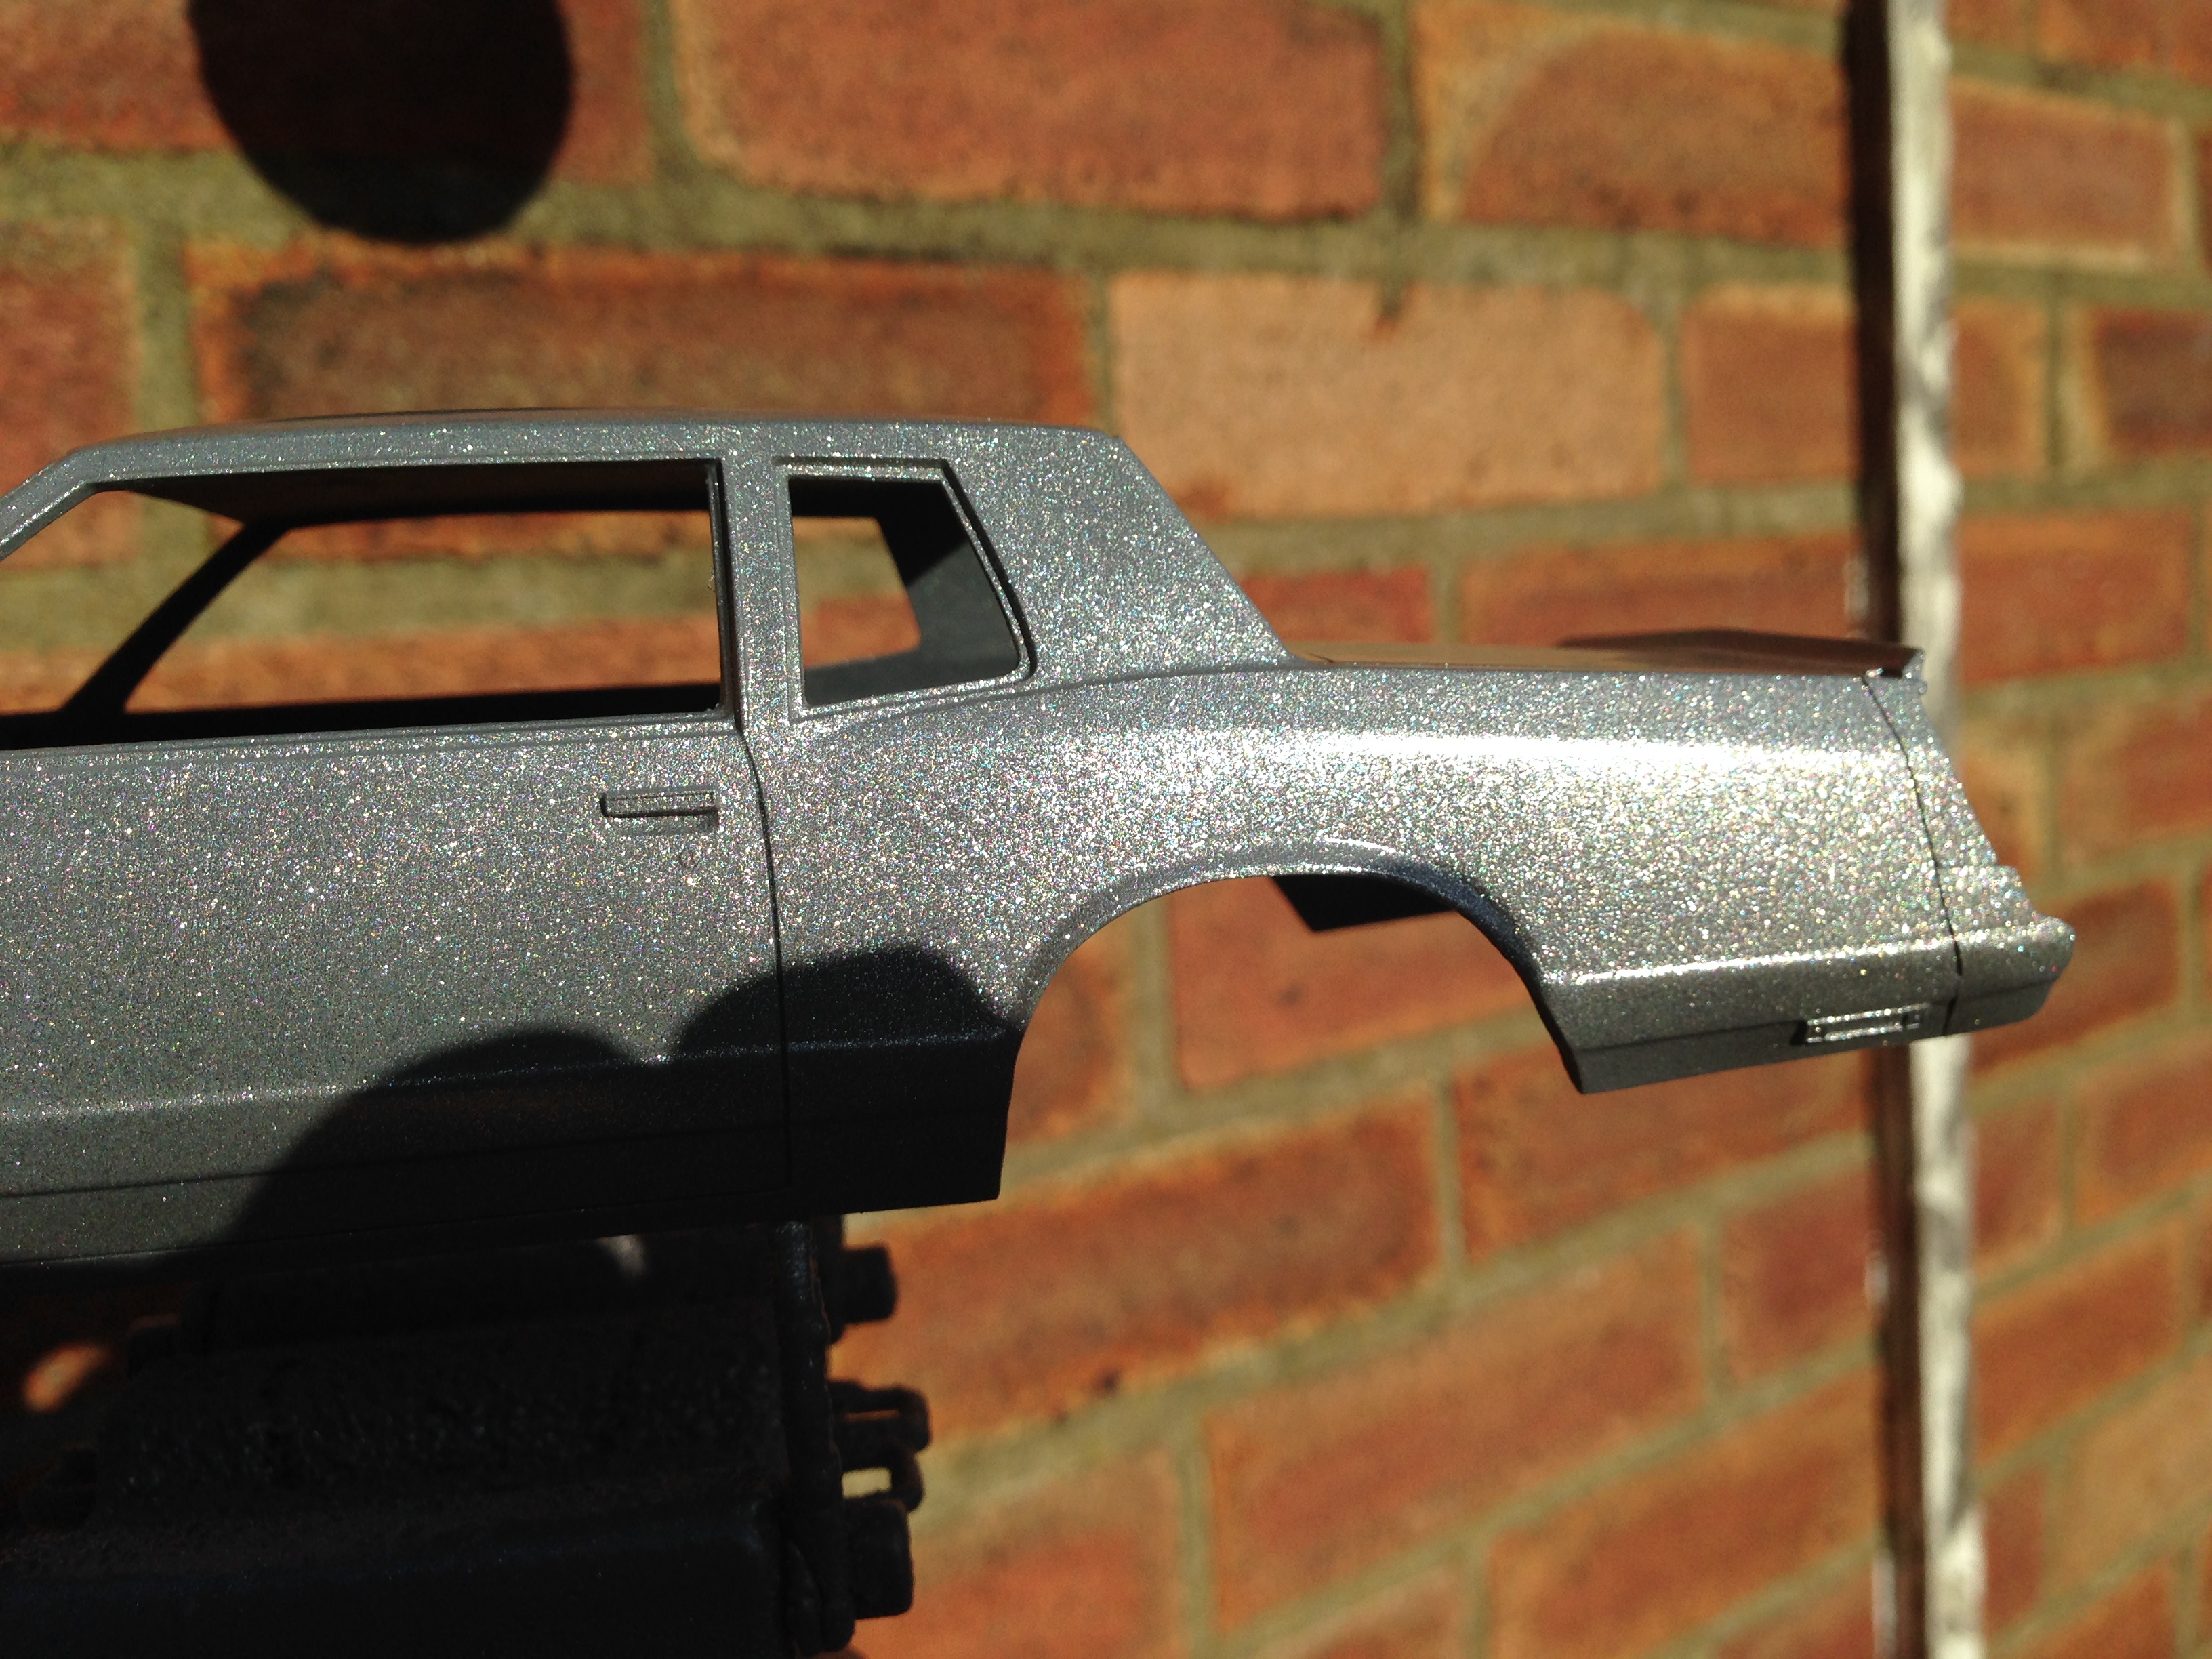
A bit more paint done...
-
Thanks for the info. I've used double sided tape, with good results. allowing everything to dry properly is probably where I've been going wrong. I tend to tap off the excess flocking too soon. Then it looks lumpy. Tape is smoother ?
-
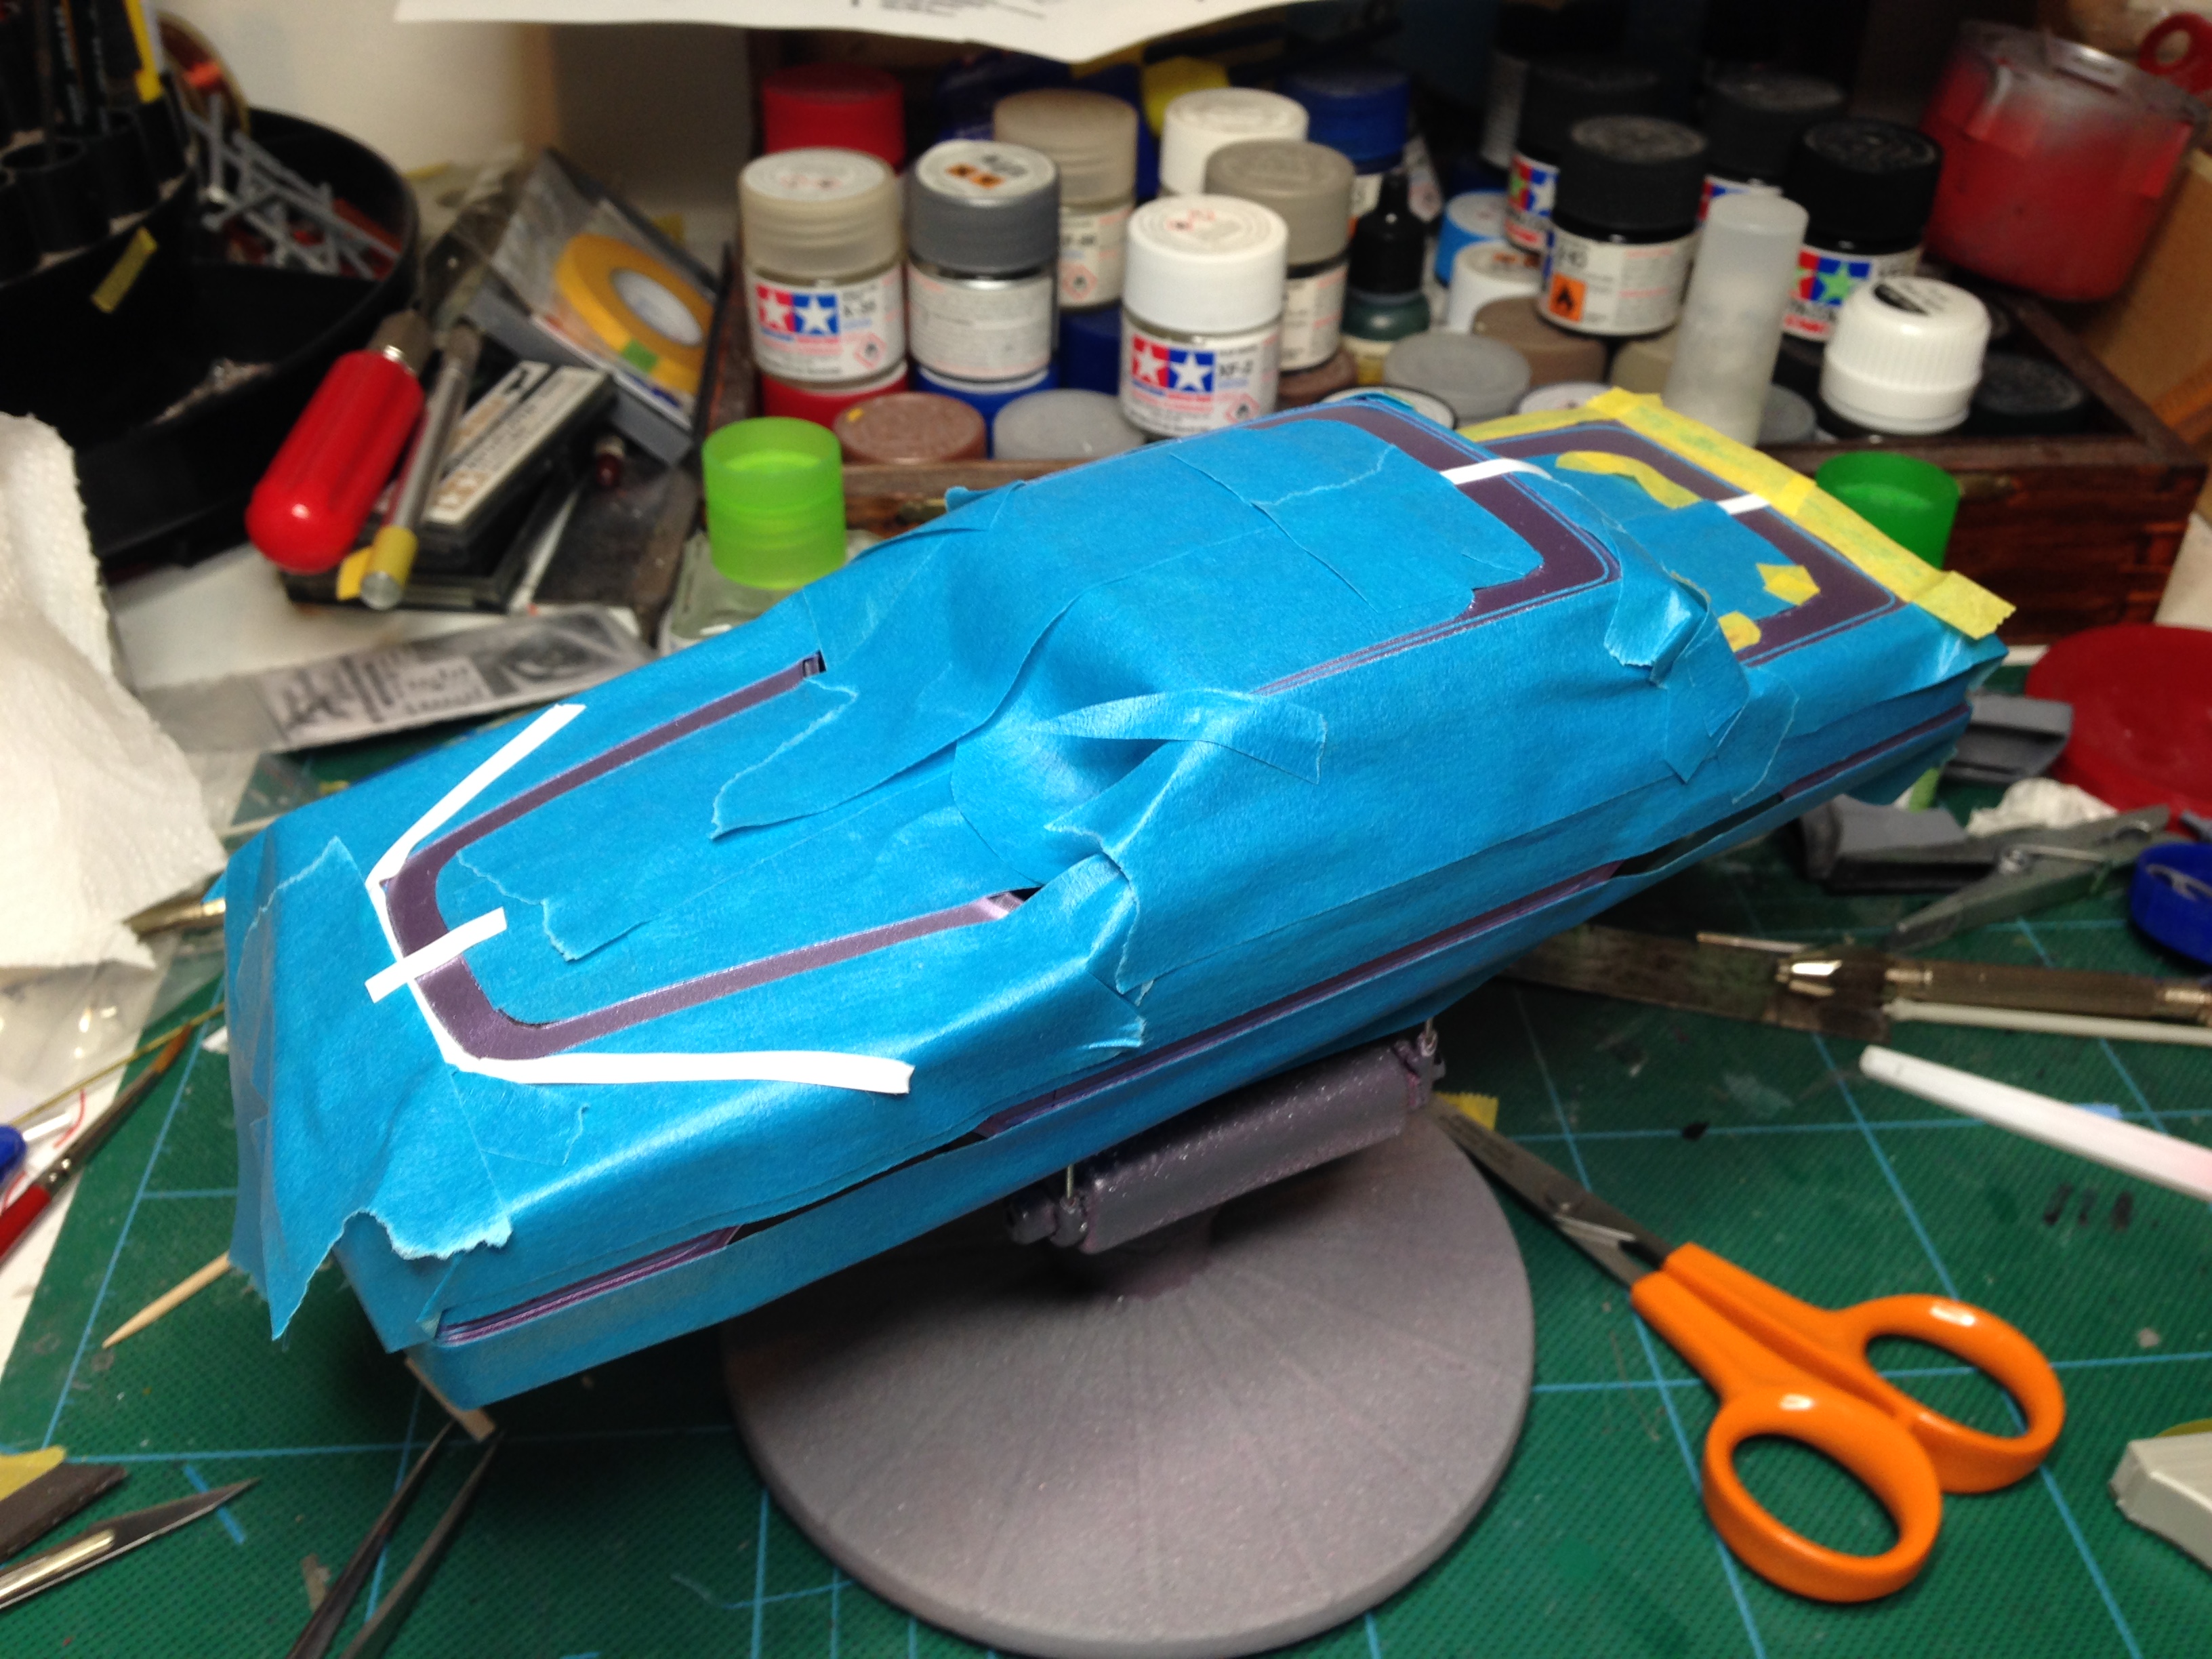
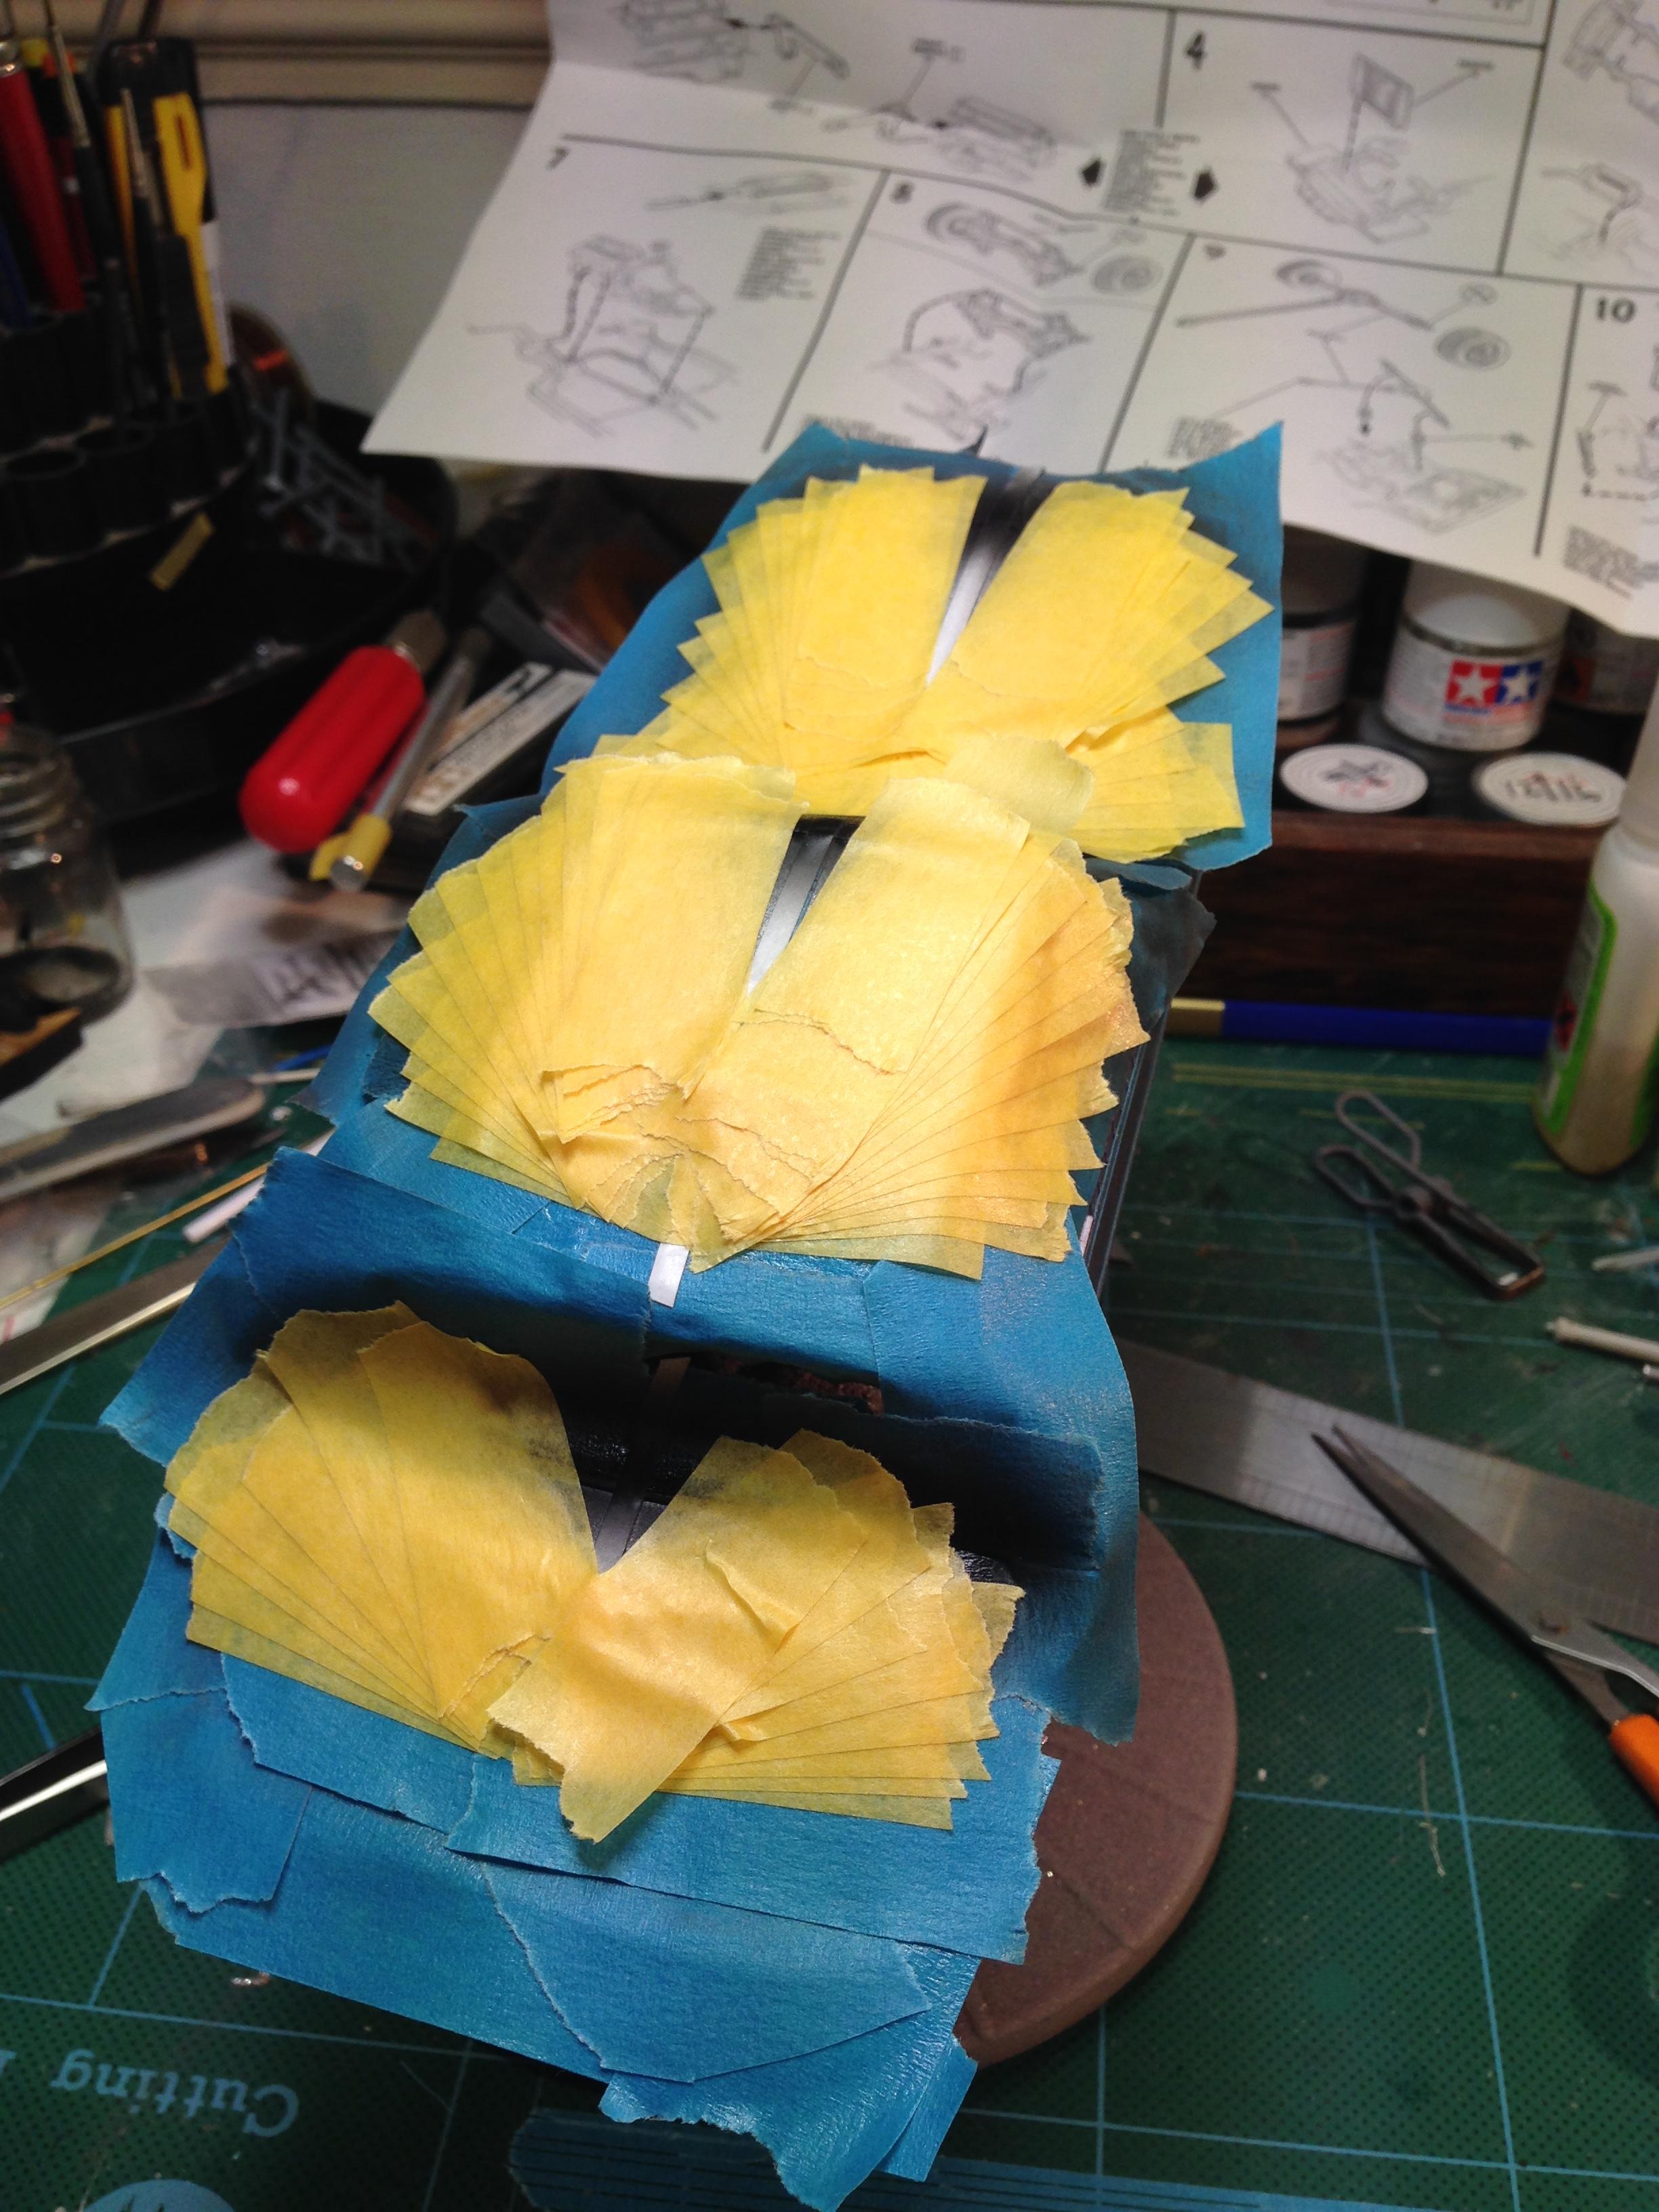
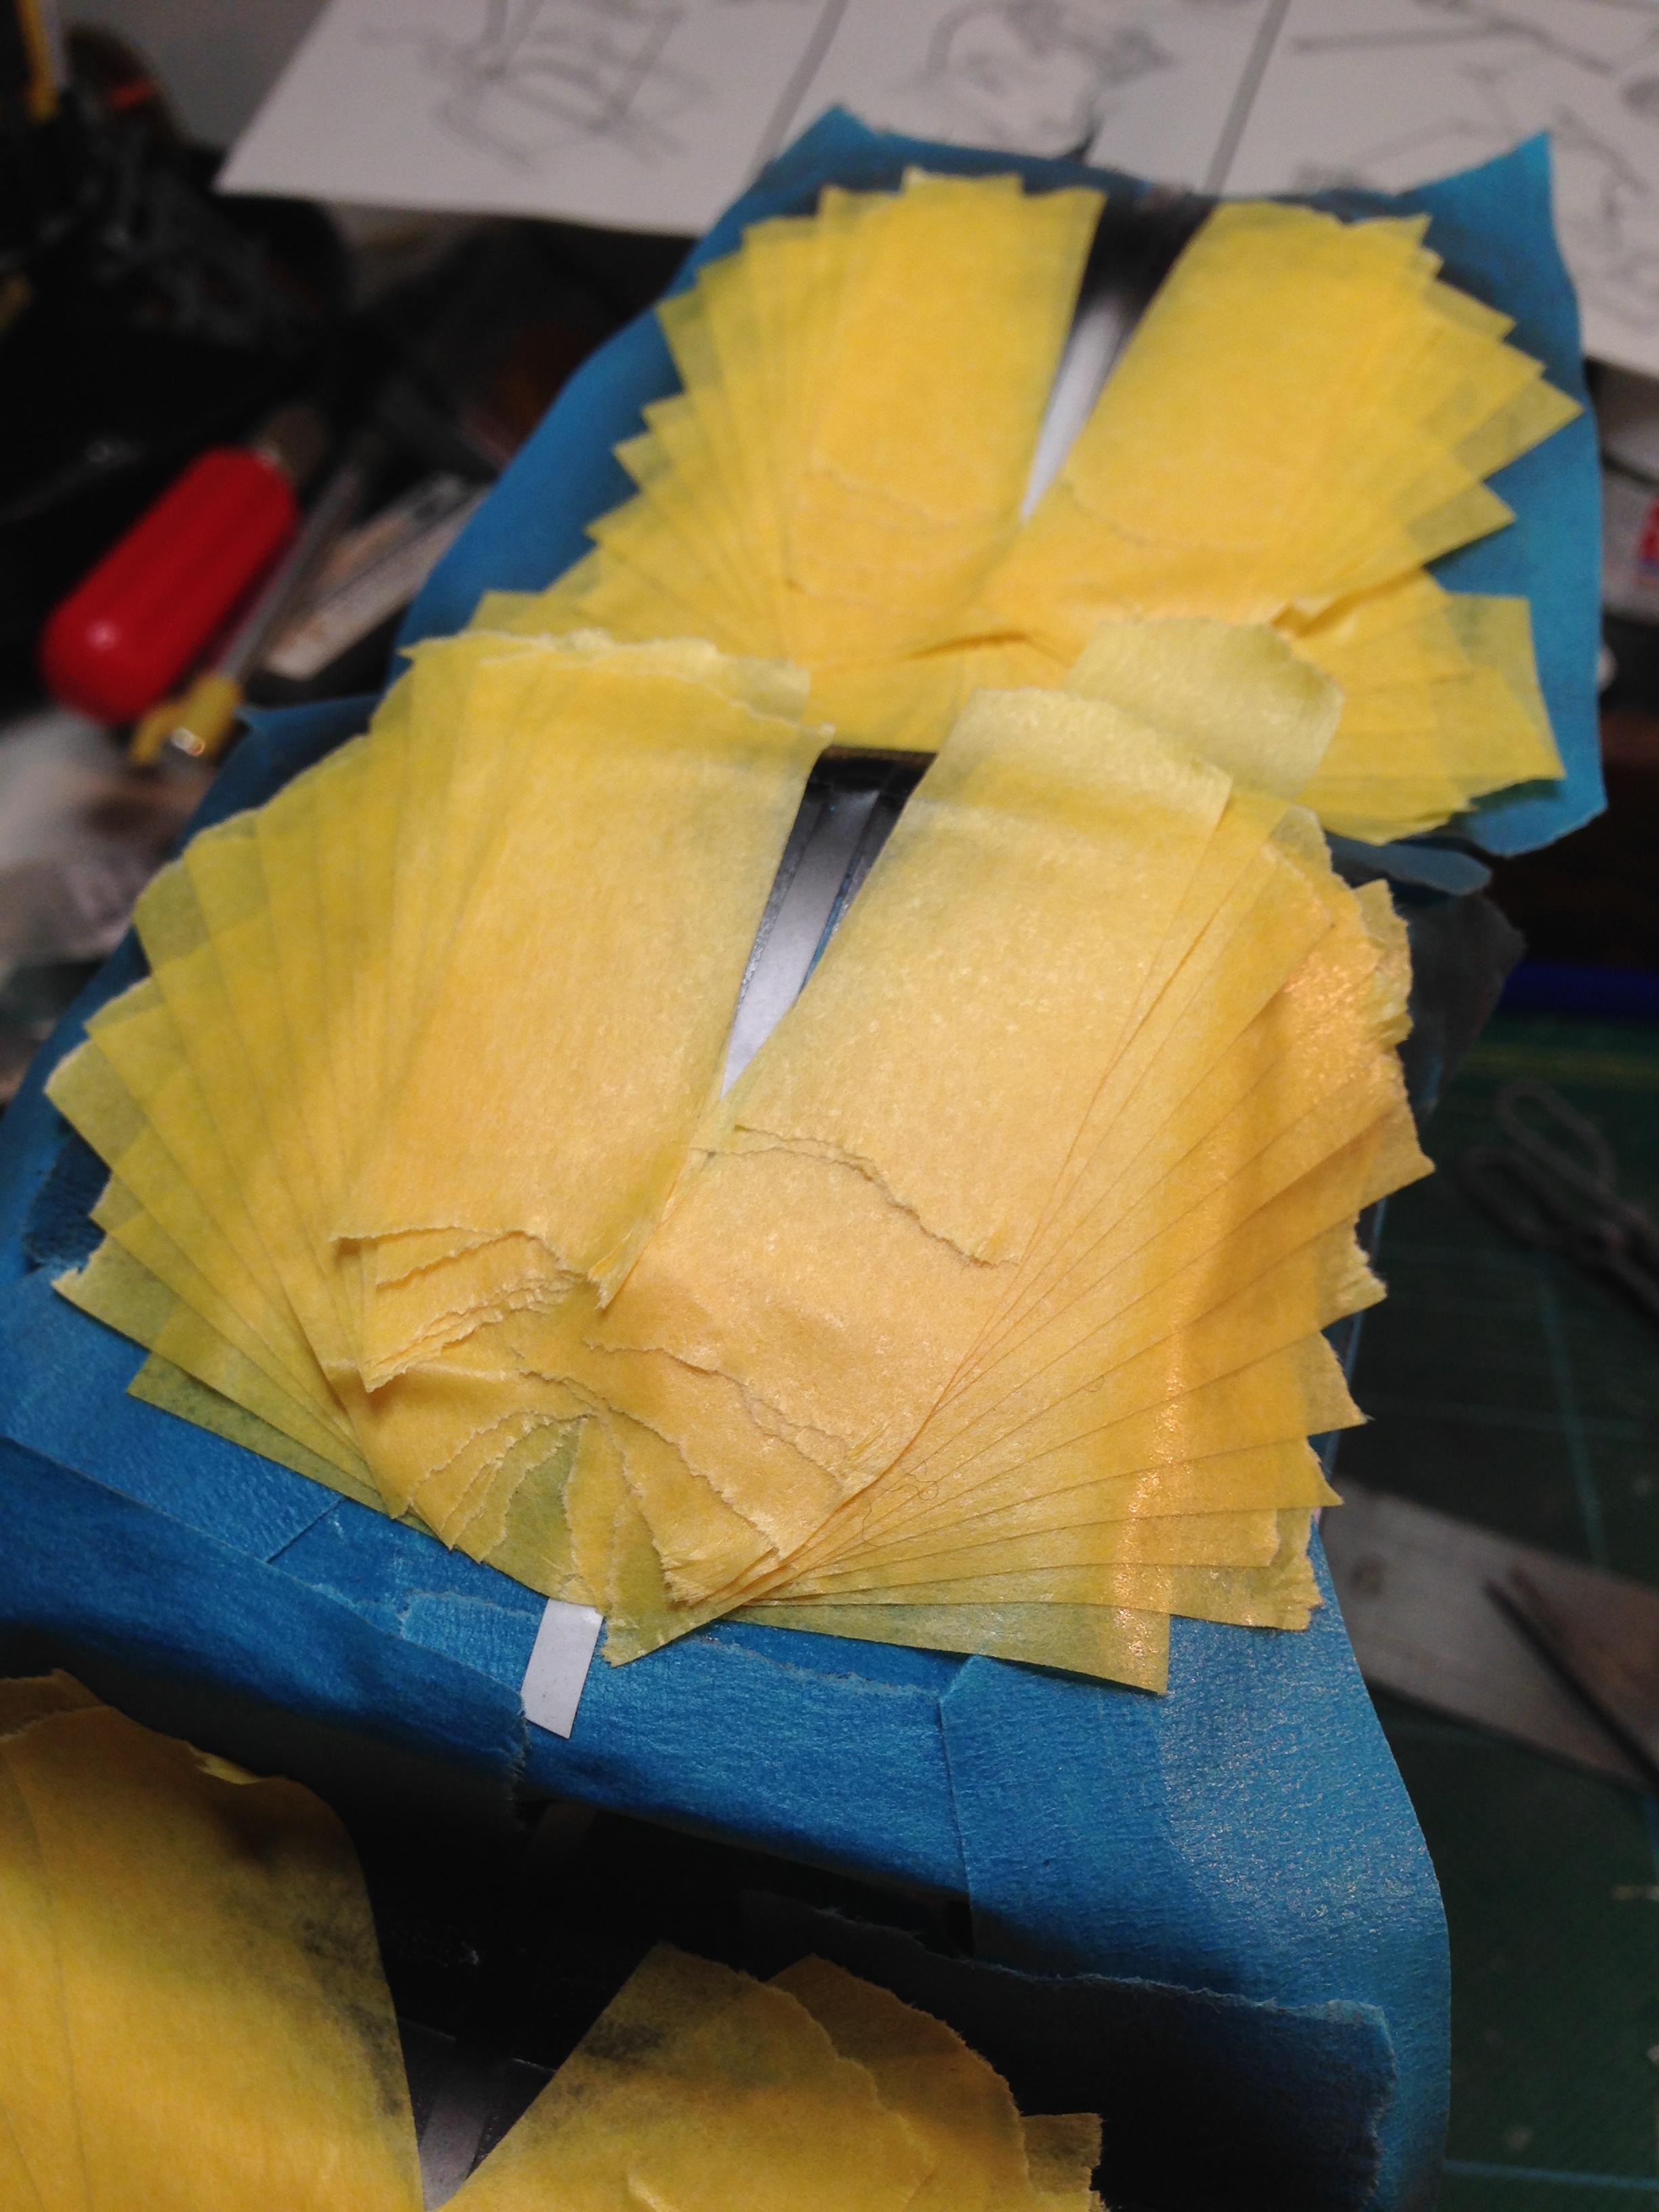
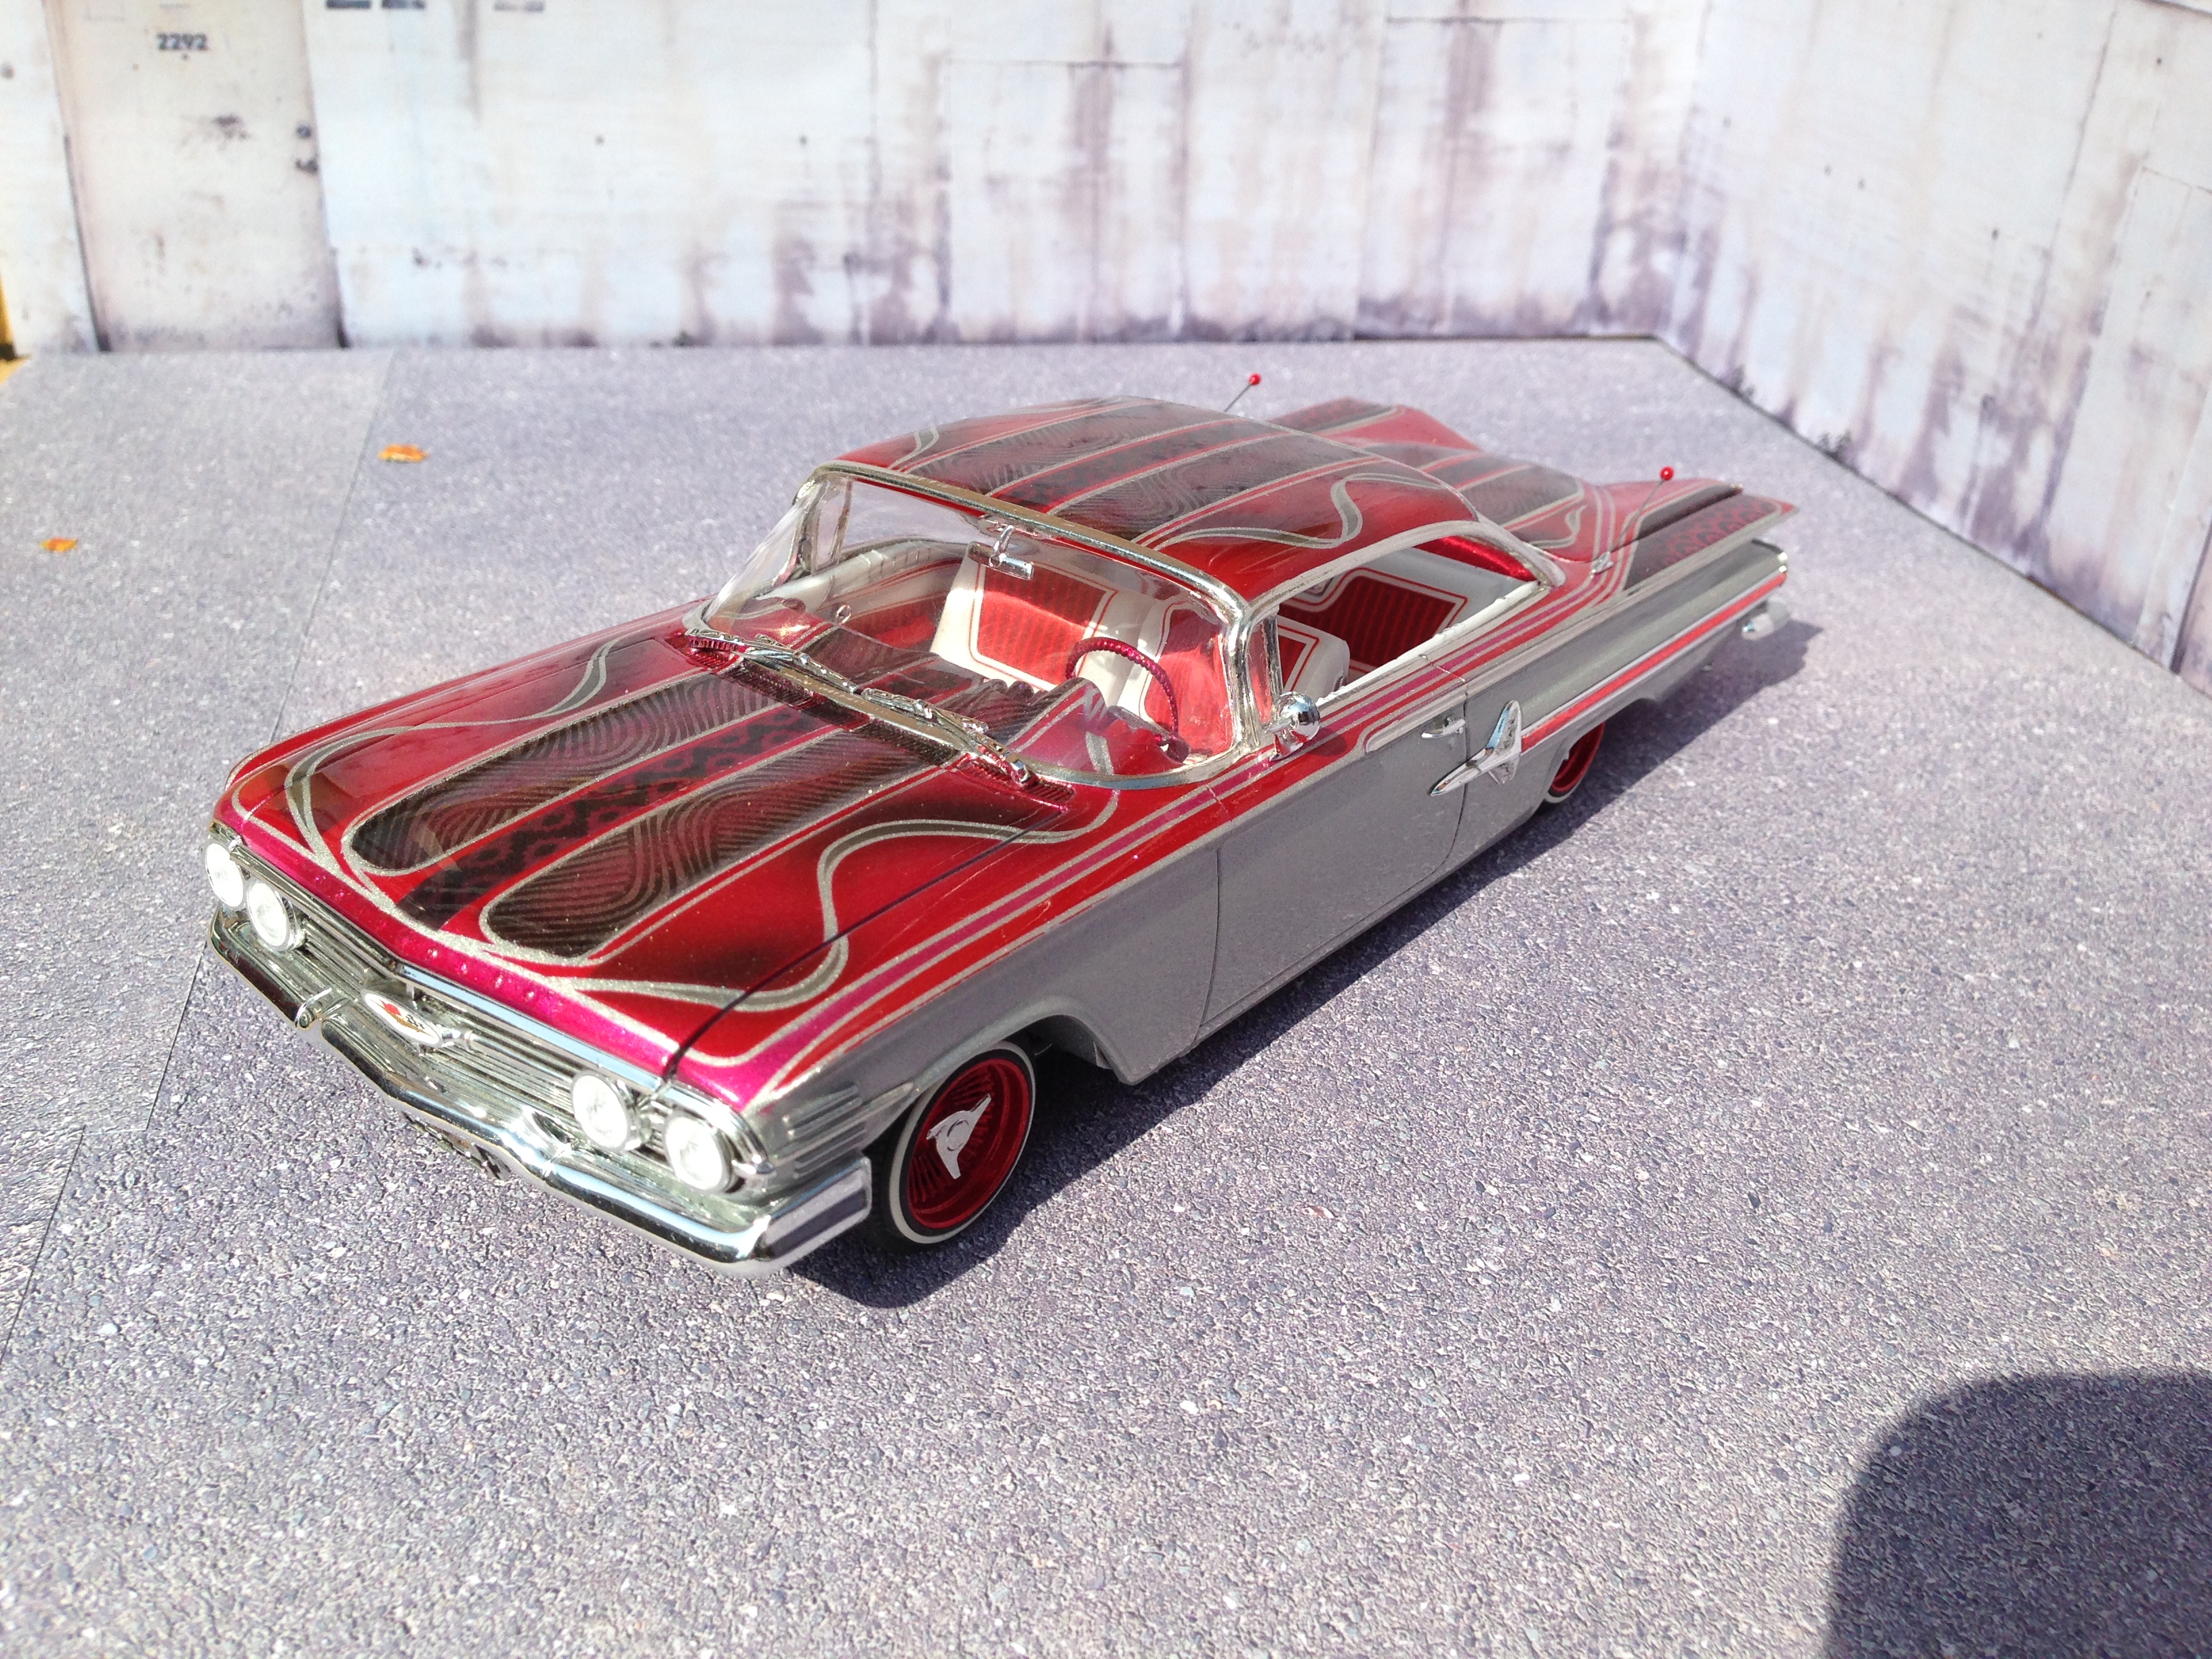
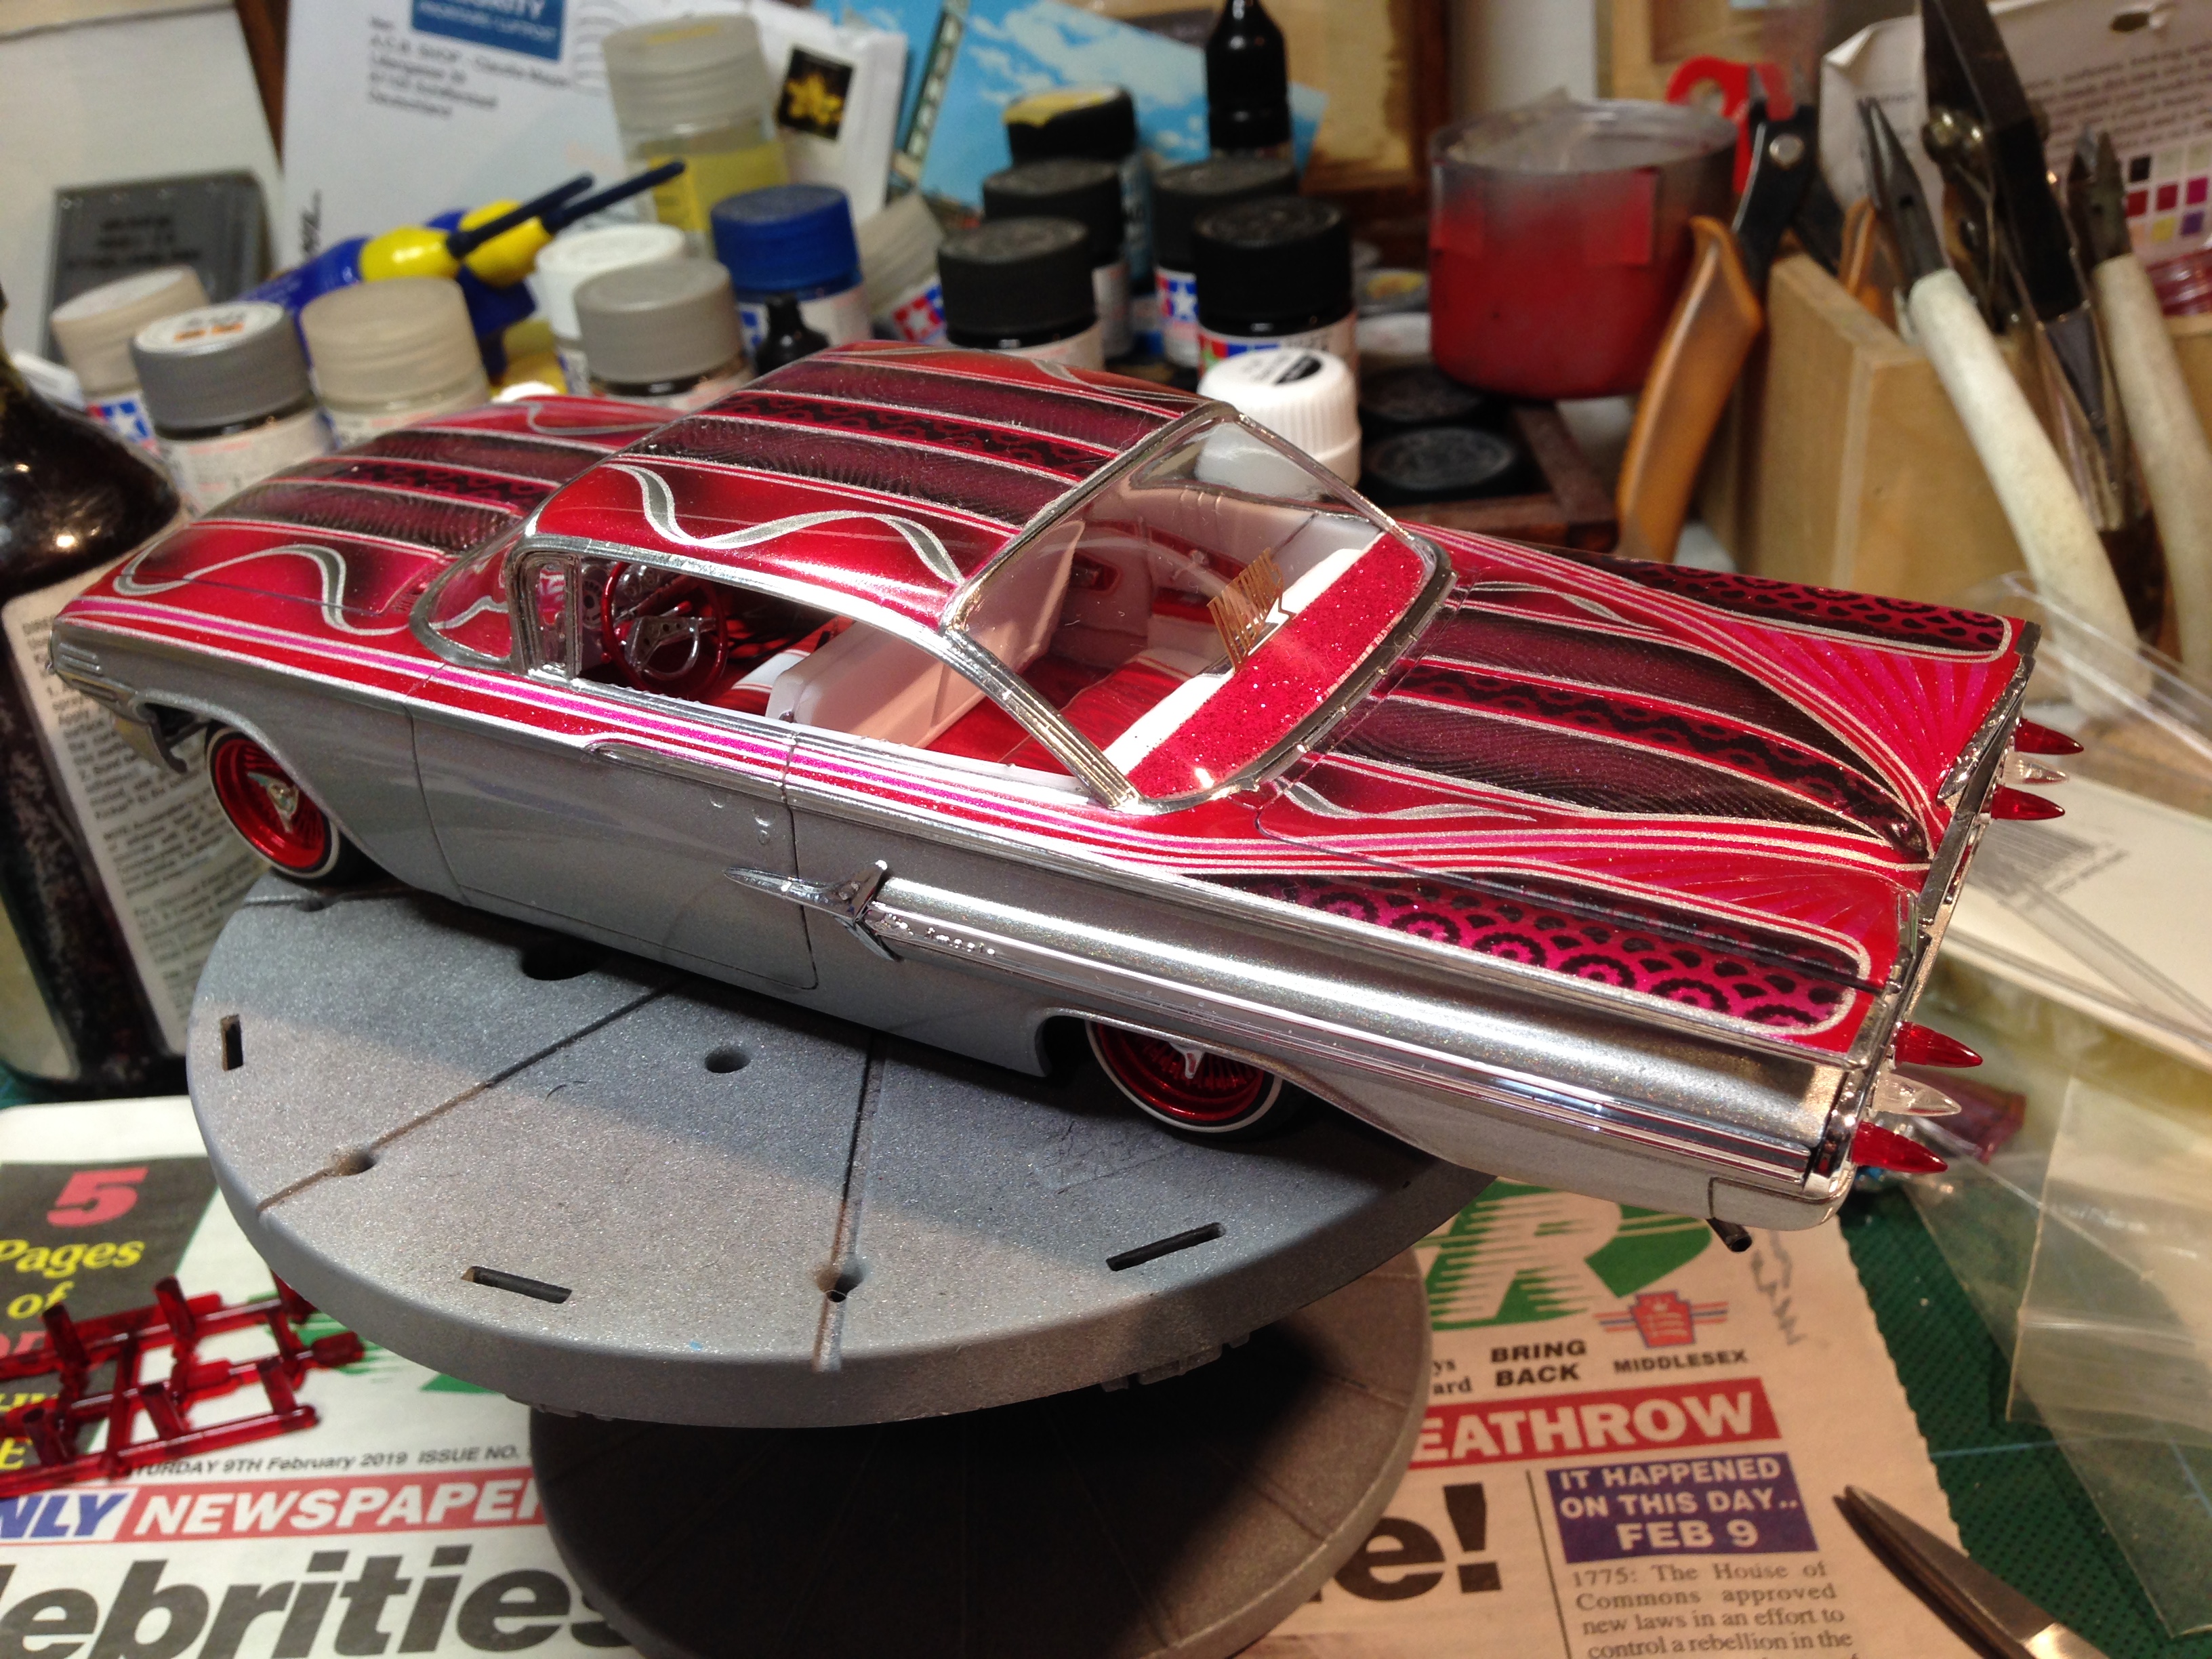
Then laid down tape in a sunray pattern, before shooting some chrome pink over the tape edges..
-
I got a bit more done today. Got through a fair amount of tape, too. first, added shadow with a bit of black
-
Wow! I love it! Definitely worth finishing ?
-
Thanks! yeah, you've gotta seal it. Either clear or candy, depending on how the pattern is going. Although, subsequent tape layers are reduced in tackiness, by laying the tape on my inner forearm, before applying it to the model. This helps prevent lifting of the tape underneath when I remove top layers.
-
Blimey! that's really nice! You did an amazing resurrection on it
-
Well worth the effort. it looks great! how did you get the flocked carpet to look so nice?
-
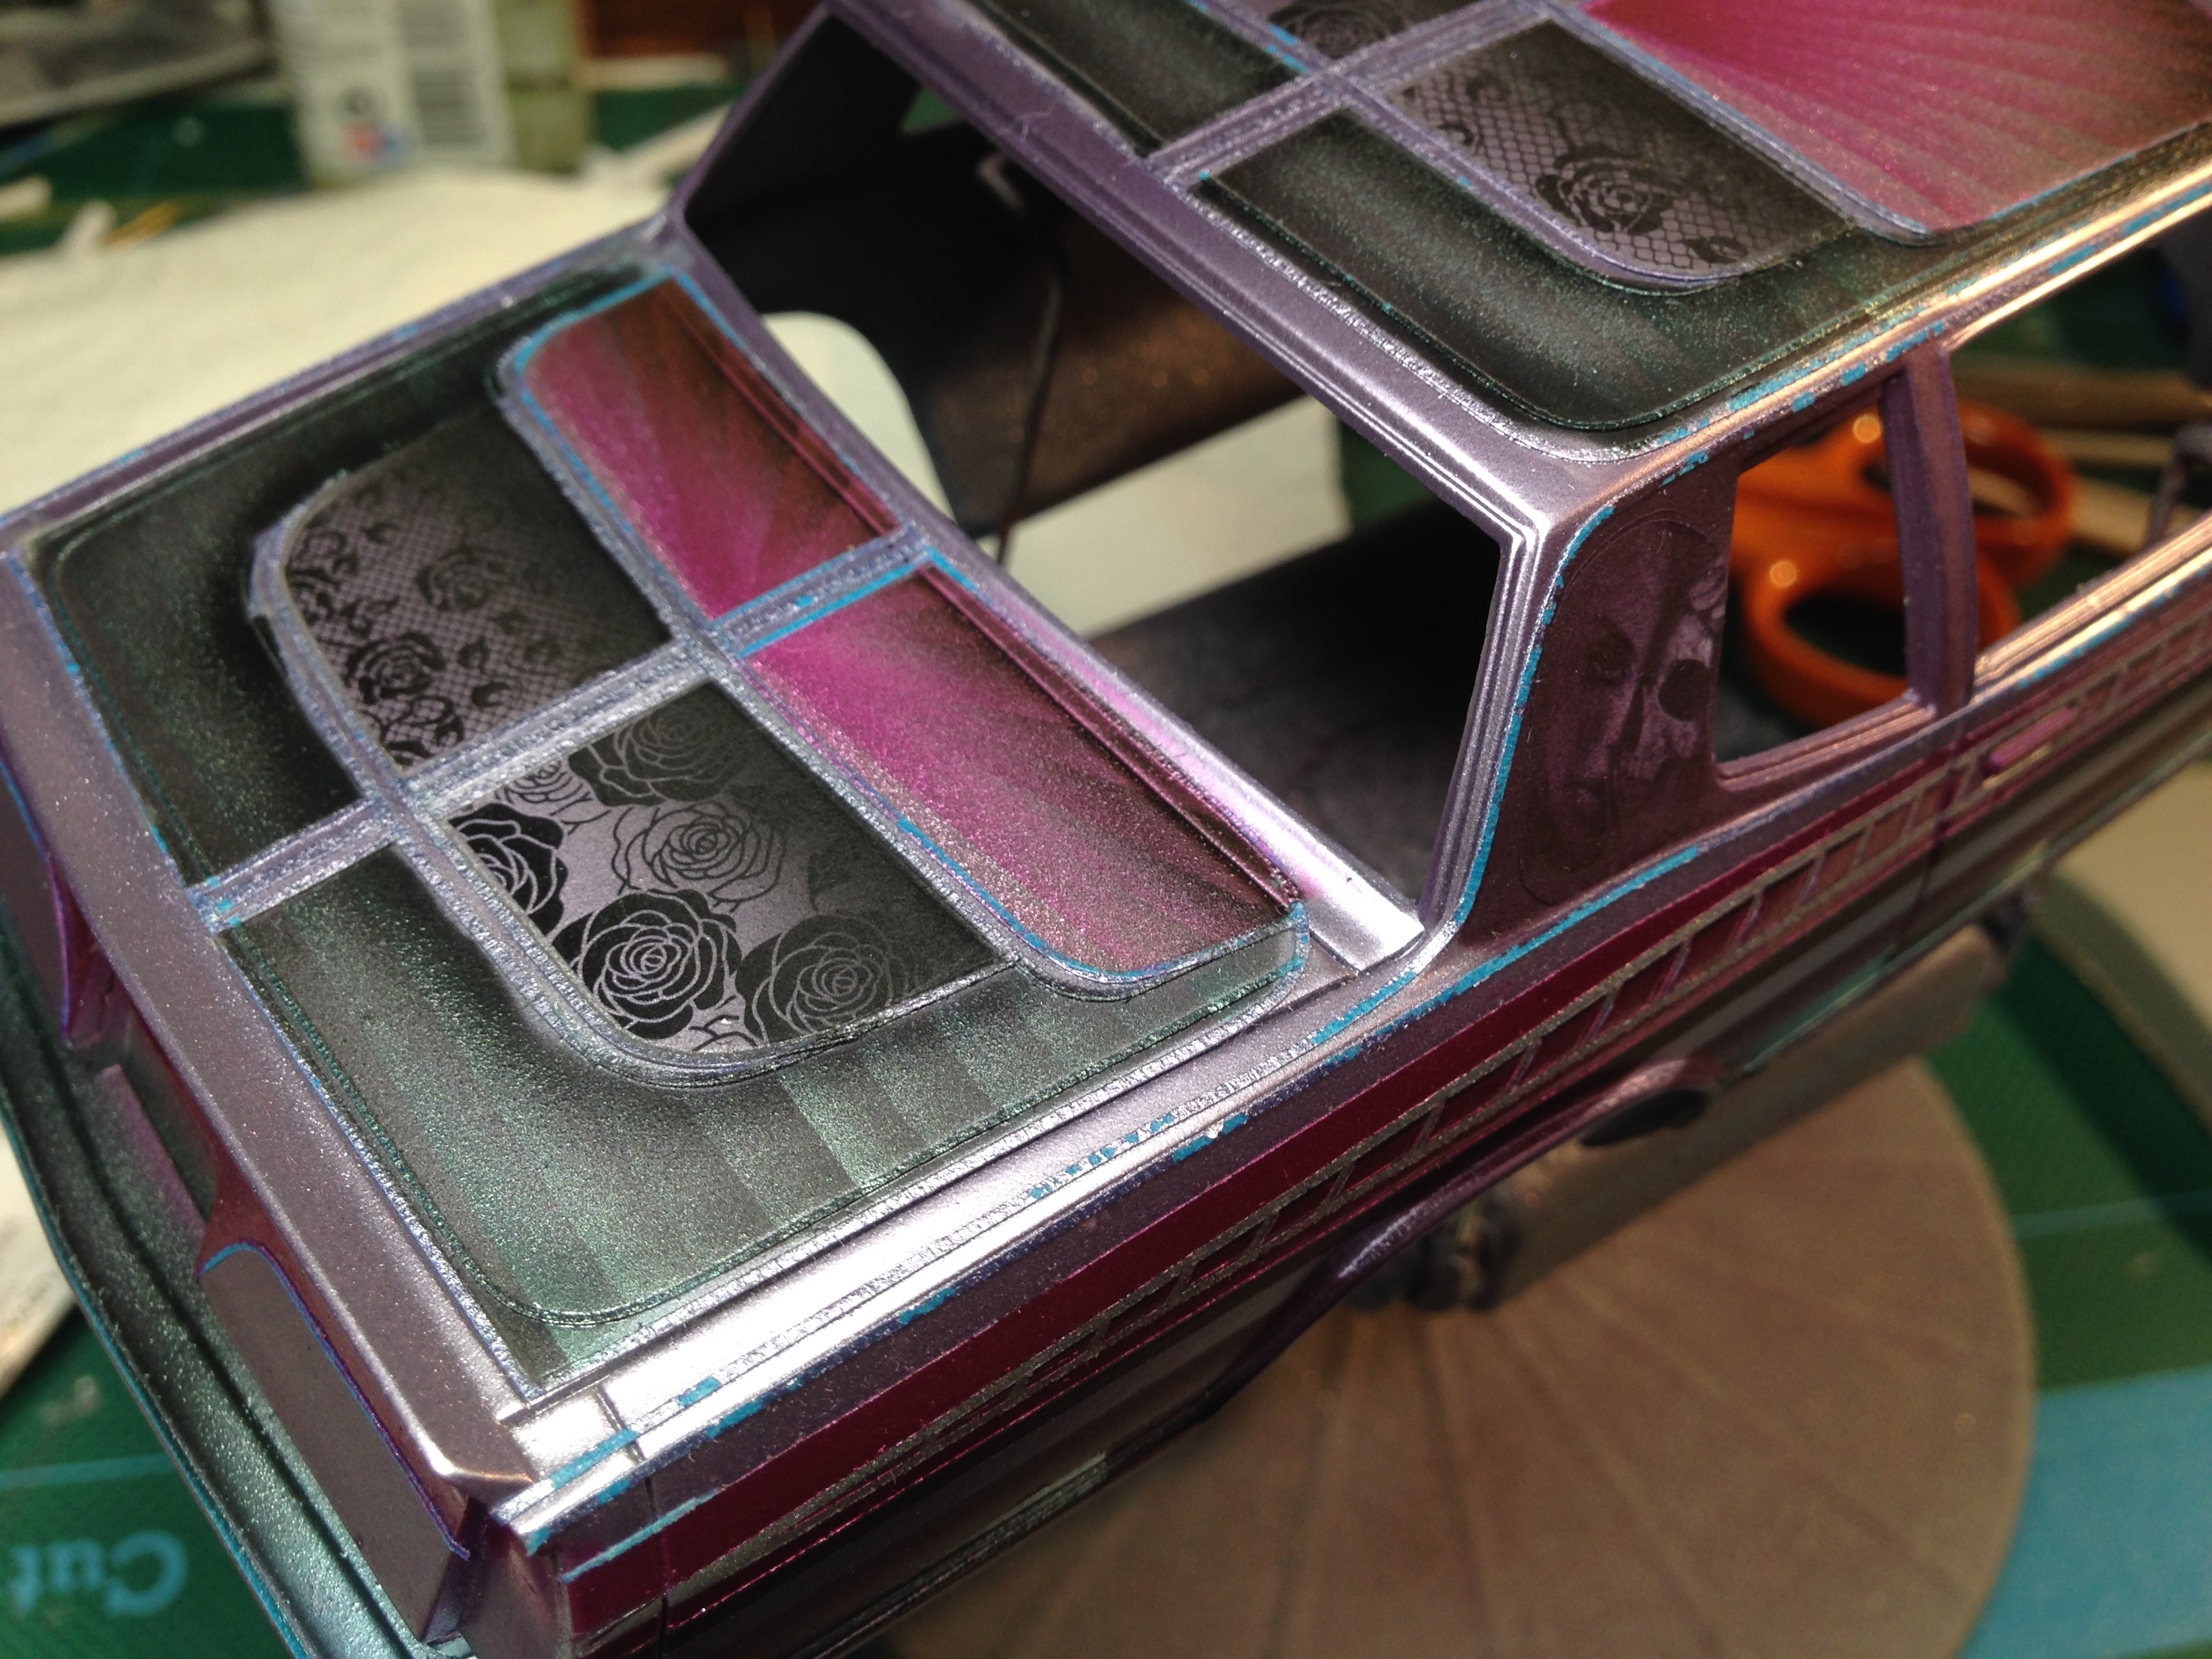
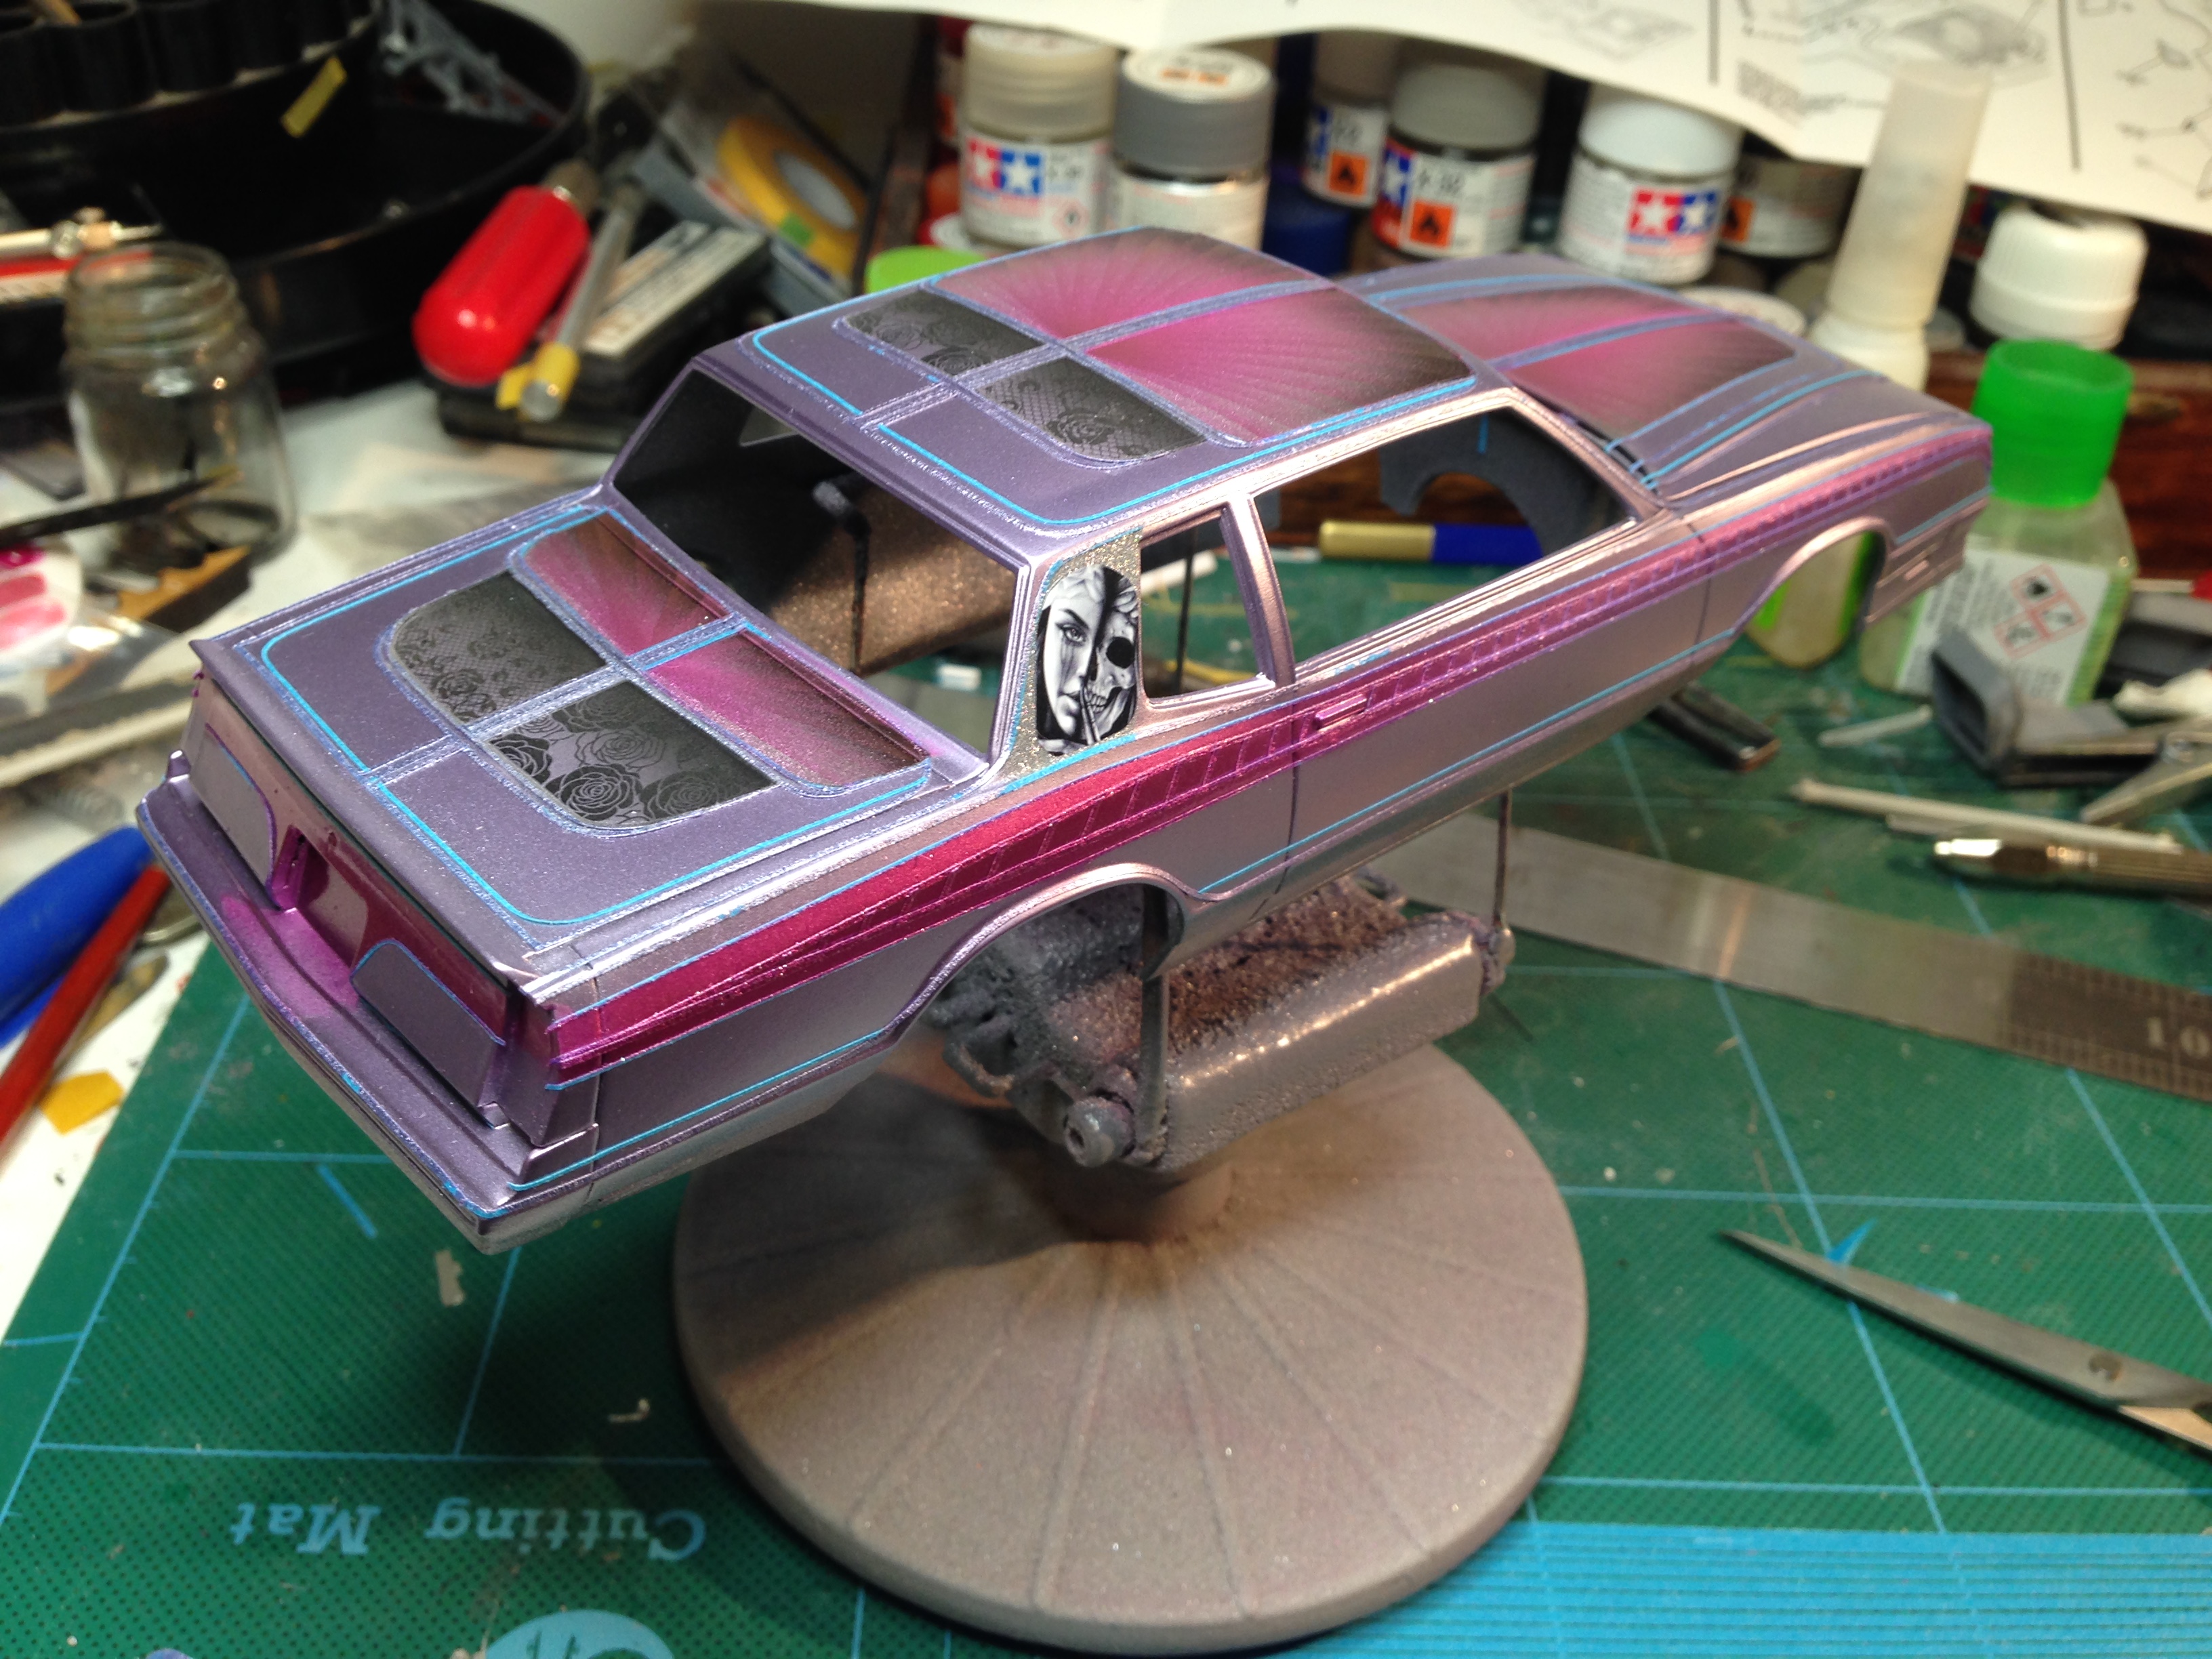
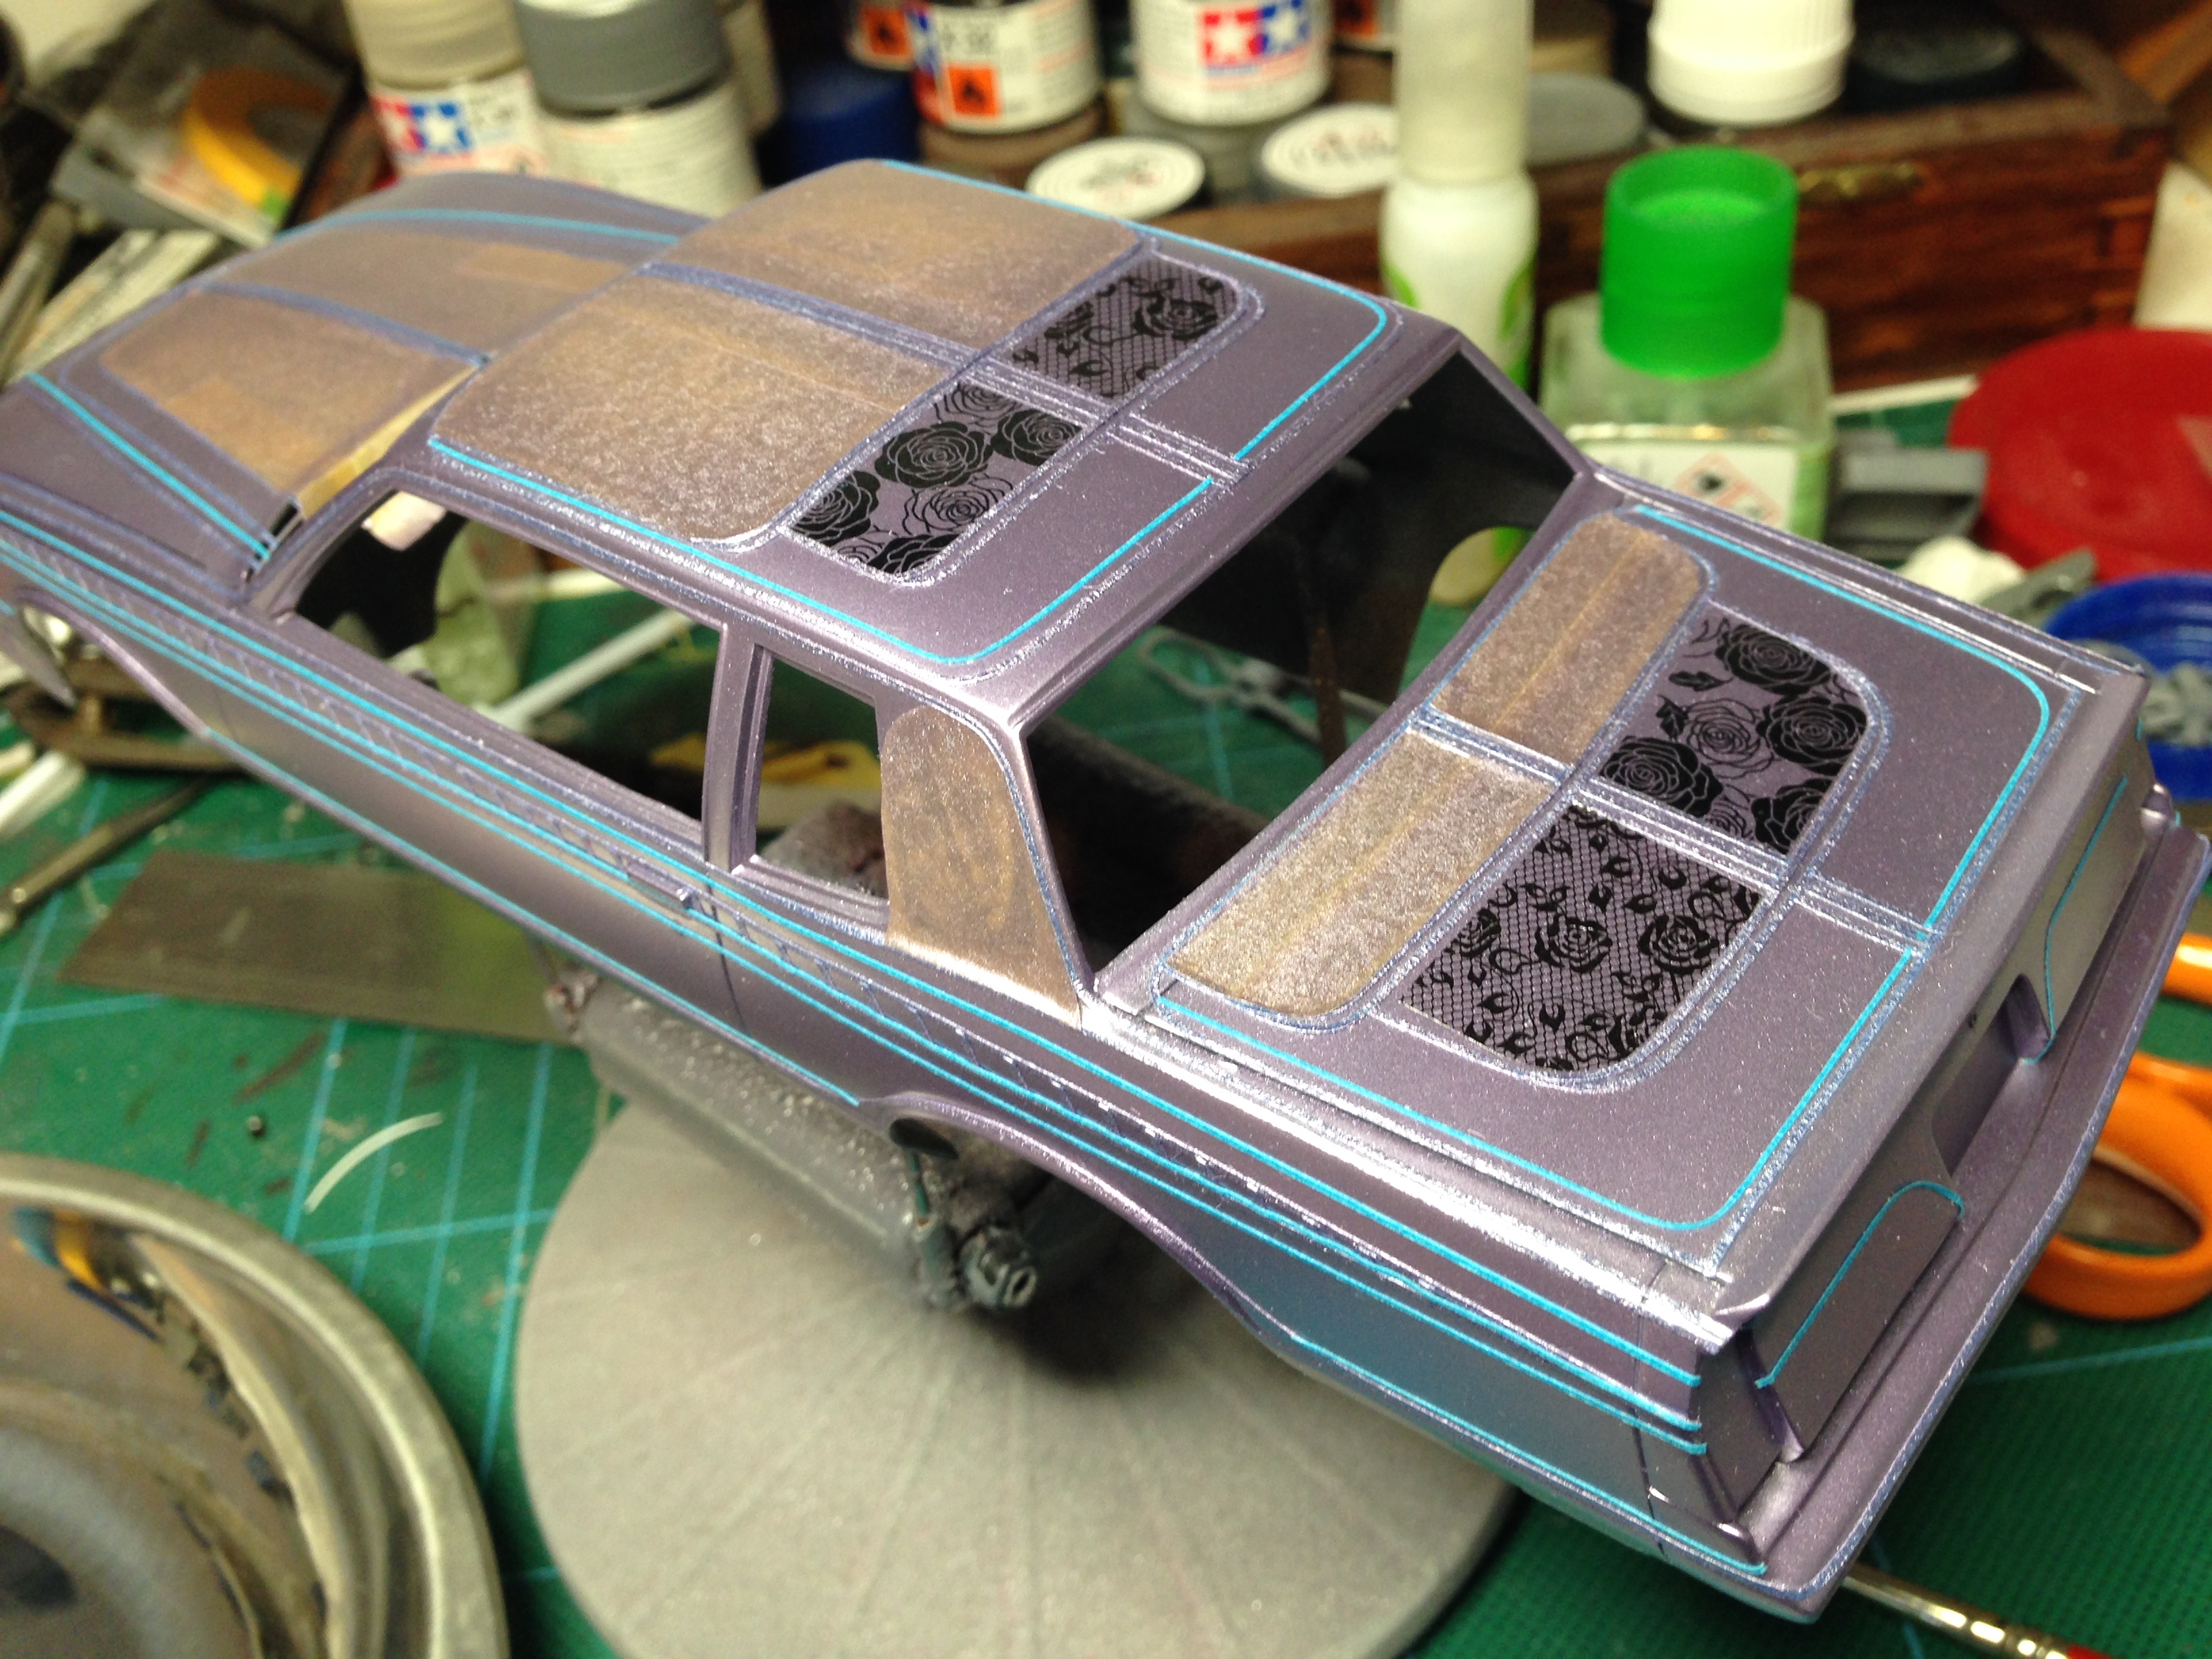
Got the first colour on. Really cheap 'chrome' purple nail polish. Came out lovely for £2 a bottle then added some lace nail art decals to a few panels
-
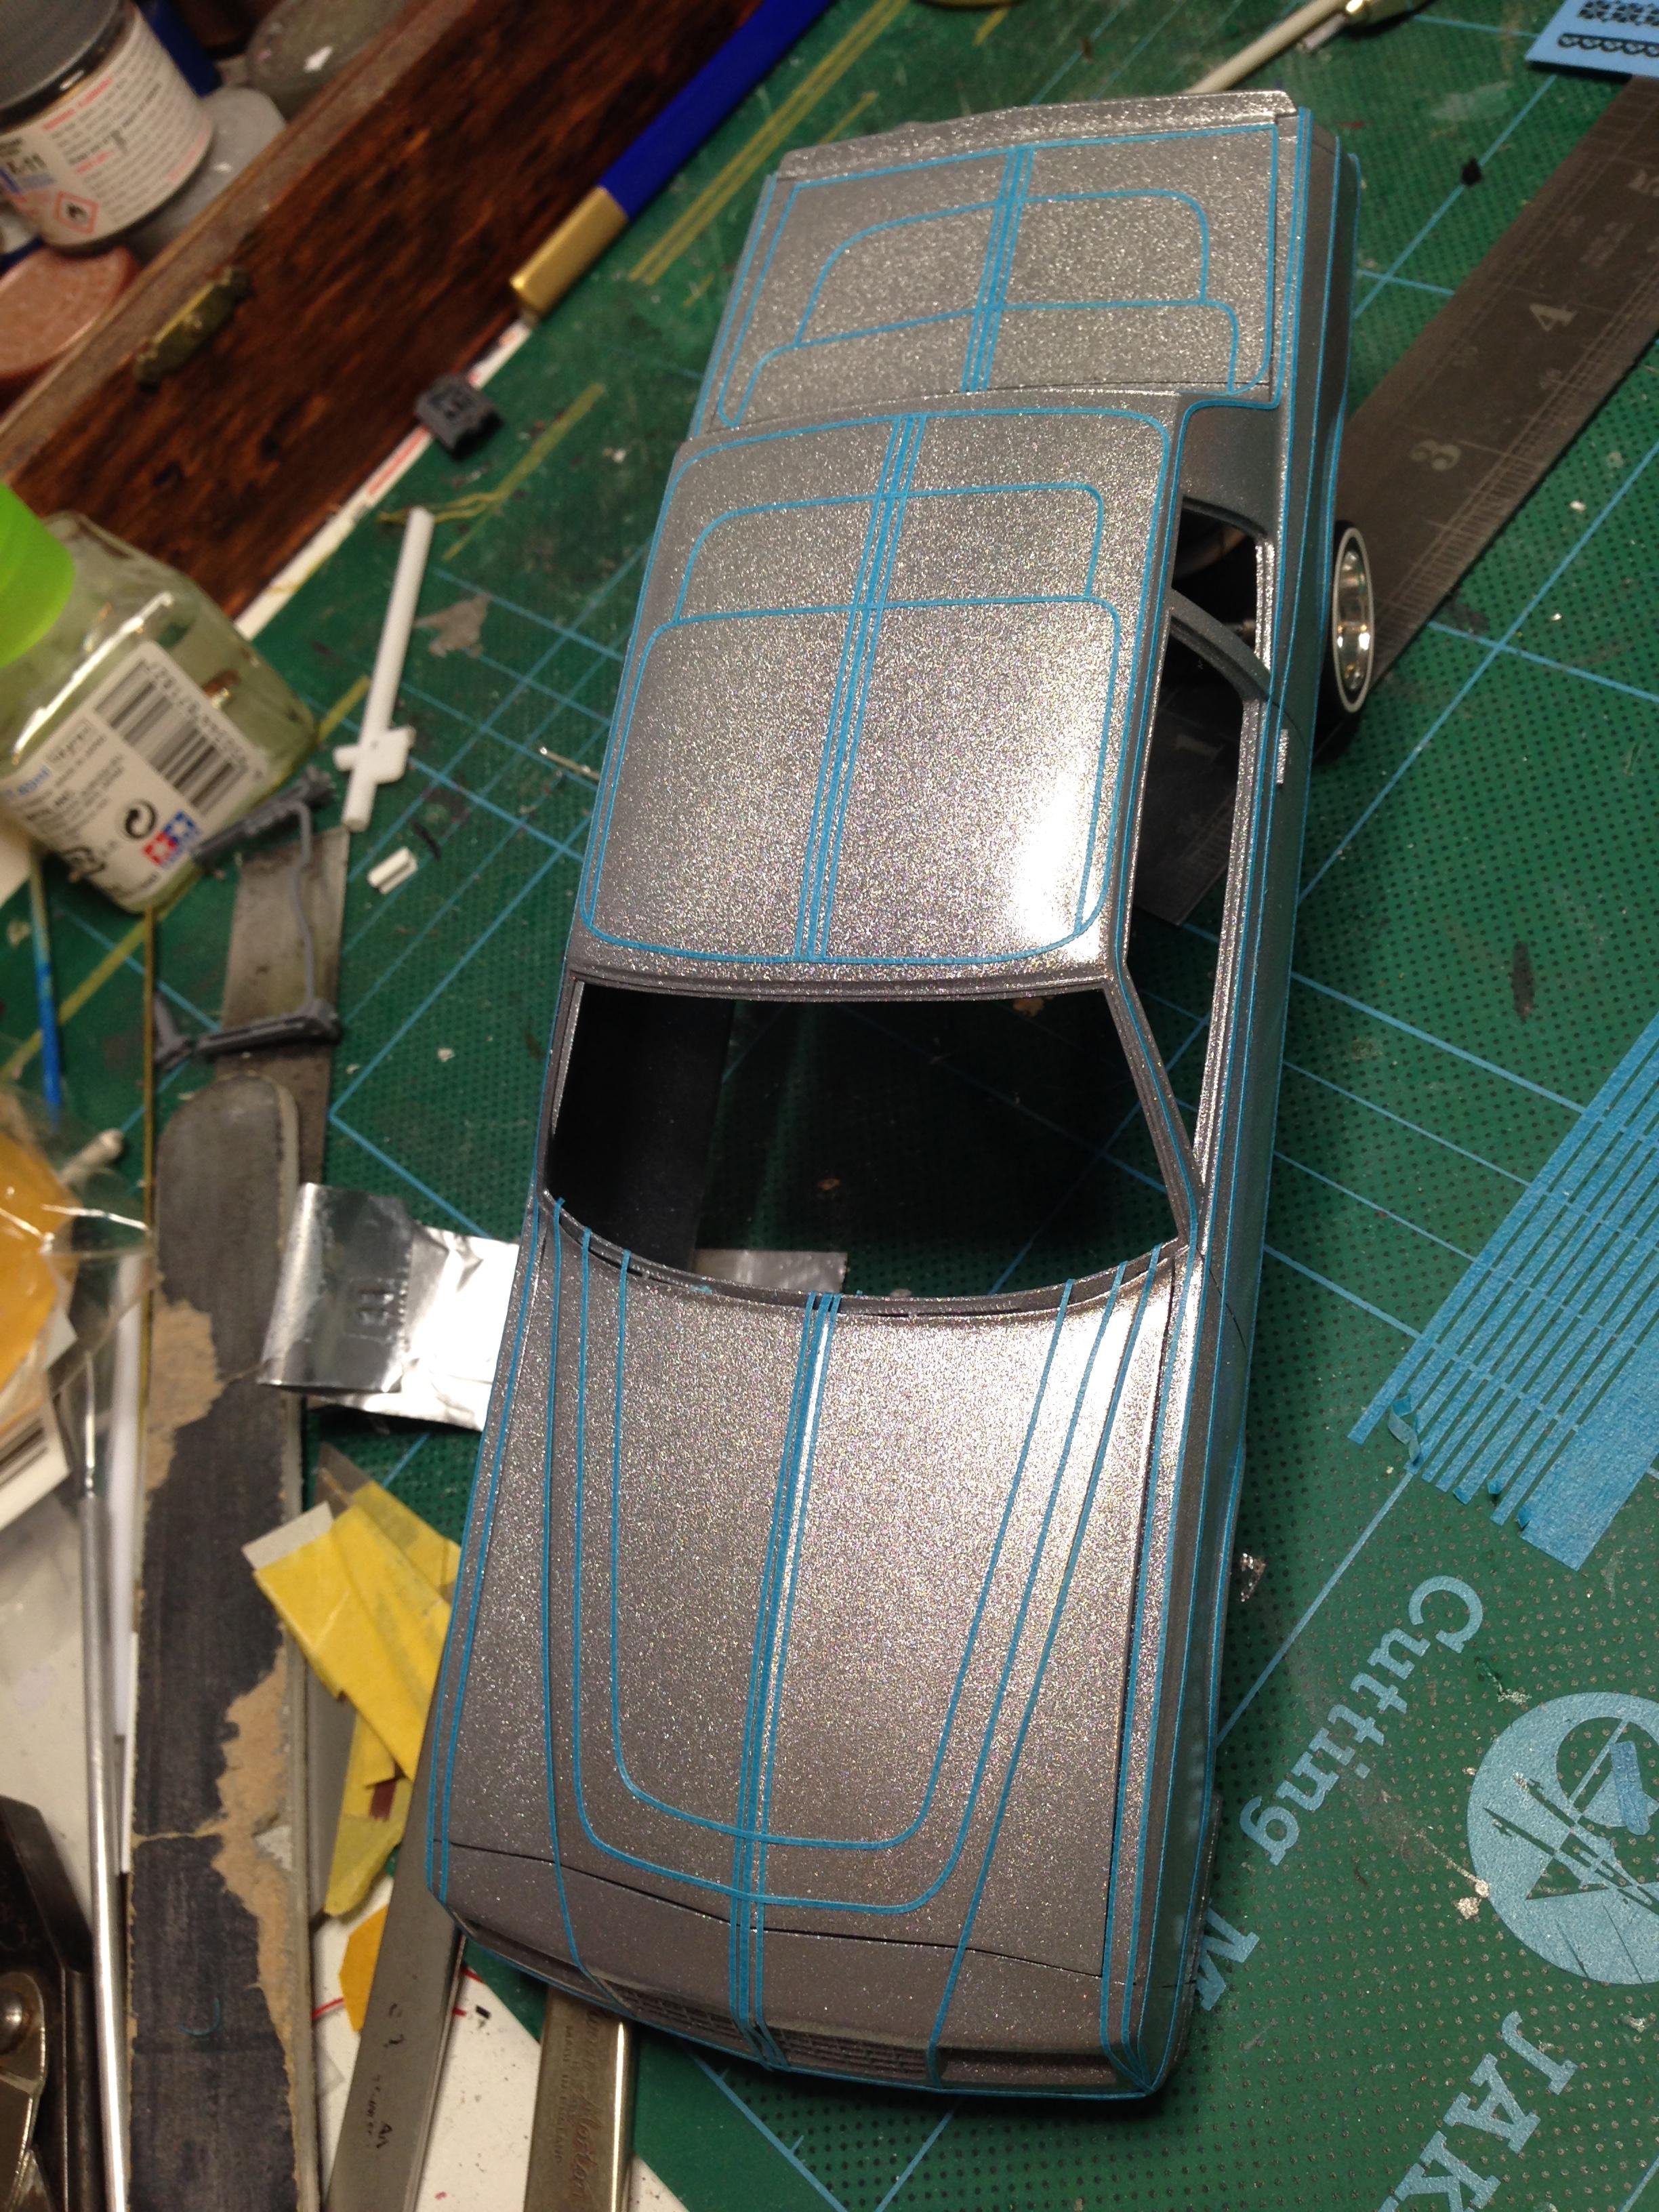
Now to cut some fine line tape and get creative with the paint!
-
I made some springs and caps with telescopic inners from brass rod and aluminium tube. everything will be chromed
-
I had to use a better rear axle than the one in the kit, which was hollow on the top and looks rubbish. I added a reinforcement plate. I had to play about with the control arm positions and create a 4-link set-up. Longer arms prevent the wheelbase from changing too much. Even though I'll fix this in an extended position, I made sure everything lined up in the lowered position, too.
-
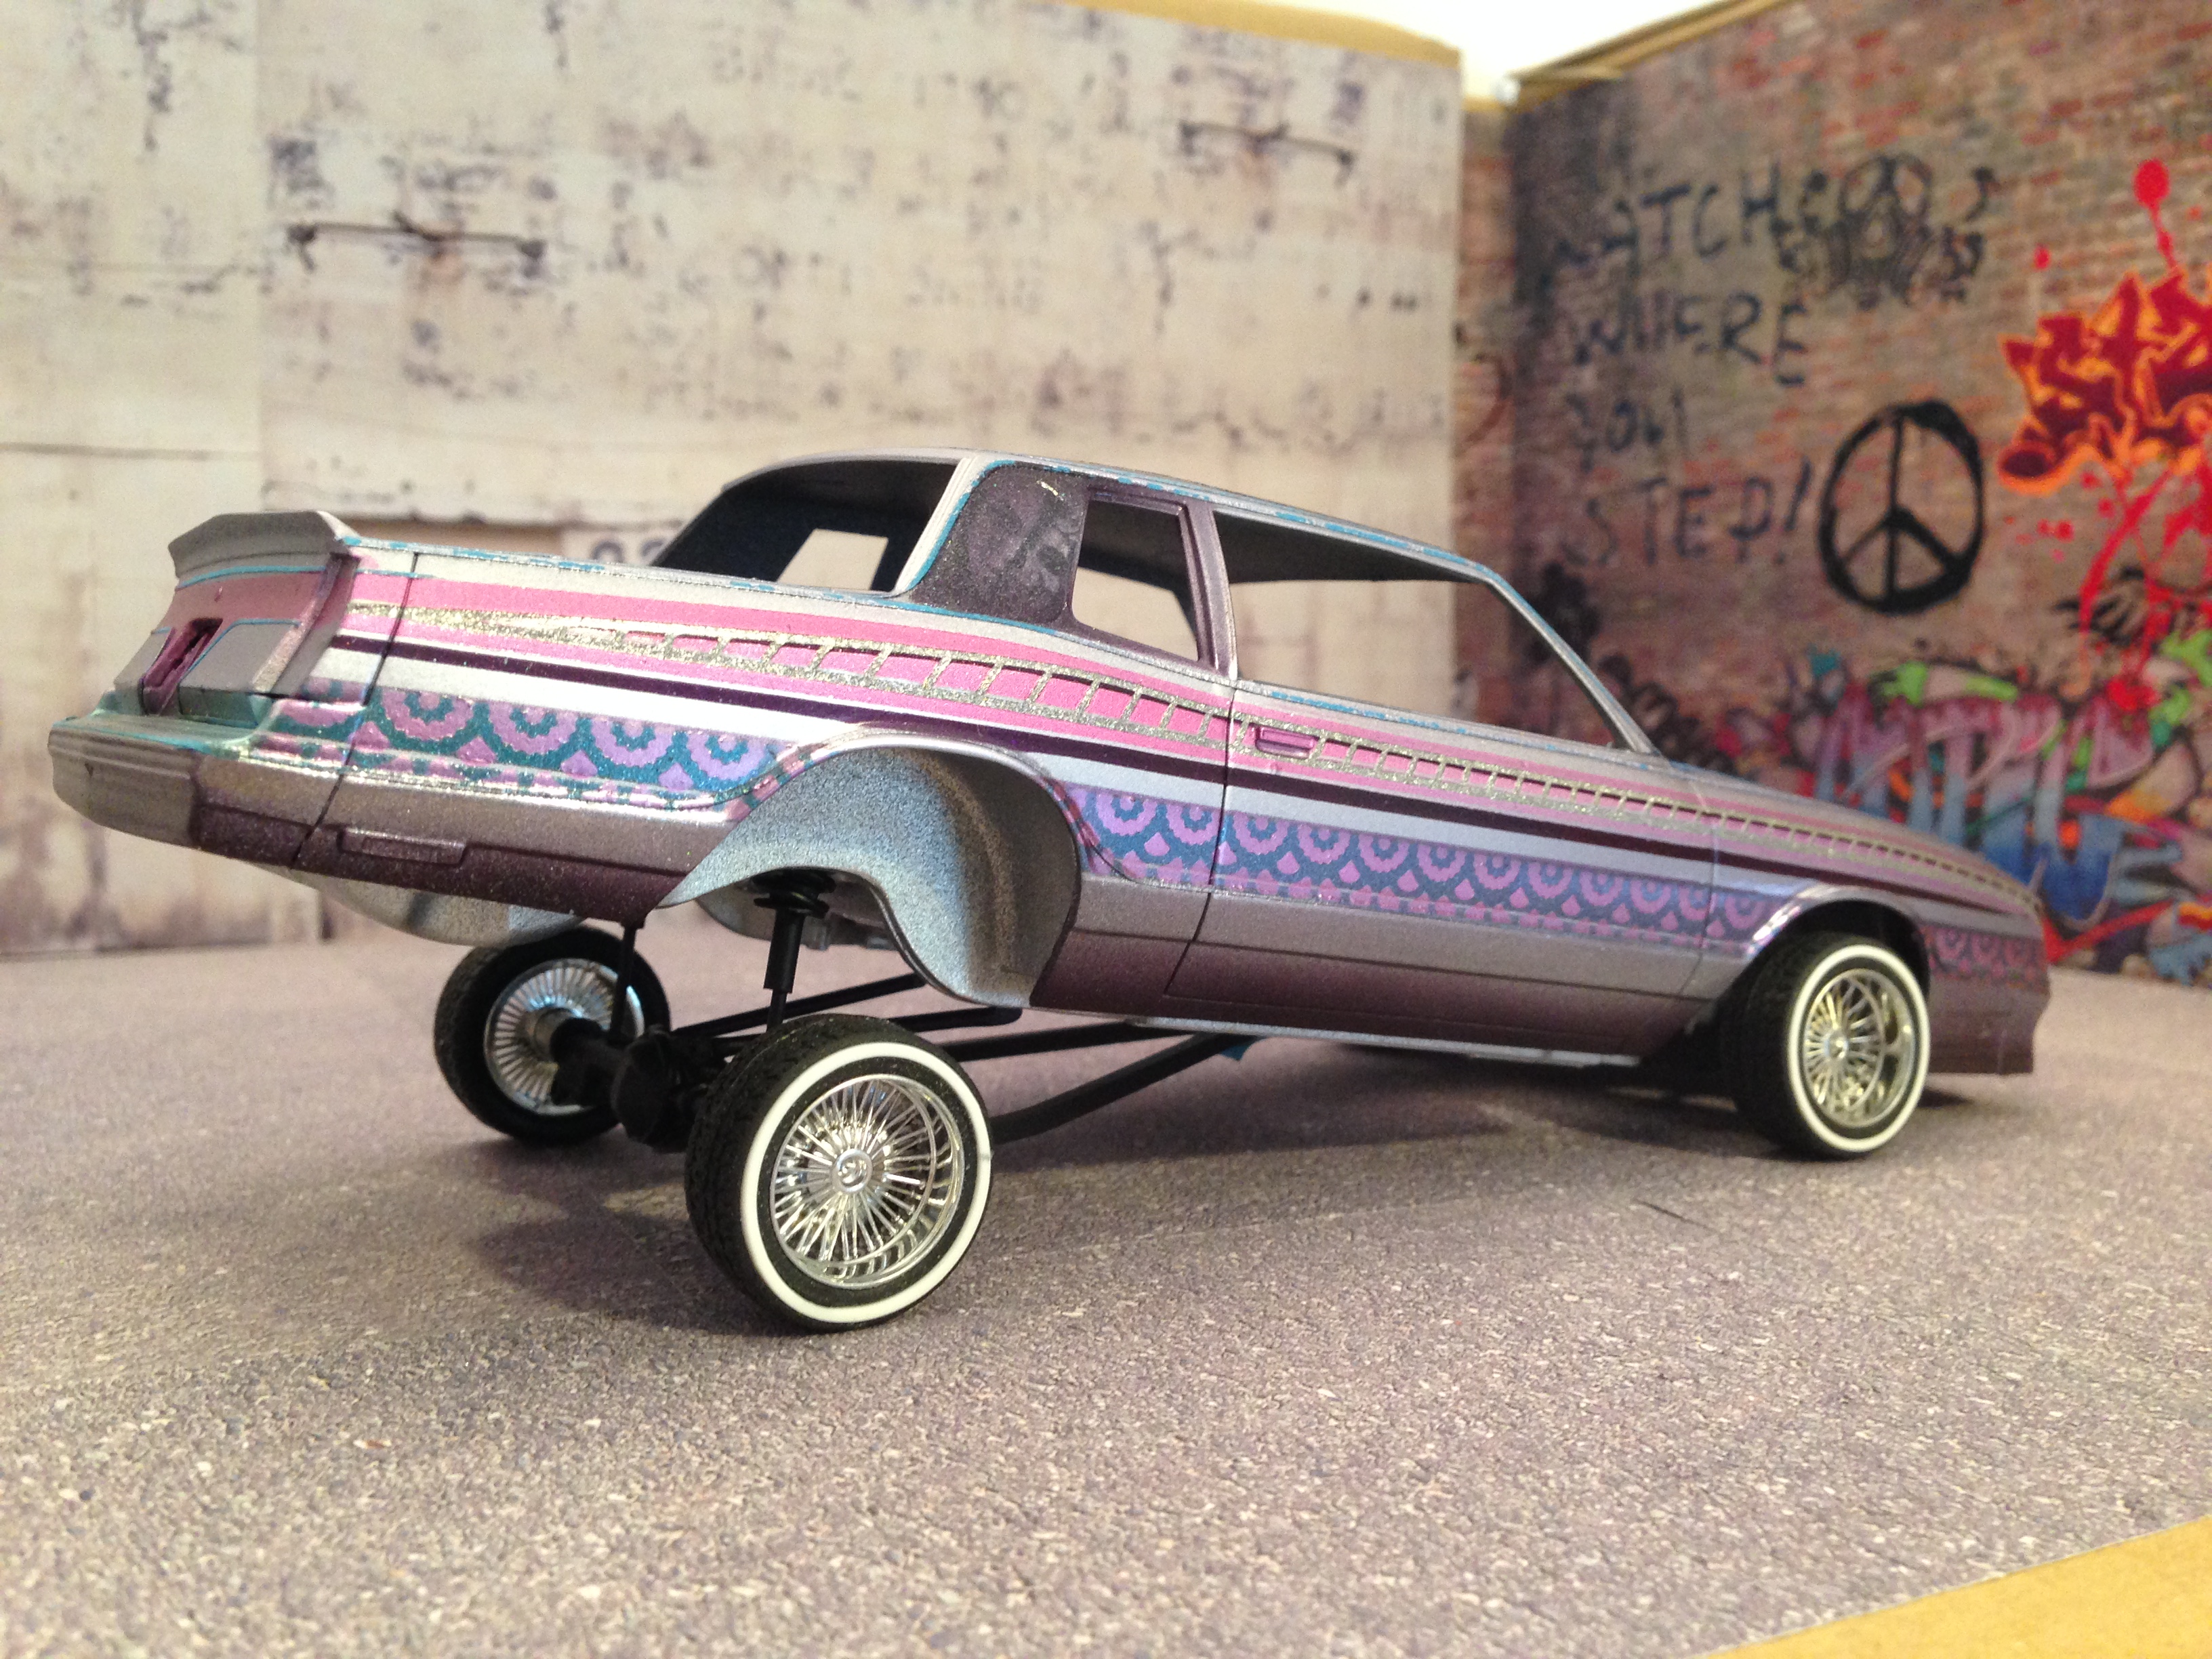
I'm going to build this as a hopper, because while I was watching YouTube for lowrider research, I became amazed at the pounding these cars get, especially the hoppers. I really like it when the car 'statues' and balances on its rear bumper. I'll paint this with nail polish and rattle cans and also use a few decals.
-
 Excellent re-work of the Galaxie kit. Looks great as a pickup ?
 -
Thanks everyone! I'm glad you like it. It was a labour of love but a great way to learn new skills.
-
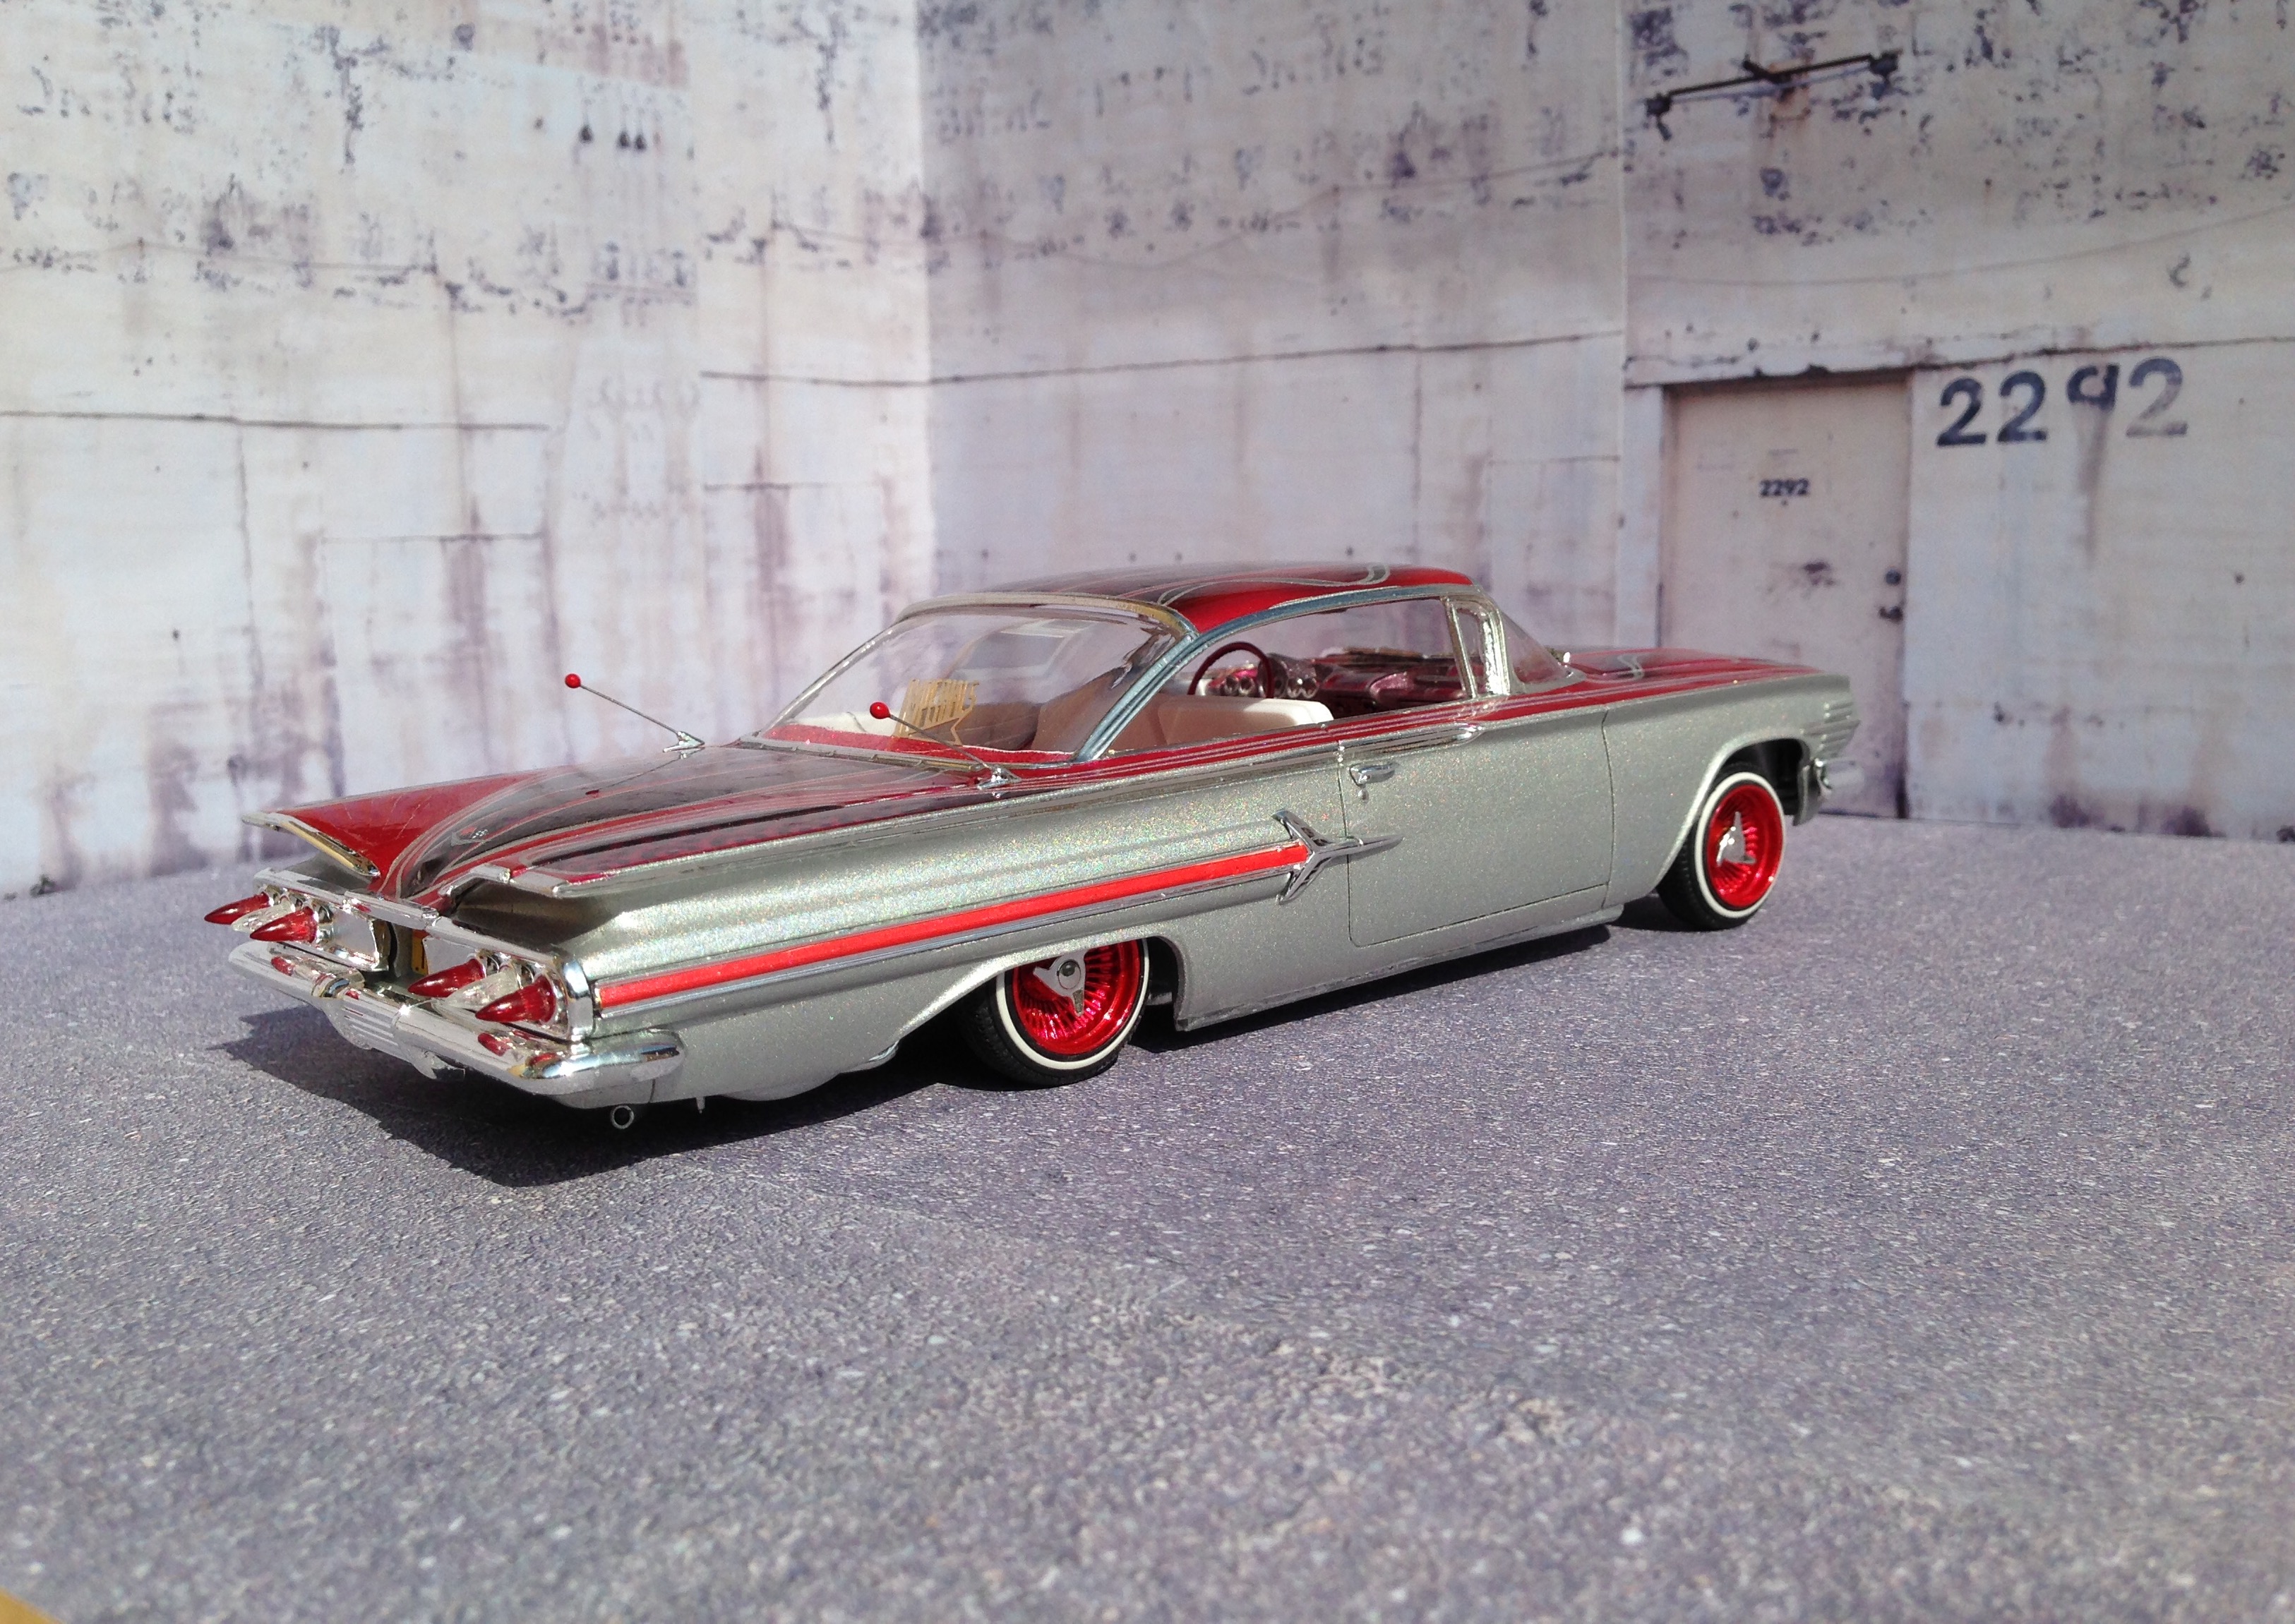
I love all aspects of car culture, but I really do admire the artistry and devotion that goes into lowriders. I can safely say my next few builds will be either bombs or lowriders. I love playing with colours and tape.! I added subwoofers and a switch box and dropped the rear end as far as it would go. I hope you like it, even if it isn't your bag
-
At last! This model is Under Glass. Thanks to everyone who followed this build and gave me such great encouragement along the way.
-
Aaargh! My heart bleeds for you! but like you said, could've been worse... great work you're doing on this build. I've yet to try cutting open trunks or doors. I've bought some tiny saw blades, so the day is coming..! Maybe the next build. your paint is superb, by the way.
-
Wow. This thing is fighting me all the way to the end. I spent the last DAY, trying to get the body mounted on the chassis. It seemed that every time I cut away something, believing it was the cause of the problem, a new issue arose. I was certain that the glass was mounted correctly and gave enough clearance for the interior tub, but as hard as I tried, or squeezed it together, I simply could NOT get the front end to fit properly. The front seems to have gone off-centre, too. not bad when you see it with the hood closed, but when opened, you can see it's out by a few mm. I wondered if I'd try something easier next. But no. I'll have another day of rage on the next one, no doubt!
-
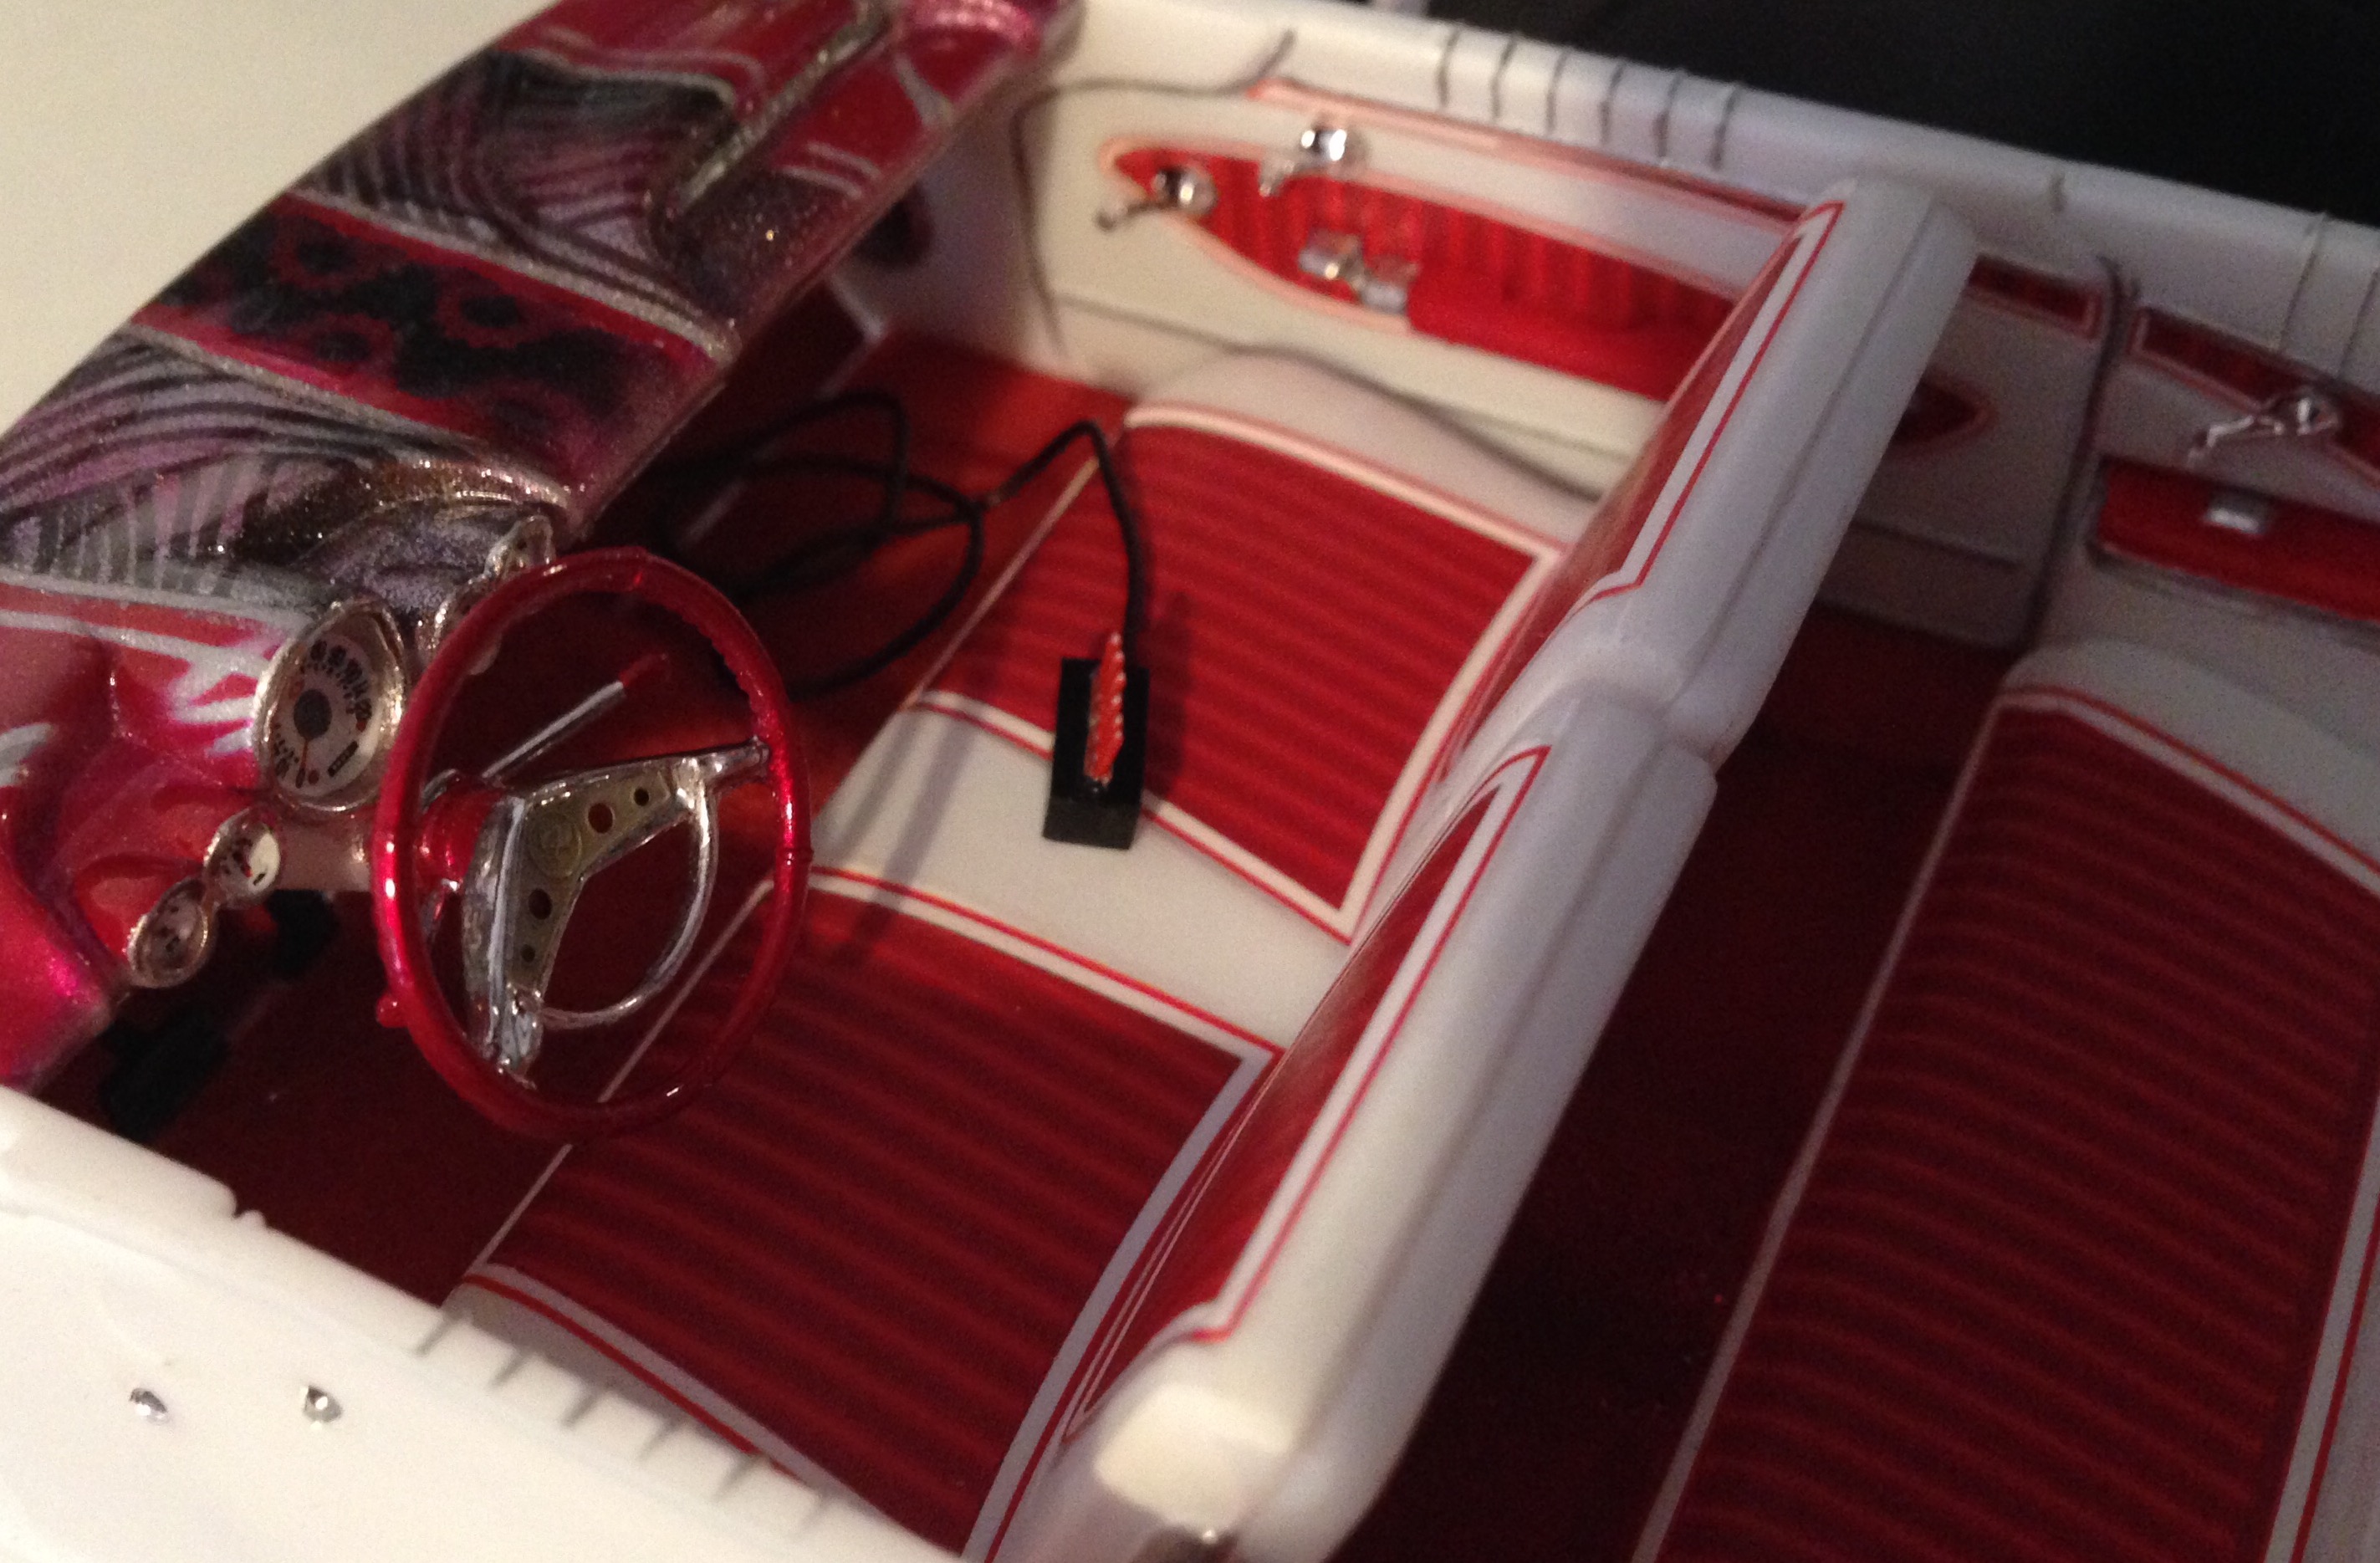
Been finishing off the last few things this week. I suddenly thought.... you can't hit the switches, if there ain't no switches to hit! so I made a switch box and popped it on the front seat. I used those little PE ignition wire looms to space the switches and keep them in line. Red ignition wire glued into the holes, then cut them level with a tiny pair of scissors. getting the body and chassis together, later. Once the epoxy on the interior tub has gone solid.
-
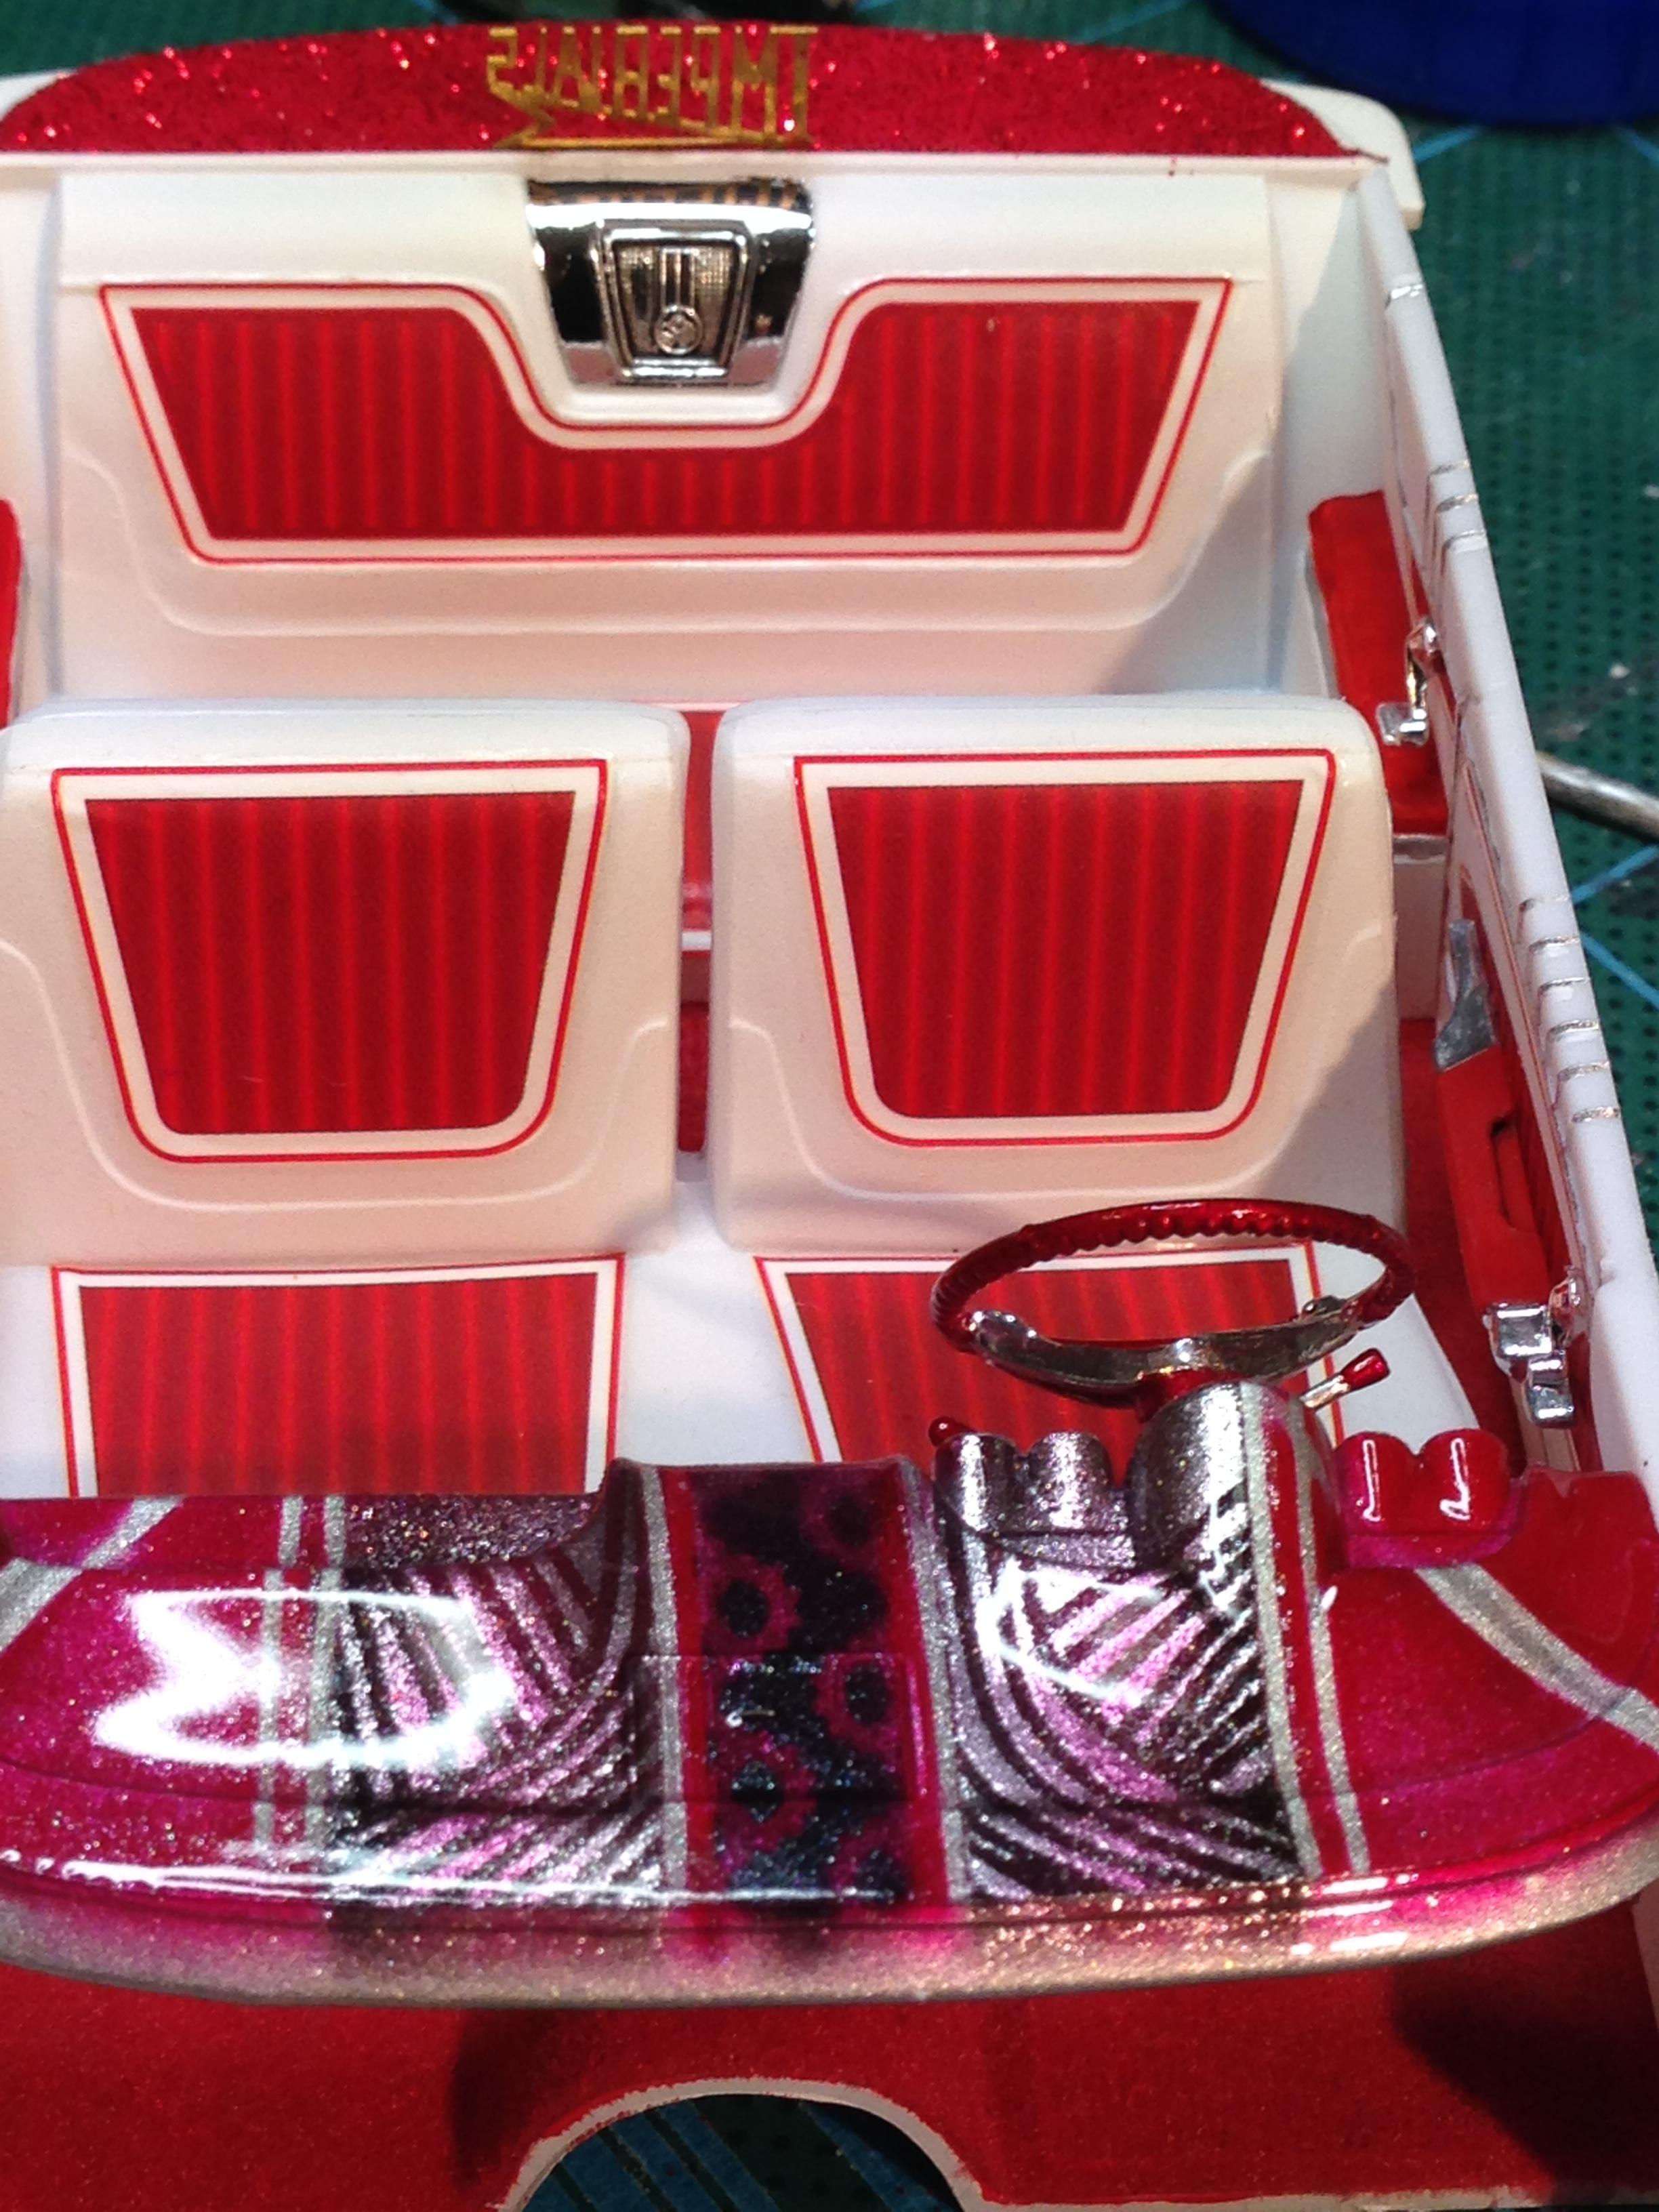
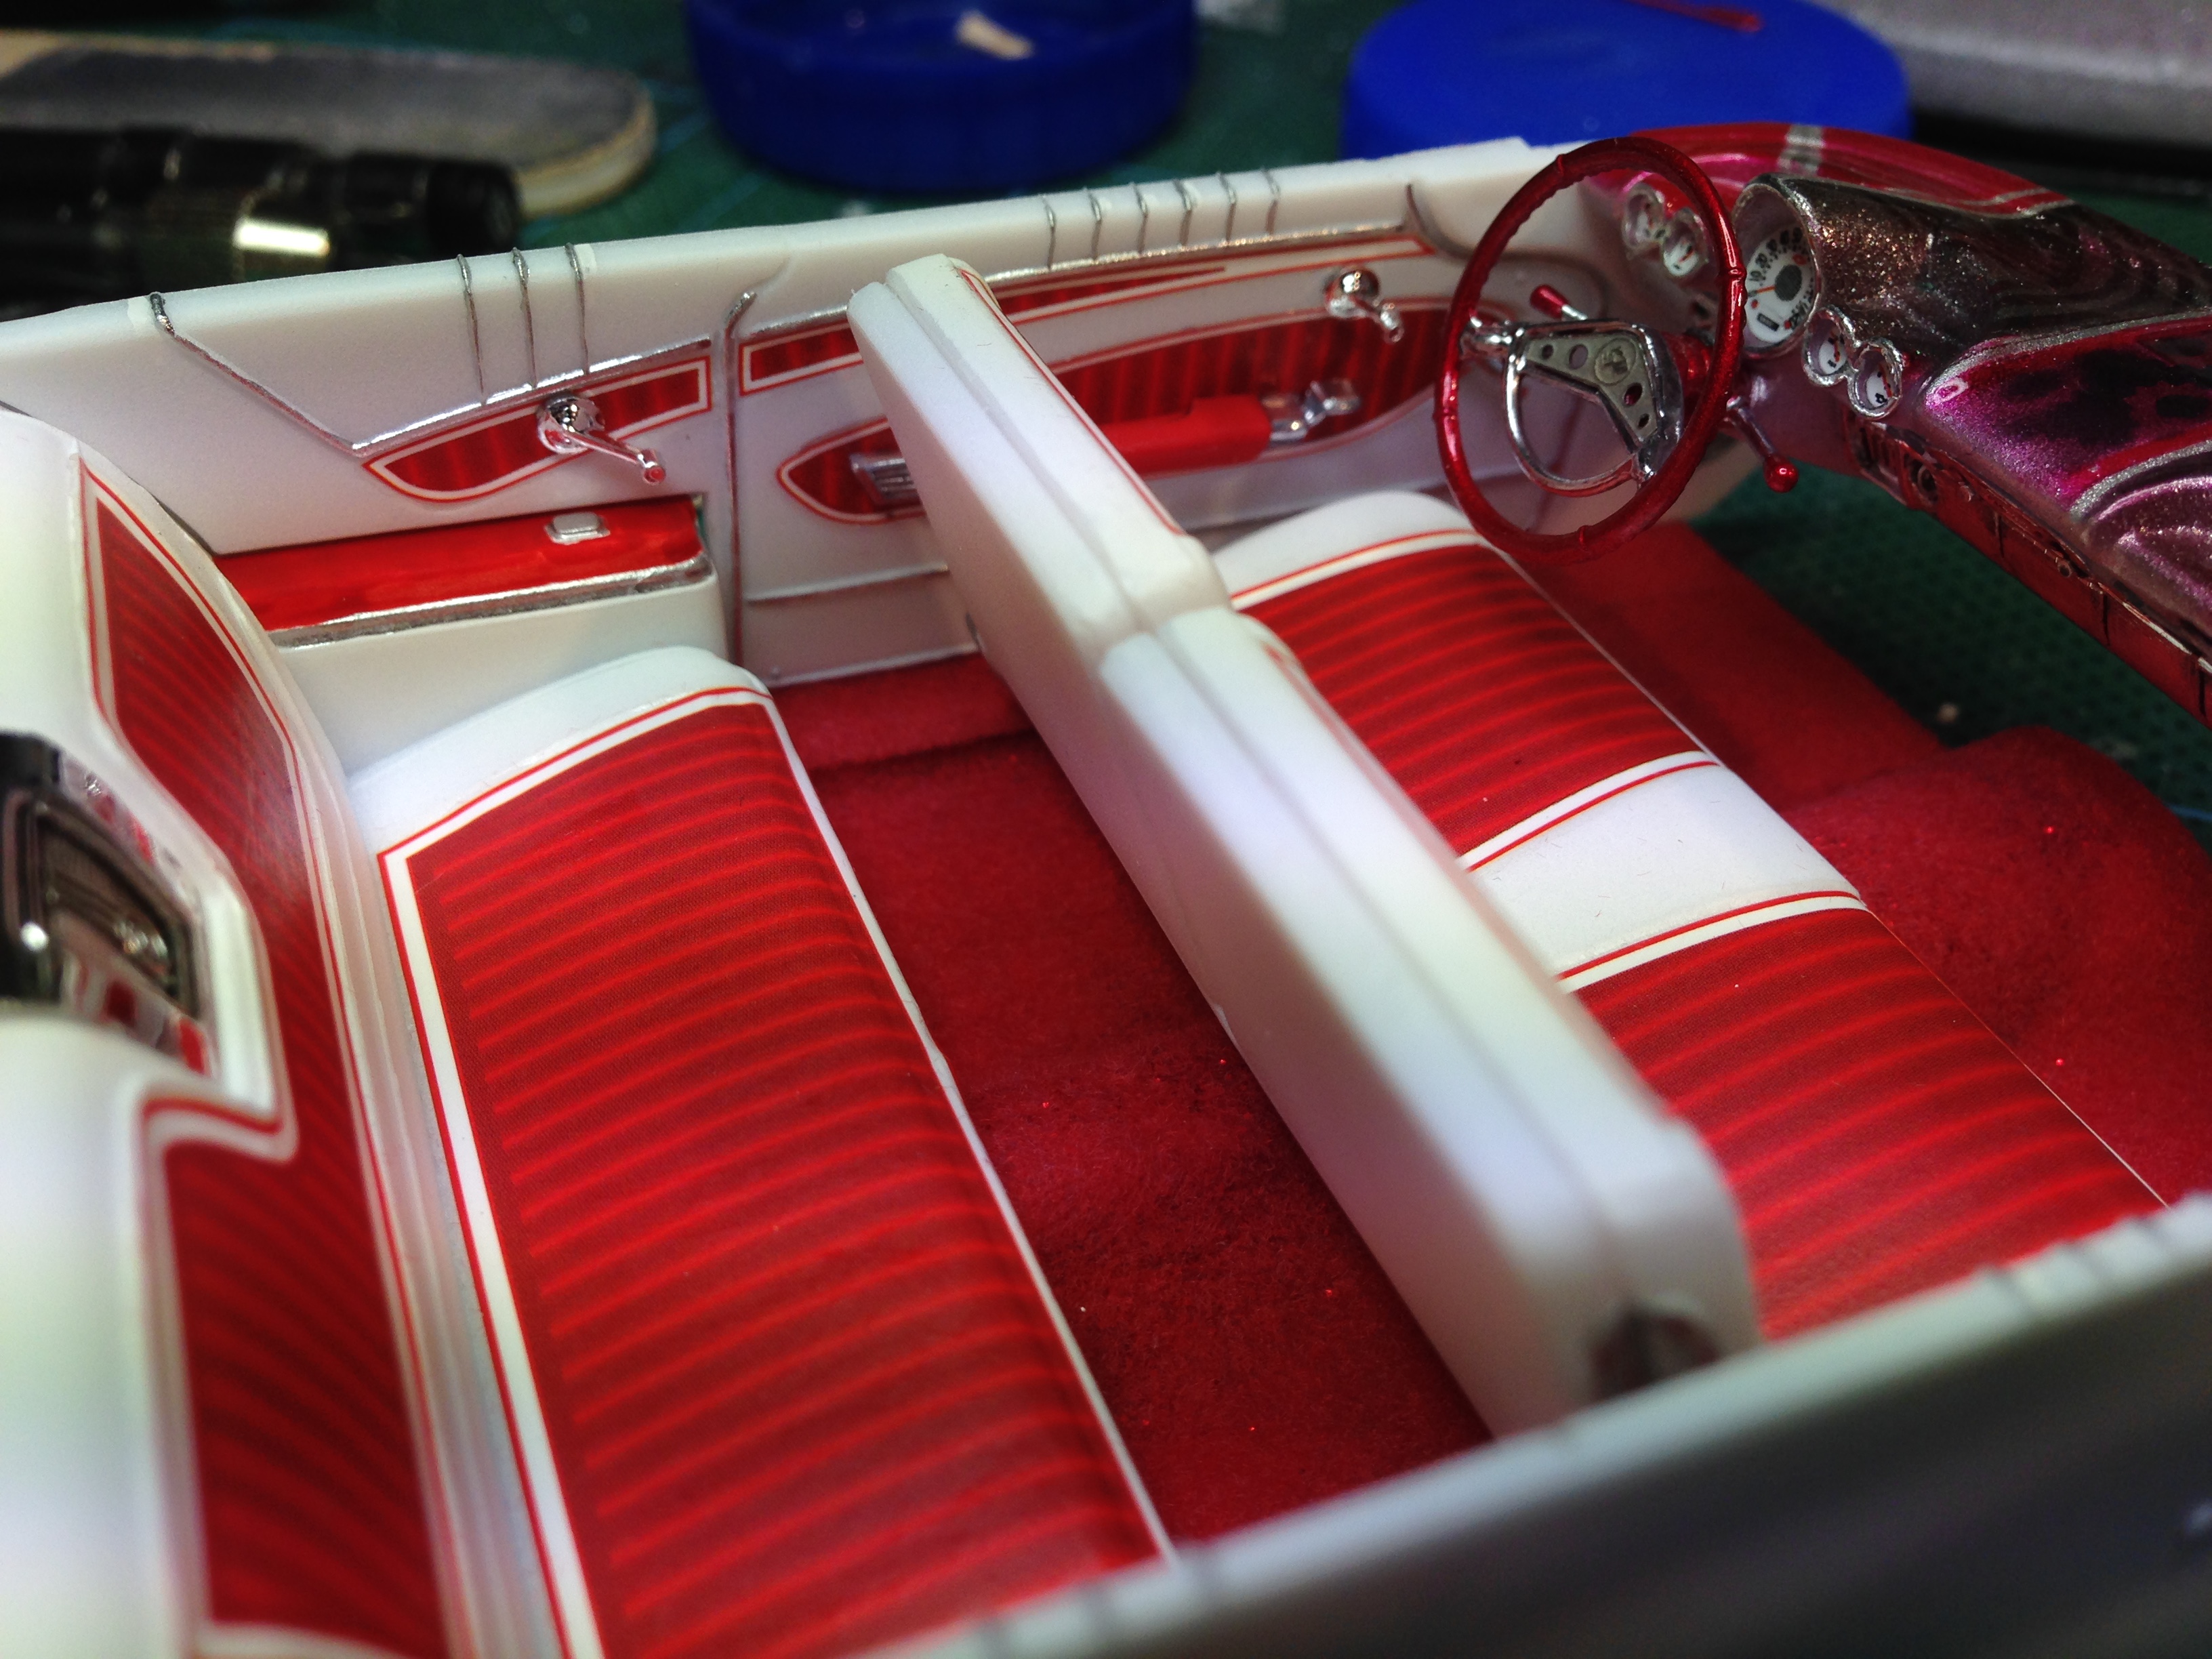
I'm doing the dreaded BMF today, but I got the trunk details sorted out. I added hard lines to the pumps and fitted subwoofers and a red glitter carpet.
-
Sorry but I don't know the brand. Nothing printed on the cardboard ring to give me a clue. I've had it for literally decades! But it's still very sticky. I also use this tape to mount small parts on wooden lolly sticks to paint them.
-
Finished the interior. Separate window cranks are a nice touch in this kit ? Flocked carpet applied with double sided tape. Works better than pva white glue.