Sandboarder
-
Posts
400 -
Joined
-
Last visited
Content Type
Profiles
Forums
Events
Gallery
Everything posted by Sandboarder
-
Best way to apply a black wash?
Sandboarder replied to Brandon Miller's topic in Tips, Tricks, and Tutorials
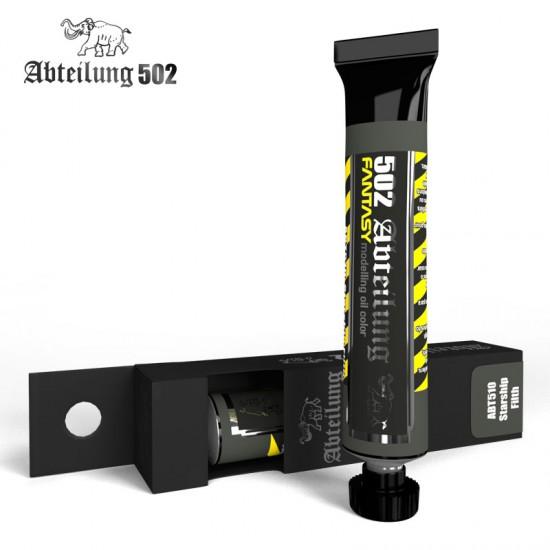
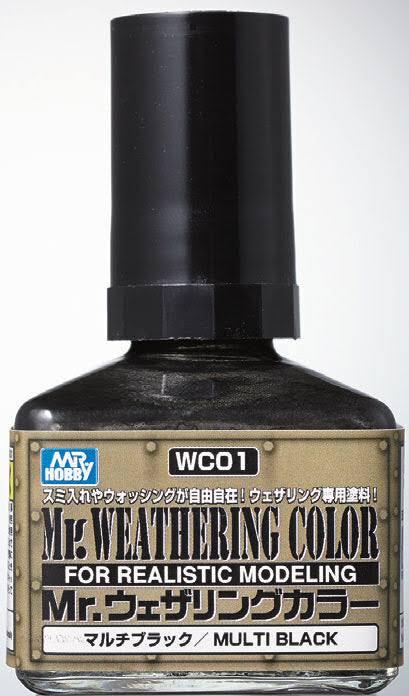
As Tamiya panel line evaporates it pulls the black pigments into the recesses, I guess it’s an property design for panel lines. I would suggest use thinned oil paint and clean up with enamel thinner. You could use something like 502’s starship filth for a aged appearance or Mr Weatherings washes. you can use craft oil paints and acrylic paints are also suitable. The oil does take a long time to dry fully
-
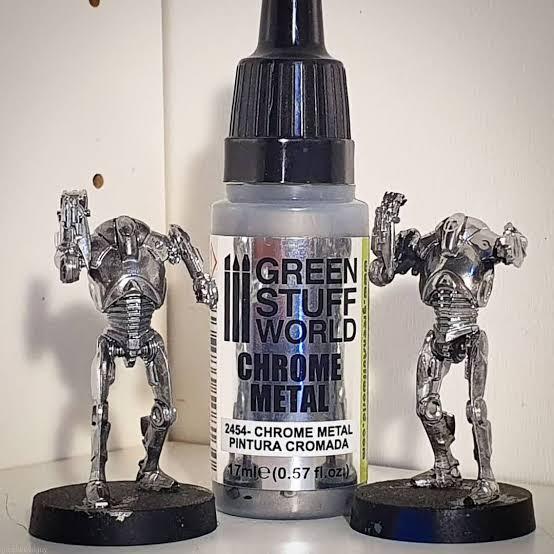
Finger nail powder chrome works great
Sandboarder replied to my66s55's topic in Tips, Tricks, and Tutorials
Look like the same powder/techniques to me just used a different base/adhesion method and optional clear coat as Barbatos Rex will tests every type of chrome with a clear coat to see the results. Part of his testing to show real world results. Maybe you could copy and paste some links to make it easier for people to see your references. -
Finger nail powder chrome works great
Sandboarder replied to my66s55's topic in Tips, Tricks, and Tutorials
this skip to about 7 minutes to see how it’s done. -
3M 3000 grit polishing pad
Sandboarder replied to Jon Haigwood's topic in Model Building Questions and Answers
I have used the Infini 2500 grit sponge and it’s great. They do a 4000 as well which is extremely fine and you can only feel the friction between the 2 surfaces as you work it wet. https://www.bnamodelworld.com/sanding-polishing-hobby-tools-supplies-infini-model-inf-isp0000g -
What did you see on the road today?
Sandboarder replied to Harry P.'s topic in General Automotive Talk (Trucks and Cars)
Nope only as we drove past it on the highway. -
What Do You Use To Replicate Chrome Trim
Sandboarder replied to 69NovaYenko's topic in Model Building Questions and Answers
@NOBLNG and @StevenGuthmiller I am a BMF fan as well but the original post wants alternatives to BMF. I don’t think we can convince them to stick with it. So let put out some alternatives and let OP make up his own mind. After a few messy slip ups or masking jobs maybe they’ll give the BMF another try. -
What Do You Use To Replicate Chrome Trim
Sandboarder replied to 69NovaYenko's topic in Model Building Questions and Answers
-
I saw this months ago and believe the story is their kid wanted it and placed a $7 bid. Good old Dad bumps it up to $200 and wins. Father and son project to do the engine, gearbox and diff. A mate pulls some dents out and have fun with the car. There’s a YouTube series on the build if anyone’s interested. Also show the son’s new project a 1959 Ford
-
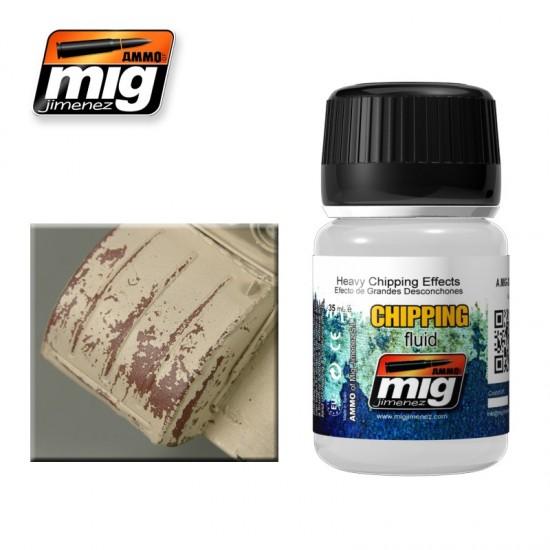
Achieving paint scaling
Sandboarder replied to landman's topic in Model Building Questions and Answers
Salt and a toothpick works with lacquer paints Chip away the salt with a toothpick, soak the body in warm water to dissolve an remaining exposed salt. I added some bright rust afterwards. -
Achieving paint scaling
Sandboarder replied to landman's topic in Model Building Questions and Answers
Paint silver, chipping medium, paint black and then chip. There are many ways to achieve that effect. Use can you water and salt, you can hand paint the chips. It all depends on what you want to do.
-
What did you see on the road today?
Sandboarder replied to Harry P.'s topic in General Automotive Talk (Trucks and Cars)
A very rare sight in Australia -
Tamiya extra thin cement
Sandboarder replied to slusher's topic in Model Building Questions and Answers
Sounds like your using it wrong. Place the 2 parts together leaving a small gap (just enough to put a piece of paper in the gap) use brush to apply glue, observe glue wicking of the brush. The glue relies on capillary action to pull itself into the gap. Then press the parts together, closing the gap and gluing them together. -
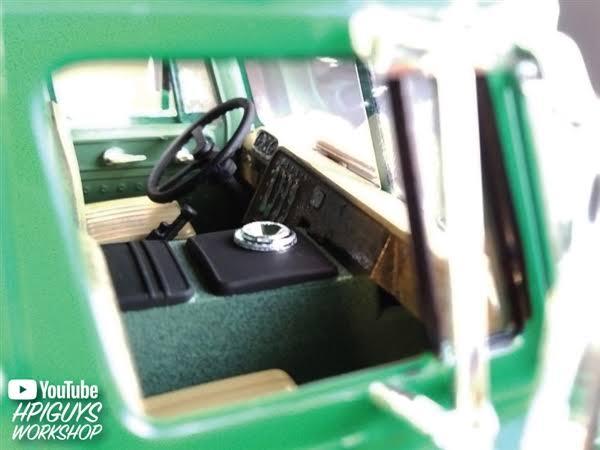
What’s This Part?
Sandboarder replied to Saltie Olds's topic in Model Building Questions and Answers
Looks like an ash tray to me but I am unfamiliar with trucks
-
What’s This Part?
Sandboarder replied to Saltie Olds's topic in Model Building Questions and Answers
You are going to have to provide more information about the kit. Google brings up this?
-
Parts always come off the tree. I paint in groups such as engine, interior, arm, leg etc. Parts that will be the same colour can be glue such as engine 1/2s and test fit the heads, manifolds etc before paint. Also I use a lot of clippy sticks.
-
You can kiss testors goodbye!
Sandboarder replied to Dpate's topic in Model Building Questions and Answers
I have to agree. I mean my Father and I build this kit when I was 10 years old with nothing more then a vegetable knife and glue. I still have the build somewhere. I bought the Ed Roth edition to build my own way. I got up the painting the body before I ran out of good weather and just haven’t had time to revisit the build. With a bit of test fitting the kit was building up great. -
You can kiss testors goodbye!
Sandboarder replied to Dpate's topic in Model Building Questions and Answers
If I may just so we can move on. Some builder can make an amazing build with nothing more then a sheet of styrene like @StevenGuthmiller while Japanese brands don’t cater for his older American car taste. While others prefer a kit thats 80% there out of the box so they can practice and hon their skill in sanding, prep, paint, etc etc. My point is everyone has their own requirements, taste and skill level. We can’t compare Johan to Aoshima because they are different subjects from different parts of the world which cater to different skill levels. Let’s just build what we find fun. Understanding that for some fun is the challenge while others fun is the creative process while a kit falls together OOB Peace -
Just Wow!!! The shift from black to orange to red is extremely impressive
- 770 replies
-
- 1
-

-
- stalled builds
- quick builds
- (and 2 more)
-
Brian’s 1995 Mitsubishi Eclipse from (The Fast and the Furious)
Sandboarder replied to adamelvis's topic in WIP: Model Cars
I think the thinners in the Zero paint ate into the plastic. Try trying on your spare body the Zero primer and paint first. doing an excellent job on the build as well. You’ve captured some great details!!- 82 replies
-
- 1
-
-
- brians eclipse
- 1995 eclipse
- (and 2 more)
-
It’s funny how I just read this thread. Opened up YouTube and saw this video. I think I’m being watched.
-
You can kiss testors goodbye!
Sandboarder replied to Dpate's topic in Model Building Questions and Answers
I’ve probably got 40+ lacquer cans that have been stored long term. Never had one fail. I’ve only ever owned 5 cans of enamel and 2 have failed. My Lacquer cans are older then the Enamel’s I’ve purchased and they have been stored exactly the same way so I think @peteski is right the the quality control and can manufacturing idea. -
You can kiss testors goodbye!
Sandboarder replied to Dpate's topic in Model Building Questions and Answers
I it’s just the global economy at the moment. Here fuel and full produce price have doubled in the last month. Everything moving my rod transportation has seen an increase to cover their fuel cost. A good time to ditch the rattle cans for an airbrush. That’ll significantly reduce the price cost. -
You are right about that. Have you seen this one? The guy actually makes a model kit and even dares to clear coat the chrome.
-
Testors factory colors.
Sandboarder replied to Mike C.'s topic in Model Building Questions and Answers
Thanks Bill I completely agree with your tips but my problem is bench time (less then 1 hour week atm) and just doing a larger projects then my previous Gundams, which is what I bought the airbrush for. -
Testors factory colors.
Sandboarder replied to Mike C.'s topic in Model Building Questions and Answers
I completely agree. Owning an airbrush opens up a lot of new possibilities. Not just with paints options but techniques like pre-shading. I also used rattle can for over 15 years before taking the plunge and purchased an airbrush setup and I am yet to paint a car body with the airbrush.