Plowboy
-
Posts
3,434 -
Joined
-
Last visited
Content Type
Profiles
Forums
Events
Gallery
Everything posted by Plowboy
-
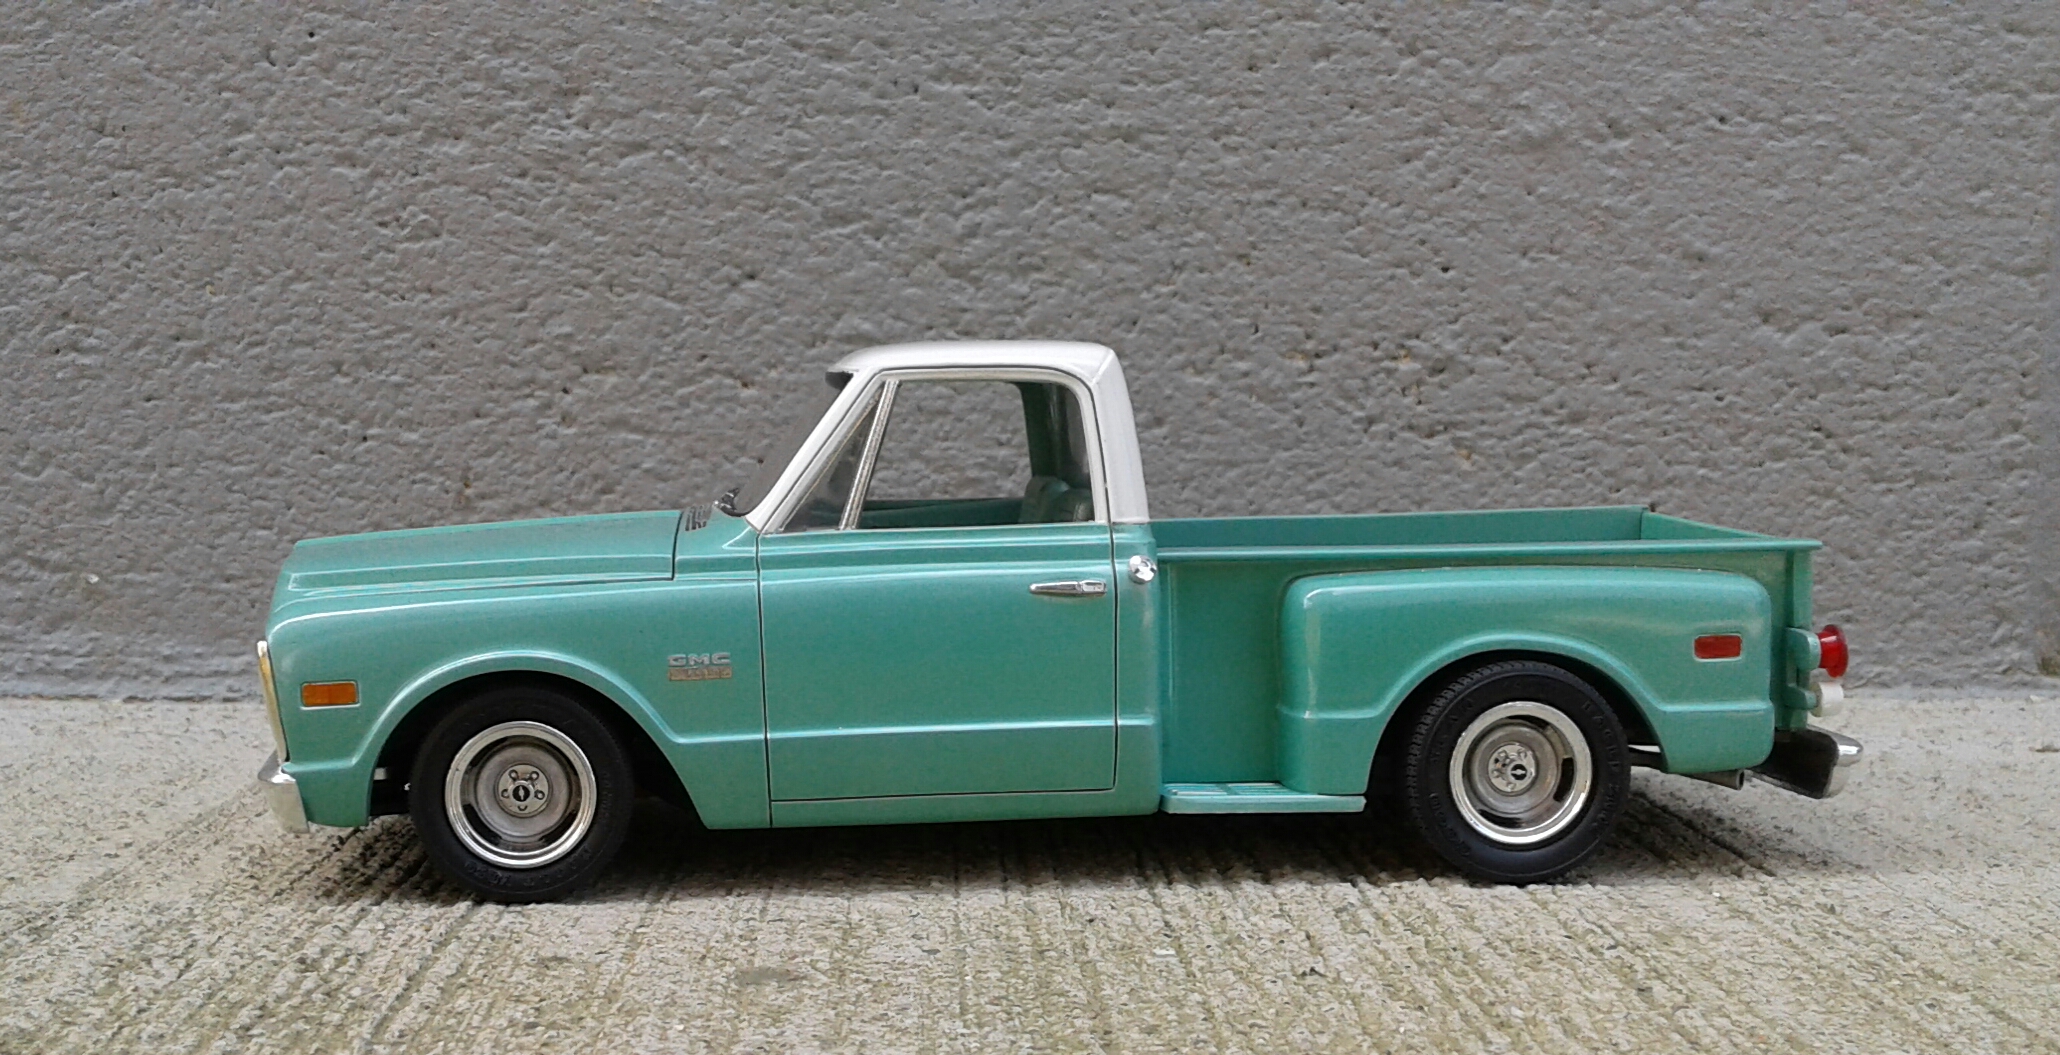
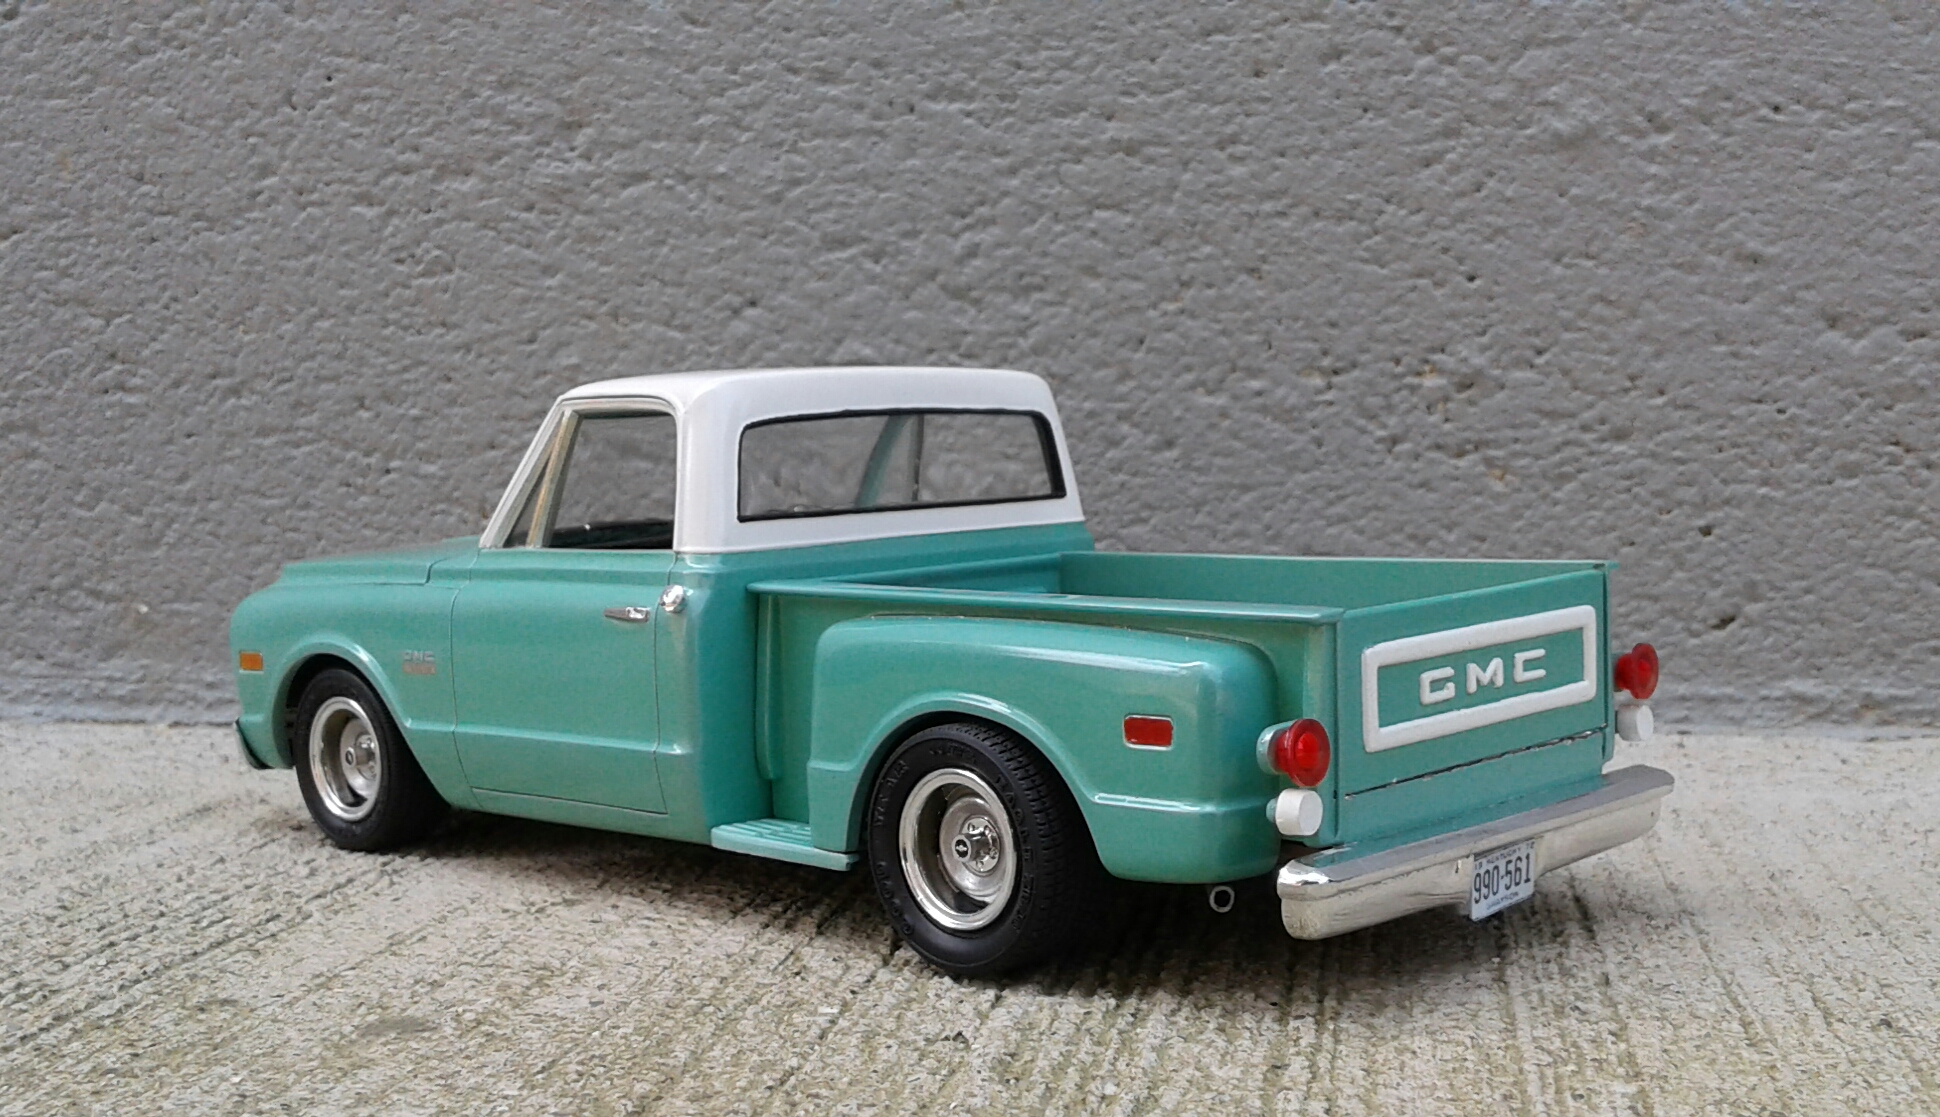
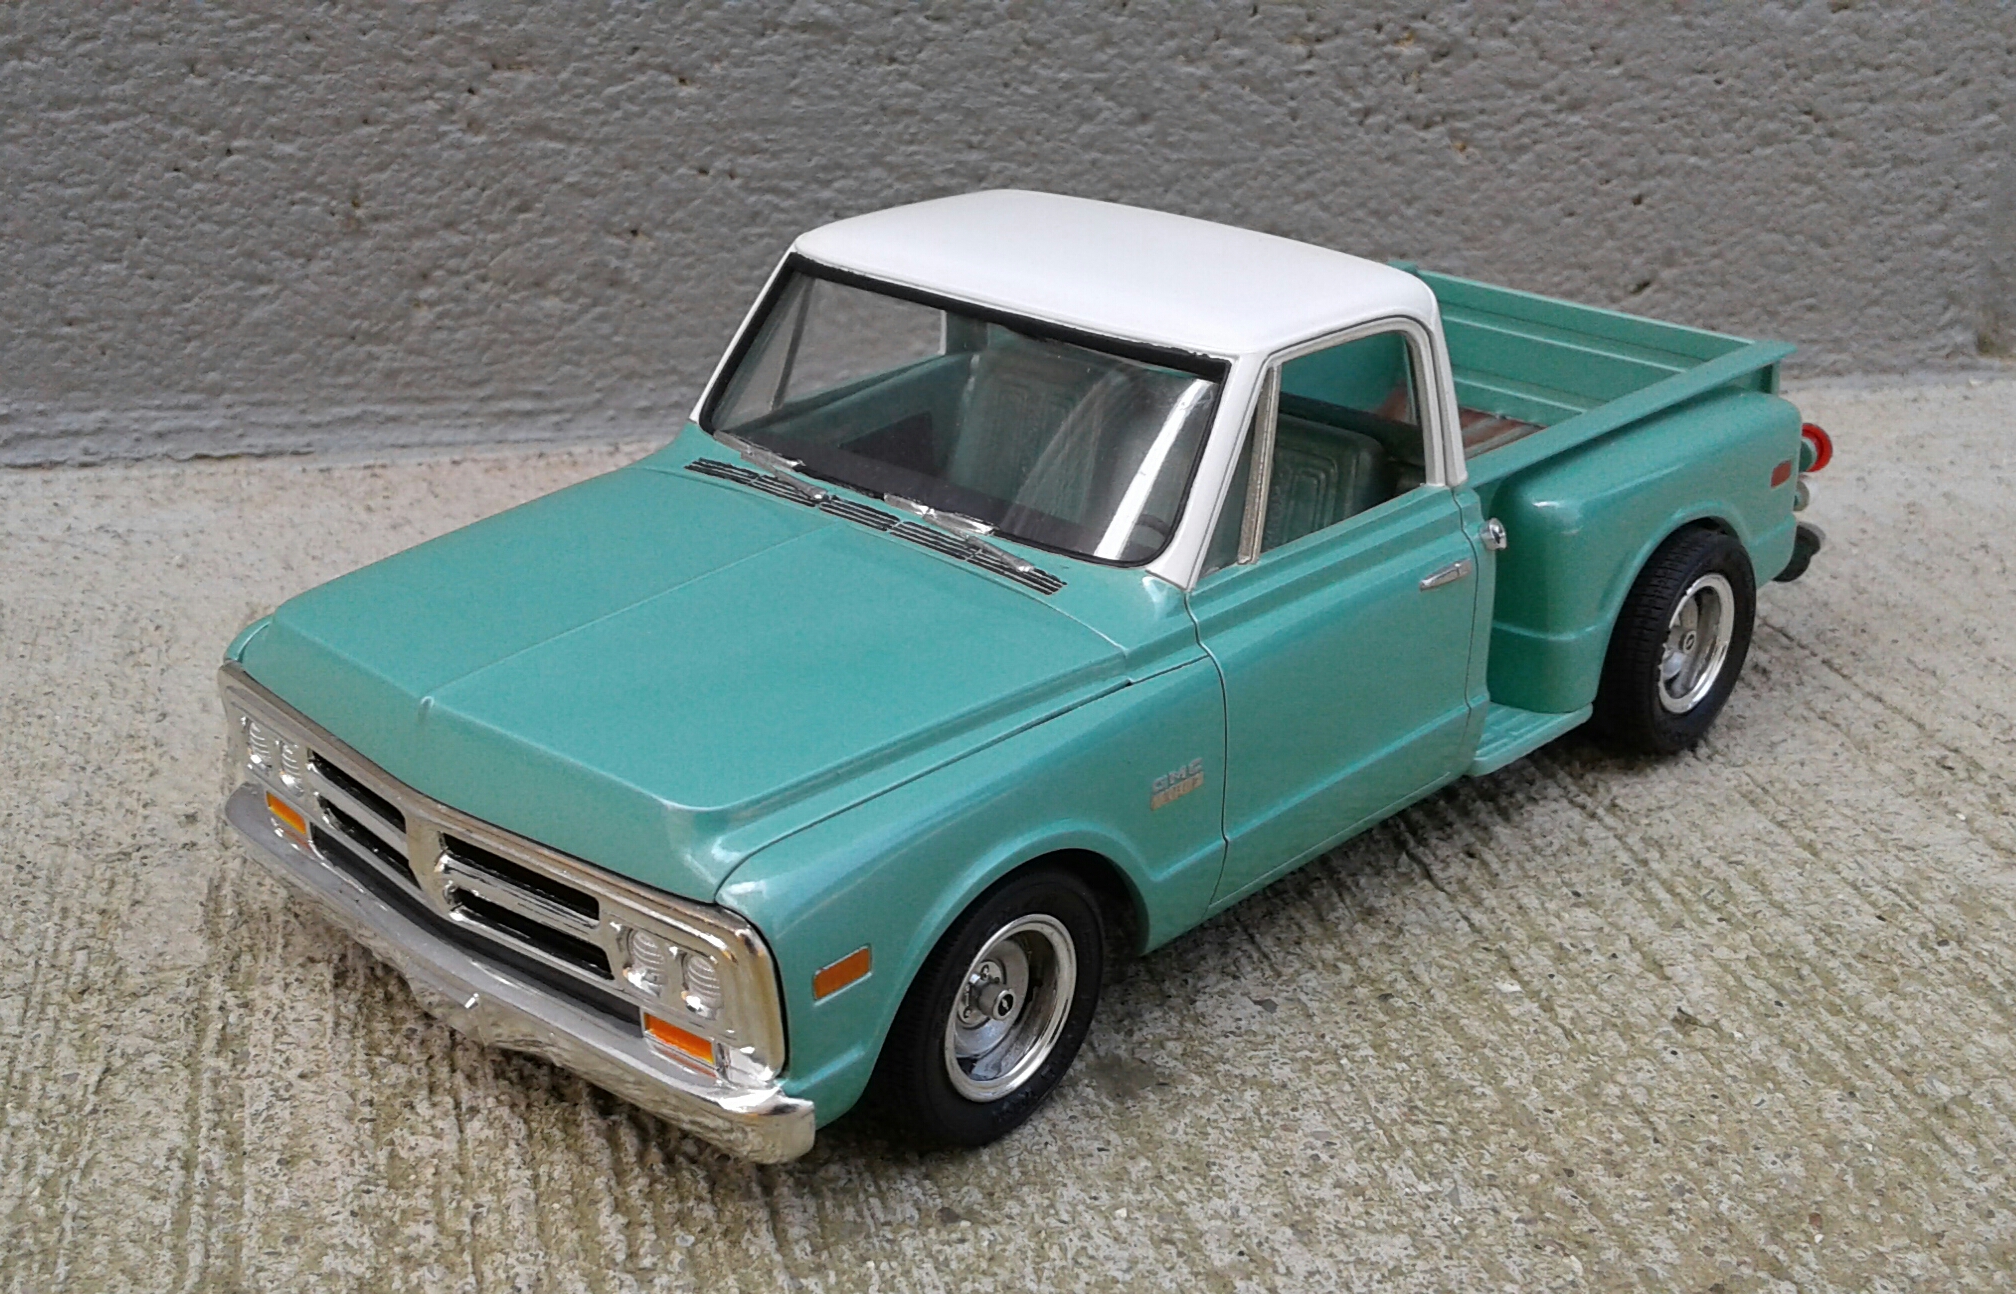
'72 GMC Stepside
Plowboy replied to Plowboy's topic in Model Trucks: Pickups, Vans, SUVs, Light Commercial
Thanx guys, I appreciate the comments! I have another one that I plan on building as a long stepside using the pieces from an MPC '72 Chevy. -
The chassis from the Revell '41 Willys pro street may be an option. I always wanted to stick one under a '40 Ford coupe. It may need the wheelbase modified for the pickup.
-
Thanx! Those are decals. So, anyone can do it.
-
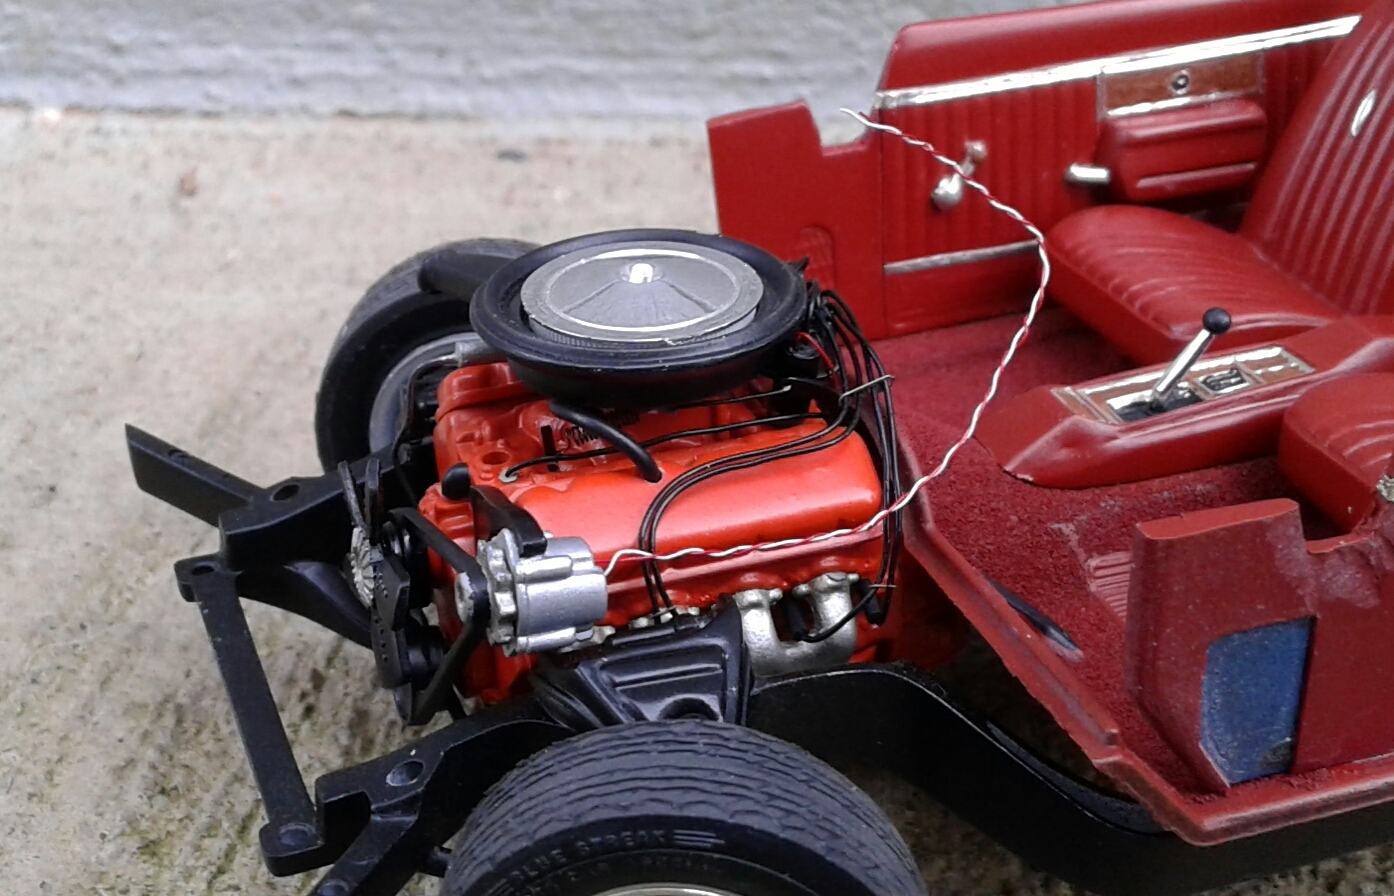
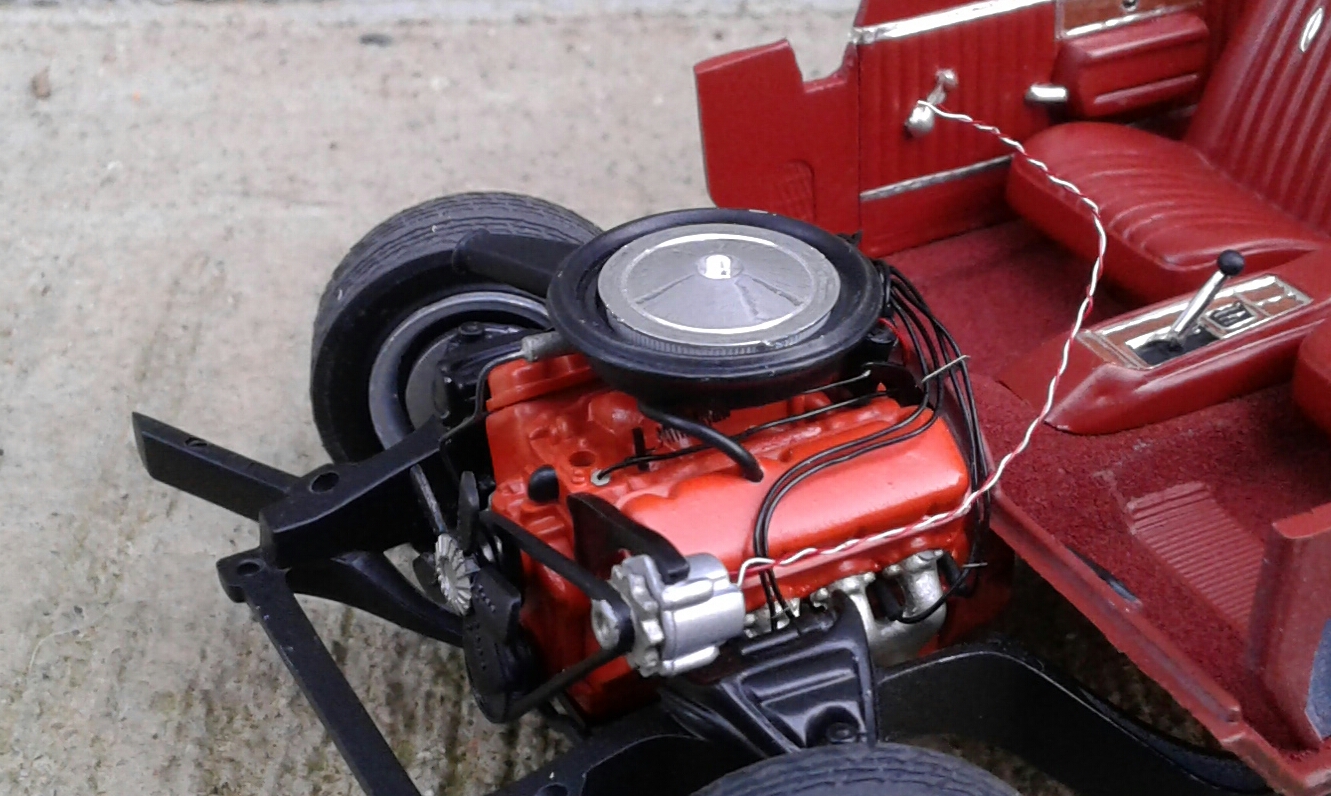
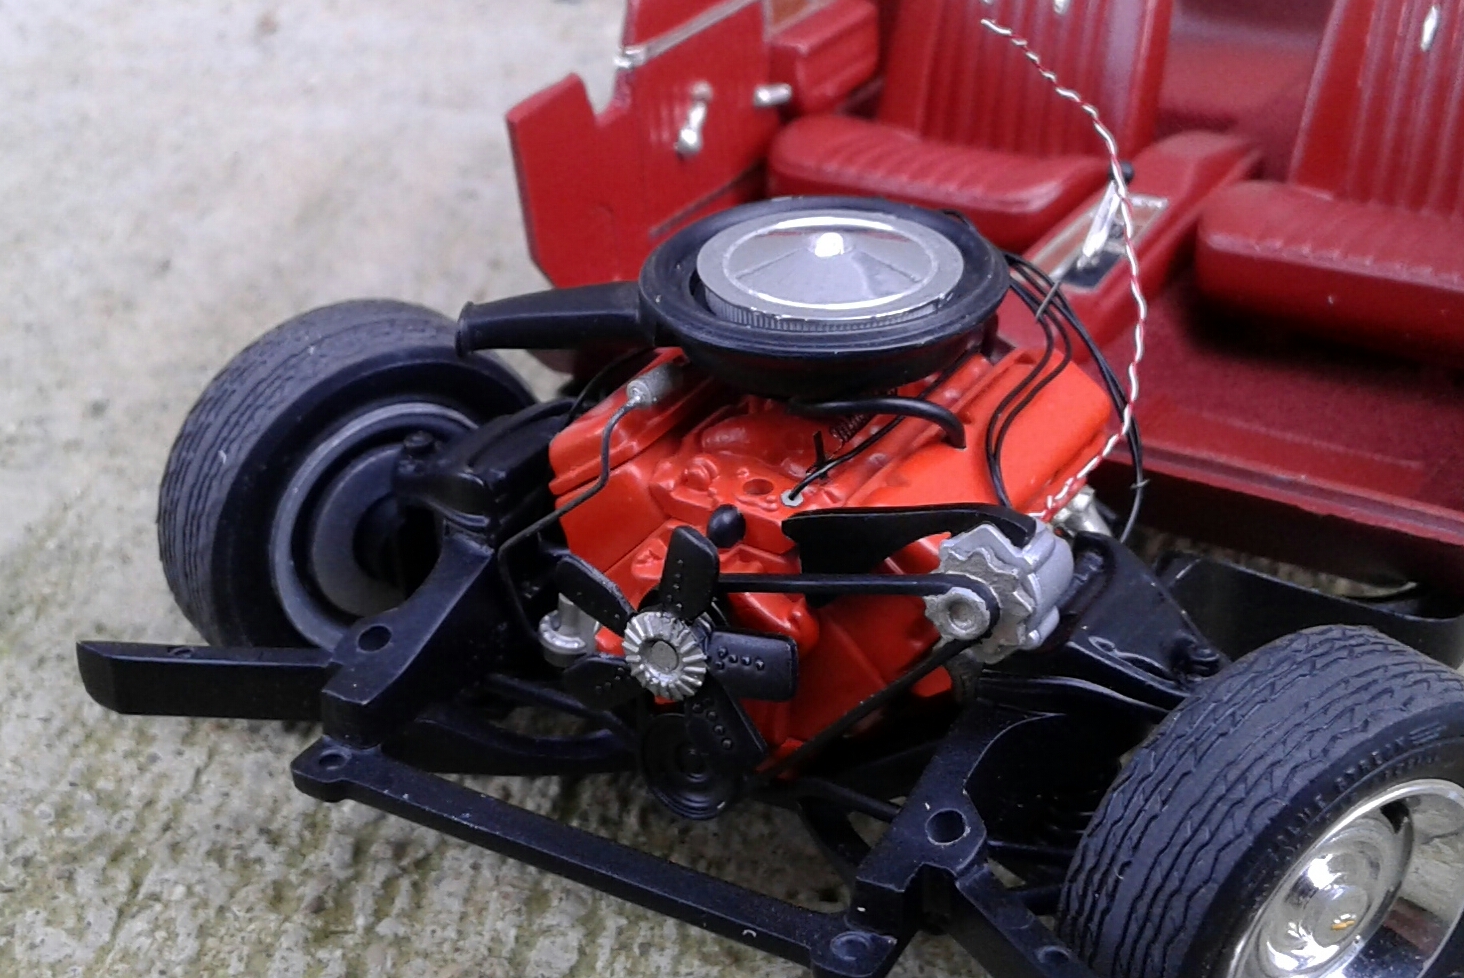
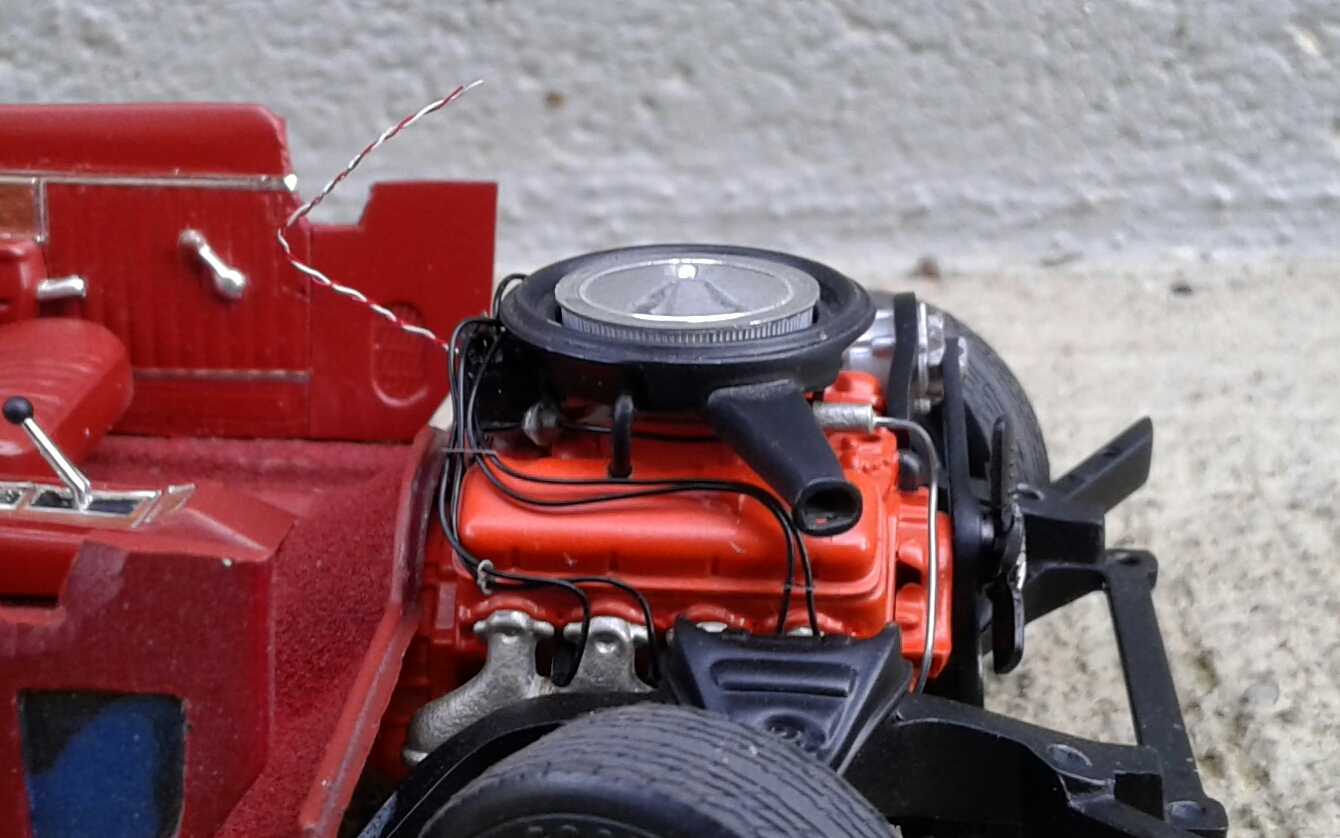
You could also stick a big block Chevy in it. This is the engine from the Foose Caddy. I used to be very anti Chevy in a Ford. But, sometimes it's the easier option.
-
I now have the engine detailed and ready to install. It just needs a little cleaning and a 427/425hp decal for the breather. Like the dash and rear seat, it'll have to be done once the body is on. One issue I had was that I cut the lump representing the fuel pump off and replaced it with one from a Revell '69 Camaro. Somehow, just doing that caused a fit issue and I had to grind away a spot on the frame. I was planning on adding a fuel line from the tank to the fuel pump and a brake line from the the rear end. But, now I may not as it's impossible to get a fuel line to the pump without more grinding to the frame. I would have to make a very noticeable notch that wouldn't look right. I may be able to fake it. Just have to see once it's all together.

-
These A pillars are surprisingly strong. I was really concerned about cutting the hood loose with the frame being the only thing holding the body together up front. But, I had no issues with it. I'm going to use the Rallies. They're the only wheel that suits it to me.
-
Those definitely look different. But, I'm going to stick with the Rallies.
-
Thanx Carl! I haven't had a lot of bench time lately. But, I keep picking away at it. It'll eventually get done.
-
That's what I'm thinking. Growing up in the '60s-'70s, seat belts were never used and always tucked out of sight. I tucked them away until around ten years ago.
-
Any news of Revell do something this year !
Plowboy replied to Mr mopar's topic in Car Kit News & Reviews
If it is the 1/24 scale Camaro, then it will be the '78. They could make a few changes to make it an '81. But, I doubt that has happened. I doubt they would reissue the old Monogram kit. That thing was horrible. More than likely, it's a reissue of the 1/25 Yenko or COPO. The '66 Chevelle has gotten quite pricey on ebay. I'll definitely snag that one. For whatever reason, I have a soft spot for that old kit. -
Need Help repairing a family heirloom…
Plowboy replied to Dan Hay's topic in Model Building Questions and Answers
That looks a lot like Tamiya AS-15 Tan. Here it is on an interior. -
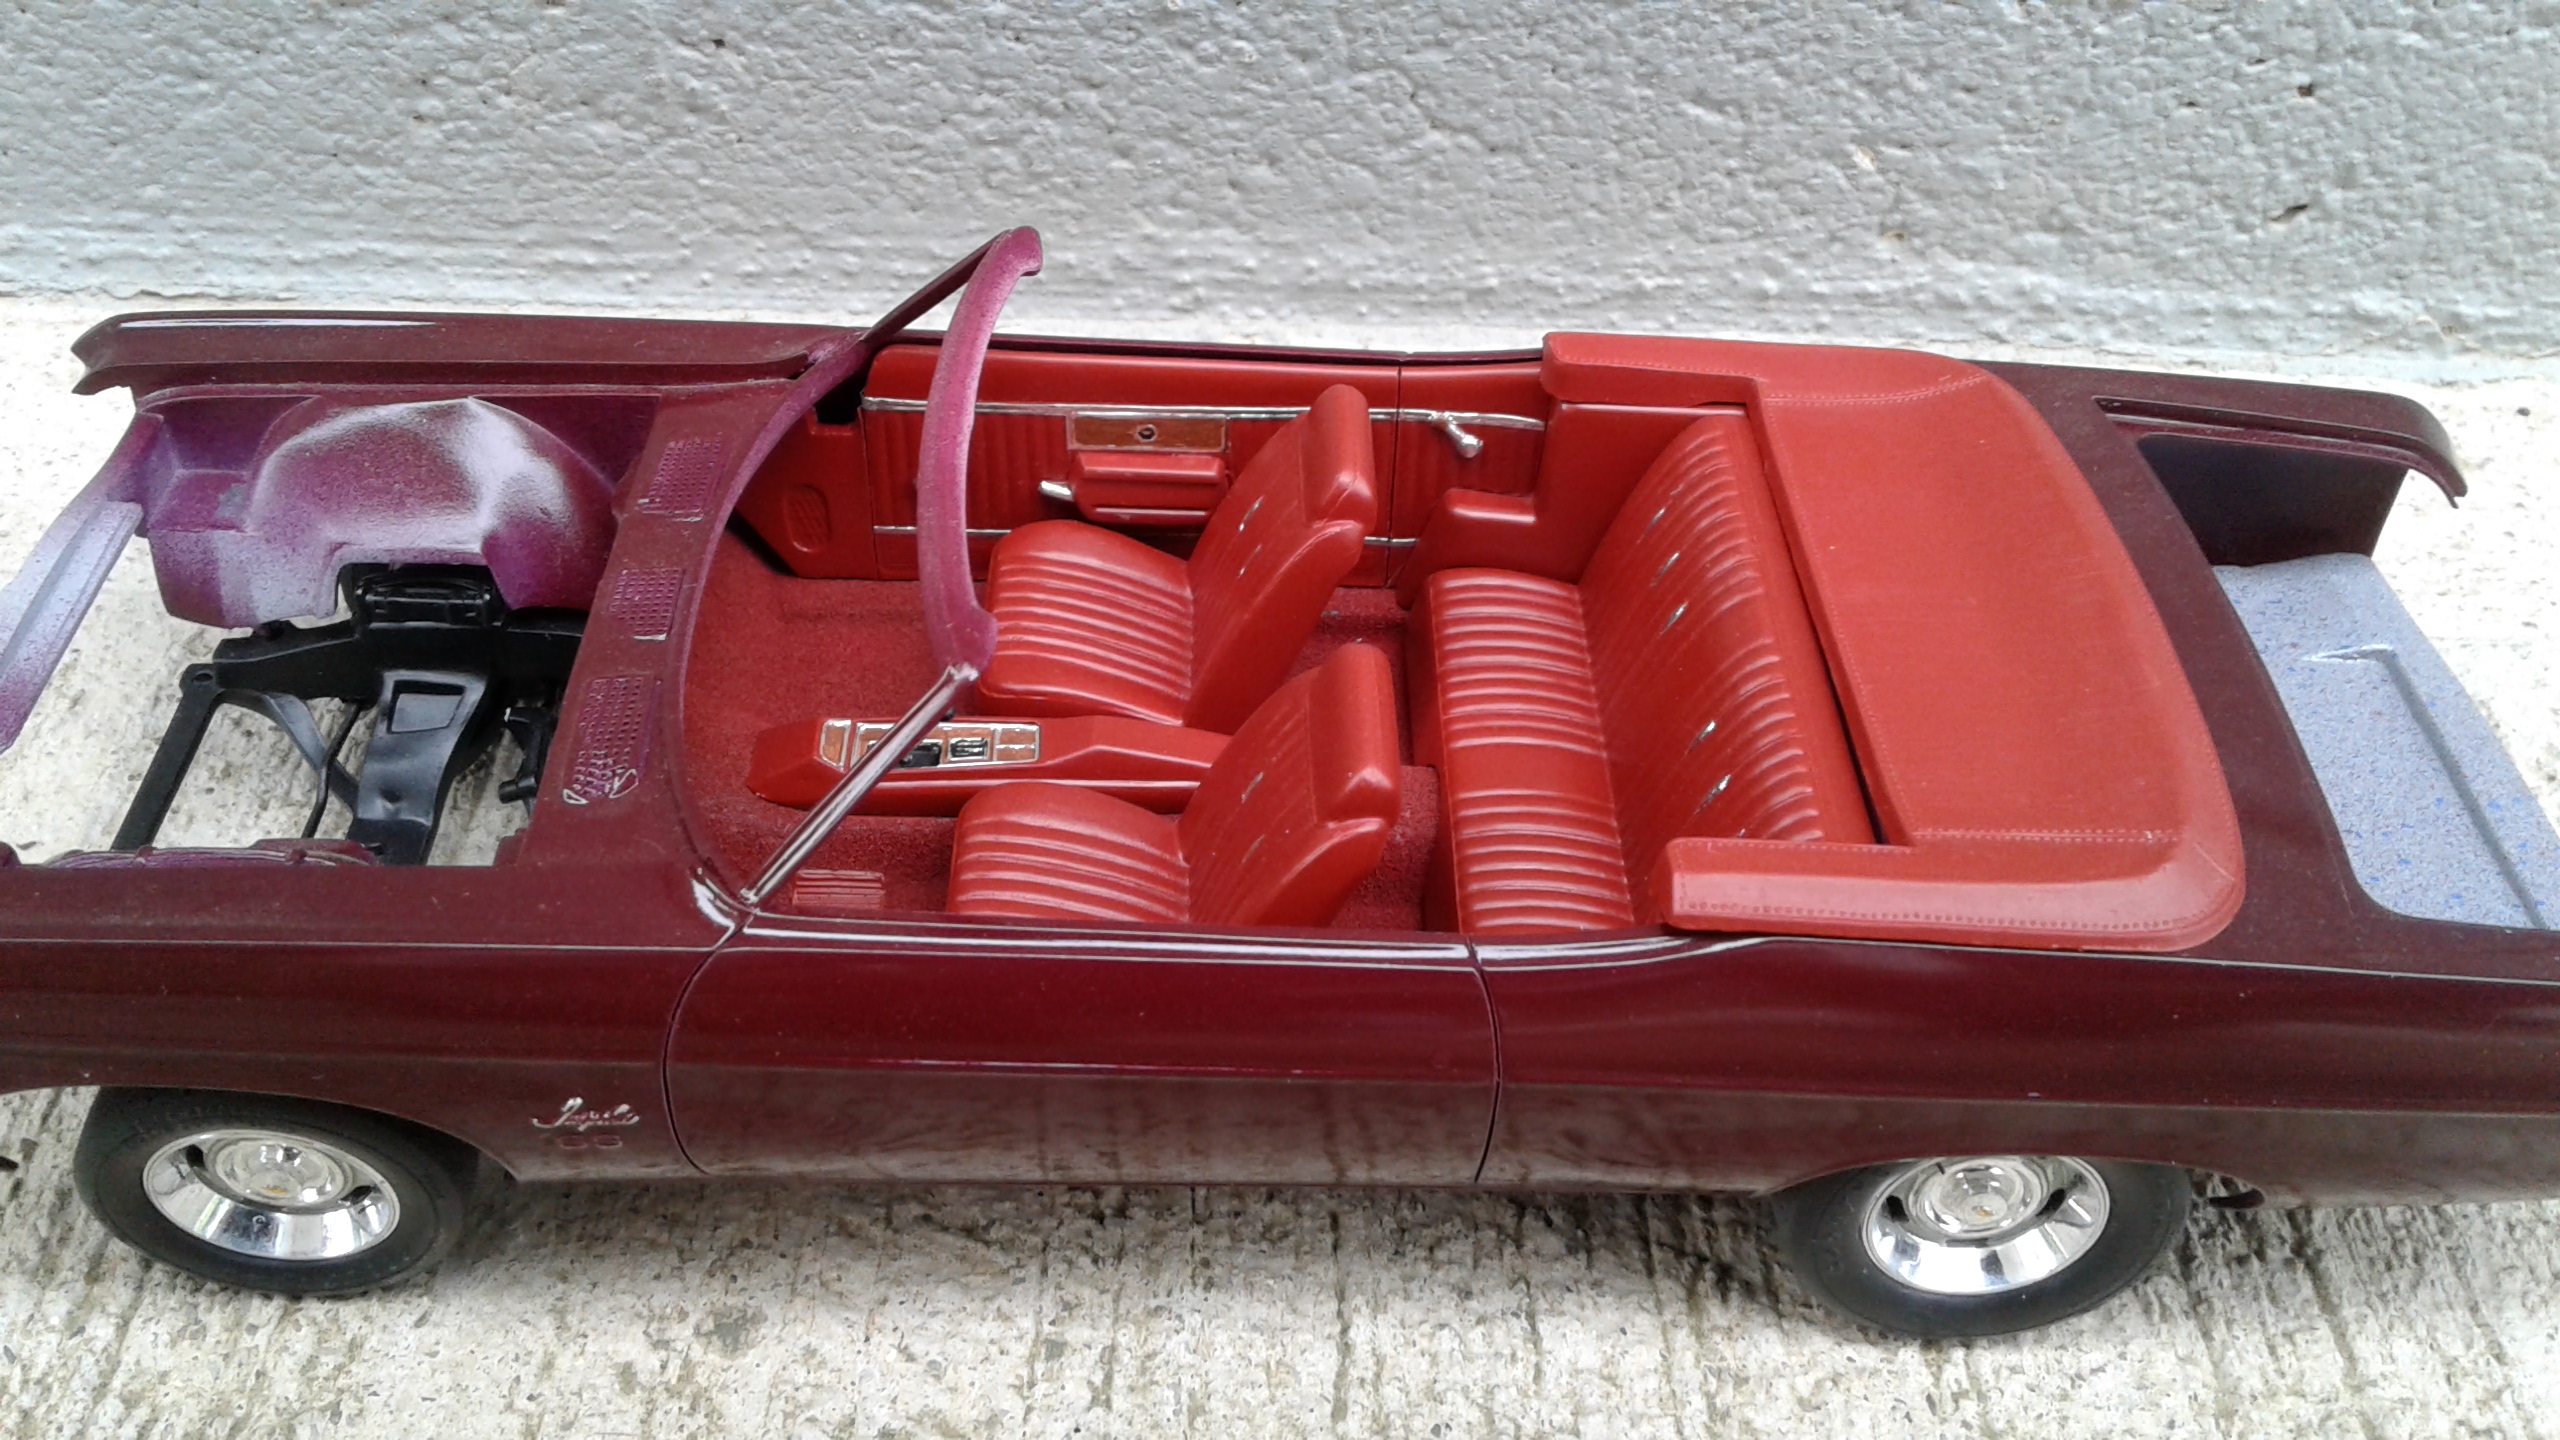
The interior is starting to come together. Right now, all I was able to glue permanent were the door panels, console and bucket seats. The dash and rear seat will have to be glued after the body is mounted permanent. Haven't decided on seat belts yet. They were most often tucked away. If I do add them, they won't be very visible.
-
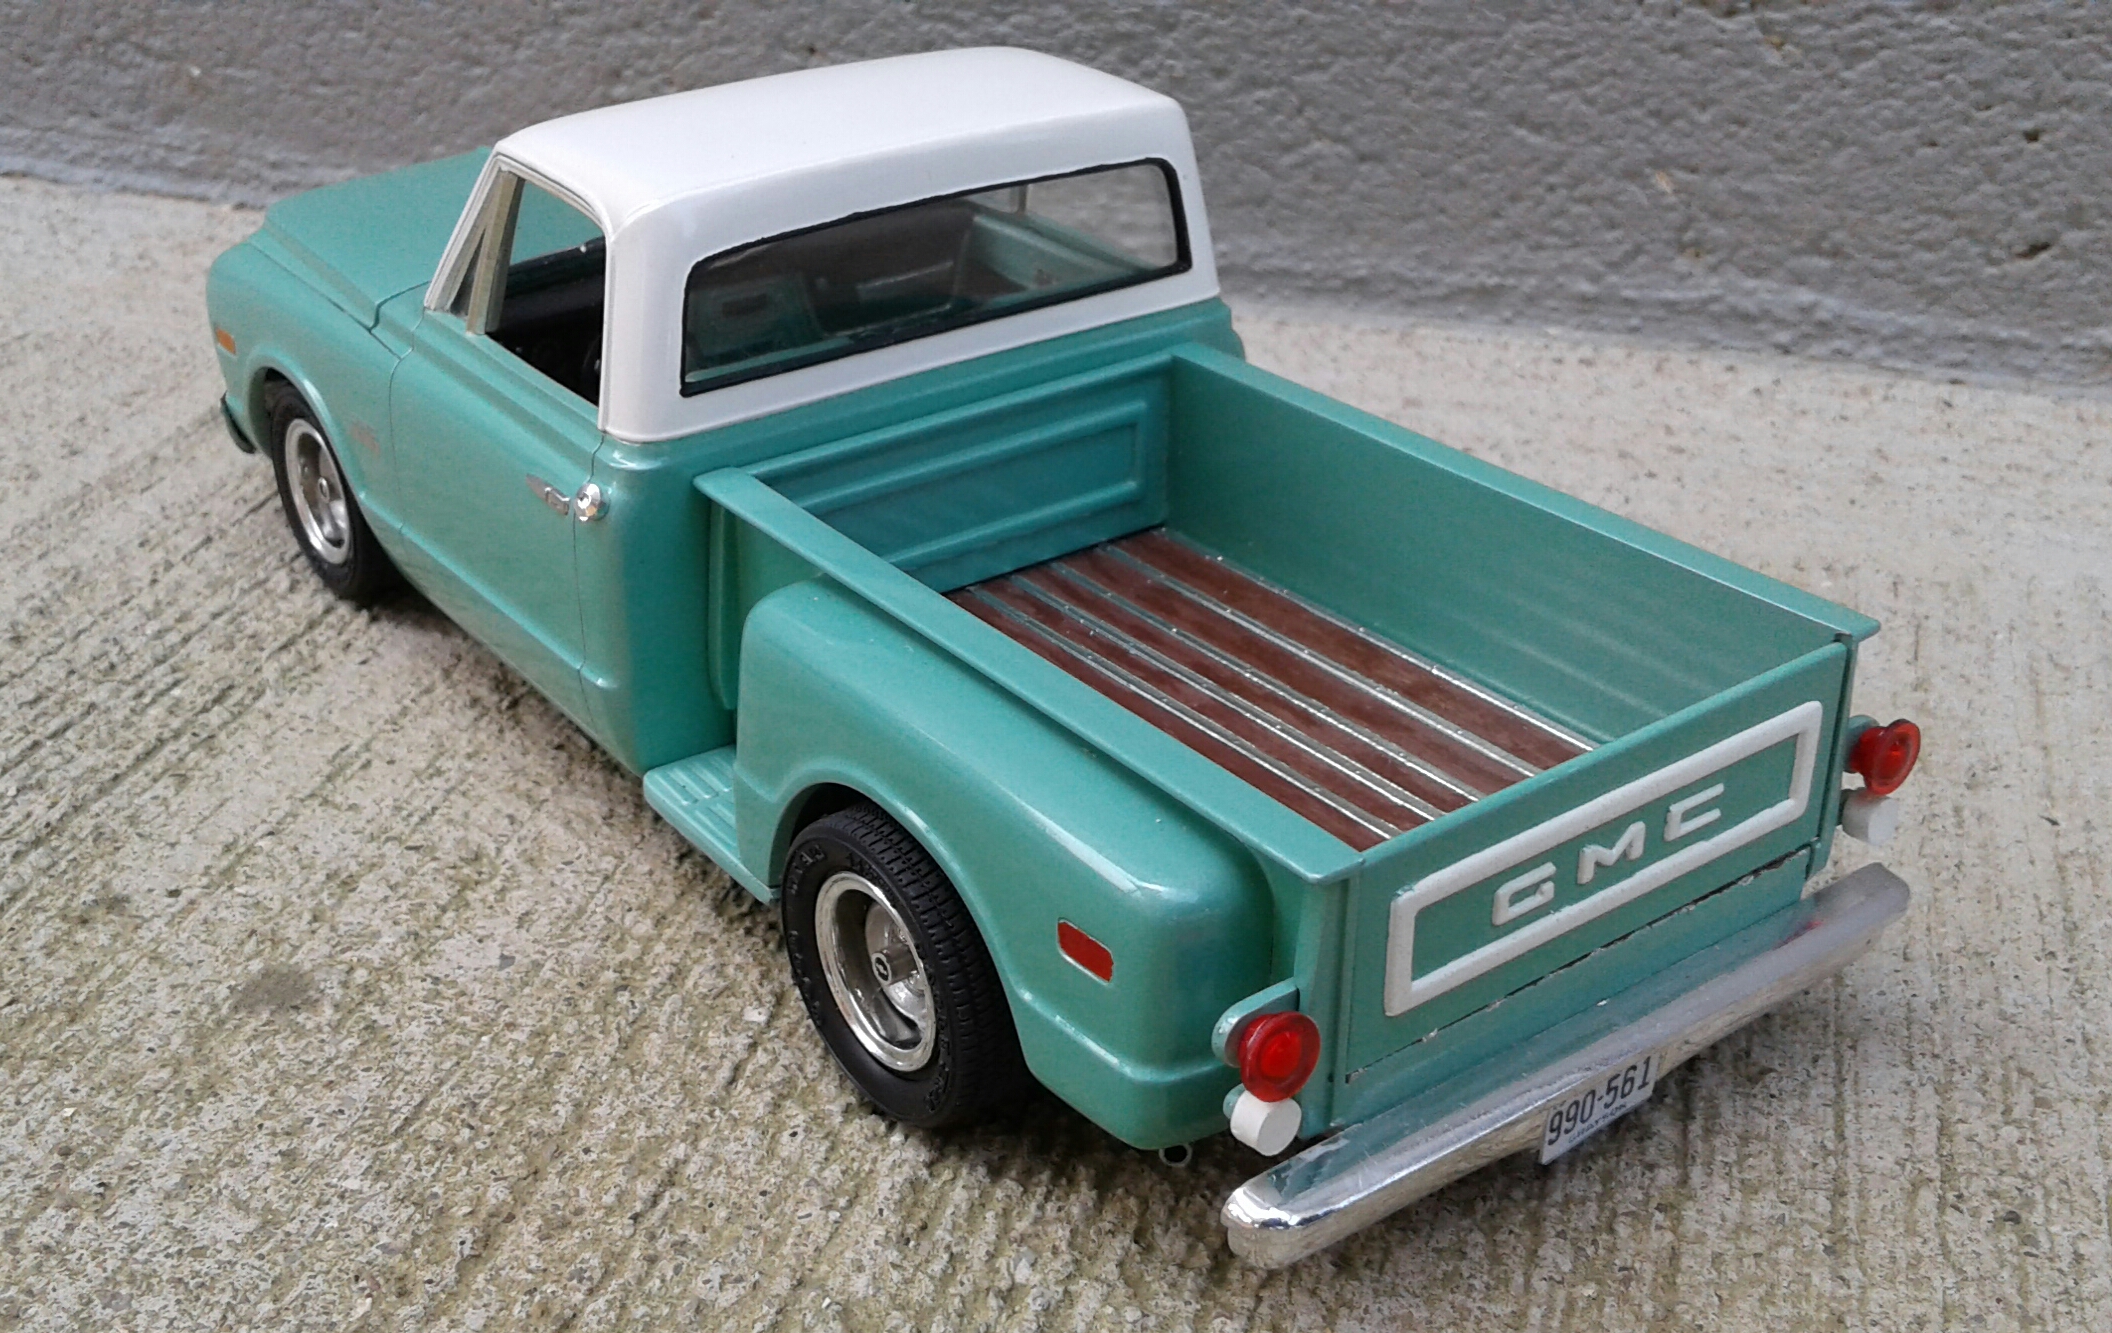
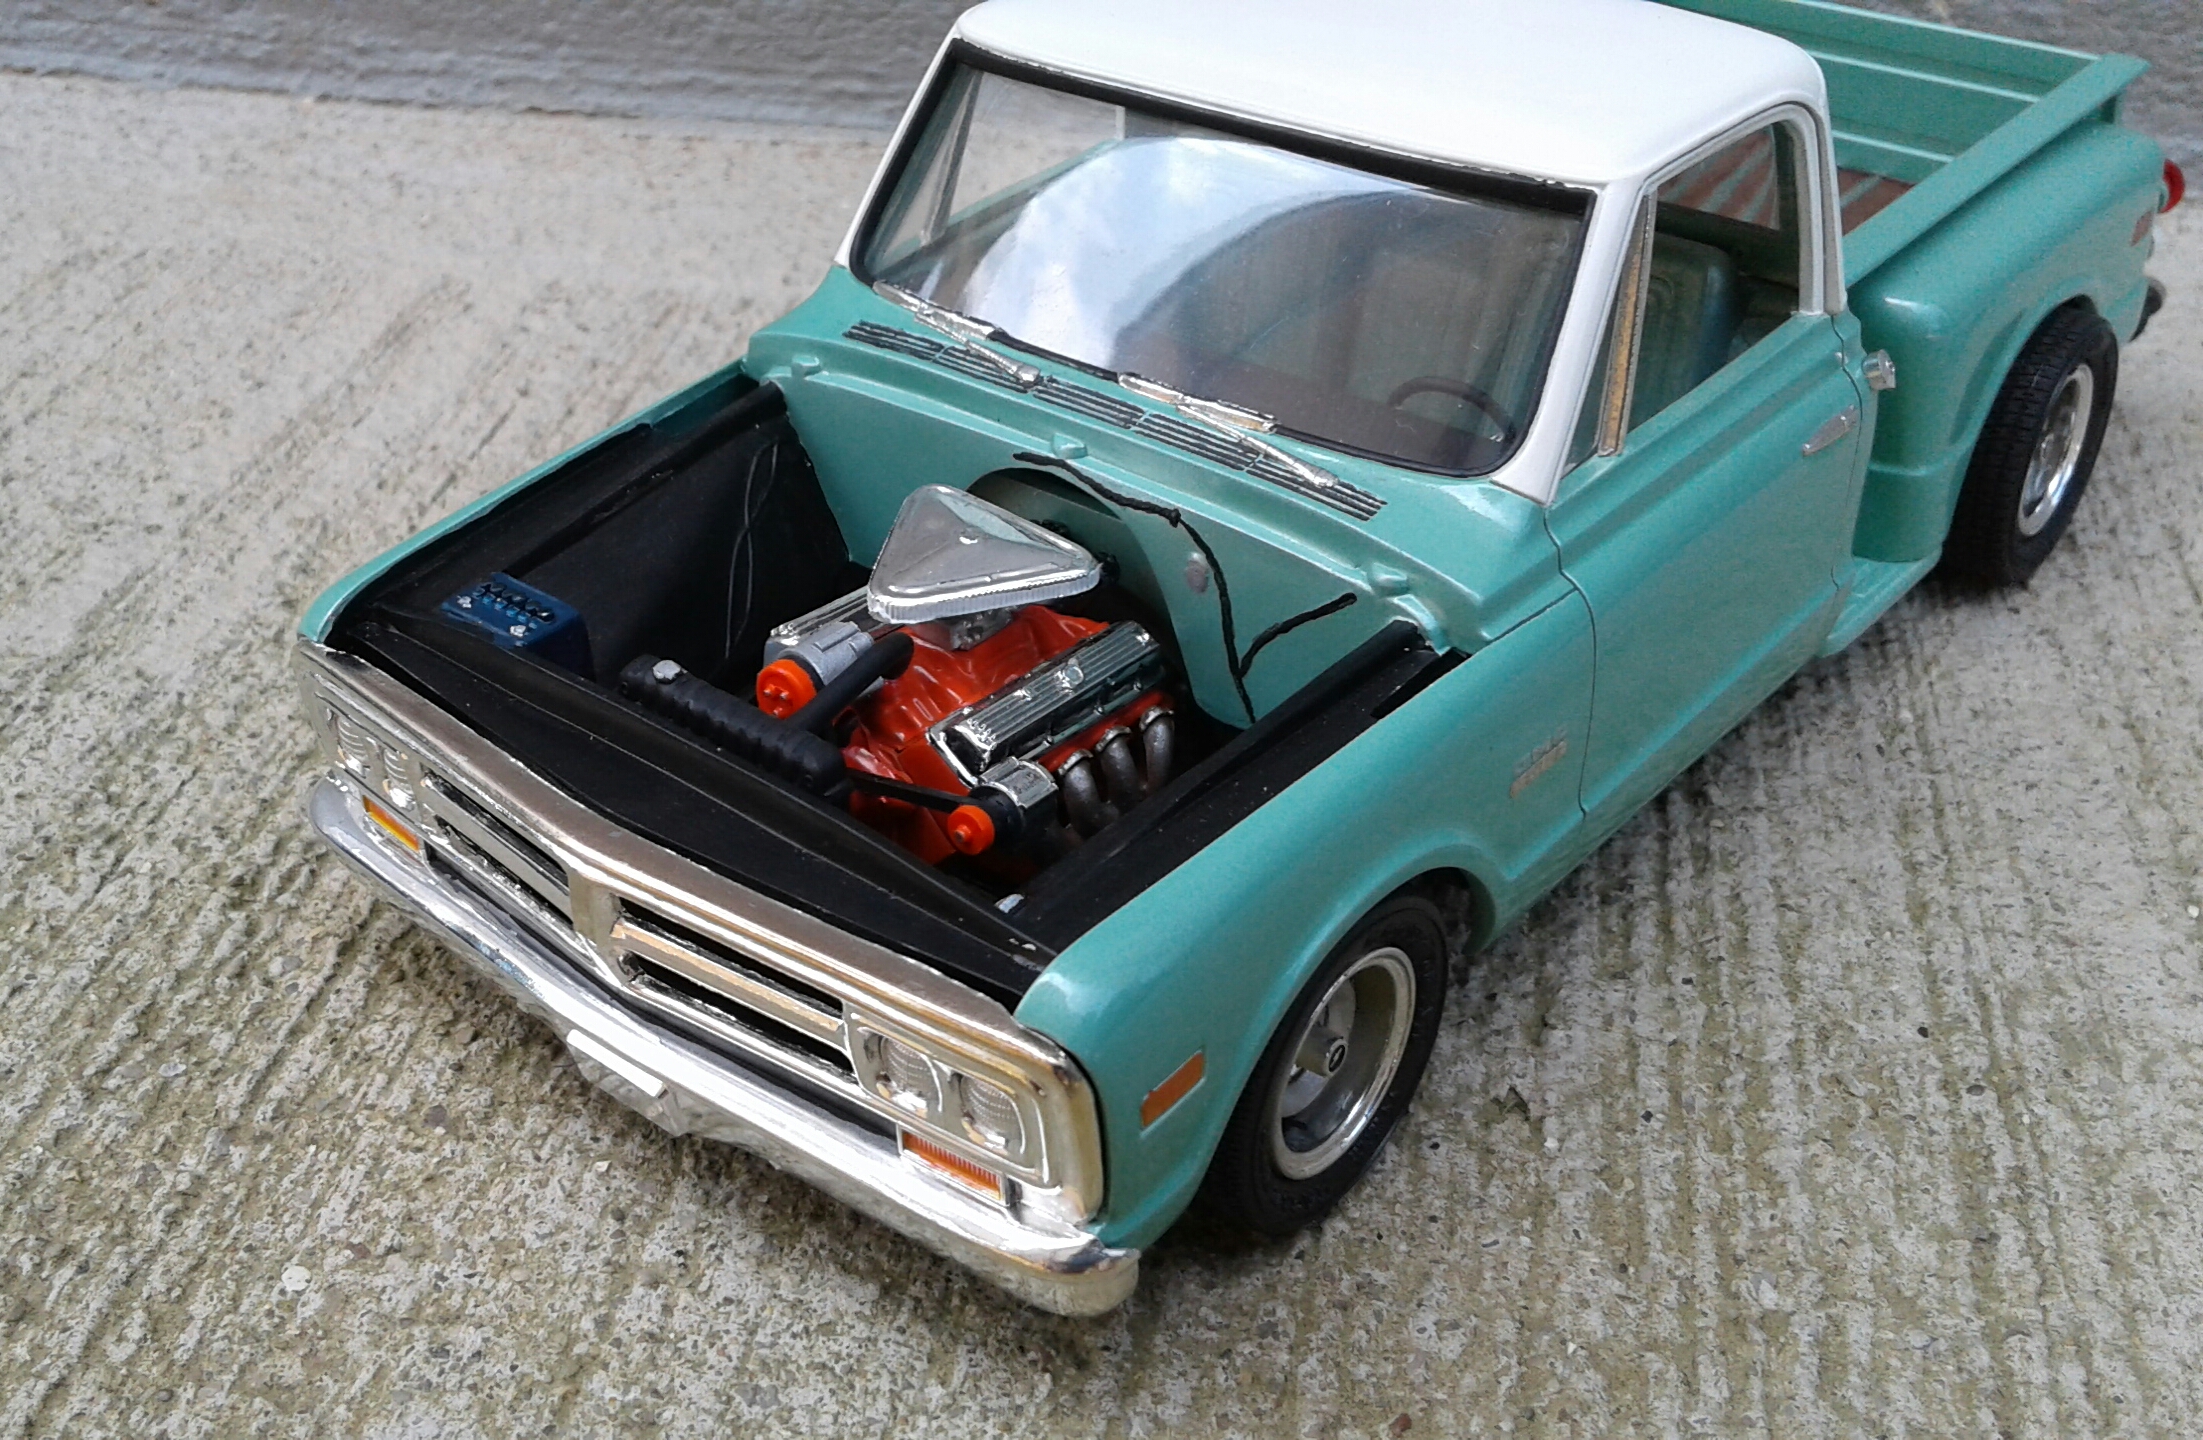
I built this several years ago. My original plan was to build it box stock. But, all it had for wheels was the four slot Ansens and stock wheel covers and the mirrors were the big truck style. So, I couldn't go with those. I first had a set of painted steel wheels and hubcaps from a '66 Chevy on it. Got sick of those quick and changed them for a set of Astros from an AMT '63 Corvette. One issue I fought when building it was it was bowed up in the middle. I got it close. But, it still wasn't right. Still, I decided to let it go. But, it always bugged me. A couple of days ago, I got sick of looking at it and decided to fix it. The fix was simple. I just added shims between the frame and mounting tabs on the front bumper. While I was at it, I changed the wheels again. They're from an AMT '88 Chevy pickup. Paint is Tamiya Pearl Green and Pure White with TS-13. Thanx for checking it out!
-
Ace, does the new issue have the MPC cab and grille or is it the AMT cab and grille?
-
That's a really nice looking sedan! Sounds like you have some good plans for it. I guess we can count on you for a fordor conversion of the AMT kit very soon?
-
I glue all parts to scrap sprue with a small drop of crazy glue. Most times it's possible to glue the part where it will attach. After primer and paint, I just snap them off and clean up any excess.
-
Modelhaus phantom ‘61 El Camino
Plowboy replied to Steve H's topic in Model Trucks: Pickups, Vans, SUVs, Light Commercial
That's a cool looking El Camino Steve! Looks like a natural with the '59-'60 roof. It has me wondering what a '62 would look like with that roof. Nice work! -
Pickup tailgate lettering
Plowboy replied to slusher's topic in Model Building Questions and Answers
On recessed letters, I paint them with acrylic paint before I sand and polish. Any mishaps will be taken care of the minute I sand the tail gate. I try to paint them neatly. But, if I can't, I don't worry about it. That's how I did the letters on this tailgate. -
That is a cool looking little Celica! I really like the widened wheels and stretch wall tires!
-
Nice looking Mustang Keith! I like the orange paint! Hafta try that color sometime.
-
That is a wicked looking '55 Nick! I really like the color combo on it! I'm usually not a fan of engines poking through the hood. But, this works! Nice work!
-
Bubbles in paint are usually from holding the spray nozzle too closely to the part. The propellant gets injected into the paint and then has to escape.
-
And it's way too thick for models.
-
What kit is that from? That is flash like I've never seen before.
-
Will Revell restock their current race car kits?
Plowboy replied to jchrisf's topic in Model Building Questions and Answers
Didn't pay attention to the scale. But, the boxart makes it look a lot like the Revell '69. I'm thinking that's not a built model on the box either.