Bills72sj
-
Posts
4,583 -
Joined
-
Last visited
Content Type
Profiles
Forums
Events
Gallery
Everything posted by Bills72sj
-
I am doing just that with what my progressing skillset allows.
-

1964 Pontiac Bonneville Convertible.
Bills72sj replied to StevenGuthmiller's topic in WIP: Model Cars
It has been inspiring to see how you do all the details. I am working some '65 Ponchos right now. How the heck do you hold onto and work over such tiny pieces like the seat buttons? Also what is your method for revealing the pre-foiled Bonneville letters after paint? Sanding? Solvents? Magic buffer? -
Hub covers for big rig axles?
Bills72sj replied to ABC Auto Industry's topic in Truck Aftermarket / Resin / 3D Printed
His wheels sure are pretty. I will need a set when I get to doing my bling truck. (After my skillset gets good enough to tackle it) -
Tip For Transparent Steering Wheels
Bills72sj replied to StevenGuthmiller's topic in Tips, Tricks, and Tutorials
Are you working on a 65 Pontiac or are the photos from a previous build? That dash looks SWEET! -
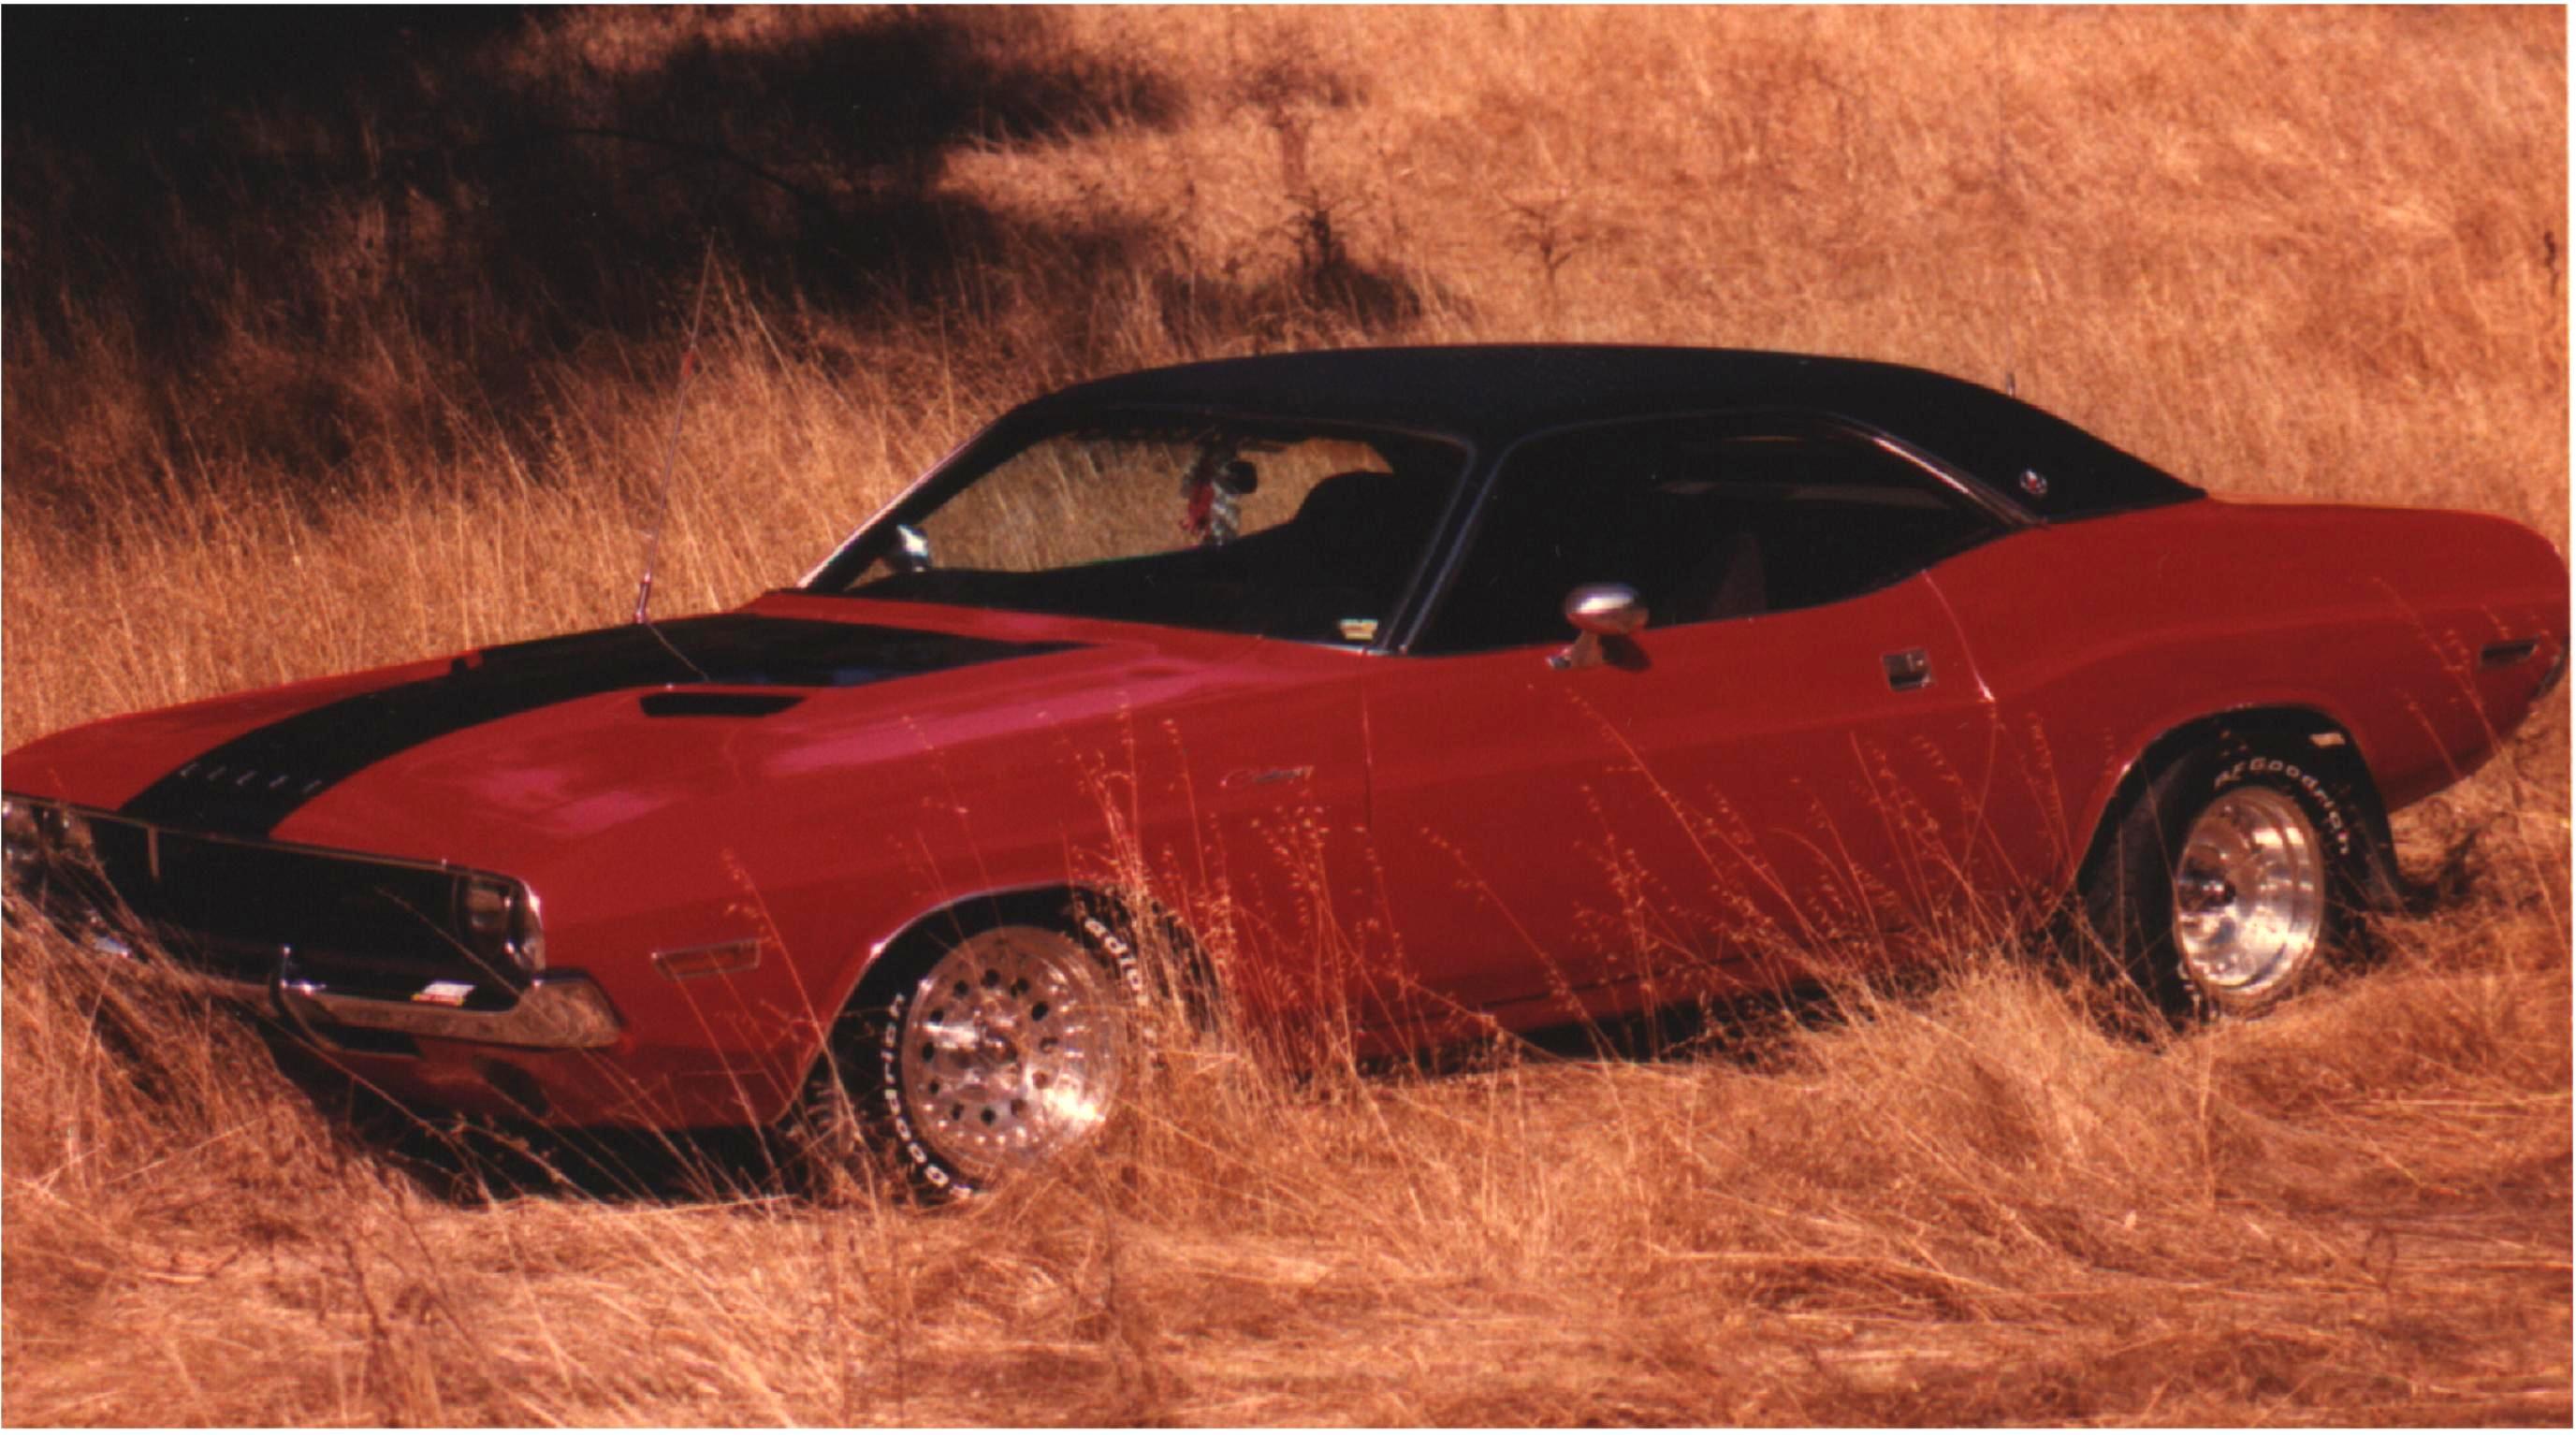
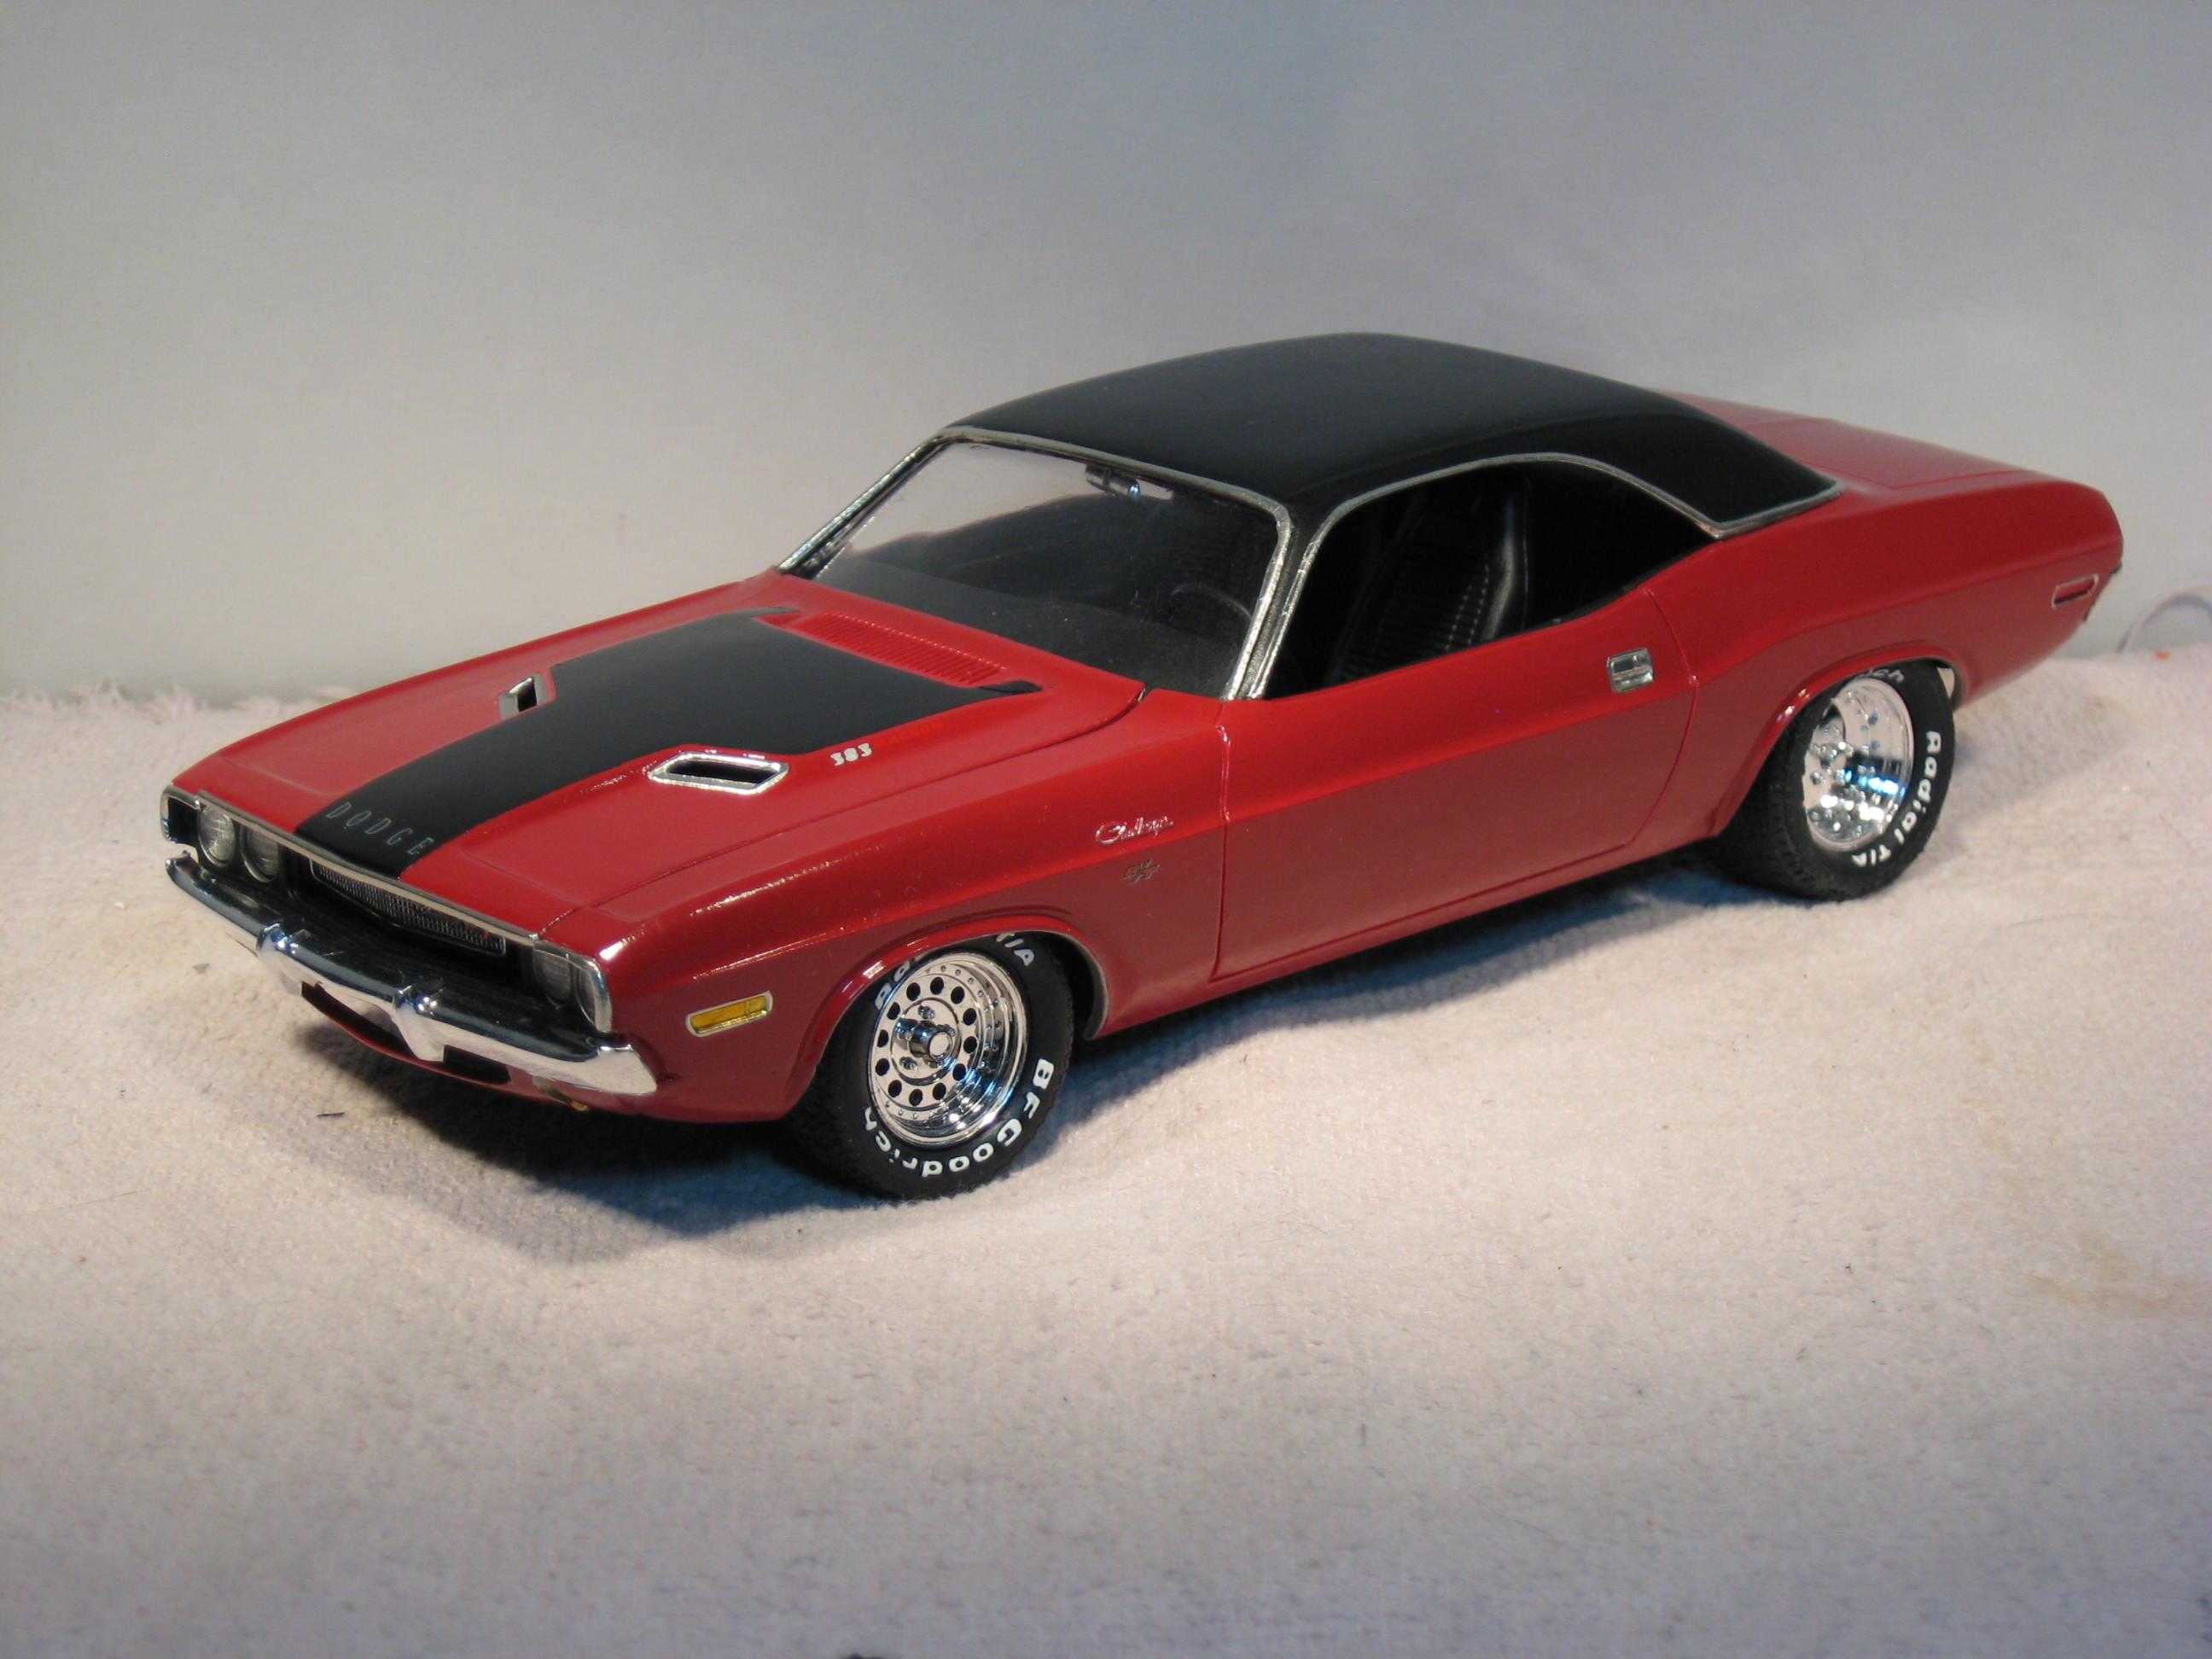
My BFF in the Navy had a 70 Challenger R/T SE. I got to drive it a few times. It was pretty quick.

-
Flat paint availability
Bills72sj replied to junkyardjeff's topic in General Automotive Talk (Trucks and Cars)
I have accidentally made flat paint by decanting a Testors Gloss Competition Orange and then thinned it too much with lacquer thinner for airbrushing.
-
Beautifully done on a very rare subject. Nice color too.
-
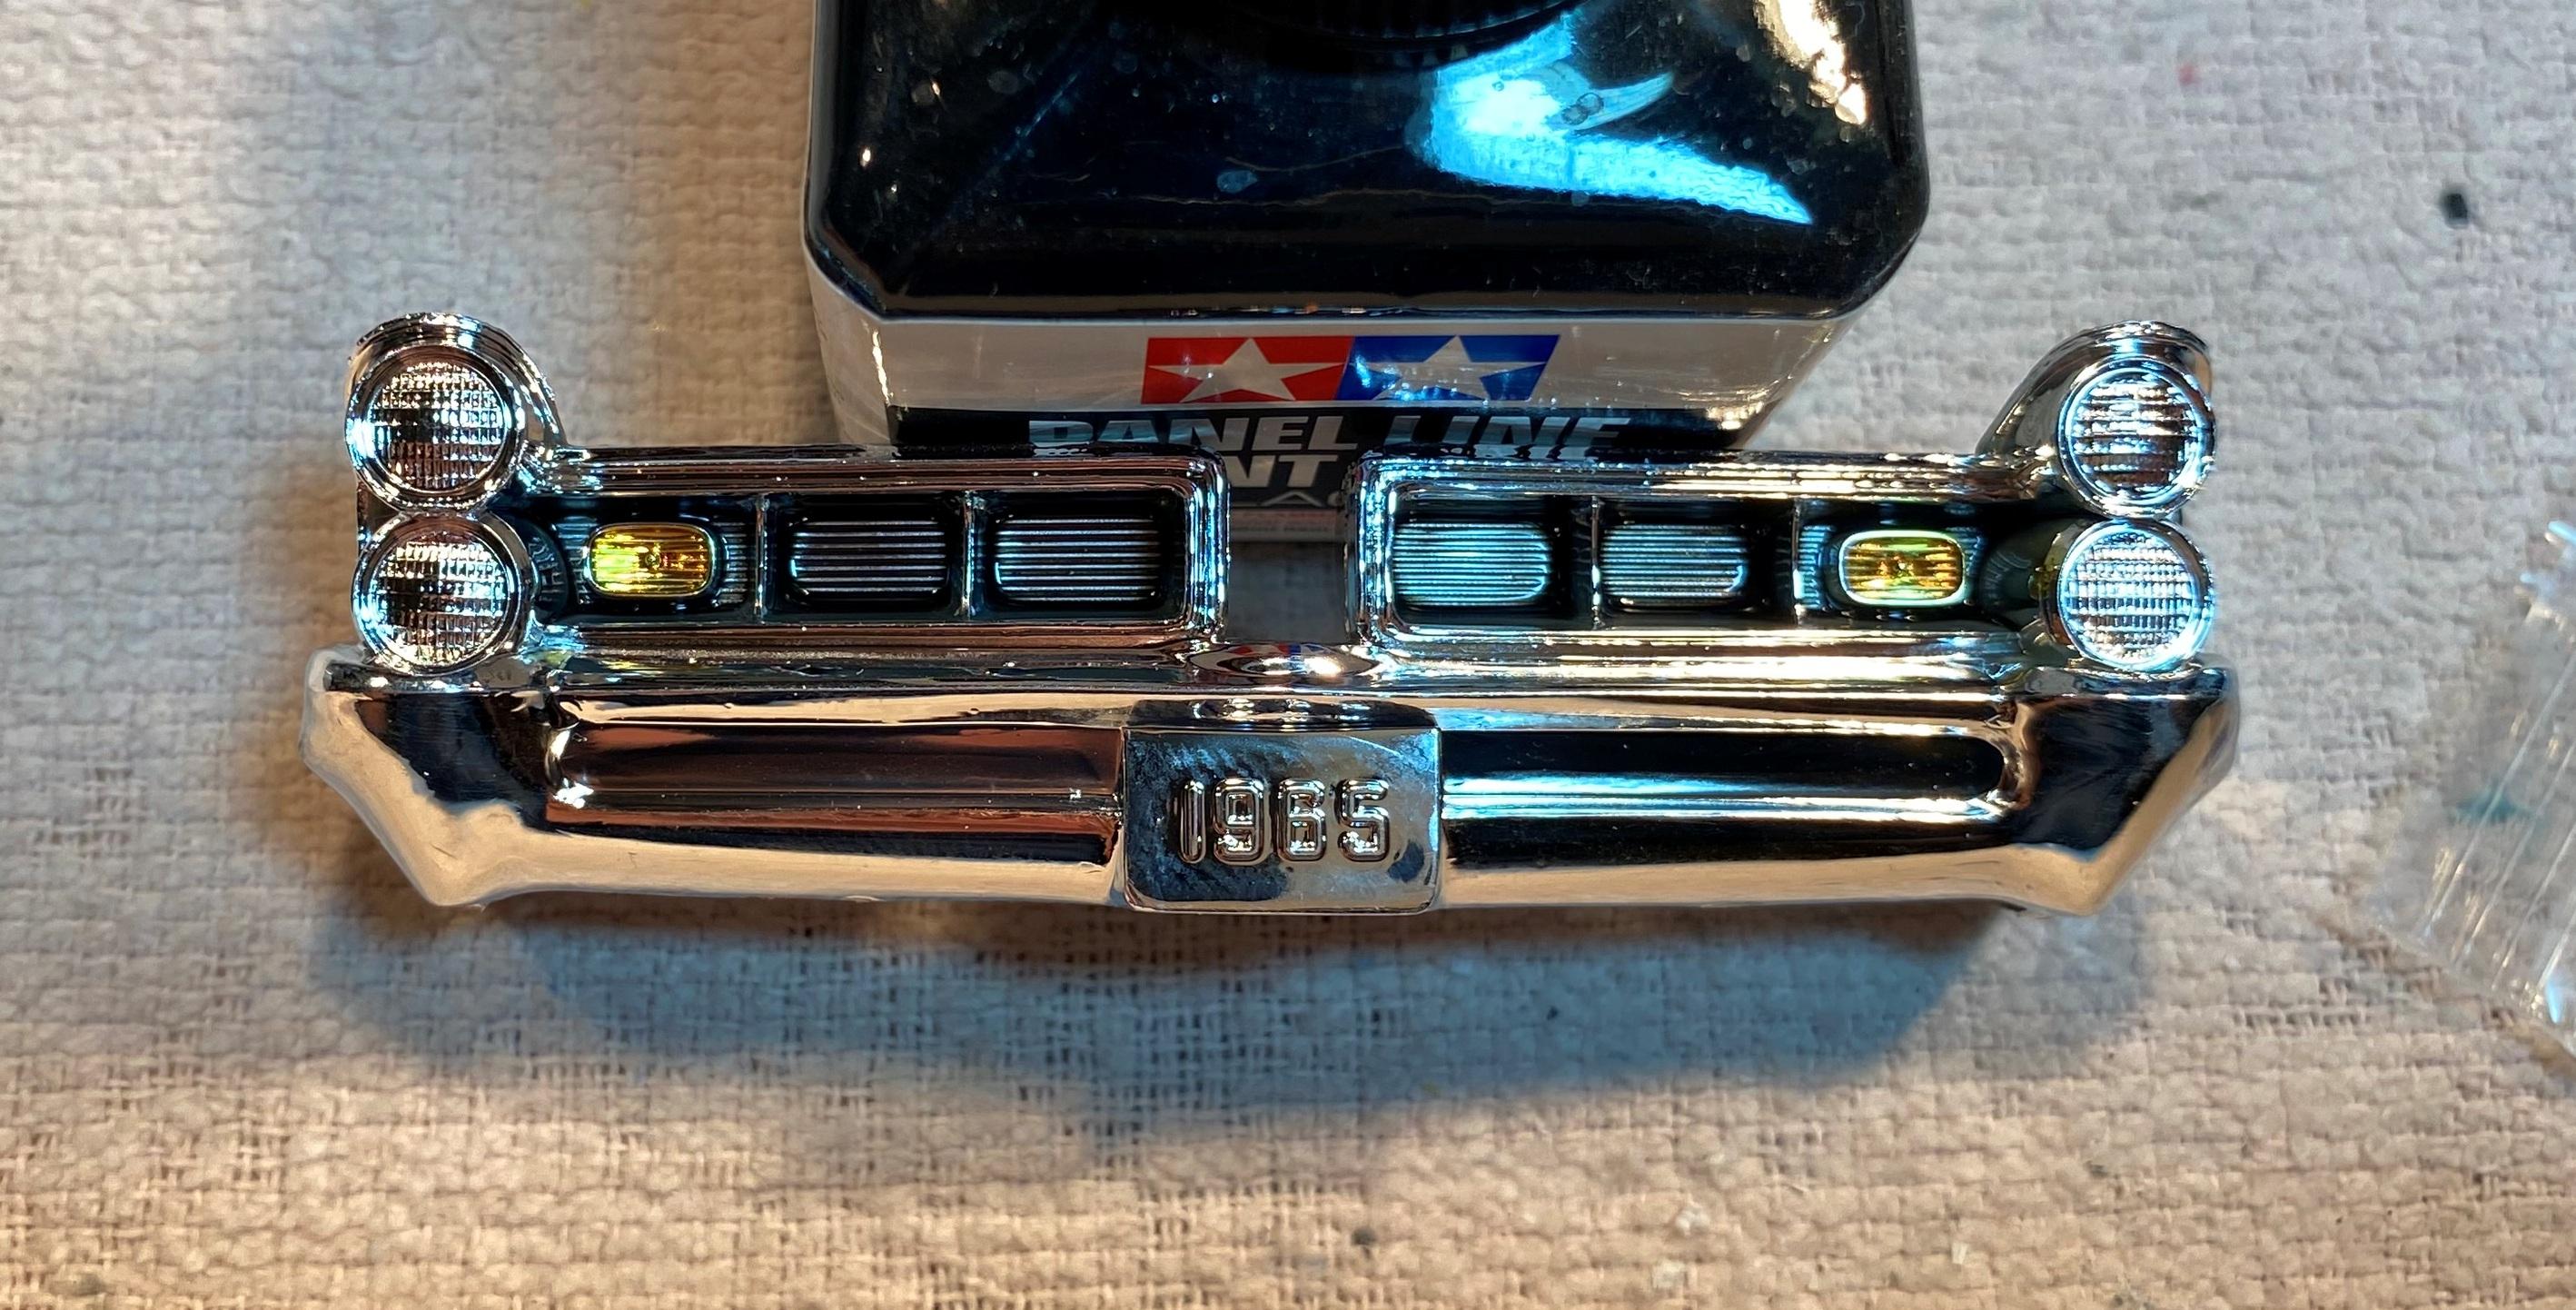
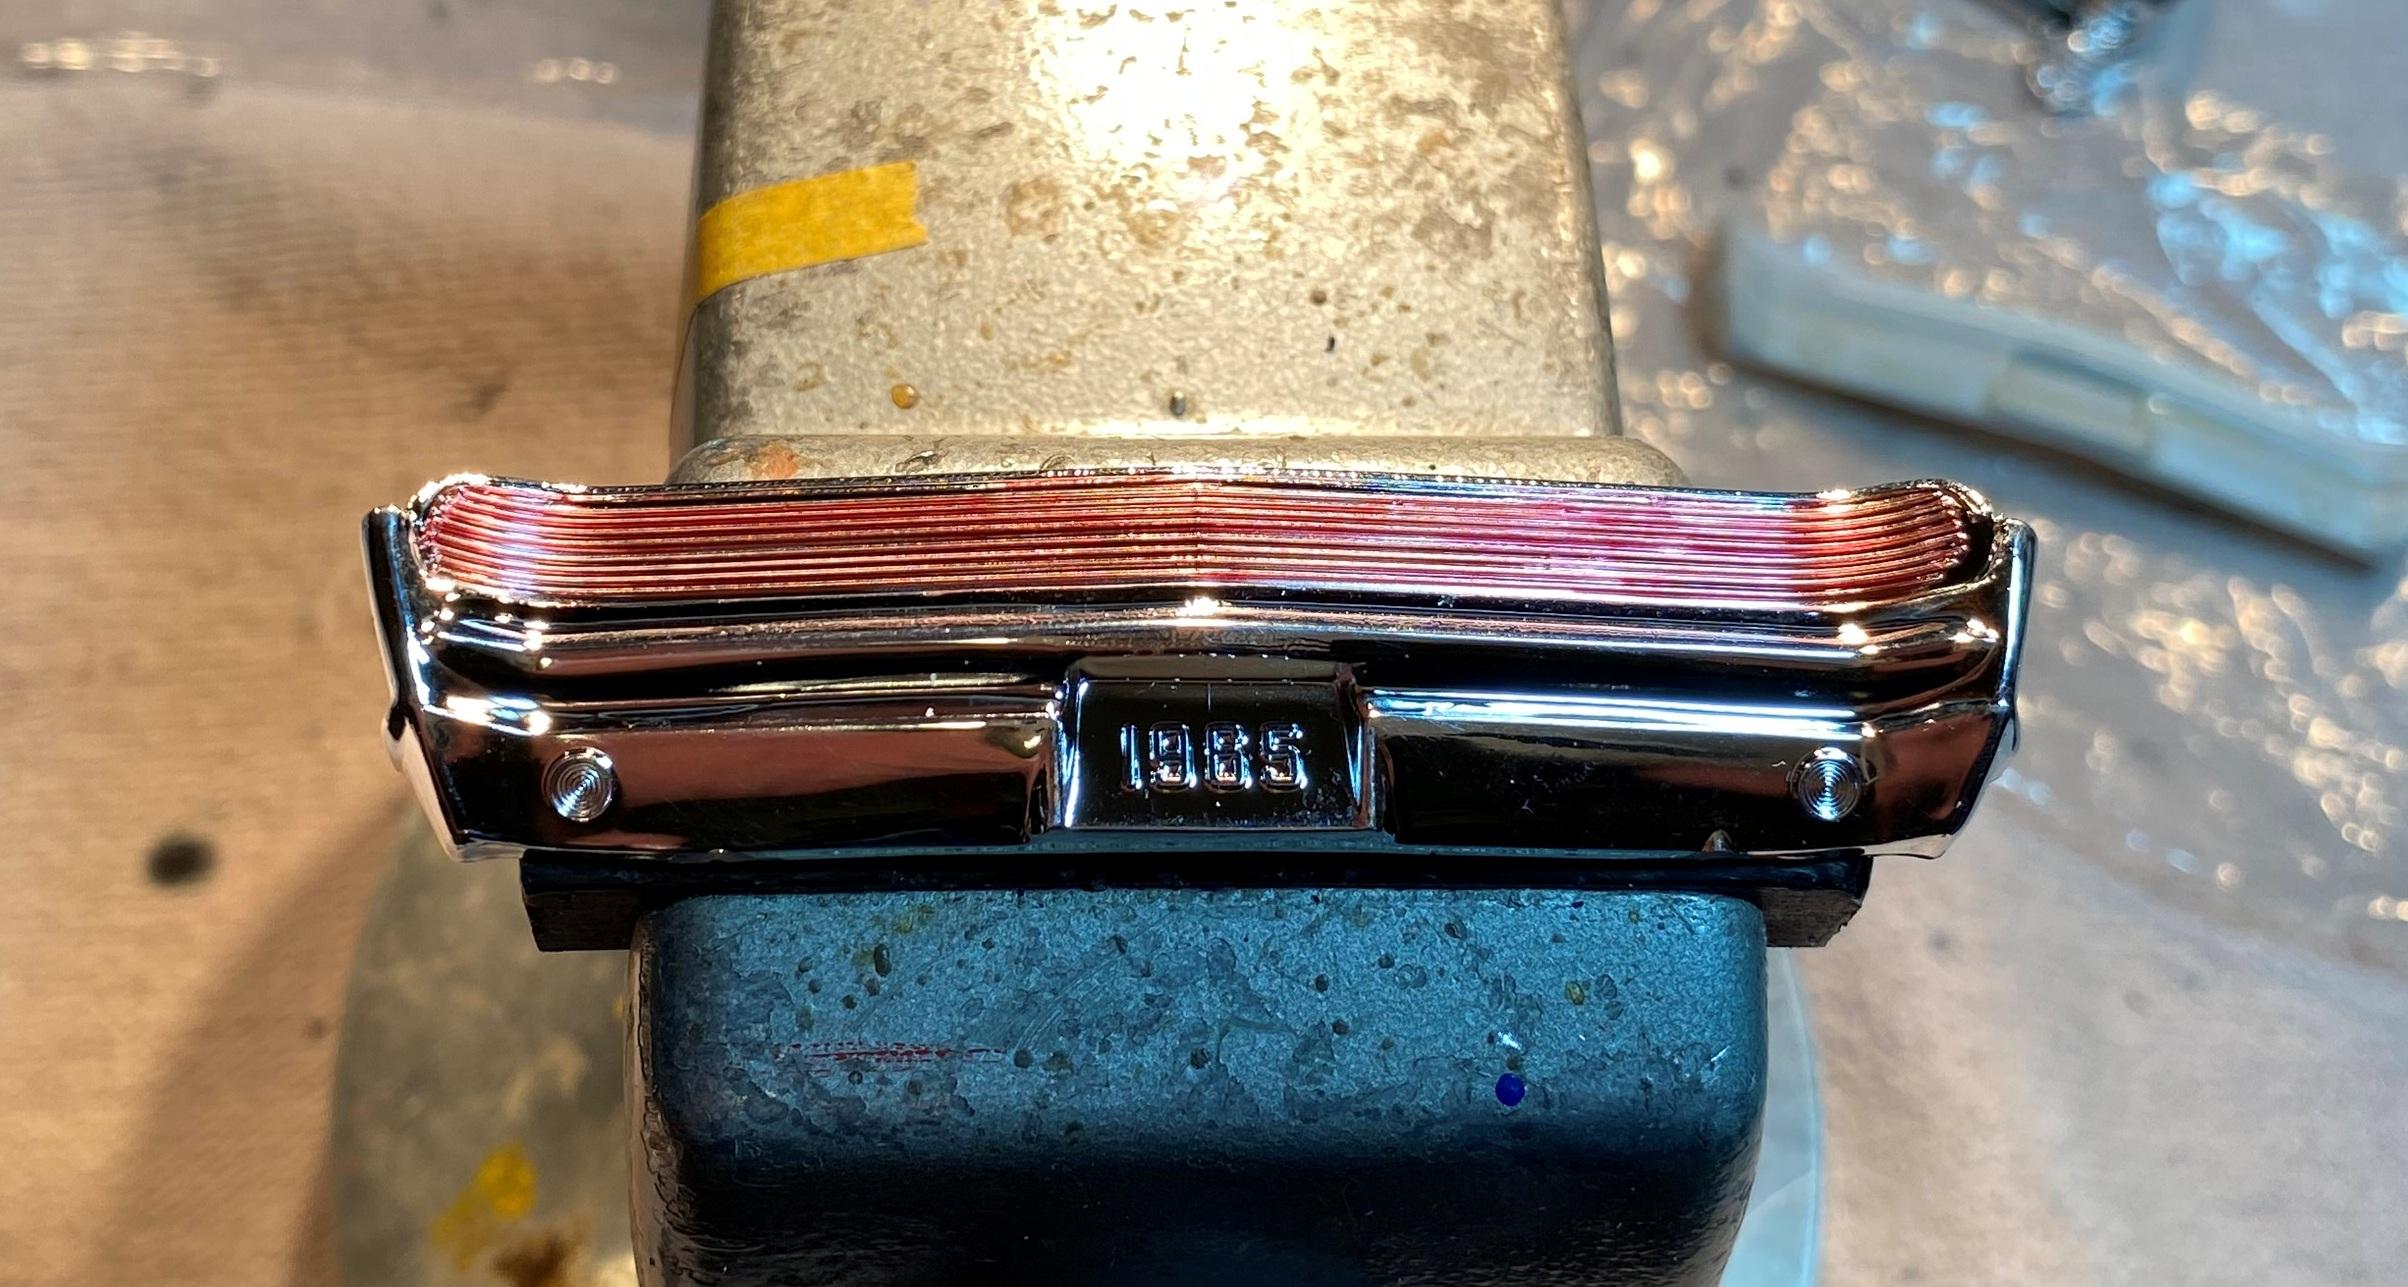
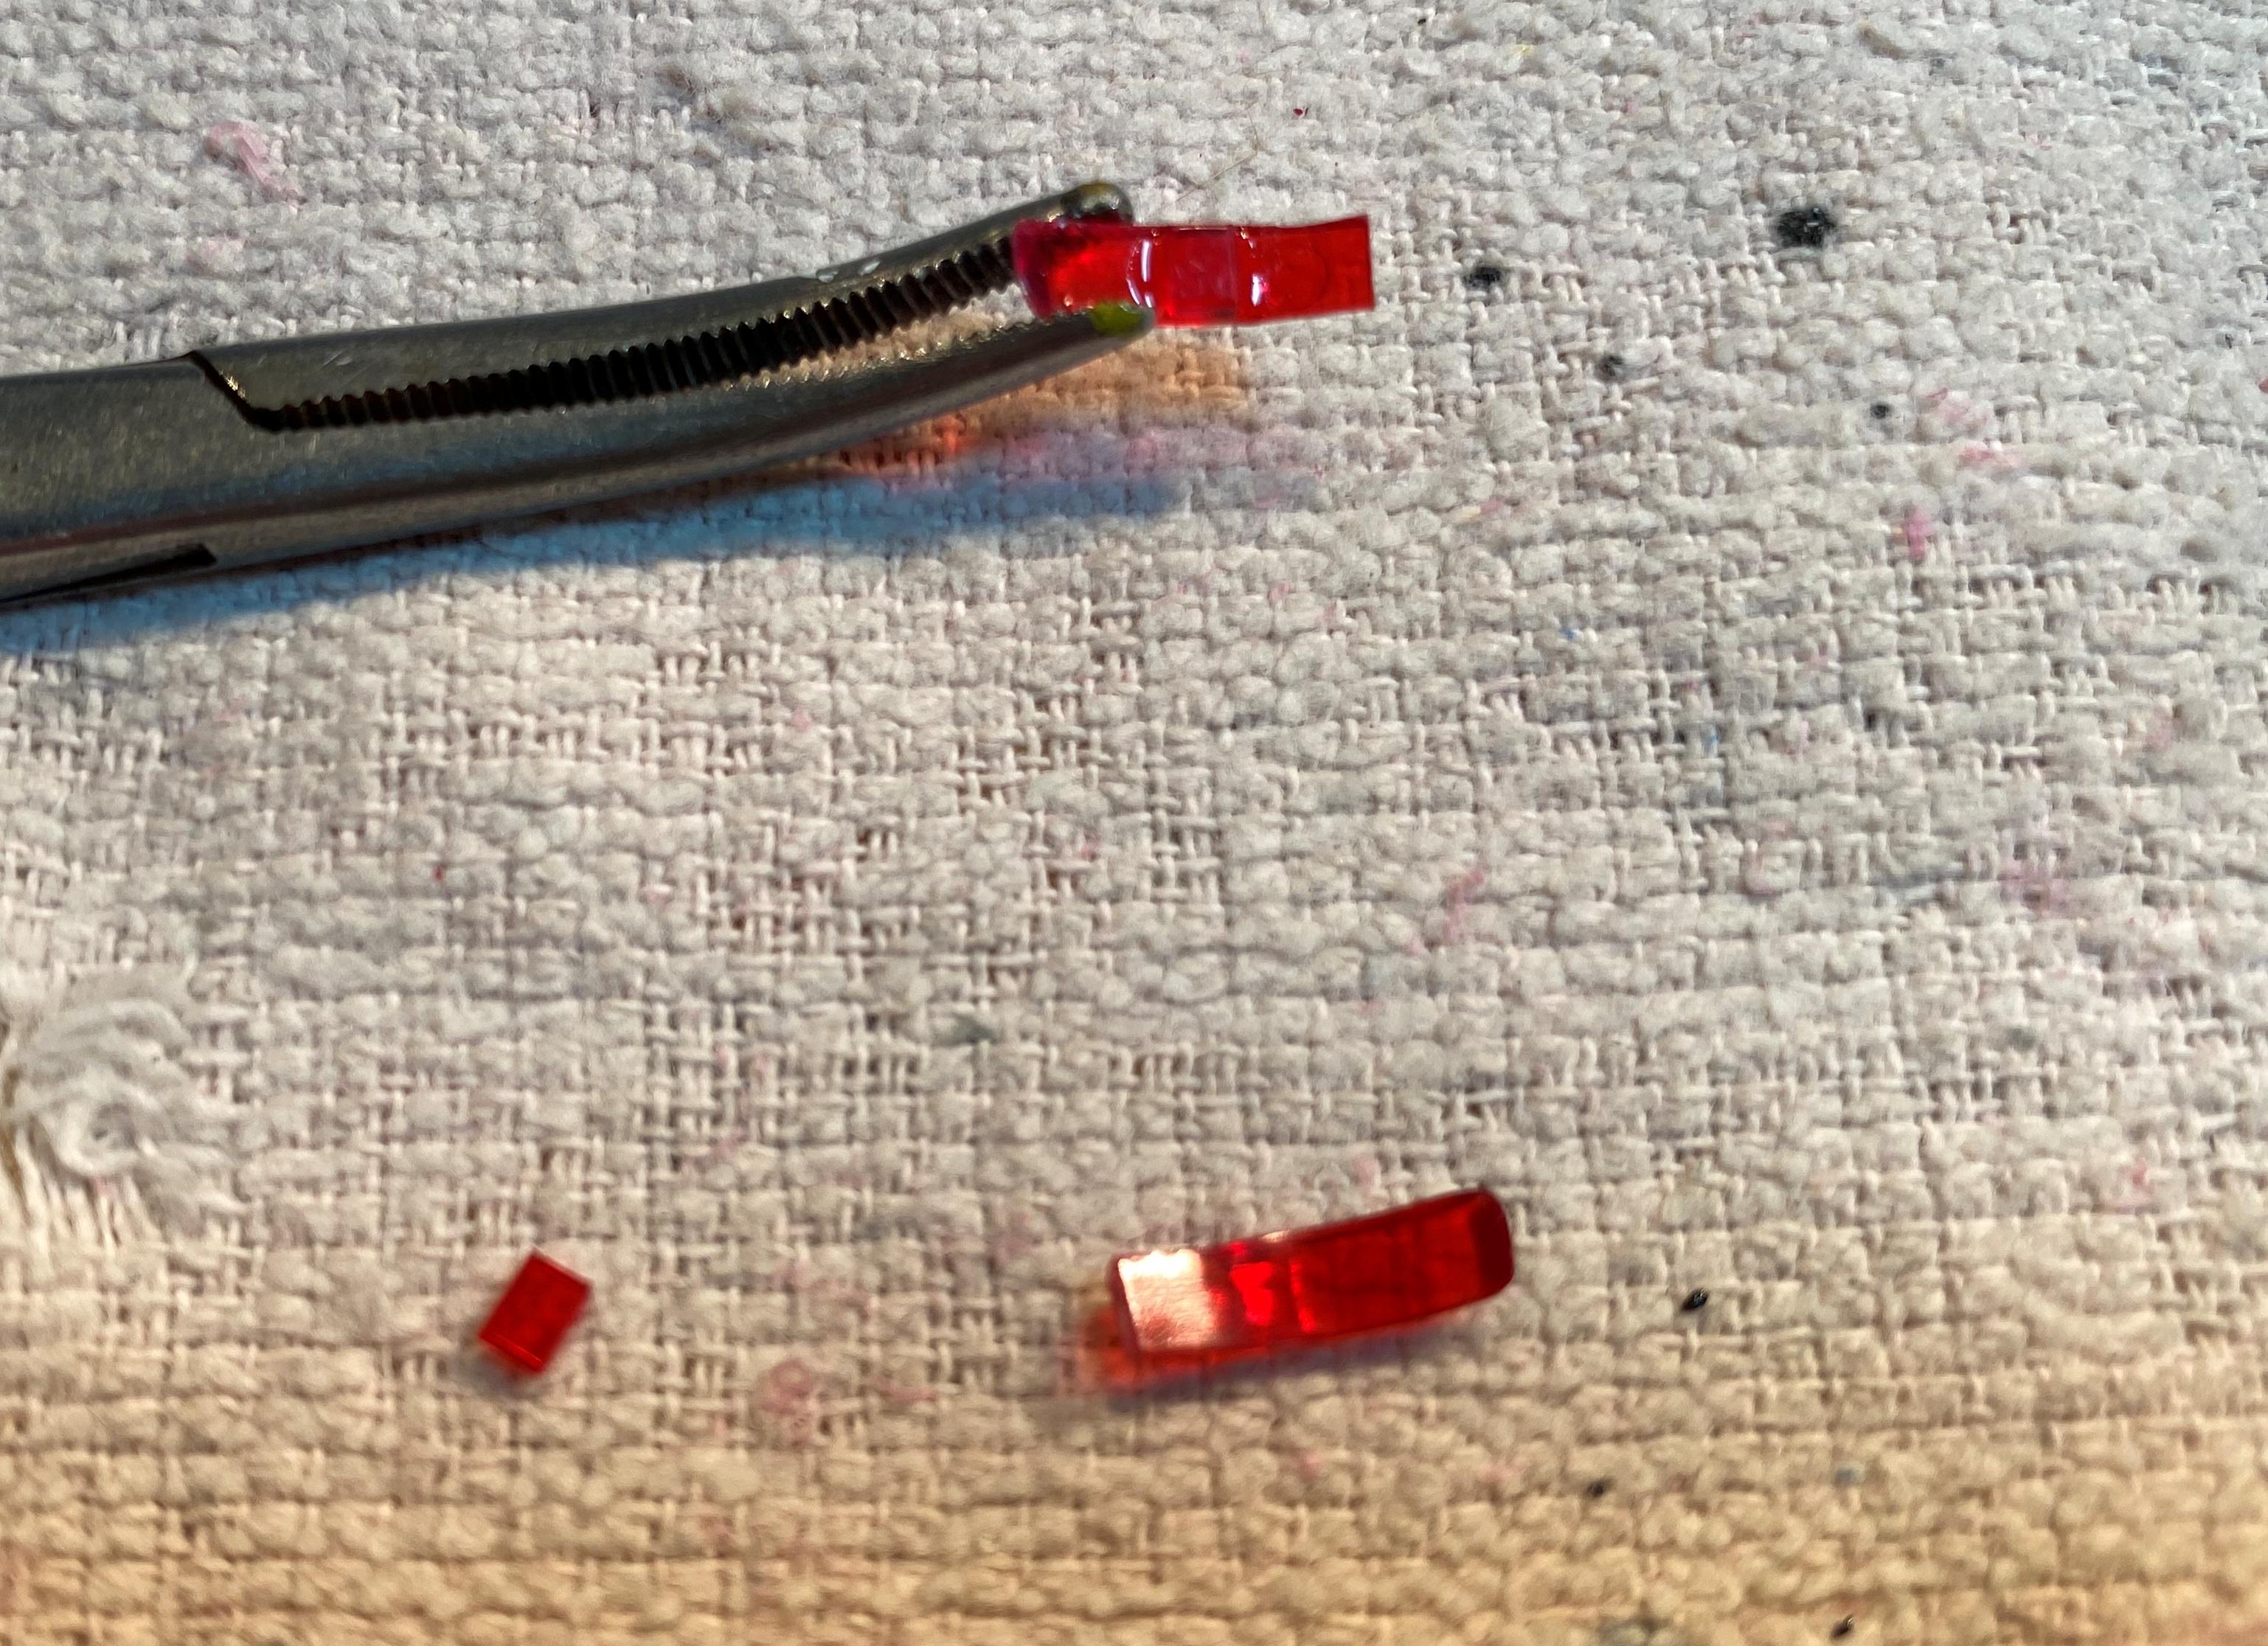
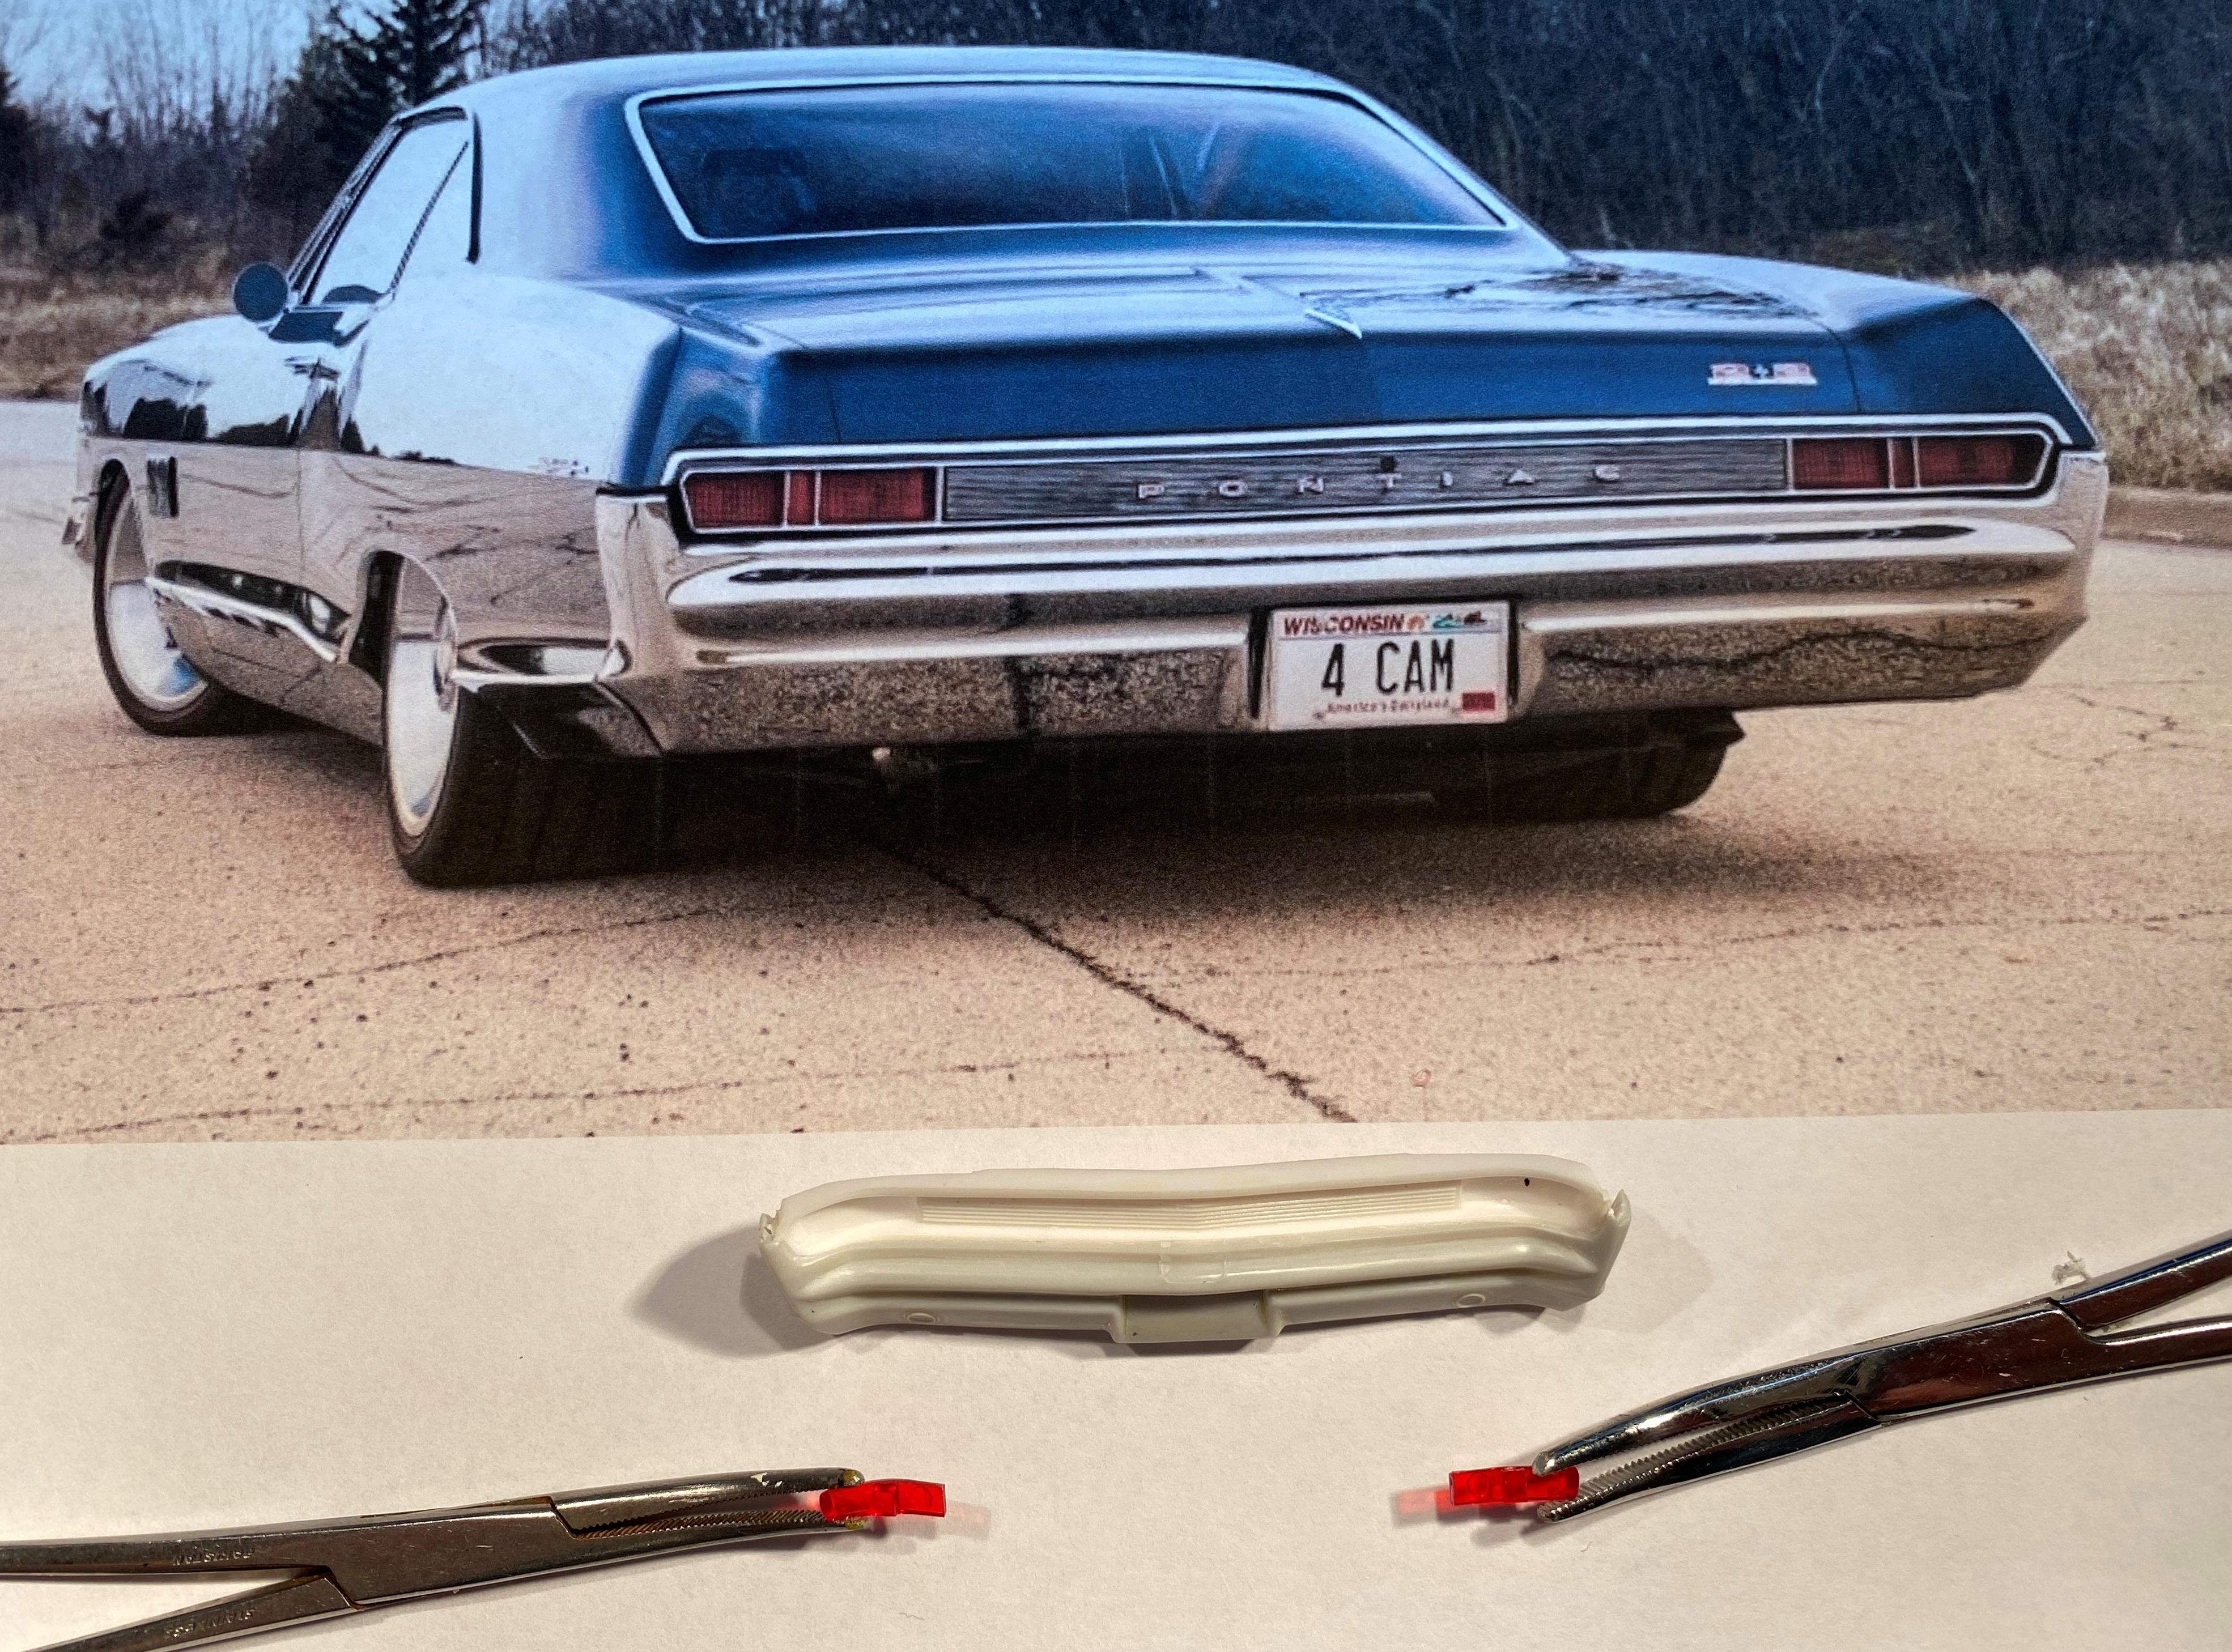
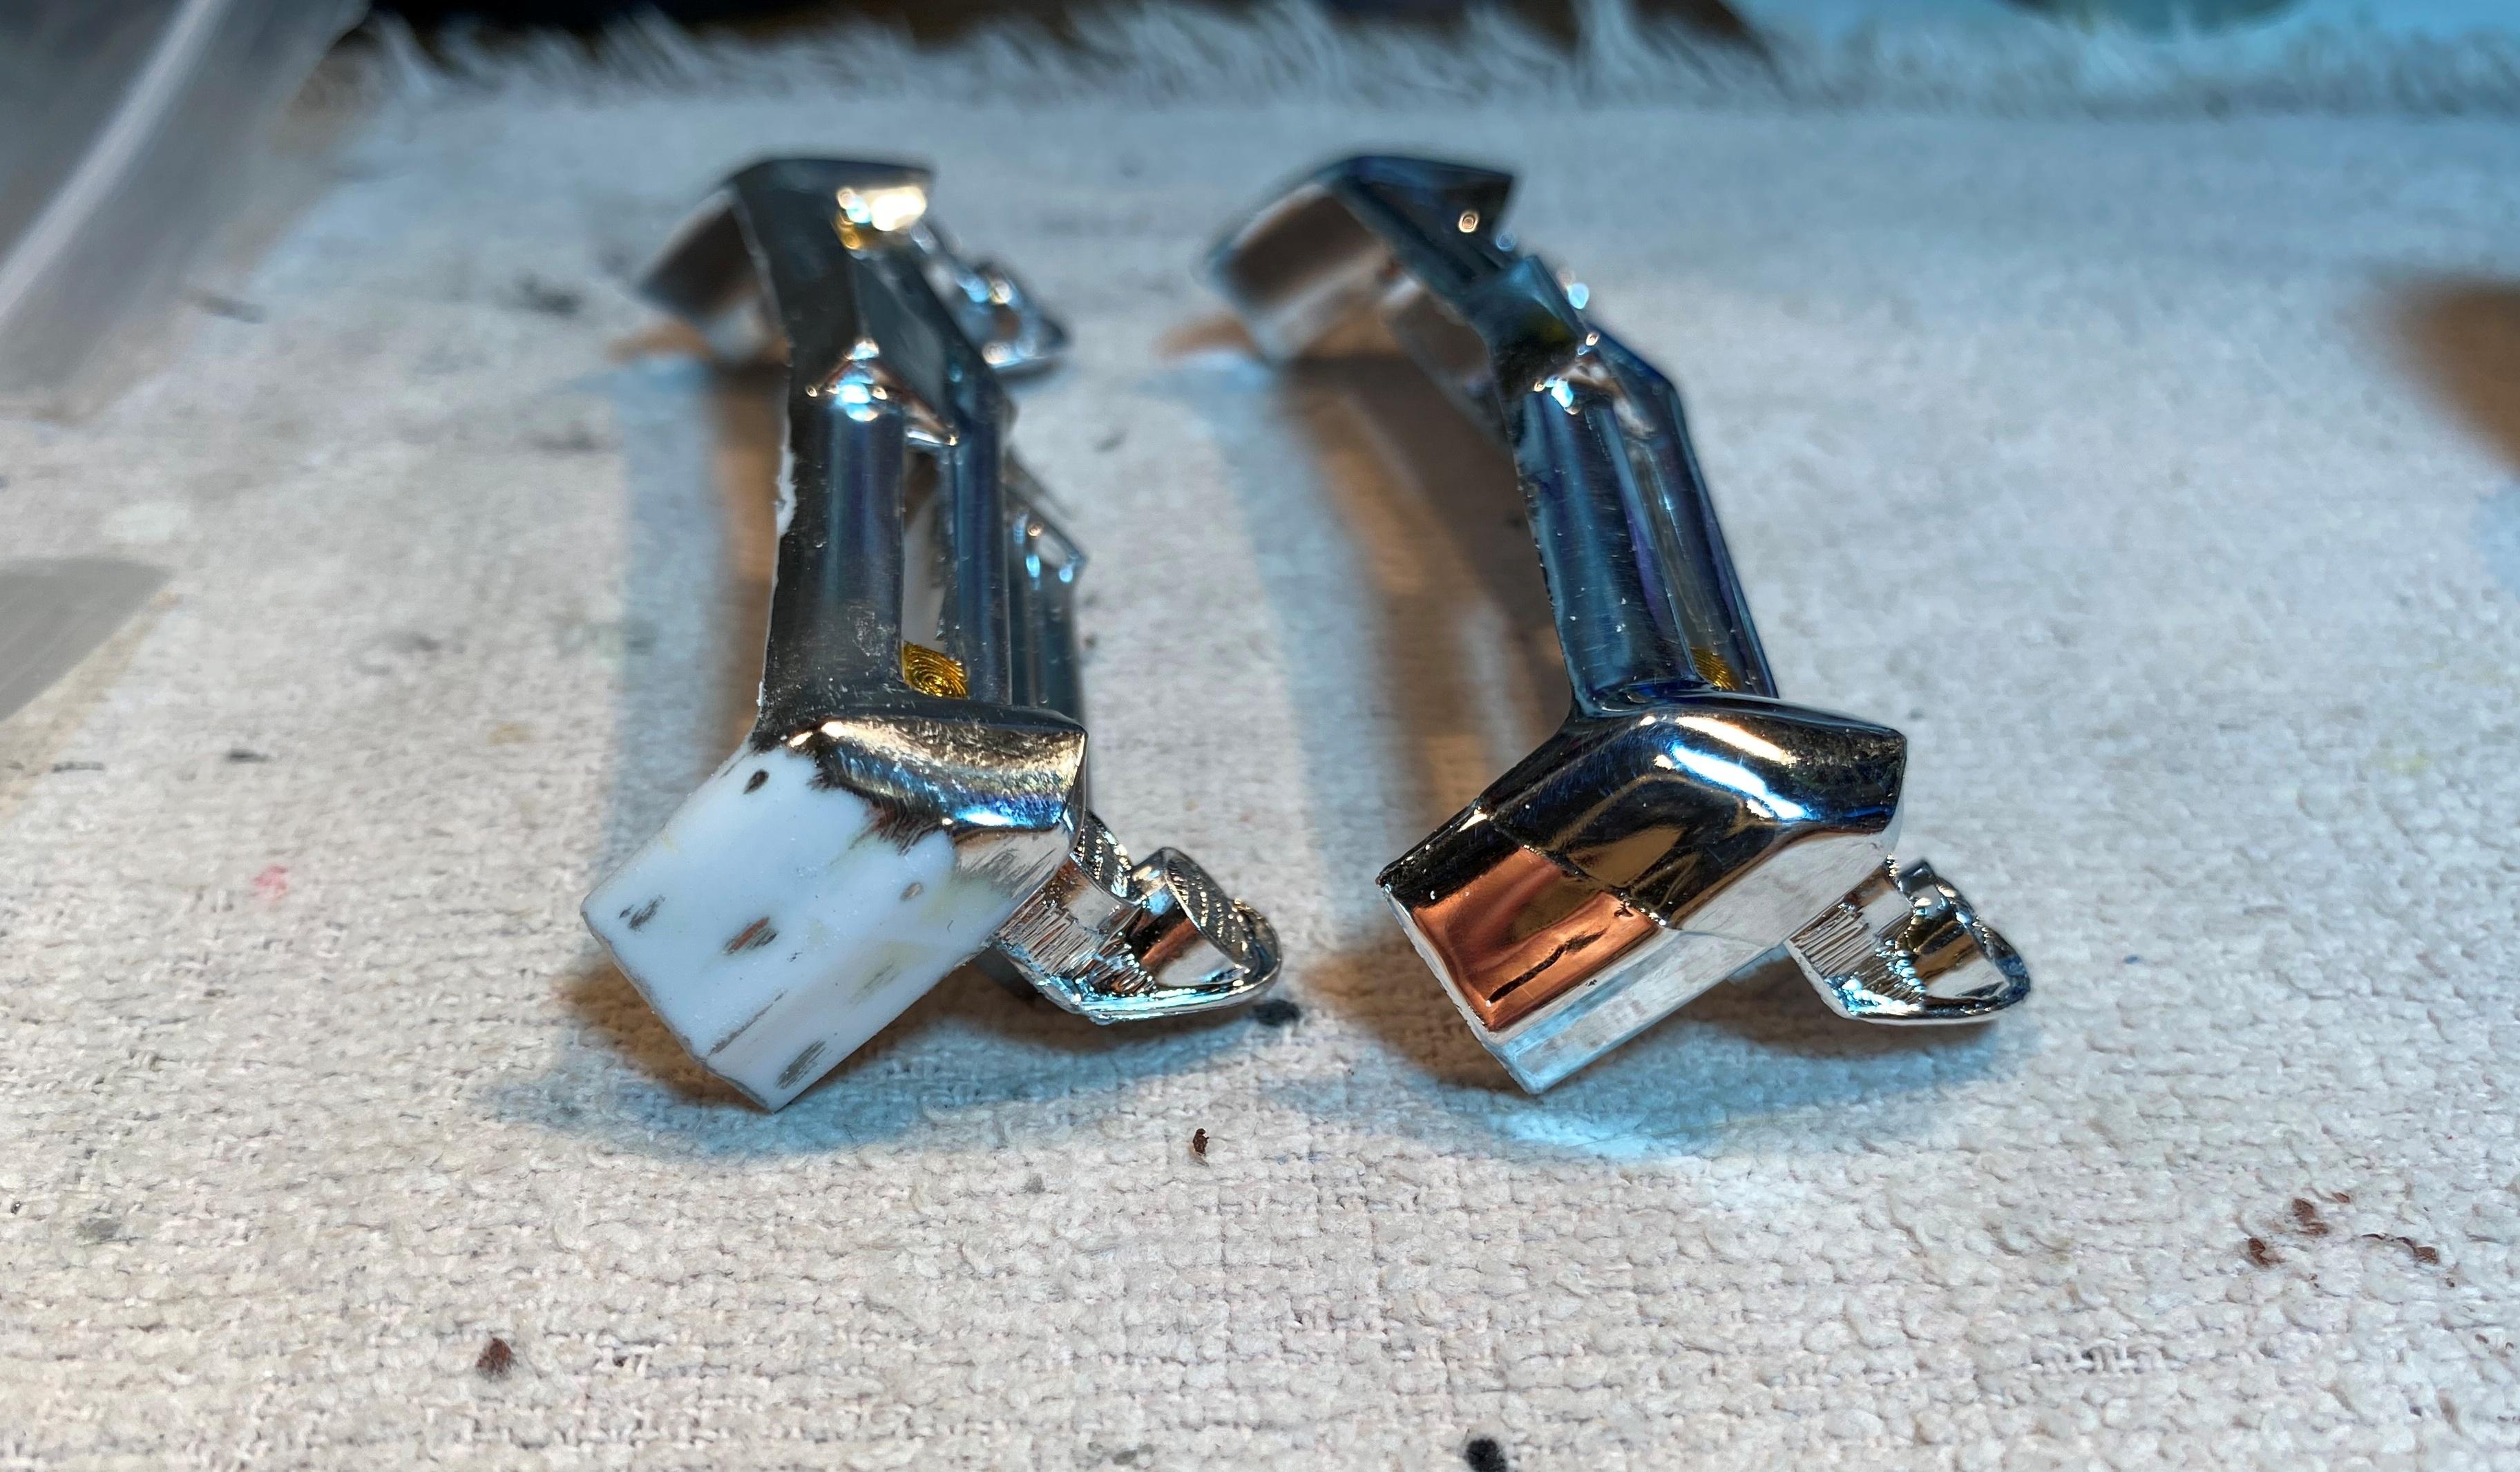
Worked on the bumpers that needed it. Grand Prix bumpers black washed and red washed. 65 Bonneville front bumper had bad chrome, too much flash and ugly parting lines on the sides. Did some sanding and dechroming is in process. 2+2 Merged tail panel and bumper dechromed. Tail light lenses shortened and modified. Debating if I want to remove parting line on front bumper which has decent chrome. 66 Bumpers seem to acceptable for now.
-
Way cool build! I love the wheels. I was not aware the 66 GP has the large chrome rocker trim. A little research shows that they indeed do. What was your technique for the vinyl roof?
-
Tip For Transparent Steering Wheels
Bills72sj replied to StevenGuthmiller's topic in Tips, Tricks, and Tutorials
Thanks Steve! Your timing is impeccable as I have 4 clear steering wheels for my Big Girls batch build. -
You nailed the stance. This is my favorite of the "Fuselage" era bodies.
-
Shapeways has traction bars.
-
Watching...
-
Hub covers for big rig axles?
Bills72sj replied to ABC Auto Industry's topic in Truck Aftermarket / Resin / 3D Printed
Moebius has Big Rig wheels sets that have the smooth caps. The hubs could be painted chrome to complete the look. The tires themselves are darn nice too. https://www.ebay.com/itm/193678848158?mkevt=1&mkcid=1&mkrid=711-53200-19255-0&campid=5338722076&toolid=10001 https://www.modelroundup.com/Big-Rig-Wheel-and-Tire-Set-p/moe-1010.htm https://www.hobbylinc.com/moebius-semi-wheels:tires-10-pack-plastic-model-vehicle-accessory-set-1:25-scale-1010
-
You are braver than me. If I trashed a body that bad, I would have given up right there. I already have more kits than time on this planet.
-
Revell 1969 Camaro. This one is a little different.
Bills72sj replied to Knox.Steve's topic in WIP: Model Cars
I love the stylized body flares and the hood. That intake is way cool too. Is there a radiator in the future or is this motor air cooled? -
Very nicely done. You said it was a resin. Was it mfg by another company once upon a time?
-
Very beautiful color. The chrome trim has been very well done. Excellent detail on the engine as well.
-
MACK Superliner NO LADY BUTTERFLY
Bills72sj replied to J.B. Customs's topic in Model Trucks: Big Rigs and Heavy Equipment
Nice rig. I prefer flat top sleepers too. -
Update! Now the workshop has a crew. After 3 hours on ebay, I picked the most appropriate 9 characters to add some "life" to my car photos. They came prepainted which saved me a BOATLOAD of time I did not want to spend. This will probably be the only time I will use them all a once. Now I need to give them names... To help them stand upright, I installed tiny magnets in their feet to work with the metal plate hidden in the floor.
-
I absolutely LOVE the curves on these cars.
-
Is it just me or are Verizon phone rates way too high?
Bills72sj replied to Monty's topic in The Off-Topic Lounge
I used to build cell sites for a living 20+ years ago. Absolutely had to have a Verizon phone to communicate while building Sprint, GTE and Cingular networks. They were the only ones with coverage most everywhere in Washington state. Had their service for almost 20 years. Got too costly. Now I am in Oregon and switched to Sprint a few years ago. They recently got bought out by T-Mobile. Coverage has been good enough. I have 3 lines for $129/month. Never have data issues as the two heaviest users are always on wifi. My job uses AT&T. Coverage sucks when indoors. -
That turned out very pretty.
-
Testors- Model Master enamel accelerator
Bills72sj replied to GEORGE LEMIRE's topic in Model Building Questions and Answers
Yes. lacquer thinner if you are to airbrush. Just painted 3 bodies this evening using this method. Brushing? Mineral spirits? sorry, no experience. I simply let enamel cure for a week or two or 4. Not an issue when building half a dozen projects at the same time. -
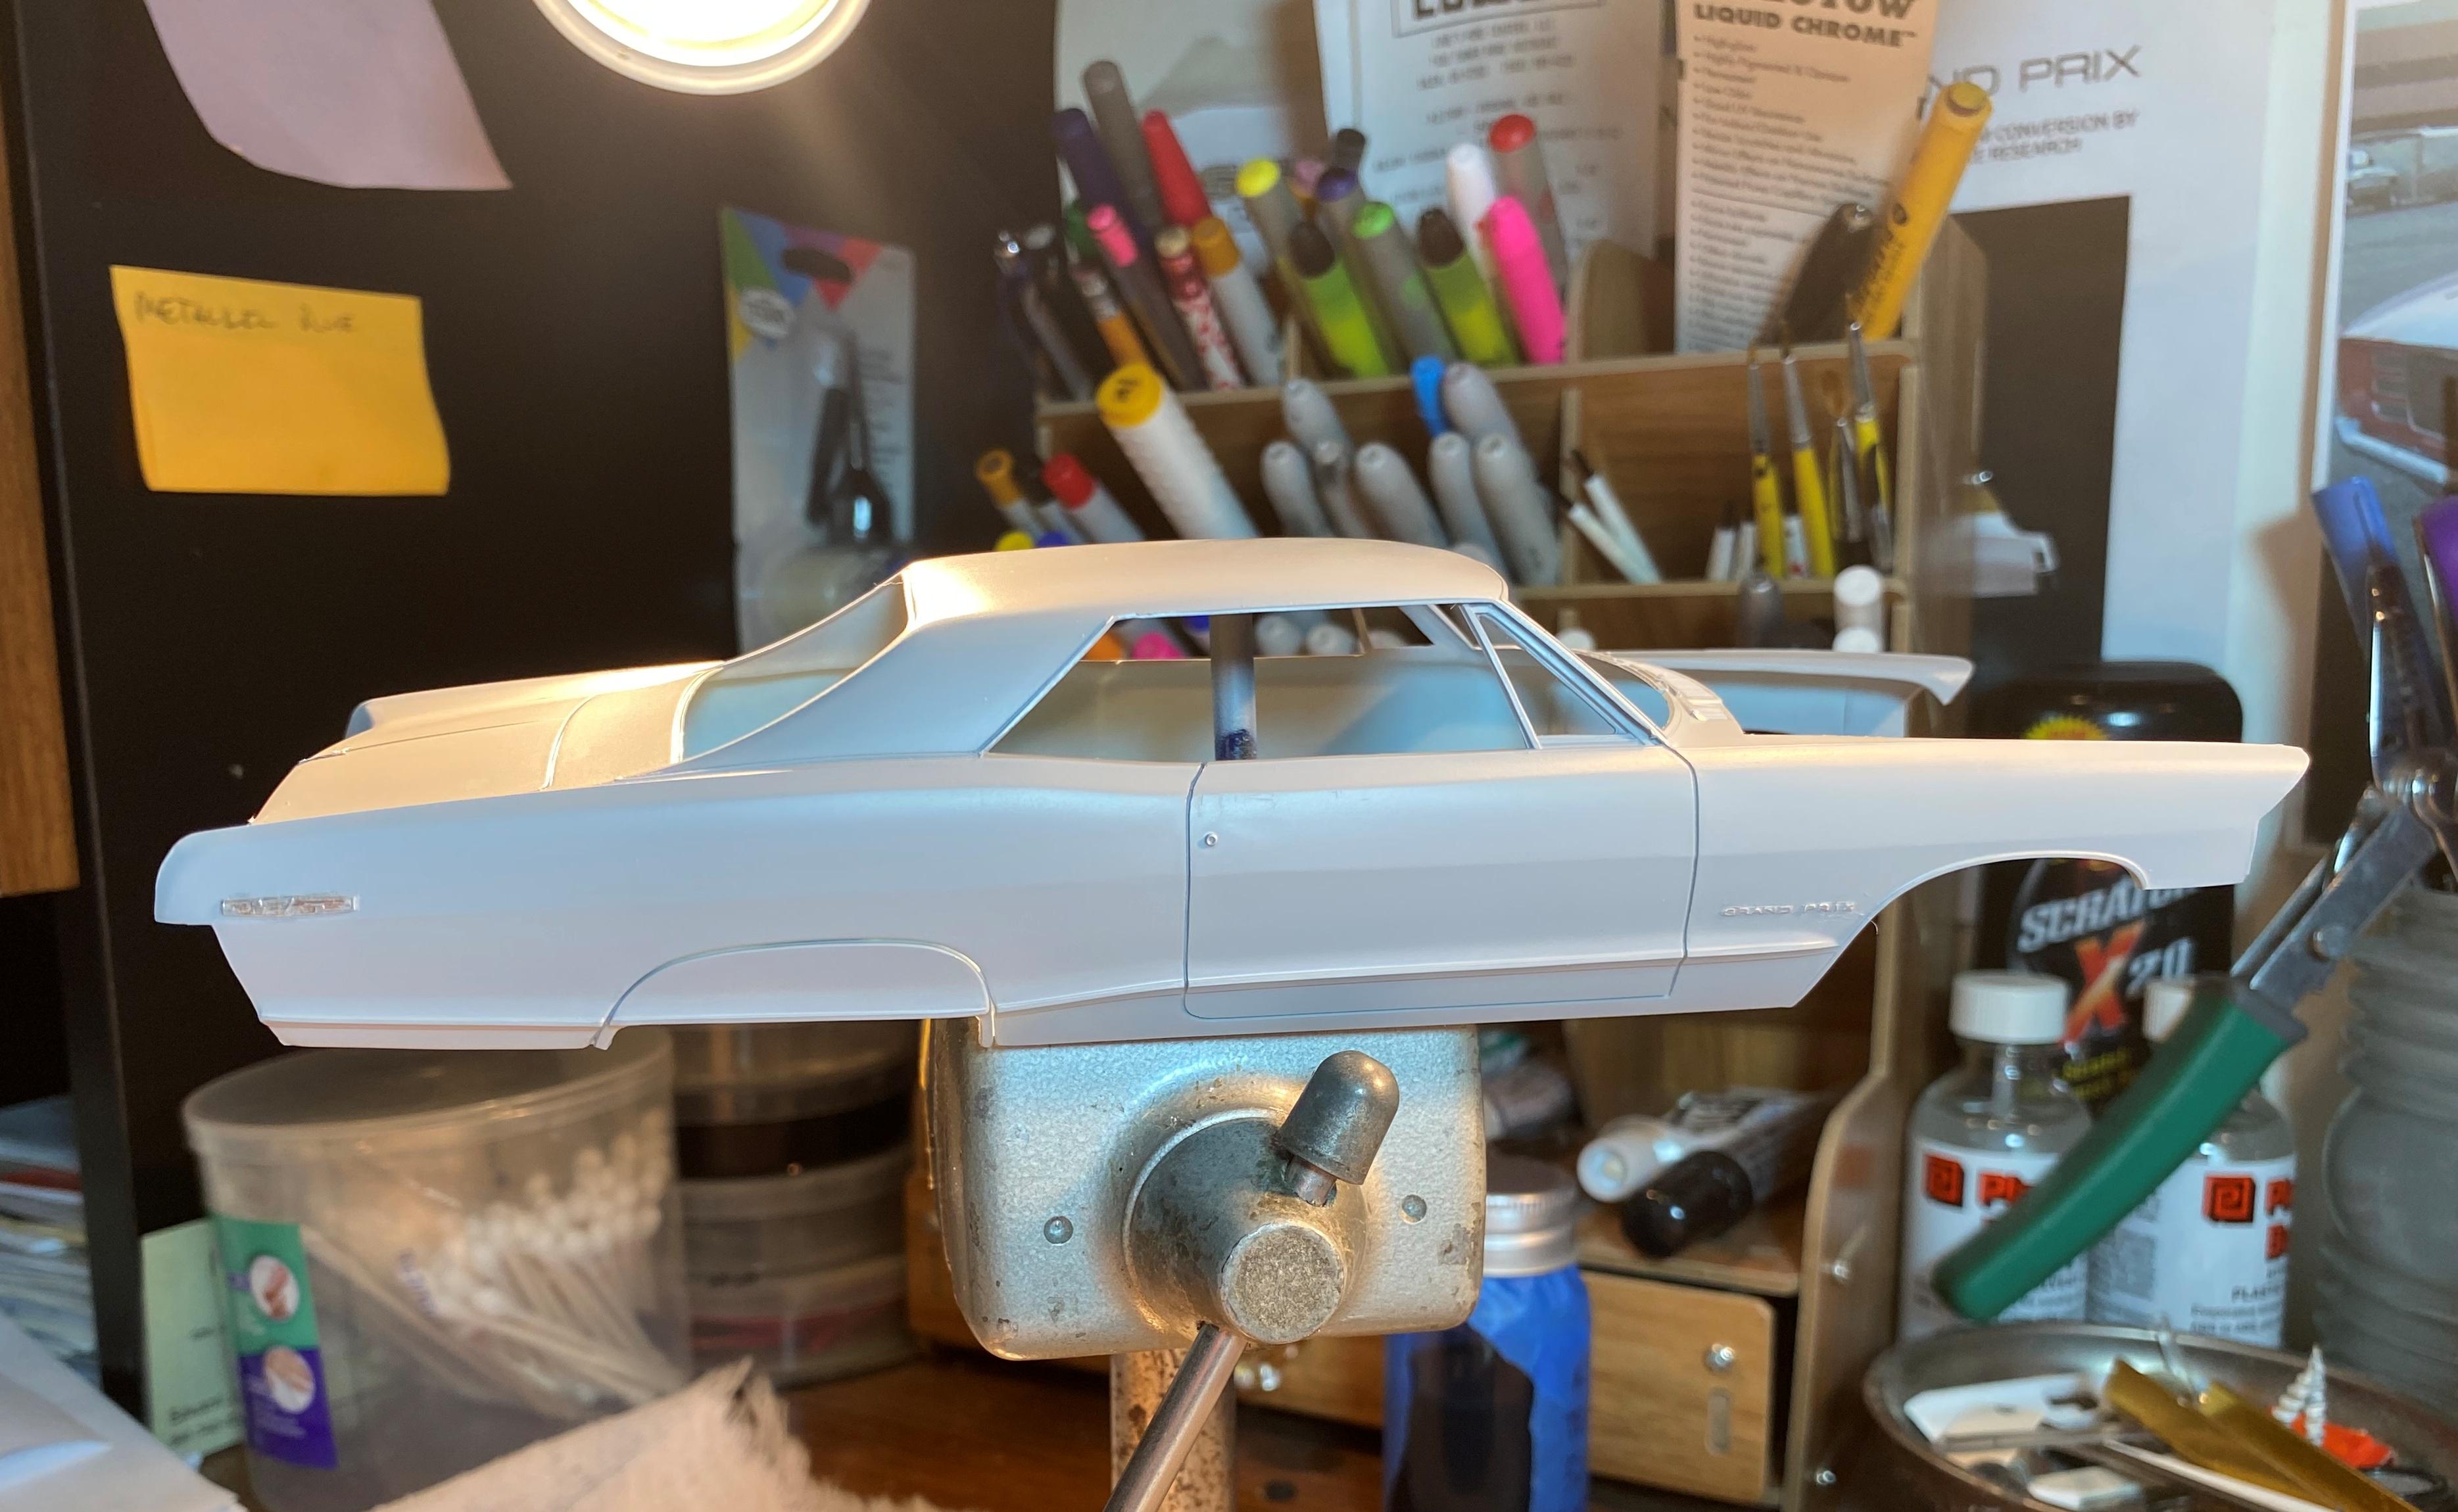
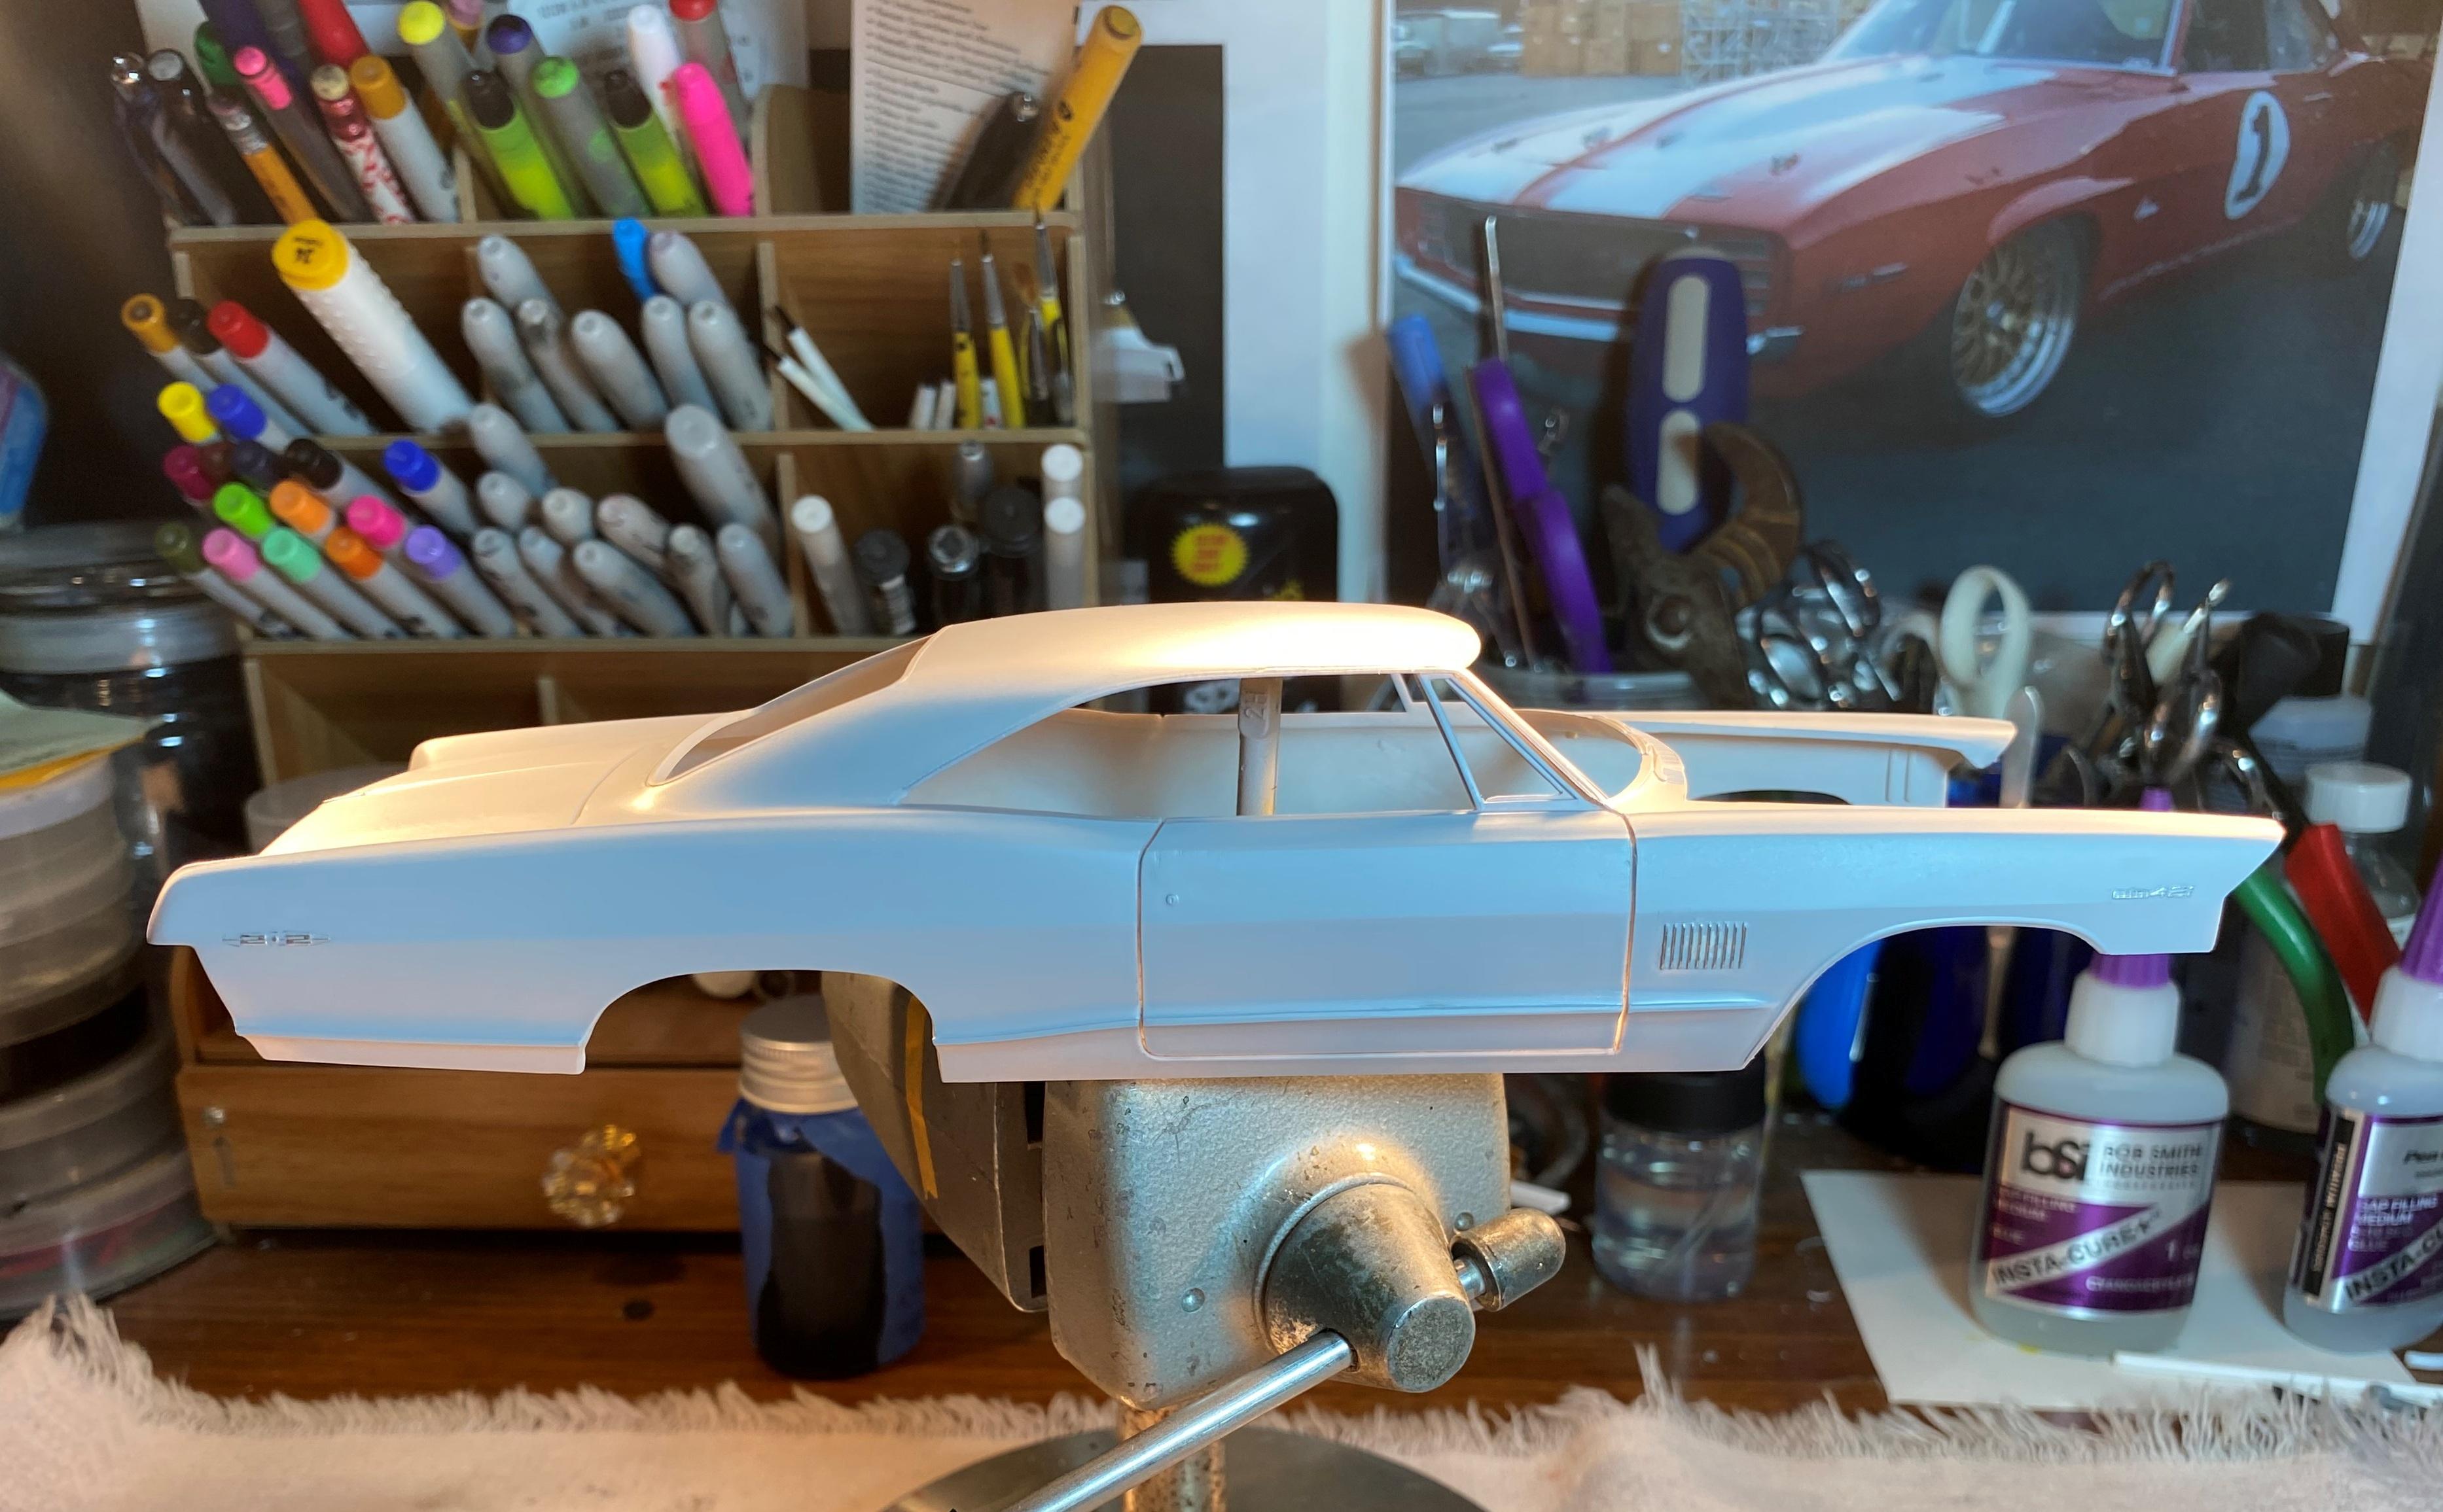
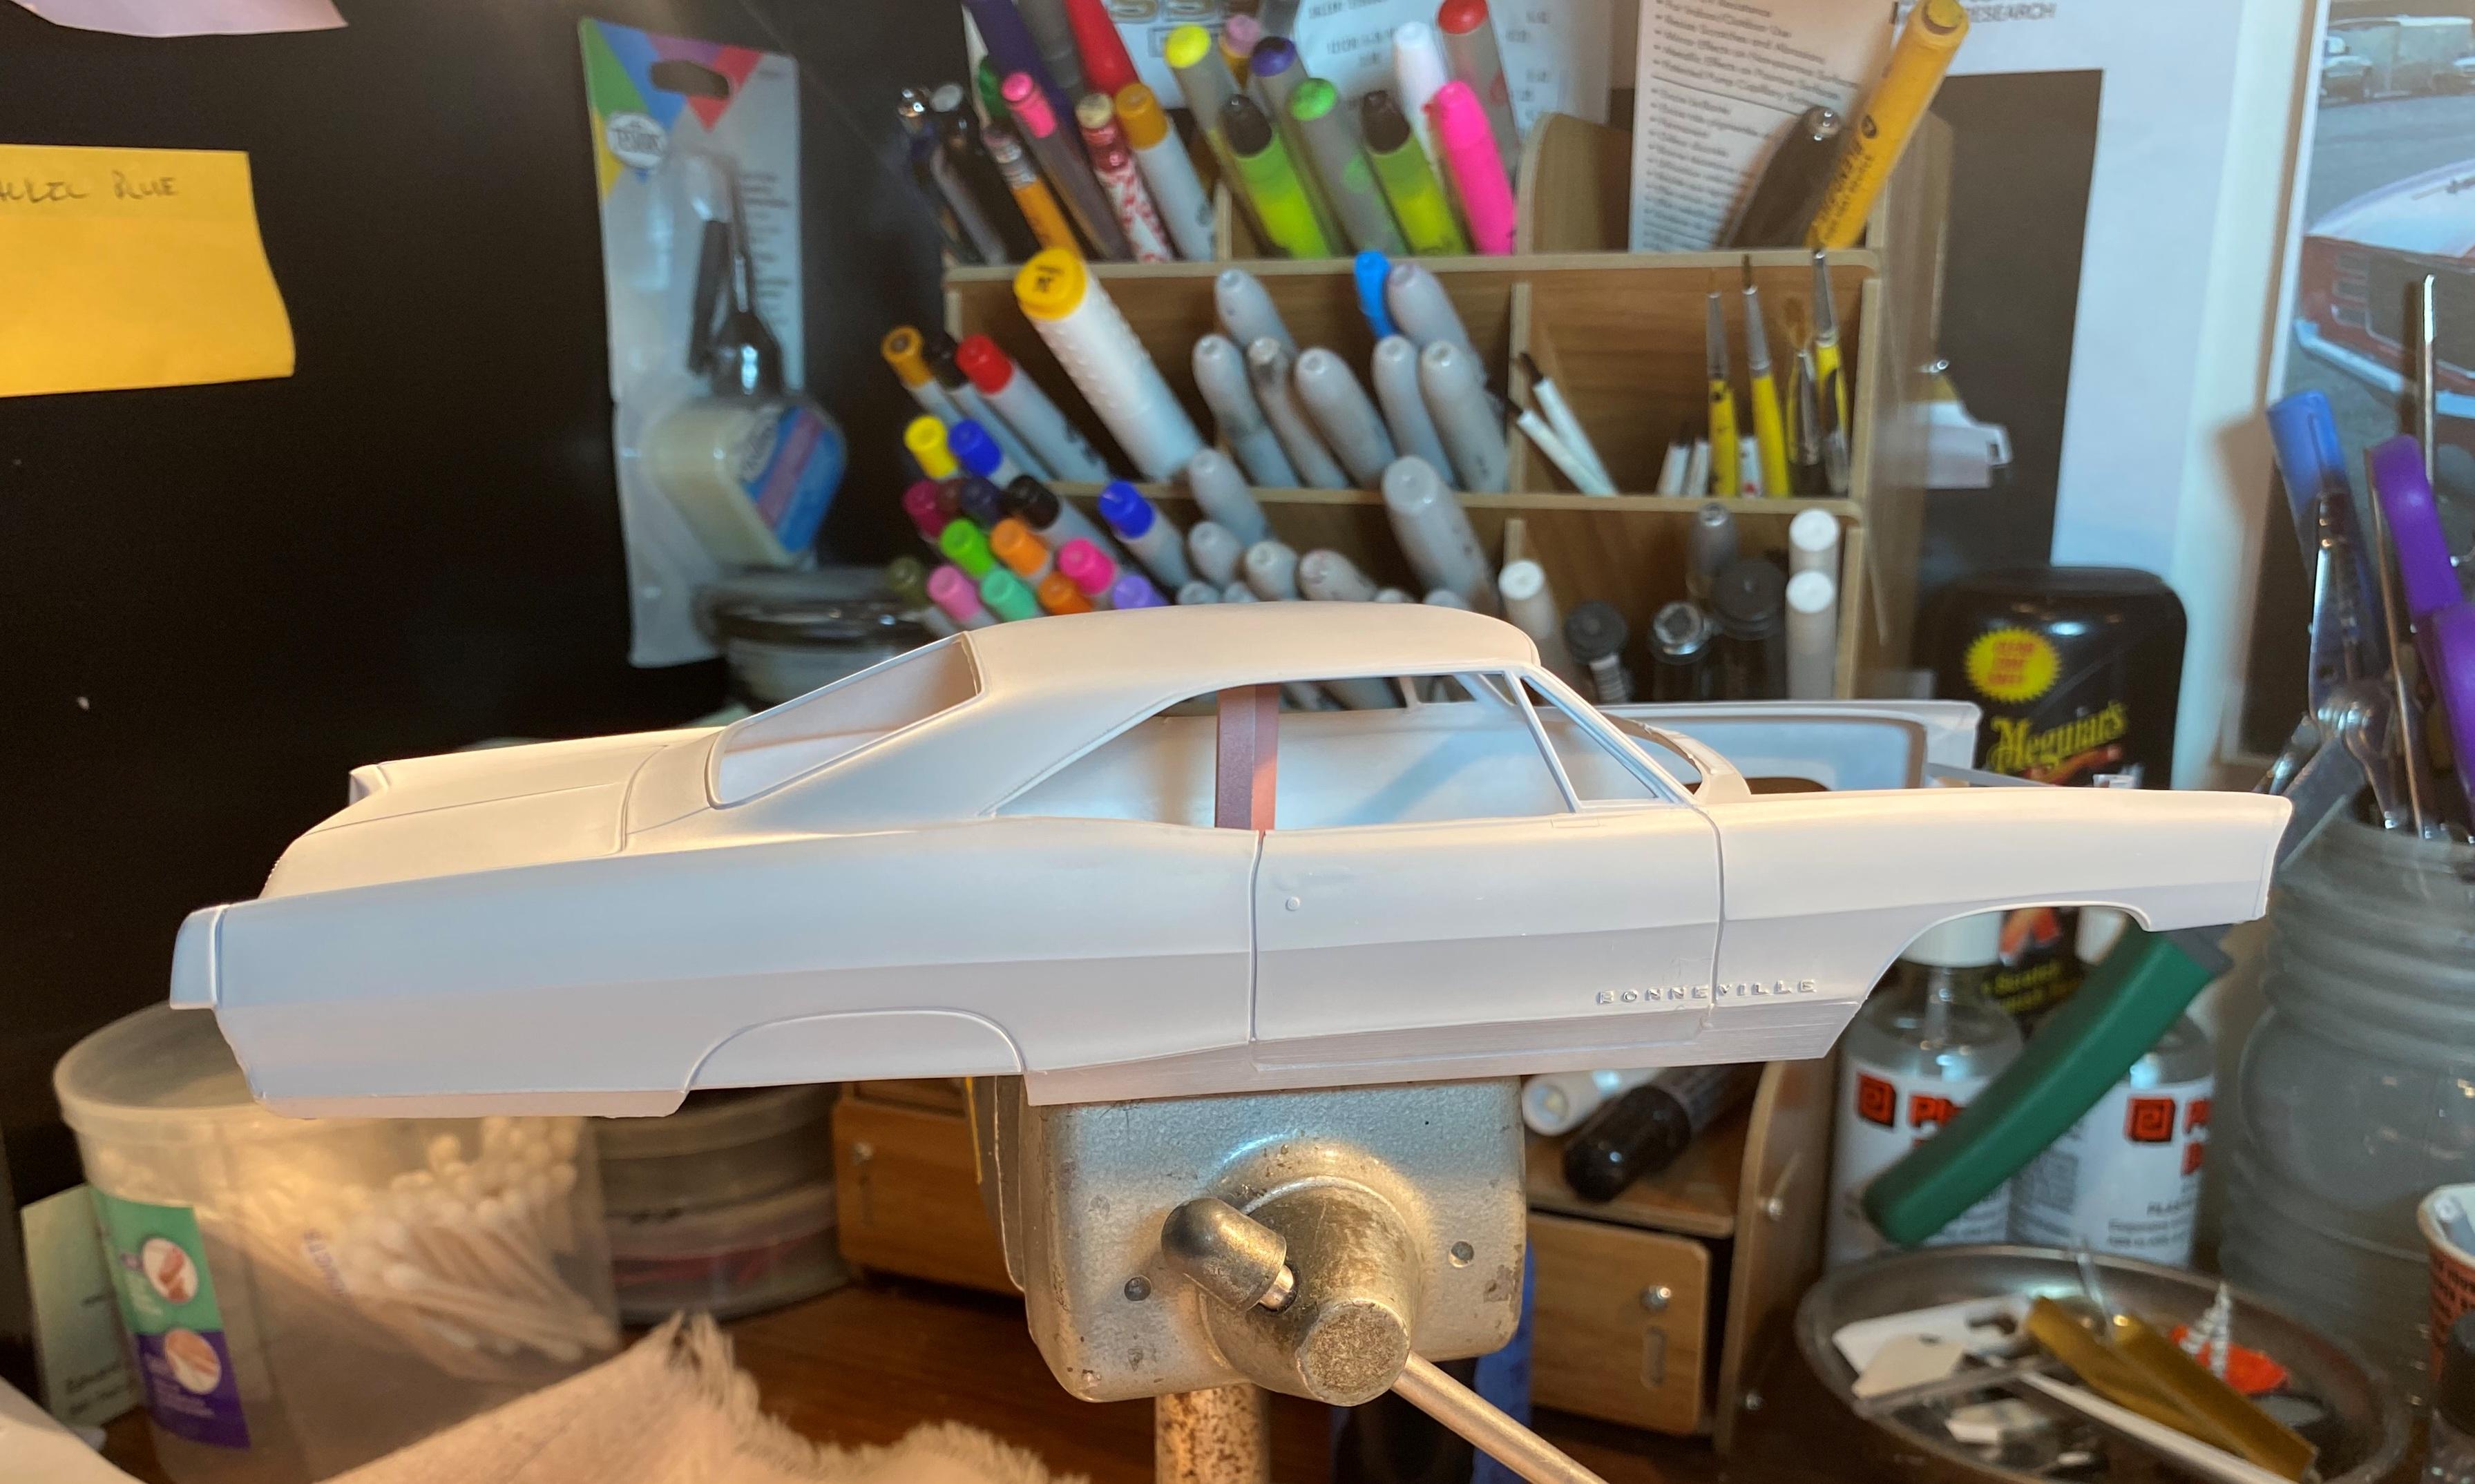
Applied BMF to all the scripts and emblems. Sprayed Mr Surfacer 1000 primer (nice stuff) on all 4 bodies. Re-revealed scripts and emblems using a combination of light sanding with 600 grit and acetone on a tiny tip cotton swab. Also did a color test of my dark metallic reds. I have my color chosen for the 66 Bonneville now.