doorsovdoon
-
Posts
4,518 -
Joined
-
Last visited
Content Type
Profiles
Forums
Events
Gallery
Everything posted by doorsovdoon
-
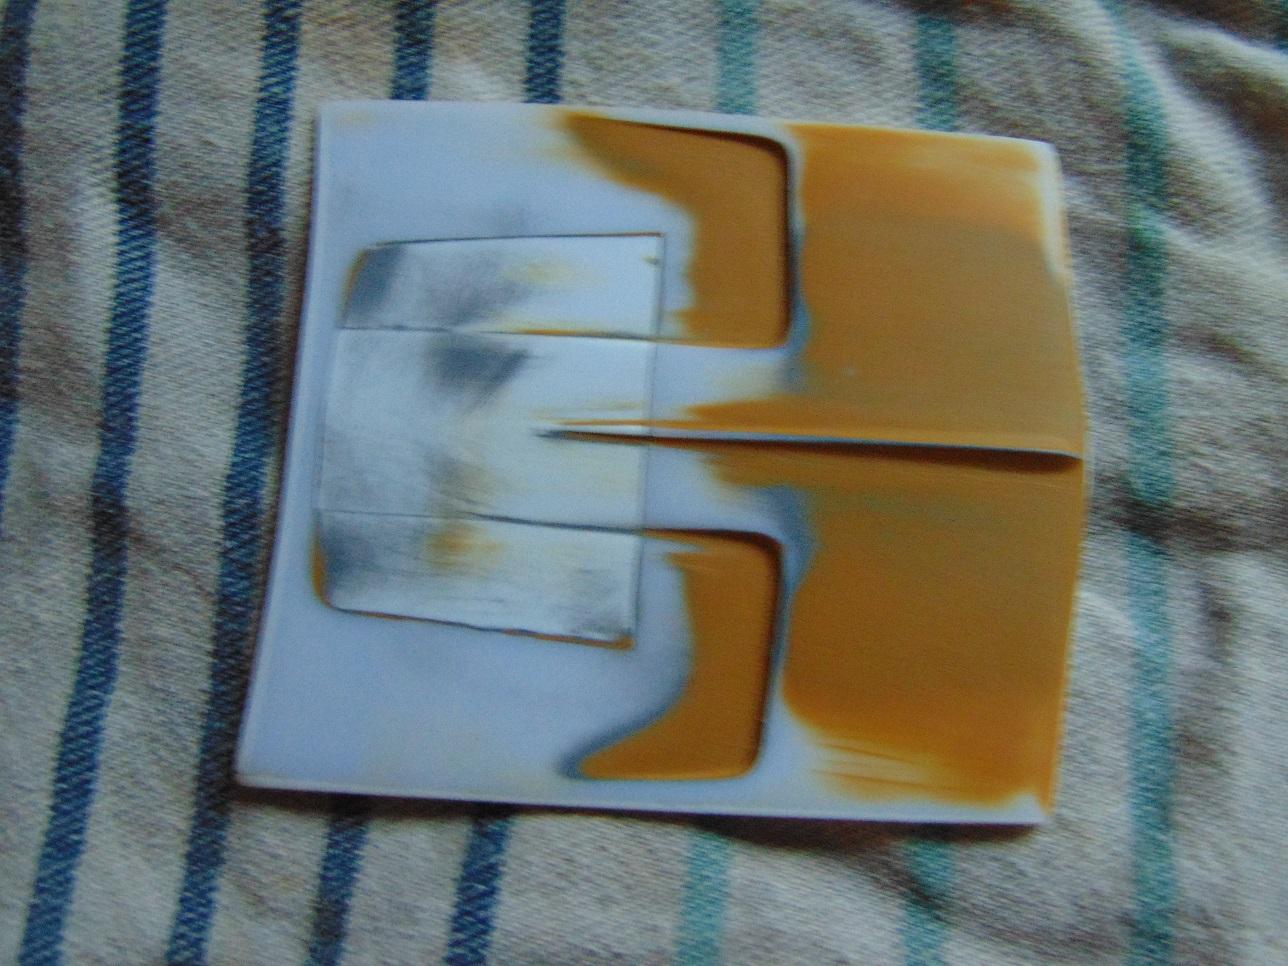
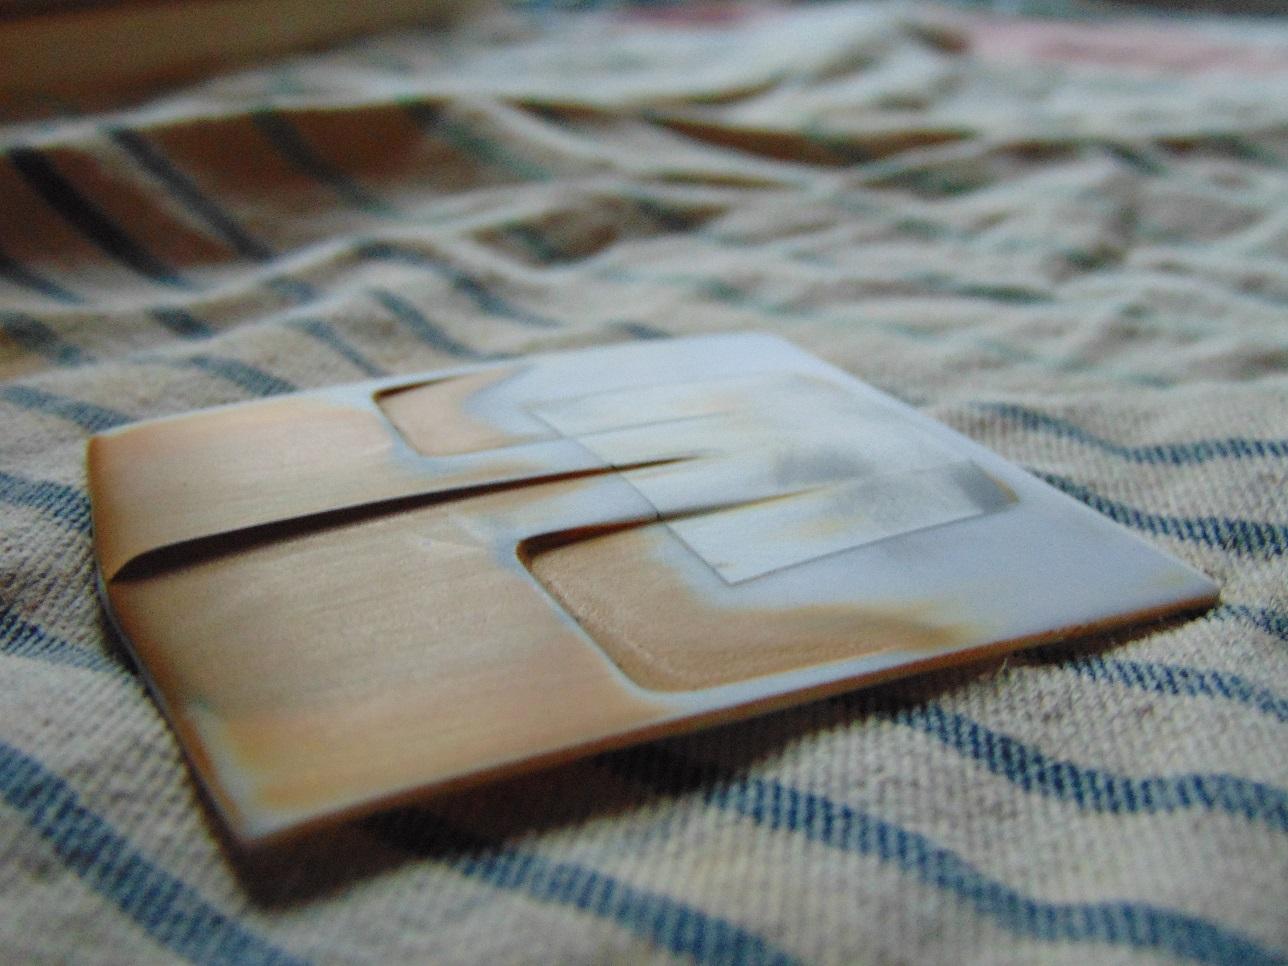
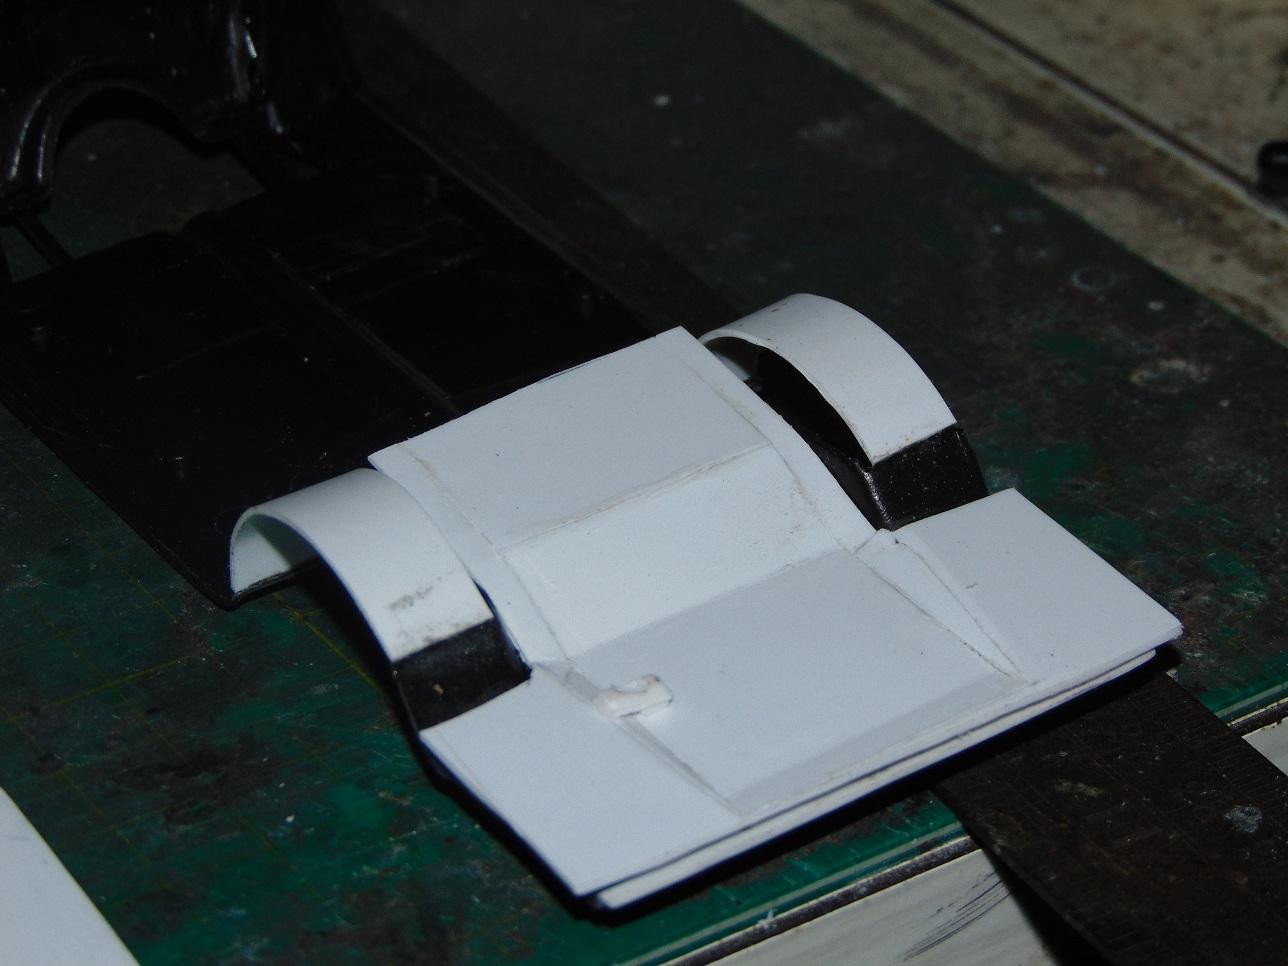
Hood is shaped and smoothed ready for primer. No filler needed, just some filler primer and a lot of carful sanding.

-
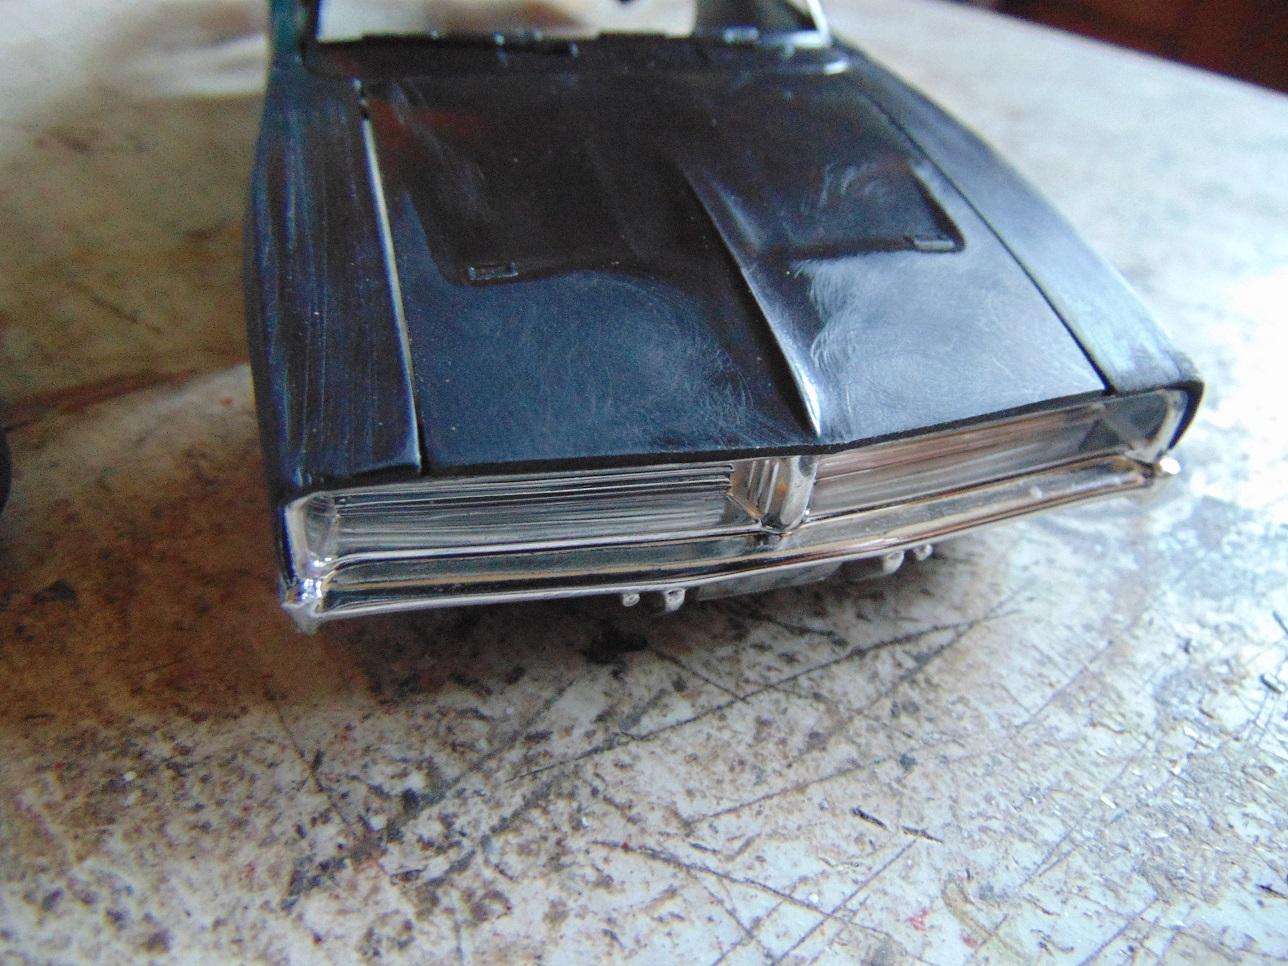
Thanks mate. Am I right in thinking these grille inserts are from the '71 Charger?
-
BRBO 2022 - Peterbilt 351
doorsovdoon replied to carsntrucks4you's topic in WIP: Model Trucks: Big Rigs and Heavy Equipment
I'm liking the work on the bed, and the working steering is awesome. Very nice. -
Nice detail work, very nice.
-
Some nice work there. Love these basic kits for this very reason, whatever you do is an improvement and lots of fun doing it.
-
What did you learn to drive in?
doorsovdoon replied to slusher's topic in General Automotive Talk (Trucks and Cars)
I learned to drive in an early 80's Nissan Sunny which was rear ended by a London style taxi cab during my third lesson! The rest of my lessons were done in a late 80's Nissan Micra. I remember it was snowing on my first lesson, and on my test day it hammered down with rain so bad that the examiner directed us back to the test station after only twenty minutes. Being such a short test I thought I failed, but I past first time:) Either he felt it was unsafe to keep going or thought there's no way anyone could do a driving test in this, though he did comment on how I took control of the situation by turning on the blower, heated window ect. It really was raining that day and I don't think I've seen a downpore like that since, it was literally like driving through a carwash. -
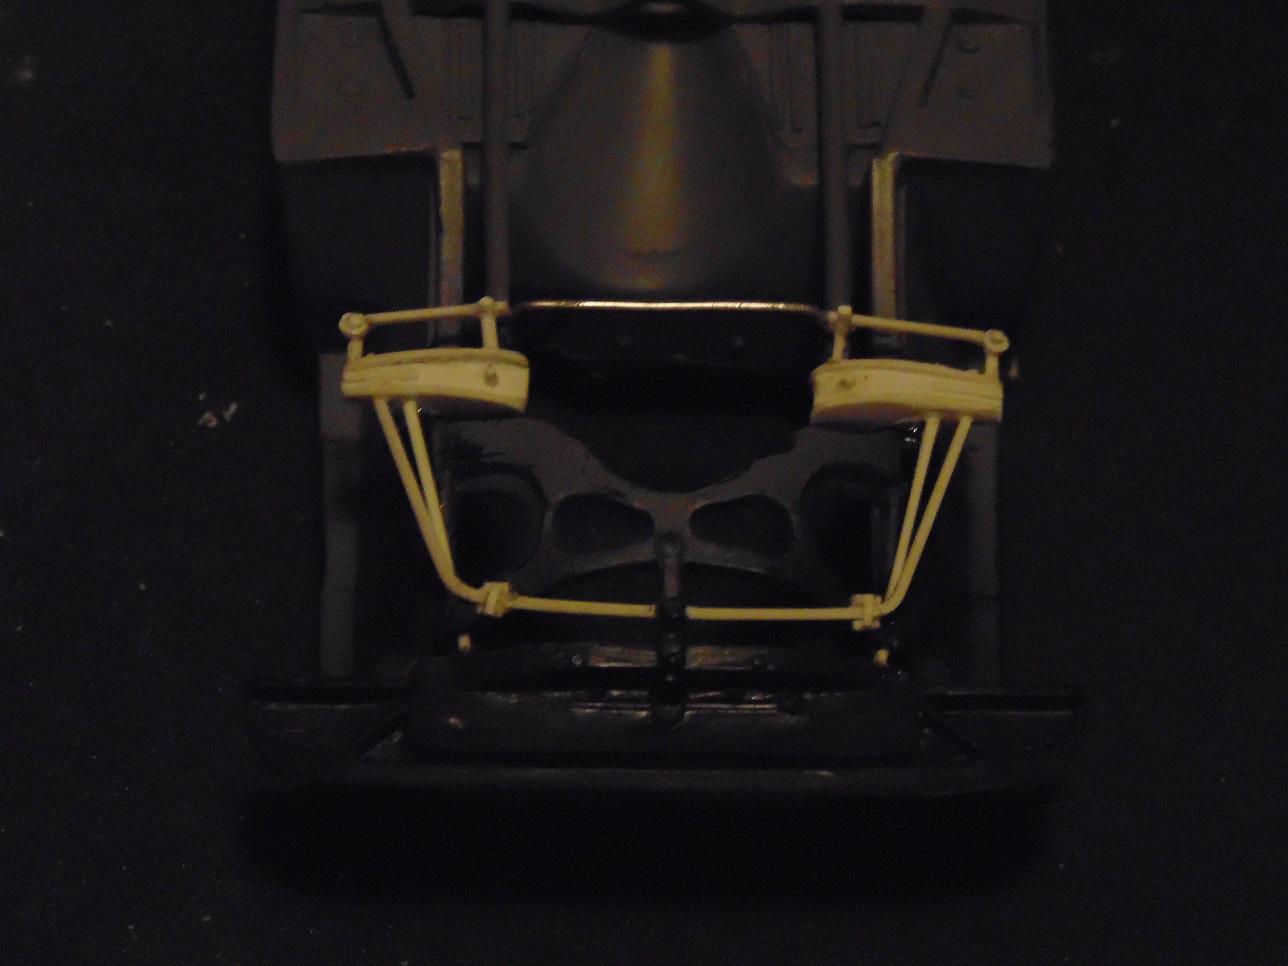
Made a bit of an upgrade to the kits steering and suspension.
-
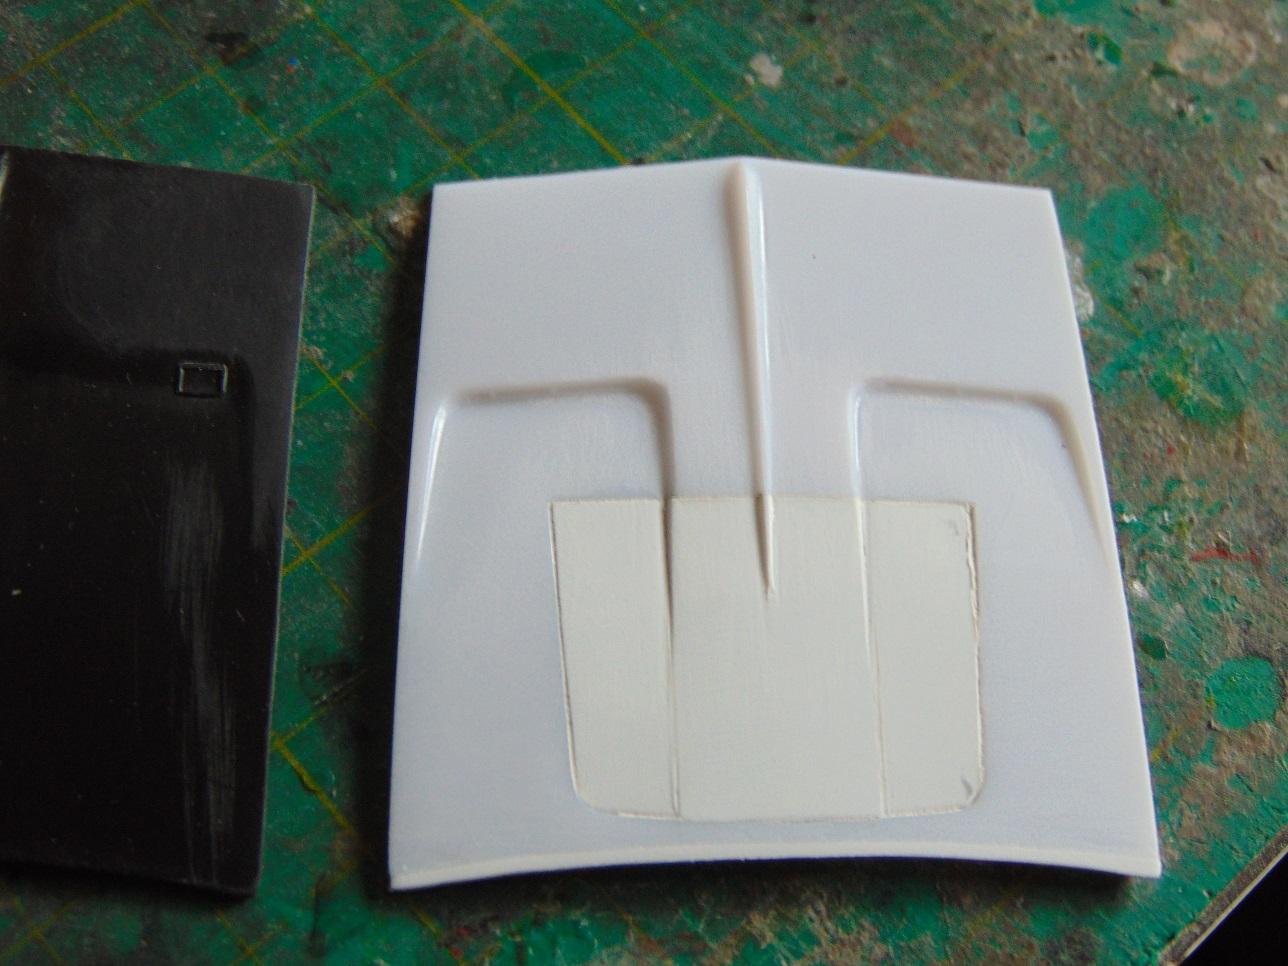
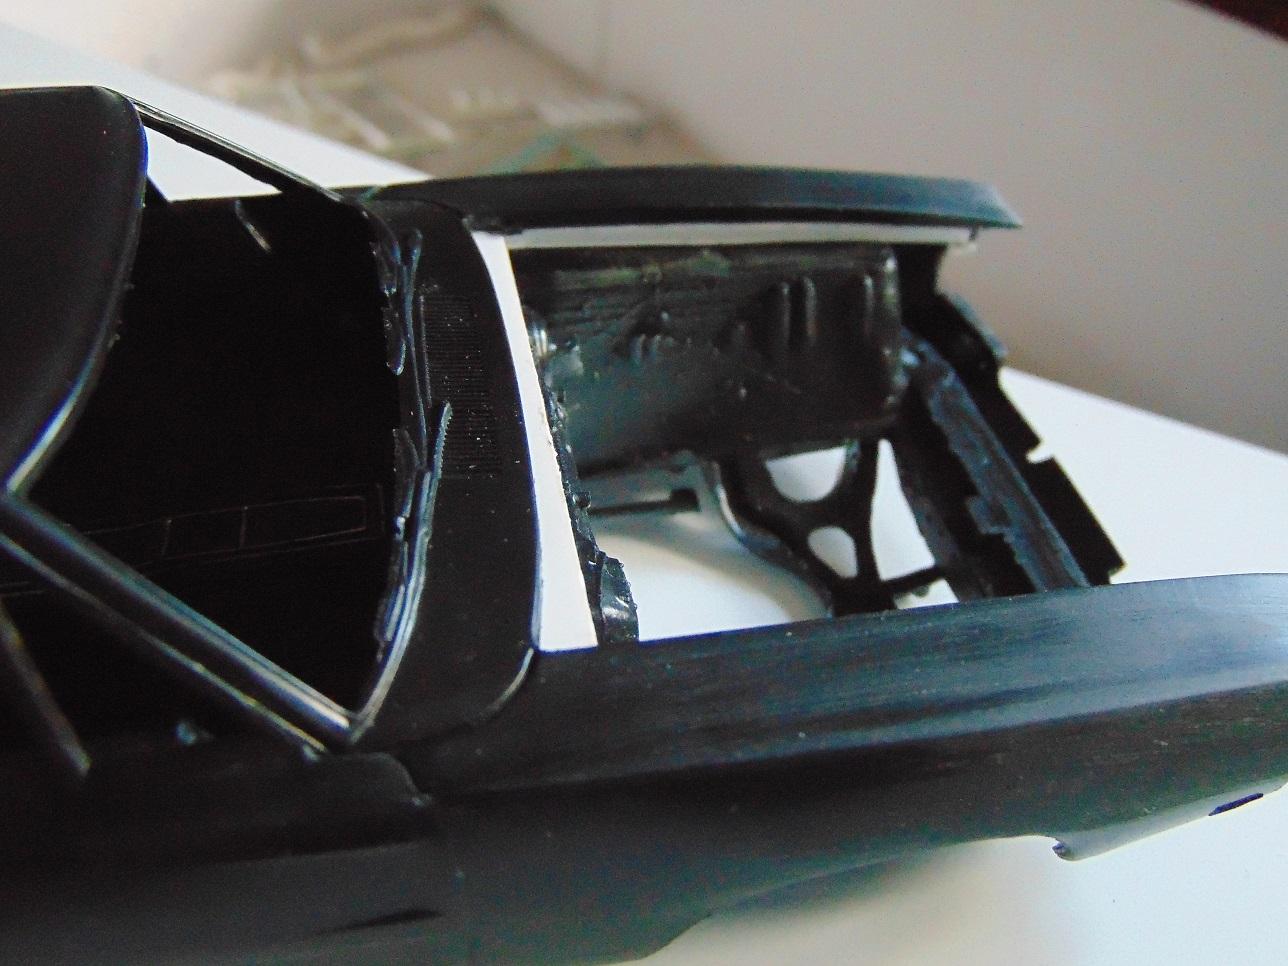
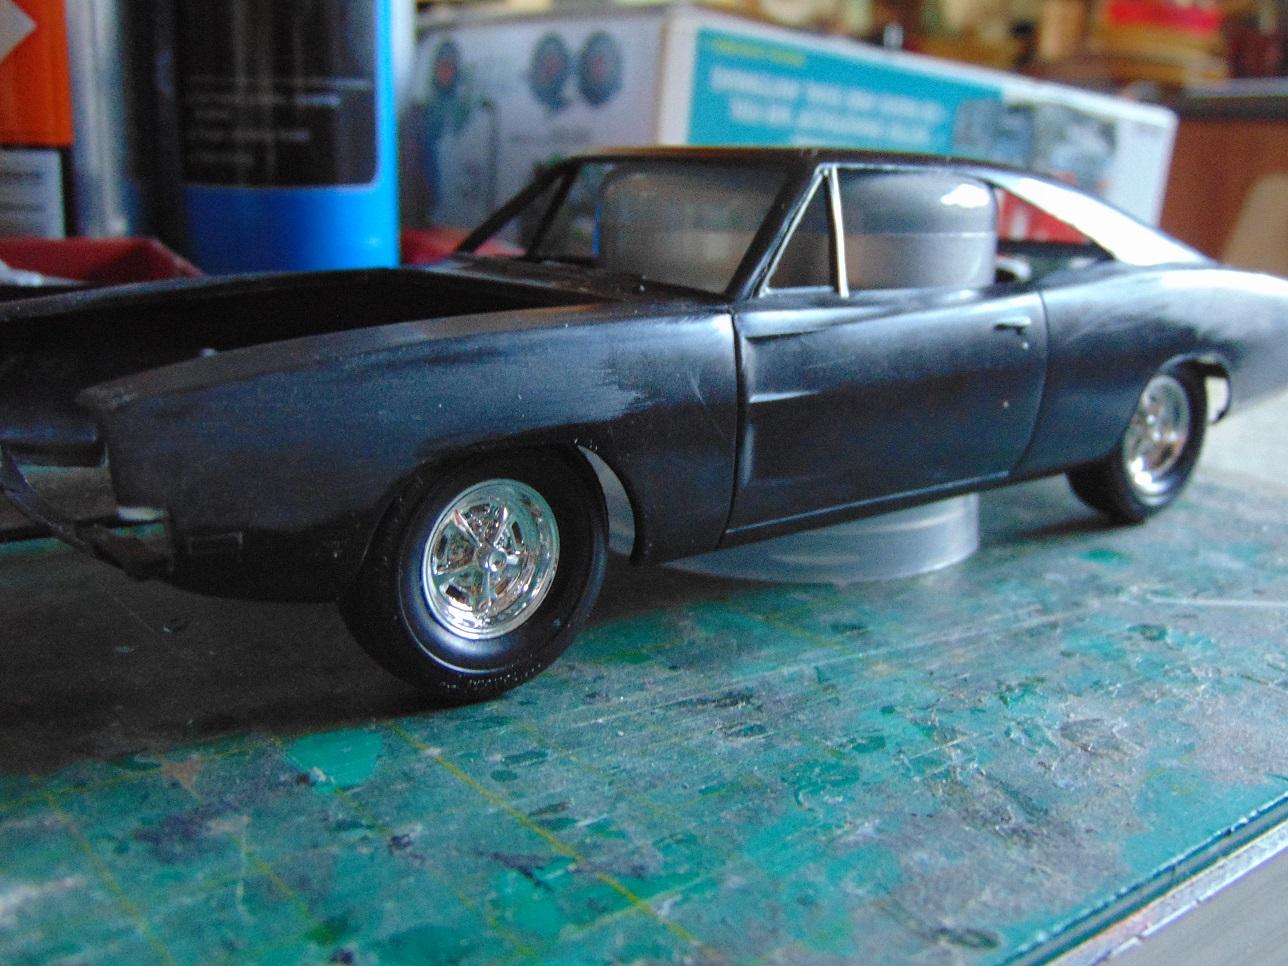
I have a couple of spare hoods from the Revell '68 Charger which are much closer in detail to the real thing. It's the custom option hood so I need to fill in the air intake hole to turn it back into the stock version. It's little wider than the MPC hood so was just a matter of sanding the edges to fit the MPC body.
-
BRBO 2022. GMC Astro Cabover
doorsovdoon replied to doorsovdoon's topic in WIP: Model Trucks: Big Rigs and Heavy Equipment
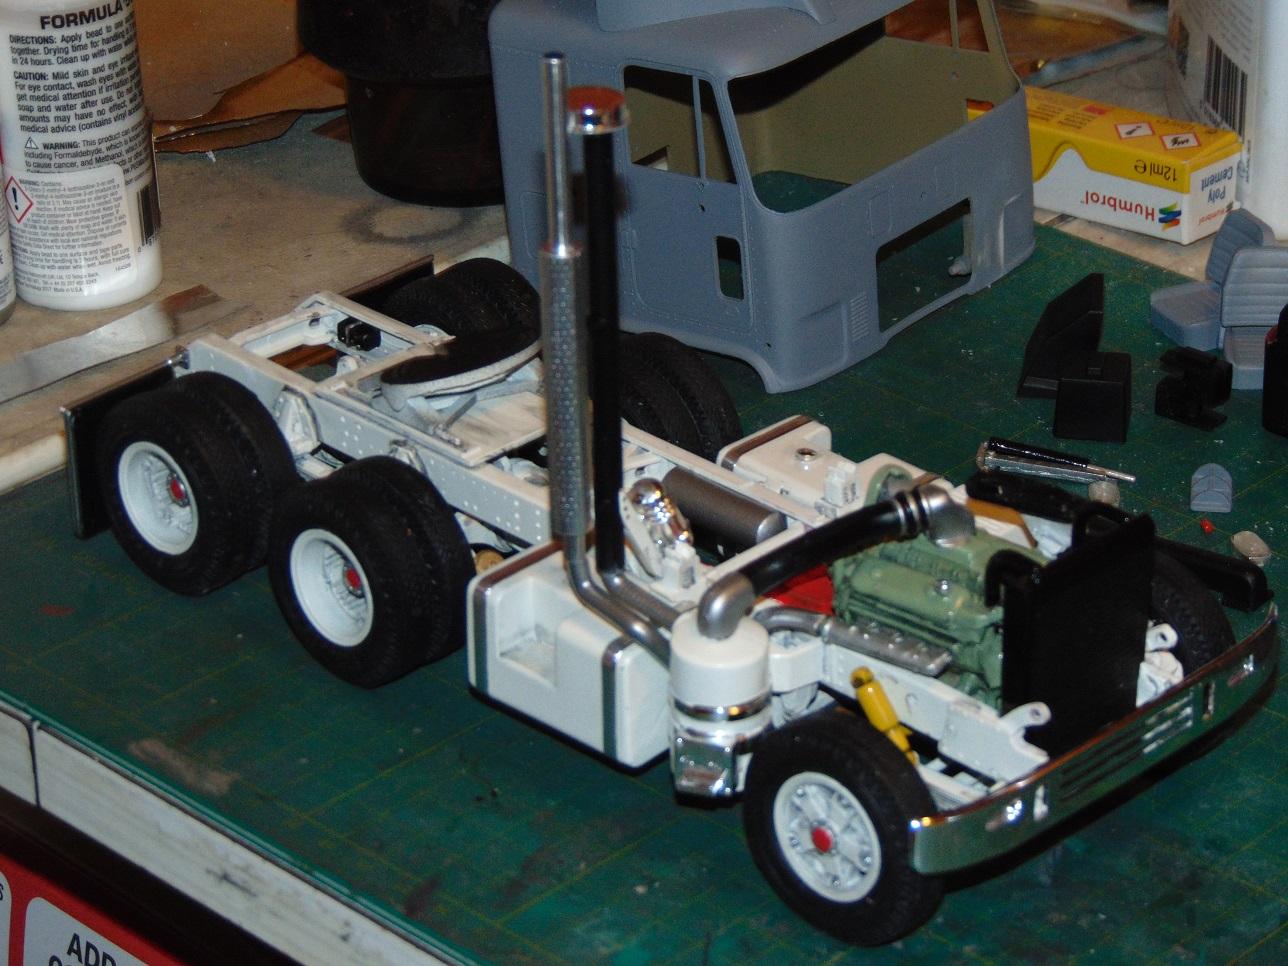
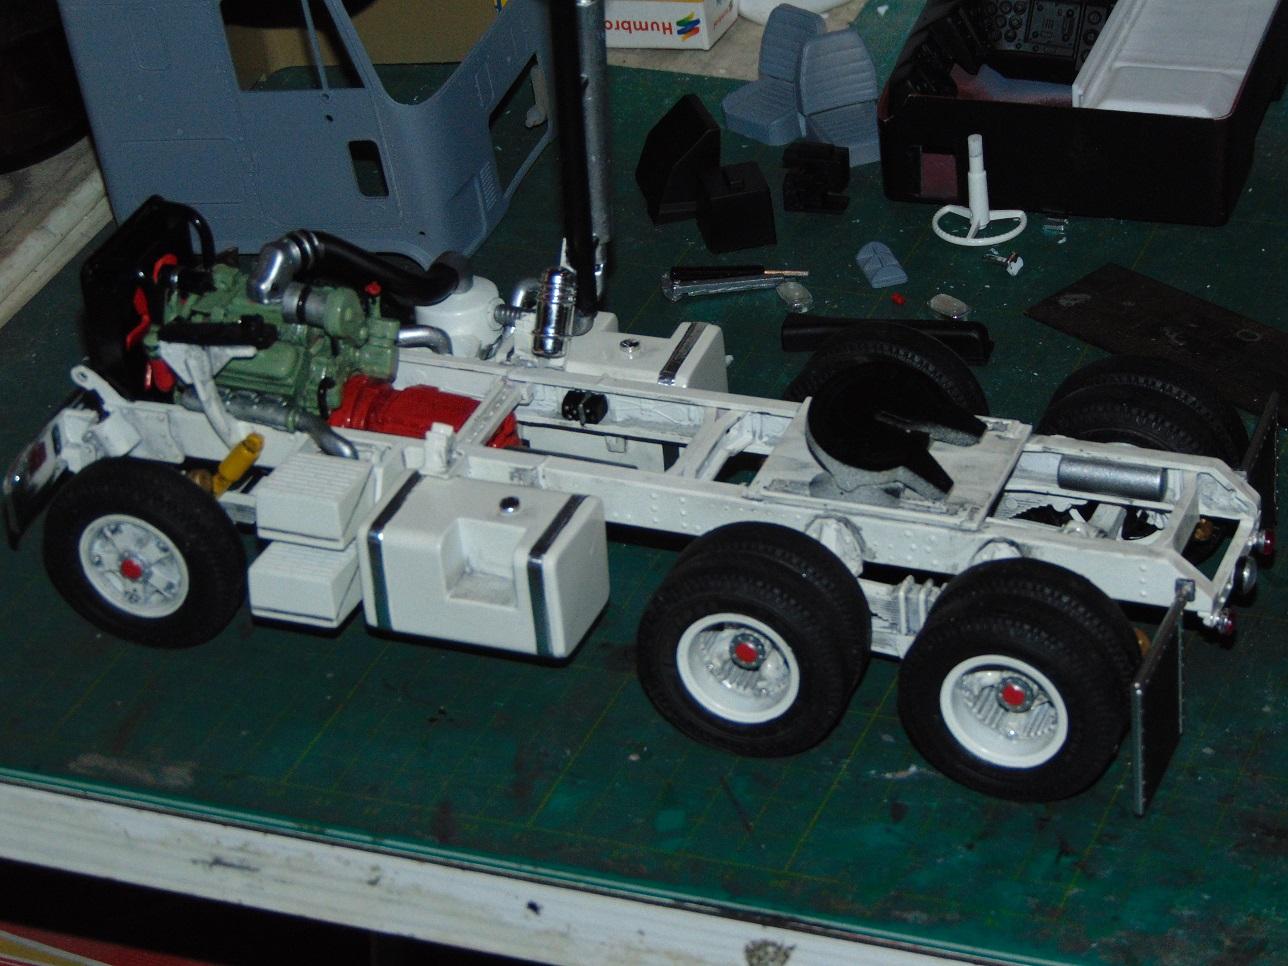
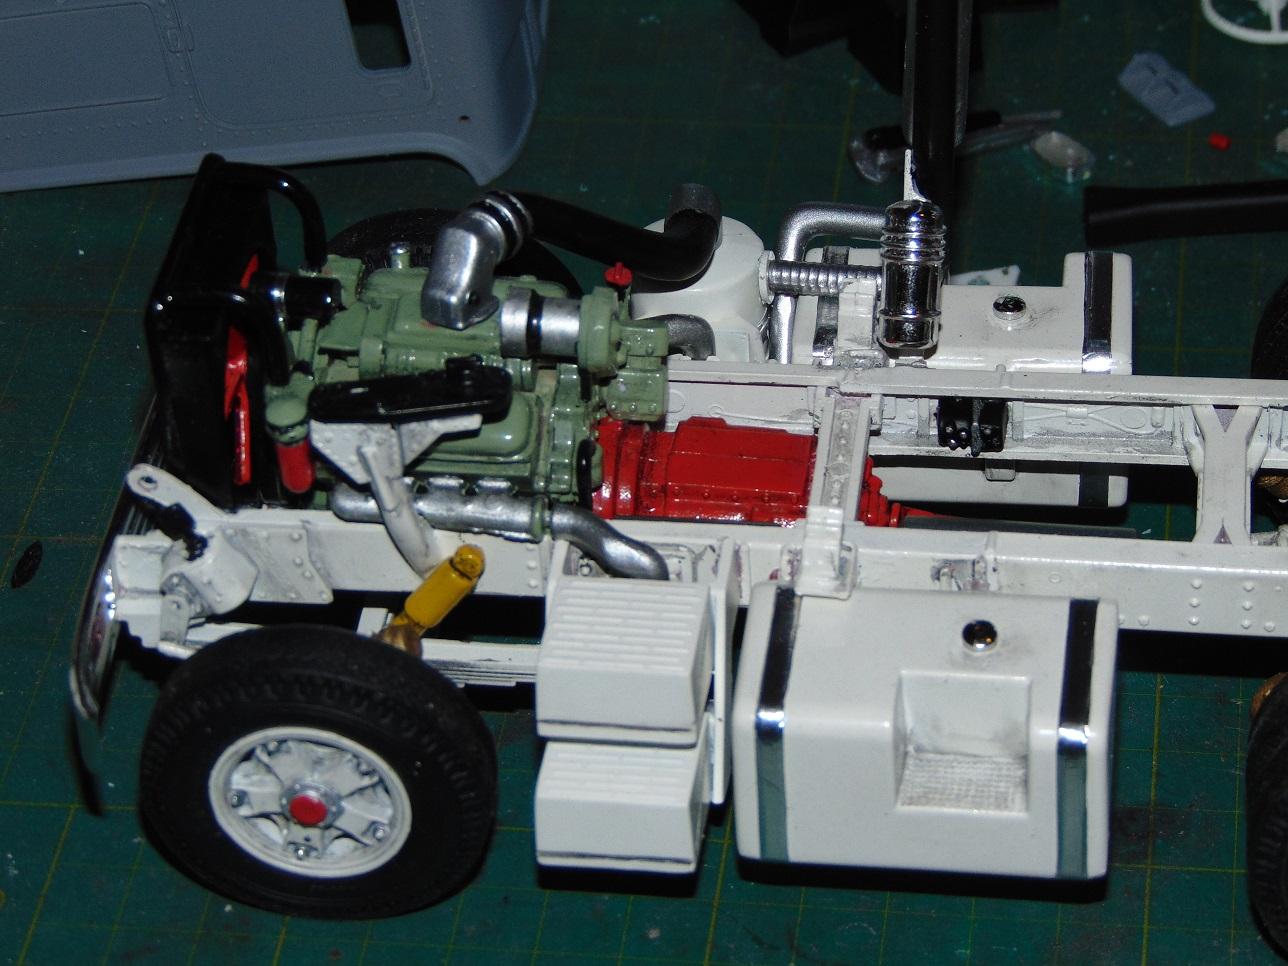
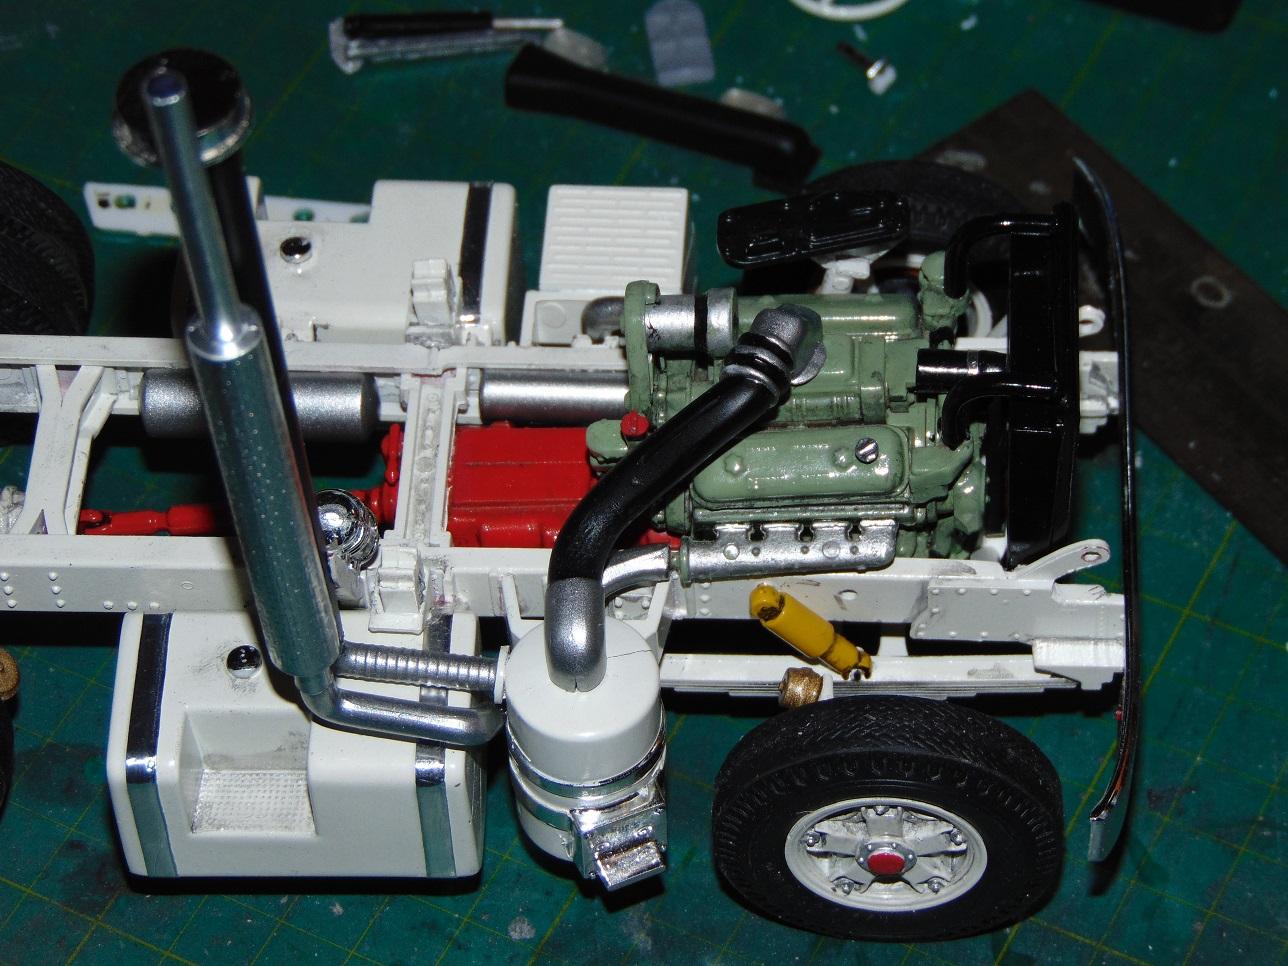
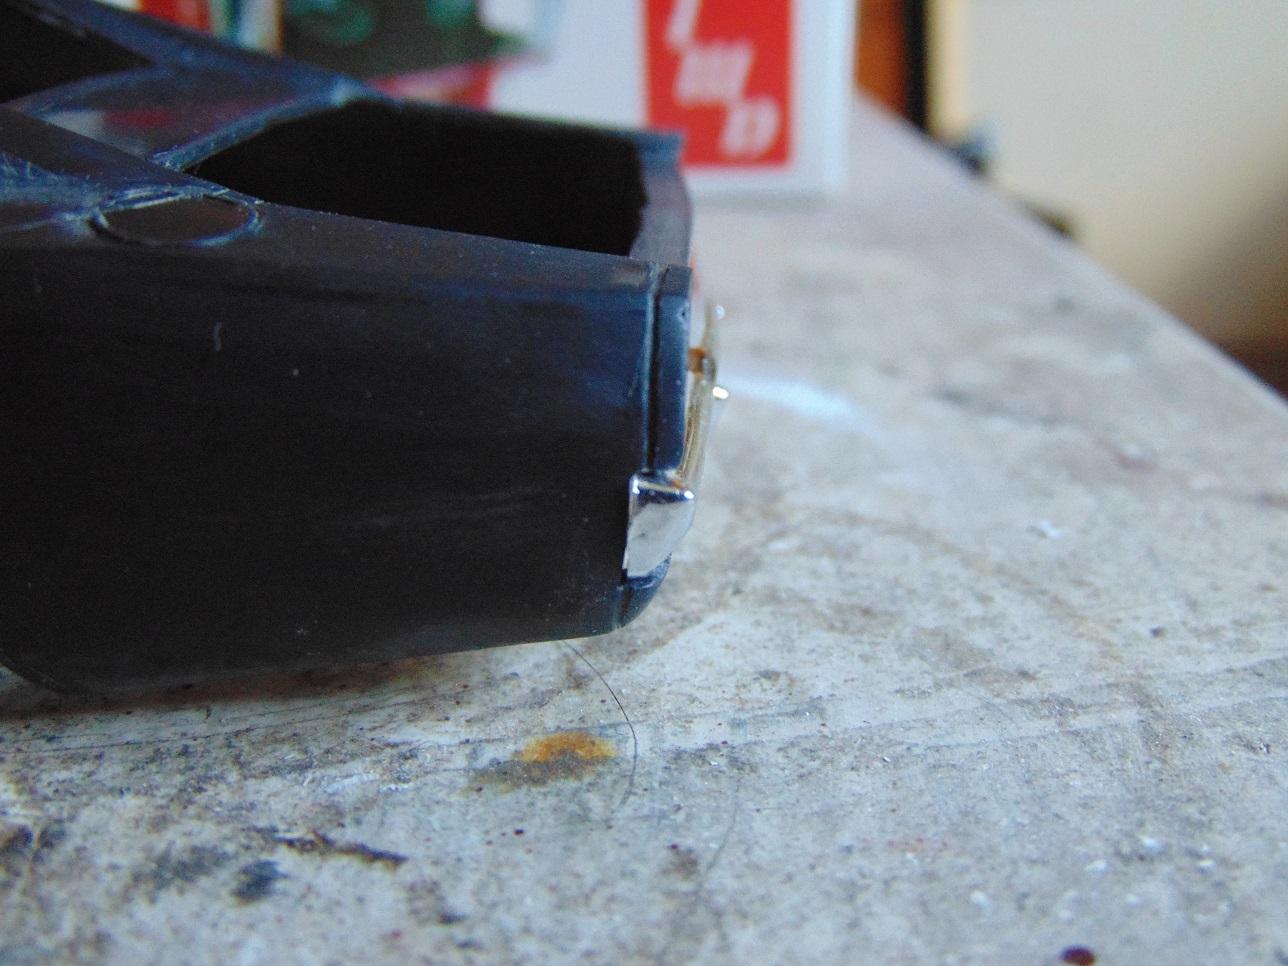
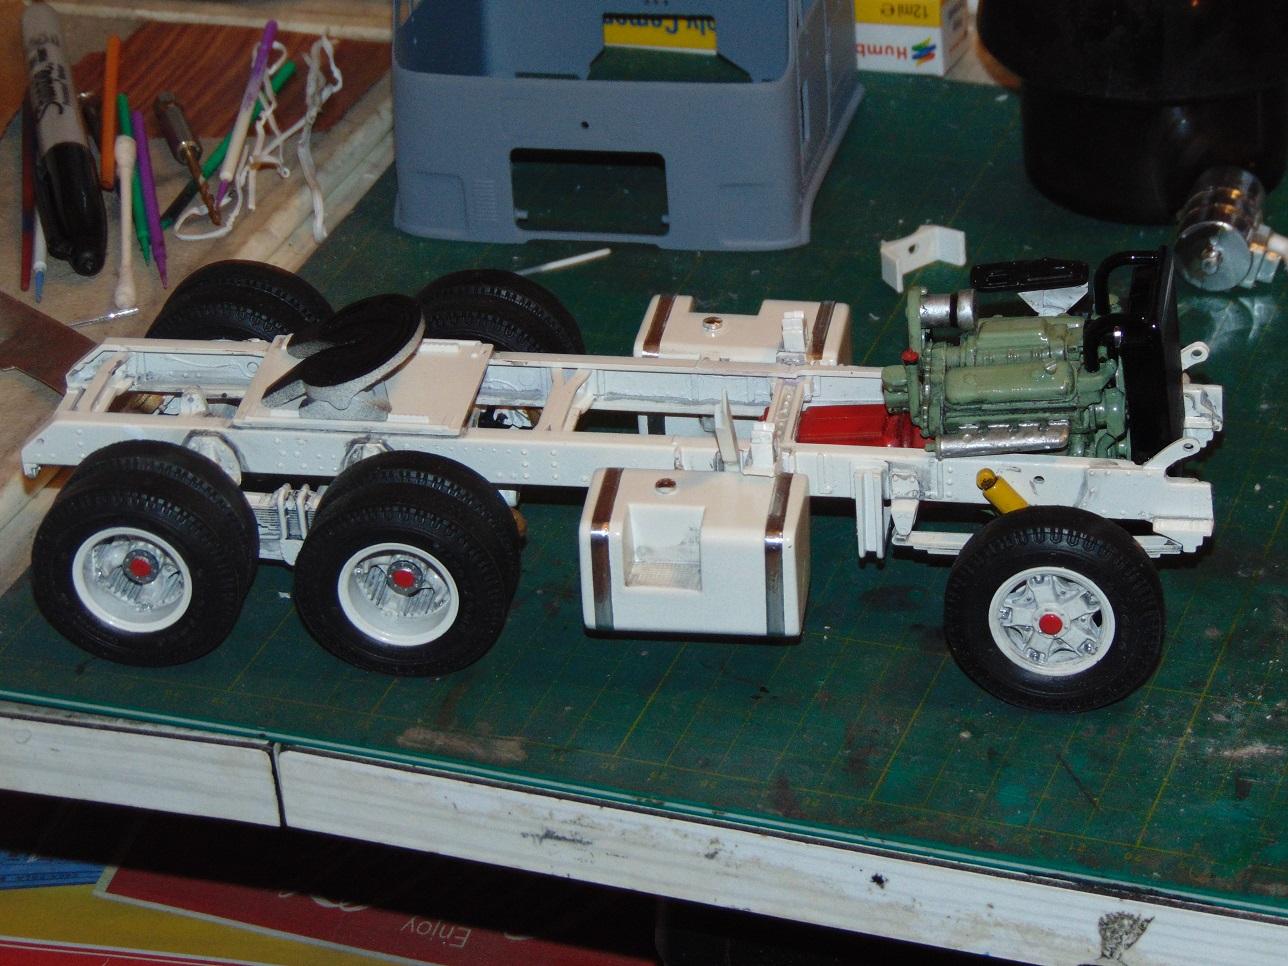
Chassis finished up. The air intake and exhaust pipes were a bit fiddly, but not too bad. I heard the round tanks make it even more difficult, so I'm glad I used the square tanks now.
-
I'm thinking of doing the front with exposed headlights. Here's a quick mock-up.
-
Thanks guys. Yeah, quite a challenging kit to make it look right but is well worth the effort. I've said before, it's how you approach these particular kits. Anyone can put together a Revell, but these old butchered MPC tools are for real builders Lol!
-
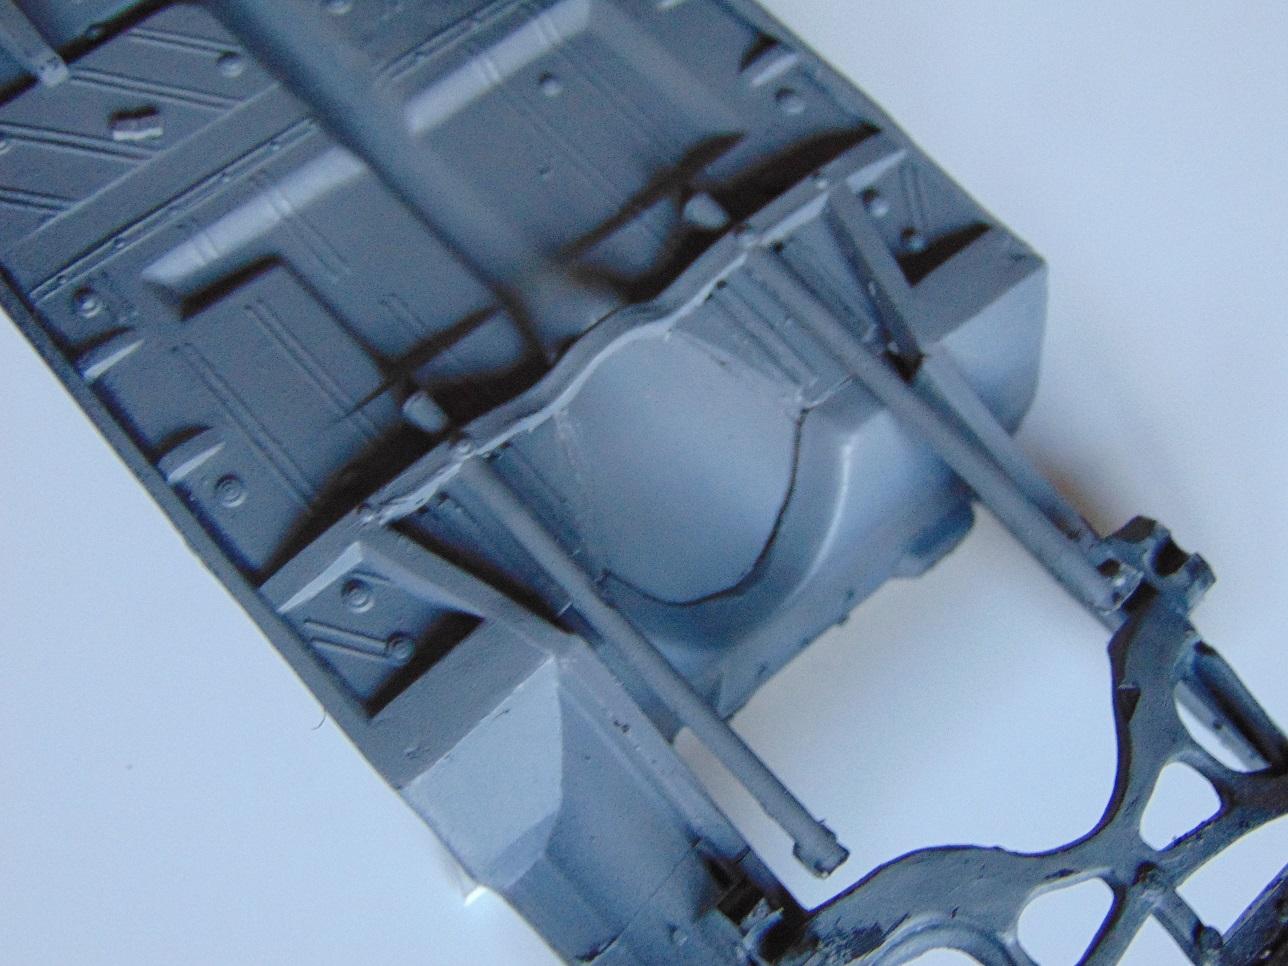
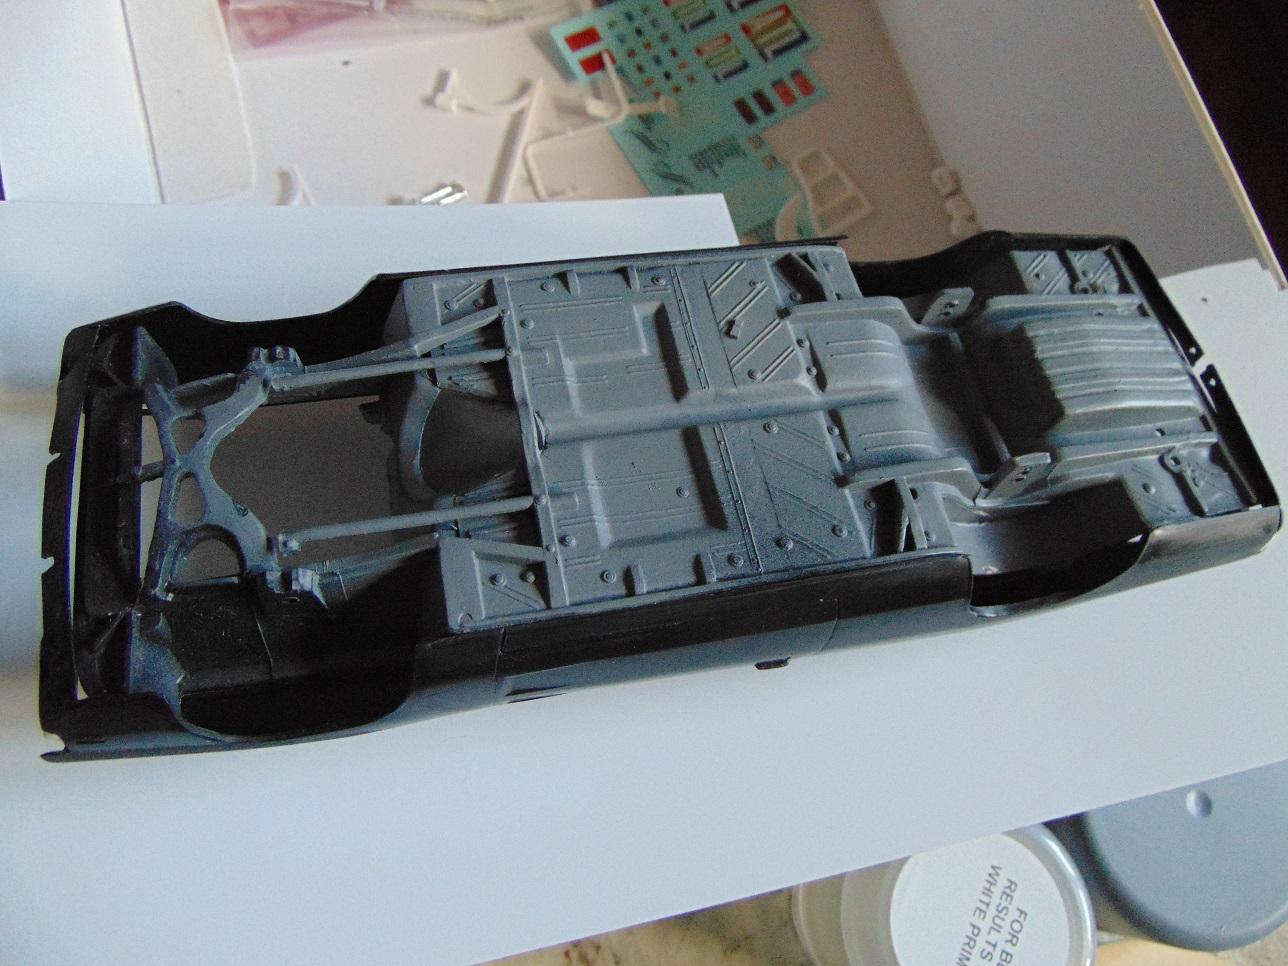
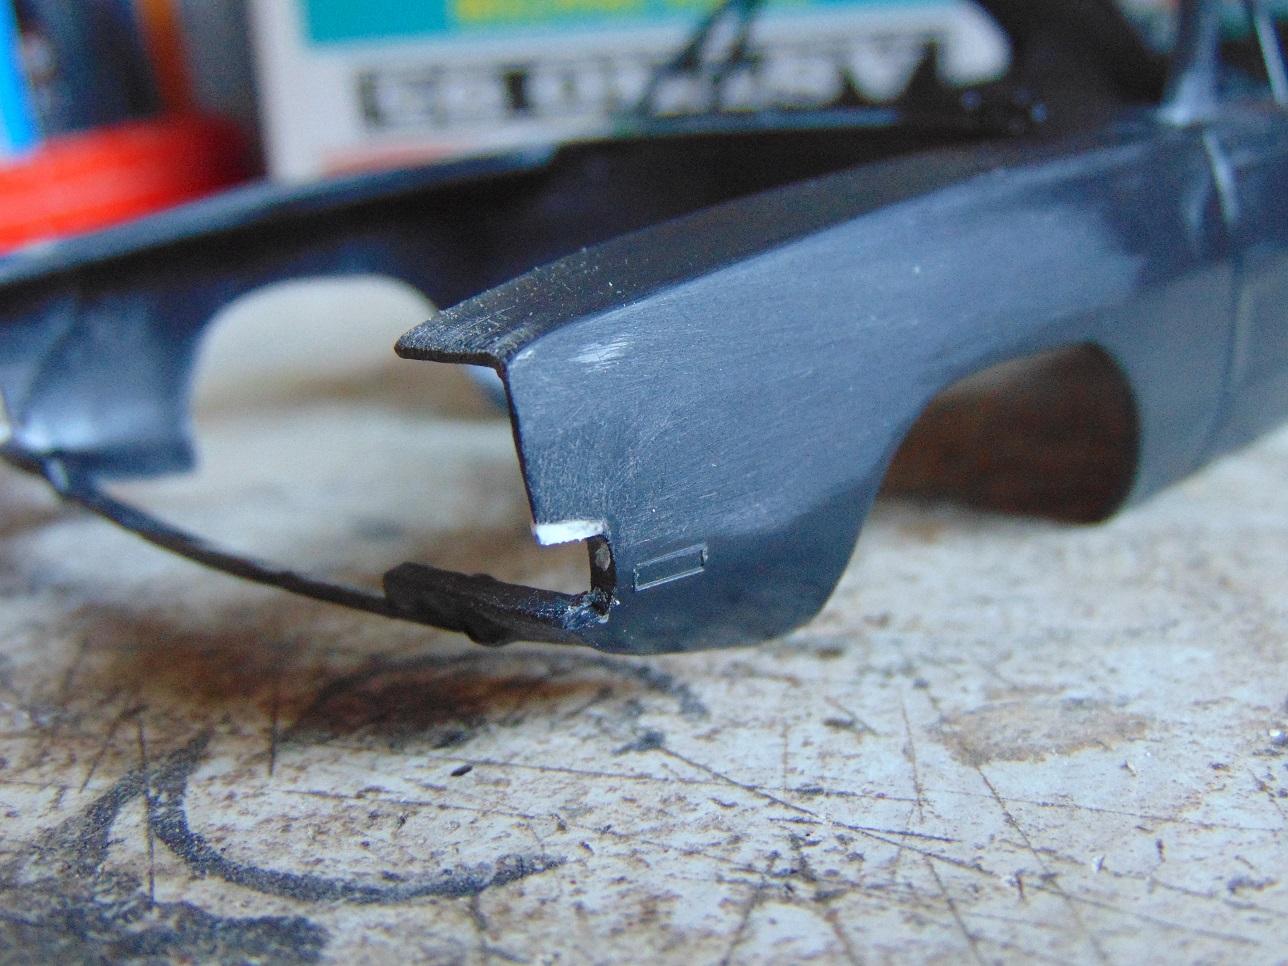
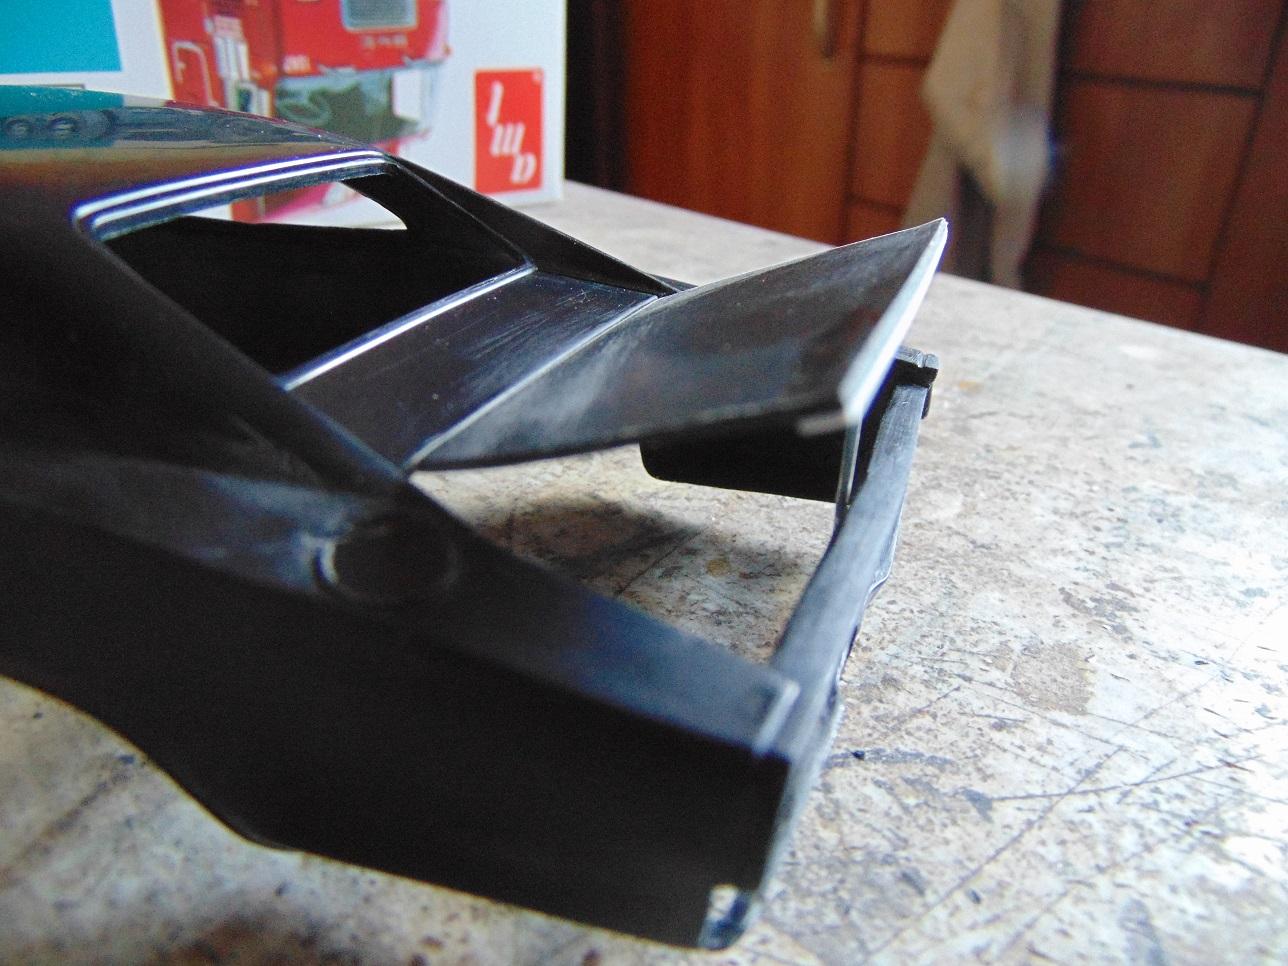
The chassis has a big cut out around the gearbox, so I rebuilt the transmission tunnel and part of the floor.
-
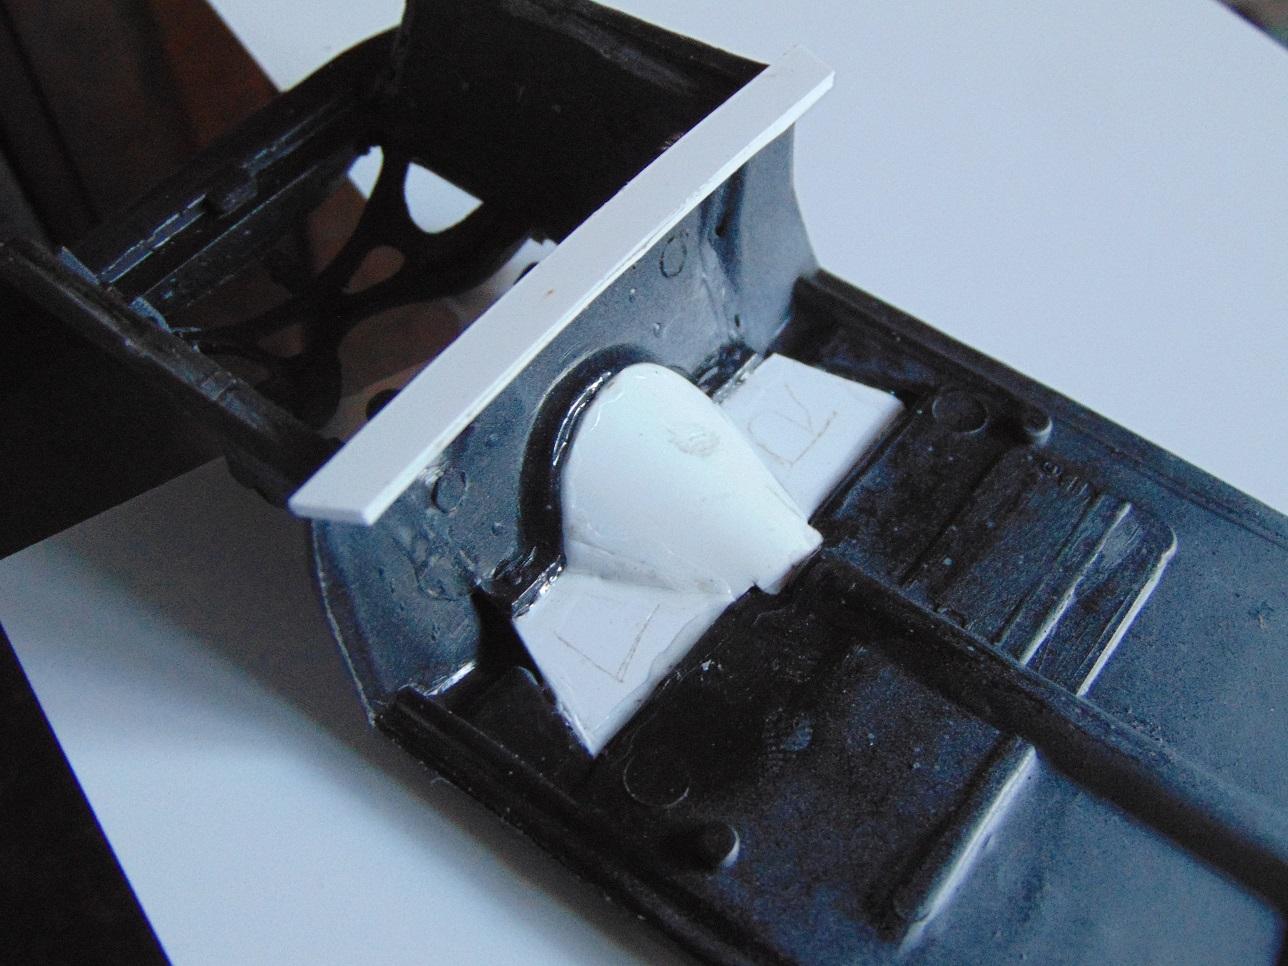
The good thing about having built this kit before is I know what needs to be done to fix it. One big issue is the chassis. It sinks too far in at the front of the body, annoyingly at a point where using either of the front axle holes will leave the car sitting too high or too low. Bringing it down leaves large gaps around the engine bay. I added some styrene along the firewall and under the front fenders and this had the chassis sitting nice and level in the body. Using the upper axle holes will now give the correct ride height. The lower axle holes aren't needed now, so I chopped those off leaving room for some scratch built lower control arms.
-
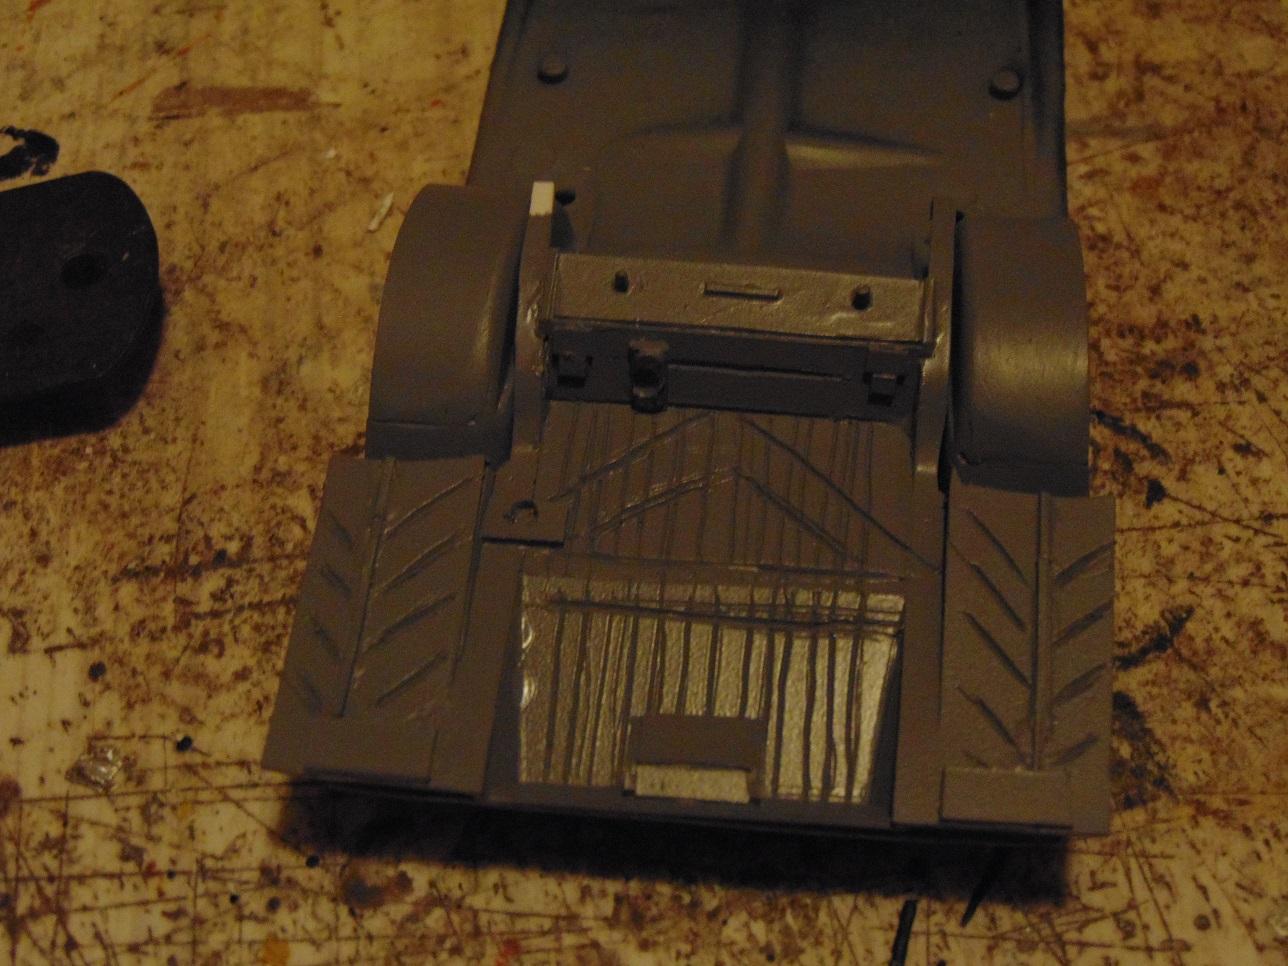
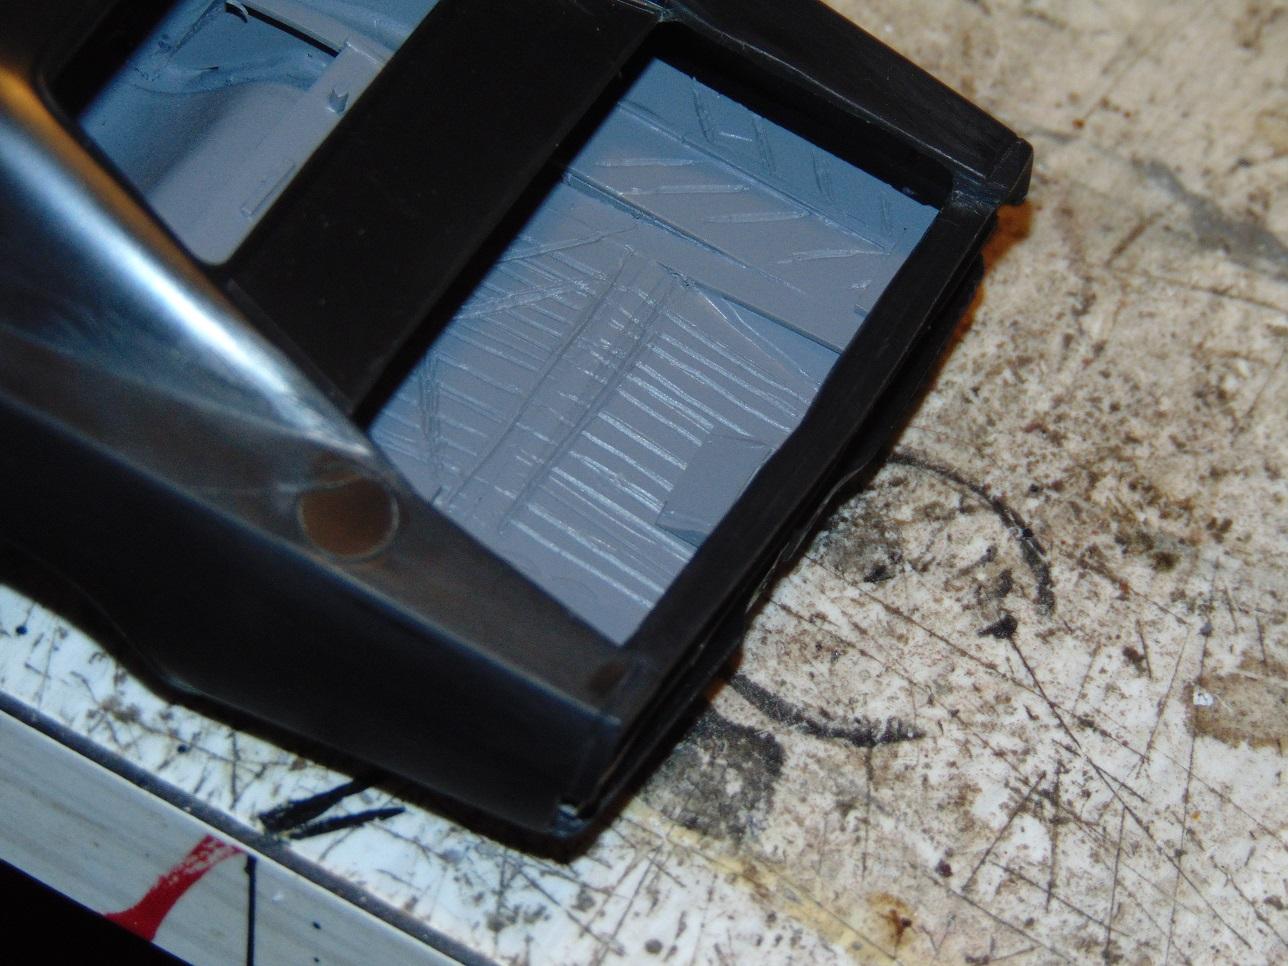
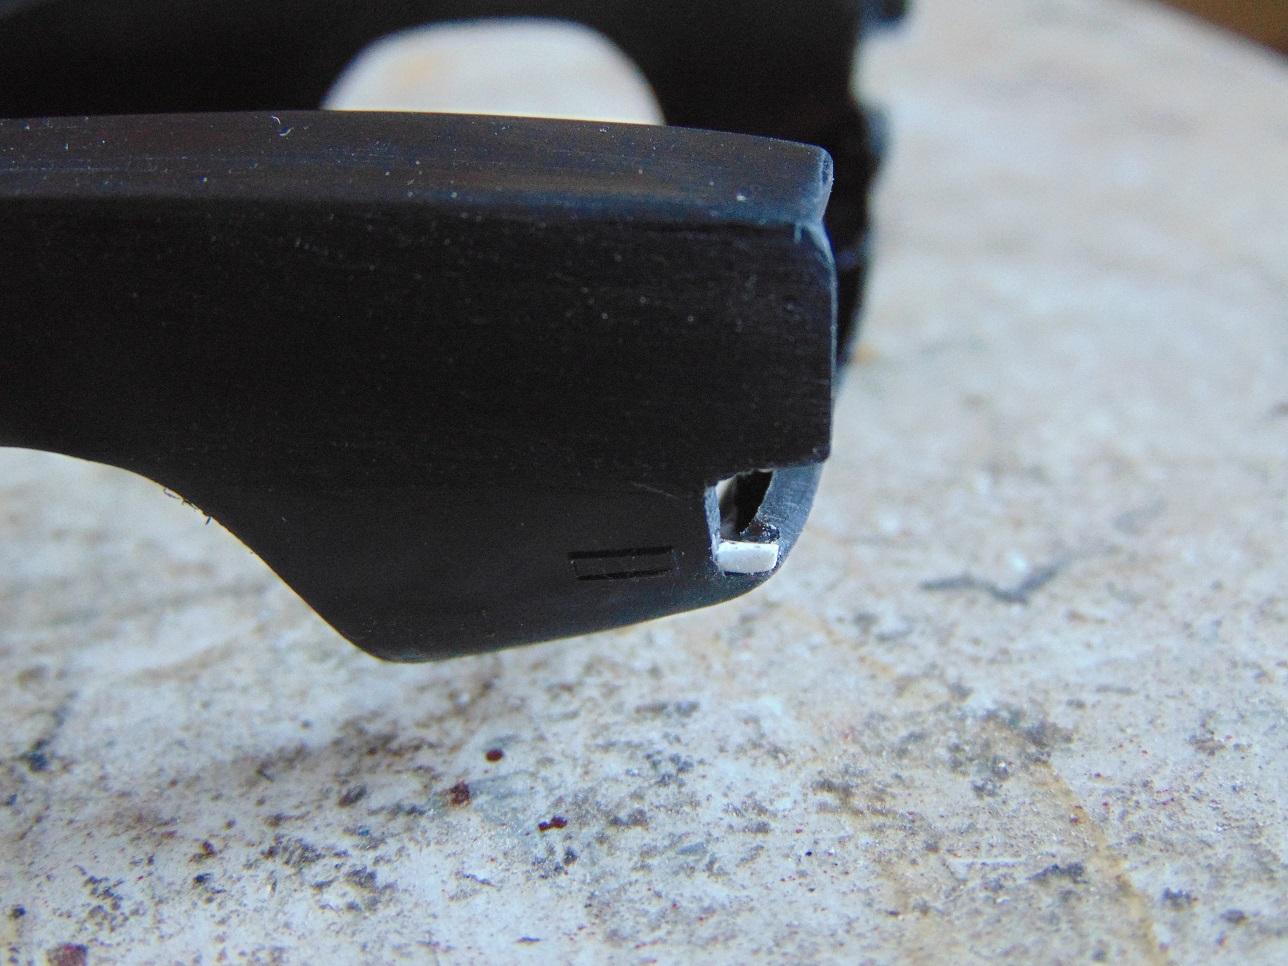
Not great, but better. At least there's something in there now rather than a hollowed out fuel tank as a floor!
-
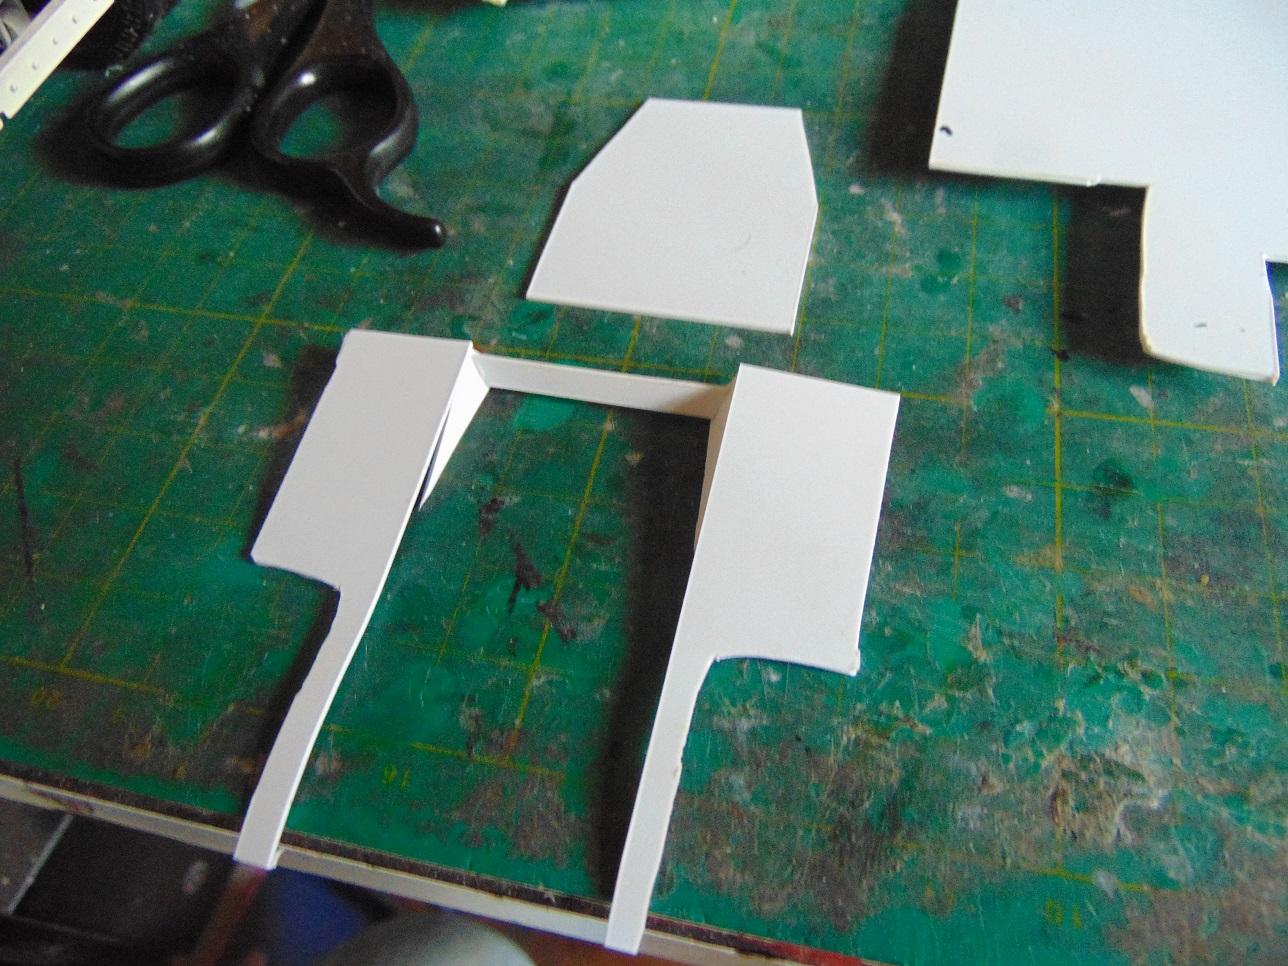
Scrapped my first attempt, lets do a better job.
-
Very nice work there, love that colour.
-
Thanks guys. For such a bad kit, oddly it's one of my favourites. I've started building a trunk floor and rebuilding the wheel wells. It's nothing close to accurate but you're not really going to see much in there.
-
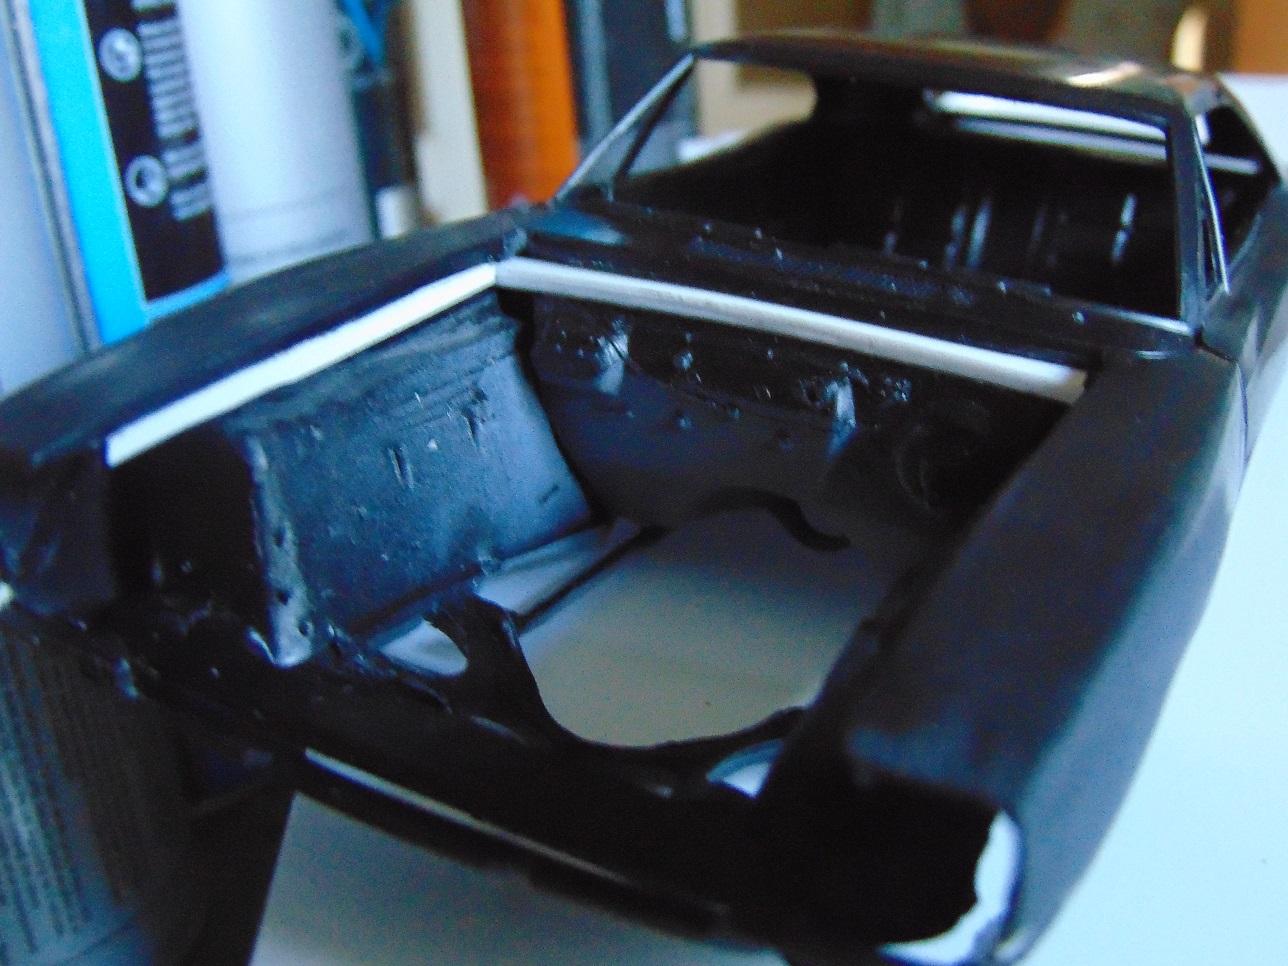
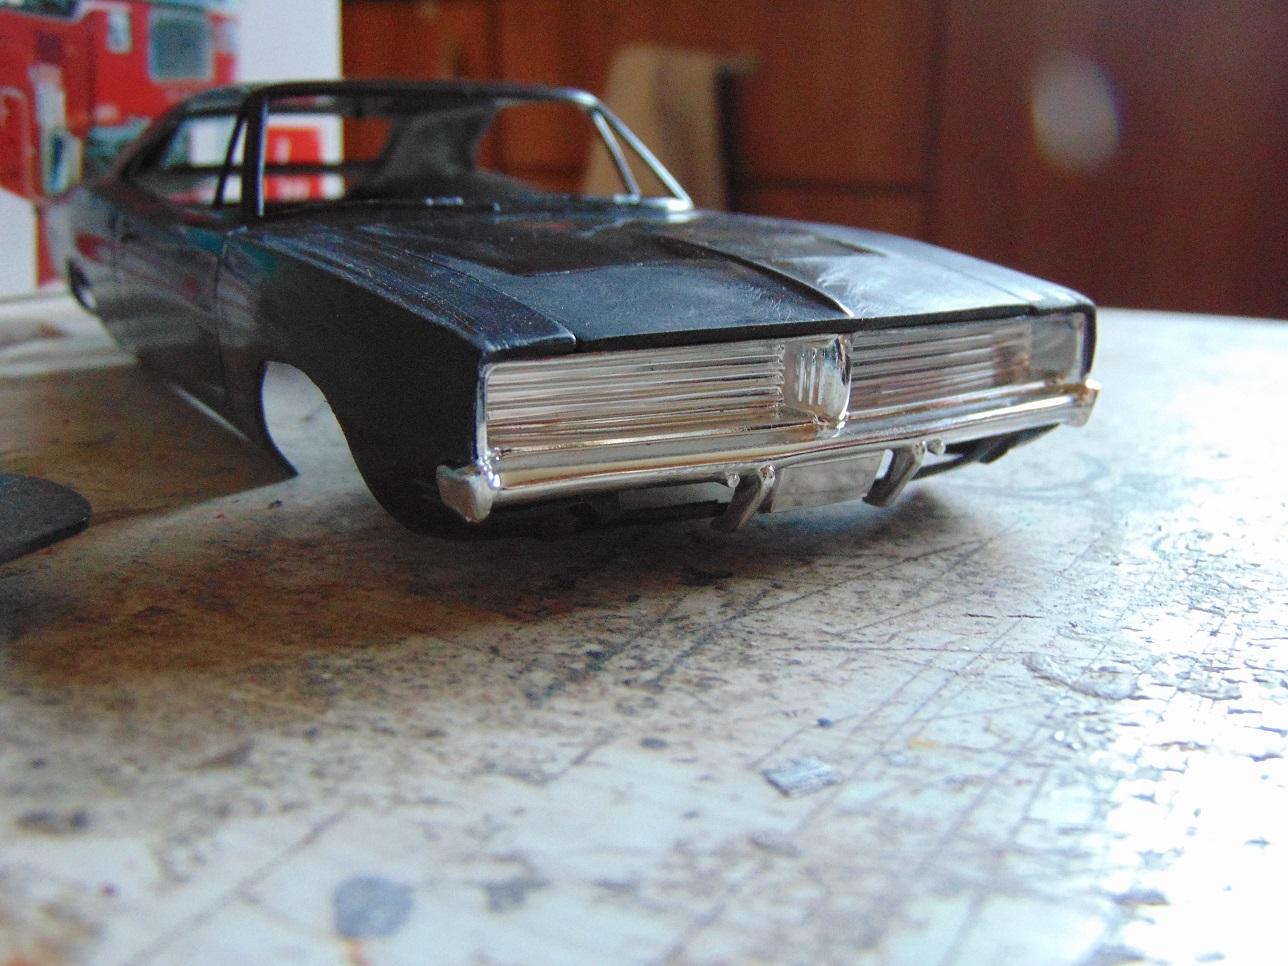
Centre console and wheels are from the Revell '68 Charger.
-
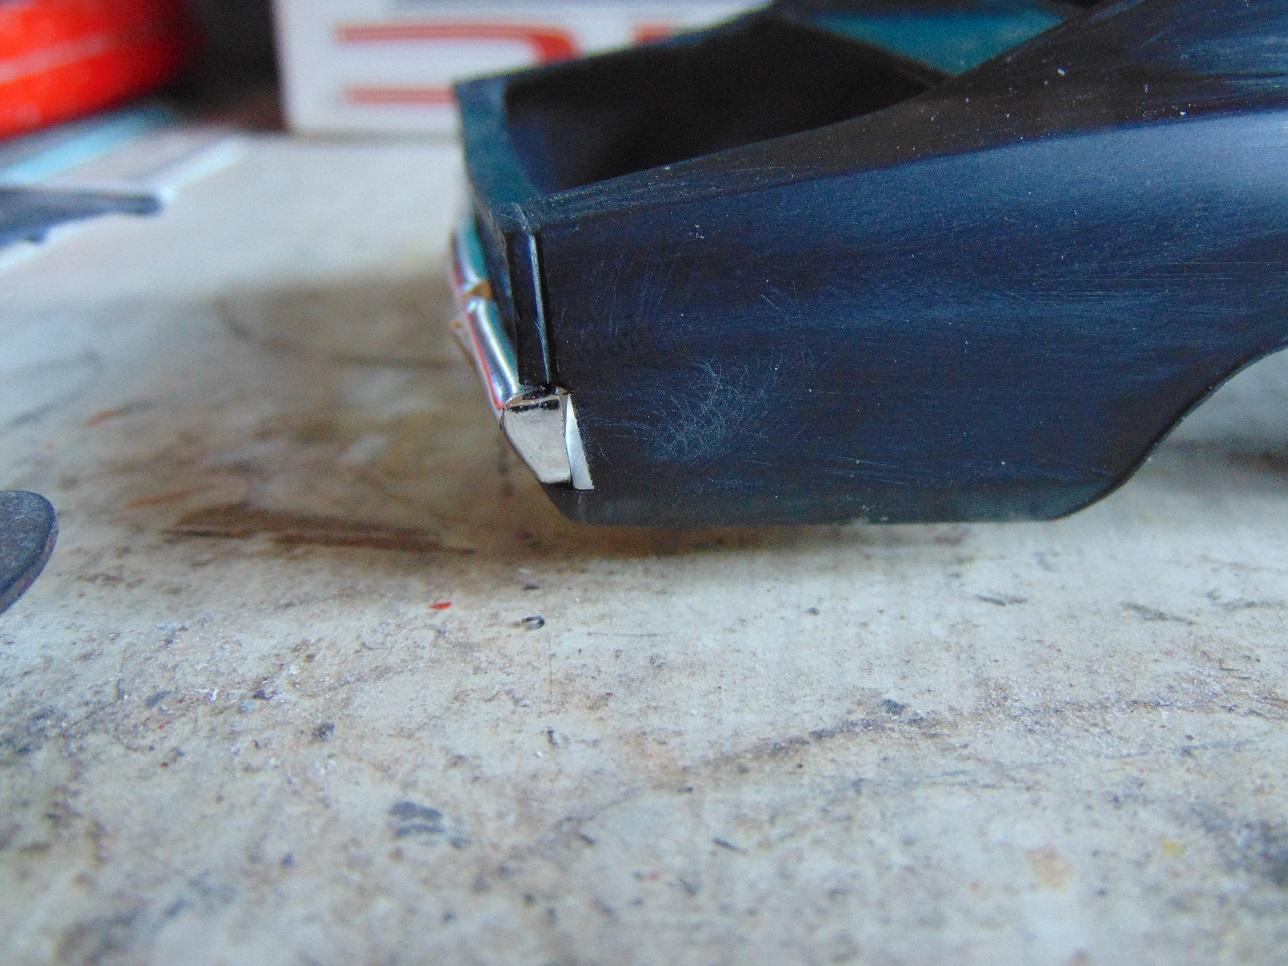
Why do I keep buying this kit? It's awful, fit issues are on another level, Lol! ..but, I really enjoy this type of model building. I like fixing the problem areas and doing a bit of kit bashing using more detailed parts from other kits. After I sorted all the fit issues I decided to open the trunk lid. The panel gap had widened after sanding, so I just added some styrene to the trunk to close up the gaps.
-
Cool, love the old photos! Would love to see an earlier pre facelift Pinto released one day.
-
BRBO 2022. GMC Astro Cabover
doorsovdoon replied to doorsovdoon's topic in WIP: Model Trucks: Big Rigs and Heavy Equipment
Thanks guys. I haven't finished the chassis yet, but it's been a while so time for an update. I decided to go with the square fuel tanks cos the braces for the round tanks were an awful fit and looked tacked on. The mods I did to the rear wheels worked out nice to cover the barrel style rims, and that brought the wheels in a little closer to the chassis too.
-
I kind of agree with Casey. When you start updating certain parts, where do you stop? ..but, I reckon Round2 should still consider updating less popular kits without completely re-tooling the whole thing. Just a new chassis would improve so many old kits cos I find the body's are fairly decent on most that haven't been hacked about too much. They probably already have chassis from newer moulds that would fit these older kits. Even if they don't fit perfect, anything is better than what fits under, lets say, the '77 Pinto! Lol. Nice body, shame about the chassis!
-
BRBO 2022. GMC Astro Cabover
doorsovdoon replied to doorsovdoon's topic in WIP: Model Trucks: Big Rigs and Heavy Equipment
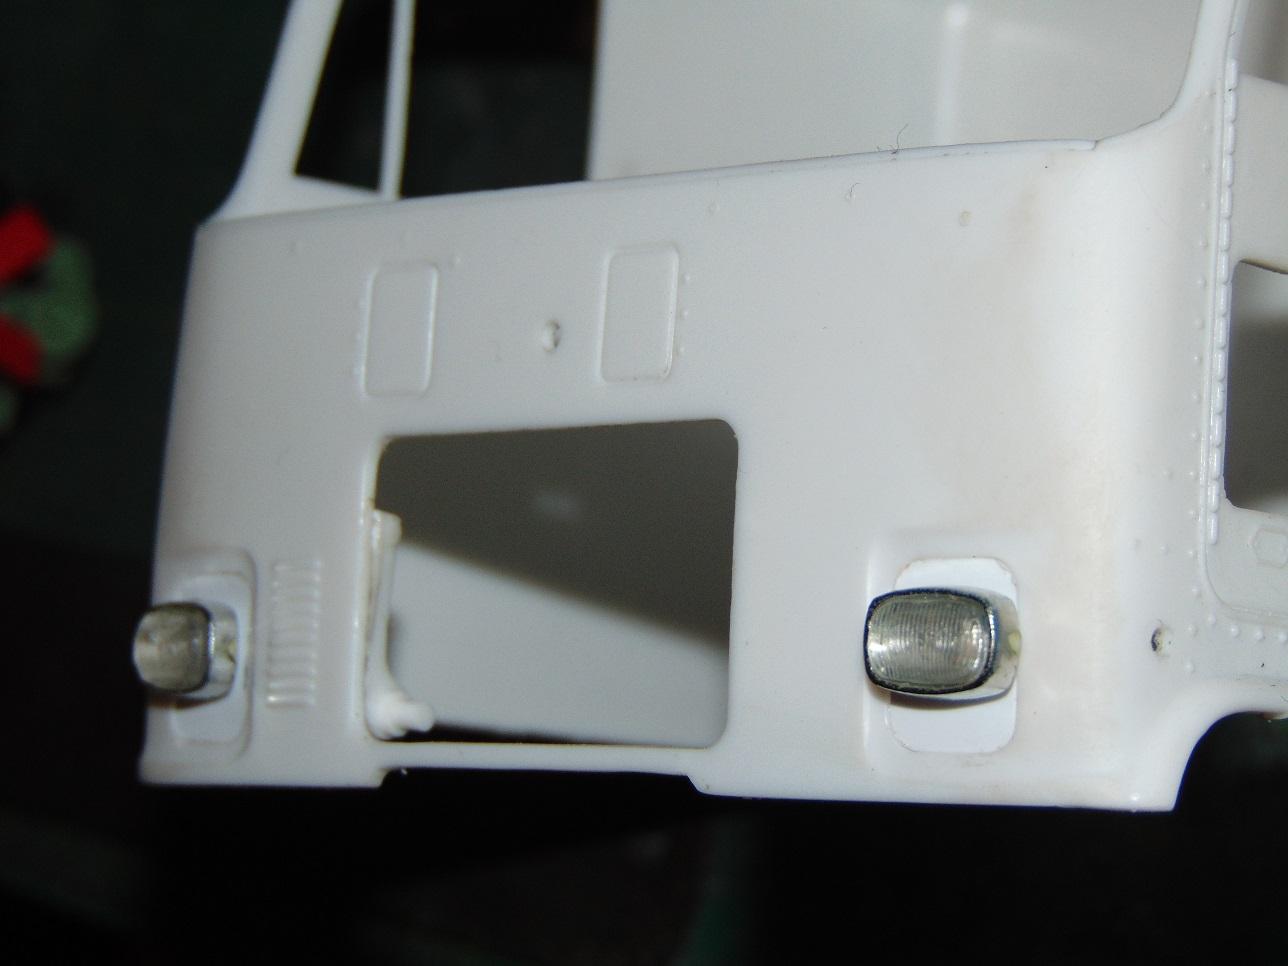
I couldn't help it, the square headlight version is too cool and unique to pass by so I've decided to go with that:) I plugged up the headlight apertures with some styrene, I just have to smooth them out with some filler. The headlights are from the AMT '66 Mercury Park Lane custom option.
-
BRBO 2022. GMC Astro Cabover
doorsovdoon replied to doorsovdoon's topic in WIP: Model Trucks: Big Rigs and Heavy Equipment
Yep, looks pretty cool, and very unique, so have decided to go with that one! Yes, I think you're right, it's the only photo I've found that has those lights. I checked the grill on this kit and it fits from behind and looks flush from the front. The kit also has the earlier cab steps on the chrome tree but I'll have to scratch built the mirrors. The ones that come in this kit are not very good anyway, they look very clunky and have ejector pin marks. -
Completed builds for 2021
doorsovdoon replied to Mopar - D's topic in Model Trucks: Big Rigs and Heavy Equipment
Awesome set of builds. I remember watching some of these in wip. Very enjoyable and always nice work.