70 Sting
-
Posts
1,369 -
Joined
-
Last visited
Content Type
Profiles
Forums
Events
Gallery
Everything posted by 70 Sting
-
@1959scudetto Try the lighting technique I detailed above… can make a turd look good. ?
-
@Dragonhawk1066 I looked at your work on Scalemates… superb!
-

Liberty Walk Lamborghini Aventador
70 Sting replied to Jay's topic in Other Racing: Road Racing, Salt Flat Racers
Looks like a diecast! -
Yep, it’s very nice.
-
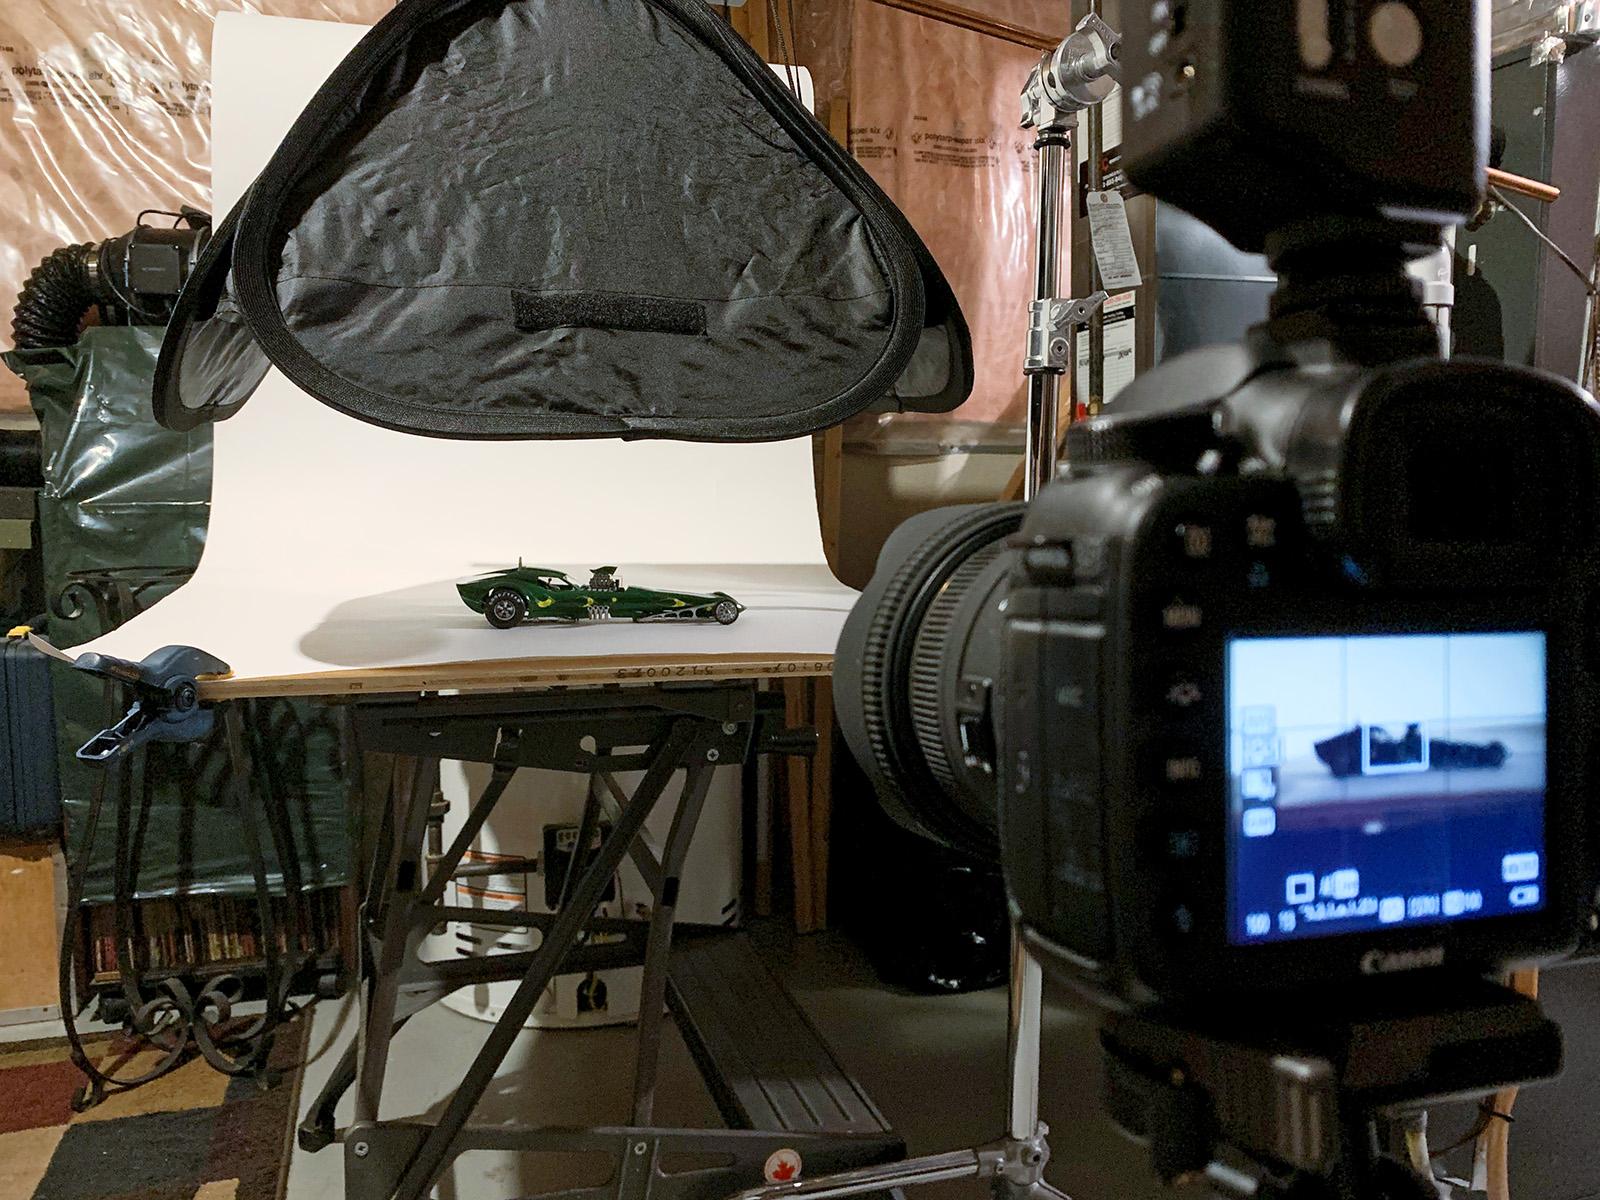
The big takeaway is to make the light source large, soft and close to the model. :^)
-
Beautiful finish.
-
Super well done.?
-
Very sharp. The silver trim is perfection.
-
Very cool! ? How did you do the silver trim?
-
@ea0863 Ah yes, the Stingaree. Here’s a post from a few months back.
-
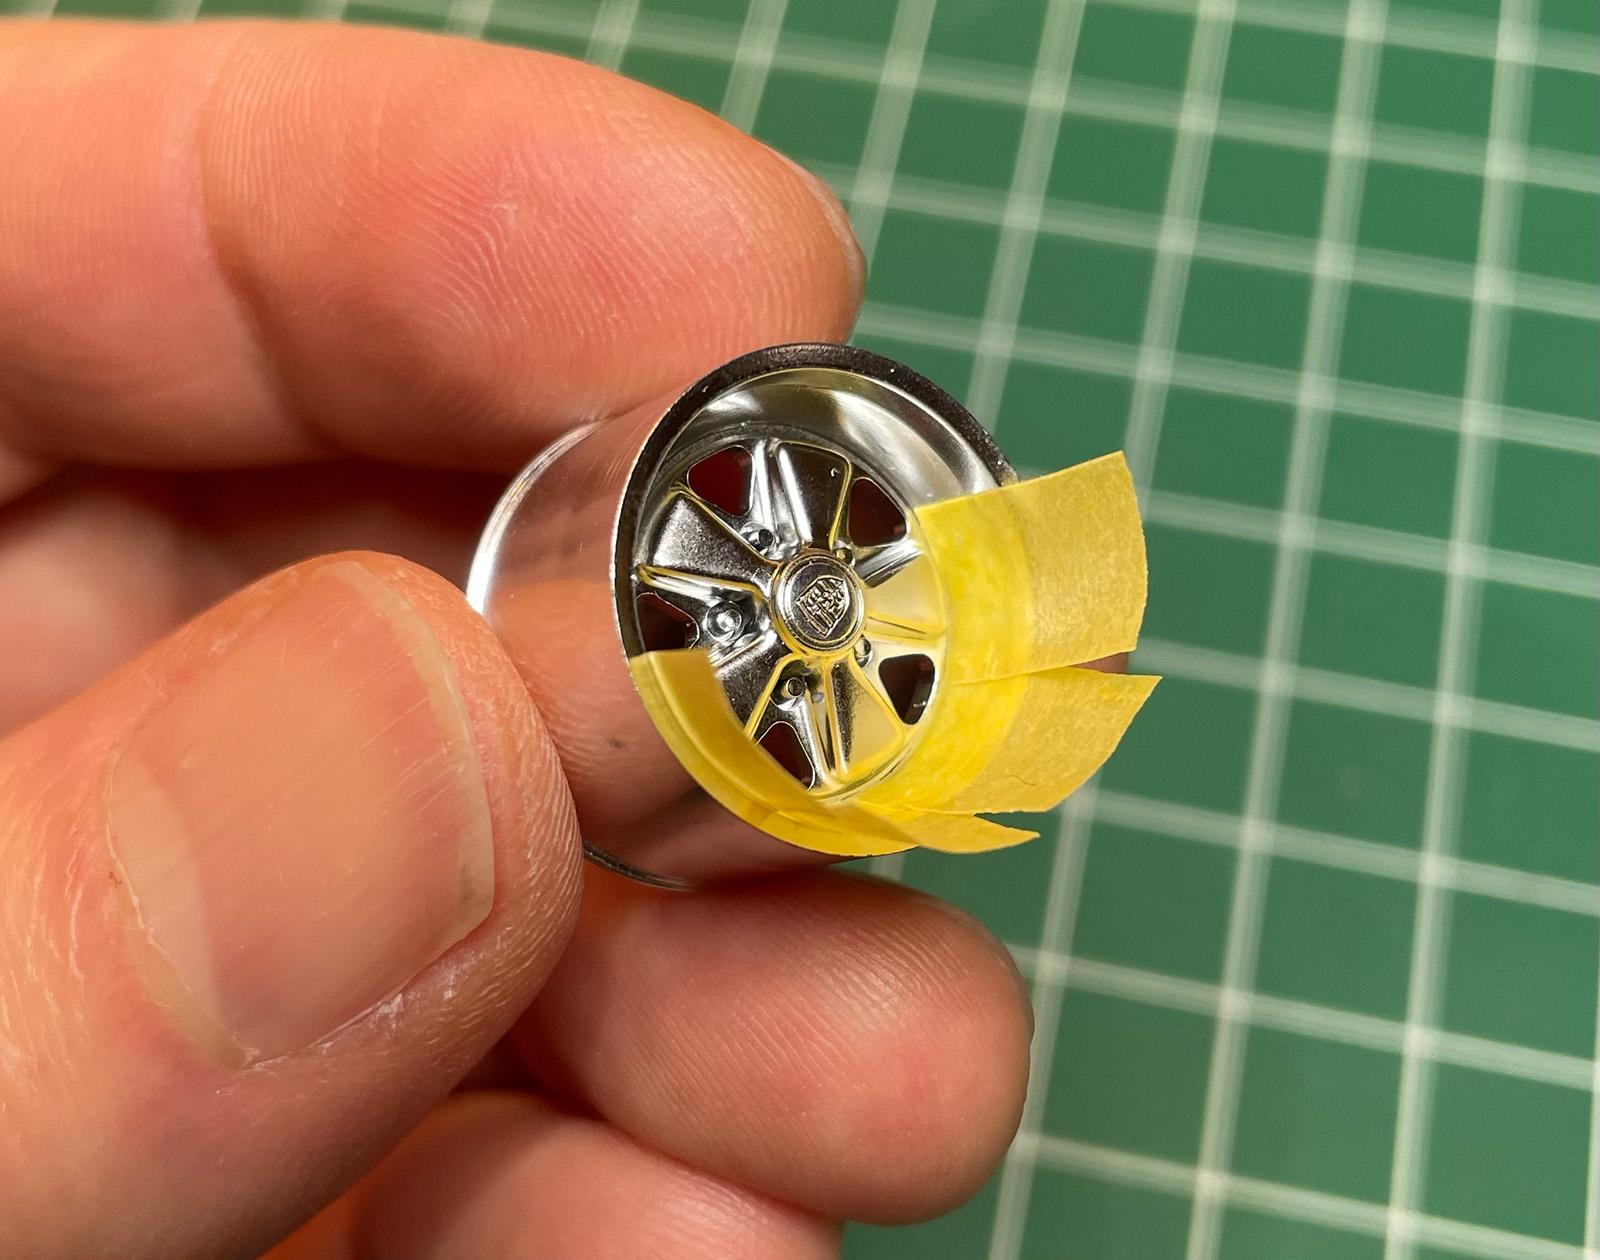
First off, thank you very much fellas. ? Secondly, photographing a model with this lighting setup is very flattering and hides imperfections you otherwise wouldn't see...unless you zoom in. @Ace-Garageguy no adjustments were made to ride height, it's straight outta the box. Someone gifted me the Jaegermeister version of this kit, I assume it will build up the same way. There is similar masking and many, many decals required for that kit - so it's going to take a place at the back of the line. @Oldcarfan27 @ea0863 @Mattilacken too funny ? @peteski here is the setup: The camera is a Canon 7D with 50mm lens. Exposure is 1/125 at f/13 100 ISO. The light source is a Canon 580 EX shot through a cheap 18" soft box mounted to a light stand. The flash is triggered with Pocket Wizards. The background is white seamless paper sitting on top of a Workmate bench. That's the technical stuff, however, the same effect can be achieved with items from around the house or a trip to Michaels. The soft box can be replaced with a desk lamp placed above a couple sheets of tracing paper, a white pillowcase, shower curtain etc. to soften/diffuse the light. The key is to place the diffusion material relatively close to the model. Experiment by moving the lamp closer and farther away from the diffusion material to see the effect on the car. You will likely have to block light from the lamp from hitting the background - try placing some black construction paper behind the light (opposite the camera). Also try rolling out more paper (moving the background farther away) to get that nice gradient effect. A more basic point-and-shoot camera will work nicely, too. Just put the camera in Manual mode and adjust the shutter speed, aperture, ISO until it looks good on the screen. Bracket your exposures - try a few that look brighter and few that look darker as they may look different of a computer screen. You can use a cellphone camera but it would be best if you can manually adjust the exposure. There are apps that allow manual control of the camera but you should be able to adjust it by tapping on the screen and adjusting the slider controls. I hope I explained that well. Regarding the use of Tamiya tape... because I'm a dumb@ss. I should have use plastic wrap, newspaper or regular painters tape. @Tommy124 that's a beautiful job and I like the colour scheme! @espo what would be the advantage of painting the trim first? Always looking for a better way.

-
That is very cool and so well done. ?
-
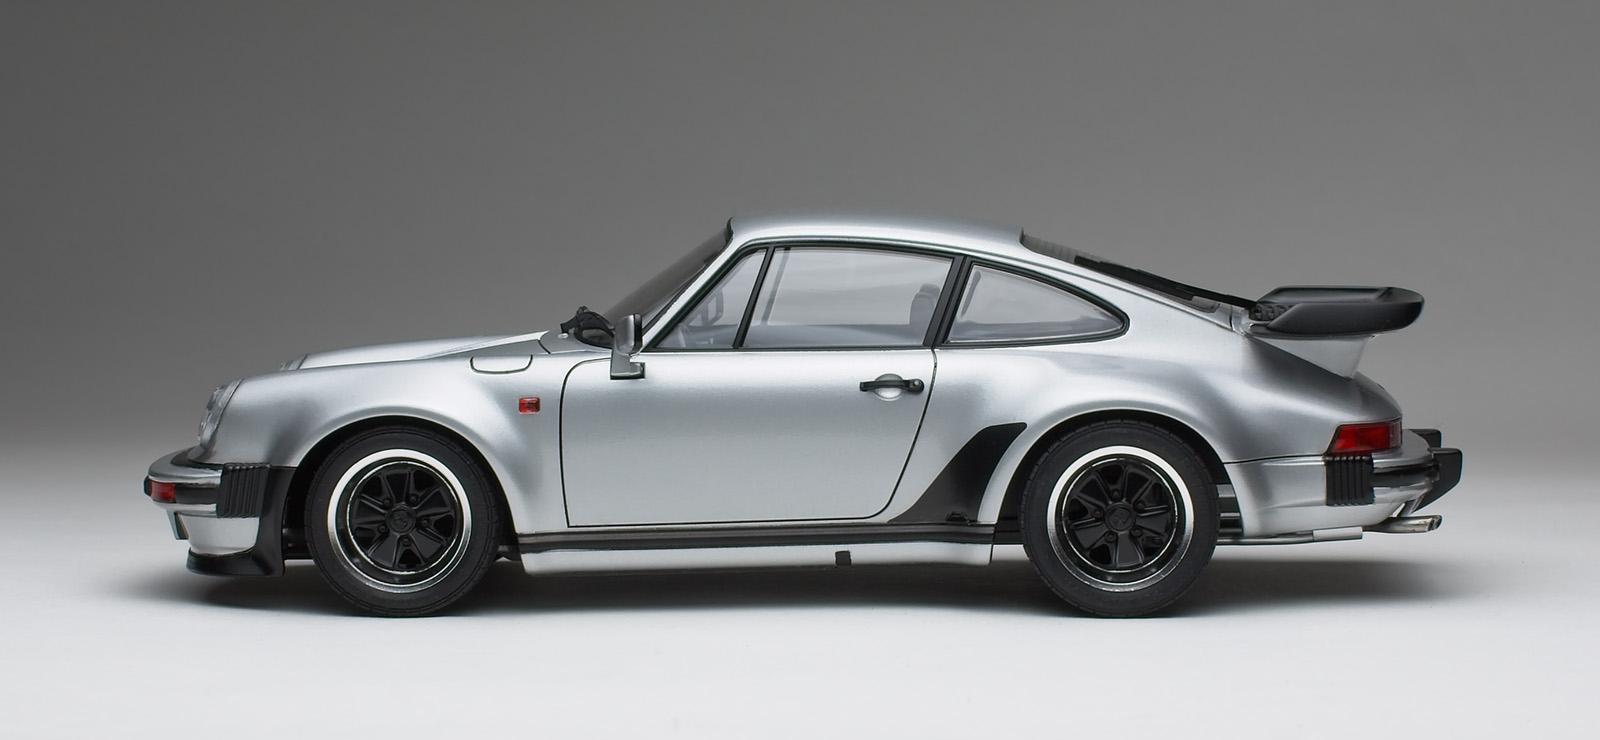
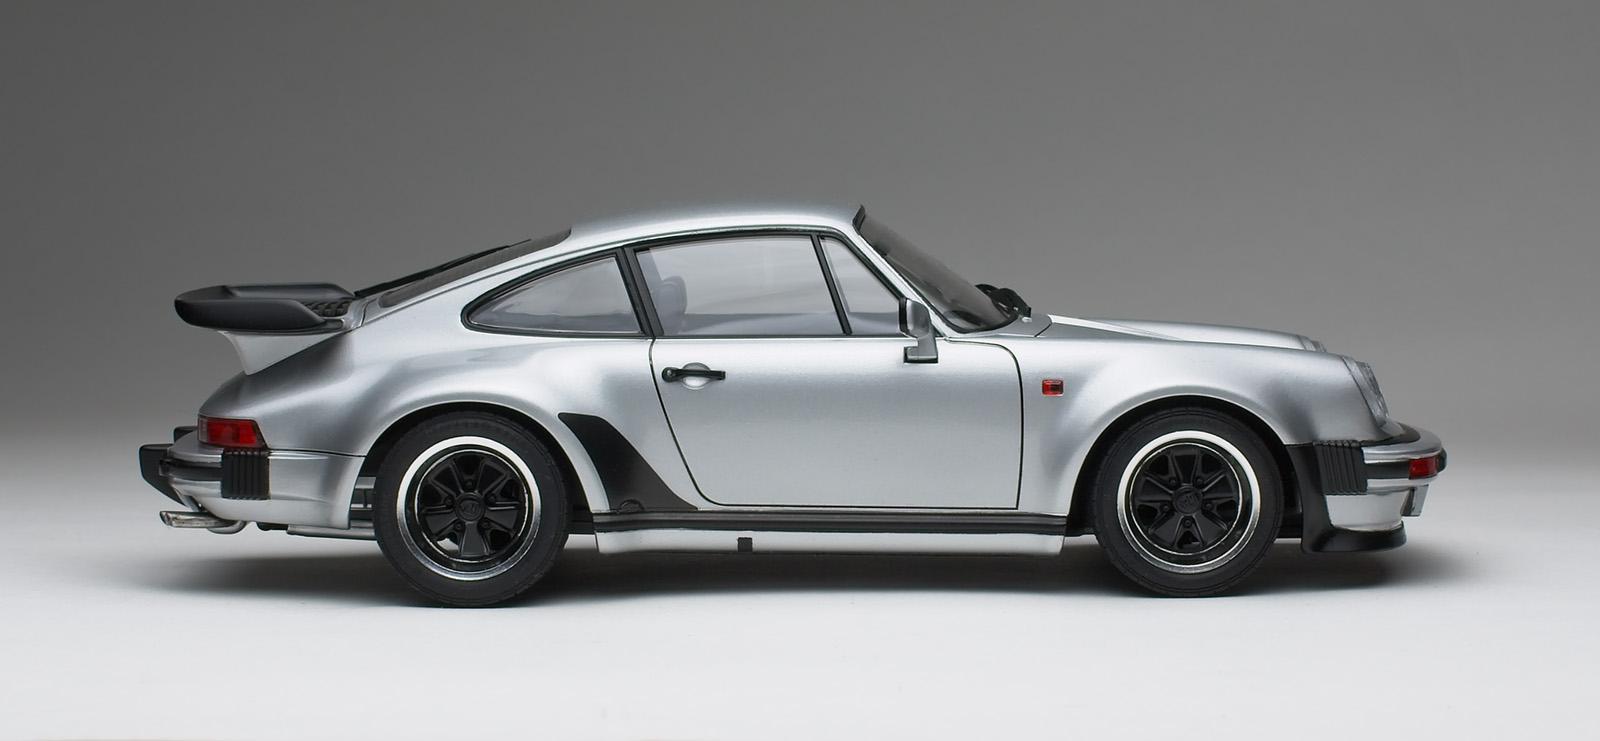
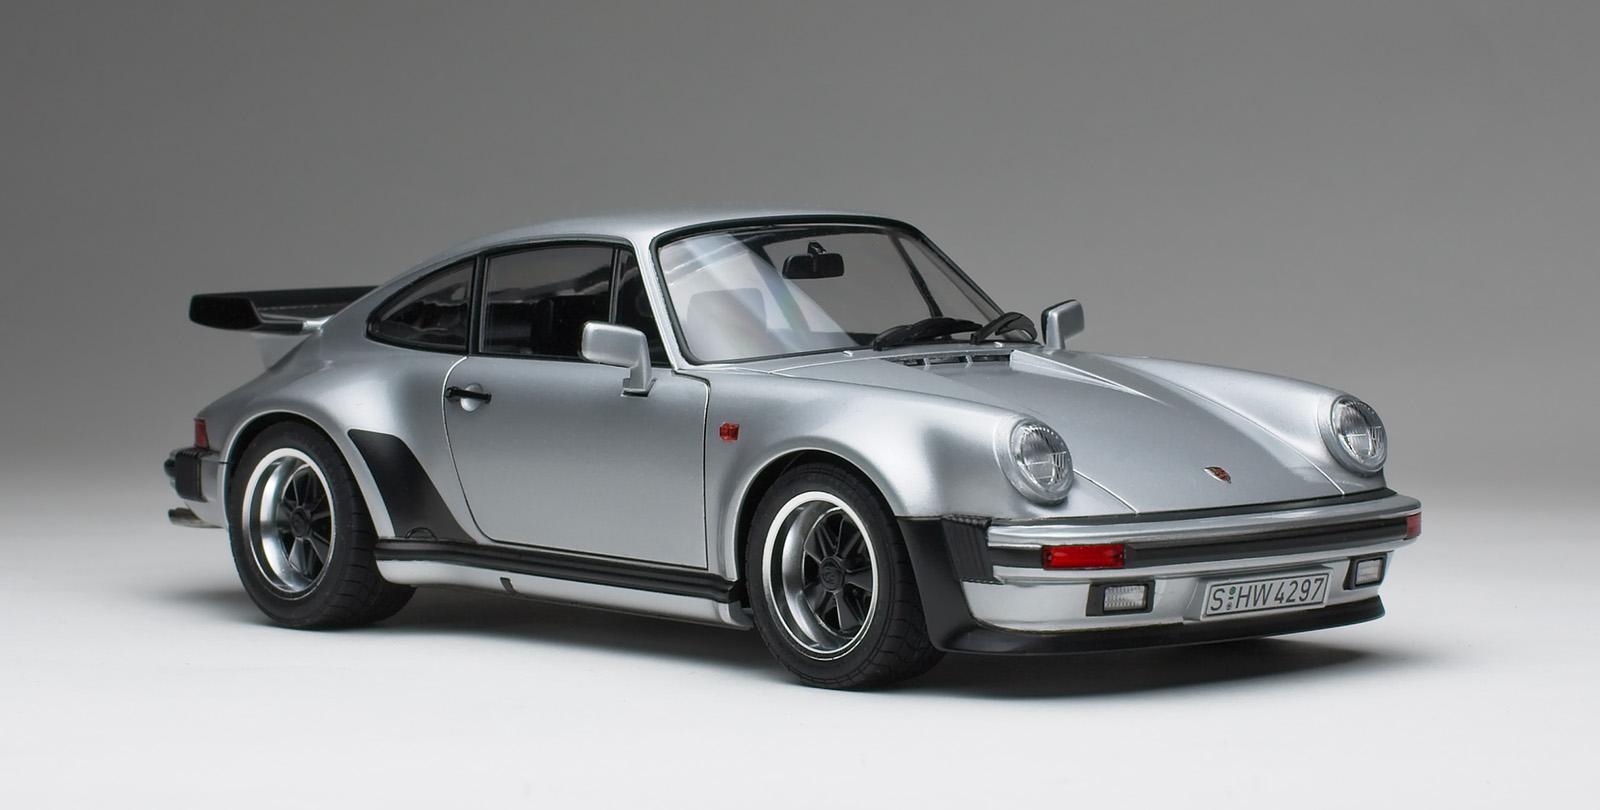
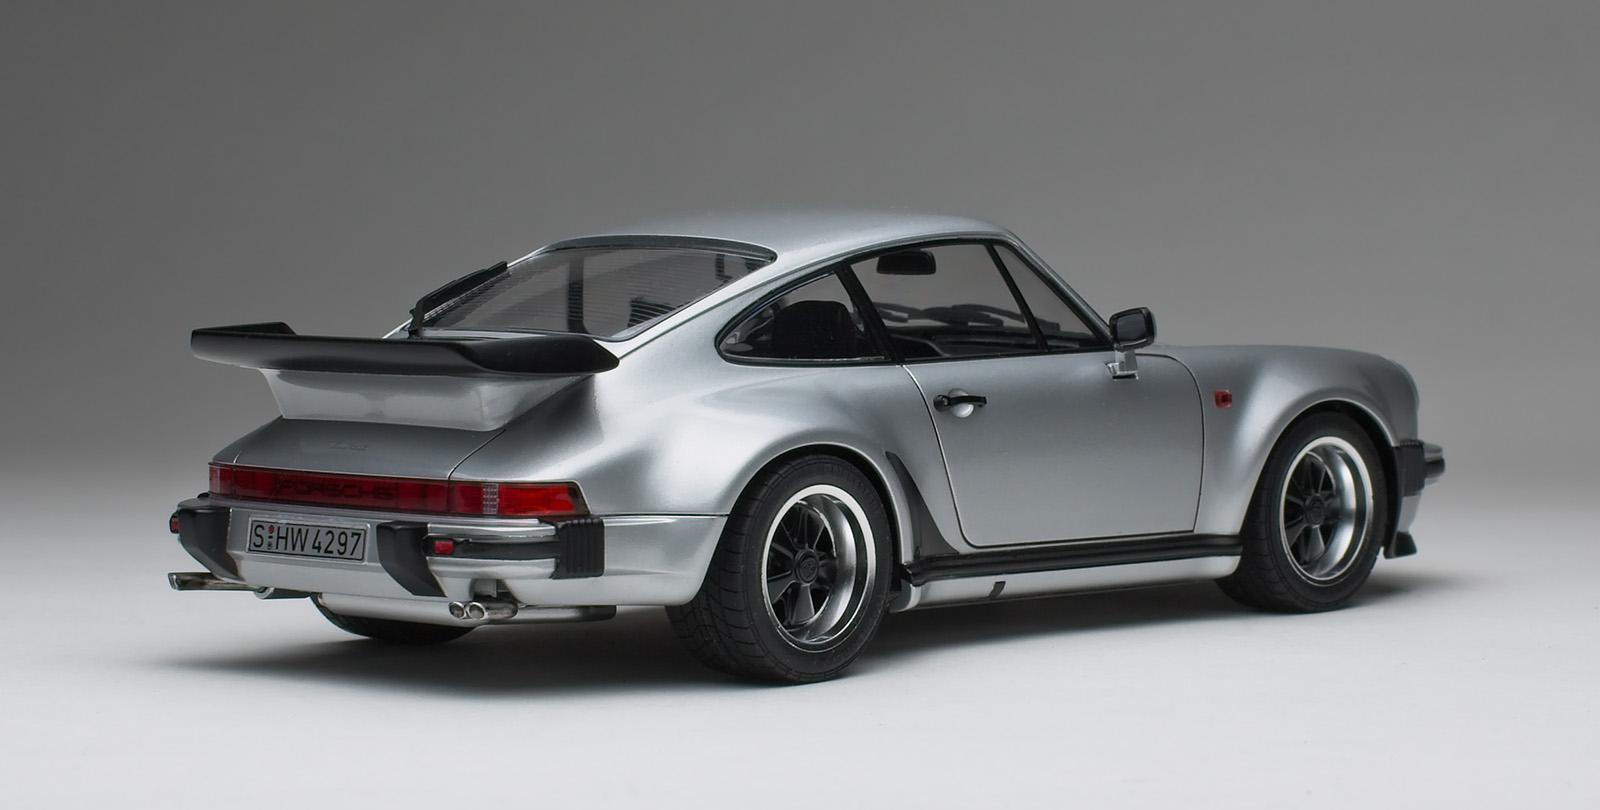
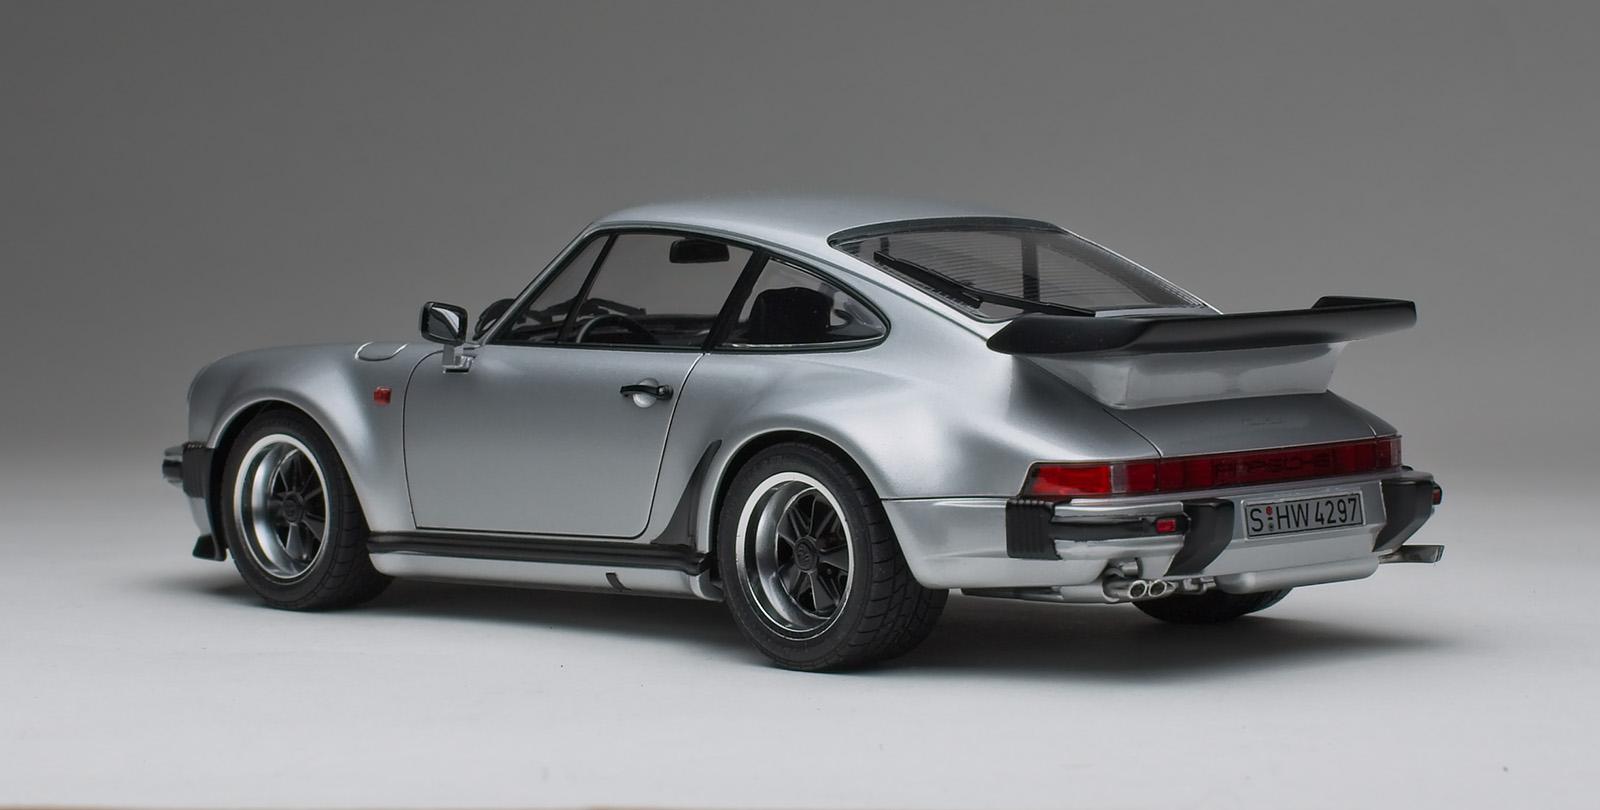
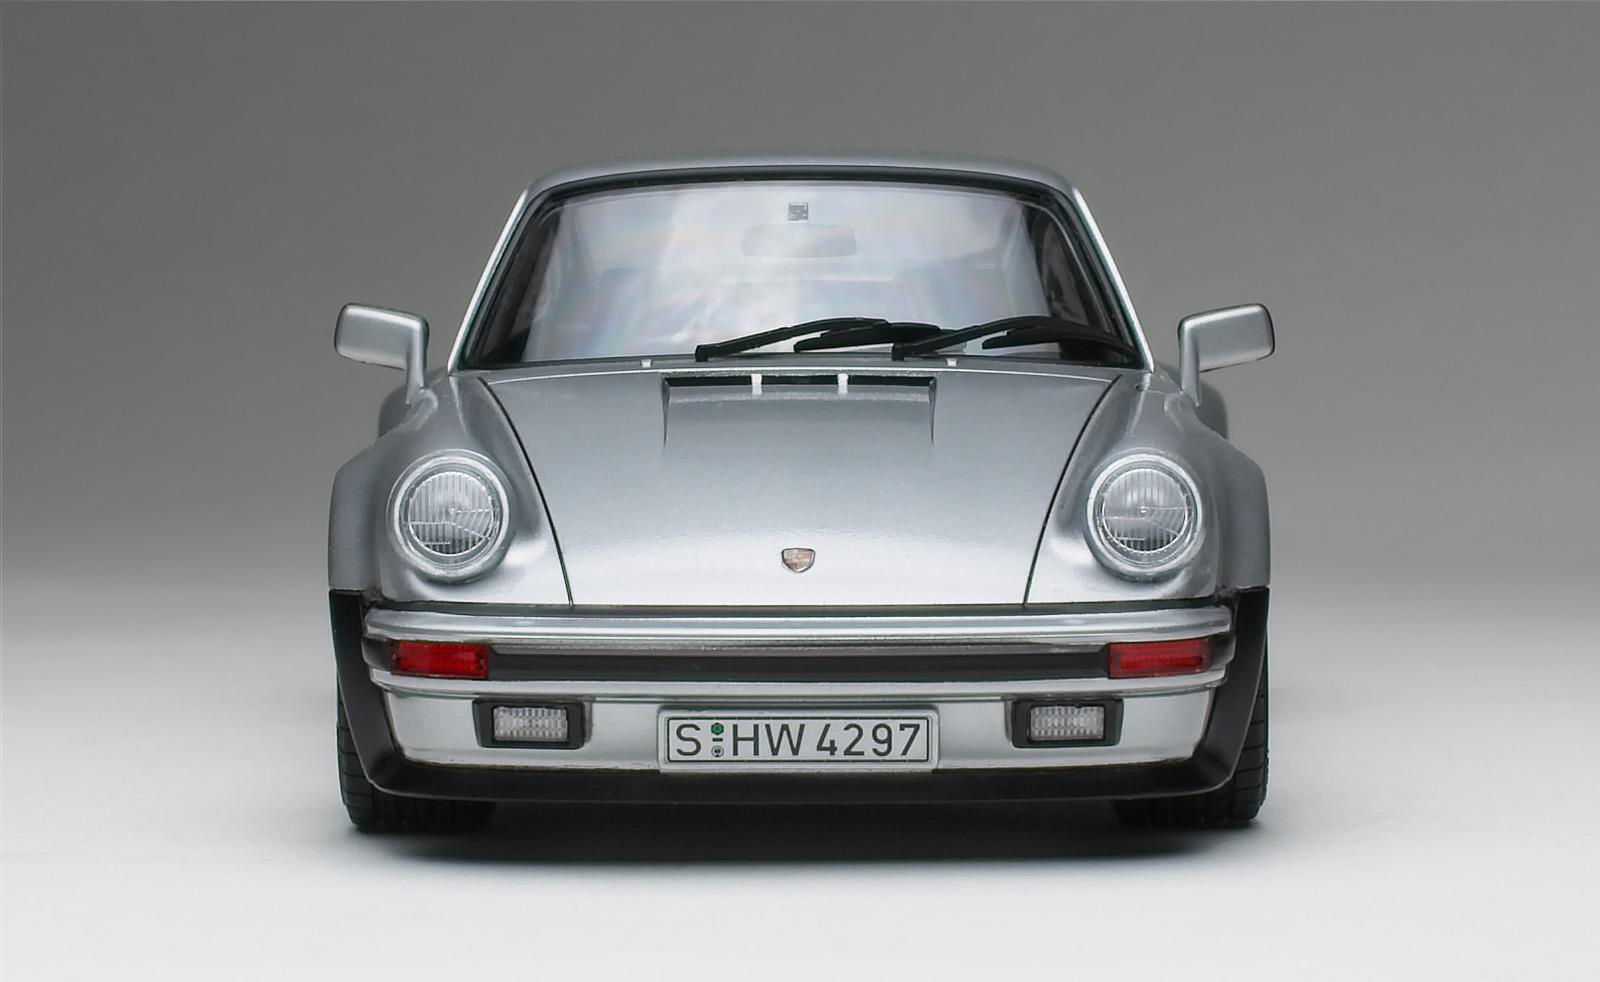
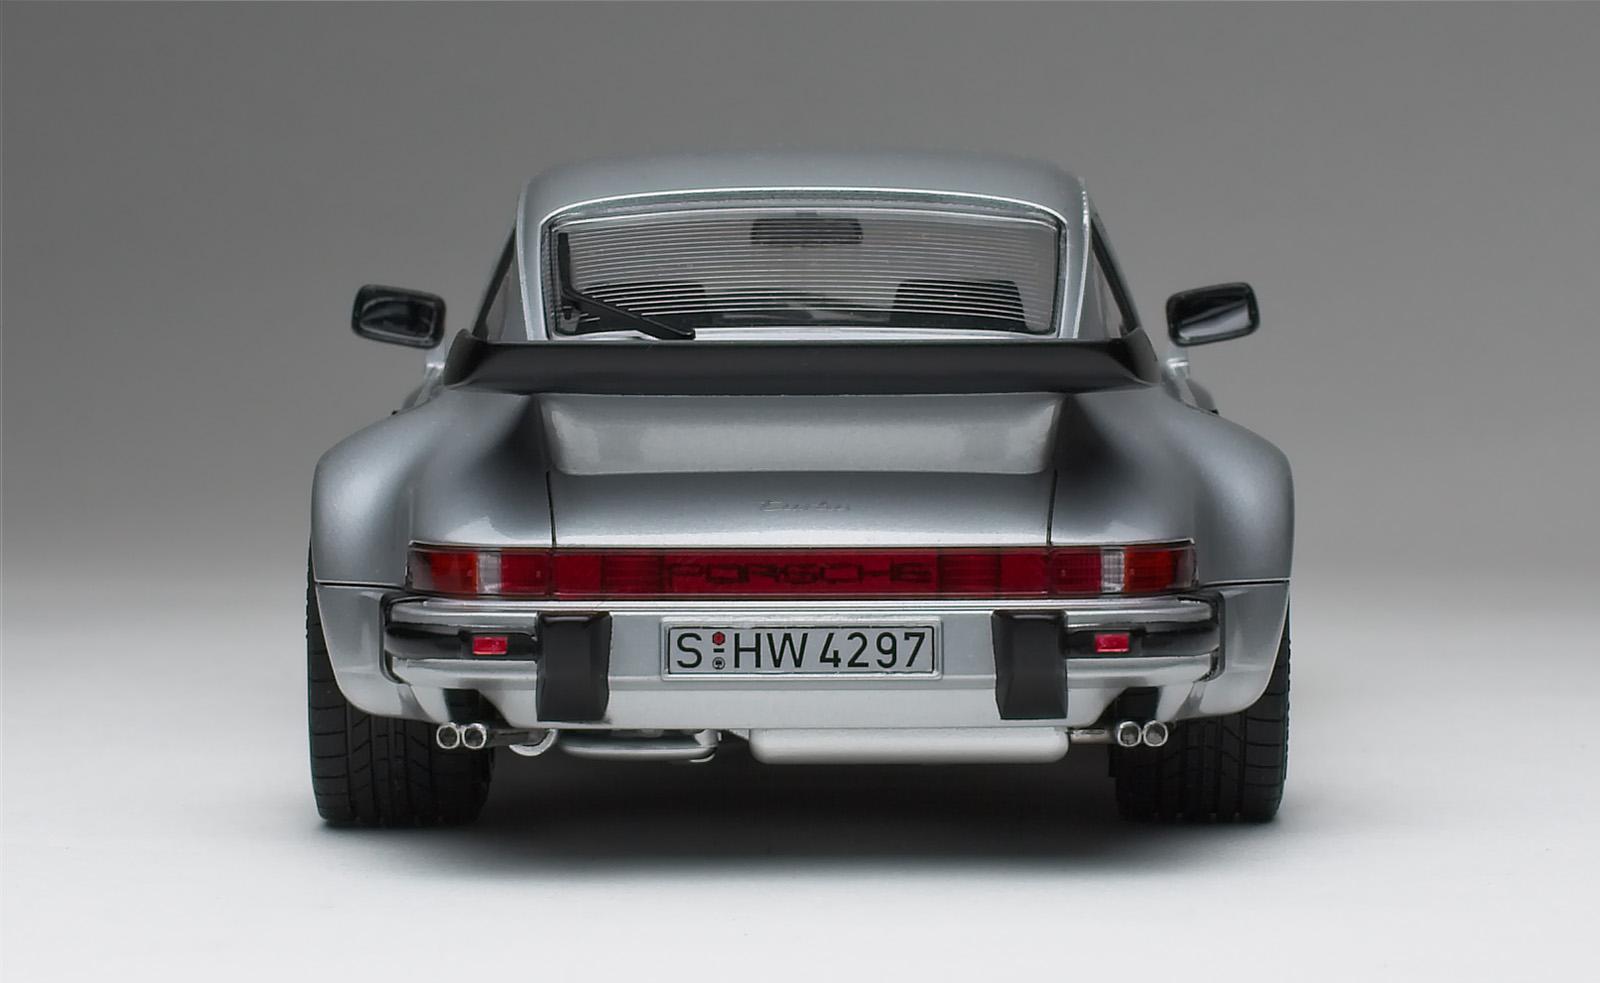
Good Evening, Always liked the look of the 80s Porsches and being a Tamiya kit I thought, 'what the heck.' There aren't many parts, however that is offset by the horrendous amount of masking required. Painted with Tamiya LP-70 Gloss Aluminum and X-18 Semi Gloss Black. Clear coated with decanted TS-13 Gloss Clear. What I learned: 1. First time I've masked an entire body... all I can say is, "The horror. The horror." I would say I'm 75% satisfied with the results. 2. Had a bit of a tough time with the decals. I think I applied them a little too far forward and also poked through the little semicircles above the black trim. I filled the holes/tears with panel liner and they look okay from a distance. 3. Need to be a little more patient when applying colour coats. I get a little trigger happy when applying the wet coats which leads to a bit of texture in the paint. 4. No way I was going to be able to paint all that clear red plastic on the rear taillight section, so I used orange, red and black Sharpie markers. 5. I used black panel liner on all the door, trunk and hood lines. I did this over the clear coat but should probably have applied it under the clear coat. Thanks for looking!
- 46 replies
-
- 12
-

-
Finally got this one done! 1959 Buick.........Updated Pics!
70 Sting replied to MrObsessive's topic in Model Cars
She's a beauty! -
Super-sharp looking build. ?
-
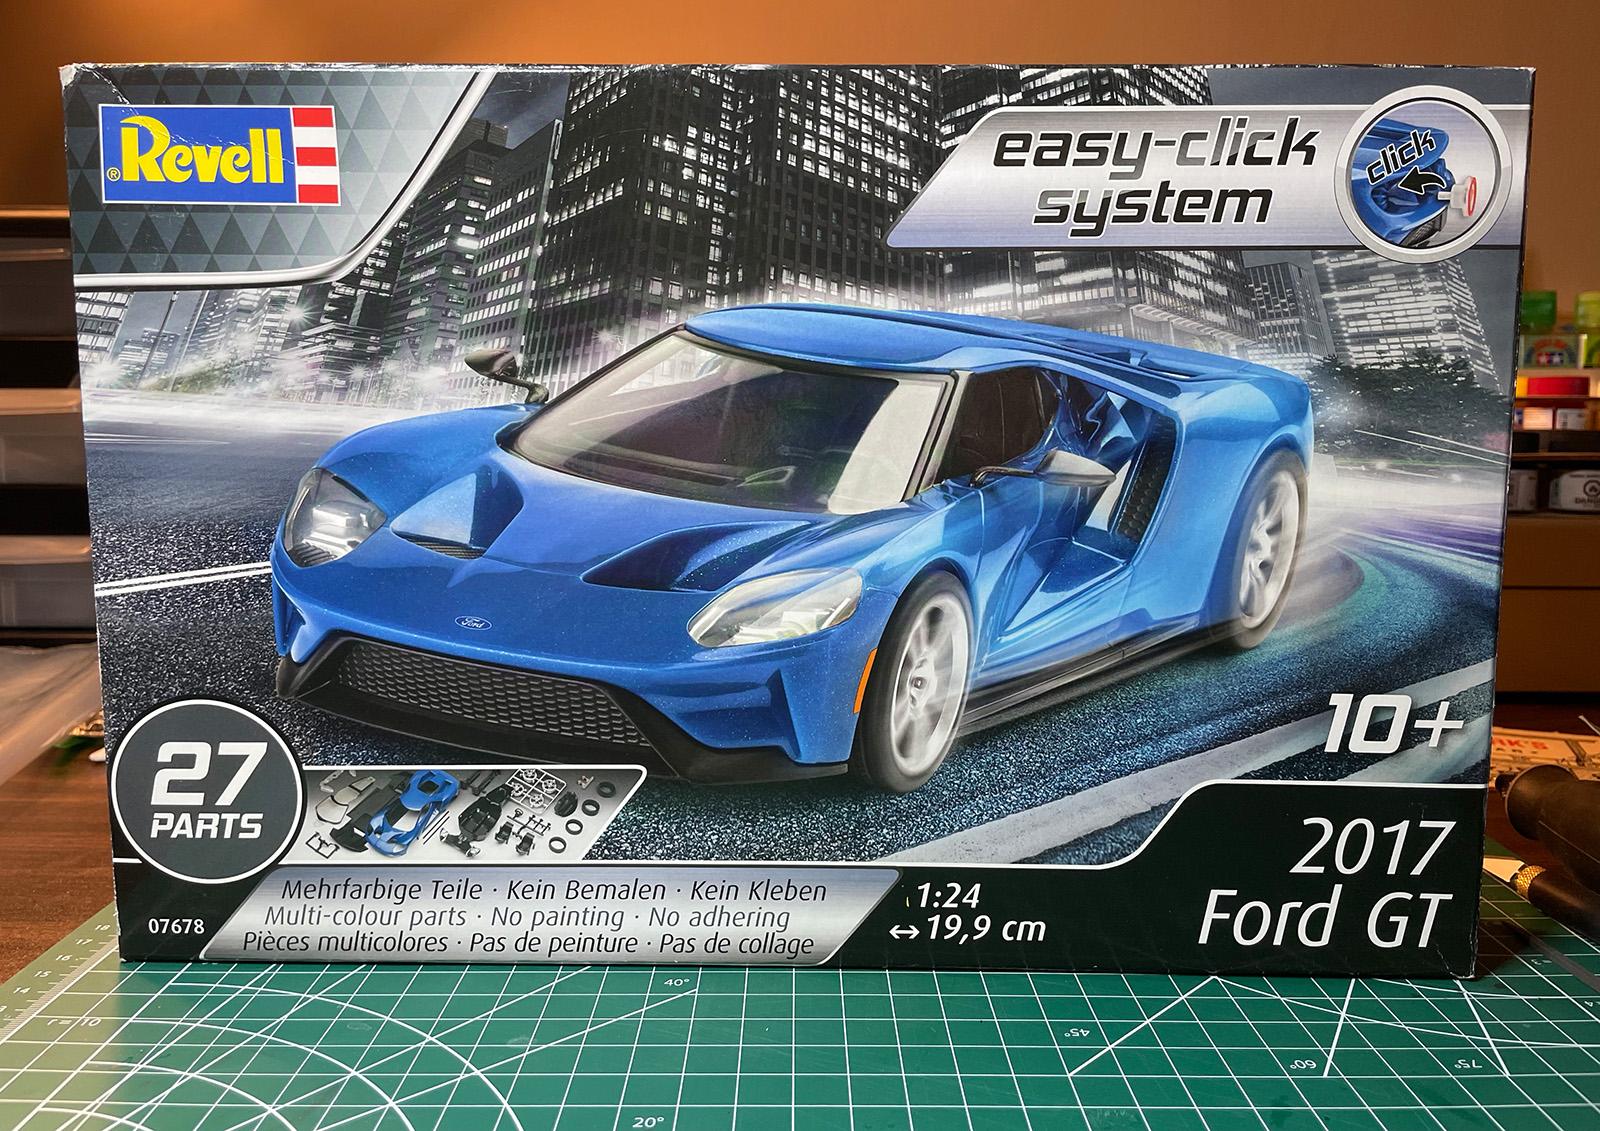
Beautiful cars. ? I have also built the Fujimi ‘68 LeMans winner kit… looking at the photo above, I’m liking the 2017 with the same colour theme.
-
Moulded in white, that’s interesting. Did you find the roof stubborn to detach? Looking forward to seeing your final result.
-
Such a cool looking car - all the original race cars to modern hyper car. ? Just watched Ford vs. Ferrari… I wouldn’t mind getting my hands on one of those 1:24 Meng kits… but the price ?
-
Thanks @TransAmMike It was a nice break from sweating the details of a more complicated kit. ?
-
@happy grumpy Thanks for the detailed reply. I haven’t been airbrushIng that long and likely would have made a mess with my current process. I’m going to save your tips for when I build the kit. Your Bug looks great and the set is awesome, too. ?
-
@deuces wild The Revell kit didn’t come with any of that… ?
-
@happy grumpy Interesting timing… I bought some Alclad bright silver base, candy paint and Aqua clear which I plan to use for the first time on an upcoming model (hope I’m not biting off more than I can chew). Any special considerations for a first time user? Thanks!
-
Probably wouldn’t have been too difficult to lower this one. Really wanted the Tamiya kit but I heard it can be a tricky one to build.
-
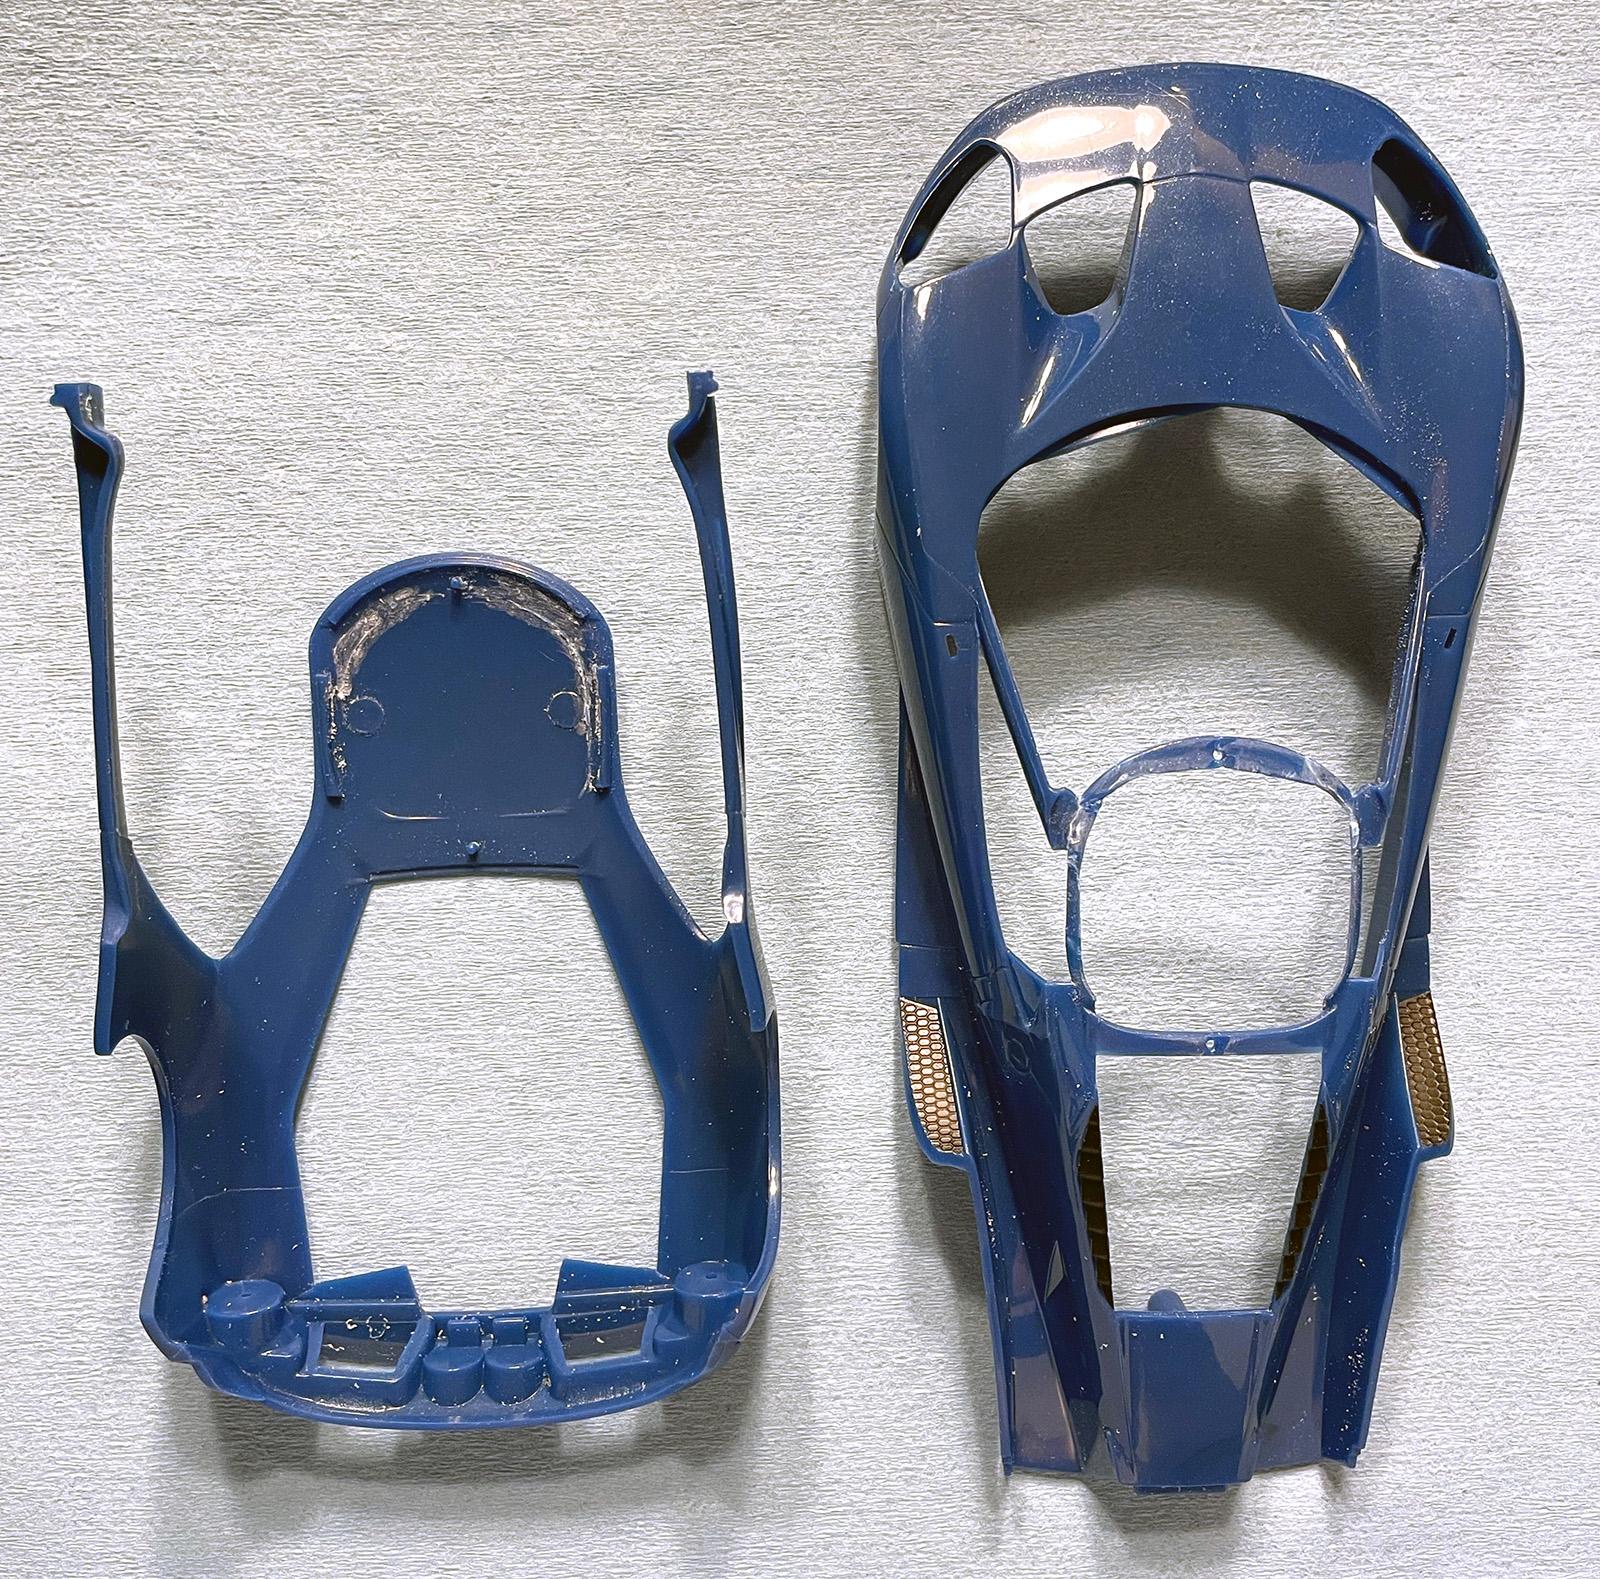
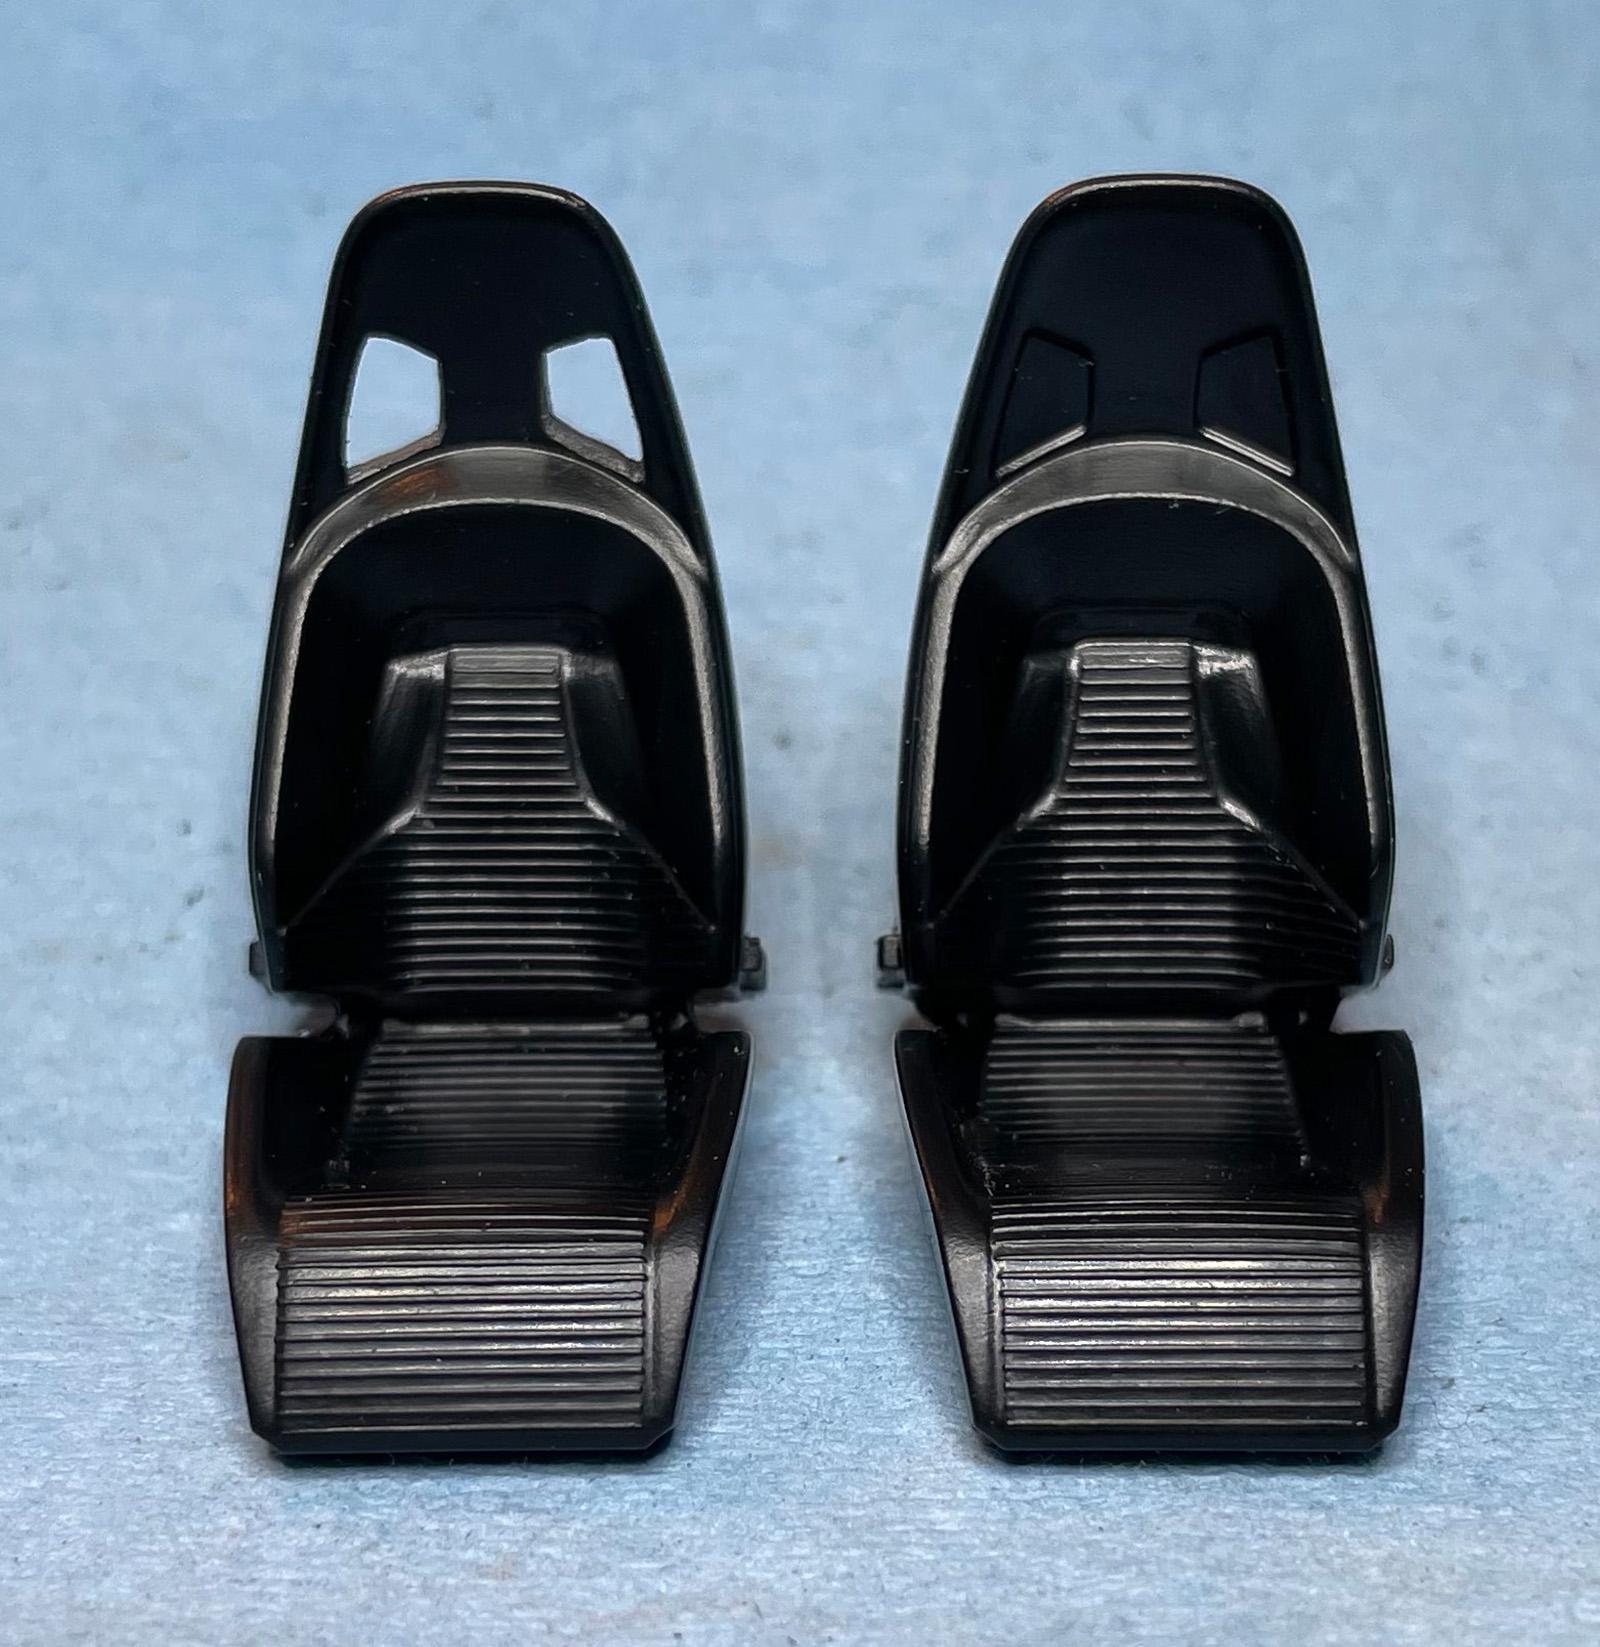
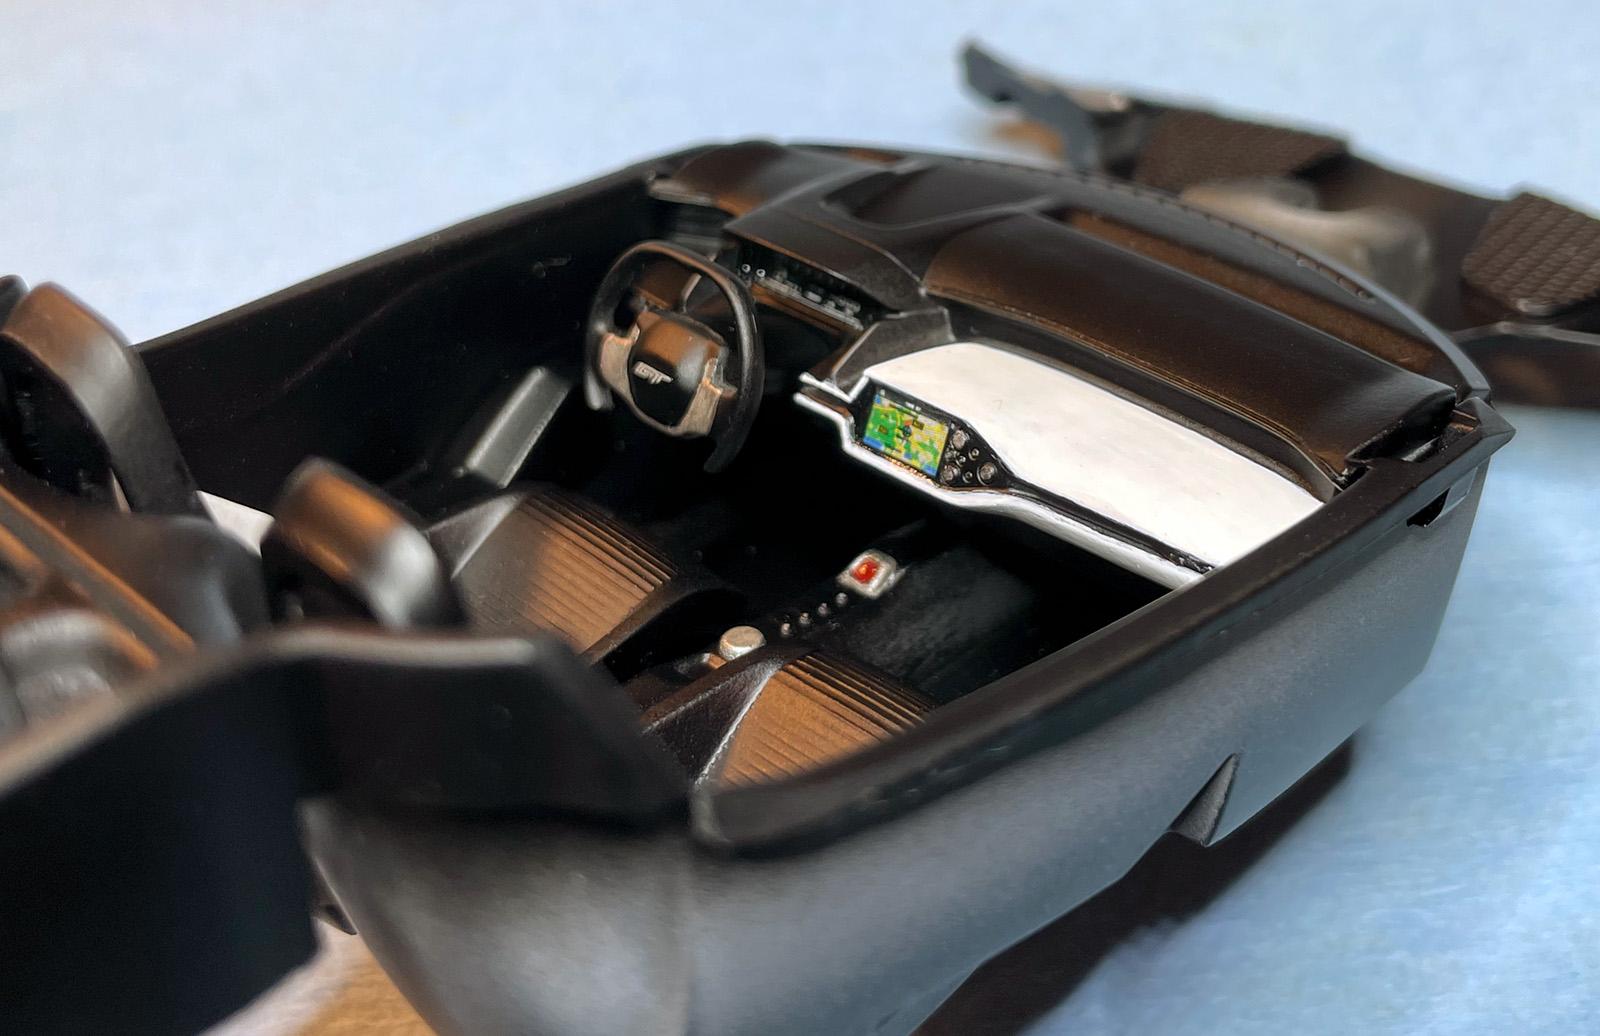
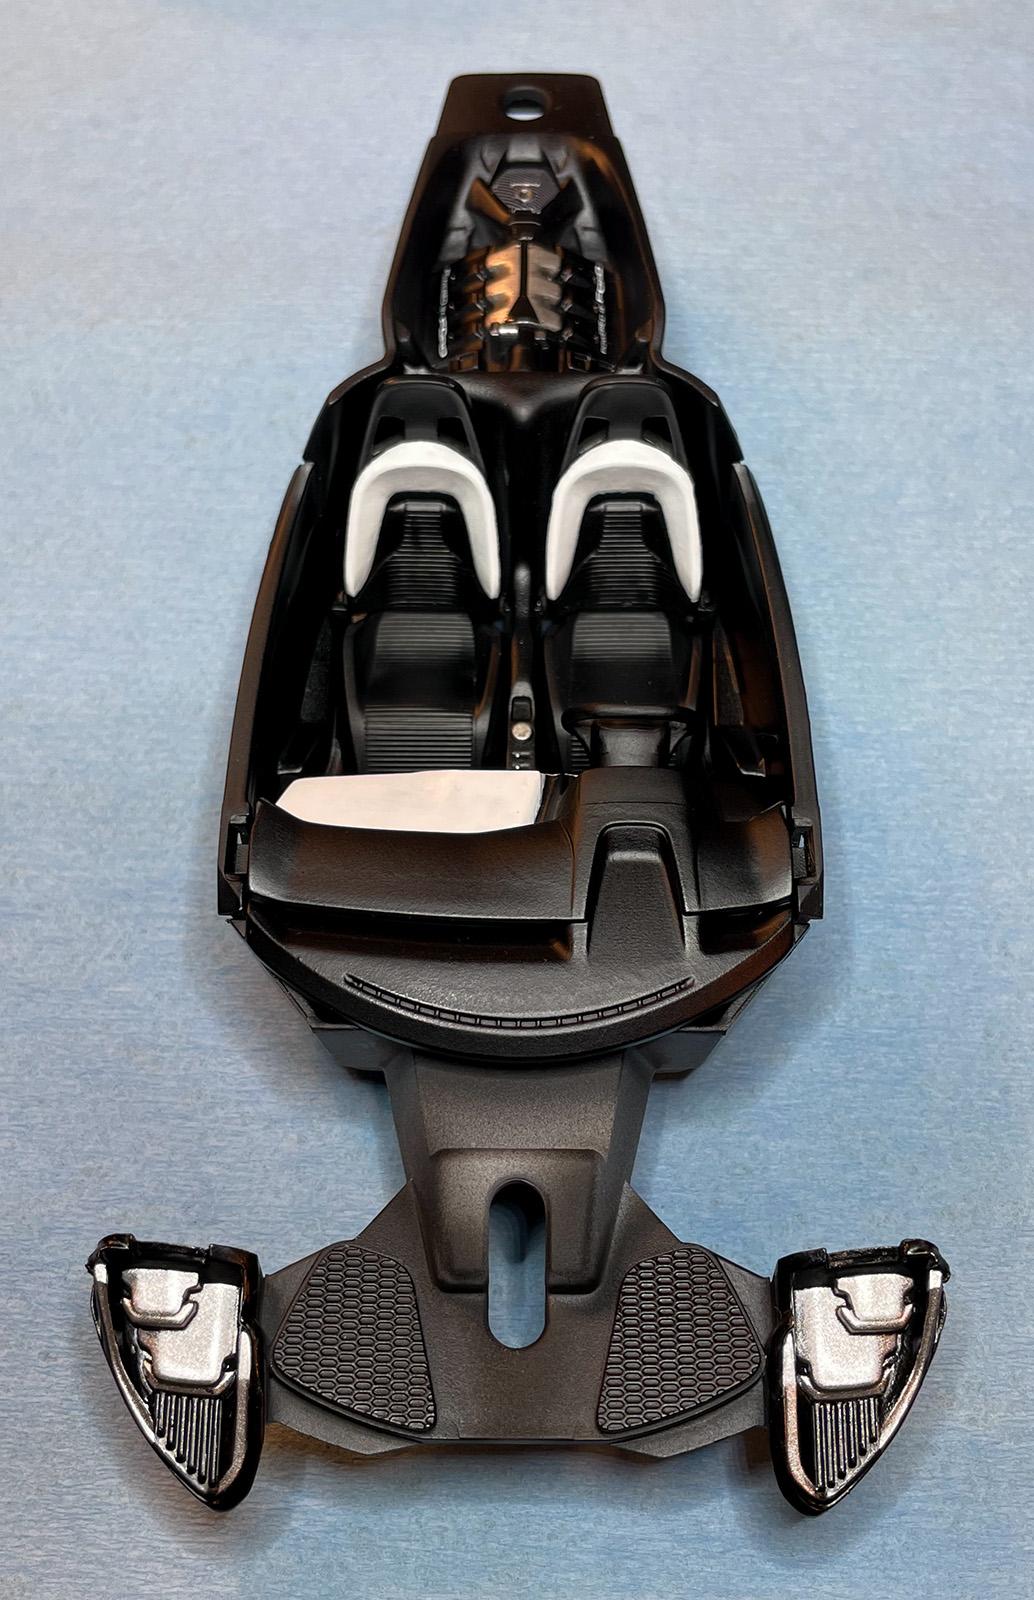
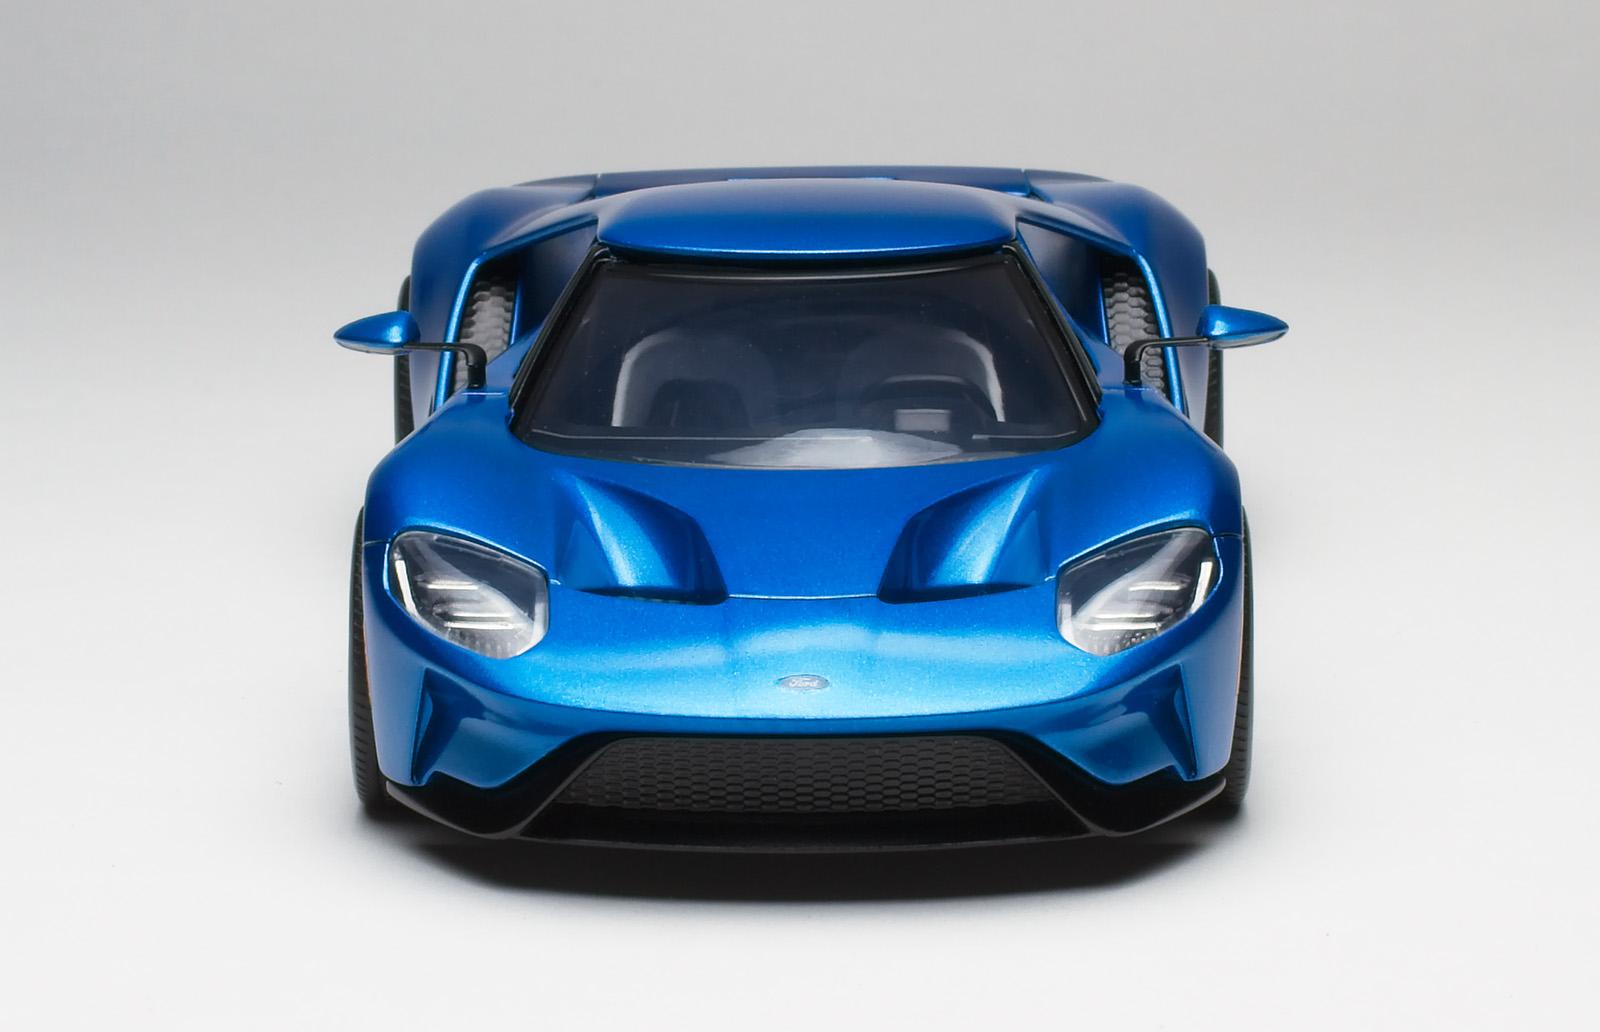
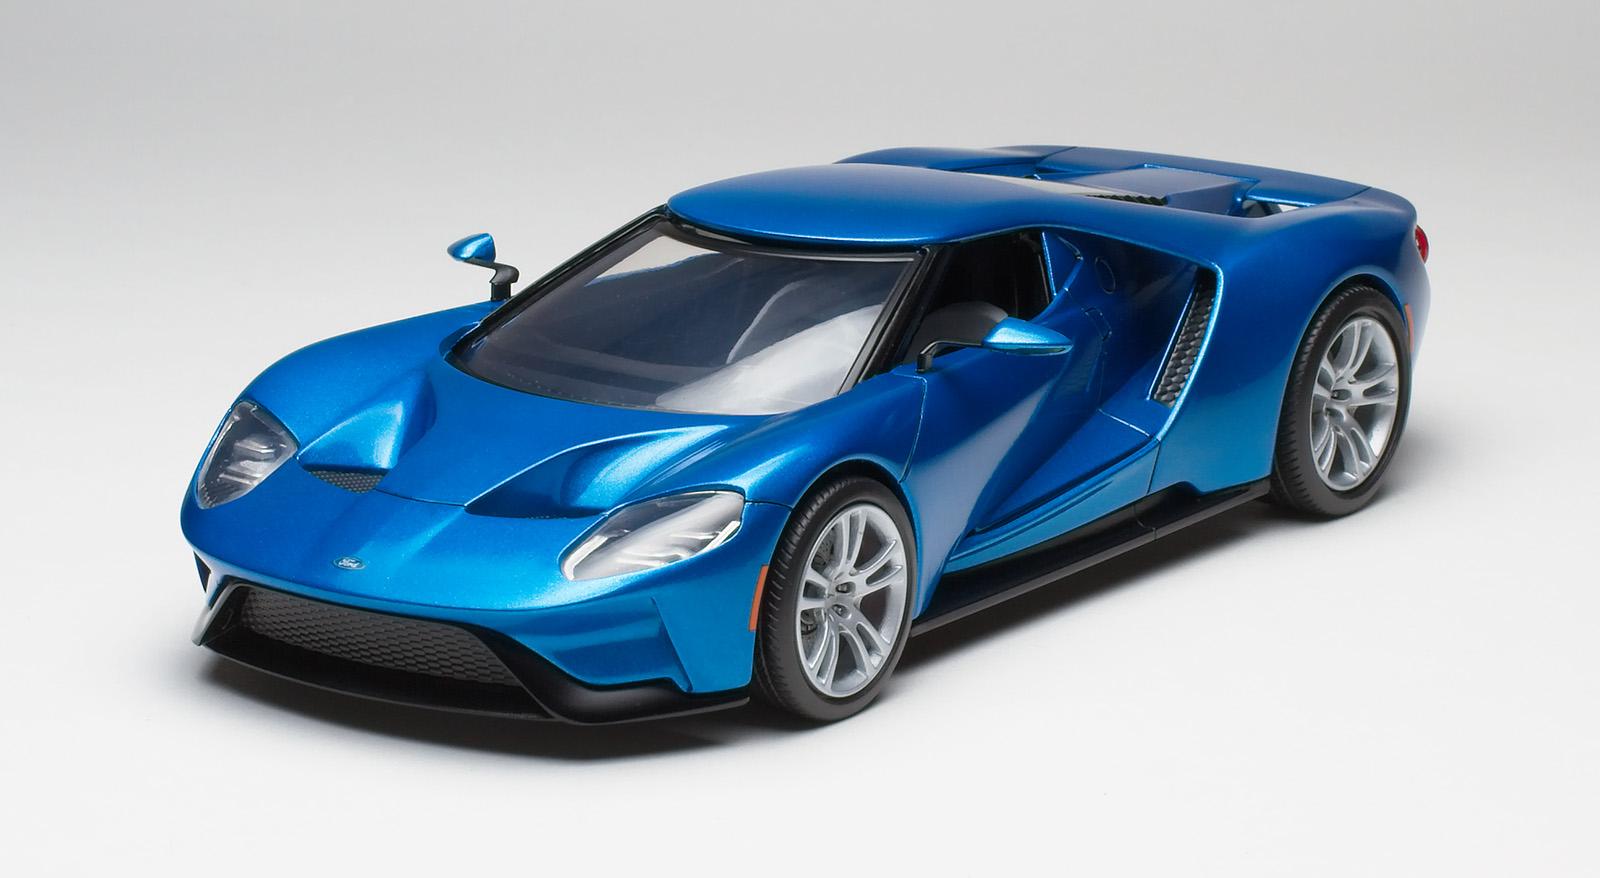
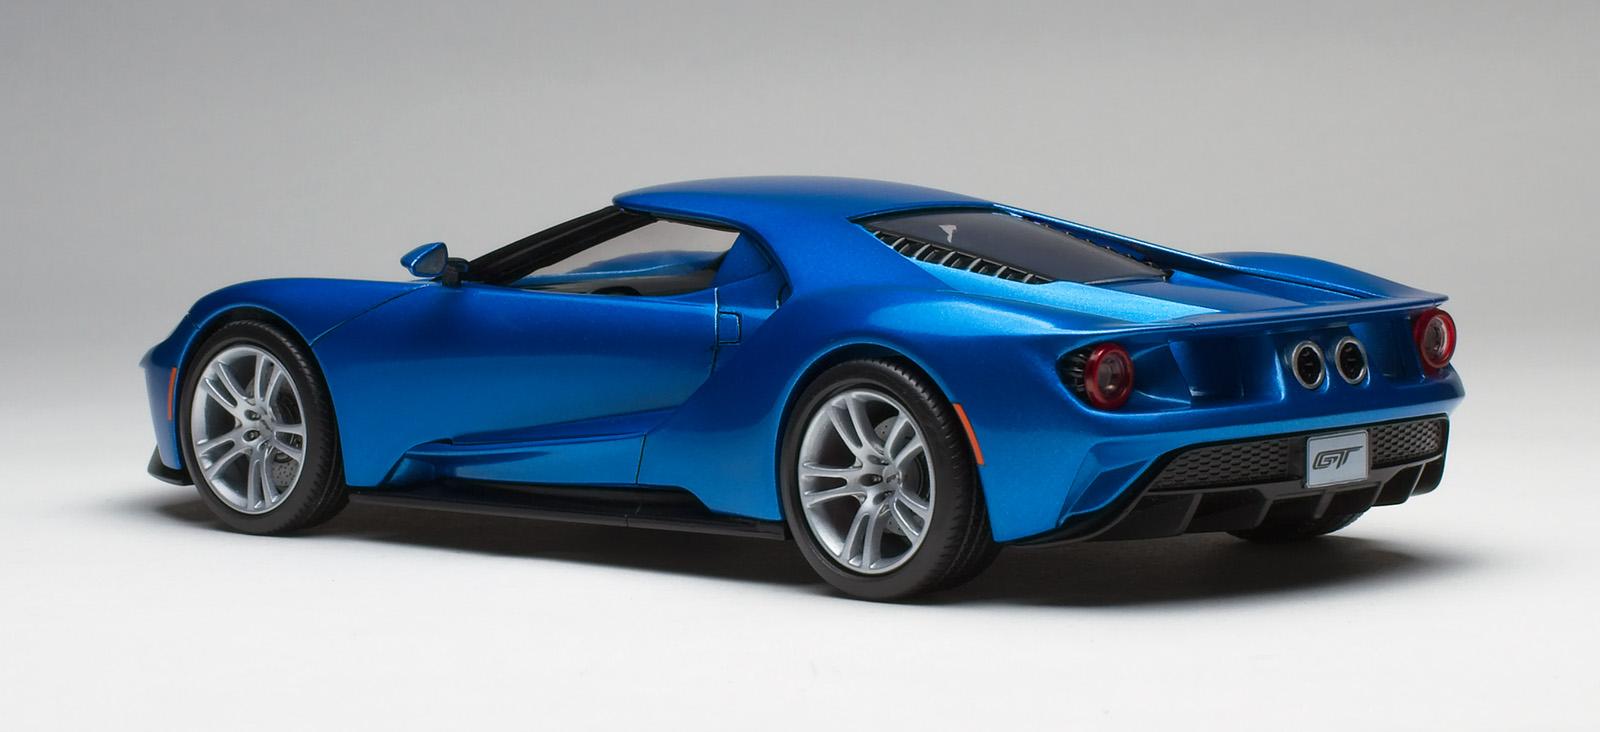
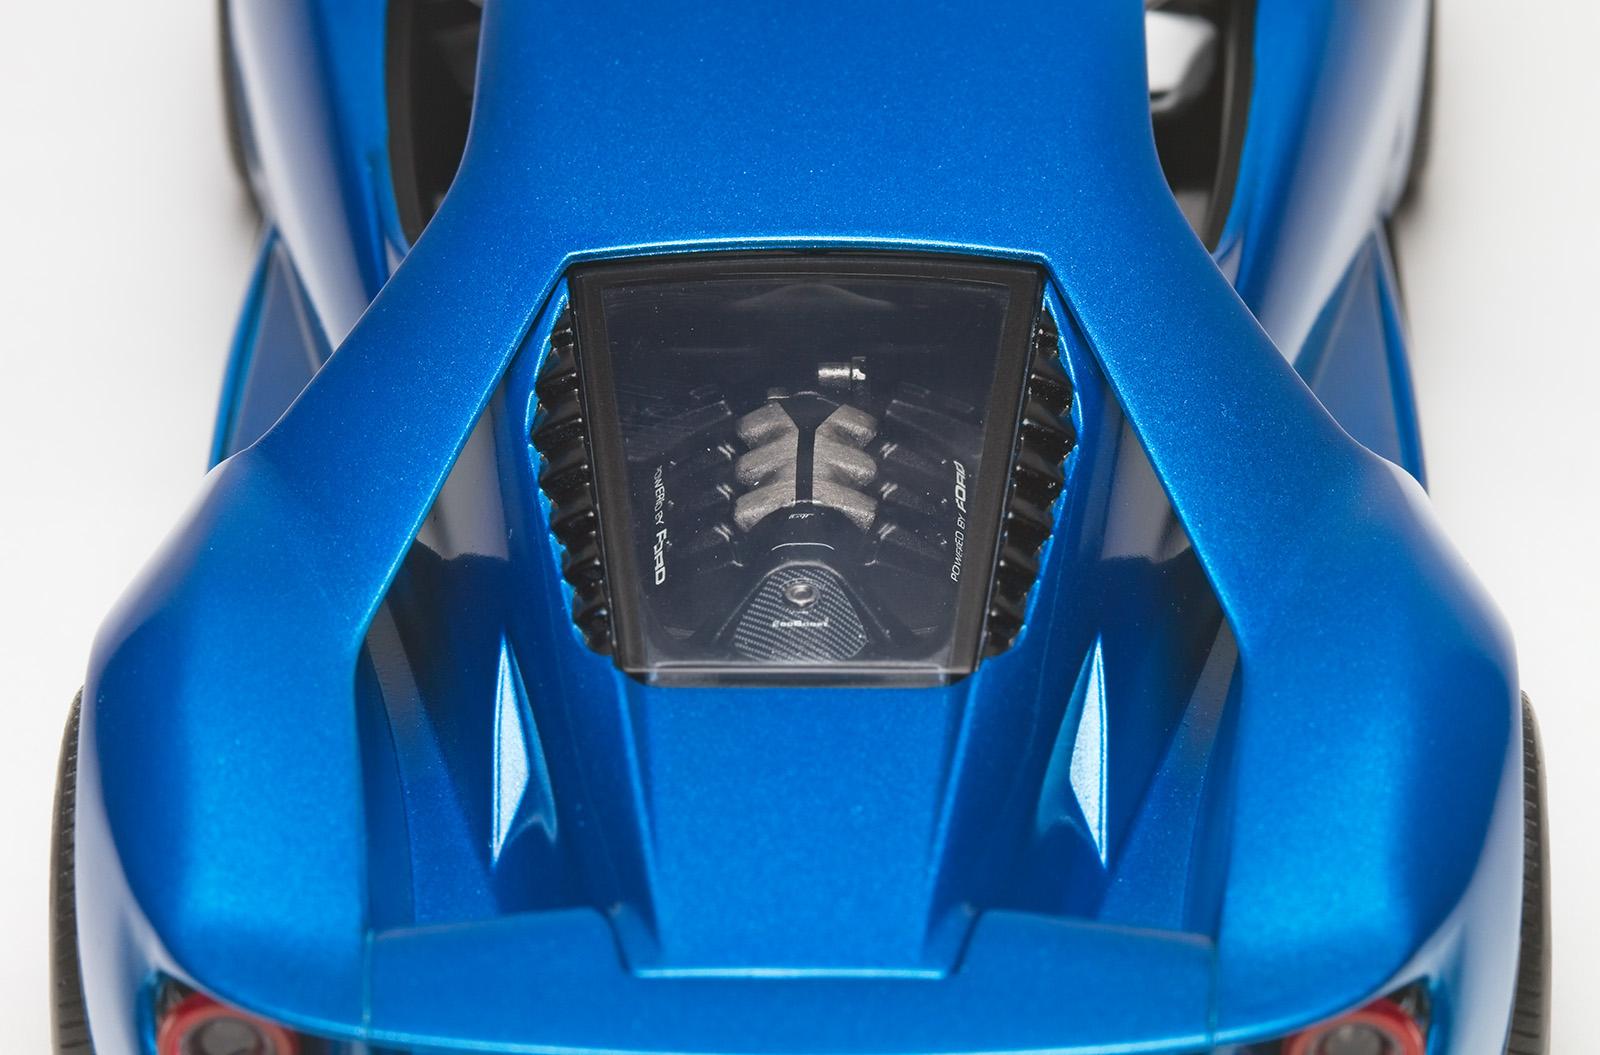
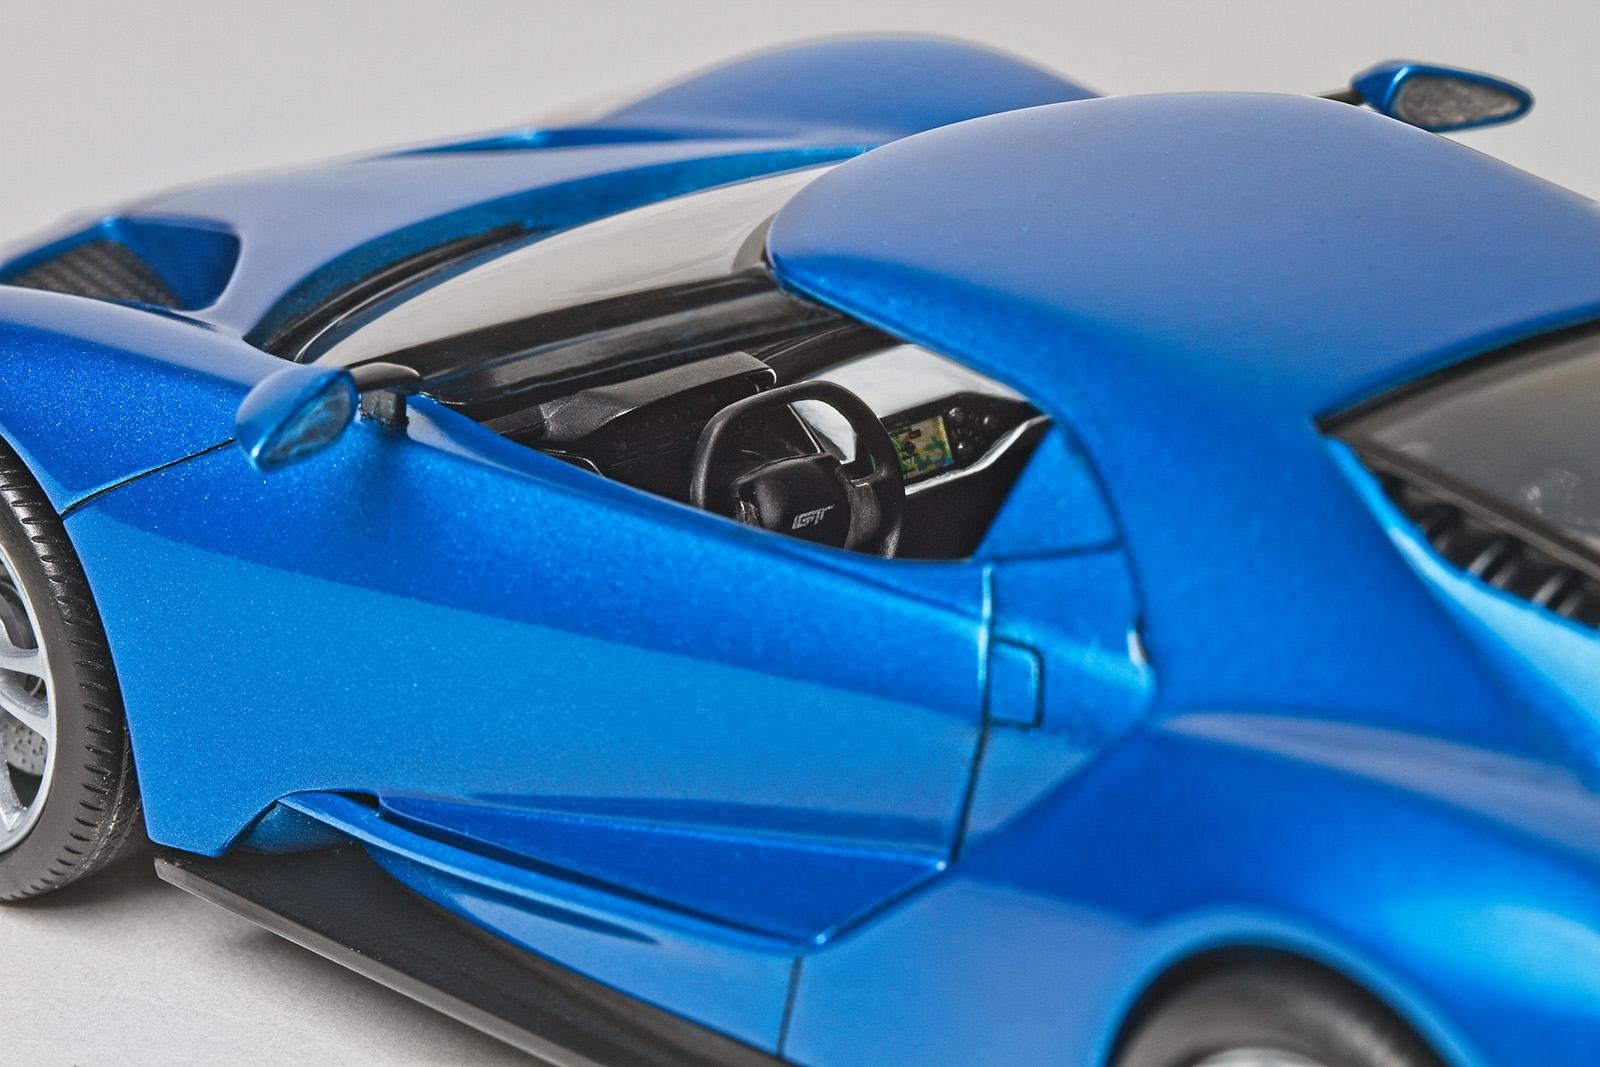
Good Evening, Tried something a little easier after my previous build. Figured I'd give it a decent paint job and a little brush painting for detail. I stayed with blue for the body (decanted Tamiya TS-19 Metallic Blue) over grey primer and cleared with TS-13. The interior was painted semi-gloss black (Tamiya X-18) with factory option white accents (I did a sub-par job on this). The wheels were painted with AK Metallizer White Aluminum. What I learned: 1. The parts seem to be a different type of plastic, perhaps a little softer. 2. The panel lines were quite wide and extra care had to be taken with the scriber not to make a jagged mess - fixed a couple of those with putty. 3. White glue does not self level - even thinned with water. The side mirrors are hollow so I thought I could fill them with glue and paint them afterwards. Fail. 4. I prefer TS-13 over X-22 as it dries much quicker and less prone to fingerprints. Thanks for looking.
-
Beautifully done.