Dpate
-
Posts
1,184 -
Joined
-
Last visited
Content Type
Profiles
Forums
Events
Gallery
Everything posted by Dpate
-
Review of Revell's new chrome spray paint
Dpate replied to Monty's topic in Model Building Questions and Answers
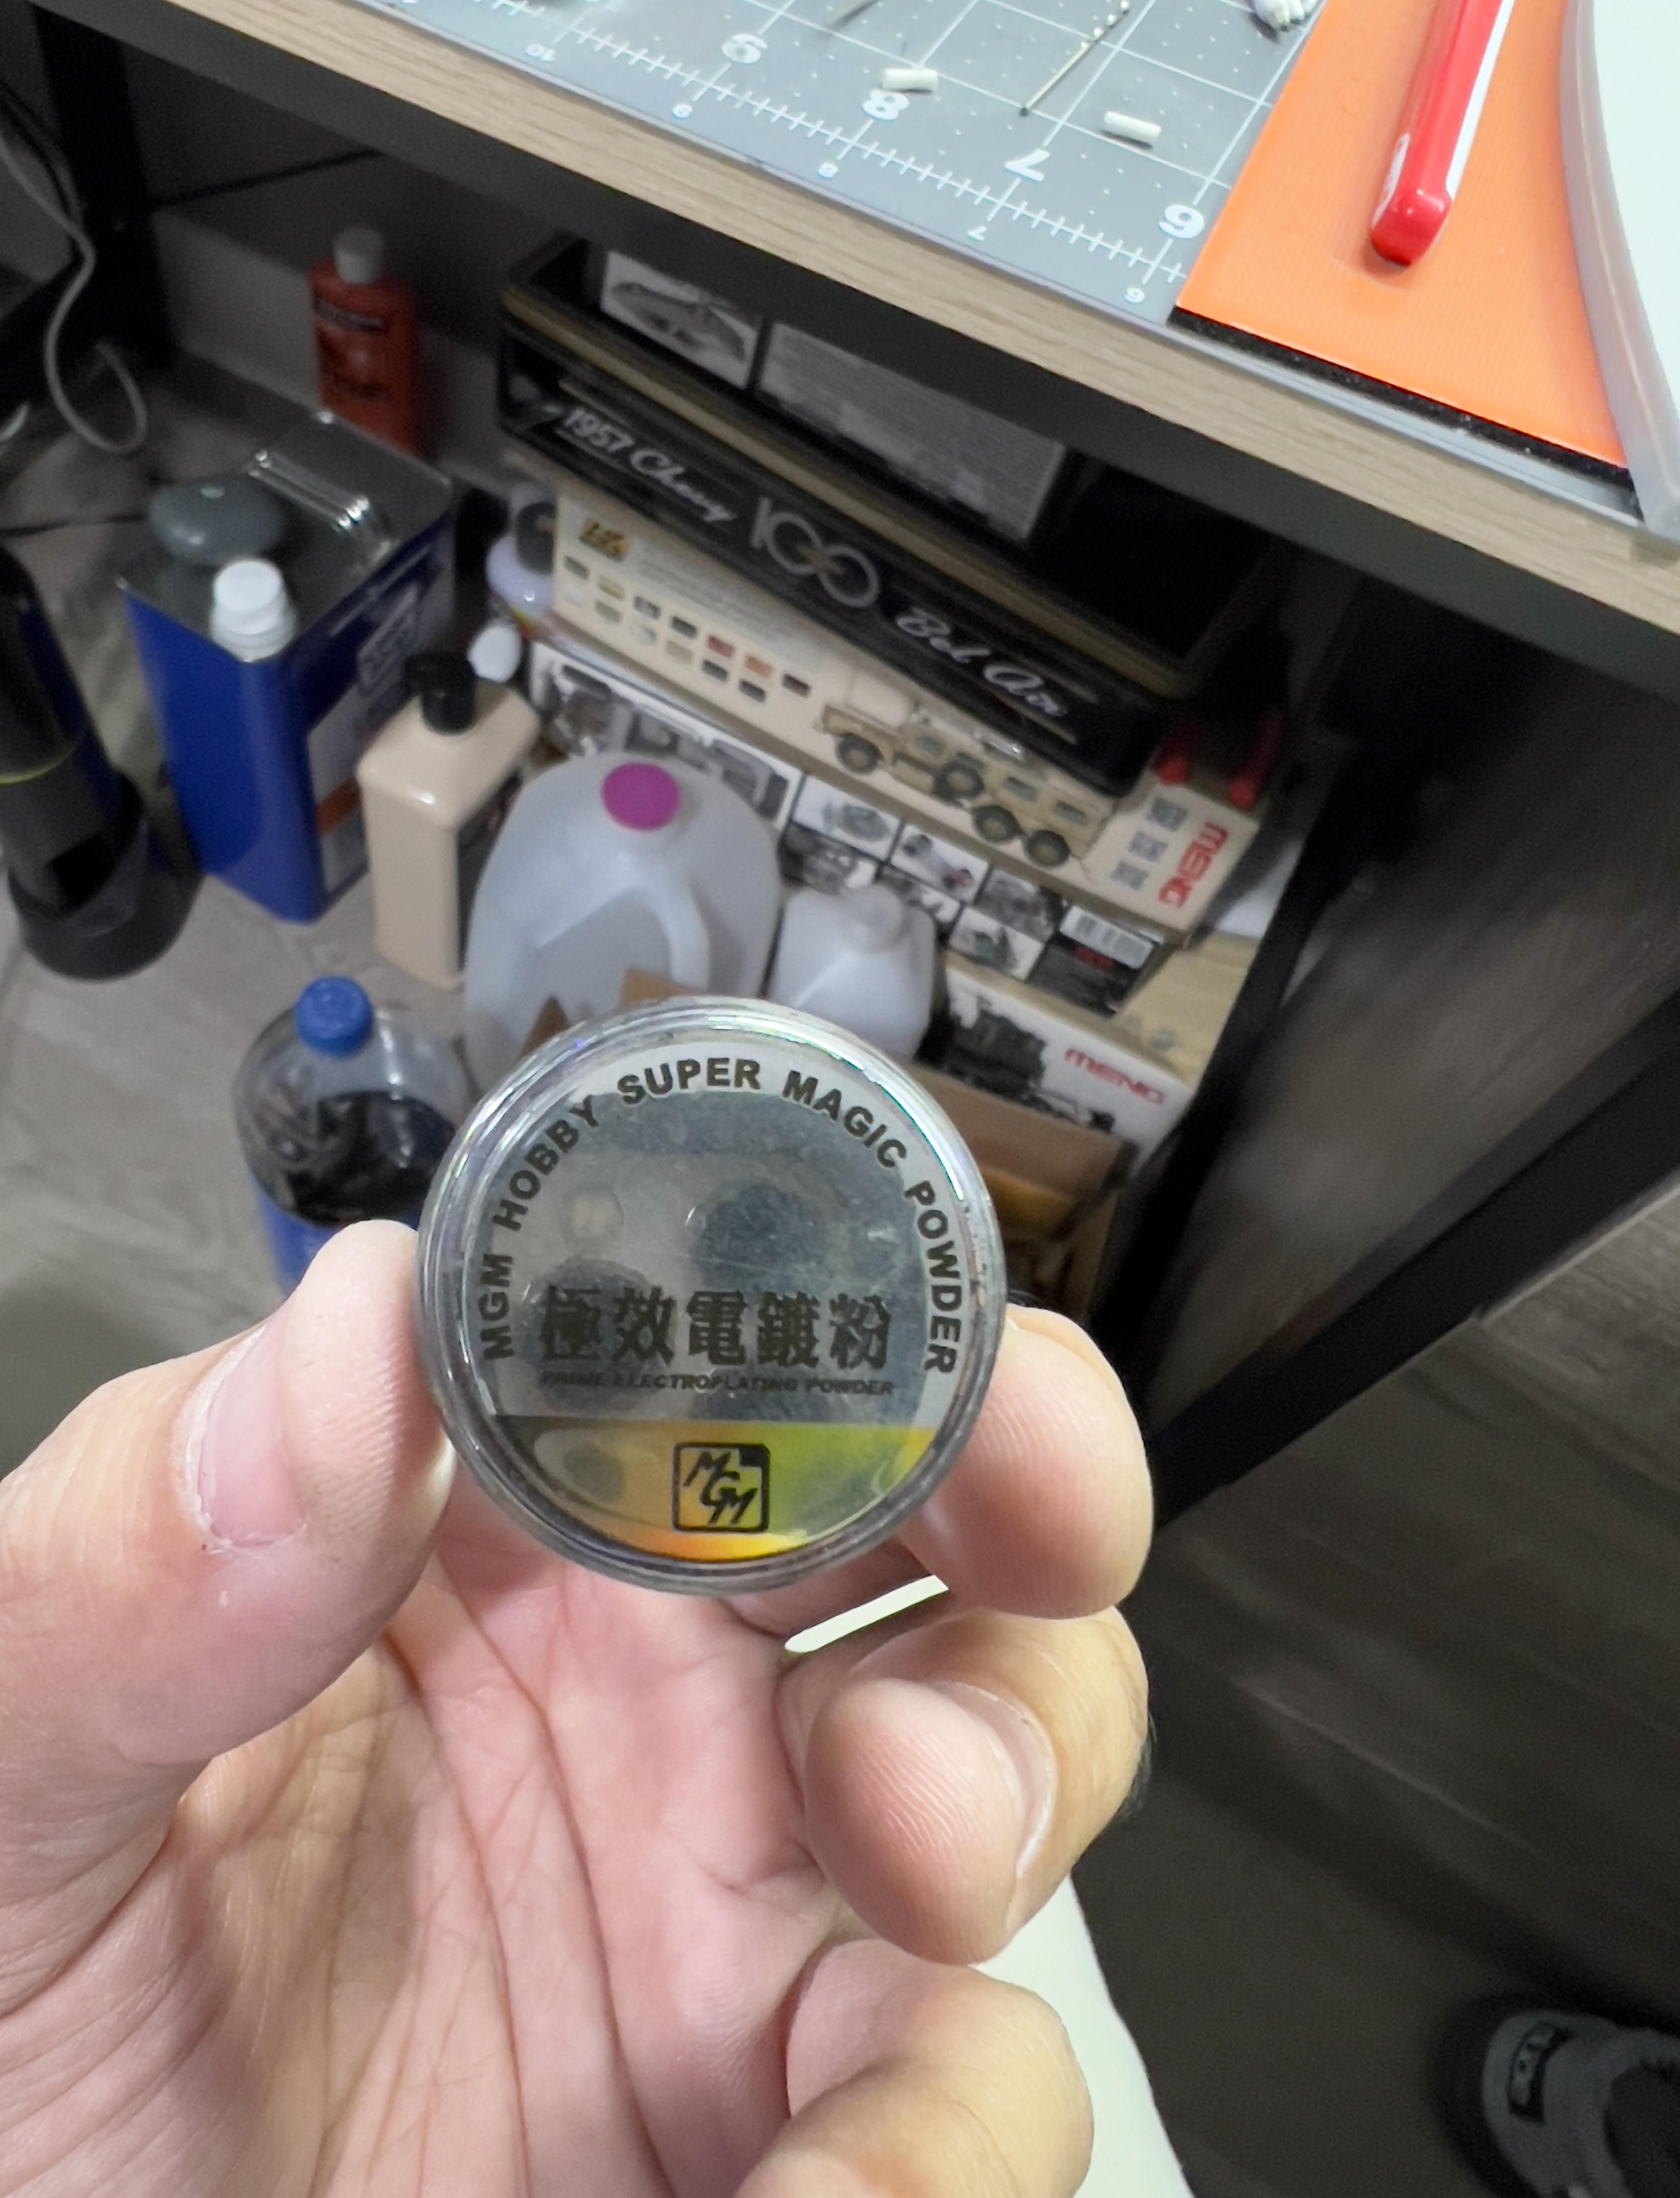
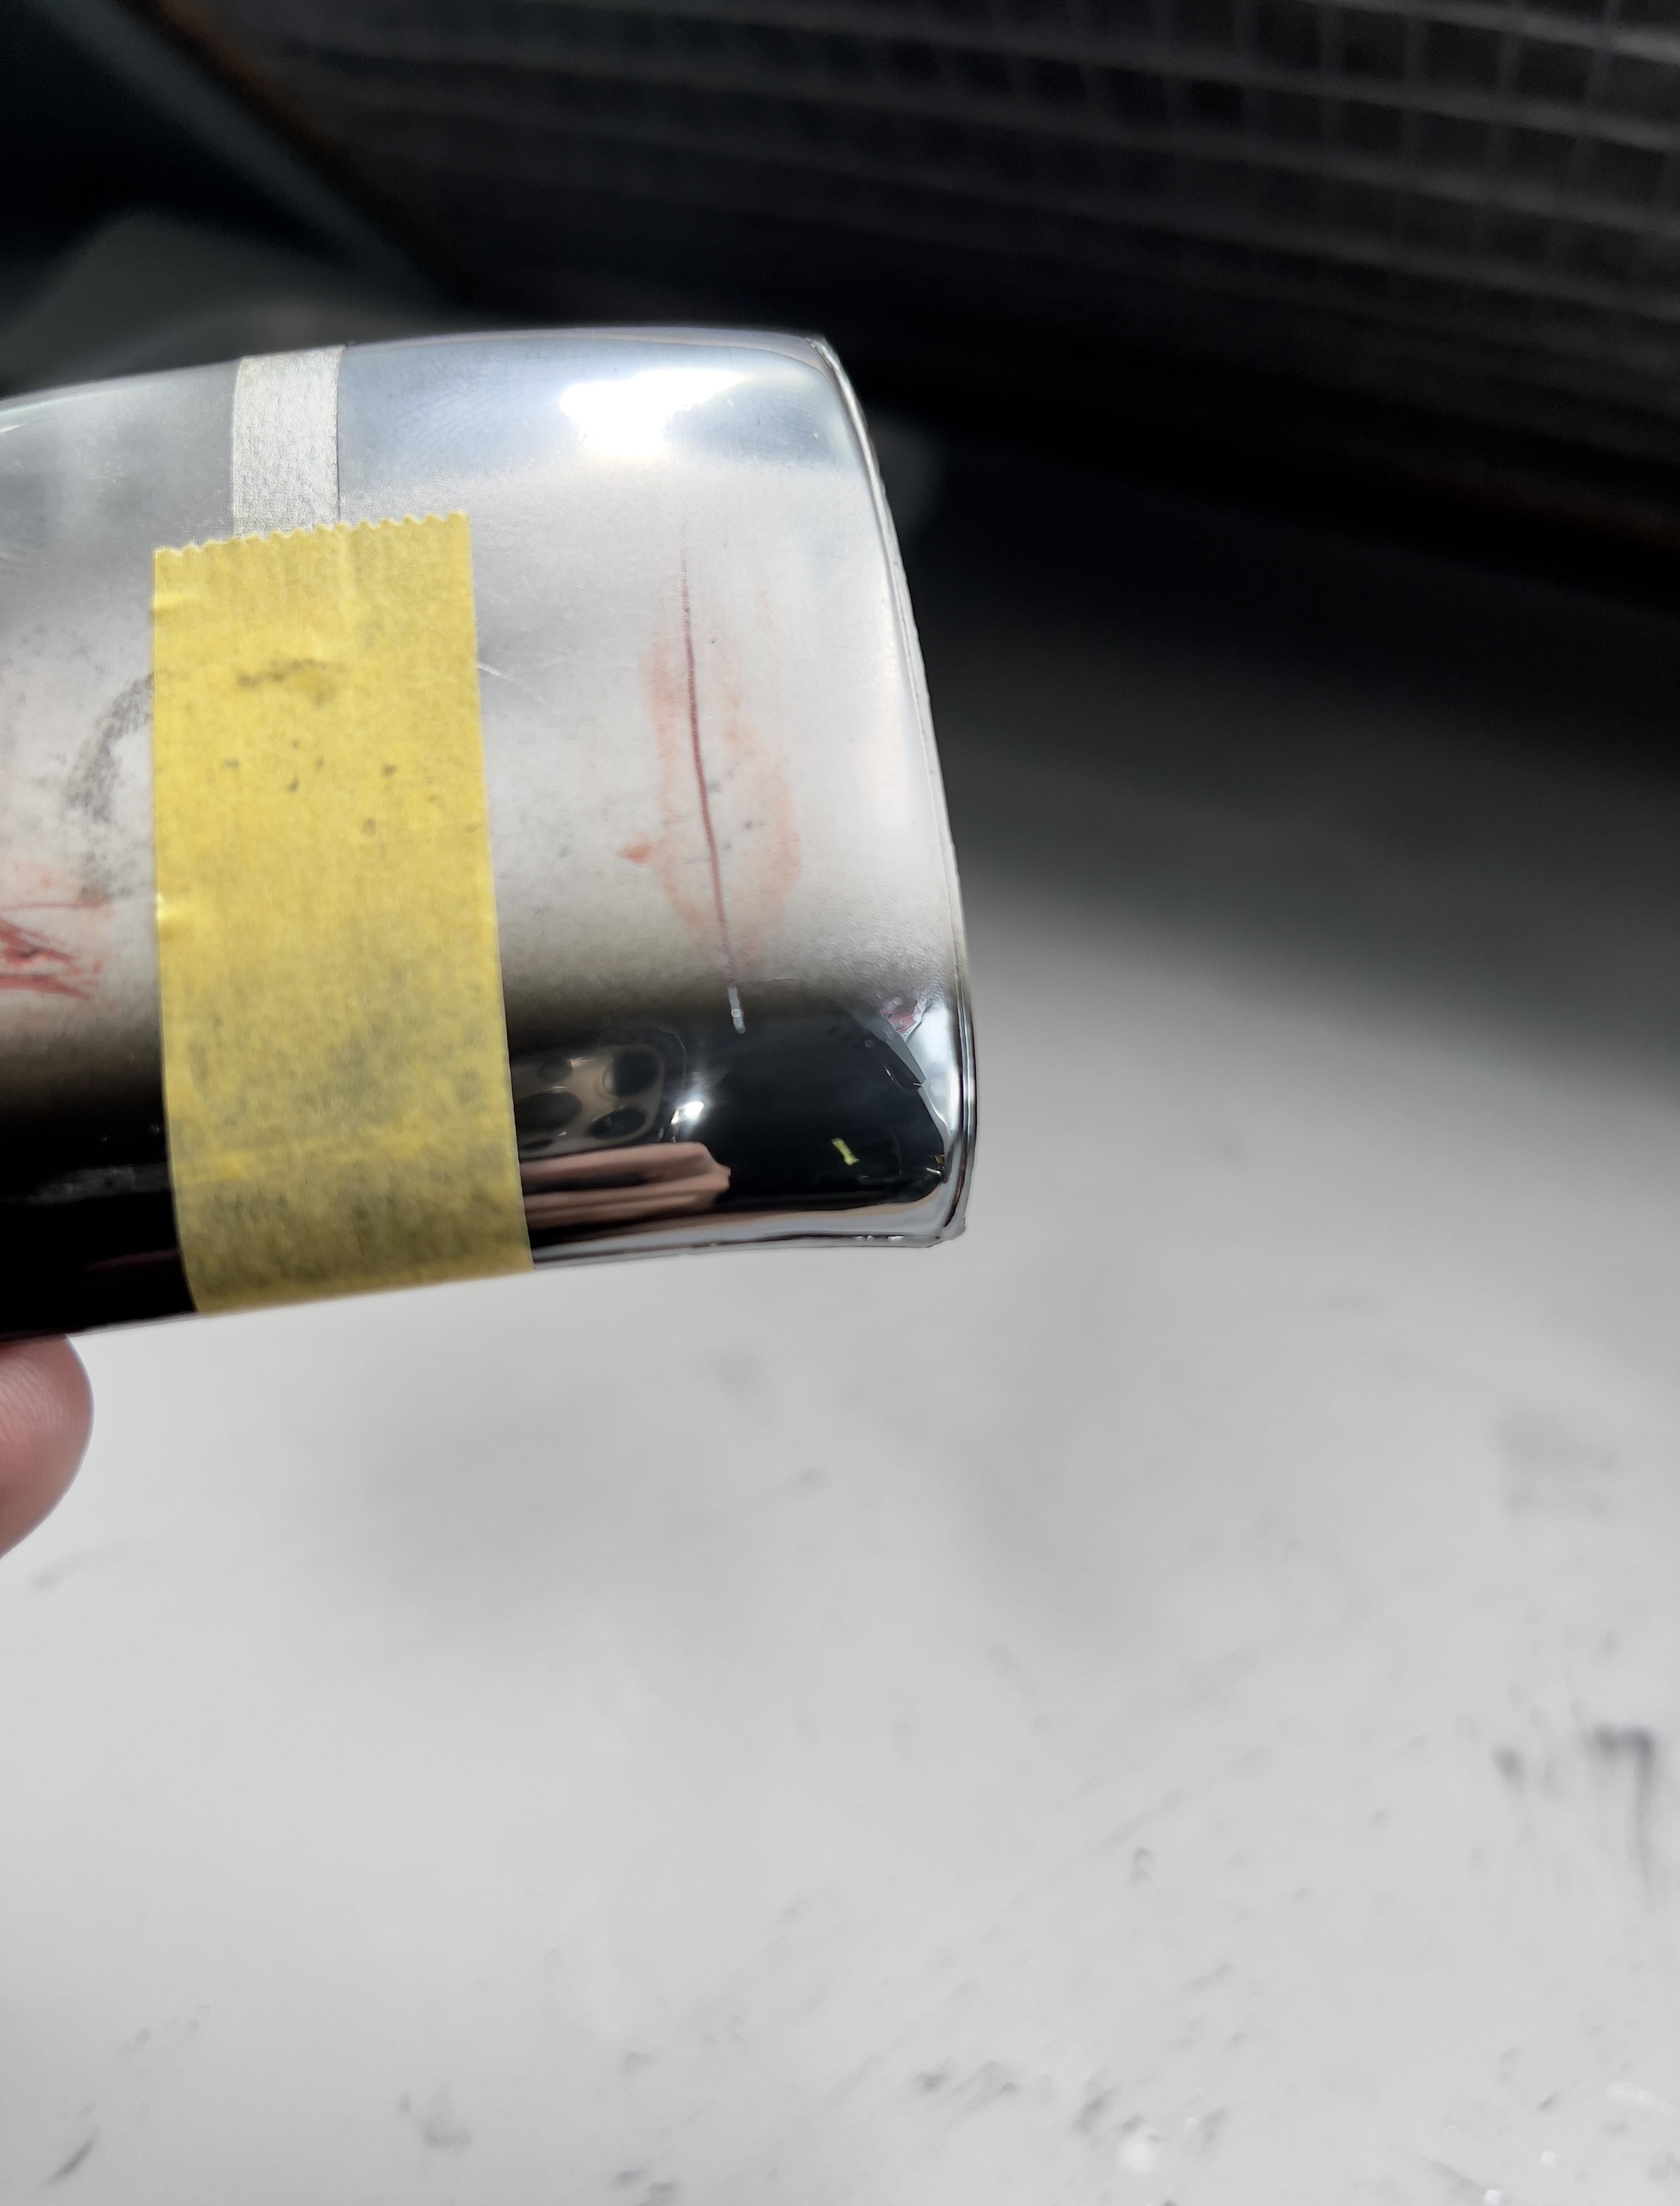
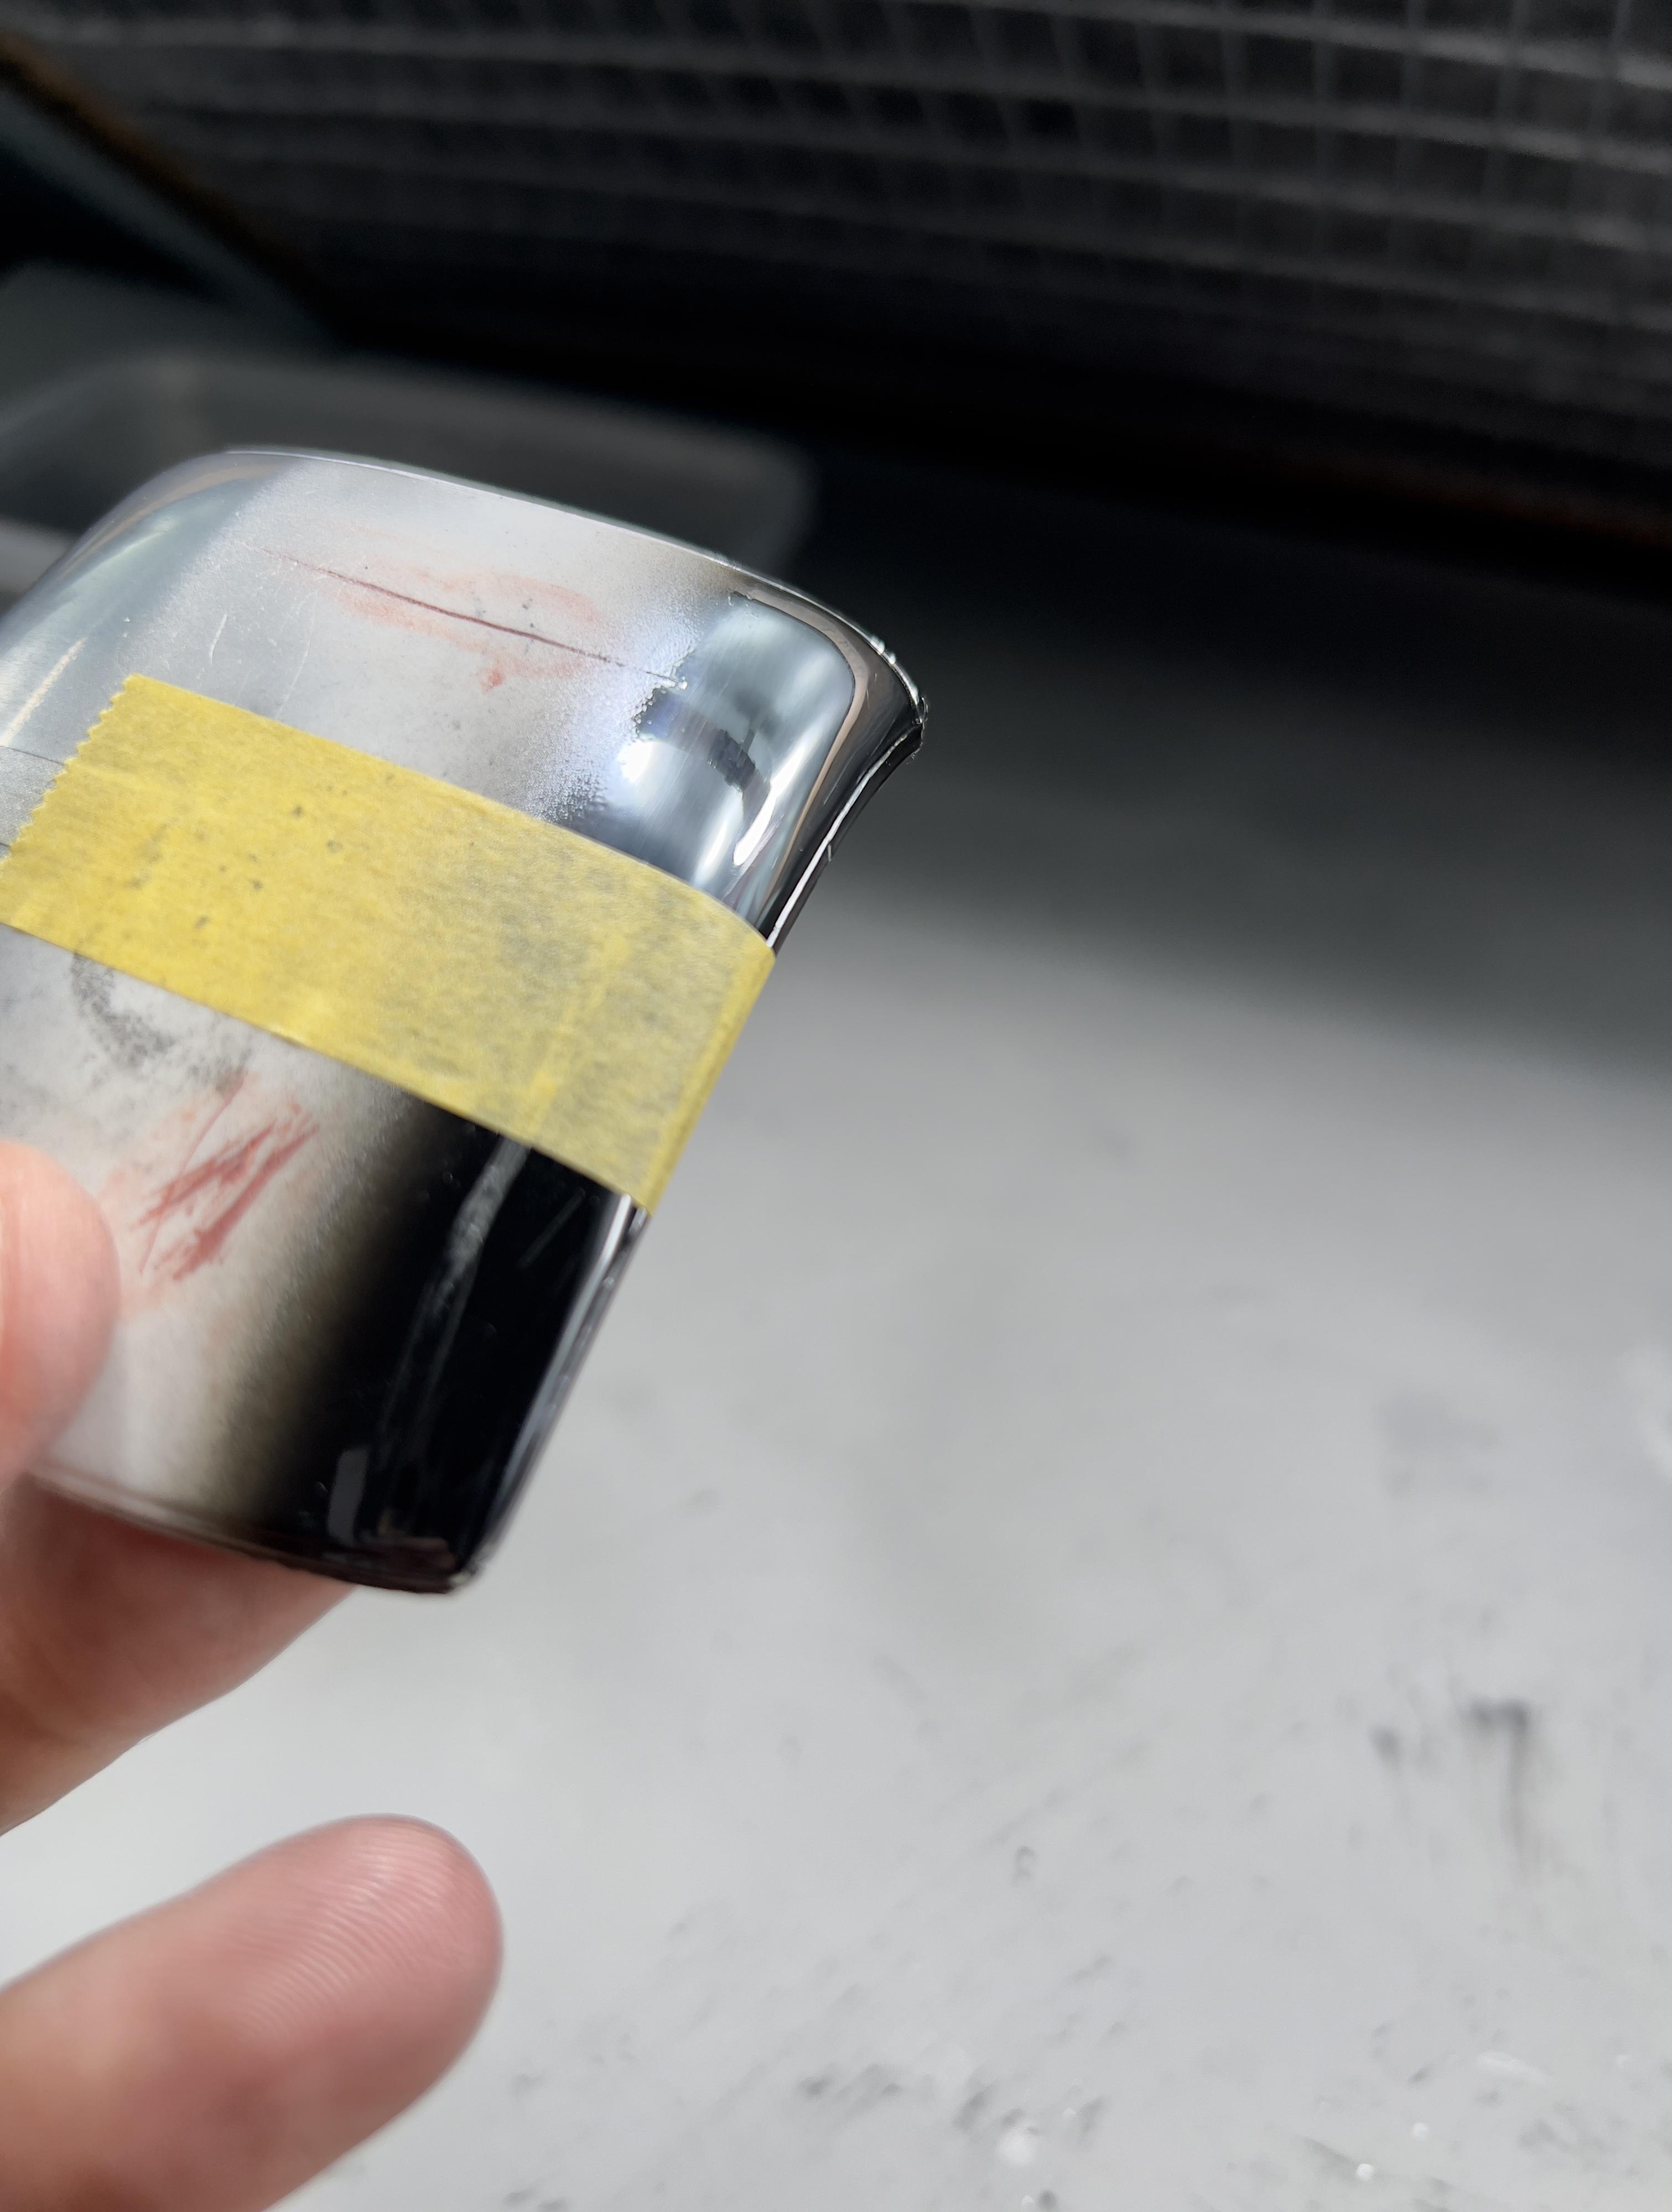
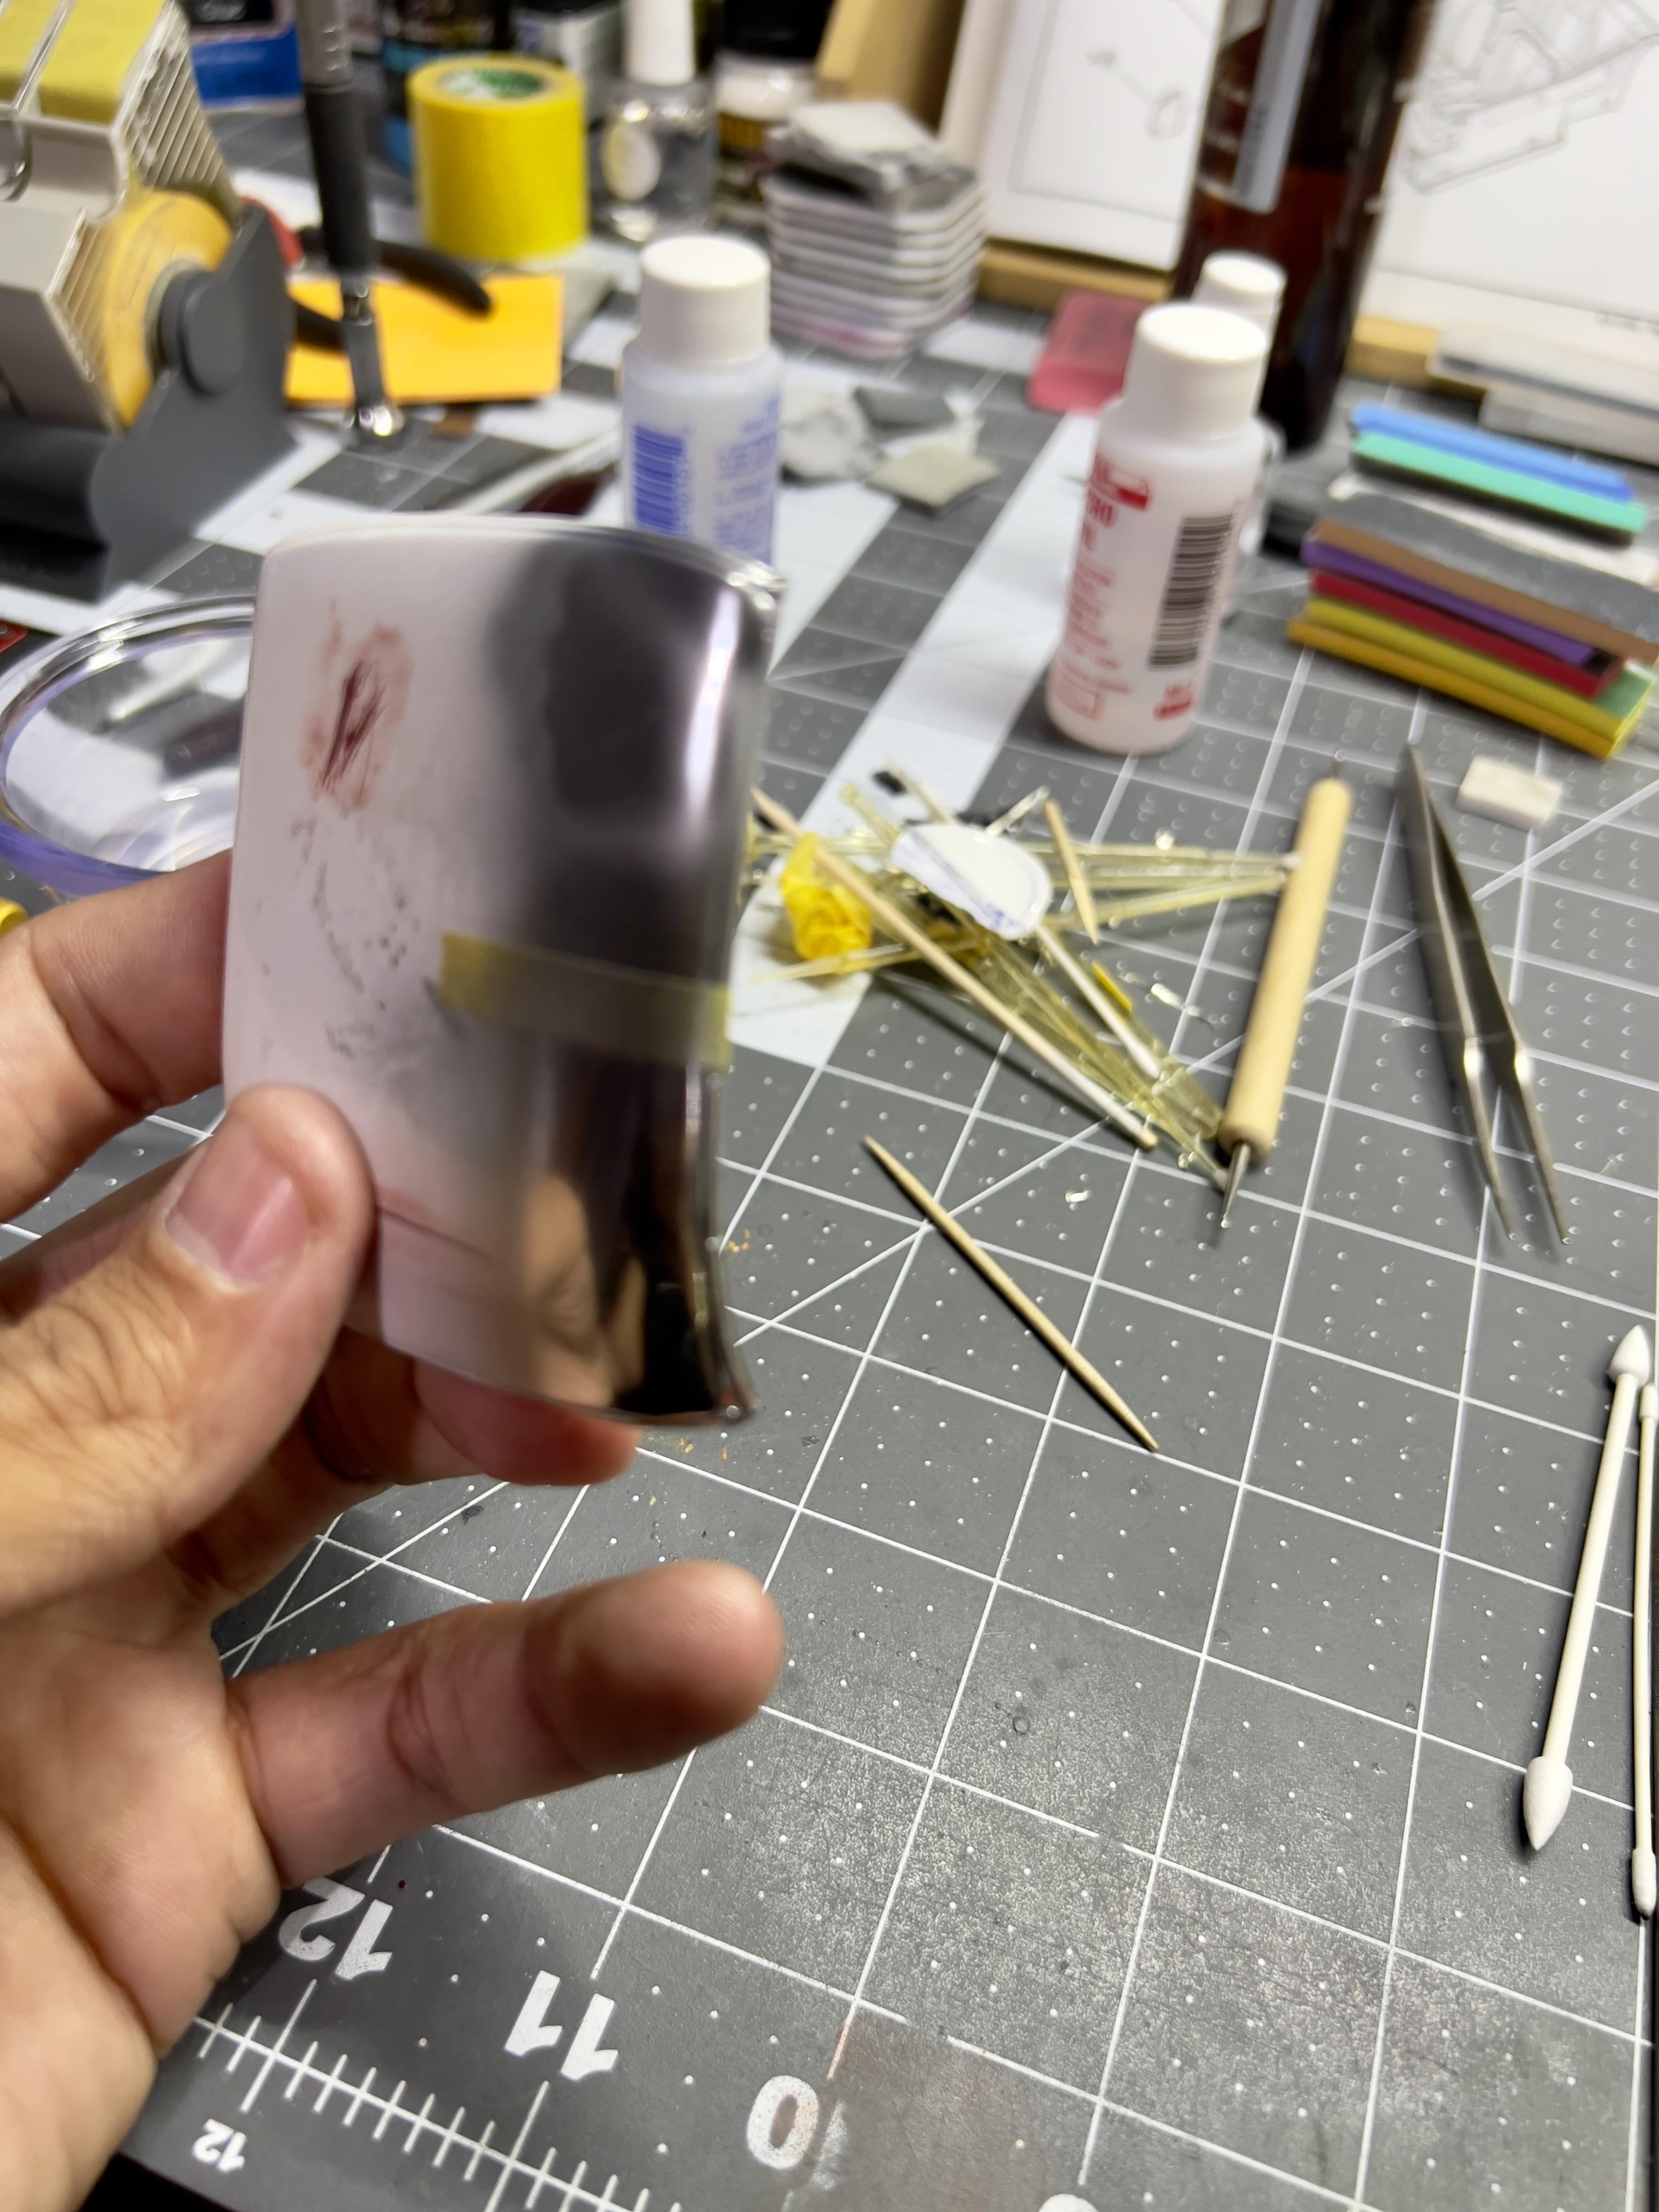
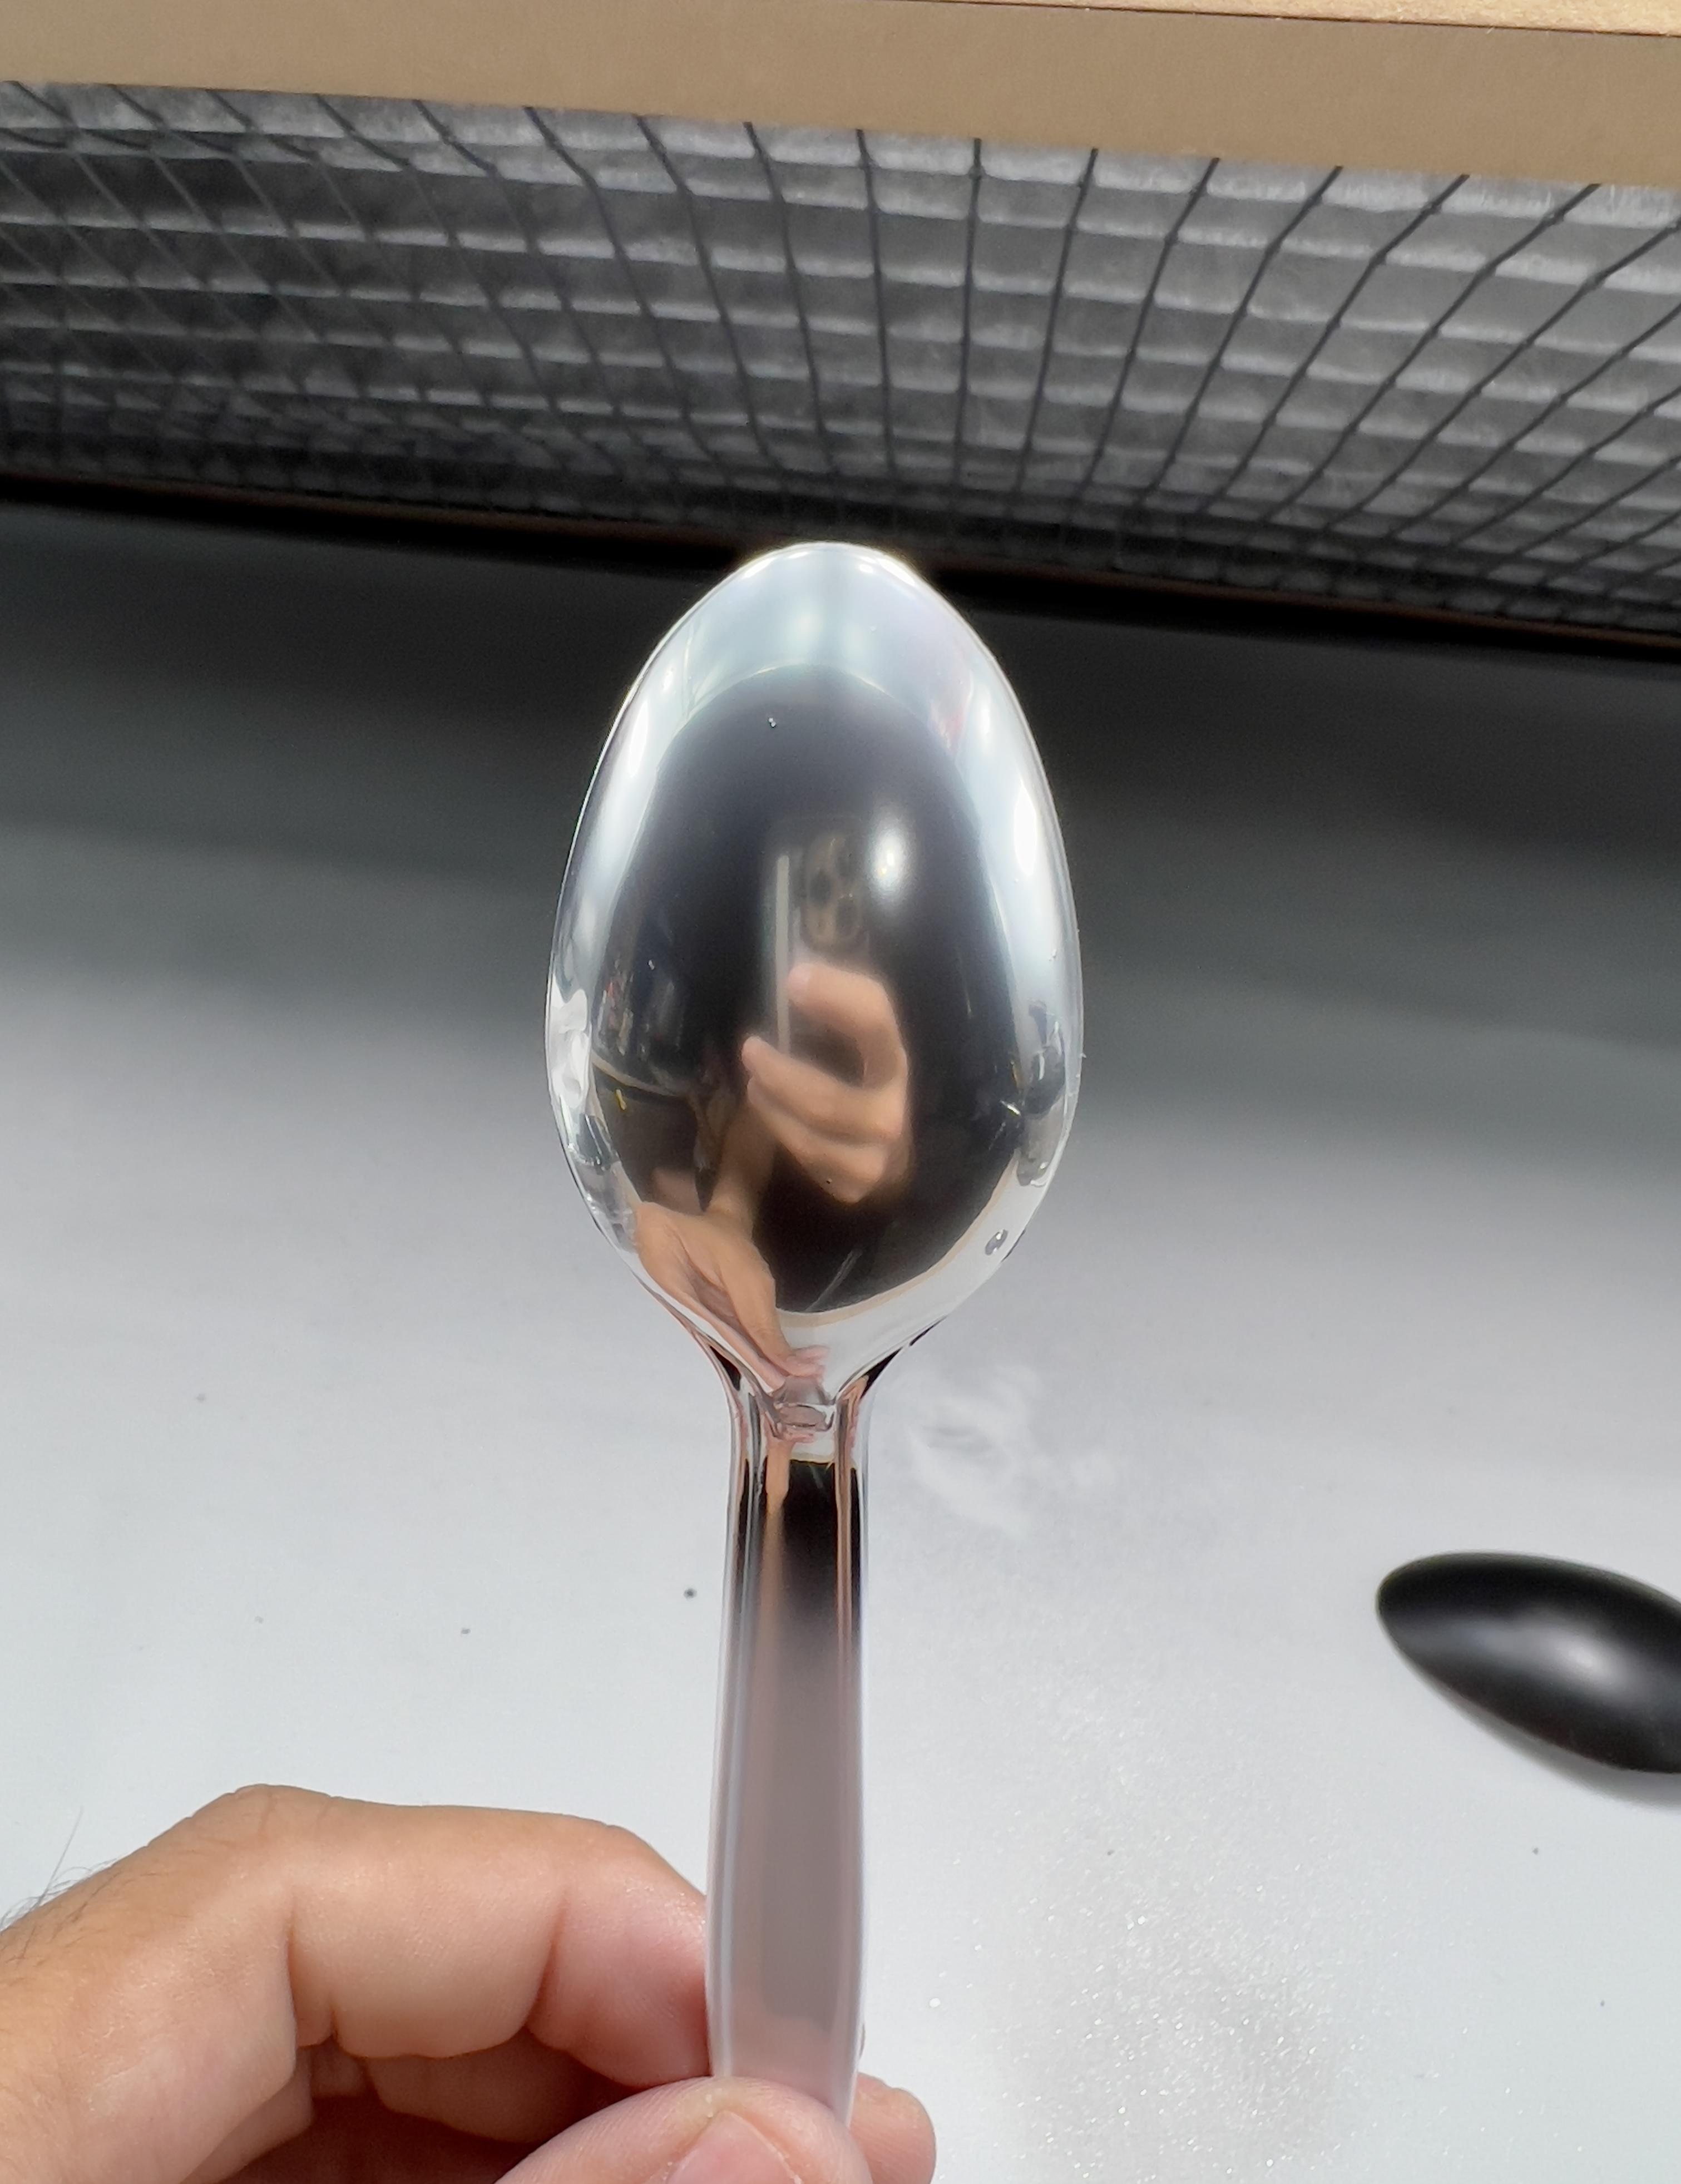
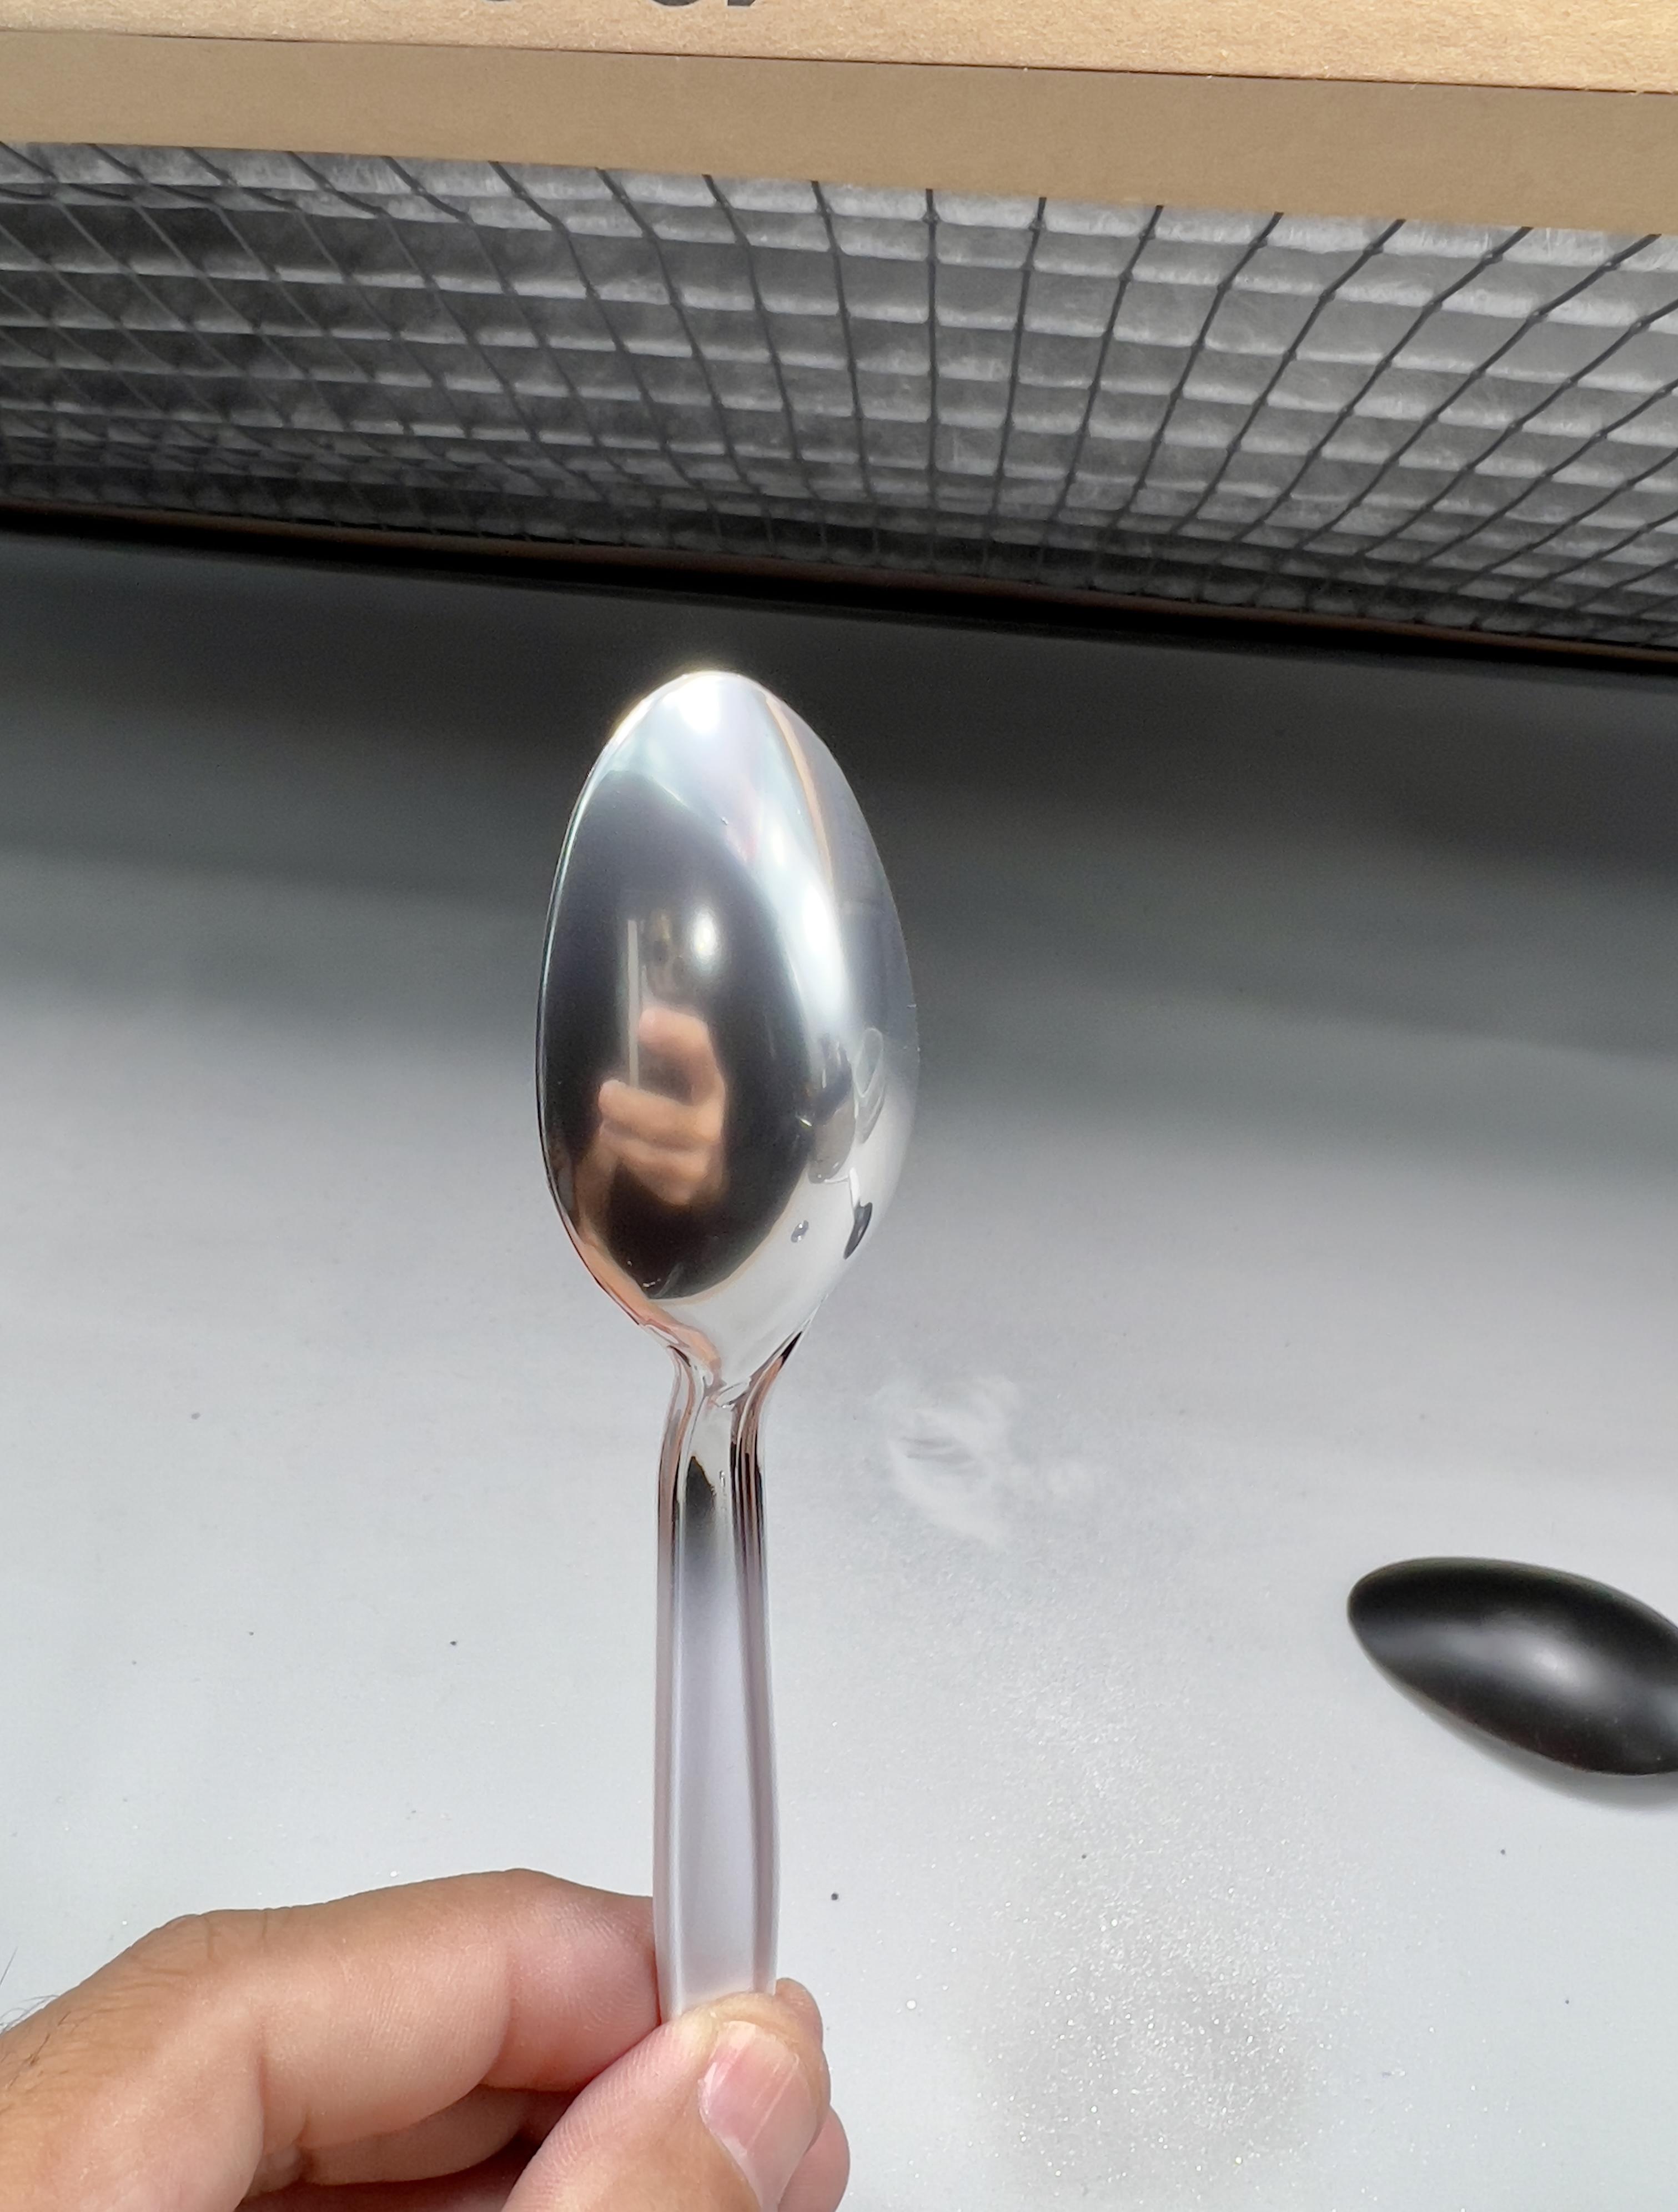
It’s this stuff here. Hard to find, but similar to C1 metal powder. Even they have a pic on there site with it over a metallic light blue, and looks like the real deal. The bumper was gloss black before applying the powder. Thought it would have brightened up like my last tests, but instead got black chrome. That’s when I decided to try the blue. Think gunmetal color would work as a base too. The stuff is crazy durable by the way. Looks like graphite powder, but this is some how electroplating powder like C1 is.
-
Review of Revell's new chrome spray paint
Dpate replied to Monty's topic in Model Building Questions and Answers
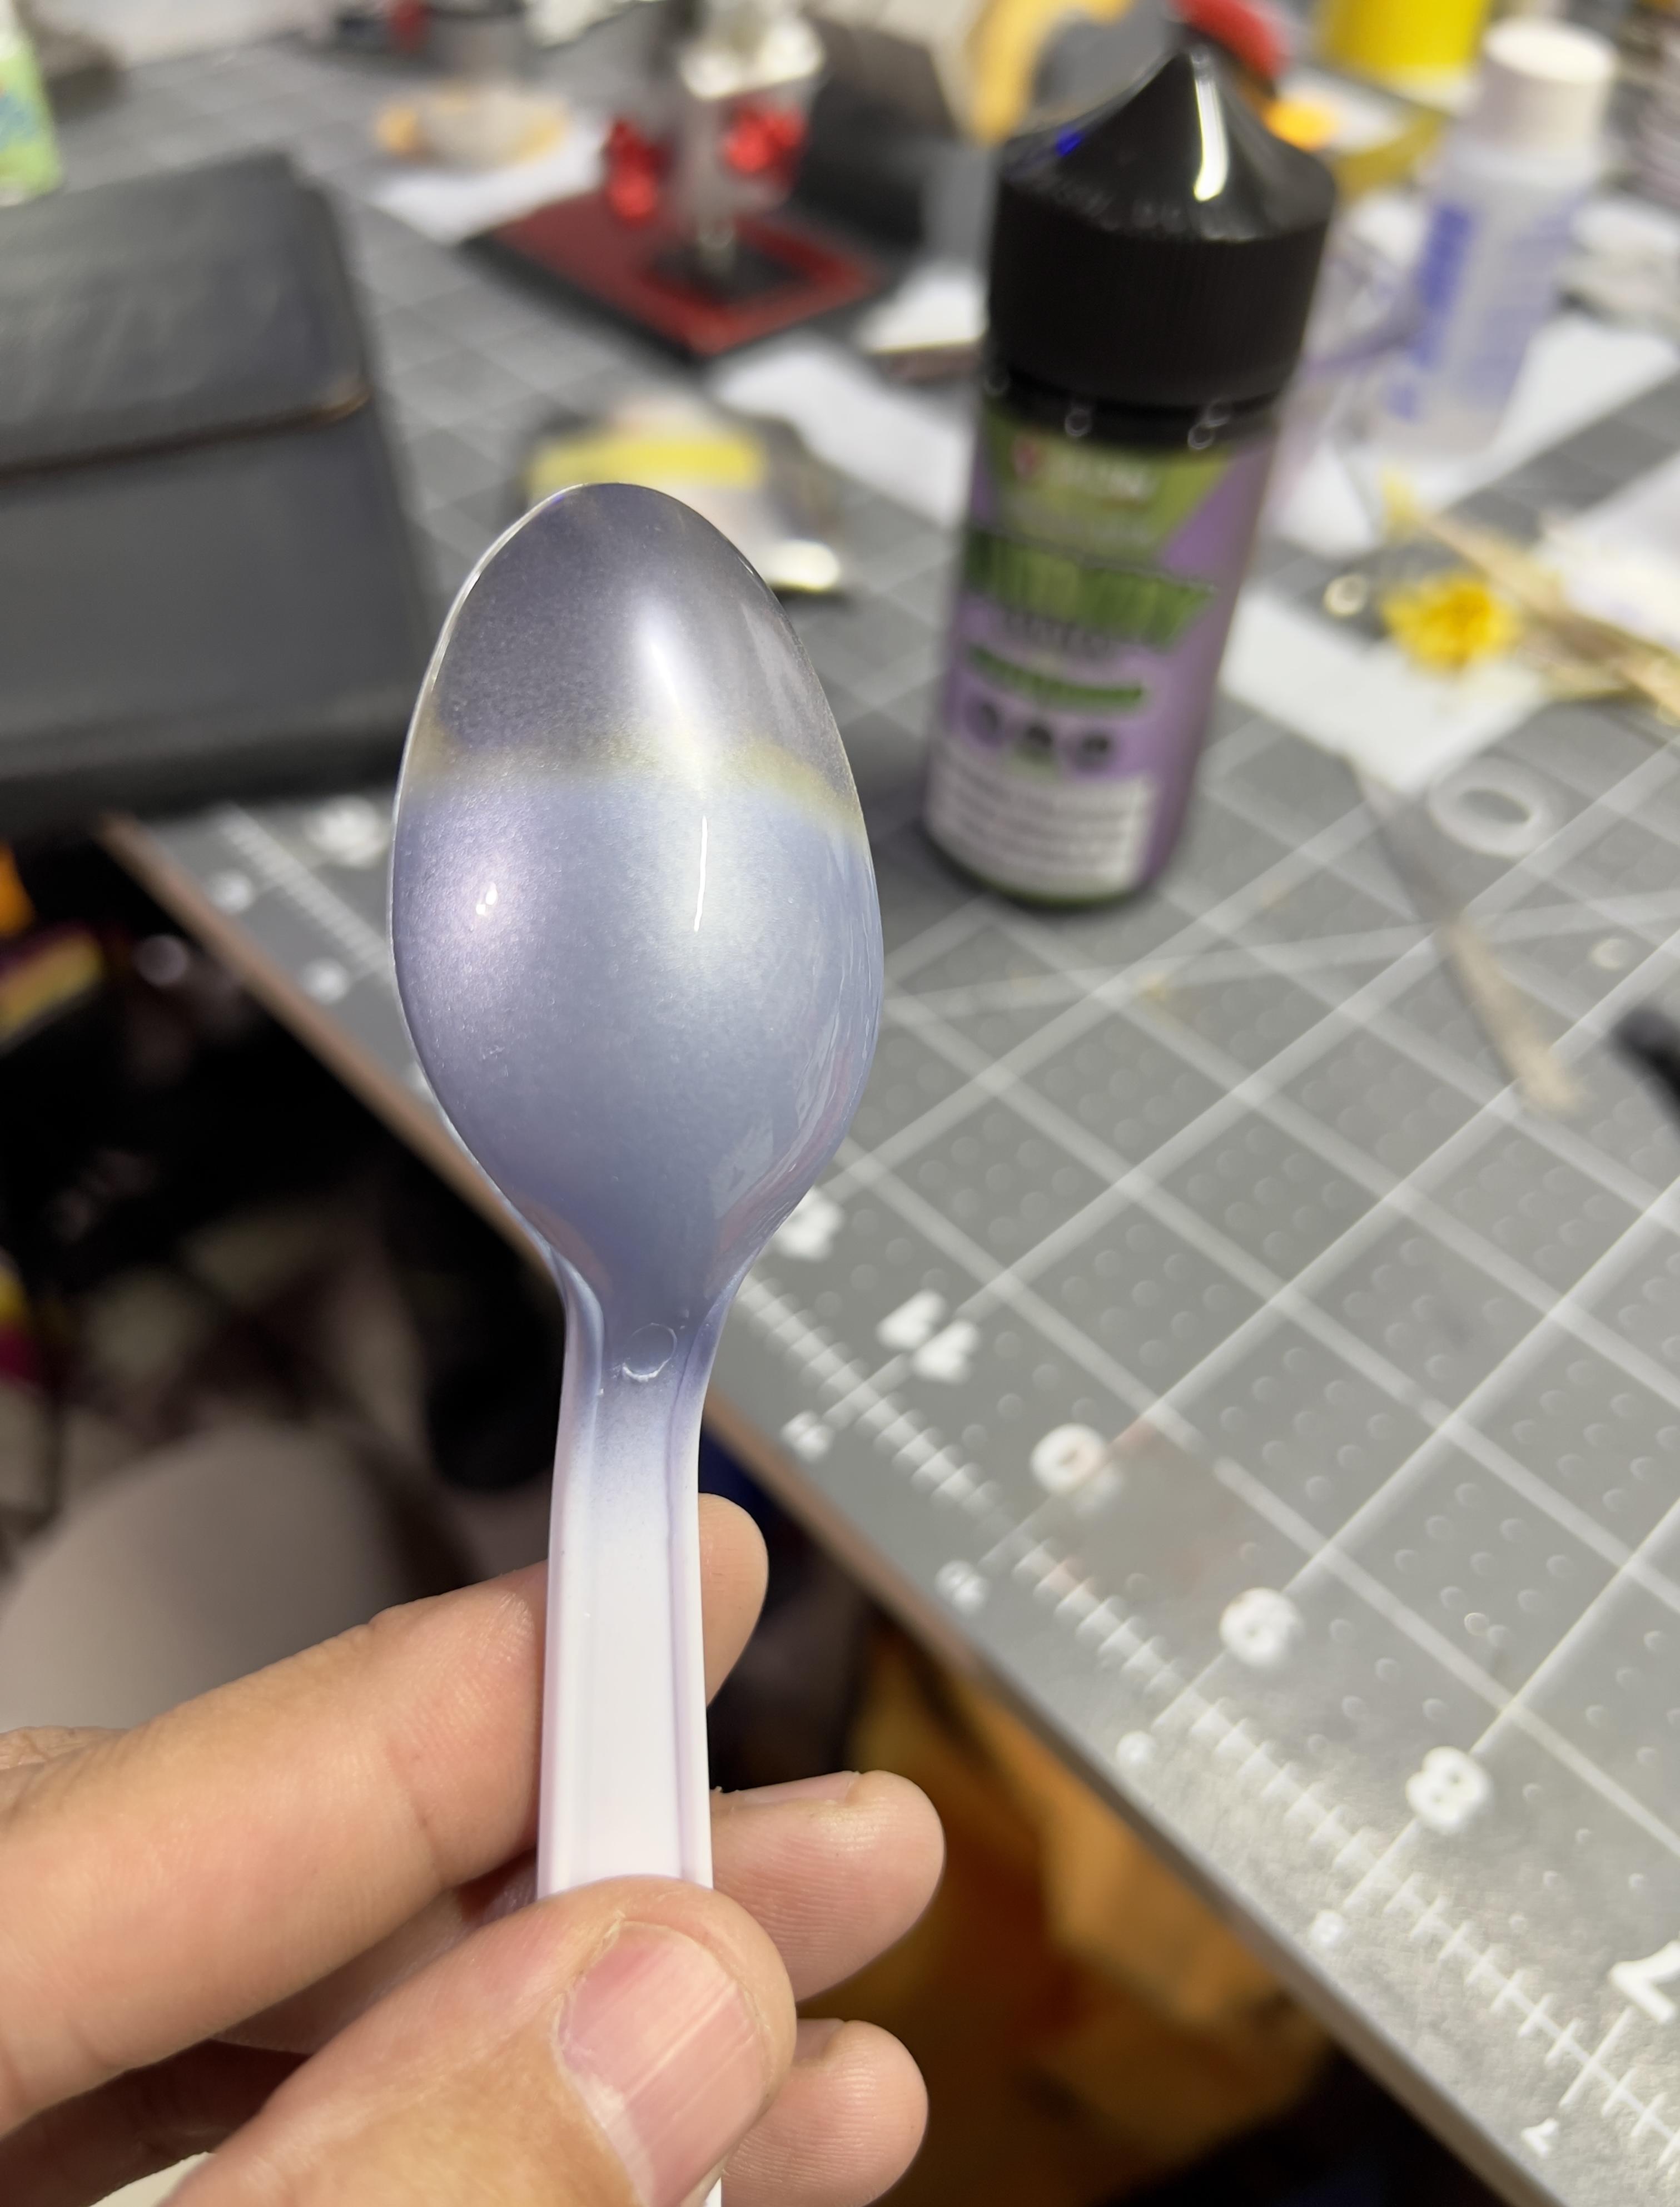
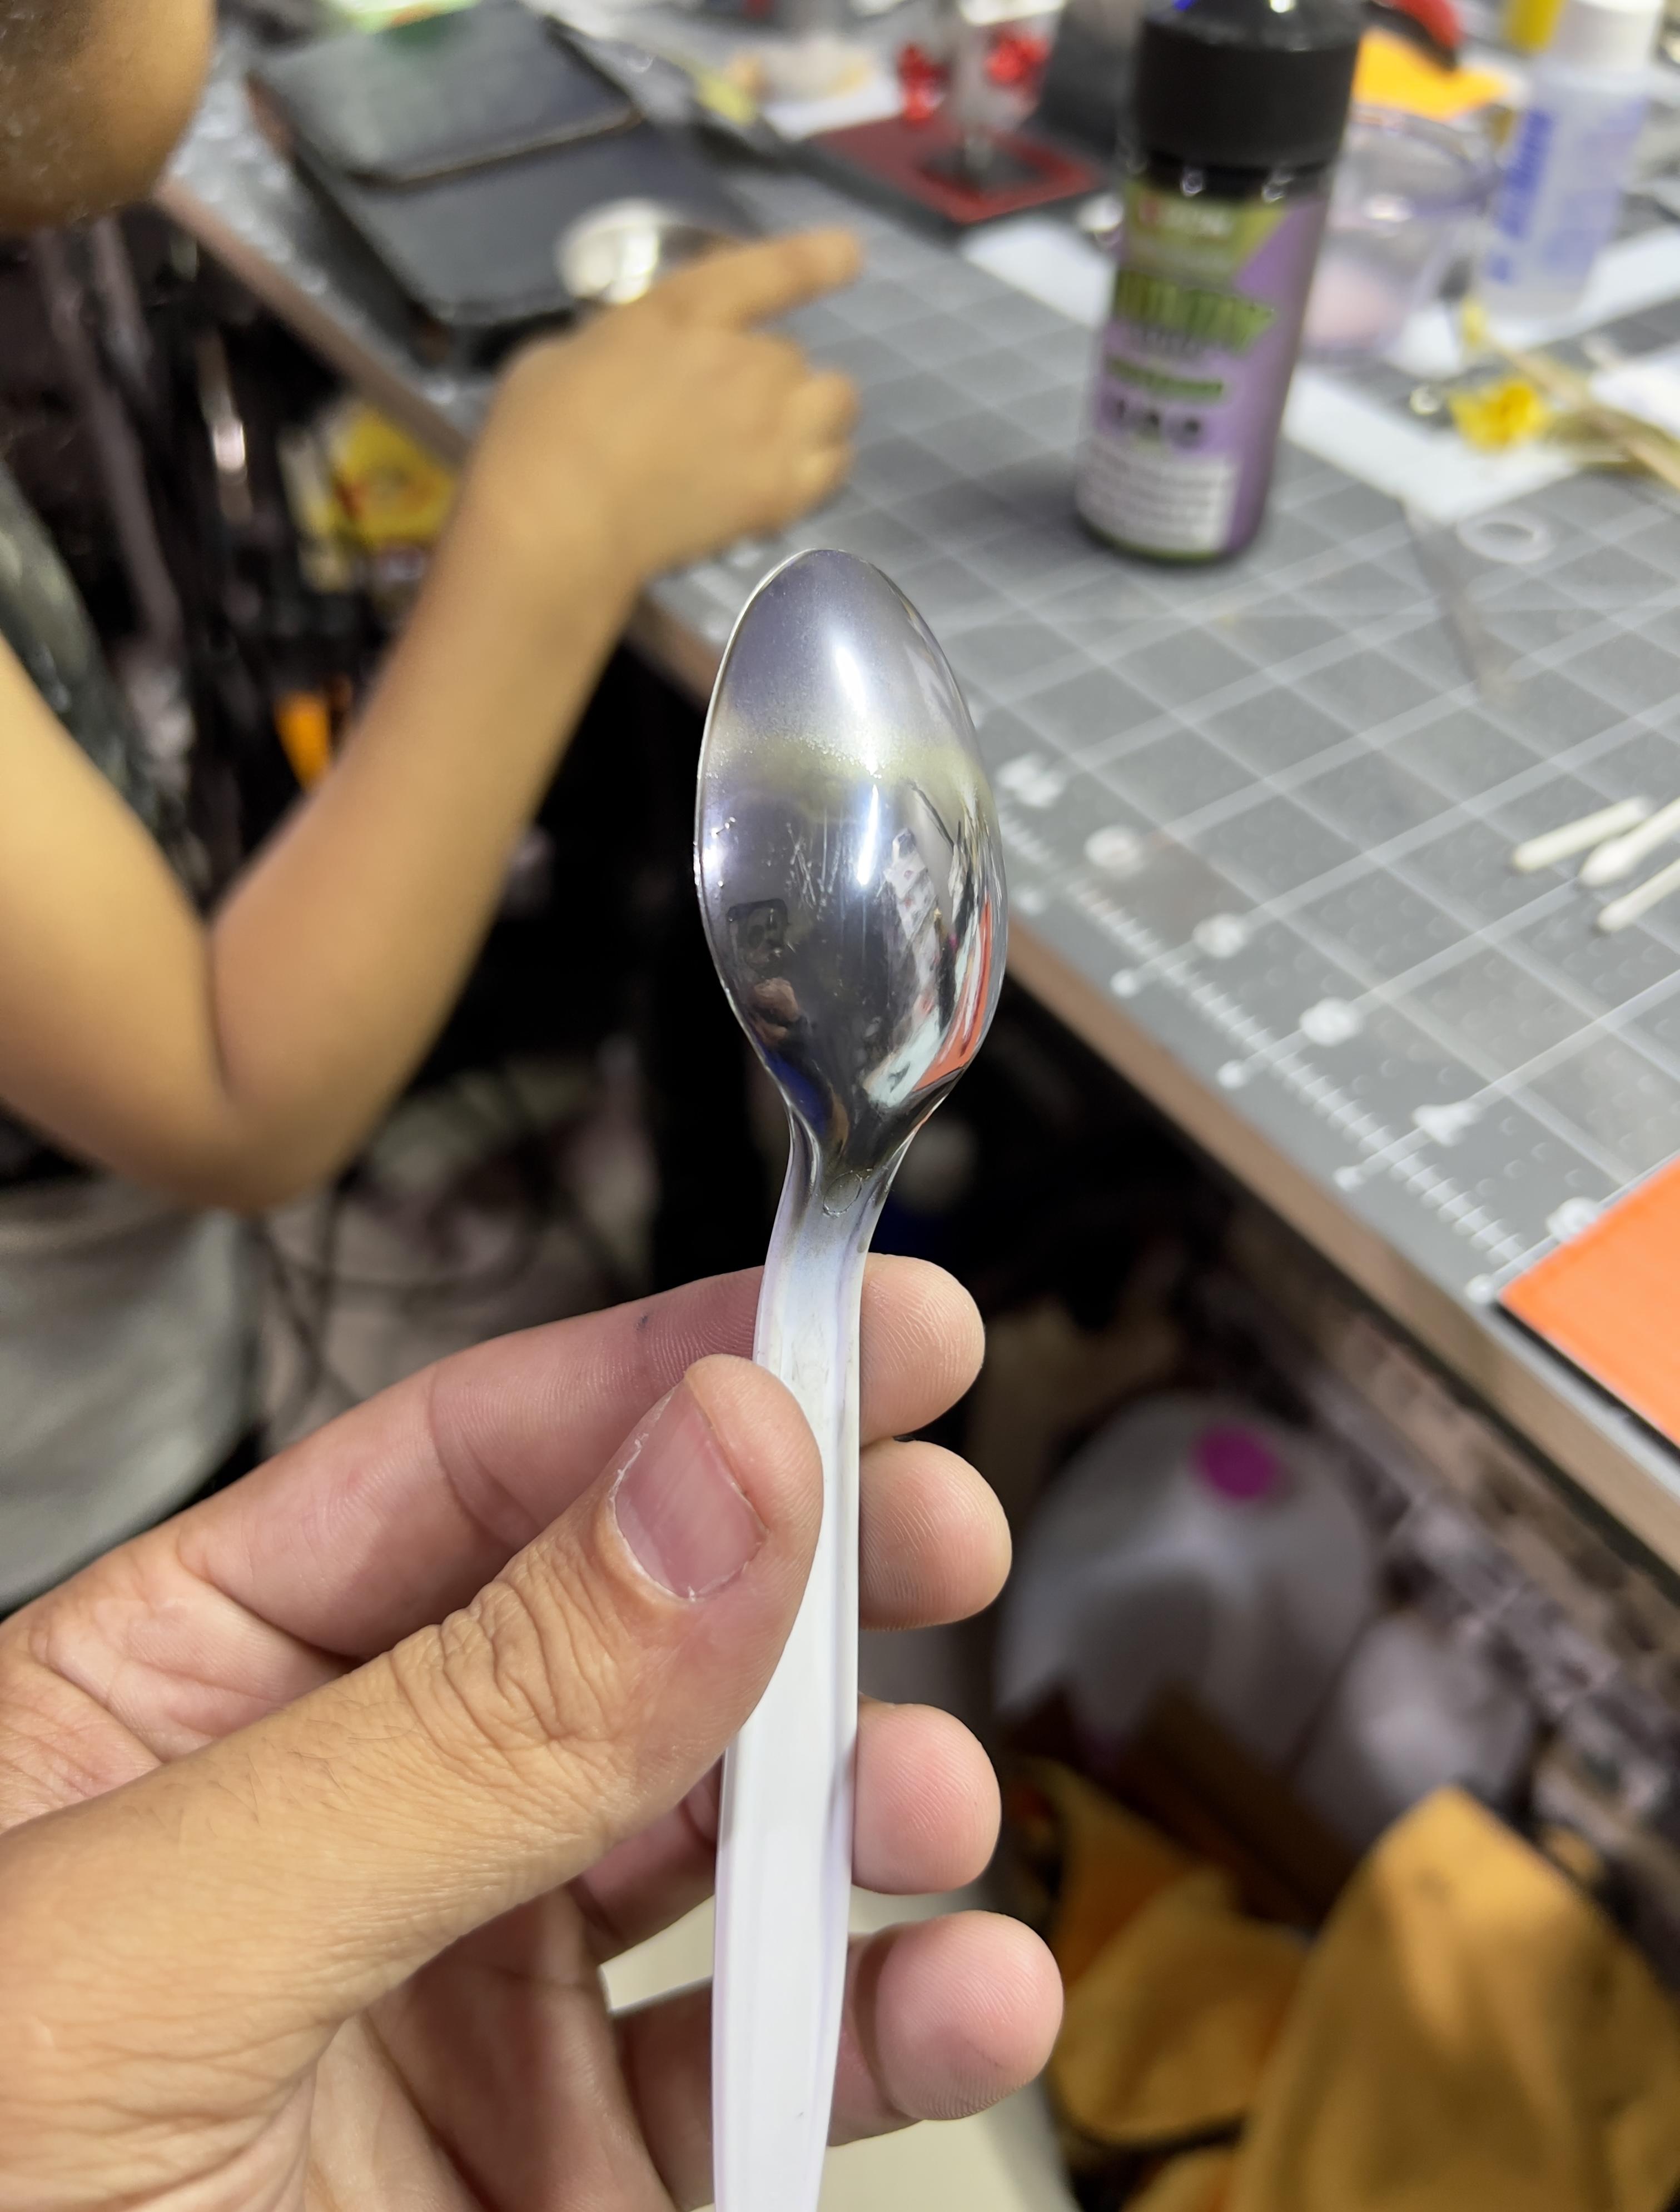
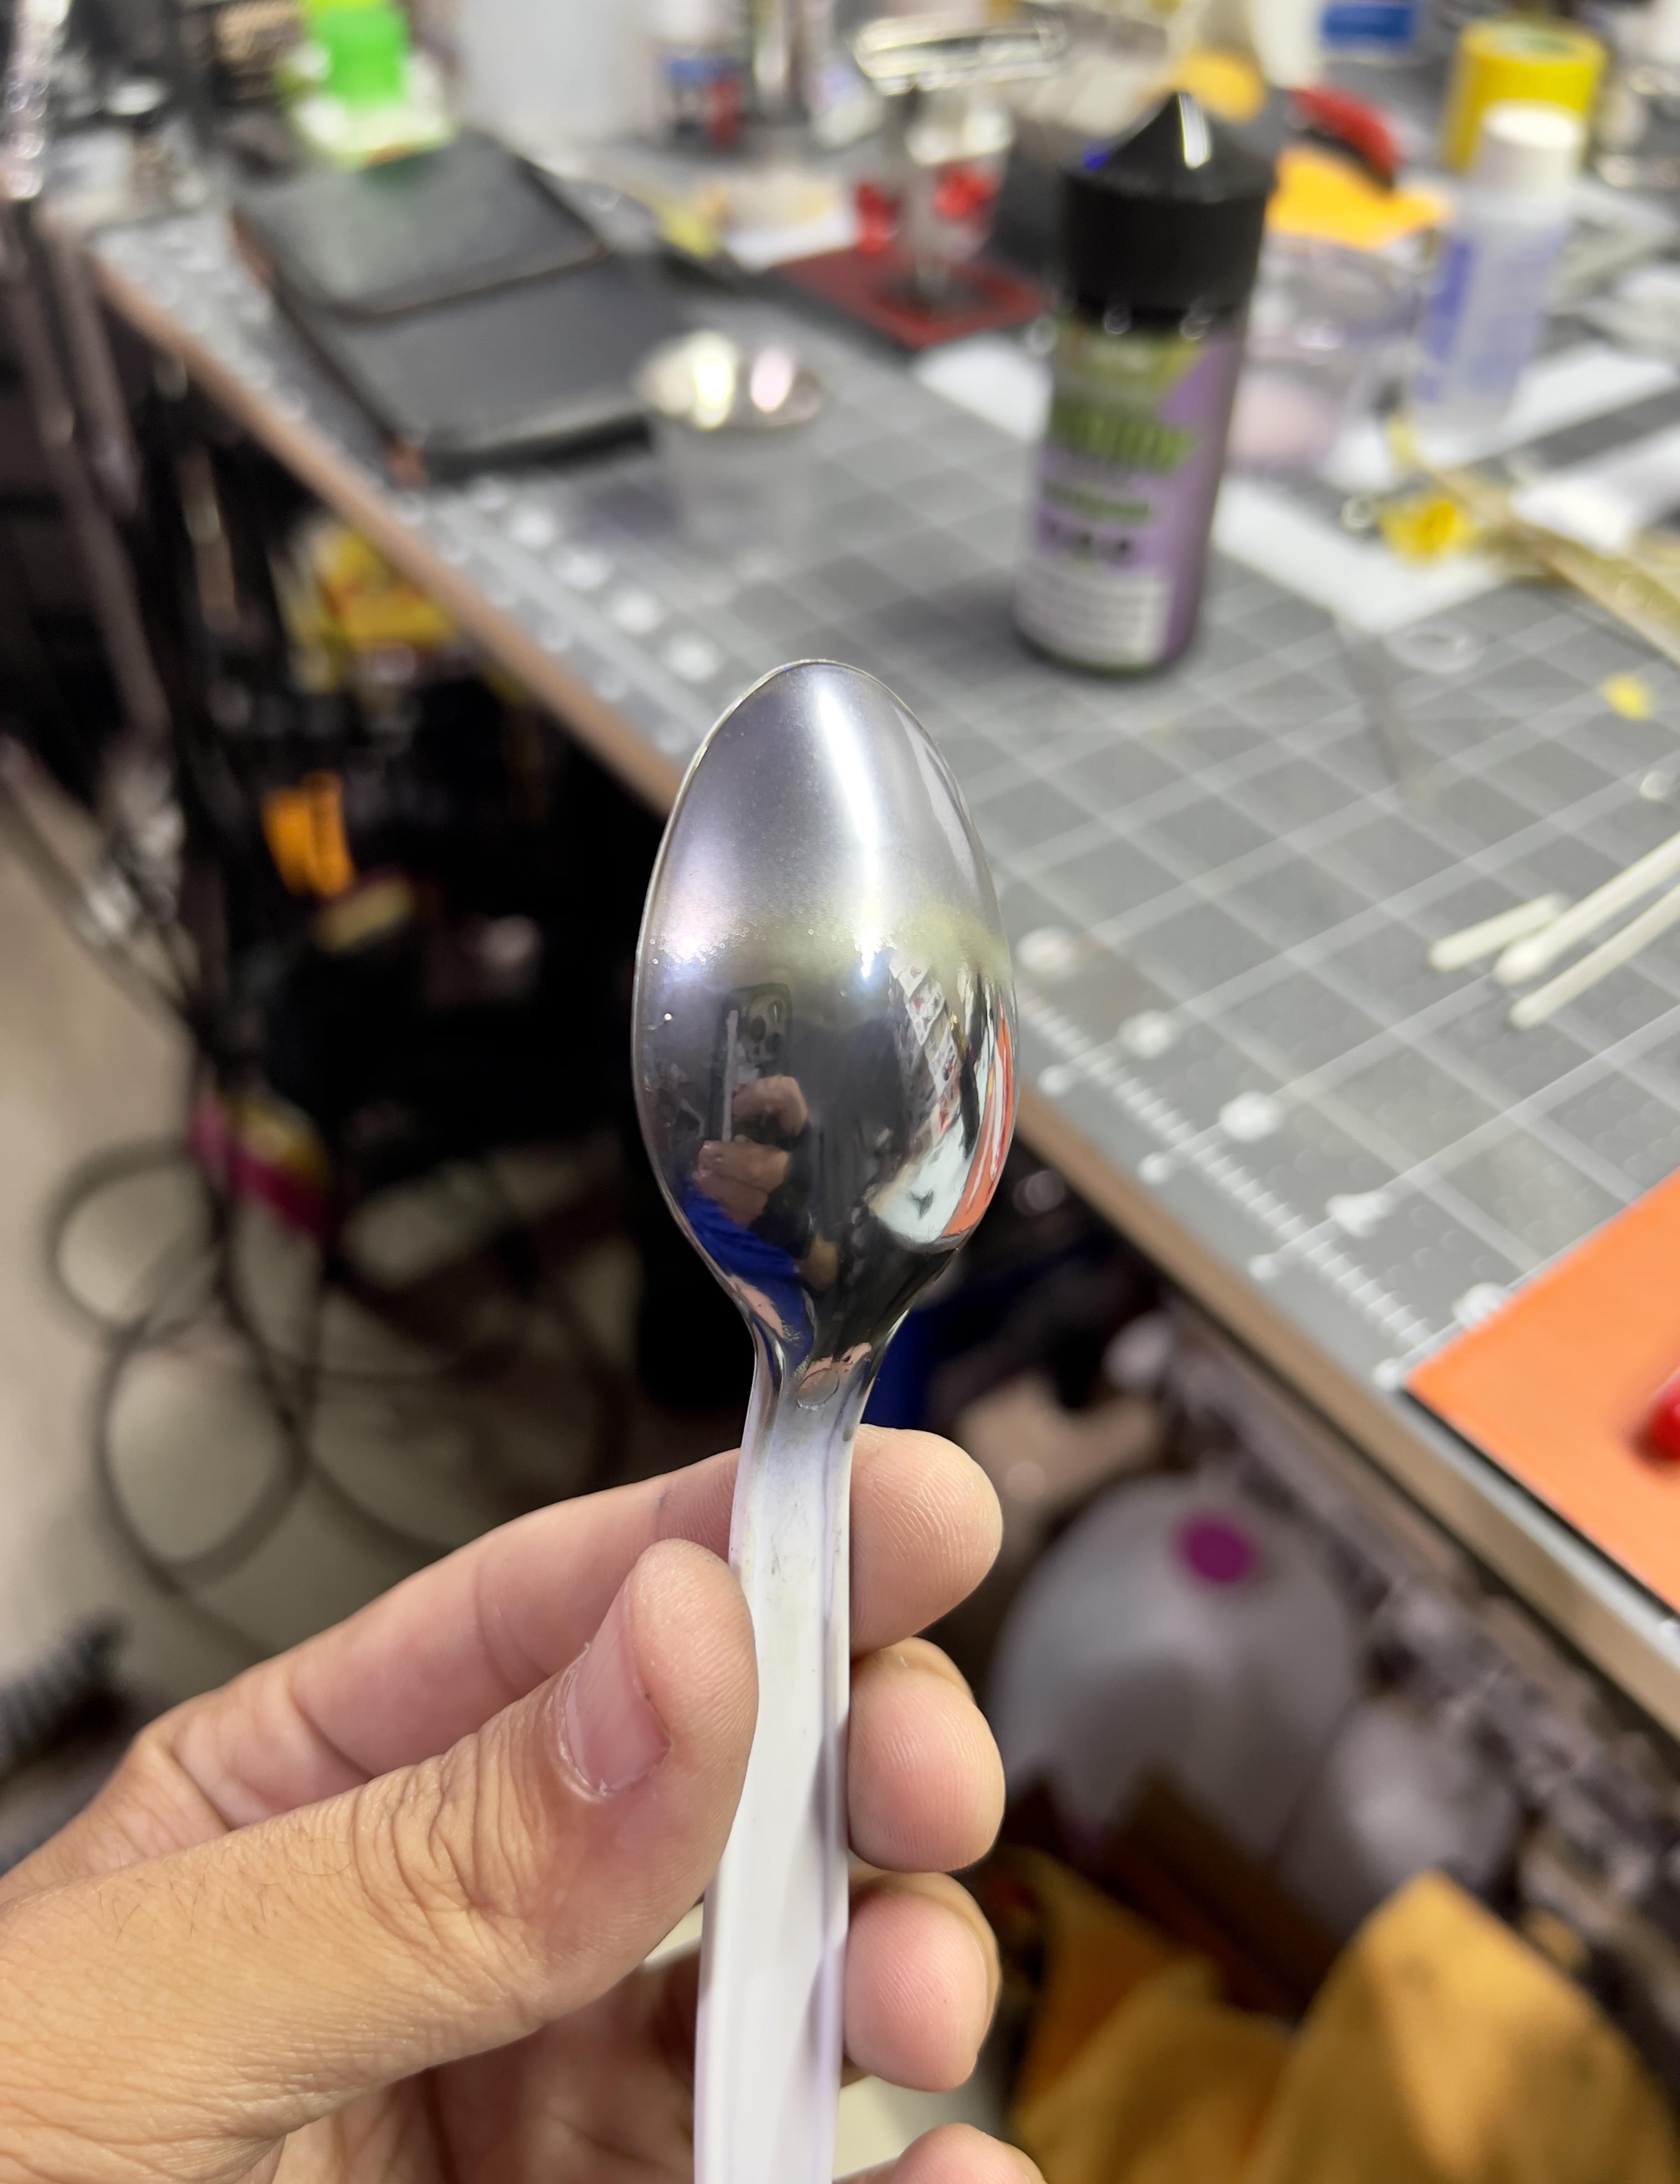
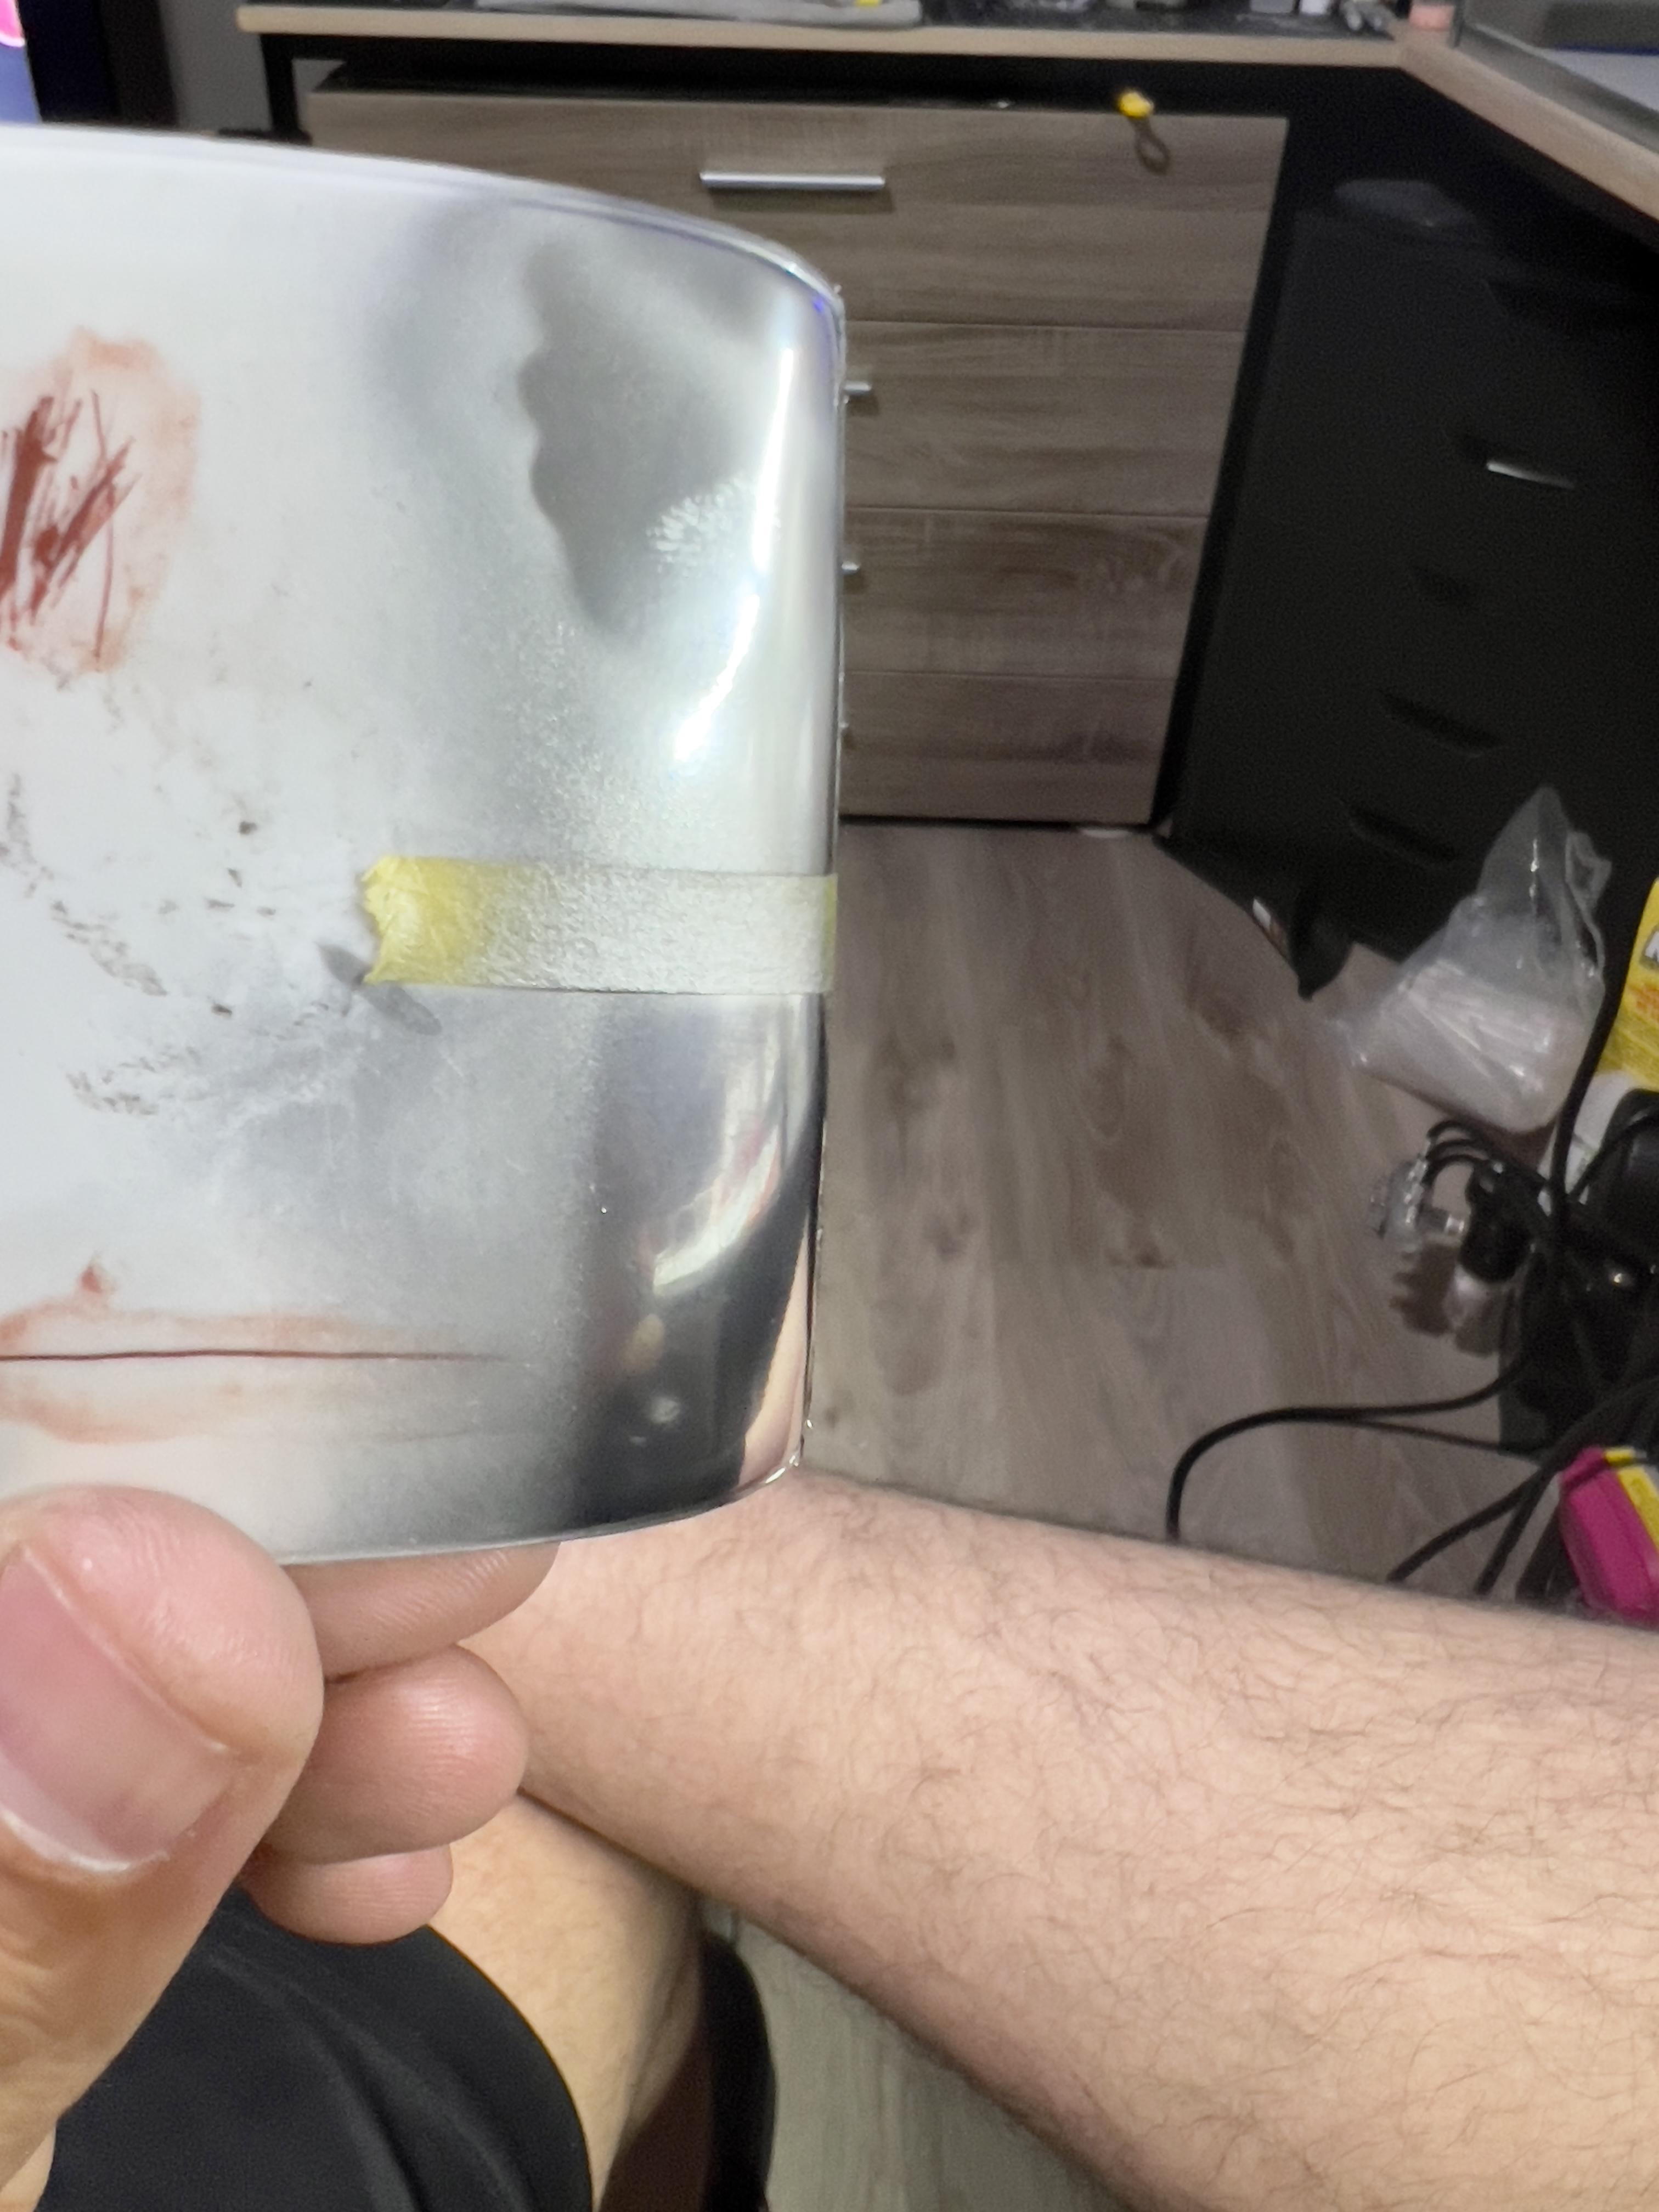
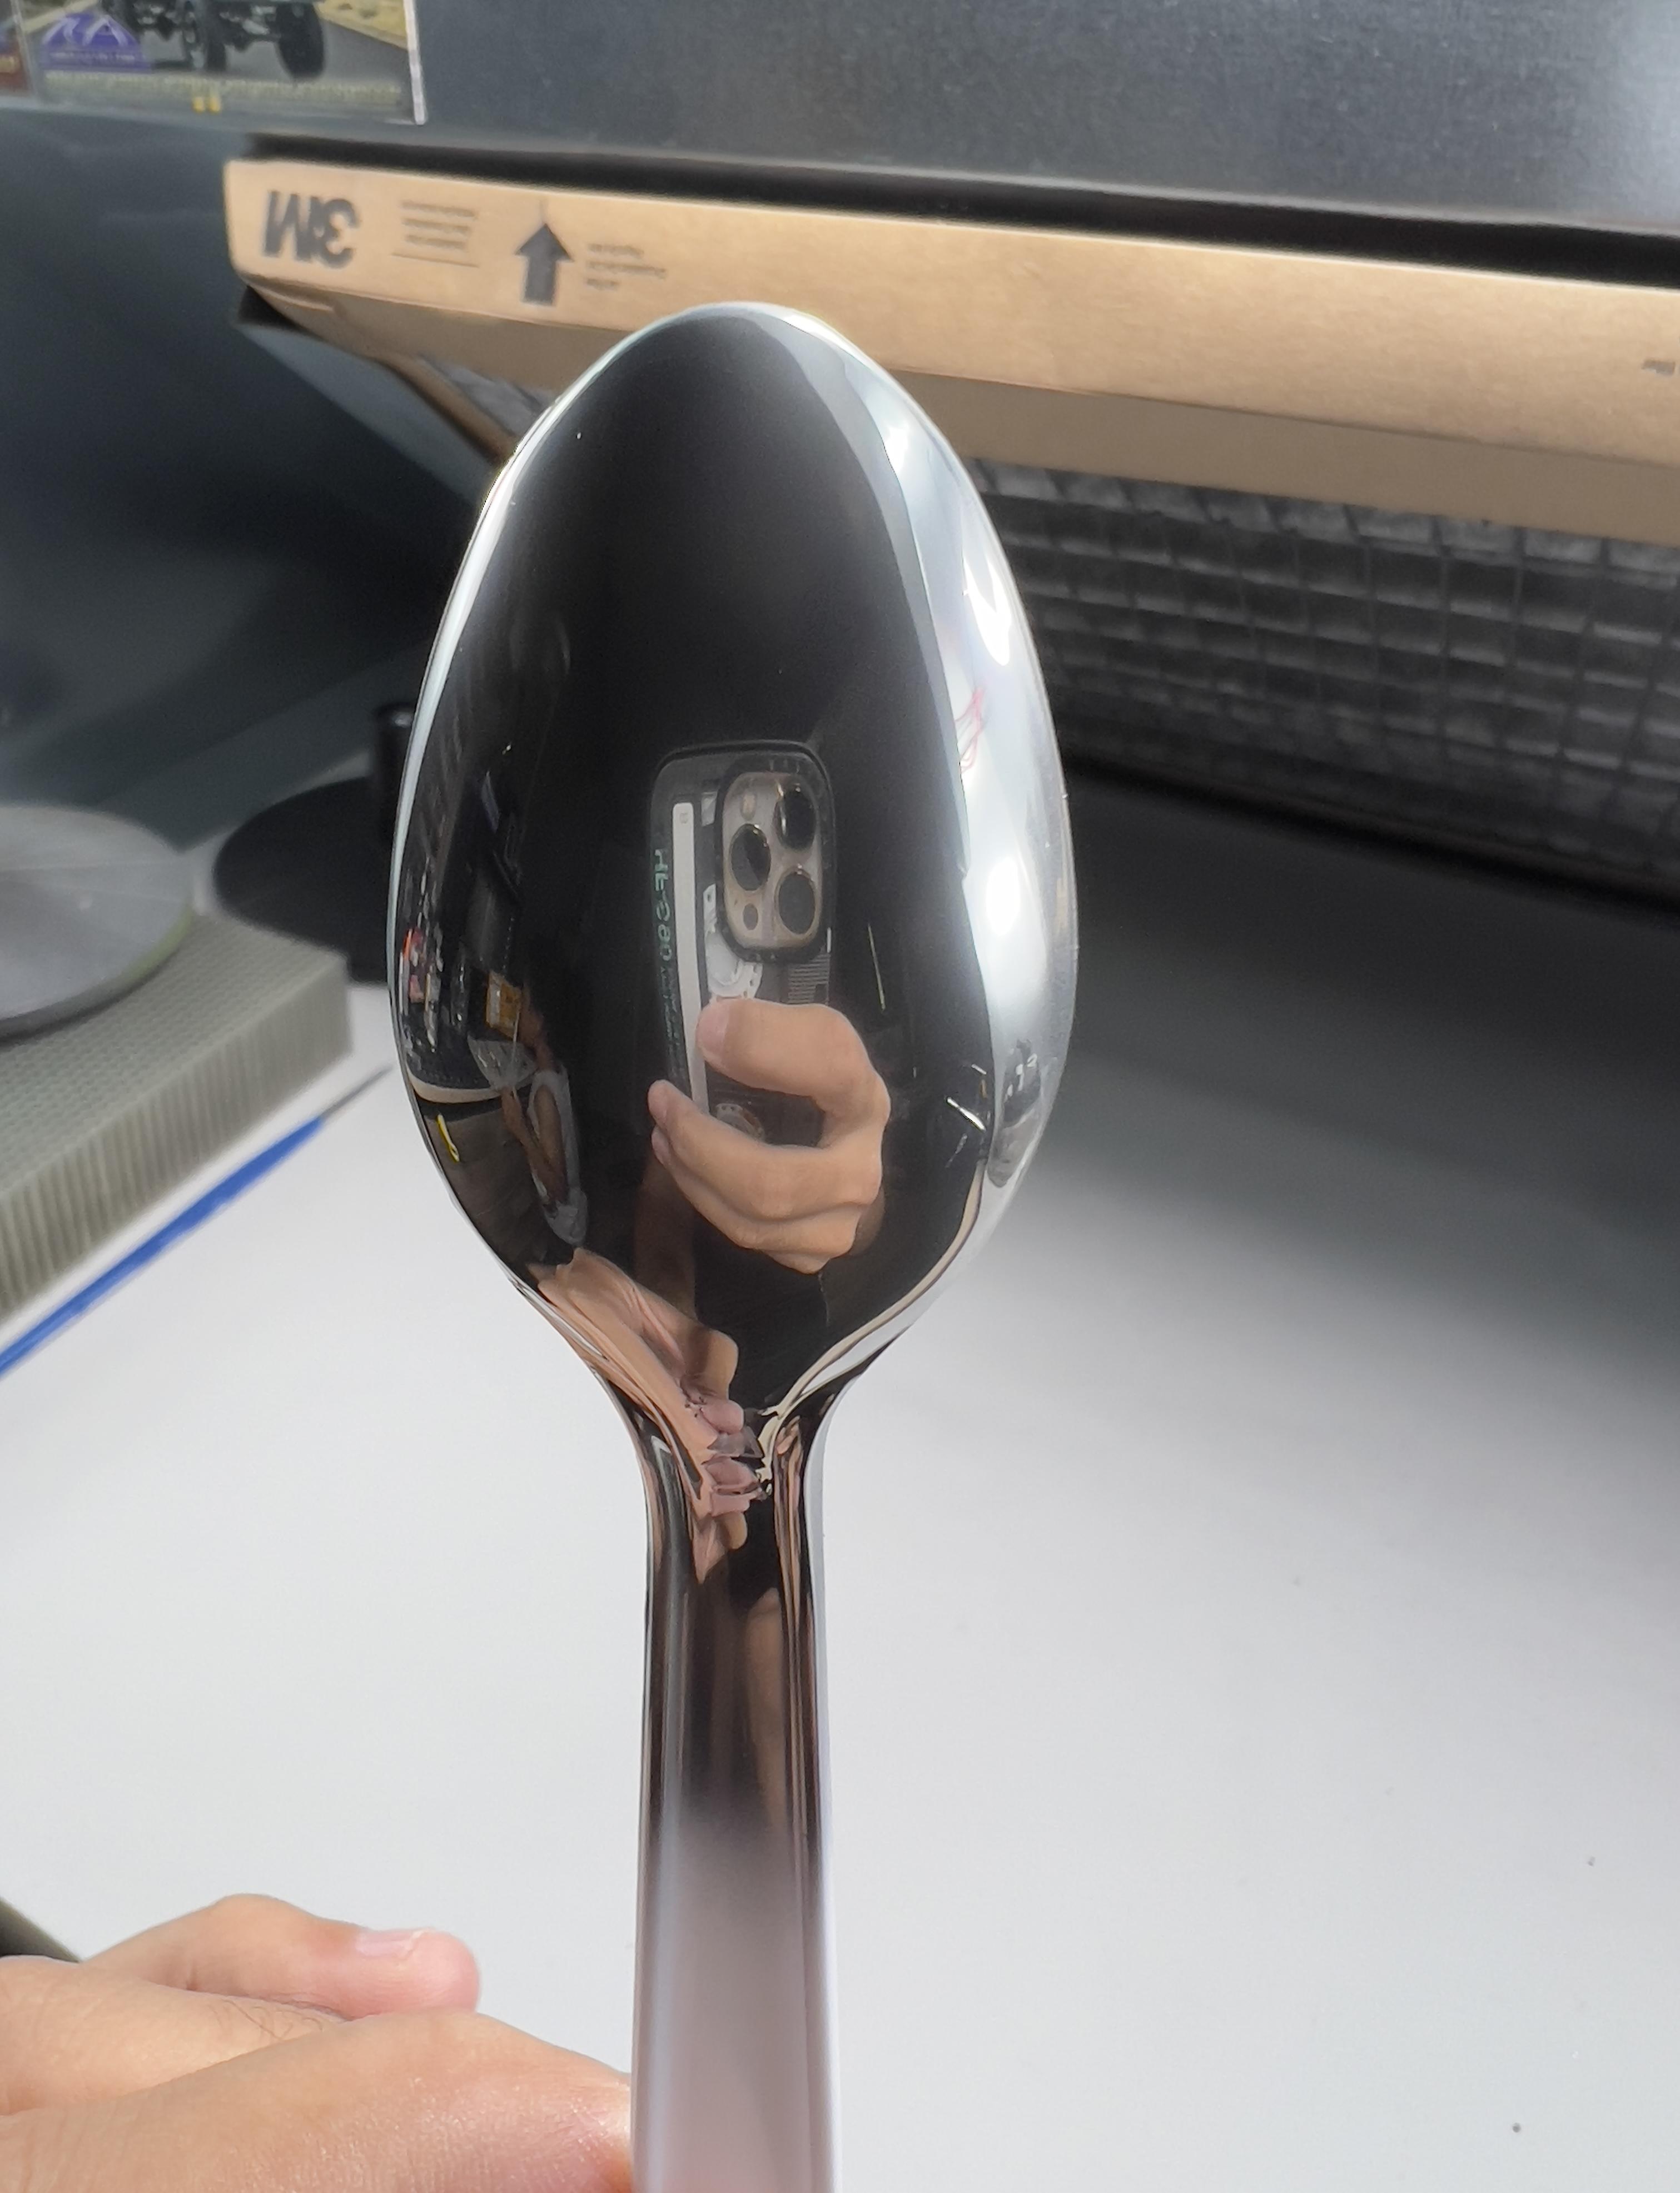
So I did another test with powder, and I know this isn’t revell but yeah. I did test over light pearl blue by Tamiya with clear coat. Only blue I had, but the results are a brighter chrome look. If you’re wanting a black chrome just check out this bumper I now got to redo lol. Top of the spoon was left white, but it didn’t chrome up too good.
-
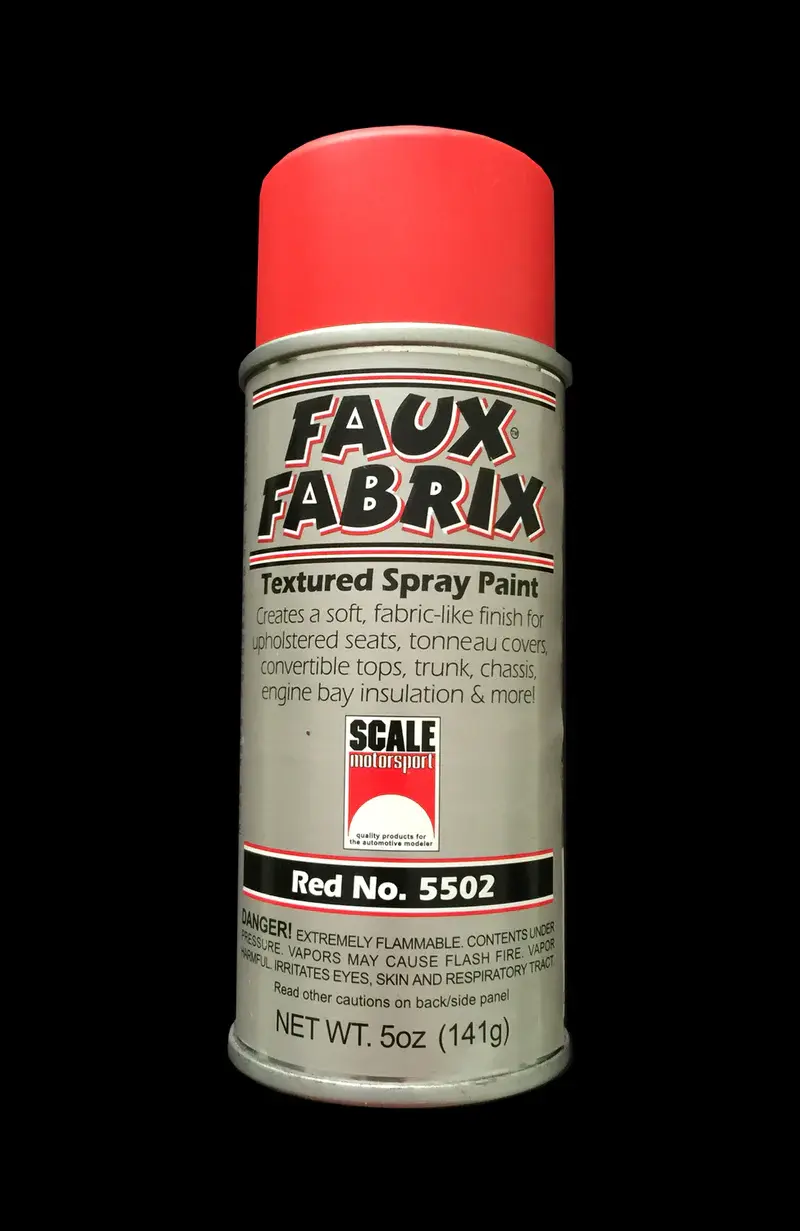
Model car garage sells a vinyl top kit black or white that will give you the best look you’ll get other than using textured paint say from MCW etc. You can get the kits for like $8 they’re legit. You can get them from MCG direct or places like model round up etc. Faux spray could work too, and can be paired any color afterwards using enamel.
-
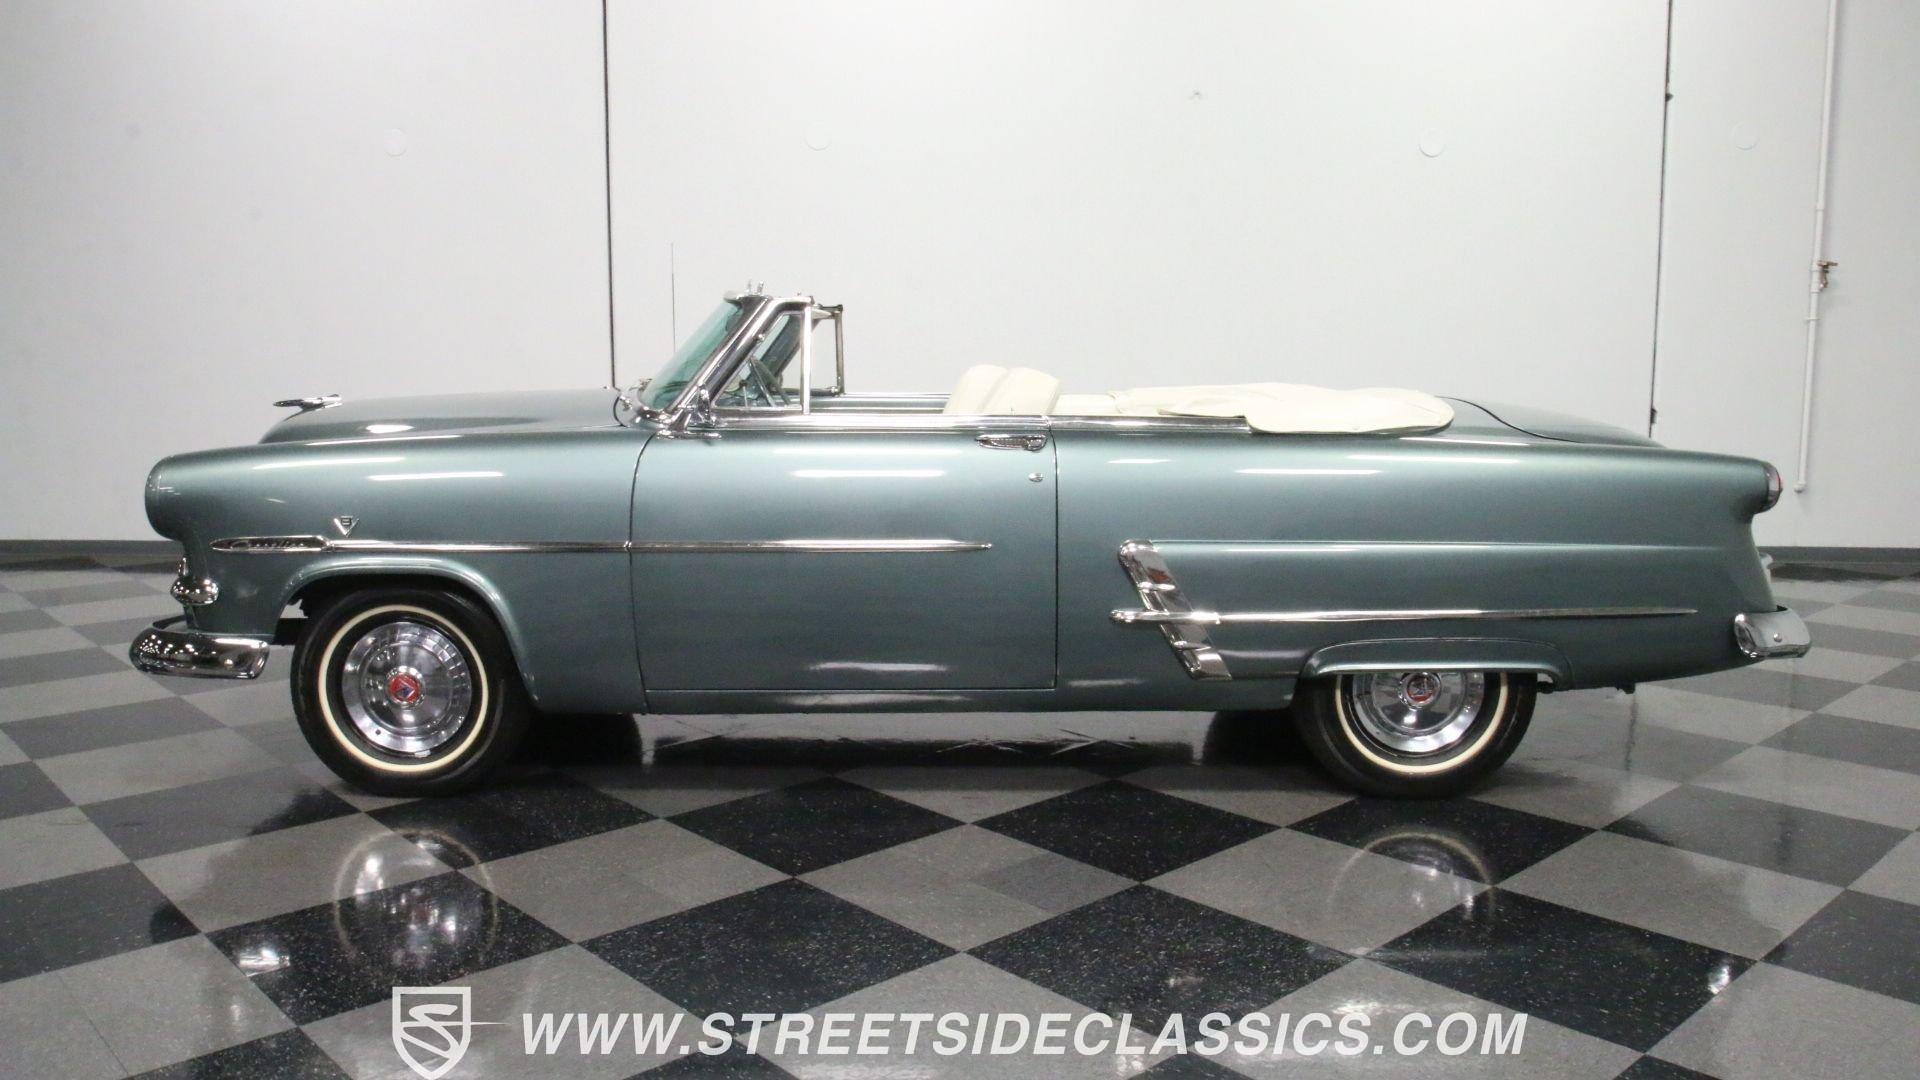
1953 Ford crestline sunliner paint color?
Dpate replied to Dpate's topic in Model Building Questions and Answers
Thanks for the info. Yeah not worried about 100% factory specs just thought the color looked good on it, and wanted to figure out what it was. The fernmist green seems to be the one especially by the color pic MCW has of it. -
What in the world is this green color? Site just says green, but I can’t find anything similar to it for this car.
-
Review of Revell's new chrome spray paint
Dpate replied to Monty's topic in Model Building Questions and Answers
Some chrome powder mgm. This stuff is bonkers.
-
Got some more metal transfers from scaleriders. Didn’t have these yet, and the red oxide primer is for older cars.
- 36,149 replies
-
- 2
-

-
- johan
- glue bombs
- (and 1 more)
-
What Did You Accomplish Today? (Model Car Work)
Dpate replied to Snake45's topic in General Automotive Talk (Trucks and Cars)
Got mine from new type it’s by dspiae. They’ve recently came out with a new one, but it’s pricy at $100+. -
IMO..The overall style & appeal. Every time I see older vehicles on the road I always break my neck to look. Same with music the old days did it right. But with modern least it has 10 air bags I suppose 🤷♂️.
-
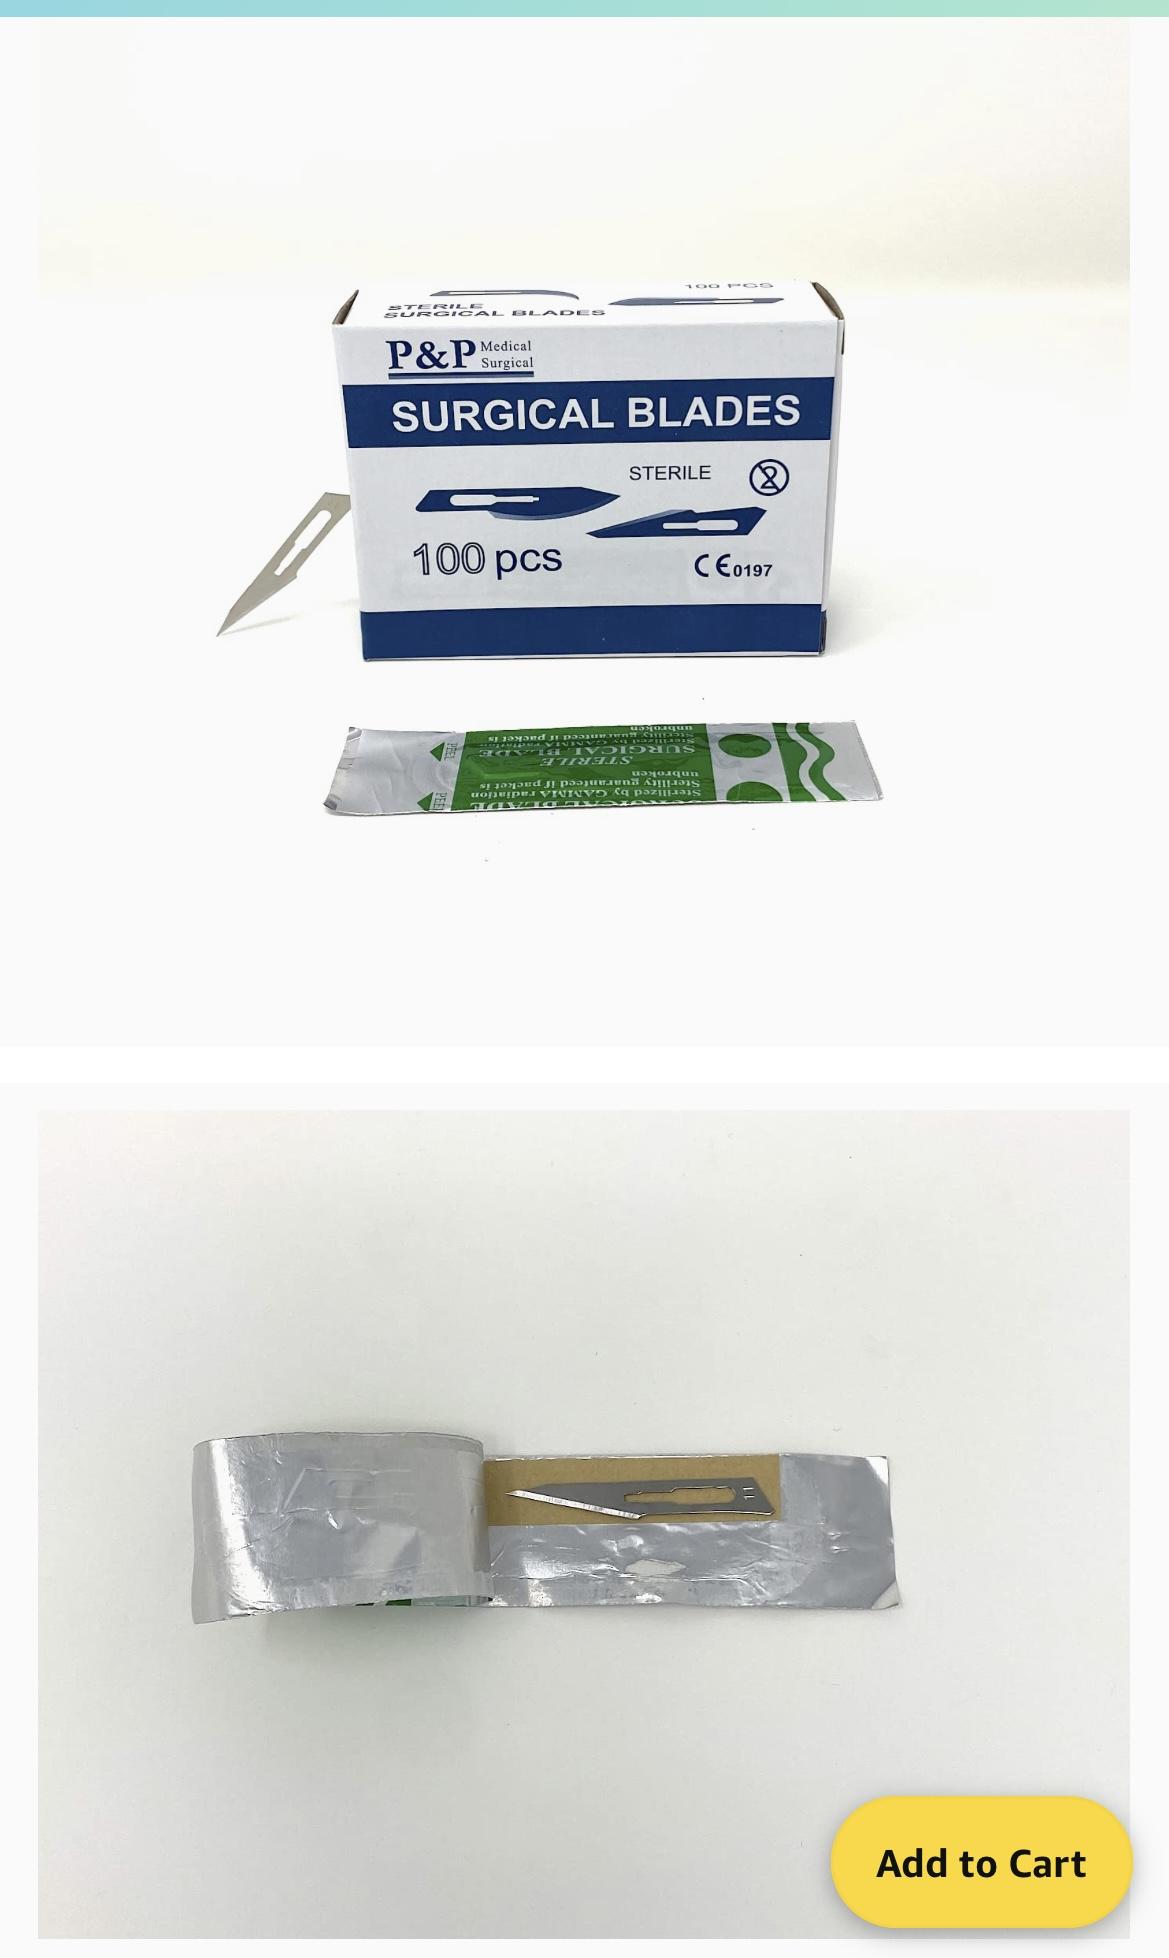
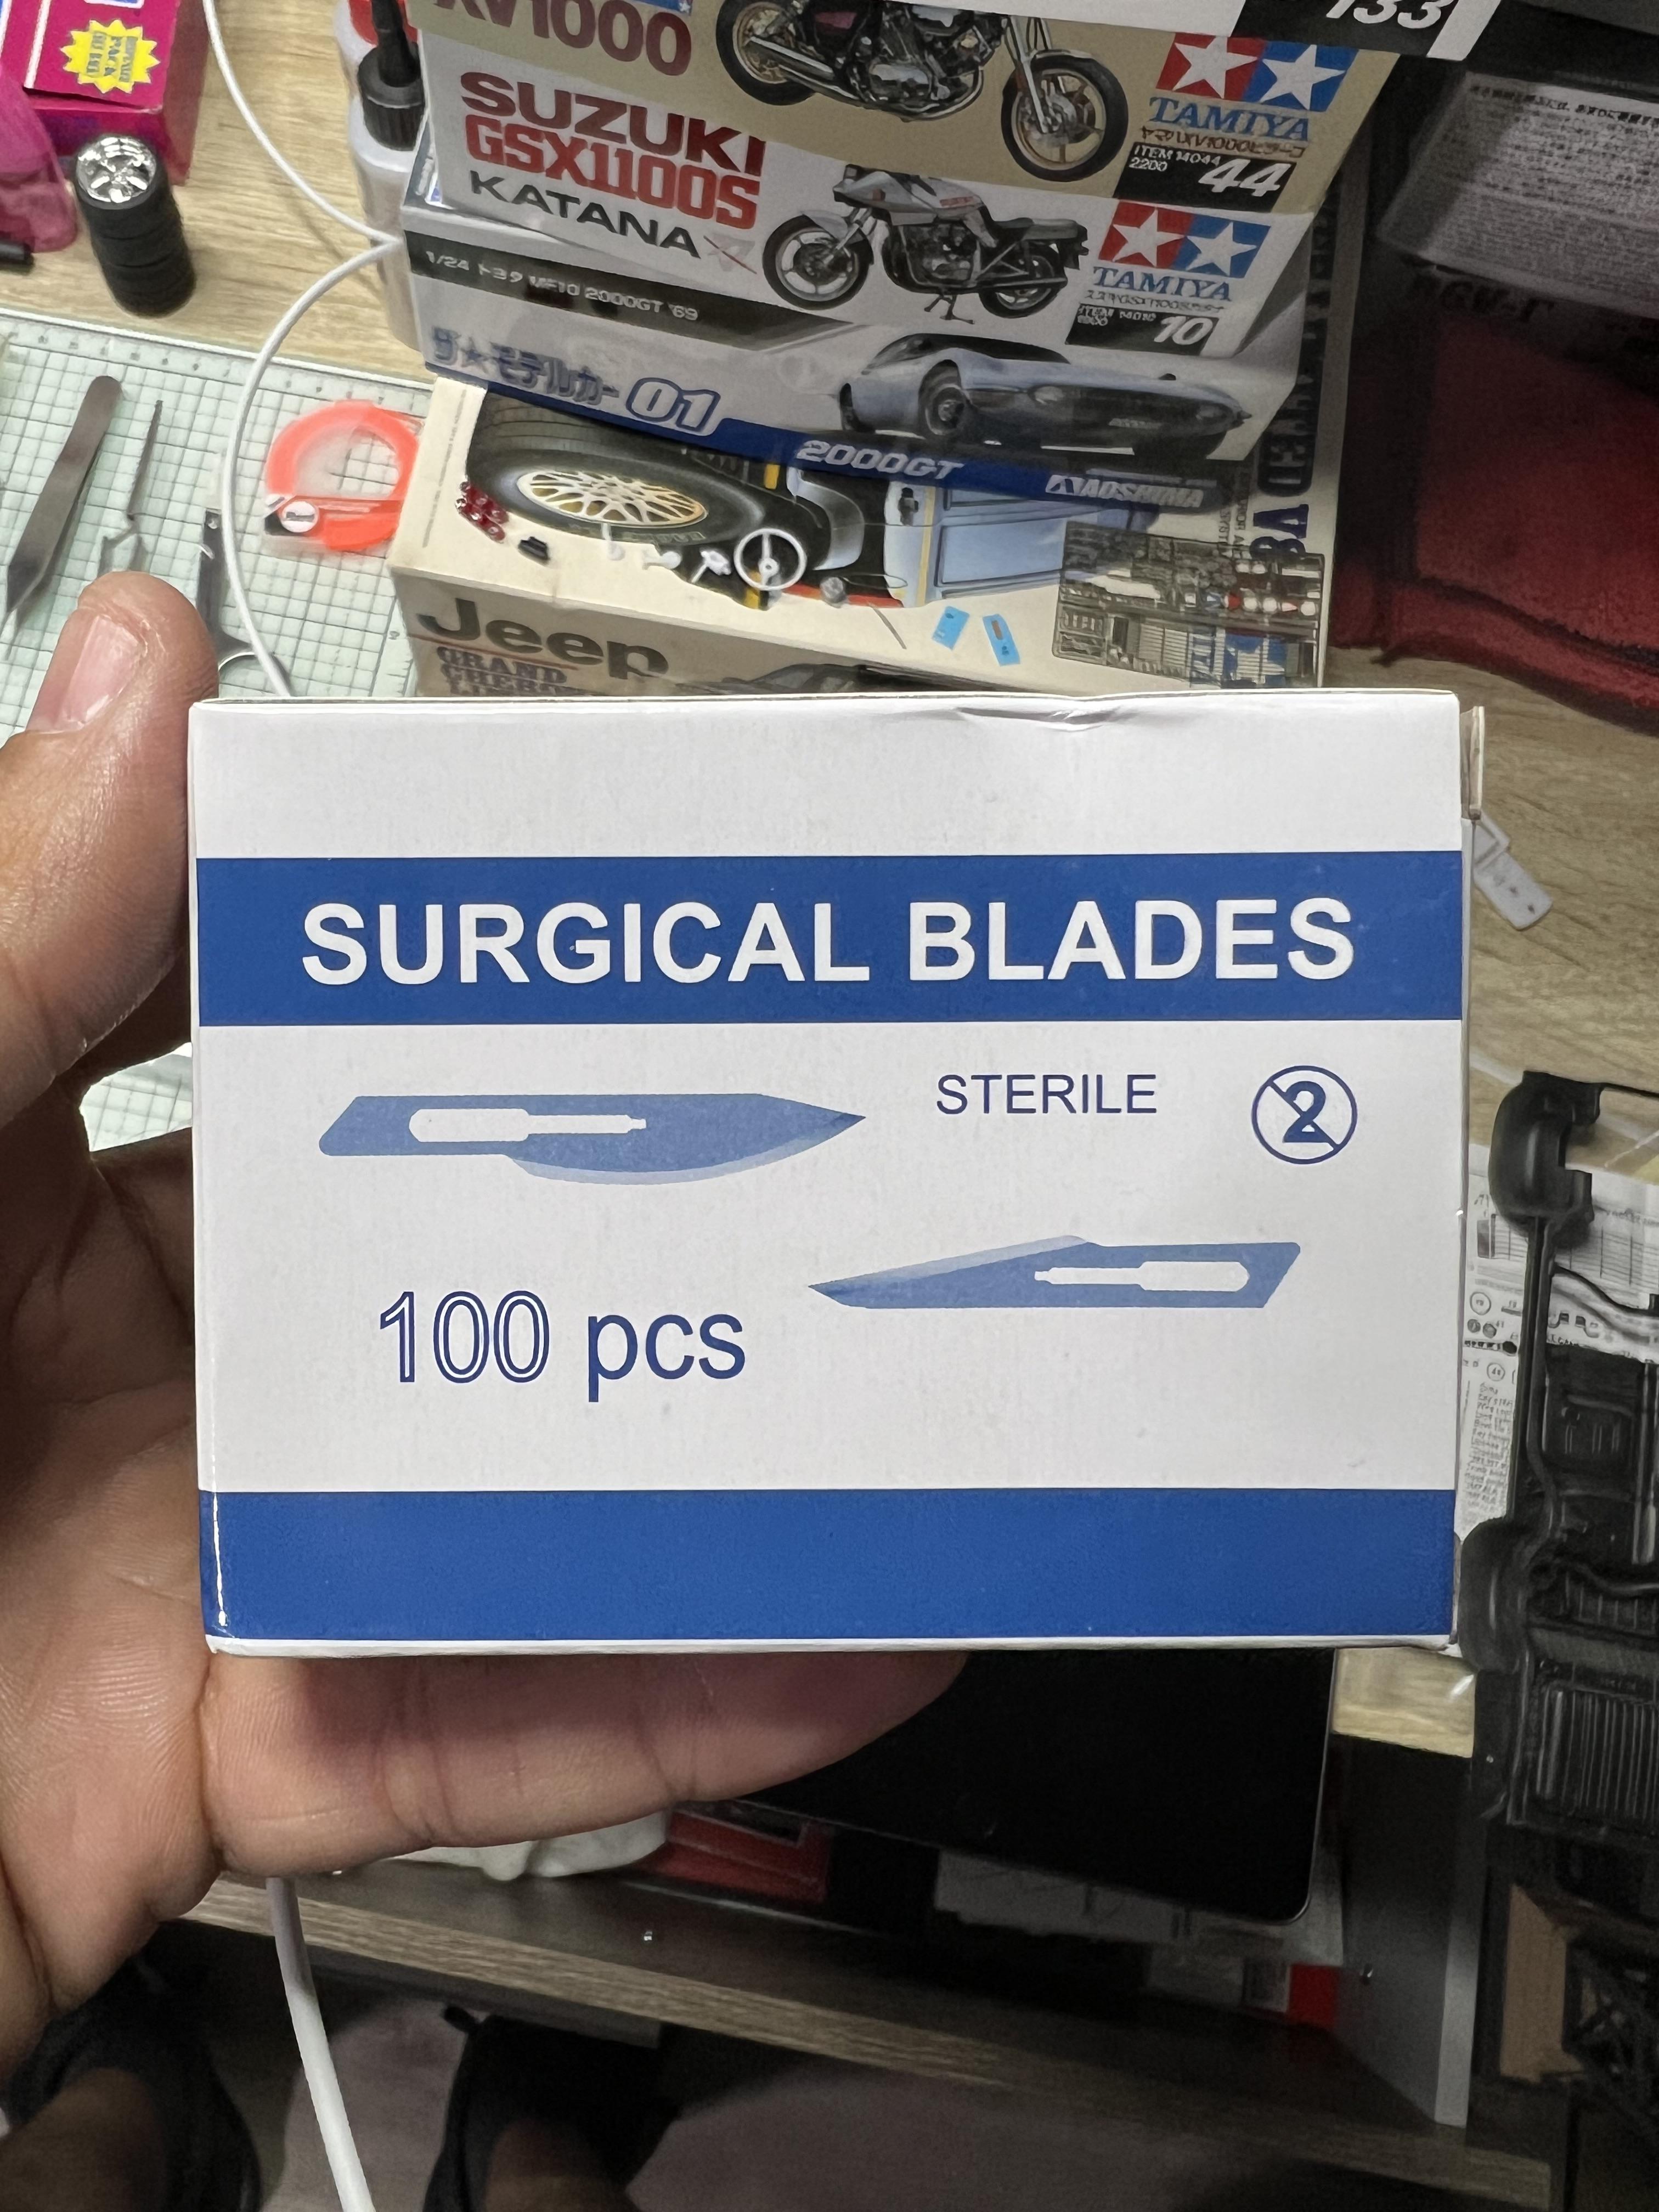
Just look these up on Amazon next you decide to get any. There currently $9.99, and same ones I got just box is different. Just be safe, and extra cautious with xacto blade handle rolling etc. Also the package they come in save so when your blade is done just pop it back in so it can be disposed properly.
- 36,149 replies
-
- 2
-
-

-
- johan
- glue bombs
- (and 1 more)
-
They look like ya everyday xacto blade, but maybe they might perform like surgical blades even though they look like regular blades, but do look pretty close. Hard to tell in the packaging a little bit.
-
When you’re done with those get these, and the bottom image is what the blades look like. Can be clipped to use in regular handles. $8-9 a box.
-
What Did You Accomplish Today? (Model Car Work)
Dpate replied to Snake45's topic in General Automotive Talk (Trucks and Cars)
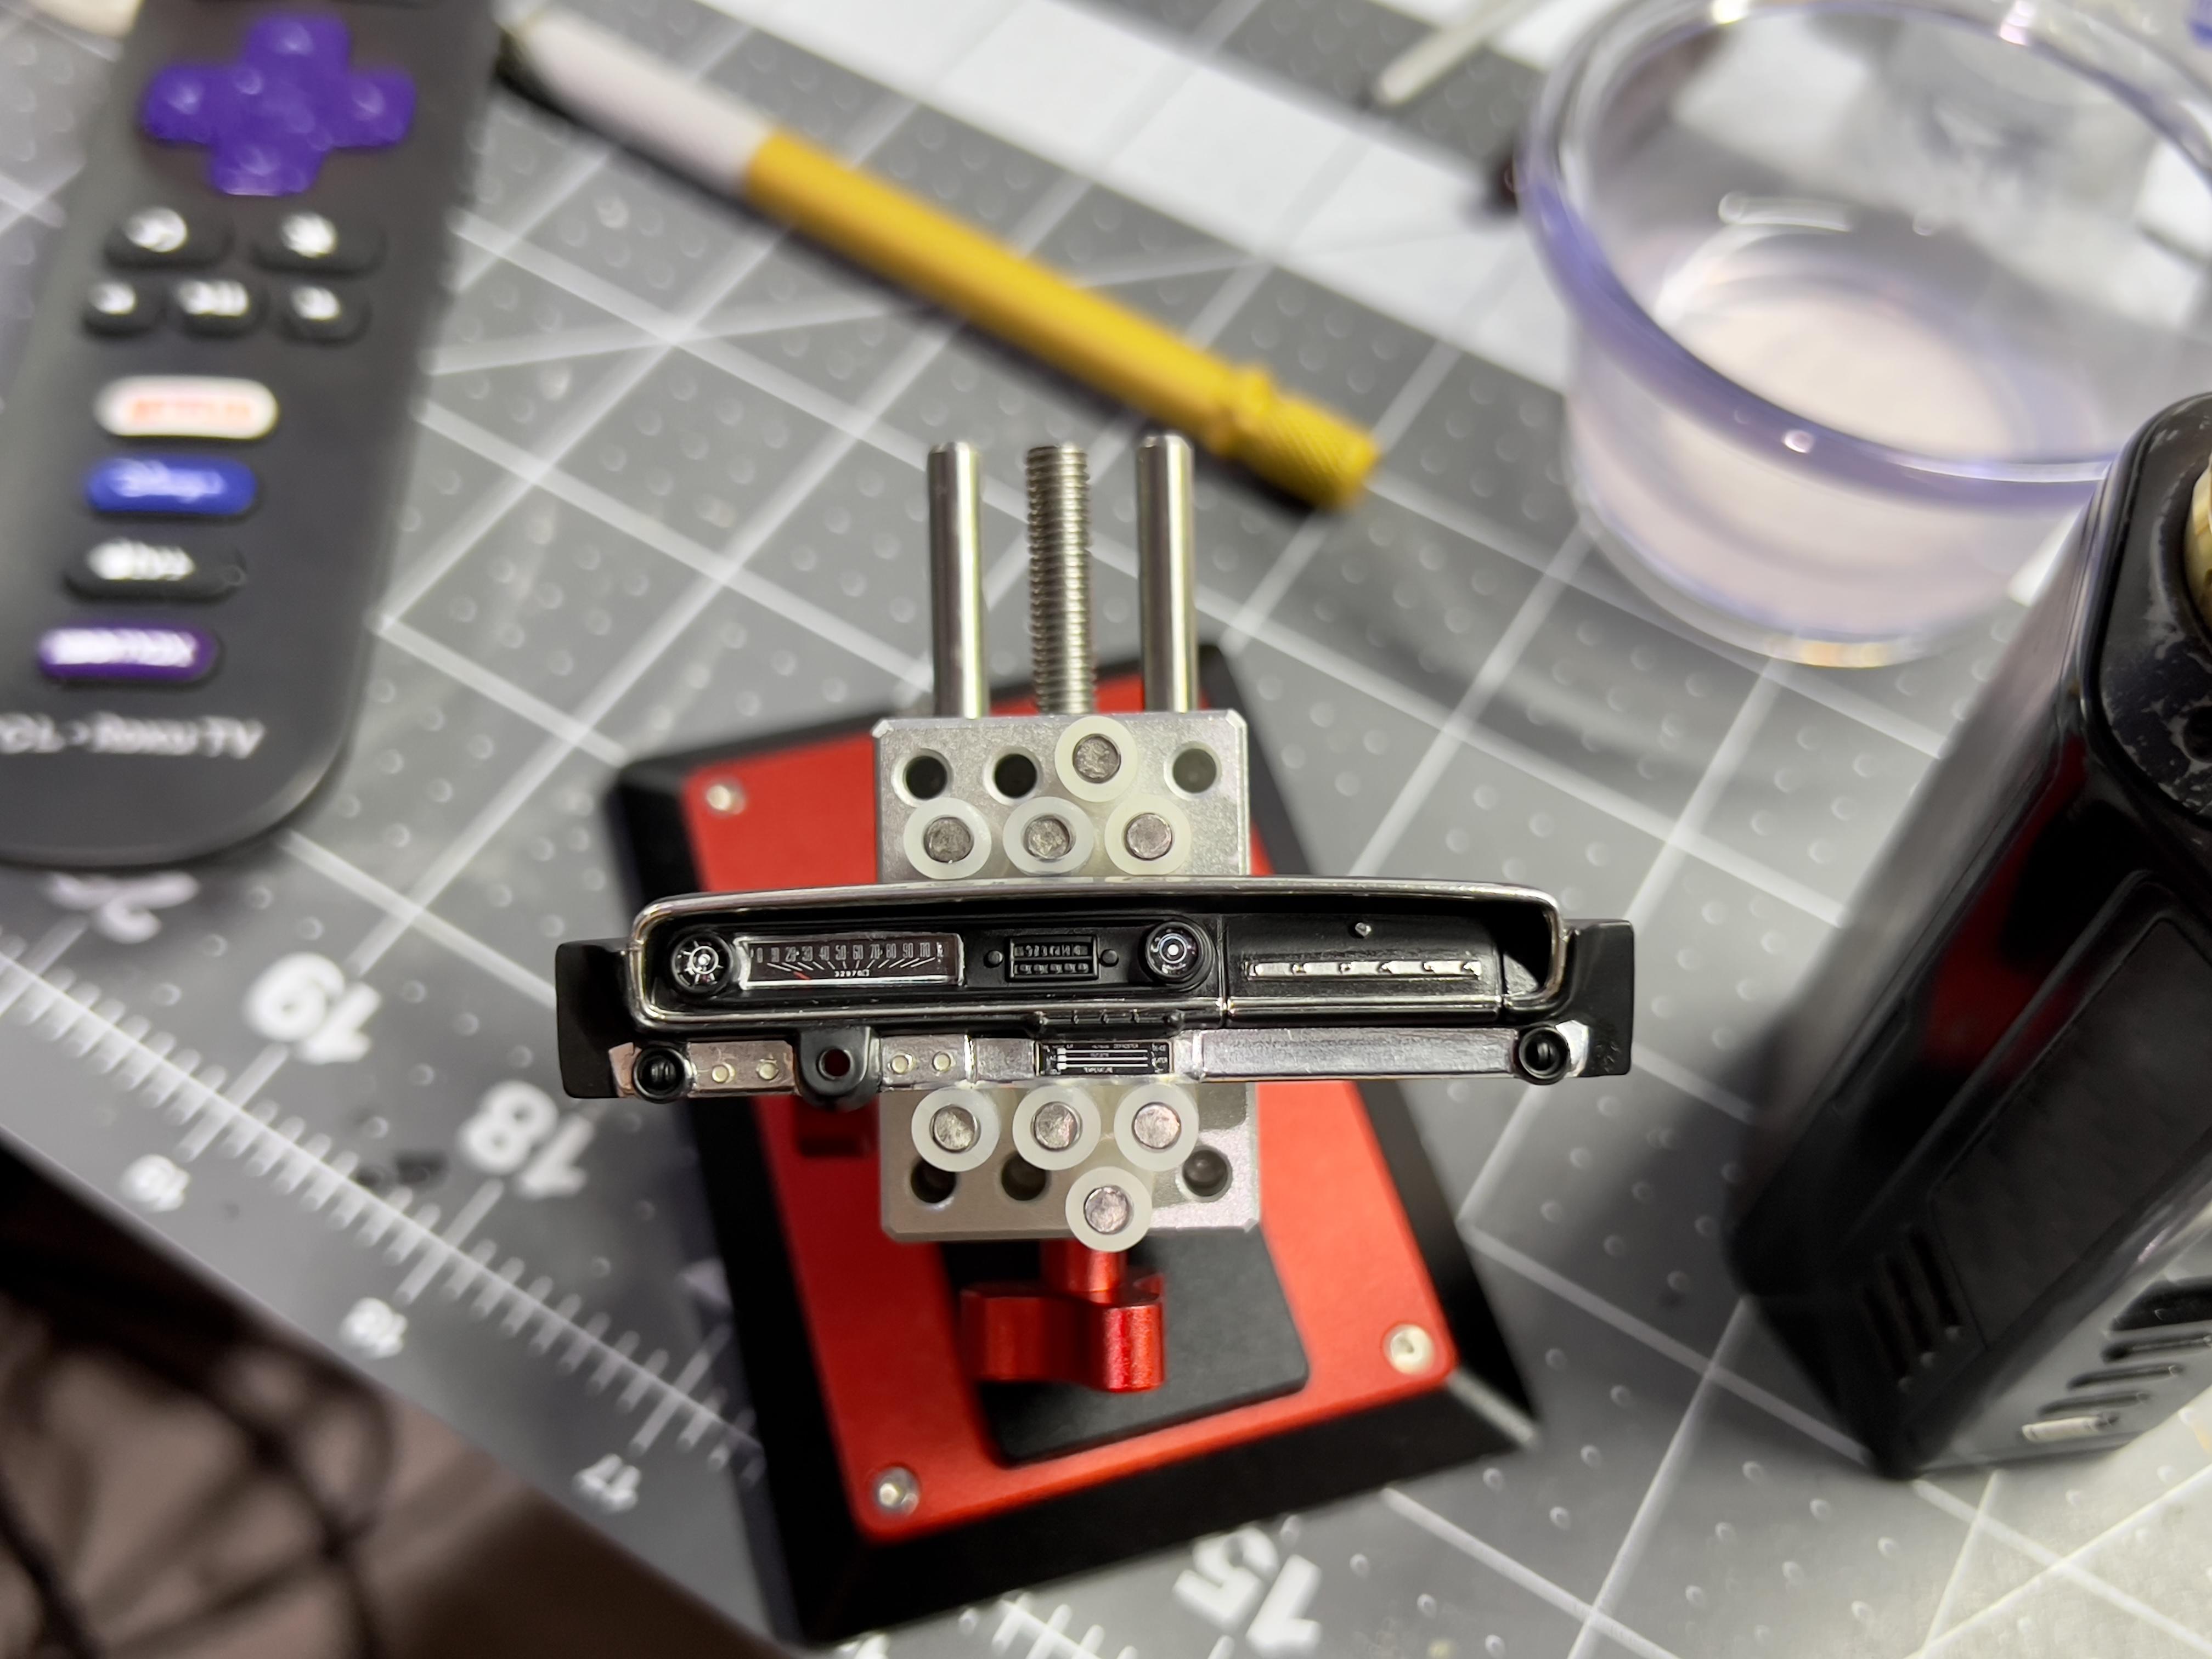
Got the dash halfway done still got some detail painting to do round center trim, but this is what I got done so far. Looks alright. BMF chrome top and BMF matte aluminum bottom. The matte aluminum is pretty bad to work with.
-
Review of Revell's new chrome spray paint
Dpate replied to Monty's topic in Model Building Questions and Answers
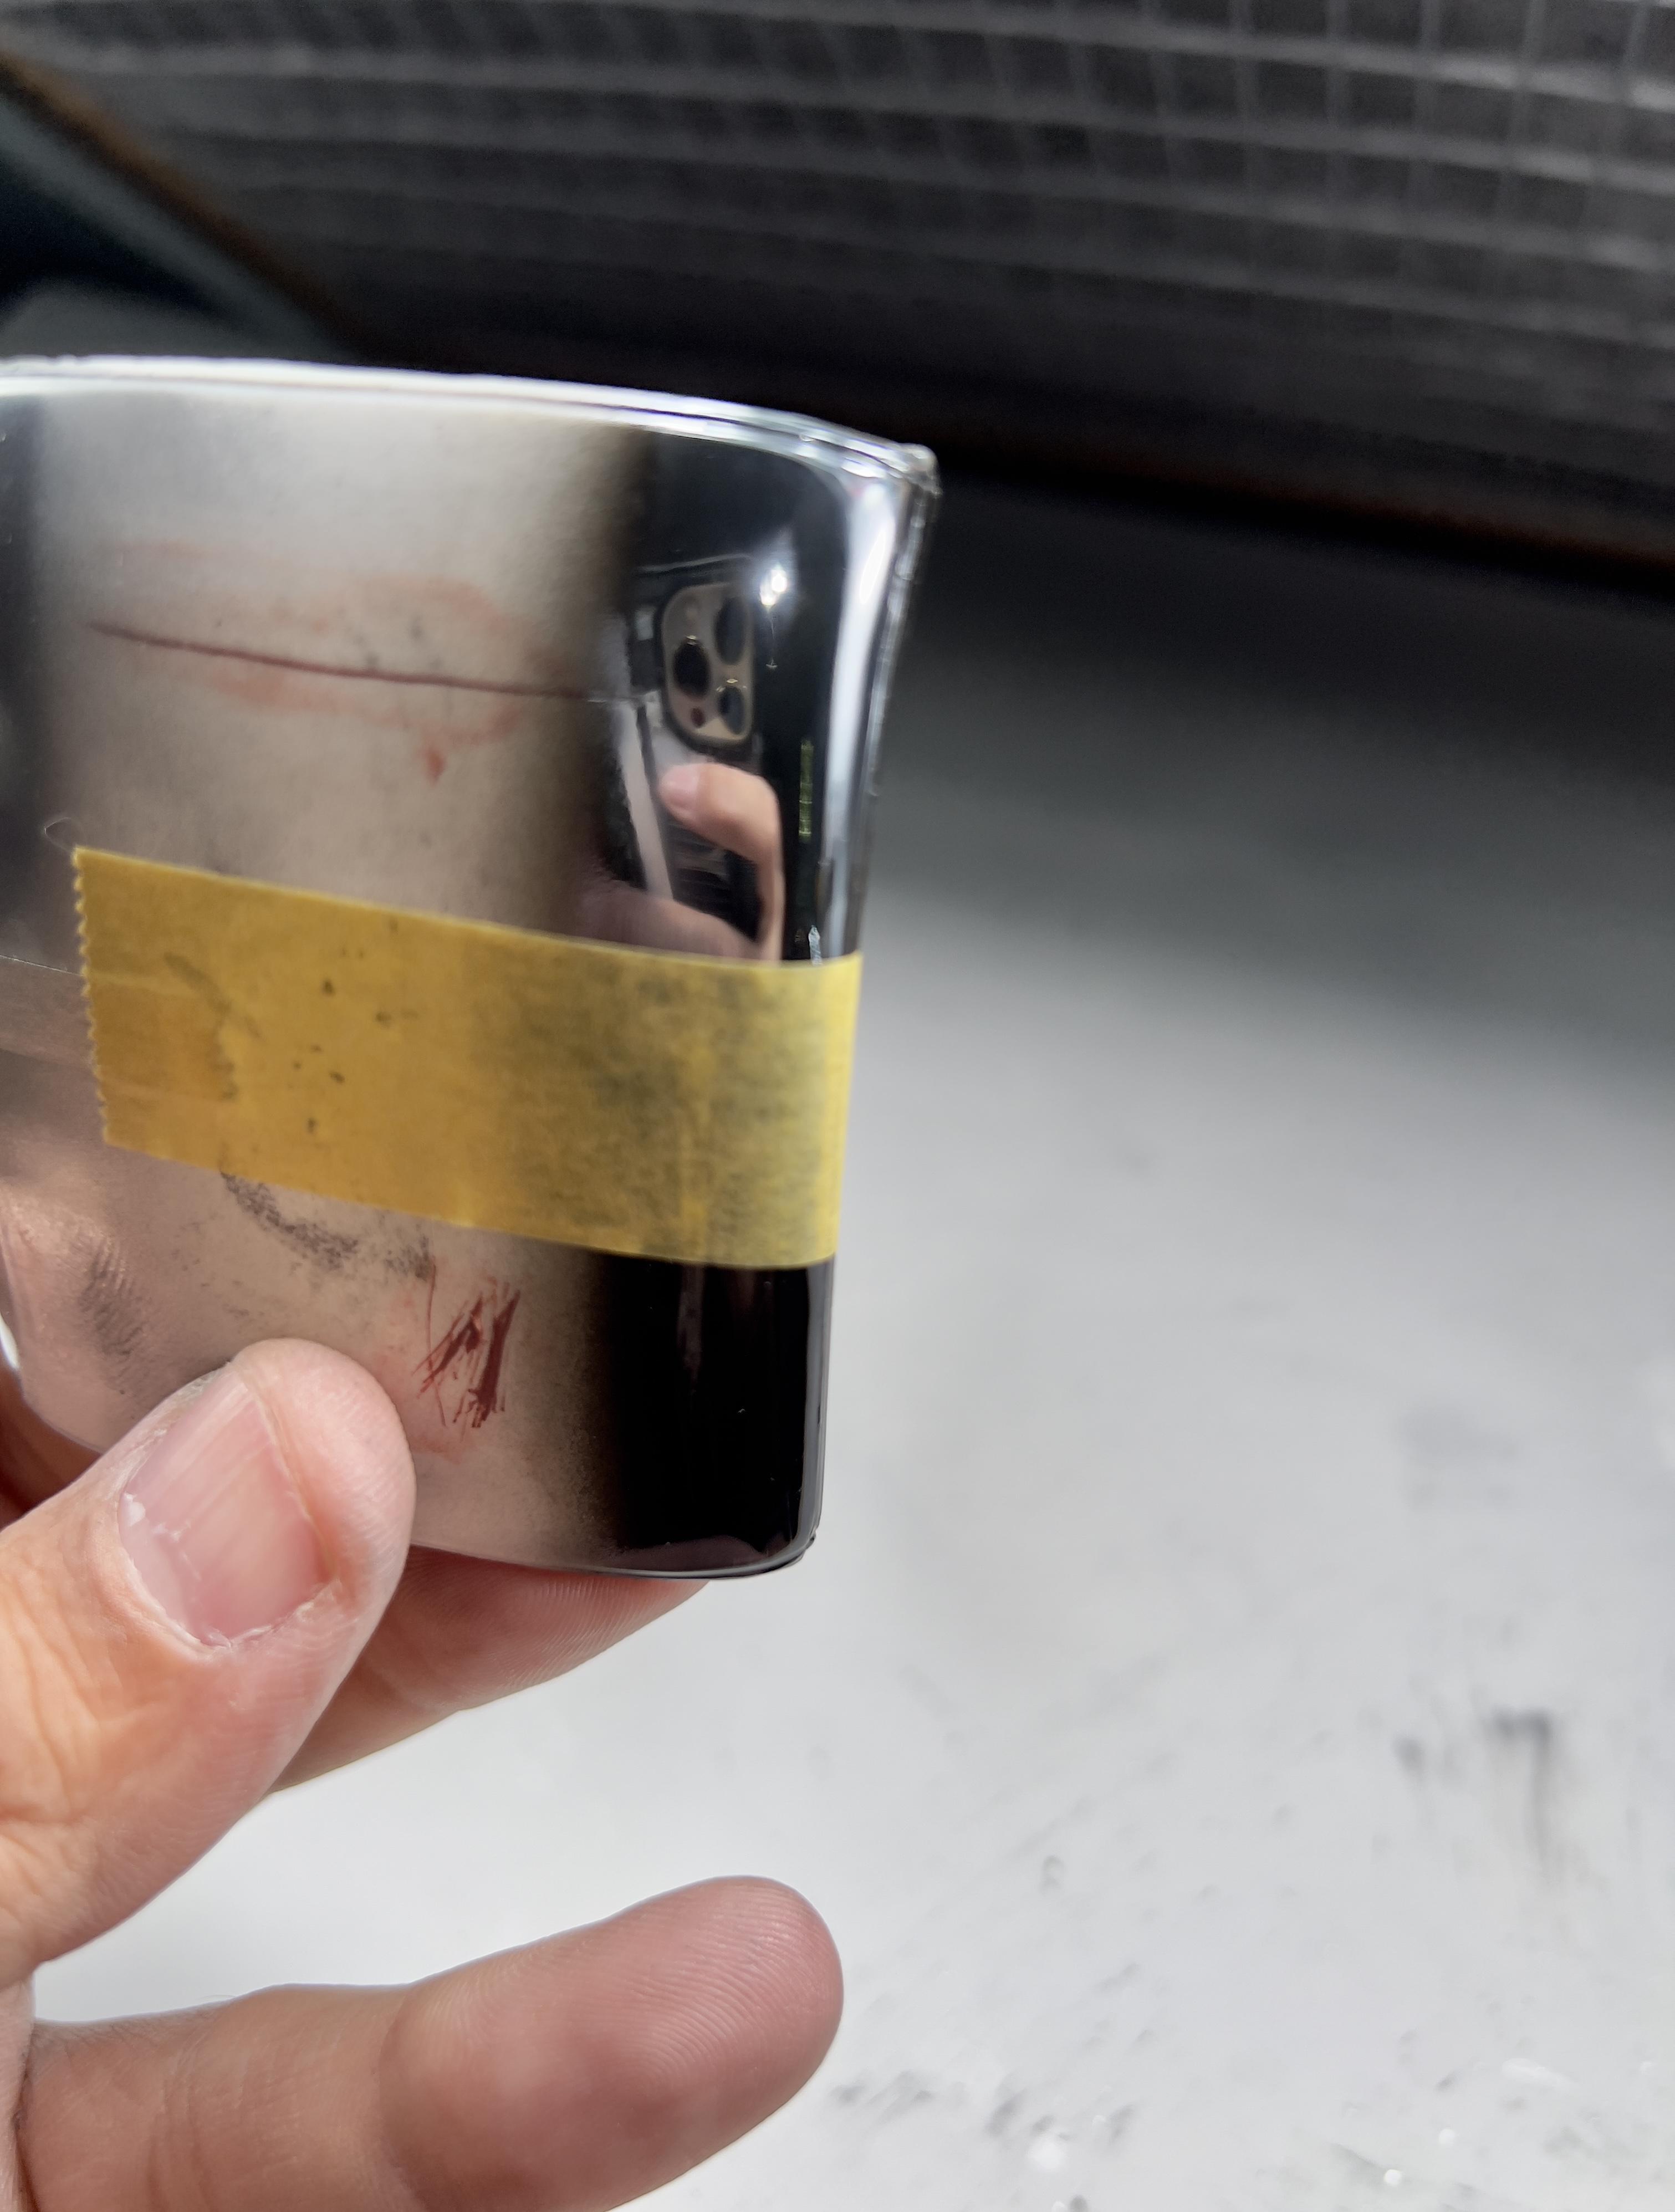
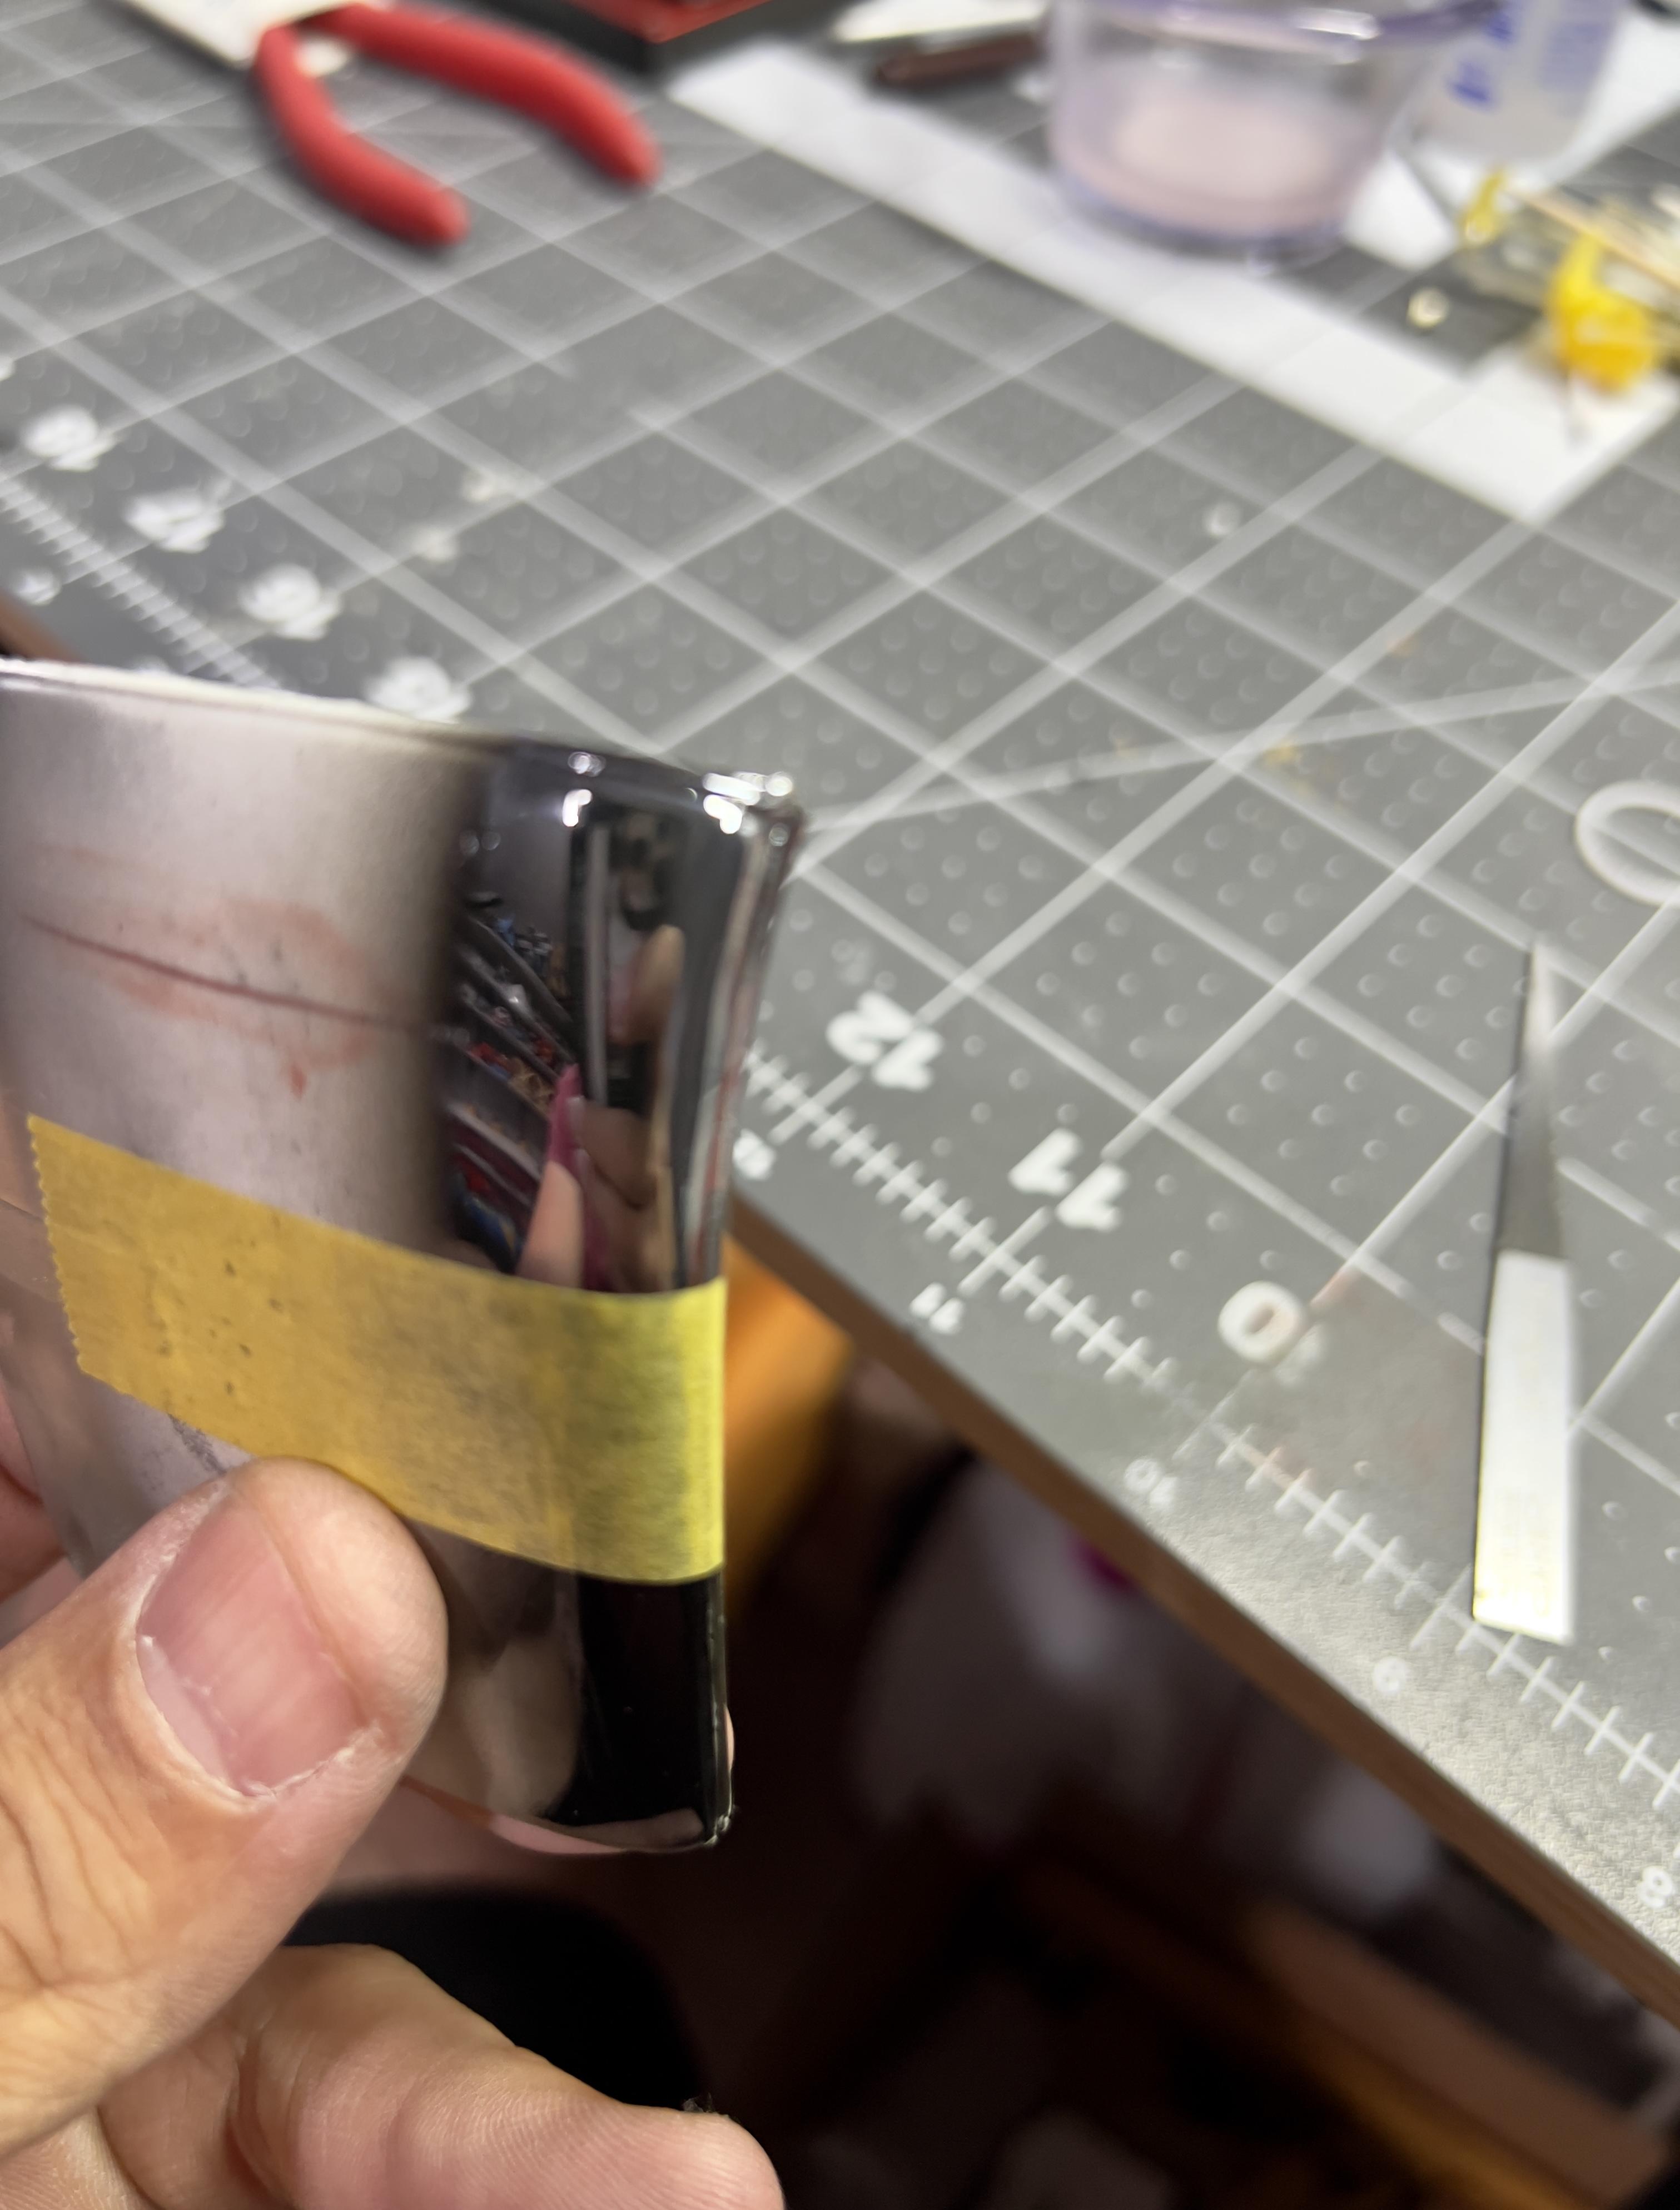
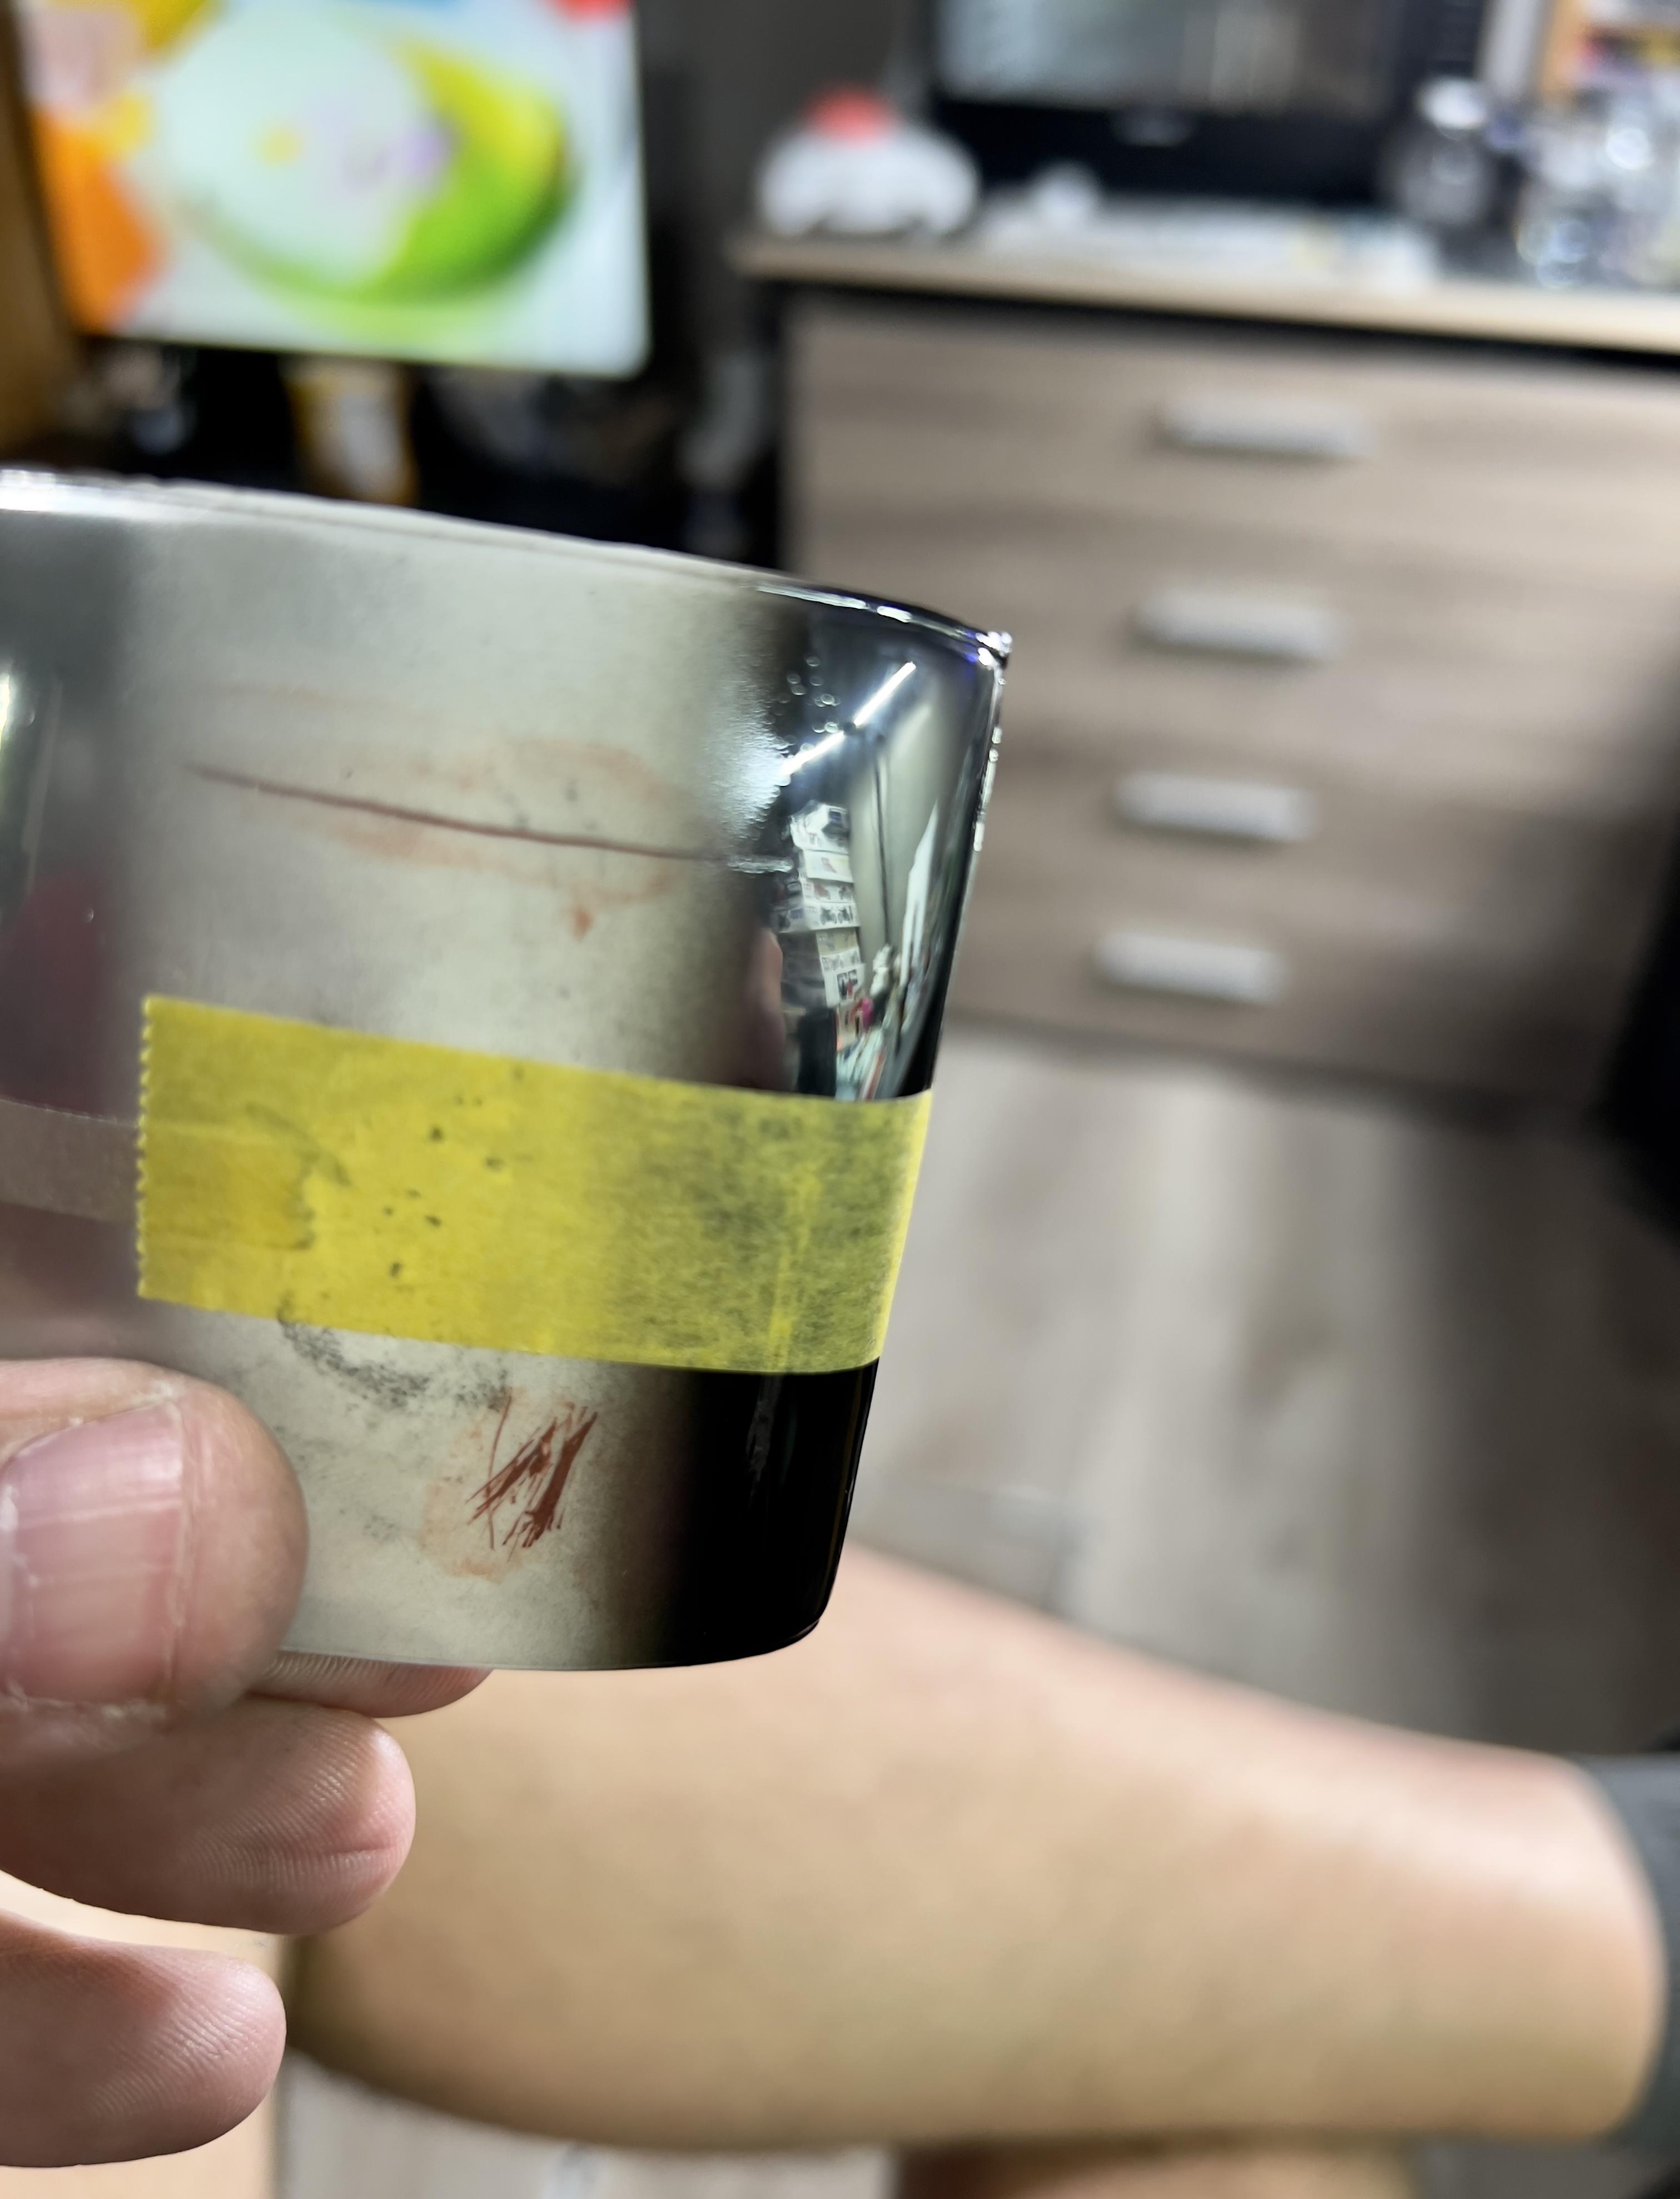
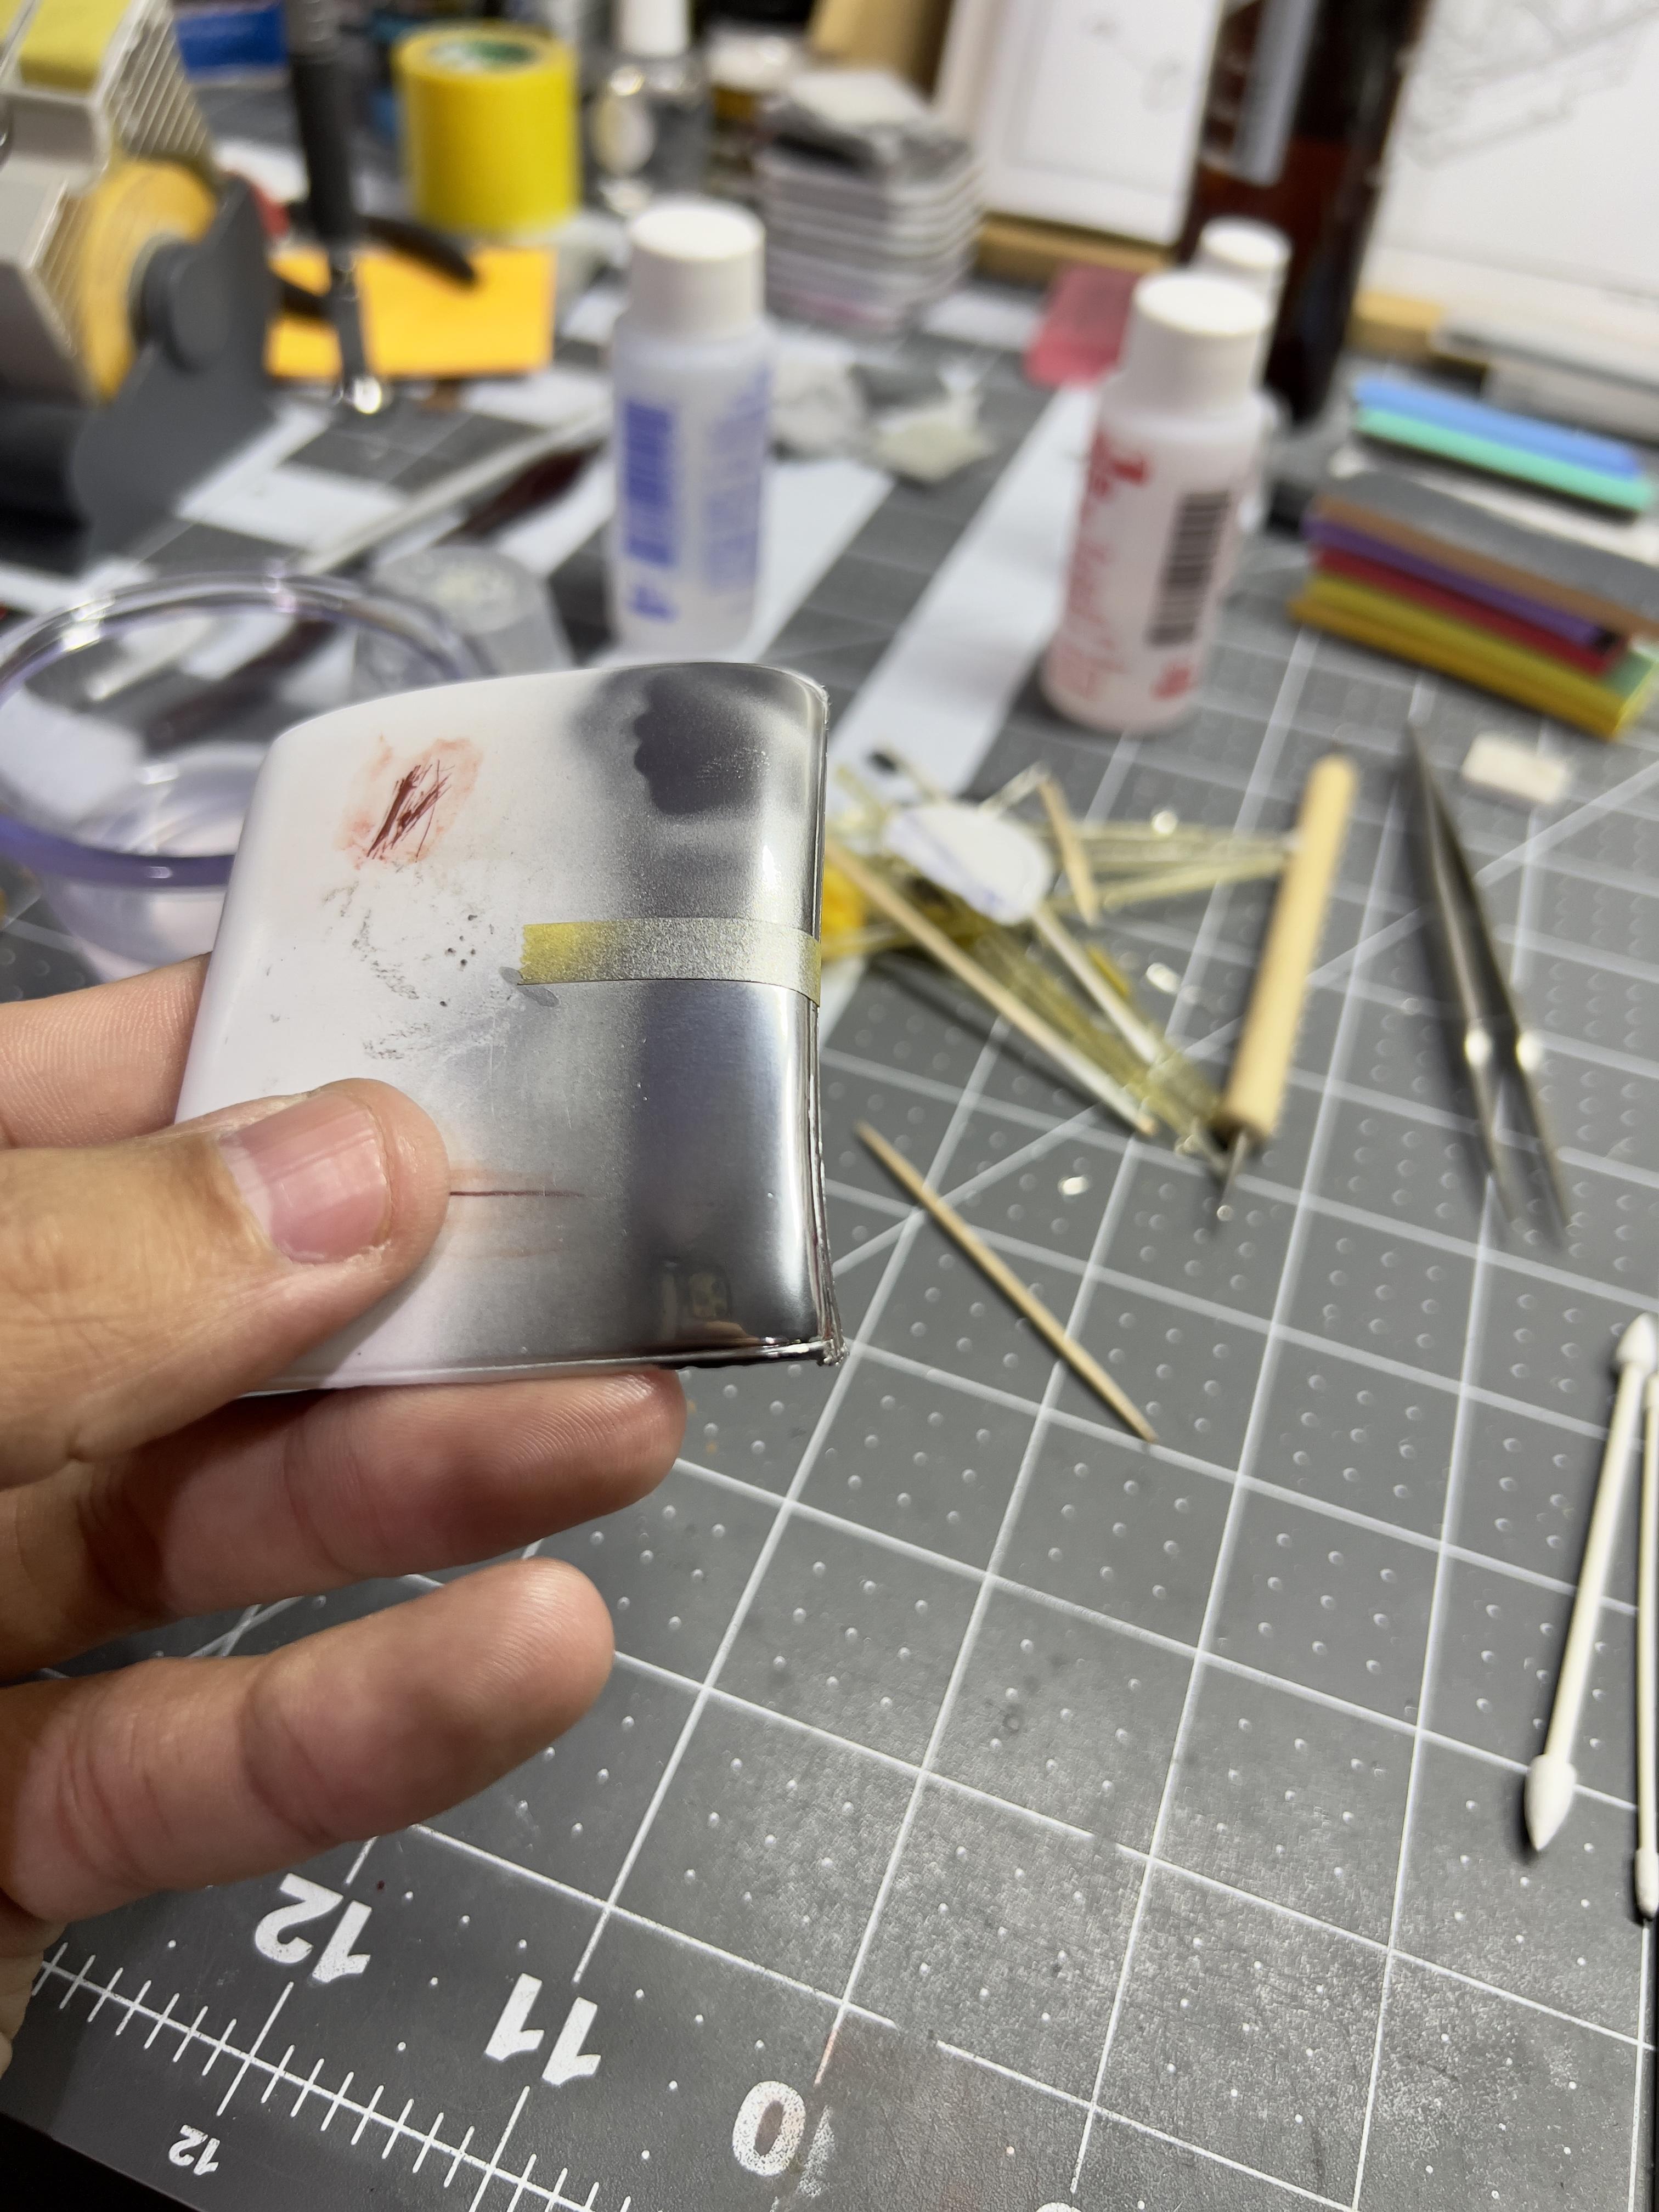
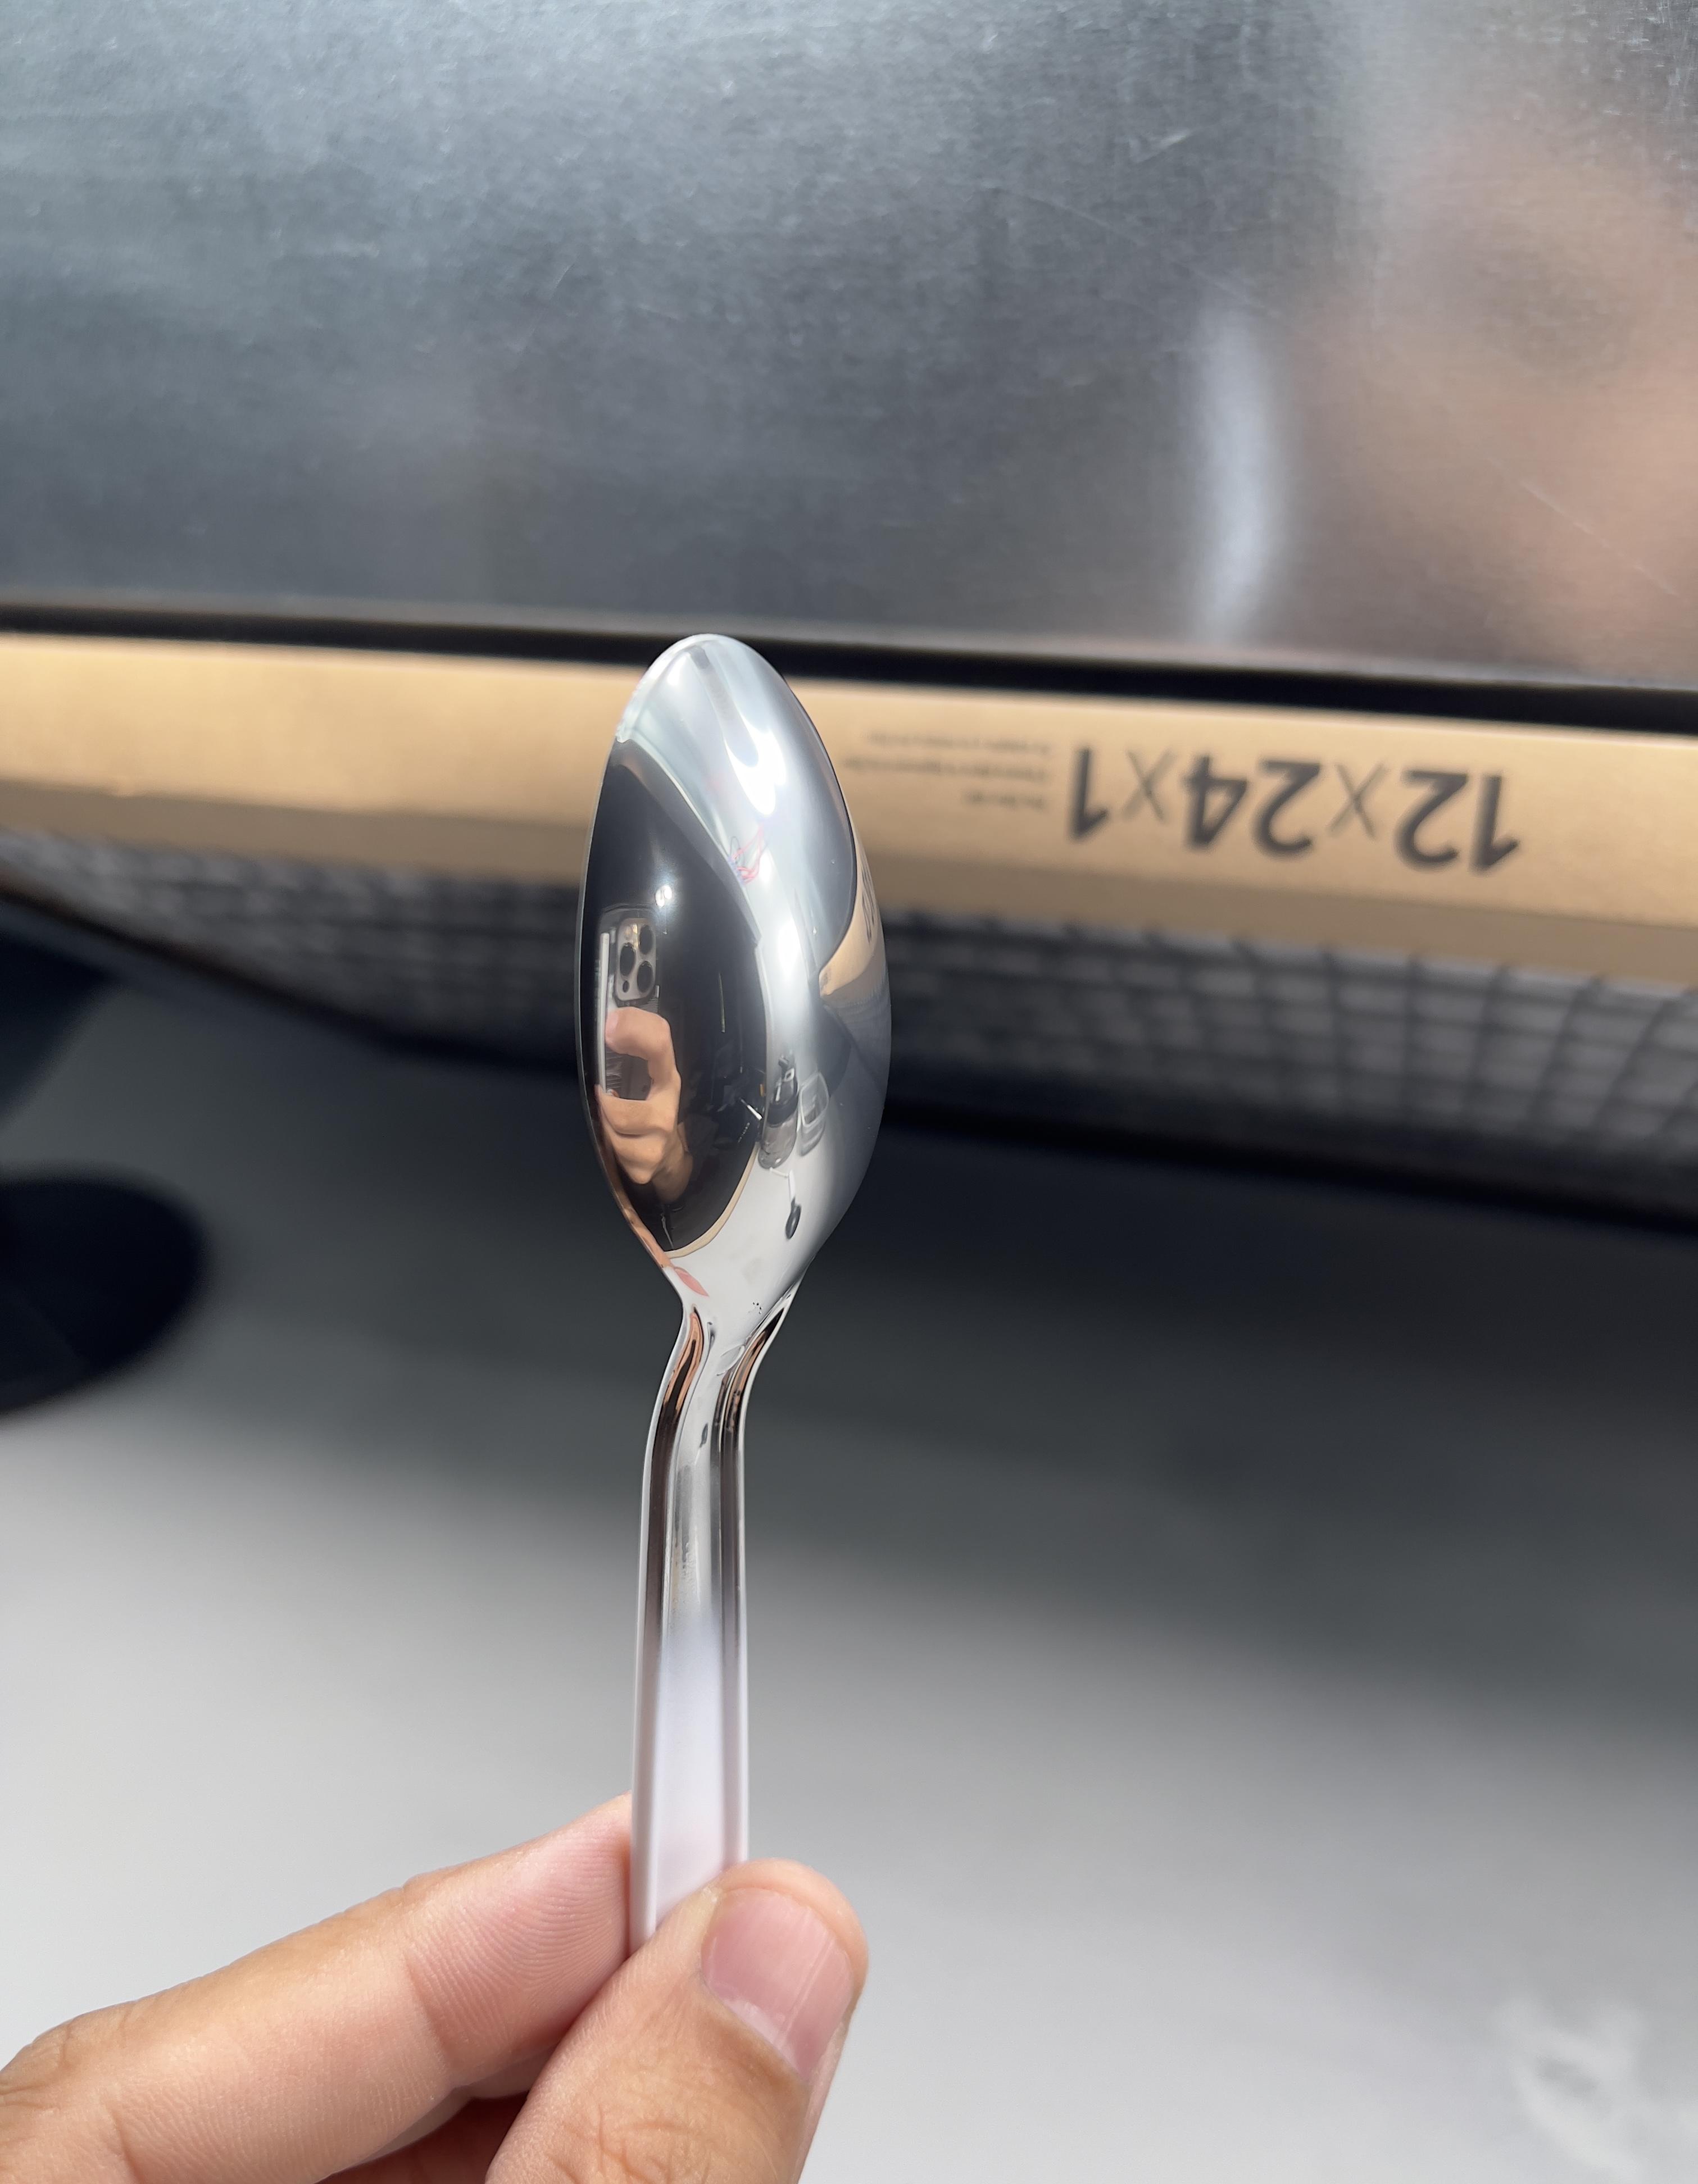
So I did a small comparison on an old piece with spaz stix. Spaz stix on the right, and revell chrome on the left along with the issue I’ve been having with it. Used a .2 for this test, but the revell issue stays the same with any size. It can be easy to overcome on large parts etc, but with bumbers or grills it’s an issue. It’s an issue because the over spray creates that silver frost causing you to go back over it, and then before you know it details are flooded. So probably best to just keep the revell canned unless I’m just doing something completely wrong. But if the junk piece was prepped properly spaz stix would look even better done over AK satin enamel gloss black. Spaz stix is amazing stuff, and $13 a bottle, and very durable, and done right it’s the tits man. This was baked @115f for 10mins, and I was able to buff the dust off.
-
This or you could use Tamiya extra thin cement too. Use quality plastic like old sprue from Tamiya, and cut into pieces then drop them into the cement. Than just let it sit, and the cement will melt the plastic. Just do small amounts at a time until you get the right consistency. Basically not to thin or too thick. Tons of videos on how to do it.
-
Review of Revell's new chrome spray paint
Dpate replied to Monty's topic in Model Building Questions and Answers
I’m still practicing with it myself on actual parts. The over spray gets on the rest as you’re painting, and it messes up the finish. So then you’re going back over it and end up getting it too thick. Thinking about trying my PS 290 with its large fan pattern. Maybe just need little more practice to get that one and done coat or faster passes. After decanting the stuff it was about 50ml worth of paint, and I’m down to 40ml now from doing test etc. -
Review of Revell's new chrome spray paint
Dpate replied to Monty's topic in Model Building Questions and Answers
Na no thinning. Stuff acts like and kinda behaves like AK super chrome. Has to go on heavy, but self levels nice, and definitely doesn’t like .2 needle. It’s too narrow, and likes the .5 needle and nozzle as it’s a larger spray. If not you’ll fight the frosty silver trail with each pass hard to explain. Basically have to be pretty close, heavy coats but not so heavy that it runs, and it self levels nice. -
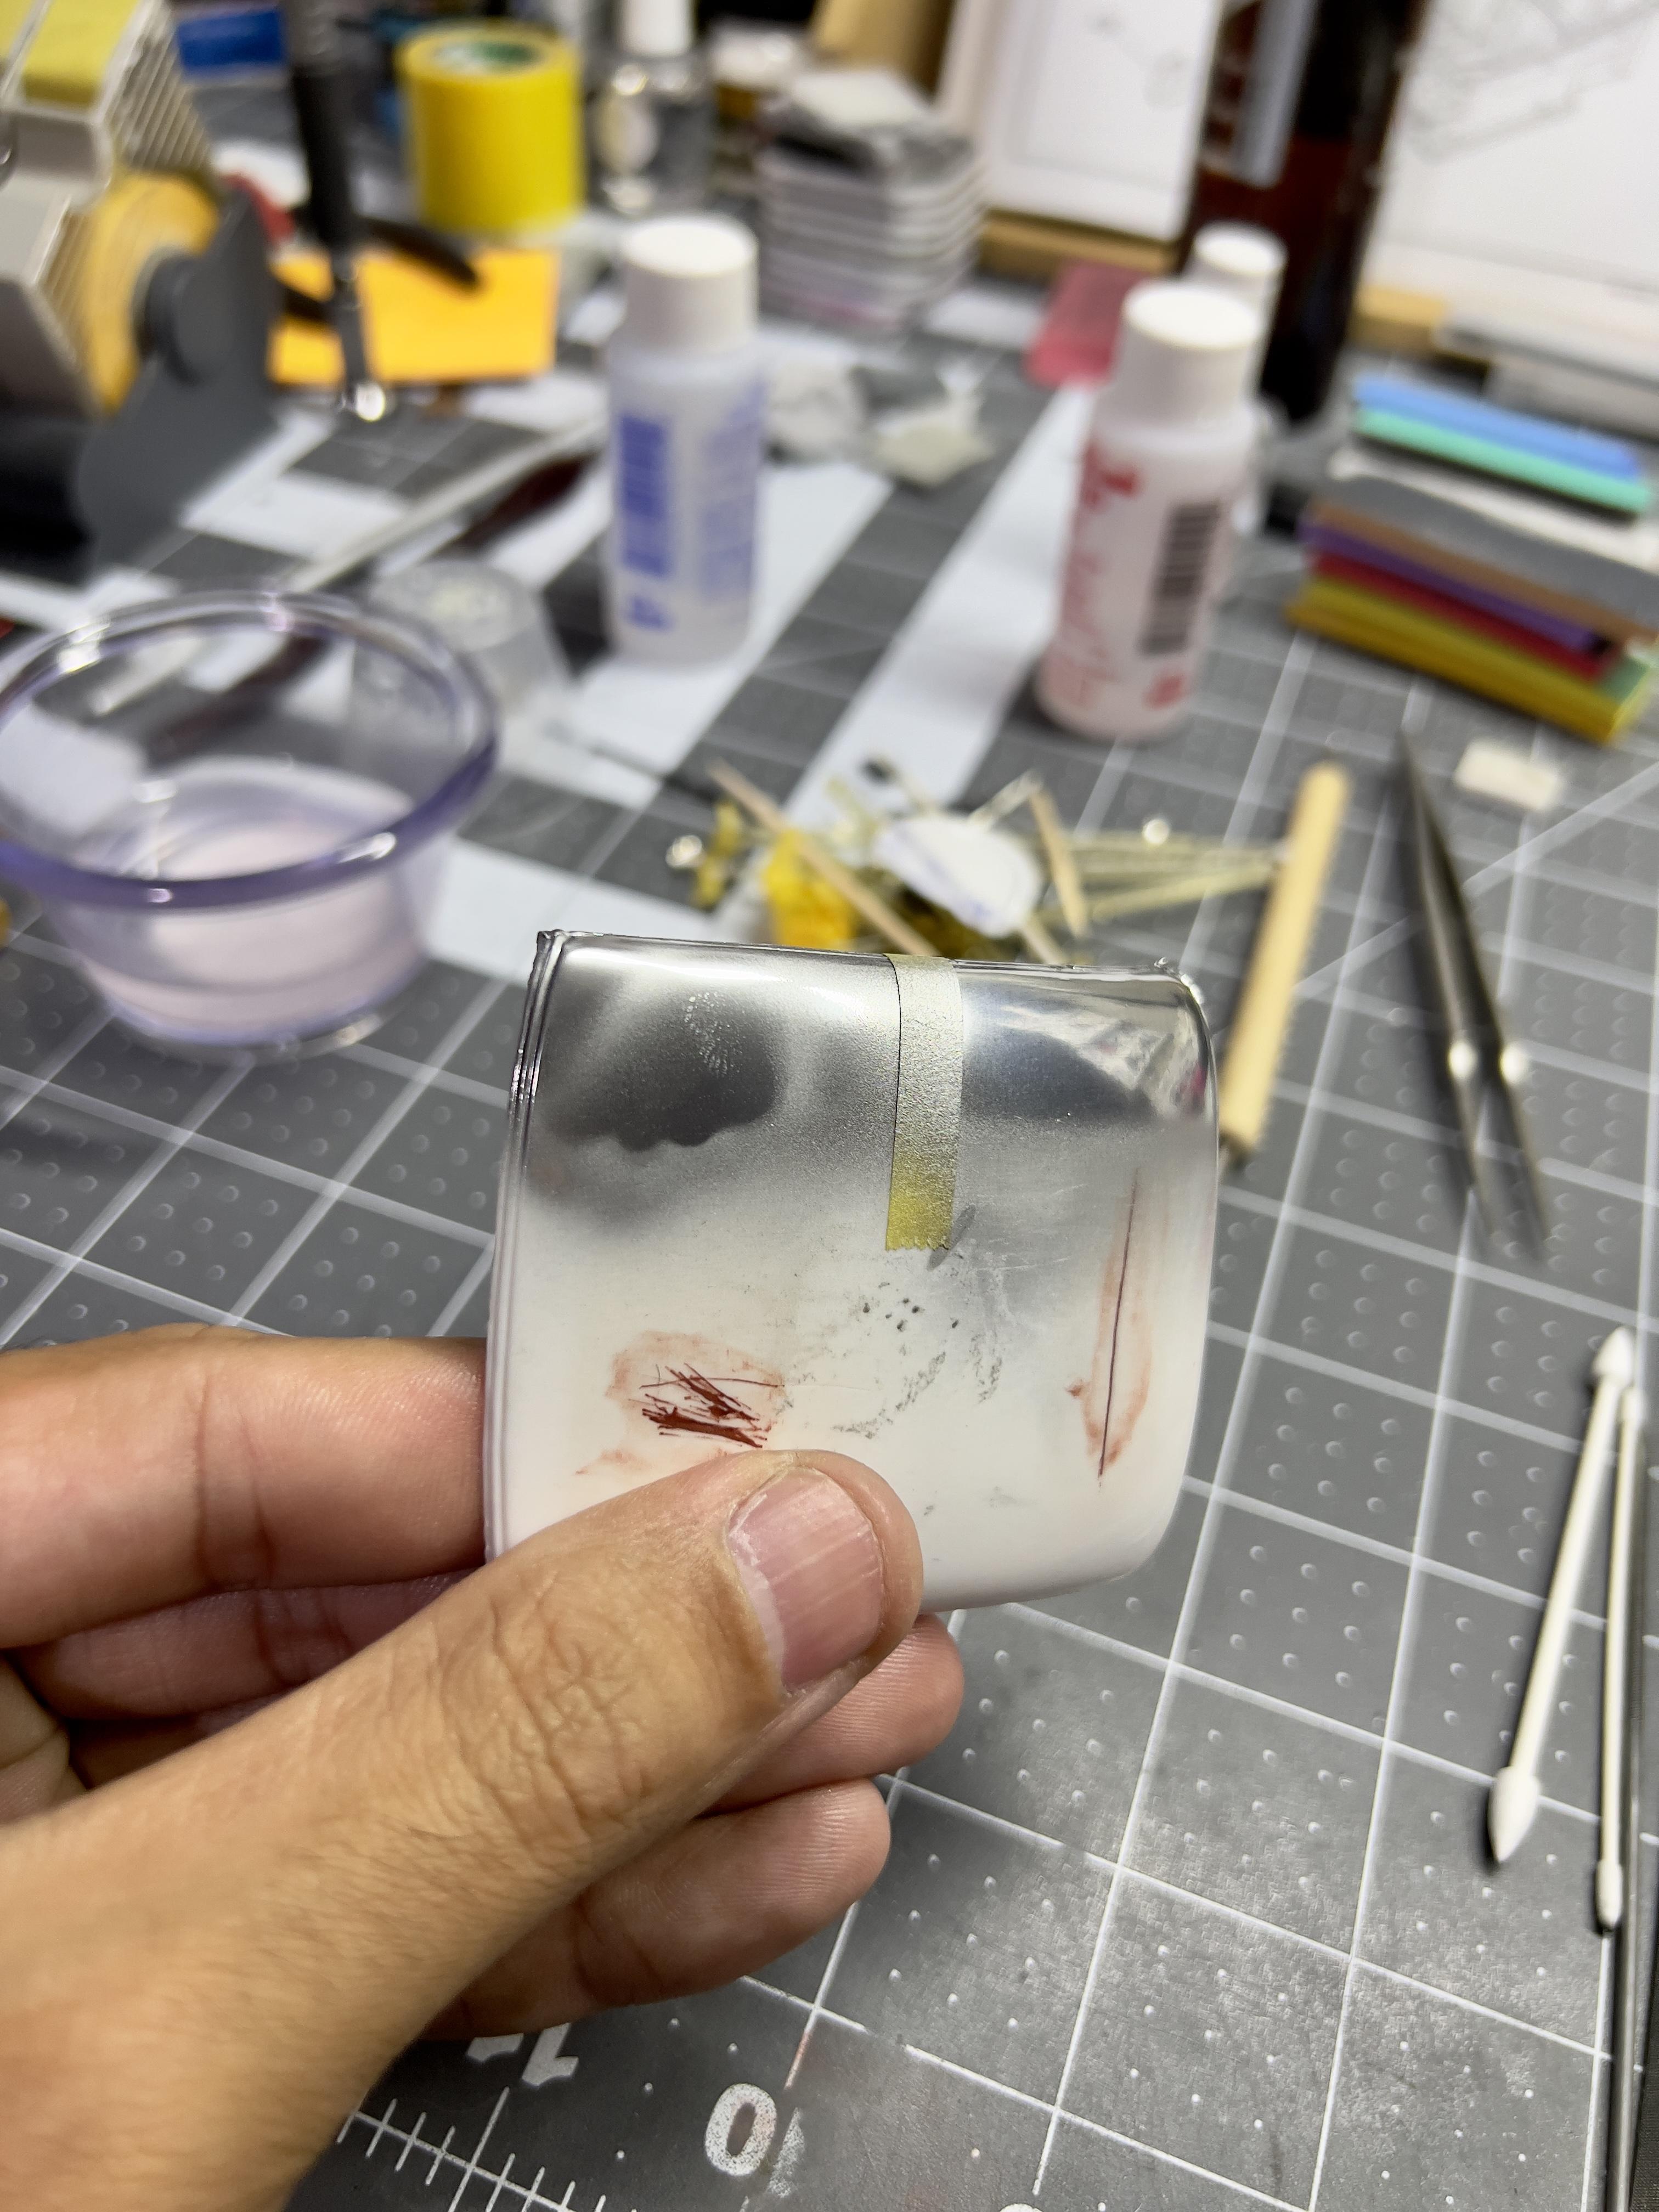
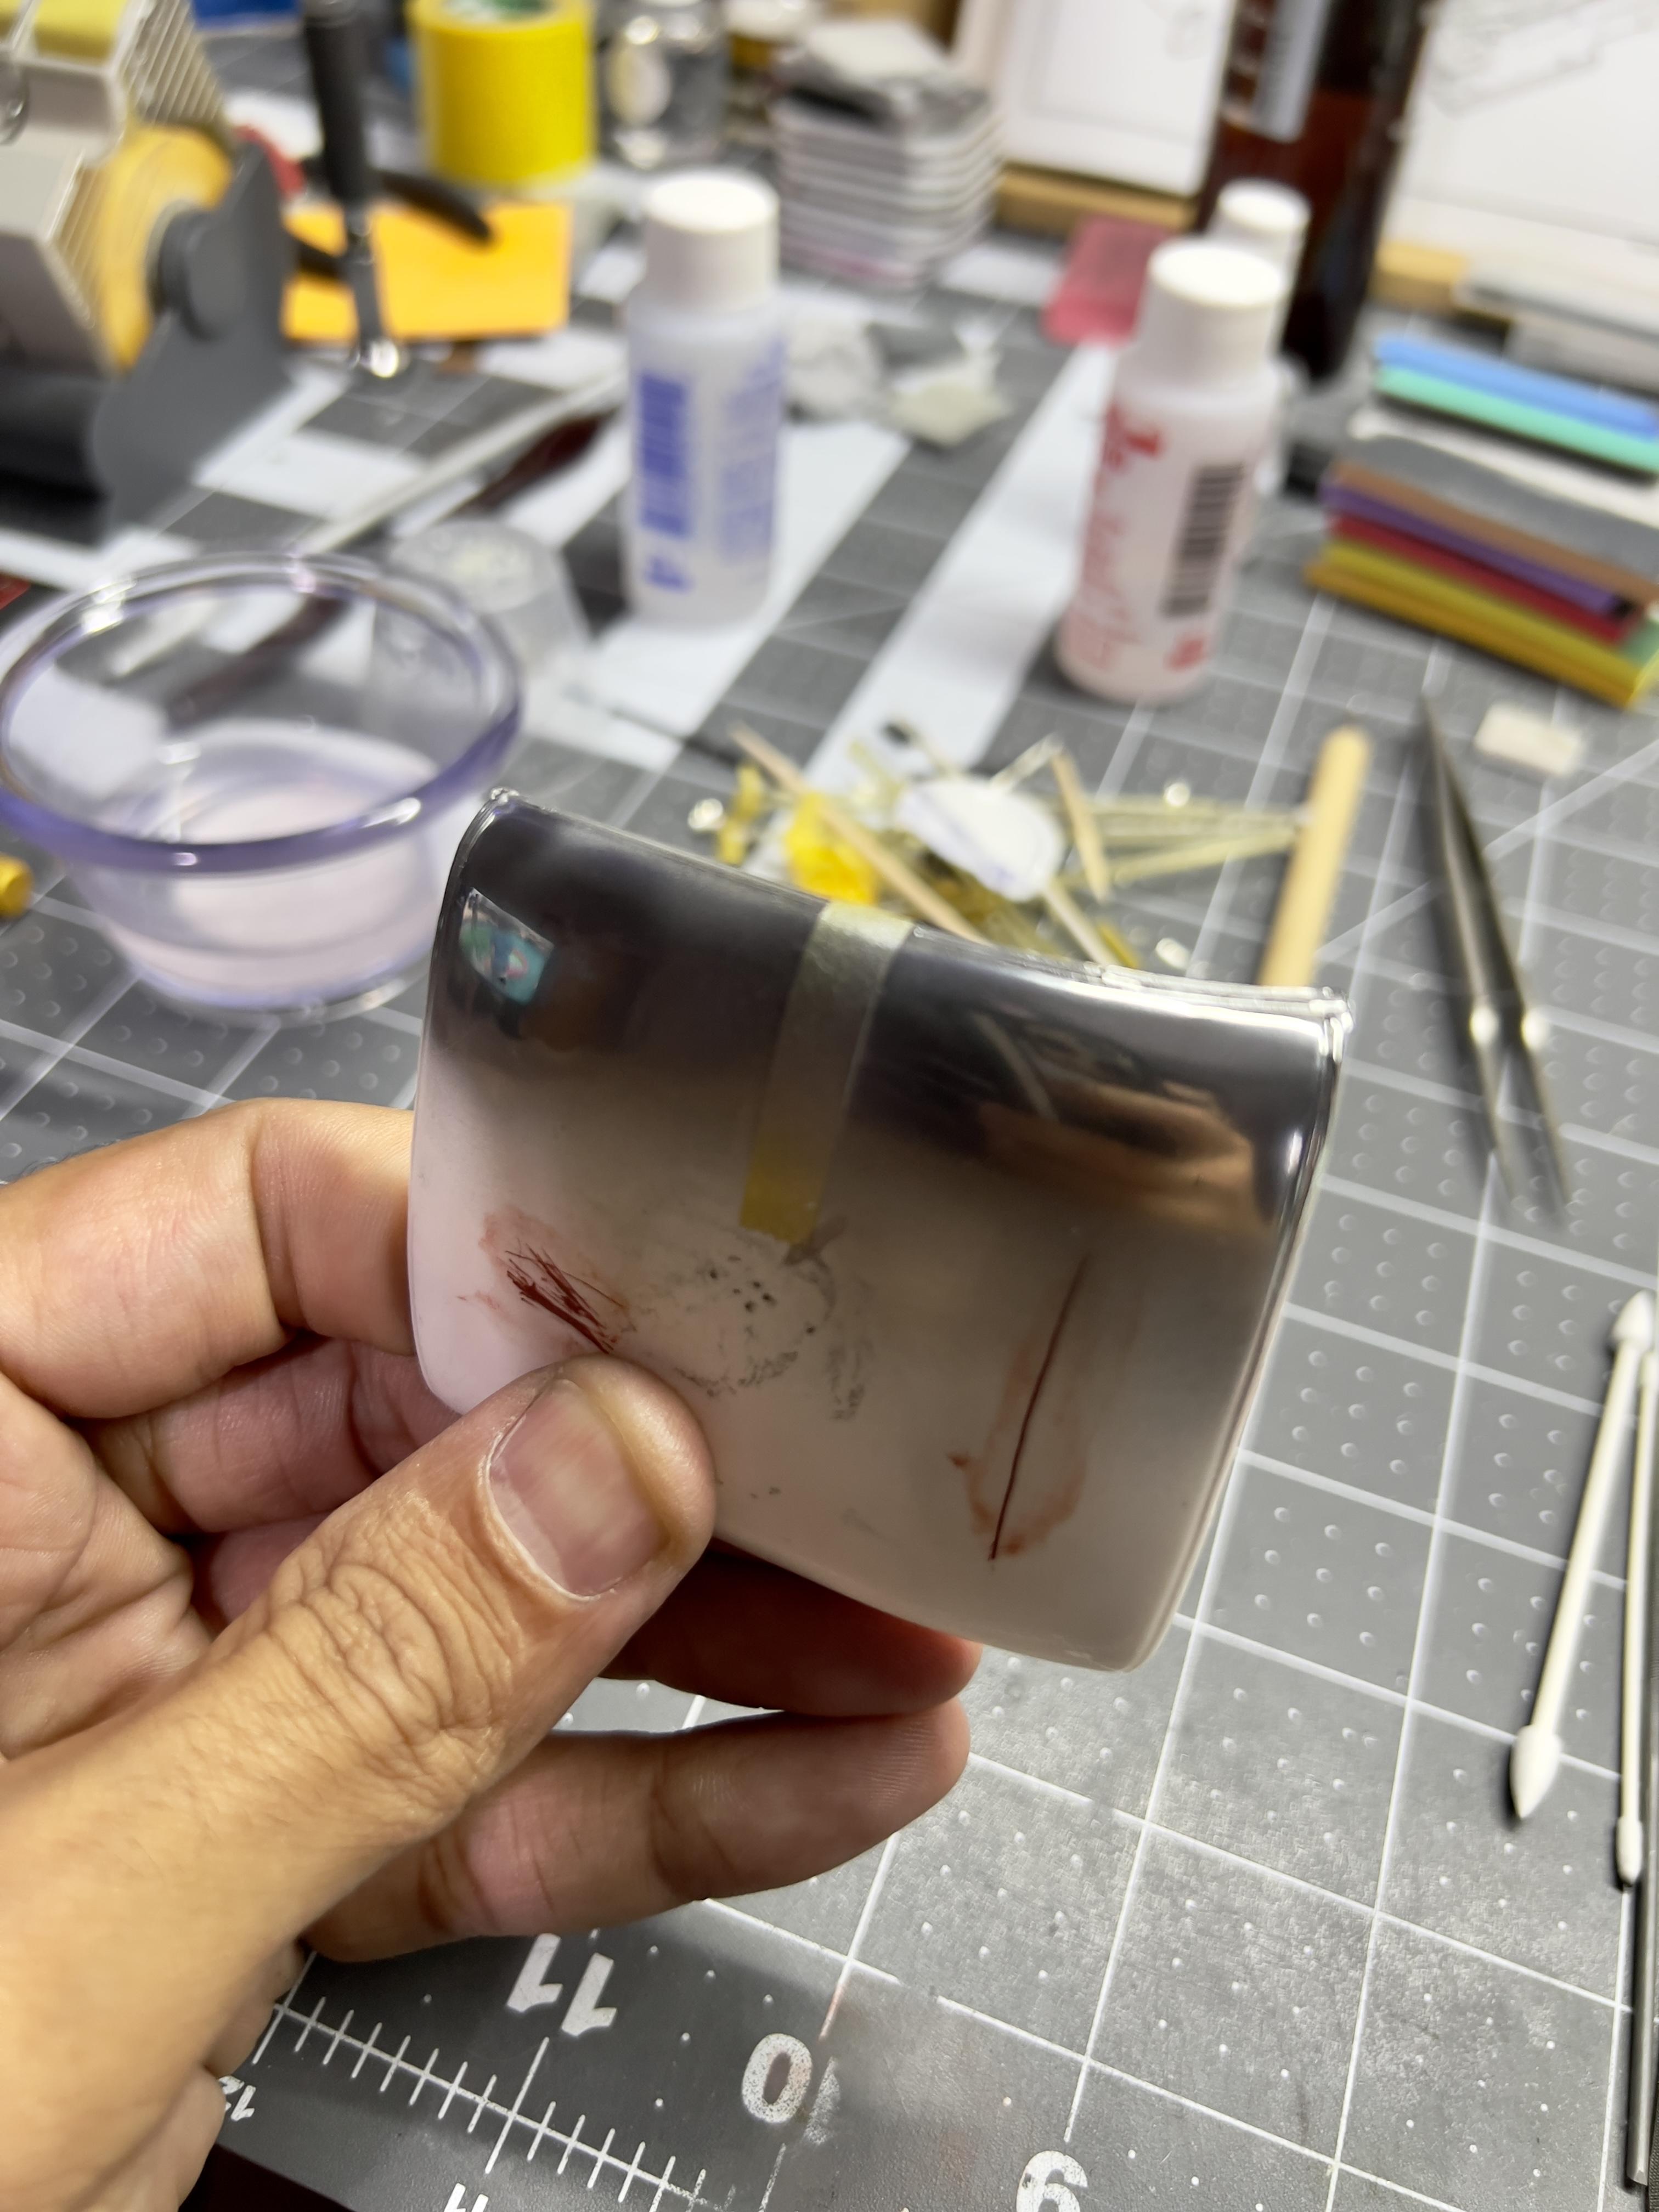
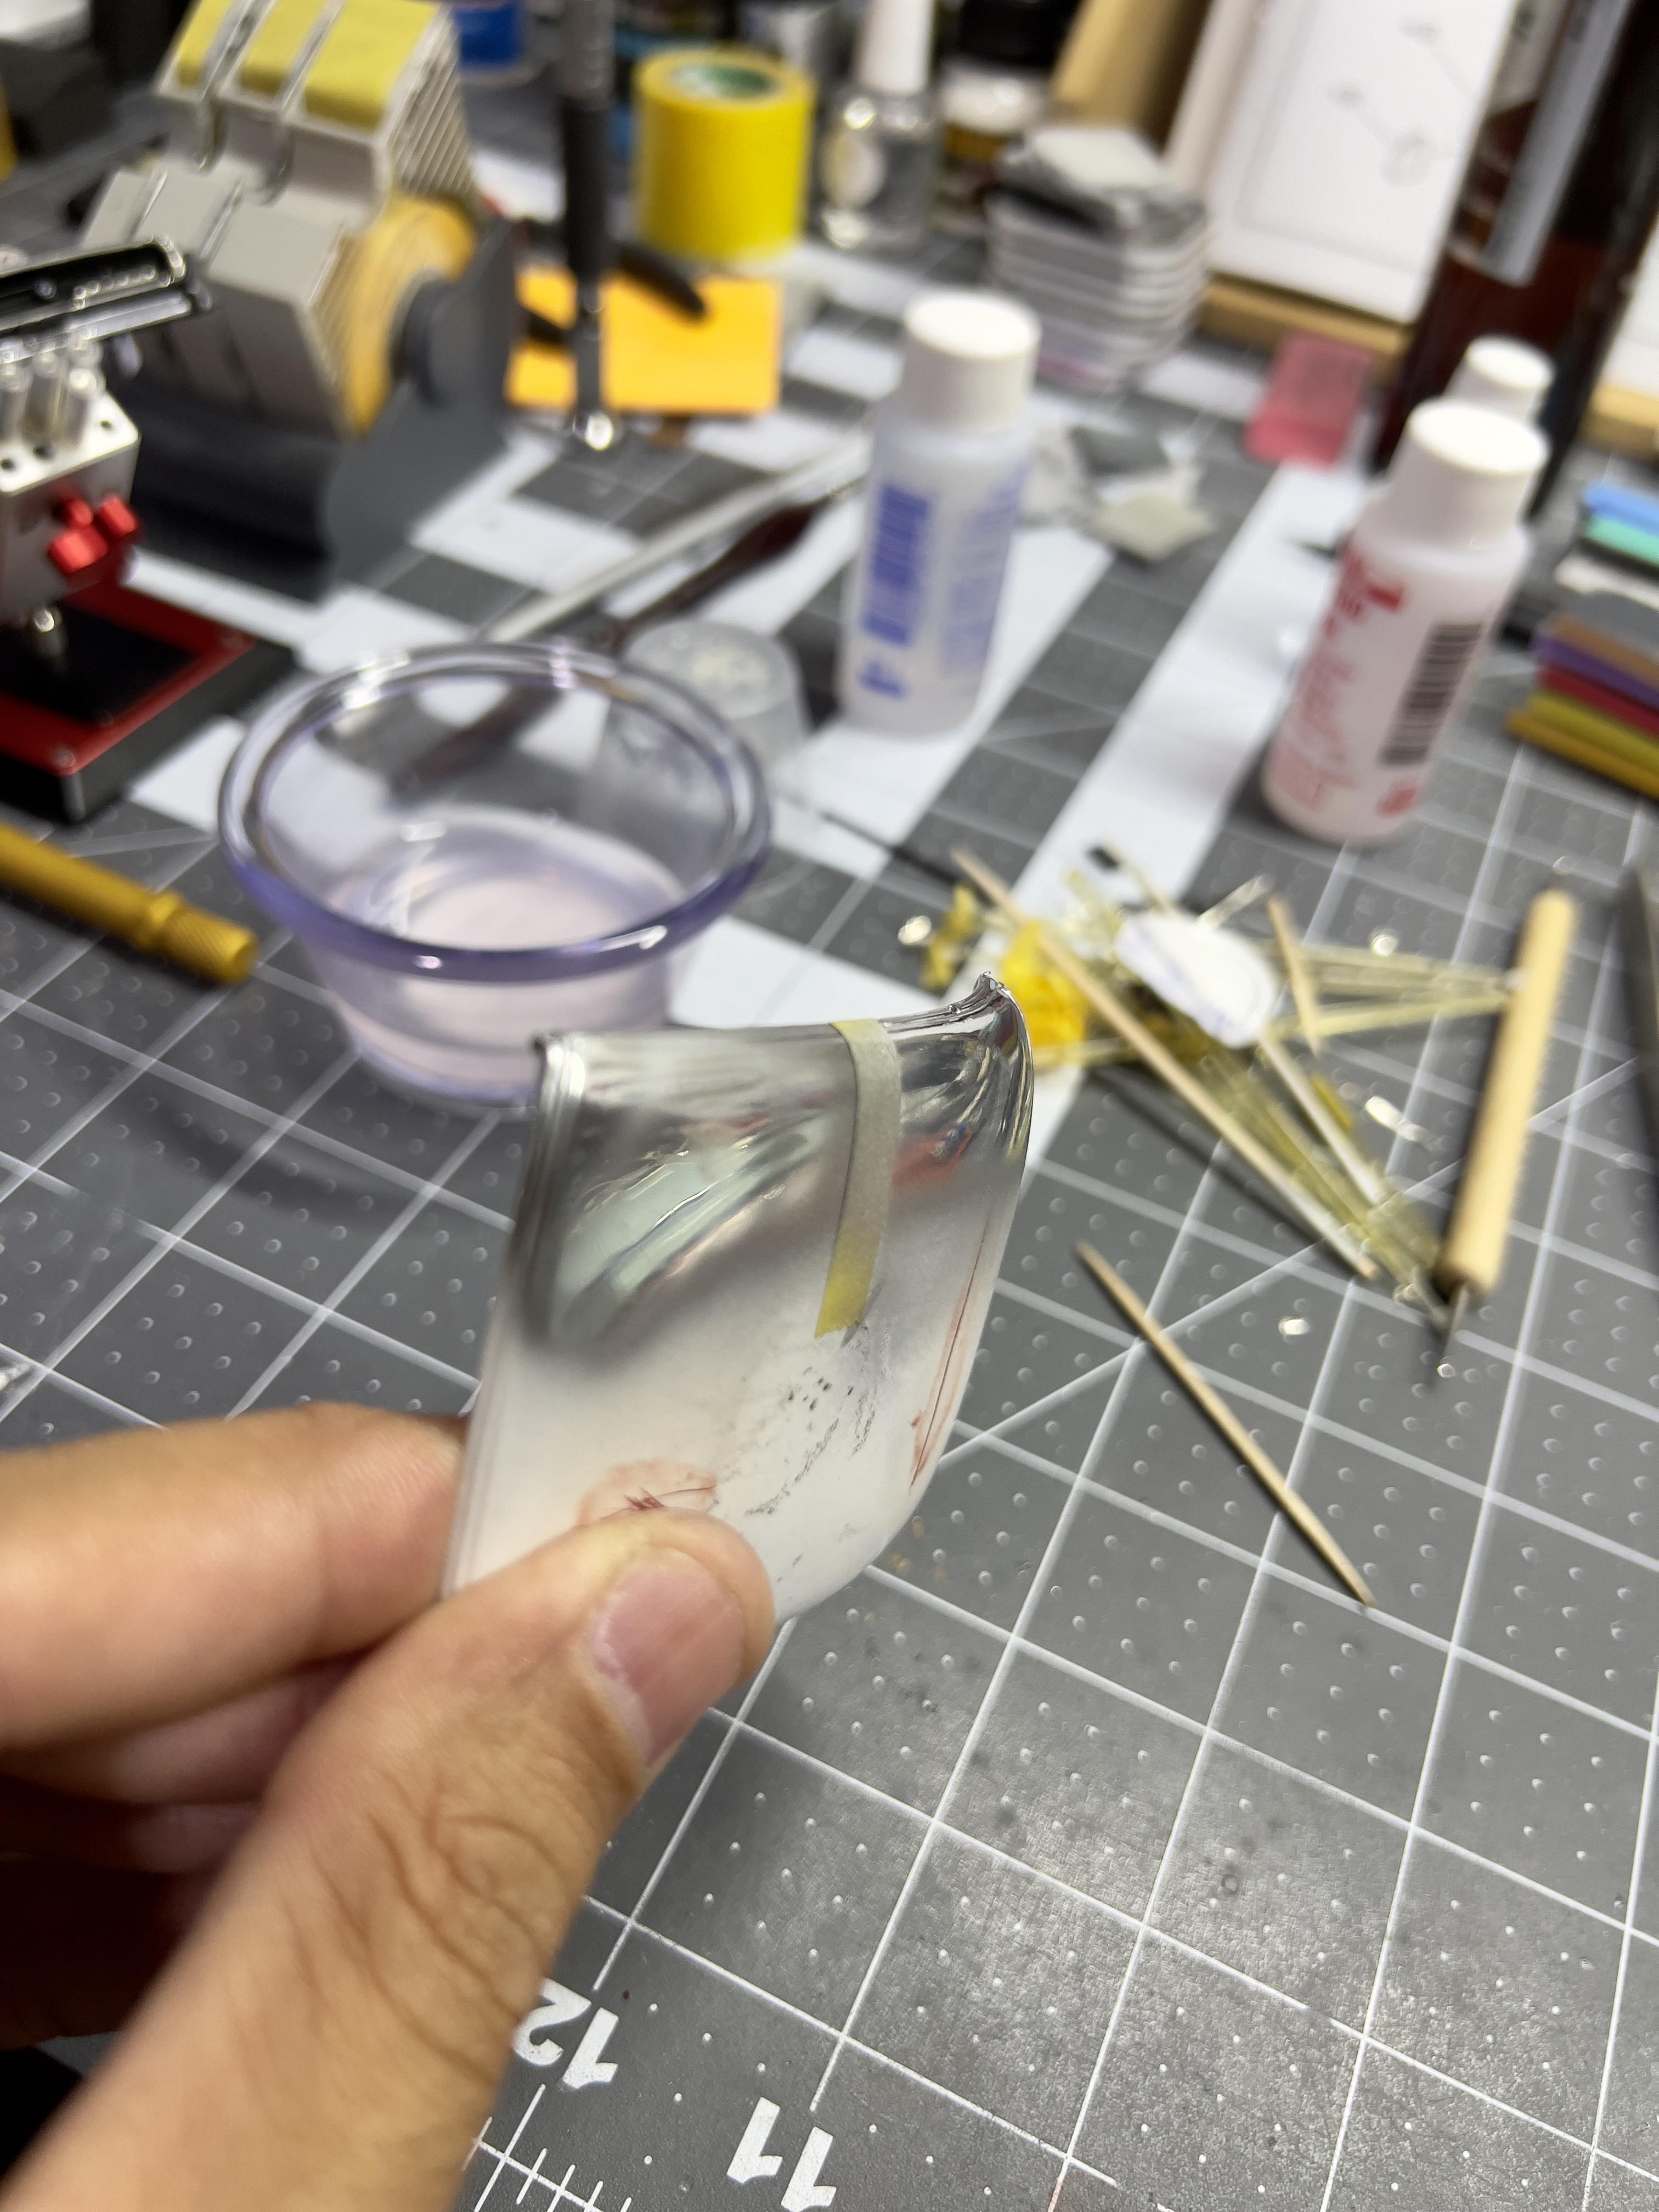
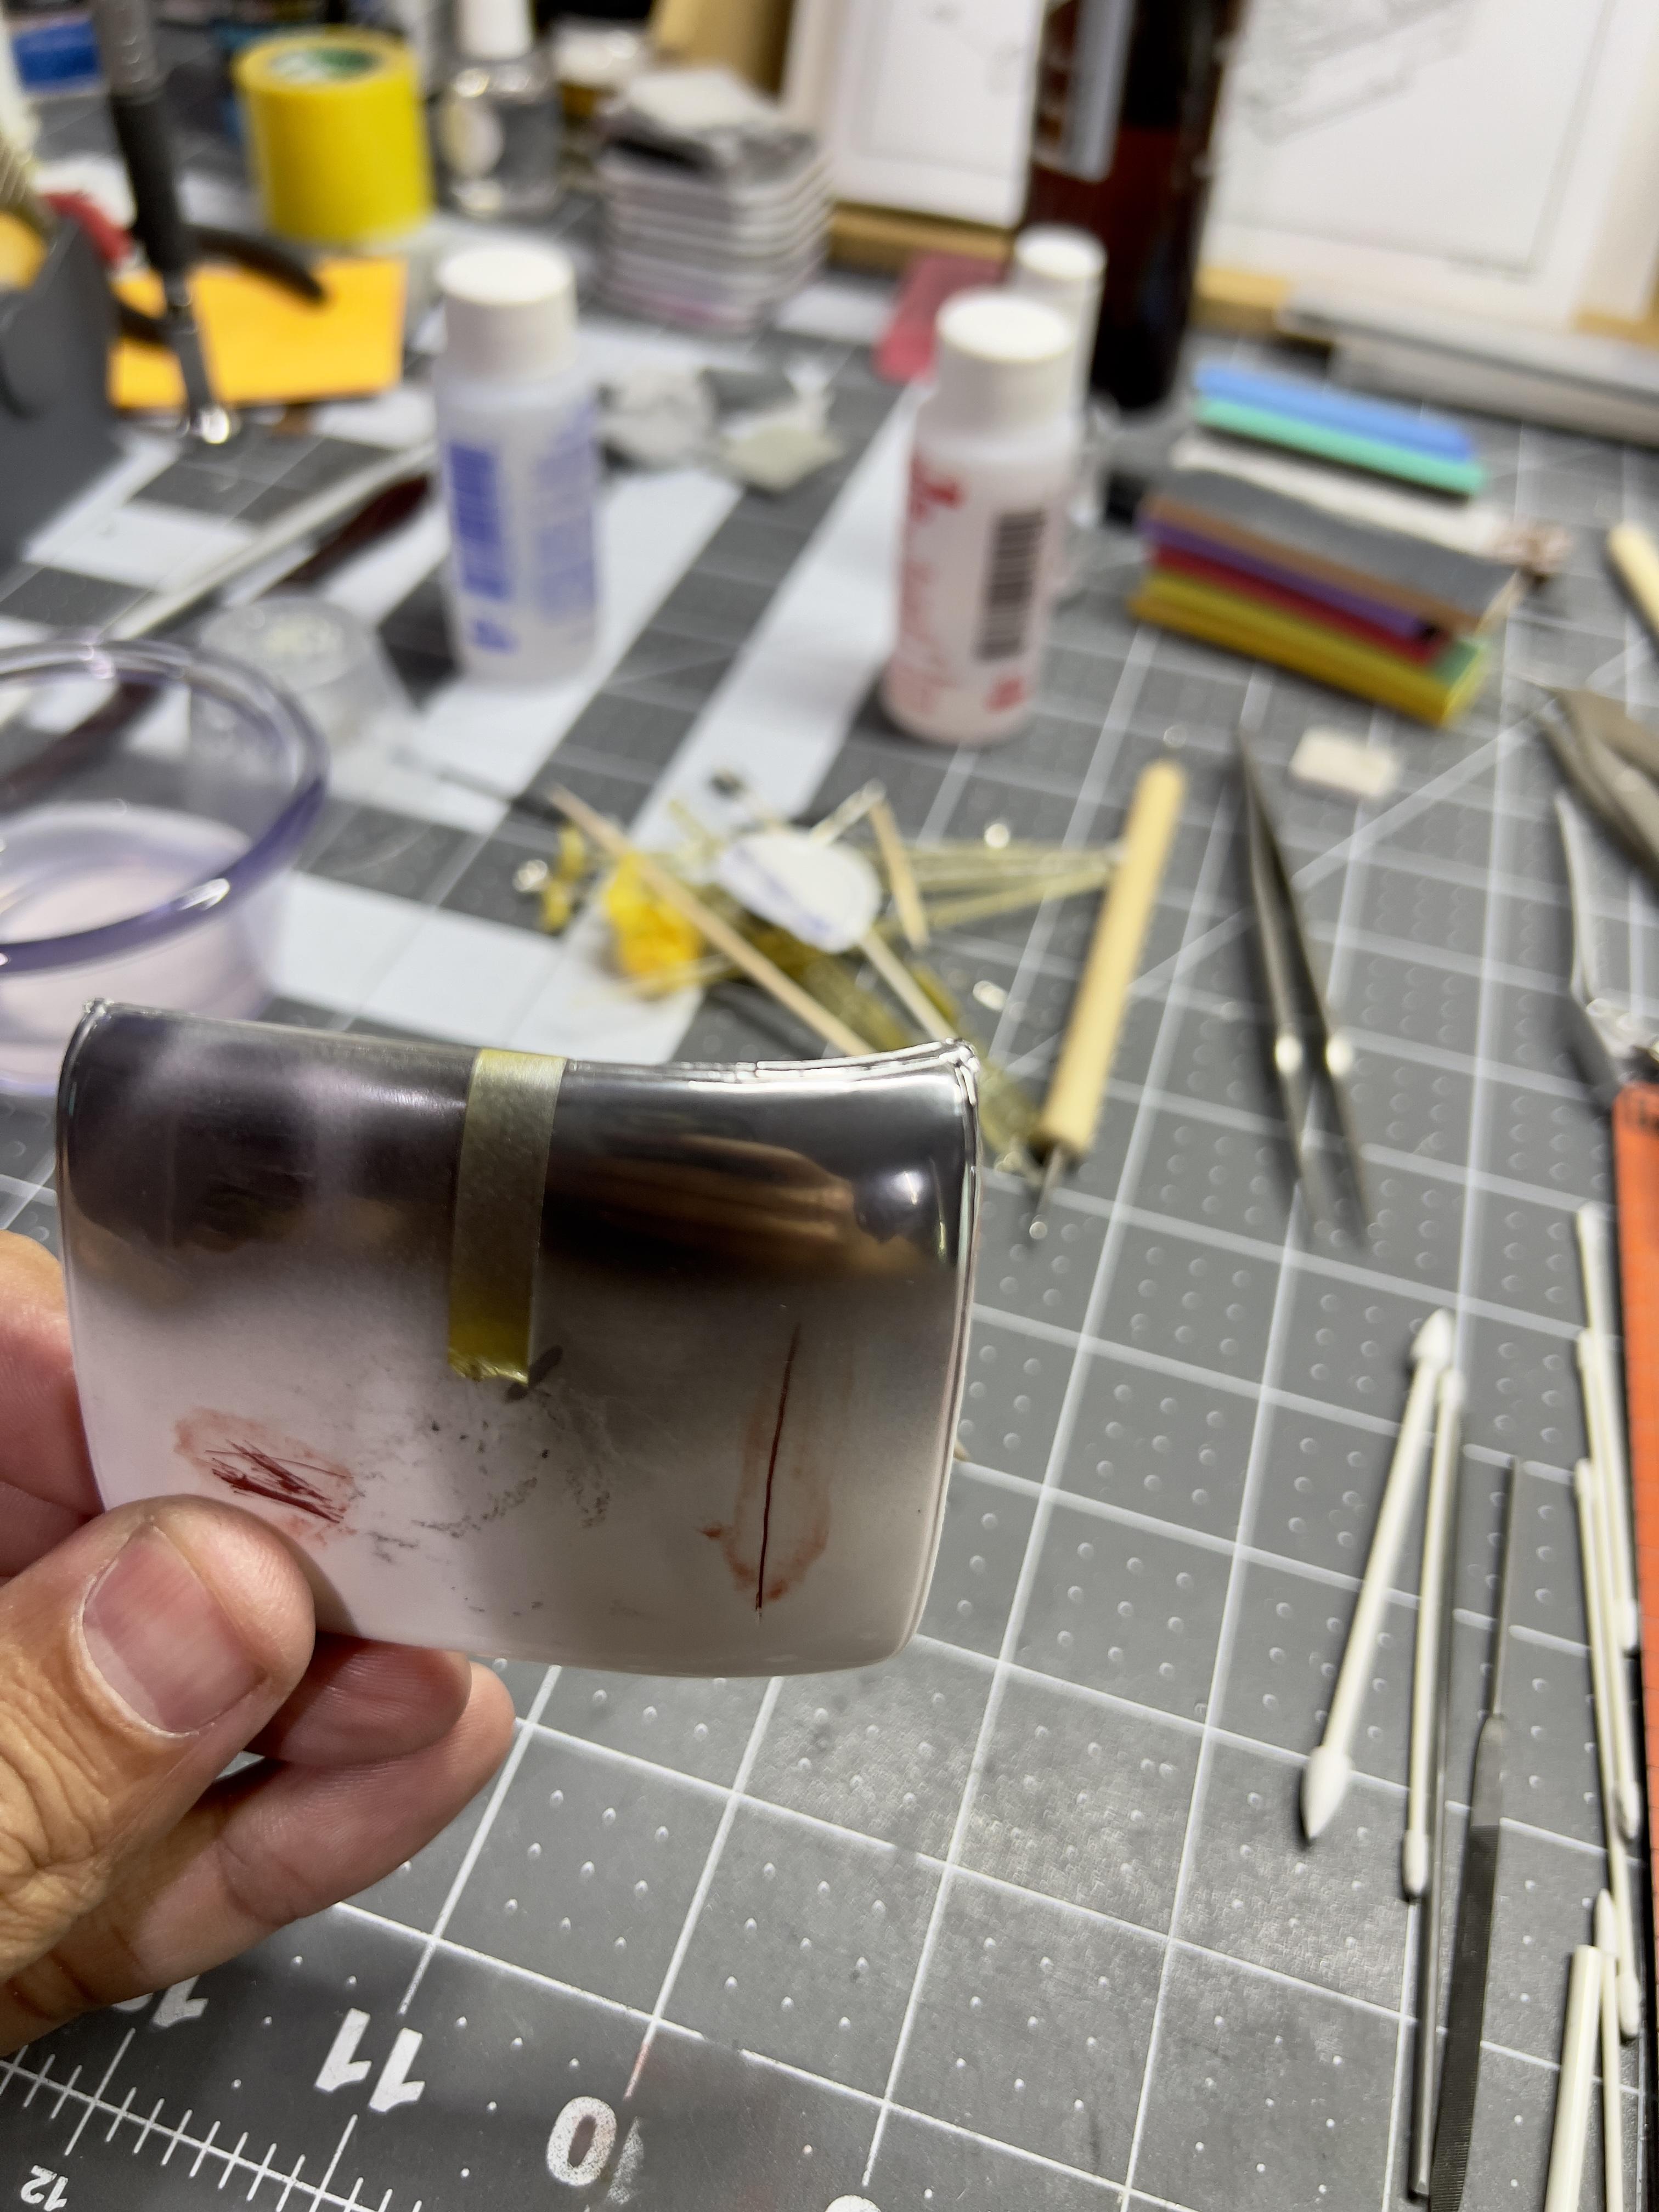
Review of Revell's new chrome spray paint
Dpate replied to Monty's topic in Model Building Questions and Answers
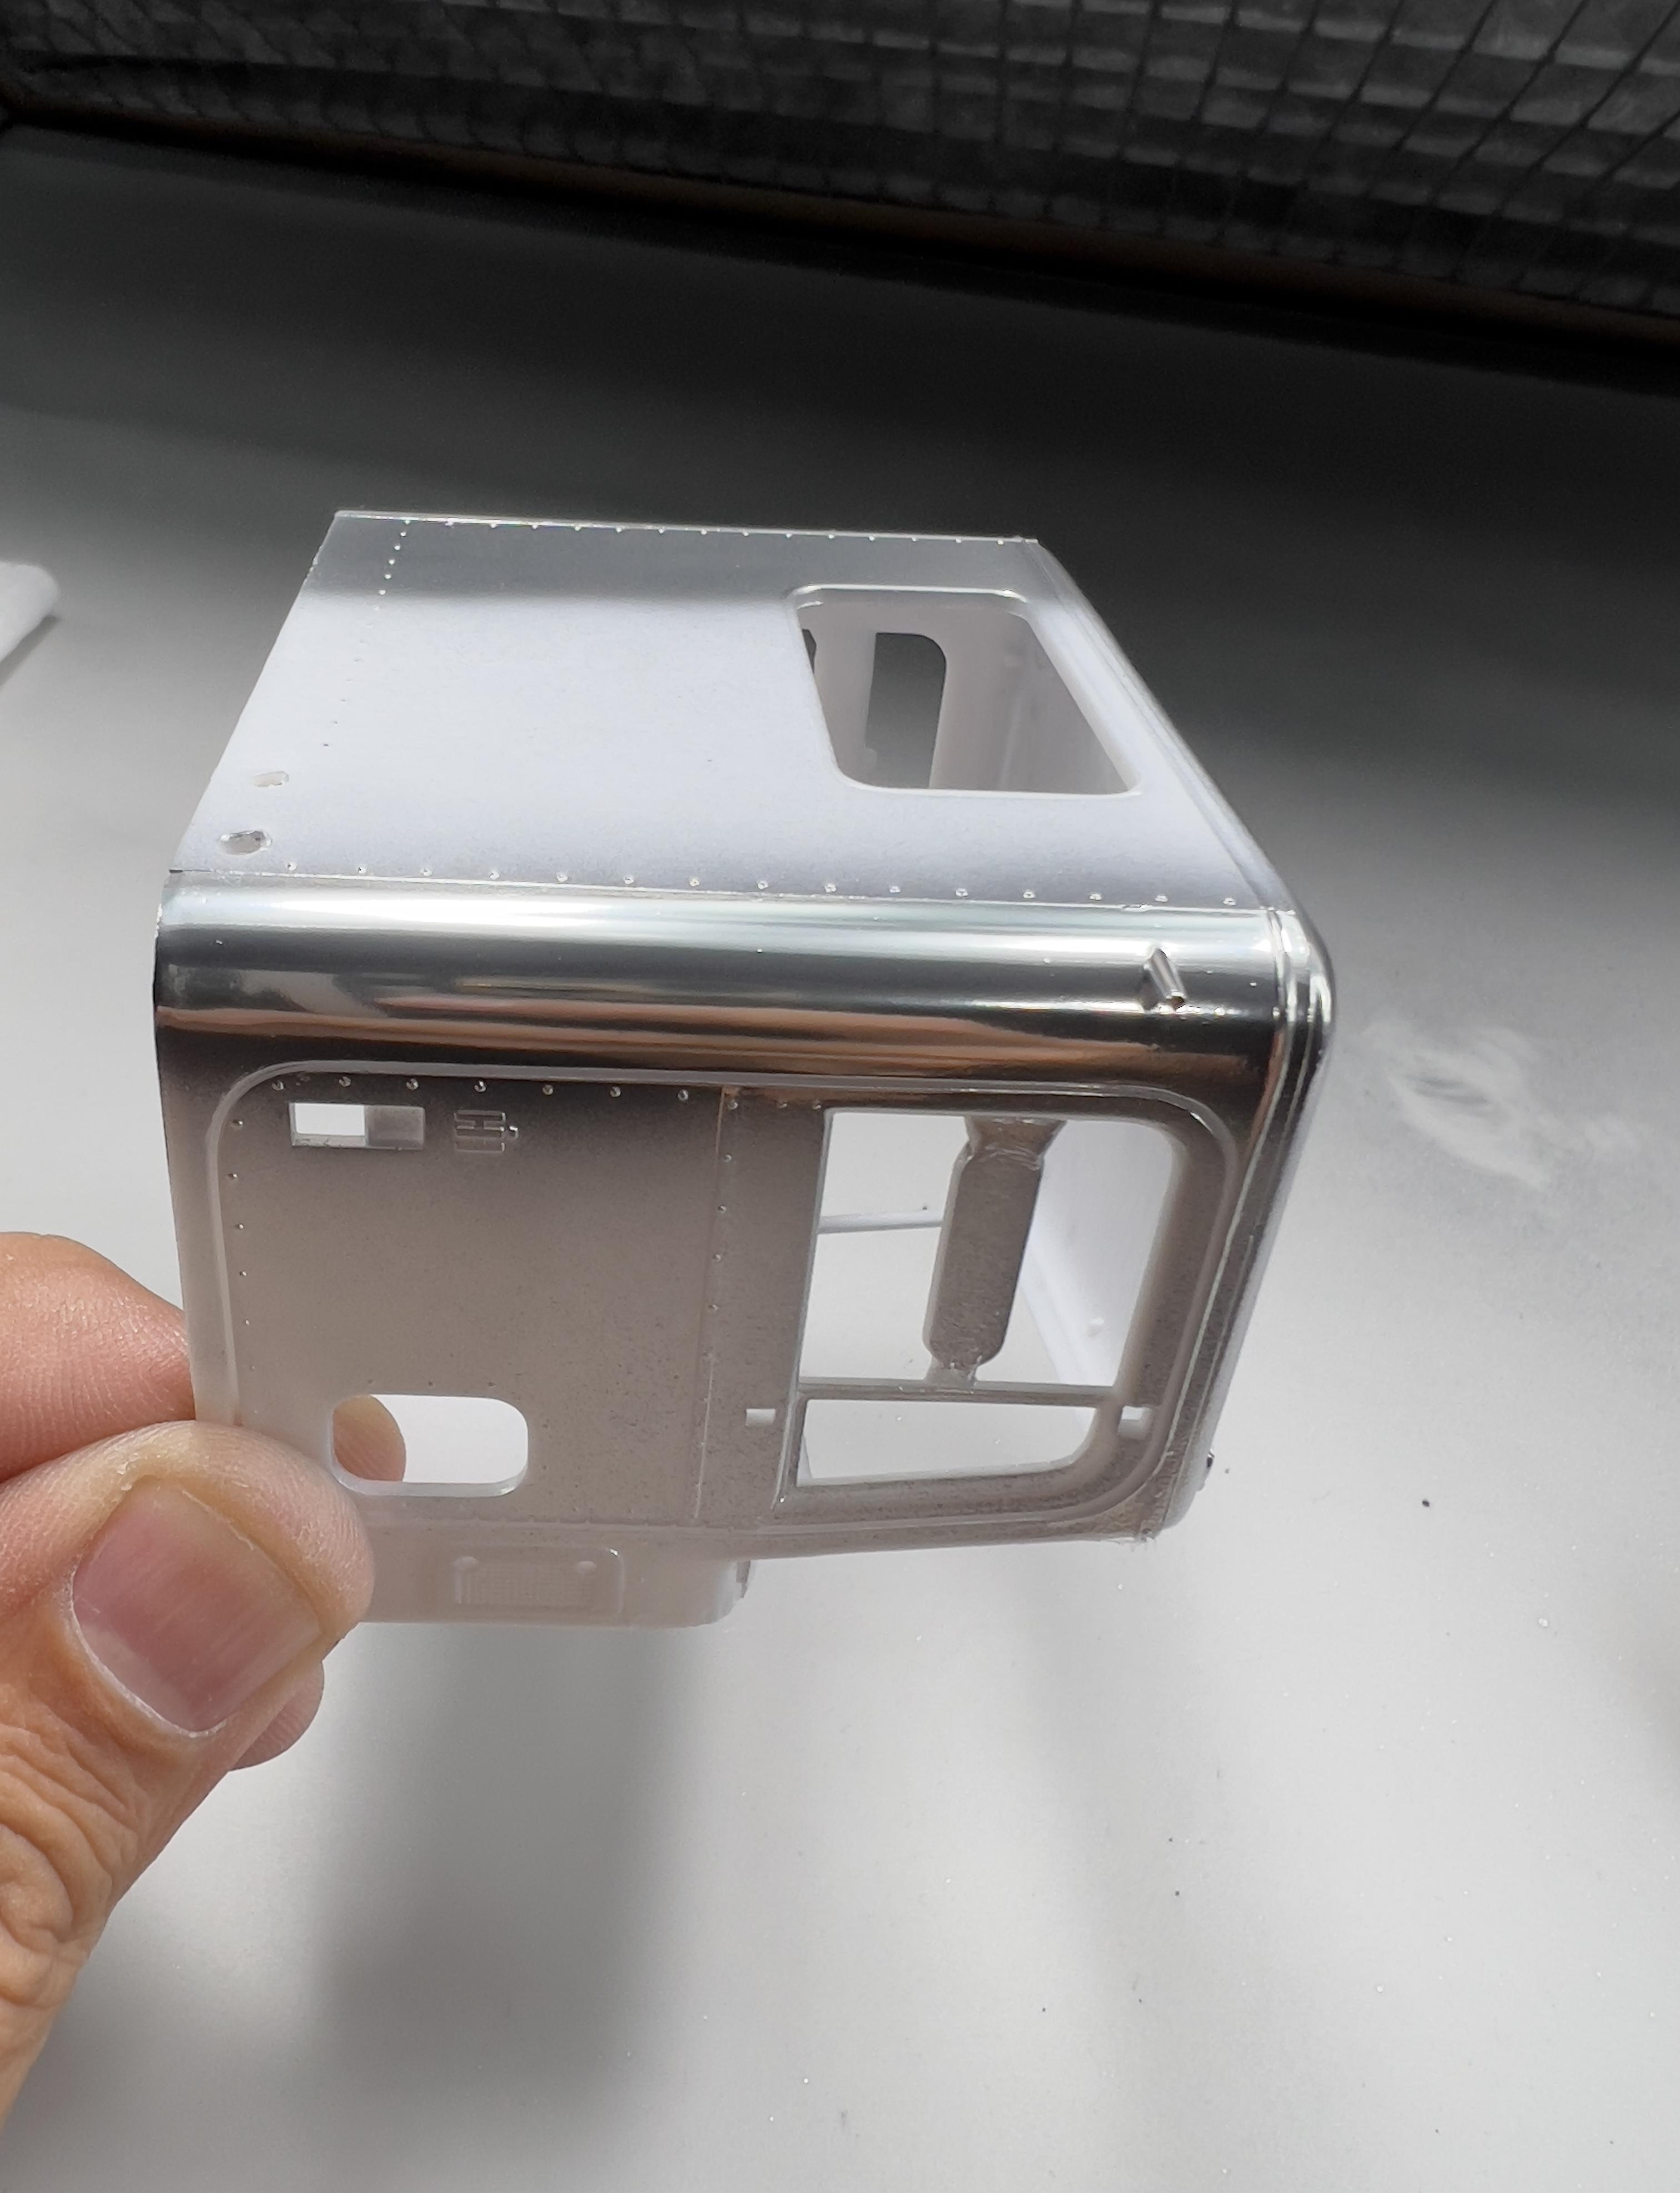
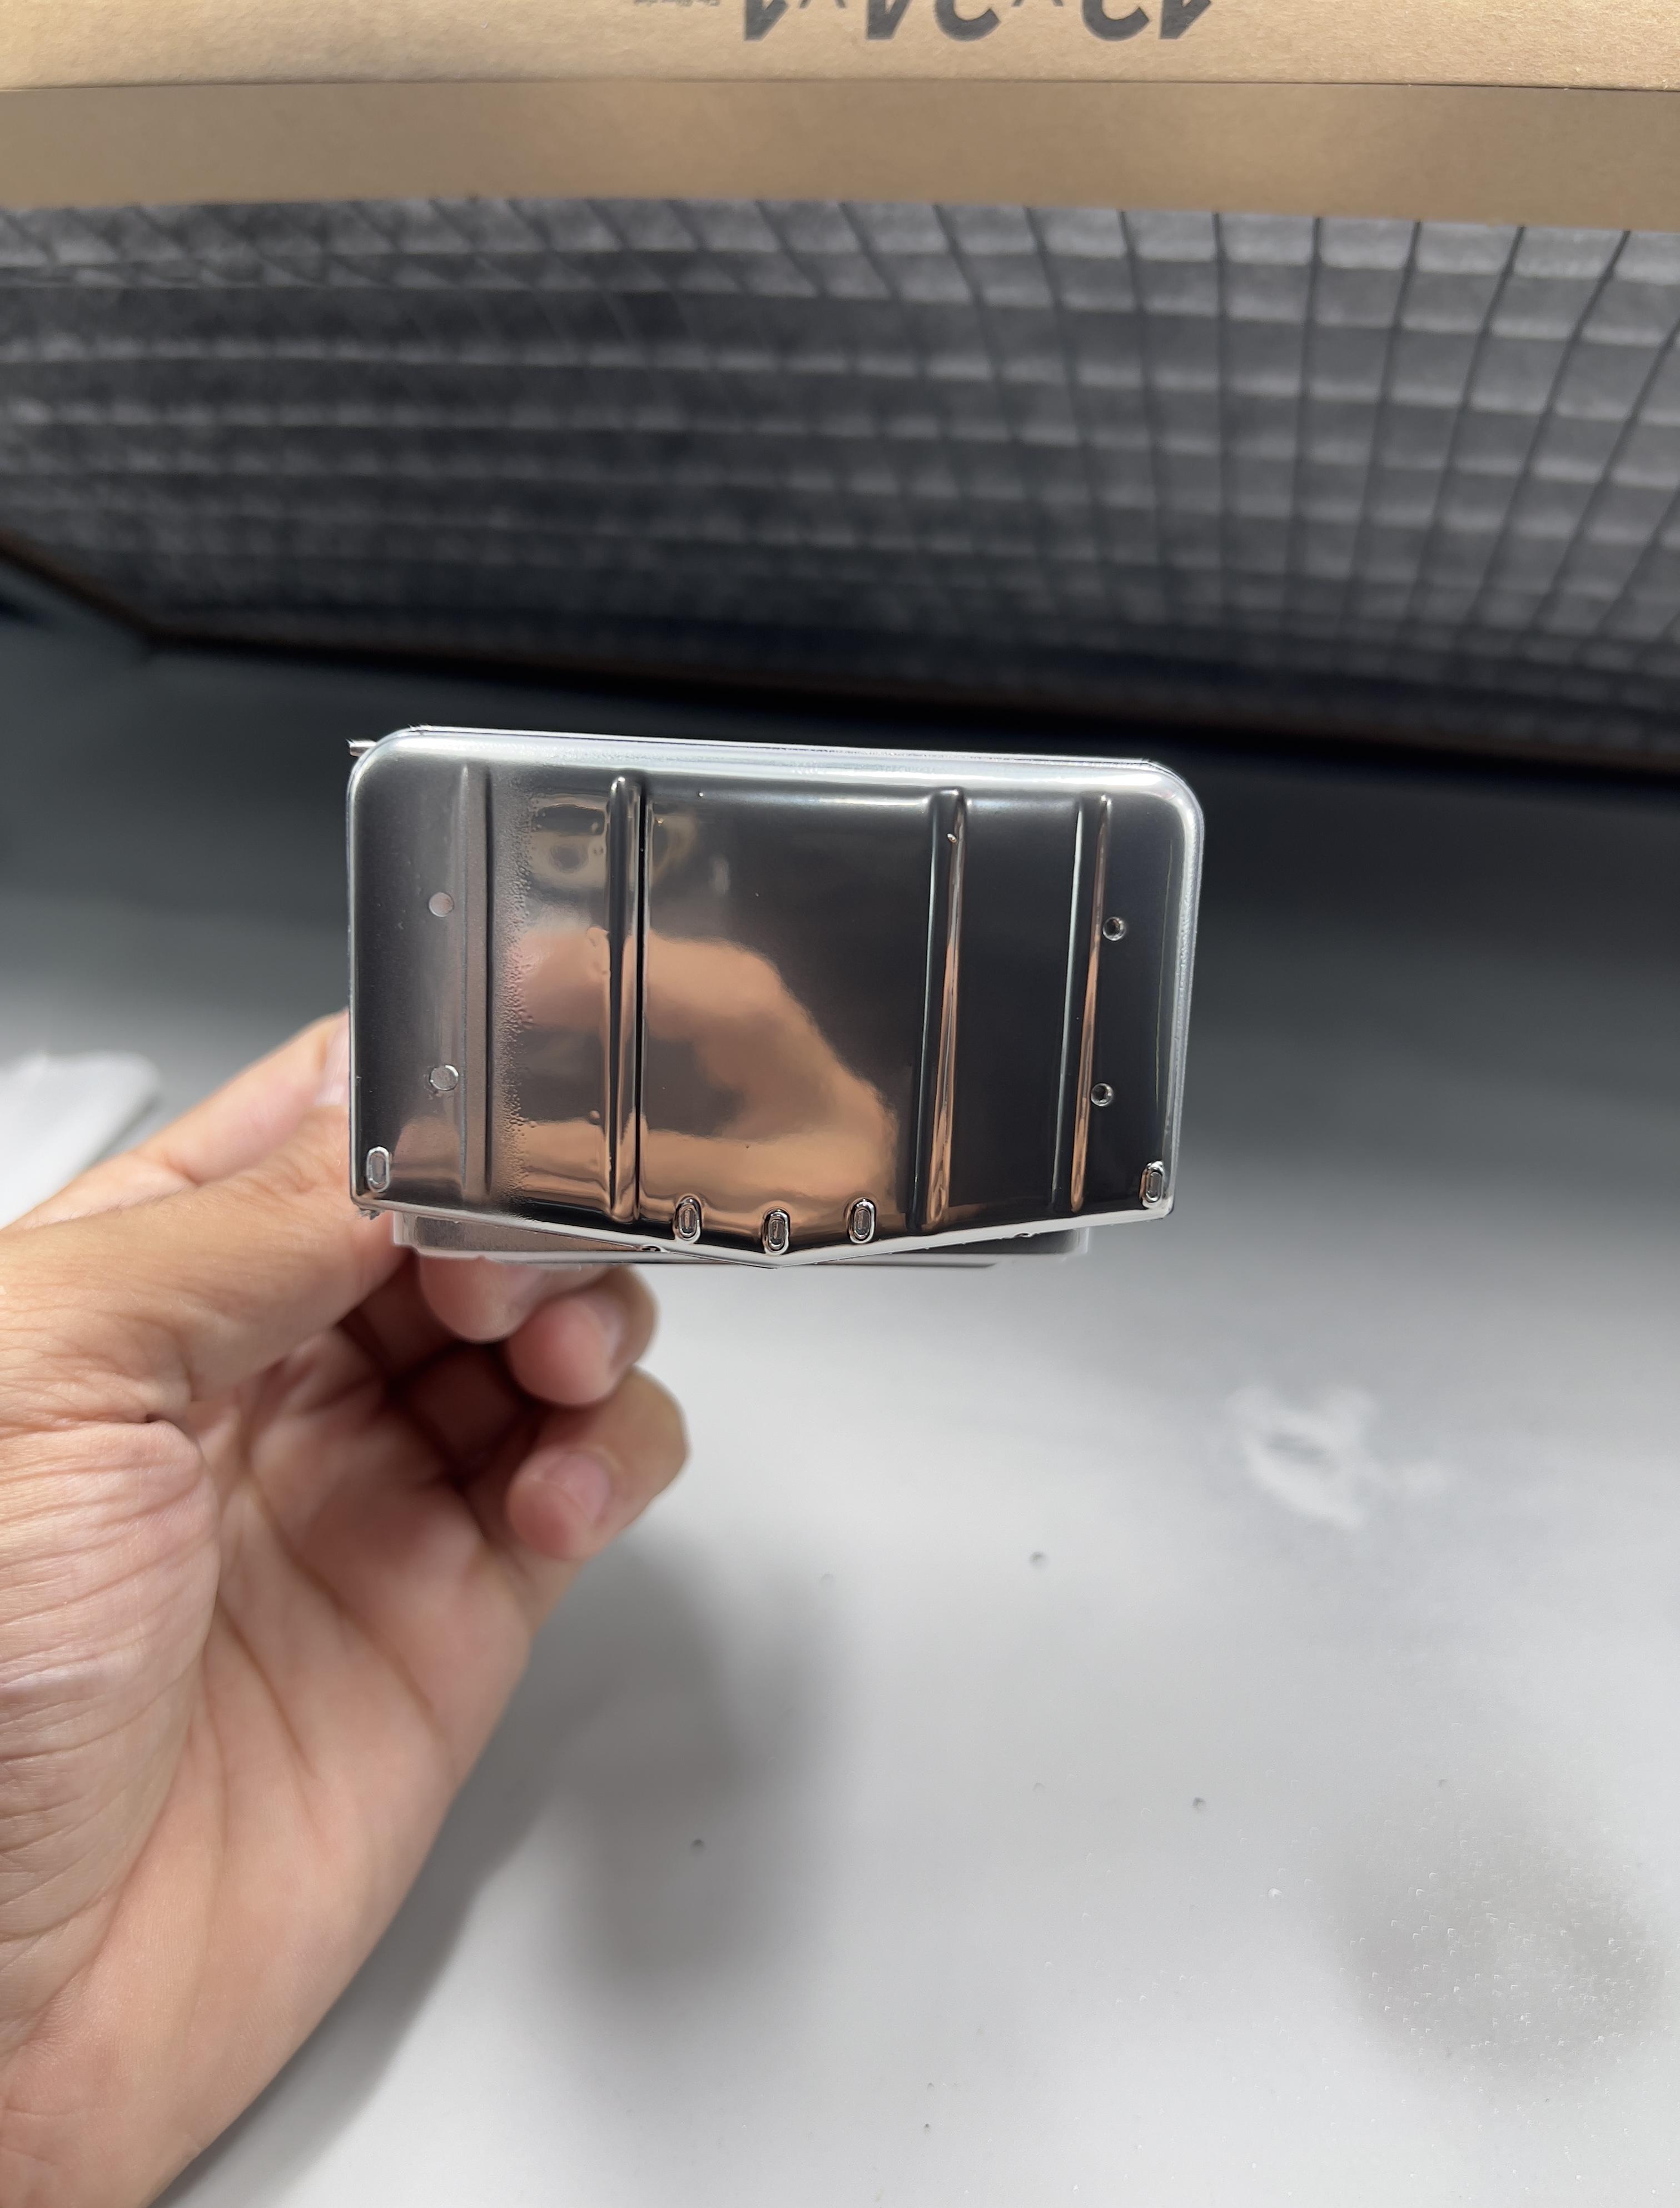
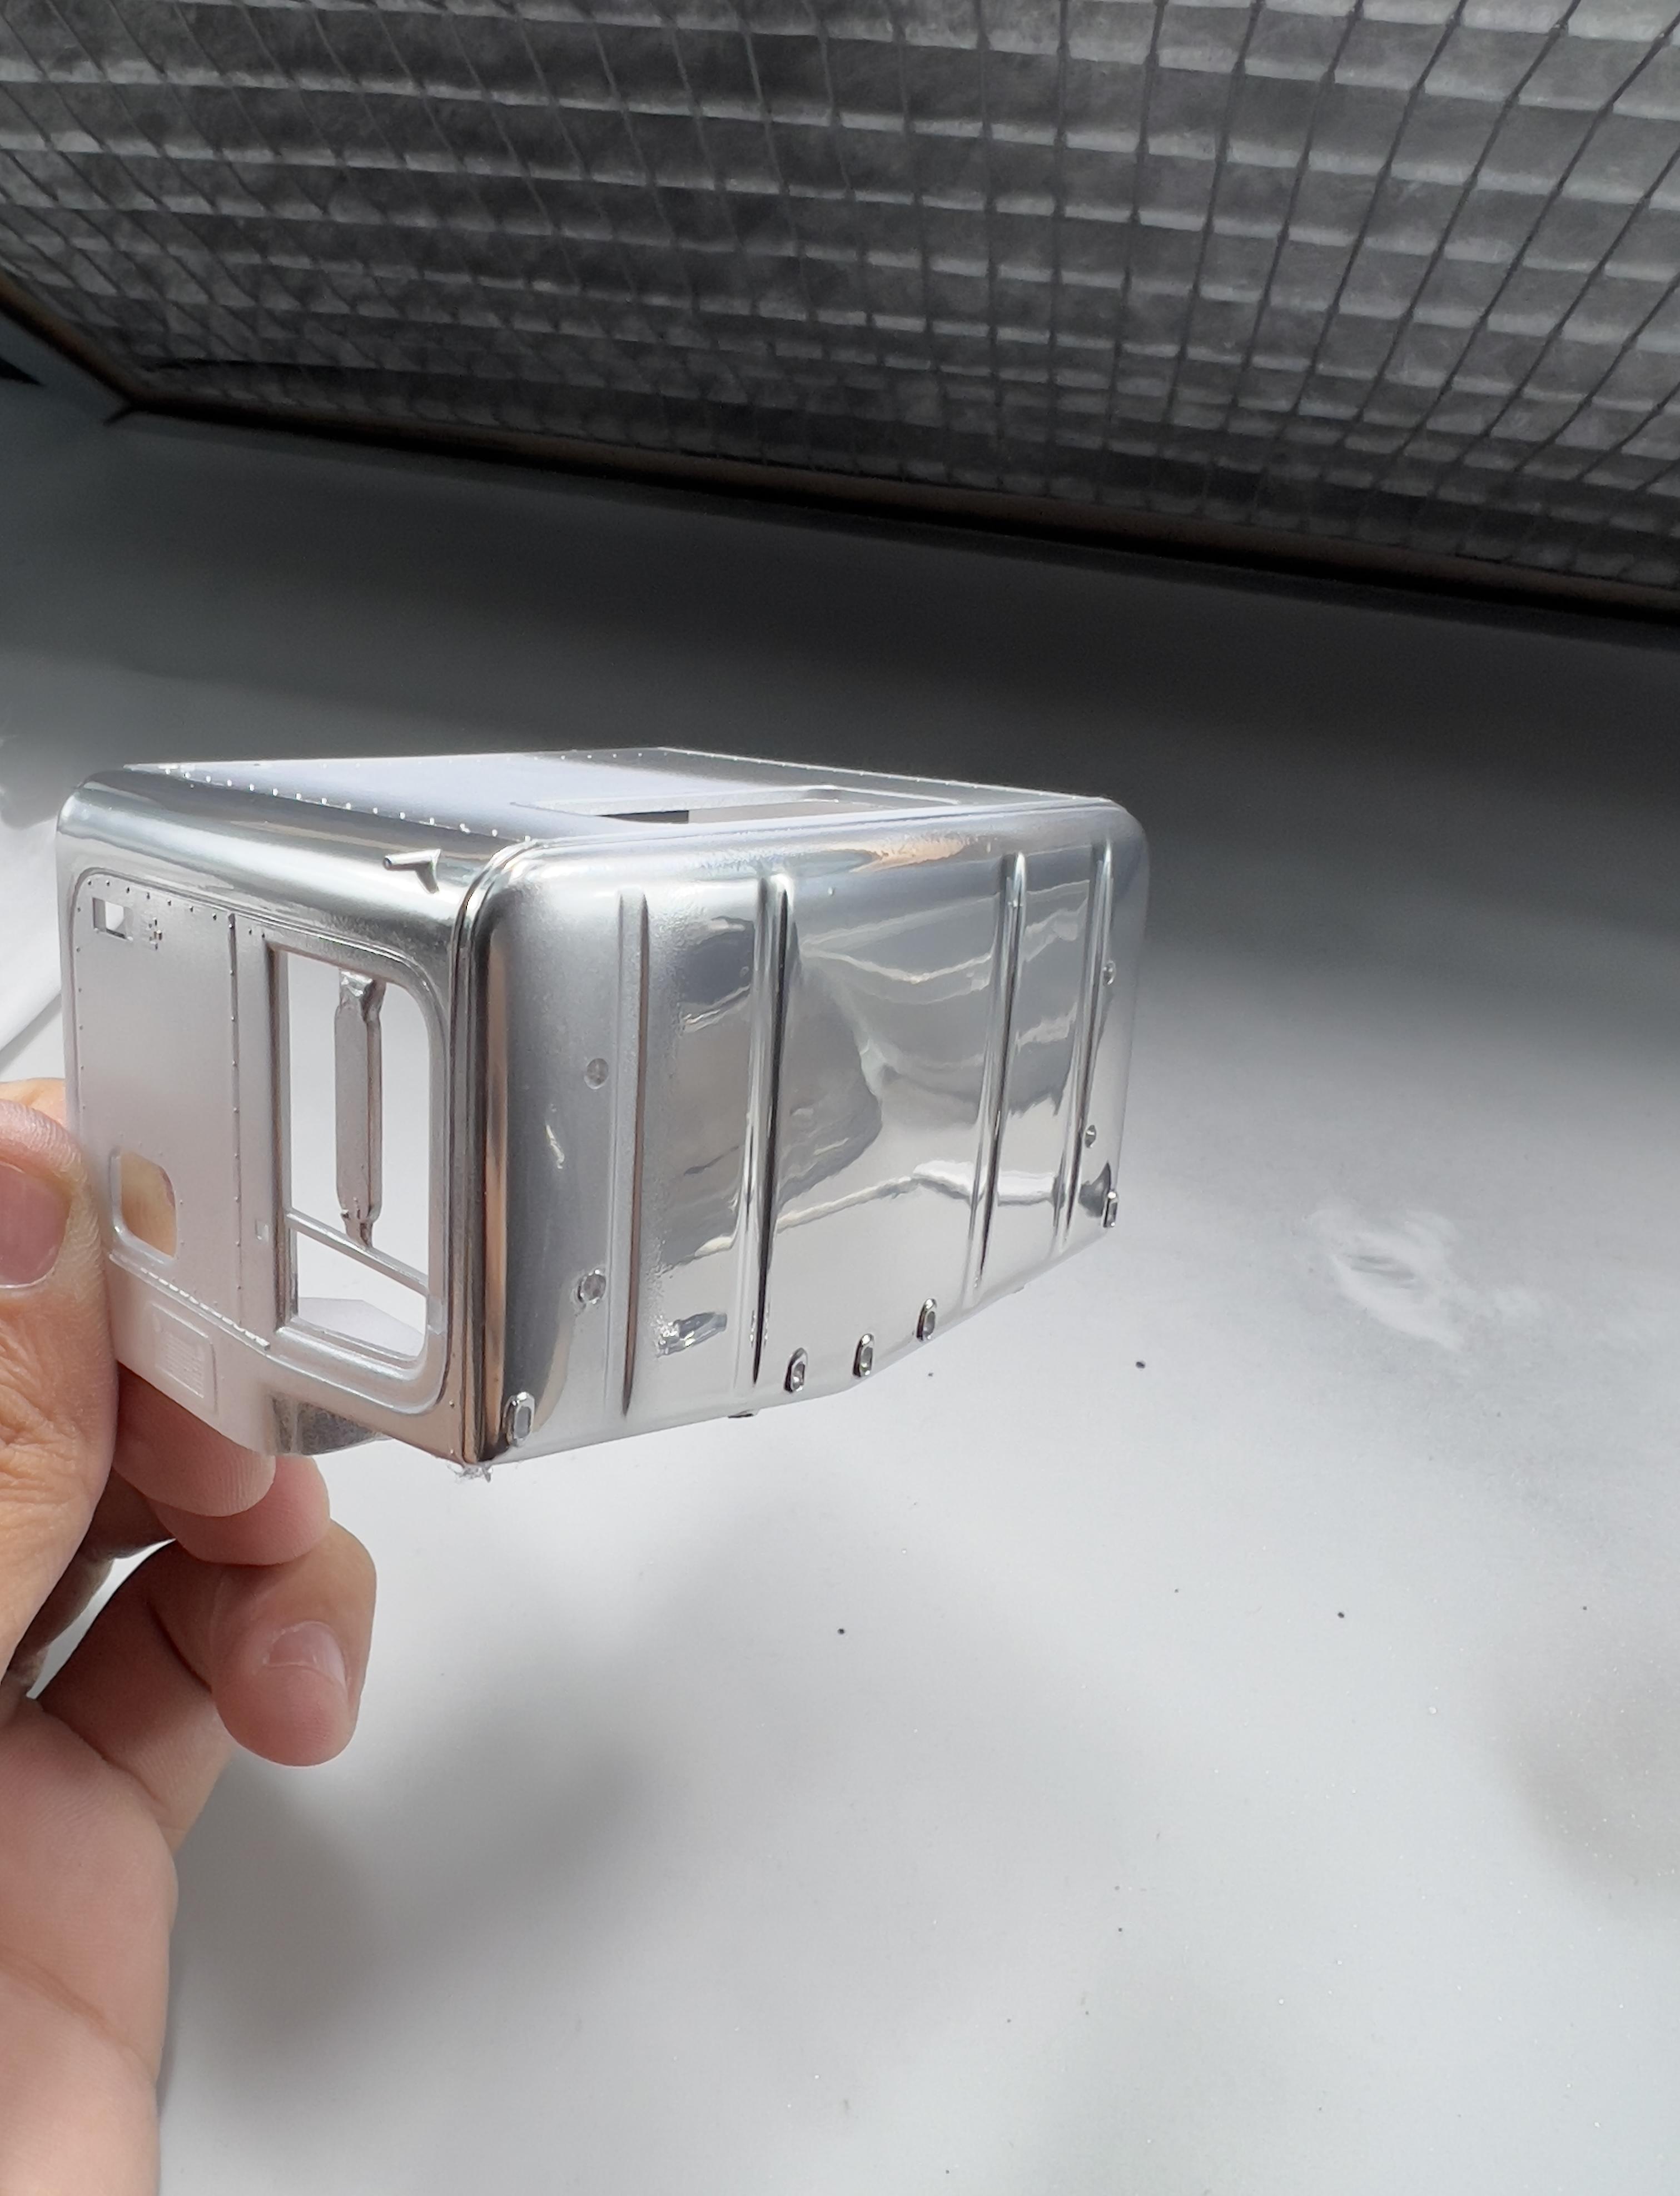
So went ahead of myself and airbrushed the revell even though should have waited lol. The first pics are revell and I also re did AK super chrome those are the next pictures. The cab I sprayed AK super chrome on top of revell no issues. They almost smell exactly the same even though one suppose to be acrylic lacquer, and one permanent ink. EDIT: The revel stuff is definitely different than the AK is. The revel was basically try to the touch after 5 mins in the heat, and the AK was still tacky where it left good fingerprints. The revel is better durability wise too, as it took whole lotta rubbing with a cloth to get it to lose its chrome look, and it was still shiny. So I think @ 15 PSI instead of 20PSI, and even longer to cure revel might even be even more durable. Even as the revell stuff sits it has a multi layer separation, as the AK stuff doesn’t it stays the same, and doesn’t need to be shaken. These are AK
-
Review of Revell's new chrome spray paint
Dpate replied to Monty's topic in Model Building Questions and Answers
Definitely gonna do more test using the airbrush once it’s done gassing off. The cab would have turnt out better, but I was scared of how far to push it, and I suck with aerosol cans lol. Just from the other pics alone I say it’s worth the money, and considering AK super chrome was $30 for 60ml bottle. -
Review of Revell's new chrome spray paint
Dpate replied to Monty's topic in Model Building Questions and Answers
Only issue I ever had was with micro mark dehydrator. There’s designed so the heat rises, and I had a part too close to the top, and it warped a little. It wasn’t digital either, but analog so had to use a separate temp gauge. It was almost $200. The one I’ve been using ever since has been the one in the picture that I got off Amazon for like $80 when it was on sale. It rotates heat 360 degrees cause it’s made for cooking food. Always do 115f , and I’ve never had a single issue at all with any plastic or paint. It’s also digital, and has safety features like auto shut off when time is up etc. just have to be careful if you use the Tamiya paint stand for car bodies. If it’s spread too tight the heat can cause it to bow out. But to over come that just keep the springs loose, and use tape to hold onto the inside.
-
Review of Revell's new chrome spray paint
Dpate replied to Monty's topic in Model Building Questions and Answers
Just a term used for drying paint in with heat lol in my case dehydrator. -
These came in today. With shipping $62 so good deal to me.
- 36,149 replies
-
- 4
-
-
- johan
- glue bombs
- (and 1 more)
-
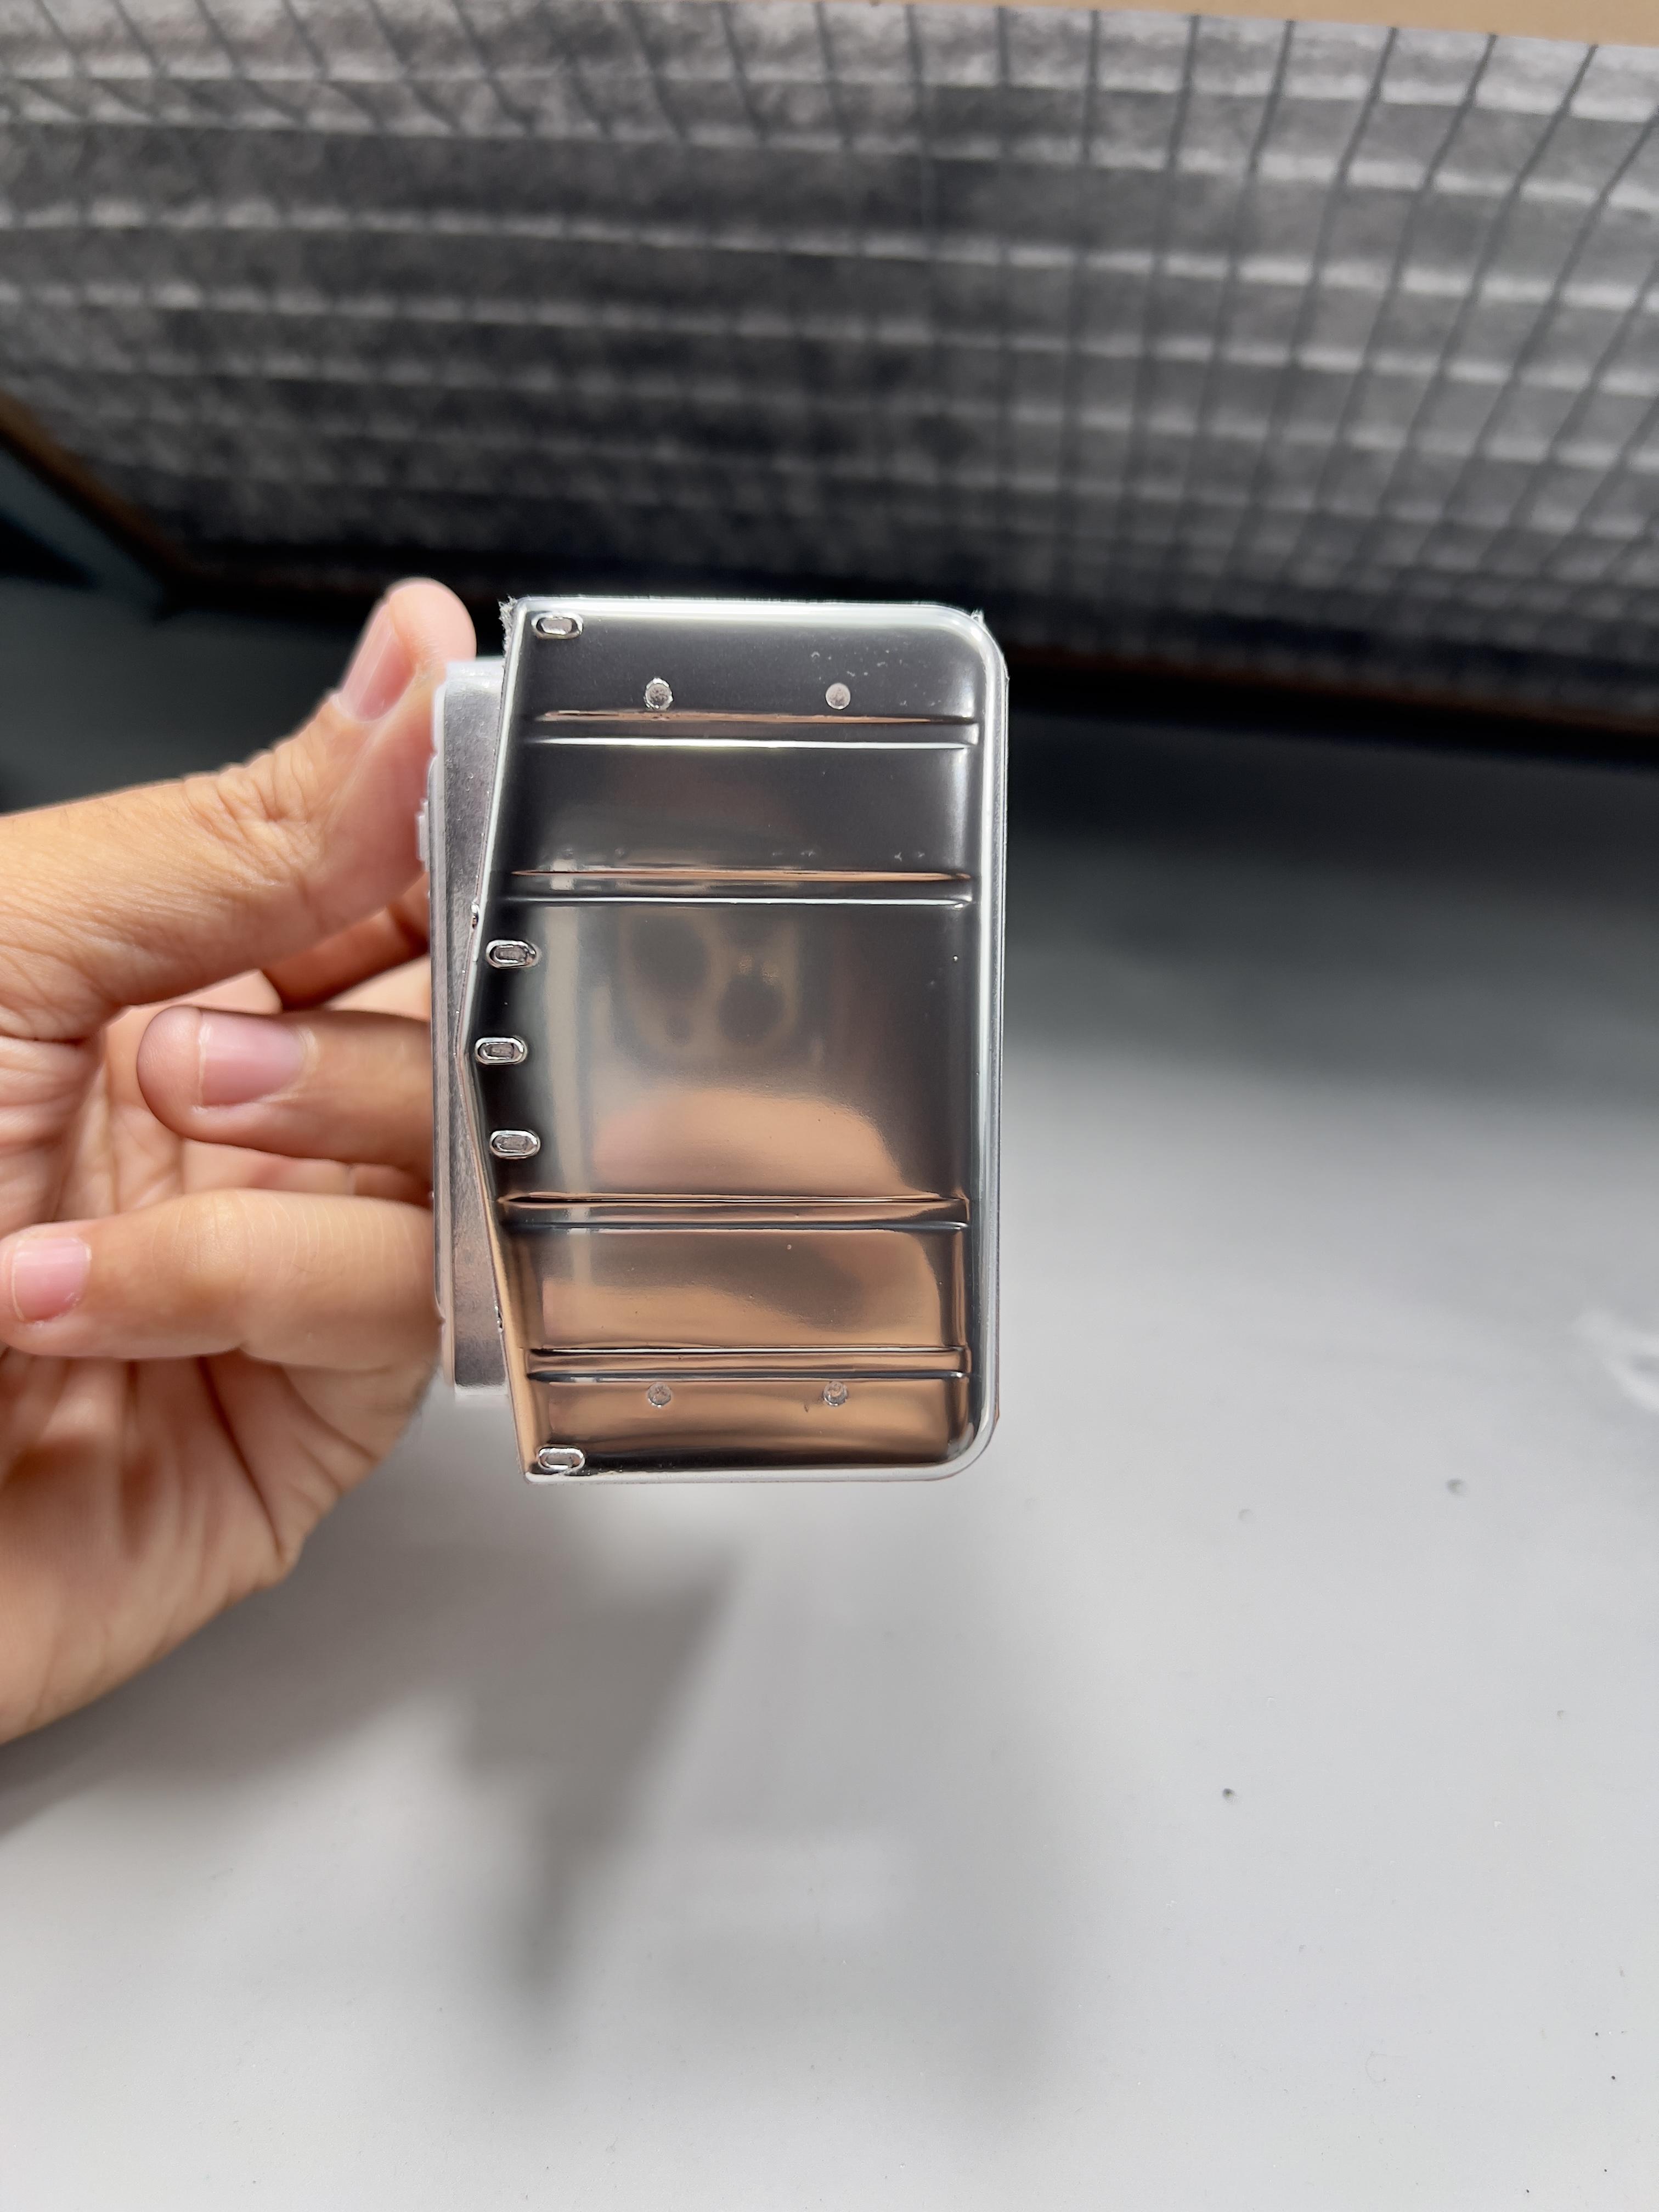
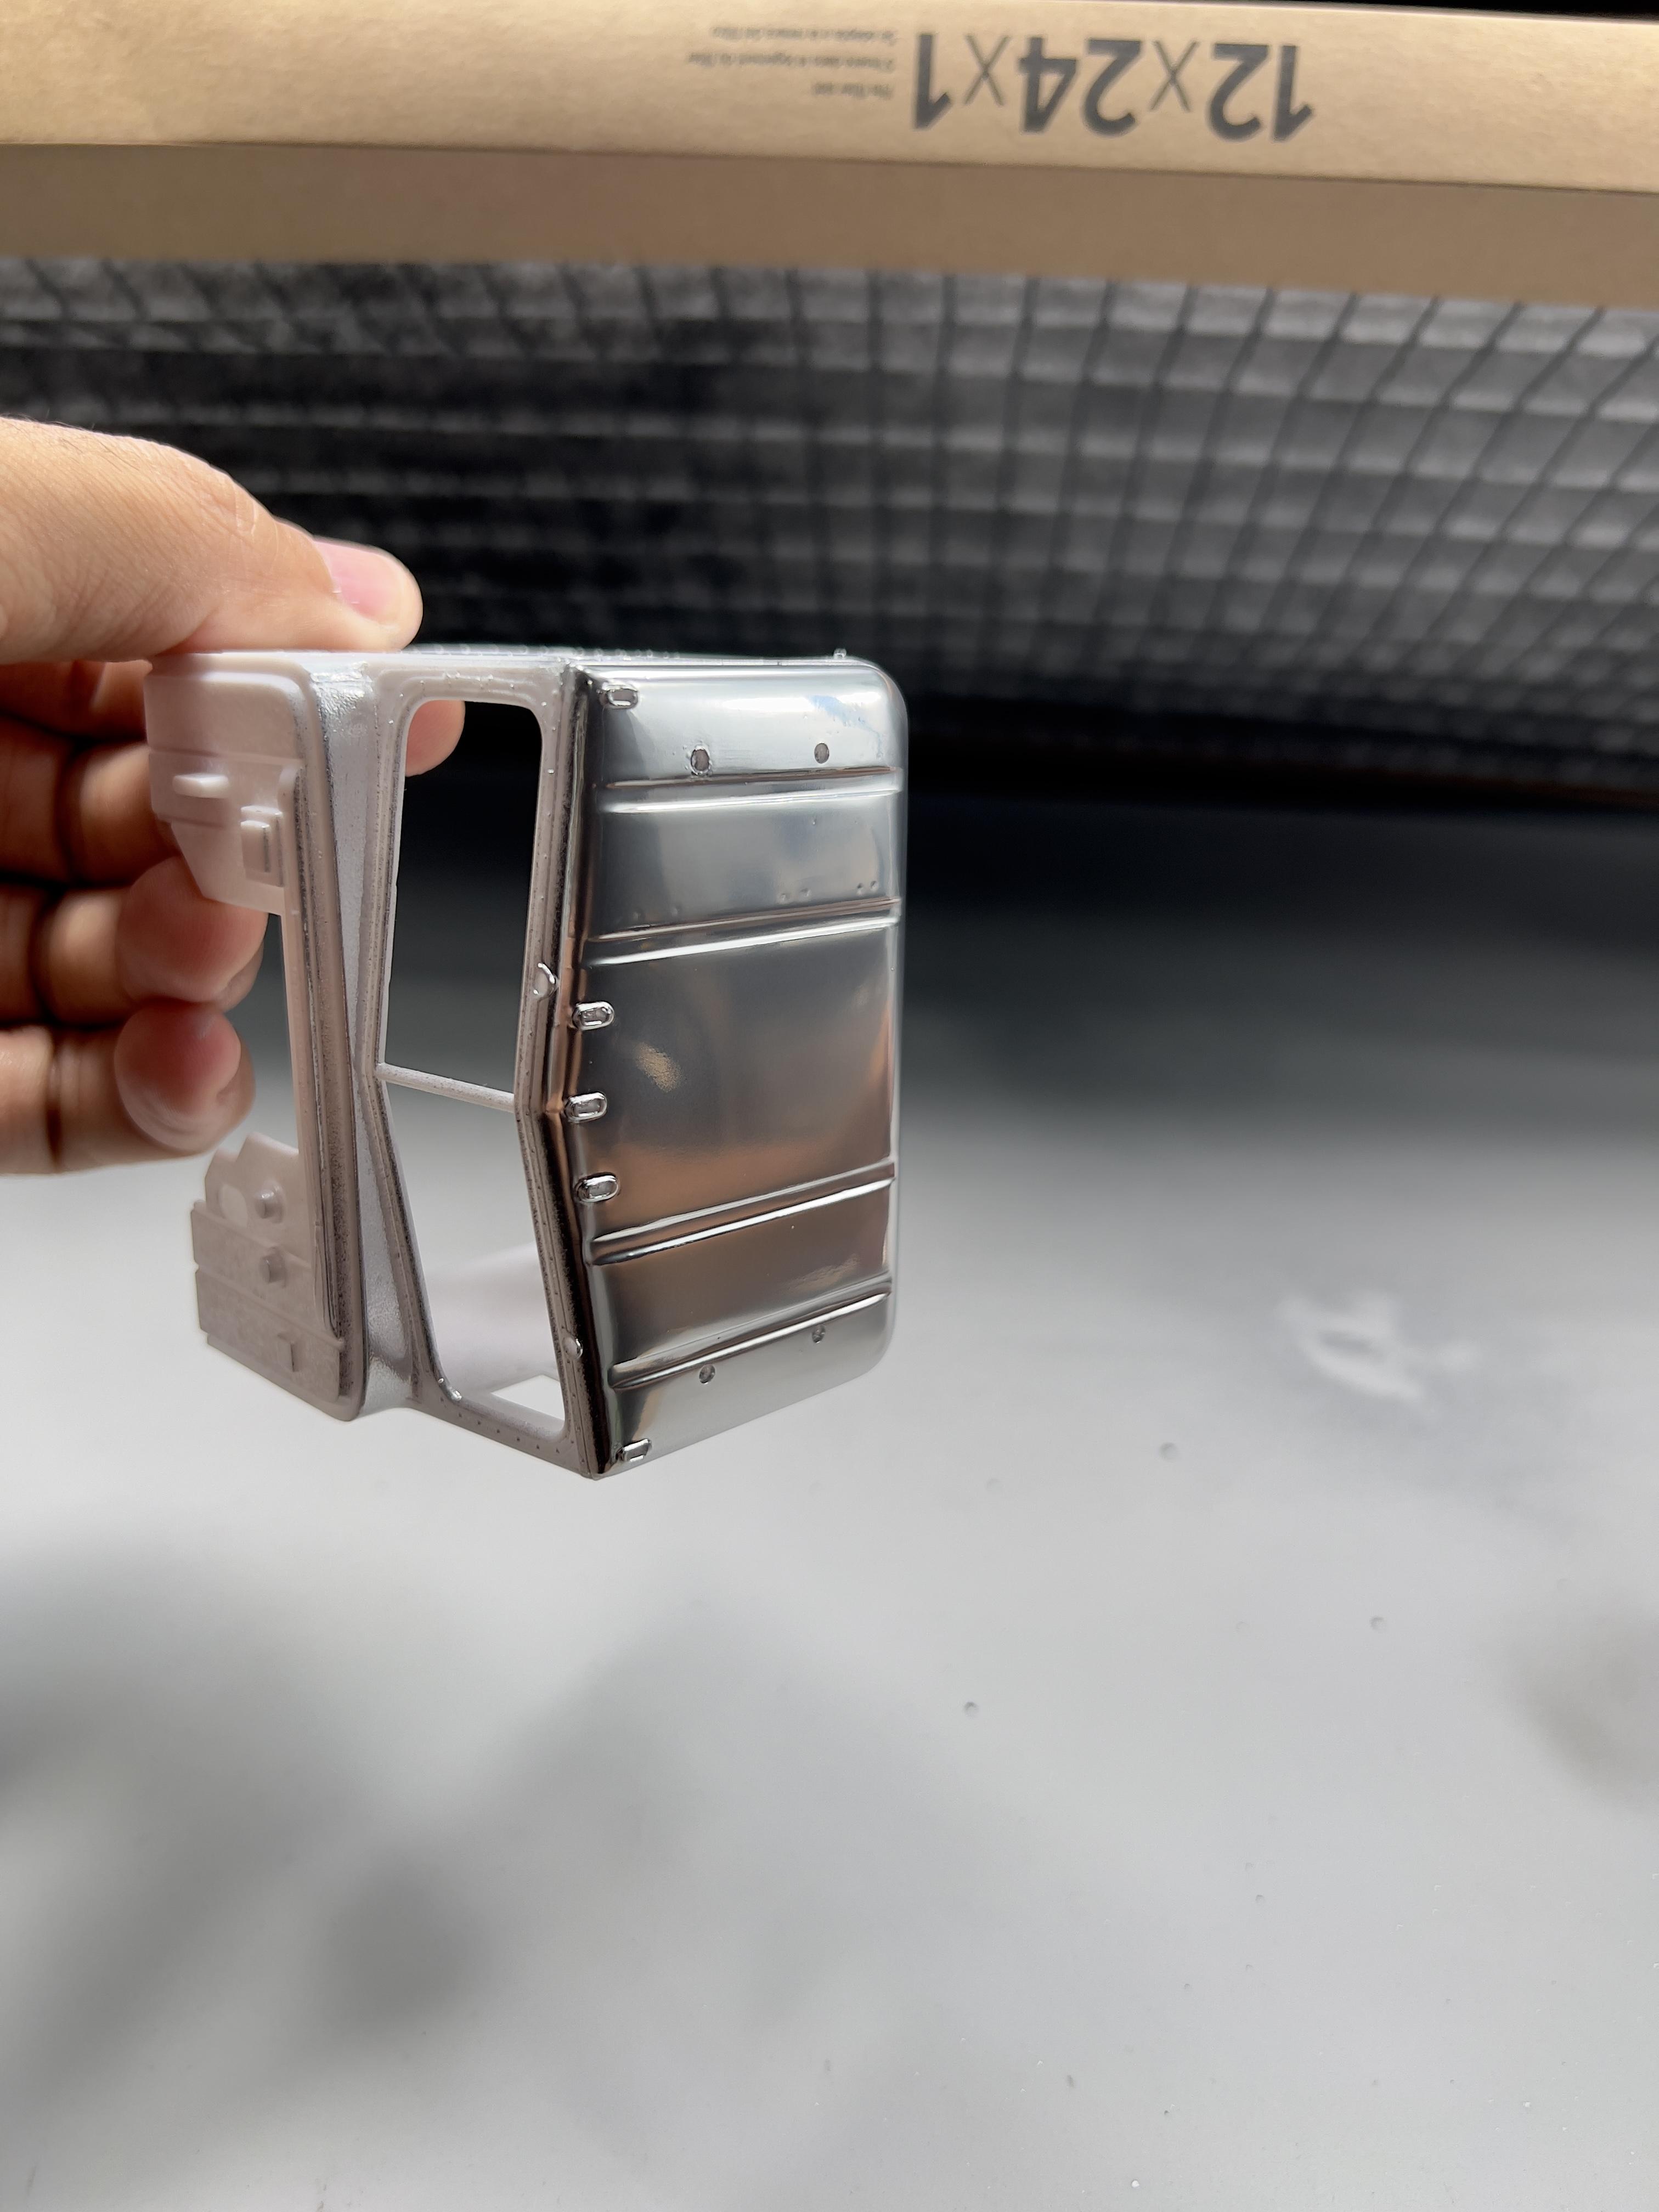
Review of Revell's new chrome spray paint
Dpate replied to Monty's topic in Model Building Questions and Answers
So sprayed the revell chrome and it’s very good. 30 mins baking and it’s pretty durable no finger prints etc. the cab came out little hazy cause needed another pass, but I wasn’t trying to waste it, and wasn’t sure how far to push it. The next piece looks how it should cause I did the proper amount of passes. Works good out the can, but probably recommended warming it up. Id recommend decanting it though to save money as mines is off gazing as we speak bubbling like a volcano lol. I’m letting bake more to test durability.