BK9300
-
Posts
1,991 -
Joined
-
Last visited
Content Type
Profiles
Forums
Events
Gallery
Everything posted by BK9300
-

Mercedes Benz SSK
BK9300 replied to Pierre Rivard's topic in WIP: Other Racing: Road Racing, Land Speed Racers
Your scratch building is very good and seeing the chassis/engine together, all that work is even more evident with the great detail painting - makes all the detail work stand out and be noticed! -
Western Star 4900 FA plow truck
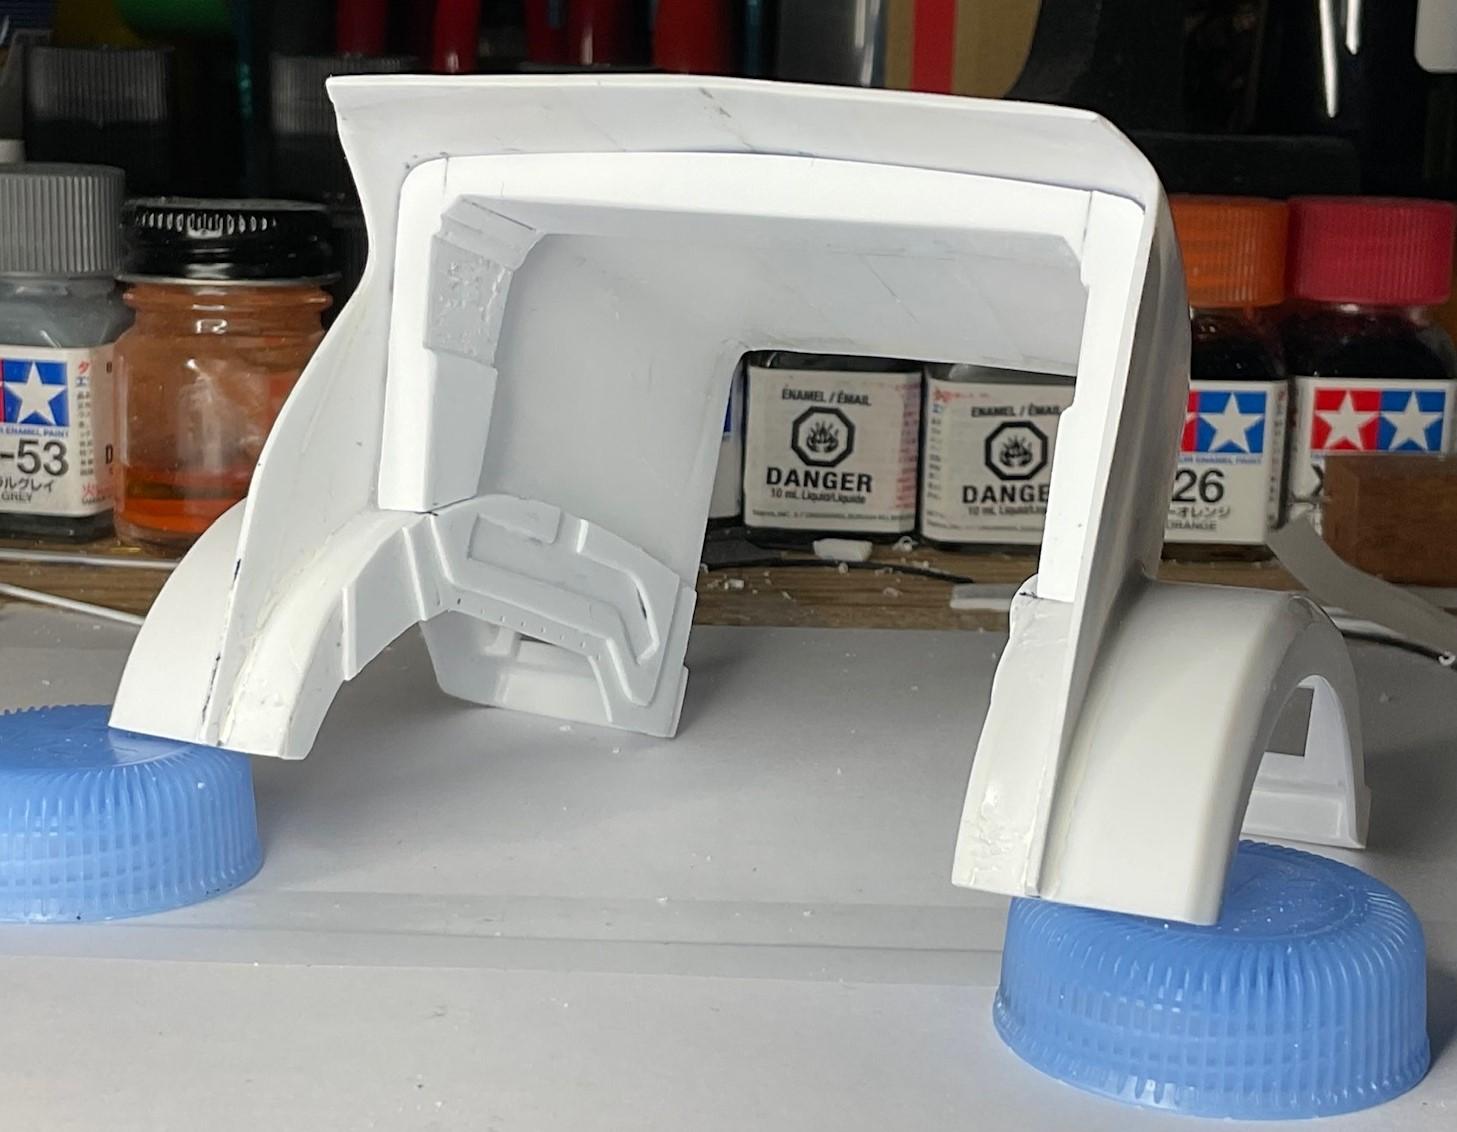
BK9300 replied to BK9300's topic in WIP: Model Trucks: Big Rigs and Heavy Equipment
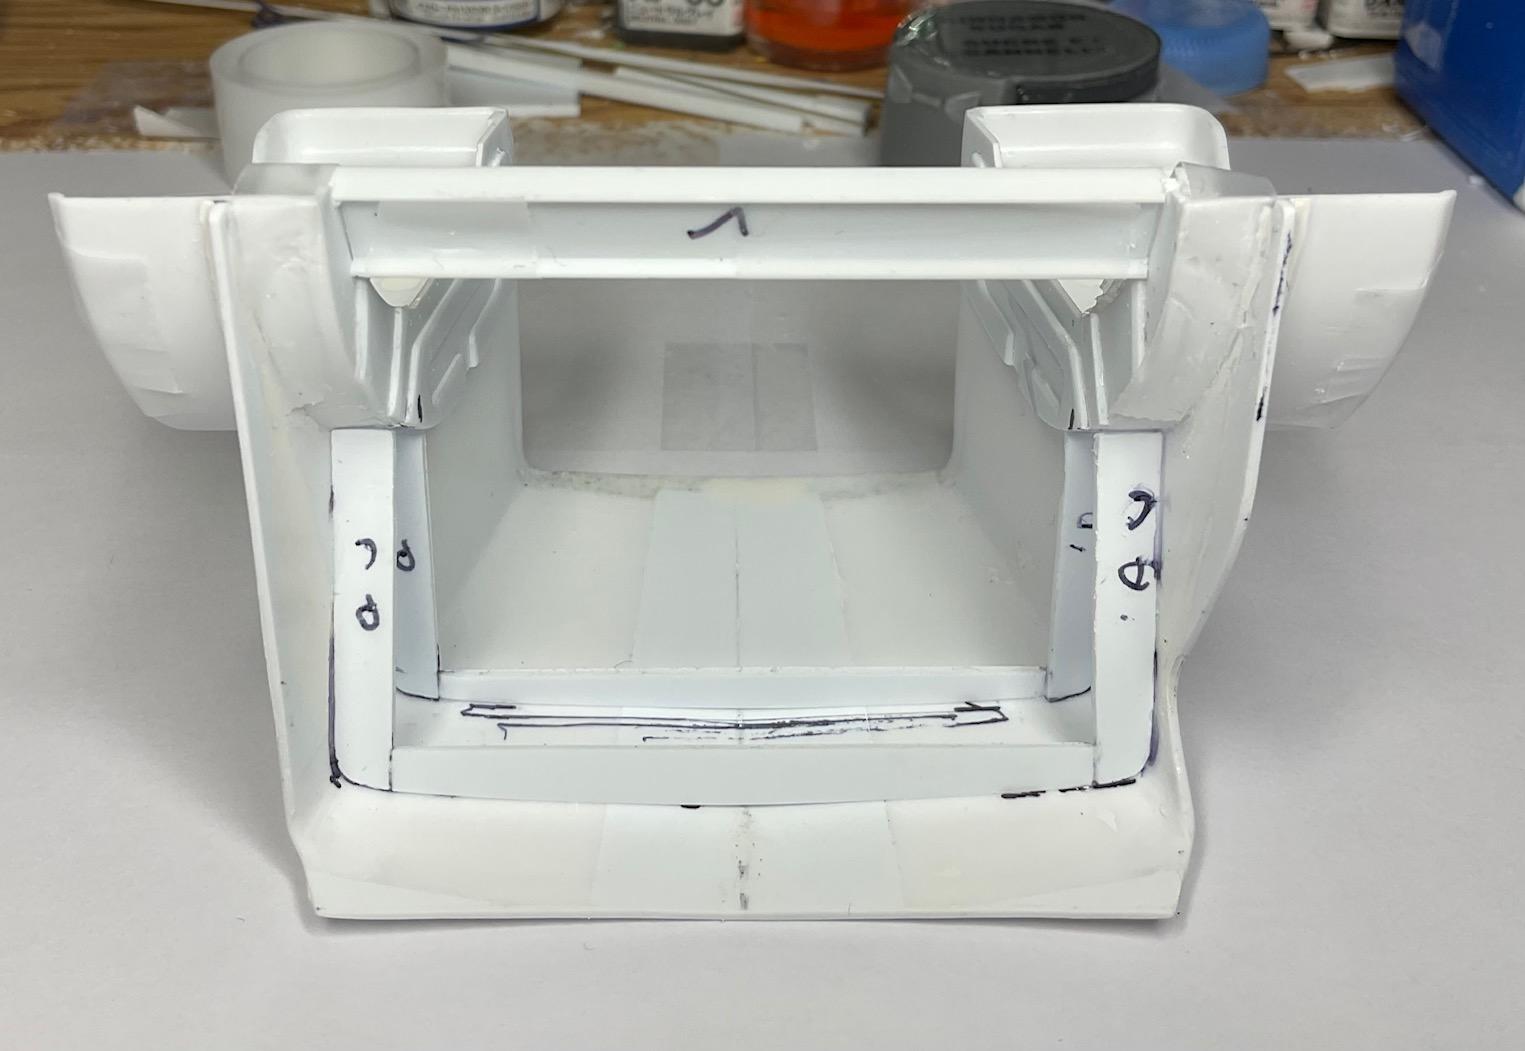
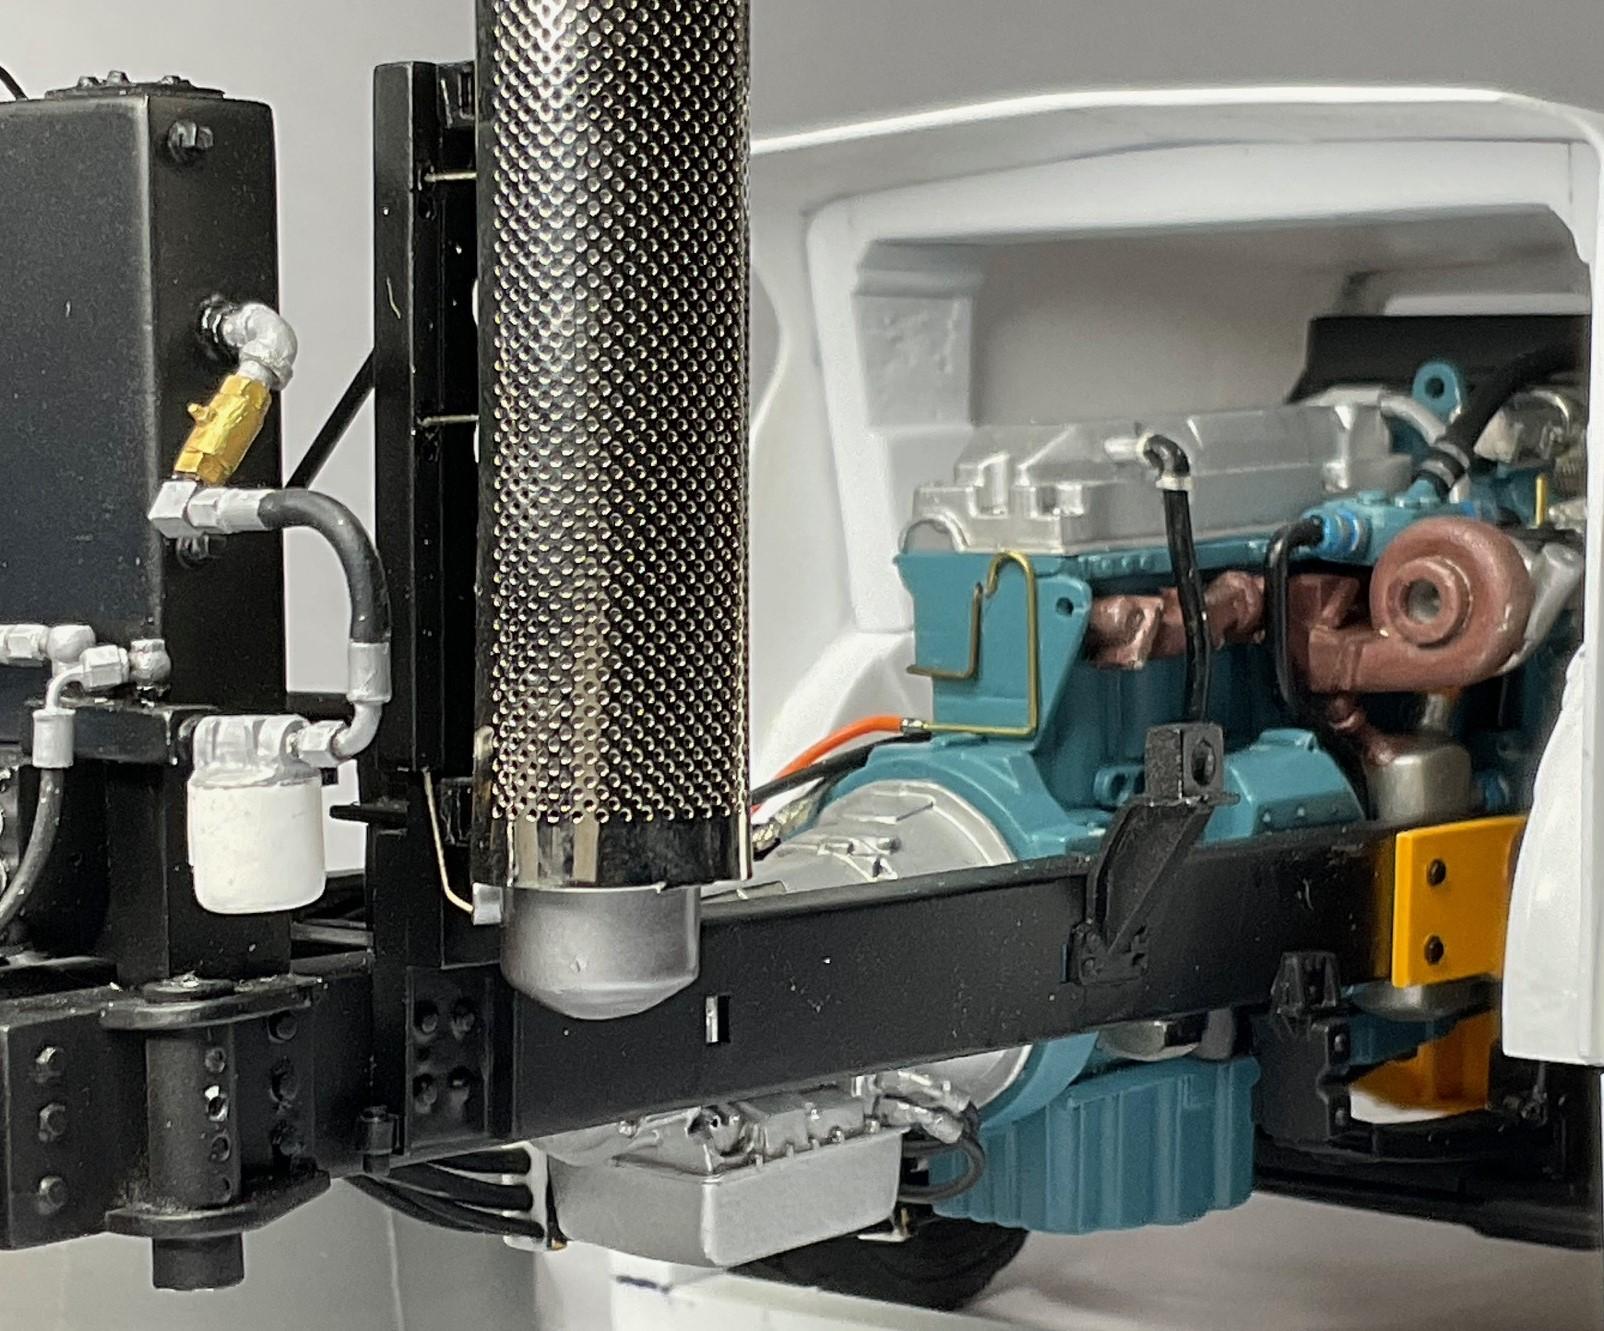
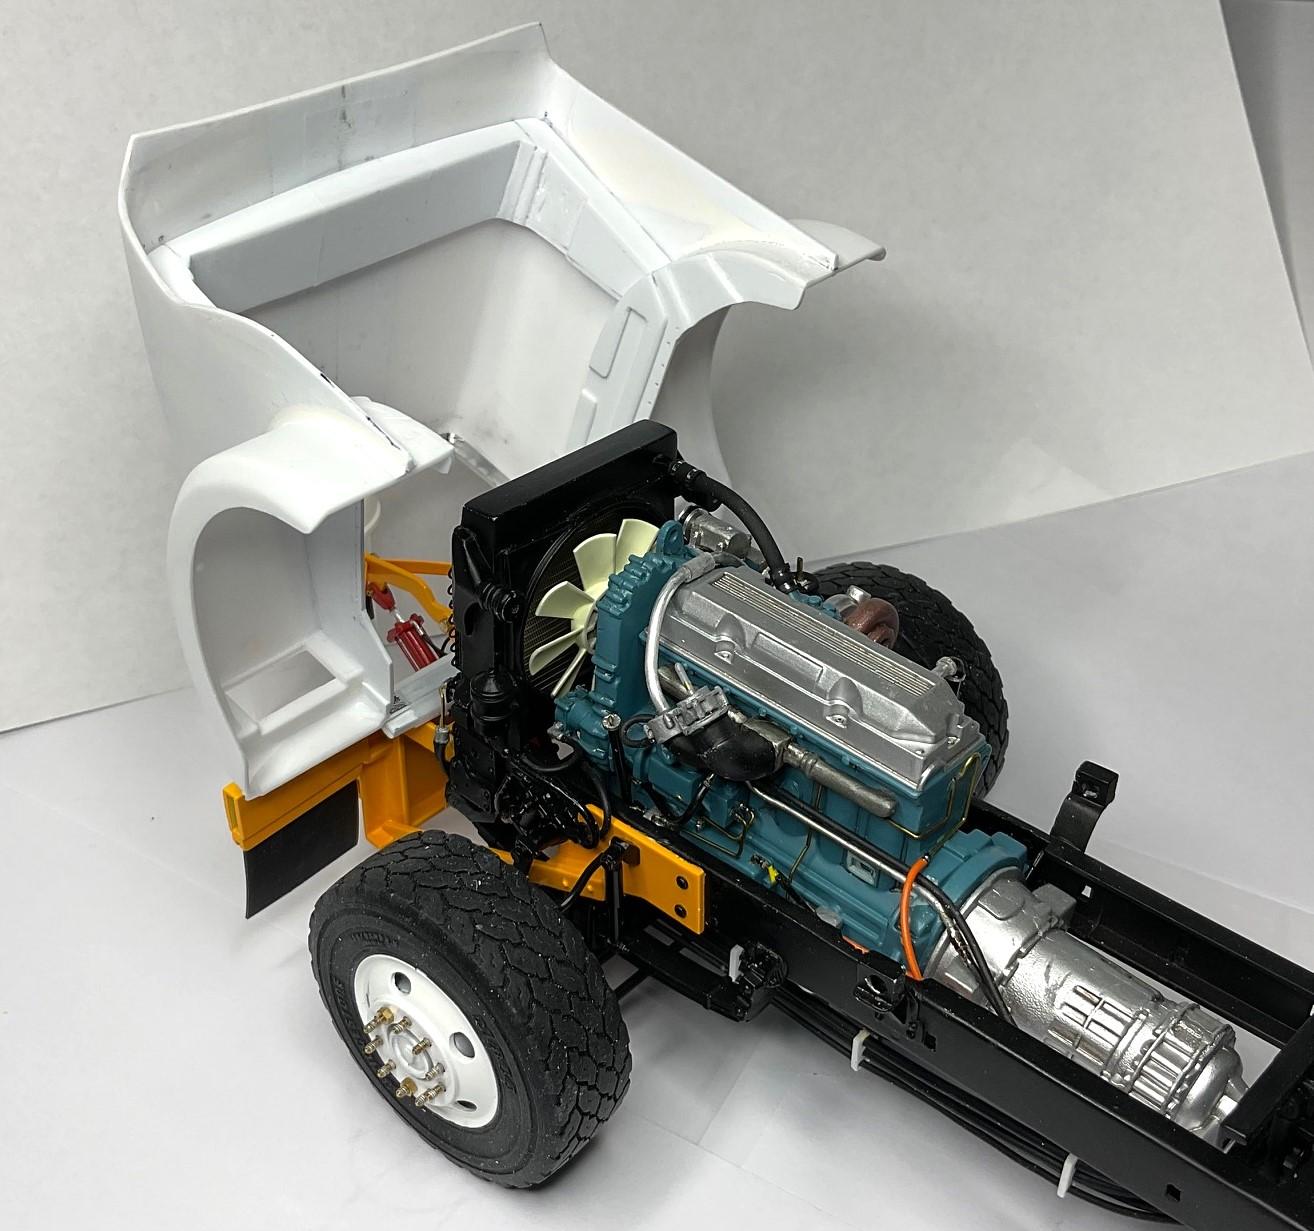
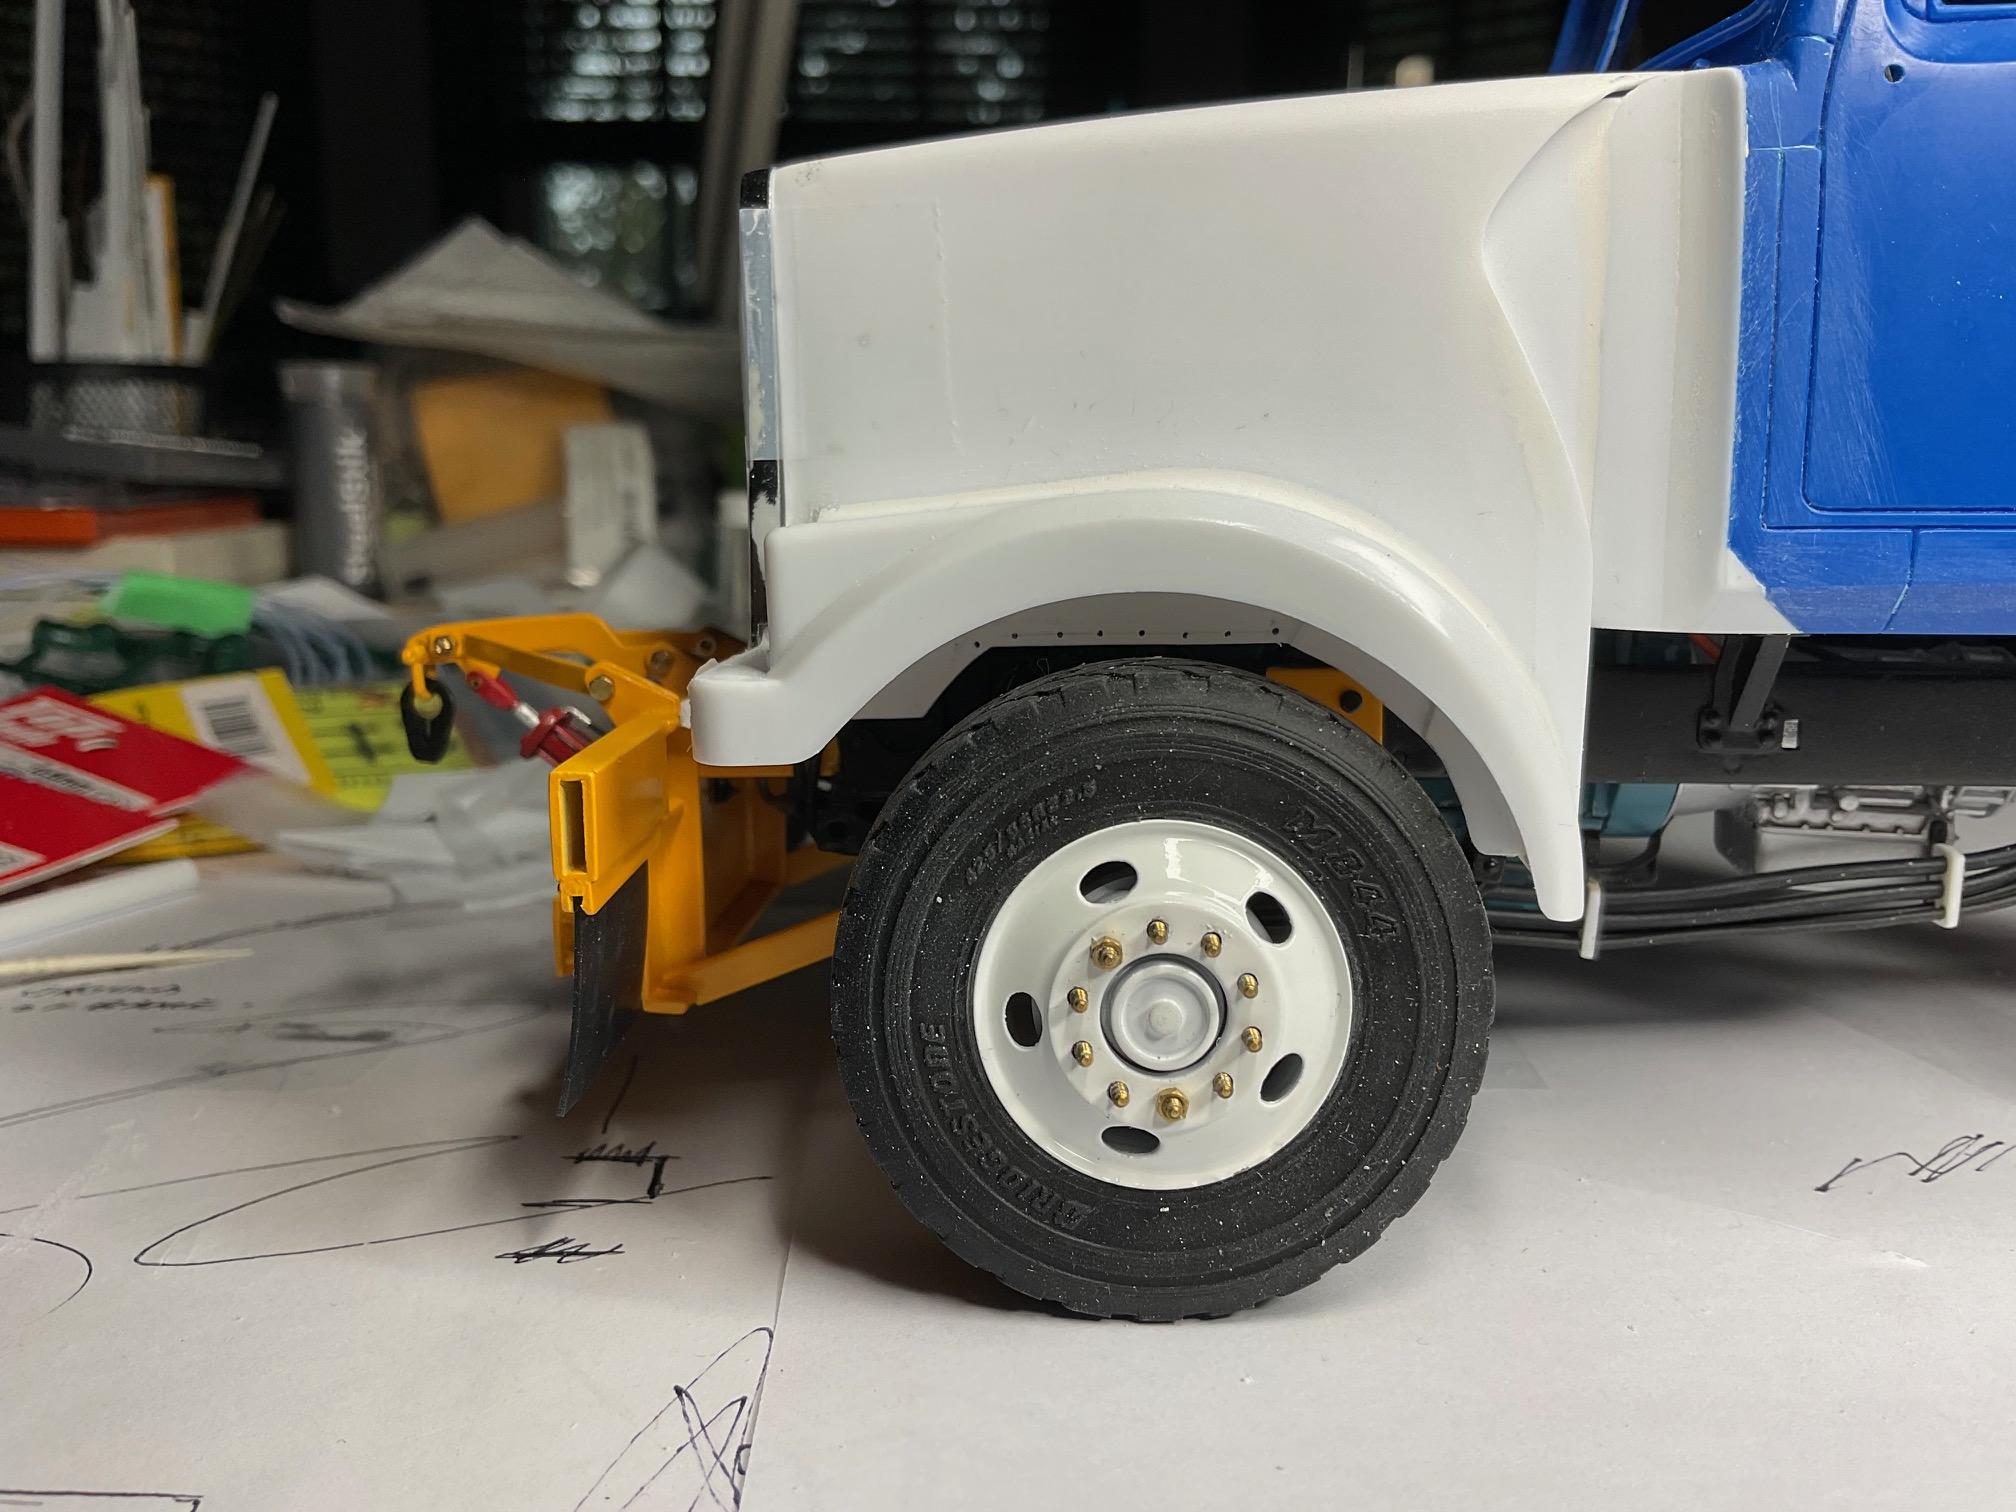
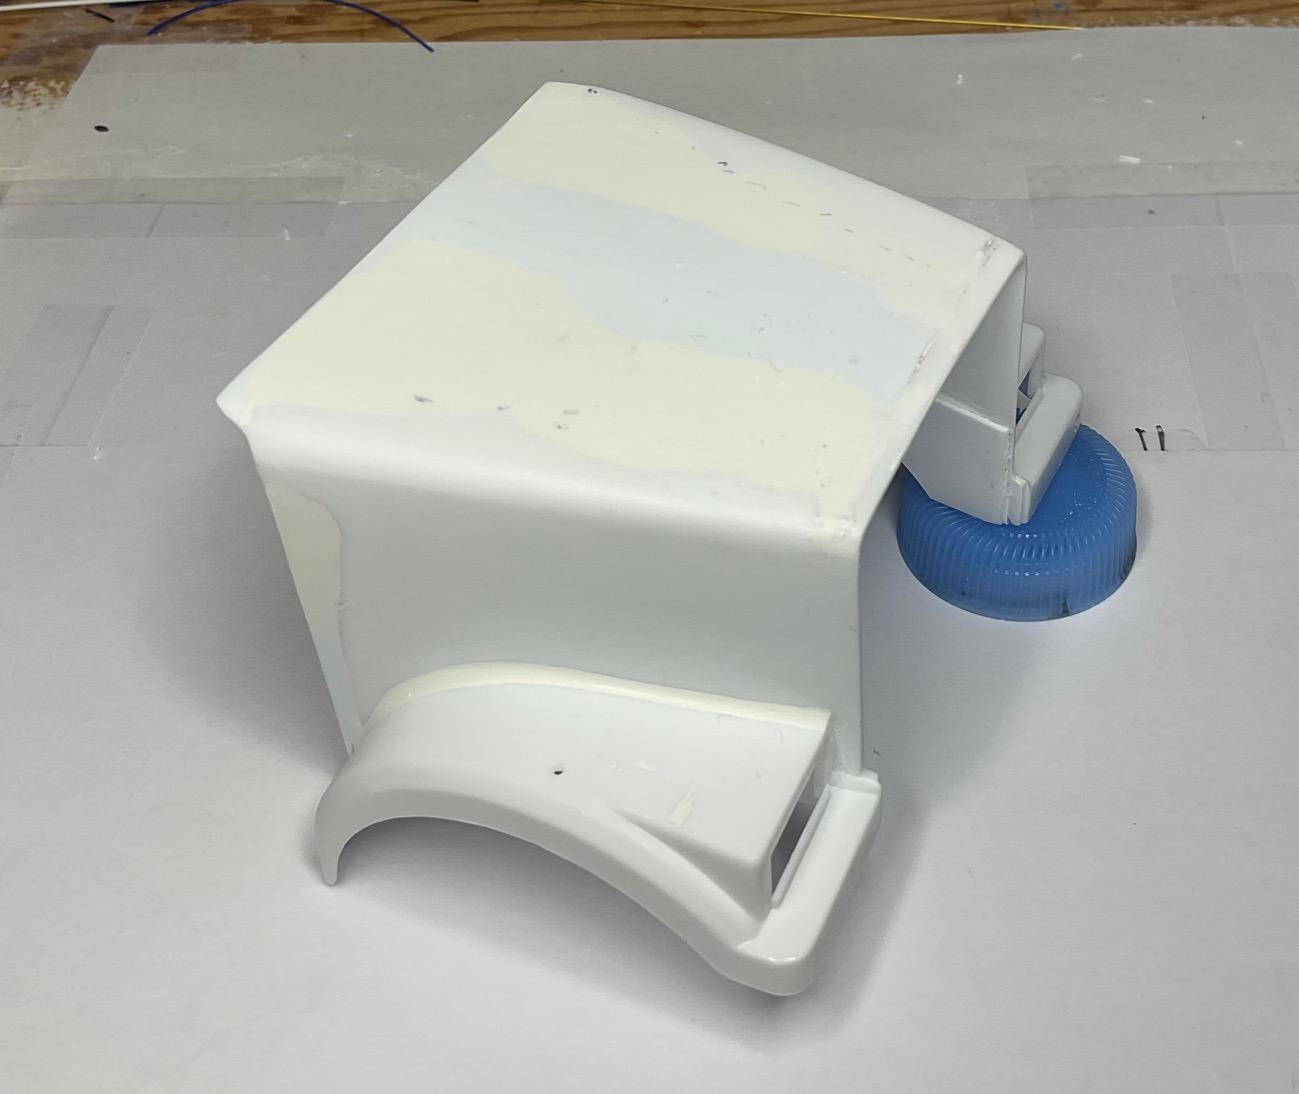
Yesterday afternoon and this morning had lots of fiddly stuff going with the inner brace - mostly, because I only have a general idea of what I want to do, but not necessarily knowing how I will do it, so a bit of starting and stopping goes on! Issues with taking measurements and keeping hood square so the brace wouldn't warp it once it gets glued in and lots of checking back to original pics. The result is close enough to be acceptable and that's a good thing! While I was trying to get measurements initially, kept getting slightly different ones, each time I went back. Discovered I was unintentionally spreading the fenders apart while trying to hold the hood and measure. So, I made a little jig out of channel to 'lock' the fender width in place while handling, and taped it in place Some framing pieces of the brace spot glued in place (because I couldn't think of any other way to have one piece stay still while fitting the next piece!) I then glued temporary cross bracing in so the frame pieces would hold their shape when I cut them off the hood Started laying out the filler pieces for the remainder of the brace This morning I was able to start some cleanup and initial shaping - some puttying and more sanding to do once fully set Inner brace temporarily sitting in place - when I looked at this pic, decided it would be a good thing to check what the clearance under the hood would actually be, now that the brace could sit in its final position. I took a measurement from desk top to bottom, rear edge of fenders with the cab/hood in place, then mocked up hood without cab - should be plenty of room to get air intake from air filter over to turbo I'm spending a lot of time 'under the hood', because I hope to display the hood open from time to time. Hood is not exactly where it will end up (its sitting a little high and too far forward), but you can see through grille opening why I needed to separate the grille bars from the surround - bars would have hit the front plow lift arm when the hood is fully open Not totally certain what's next, other than to carry on with tidying up the fabrication under the hood, then a first coat of primer and then the hood hinges, before final primer and paint. Then the cab interior?! Every day gets closer to being done, but still a ways to go. Take care!
-
Western Star 4900 FA plow truck
BK9300 replied to BK9300's topic in WIP: Model Trucks: Big Rigs and Heavy Equipment
Thanks very much, Francis - the reinforcements will look better once the finish sanding, painting and the rubber flaps are in place, so will carry on with the brace! -
Western Star 4900 FA plow truck
BK9300 replied to BK9300's topic in WIP: Model Trucks: Big Rigs and Heavy Equipment
Thanks for checking it out, Håkan - I appreciate it. -
Kenworth aerodyne cabover
BK9300 replied to Bronzekeg's topic in WIP: Model Trucks: Big Rigs and Heavy Equipment
Nice update, Ken and I have to compliment you yet again for the backdrop to your photos - makes it all that much more realistic! -
Just a marvelous job, Steve - great to go through your updates! Lots of first hand knowledge being demonstrated here.
-
Snowman Tribute Truck
BK9300 replied to freightshaker2's topic in Model Trucks: Big Rigs and Heavy Equipment
Nice looking build, Landon - hope the cleaners know not to move your truck! -
Nice, clean build, Scott - it may be OOB, but great paint and a good job of detailing your engine - looks good.
-
Looking really good, Steve - love the stance and the black wheels and grille. Kudos on the great body work - it looks like it comes easy to you, but, even so, I know its a lot of time and effort (and dust!).
-
FDNY Wrecker
BK9300 replied to Scott Eriksen's topic in WIP: Model Trucks: Big Rigs and Heavy Equipment
I do remember - I guess I wasn't too clear, above! I hadn't seen any before you posted the pic(s) of the plow truck with these hatches in my thread, a few days ago. -
FDNY Wrecker
BK9300 replied to Scott Eriksen's topic in WIP: Model Trucks: Big Rigs and Heavy Equipment
I'd never seen these access doors/hatches in hoods before you posted a pic of a truck with a set - smart idea! -
1962 Marmon-Herrington HDT
BK9300 replied to Jürgen M.'s topic in WIP: Model Trucks: Big Rigs and Heavy Equipment
Great progress, Jürgen - did you design your rear ends/suspension, too? -
Very nice job - really like how the wood treatment turned out.
-
Build of IH Pumper
BK9300 replied to Chariots of Fire's topic in WIP: Model Trucks: Big Rigs and Heavy Equipment
Interesting to follow the steps using foil to replicate tread plate. In those areas where you fold the embossed foil from a flat step to cover an adjoining edge, is it difficult to bend the foil and not damage the embossing. Thanks for showing this technique. -
3D Printing Just Got Easier...
BK9300 replied to Ace-Garageguy's topic in General Automotive Talk (Trucks and Cars)
Very interesting article - amazing the improvements that keep being developed! -
Western Star 4900 FA plow truck
BK9300 replied to BK9300's topic in WIP: Model Trucks: Big Rigs and Heavy Equipment
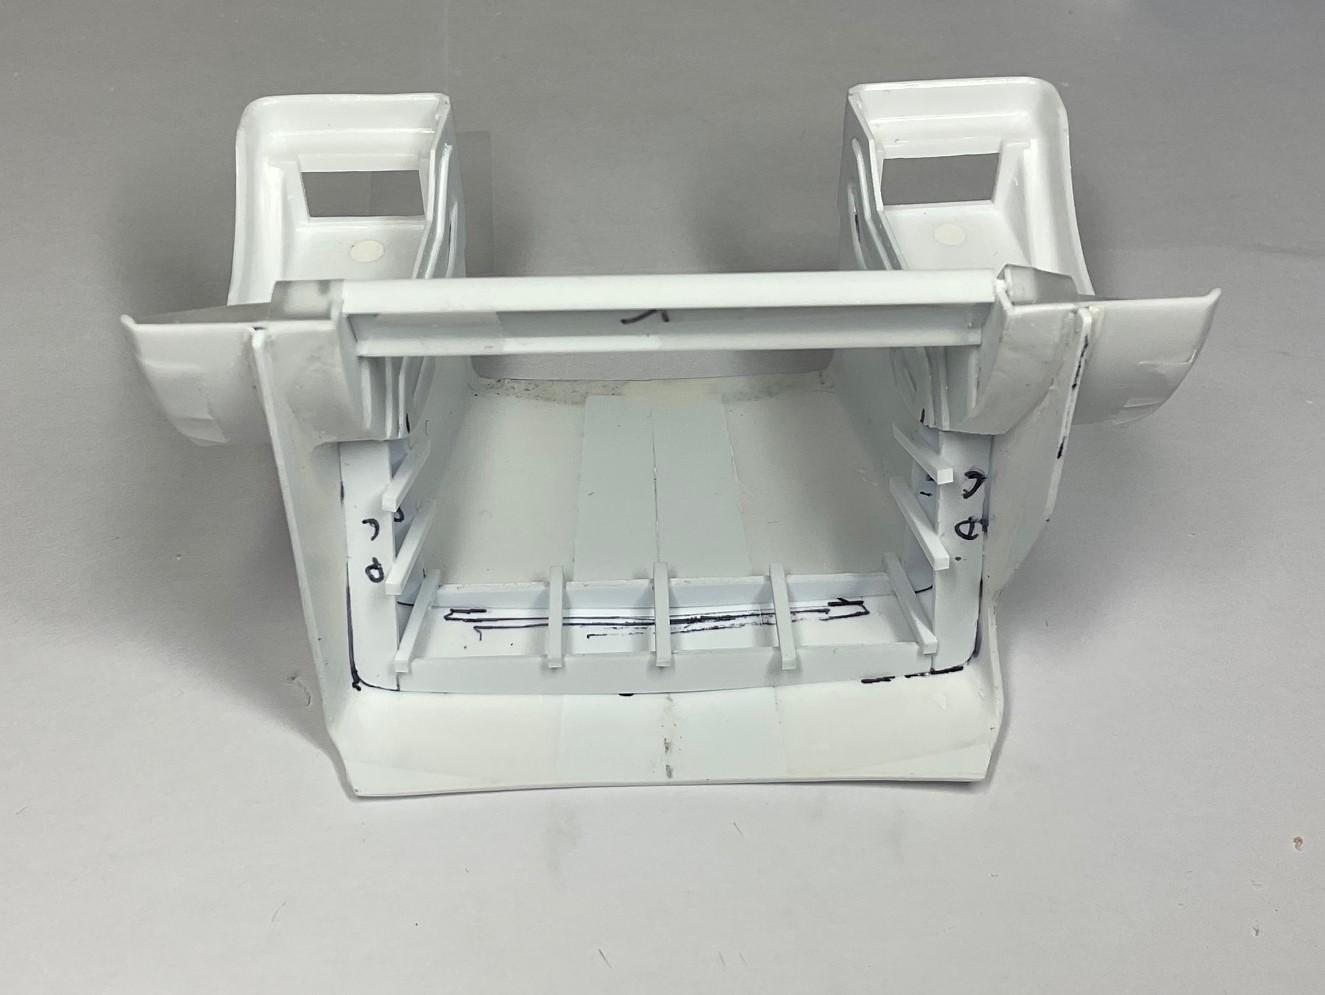
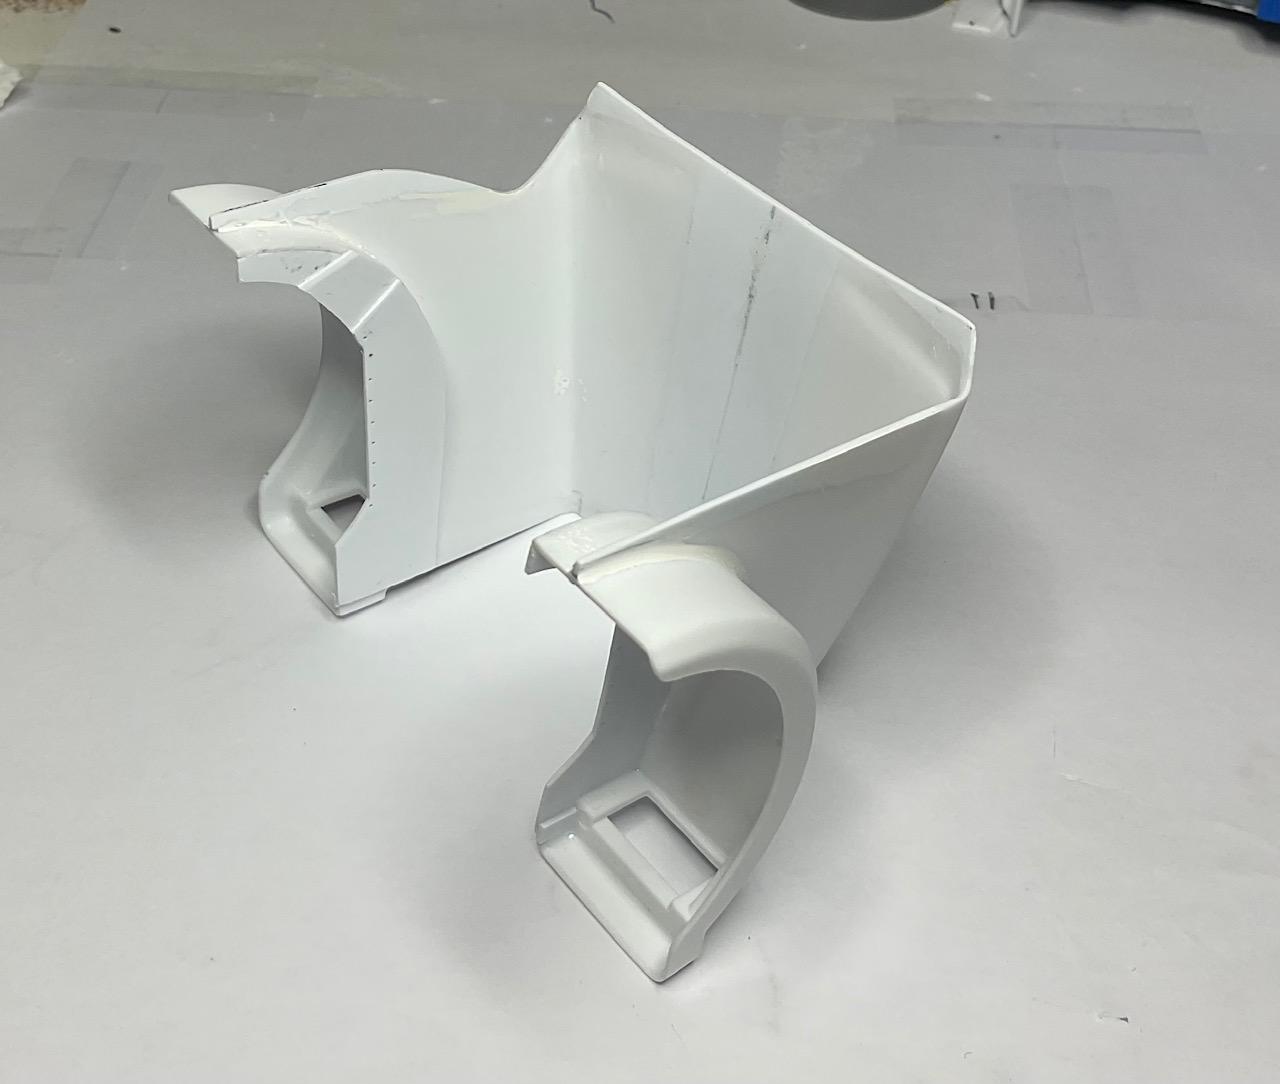
Some days, lots to show for my efforts, but today was not one of those days - a couple of do-overs held up starting the inner brace. Did get the inner fenders finished off, though, so that's a bonus. Had to retest the fit of the cab/hood with them both being raised by 2mm. Measurements from the desk top to the top of the hood, show I should be able to do the inner hood brace and not have a conflict with the air intake plenum. It was also gratifying to see the driver side row of bolt holes (for the inner fender rubber flap) are close to parallel with the frame rail In order to finish off the inner fenders, I had wanted to add something resembling the reinforcement structure that is part of the fiberglass molded inner fenders on the real truck. This inner most layer of ribbing shown here should actually have been depressions, instead of being raised. Again, not paying close enough attention to pics of real hood, I made a mistake in the layer below, so this is the result I will need to live with. Enough do overs done today on the ribbing as it was! So, guess I'll have to wait till later this weekend to see about that inner brace. Hope you all have a good weekend and thanks again for the generous comments along the way!
-
Western Star 4900 FA plow truck
BK9300 replied to BK9300's topic in WIP: Model Trucks: Big Rigs and Heavy Equipment
Thanks a lot, Ken! -
Western Star 4900 FA plow truck
BK9300 replied to BK9300's topic in WIP: Model Trucks: Big Rigs and Heavy Equipment
Thank, Jeff - always seems to be more clean up needed than I think is going to be the case! The photos always show more rough edges than my eyes can see. -
FDNY Wrecker
BK9300 replied to Scott Eriksen's topic in WIP: Model Trucks: Big Rigs and Heavy Equipment
Everything's coming together, Scott - just a great looking truck! I think the diamond plate in the chain box will add a bit of break in the red deck area and fit right in. -
The horizontal bars did look 'custom', but no doubt the vertical bars will add back some strength, and look good, too!
-
Western Star 4900 FA plow truck
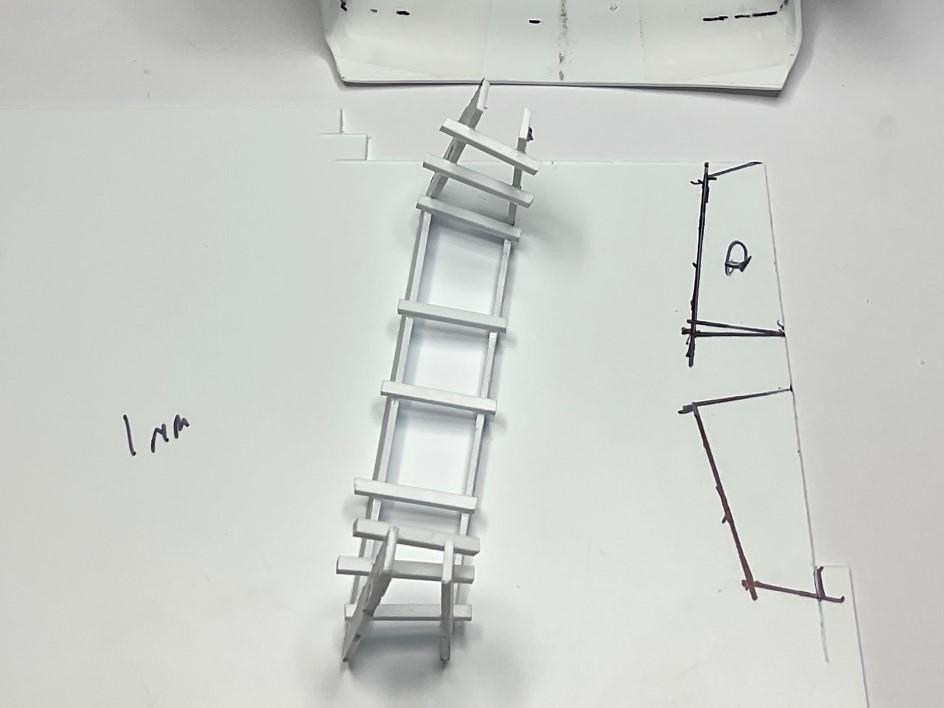
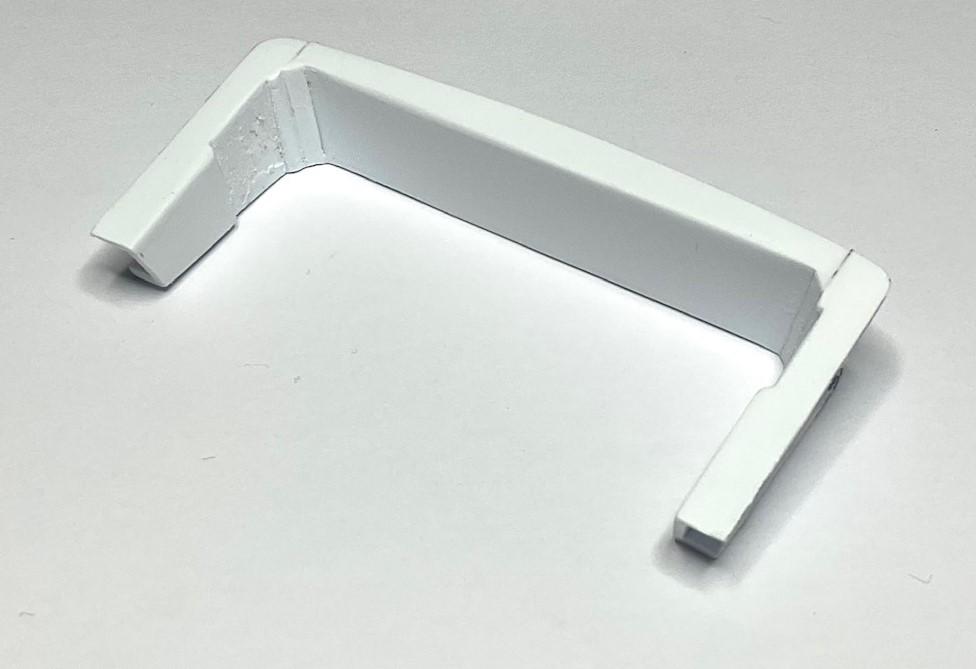
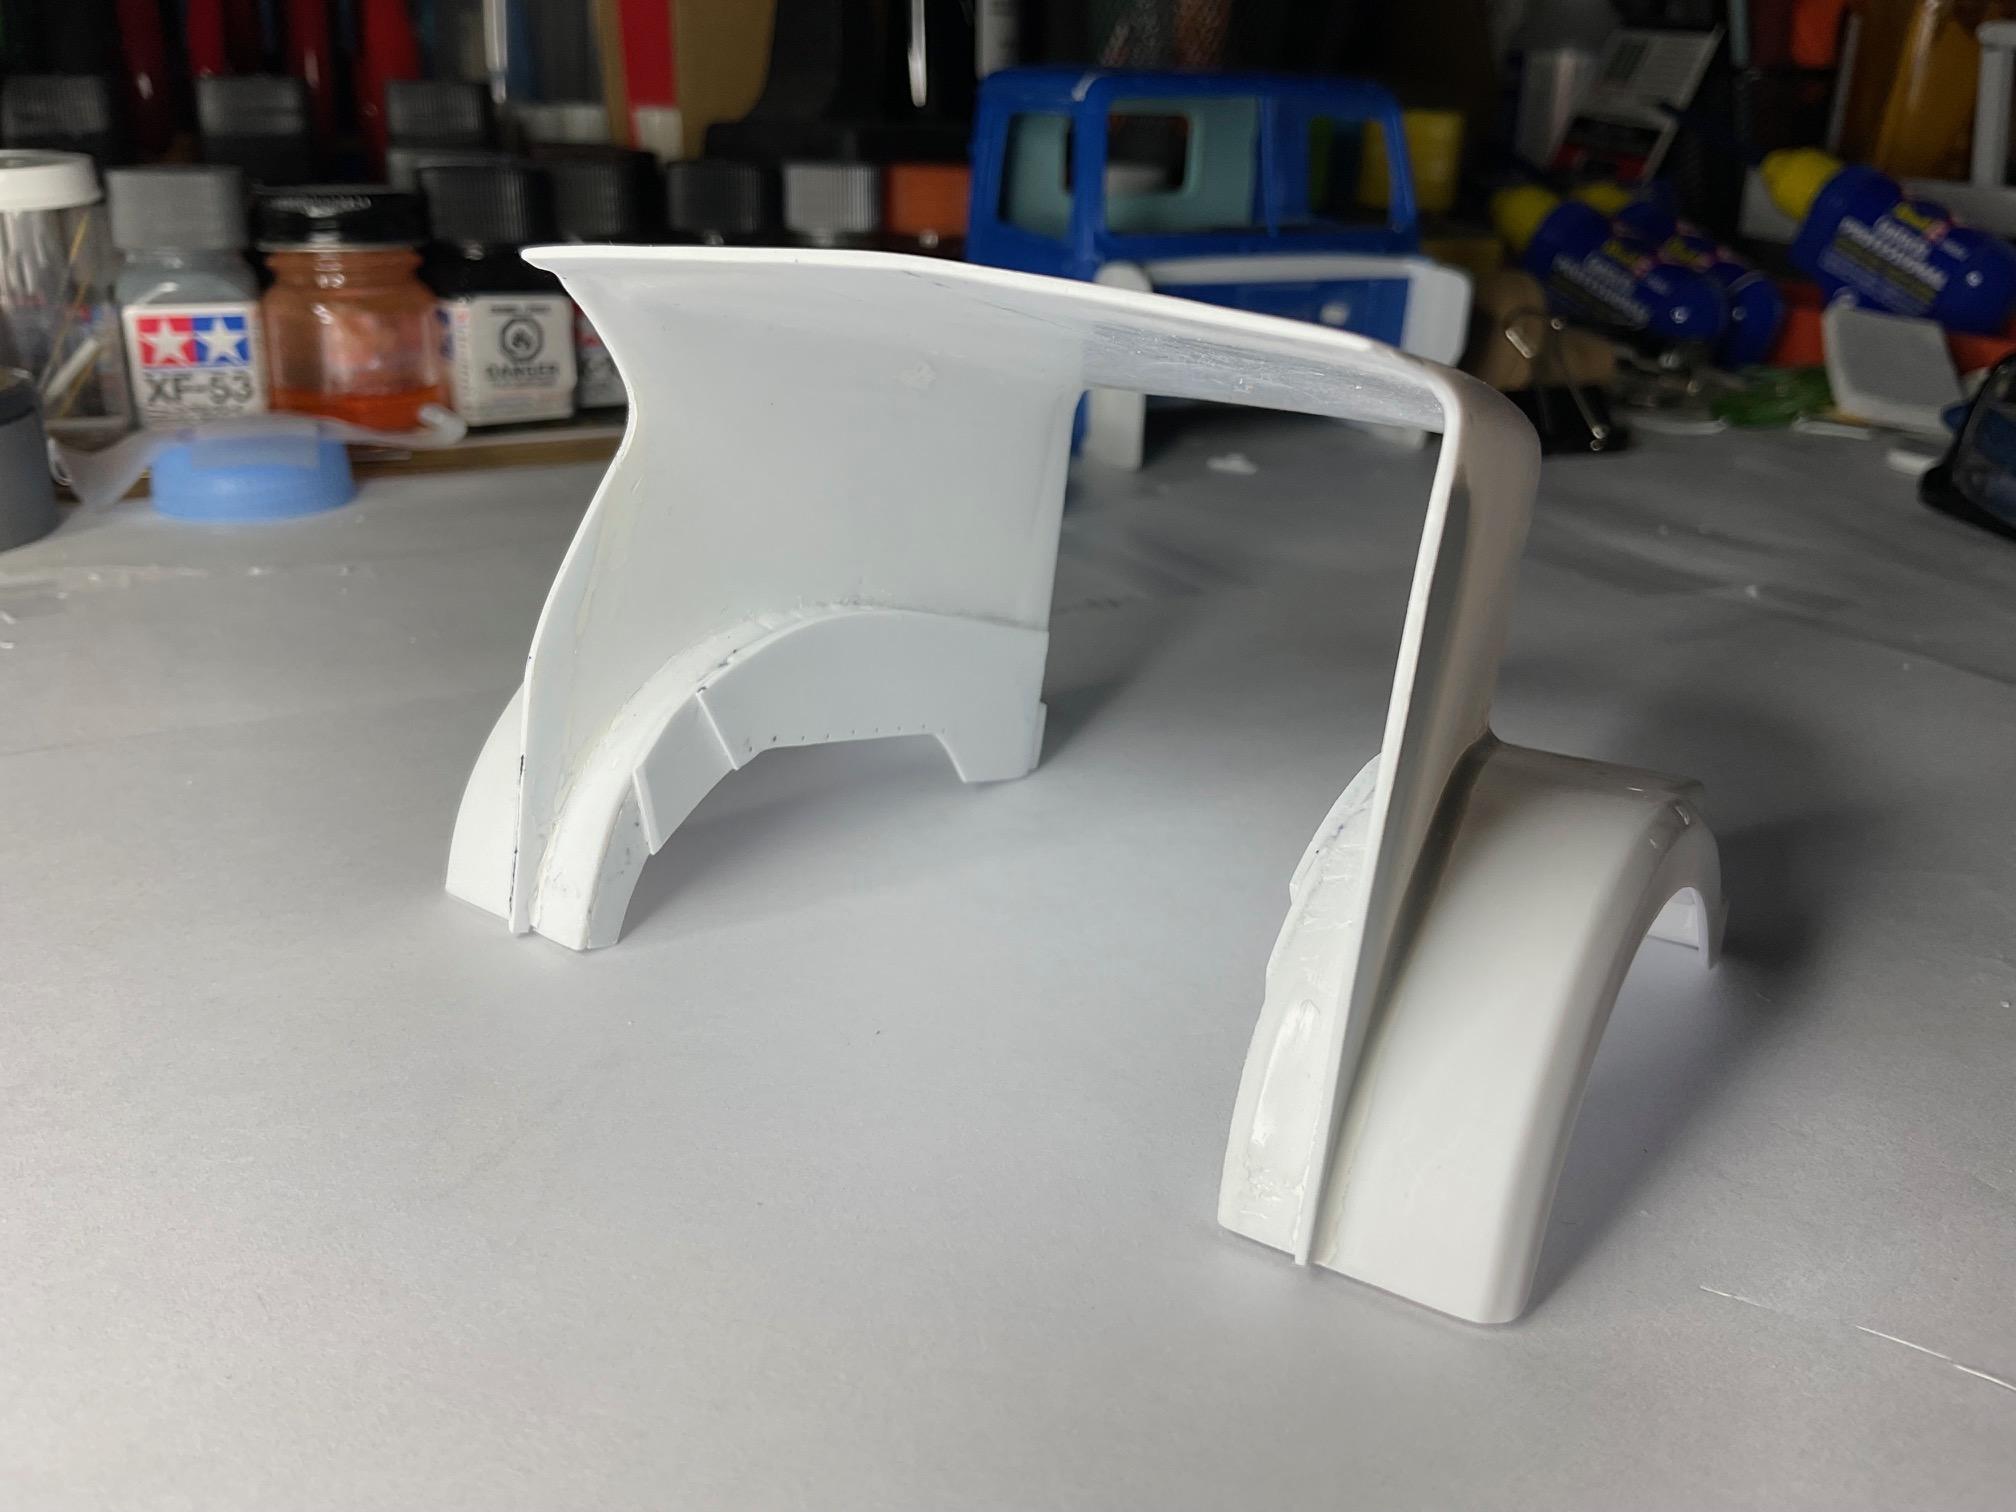
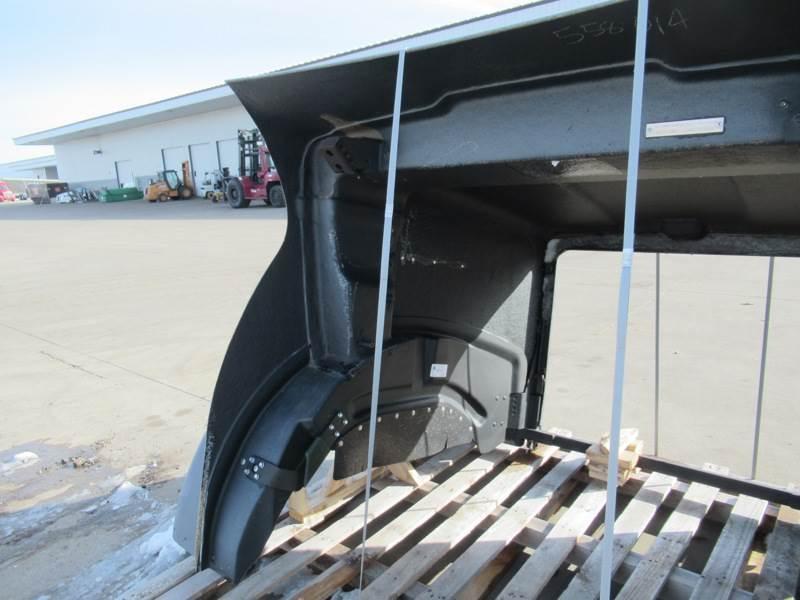
BK9300 replied to BK9300's topic in WIP: Model Trucks: Big Rigs and Heavy Equipment
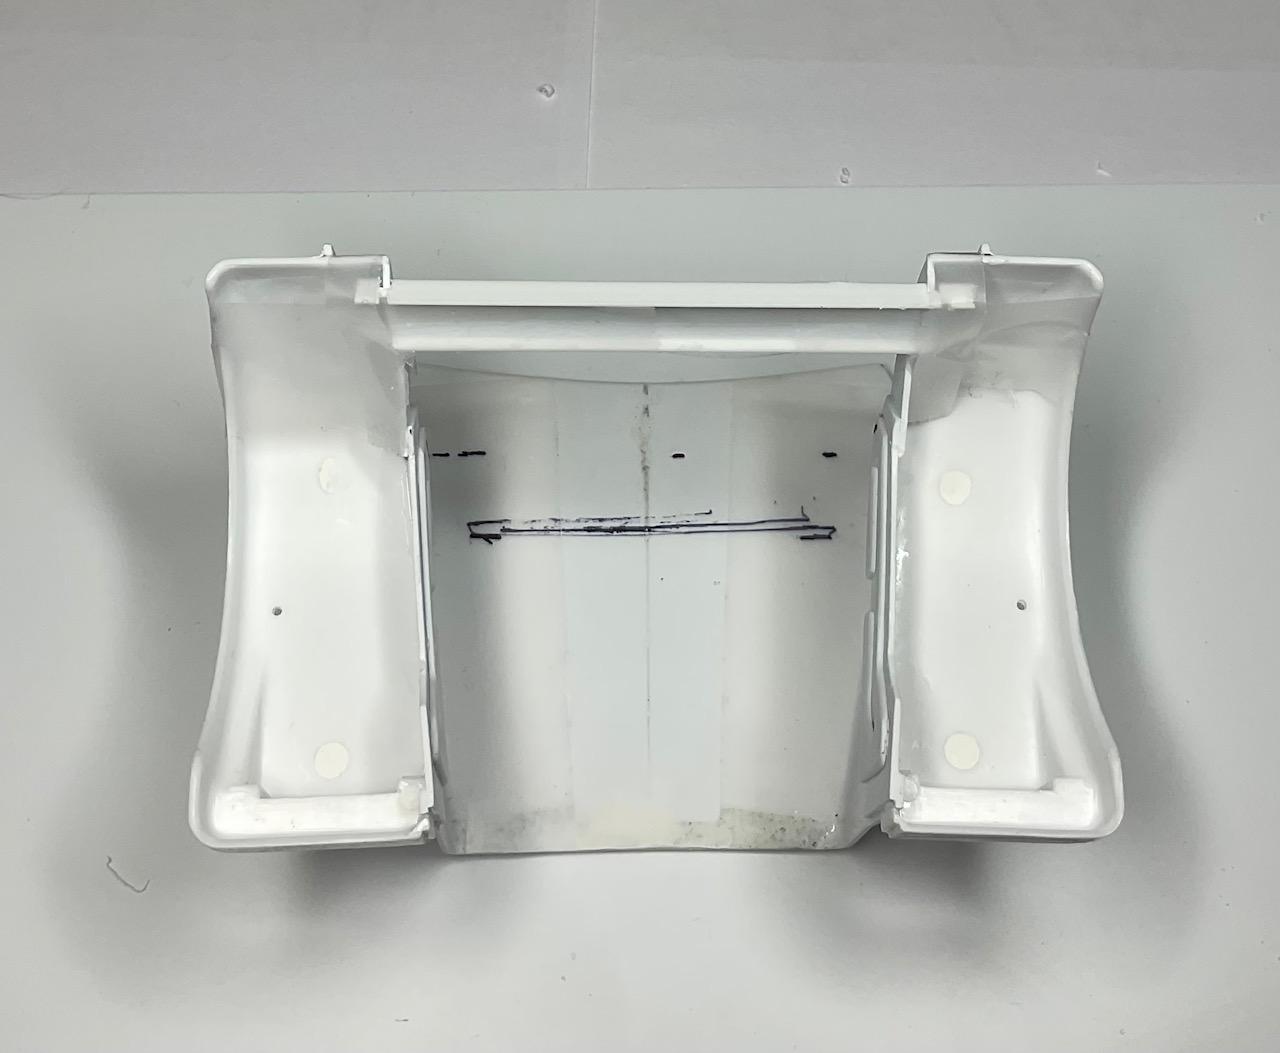
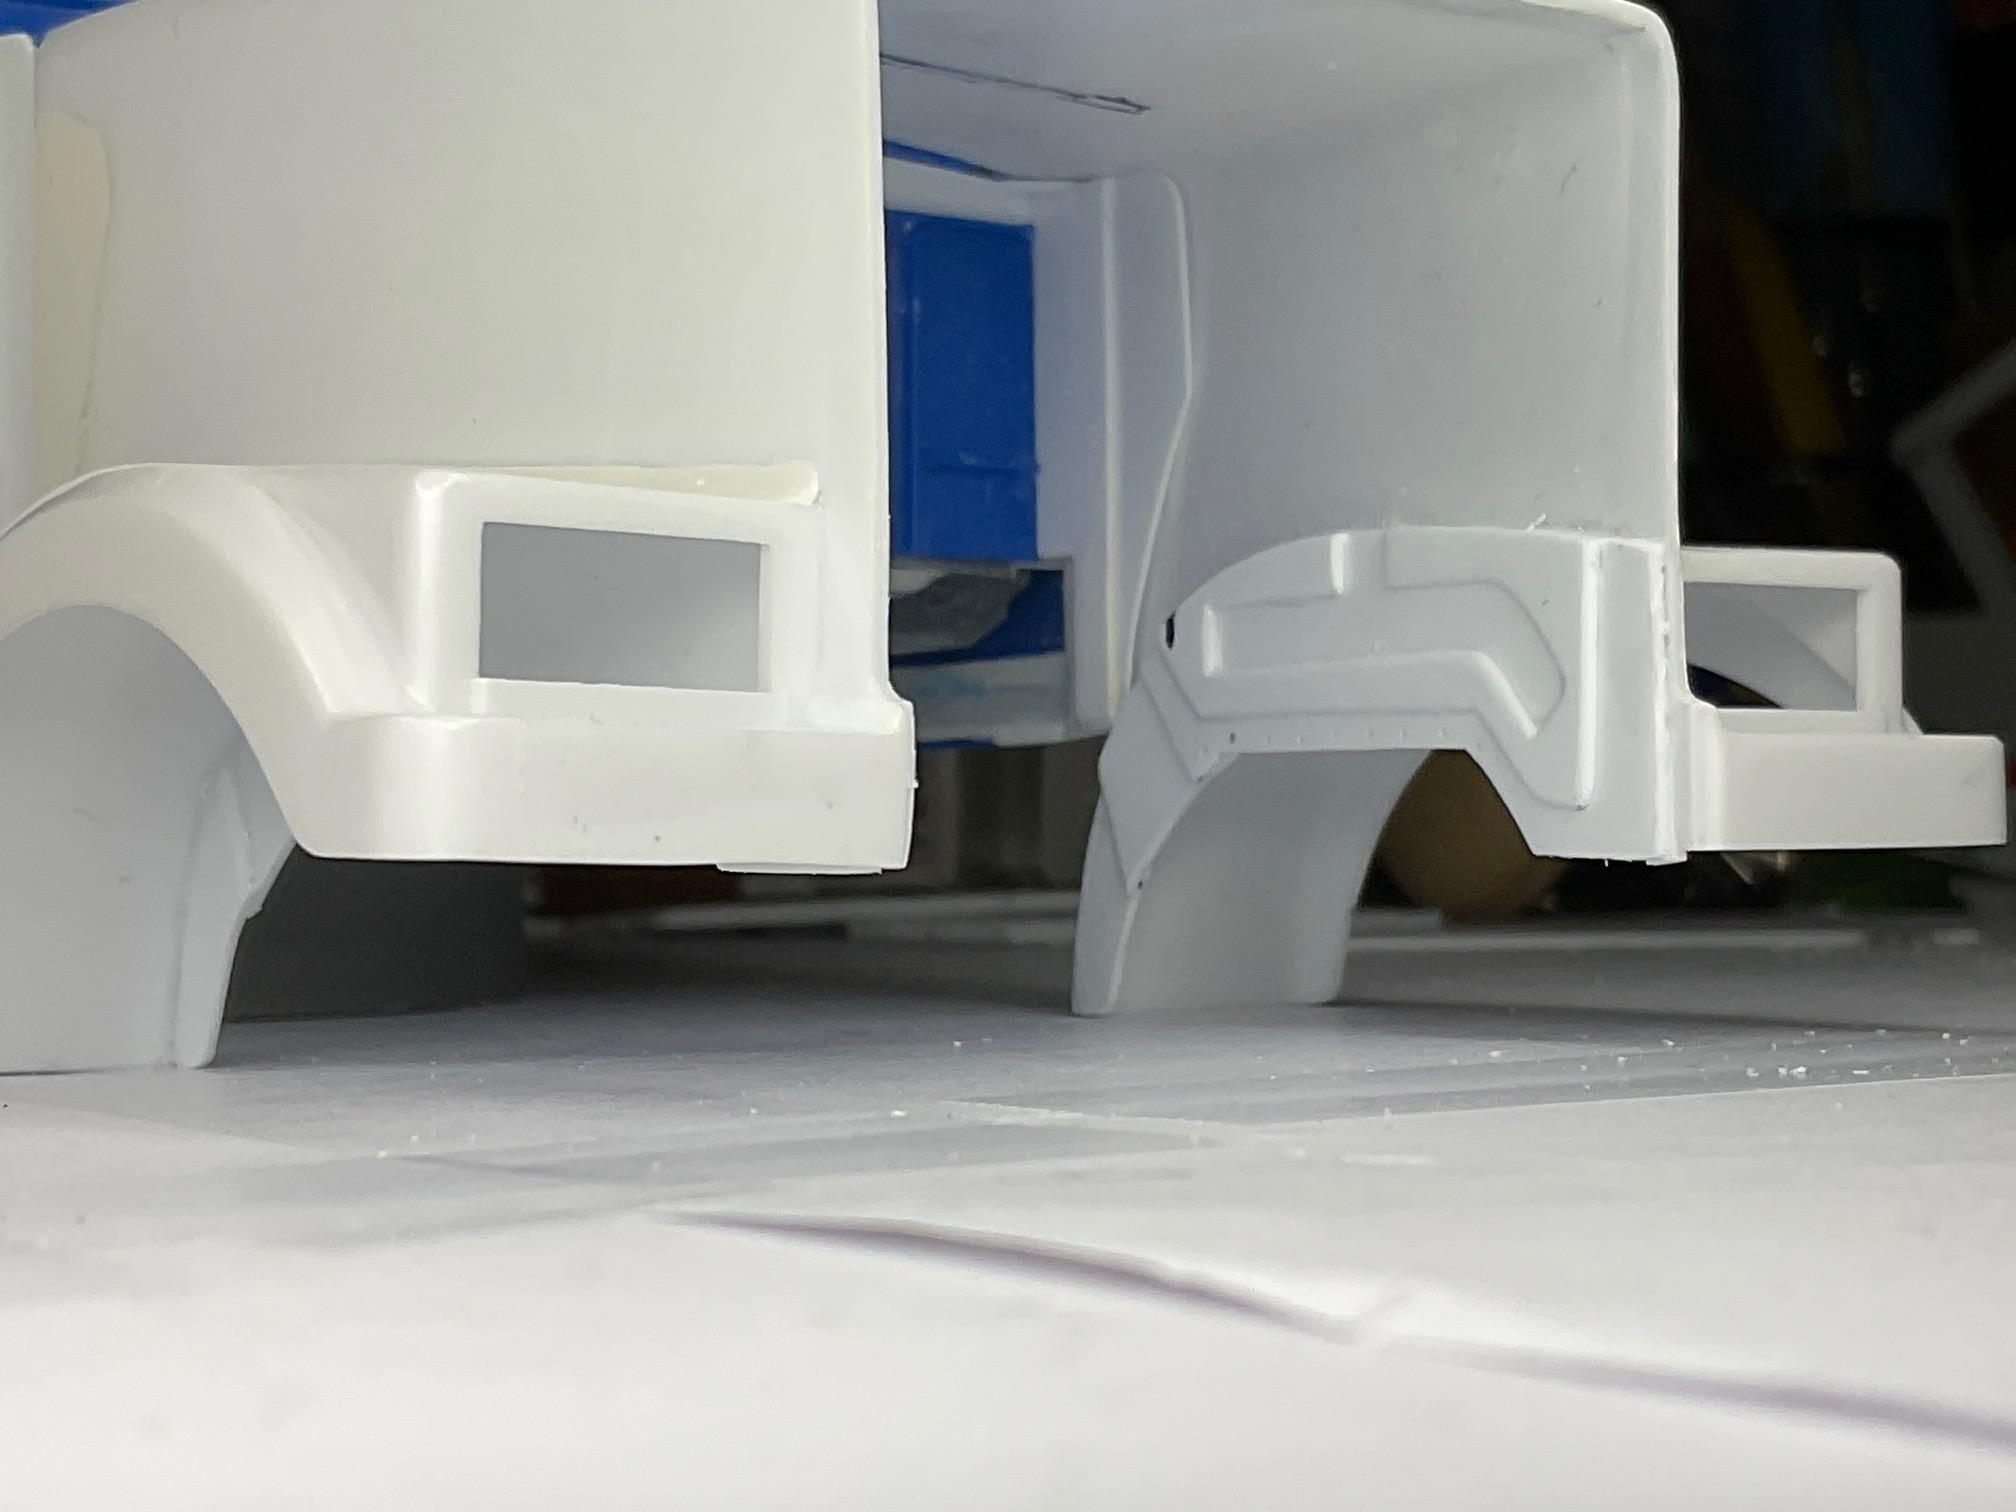
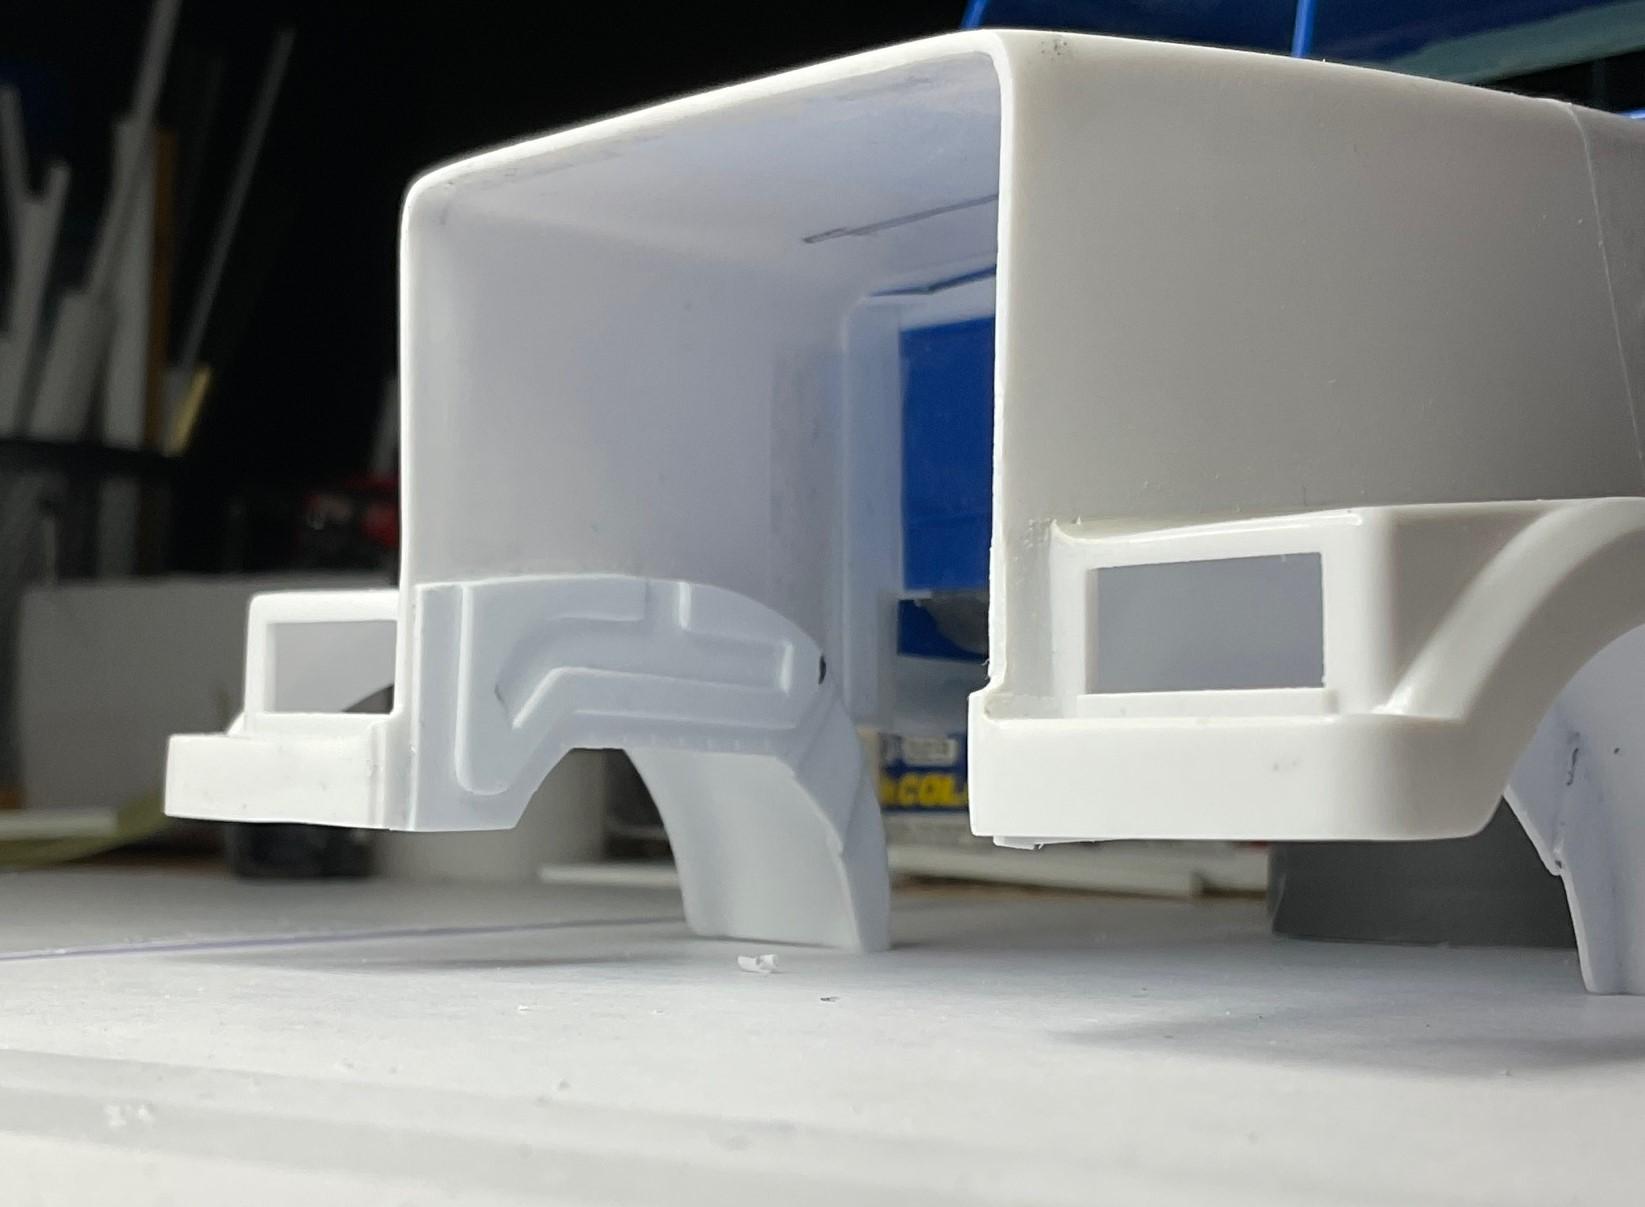
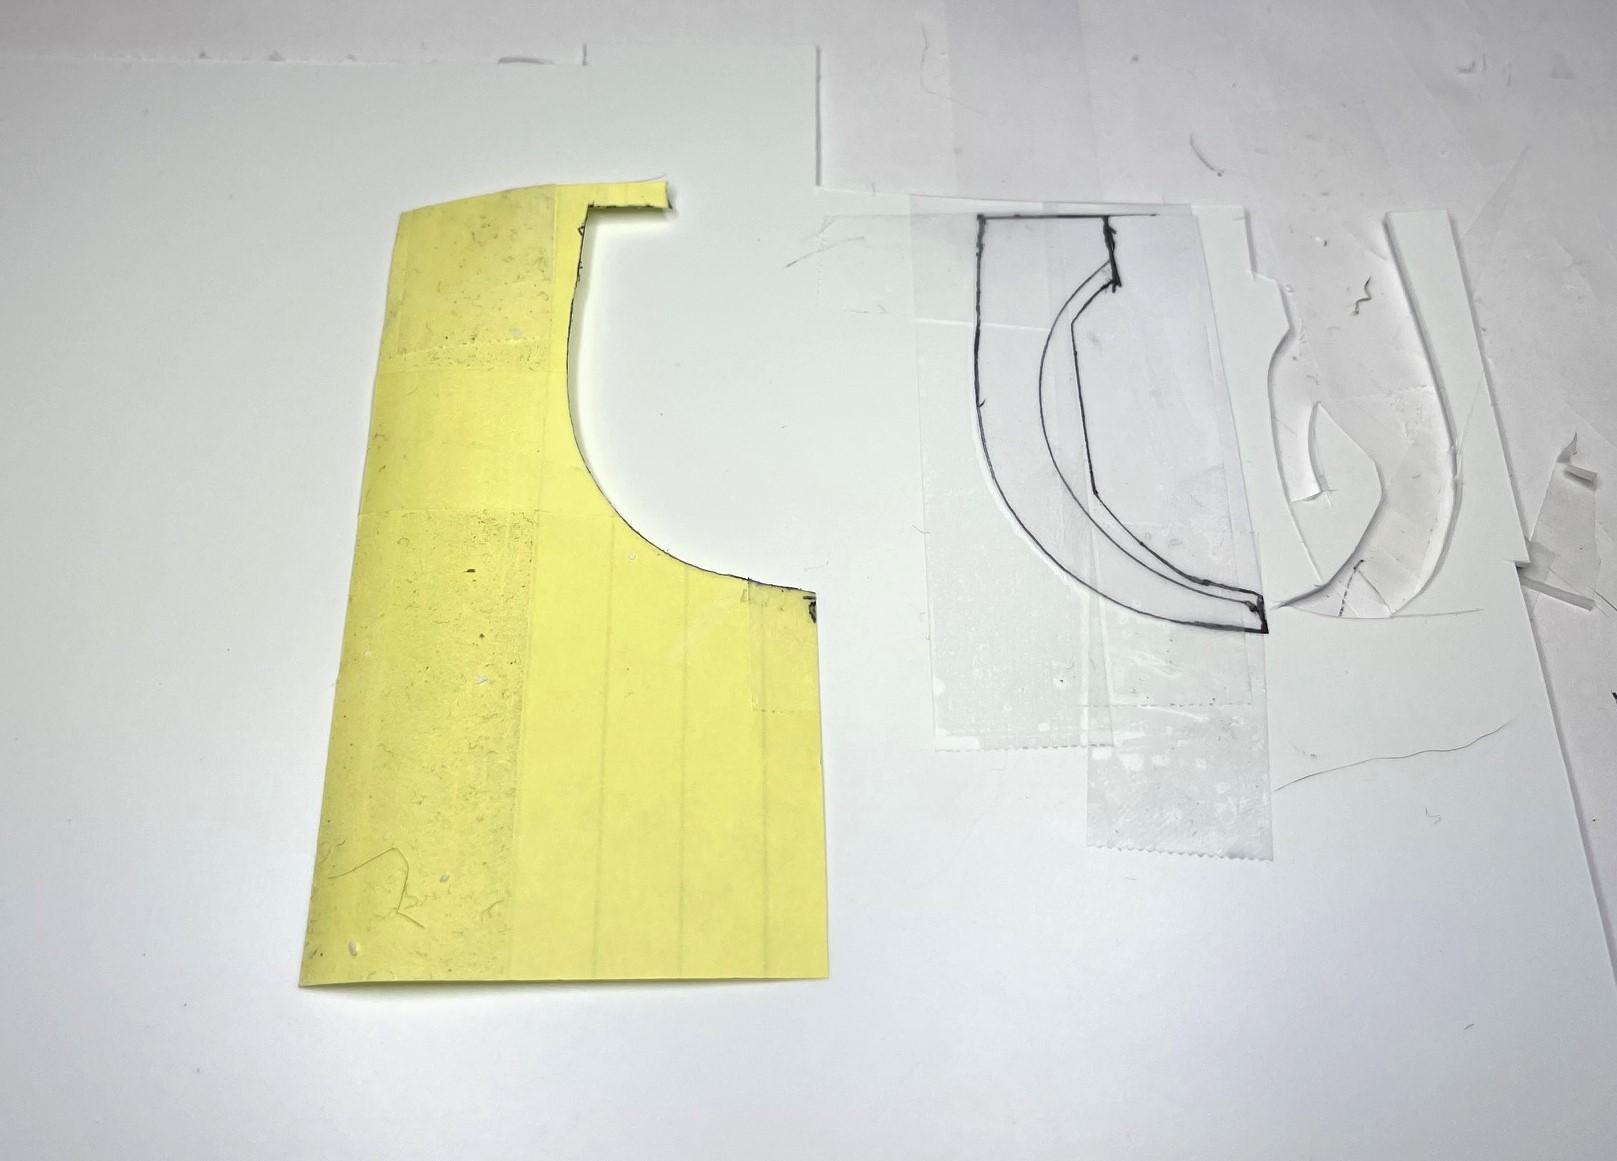
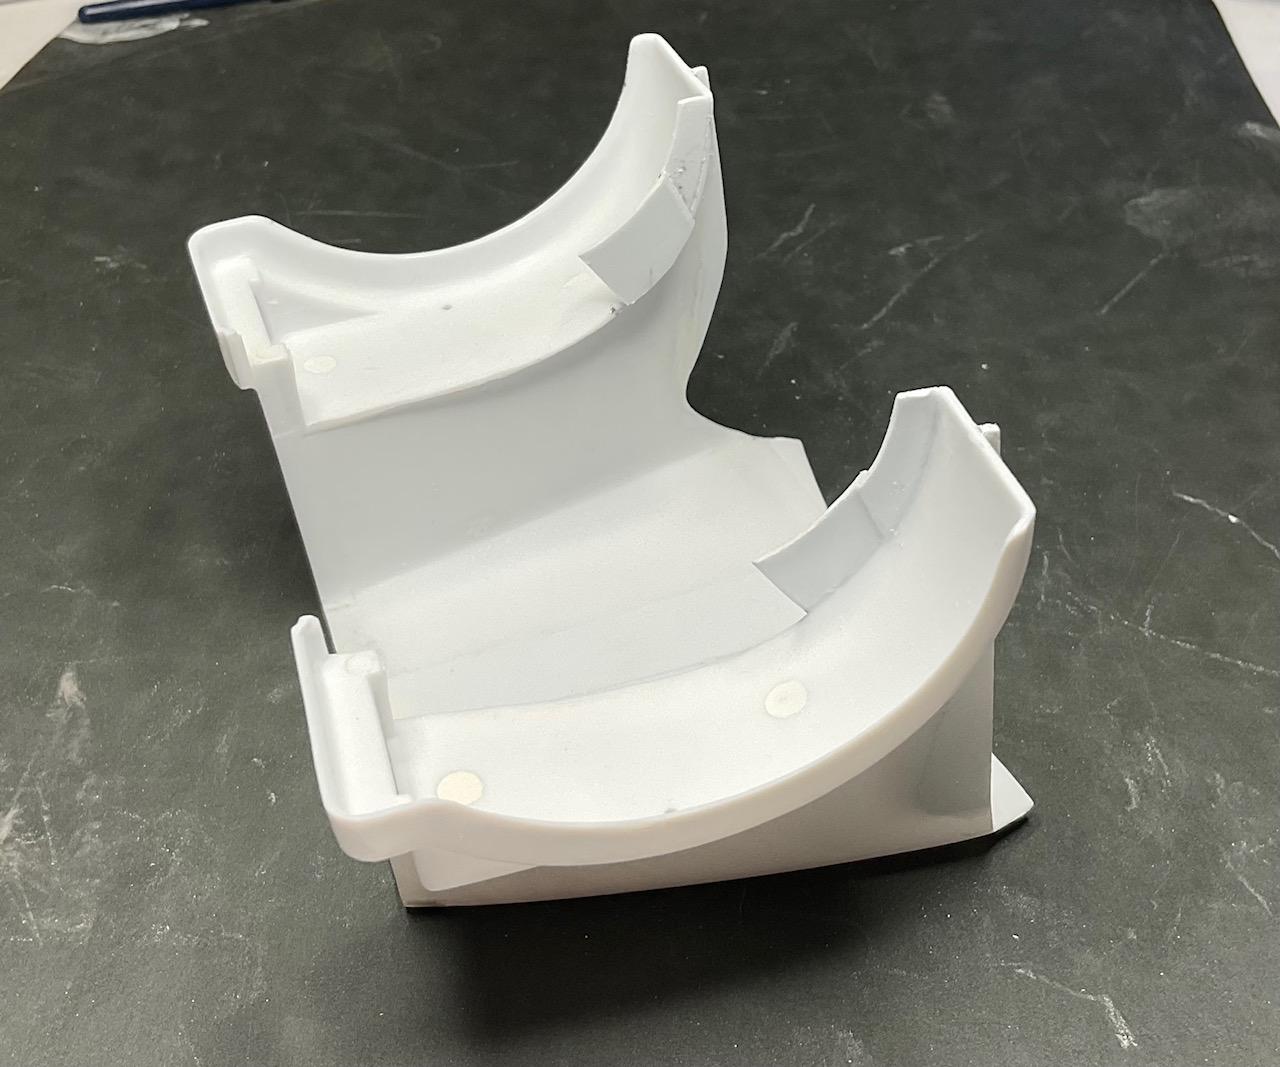
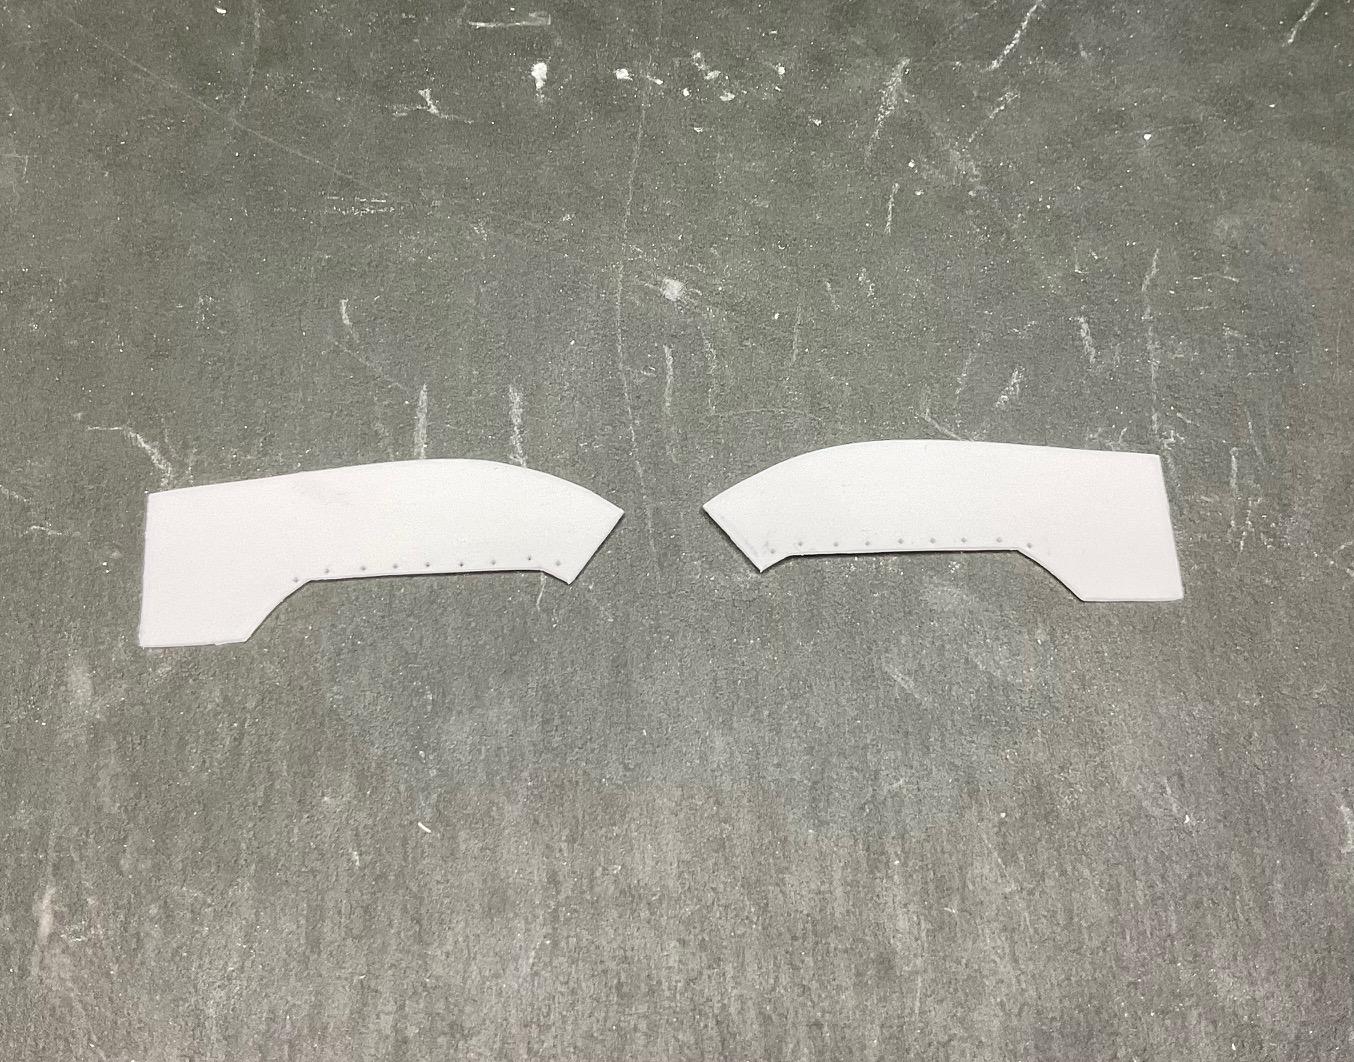
Continued on with the hood today; did final sanding before priming, then started work on the inner fender panels. Not quite ready for first primer coat - central raised section on hood needs to be fashioned and inner fender work completed Made more templates from existing inner fender edge - first go at template taped down to sheet to hold it in place for cutting. Needed to cut templated inner panel into sections because real WS 4900 panels step inwards in two places Remainder of templated panel, with holes pre-drilled for bolts to hold rubber flap in place once hood is painted Final templated panels in place Some tidying up to do, once glue sets; am also going to try and make the inner hood brace - see next pic This pic shows a real hood's inner brace - will have to test fit hood/cab on frame again, to determine if there is enough clearance, between the top of the engine's valve cover and the bottom of a brace, for the air intake plenum to cross over to the turbo Will carry on again tomorrow - will check clearance in the morning and see if a version of a brace is possible. Thanks!
-
Mercedes Benz SSK
BK9300 replied to Pierre Rivard's topic in WIP: Other Racing: Road Racing, Land Speed Racers
I'm always going to be amazed at the quality of your hand painted finishes! And, as always, great job with all your extra detailing - the fenders, especially, stand out because they are so visible. Pleasure to watch. -
Fruehauf Flatbed
BK9300 replied to DRIPTROIT 71's topic in Model Trucks: Big Rigs and Heavy Equipment
I agree about the wood deck - looks terrific, right down to the bolt head detail at the plank ends. -
FDNY Wrecker
BK9300 replied to Scott Eriksen's topic in WIP: Model Trucks: Big Rigs and Heavy Equipment
It's a good looking truck - will be a great add to your completed builds! -
FDNY Wrecker
BK9300 replied to Scott Eriksen's topic in WIP: Model Trucks: Big Rigs and Heavy Equipment
Good job on the pylon - all chromed up, with the light bar, will look awesome!