BK9300
-
Posts
1,991 -
Joined
-
Last visited
Content Type
Profiles
Forums
Events
Gallery
Everything posted by BK9300
-

Kenworth aerodyne cabover
BK9300 replied to Bronzekeg's topic in WIP: Model Trucks: Big Rigs and Heavy Equipment
Looks great, Ken - the colour of the decals is striking against your cab! -
Service Truck Kitbash
BK9300 replied to PHPaul's topic in WIP: Model Trucks: Big Rigs and Heavy Equipment
It must be frustrating about the working doors, but good to see the truck body moving forward - looks very clean! -
Western Star 4900 FA plow truck
BK9300 replied to BK9300's topic in WIP: Model Trucks: Big Rigs and Heavy Equipment
Thanks, Francis! Sometimes it feels like the model is dictating what to do, rather than me! -
Western Star 4900 FA plow truck
BK9300 replied to BK9300's topic in WIP: Model Trucks: Big Rigs and Heavy Equipment
Do you have a link to that set of machine screws on Amazon? Not sure my searches showed what you are talking about… That’s quite a garage full of new plow trucks! I wish there was a 1/24, WS 4700 cab/hood out there - good looking truck. The truck in the foreground must be for freeway - two wings! And, looks like it might have two tag axles? Must be quite the dump box on there - big load for fewer trips back to re-load! -
Your engine looks stunning!
-
Your trim painting look exceptional! Do you ‘over tape’, then trim back with X-acto knife like you would do with Bare Metal Foil? Looks great.
-
Really like your dashboard detailing, Luke - very crisp! How do you get the gauge bezels so cleanly defined?
- 766 replies
-
- 1
-

-
- stalled builds
- quick builds
- (and 2 more)
-
Western Star 4900 FA plow truck
BK9300 replied to BK9300's topic in WIP: Model Trucks: Big Rigs and Heavy Equipment
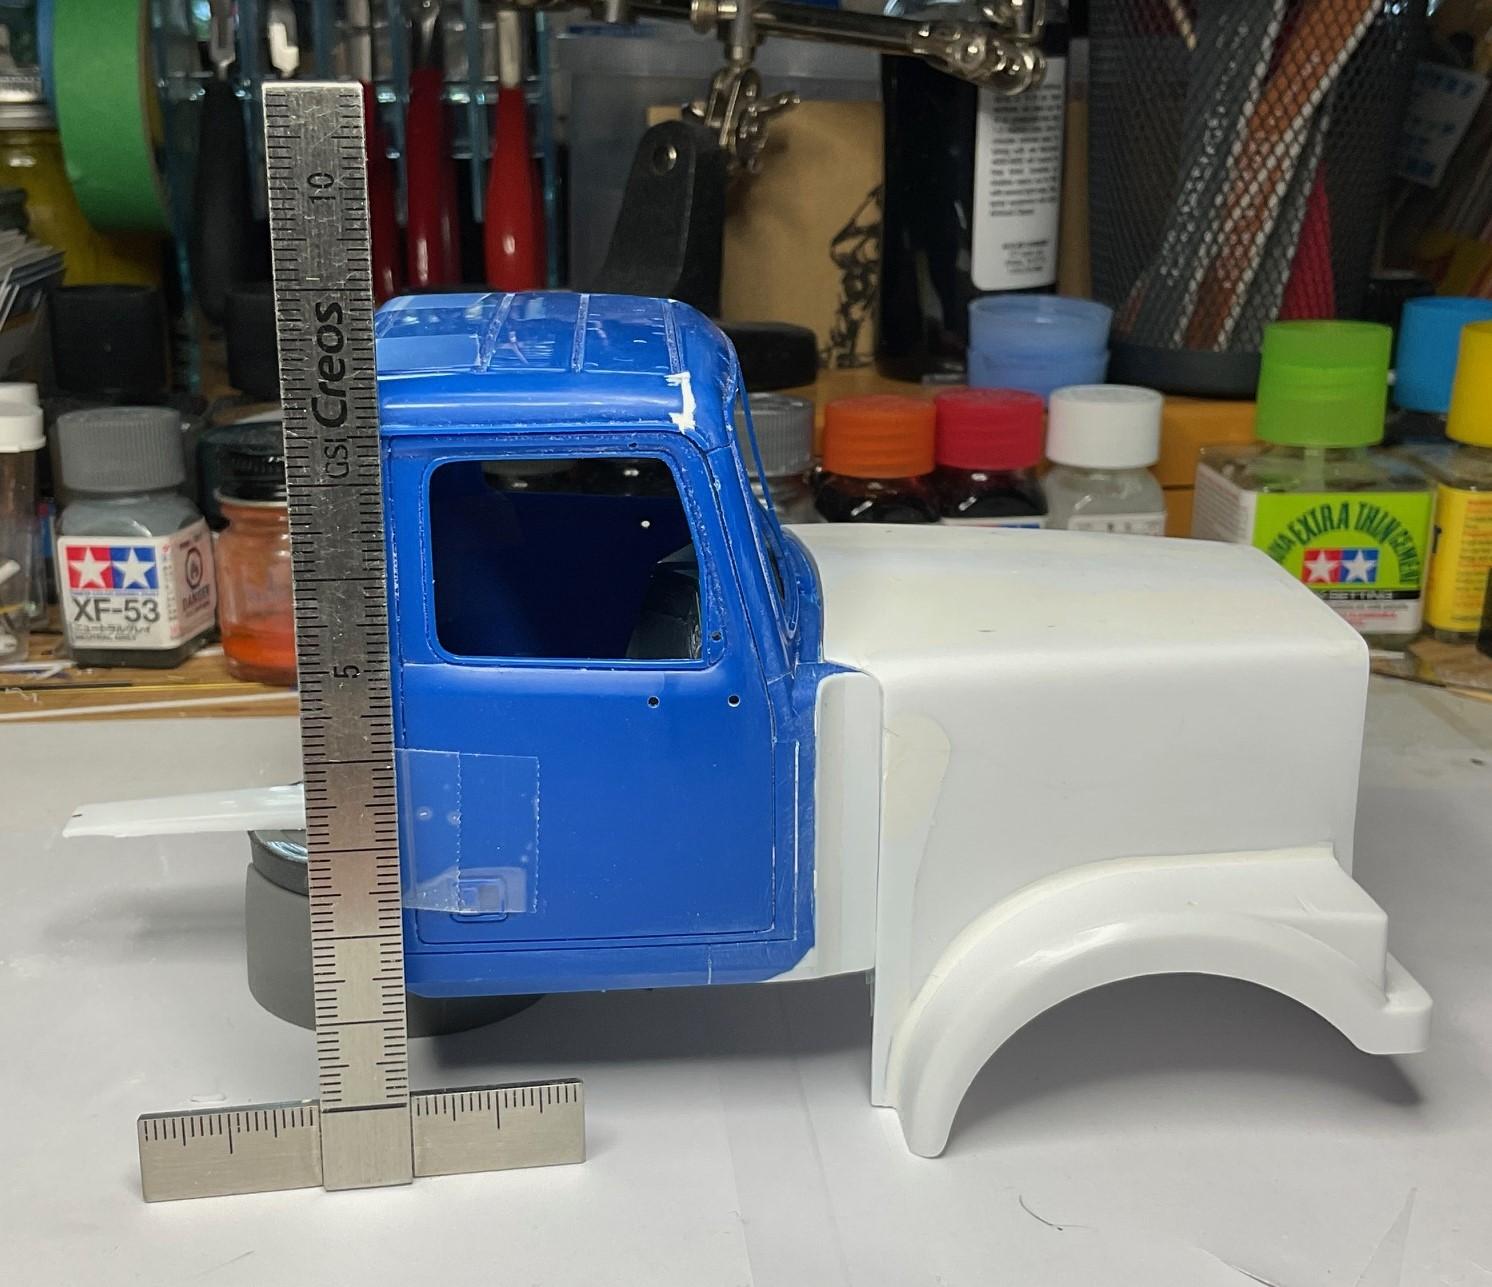
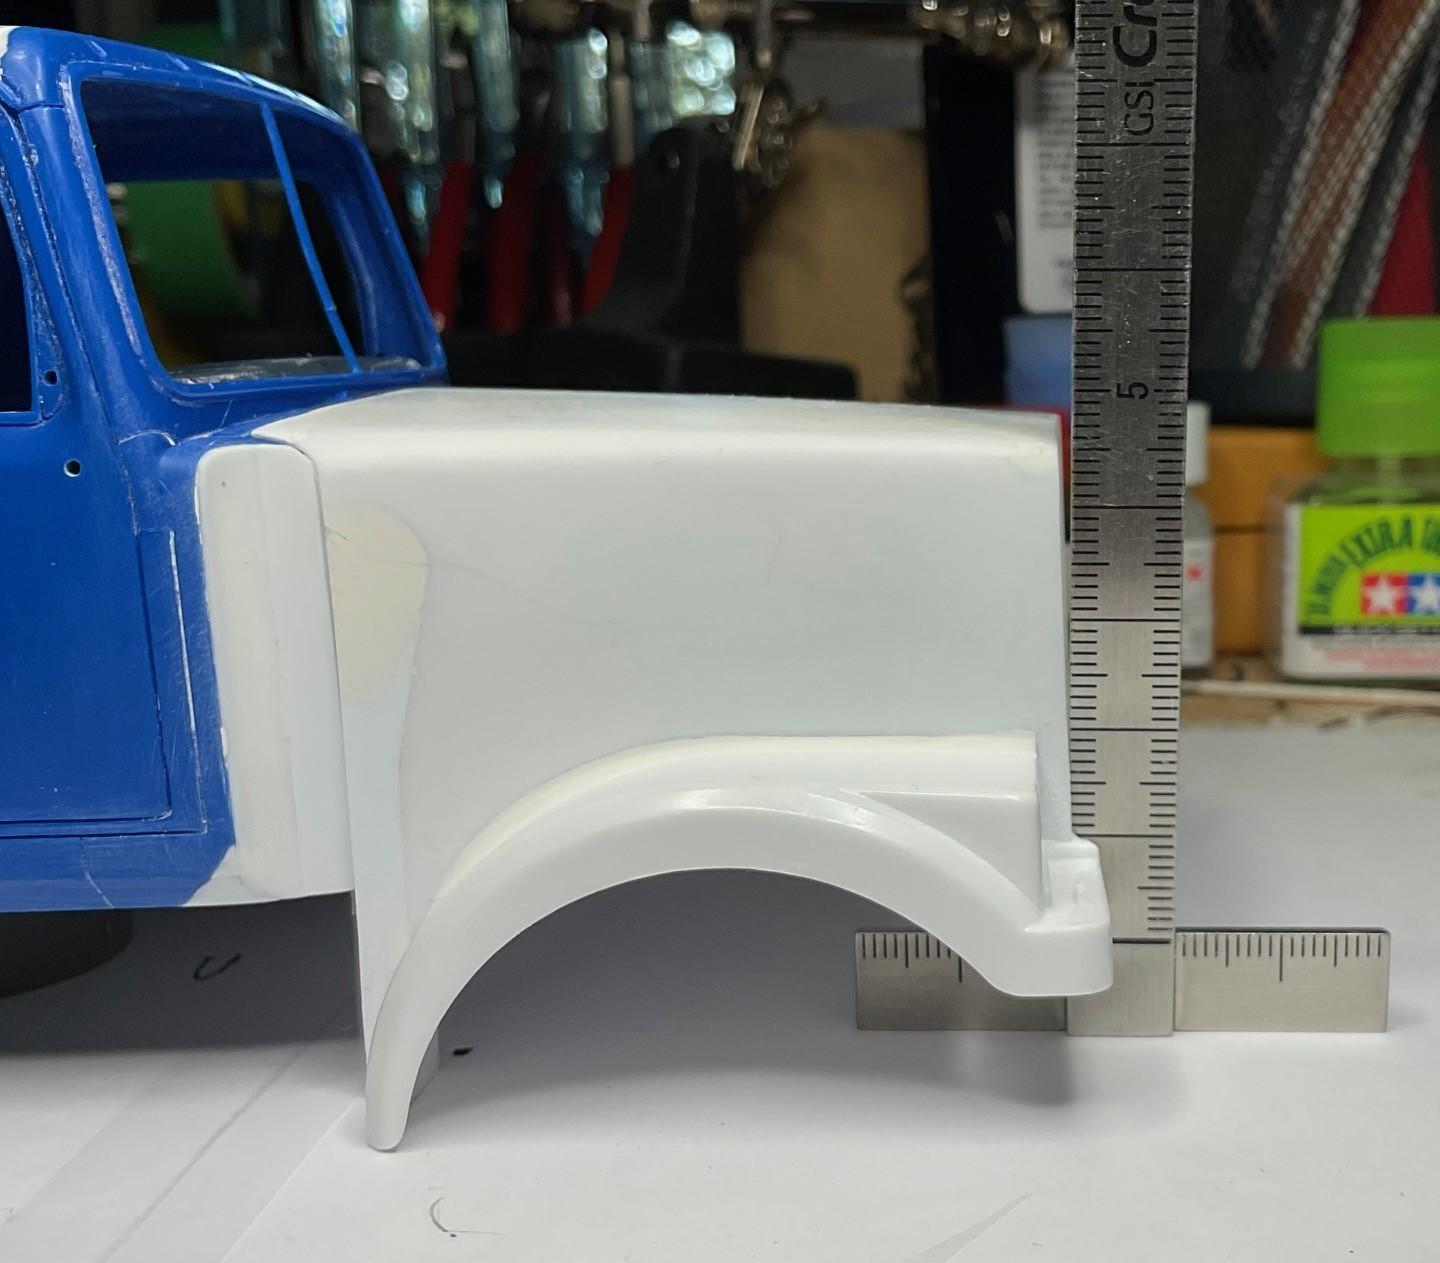
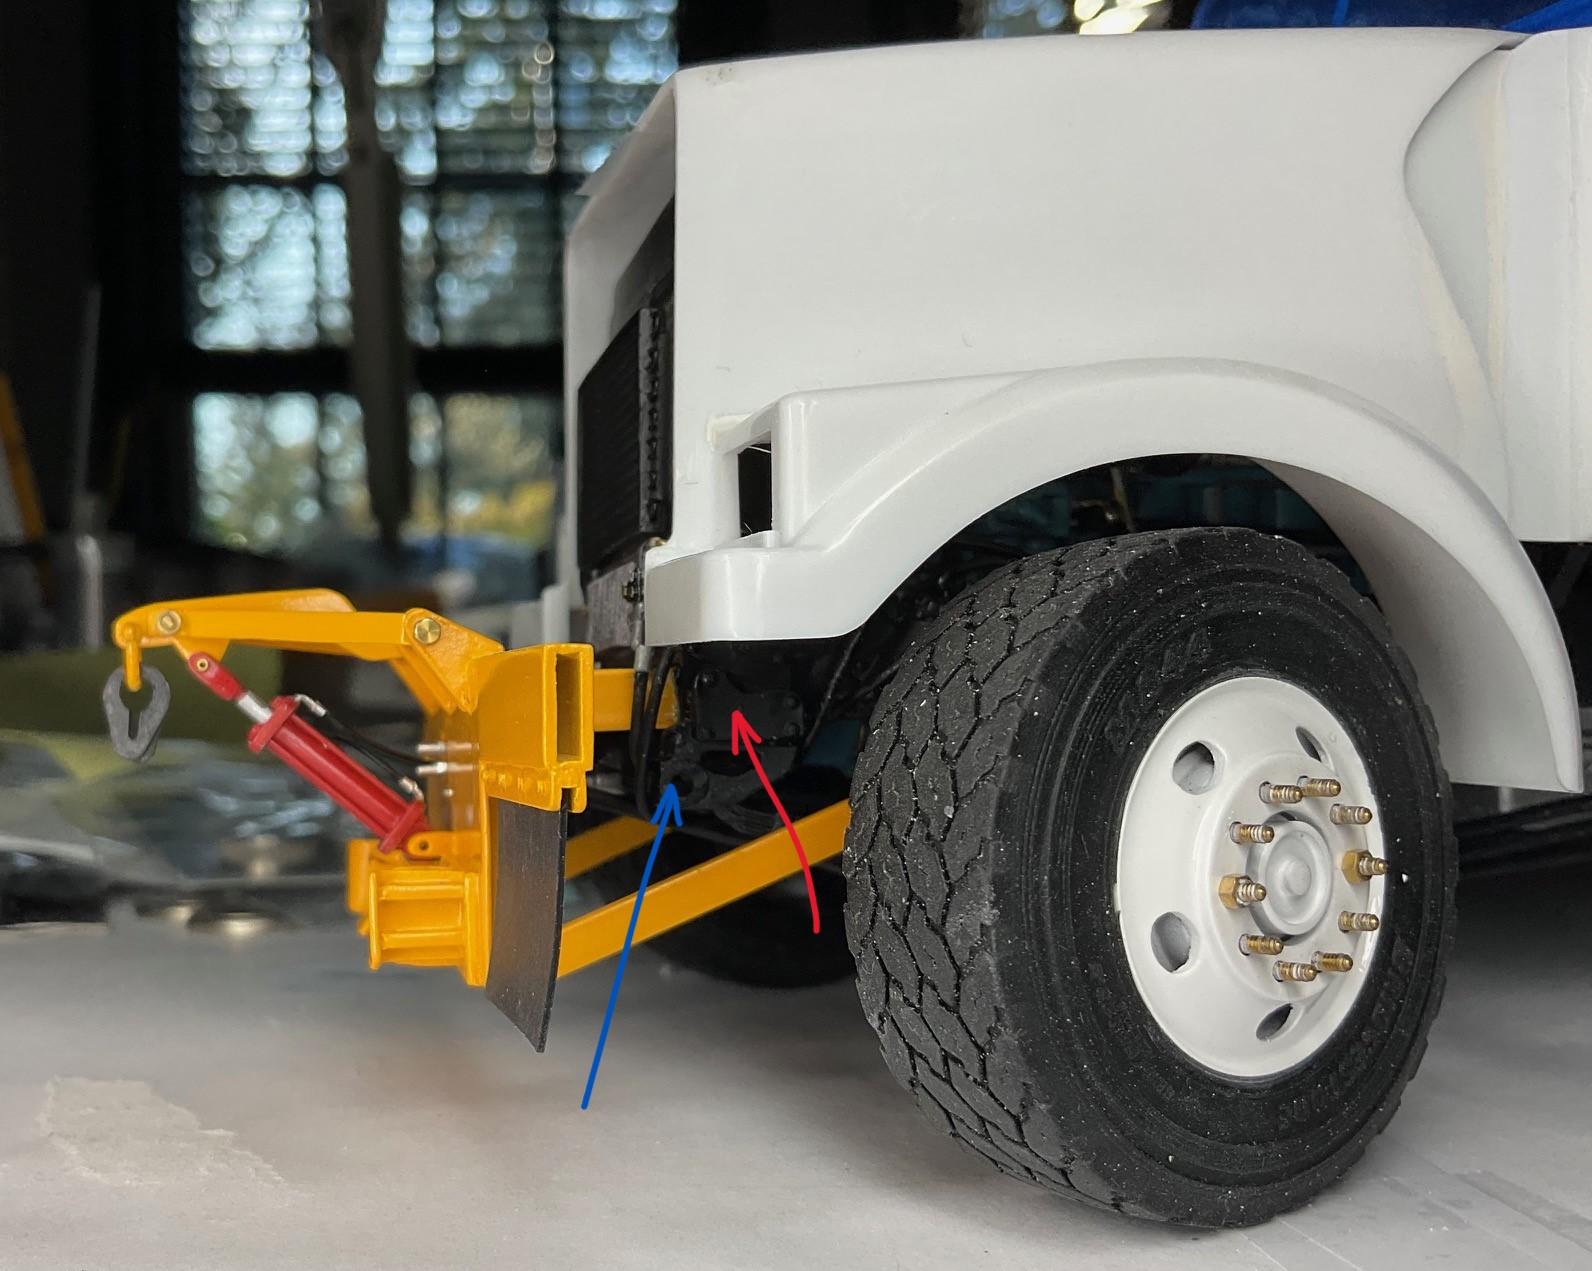
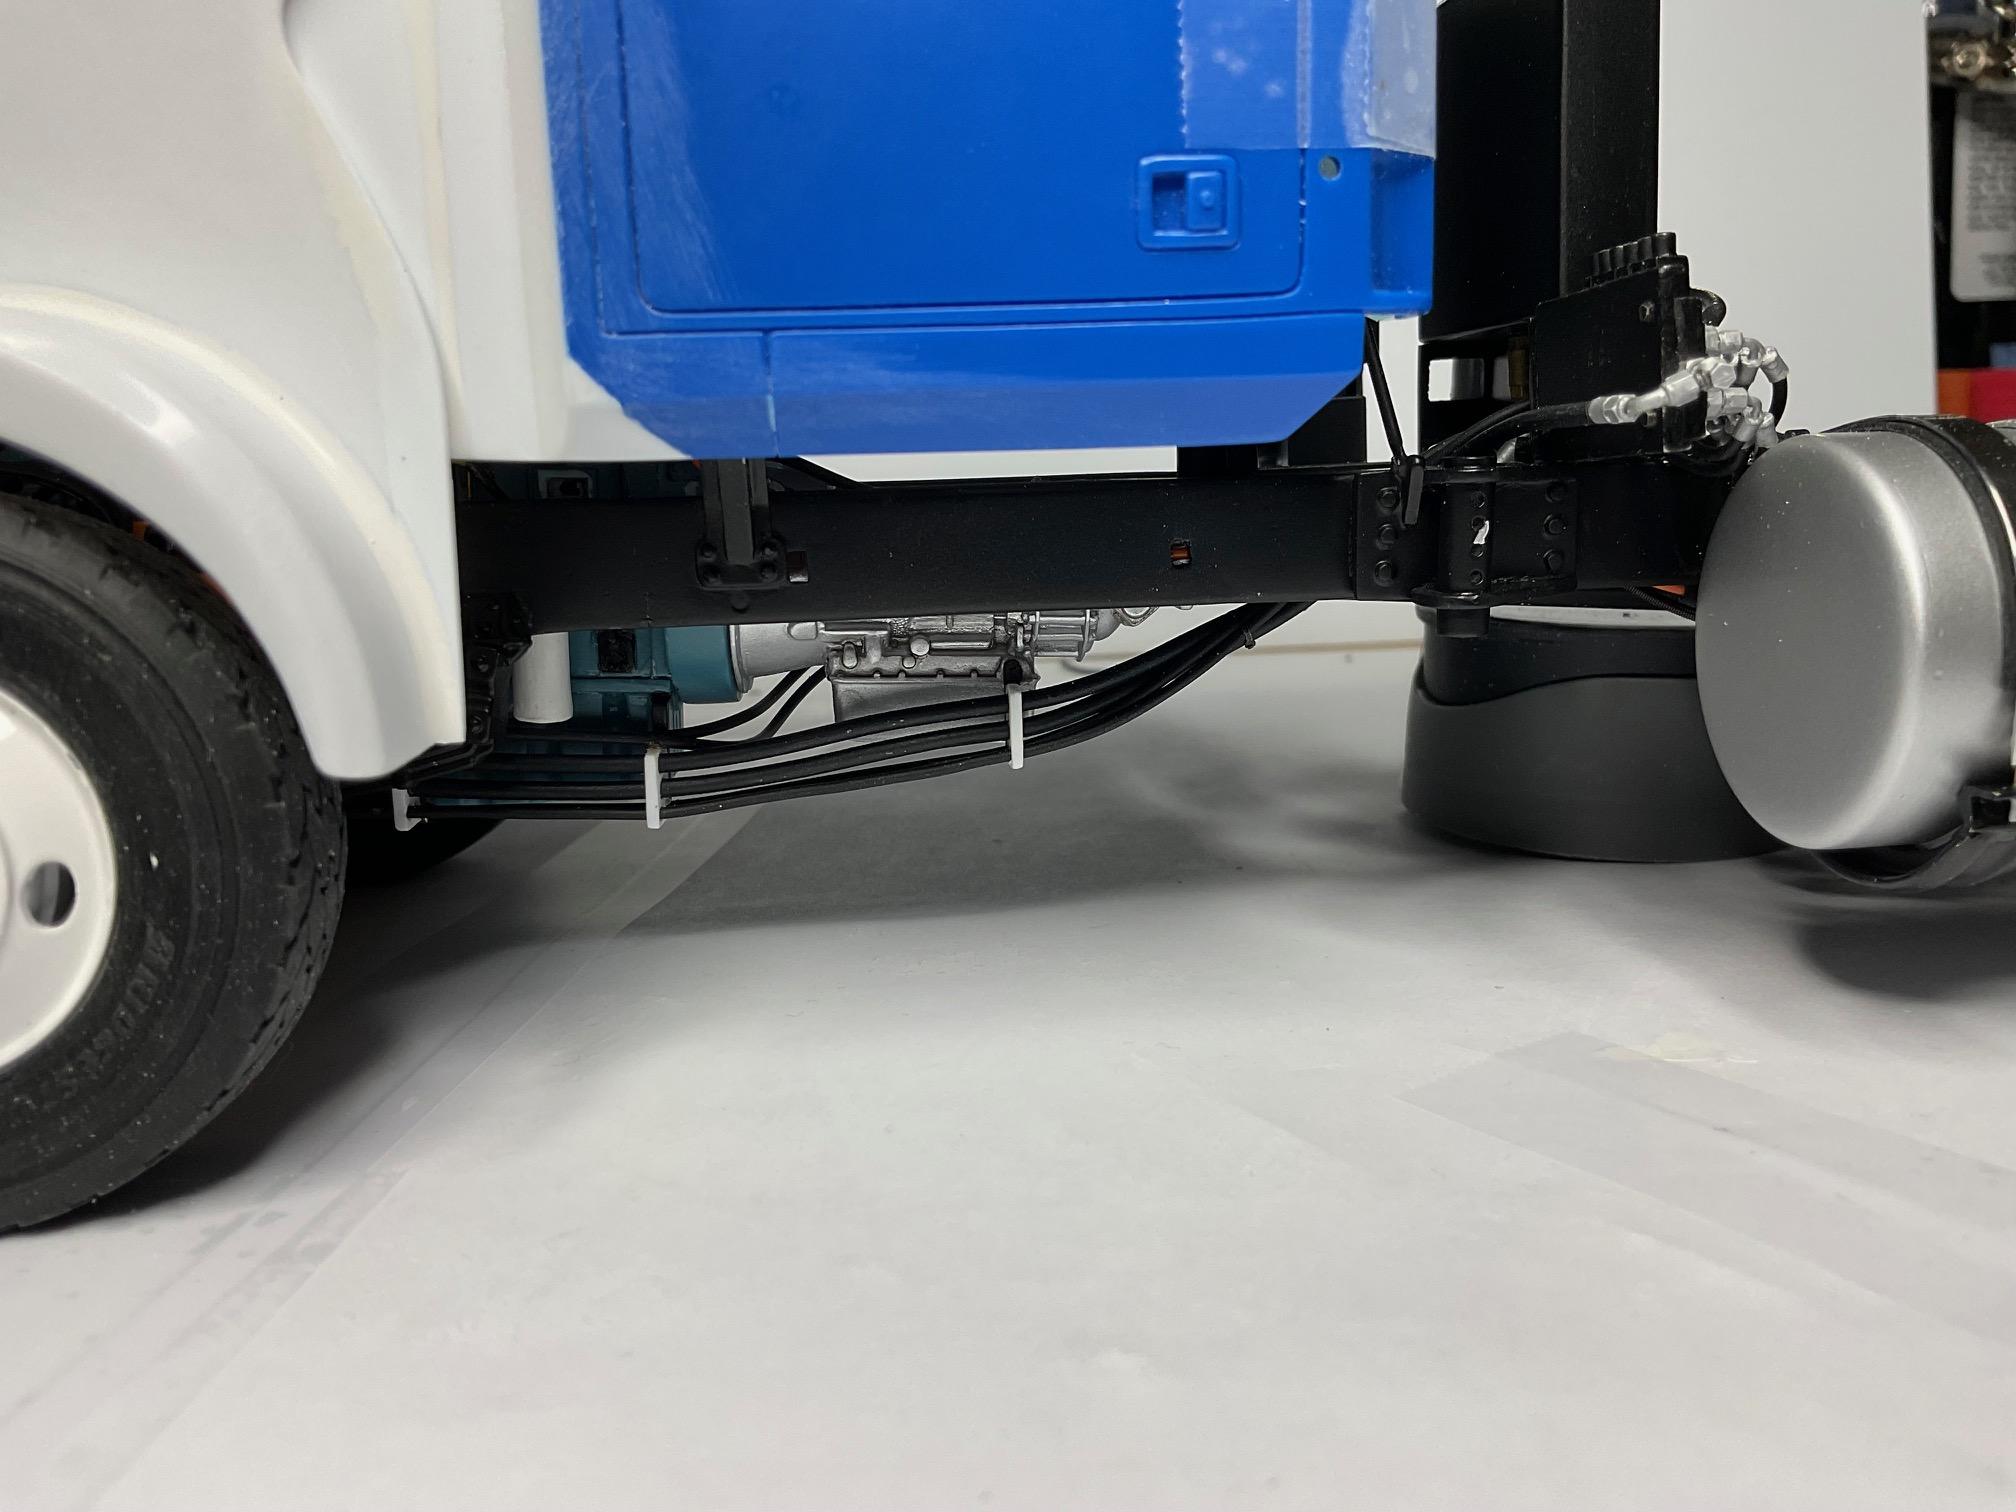
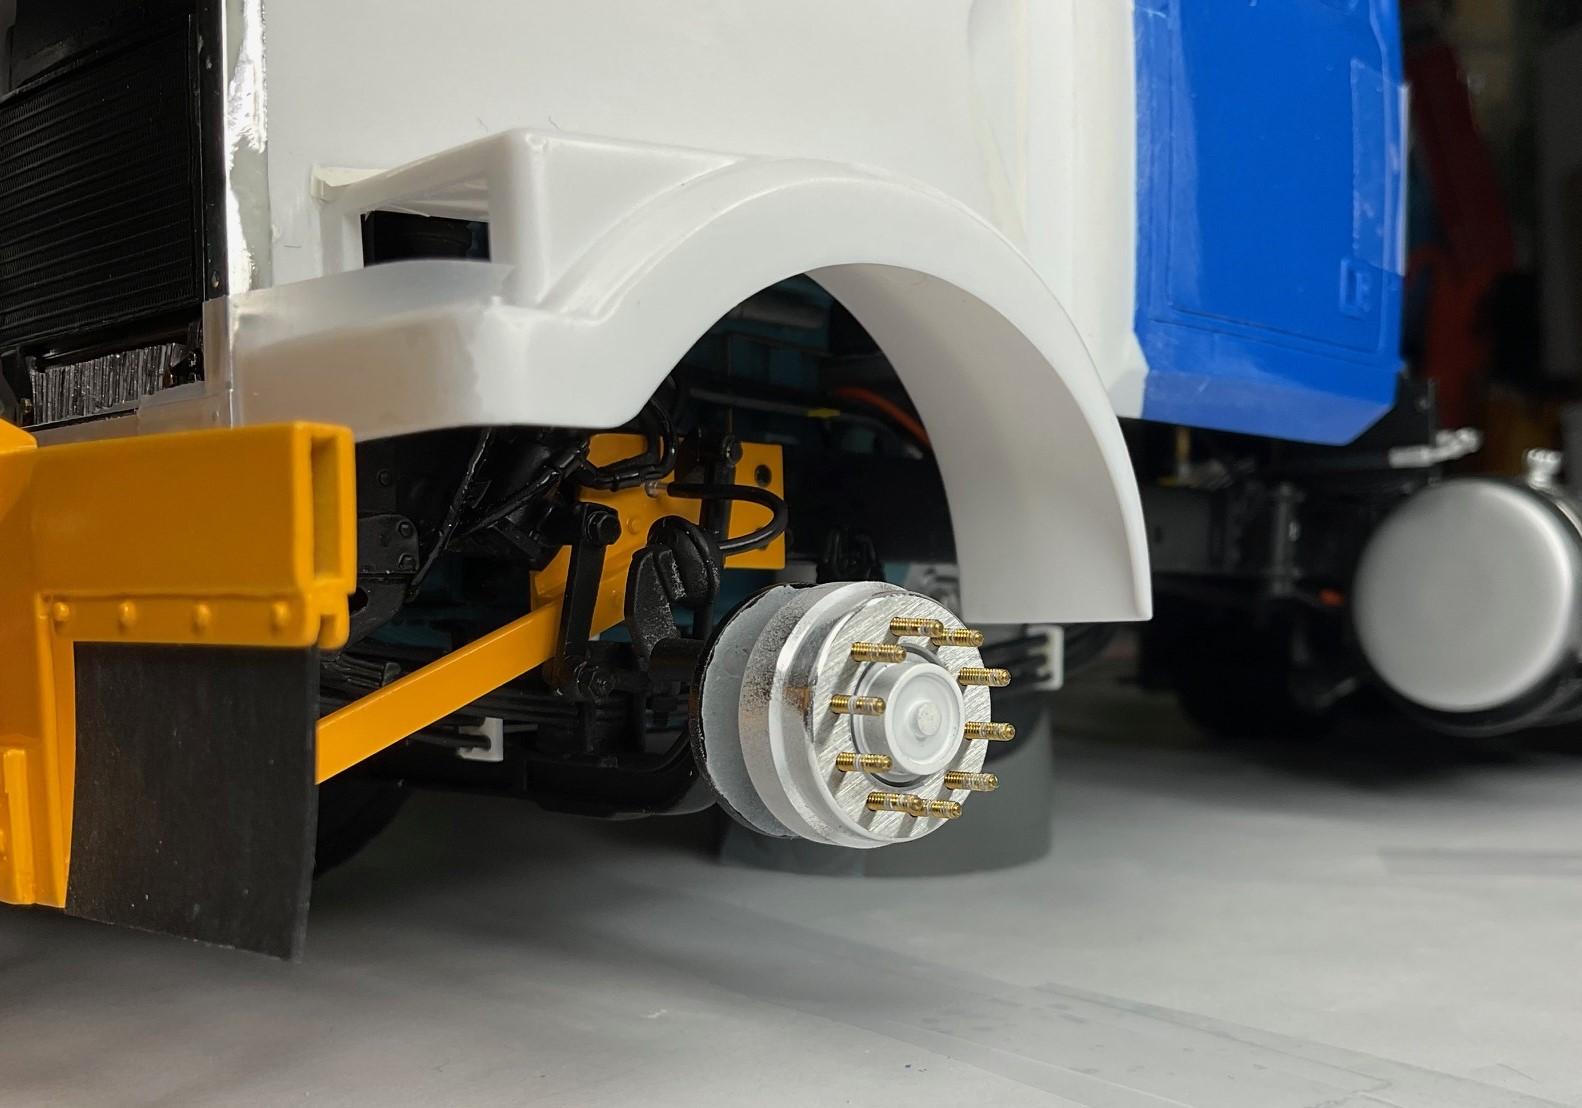
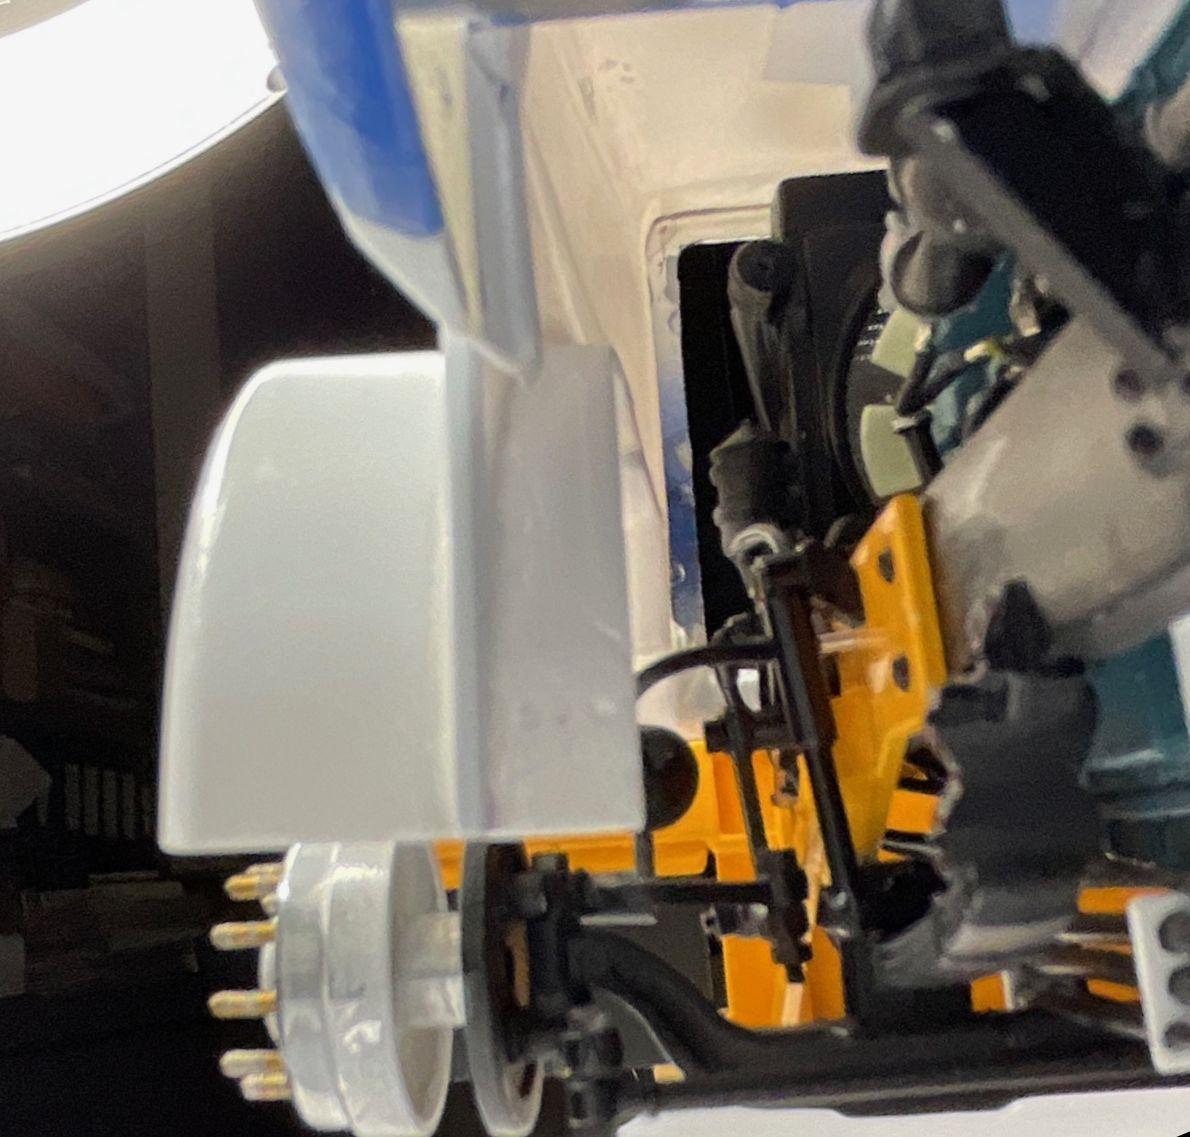
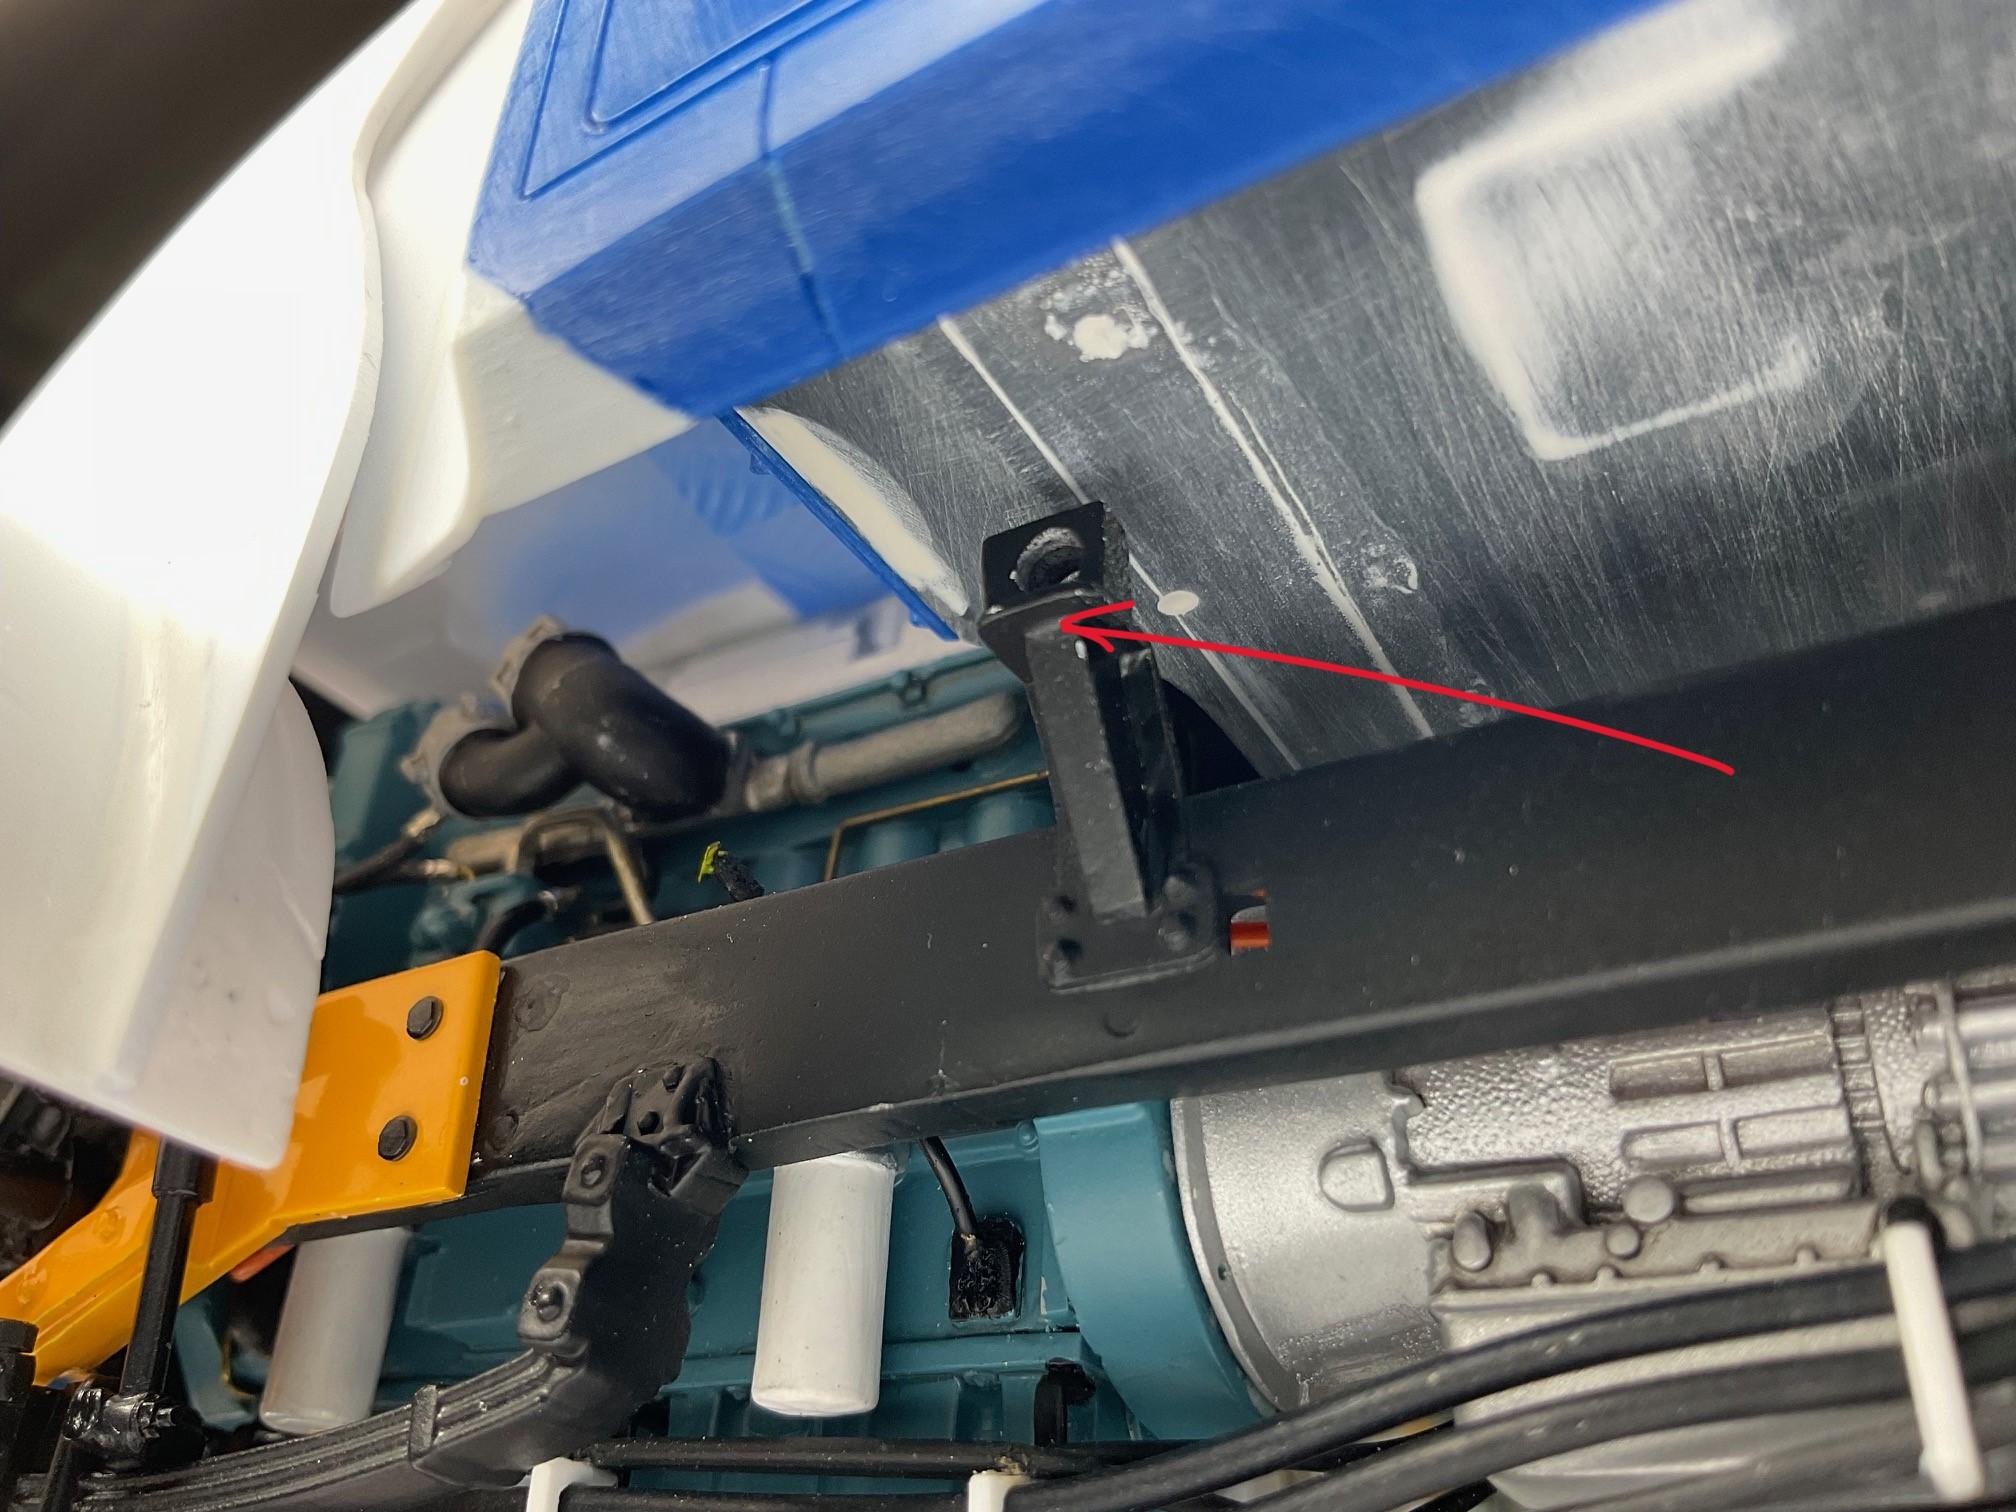
Some progress on the hood has been happening; have done an initial sanding on first go round of putty (needs a bit more). Been doing some test fittings of cab/hood together to see about any height adjustments that may be needed - back on page 1, I made a rear cab air bag/shock suspension and I can still set the cab forward or backward as needed to make the front of the hood locate properly. I will need to make a slight height adjustment to the cab suspension as I finalize where I need to attach front hood hinges. The front cab support will need work as well. Lots of going back and forth from the model, to pictures I took today, to get it straight in my head about what's needed next! Hood sanded after first bit of puttying When I test fit the hood to cab again, thought I better check some alignment, front of hood to door line on cab. Cab positioned so door line vertically correct, but.. front of hood needs to drop down slightly - will have to do that by shaving a wedge off of the back edge of hood. With the hood alignment corrected I set cab/hood on frame to check for height and to also start the determination of where the WS style hood hinges need to mount. The blue arrow indicates the hood hinge point provided by the kit, but its too low for the hood to tilt properly - I need to fashion hood hinges that mount to the frame, approximately, where red arrow is pointing. I have a couple of rod ends from RB Motion that I hope to make work, that will connect the bottom of the grill surround with the hinge support. Hood/cab will need to come up about 1.5 mm to allow hood to hinge properly using the new hinges. Rear cab support will also need a 1.5mm shim added on top of it - bottom of cab will still be at a height above the frame rails similar to that in my pics of real truck While cab/hood were roughly in place, I needed to check out the clearance for the inner fender and rubber flap that are on real truck - that flap was riveted to the inner fender molding, and extended just slightly below the top of the frame rail I was worried about interference with the flap, by power steering hoses and brake pot air line - the photo is kind of grainy, but, given that the flap only extends downwards to just below top of frame rail, it shouldn't interfere with any hoses. While taking the fender clearance photos, it became clear that the modifications to move the firewall back made problems for me with the front cab mount. This mount was made a long time ago, not knowing about any future work to cab/hood I might do. So, now I need to shim the support piece because it sits right at the junction where the footwell starts to slope up. Seems like I keep creating more work for myself! But, I really think that, once the hinge problem is solved, the rest of this is going to go reasonably quickly. Going out to the shed to apply a bit more putty to hood. In a few days, after the inner fenders are shaped and in place, and the hood re-sanded, should be able to give it a shot of primer and see what that reveals for any more work! As always, take care, and I welcome your questions and comments!
-
Western Star 4900 FA plow truck
BK9300 replied to BK9300's topic in WIP: Model Trucks: Big Rigs and Heavy Equipment
Slow progress with the body work, but it’s coming along! In the meantime. . . Many years ago, a video was made by Rob Bryce, showcasing the work of some of the road crews of YRB as well as those of the City of Prince George. All the solid yellow trucks belong to YRB while the white cab/yellow dump body trucks, and other equipment, were the City of PG. Now, the music for the video is not everyone’s cup of tea, but Rob sure got some great Go-Pro and drone action shots of the plow trucks, like the one I’m modelling. He dedicated the video to these road maintenance workers - a fitting tribute to an often thankless job! -
Western Star 4900 FA plow truck
BK9300 replied to BK9300's topic in WIP: Model Trucks: Big Rigs and Heavy Equipment
Thanks very much, Steve - I know there's lots going on but thanks for having a look! I appreciate that, Victor - so far, so good with the body work - a coat of primer will tell all! Yes, it works well - who knew the counter top guy would end up helping with my model! -
Very impressive modifications to your frame, right down to the pins for your engine mounts - very nice!
-
Western Star 4900 FA plow truck
BK9300 replied to BK9300's topic in WIP: Model Trucks: Big Rigs and Heavy Equipment
Thanks for checking out the WIP, Steve - lots going on, for sure, and more to come soon! -
Retro Restoration
BK9300 replied to cdntrucking's topic in WIP: Model Trucks: Big Rigs and Heavy Equipment
You build awesome truck combinations, Lewis - nice restoration! -
FDNY Wrecker
BK9300 replied to Scott Eriksen's topic in WIP: Model Trucks: Big Rigs and Heavy Equipment
Driver's side tank looks great, Scott - hope you get the front winch mounted so your hood opens, to show all your detail work! -
I think your choice of colour made the detail in the boom show up better - looks great on the deck.
-
Western Star 4900 FA plow truck
BK9300 replied to BK9300's topic in WIP: Model Trucks: Big Rigs and Heavy Equipment
Thanks, Dan - I appreciate you having a look! -
Western Star 4900 FA plow truck
BK9300 replied to BK9300's topic in WIP: Model Trucks: Big Rigs and Heavy Equipment
Thanks, Lee - yes, the lights turned out ok - hard to find specific parts like that for a build, otherwise. -
Revell's Peterbilt 359: WIP
BK9300 replied to David G.'s topic in WIP: Model Trucks: Big Rigs and Heavy Equipment
David, its hard to know for certain without having a tire in hand, but would a carefully placed cut(s) in the warped area, where rim meets the tire, help alleviate the warp and allow the spacer to function properly? If they are all warped similarly, might just be bad molding and another set of tires are in order as suggested earlier! -
FDNY Wrecker
BK9300 replied to Scott Eriksen's topic in WIP: Model Trucks: Big Rigs and Heavy Equipment
Scott, your engine detailing is getting very intricate - complicated as looking under the hood of the real thing! Good to see the truck up its rubber, too. -
Western Star 4900 FA plow truck
BK9300 replied to BK9300's topic in WIP: Model Trucks: Big Rigs and Heavy Equipment
Too kind, Jeff - just trying some things out to make this part of the build a bit easier! -
I agree - looks like that truck could pull over a building - tough looking workhorse!
-
Beautiful truck - nice, clean build - looks great with your trailer!
-
Western Star 4900 FA plow truck
BK9300 replied to BK9300's topic in WIP: Model Trucks: Big Rigs and Heavy Equipment
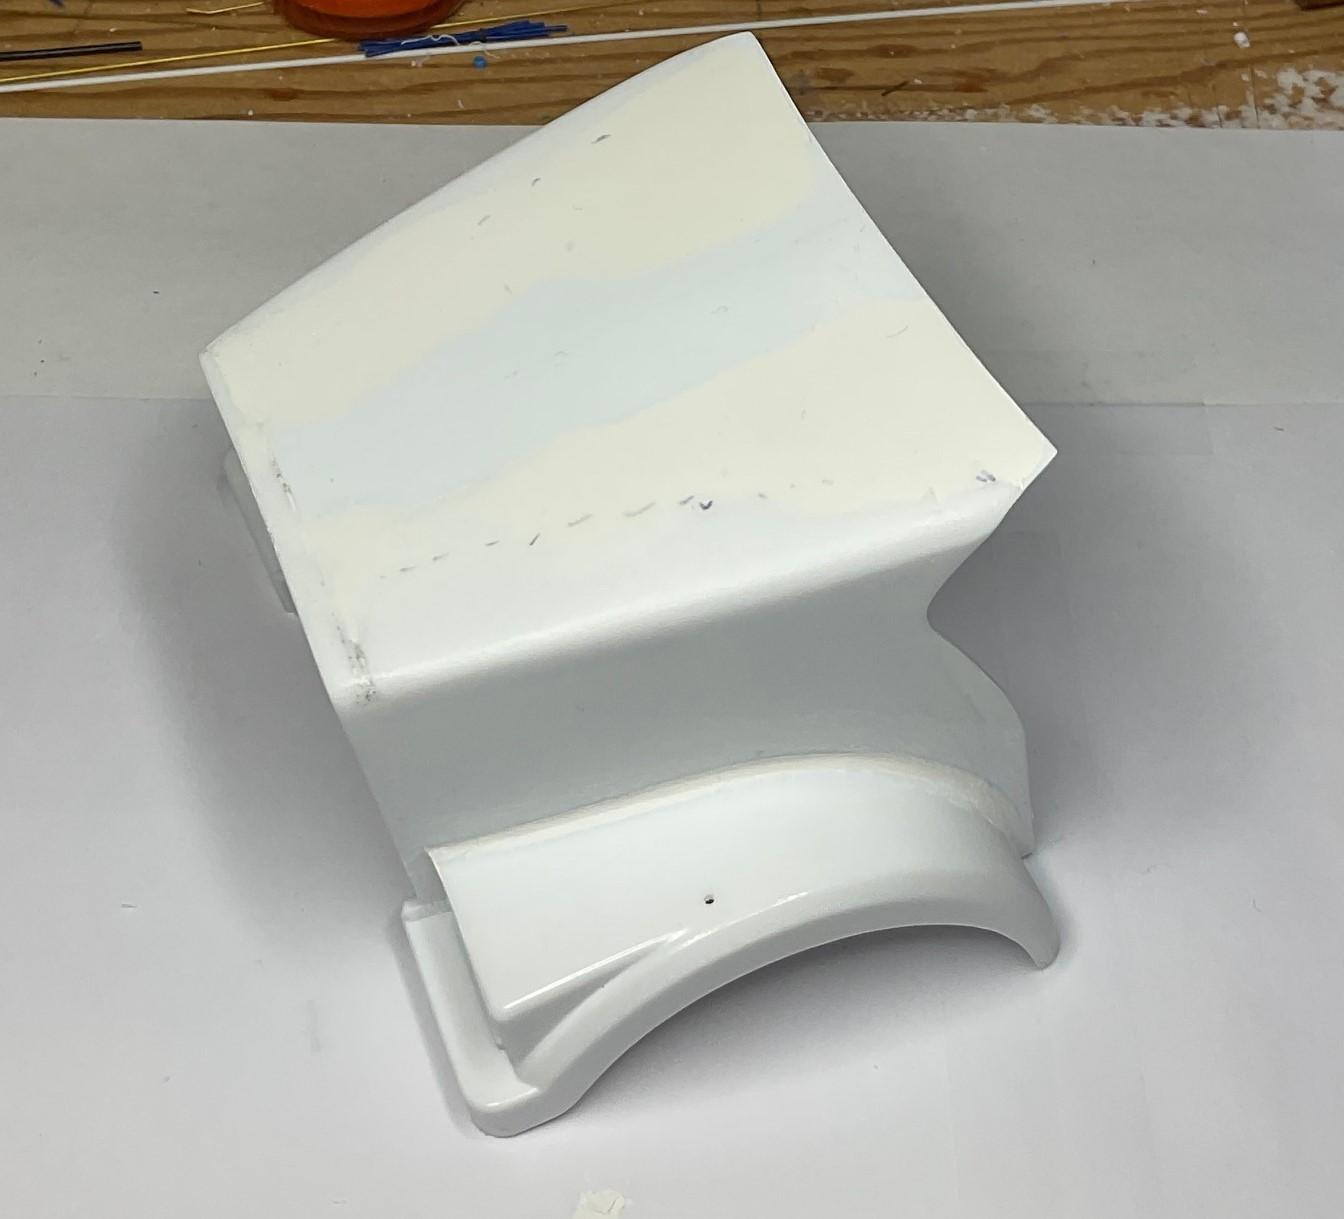
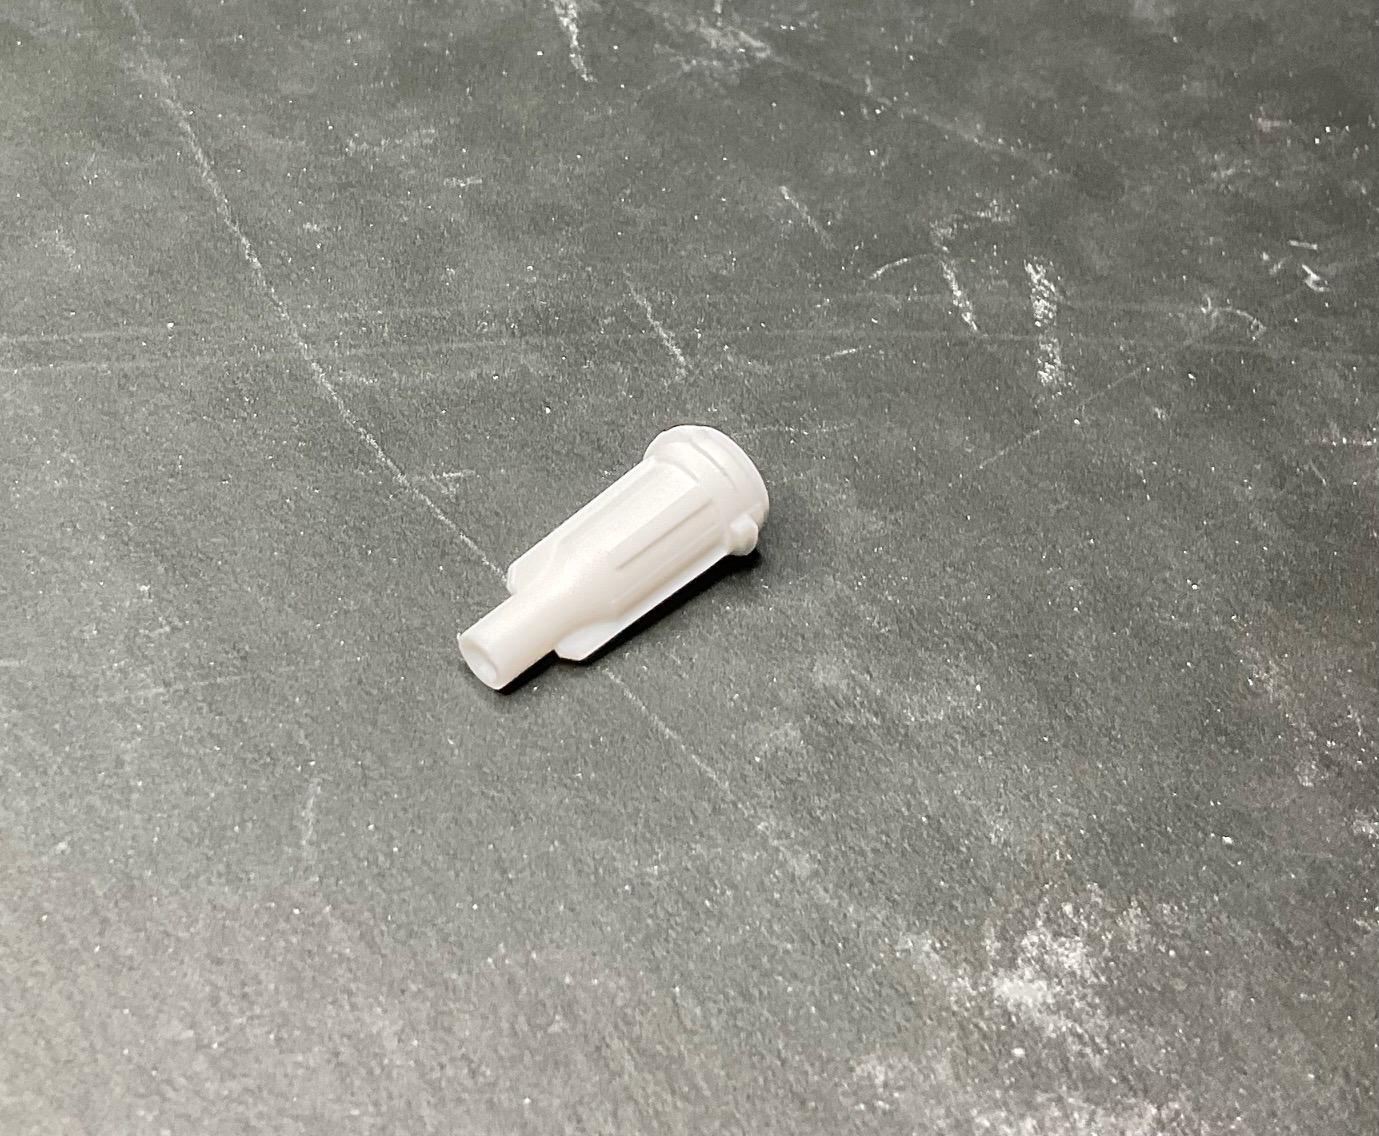
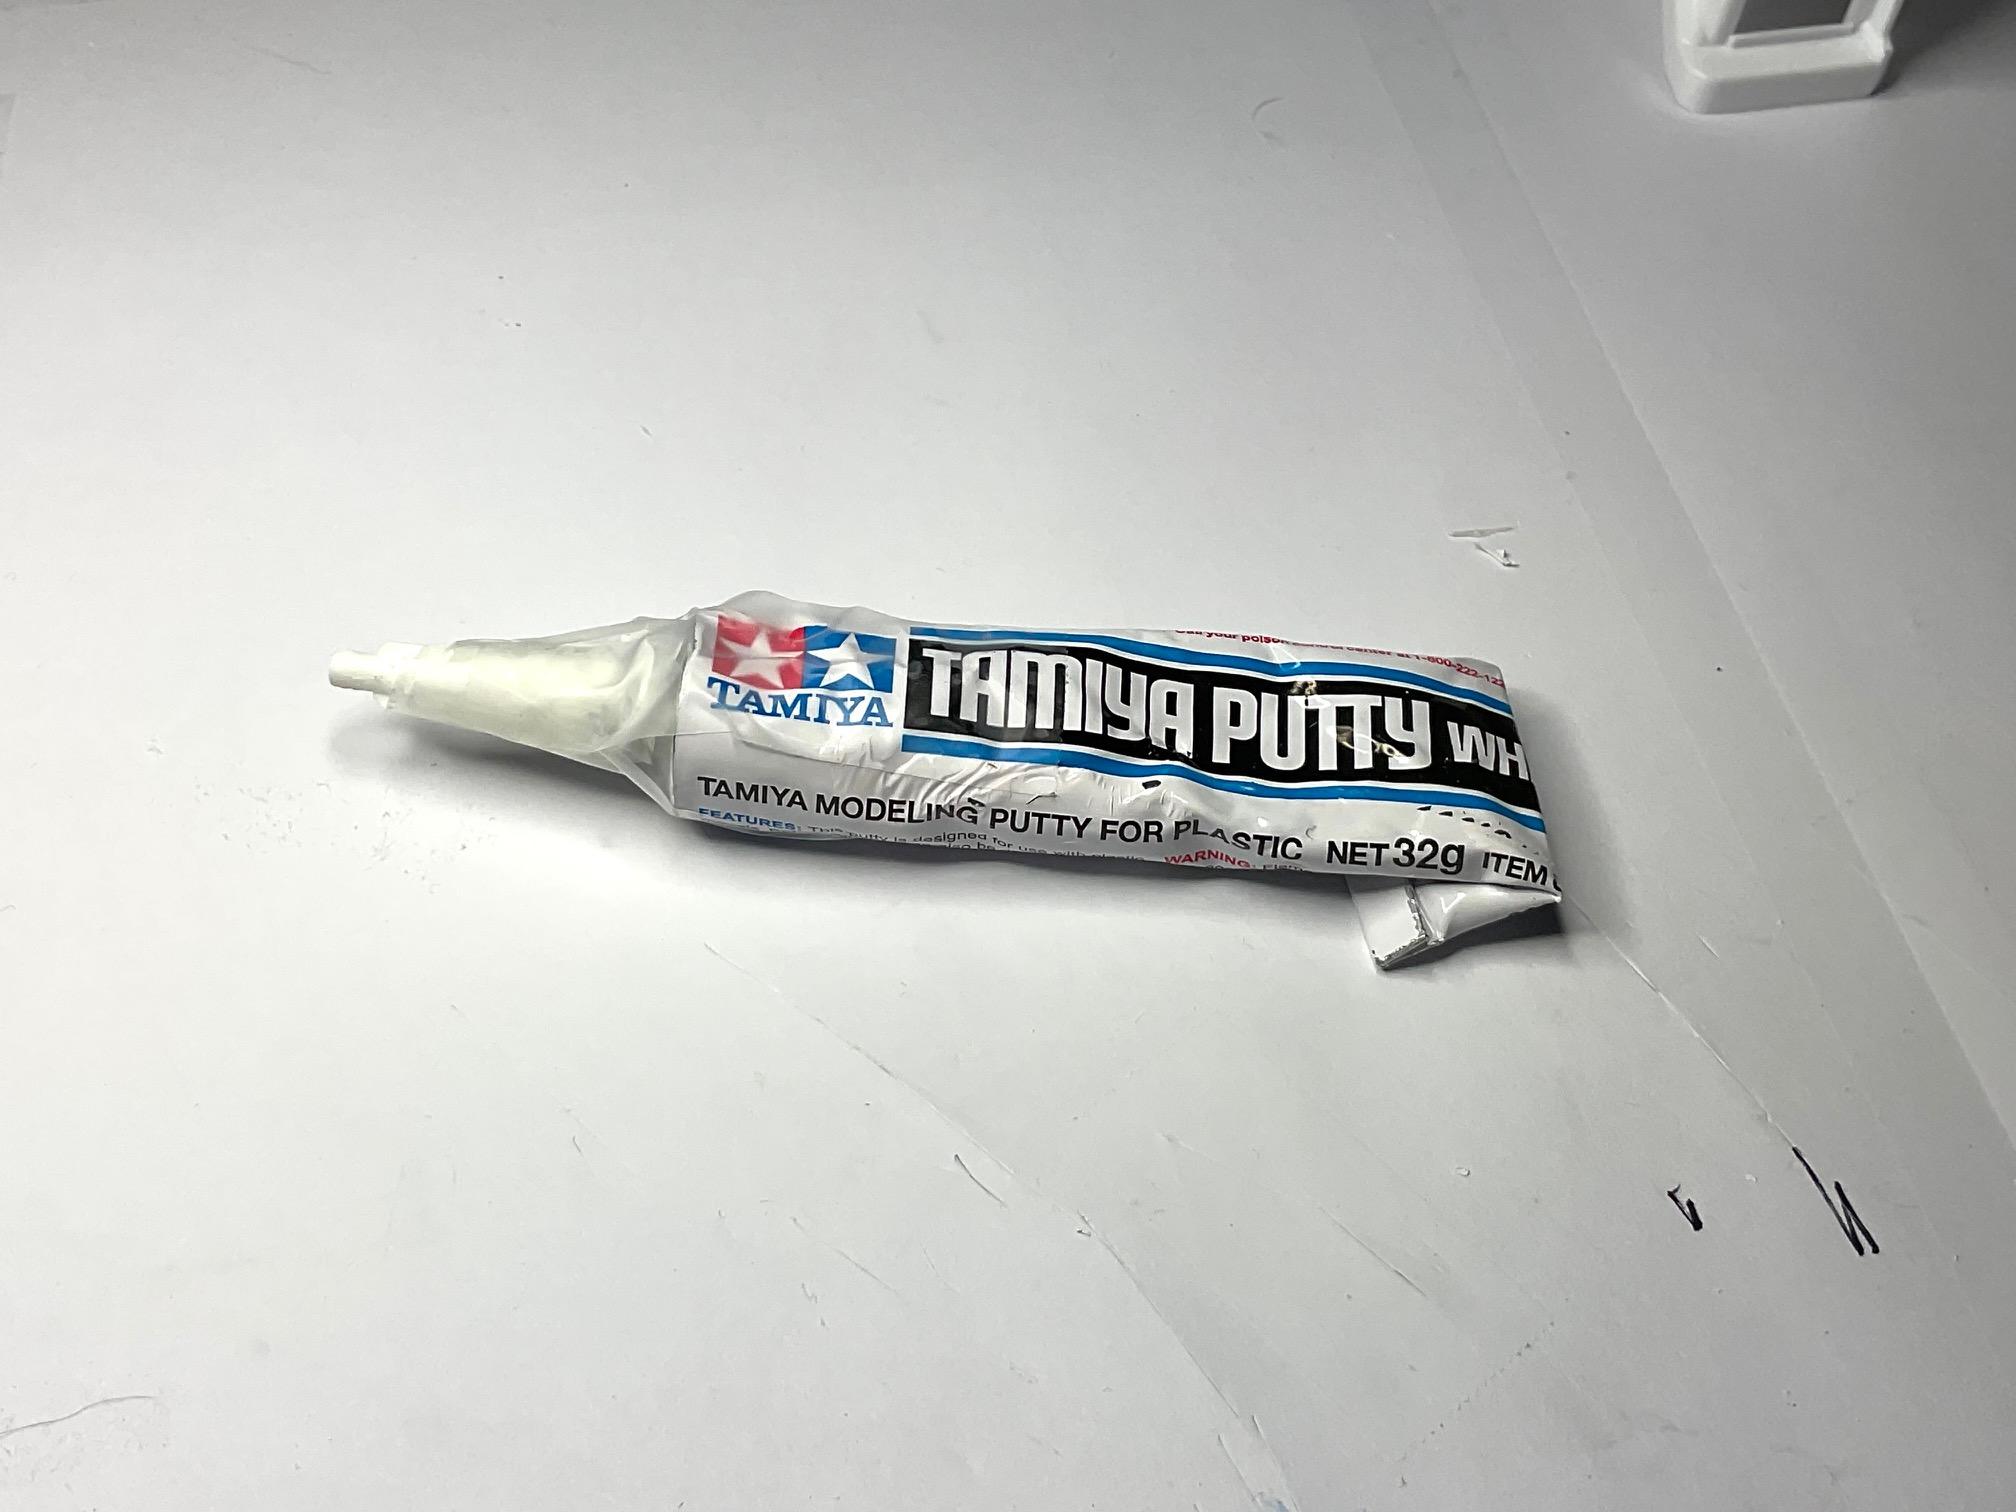
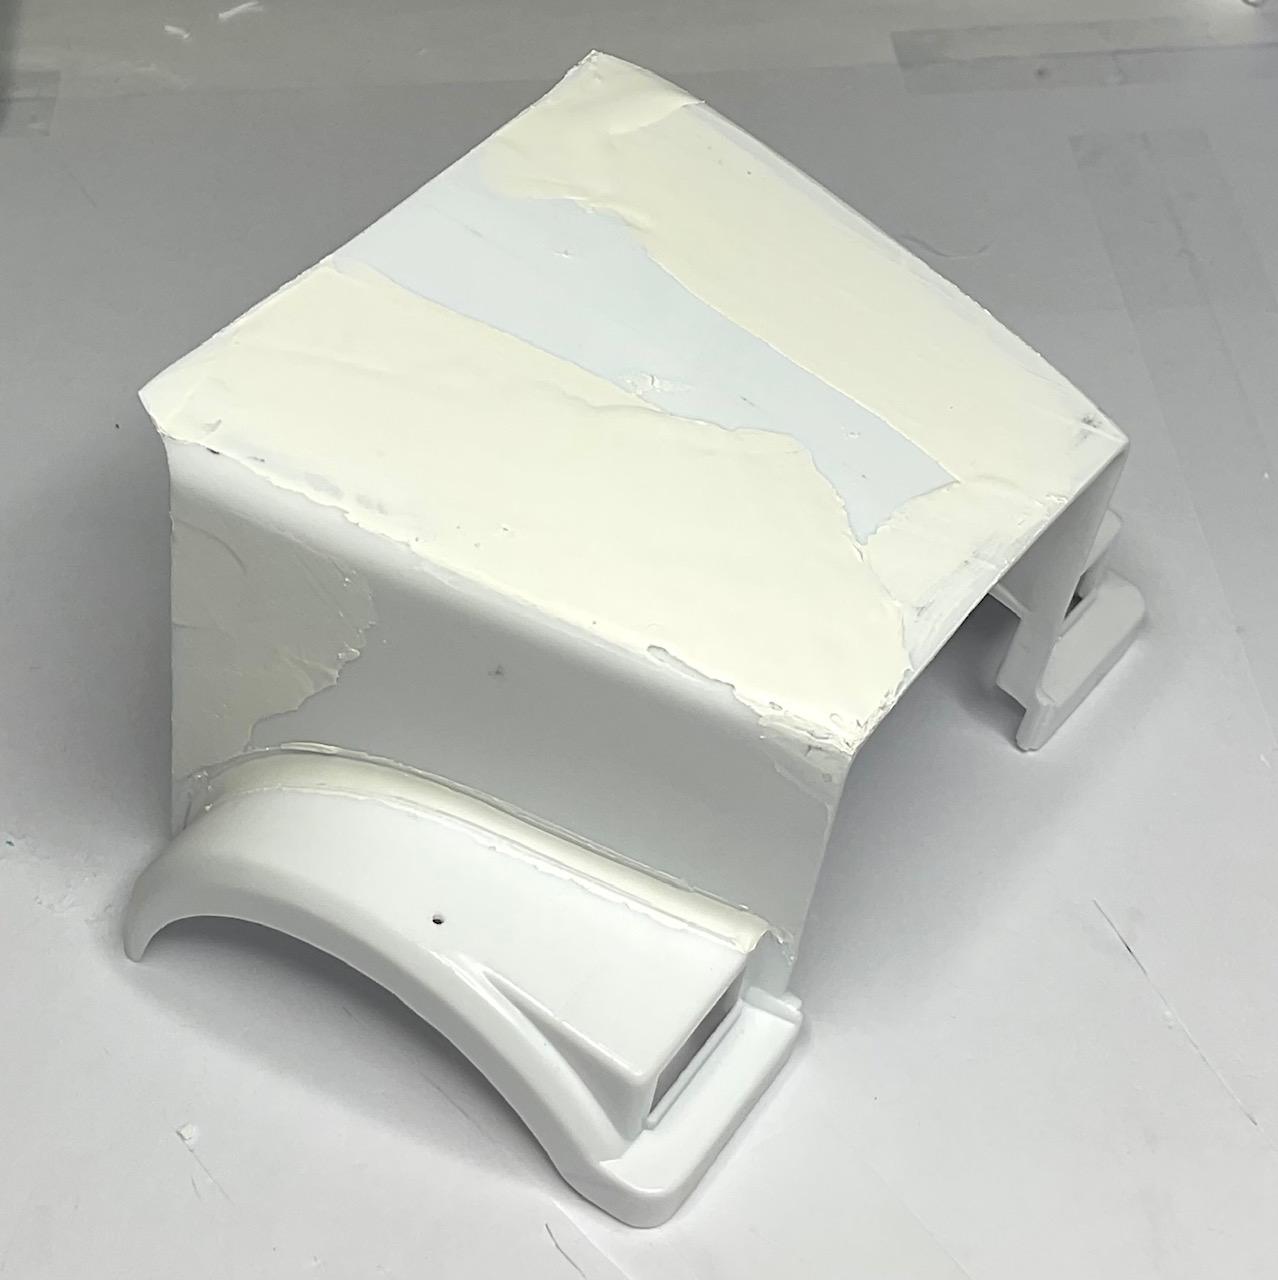
Bit of boring body work going on today, but did try something that made puttying the hood a bit easier. Been worried about how the do the join of the fenders to the sides of the hood, and get a decent curve to the putty line. As a sidebar, we had some renos done awhile back and the countertop guy had a fellow who was a magician with a caulking gun. So, could a 'tool' like that be used here? Made a decent go at at mini 'putty gun' and it turned out ok. I had some Lee Valley, plastic syringe nozzles left over from a furniture, glue repair kit Scotch taped the nozzle to the putty tube as best I could Using the old hood I screwed up as a test, was able to do a decent line down the fender edges - never knew this but countertop guy said to always push the caulking gun forward and the nozzle will shape the bead line for you, so that's what I did - worked well! Fender edges and other areas of hood have a first go at putty - might be set enough to sand a bit tomorrow While this is setting up and some small repairs to cab are drying, going to spend some time thinking about interior control tower and how the rest of the interior needs to be finished. Take care!
-
Brilliant work, Steve! (hope the storm doesn't knock out your power)
-
1962 Marmon-Herrington HDT
BK9300 replied to Jürgen M.'s topic in WIP: Model Trucks: Big Rigs and Heavy Equipment
Jürgen, you're getting very proficient at producing your 3D modeling and, I know I've said it before, but a resin printer might be a great add to your modeling 'toolbox". Good work!