hct728(Bob)
-
Posts
586 -
Joined
-
Last visited
Content Type
Profiles
Forums
Events
Gallery
Everything posted by hct728(Bob)
-
Mashpee Breaker 354
hct728(Bob) replied to Chariots of Fire's topic in WIP: Model Trucks: Big Rigs and Heavy Equipment
Nice job on the interior, too! So much detail on the dash, now I see why the doors have to open, so not to miss a thing! -
Mashpee Breaker 354
hct728(Bob) replied to Chariots of Fire's topic in WIP: Model Trucks: Big Rigs and Heavy Equipment
Neat job on the windshield! I did that once, made a lip for it to fit into, as I found Jimmy Flintstone bodies don't work well with the kit windshield, but it was real hard not to cut through the flange, man you have a steady hand! Nice job on the doors too, lot of work there. The louvers made me think of the AMT/Ertl Paystar, where the box art shows them the wrong way, are you sure they shouldn't be vertical, LOL! -
Wow, very impressive kitbashing! Love the smooth modern look of the pickup, with neat mods to the front, cab extension and box! Neat paint on the Suburban, the metallic just glows! Now, what will the pickup be hauling, another surprise?
-
Oshkosh snow plow
hct728(Bob) replied to gotnitro?'s topic in WIP: Model Trucks: Big Rigs and Heavy Equipment
Some call it SWAG, but I call it a do-over (& over until you get it right! ) Breaks my heart to have to rip apart bodywork 'cause I didn't start with enough info, but here I can't deny it's working for you, looks just right! -
Oshkosh snow plow
hct728(Bob) replied to gotnitro?'s topic in WIP: Model Trucks: Big Rigs and Heavy Equipment
Nice work on the Bluenose, Charlie! I did the old plastic Aurora one last year, though I did start a Billings wooden one way back when, what a challenge. You did well working with wood (and string too, by the looks of it) -
Oshkosh snow plow
hct728(Bob) replied to gotnitro?'s topic in WIP: Model Trucks: Big Rigs and Heavy Equipment
Wow, a very ambitious project, but coming along nicely, pretty fast work, too. Guess it helps to have a good set of plans for something as complex as that hopper -
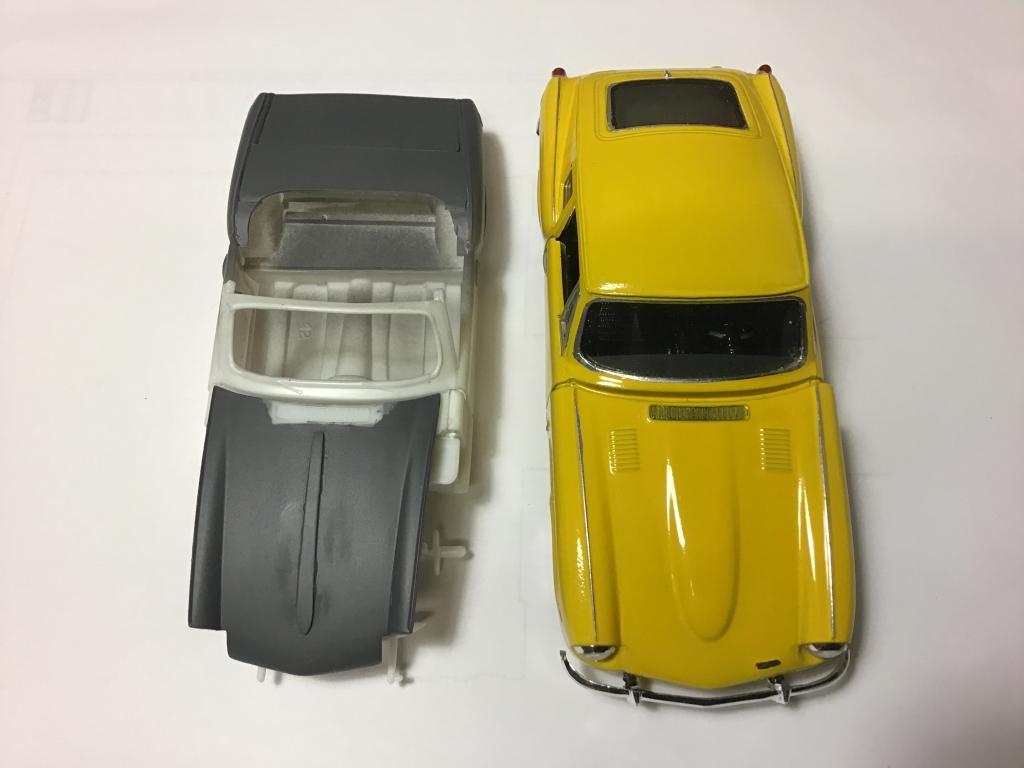
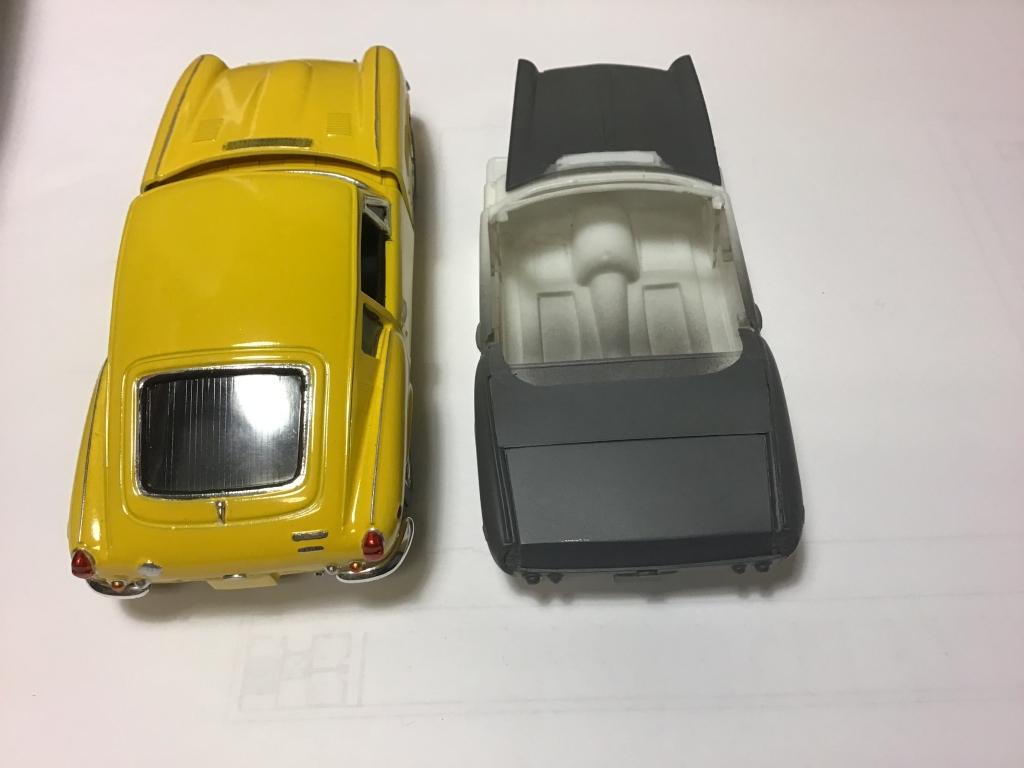
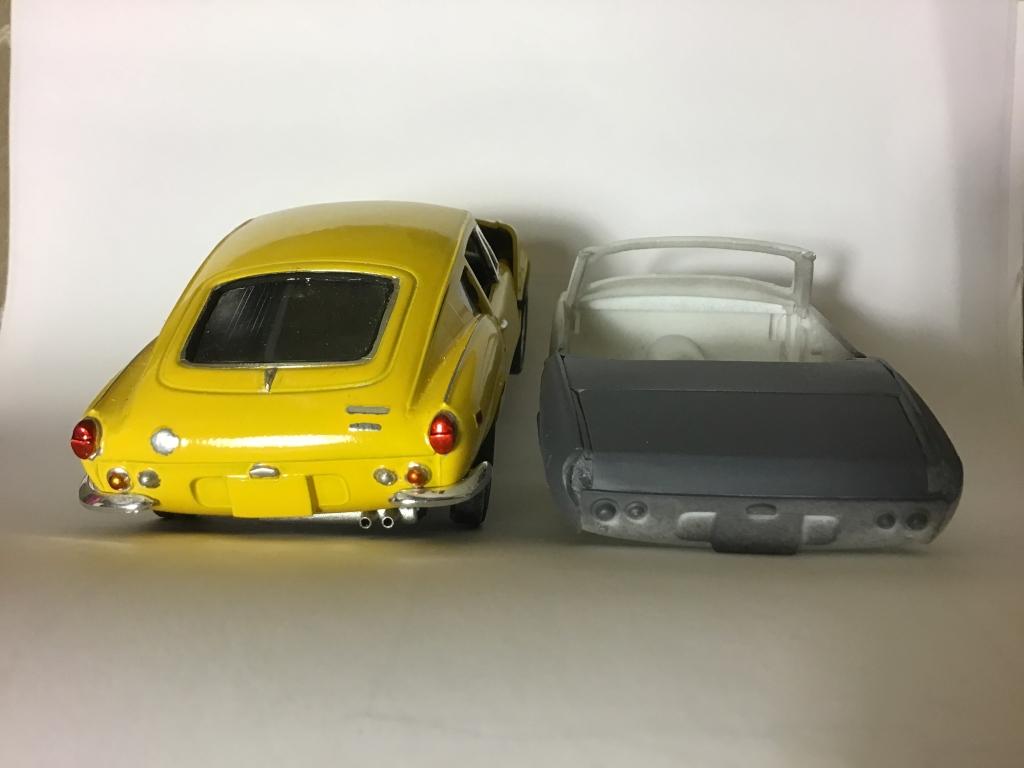
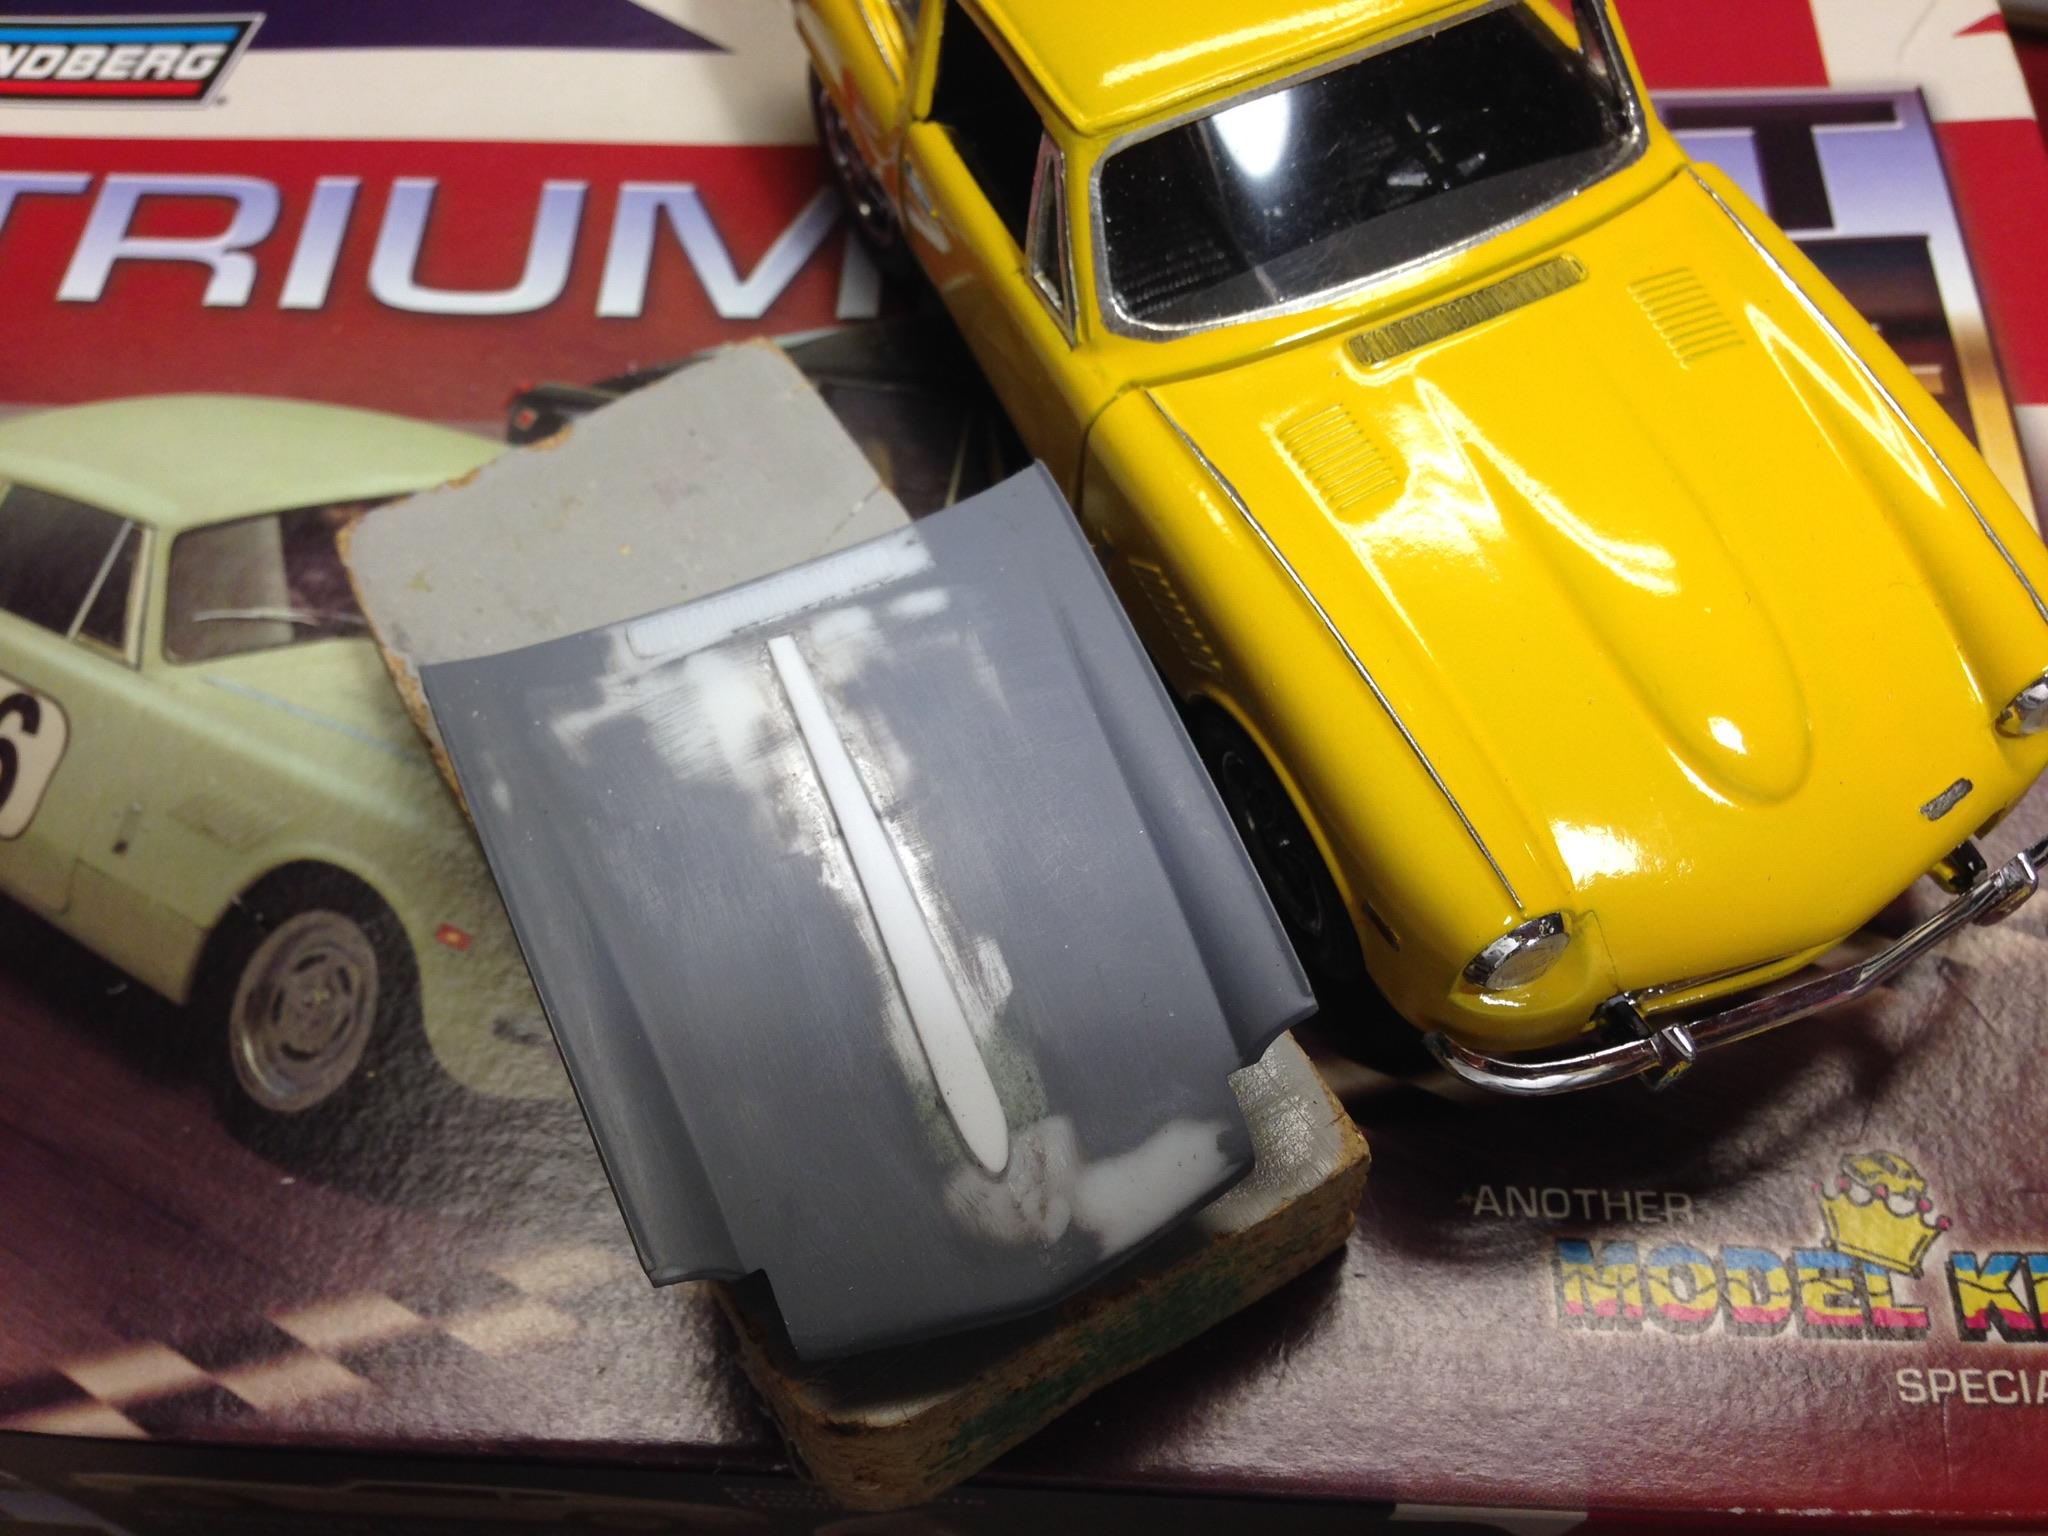
Well, I had to redo the hood spear, as it looked a little off-center, then I attacked the rear trunk area, so here's what I have so far. I still need to re-attach the taillights and make a lip around the passenger area where the roof attaches, but you get the idea, it's coming along

-
Presently converting my second Lindbergh GT6 kit to a Spitfire Mk 2. So far i’ve cut two cylinders out of the engine, fixed the too-small windshield, added the trim around the glass, removed the hood bump, replaced it with .040” styrene, filled the gaps then added the smaller spear found on the Spit. Currently working on the rear deck, more pics to follow - wish me luck!
-
Sorry to hear that, but there is a show coming up in Puslinch, well attended by car builders last year IIRC, hope you can make it! https://www.group25.org/2019/2019_Wellcome.pdf
-
Great pictures, Dan, and congratulations on your wins in three categories! I especially liked seeing your 1934 tractor trailer, so unique and such creative decal work on the trailer! Thank you for your continued support of the show, looks like we did better than last year in both attendance and number of contest entries
-
https://www.youtube.com/embed/C6HGg_qByLE
-
Just got the awards for the contest! You could be going home with this!
-
-
Kalmar Ottawa Yard Tractor
hct728(Bob) replied to hct728(Bob)'s topic in WIP: Model Trucks: Big Rigs and Heavy Equipment
Thanks, but don't look too close, as it will be a three footer for sure! Still haven't decided what colour to paint it, most are white but yellow or red with some stripes would sure stand out on the contest table (and on the shelf for three foot viewing). Needs a trailer too, maybe an ice cream reefer - wonder what decals are in the Moebius trailer kits -
Kalmar Ottawa Yard Tractor
hct728(Bob) replied to hct728(Bob)'s topic in WIP: Model Trucks: Big Rigs and Heavy Equipment
Thanks, Charlie, I got them done! Lots of fiddly parts for my mitts to handle, but they work and the stroke now has a limit when extended! -
Kalmar Ottawa Yard Tractor
hct728(Bob) replied to hct728(Bob)'s topic in WIP: Model Trucks: Big Rigs and Heavy Equipment
Just one more, a group shot taken in March. Still fiddling with the many details...
-
Kalmar Ottawa Yard Tractor
hct728(Bob) replied to hct728(Bob)'s topic in WIP: Model Trucks: Big Rigs and Heavy Equipment
Here's it in the chassis...
-
Kalmar Ottawa Yard Tractor
hct728(Bob) replied to hct728(Bob)'s topic in WIP: Model Trucks: Big Rigs and Heavy Equipment
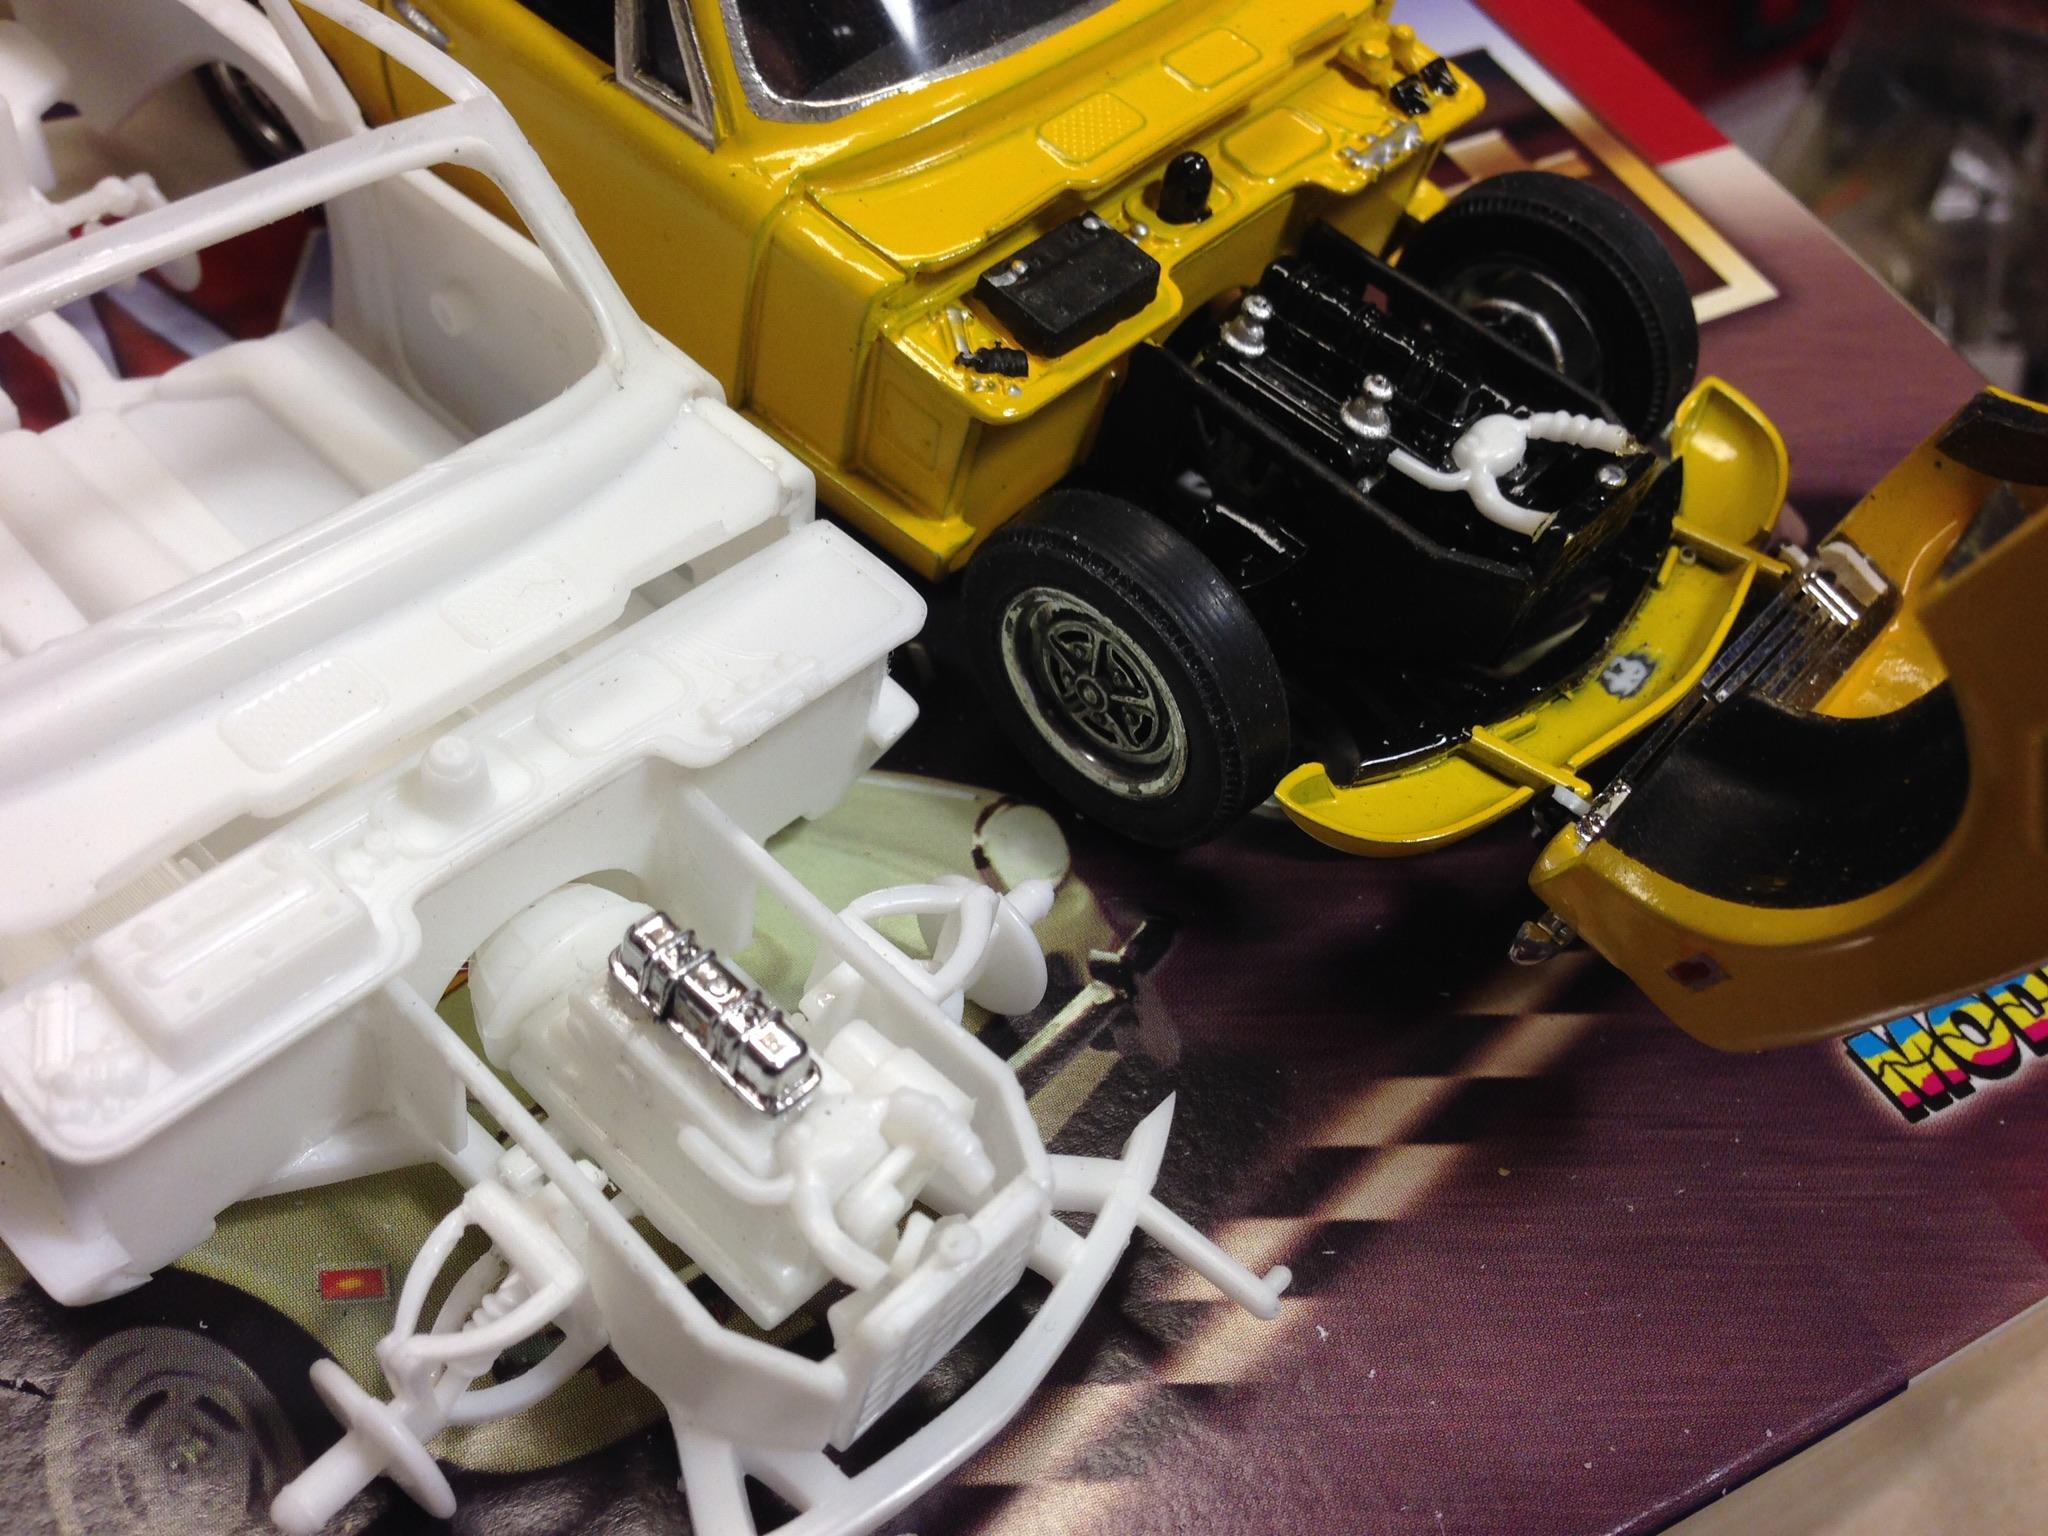
Been a while since I updated things! Got a lot of work done on the Cummins 5.9L engine, still needs cleanup and the fuel plumbing in this picture
-
Very realistic accessories you have there, they add a lot to it!
-
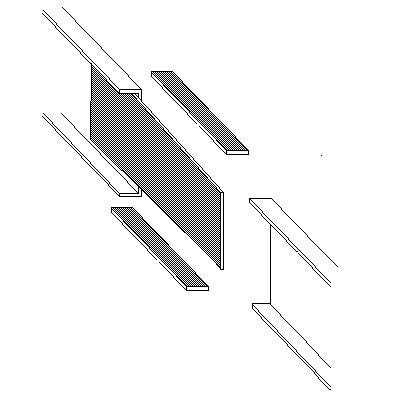
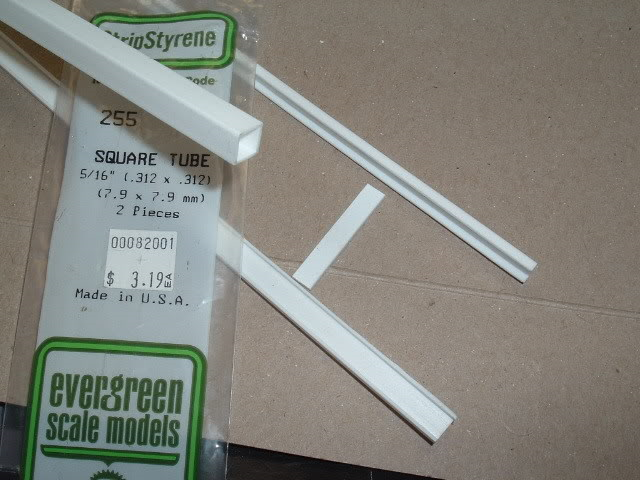
You'll need front and rear suspensions and axles, so the easiest thing is just to extend an existing truck frame to the required length. I put a piece of 0.040" styrene between the kit frame rails, then add a top and bottom plate to match the kit frame and it seems to be strong enough to support a 0.040" sheet styrene body. I extend the frame with a patch like this: For a more rigid frame, I have used Evergreen styrene, which comes in two different lengths which may suit your needs, but you still need to add suspensions front and rear. I bought the square one and cut in in half down the middle, but they have a C-channel too: This is for an 8" deep frame (8" is about 8mm in 1/25 scale) but you can get 9.5mm too which is good for a heavier truck
-
Any old Hubley metal builders out there?
hct728(Bob) replied to greg133's topic in General Automotive Talk (Trucks and Cars)
There are Hubley metal car fans active on both Facebook and Yahoo and thus still a market for cars and parts. Here's a link to the Facebook Group: https://www.facebook.com/groups/141165735961953/ I've built several and wouldn't mind more but shipping up here to Canada can be an issue. Easiest thing for you would be to take them to a local model show and sell them there. Here's one i did a couple of years ago:
-
MAKE A PISTON AND CYLINDER
hct728(Bob) replied to Chariots of Fire's topic in Tips, Tricks, and Tutorials
Seems simple enough, I had to use a sleeve anyways to get the I.D. down to the piston size, and never thought of this tweak! Thanks Charles! -
Kalmar Ottawa Yard Tractor
hct728(Bob) replied to hct728(Bob)'s topic in WIP: Model Trucks: Big Rigs and Heavy Equipment
Good advice, and as the cylinder is two pieces of concentric tubing, I can redo it with an inside tubing segment sliding inside the outer one, with fixed stops at either end. I will have to redo the top mount and also will see what is available for the piston, I think it's maybe 0.080" running in a 0.100" hole. Thanks for the advice! -
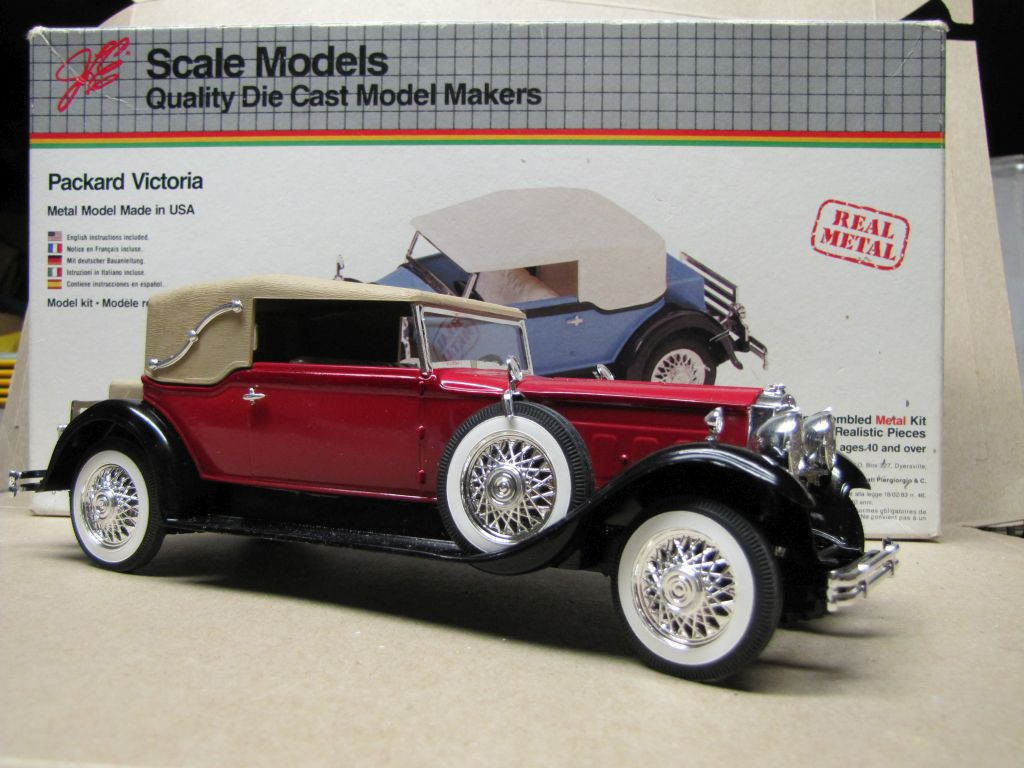
Wow, what an eyecatcher! You did a great job on it, such very neat paintwork. Gotta get one myself