DJMar
-
Posts
867 -
Joined
-
Last visited
Content Type
Profiles
Forums
Events
Gallery
Everything posted by DJMar
-
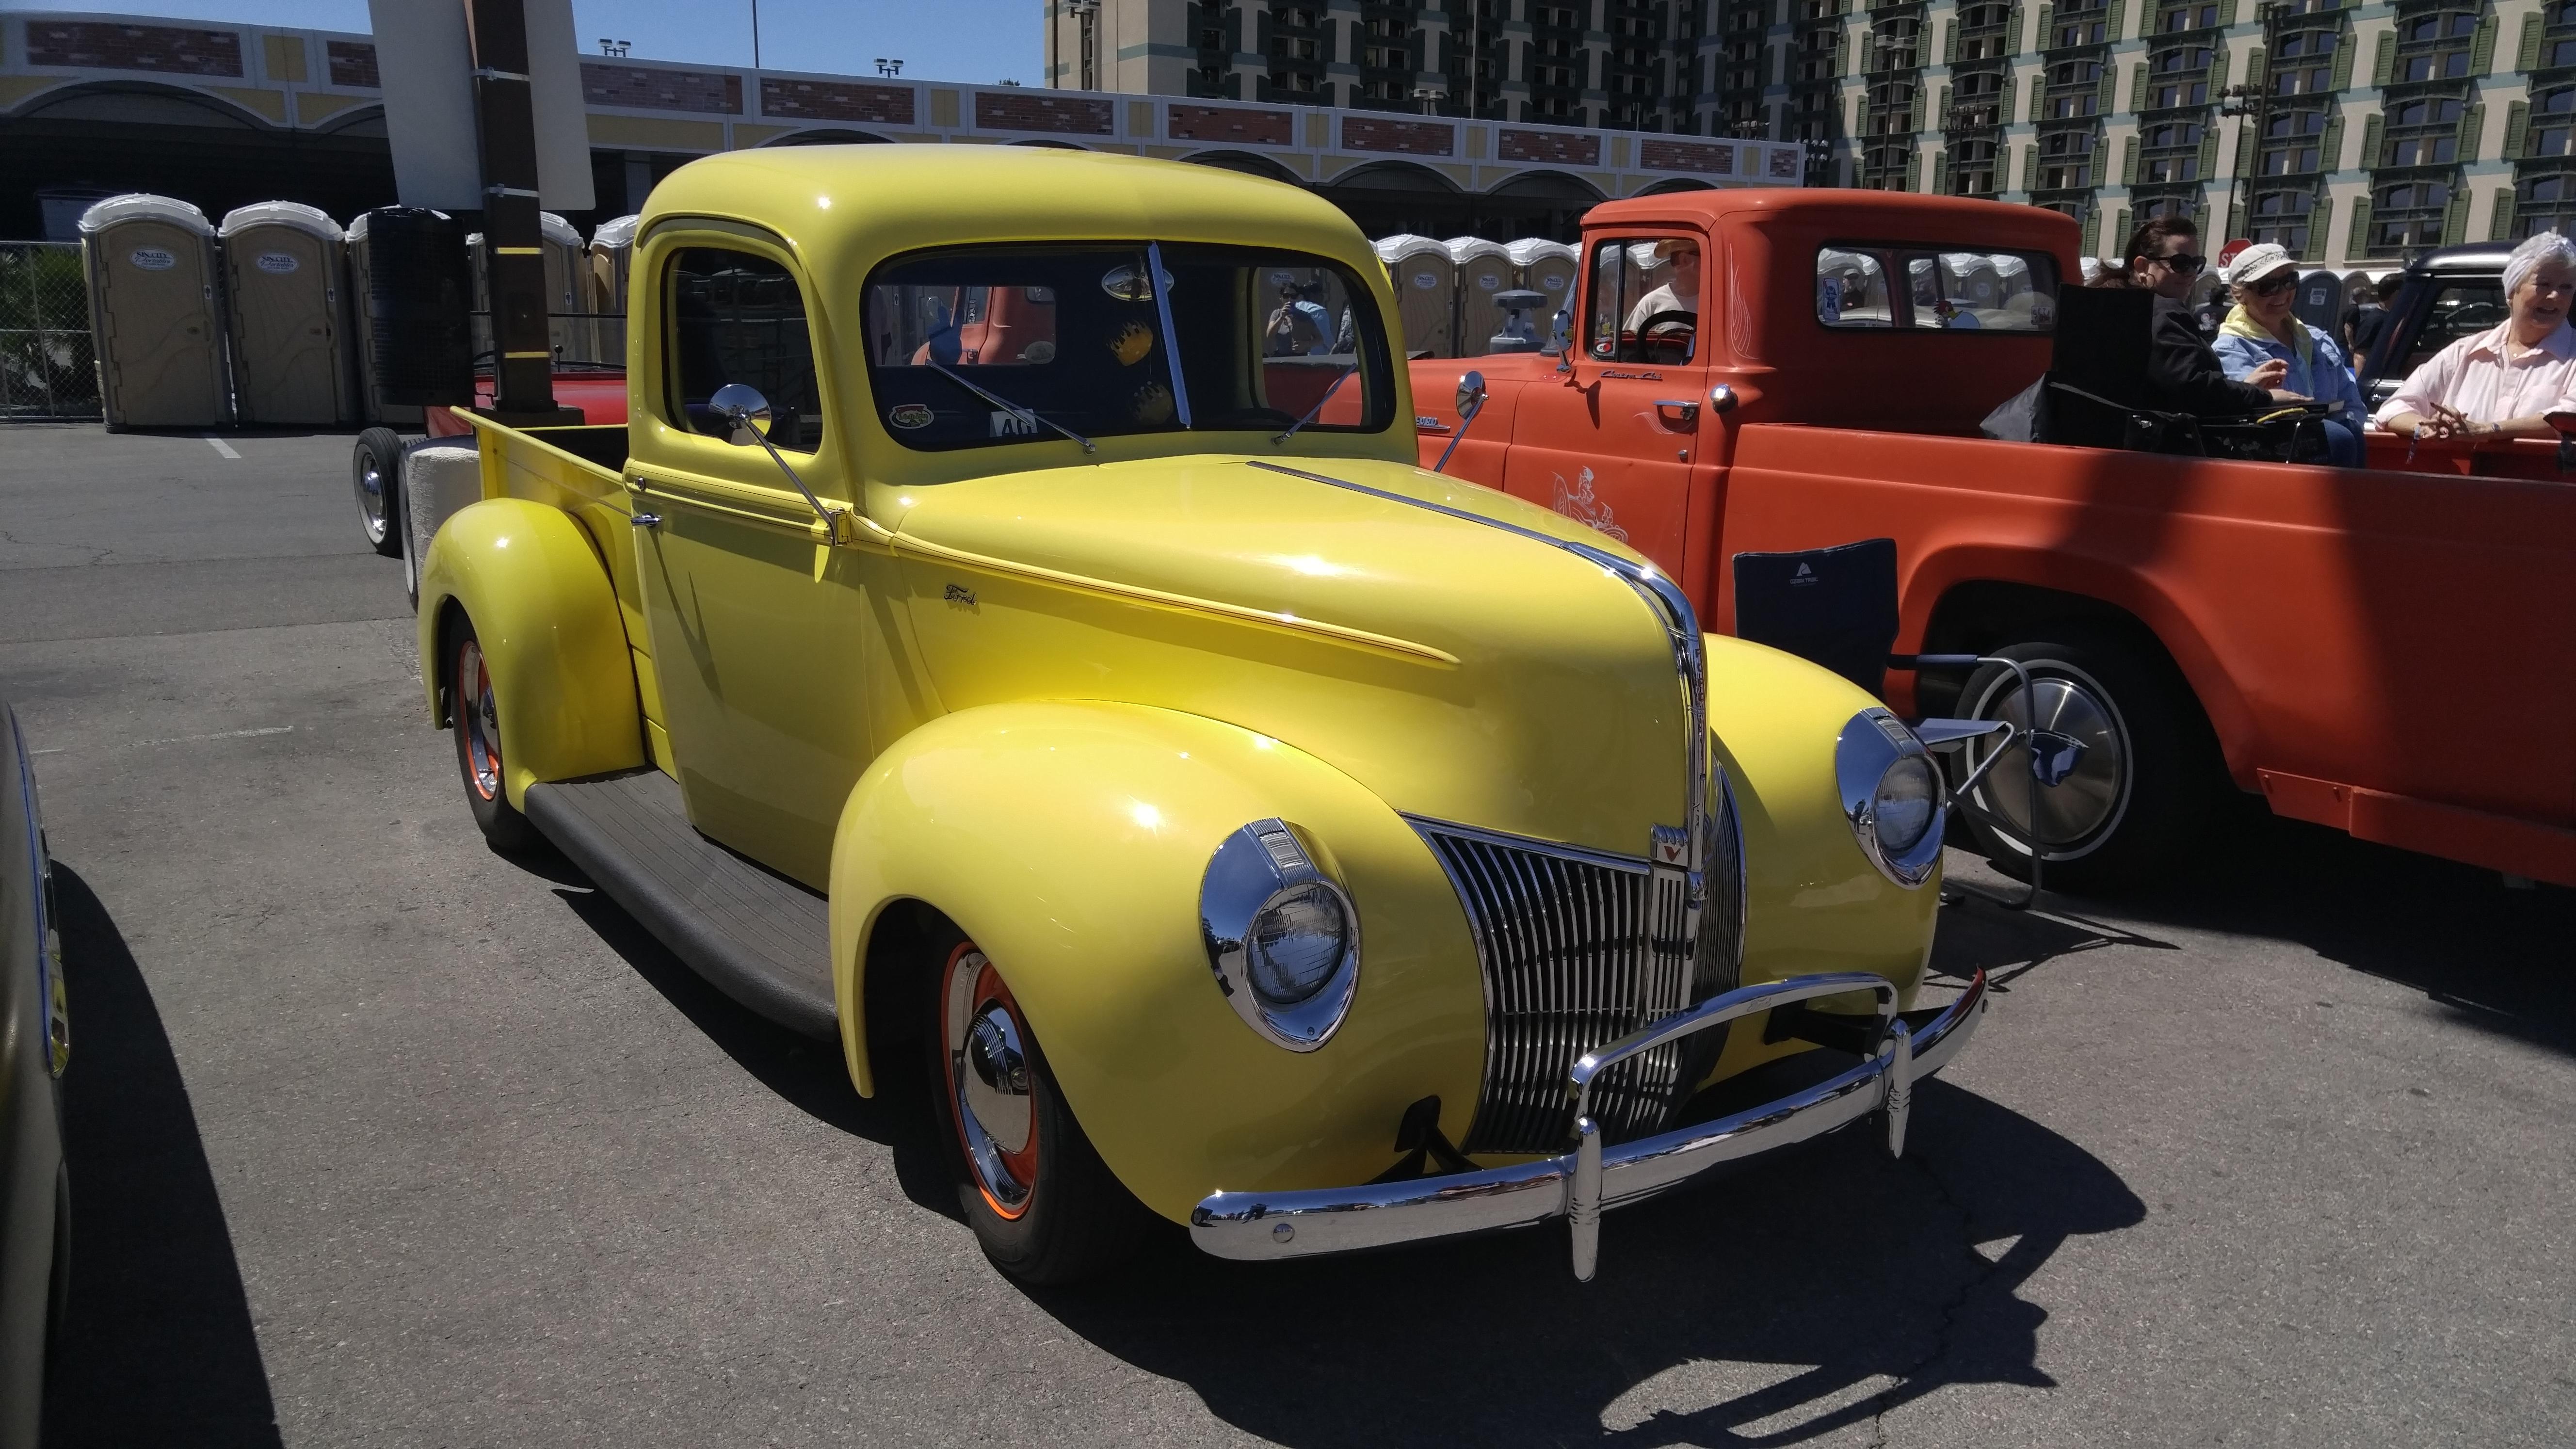
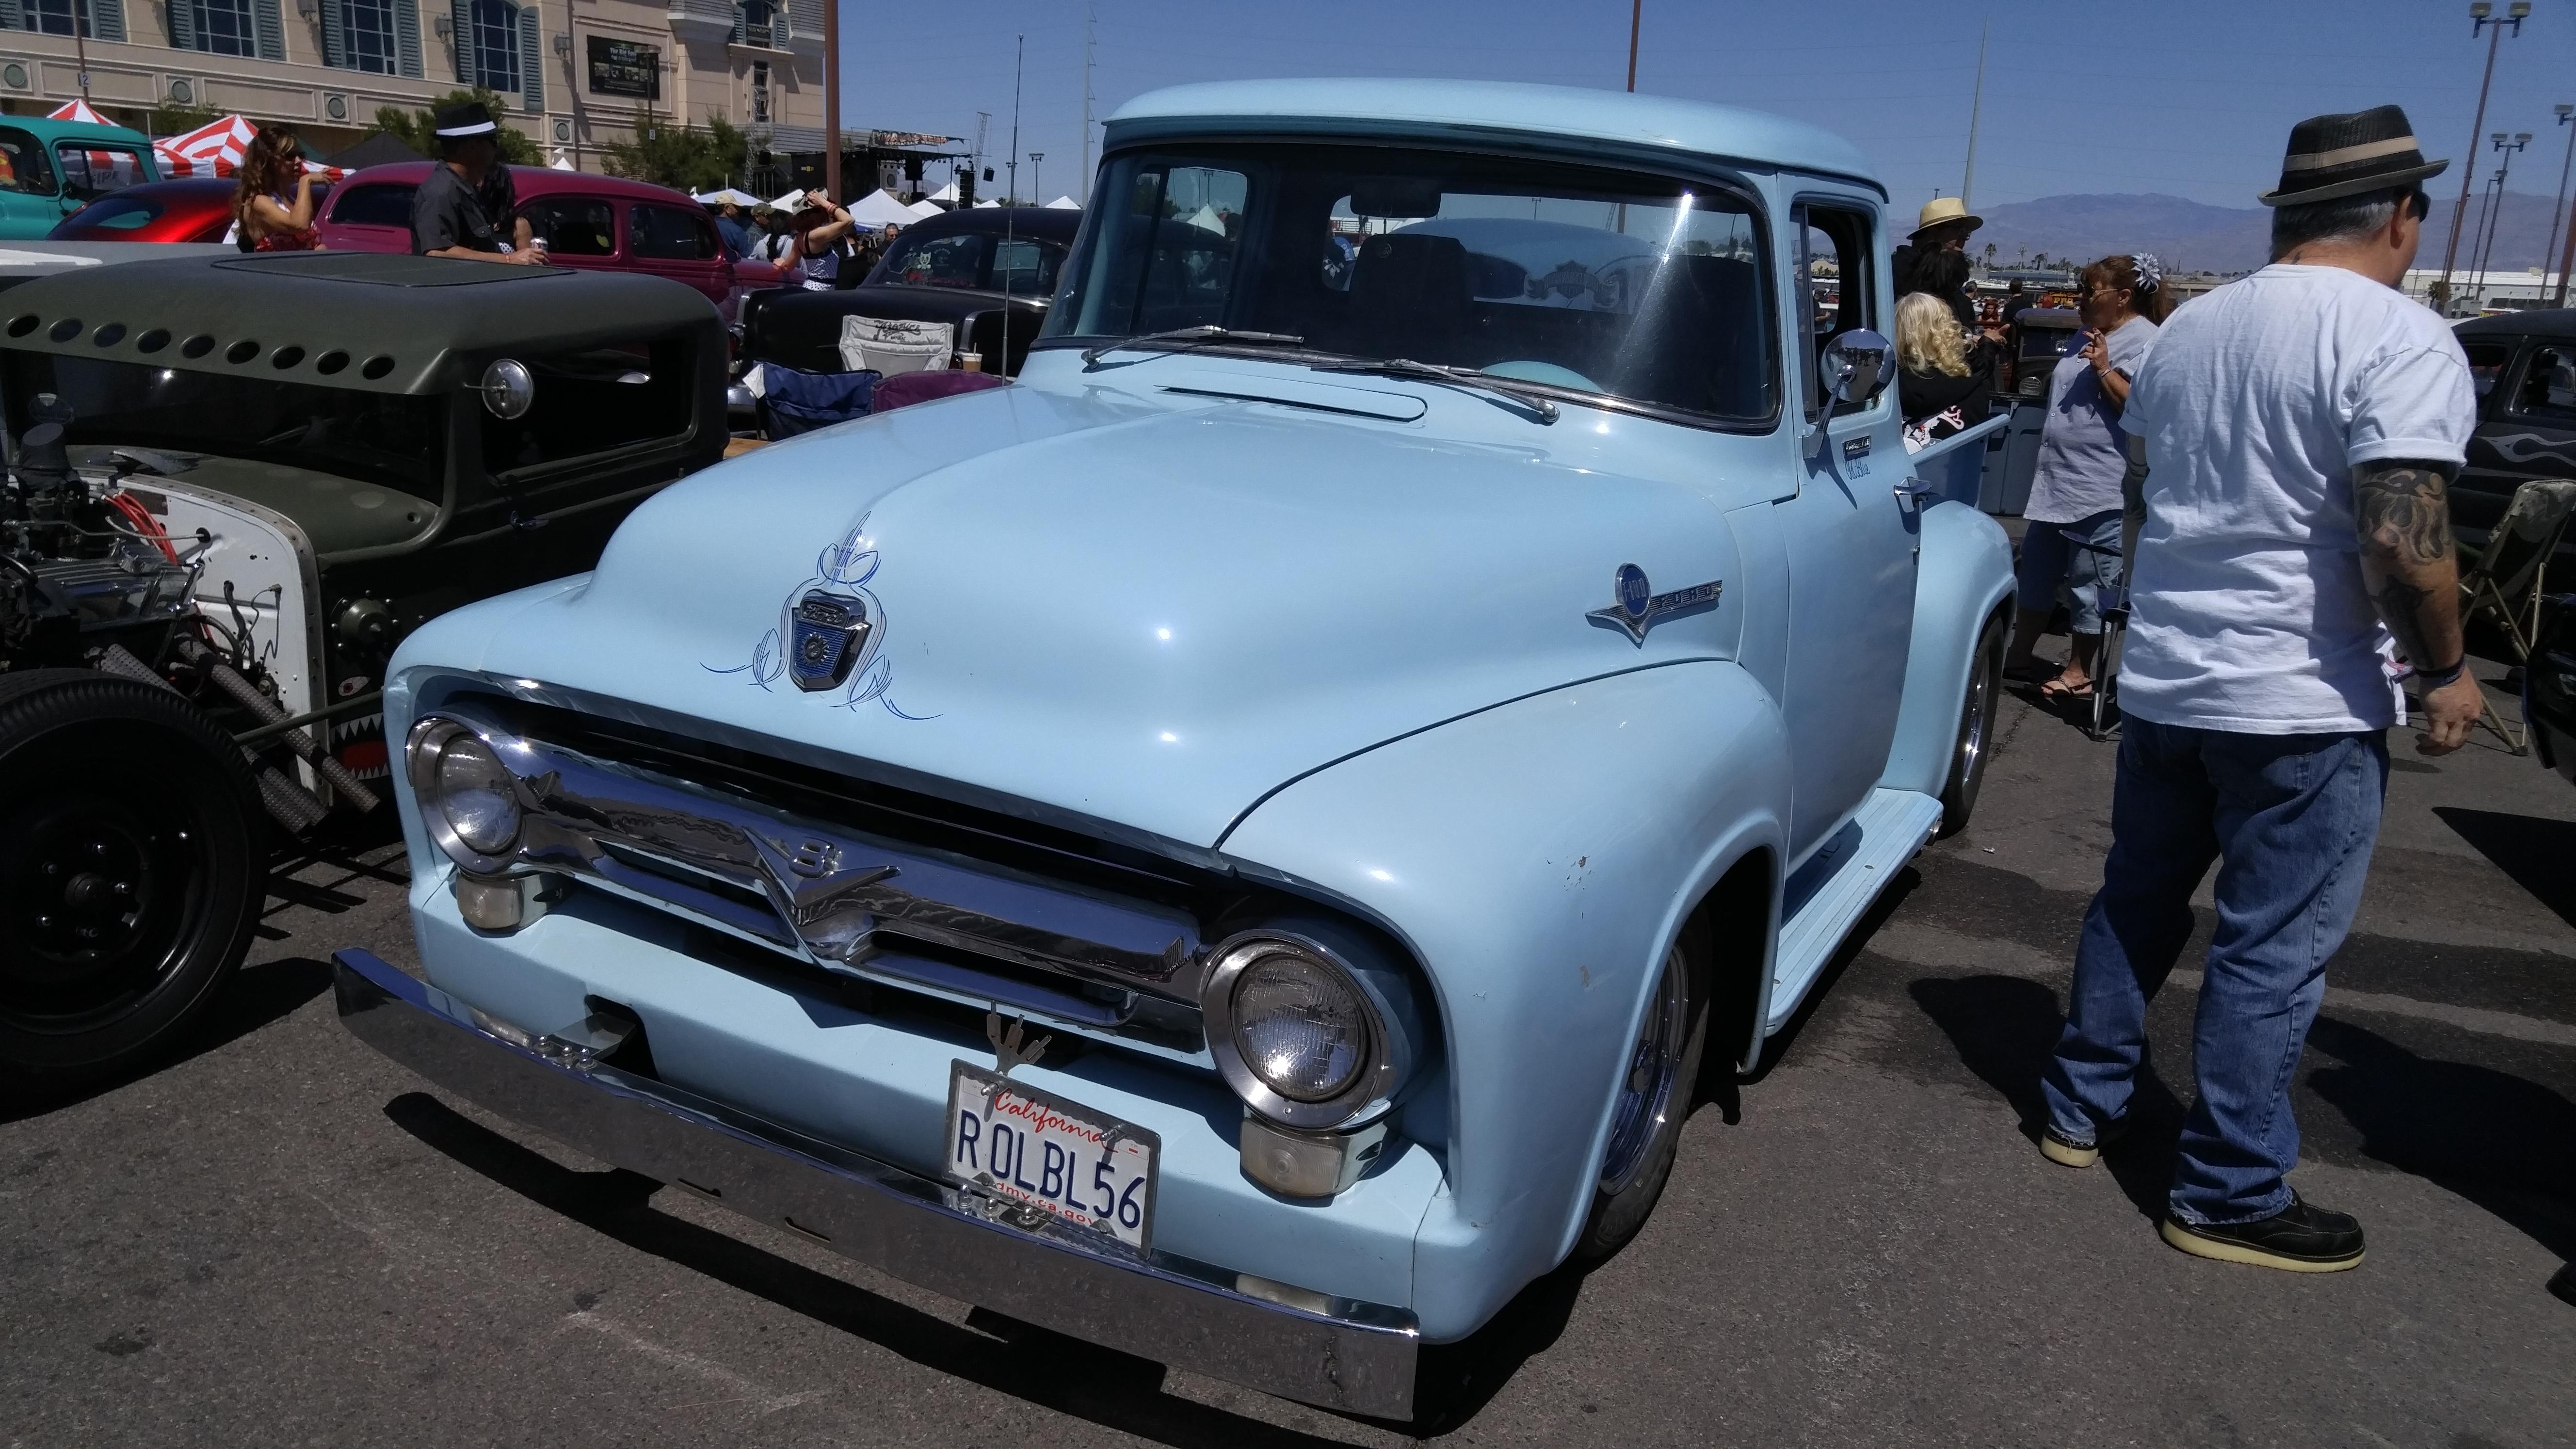
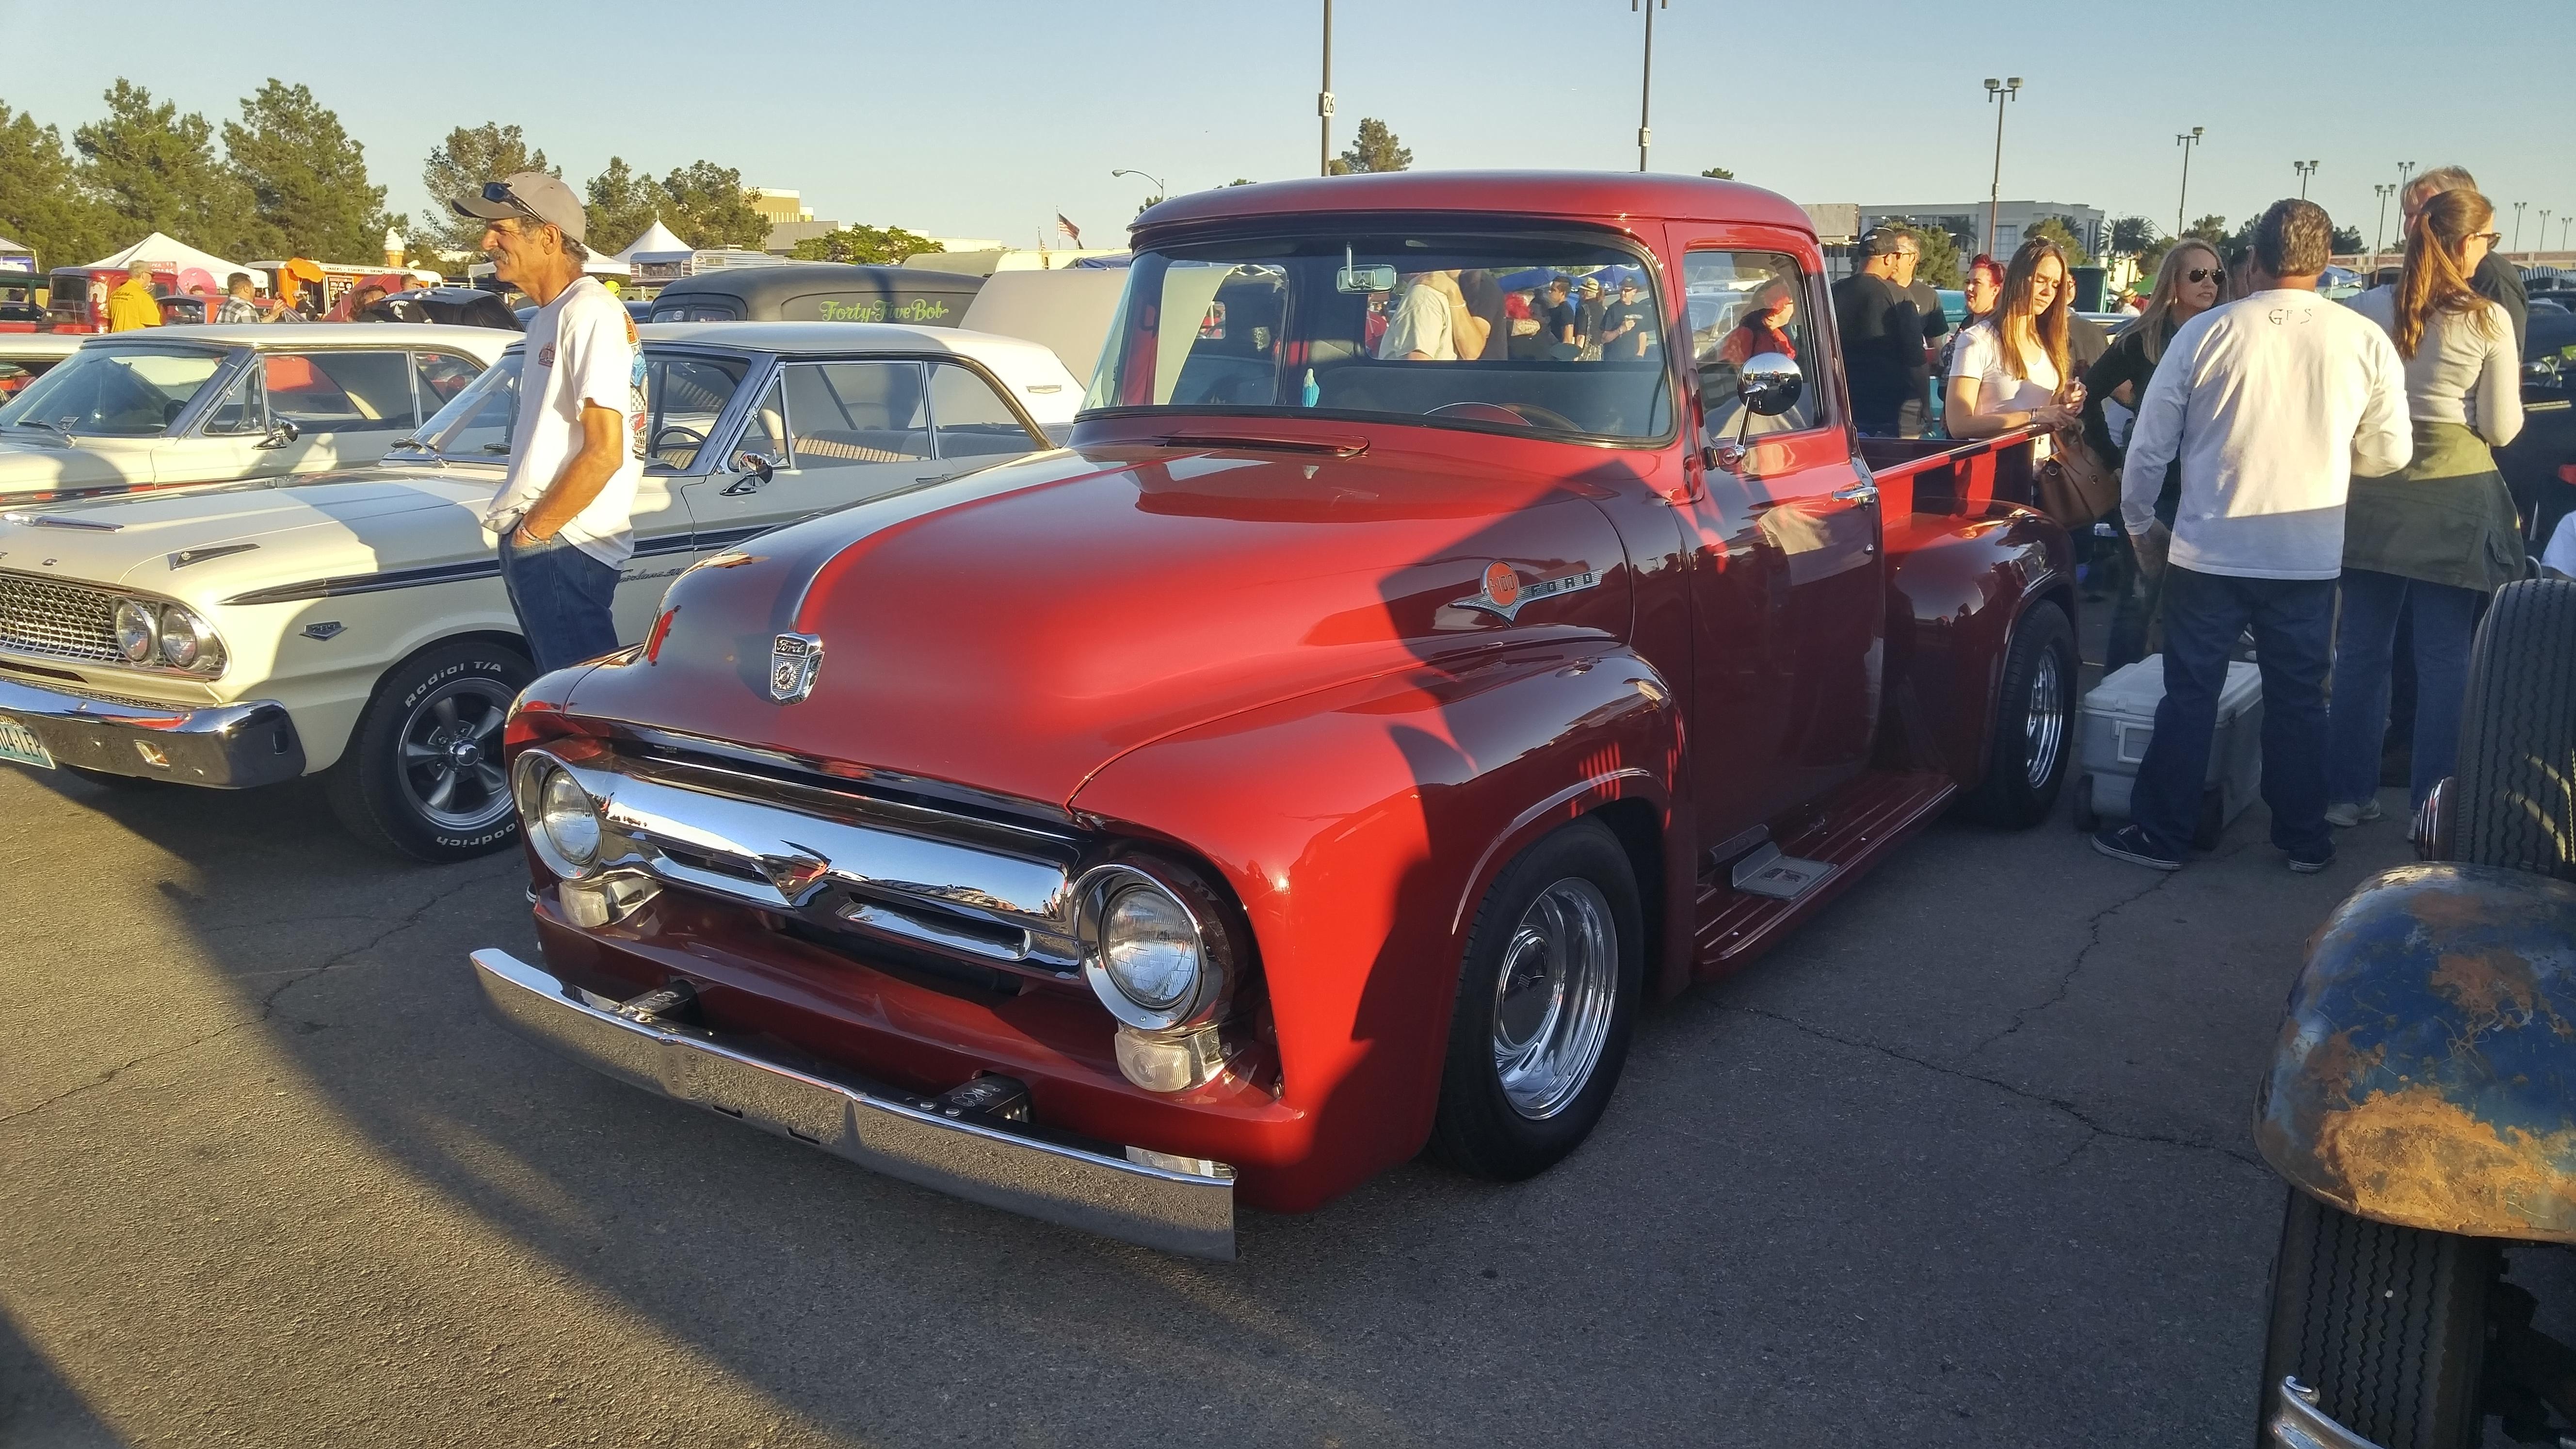
 I found these on my old laptop. They are from VLV 19, way back in 2016. Nothing in particular, just random shots of some trucks at the show that year.
- 1 reply
-
- 3
-

-
1992 Ford F-150 XL Work Truck
DJMar replied to av405's topic in Model Trucks: Pickups, Vans, SUVs, Light Commercial
Everything about this build is spot on. From the realistic finishes on the bumpers, grille and wheels, to the correct Ford-style antenna base, this has all the goodies. This is one darn fine model. ?? -
Dale Sr.'s 1983 Wrangler Thunderbird
DJMar replied to Coyote_6's topic in Stock Cars (NASCAR, Super Stock, Late Model, etc.)
Great work on this one, it looks spot on! This was one of my favorite NASCAR kits of the 80s, mainly because of that blue and yellow livery. -
This should be a treat! Surf wagon? Does this version also include the parts for the T-Bird supercharger option? Those pieces were in earlier kits (I've got the 2'n1 with the police parts), but weren't mentioned in the instructions.
-
I would build one.
-
As someone who owned a 1992 9C1 (Z09/L05) Caprice, I would offer a resounding YES PLEASE to a newer, non-snap 1993-96 9C1 in model form. Also, the '84-'90 flying brick Caprices really deserve a modern, mass produced kit.
-
I'm glad I saved them!
-
1992 Ford F-150 XL Work Truck
DJMar replied to av405's topic in WIP: Model Trucks: Pickups, Vans, SUVs, Light Commercial
I've been following this one for a bit, and I'm always impressed by your clean & crisp building style. Looking forward to seeing your final pics in Under Glass! -
I think we have the sluggish forum problems solved
DJMar replied to Dave Ambrose's topic in How To Use This Board
I've been getting slow responses for the past two days. It is usually - as others have pointed out - when switching between forums, but not always. PS - pic heavy threads are taking much longer to load. -
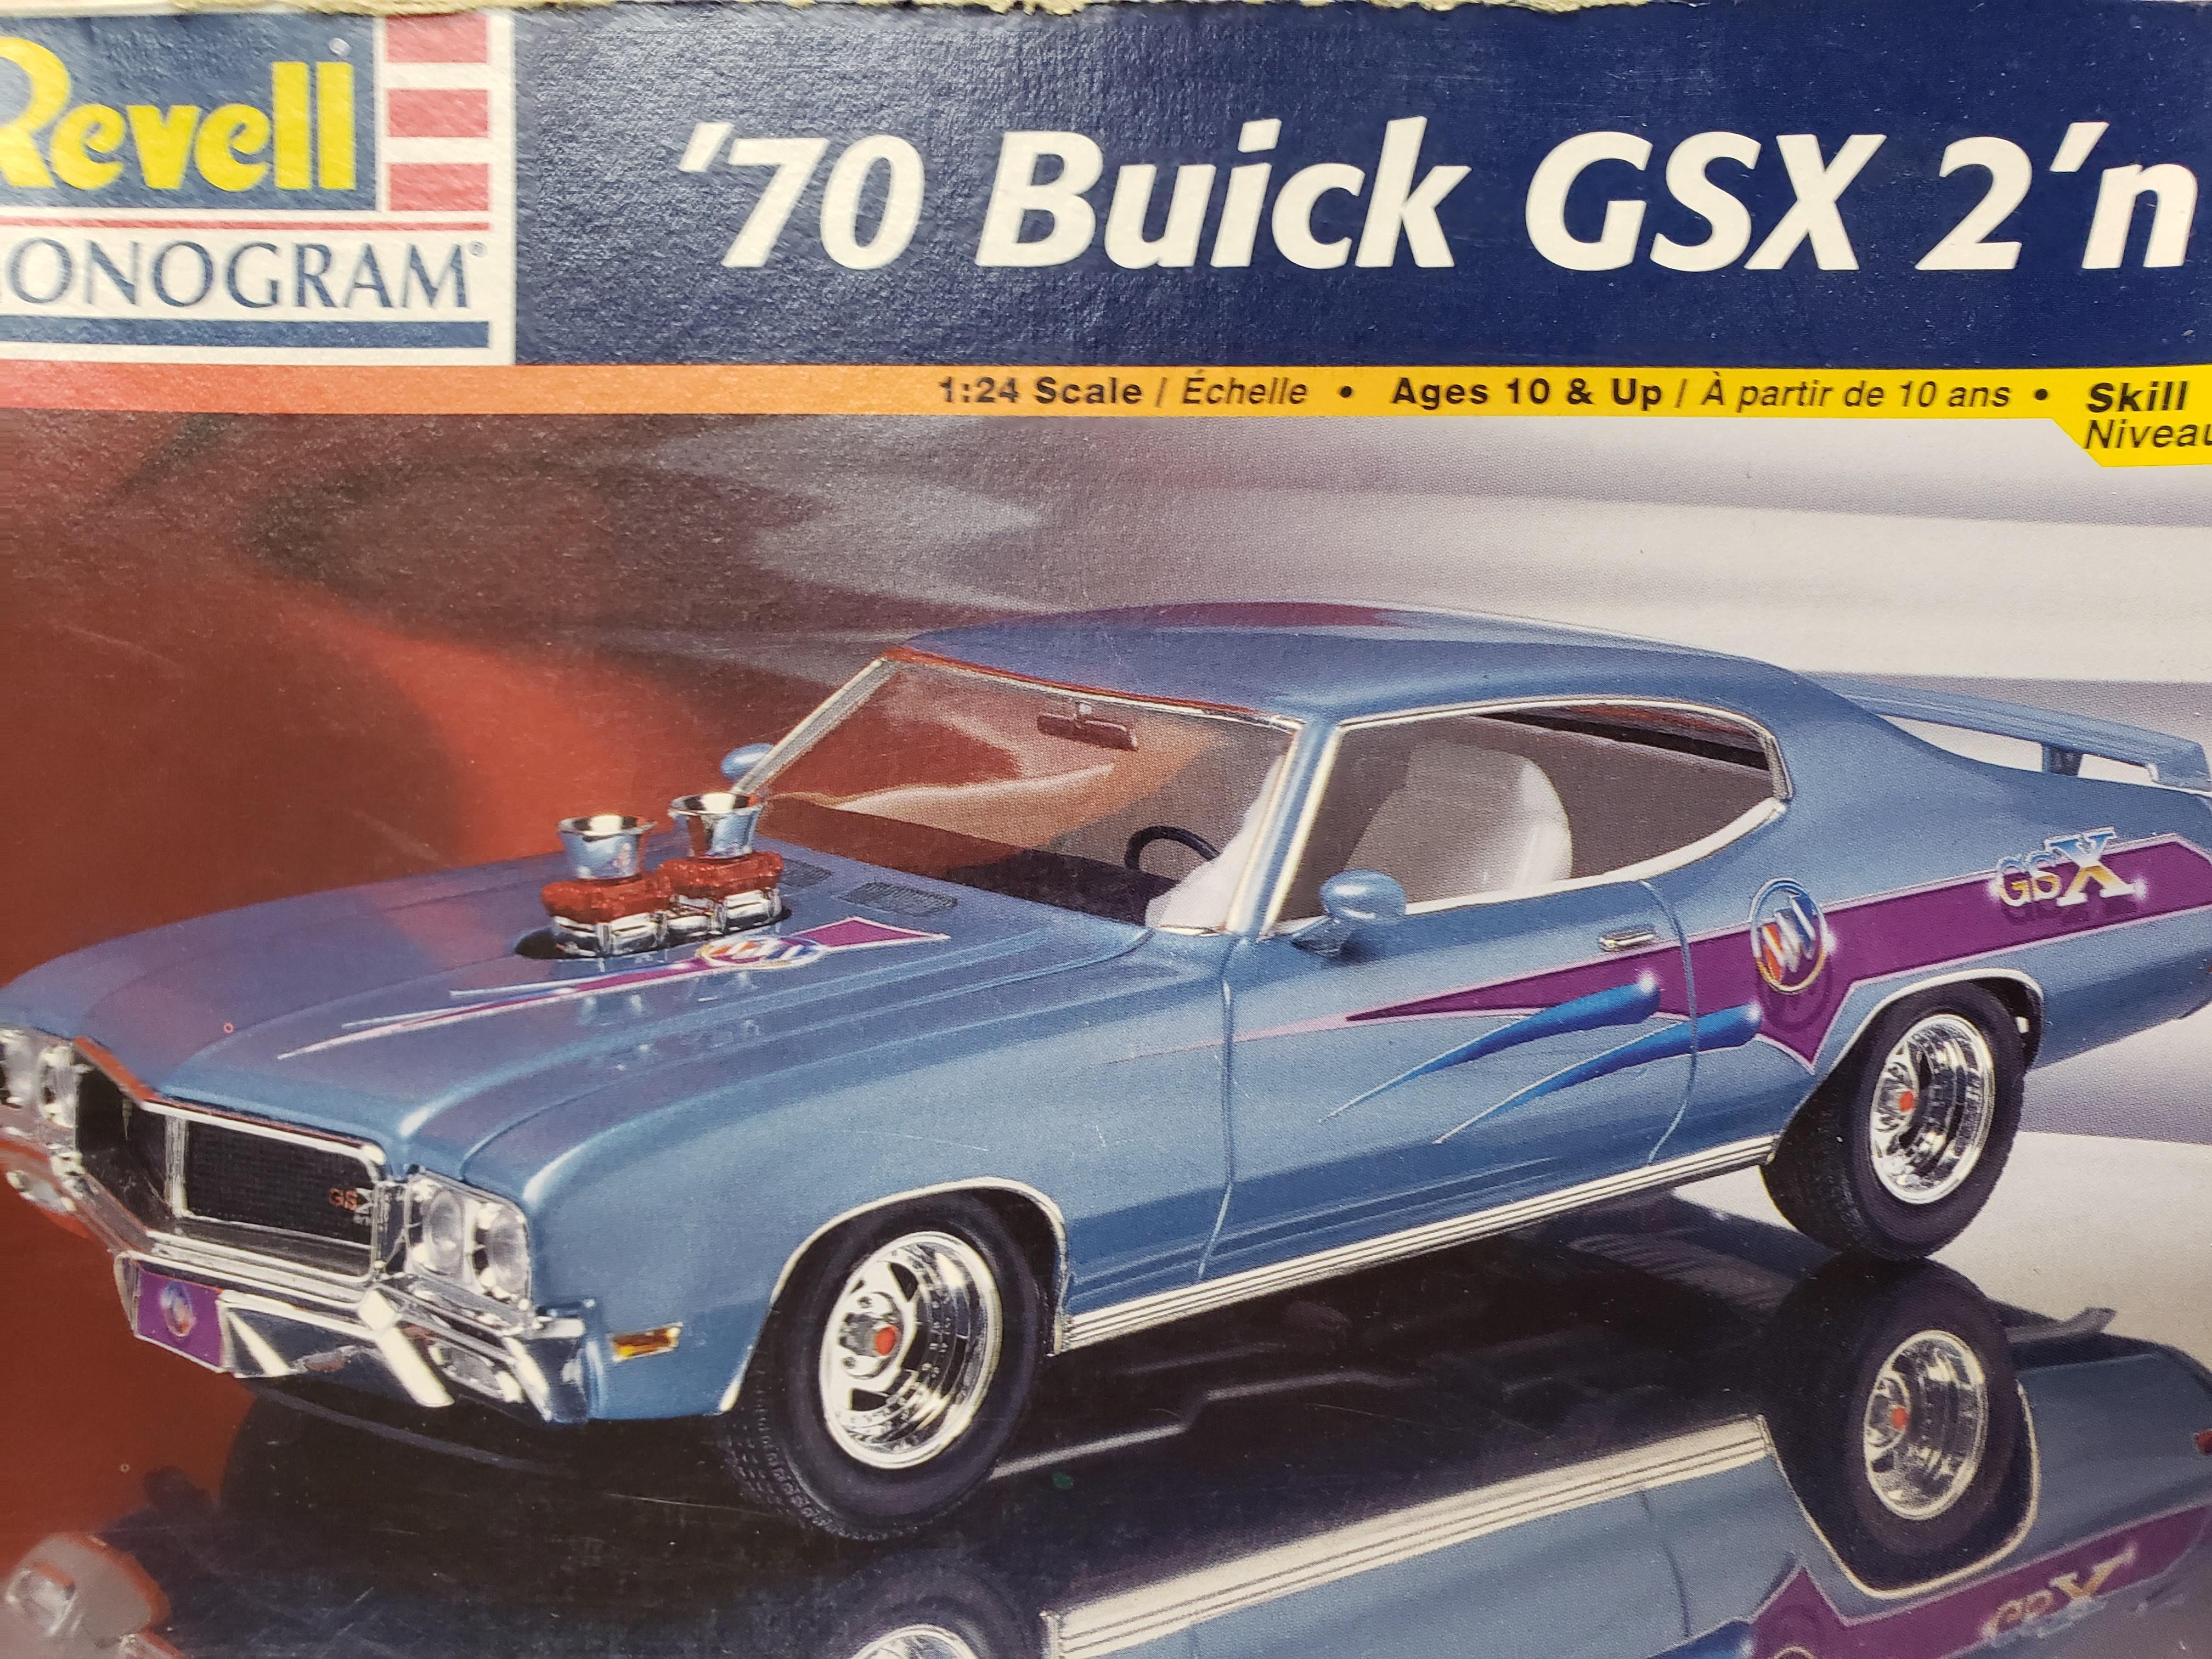
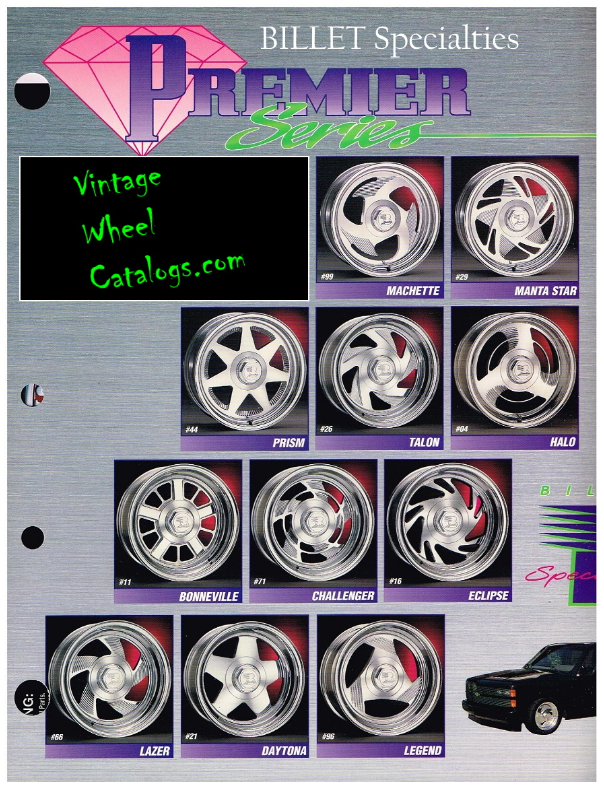
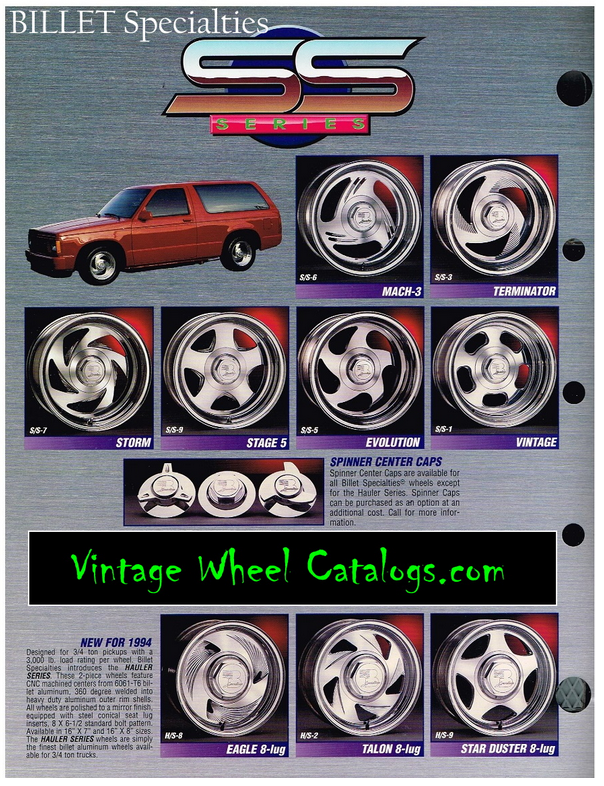
Maybe it's because I've been working on a few 90s-era builds, but I miss things like this... And I've saved a set of these from the 90s issues Buick GSX kit, I've been hoarding them like a goblin for just the right project. Having new wheels like this cast/printed/molded in more appropriate era-specific sizes (15" or 16"...remember when a 17" wheel was HUGE?) would be a big bonus. I've seen a few similar designs in the aftermarket, but they all seem to be in the 18"-20" diameter range, which (to me) looks out of place on a 1990s build. Just my two copper.
-
Lot of great detail work on this. I'm digging it! ??
-
I totally thought of you and that '55 when this happened. Misery loves company, my friend! ? I put the body in the dehydrator for a few hours and when it dried down, the texture smoothed out a bit. I agree, I think I maybe be able to spend some time with the sanding pads and get this ready for color.
-
Thanks! But I'm not sure I can go through the stripping procedure again. I really don't want to redo all that putty work. I think I'll wait for my new batch of polishing pads to come in, and attack it with some 1500-1800 grit to see if I can smooth it out without too much trouble.
-
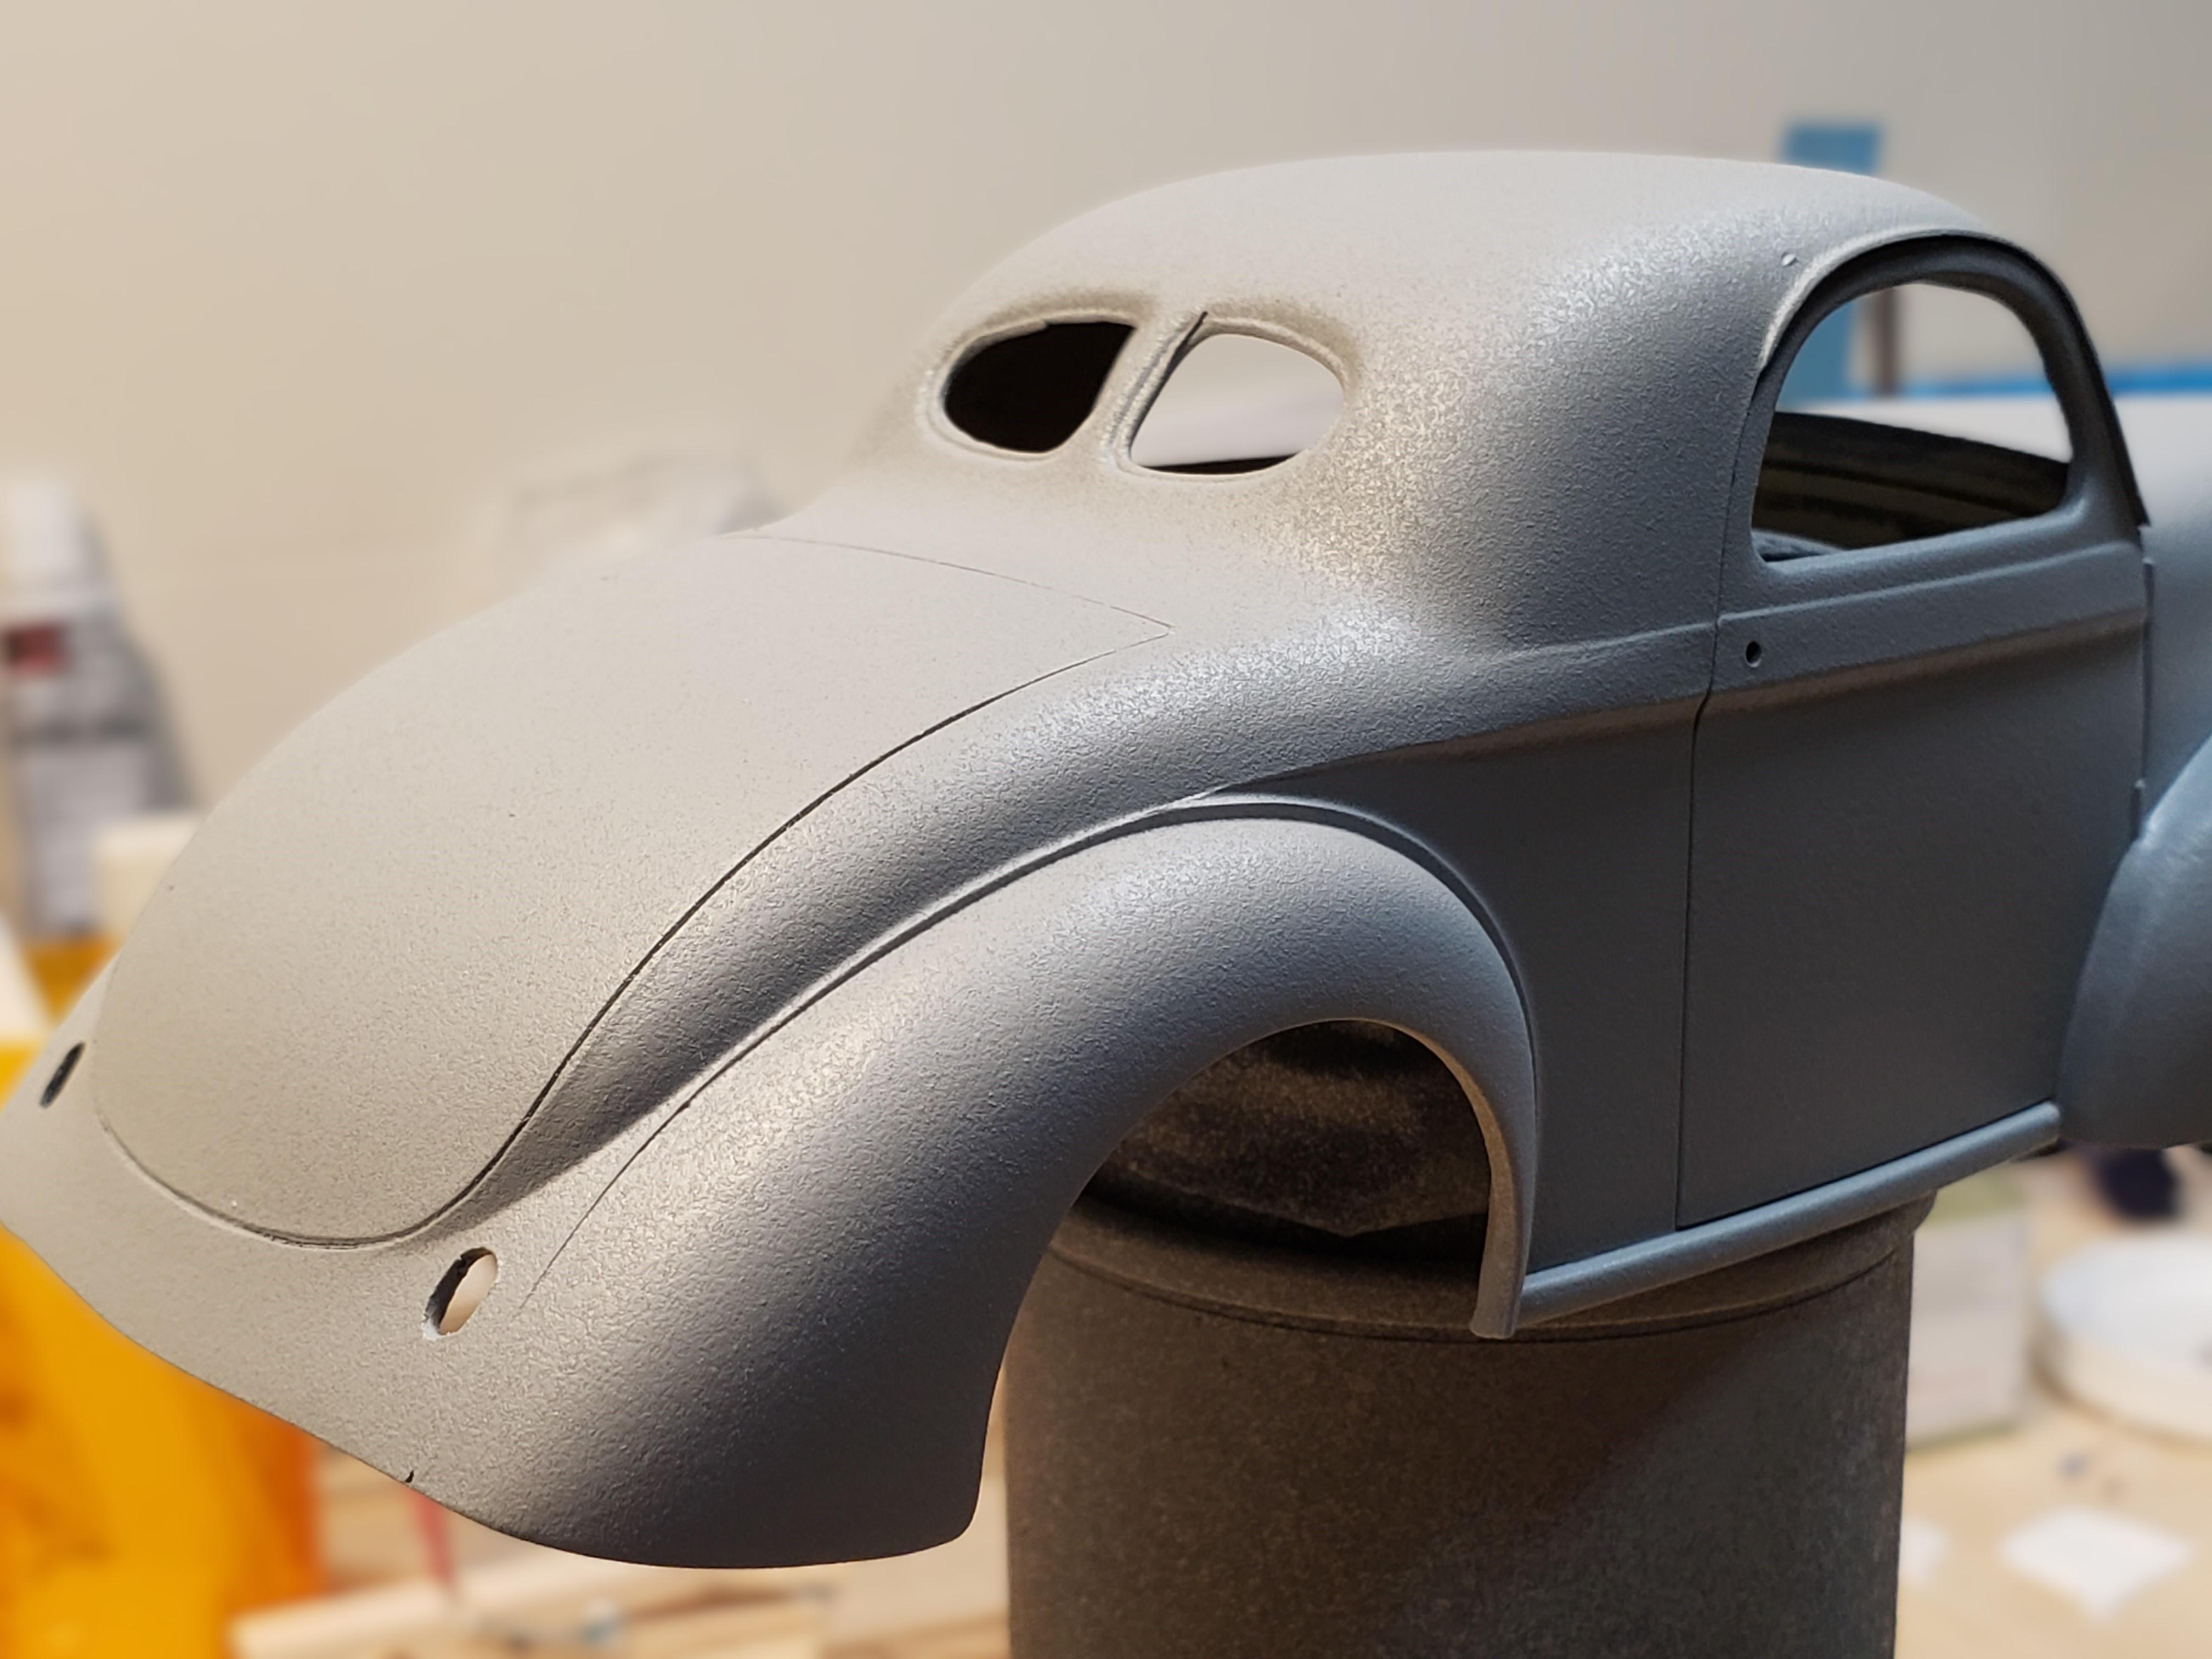
I swear this build is cursed. ? I decided to give the Willys another coat of primer today, after some sanding and touch up body work. I used a half-full can of Tamiya's FSP in light gray. Unfortunately, I was spraying with my headset on (listening to tunes) and didn't notice (hear) the can spitting until I had made a pass around the model. The can was relatively new, and I had warmed it up and shaken it for a good two minutes before spraying. The thought of having to sand this down again is making me consider taking up knitting. Or maybe I should just go for the rusty, textured look?
-
rat rod motorcycle
DJMar replied to Paul Payne's topic in WIP: All The Rest: Motorcycles, Aviation, Military, Sci-Fi, Figures
Wow, this is super cool. Lots of neat scratchbuilding going on here - way above my level of patience and/or skill. -
1955 Ford F-100 Street Rod
DJMar replied to Zippi's topic in WIP: Model Trucks: Pickups, Vans, SUVs, Light Commercial
Easy Off (or any lye based cleaner) can, and often will, attack solvent based putty. It's one of the downsides of using it to strip paint. I've also seen the rough texture where it feels like the plastic has been pitted in areas where there's still paint "staining". I'm not sure what causes this, but I've had it happen before. I've been able to sand those areas smooth without any further issues. Still, it's a tough break. Don't get discouraged, though. If you fixed that '36 Ford, you can fix this. -
Super cool build! I love the Cobra wheels.
-
Agreed. Having extra paint on hand is always a good idea, especially when you're working with rattle cans.
-
AMT 1971 Mustang Mach 1 - Diamonds are Forever!
DJMar replied to ModelcarJR's topic in WIP: Model Cars
One of the BEST ways to fill those annoying large ejector pin marks! -
Revell 1965 Chevelle Malibu SS Convertible (Resin)
DJMar replied to kelson's topic in WIP: Model Cars
I'm totally digging this build! I like the small block swap as well. I used the same kits to build a model of a friend's 1965 Chevelle convertible as a gift. I sprayed it in Tahitian Turquoise that I ordered from a local paint supplier. I remember the Shawn Carpenter body being super, super nice, with minimal prep work needed. I really wish Revell would modify the Z-16 mold and reissue the kit to give us all a regular SS. -
1951 Ford F2
DJMar replied to Chuck Most's topic in 1:1 Reference Photos: Auto Shows, Personal vehicles (Cars and Trucks)
She's a beauty in all that rusted glory. -
what kit is this ? I have the decal
DJMar replied to Mr mopar's topic in Model Building Questions and Answers
Well, there's what looks like an MPC decal on the lower rocker near the rear tire. I first thought it might be the MPC Saber Vette because that kit had the injector scoops and similar rear tires. It was also 1:20 scale. But the wheels are wrong for that kit and I don't recognize the decals. Maybe it's the Spitfire Funny Car kit? MPC kitted a rash of 1970s Corvettes, and I admit this one has me stumped. I'm sure there's a few folks on this board that know what it is, though. Where did you find the pic? -
1950 Chevrolet 3100 Pickup - Suzie Q
DJMar replied to Duddly01's topic in Model Trucks: Pickups, Vans, SUVs, Light Commercial
Spectacular finish to a really awesome build! ?? -
1955 Ford F-100 Street Rod
DJMar replied to Zippi's topic in WIP: Model Trucks: Pickups, Vans, SUVs, Light Commercial
Nooooo. That's such a bummer. Do you think there is any chance you can sand it out and use it as a base for another paint or color? -
Looking forward to this one. I agree with the others, that color is awesome! I'm not sure where I would rank this latest generation in my pantheon of Corvettes, but the C5 is still my favorite.