DJMar
-
Posts
867 -
Joined
-
Last visited
Content Type
Profiles
Forums
Events
Gallery
Everything posted by DJMar
-
Nice work, I'm really digging the color. Blue on blue is never a bad way to go. You might be thinking of the AMT '66 Chevelle, which is the old Lindberg kit. Their '67 was a new tool, from late 1989 or early 1990 IIRC. The Revell '67 Chevelle was around at the same time, too!
-
Blu-Tack and the like can be found at Office Depot or Staples, or in the office supply sections of pretty much any big box store (Target, Walmart, etc.). The last time I bought a package of The Museum Putty was on Amazon, but Home Depot and Loew's also sell it. That's what I'm currently using. You will also see this type of putty referred to as "Quake Hold".
-
Very nice! Lots of BMF work on this one. Also, the whitewalls and 5 spokes are killer.
-
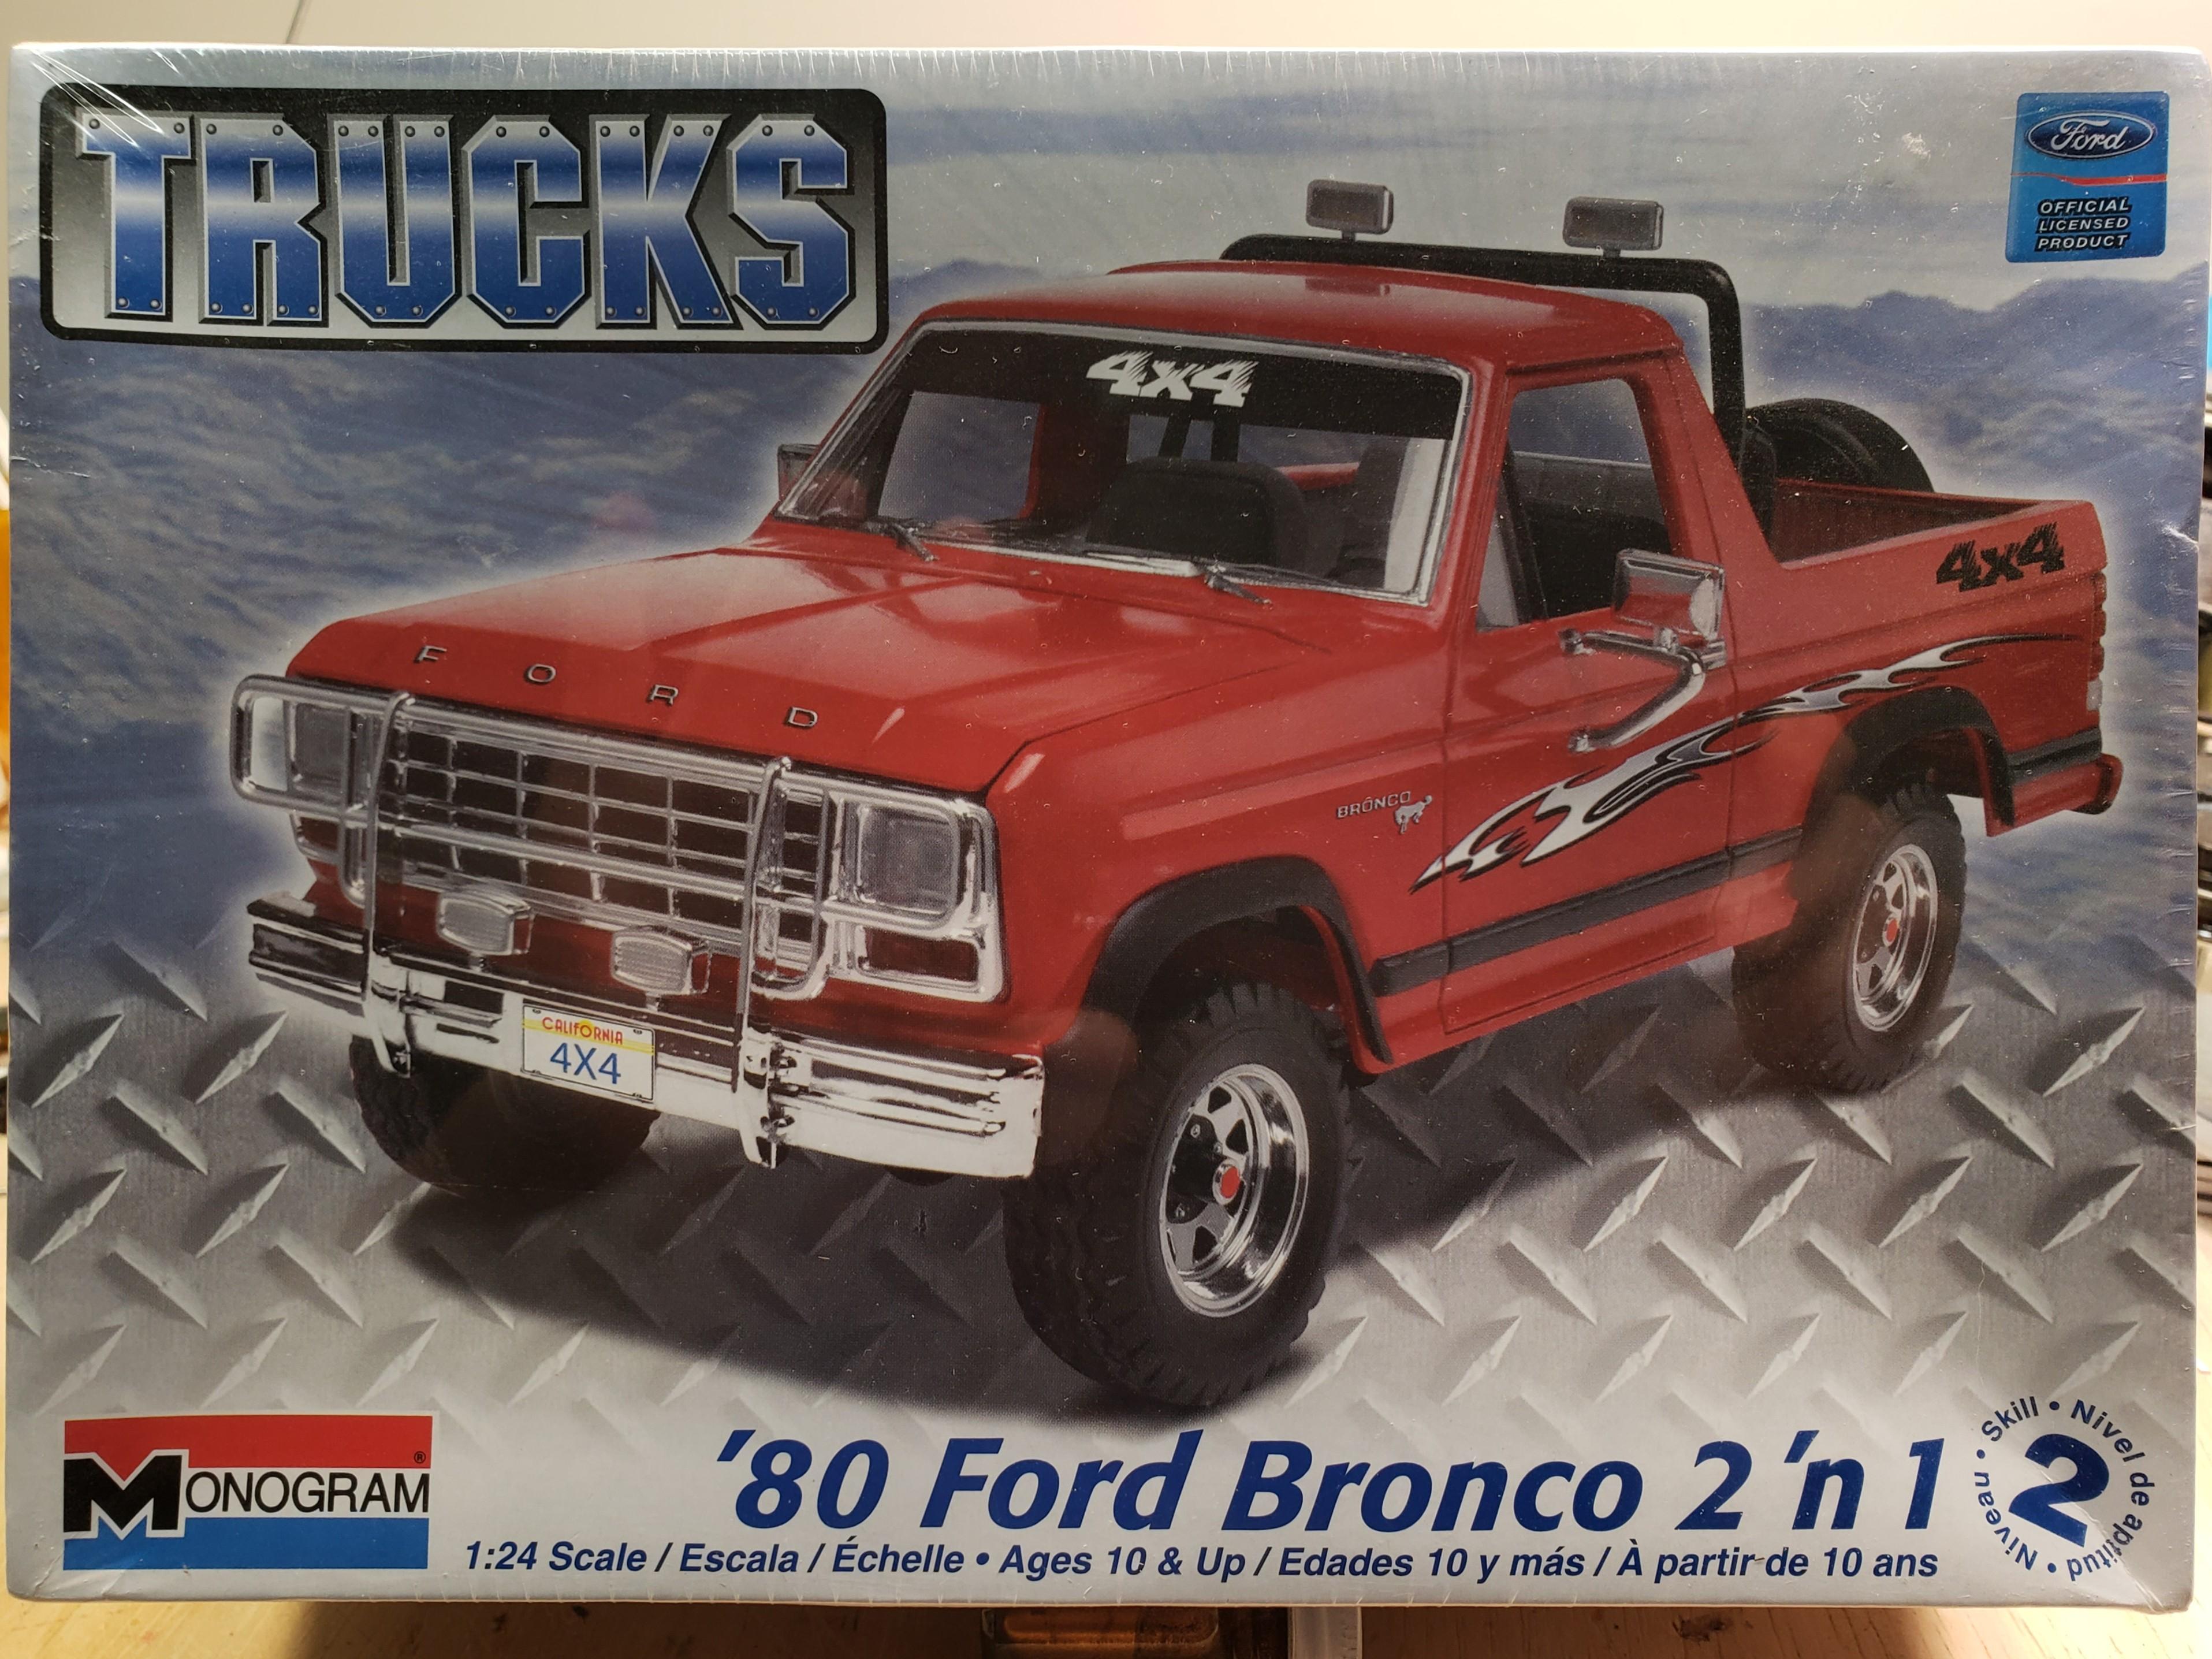
 Only $24 delivered to my front door. I haven't built one of these since the late 80s and I didn't have one in the stash. I tried finding an original release for nostalgia's sake, but I couldn't pass up this issue at that price.
- 39,060 replies
-
- 7
-

-
- johan
- glue bombs
- (and 1 more)
-
Ordering From Overseas Still?
DJMar replied to oldcarfan's topic in General Automotive Talk (Trucks and Cars)
The UK and Japan stopped parcel delivery to the US as of Wednesday. As of today (08/28) South Korea and Australia, along with a list of 25+ other countries, have suspended all package delivery to the US until further notice. Most postal services in Europe and Asia say they are working on short term solutions, but the situation is definitely in flux. On the commercial side, DHL Europe is not delivering to the US at this point either. -
Something I've found at both Michael's and Hobby Lobby is Purplicious Testors Extreme Lacquer. It gets you close to factory FC7 but it's not an exact match.
-
My old fallback - Blu Tack/Silly Putty/museum putty on top of a spray bomb. The putty holds well, is easy to reposition and easy to remove when you're done. It's adaptable to different sizes of figures, too (adjust the amount of putty and size of can). Also, while not free, it's really cheap. Disclaimer: pre painted figure, but you get the idea.
-
I'm not crazy about the Hot Wheels packaging, but I'm really glad they reissued the Cougar. I don't have any in the stash and haven't built one since the late 90s. Also cool to see the Scirocco available again. I missed it the last time around (2105-ish) and those new decals look pretty sweet. I've got the Hurst Olds in the stash and I've built enough of those #6877 Batmobiles to last a lifetime, but someone will be thrilled to have them back. I'm not much of a truck builder but the Diamond Reo has got to be a win for the big rig crowd.
-
I dig everything about this, from the sano engine bay to the grille detail, and from the fender flare hardware to the damaged passenger side cowl vent. Super cool.
-
This is sweet. I really dig the color. These were decent kits for the time, even though they've got some assembly bugaboos. It certainly looks like an X1/9, so it's all good in my book.
-
You nailed the look of this car right on the head! Excellent work, this model is really impressive. Side note: as someone who still paints with enamels from time to time, I really appreciate your use of good old Testors Yellow. Great color, great finish.
-
Super sano paint work there! At first I wasn't sure about the color combo, but I really dig it!
-
I didn't know, and that's a cool ride! Sprints are totally underrated and unappreciated because they're "only" a six, but what a six. The OHC Sprint was a sweet engine, and very unique now because they only made them for a few years.
-
Just my 2 copper, but I think this is a really important point. I use a number of hobbyist/enthusiast sites. Many of them have some sort of pay-to-play option, but it's always a value added proposition. All of the sites I frequent that have paid tiers of support offer 1) an ad free experience AND 2) some sort of fee-free classifieds section or marketplace. This seems to be the general baseline for a lot of sites, although others go further with members-only sections of their forums, exclusive site merchandise, and/or other bits (like "supporting member" banners under their username, bigger inboxes, special avatars, etc.) that aren't accessible to free users. Personally, I think nuking ads for supporting users is a no-brainer, but a non-commercial classifieds section could be a huge perk for any number of us. Online marketplaces (eBay, Etsy, et al.) have driven prices higher and higher partly because of their fee structure, and allowing paid members to sell fee-free through the forums would be a benefit I could get behind, assuming the cost per year (or month or quarter) isn't prohibitive. I know that I would rather sell a few kits to fellow modelers at reasonable prices through this site, rather than posting them to eBay, but if the cost of doing so is just as bad as paying the listing and sales fees at the other place, then it doesn't make sense. As Bob already mentioned, making existing features a paid premium is not added value, and I see such a move potentially driving away users who have limited discretionary income. Adding premium forum access to an upgraded MCM subscription would be a solid value add, and IMHO is something the admins should definitely consider.
-
Lots of cool iron, and a bunch of sweet Ponchos too. But honestly, I'll take that '74 Olds 88 convertible and drive the wheels off, thank you.
-
Milner 32 5 window American Graffiti build
DJMar replied to Silvercreeker's topic in WIP: Model Cars
Spot on! -
Late April 2024.
-
Milner 32 5 window American Graffiti build
DJMar replied to Silvercreeker's topic in WIP: Model Cars
The cycle fenders for the front are off the hook! Very nicely done. -
Neat and clean build! B3 doesn't get nearly enough love, and it looks great on this body style. Good call on the steelies with caps, too. I dig it.
-
@JollySipper If you're looking for that wing, I believe it's only in the '89 and '91 versions of the convertible. When Monogram did the refresh for the '92 reissue, they eliminated that part and replaced it with a multi-piece, trunk mounted luggage rack. I'm pretty sure the earlier '87 "New Monkees" version (with the marbelized plastic) didn't have the wing either, but it's been a hot minute since I built one of those. The wing might take a little fiddling to fit the '90 LX kit, since the size difference between the 1:24 and 1:25 bodies is noticeable.
-
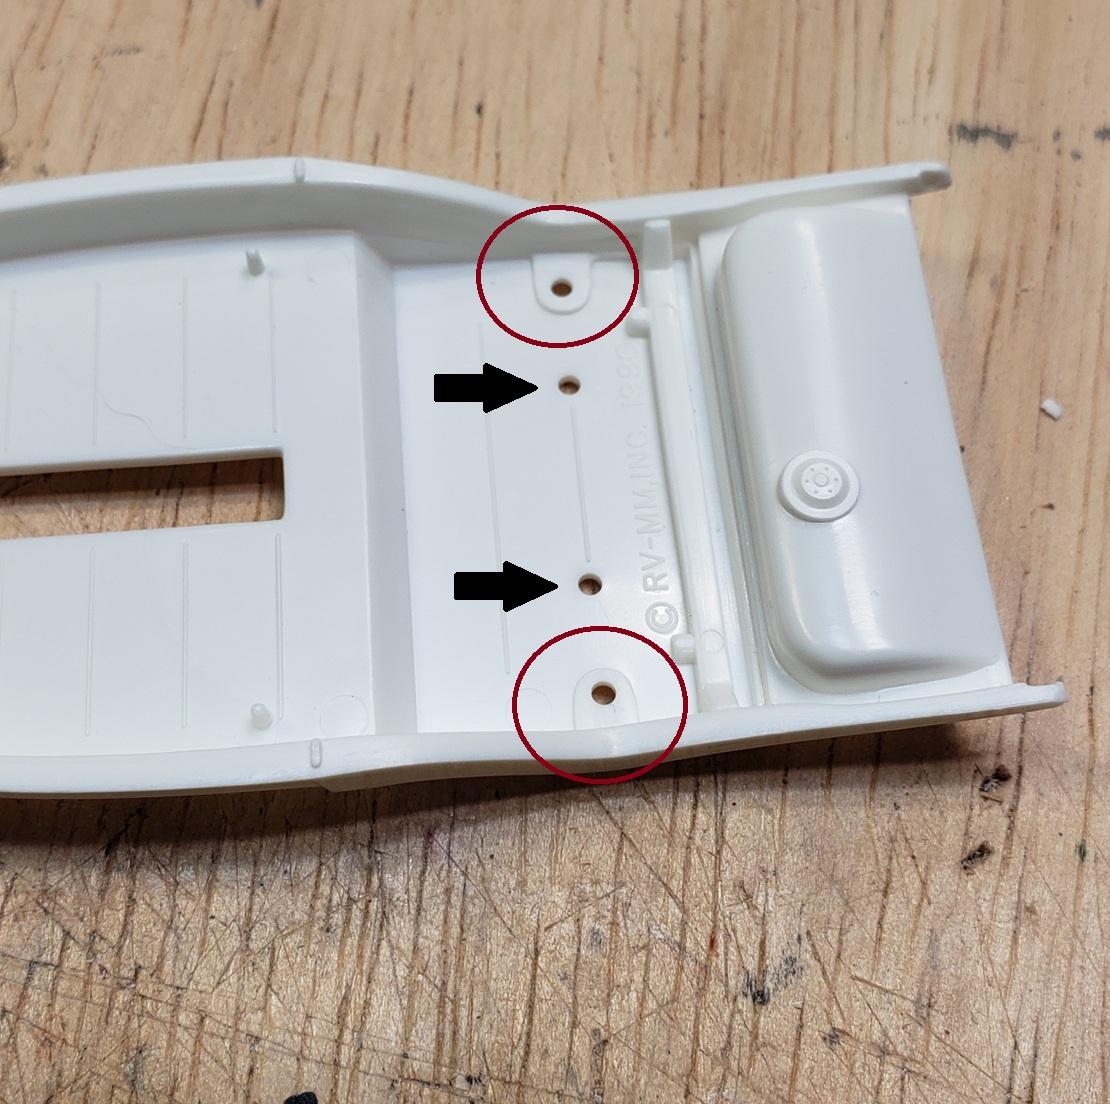
The holes circled in red are for locating the kit axle via the molded in airbags. You can use them as a general reference to center your new rear axle, assuming you're going to use the stock body in the stock position. I've channeled a few of these '32 kits, and depending on the depth of the channel and what wheels and tires you're using, the rear axle location might need a bit of tweaking. The black arrows point to holes used to locate the exhaust. I usually fill these when I'm not using the stock pipes.
-
‘55 El Camino
DJMar replied to NOBLNG's topic in WIP: Model Trucks: Pickups, Vans, SUVs, Light Commercial
I like, and still use, Tamiya lacquers. I just don't mask over them, so I only use those paints for one-color jobs on bodies, or on small parts like engine accessories, interior bits, etc.. -
Small mopar show
DJMar replied to mk11's topic in 1:1 Reference Photos: Auto Shows, Personal vehicles (Cars and Trucks)
Also this. I believe that's an '81 LS (with the factory wheels). -
A blurb from the Goodguys RCA, with a few more details: https://goodguys.mydigitalpublication.com/articles/legends-of-hot-rodding?article_id=4443042&i=775531
-
Small mopar show
DJMar replied to mk11's topic in 1:1 Reference Photos: Auto Shows, Personal vehicles (Cars and Trucks)
Lots of nice iron there. That '70 R/T is awesome, as is the lineup of Fargos. Not going to lie, though, I would drive the wheels off that Omni GLHS in the background.