OldNYJim
-
Posts
251 -
Joined
-
Last visited
Content Type
Profiles
Forums
Events
Gallery
Everything posted by OldNYJim
-

NNL East New Truck Kit News? Please post updates here....
OldNYJim replied to tim boyd's topic in Truck Kit News & Reviews
That one has actually been out for a while (in case you weren’t aware…) - I’m not enough of a Mack fan to know the difference between this kit and the 1918 variation…what changes would you need to make, do you think? -
Love the Alumacoupe! What’s the plan with this one? The droptop version is cool too, nice idea!
-
1957 Chevy Bel Air - Boyd Coddington "Chubster" almost
OldNYJim replied to ModelcarJR's topic in WIP: Model Cars
Looks like you nailed that shine! Nice work!!! ? -
70s Era Asphalt Modified
OldNYJim replied to OldNYJim's topic in WIP: Stock Cars (NASCAR, Super Stock, Late Model, etc.)
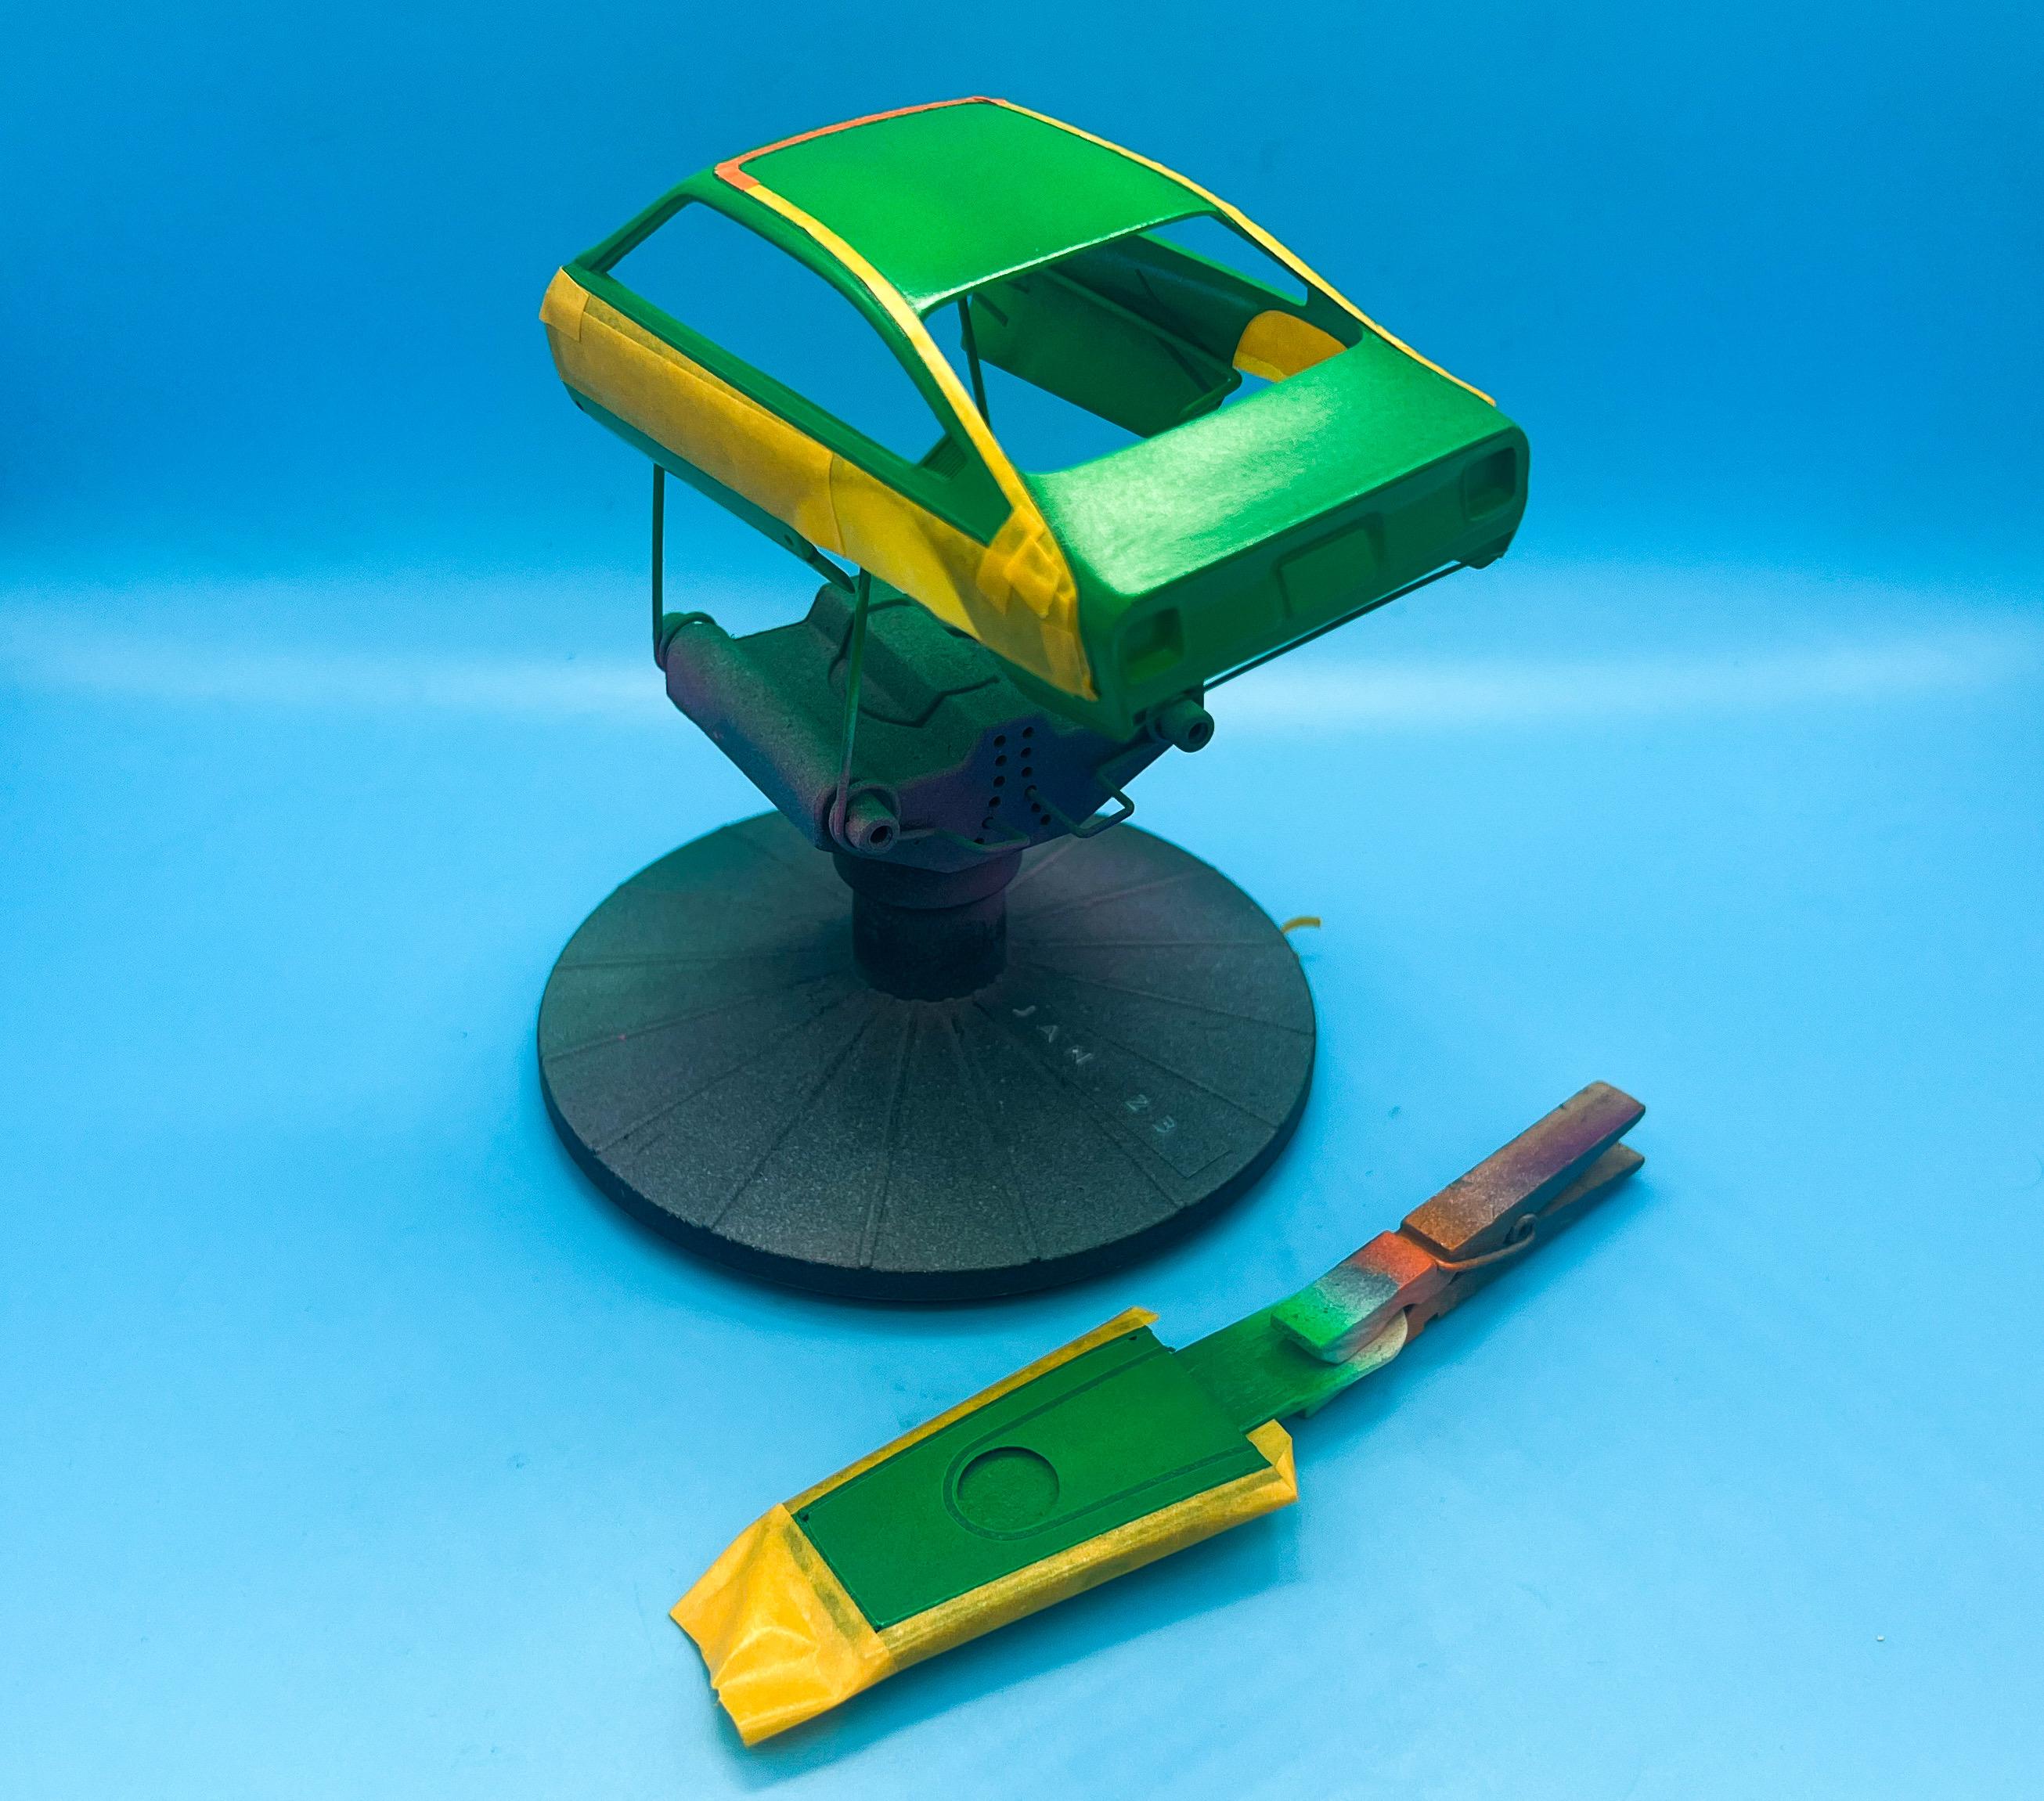
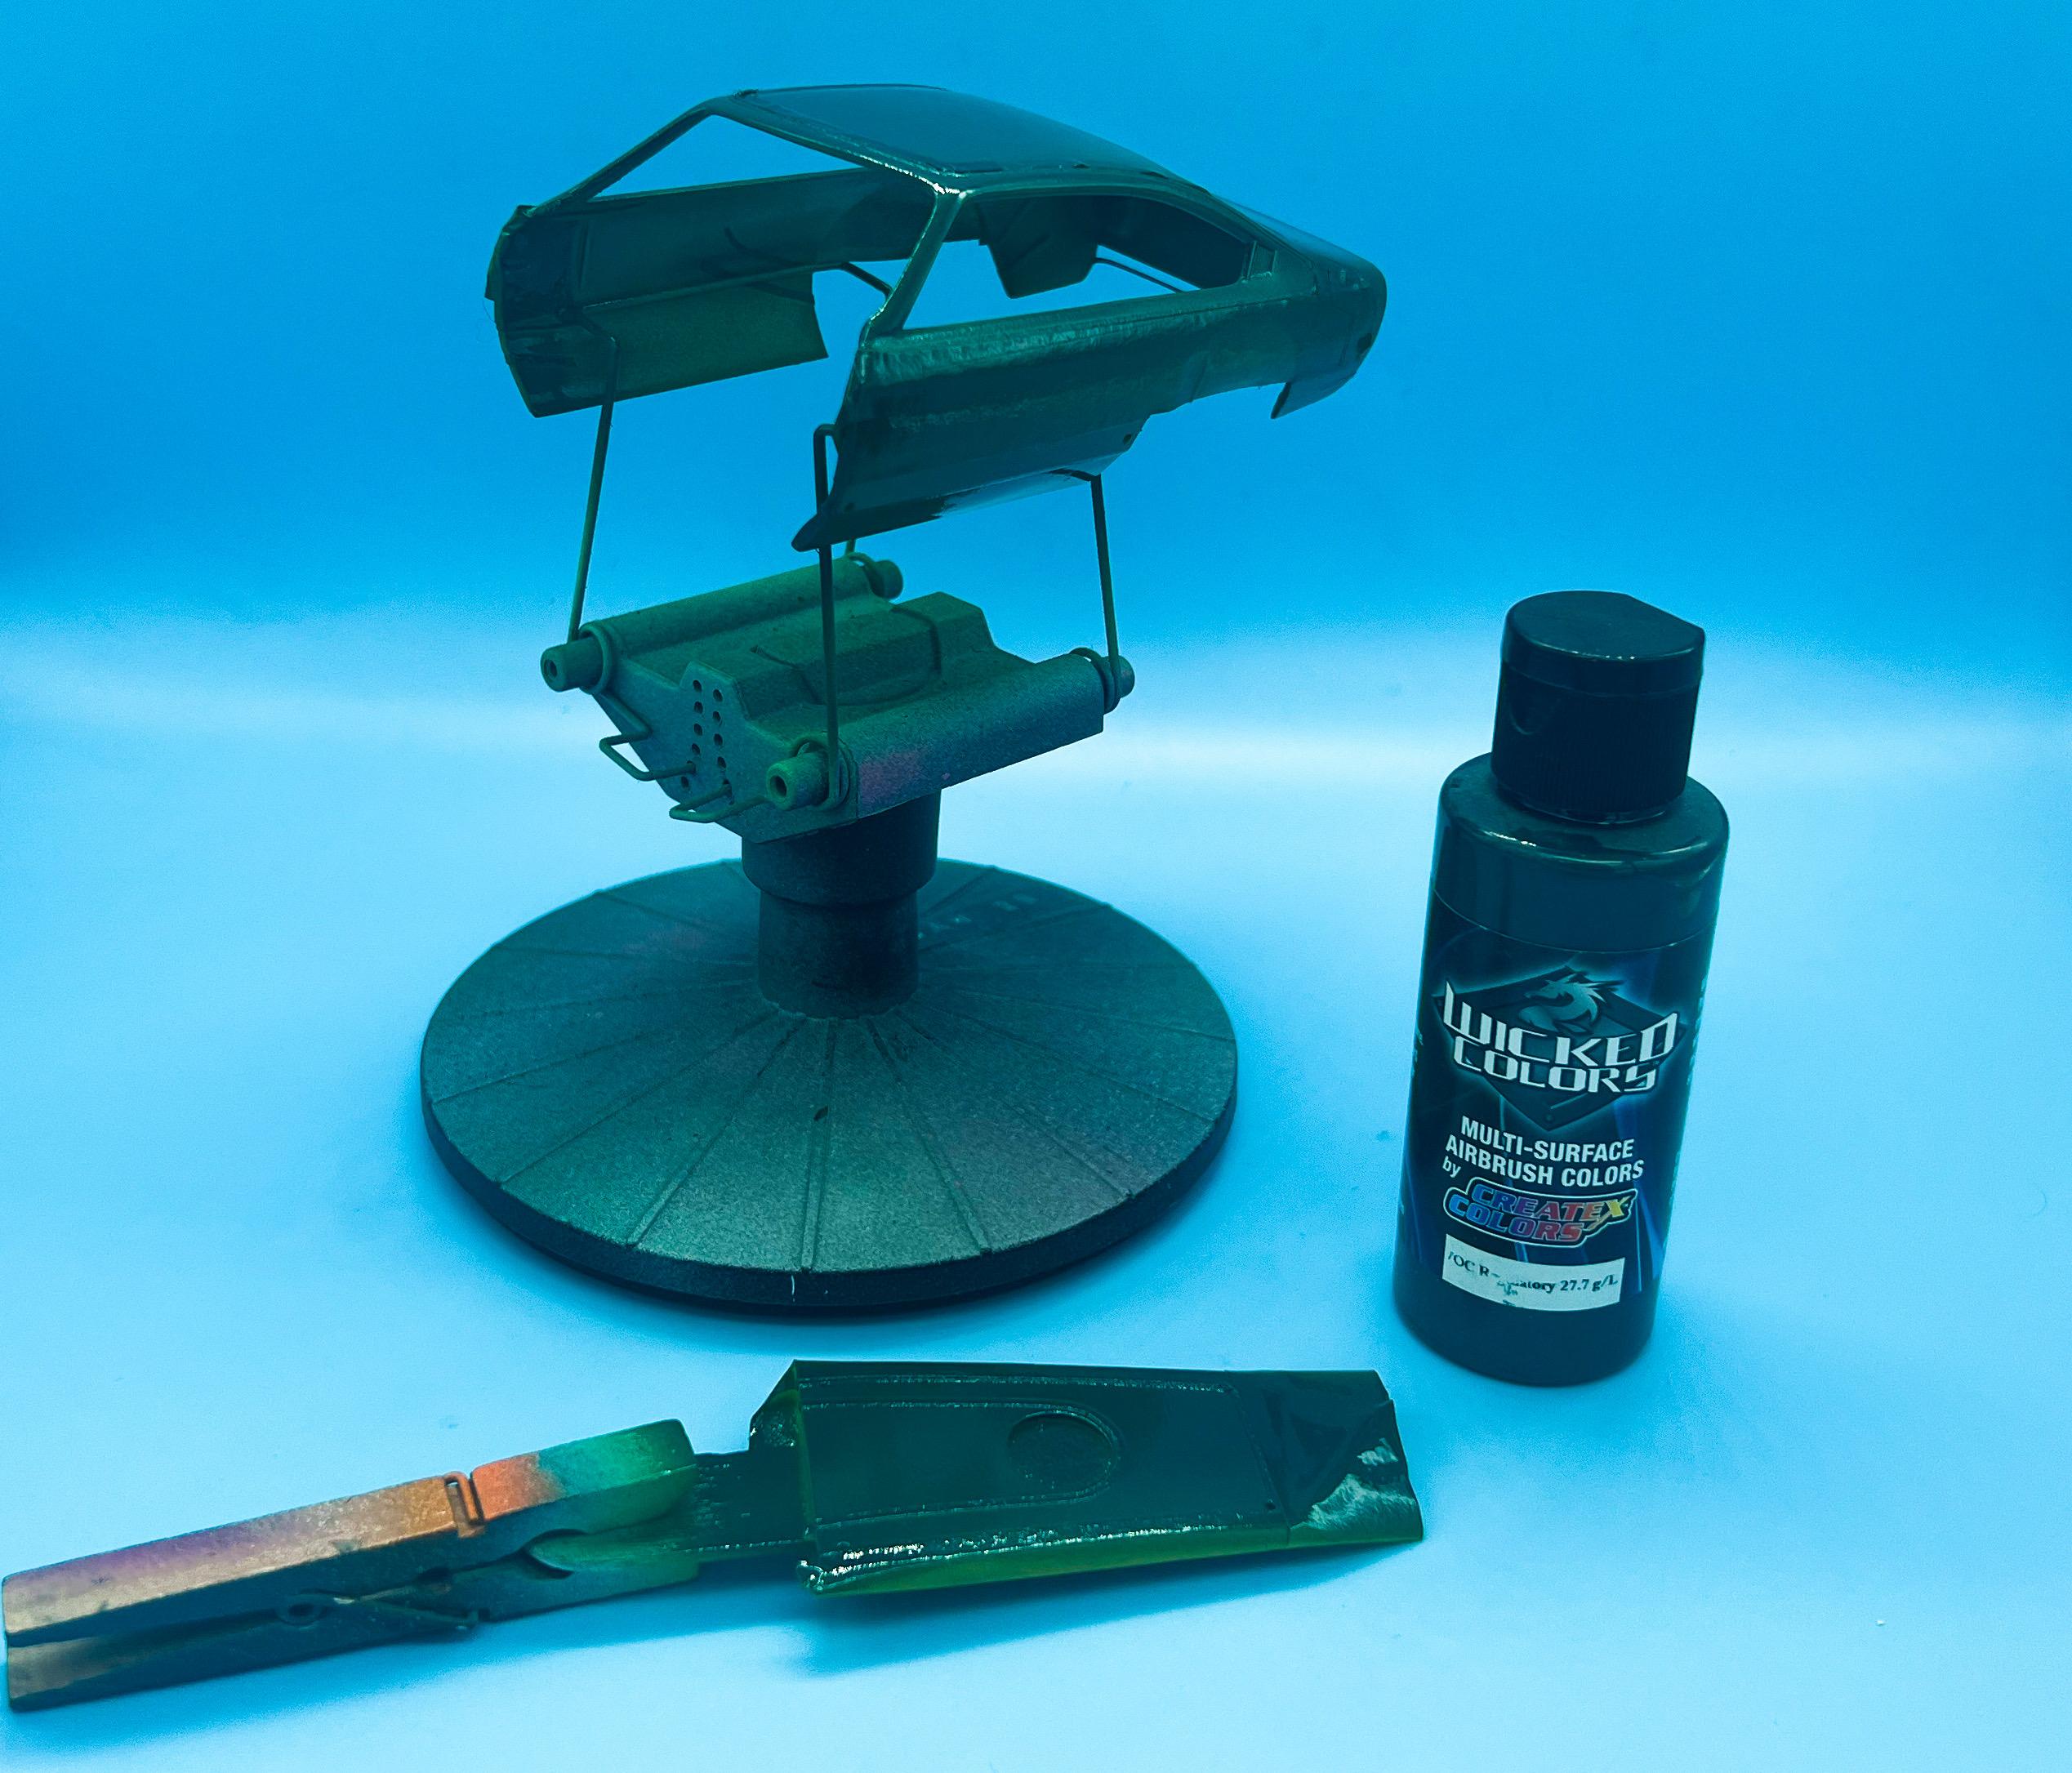
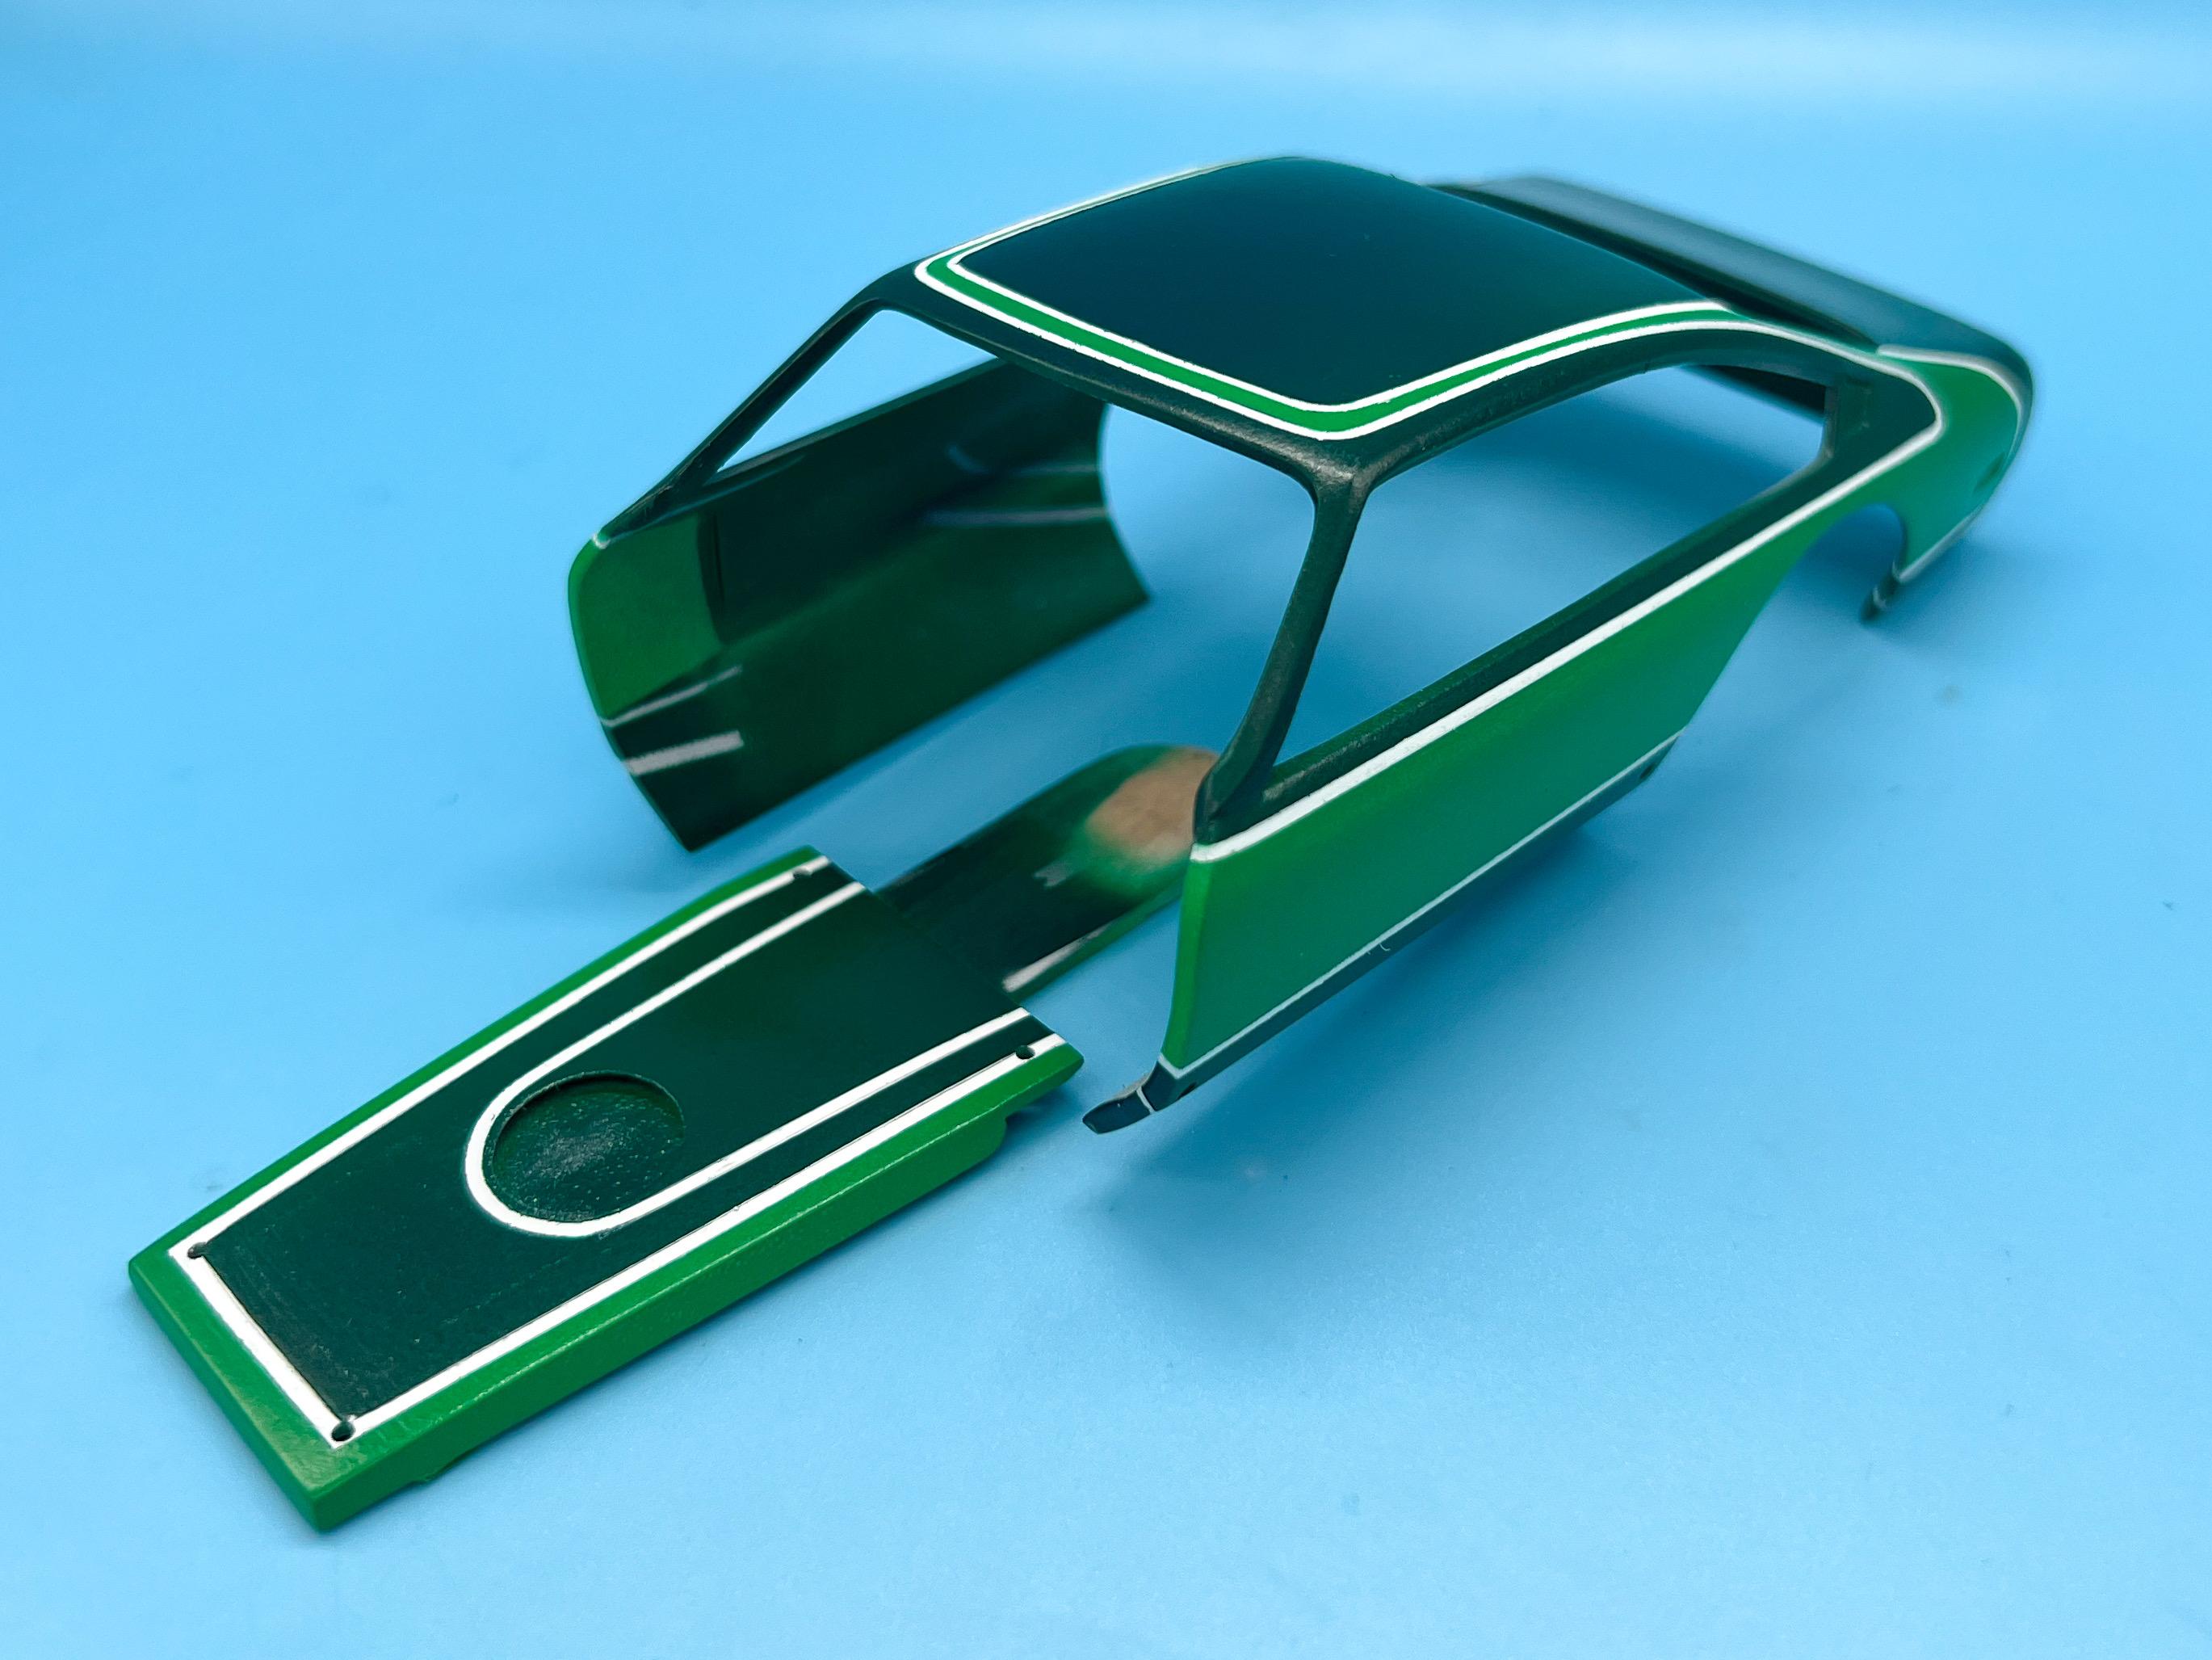
Thanks Pierre! A little more progress this past working week…had a super busy week but got a little done… Masked up some lines on the body: Then shot Createx bright green: Shot some Createx intercoat over that, left overnight and then remasked: Then shot a darker Wicked Colors green over top… (That green shade really messed with my camera…) Then, removed the masking and tada…a nice basis for the rest of the paint on this I think: Plenty left to do, but this took a few days to handle so I’m doing a photo-dump whilst I can still find the pics in my camera roll…more soon, soon as I’ve done more!
-
What did you see on the road today?
OldNYJim replied to Harry P.'s topic in General Automotive Talk (Trucks and Cars)
Told you my wife wasn’t a great photographer ?? In fairness, she did get this one too…but it’s not much better ?
-
I’ve been considering a dashcam too - do most of these things turn themselves on and off or do you need to remember to do it? Id love one that somehow syncs to my phone too so I don’t have to mess with pulling video off a memory card…interested to hear if either of those types posted can handle that too…
-
What did you see on the road today?
OldNYJim replied to Harry P.'s topic in General Automotive Talk (Trucks and Cars)
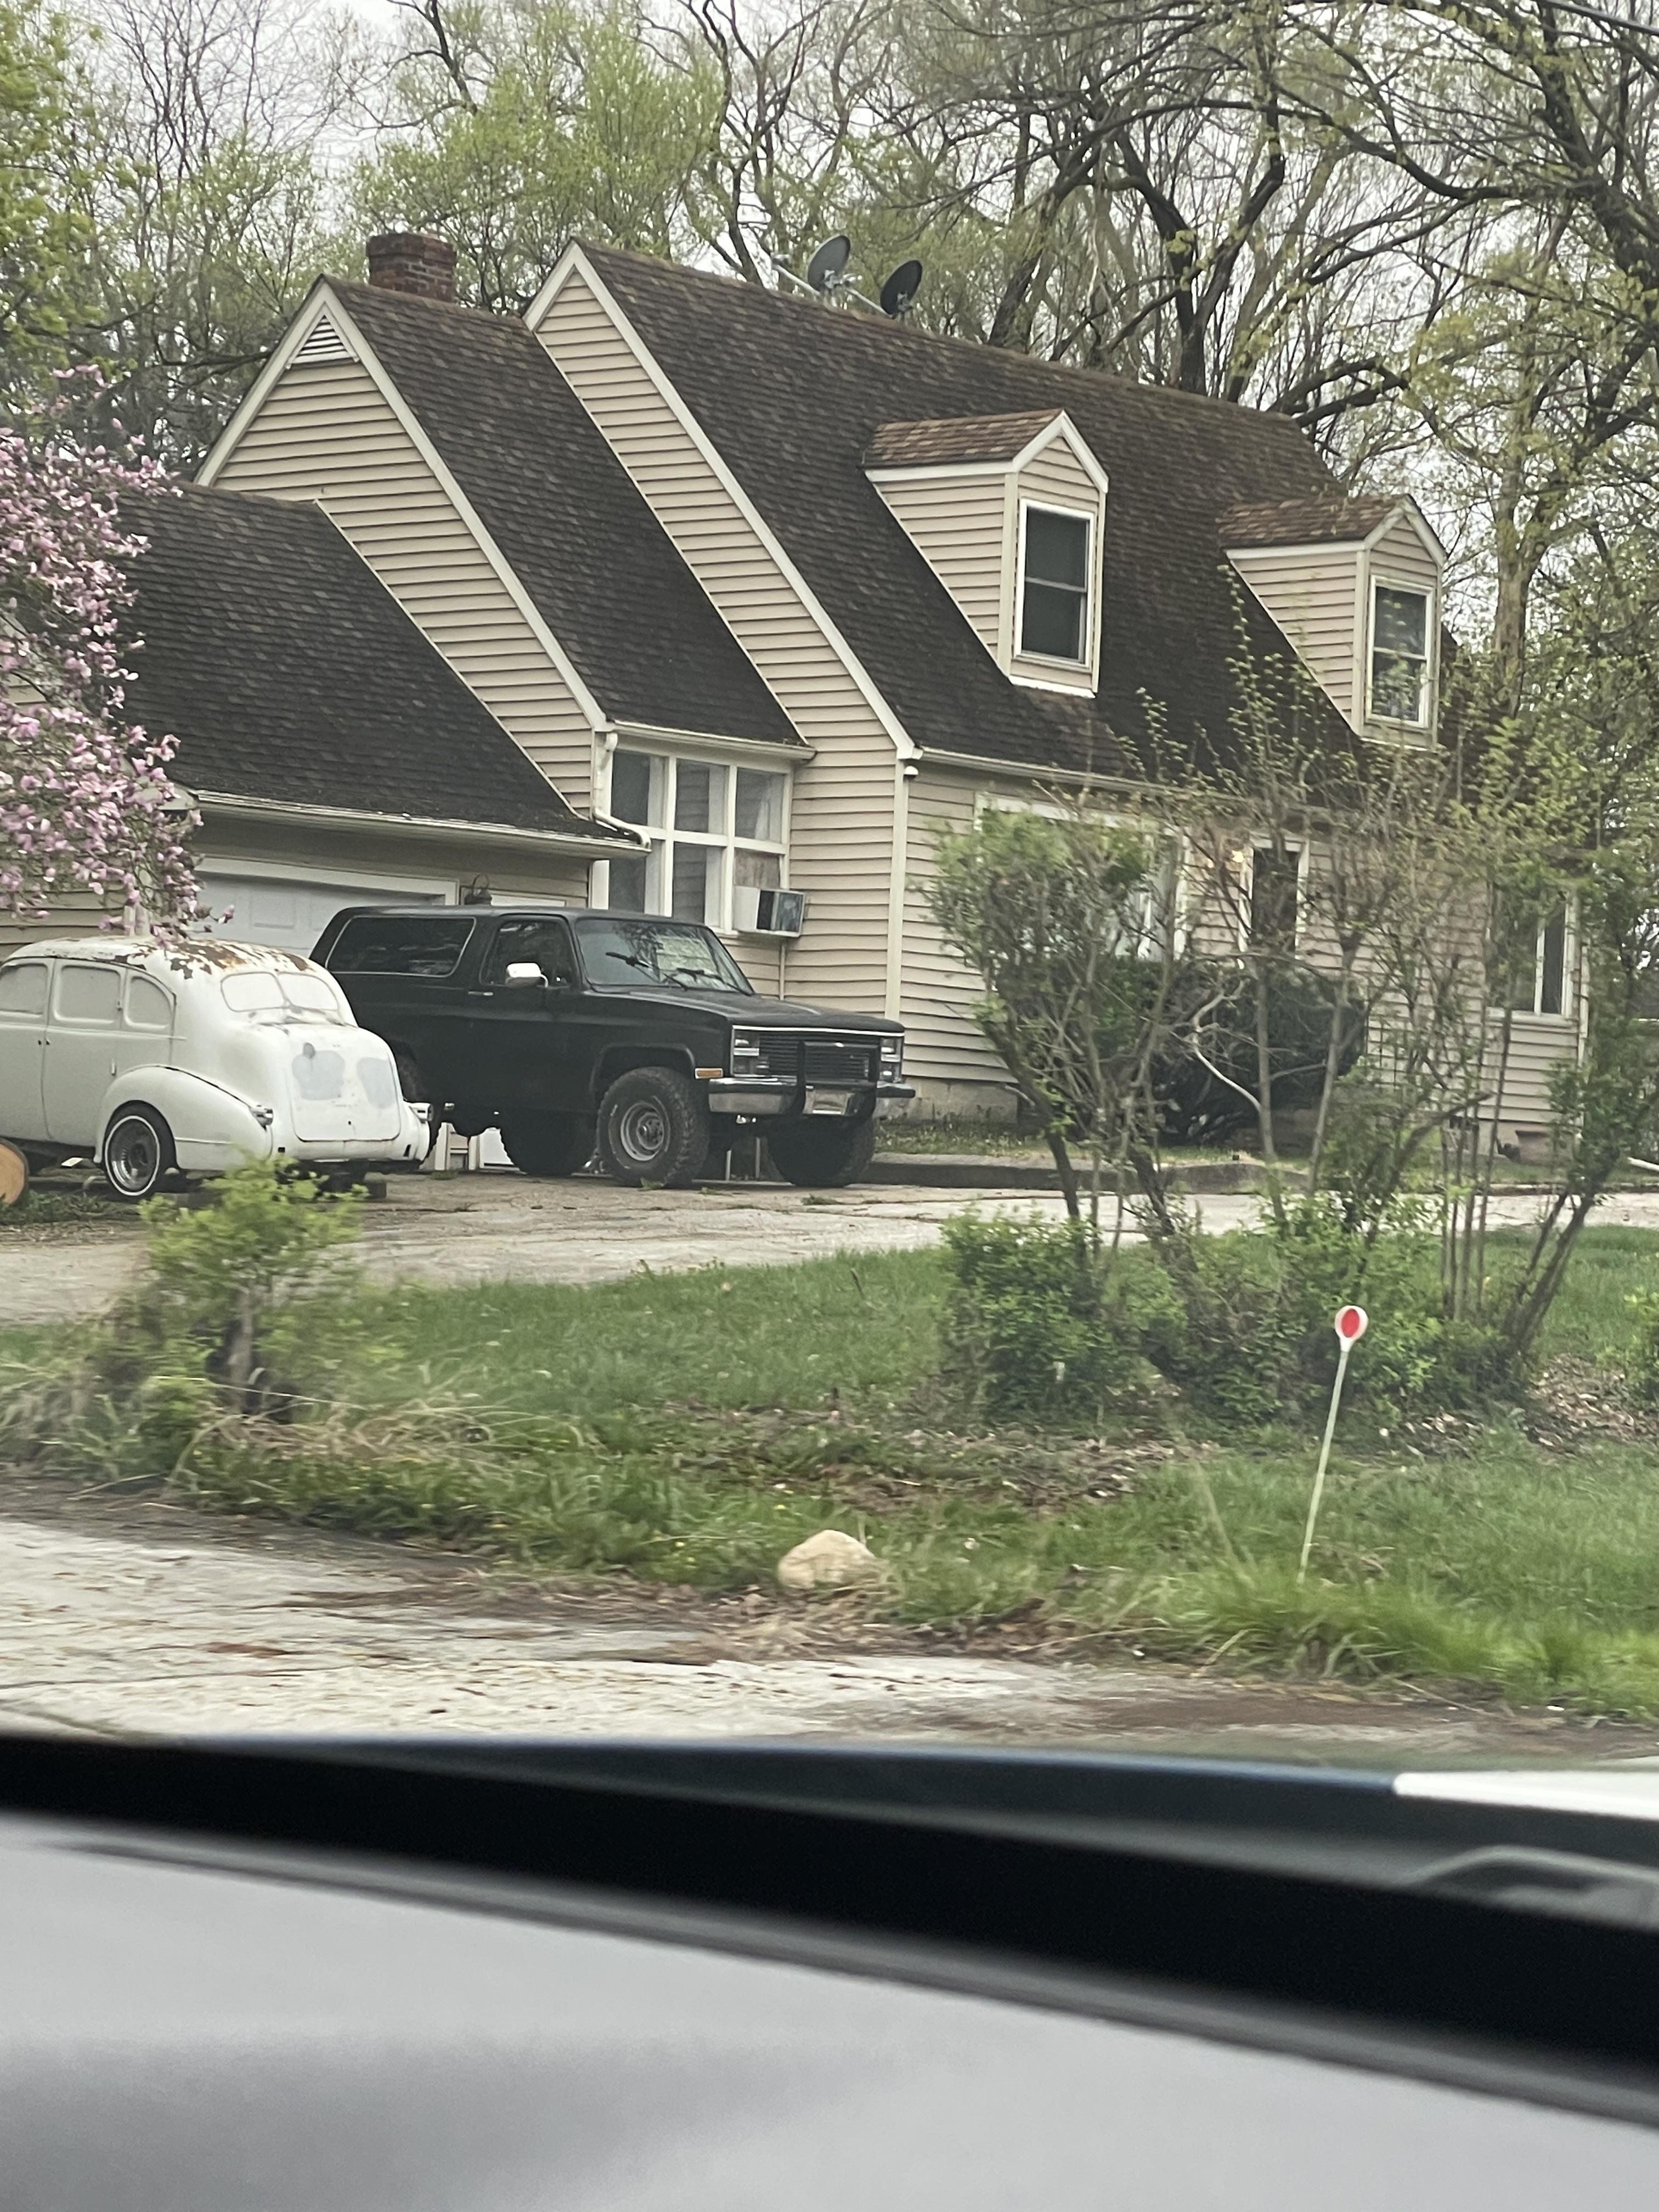
Spotted on the early morning commute yesterday. He beat me in the stoplight drags, but I can probably think of a good excuse… And a detour due to construction the last couple of days has been routing me past this…can’t quite figure out what it is? Excuse the poor photography, my wife has been relieved of her camera duties until next time I see something interesting whilst driving ?
-
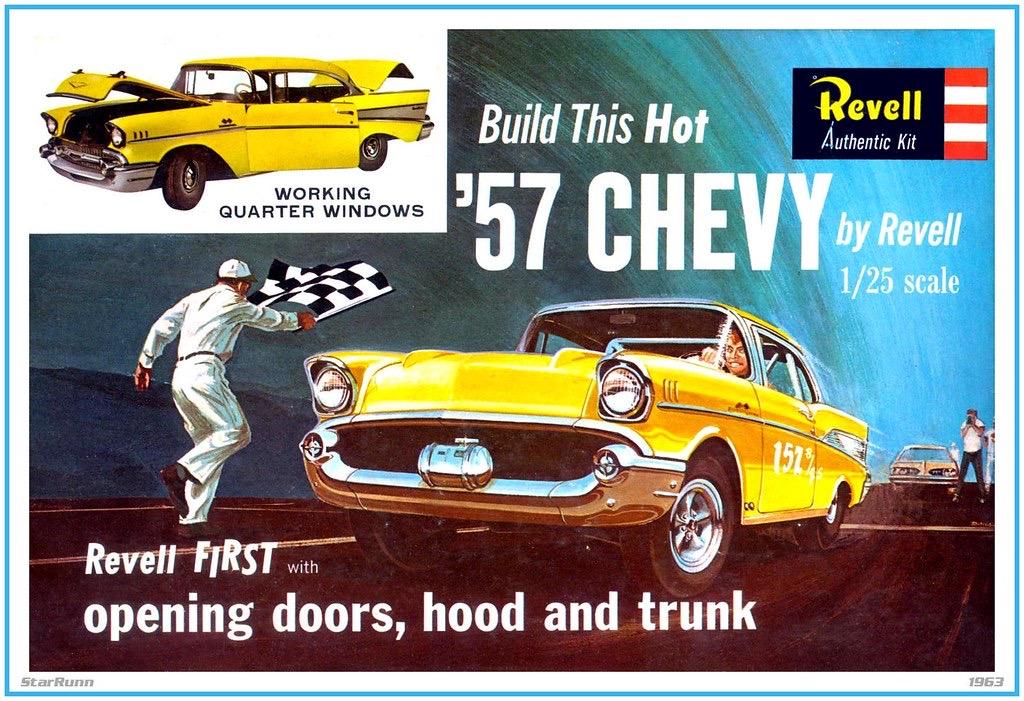
Actually, I need to pick up a third…because I want to build one box-stock-ish, the gasser version on the Atlantis box art AND something inspired by that Revell lowrider art too. * sigh - heads to Amazon *
-
Yep, same kit - originally issued with this box art: It has a reputation of being tough to build…but I’ve got a couple here in the queue and I’m excited to test my skills and make something awesome out of them.
-
T2 HK Tank
OldNYJim replied to Tcoat's topic in WIP: All The Rest: Motorcycles, Aviation, Military, Sci-Fi, Figures
I see what you did there Looking great - nice job on all those metal tones, and the washes especially! -
1957 Chevy Bel Air - Boyd Coddington "Chubster" almost
OldNYJim replied to ModelcarJR's topic in WIP: Model Cars
Ohh cool, I like seeing some of the less obvious Coddington builds get built in scale. I have the O’Reilly book that details the build of the 1:1 here, if that helps (and of course there’s the American Hot Rod episodes) -
Our refund this year won't even cover dinner ? At least we don't OWE them though I guess...
-
I've been watching for one of those Sportstar kits for a while...what makes it harder is that Testors also put out a 'SportSTER' bike kit, and eBay thinks that's what you're looking for. Nice idea casting the Lexus engine for it!
-
Also found online on a site named "Britmodeler" "Alclad started in the UK in the 1990s but after a few years one of the owners moved to the USA and started a second production line there. The 2 businesses have operated independently ever since but there seems to have been some dispute between them recently. The UK business has now removed all references to Alclad from their website and the products which is probably why you couldn't find any link to Alclad. I spoke to one of the owners of HR Hobbies recently and the paints are made to the same specification as always it's just the brand name that's changed." Of course, anyone can write anything on the internet, so take with the pinch of salt you should always apply to anything written on the internet...but maybe that's where some of this rumor is coming from - one of the two parties who manufactures it is changing name https://www.britmodeller.com/forums/index.php?/topic/235109004-alclad-ll-paints-where-are-they-now/
-
I don't know, but a Google search revealed this: https://www.wonderlandmodels.com/blog/alclad-ii-brand-splits-from-uk-producer/
-
To WIP or not to WIP
OldNYJim replied to atomicholiday's topic in General Automotive Talk (Trucks and Cars)
I’m WAY more interested in the process than the finished result - I rarely think to check the ‘Under Glass’ section but read about every thread of the WIPs. The more detail the better! Especially if you’re getting into all kinds of fancy detail and scratchbuilding ? -
Oh man, those little cleanly-built linkages...and that drive belt ? The little pinstripes too ???
-
Outlaw Kart
OldNYJim replied to Stevens19's topic in WIP: Other Racing: Road Racing, Land Speed Racers
Ohh, this is an AWESOME project - I love stuff like this (especially when it’s oval related). GREAT start - and impressive work on those 3D bits ?? -
The irony of saying “show proof or just not reply” when someone asks to see proof of your recommendations isn’t lost on me, but that aside - it seems as though you have a lot of experience with a wide array of paint products. It would be interesting to see your results with these products when you post about them, if you feel so inclined, because I would like to learn from your expertise (and it’s hard to see what you’re posting about if we can’t see it)
-
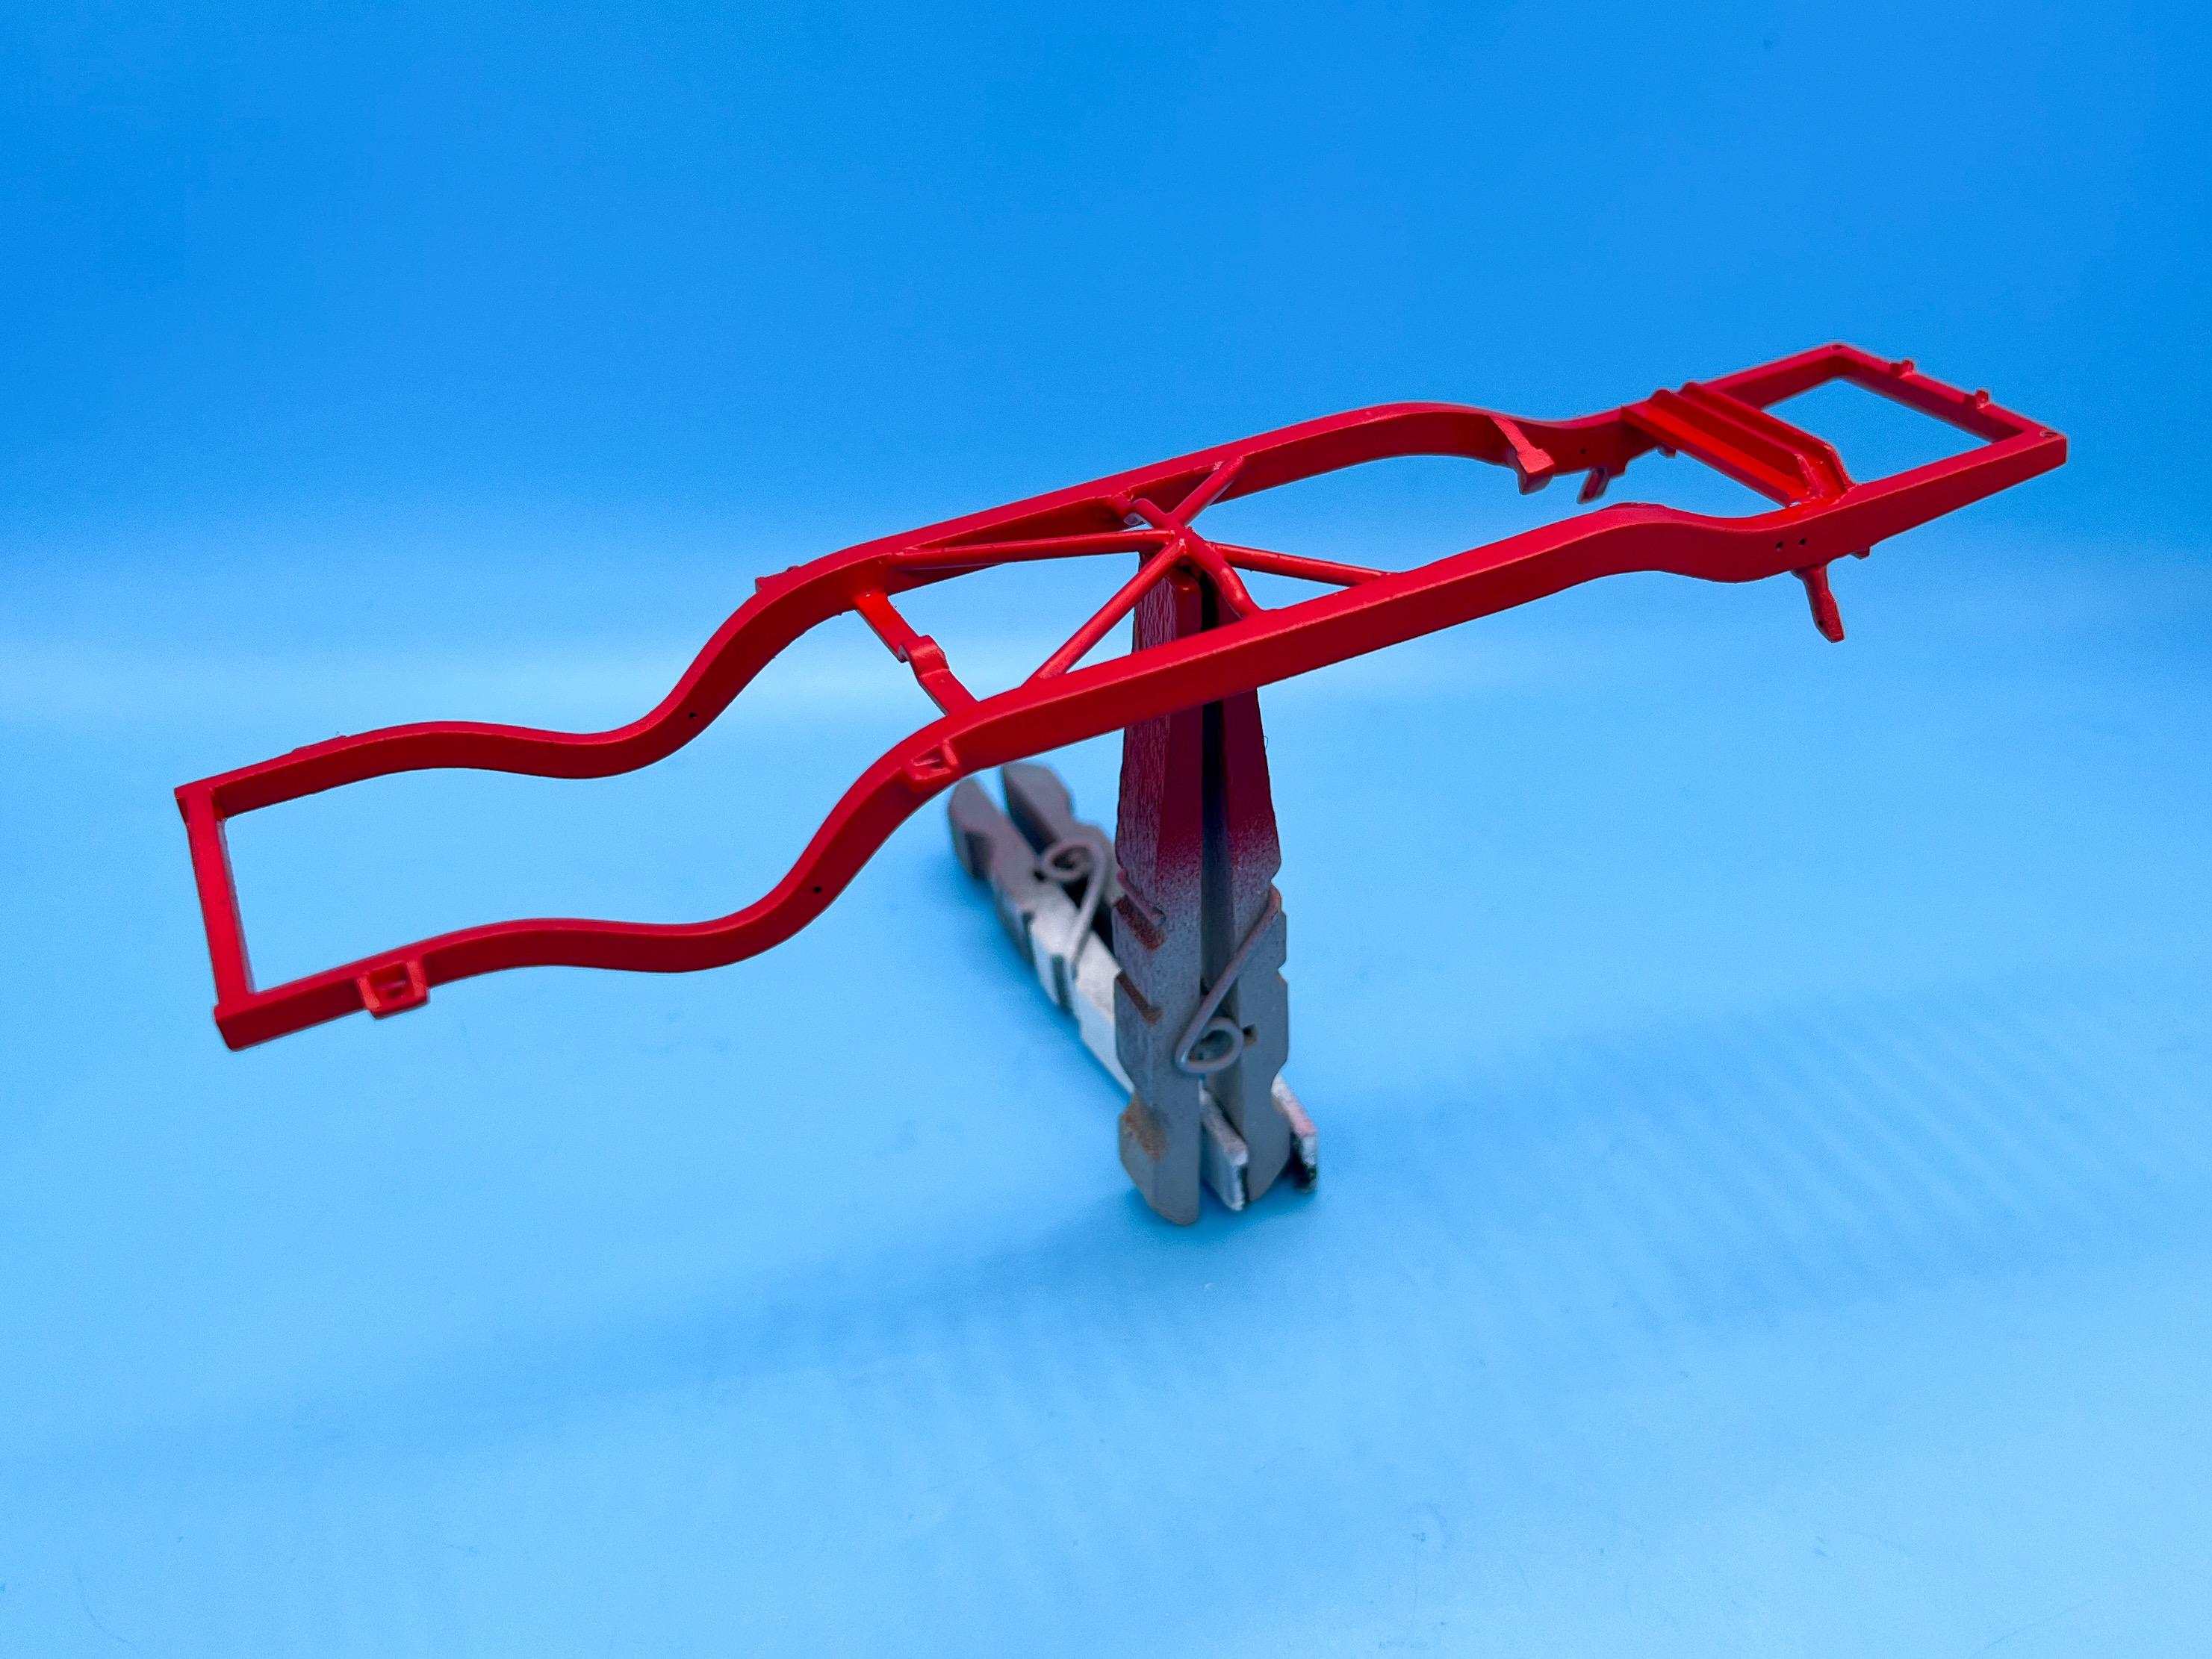
The Amazon fairy arrived today…I needed some red and white to re-stock, and by the time I order those individually it’s only $4 more to buy the whole sampler set… Love Createx paints - they don’t cover EVERY painting need, but they’re a great basis for a lot of stuff and always give consistent results (plus they don’t keep messing with the formula constantly…)
- 38,884 replies
-
- 1
-

-
- johan
- glue bombs
- (and 1 more)
-
VW shorty Custom Pickup
OldNYJim replied to Mad Slammer's topic in WIP: Model Trucks: Pickups, Vans, SUVs, Light Commercial
Ohh, that’ll be a great combination on this! Enjoying seeing it come together!! -
70s Era Asphalt Modified
OldNYJim replied to OldNYJim's topic in WIP: Stock Cars (NASCAR, Super Stock, Late Model, etc.)
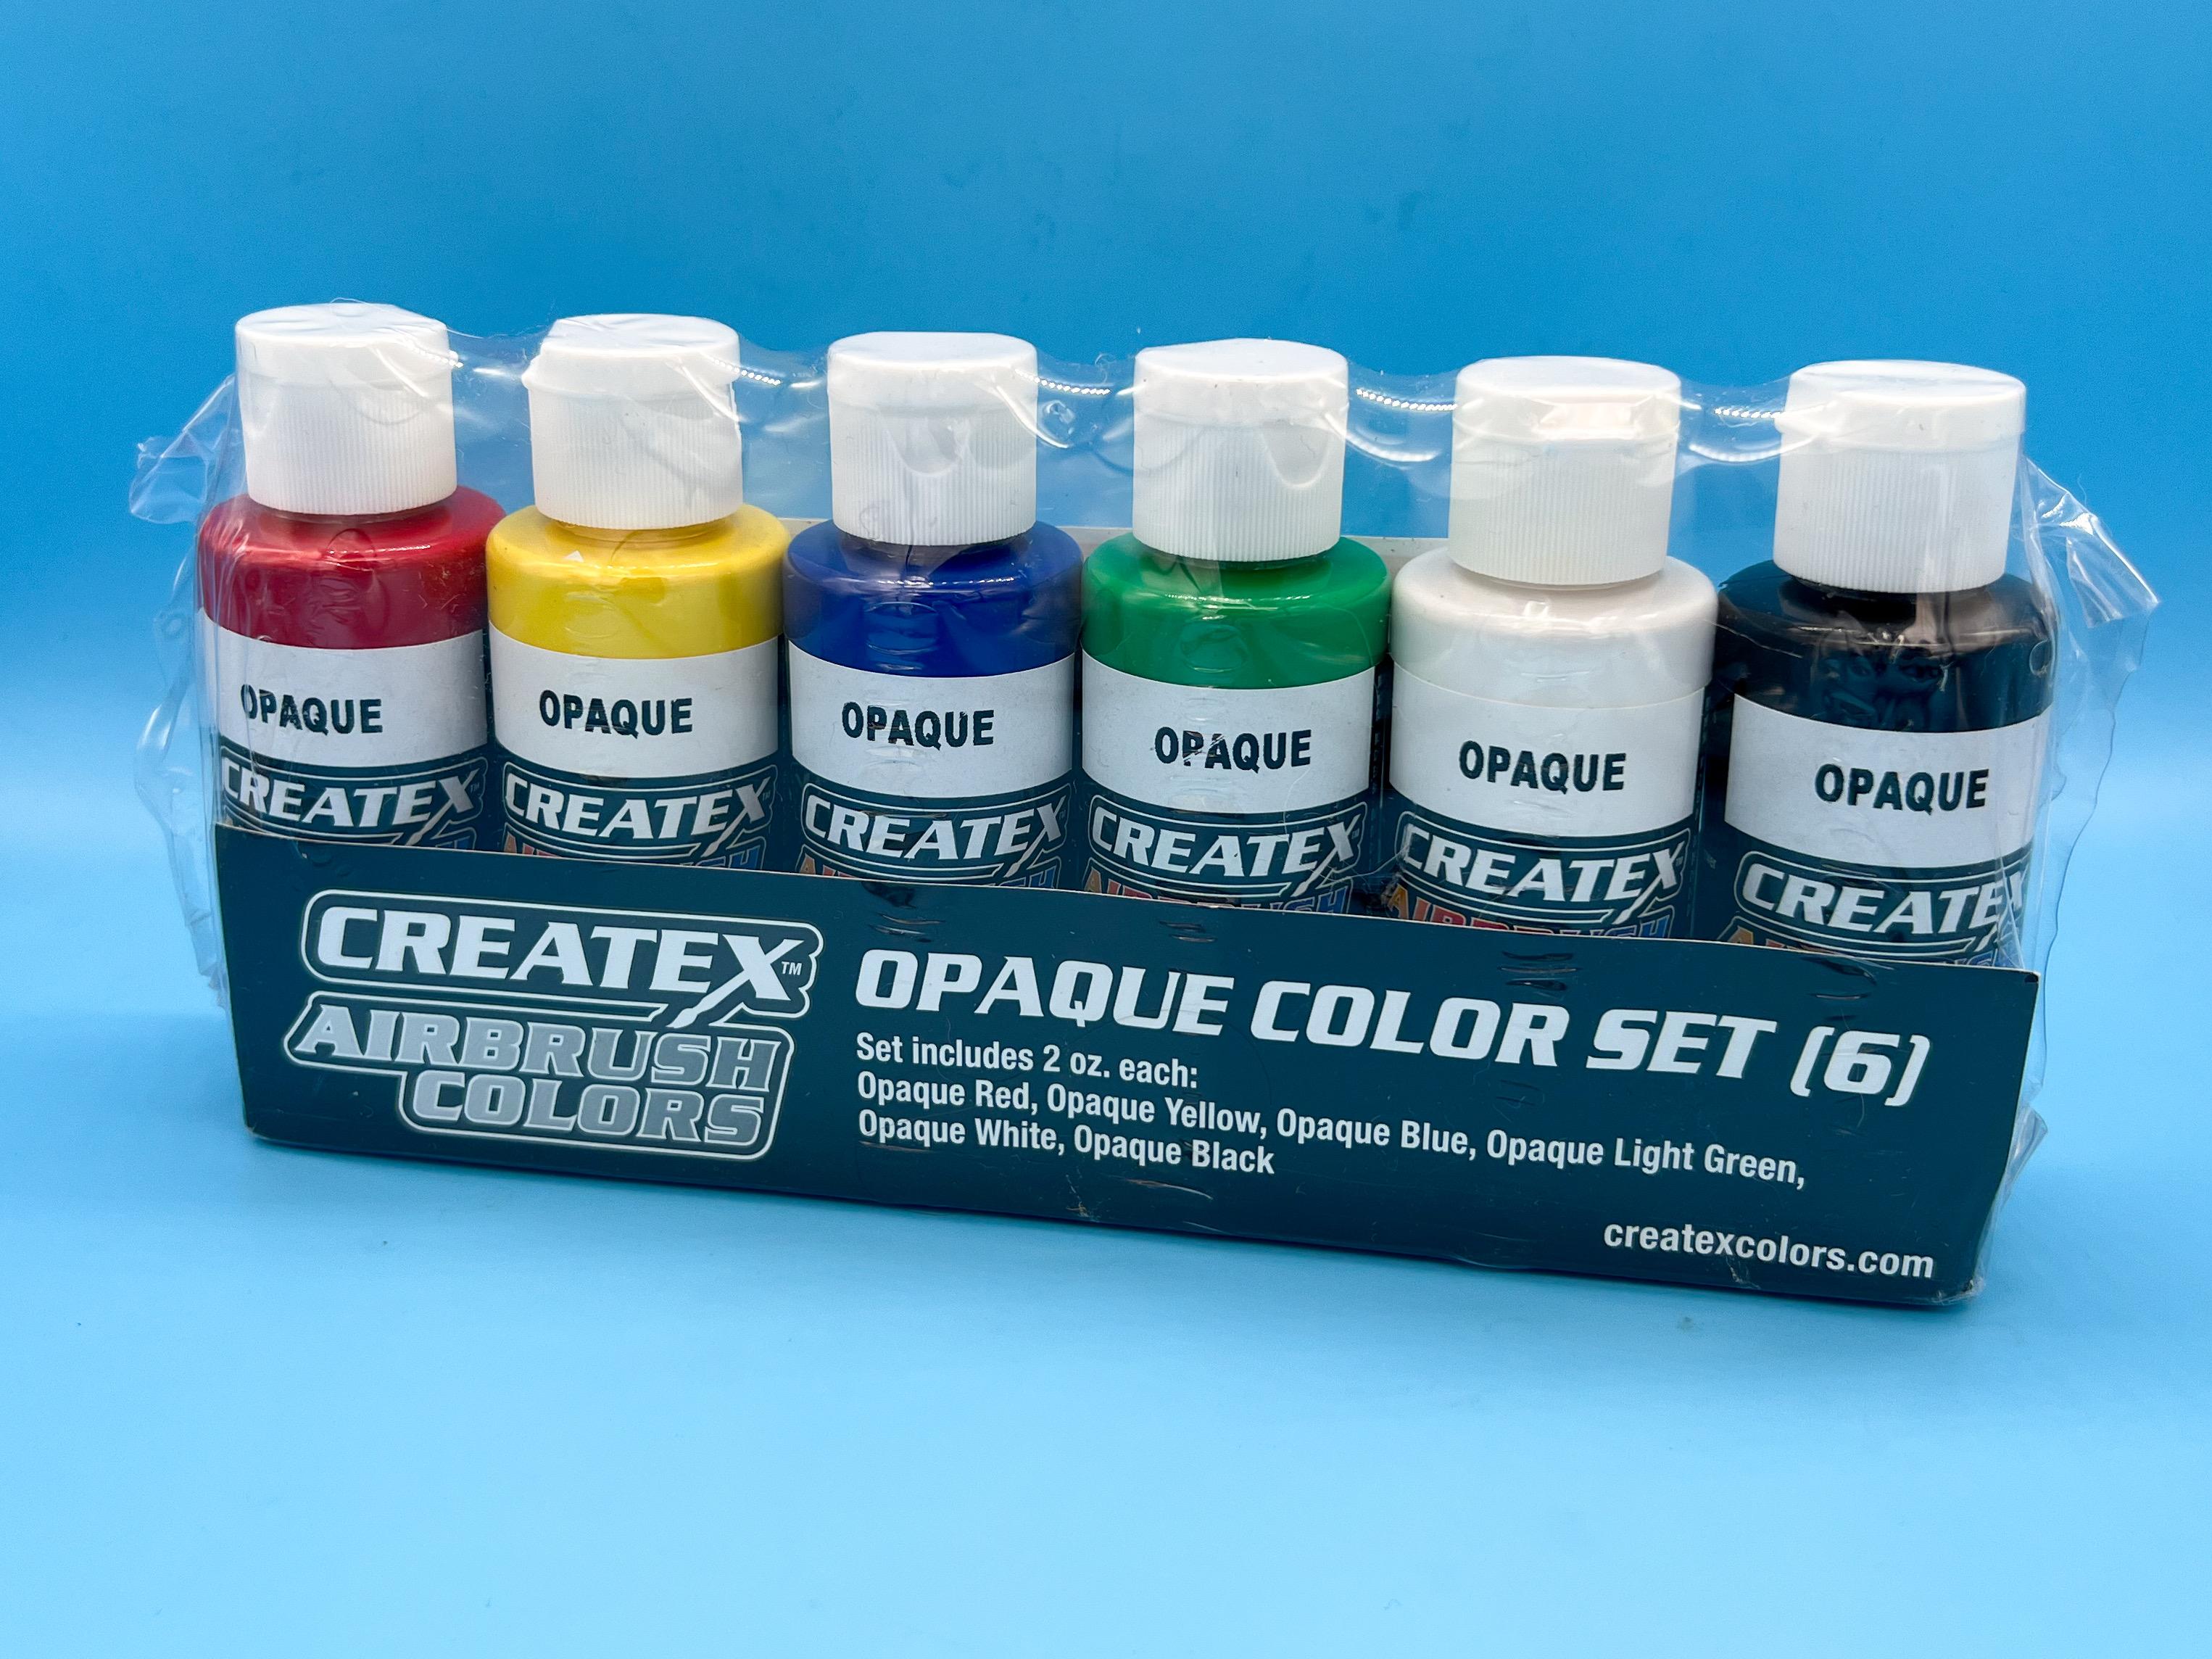
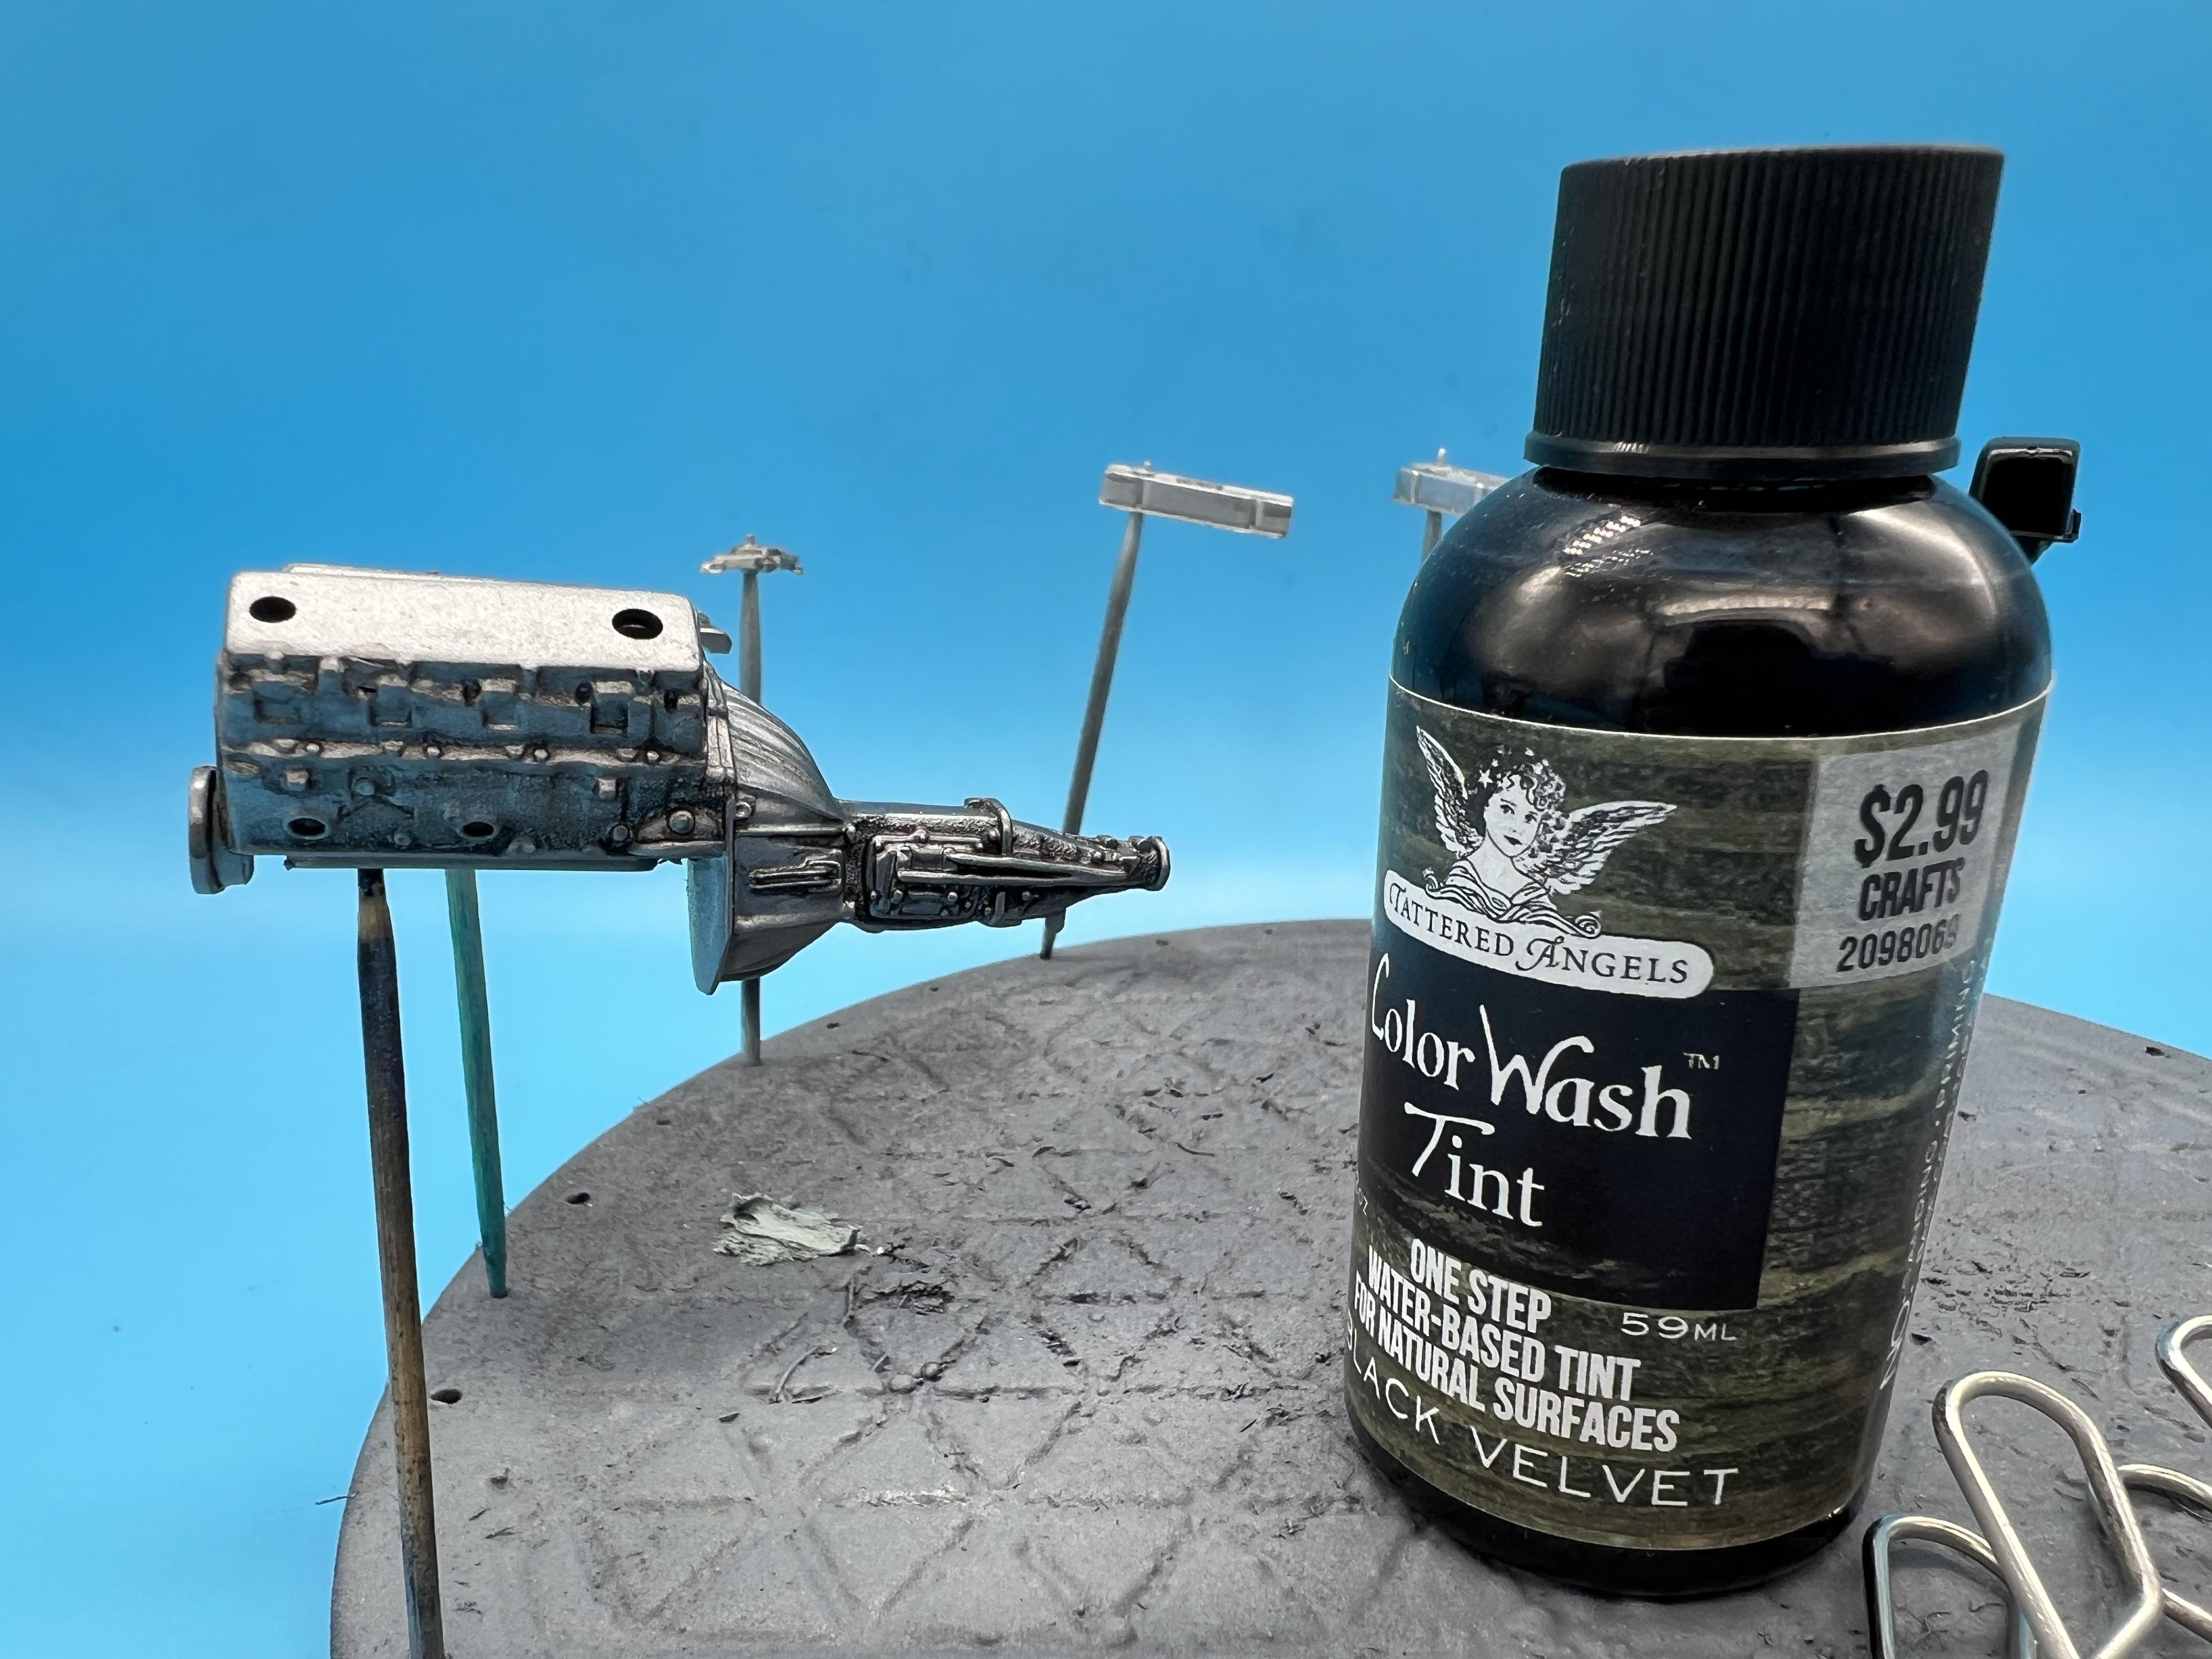
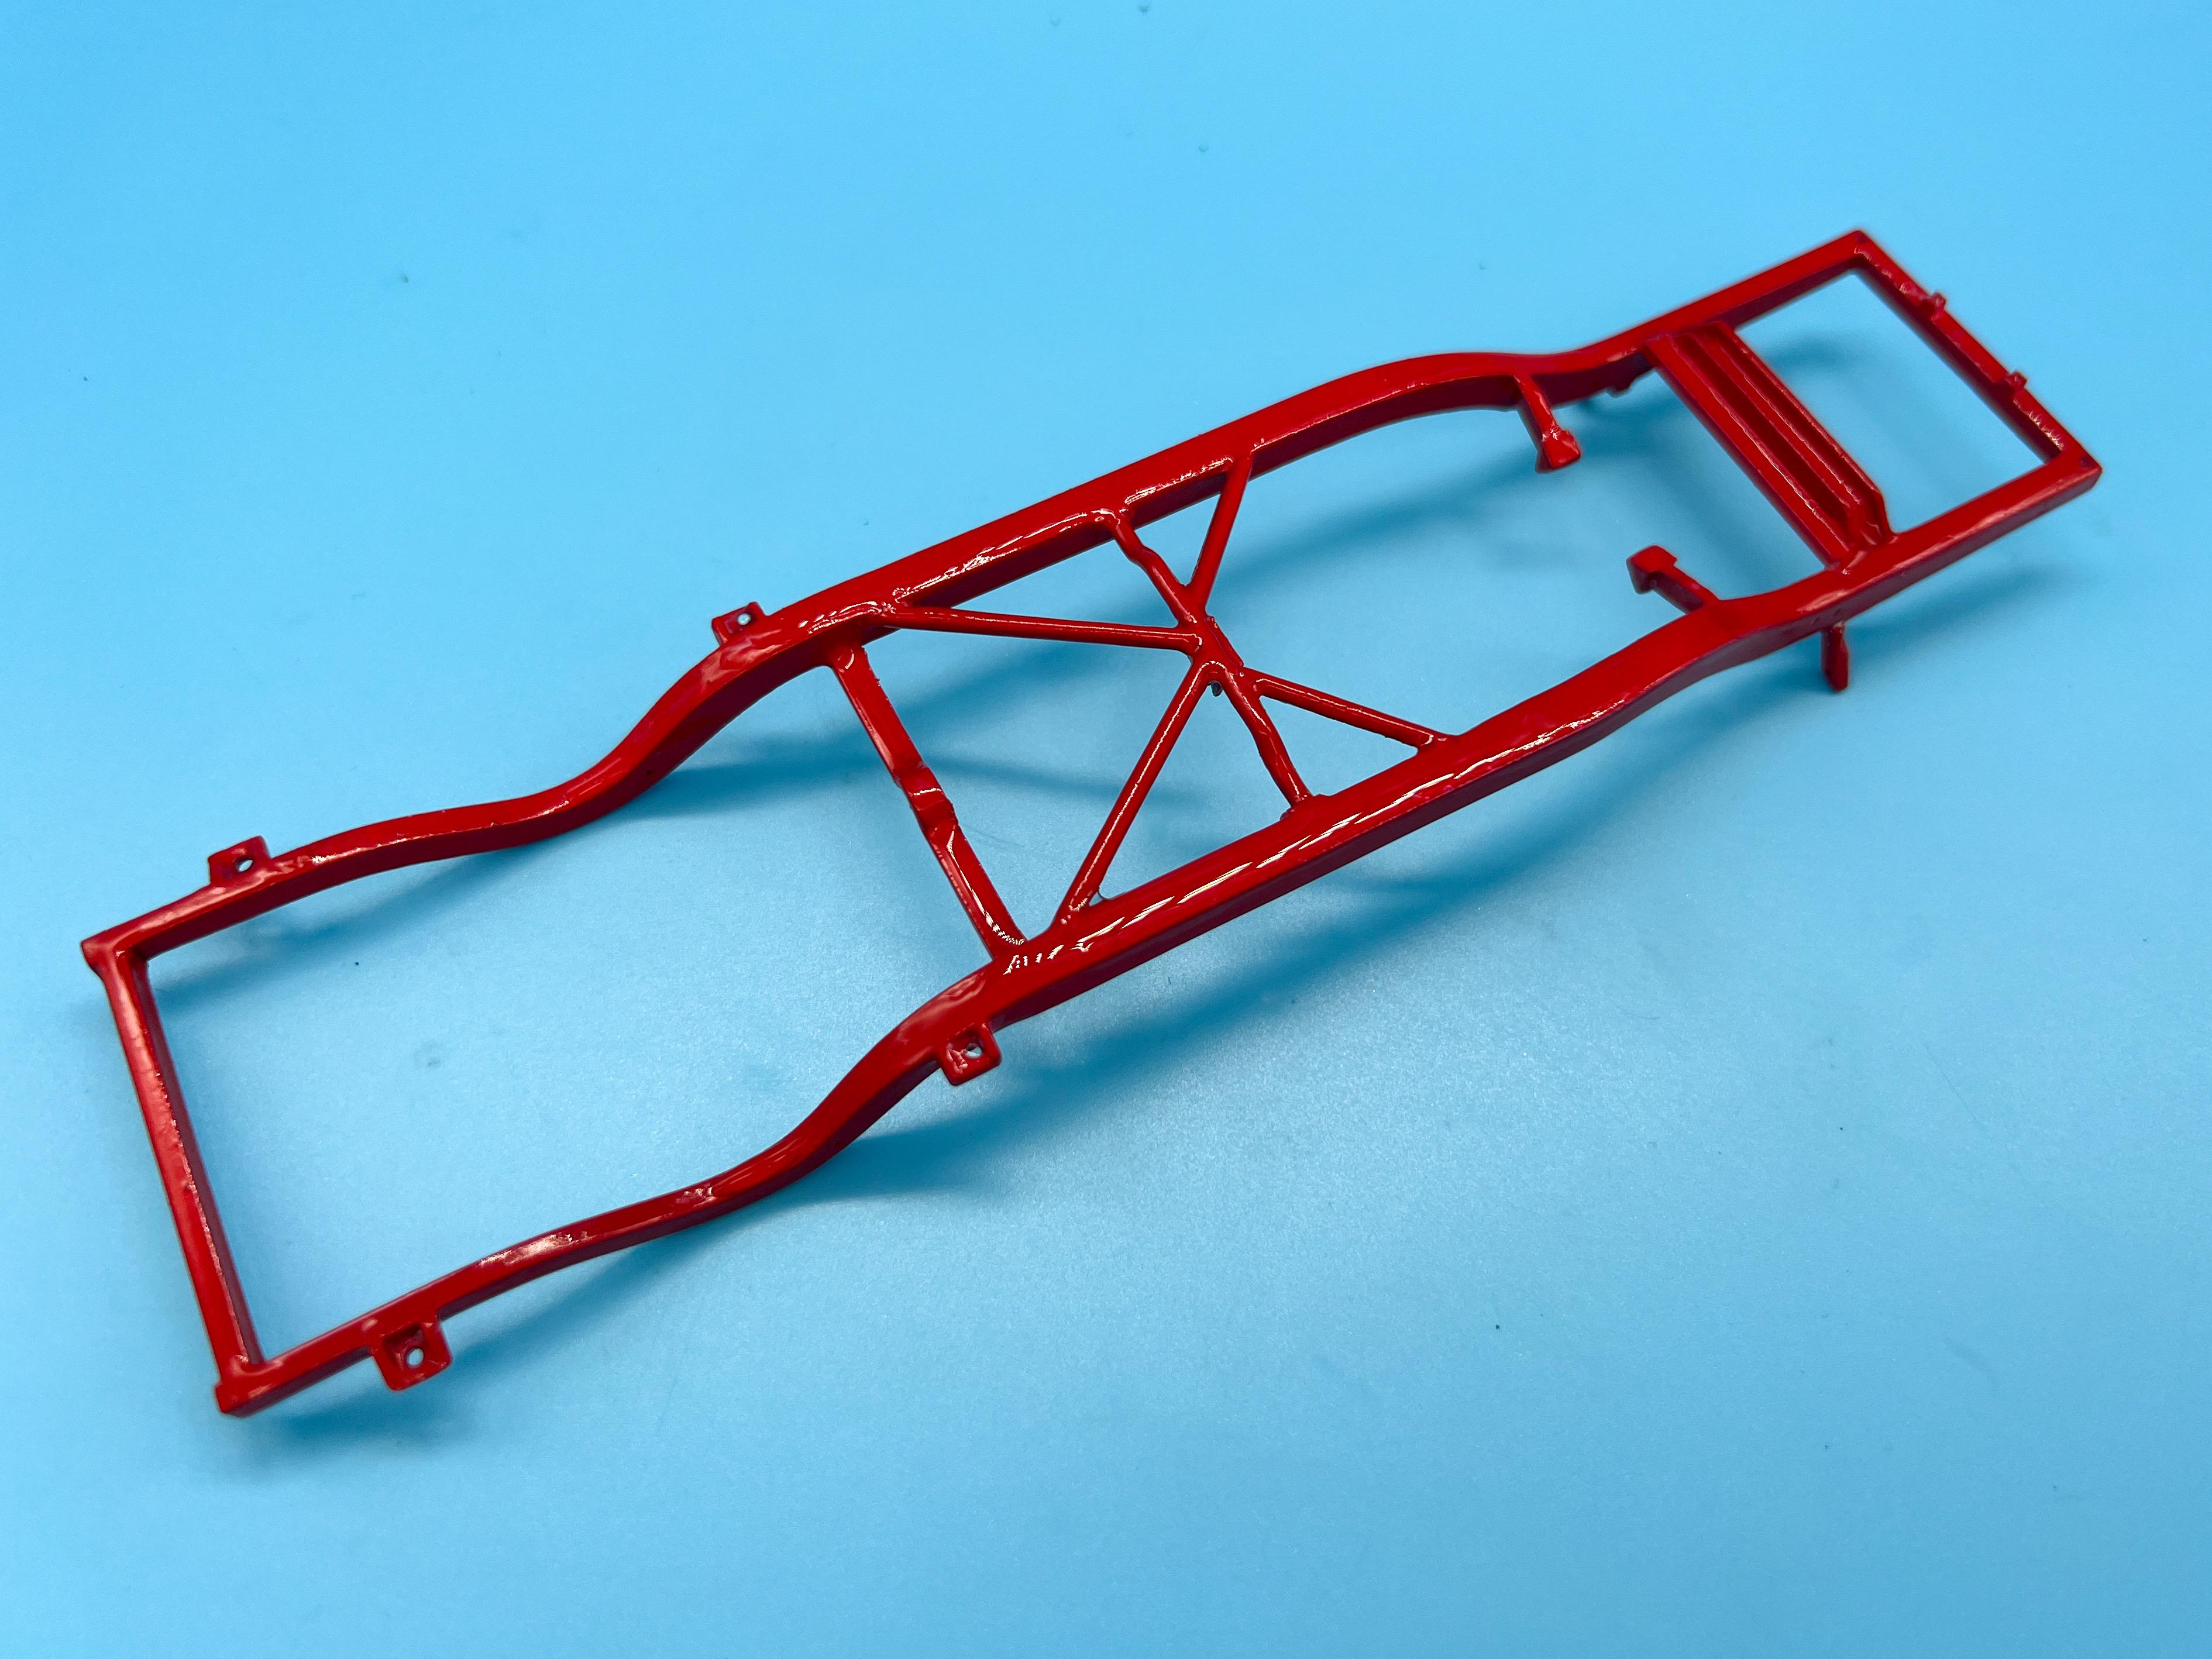
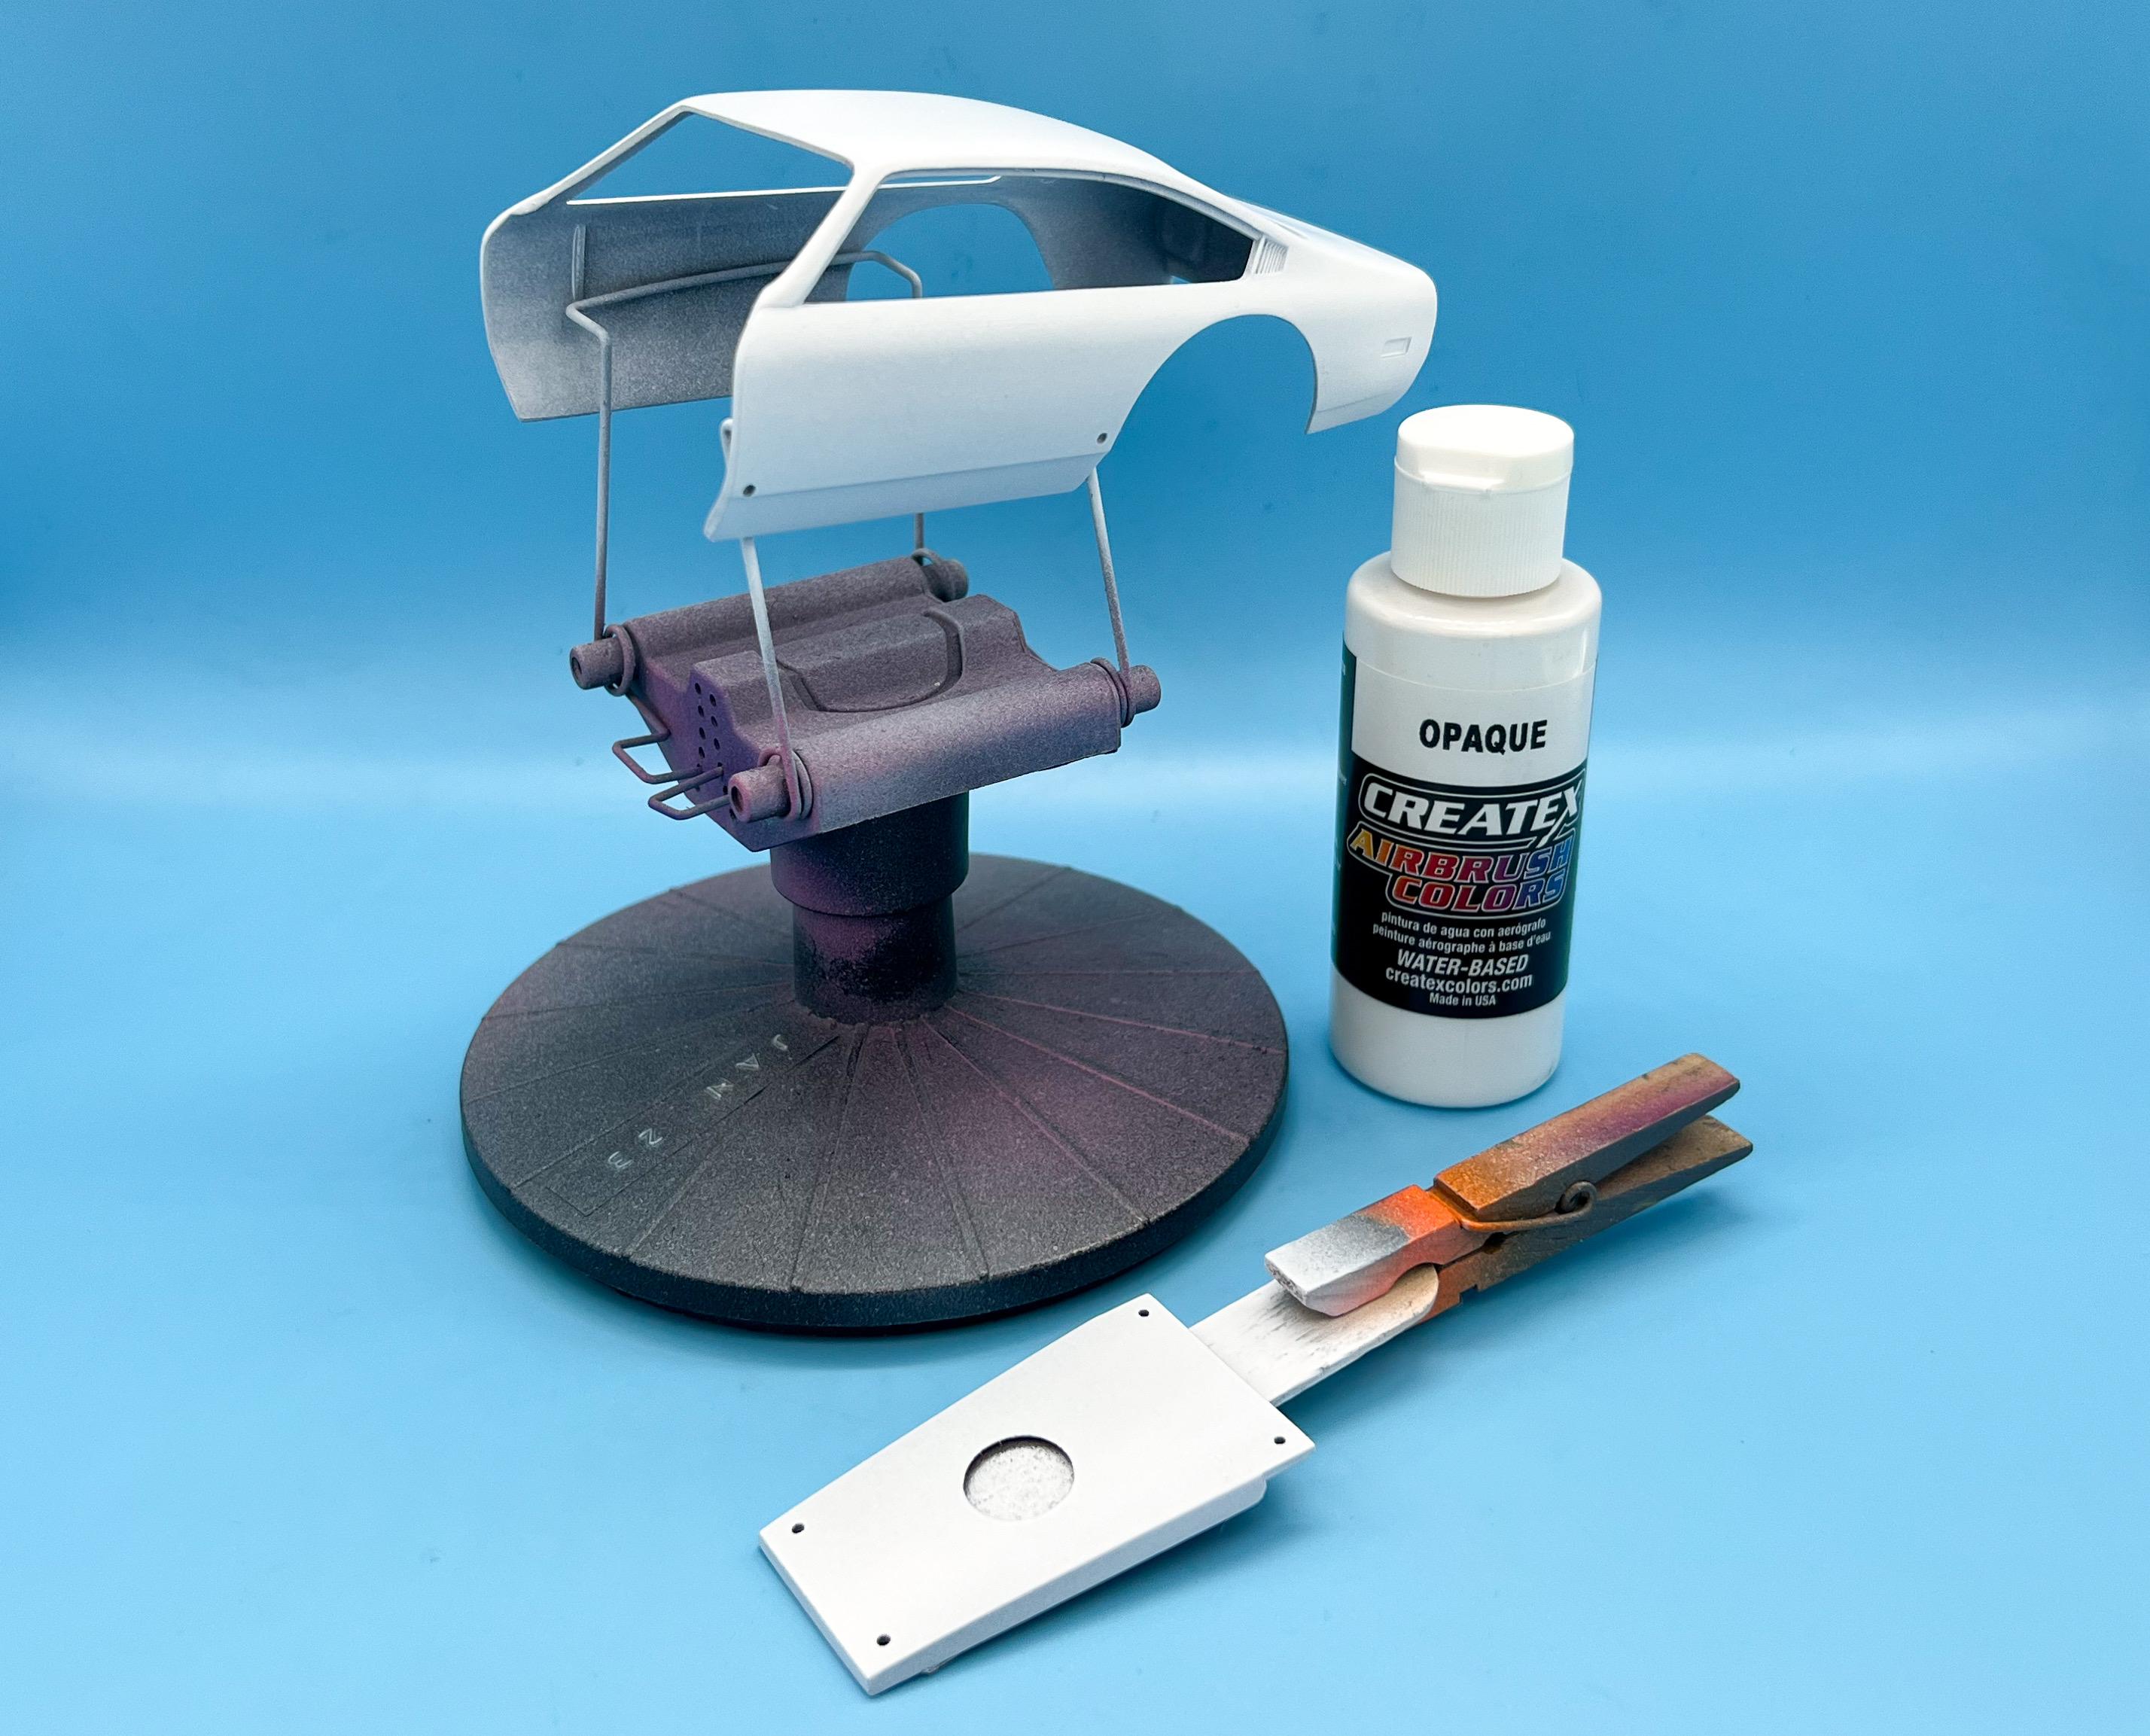
Thank you sir! I’d like to build the whole set, and then forward date them somewhat too and make something more like they were running in the 80s. So many projects in my queue (and the more I research ONE project, the more new ideas I get…) Thank YOU too! Another update, seeing as I’ve been kinda bad about posting updates…I’m kinda in that ‘primer and paint’ stage where nothing is really getting BUILT right now, but I made SOME progress anyway… Got the engine components painted in various metal finishes, plus some of the suspension components… …and then gave all the mechanical bits a blackwash. I’m going for used-but-not-ruined as my weathering ethos on this…just a nice clean well-maintained car that has maybe just been refreshed a little for a fresh season at the track: The intake manifold is amongst the more complex parts on the engine in terms of adding detail - drilled out all the molded-in holes and replaced them with 3D printed nuts and bolts: Those washes really help bring out some detail in these parts, especially coupled with a lighter colored fastener… I spun up some parts on the lathe and used some aftermarket pulleys to start dressing this thing up…plenty left to do still but I’m kinda building this as I go so I don’t lose any crucial tiny pieces ? Shot the carb too - need to make a plate to mount it to the intake and then figure out all the details THAT will have added to it: Got the frame in color: And then hit it with some clear (and got WAY nicer of a finish than I really need…but this too will be getting some light weathering): I decided that kit radiator was a good enough starting point for some additional detail, so I added a filler neck, hose in/outs and then shot it all Testor’s enamel black for that glossy-enamel look that radiators seem to always have - I should probably figure out a catch-can for it too, although I’m not sure if those were required by most tracks in the era when this would’ve raced: And finally, I did a little filler work on the body to get it smooth and hit it with primer… …and then, having turned it from white to gray I immediately then turned it back to white again as a base for the rest of the paintjob: MOST of these cars didn’t have super complex paintjobs, but some were nicer than others anyway - I’ll be going for the ‘nicer than others’ option but still shooting for something period correct… And that’s where I’m at so far…oh, and I still didn’t finish the wheels, but I got them painted and in clear anyway ? Thanks for looking - more soon, soon as I’ve done more!
-
VW shorty Custom Pickup
OldNYJim replied to Mad Slammer's topic in WIP: Model Trucks: Pickups, Vans, SUVs, Light Commercial
I’d say a light wetsand and that’ll be good to go…have you picked a color yet? -
Im a fan of Createx and Wicked Colors paints, and I haven’t tried that one…and now I want to! Looks great! And the interior colors you picked work great with it too!
-
I don’t know if you’re allowed, or inclined, to share pics of some of the cool 1:1 stuff you work on Bill, but I’m pretty certain I would enjoy seeing them if you ever did!