

dino246gt
-
Posts
2,244 -
Joined
-
Last visited
Content Type
Profiles
Forums
Events
Gallery
Everything posted by dino246gt
-
Oooh, it's looking great already, I'm loving this one!
-
I brushed Future over the dash top and door tops, and the center of the steering wheel.

-
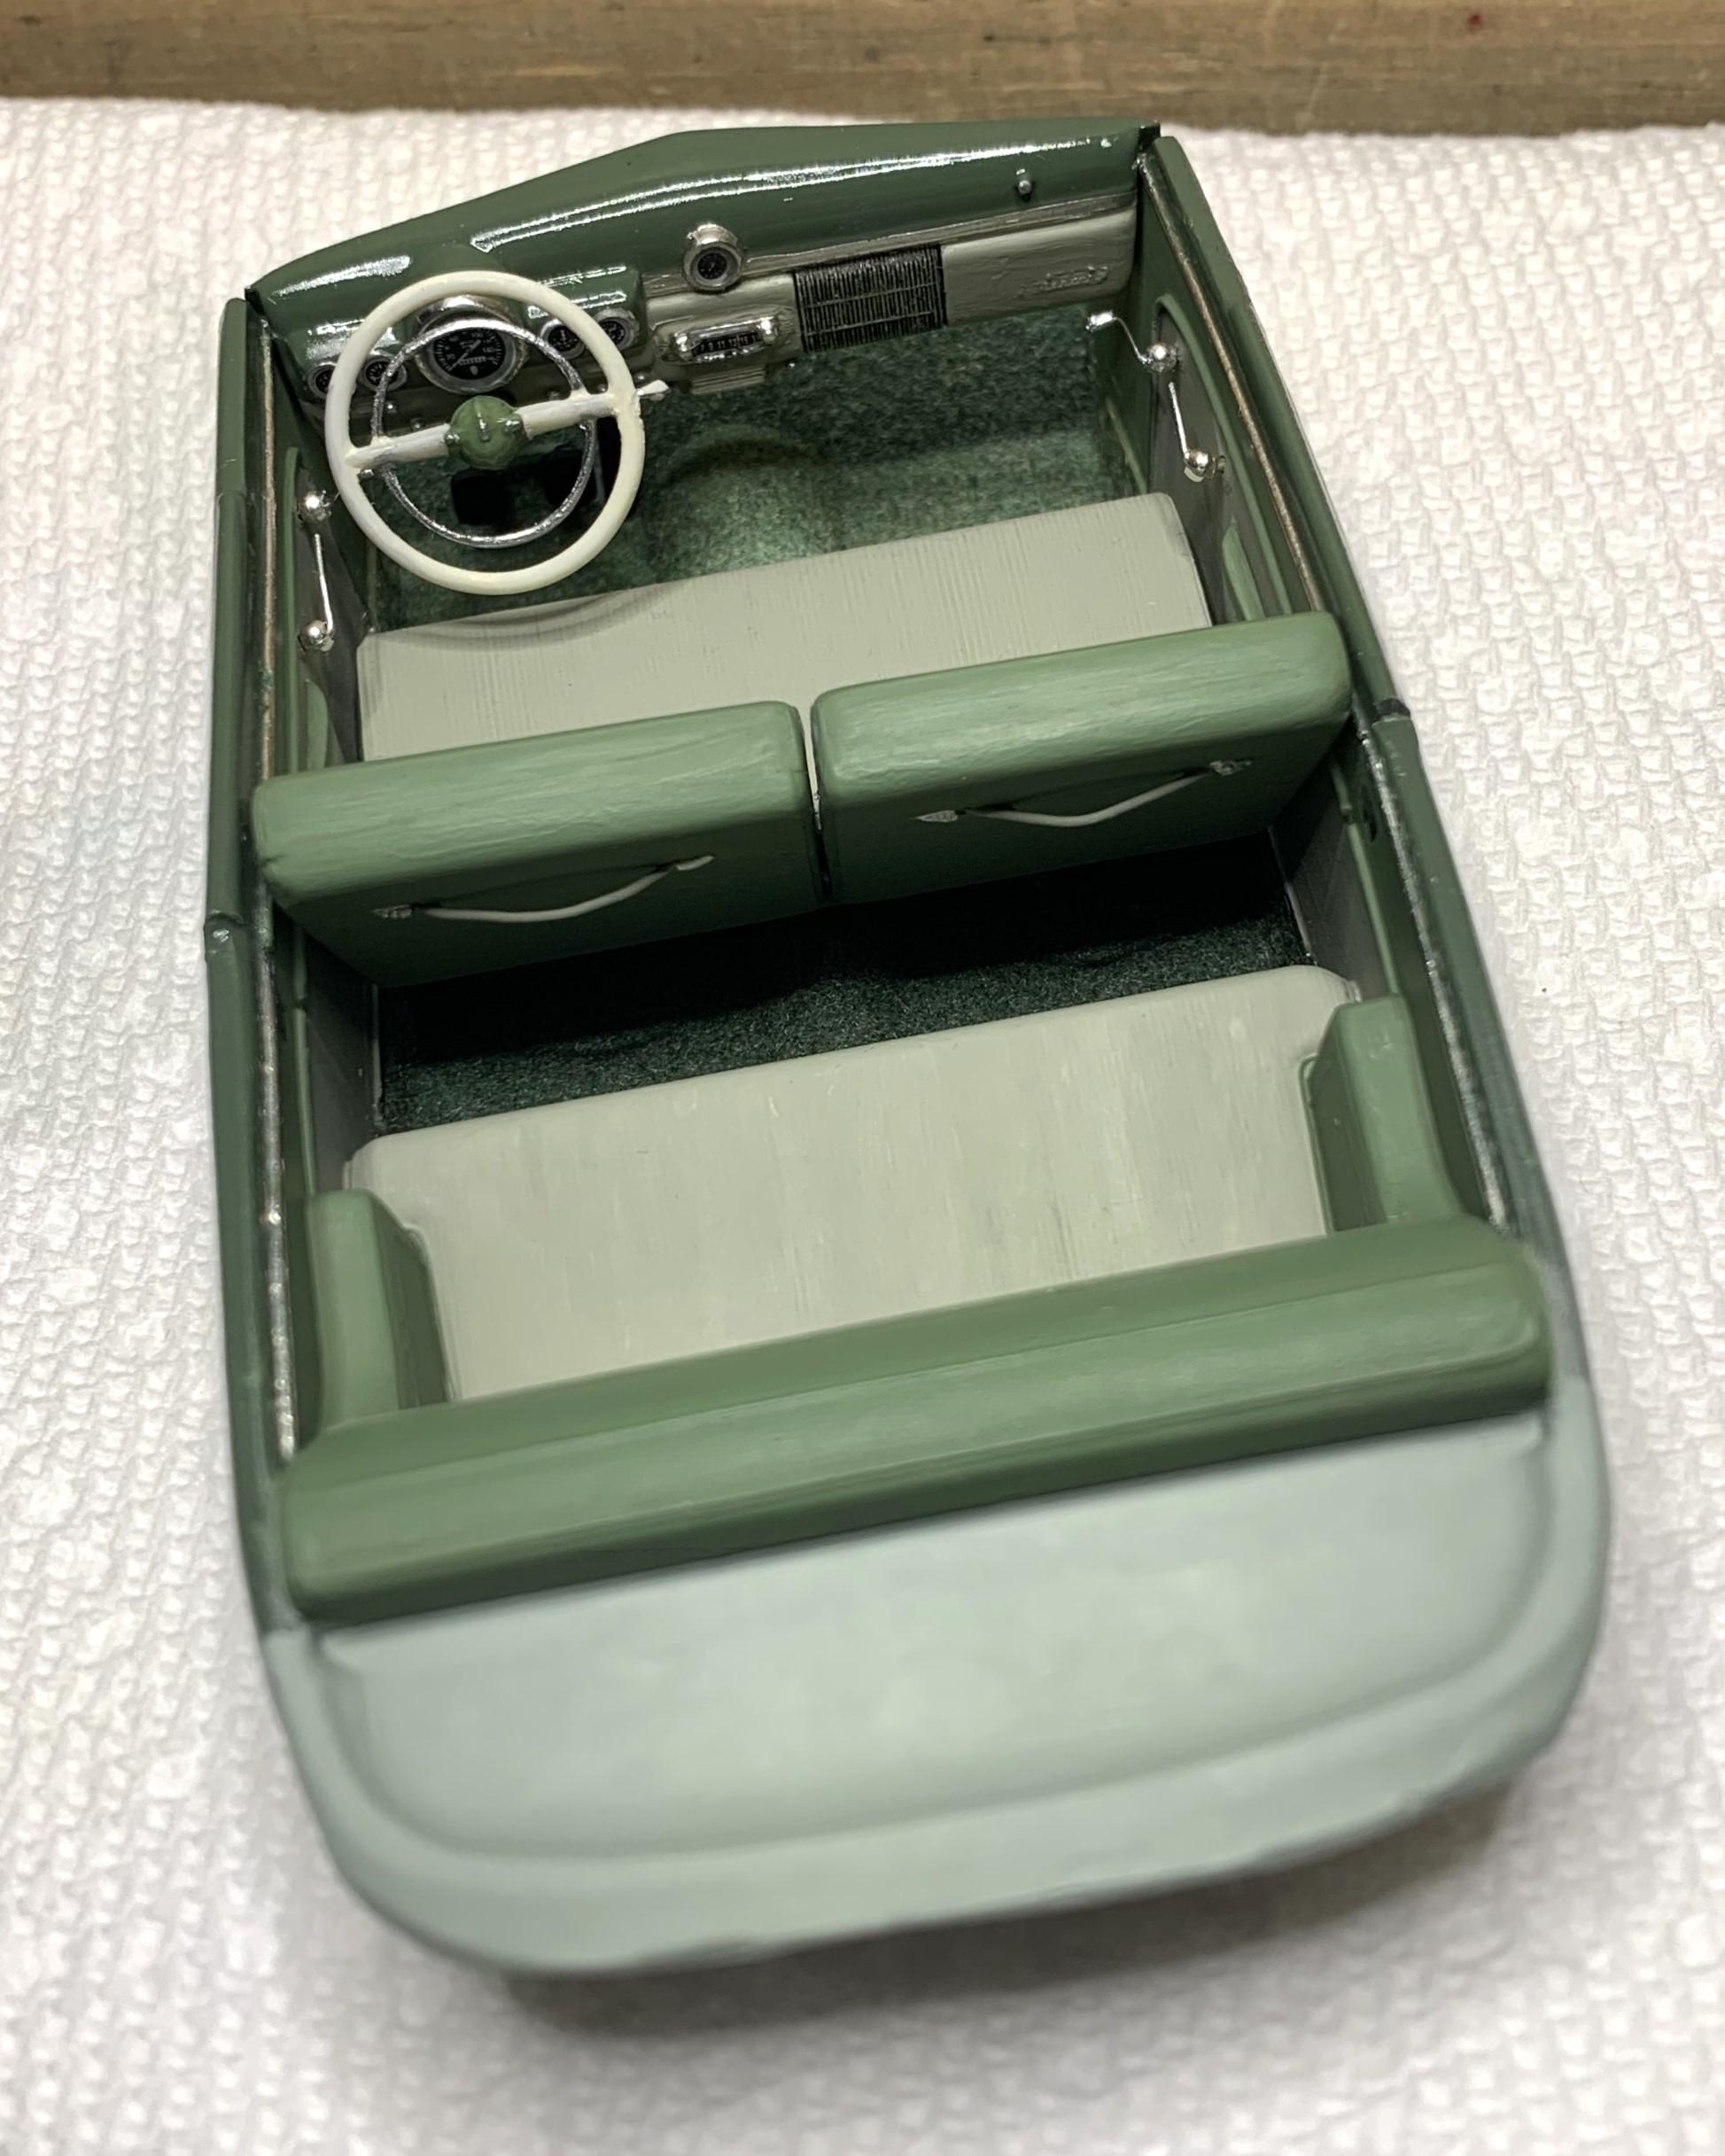
I painted the dash, foiled the gauges and used decals from the Revell '49 Merc kit. Then I covered them with white glue, when it dries it sort of looks like glass lenses and it keeps the decals in place! Interior is pretty much done! Oh, I'm still going to brush Future to the dash top and steering wheel center, for a bit more gloss.
-
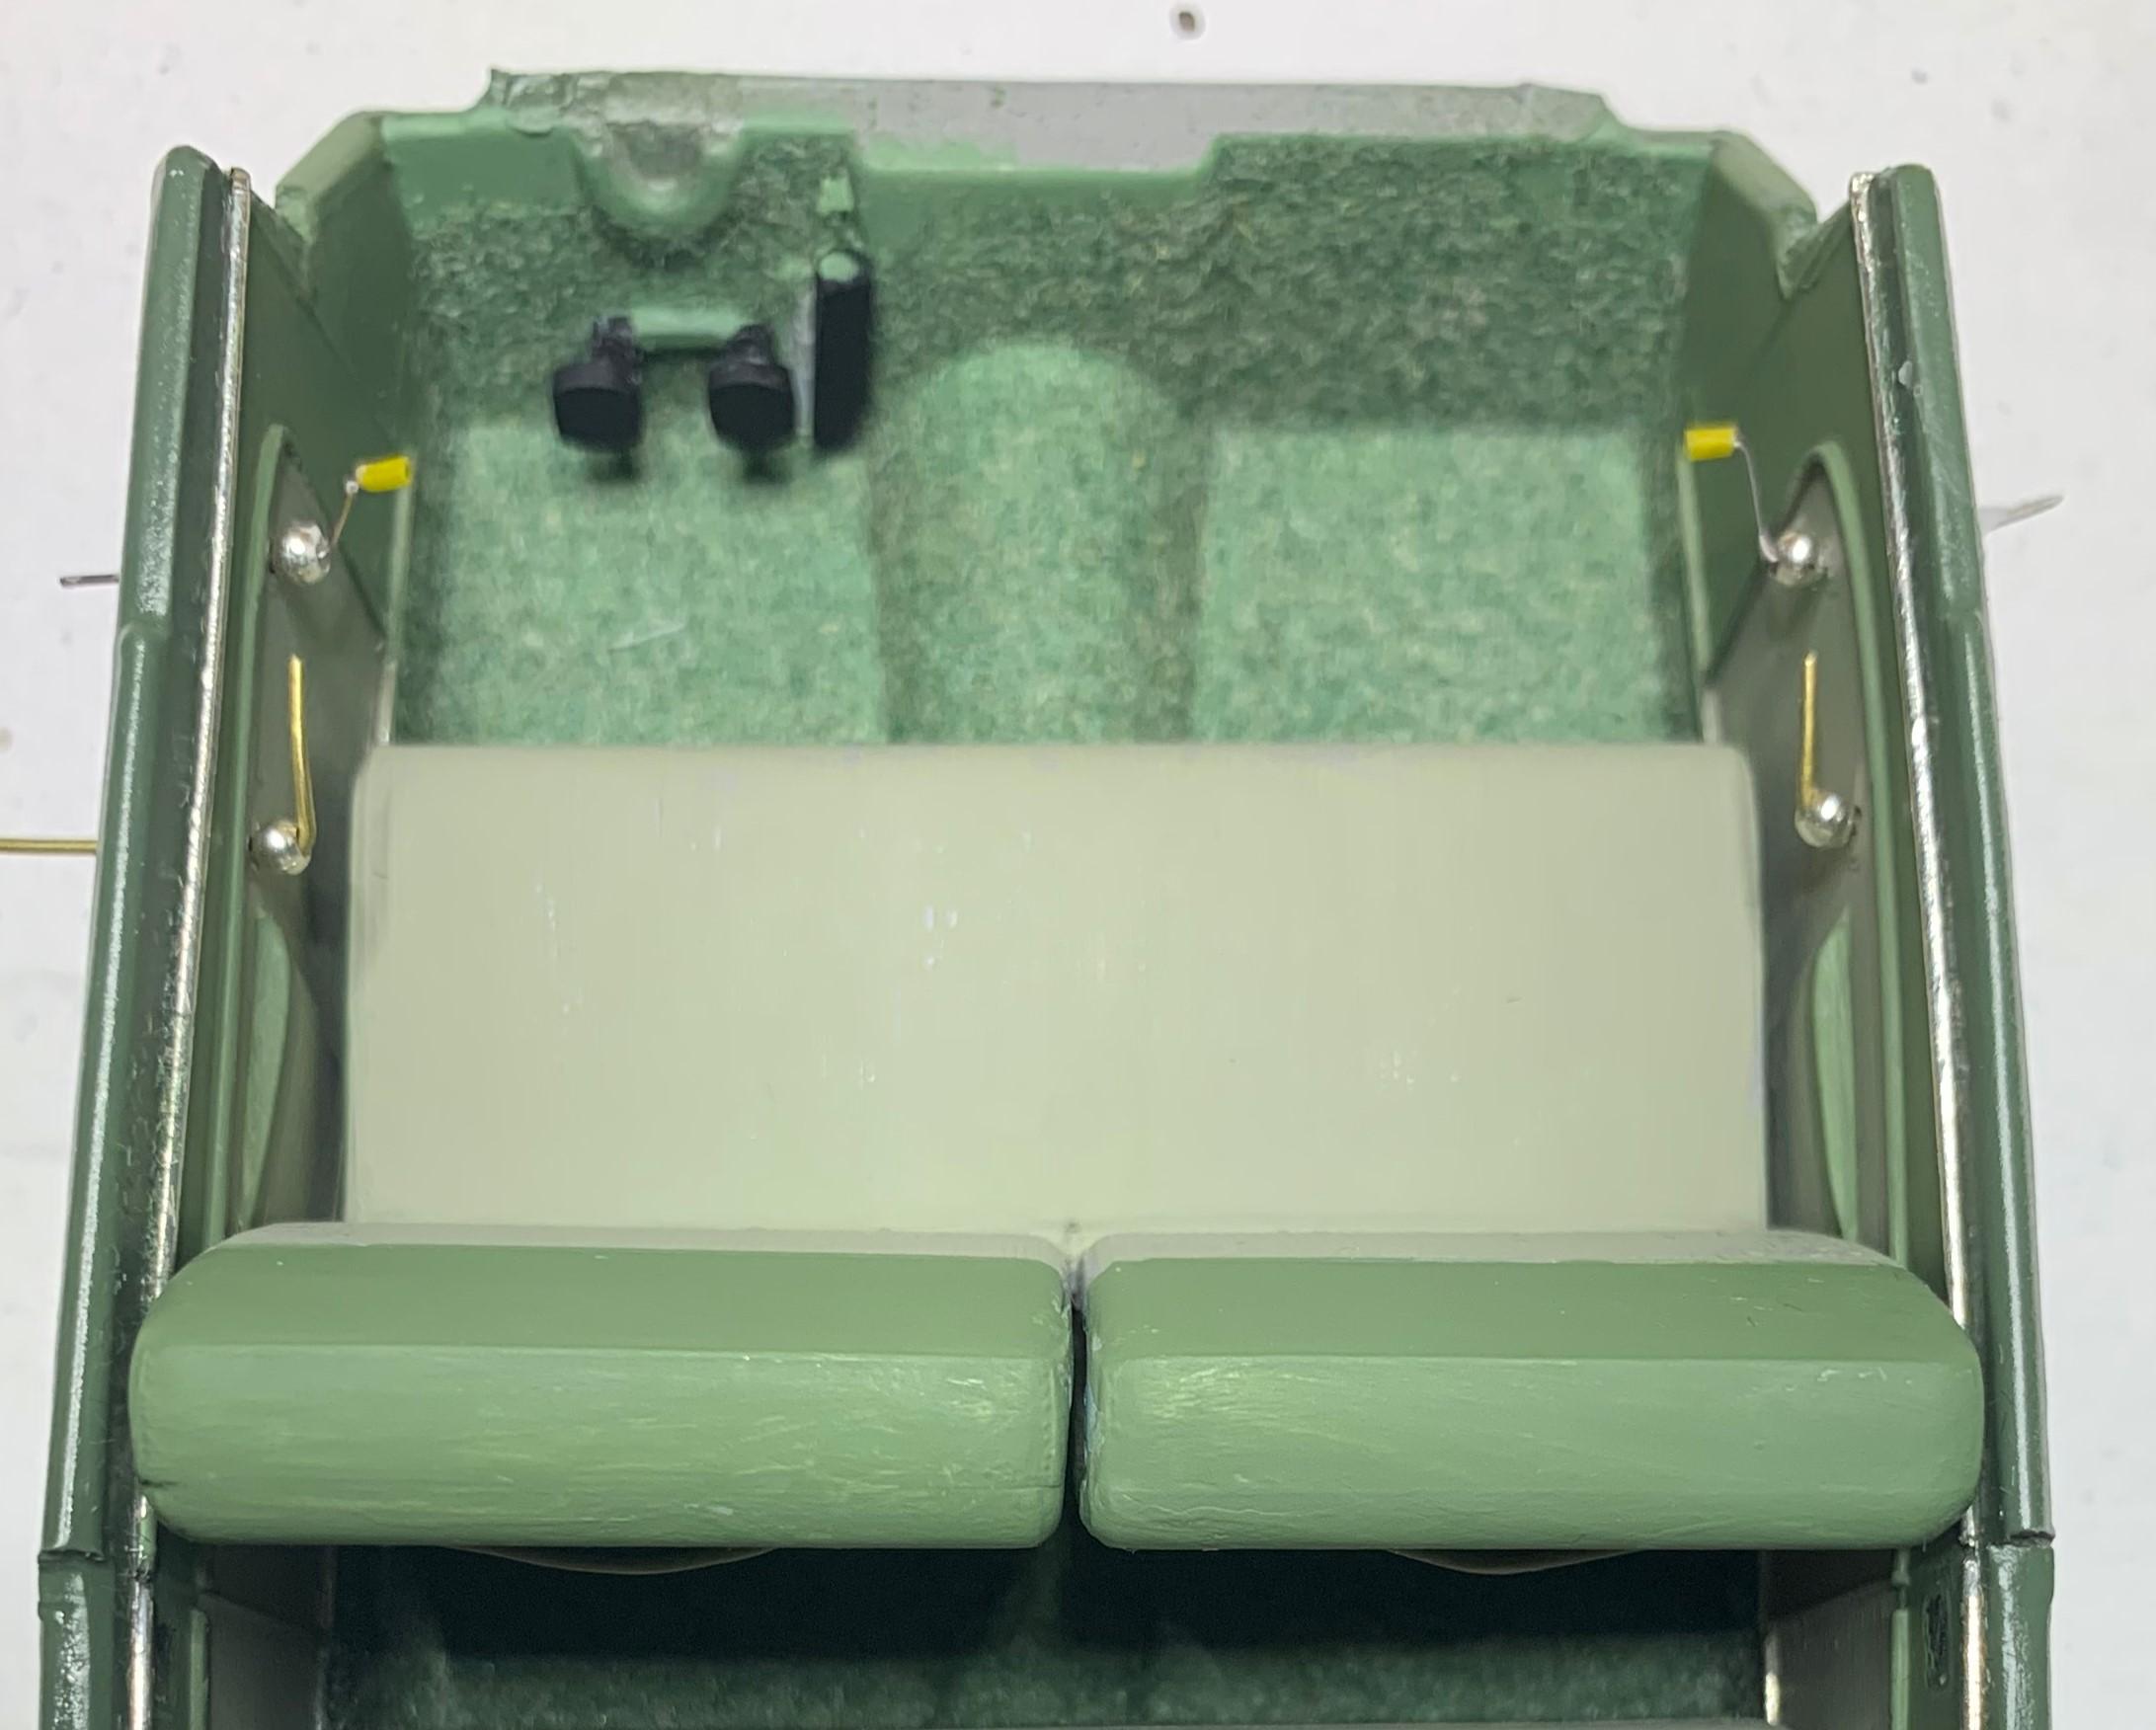
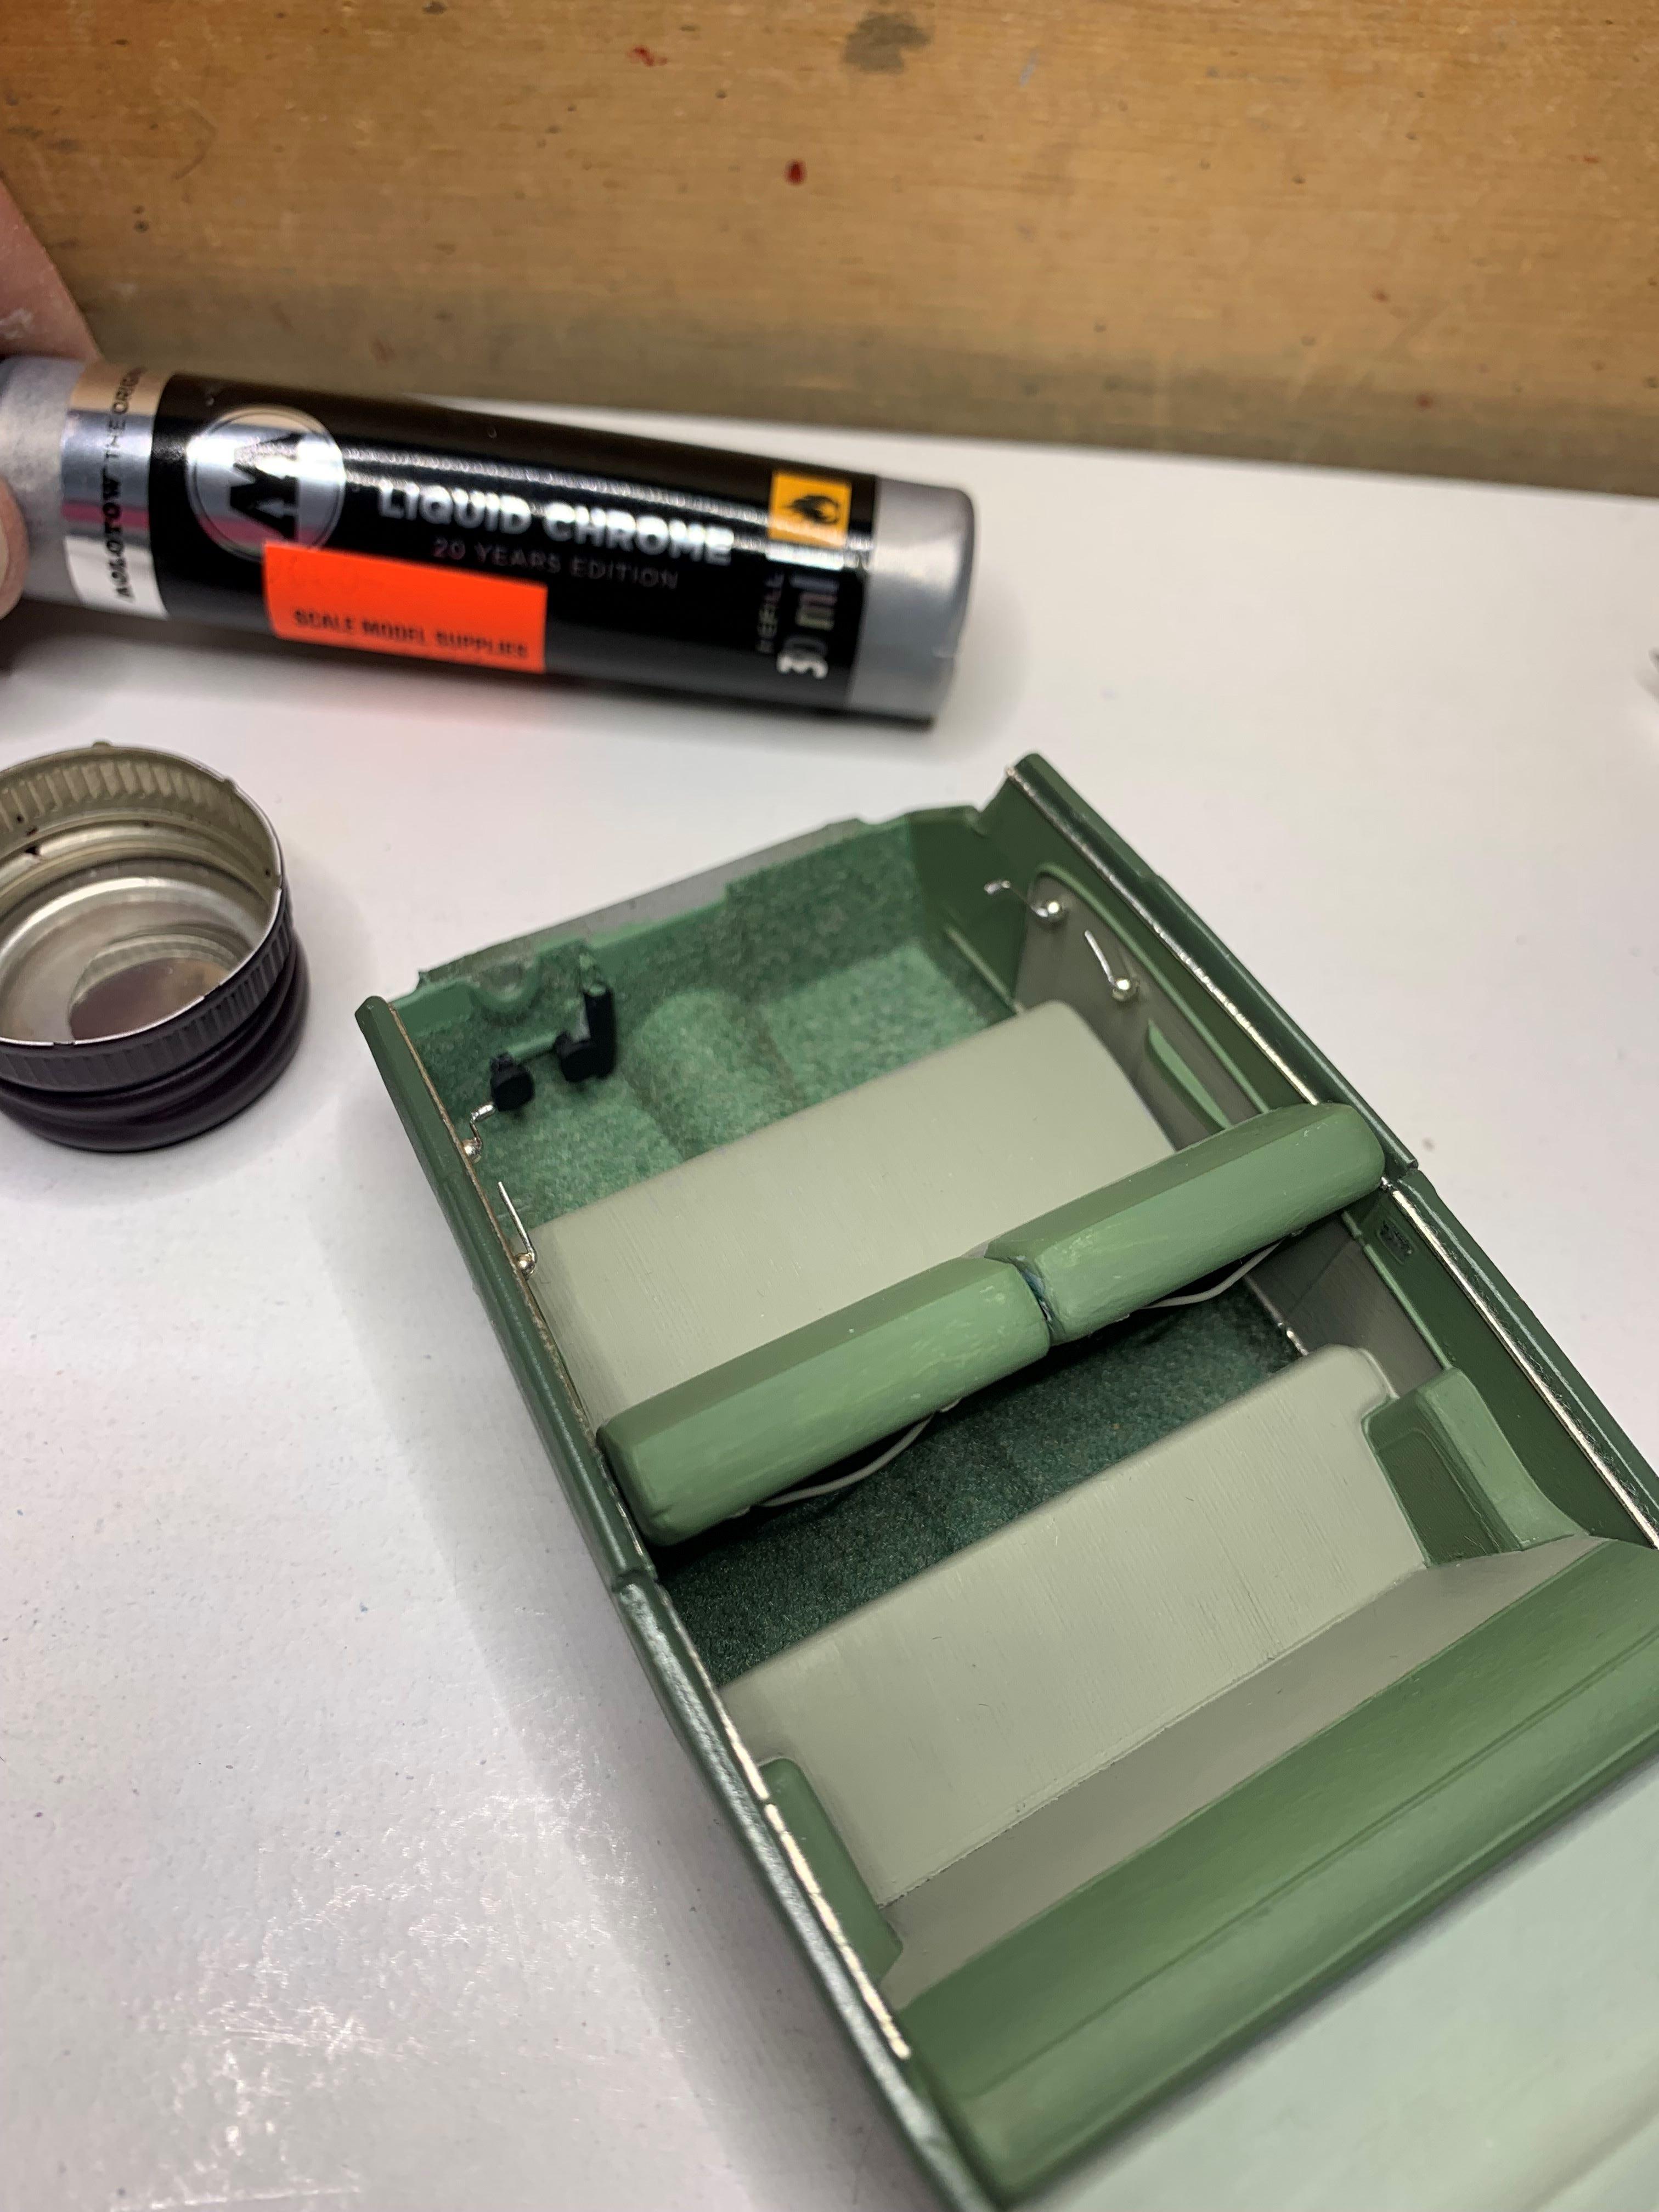
I mixed up various shades of Tamiya acrylics to get these tones for my interior, I even had to mix flocking to get a color I liked. I made some simplistic window cranks and door handles from small beads, wire and wire insulation. I squished the brass wire for the door handles. Then I brush Molotow on them. Not much of this will actually show inside the Merc even though it's not chopped, it's just fun to do and I haven't added any extra parts, other than the "made" cranks and handles. It's still an old glue bomb save.
-
Pontiac engine looks great! Nice build!!
-
Wow, that looks fantastic, so neat and clean everywhere, inside, outside, underneath, wow, I love it!!
-

1950 Cadillac series 61, 1/24-1/25 wanted.......
dino246gt replied to Allan31's topic in Model Building Questions and Answers
I built the Modelhaus '49 Caddy and was planning to built the '50 as it's companion. I've built a few Caddies!
-
1950 Cadillac series 61, 1/24-1/25 wanted.......
dino246gt replied to Allan31's topic in Model Building Questions and Answers
I have the Modelhaus '50 Caddy, never unboxed, if you want it, not cheap, contact me.
-
Post your truck mockups.
dino246gt replied to Mike C.'s topic in WIP: Model Trucks: Pickups, Vans, SUVs, Light Commercial
Here's how that one turned out, tires are hard resin, brush painted with Tamiya acrylic "rubber black".
-
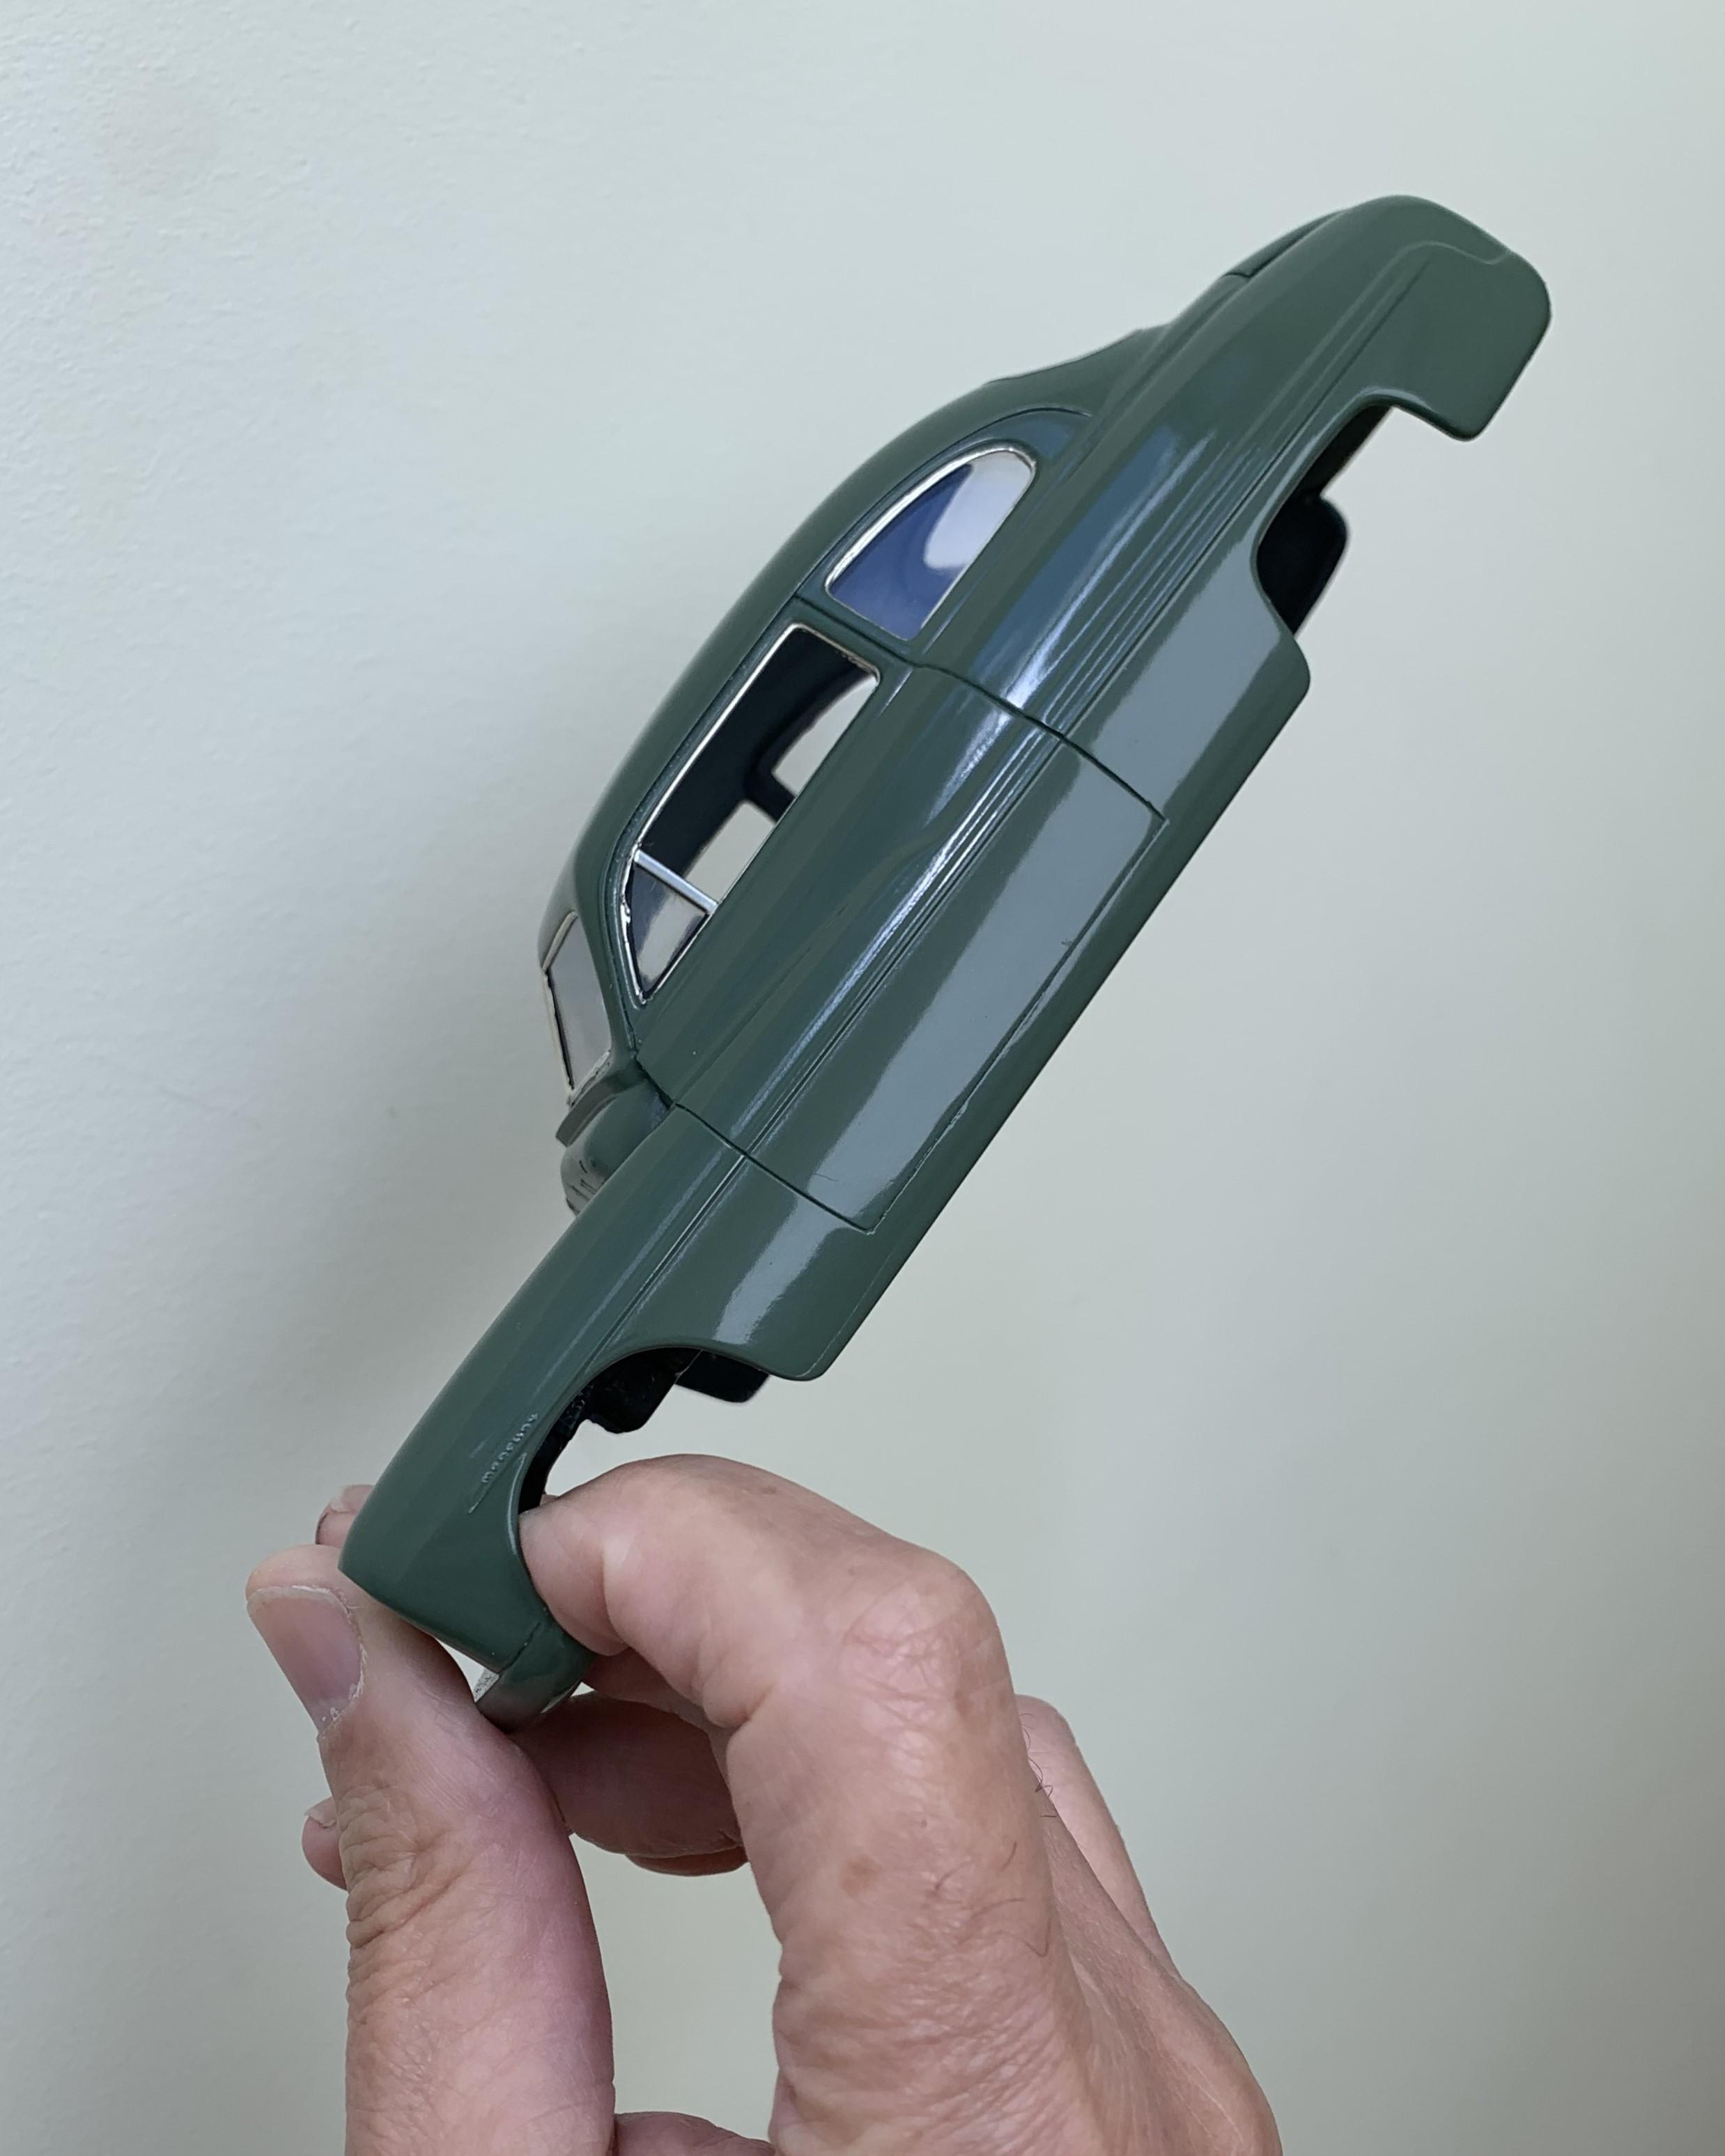
Those side window foil bits!
-
With foil and glass installed, it's coming along! Anyone who's foiled one of these knows the pain of the side windows, barely any foil, just enough to take a lot of patience! As always, touch-ups come after looking a large pictures! Cheers.
-
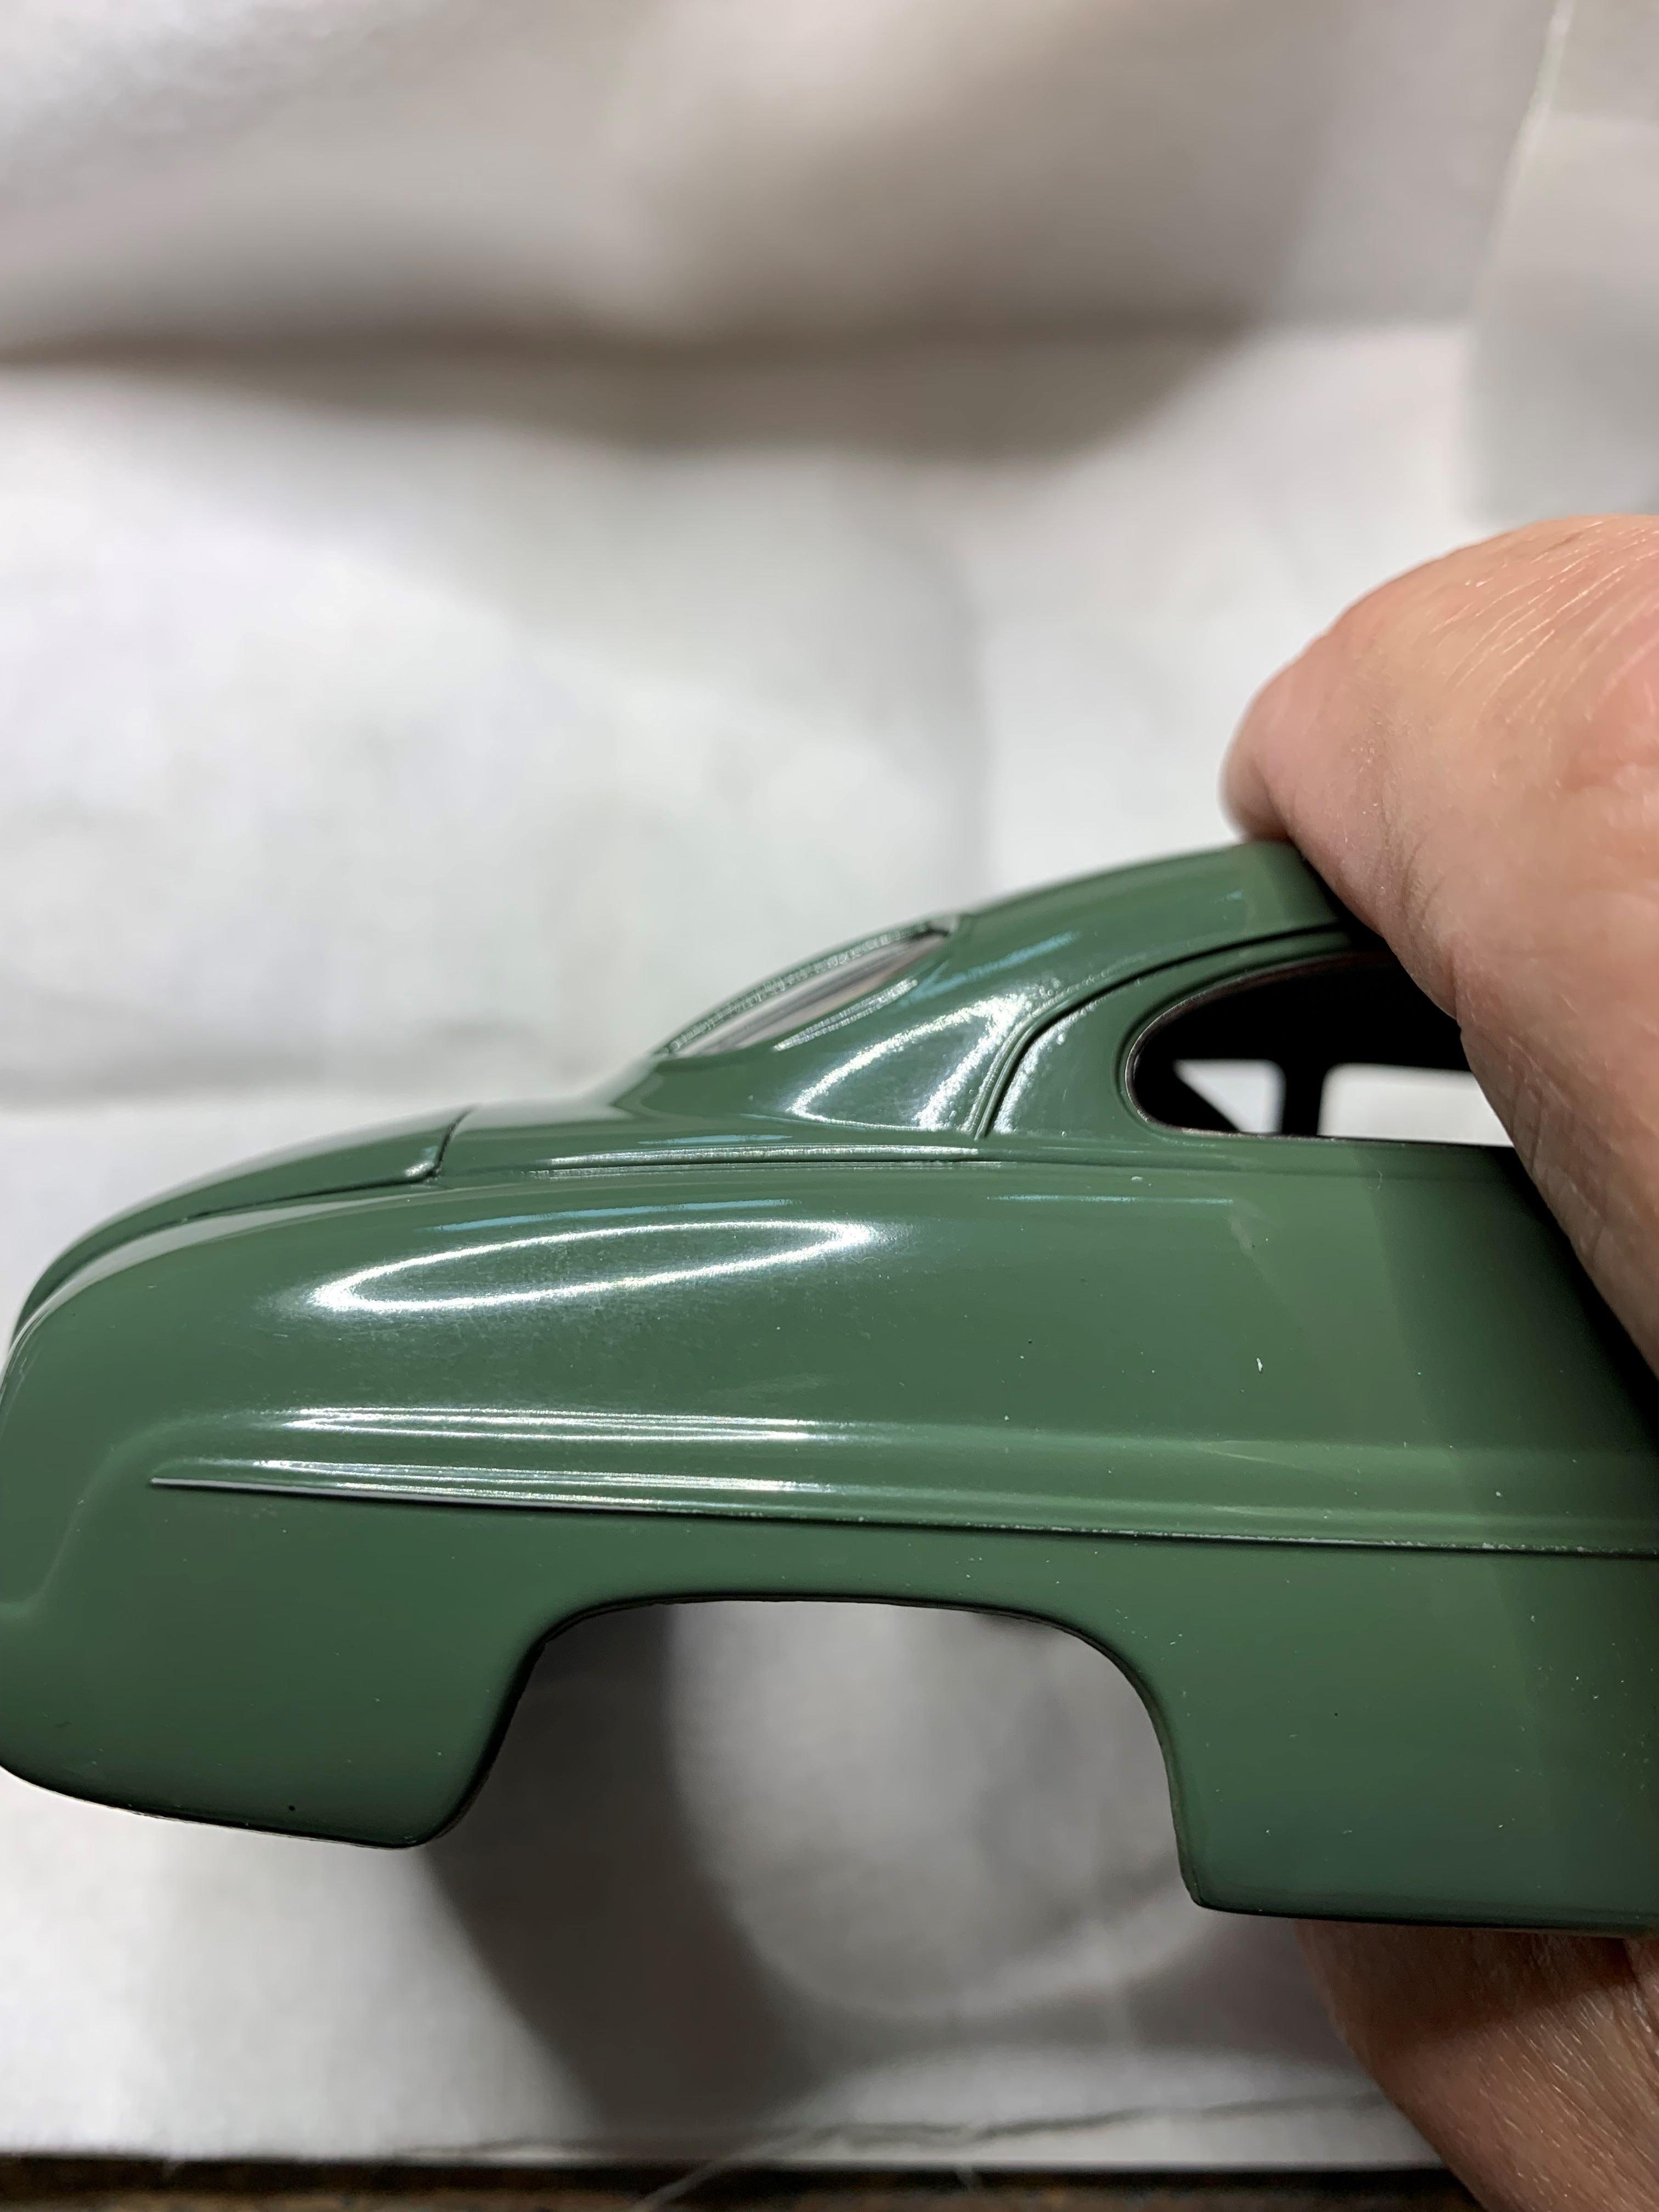
When I fitted the rear window, I saw those two strips sat way too high. So I got rid of them!!! Don't let the reflection of the LED ring light make you think the paint isn't smooth, it is.
-
Here's the body in paint. I spray bombed it, then lighly sanded then used clear also from a spray bomb. Then I polished most of the clear off to achieve this finish. Remember that I had NO PLAN for this once I started the dis-assembly, it's just the paint I had on hand.
-
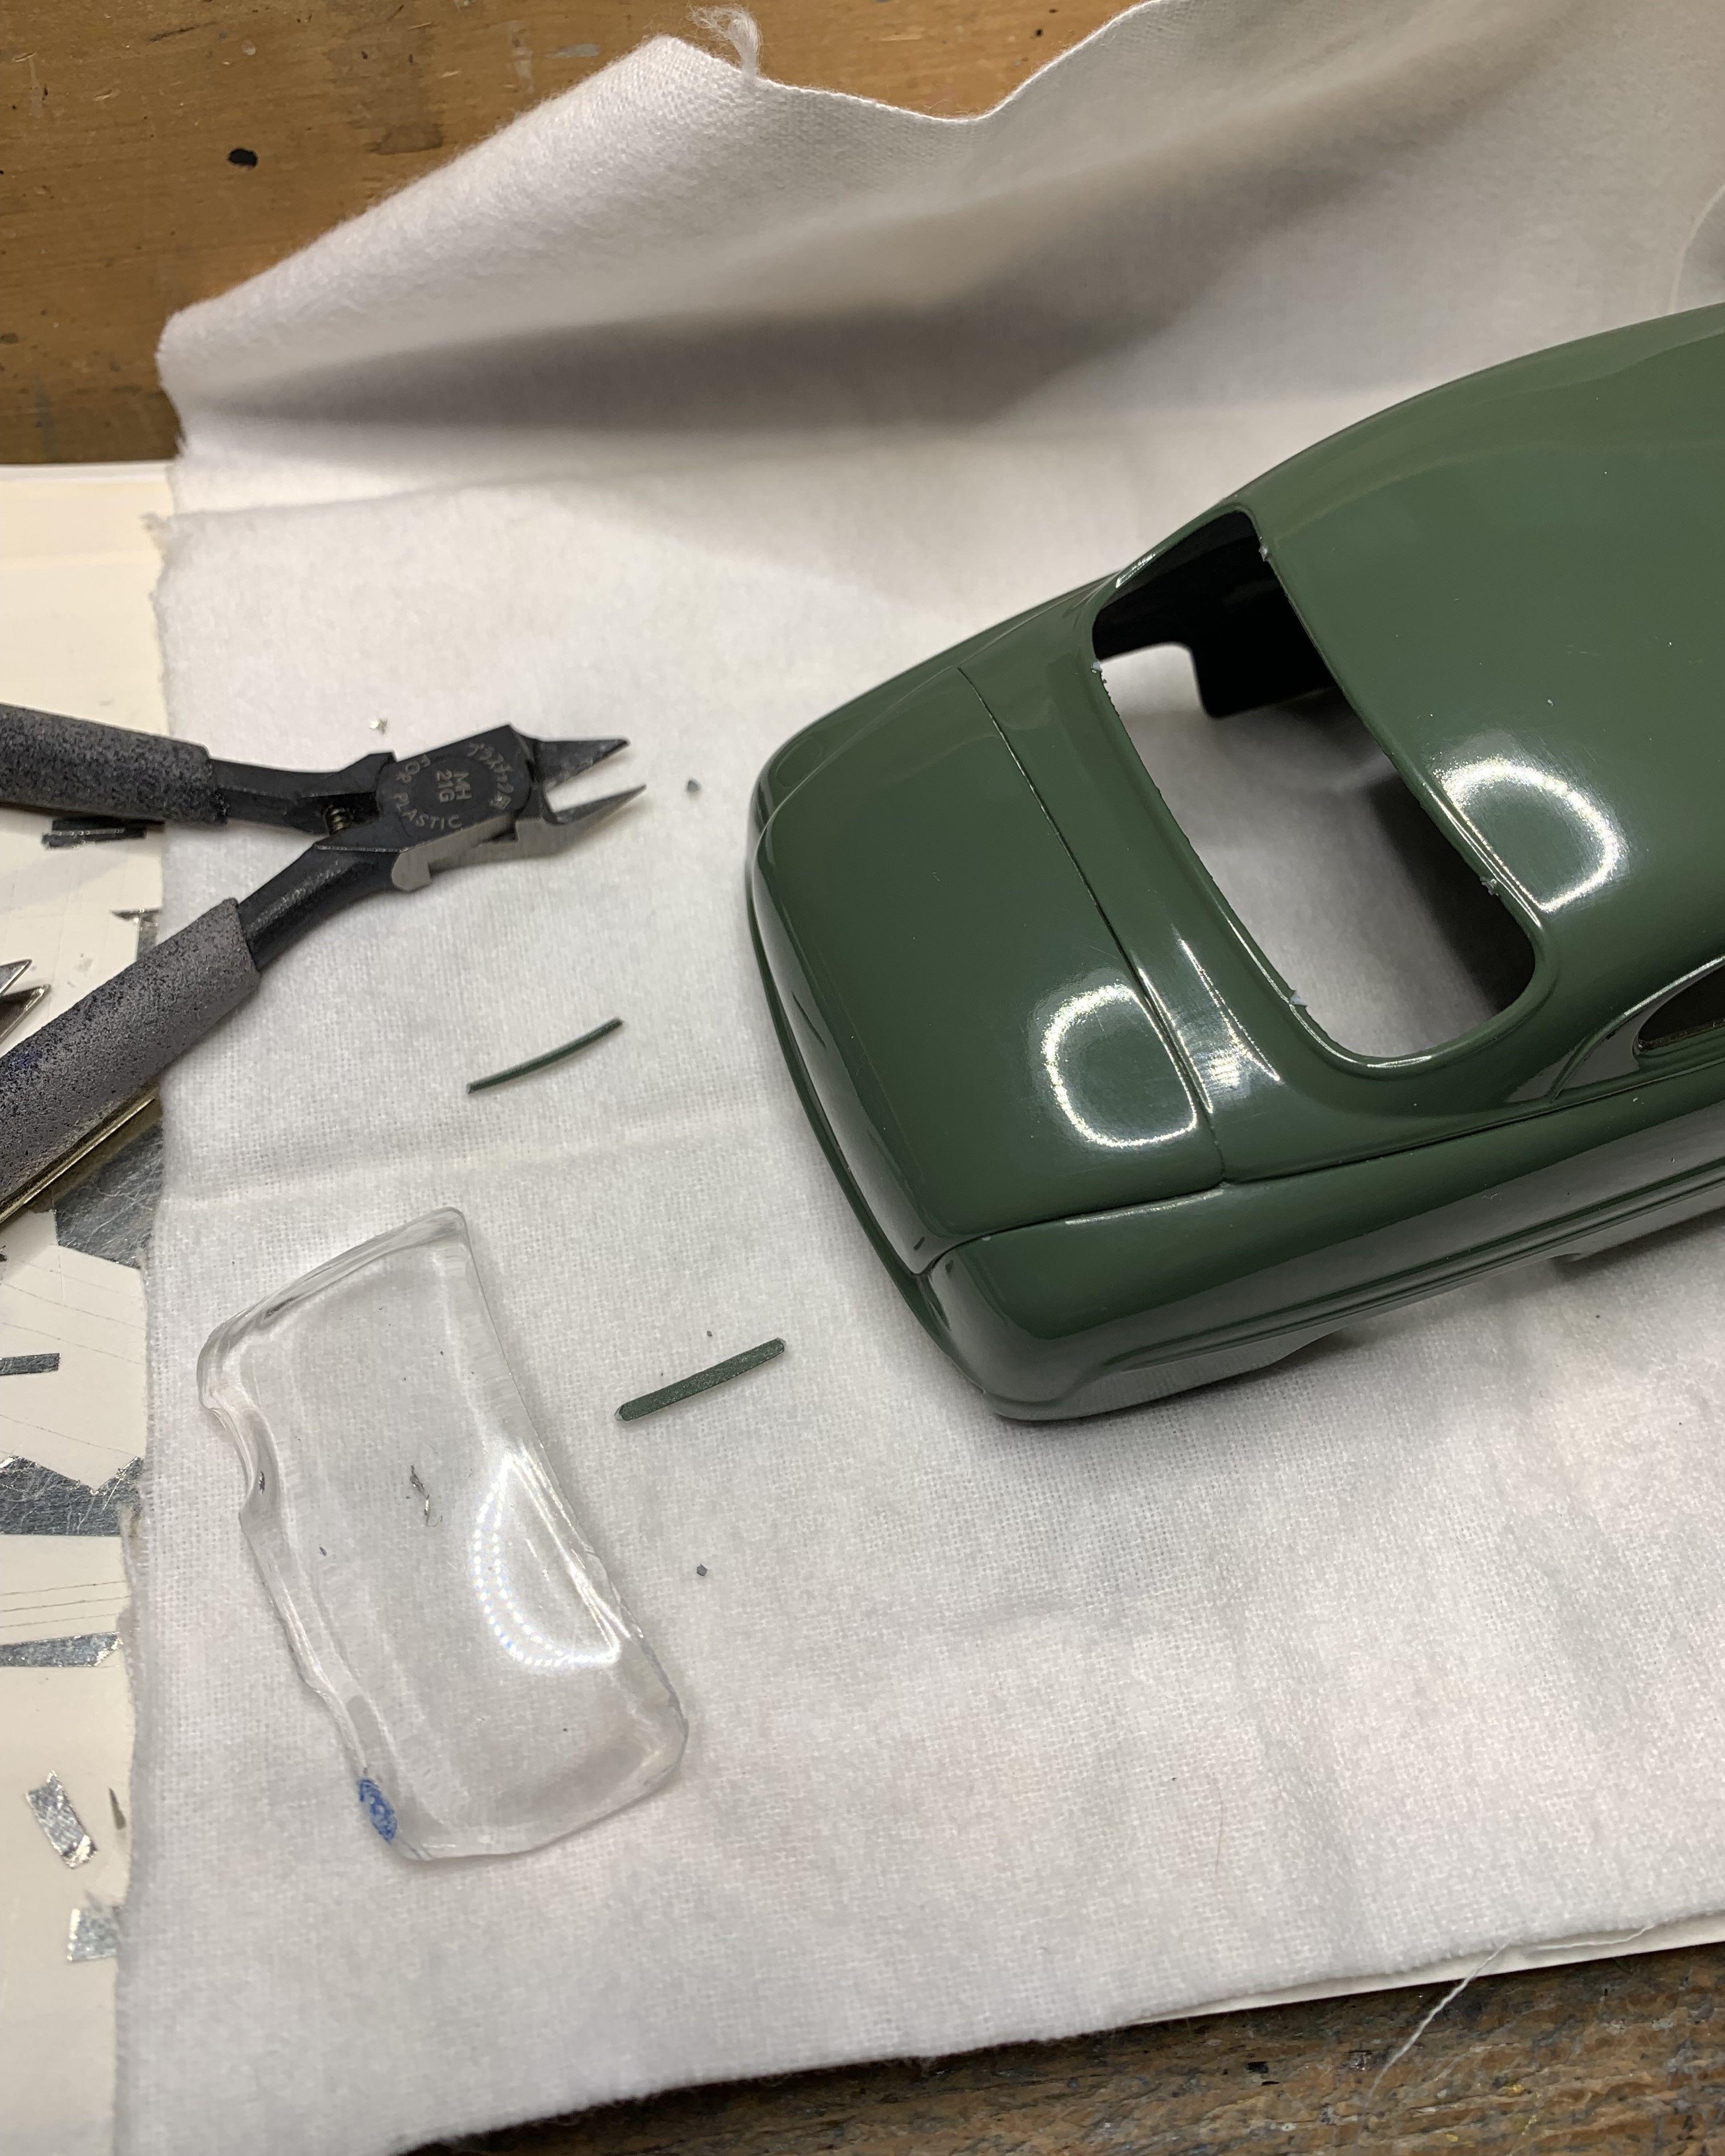
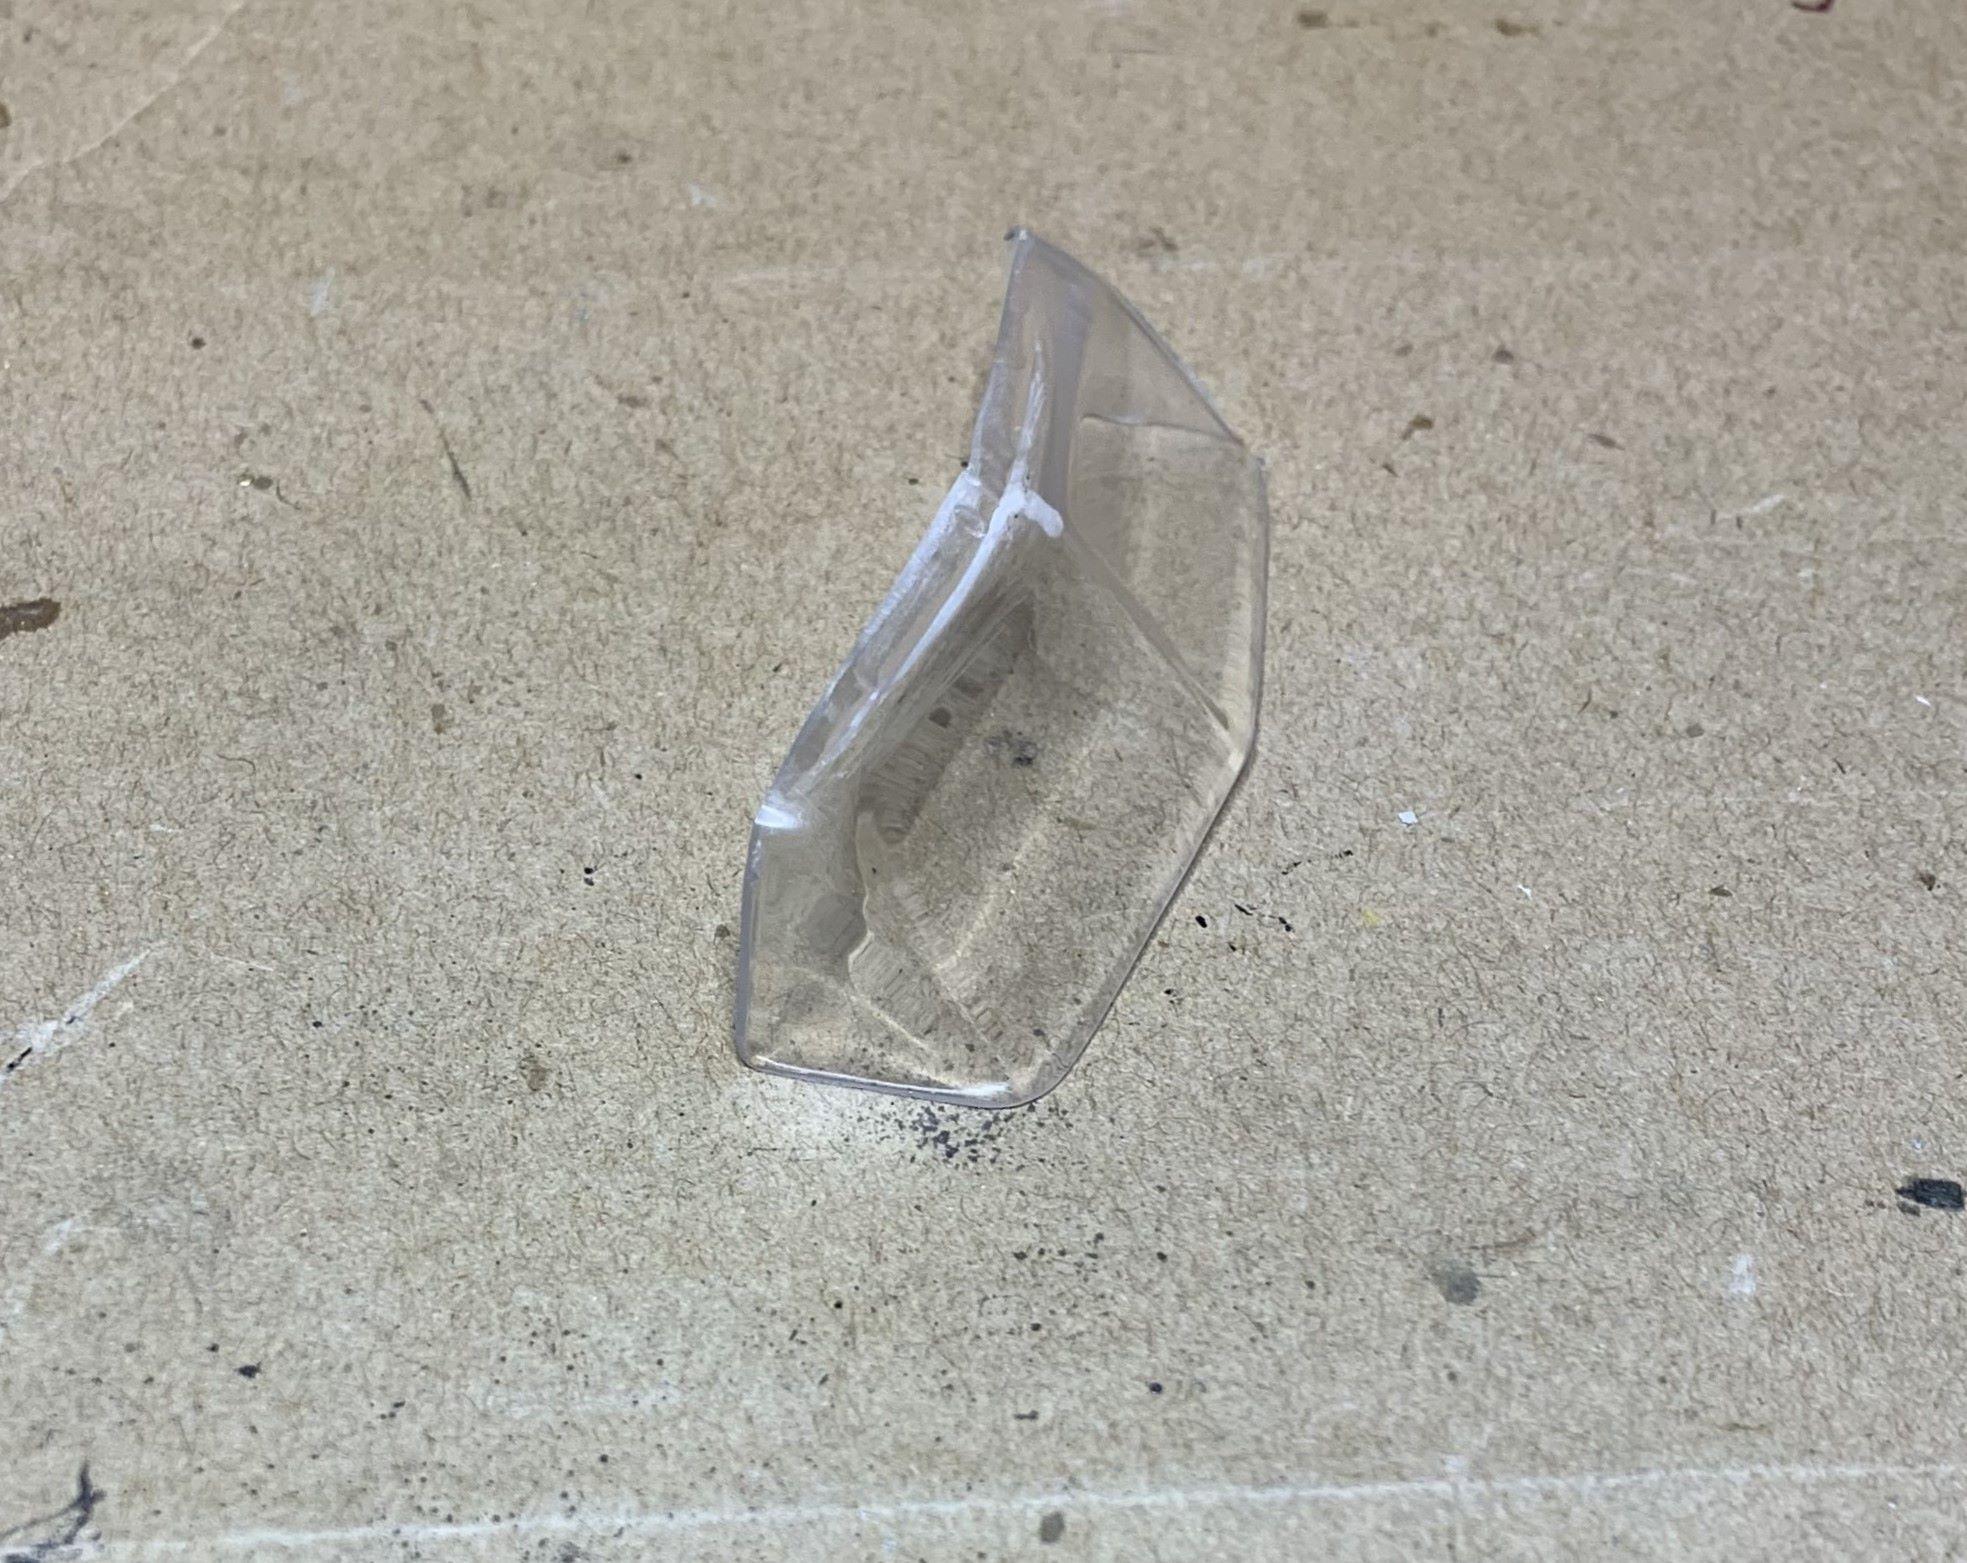
I cut the "glass" into separate pieces, and polished them, there was paint and glue on them.
-
To enhance the molded on lines, I add thin styrene right over them, here I used .020 and super glue. Now I can foil those lines for paint separation. Once that's done, I can add cranks and pulls and make some simple arm rests.
-
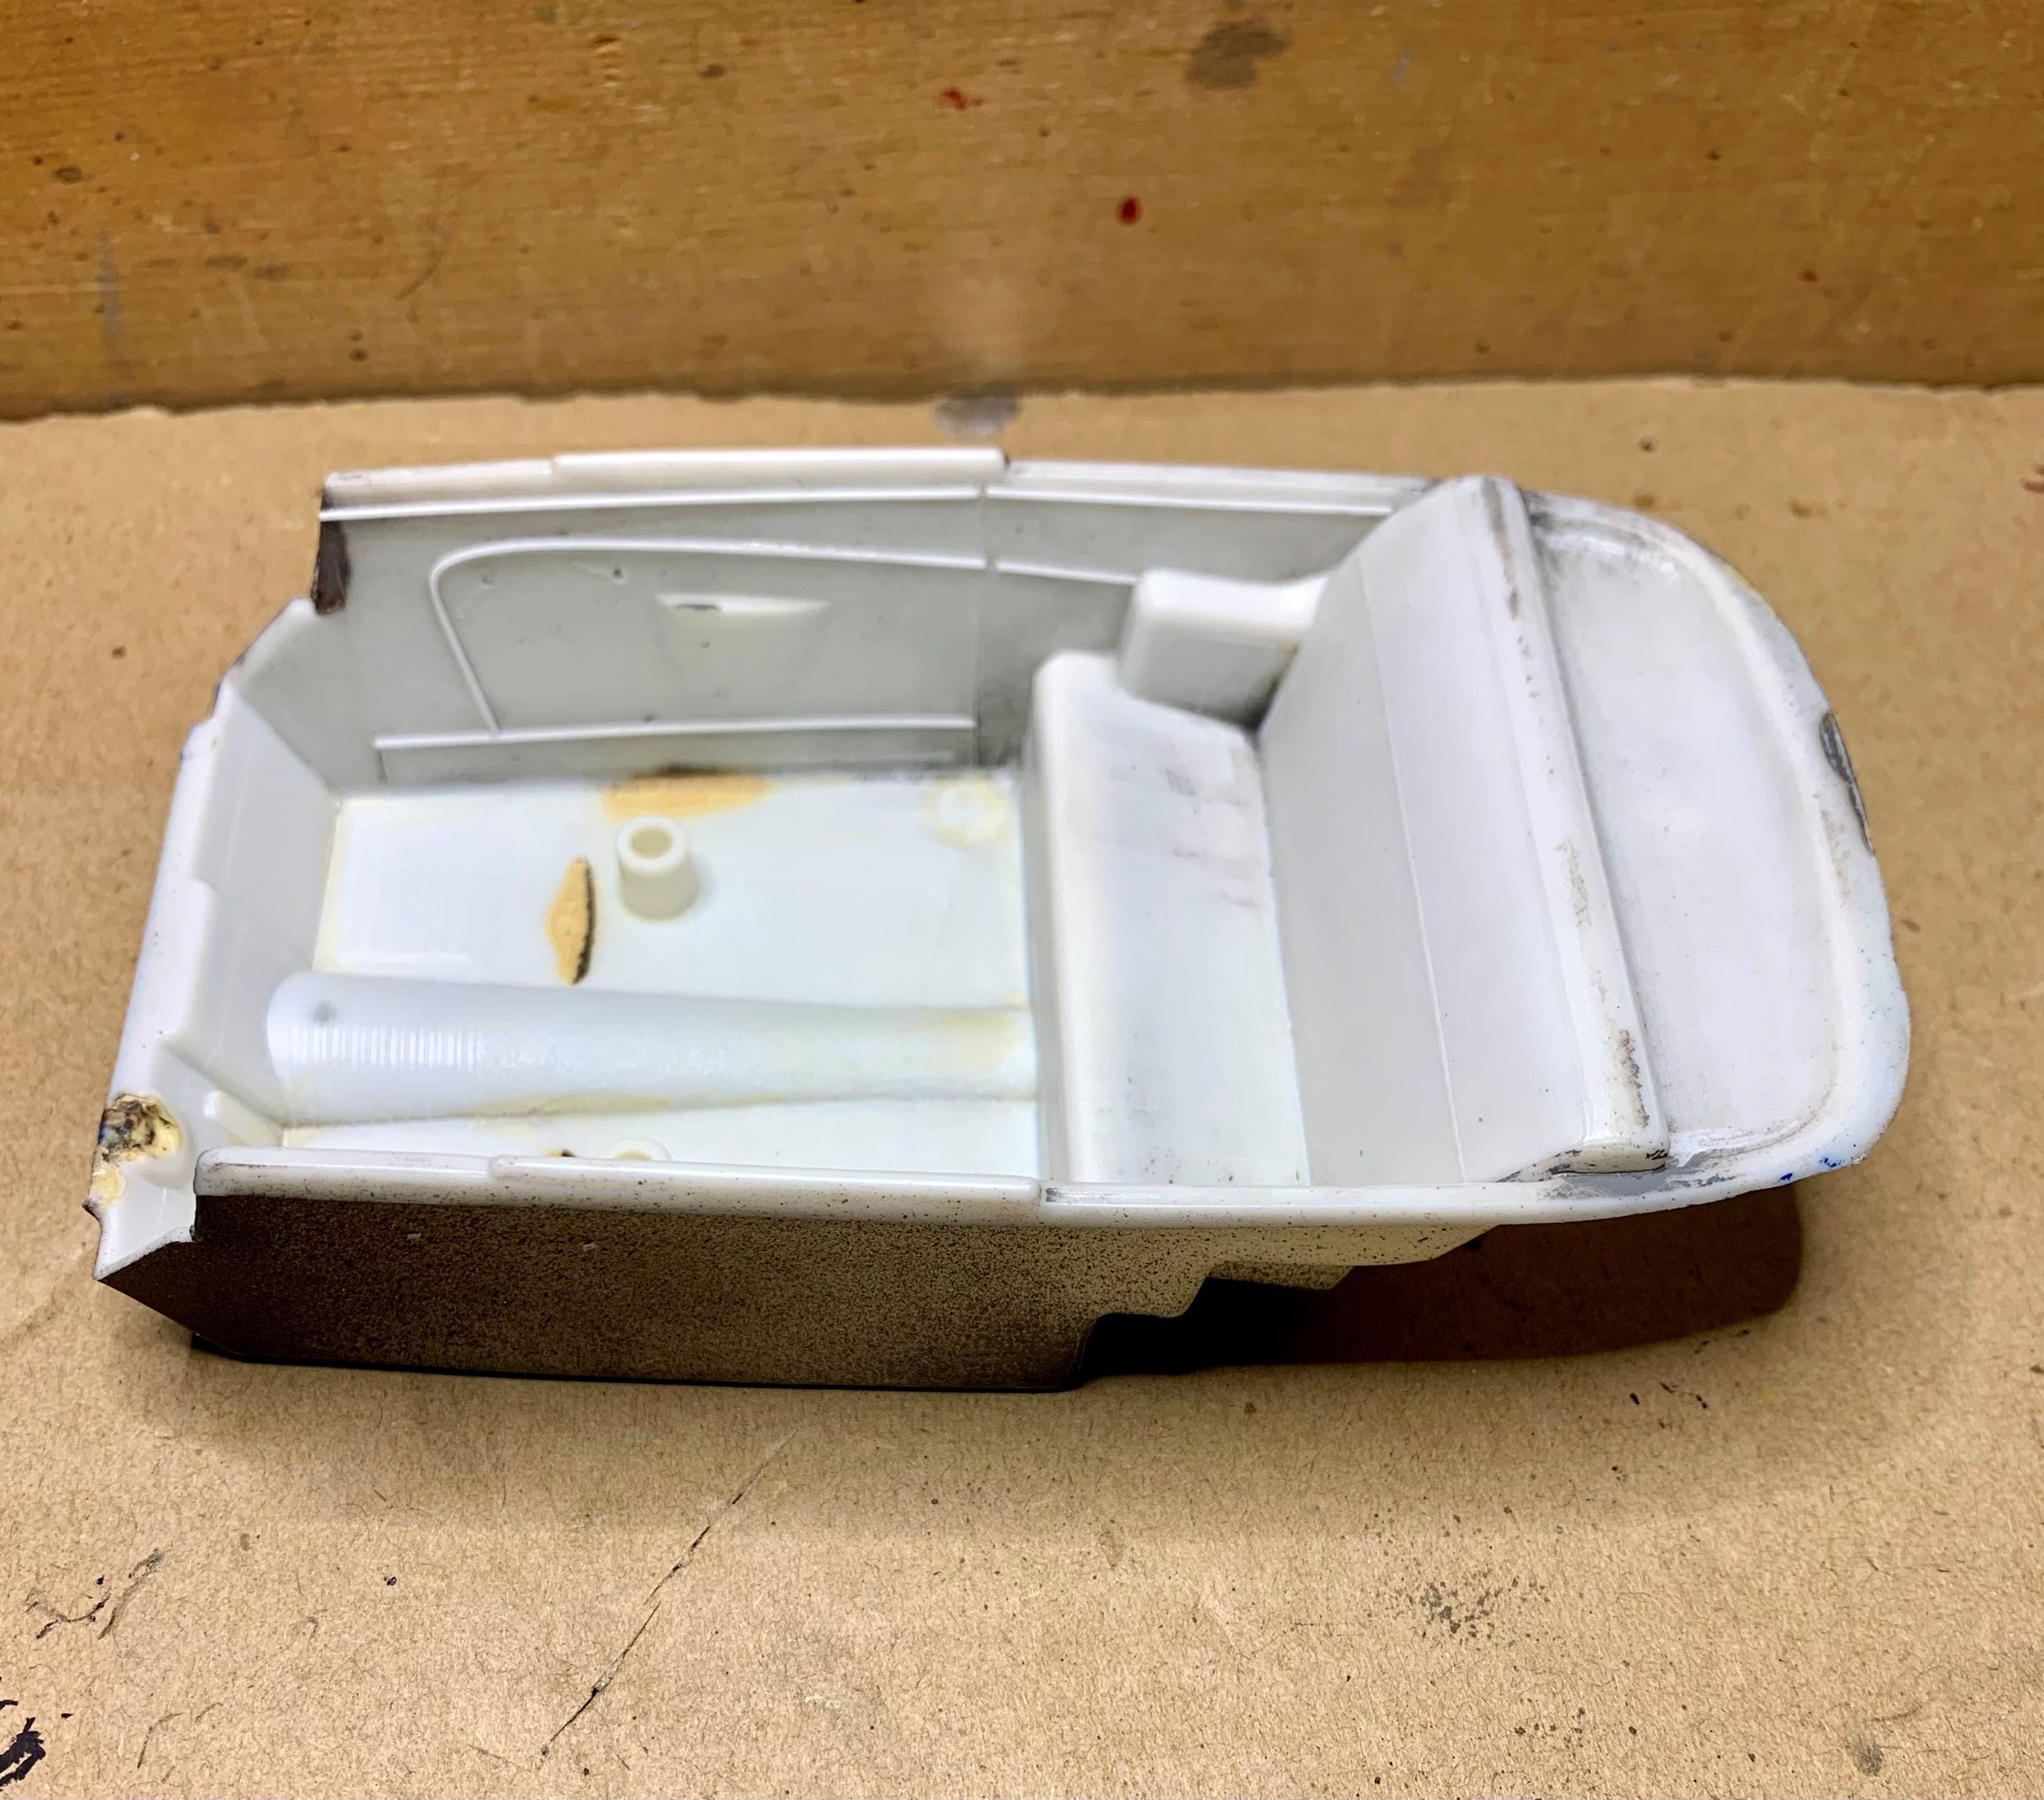
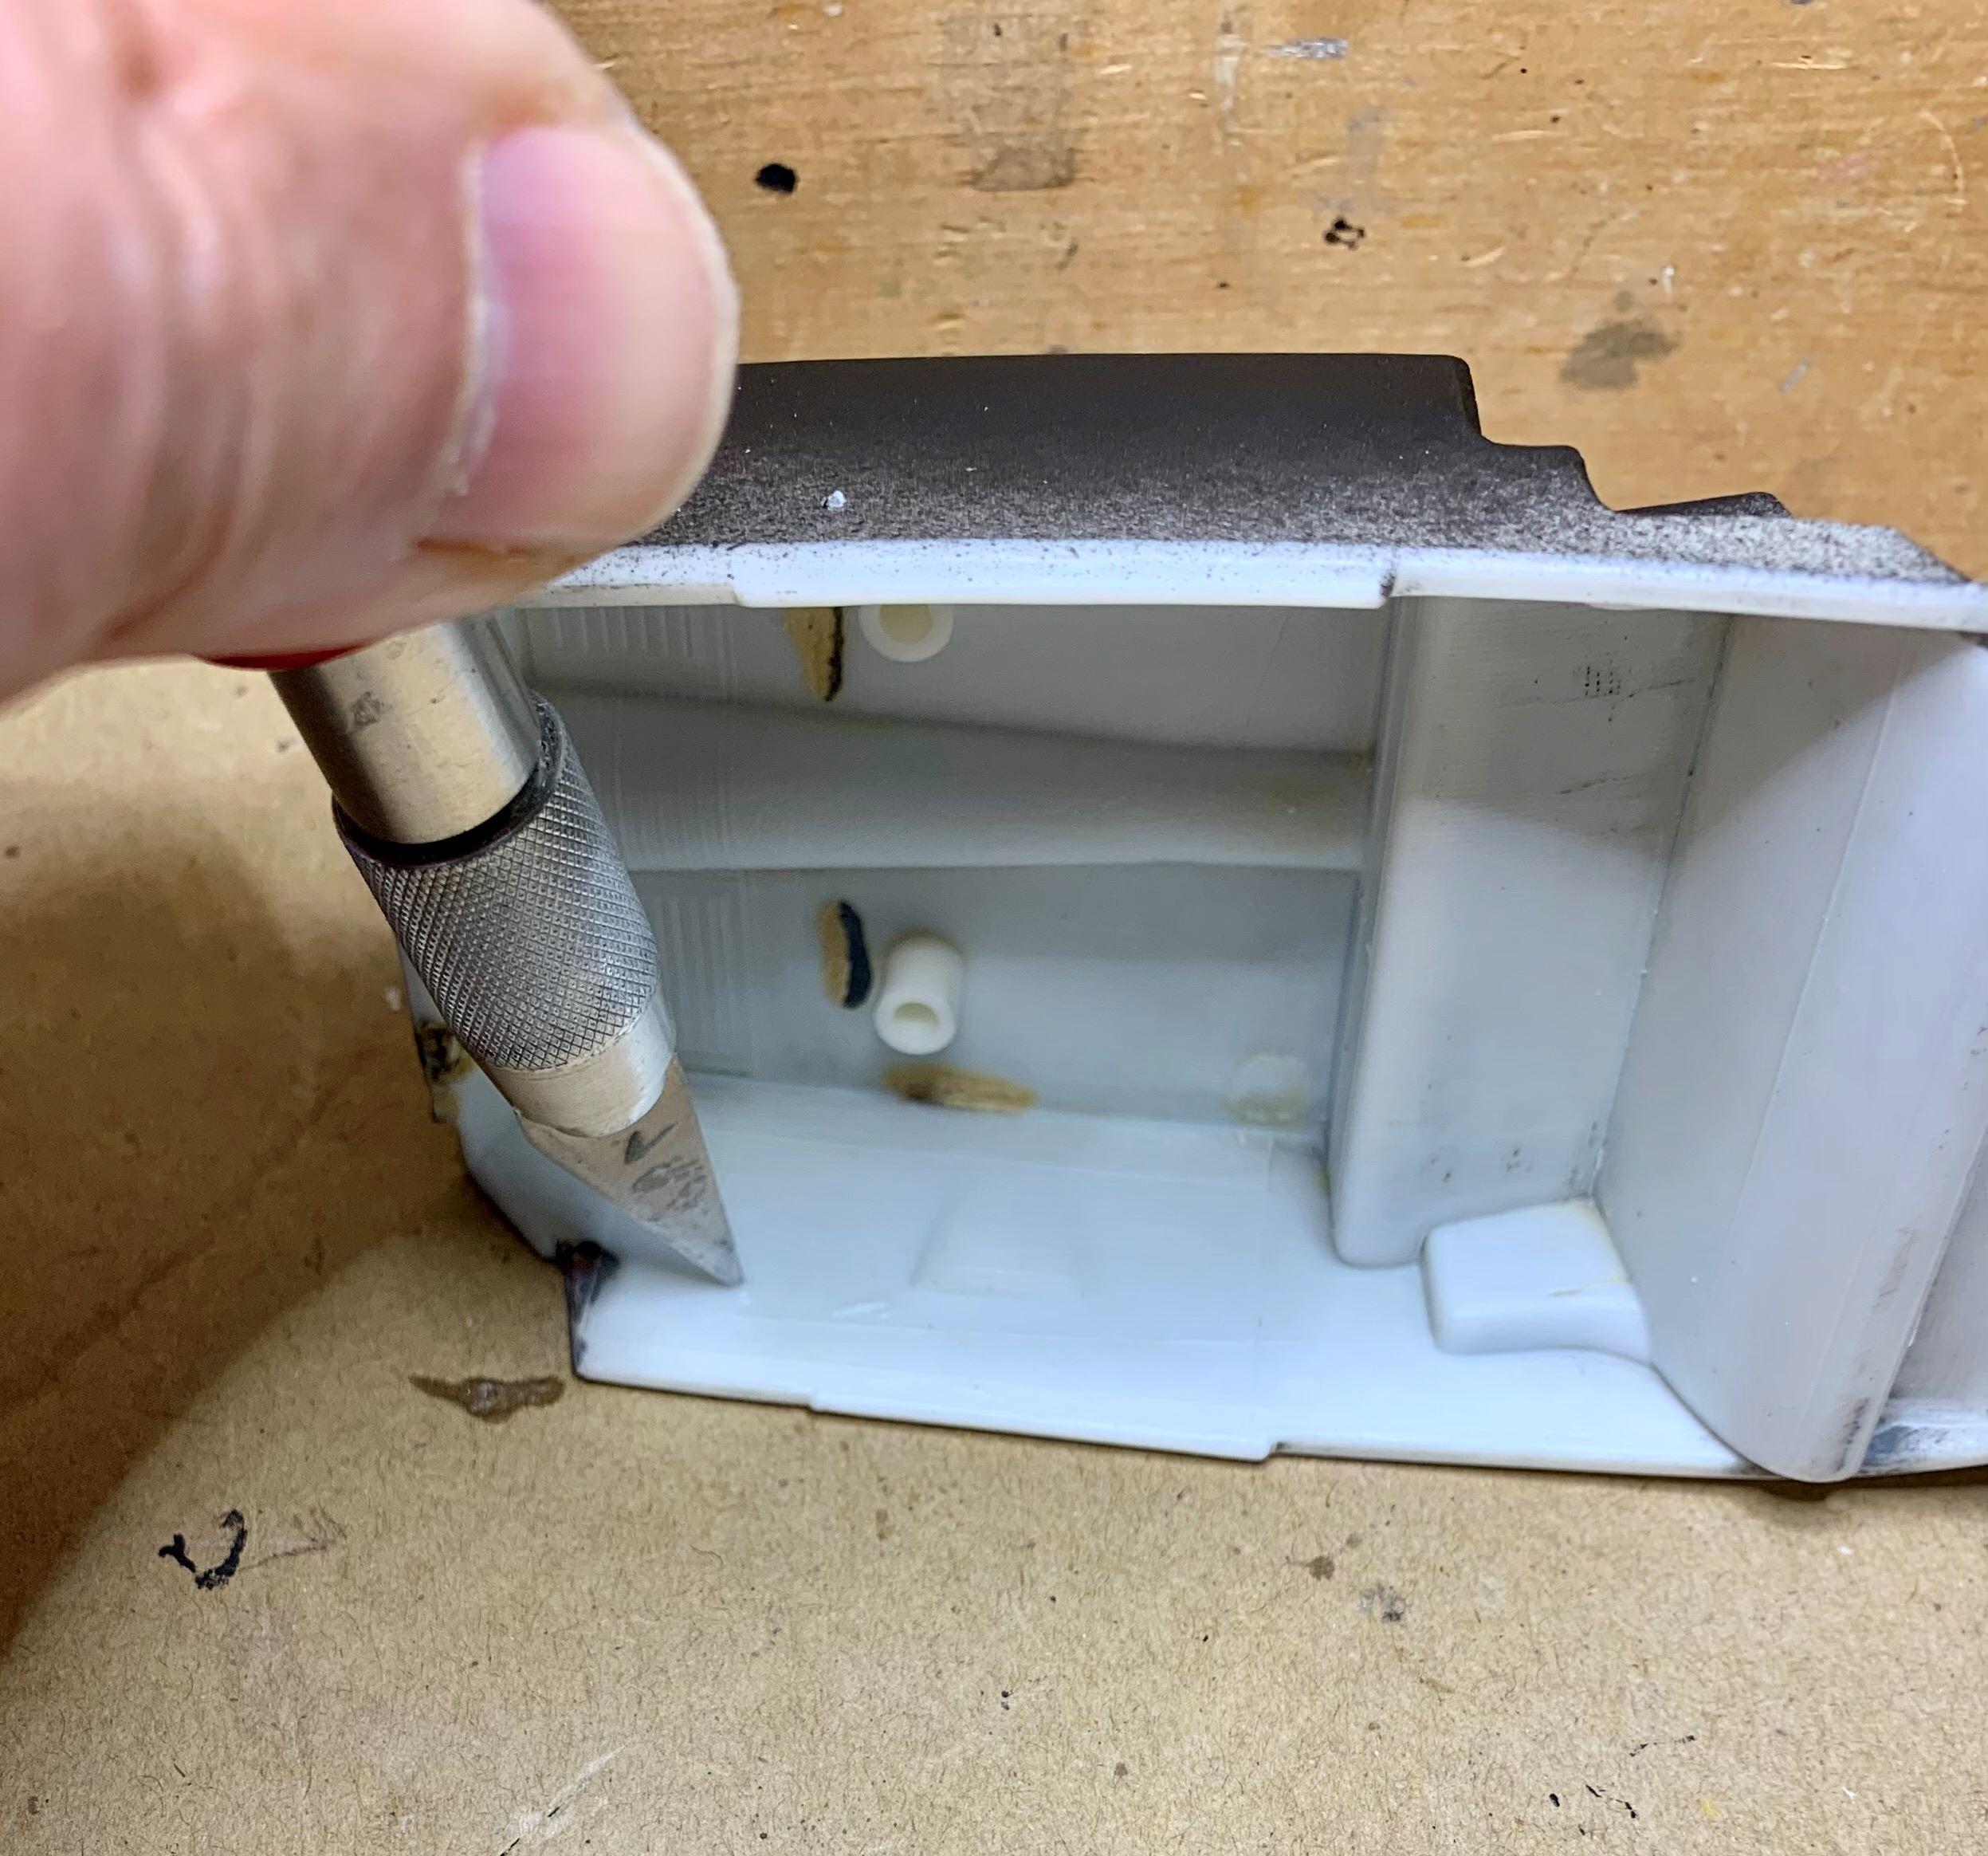
The interior detail is so faint, but thick enough that I can't drill right over them without first using the X-acto tip. I use that to find the center so that I can drill and I use hand held drills because there's no room for a pin vise inside these old tubs. With holes all the way through I can make whatever I'm going to use for replacement cranks and pulls and put wire on the back to push through and glue from the outside.
-
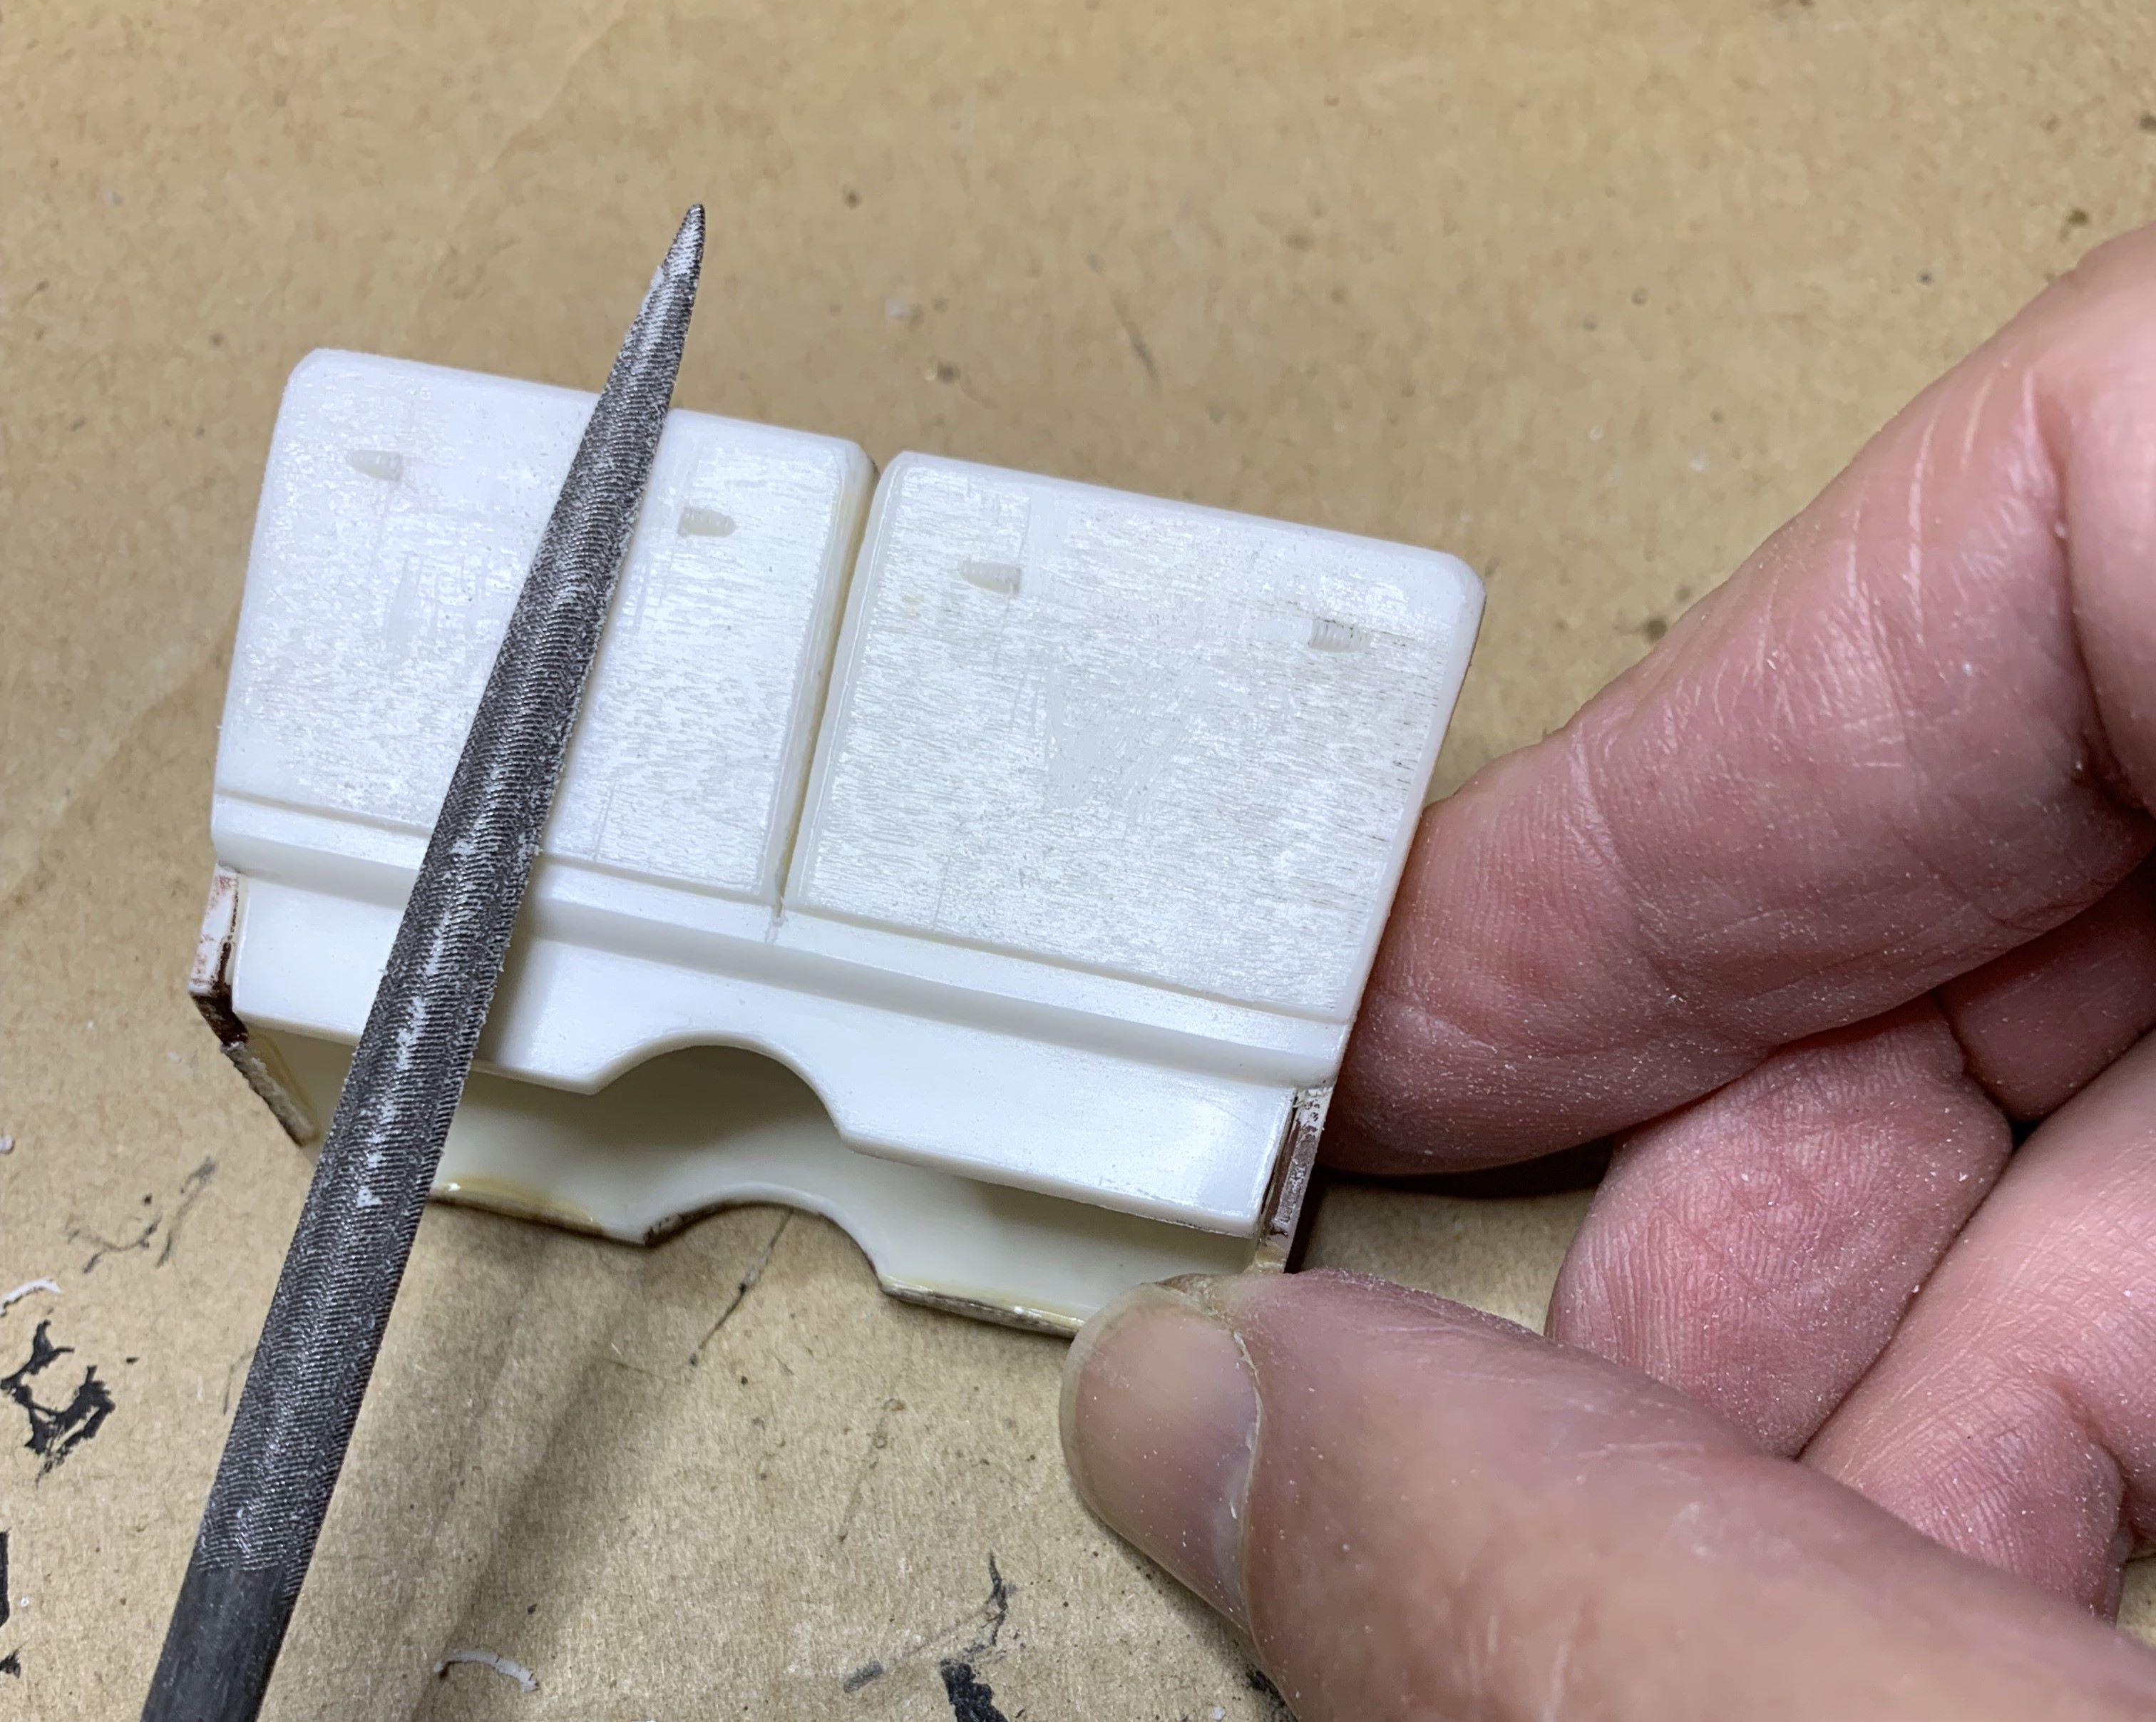
I pried the front seat out but the seams didn't line up and the glue was heave, so I just sanded it flush. I dragged the backside of the X-acto blade up and down the middle, then cut with a thin saw, then used folded sandpaper to round the seat upper halves. I filed the "ropes" off the backs, drilled holes and inserted copper to replace them. The brass is thin enough to shape after it's installed.
-
It's how I relax!
-
I've got a couple of barn find built ups that I've had for 40 years! Always wanted to do something crazy with them, so.......... I'LL BE WATCHING THIS BUILD!! Cheers, have fun and keep posting.
-
This certainly is a major project, which is why model building is so much fun! You are very creative and able to make a vision in your mind into a 3 dimensional model! Fantastic!!
-
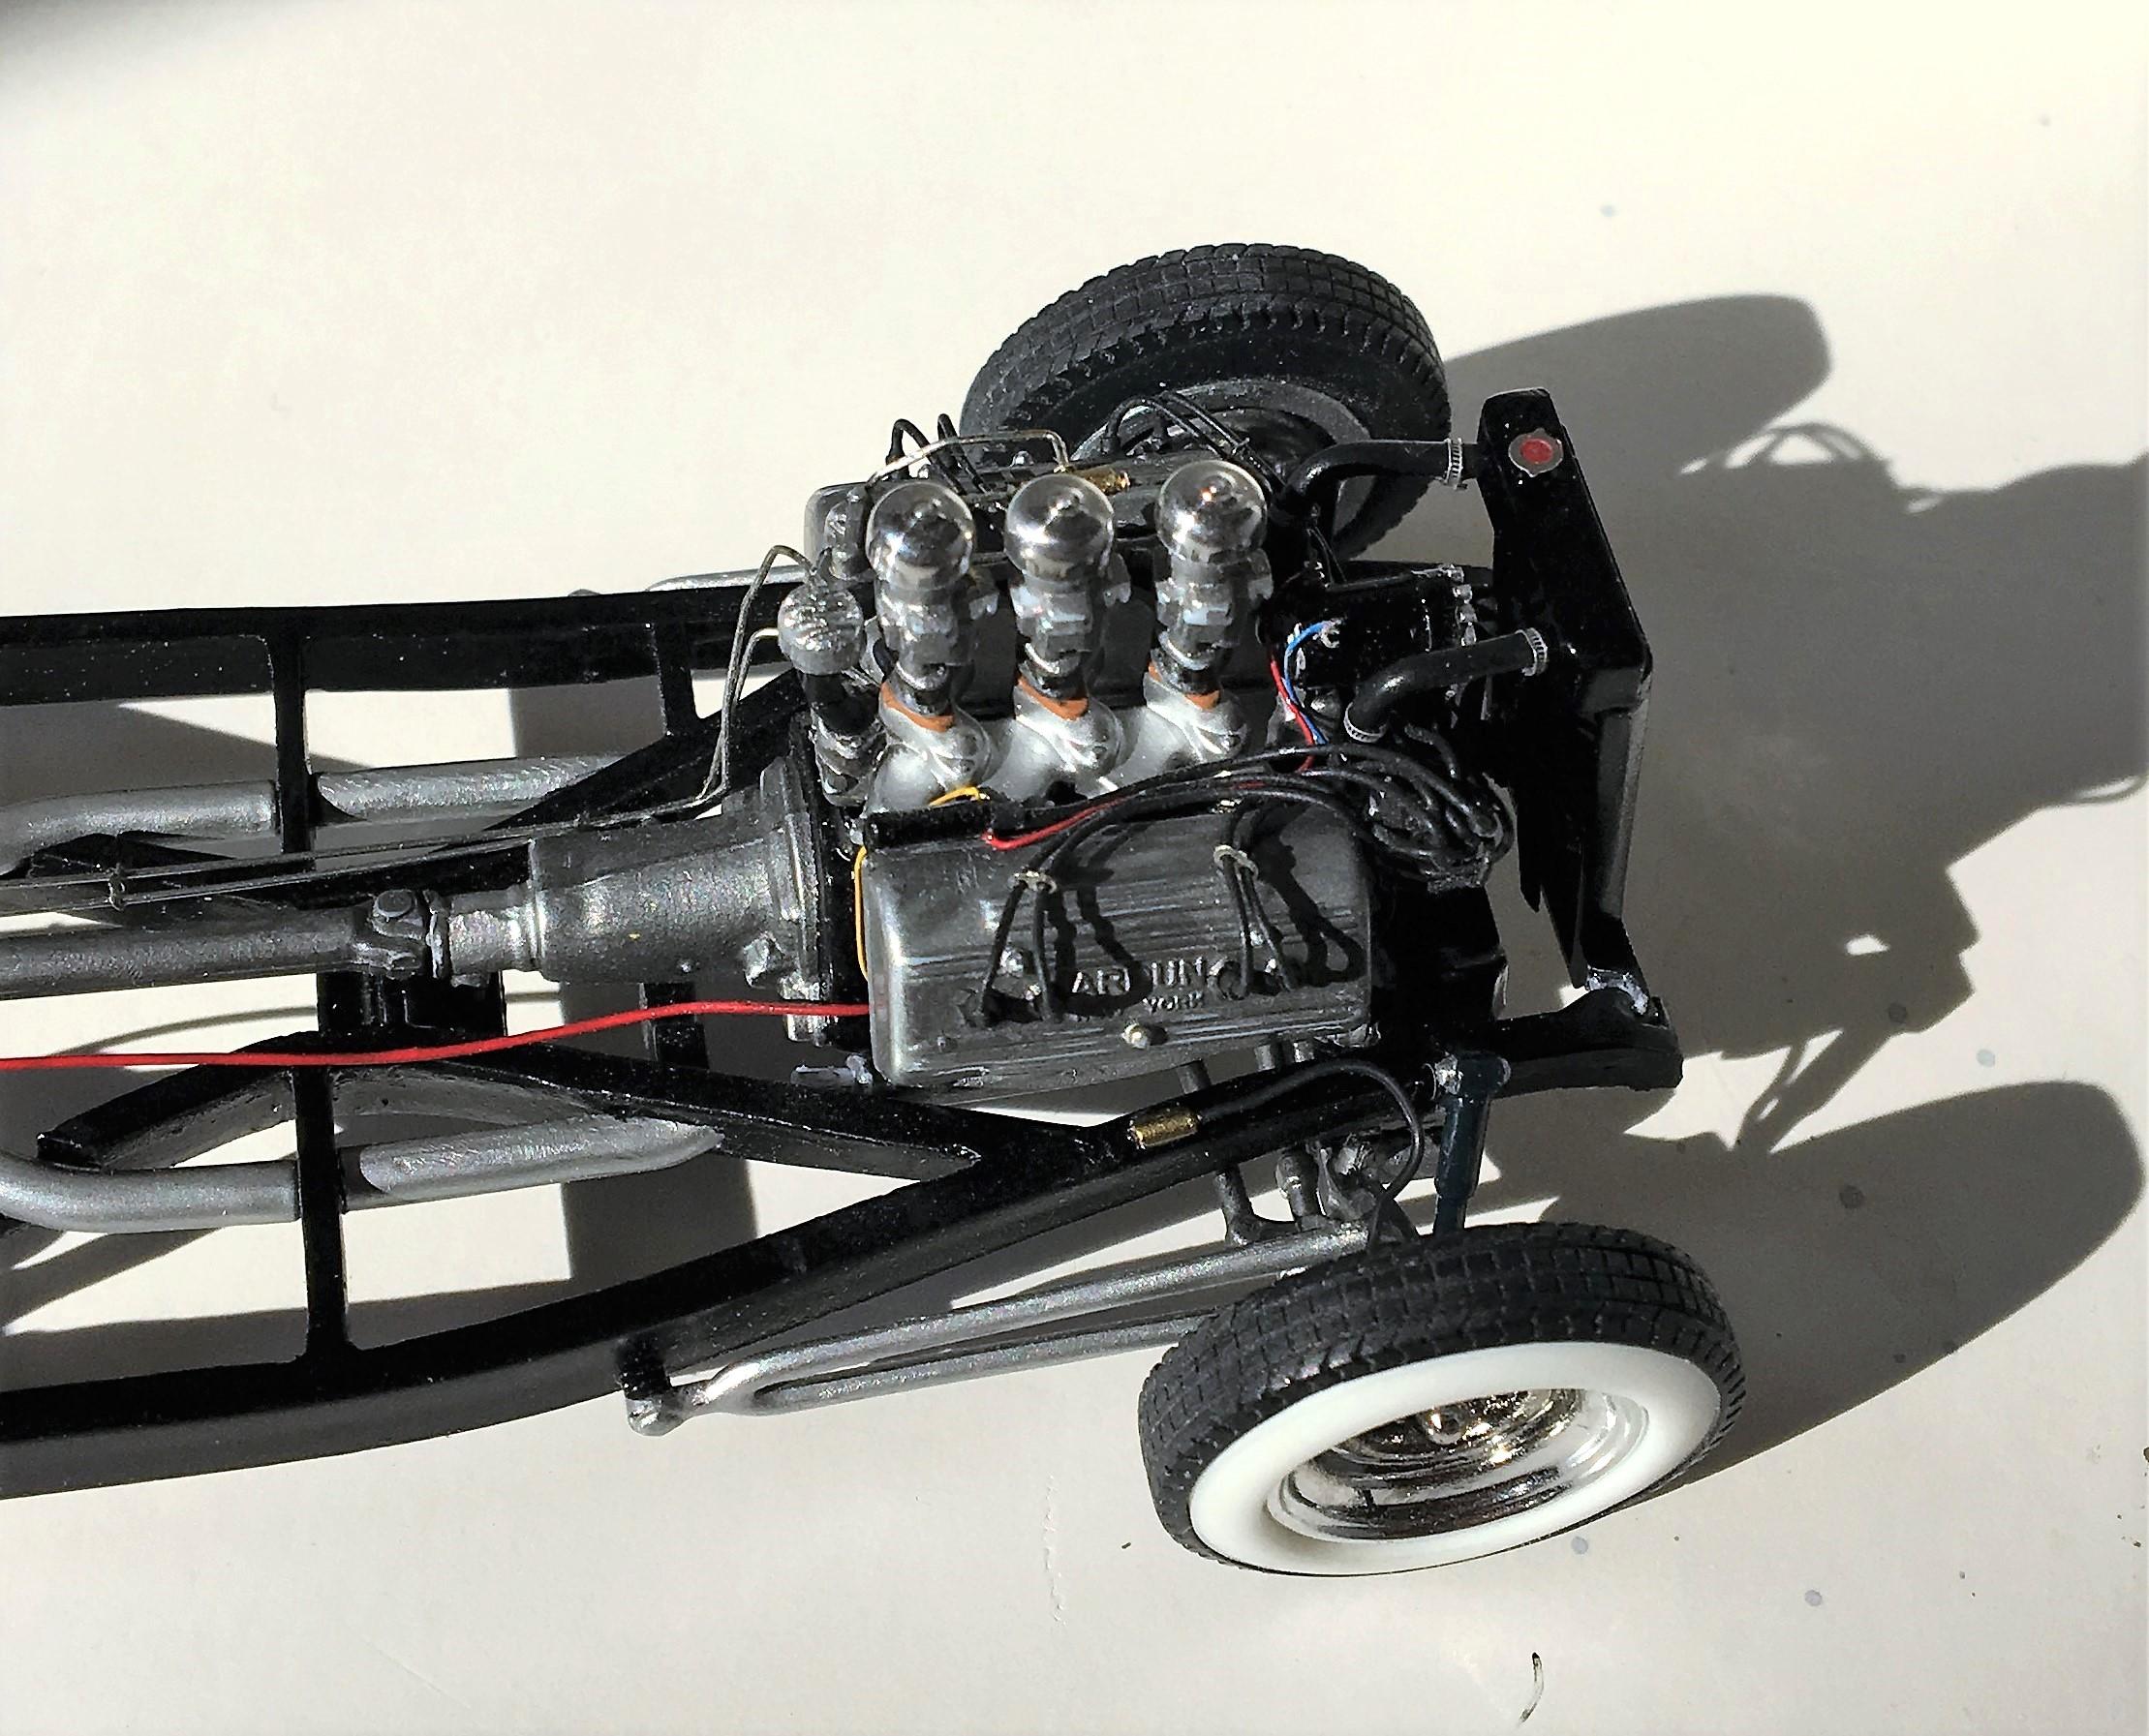
Please don't give up on this one, it looks fantastic! I love the stance and the overall look you're going for! Here's a picture of the Ardun flathead from the '50 pickup with some added extra details that I used in my '36:
-
What a fantastic project! I love it! I love the way you're going about it, this is my favorite way to work also. This truck is amazingly cool!
-
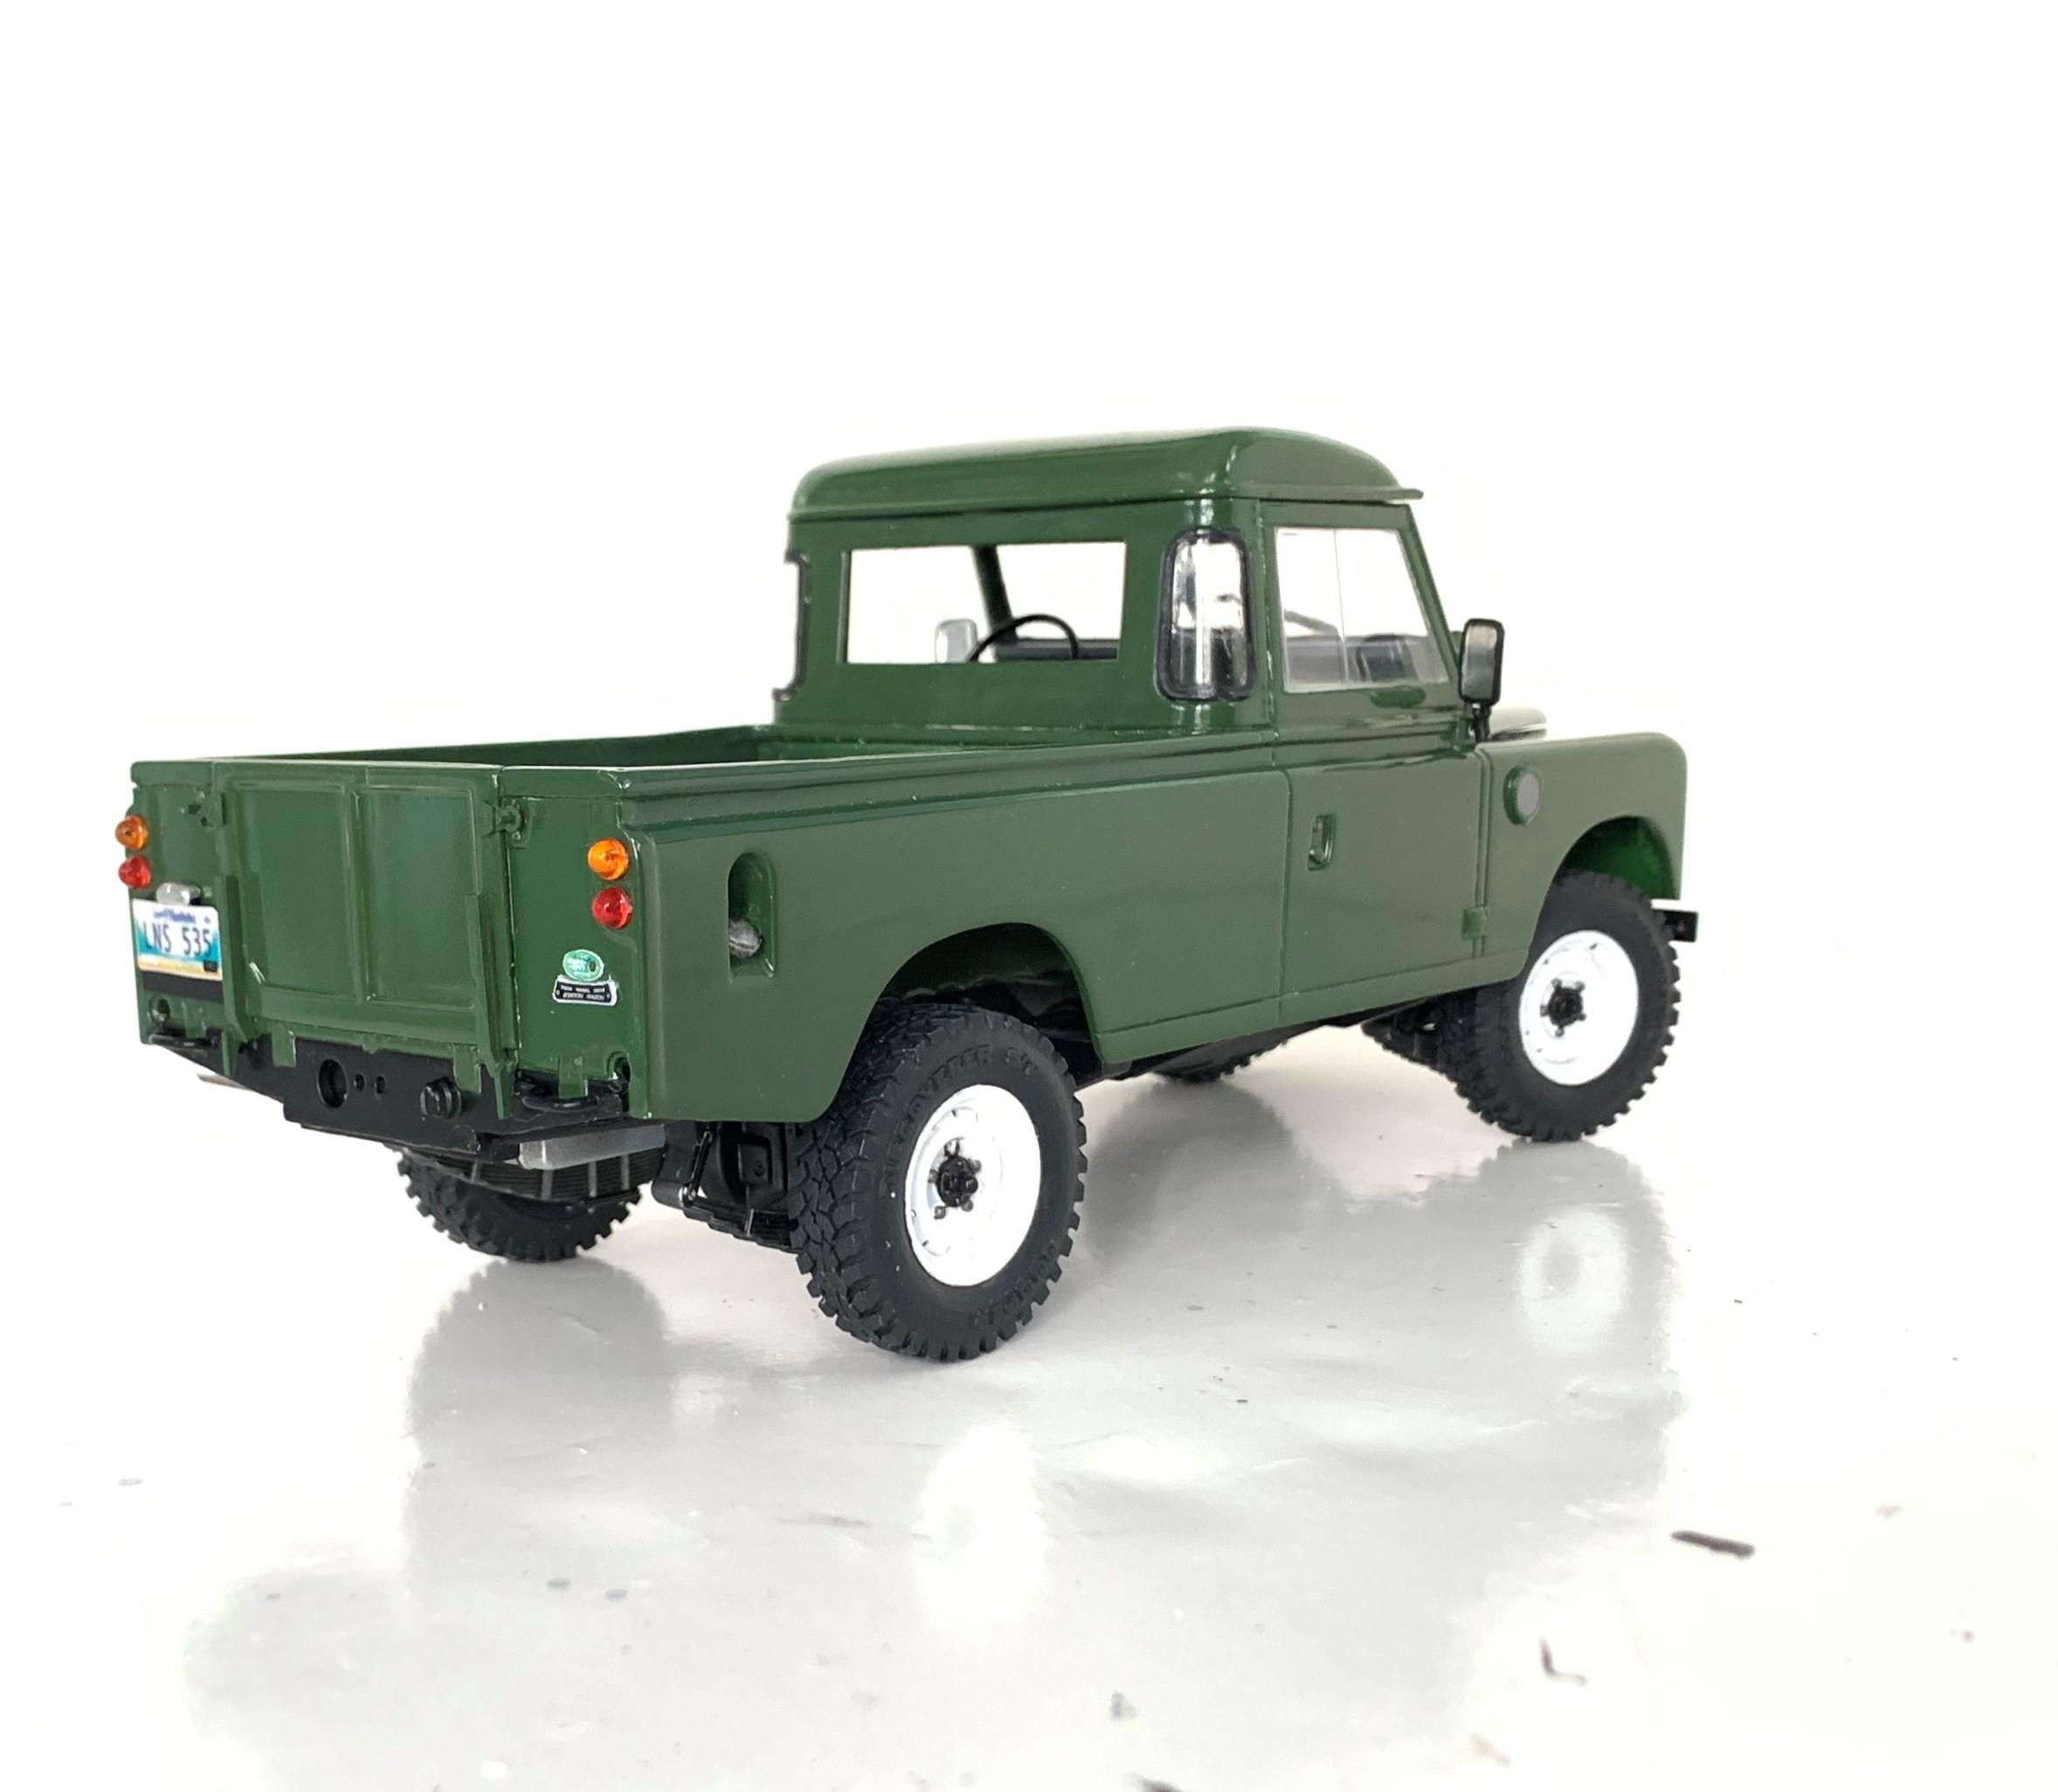
Post your truck mockups.
dino246gt replied to Mike C.'s topic in WIP: Model Trucks: Pickups, Vans, SUVs, Light Commercial
Here's one I converted from a Revell 109. From a 4 door station wagon into a 2 door pickup:
-
Tons of great mods on this project but I suggest moving the rear window lower if it's not too late?
-
I used the headers from the Revell sedan kit, so now I can glue the flattie to the frame and work backwards from there. I'll make the original exhaust system work up to a point, then use parts box pipe pieces to connect to these headers. Then the rear end and driveshaft. I have to work on those pieces but first the exhaust. Now here's my little flathead ready for install:


.JPG.31ff52f944b8d92e565729310b0dd049.JPG)


