dino246gt
-
Posts
2,244 -
Joined
-
Last visited
Content Type
Profiles
Forums
Events
Gallery
Everything posted by dino246gt
-
Does Mobius make a stock version of the '65 Nova post car? Do they plan to? I used the gasser stuff on another build but have all the stock body, chrome and "glass", no chassis or interior. I'd like to build a stock entry level '65.
-
Getting the inner fenders in shape although there's still fine tuning, it's coming together!

-

Atlantis rolls out ex Revell 57 Chevy Nomad.
dino246gt replied to John M.'s topic in Car Kit News & Reviews
That's the best idea yet, although I guess it really doesn't belong here, where they're trying to promote sales of the new release. I swapped a Revell '55 hardtop onto a Revell '56 sedan to make an all Revell '56 hardtop. So a Revell '56 Nomad could be grafted onto a Revell '57 too.
-
Awesome! I though you might've built it as a curbside, and it was fantastic at that, but this is way better!
-
Greg, you KNOW I love this kind of project and I love the way you do it so methodically! Also love all the pictures with explanations, so cool!
-
I'm digging' it already and I did build one, so I have a hint: Glue the door inner to the outer before paint, then mask off the interior colors. This is because of the terrible fit of the inner and outer AND the thickness of the outer, that can be thinned before paint and the seam can be filled also before paint! I loved building mine until final assembly and I saw this:
-
It sure does look fantastic though and what a great color choice! I love it!
-
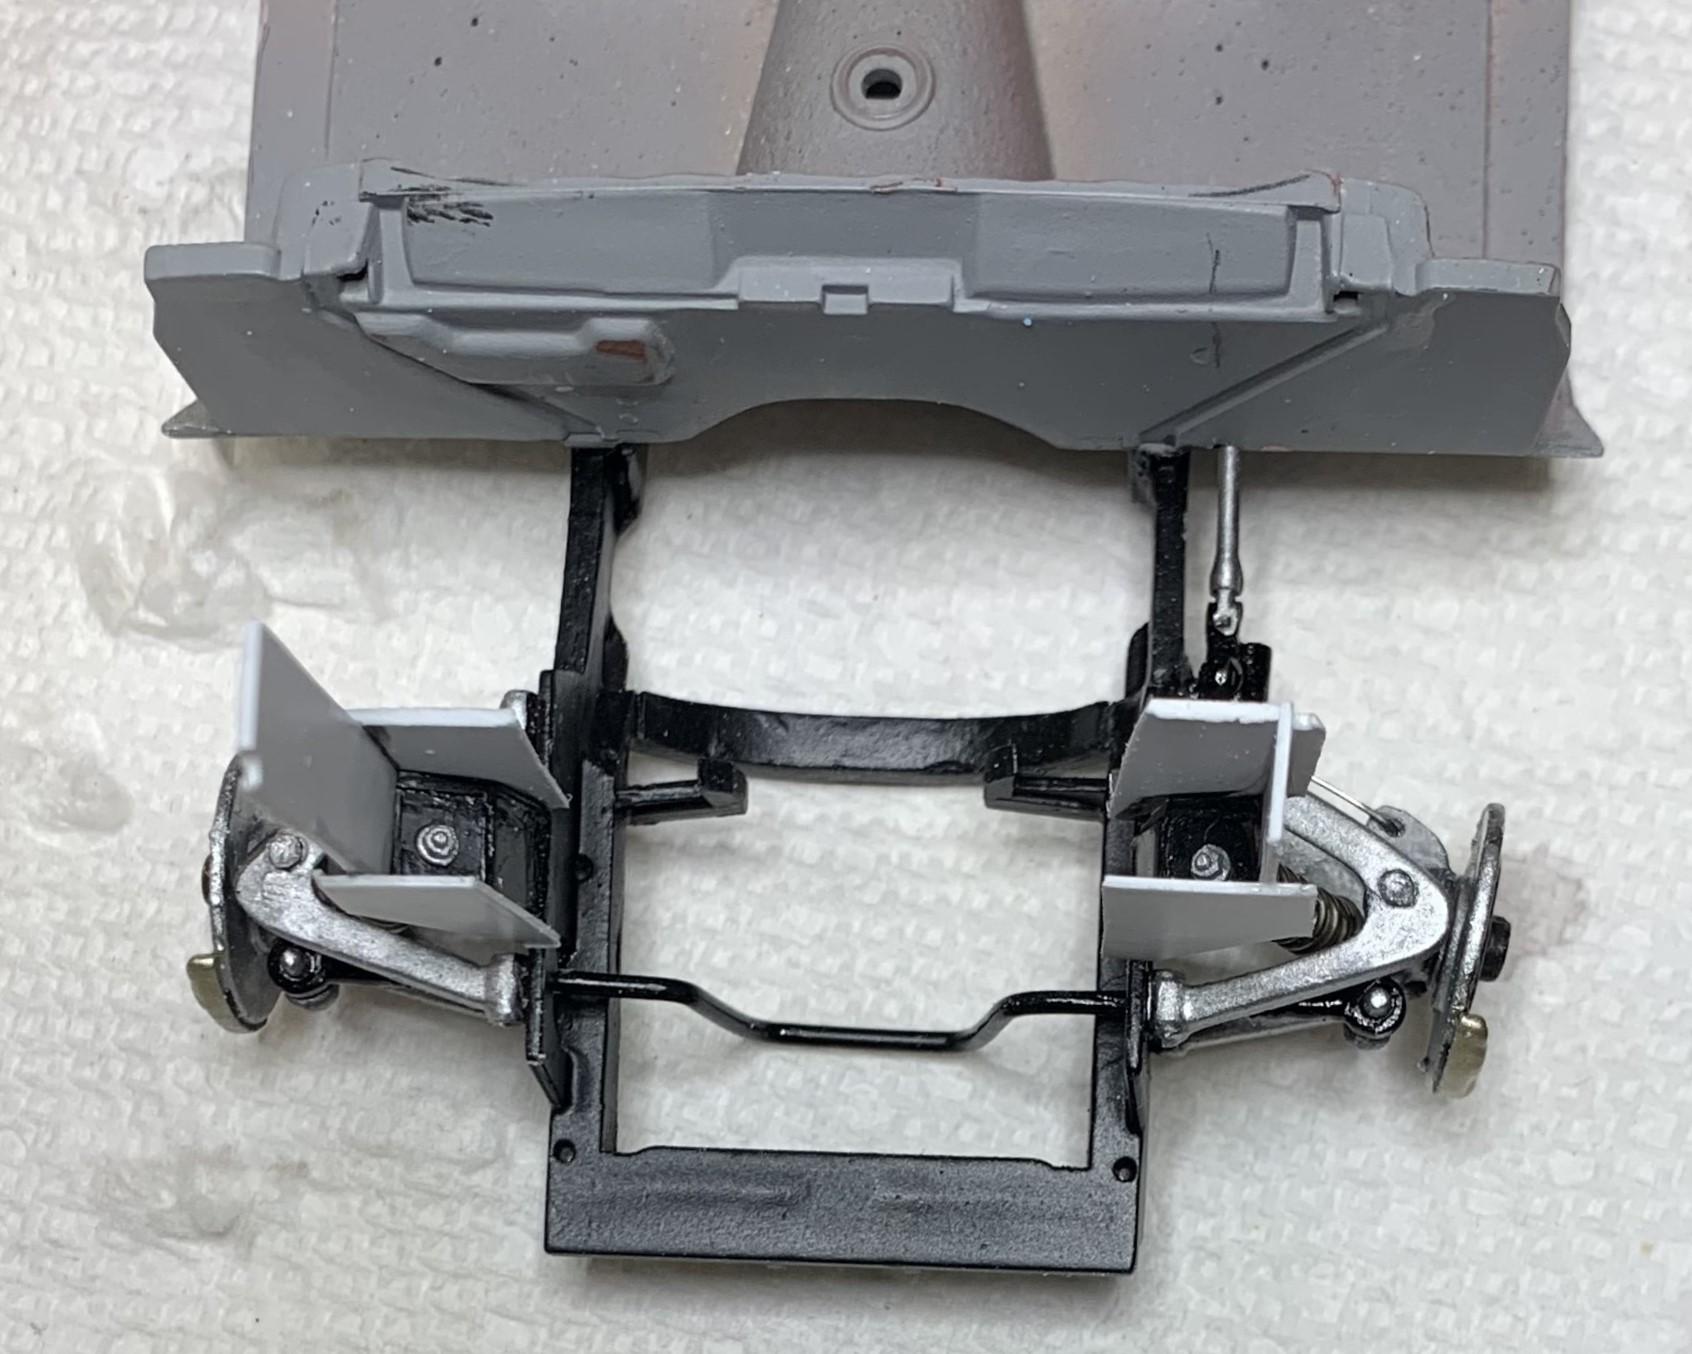
Starting to make inner fenders, piece by piece! Glued some styrene to 3 sides of each shock tower. Modified the Revell Enzo kit wheel tubs to fit around those shock towers. Then I fitted scraps to fill in areas around the suspension. Let all that dry and start throwing putty! Probably not today though.
-
Beautiful build and the perfect colors and stance! Brings back memories as I was 15 in '64 and so remember drooling over these cars!
-
Still no colour chosen!
-
I'm excited to see what you do to this one, I know you know Countachs very well, as you did one large scale to perfection!
-
Looks Grrrrreat! Love the interior detail and the grille with maroon between it and the bumper. Very nicely done!
-
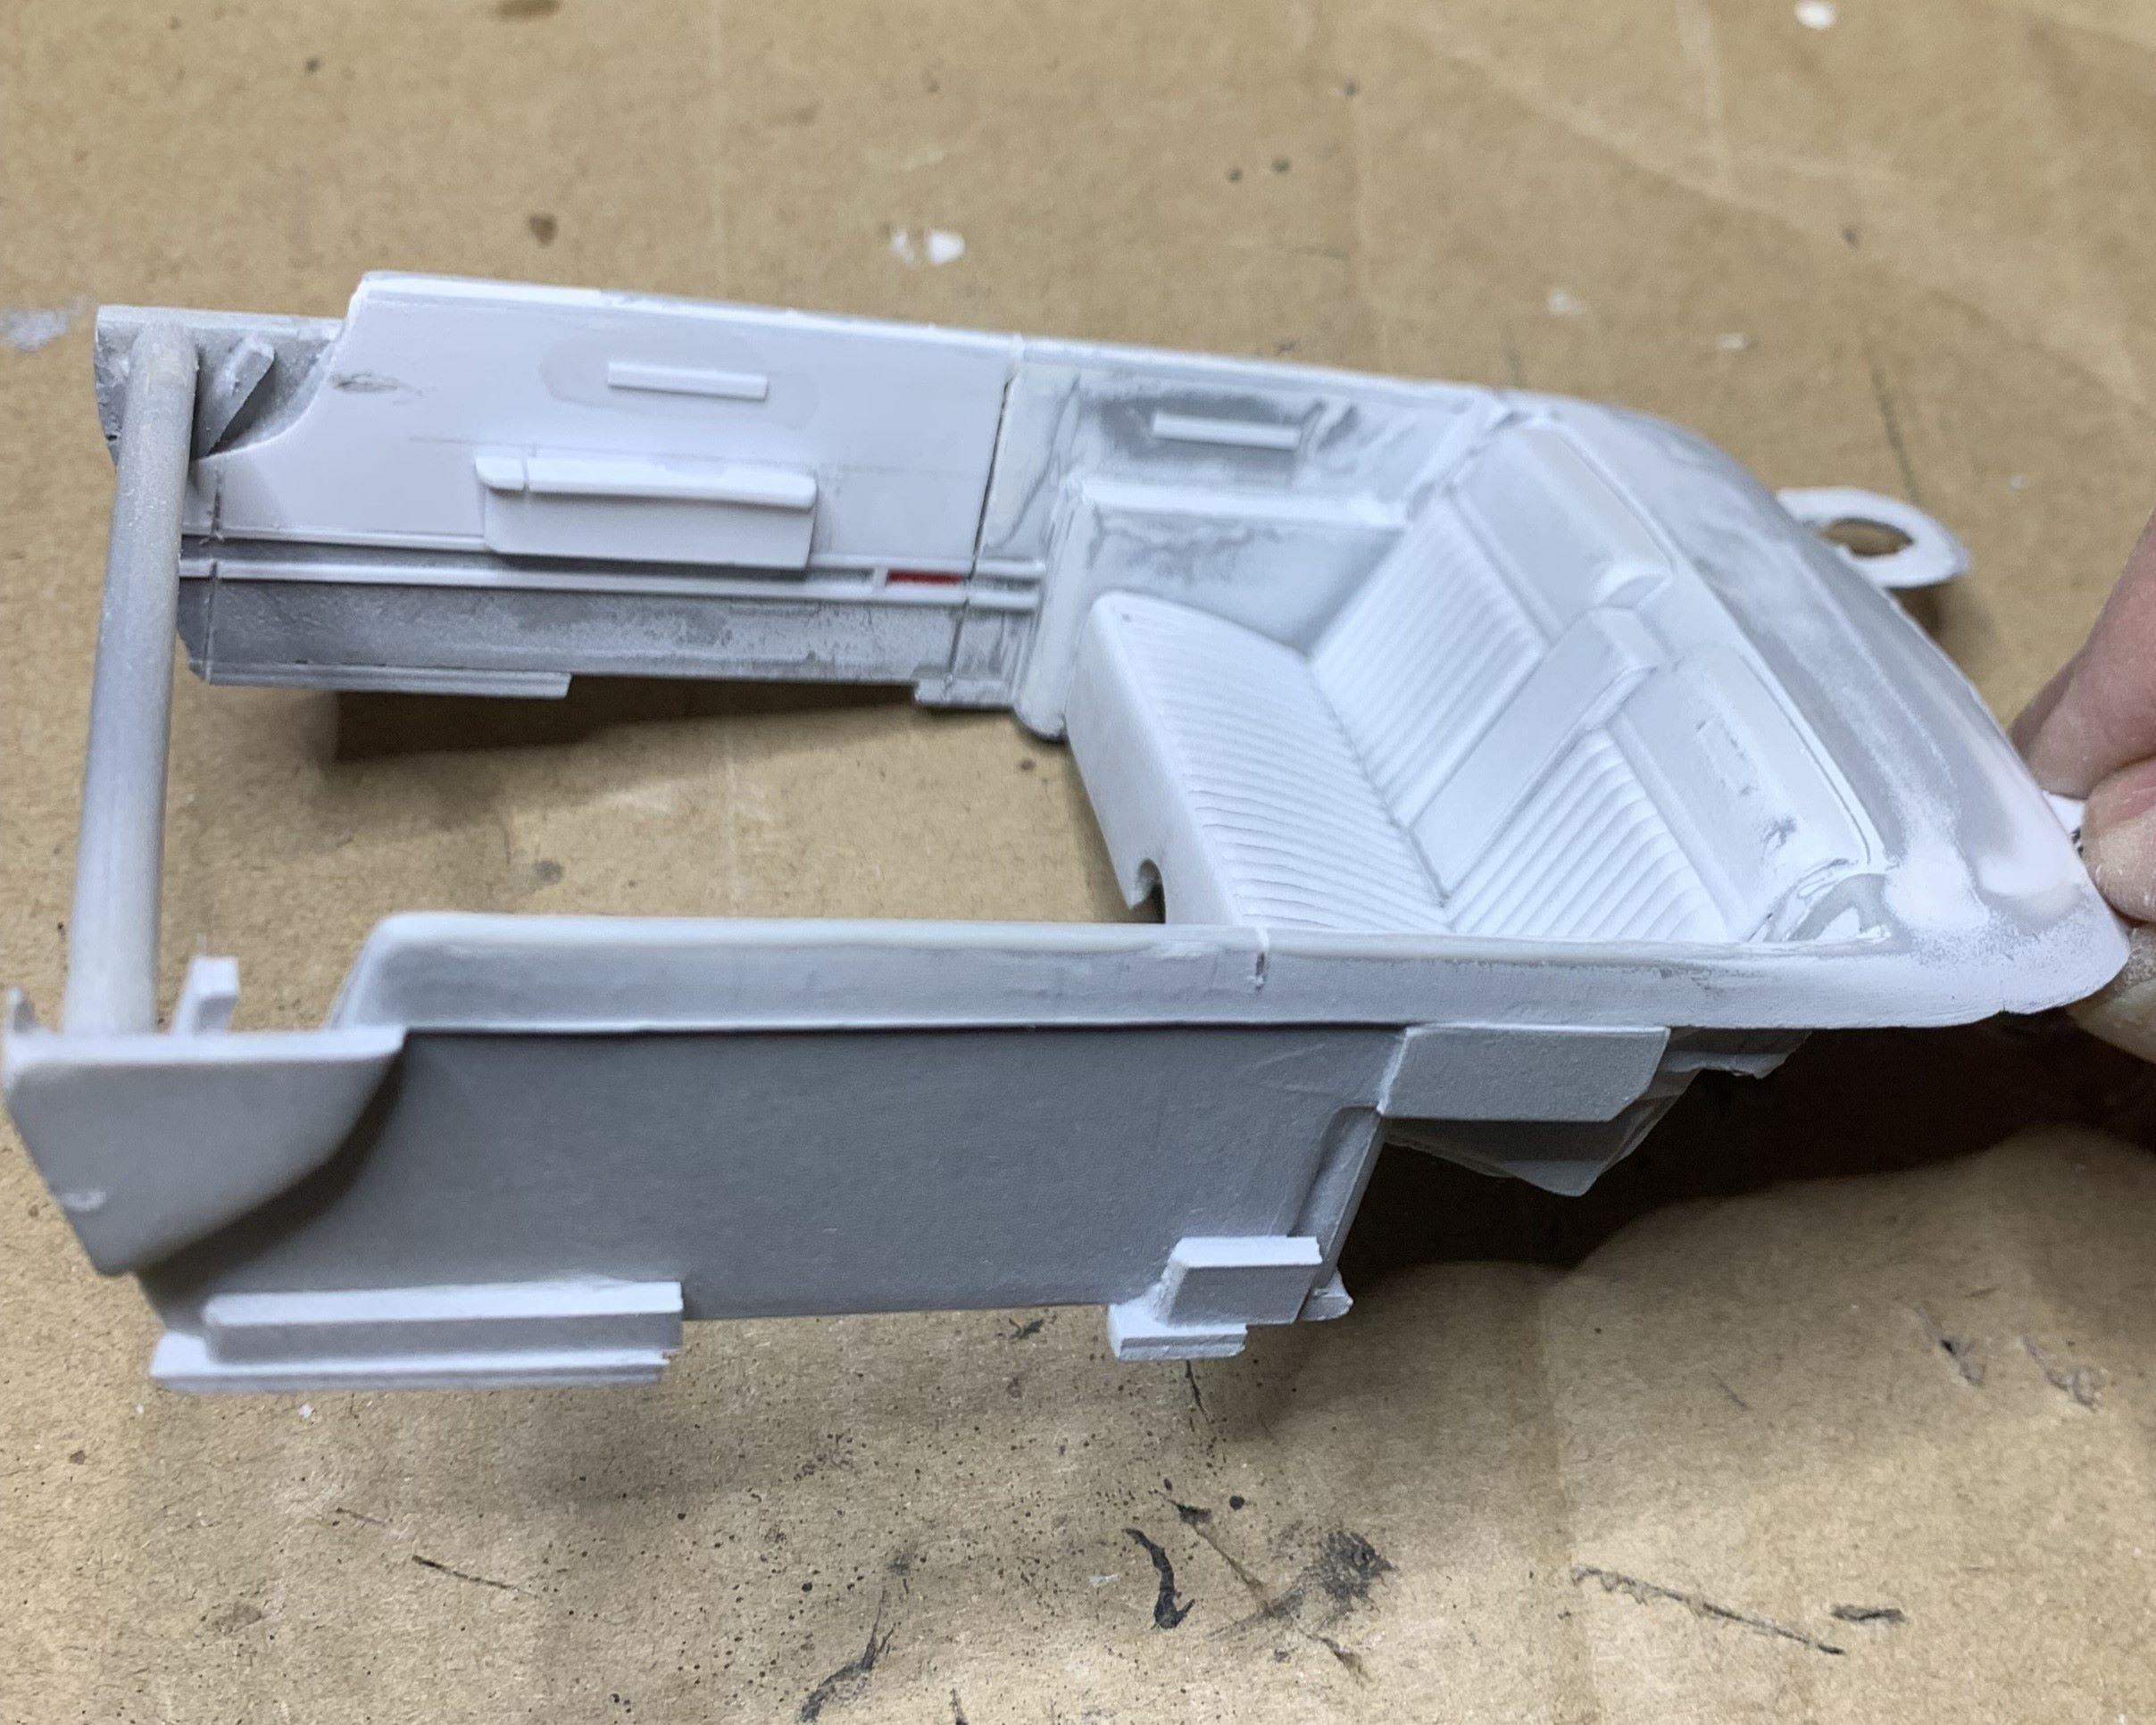
I made the door panels. The door openers will be foiled so will the 2 lines below the arm rests and those little things above the armrests. There will be red lights at the rear edge of the doors and clear white lights just behind those to illuminate the rear floor. Flocking will be up to the lower strip. It's just rough now but that's how it starts, fine tuning after. Cheers
-
We don't use ash trays anymore, we have vape holders, LOL I am going to make front armrest and add side panel details, so it's still all in the design stage.
-
-
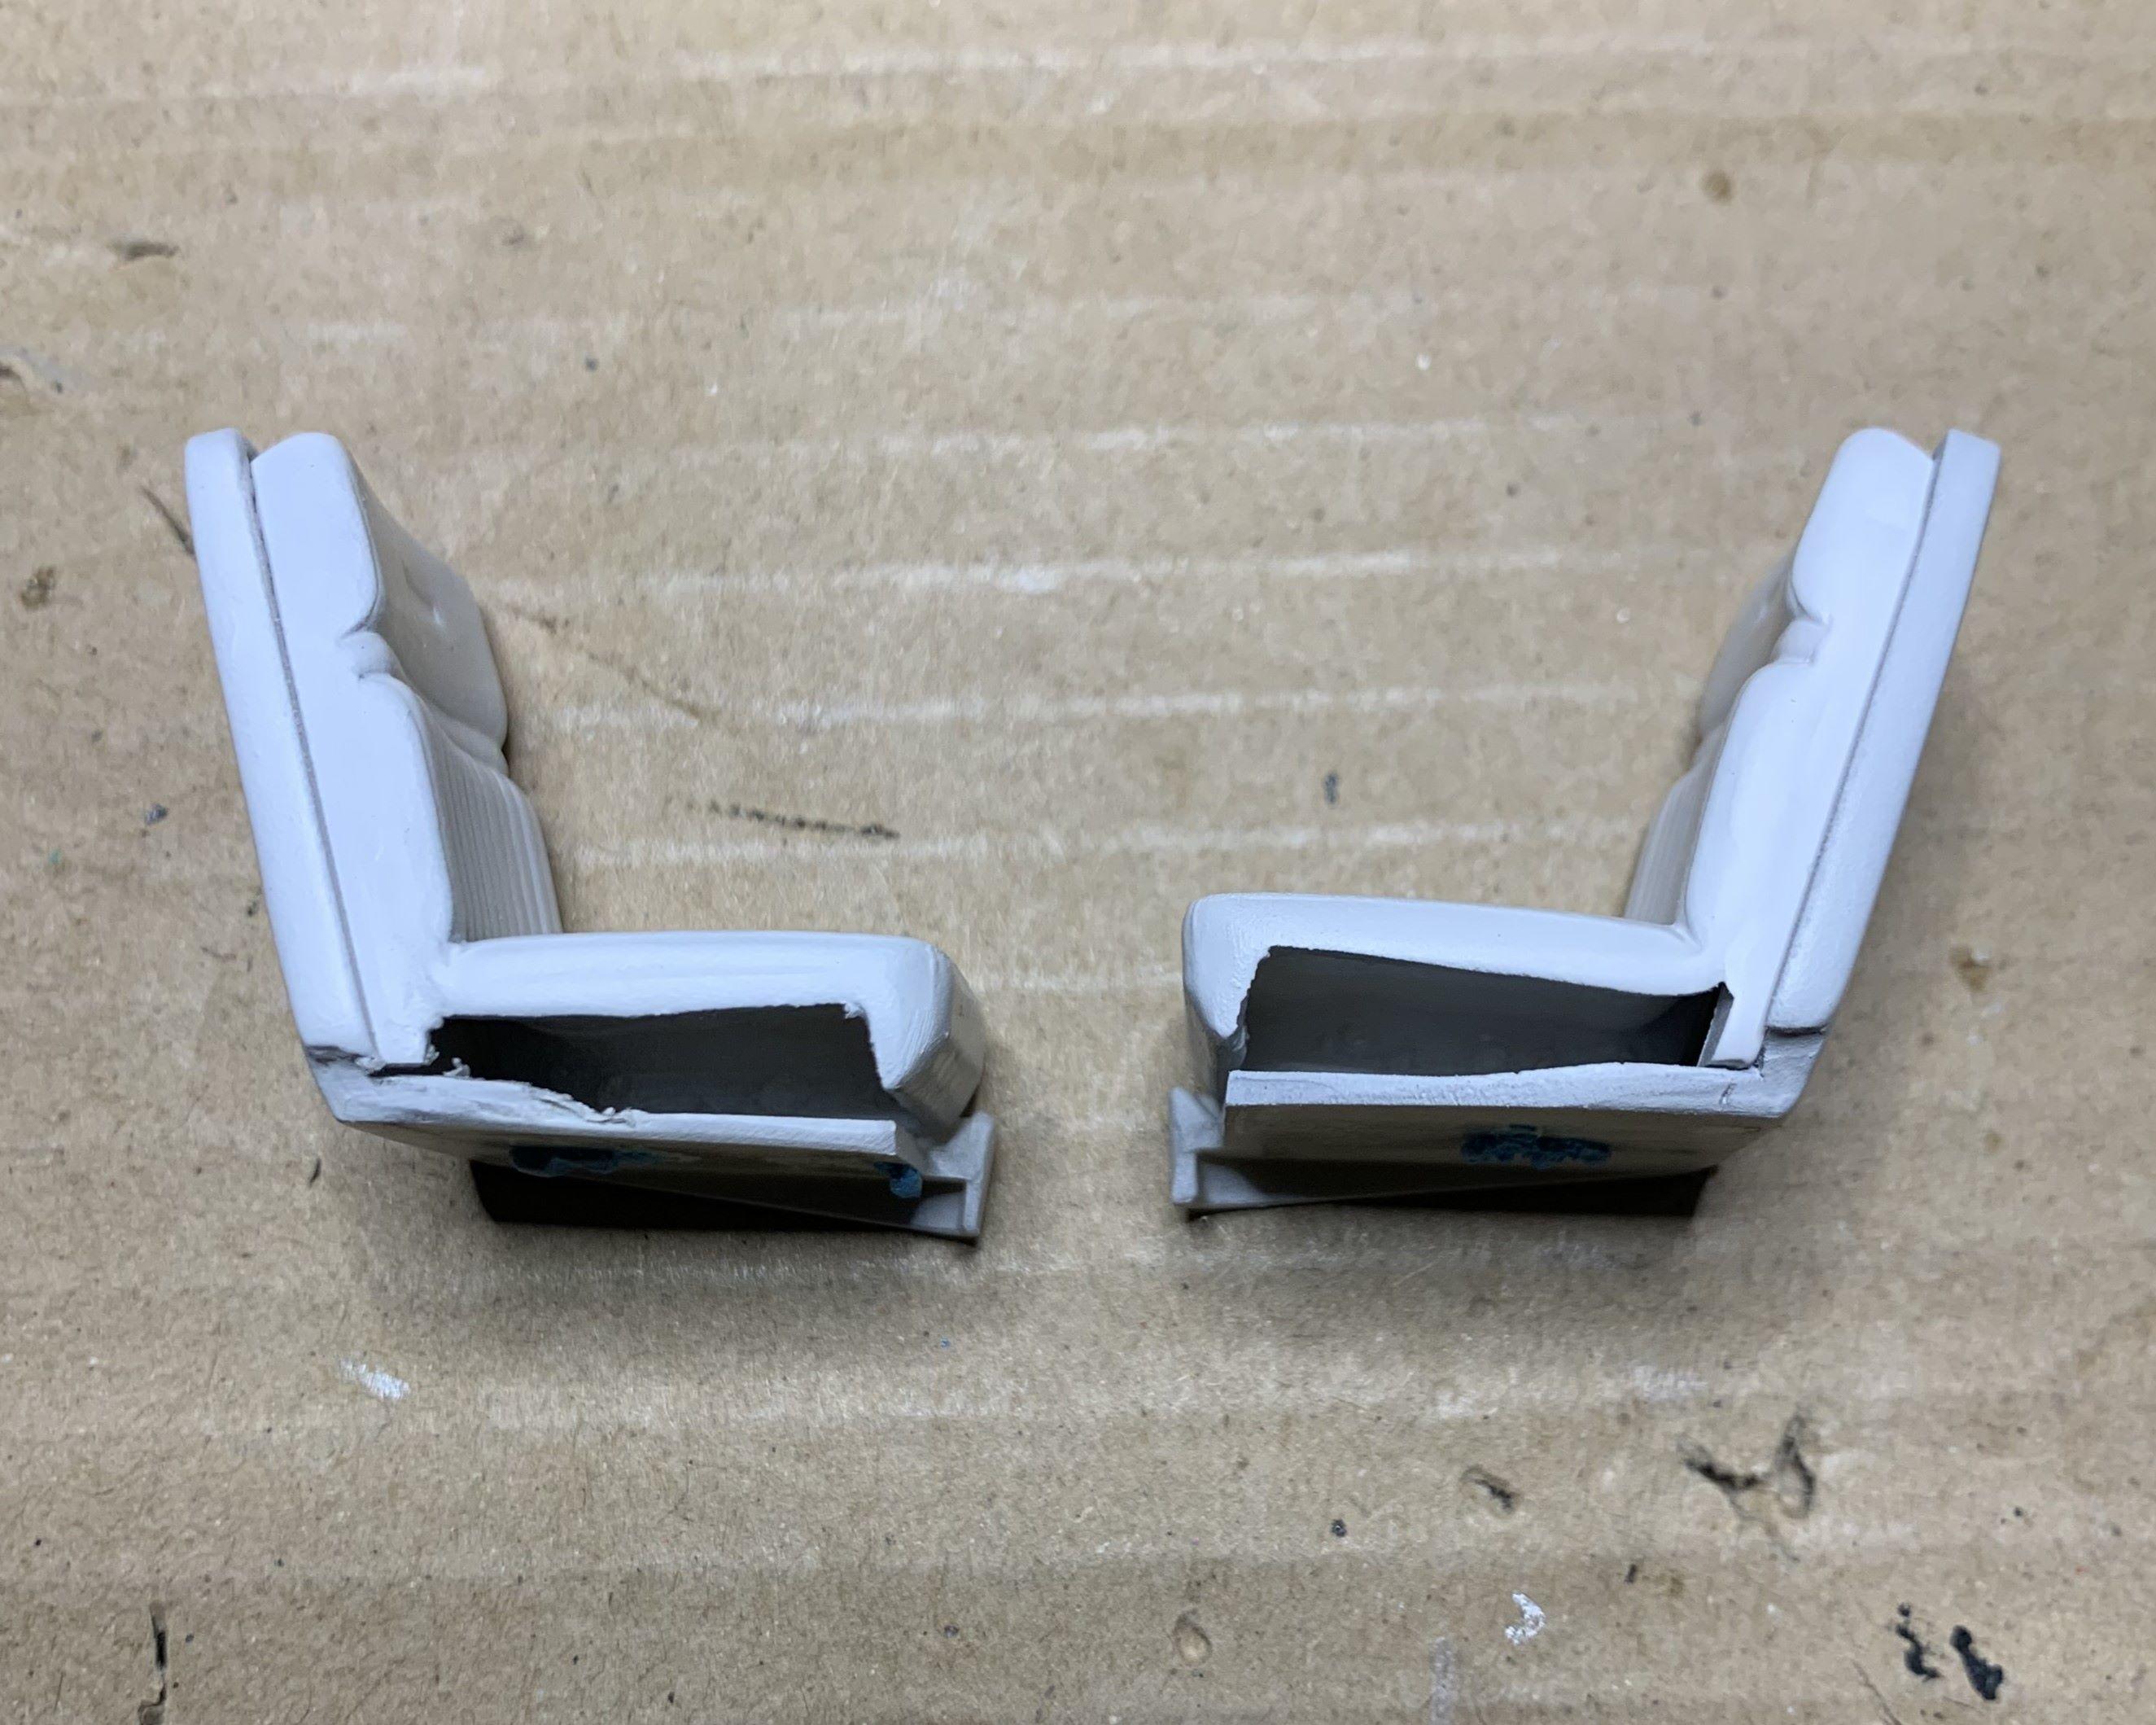
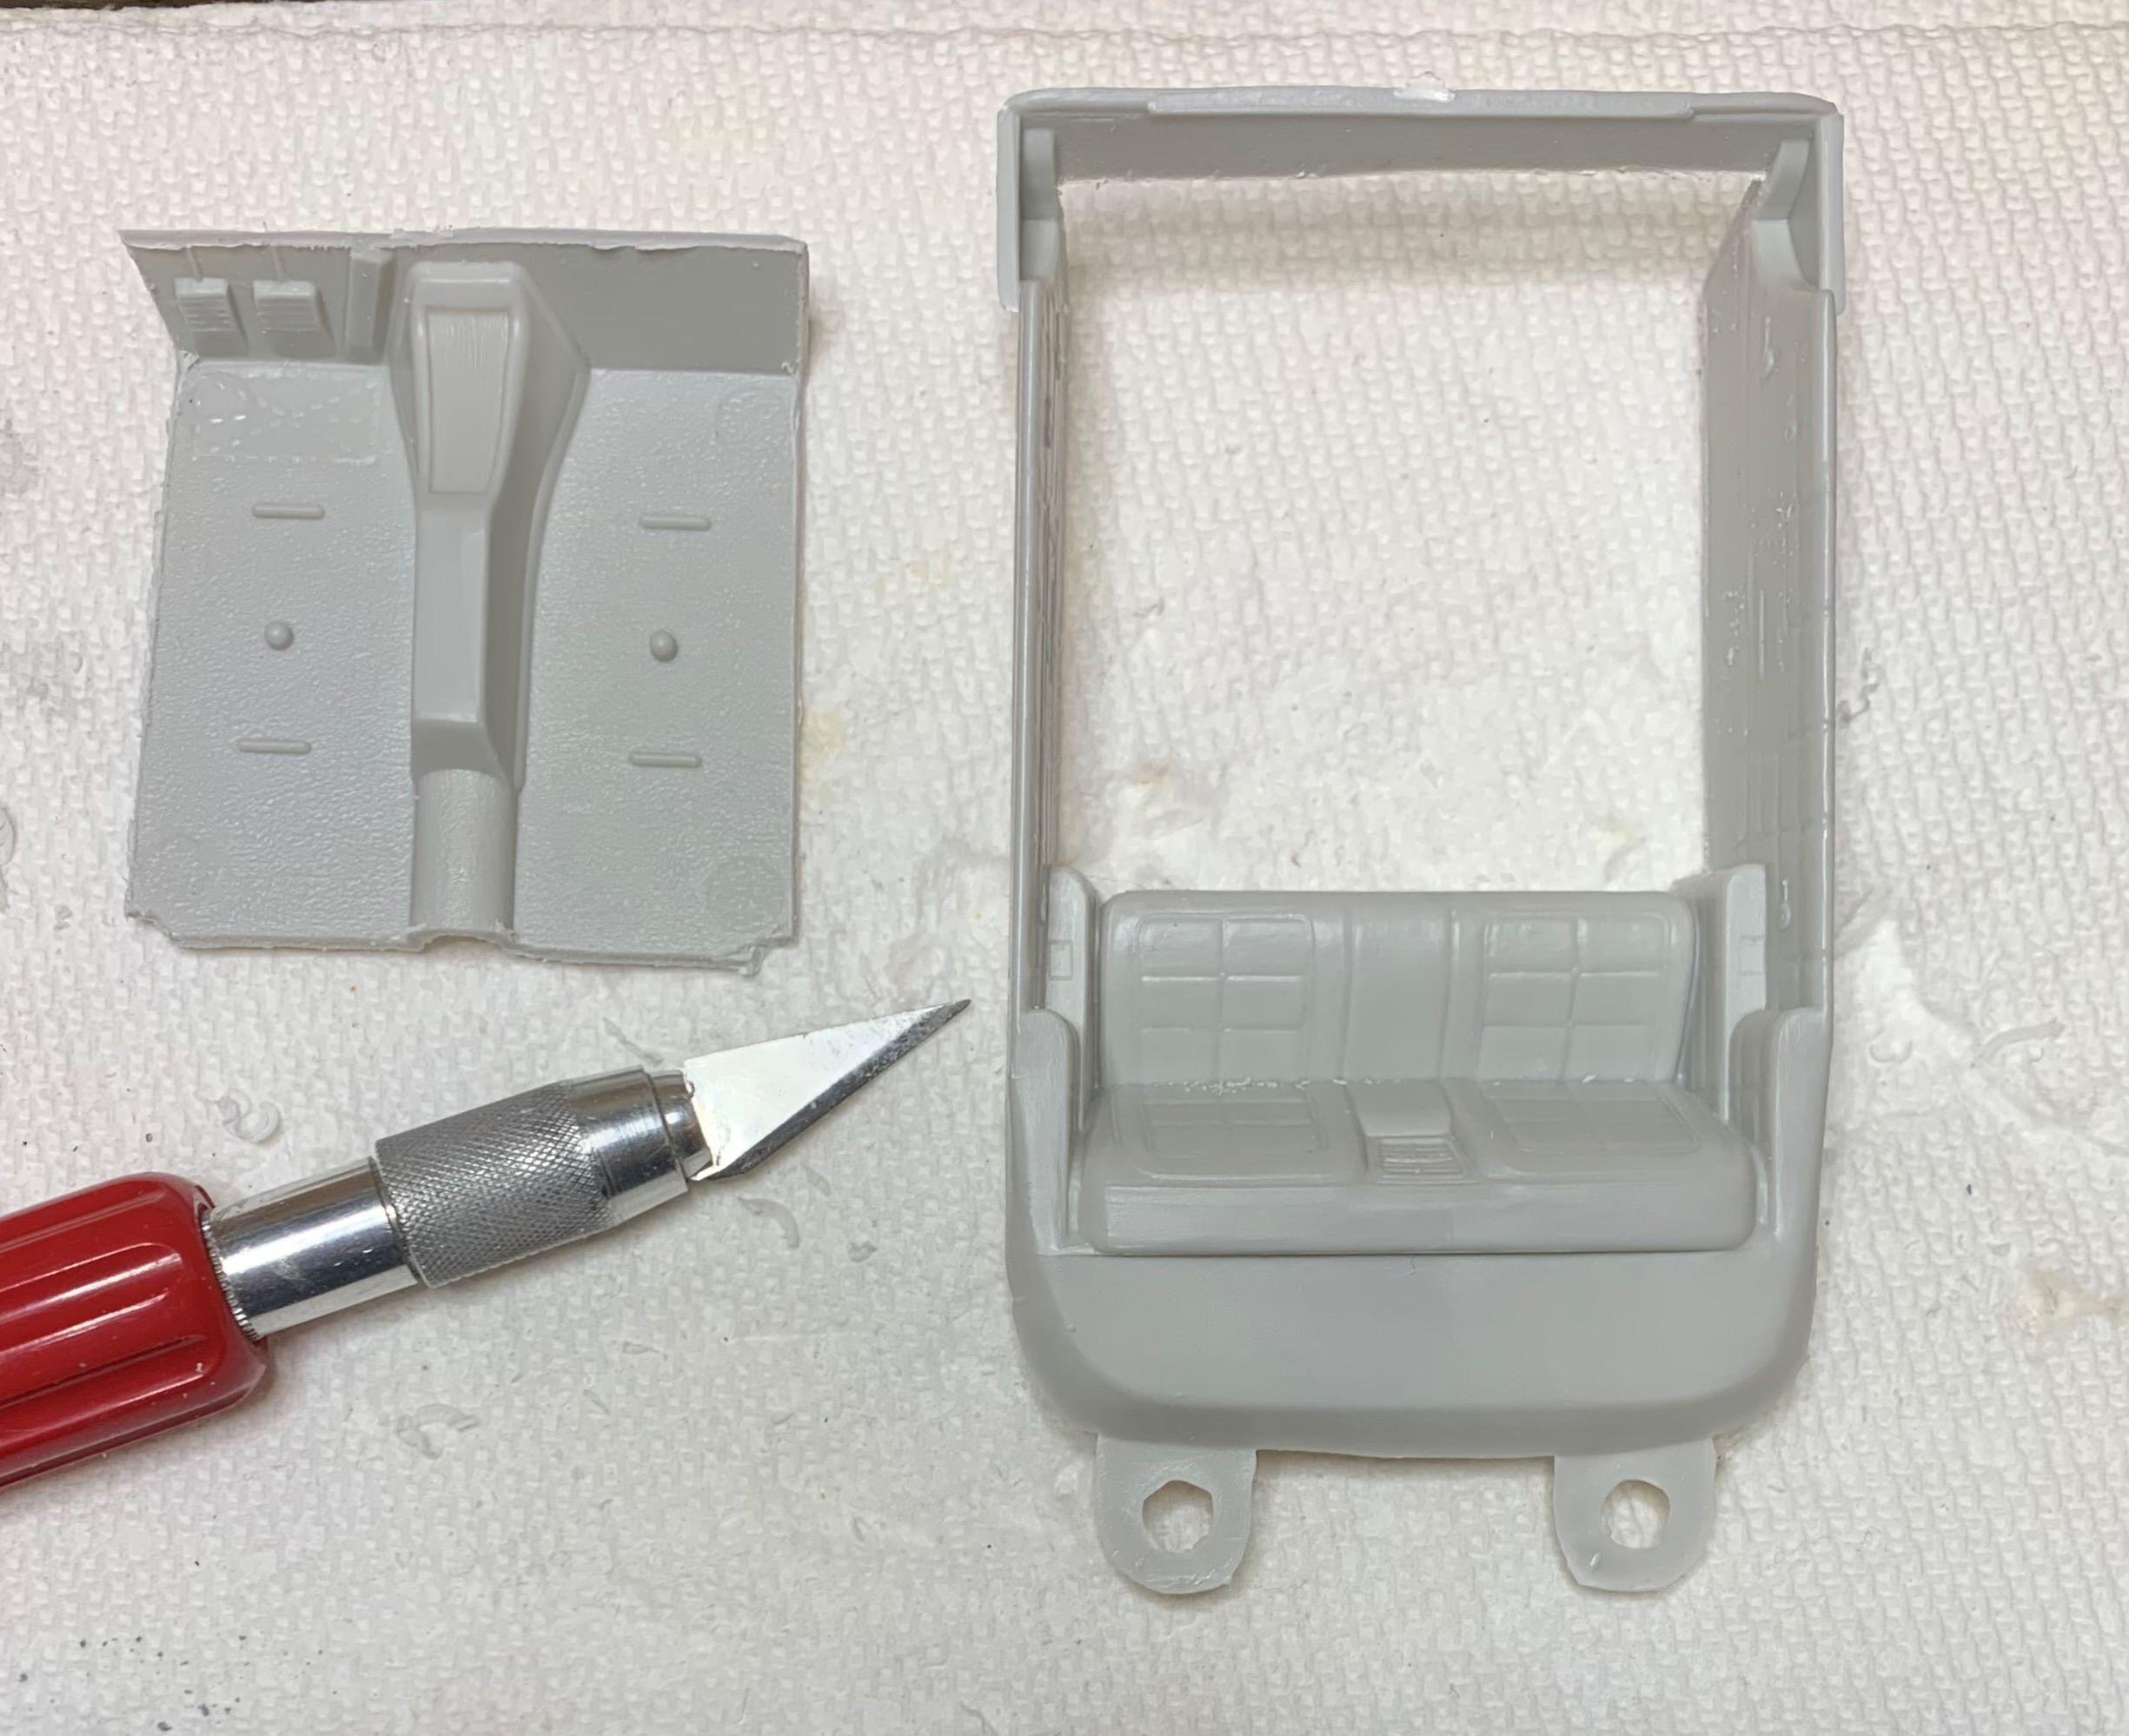
Work on the front seat has begun. First I cut both the front and rear parts into separate seats. Then I filled in where it will show, being separated. Next I added some height so they sit even with the rear seat.
-
That I cannot say for sure.
-
have the rear seat fitted with styrene bits to minimize putty. First coat of primer needs to dry then I can start puttying. I'm liking the idea of Lincoln Continental seats for this cruiser!
-
This is the old Modelhaus '49 I built decades ago, far less detail than the new kit, but I still made a nice shelf model out of mine. They of course are no longer available. I might even get this new kit to add to my Caddy collection, it looks fantastic and I've seen the Tucker in person, which is also fantastic! Modelhaus kit had chrome headlights, I substituted the buckets and lenses from AMTs '51 Chevy.
-
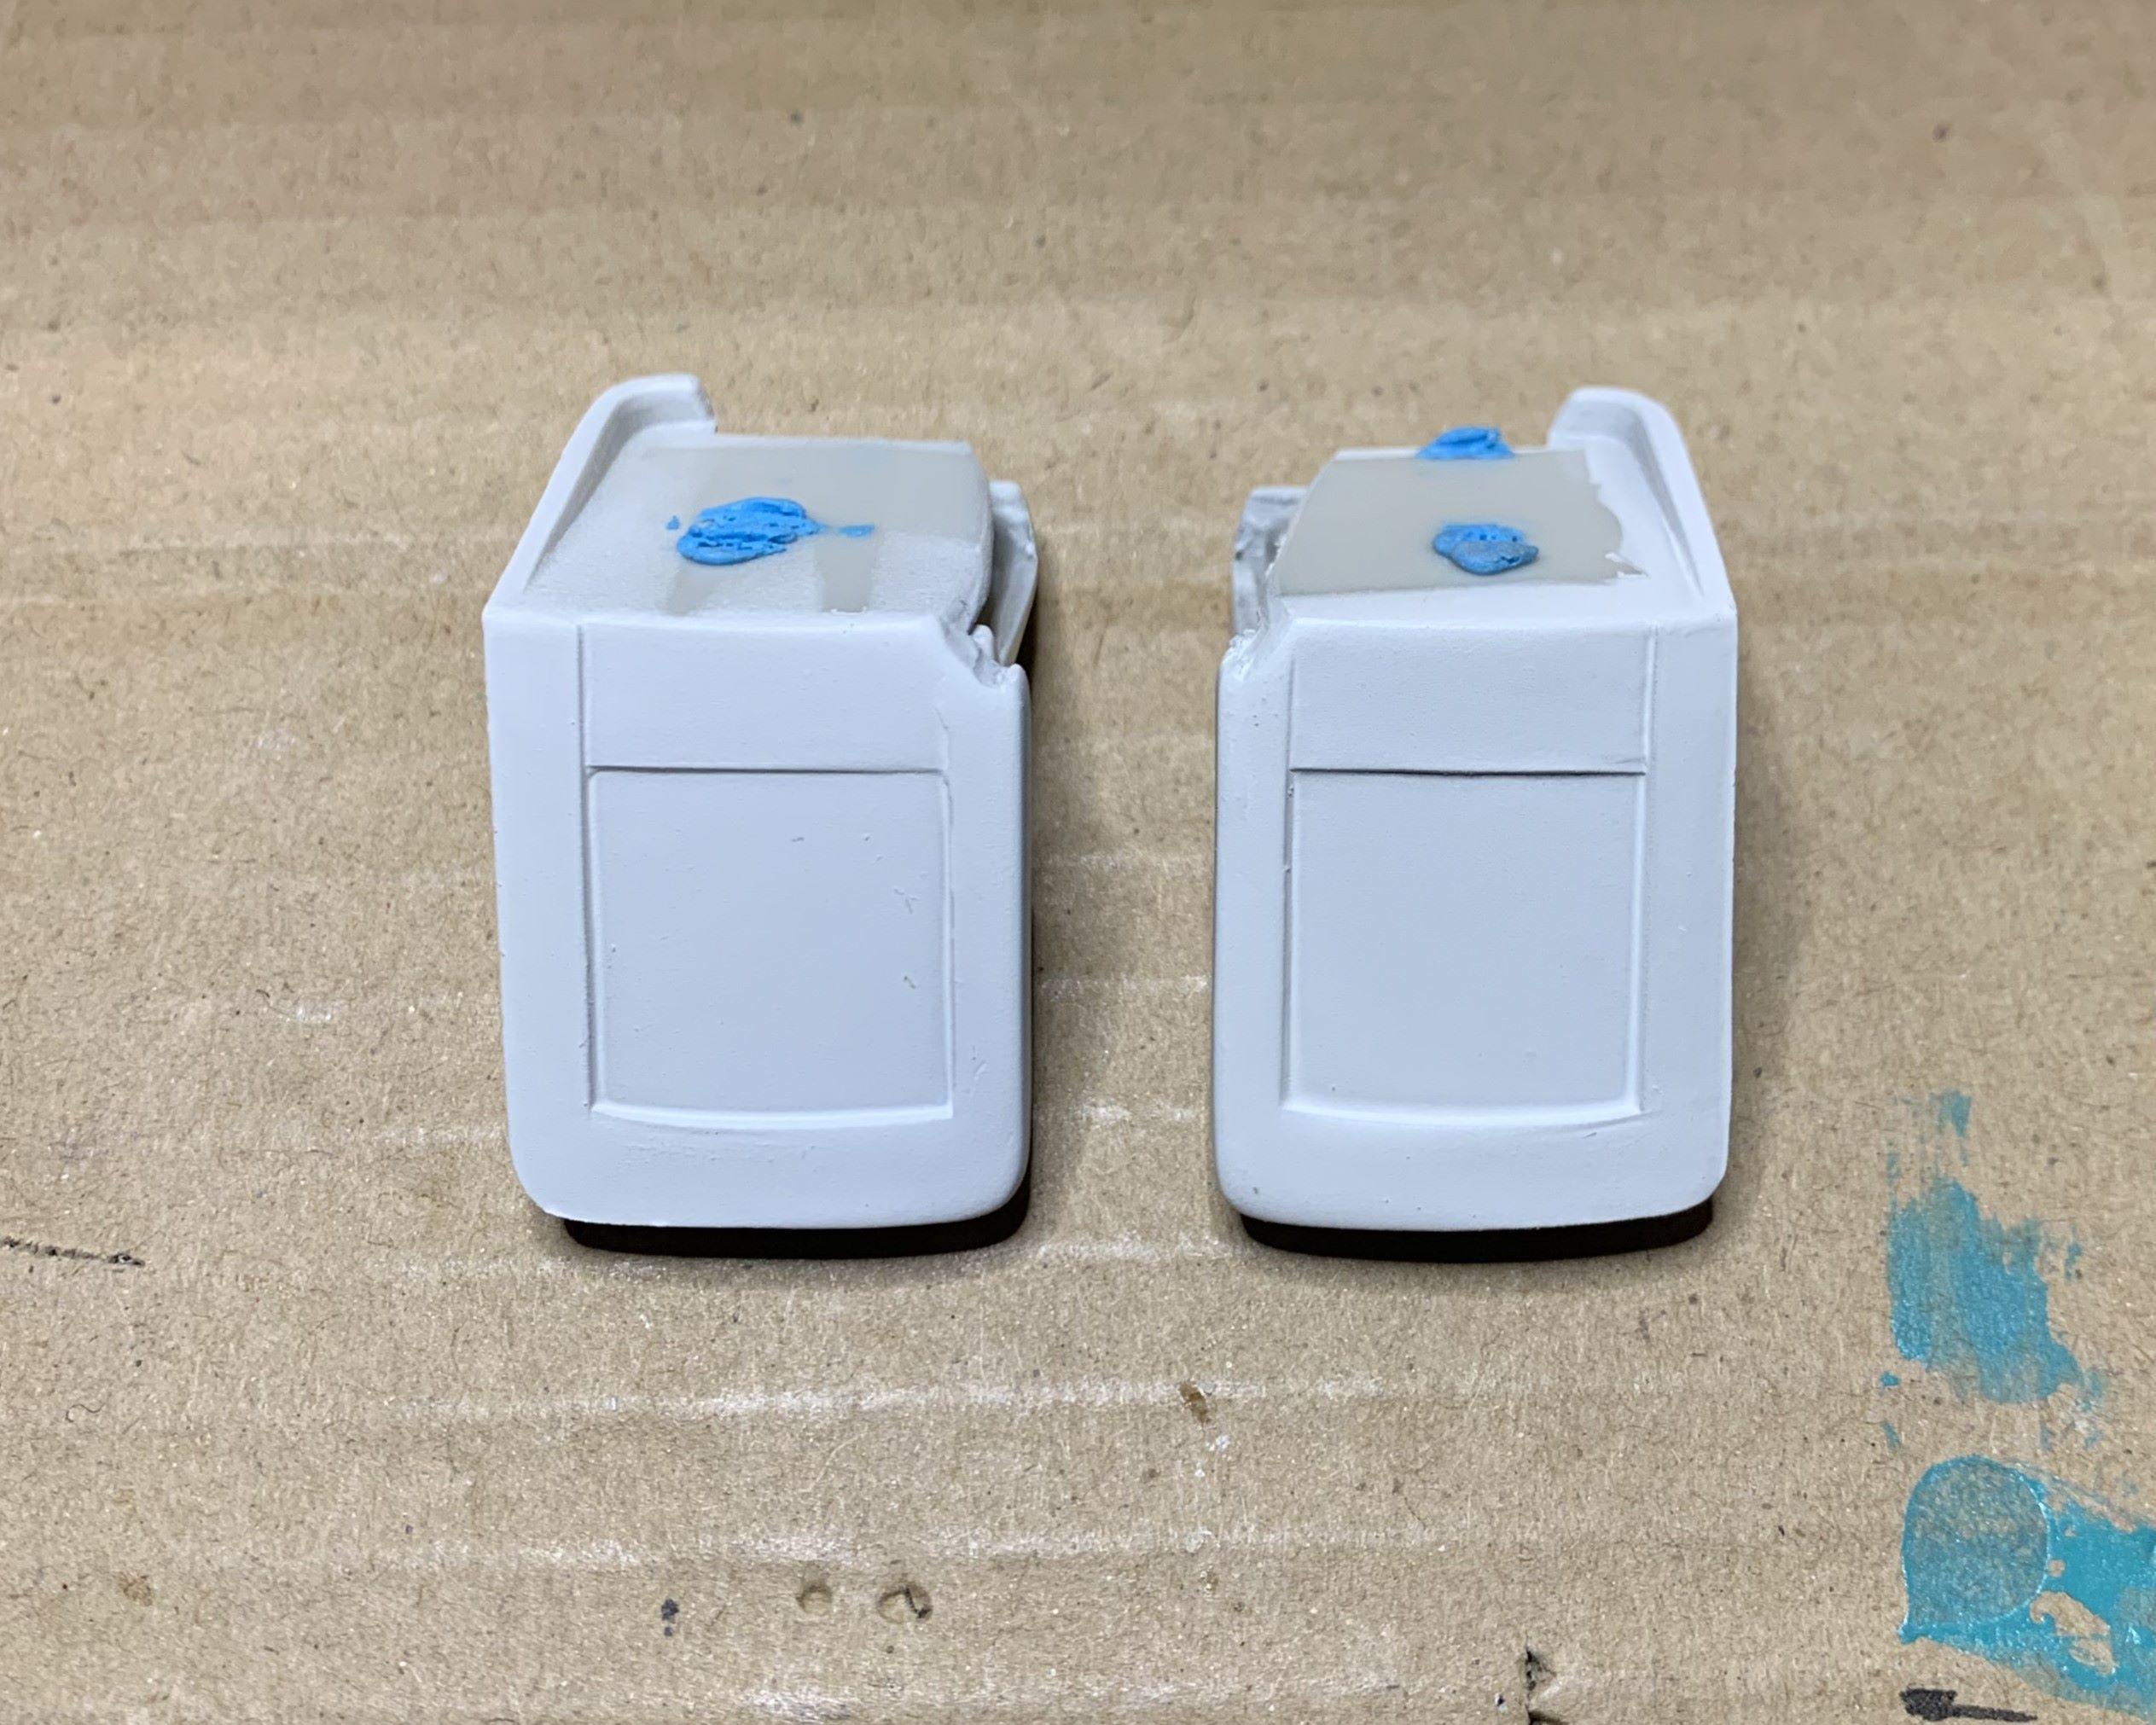
So as per the title, "Who knows how it'll turn out" I really still don't have a vision, I'm just making it up as I go. Looking for front seats, Enzo ones are too racy, Mustang ones are either too small or too tall! It's NOT a muscle car, it really has no distinct identity, but It IS a cruiser, so why not fit some Lincoln Continental seats? Why not indeed. Let's get to it then, call it plan B!
-
Not sure what you're asking. This is a body only I found with the top already chopped. It was in a box of junk I bought about 15 years ago!
-
Okay, I filled in around the rear seat. It's just "roughed in" but it's a start. There will be putty, but this is all I can do today, let the glue dry overnight, so until tomorrow, cheers!
-
No completions for '24, but 4 a little closer
dino246gt replied to Ace-Garageguy's topic in WIP: Model Cars
Yeah I remember seeing ads for them like in the late 70s for $5, 6 or 7 grand, what an investment that would've been! As for yours, it's STILL a GTO! Love it! -
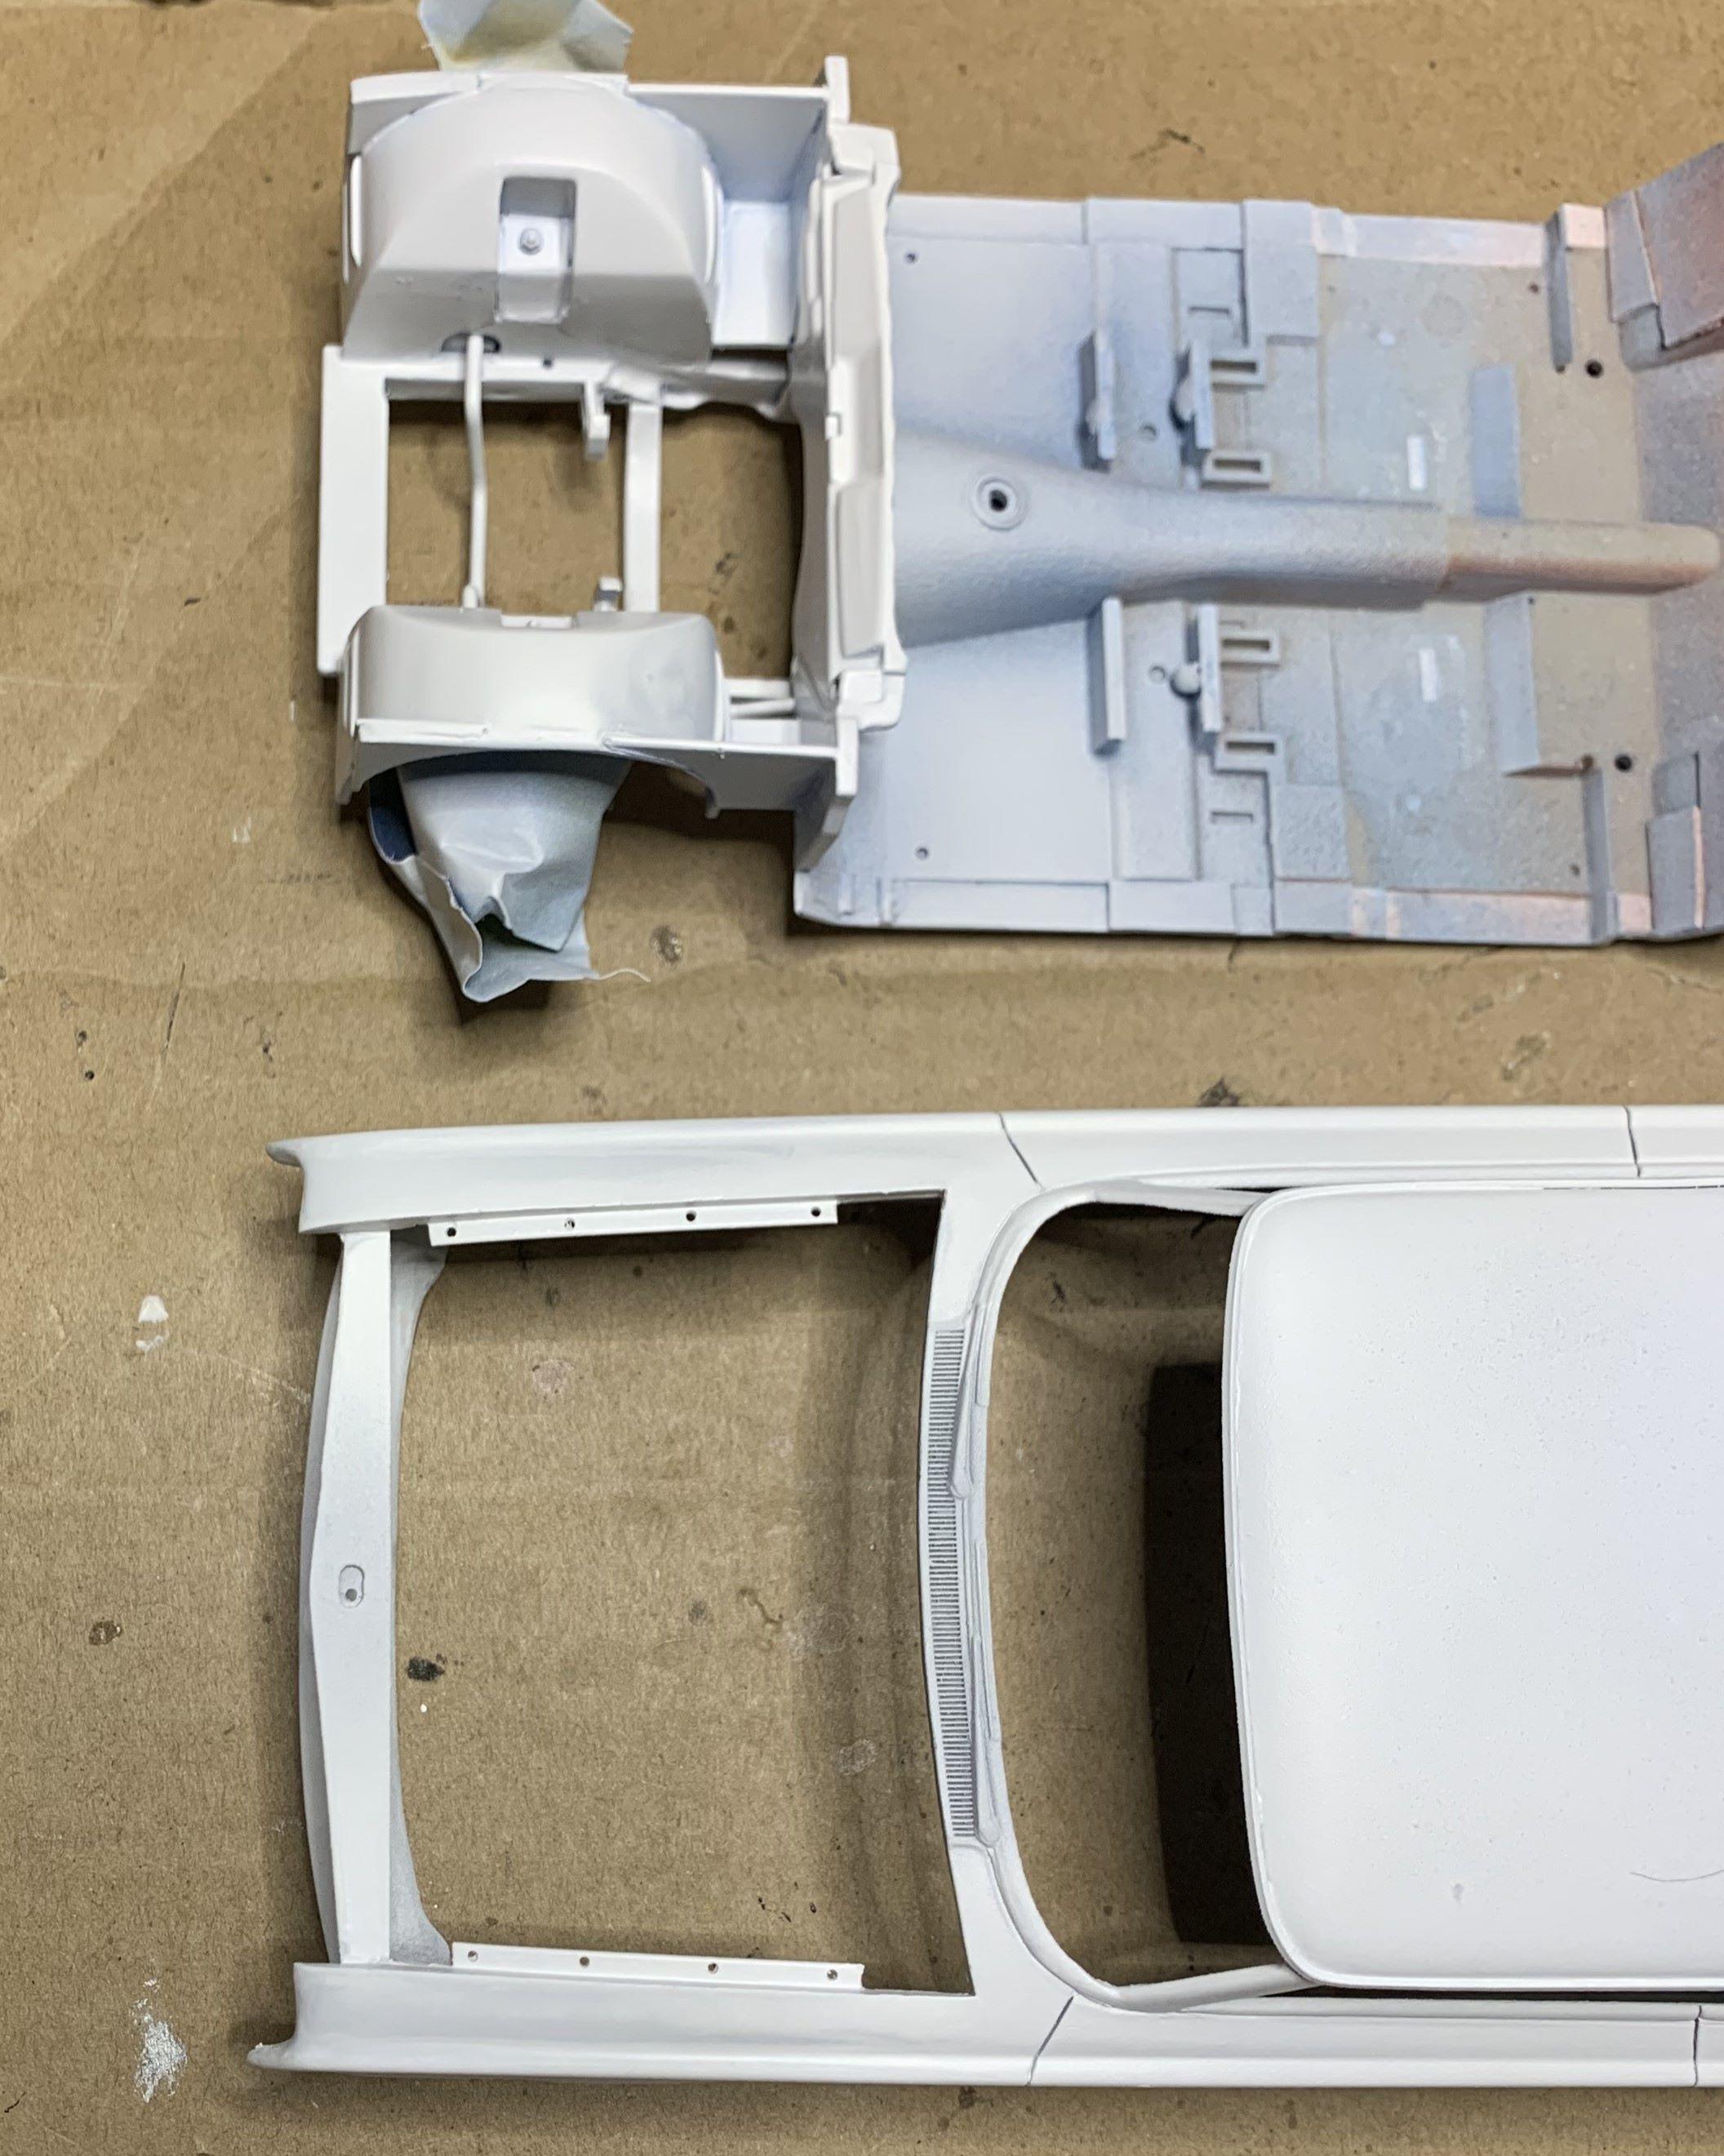
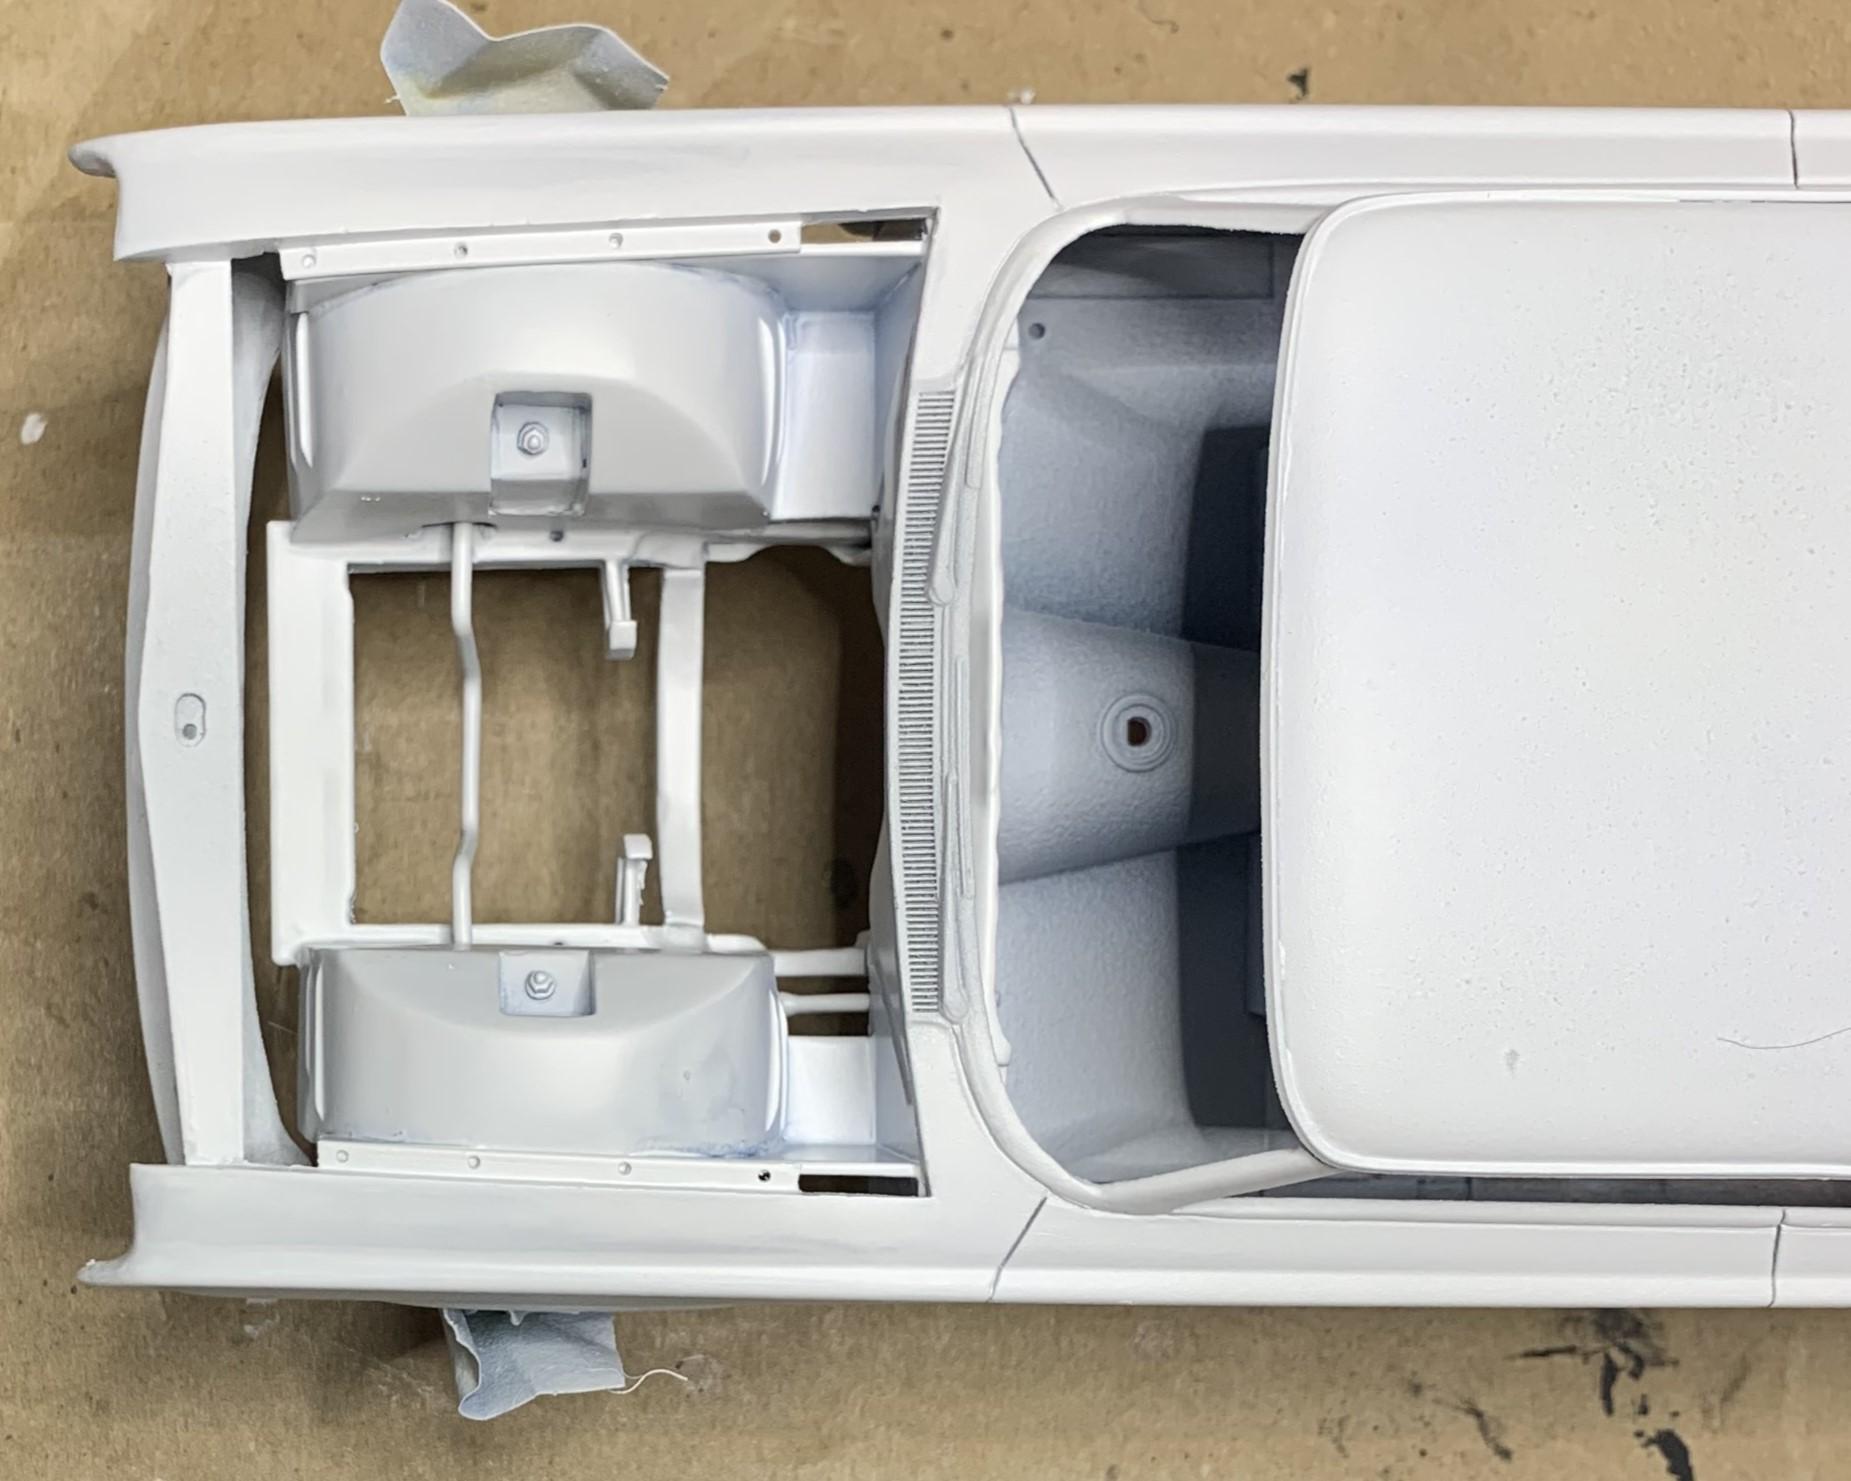
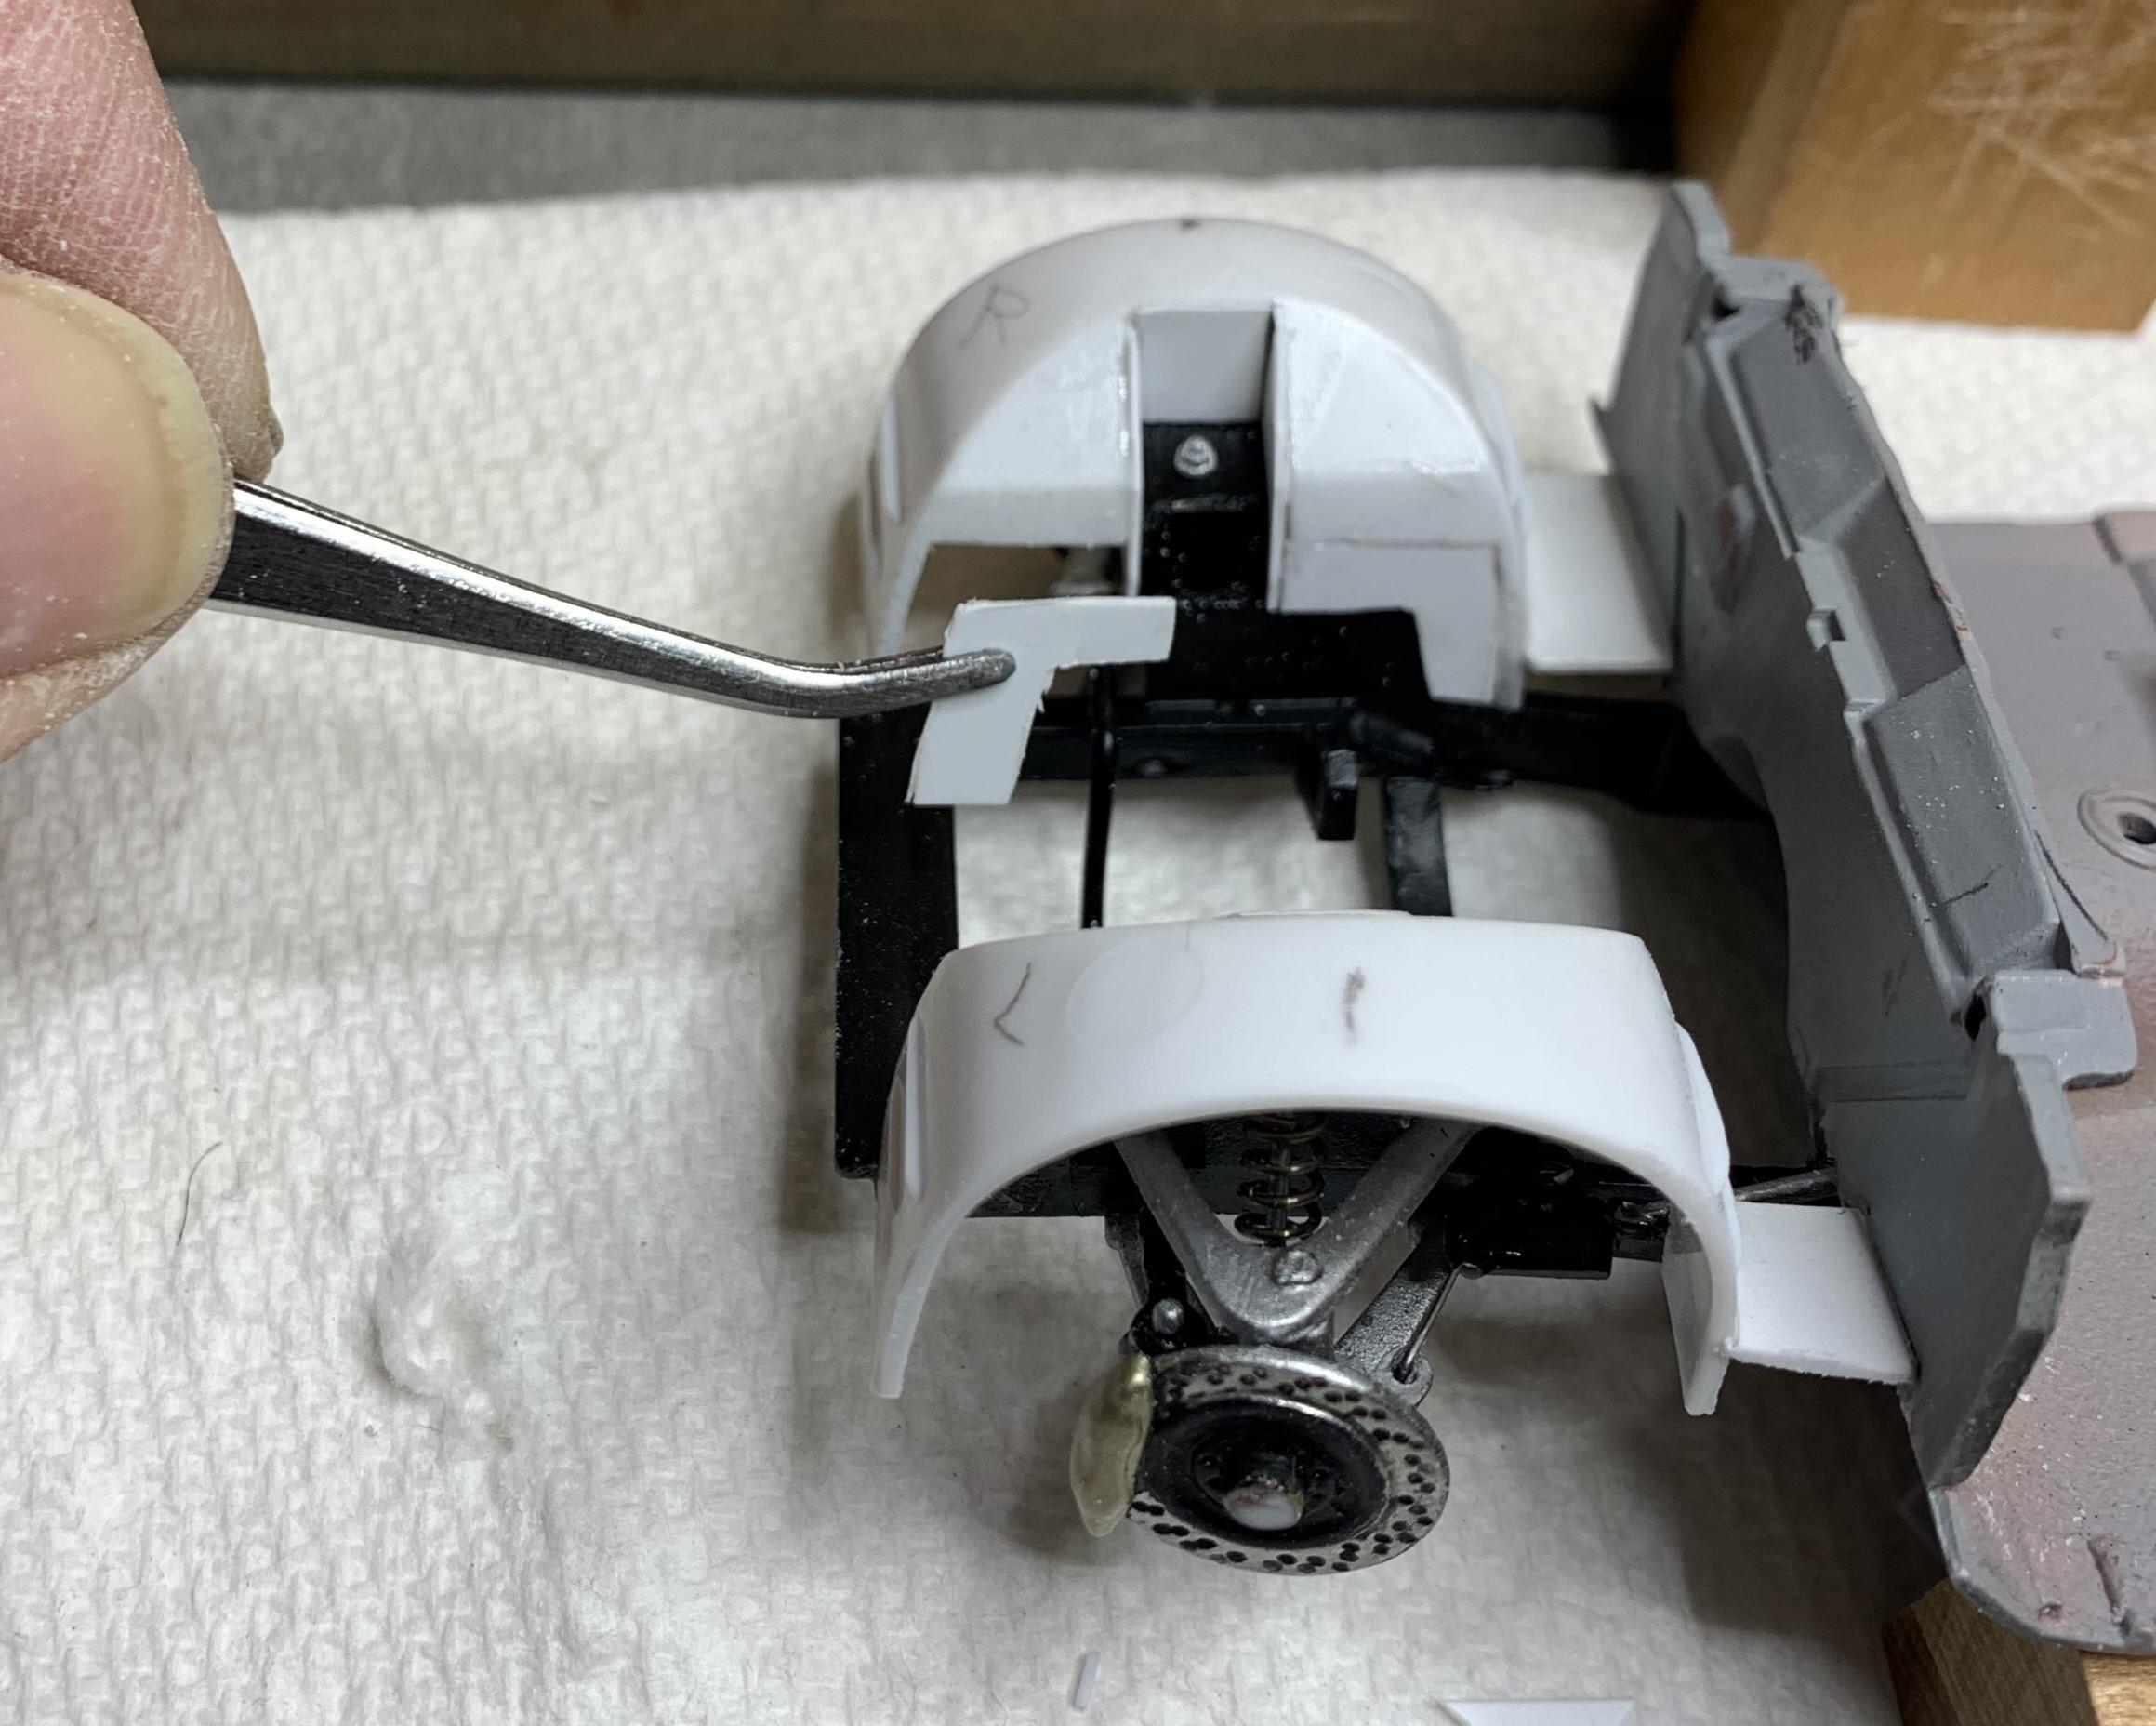
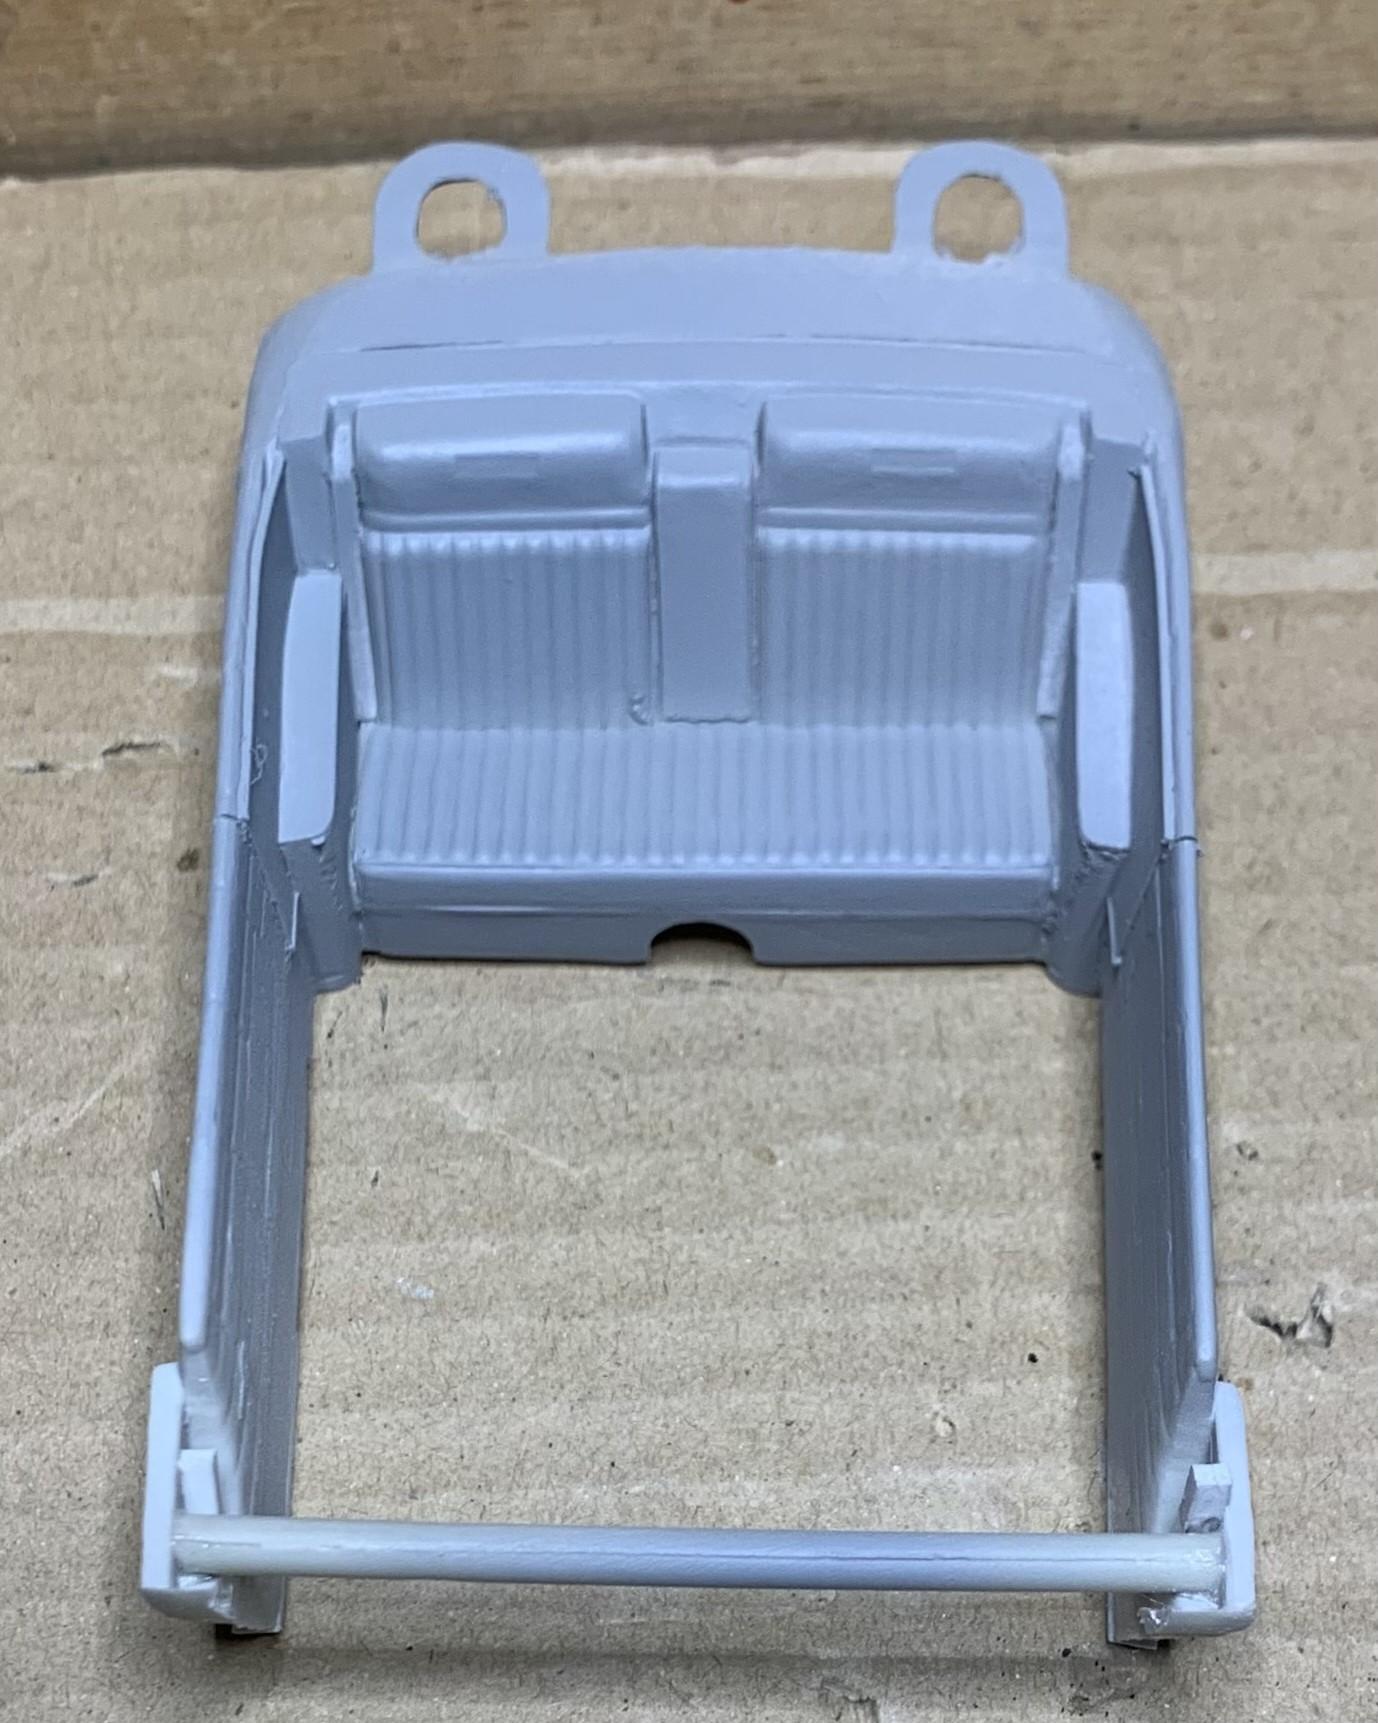
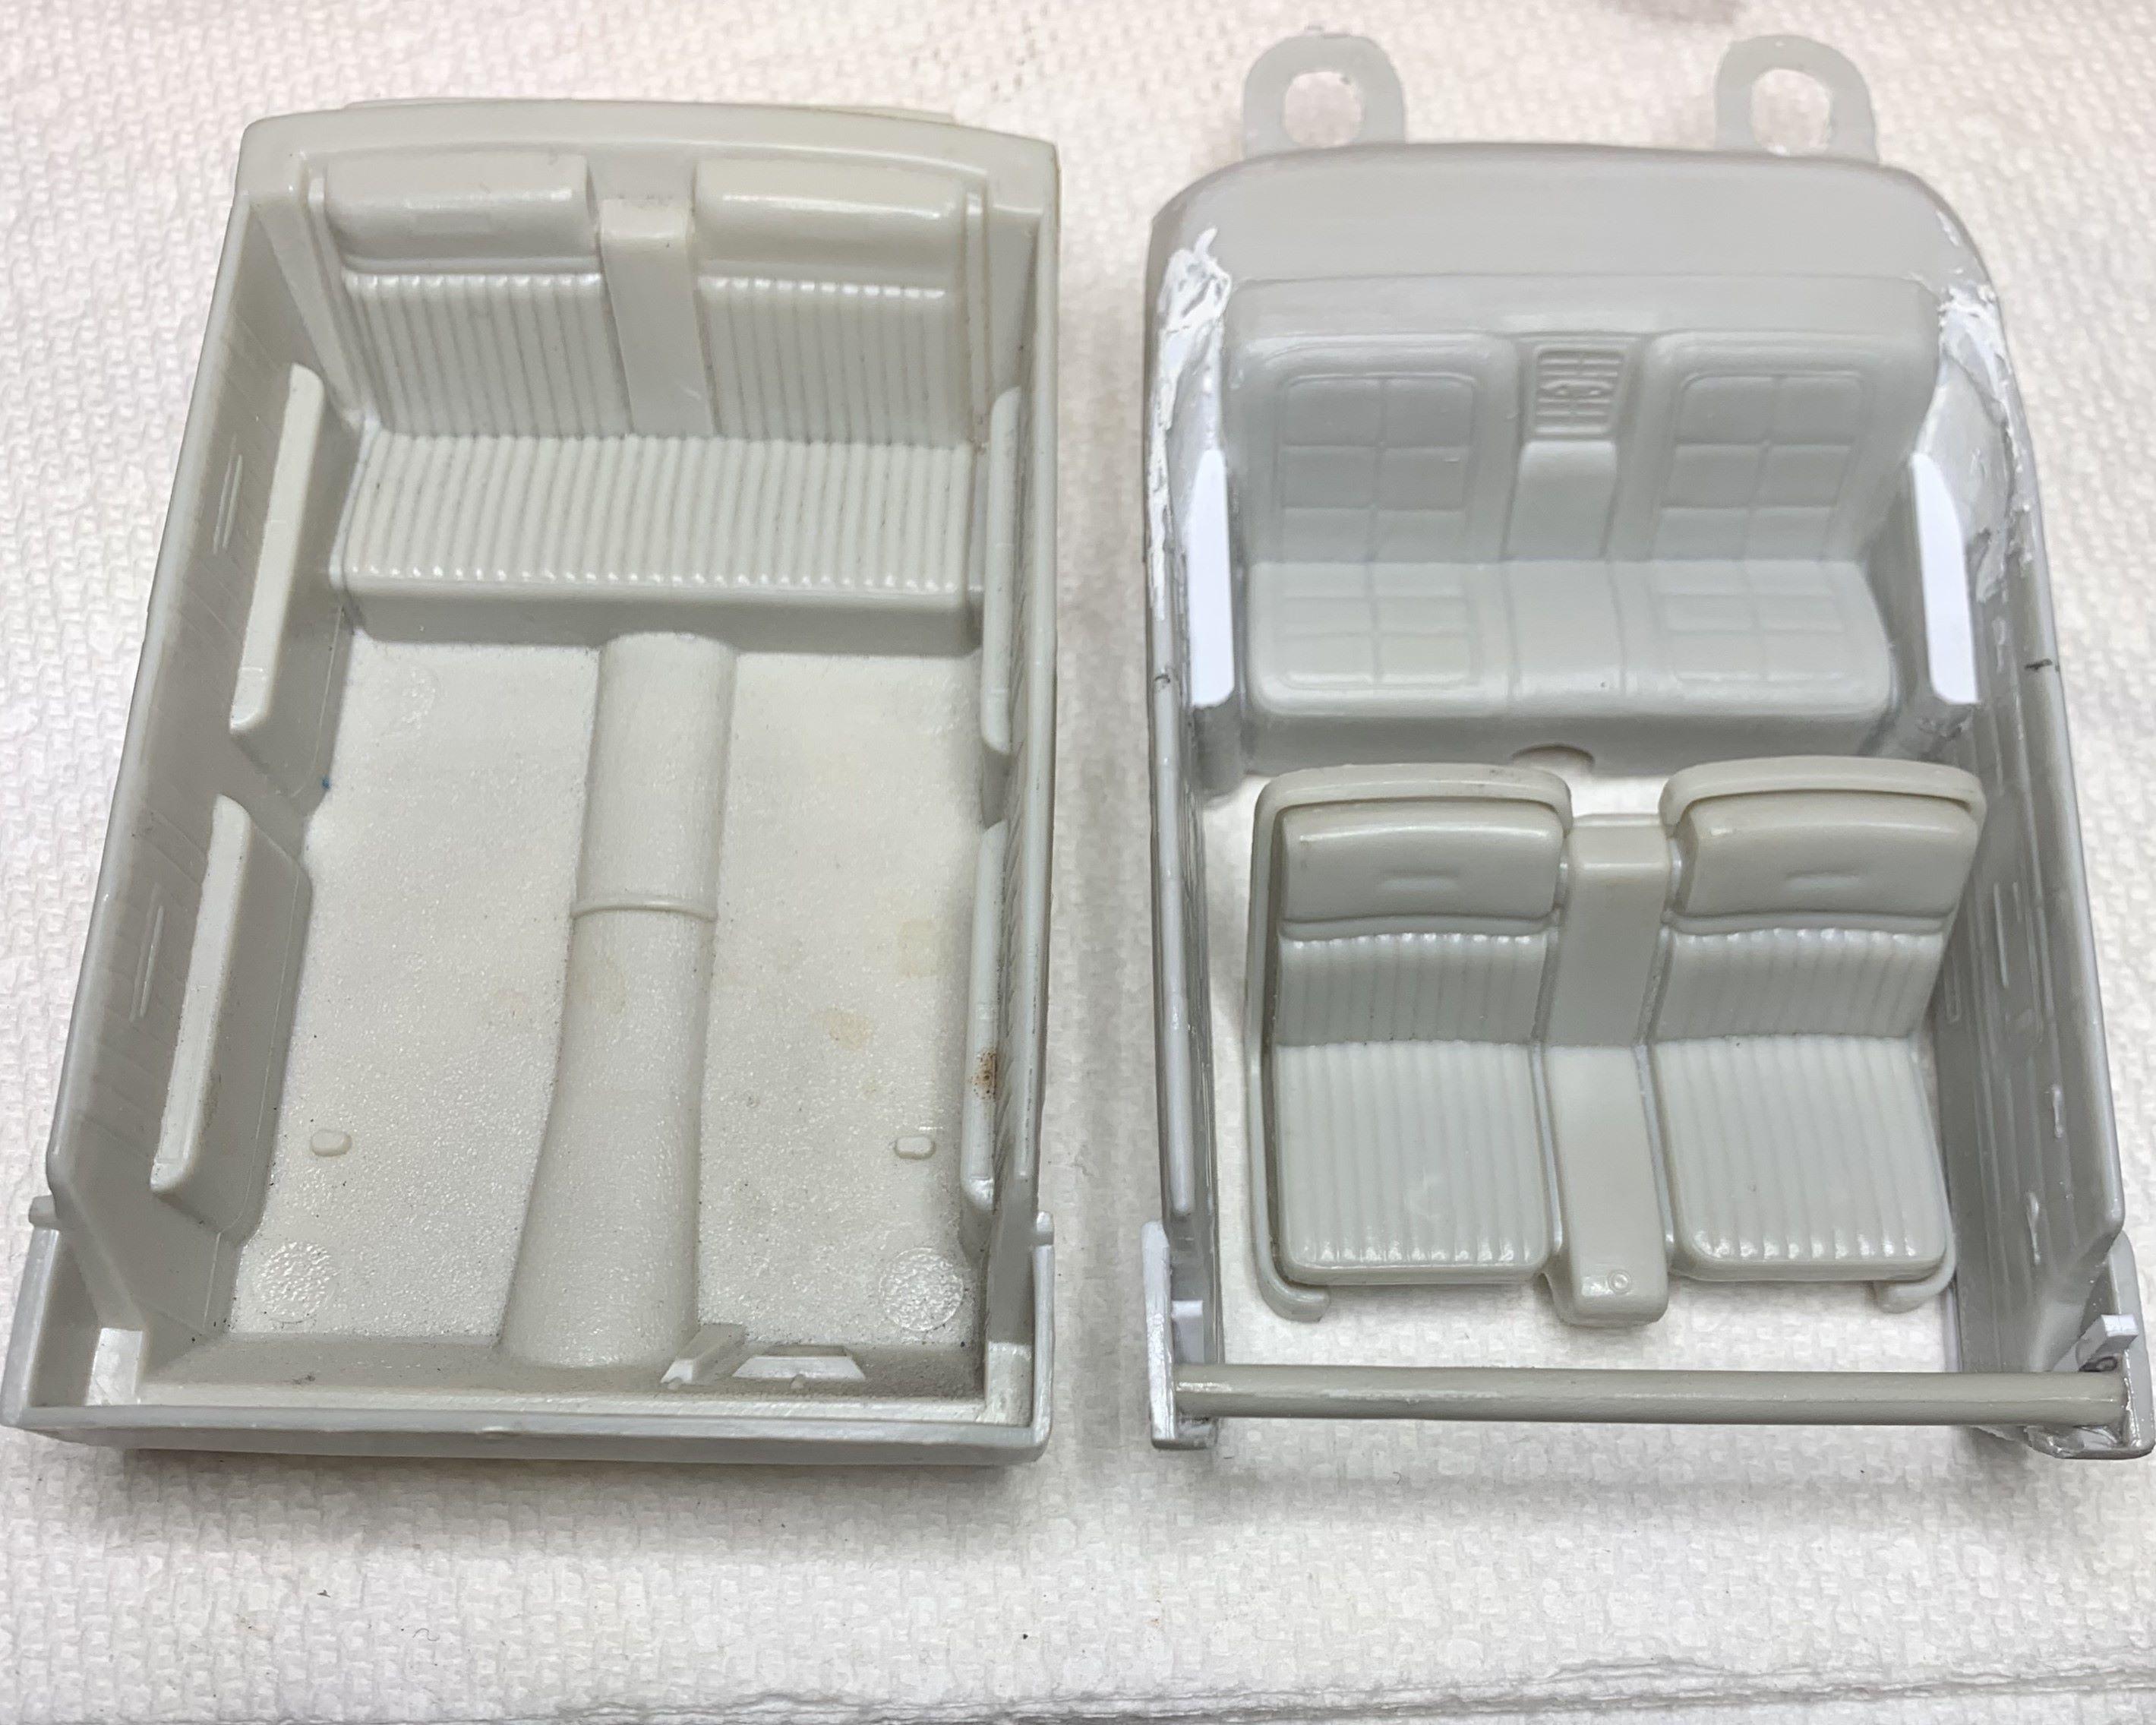
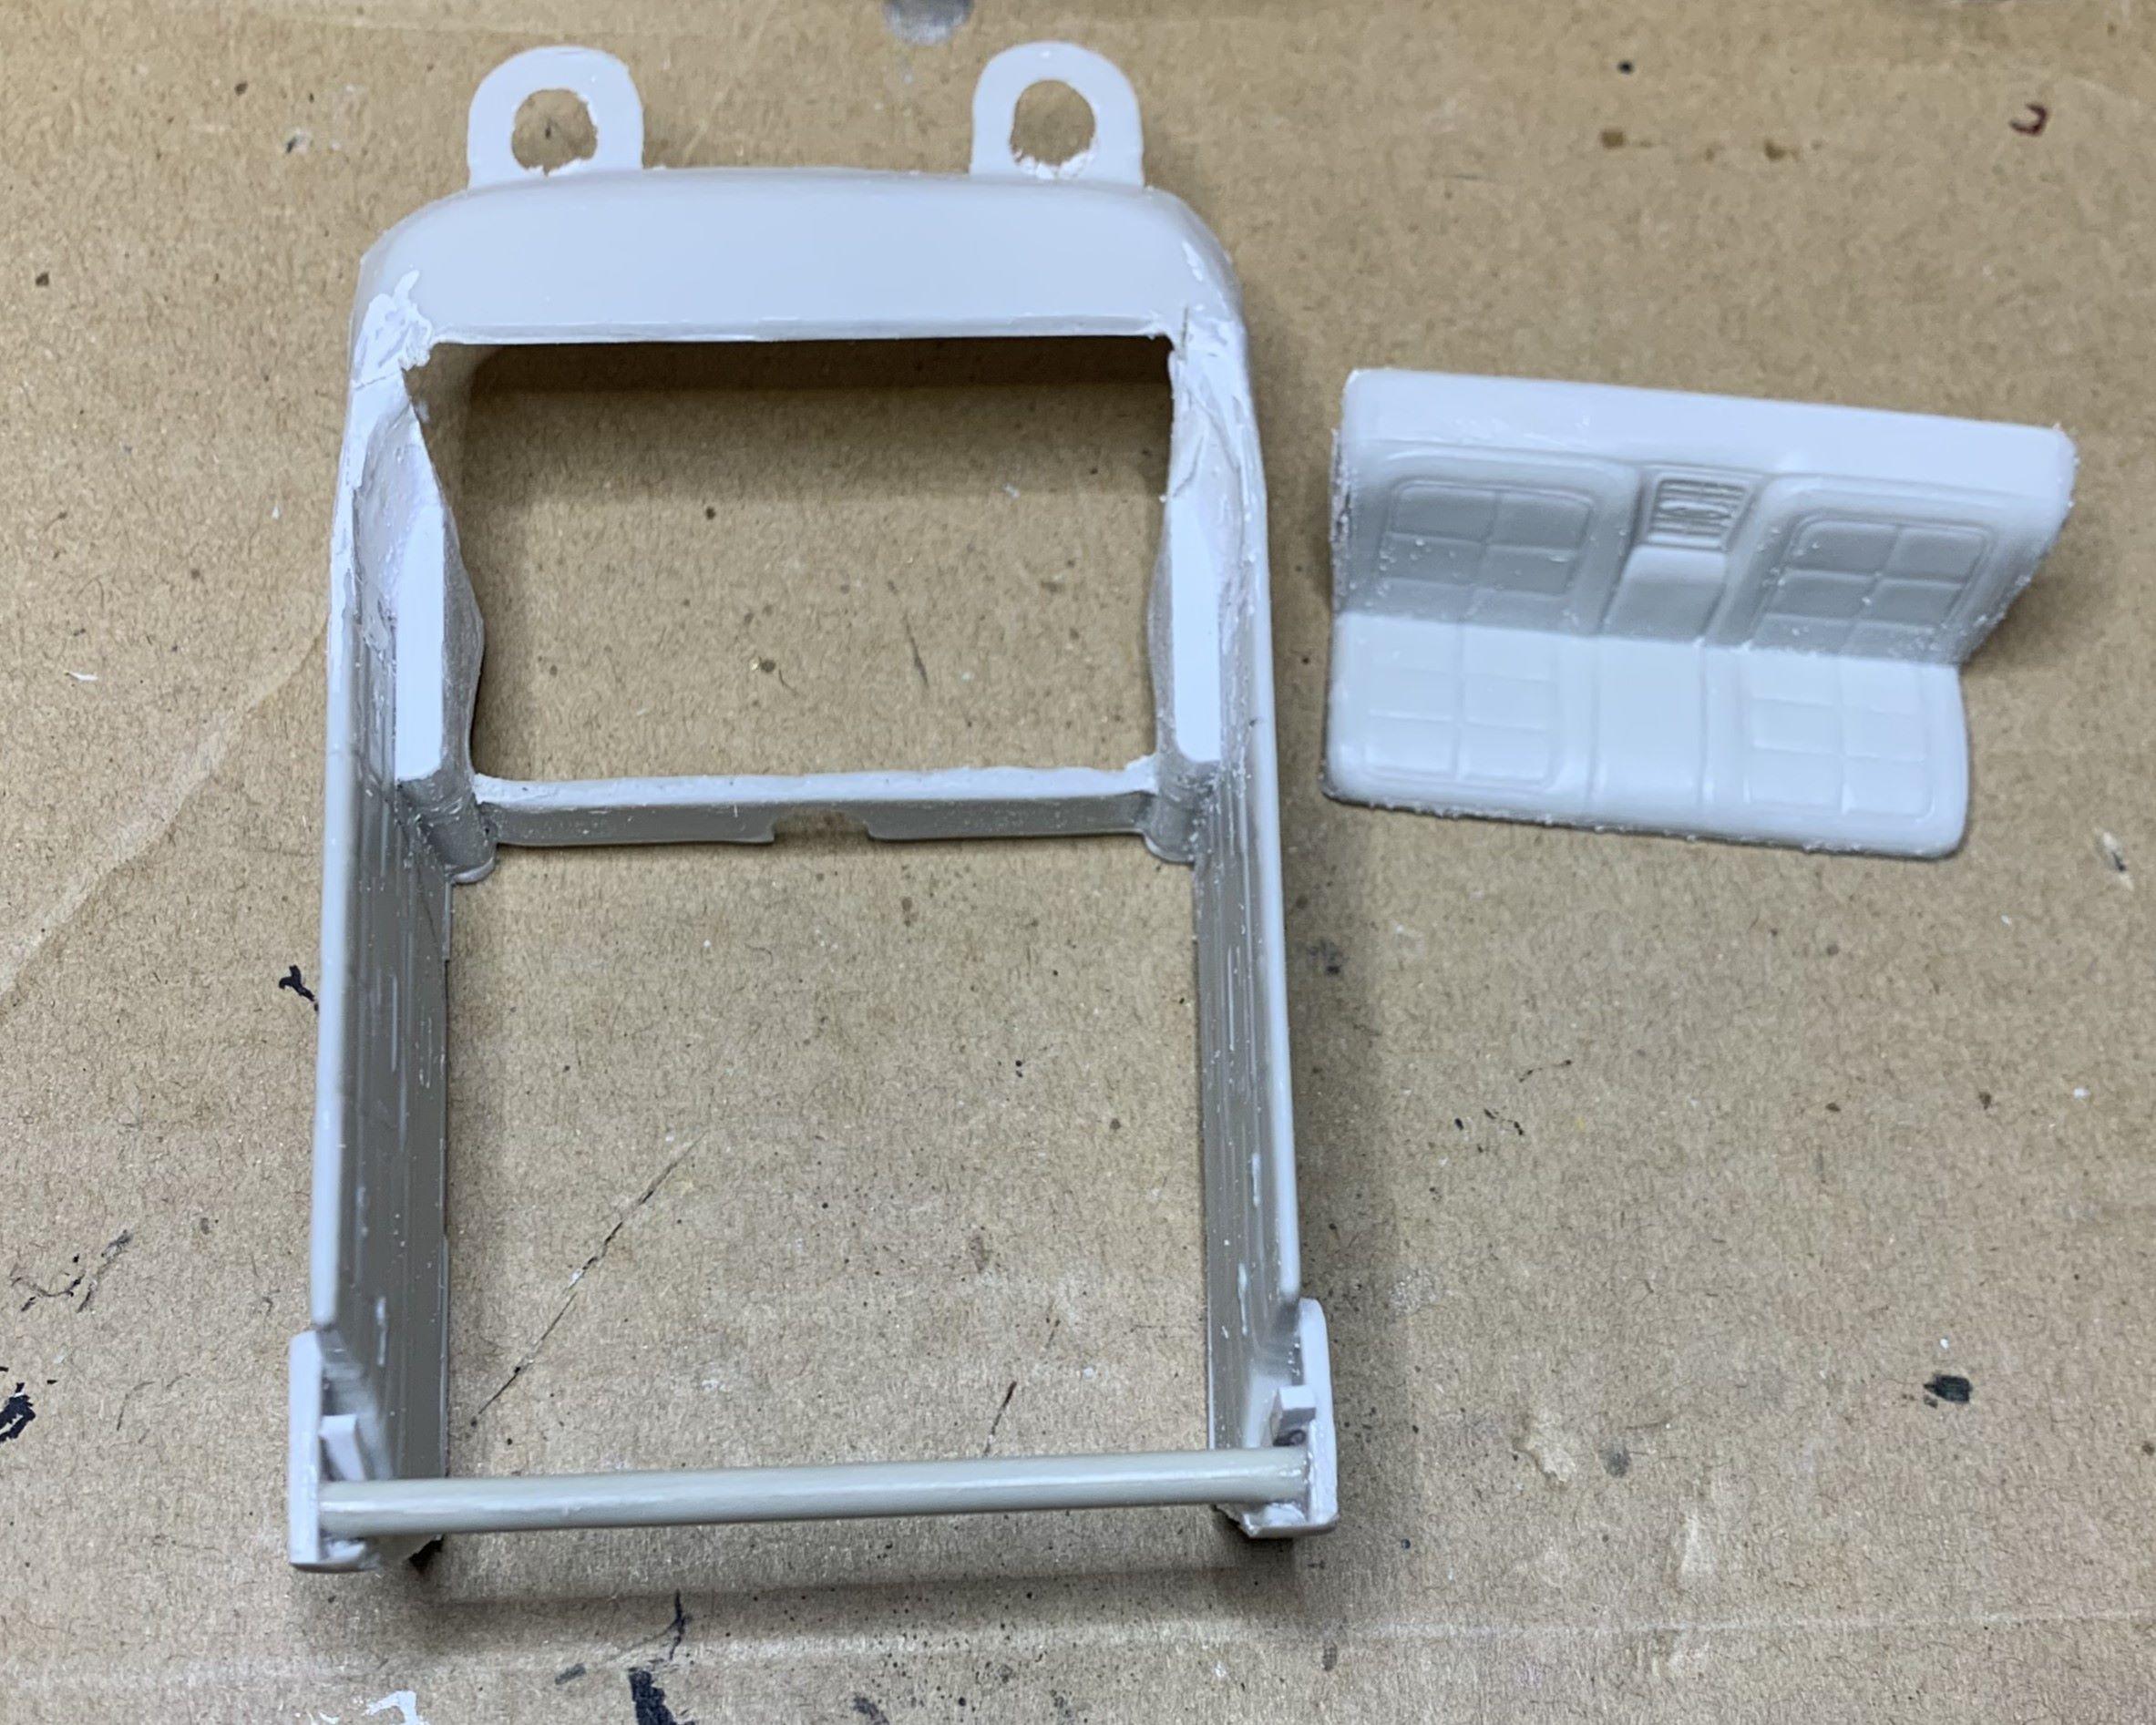
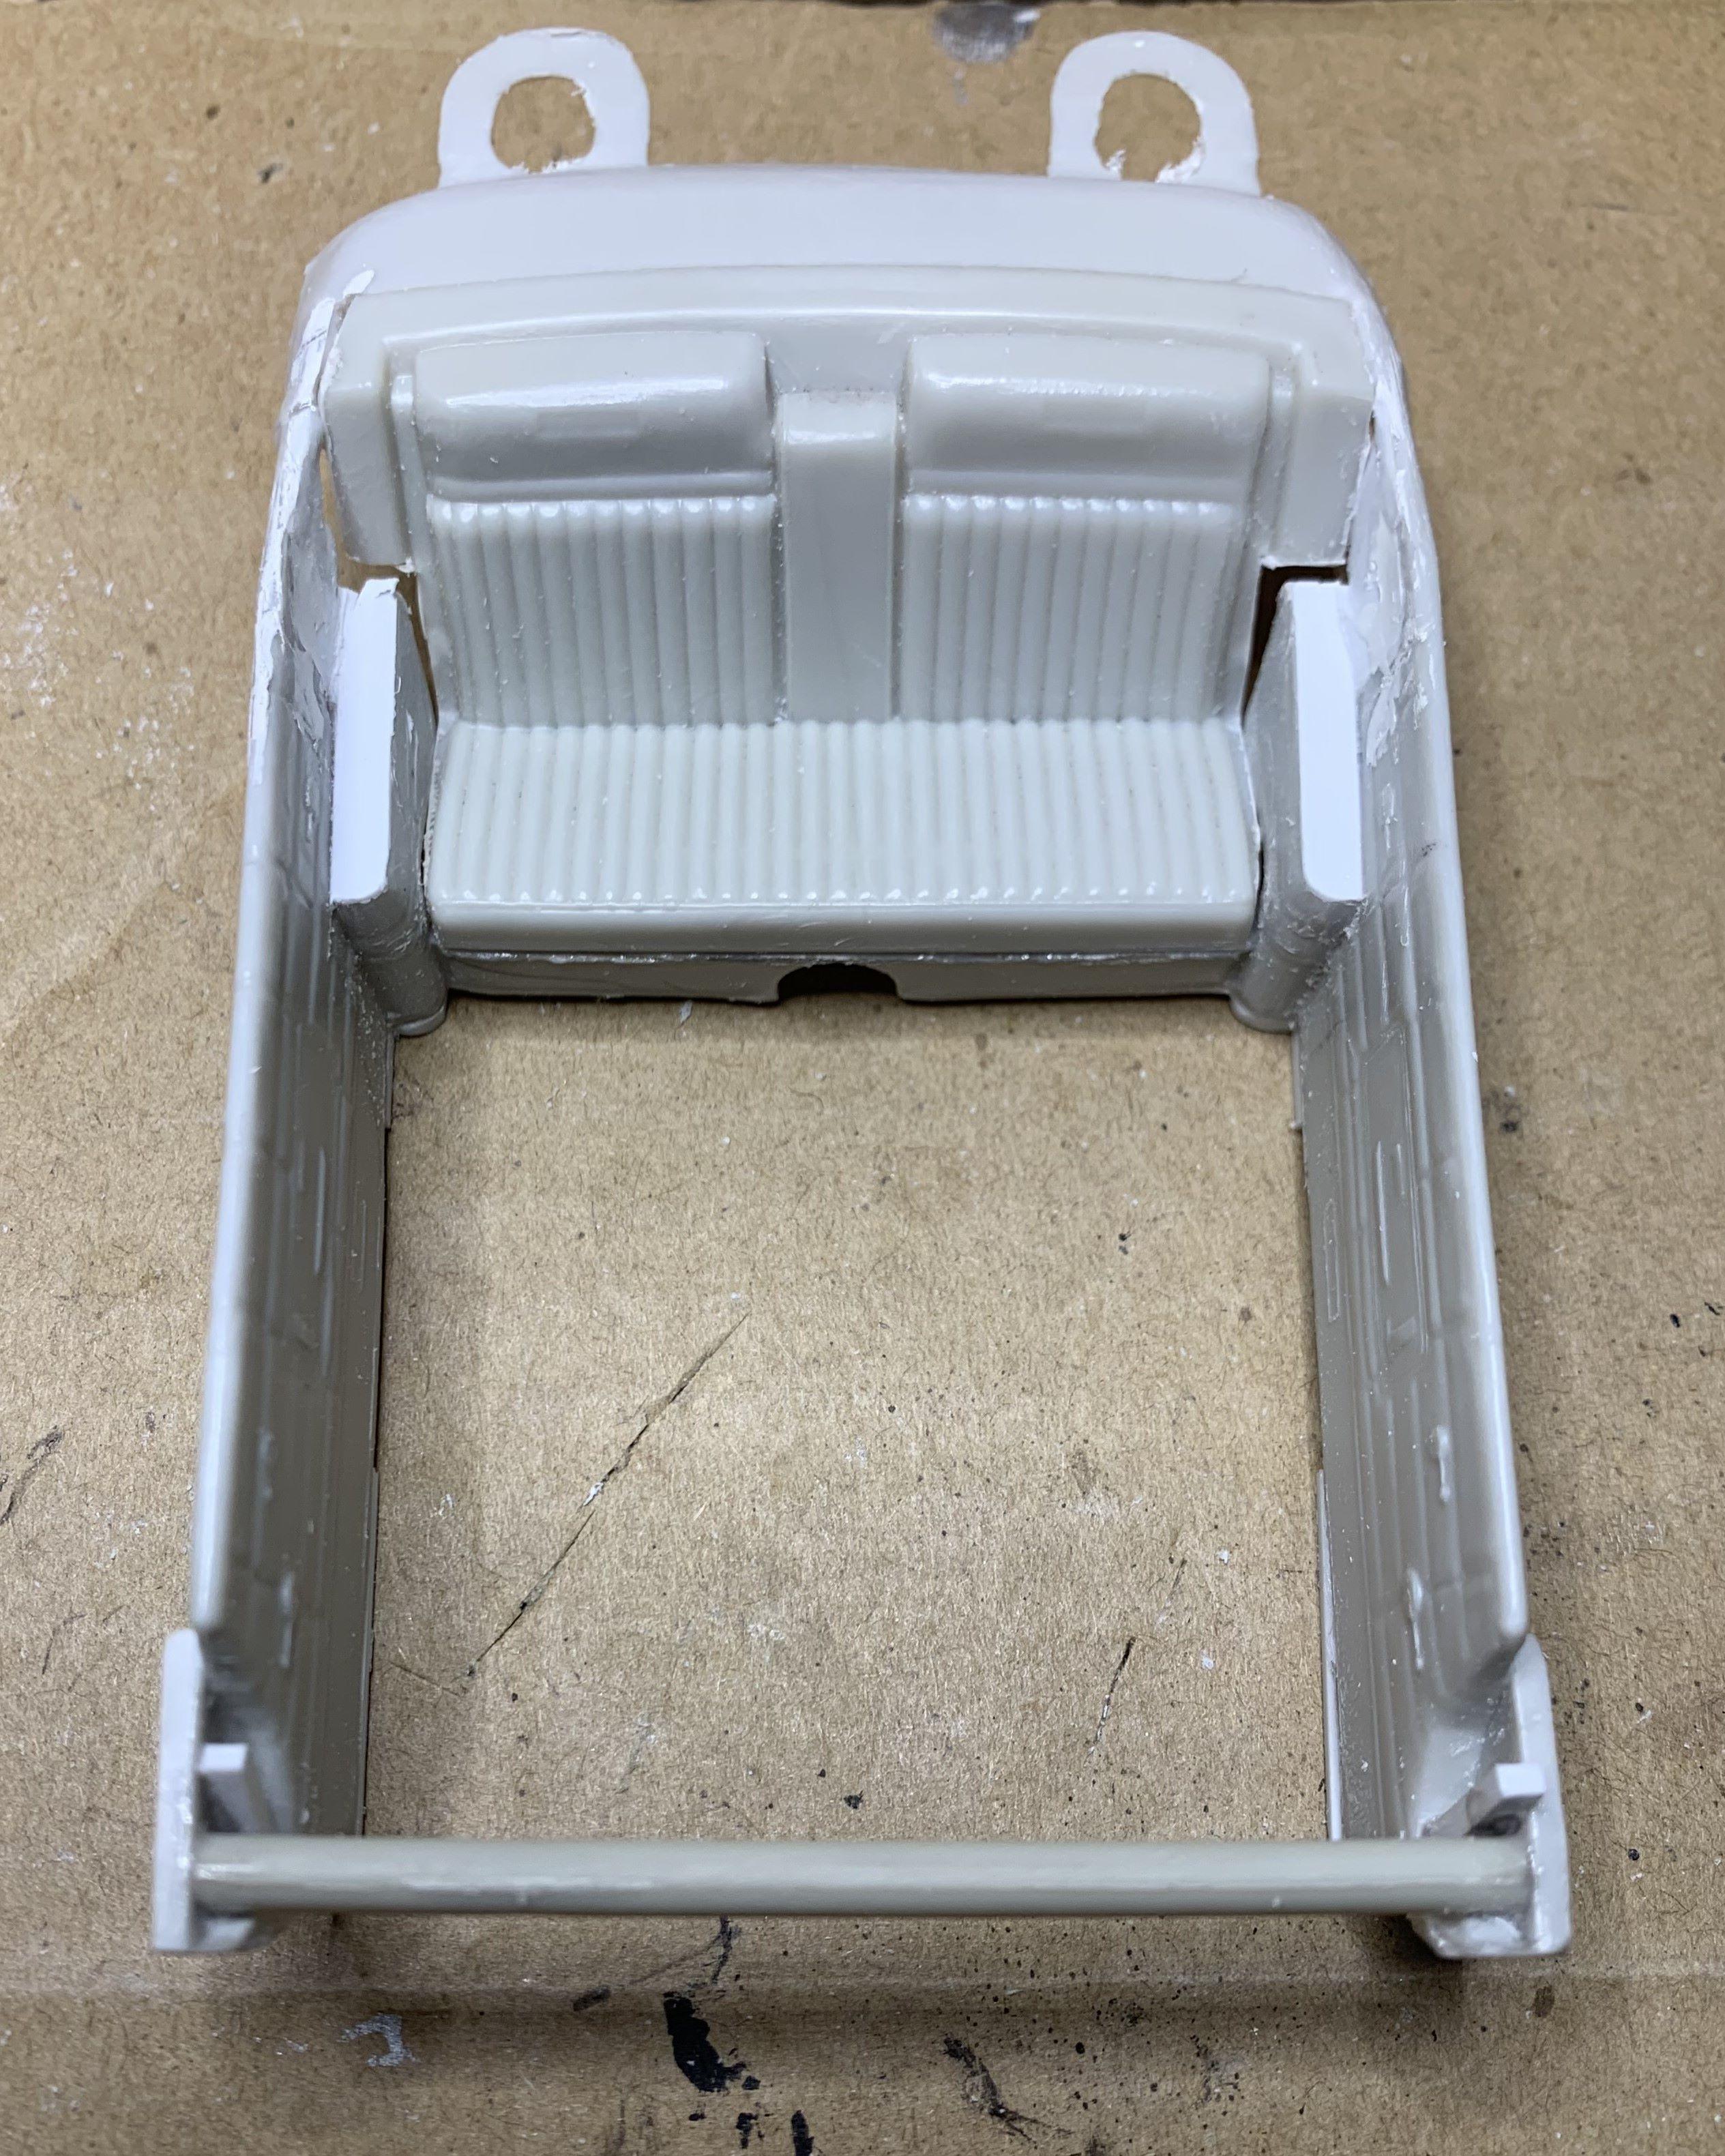
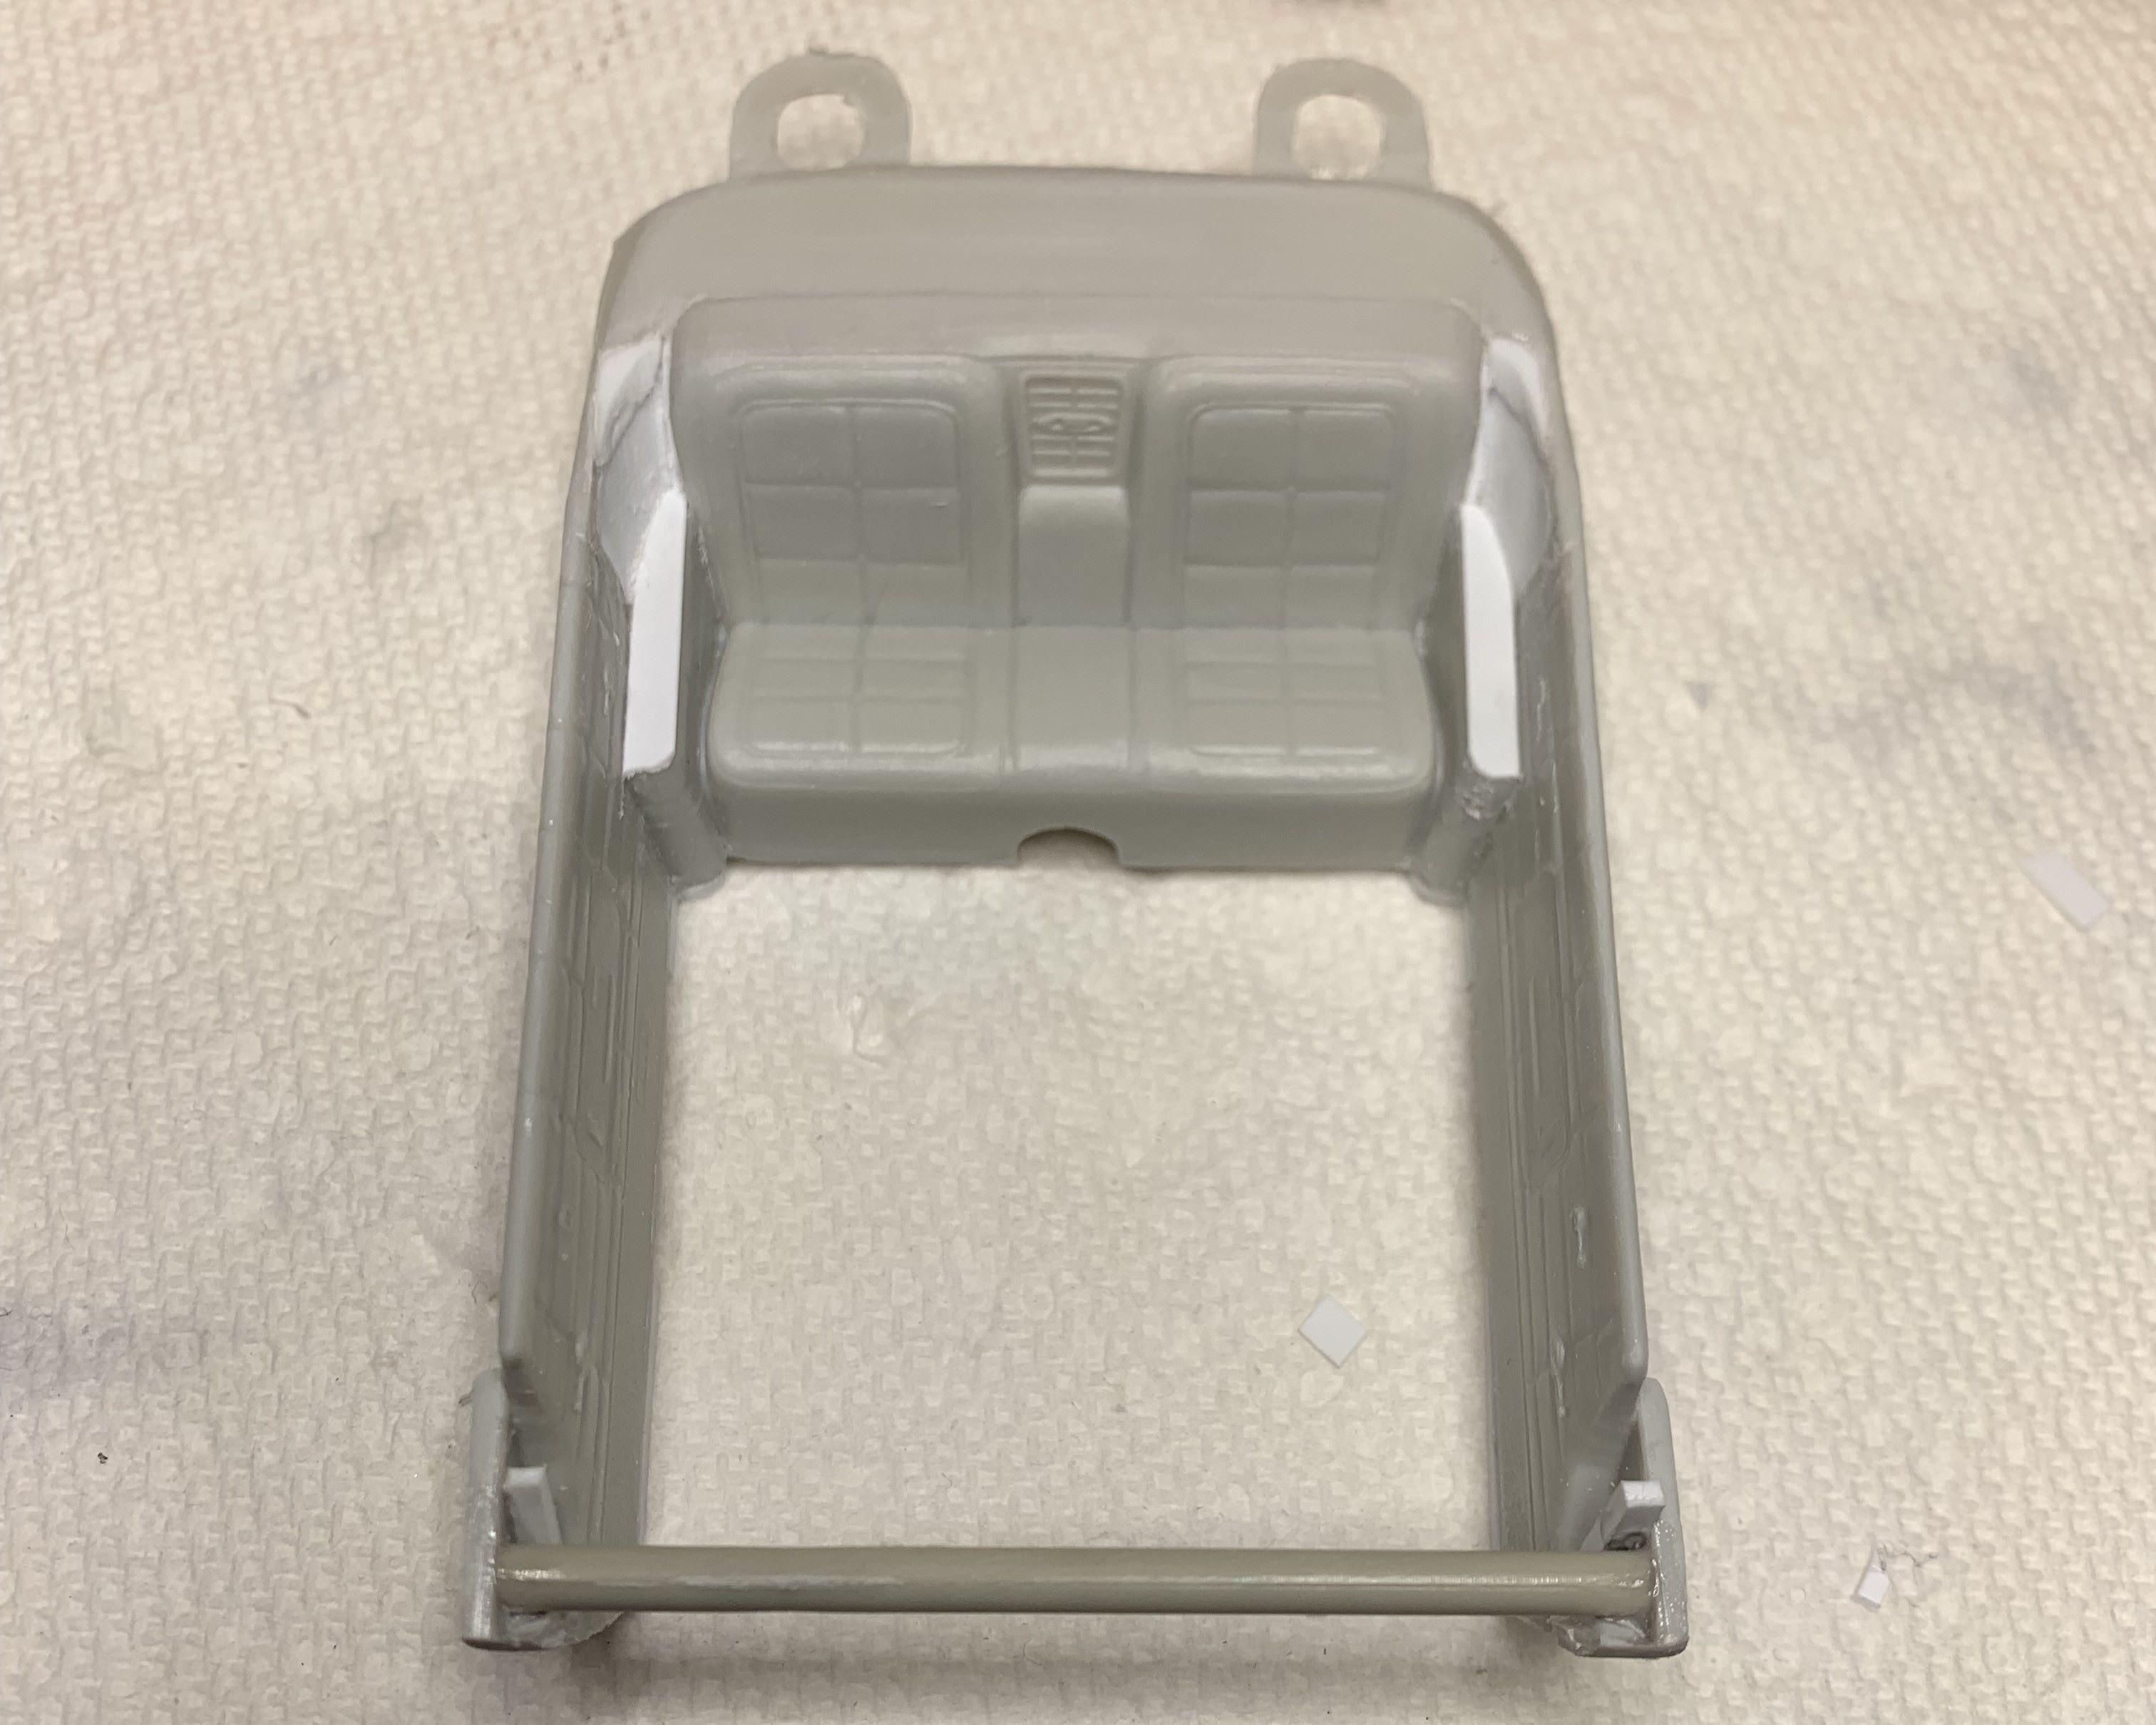
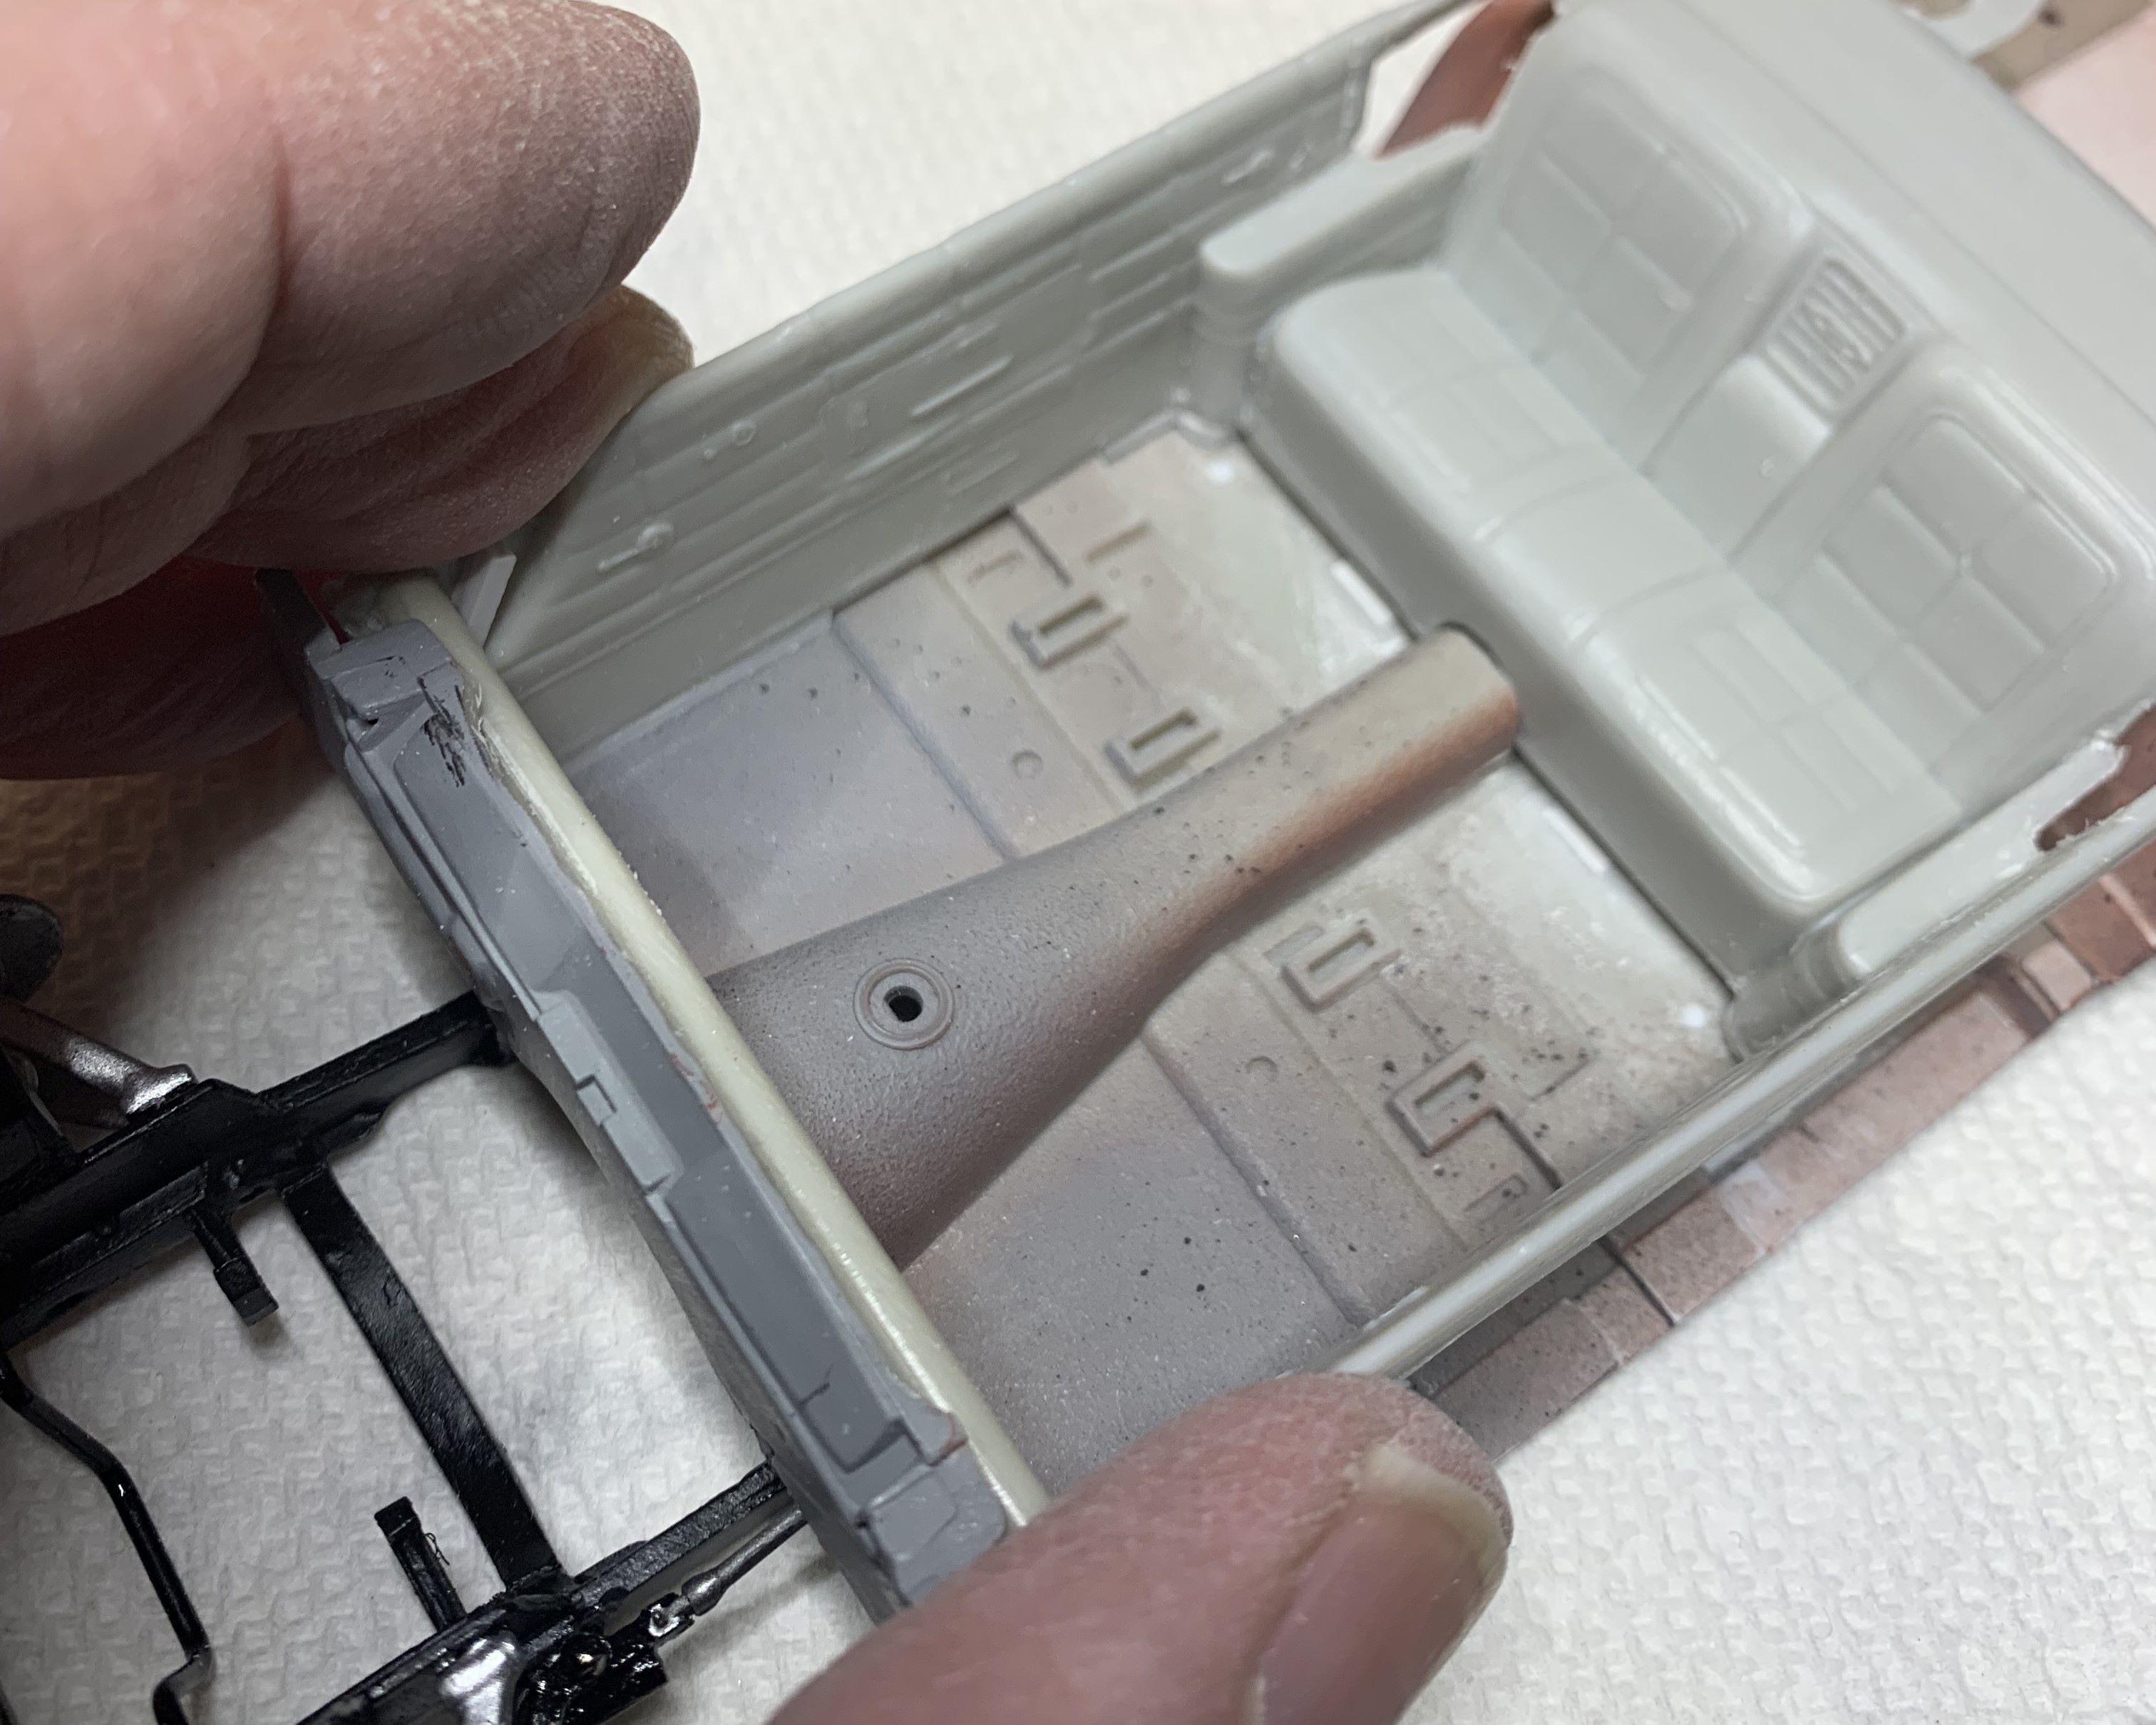
The Mobius seat mounts had to go, at least for the rear seat, not sure yet about the front seats. After sanding those off, I see a depression that needs filling, no problem, also 2 small round holes needed filling. There will be flocking, so that'll all be good enough so far. I had to add .060 to the bottom of the tub to keep the top of the tub flush with the body sides, since I'm using a different floor pan. Next, I'll fill in where the convertible dog legs were removed, cheers!
-
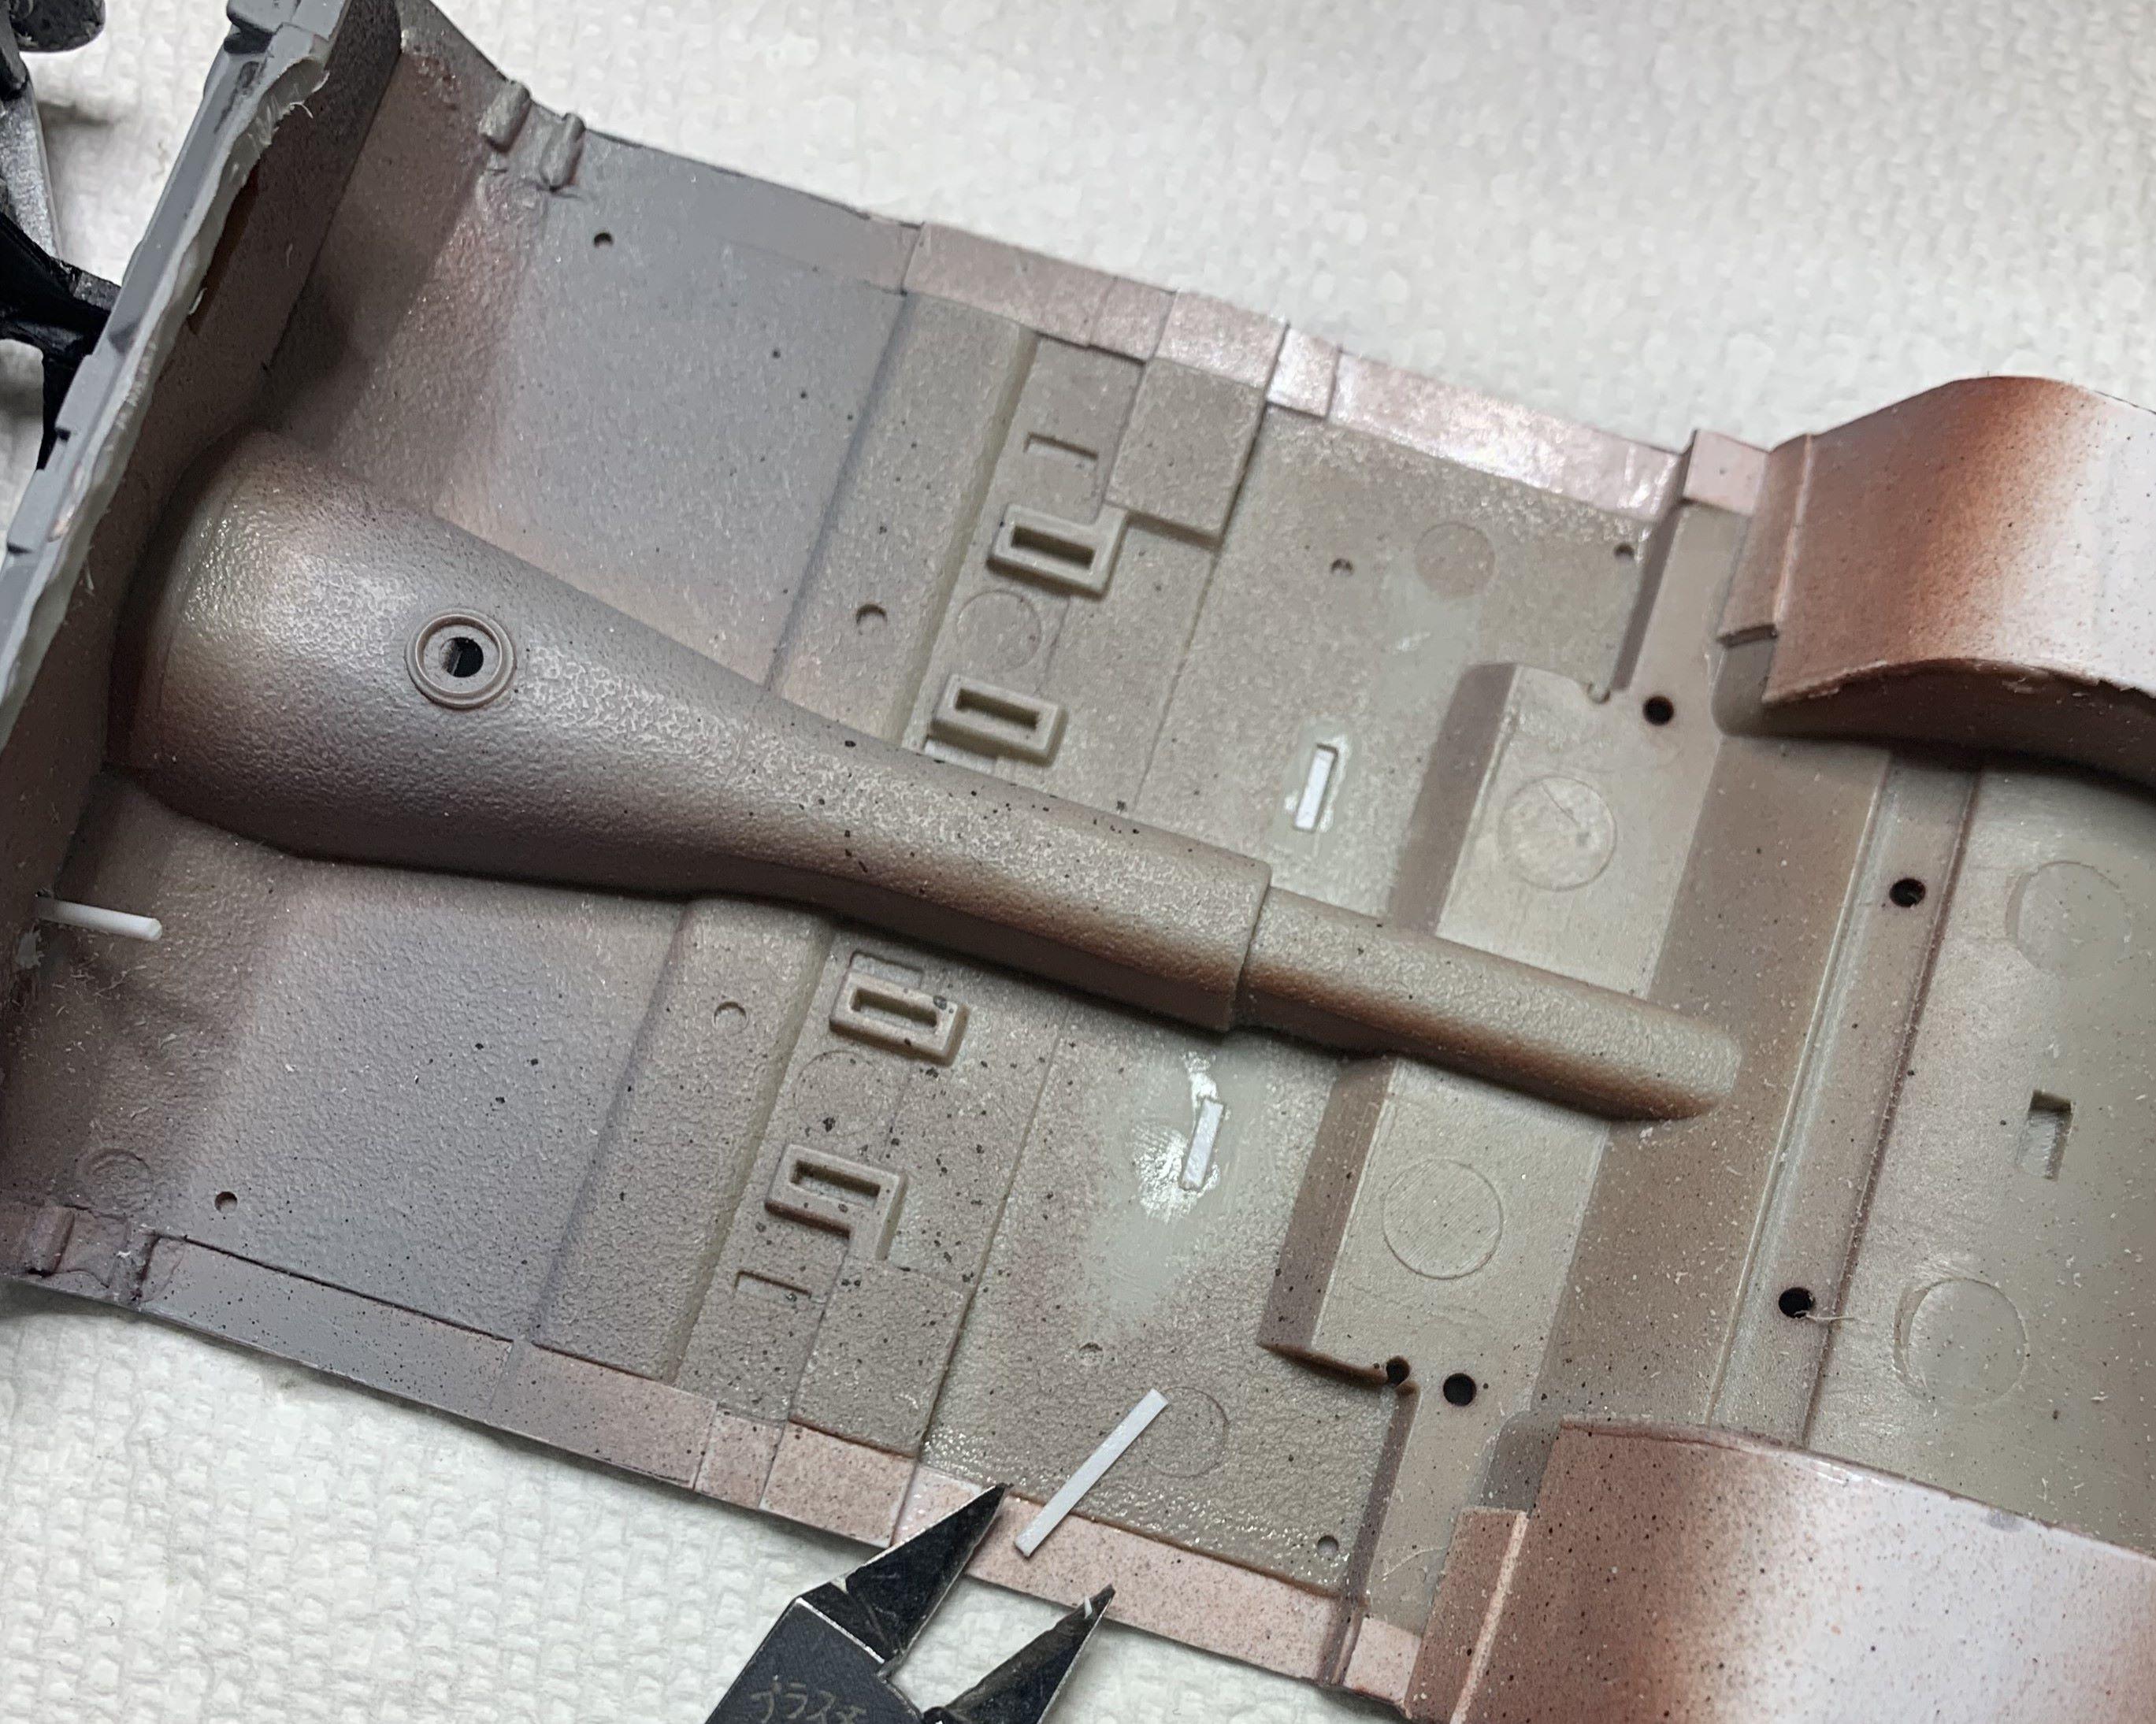
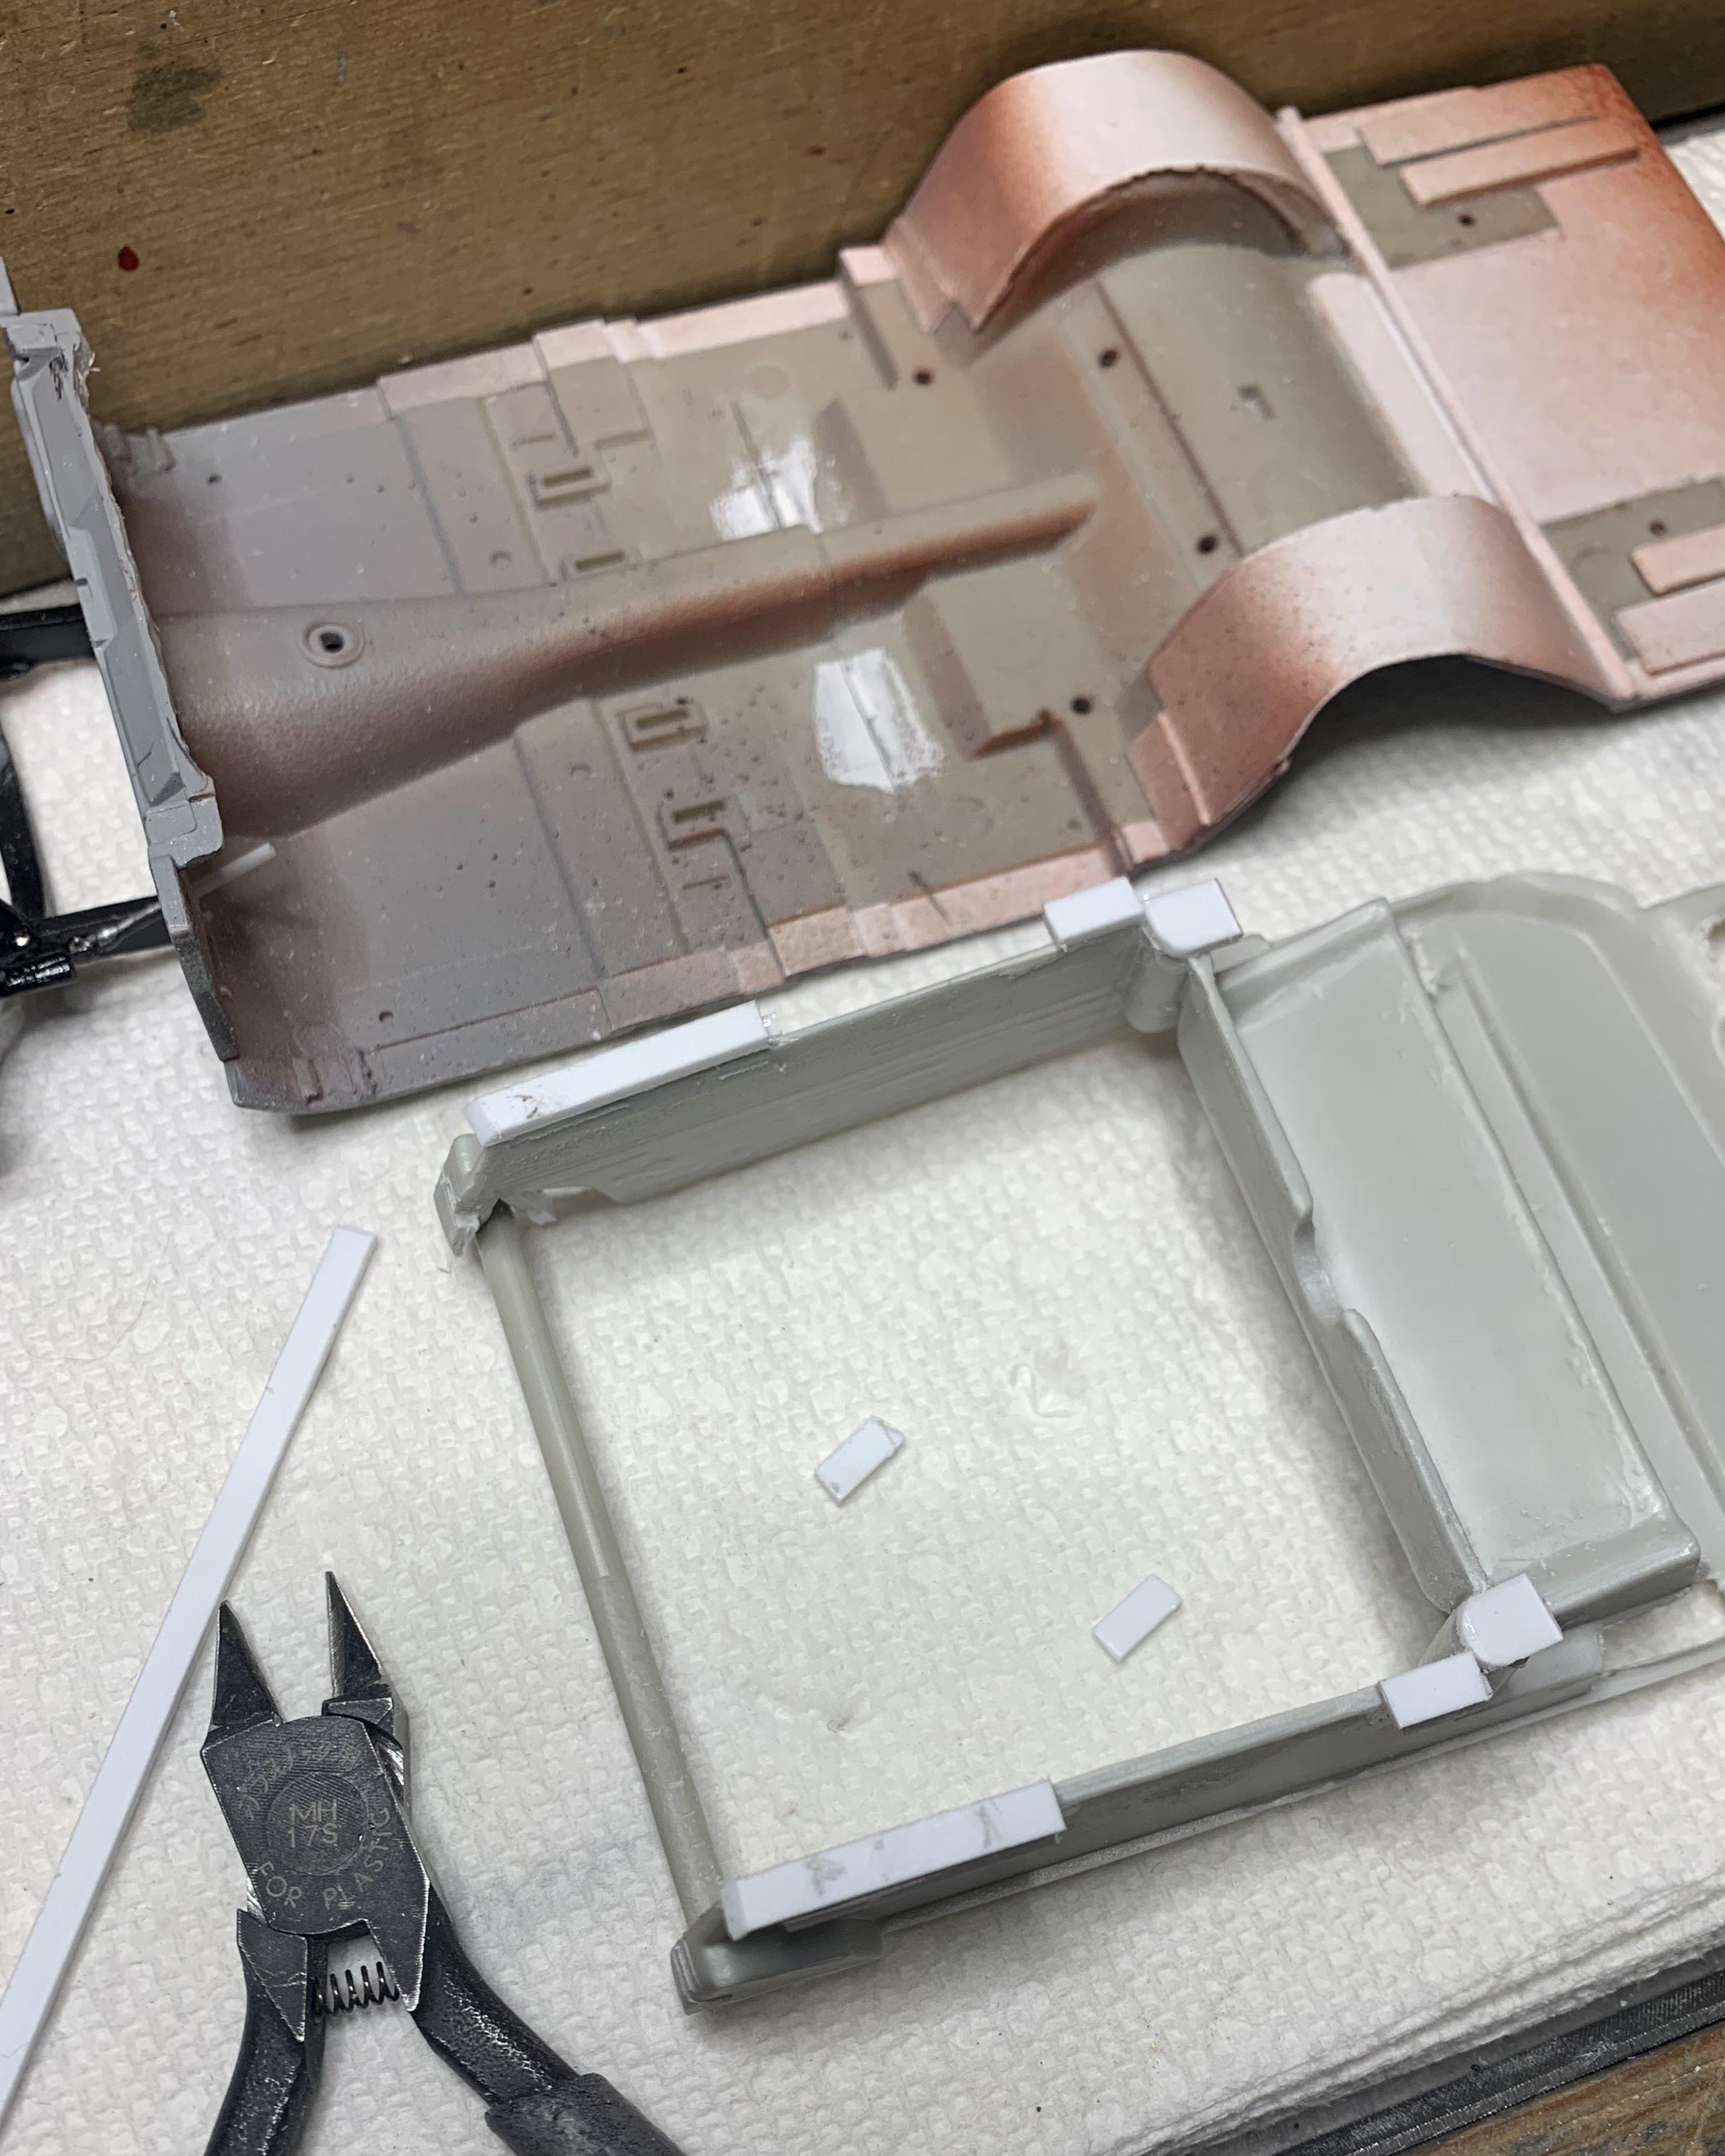
Whenever using a more modern kit under a vintage body, I like to use at least the upper part of the vintage interior tub, and dashboard. These fit the body, making the transition to the more modern under pinnings are where all the fun is! No matter how custom the interior is, the kit dashboard should be retained, even if it's also customized. So, let's get started! The floor HAS to go, the dash has to fit, so I made a temporary piece to keep the sides separated, because I removed the floor! Next I removed the convertible dog legs and will fill them with something, haven't decided yet on seats or side panel trim.