my66s55
-
Posts
1,395 -
Joined
-
Last visited
Content Type
Profiles
Forums
Events
Gallery
Everything posted by my66s55
-
I made an rtv mold and cast the Olds engine from the AMT 39/40 Ford 2dr sedan. The 54-58 Olds engine used these valve covers, so unless you can find a pair, it won't be accurate. A nice Carter wcfb 4bbl carb would also help. I have both.

-
This build is beyond words. What a fantastic representation.
-

'40 Ford Tudor – Late '50s Style! In Paint At Last!
my66s55 replied to John Goschke's topic in WIP: Model Cars
This is a sweet build, John. As a big Olds fan, it makes it even sweeter. Can't wait to see the finished product. -
I've used Smooth On resin for 10 + years. The secrete is to pour parts A & B in their individual containers and wait a bit for the bubbles to go away. If then you use a pressure pot, you will get excellent parts. I also use petroleum jelly for a release agent.
-
The color is very close to stock. I have a full size 66 Merc that was originally that color. Nice color, nice build.
-
Valerie Bartinelli. Another one of mine.
-
X2
-
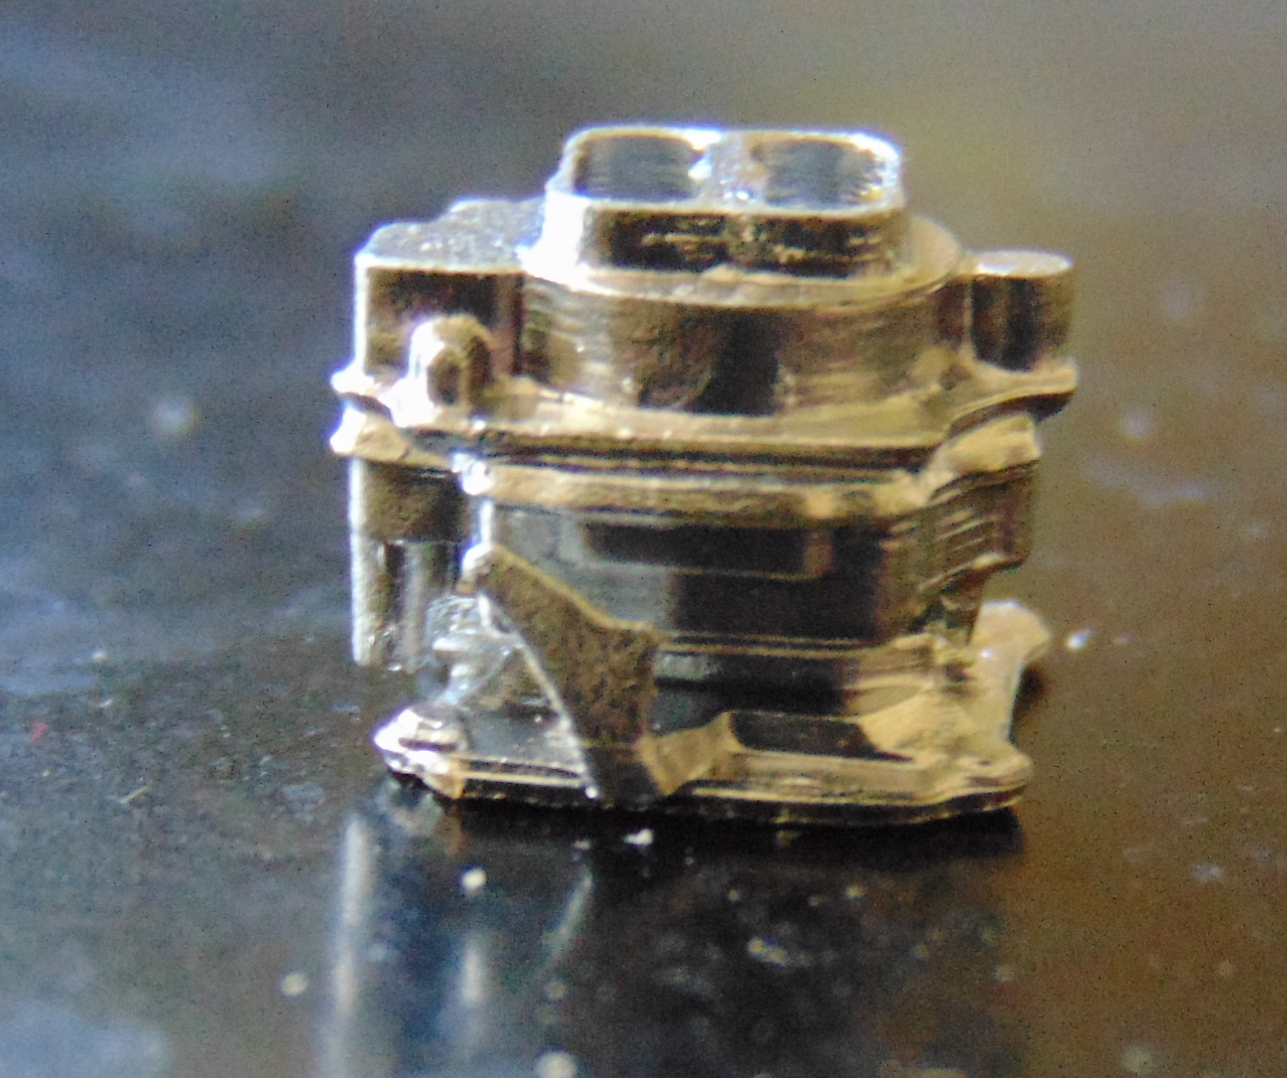
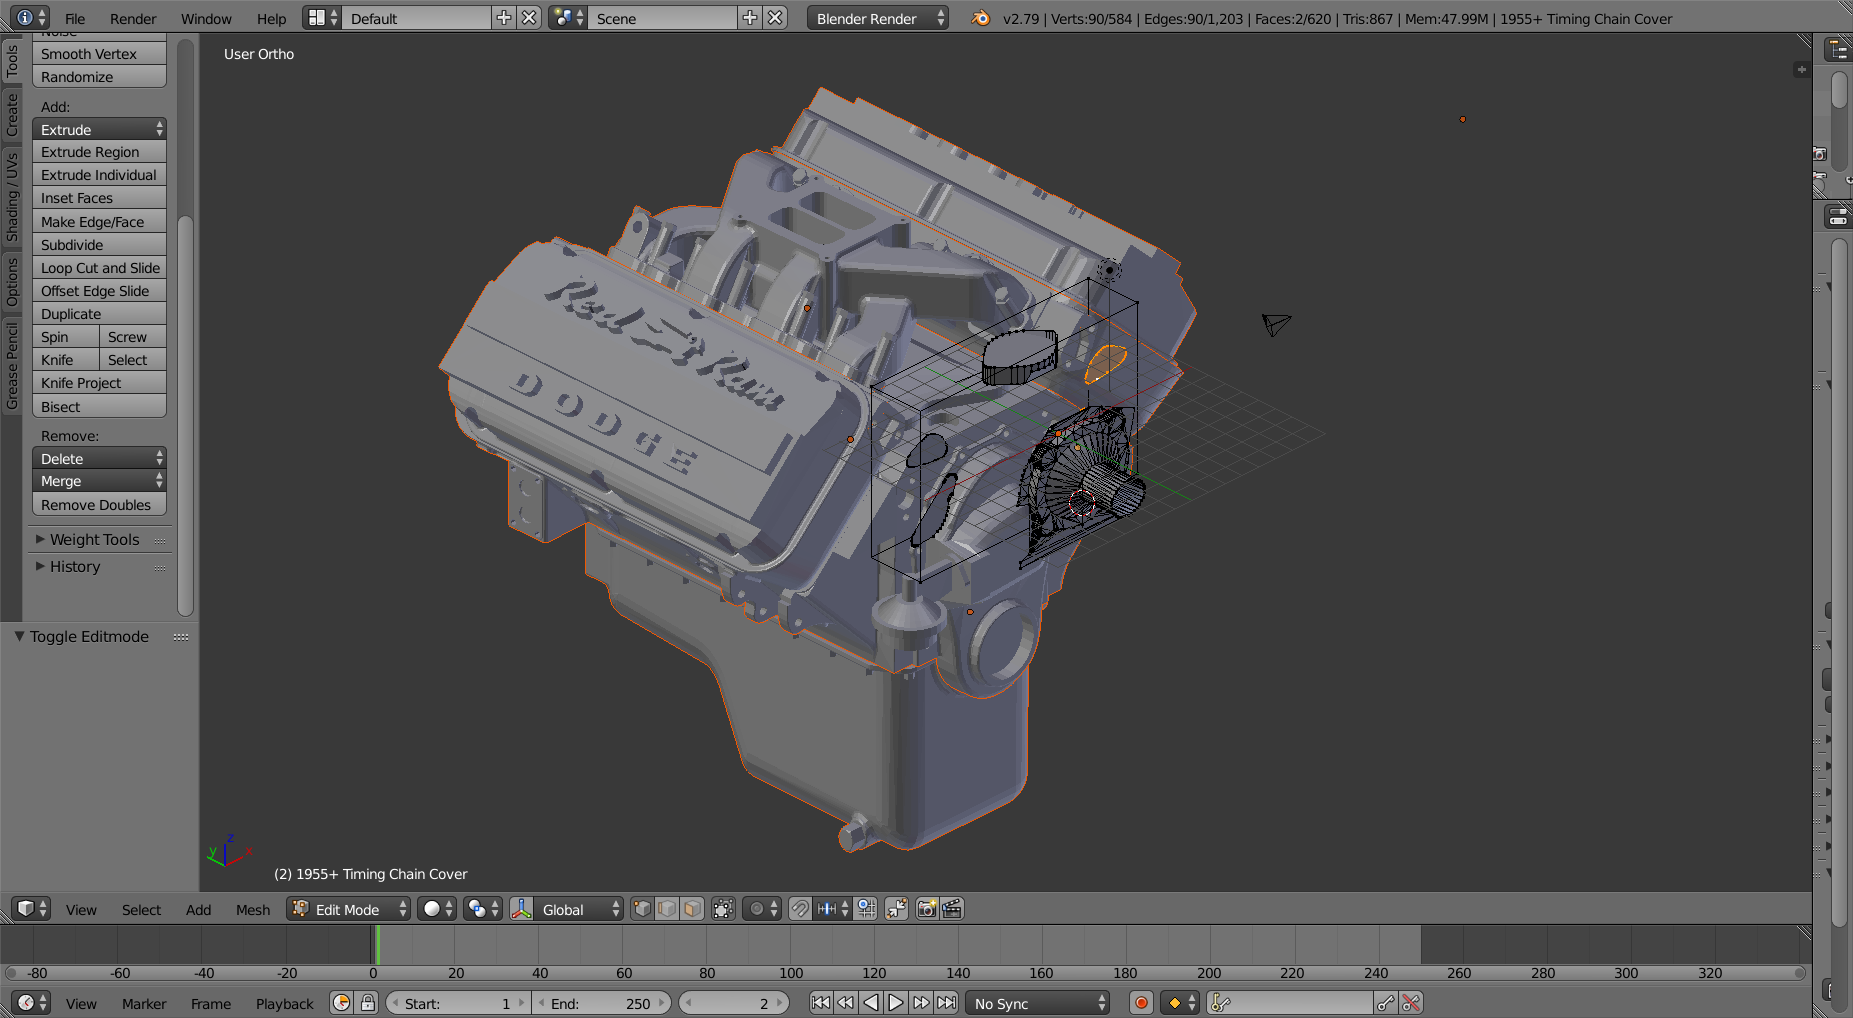
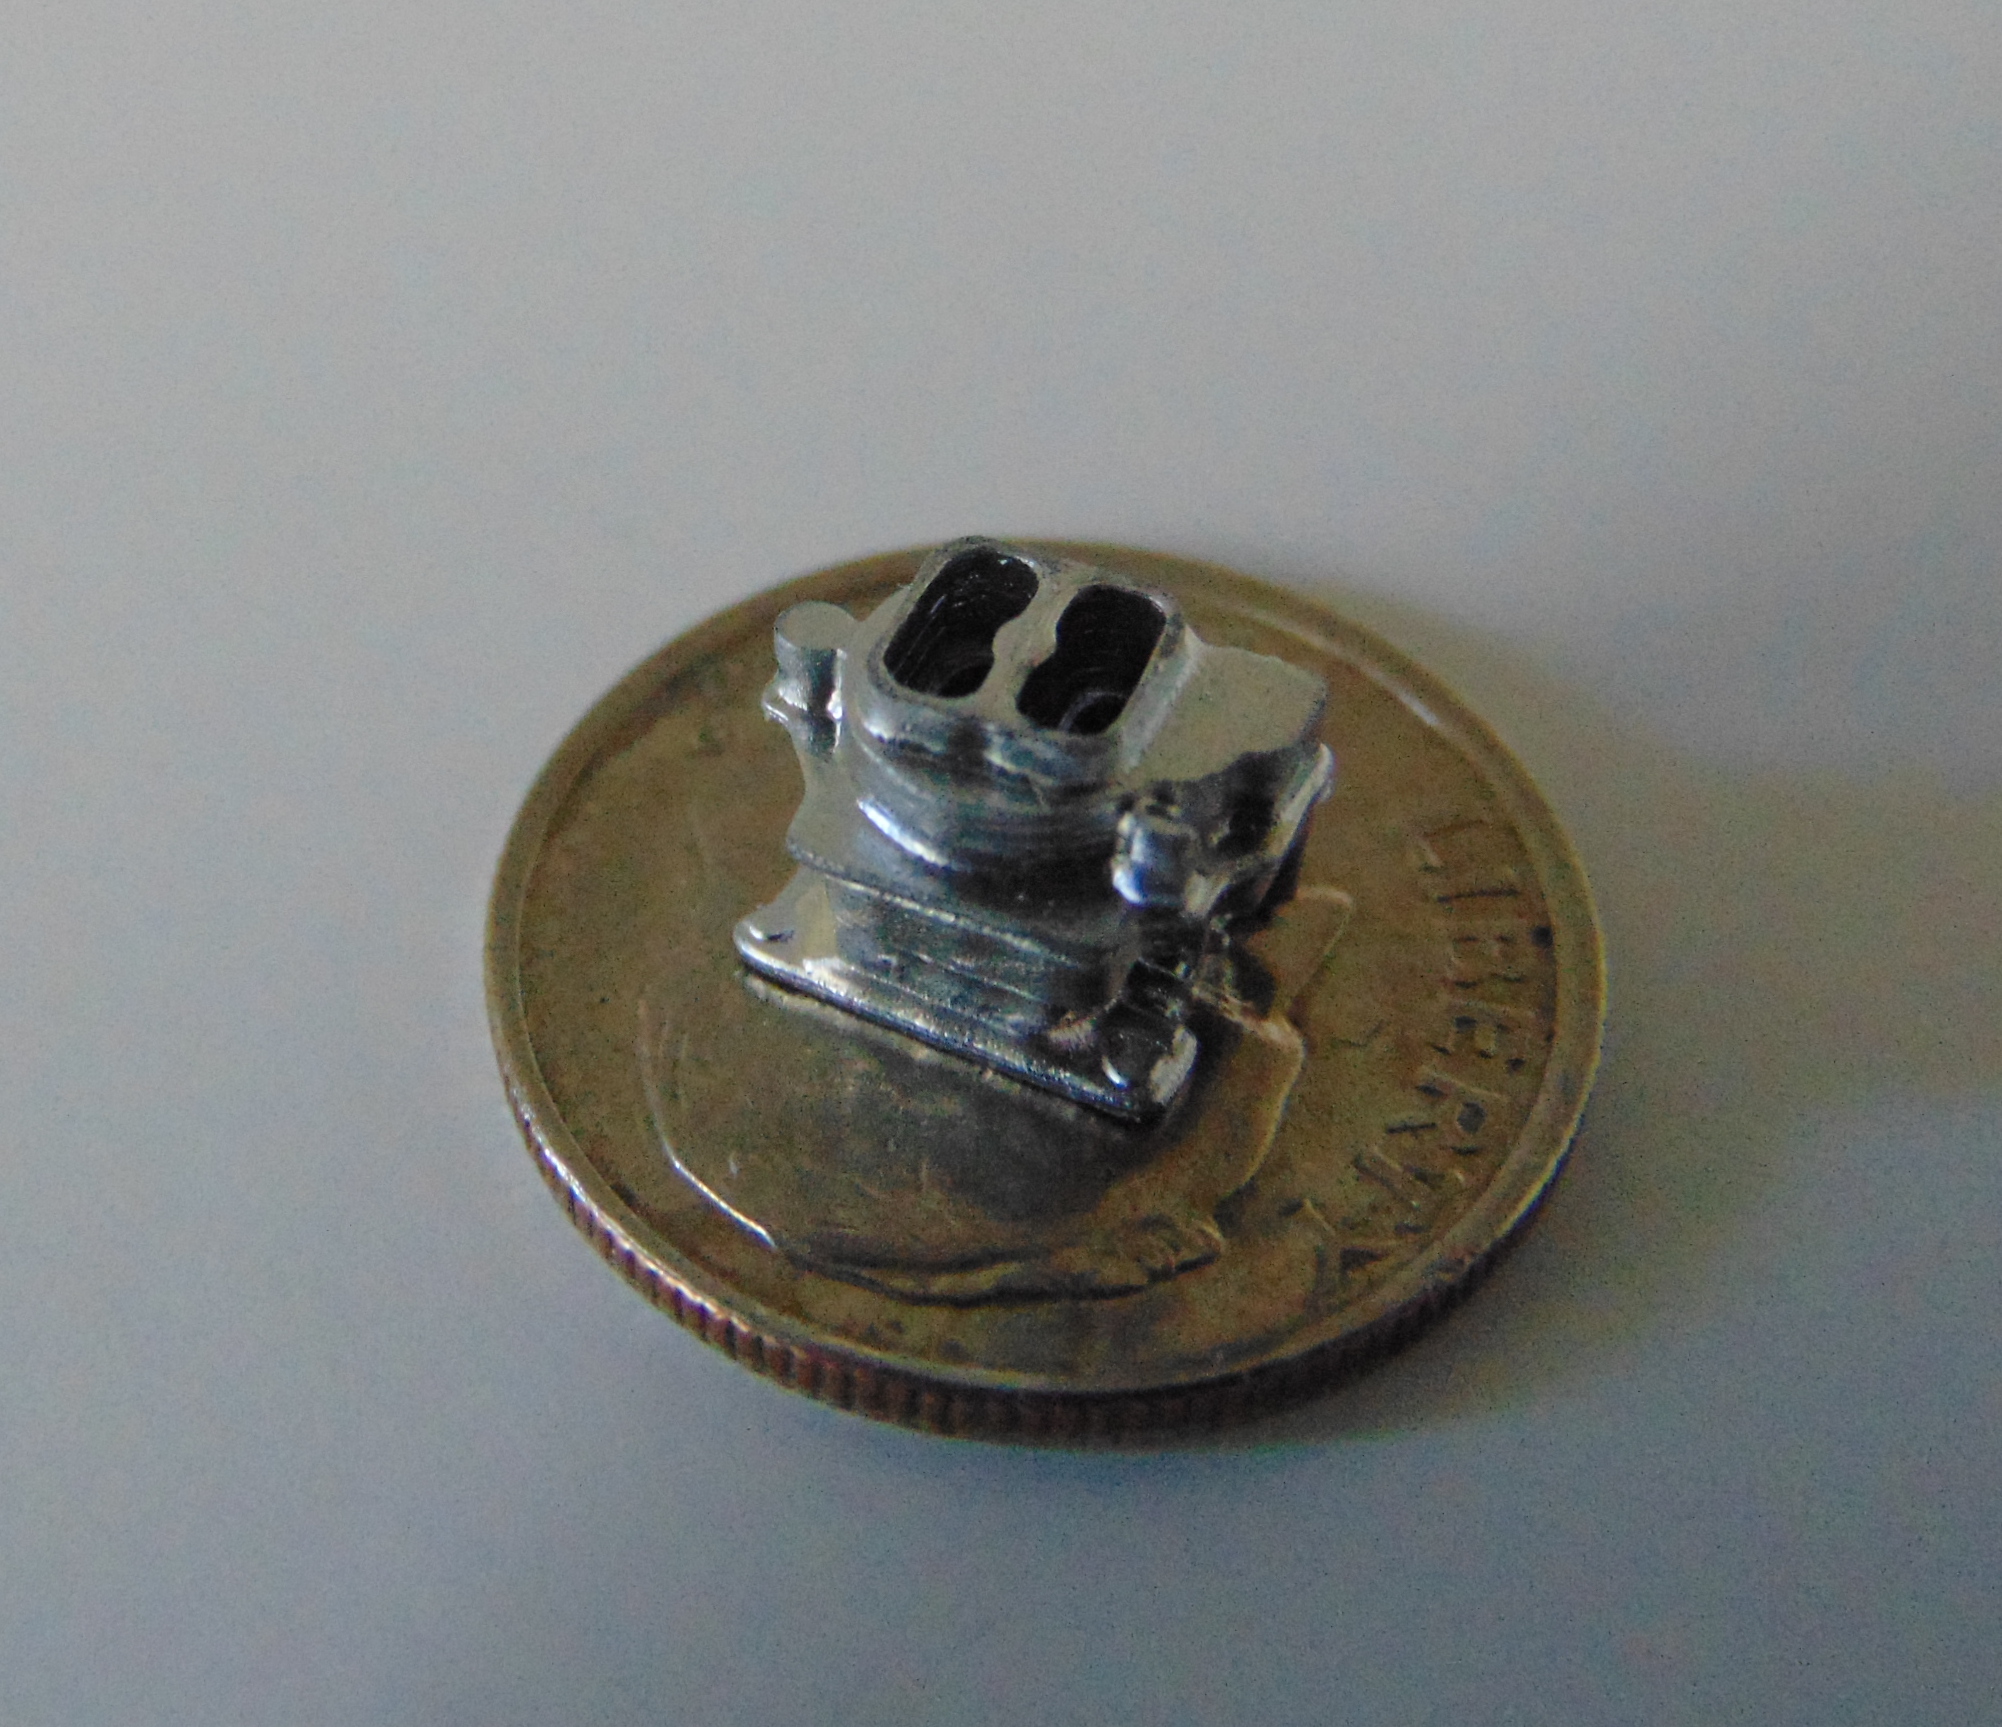
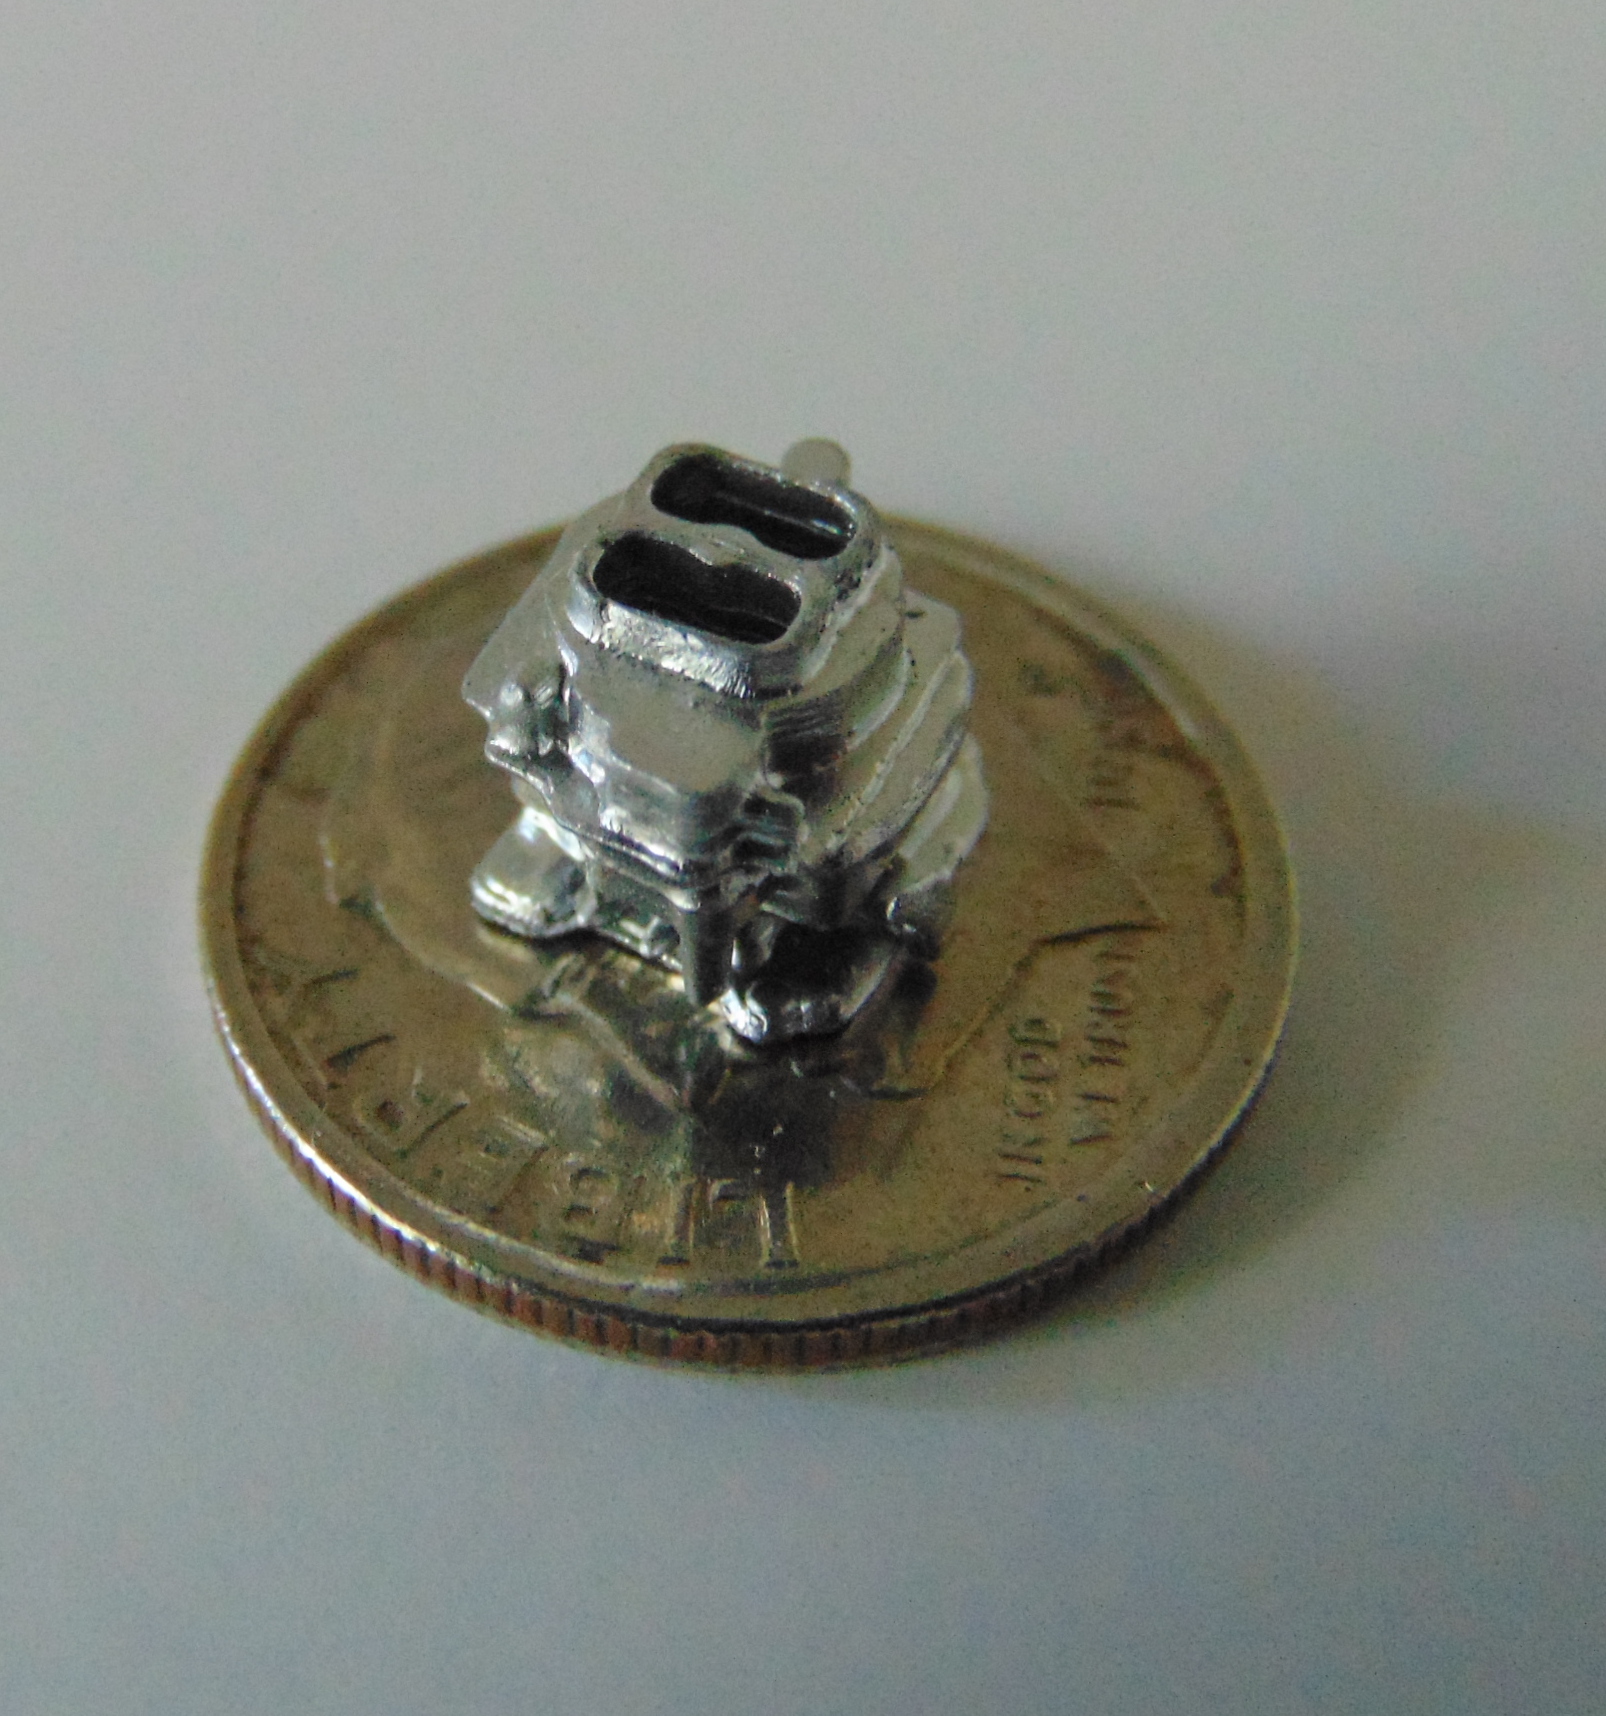
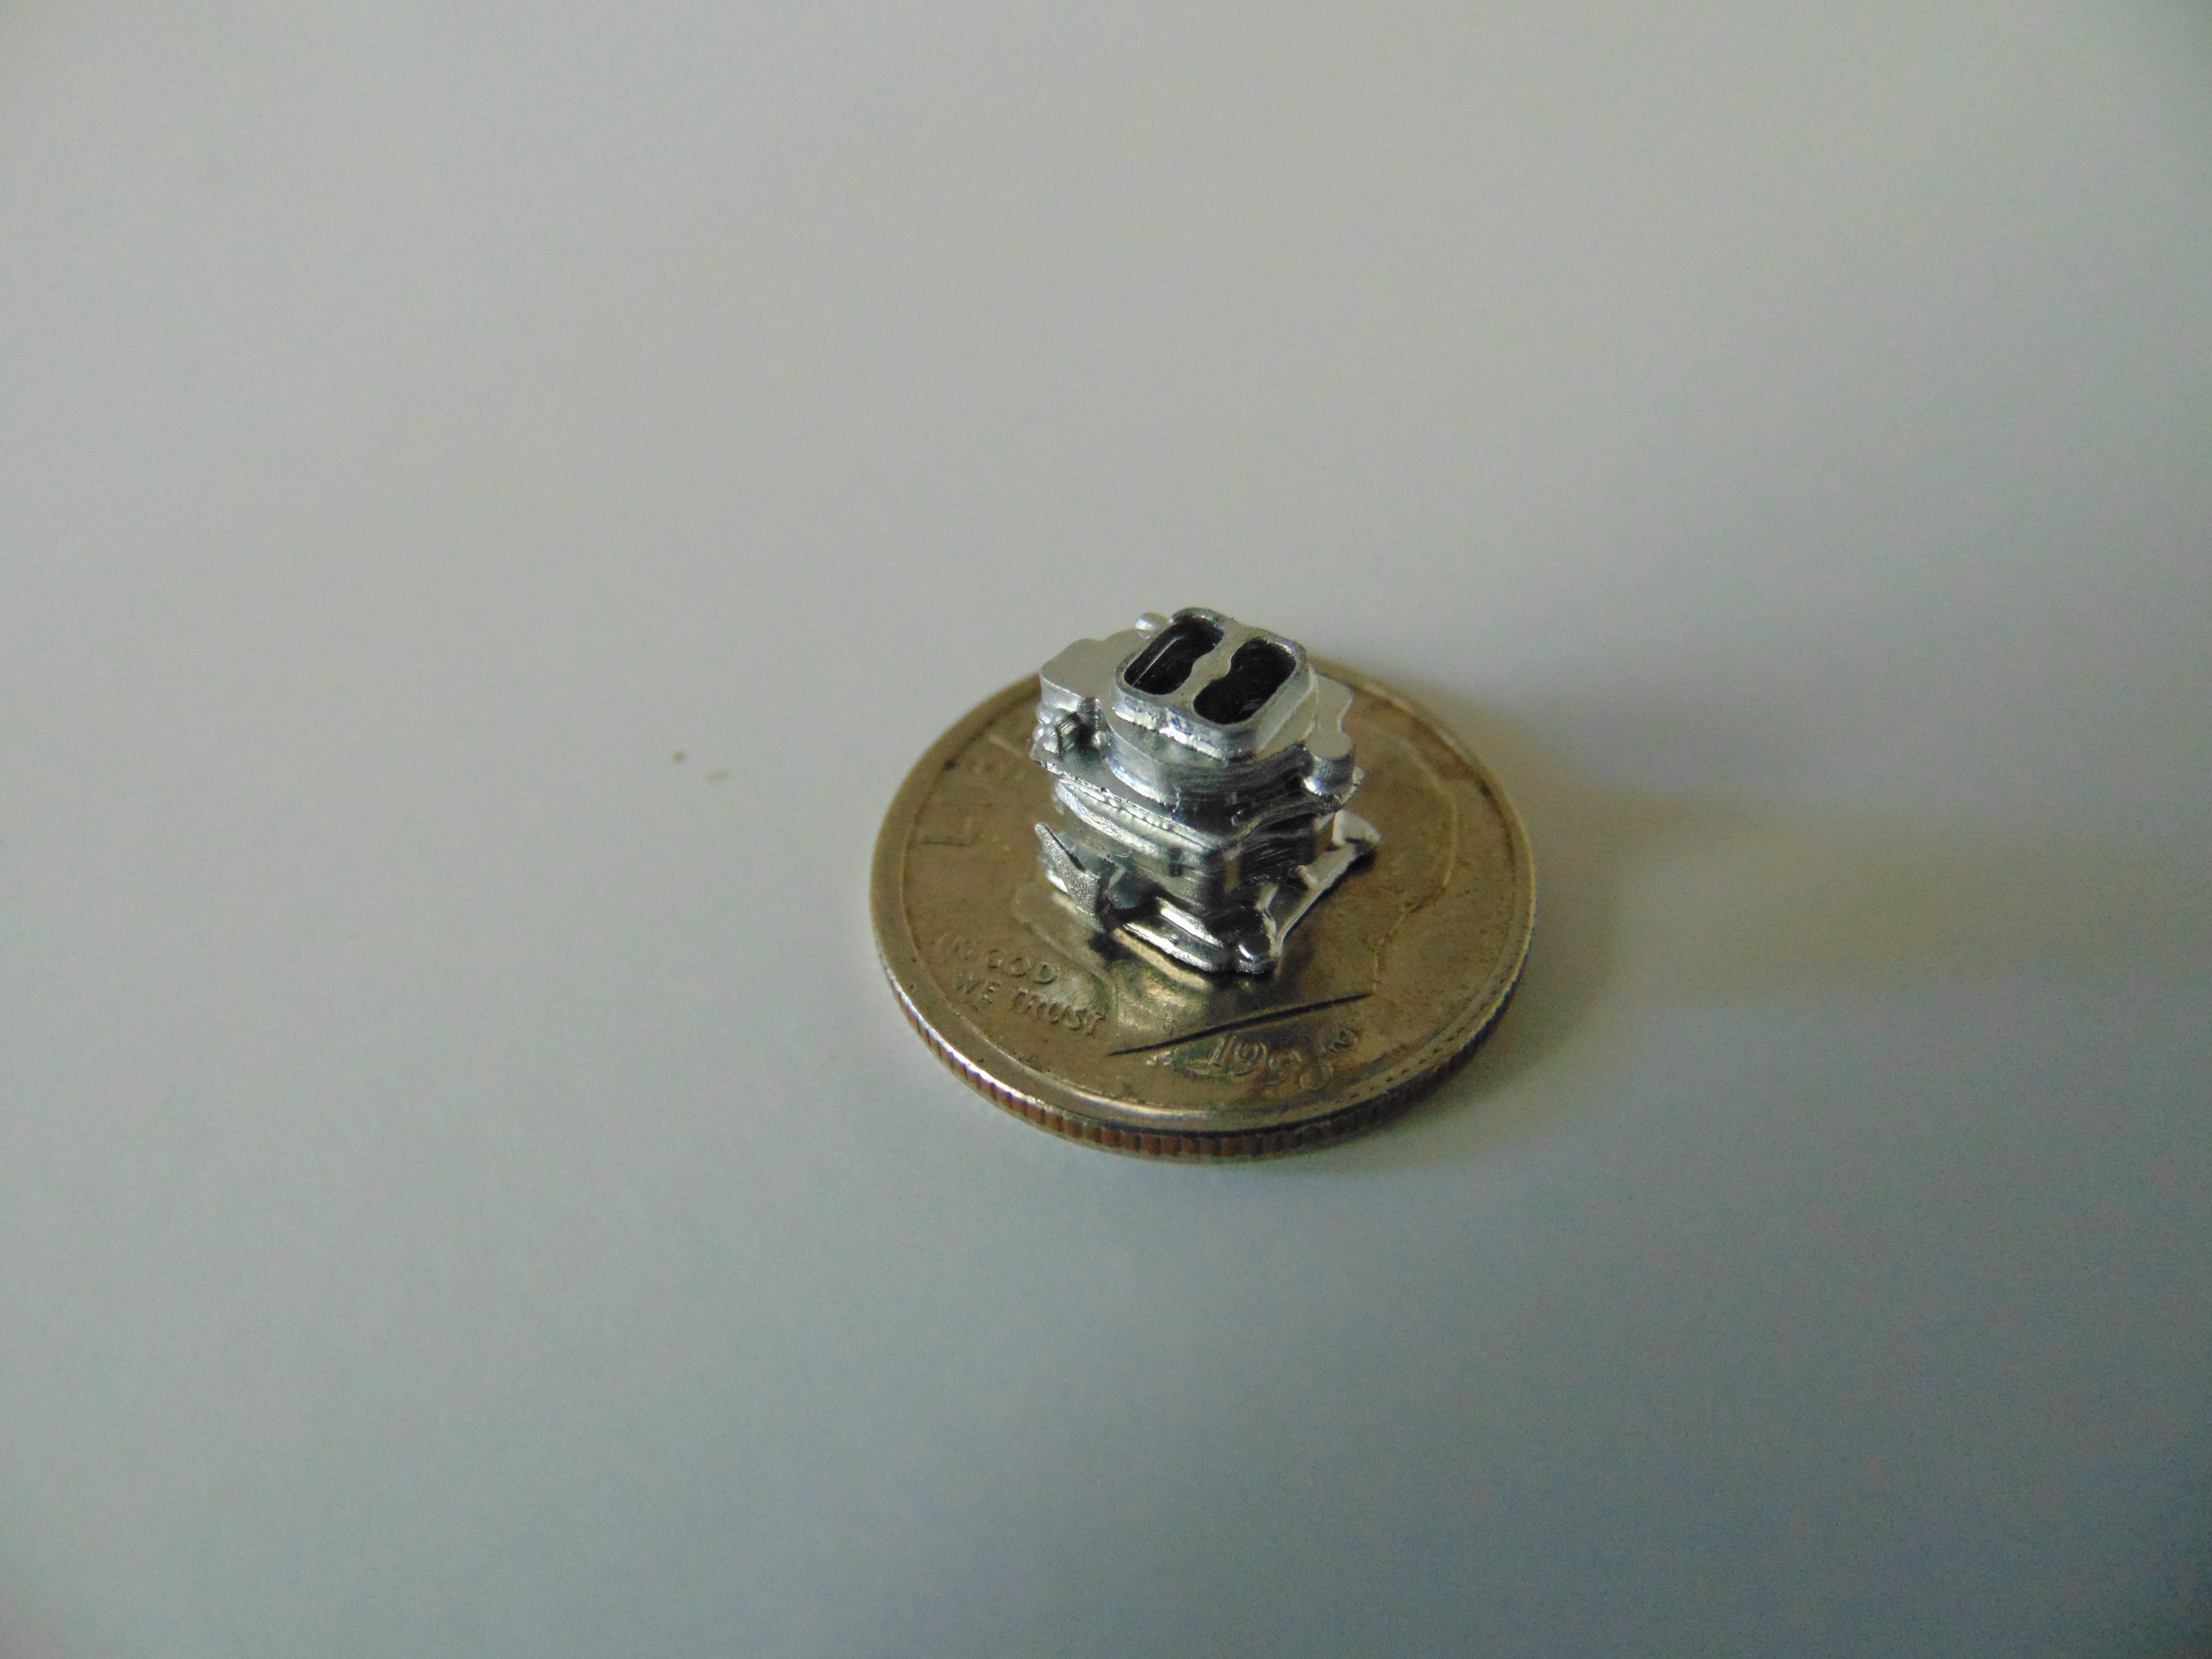
For printer details, go to this thread: http://www.modelcarsmag.com/forums/topic/128242-the-latest-in-desk-top-3d-printing-new-carb-prints-new-camera/?tab=comments#comment-1860607. The carb had to be divided into the three parts on the real one. The top and bottom are printed upright an the middle is inverted. They are printed flat on the build plate, no supports are required. Clean up is a quick bath in 91% ipa and 4 minutes in the ultrasound cleaner. Assembling the carb can be a real challenge. I use Blender to create cad files.
-
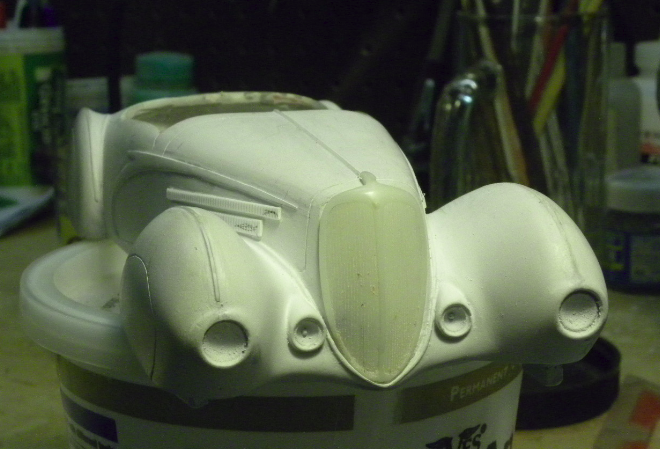
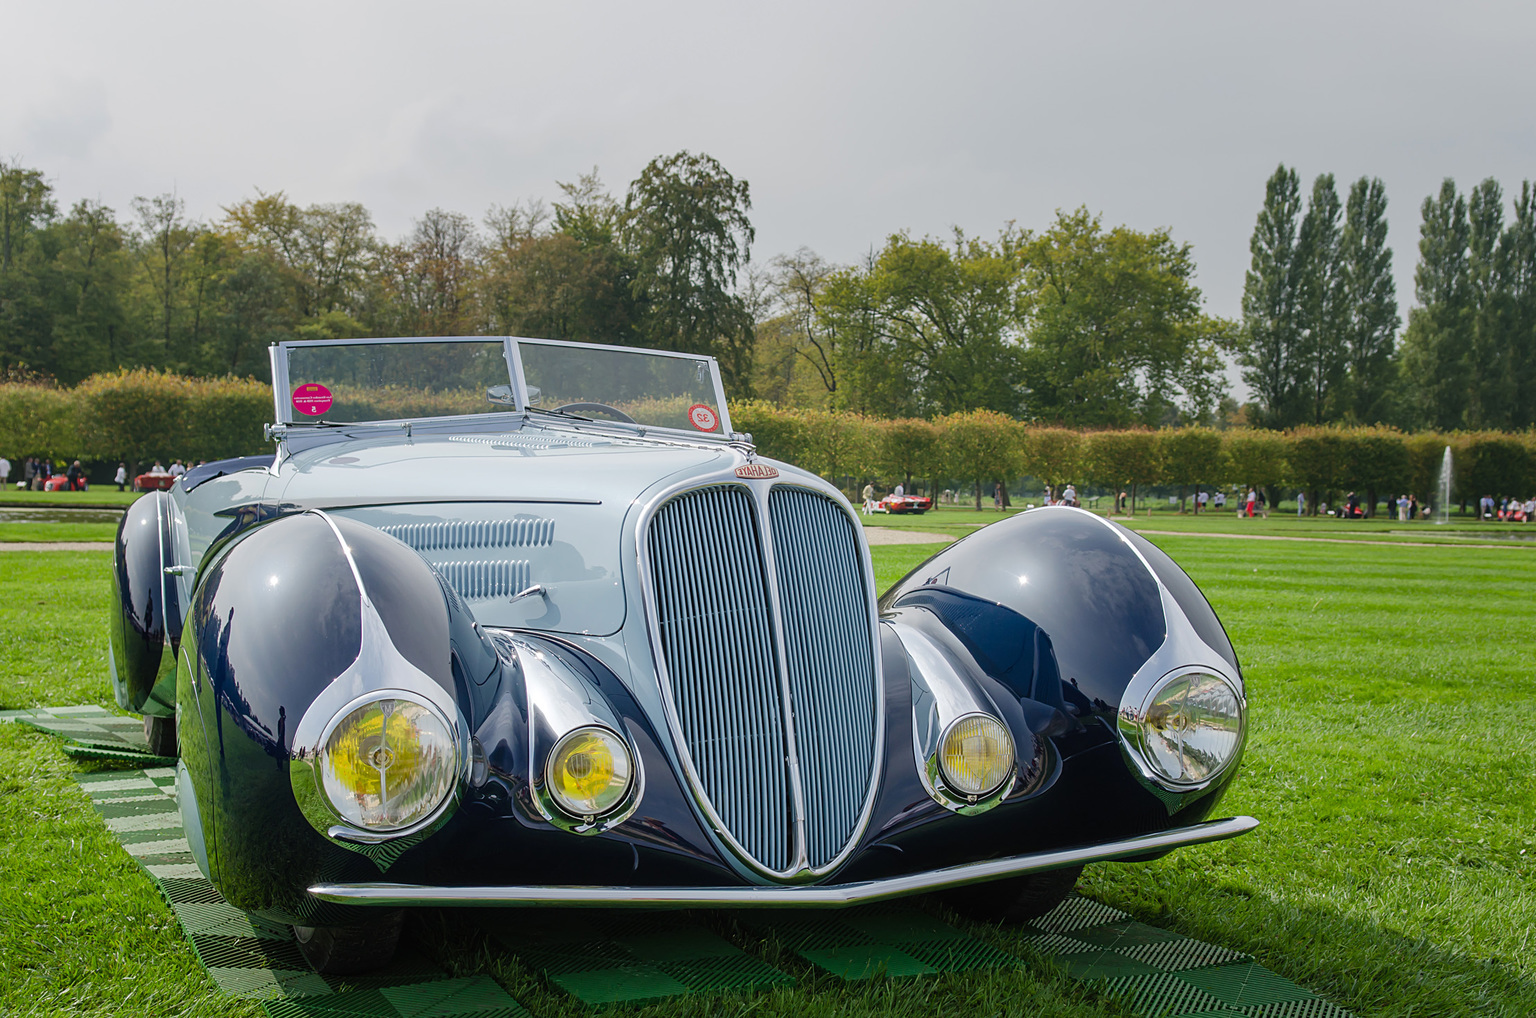
It's not what I think, it's what you think. It would take a Gerald Wingrove to do what you are attempting. Here are two front views of the very car you are trying to replicate. I can pick up 5, possibly 7 differences. Who can find them? First pic, your car. Then the real car.
-
The interior door panels for this car
-
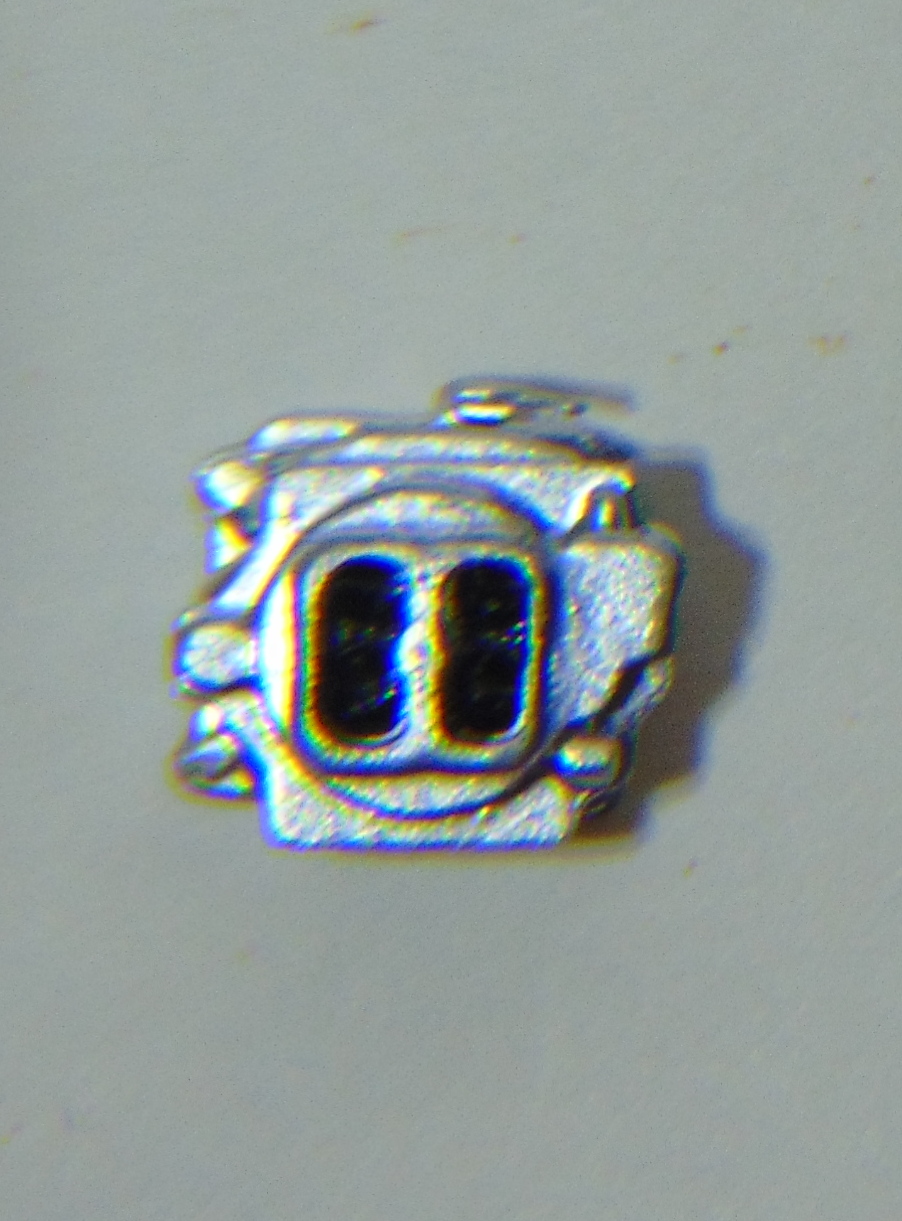
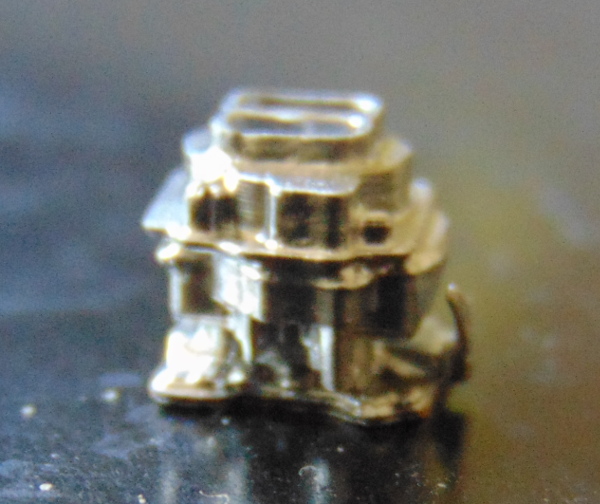
It's not the 3d printers that are lacking, as high resolution desktop units have been around a few years. It's the skills to use them and to create the cad files needed that is lacking. These are not filiment, but sla, dlp printers that use uv light to cure uv resin in layers as low as 10 microns and xy resolution below 50 microns. Here is an example of something I have used those skill to create and print. The printer I used cost me $620.00.
-
You should be able to print those wheels with the solus. What resin are you using?
-
What printer are you using to print these parts?
-
73+
-
Thanks. I'm hoping to be done with it by the end of the month. If I chose to, the intake that the OP requested would be a simple task. I have a source for the Stromberg 97 file.
-
Engine in Monogram 29 Ford Roadster Pickup
my66s55 replied to PowerPlant's topic in General Automotive Talk (Trucks and Cars)
I'm pretty sure it's an Olds. I have one I built stock from parts of the AMT 29 roadster. -
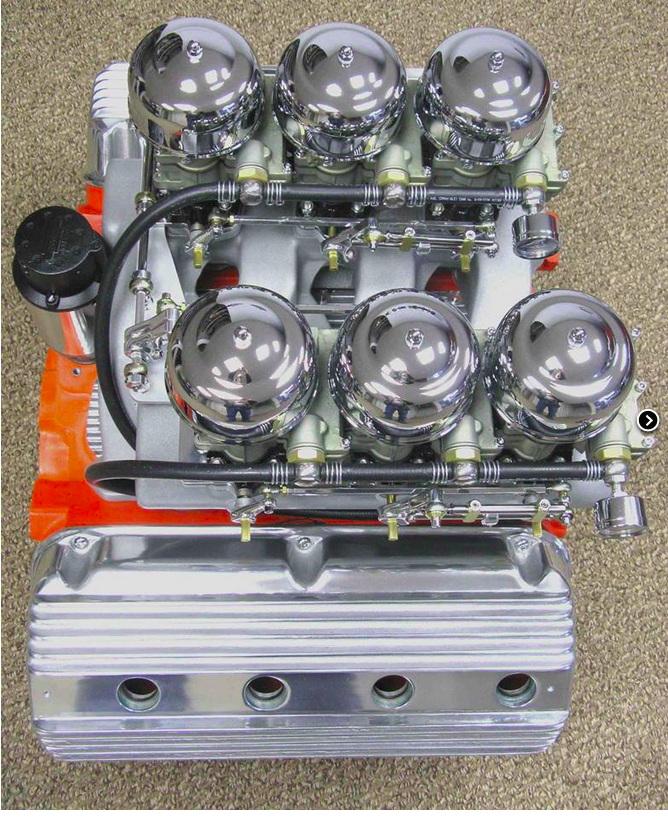
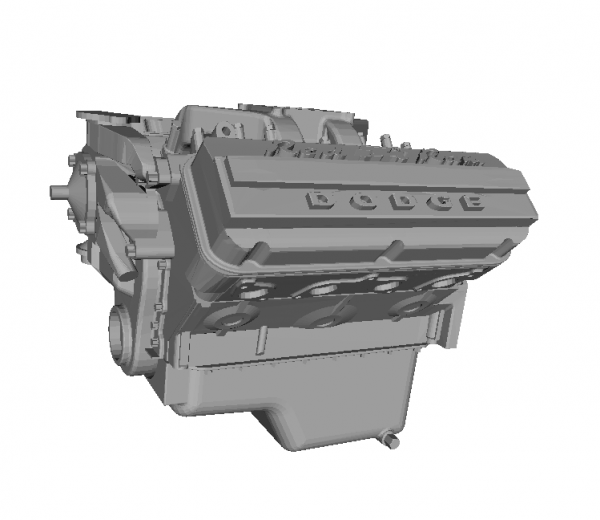
Wouldn't it be nice if you could get a properly scaled 56 Dodge 315 hemi engine like this: With this intake with 6 Stromberg 97's on it?
-
You can do what you want, but it still won't be an early Dodge hemi. It's out of scale.
-
x2. Works great for me.
-
I know. I own a convertible version. The kit is a joke.
-
Go to the Tips and Tricks section below were this question belongs and search decanting paint or paint decanting.
-
I'm not surprised.
-
I have no doubt that I could create and print side mirrors. I have the correct printer to make it happen and at $600, I feel it is affordable. The printer isn't the problem, it's knowledge. It is a 3 step learning curve. First, you have to learn CAD to make anything happen. Second you have to learn about the different desktop printers and choose the one that will do what you want. Third, you have to learn how to use the printer and how to achieve the setting, proper placement of the file on the build plate and more to get the desired result. It is far from plug and play.
-
New prints, new camera: Carter wcfb carbs
-
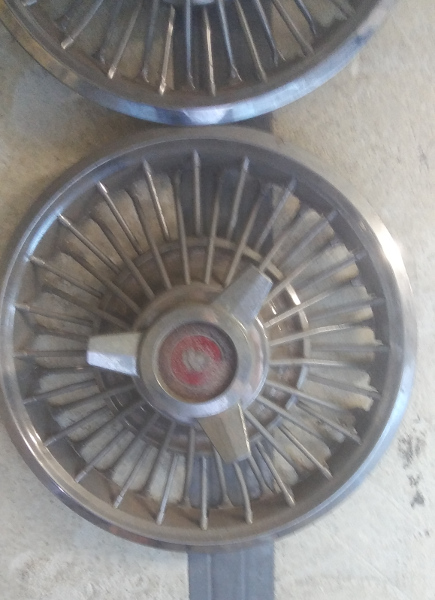
There wern't any wire wheels on the 1966 full size Merc. What you are seeing in the kit is AMT's way to try to present these optional wire hub caps. These two hang on the wall of my garage. There is chrome on the top of the rear fenders of the 2 door hardtops however. I have a pair of the chrome spears that I took off a parts car. I laid one on the rear fender of my S55 vert to show where they appeared. I had intended to use the wire hub caps but I couldn't because I put 71 Montego disk breaks on the front to help stop. The stock 66 wheels however, wouldn't fir on the Montego hubs. I installed Torque Thrust II's all the way around instead.