my66s55
-
Posts
1,395 -
Joined
-
Last visited
Content Type
Profiles
Forums
Events
Gallery
Everything posted by my66s55
-

C2 Corvette Blender model at CG Trader
my66s55 replied to Kenmojr's topic in Car Aftermarket / Resin / 3D Printed
The solidify in Blender doesn't work that well on most cars. You would have to break it down into parts first. The big problem is that it's a low poly model. There is an add on to Blender which would correct this problem. -
The 1937 Delehaye 135 F&F in nearing completion. As I mentioned before, it will be a curbside without an engine. I created the fin on the back deck, front grill bars, interior door panels, window cranks, seat, firewall, back of the interior, frame and floor. The steering wheel that came with it needs some refinement. I will need to create a real axle and rear springs.

-
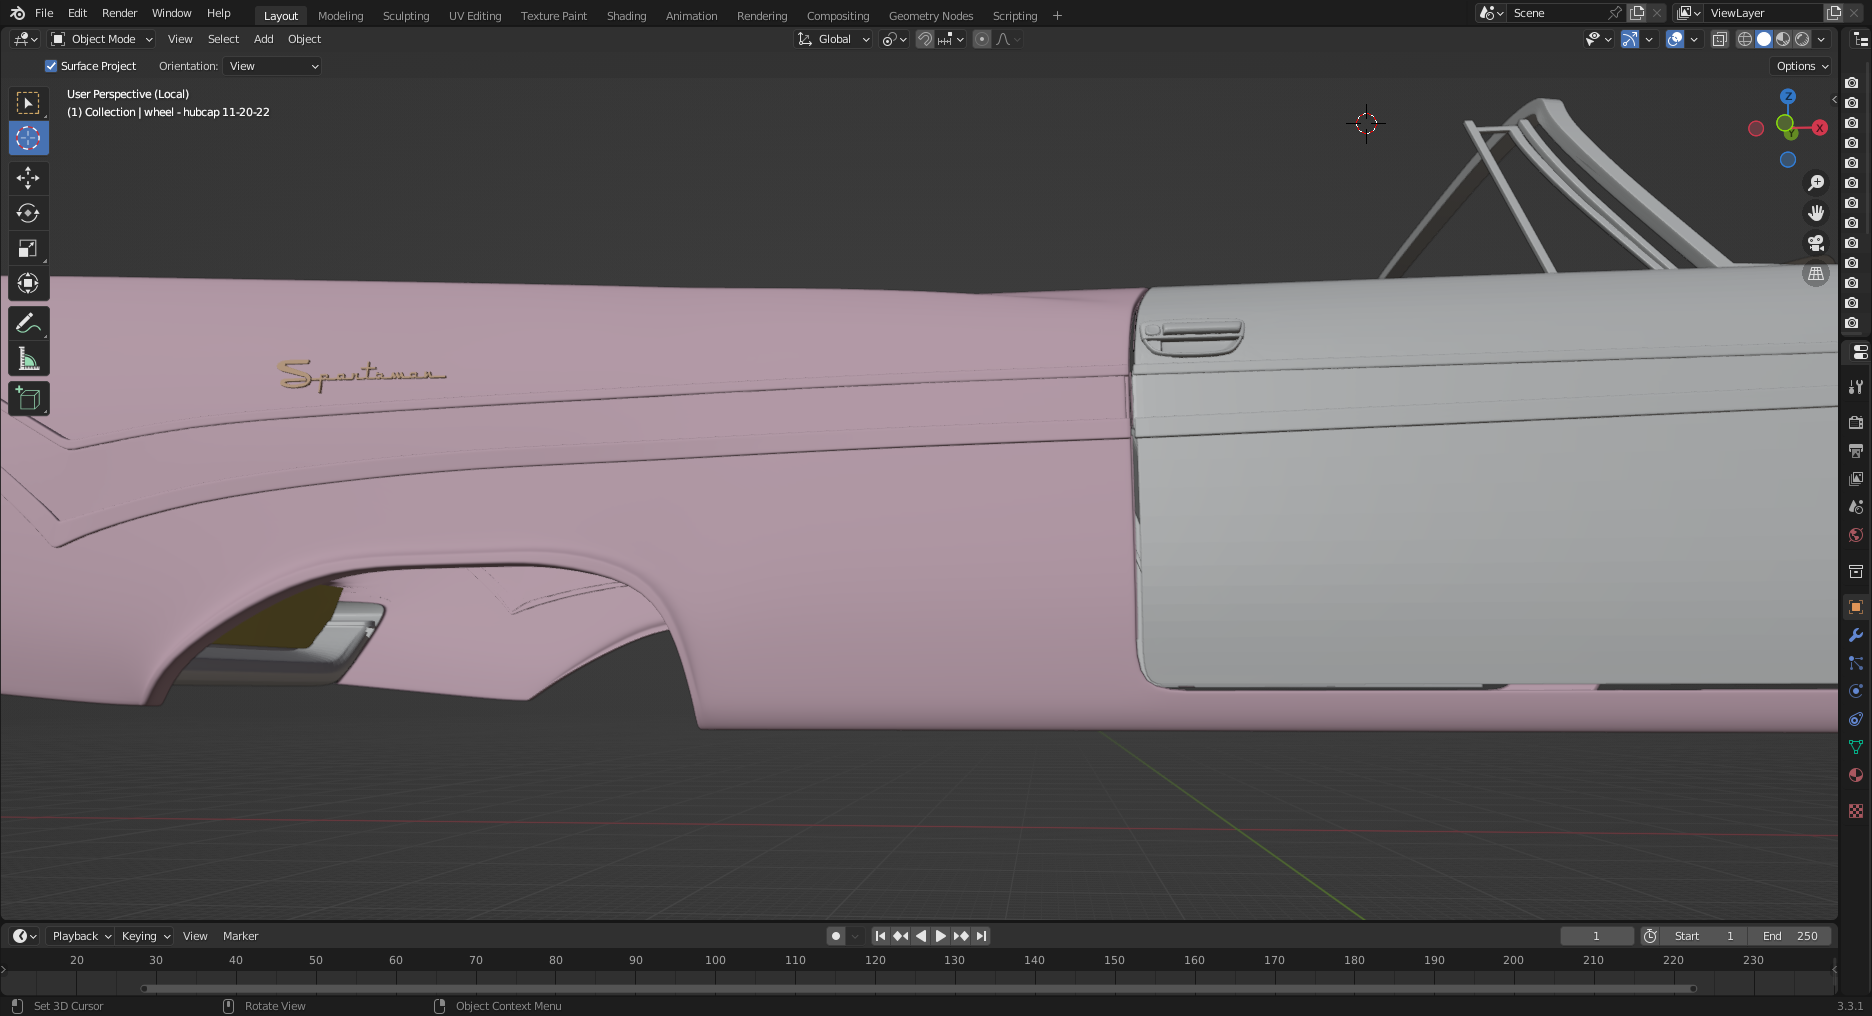
I was checking Dan Palatnik's Facebook page a couple weeks ago and found a new file for one of the cars I want to do. He's accuracy is beyond good. The 1959 Desoto Firedome Sportsman. I never thought I would find one. It is originally a hard top which I converted into a convertible. His files don't come with separate parts so I have to take it apart myself. It' very time consuming project, but worth the effort. While doing this, I noticed that the bottom rear corner didn't comply with the curve of that body section. I checked it out and found that he was right. Here's what it looks like. The rest of the pics are the sectioned car.
-
Getting the 53 Eldorado Cadillac into the finishing stage. The 55 Plymouth has been dissected into it's individual parts. The 37 Delahaye F & F roadster will be a curb side. It's nearing completion. I reprinted the 35 LaSalle body on the new 8k printer and it came out so much better. It's in the build process. The 56 Dodge has had it's defects corrected. I'm in the process of creating the Poweflite trans to go behind the hemi in my avatar.
-
Spex84 Chris Drysdale of Mapleleaf mentioned in a thread that he has the Olds in a 3d print. I think he is on Shapeways.
-
Available in a kit?
my66s55 replied to LL3 Model Worx's topic in Model Building Questions and Answers
Click on my facebook link below and message me. -
Available in a kit?
my66s55 replied to LL3 Model Worx's topic in Model Building Questions and Answers
I not only have the air cleaner, but the whole correct A block engine and trans. I created the 3d files for it in 2017. Over 20 of them in duel and single quad form are in the hands of members on this forum. The engine that comes in the AMT 58 Plymouth is screwed up. Mr Obsessive posted the fact on here and has 2 of them. -
Warm the bottle of resin.
-
I have 8gb of RAM on my laptop. I've had Blender 2.91.2 crash on me a couple of times while working on very large files. Blender 2.82a does not crash. Chitubox slicer 9.4 will crash when trying to save large sliced files. Version 9.3 doesn't. I switched my operation system to Linux in 2010 and never looked back. Linux is much less labor intensive than windows. The other thing you need to do in Blender is to constantly save you file. I date the file I'm working on and sometimes will add a 1 or letter like A. I can always go back to a previous file if necessary.
-
My Future 3D WIP's (LOTS of pics)
my66s55 replied to MrObsessive's topic in Car Aftermarket / Resin / 3D Printed
4k can't do what thus can. For $120 you gain a lot. Read my last post on "my 3d projects" thread in W.I.P. -
My Future 3D WIP's (LOTS of pics)
my66s55 replied to MrObsessive's topic in Car Aftermarket / Resin / 3D Printed
Right now on Amazon has the best printer you can get in this price range. Twice as good as the 4k.
-
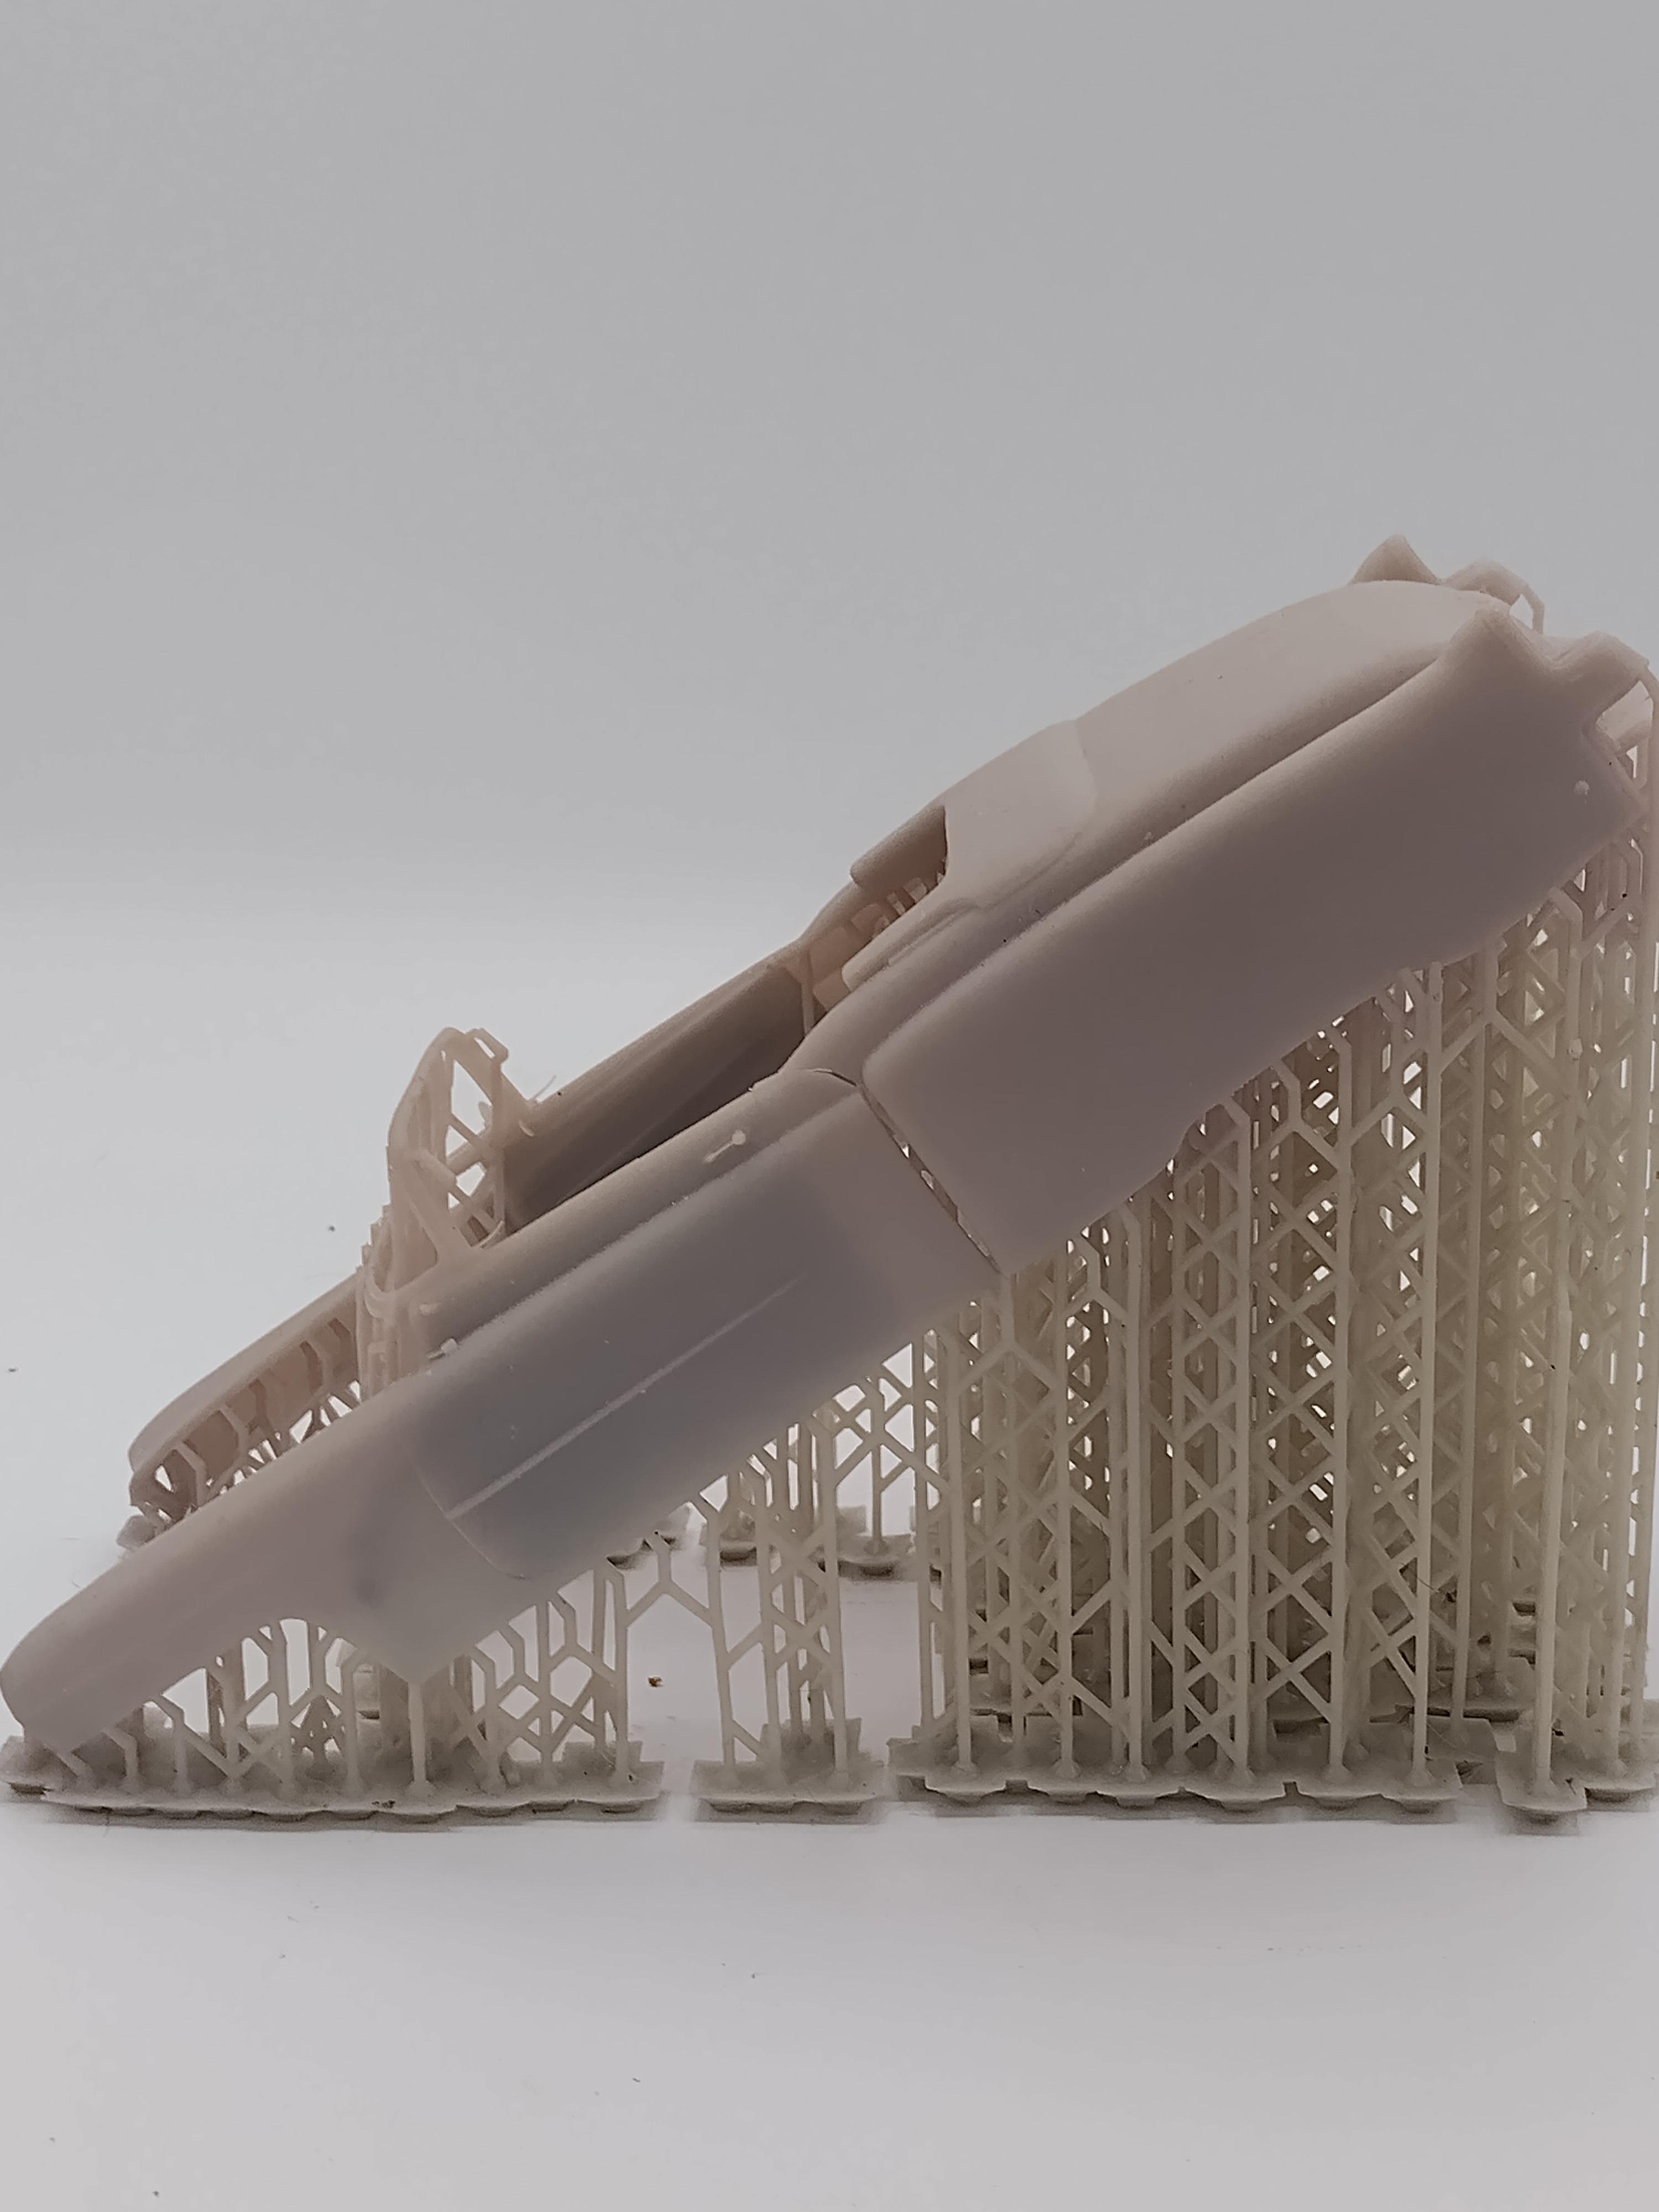
I received the new 8k printer I've been waiting for on October 1st. It's everything the reviewer said it was. Here's some of my results. The wire wheel for the 53 Caddy. This is the wire wheel for the 37 Delehaye F&F roadster. I ran water through and blew on them before they were u.v. cured. I'm going to print them again and not do that to see if none of the spokes break. The print bed on this printer is 218 mm long 123 mm wide and 224 mm high. It's xy is 28 um. The small printers used by many is 35 um. The printer Mrobsessive, i.e. Bill Geary is using prints at 50 um. The lower the um xy, the greater the detail. This size enables me to print most car bodies flawlessly at 50 um layers flawlessly. This 53 Caddy was printed at 50 um layers on my 4k machine that was faster than this one, but took 11+ hrs to print. This one was printed at 50 um on the new 8k machine and took exactly 6 hrs 22 minutes and it prints slower. I printed the 35 LaSalle body at 36 degrees slope and 30 um and it took 22 hrs. I printed the same body flat at 50 um and it took exactly 7 hr. There is no difference in the quality of the print.
-
1930's Chrysler Air Flow?
my66s55 replied to misterNNL's topic in Car Aftermarket / Resin / 3D Printed
If you get a body shell, how are you going to get the rest of it? -
Finally got my new printer yesterday and the 55 Plymouth Belvedere convertible file Dan did for me.
-
Here's the frame chart. https://www.ebay.com/itm/233195233885 I have no idea how you are going to do this. I have the earlier torqueflite trans used until 1962.
-
If they don't have a face and are just lines they won't print. I use the Meshlab program to check my files for correctness. It will show you what the file will print.
-
I don't have any problem thickening files, Bill. You are doing fairly well so far, but you will get better as you gain more experience and learn how to solve your problems. I have found that experience is the best teacher.
-
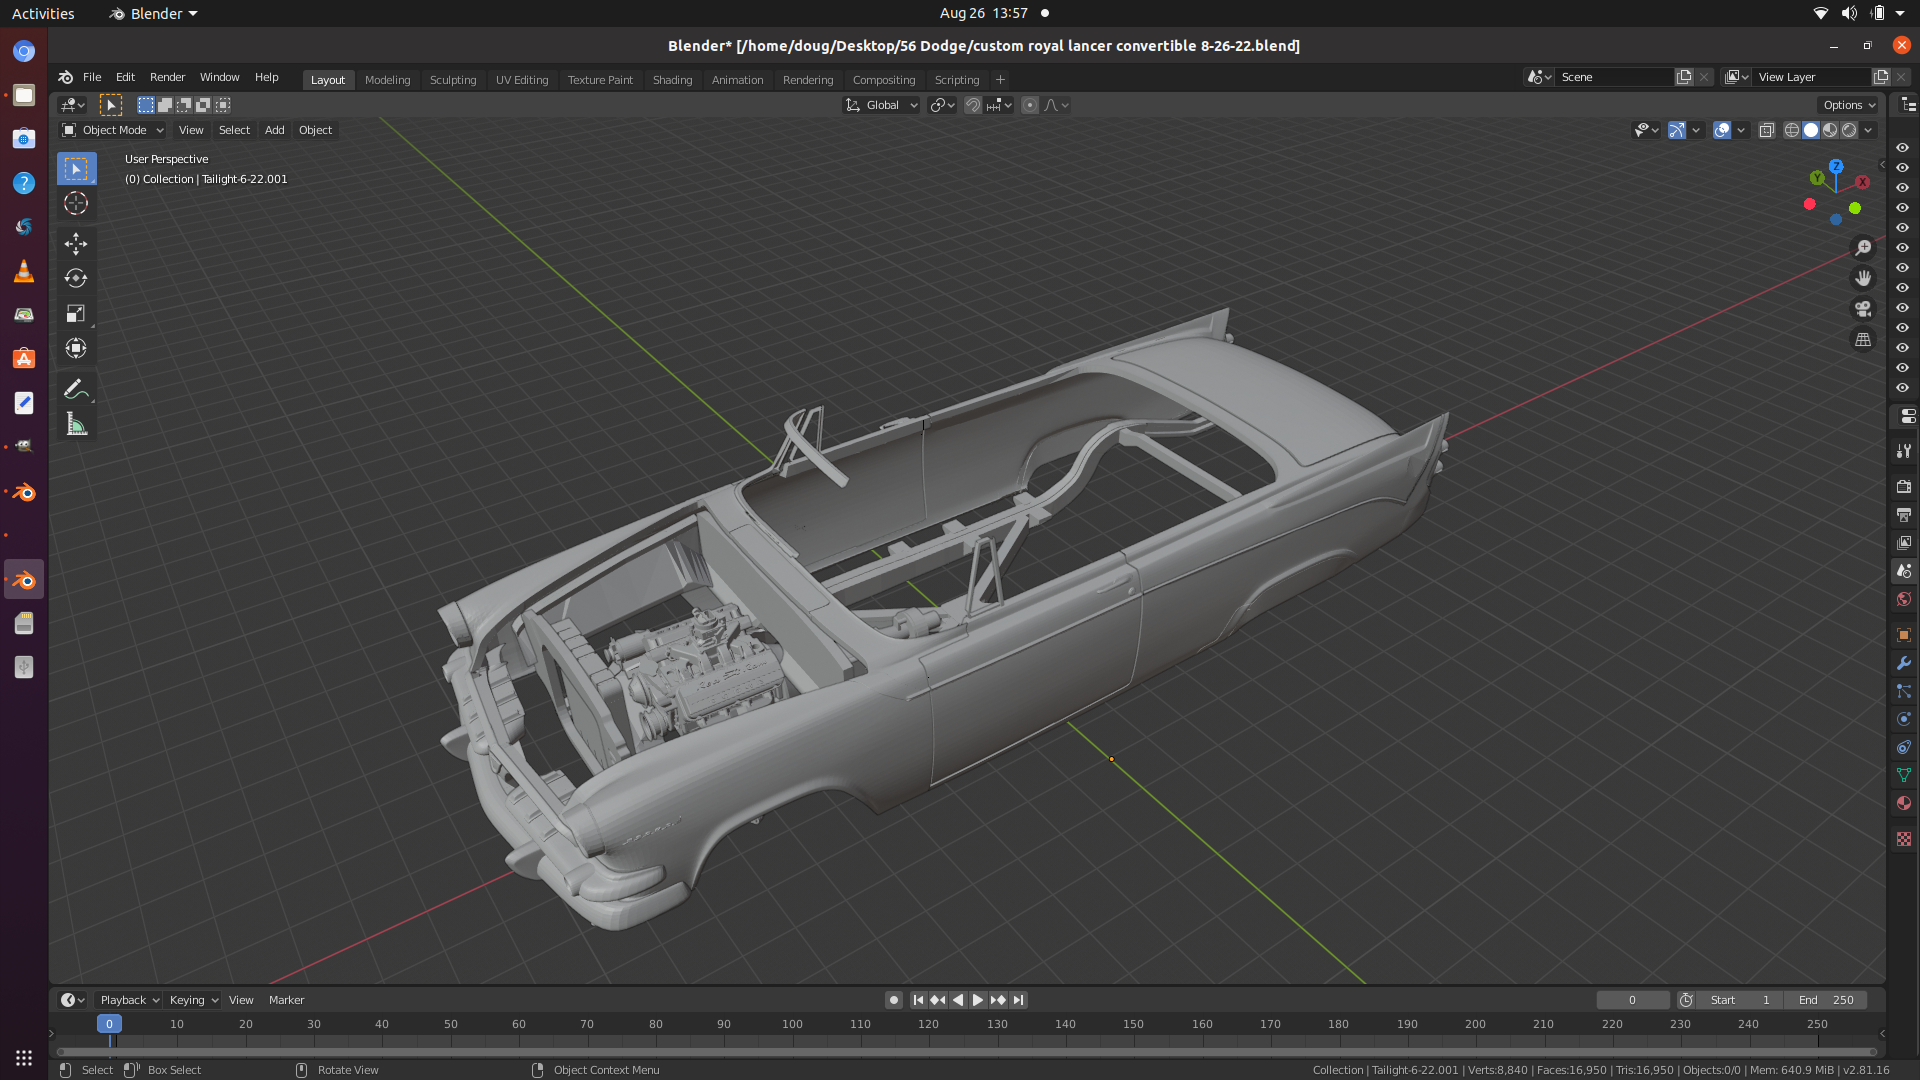
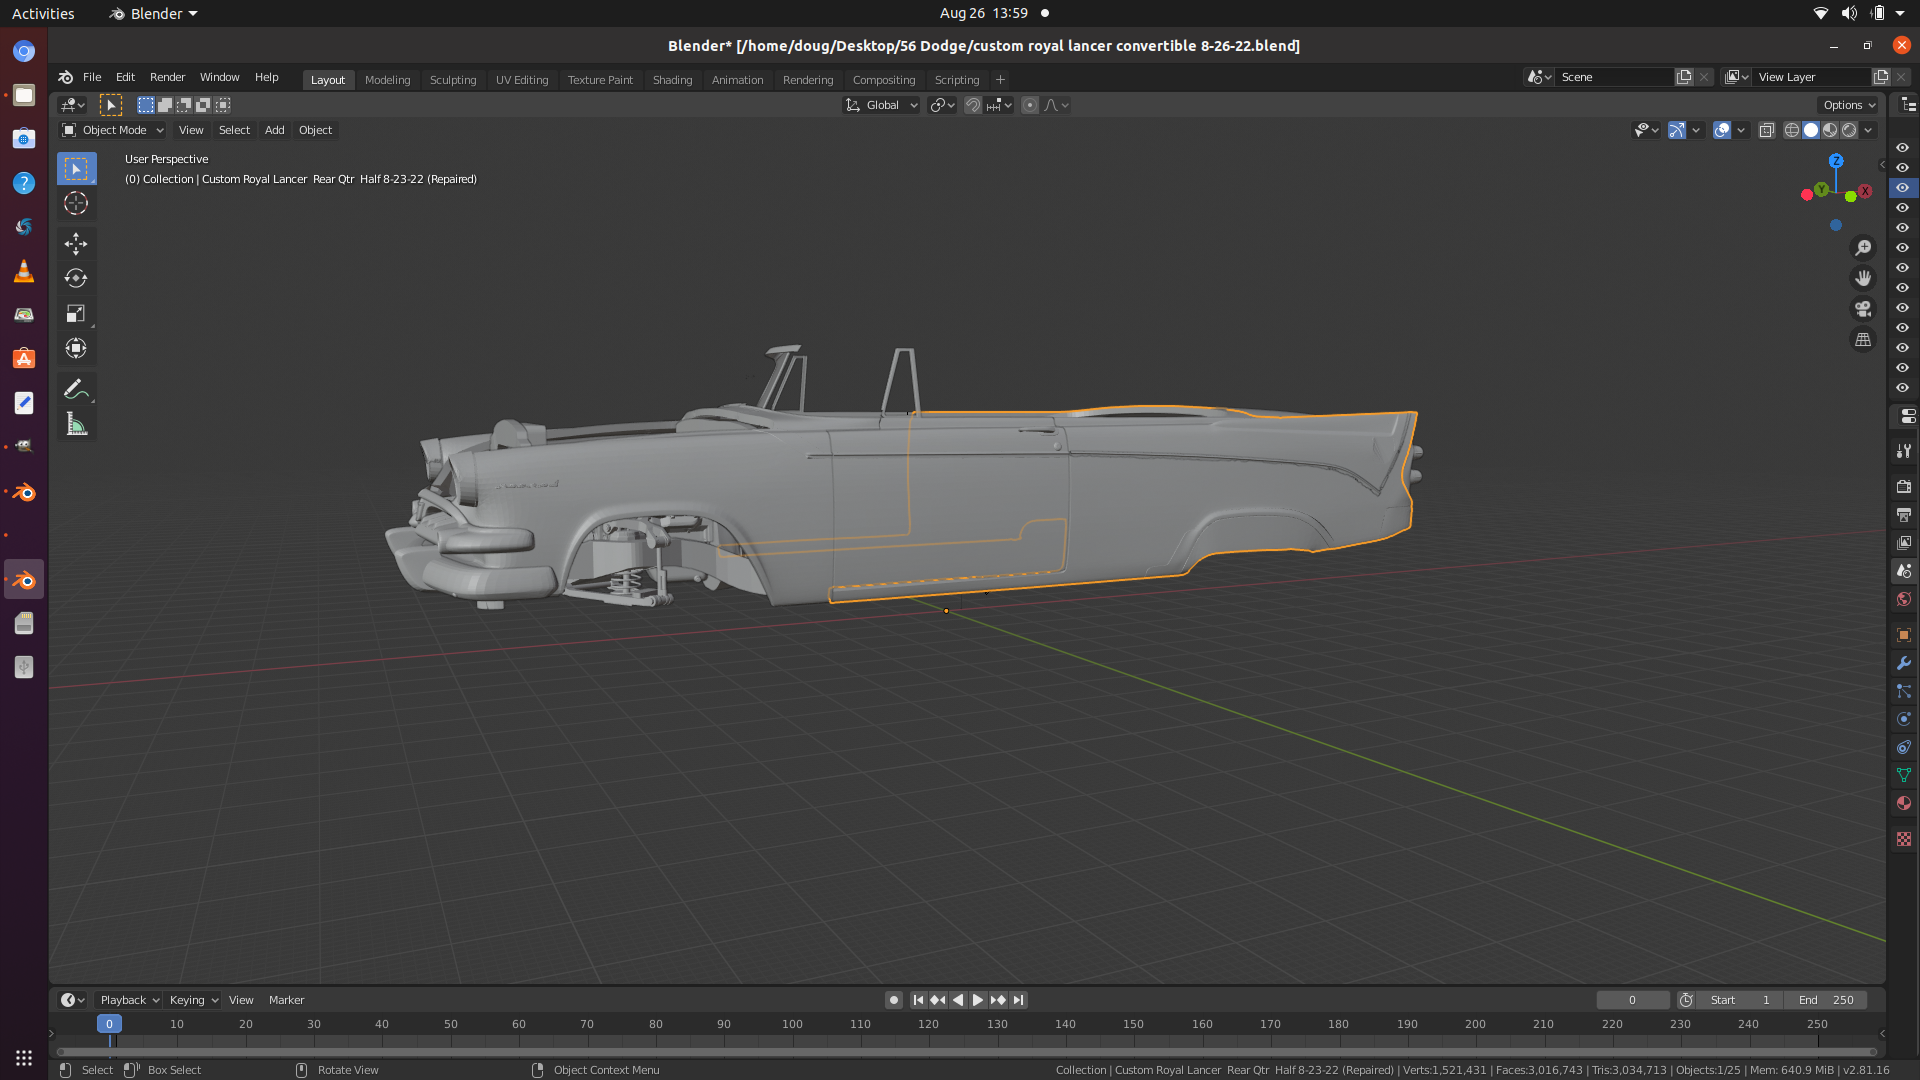
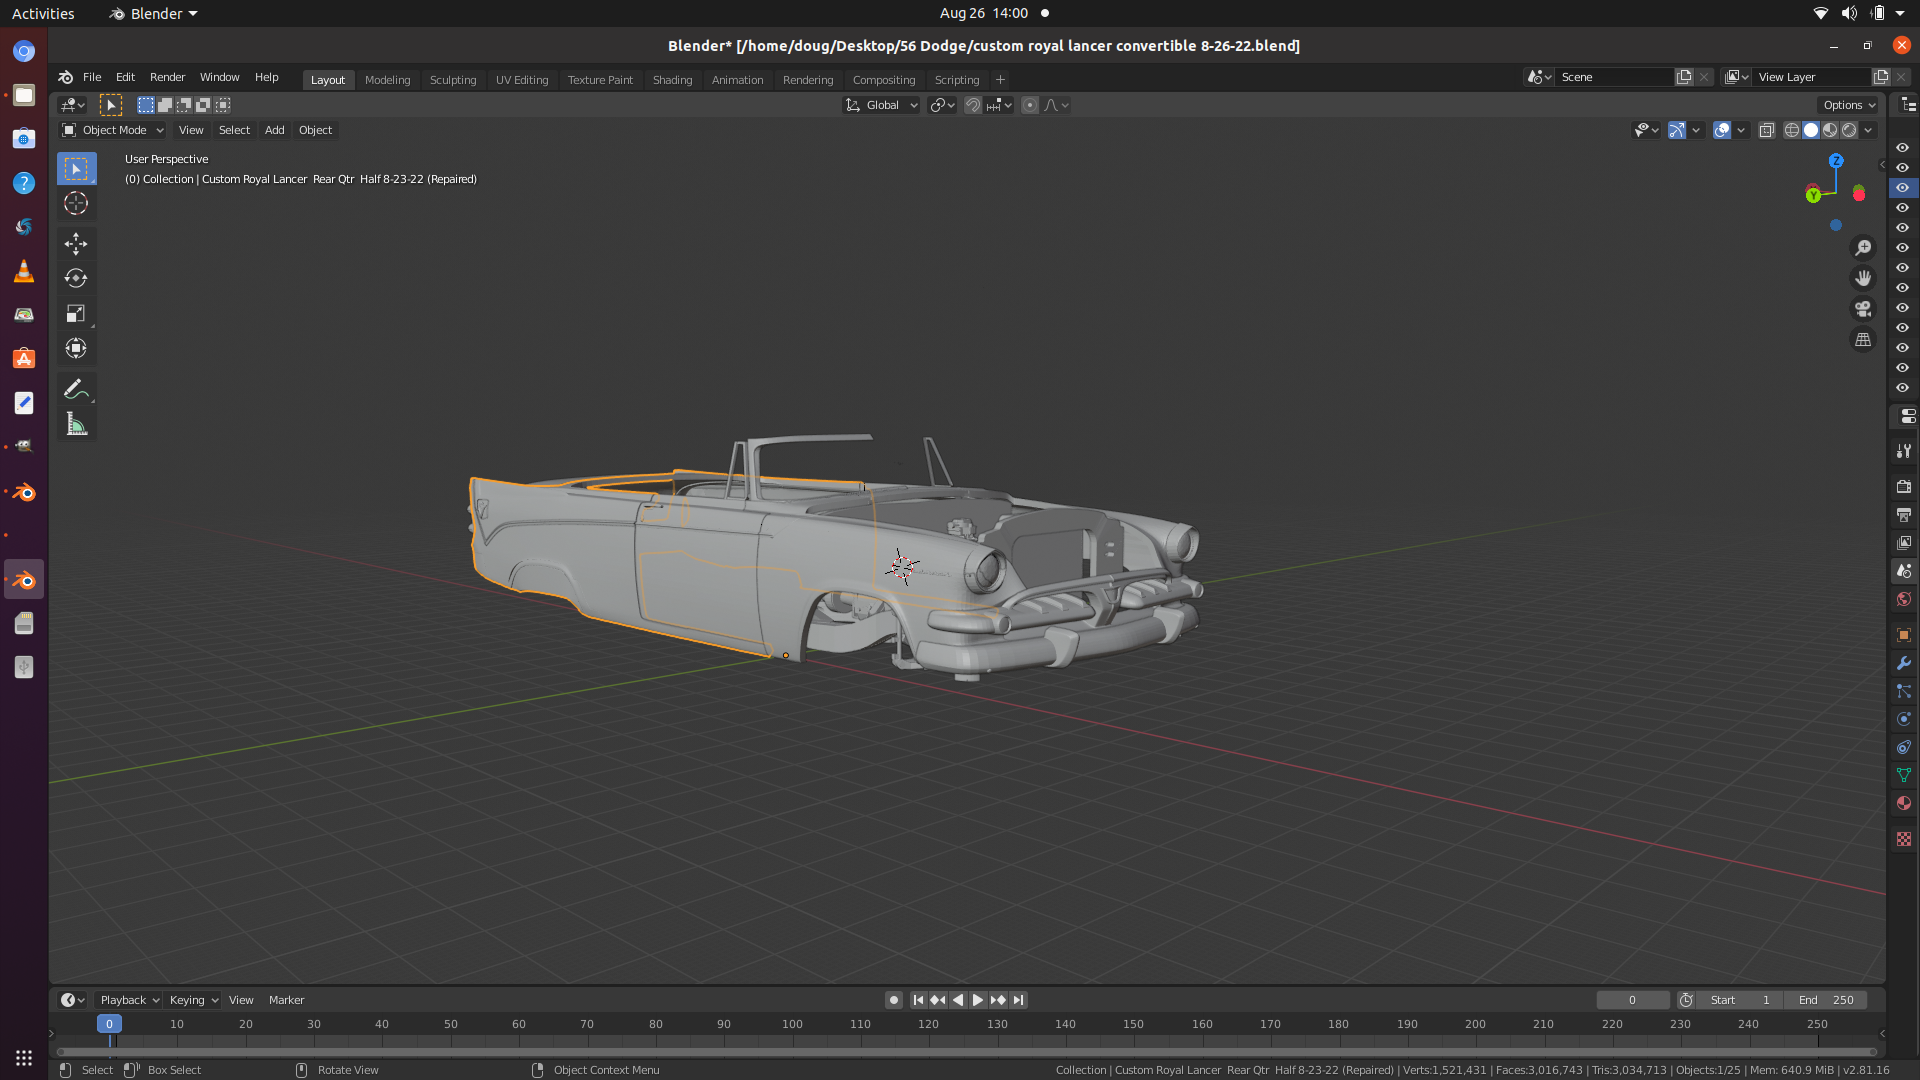
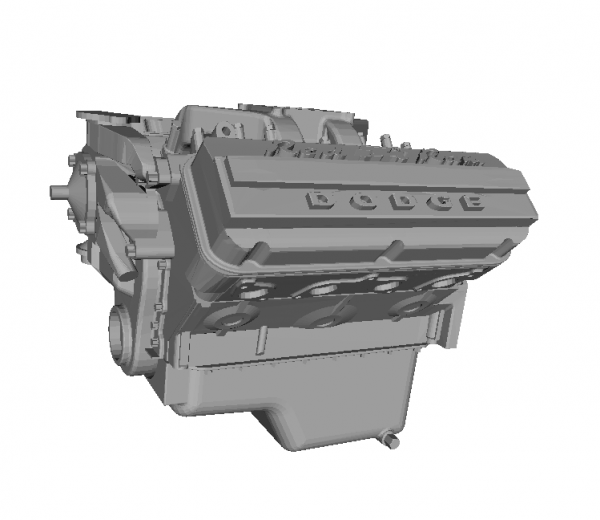
I've been working on the 56 Dodge and have all but the windshield ready for a test print. Of coarse it's a Coronet Royal Lancer Convertible. I've included the files from my 55 Dodge in the pics, but they will need some adjusting to fit this body.
-
Yes, they come in obj format. But, as I previously sated above, they are gaming files and very difficult to take apart. There is no separation of parts like your used to. It's totally different and takes me days to do. The 56 Mercury took 6 days at 3-5 or more hours a day to do. Then you have to know how to properly fill holes that you create in the process. The parts that are made separately don't always line up. You have to alter them to work. On and on. There a lot of work.
-
I've had that Safari for at least a couple years. It's just not a good file. These files are done by Dan Palatnik. There $150 each. Go to his Facebook page and check it out. There"s 56 Buick Roadmaster 2dr hardtop. He's doing the 55 Plymouth for the same $150. His files are all high poly count.
-
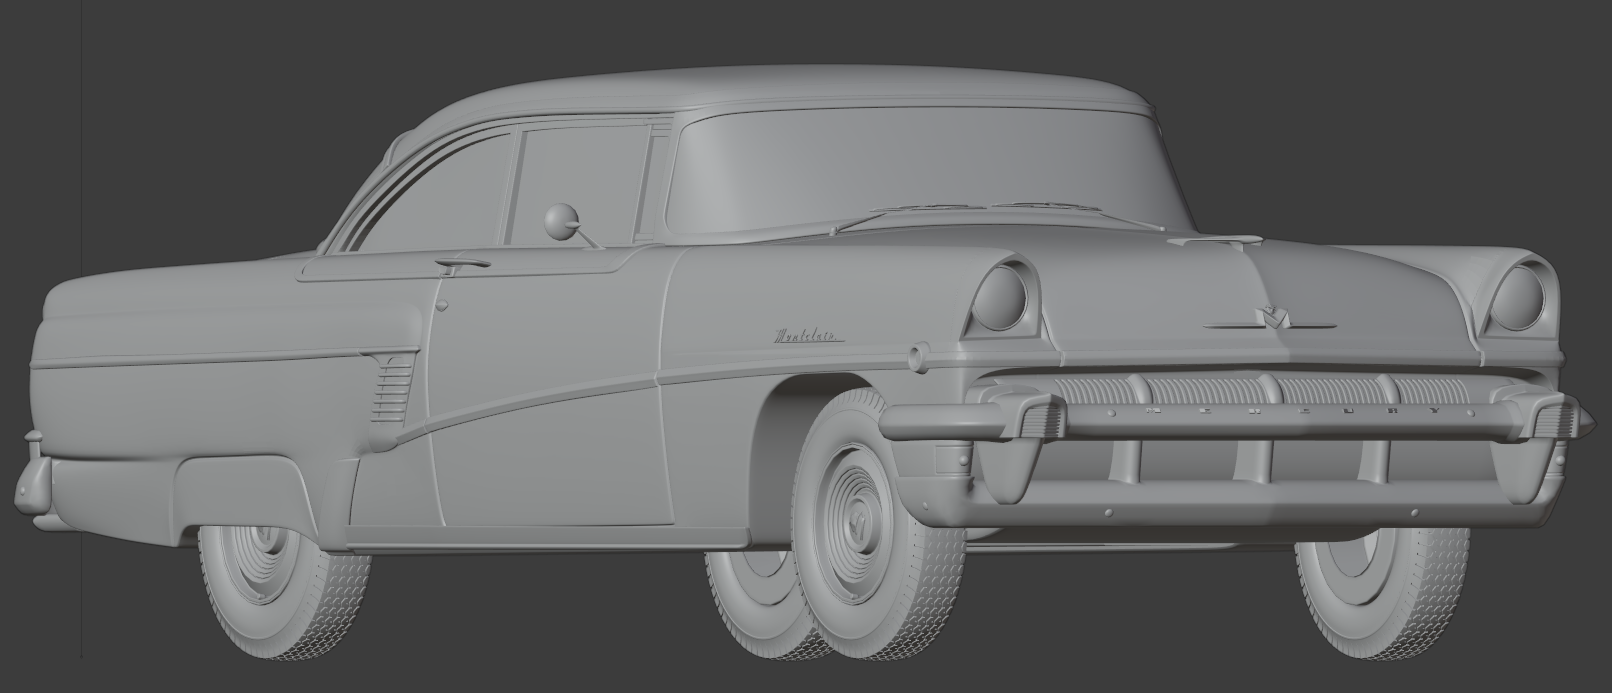
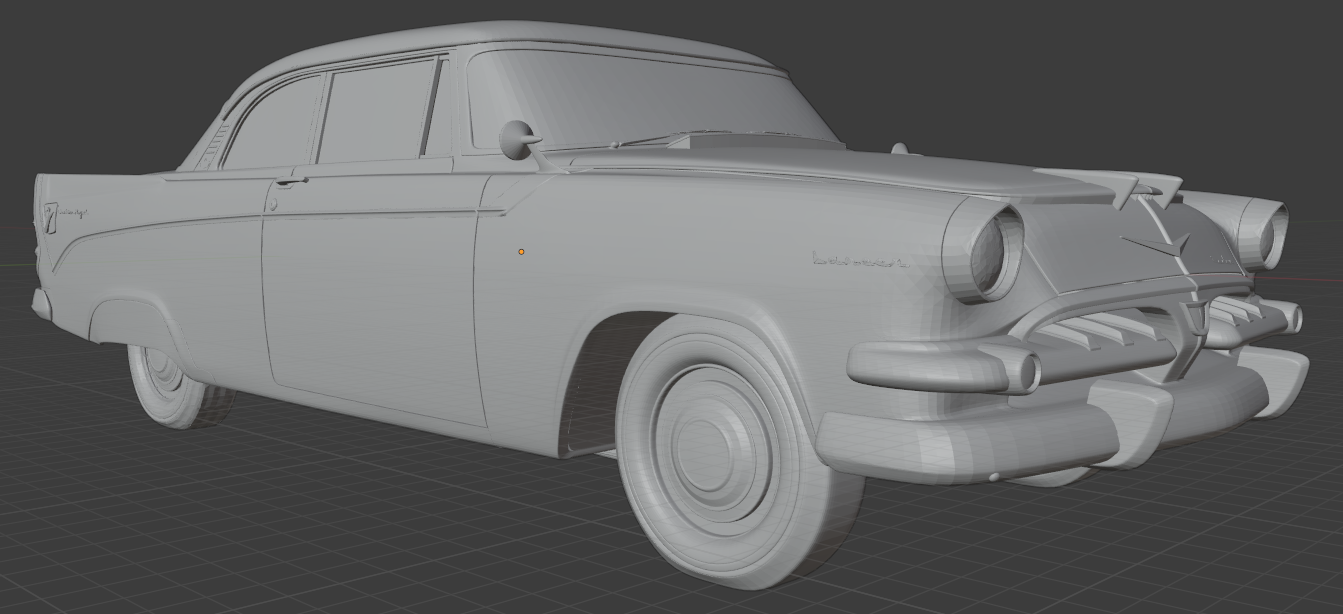
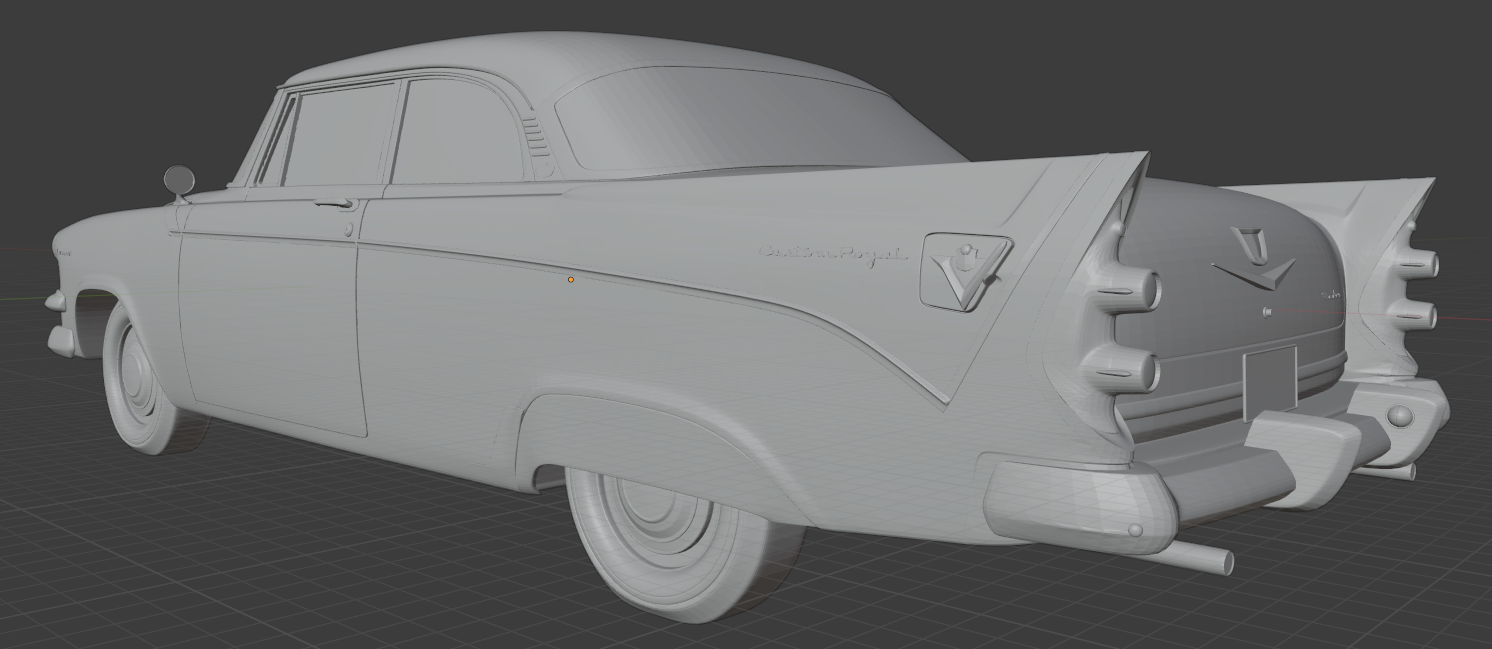
I found three 56 car files that I've purchased and modified for 3d printing. There just isn't any files available for these, but I got lucky and found a gaming file producer that had them. Their pricey and need some modification. He's also creating a 55 Plymouth Belvedere convertible for me. The Caddy 331 engine and thans are almost finished. The 56 Continental is ready for print and the 58 Ford Sunliner convertible is almost printable. The new printer should be here by the end of August. Here's the three 56"s. Pontiac Star Chief Catalina Sports Coupe -the front bumpers need scaling down. Mercury Montclair. - I had to flatten the small grill. Dodge Custom Royal Lancer-can't find anything wrong. I will probably combine this front end onto the rear of the 55 and make the few changes..
-
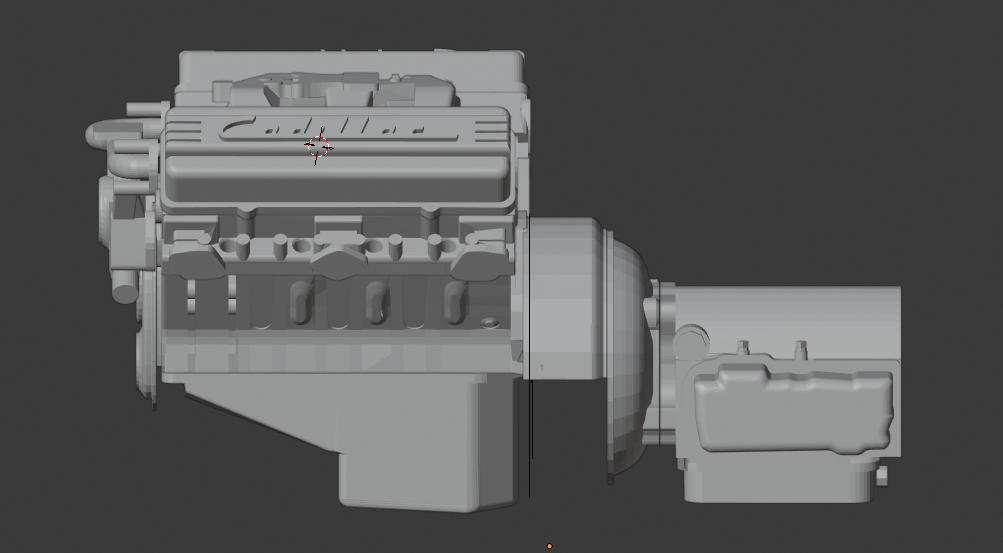
Progress on the Caddy engine. Water pump housing is done. Center exhaust pots for heads is done. The correct Hydra-Matic Trans is well underway. The oil pan needs to be corrected.
-
Is this what your looking for Micheal? This is a newer release with better plastic. There is no warping. I bought it a few years ago for the body. I made a resin casting of it for my convertible project. There is no interior but, everything is in good shape. Message me if interested.
-
Go on Squir.com for the 65. It's $99. Squir is top notch. TurboSquid doubles the price.
-
The other thing you need to watch for with purchased files is the accuracy. I covered this in my "My 3d printed projects" posts with a Hum3D 55 Dodge file that was major messed up. I downloaded the free 56 Pontiac Safari file and new something major was amiss. I'll turn it into a convertible at some later date. I put the file on top of a good side view because the front wheel well was off. I'll use this setup to correct it.
.png.669414e6f450135f46ec31a552d98686.png)
.png.1539bf383d4959fd14a2a822f4afa975.png)
.png.9f875744d8896316d29a6d596f2e74af.png)
.png.44deb566891aebcea2c98a32bbaf9aae.png)
.png.cd79fef9fbefb01616e10ee5aee5632f.png)
.png.8205fea9e7d786893209ed405136c2bc.png)
.png.0950654b7933d511f406ad32da2283c1.png)

.png.c716a66d08d0efaa40bc6f80018c7c12.png)


.png.cdd29ff8ed1358ee8b5ad55507b0c3dc.png)
.png.6f0e944a242cfa82cdea6a7560b2648d.png)
.png.ede676e369983ece4776f5beb1851bc4.png)
.png.549ec6b10a1151e65b197afe9e958907.png)
.png.5279c66430c4ba3c0e986b684f54e646.png)

.jpeg.4234d41e111765d4c781981891c3245c.jpeg)