Kit Karson
-
Posts
1,542 -
Joined
-
Last visited
Content Type
Profiles
Forums
Events
Gallery
Everything posted by Kit Karson
-
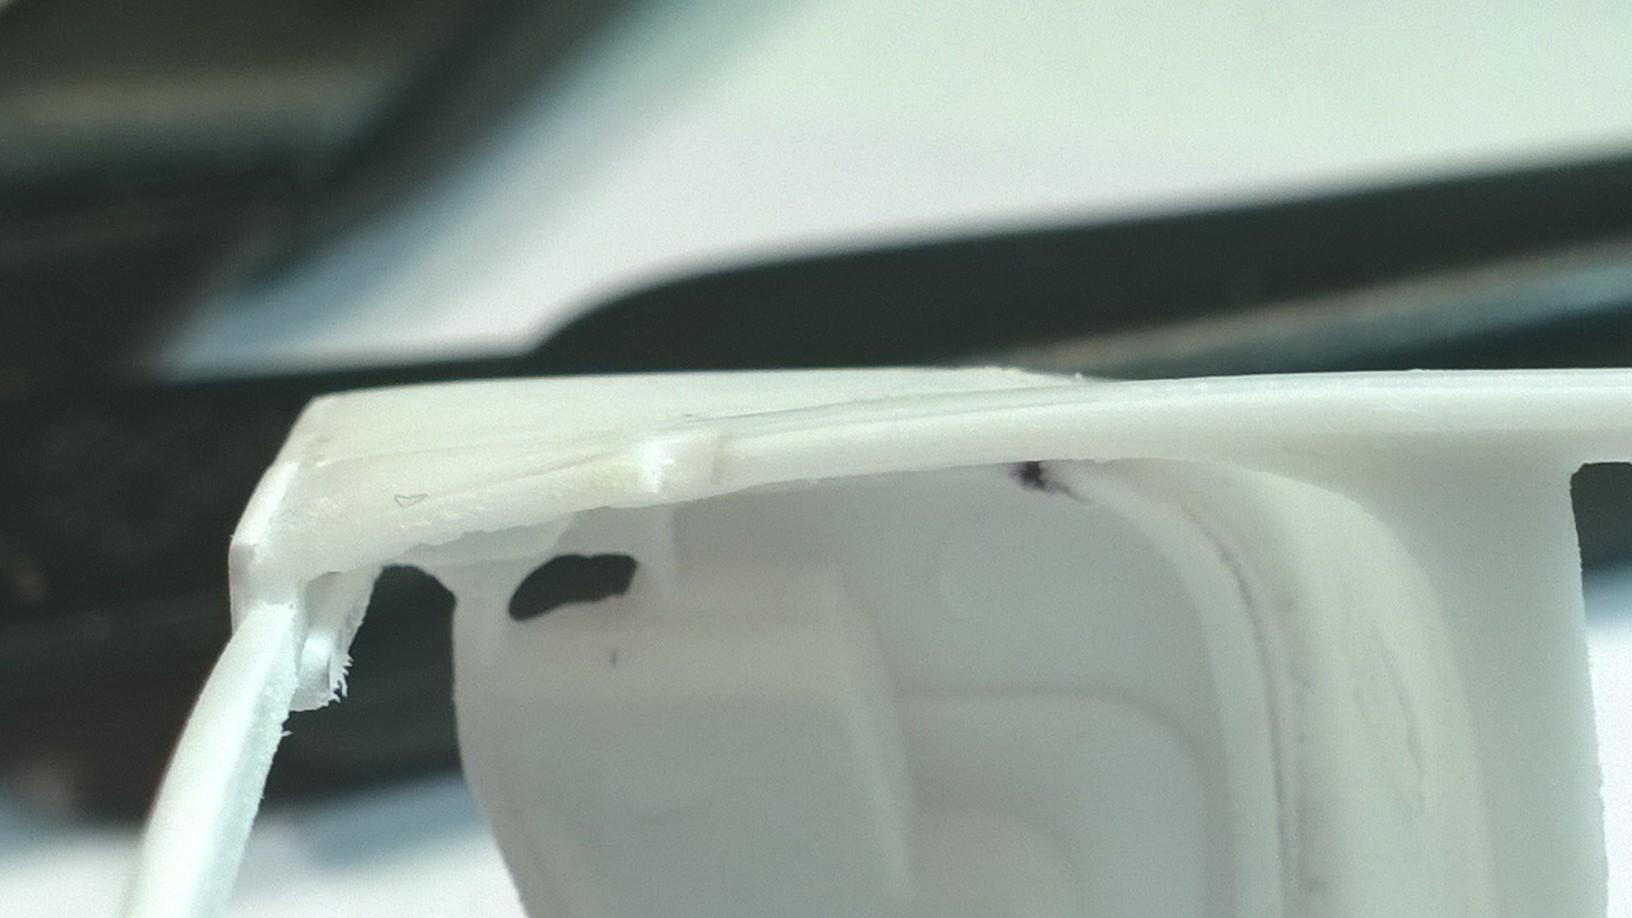
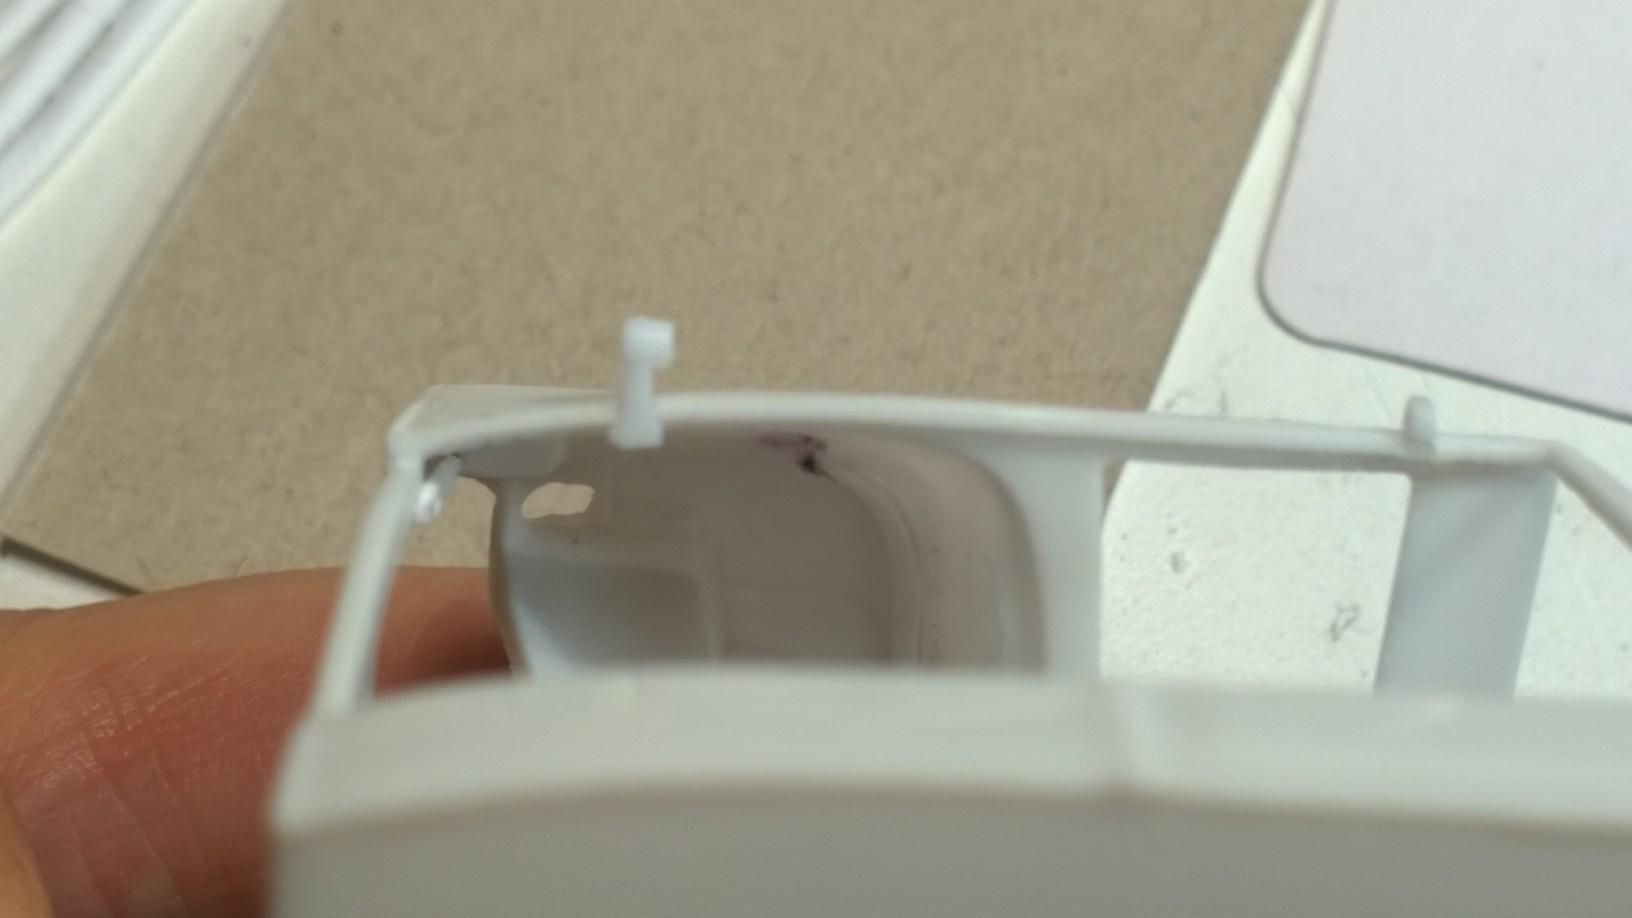
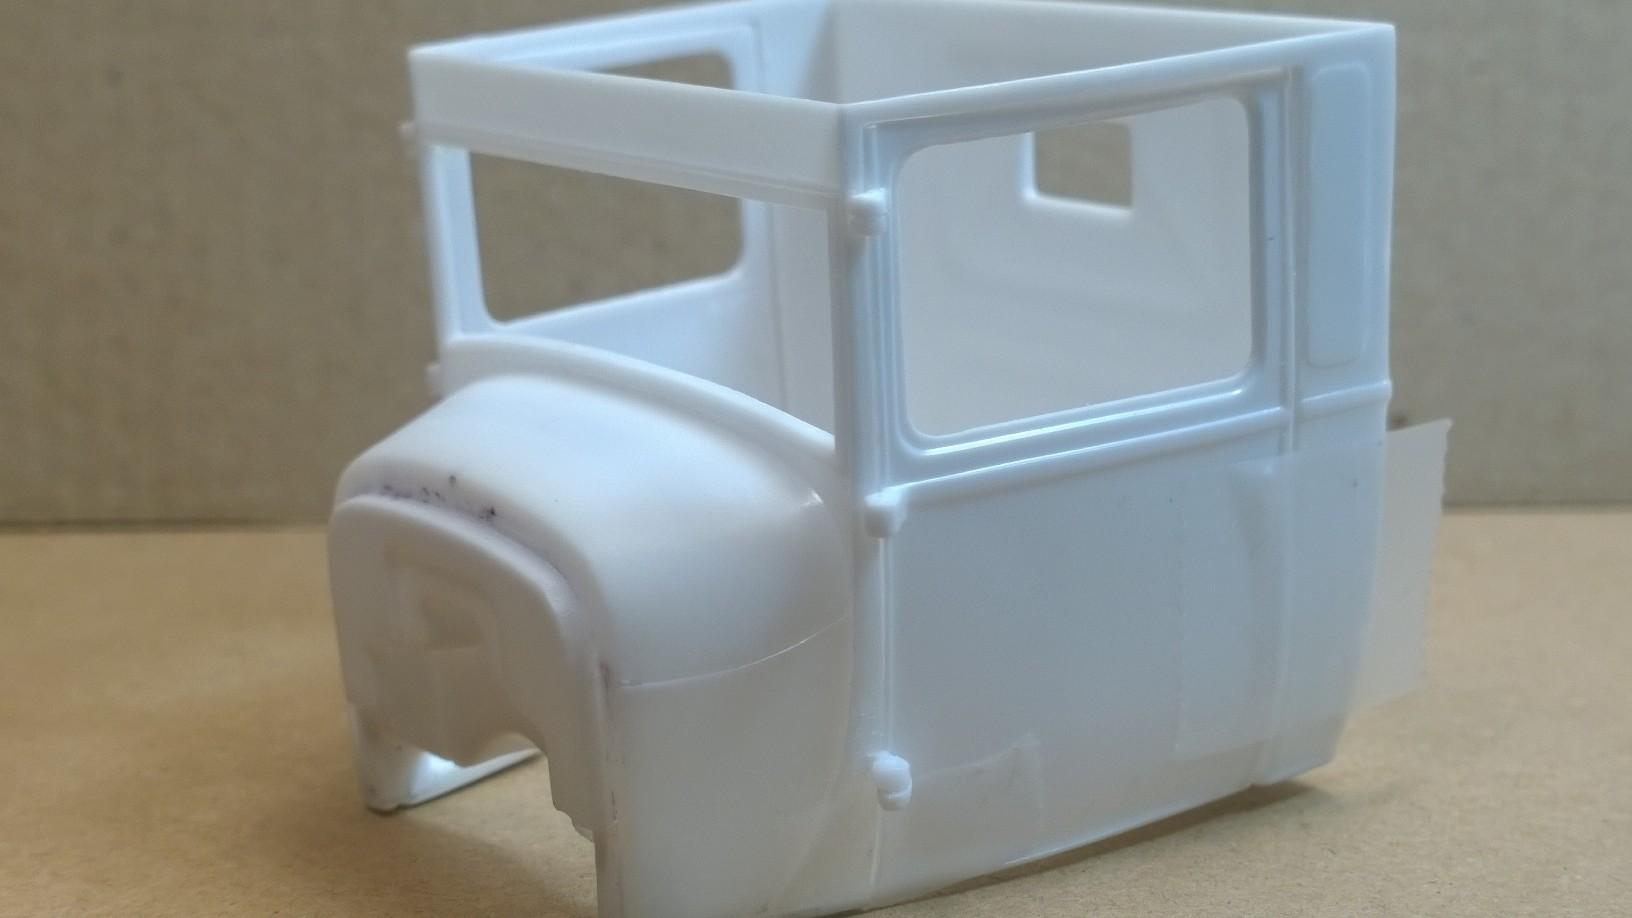
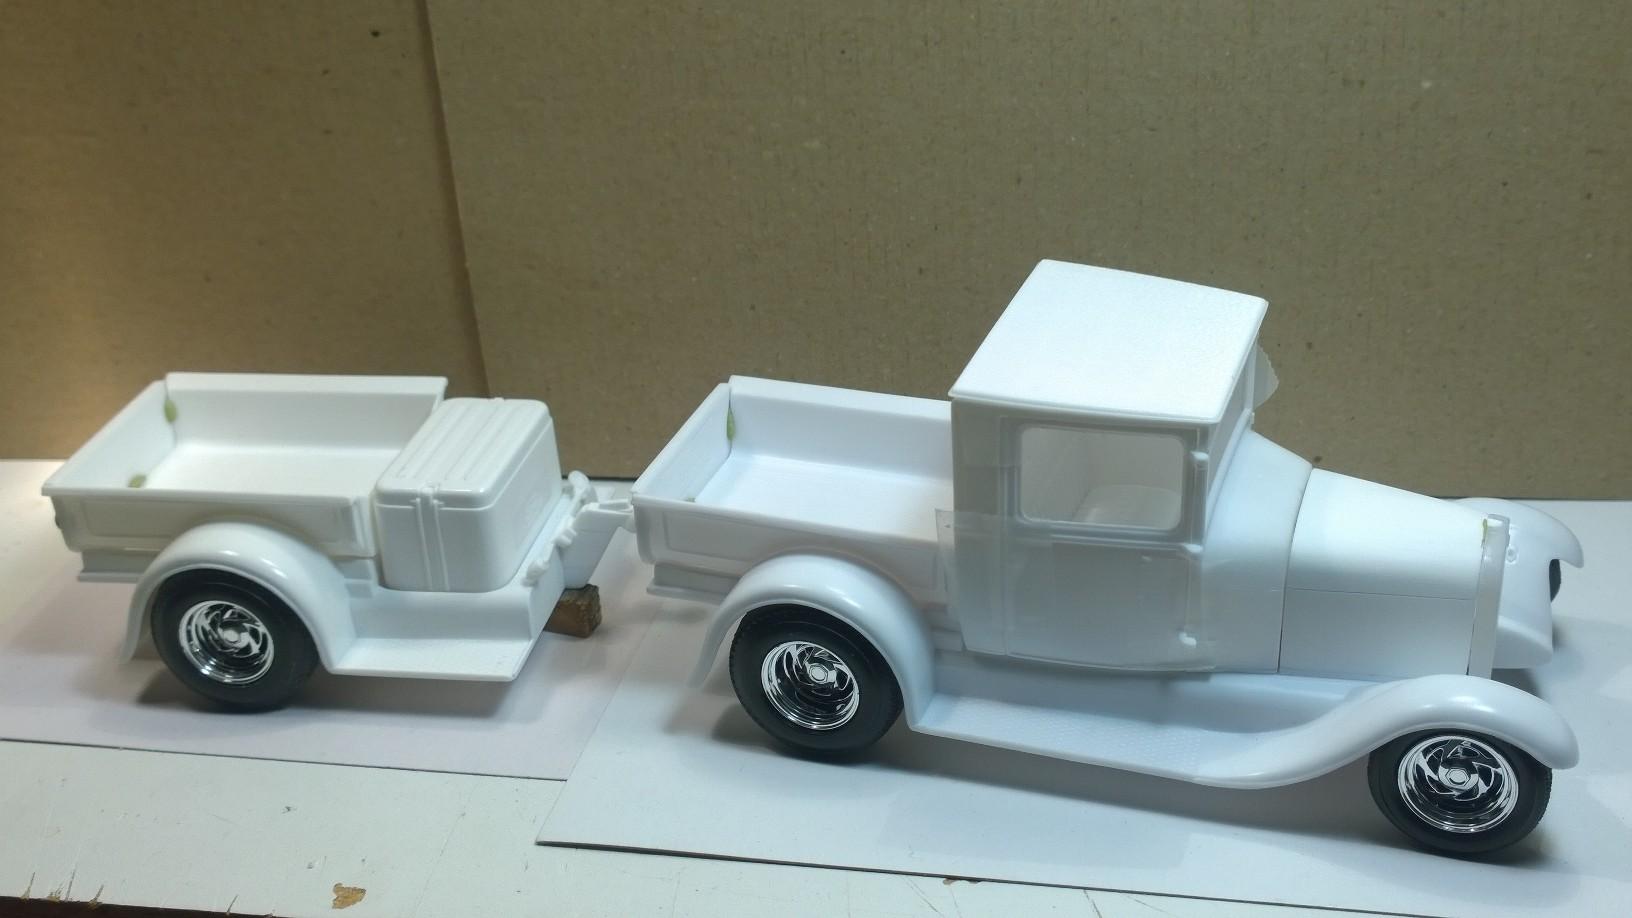
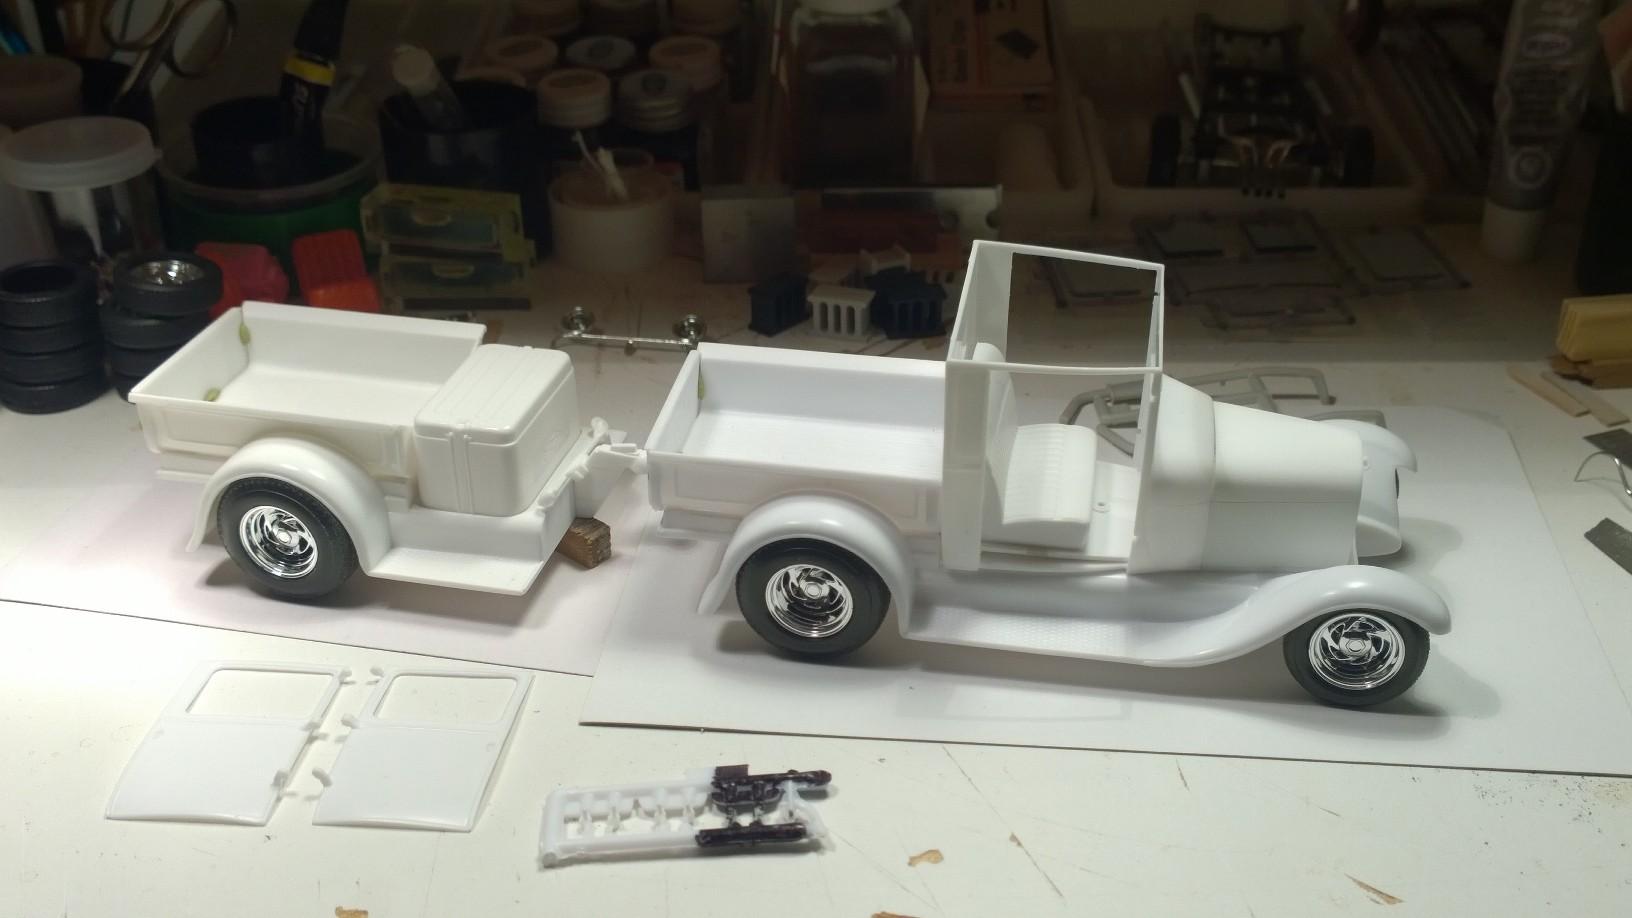
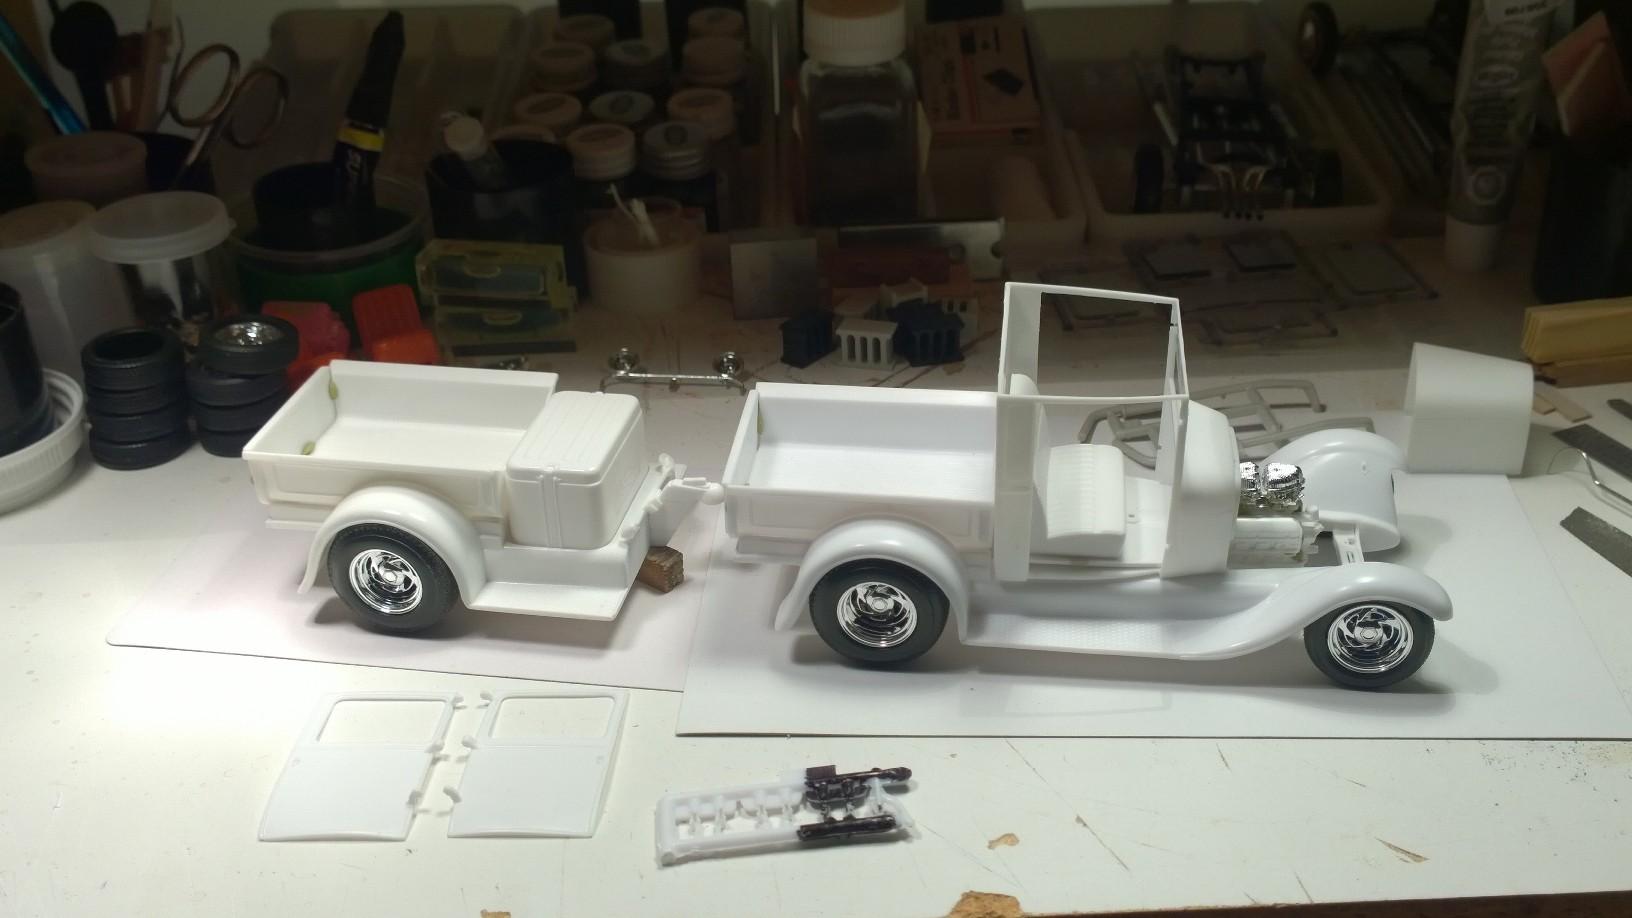
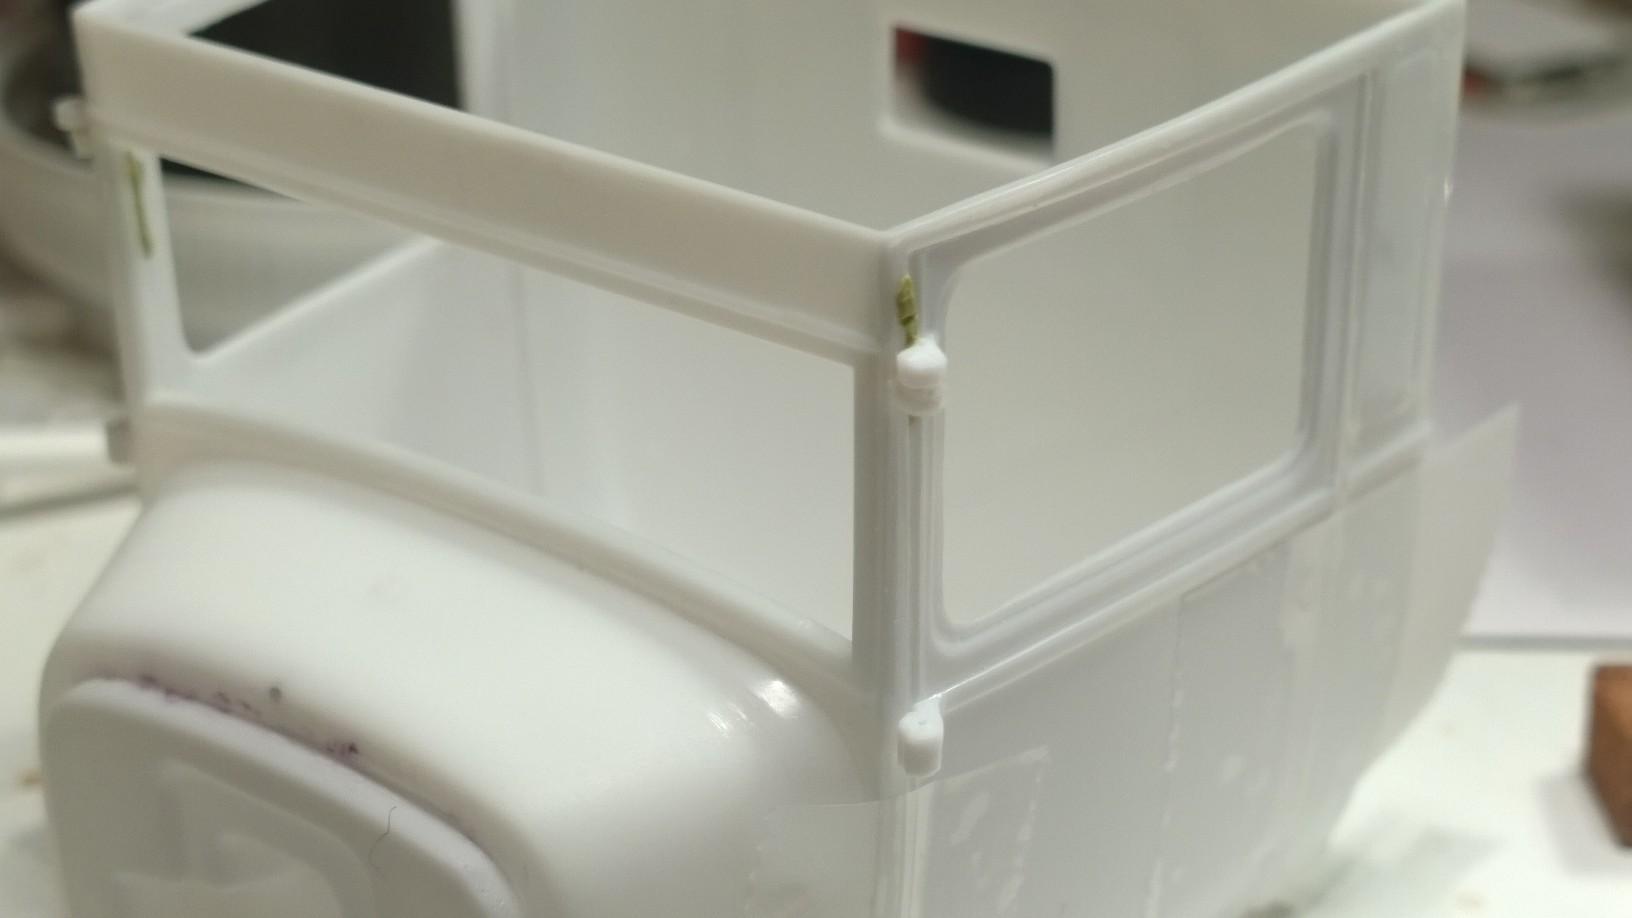
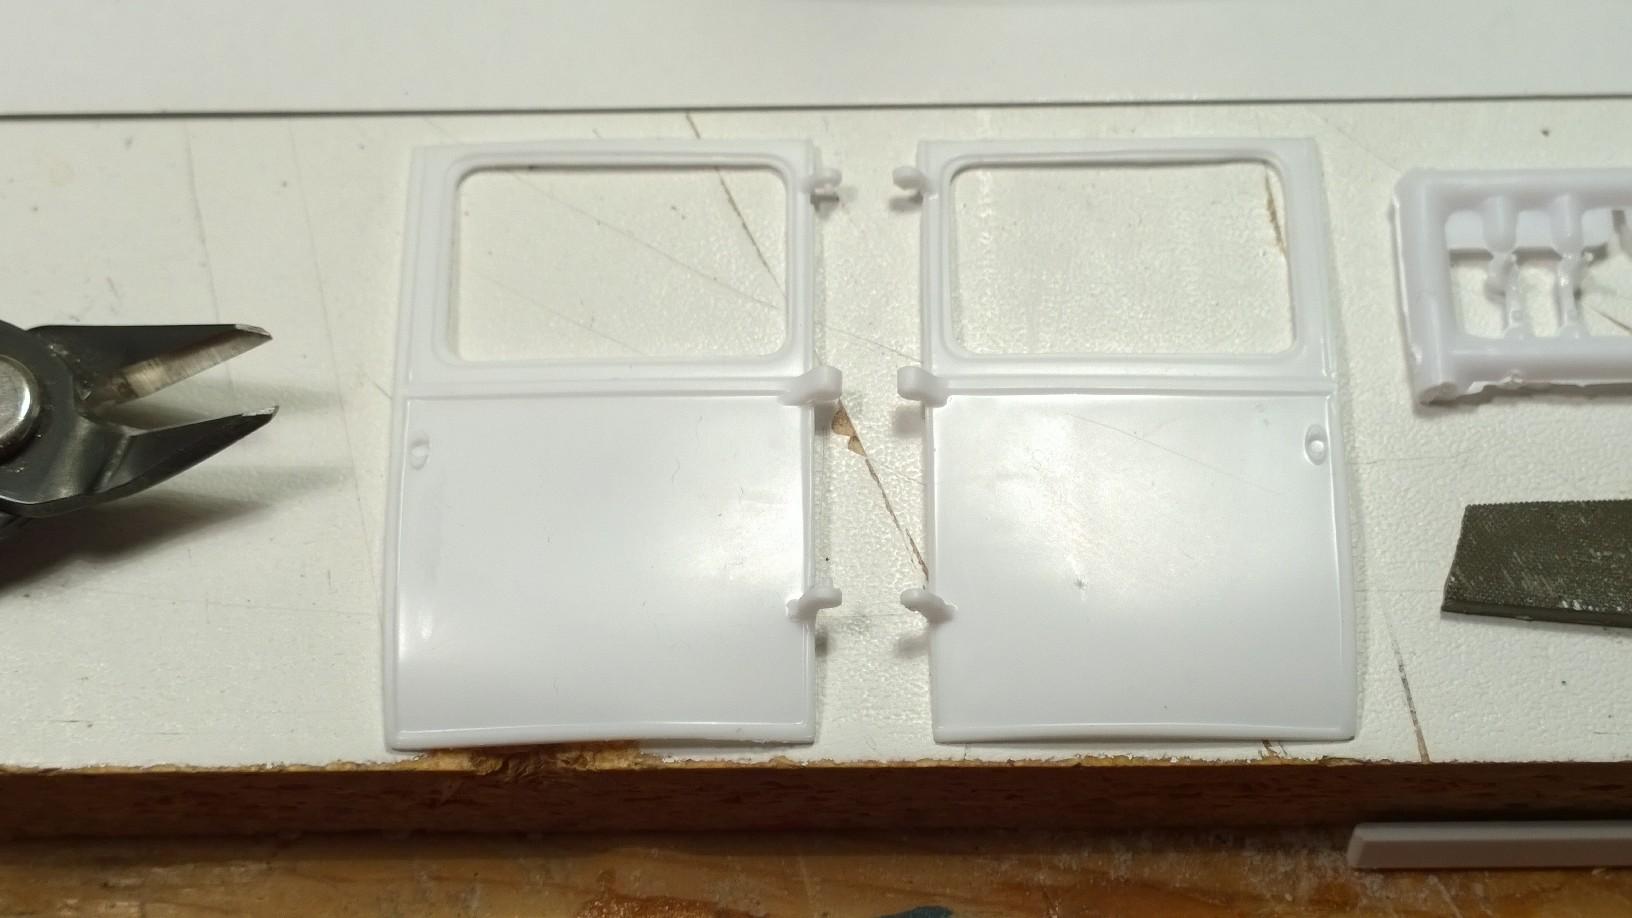
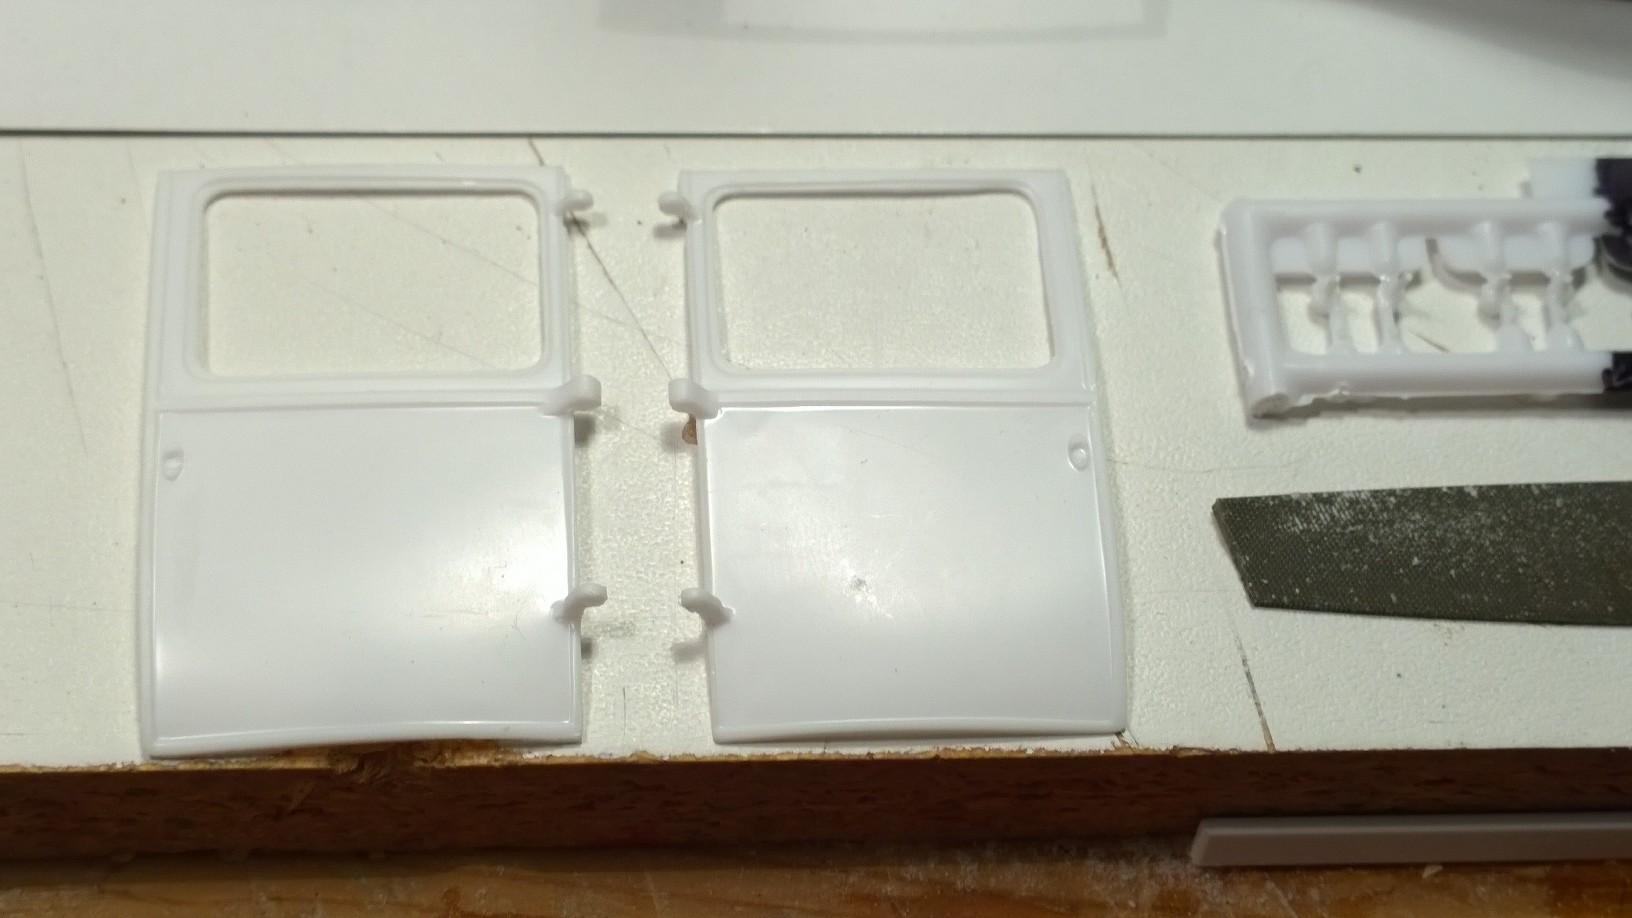
 Made the final adjustments to the lower right & left door hinges... Trimmed the left hinge off the tree to start the klean up process... Remember, the hole was filled before removing the part... Insert Tab A into Slot B... Test fit looks workable... Klose enough for government work... Filing was a bit quicker than cutting with the saw! Next step fun tack the left upper lower hinge to the inner edge of the door... Set the door back in place... Slight adjustment before securing with glue... A little drop of CA... Let it set up... Left side needs a little work... So does the right side... Small opening between the hinge and the door surround needed attention on both sides... Easy fix... All kleaned up and ready for the yard sale... One good side... deserves another! Decided, after checking out other headlight bar options, to go with the stock unit. '29 PU & Trailer Yard Sale -KK
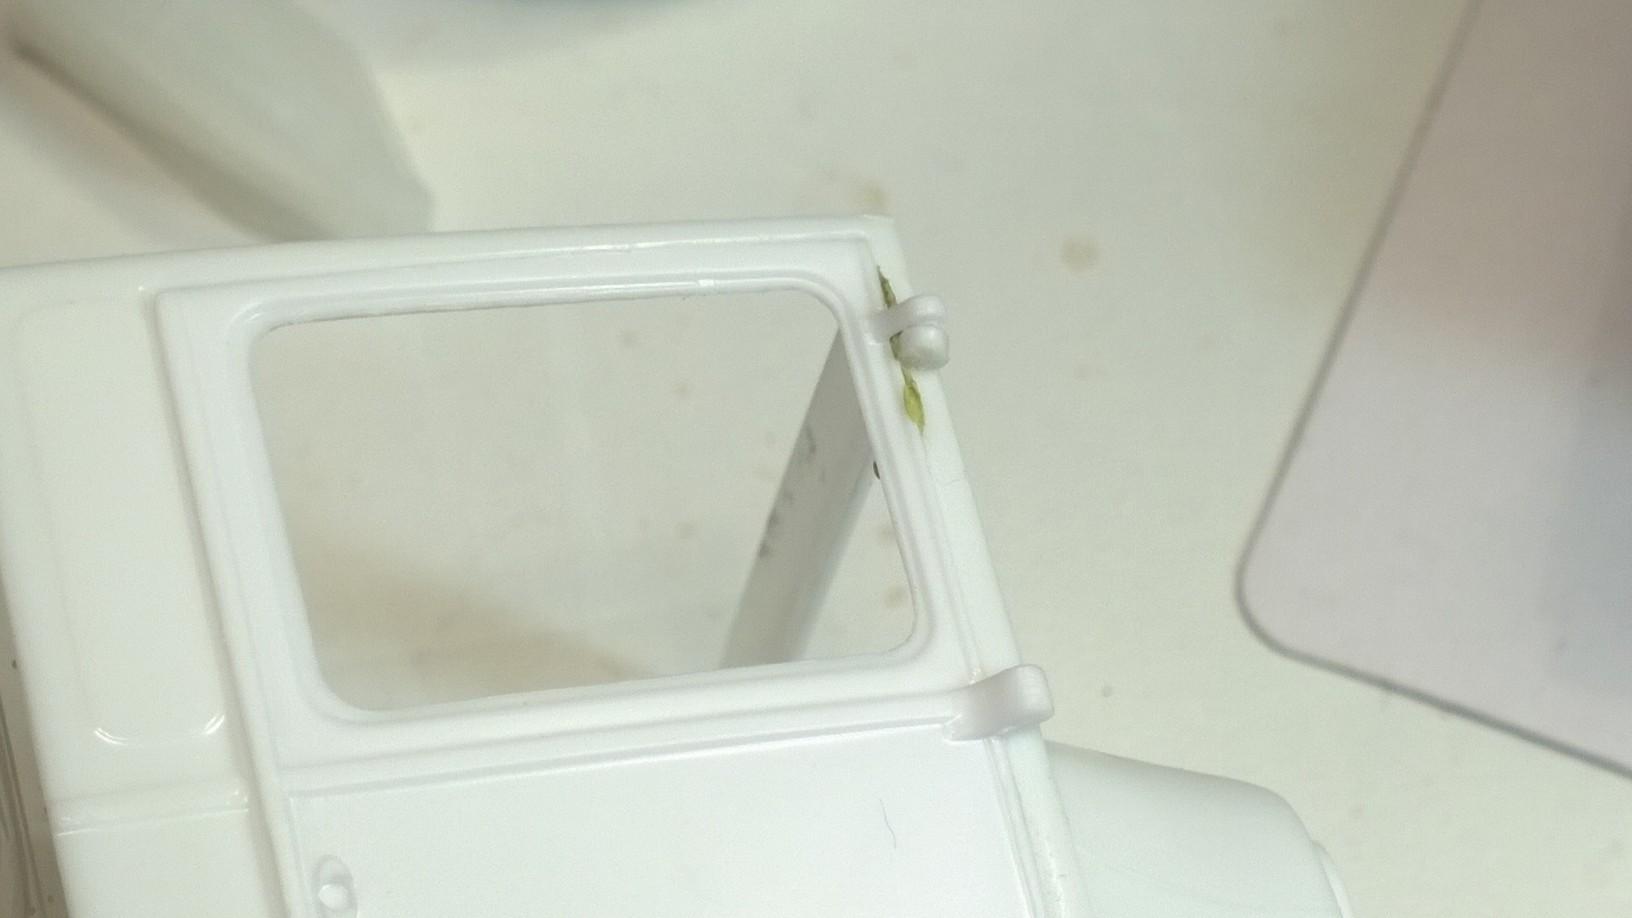
-
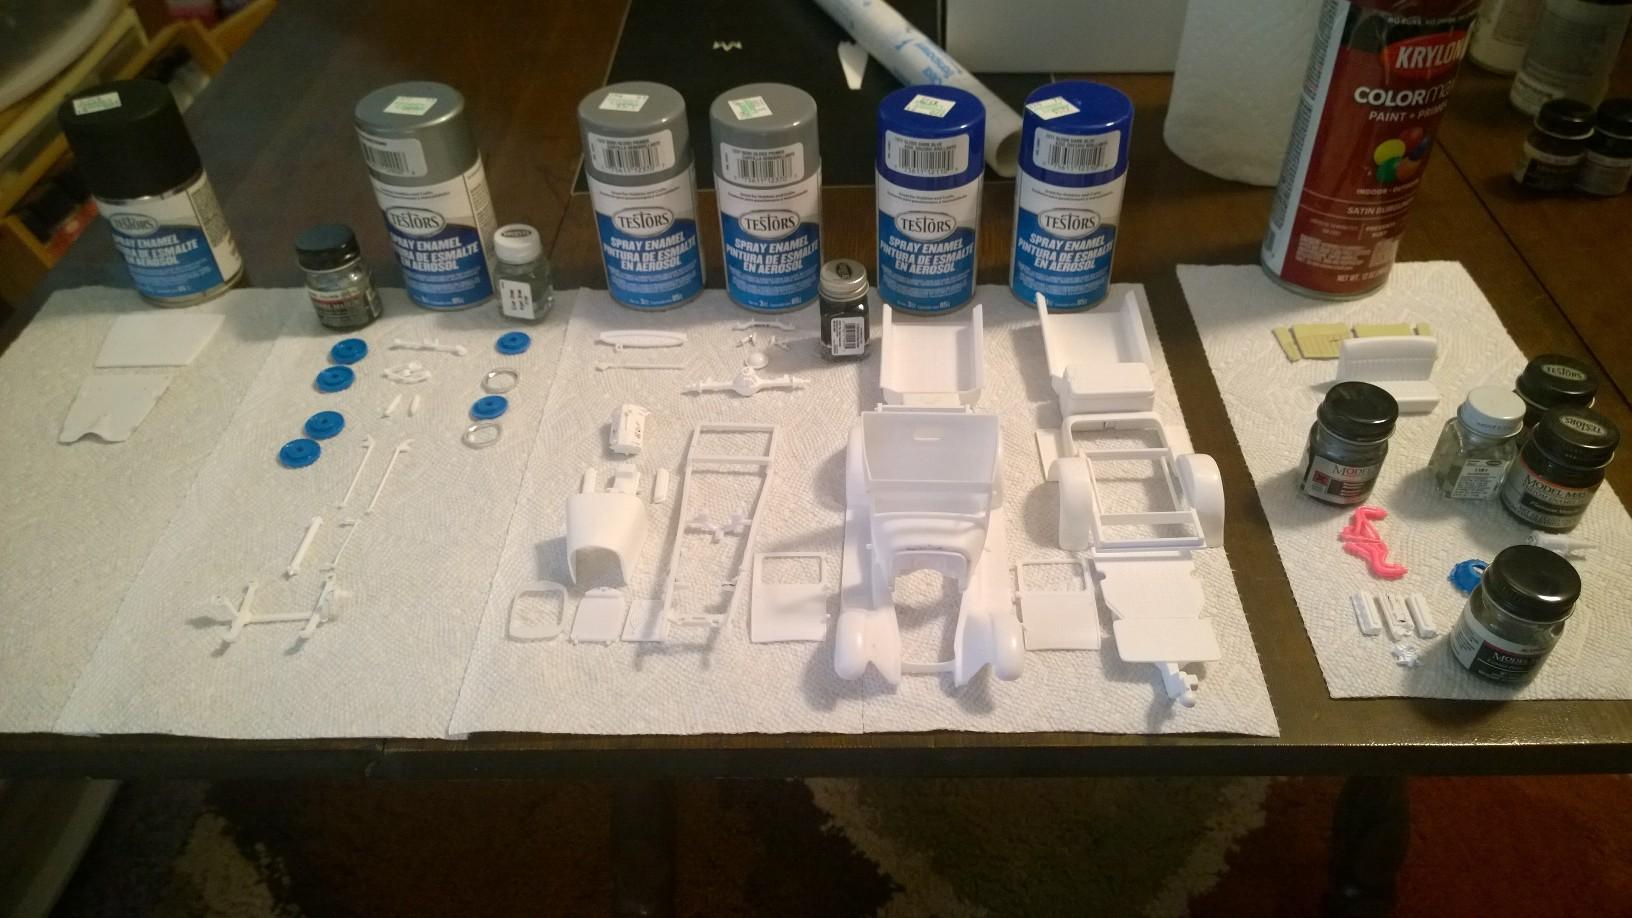
Lookin' at paint allocation... part-x-part!
-
This is like krazy kool to watch you finesse this wonderfully ol' body into shape! Appreciate you, Brother!
-
@Dennis Lacy
-
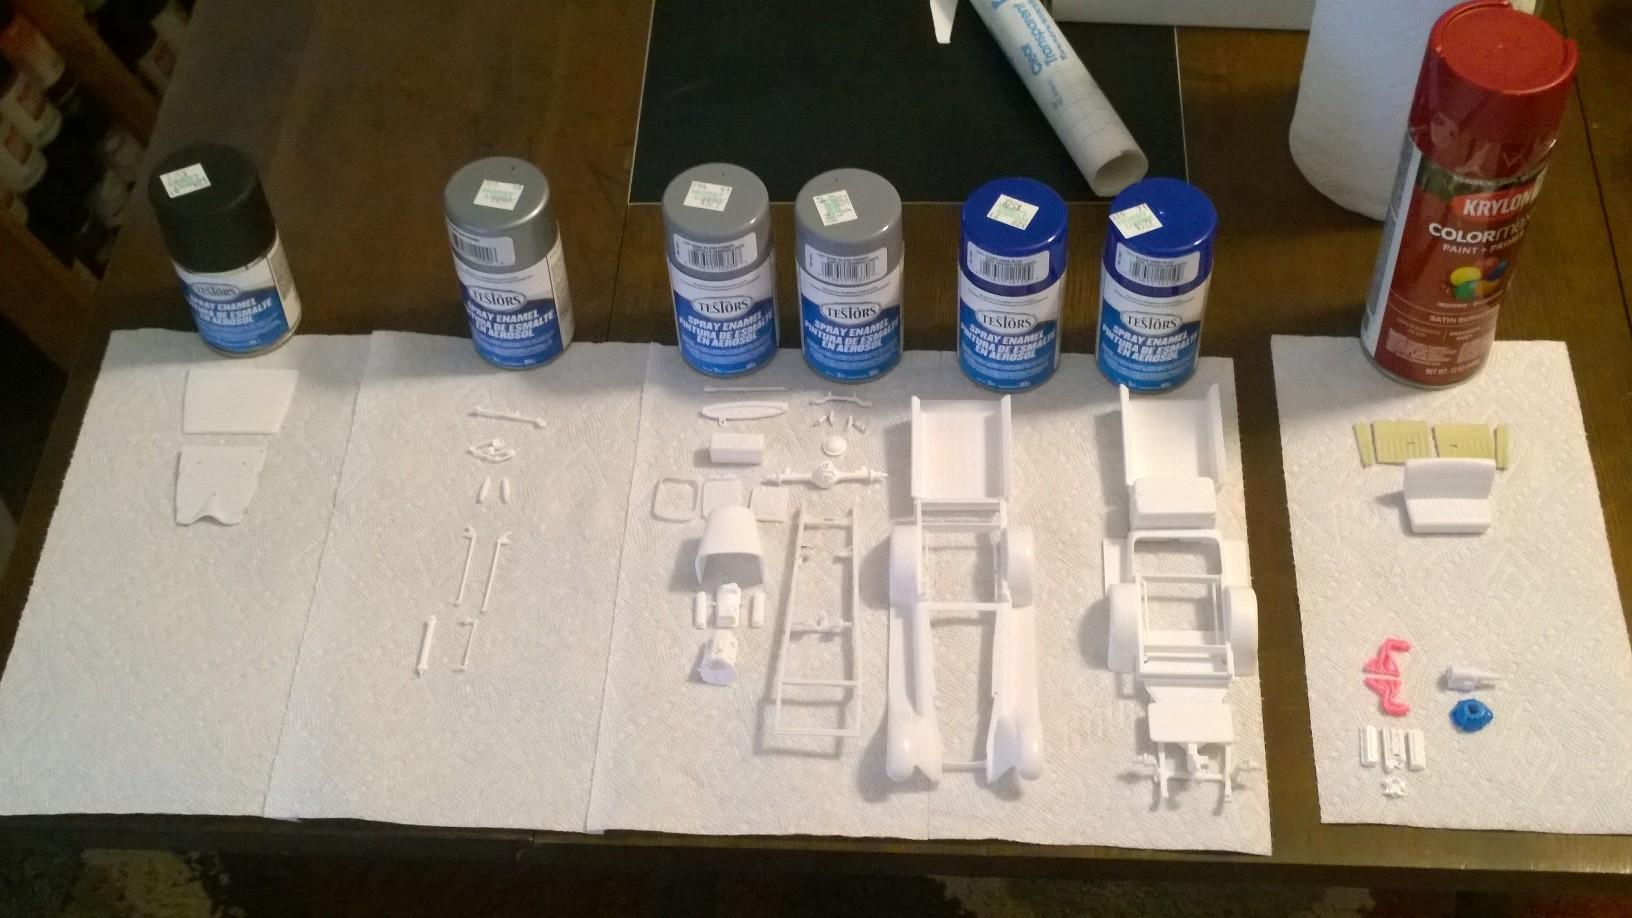
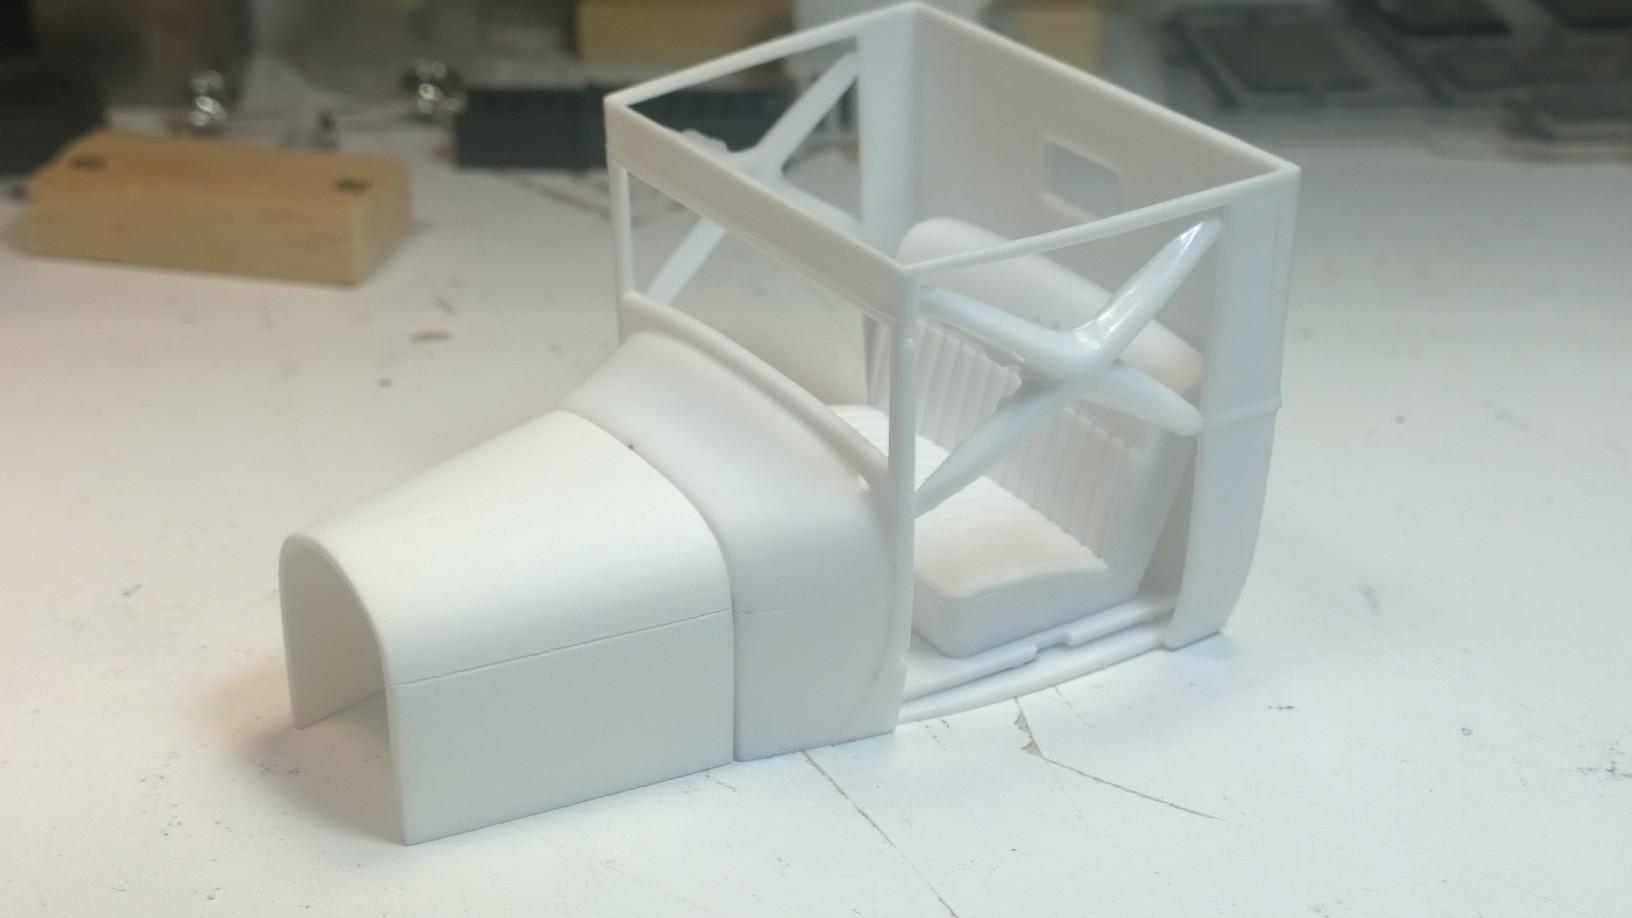
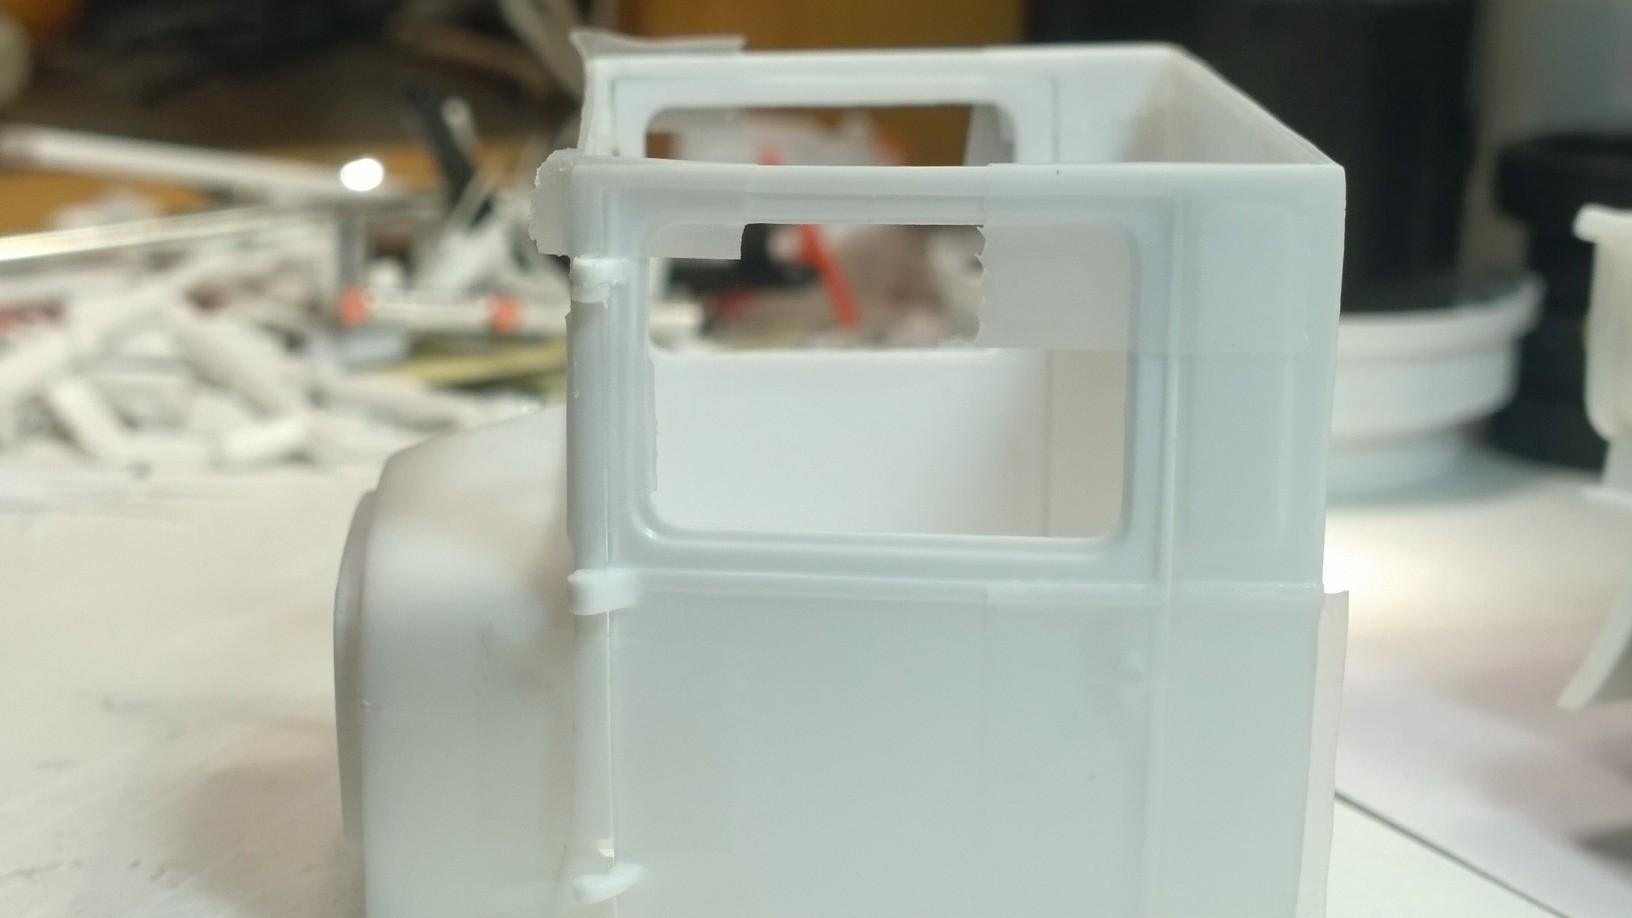
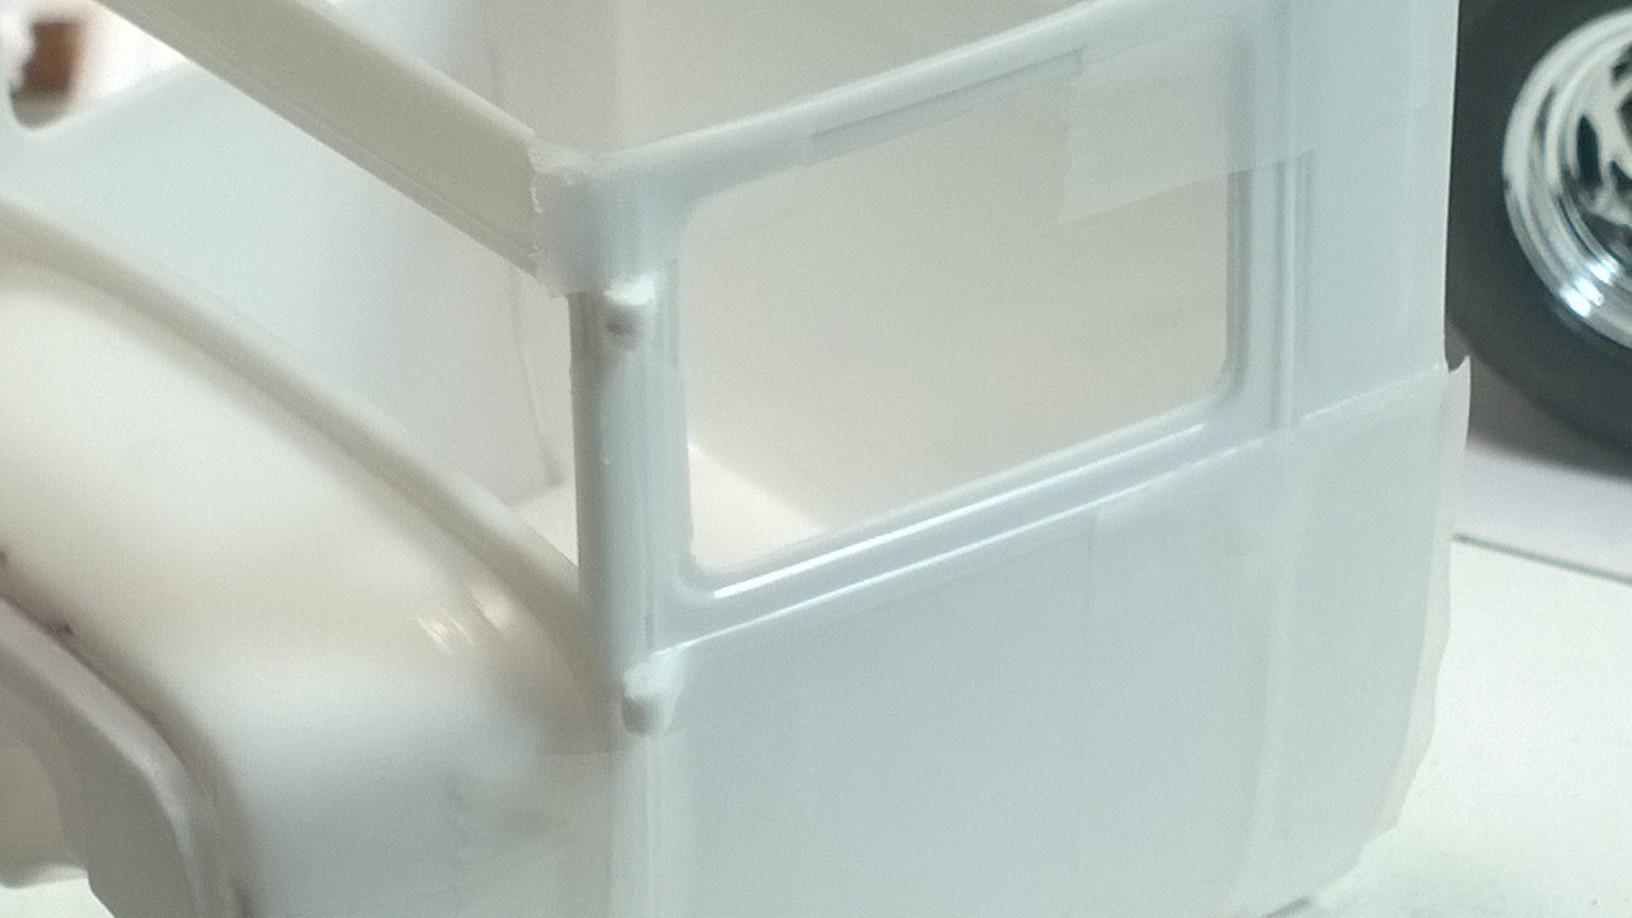
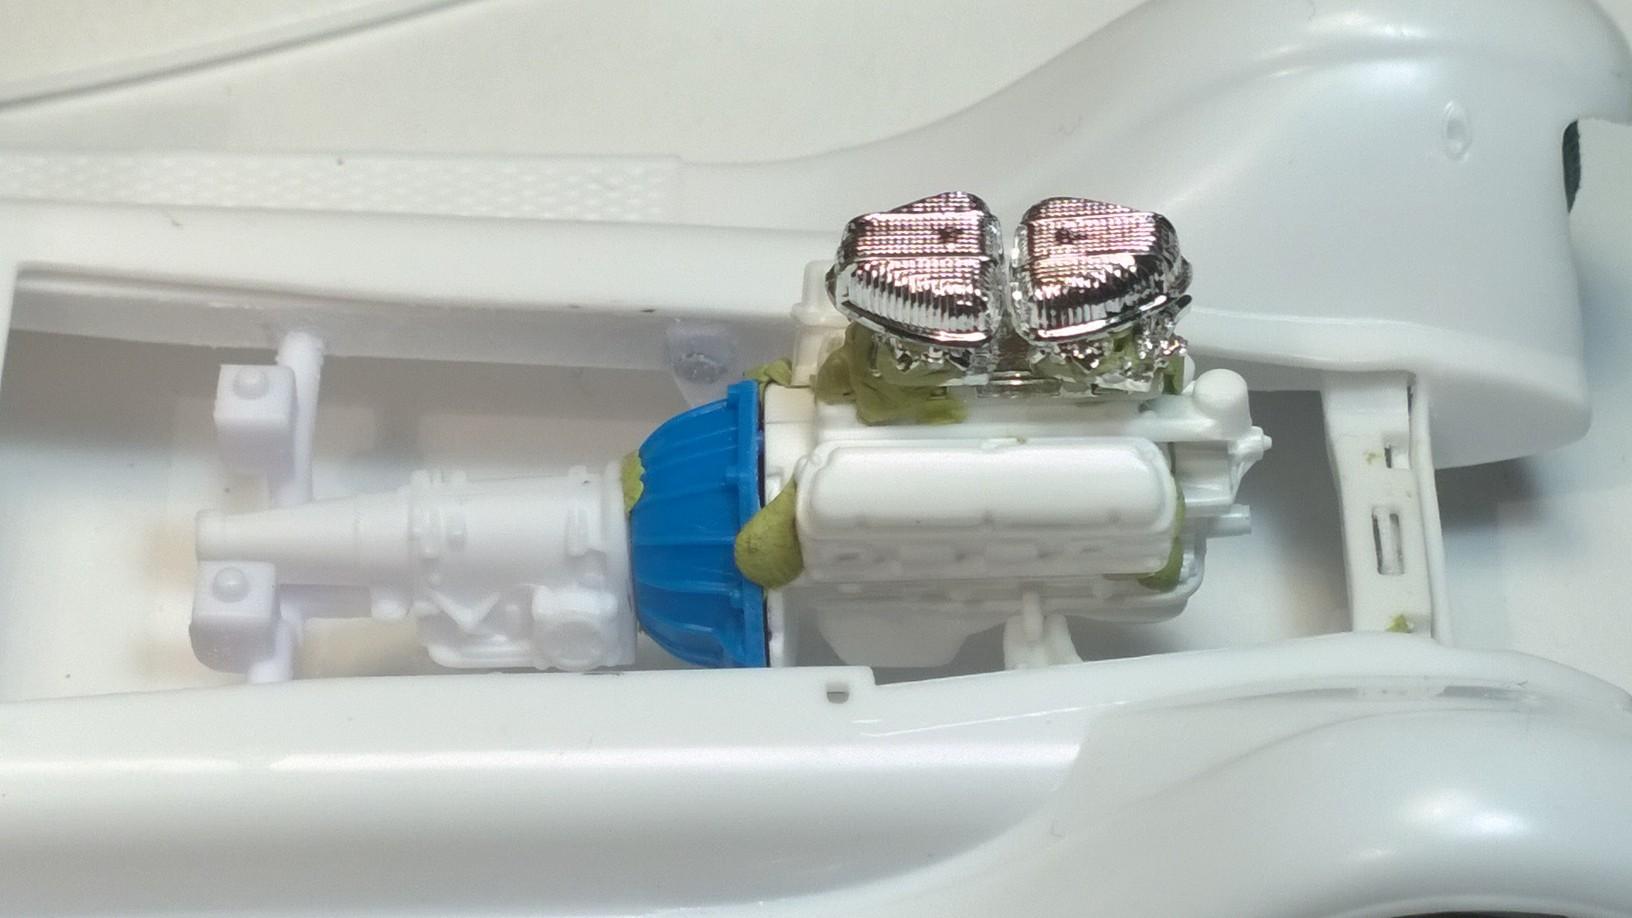
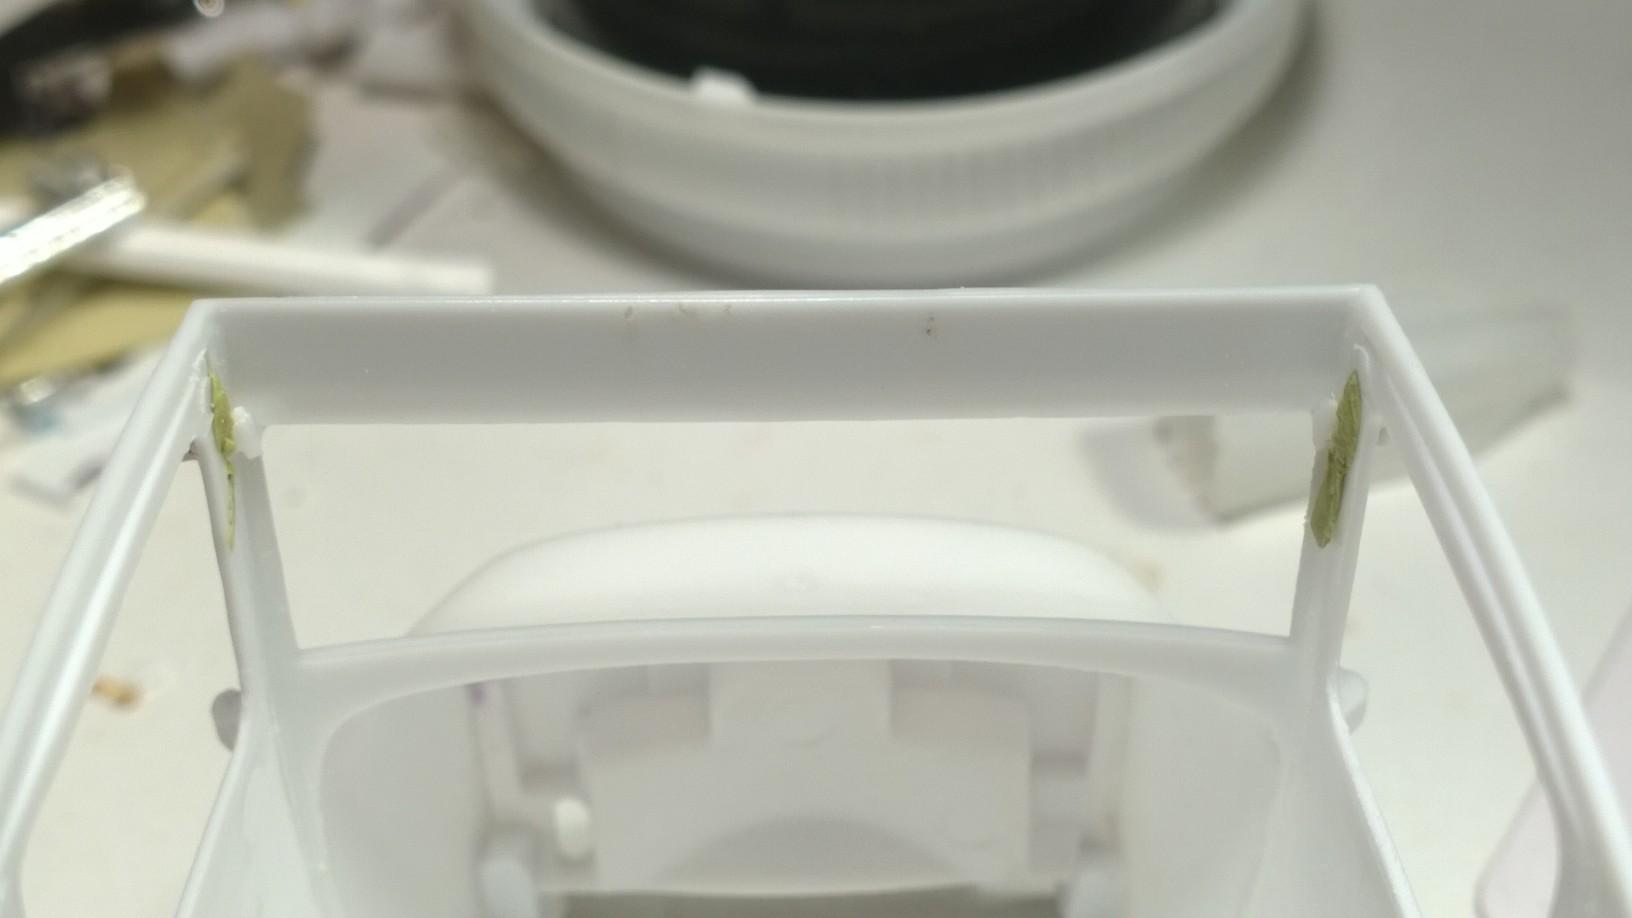
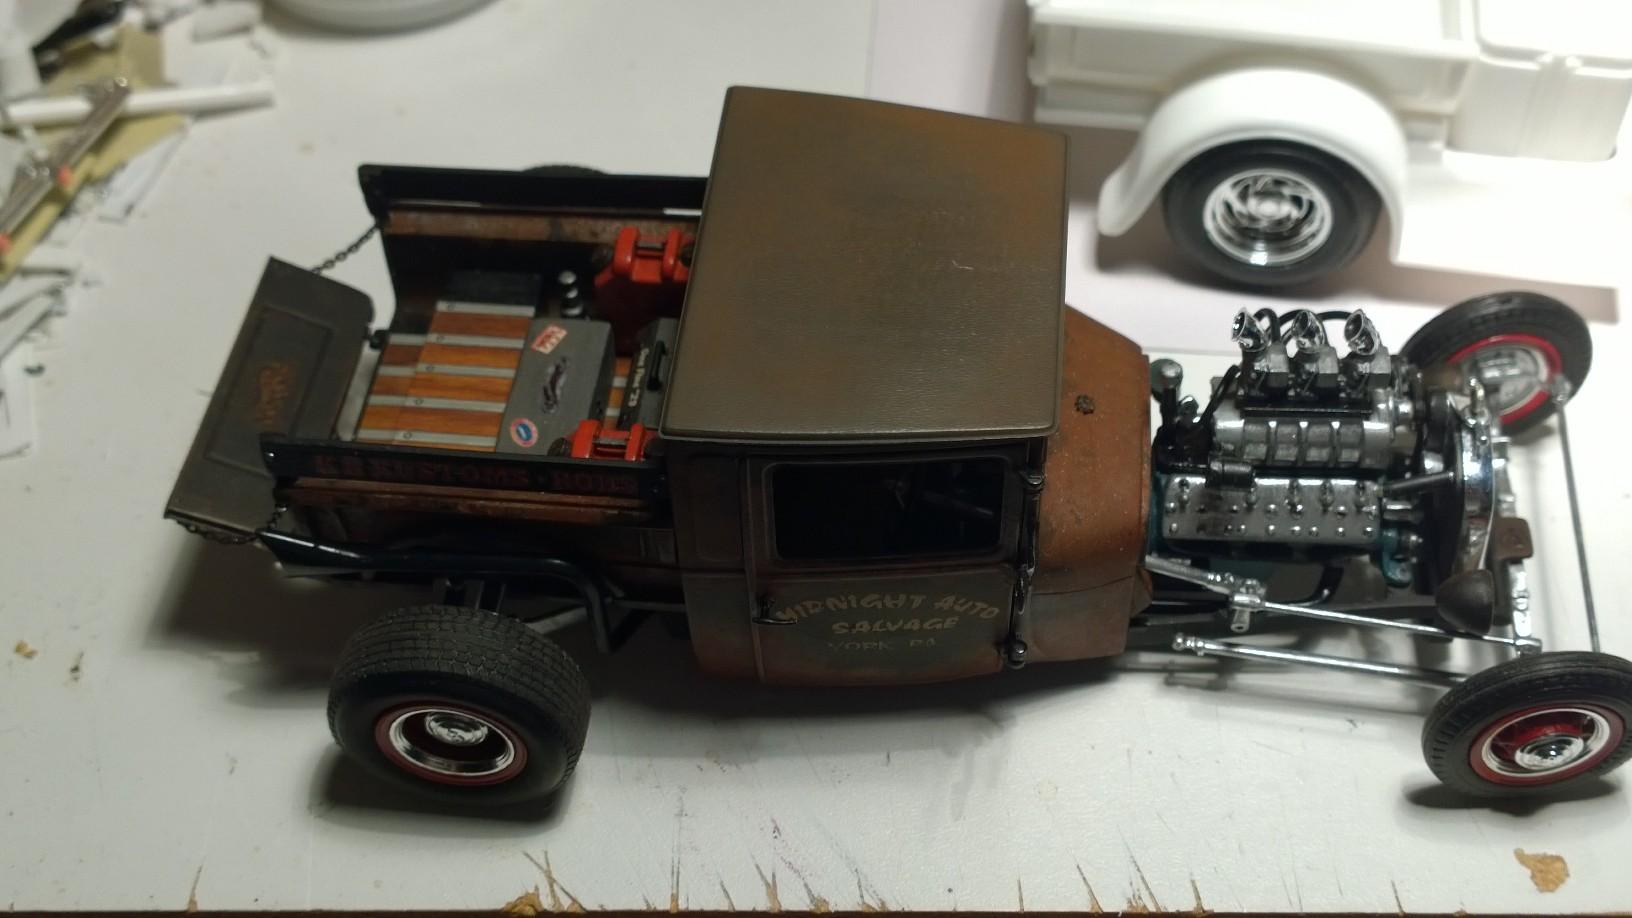
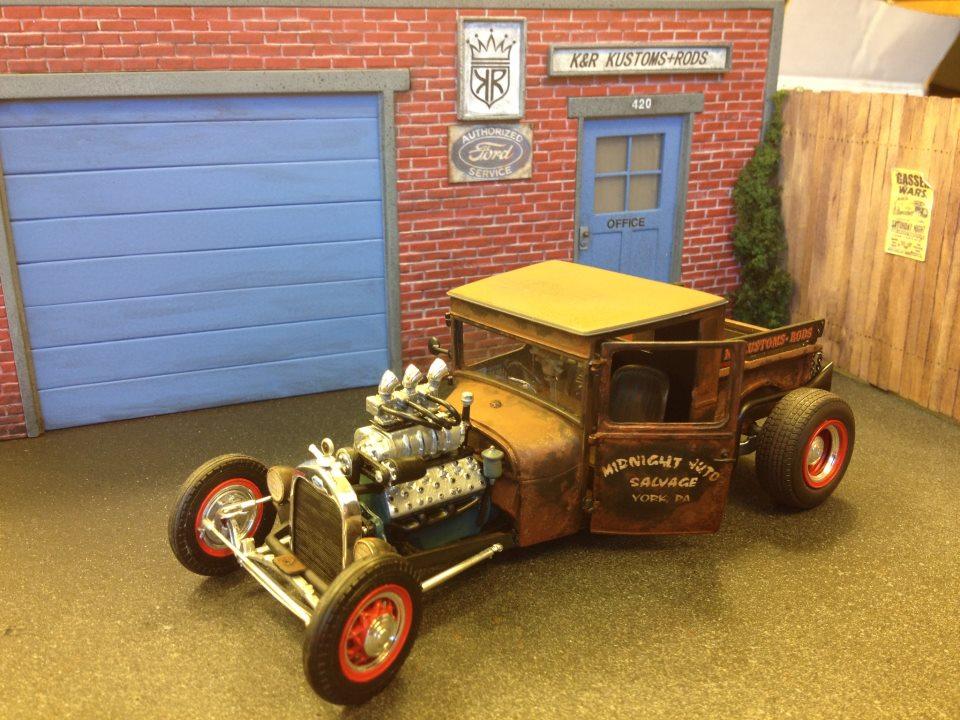
Made a little more progress on the left & right upper hinges: Pulled the doors away from the lower upper hinges... still have to remove the fun tack... Line up pretty well from this angle... and, straight on, as well. A little more work on the top right hinge... Looking better... even from this angle. Paid a little attention to the upper left hinge, too. Looks about a good as the other side, right? Moving on... @bill-e-boy I too was looking at the wooden roof skeleton and have been thinking about making a rolled & pleated headliner to match the bench seat from the roadster. Mocked up the engine... Seems a little tight, but it all fits... sorta!?. The '29 Ford PU Yard Sale Have to start kolor sorting the parts... Stay tuned as progress on the '29 Ford PU & Trailer will continue on most of these same channels at about the same time... until next time, keep building - so little time & so many models yet to build! -KK
-
This is not an ad for Model Car Roundup
Kit Karson replied to Kit Karson's topic in Car Kit News & Reviews
Just saw some pictures you posted of the speedway gathering... do me a favor and let me know when the next one is going to be held, OK? btw there's an ACME meeting this Sunday at the Smyrna Community Center, 2:30 til about 5 PM -KK -
@roadhawgAwesome pics! I'm not that far from Athens and would appreciate a heads up for the next Speedway gathering. Looks like a lot of knowledge all parked in the same place at one time!! I'll bring my '34 PU... -KK
-
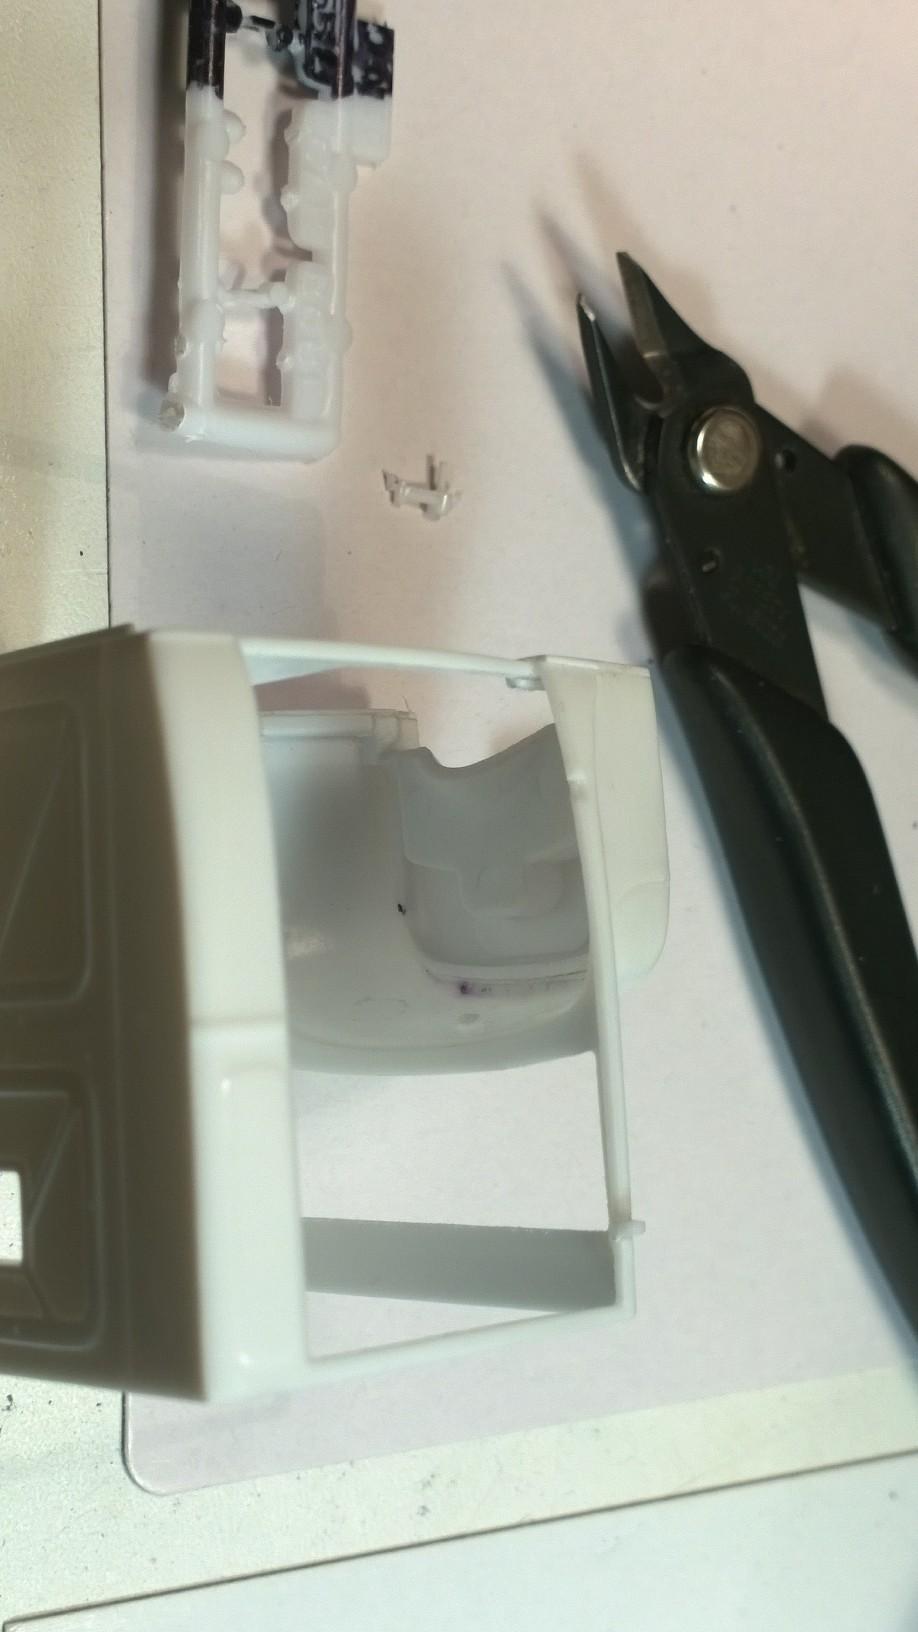
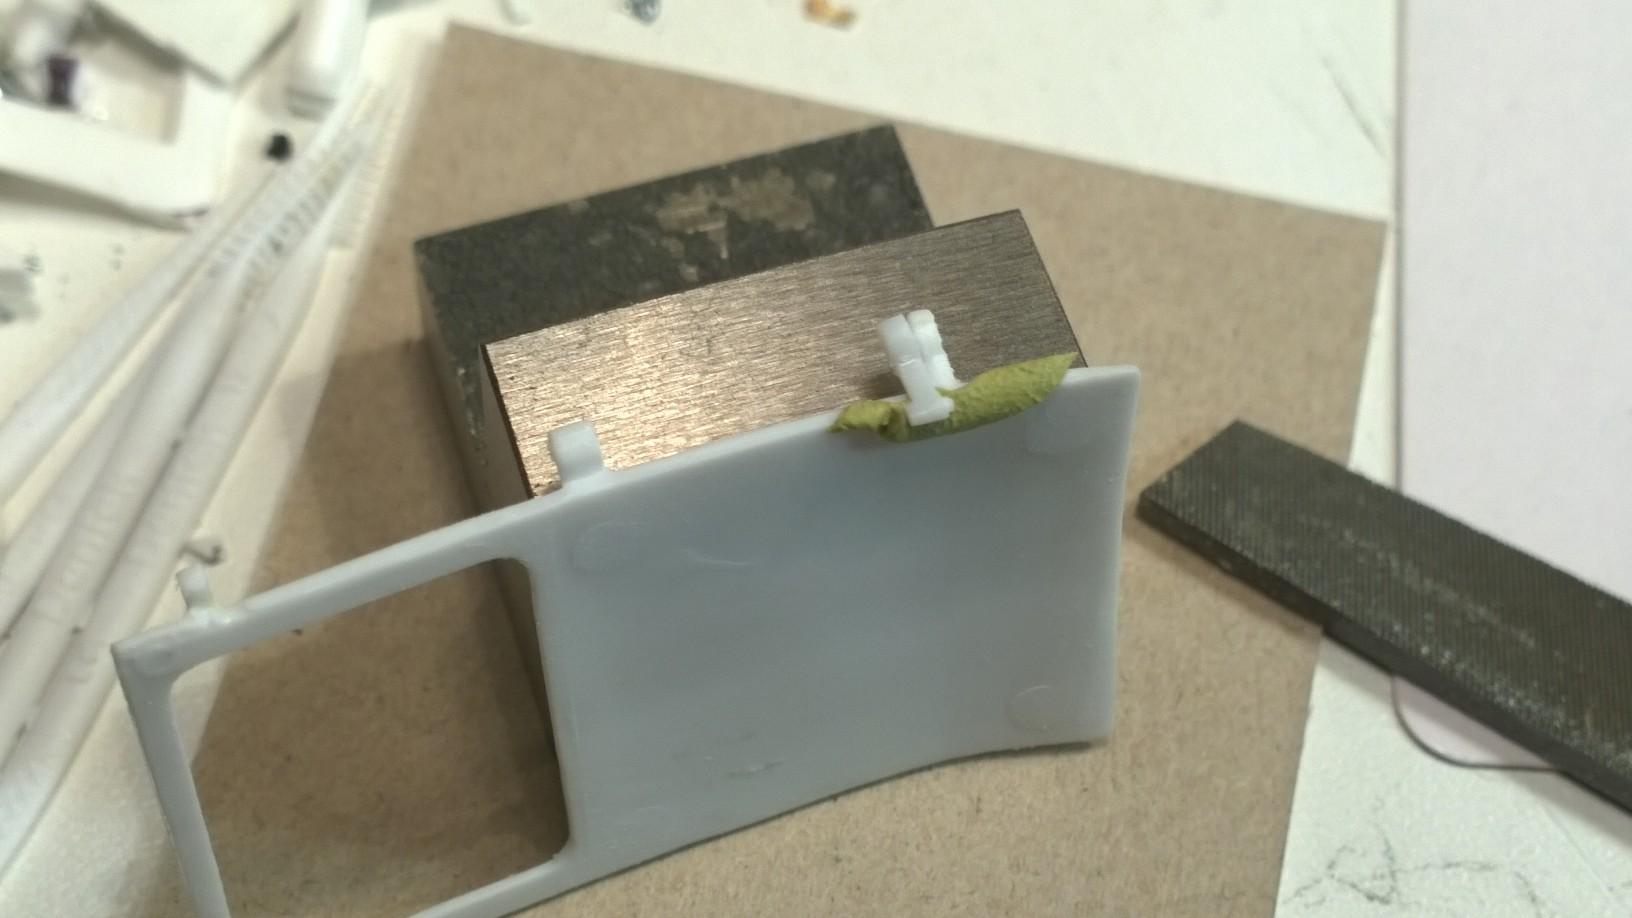
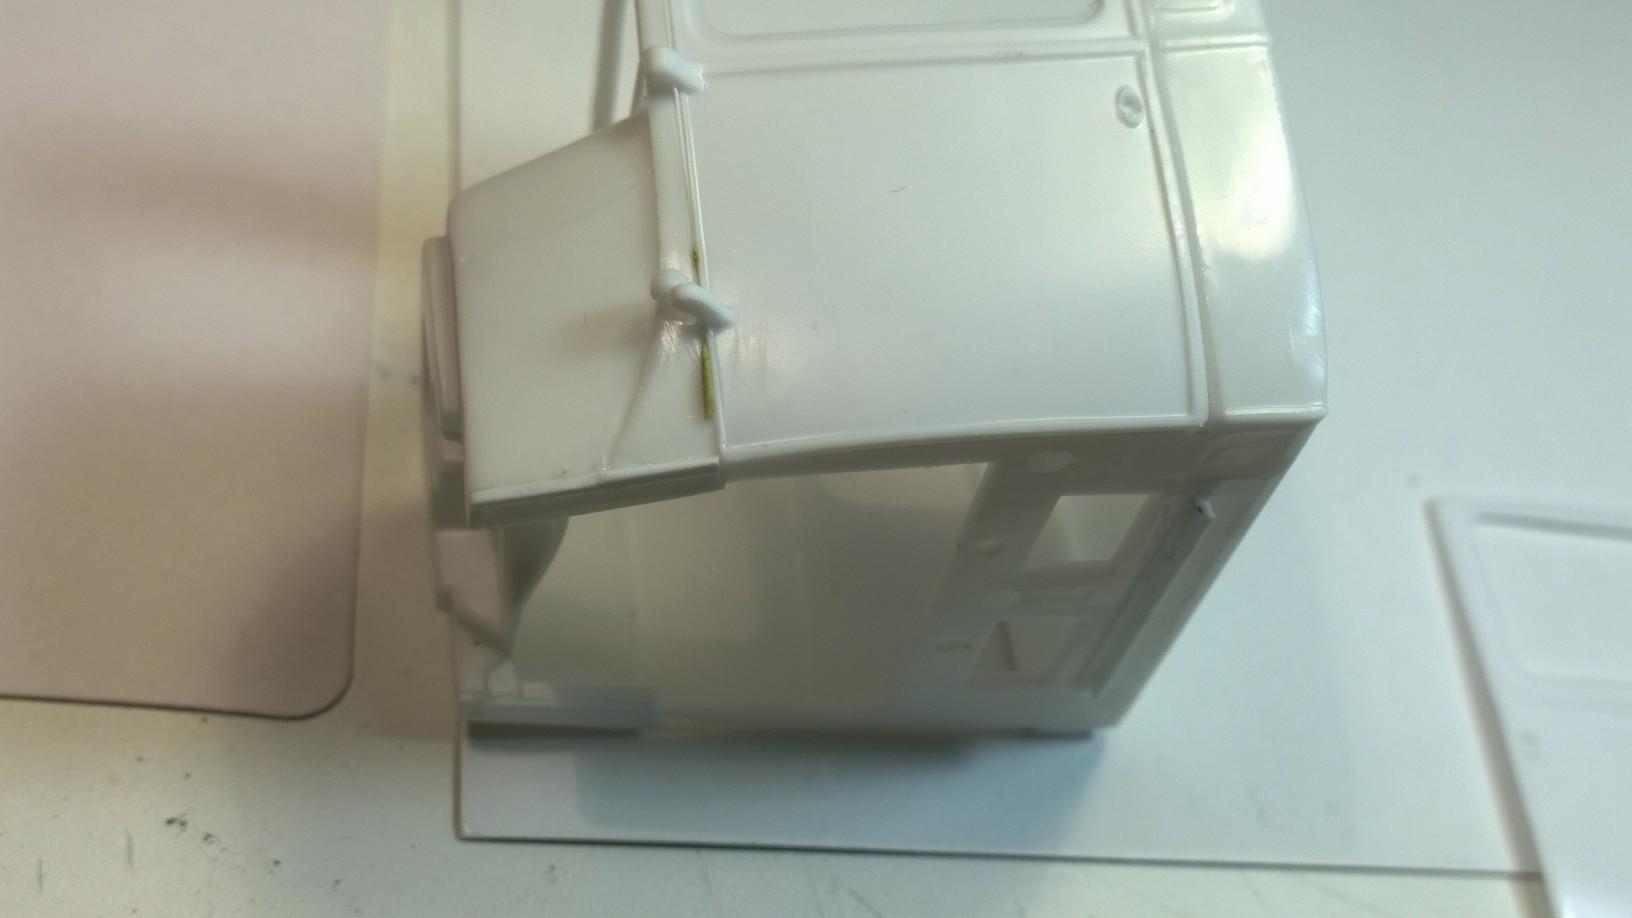
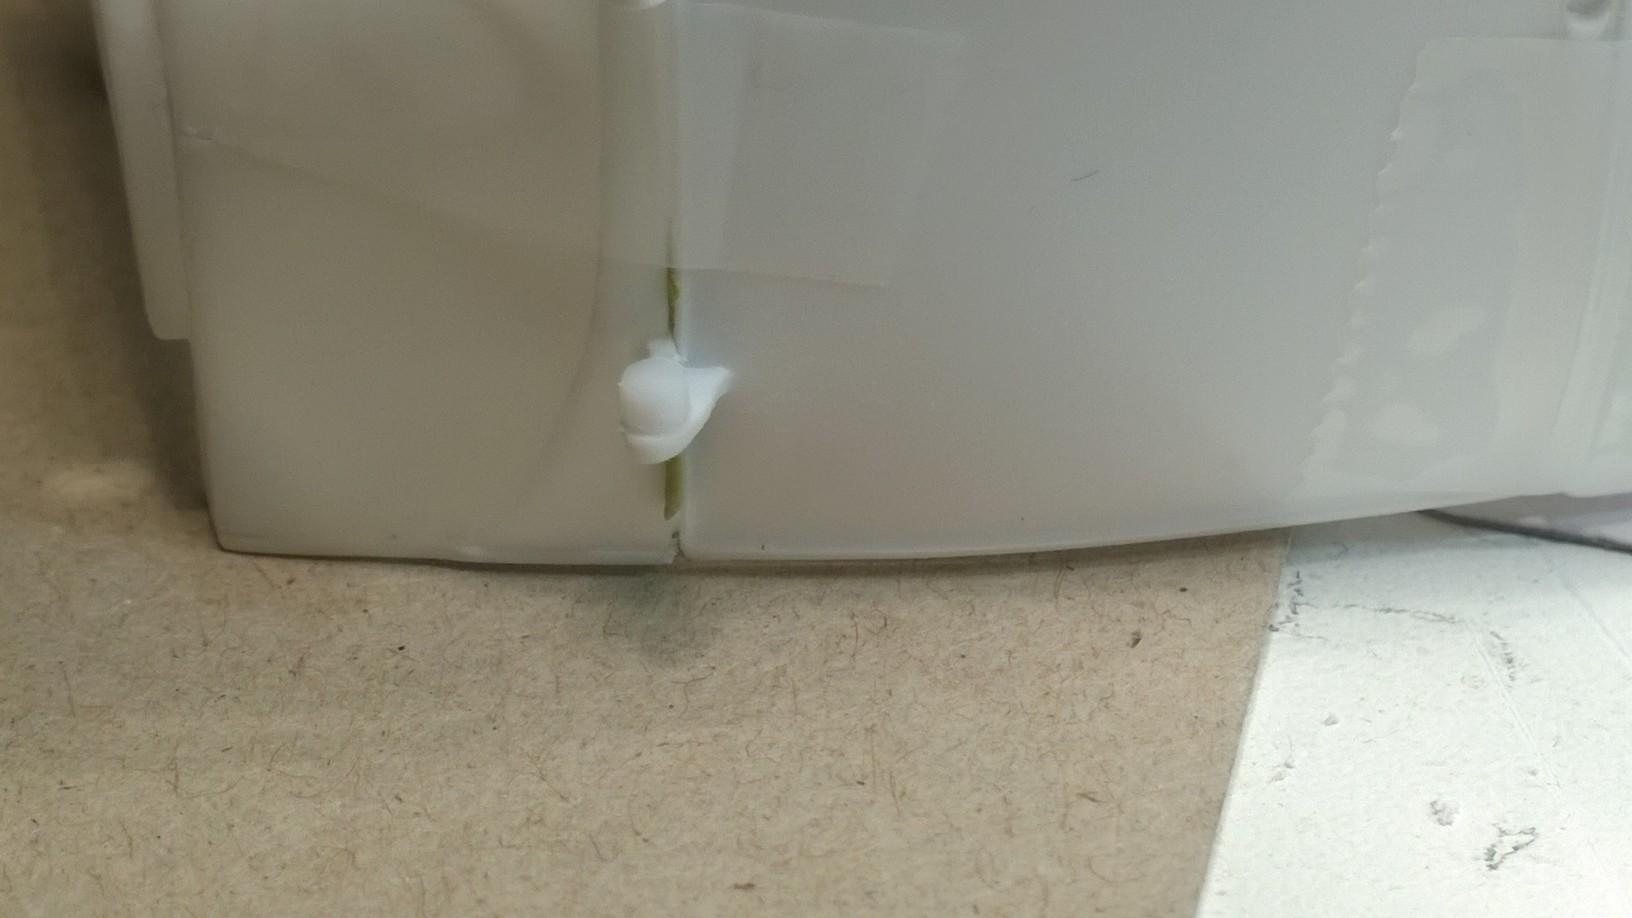
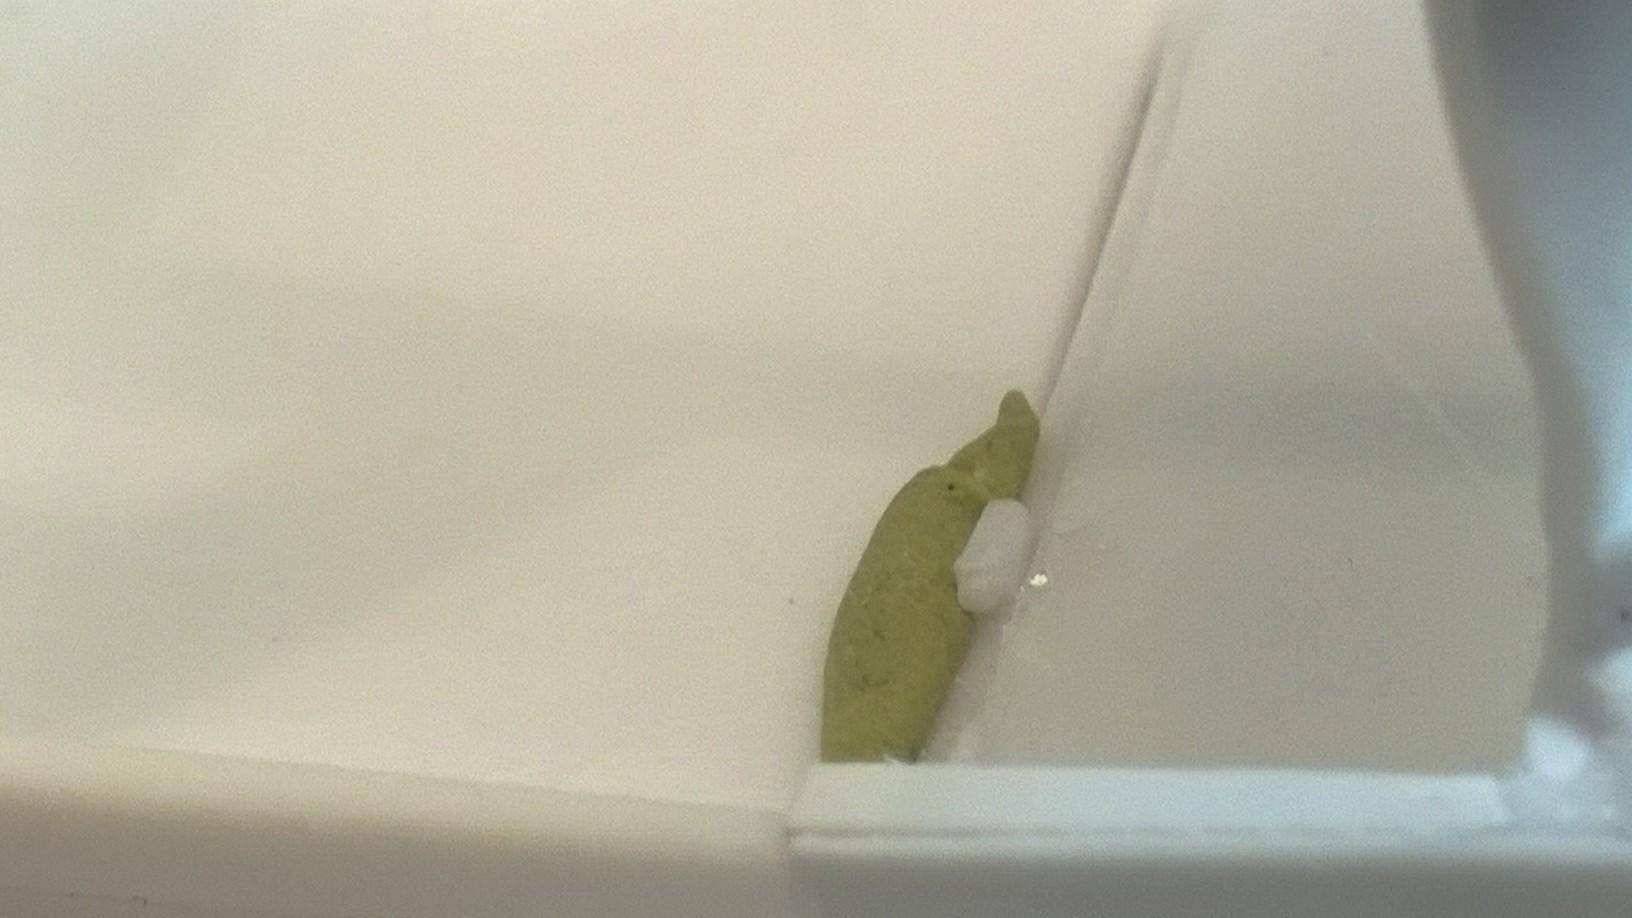
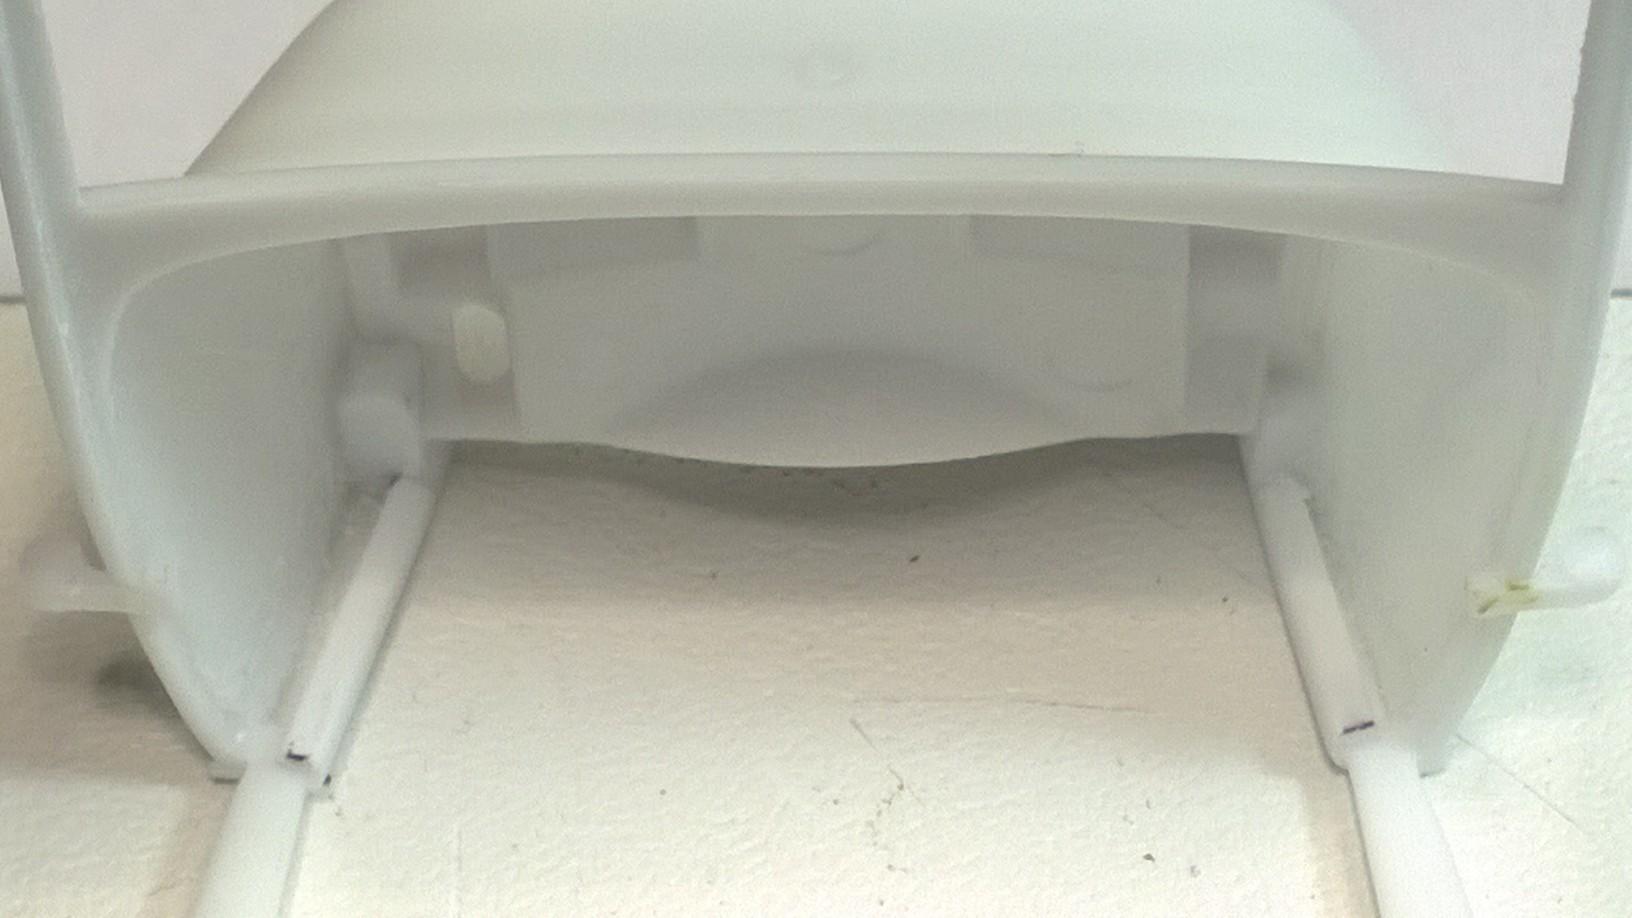
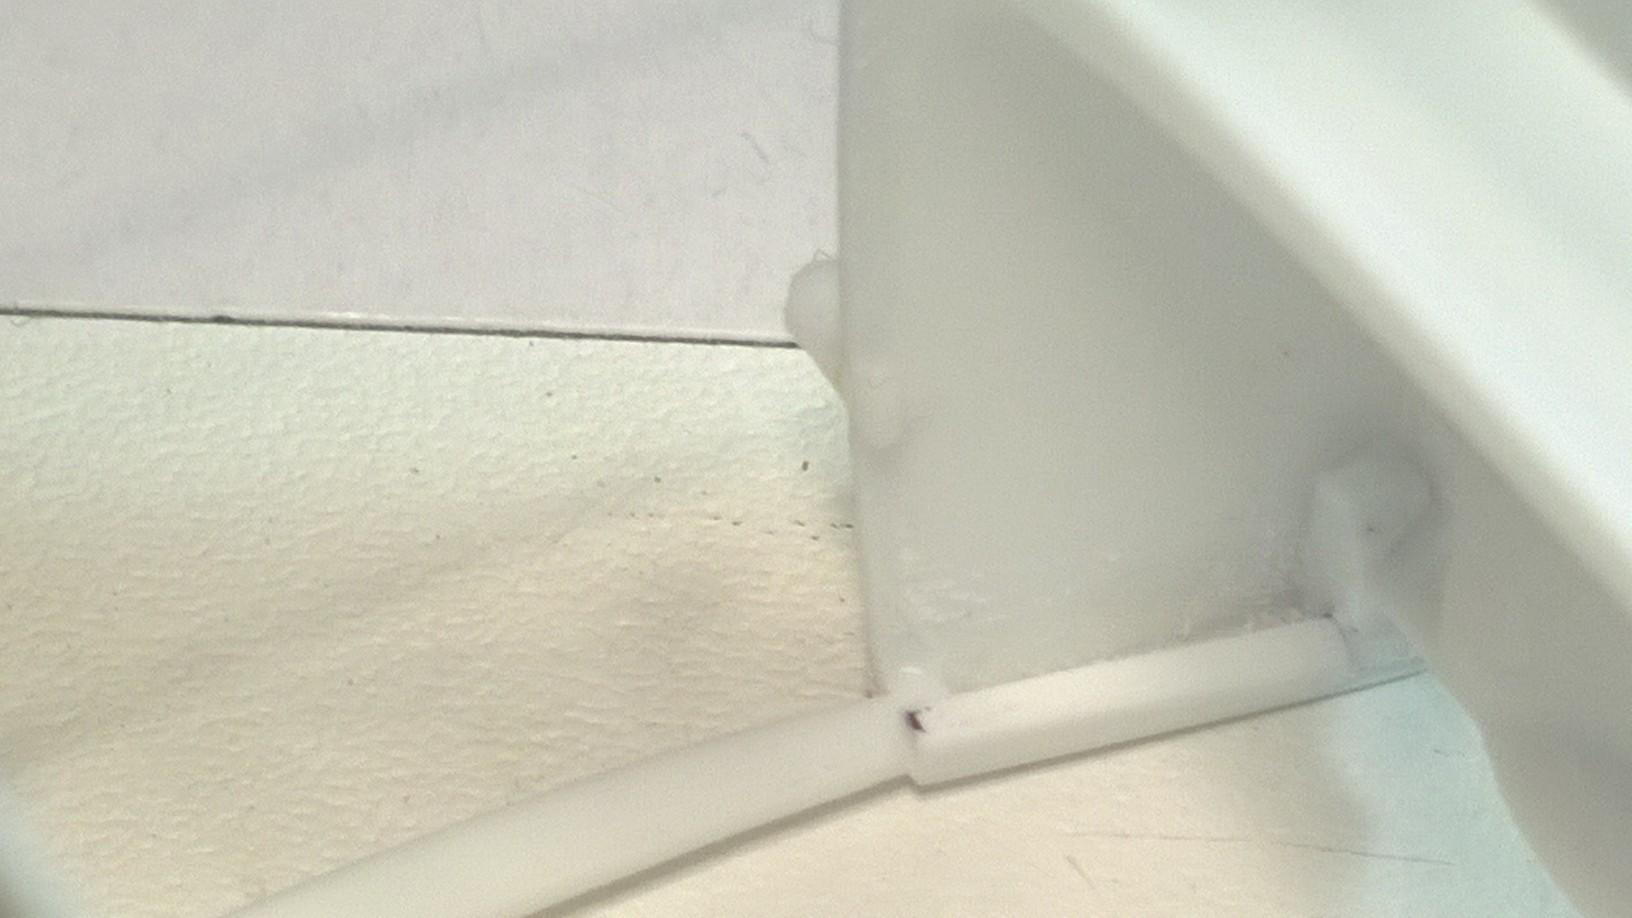
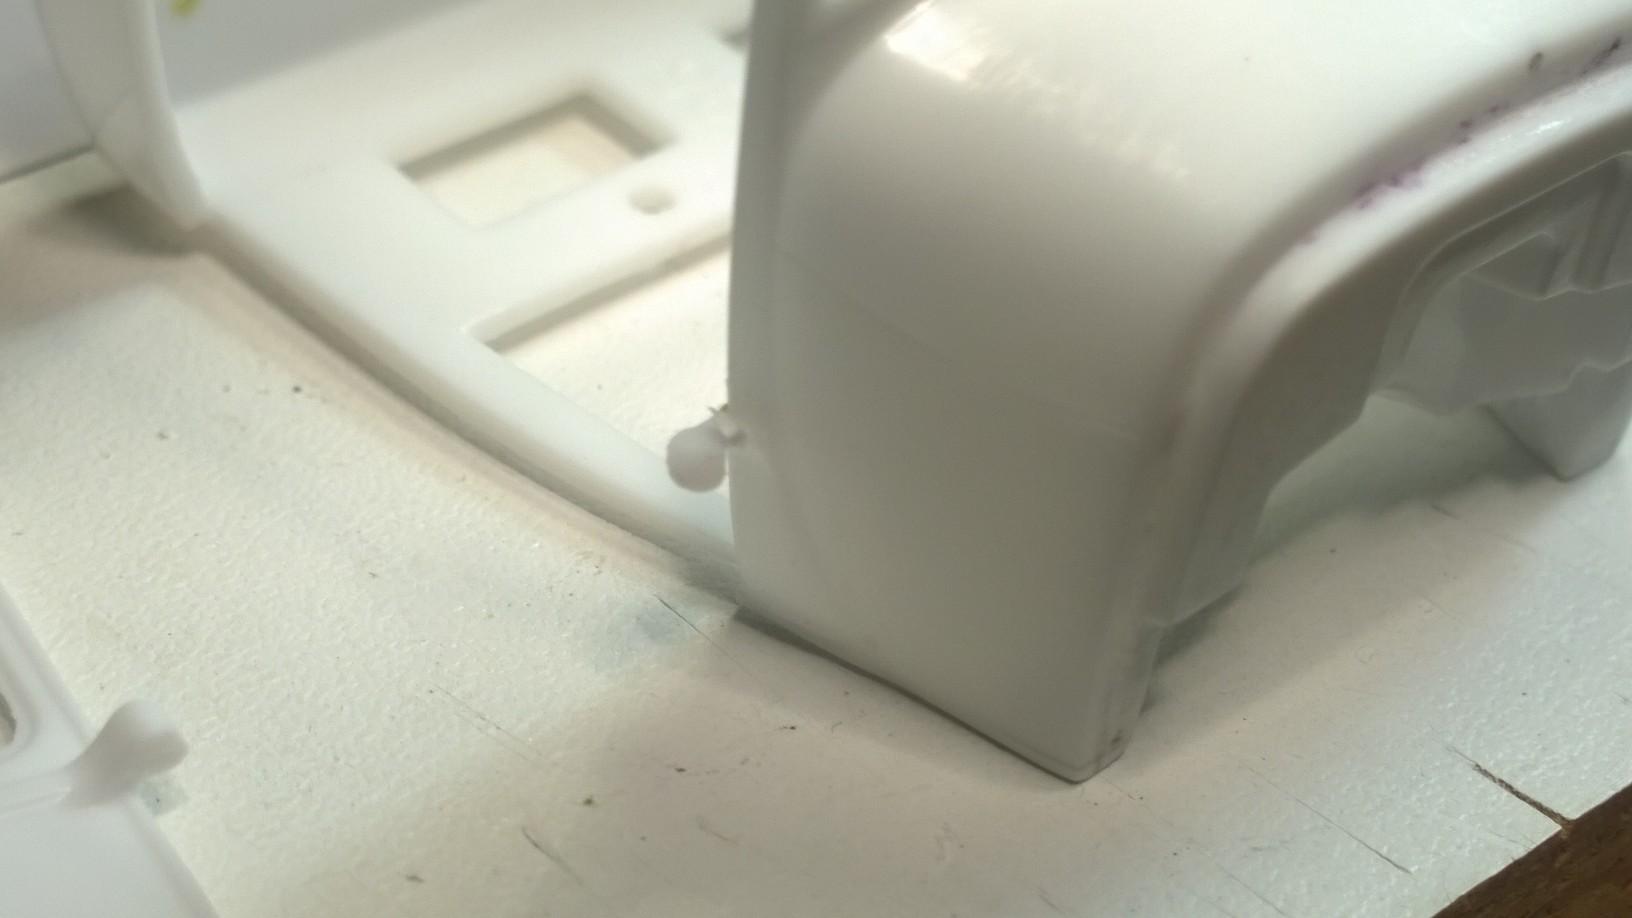
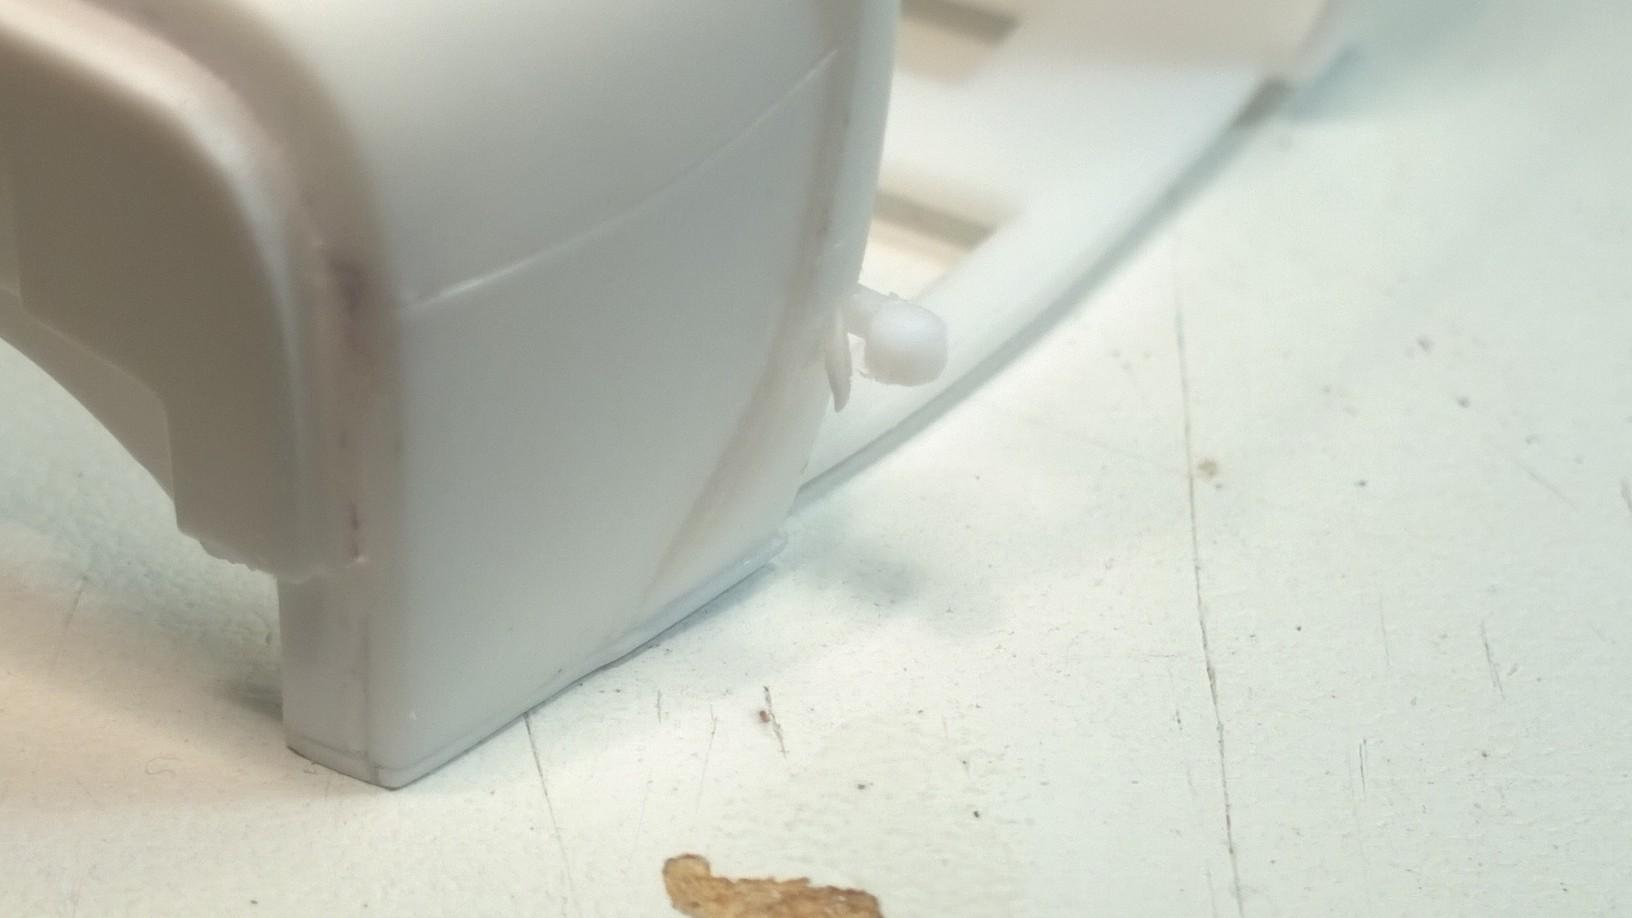
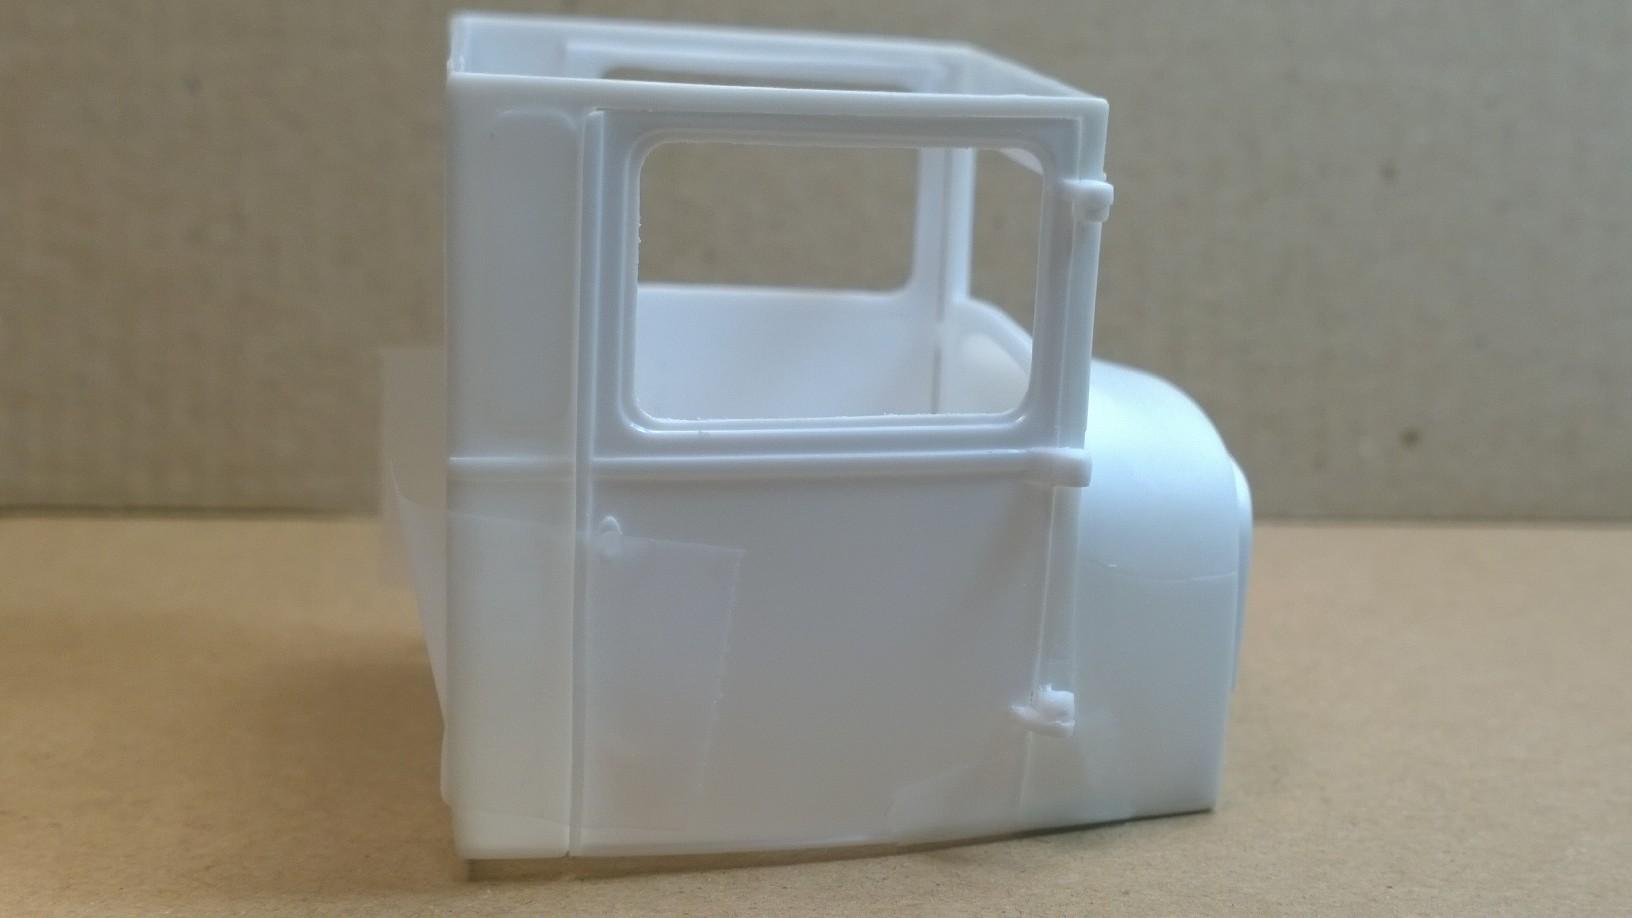
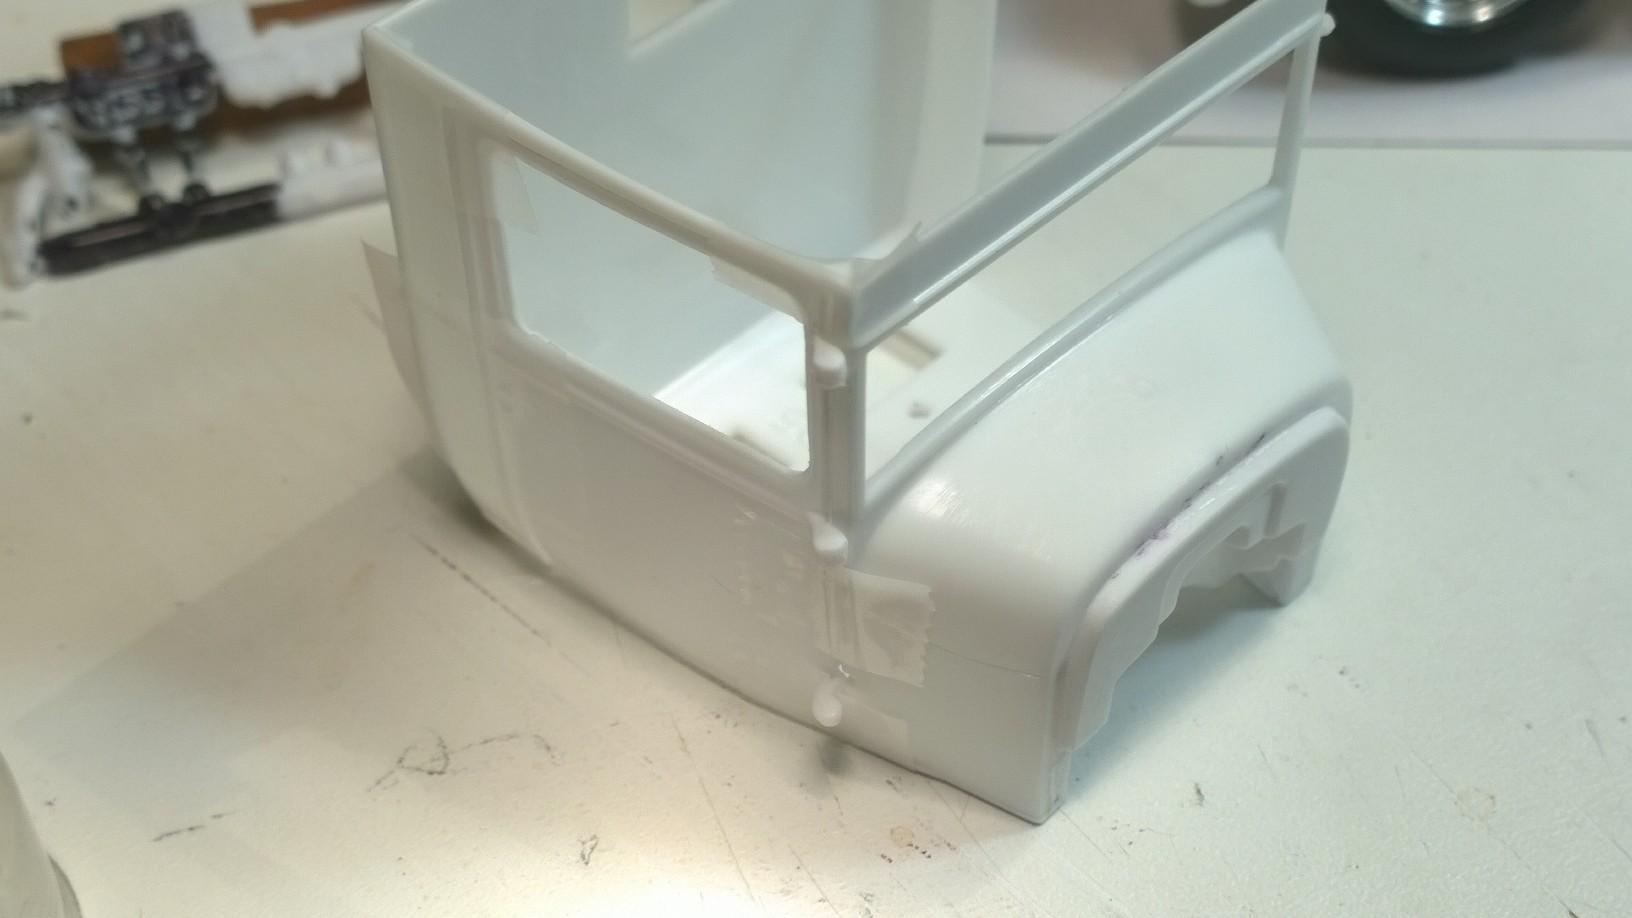
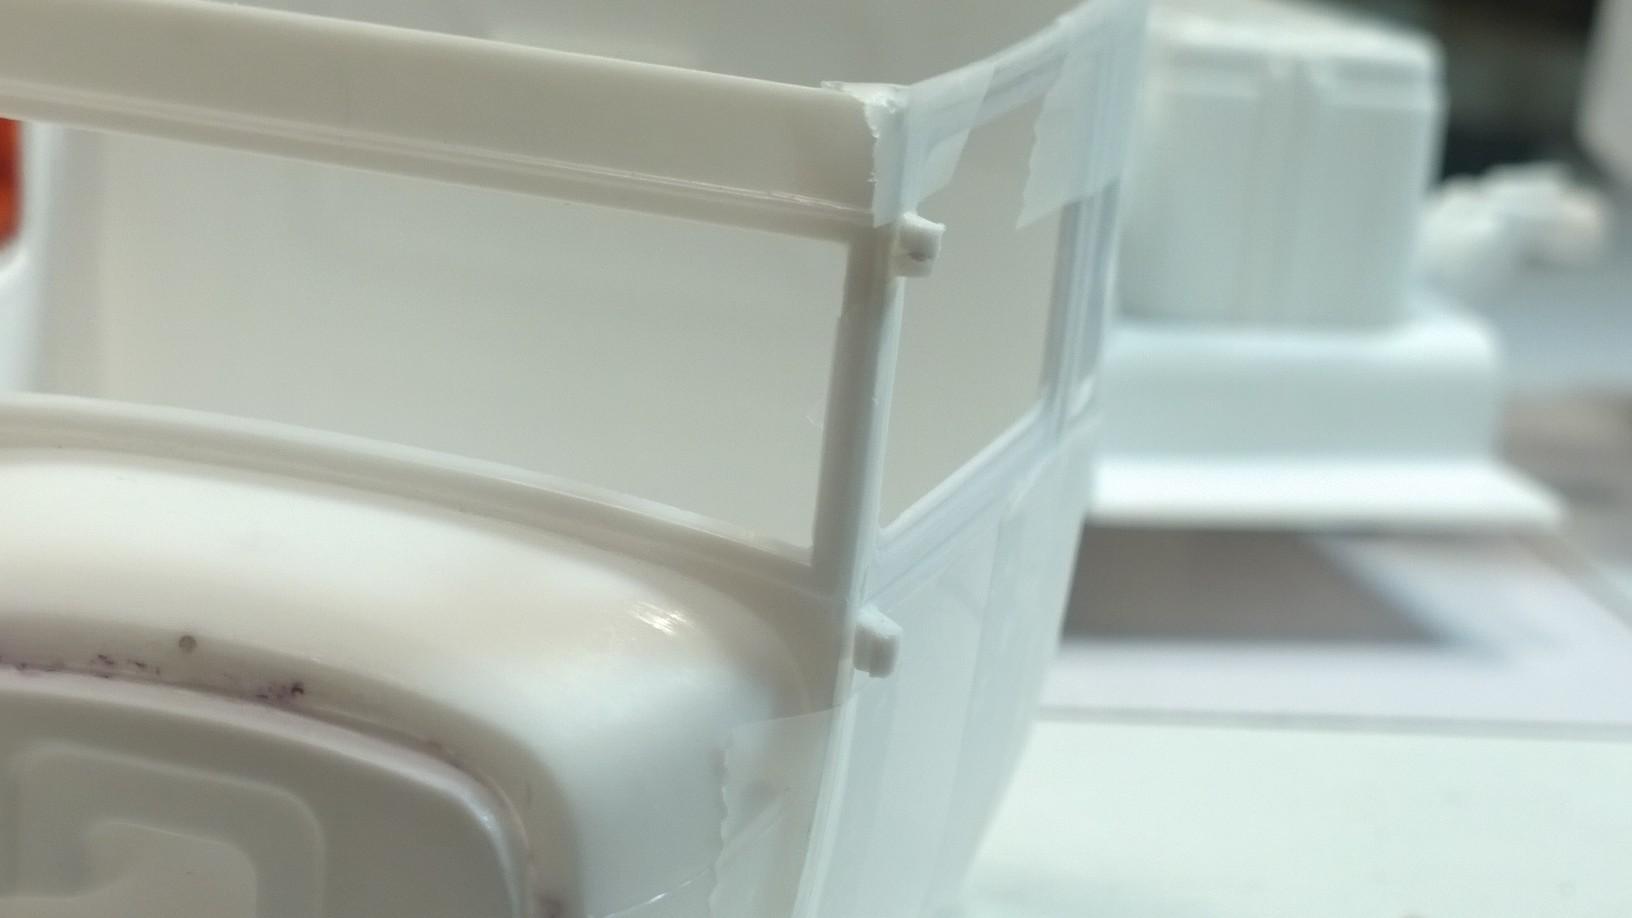
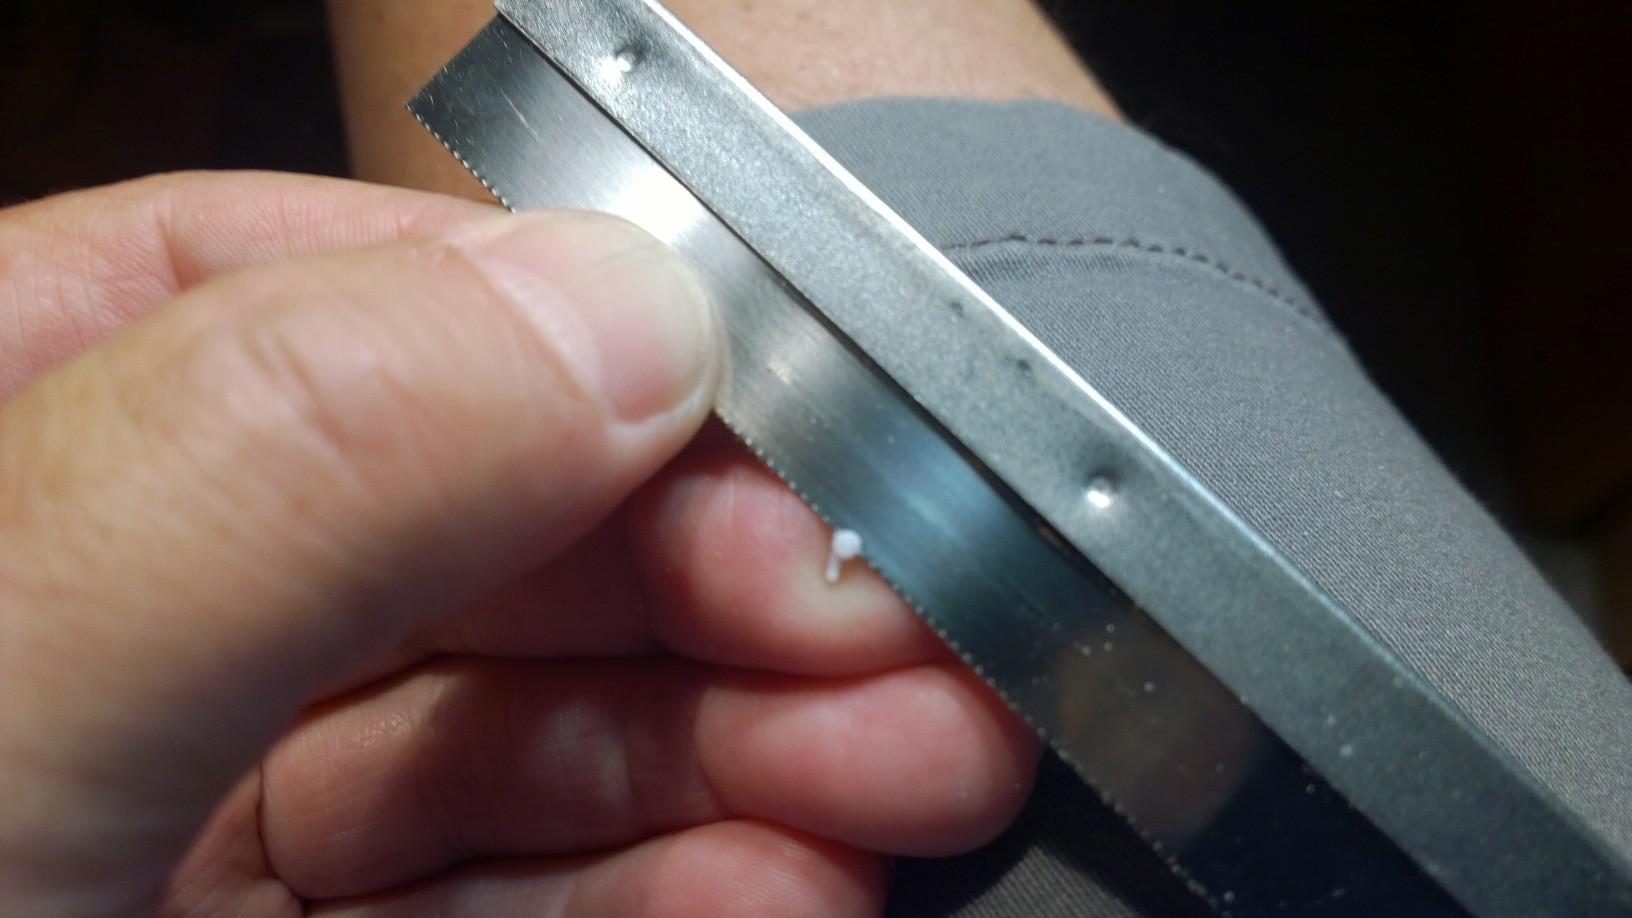
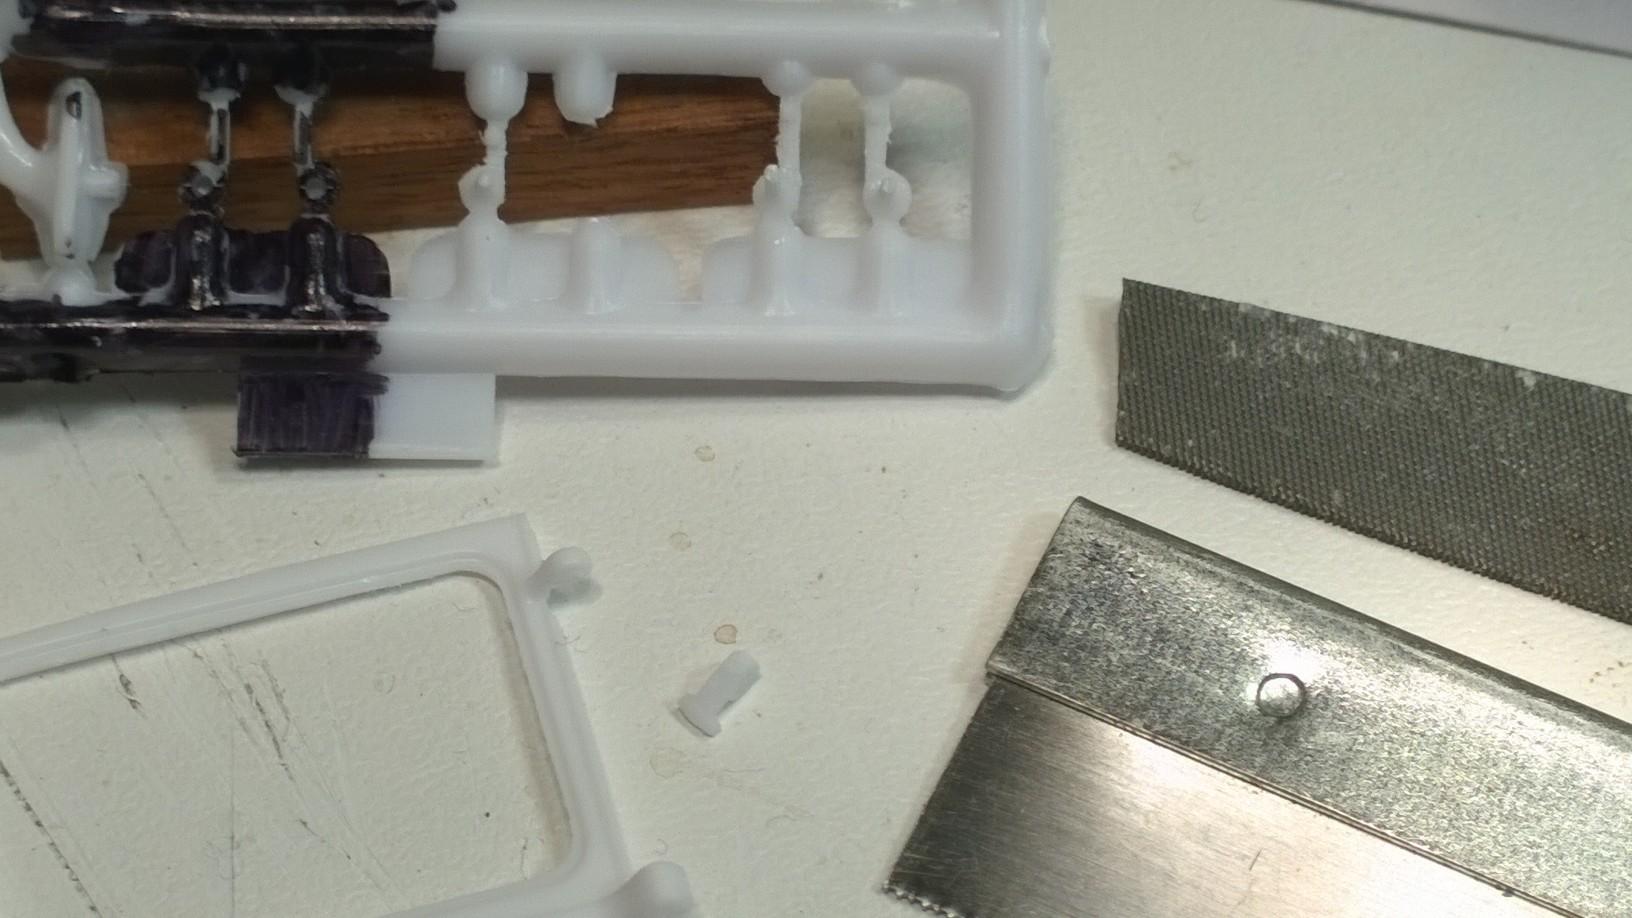
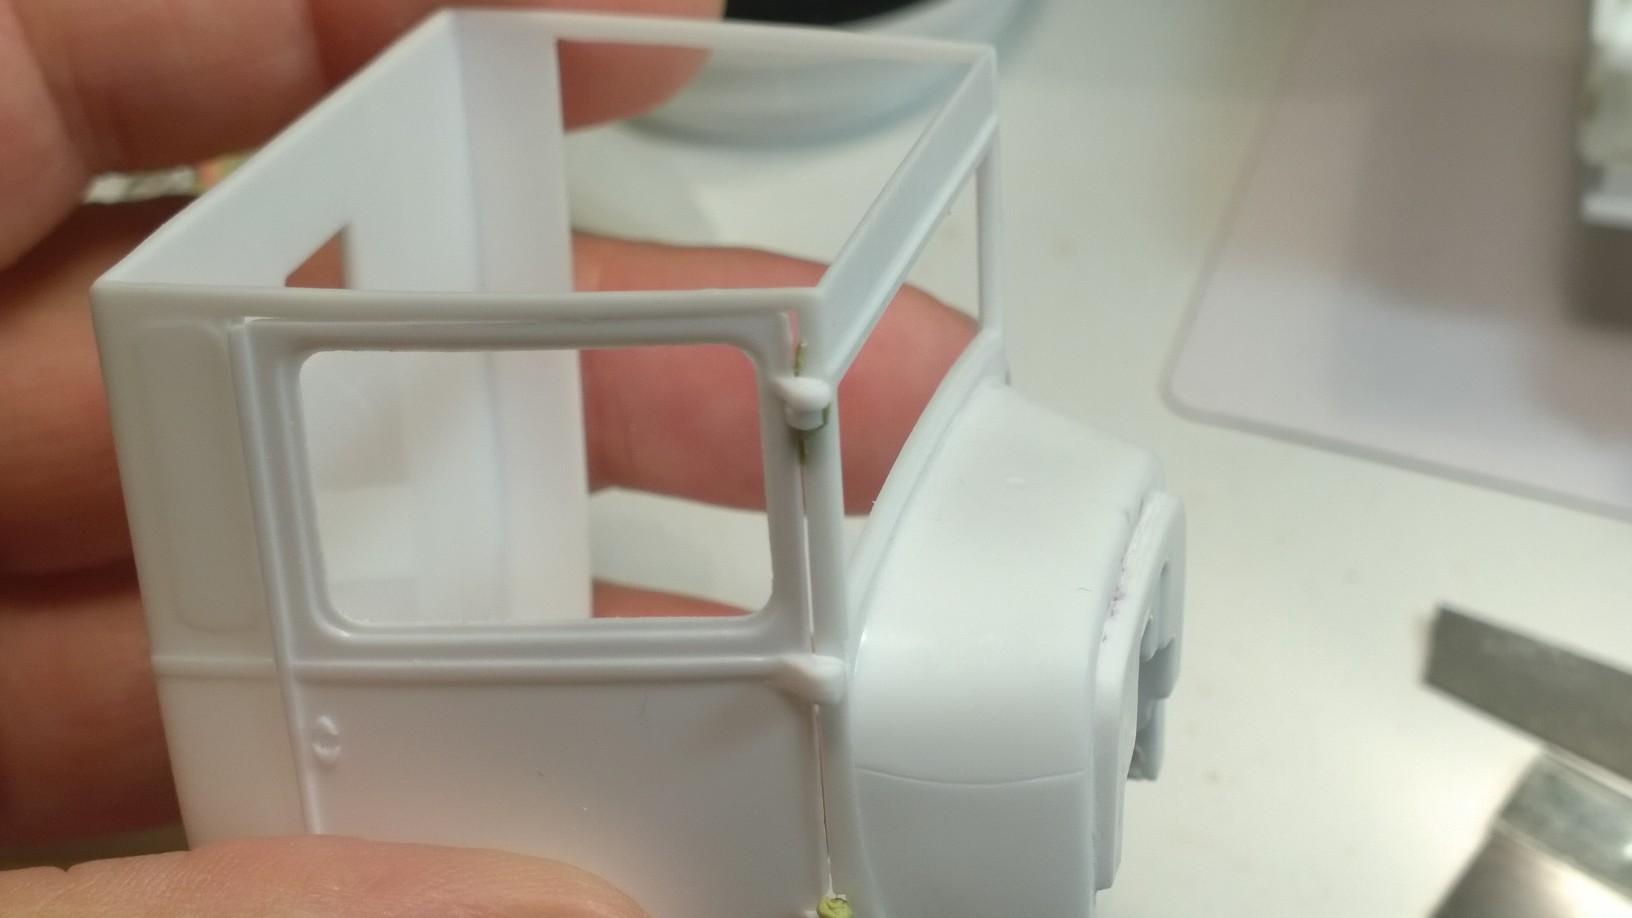
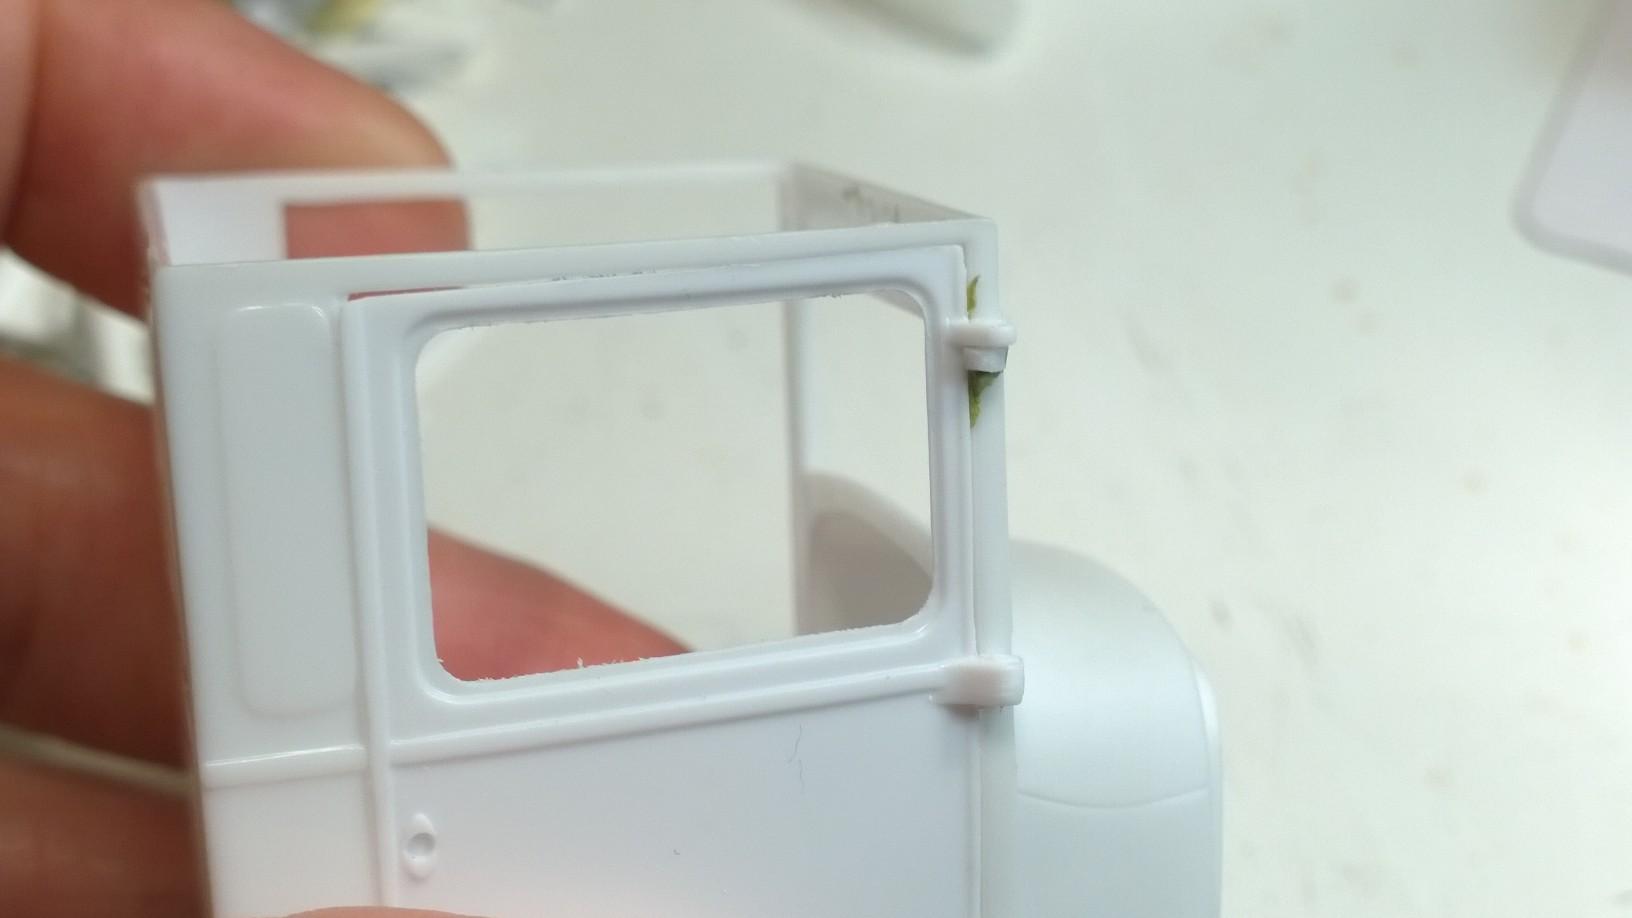
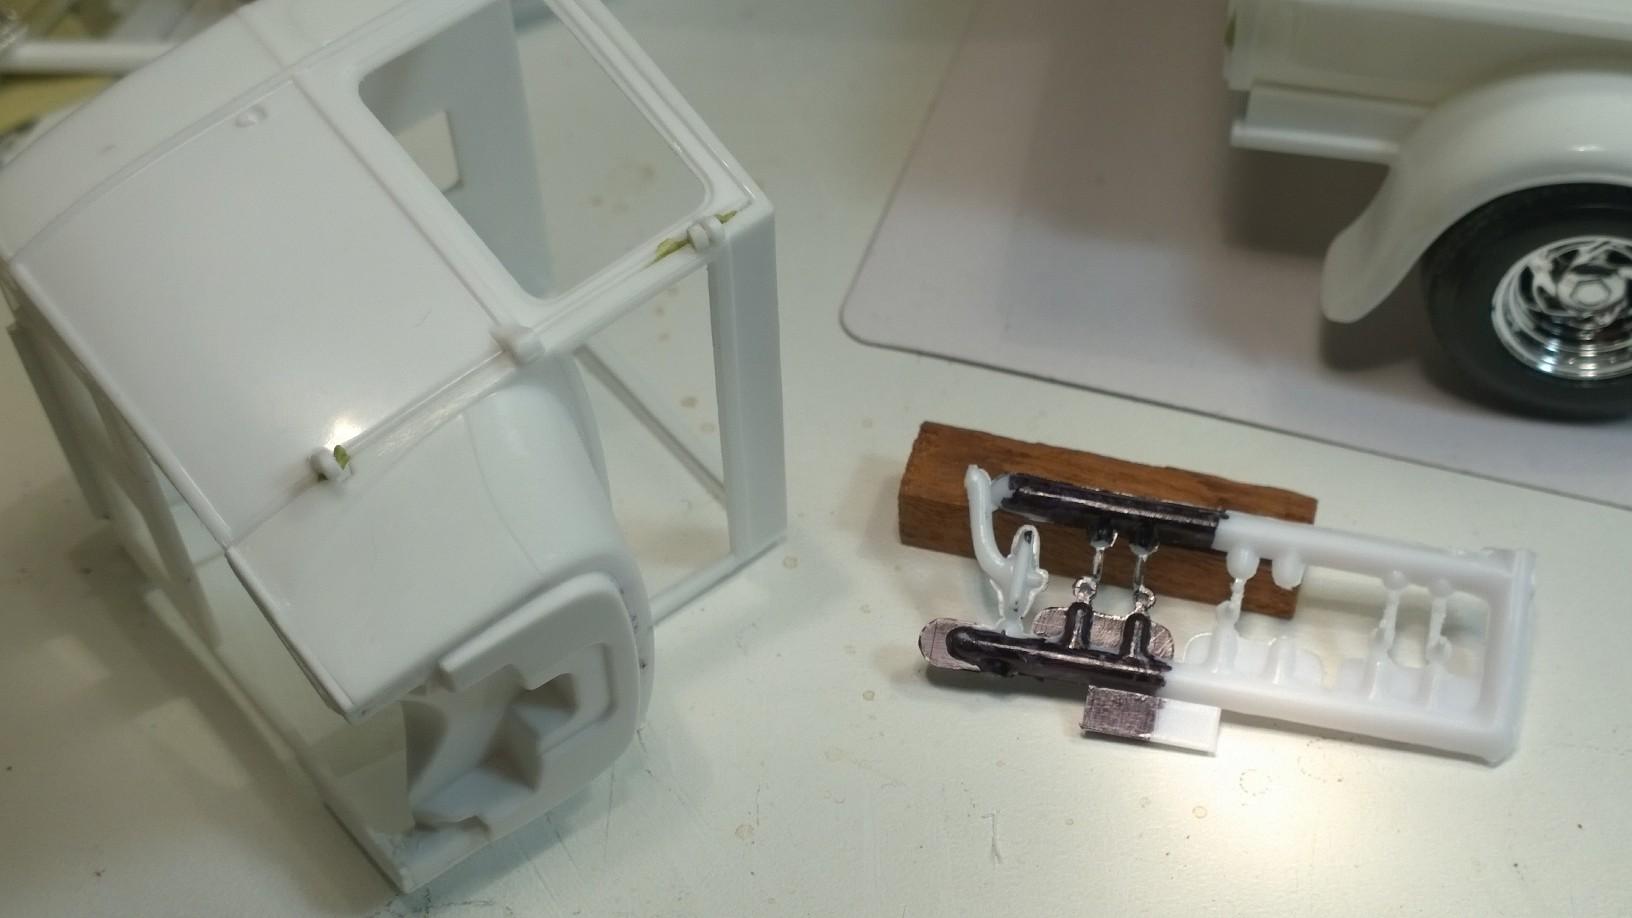
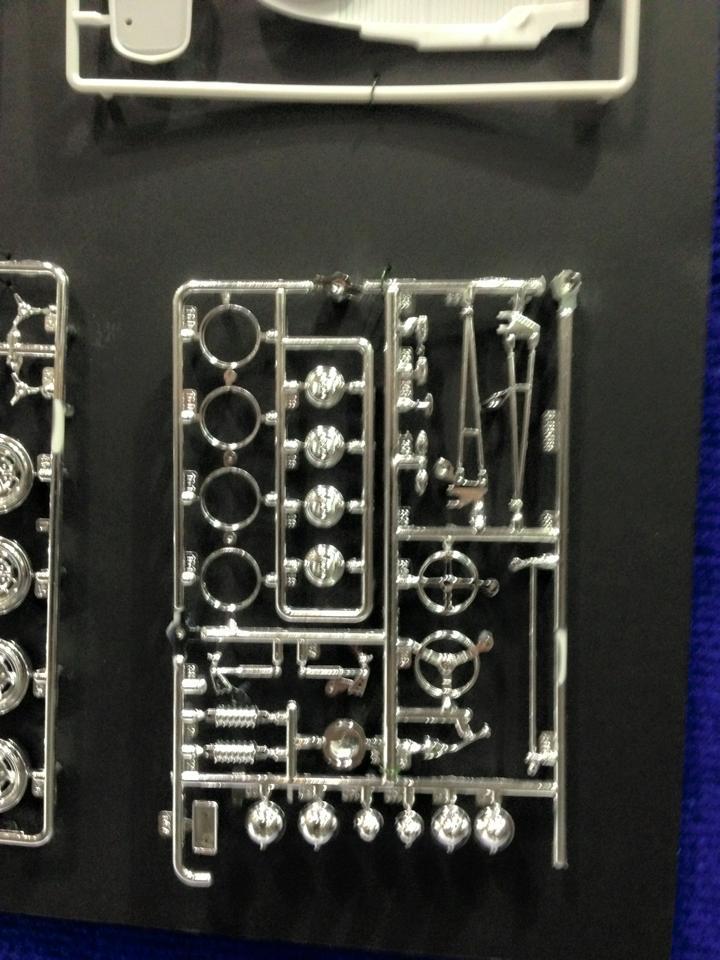
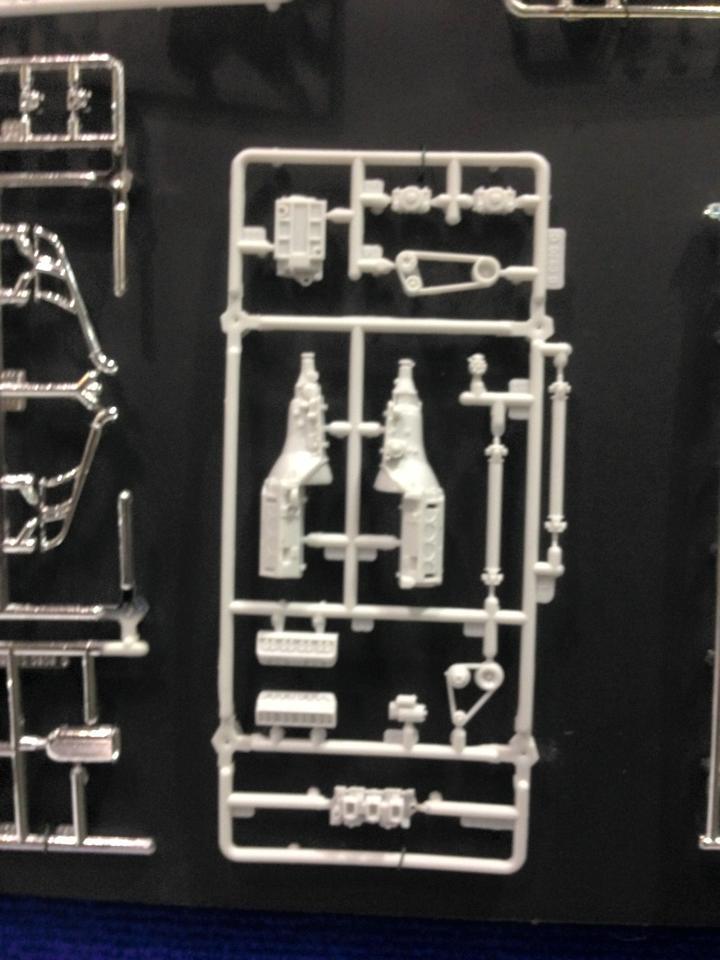
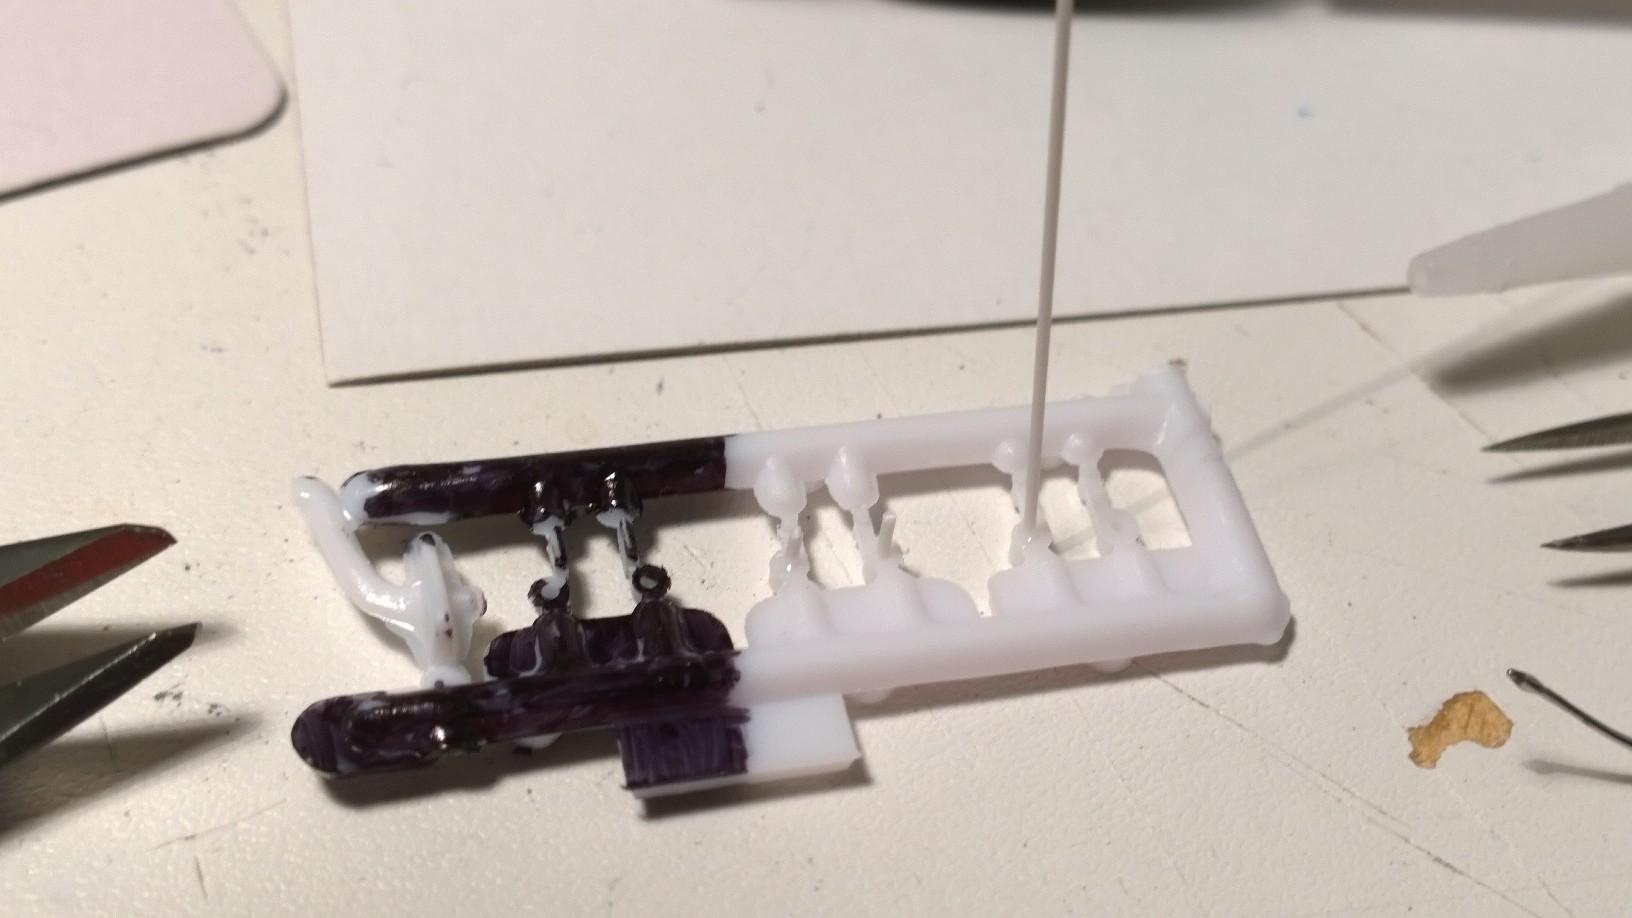
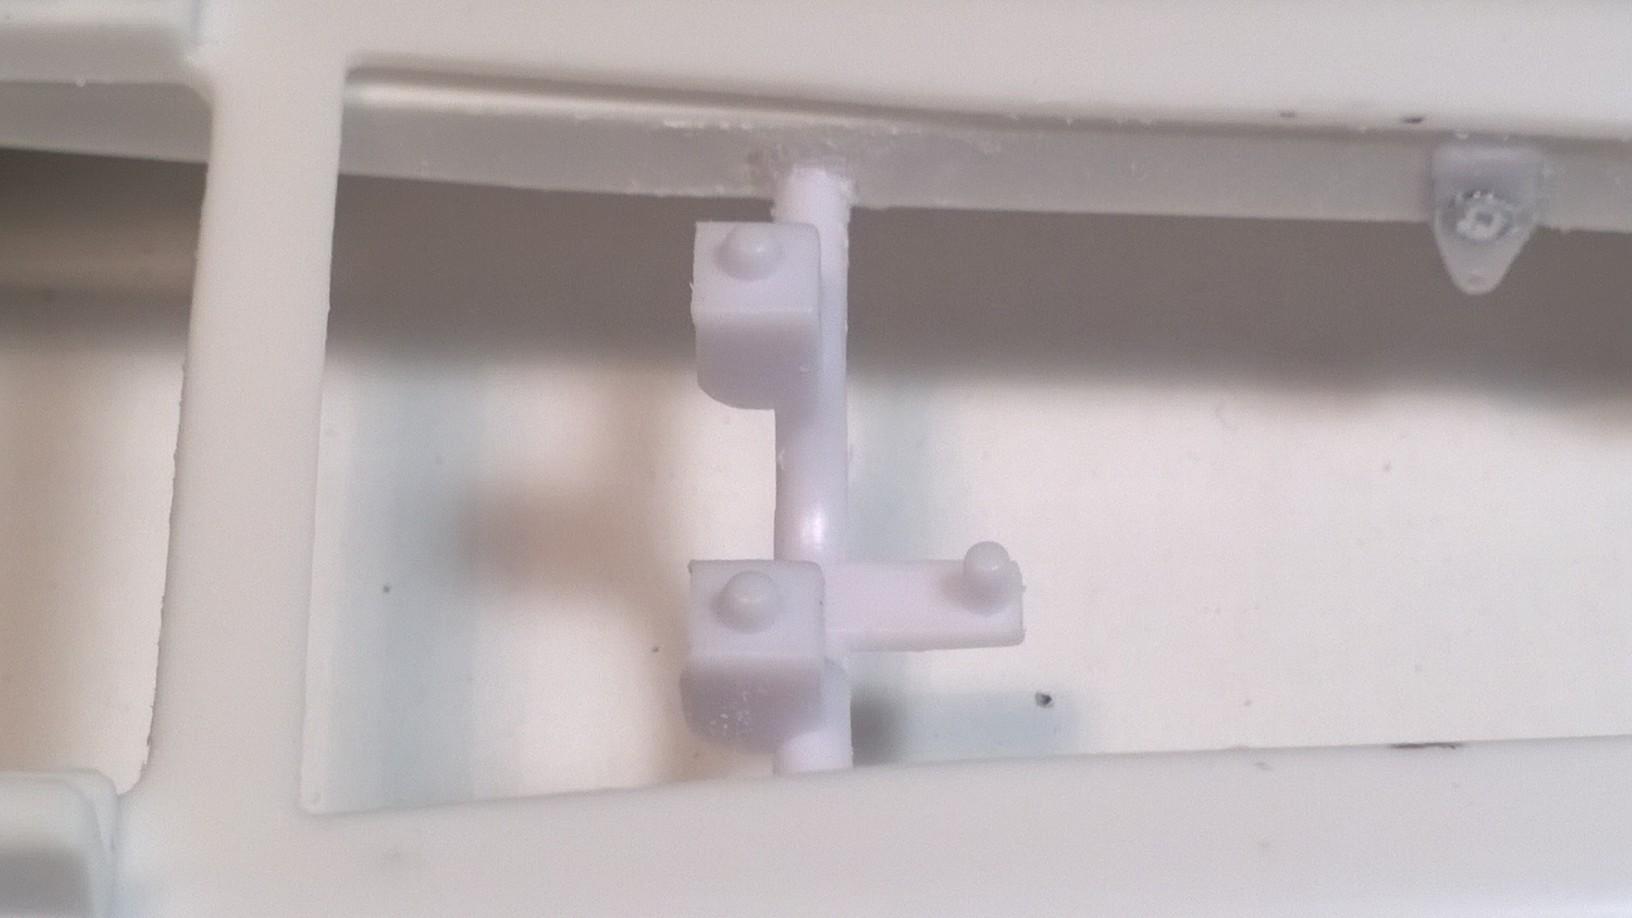
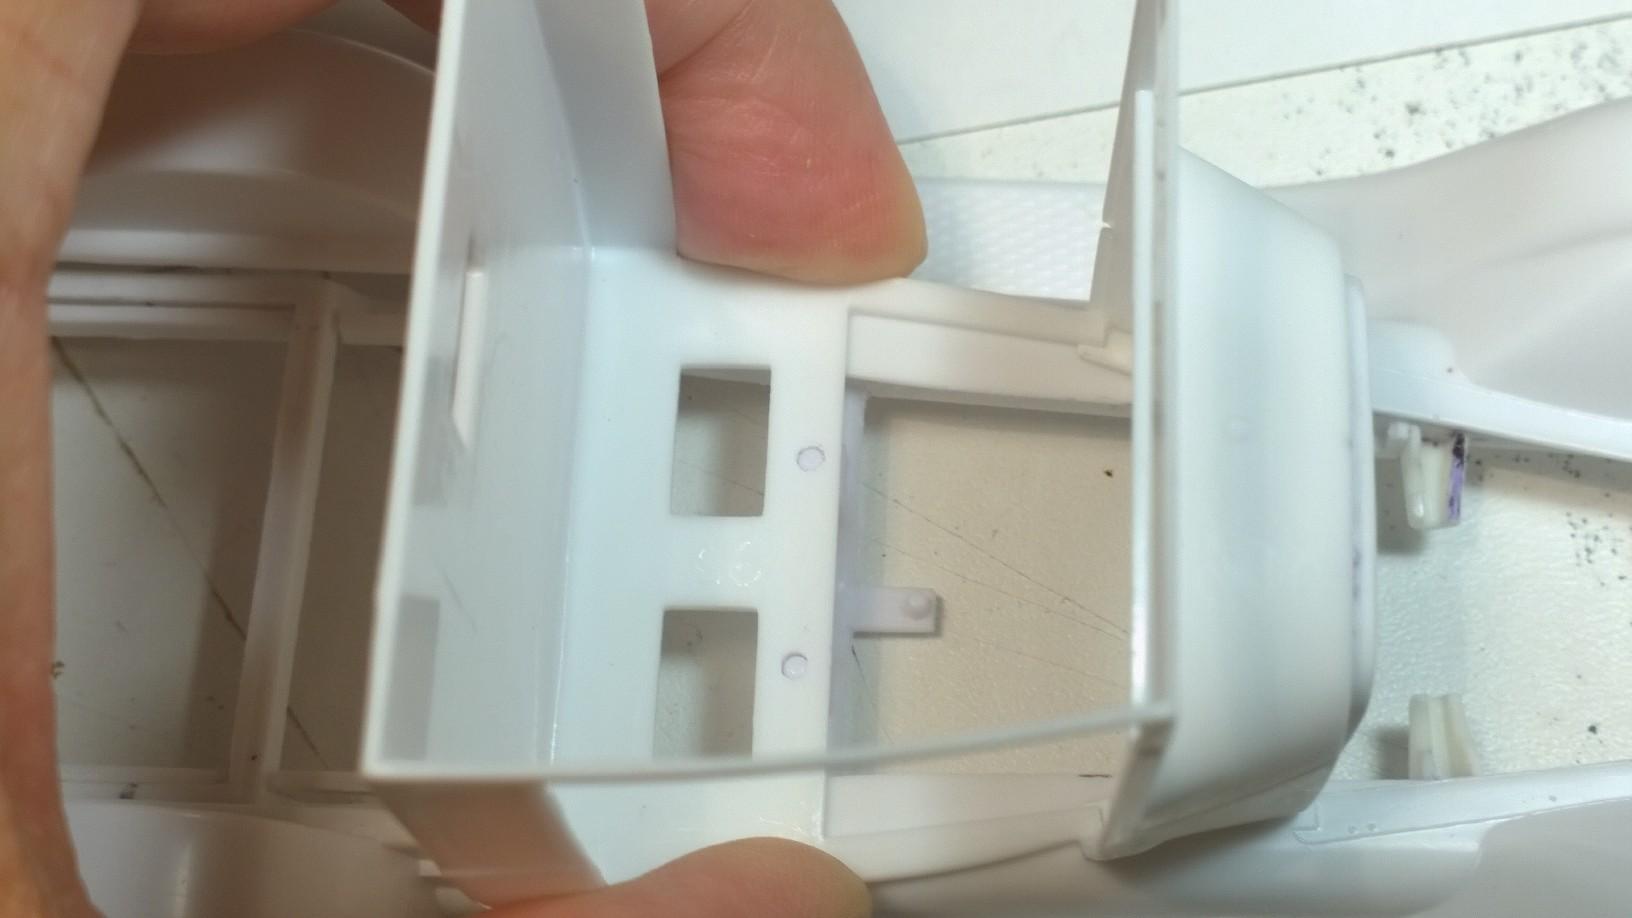
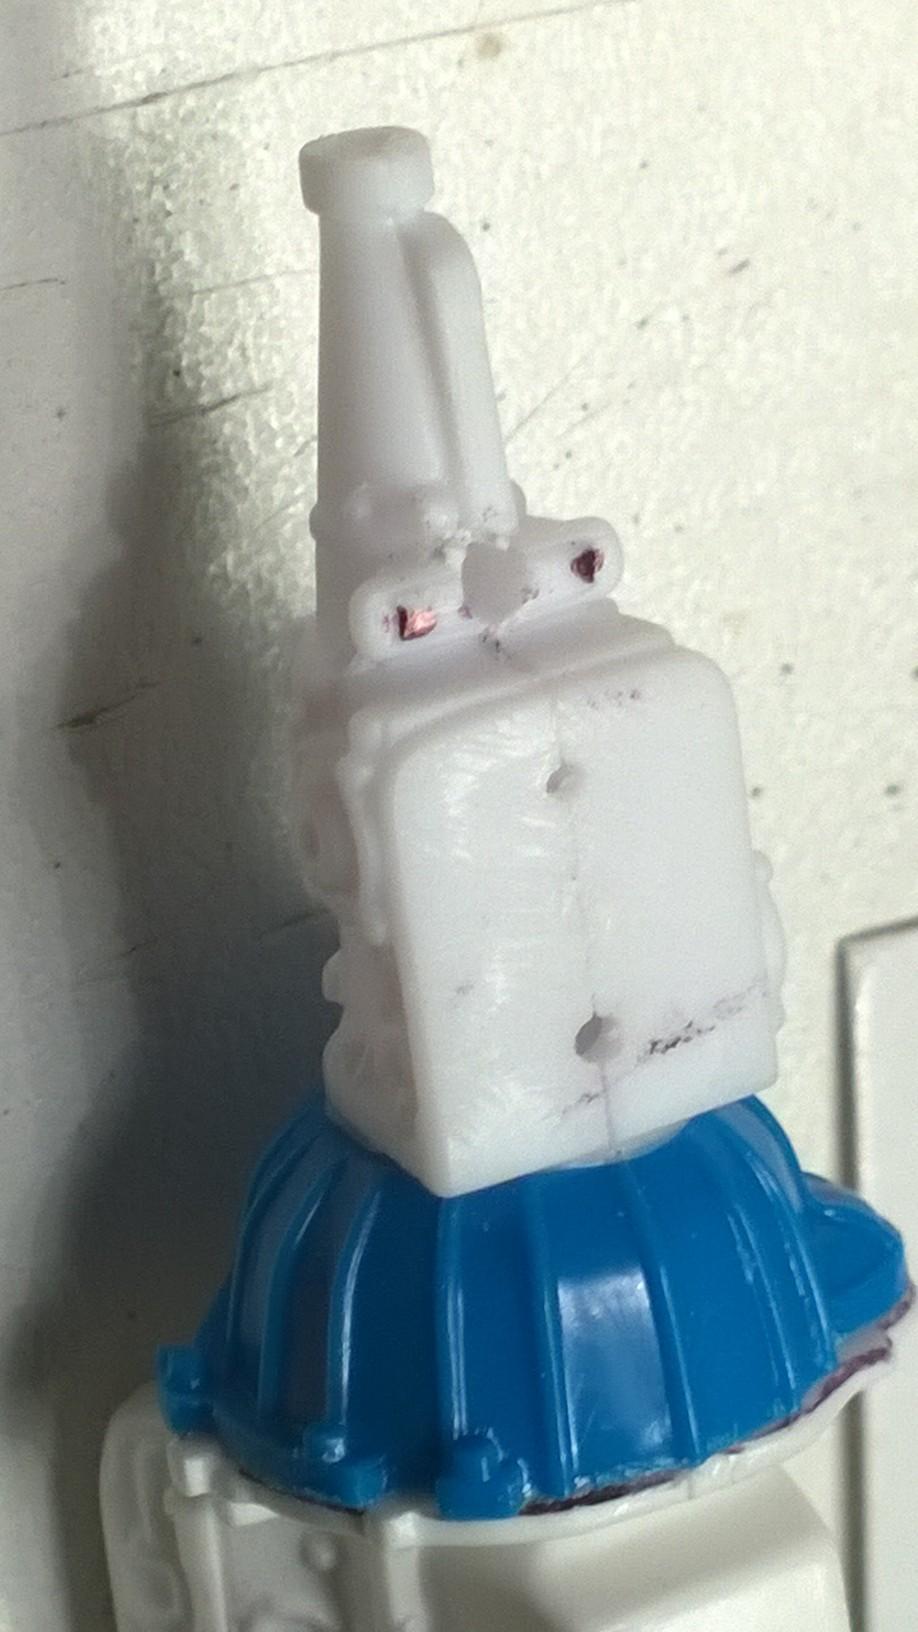
Continued marching towards the paint shop picking up after myself... tidying up a few more loose ends: Mocked up the engine with new Holly Carburetors from the original Revell Deuce Coupe kit (x2) Worked on the door hinges... Started with the right side upper hinge: Trimmed up the lower previously plugged door surround hinge: Felt like the lower hinge was a bit thick compared to the upper hinge... So, I cut the bottom off: Looks better, right? Fits good, after a bit of kleanup... How 'bout from this angle? Better? Tacked the lower hinge to the door: Set it all together... Aligned the two closer together... Applied a drop of CA on the inside between the hinge and the door frame surround: The fun tack blocks the CA from kreeping on to the door hinge edge. Let the right side dry & went after the left side! Repeated the same process detailed above on the left upper hinge: Will go in and file out the excess after both have dried completely over night. Next time, we'll go after the lower door hinges. -KK btw I may work a little slow (including the # of times looking for each loose hinge more than a couple of times in the karpet beneath my work bench) but, each hinge so far has taken about an hour each!
-
Well aware of the Royce Fisher Tribute T Pickup! Knowing the back story on the origin of the kit is an interesting part of your build. Kudos to the local model shop... is it still around? @bill-e-boyI've really enjoyed working along side you and @alan barton! -KK
-
Old pictures from before the first run: Pictures found on the inter-web: And, the old kit:
-
This Forum's Purpose
Kit Karson replied to Dave Ambrose's topic in Model Cars Magazine News and Discussions
Refer to -
Enjoying watching over your shoulder... Saw this earlier today & thought of you: And, the many others out here waiting for the reboot of the Model A coupe! -KK
-
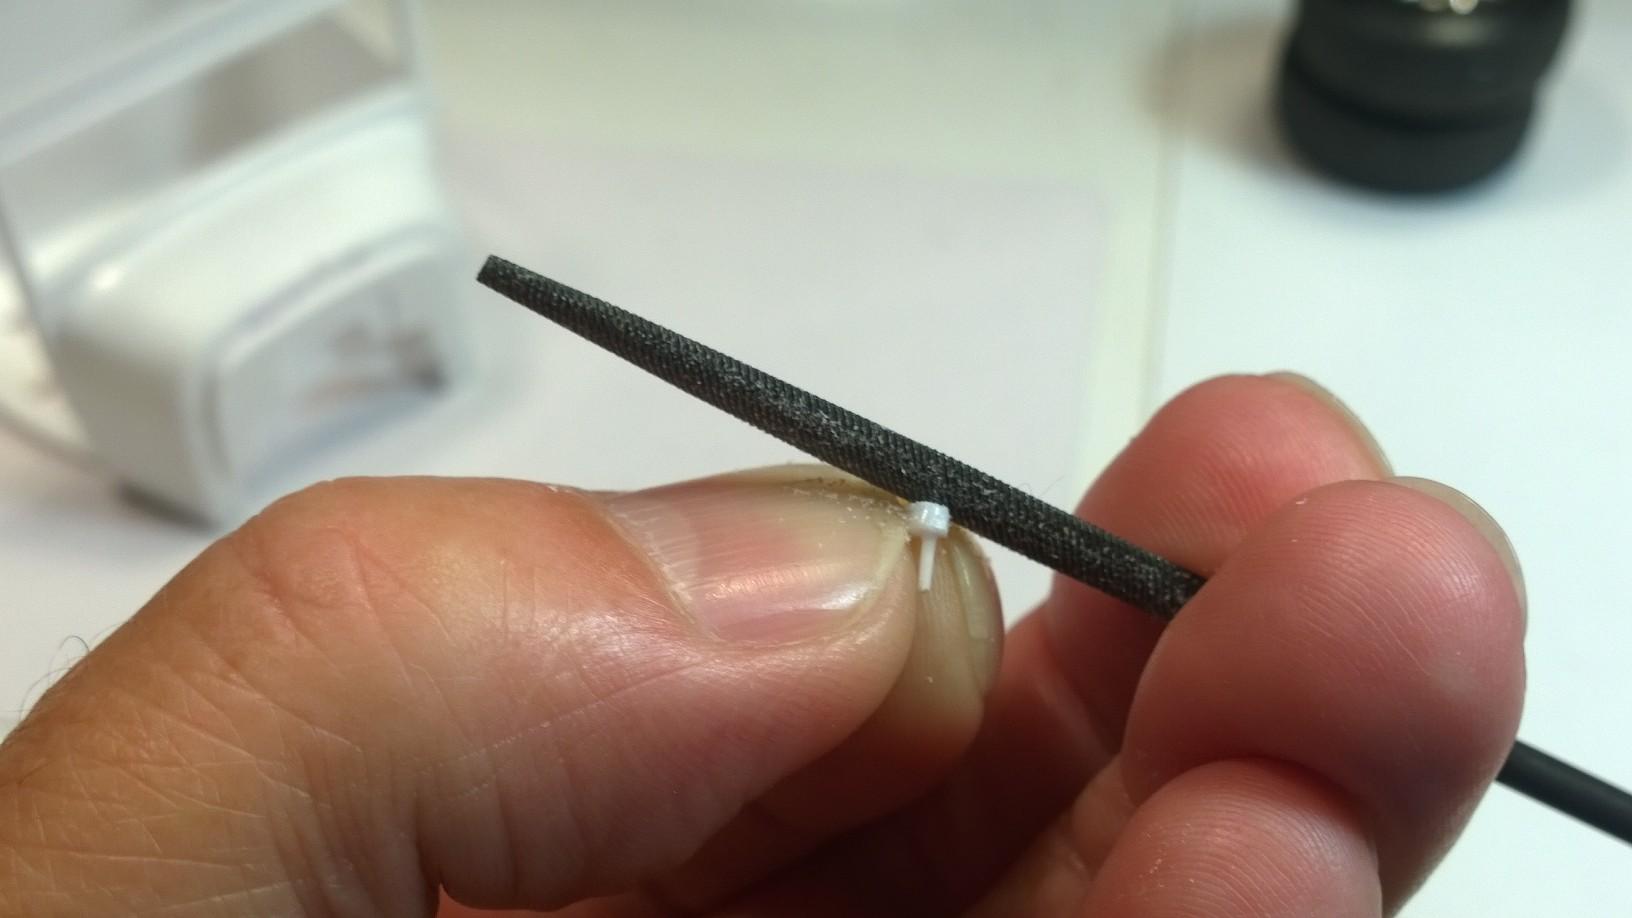
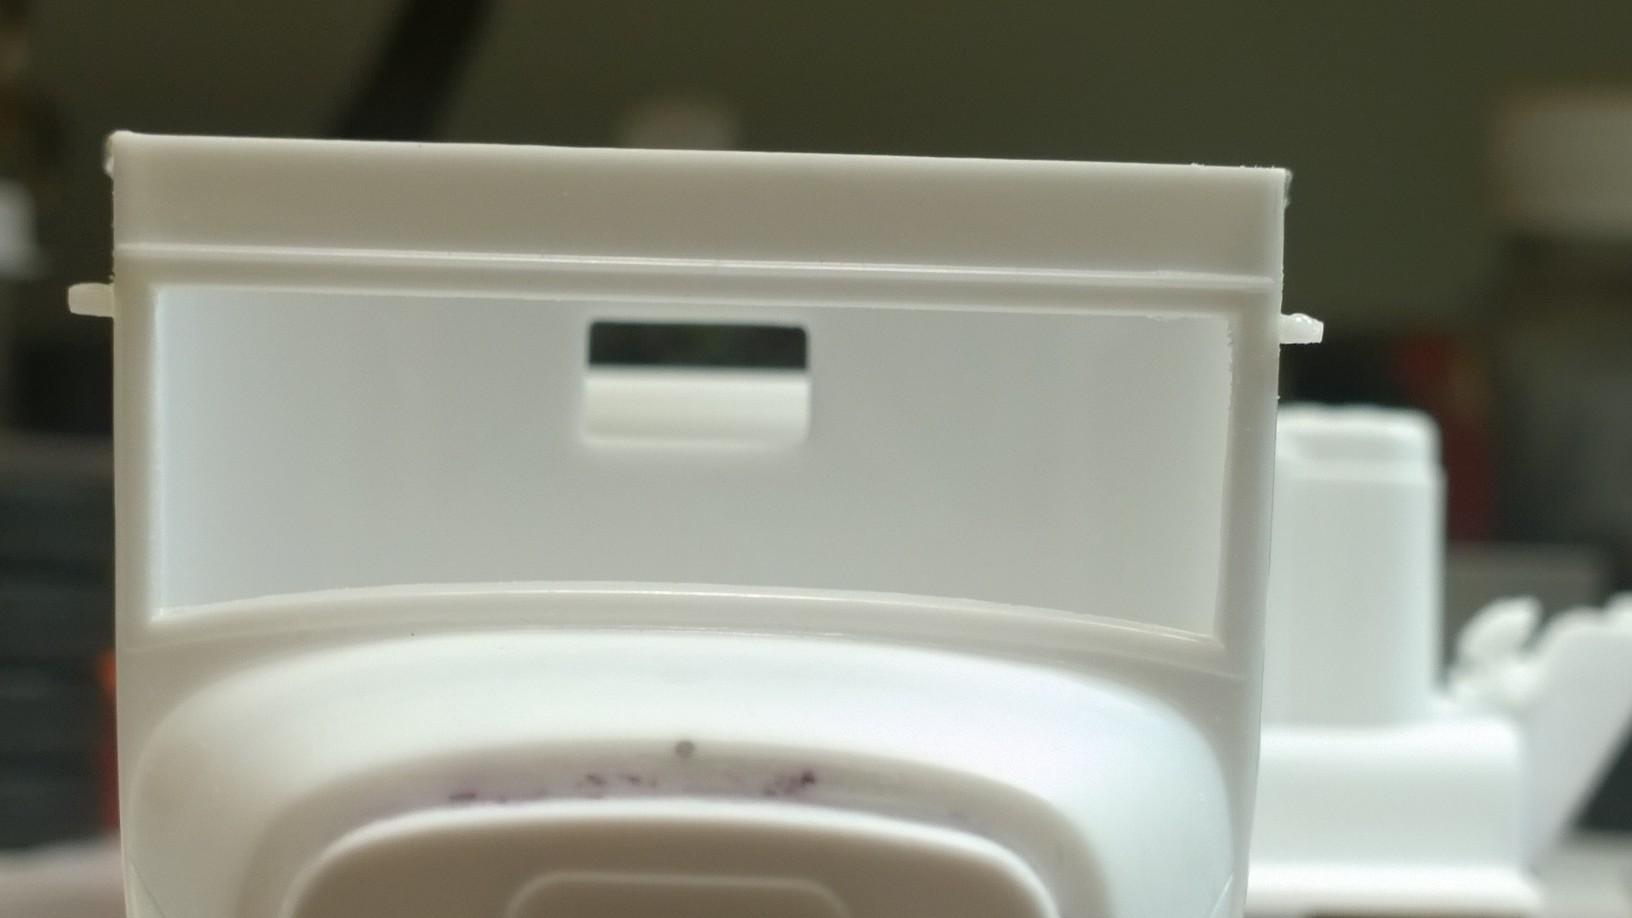
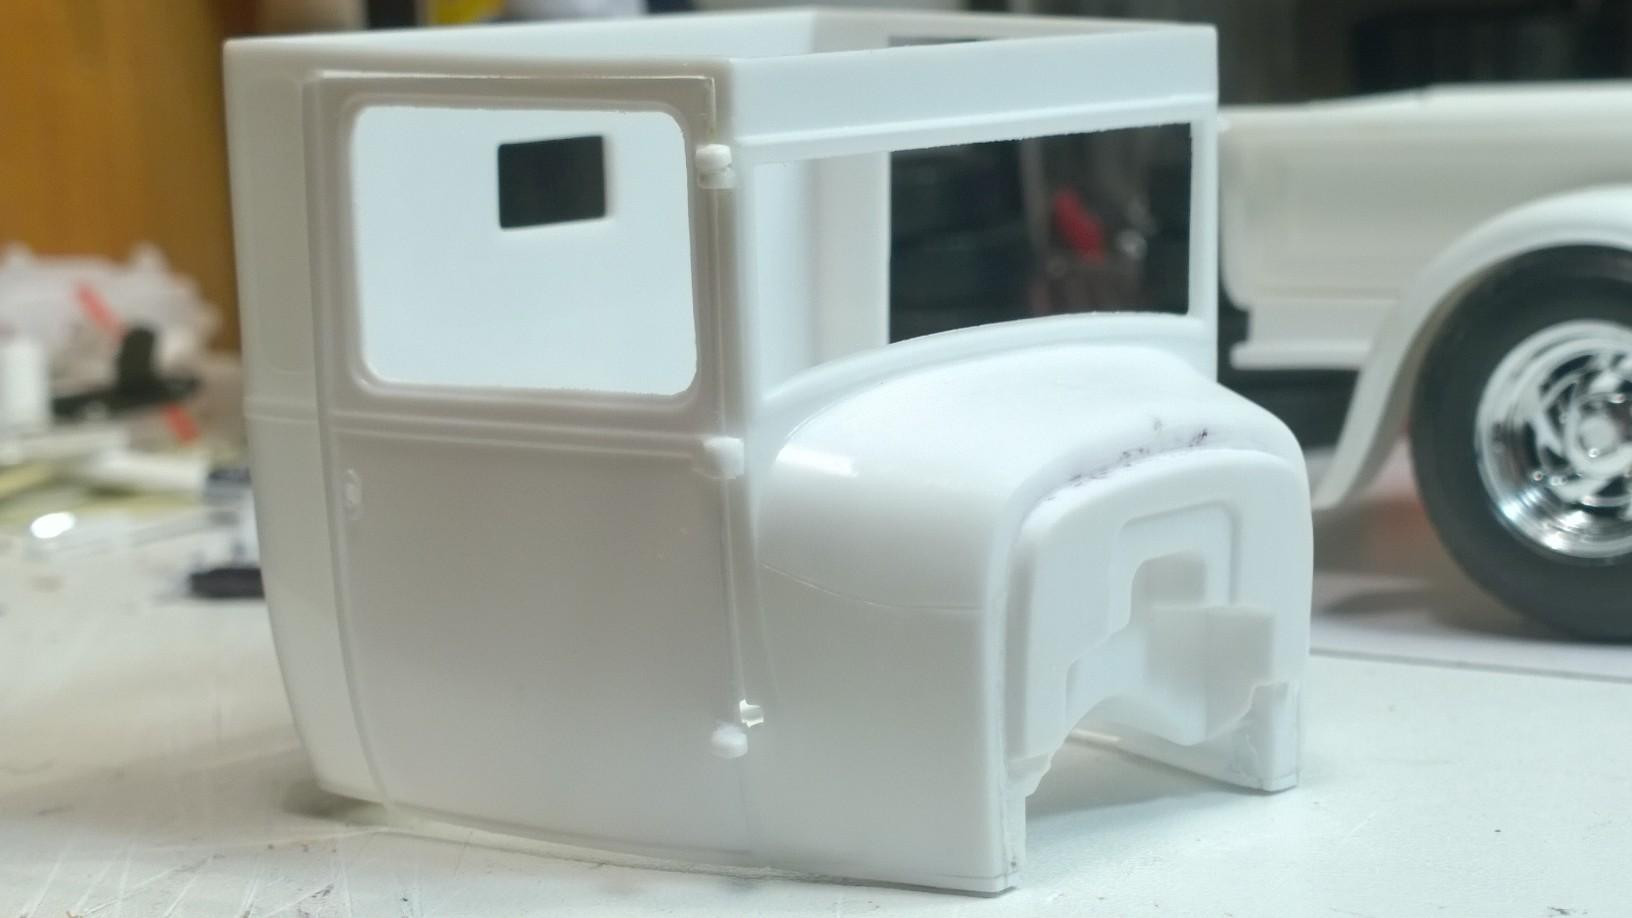
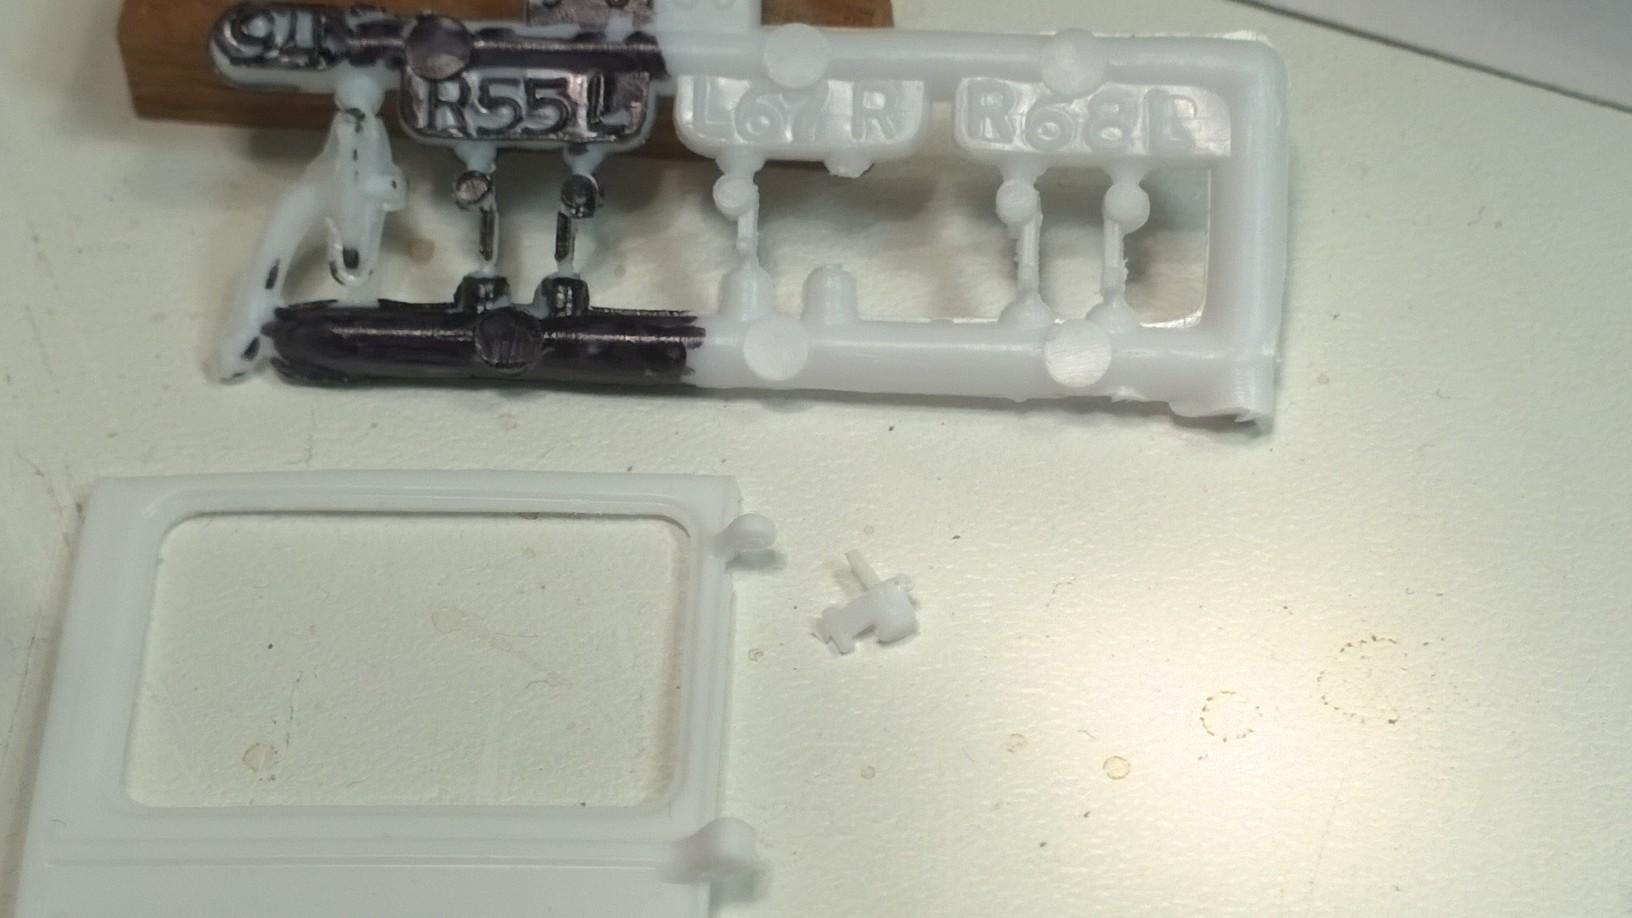
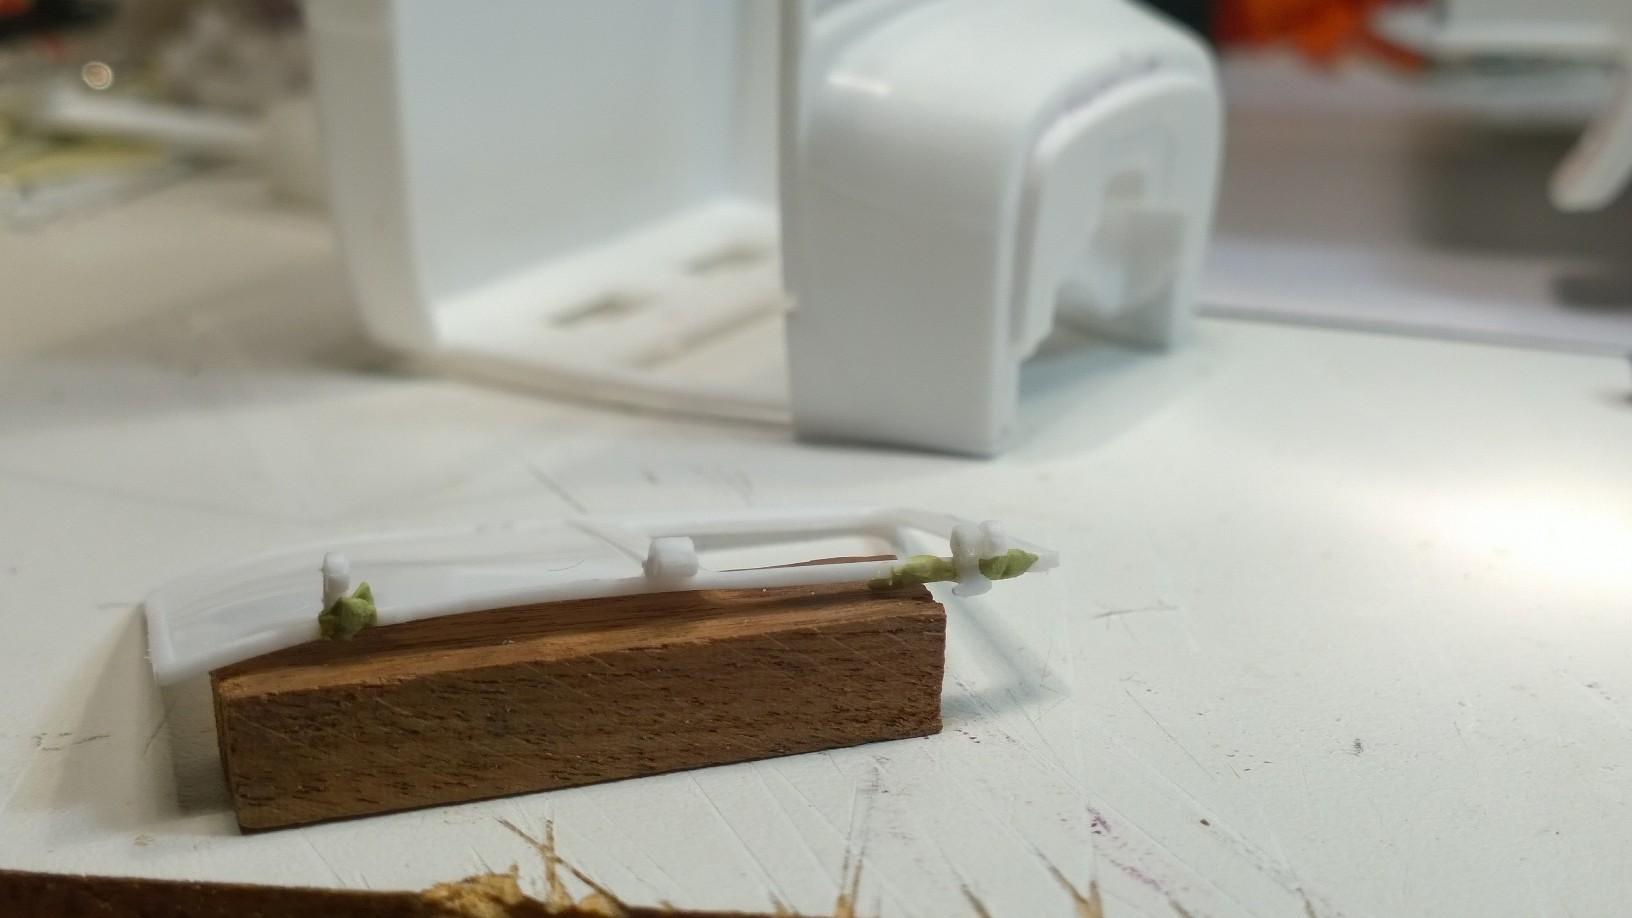
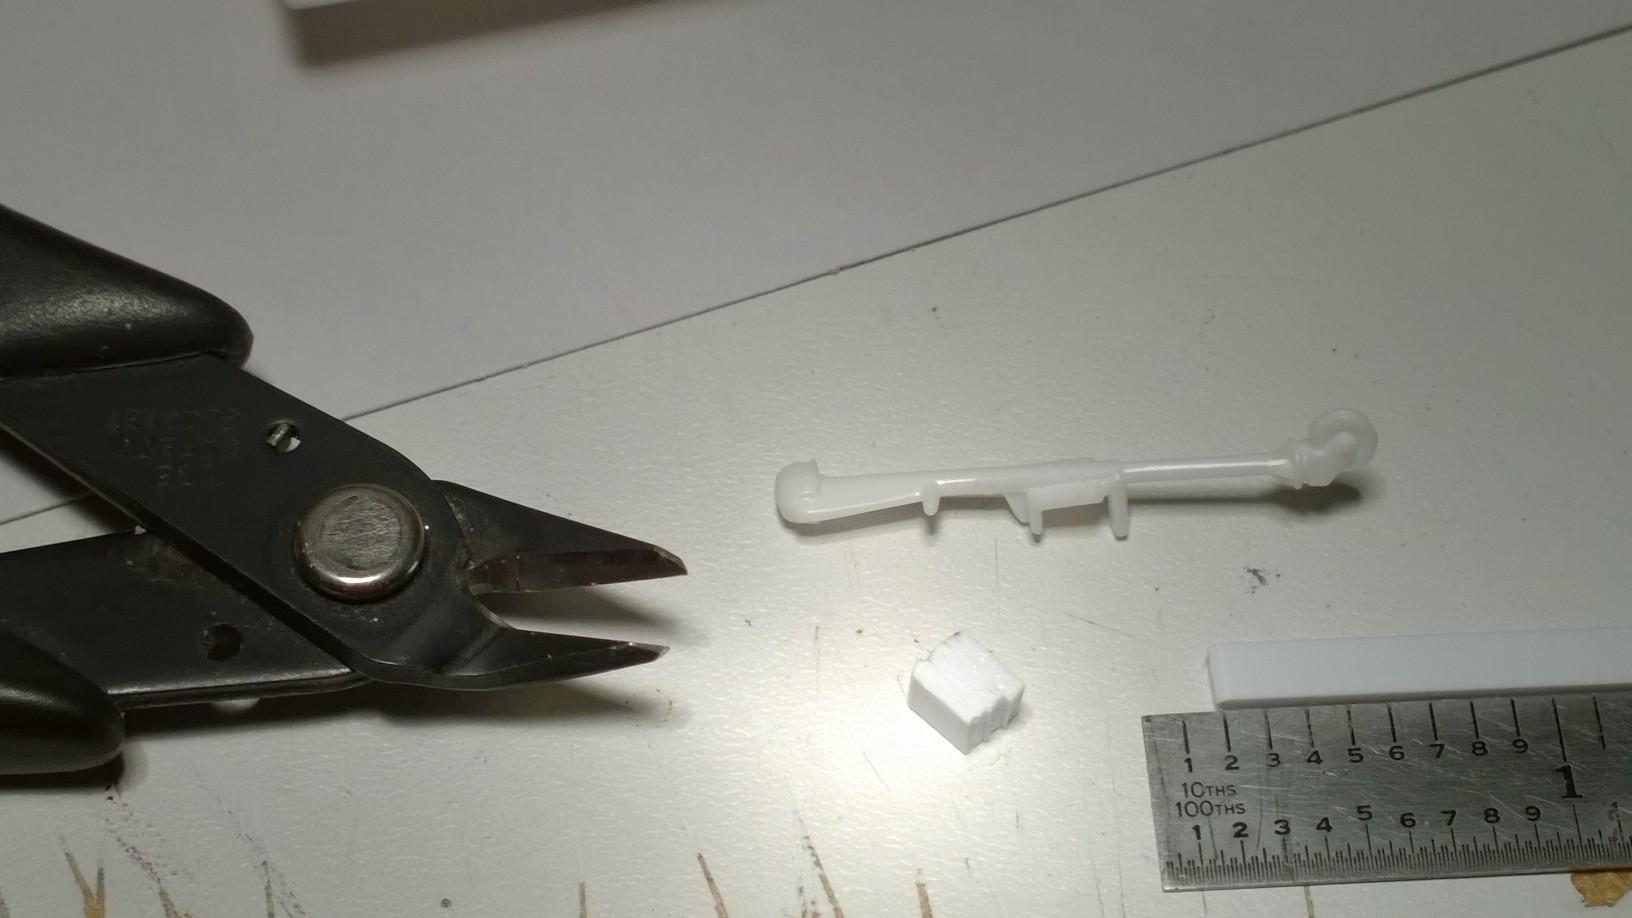
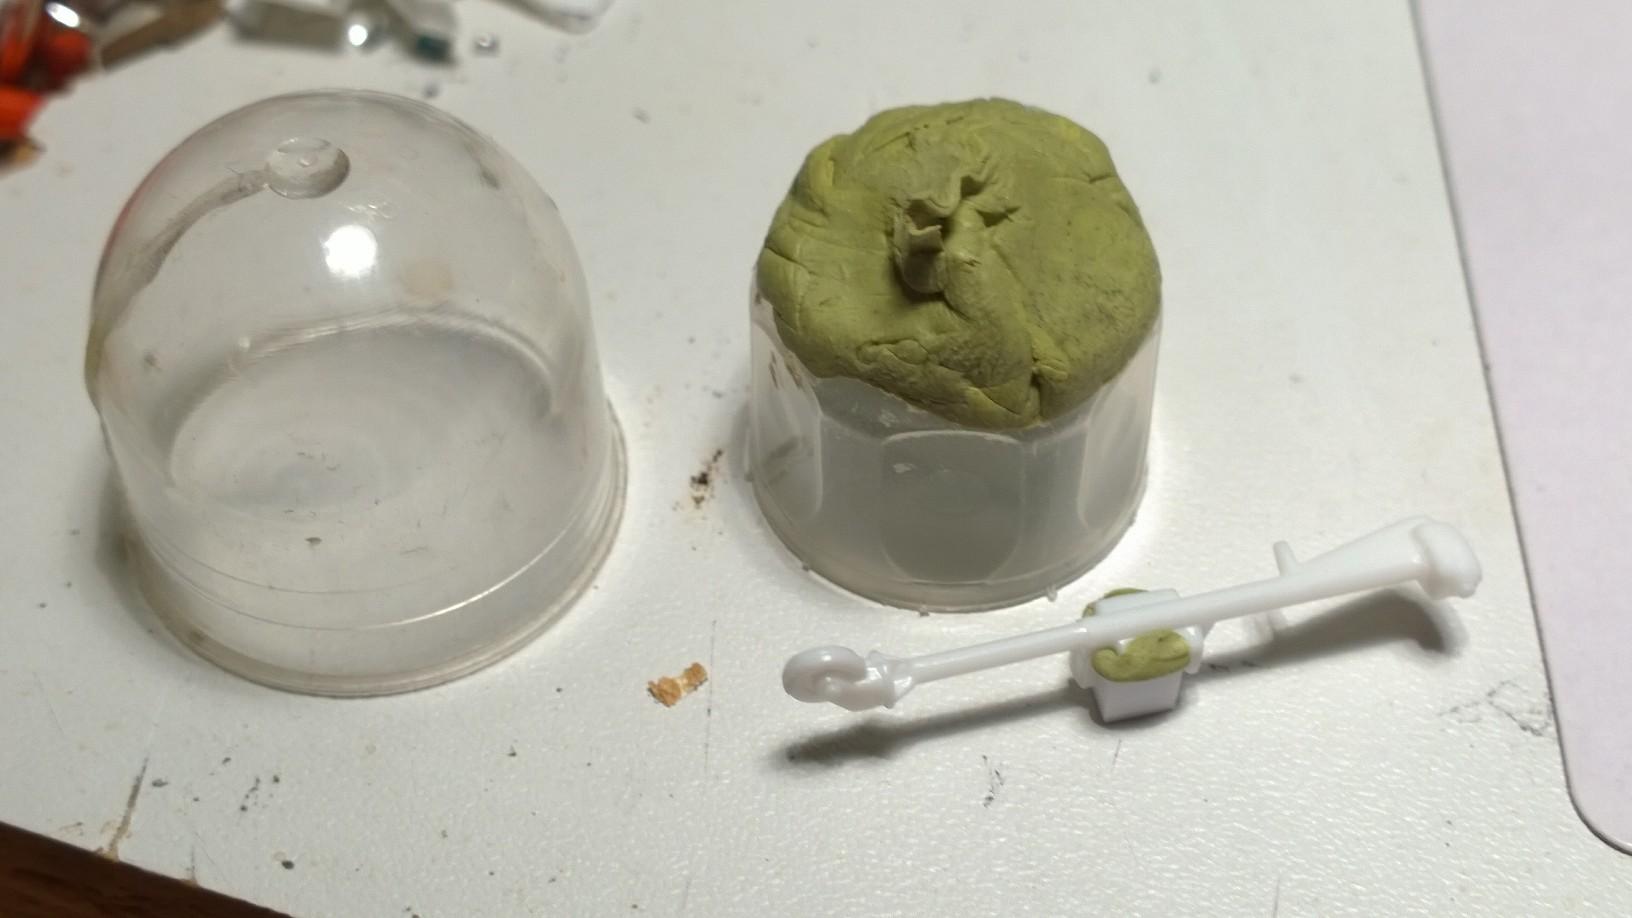
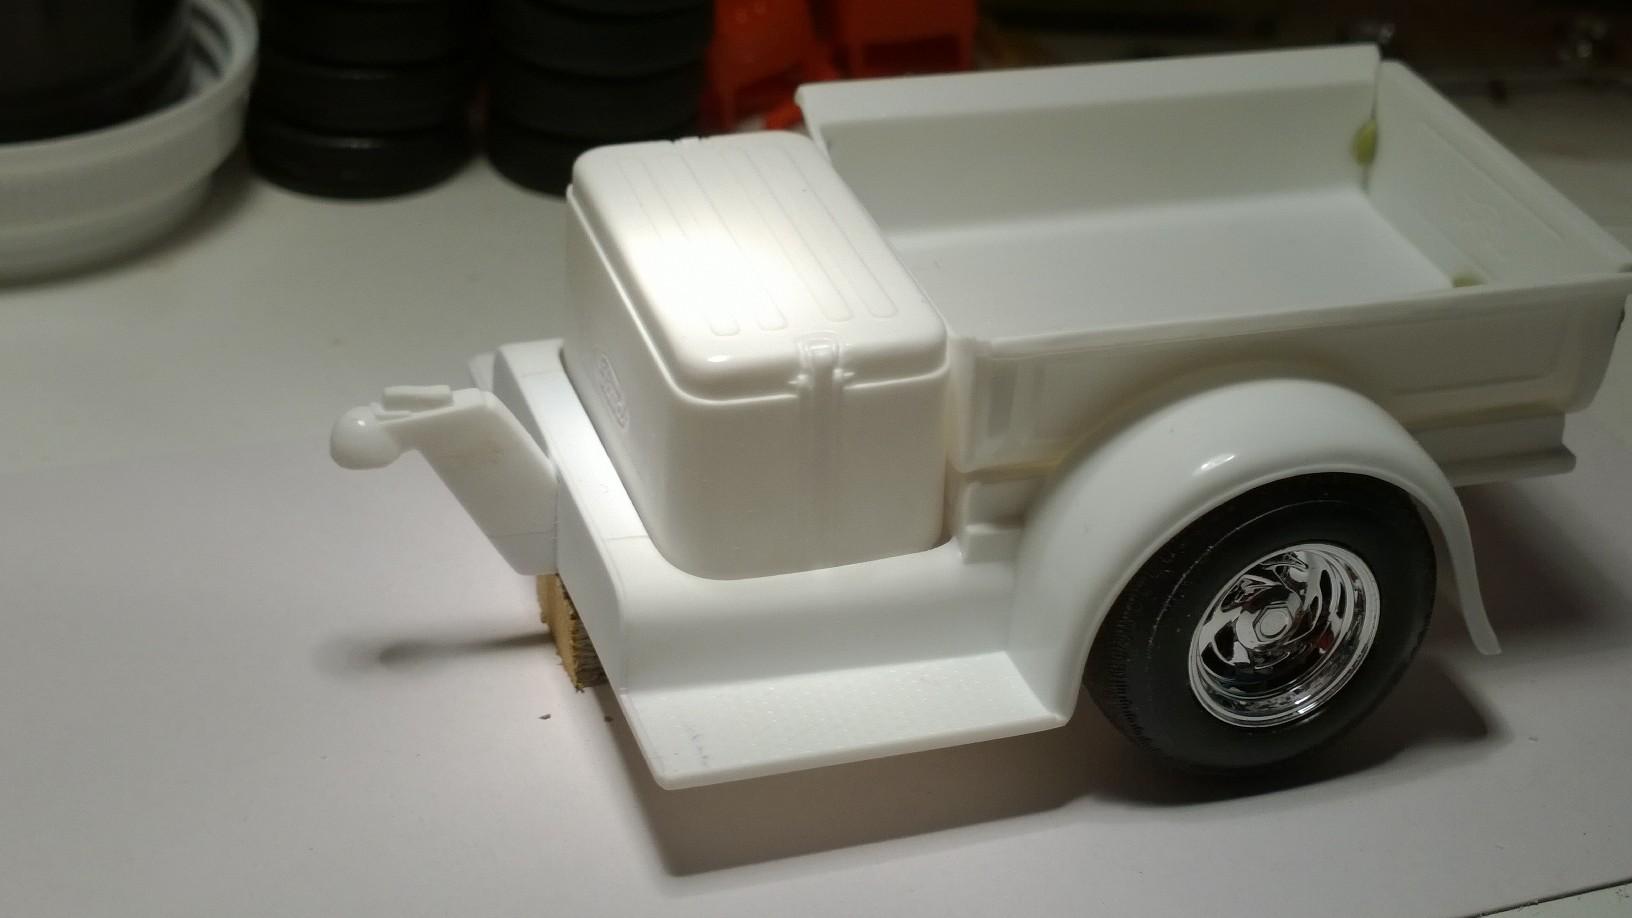
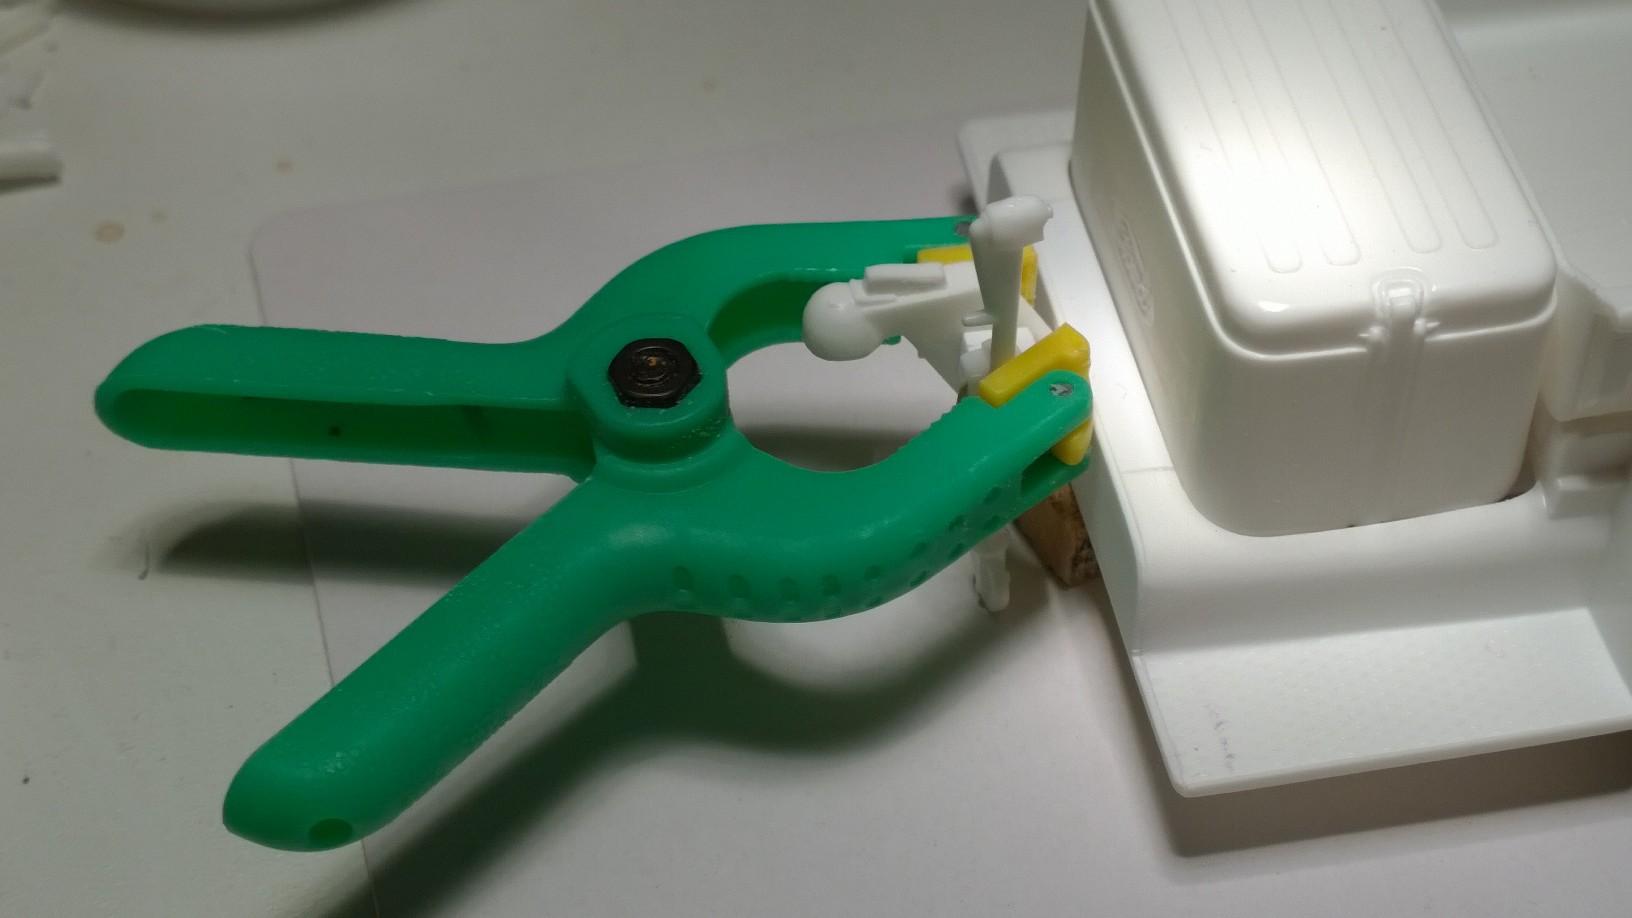
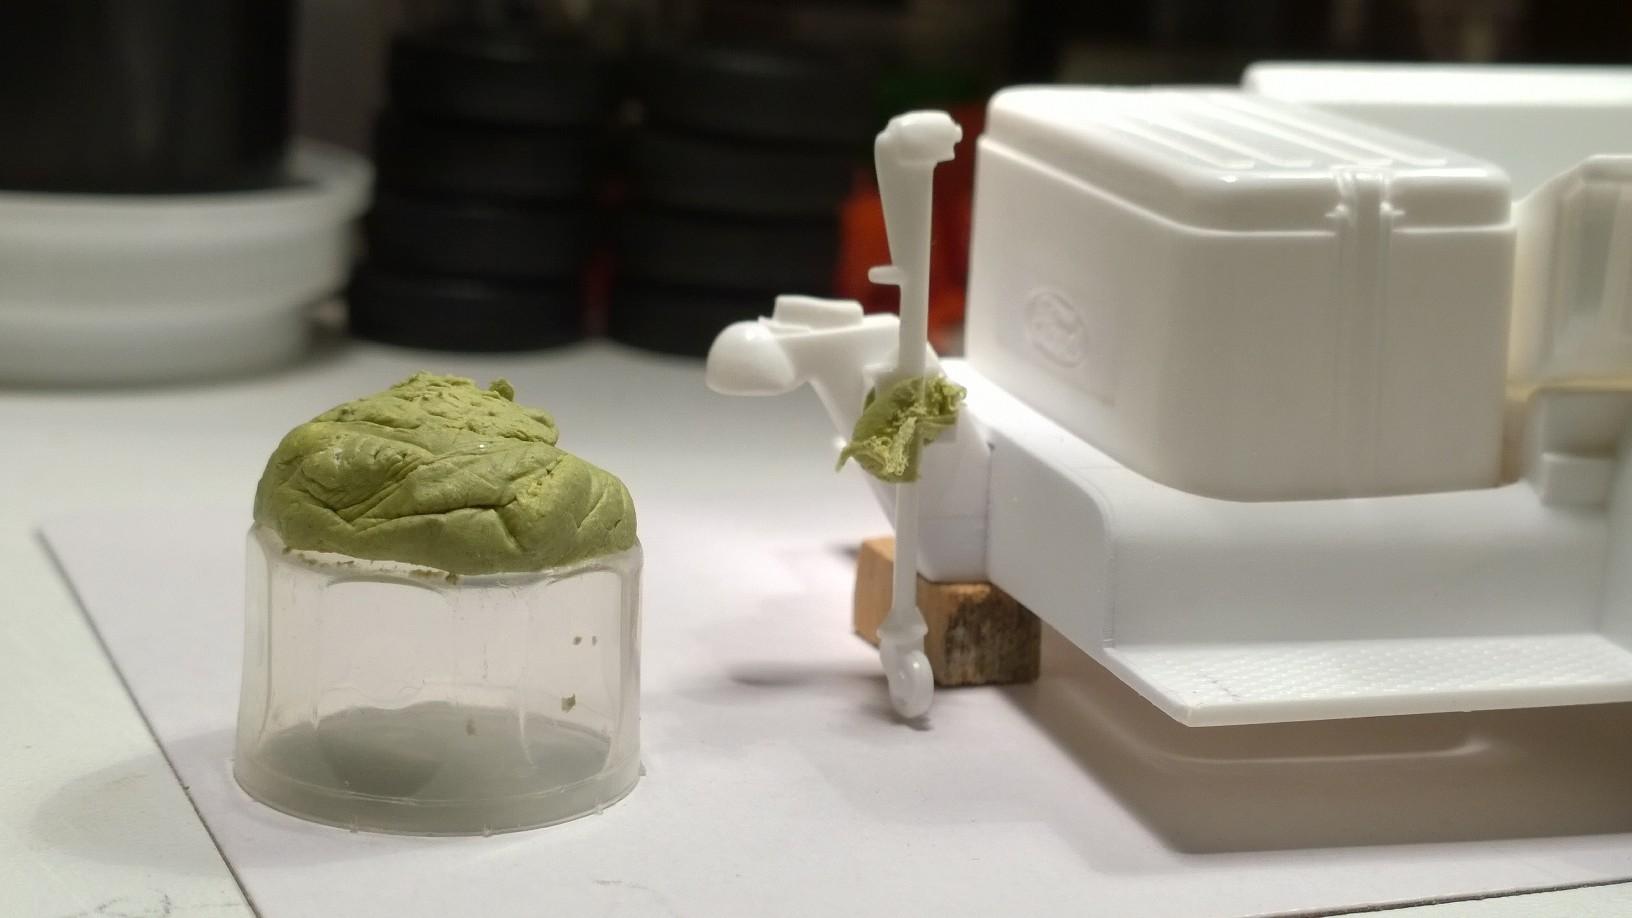
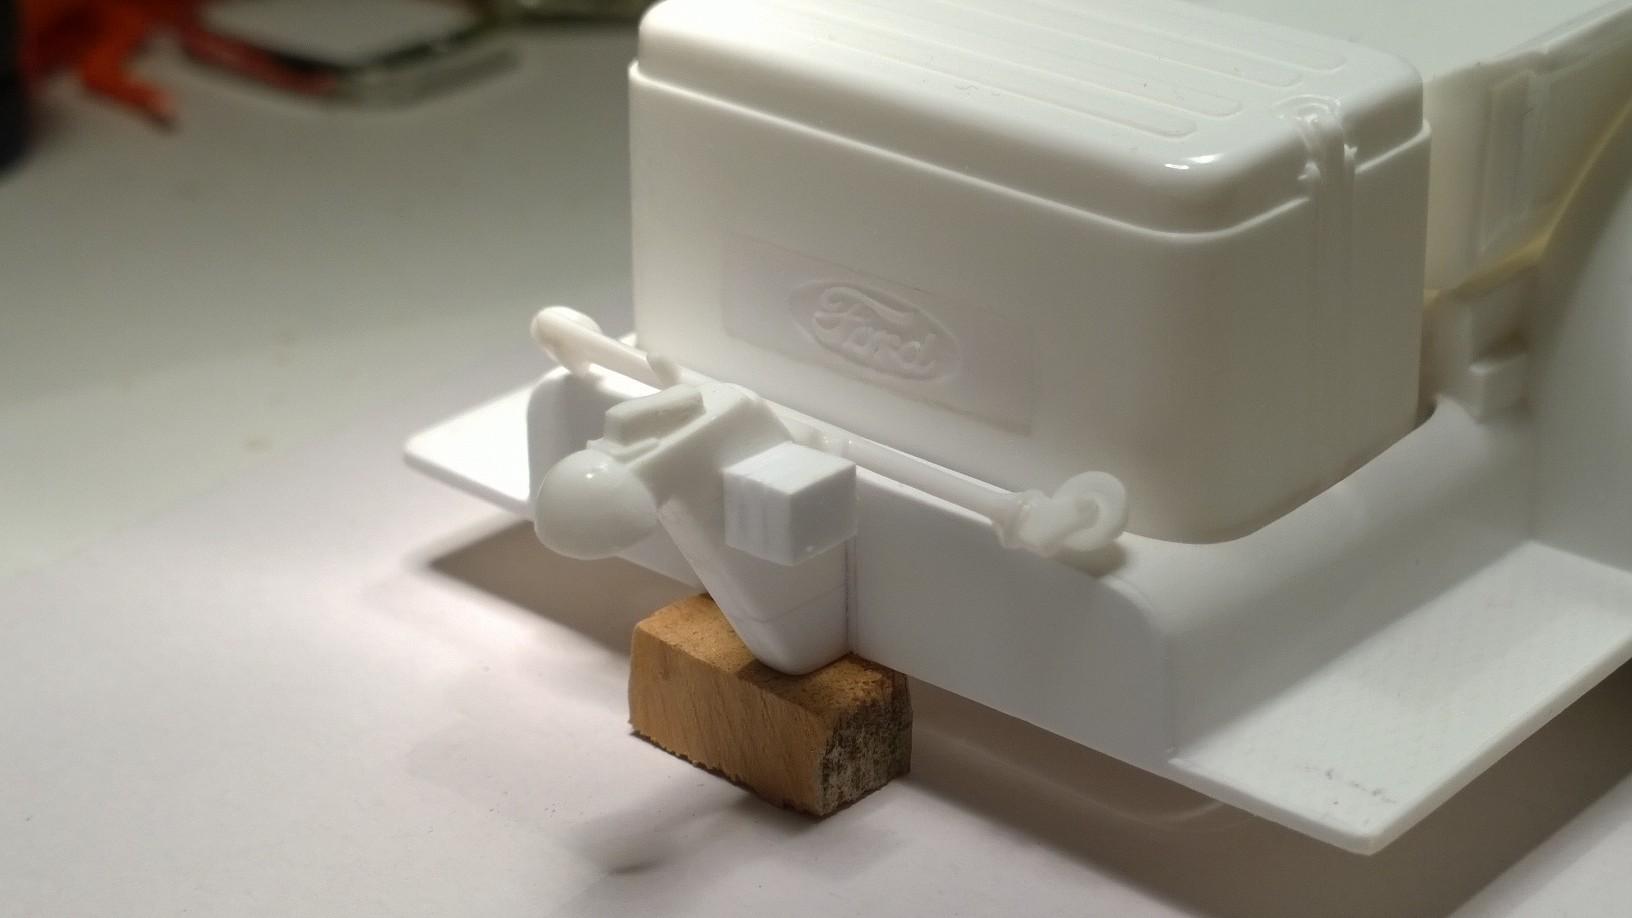
@bill-e-boywe need to see more of your "flashy butt" before you hide it under her skirt... -KK ps did you buy your kit in country? Spent a little time at the bench, hooked up the trailer jack: Cut three pieces of plastic stock Bolted the block to the jack with some fun tack Position trailer for the addition to the neck Klamp & a little CA later '29 PU Trailer Jack at Rest '29 PU Trailer Jack at Work After a little shaping the block addition will feel right at home... While securing the jack mounting block, decided to dress out the door hinges: Plugged the lower upper & upper lower hinges... A little CA & plastic rod... Basic tools of the trade... Trimmed & filed the upper upper & lower lower door hinges Next step: Klean & install the lower upper & upper lower hinges into the Cab door surround! -KK btw I reread the instructions and found where the hinges, Part #55 go! Nobody every said modeling can't be fun!!
-
Paul, if we channel our combined efforts into another group build, I'm sure the inevitable will happen... more good tips & tricks will appear! -KK Here's a little ditty that came out during this thread: Where did your Revell '29 Model A kit come from? This PU bed came from "Nowhere"... This one was made in the U.S.A., and Where did your '29 PU/Roadster kit come from? -KK
-
You, my friends are being treated to following one of the best model builders I have met in my lifetime! Keep on keepin' on, Brother! -KK
-
Foose 56 Ford pick up
Kit Karson replied to cobraman's topic in WIP: Model Trucks: Pickups, Vans, SUVs, Light Commercial
Simply
-
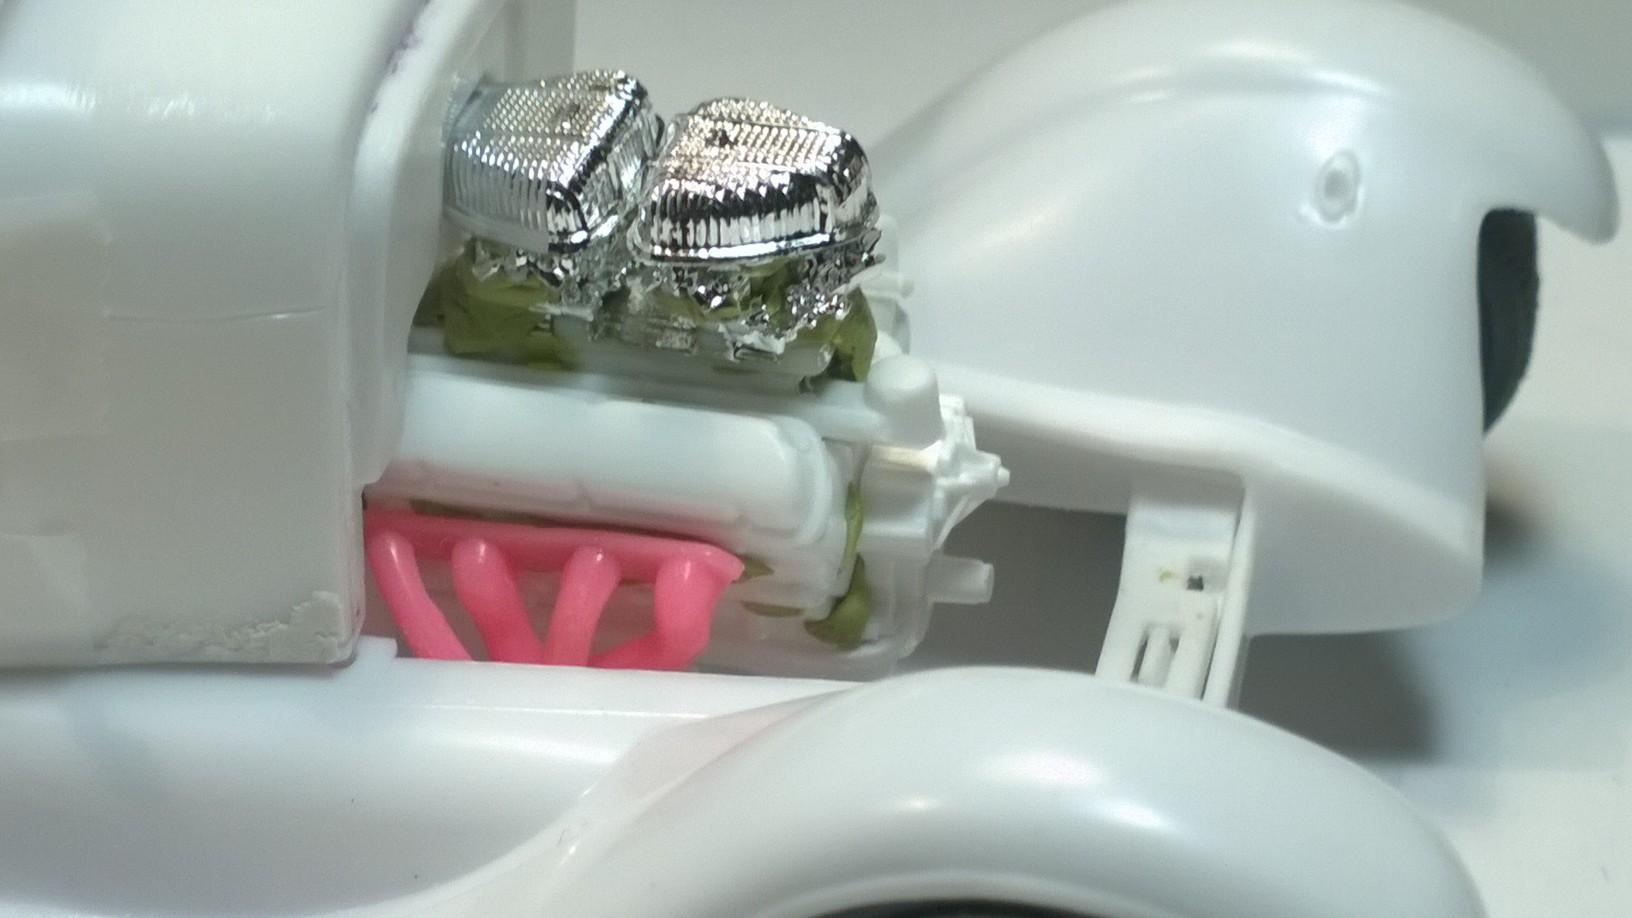
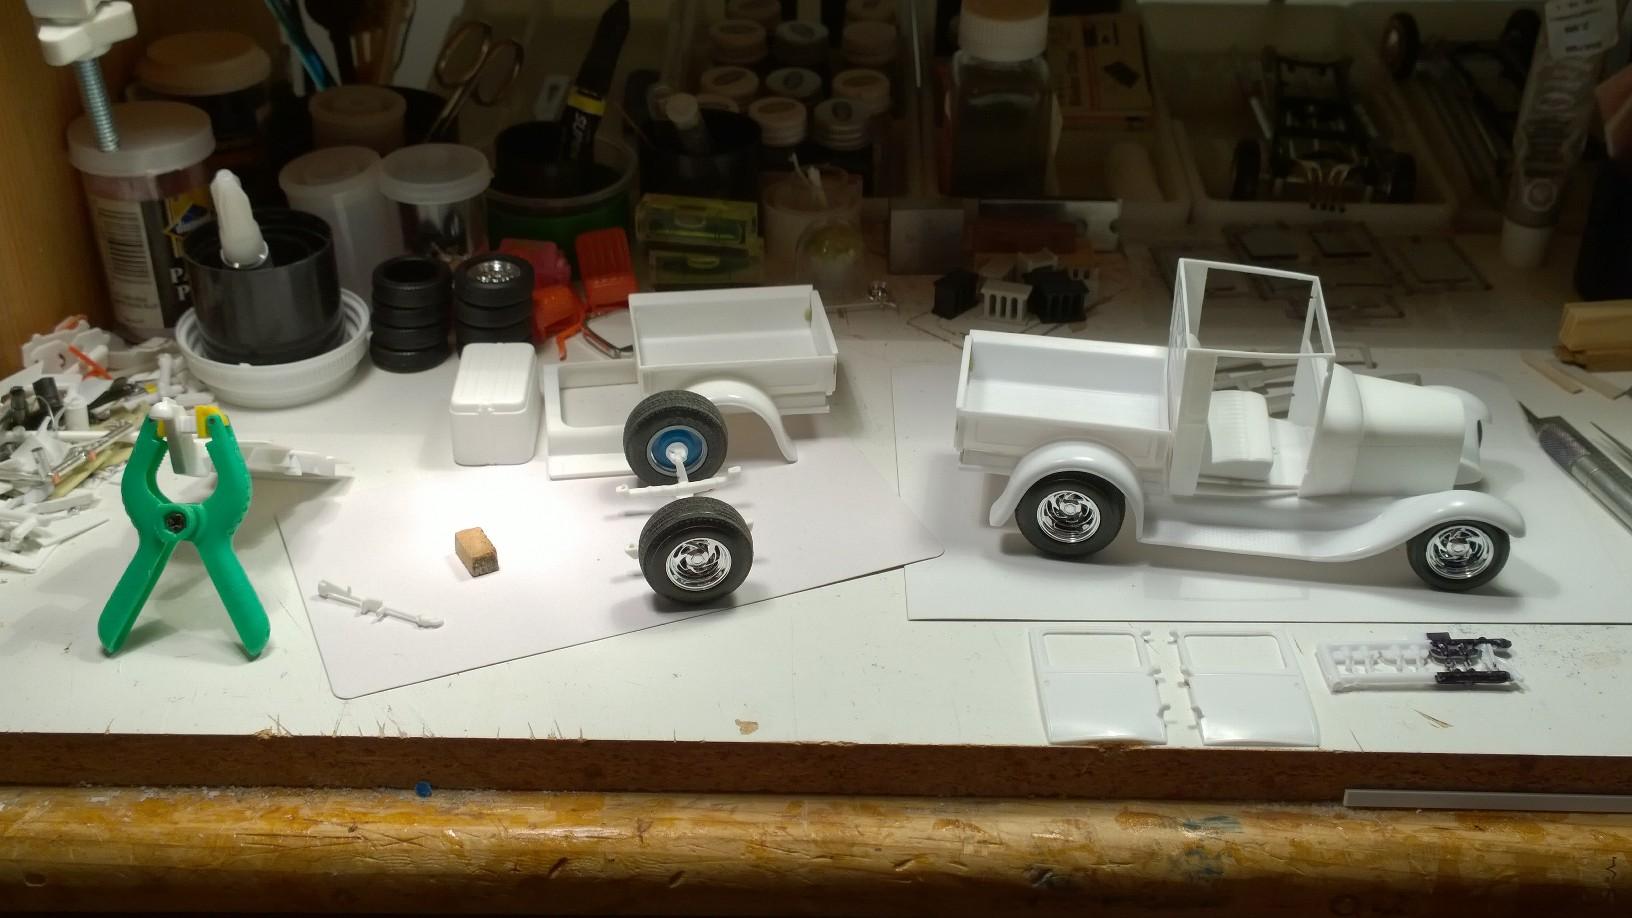
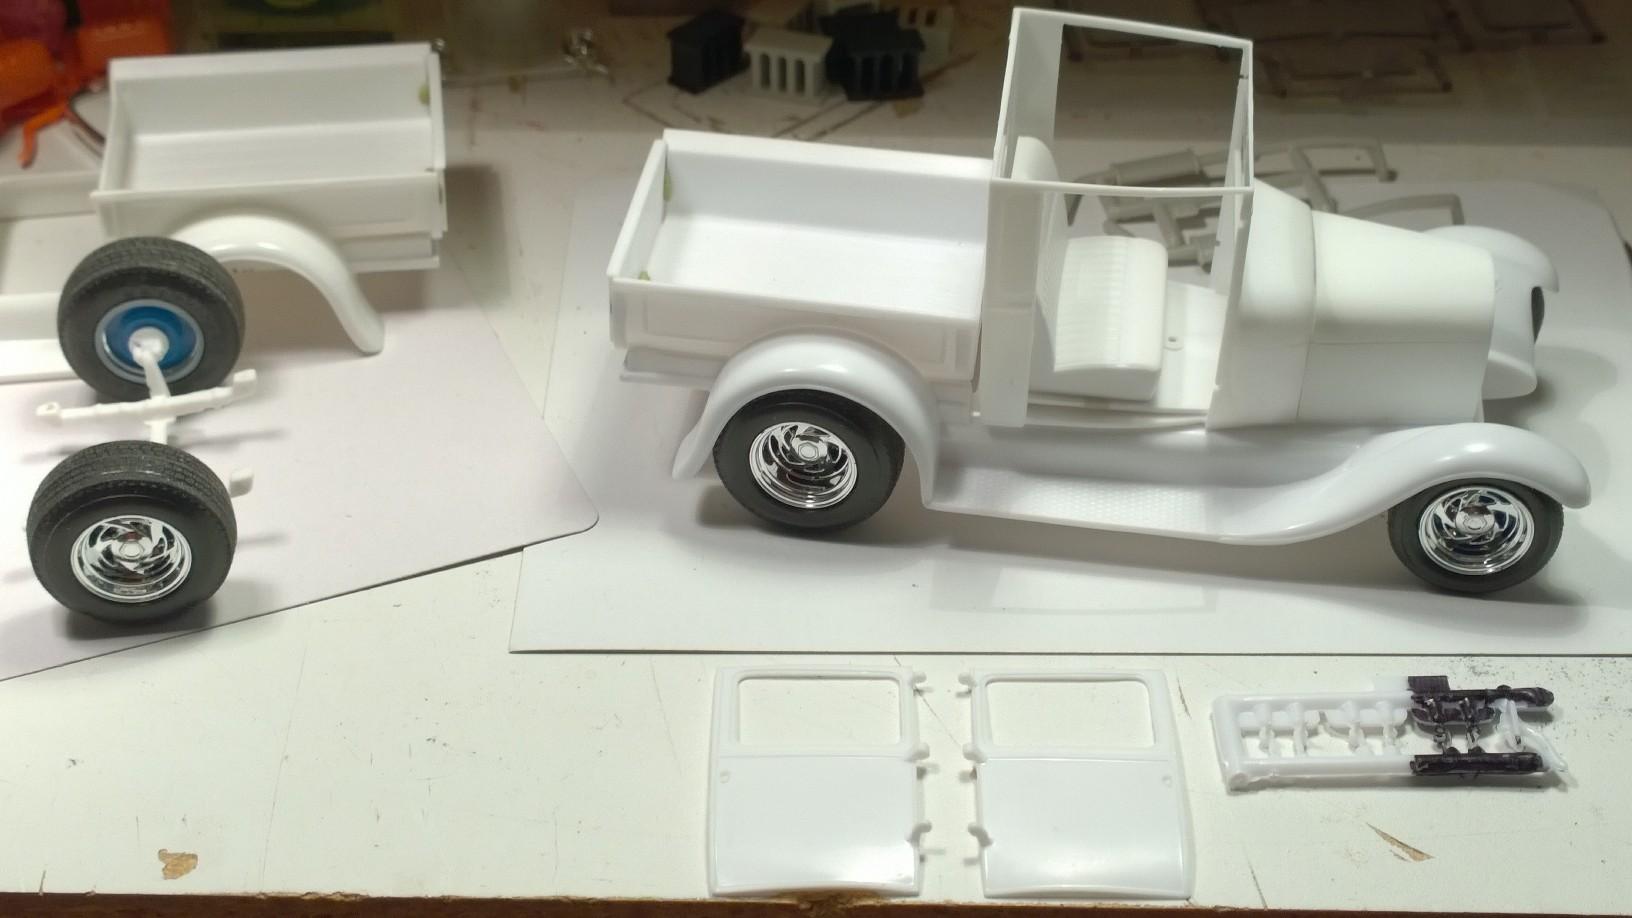
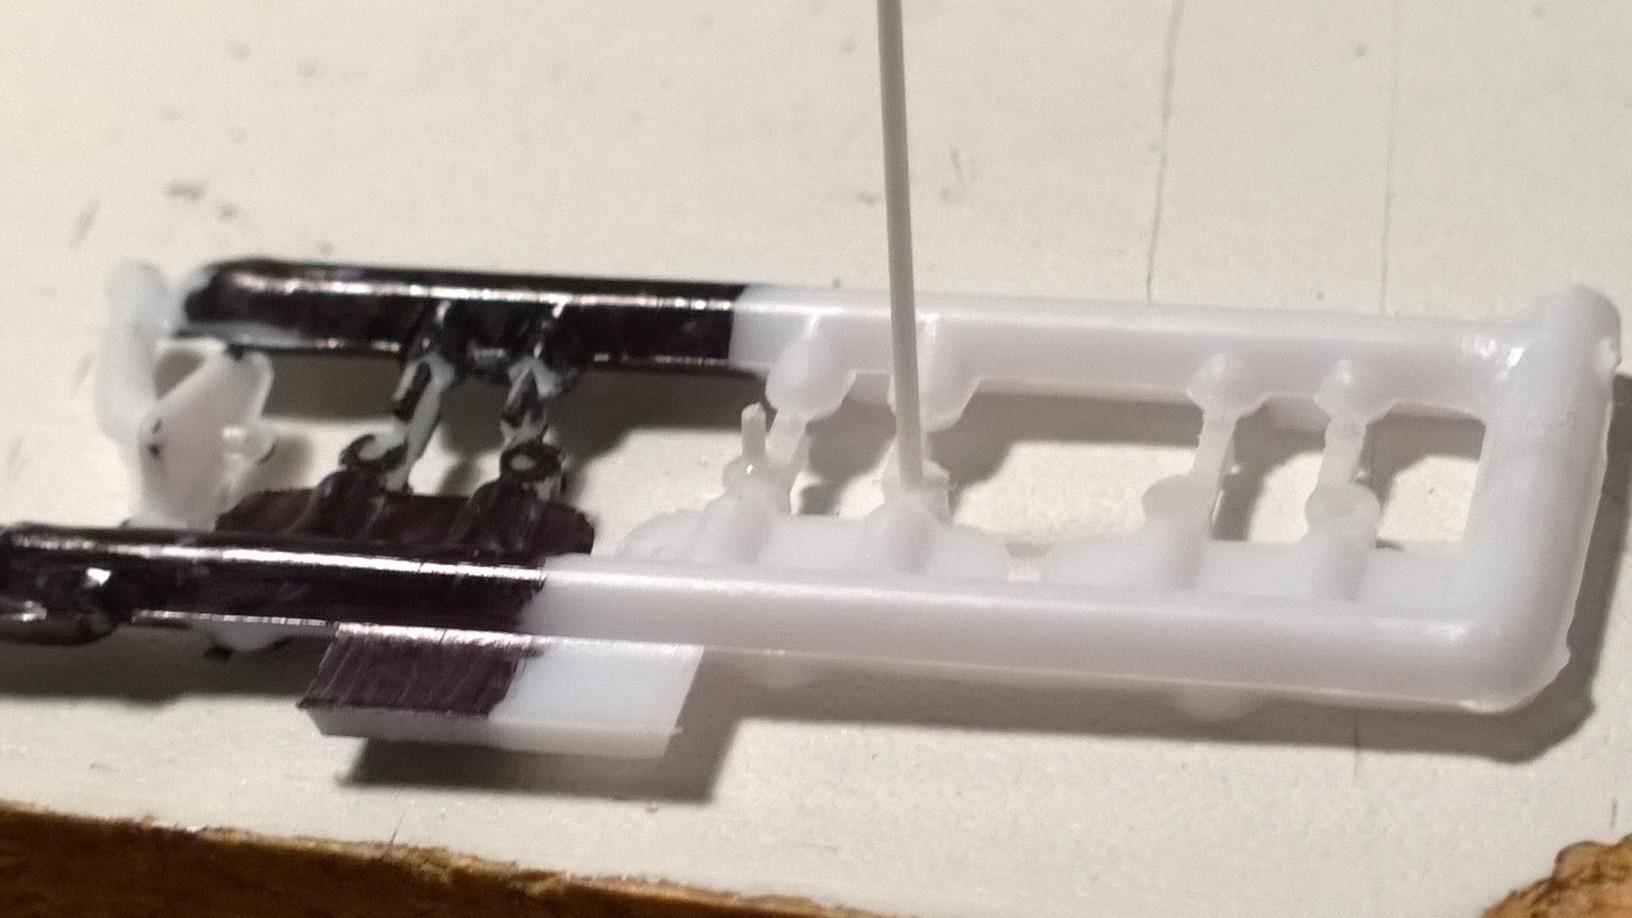
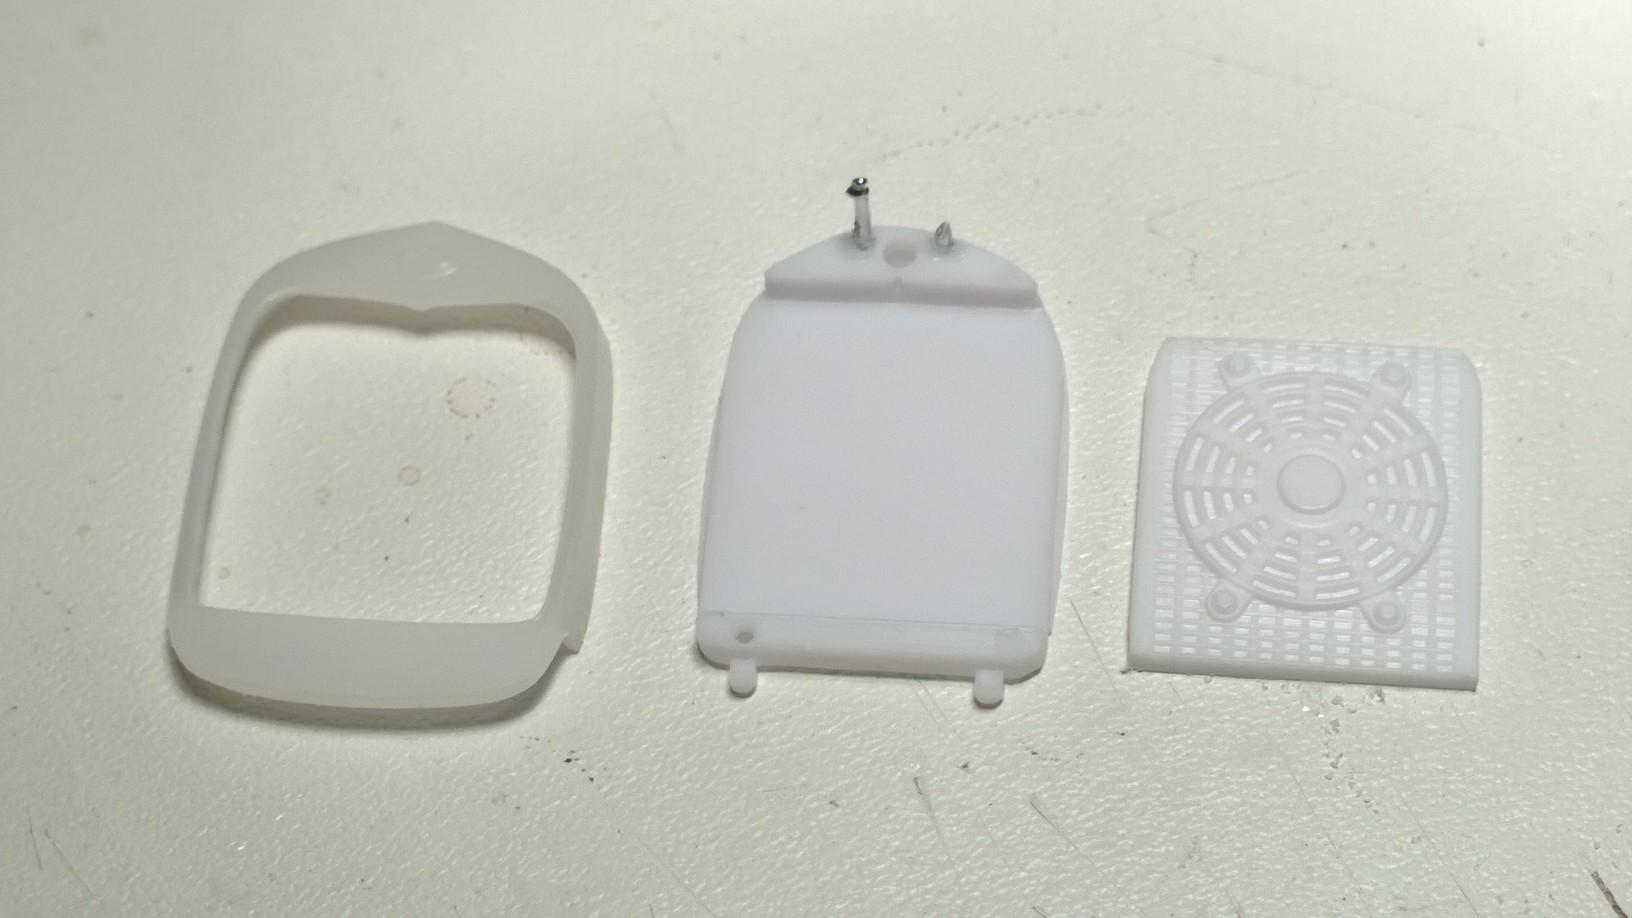
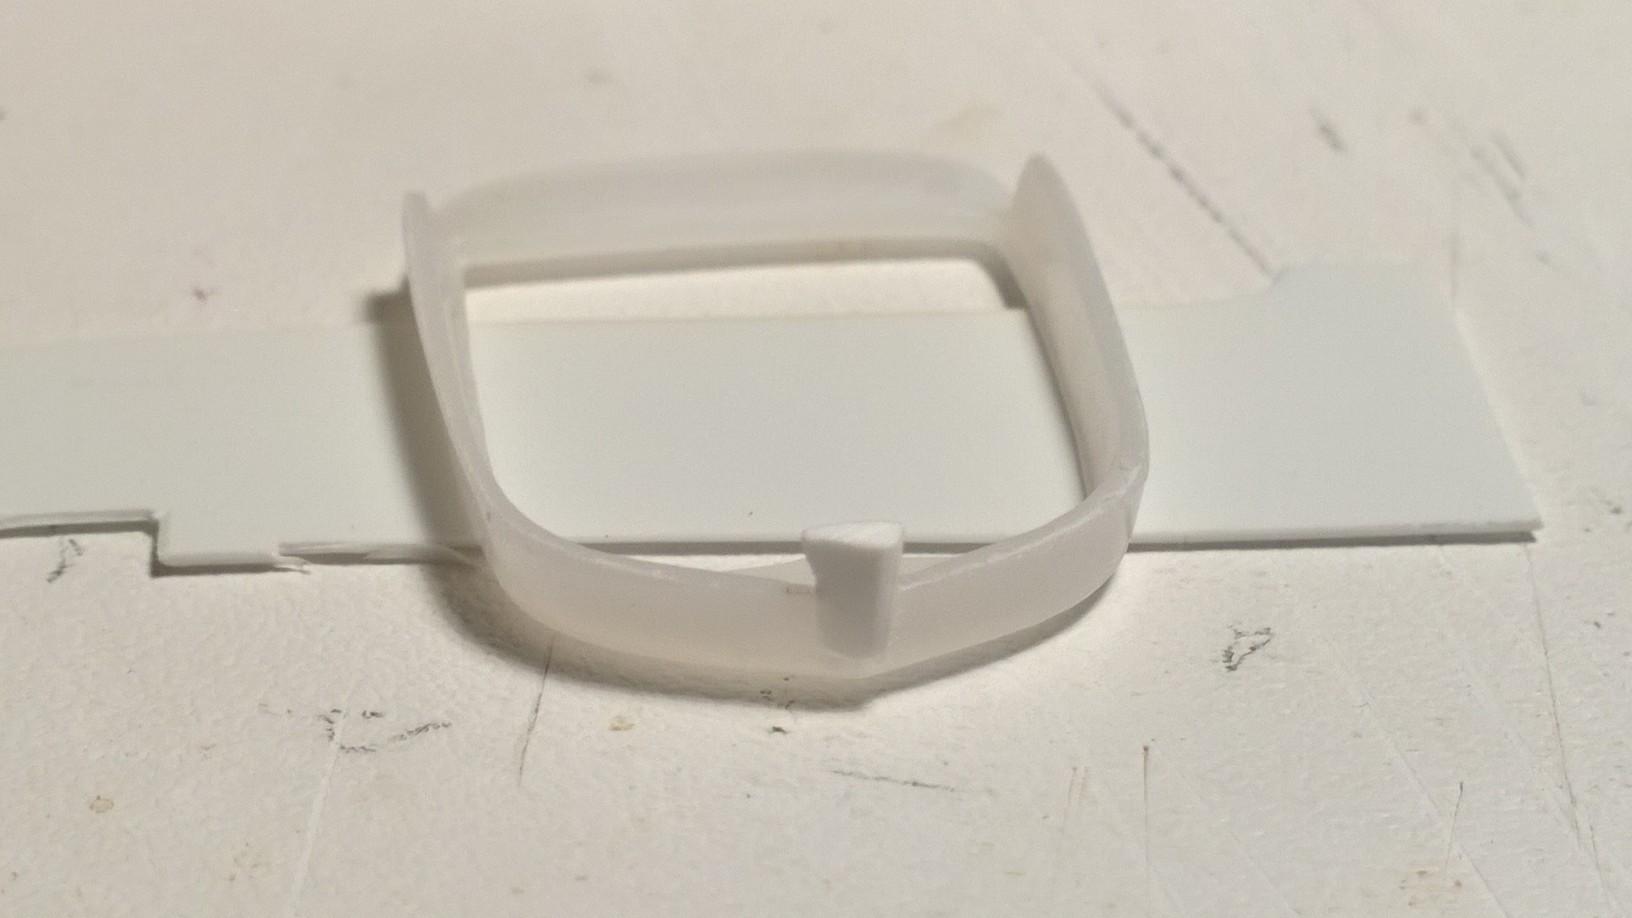
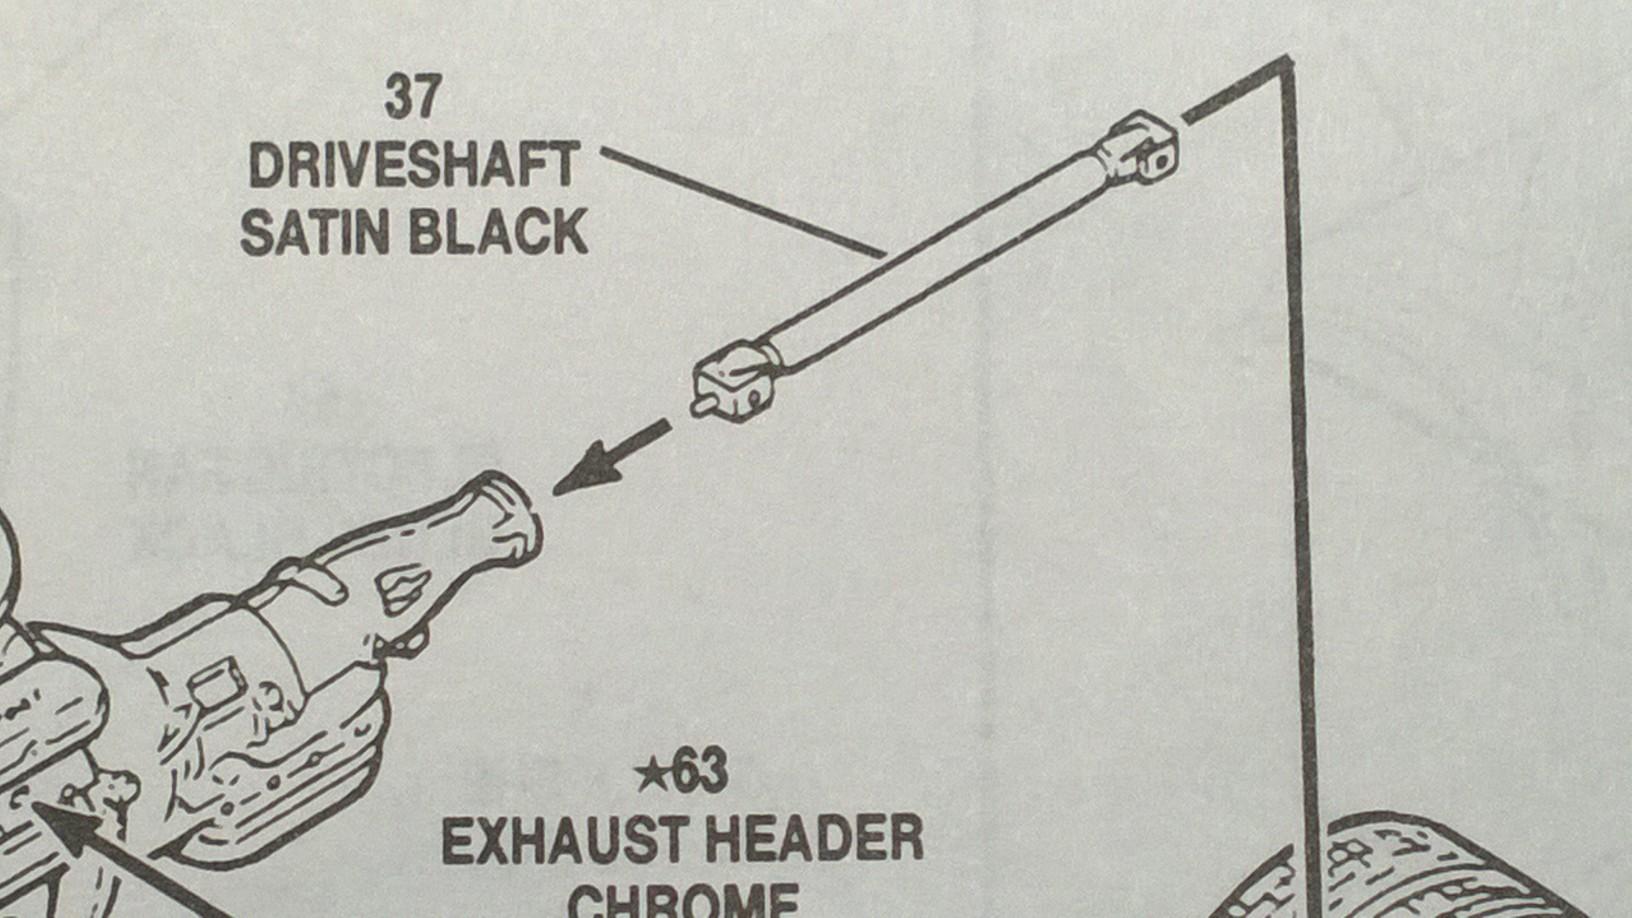
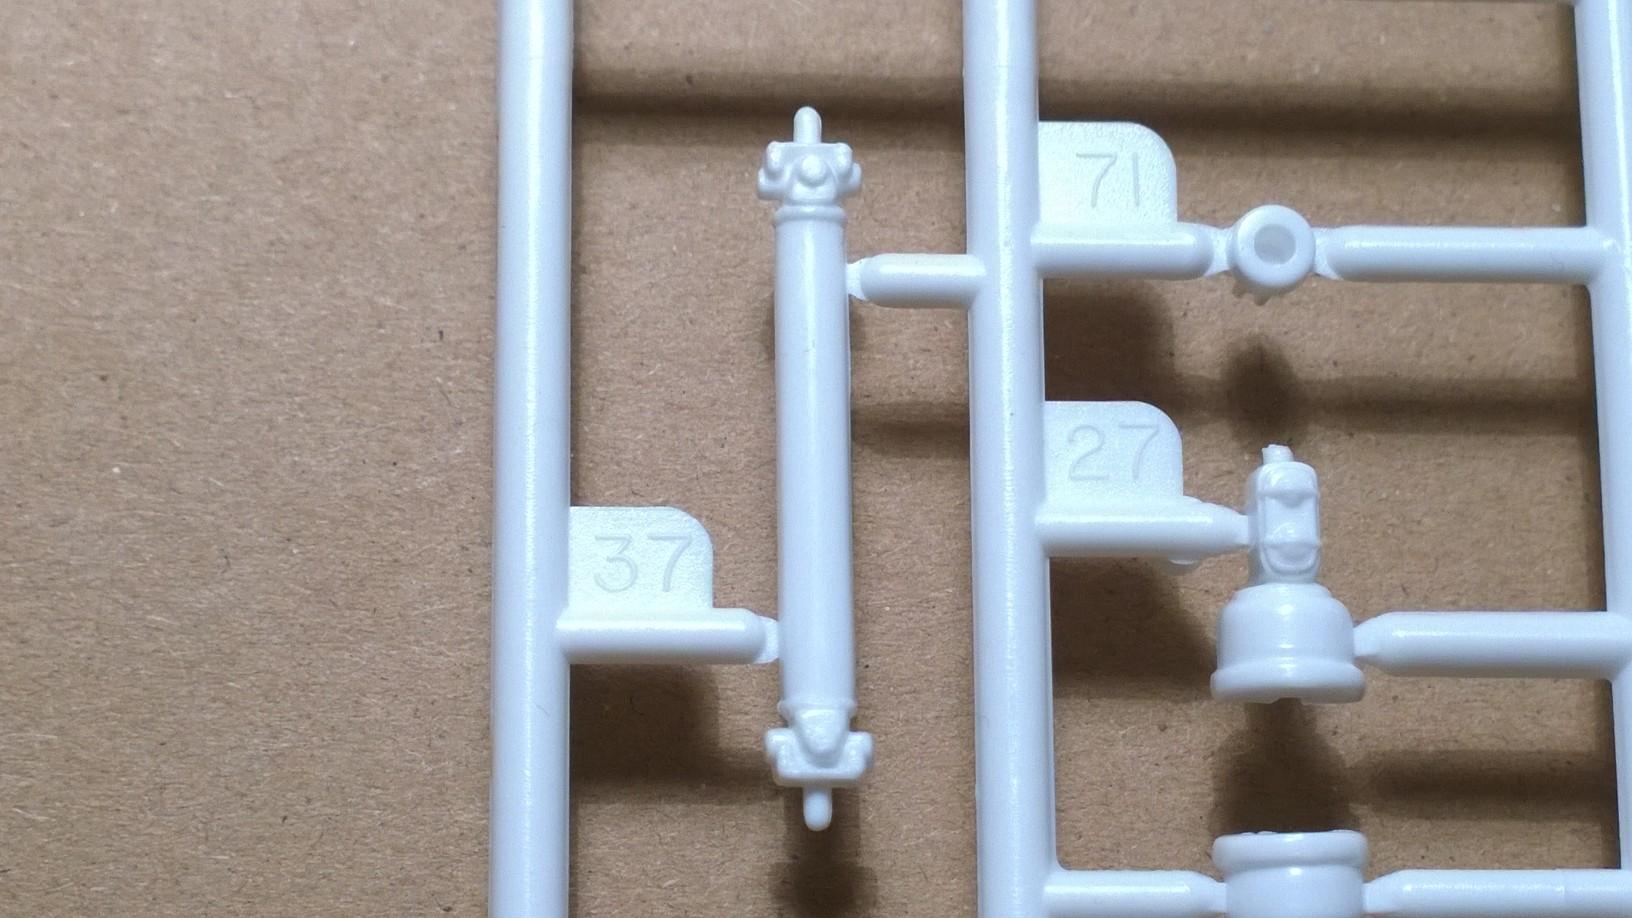
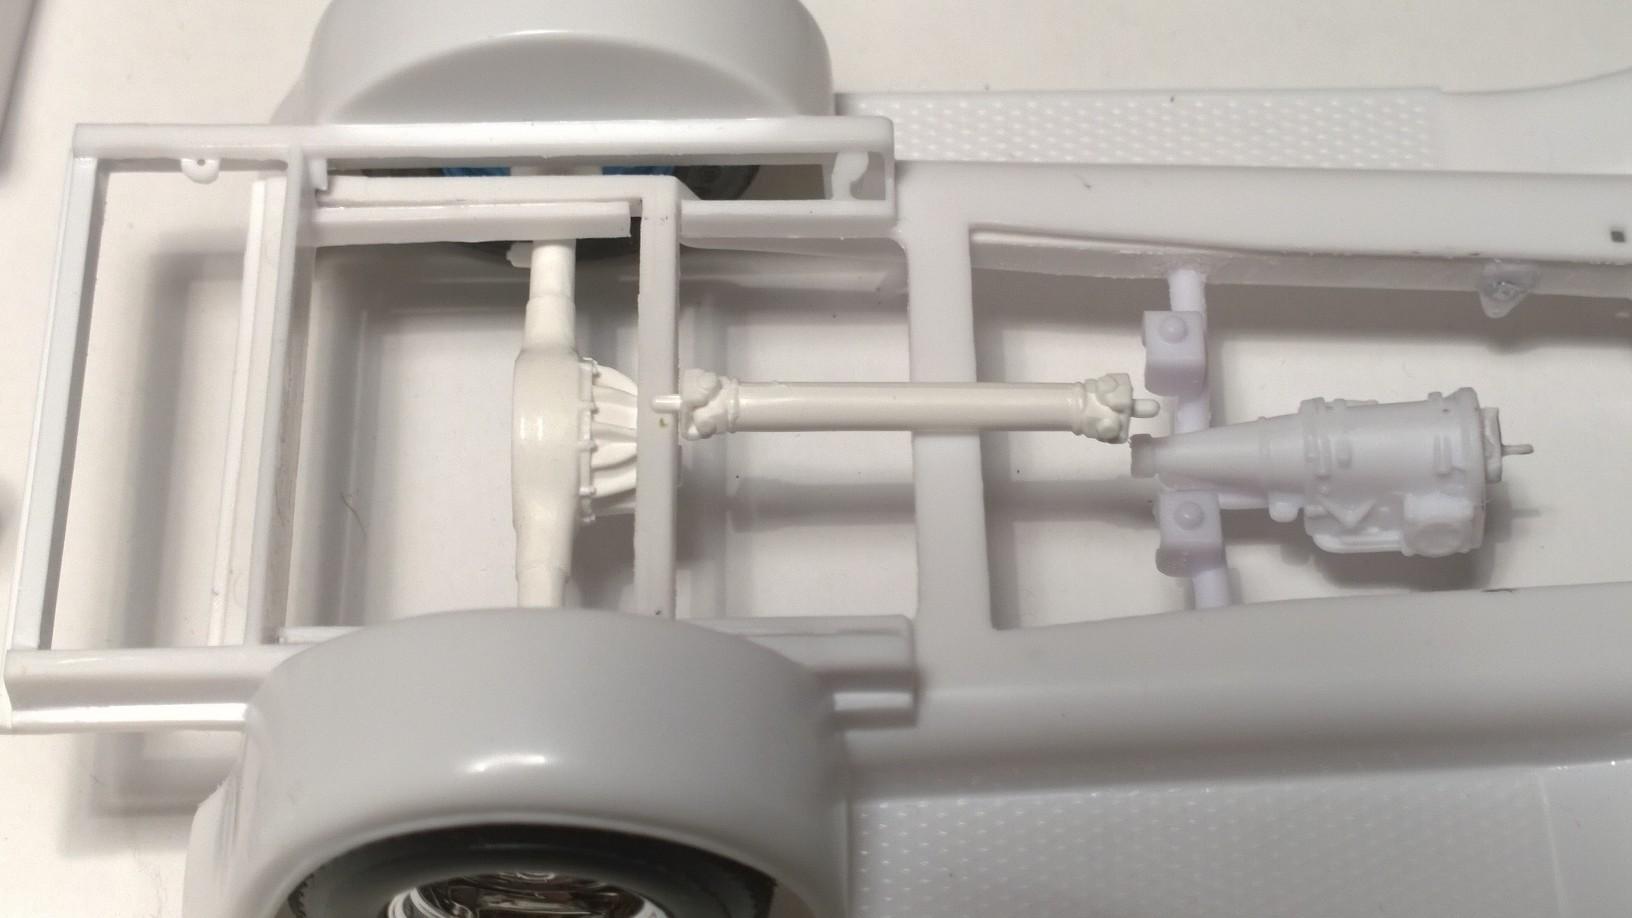
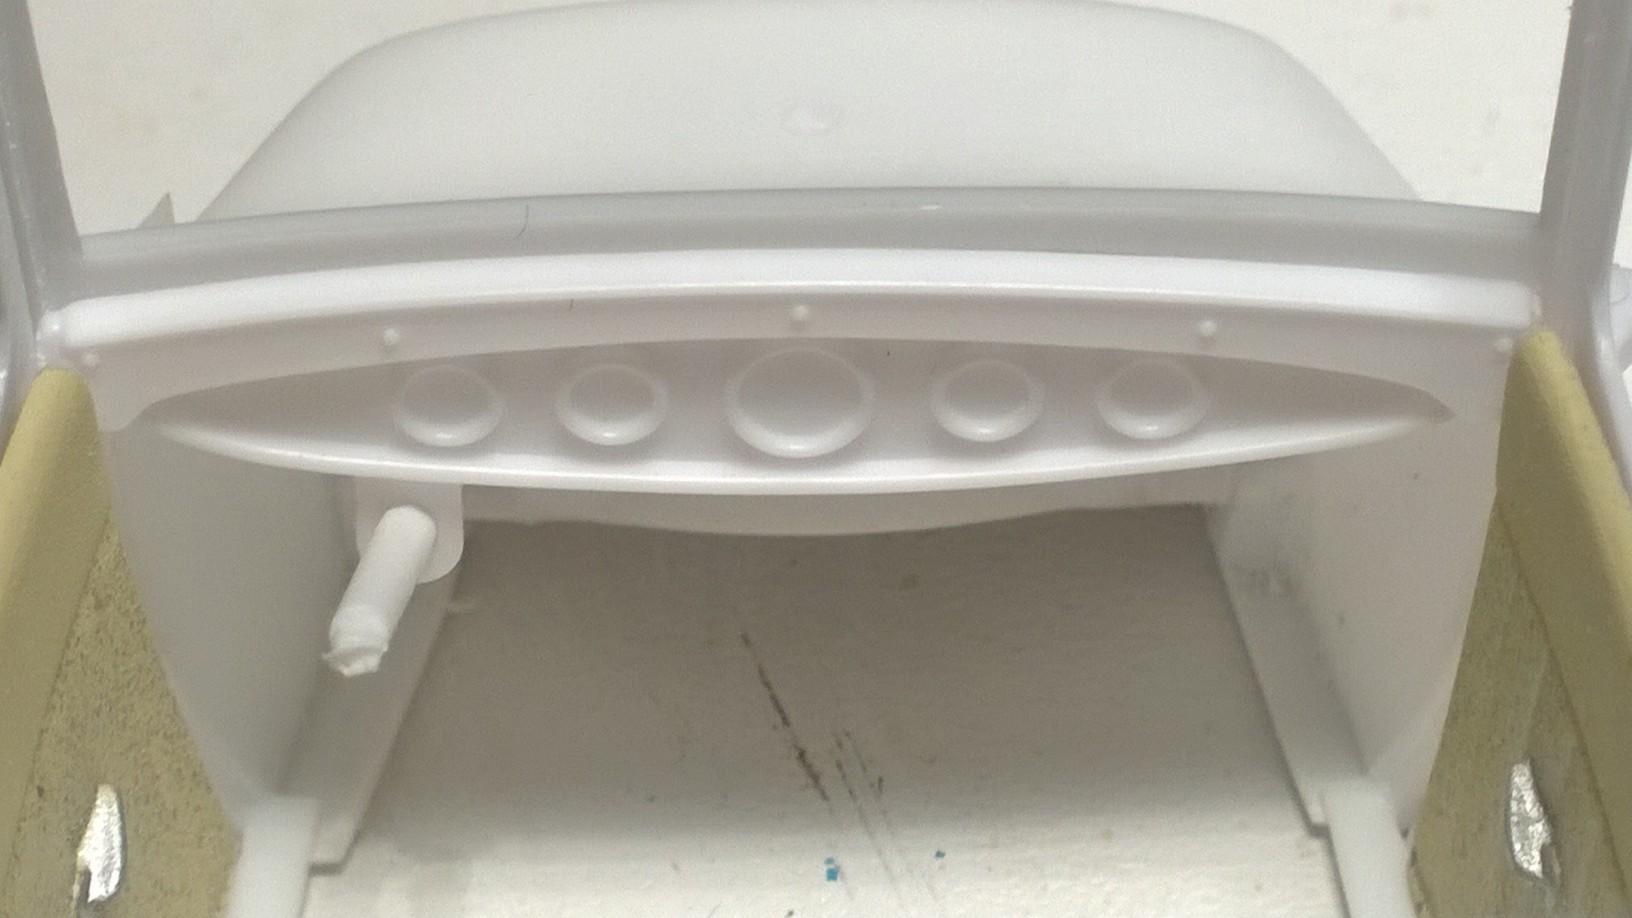
Remember the Tranny Cross Member Alignment Posts? Holes were drilled to accommodate the Cross Member Alignment Posts Needed to klean up the Radiator parts and the Grille shell looking back at an early shot of the '29 PU Yard Sale... I had set aside a pair of driveshafts thinking that a kustom length was going to be needed... They both came from the Revell '32 Three Window Coupe Driveshaft Part #37 Mocked up the tranny and rear end... Measured for the kustom length... and found it to be almost the same length as the Deuce Driveshaft Part #37 Mocked up the tranny, driveshaft and rear end... It'll all snug up together once the rear end is attached to the frame! -KK
-
WOW! Great minds think a like! I'm still trying to decide if the doors will be operable or permanently secured... to that end, if I decide to glue them shut I will remove the pins and fill the holes prior to gluing the hinges to the cab door frame and painting; if I decide to allow the doors to swing I'll follow the TIP below. Here's the TIP for all REVELL pin-type hinges: Prior to painting: fun tack/silly putty applied in the "hole" & to the "pin" Prior to gluing: petroleum jelly applied to the "hole" & "pin" btw Set the bottom first with the door closed applying a dab of petroleum jelly applied to the inside of the door edge facing the hinge being glued. Same for the top hinge after the bottom hinge has setup either before or after painting, your choice. Instead of using the Revell Professional with the needle, use a drop of clear epoxy. It sets up stronger and allows time to align the moving parts before setting up. Worked on the '29 PU V-12 Midnight Auto Salvage Shop Truck
-
I like your thinking, Lee!
-
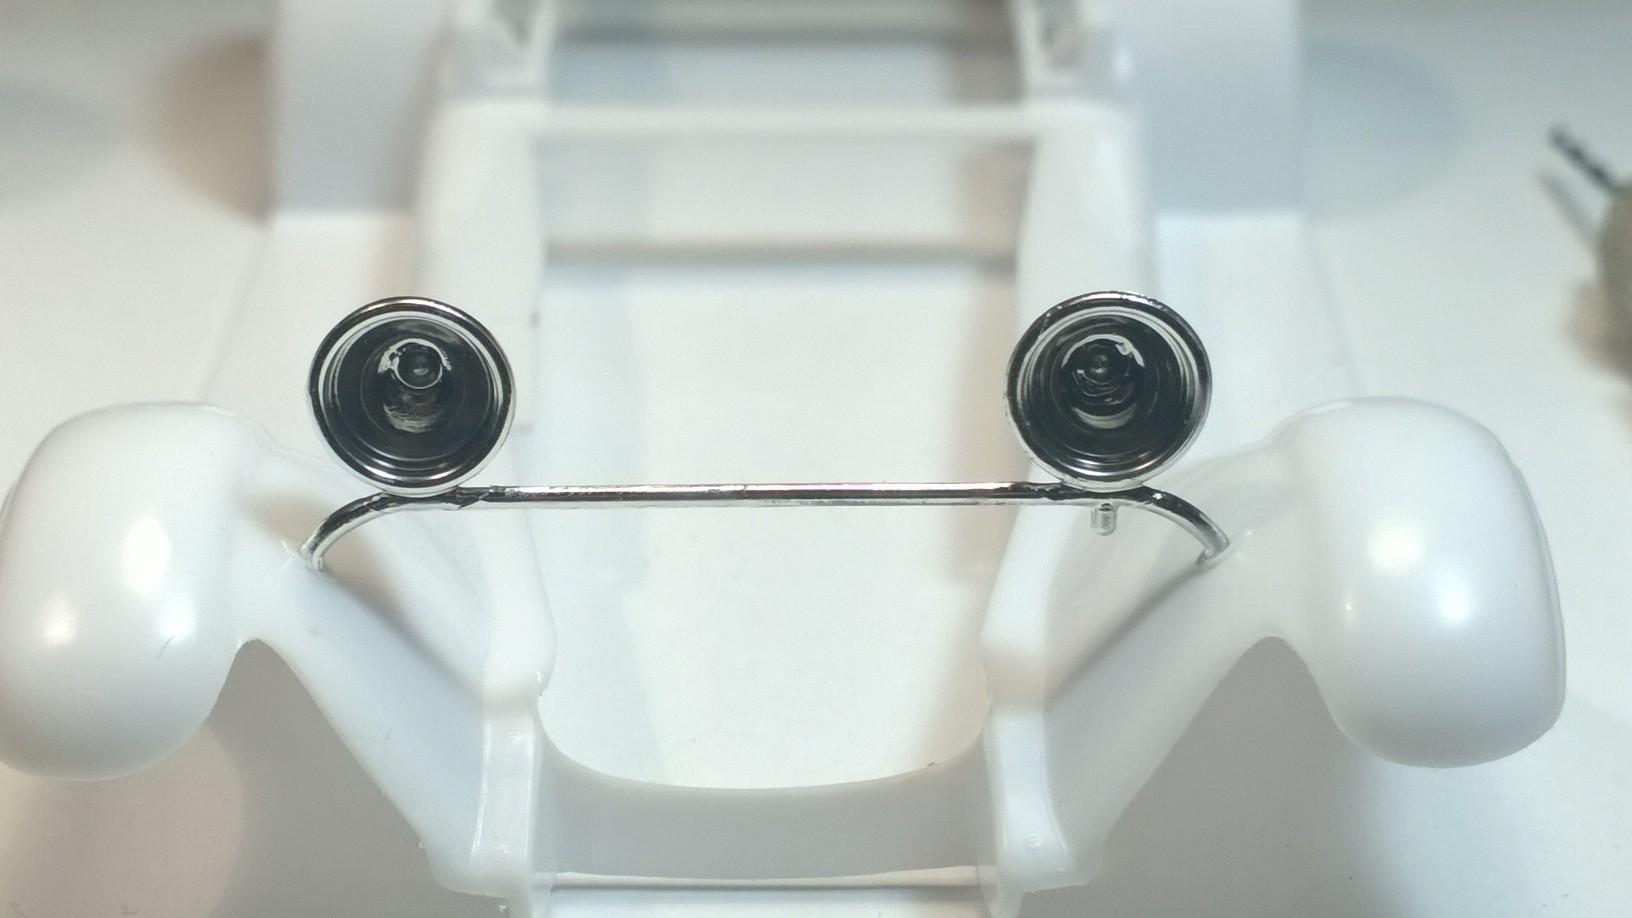
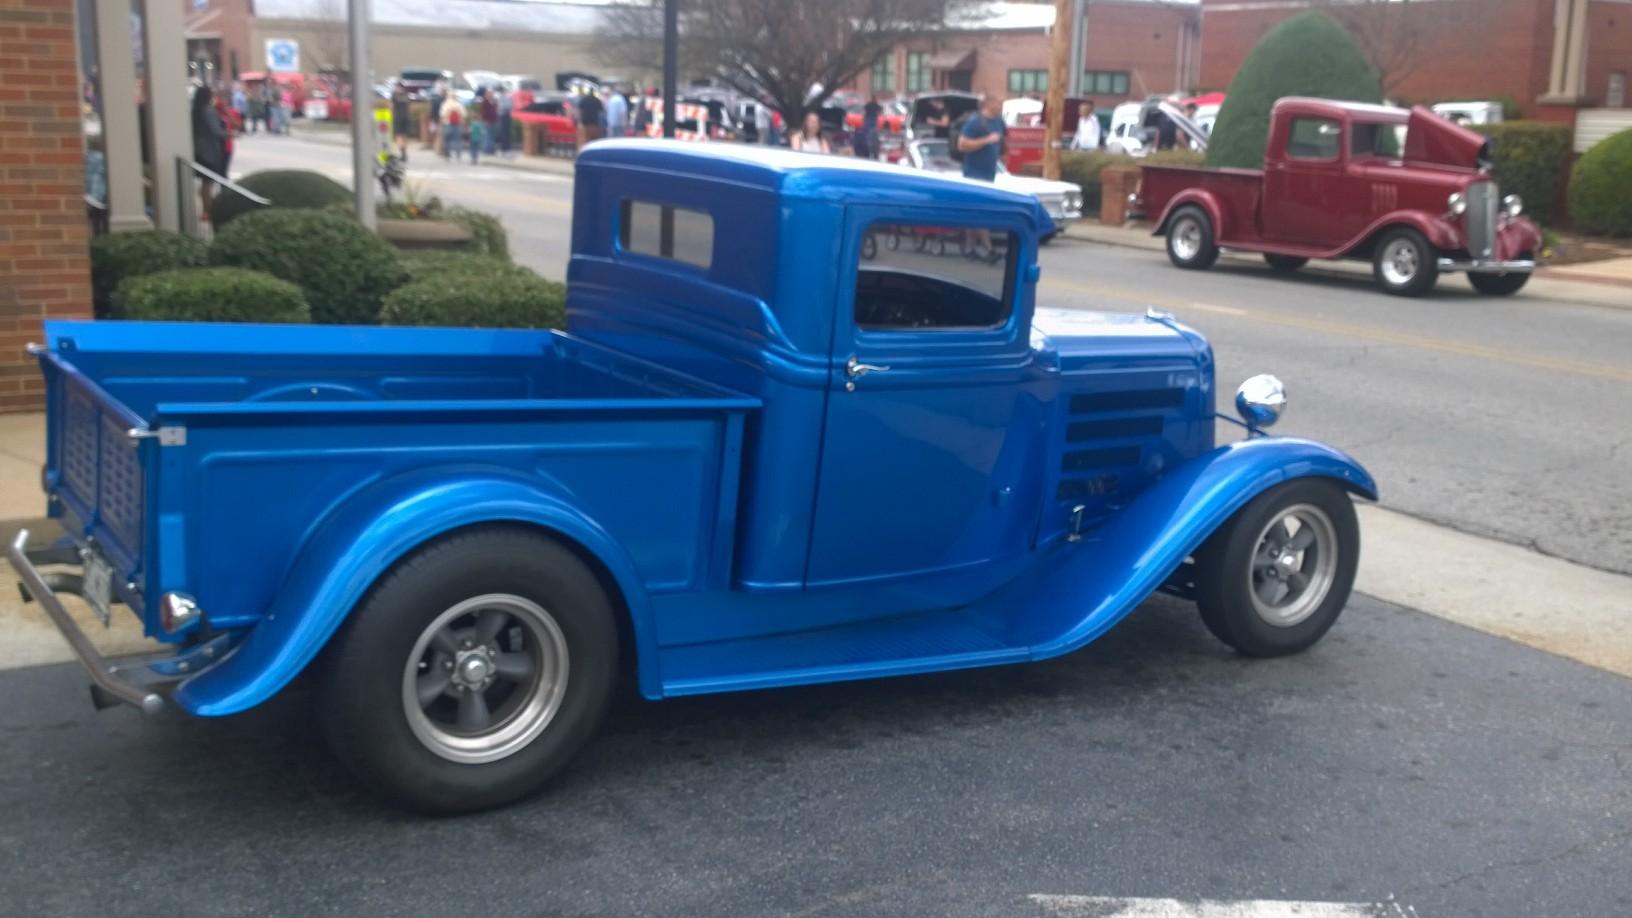
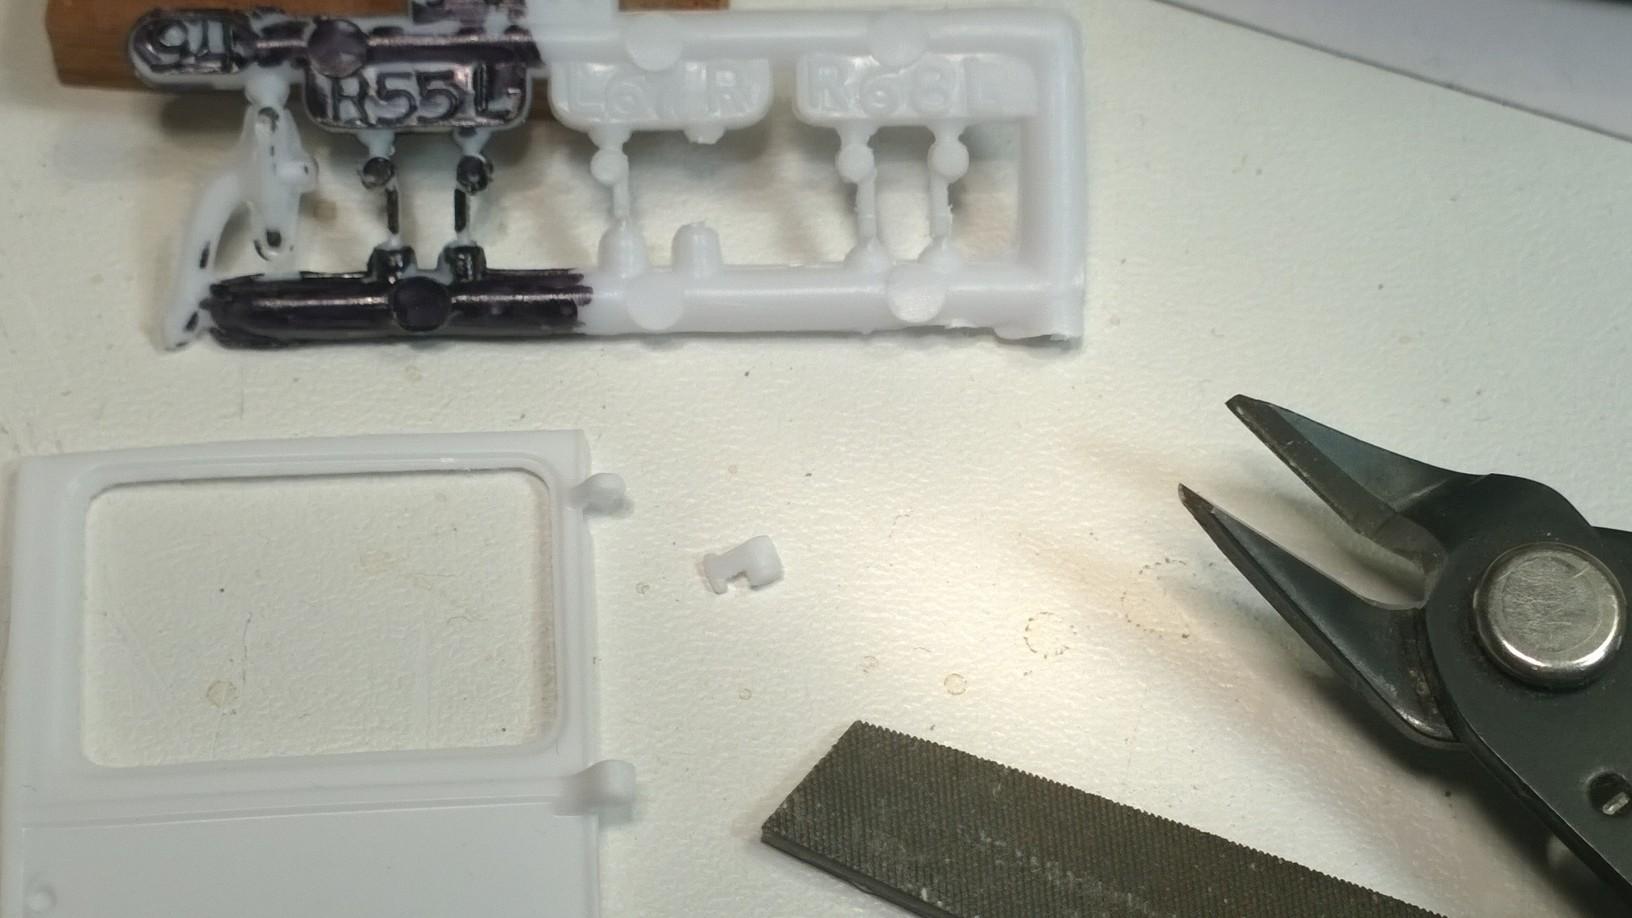
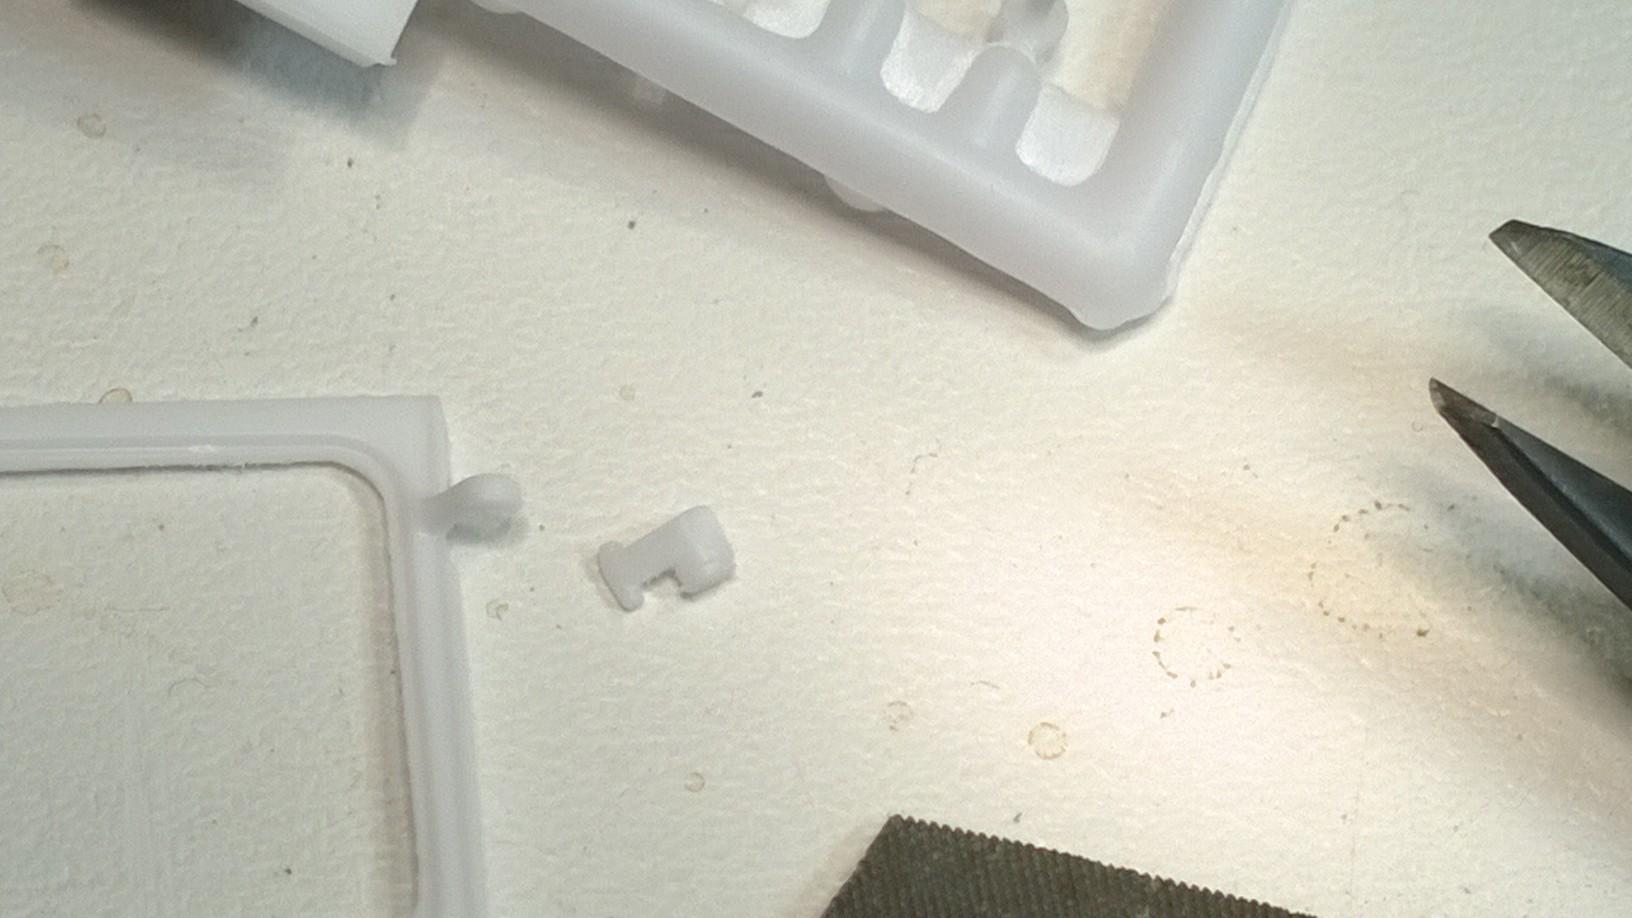
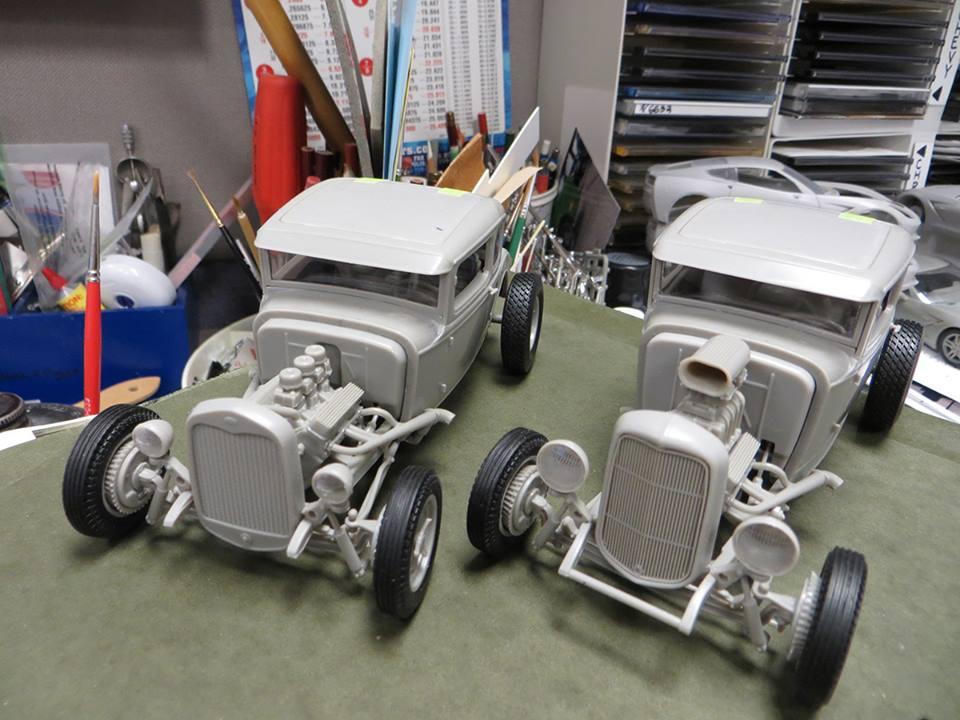
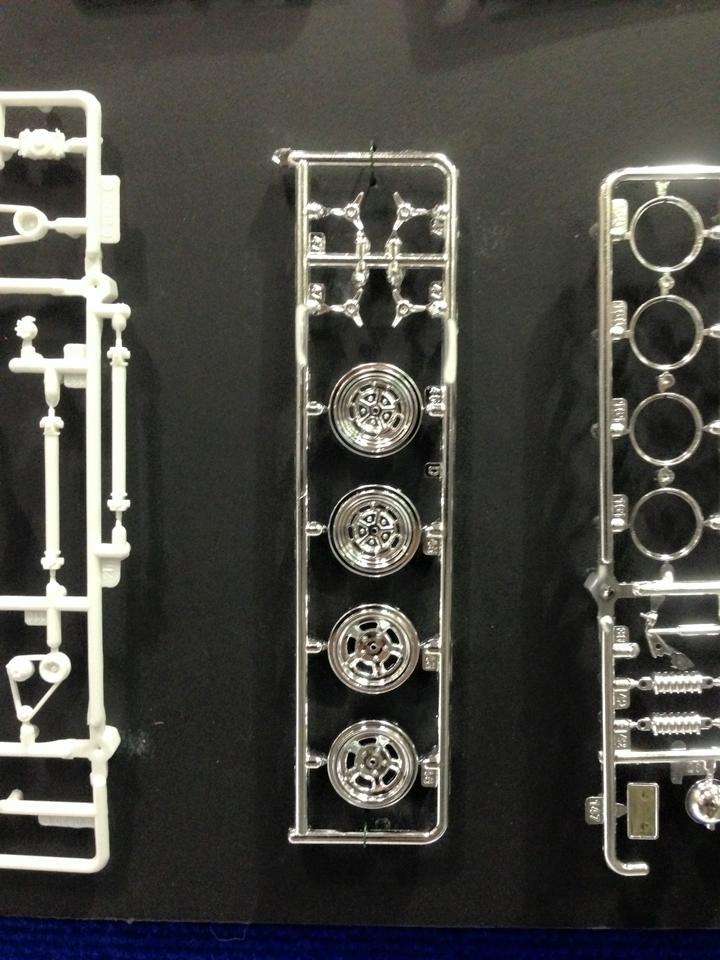
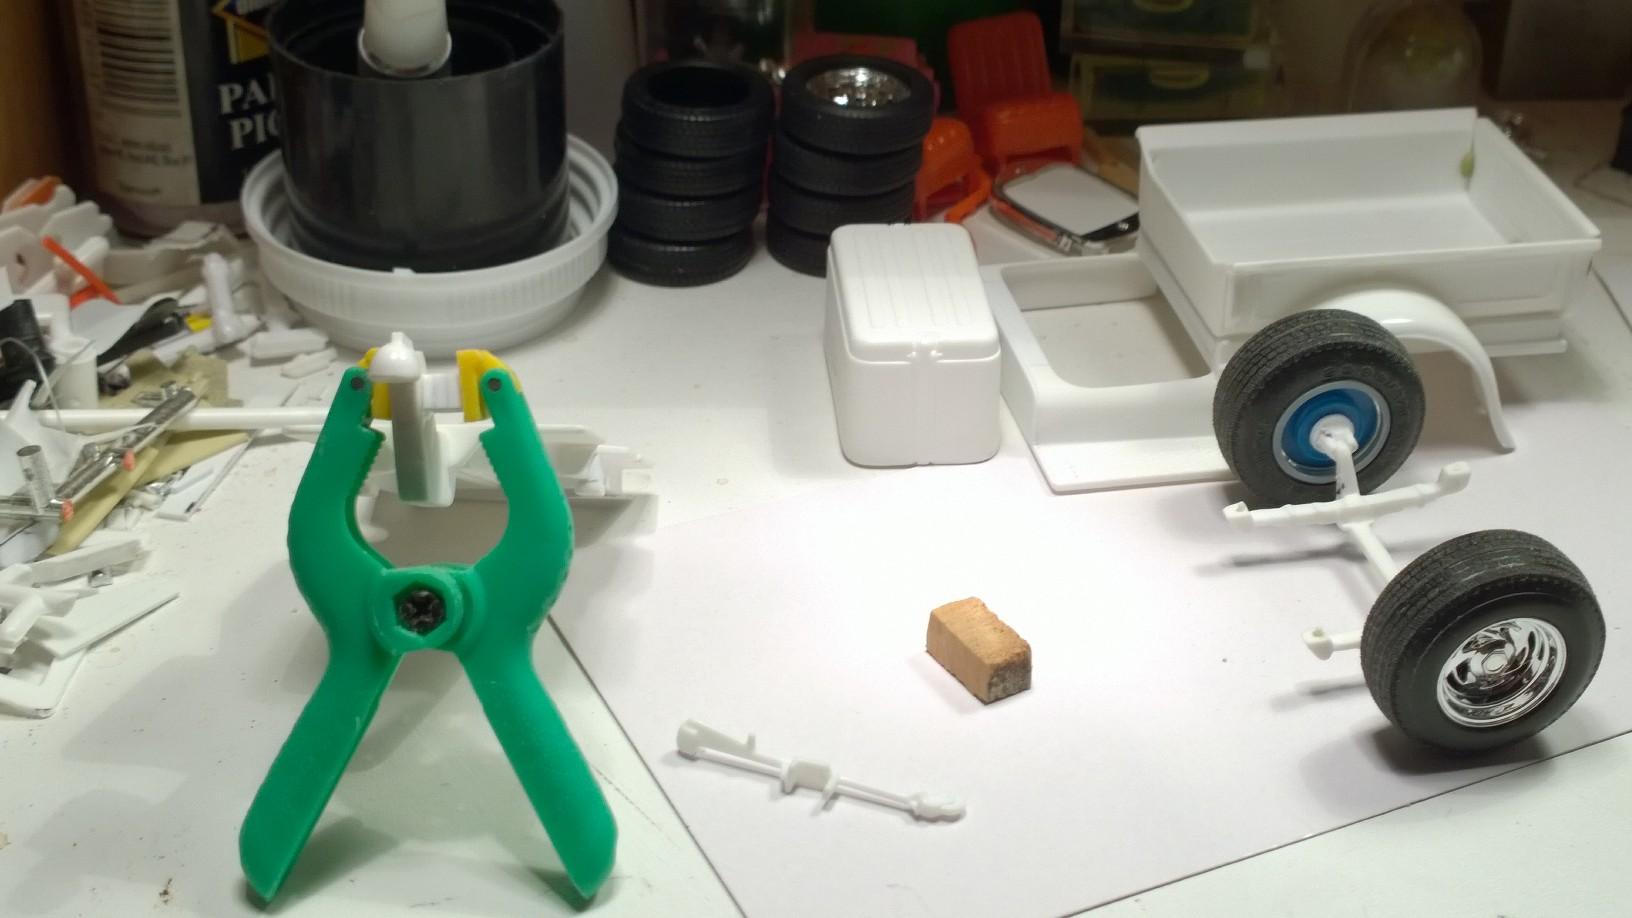
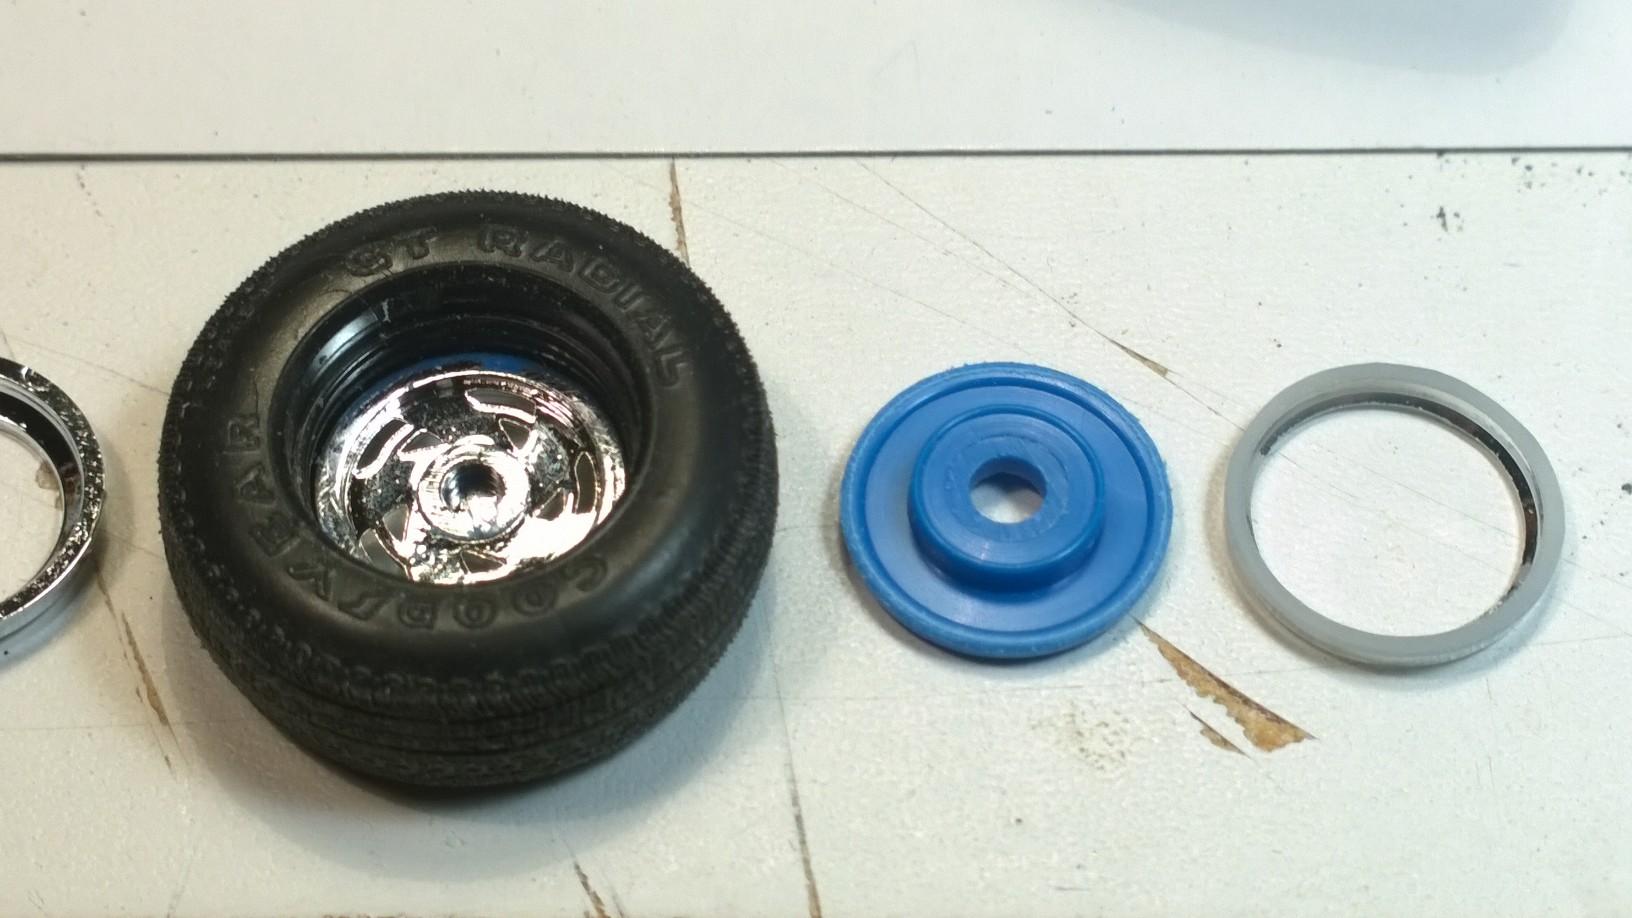
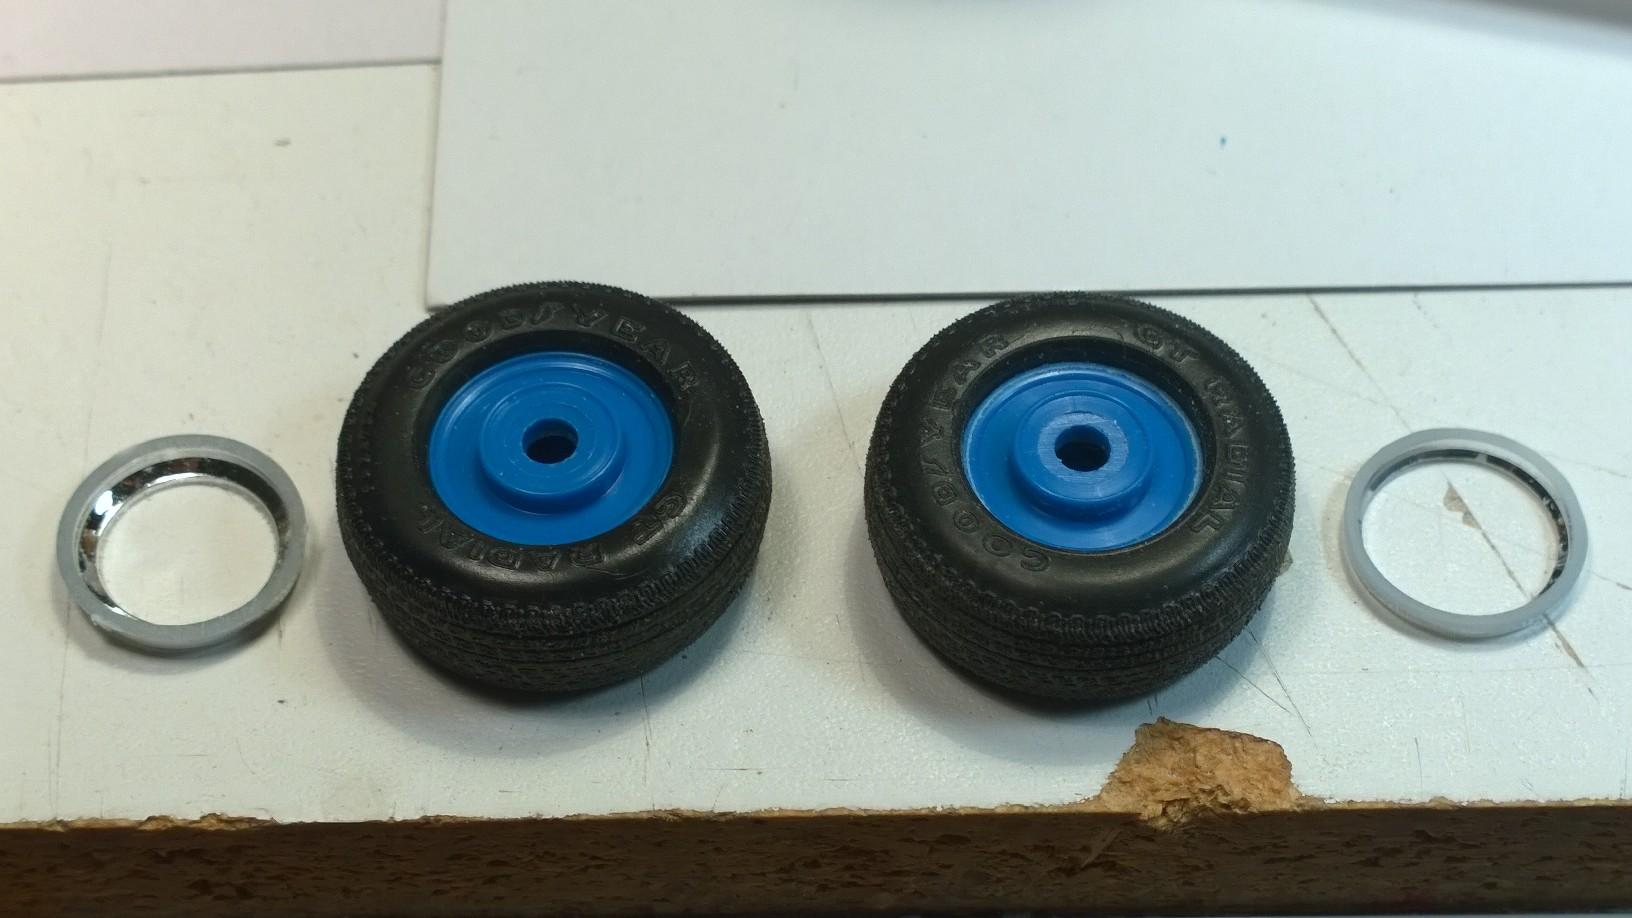
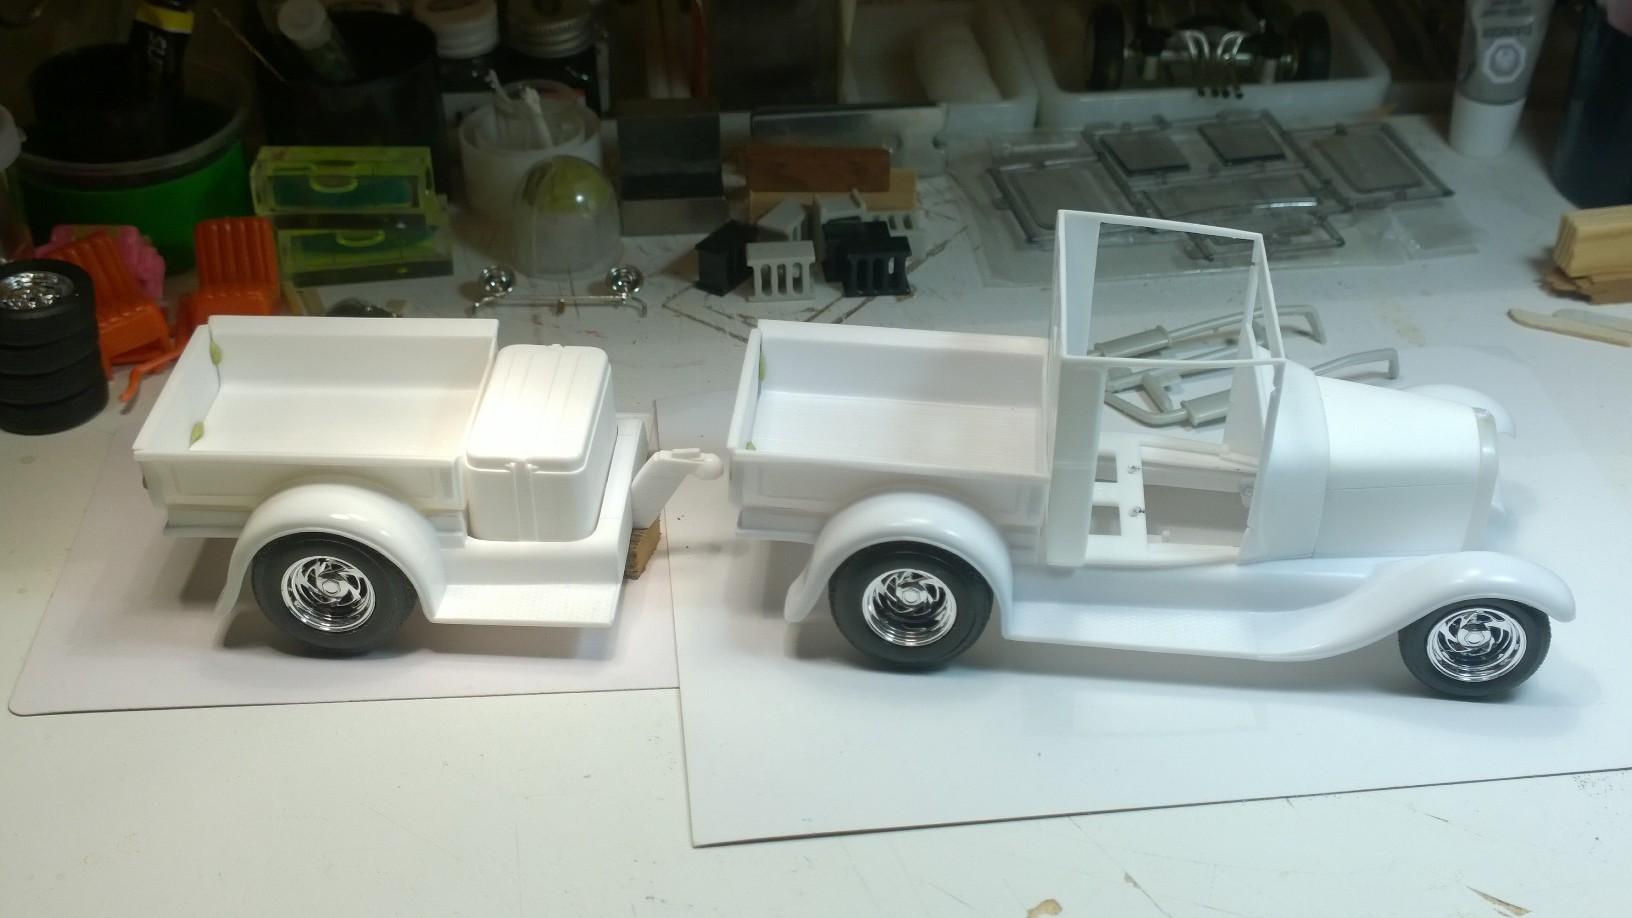
At the end of this update, I will have a piece of news to share... something you can quote me on, OK? Pulled the '29 Roadster Steering Arm #78 out of the box Wasn't really happy with the way the rear inner rim on the trailer wheels set... was a little deep.. and needed the outer rim extended. Decided to narrow the inner wheel rim from the original roadster pu version of the Revell kit Part #2 Compare the two before & after Side by side Sanded and slimmed down to fit Some time ago, I was cautioned about finishing the doors to swing or remain closed... Decided to go with painting the hinges the same as the body btw haven't really found a reference to the hinges Part #R55L anywhere in the instructions, have you? Y'all know what this is? A Yard Sale, right @Rocking Rodney Rat? Now for the latest braking news: @Dennis Lacy this 1929 Ford Pickup 80's Contemporary Street Rod - A Tim Boyd Tribute is headed to the paint shop! -KK
-
1977 Ford Motor Home
Kit Karson replied to Oldmopars's topic in WIP: Model Trucks: Pickups, Vans, SUVs, Light Commercial
Very interesting approach... I'll be watching over your shoulder, OK? -KK -
Plans and the final product are sometimes miles apart... keep in mind that this is your creation and inspiration can come from many different sources. Make it your own! -KK
-
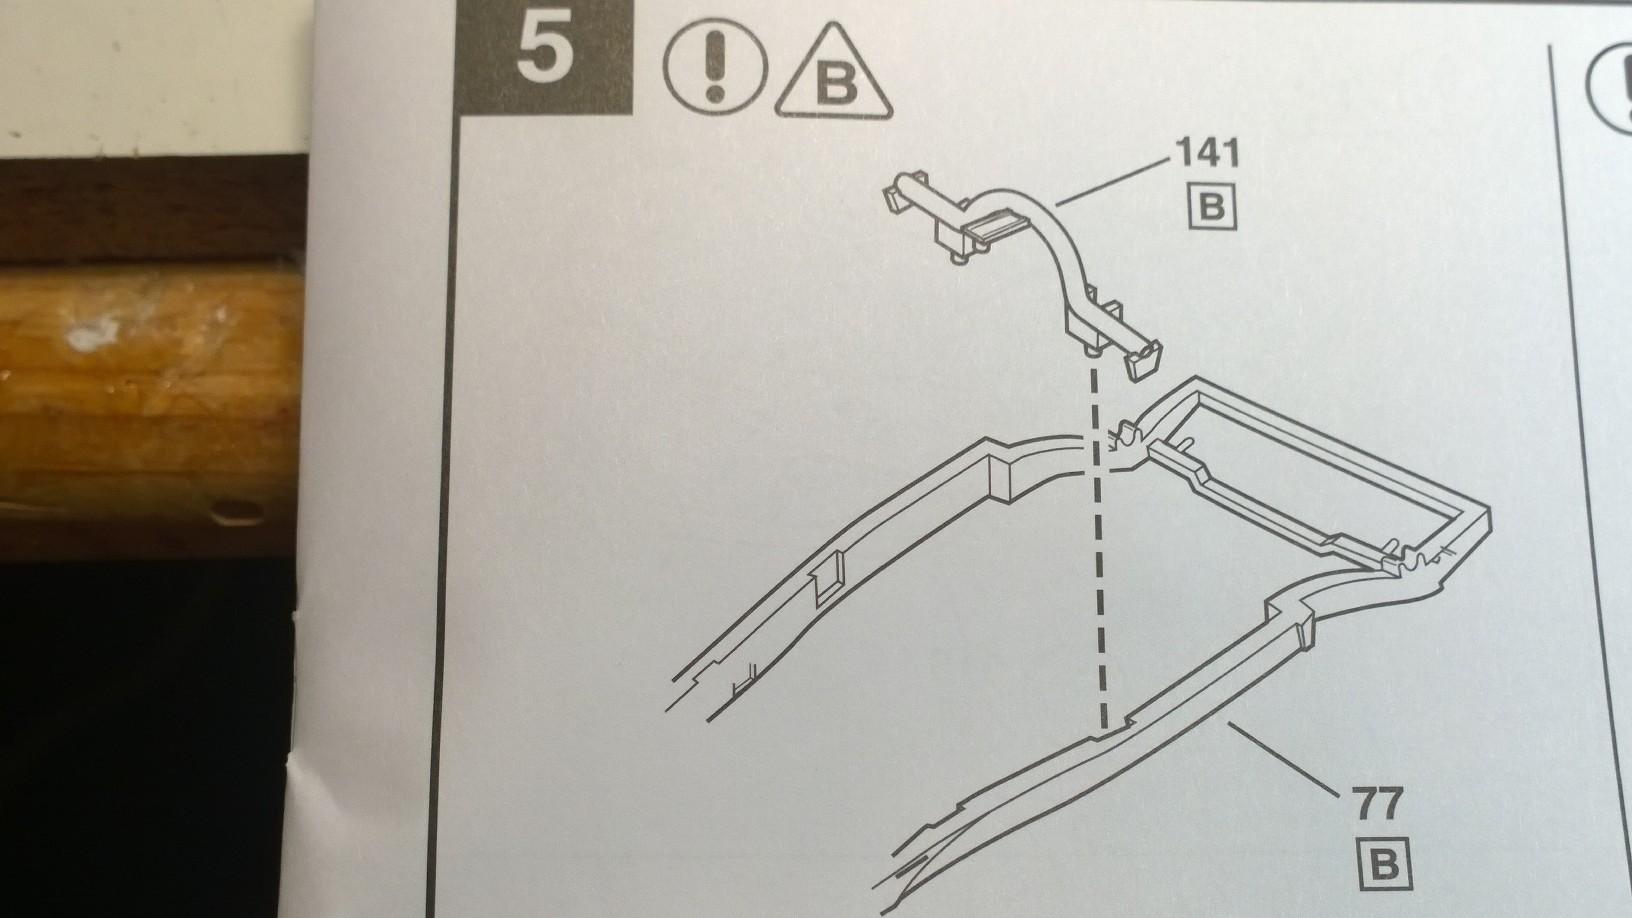
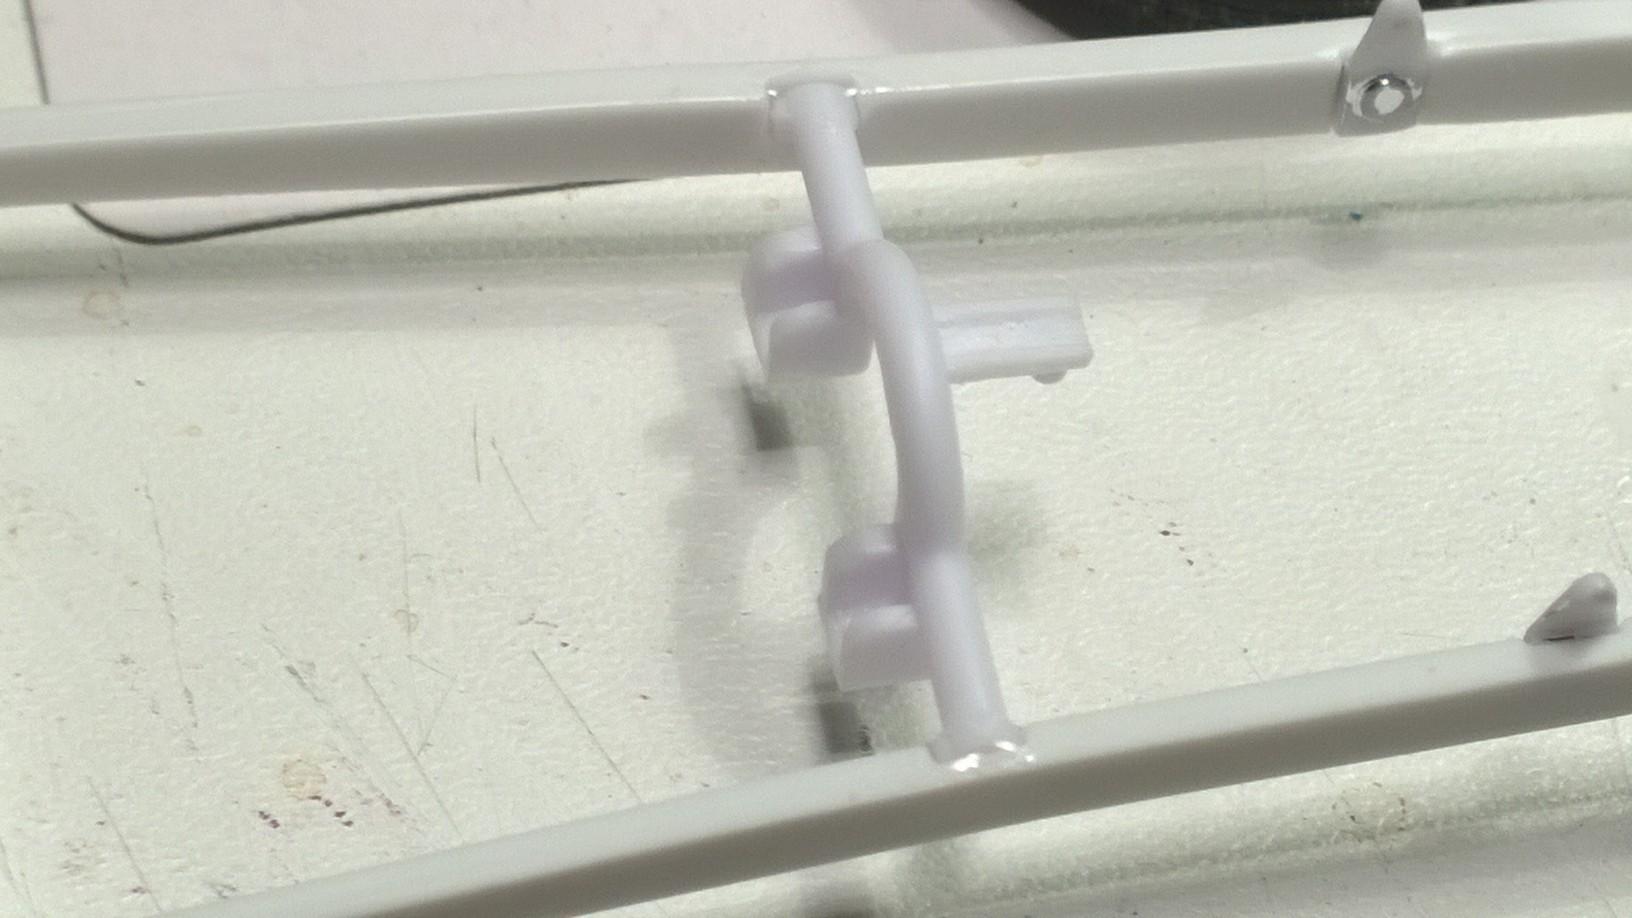
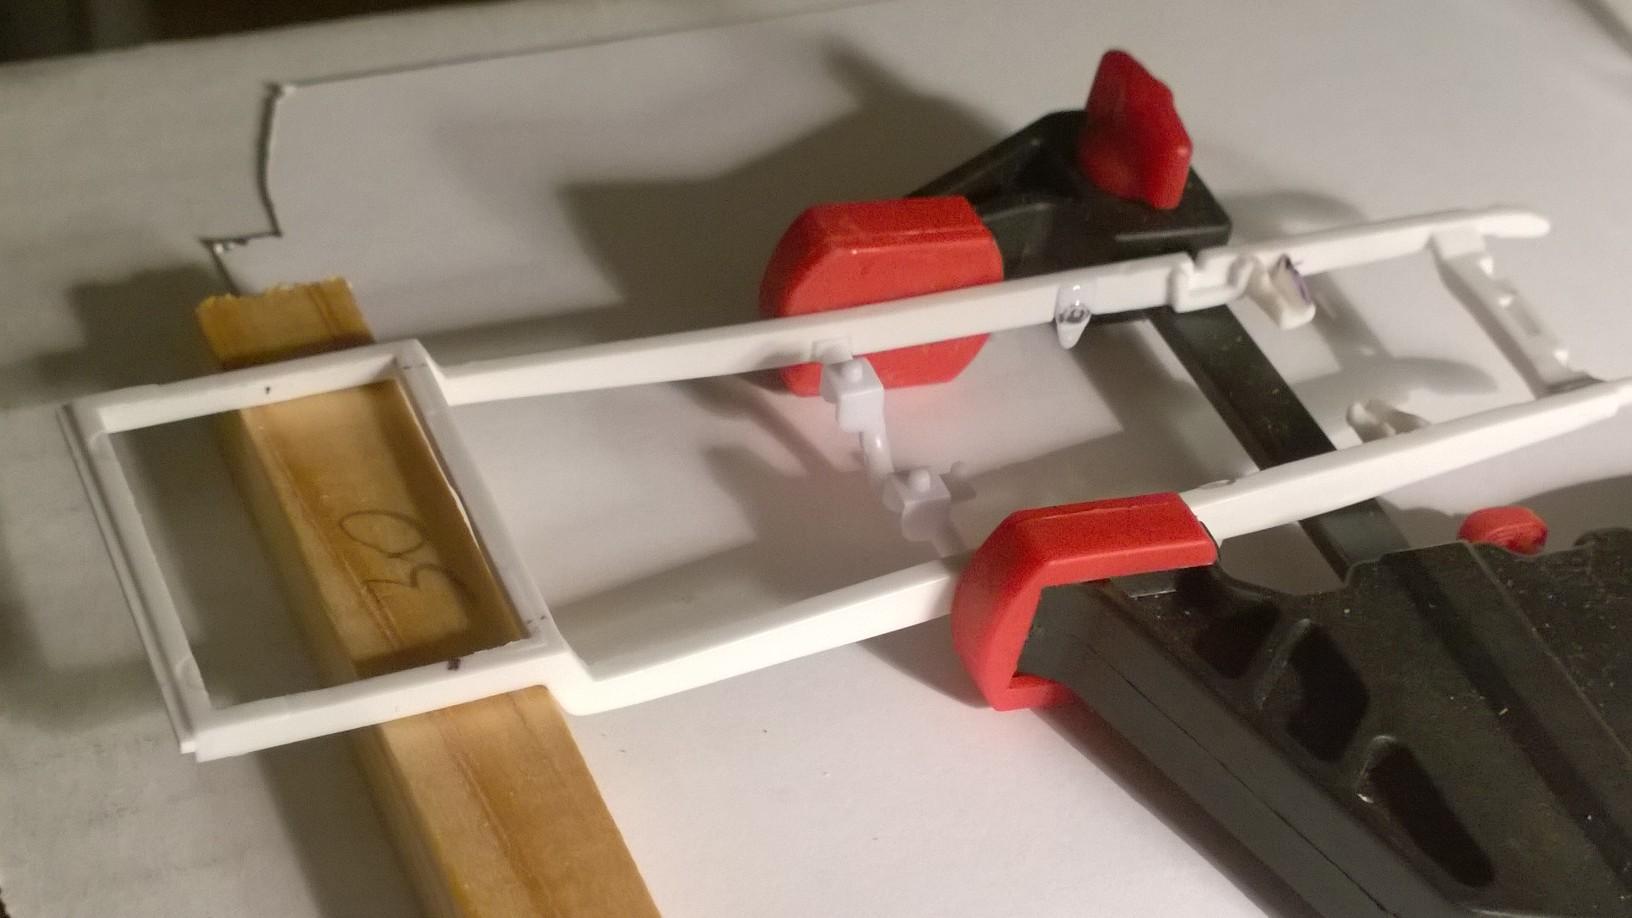
Working on getting loose ends tied up... decided to go with the '29 Roadster crossmember (part# 141) A little CA Klamp it together While it's drying, drilled the hole in the tranny mounting pad... A little filling & sanding to smooth out the joints... -KK
-
Two things come to mind: Build your model as if it were a real 1:1 vehicle - street legal & truly made in scale to the degree that if it were going to be a used to build the real thing. Do your homework... if you're unsure how something goes together, the information is out there. Or, ask someone that has been down that road before. Second: A long time ago, Randy Durr commented on one of his models saying, "Treat every part as if it's a model unto itself!" Each rim is a model in itself... every tire, every single part is treated as a model of that part. Then, when it comes to assembling all of those individual model parts, the bigger model will come together in a more complete and concise manner. Resolve fitment issues before final assembly (try mocking it up using white glue... when satisfied, submerge in warm water and clean all the parts with a child's soft toothbrush.) -KK
-
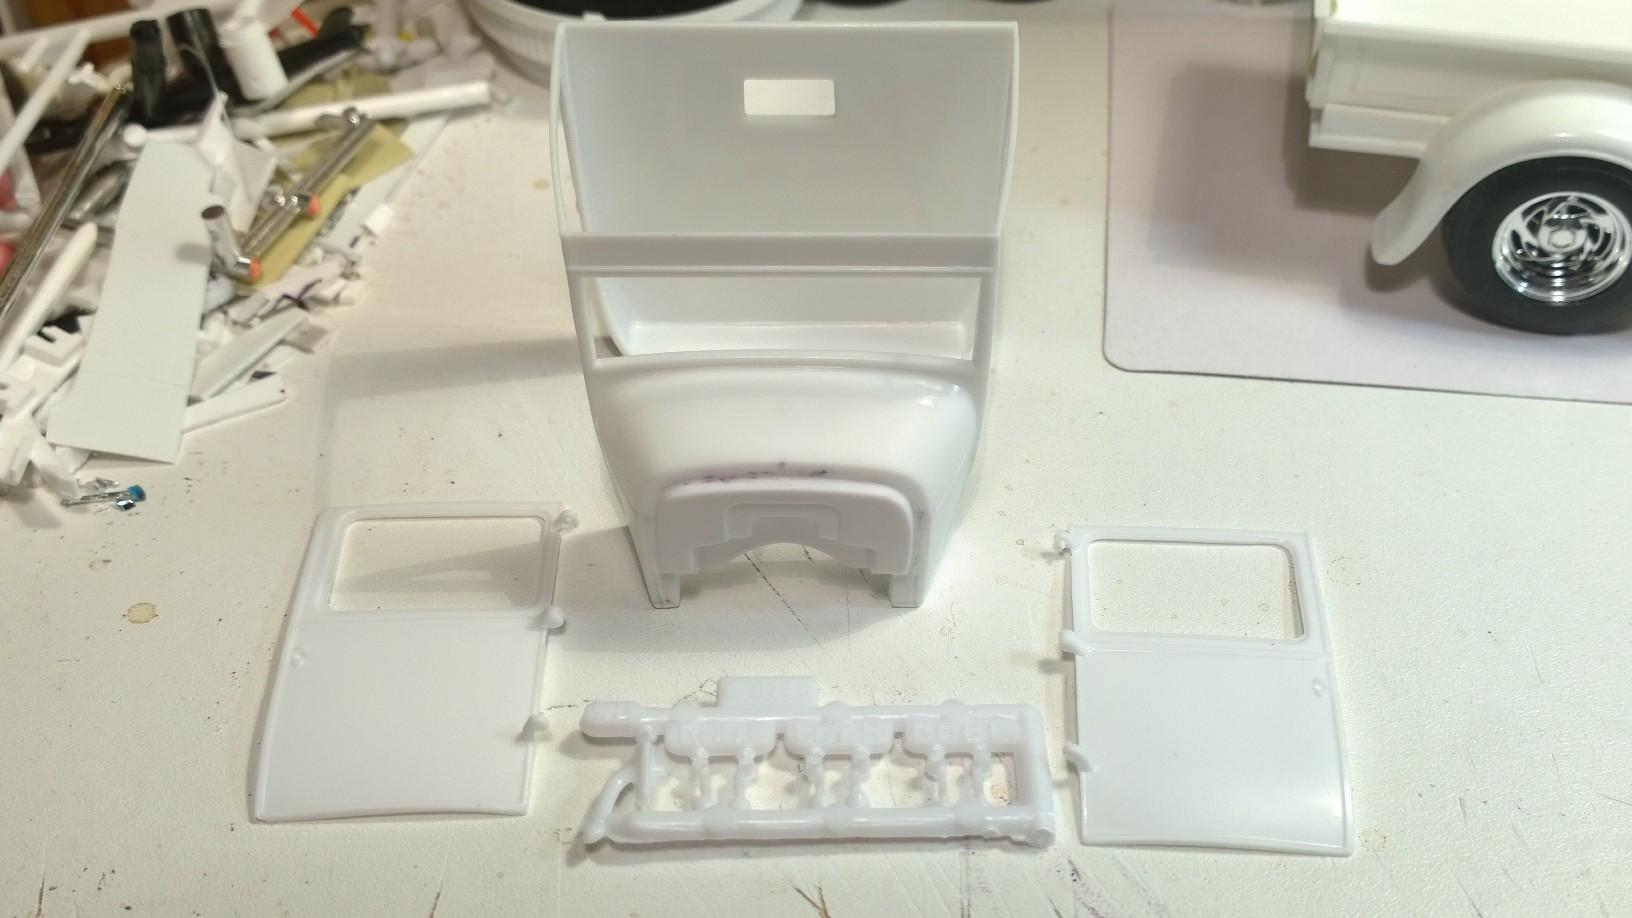
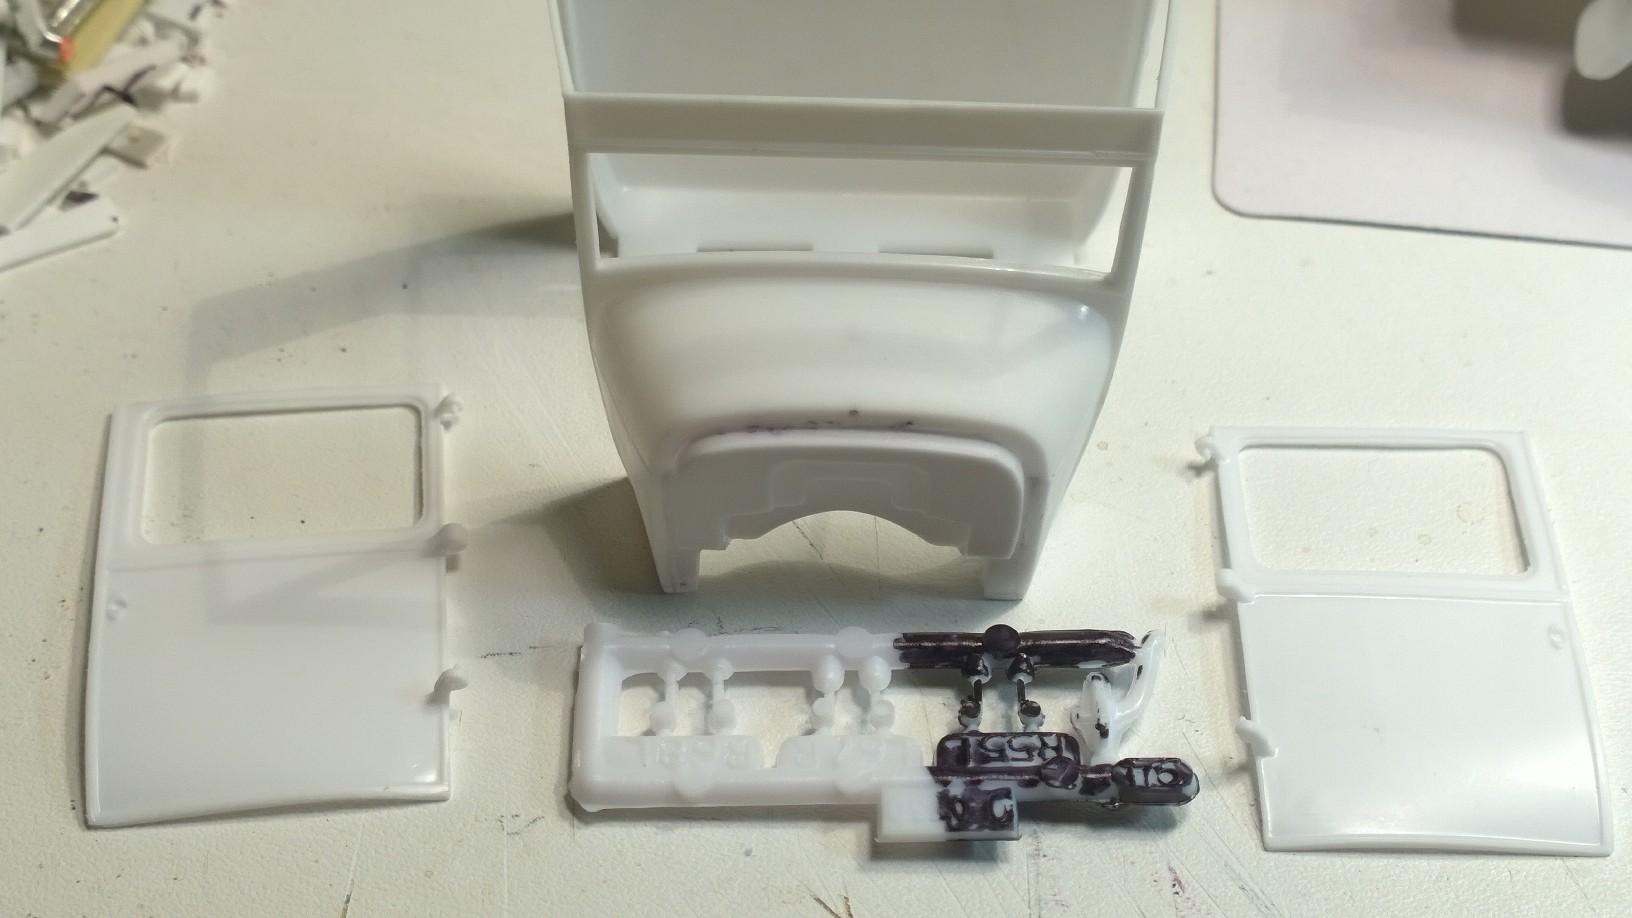
As for my '29 PU, fitting the '29 Roadster steering column and the Model A Woodie dash into the PU cab required a bit of sanding the column down to fit through the loop: a little trimming on the outer ends of the dash and it will be a perfect fit! -KK