David G.
-
Posts
11,326 -
Joined
-
Last visited
Content Type
Profiles
Forums
Events
Gallery
Everything posted by David G.
-

Model factory hiro Porsche 935/78
David G. replied to Brudda's topic in WIP: Other Racing: Road Racing, Land Speed Racers
So it looks like your plan is to cut tail off where it kicks back up near the end? That could give it a smoother look, closer to the original Porsche body profile. David G. -
Testors 1/24 Ultra Detail Series T Bucket
David G. replied to mustang1989's topic in WIP: Model Cars
It would seem Joe, that you're going to show Revell the true meaning of "ultra detailed". David G. -
Model factory hiro Porsche 935/78
David G. replied to Brudda's topic in WIP: Other Racing: Road Racing, Land Speed Racers
Painting the tubes orange was the right move Bruce, striking effect! For me there's a Zen state to doing that kind of masking. It's second only to detail painting. David G. -
WIP: Custom AMT 1:25 1964/65 Chevy El Camino
David G. replied to JNordgren42's topic in WIP: Model Cars
A great looking El Camino! Especially with the lighting. I'm going to have to look into one of those bases. David G. -
The interior bits are looking great! Love the warning label too. David G.
-
That's a mighty fine bit of engineering! David G.
-
Wow! Turning pinheads on a lathe?! 😮 Just Wow! I love the colors on the intakes, they'll look great on the car. David G.
-
Hello Everybody! This one will be done for 2024, the last one of the year. That'll make eight I've completed in 2024, my most productive year yet! I did some weathering! Maybe a little too much but I'm trying to simulate the results of in-flight engine damage or a fire. It looks like there's a fuel leak on this side. I still have to do some weathering on the ailerons and flaps. It's time to get the crew working on this! As always, thanks for taking the time to look and please feel free to post any comments. David G.

-
Thank you most kindly Carl. Thank you Harry. That's the first time anyone thought the cars in my display case reminded them of a traffic jam. That's funny! Marry Christmas to you too. David G.
-
A great looking build so far, despite the setbacks. It's a fun kit, I enjoyed building one a few years back. Best of luck with the new decals. David G.
-
Kind of an ivory looking top... that looks good. And it lets me keep a sandy yellow if I want. Cool, thanks Len. =D-
-
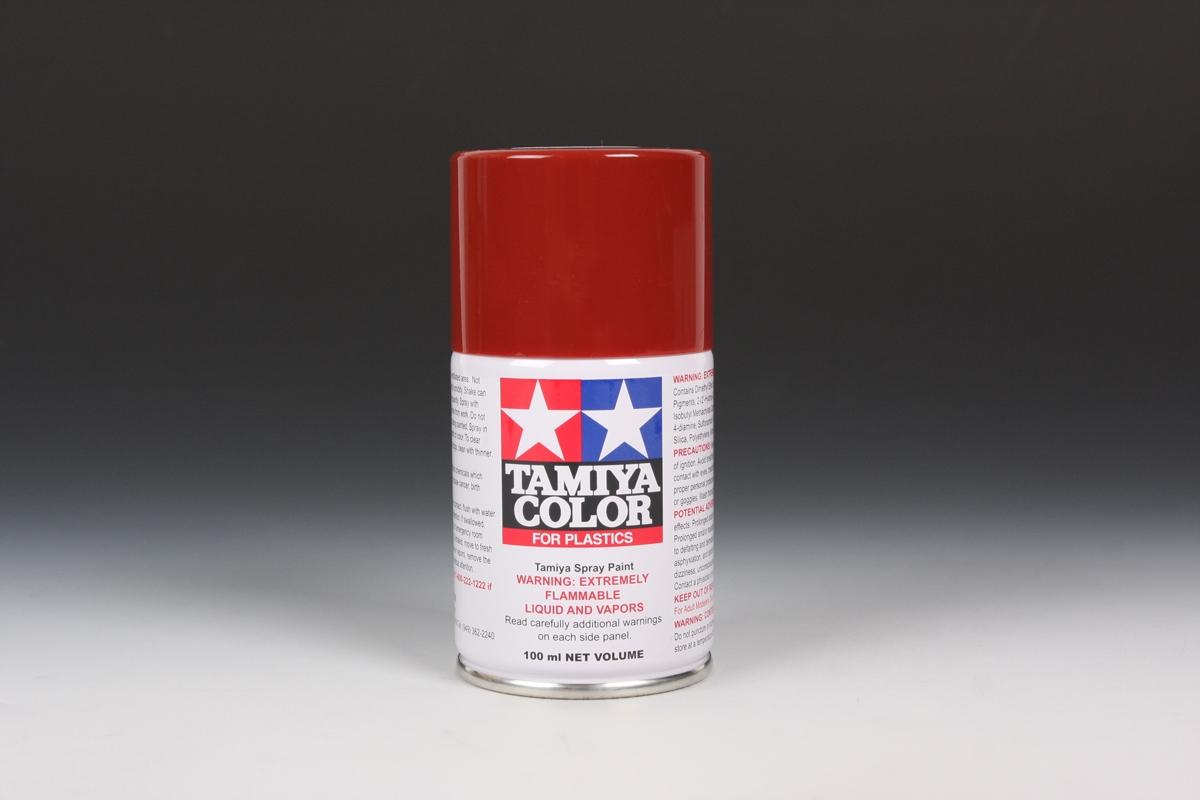
Hmmm, the dark red looks good too but what about the top? Tamiya TS-33 Dull Red would work. Thanks for the pic Len. =D-
-
Link-Belt HC-218 Truck Crane
David G. replied to redneckrigger's topic in WIP: Model Trucks: Big Rigs and Heavy Equipment
I too would like to see you carry this one through to completion Tom. Everything you've accomplished so far has been beyond spectacular! David G. -
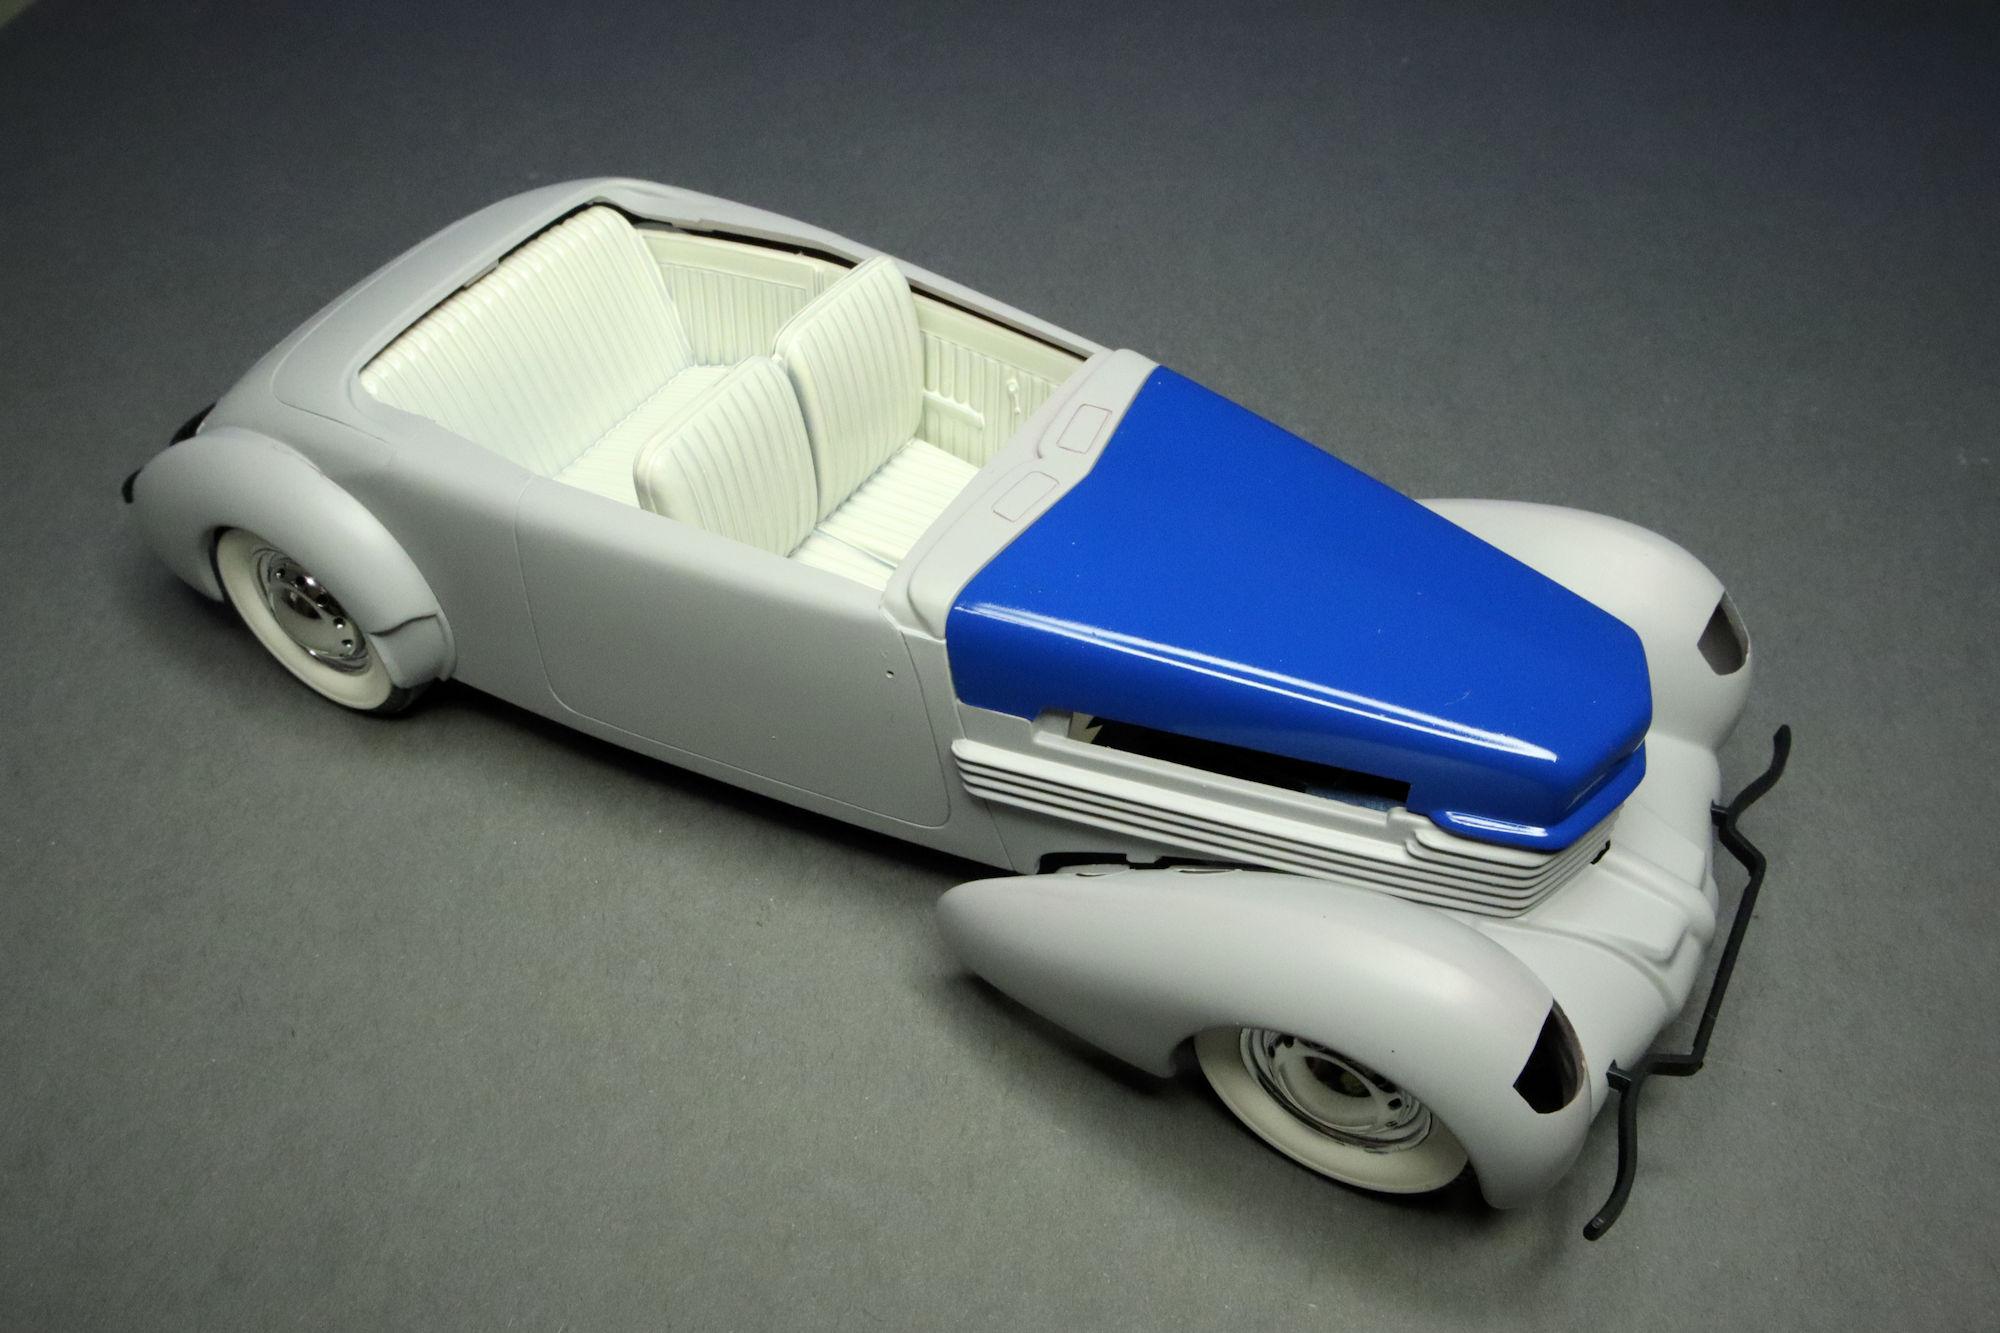
Len, grey is a possibility but I think a creamy yellow-white will have a little more flair. Which is kind of what the Cord is all about. Something very much like the leather in these mittens. Thanks, David G.
-
Hello Everybody! Here is the final posting for this build. Thank you for your patience and support. Another beauty shot. There is an engine under the opening hood. And last but not least, my traditional Display Case photo. Thank you all once again for your kind comments, patience and support. David G.
-
That made me chuckle... thanks. =D-
-
I'm liking the Mr. Color 313 Yellow, it's on my list now. Thanks for posting this Greg, I now have a better idea of which way I want to go. David G.
-
Who doesn't love a mock-up? Let's see yours!
David G. replied to Belairconvertable's topic in WIP: Model Cars
That looks like a fun rebuild, I'll be keeping an eye out for it. Do you plan on posting in the WIP section? David G. -
The interior looks great as does the paint on the body, love the color! David G.
-
That works quite well Jim. David G.
-
WIP: Custom AMT 1:25 1964/65 Chevy El Camino
David G. replied to JNordgren42's topic in WIP: Model Cars
It's coming along quite nicely. David G. -
Nice one! Especially for a quick build. David G.
- 1 reply
-
- 1
-

-
Fabulous work on the weathering! David G.
-
WIP: Custom AMT 1:25 1964/65 Chevy El Camino
David G. replied to JNordgren42's topic in WIP: Model Cars
The paint looks good, so does the lighting. A question on the lighting. The power source is in the base and works by induction to light the LEDs in the car with no physical connection between the car and the base? 😮 If so, that's really cool! David G. -
Hello Everybody! I'm in the midst of a little push to see if I can get my P-61 Black Widow completed for the year so most of my bench time has been devoted to that. Even still, I've managed to get a little work done on other builds; namely my 1937 Cord. A quick color check. Tamiya TS-93 Pure Blue with Tamiya TS-7 Racing White for the interior. I like the blue but I'm not entirely sure about the white. I'm thinking about something a little darker... a little creamier. The blue is pretty much locked in but I'm open to suggestions for the interior. I want a light color. Off-white, no tan or black. Maybe a pale blue... maybe. As always, thanks for taking the time to look and please feel free to post your comments. David G.